In this article we go over the first 10 laser cutter projects we did on the K40.
Number 1: Window decoration
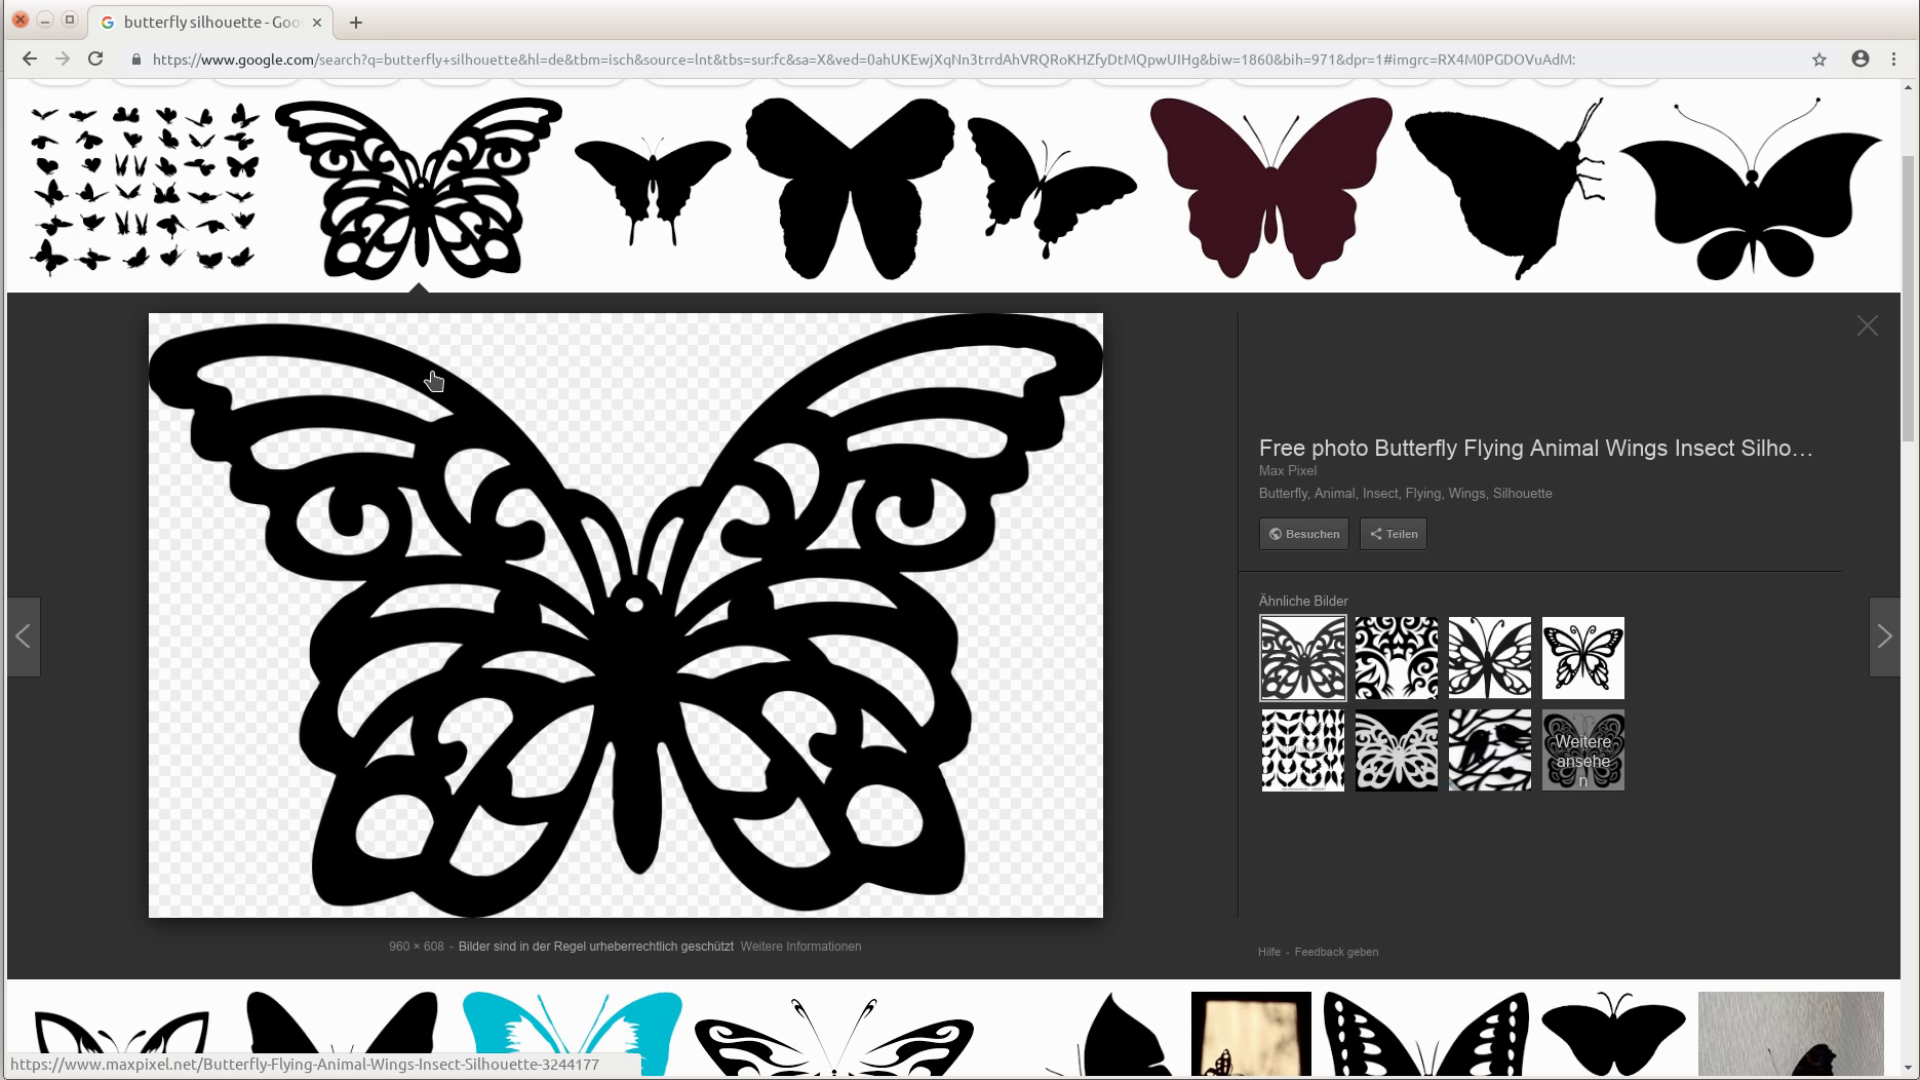
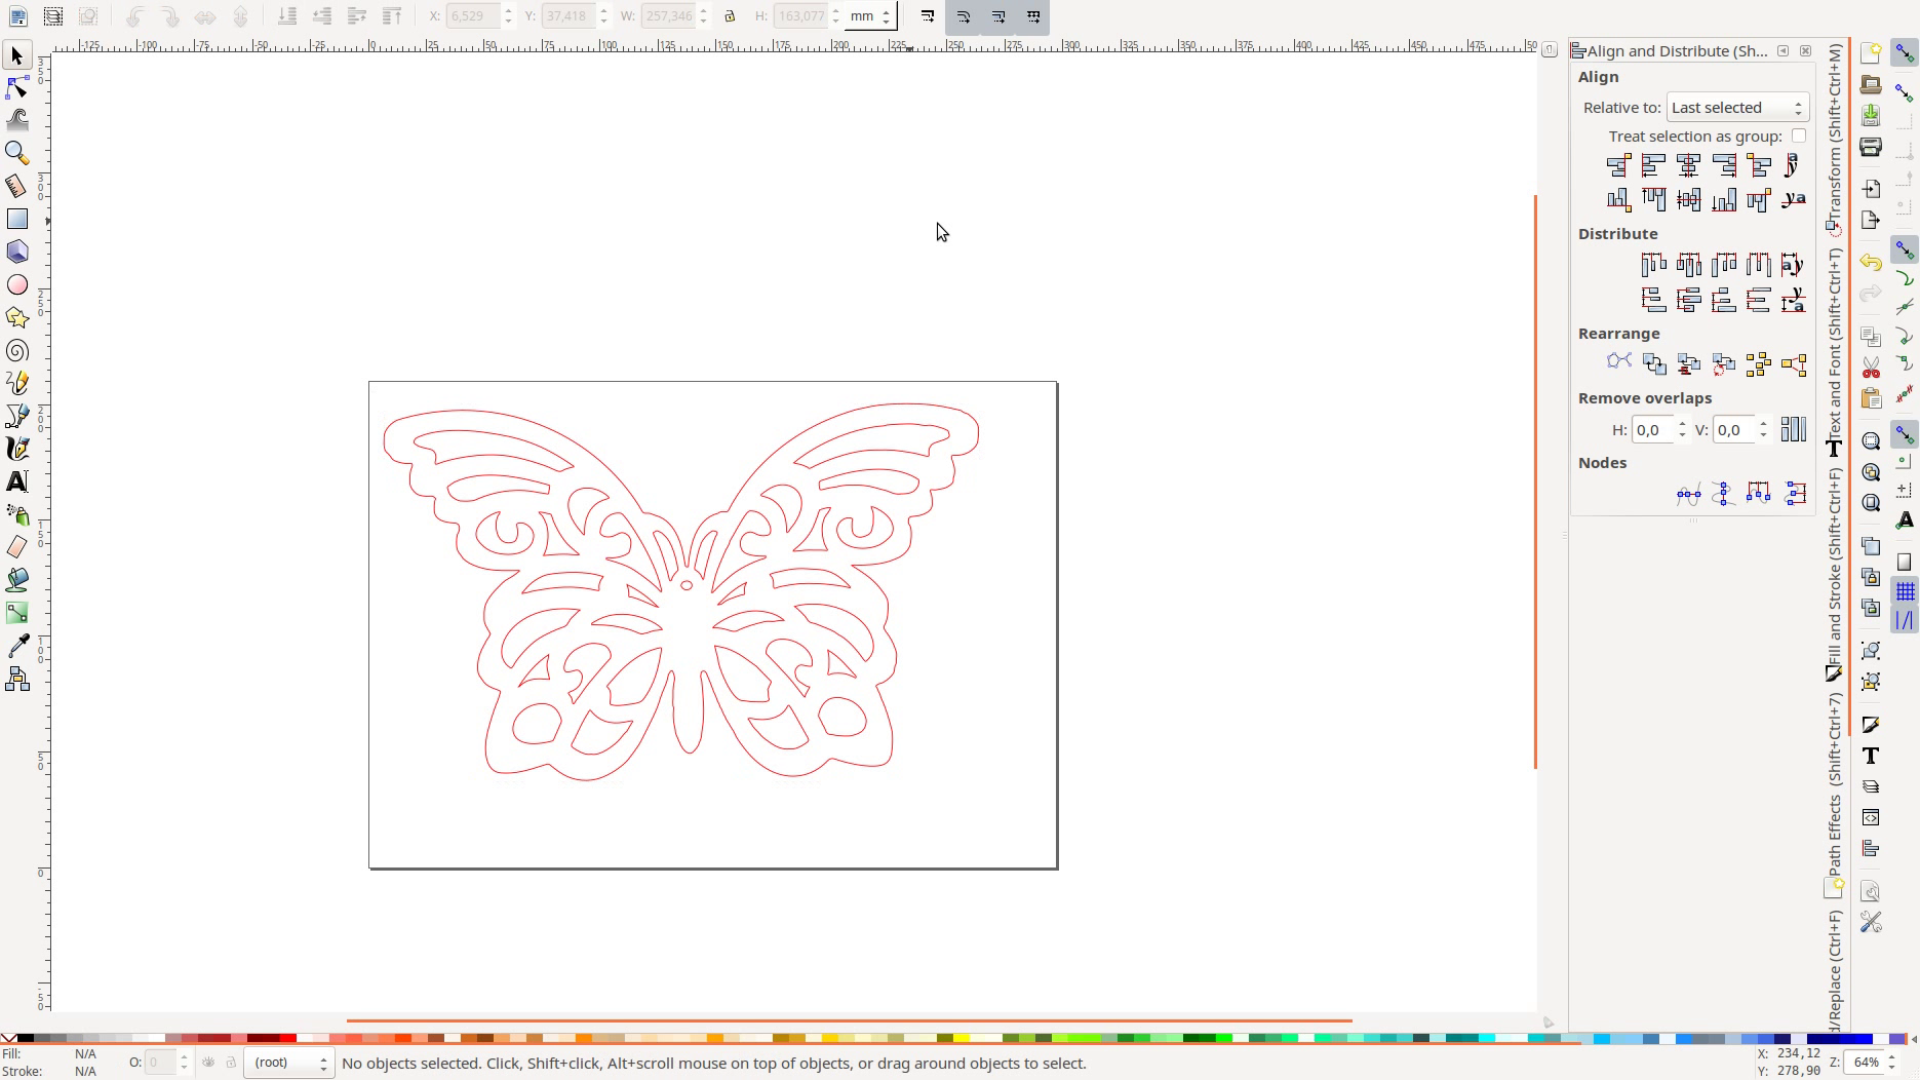
The simplest thing is to get some clipart from the web and convert it with Inkscape into an outline. For this butterfly we used this clipart.
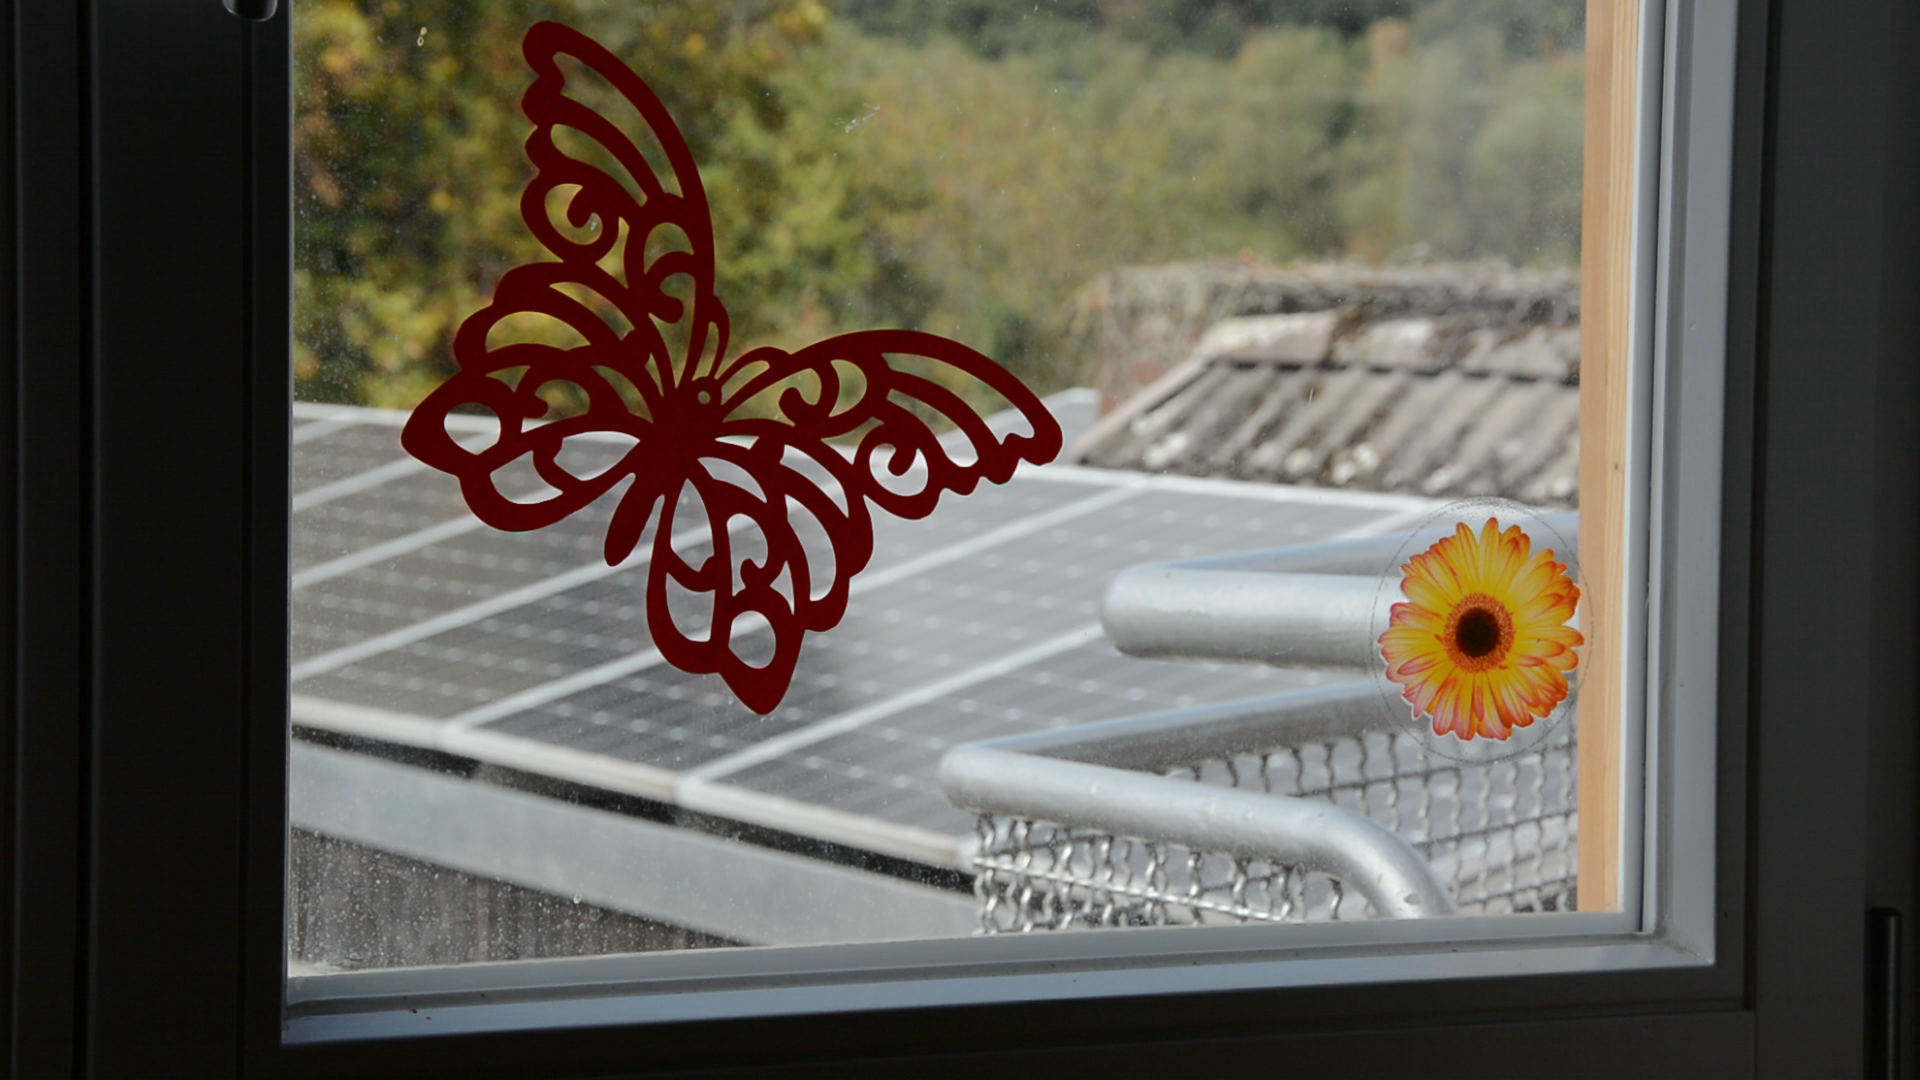
We cut this outline from a simple sheet of colored printer paper and have a nice decorative element to put in one of the windows.

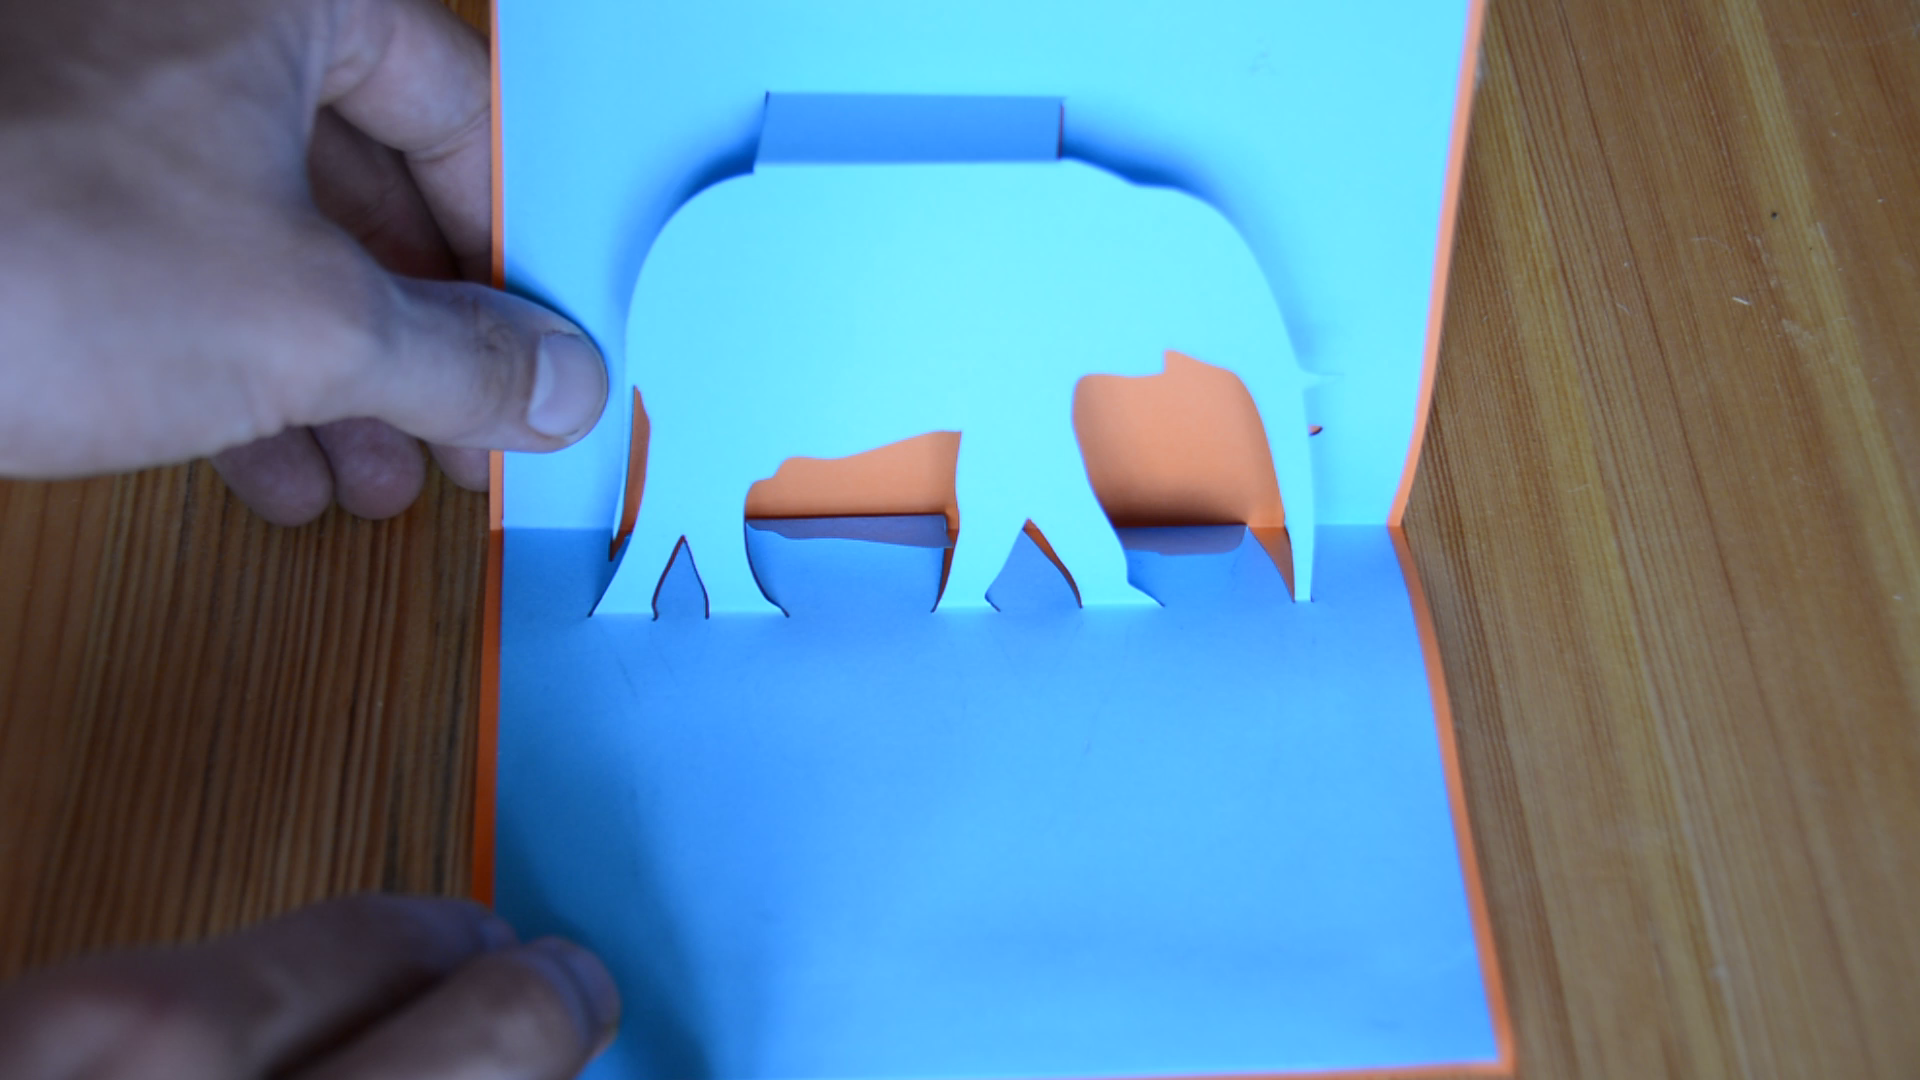
Number 2: Popup card
Let’s stick for a moment with the paper and use Inkscape to modify a clipart such as this elephant to create a series of open lines.
If you are interested in a more detailed article on this or any other of the topics – please leave a comment.
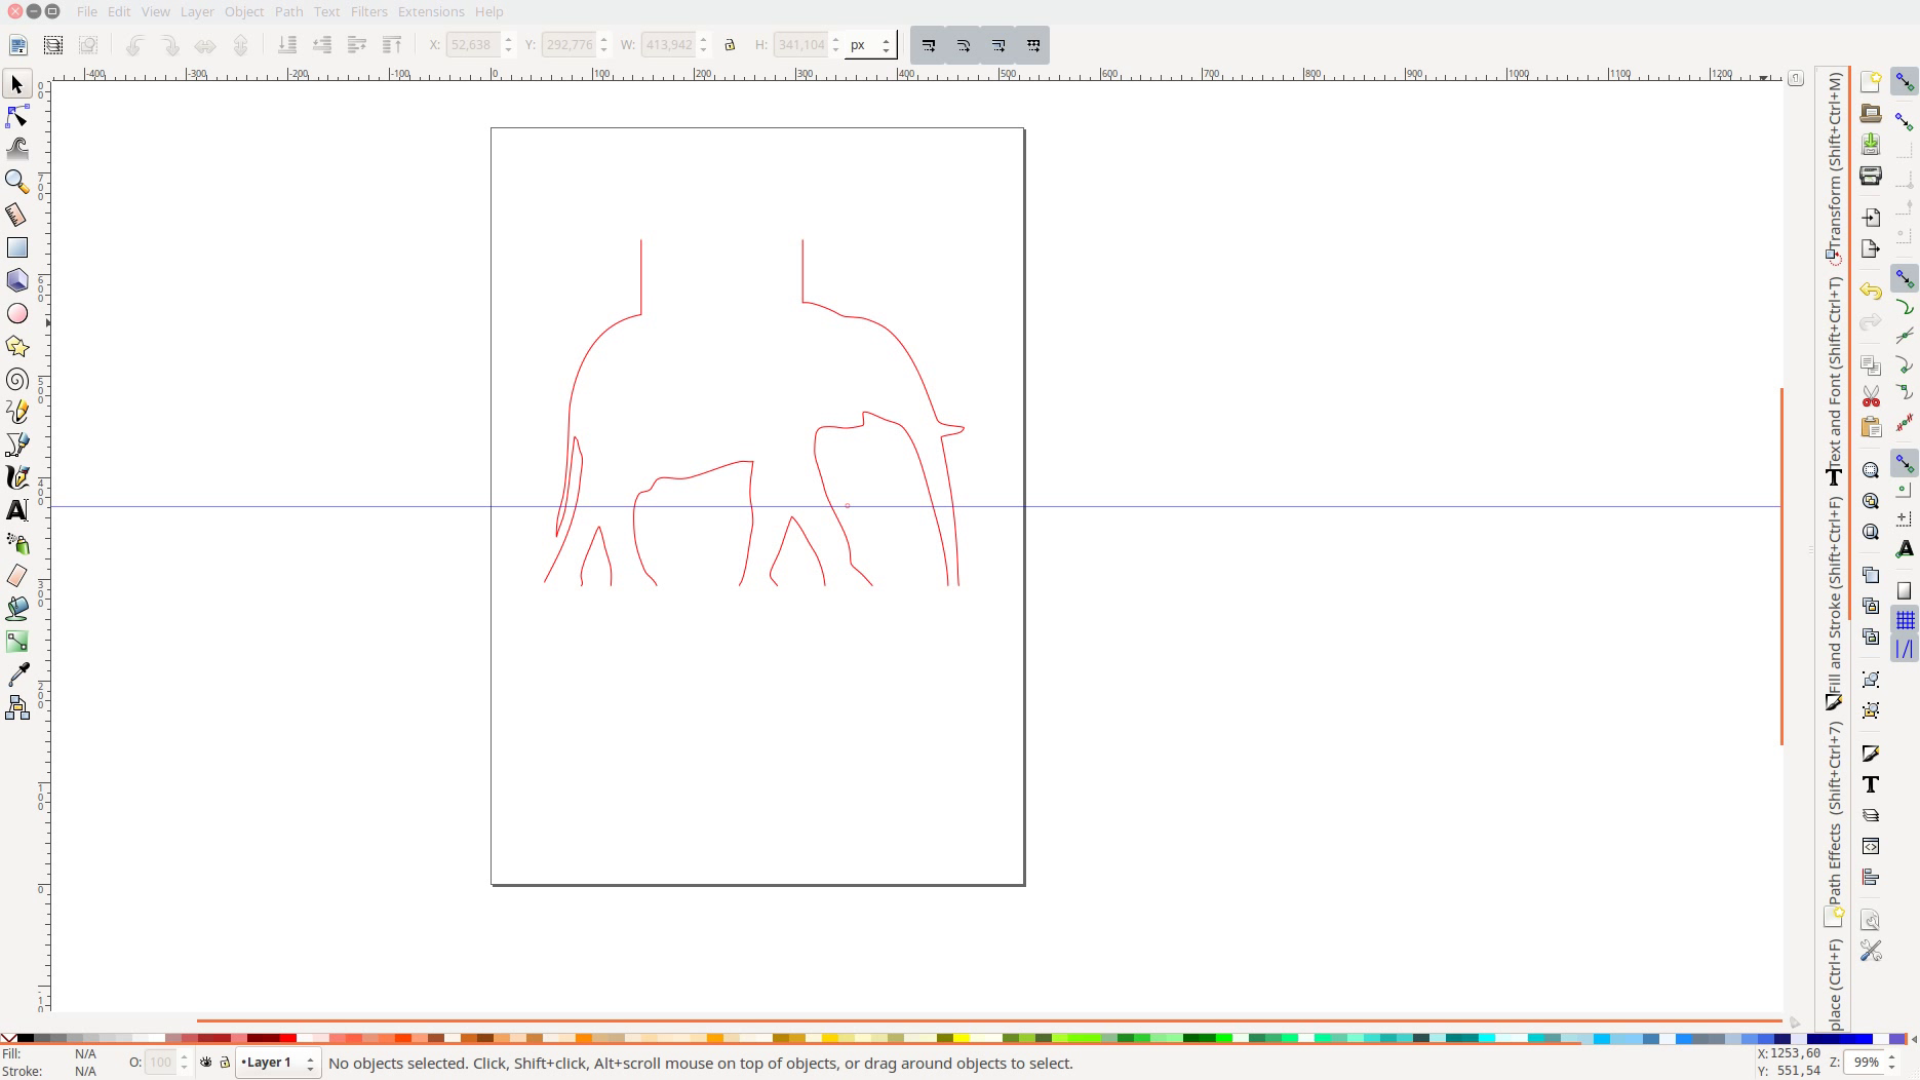
If we cut this shape in a sheet of paper we create a cute little popup card.
Number 3: Stencil
After cutting paper cardboard is the next step.
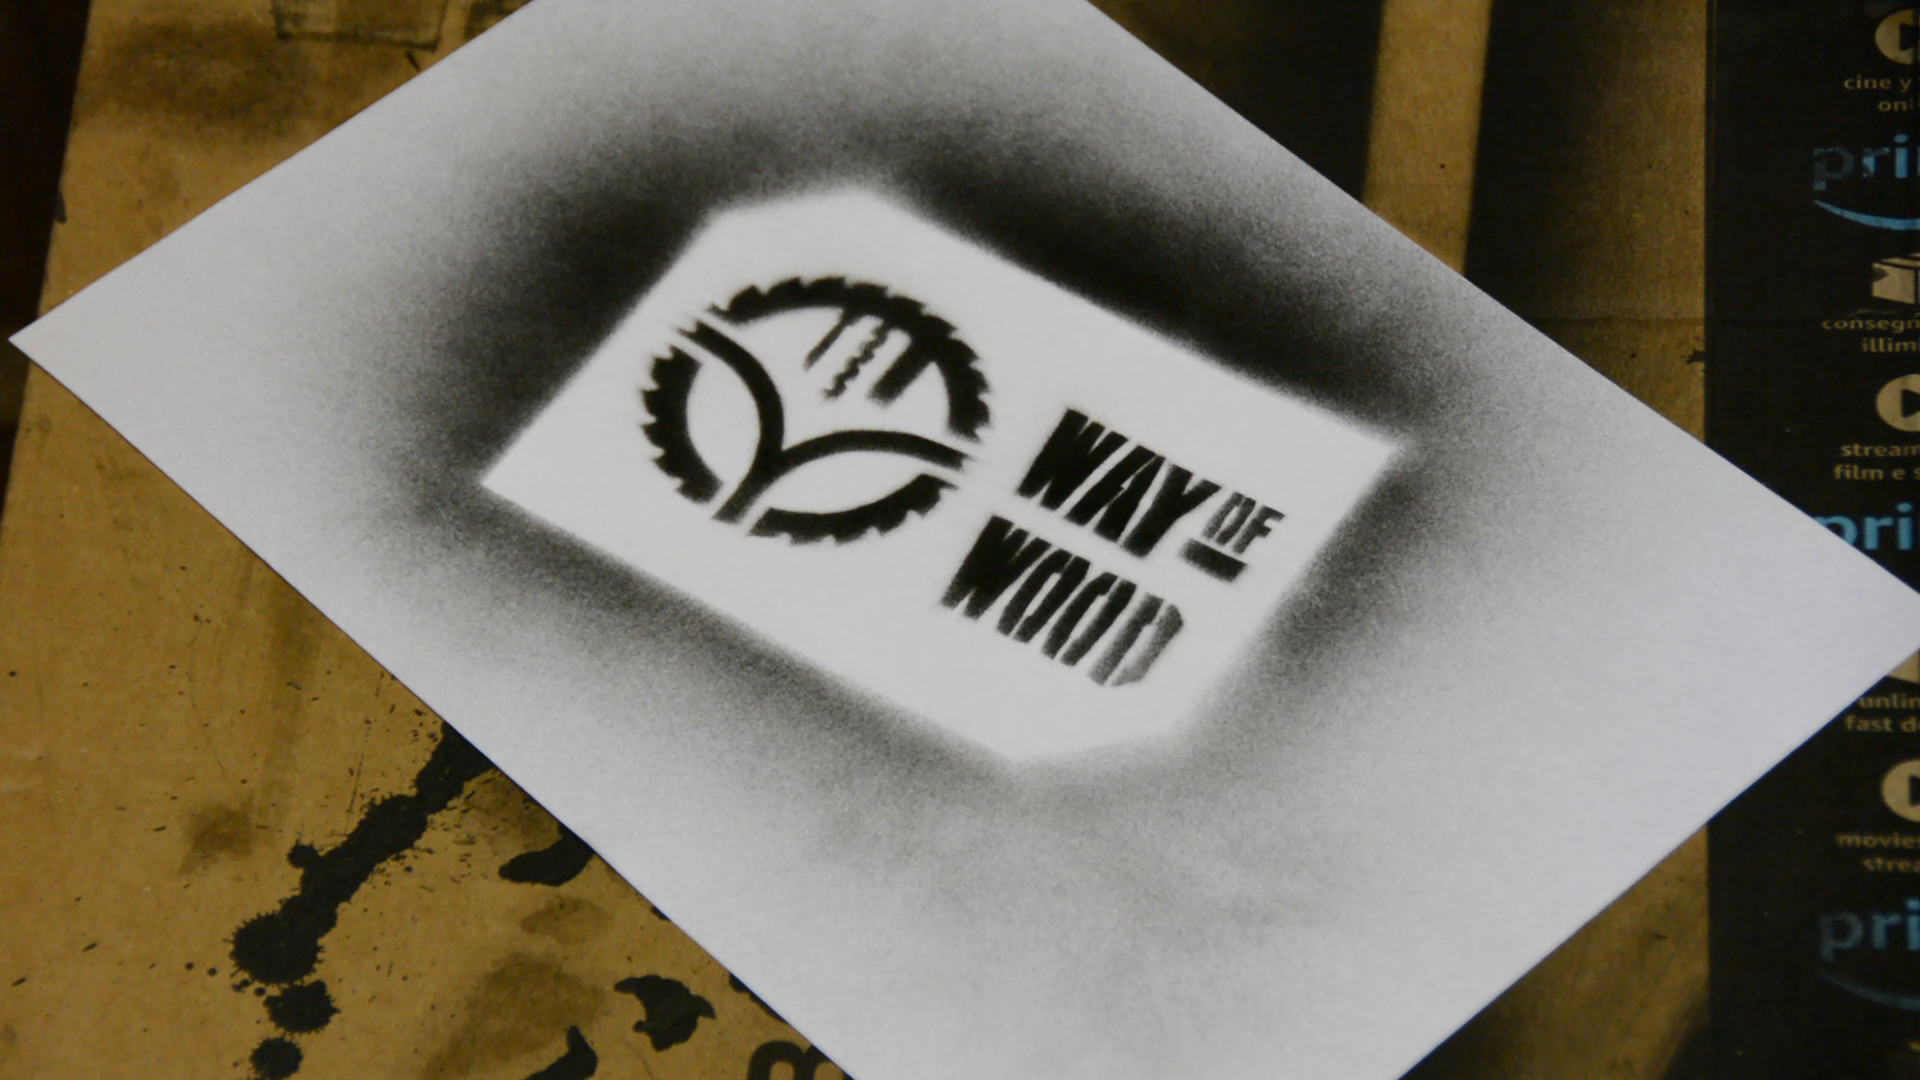
When we connect the internal parts of the Way of Wood logo with the rest of the page we can cut a fairly complex stencil.
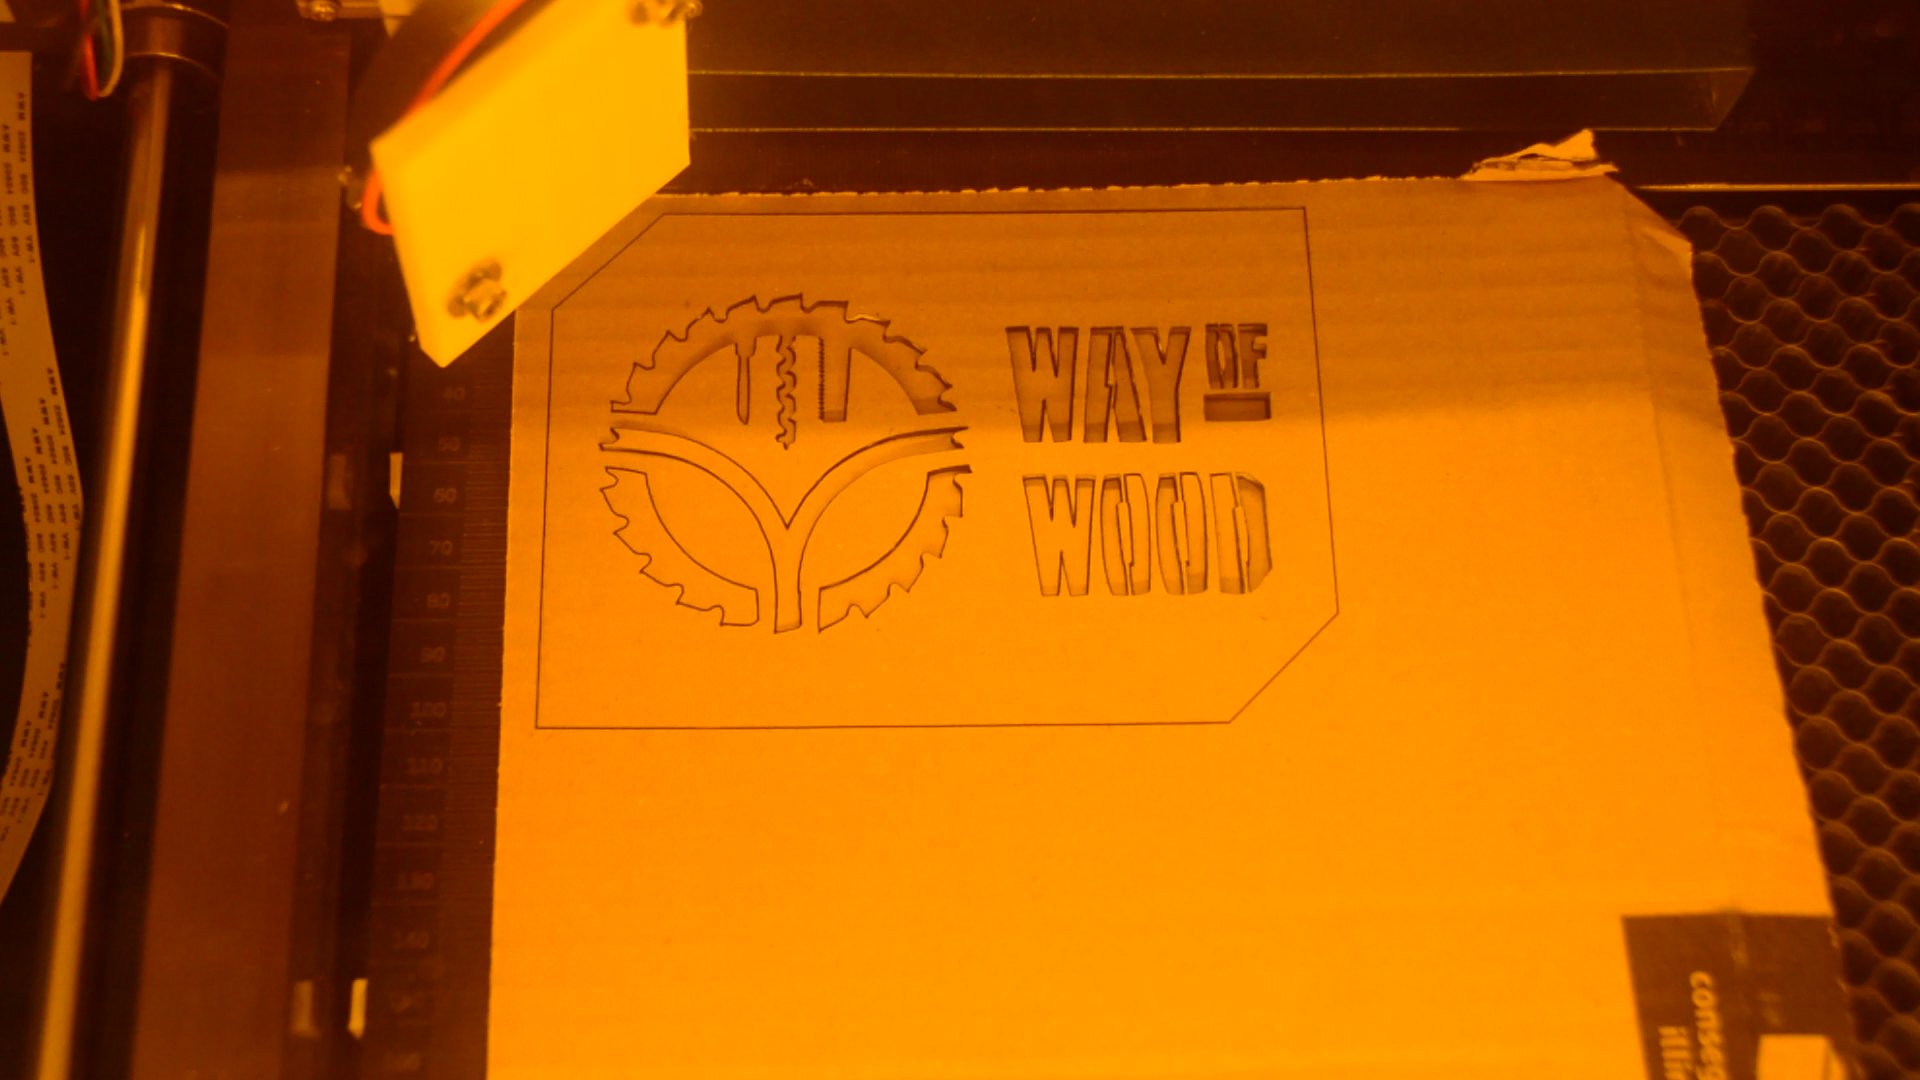
After cutting it we could start to put logo stencils all over the workshop.
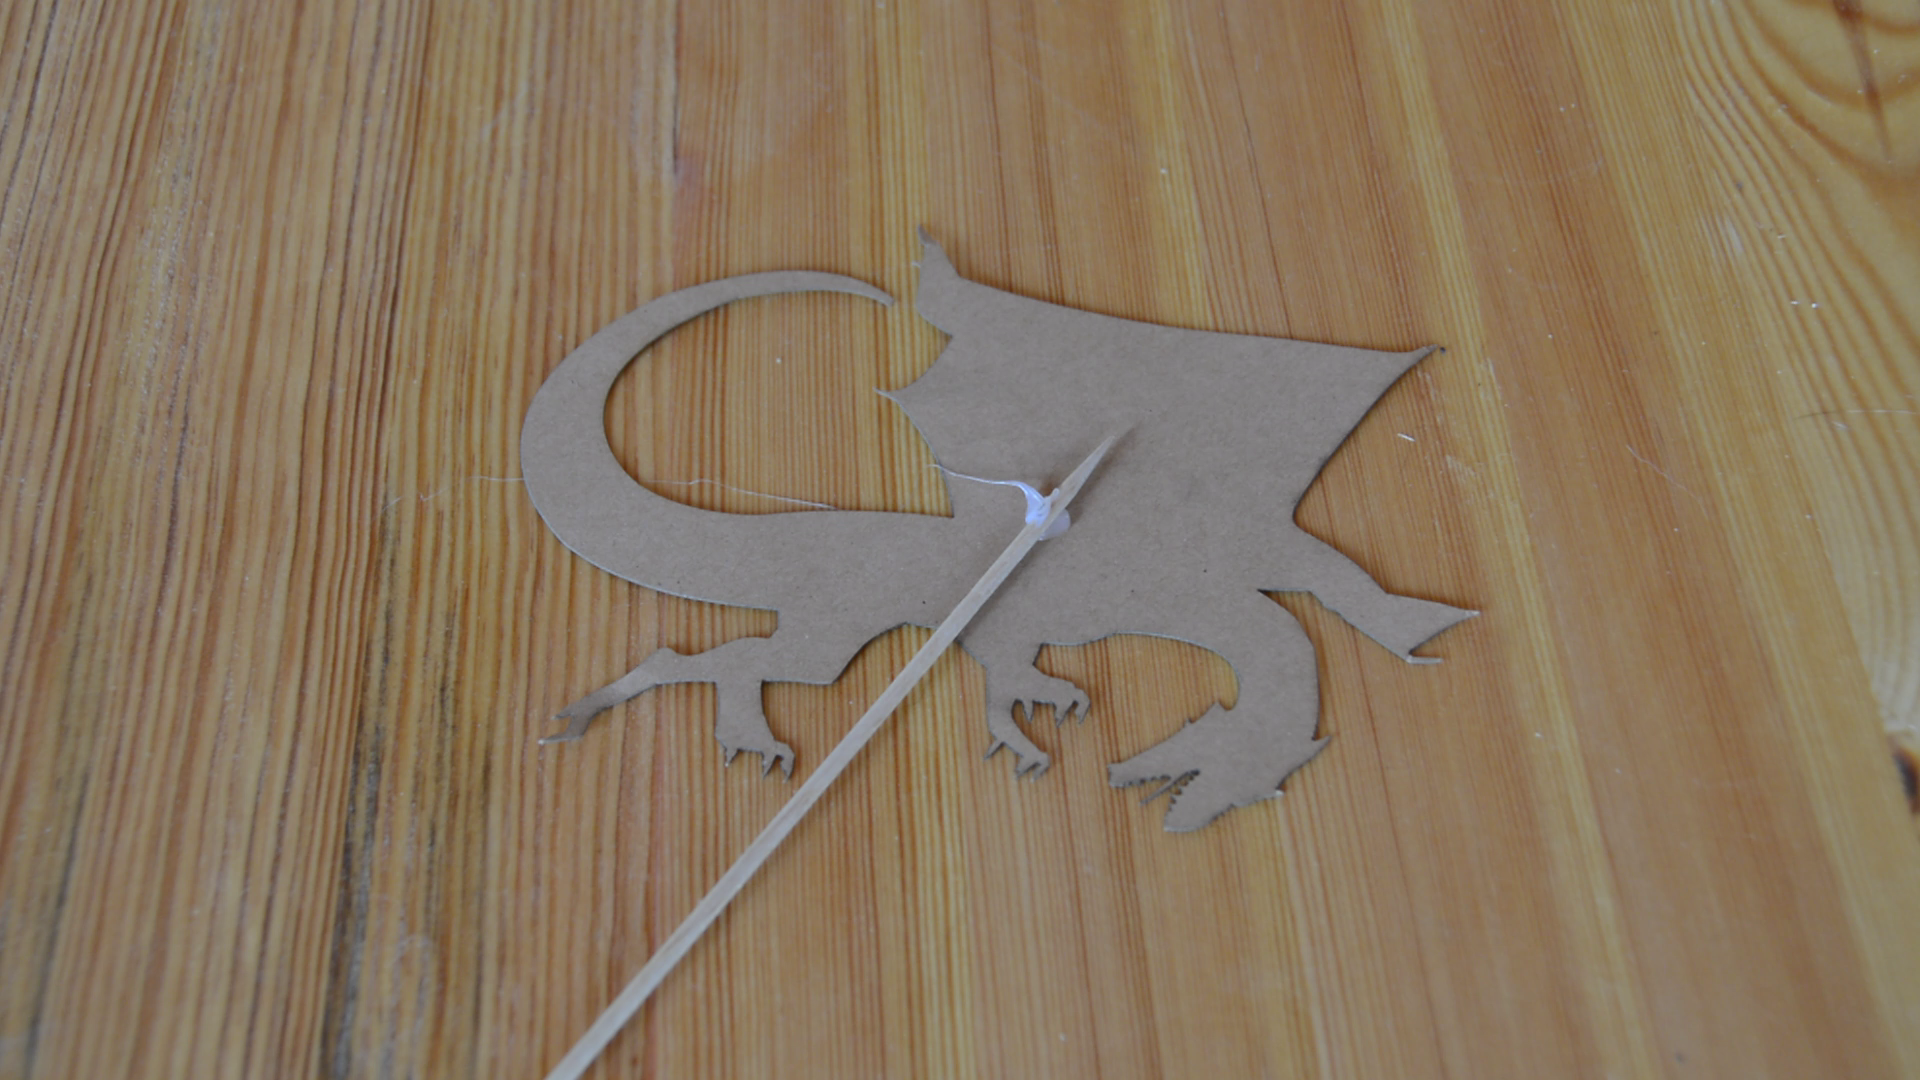
Number 4: Shadow play figures
Our kids got a shadow play game for Christmas but the game was missing a few important figures. We got most of the cliparts from https://svgsilh.com.

So we got a decent amount of knights, dragons and other cliparts.
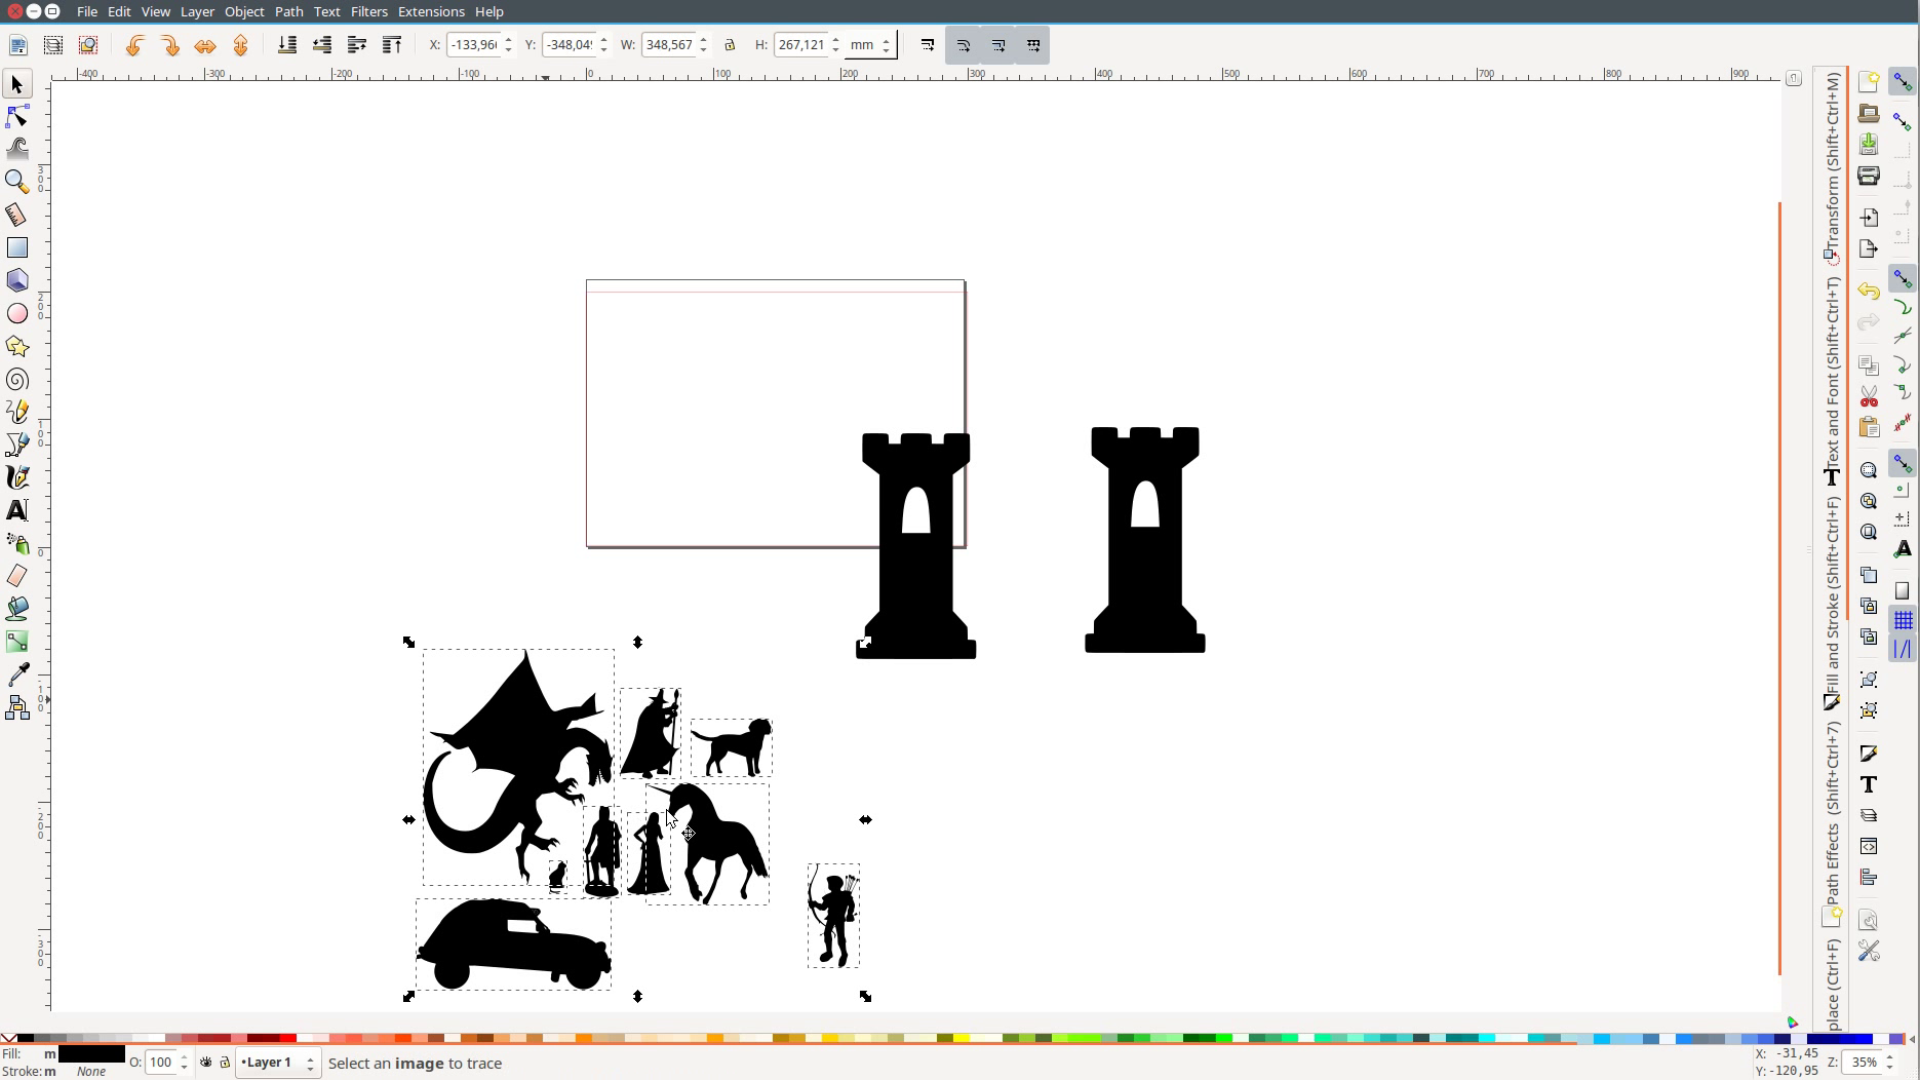
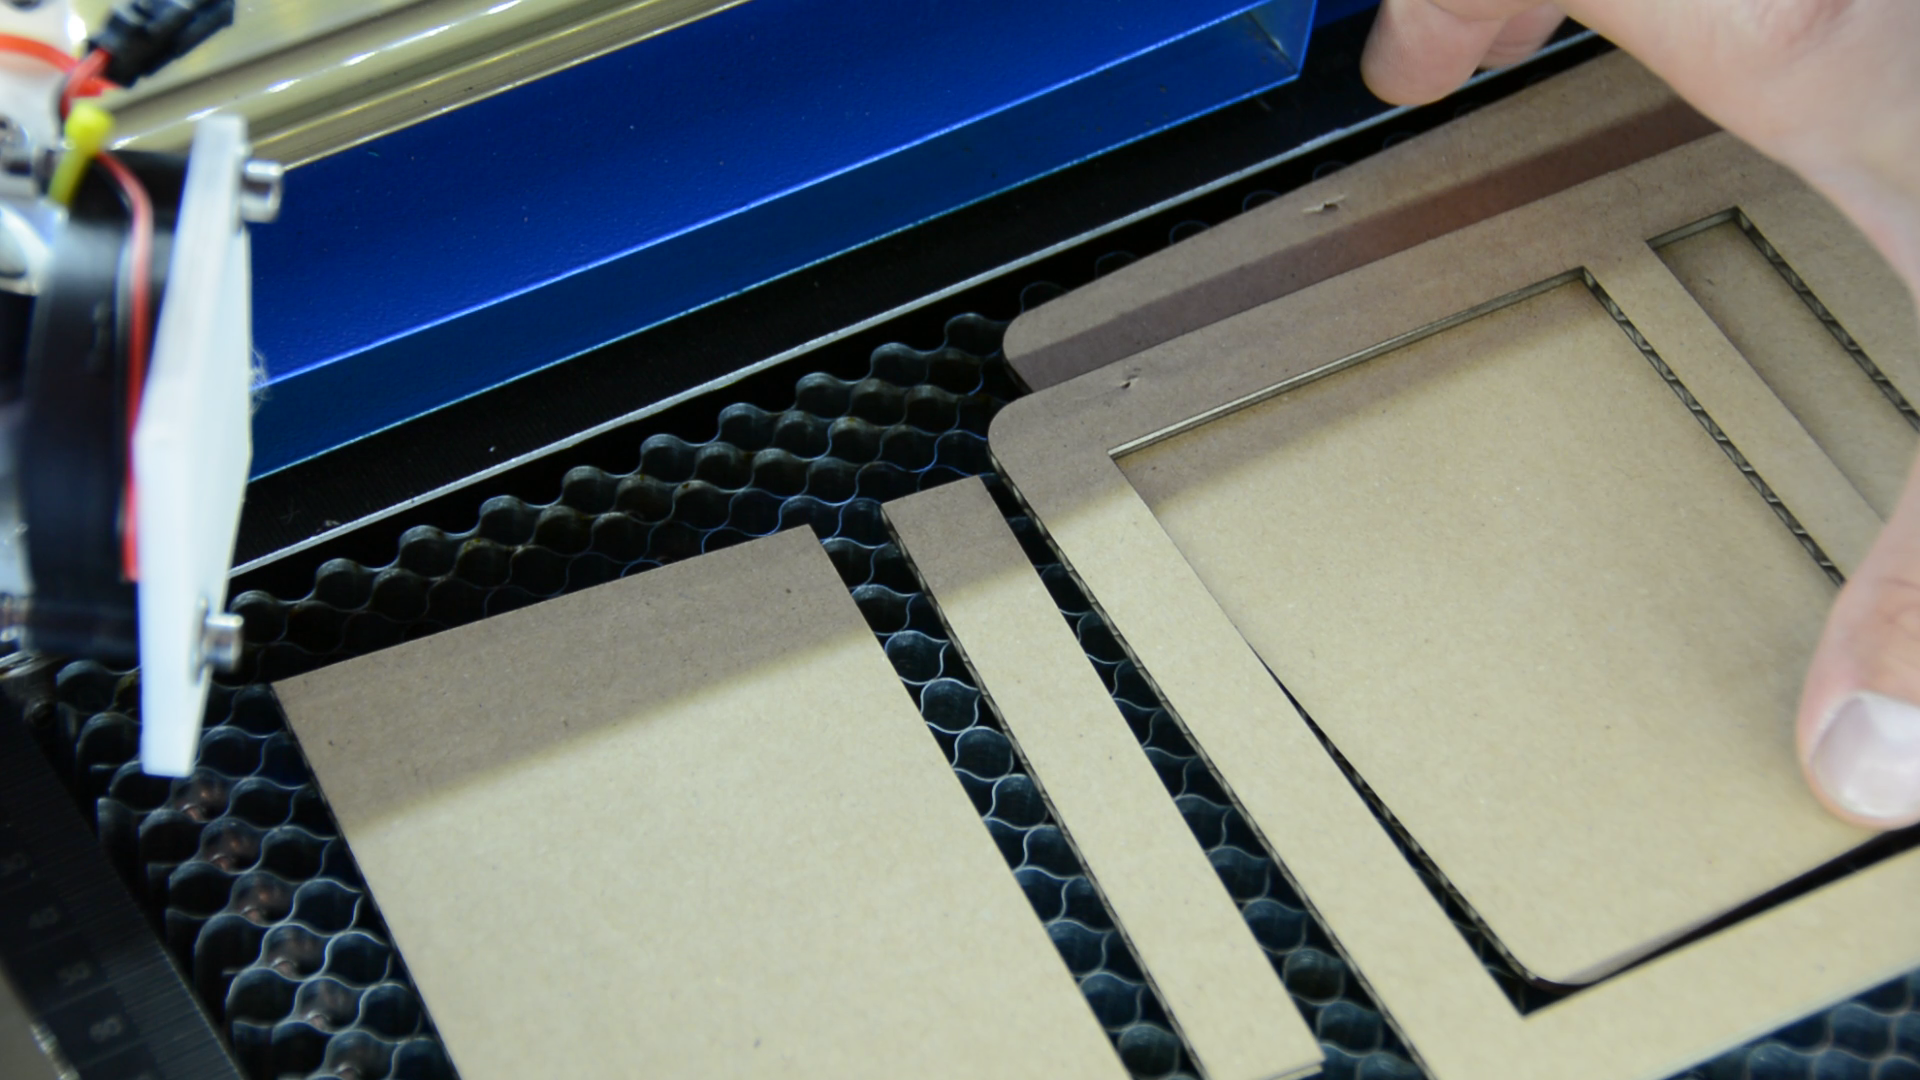
With the software deepnest.io we packed them tightly on some cardboard and cut them out.

A dab of hot glue and a skewer make a great shadow play figure.
Number 5: Hard disk protective cover
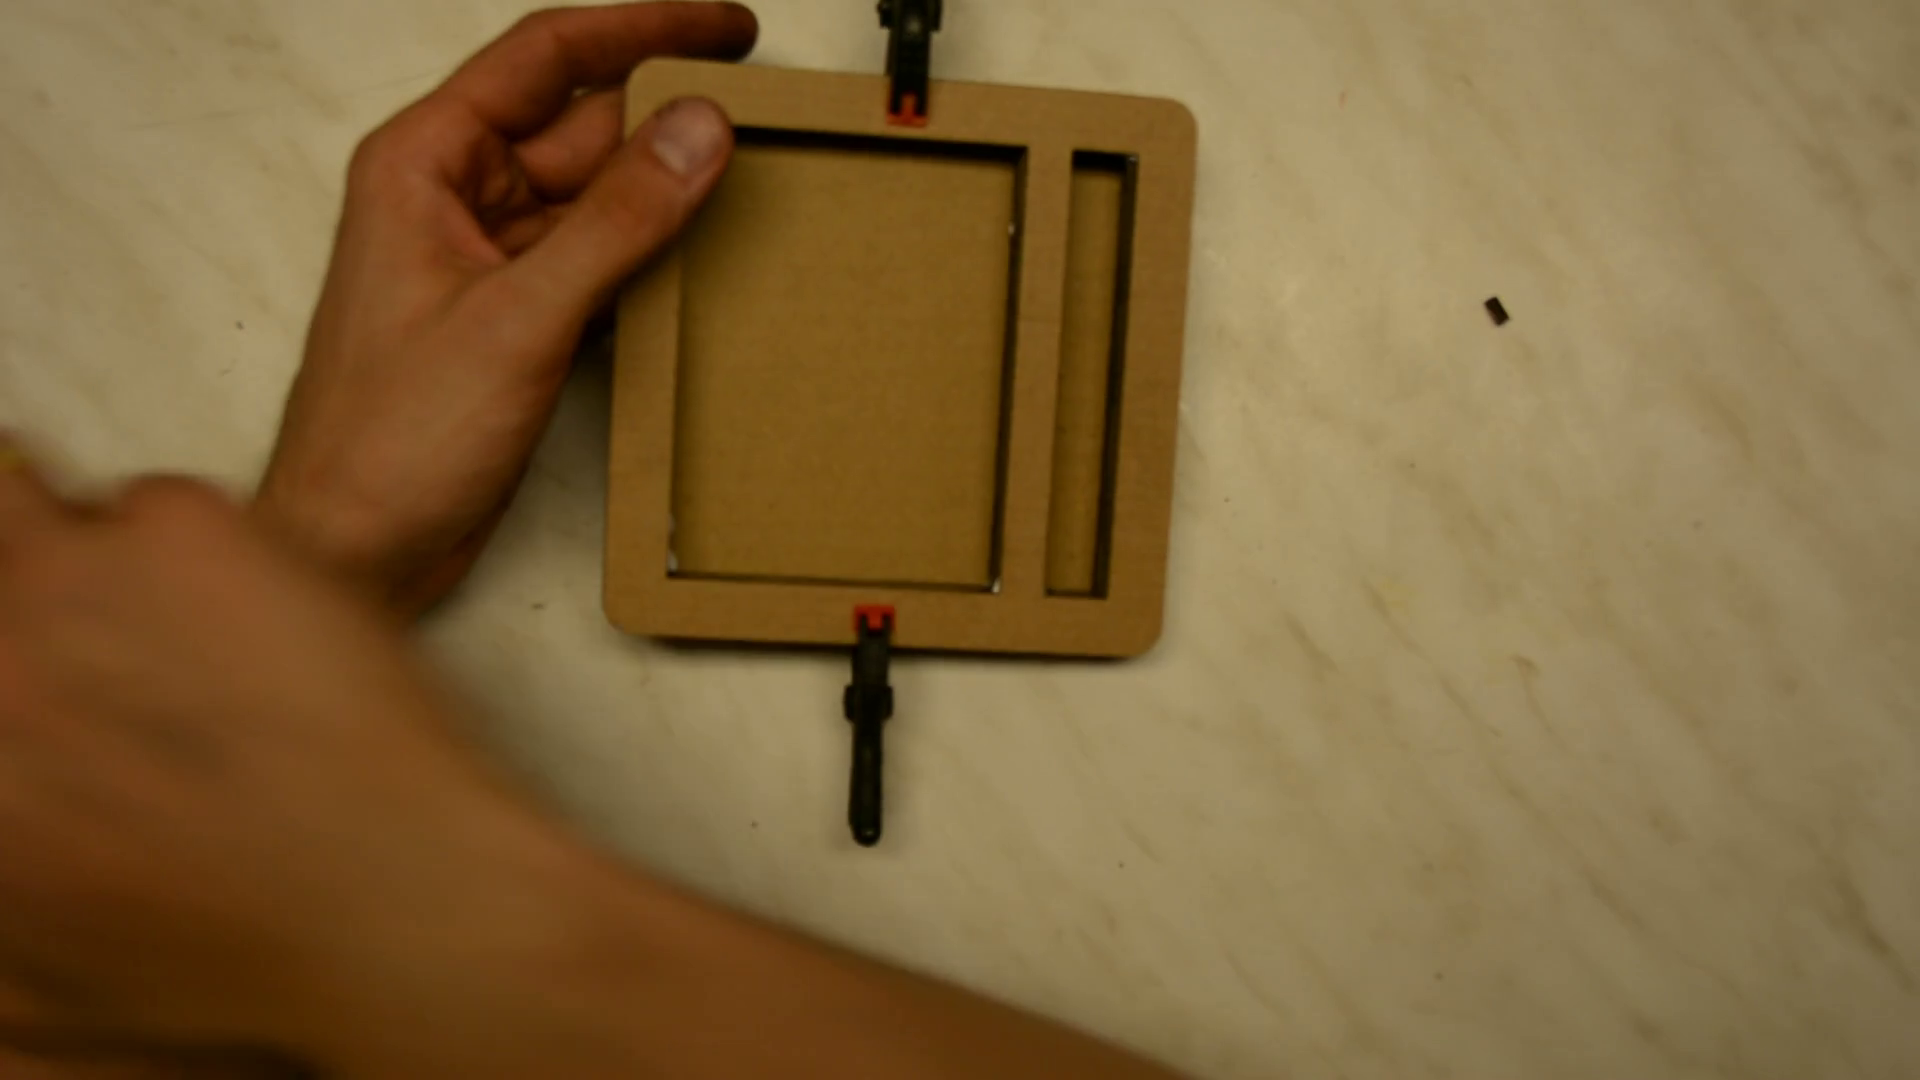
The next thing is still from cardboard but a bit more functional.
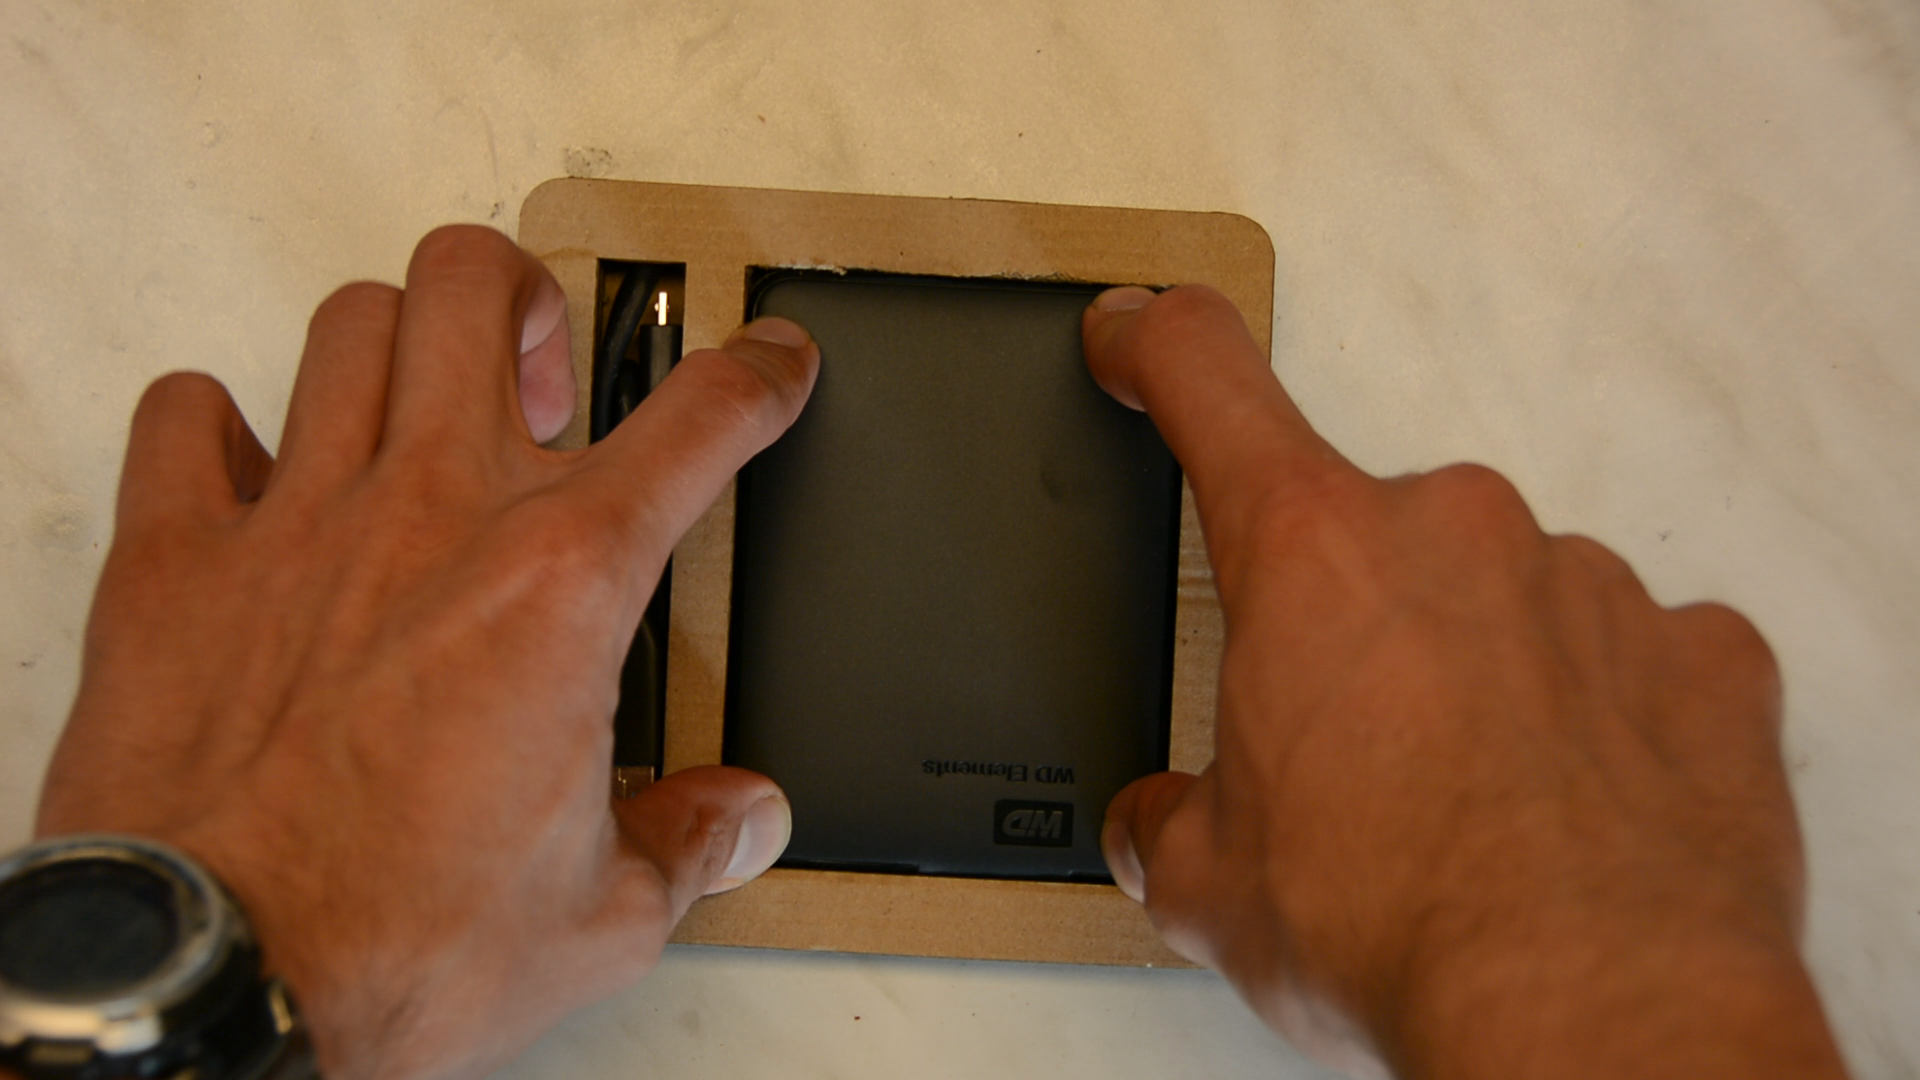
From old Amazon packages we cut the same shape several times. After gluing the layers together we get a nice protective cover for a portable hard drive.
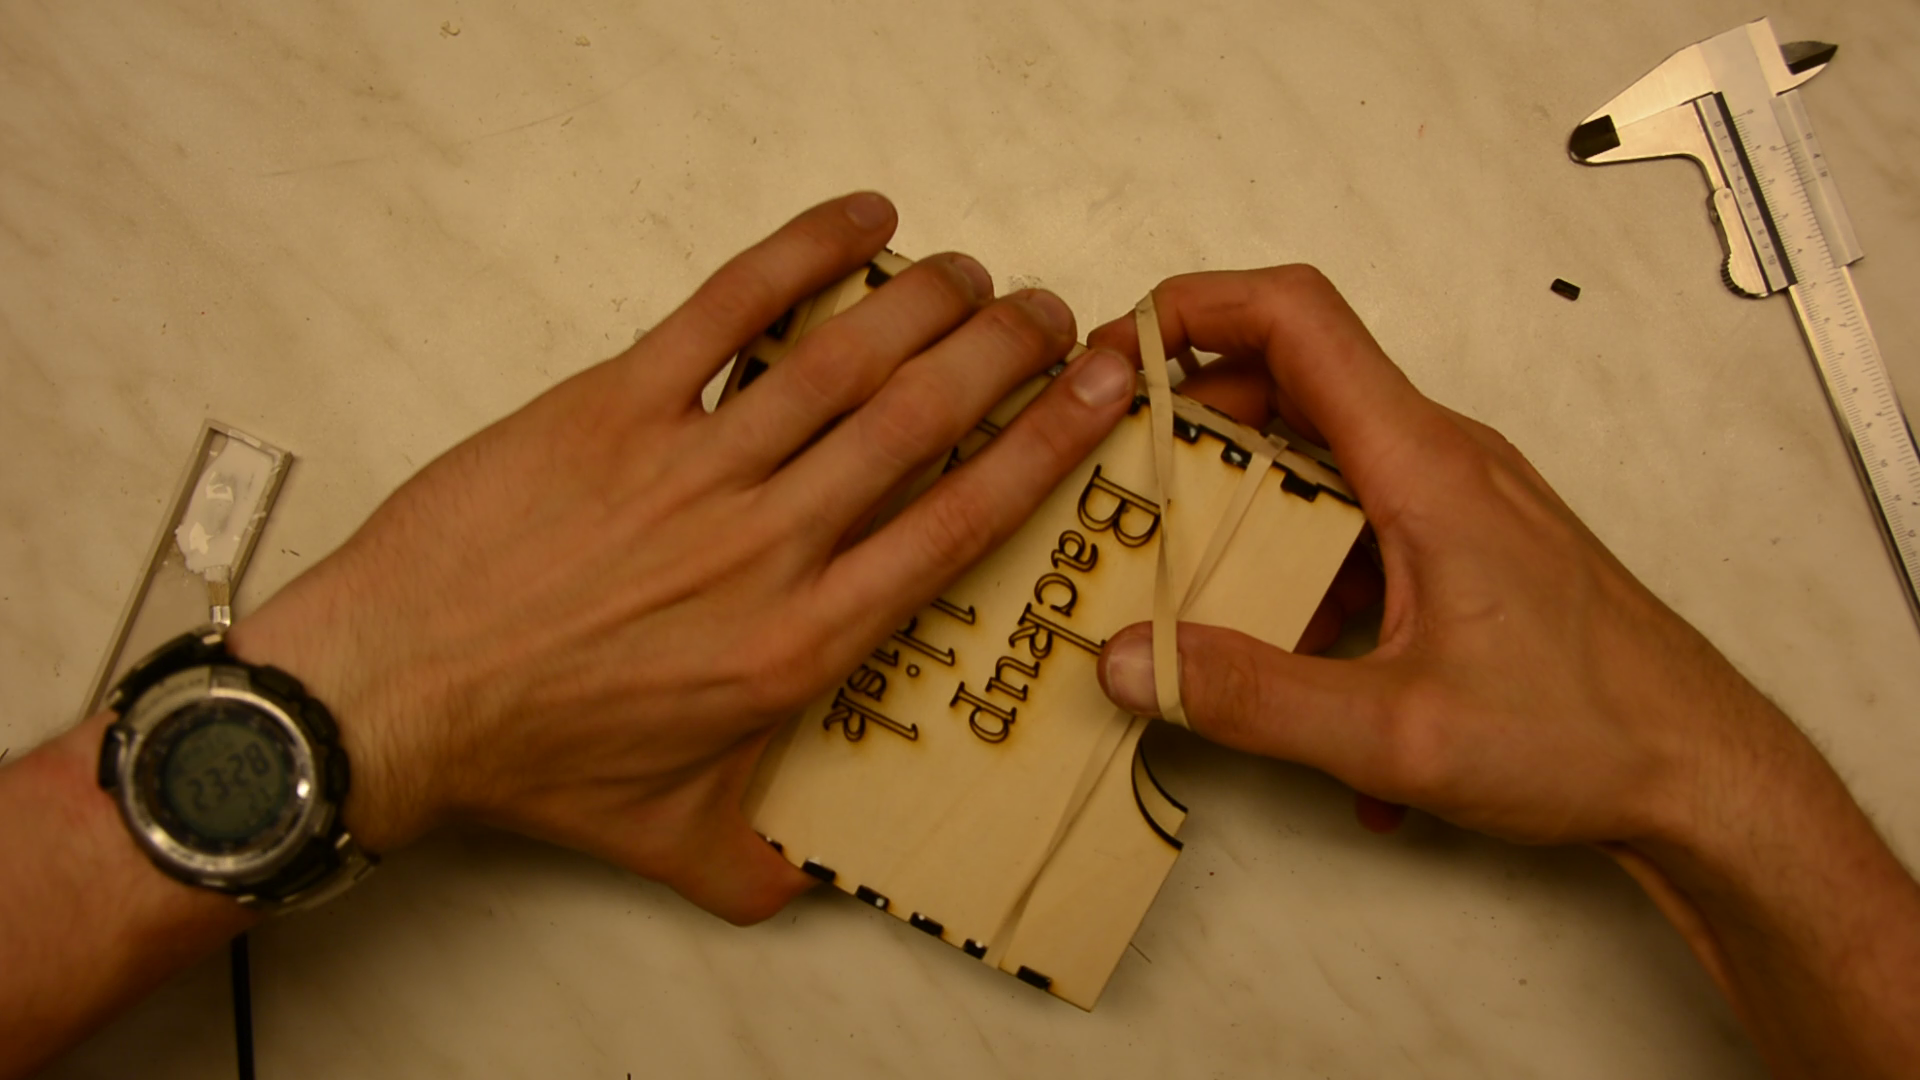
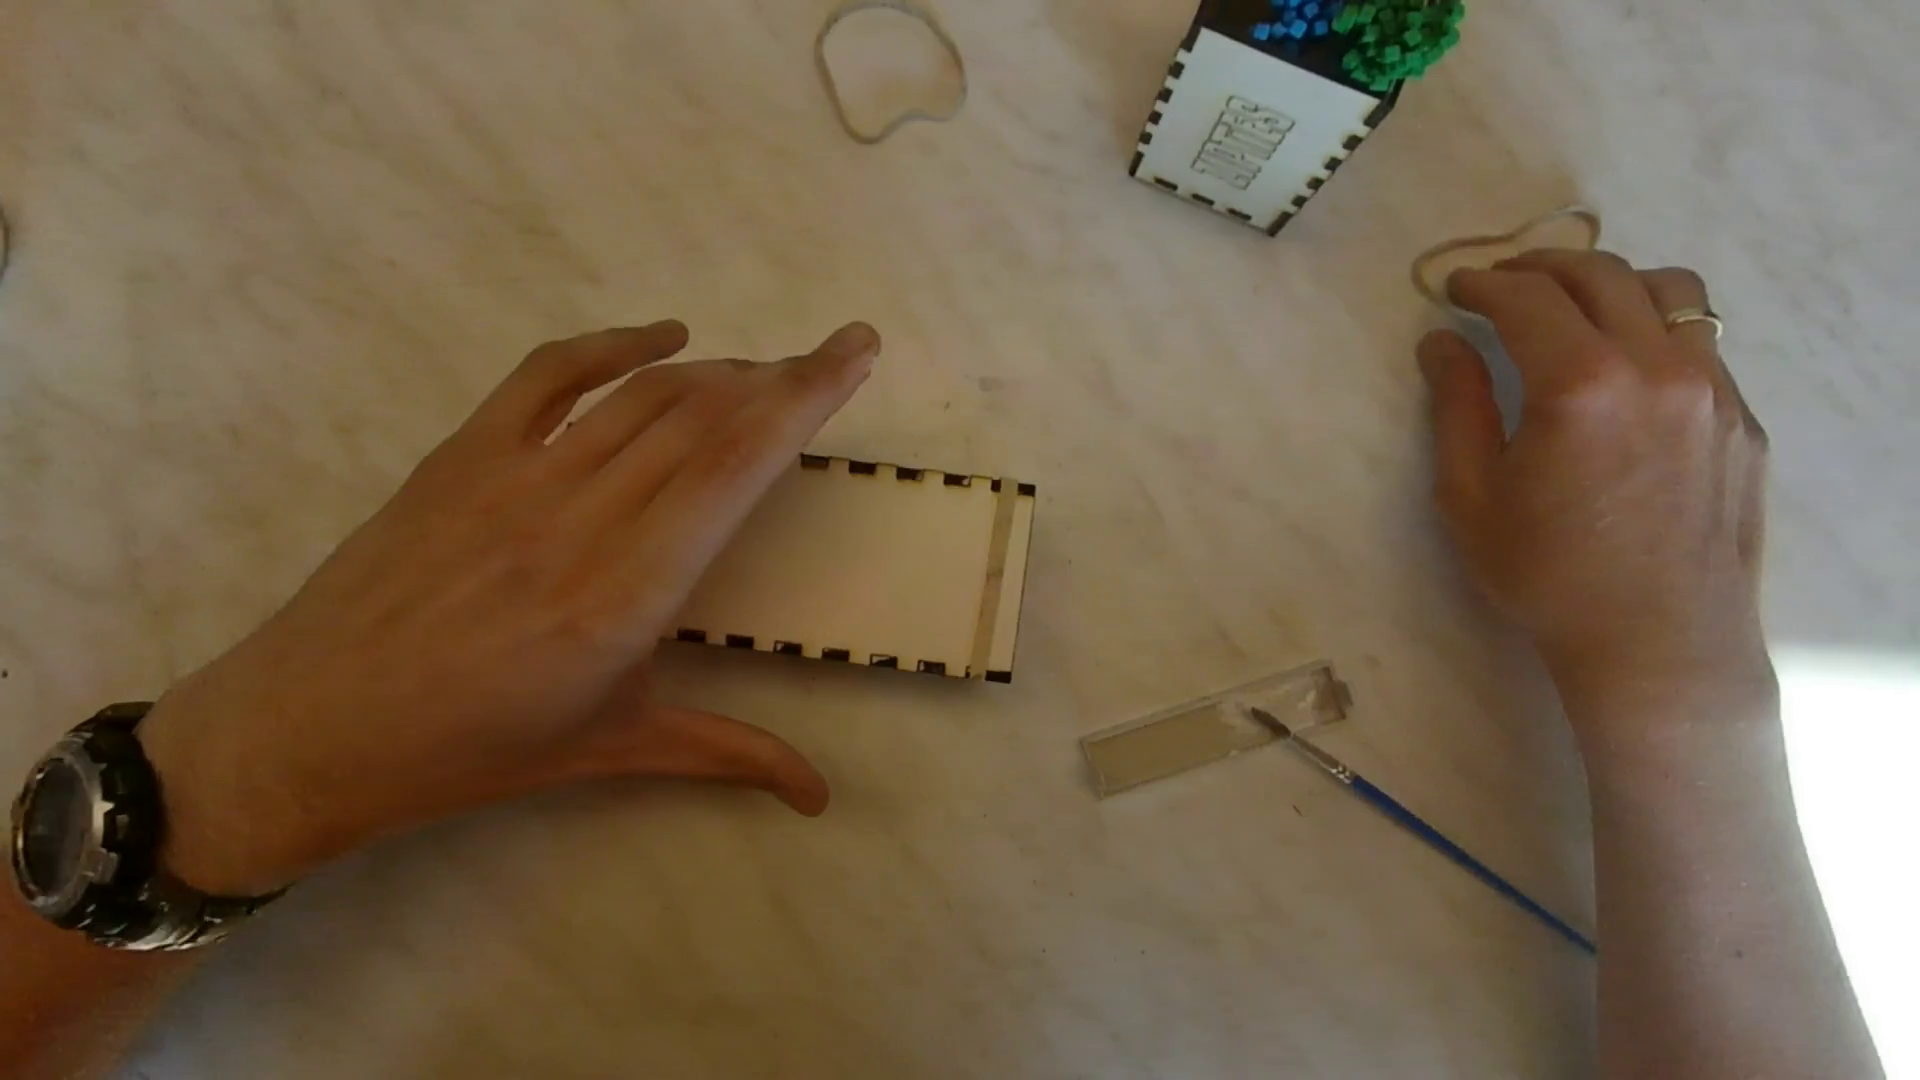
Number 6: Hard disk protective cover box
This cardboard insert obviously needs a box. We use a box configurator to create a finger jointed box. After some modifications in Inkscape and adding an engraving we cut the box on the laser.

Now only a little glue and the box is done and will protect our backup hard drive going forward.

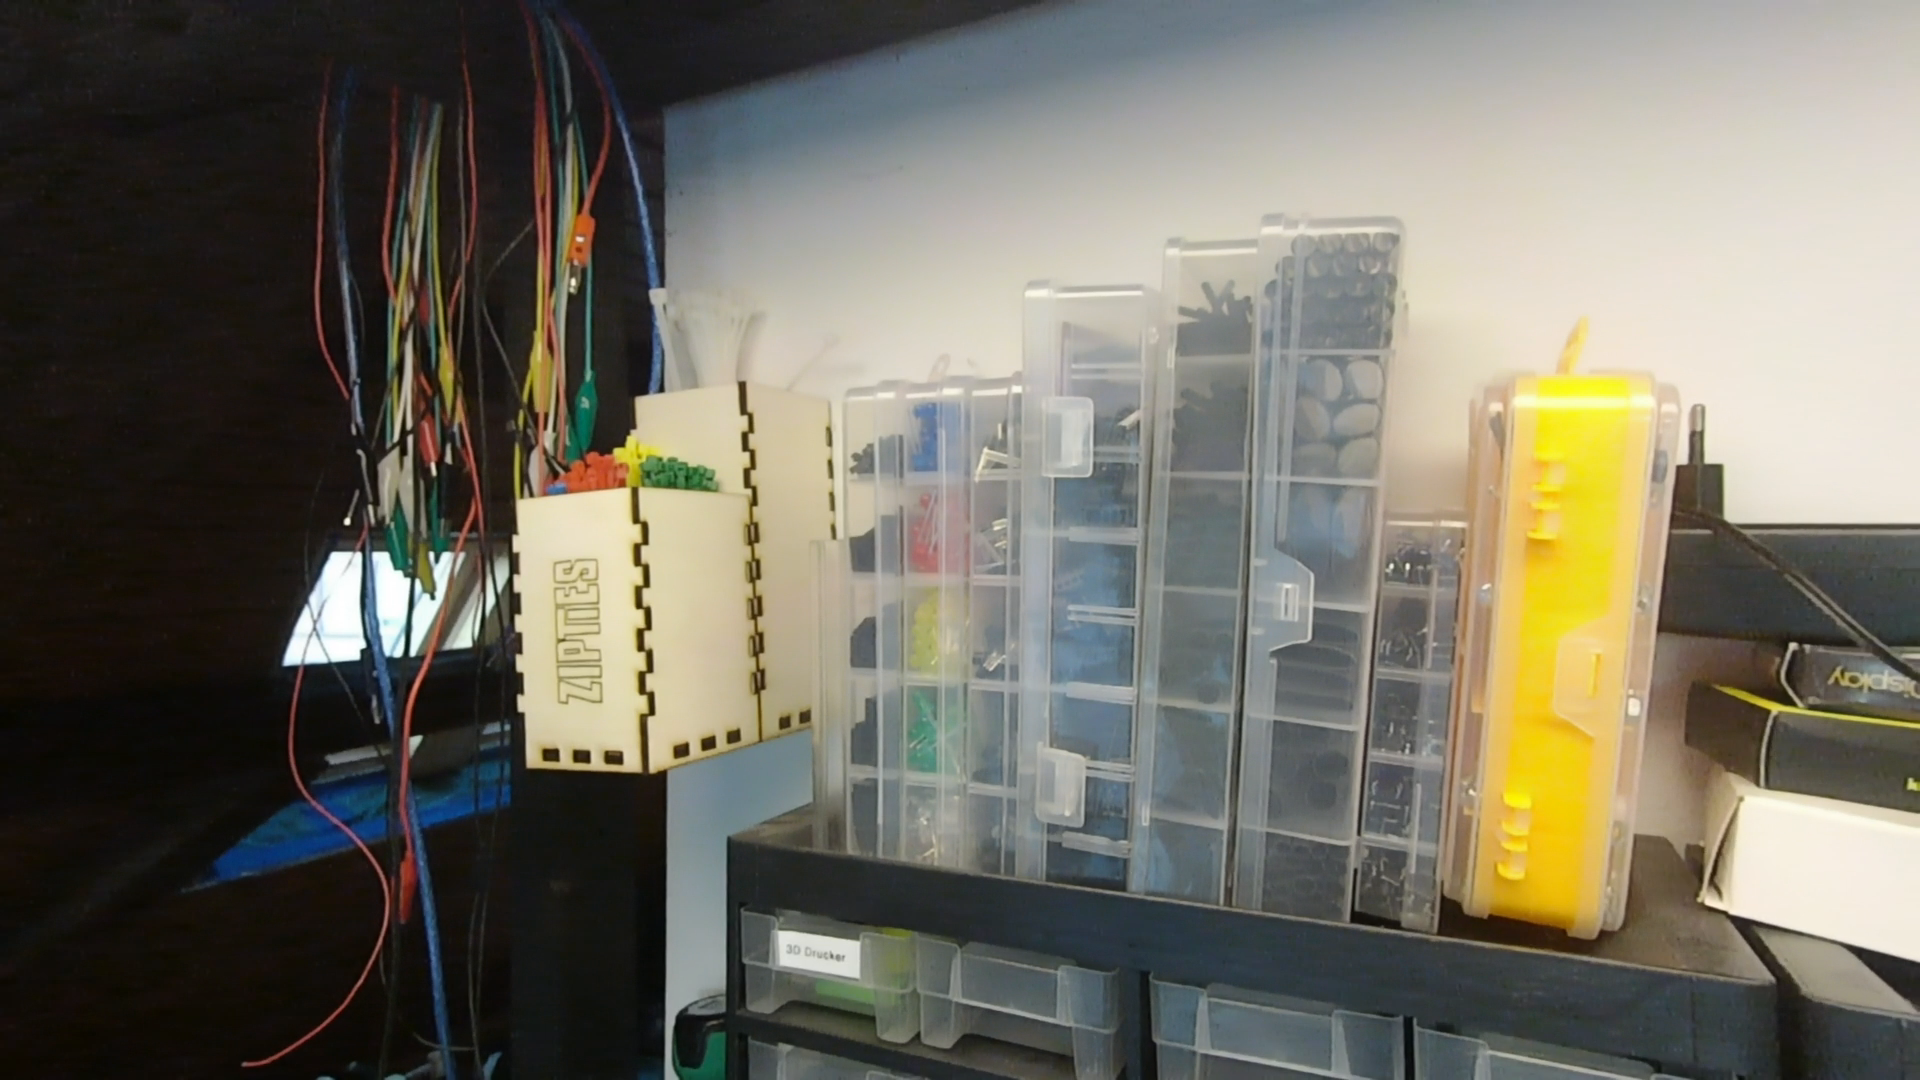
Number 7: Zip tie organizer
Cutting these little boxes from plywood is great for organizing stuff.
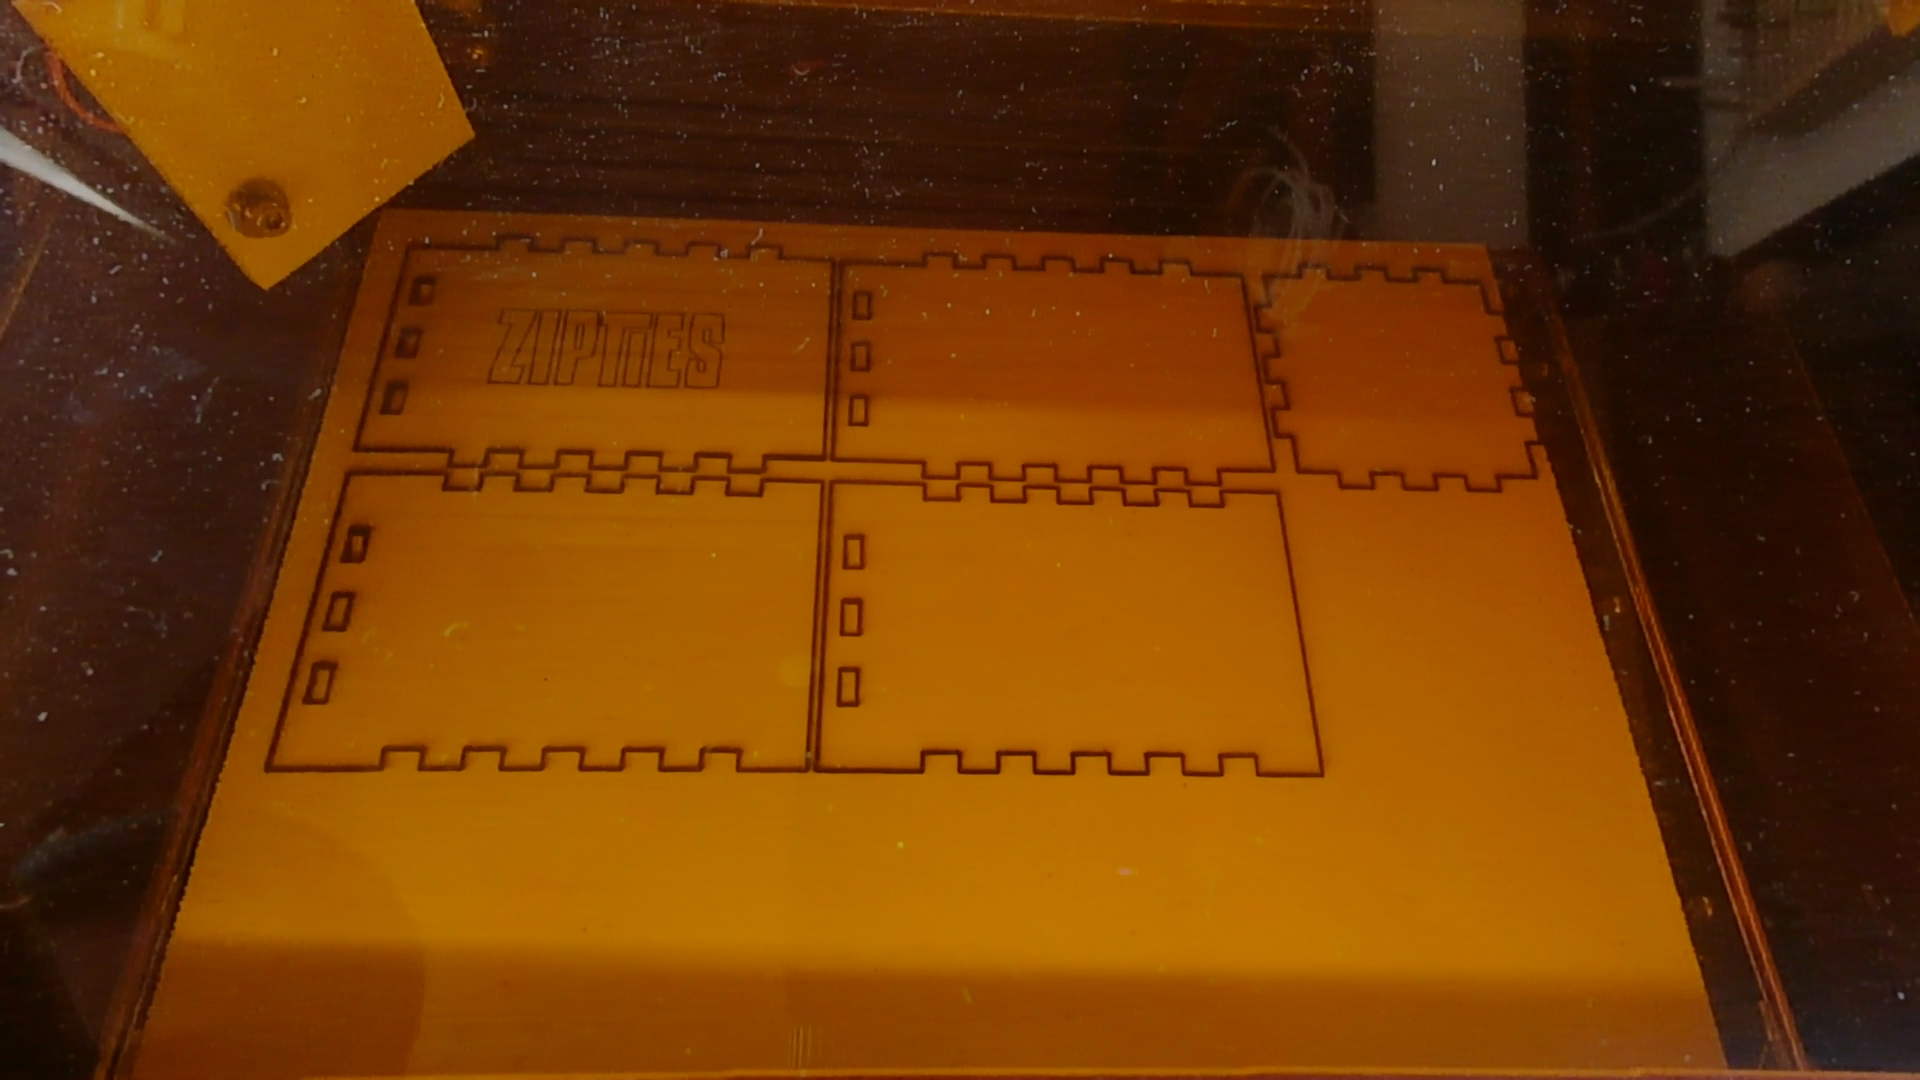
With two of these boxes cut and glued together we finally have a place for the zip ties at the workbench.
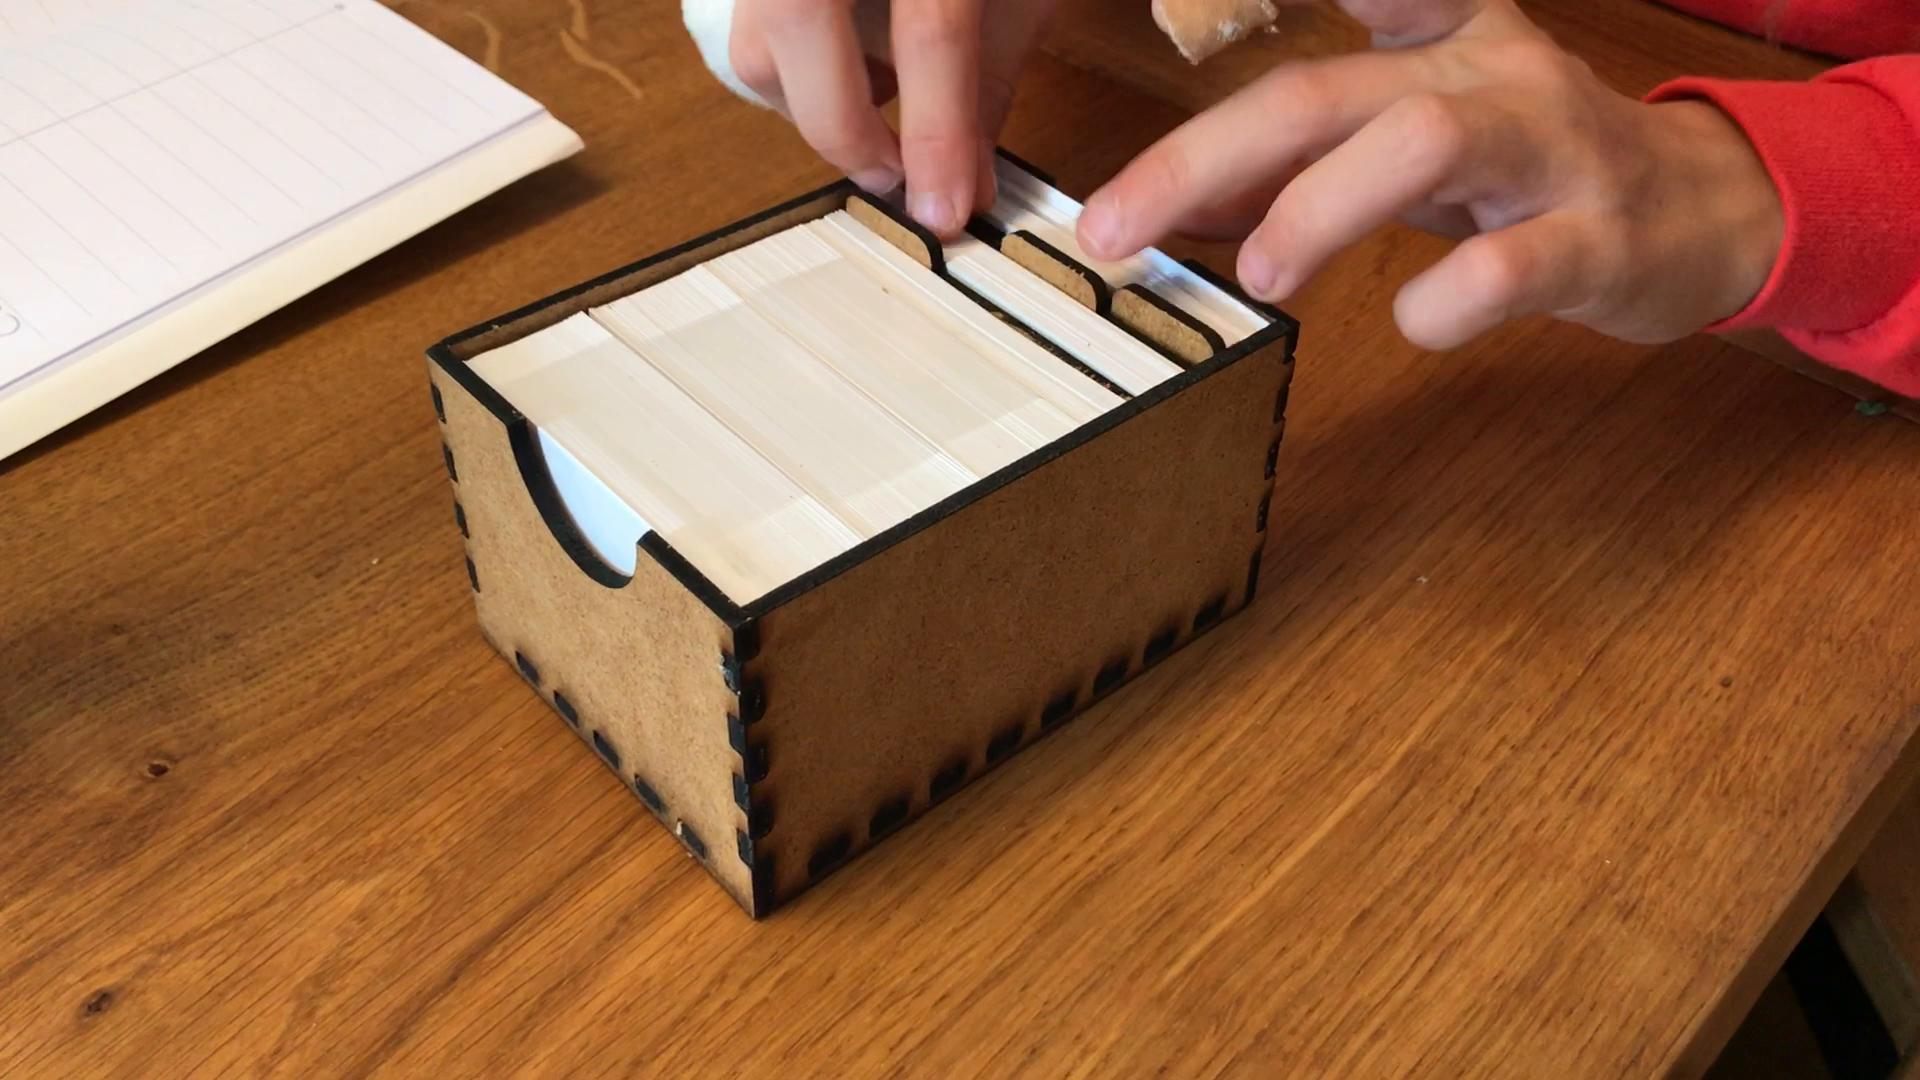
MDF is even better to create boxes.
Here are some flashcards holders for the kids that we made in Inkscape with some minor modifications of a readymade box design.
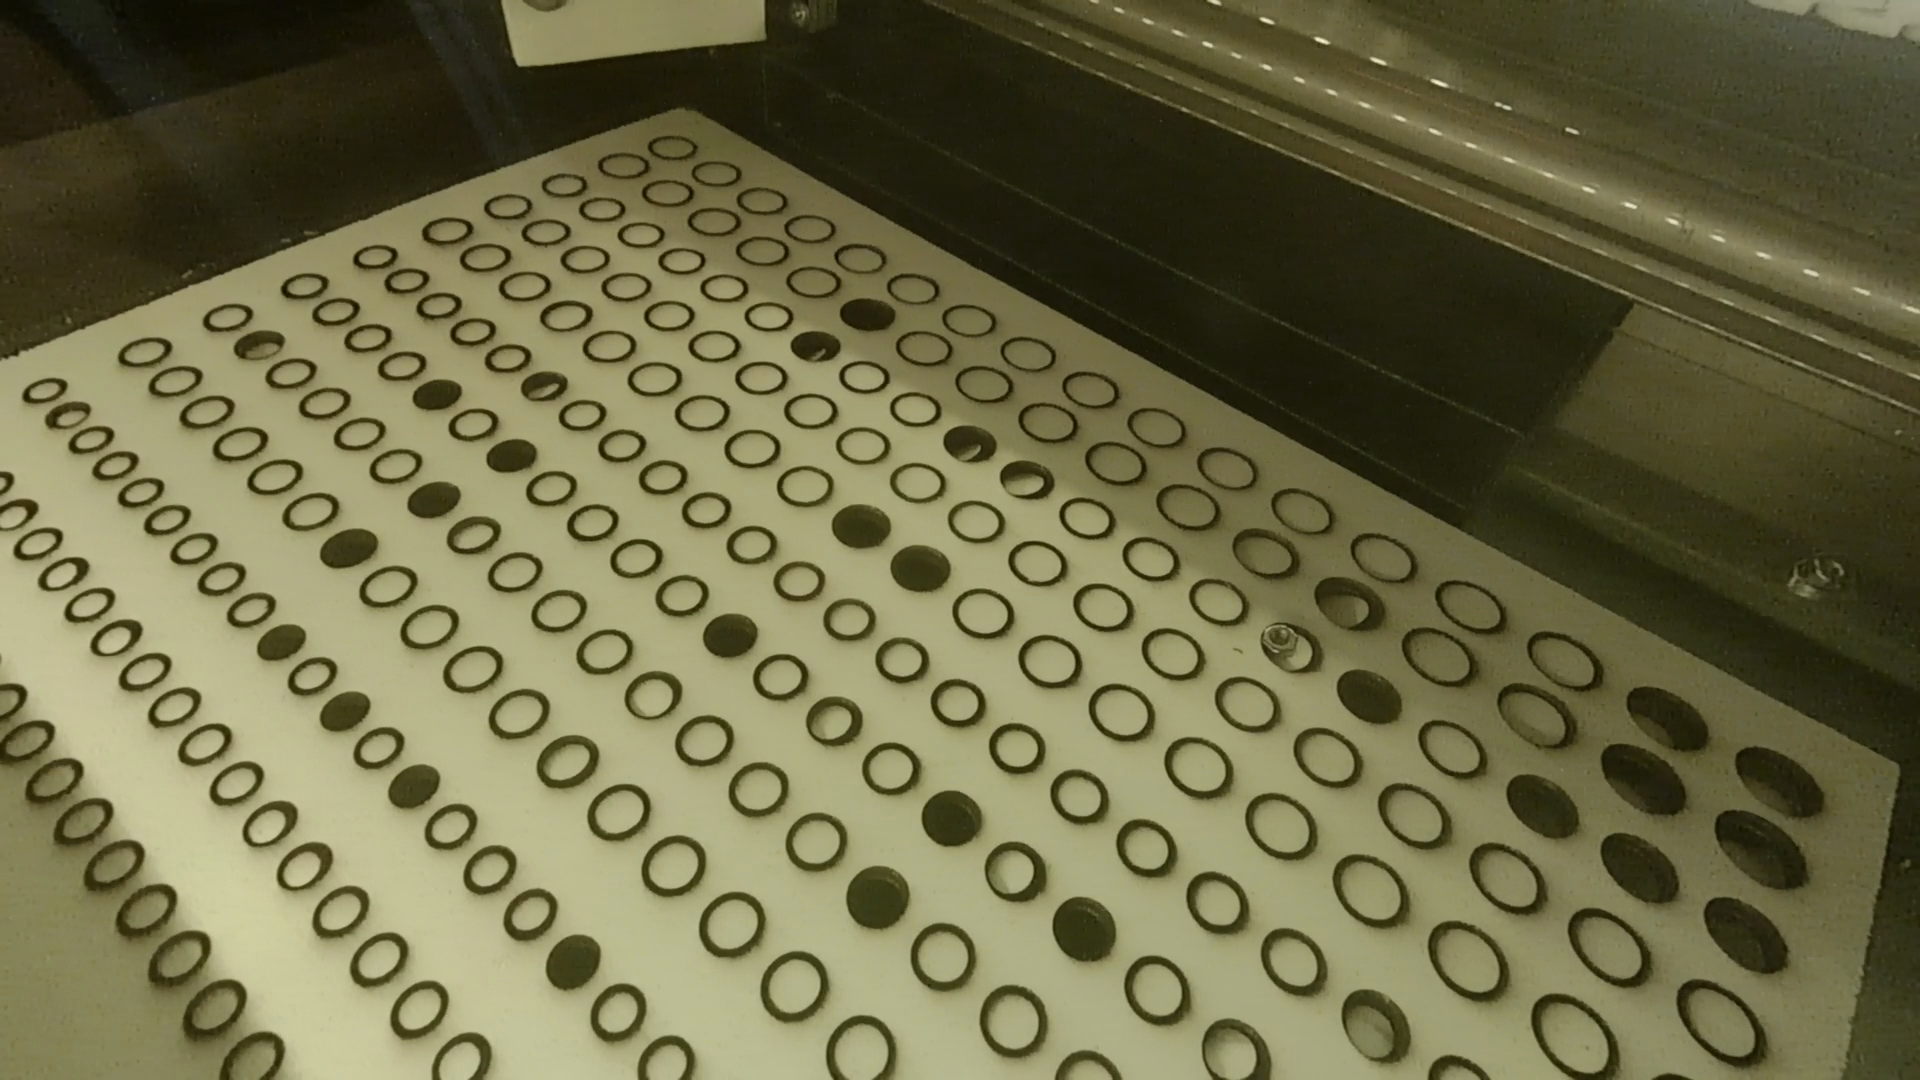
Number 8: Small tool organizer
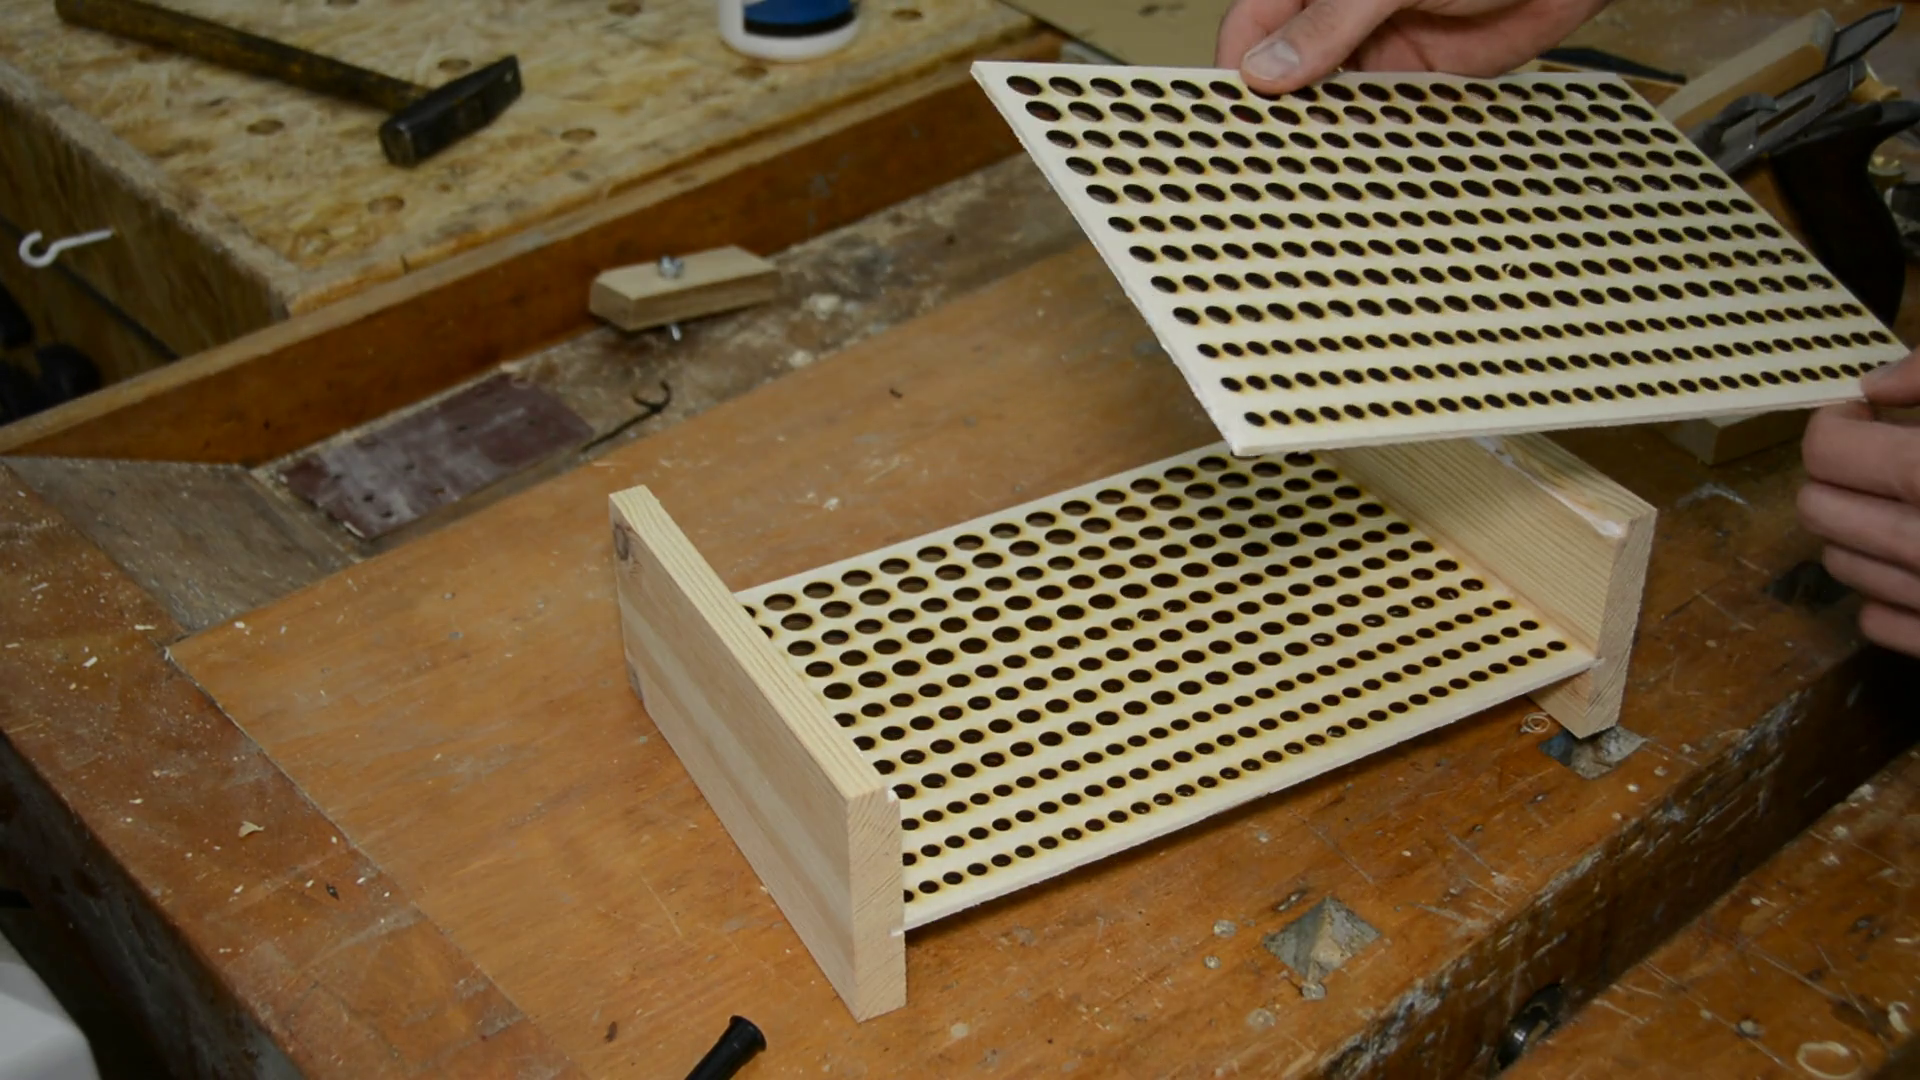
It’s nice that the laser can quickly cut a large amount of small holes. That is exactly what’s necessary to create a small tool organizer.
We created a pattern of different sized holes in Inkscape and cut it twice on the laser.
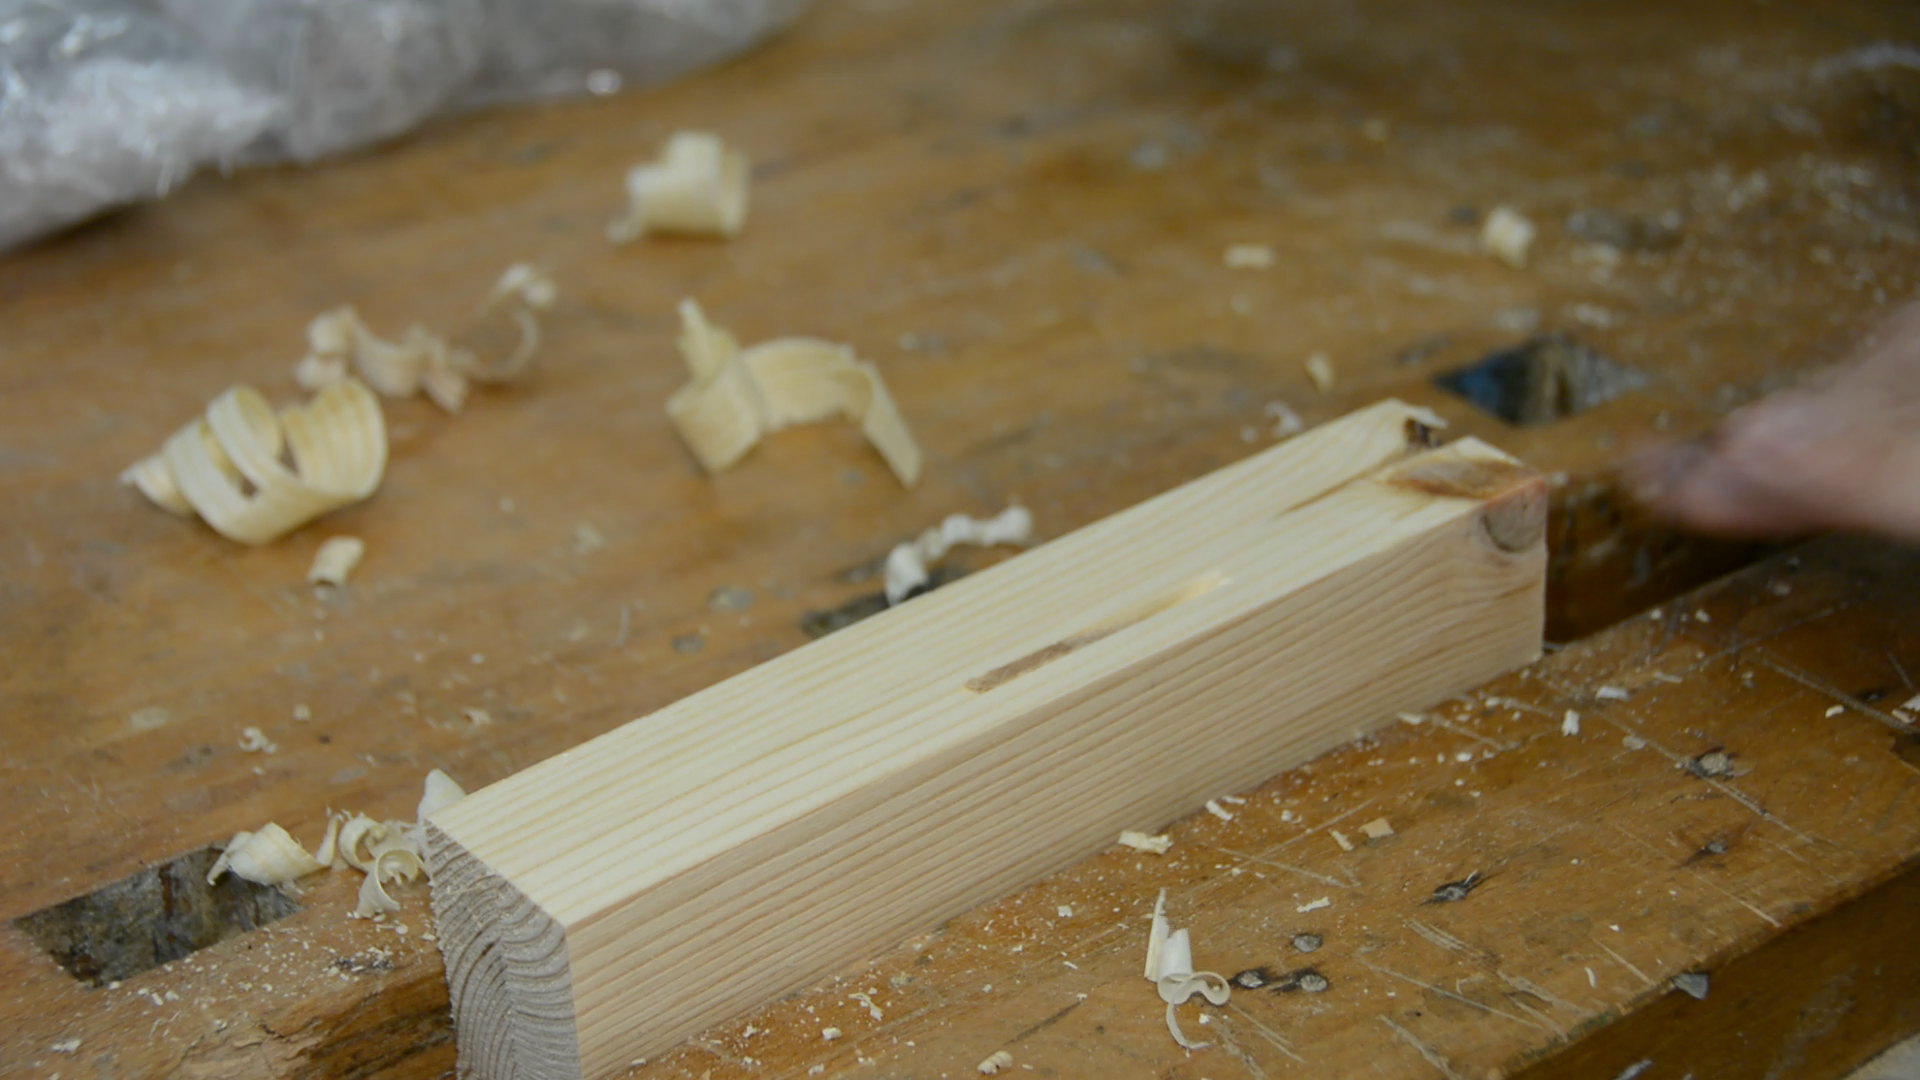
The two side pieces are made from solid wood.

They get grooves parallel to the edge on the tablesaw and are then cut at an angle on the bandsaw.
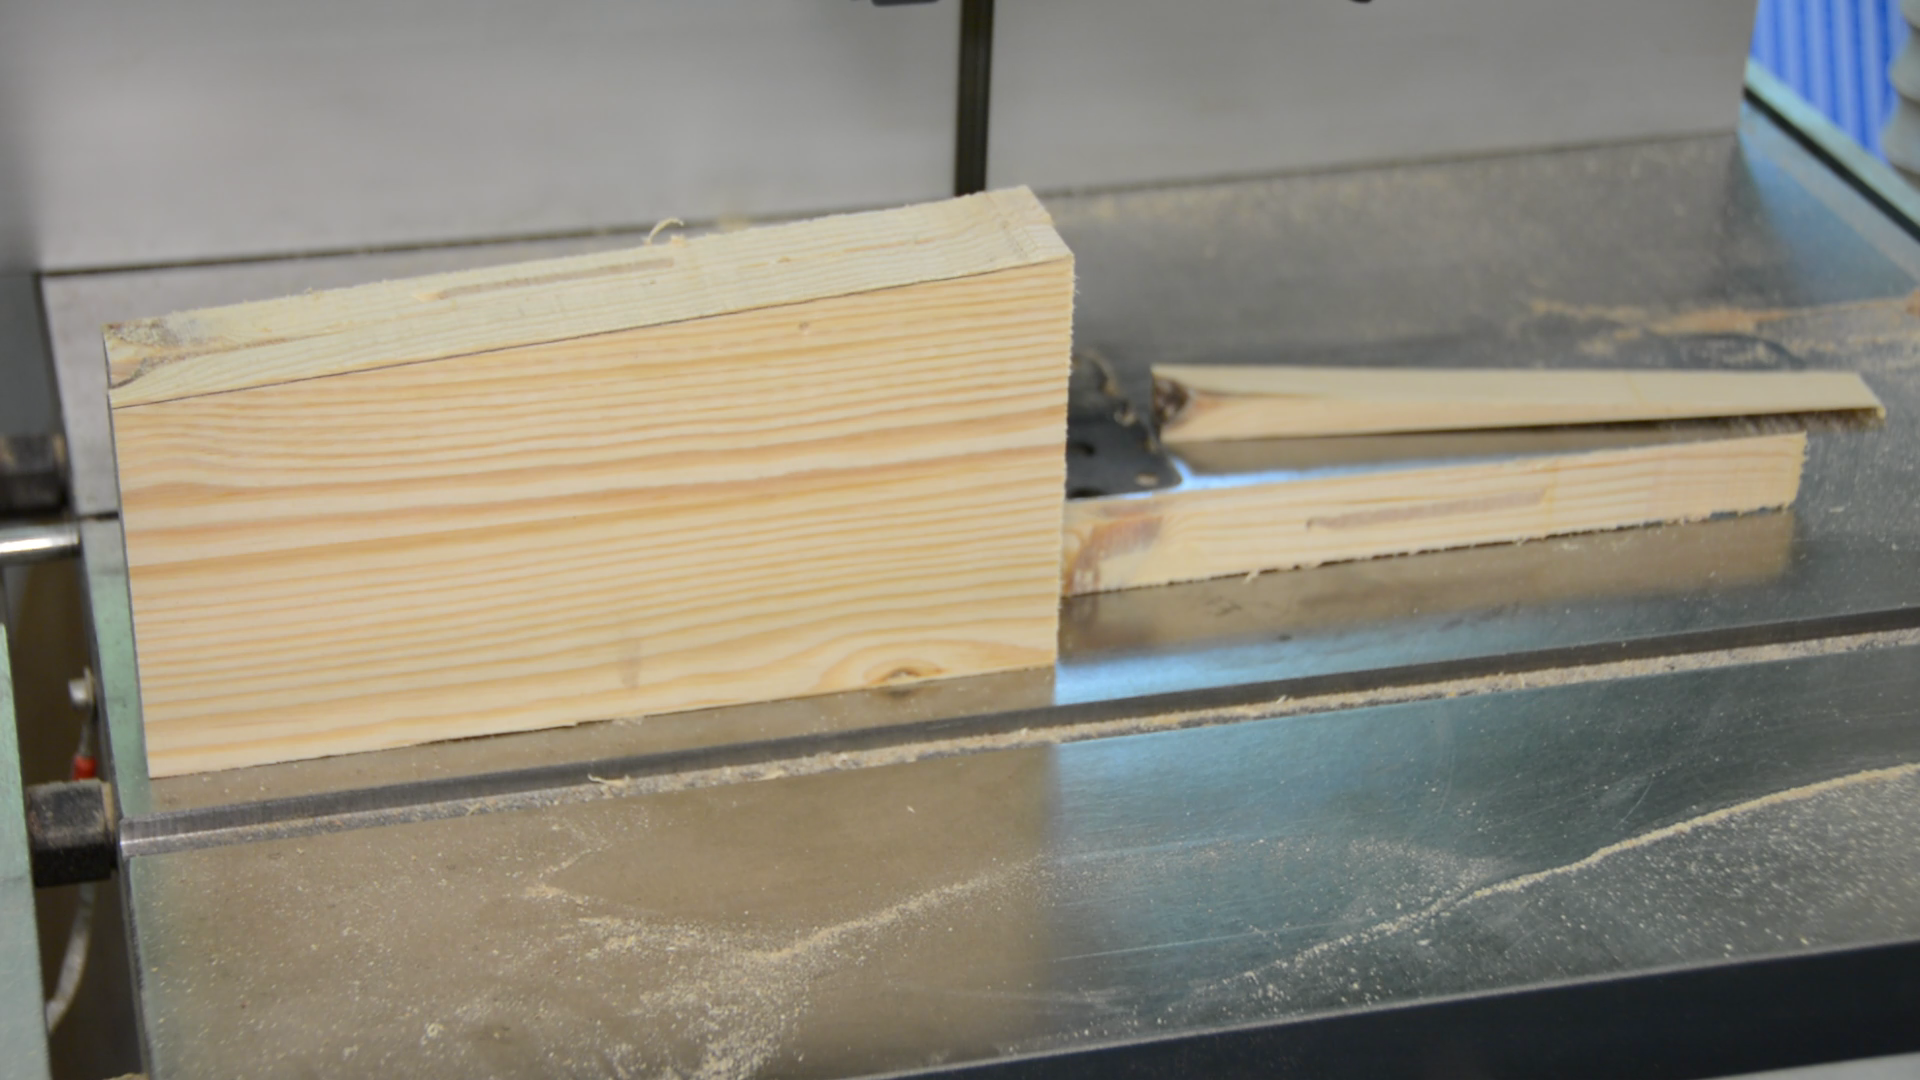
After a few strokes with the plane the parts can be glued together.
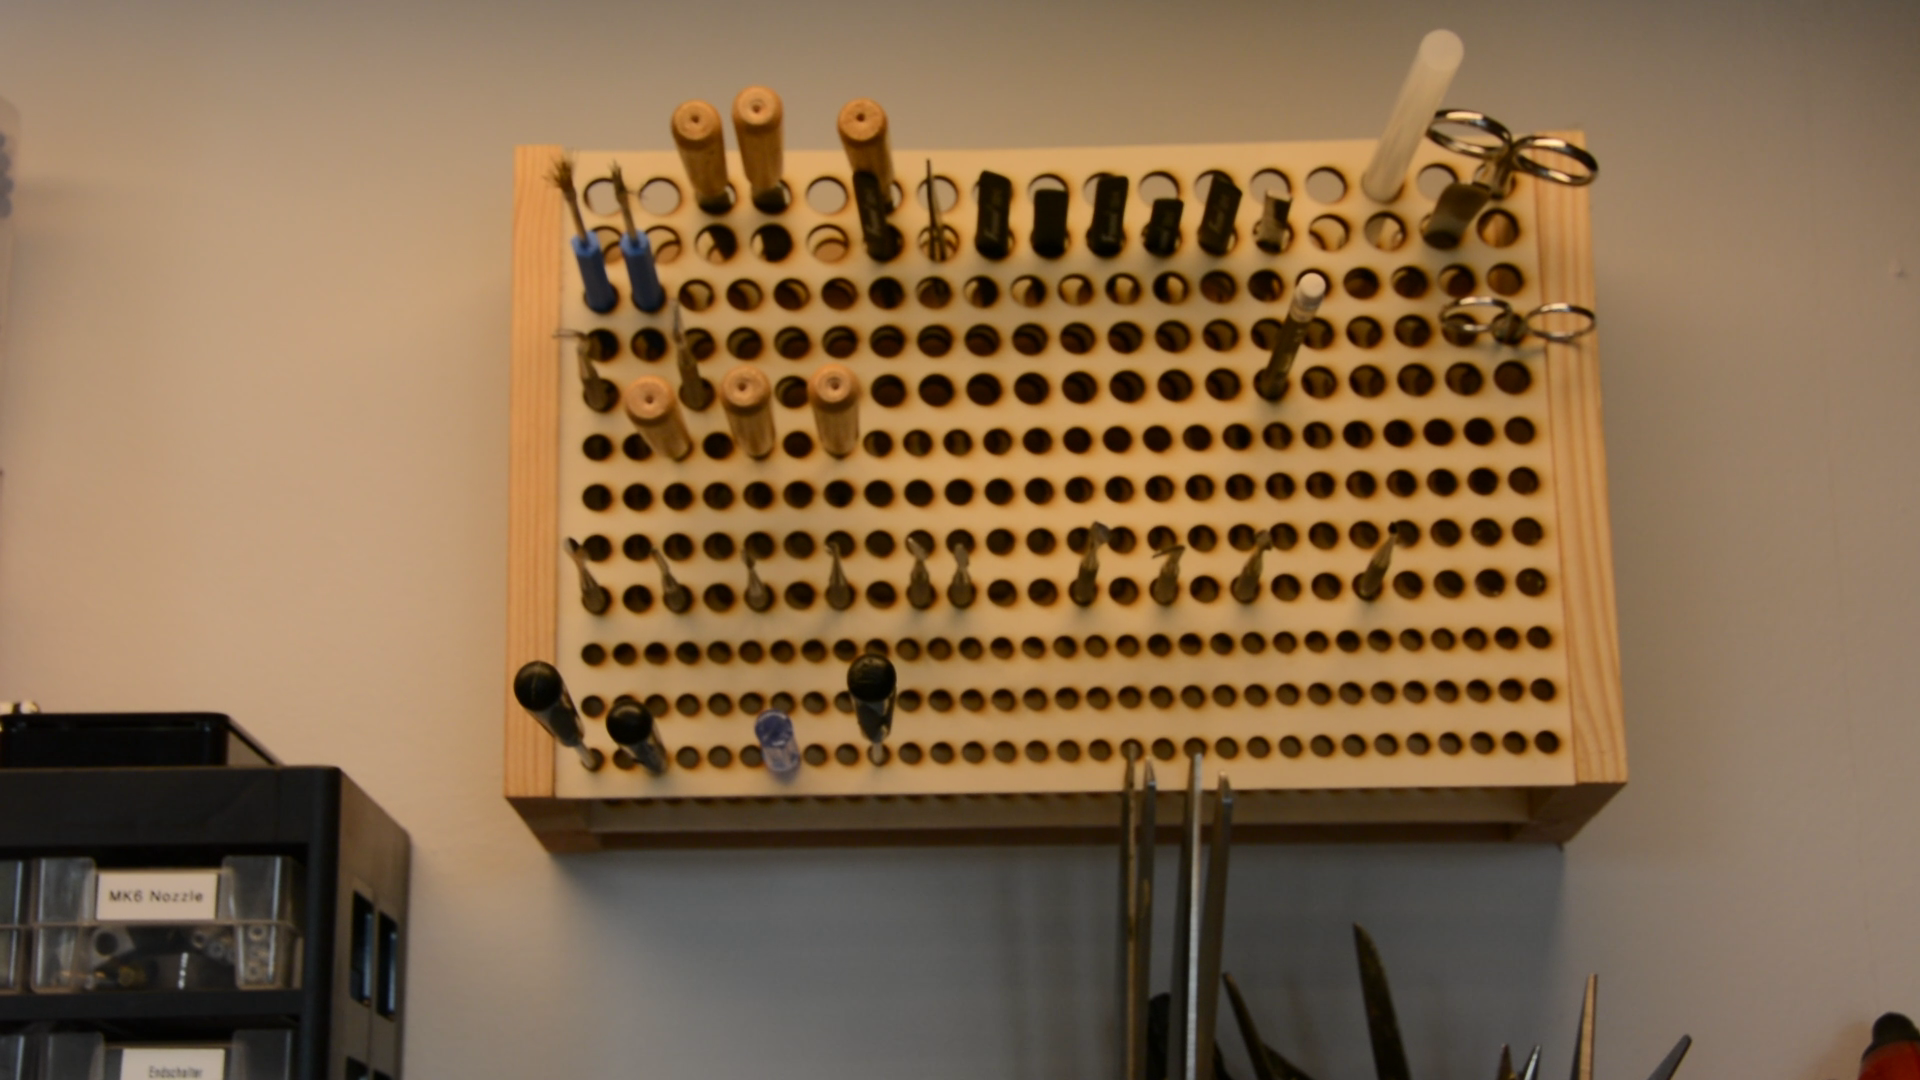
The organizer hangs on the wall over the electronics, tinkering and 3d printing area.
We put all kind of modelling tools, small files, knifes and other small parts in it.
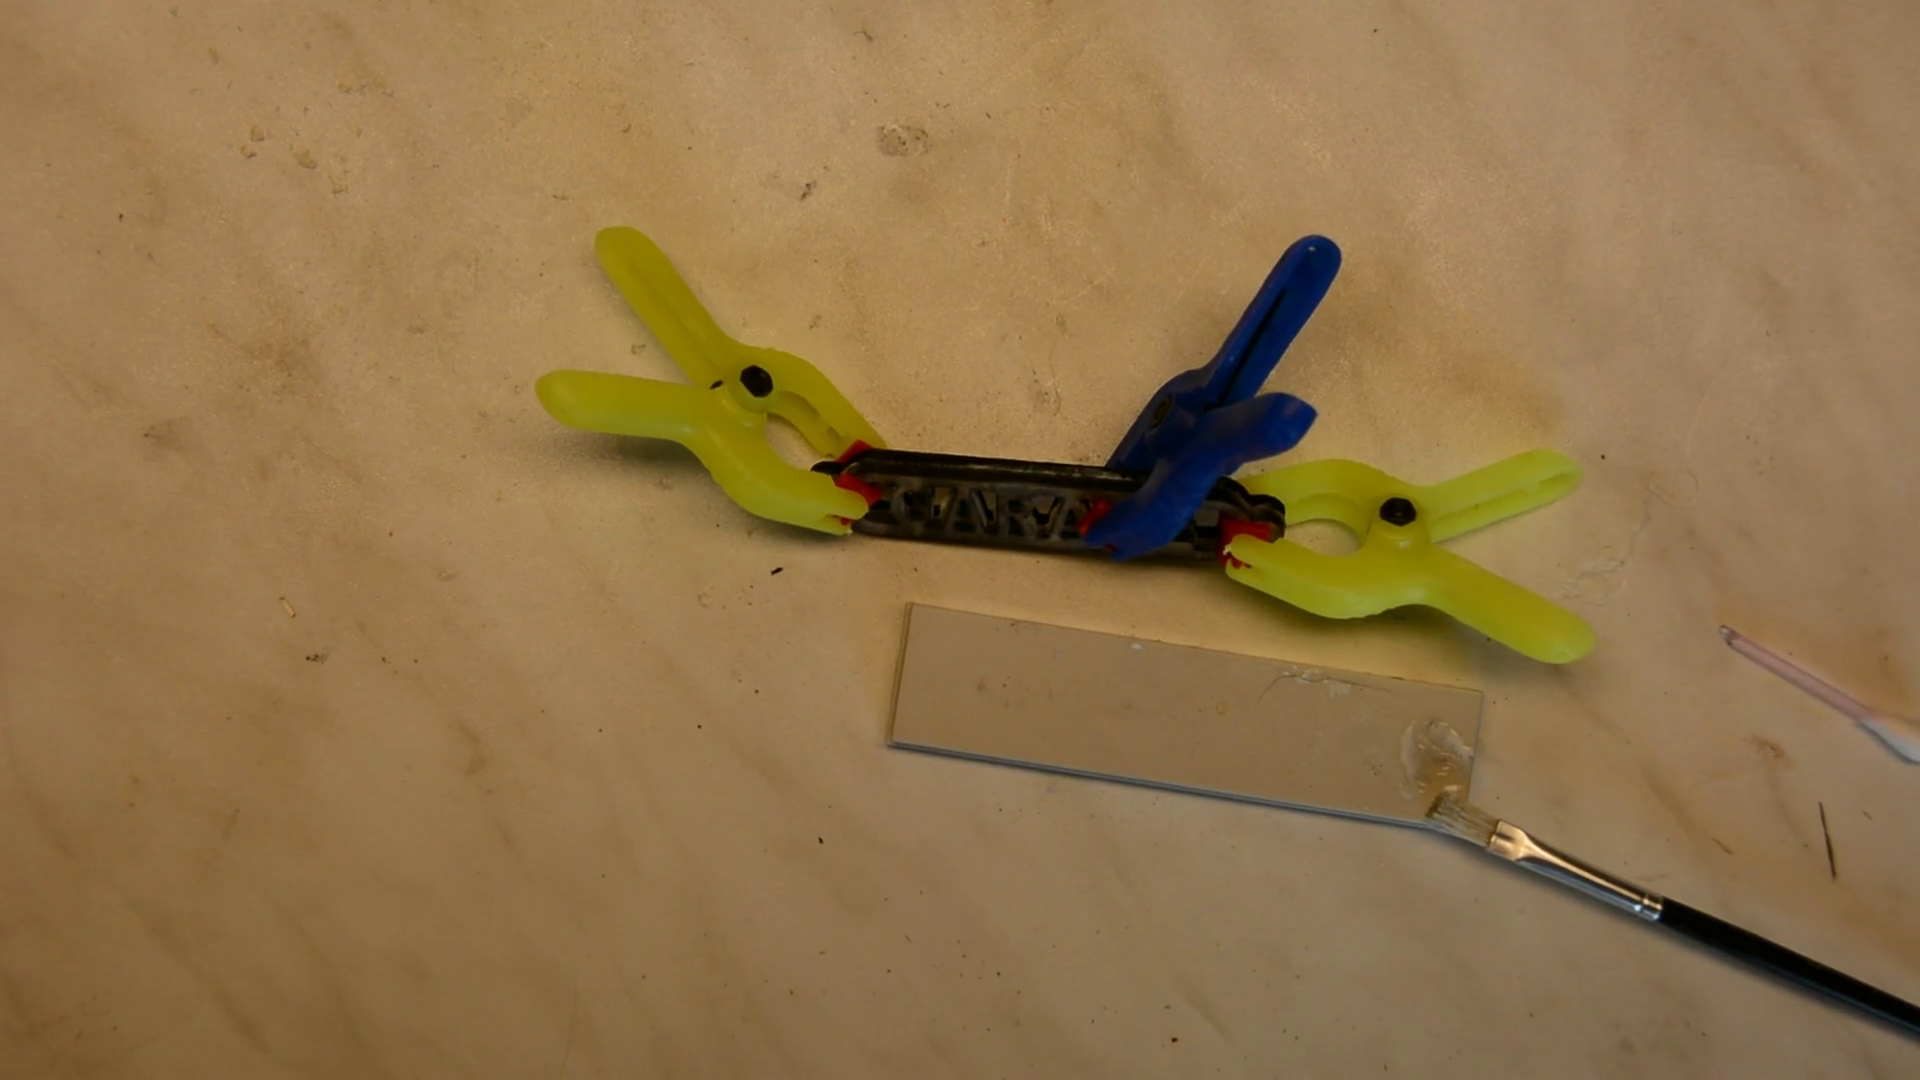
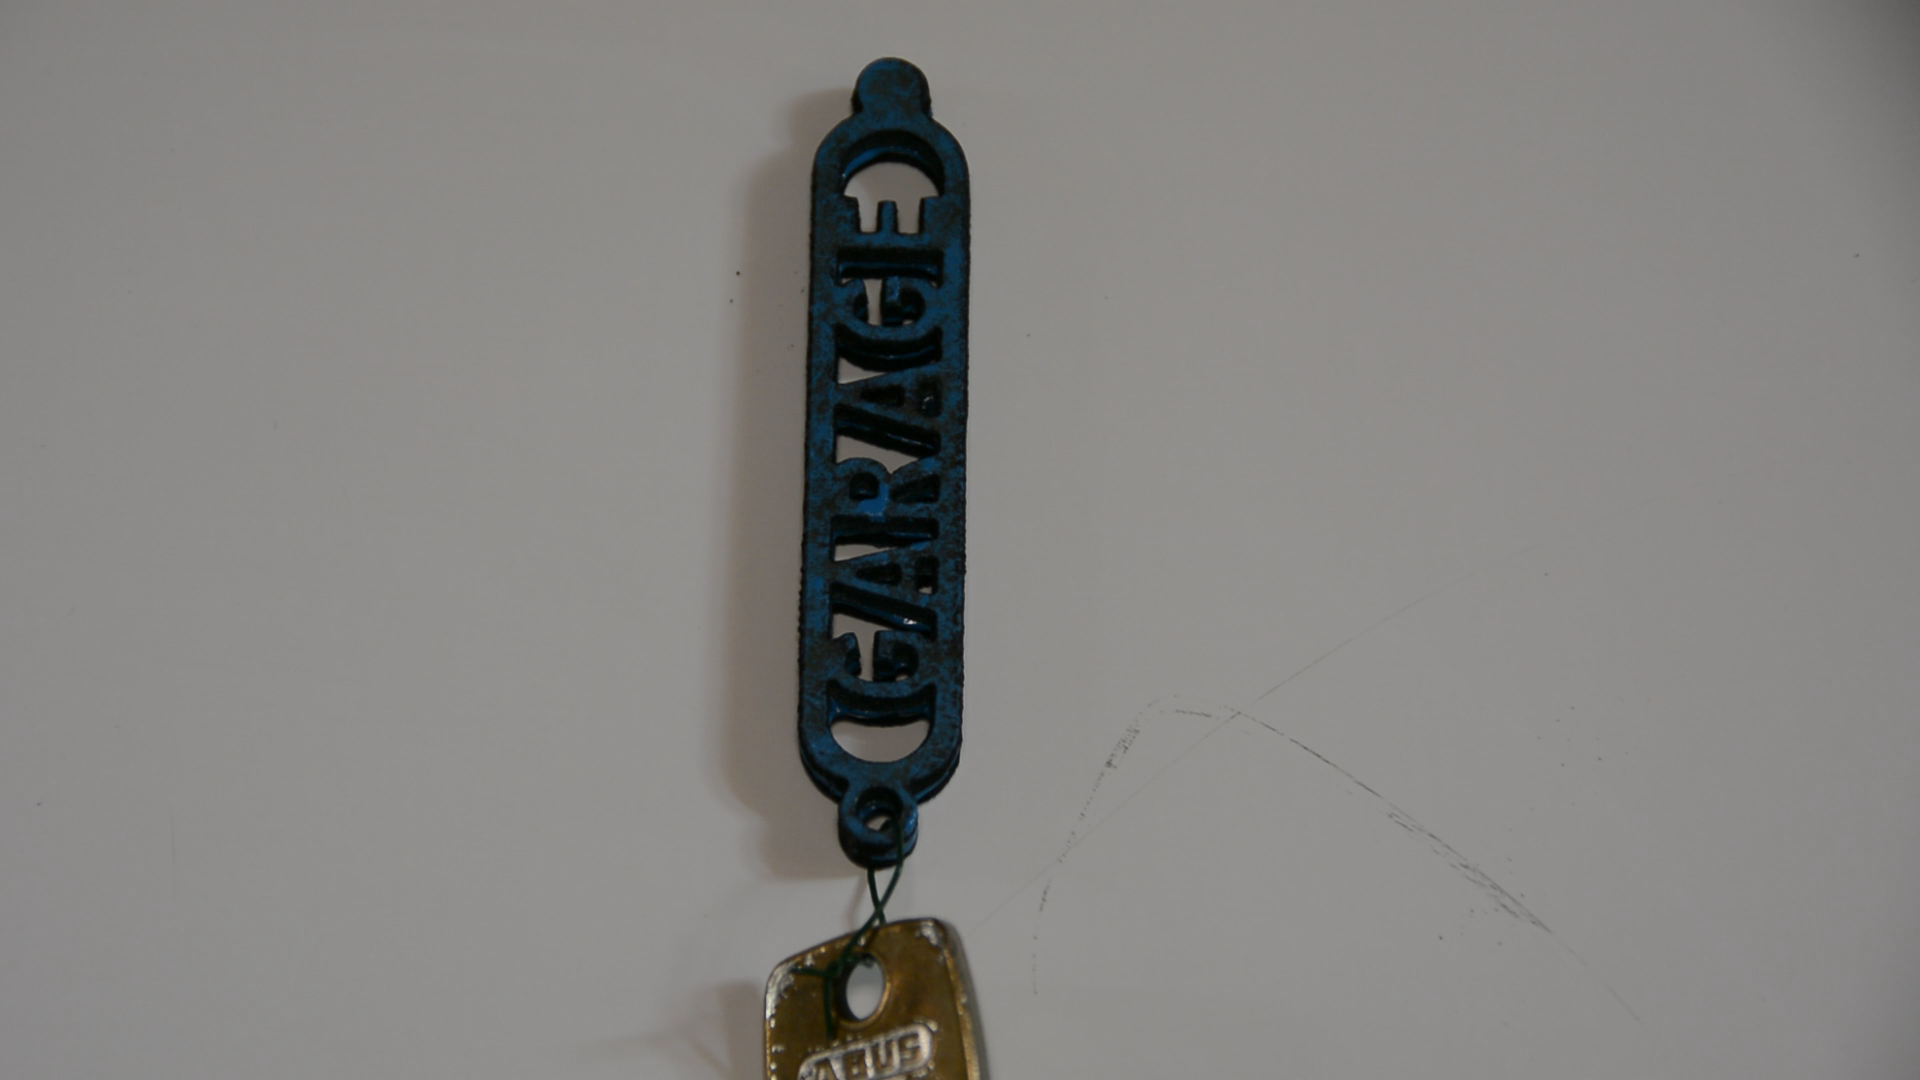
Number 9: Keychain
Now something completely different. We use a special font from Steve Good’s website to create a simple keychain.
The keychain is cut twice so that the lower half can house a small magnet. We then attach one side to the key and with the other side we can attach the keychain to a metal surface.
Number 10: Soda stream stand
So far all the materials were readily available at the home center or craft store. For this one we ordered some 6 mm acrylic on ebay.
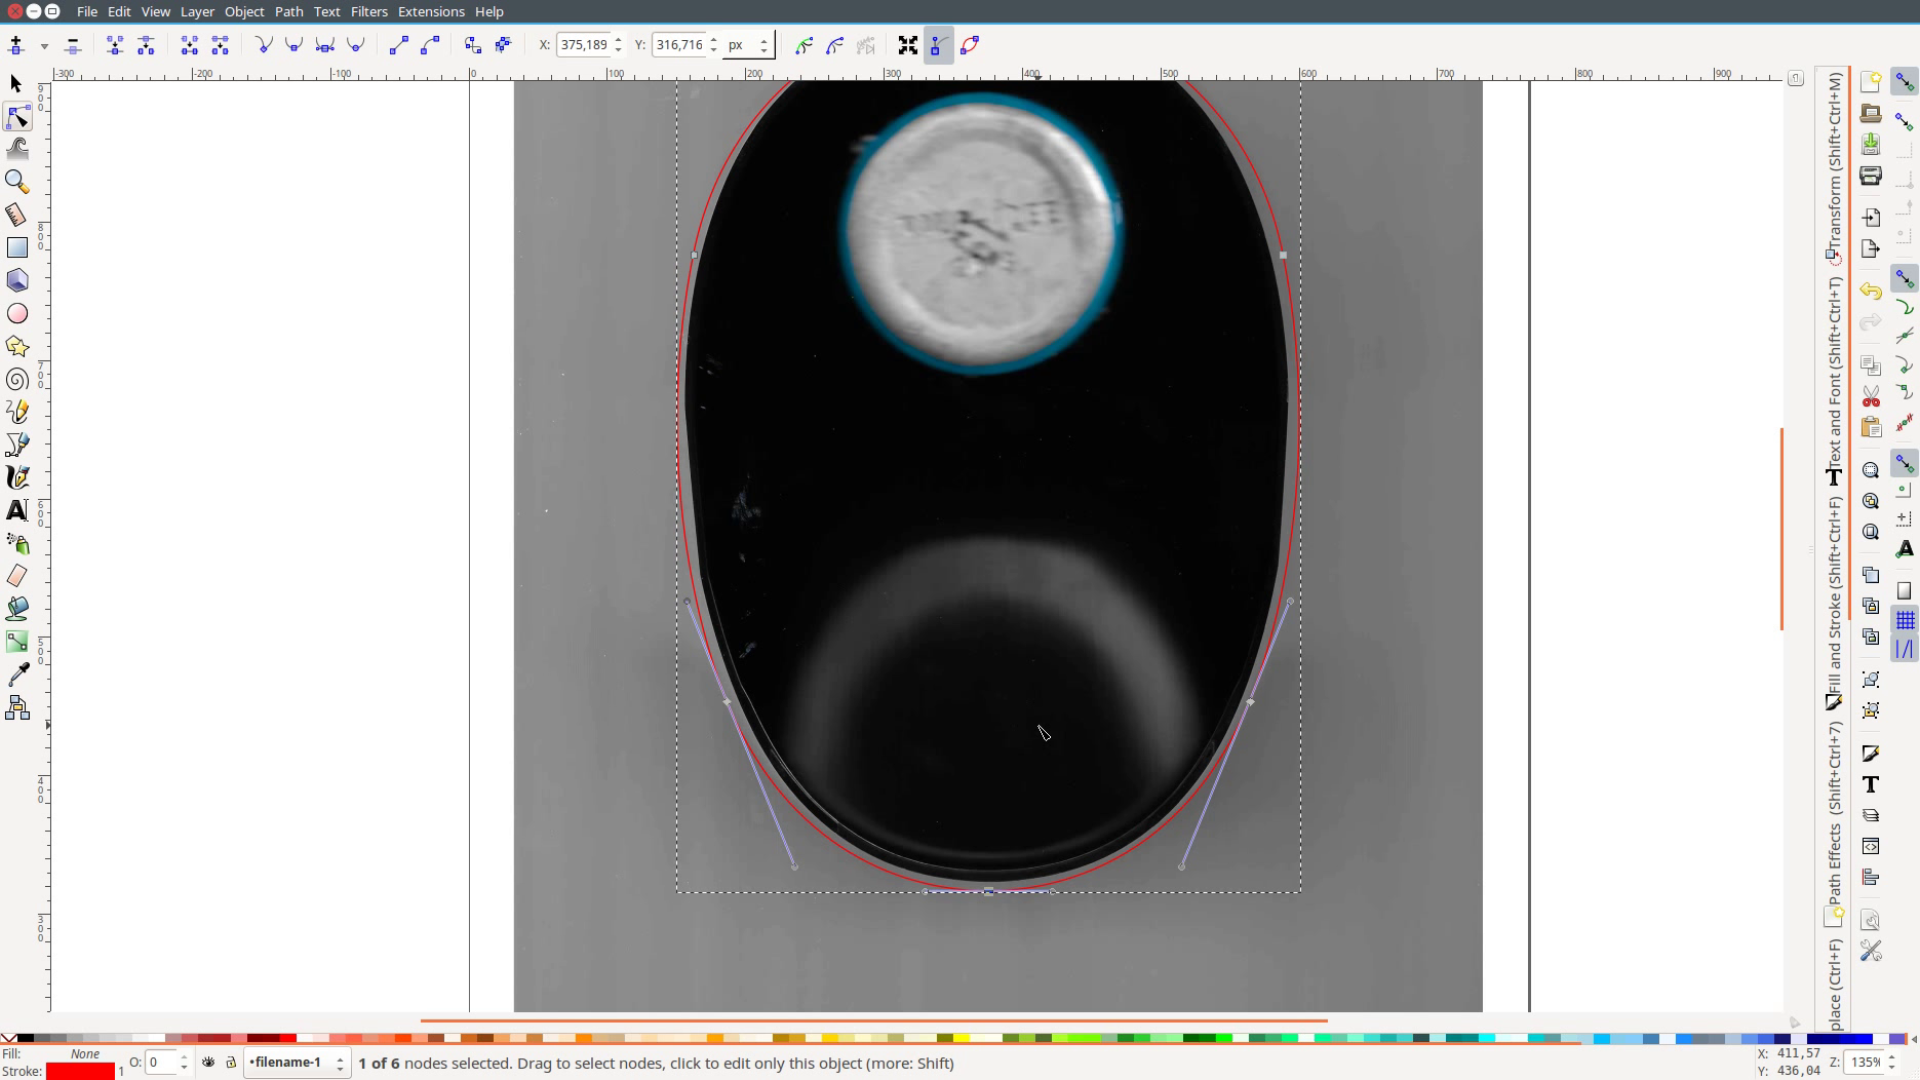
We put our soda stream appliance on a scanner to trace it’s bottom. We then add a 10 mm border and cut two shapes.
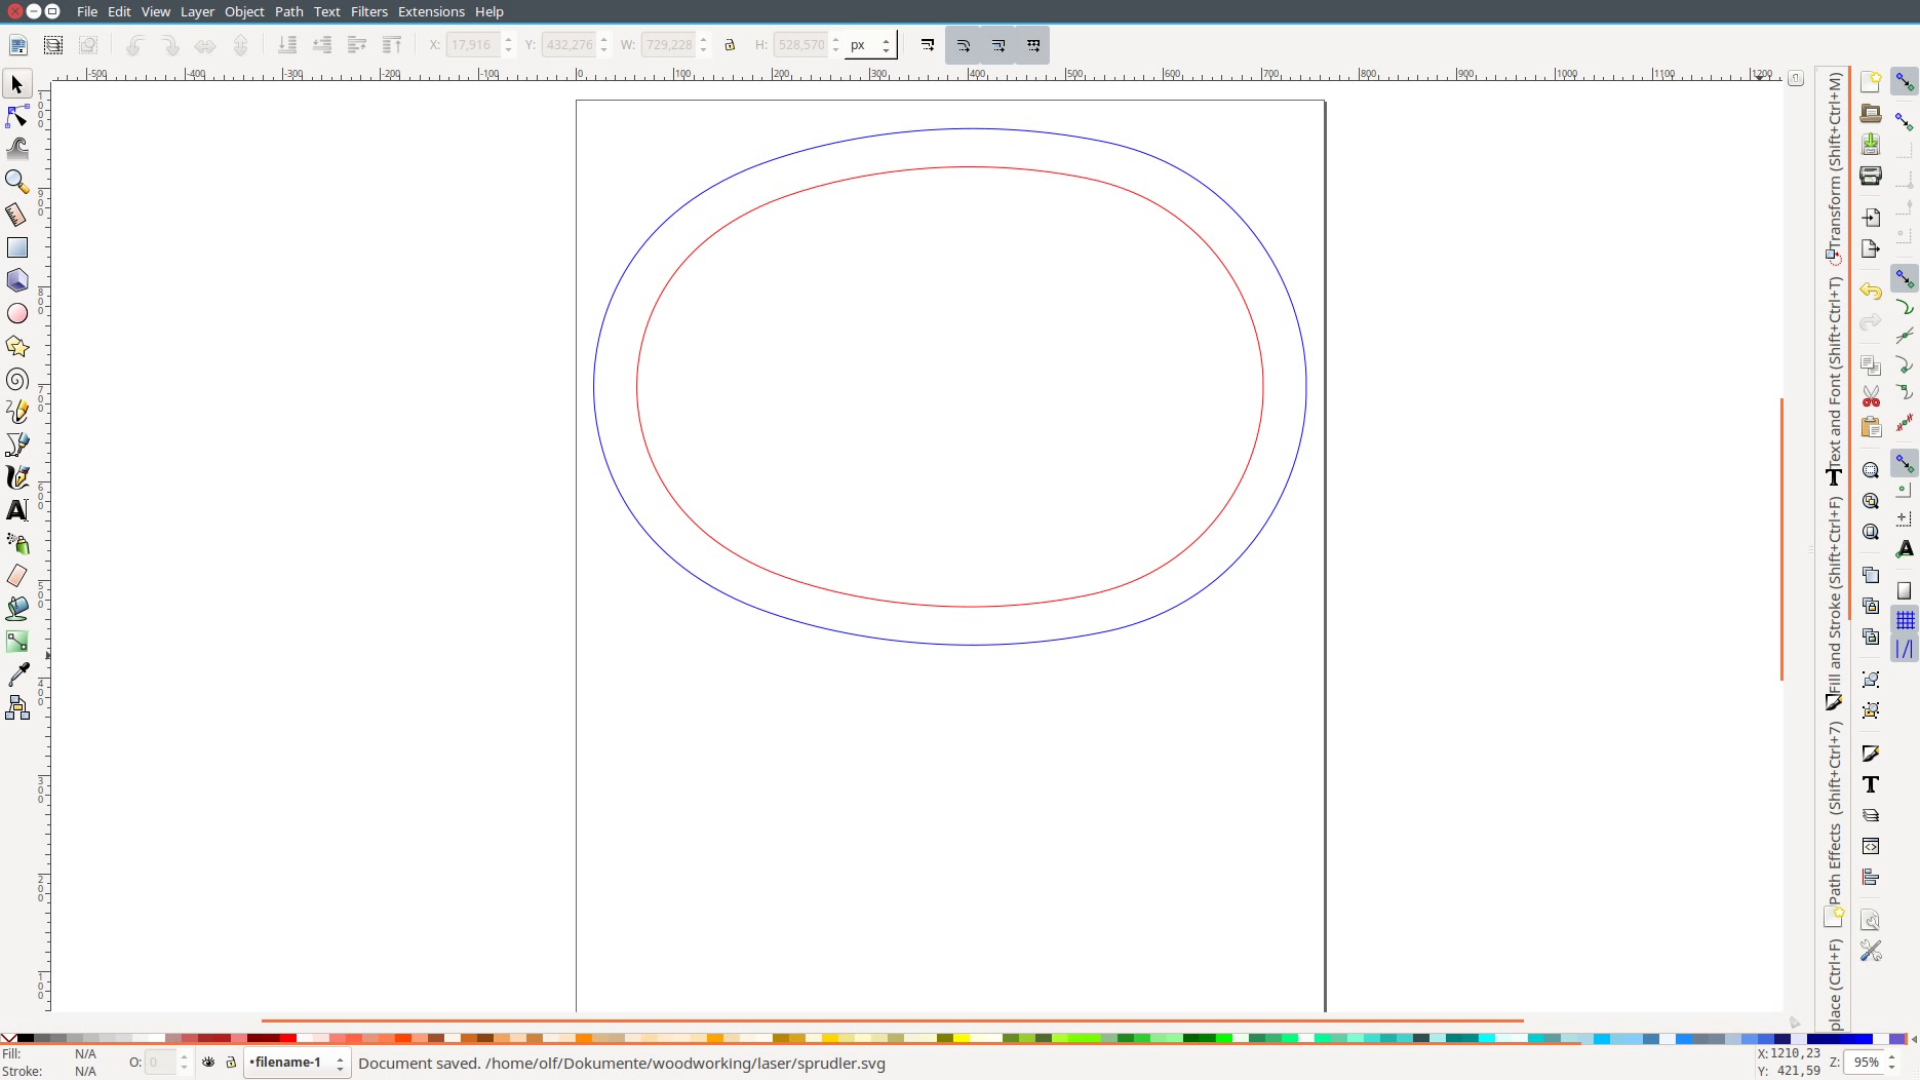
First the inner and the outer line and then from some thinner material only the outer perimeter.
We glue the two pieces and 4 small feet together and have a perfectly fitted stand.