
In this article we create a DIY air filter for the K40 laser cutter. It is build from easily accessible materials and much cheaper than the commercial versions.
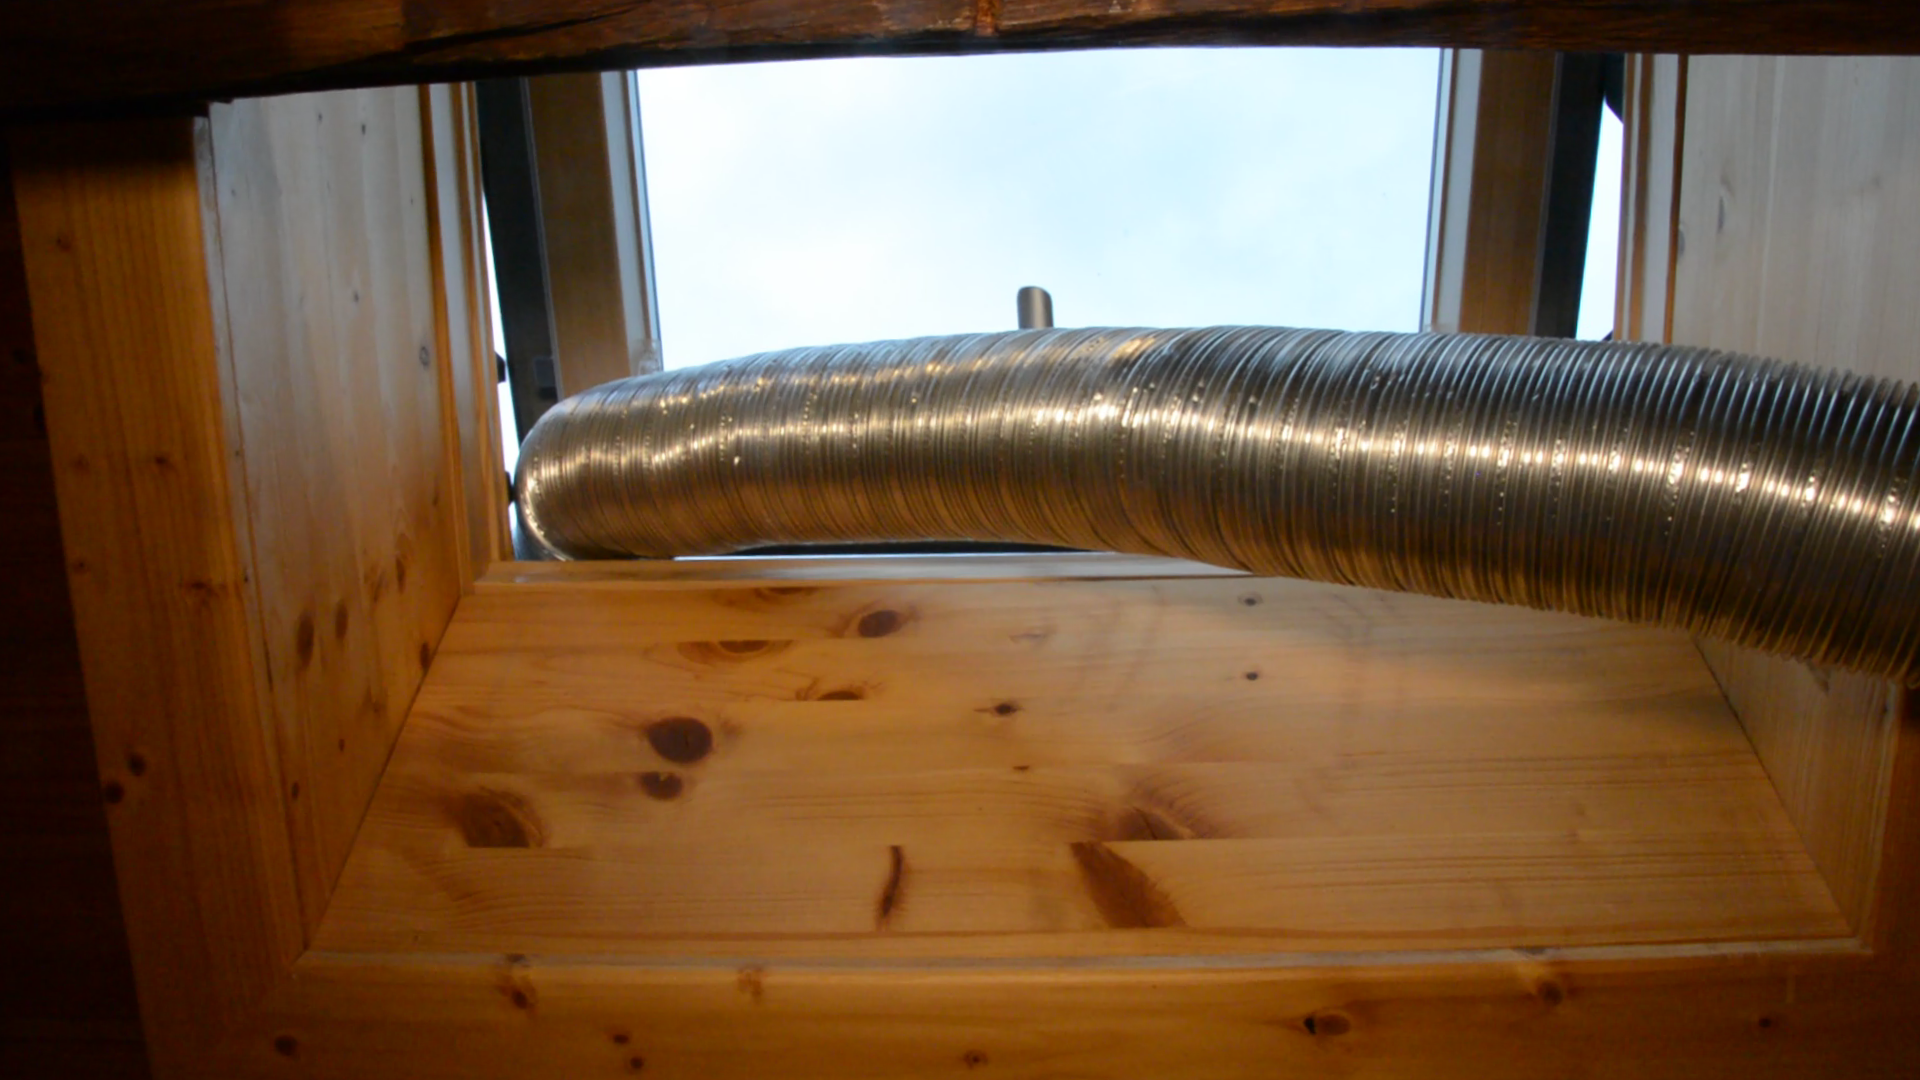
The air exhaust of the K40 laser cutter blows the fumes out of the window. Working with the window open is annoying – especially in winter time when its cold outside and the laser cutter is running a bit longer.
So we ordered a fan and a couple of filters to create an indoor air filter. This is a bit of an experimental build and if you have any ideas how to improve it please leave a comment.
Filter material
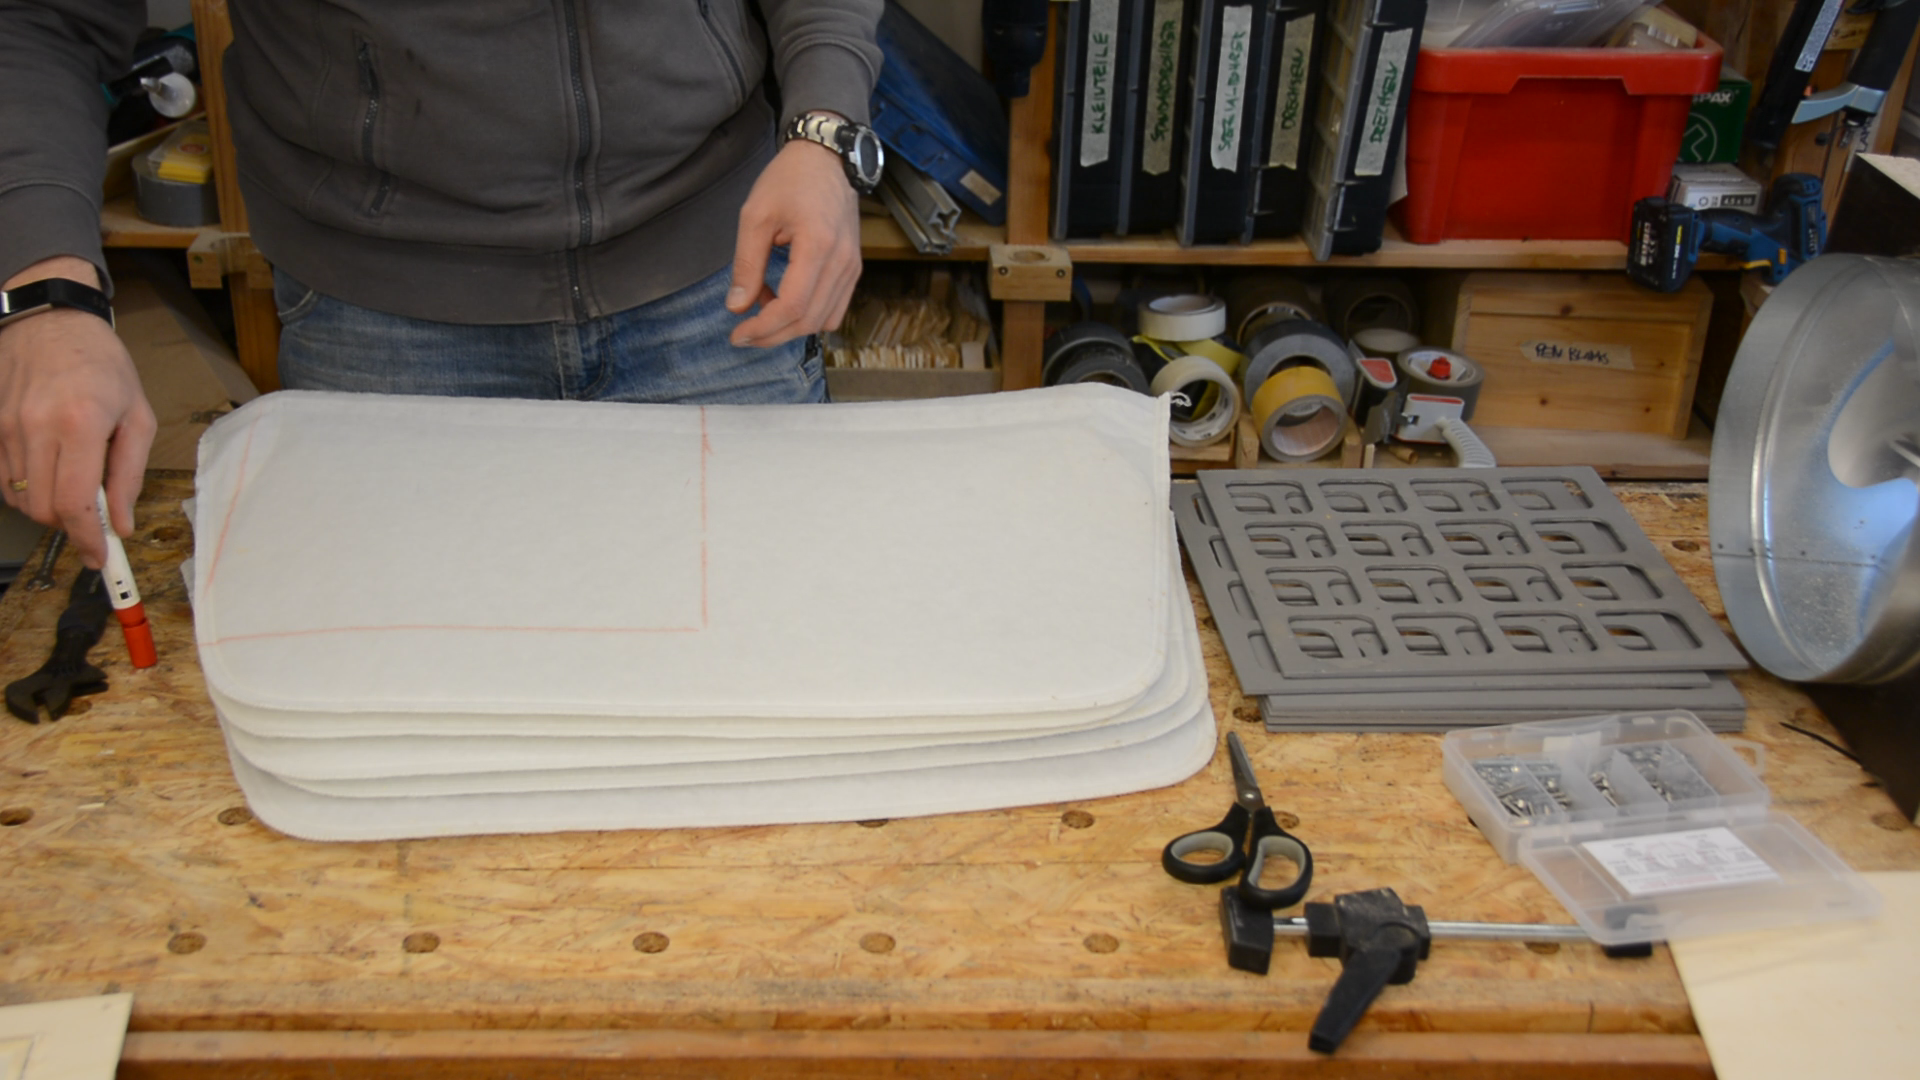
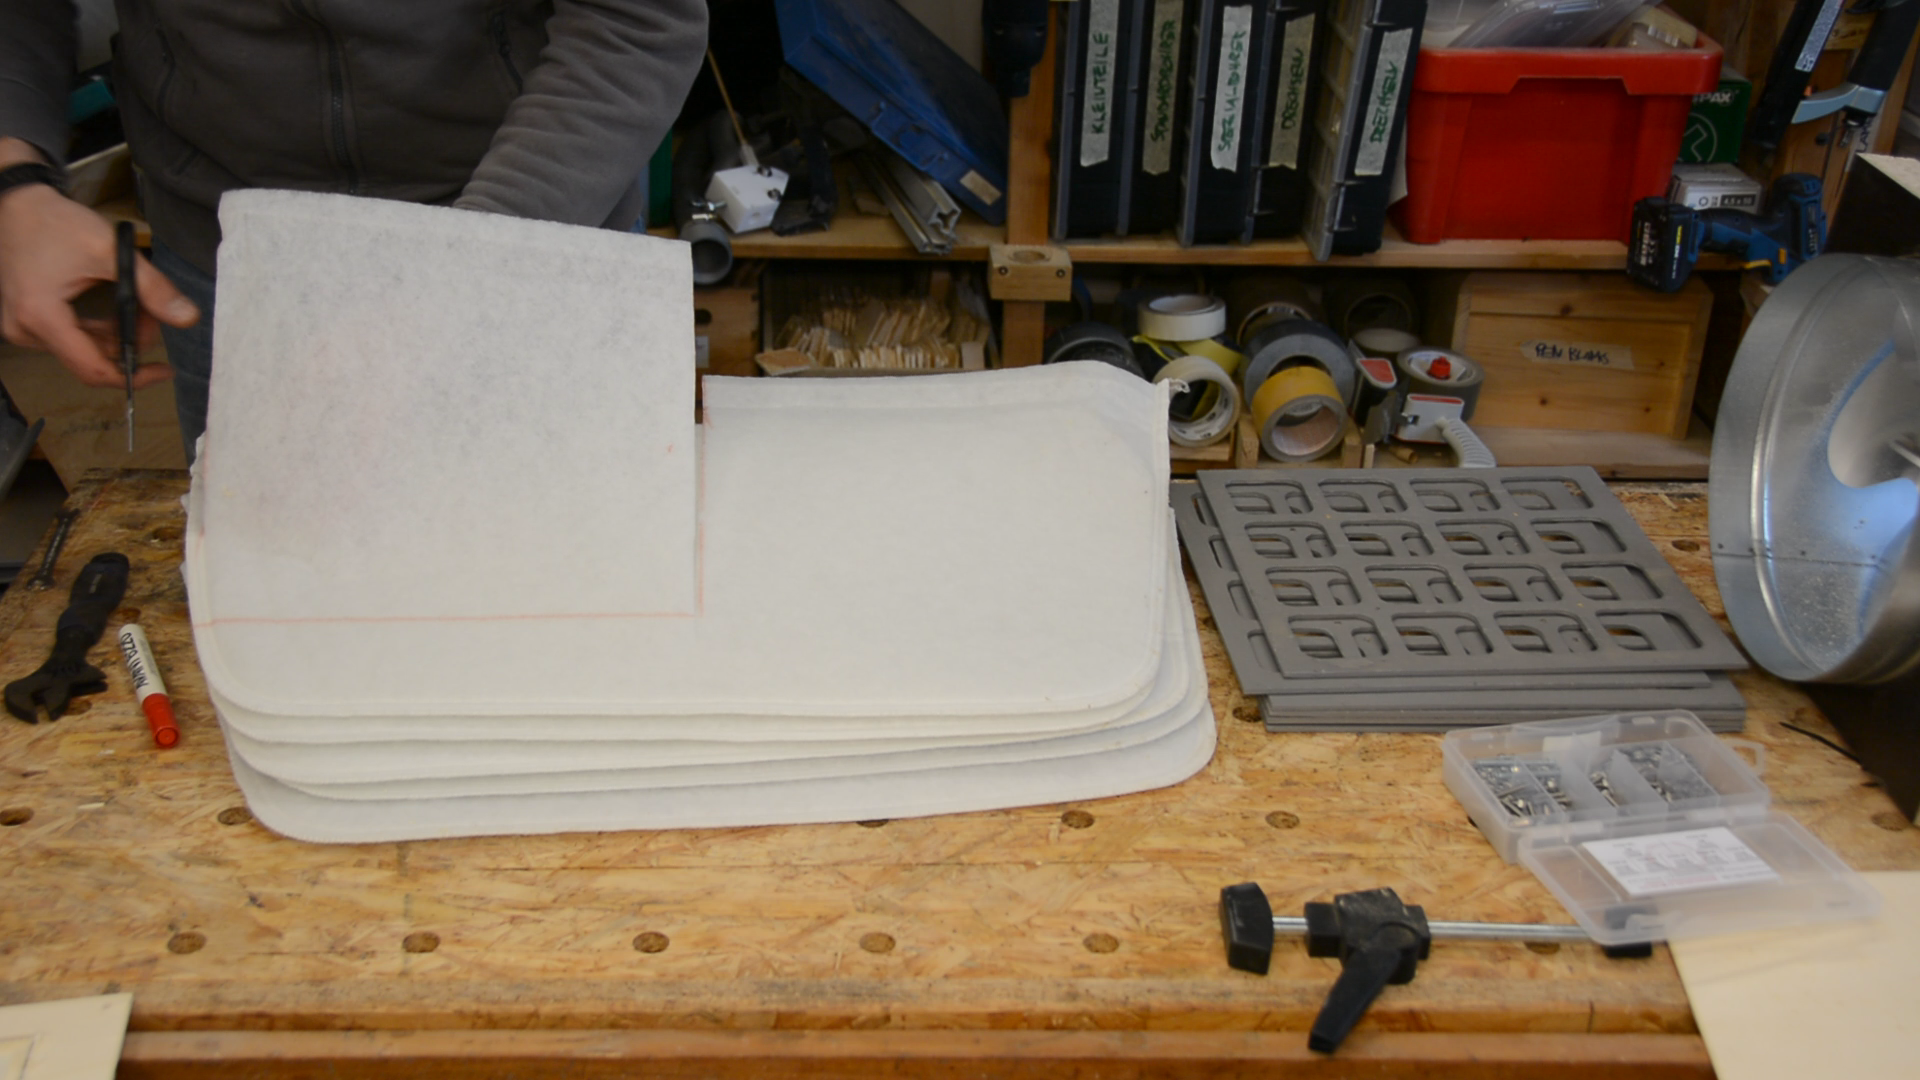
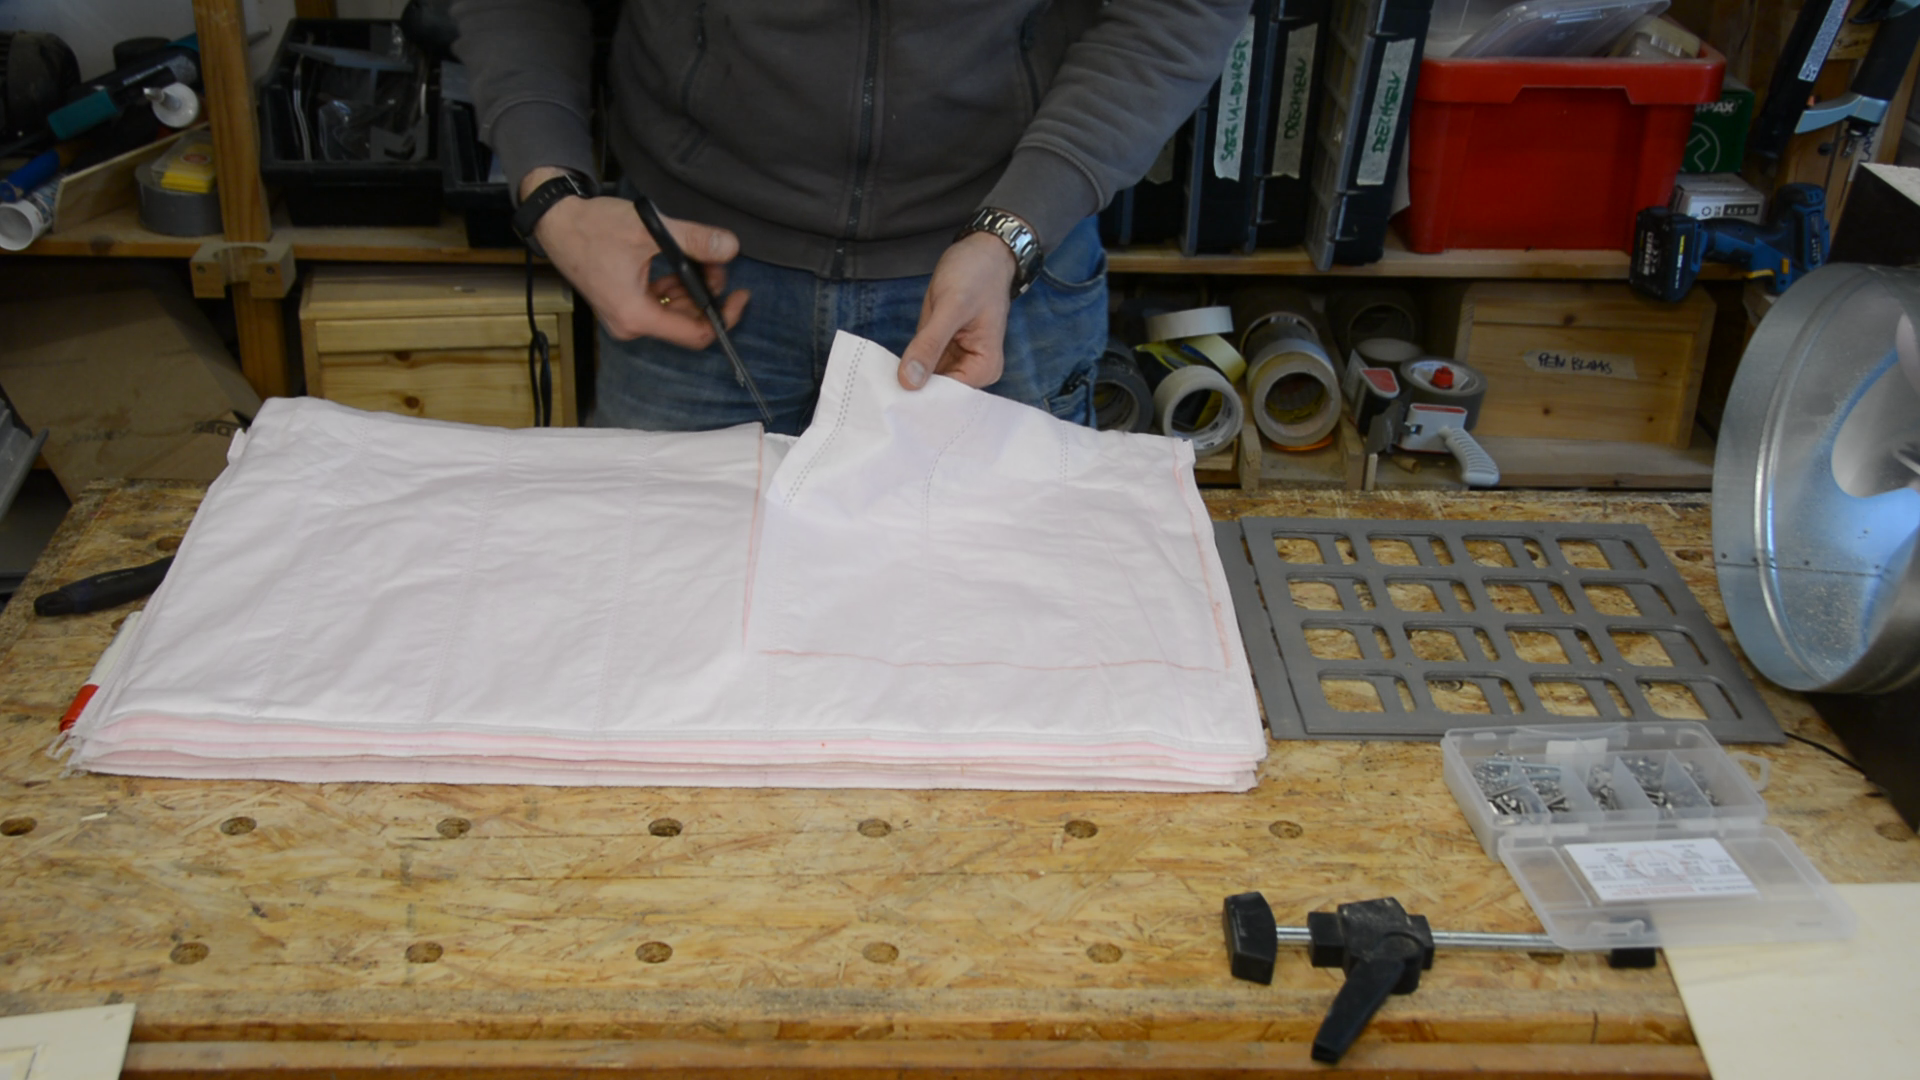
We ordered these pocket filters with the intention to use them directly. However after laying them out on the table this seemed too massive for a small laser like the K40.

We take them apart and will cut them into pieces to get the necessary filter material. We aim for a 30 by 30 cm filter size and create a pattern to hold the filter in FreeCAD.
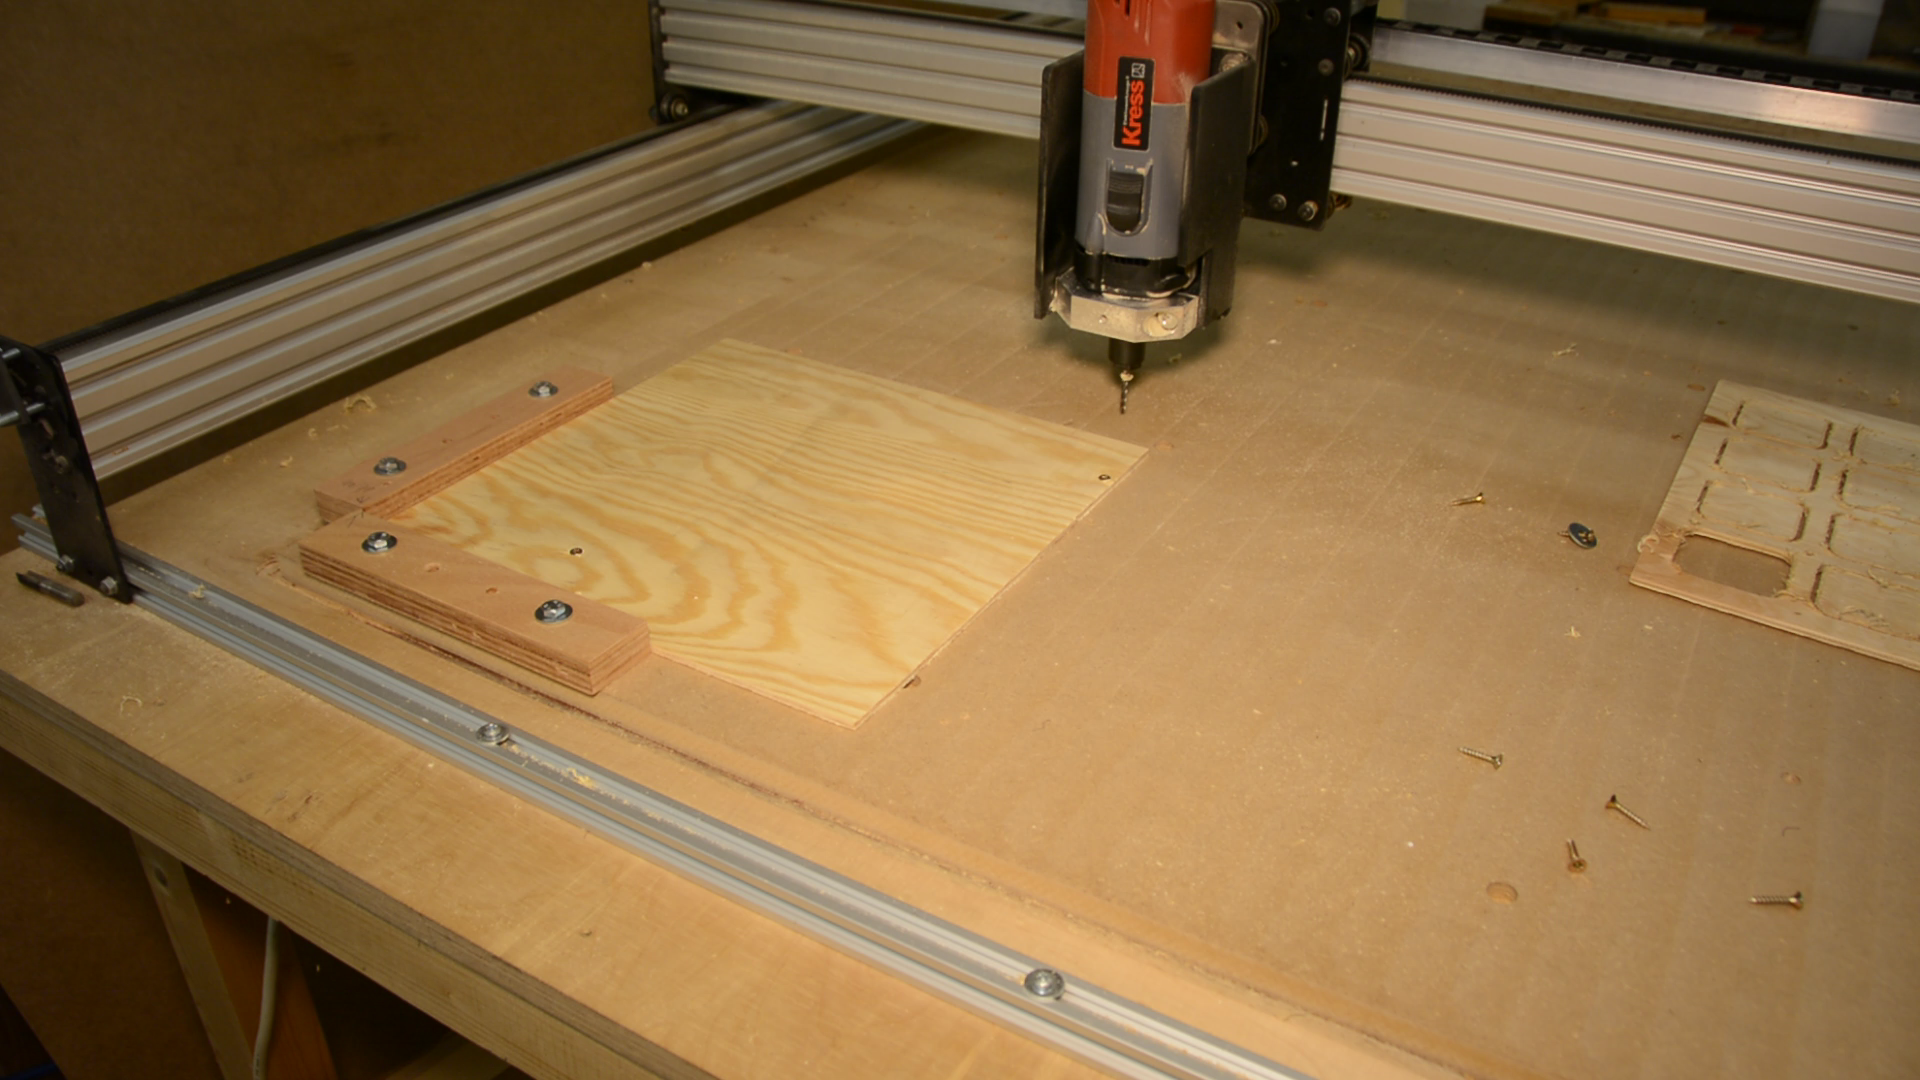
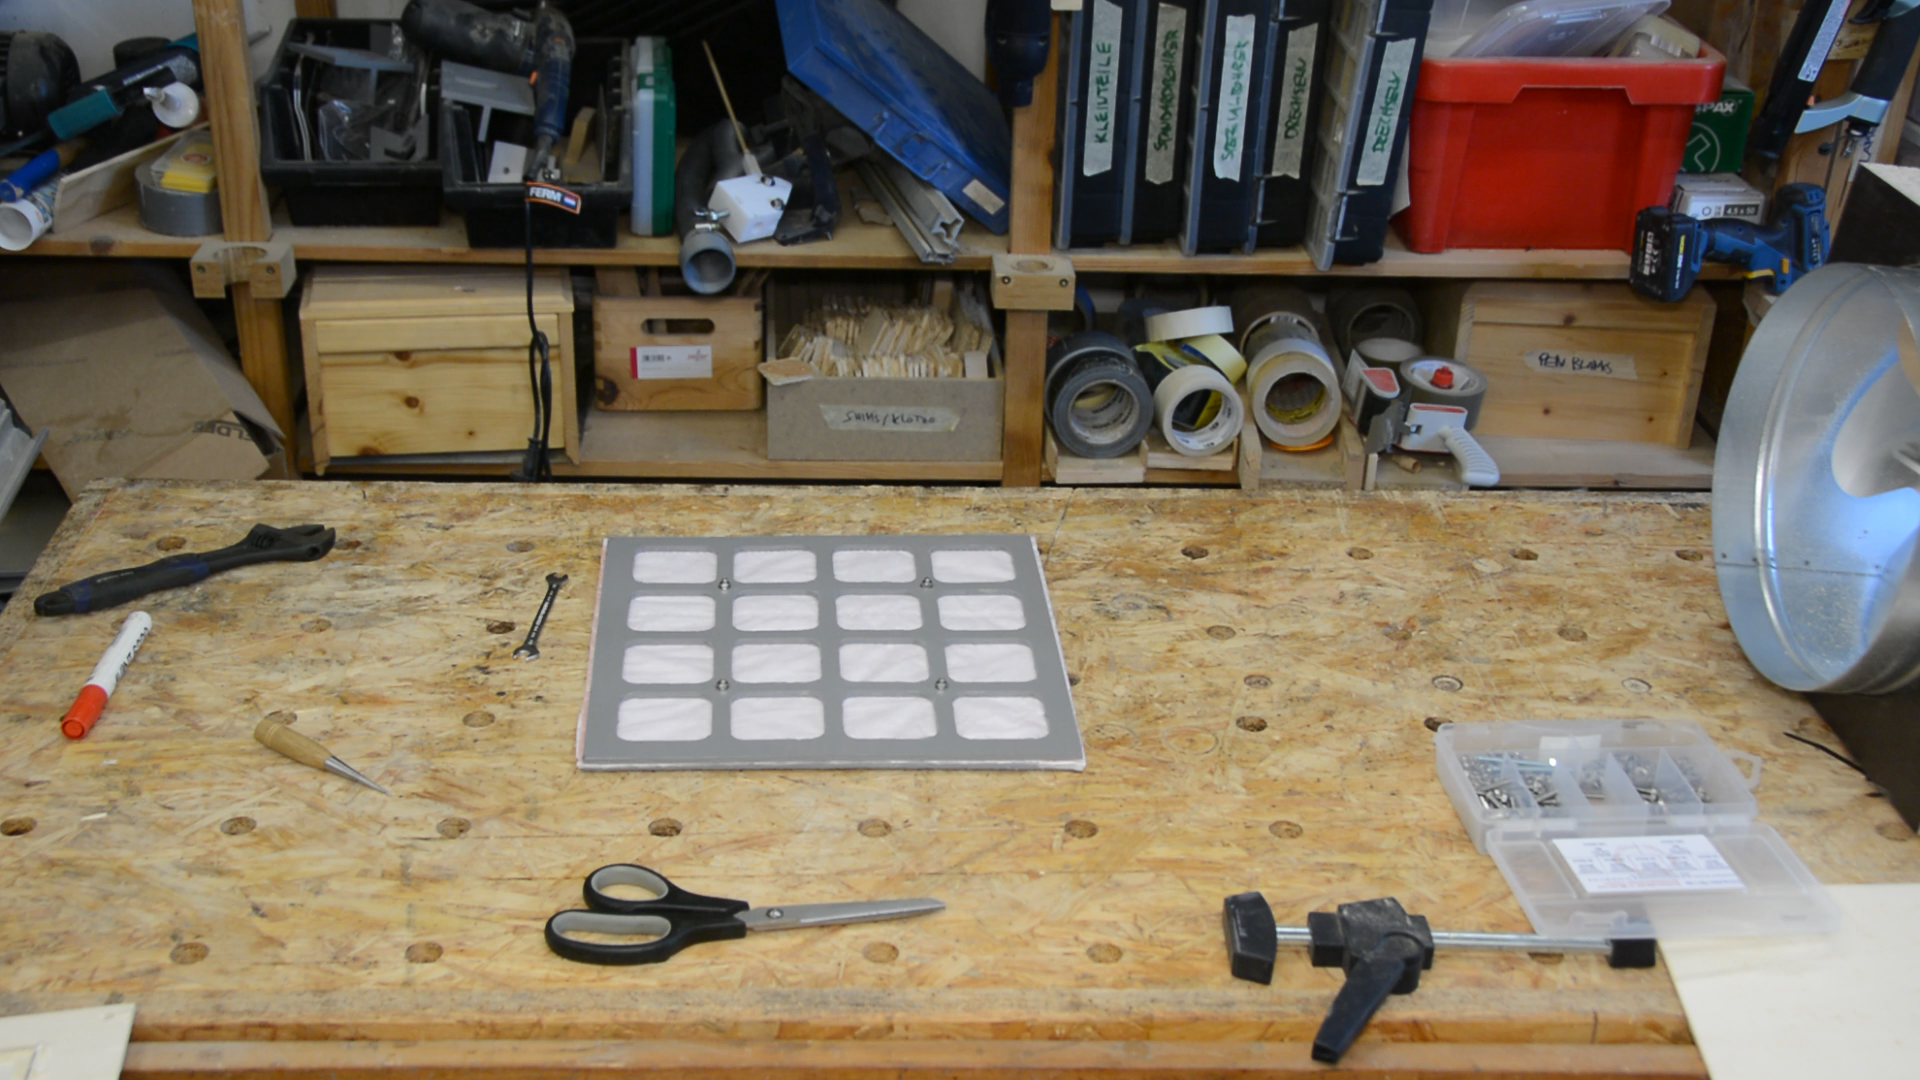
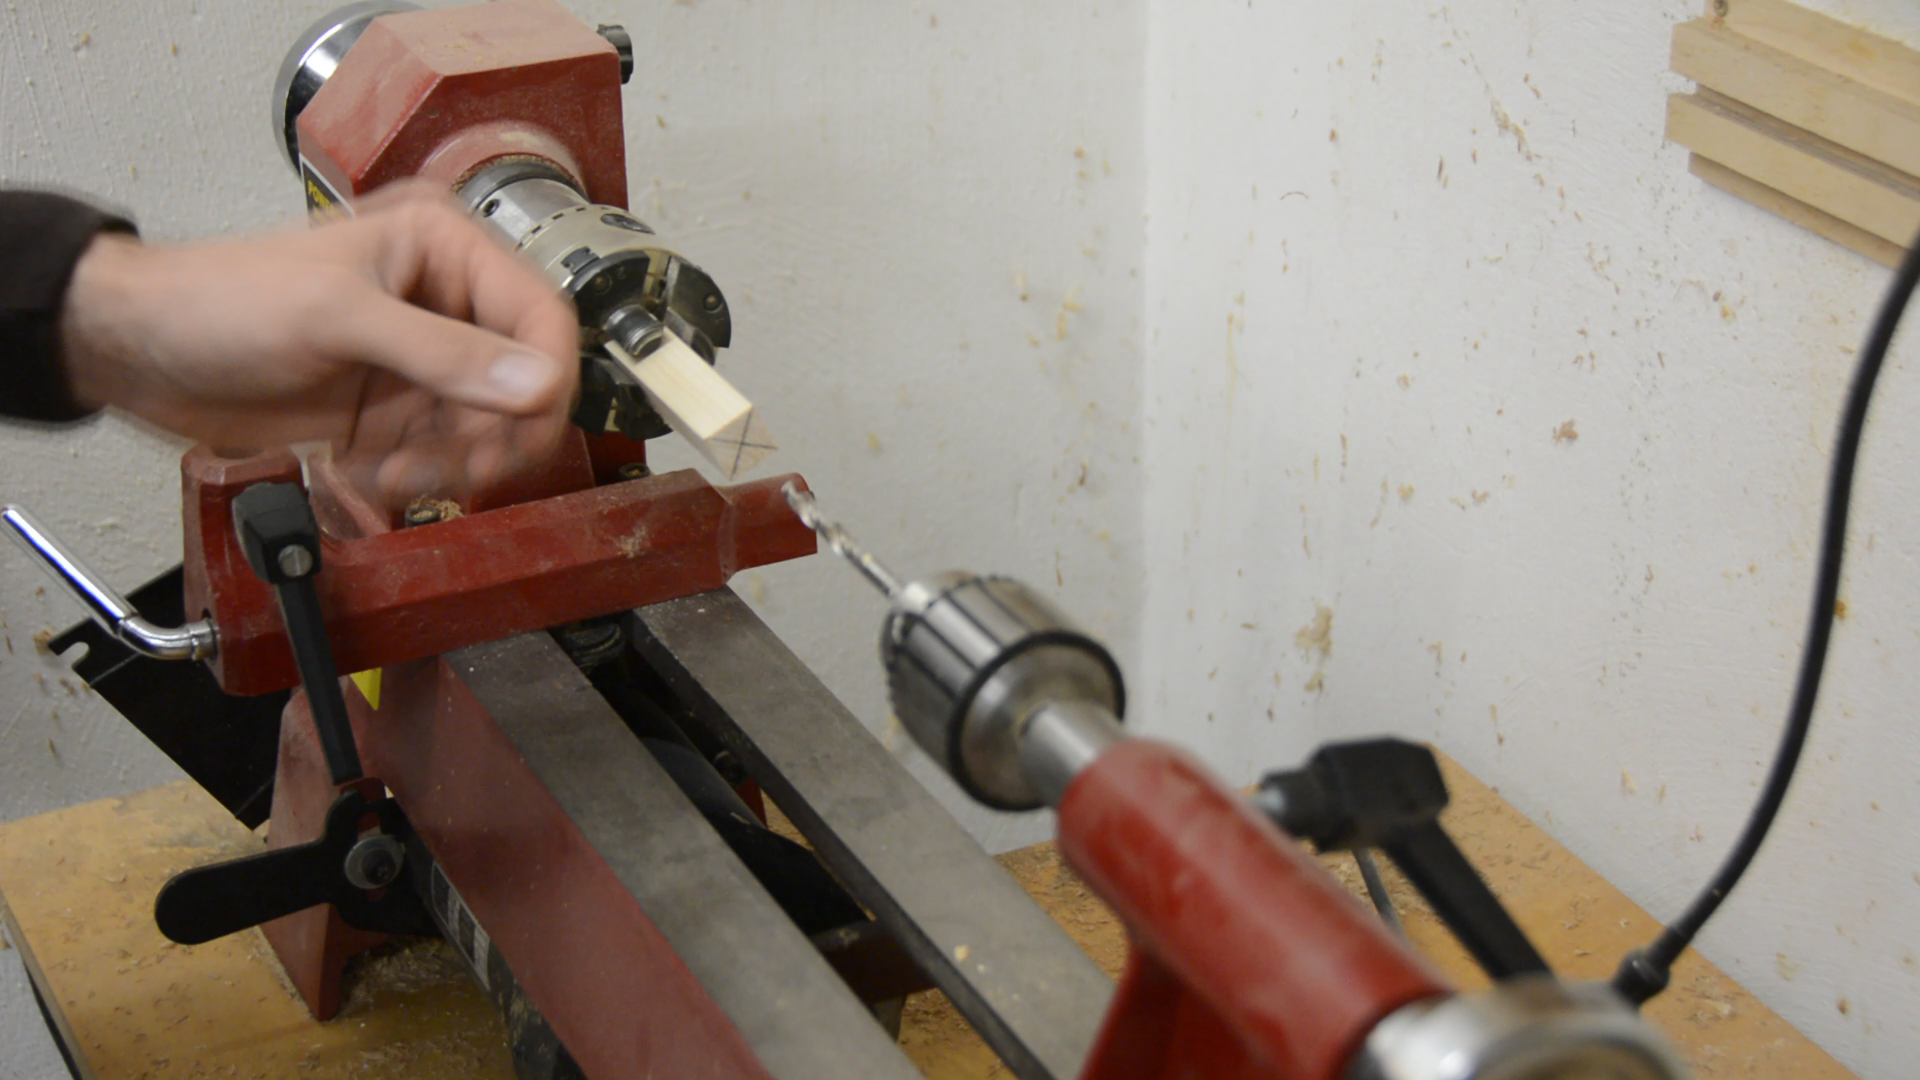
On the CNC we bore 4 holes in a piece of 4mm plywood.
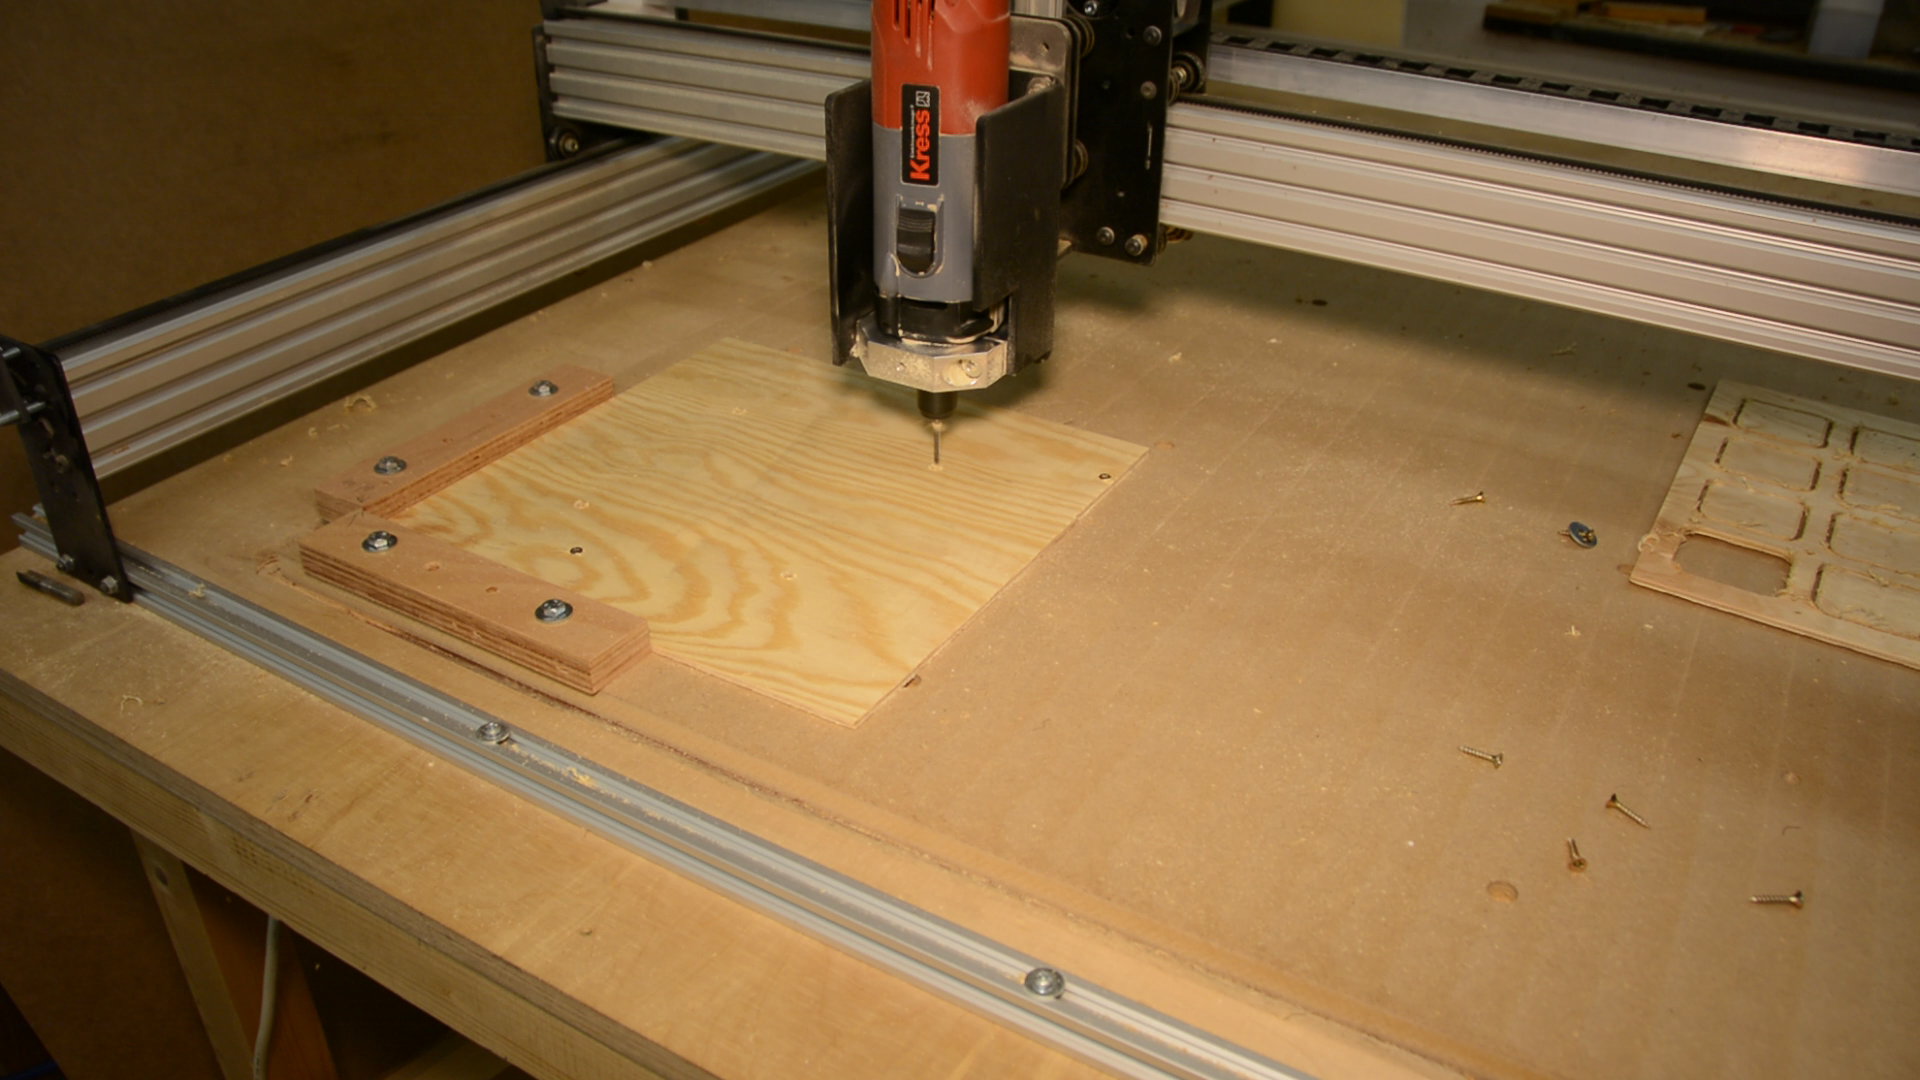
We then use these holes to hold the piece to the table while the CNC is cutting a grid. If you don’t have a CNC you can either just drill holes with a big forstner drill or cut a router template on the laser cutter that you can then follow with a flush trim bit.
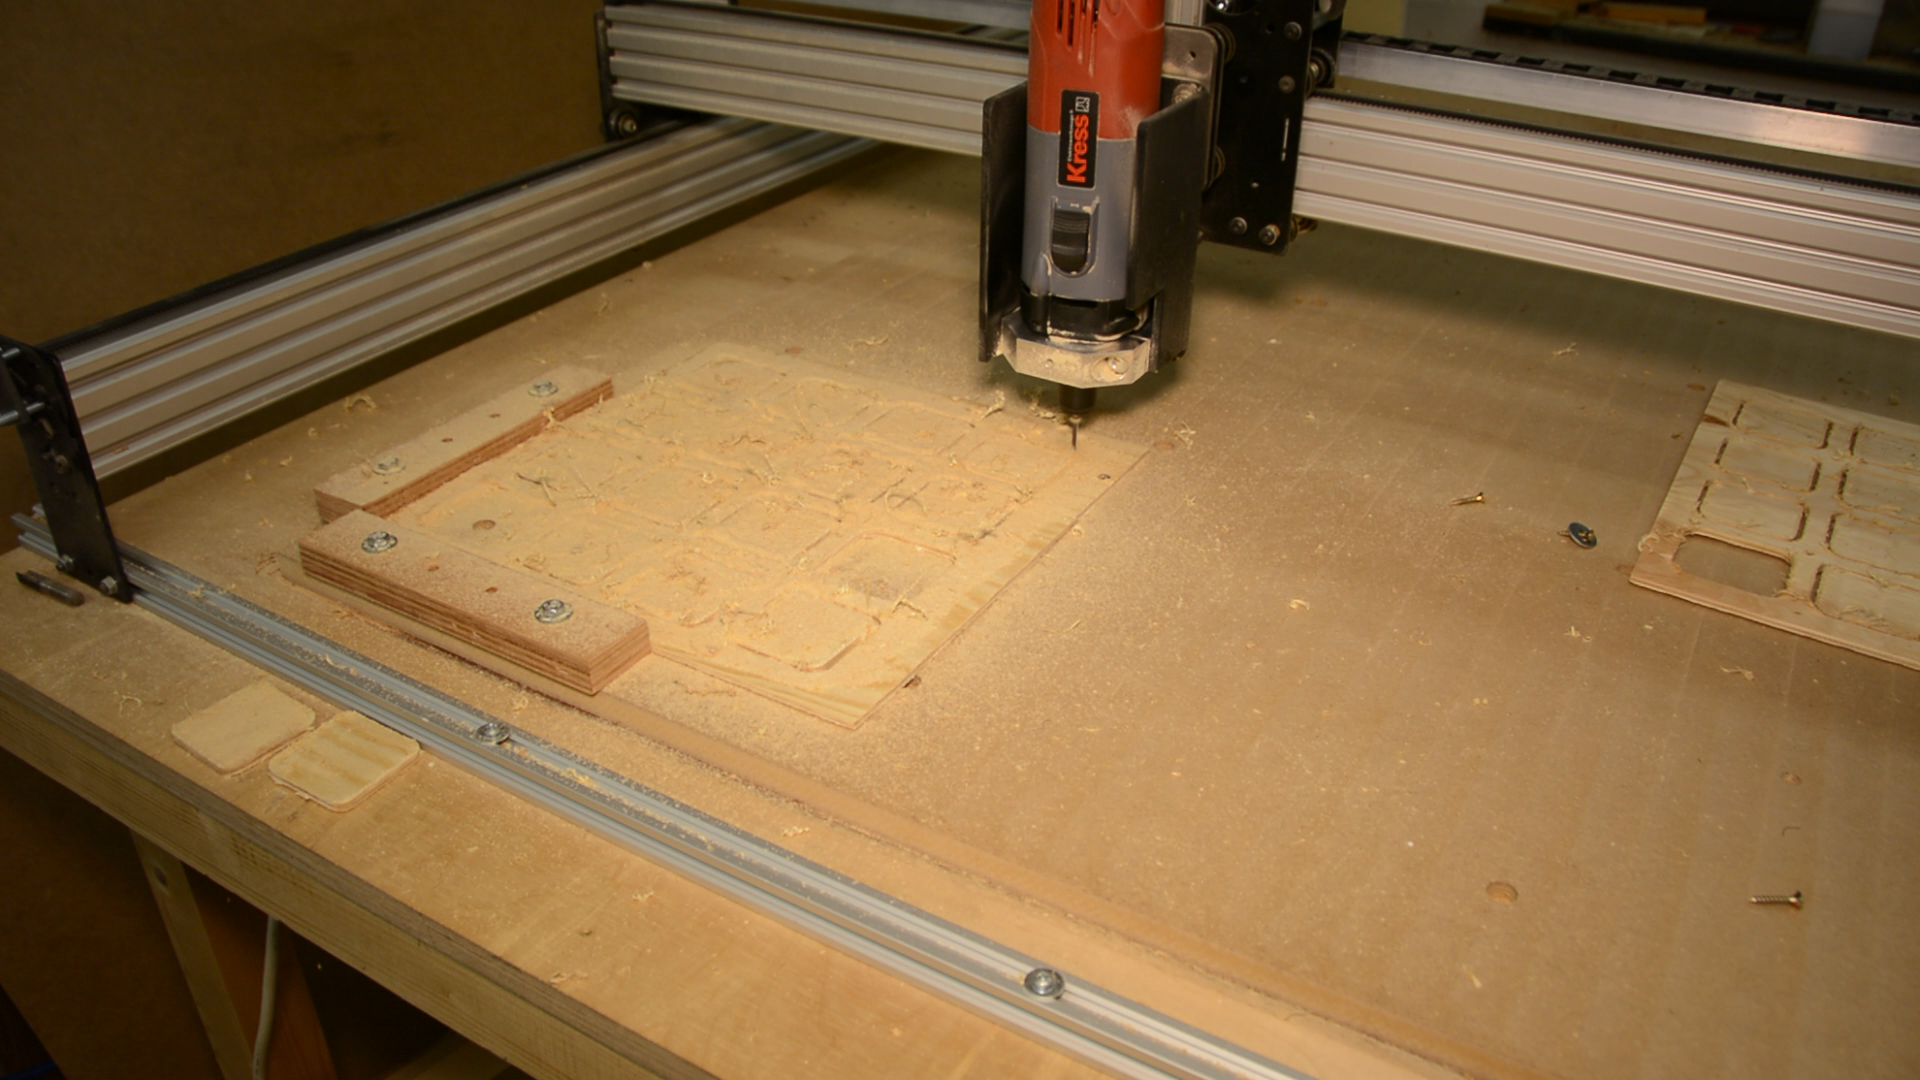
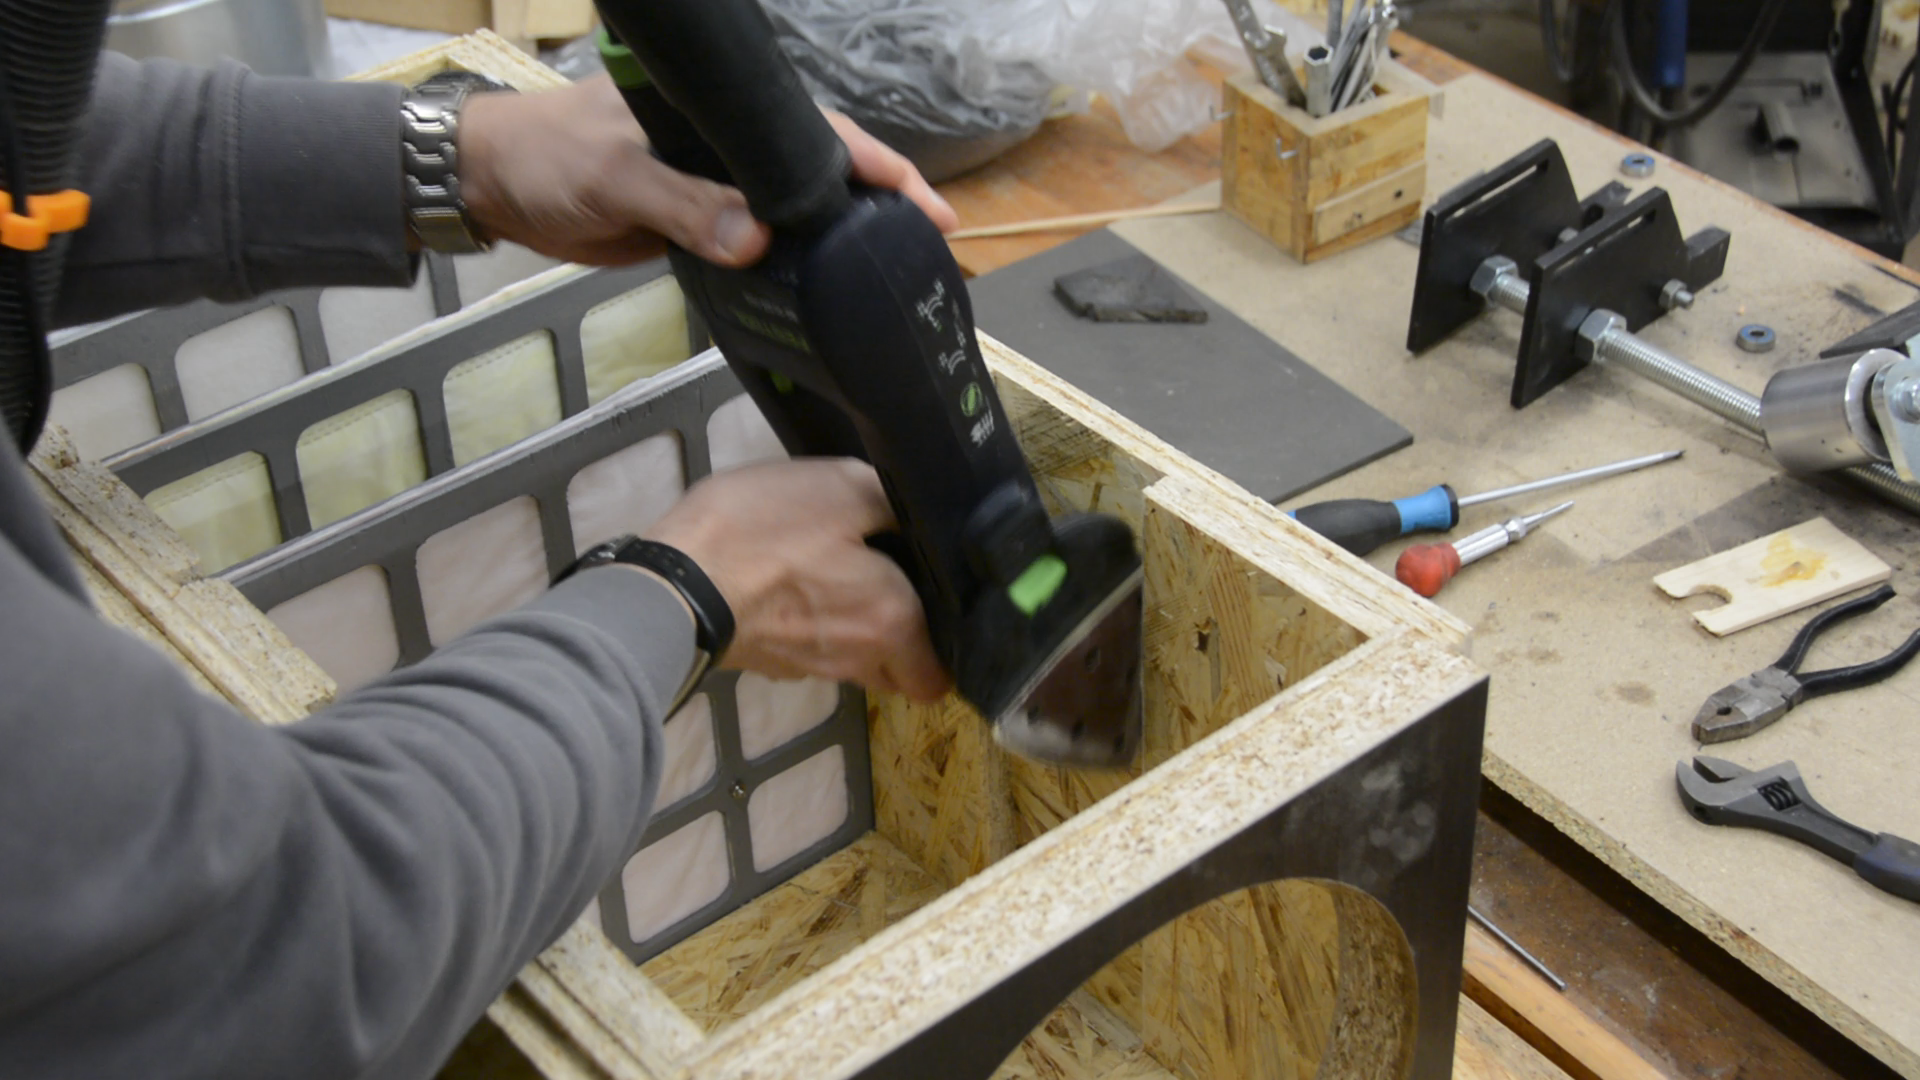
The CNC leaves a rough surface that requires a lot of sanding.

After sanding we finish the filter holders to make them easier to clean. The parts get a few coats of paint followed by a final clear coat.

We cut the filters from the pocket filters but you most likely would be better off with buying the filter material without the frames.
We will put links to the pocket filters and the raw material in the resource section at the end of the article.
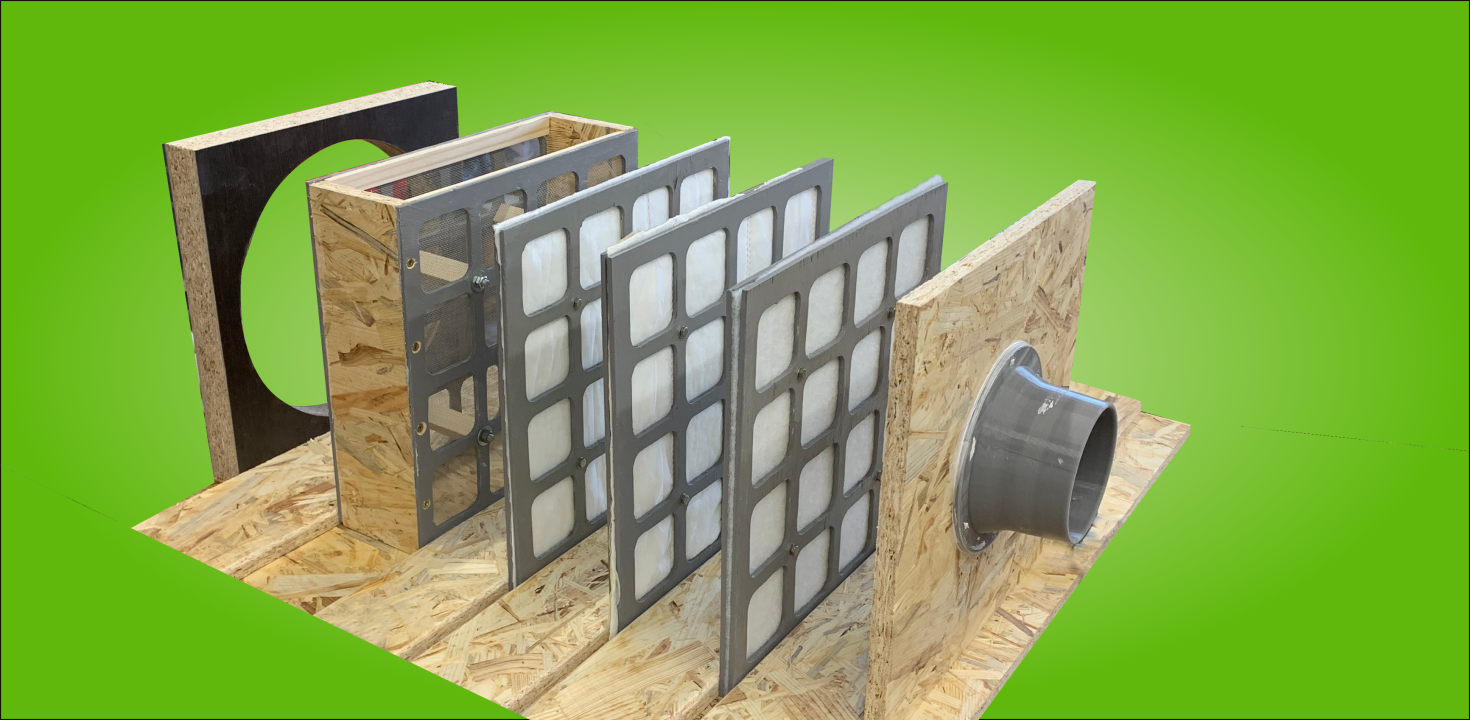
Filter overview
We use the following filters:
A coarse filter that is classified as G4 which is a coarse material that filters the big dust particles. For all the filters we first mark the 30 by 30 area and then cut the material to size.
A finer filter of the class F7 comes next and will filter the finer dust.
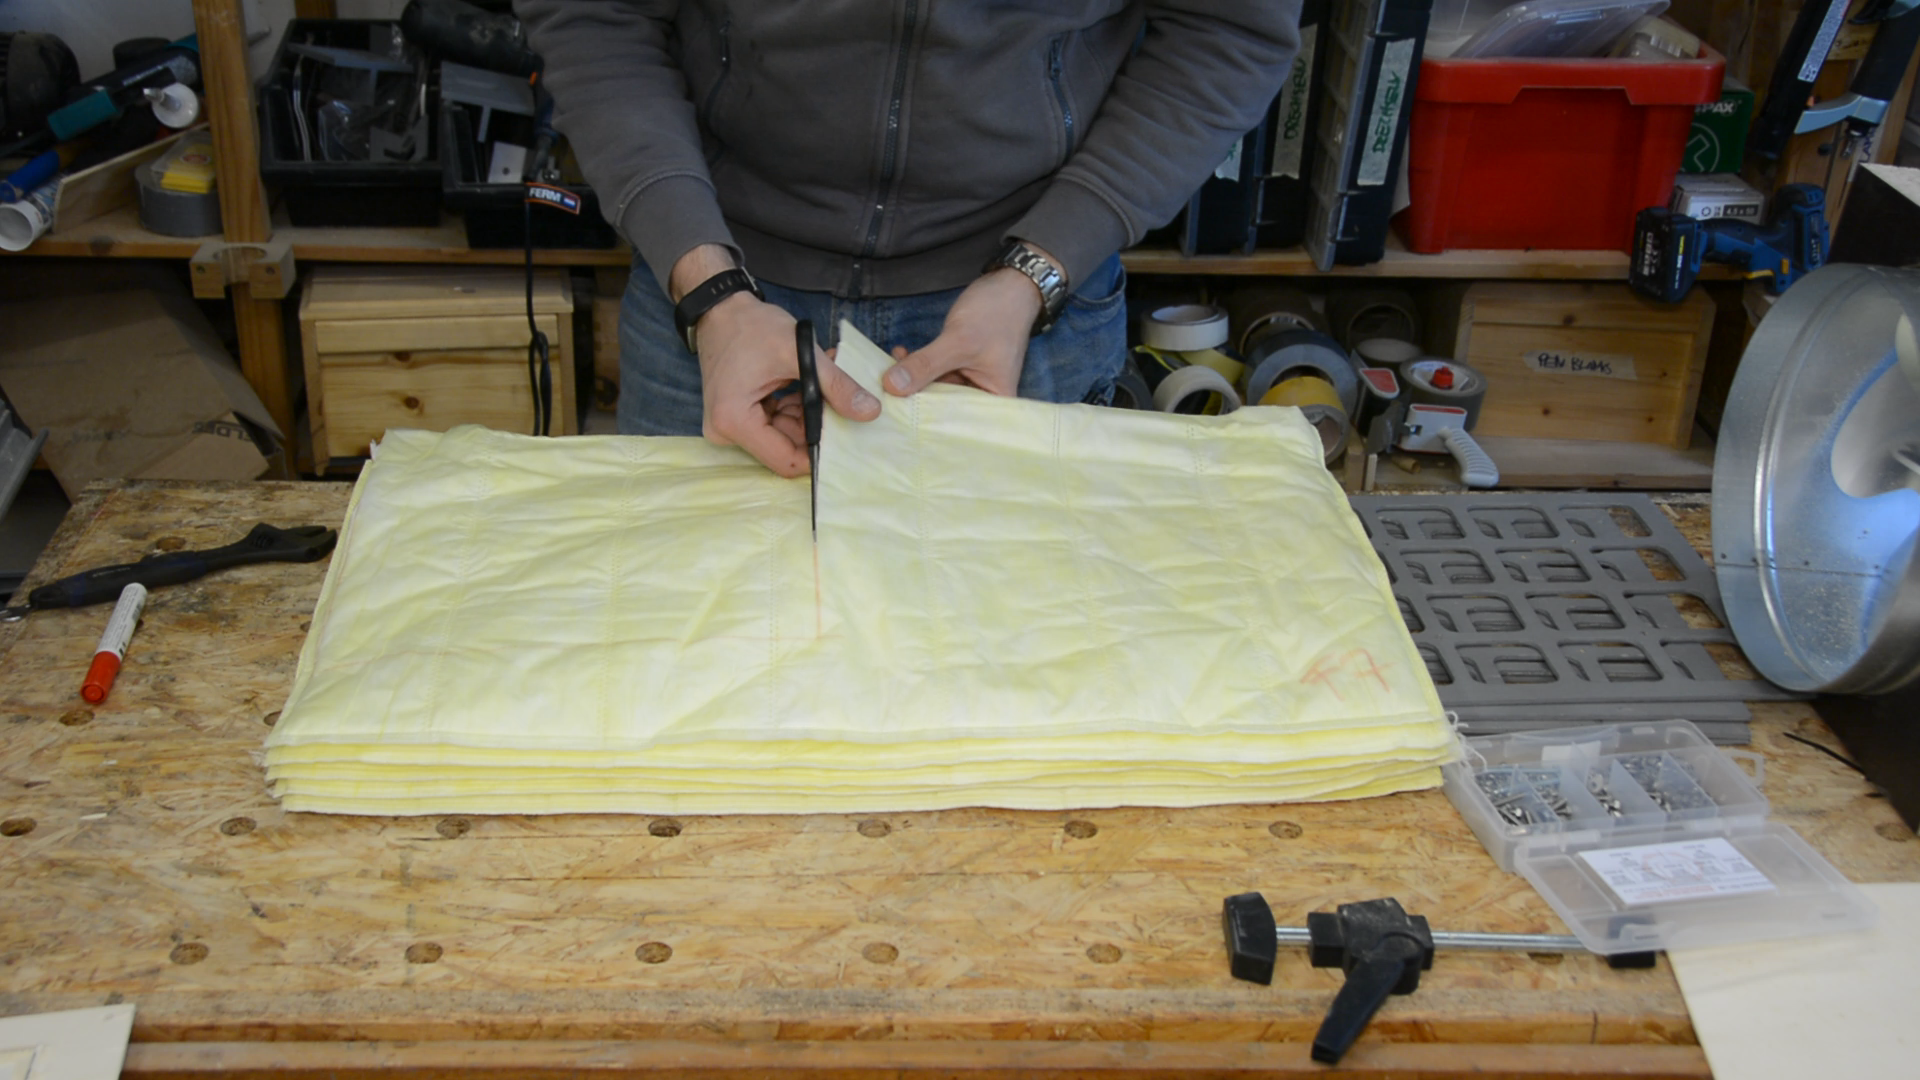
And finally we have a very fine filter F9 that removes most of the smaller dust particles.
We made the four holes to screw the filters together. We poke small holes in each filter, sandwich it between two plywood pieces and secure it with M4 screws.
The active carbon DIY air filter
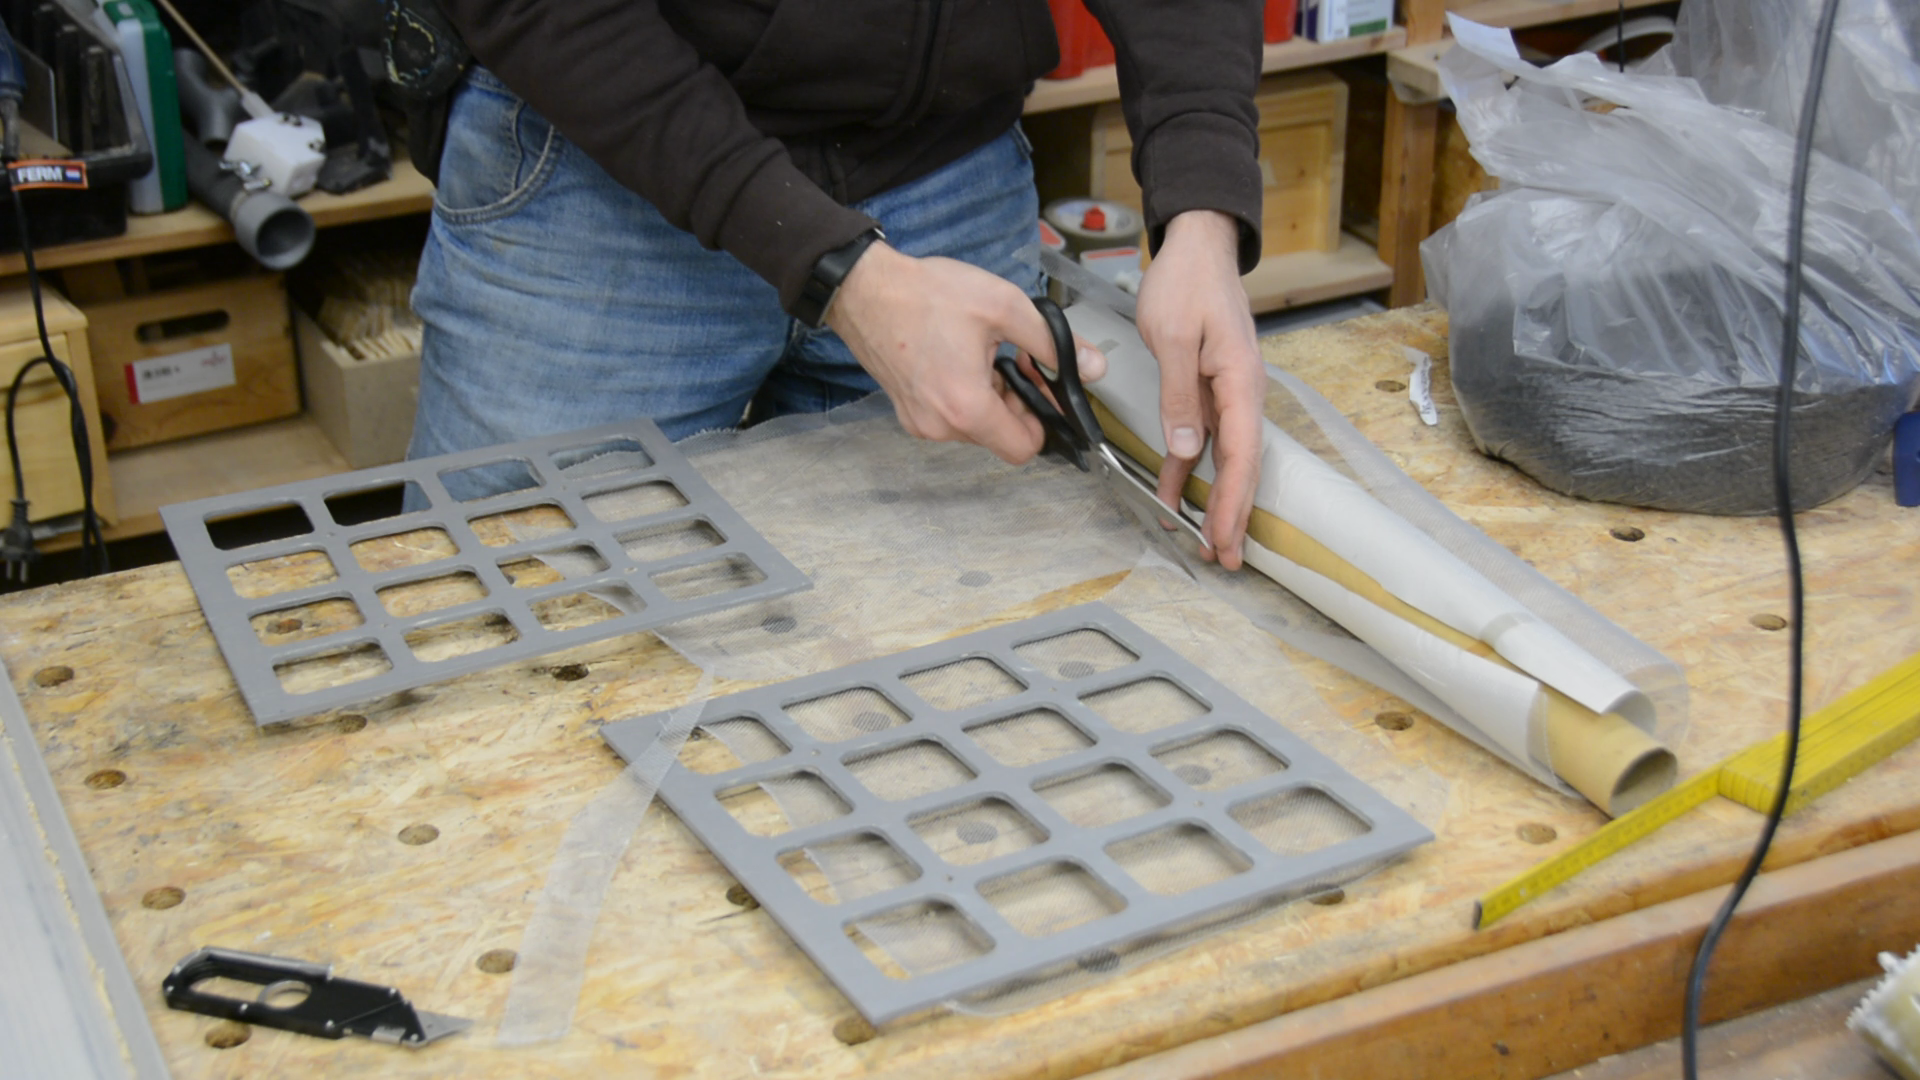
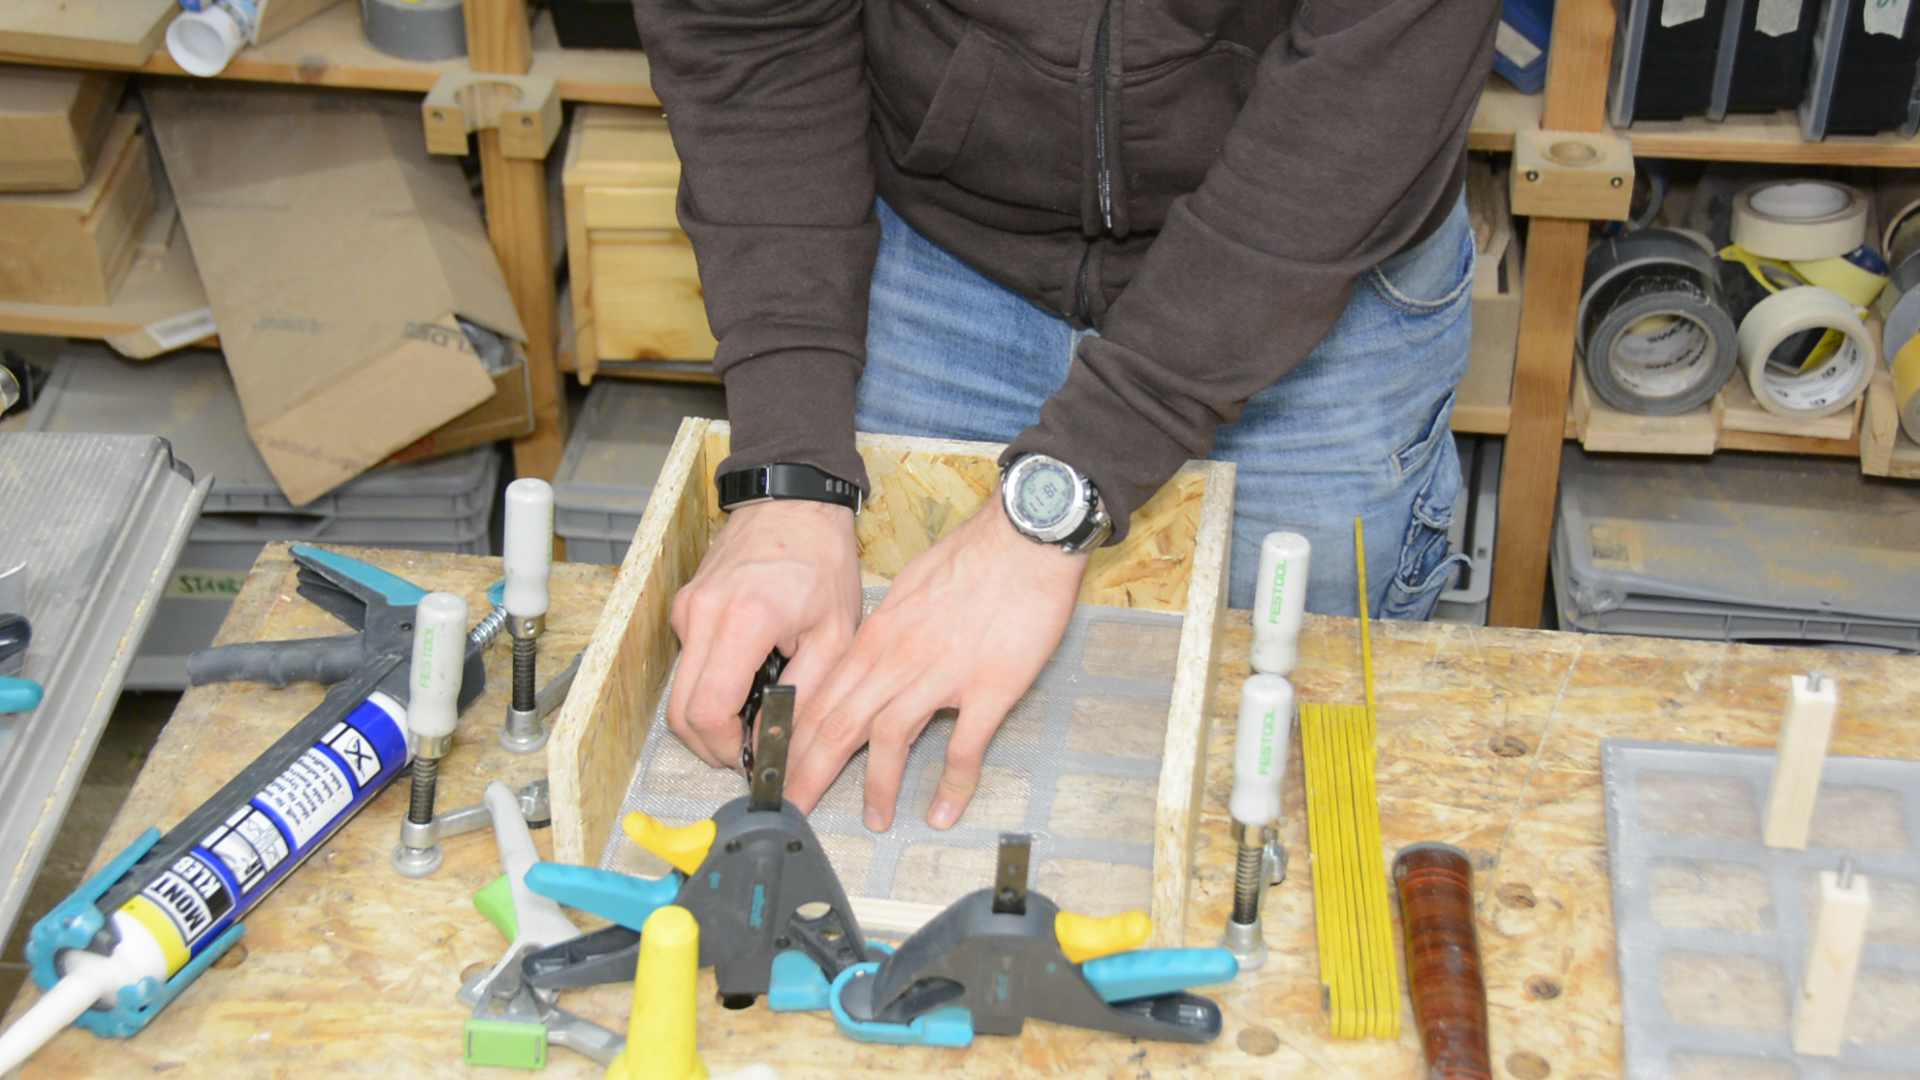
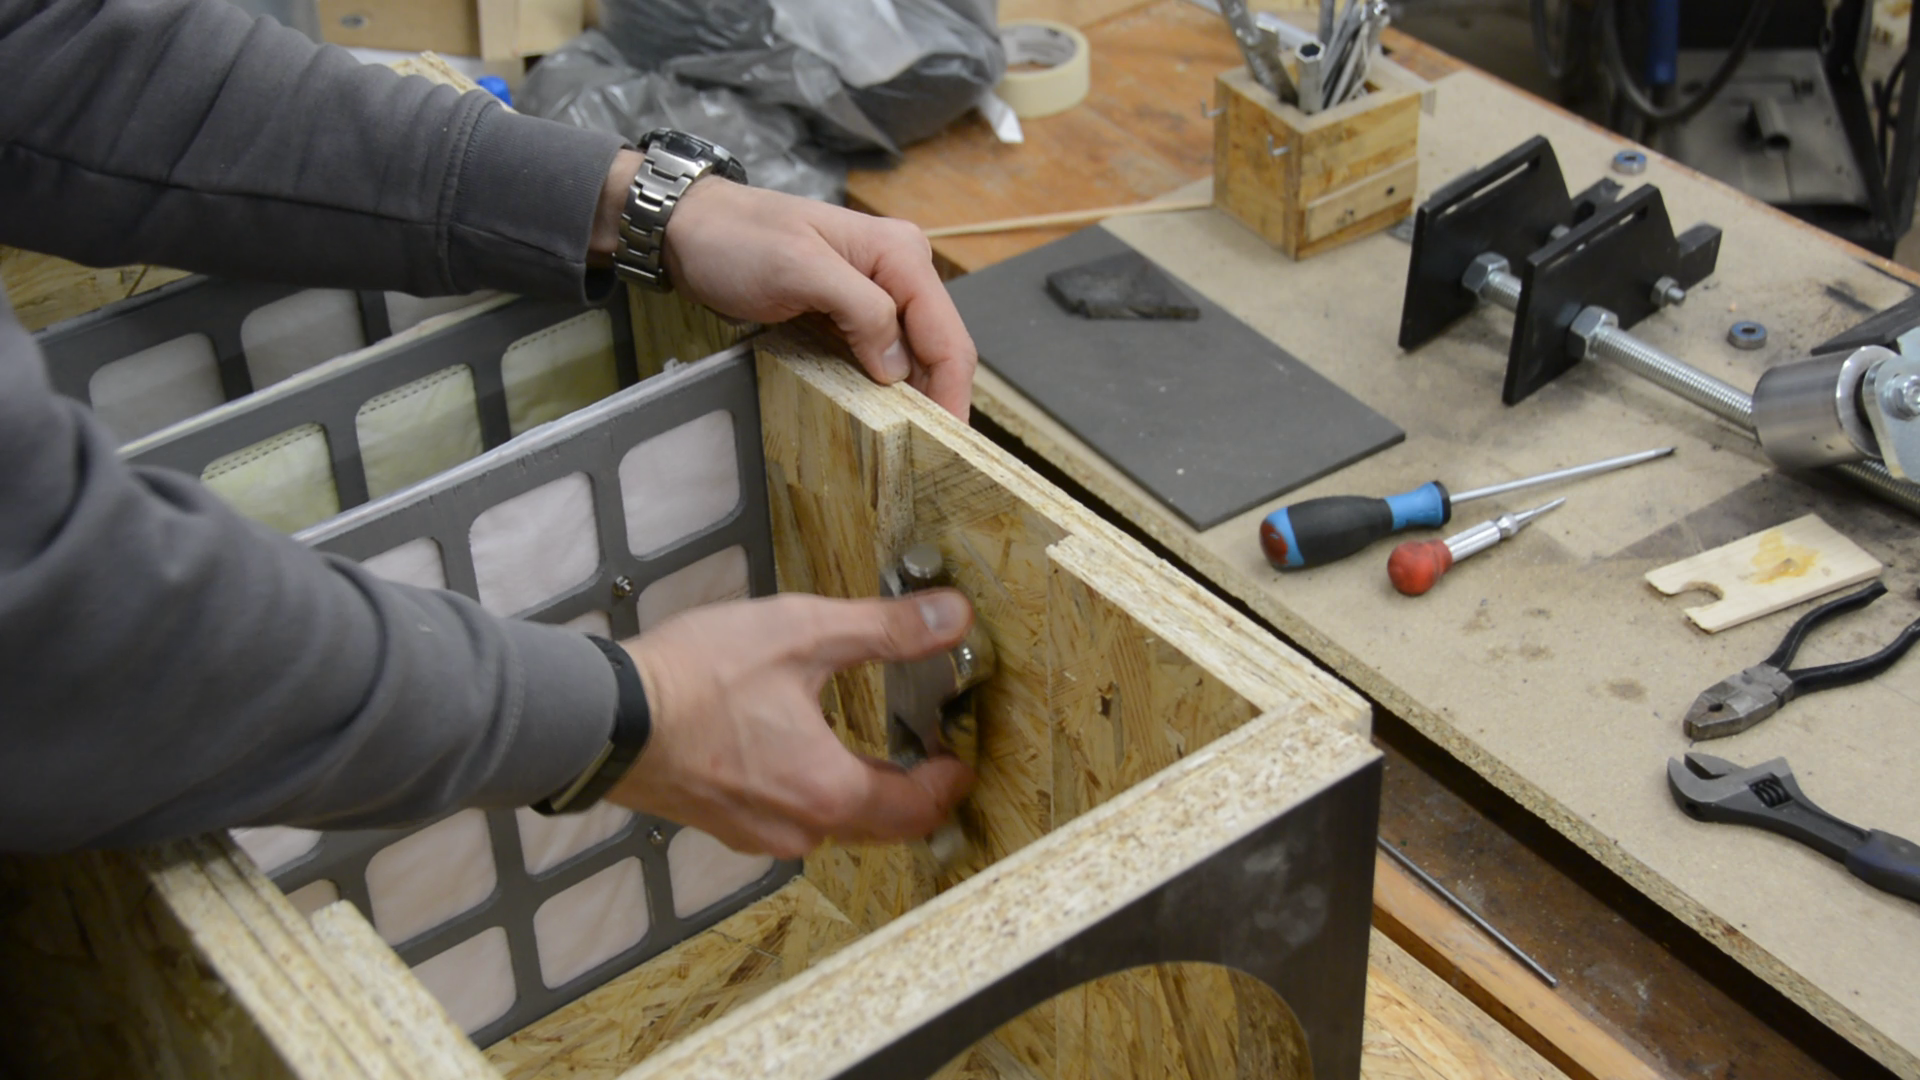
The last filter we create is a bit special as it should become an active carbon filter. We cut a steel mesh to the size of the two panels of this filter.
The top side gets secured by gluing a thin strip of wood to the mesh and the filter.
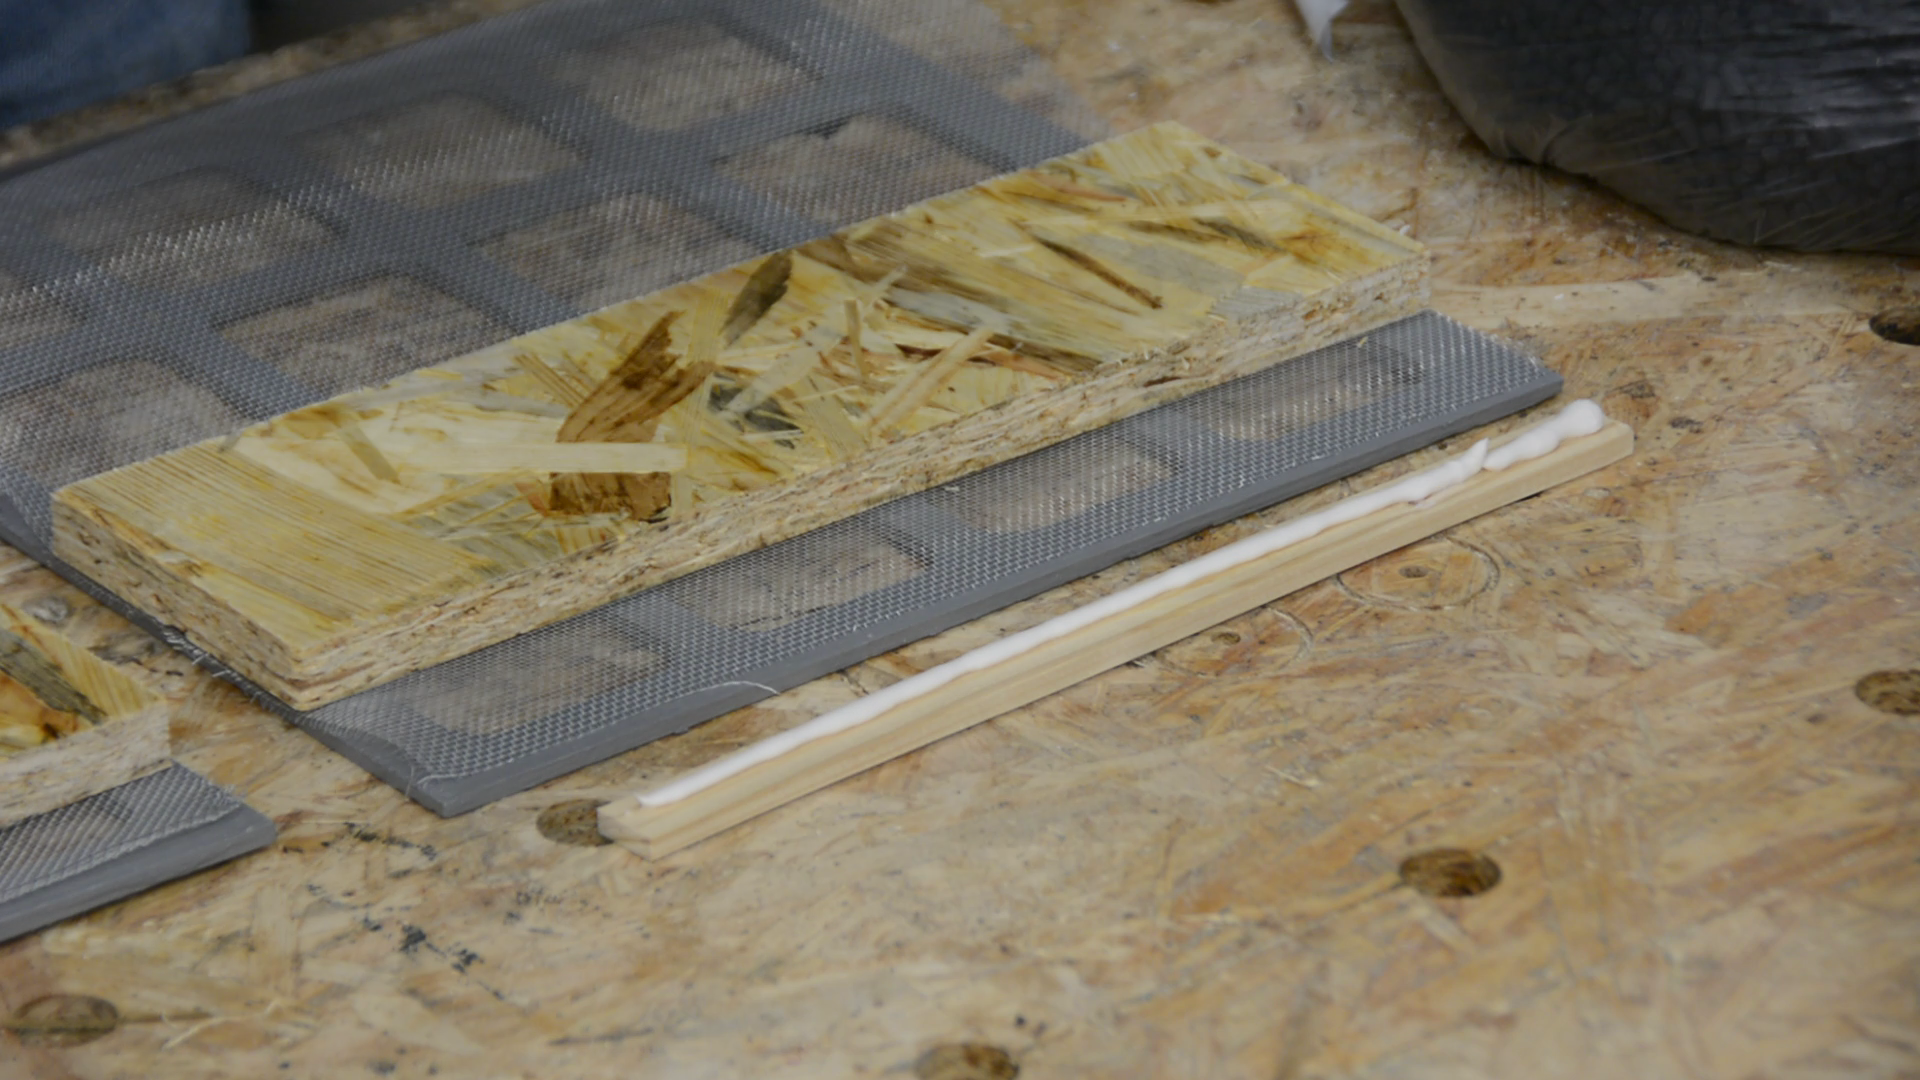
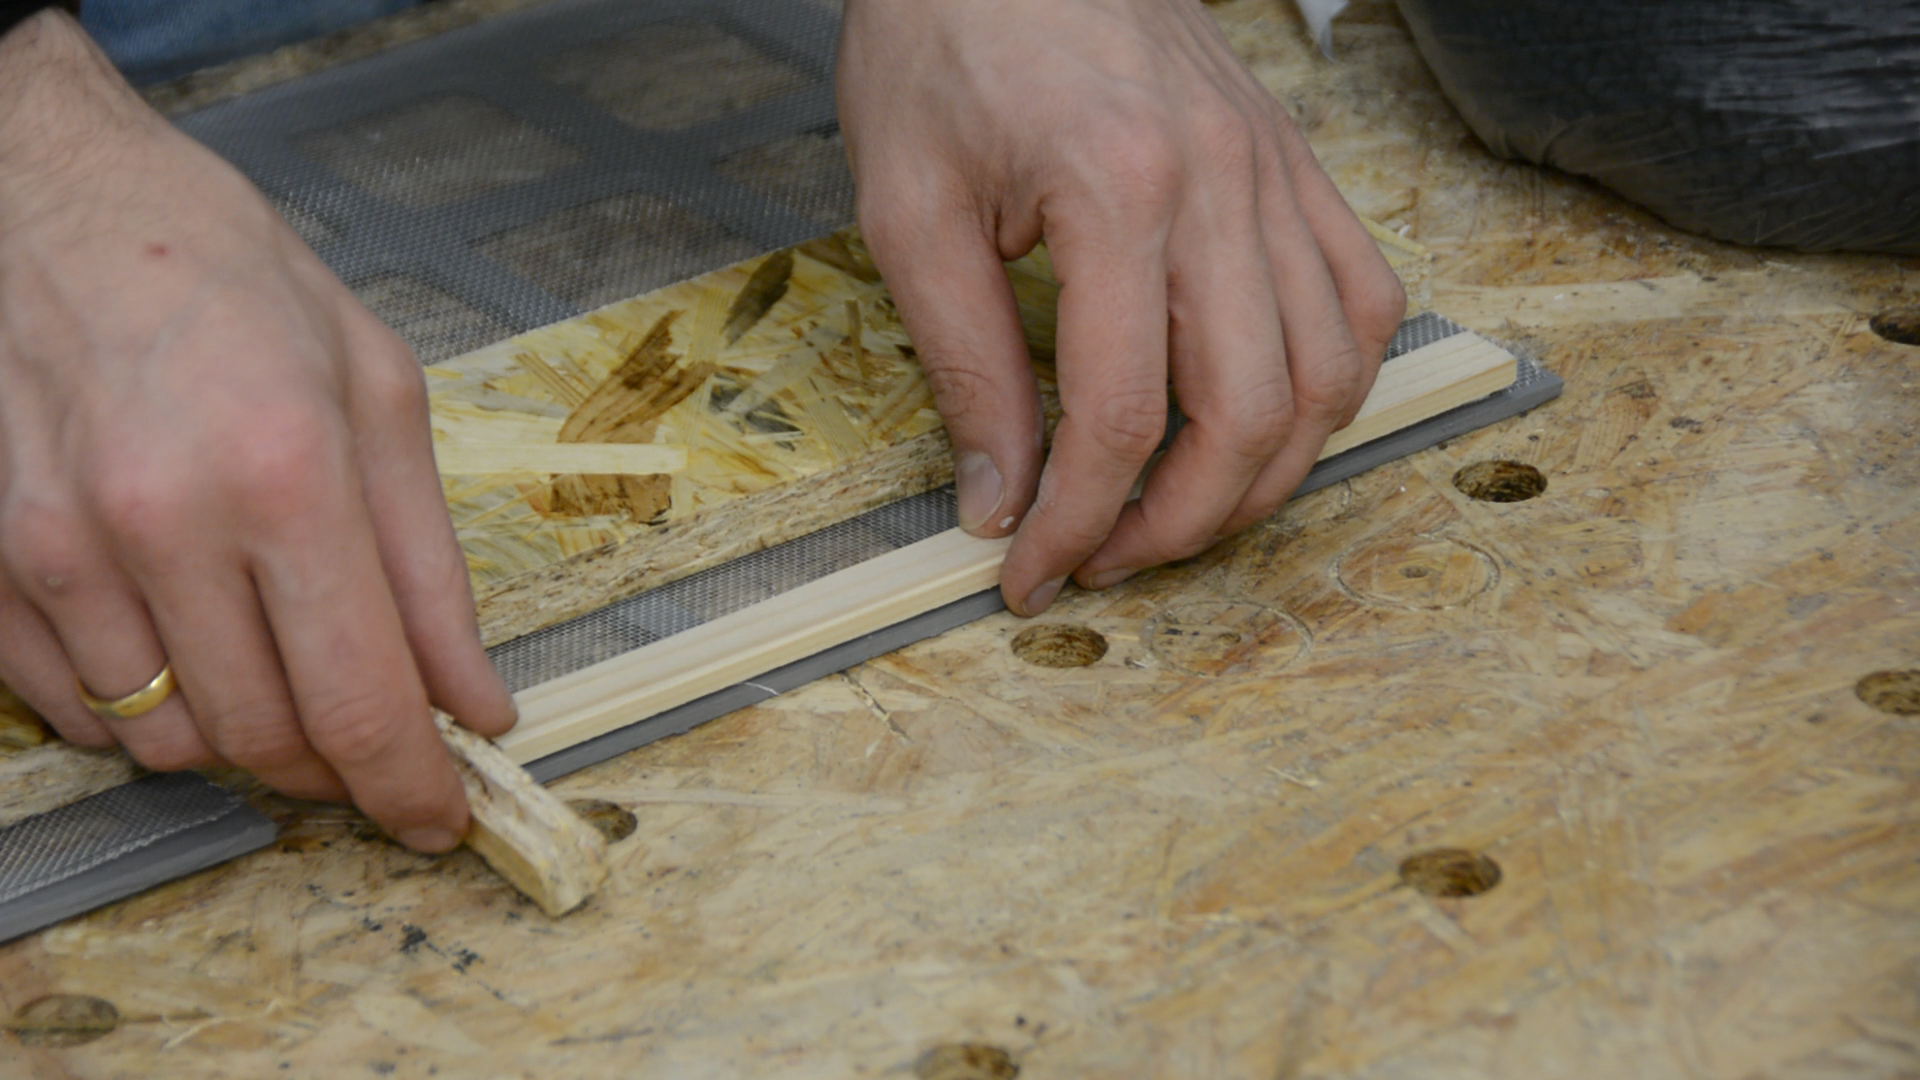
For three sides OSB strips are glued together at the corners and secured with a few nails.
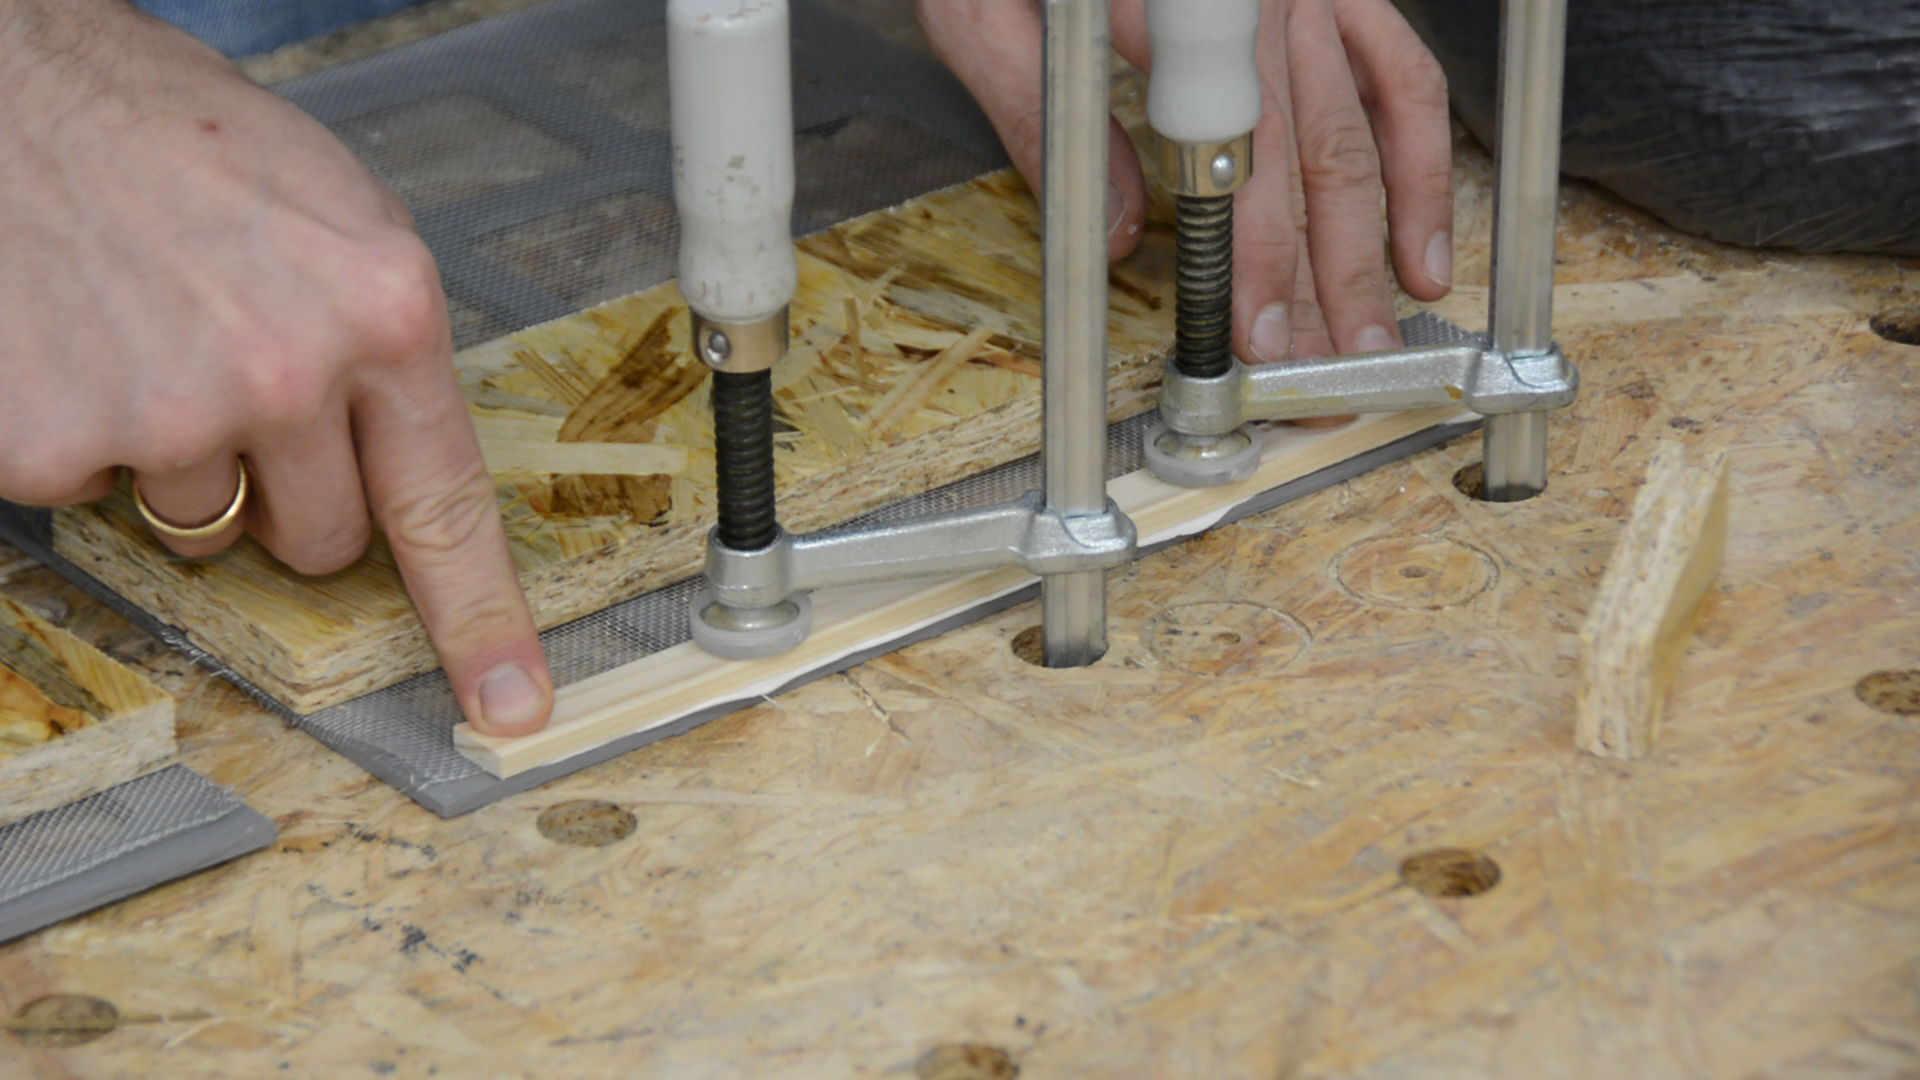
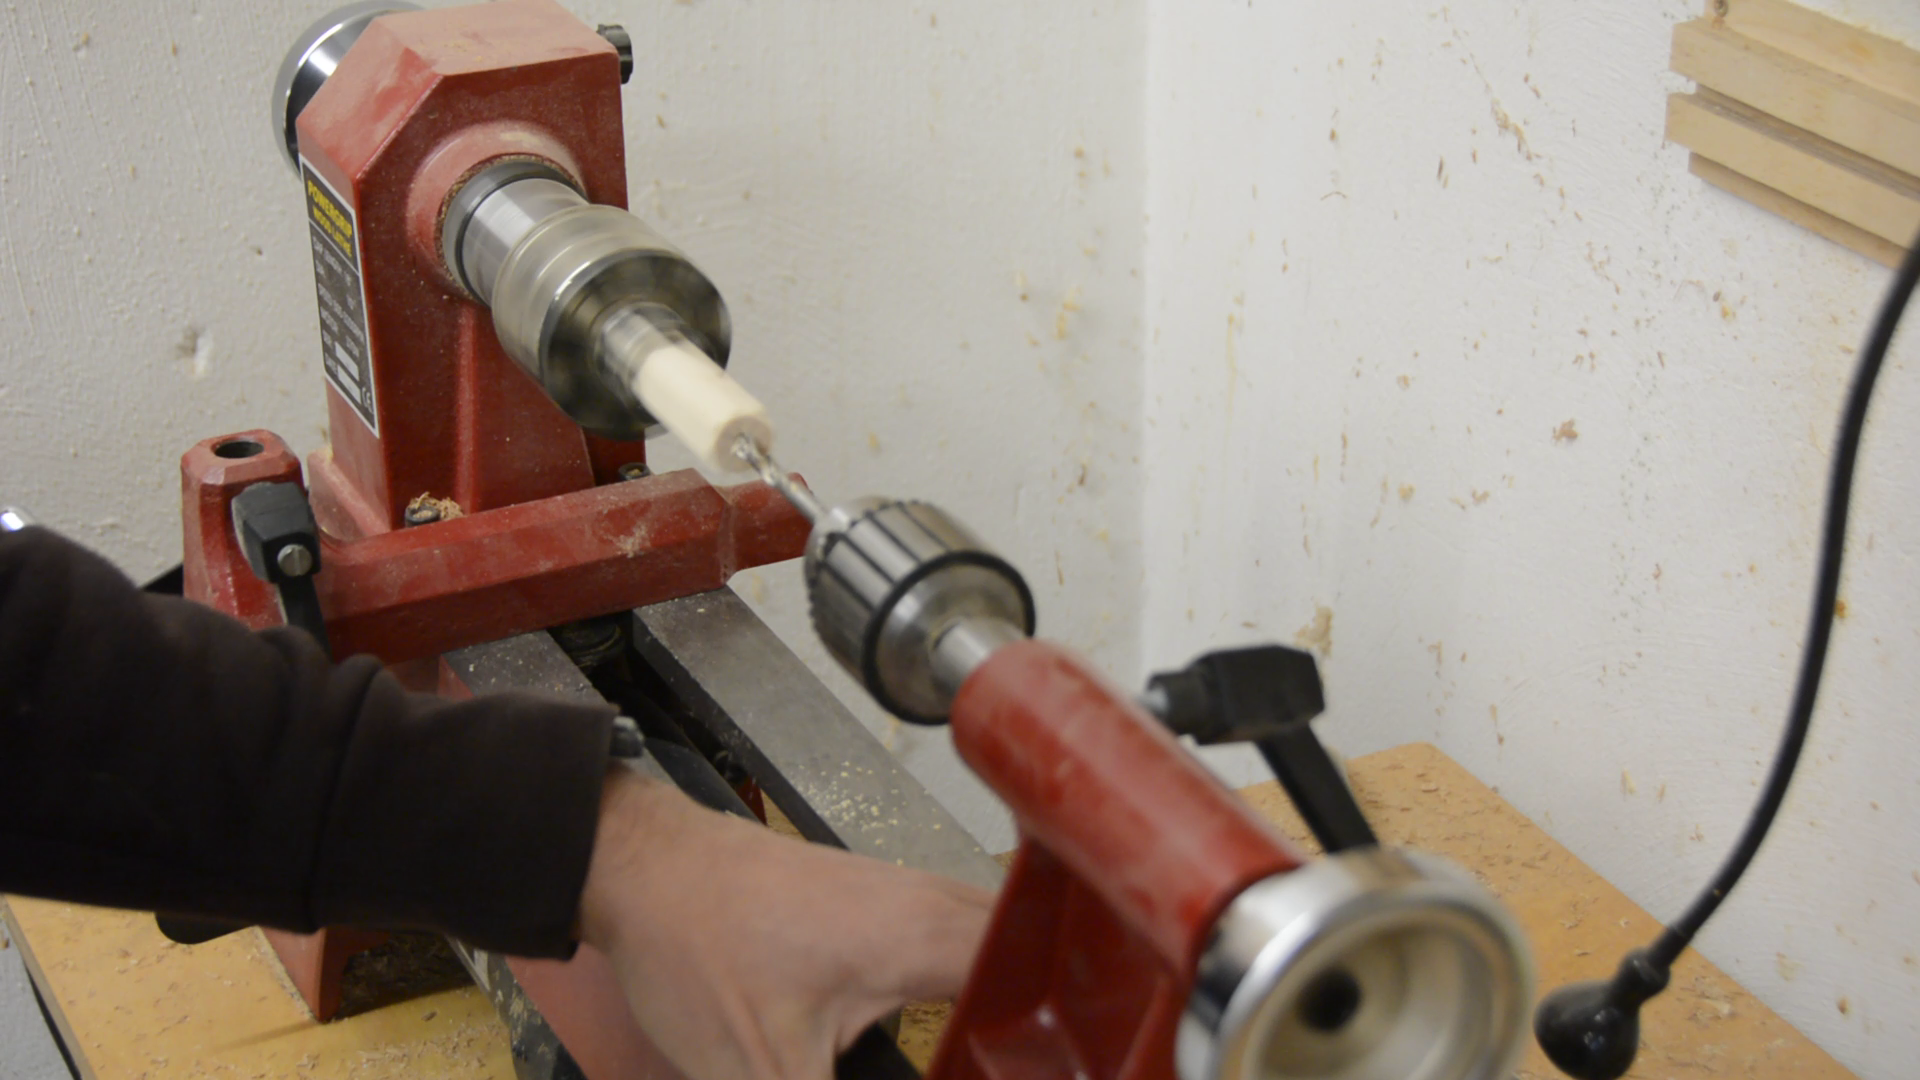
While the glue is drying we bore holes in four pieces that will act as spacers. We drill the holes on the wood lathe but you could use a drill press or just drill them by hand.
The holes are a bit larger than the threaded rod we will use in the next step. The OSB sides are glued to the mesh on one side.

In both meshes we cut small holes and put the threaded rods through the holes.
After putting the distance holder pieces over the threaded rod the side is glued to the OSB as well.
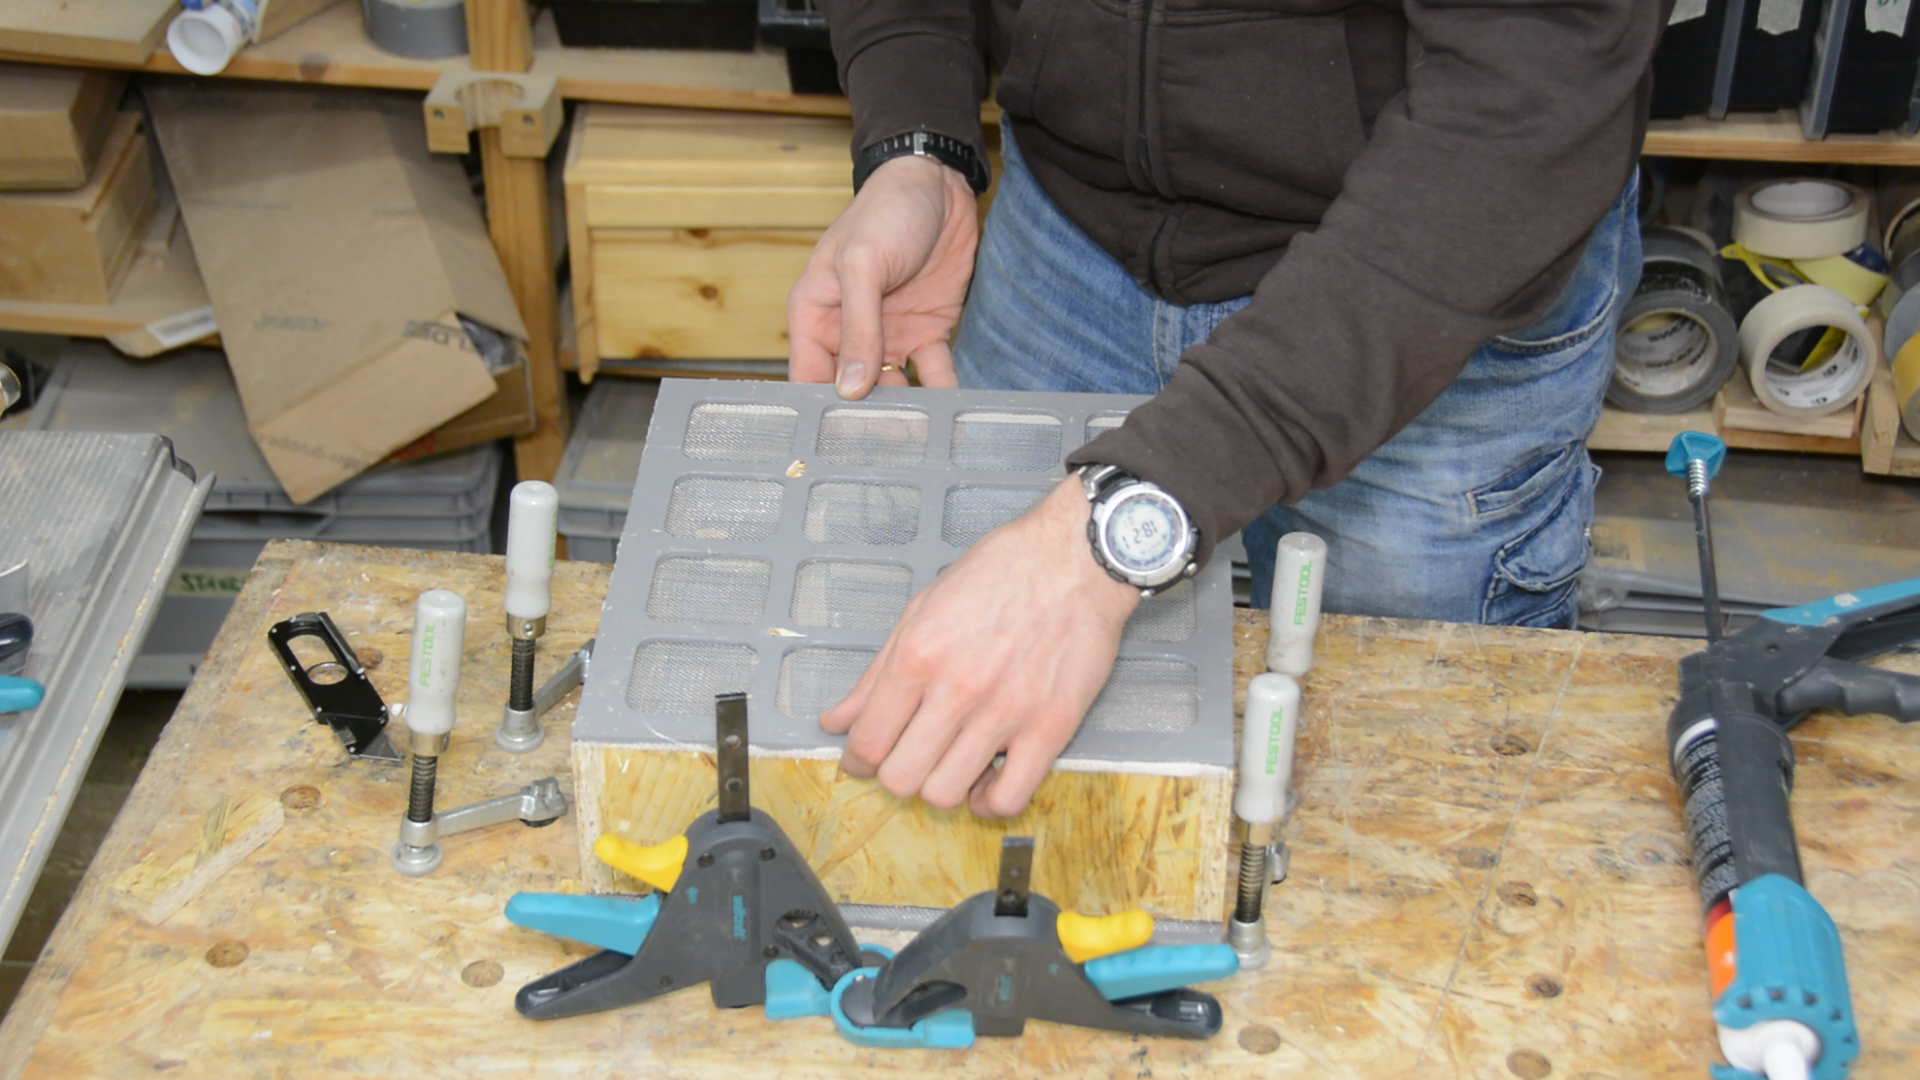
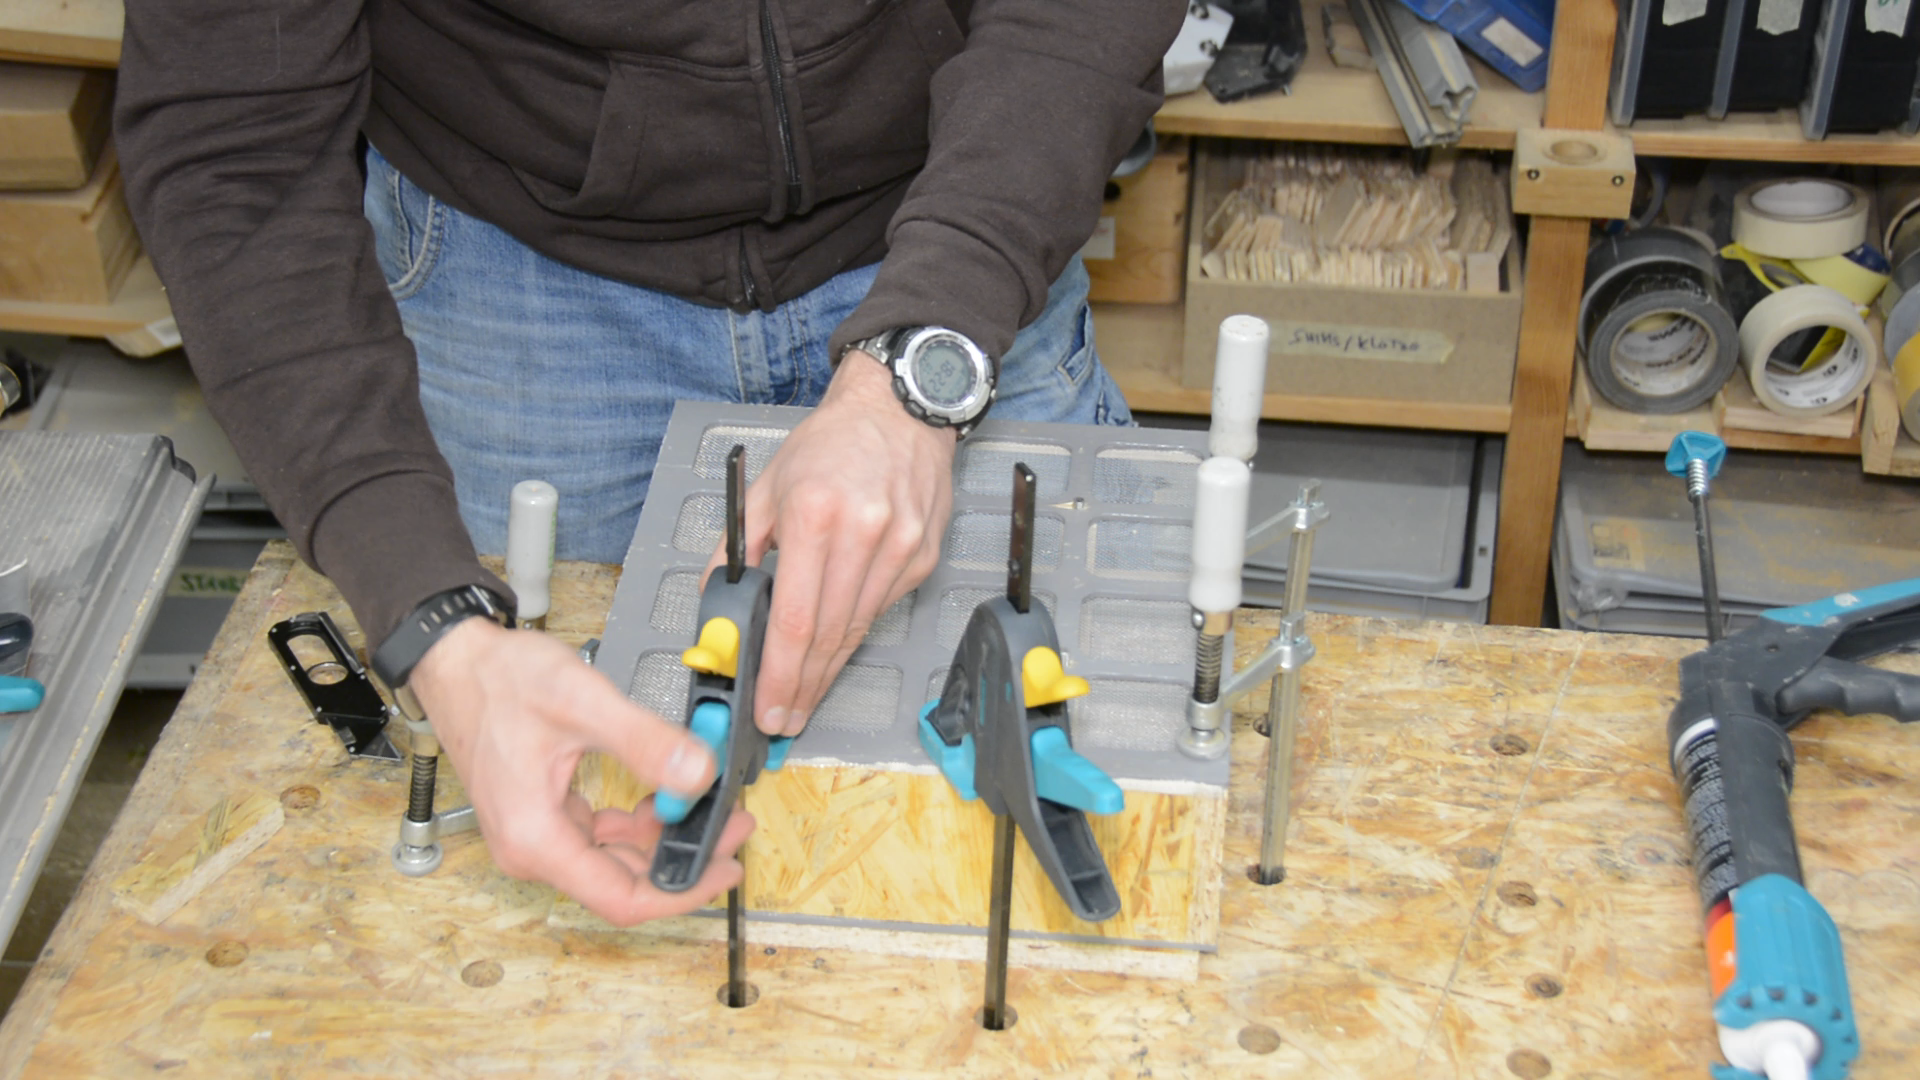
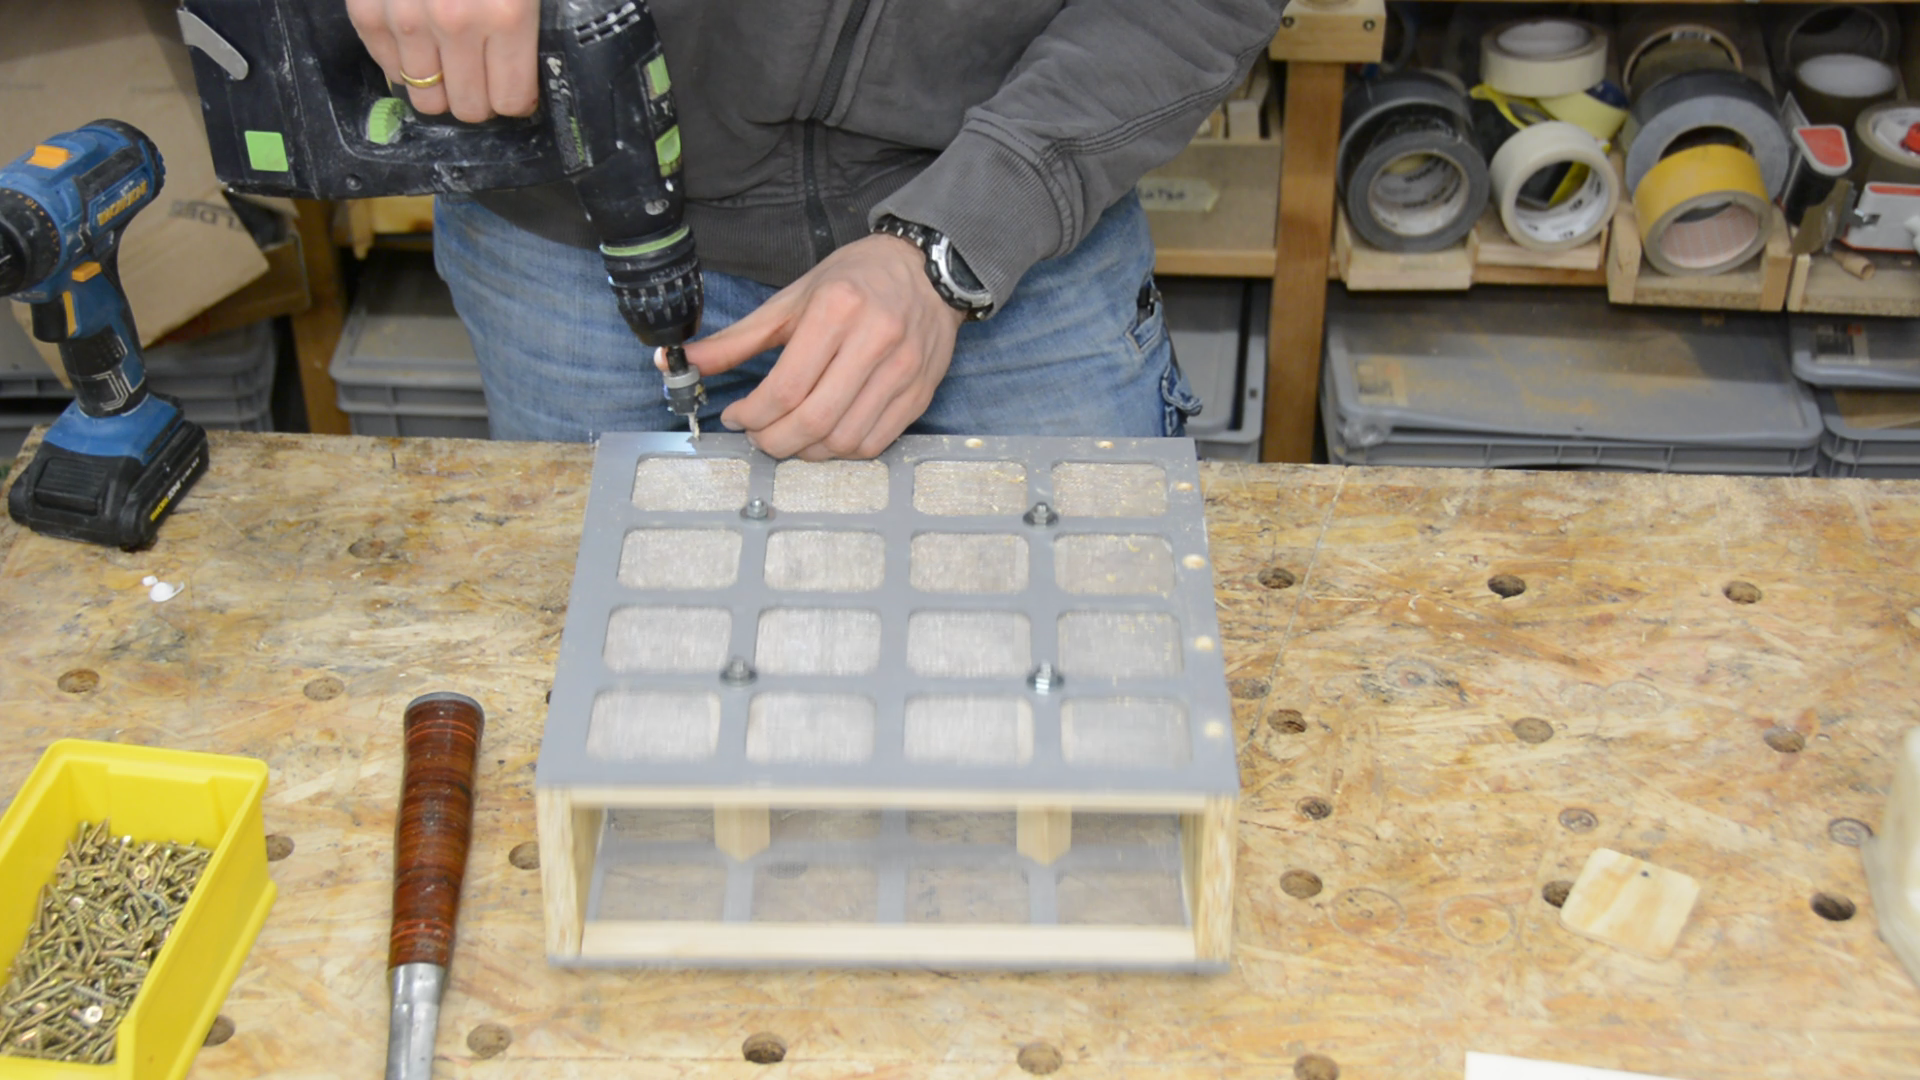
After the glue has dried the sides are secured with a few screws from the outside.
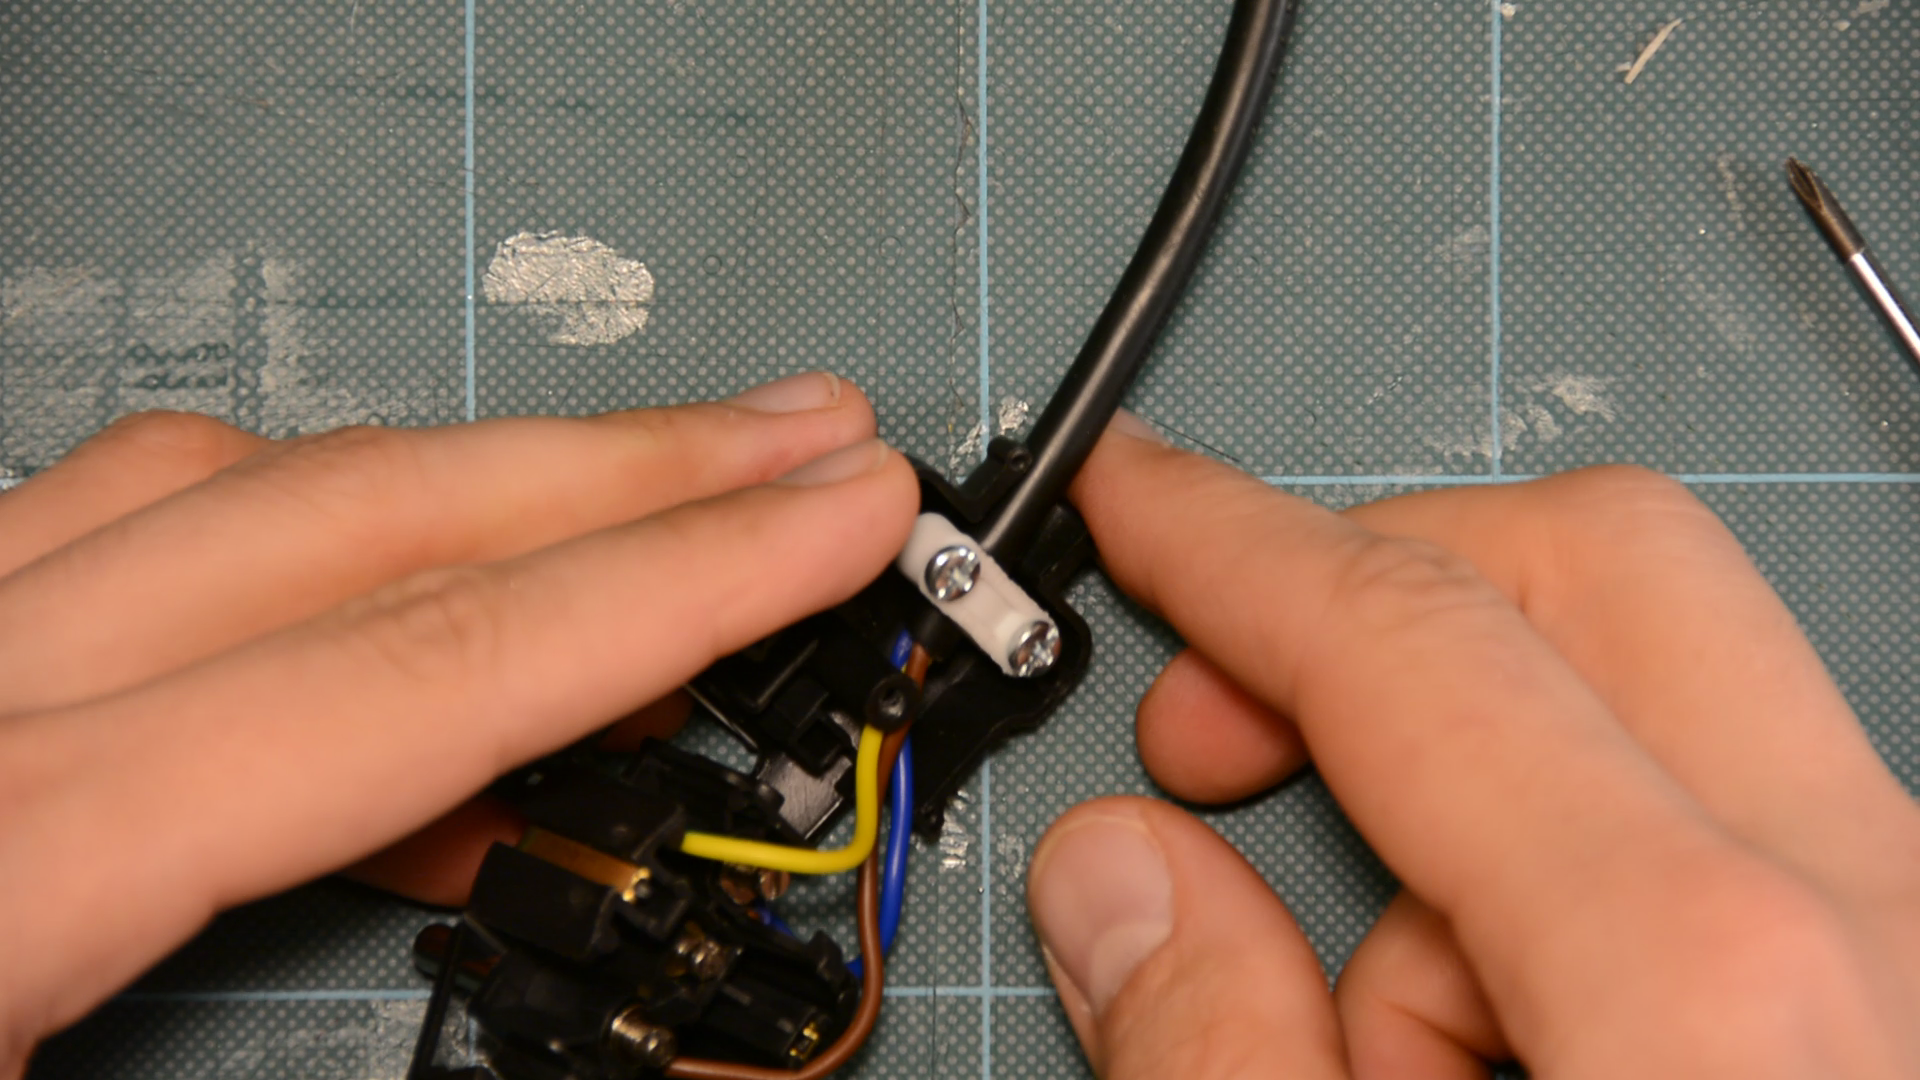
Fan and air intake for the DIY air filter
We also bought this exhaust fan. It comes without a plug so we will have to wire a plug to the fan. All of the products we used will be linked at the end of the article.
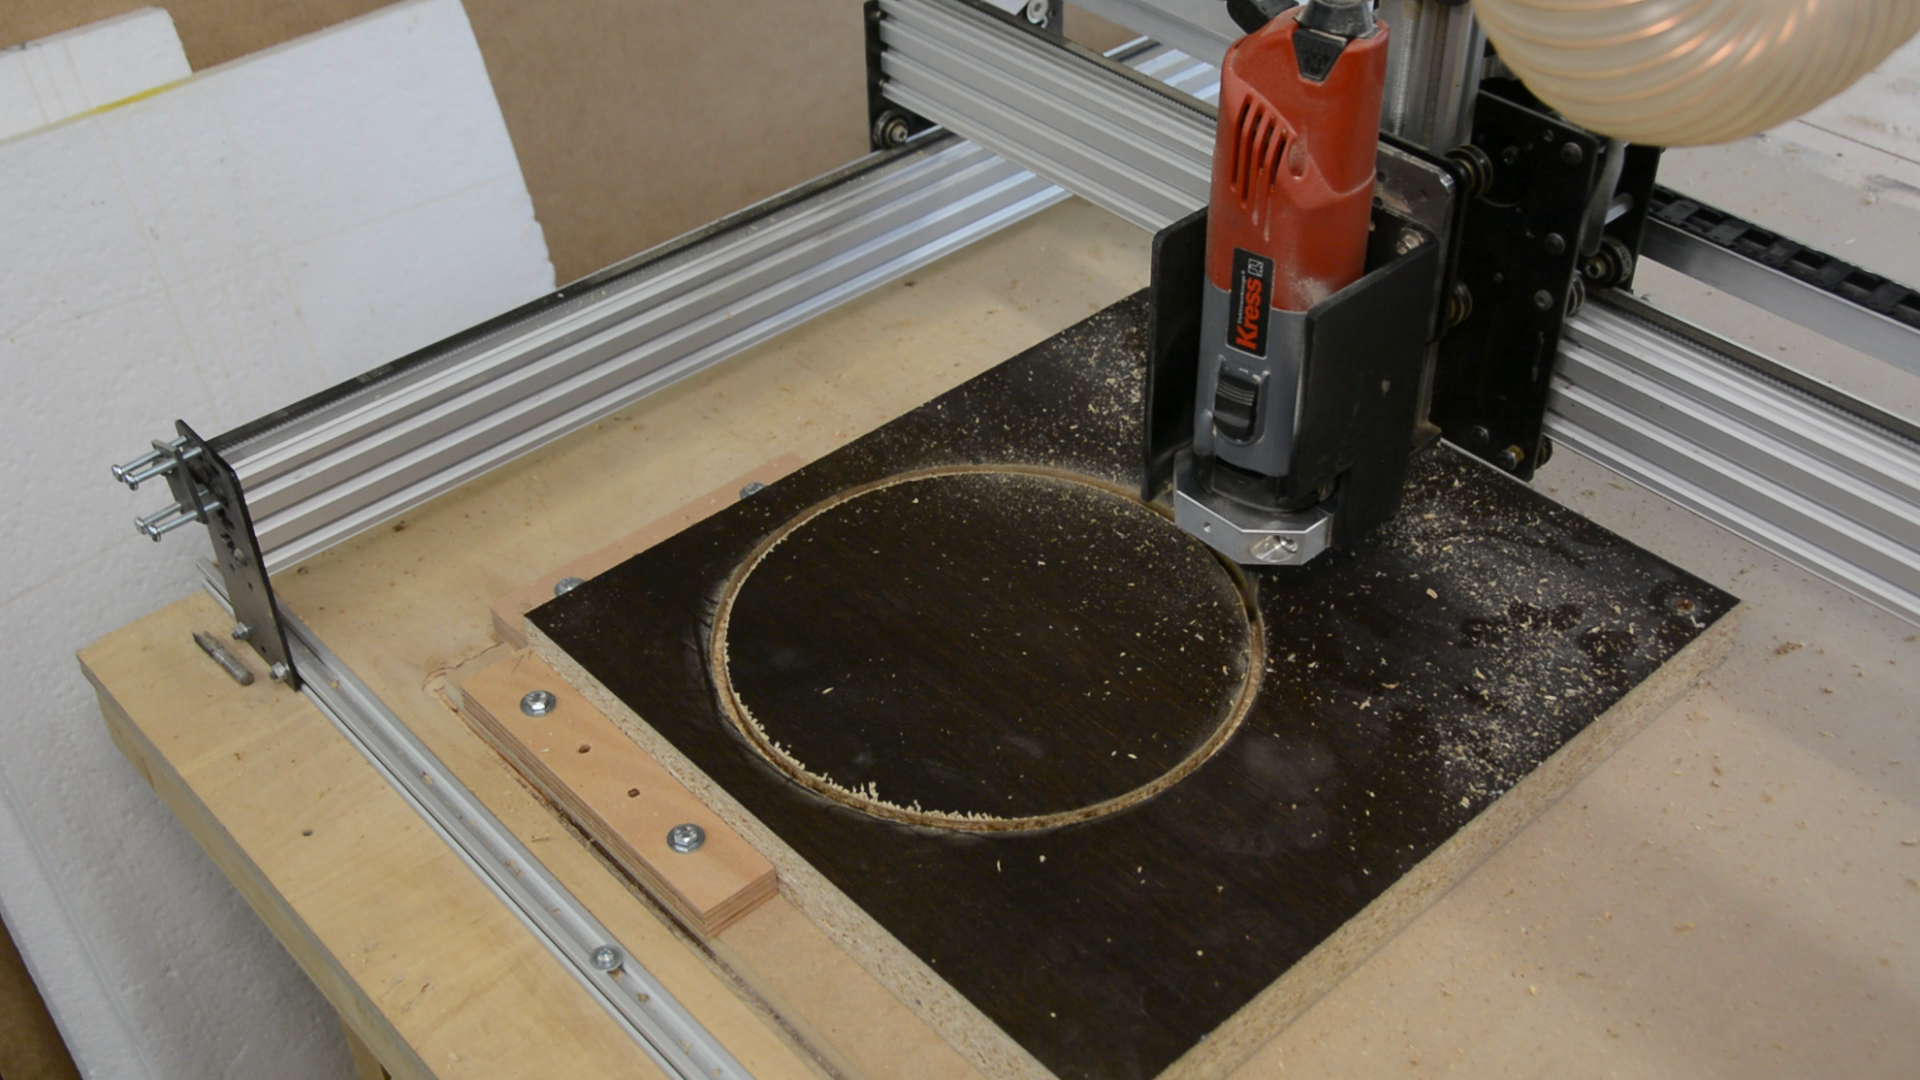
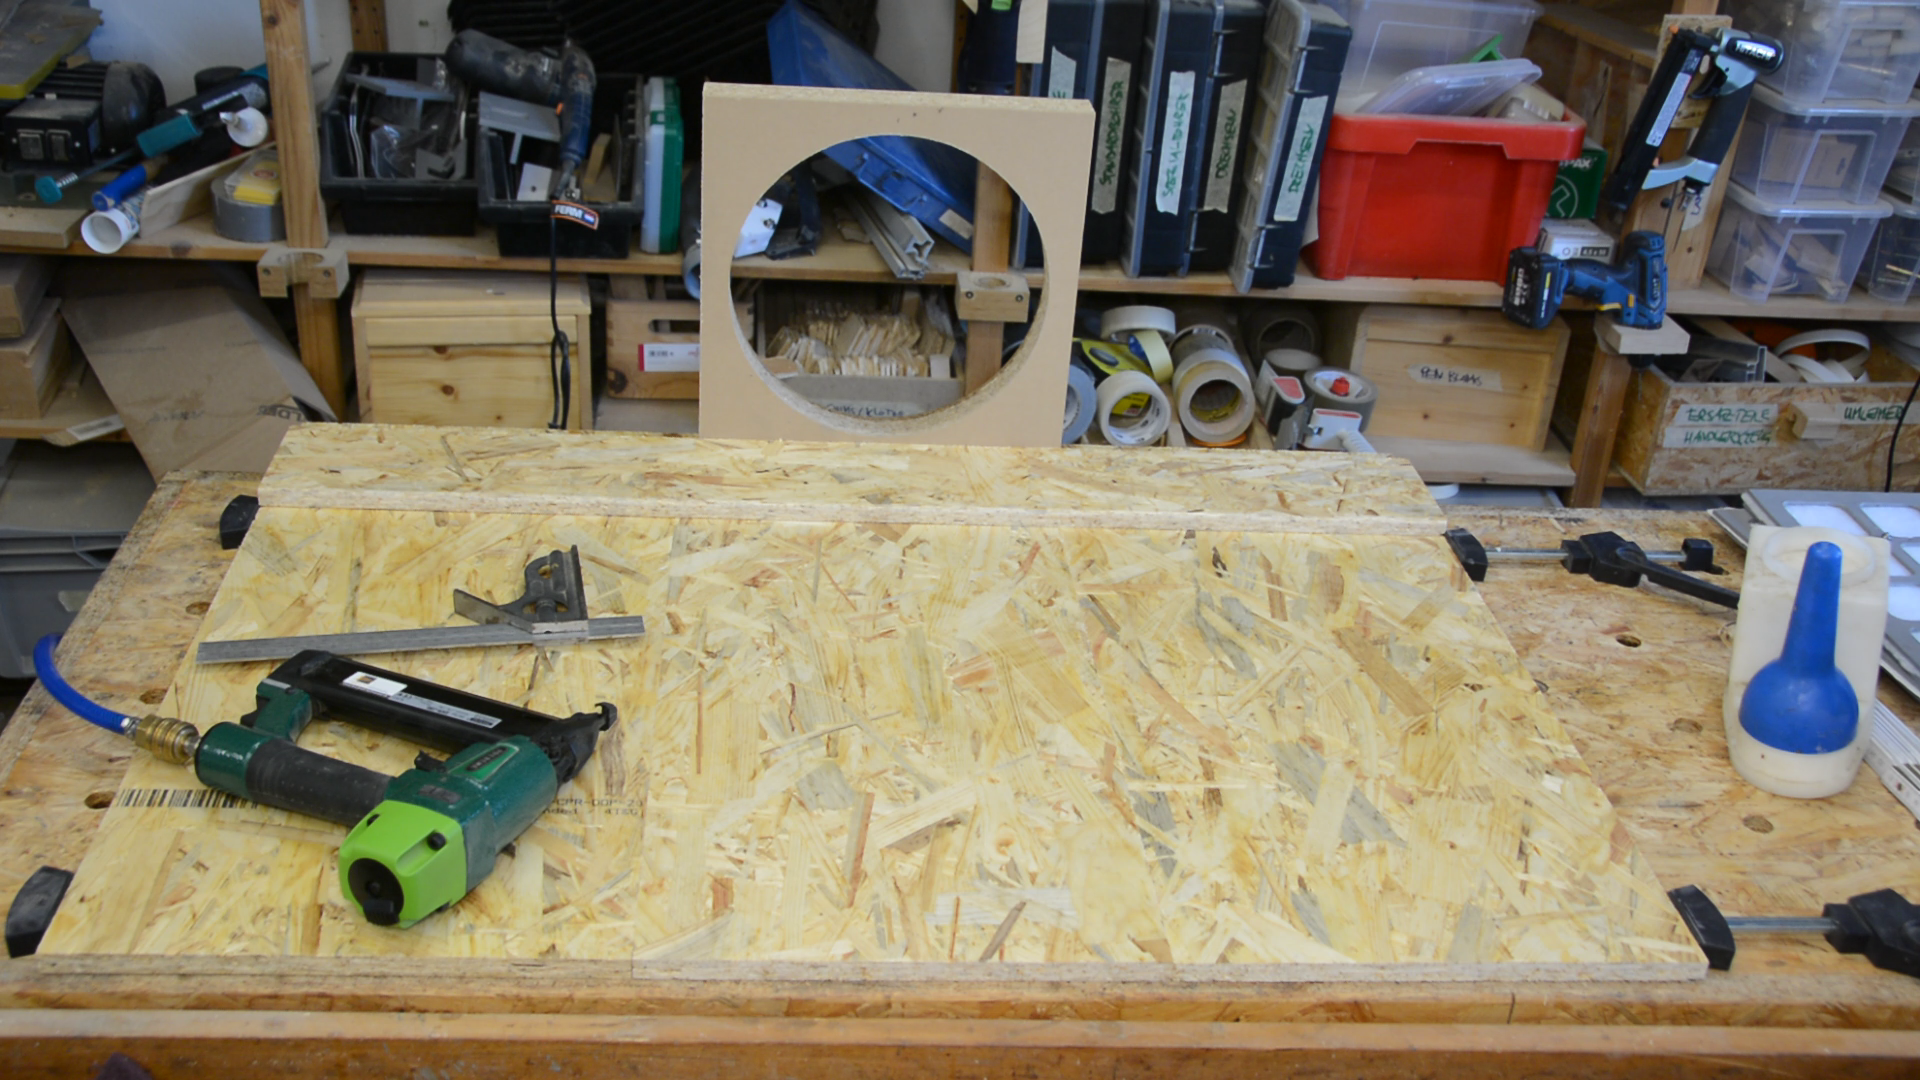
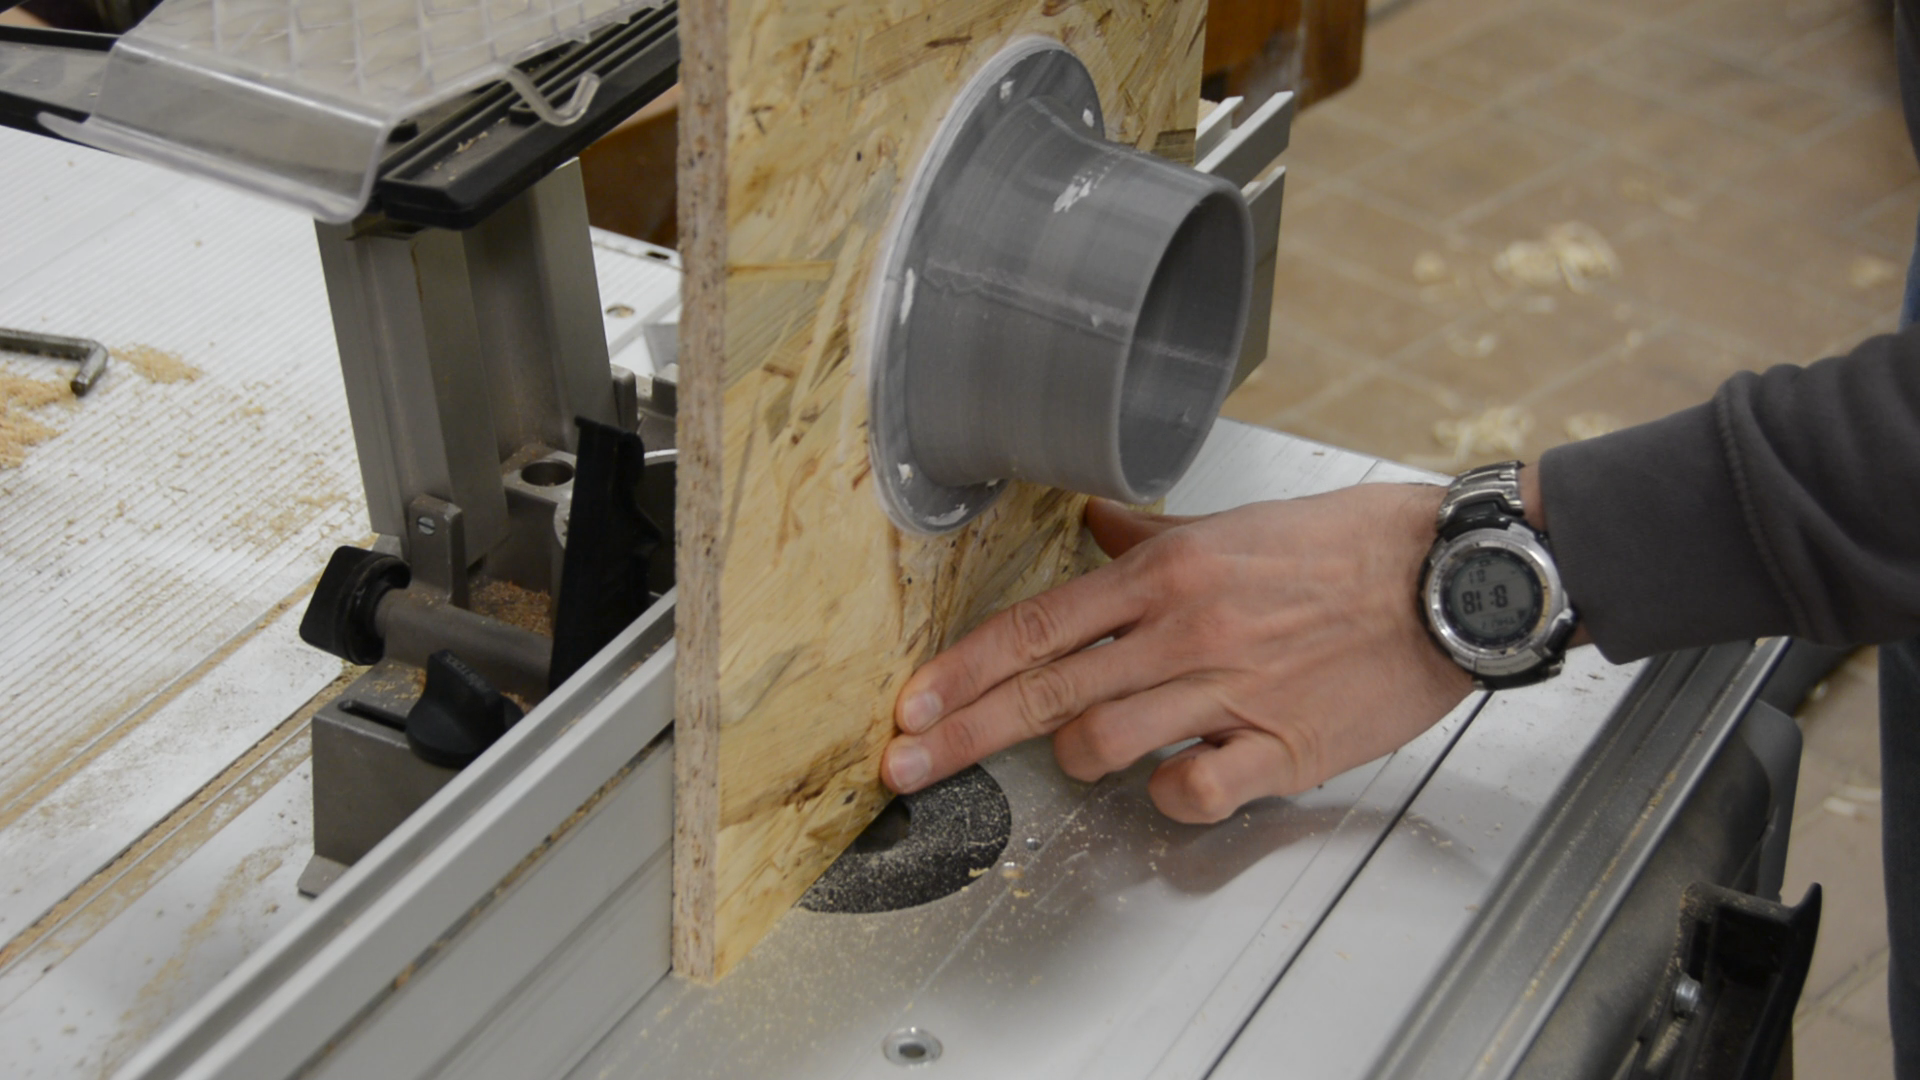
On the CNC we cut a circular opening in a scrap piece of kitchen countertop for the fan to fit.
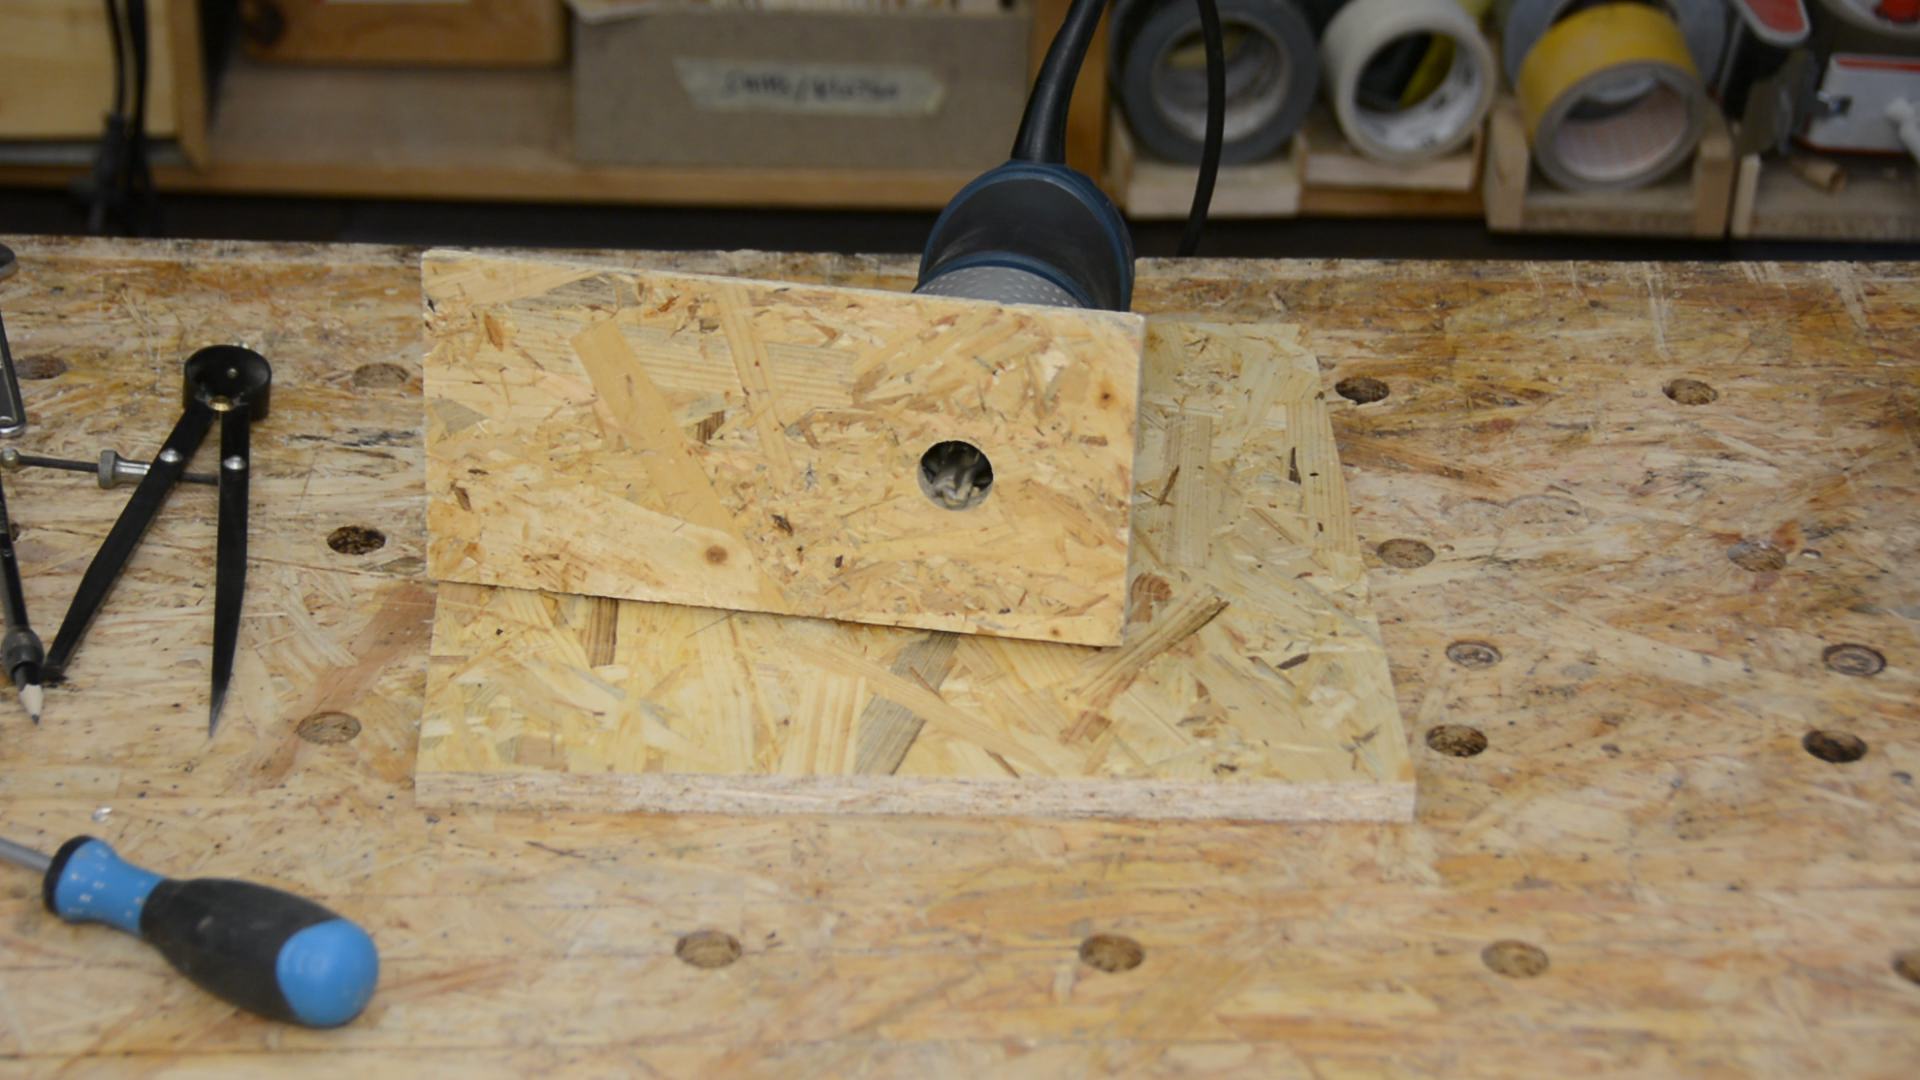
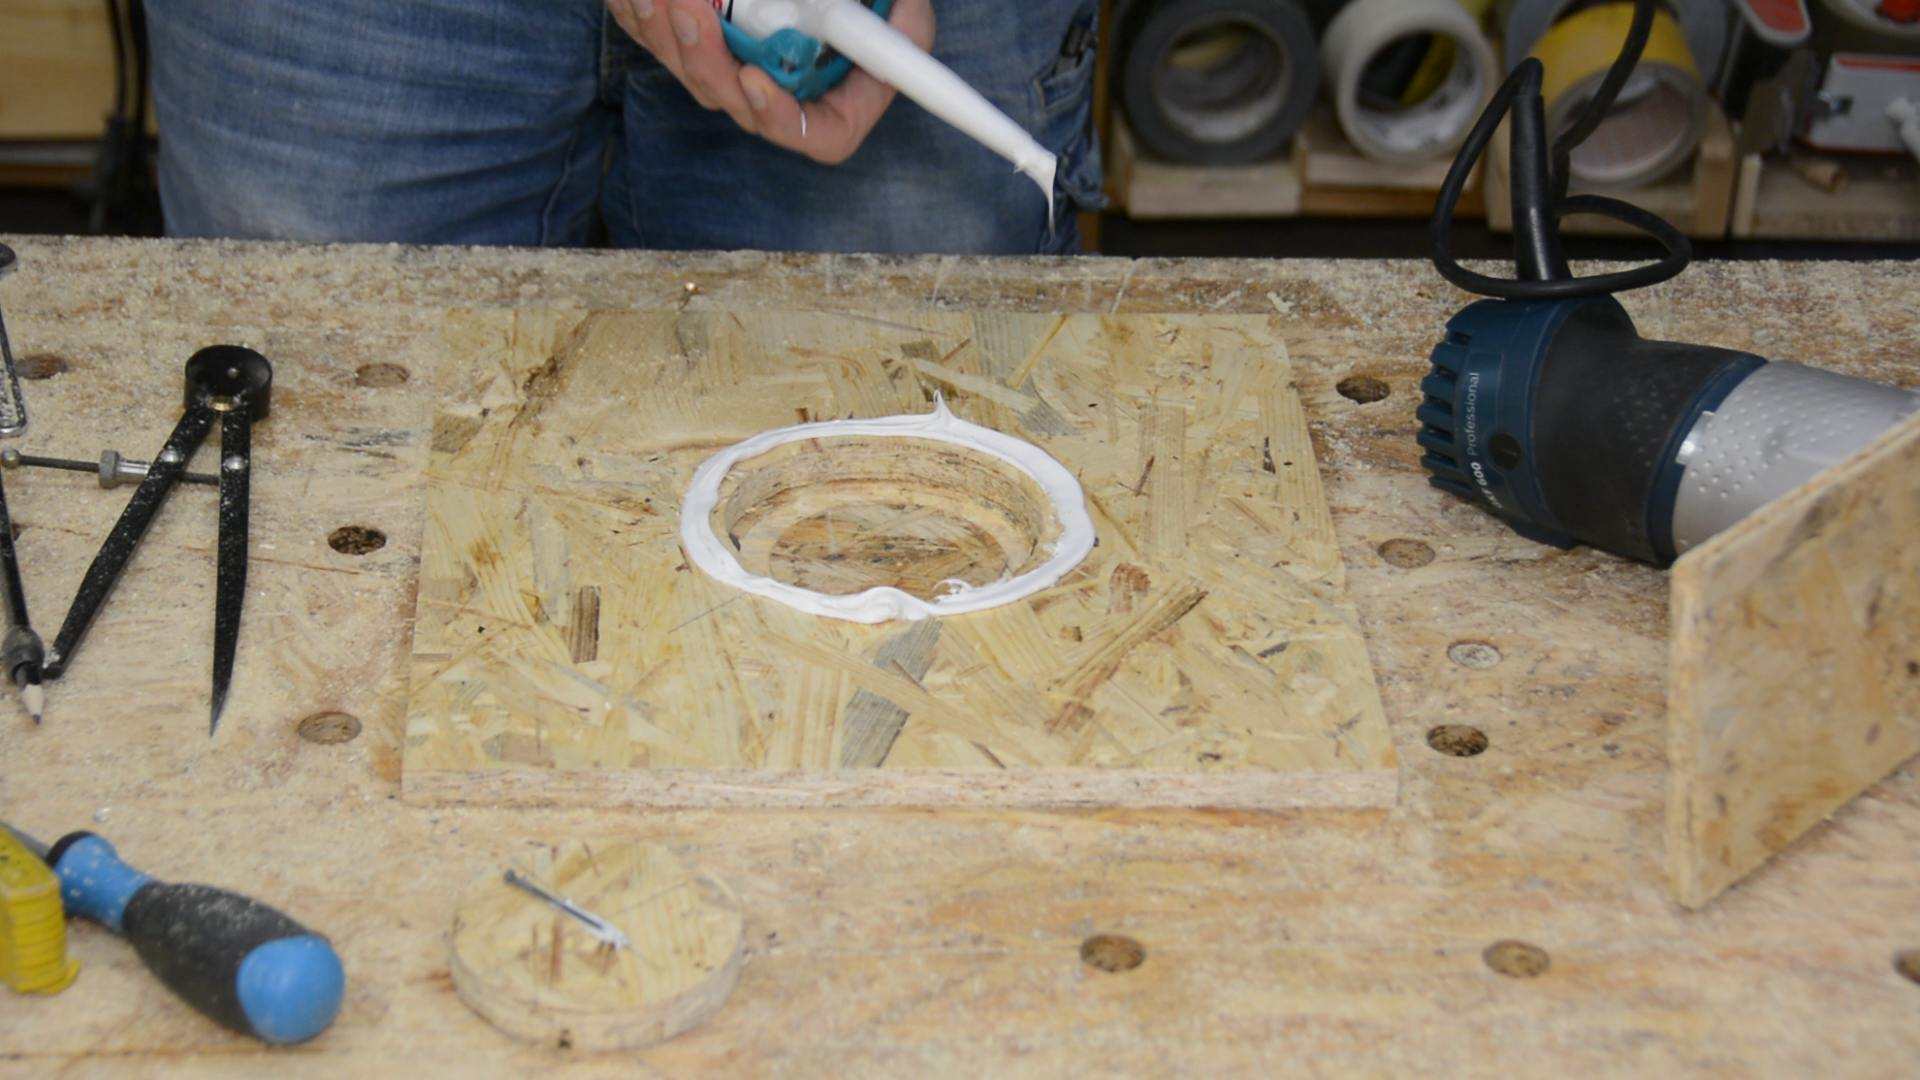
To connect the box the the hose we 3d print a simple connector piece. The model will be available on our Thingiverse website. The filter box gets a hole on which the 3d printed connector can be installed. In this case using a router and an improvised circle cutting jig is faster than using the CNC.

The 3d printed connector is glued to the OSB with a healthy amount of silicone.

The box and filter holders
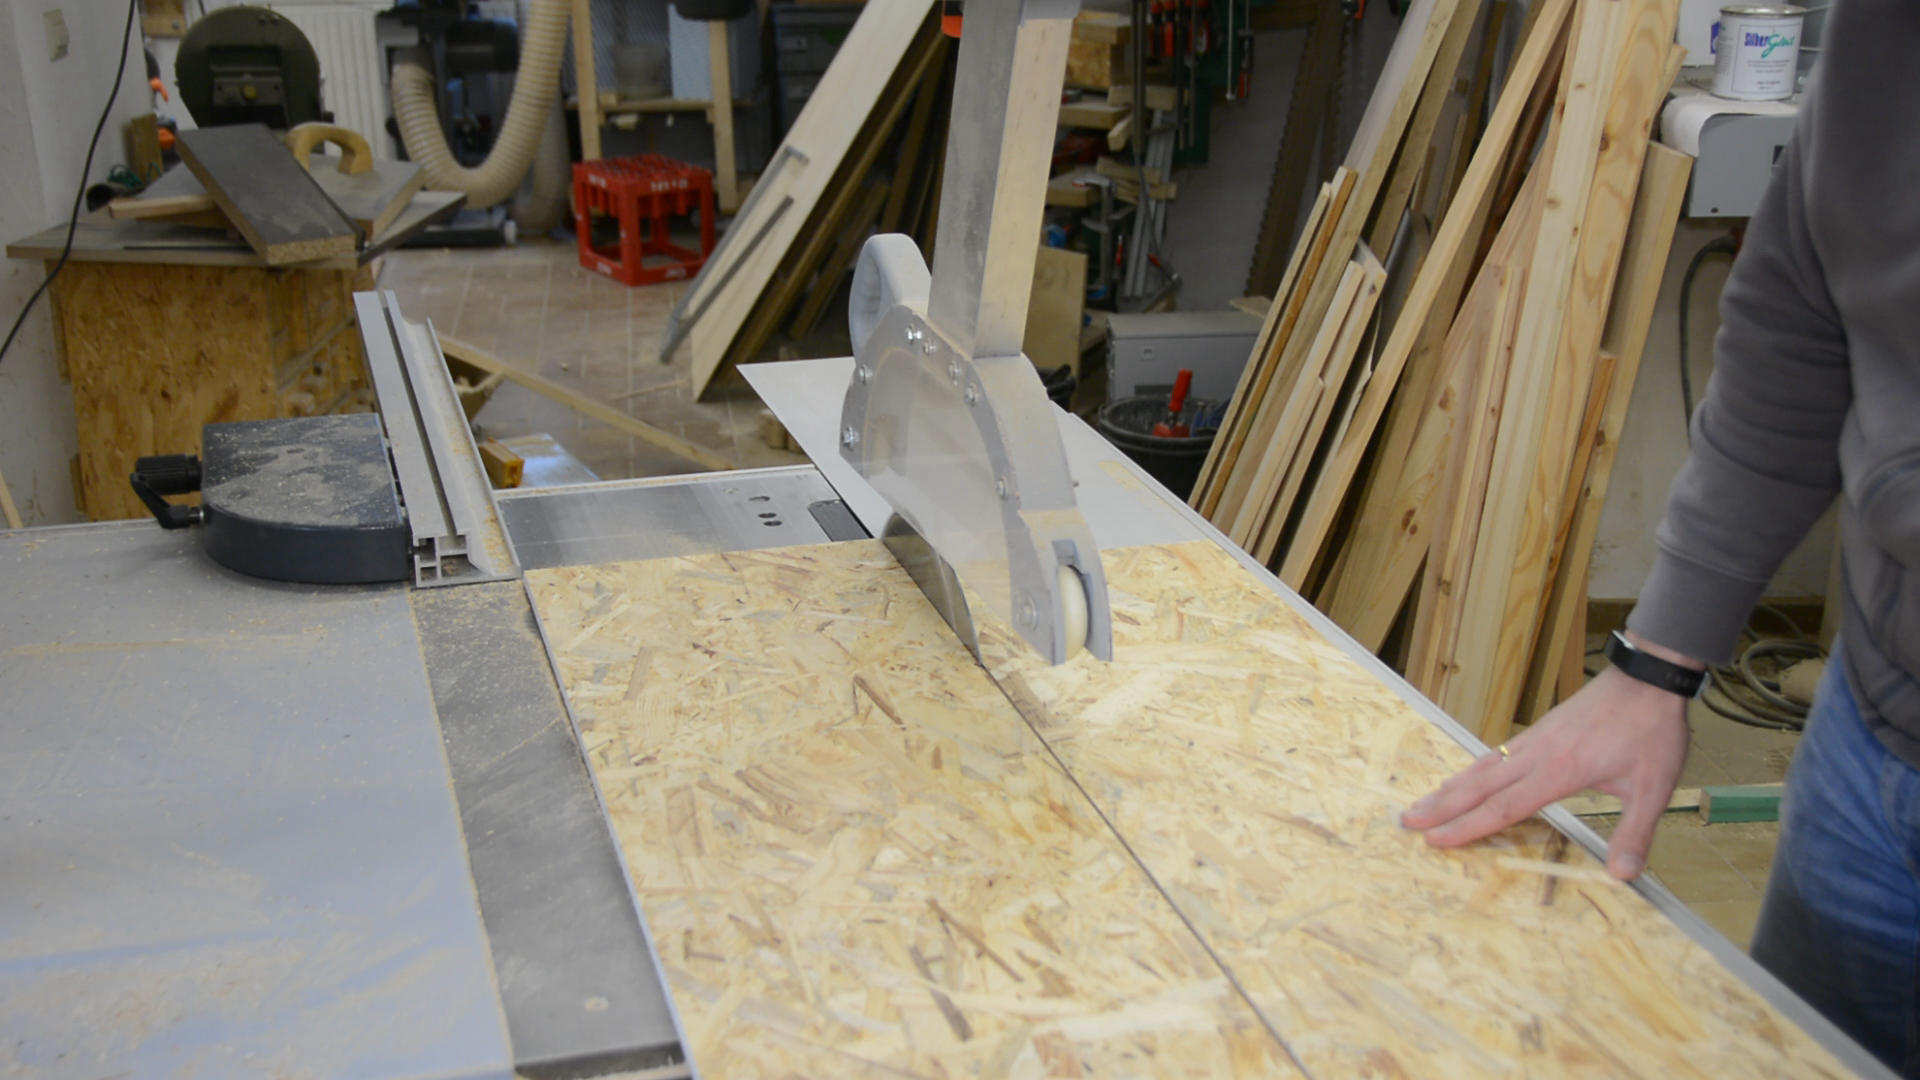
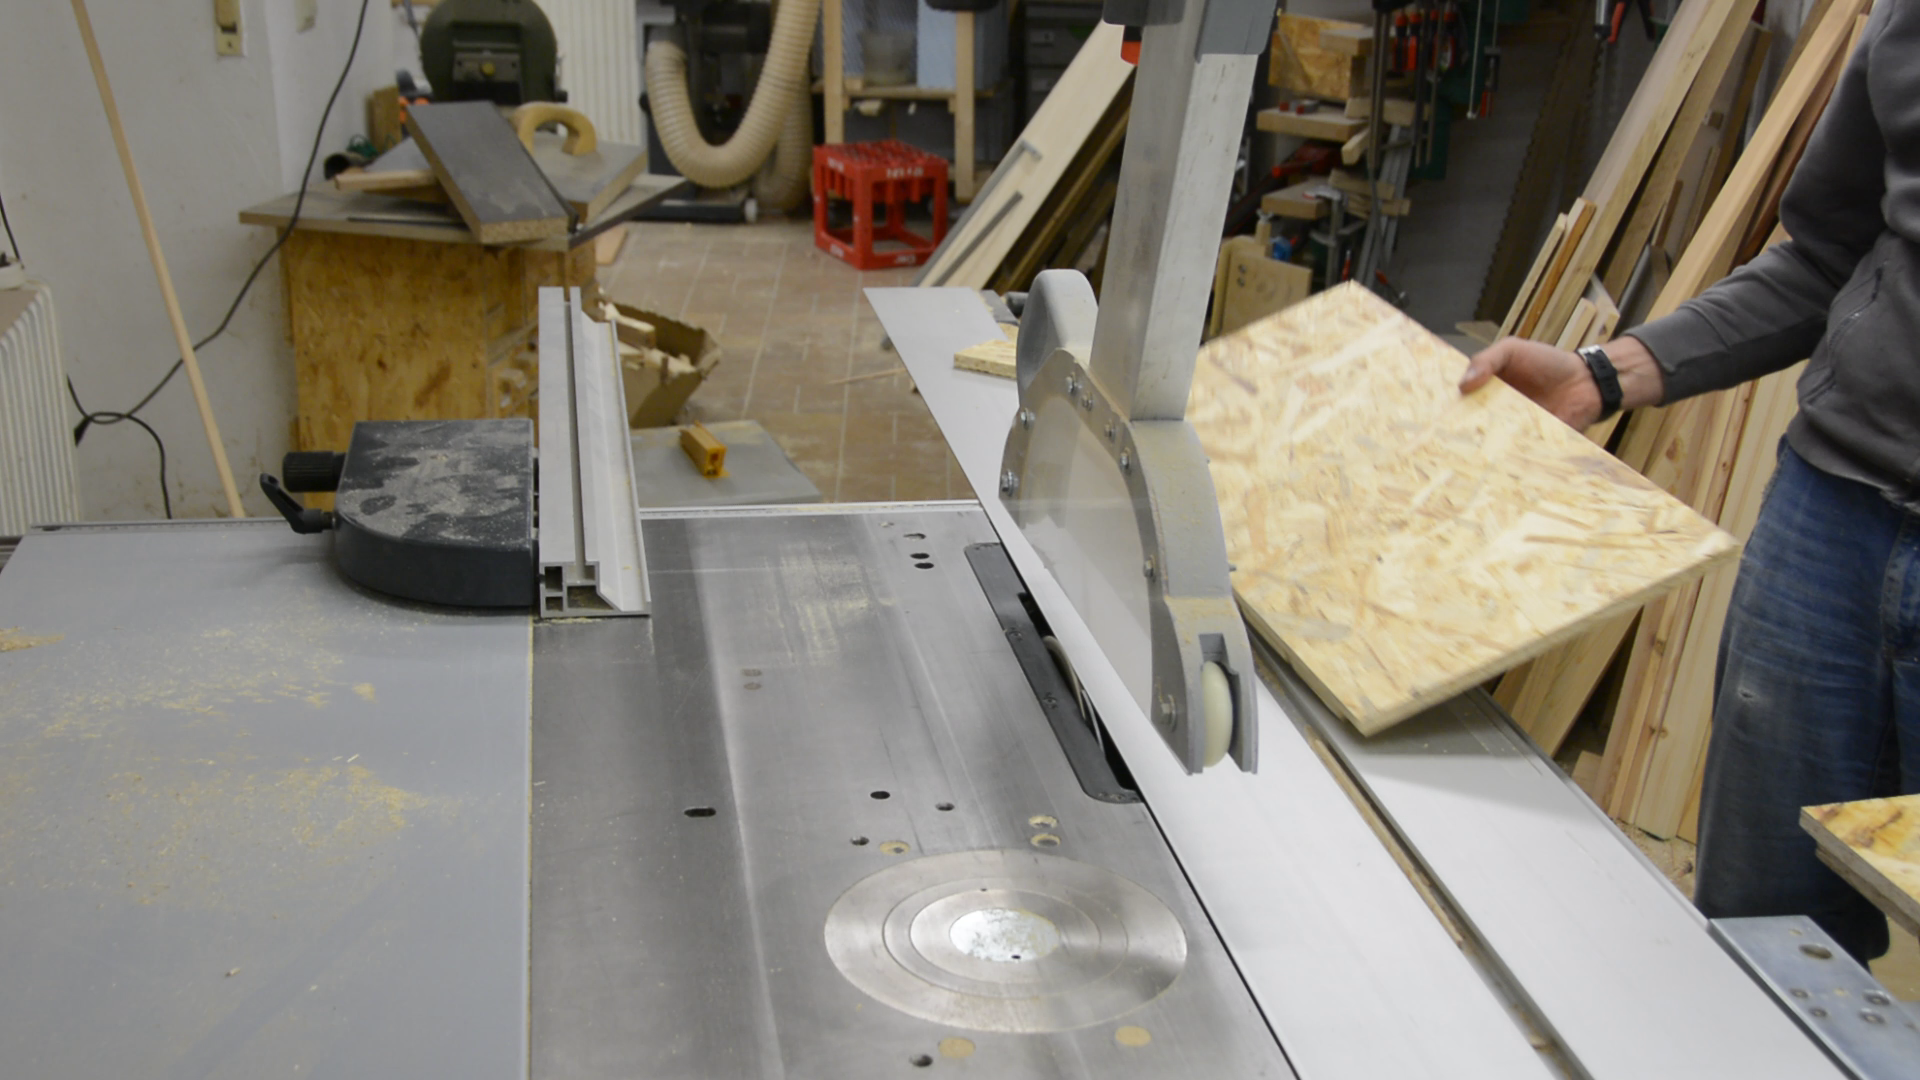
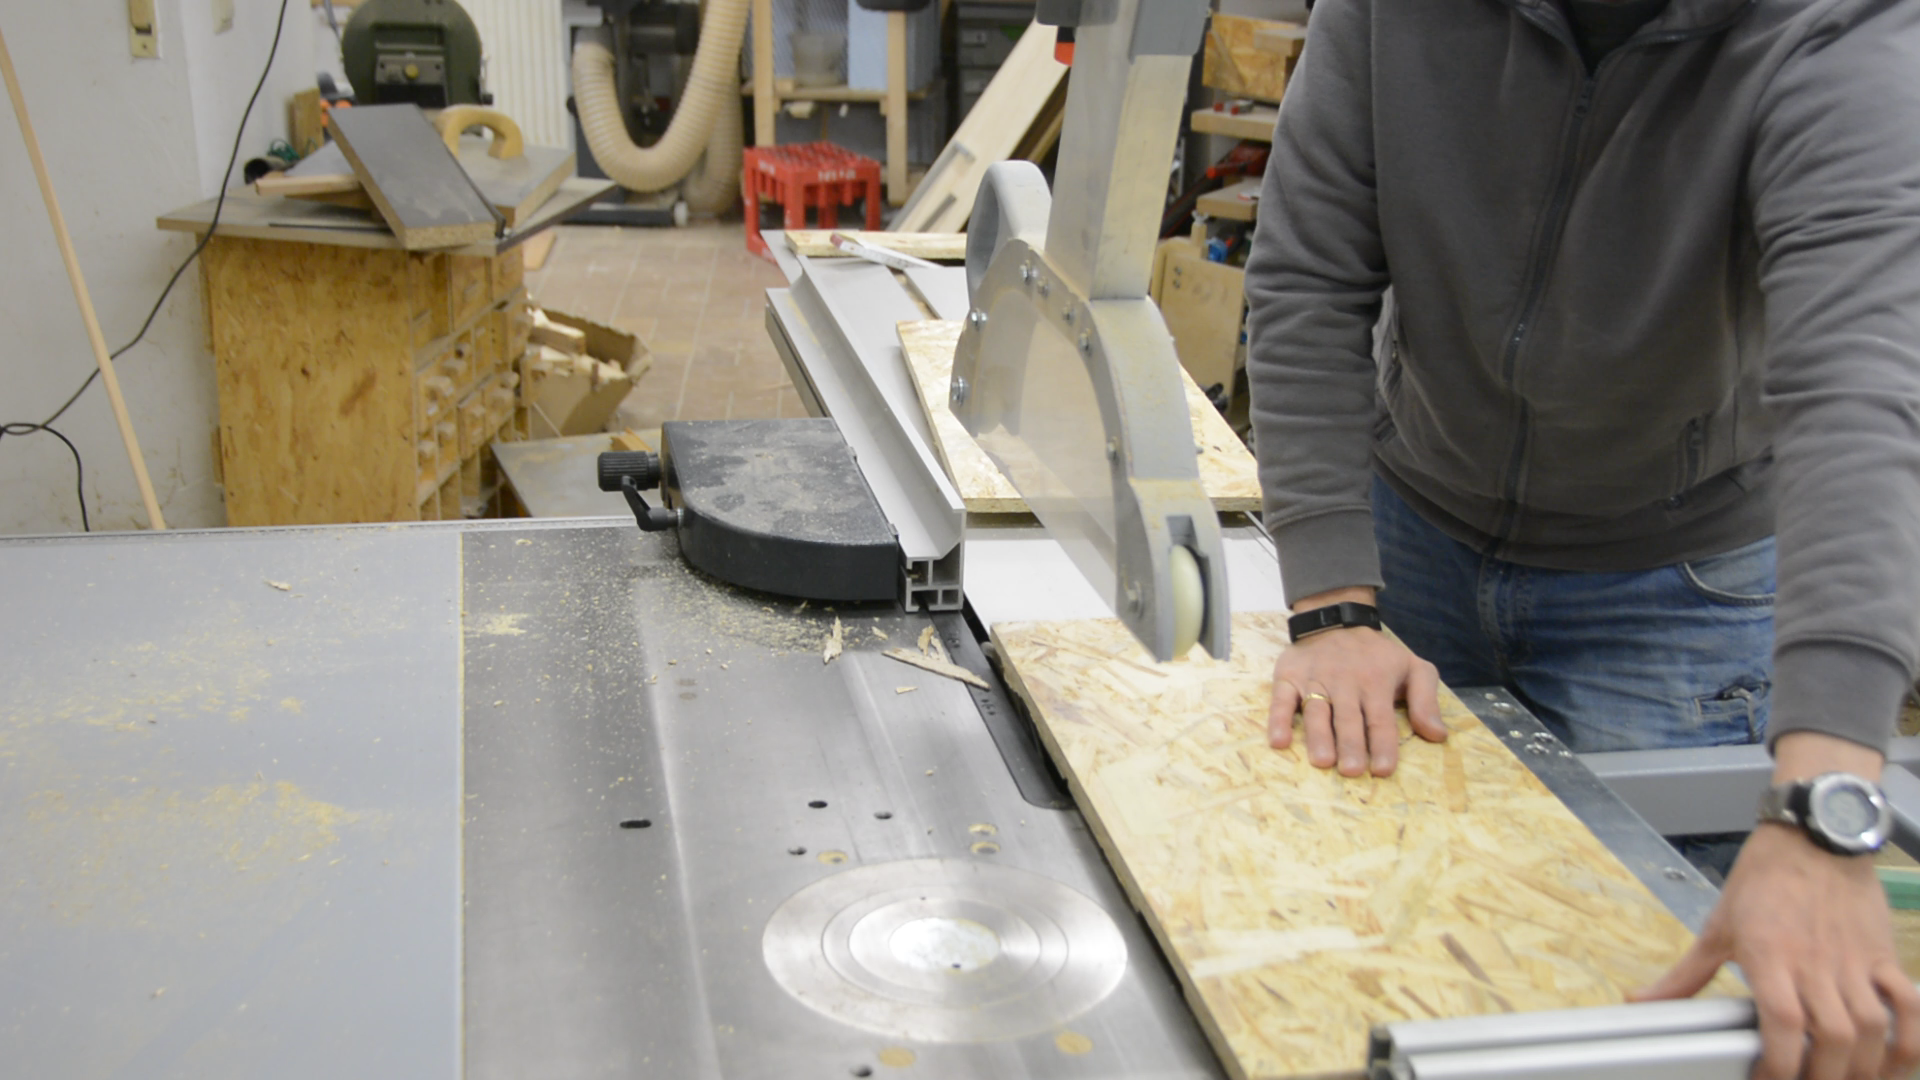
We cut all the parts for the box from cheap OSB sheets.
We also cut some OSB pieces to size that should hold the filters in place. Their corners are rounded over on the router table.

Putting all panels side by side allow us to glue and nail the strips that hold our filters in place across all thre panels at the same time. This way they are perfectly aligned.
We put the first strip in place, then use the filter itself to space the second strip and continue like this for all the filters. We can now also cut the panels to their final length.

Unfortunately we messed up the direction of the box and cut the one end too short as we will see later.
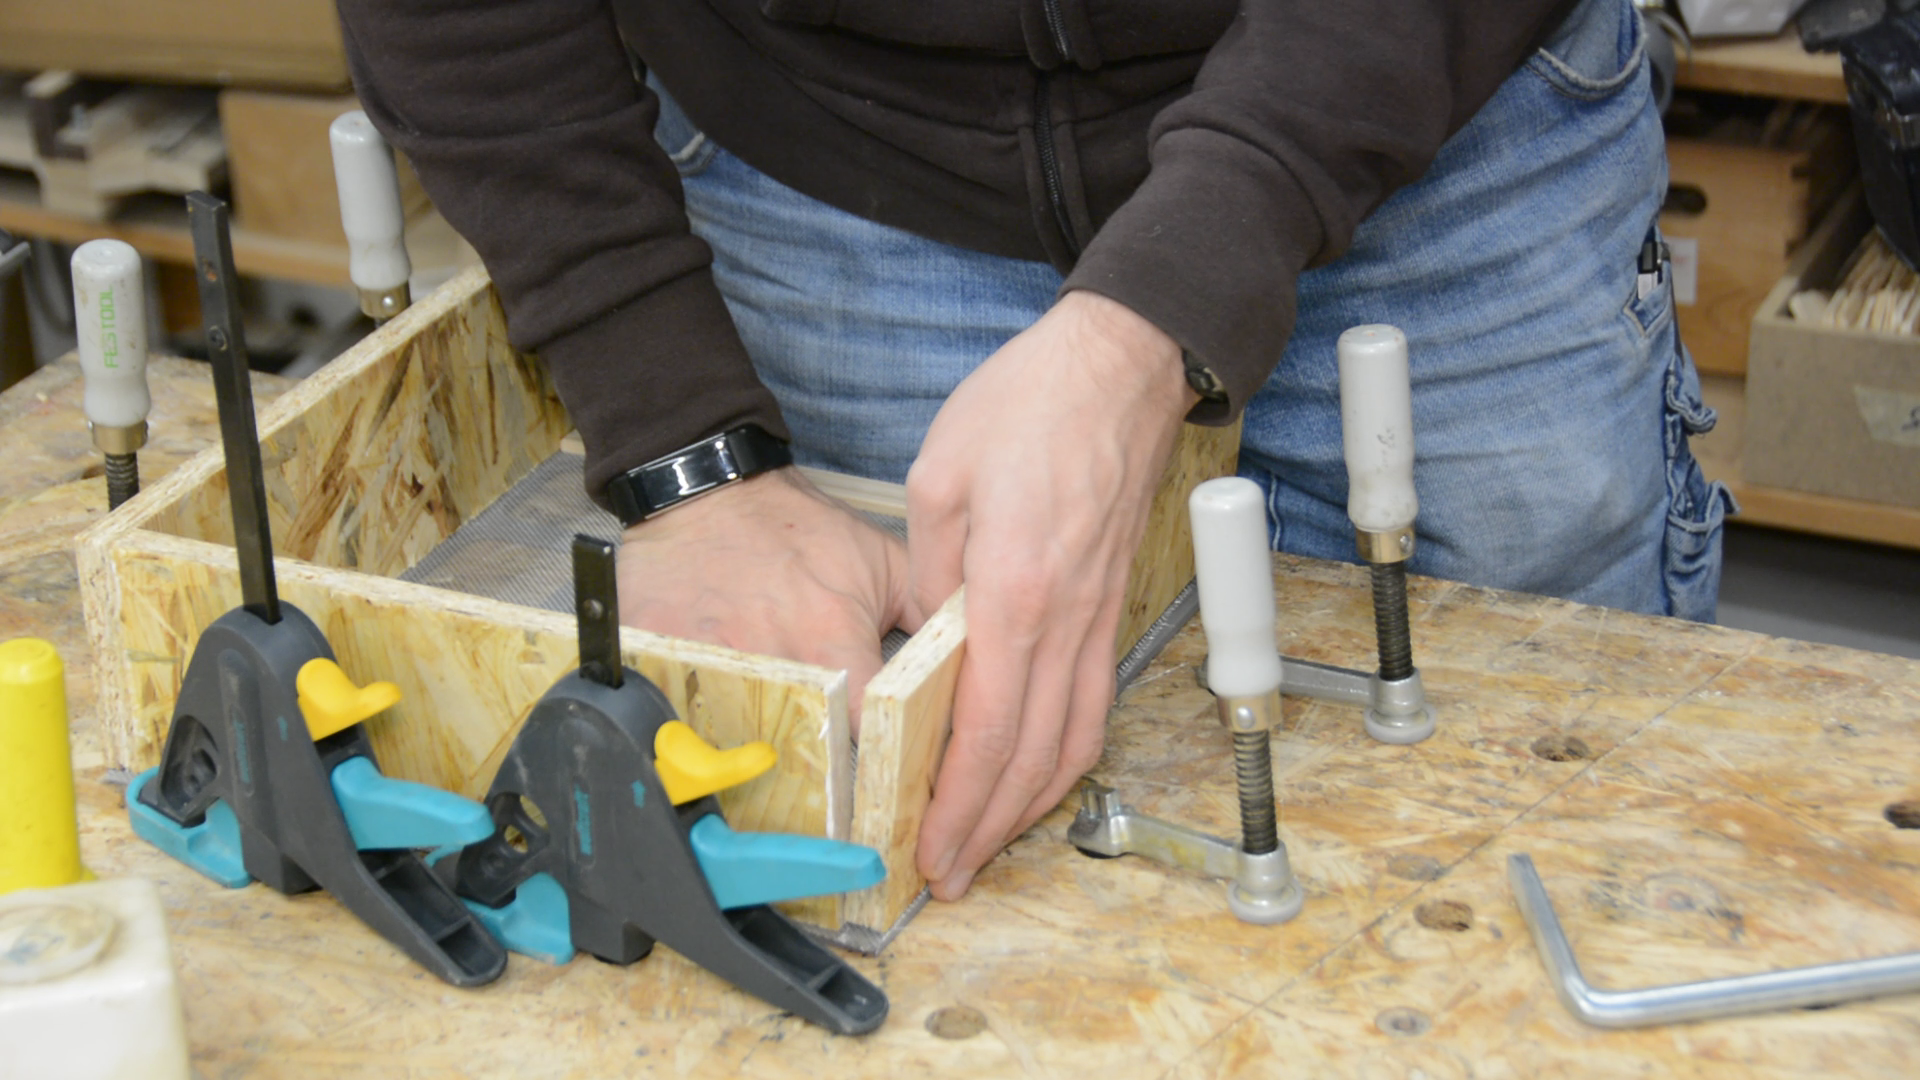
We cut through the strips but not the side pieces on the table saw and also remove some more material of the freshly glued on strips so that we can assemble a box.
Before the final assembly we route a shallow groove in the top of all four sides.
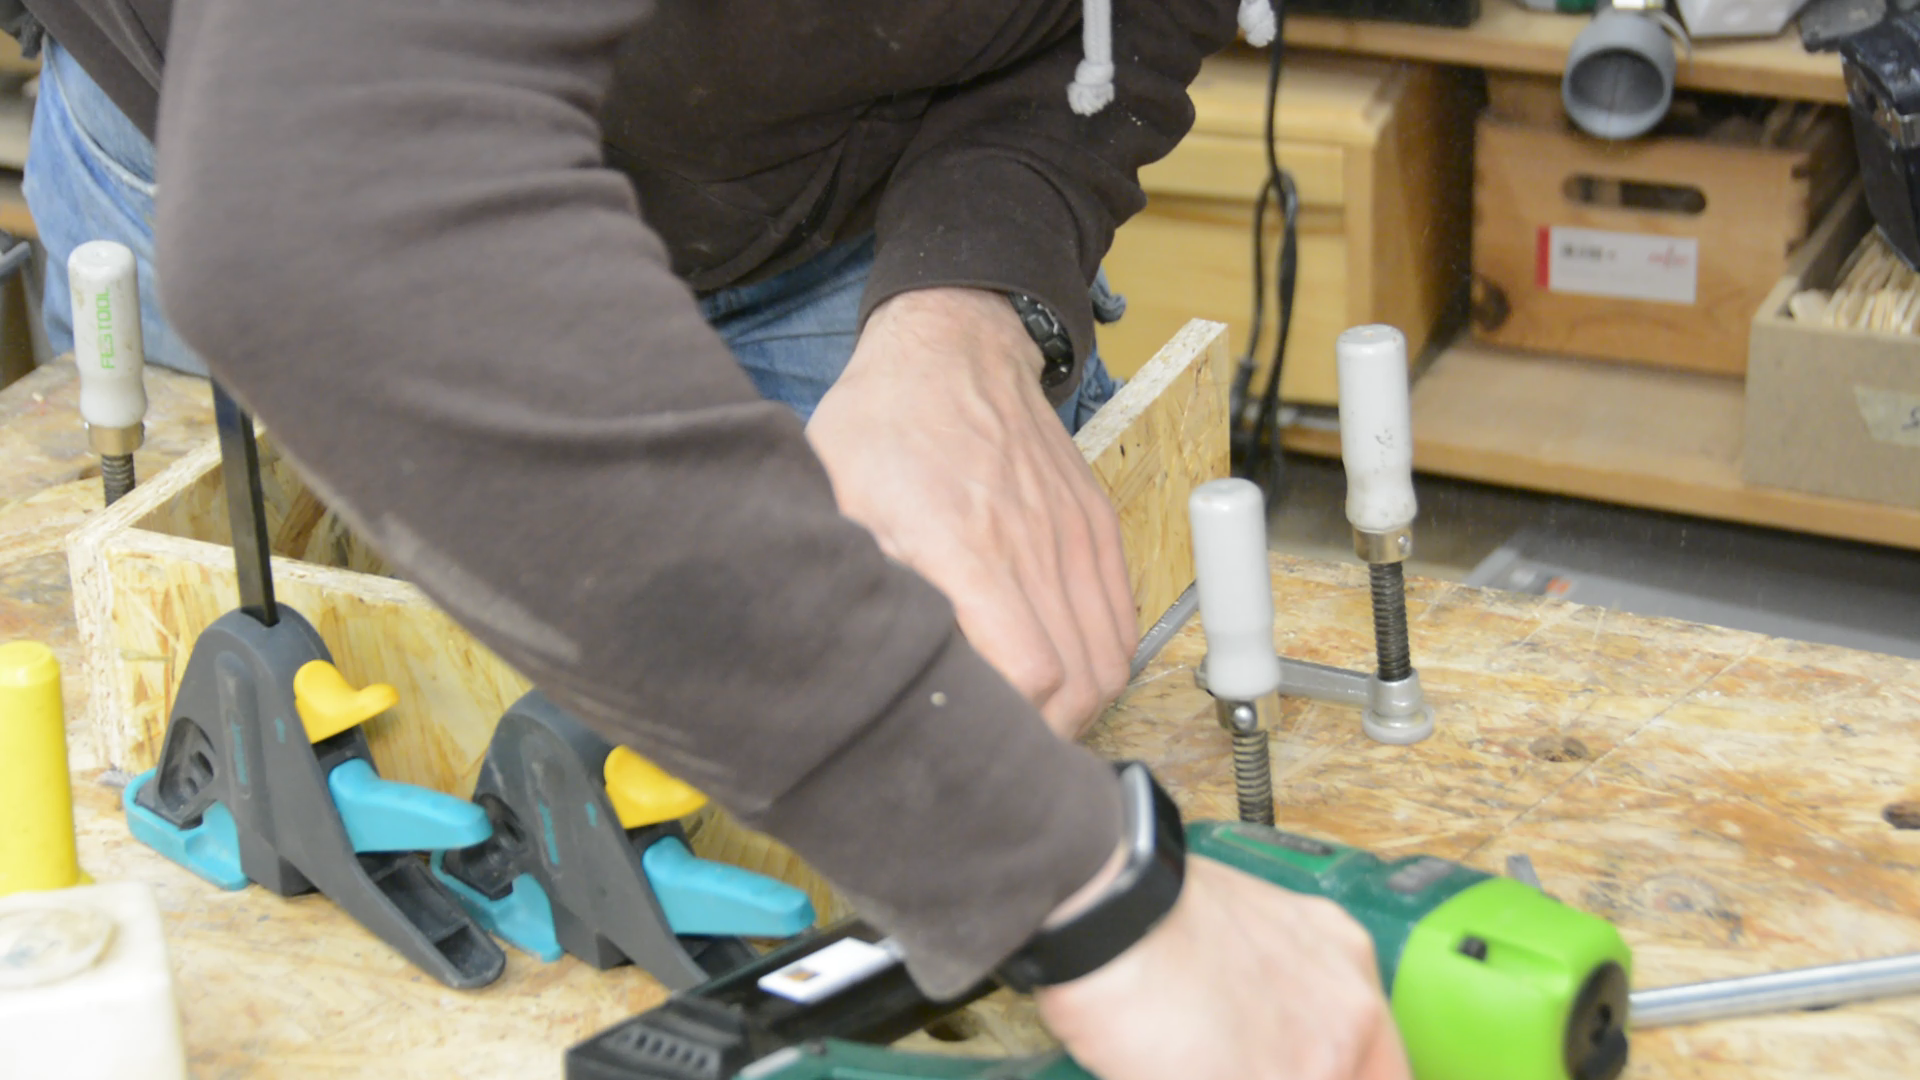
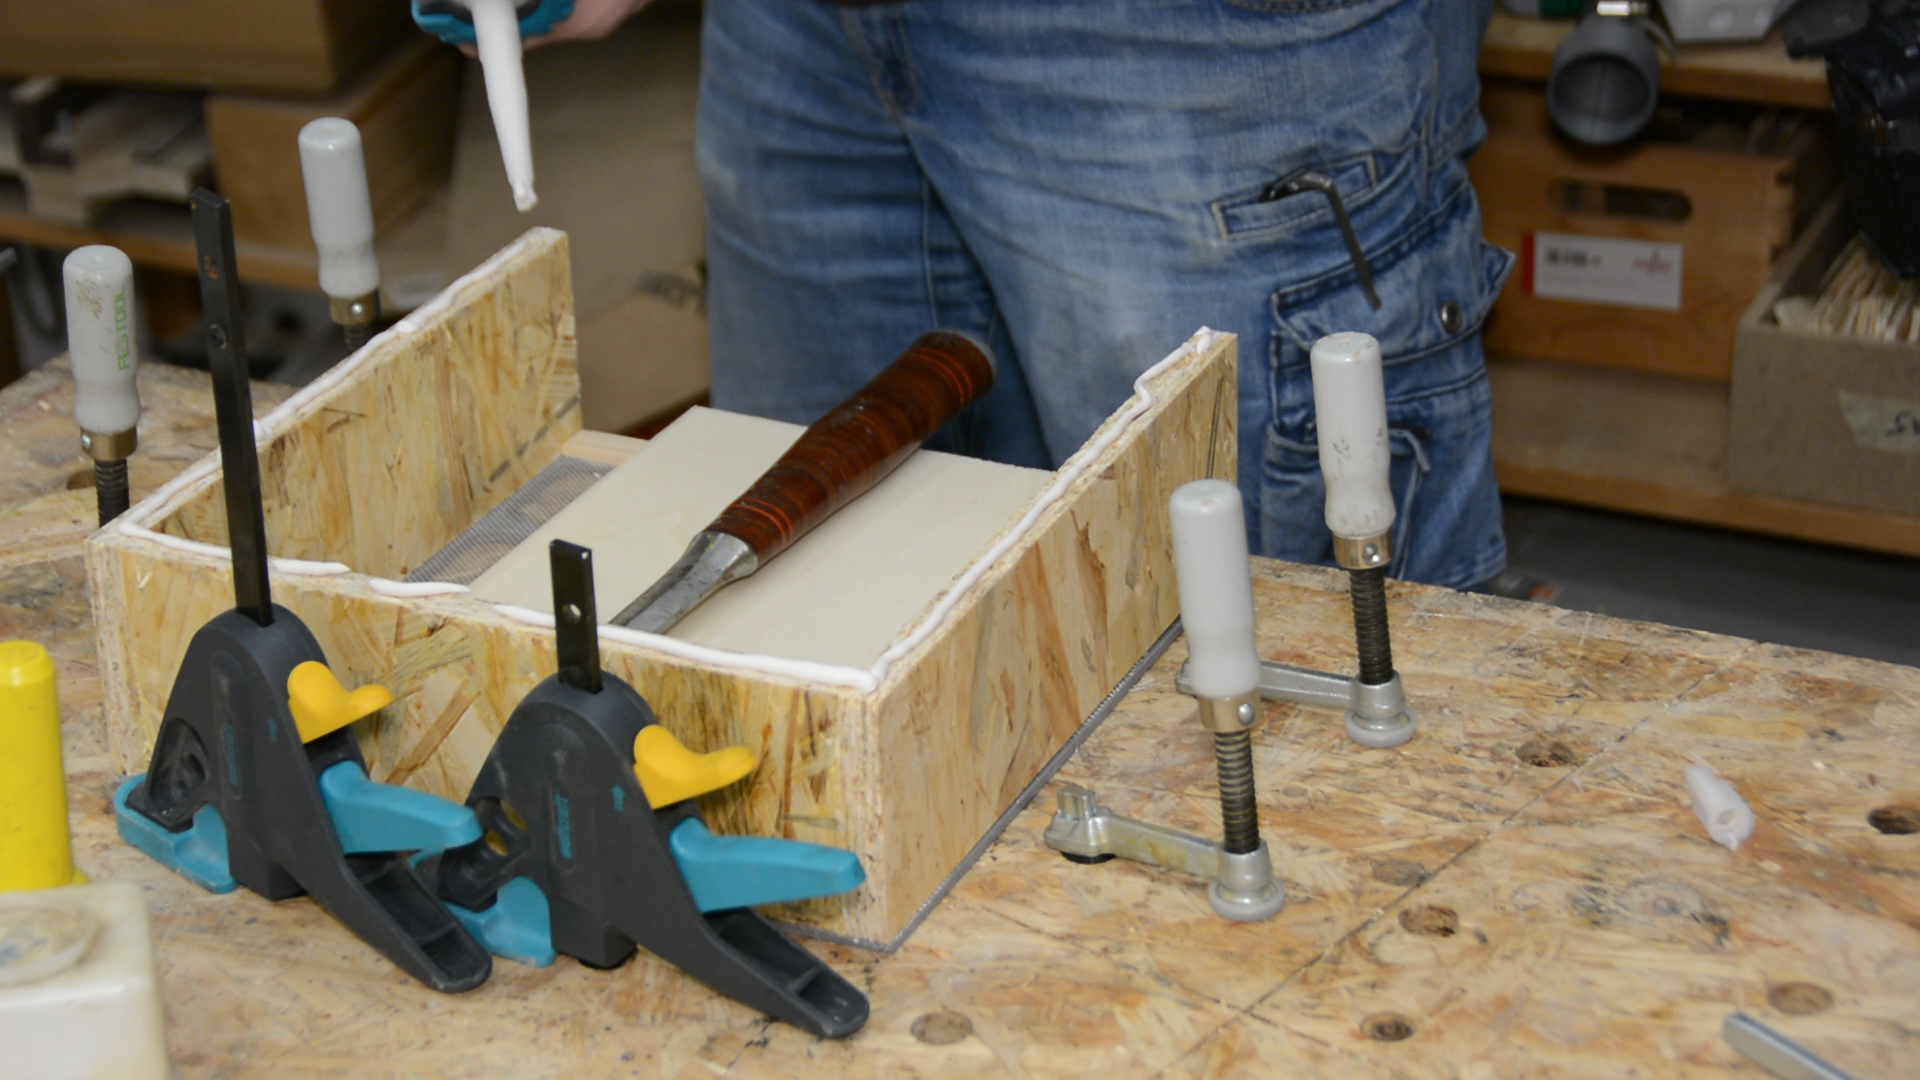
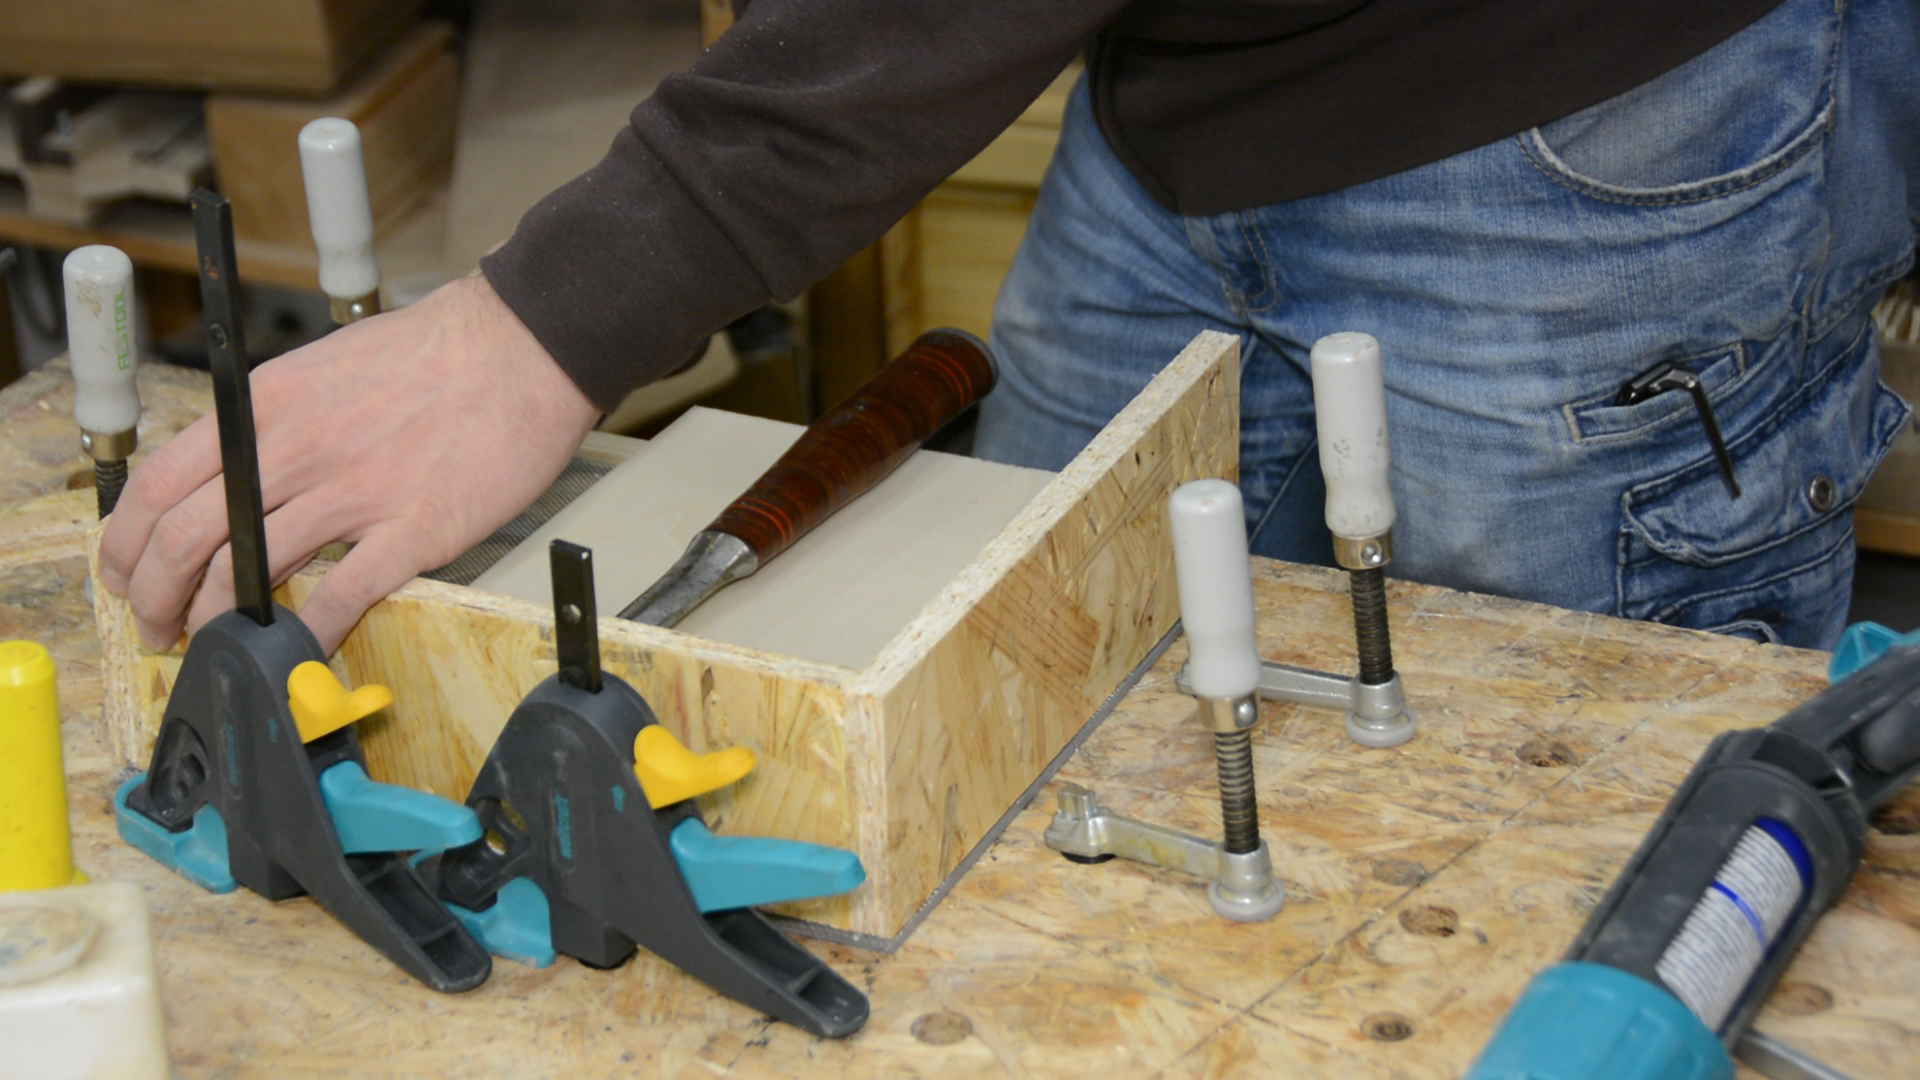
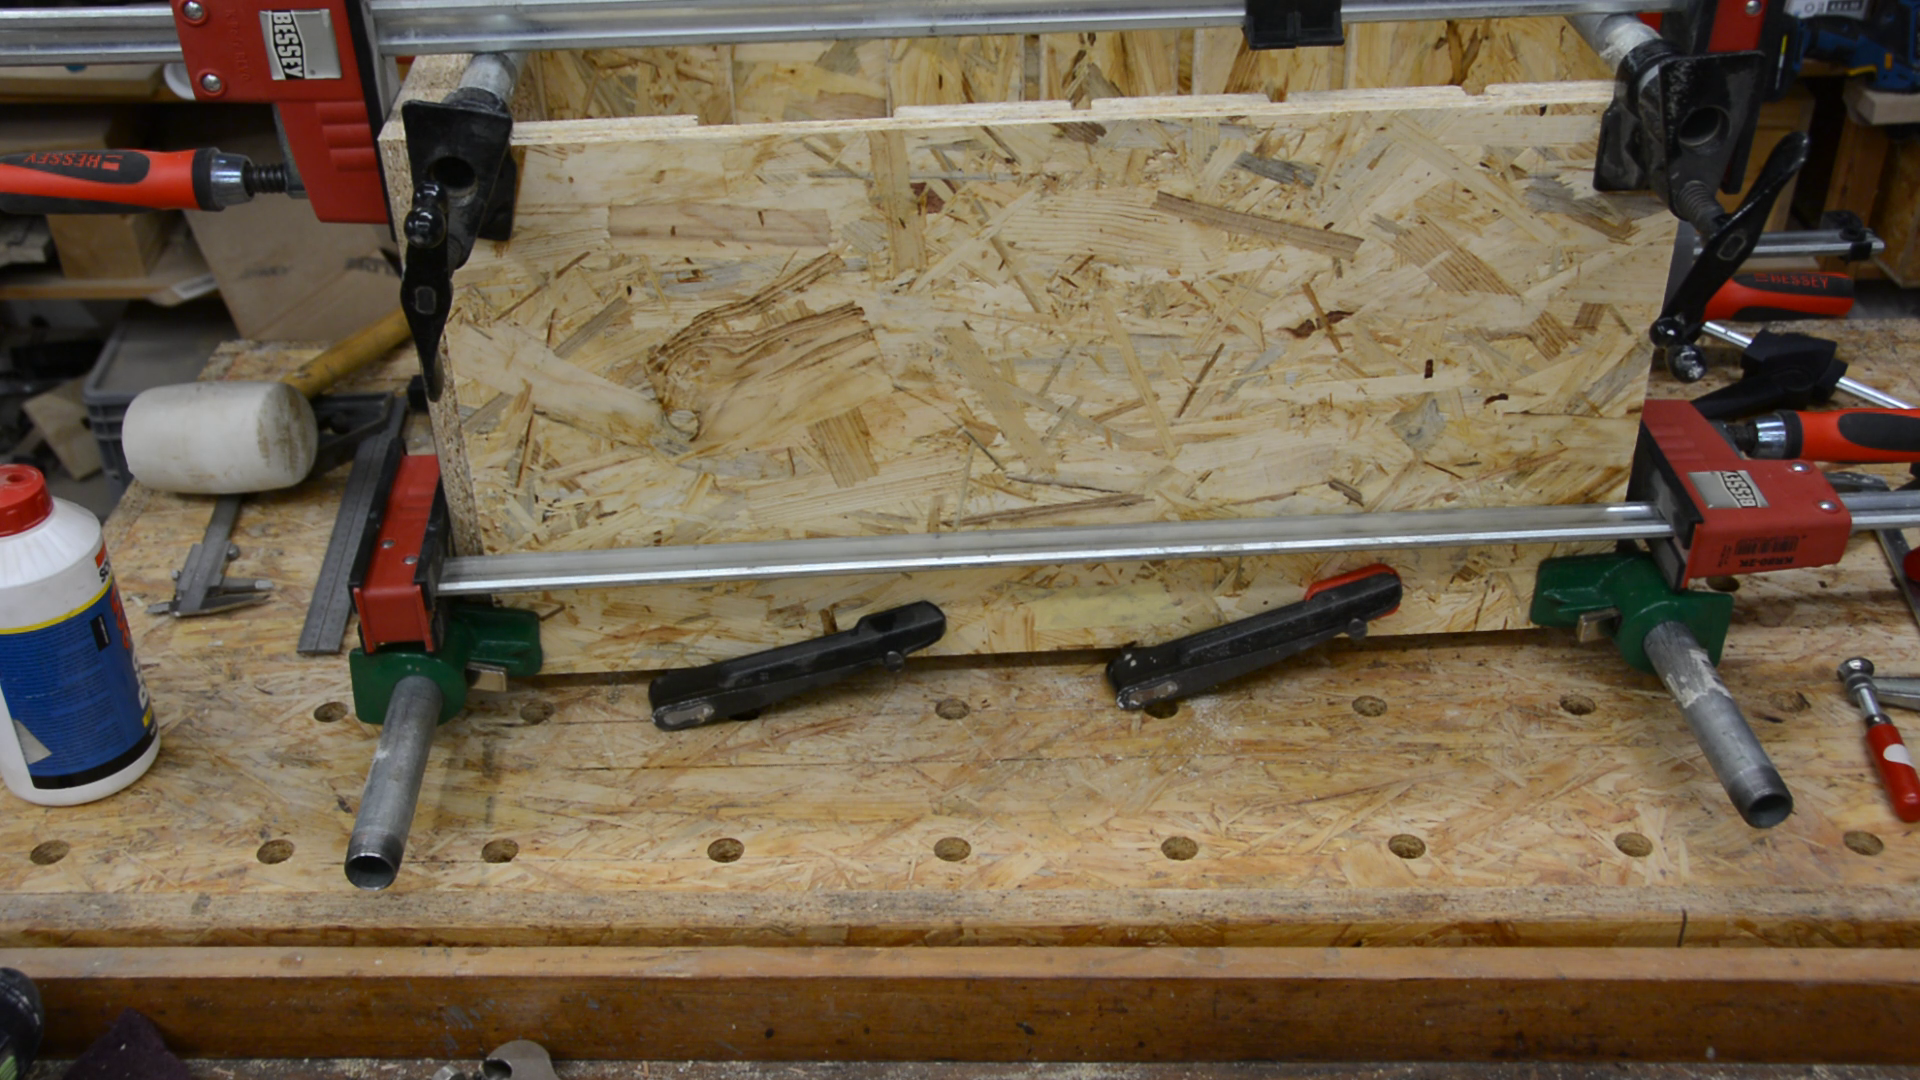
We then assemble the box with glue and a lot of clamps. You can now see the missing part where we cut the box too short. At the corners we connect the grooves with a chisel.

Making it air tight
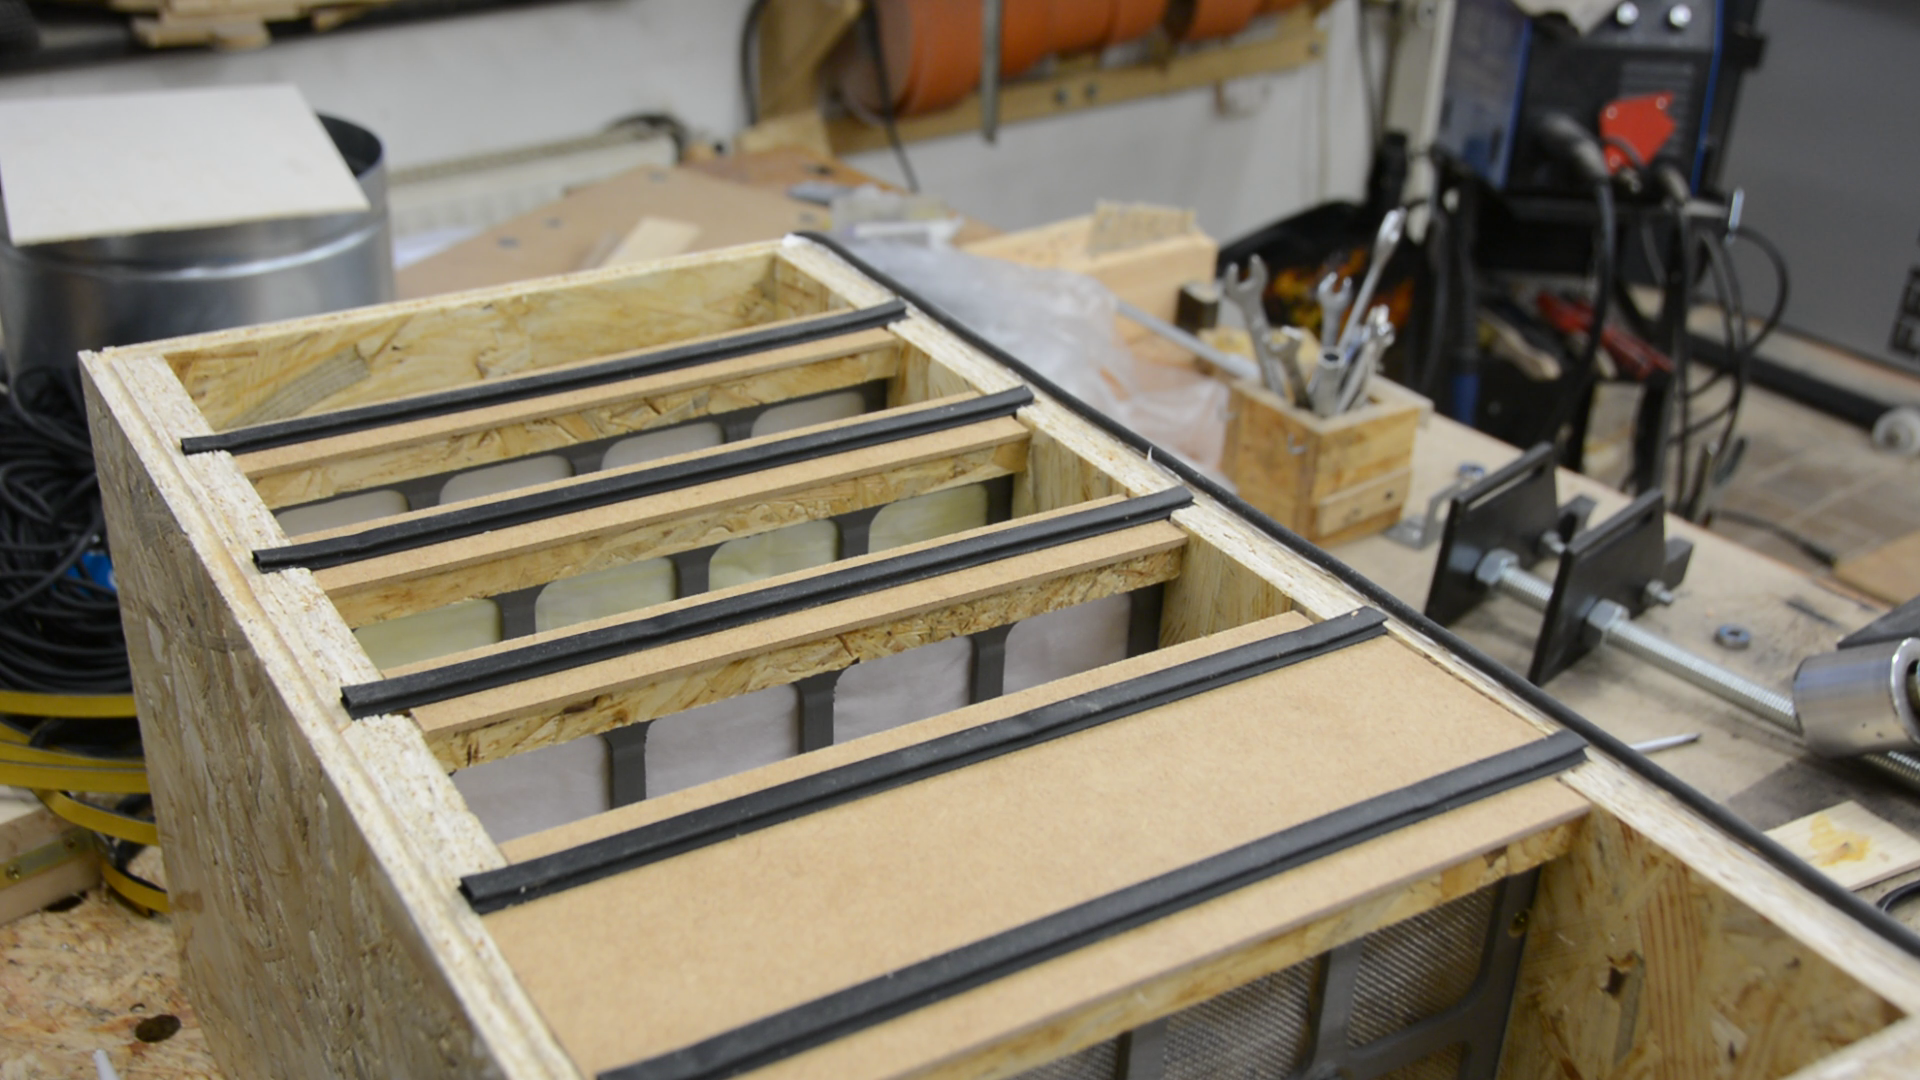
The rubber band seal is glued in the groove so that we get an air tight seal.
When the fit of one of the filters it too snug sandpaper or a plane will help to get a perfect fit.
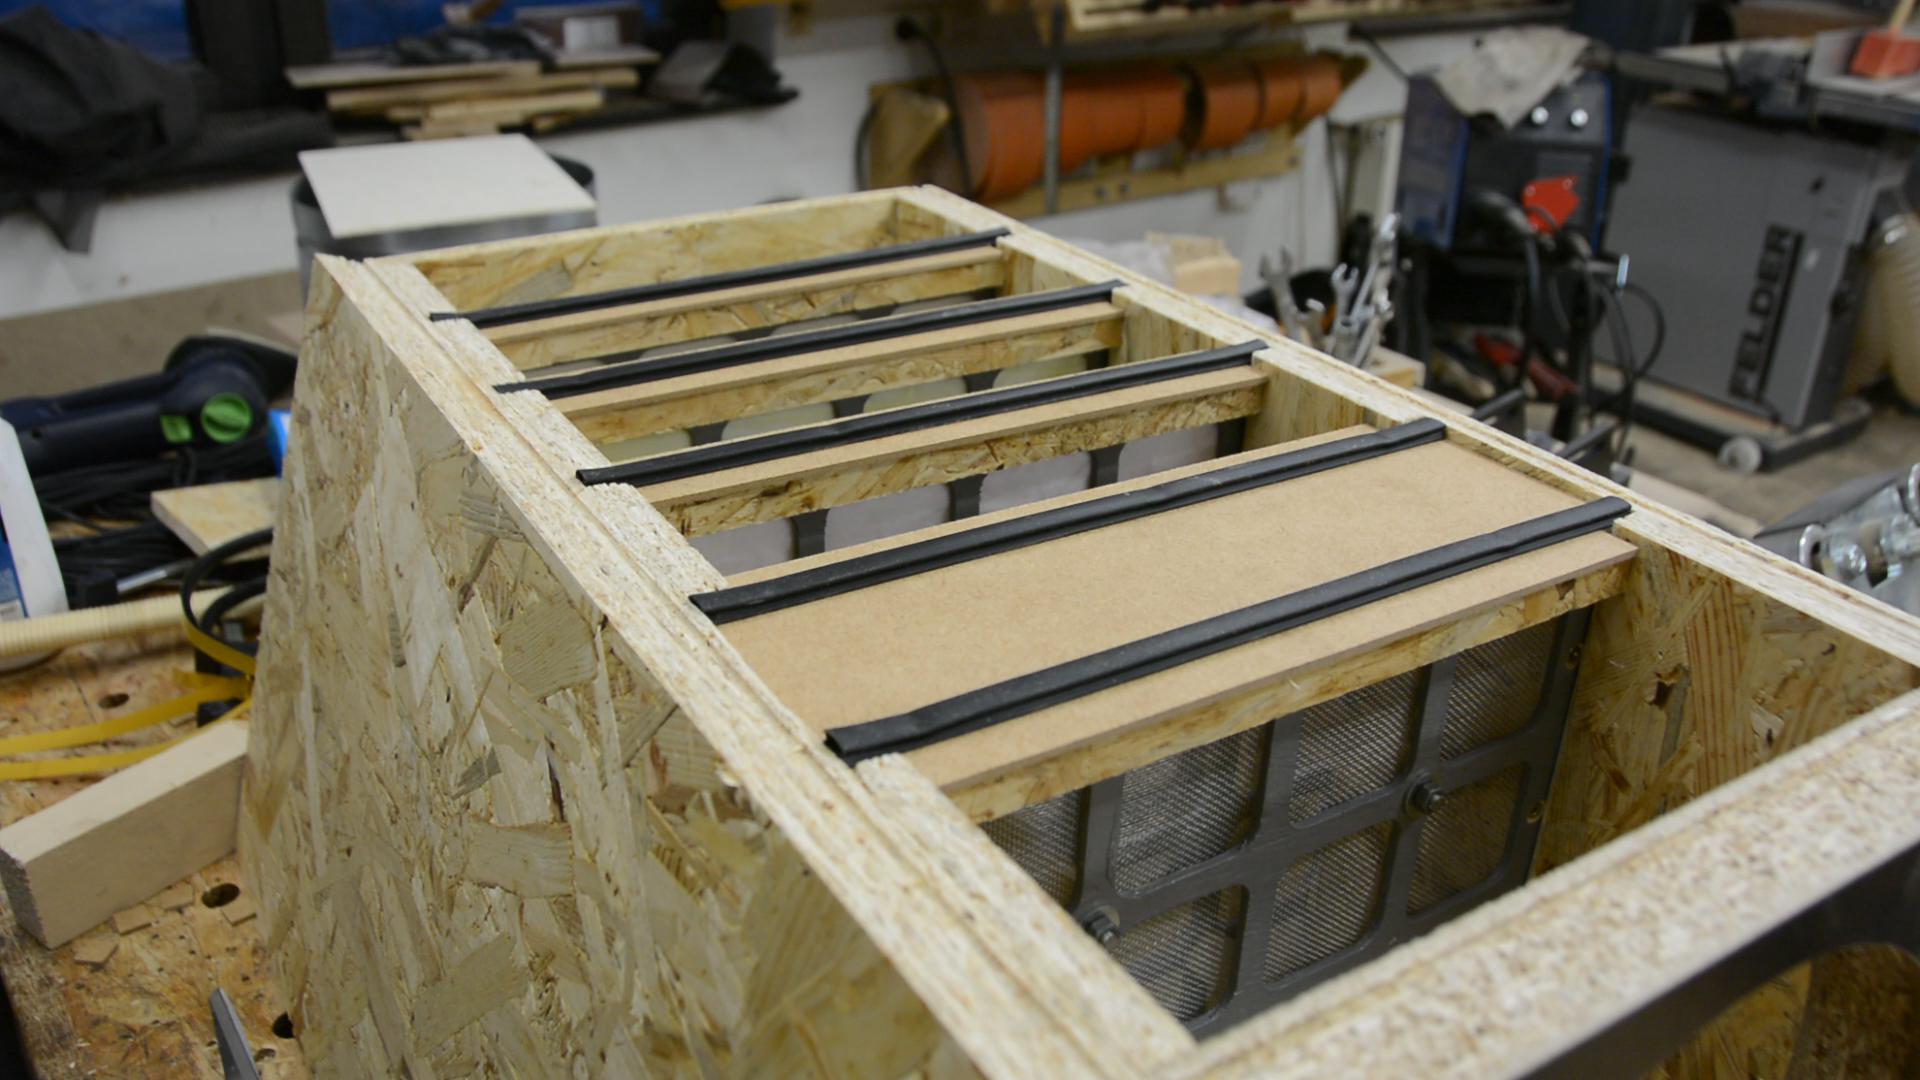
When putting on a lid we quickly realized that there is still a bit of a gap between the filters and the lid. Every filter therefore gets a thin MDF strip on its top.
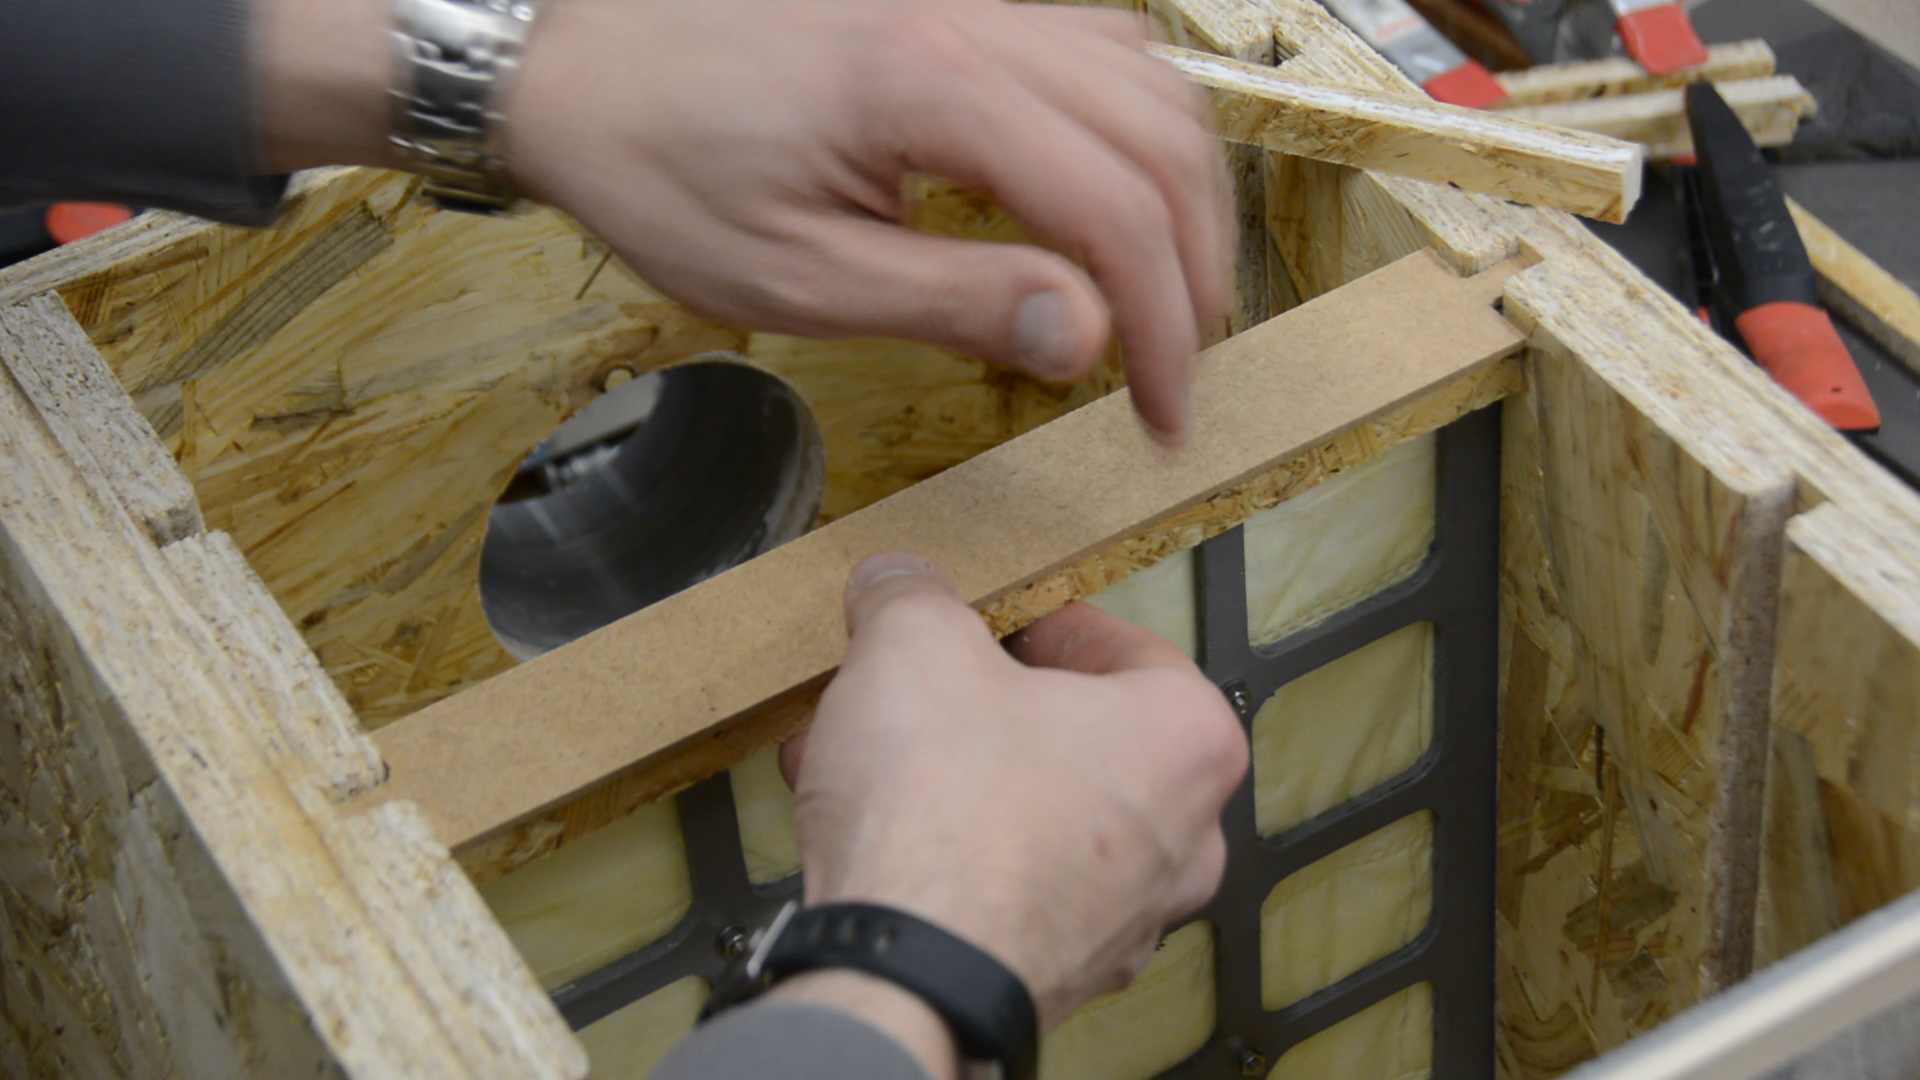
To hold it in place we glue two additional strips of OSB to its sides. And for an air tight seal we use a rubber door sealing band that is self adhesive and can be glued on the MDF.
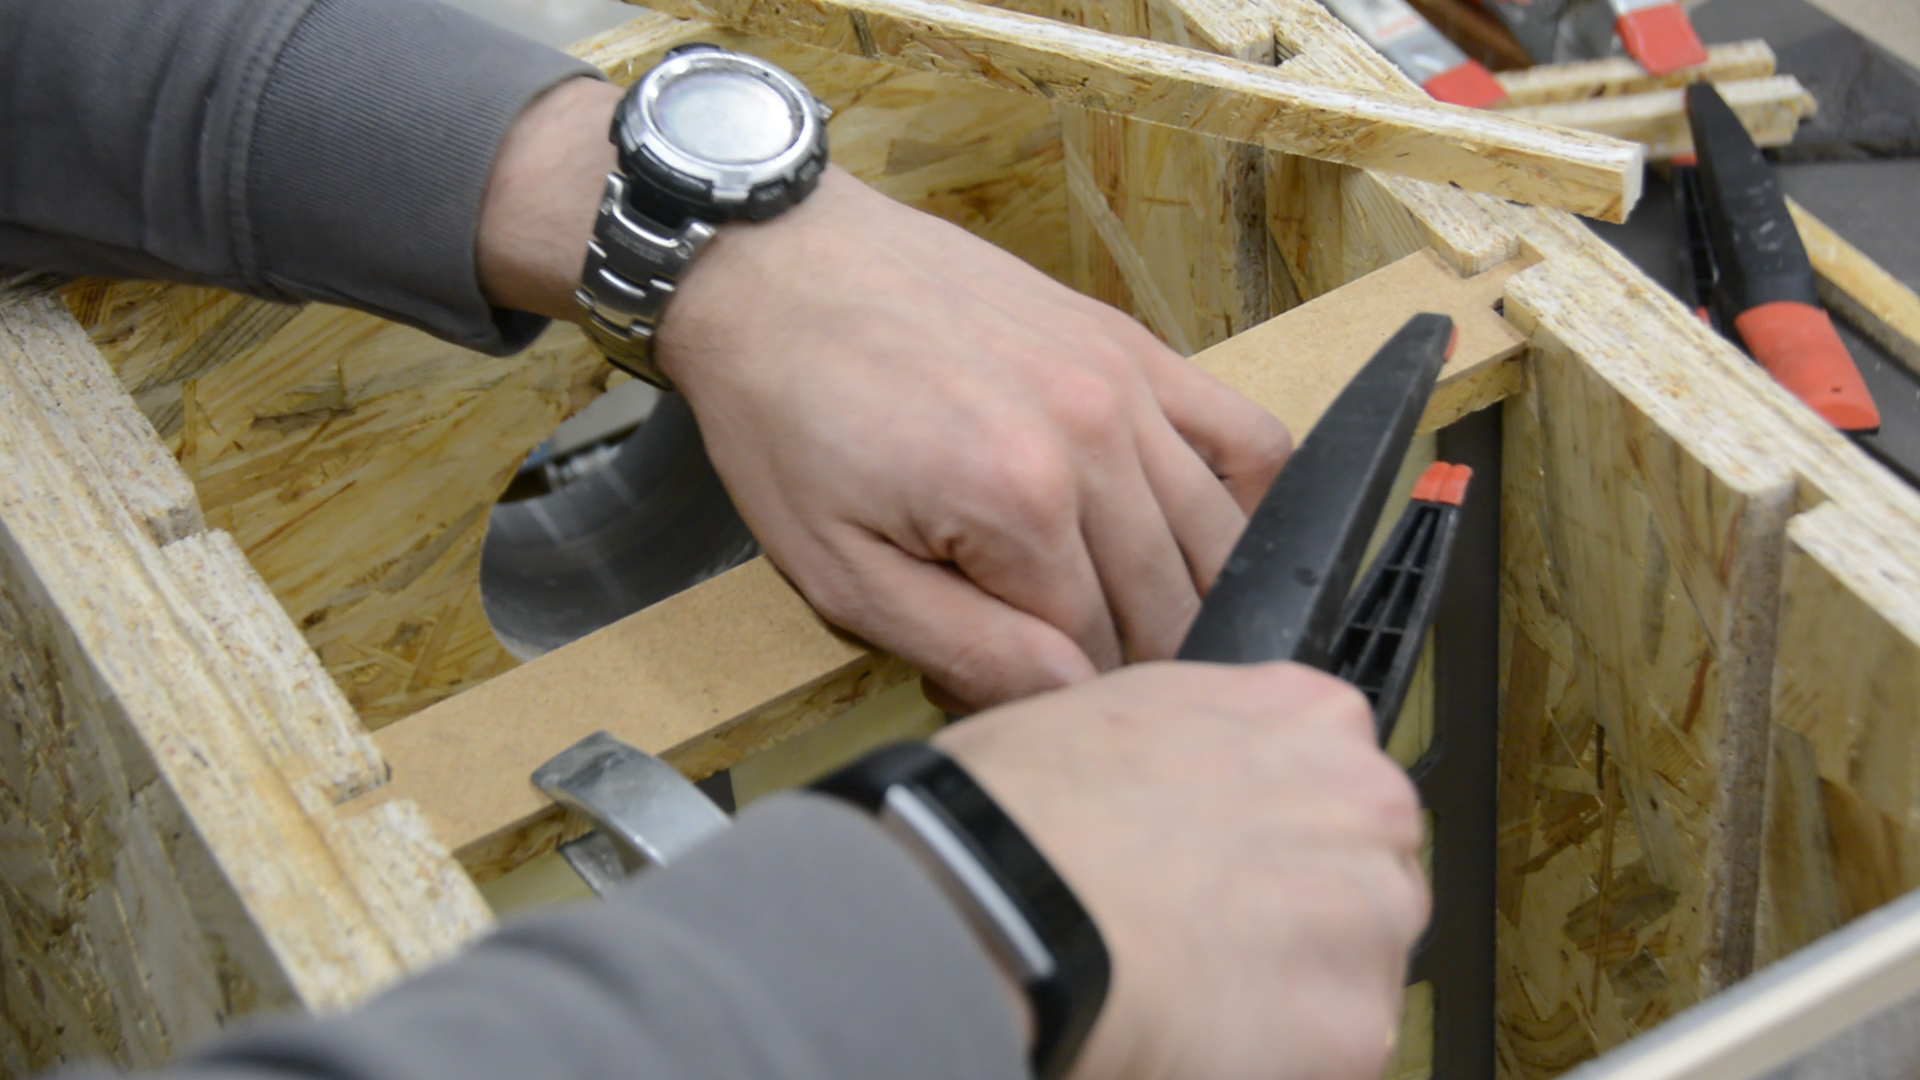
Each filter has now its small head that makes sure all air goes through the filter. Off camera we doubled the filter fabric in each filter stage so that the fit is a bit tighter than with only one filter.
Now is a good time to fill 5 kg of active carbon in the last filter.
The top is closed with a couple of suitcase hardware pieces. To screw them in place we press the lid down with clamps. Then we first install the upper part of the mechanism.The lower part gets secured with a dab of hot glue before it’s screwed in place.
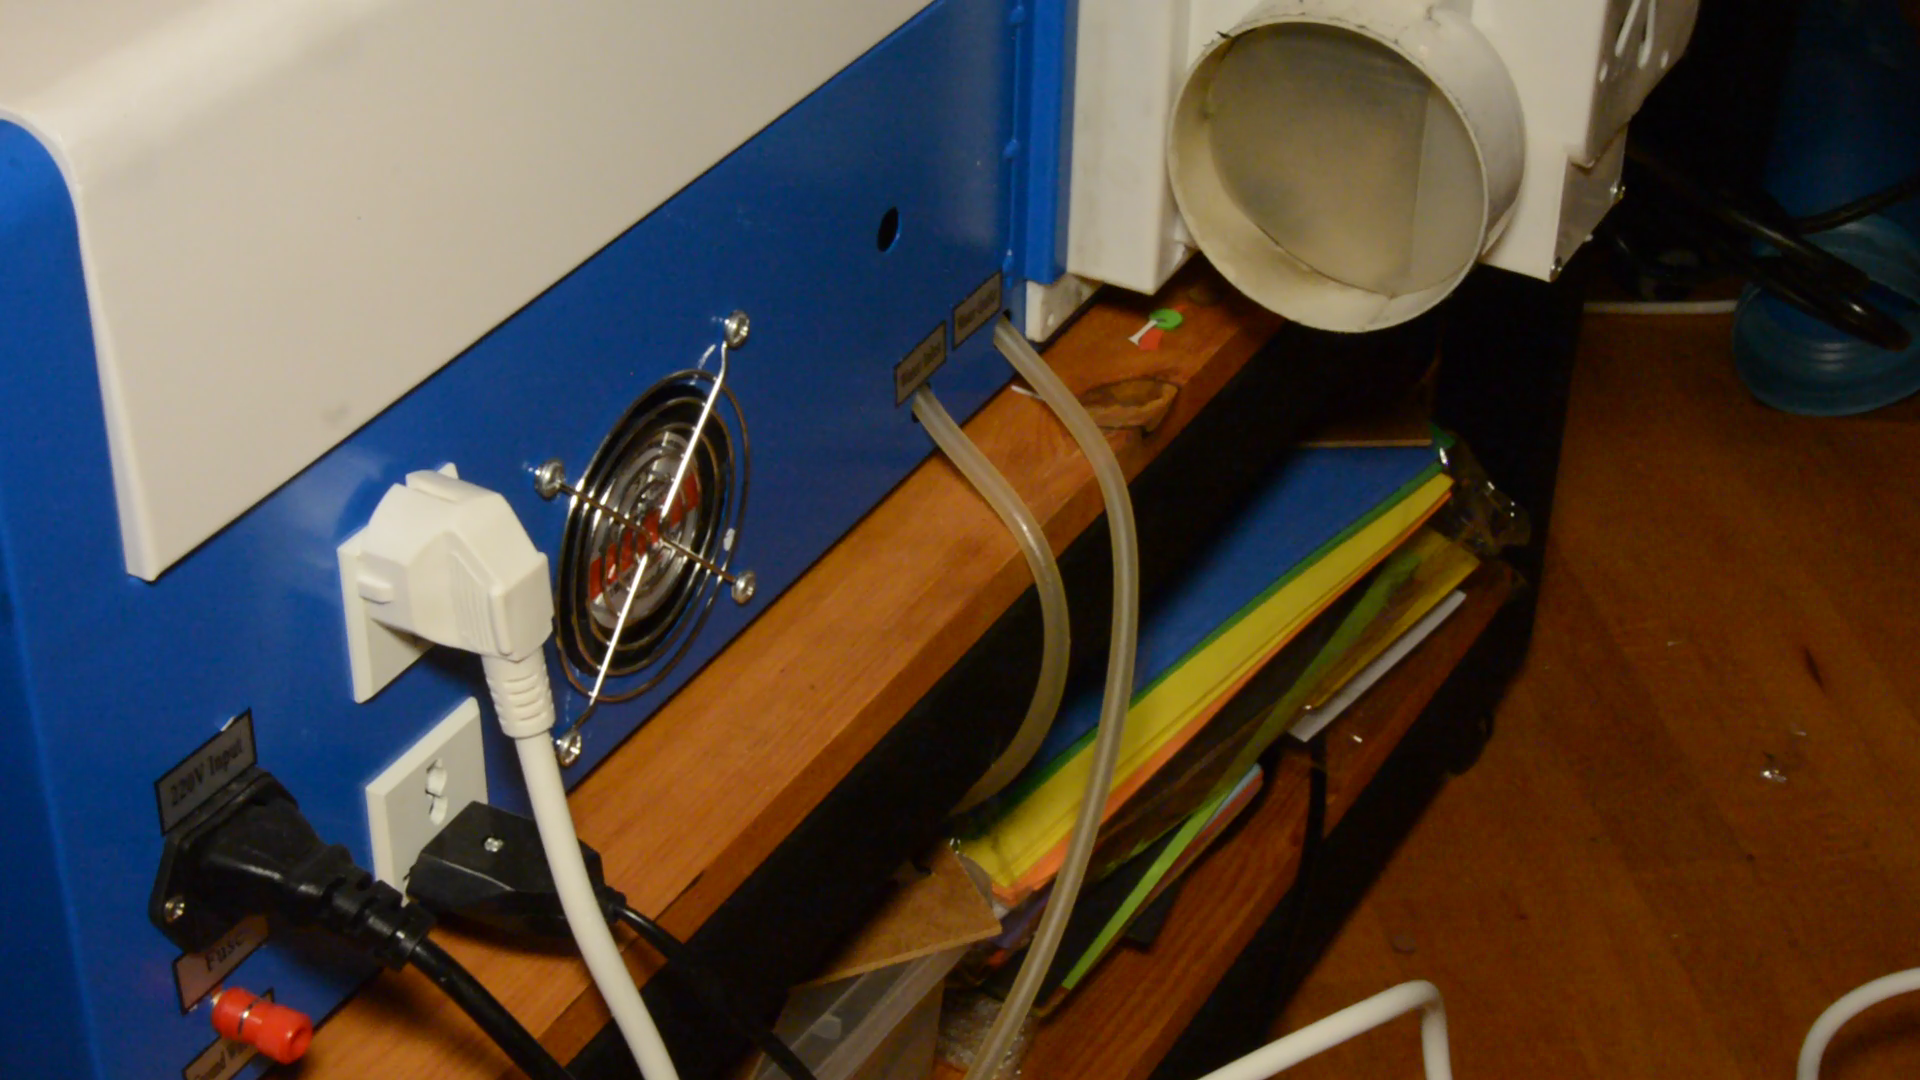
The air exhaust hose from the laser is connected to the filter and the power of both fans get connected to the laser so that both are activated when the laser is running.

Test: Does the DIY air filter work?
Now the big question is: does the filter actually work?
To answer that question we use an fine dust measure device from ebay, connect it to the USB port of the computer and measure the PM10 and PM2.5 particle density. These are standards to measure particle matters in the air.

We first measure the air quality without the laser. When cutting cardboard and not having any of the filters in the box the measurement go quickly up to over 500.

After placing the filters back in and cutting the same amount of cardboard the measurements stay fairly stable. So the filter seems to work.

There is however quite some room for improvement and it would be great to get your thoughts
in the comments:
- Could we make the filter smaller?
- Could we sandwich all the three filters directly together?
- Should we use more or less activated carbon?
- Should we use a stronger fan to get rid of the fan at the laser itself?
- What are other improvements you would like to see?
- We will most likely create a new version 2.0 at some time in the future.