

In this article I show you how I assisted my daughter in building a dog wagon.
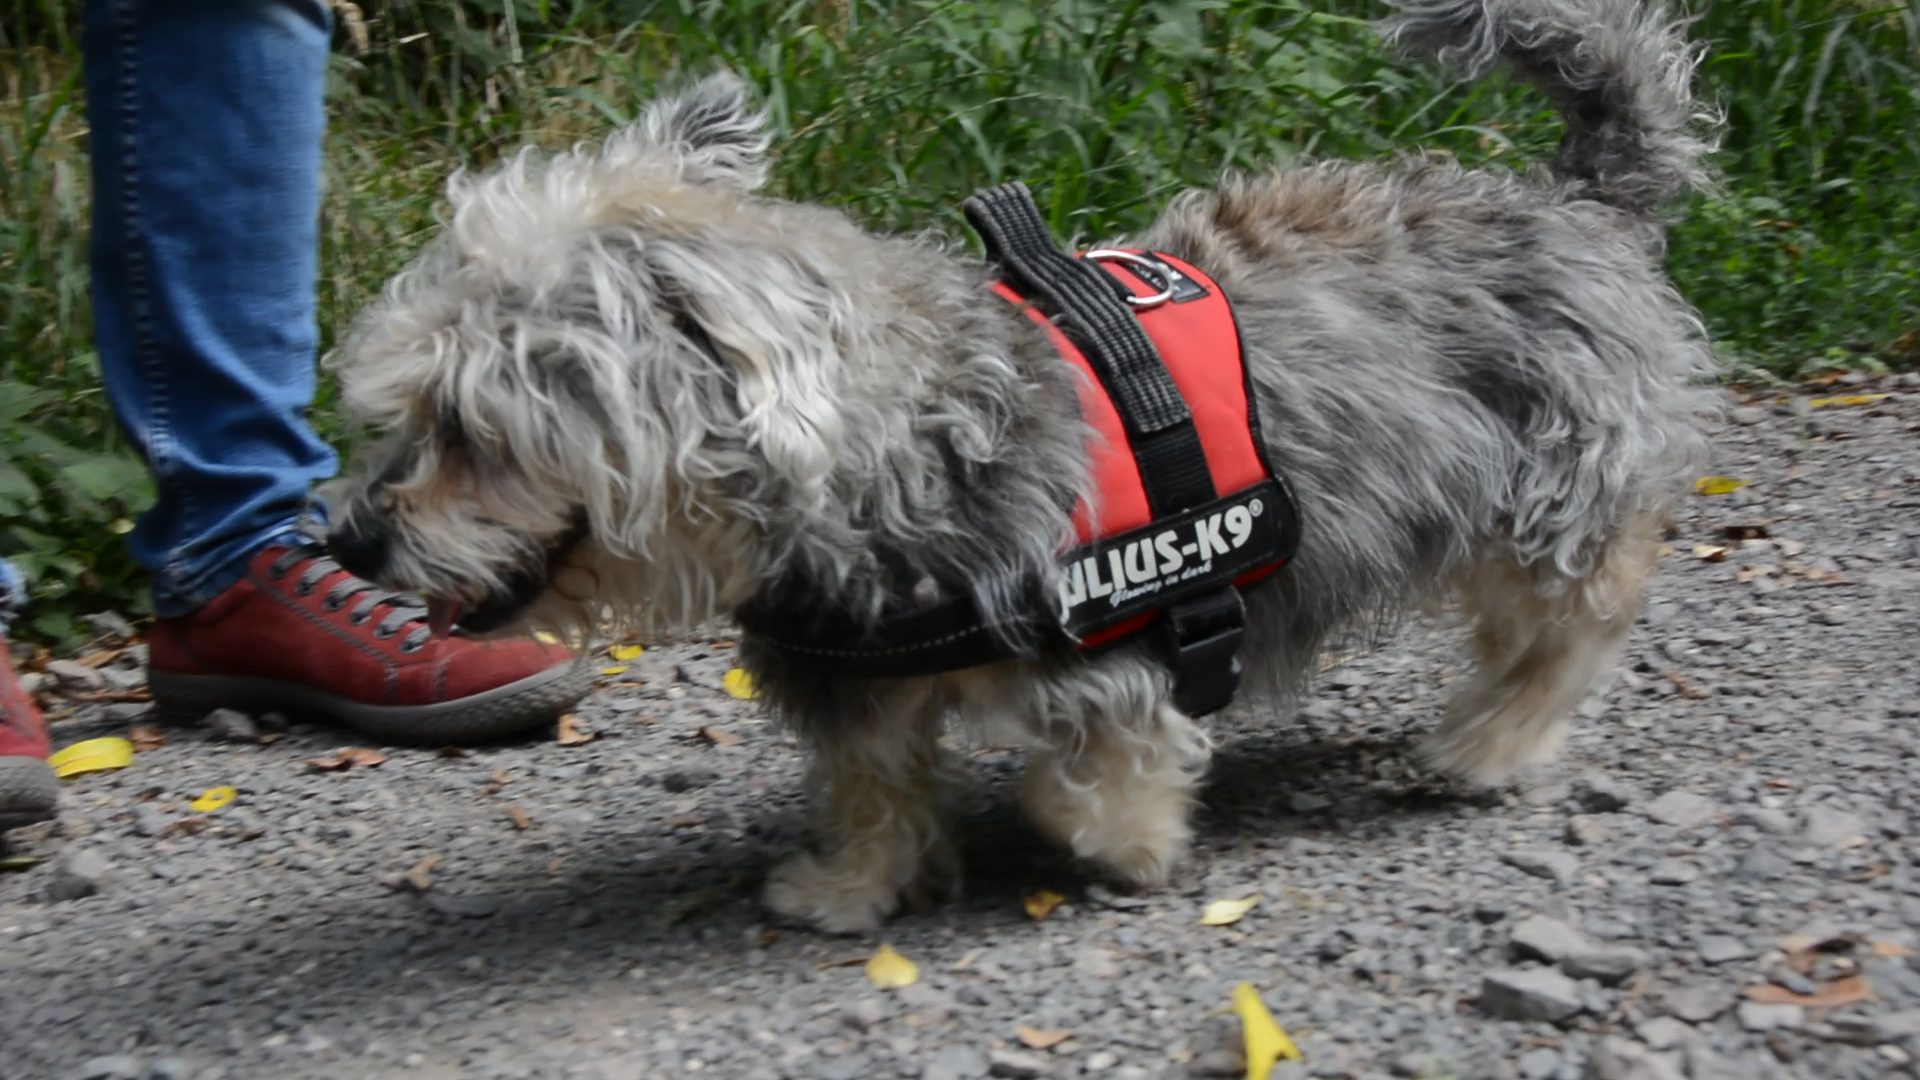
This is the smallest of our dogs. She suffers from hearth problems and should not walk long distances. My daughter wants to build her a transport wagon. Before getting in the shop I prepared the material for her.
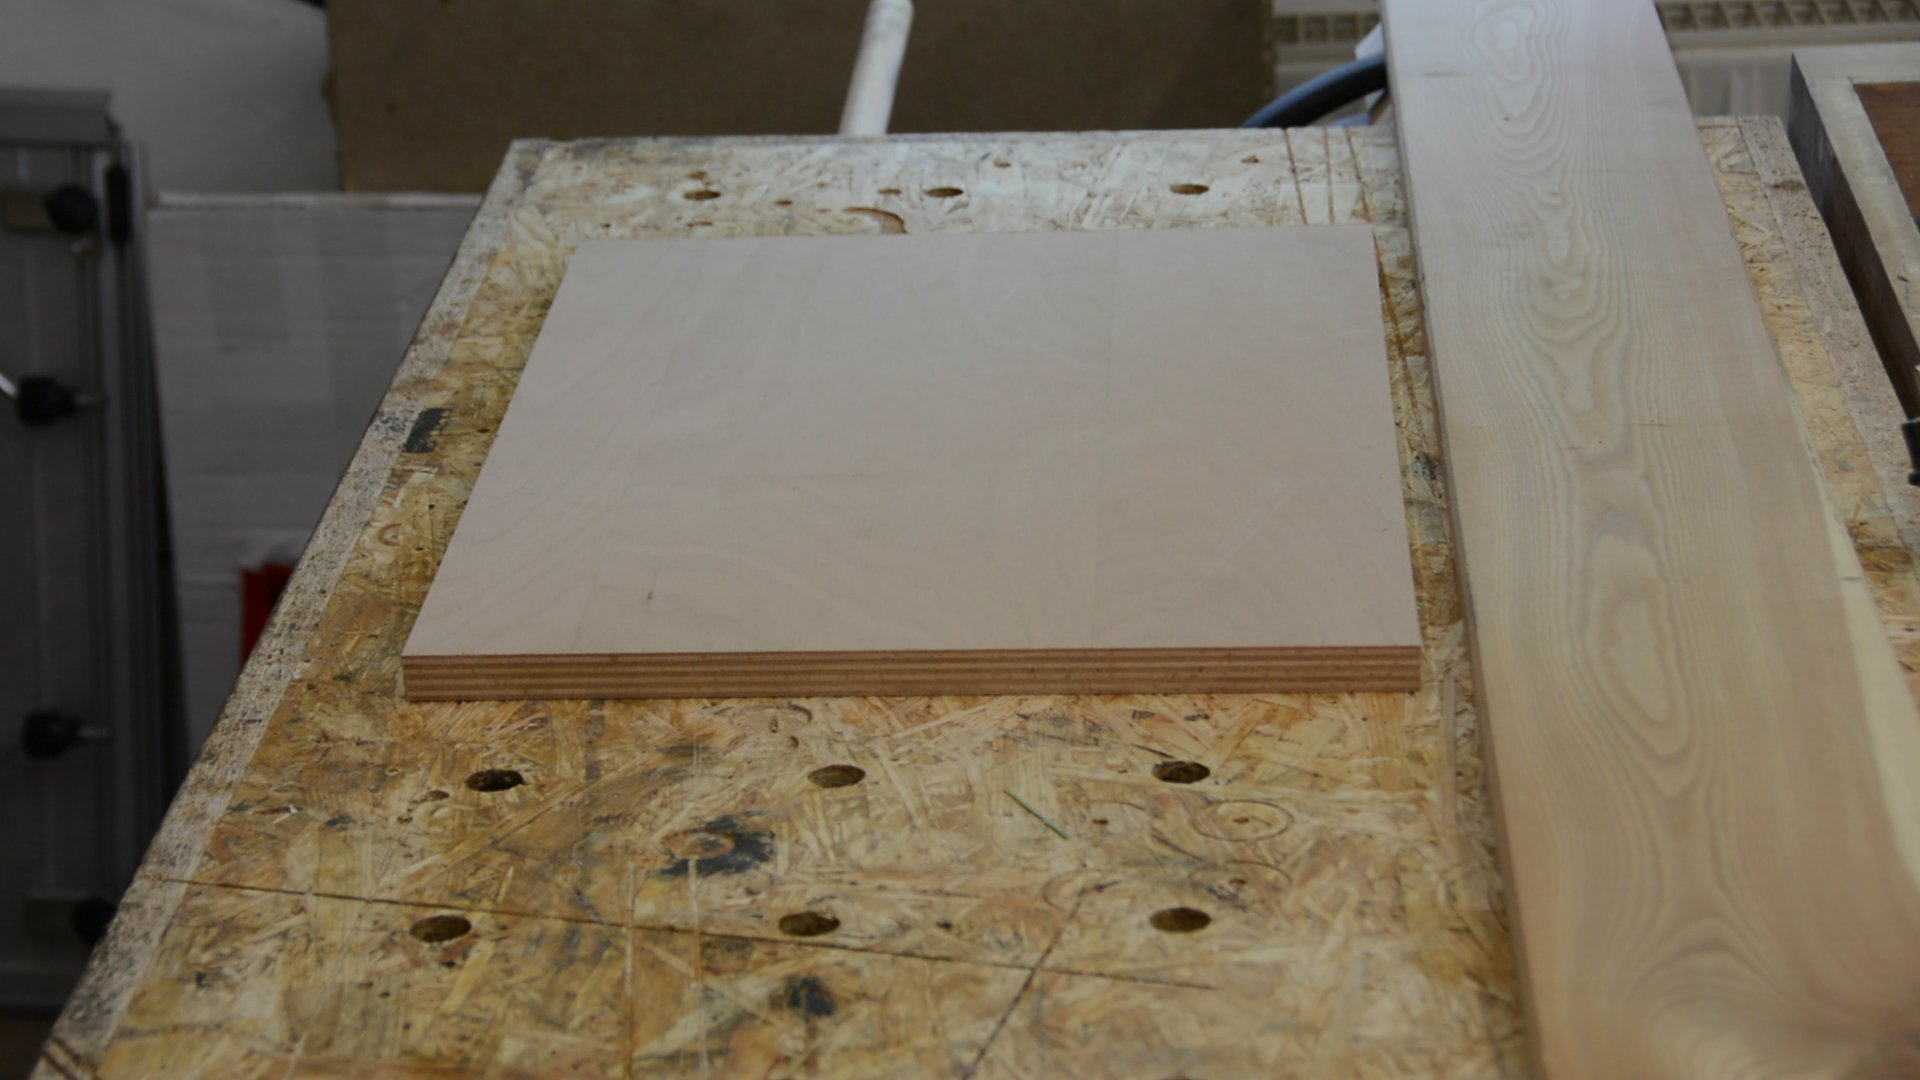
Creating the box
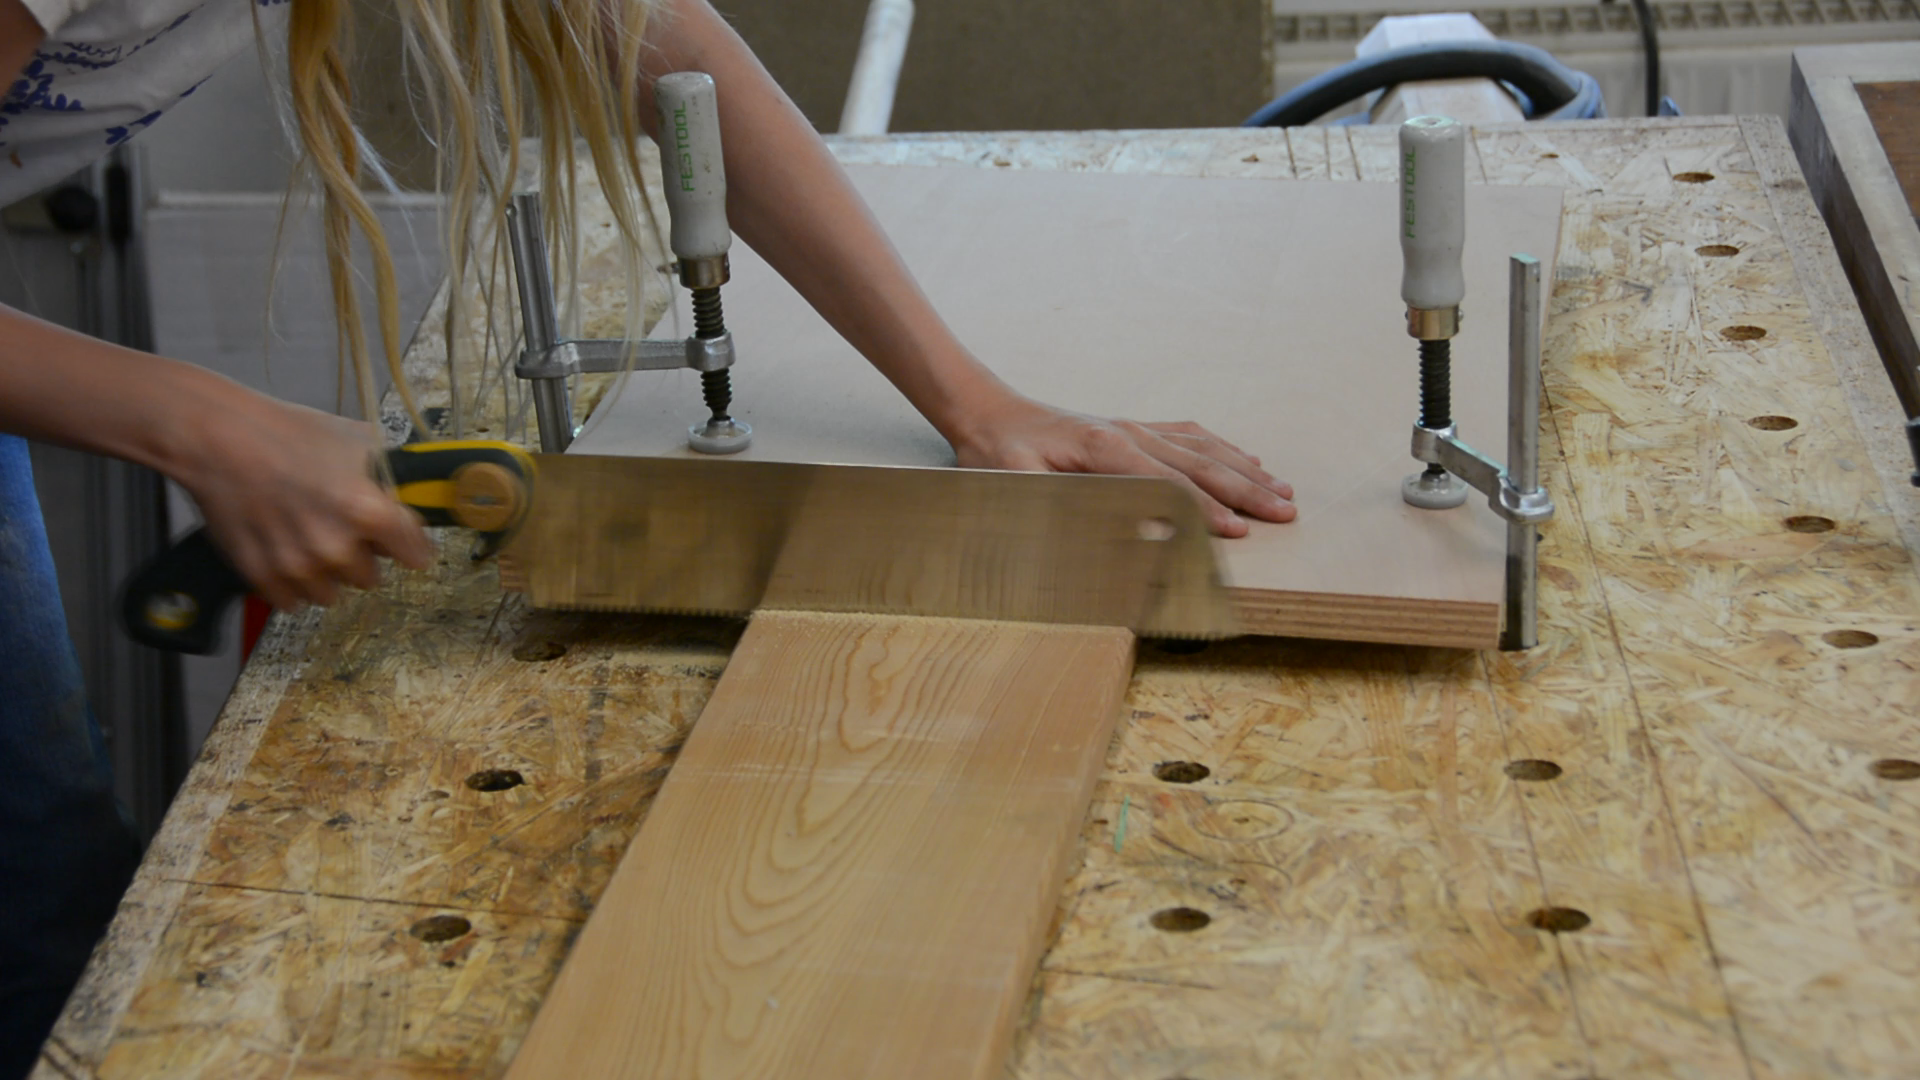
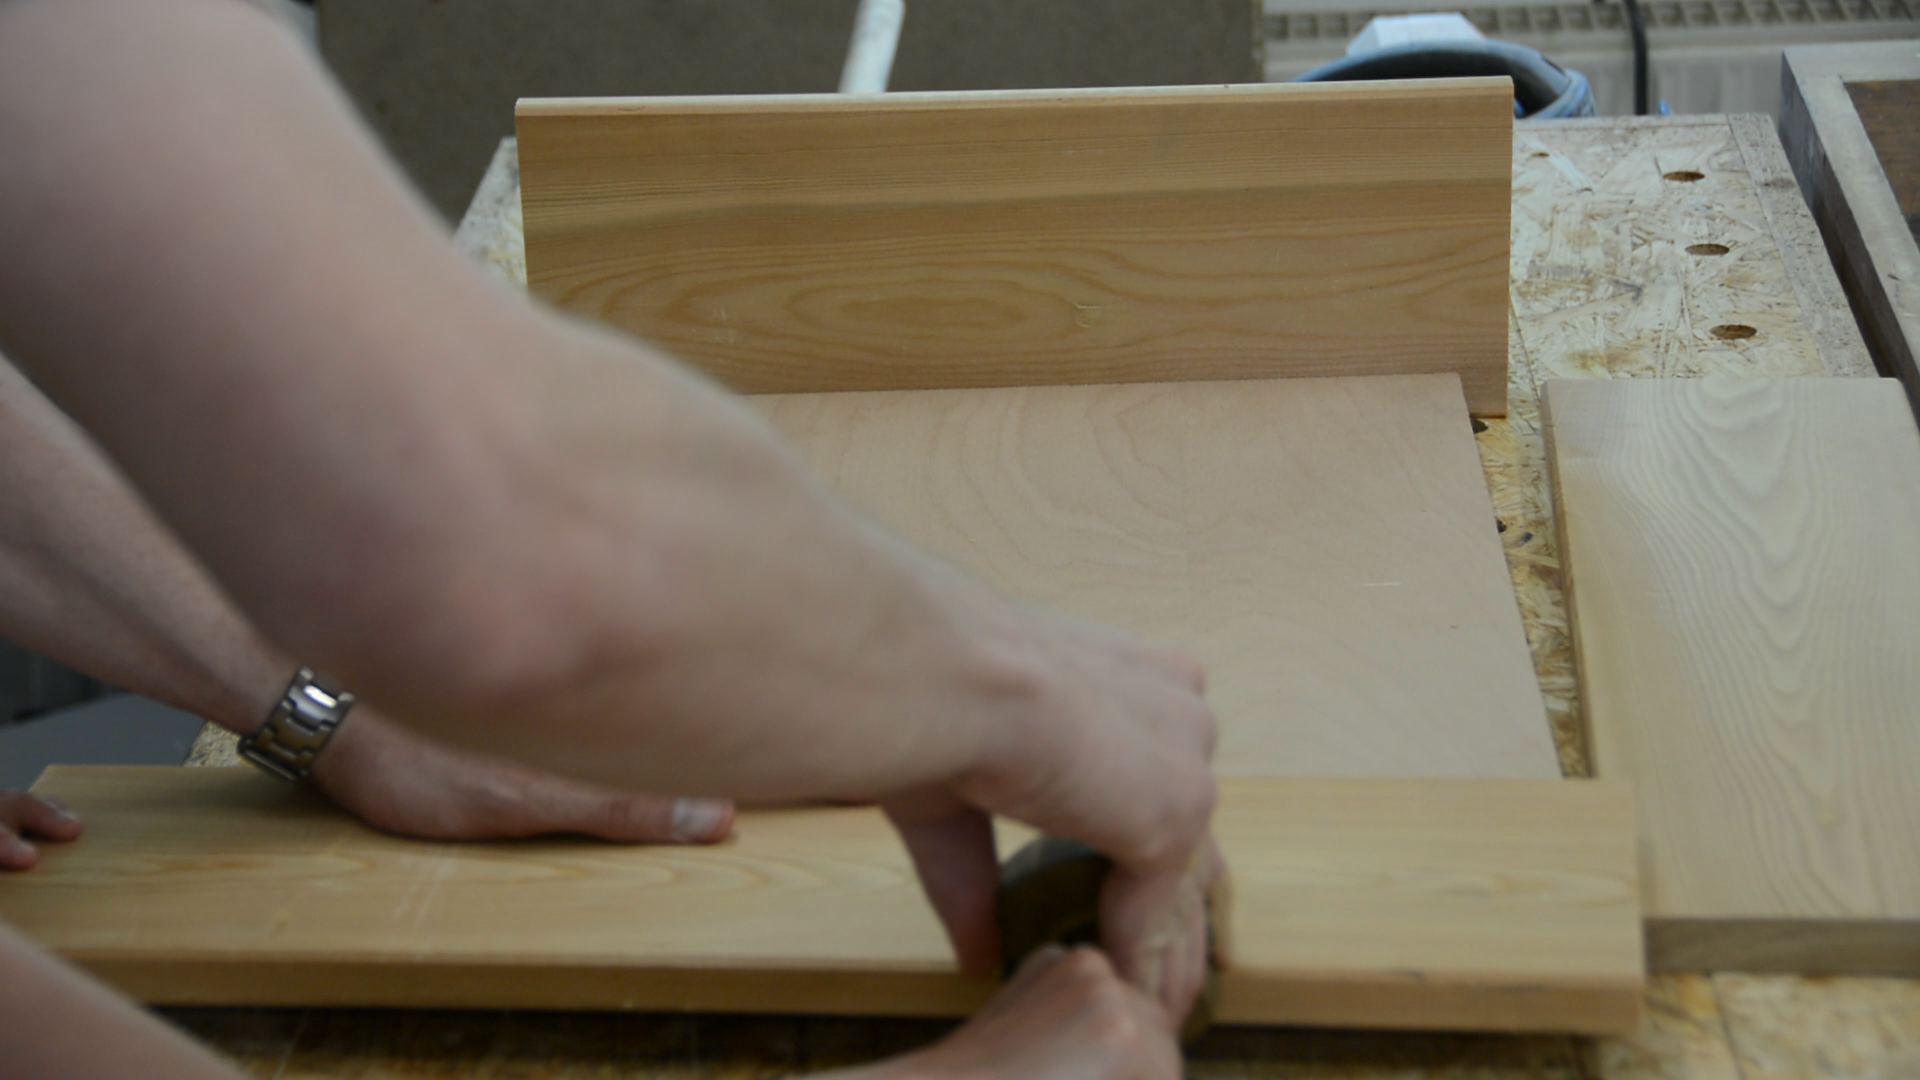
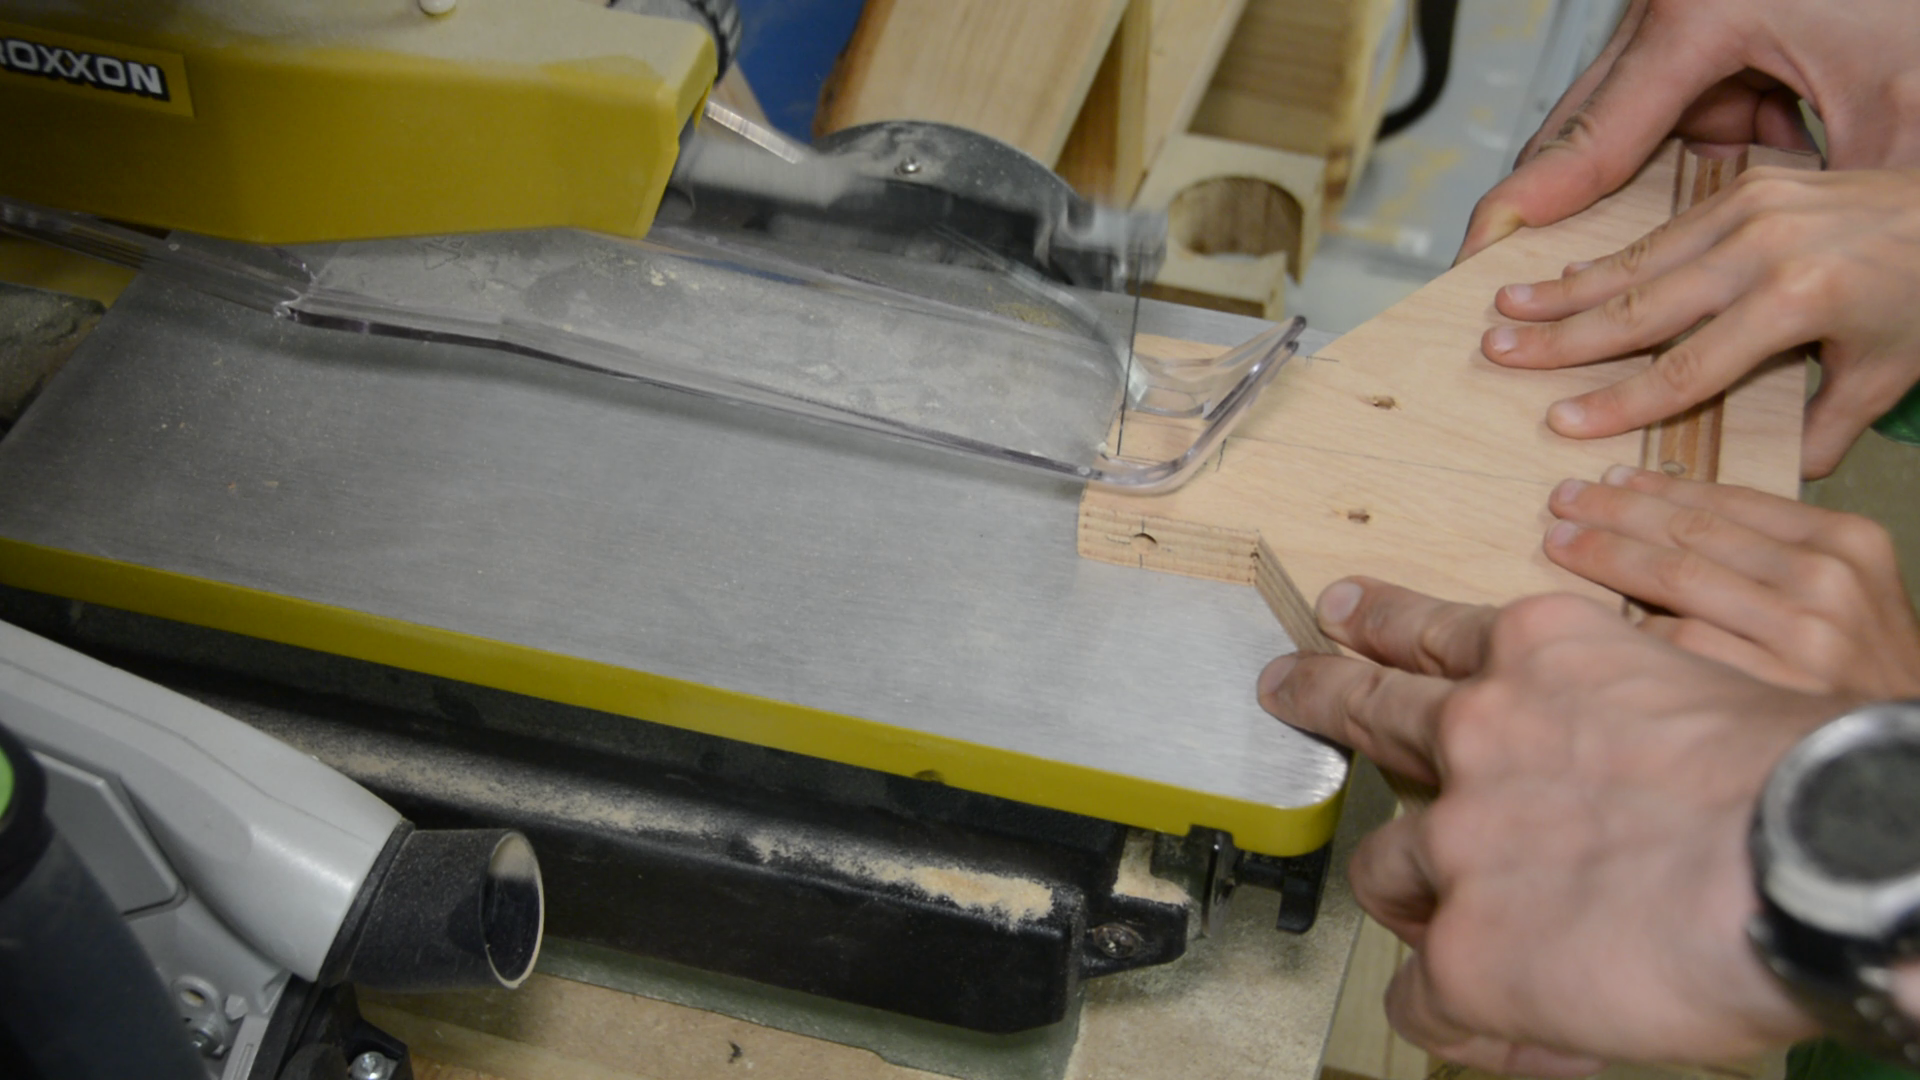
We start with relative dimensioning of the sides. While we don’t know the length of the bottom we know that the side should be as long as the long side of the bottom. By clamping the bottom piece to the side we have a guide for the handsaw.
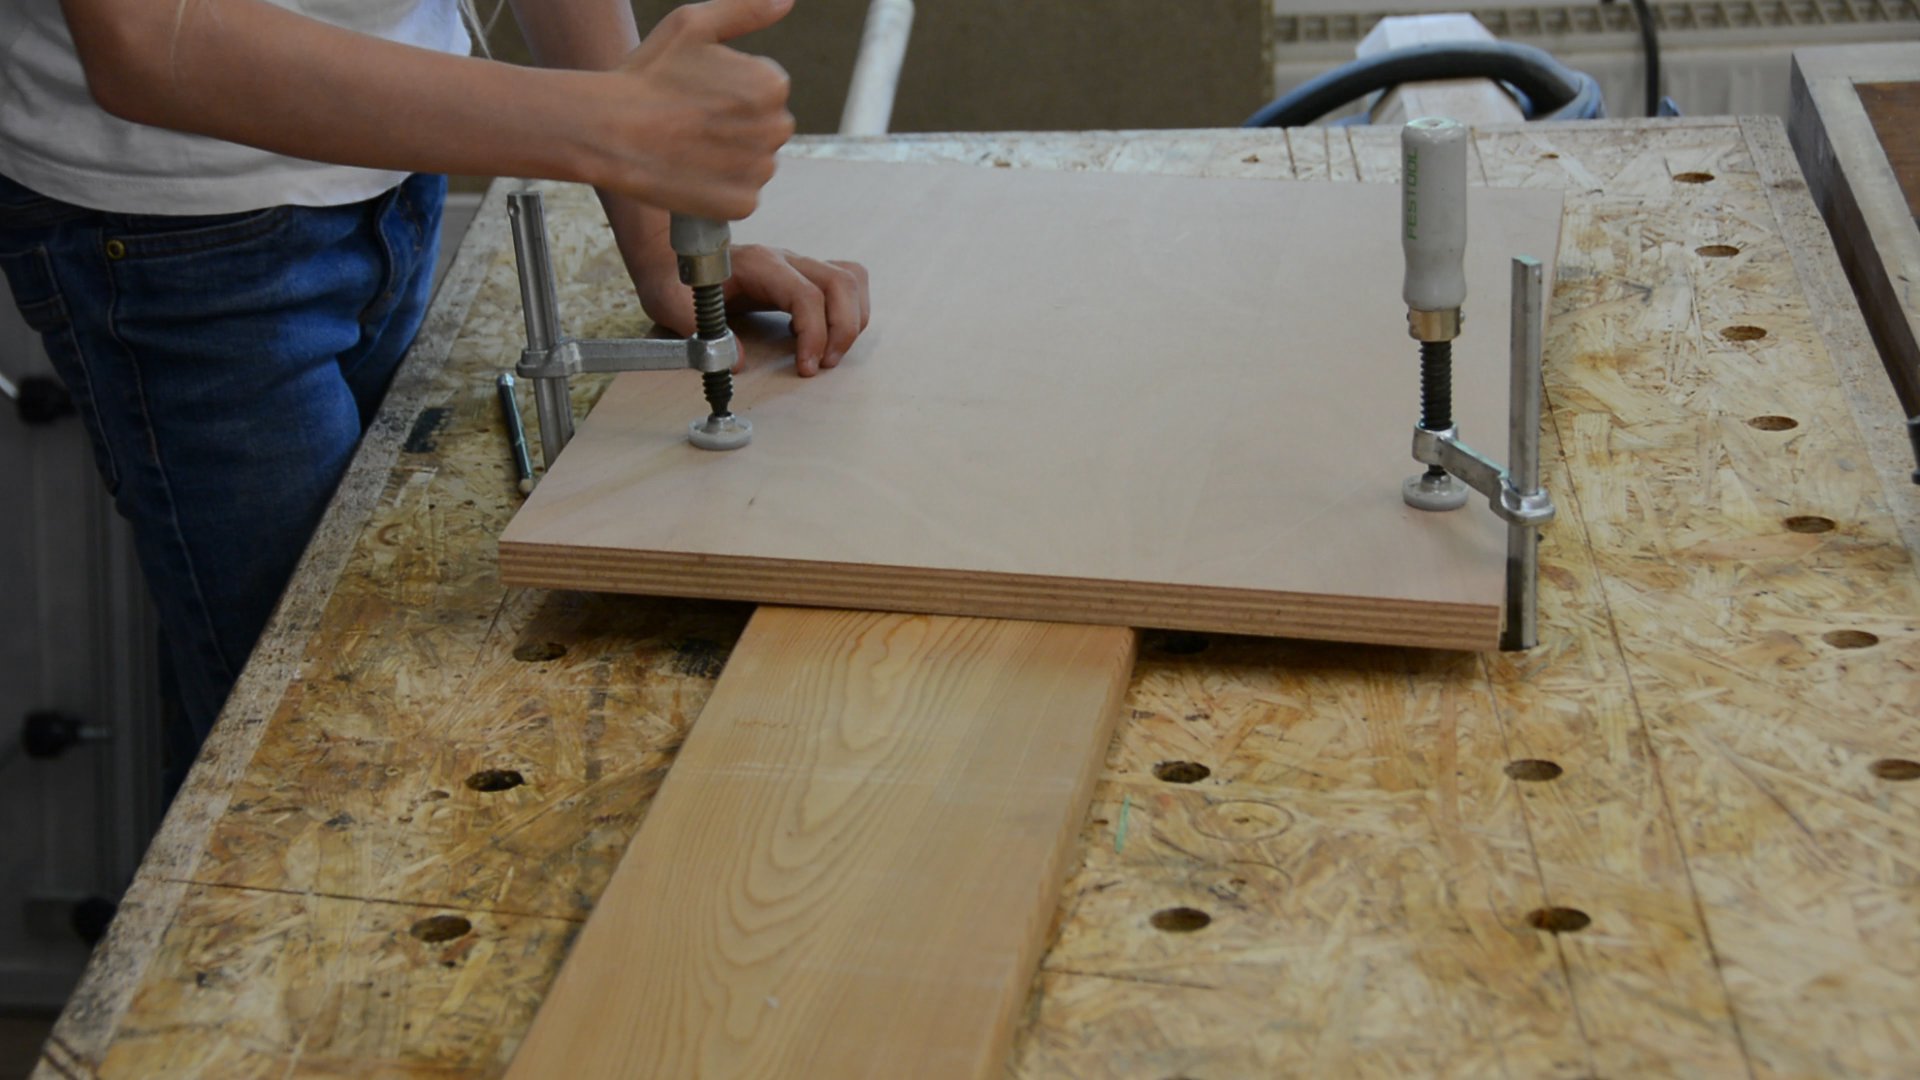
We cut the two short sides the same way. By spacing the bottom by the thickness of the long sides from the end we make sure that they will be long enough to connect to the
sides as well.
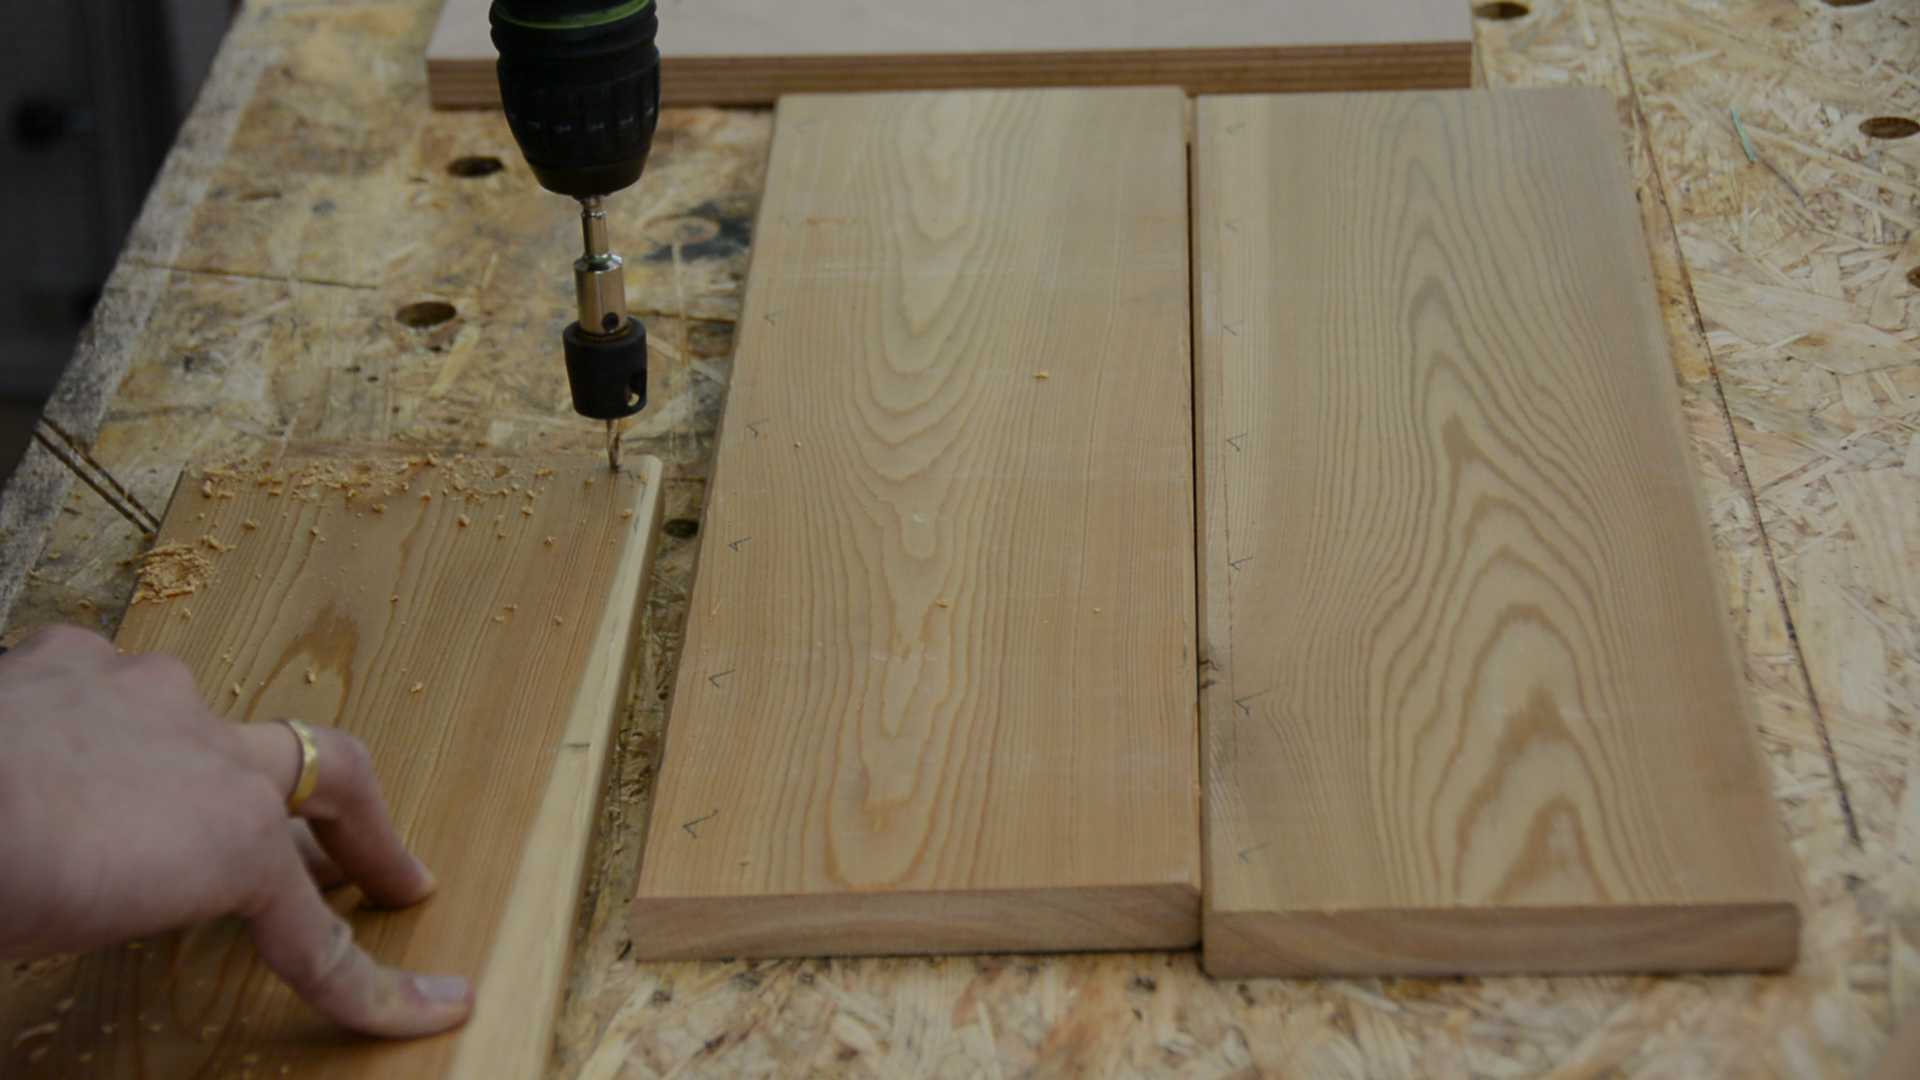
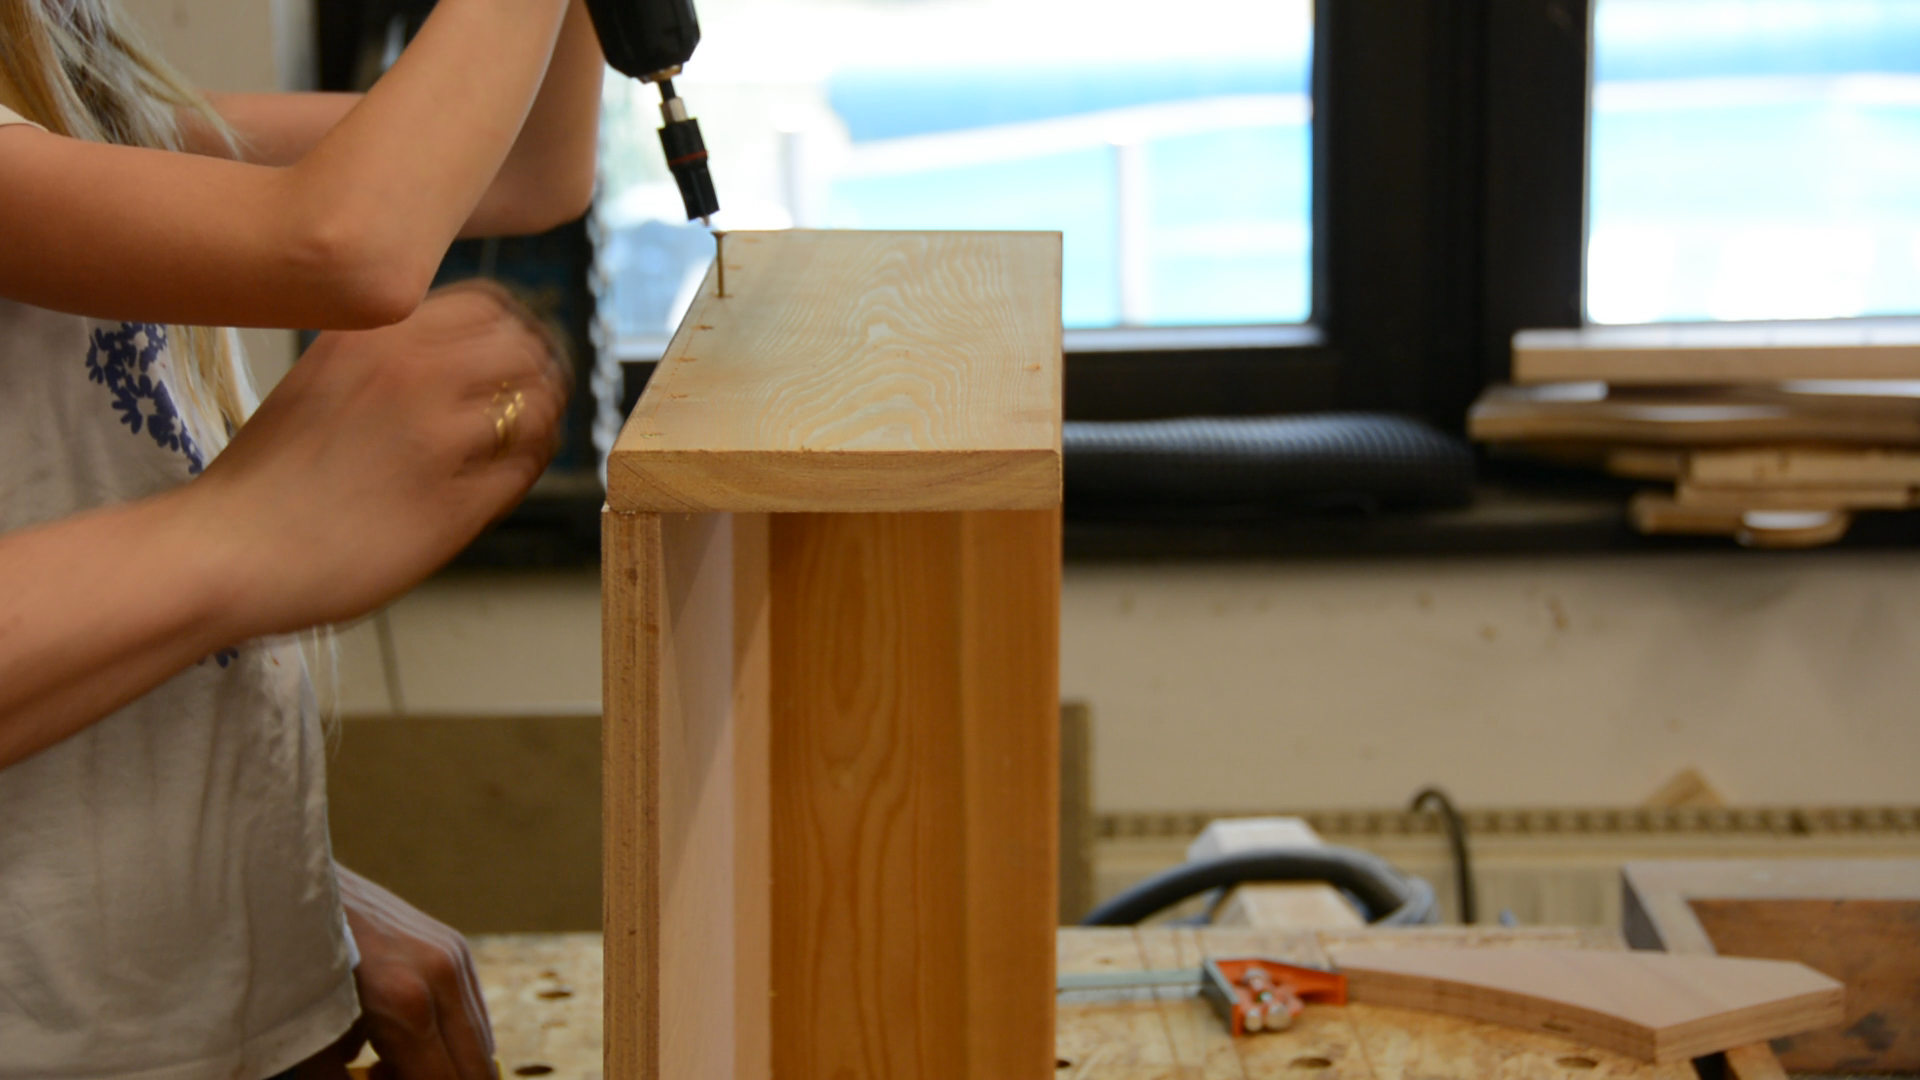
When working with my kids I try to adapt the project so that they can do as much of the work as possible. In this case it means that we use screws for the joinery.
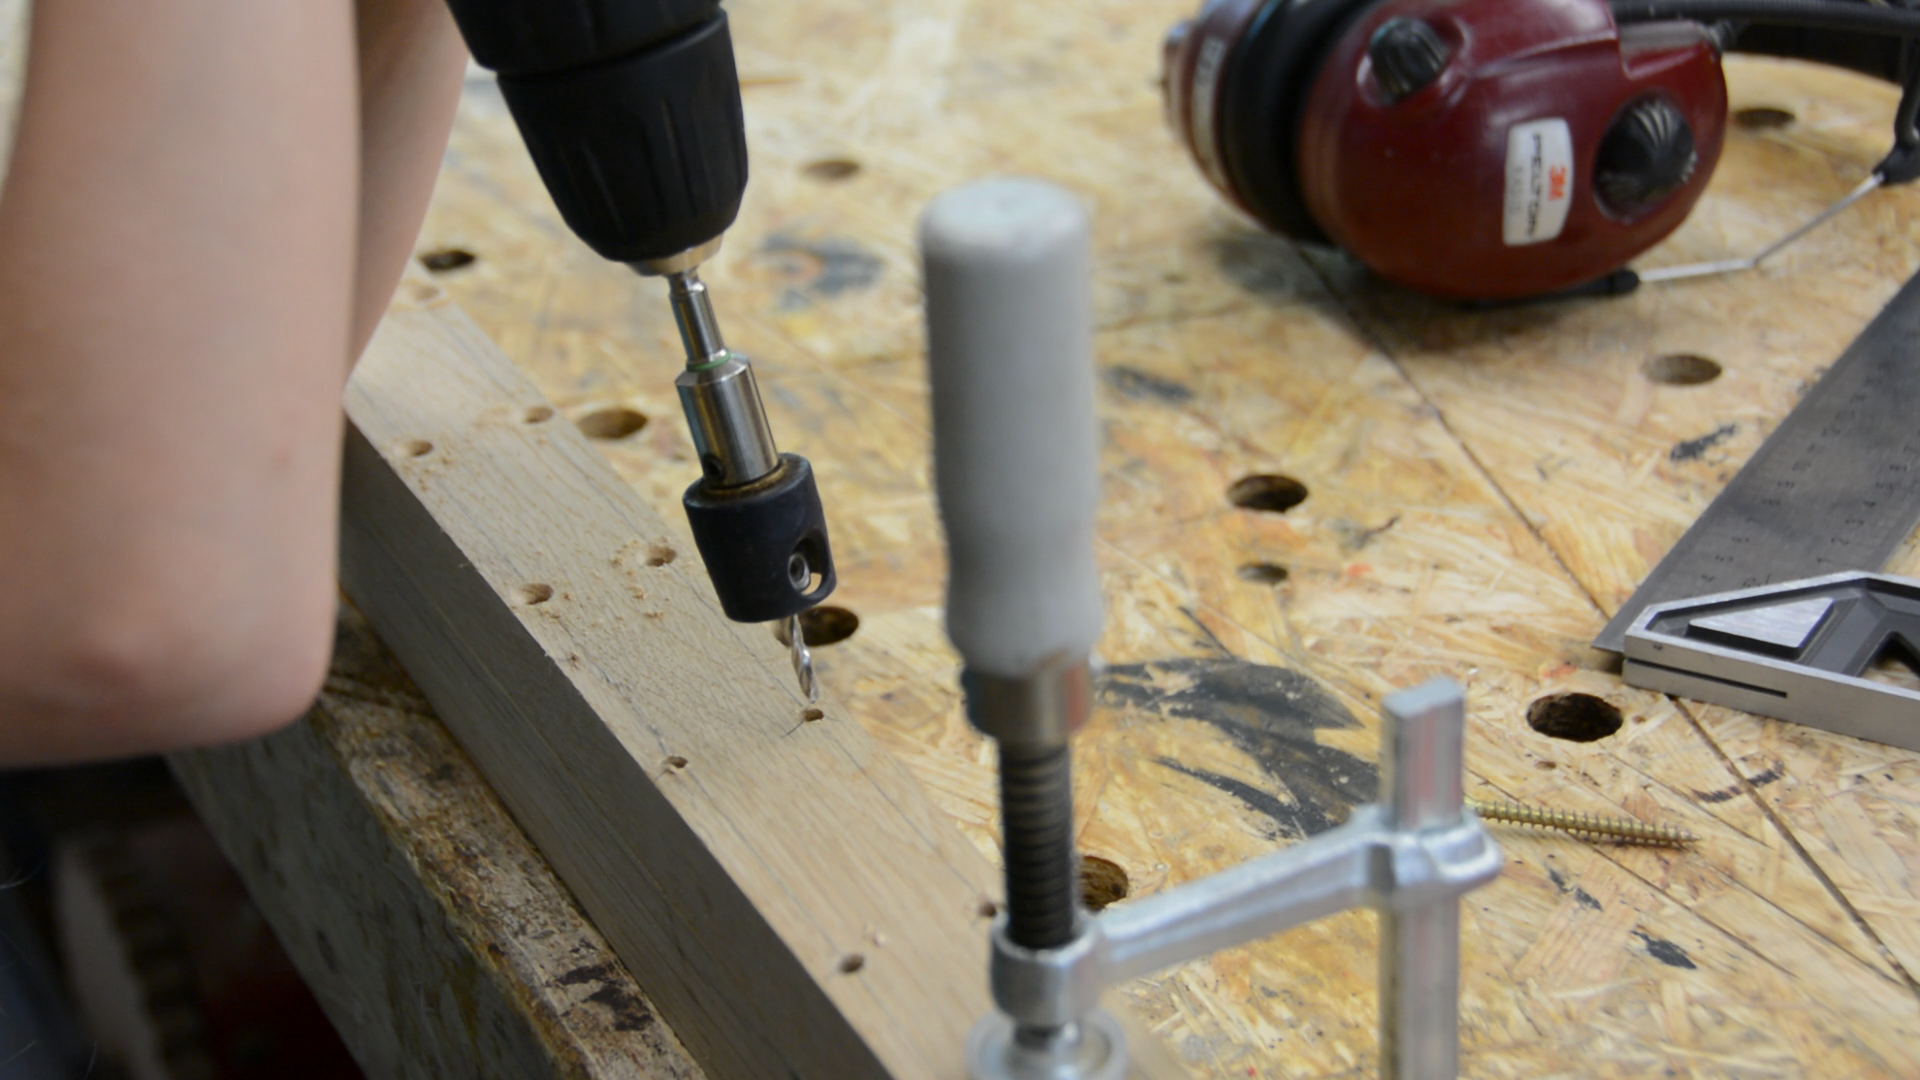
We use a scribe from my grandfather to mark half the thickness of the pieces. With a divider my daughter marks the location of the screws. We then pre-drill the screw locations.

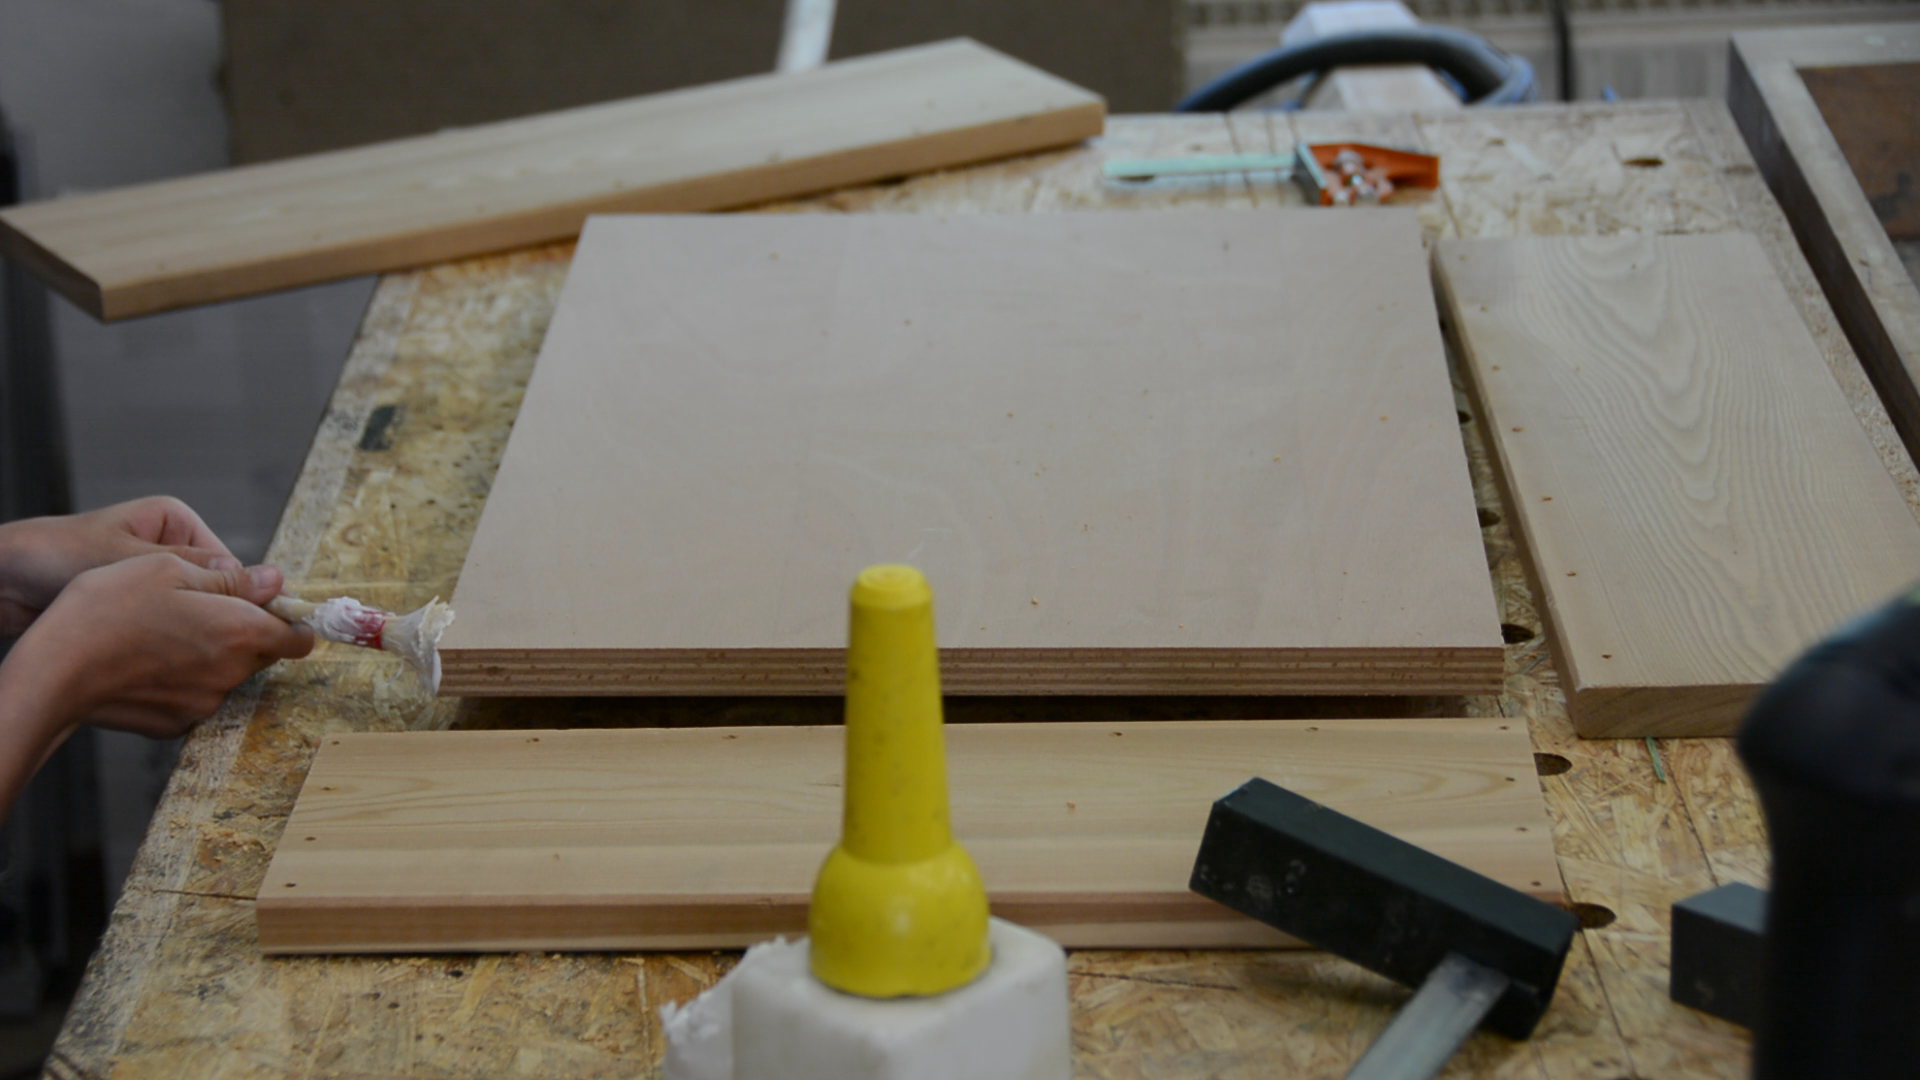
She puts glue on the sides of the bottom and we screw the everything together.
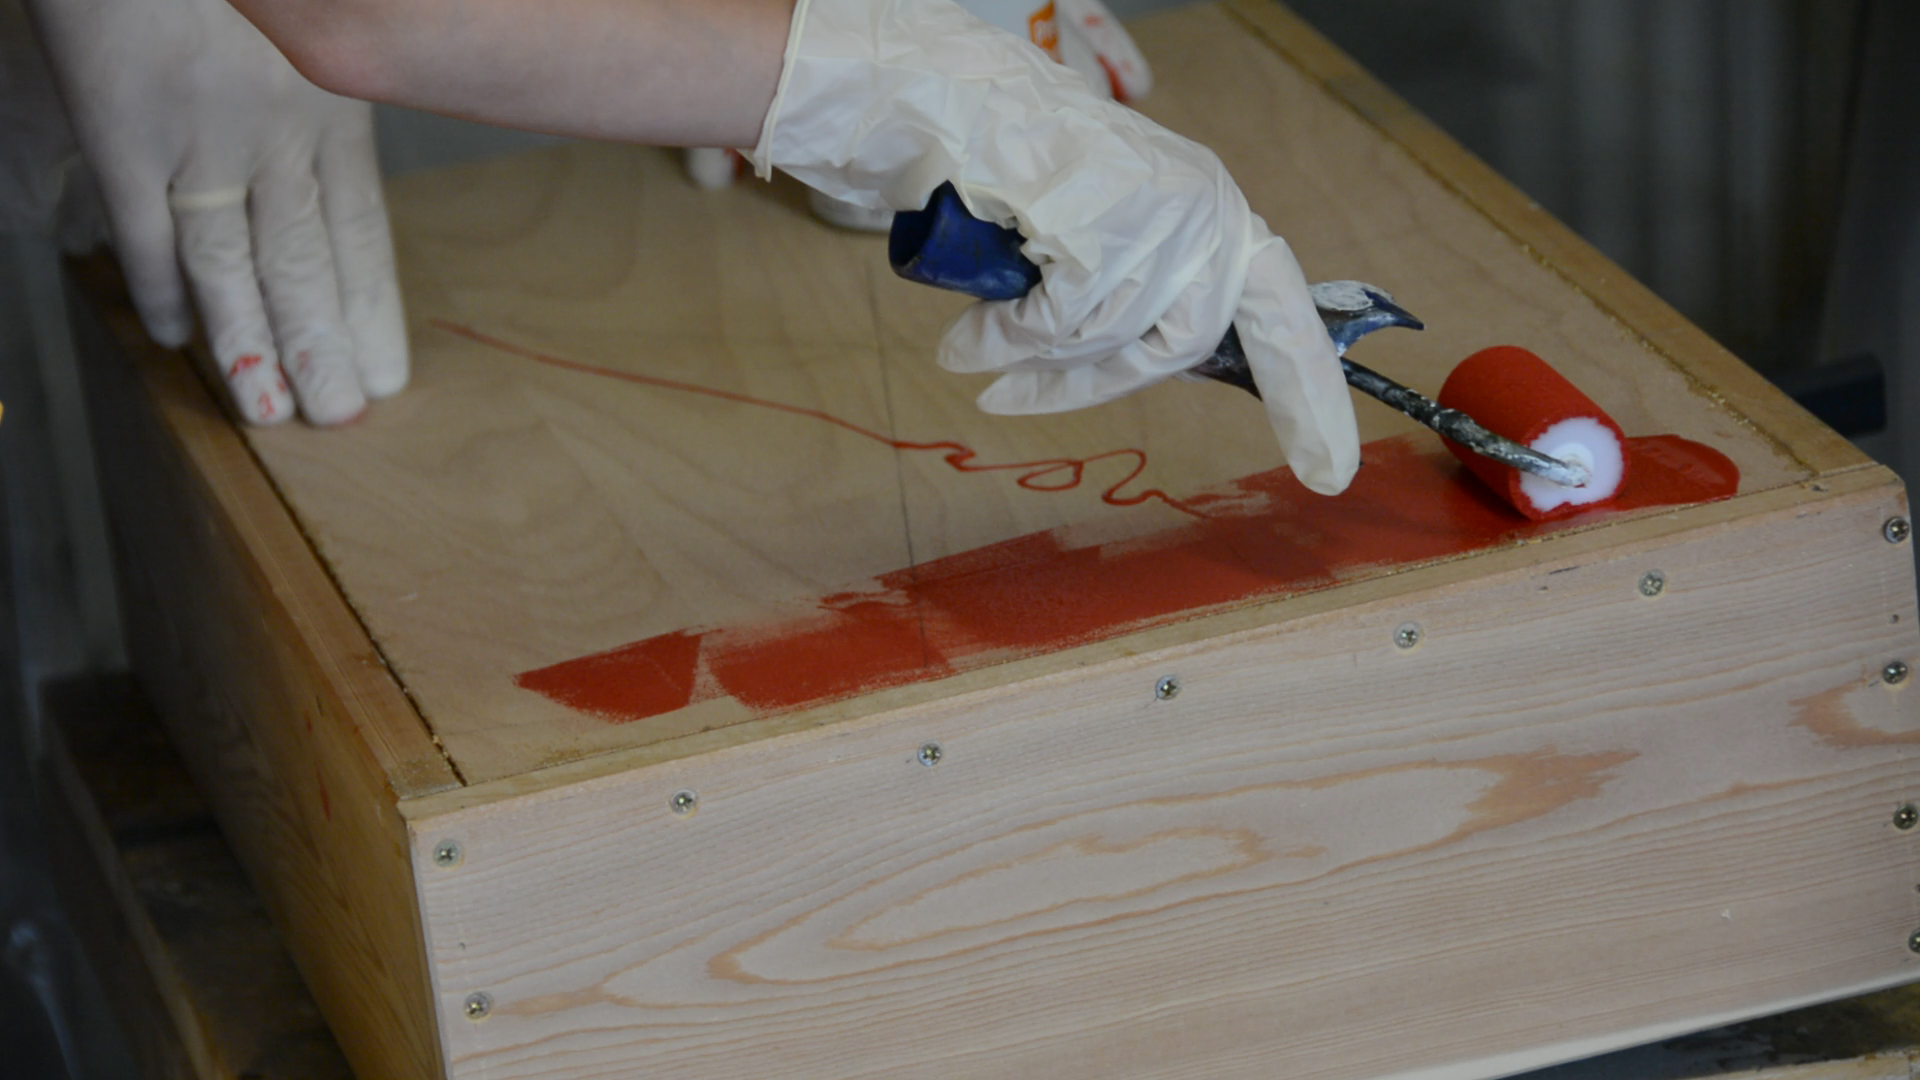
As one of the sides will be hinged the box is ready for paint. Glossy fire red seems to be an appropriate colour for a racing transport dog wagon.
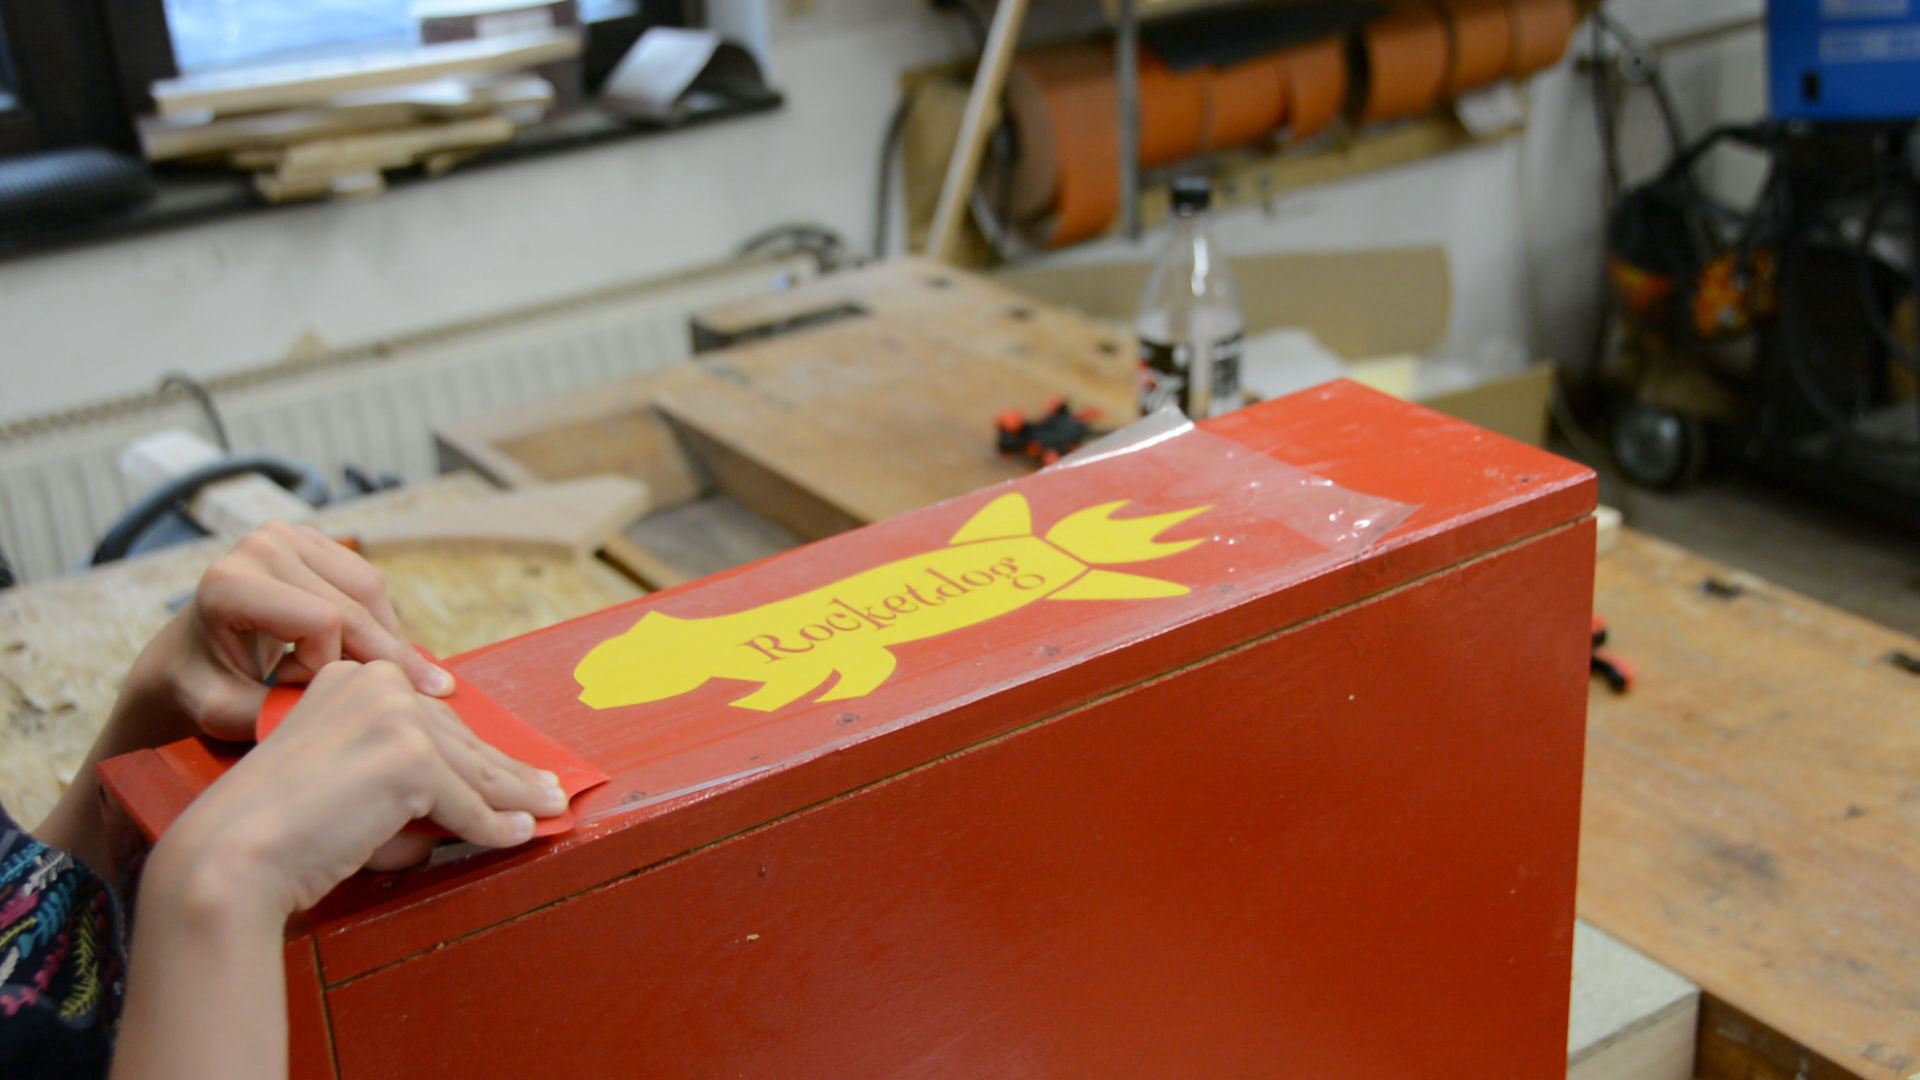
For the decoration I combined the profile of the dog with a rocket clipart in Inkscape and cut two stickers on the vinyl cutter. After applying the stickers everything get a few coats of spray lacquer.
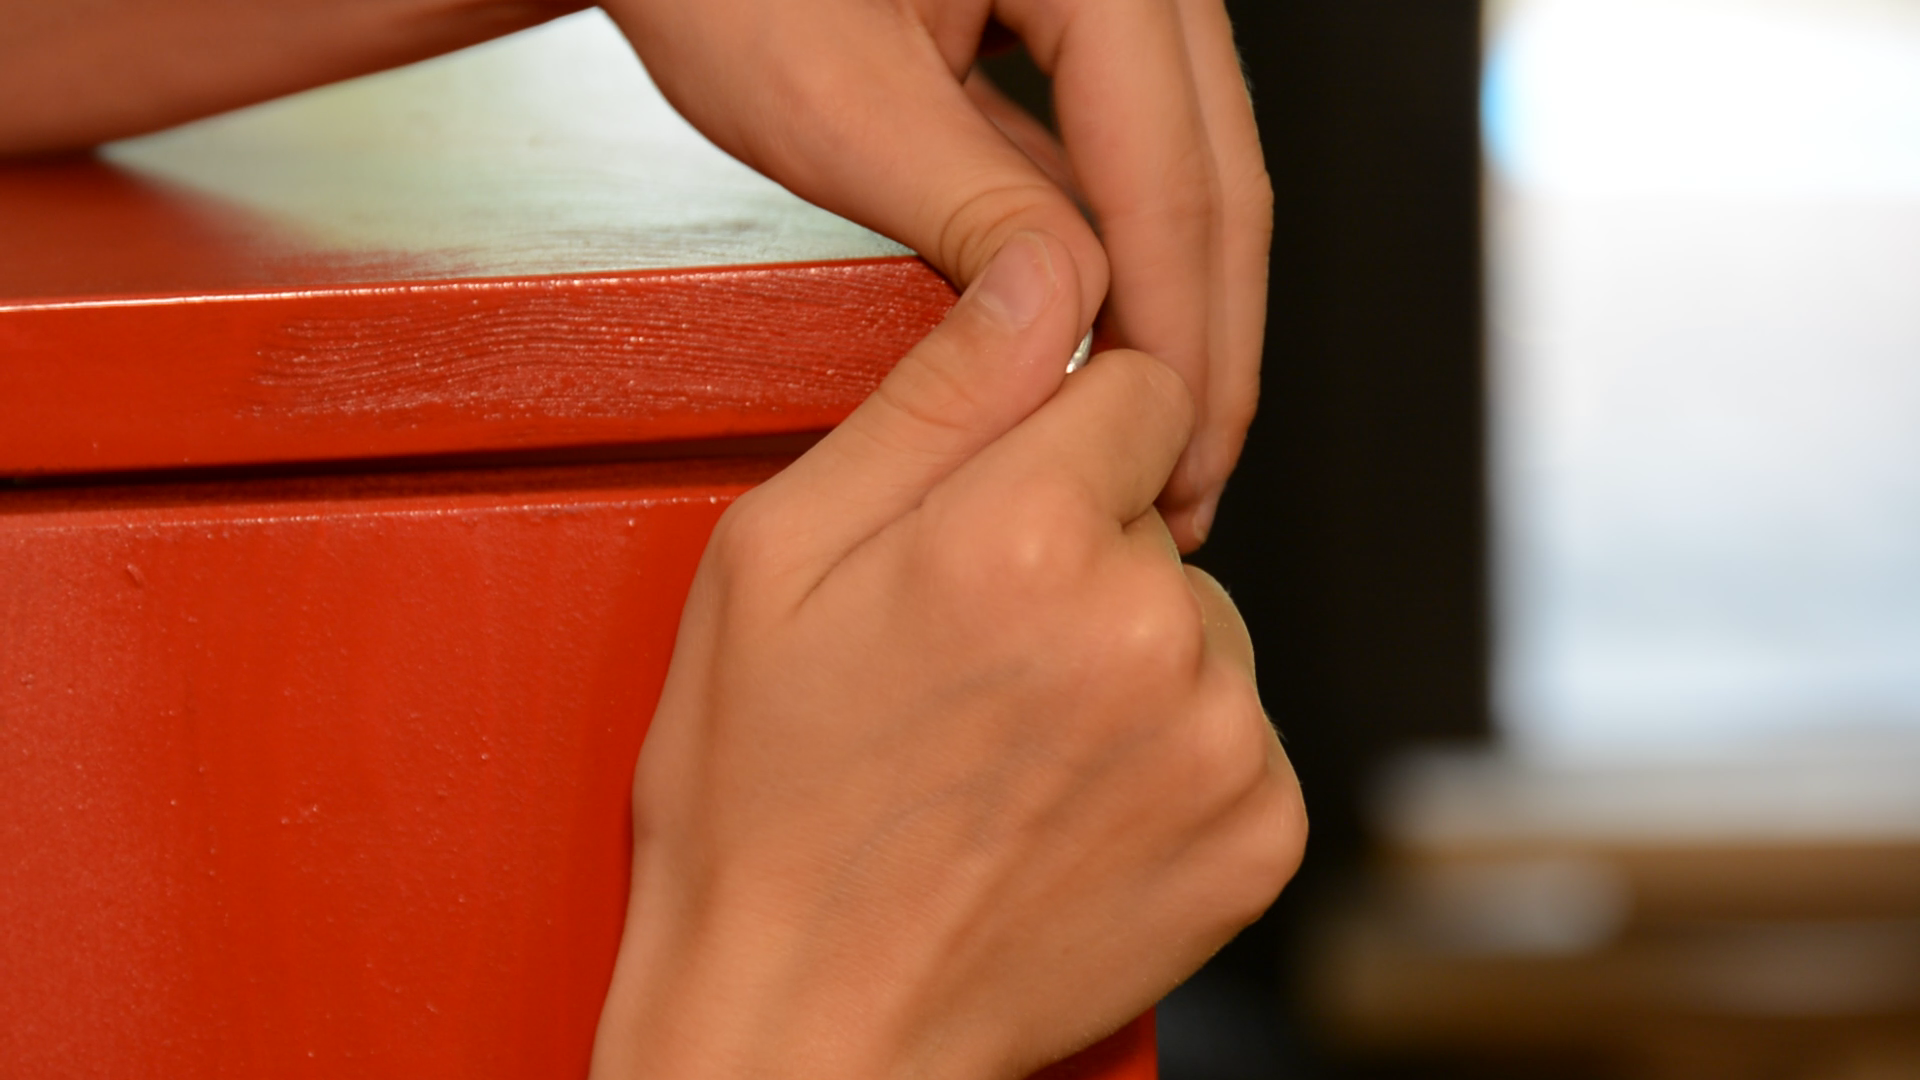
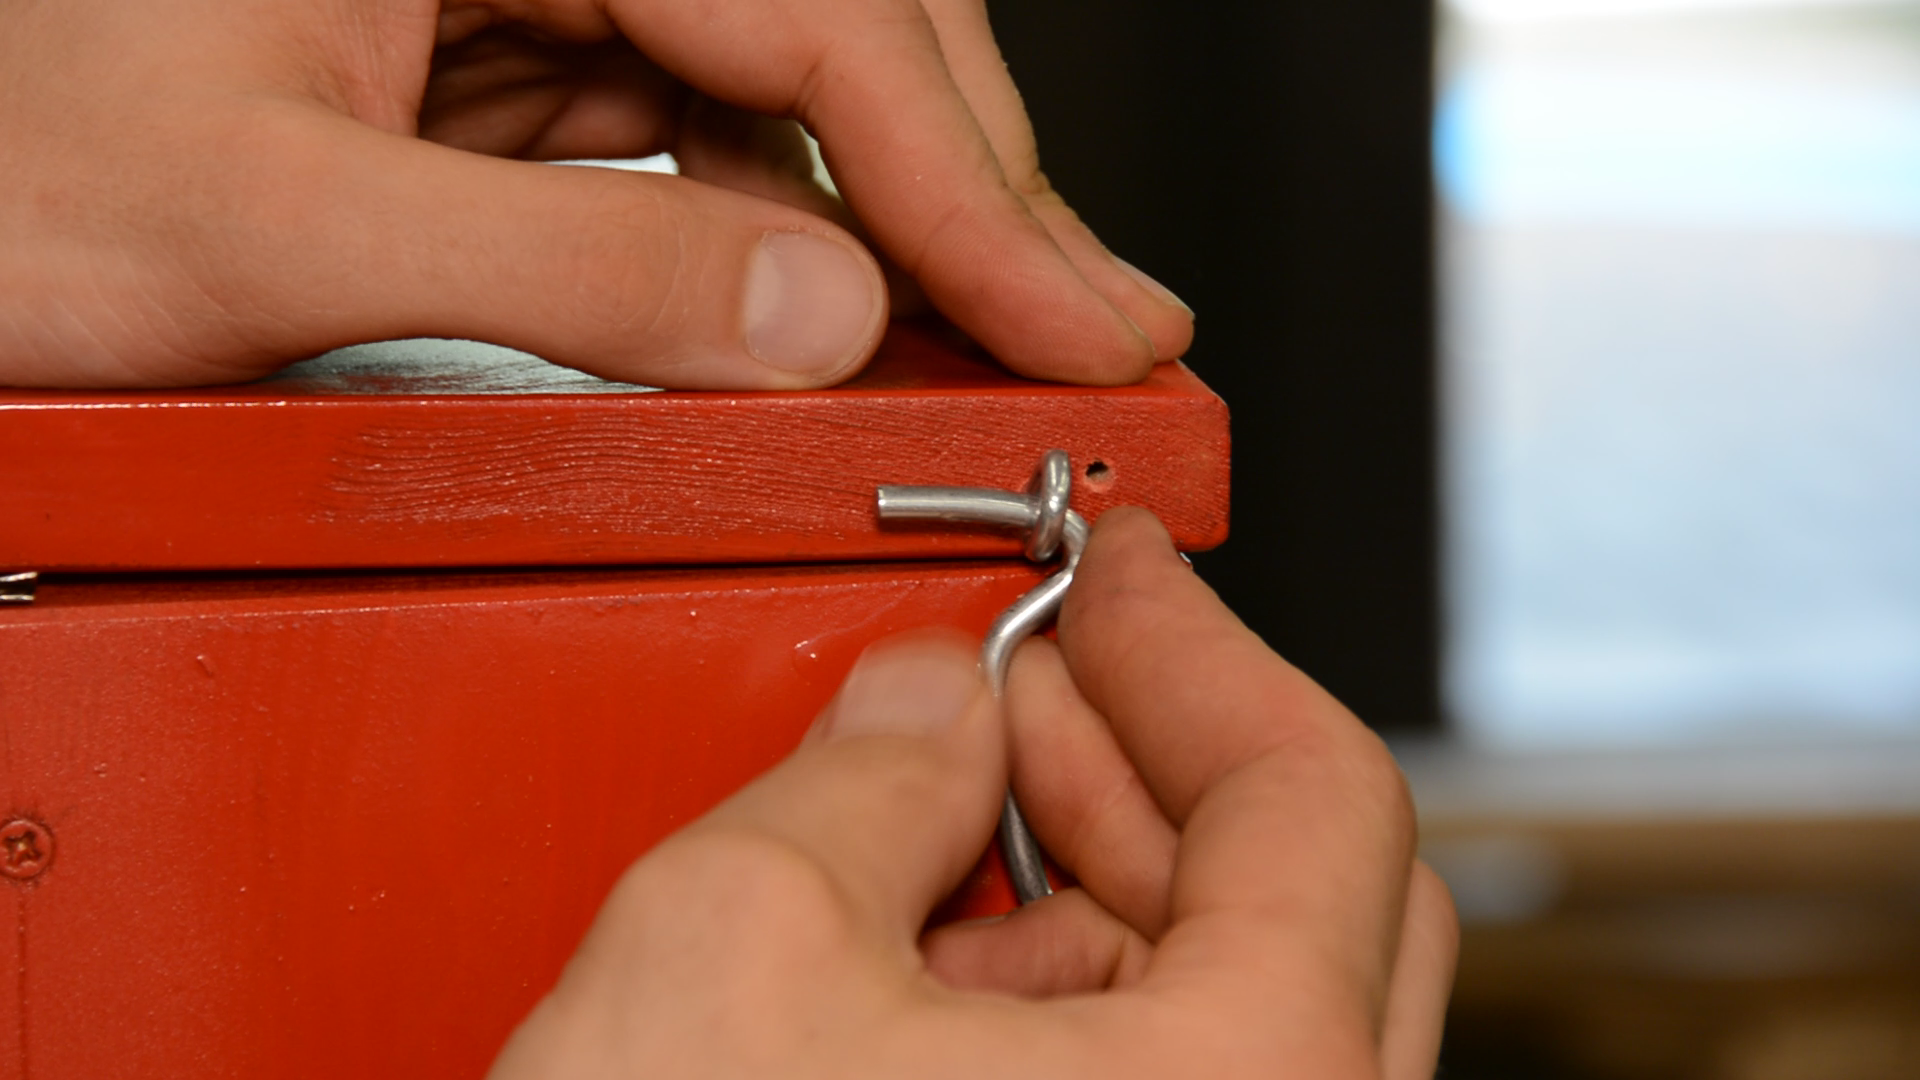
We screw a piano hinge to the tailgate and secure it with two hooks.

Constructing the axles
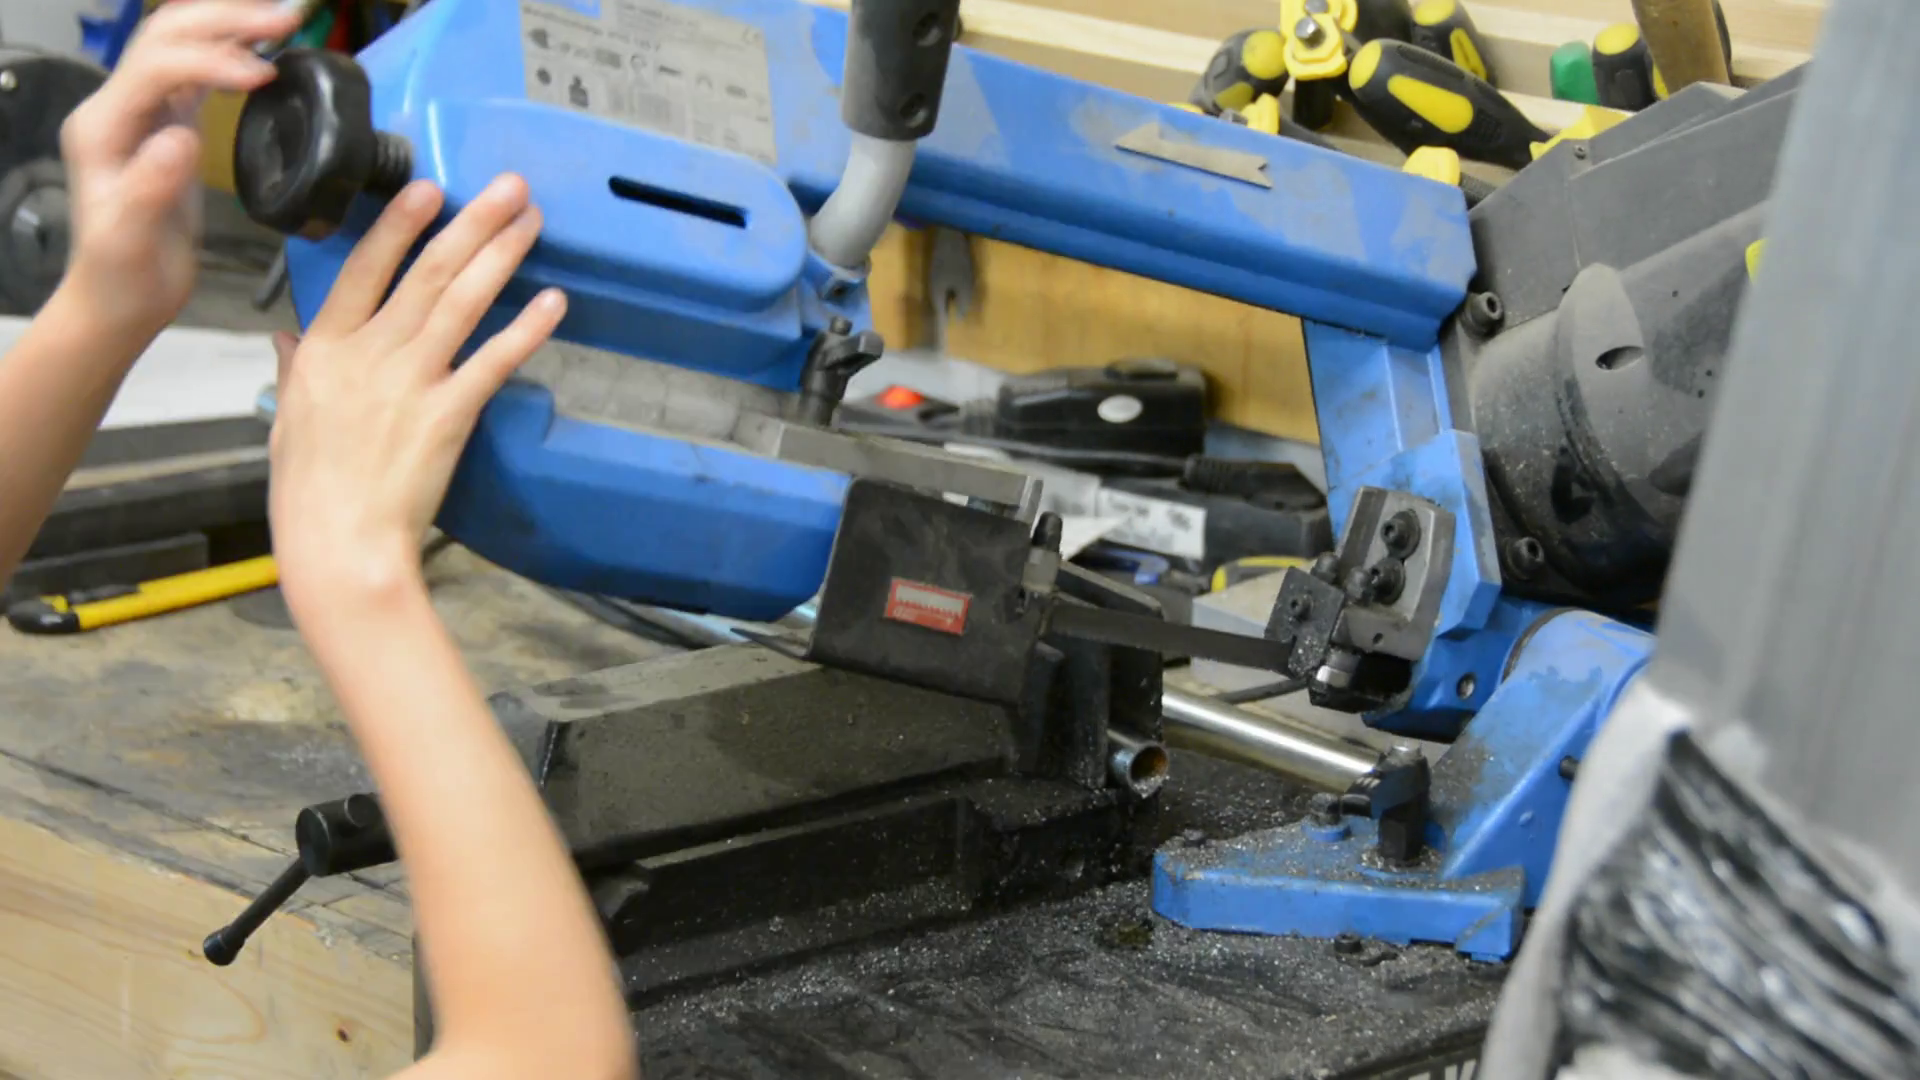
In the meantime the hardware arrived and we can start with the construction of the axles.

We cut both axles to size so that the front wheels have some room to maneuver.
For the fixed axle we cut two pieces of oak to size and I route a channel in both part.
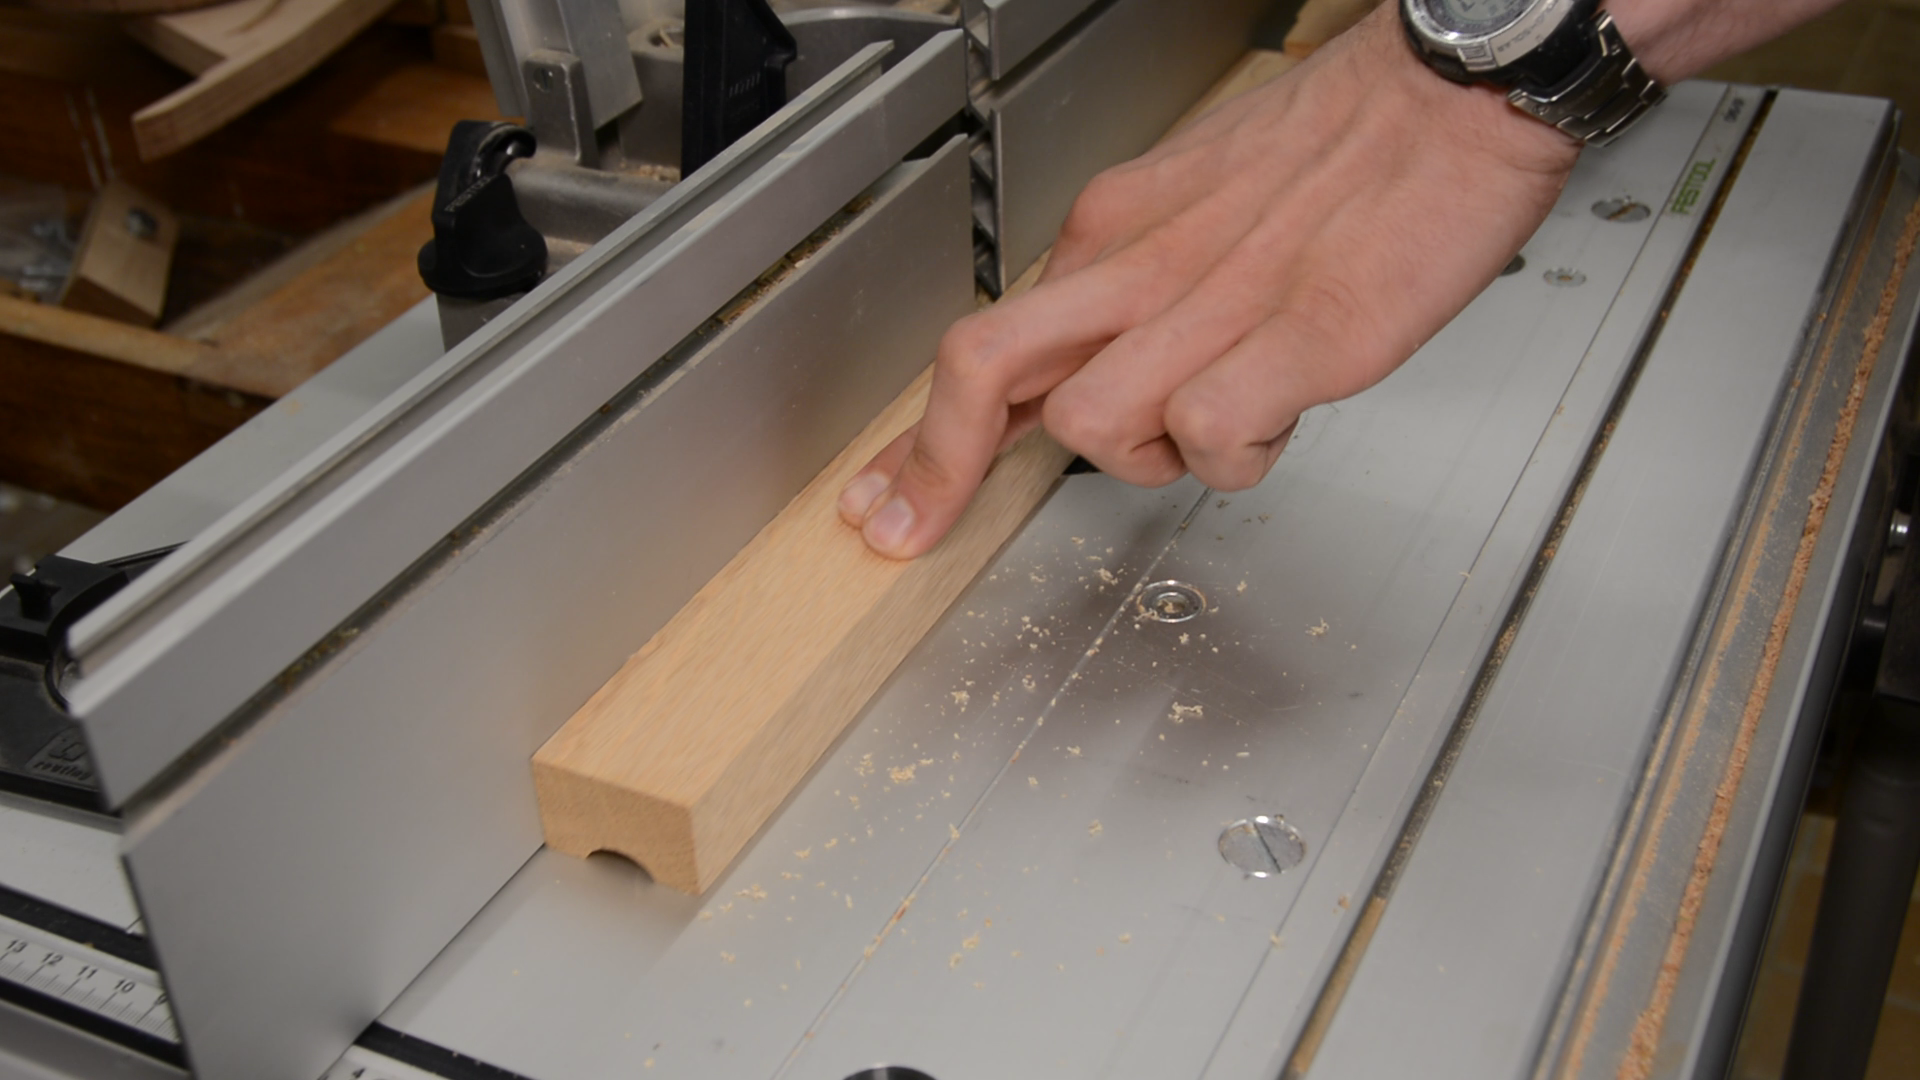
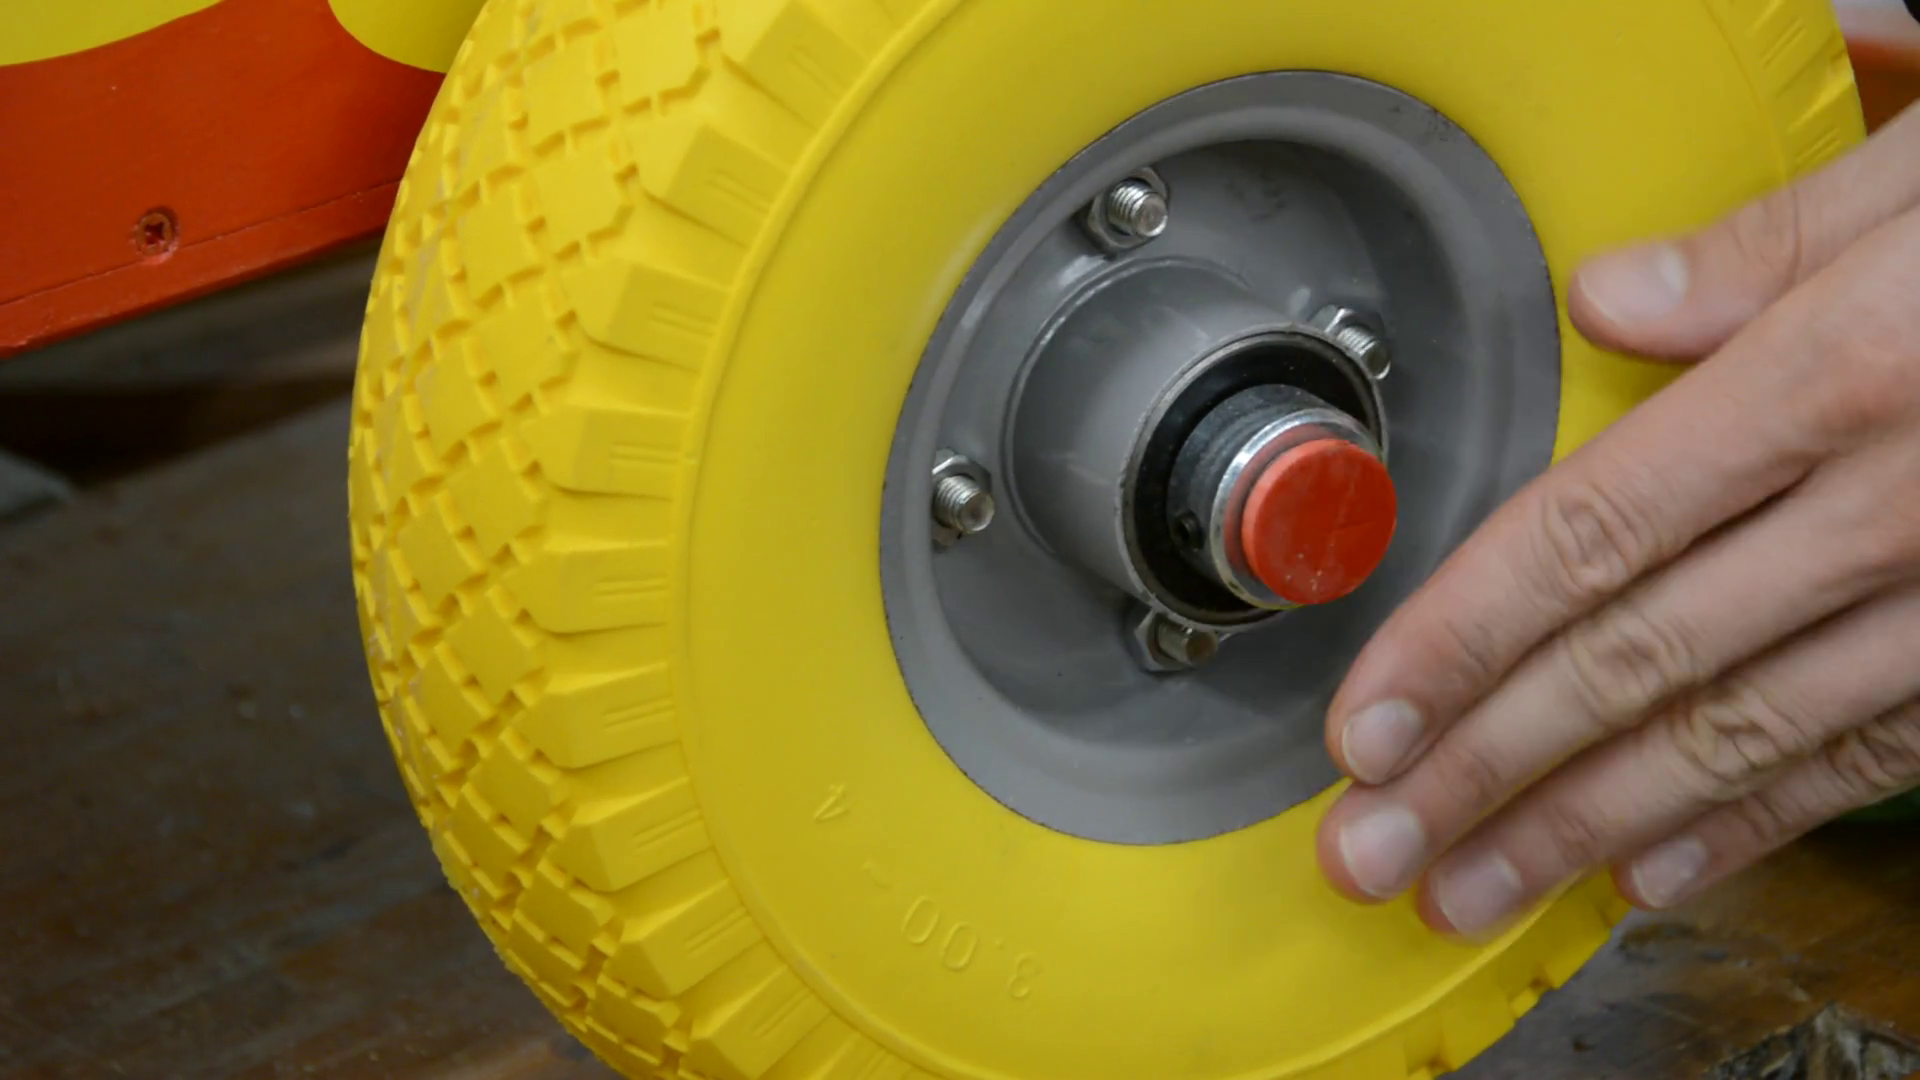
We mark an ample amount of screw holes, pre-drill them so that the steel axle will be sandwiched between the wood. The wood gets a few coats of paint and is then screwed in place.


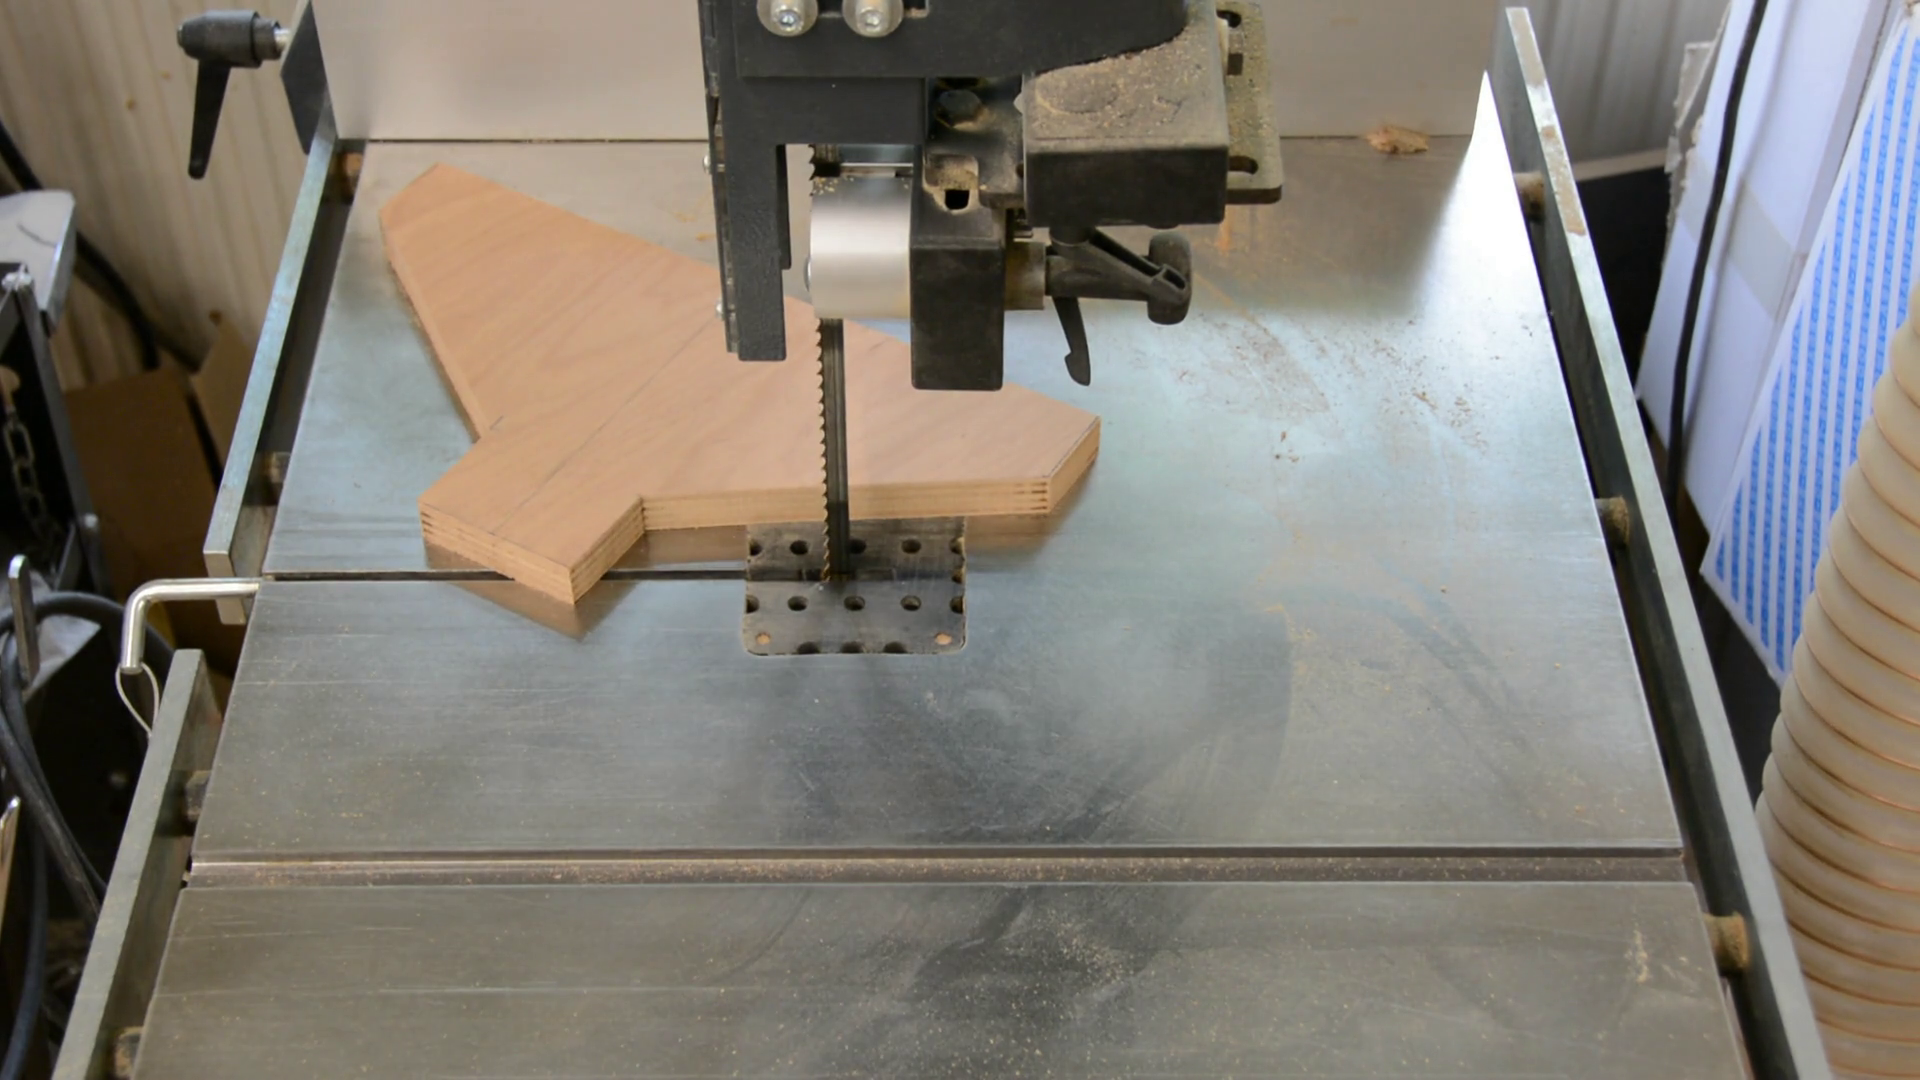
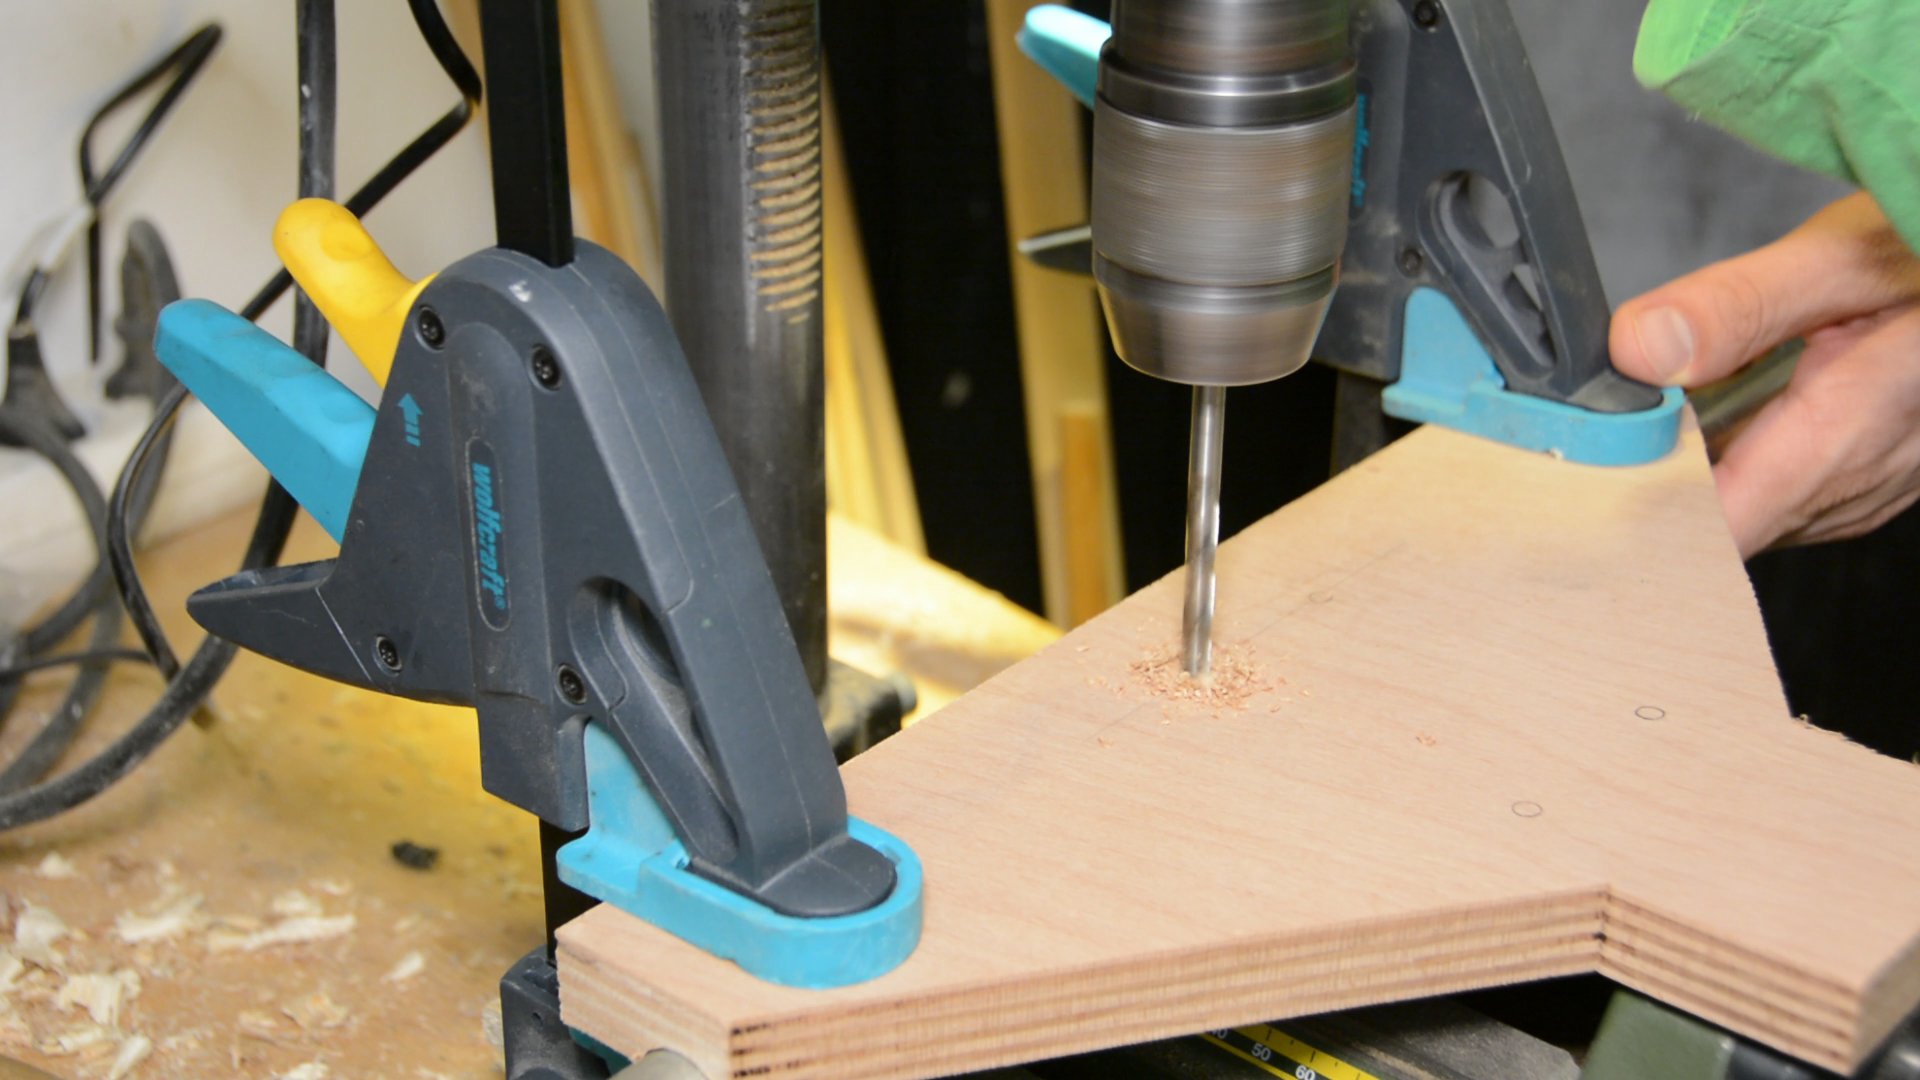
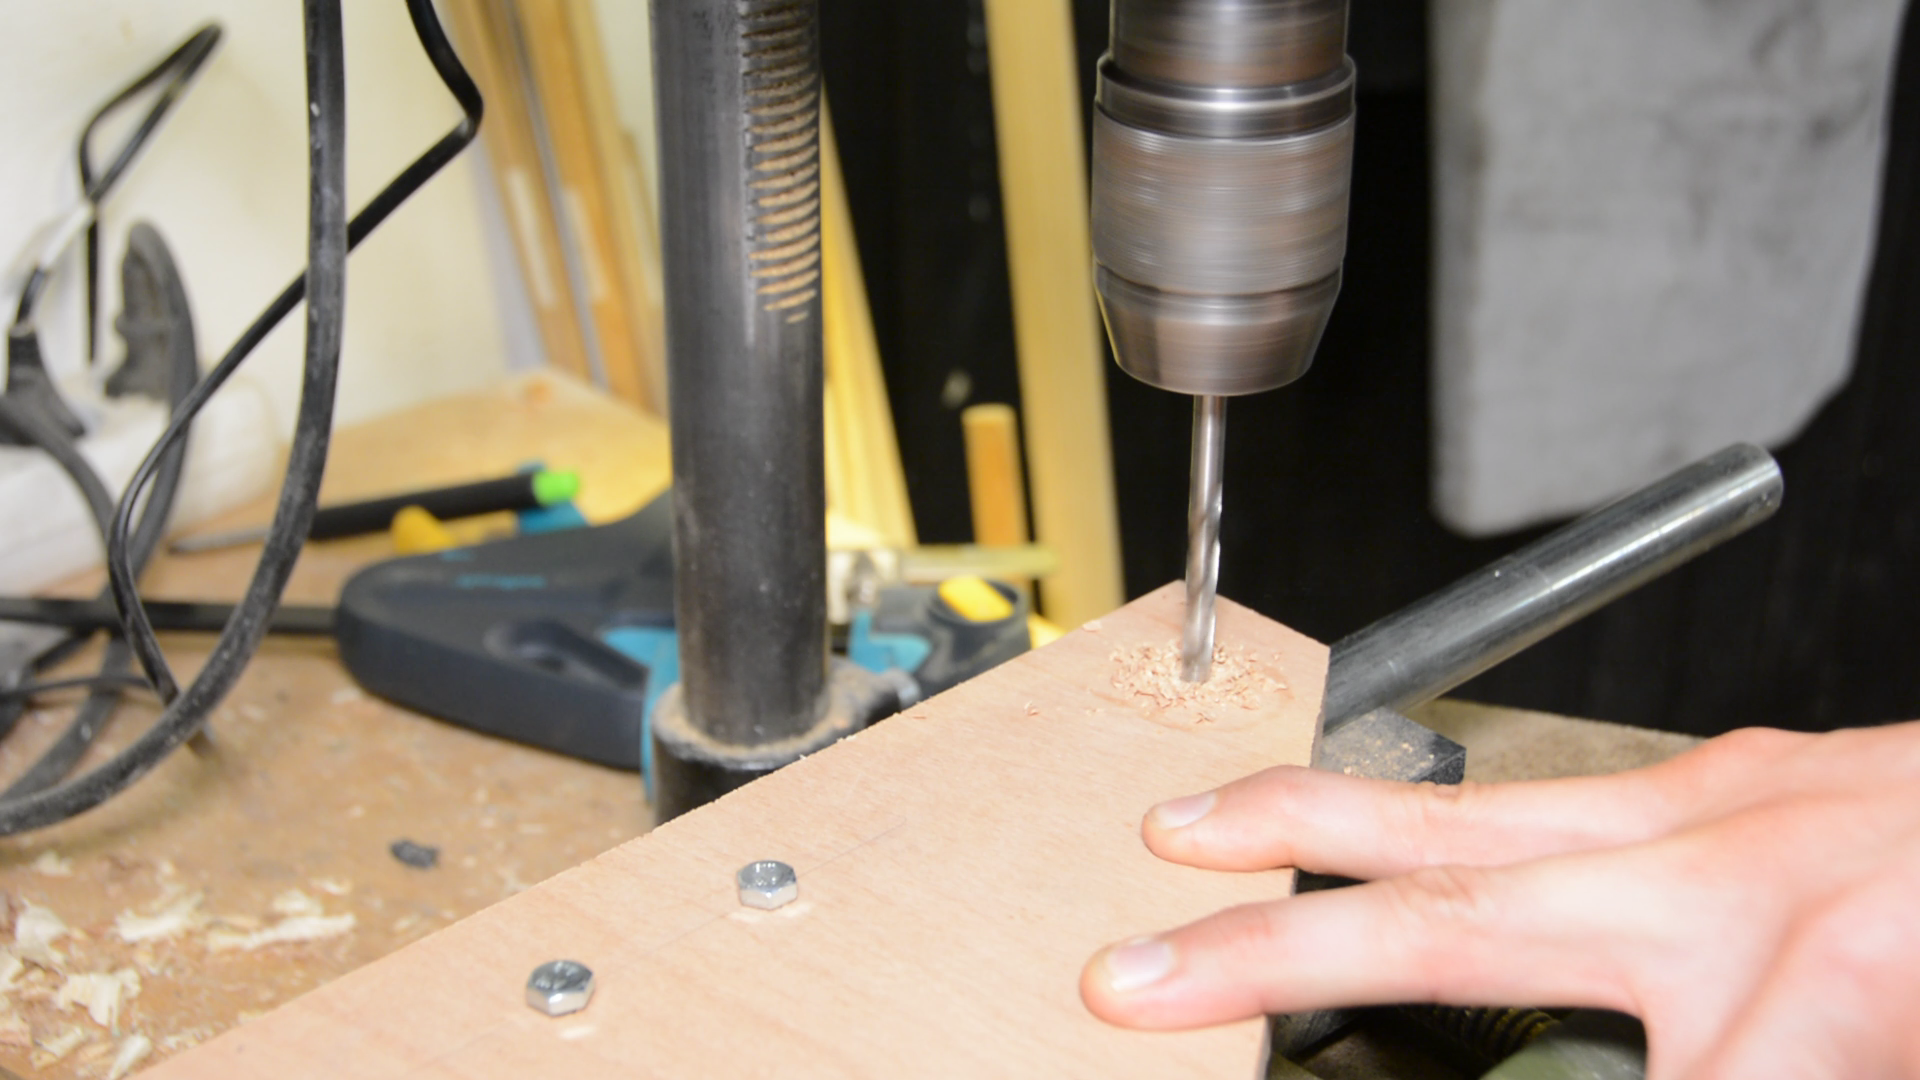
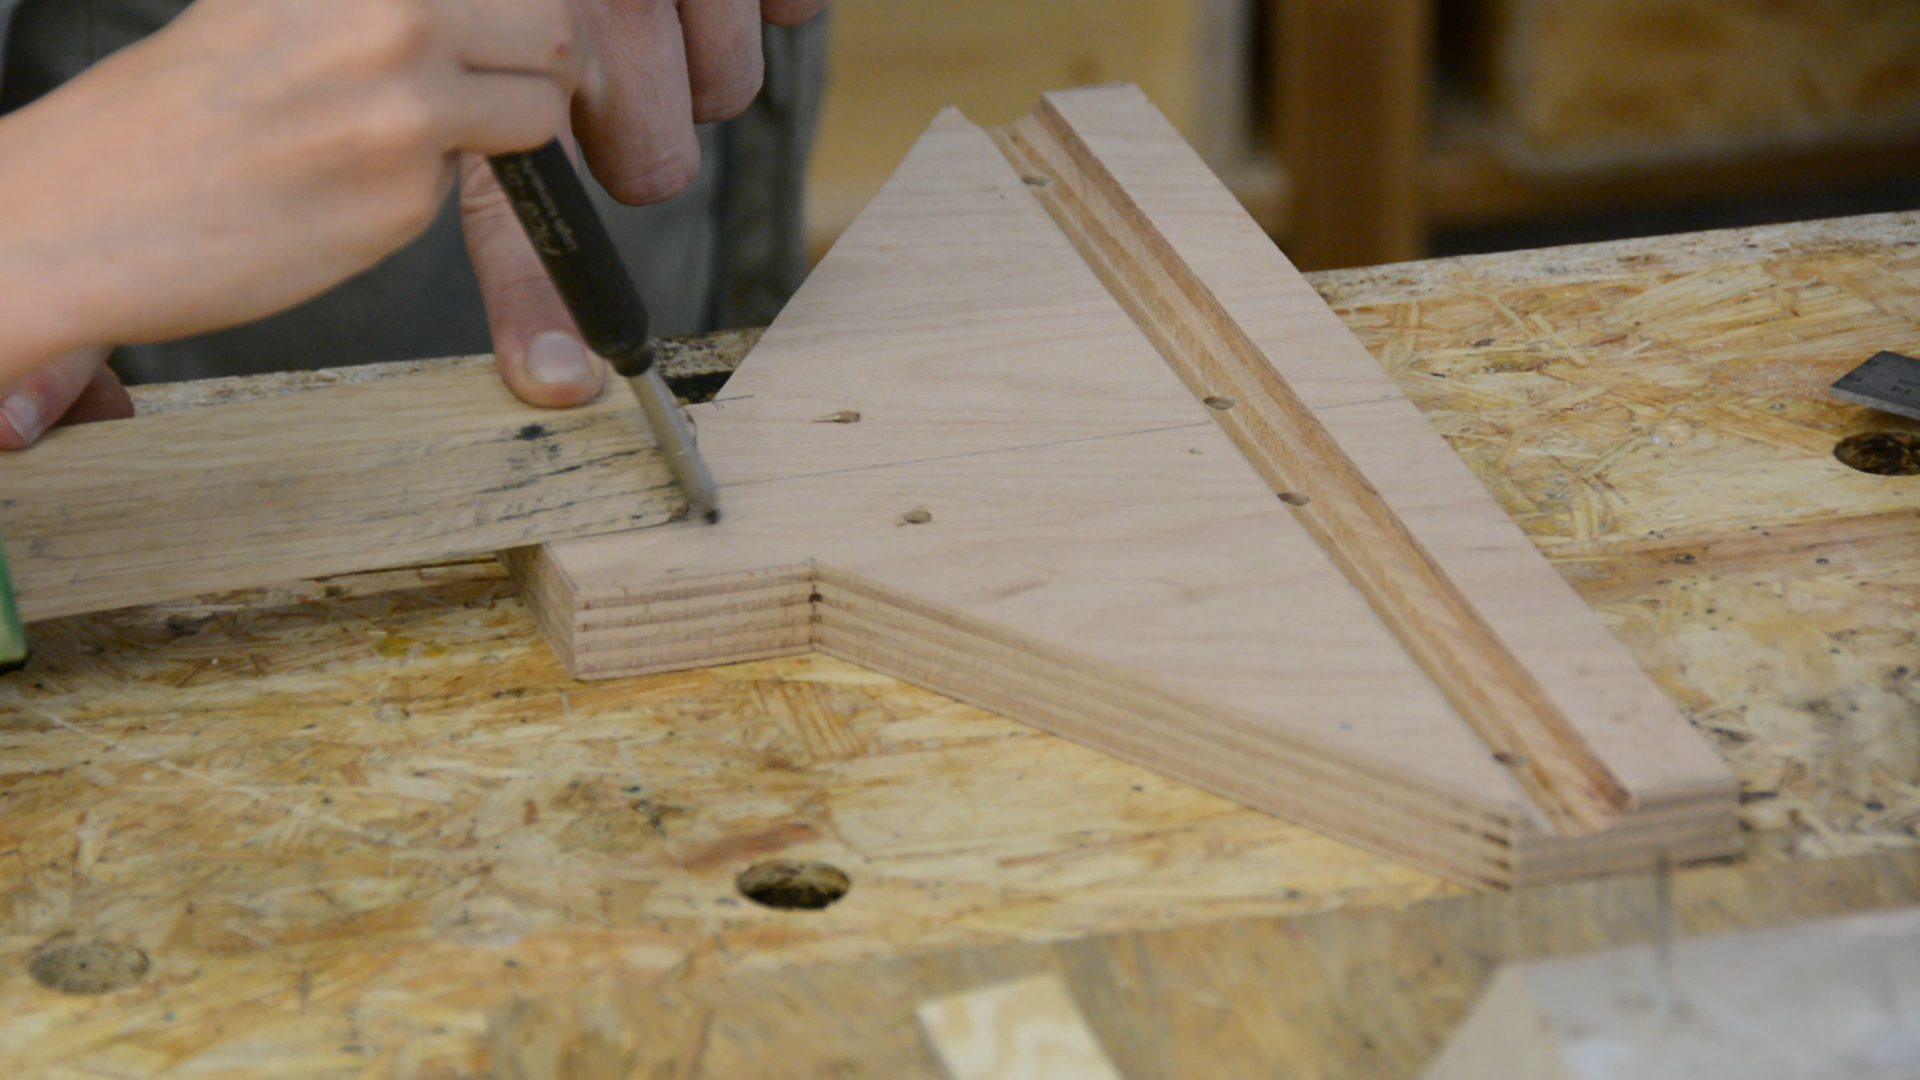
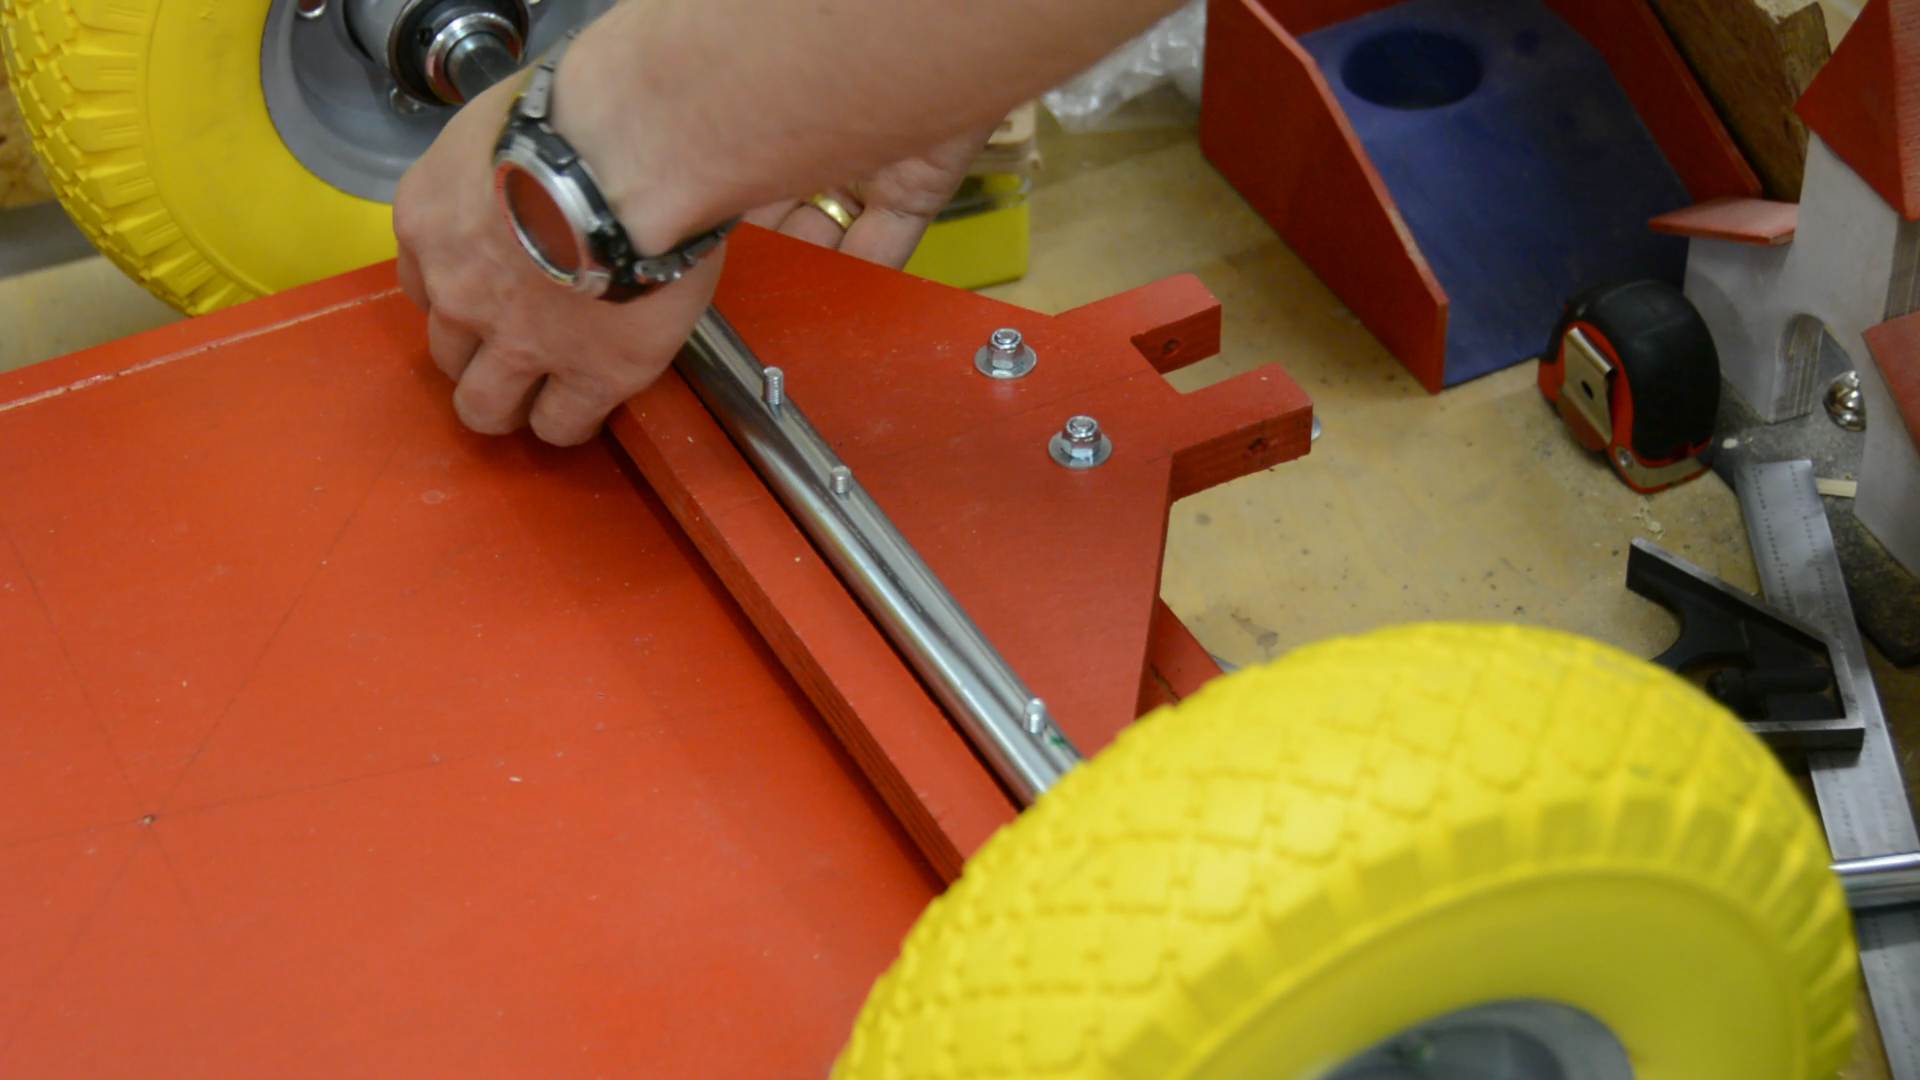
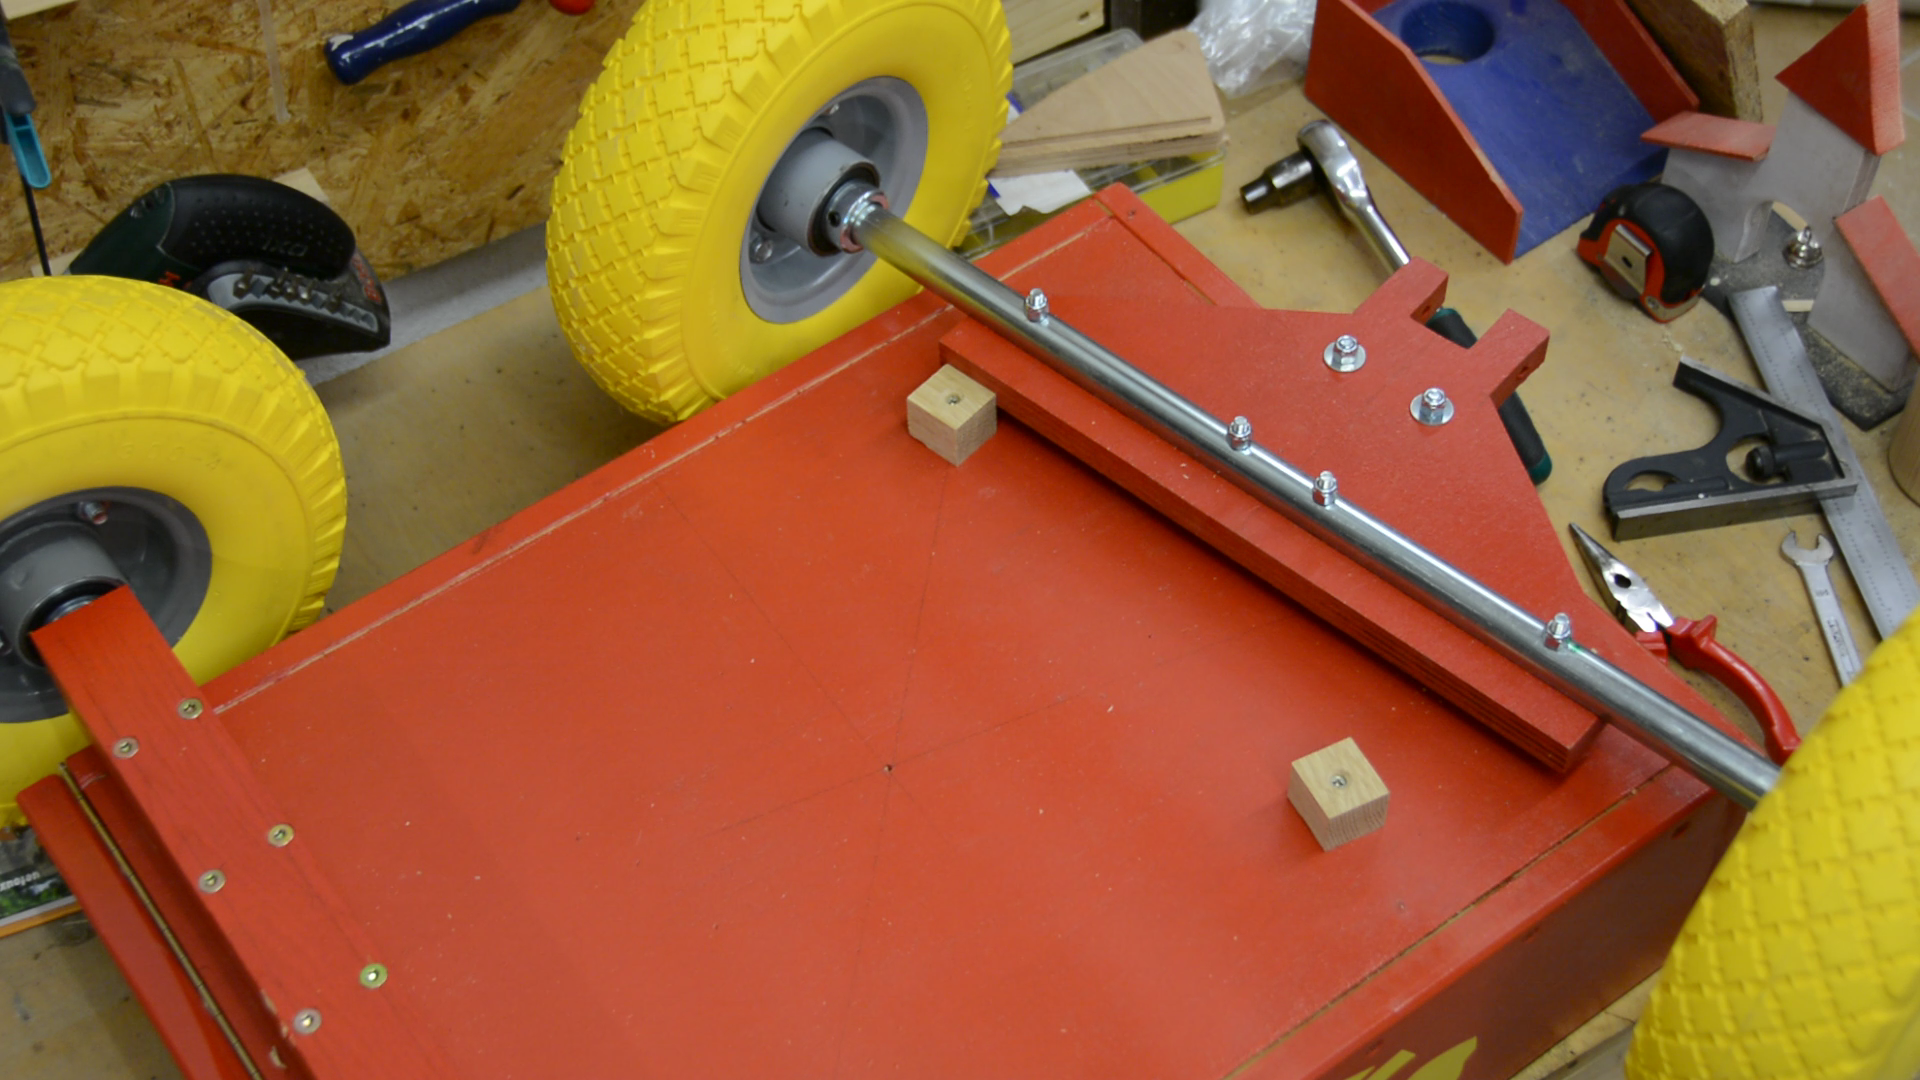
The front axle will be use to steer the wagon. So I cut a plate on the bandsaw and create a groove on the router table. We will mount this plate with a a lazy Susan type bearing to the bottom. We mark hole locations that will secure the bearing to the plywood and at the same time secure the axle.
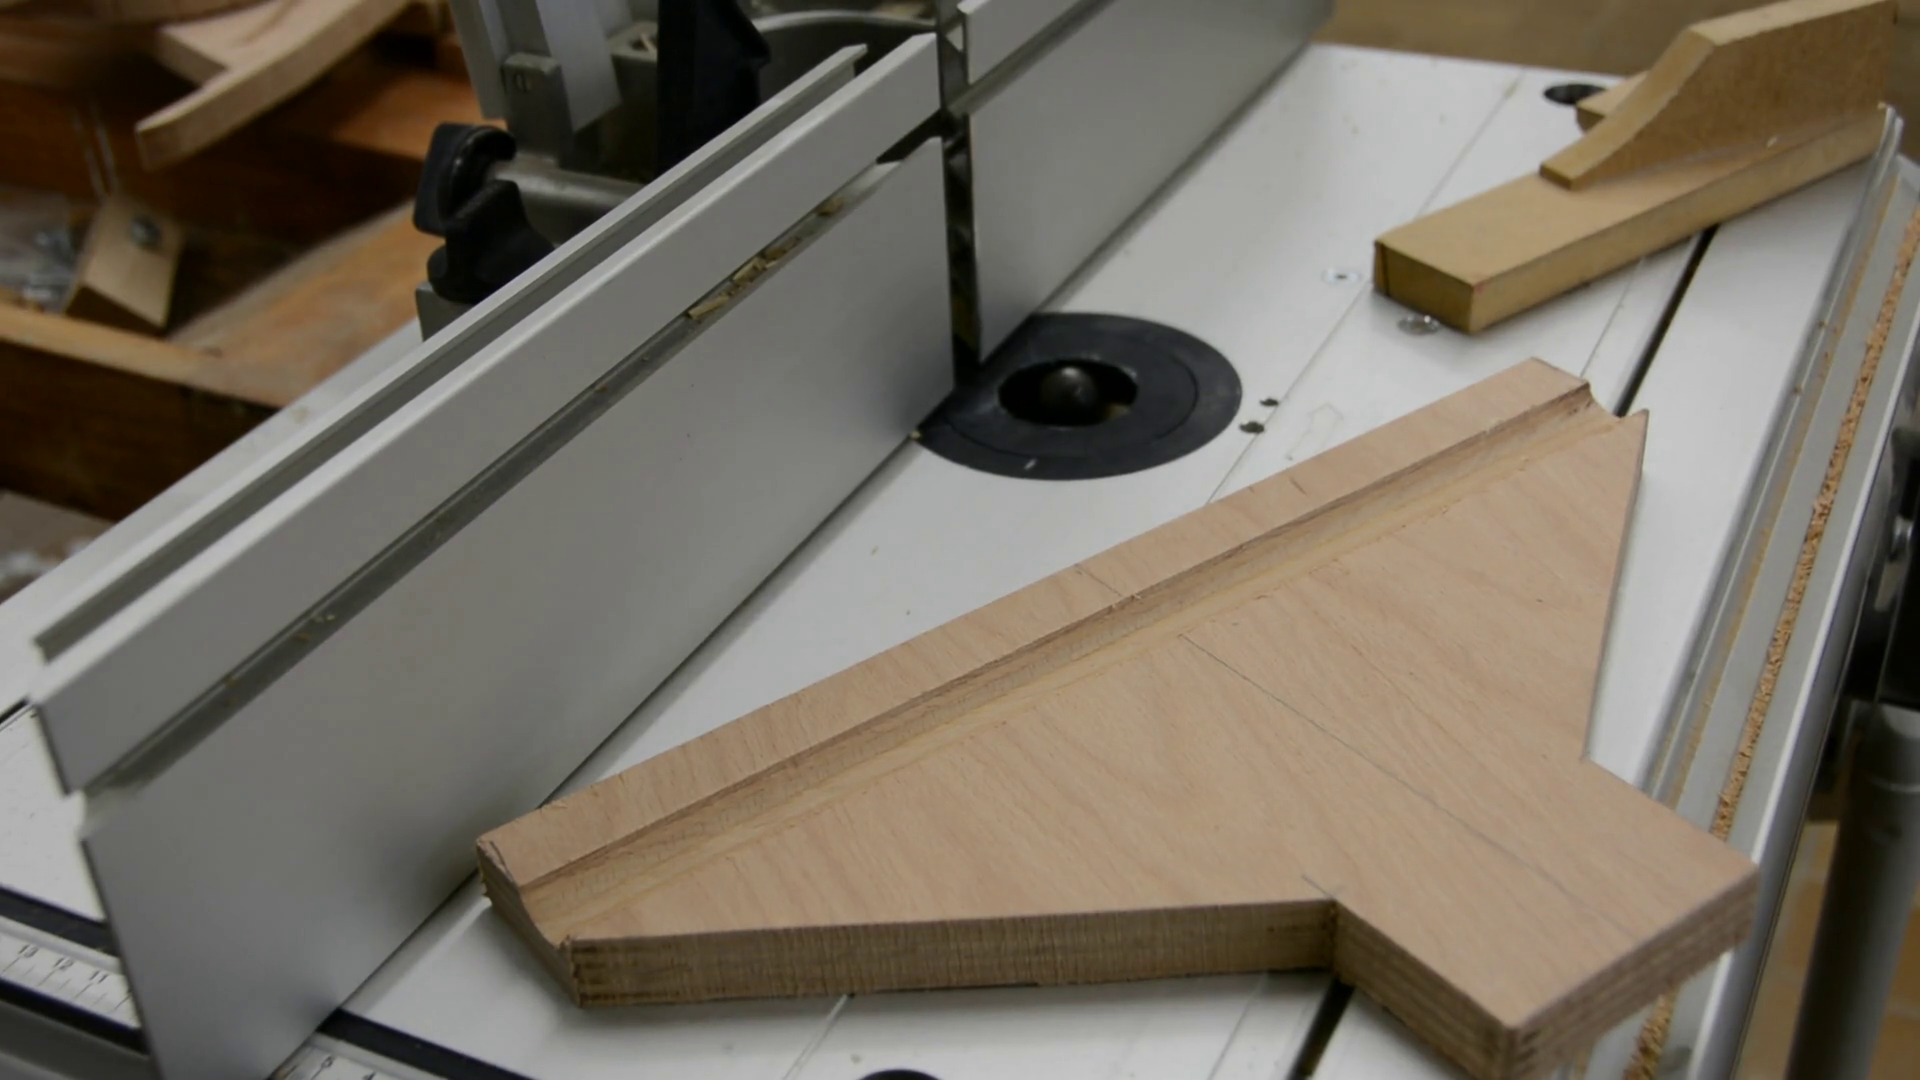
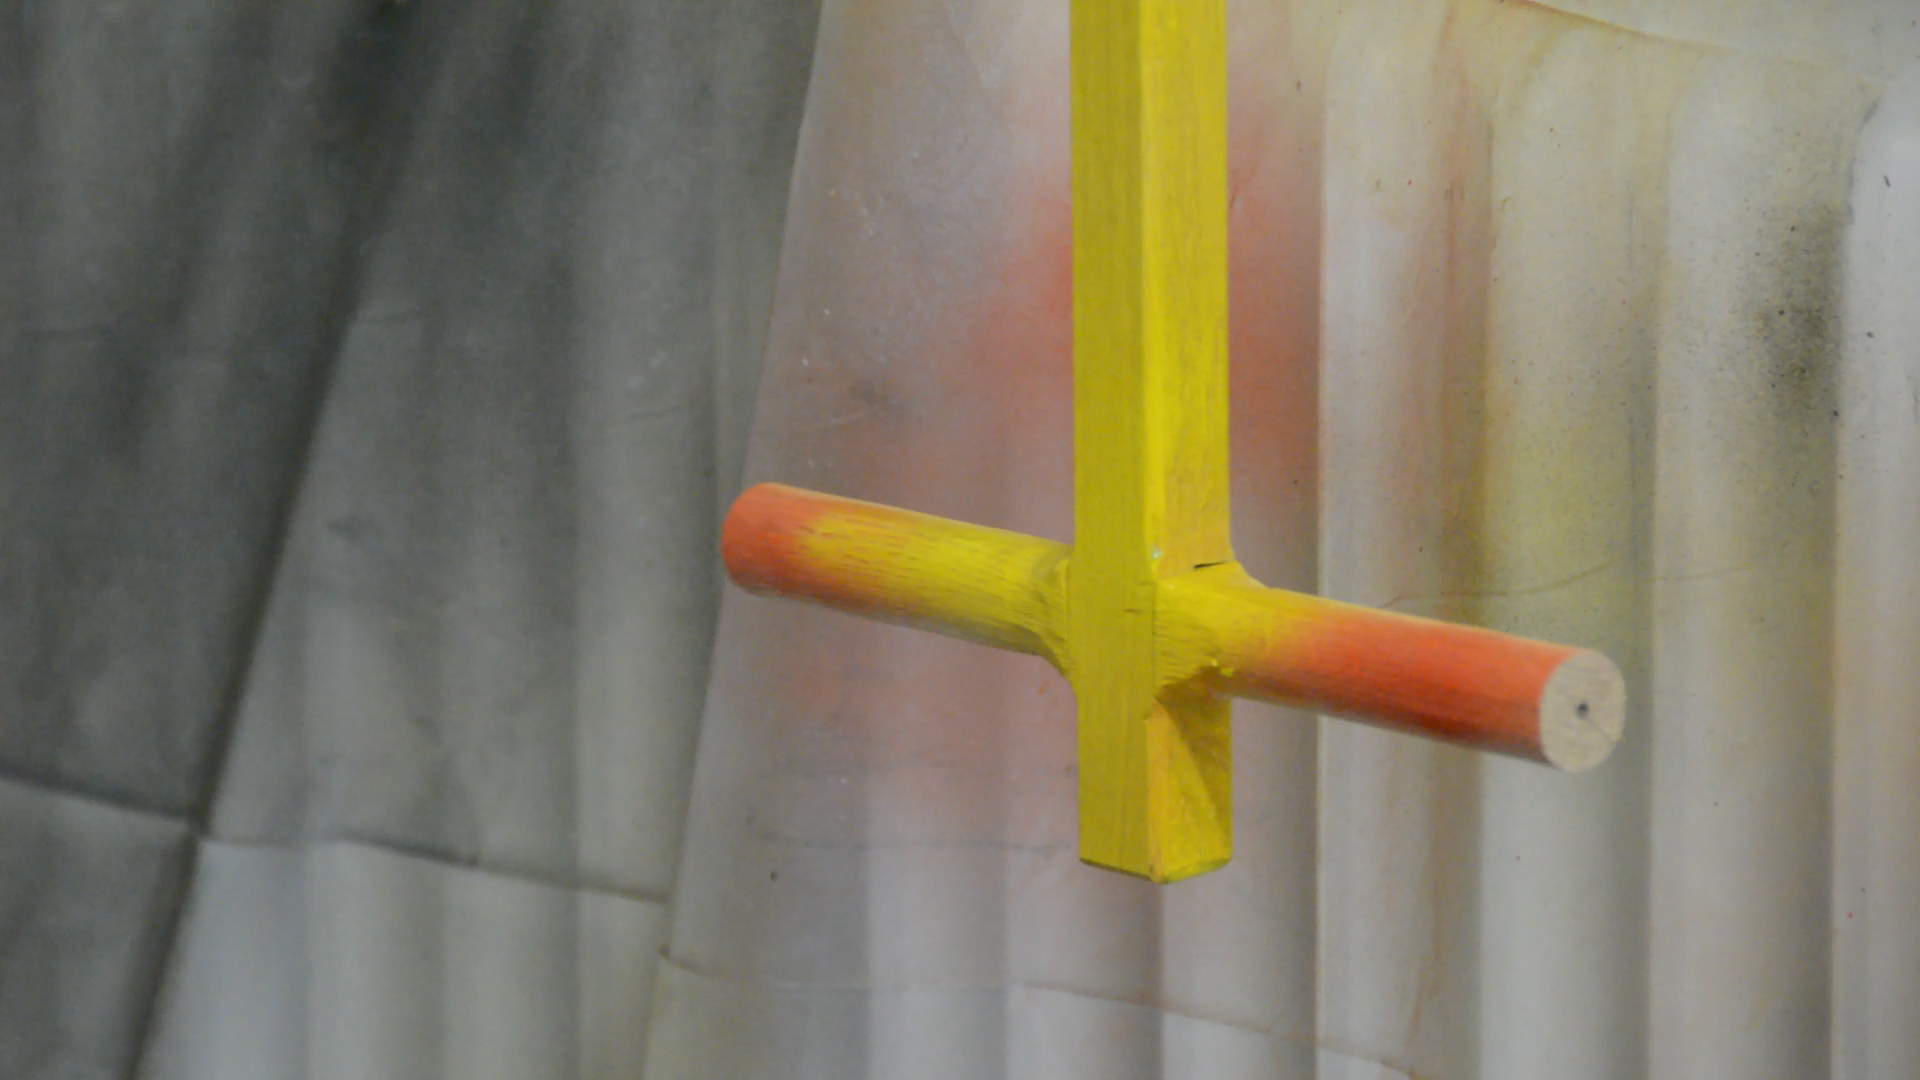
At the front of the plate we cut out a notch to mount a bar so that we can pull our dog passenger. We turn a handle for the bar on the lathe and with some more painting the pull and the front plate are ready to be installed.


Mounting the axles
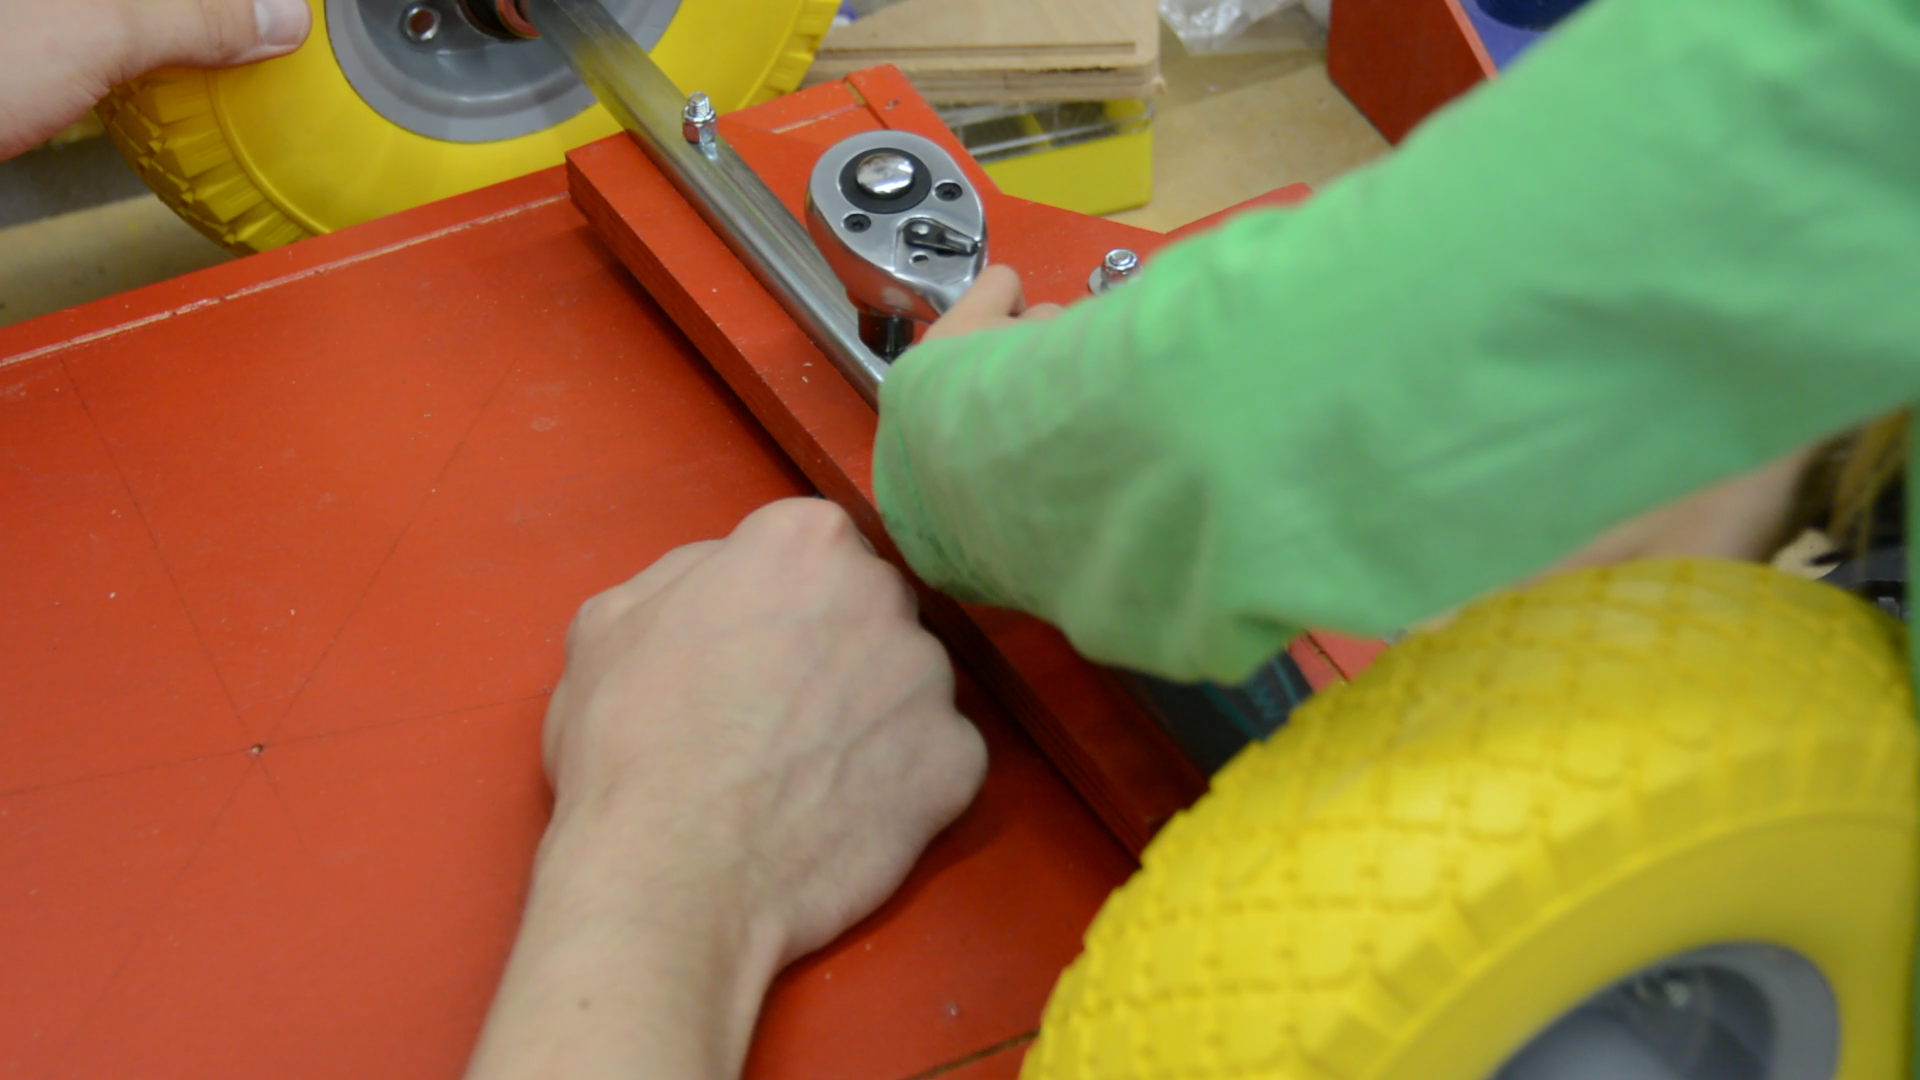
For the installation we first screw the bearing to the wagon and then secure the plate and the steel axle with M6 nuts.

With two small blocks we ensure that the wheels do not rub against the sides.
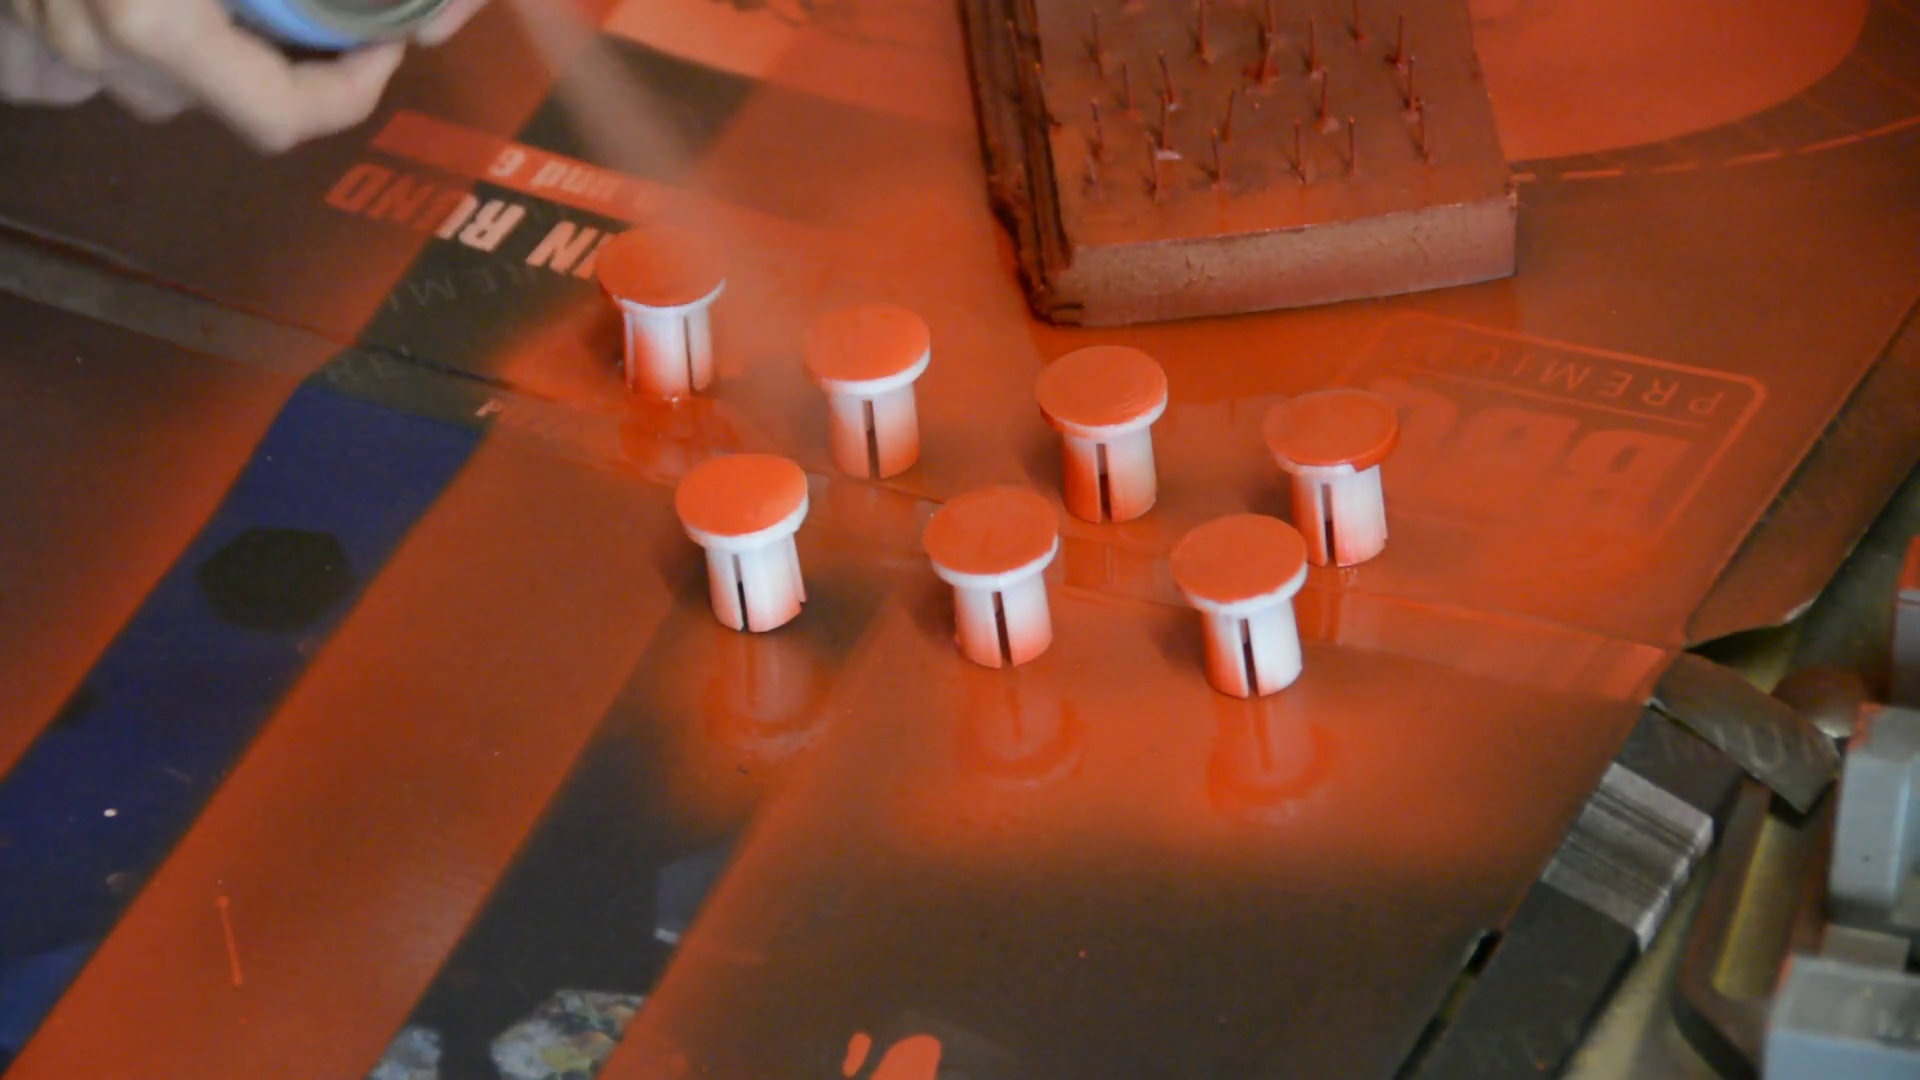
For a final touch up we print plugs on the 3dprinter, paint them red and plug the holes
of the steel pipes.
Now it’s time for a test ride. Our dog seems to enjoy he new way of traveling in the dog wagon.

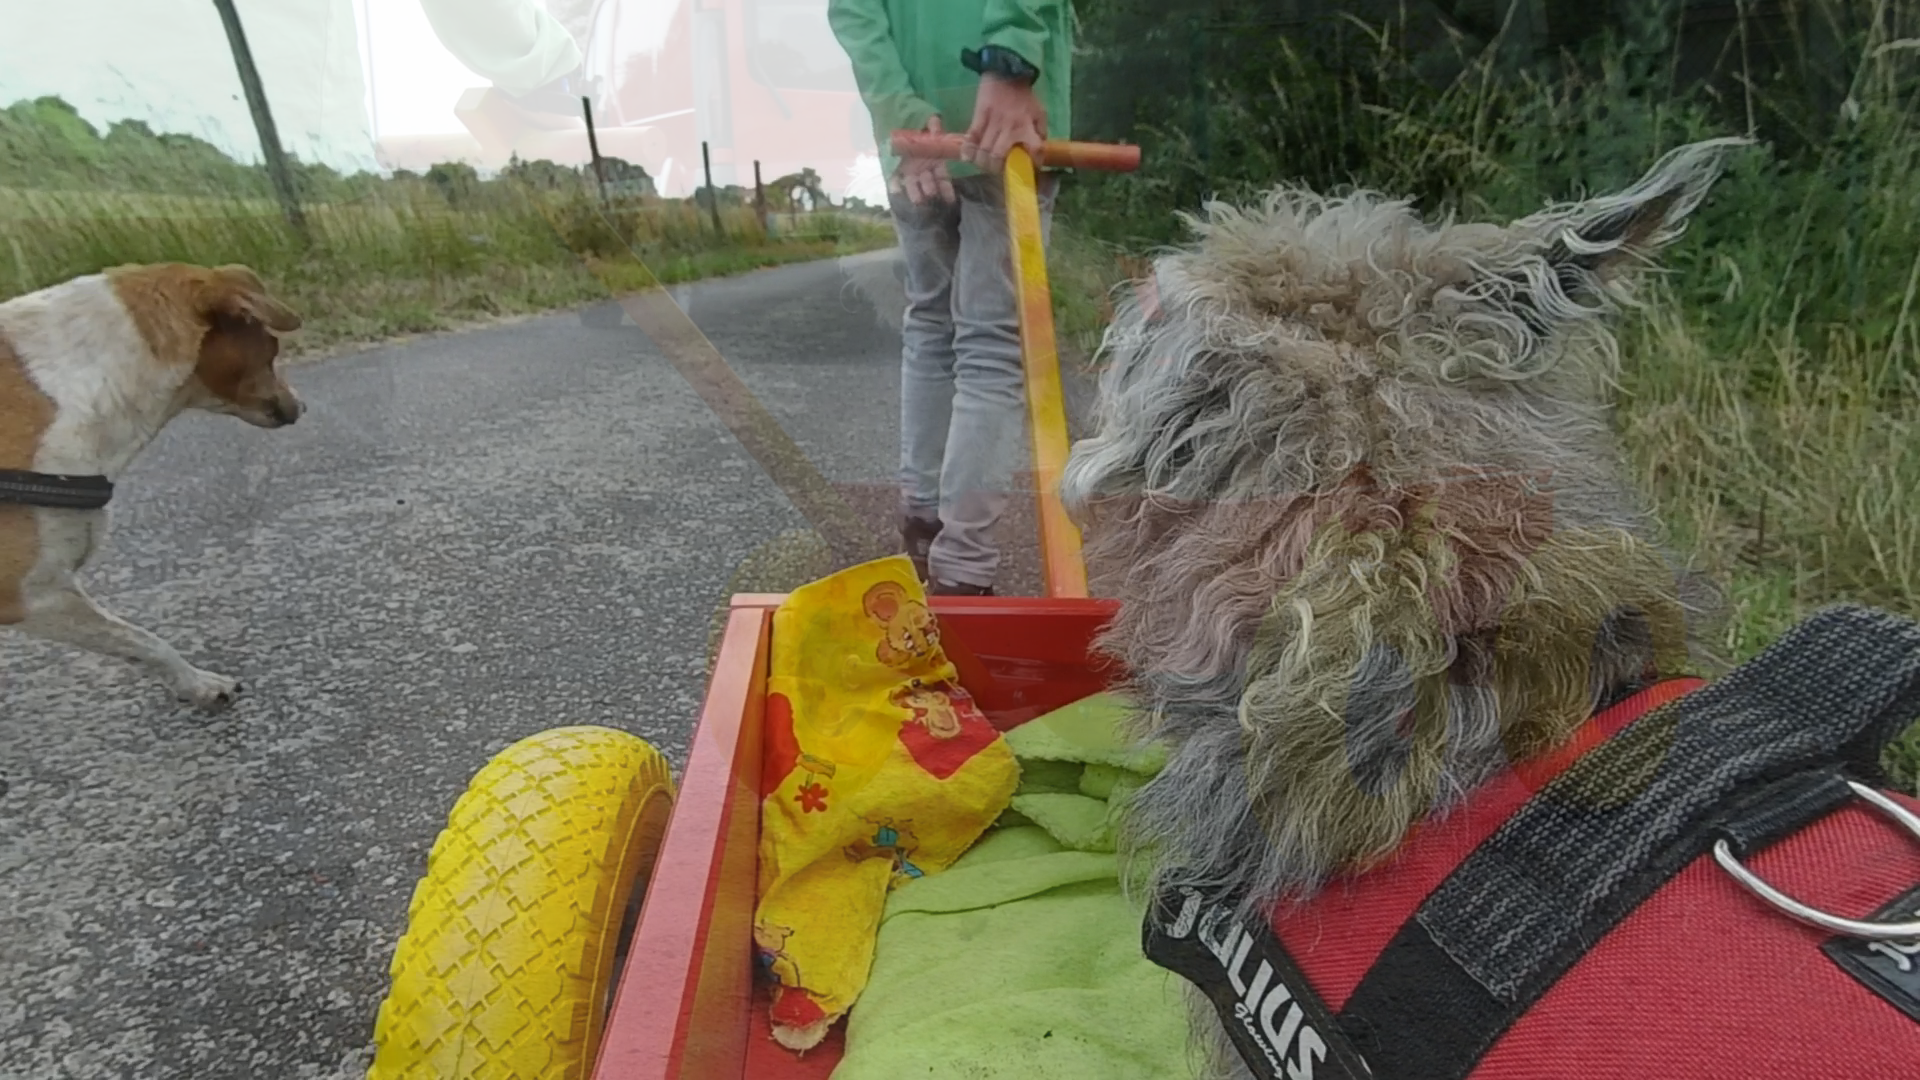
It was great to build something with my daughter and spend some time together in the shop.