In this article, we upgrade the bed of the K40 laser cutter to a height-adjustable honeycomb bed with scales for aligning the workpiece.
The stock bed of the K40 is completely useless and I don’t know a single person that would actually use the clamp. So the bed need to go.
Removing the frame of the new bed
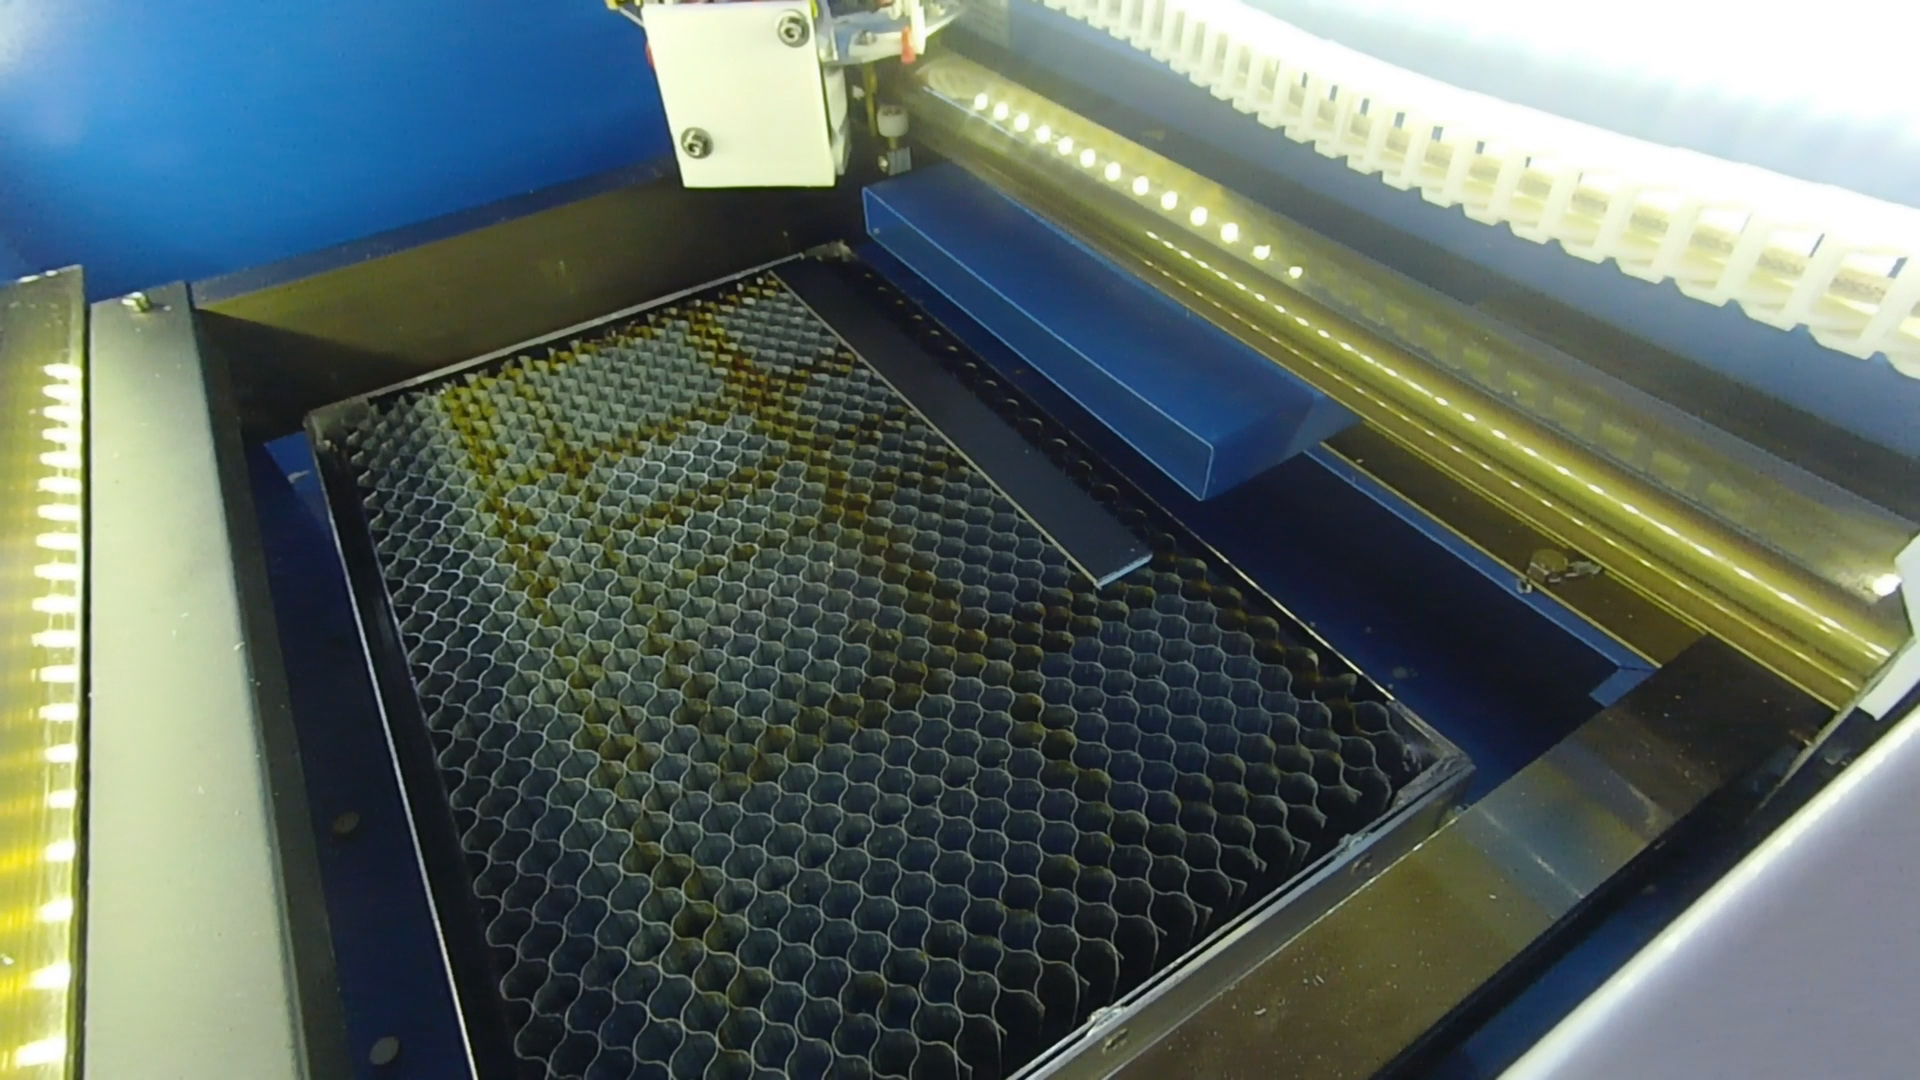
As a replacement I ordered a honeycomb bed – also from China – for around 30 Euros. This is the product I’ve used: Honeycomb bed.
This honeycomb structure minimizes the reflection of the laser. As an even cheaper alternative you could look at grids for covering ventilation shafts in your local home center.
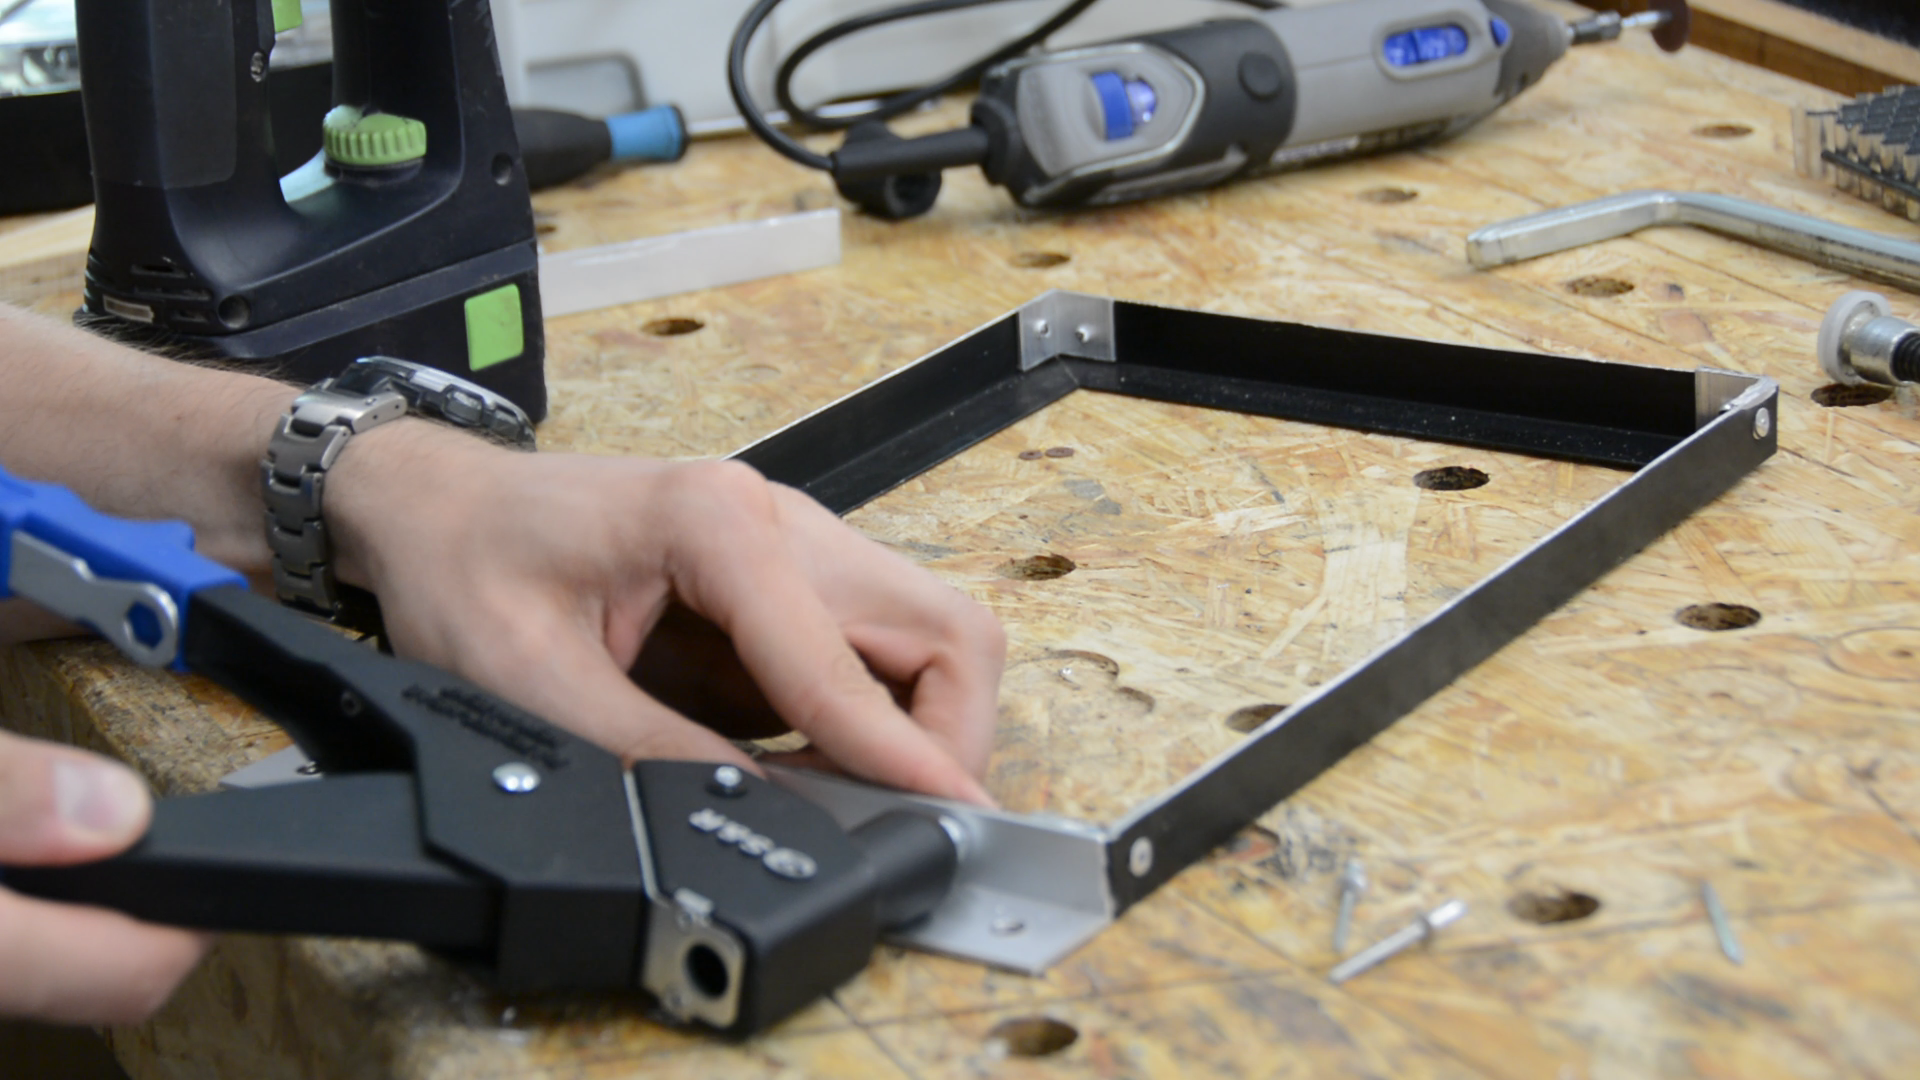
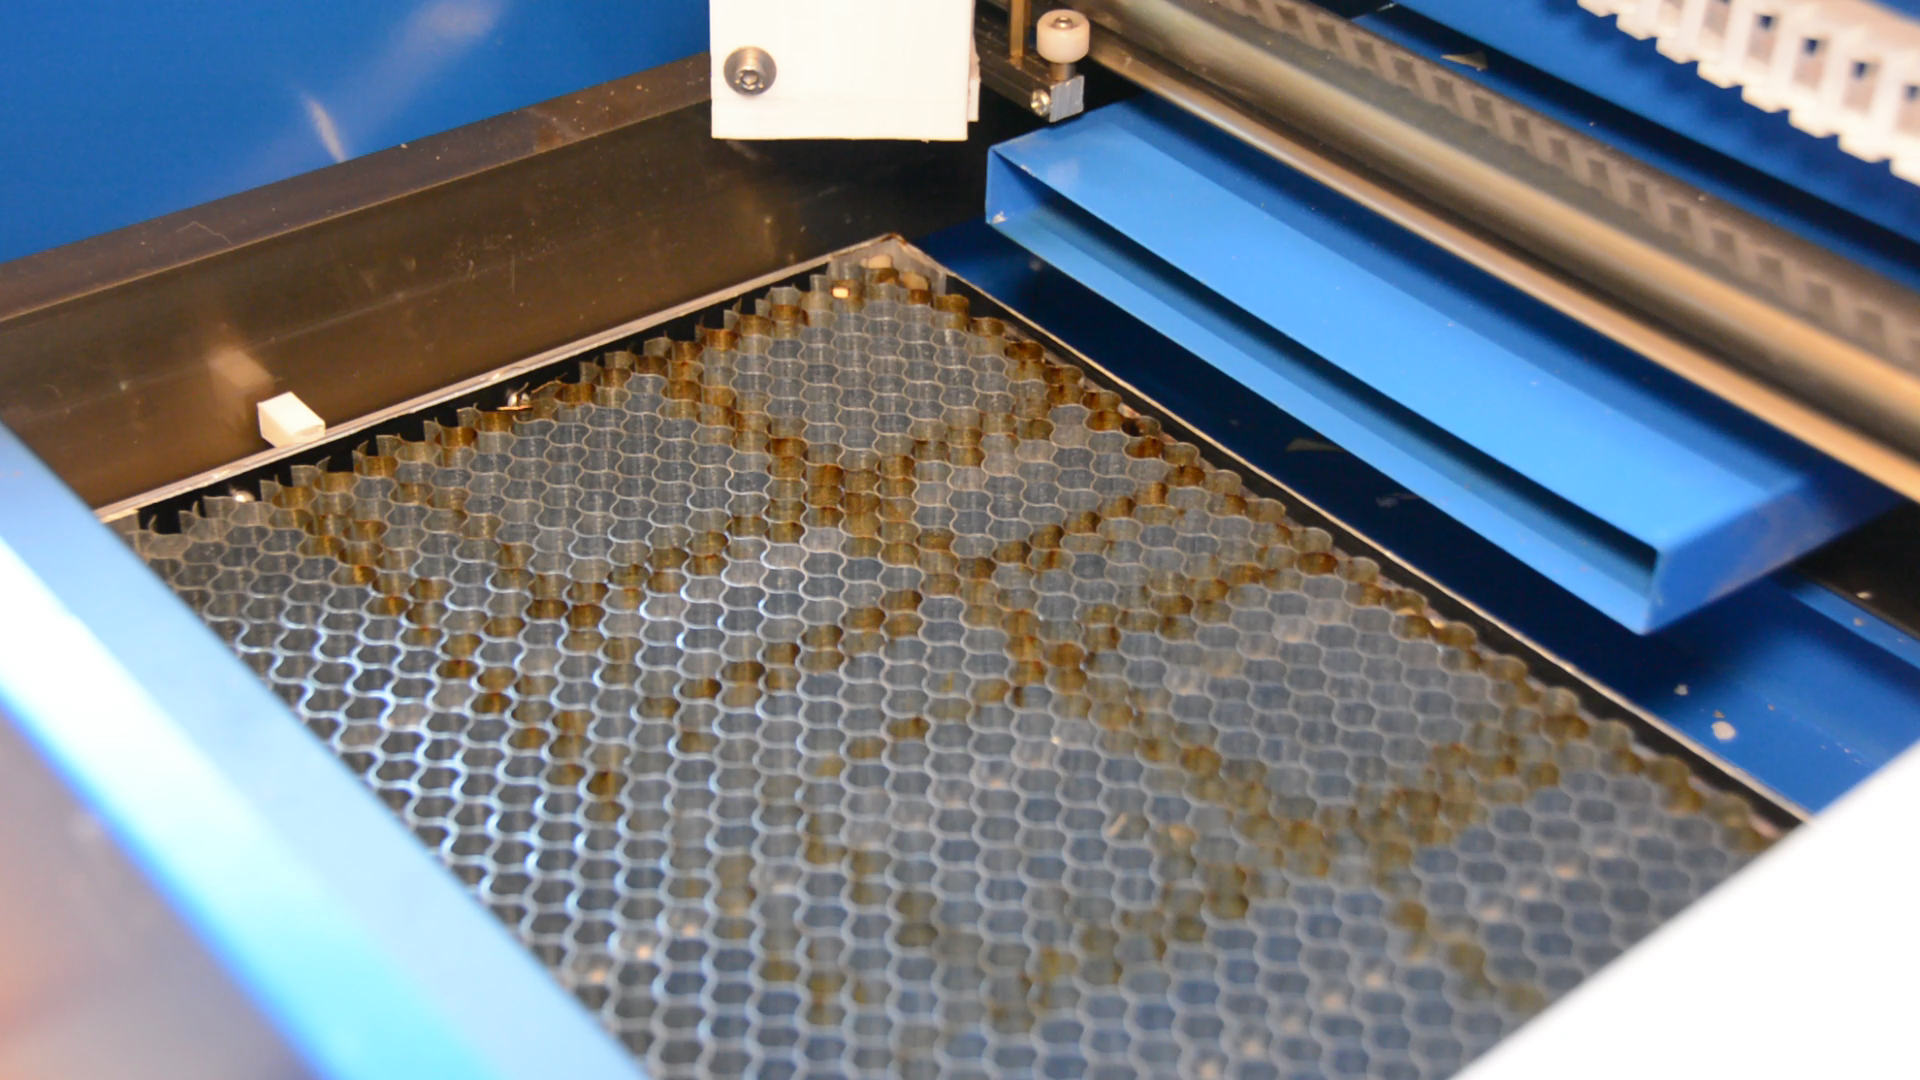
The issue with this bed is that the steel frame takes up quite some valuable area.

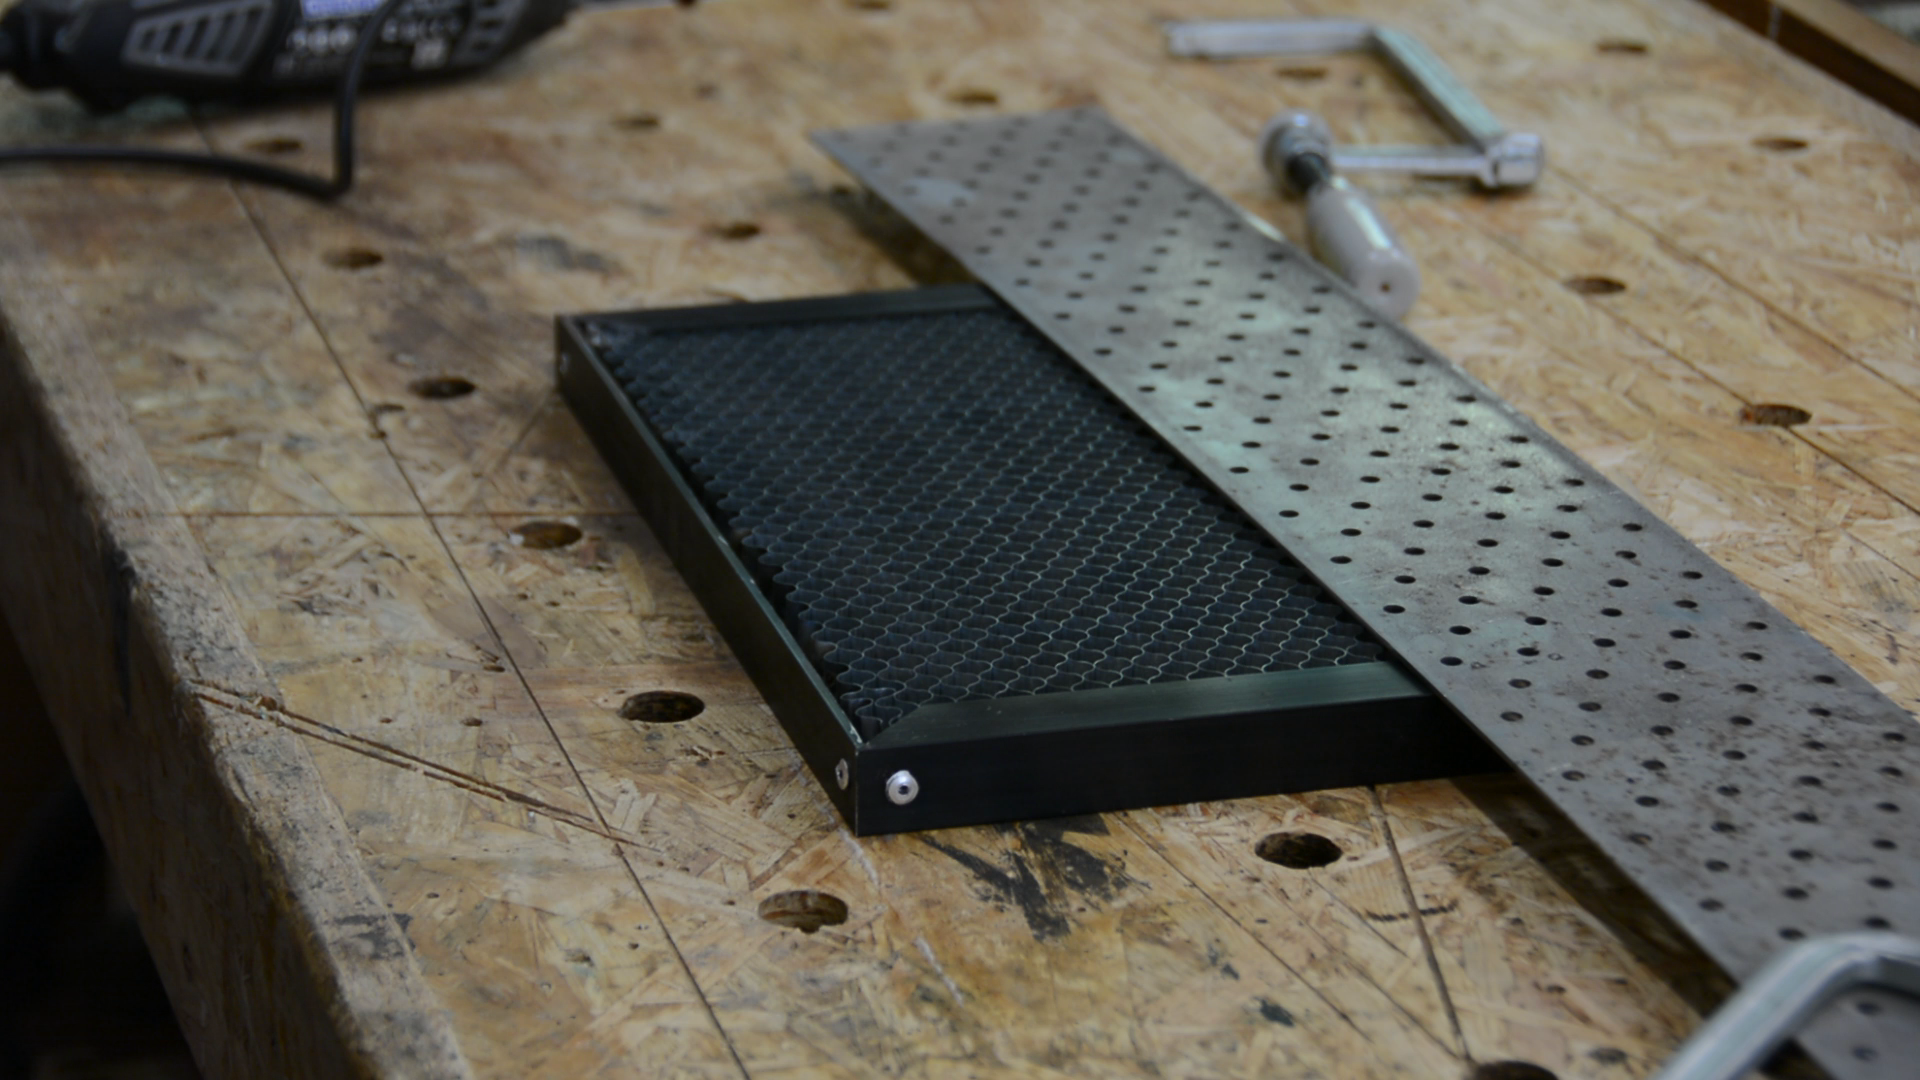
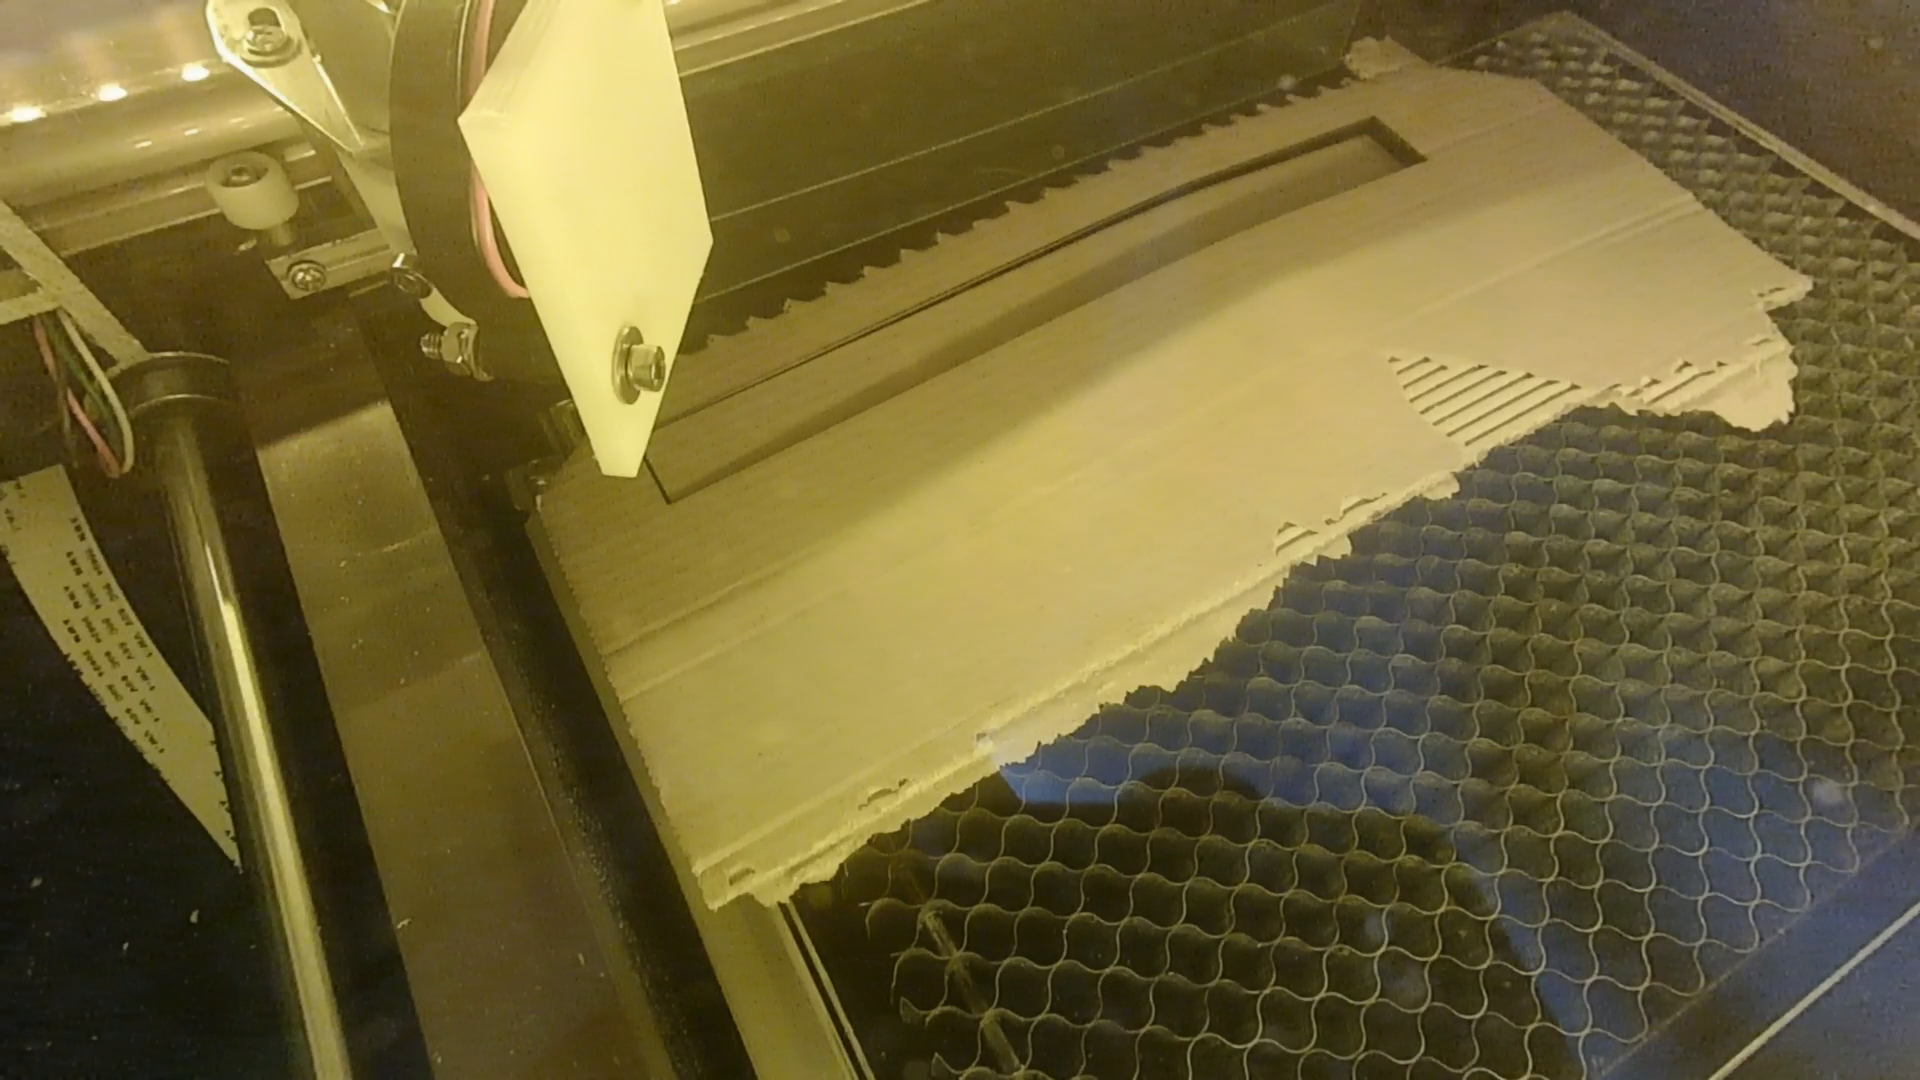
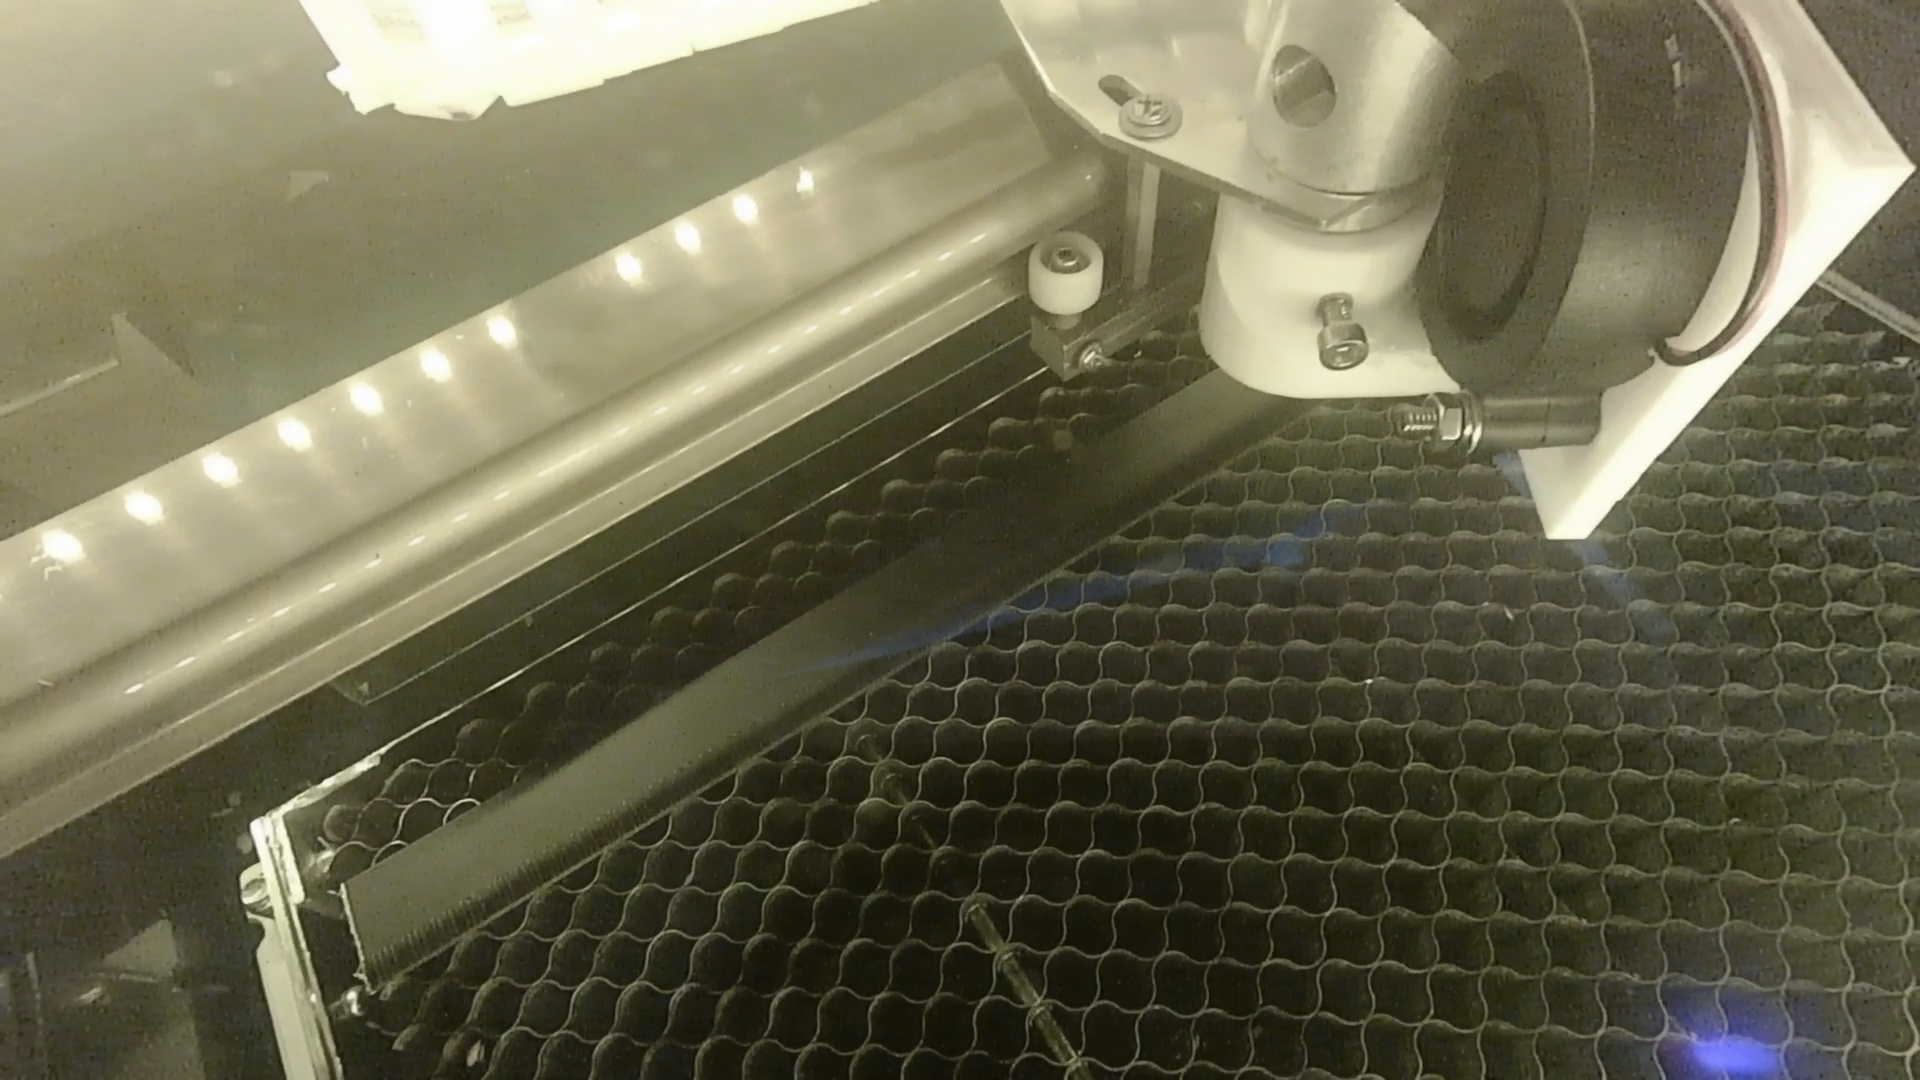
As the total area of the bed minus the frame is not big enough to hold a standard piece of paper the frame has to go. We started to remove part of the frame with a Dremel tool – very carefully as we expected the grid to be under tension.
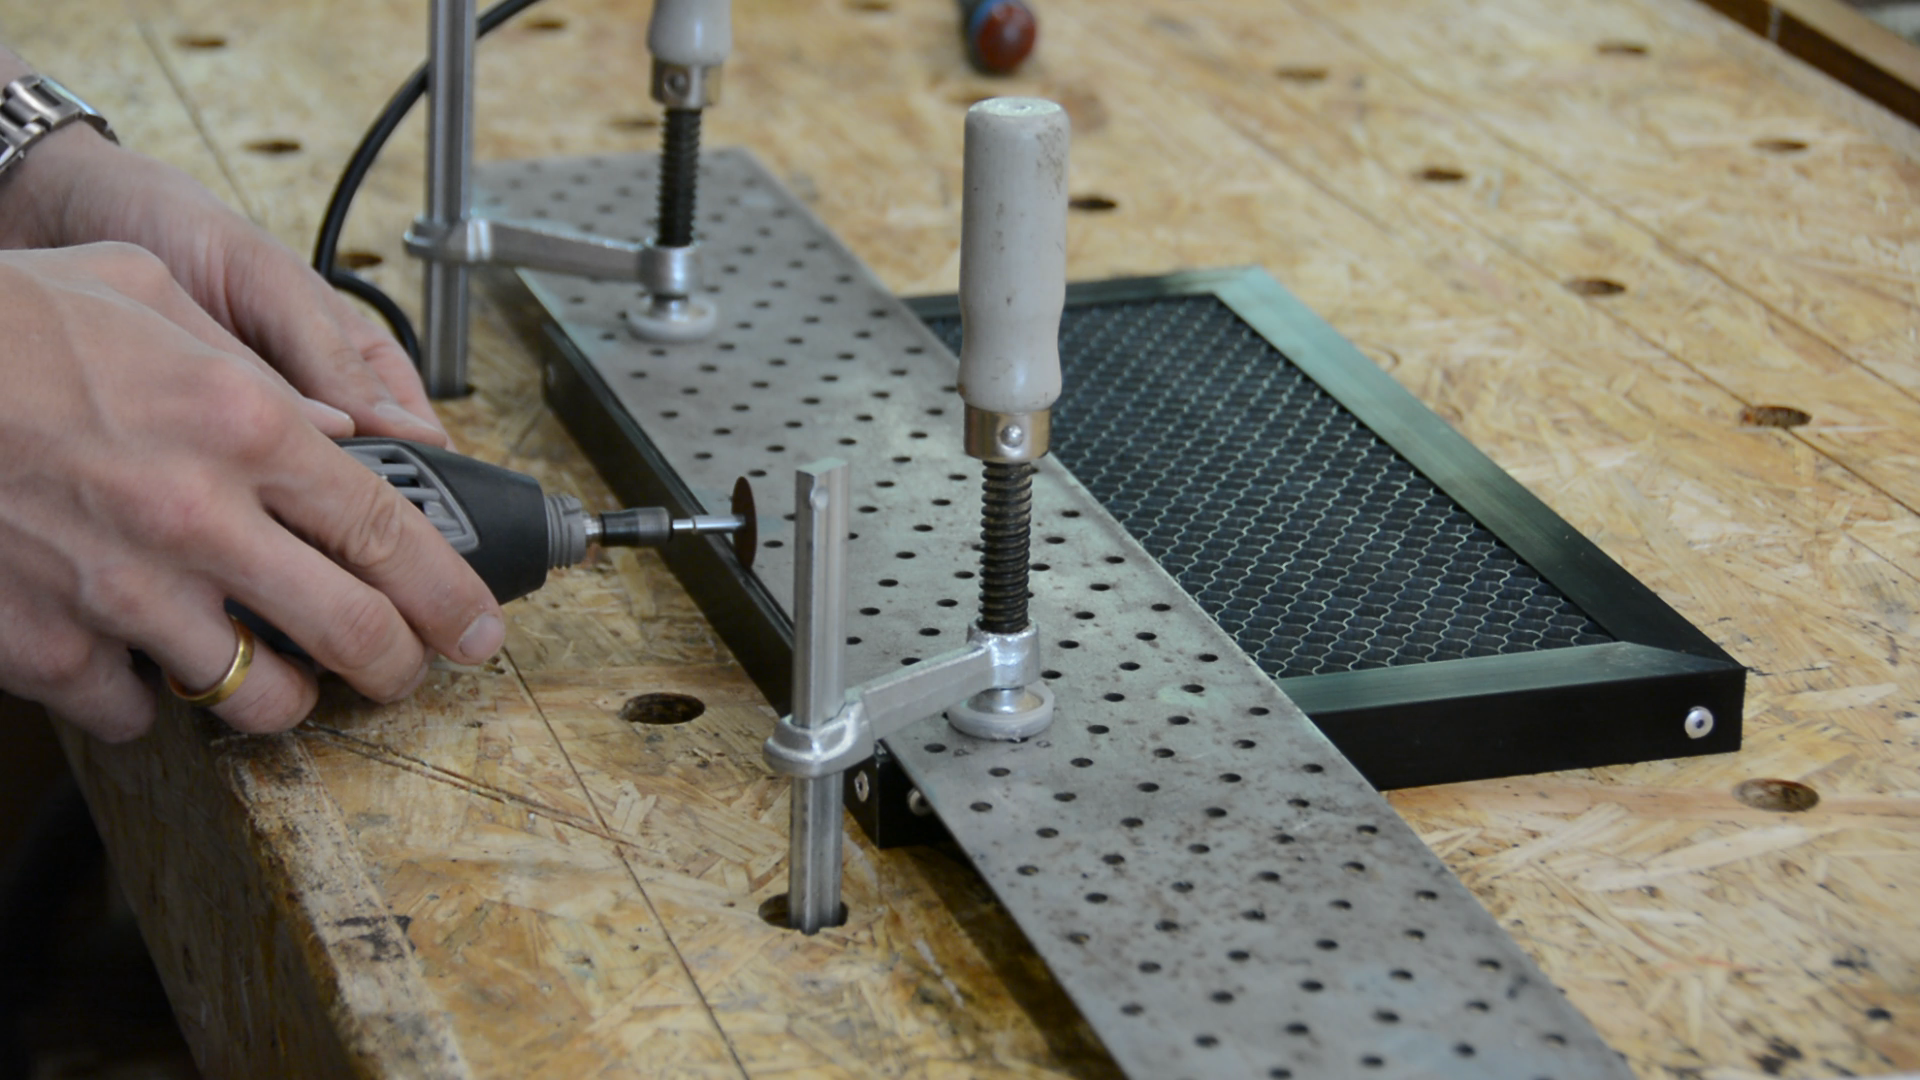
After removing the top piece it got clear that the frame is not necessary for holding the grid together.
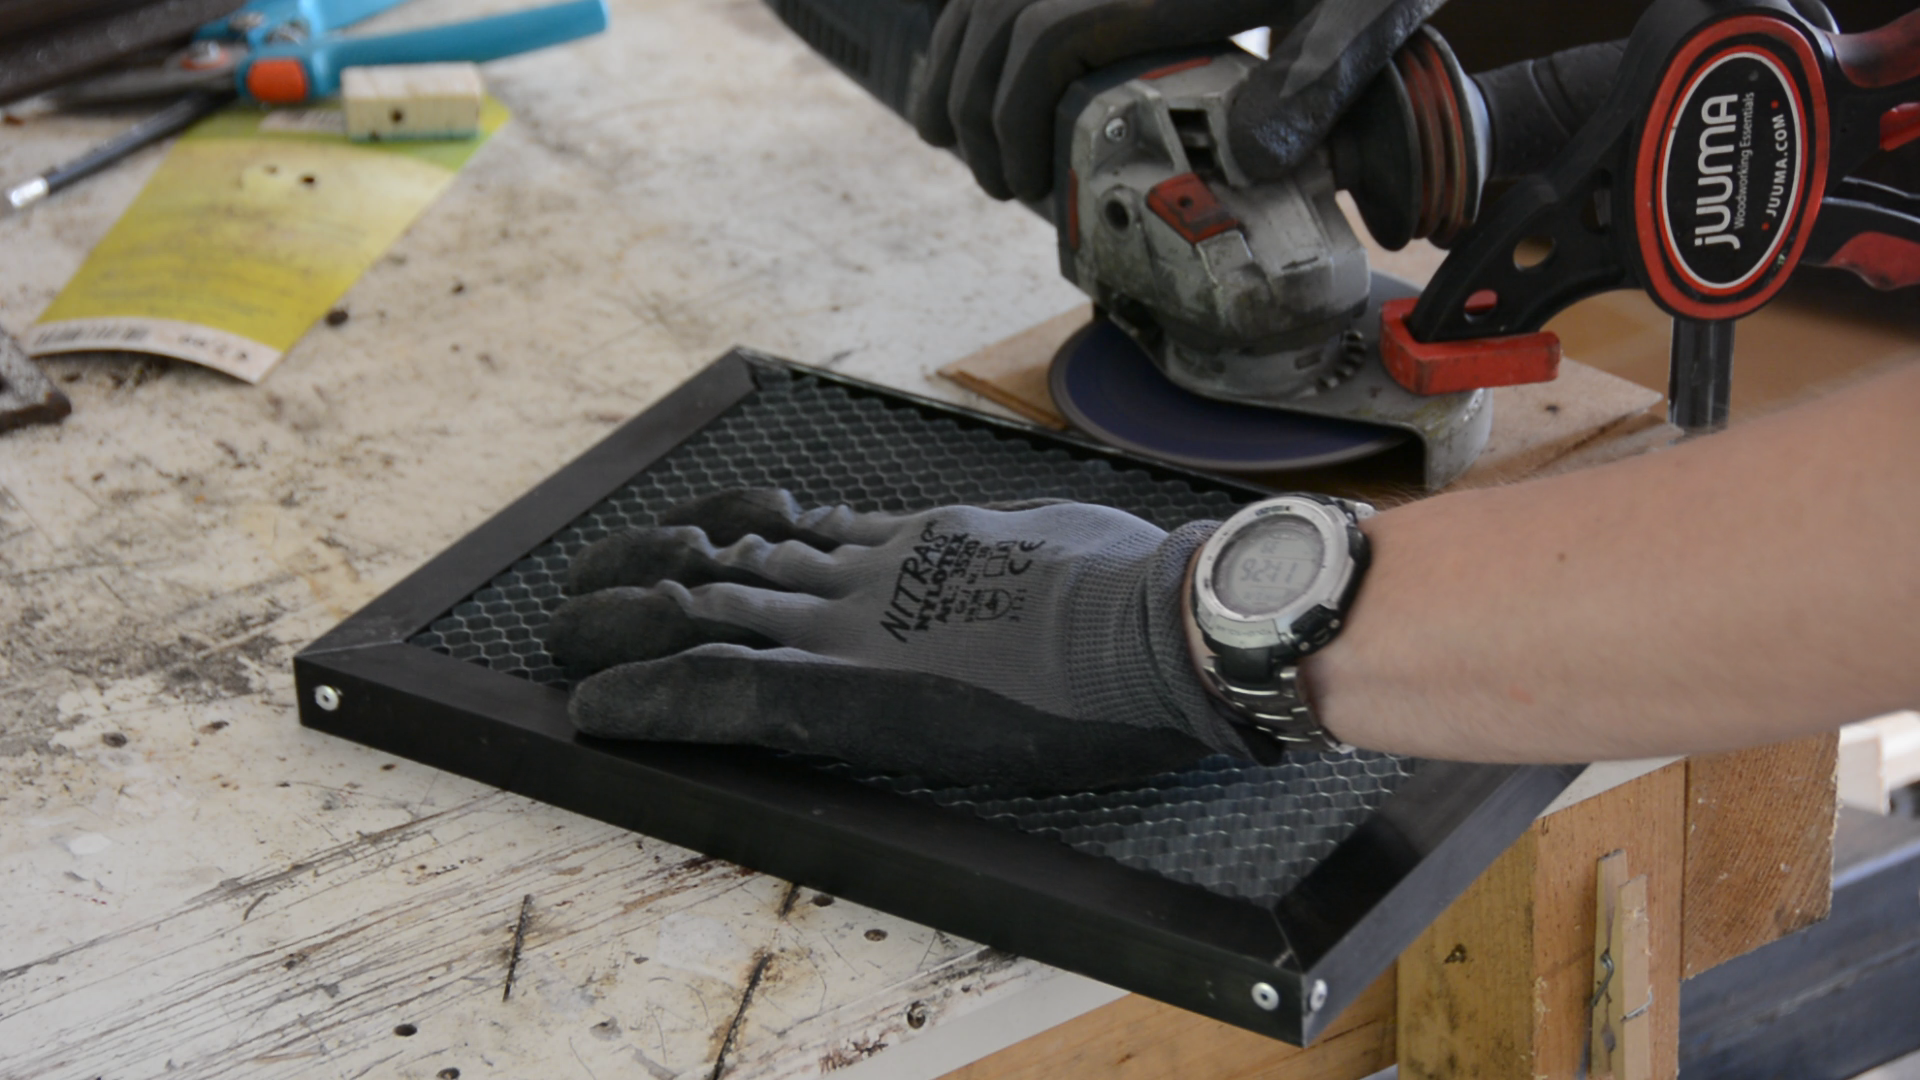
We cut the frame at a constant height by clamping an angle grinder to the workbench and carefully removing the upper part of the frame.
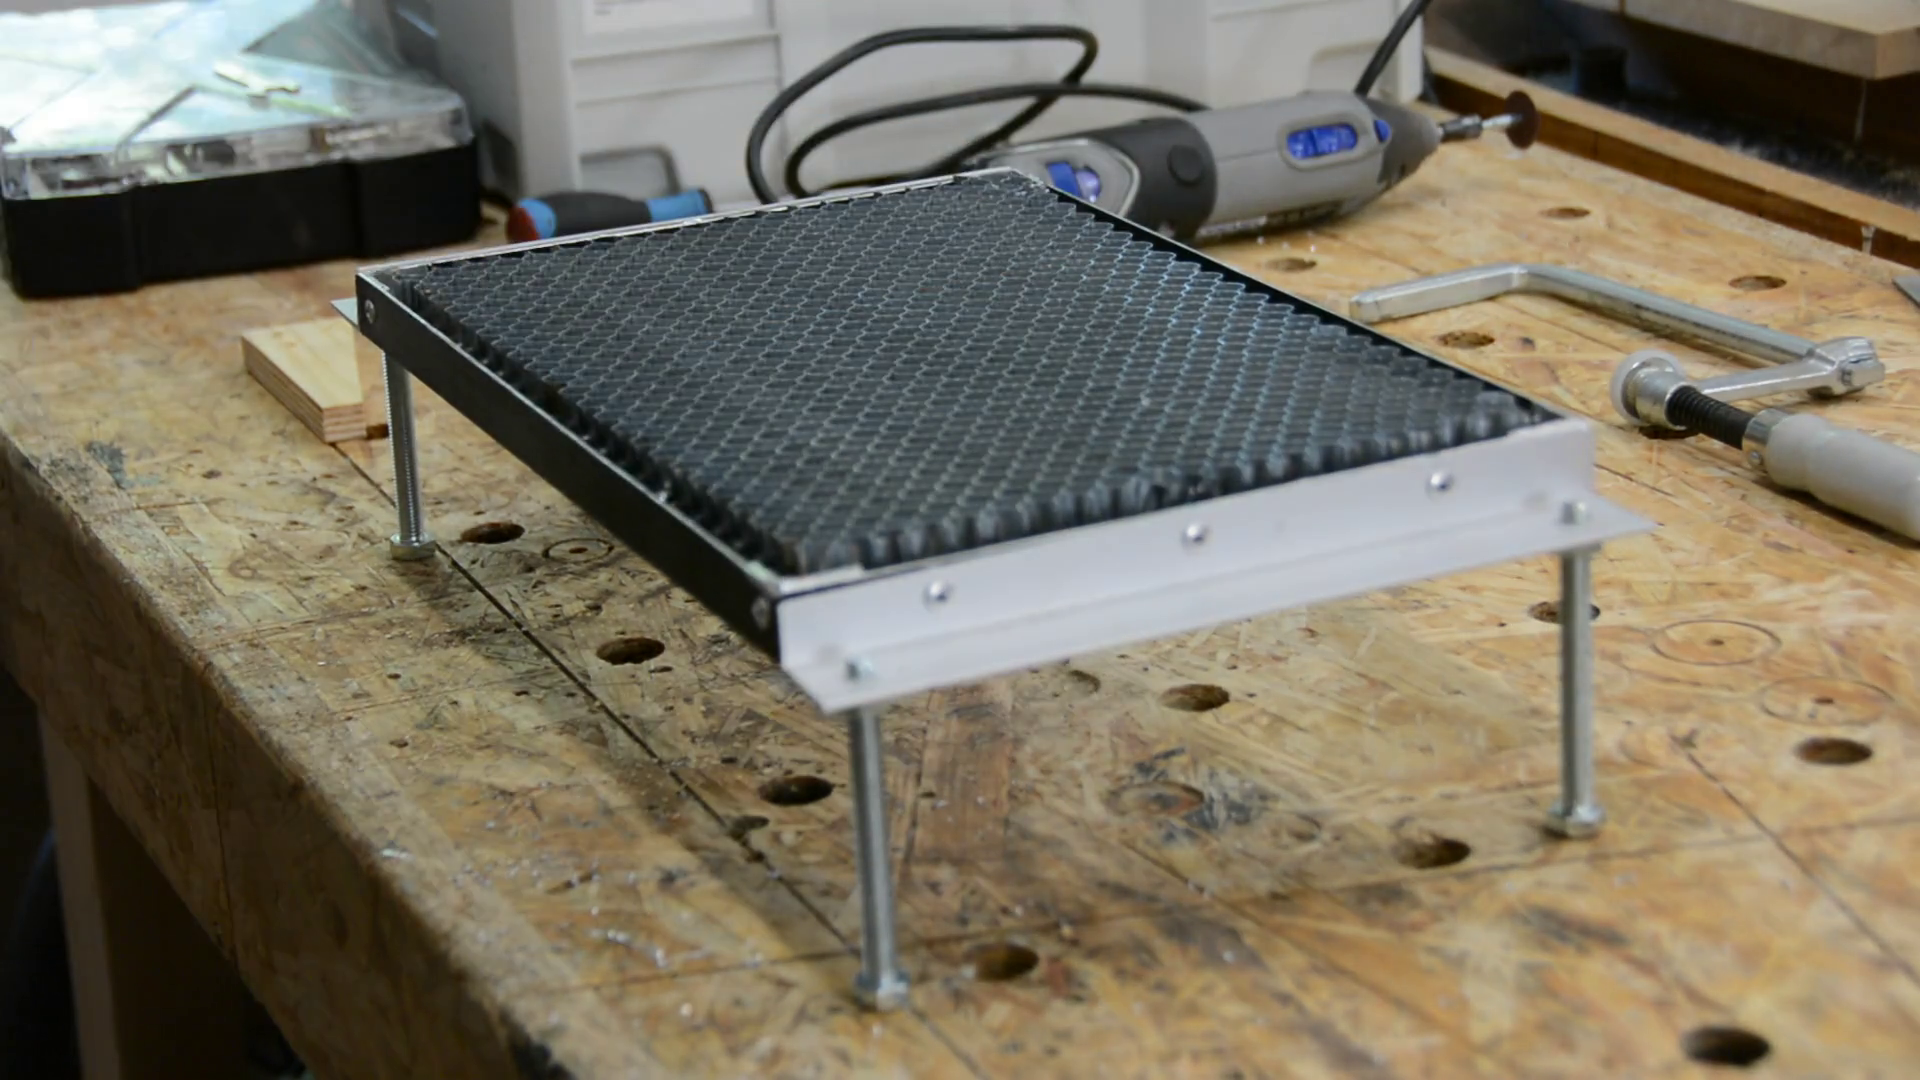
Making the bed upgrade height-adjustable
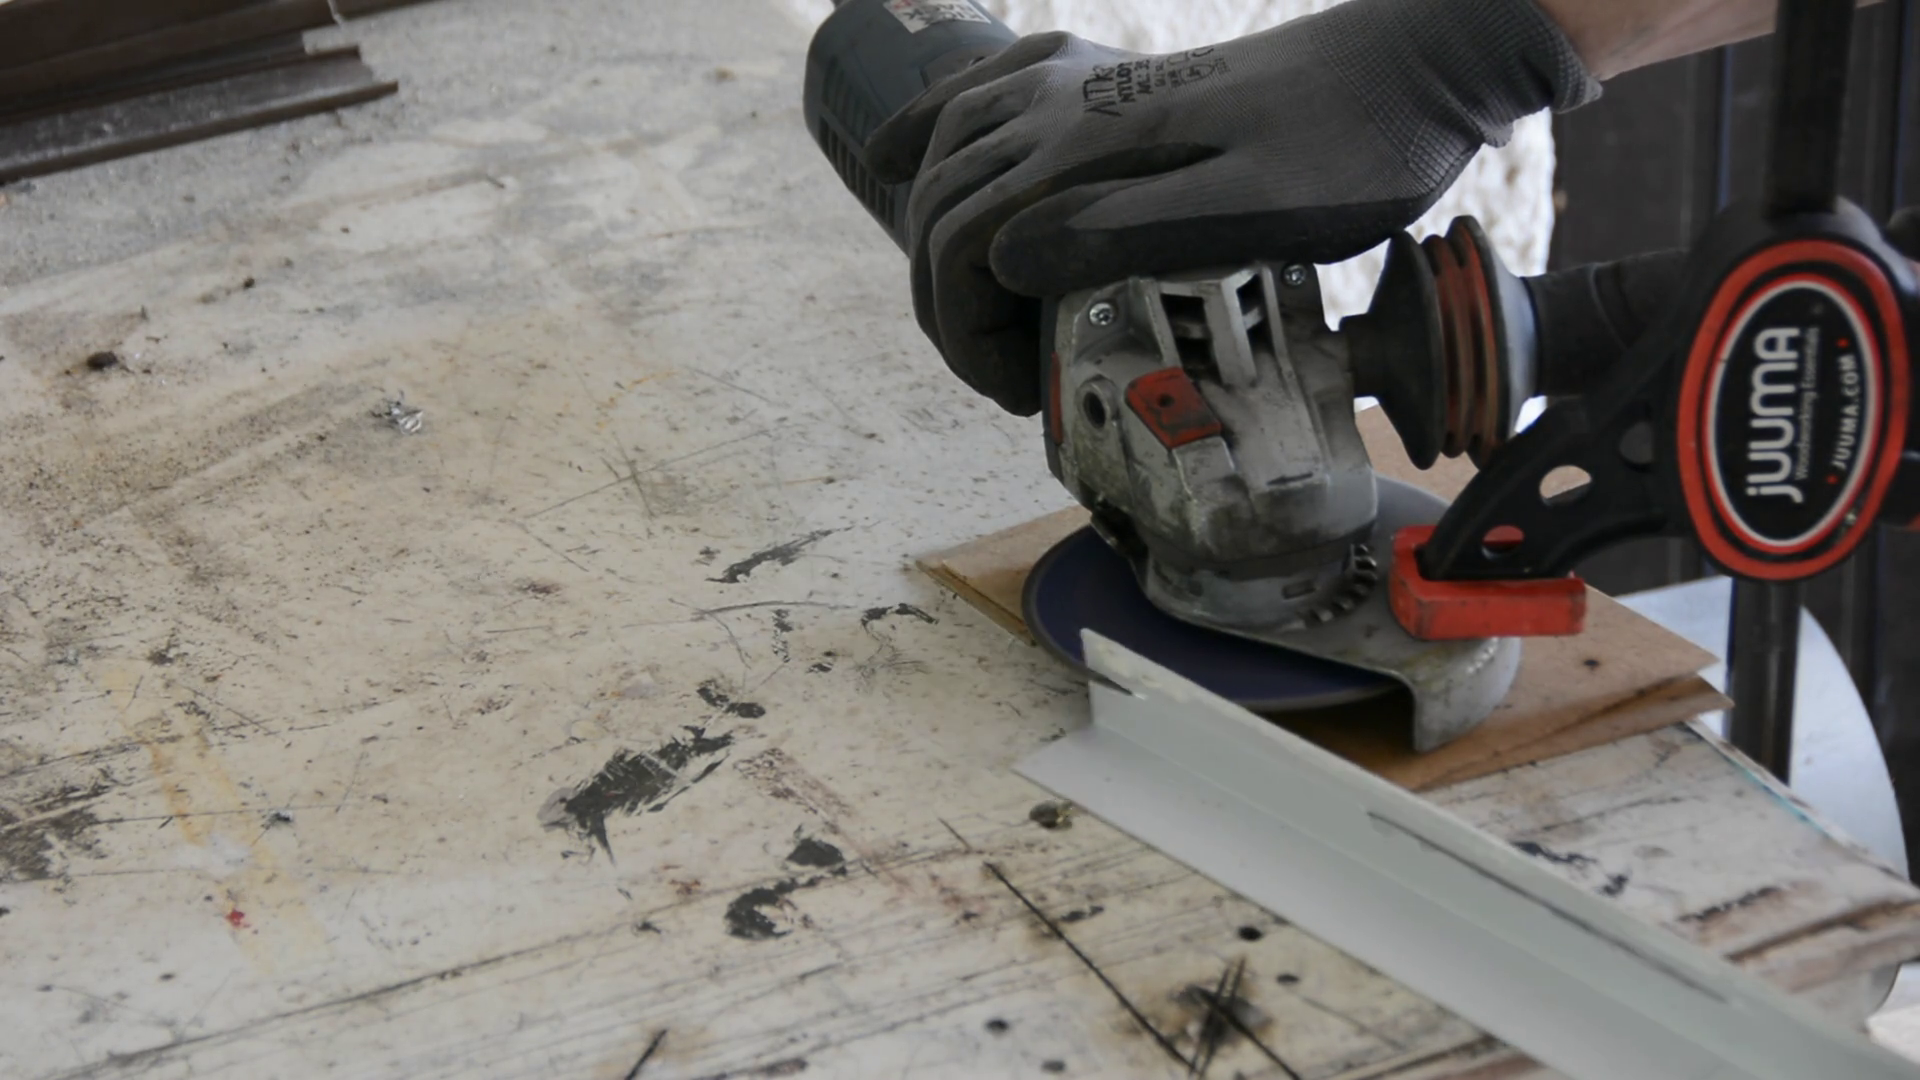
We used the same setup to cut two aluminum angles to the same height.
Each angle gets two holes that are tapped for M8 screws.
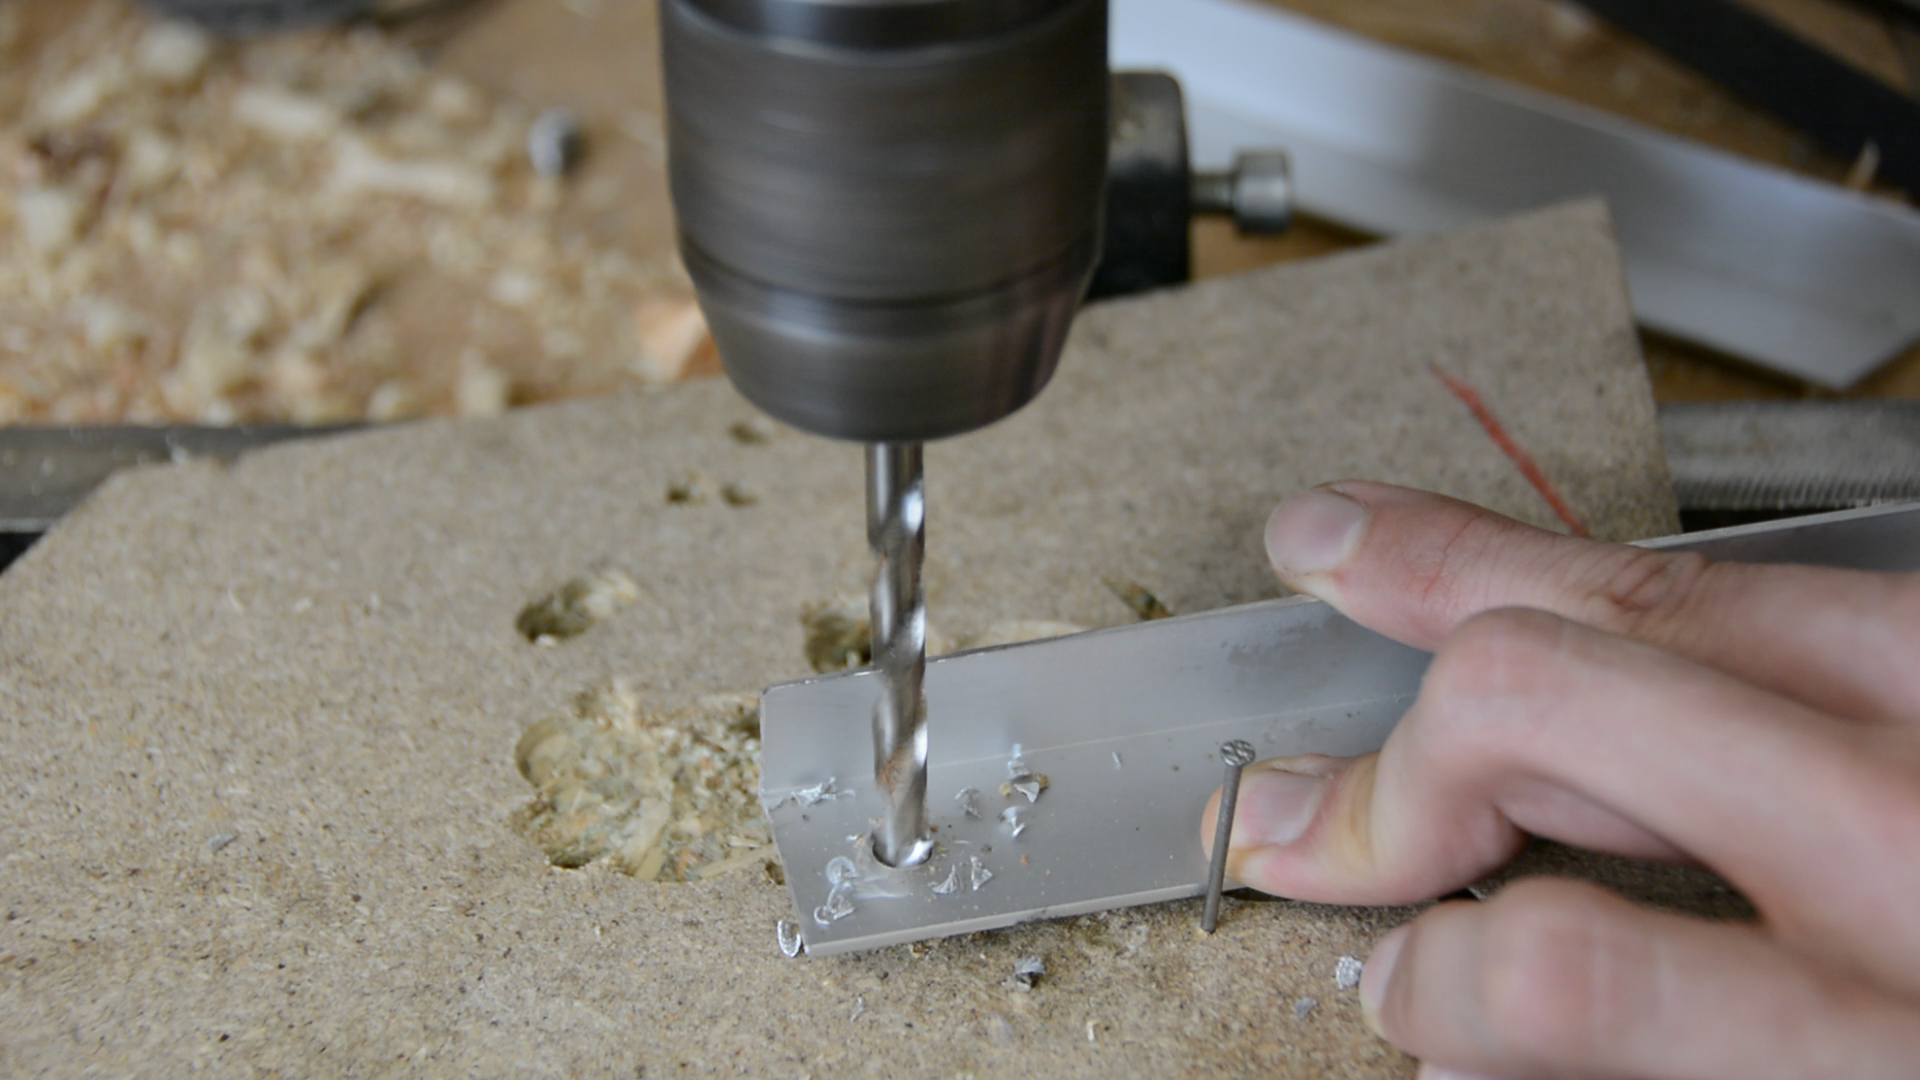
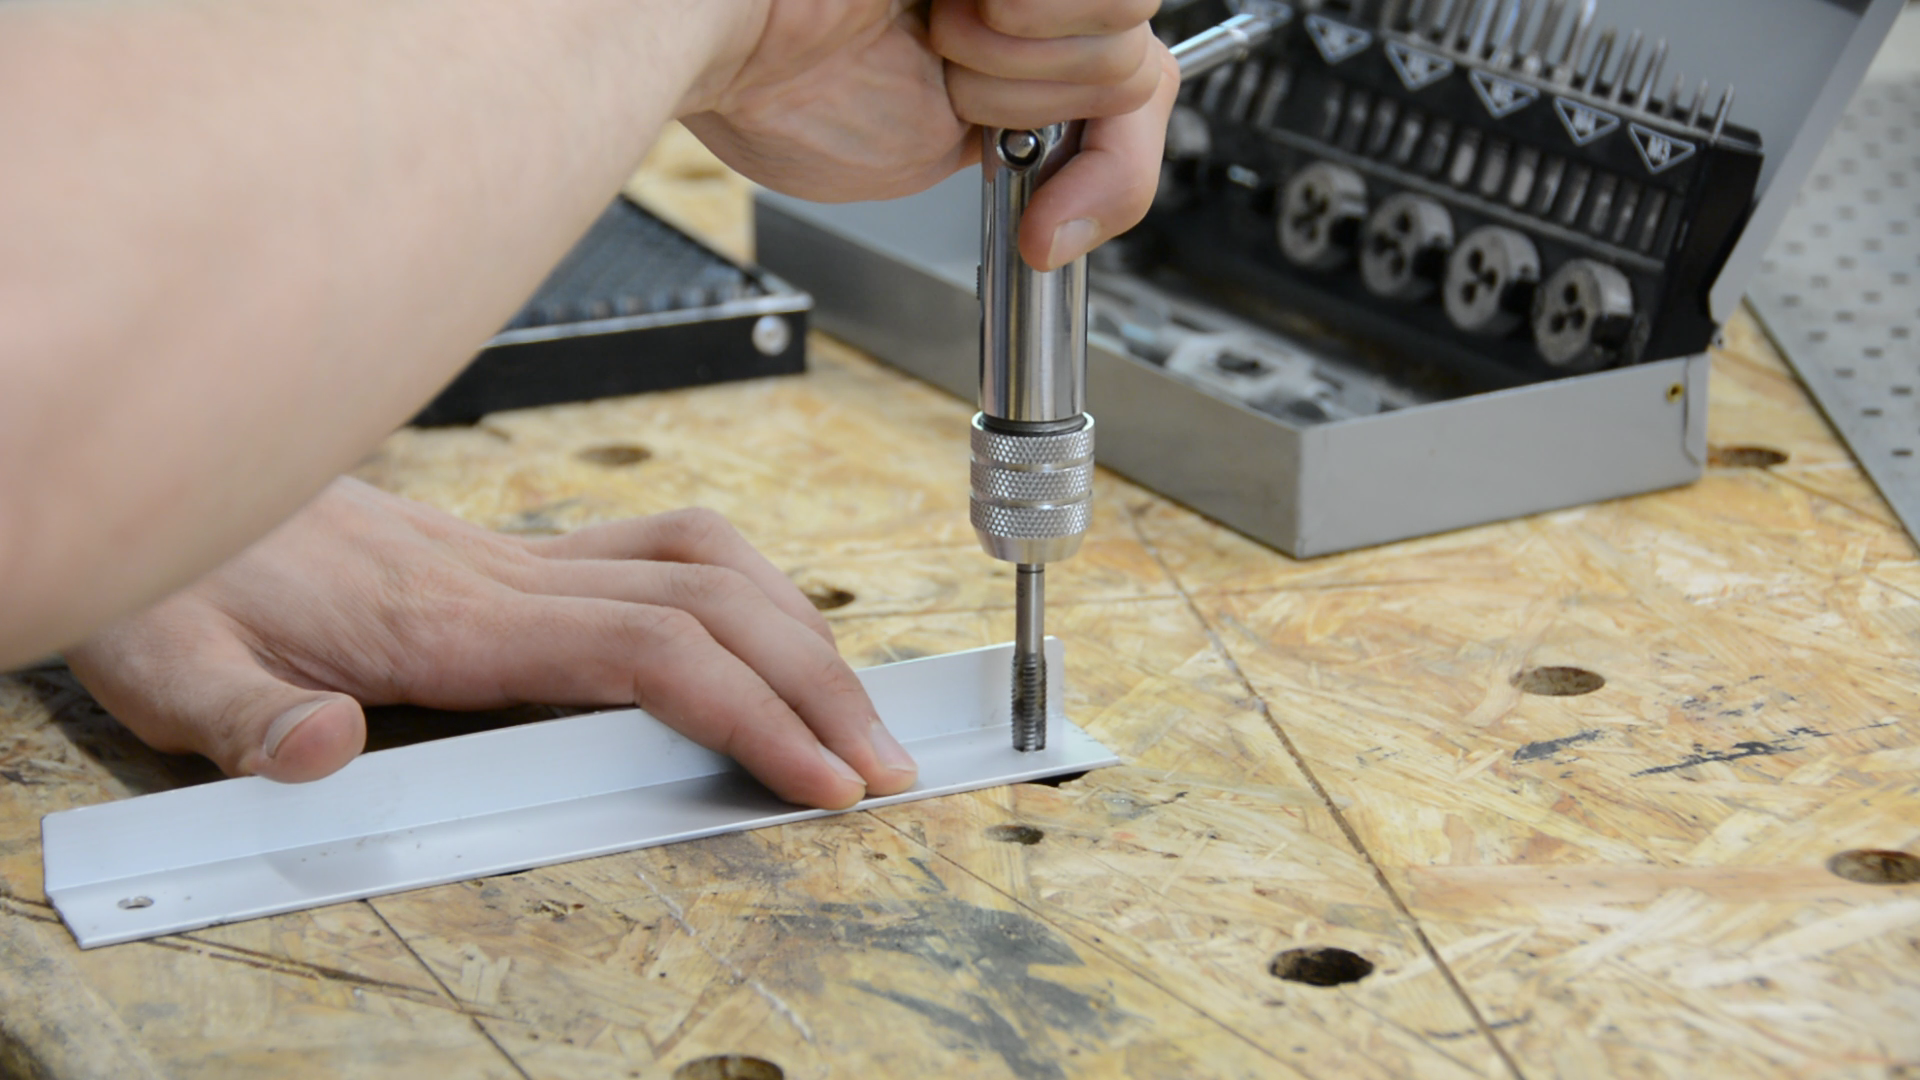
Next the angles are clamped to the frame so that we can bore holes through the frame and the angle at the same time.
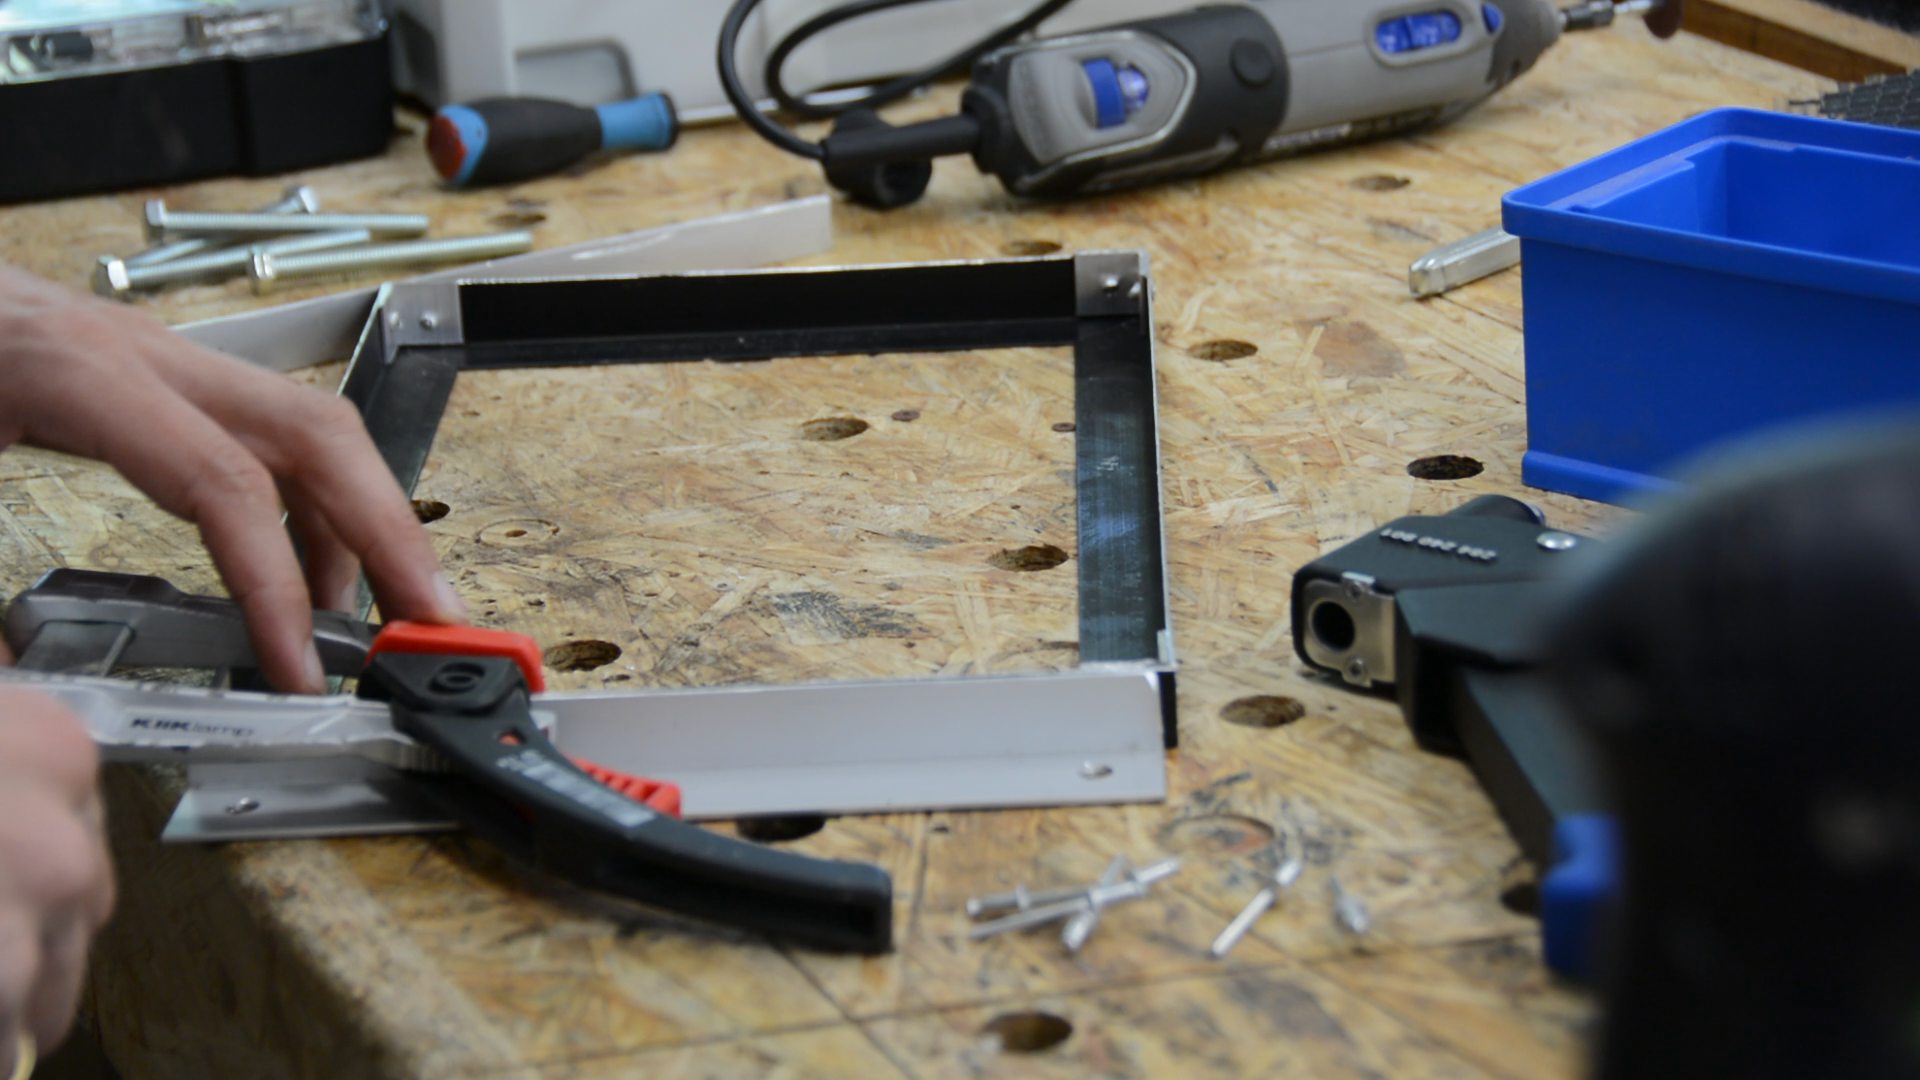
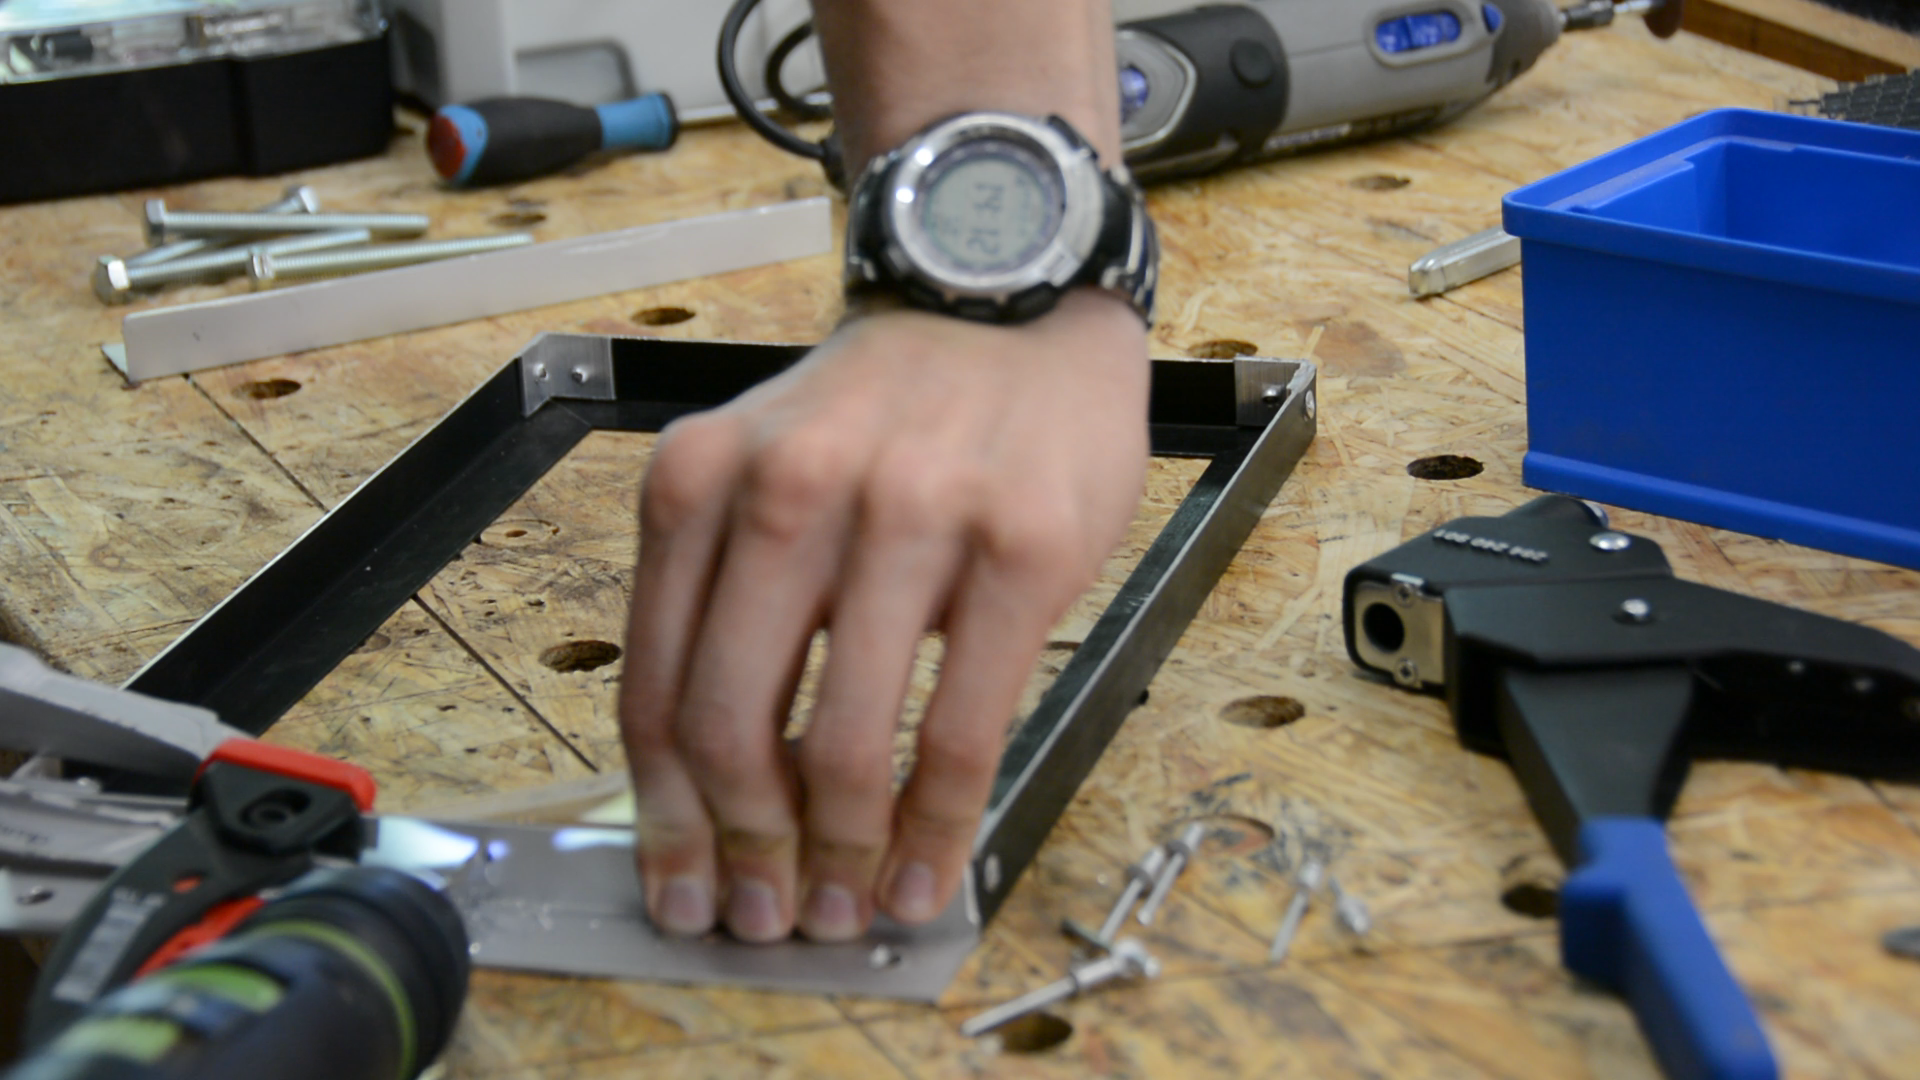
Pop rivets connect the angle and the frame.
As the angles were a little bit too wide we’ve cut them to size and redrilled the holes. The bed sits on 4 machine screws that allow for a simple height adjustment. On the 3d printer we printed 4 shoes for the machine screw heads.

We next moved the bed to a position that the zero – zero point is roughly in the right place.
Hot glue secures the feet in this fixed position.
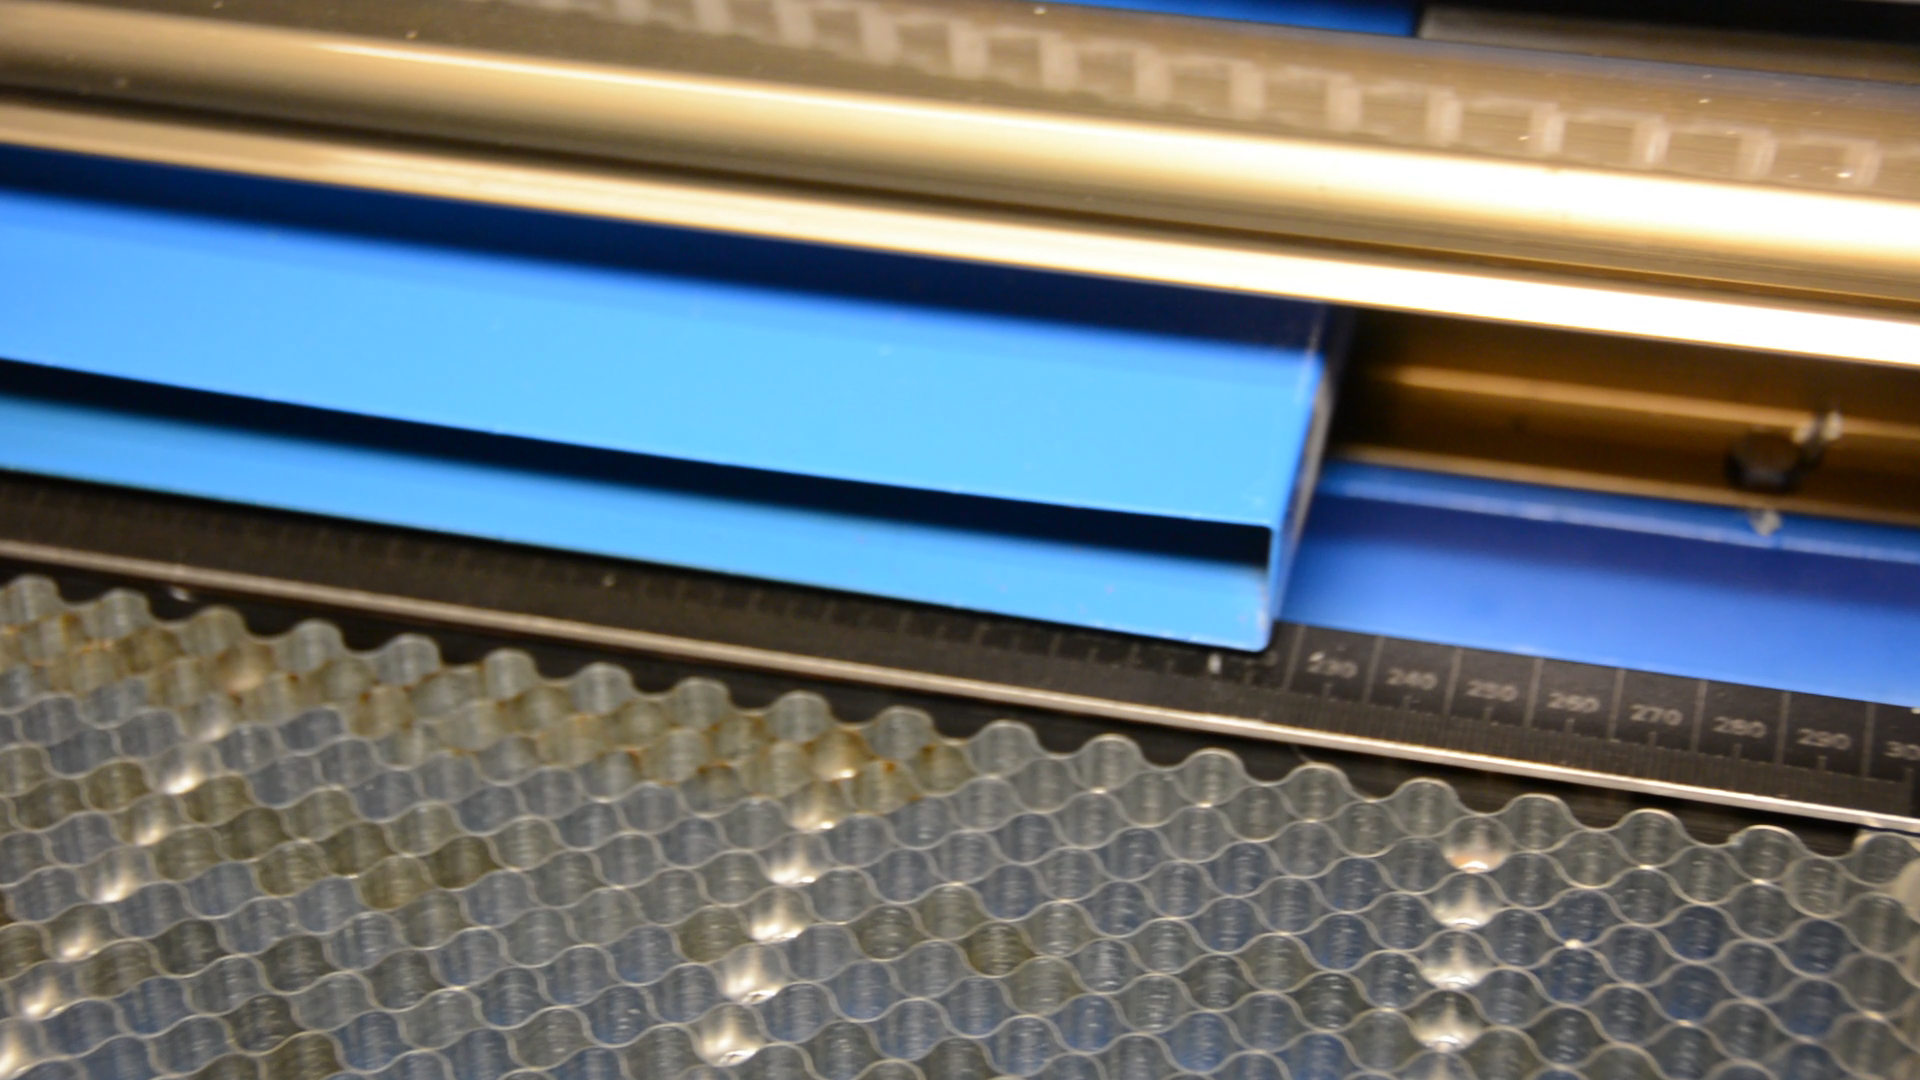
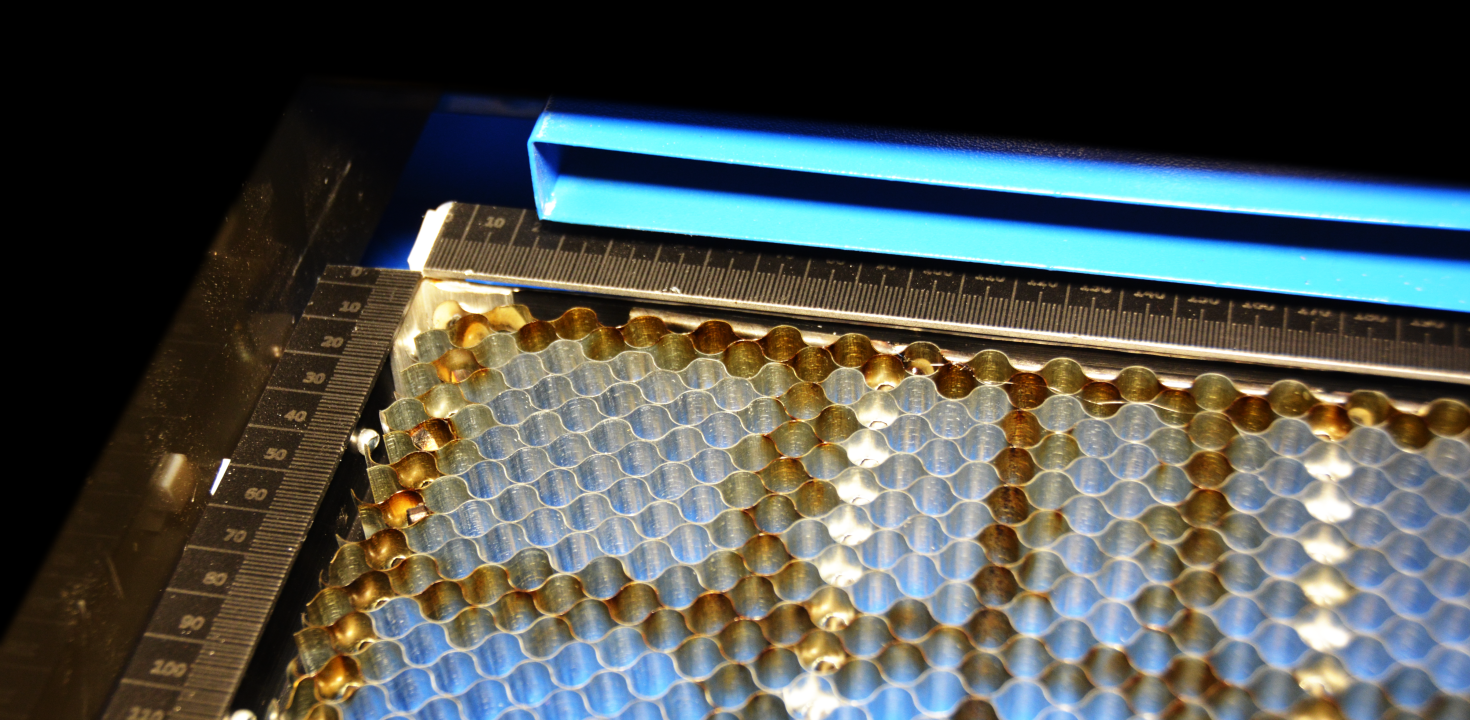
With these registration marks in place the bed will be placed in the same position every time and we can install rulers for the alignment of the workpiece.

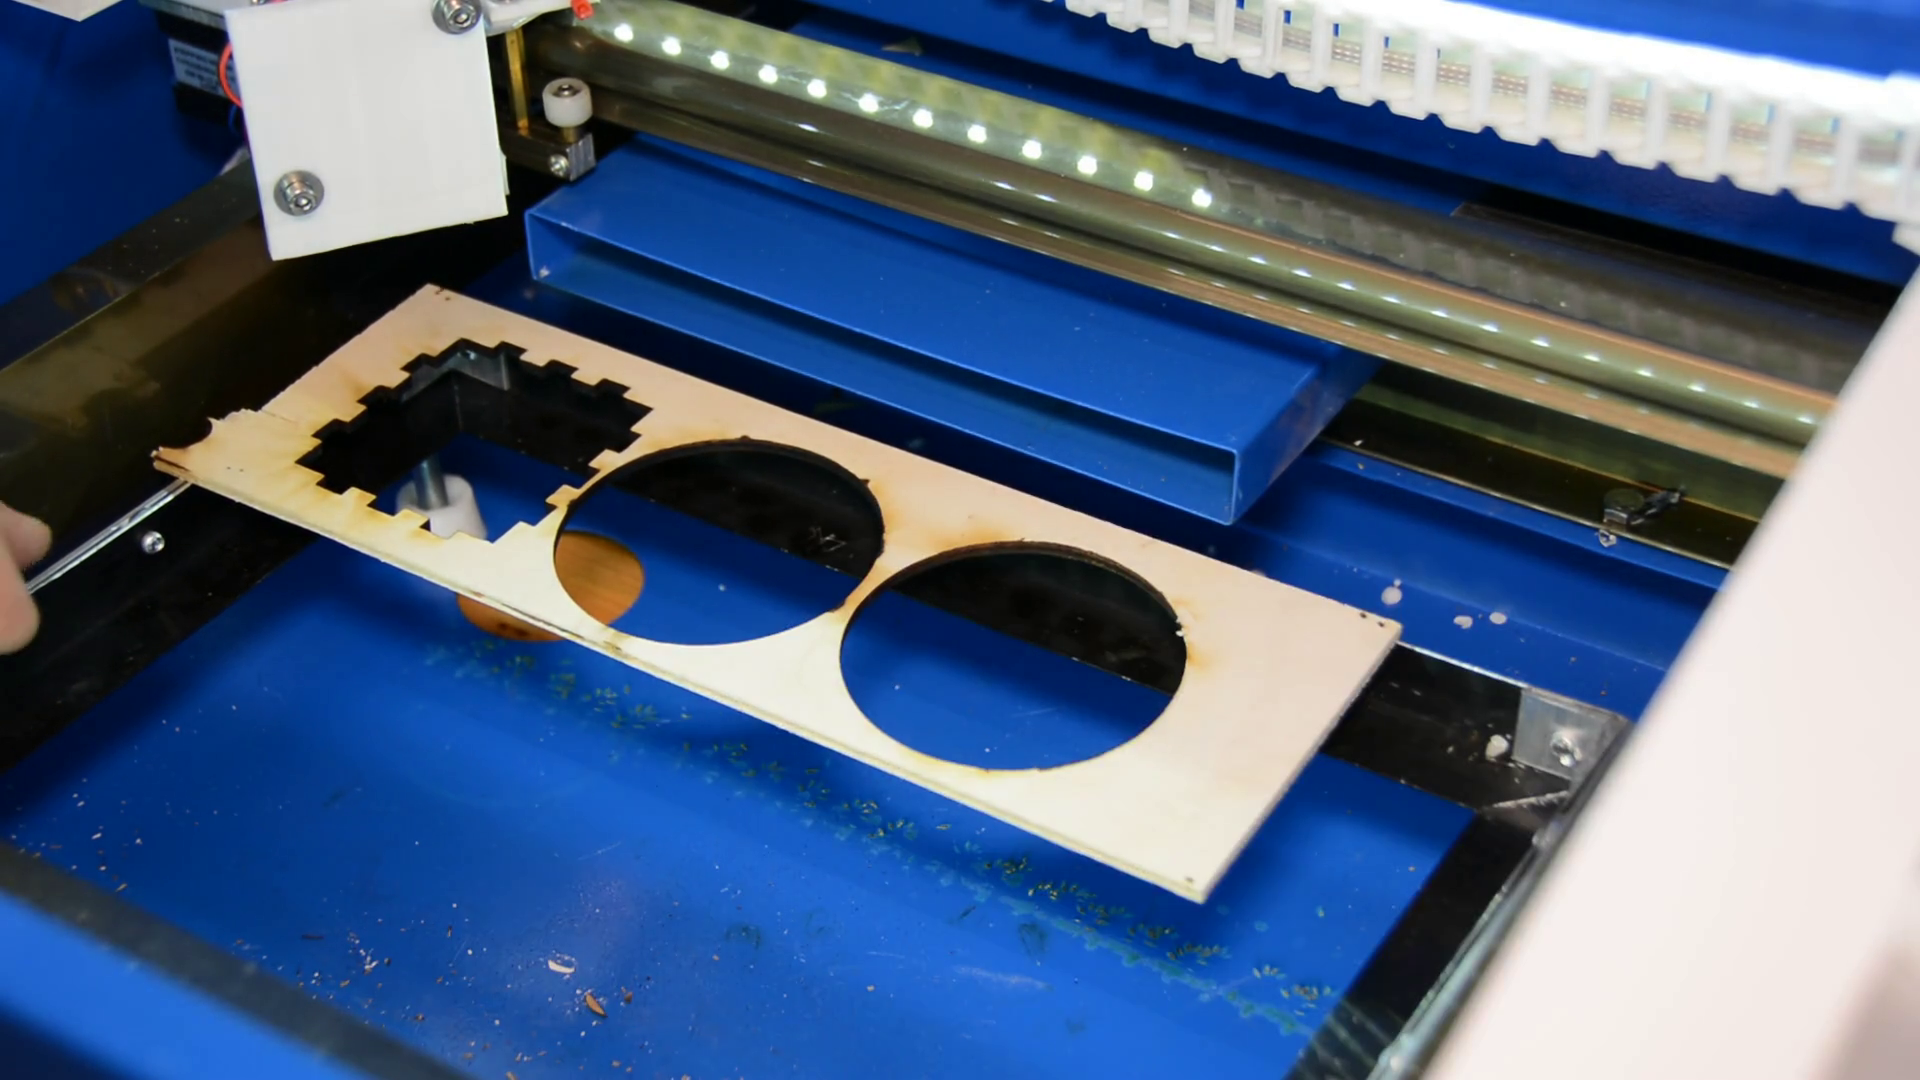
Engraving aluminum rulers on the K40
The layout of the rulers is created in Inkscape with this extension that is designed to create all kind of scales.
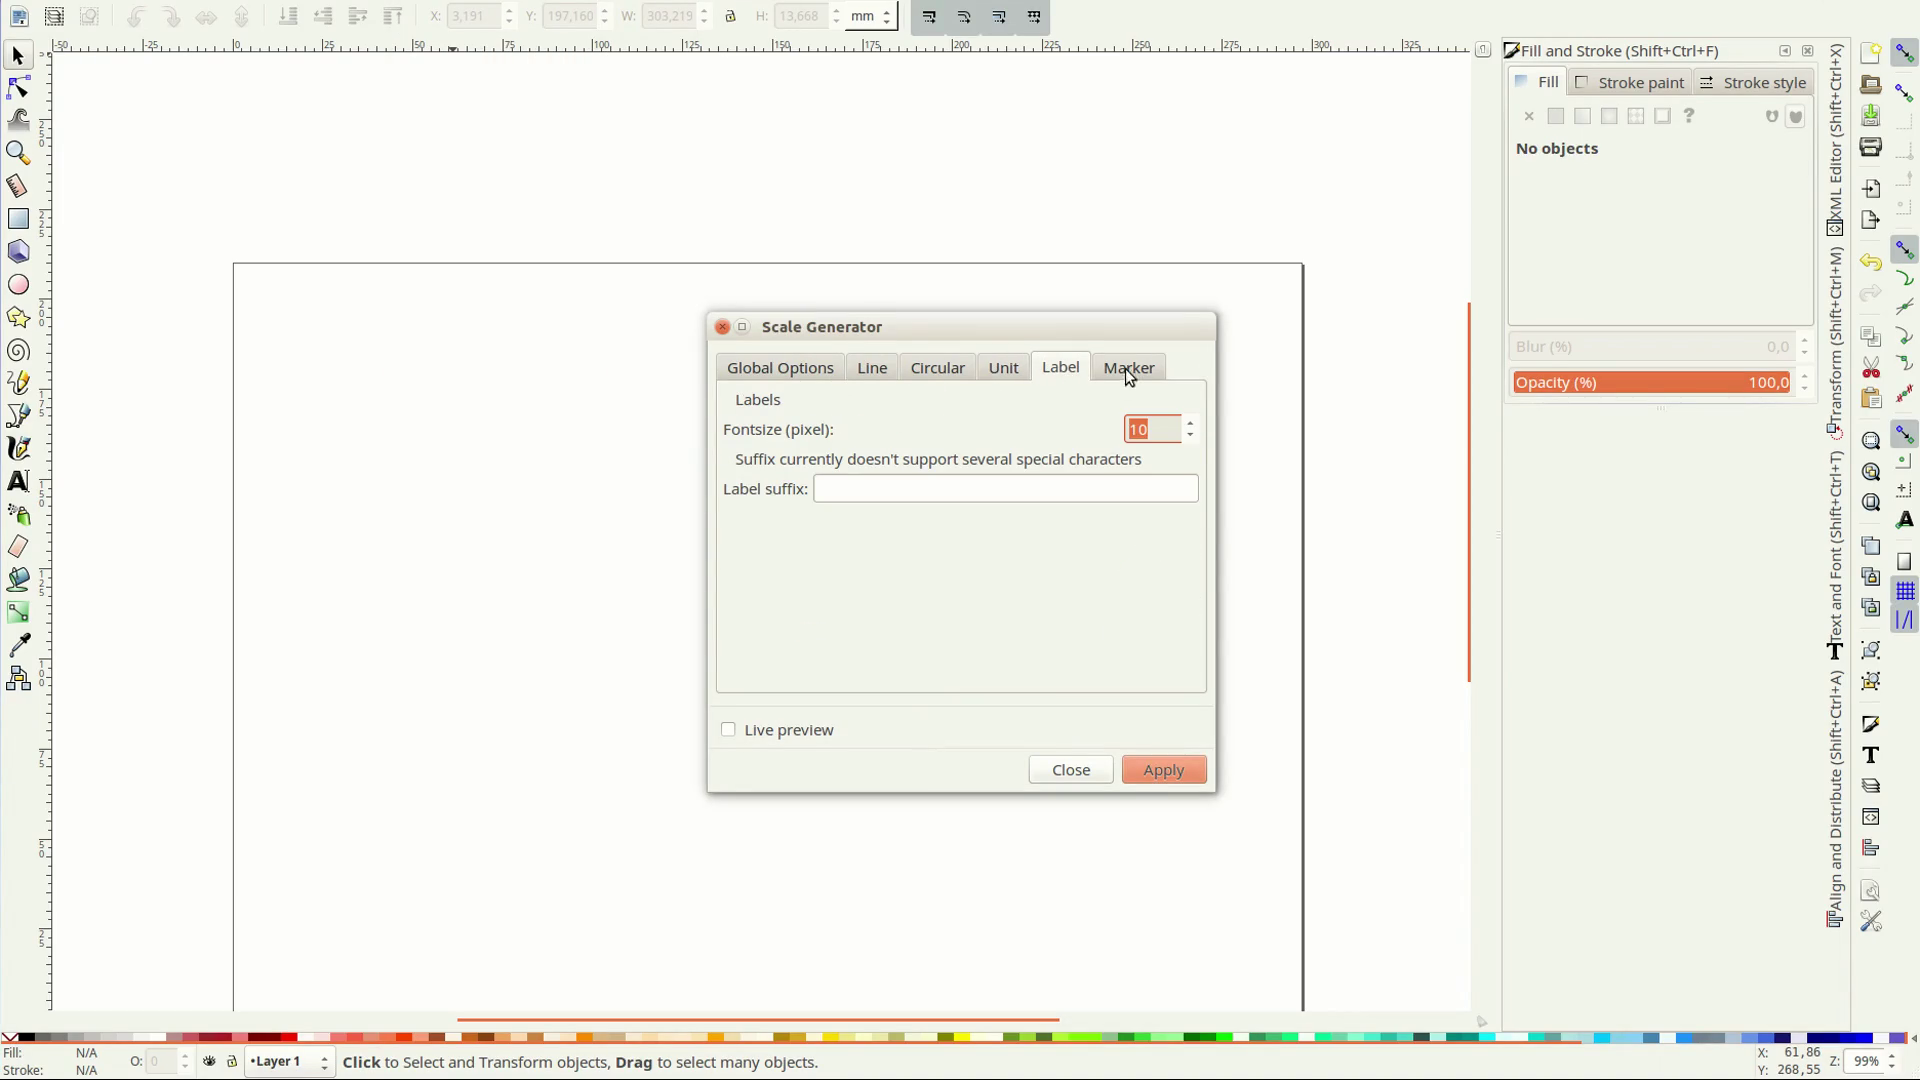

With a few adjustments the scales can be engraved.
As material we used thin aluminum flat stock from the home center. The aluminum got spray painted black.

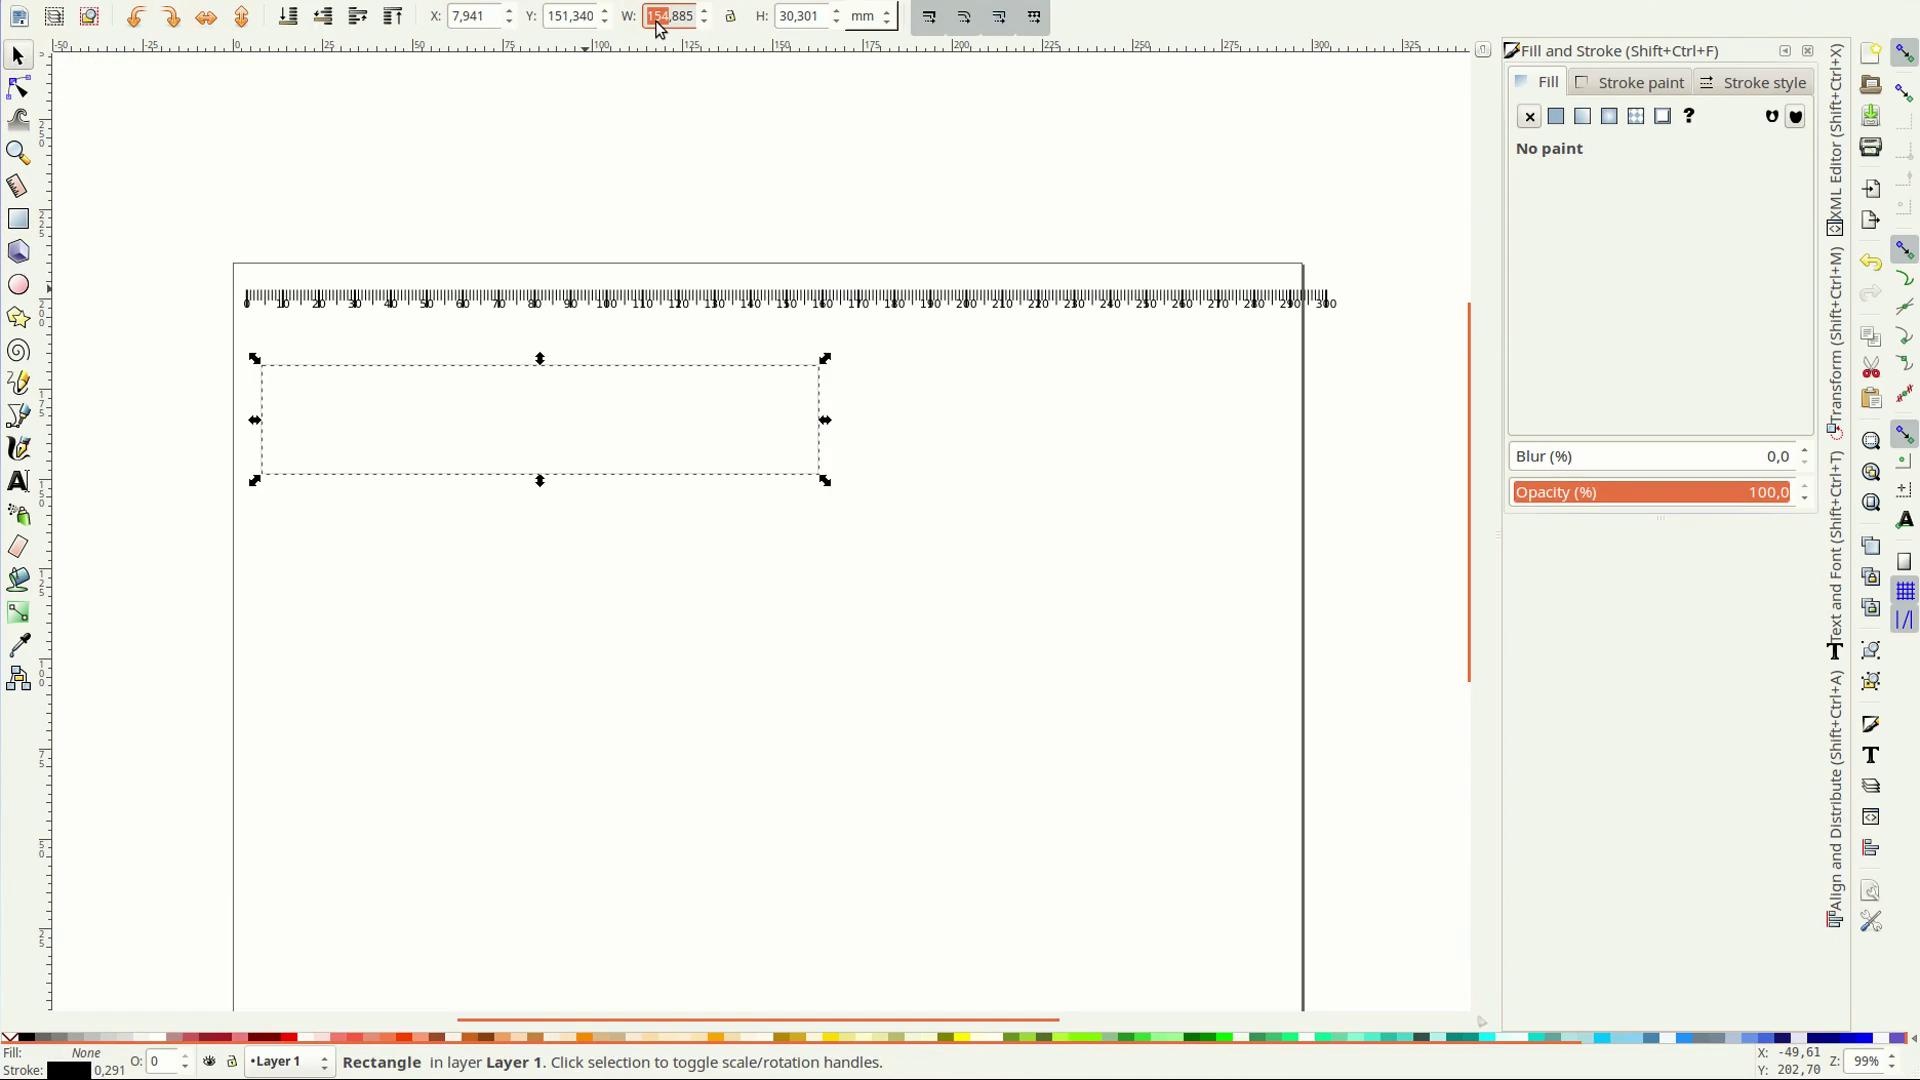
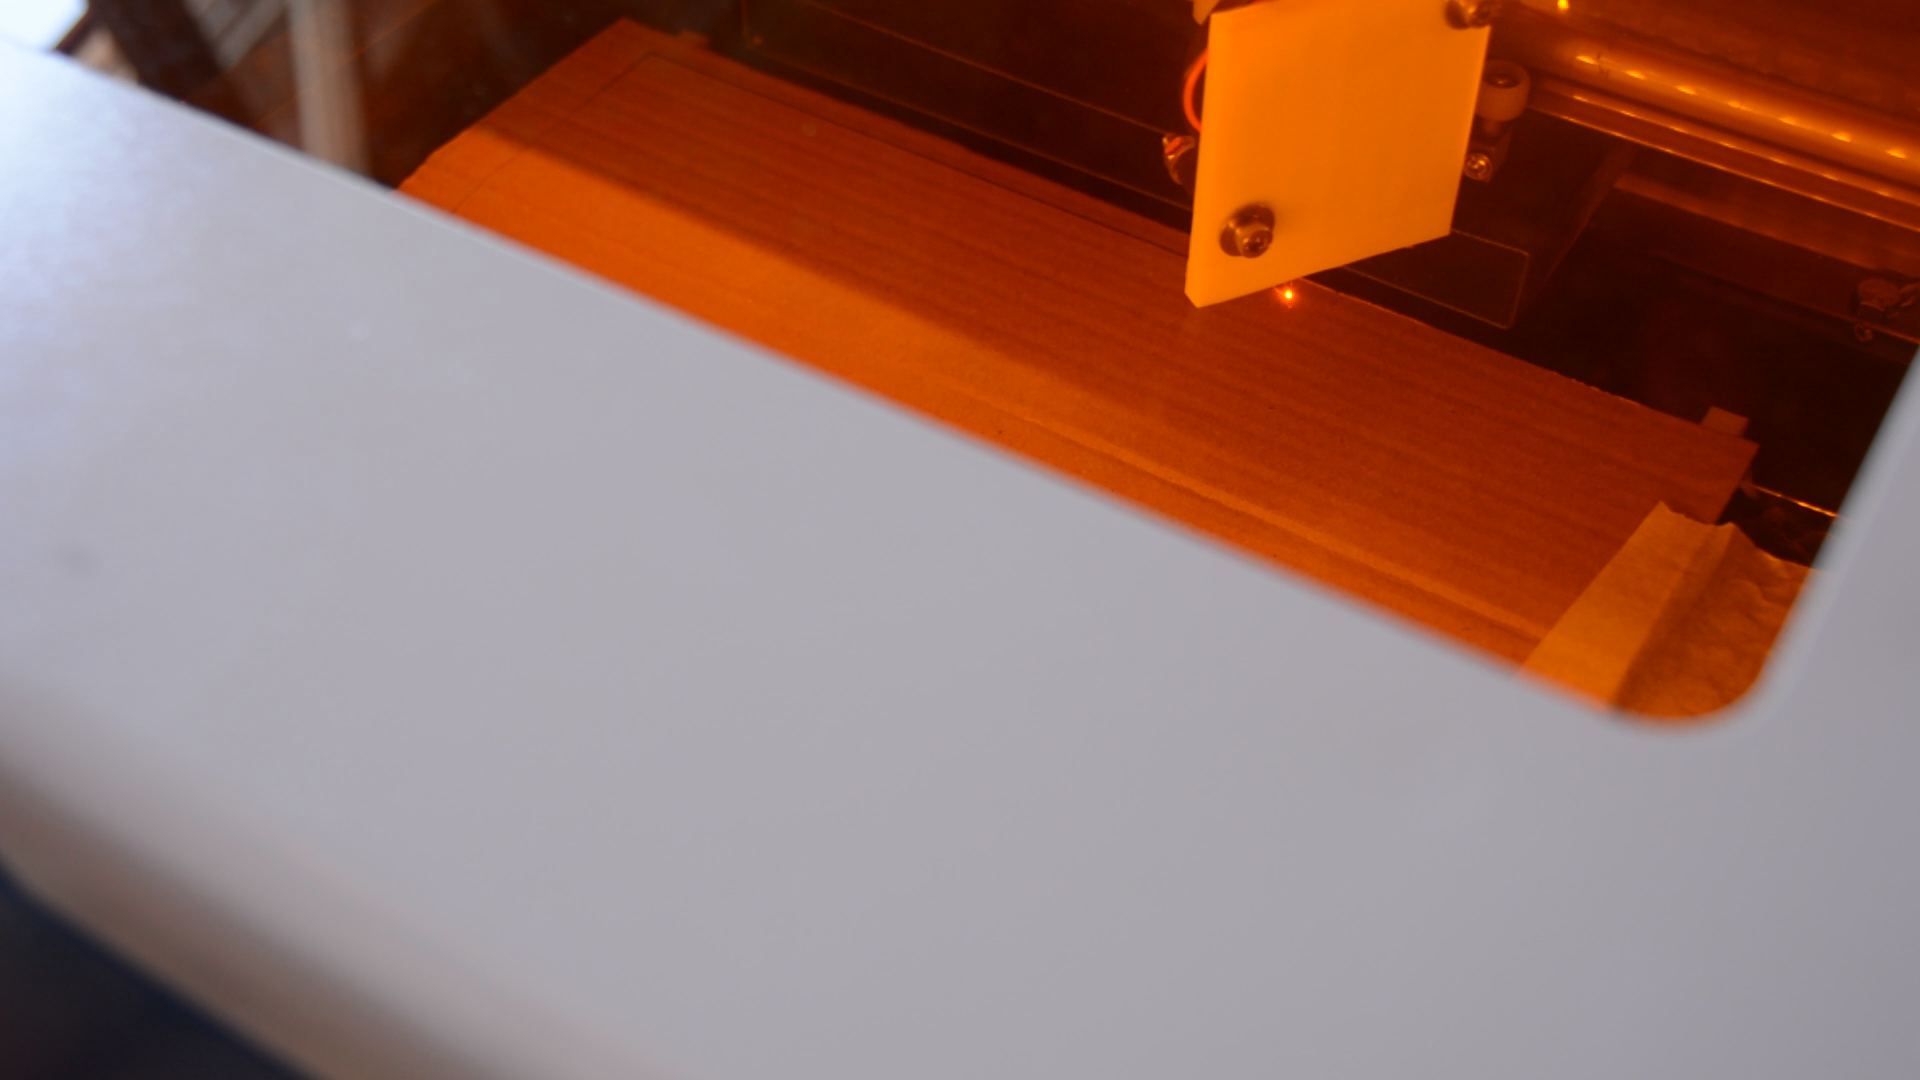
We cut the shape of the aluminum piece out of cardboard so that we have a precise spot where to place the workpiece.
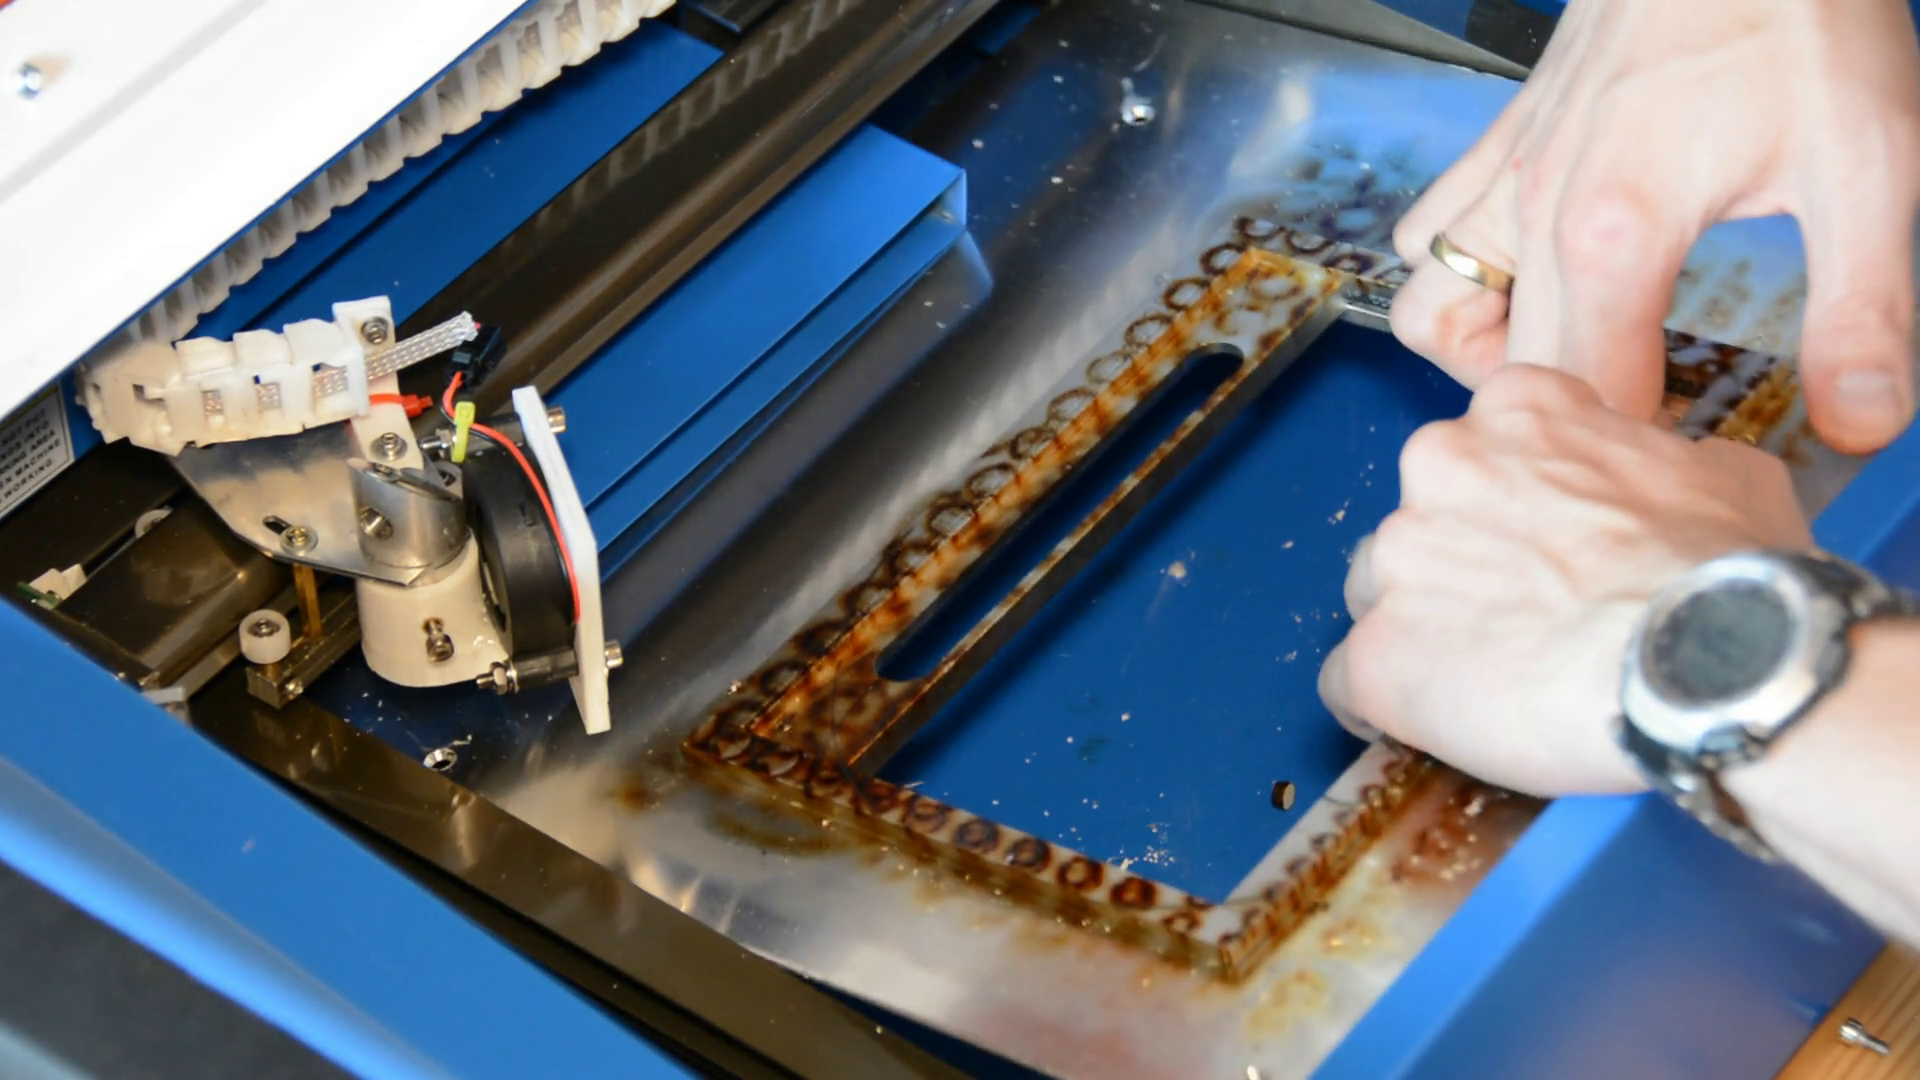
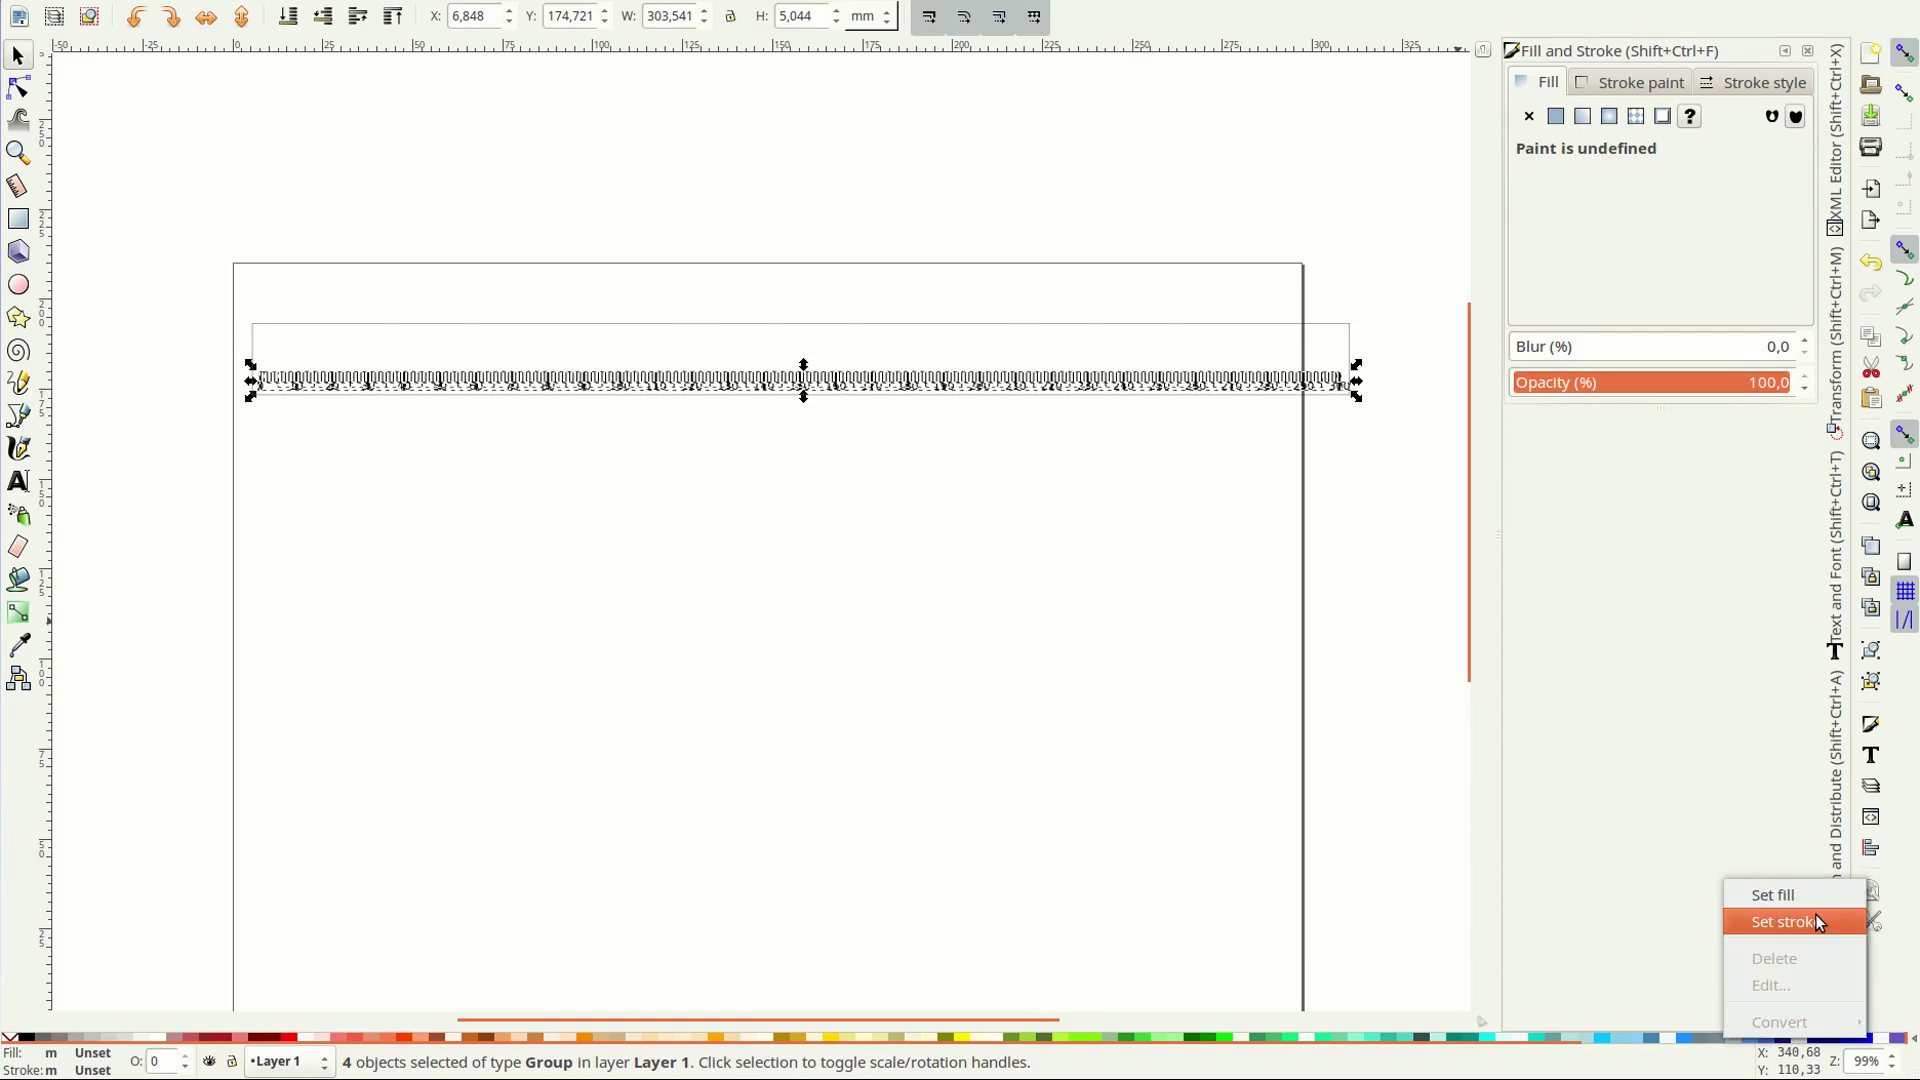
The laser cutter engraves the scales in the paint.
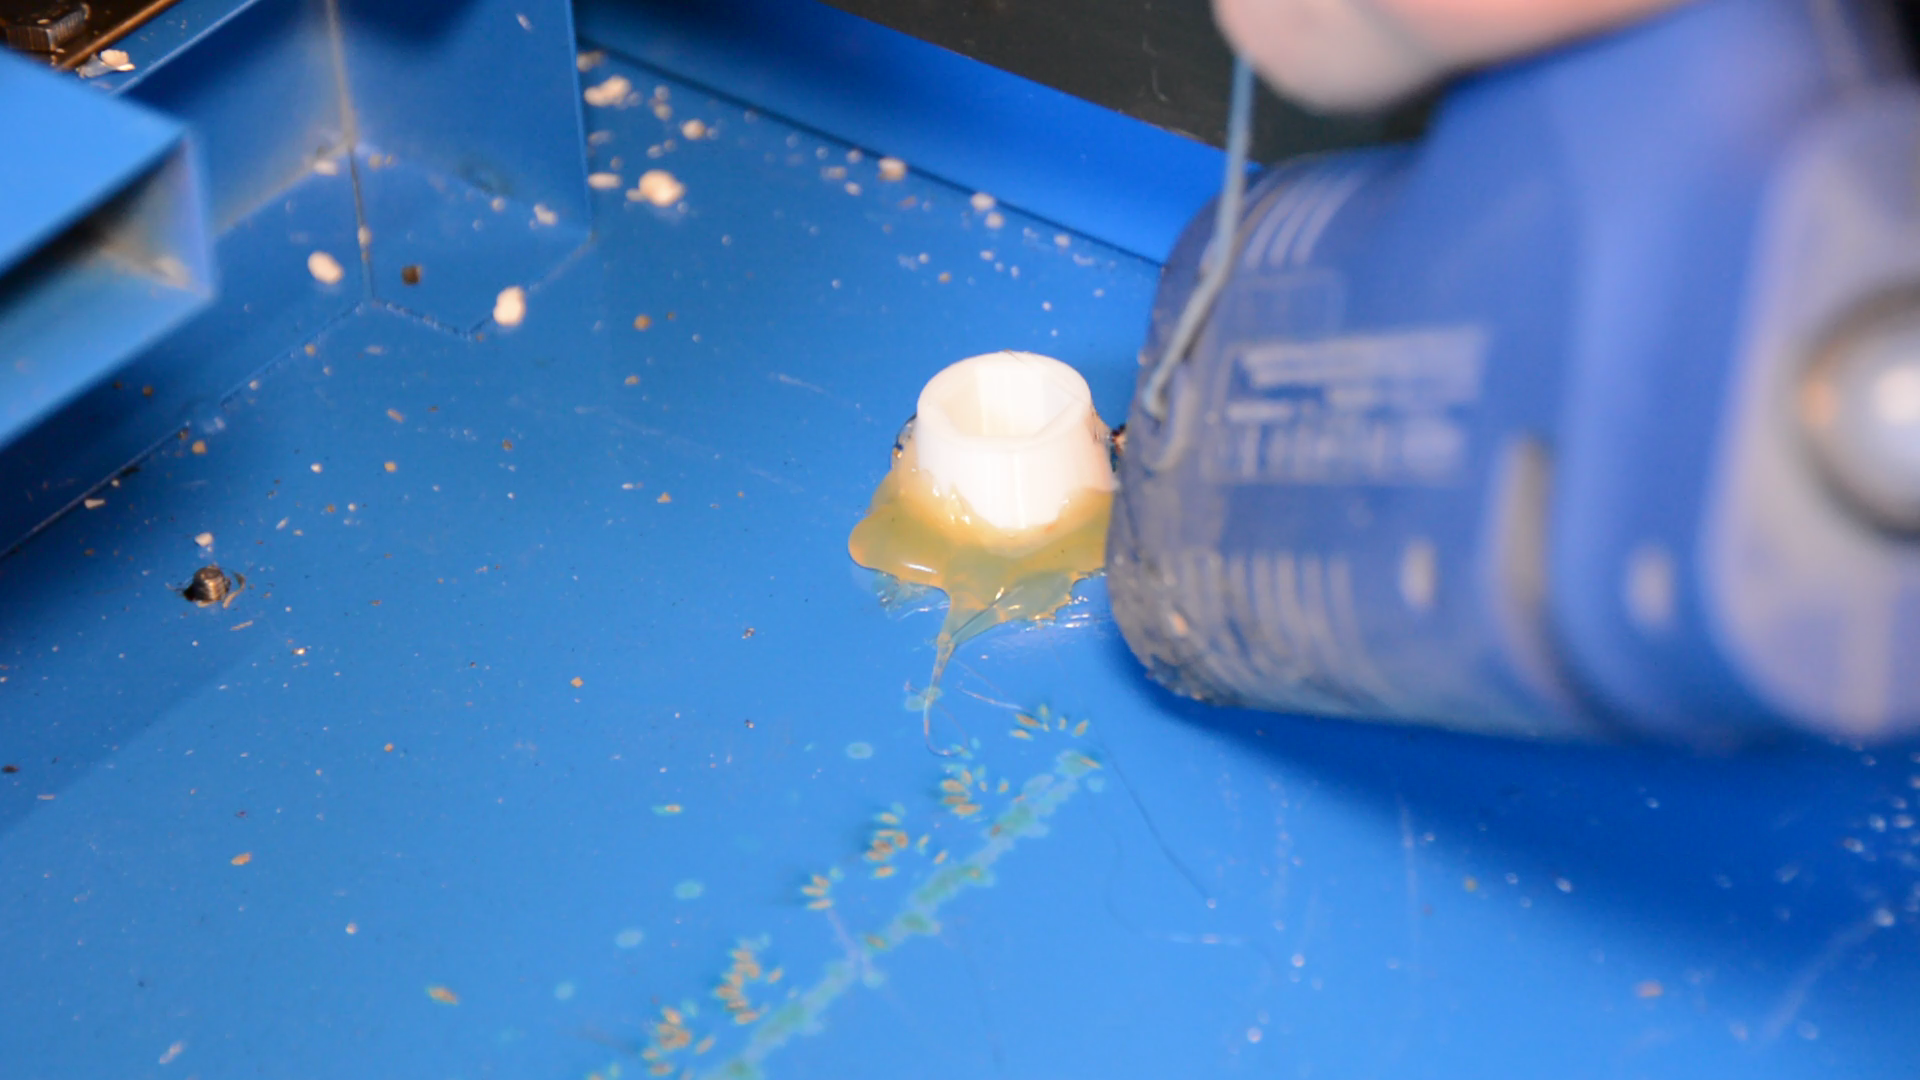
Next we hot glue 3d printed supports at the sides of the frame and secure a larger piece of cardboard on the bed.
We then cut the cardboard along the two axis at the zero point.
Using the cardboard for alignment we put the rulers in place.

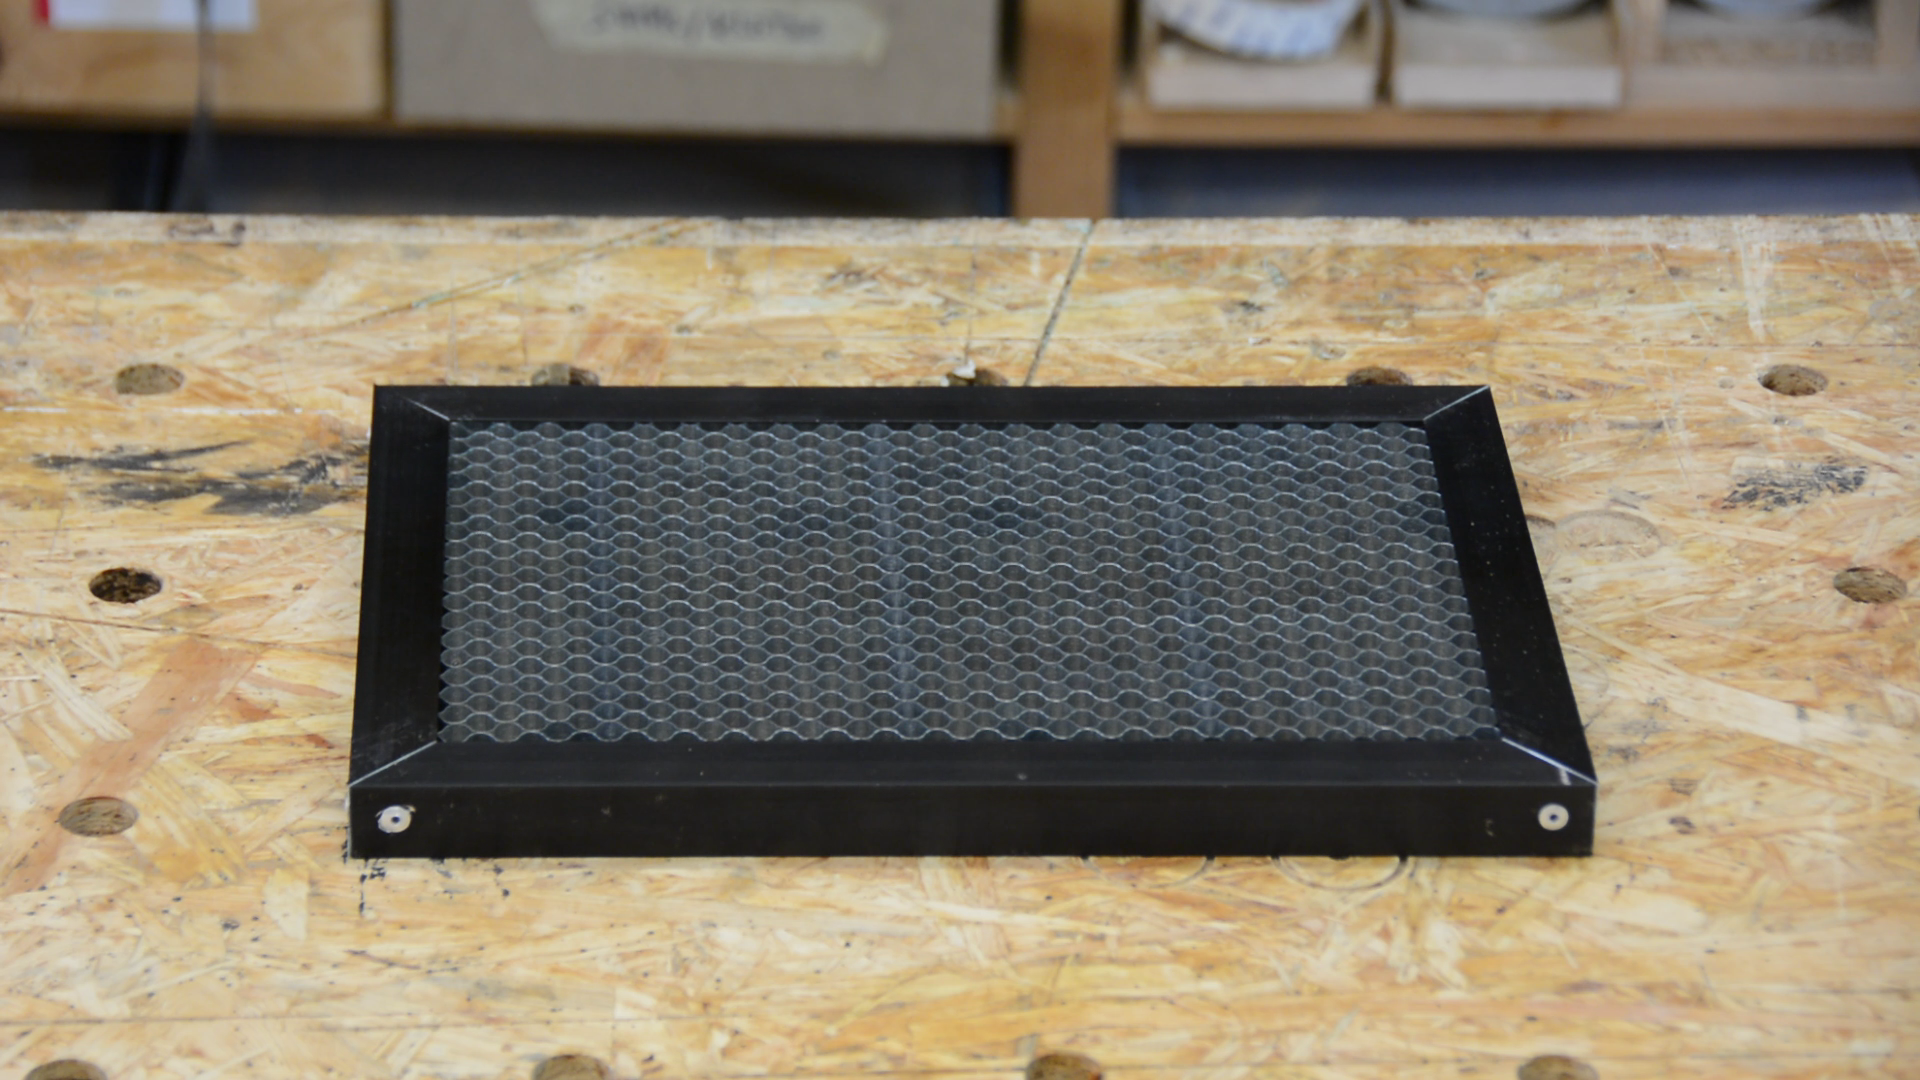
With the new bed, the air assist and the initial safety improvements the laser cutter is now much more useful.