
Today we create a new lamp cover from wood with the laser cutter. We cut a stack of plywood for the lamp body and cover the lamp with oak veneer and walnut inlays.
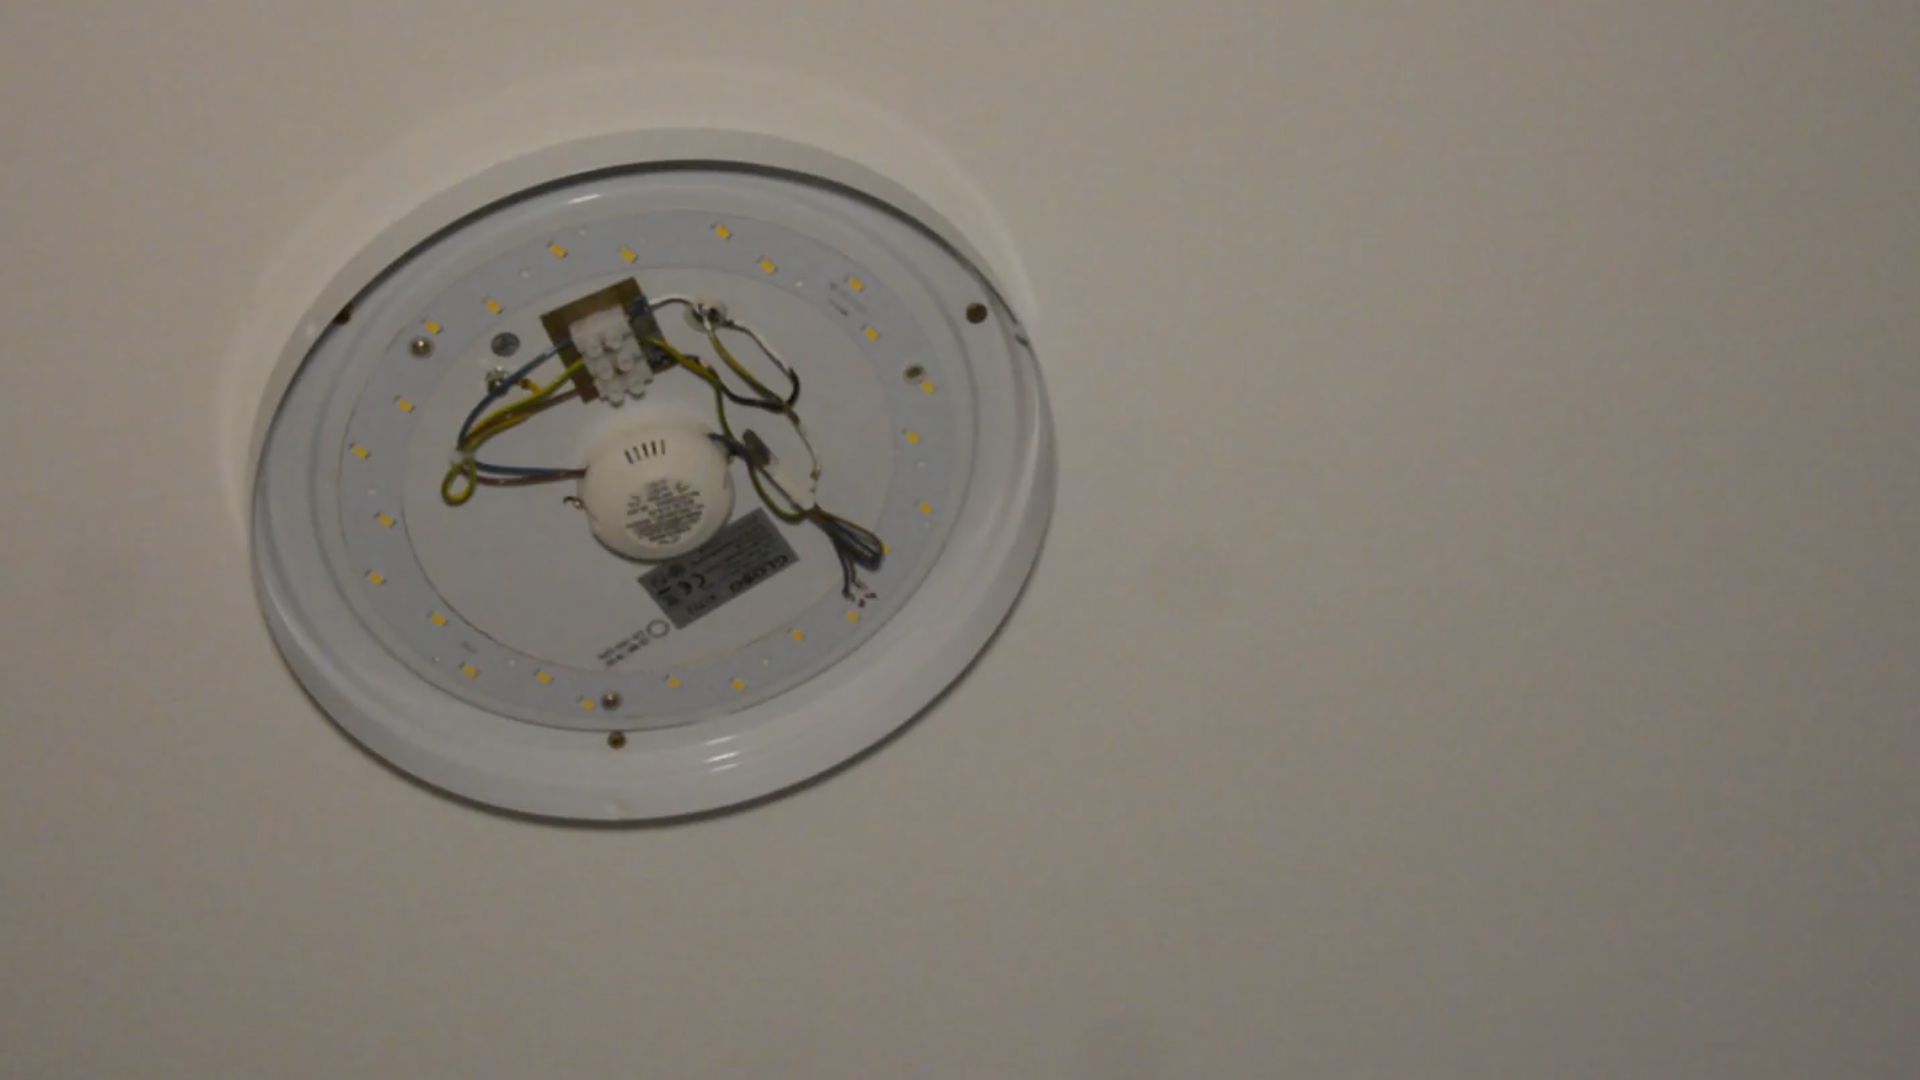
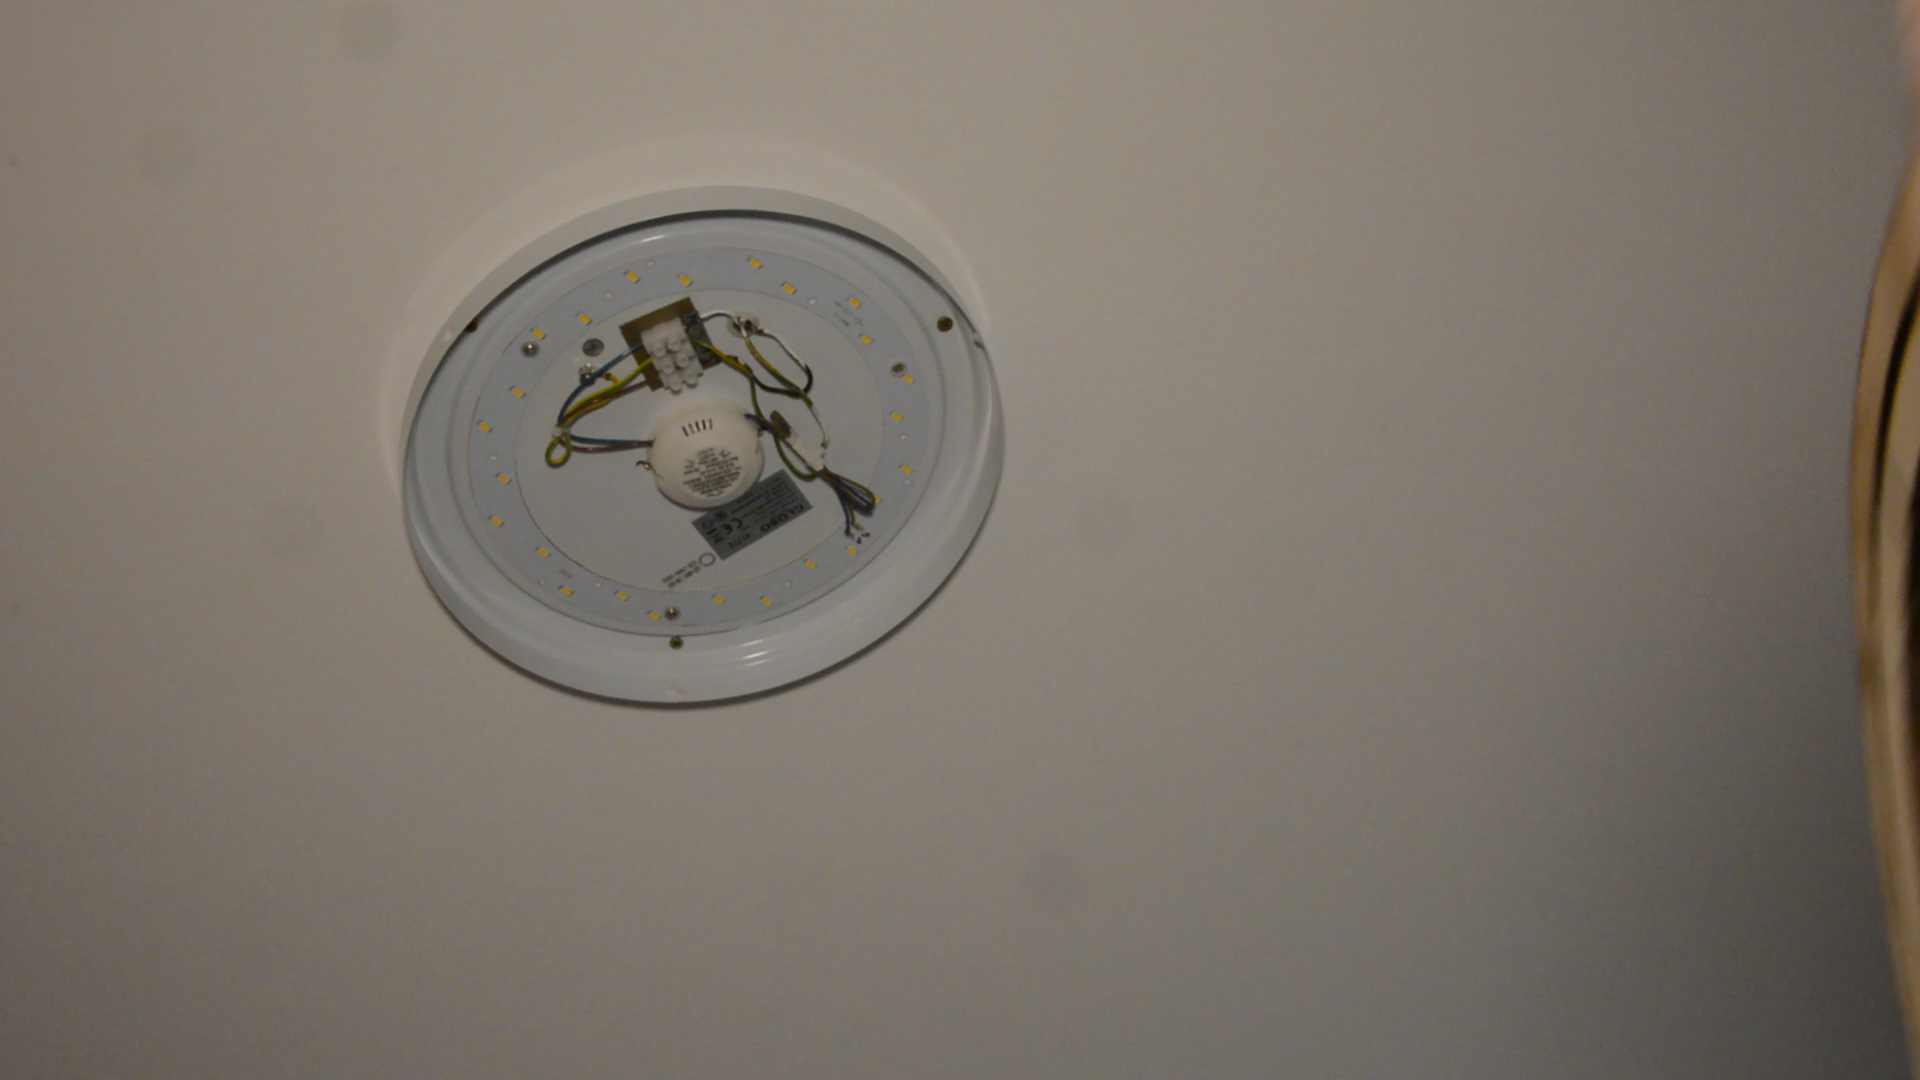
This LED bath lamp had an ugly glass cover that broke while we were repairing the damage from a water leakage. We want to replace it with our own design.
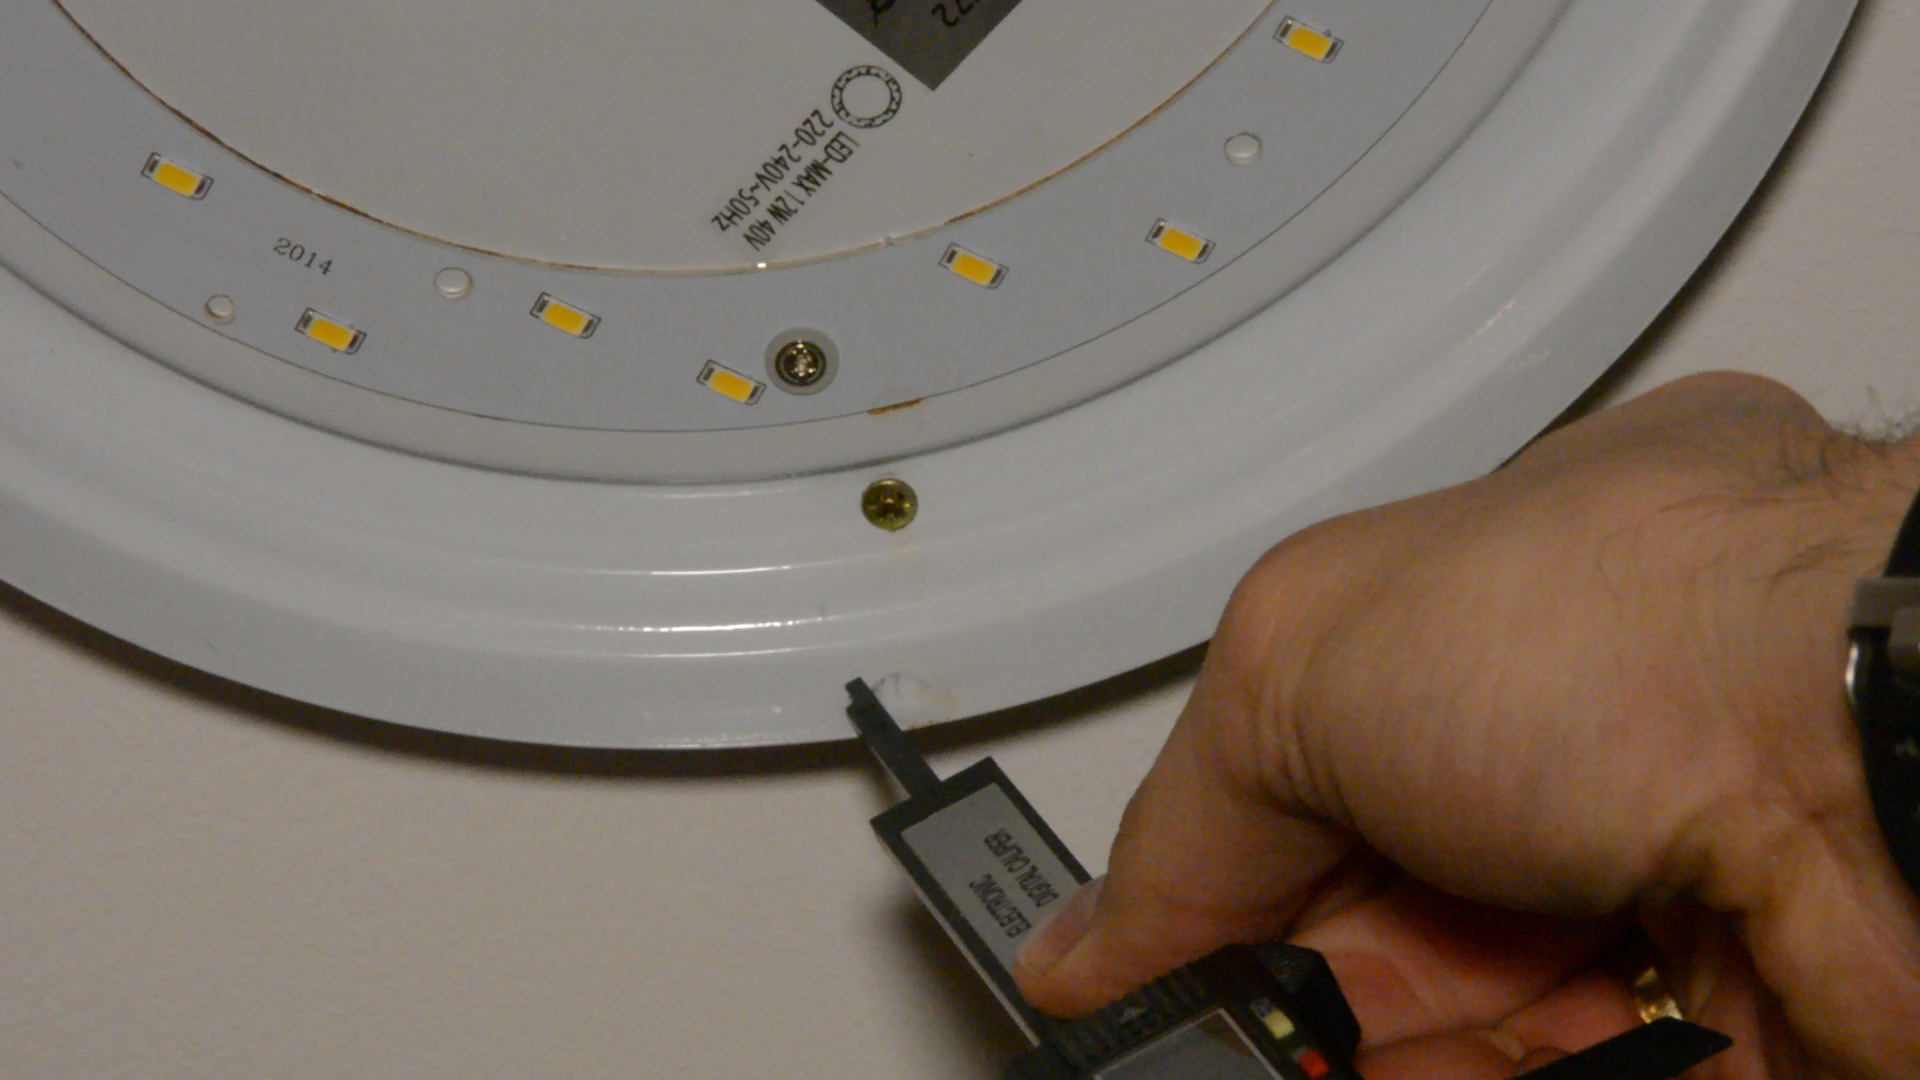
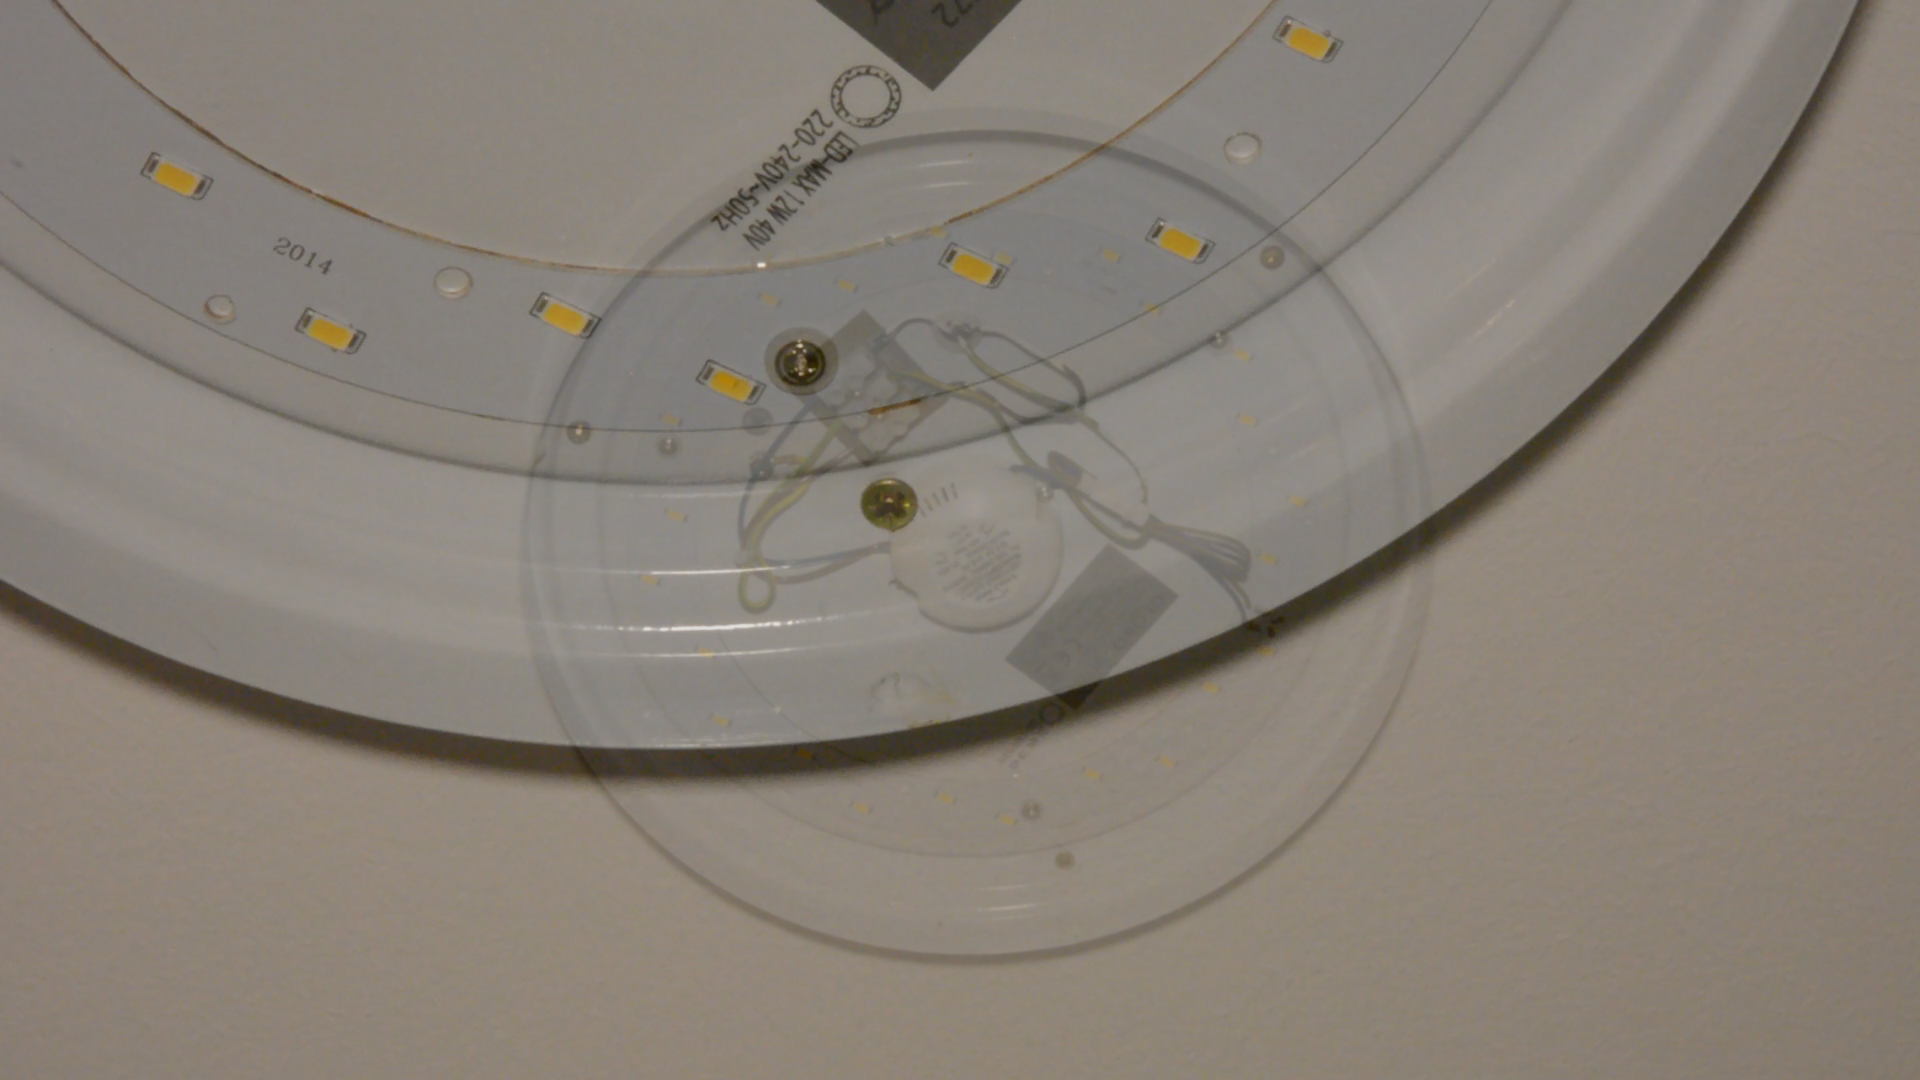
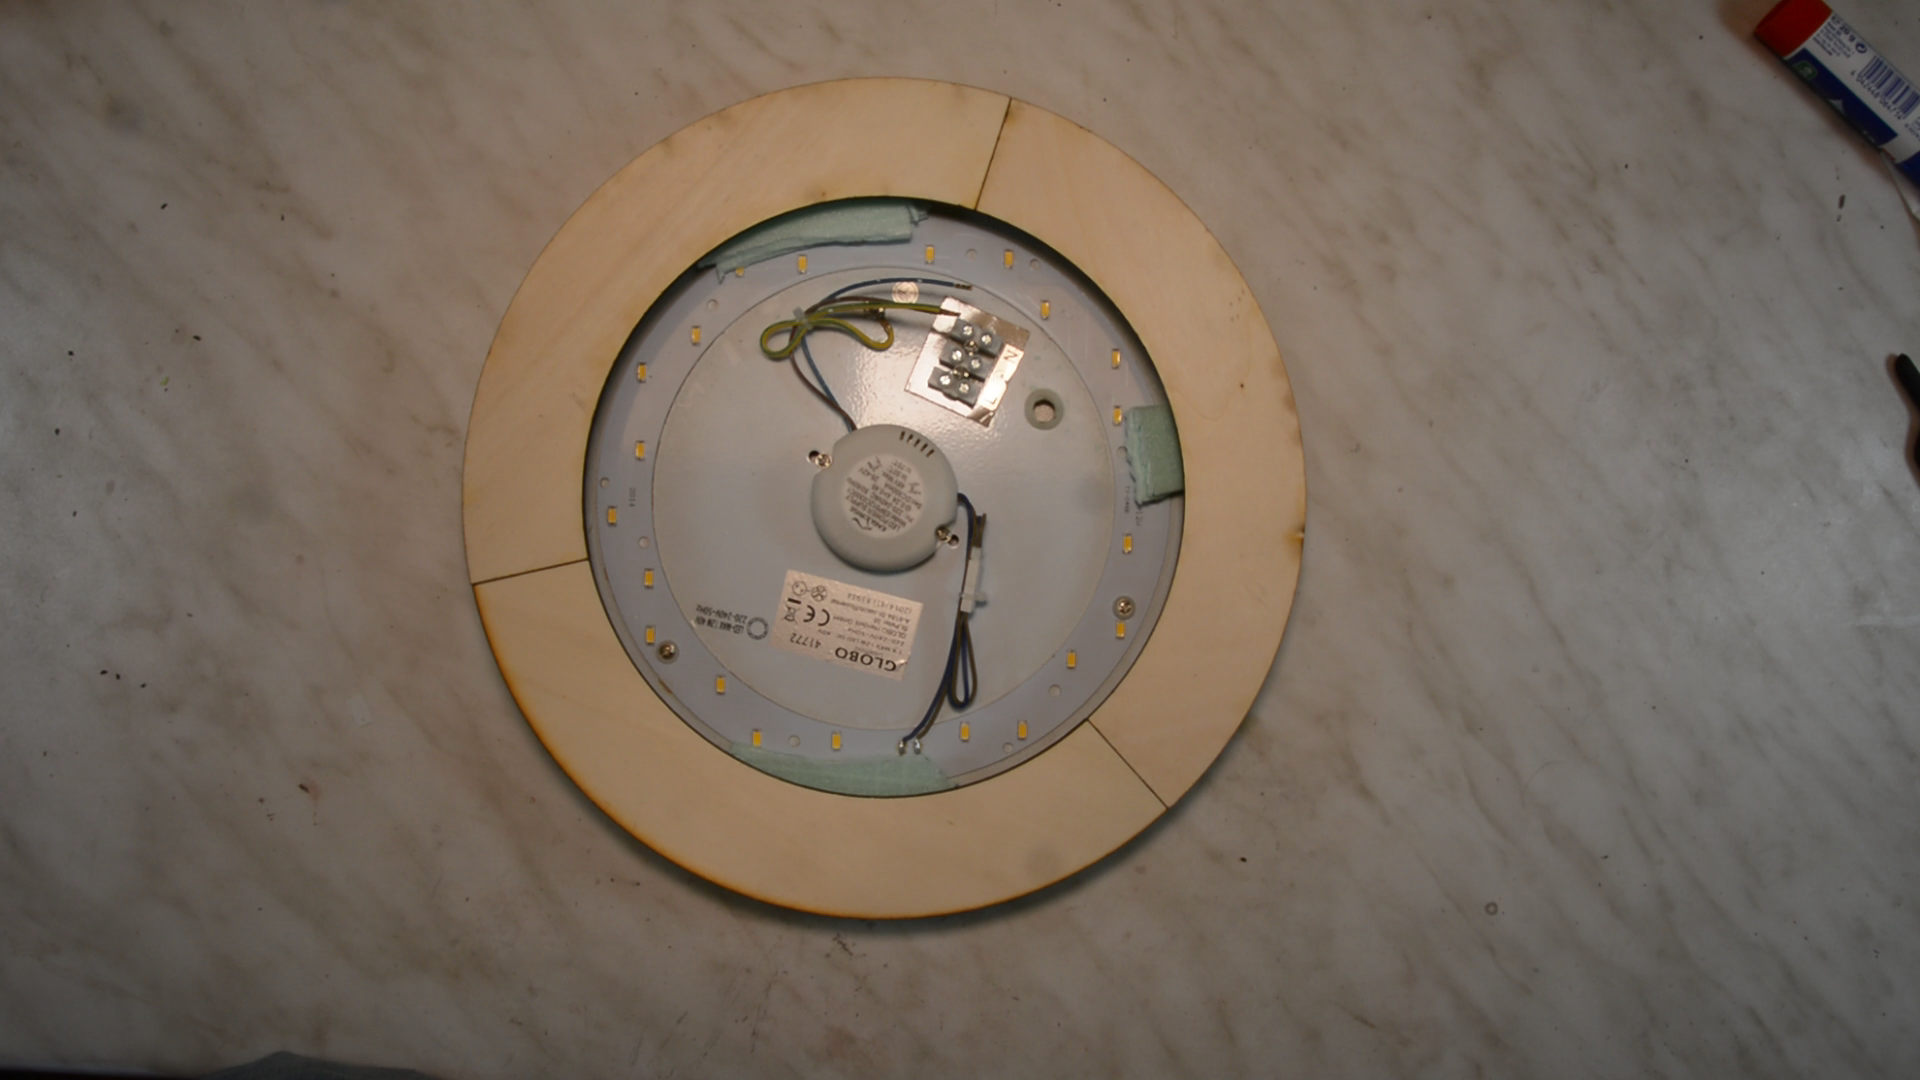
A special challenge is that the lamp is bigger than the bed of the K40 laser cutter. Let’s start with taking some measurements. The inner diameter of the lamp is 298 mm and we have to be quite precise as the lamp cover is held by these small notches that have a height of only a few mm.
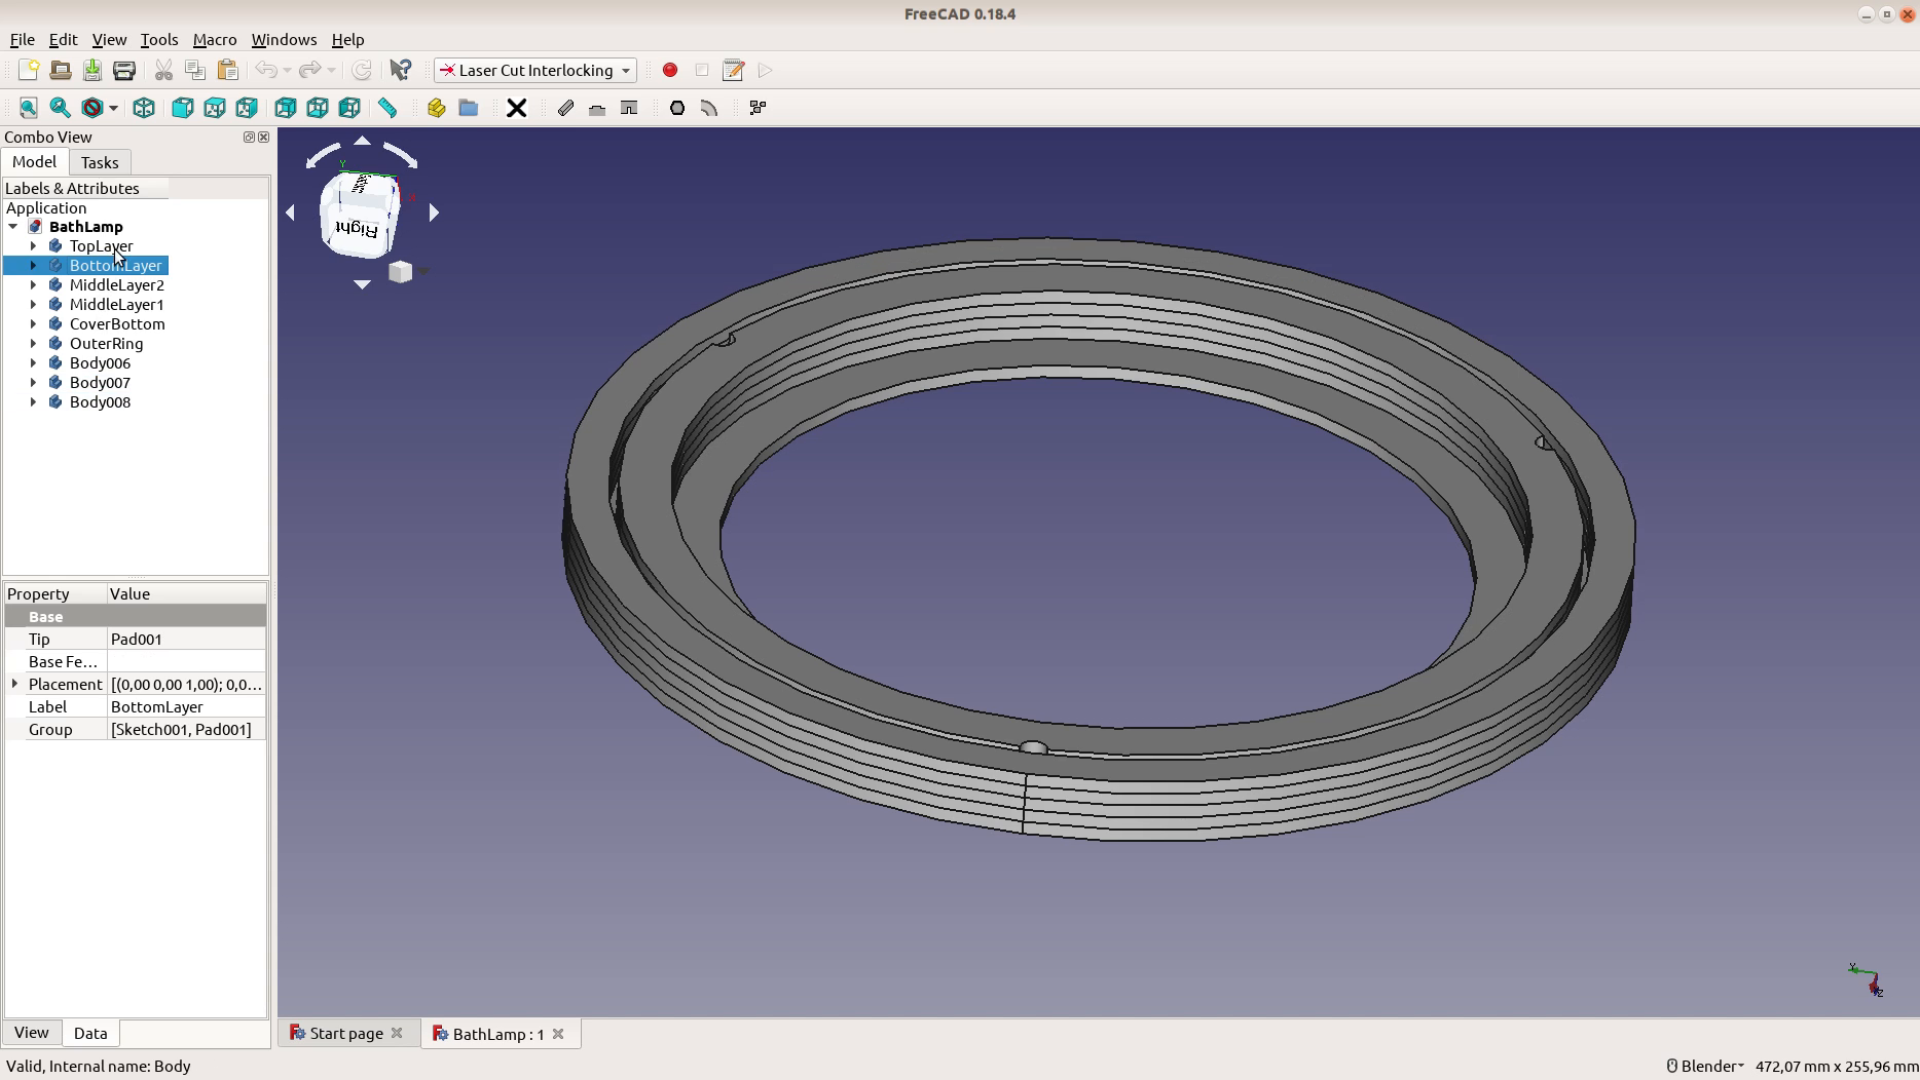
Lamp design in FreeCAD
We design the structure in FreeCAD. For the inner ring we have an upper layer that has three small half-circle cutouts for the three notches. The next two layers create a channel so that the notches can slide into the channel and hold the lamp in place. The lowest ring is just there to add another 4 mm of space.
These inner rings connect to an outer ring with a wider ring that also creates a lip for the cover to sit in. The outer rings are plain and should just cover up the ugly outside of the lamp. With the lasercut interlocking workbench in FreeCAD we arrange these forms all side by side.
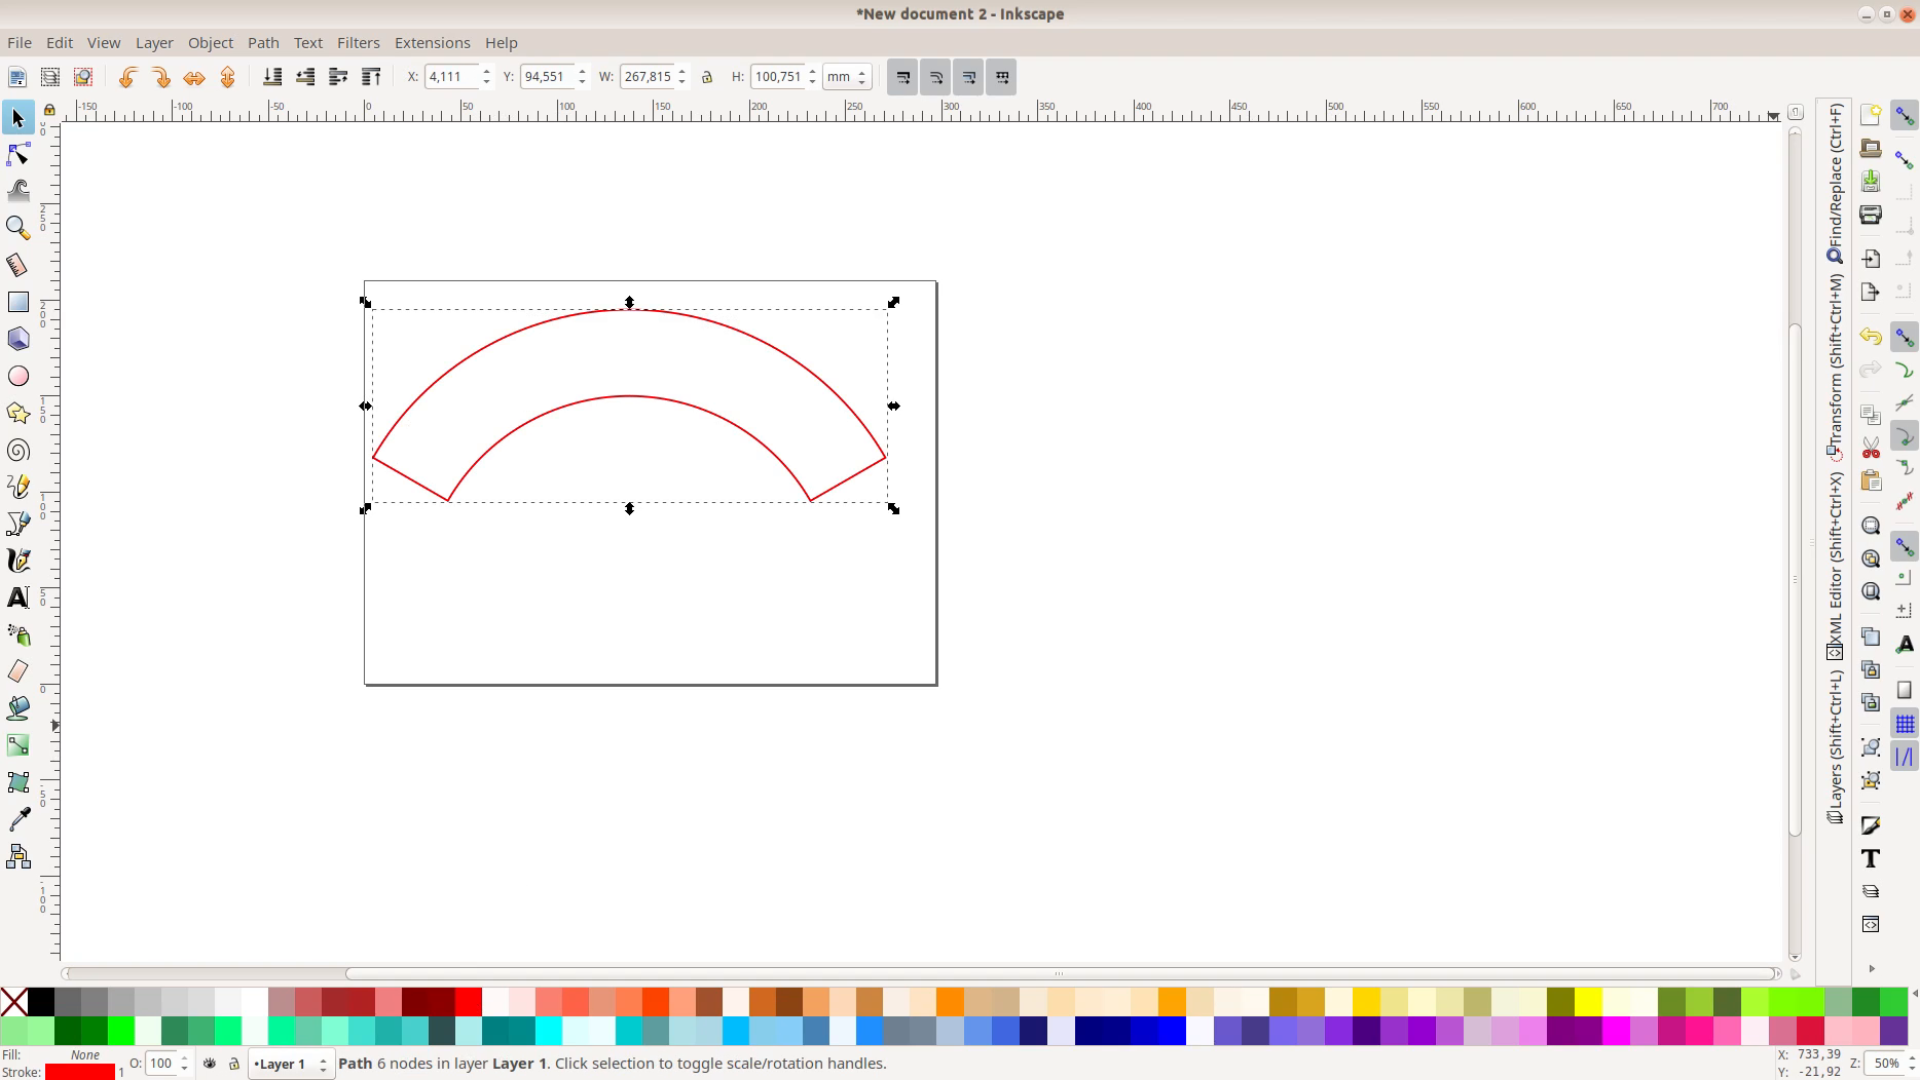
The SVG export of FreeCAD is a bit buggy. We therefore export them as DXF. We then open the DXF in LibreCAD and export it as SVG that we can then open in Inkscape.

In Inkscape we create three circle segments and use these to cut our shapes in three parts each.
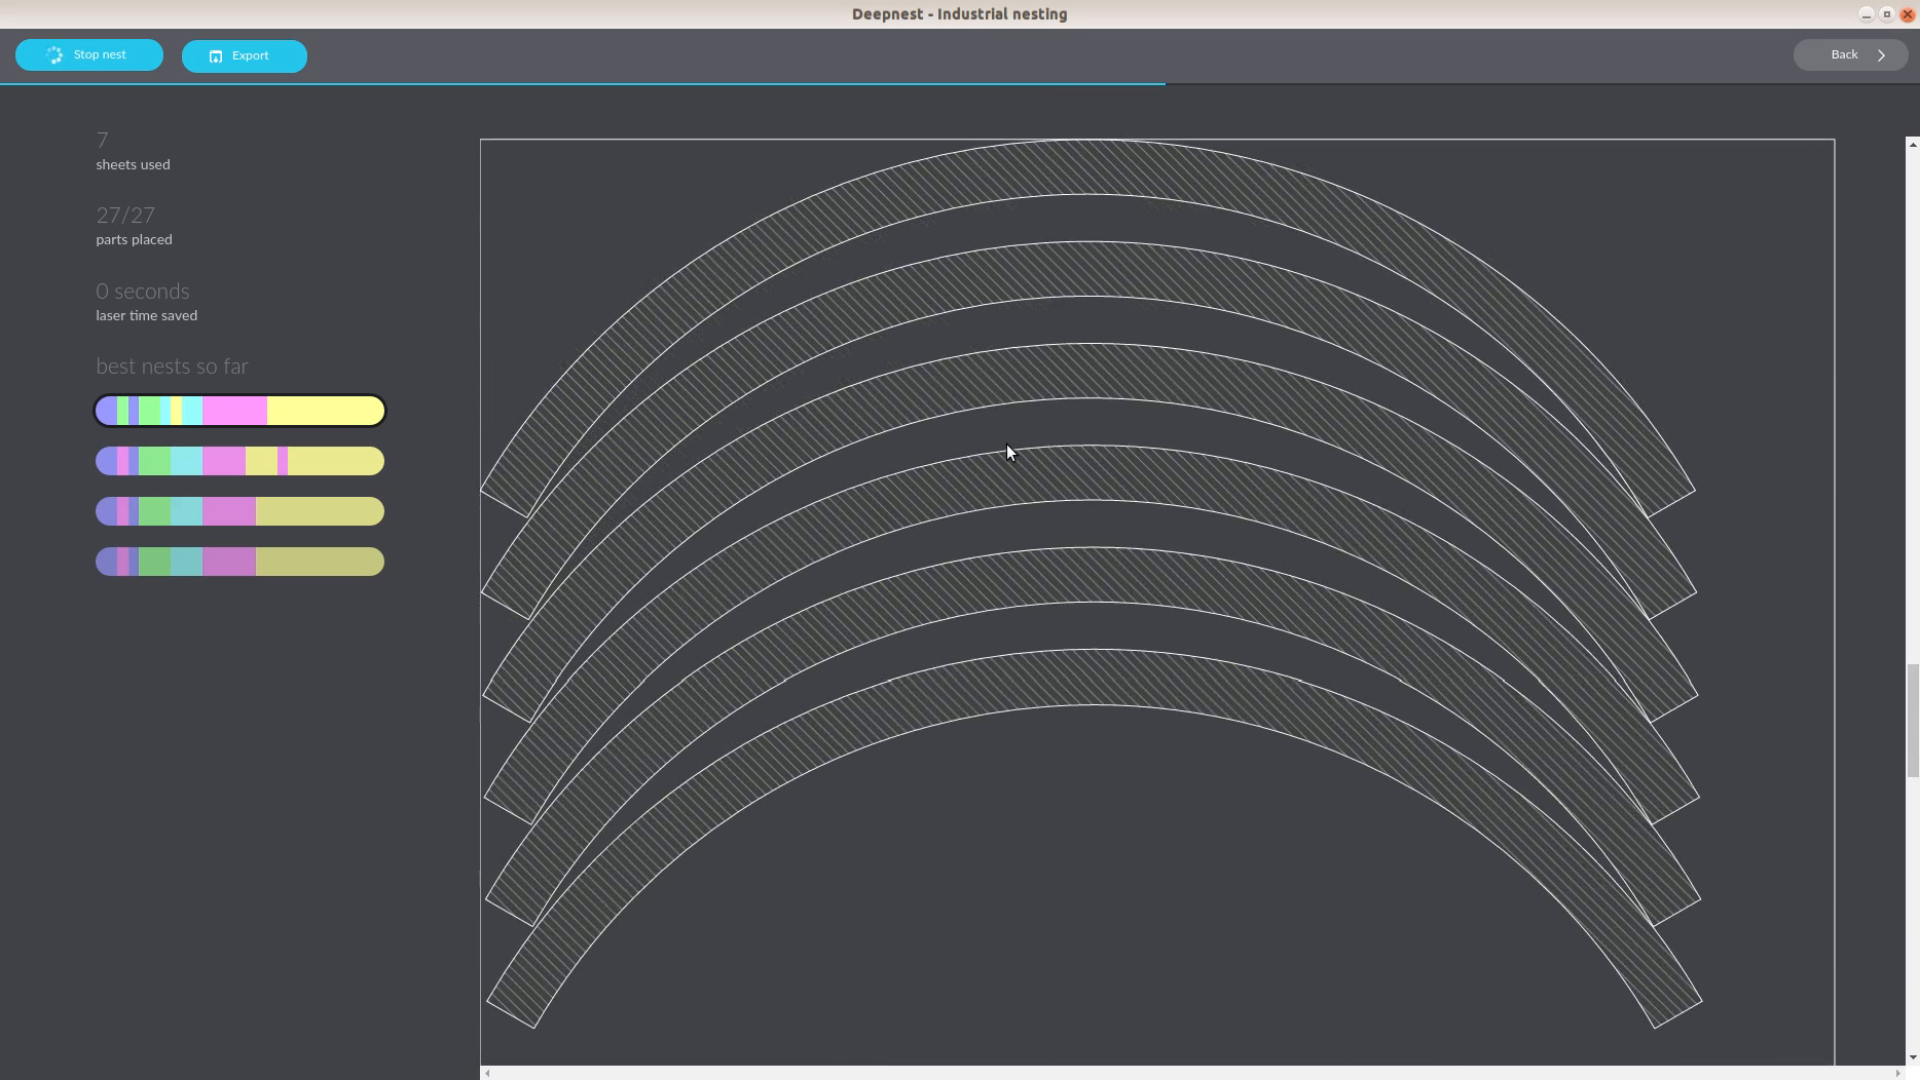
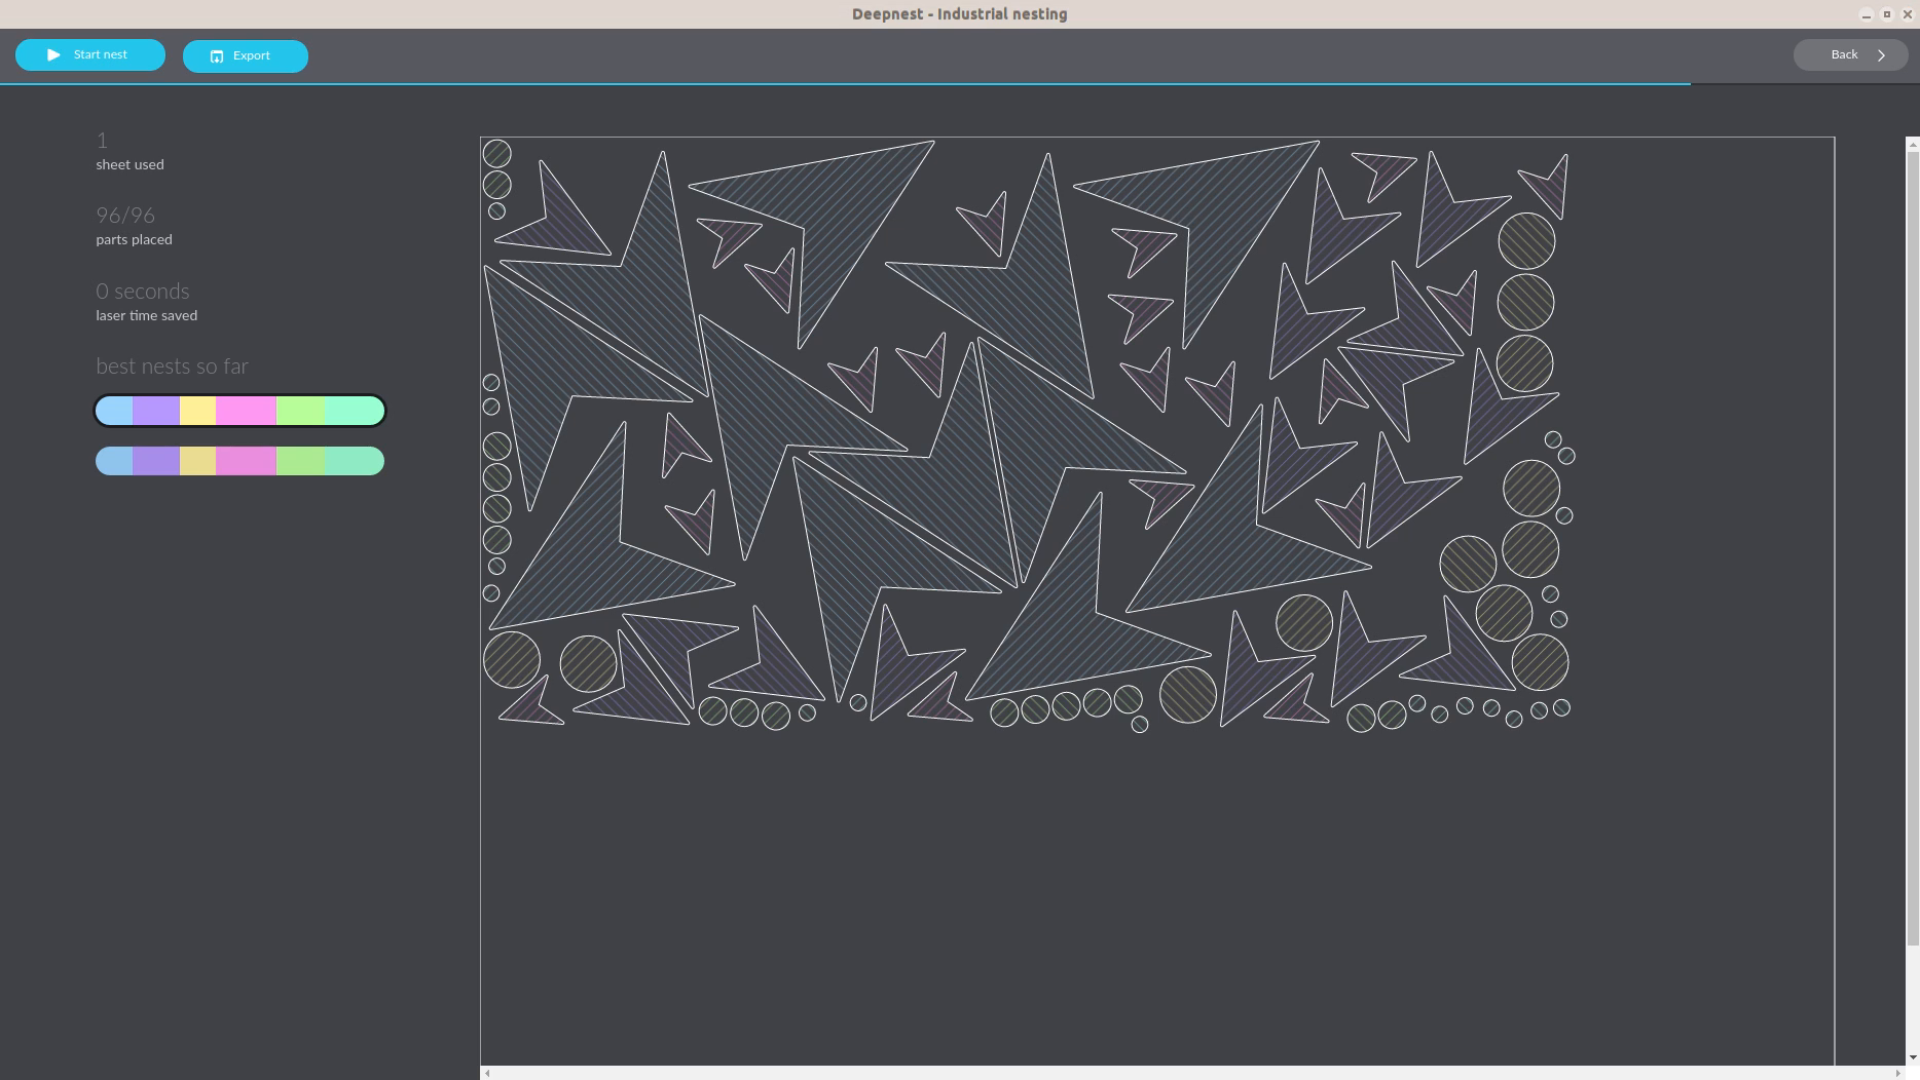
The segments are then imported in the free software deepnest.io and it neatly arranges all the shapes on 7 sheets of cheap crafting plywood.
Laser cutting wood and glue up
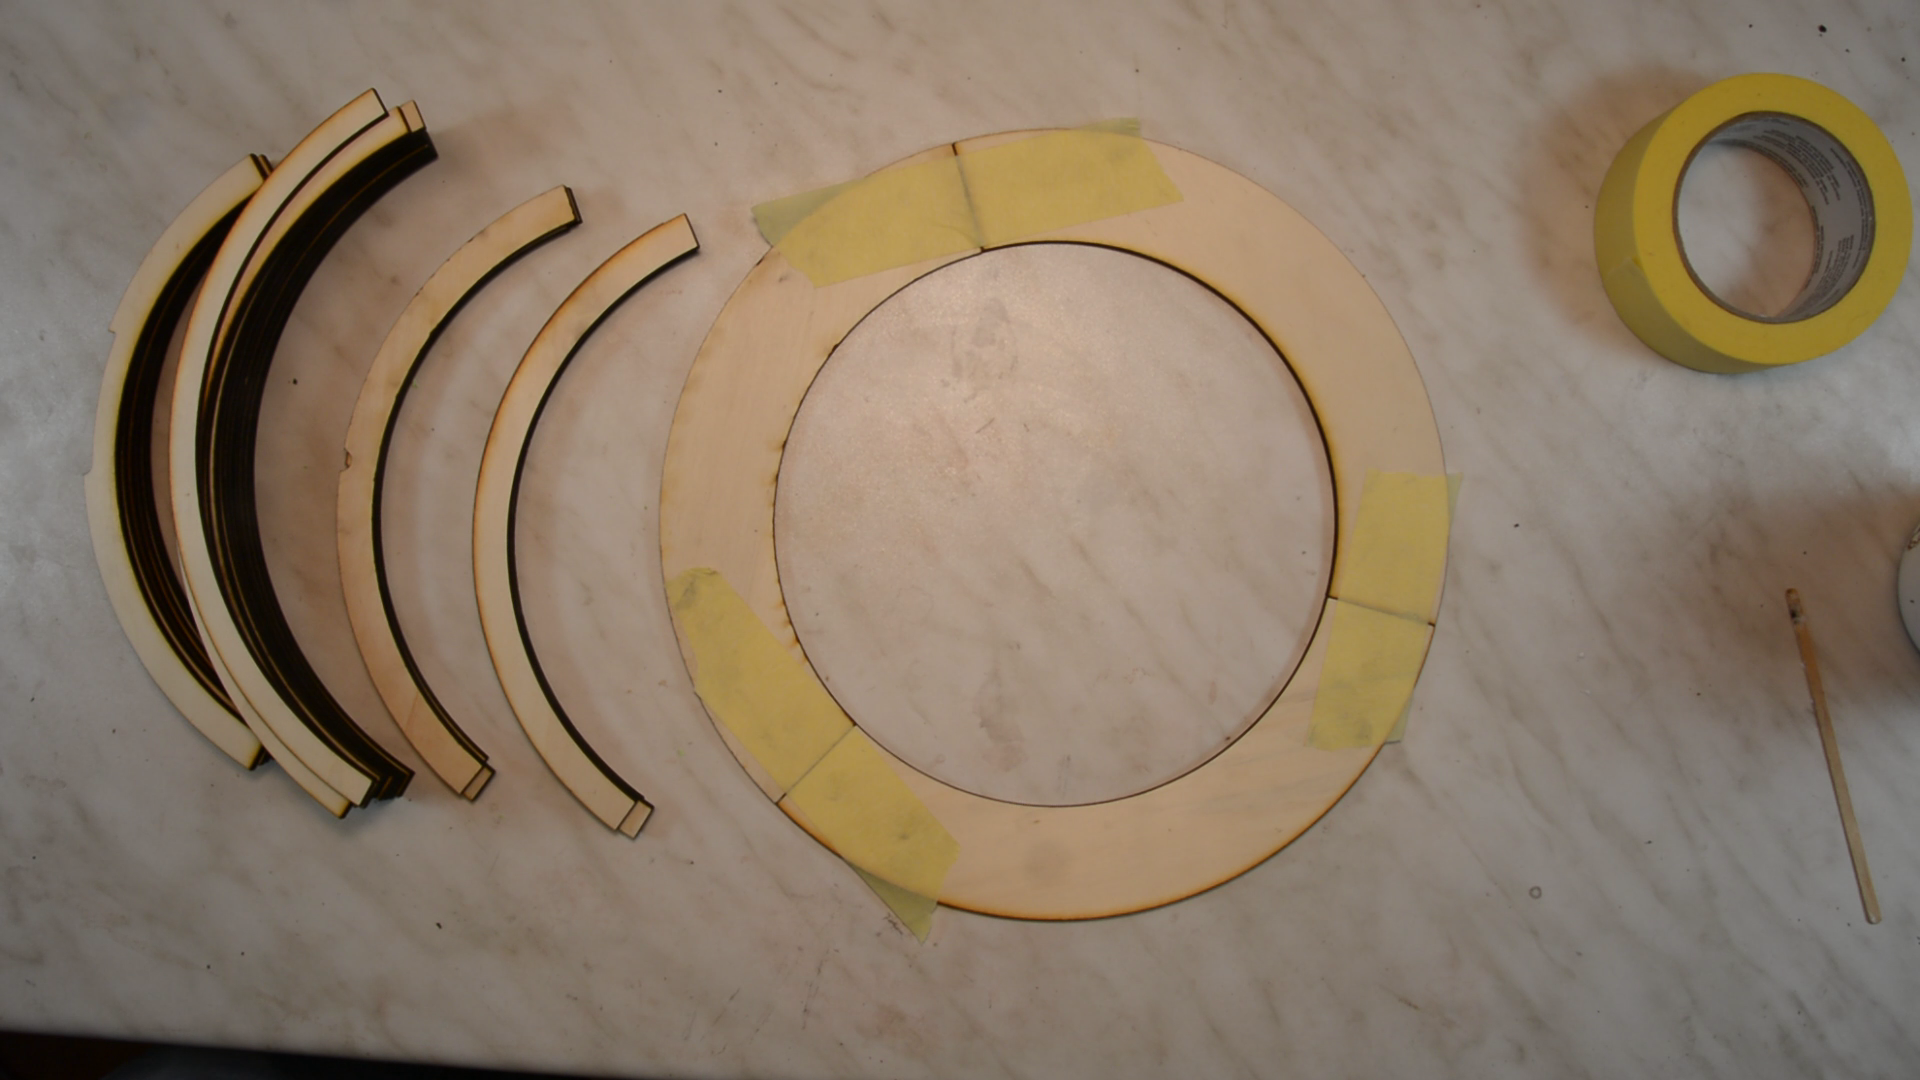
In Inkscape we put the parts on individual sheets that we can cut on the K40 laser cutter. Now comes a lot of laser cutting that will leave us with a large 3d puzzle.


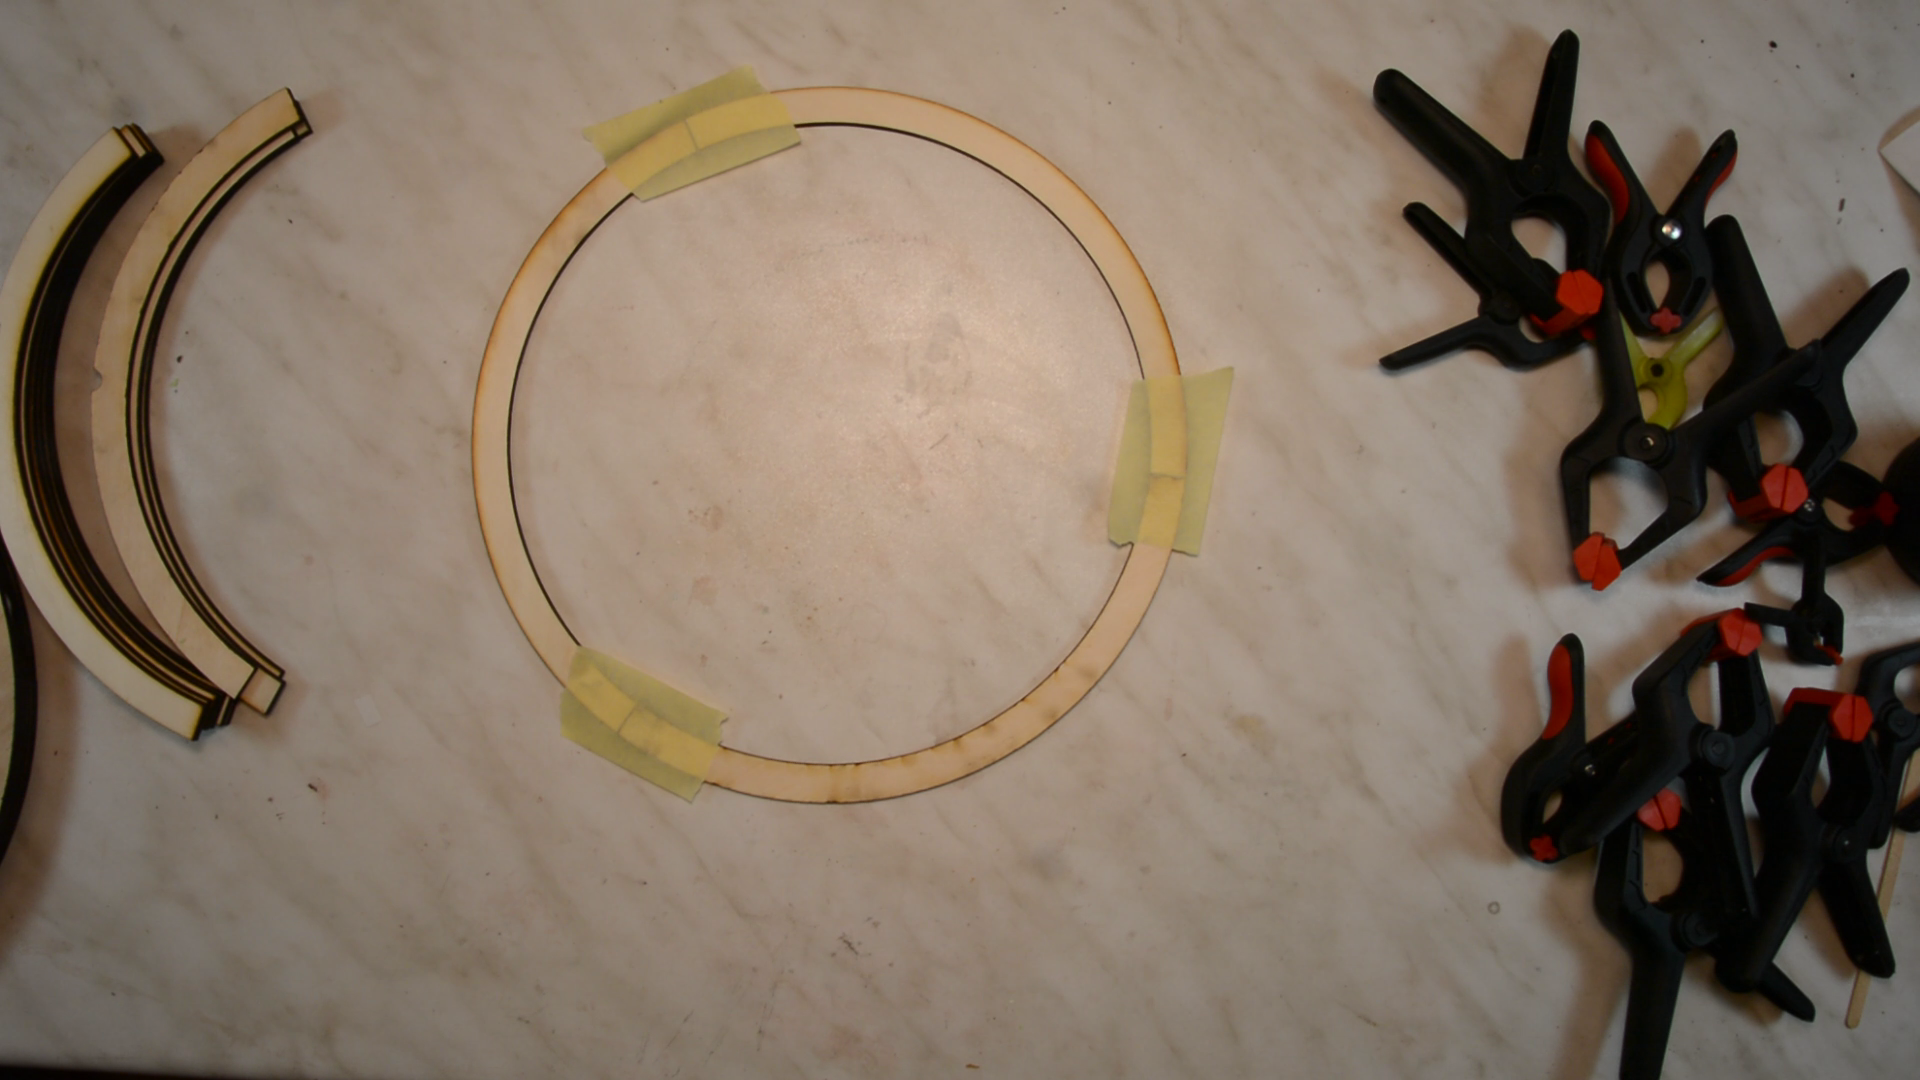
The first layer is glued together by securing the parts with a bit of tape.
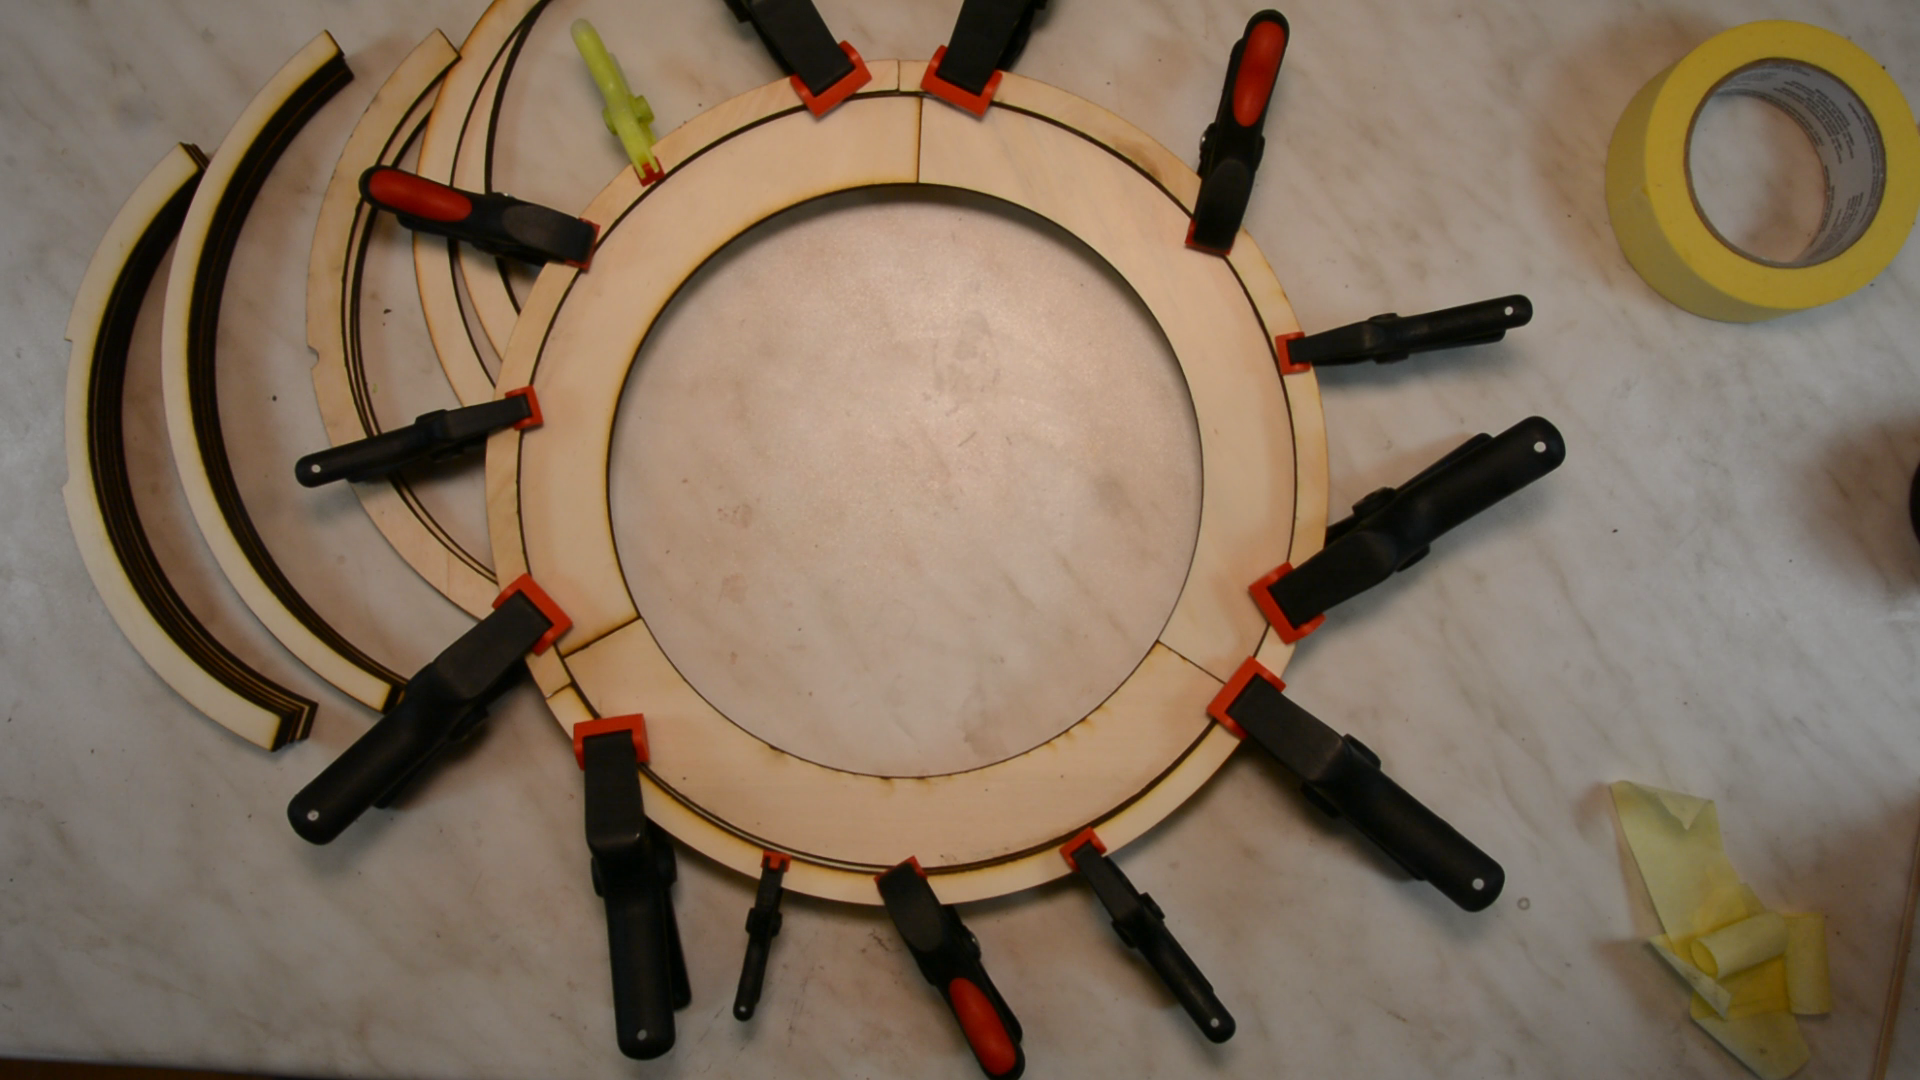
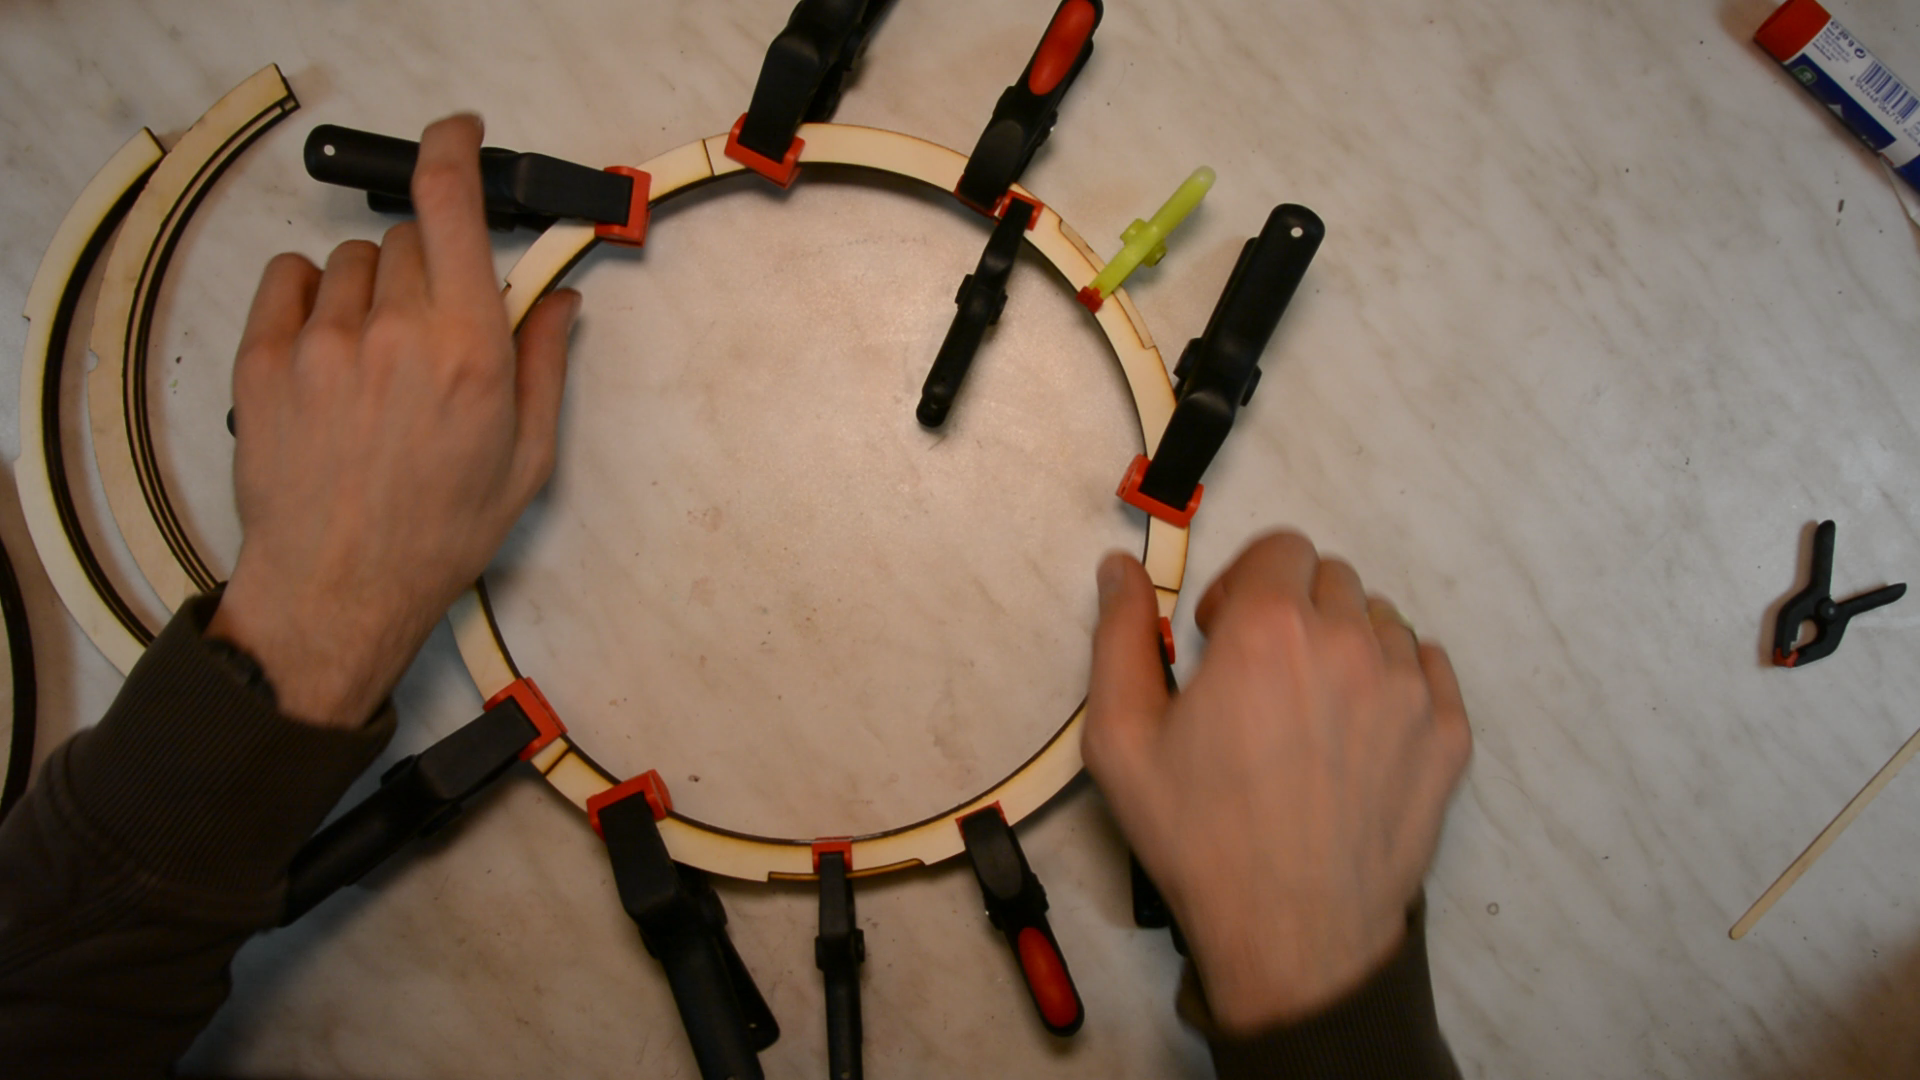
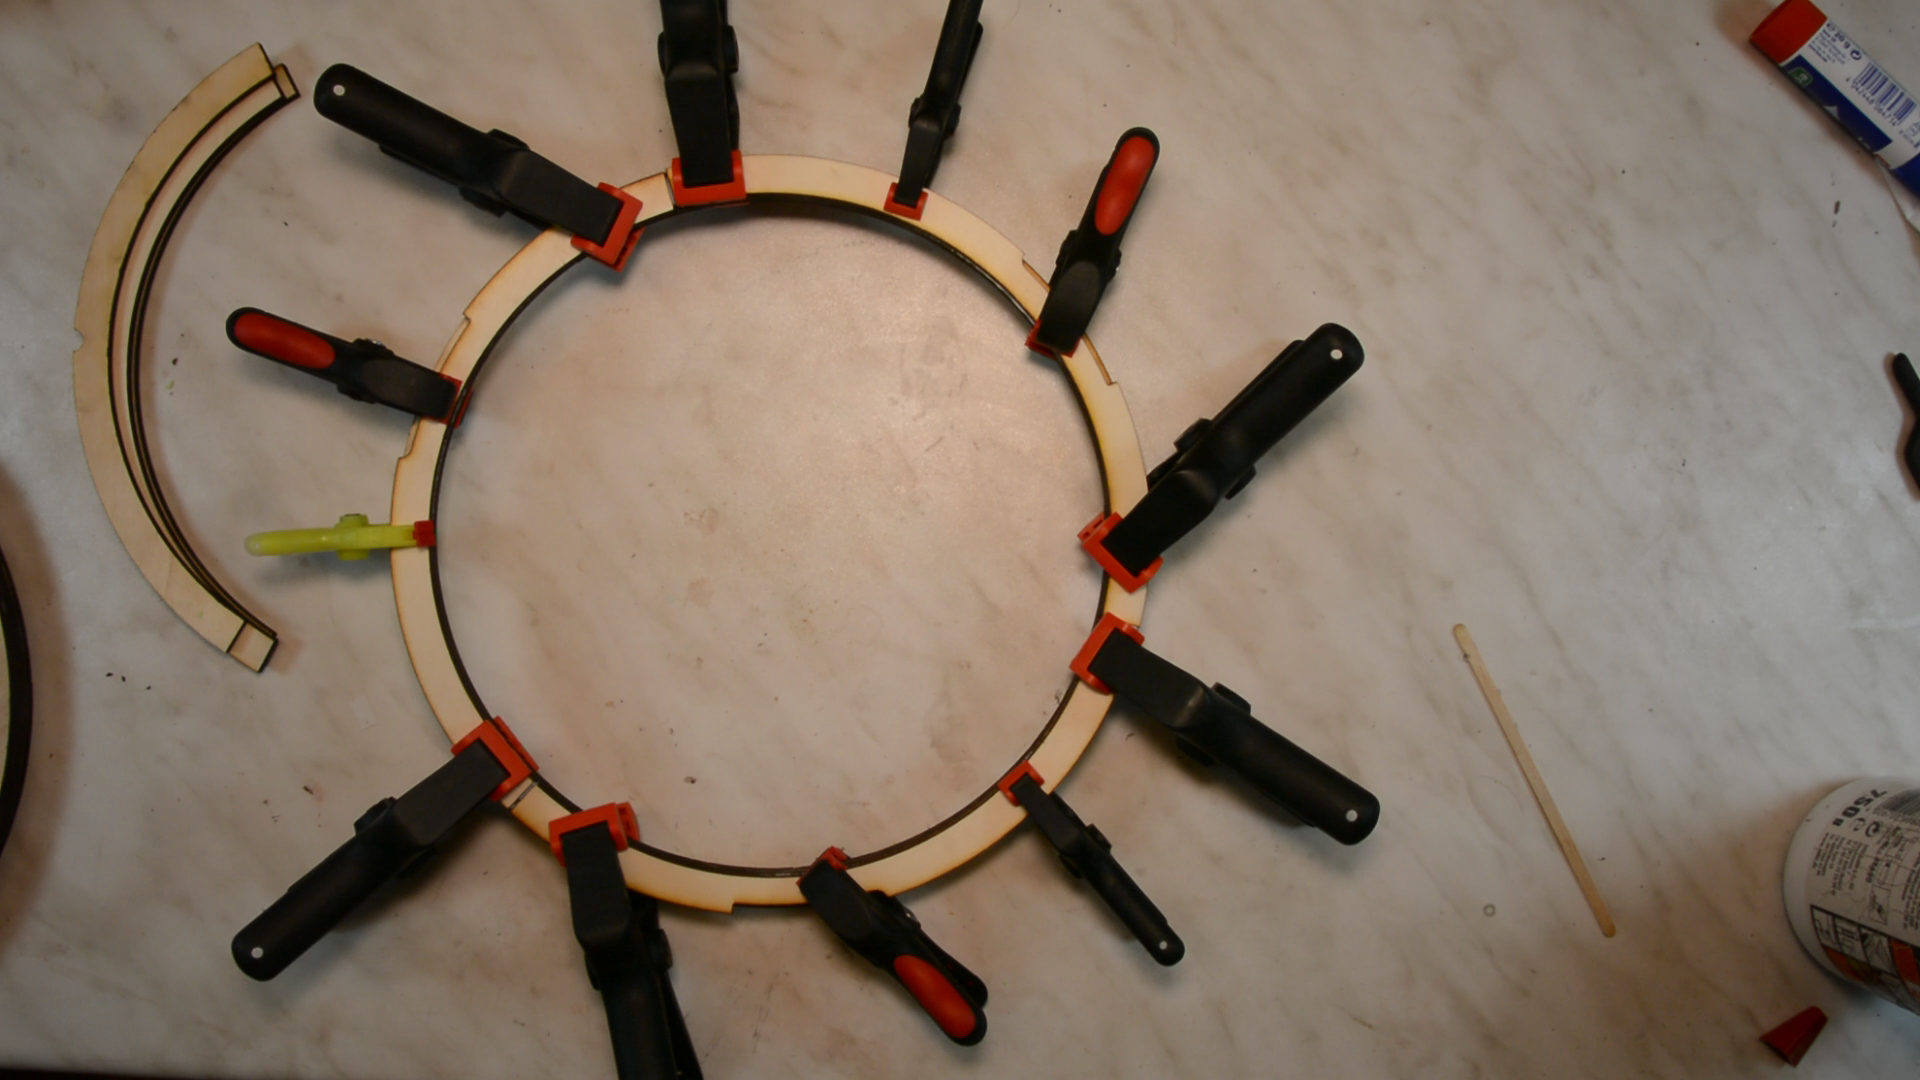
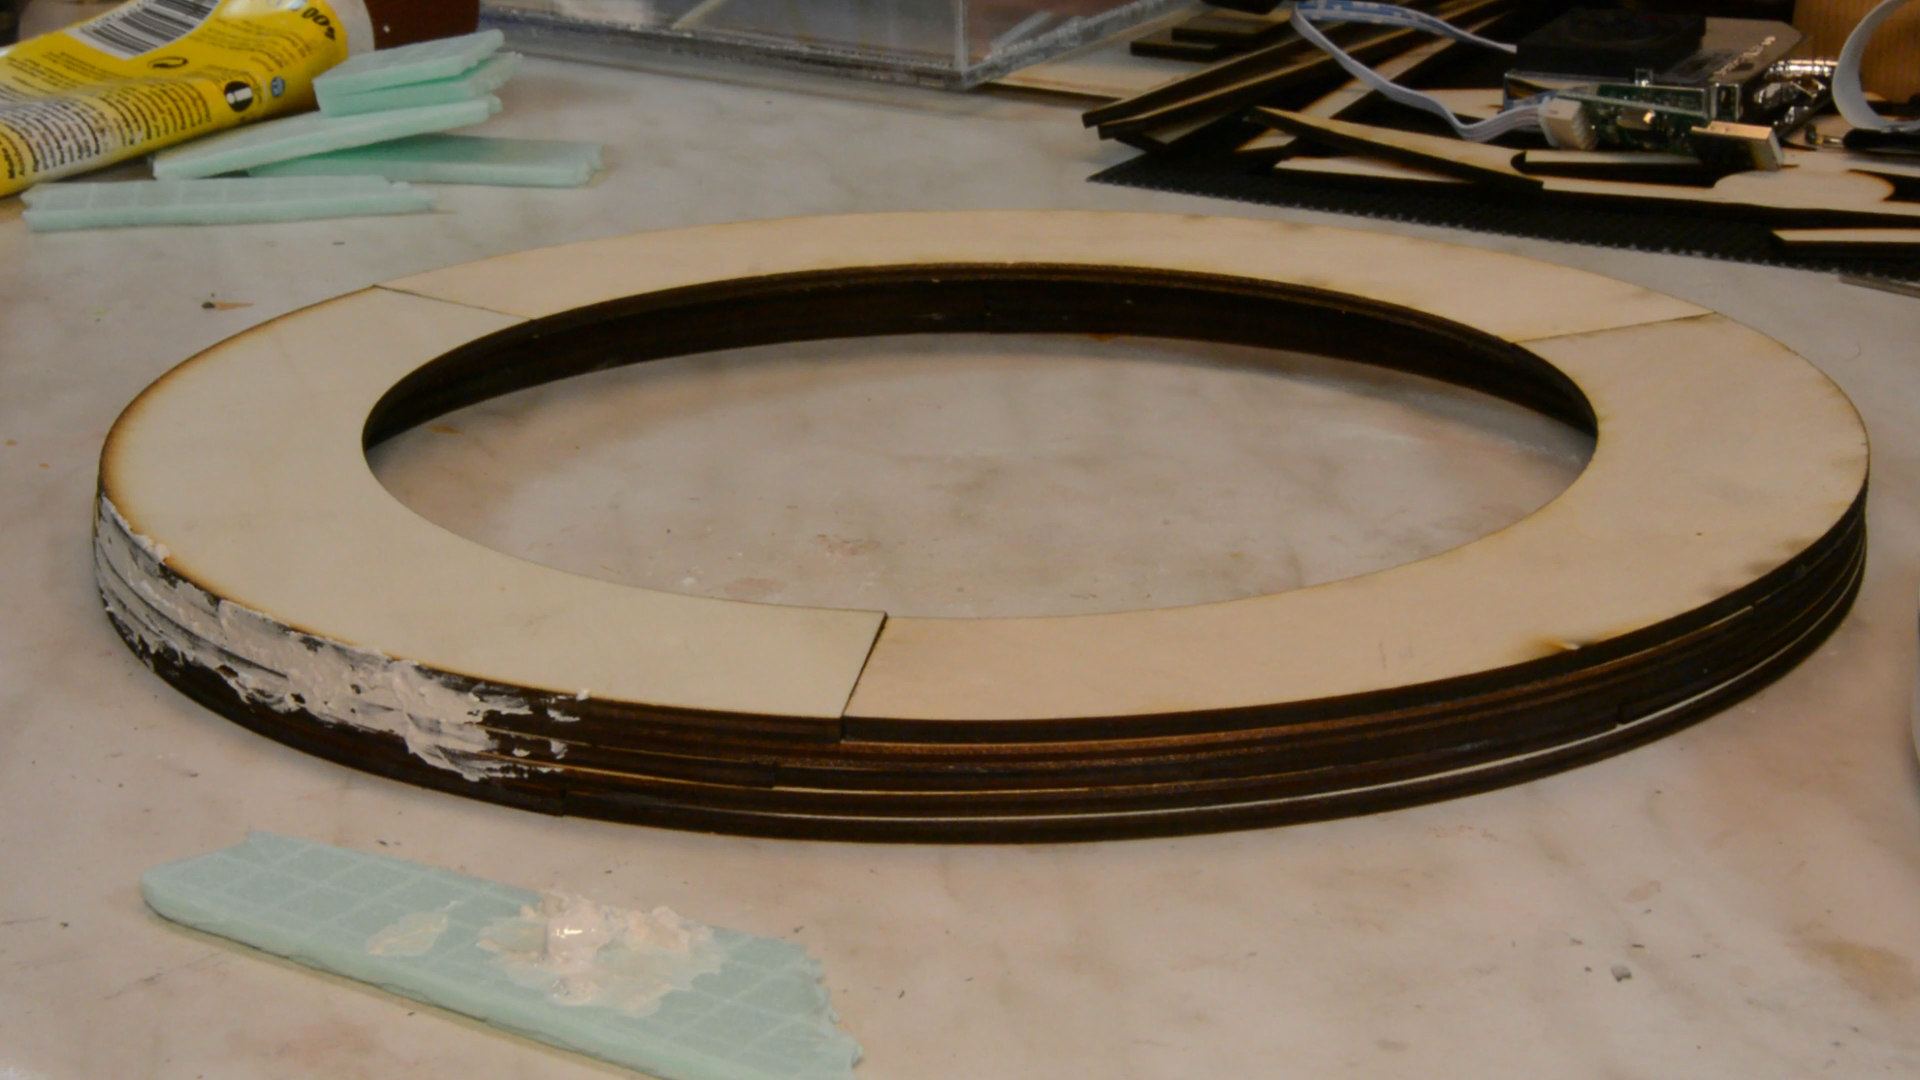
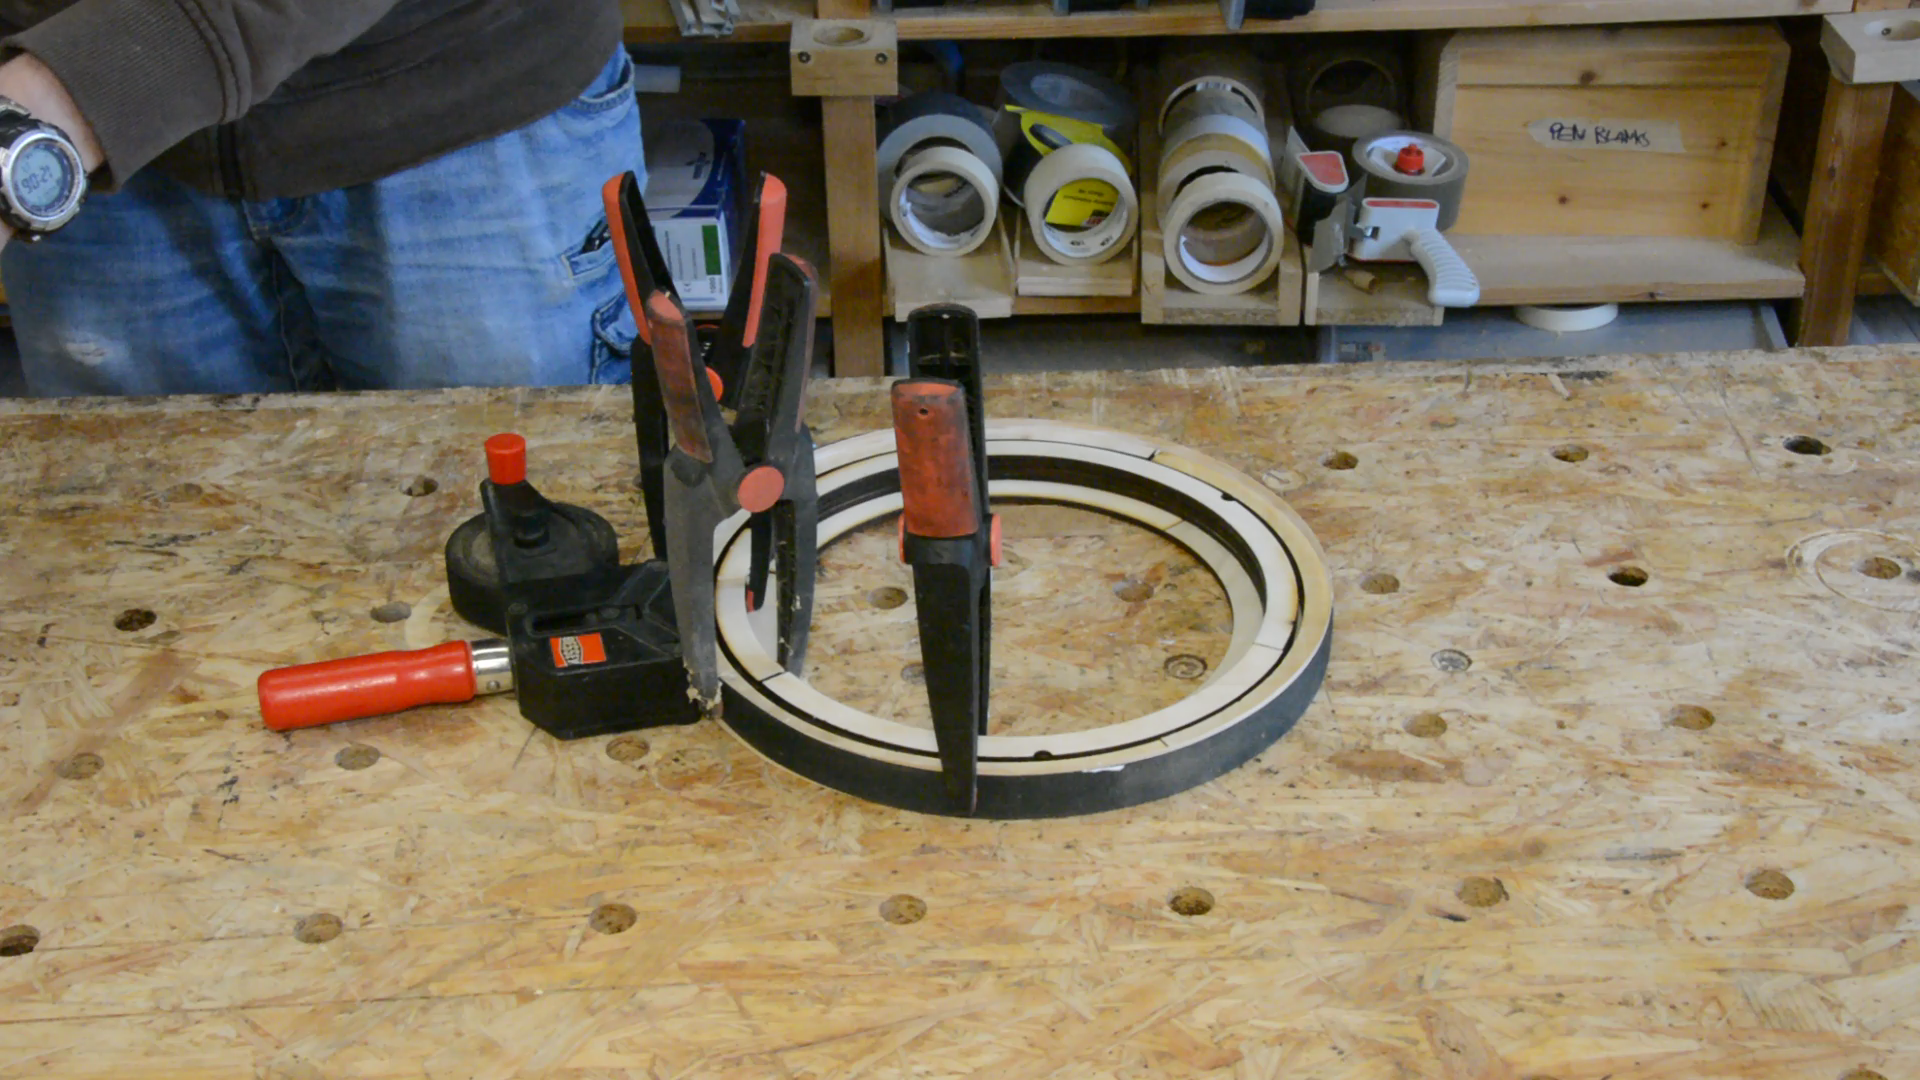
We then build the shape by gluing layer by layer together. All the next layers get clamped to the previous assembly and we build up the shape.
The inner interlocking part is build the same way.
For gluing the two parts together the lamp is used as a guide. We put the inner part in its position. With a few foam pieces the surface is pushed above the metal frame and is then glued to the outer frame.
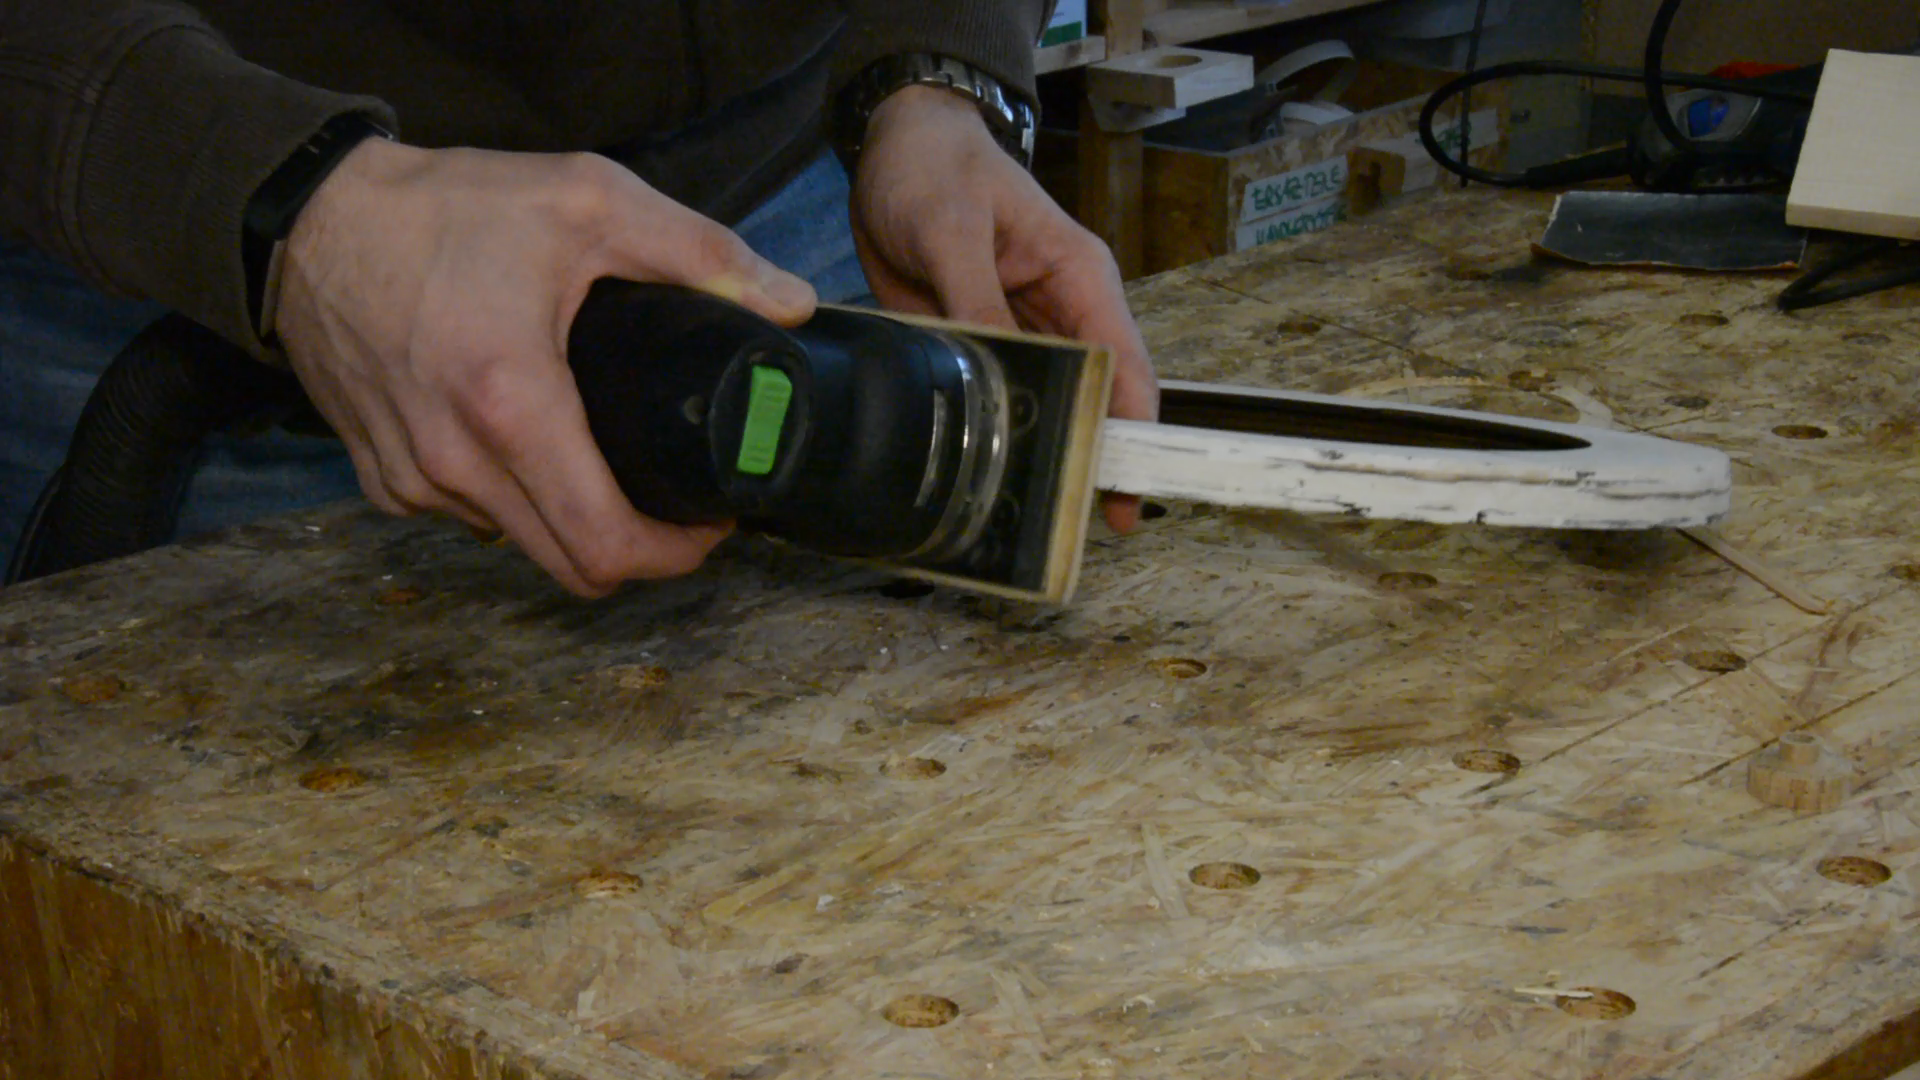
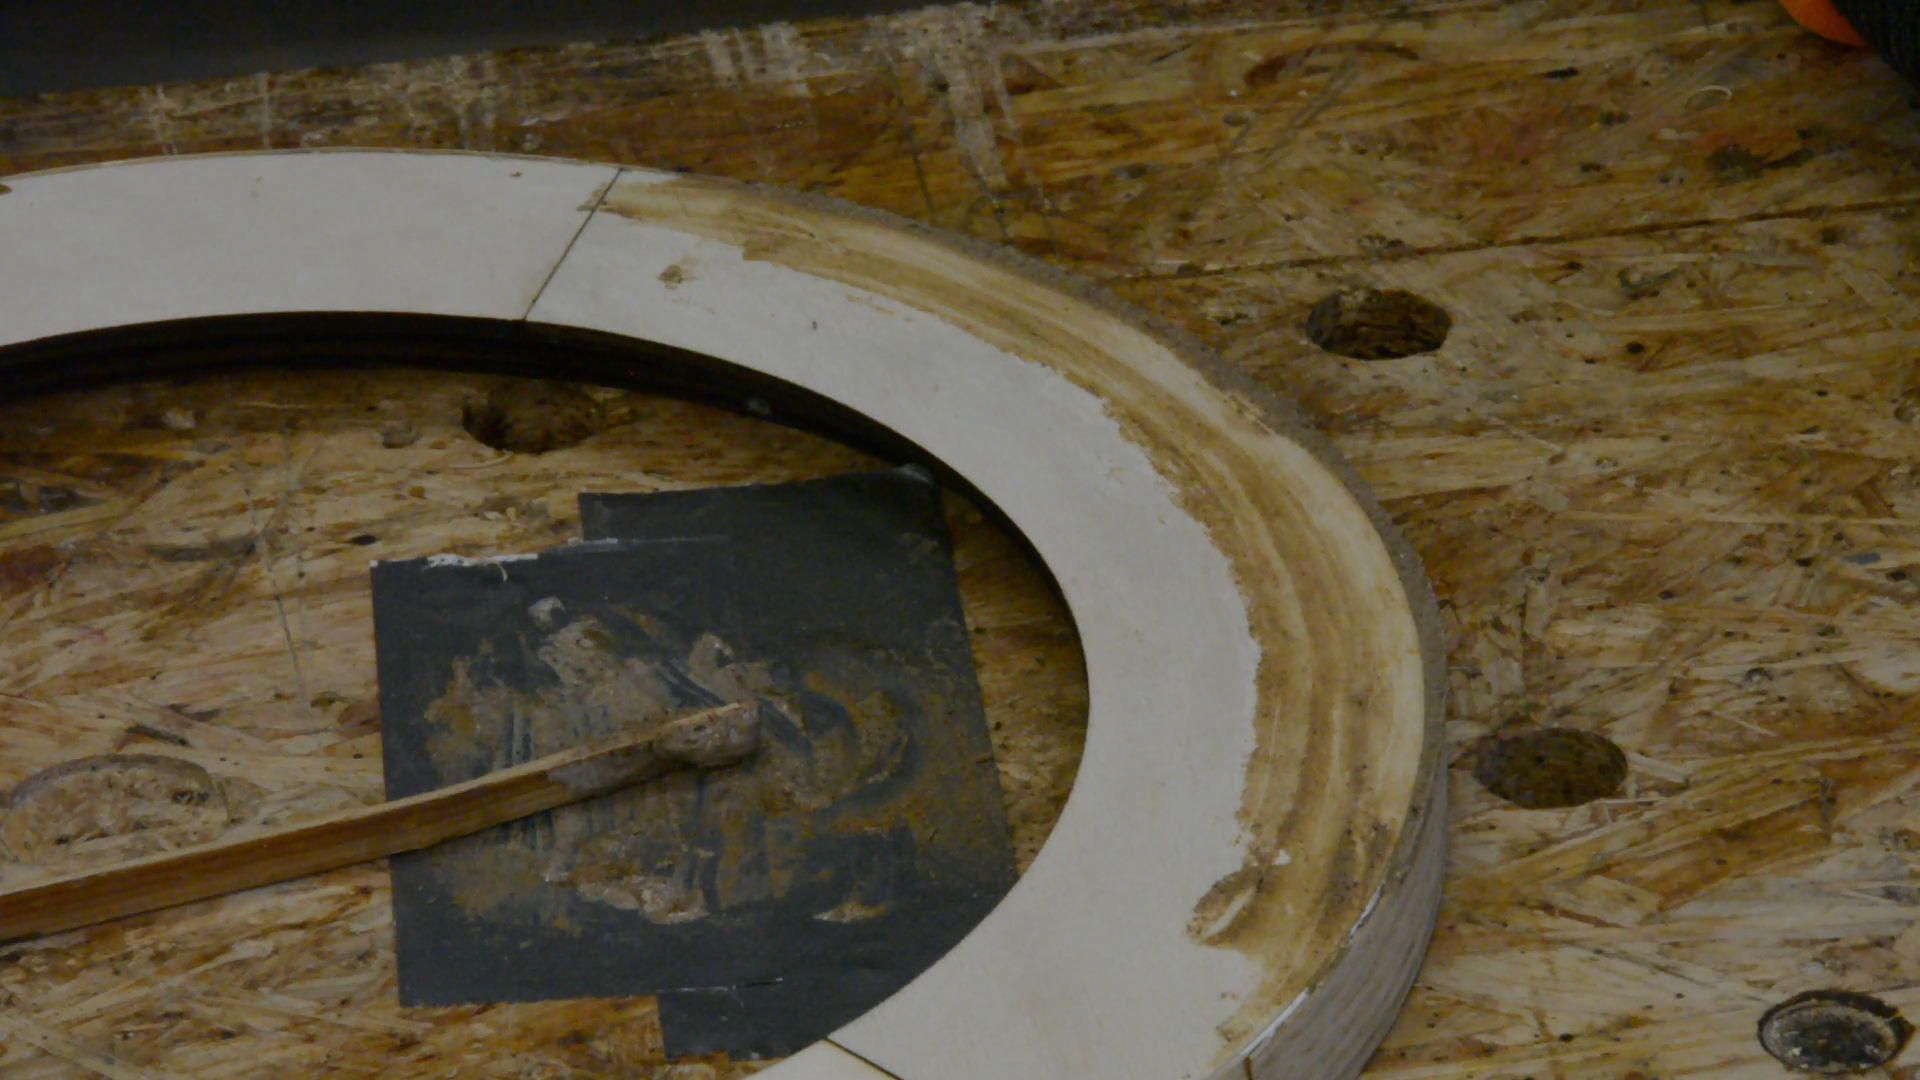
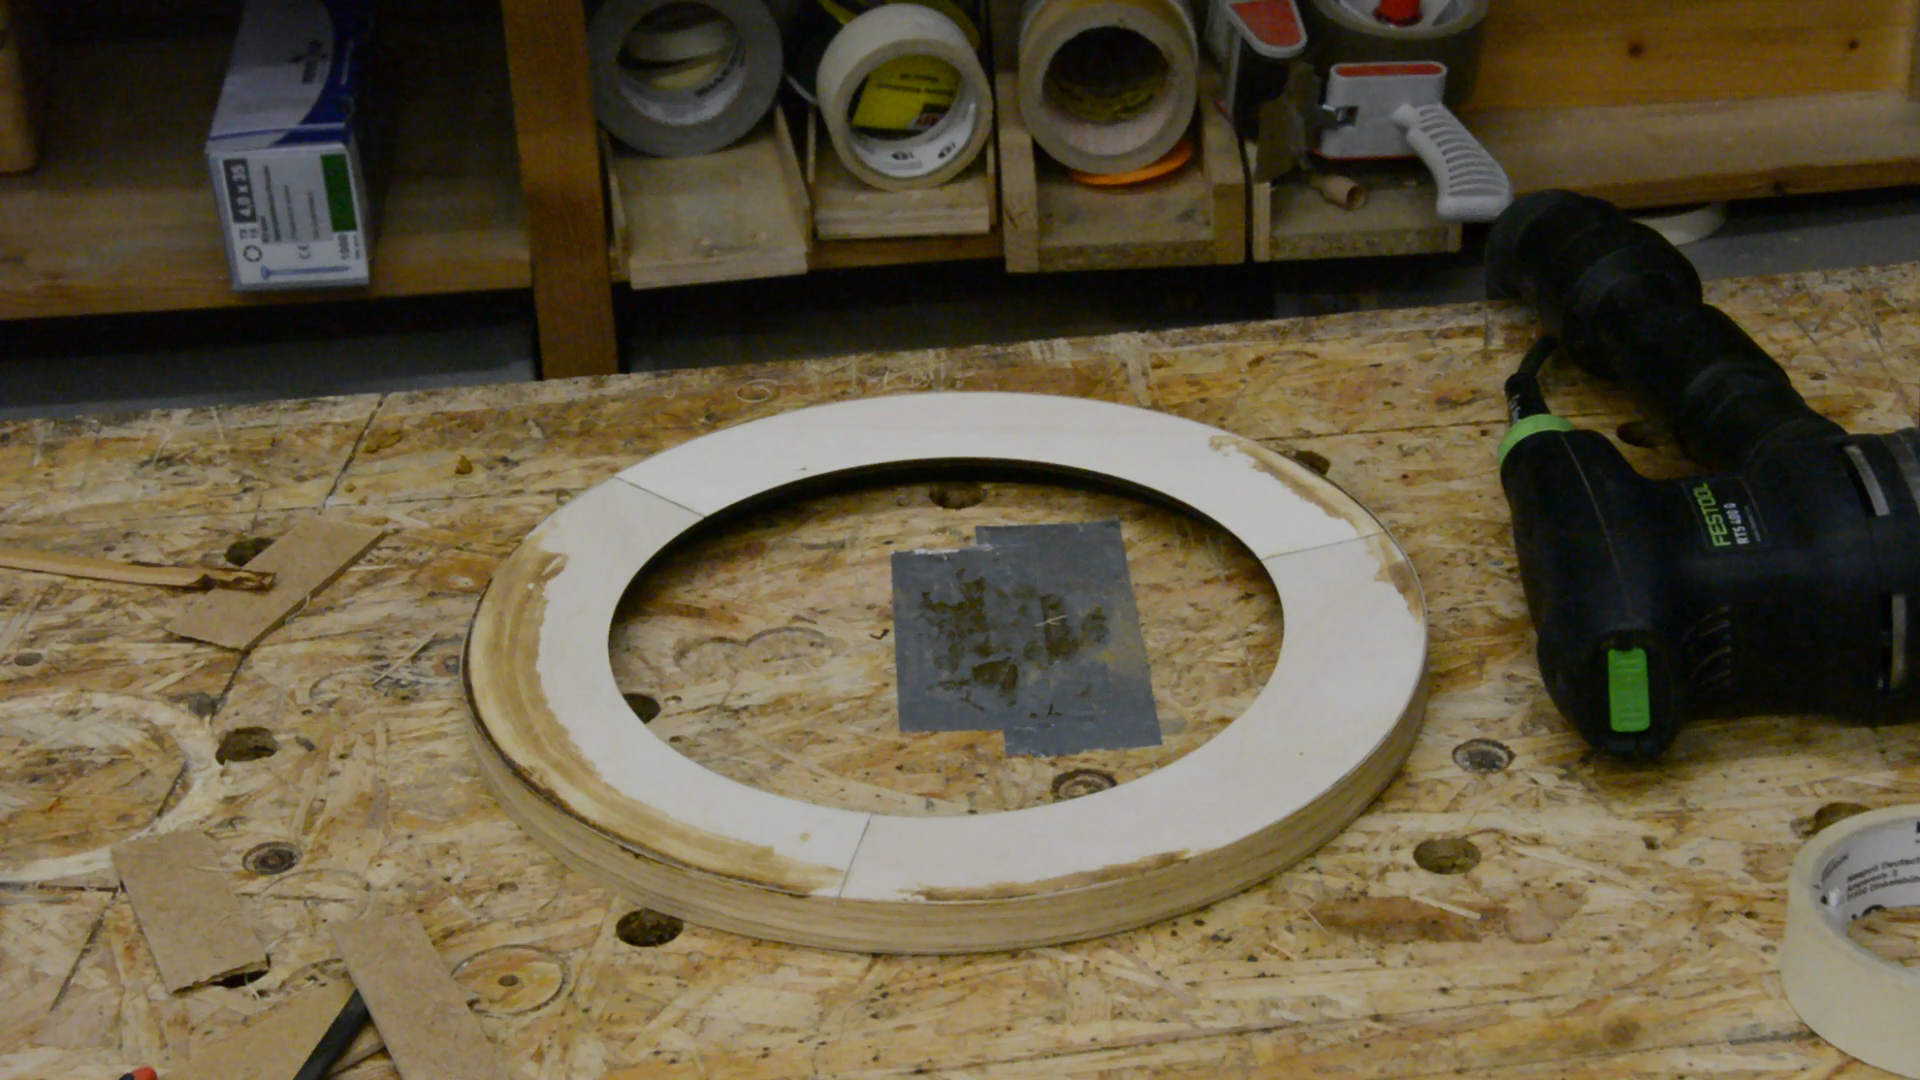
The alignment of the outer shape is far from perfect. With a lot of wood putty the gaps are filled. After the putty is dryed we sand the outer shape flat.
Wood veneer on the laser cutter
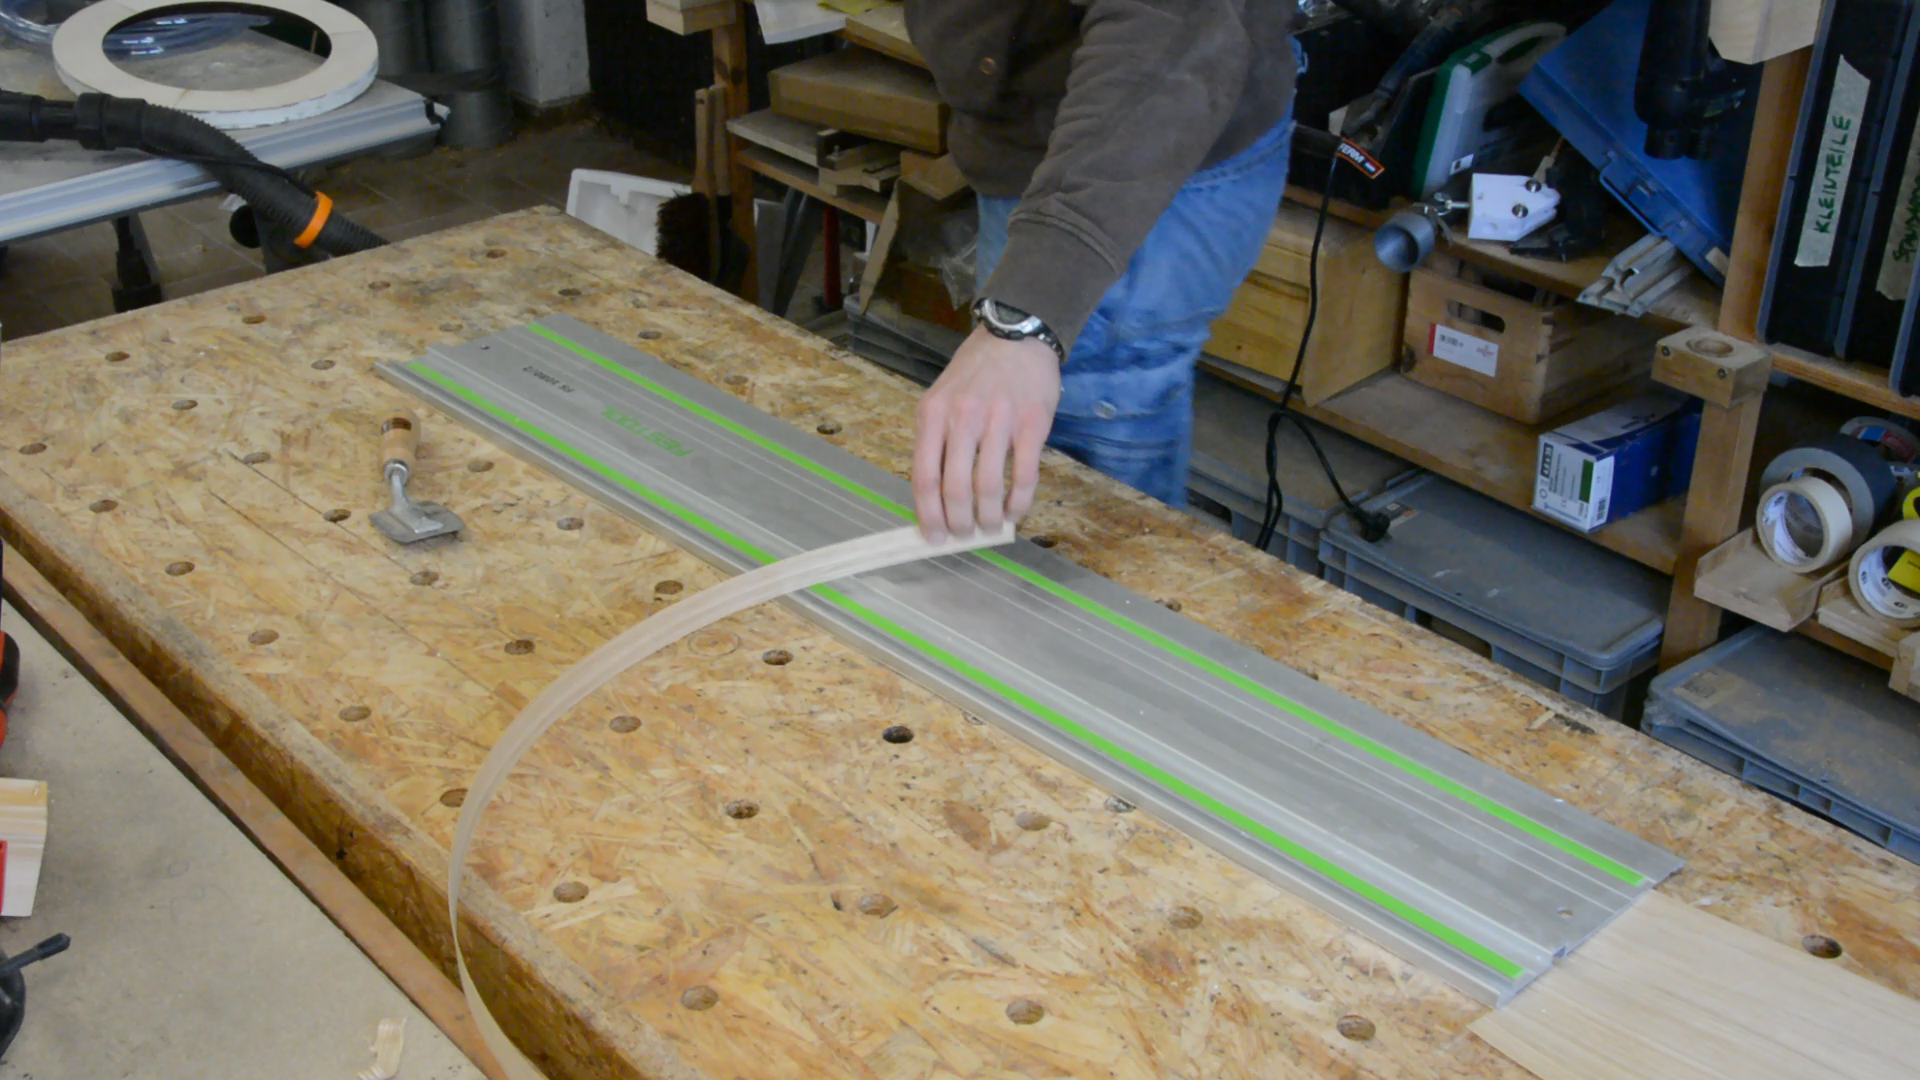
Next we cut a strip of veneer from a larger sheet. A special veneer saw is helping a lot to produce straight cuts.

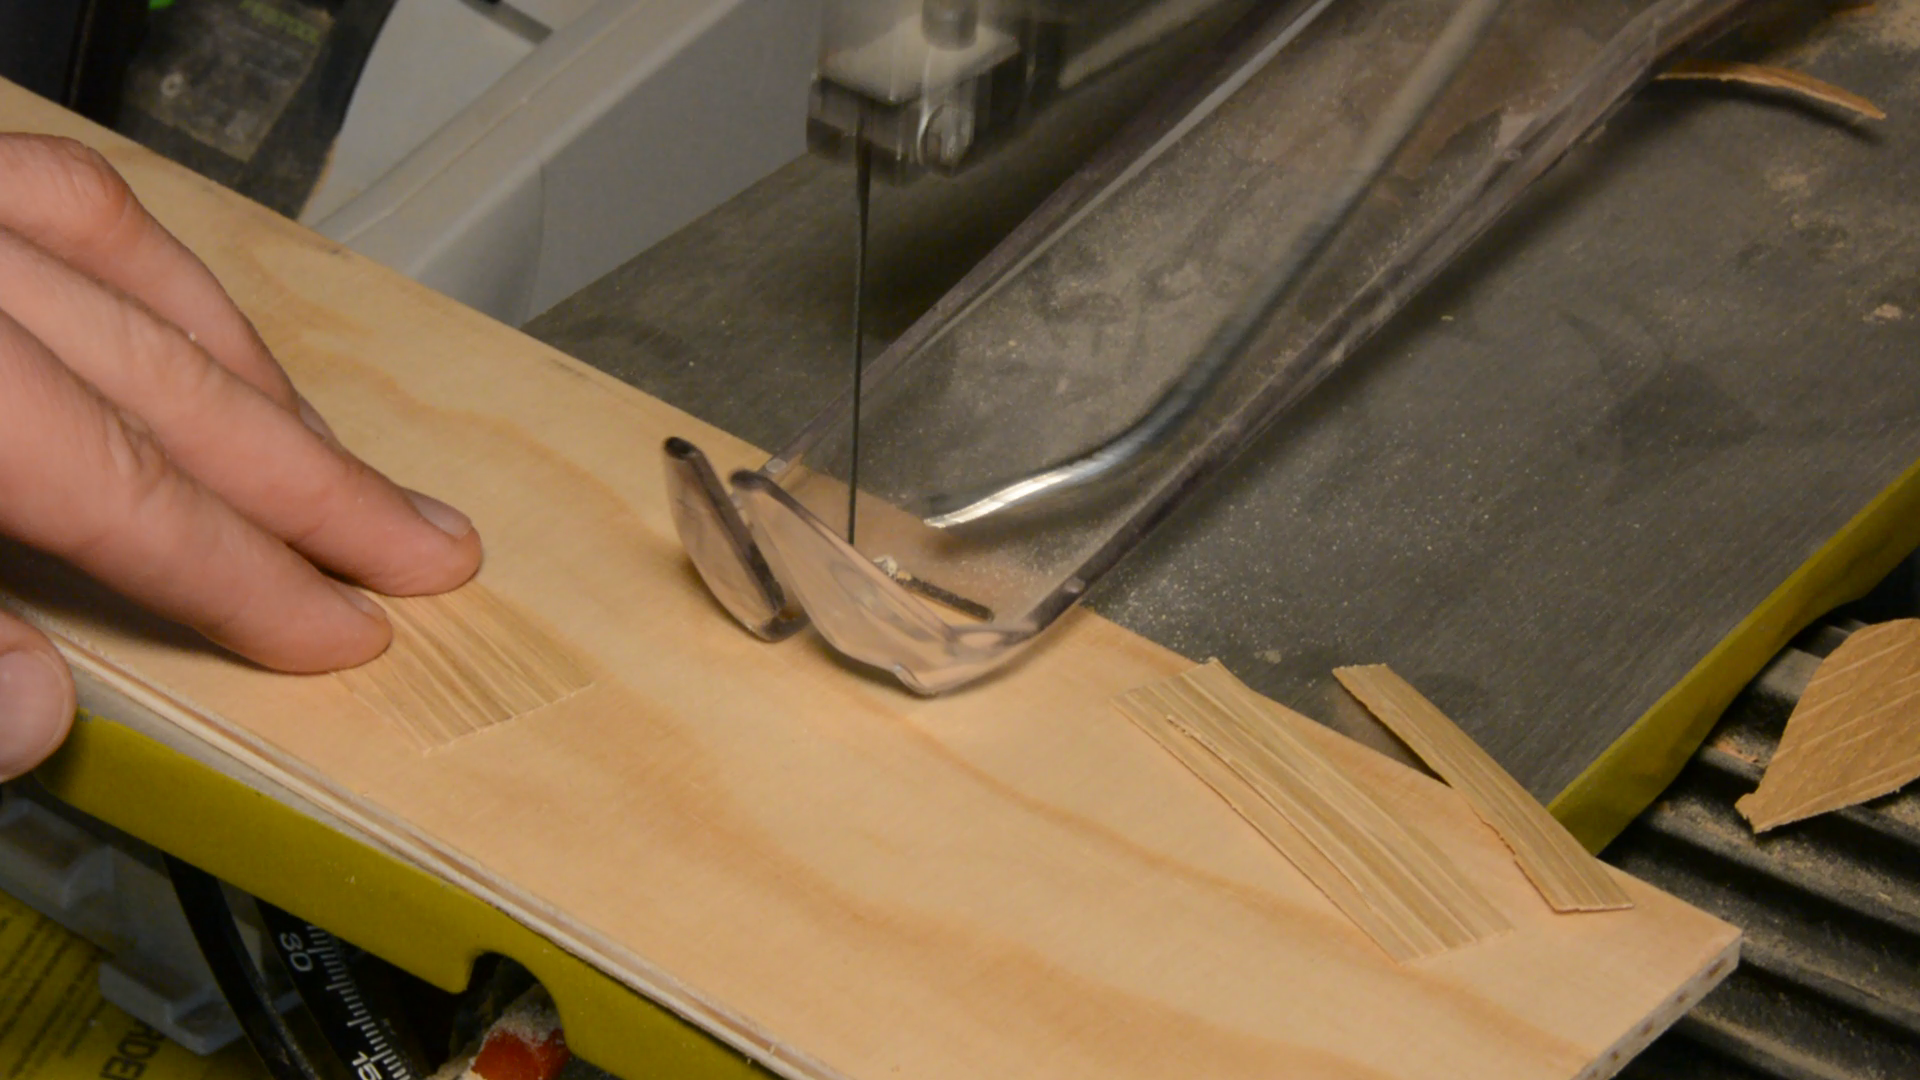
After marking the overlapping area we cut the veneer strip to size on the scroll saw.

We glue the veneer to the lamp body with wood glue.
The veneer was oversized and is cut flush with a sharp blockplane followed by light sanding.


Smaller gaps are filled with a homemade wood putty from oak sawdust and wood glue. After more sanding we can move on to the design of the remaining face.
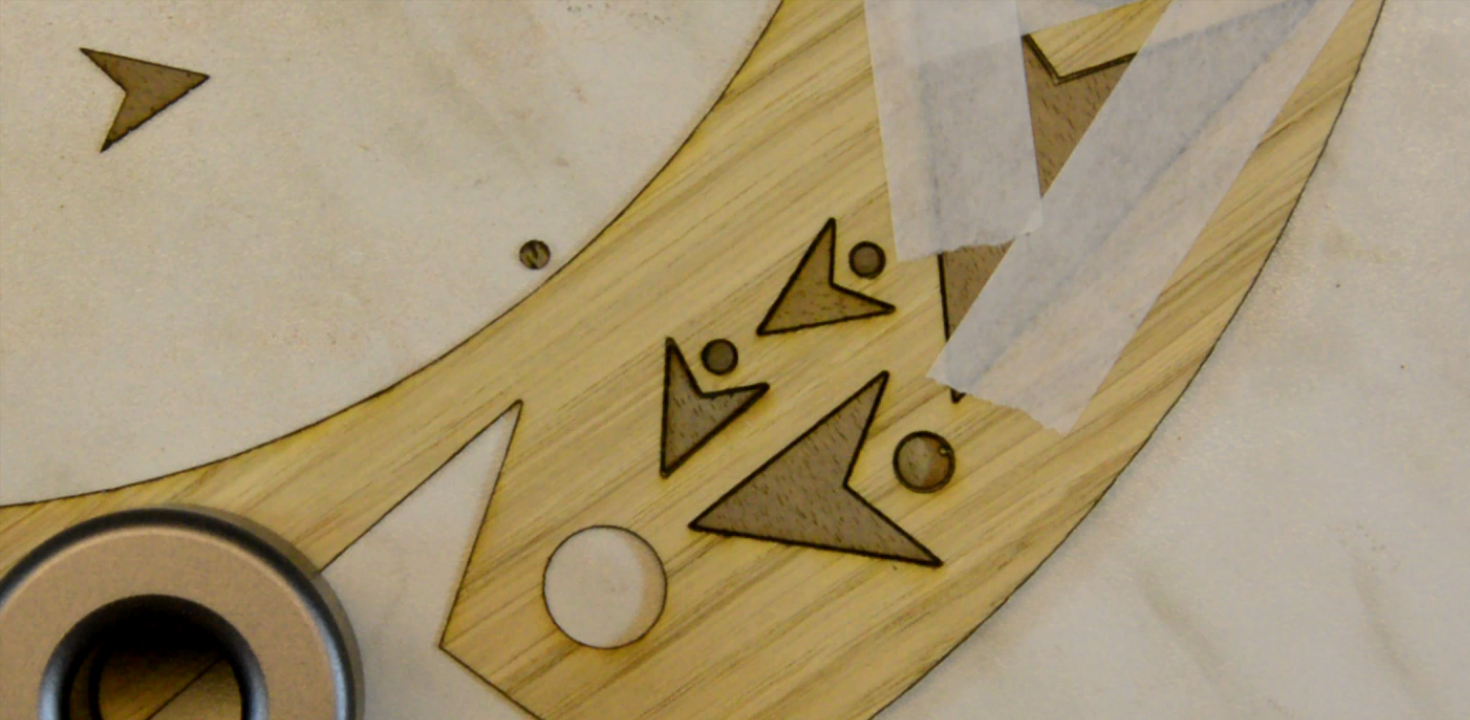
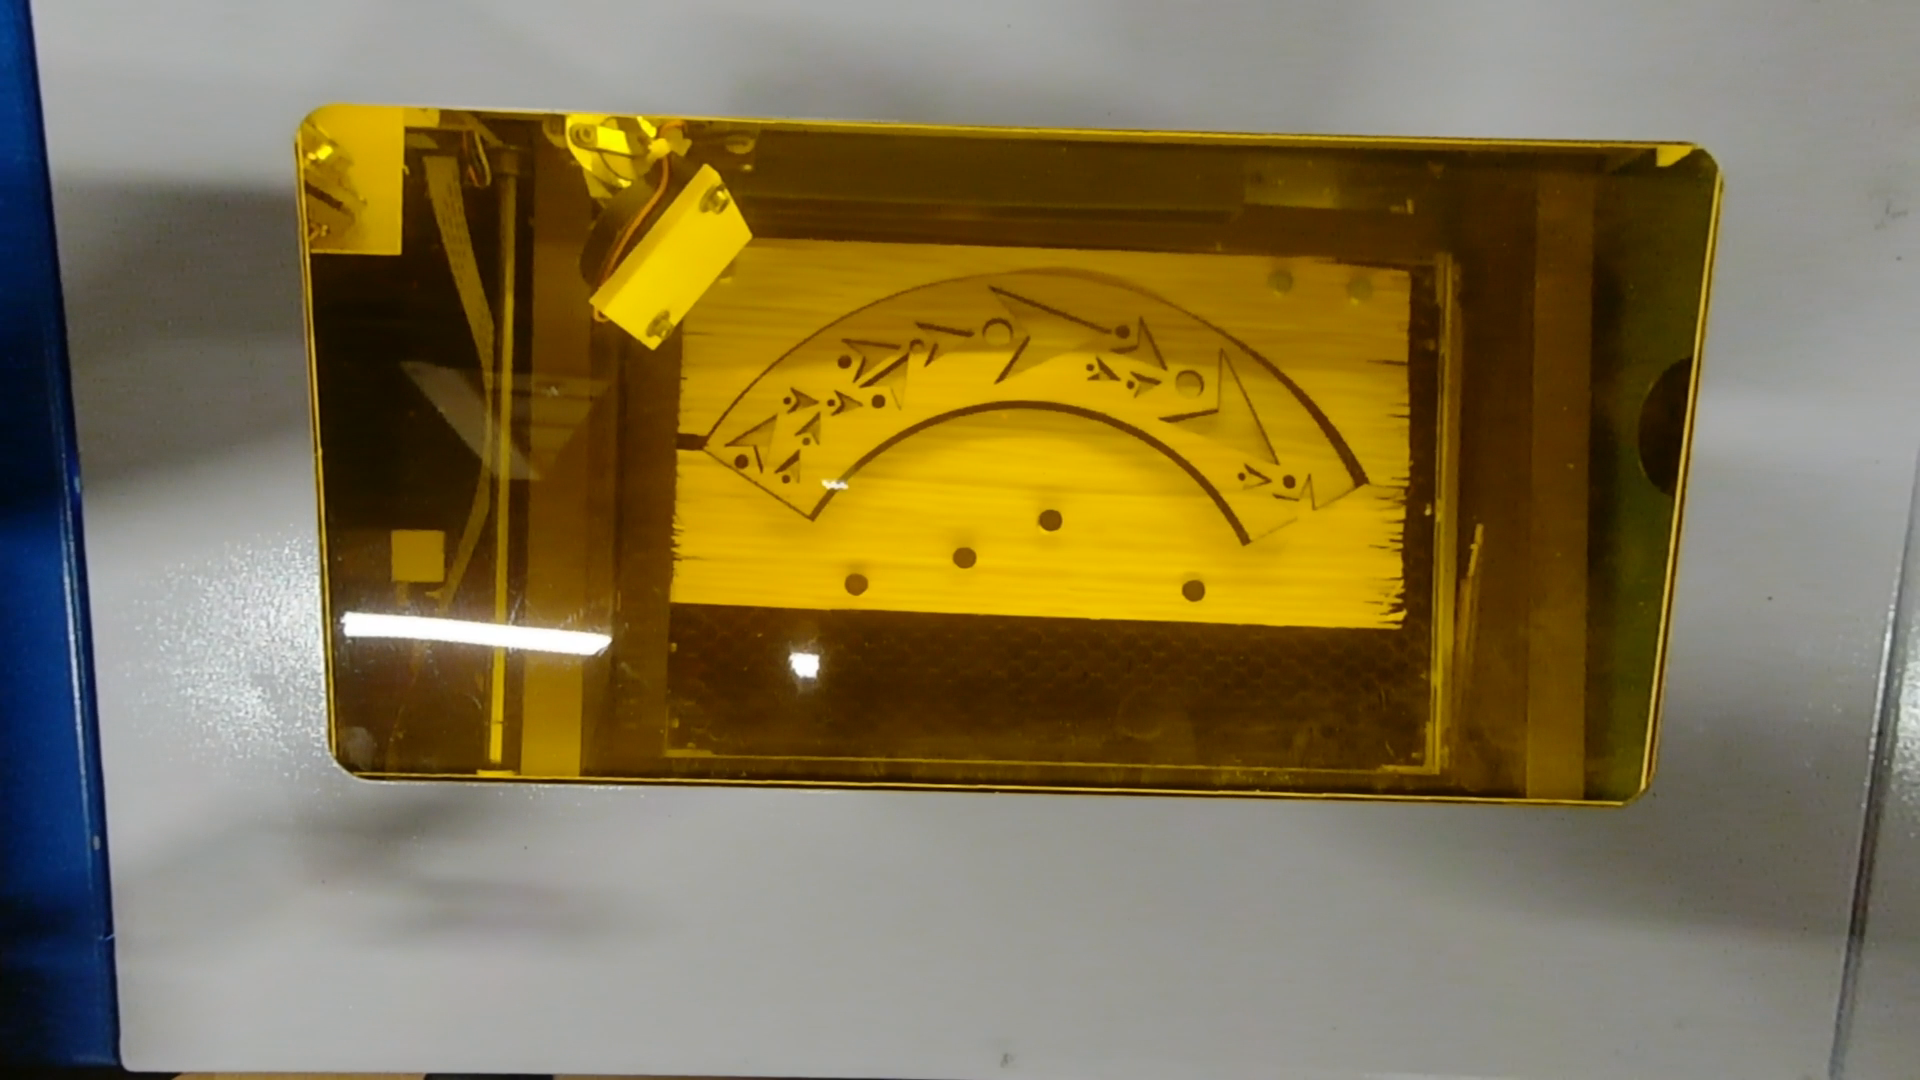
The oak veneer should get an inlay of darker wood. We design the pattern in Inkscape and separate the outer ring in three pieces so we can cut it out on the laser cutter.

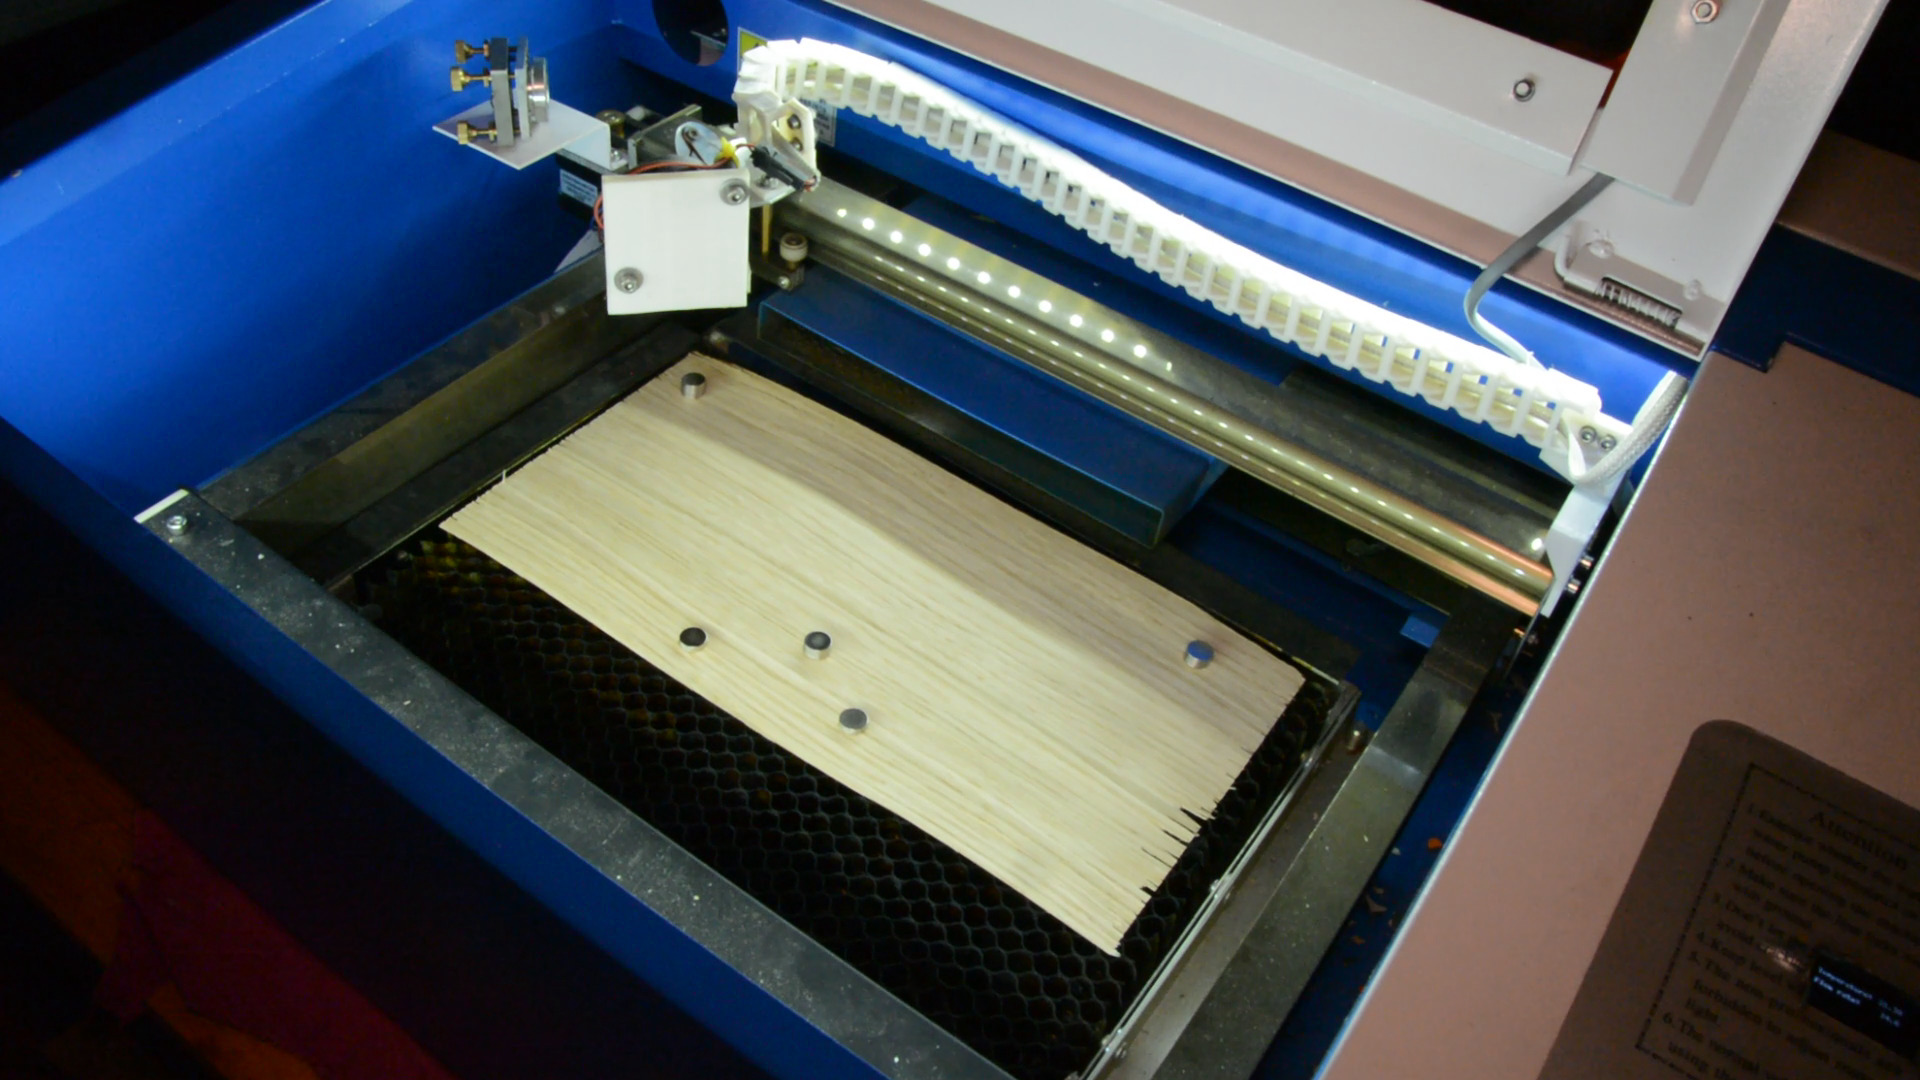
The veneer is pressed to the bed with some magnets. It cuts really nicely.
Adjusting the size of the inlays
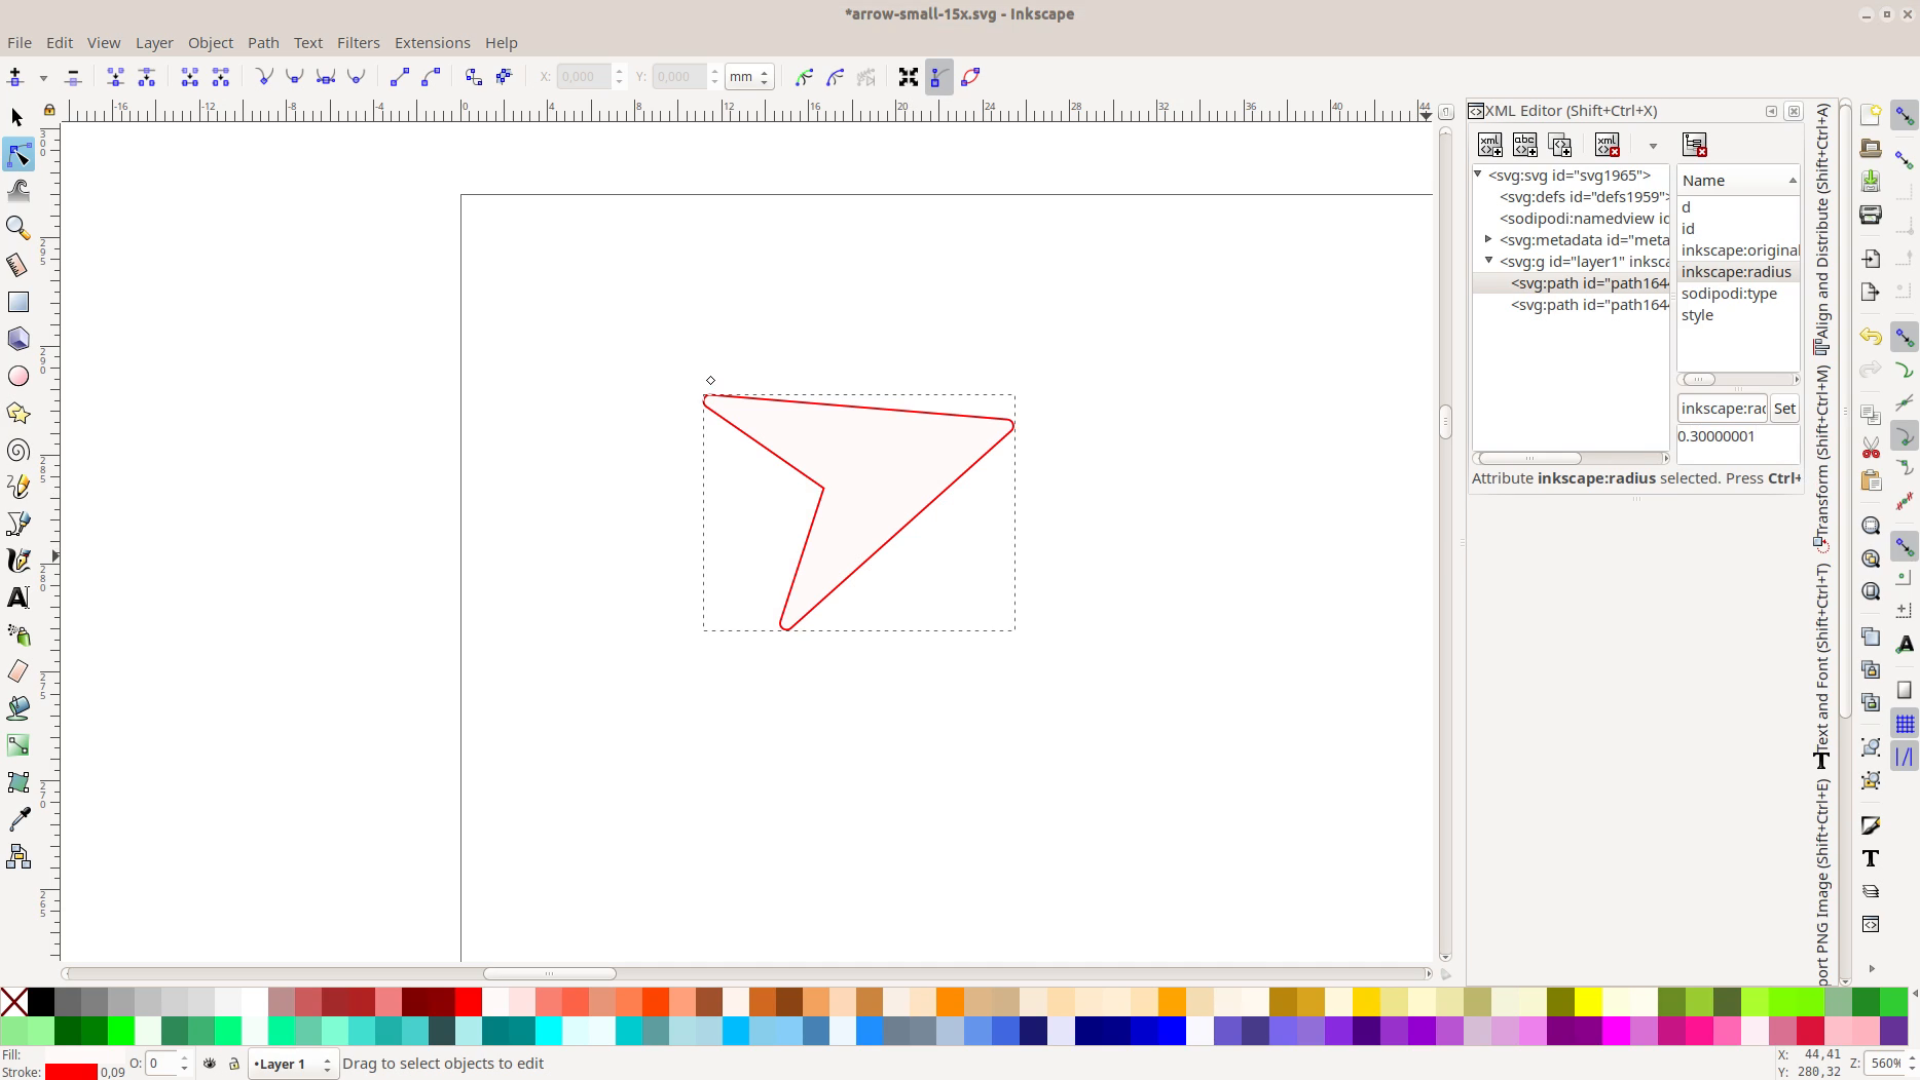
Before cutting the inlay elements we have to compensate for the width of the laser beam.

If we would cut the identical shape there would be a gap between the two pieces. In Inkscape we add a dynamic offset to the shape, open the XML editor and make the offset
0.3 wide. This compensates the width of the laser beam and makes the shaped to fit in the cutouts snugly.
The individual pieces are again tightly packed by the trusty deep nest application and cut on the laser cutter.
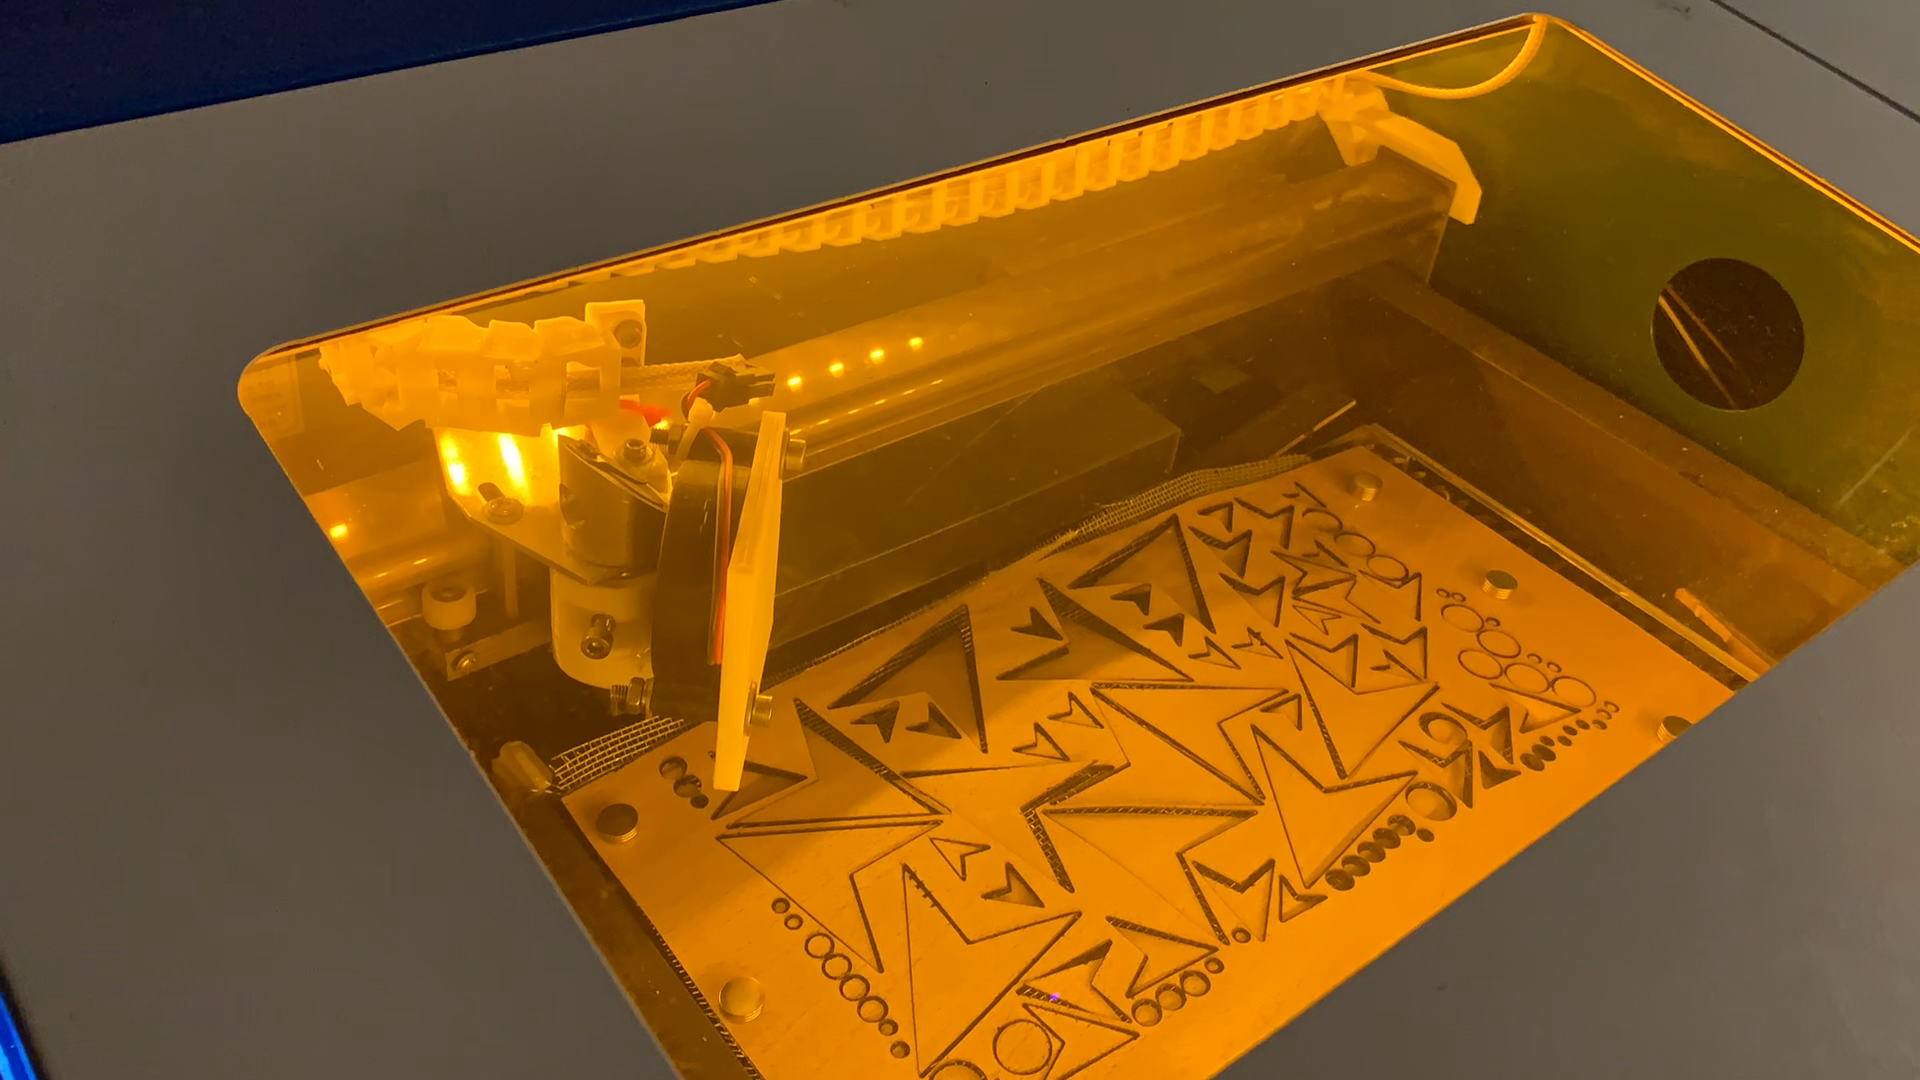
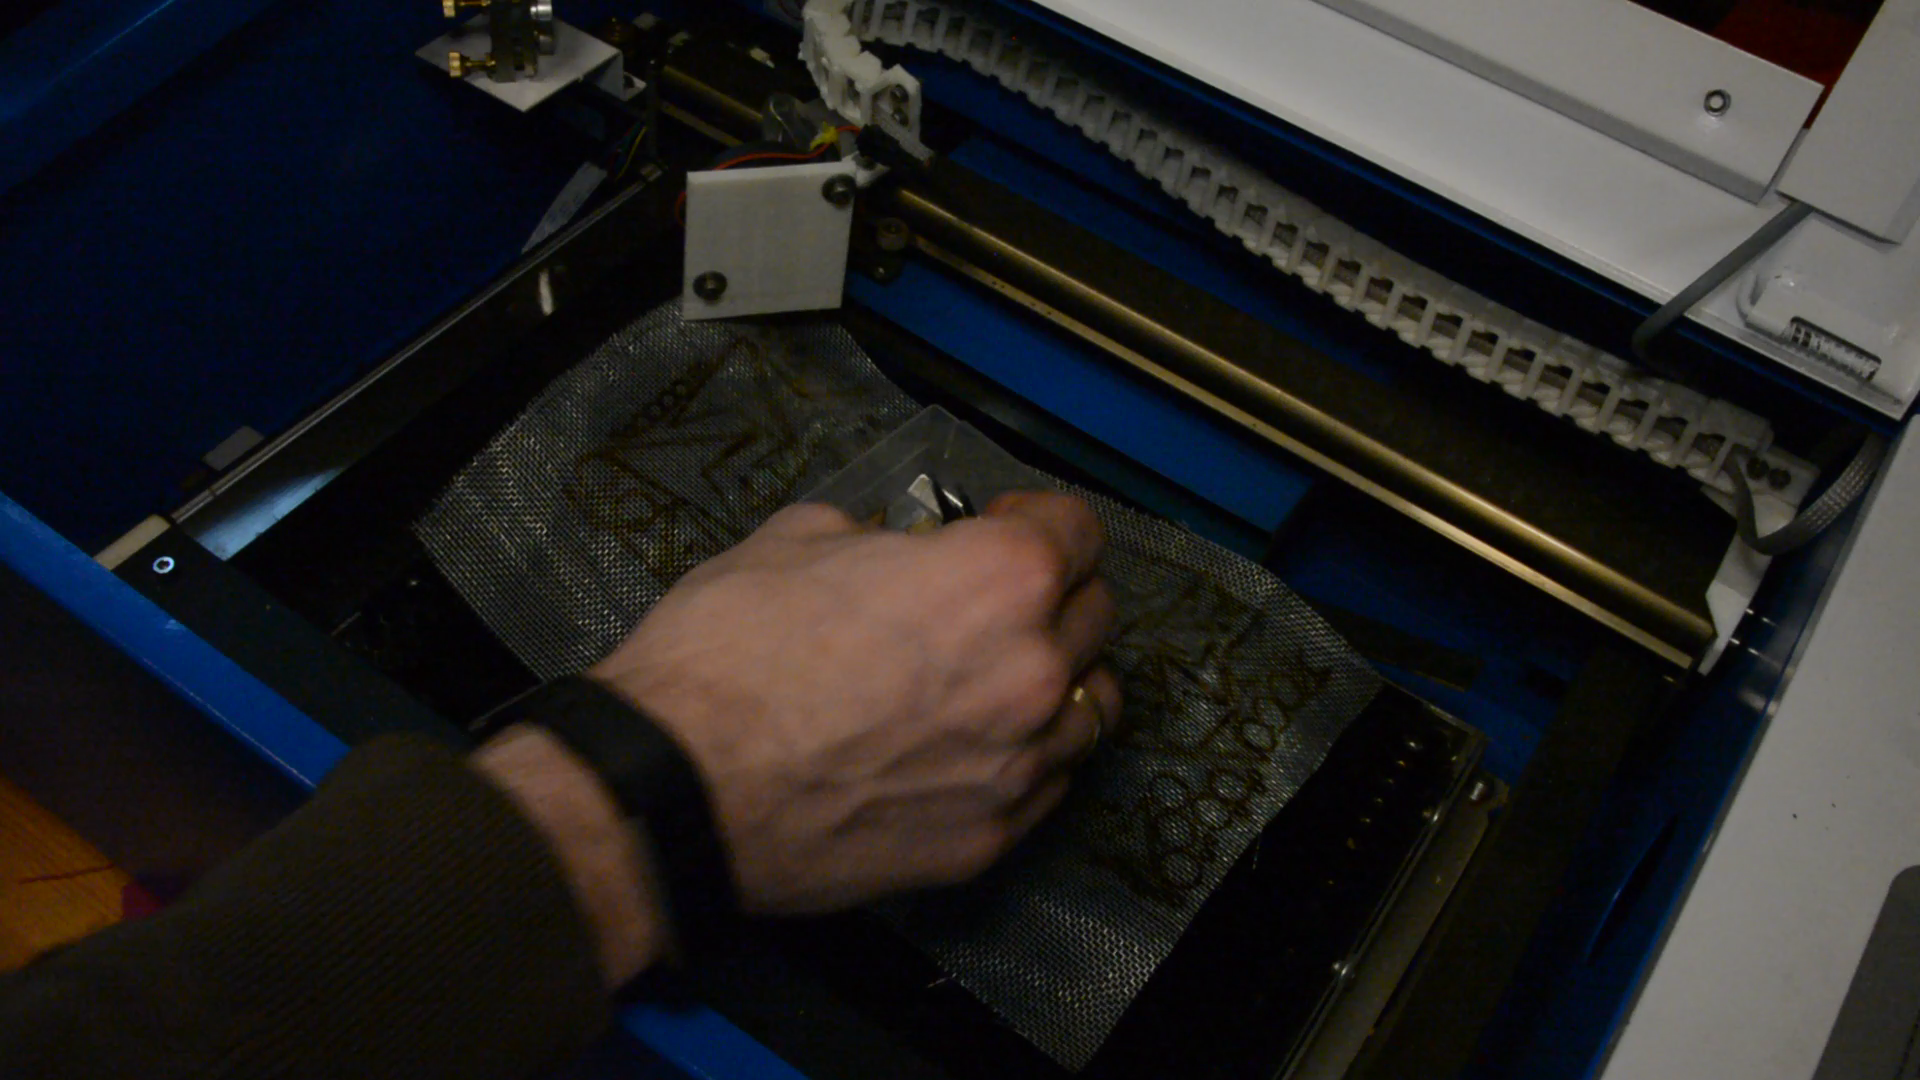
With a fly screen on top of the bed we ensure that we don’t loose the small parts.
Glue up of the veneer
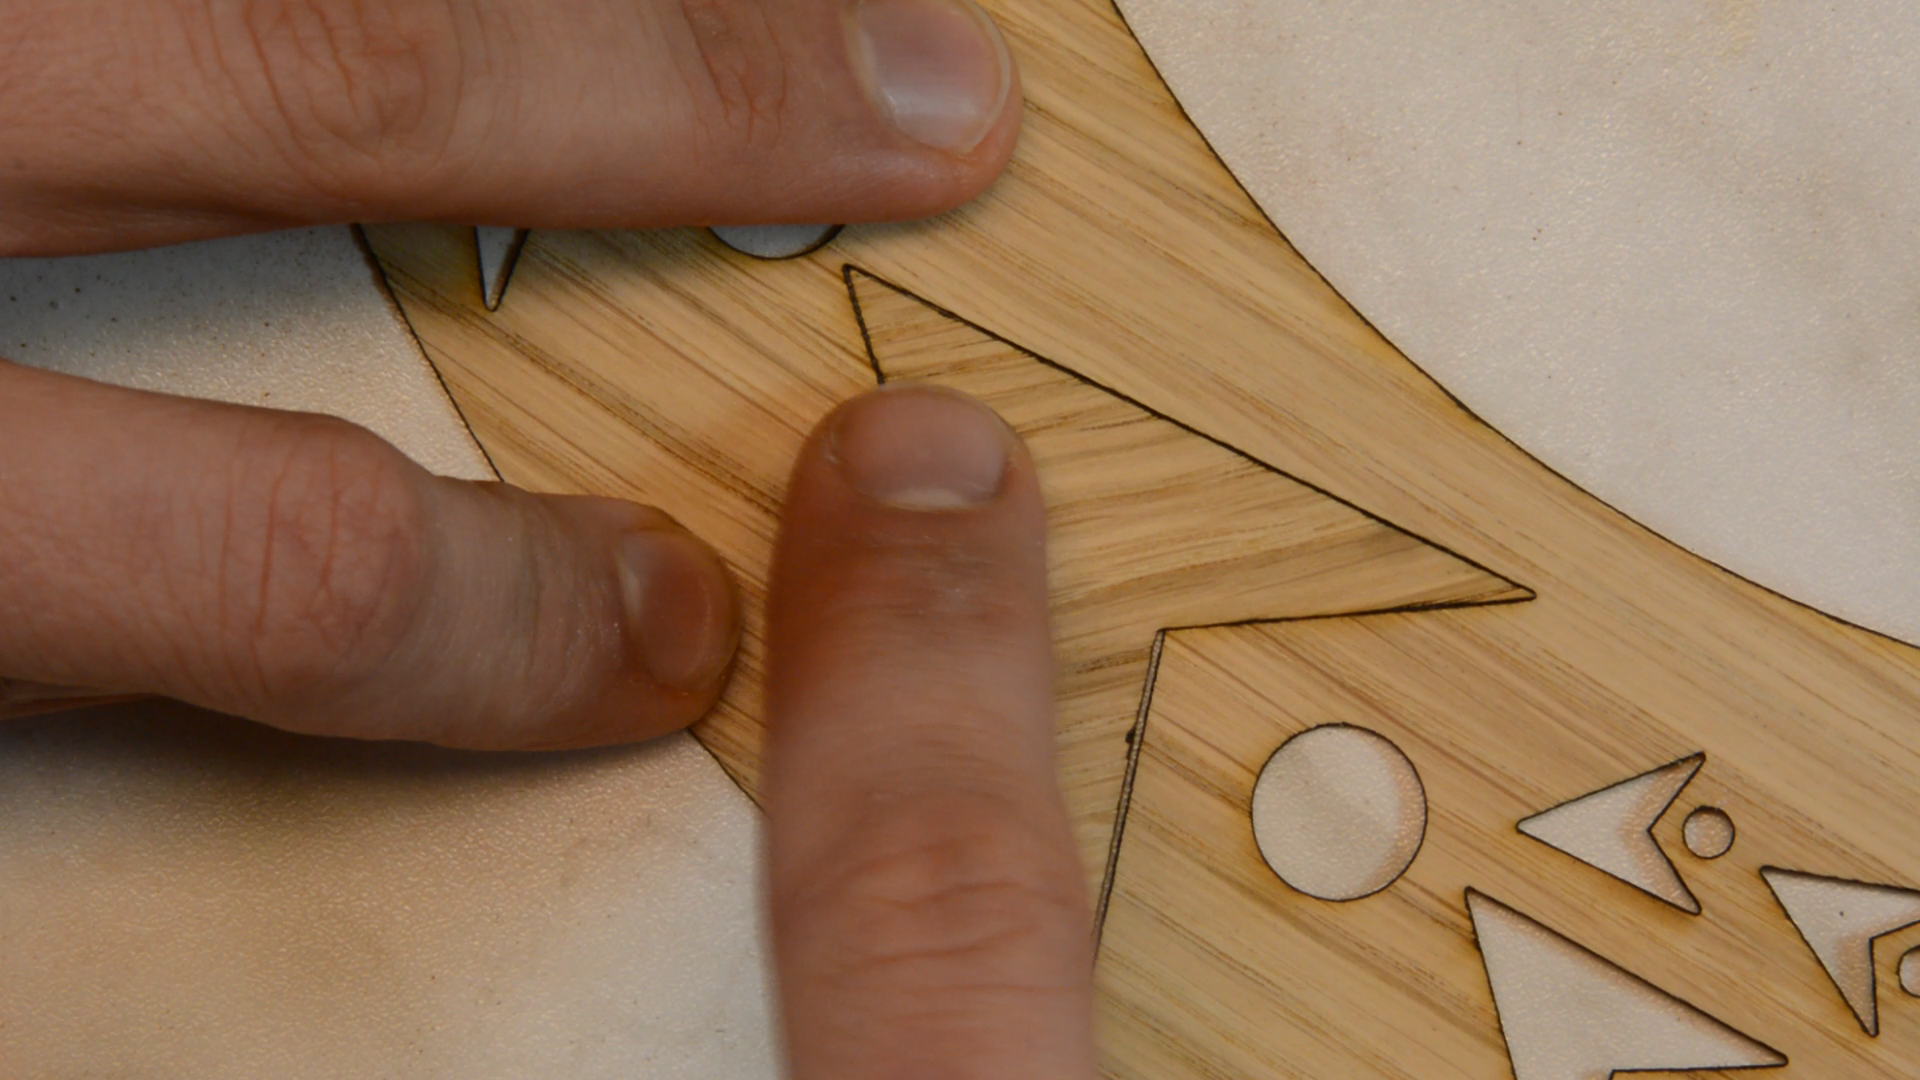
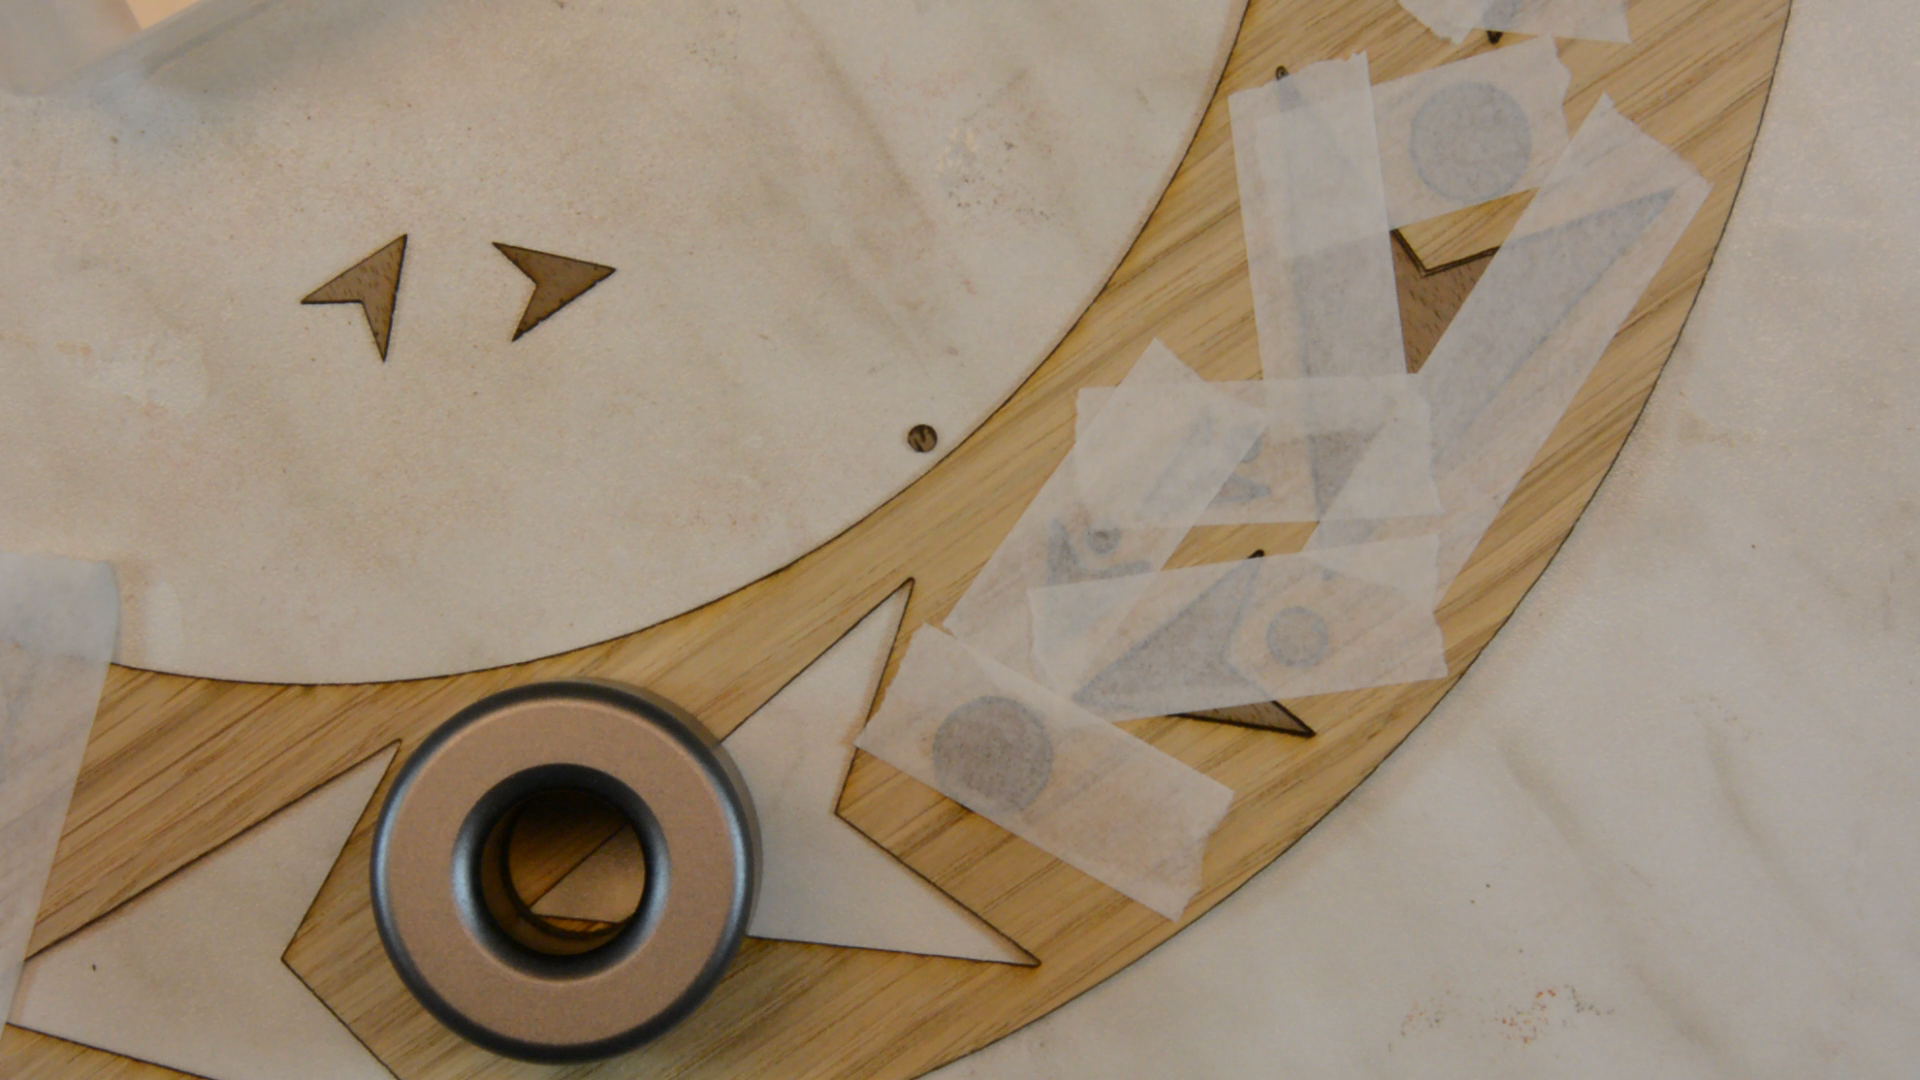
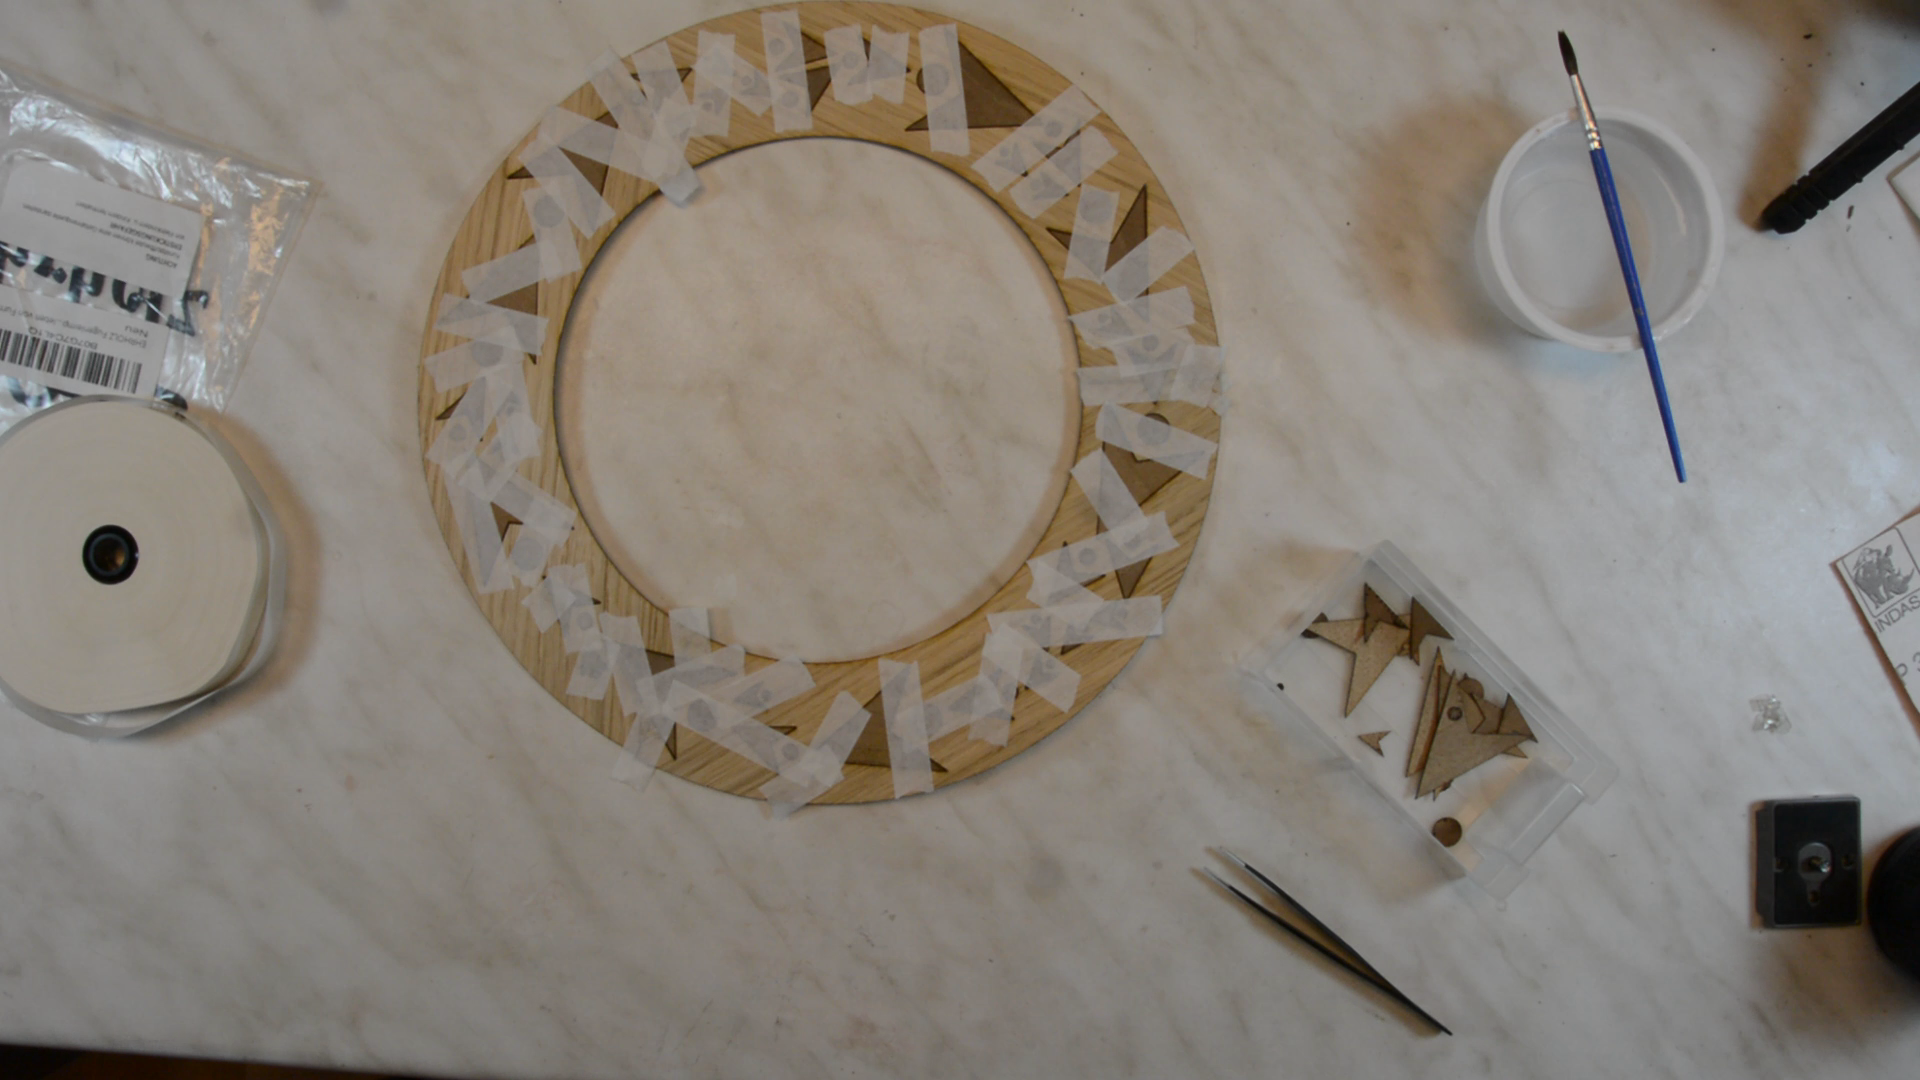
All the elements are now puzzled together and temporarily secured in place by a special veneer tape. After making it a bit wet it holds the veneer in place. We will put a link to this tape in the description.

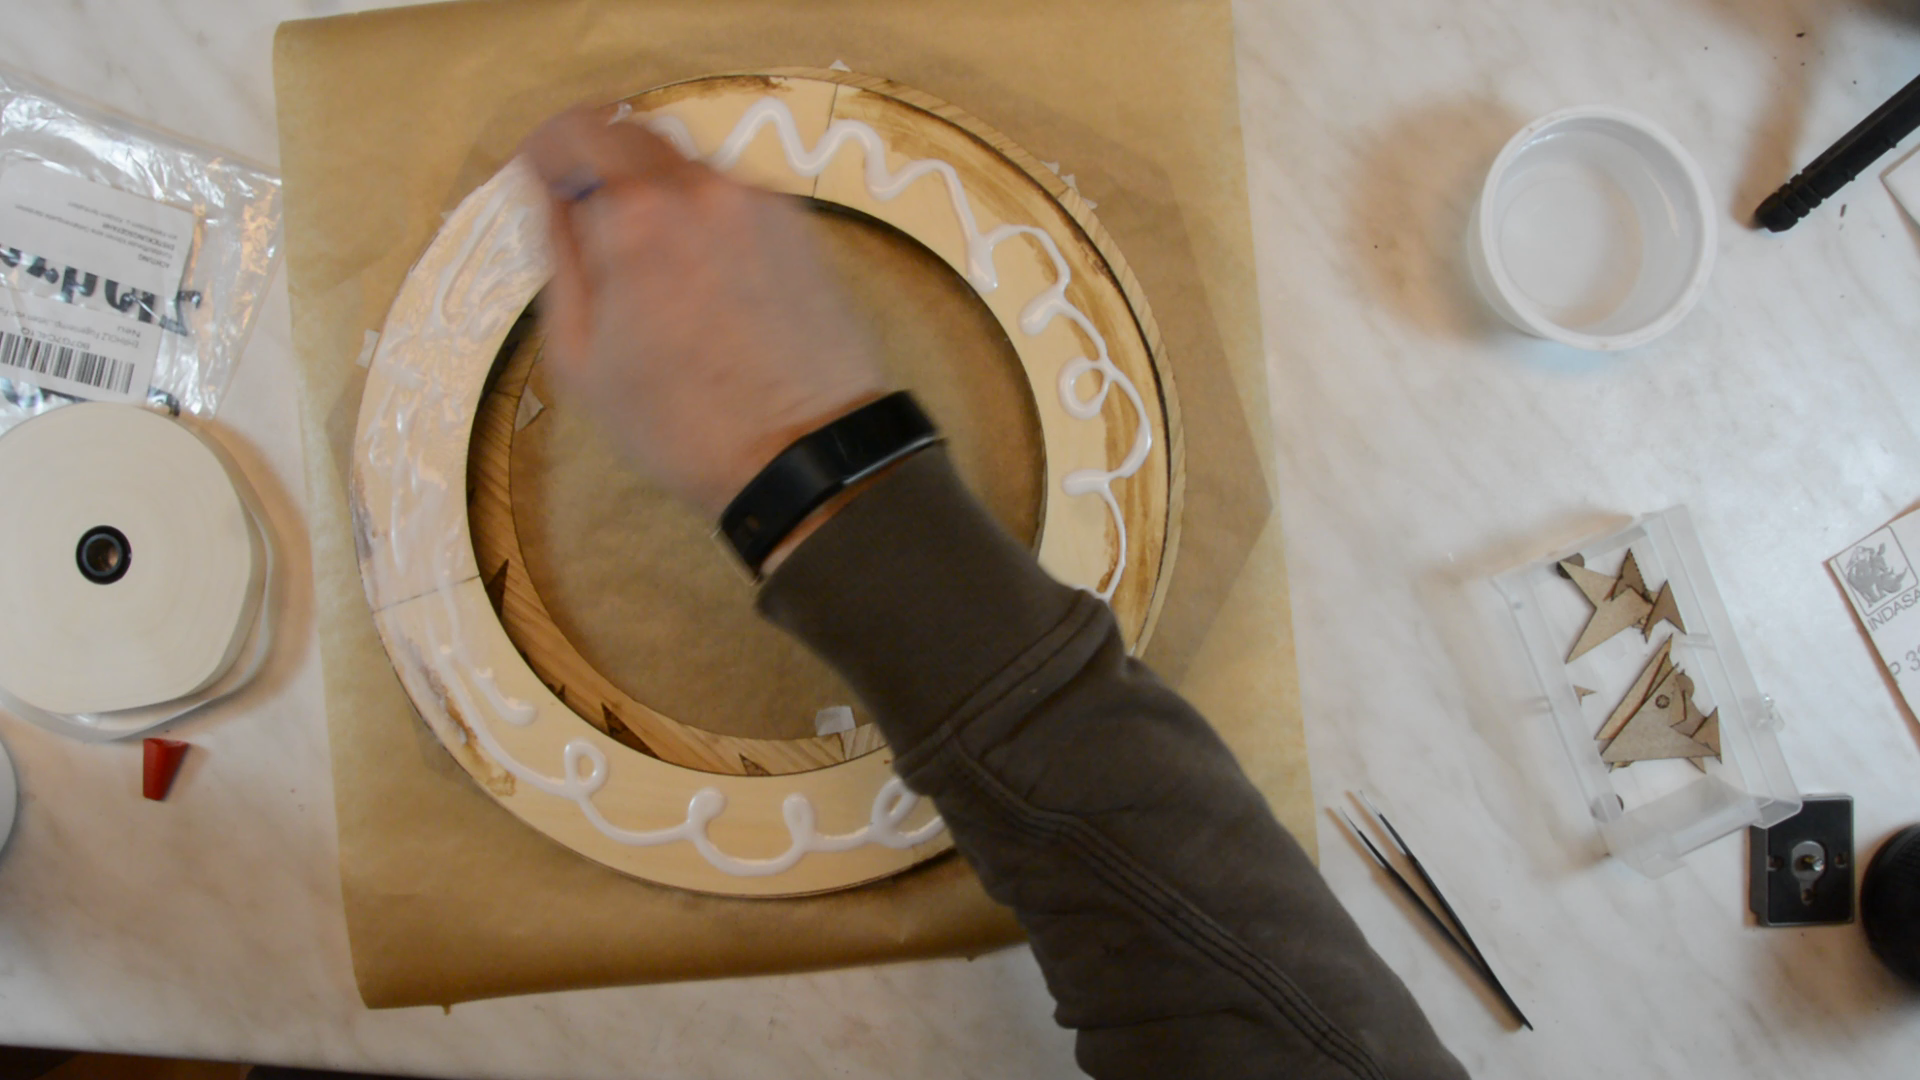
We apply glue to the backside of the veneer and glue it in place.

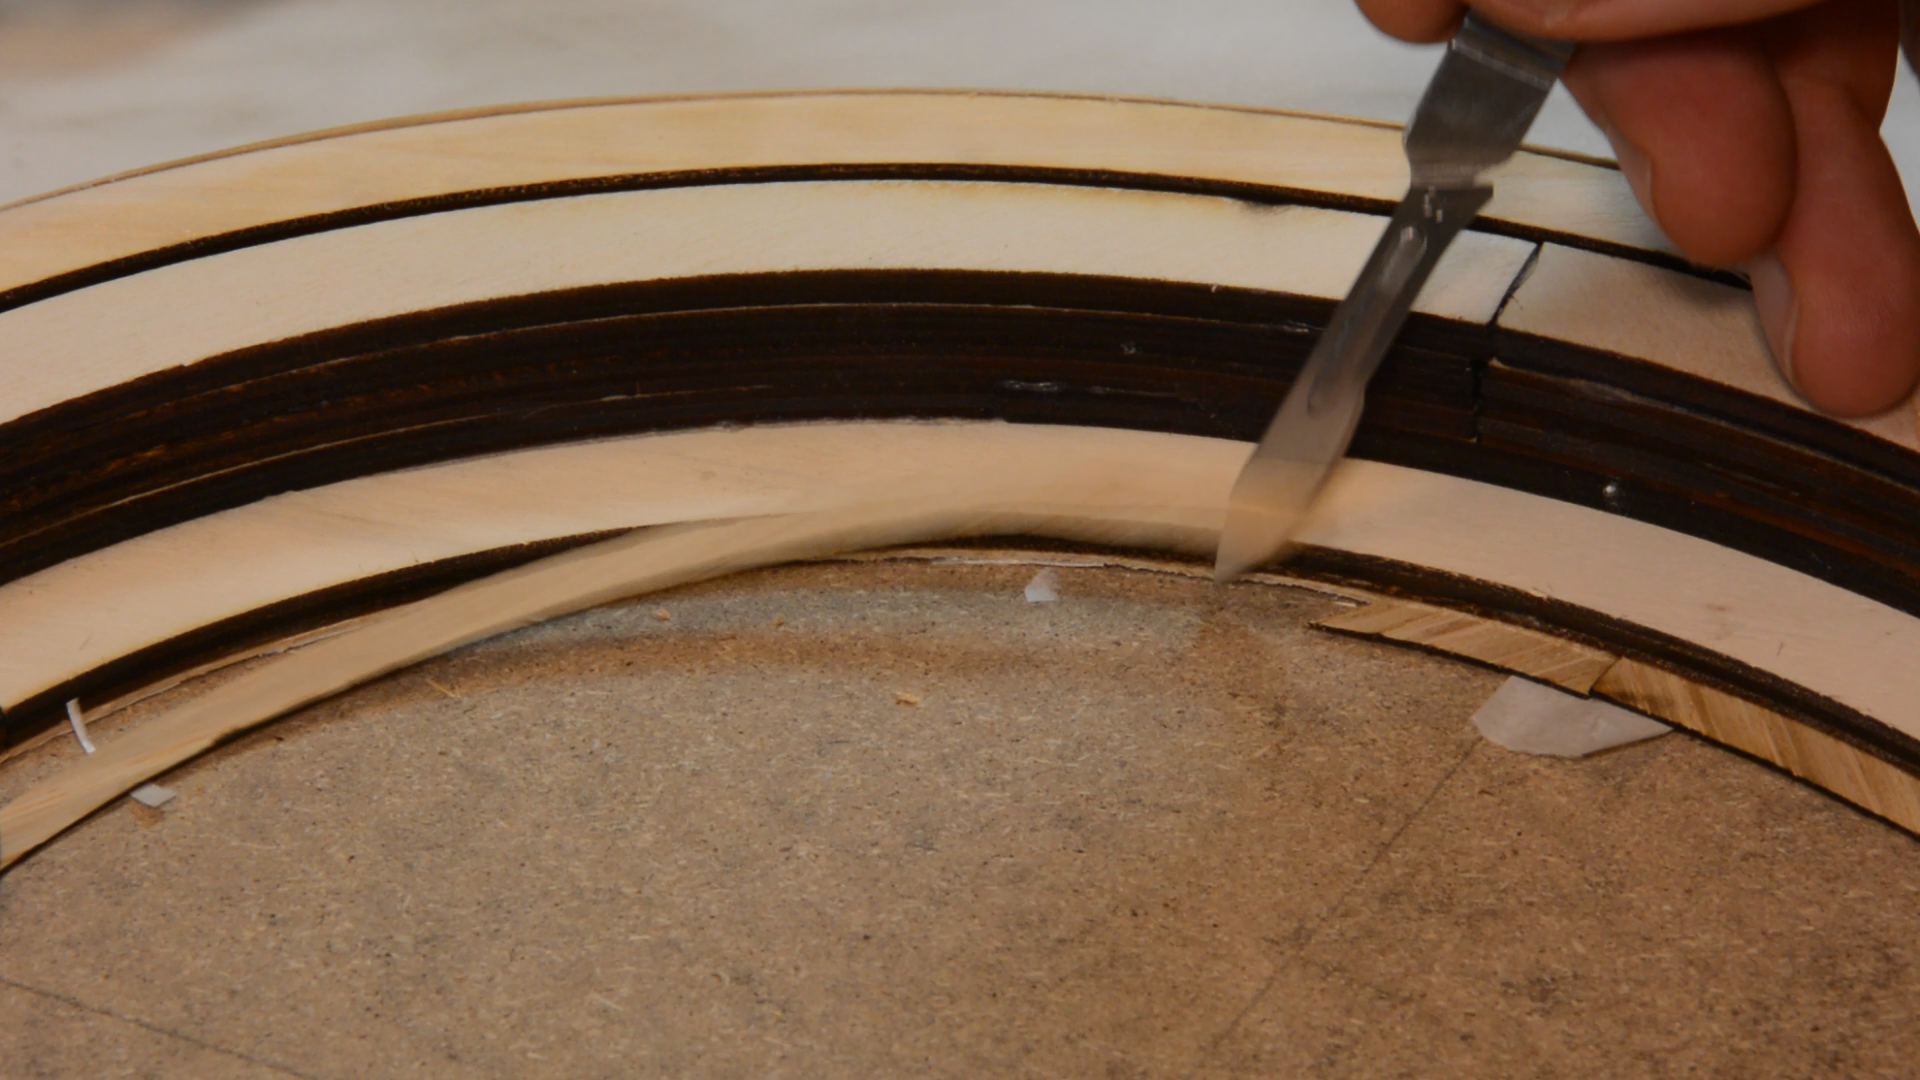
Afterwards it is trimmed flush using a sharp scalpel. The veneer cuts quite easily but the glue is so hard that several blades broken while trying to cut through the glue squeezeout.

The veneer tape can be removed by soaking it with water and carefully peeling it off.

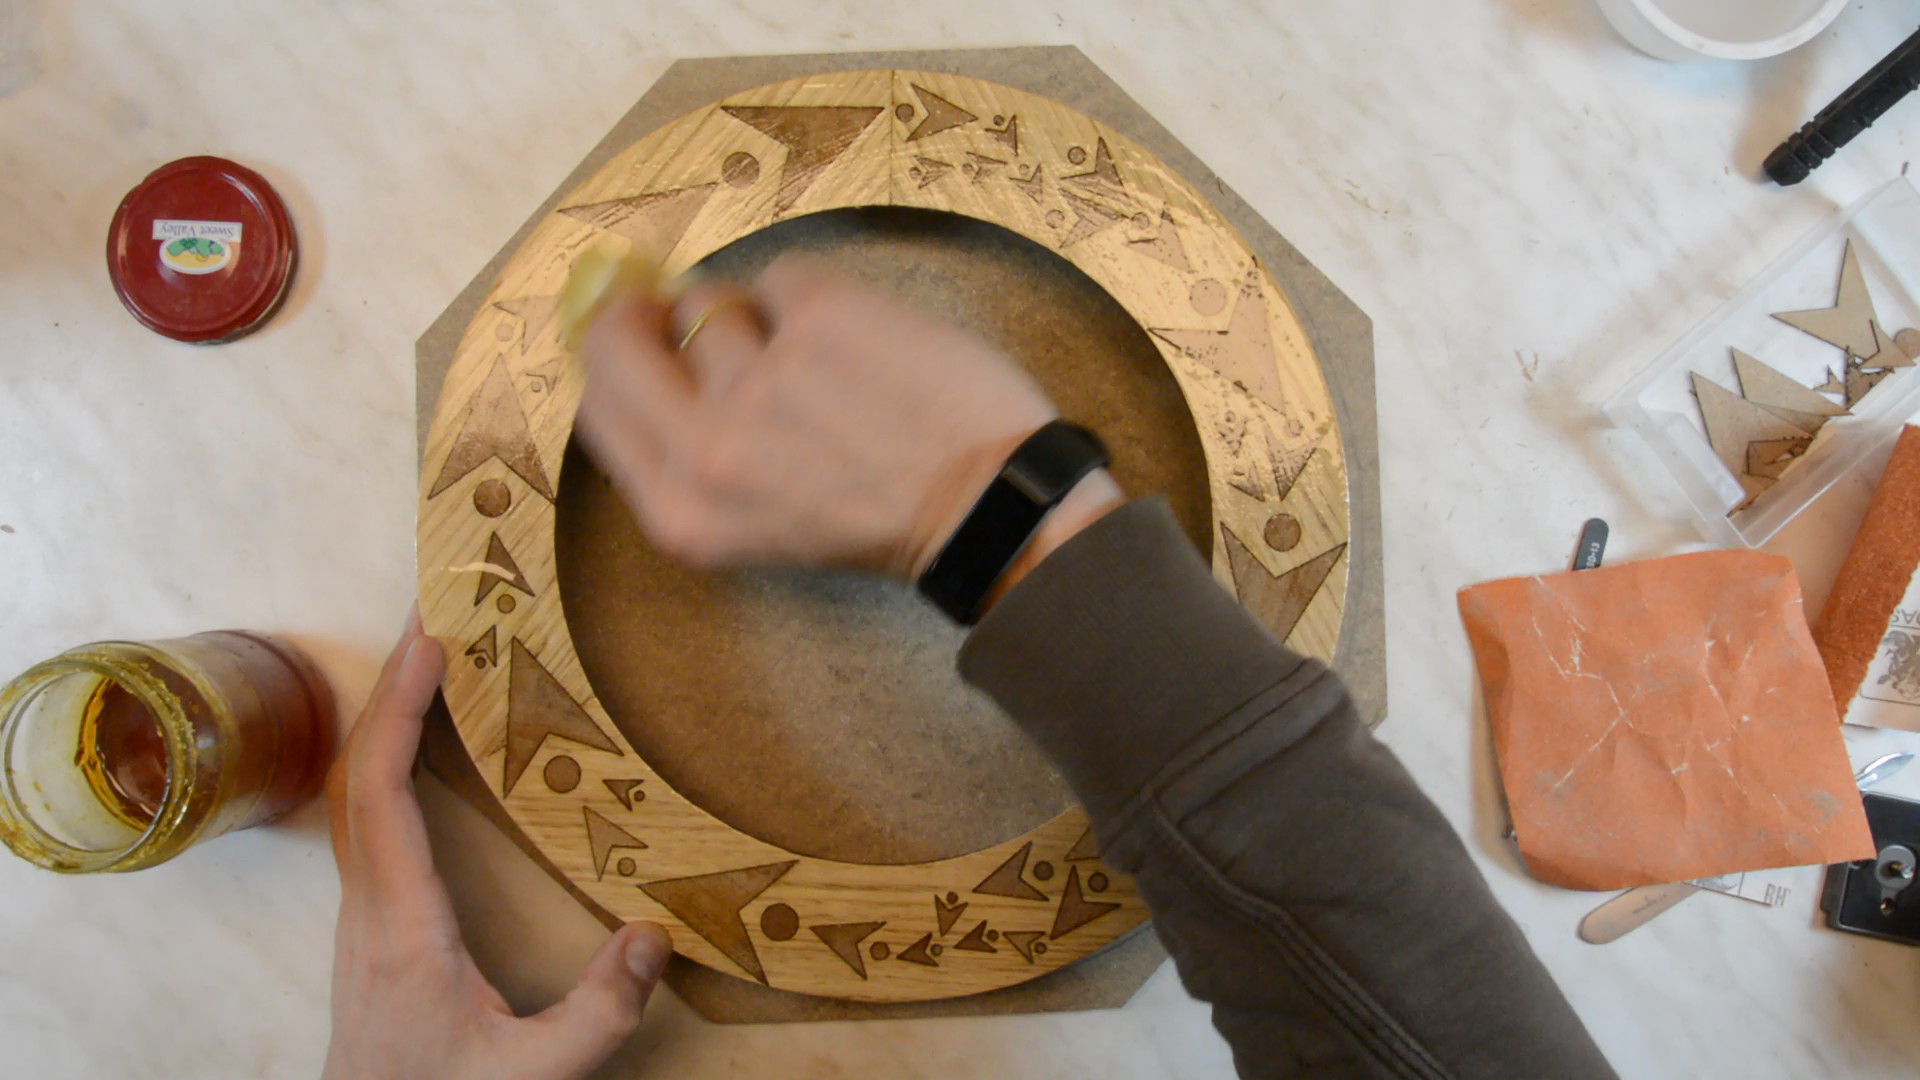
After all the tape has been removed the wood lamp gets one coat of oil and two coats of hardwax oil.
Acrylic cover
On the bandsaw we cut a white translucent acrylic plate in shape.


The plate is secures to the wood with a few dabs of hot glue.
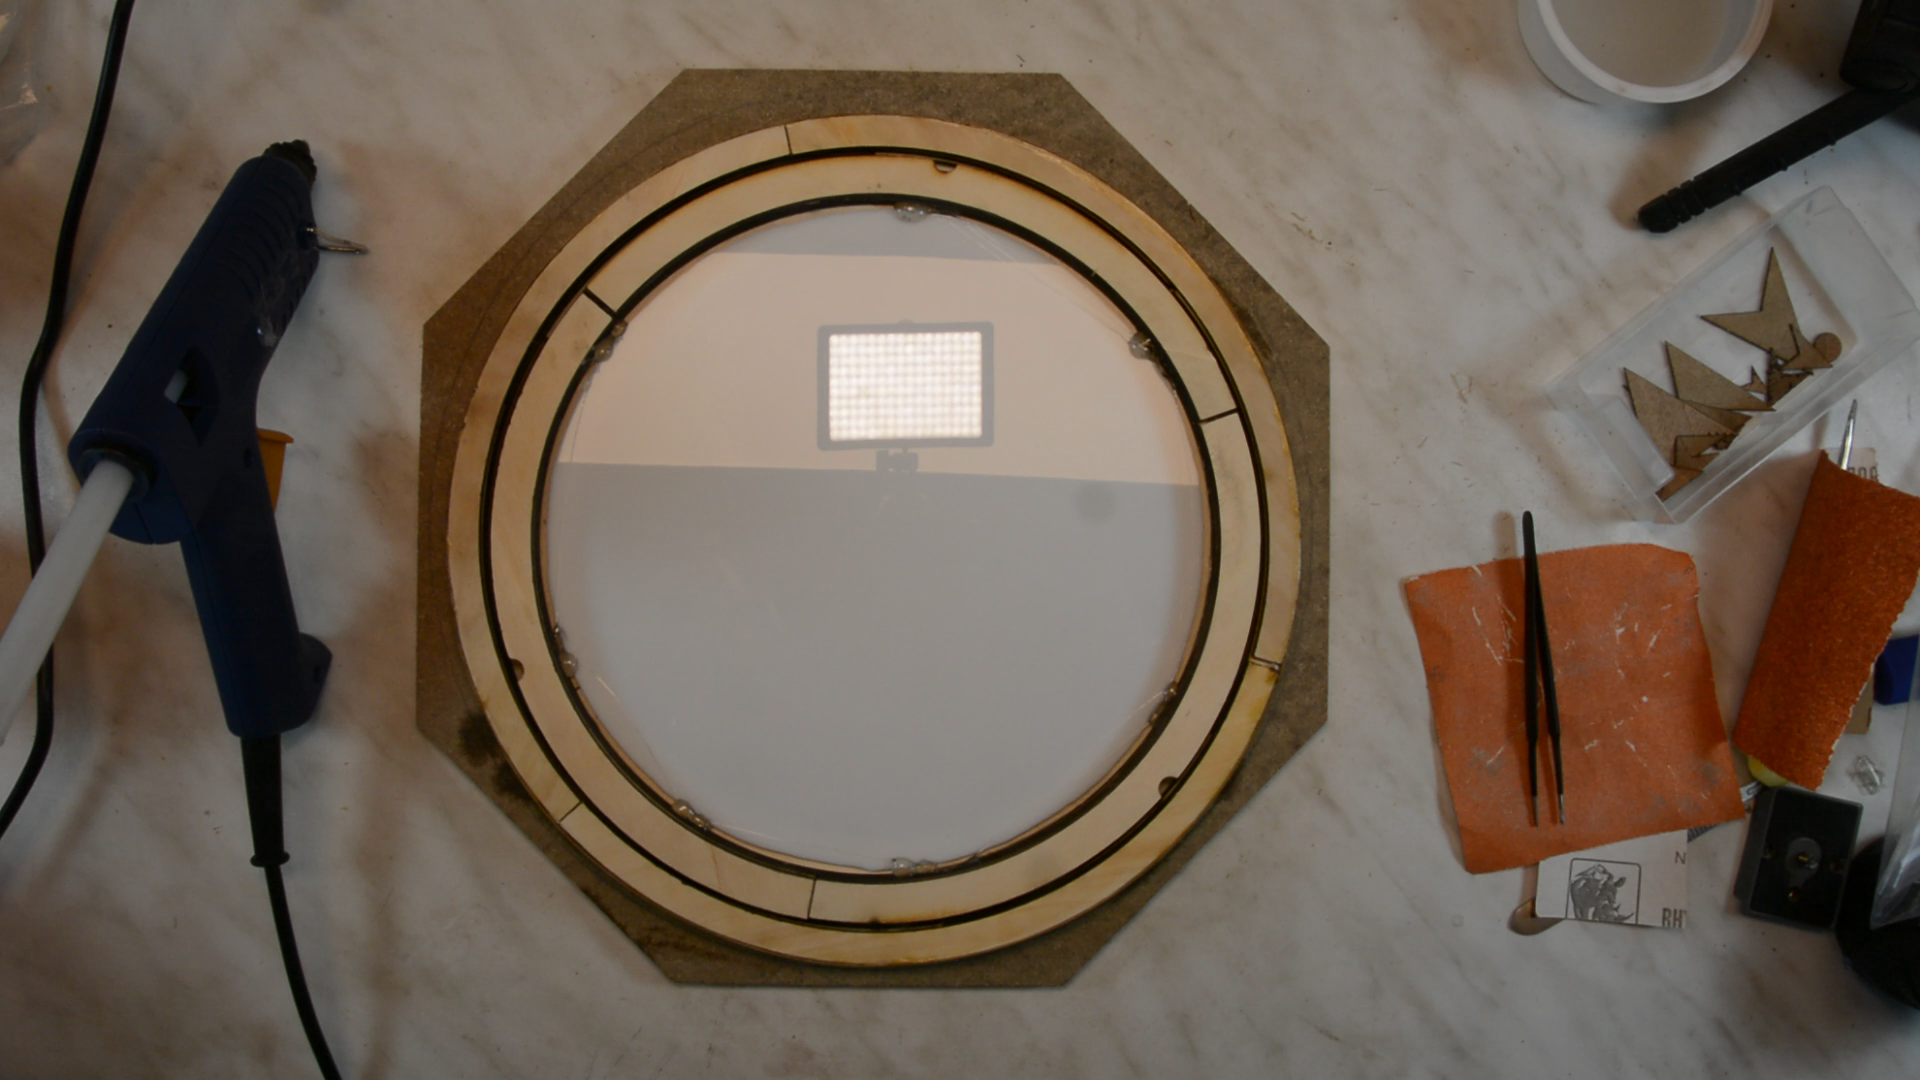
Now let’s connect the lamp to the power and put the cover in place.
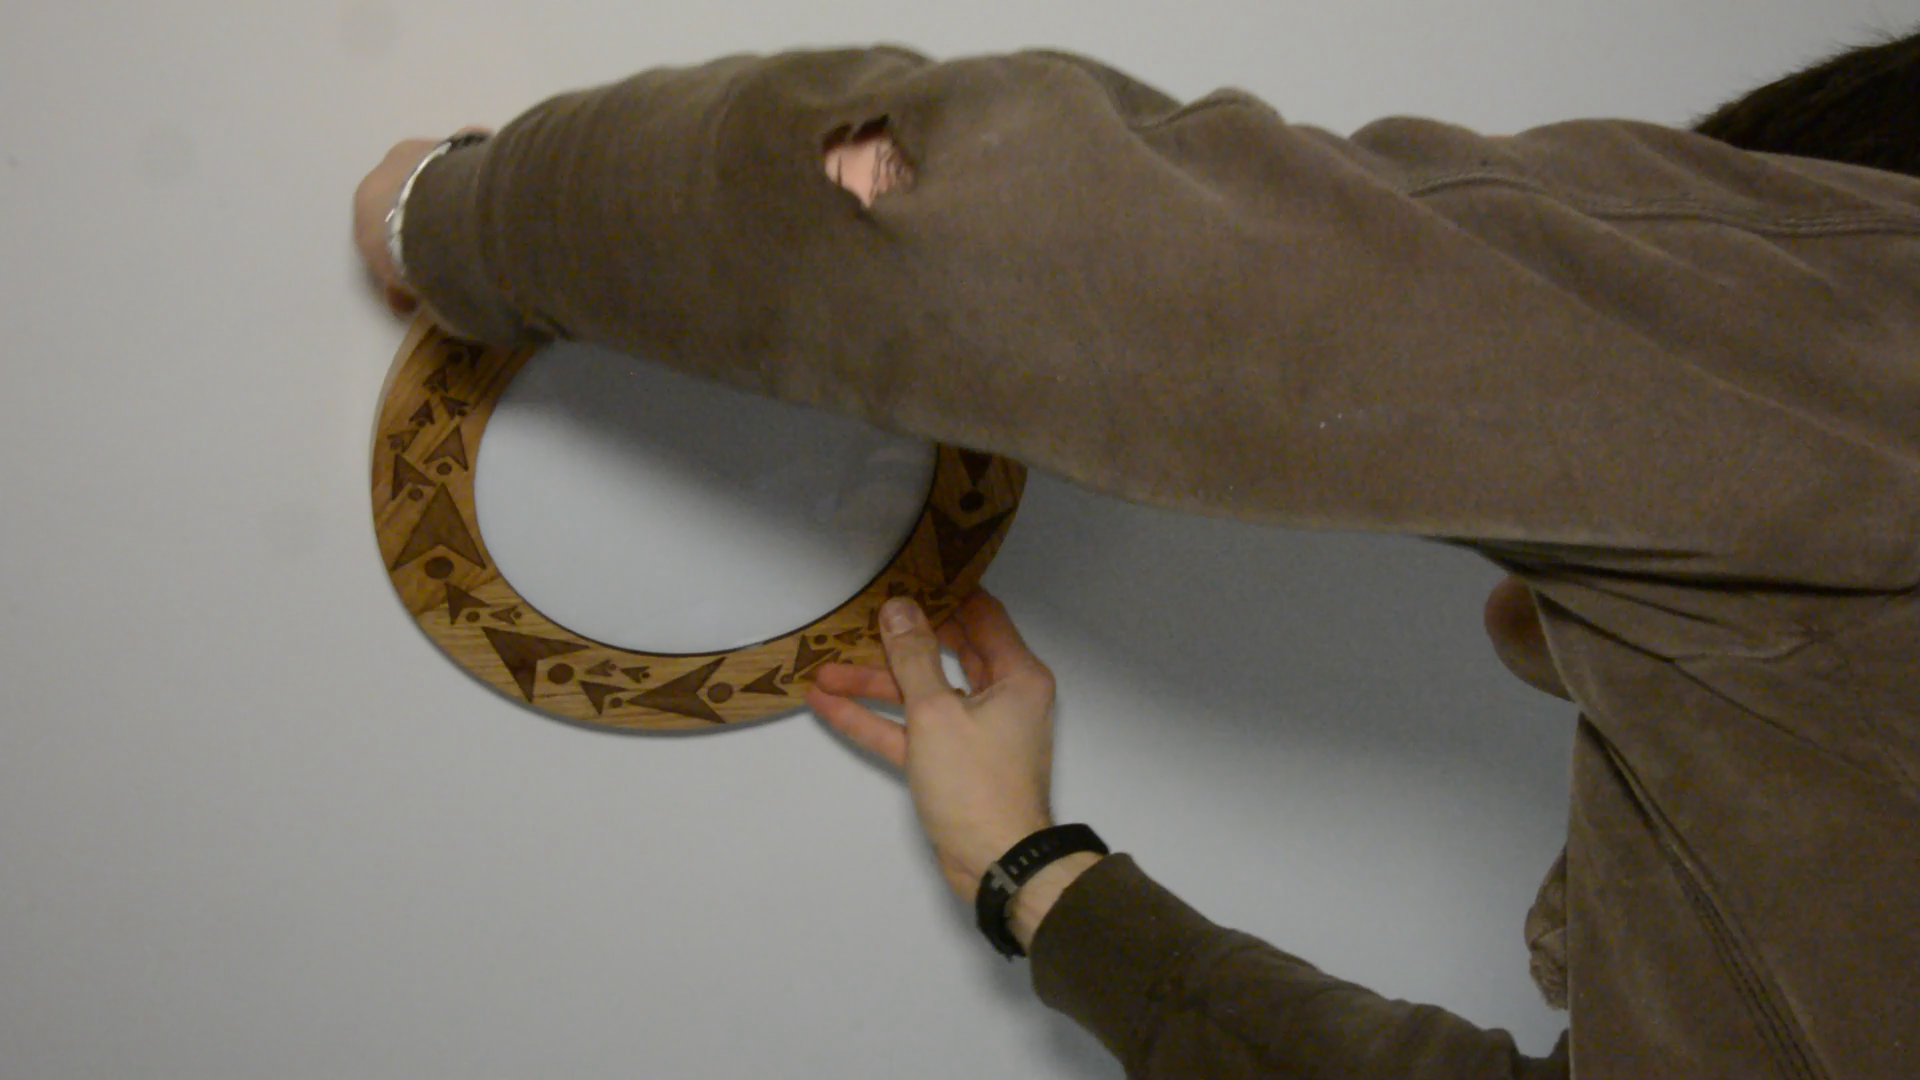

This was actually a quite interesting project where the precise cutting of the laser cutter was really helpful.