
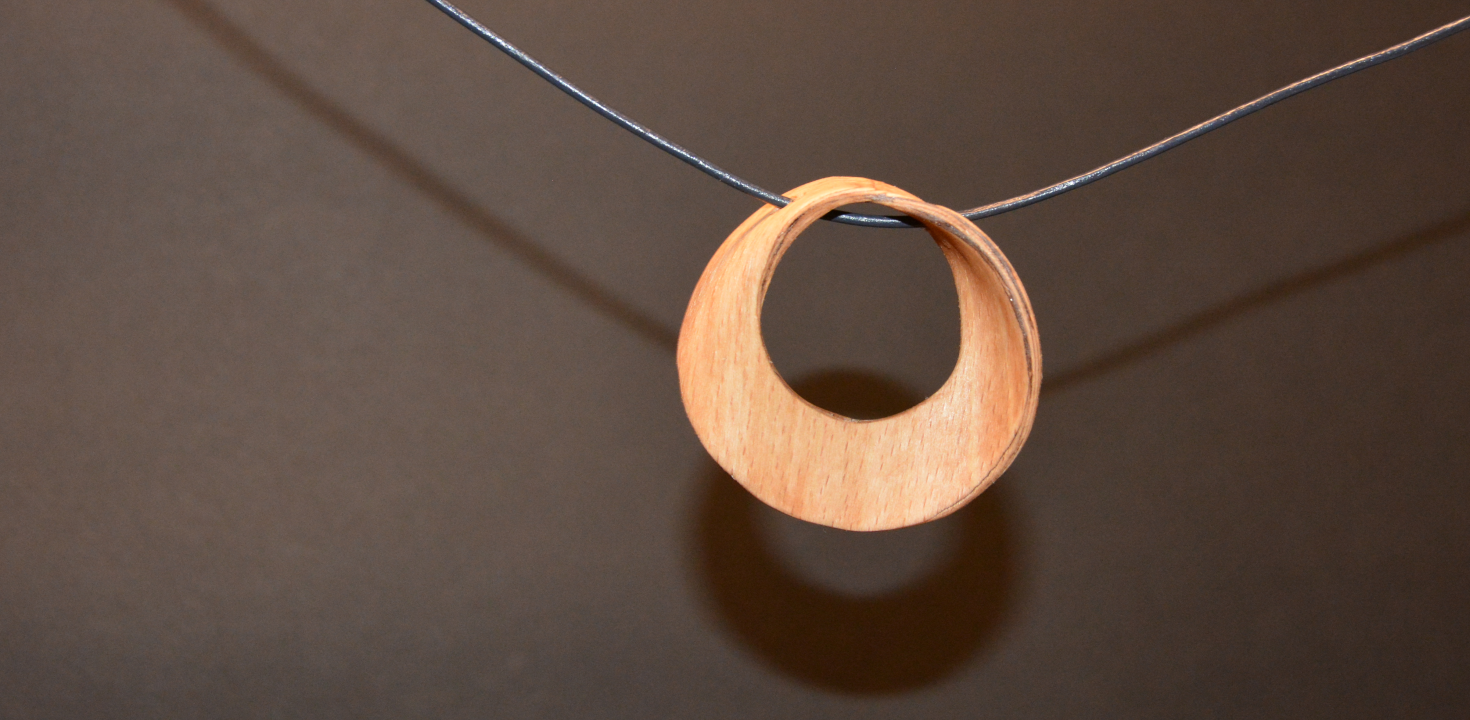
Today, we build a moebius band pendant for the rocklerbentwoodchallenge.
3d printed bentlamination form
Our small project starts in FreeCAD where we model the 3d shape of a moebius band.
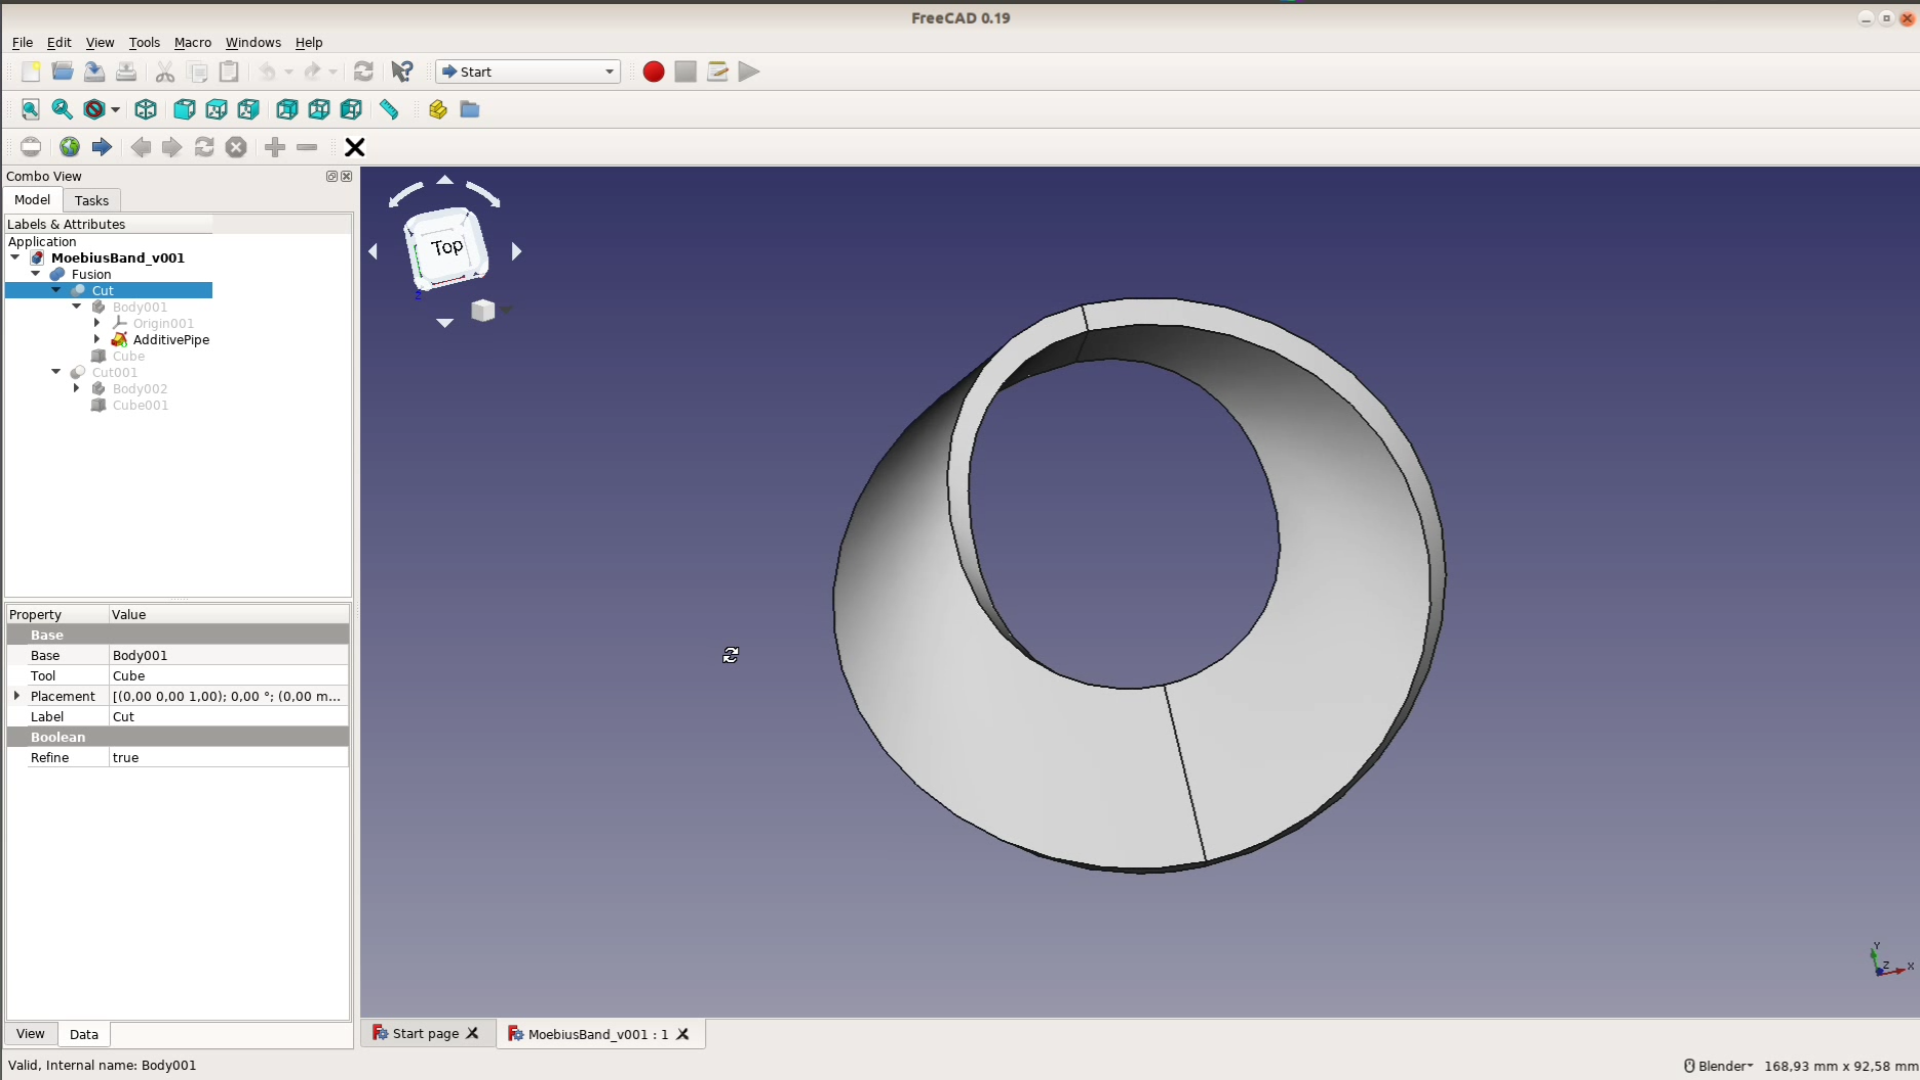
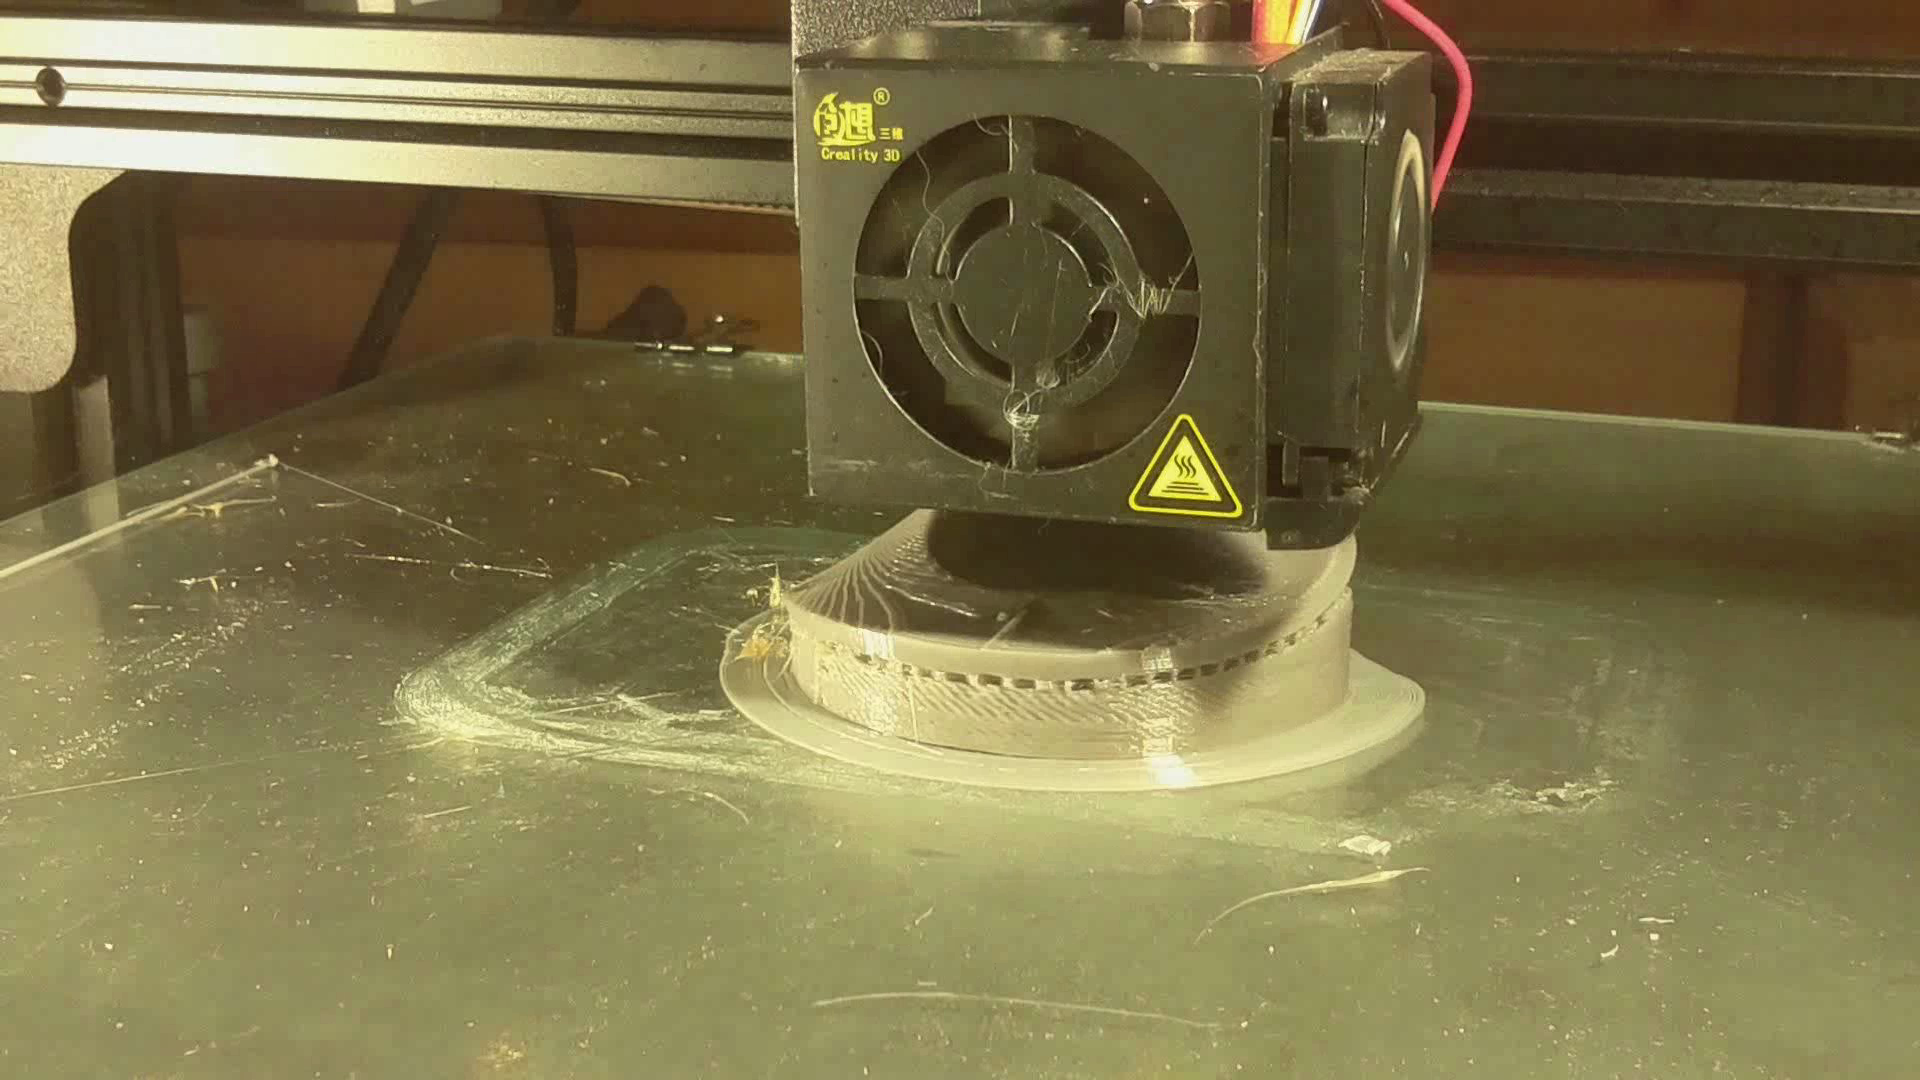
We send the design to the 3d printer and get a form to bend the veneer.
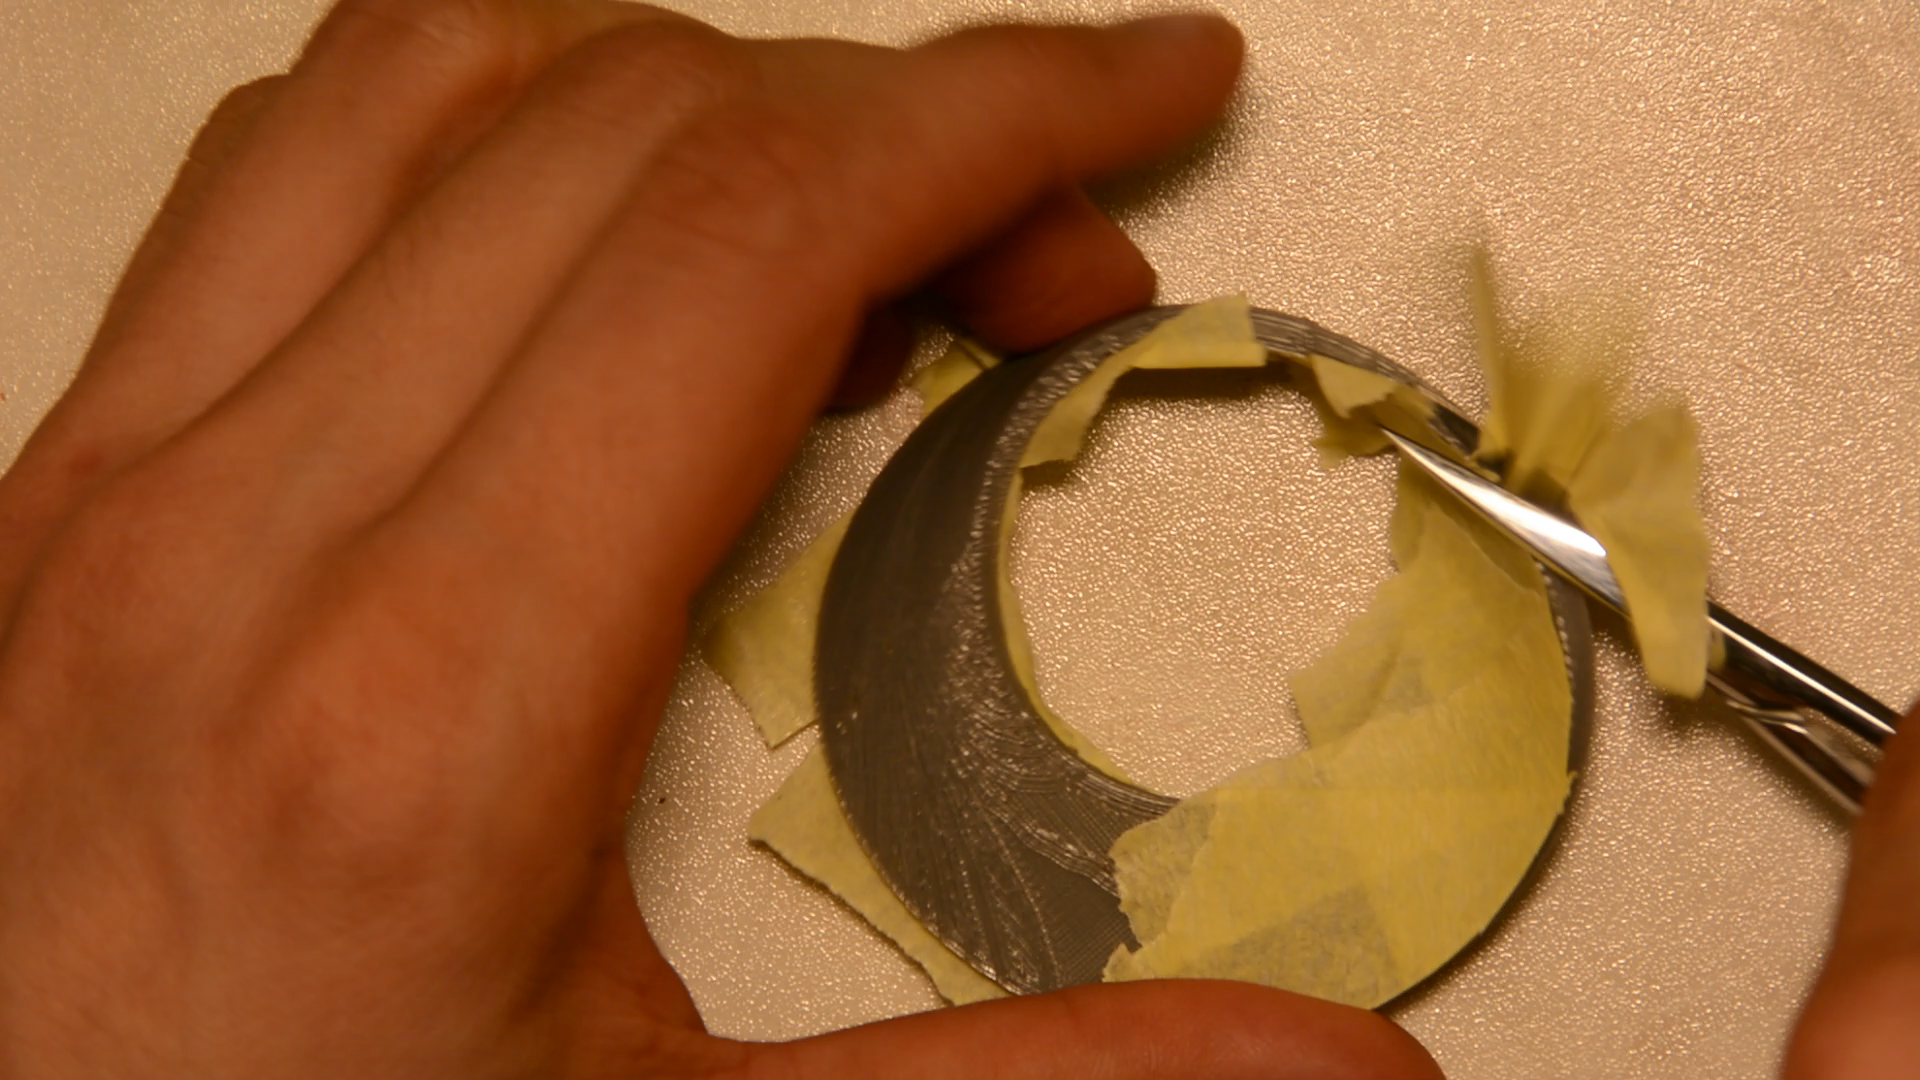
We apply masking tape to the surface of the 3d print to get a template for a 2d shape.
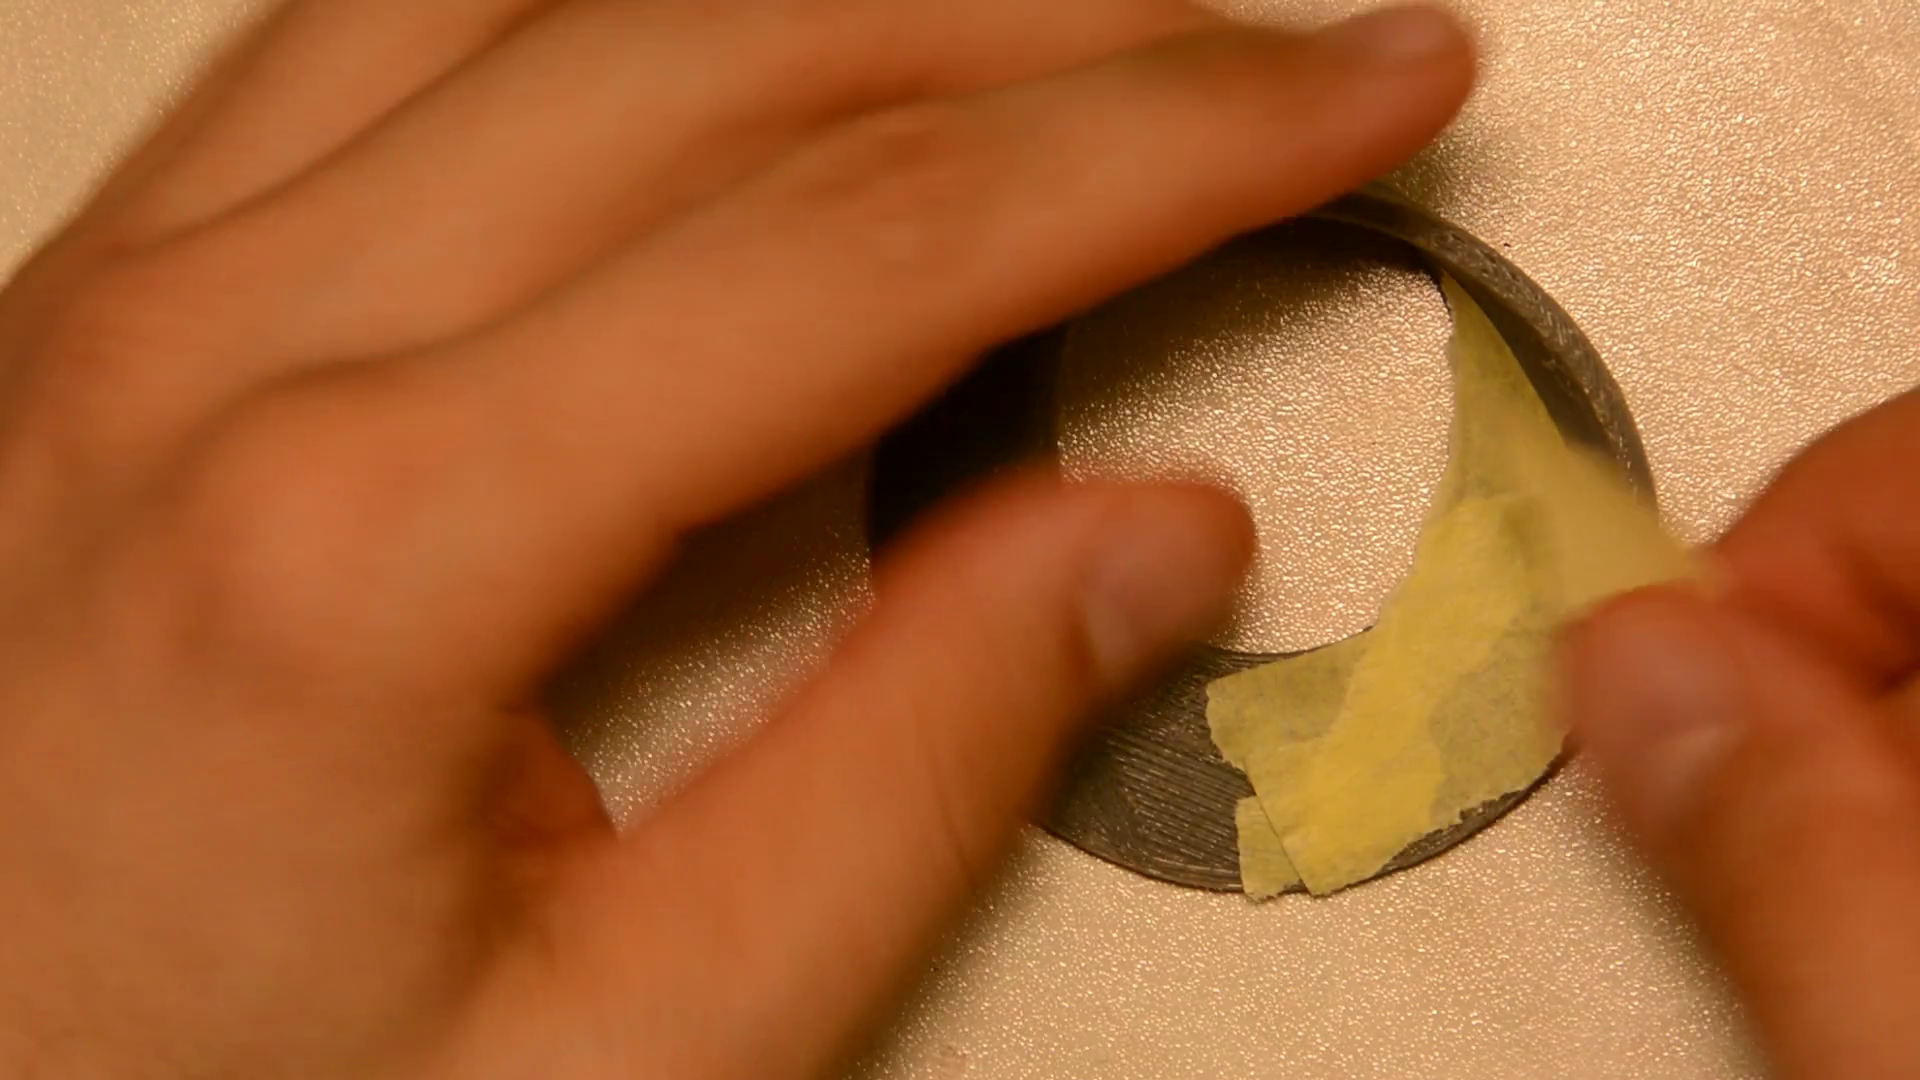
After a bit of clean up work we have two different forms that have the seam at a different place.
Lasercutting the veneer
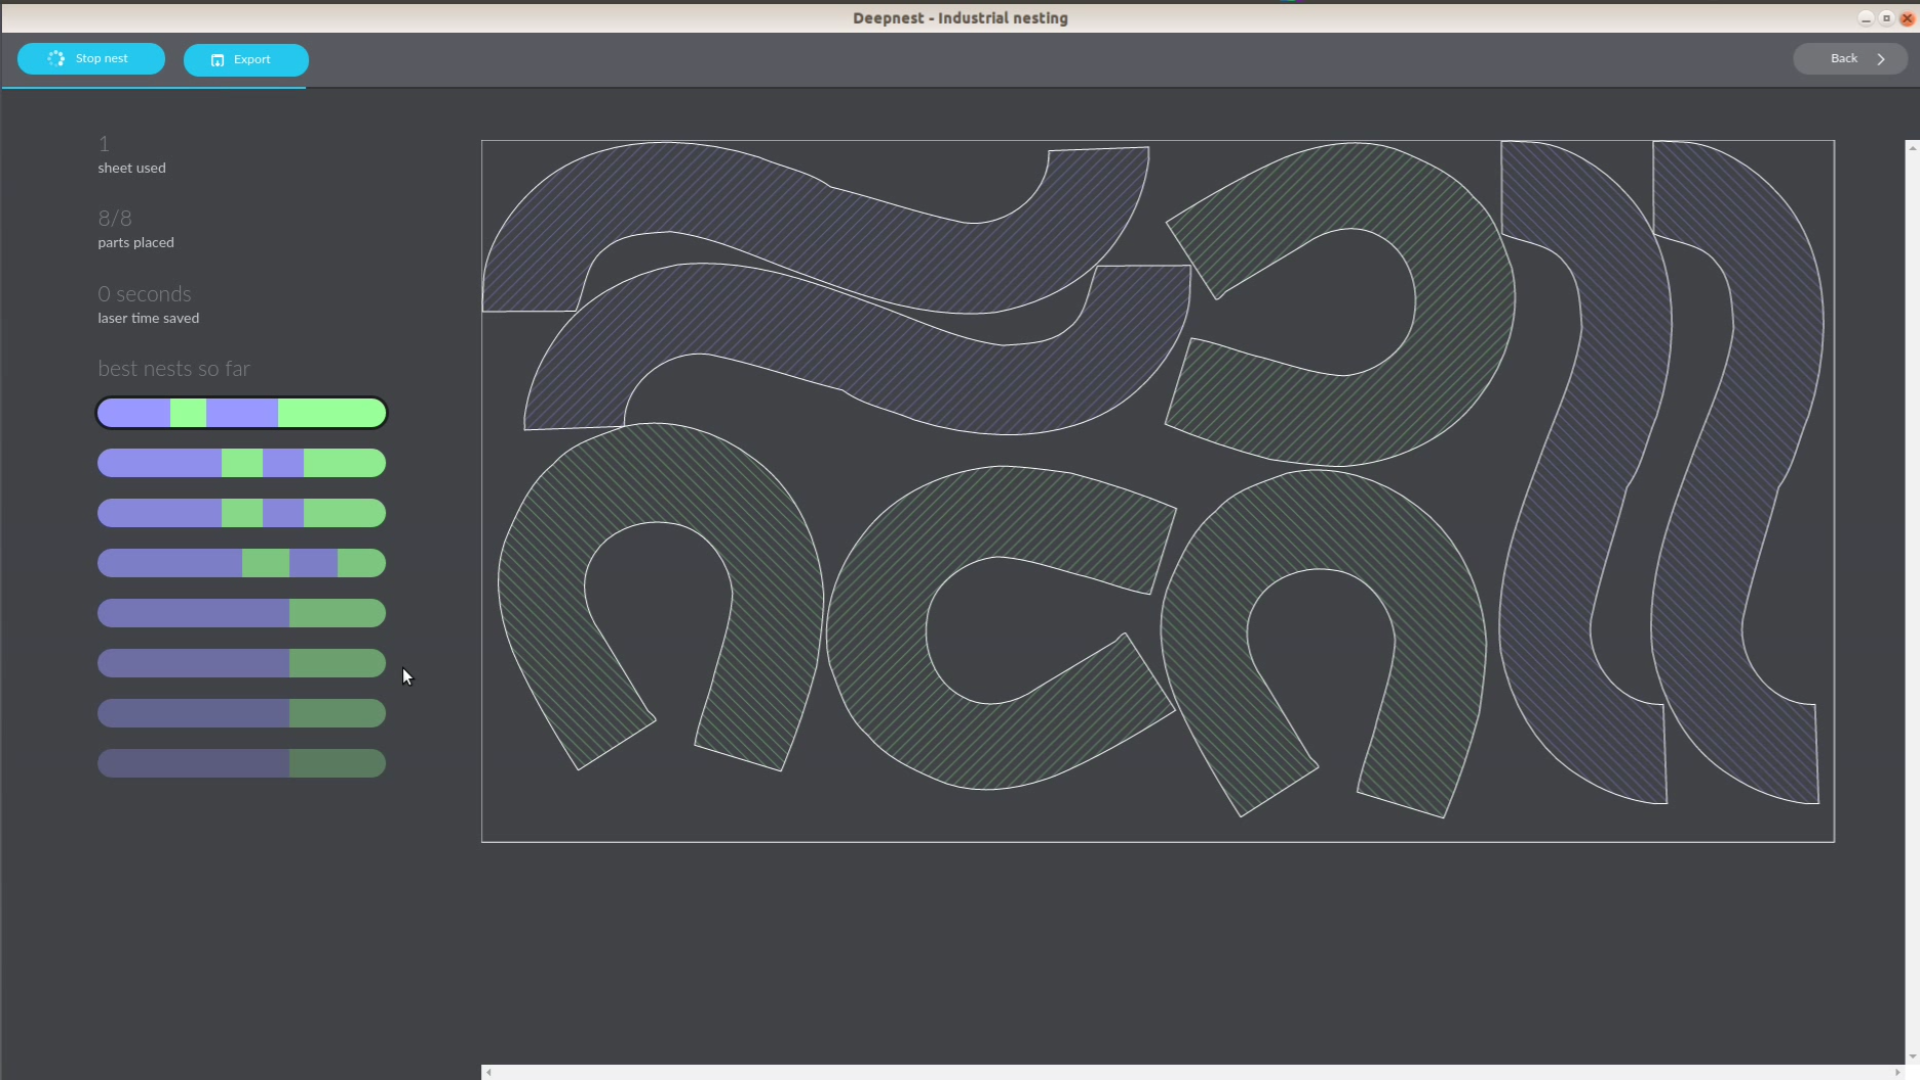
With DeepNest we put as many of these shapes on a piece of veneer as possible and send them to the laser.
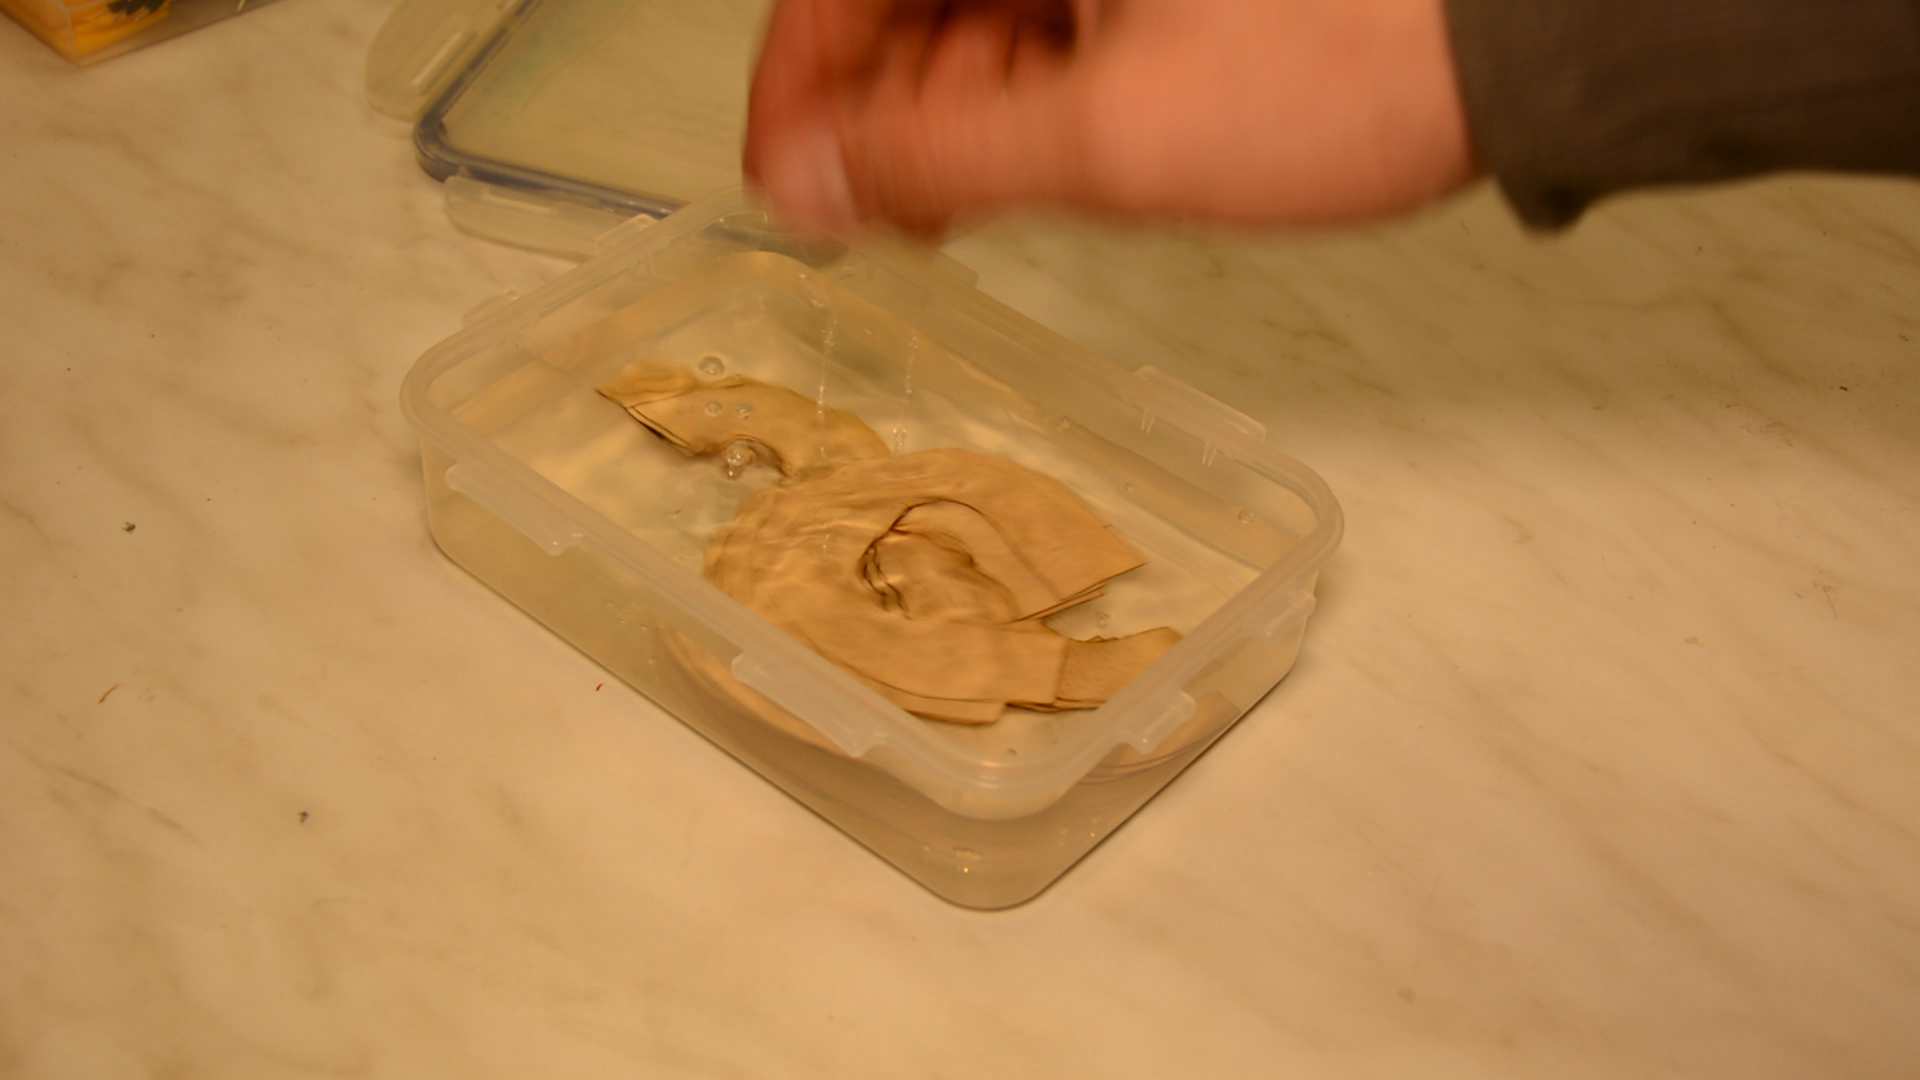
The K40 laser cutter cuts a bunch of these forms at once from a sheet of beech veneer. The veneer strips are soaked in water for a week.

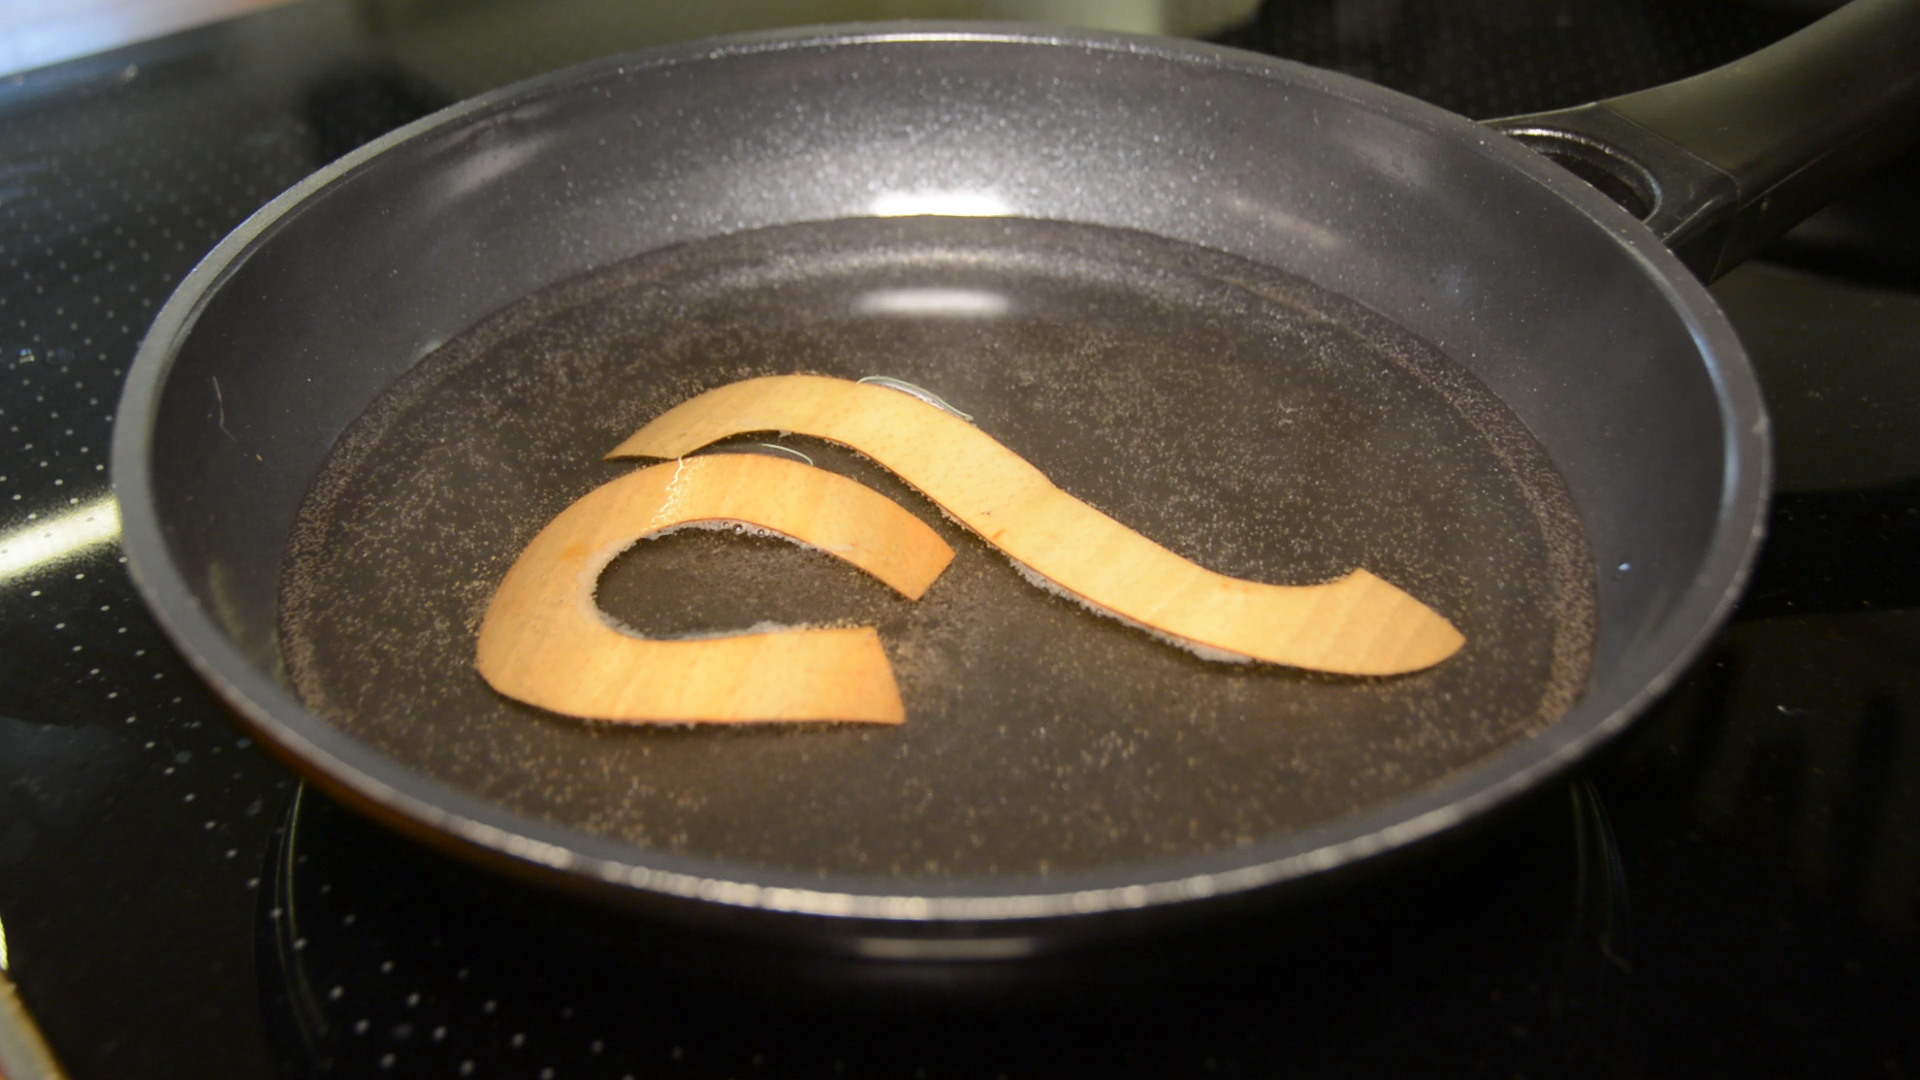
We then put them in boiling water and let them get to temperature for 15 minutes.
Glue the veneer
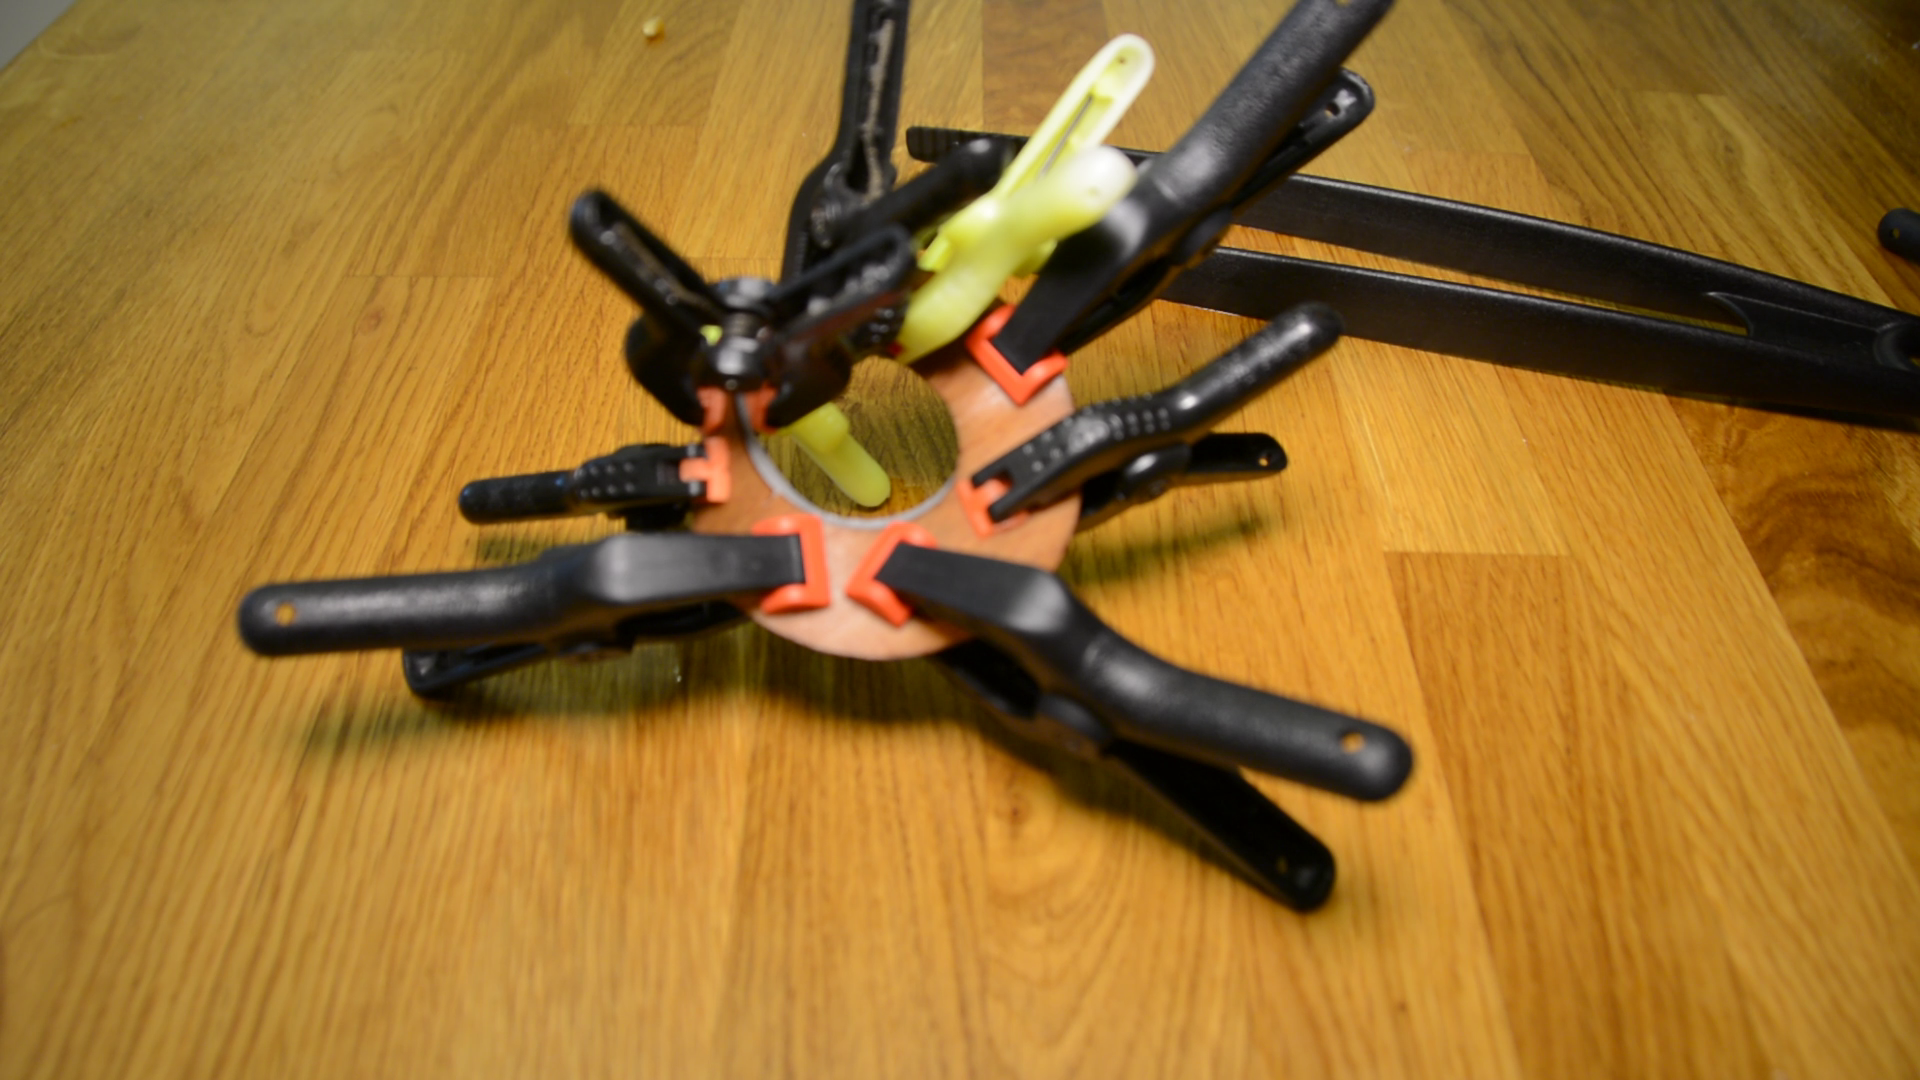
After the veneer got hot enough we use a lot of spring clamps to prebent it by clamping it to the 3d print. The veneer is dry after a few hours.
We remove the clamps and repeat the process a few times. We take two pieces of veneer and glue them together with woodglue and again a lot of clamps.
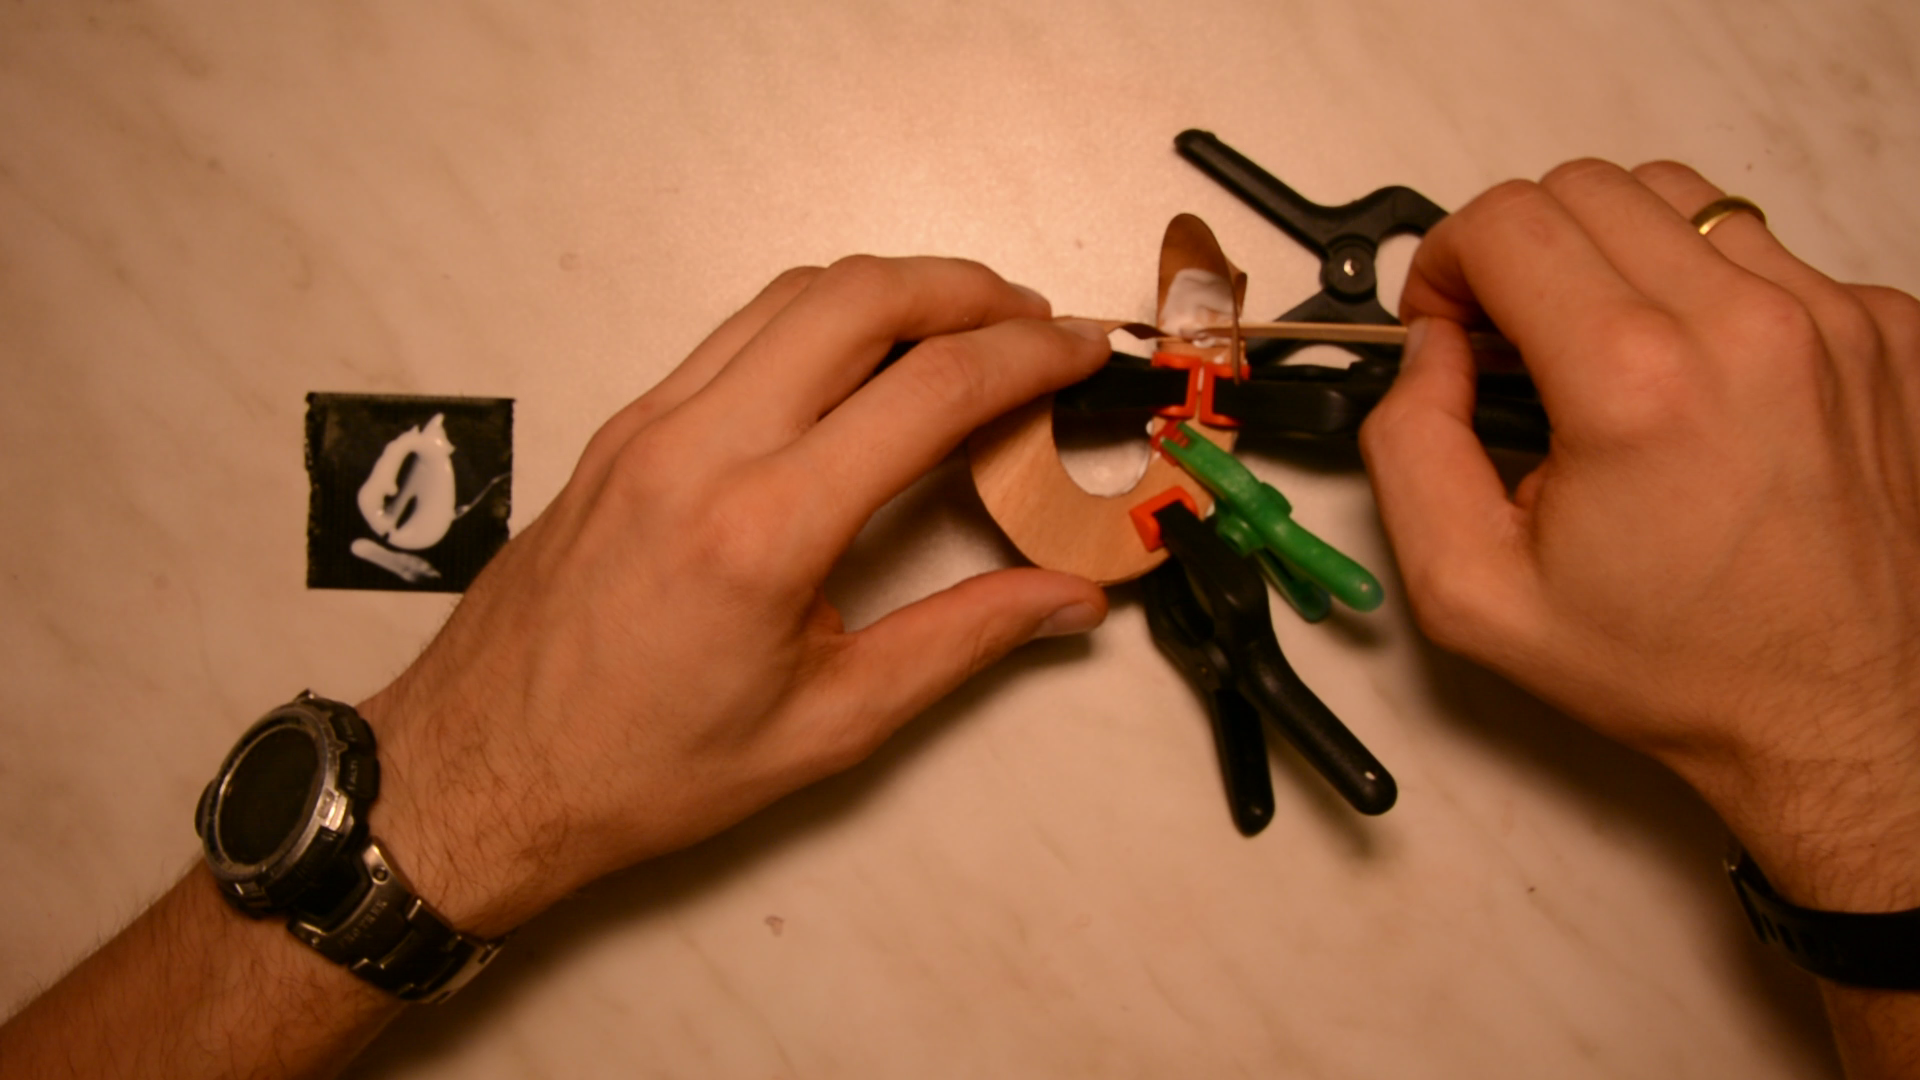
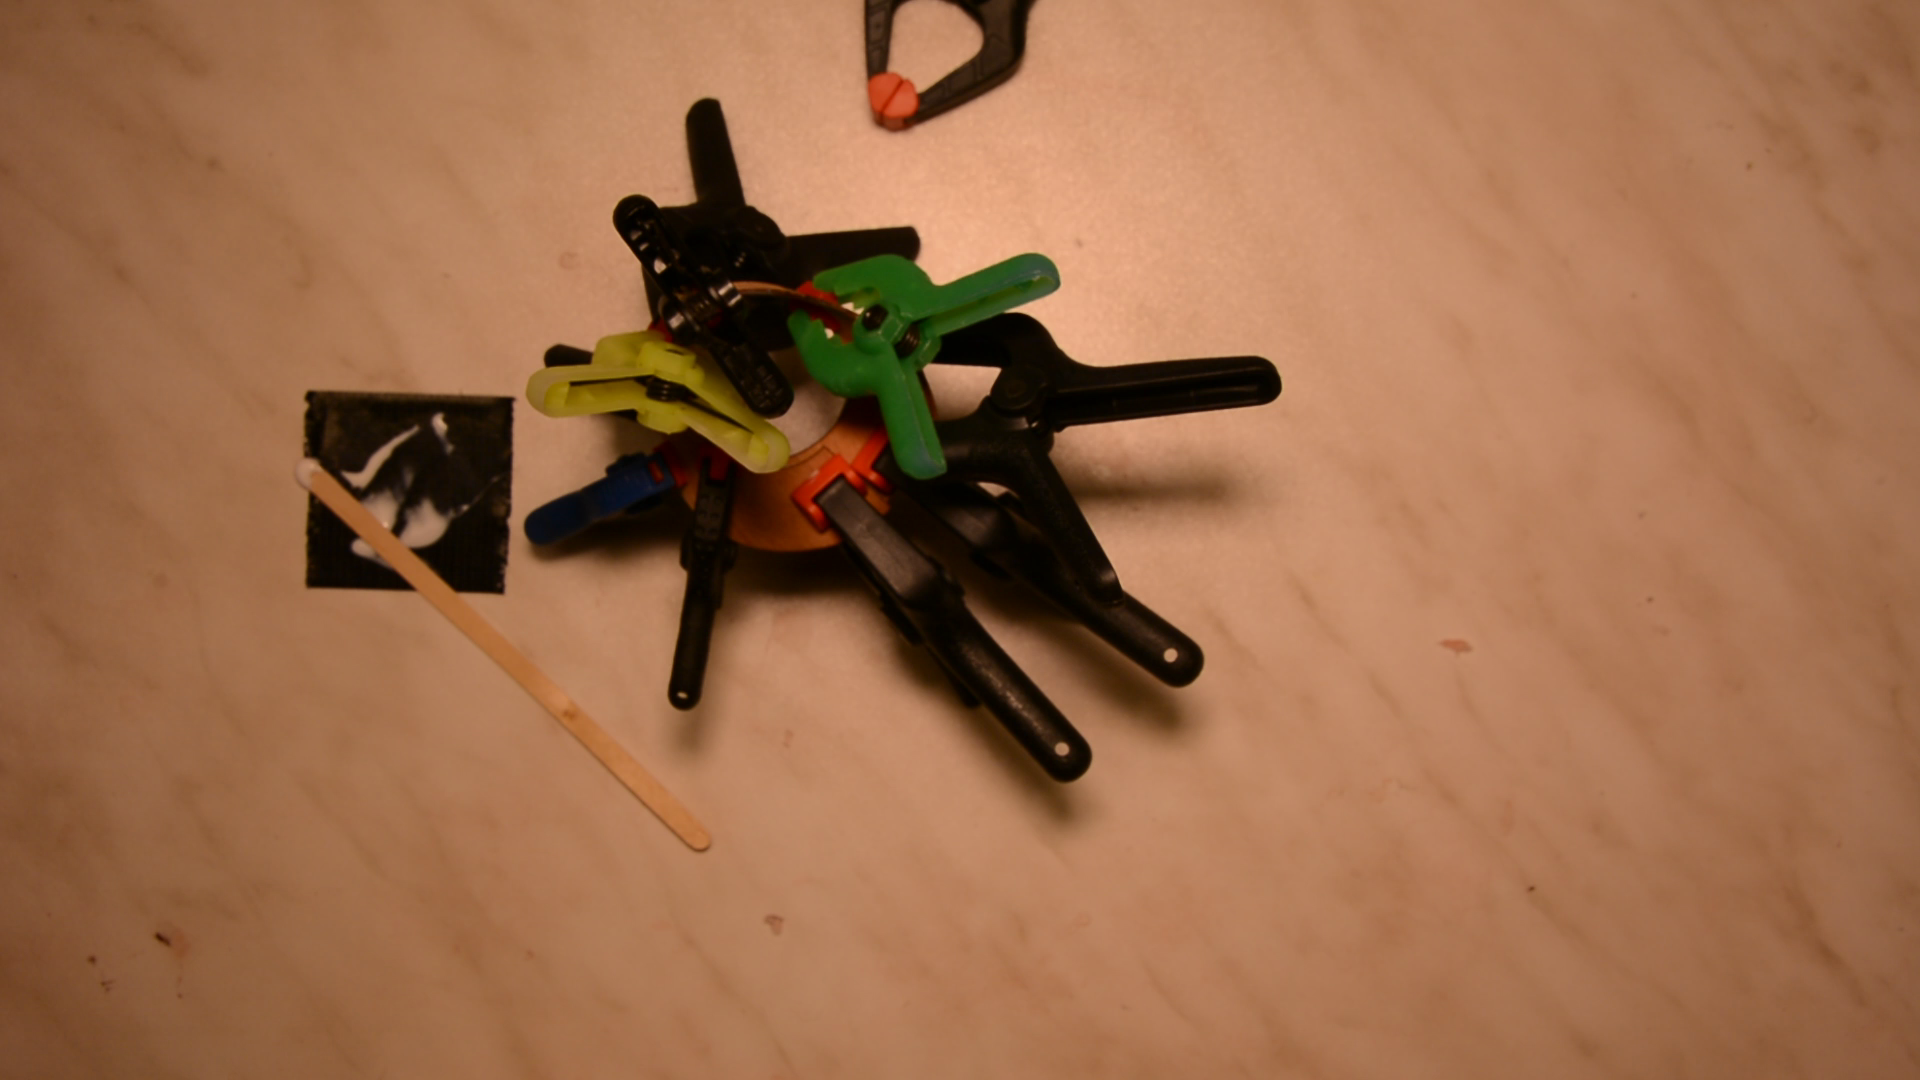
In total we glued 6 pieces together like this and get a solid form as a result.
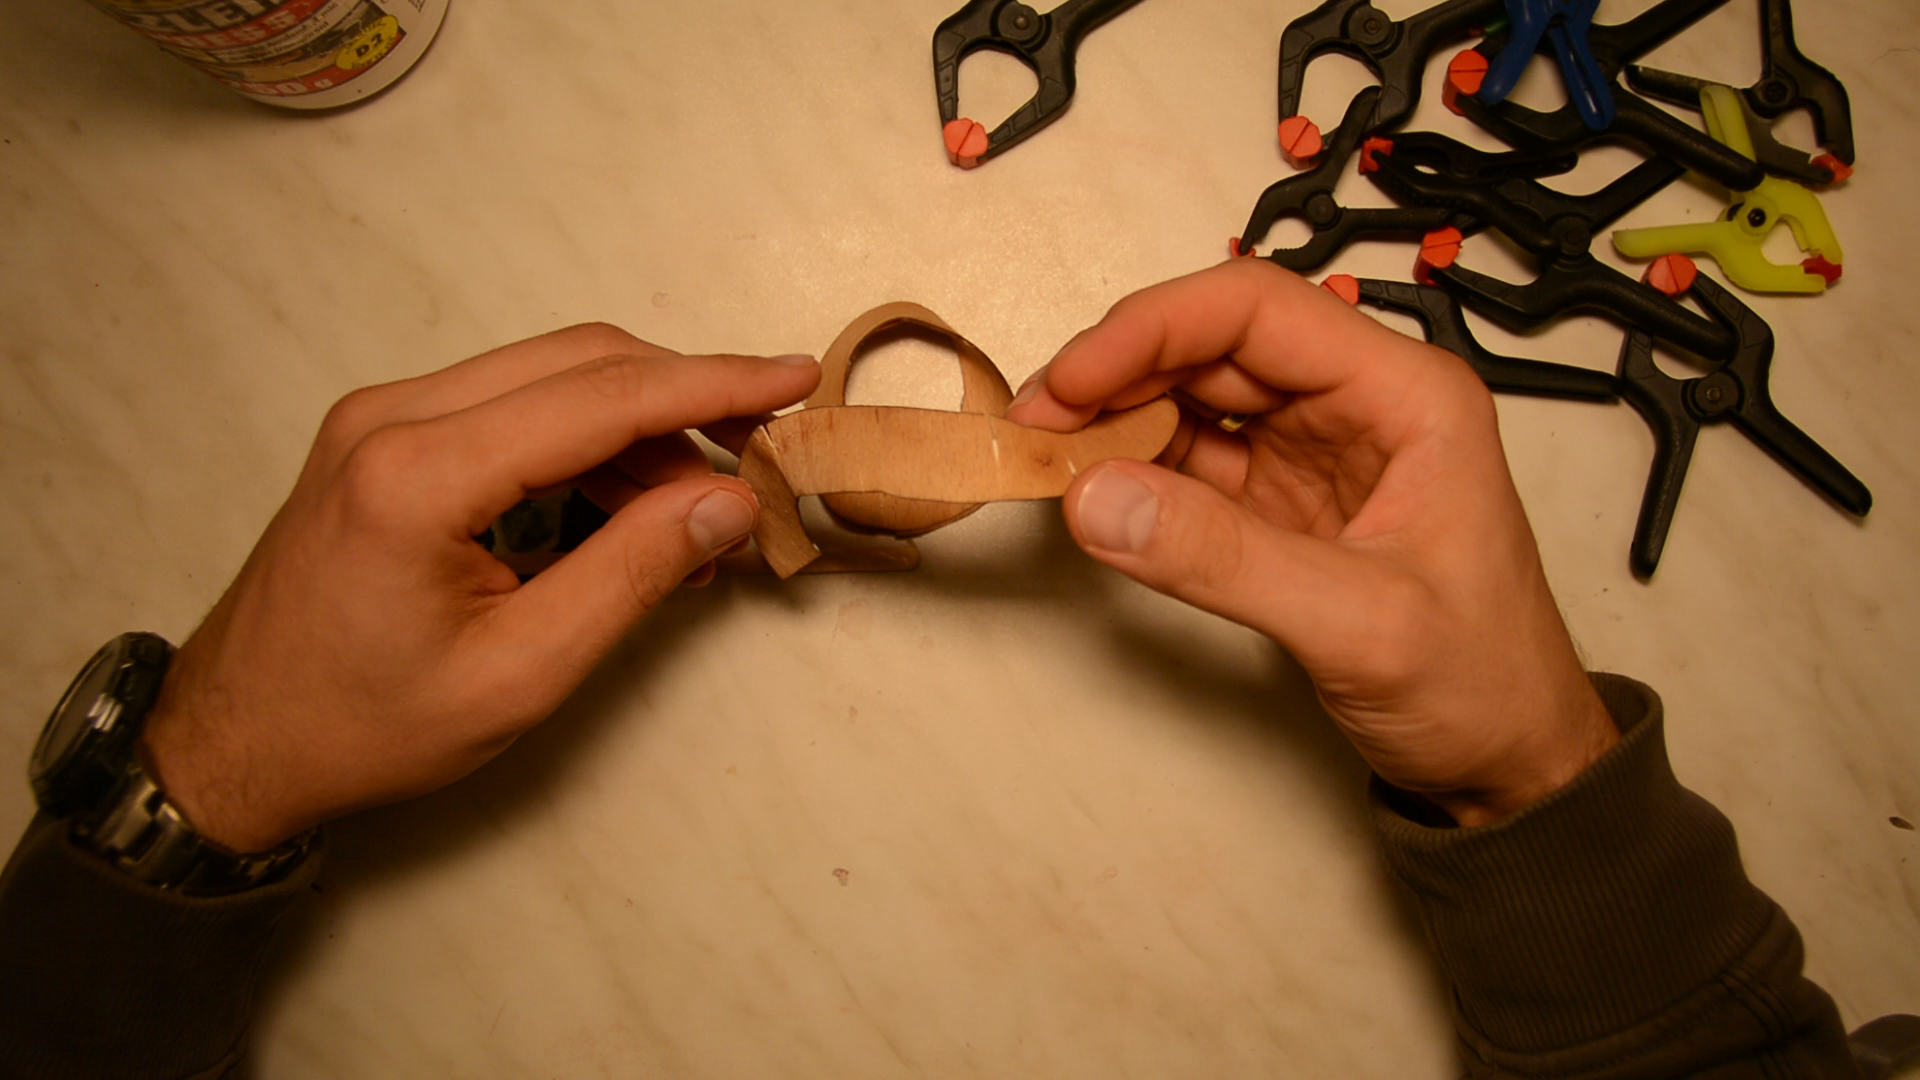
In order to use is as a pendant the moebius band gets 2 holes.

After adding a few coats of oil the pendant is done.


This was a quick and fun little project that offers quite a few possibilities for further experiments and improvements.