
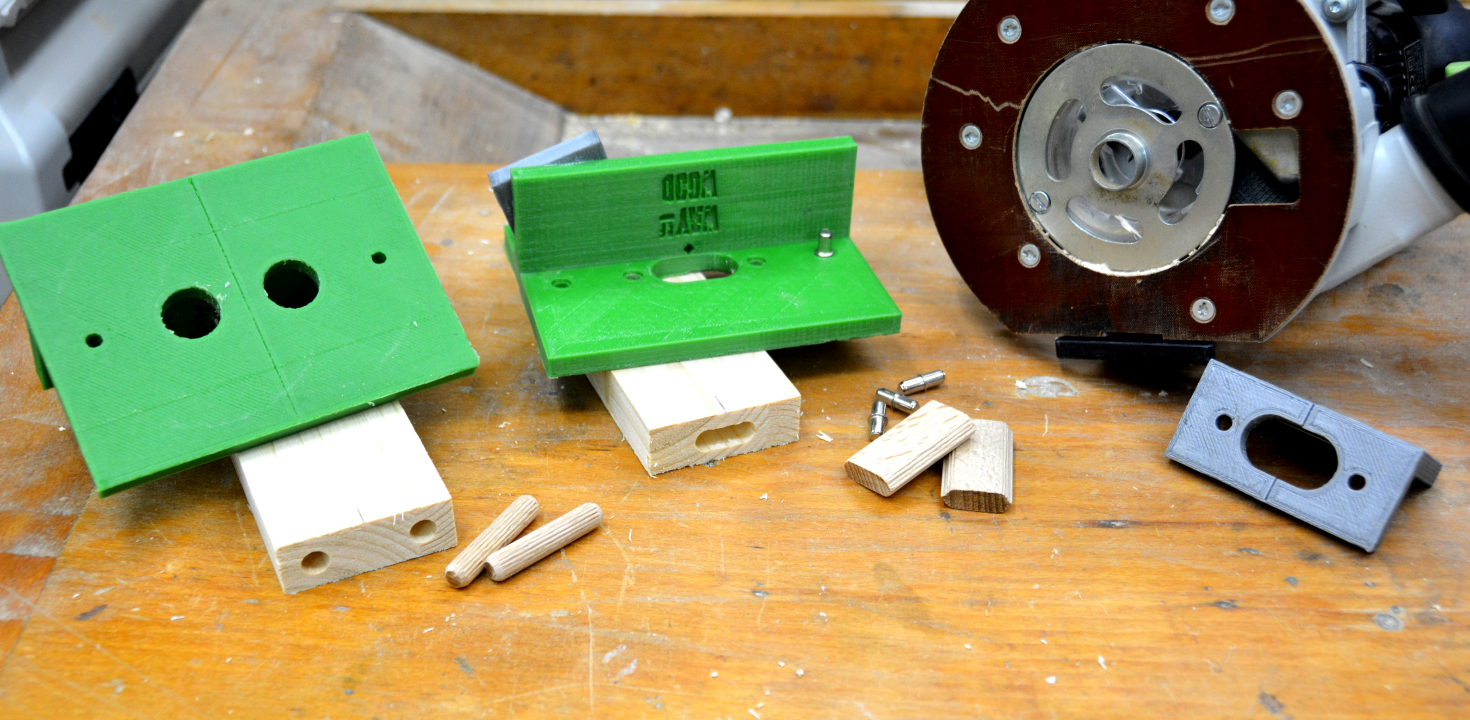
The Festool Domino jointer is for sure one of the greatest innovations in woodworking as it makes loose tenon joinery very quick and building furniture as easy as the assembly of Lego bricks. Unfortunately this machine is quite expensive. In this article I will show you how to build a loose tenon jig that makes this kind of joinery easy simple and cheap. If you have access to a 3d printer you can get most of the functionality of a domino jointer for around 1,50 $ in material cost.
While this article explains how to create a loose tenon jig with a 3d printer you can also build a very similar jig with some scrapwood as discussed in another article on a Wooden DIY loose tenon jig.
In the following I will explain how the jig actually works before getting into the build.
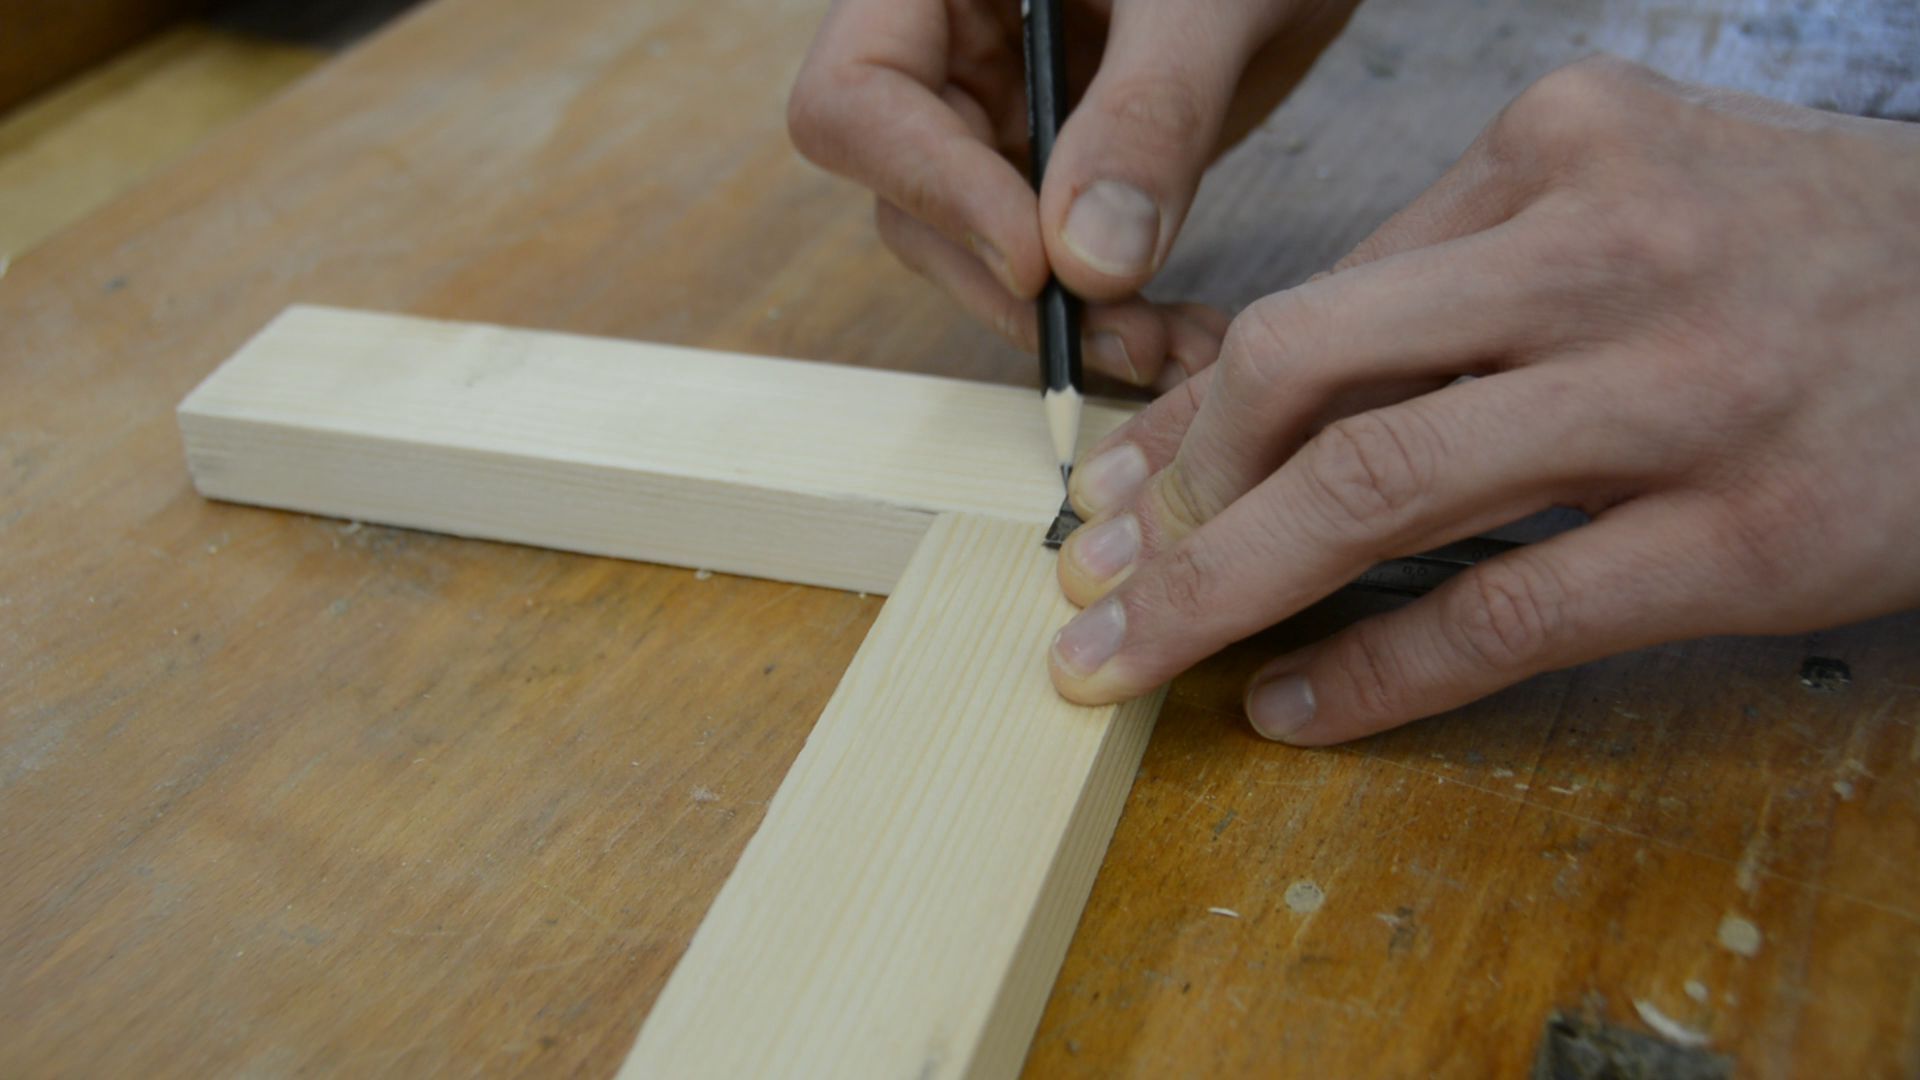
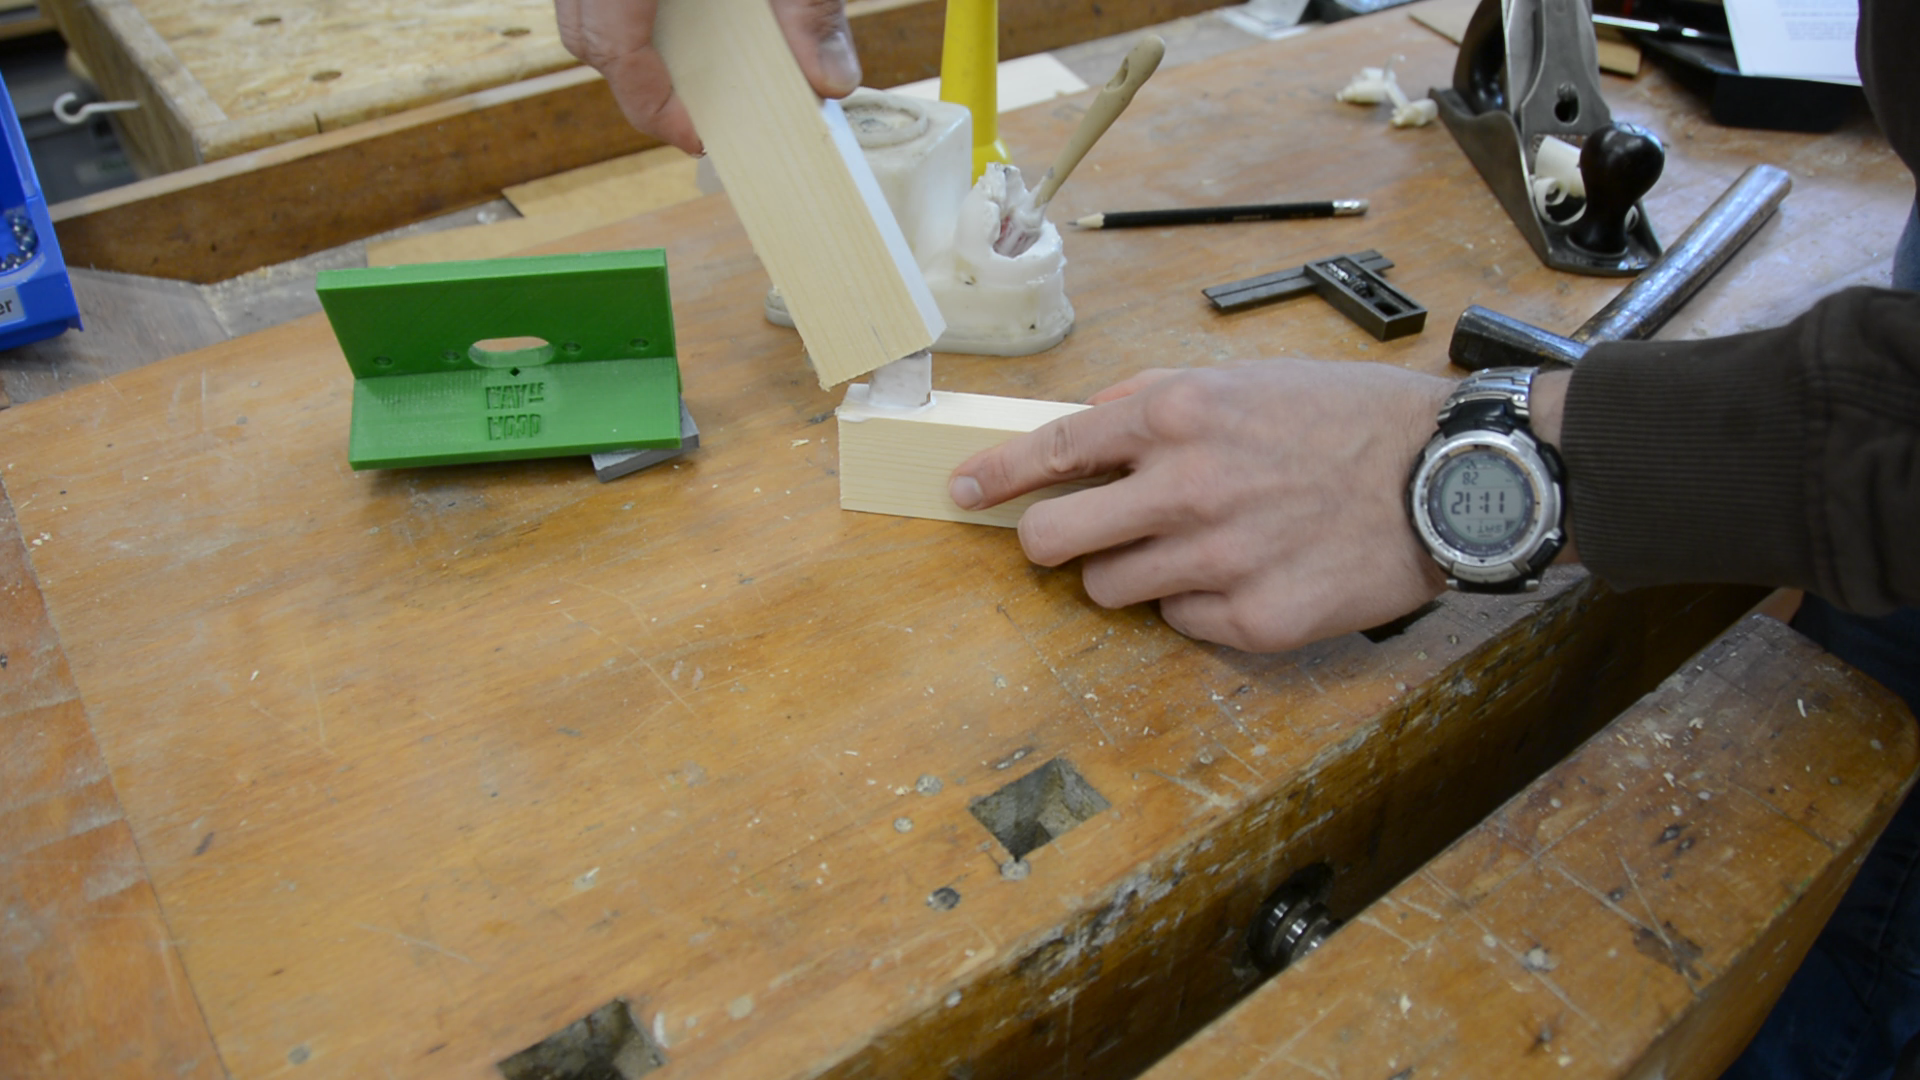
As for a Festool domino or biscuit jointer we hold the two pieces in place and mark a line where we want to position the tenon.
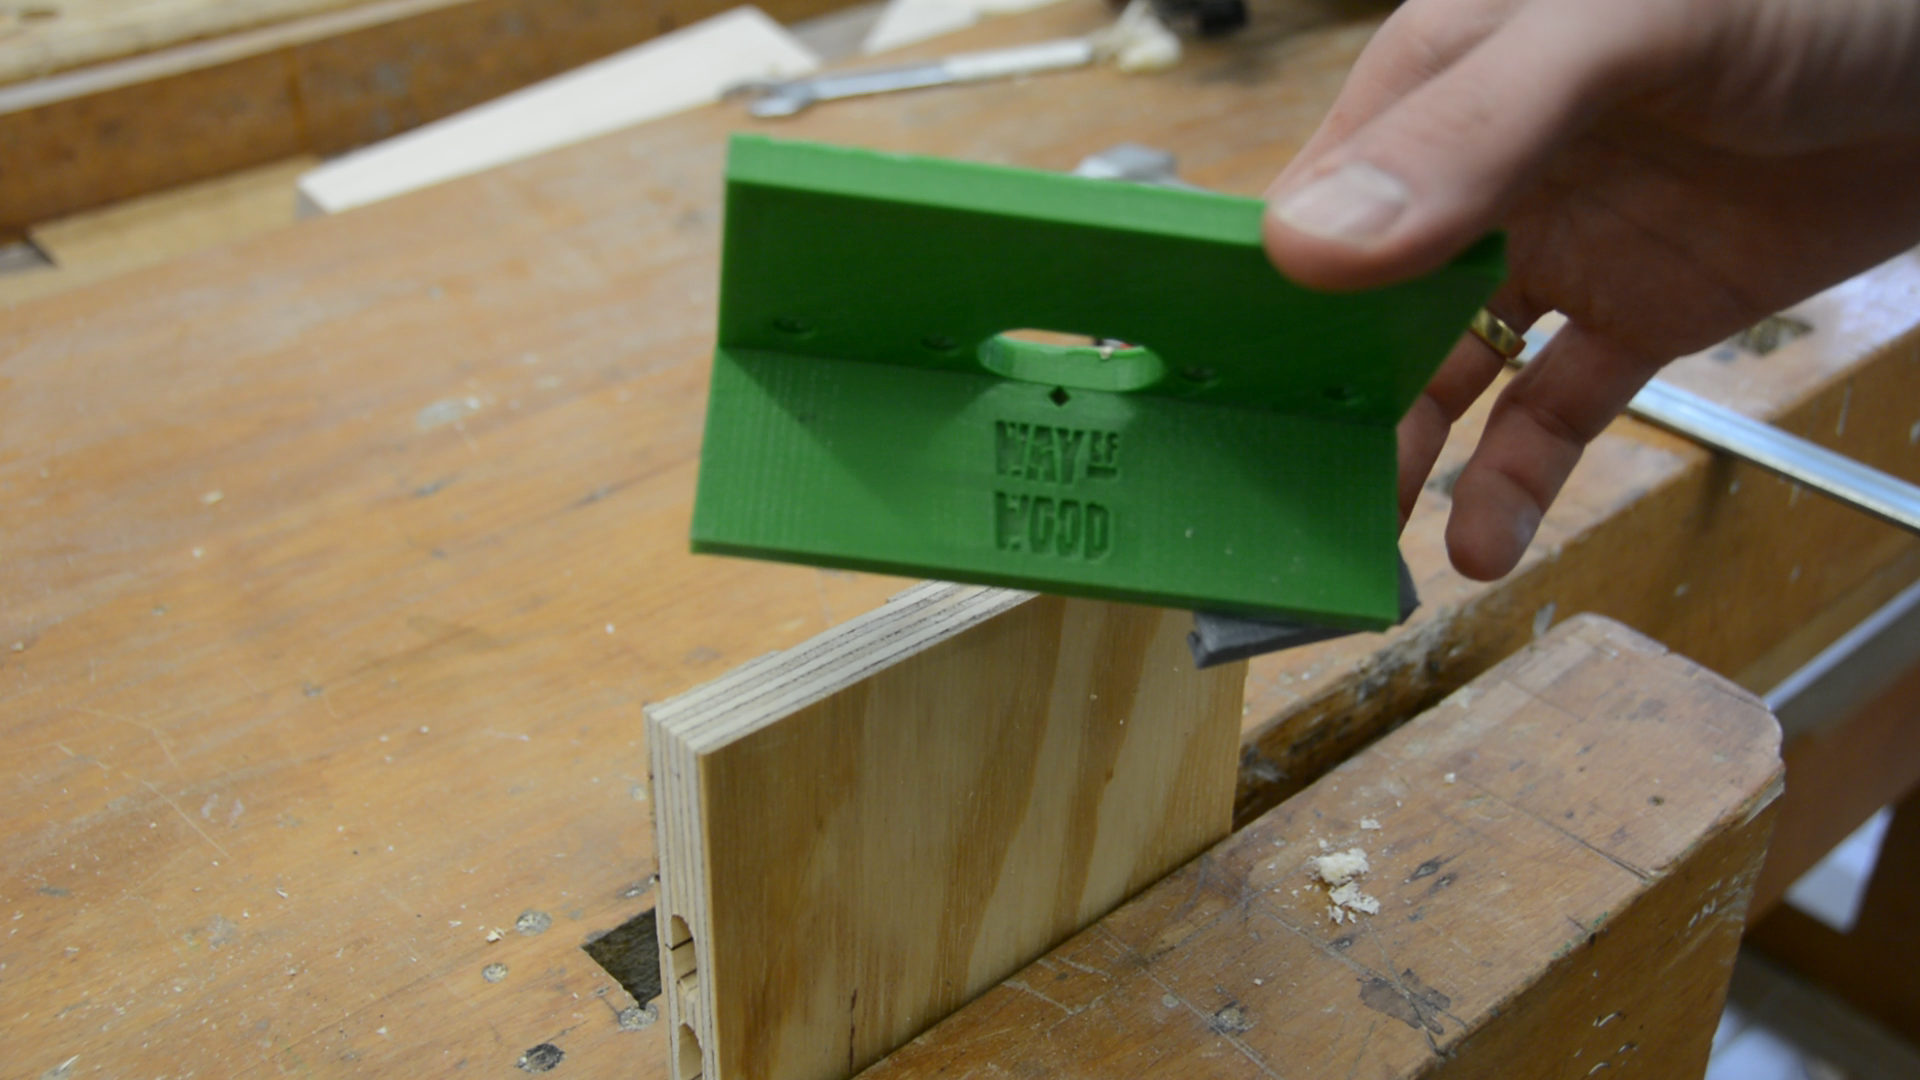
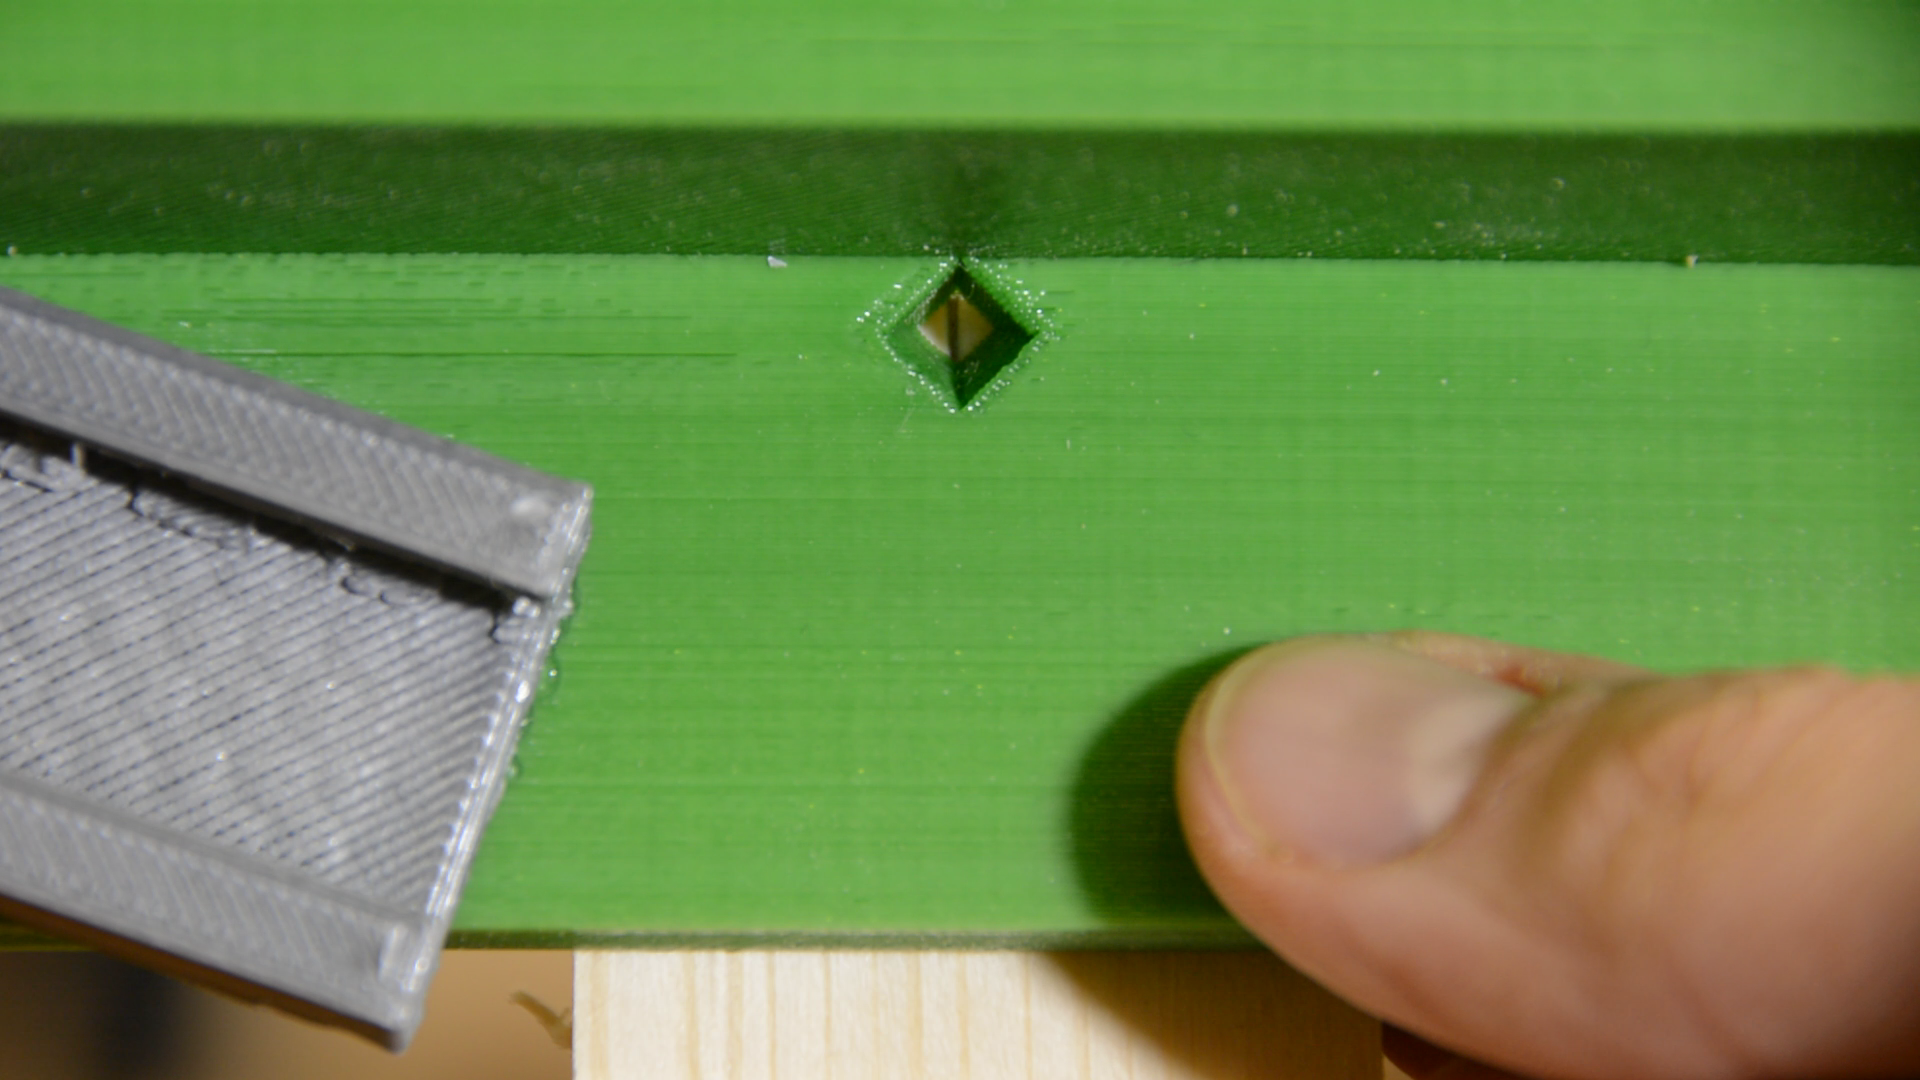
By looking through the small window on the underside of the jig we can align it perfectly with the workpiece. Once aligned we clamp the jig in place.
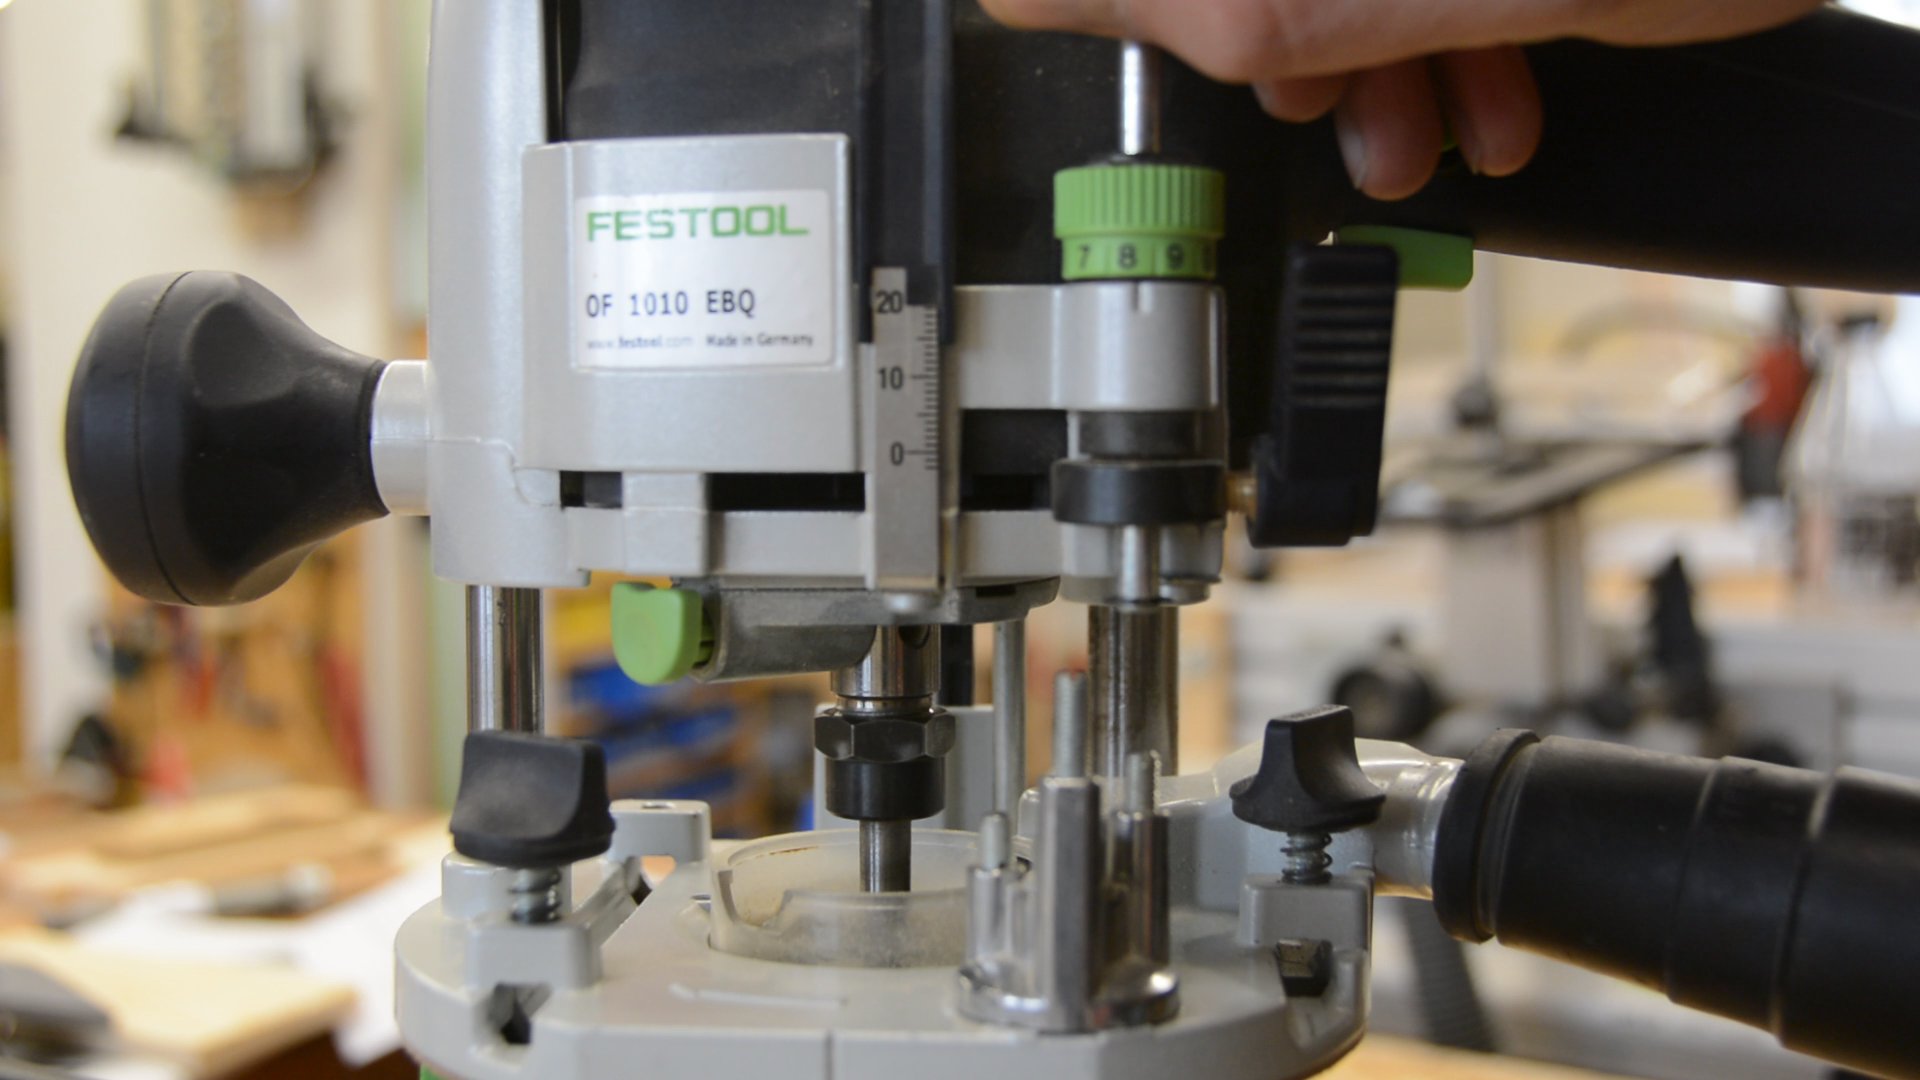
Next we put the right size guide bushing on the router and adjust it to the correct depth of cut.
The best way to cut the mortise is by either starting with a plunge cut at each end or by going slowly in several passes.
After creating the mortises in both pieces we can glue them together. For larger tenons I tend to create my own tenons from scrapwood; here you see me using a factory-made one from Festool. In my experience it’s easier to put glue on the tenon rather than in the mortise. After putting the pieces together this is going to be a very strong joint.
Alignment pins
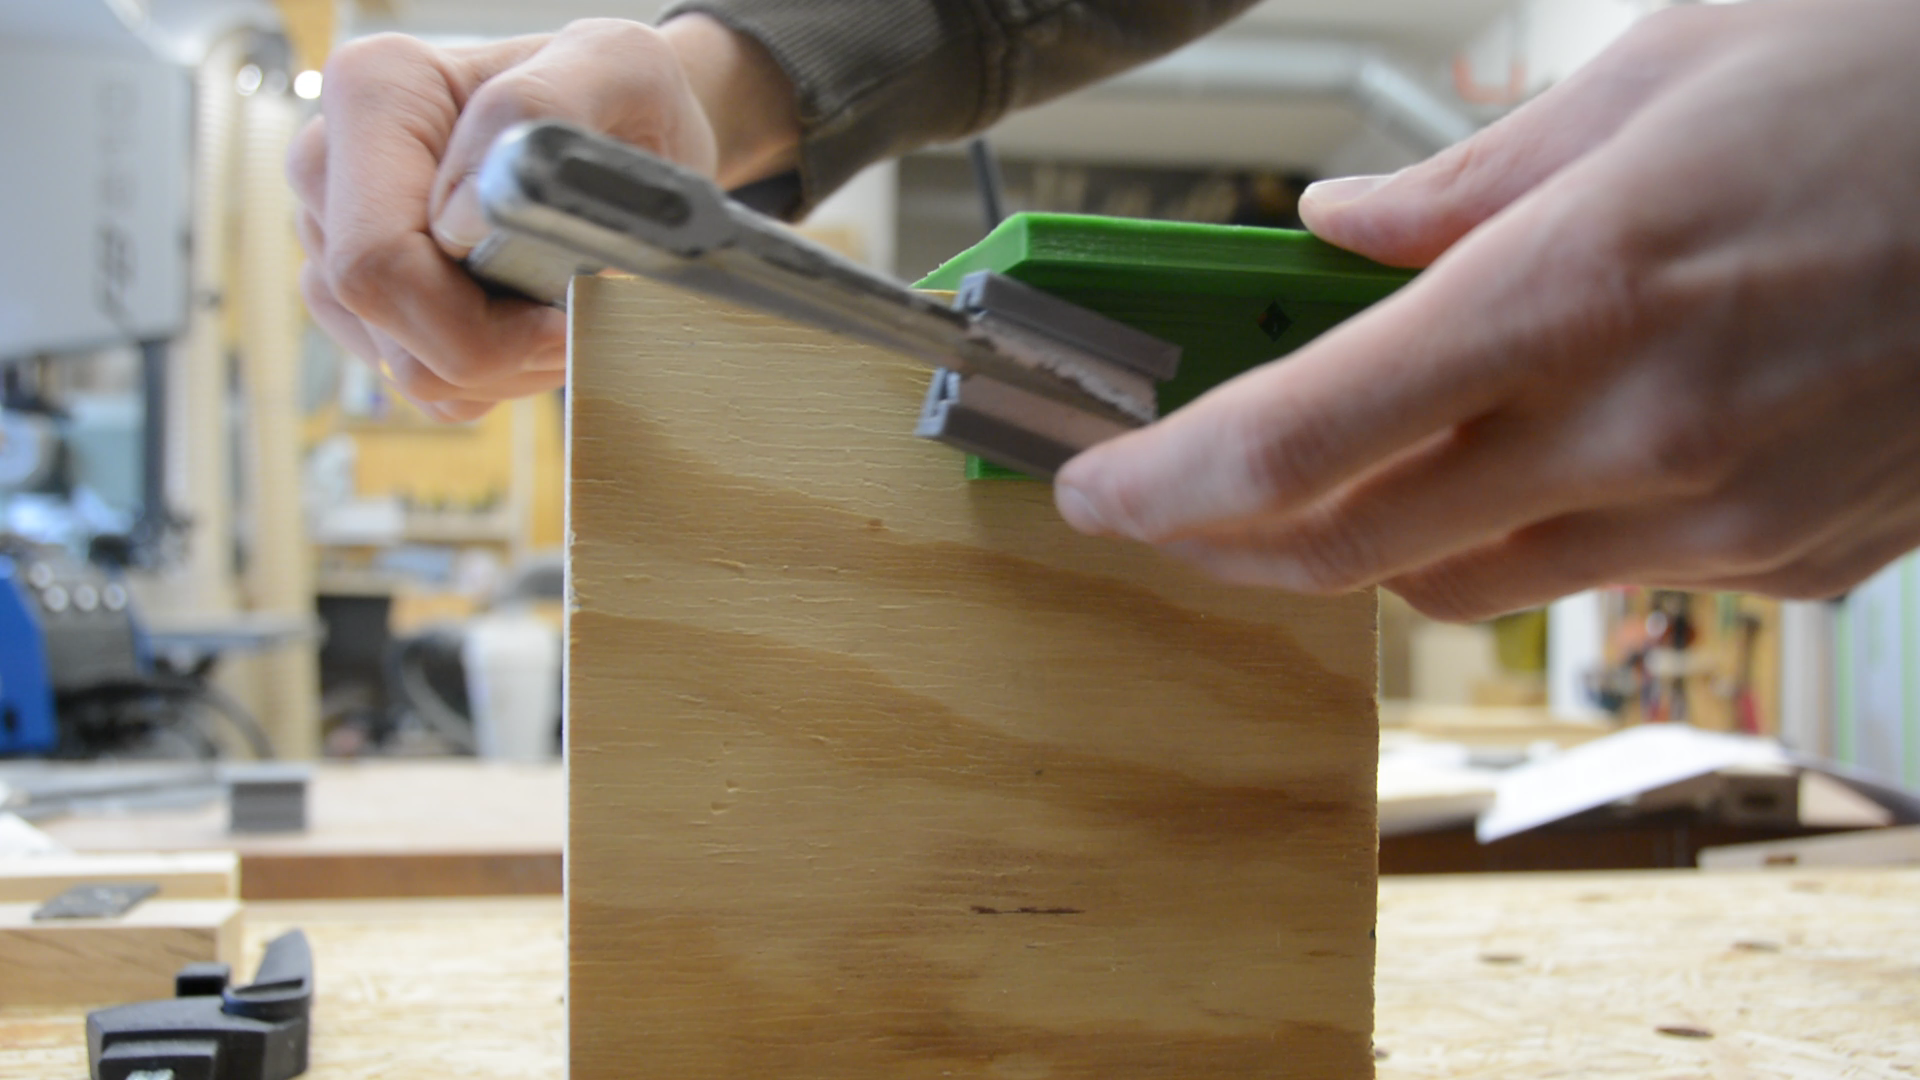
Another helpful feature of this jig are the alignment pins. One can put bookshelf pins or any other type of pin in the alignment holes. This way we can align the jig with the edge of the workpiece and after routing out a mortise you can use it to align the next mortise very precisely.

Clamp holder
The small clampholder can be glued to the jig. Use the clamp itself to hold it in place. After the superglue is dry the clam is attached to the jig. This makes it easy to move the clamp and the jig with one hand. A link to the customizable model for the clamp holder can be found below in the resources section.
Alignment pins improve your efficiency as you no longer have to mark the centre line. This little clampholder serves a similar purpose. By gluing a clamp in a removable way to the jig you no longer have to fiddle around with the loose tenon jig and the clamp but you can just move the clamp together with the jig with with one hand.
Thingiverse design
The link below will lead you to the thingiverse website where you can find the model under an open source license. This allows you to modify, print and use it for free.
Click on the button that says “Open in customizer” which leads you to a page with a lot of options that I will explain in the following.
Bushing size: In case you just want the standard jig there is only one parameter you have to change. Just type the size of your guide bushing plus a a few tenths of a millimeter as play in the first field. Then follow the instructions on the thingiverse website to download your model.
Size / Tenon width: The size parameter determines the fit of the tenon. If you want to have a bit of an error margin to
shift to Domino left or right you have to increase the size to a higher value. 1.5 corresponds to the
width of the loose setting on a Festool domino jointer.
Material thickness: With 18mm as material thickness the slot will be centered in wood of 18mm thickness. Increase the value
if you want to work with thicker material.
Registragion plate: The registration plate is the plate which clamps against your workpiece. You can make it thicker or longer by changing the next two values.
Base plate: The router rides on the base plate. You can make it wider or more compact by changing the next group of parameters.
Alignment pins: The final section allows you to disable the alignment pins and change their their diameter.
Just play around with these parameters. The thingiverse customizer makes it very easy as you see immediately the effect of your change.
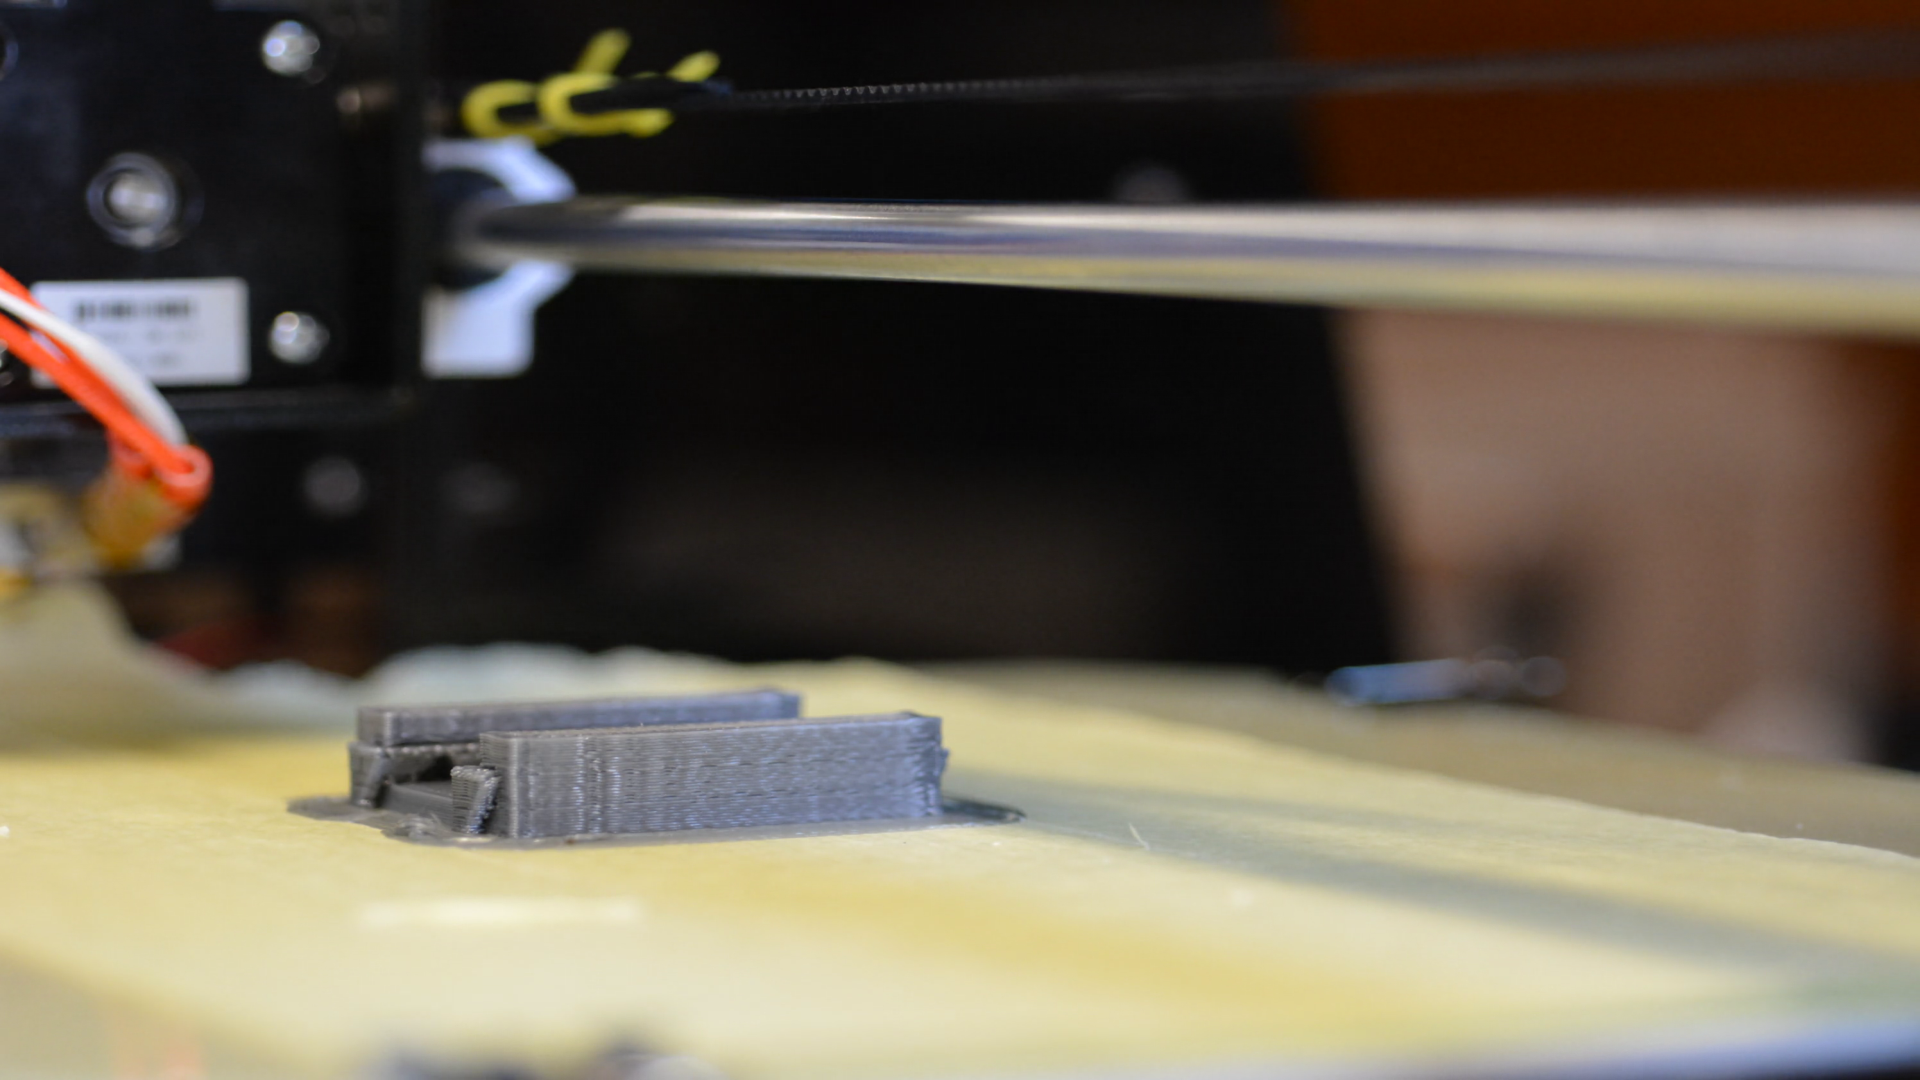
I printed my version on a cheap Anet 3D printer. I will leave a link where you could get one for around 120 Euro. And if you don’t want to use a 3-D printerI explain here how to create a similar tool from wood.
The design offers endless possibilities how to modify and further development this loose tenon jig. You can use an alternative design from my website to use dowels instead of tenons. You can modify the baseplate so that it fits in your tool bag.
Already with the simple version you can create large 12 or 14 mm tenons or small 4 or 5 mm tenons just by changing the router bit. Or you could even print one for double tenons. You could even use it to create bookshelf pins.
If you have more idea – please let me know in the comments.
Resources
3d models and designs
- 3d model and design of the mortise jig on thingiverse
- 3d model of the doweling jig design on thingiverse
- 3d model of the clamp-holder on thingiverse