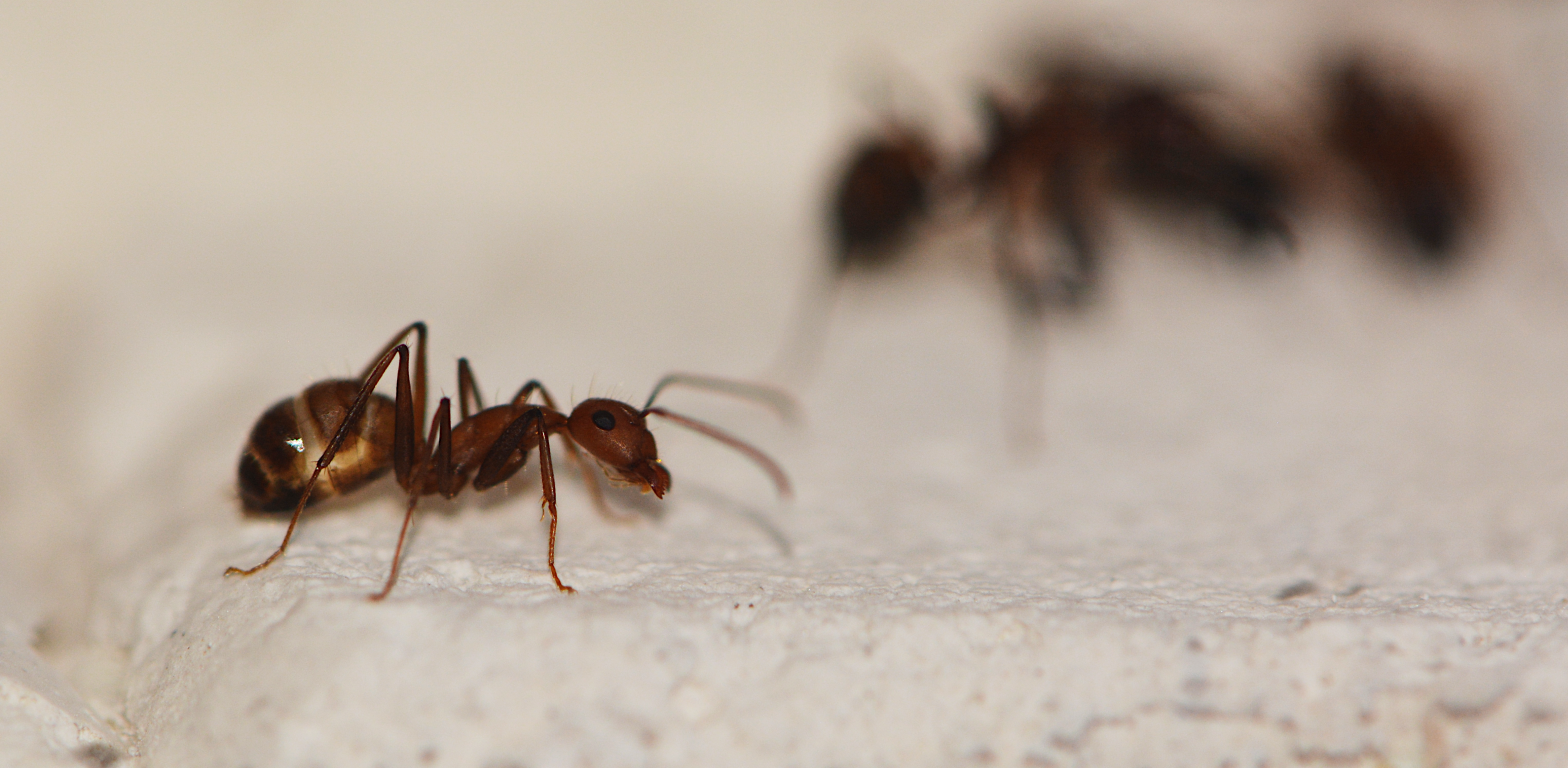
Ants are really interesting animals and fun to watch. If you want to keep ants at home they need an ant nest – called a formicarium and an arena where you can feed them. In this article I will build a modular system for my ants.
The ant arena
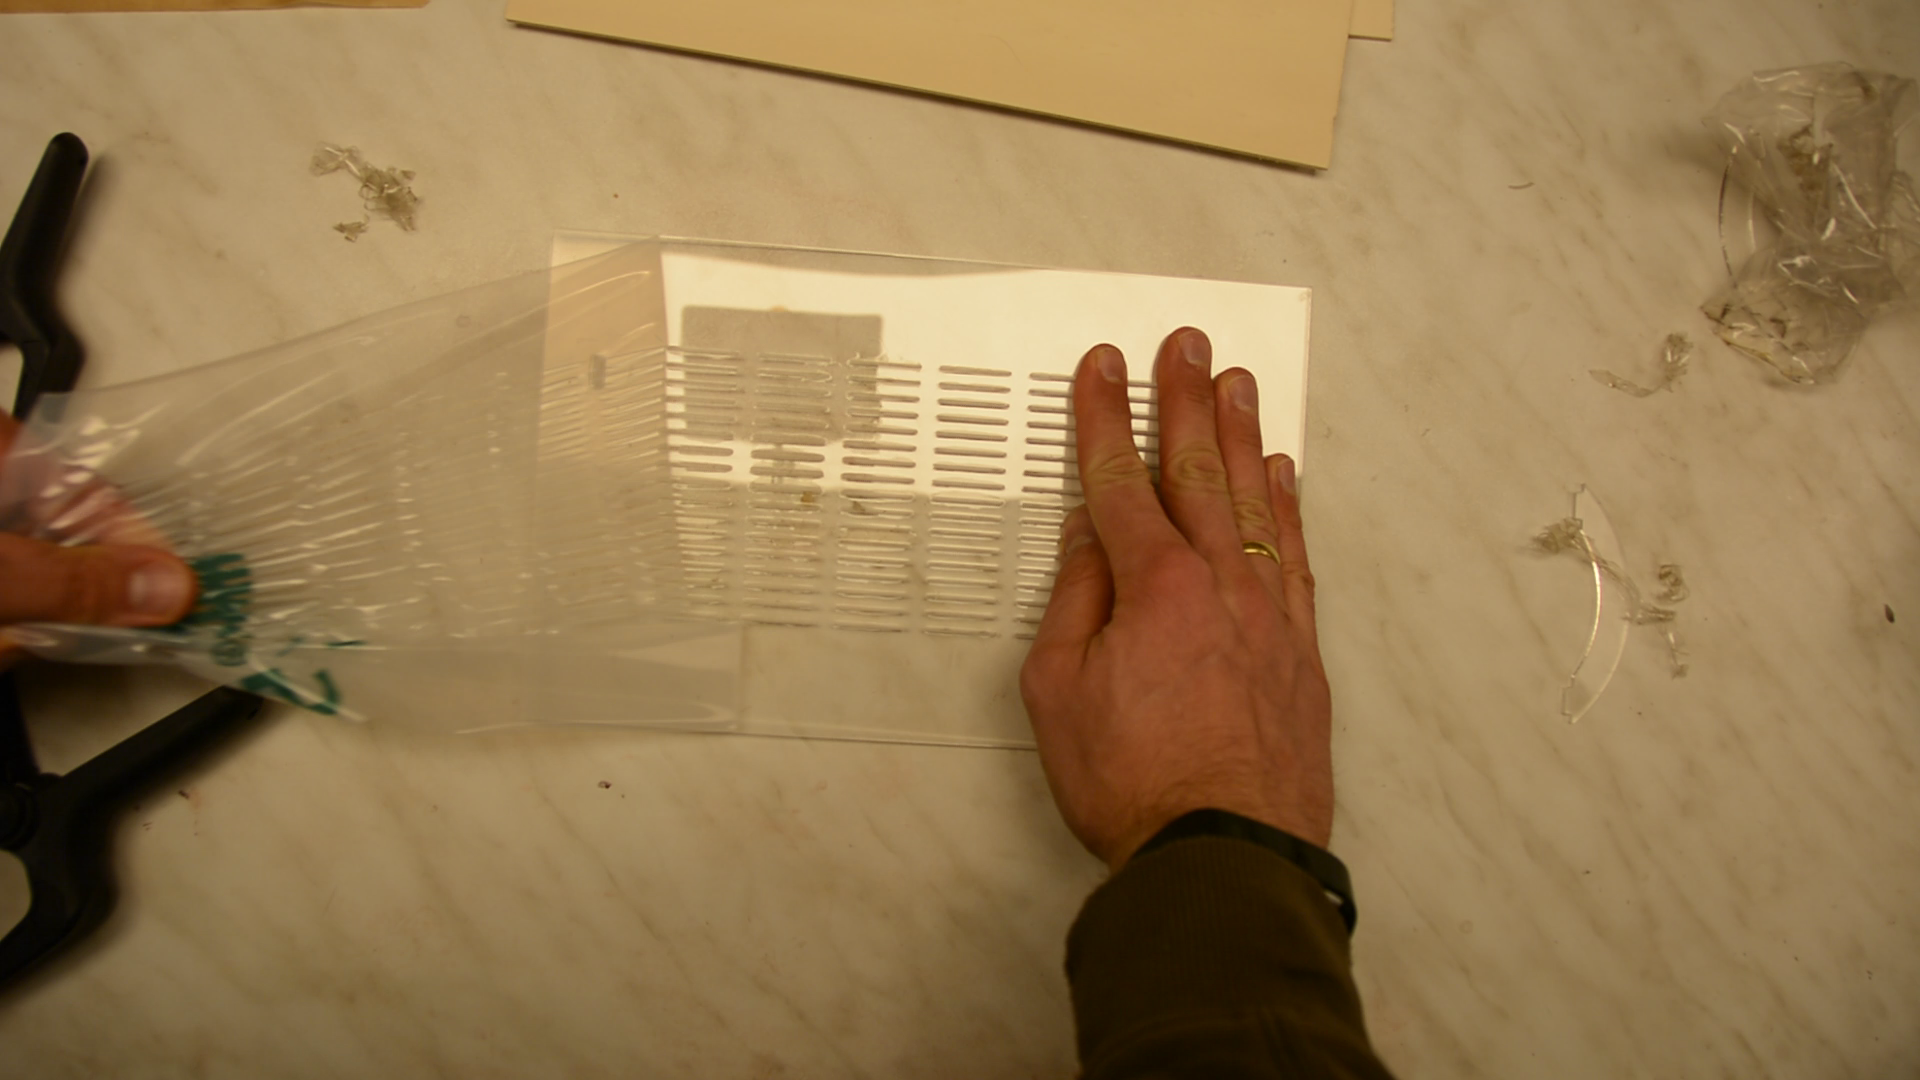
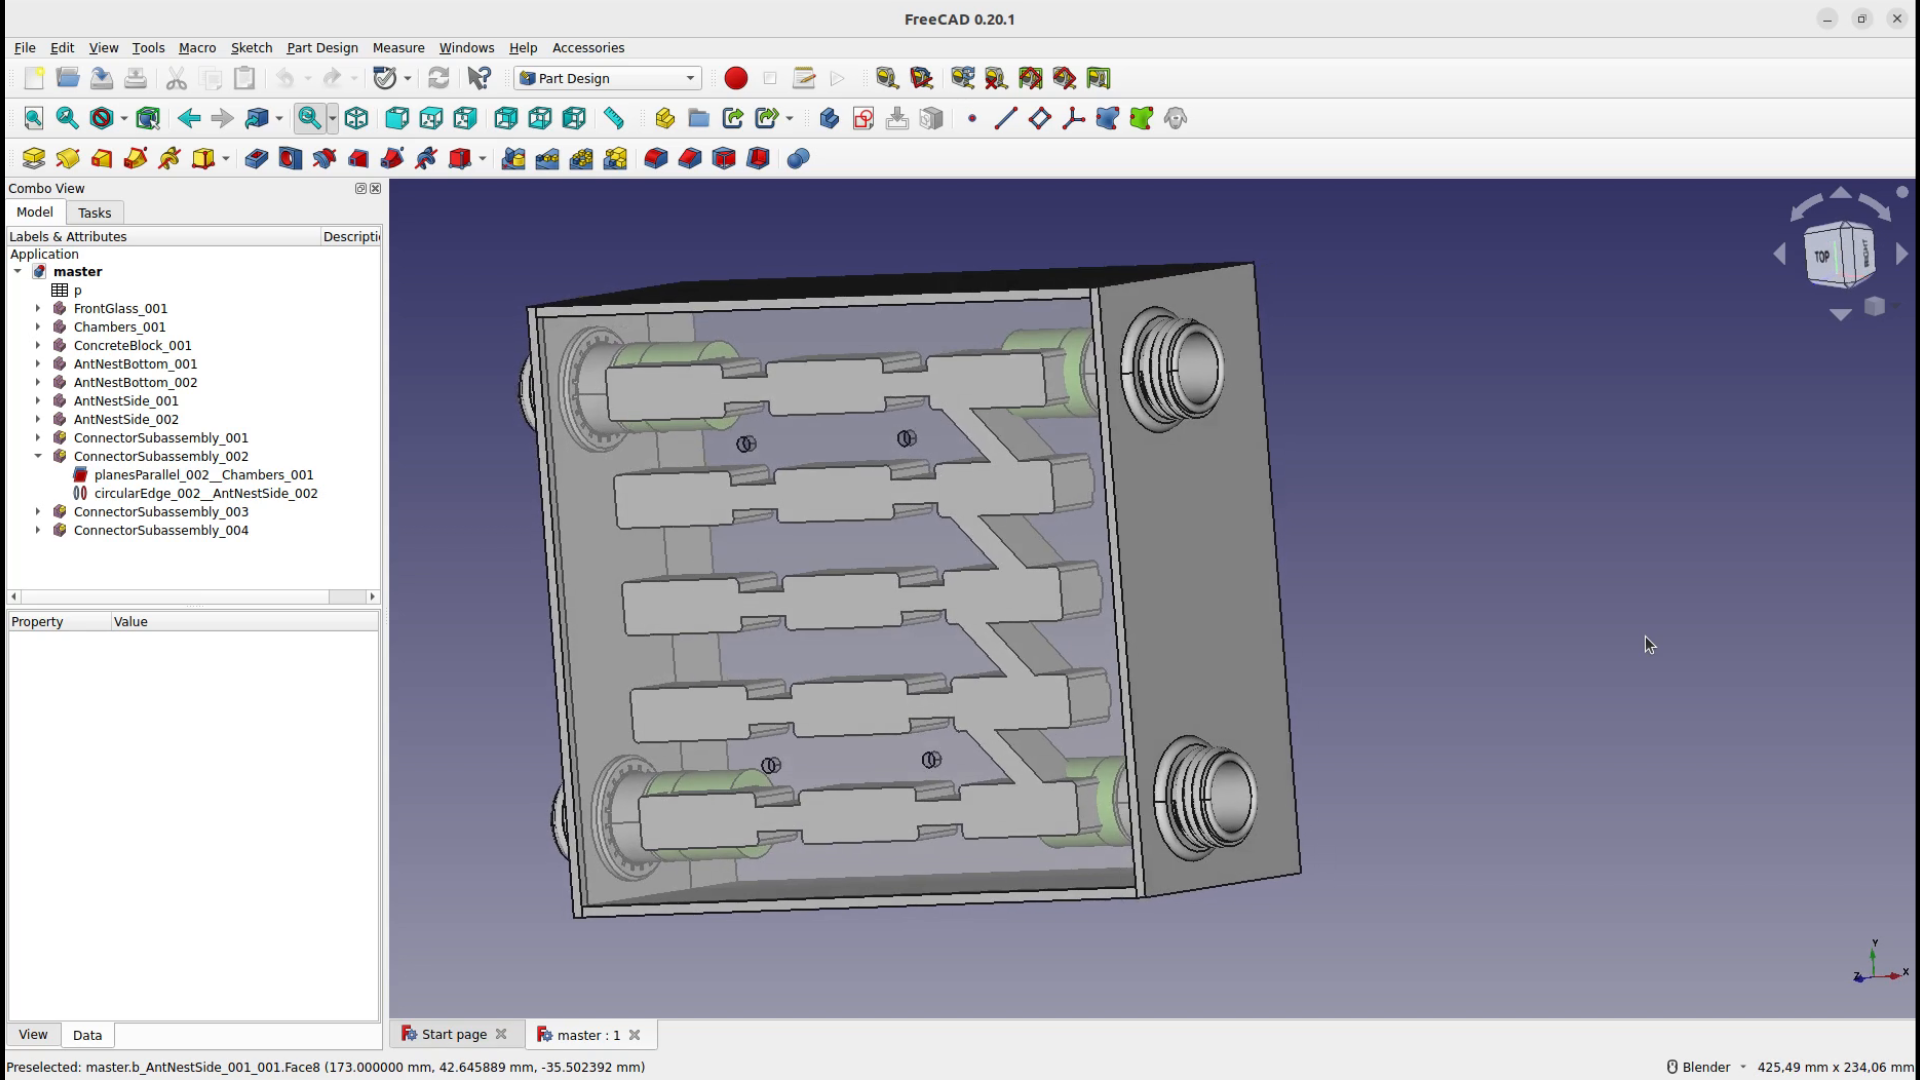
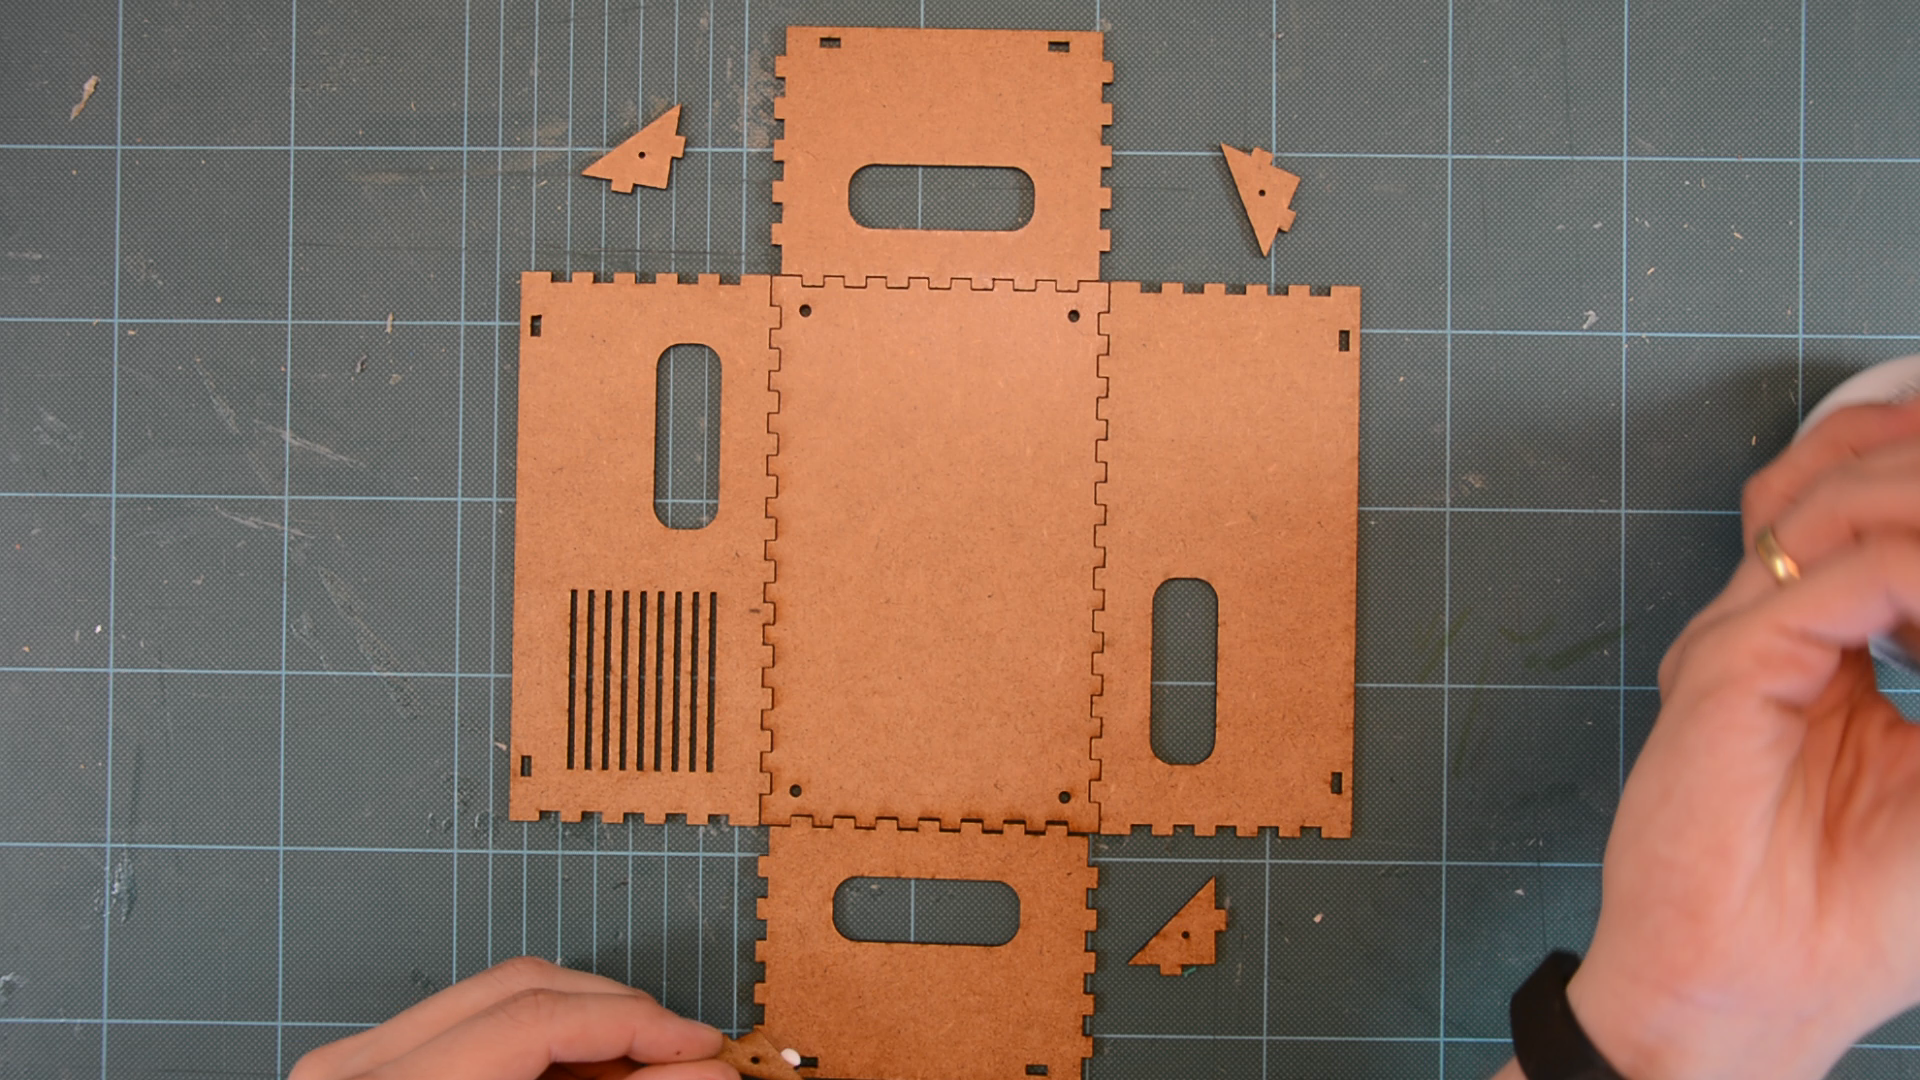
The arena is a simple box that I build as a parametric model in FreeCAD. The model is nothing special – just four walls and a lid with some vent slots.
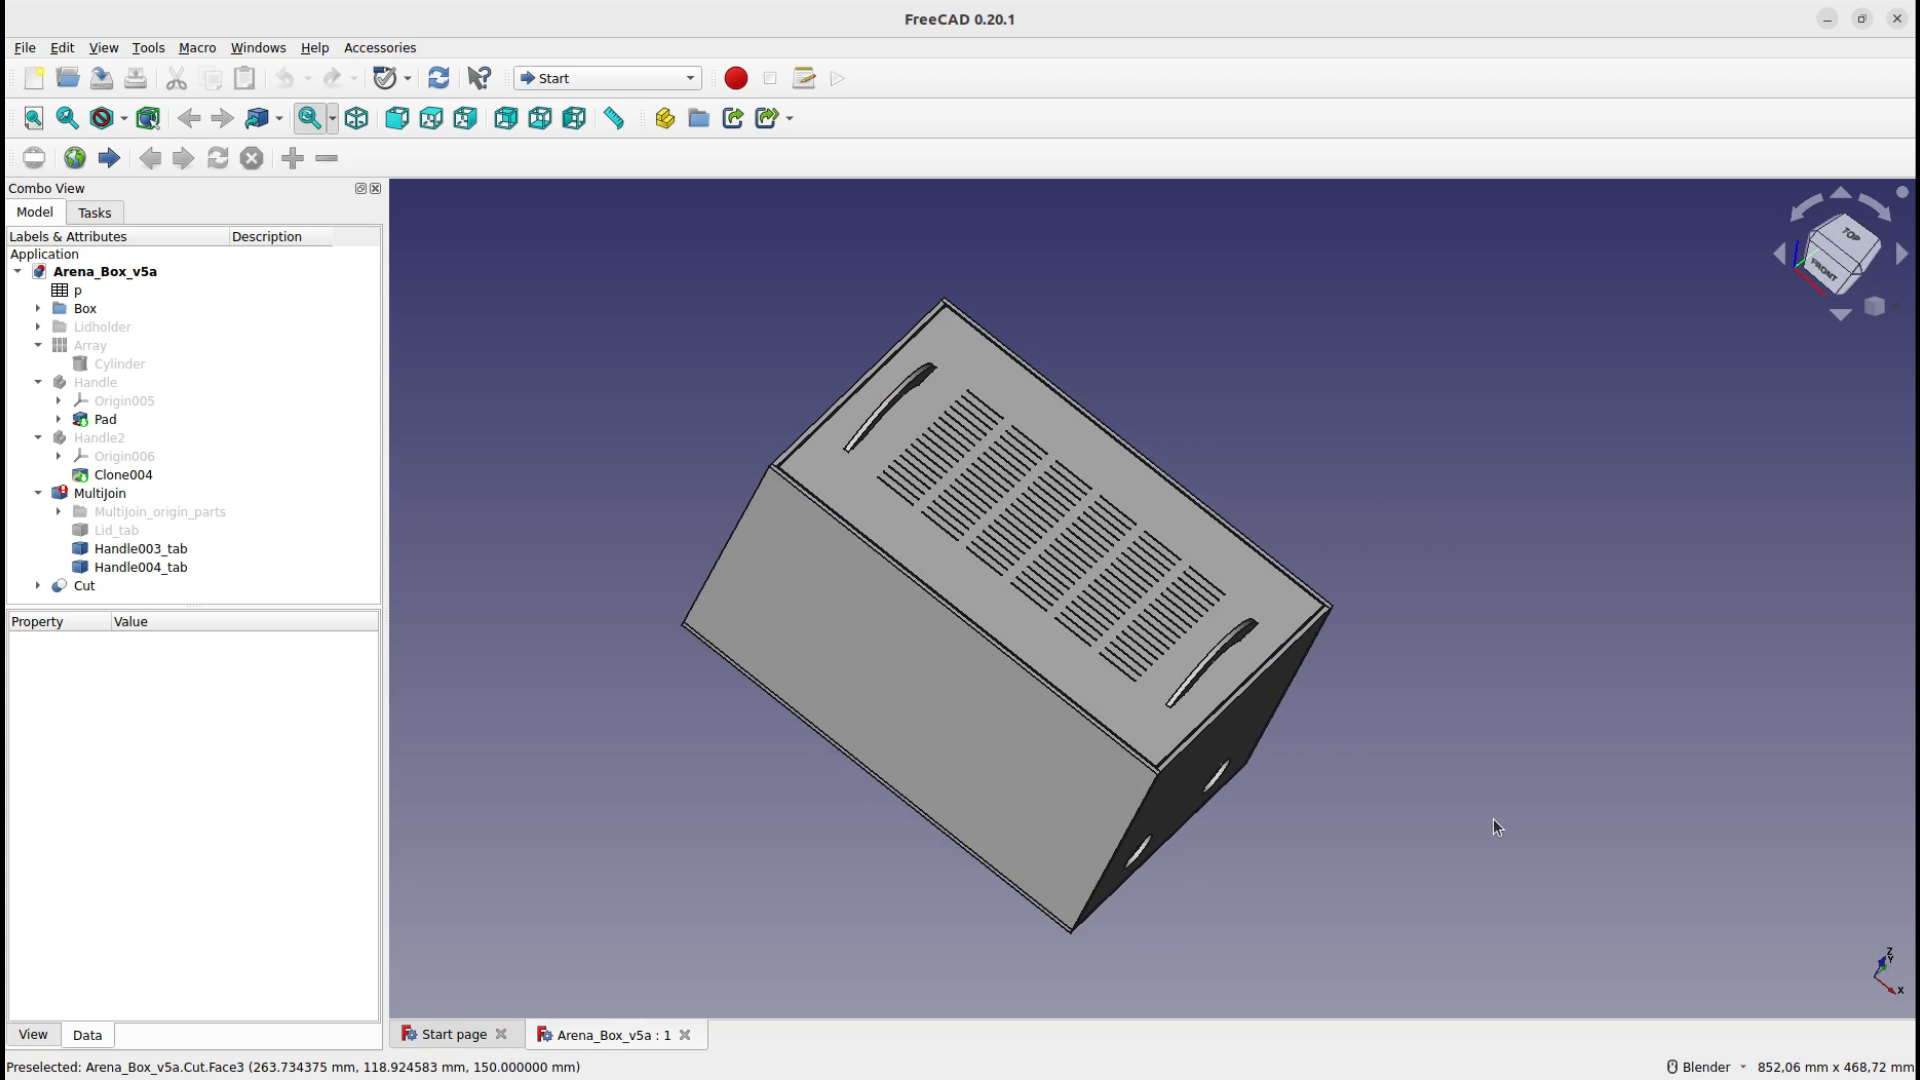
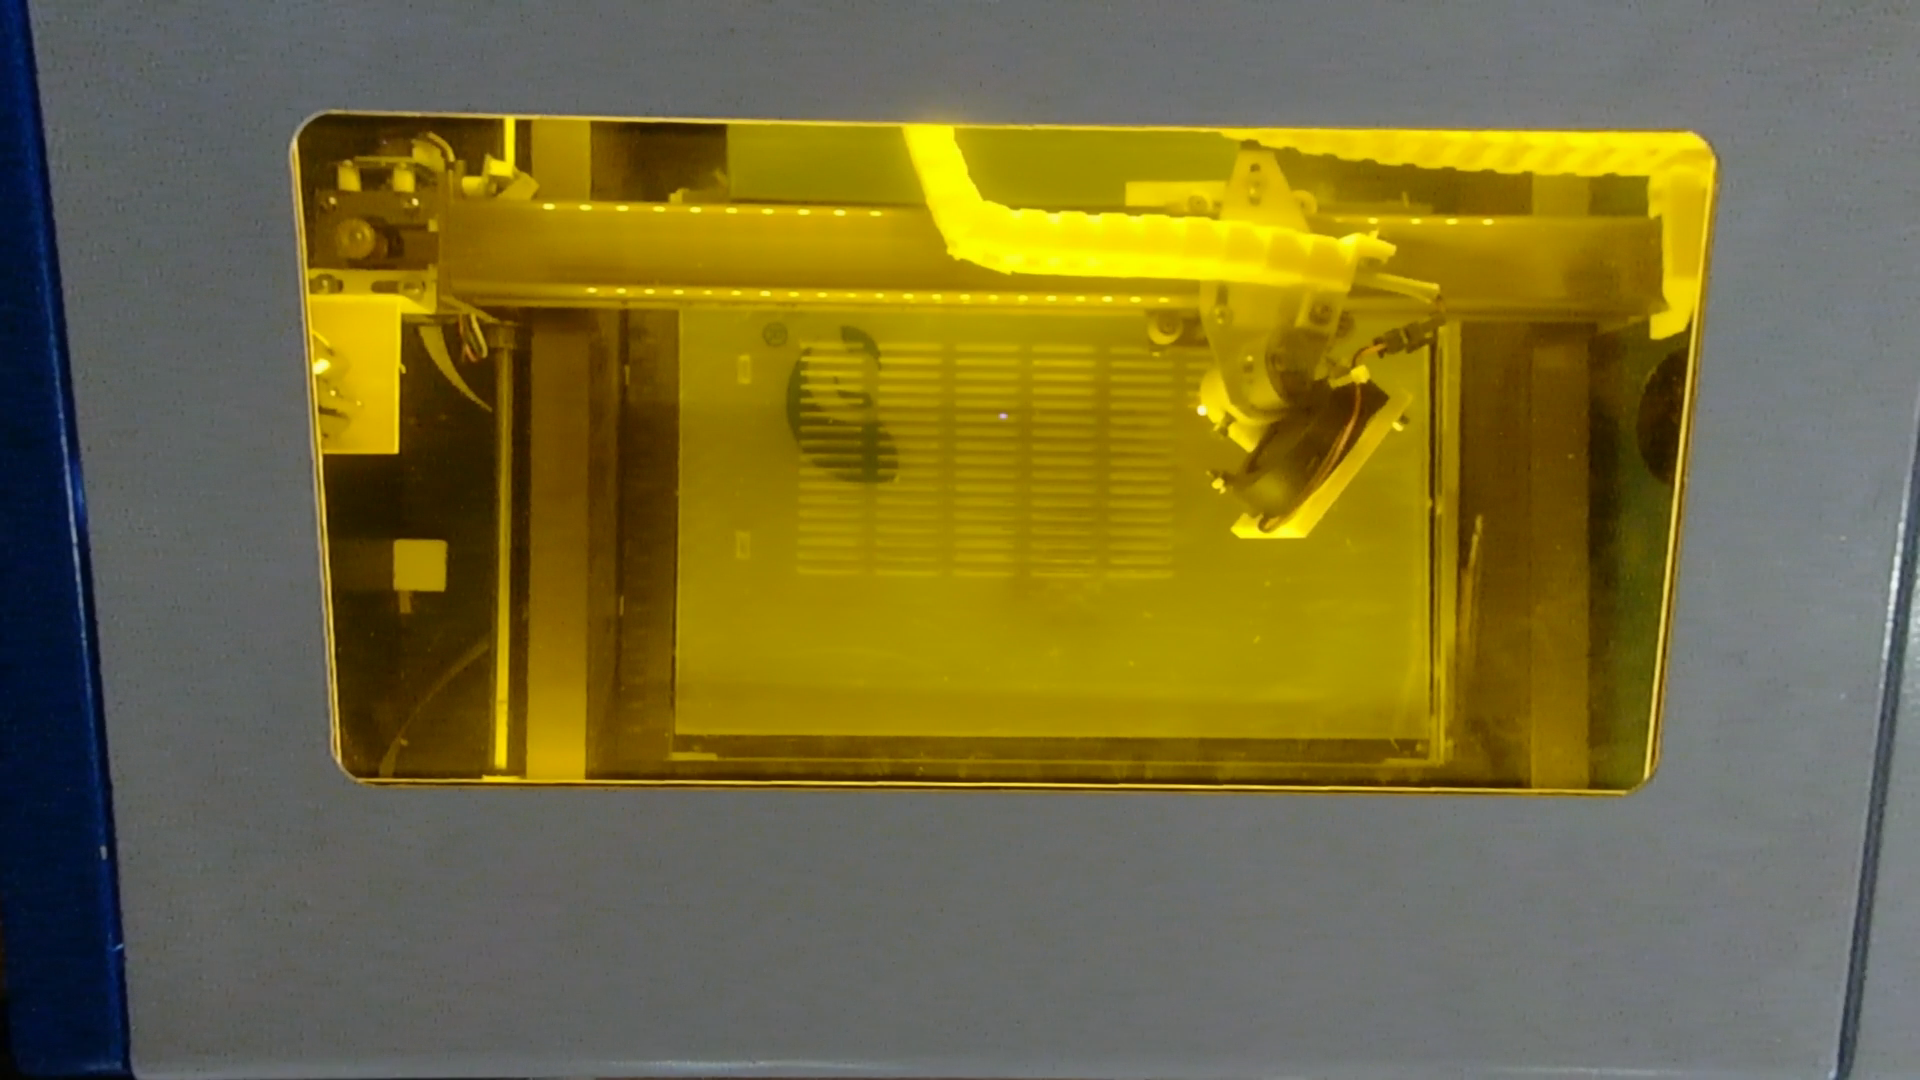
I am cutting all the parts on the K40 laser cutter.
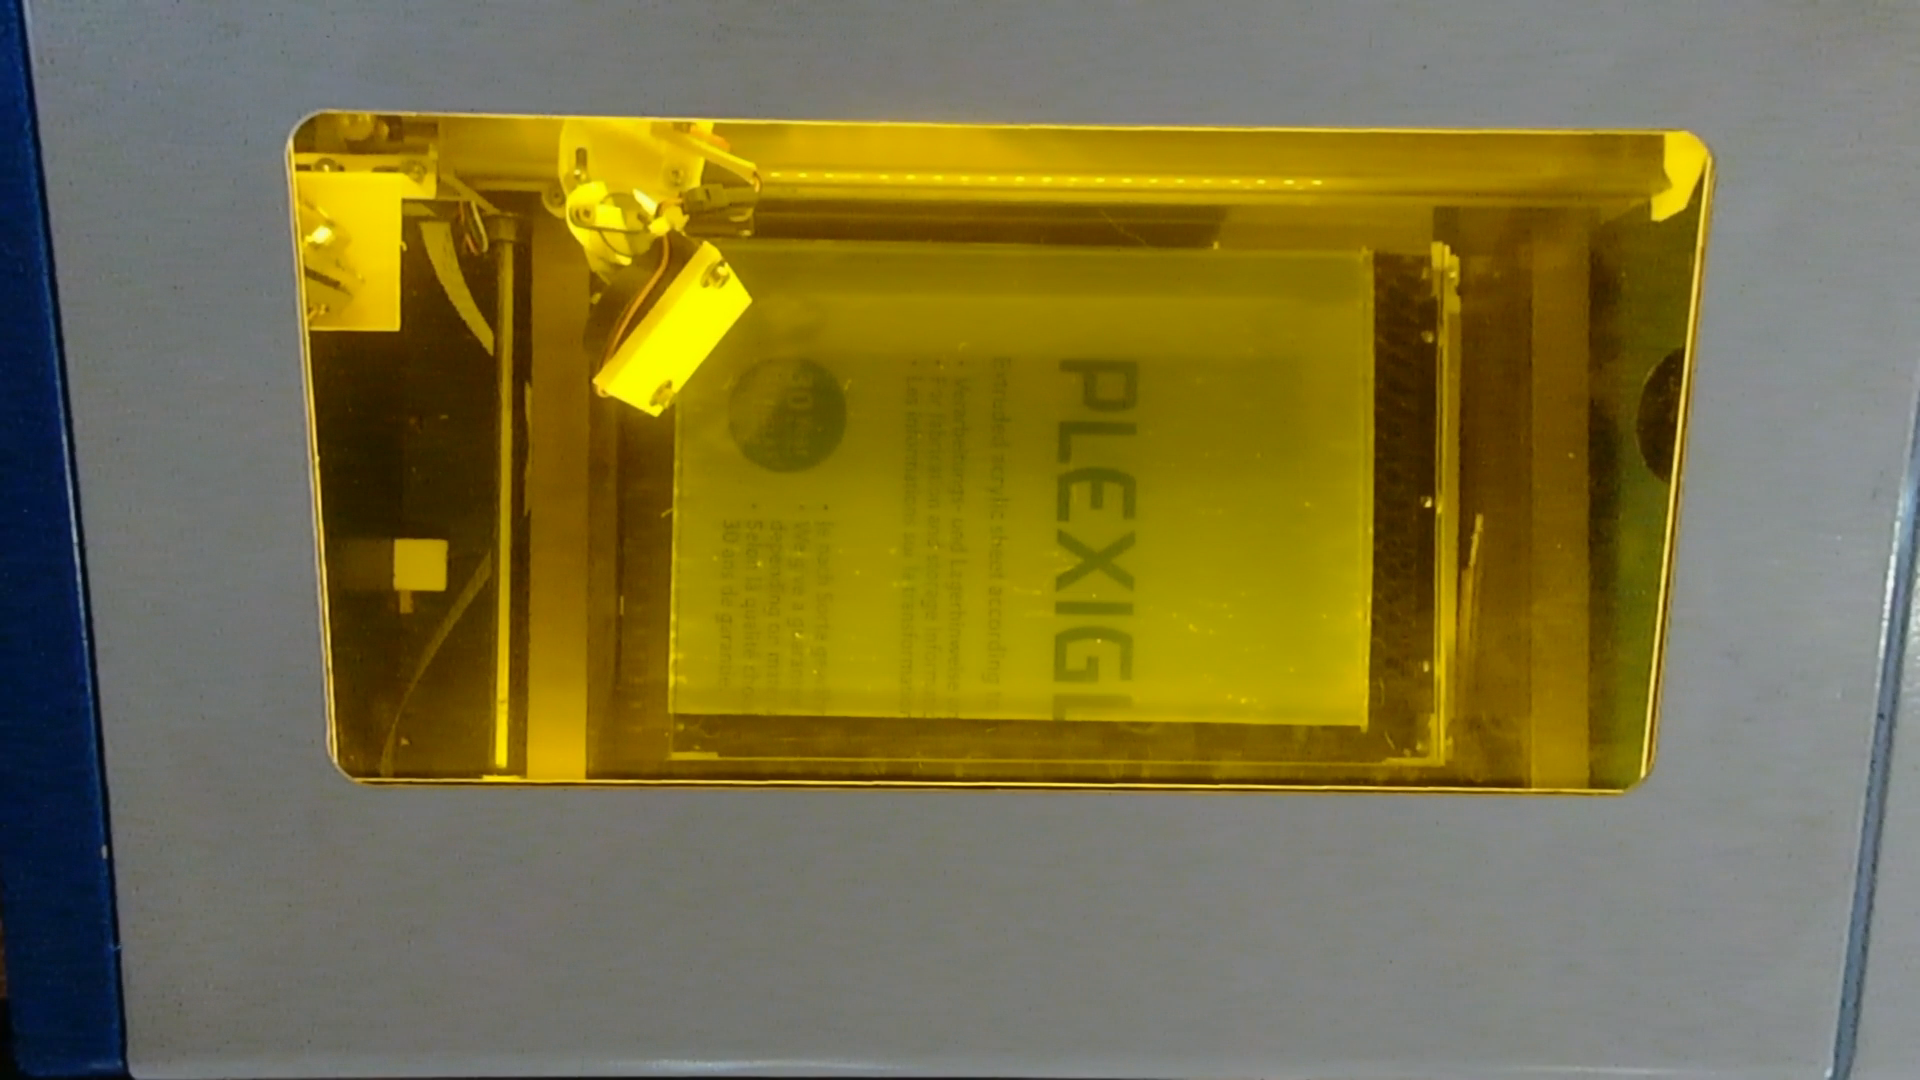
While this was no problem for the walls, the acrylic lid started to warp due to all the heat from the cutting and the thin areas.
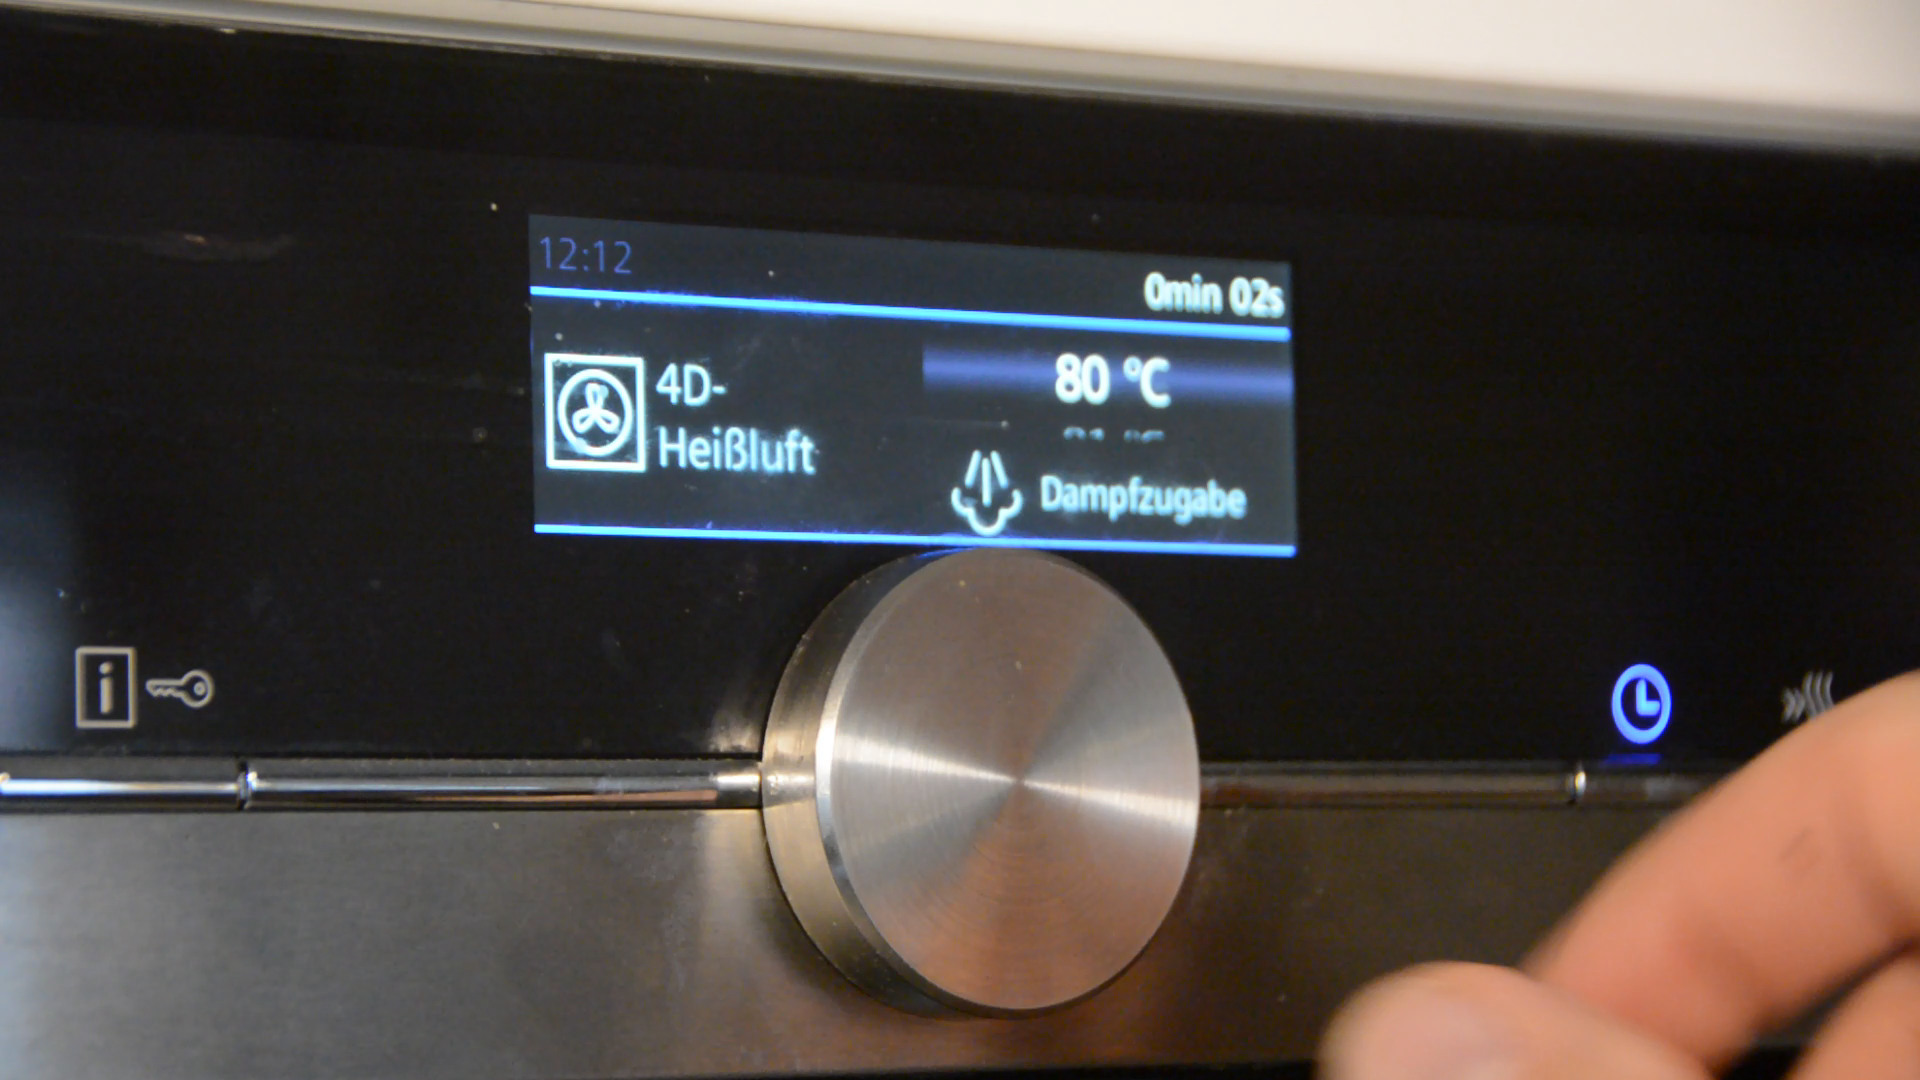
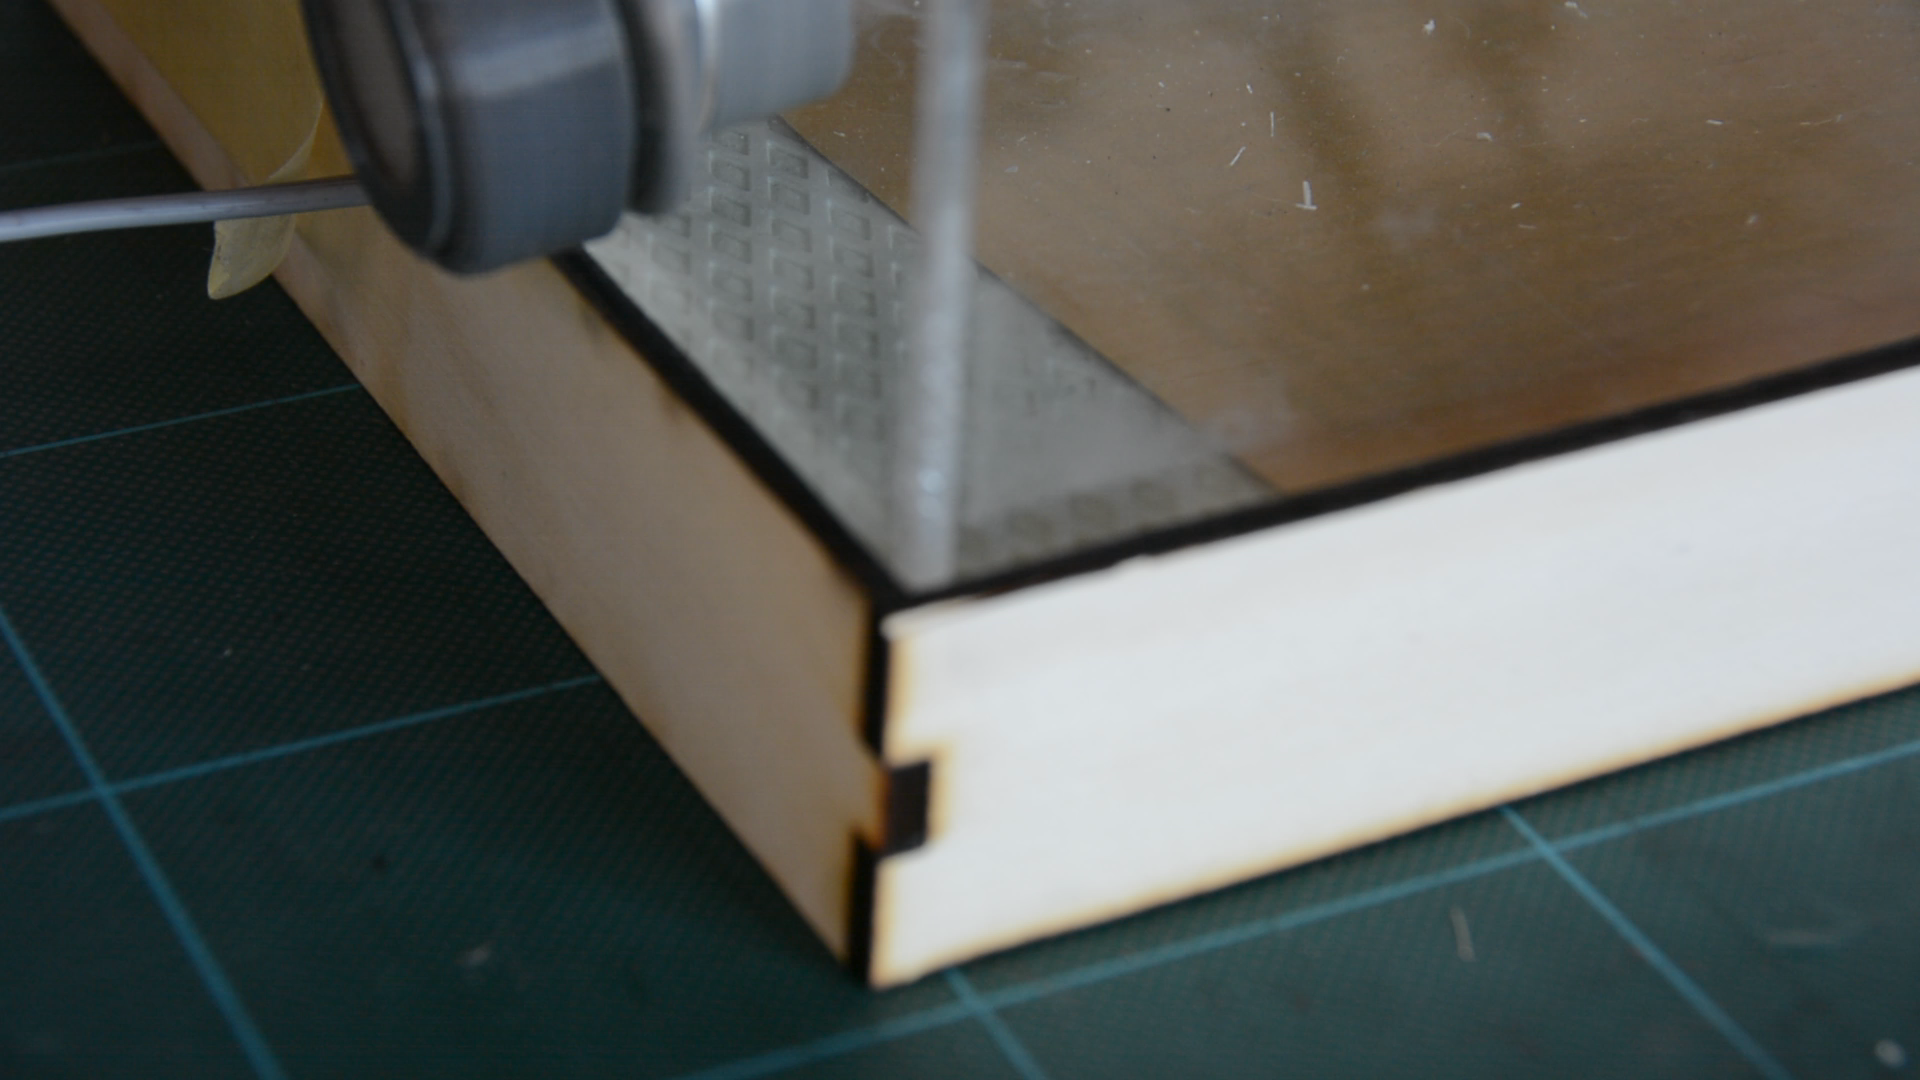
For the lid to lay flat on the arena I apply a good amount of clamping pressure and aneel the acrylic at 80 degree for 30 minutes in the oven.

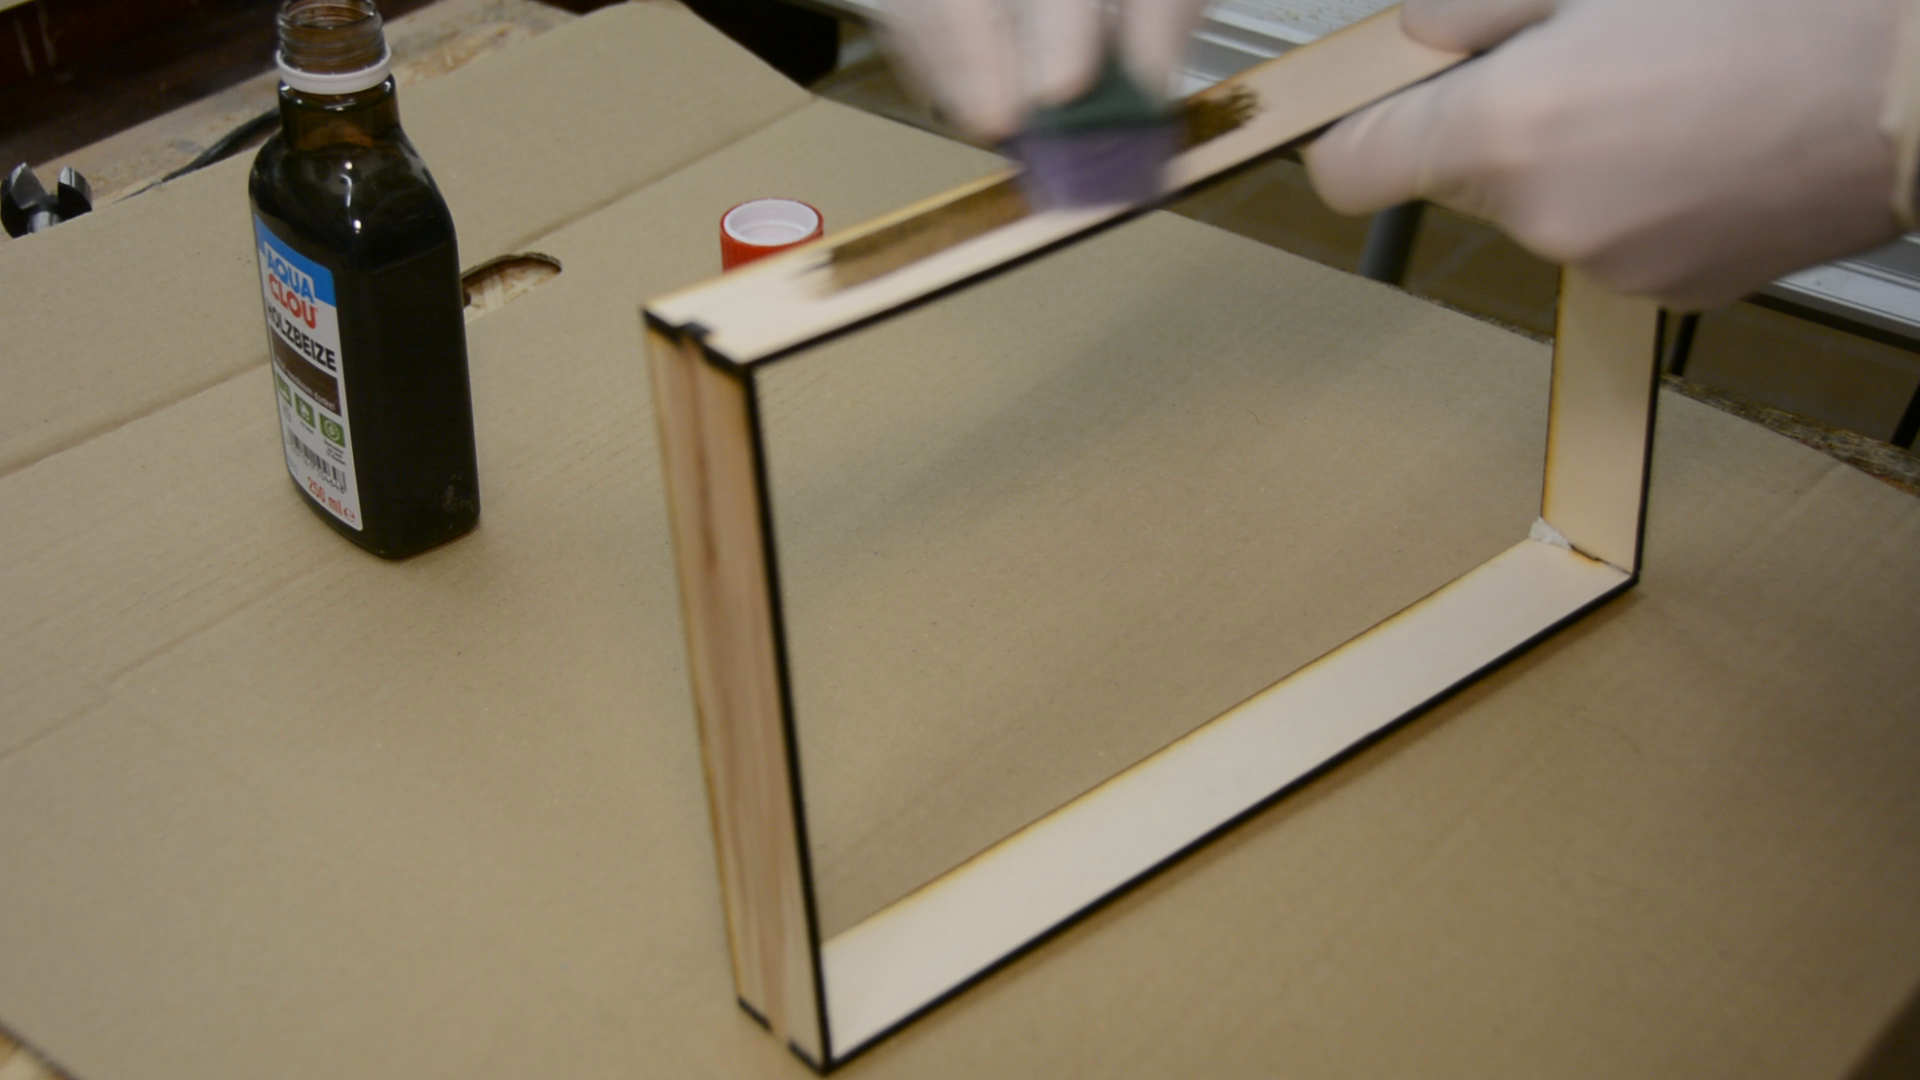
After taking the lid out of the clamps it is perfectly flat and I can glue the handles in place.
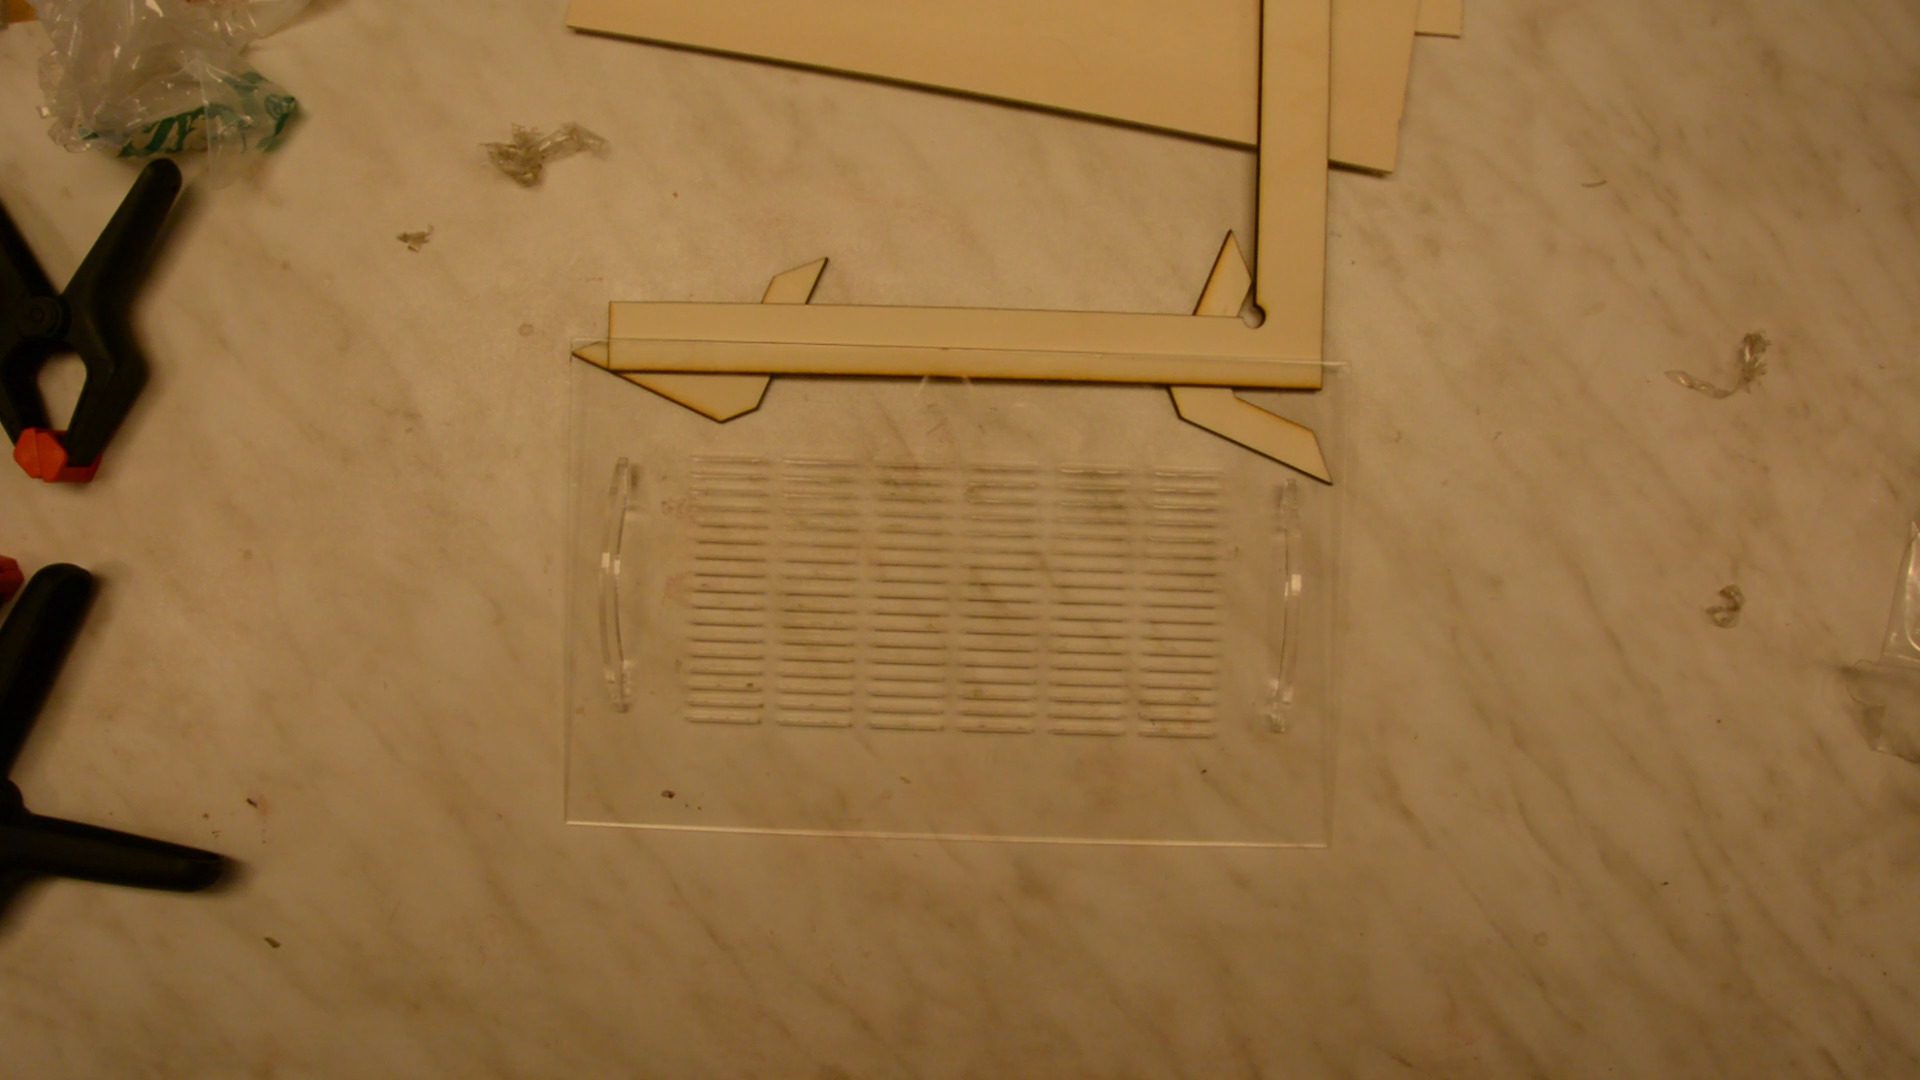
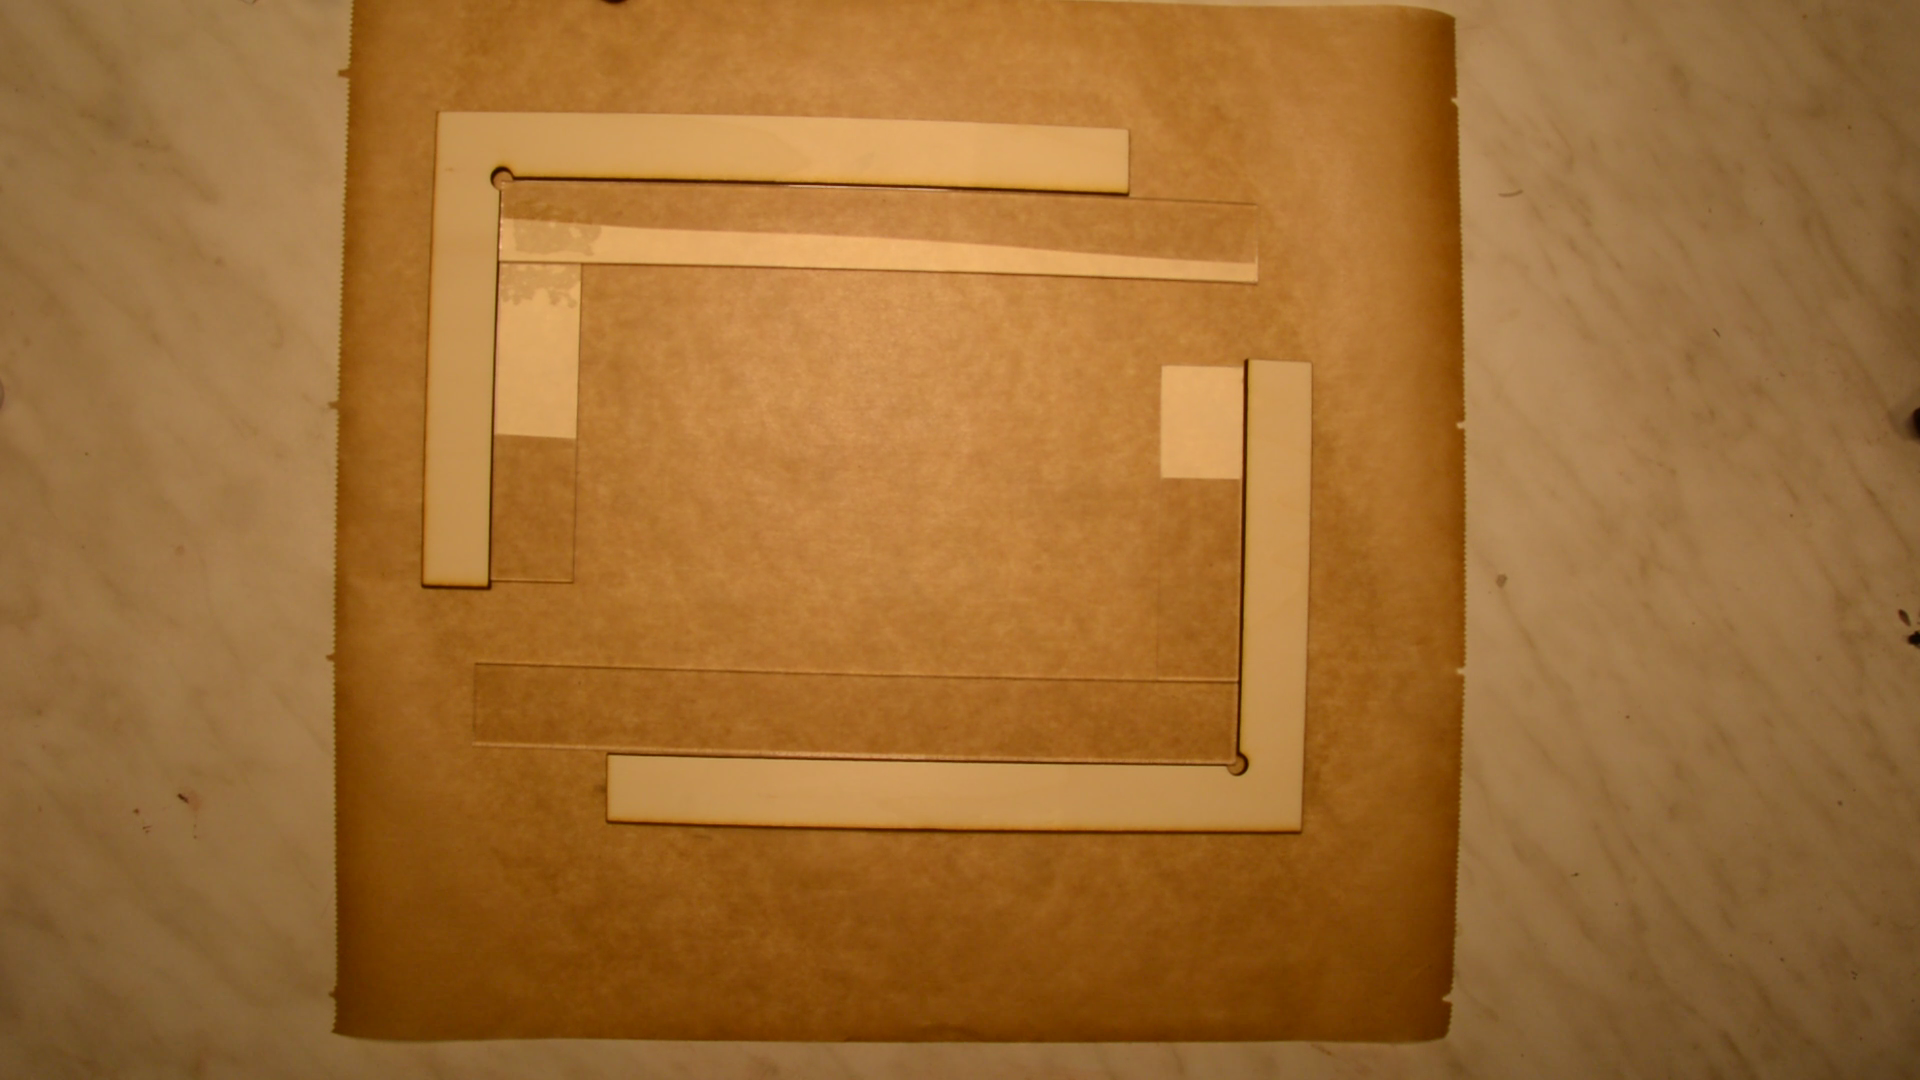
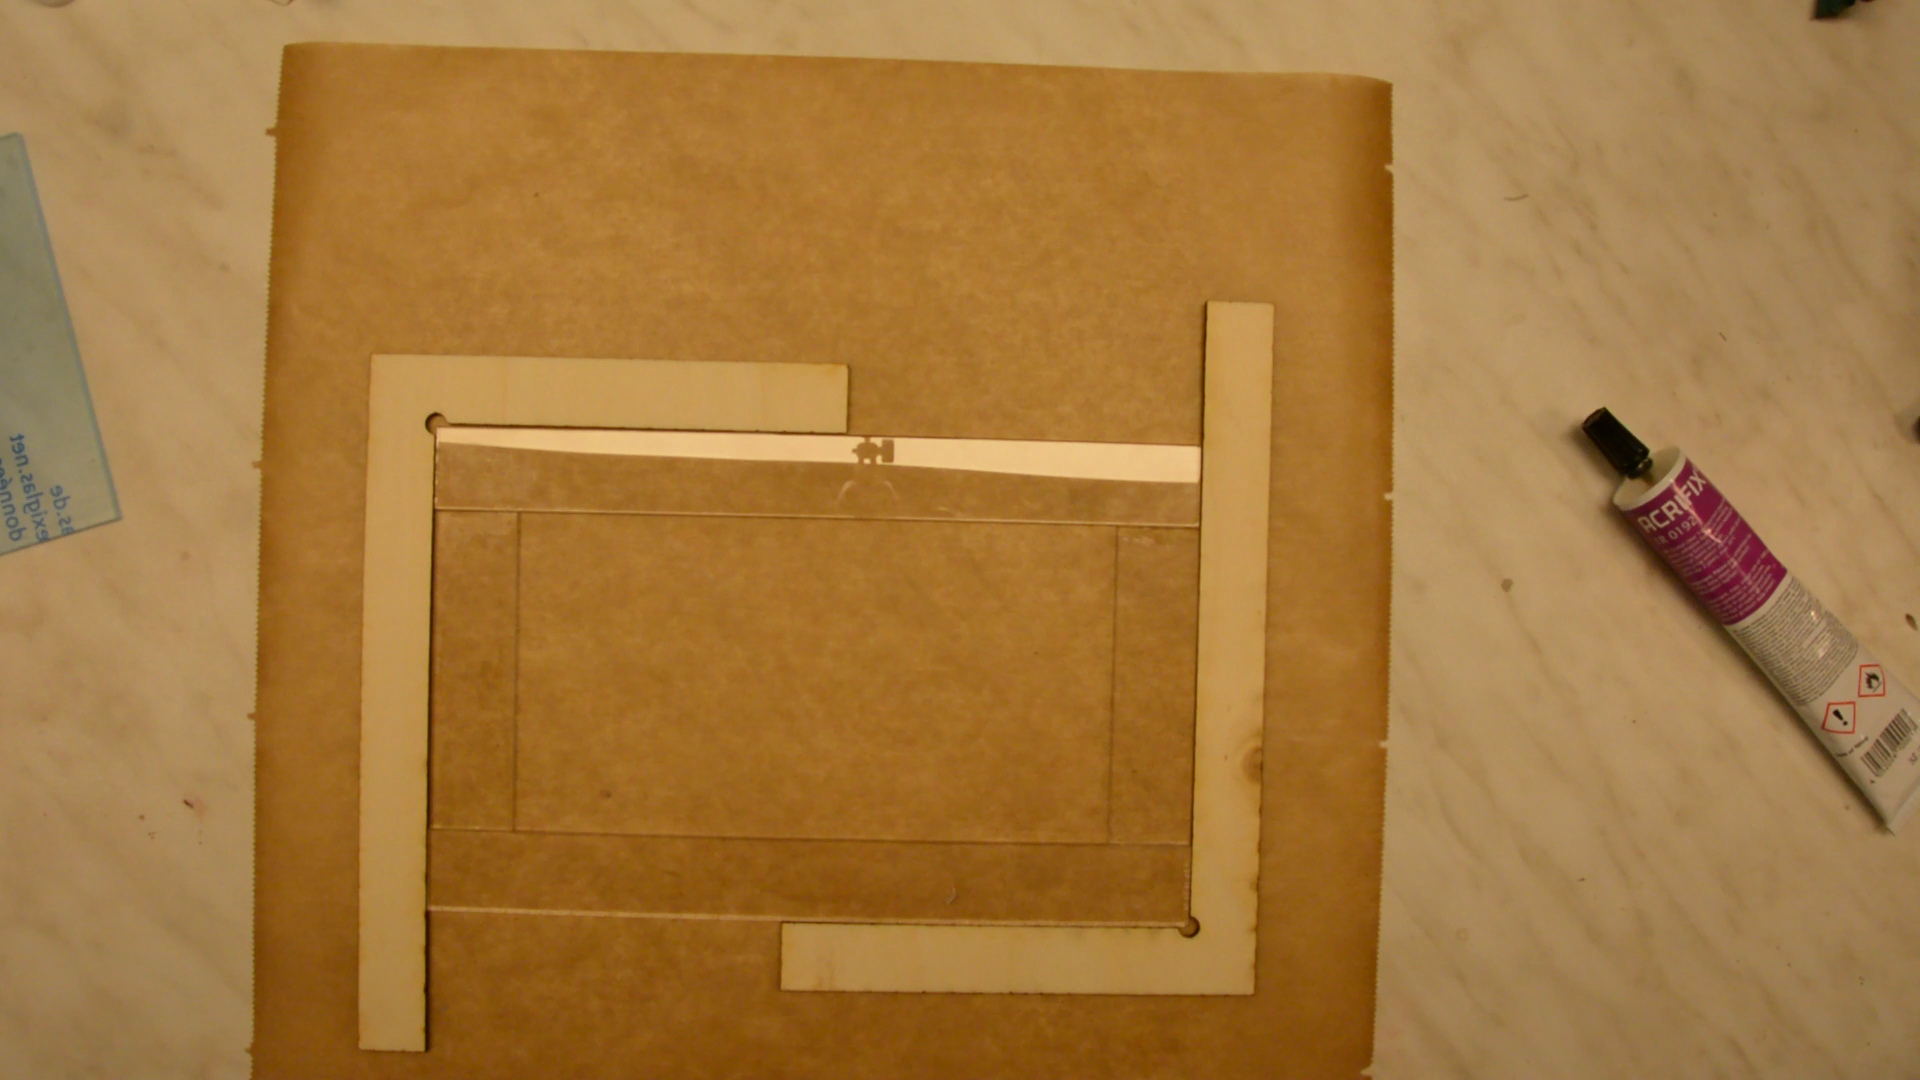
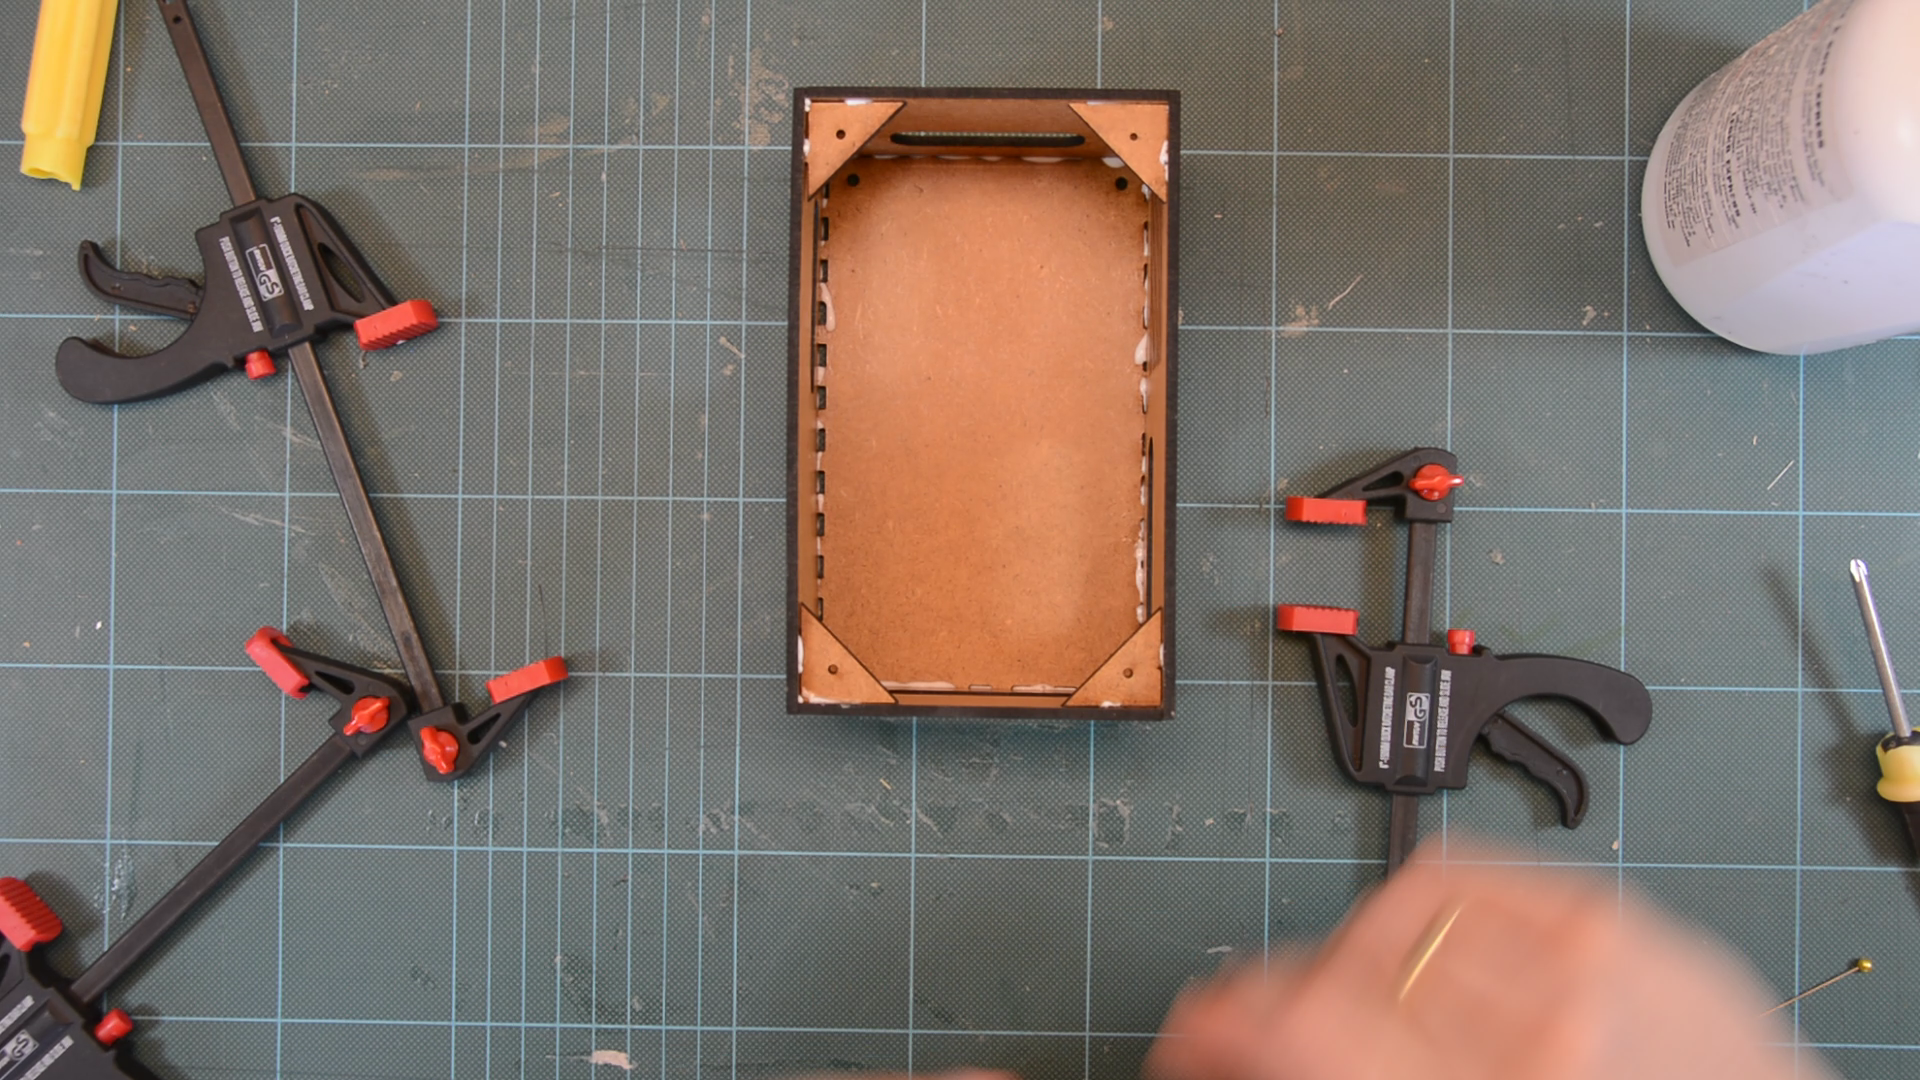
Aligning the all the elements of the box is not easy. I am cutting a few plywood templates to help with the alignment.
With the templates and tape gluing the arena together is relatively easy.
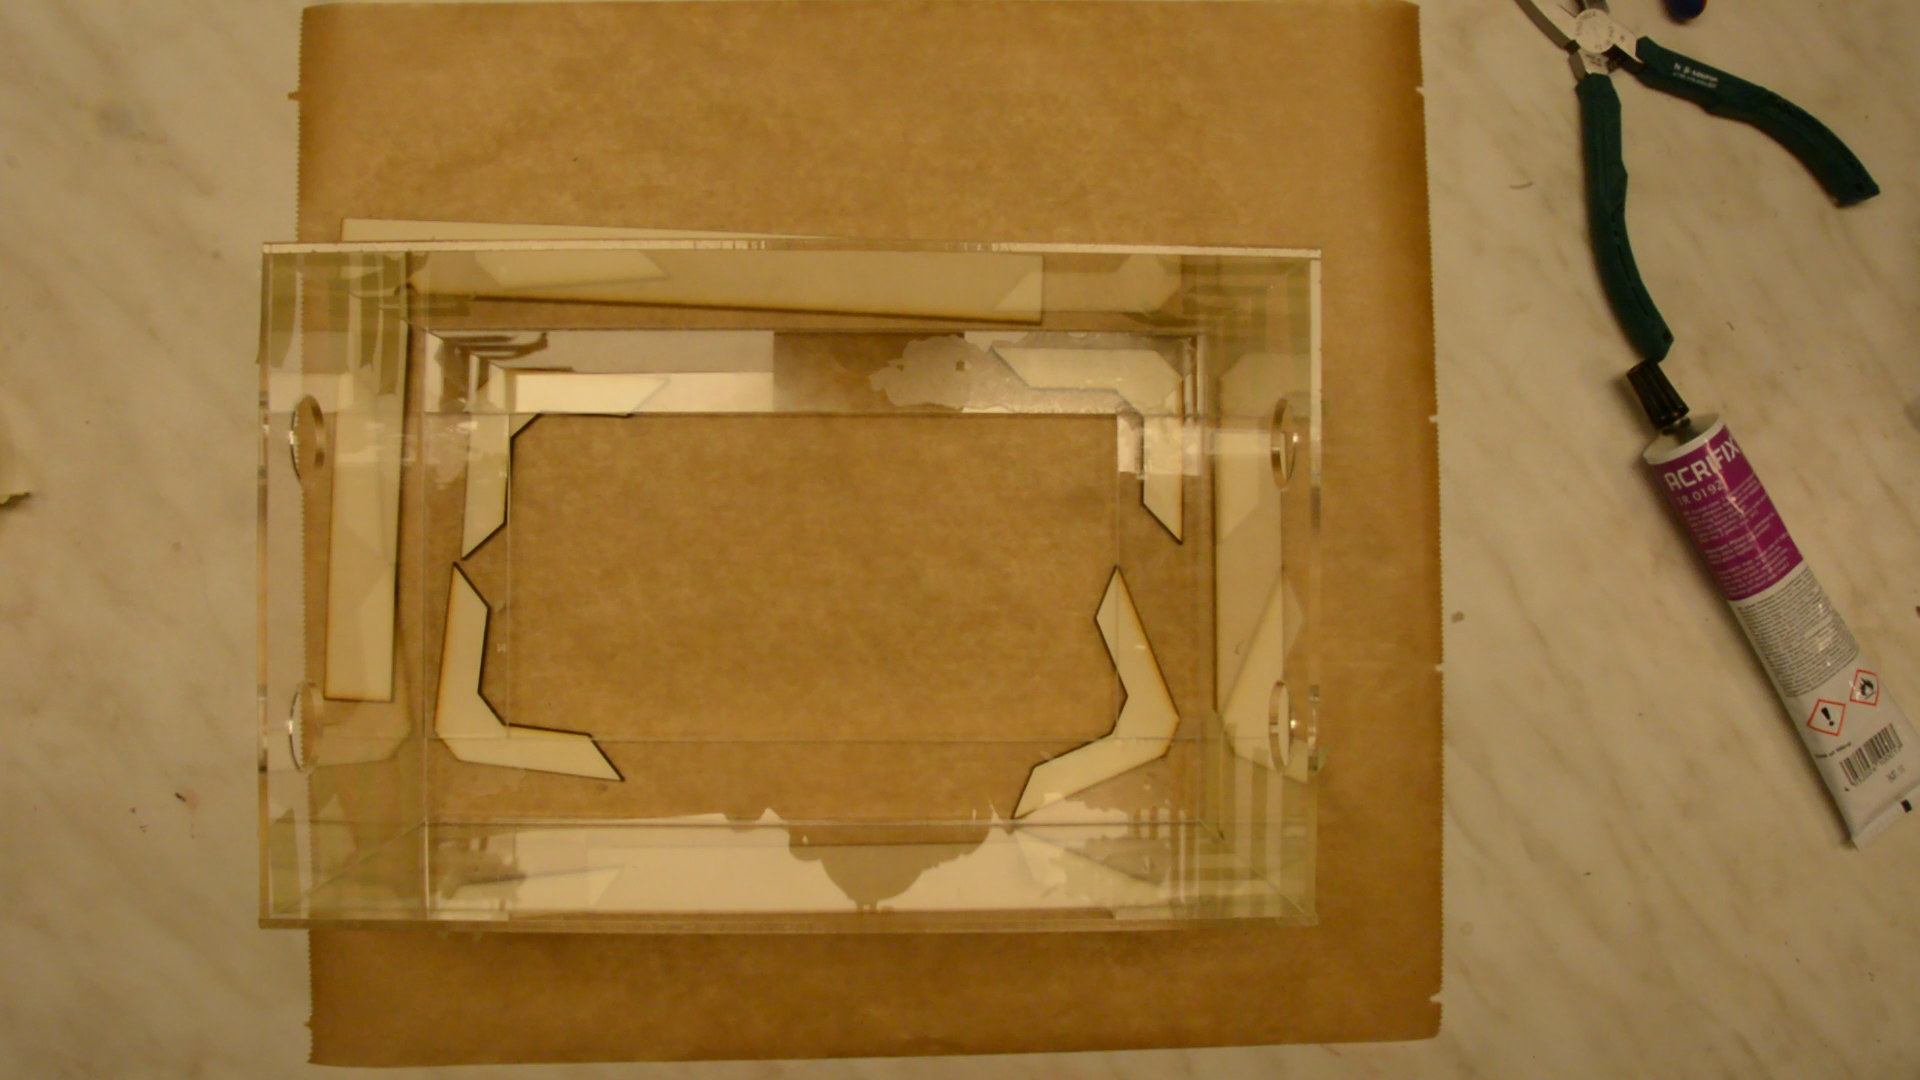
While the glue on the arena is drying we can take care of the formicarium.
The DIY ant nest or formicarium
The formicarium is a simple box from black acrylic that has a transparent front to watch the ants in their nest.
All the parts are cut on the K40 and then glued together with a simple jig to ensure a right angle.
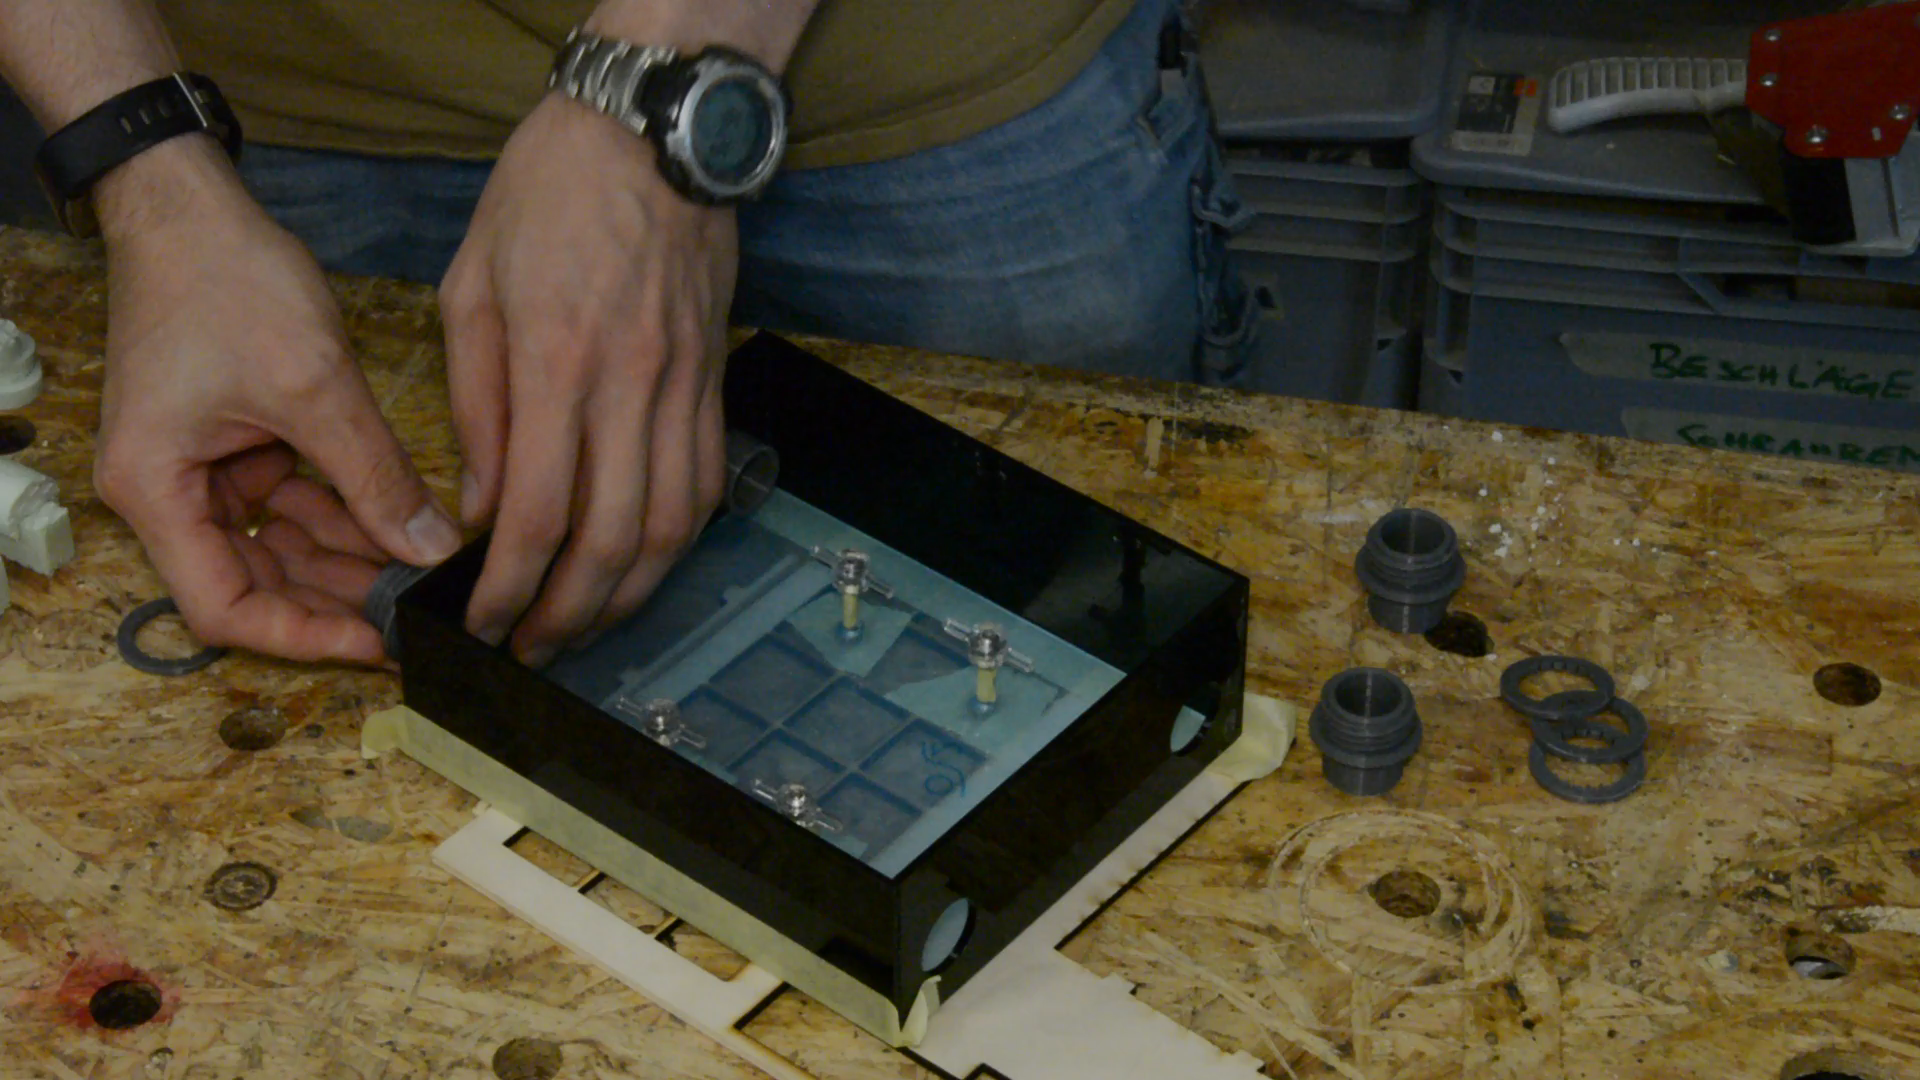
From smaller acrylic offcuts I cut these nut anchors. These will be embedded in the concrete and act as anchors for screws that will hold the transparent panel in place.
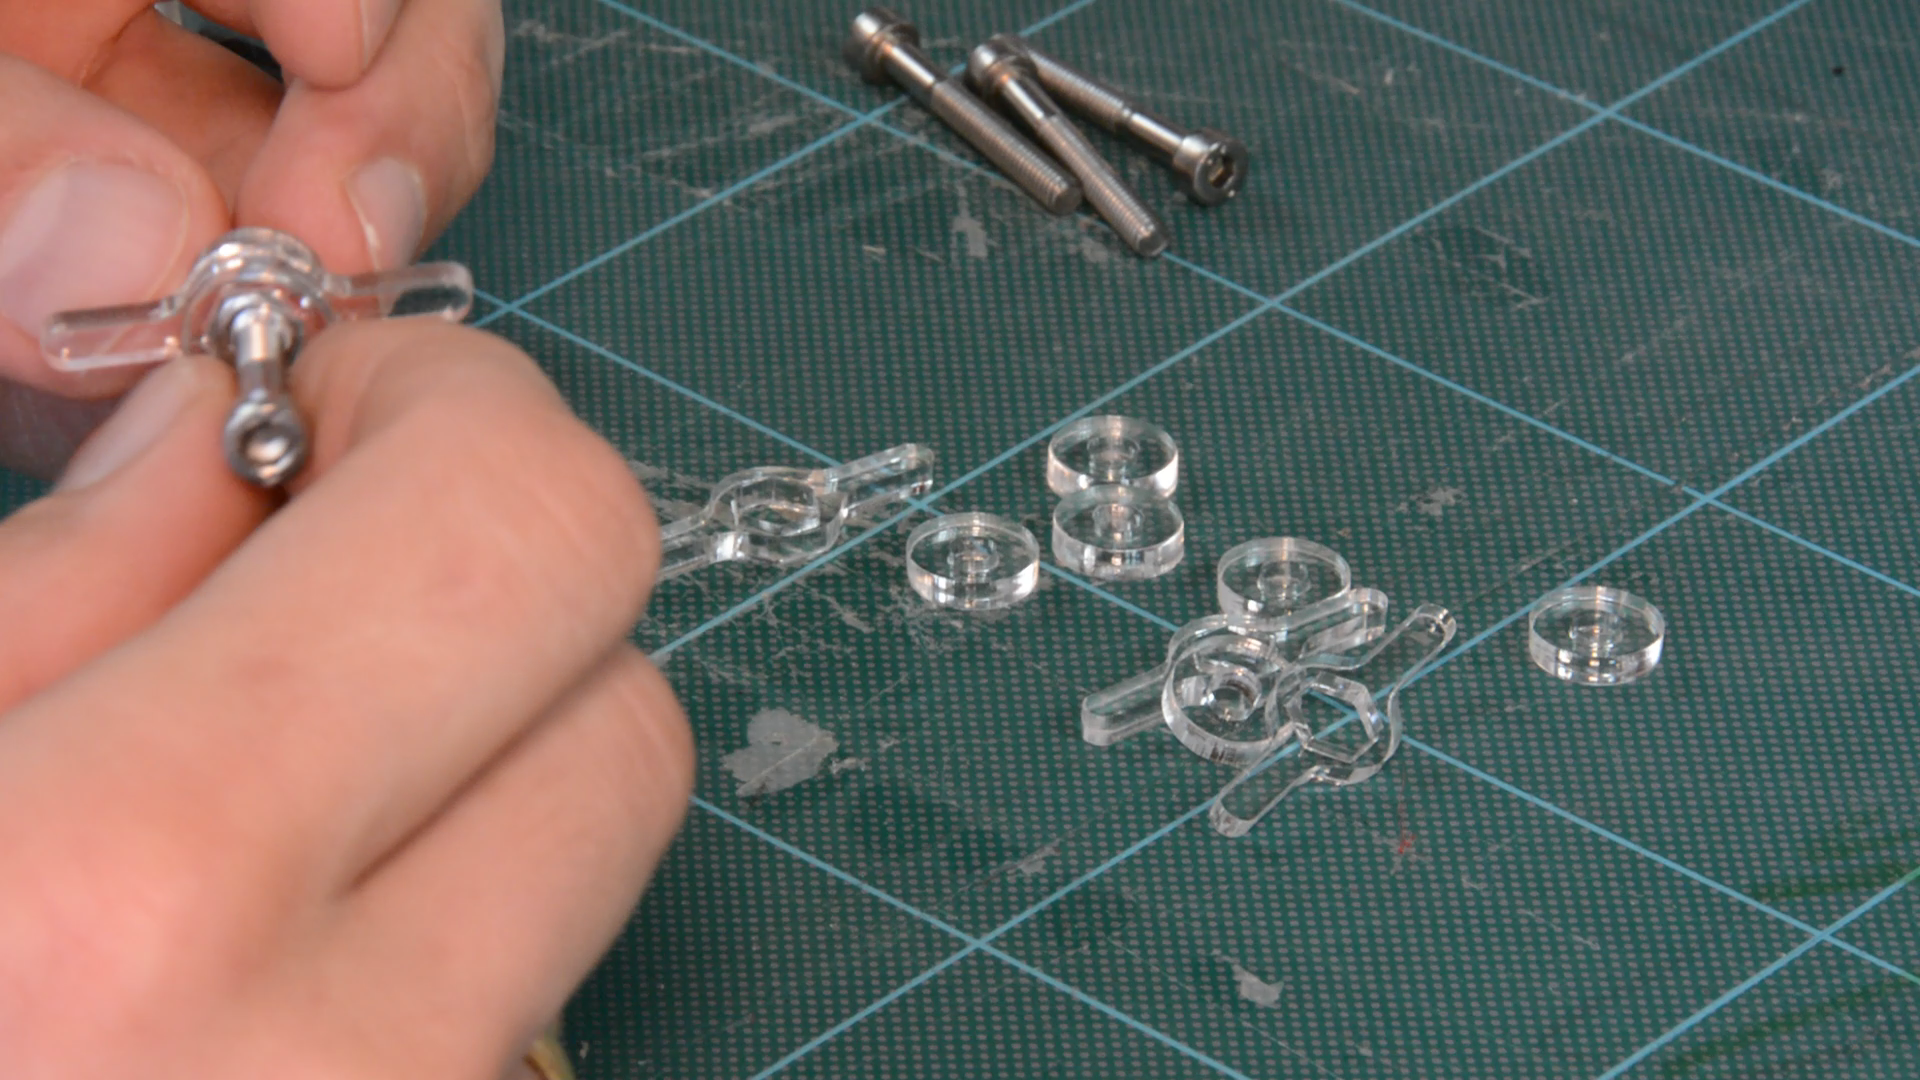
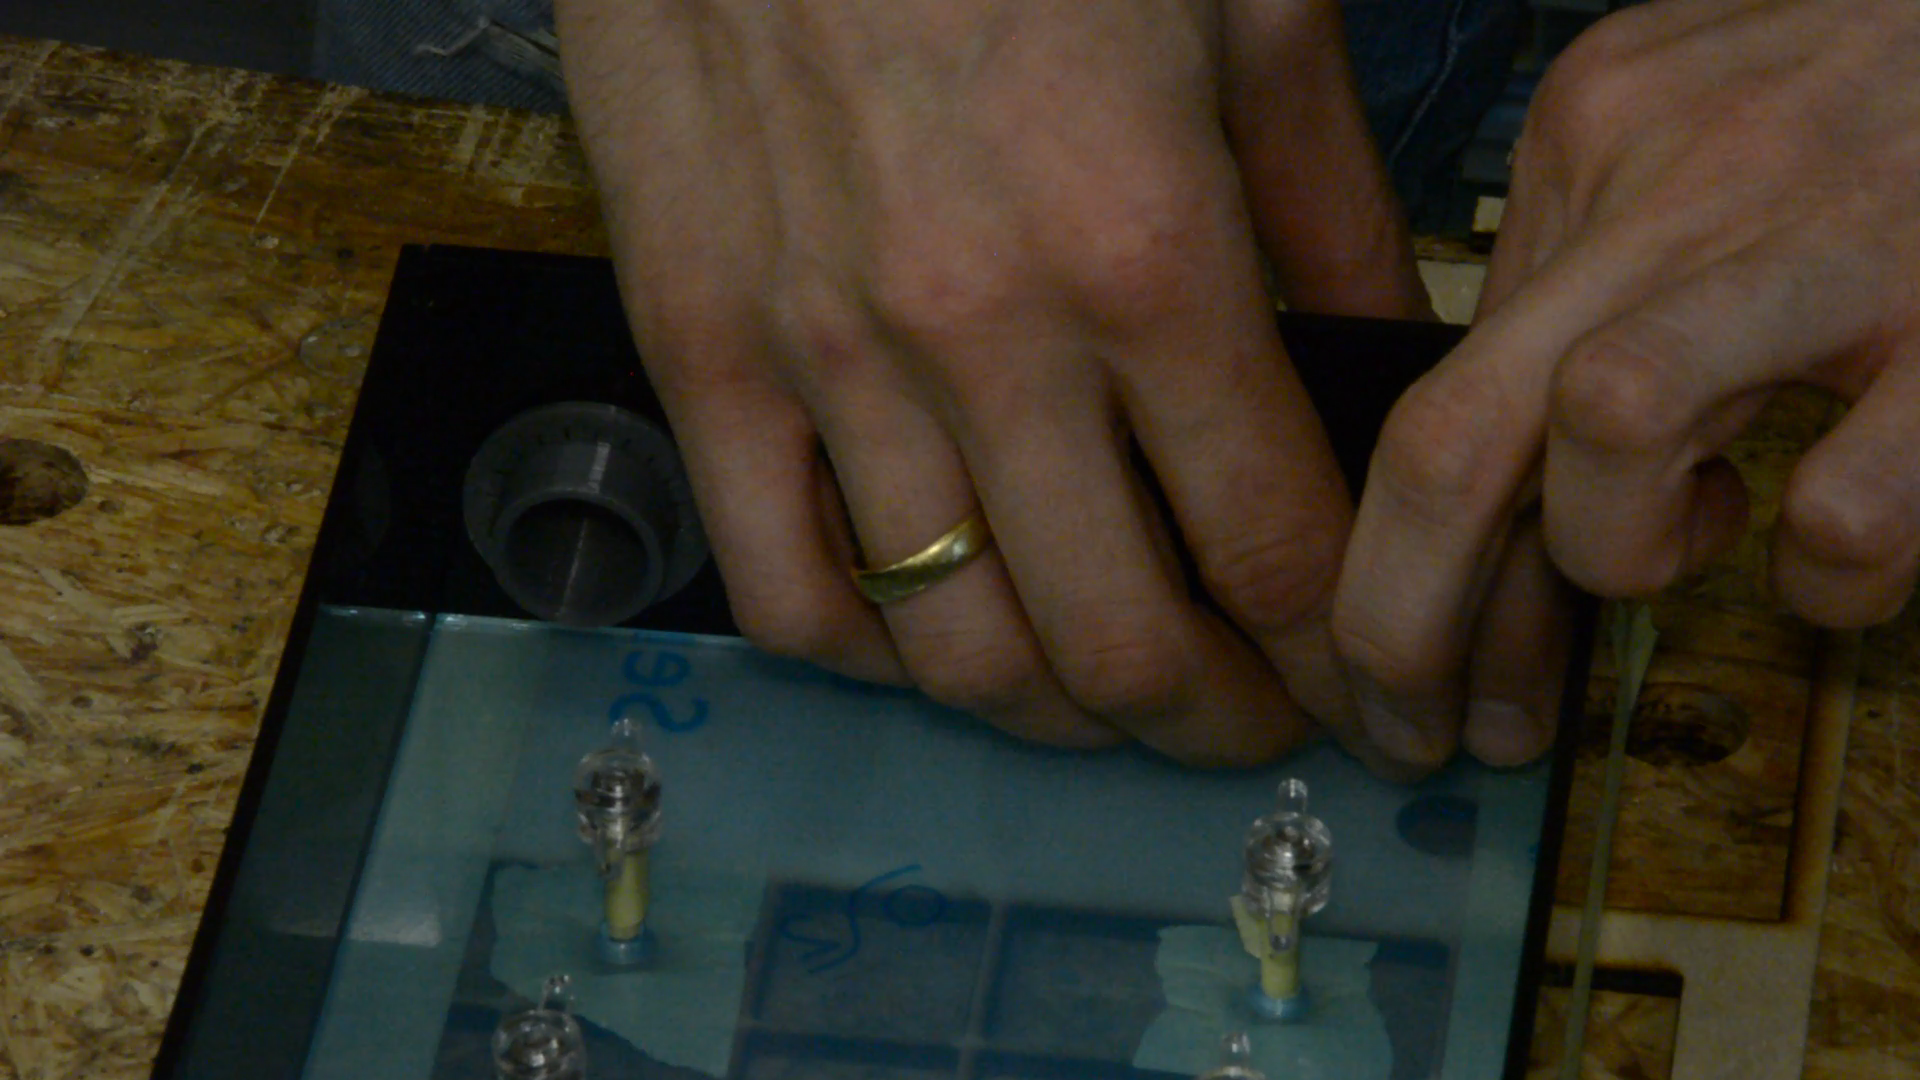
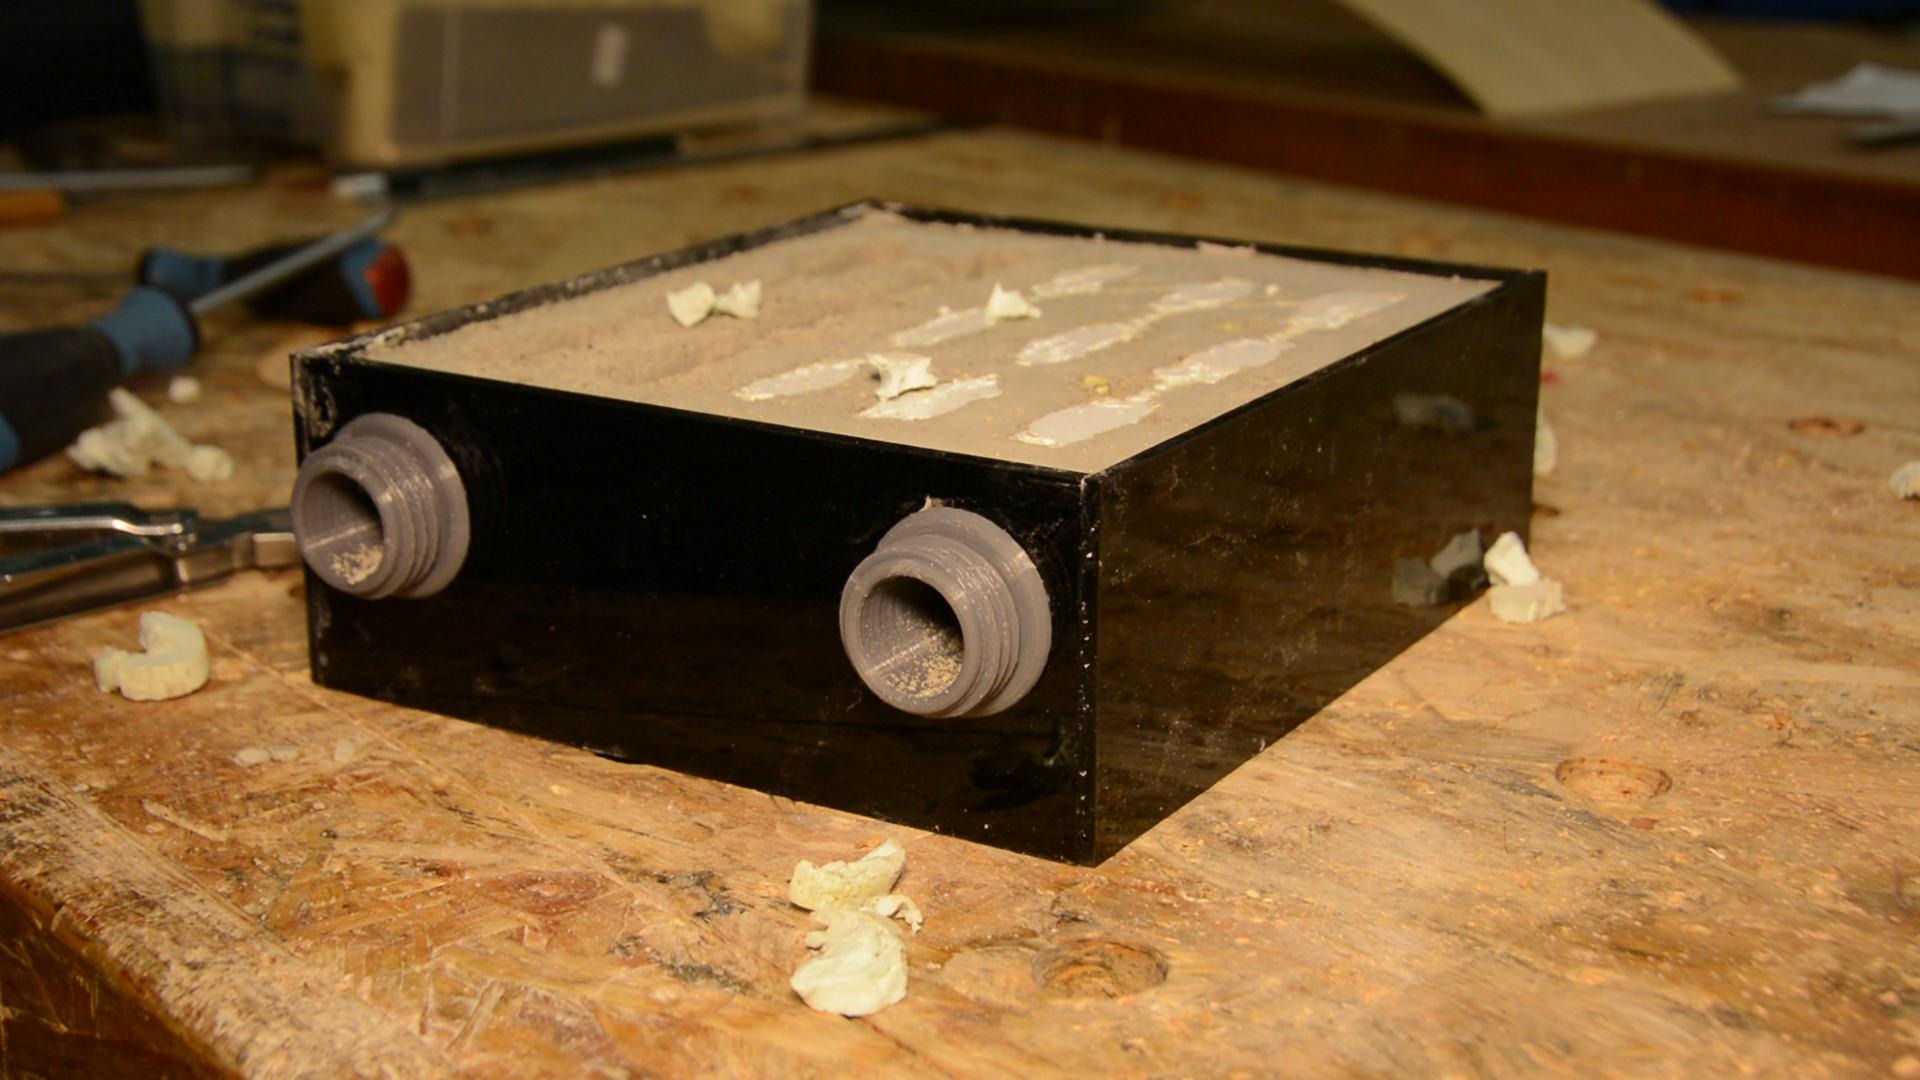
The bolts are connected to the nuts and the nest is assembled. Before pouring the concrete we have to install the connectors. These pieces are simple models with a threaded outside and a snap-on ring that holds them in place in the inside.
Later in the article we will take a look at the different options of modules that can be screwed on these connectors.
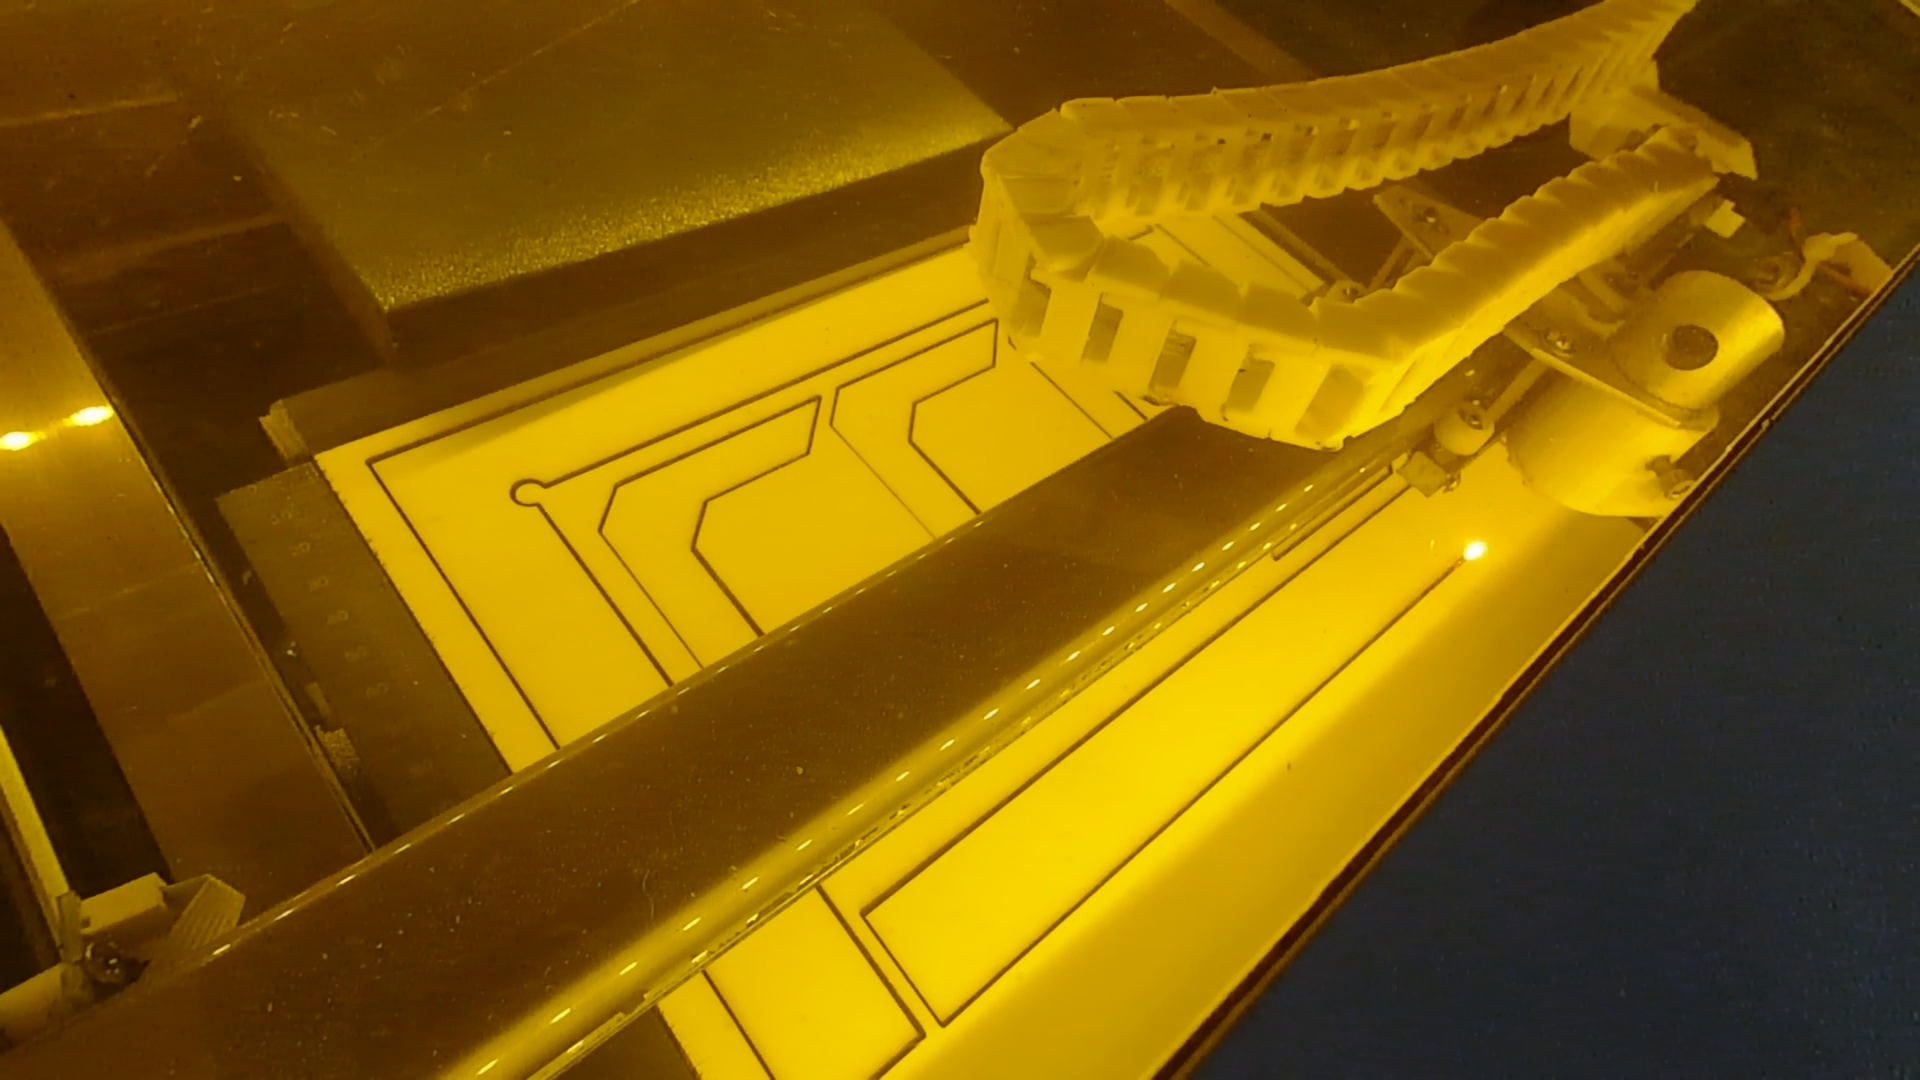
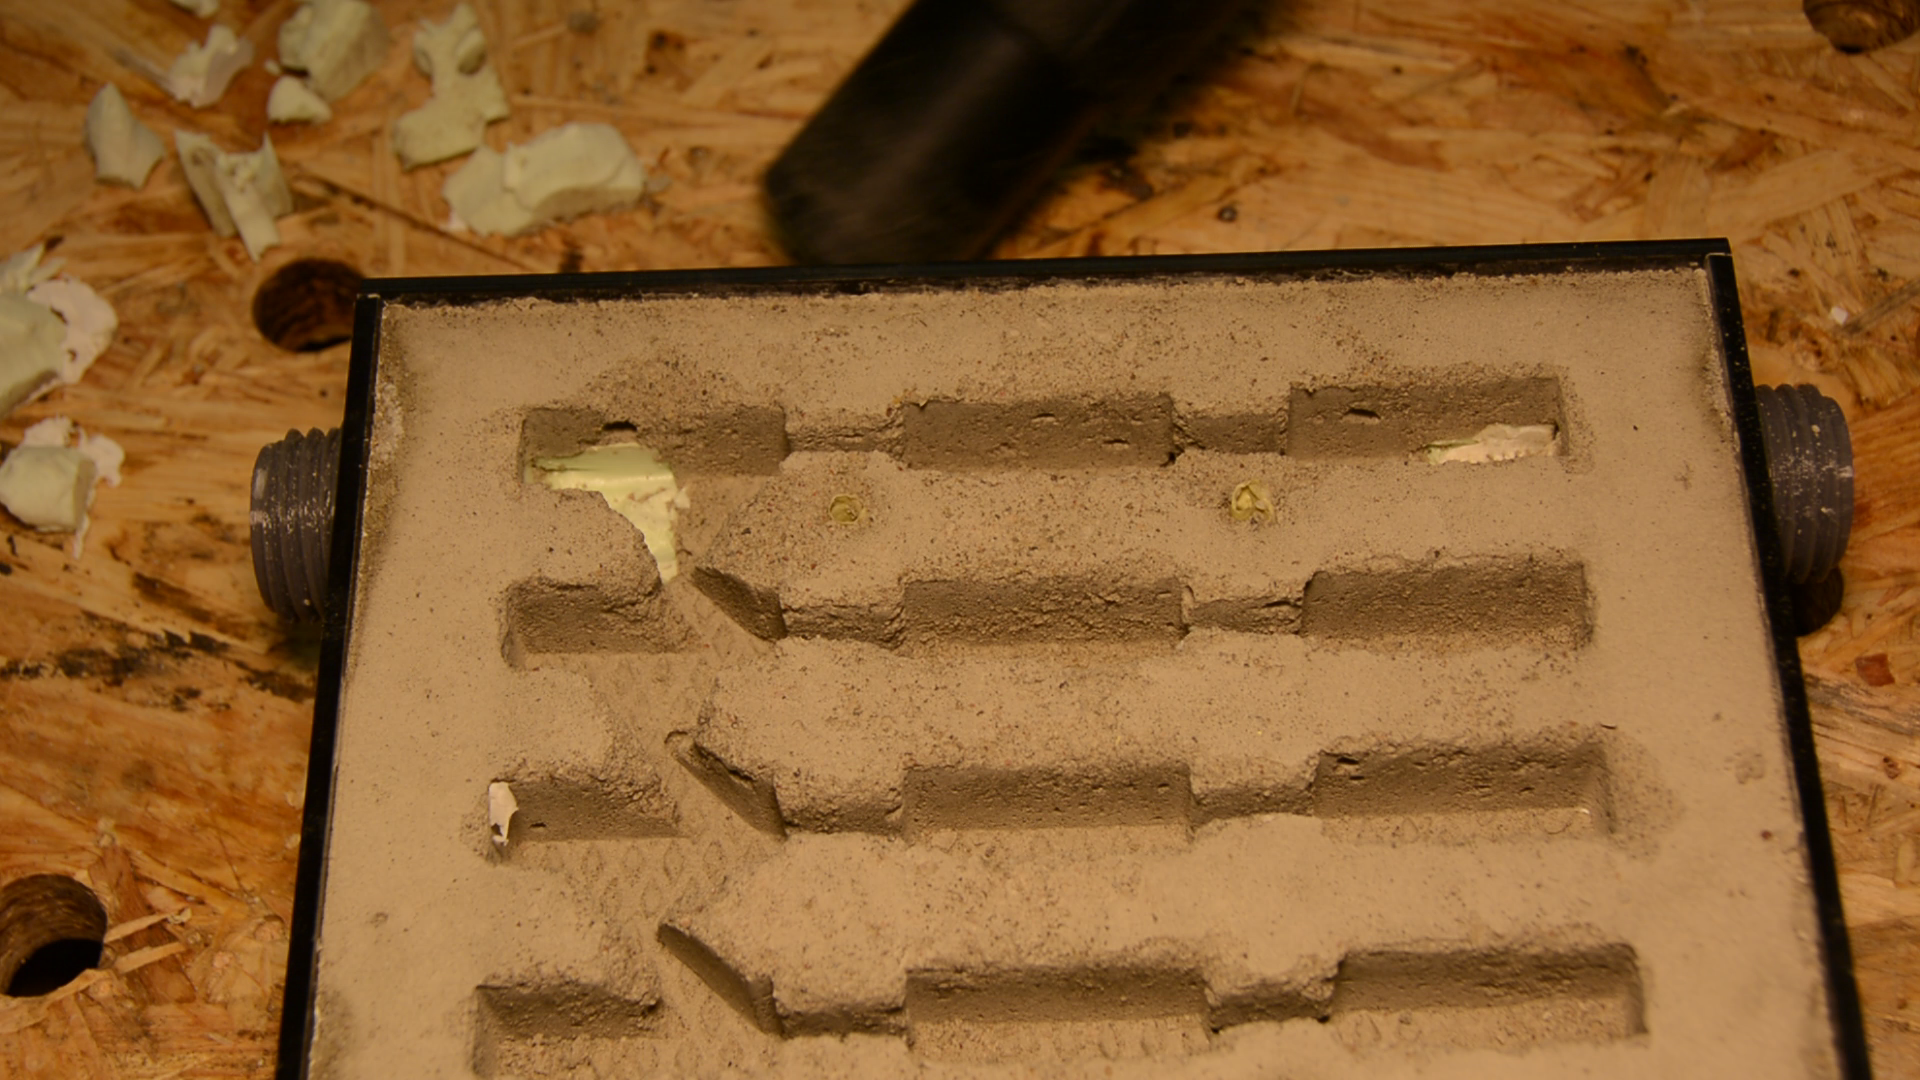
On the laser I have cut the negative form of the interior of the nest from XPS foam. The foam is glued with PVA to the protective cover of the acrylic so that is doesn’t float on the concrete.
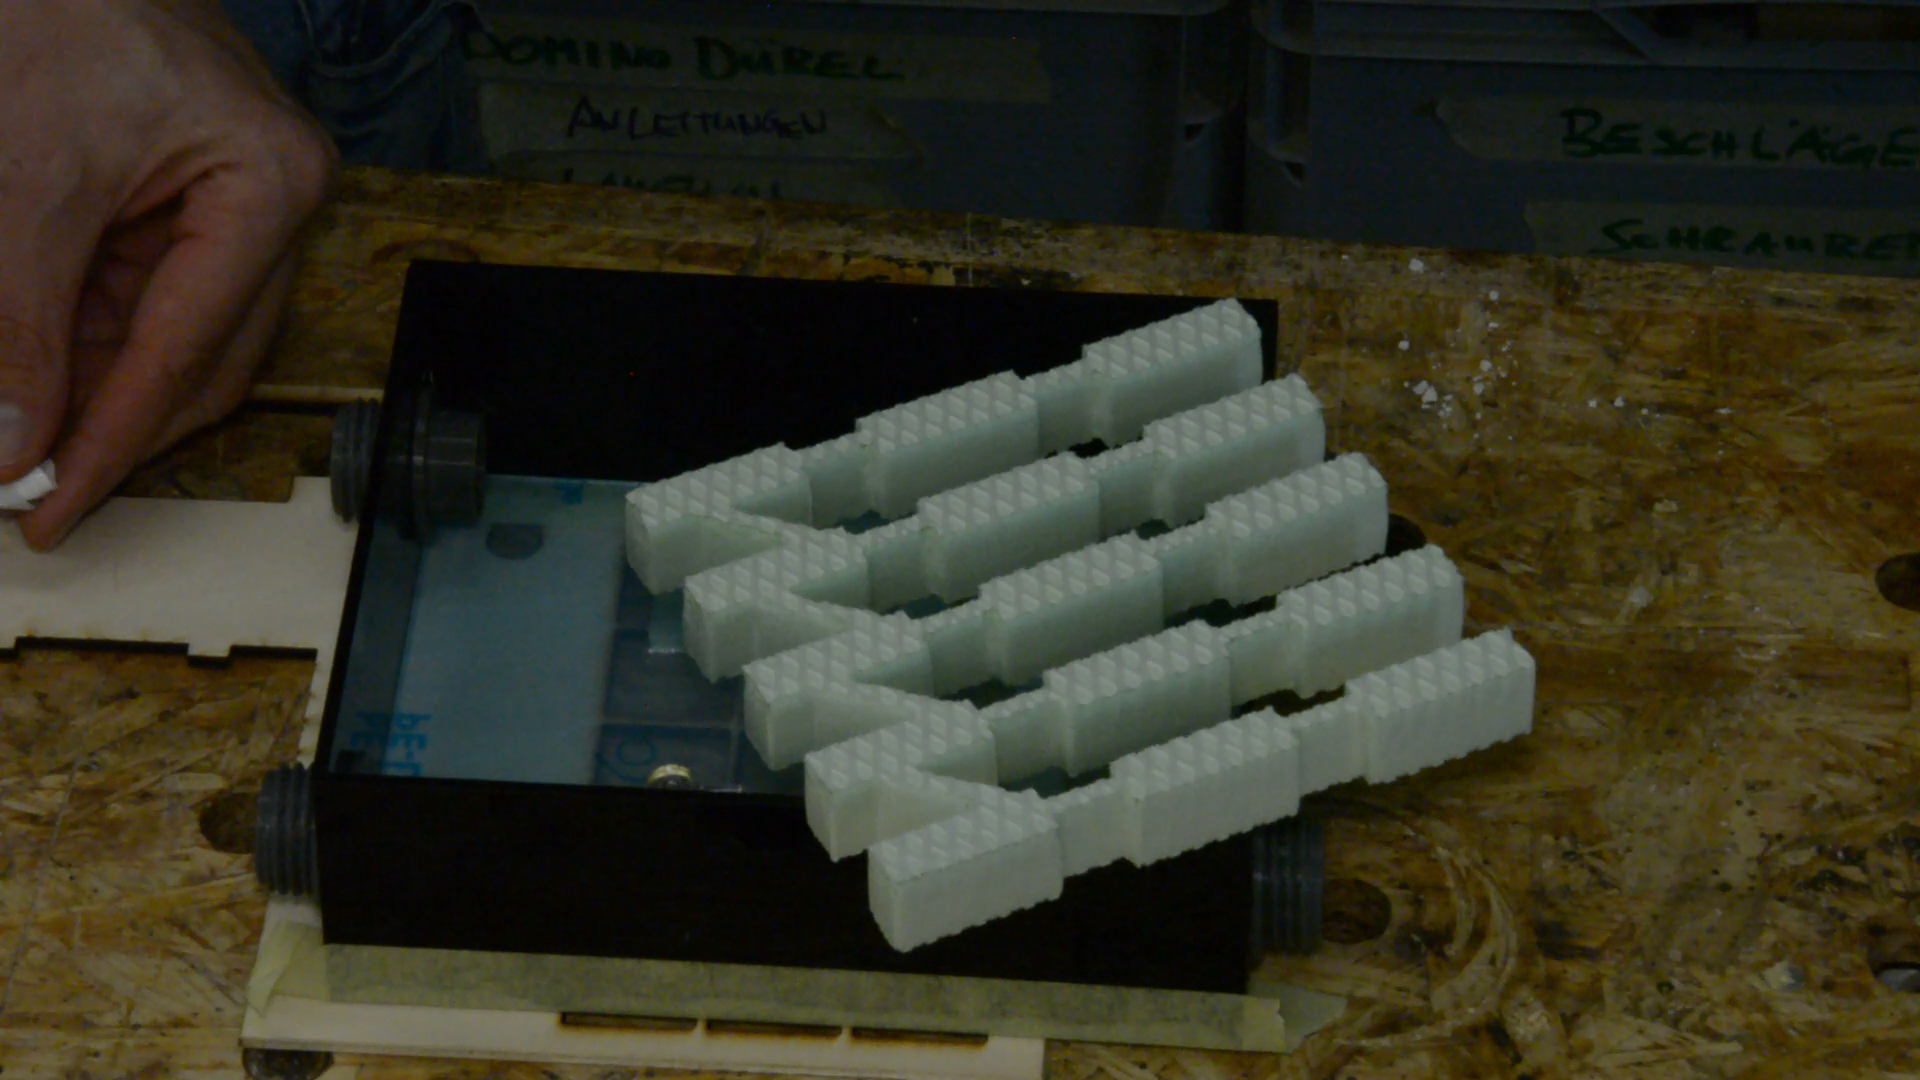
The connectors are connected to the interior nest with some odd-shaped XPS pieces.
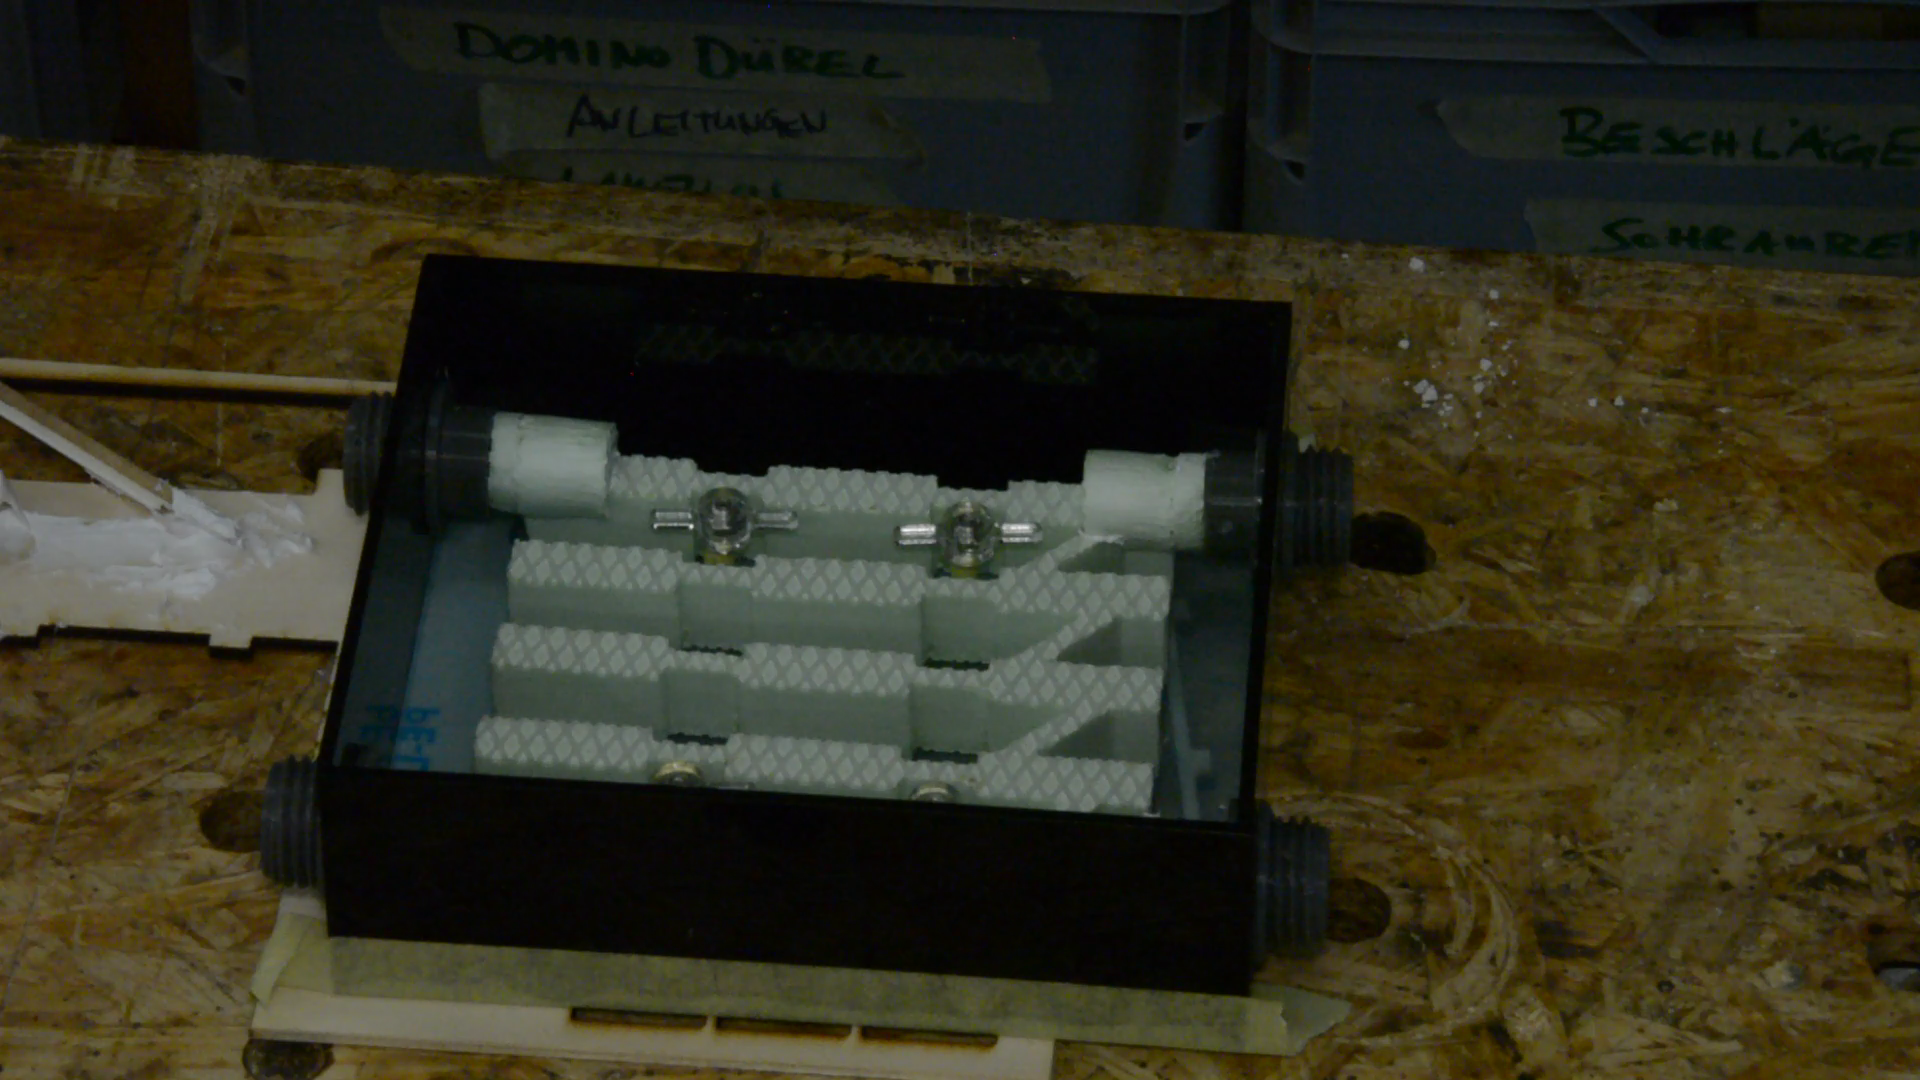
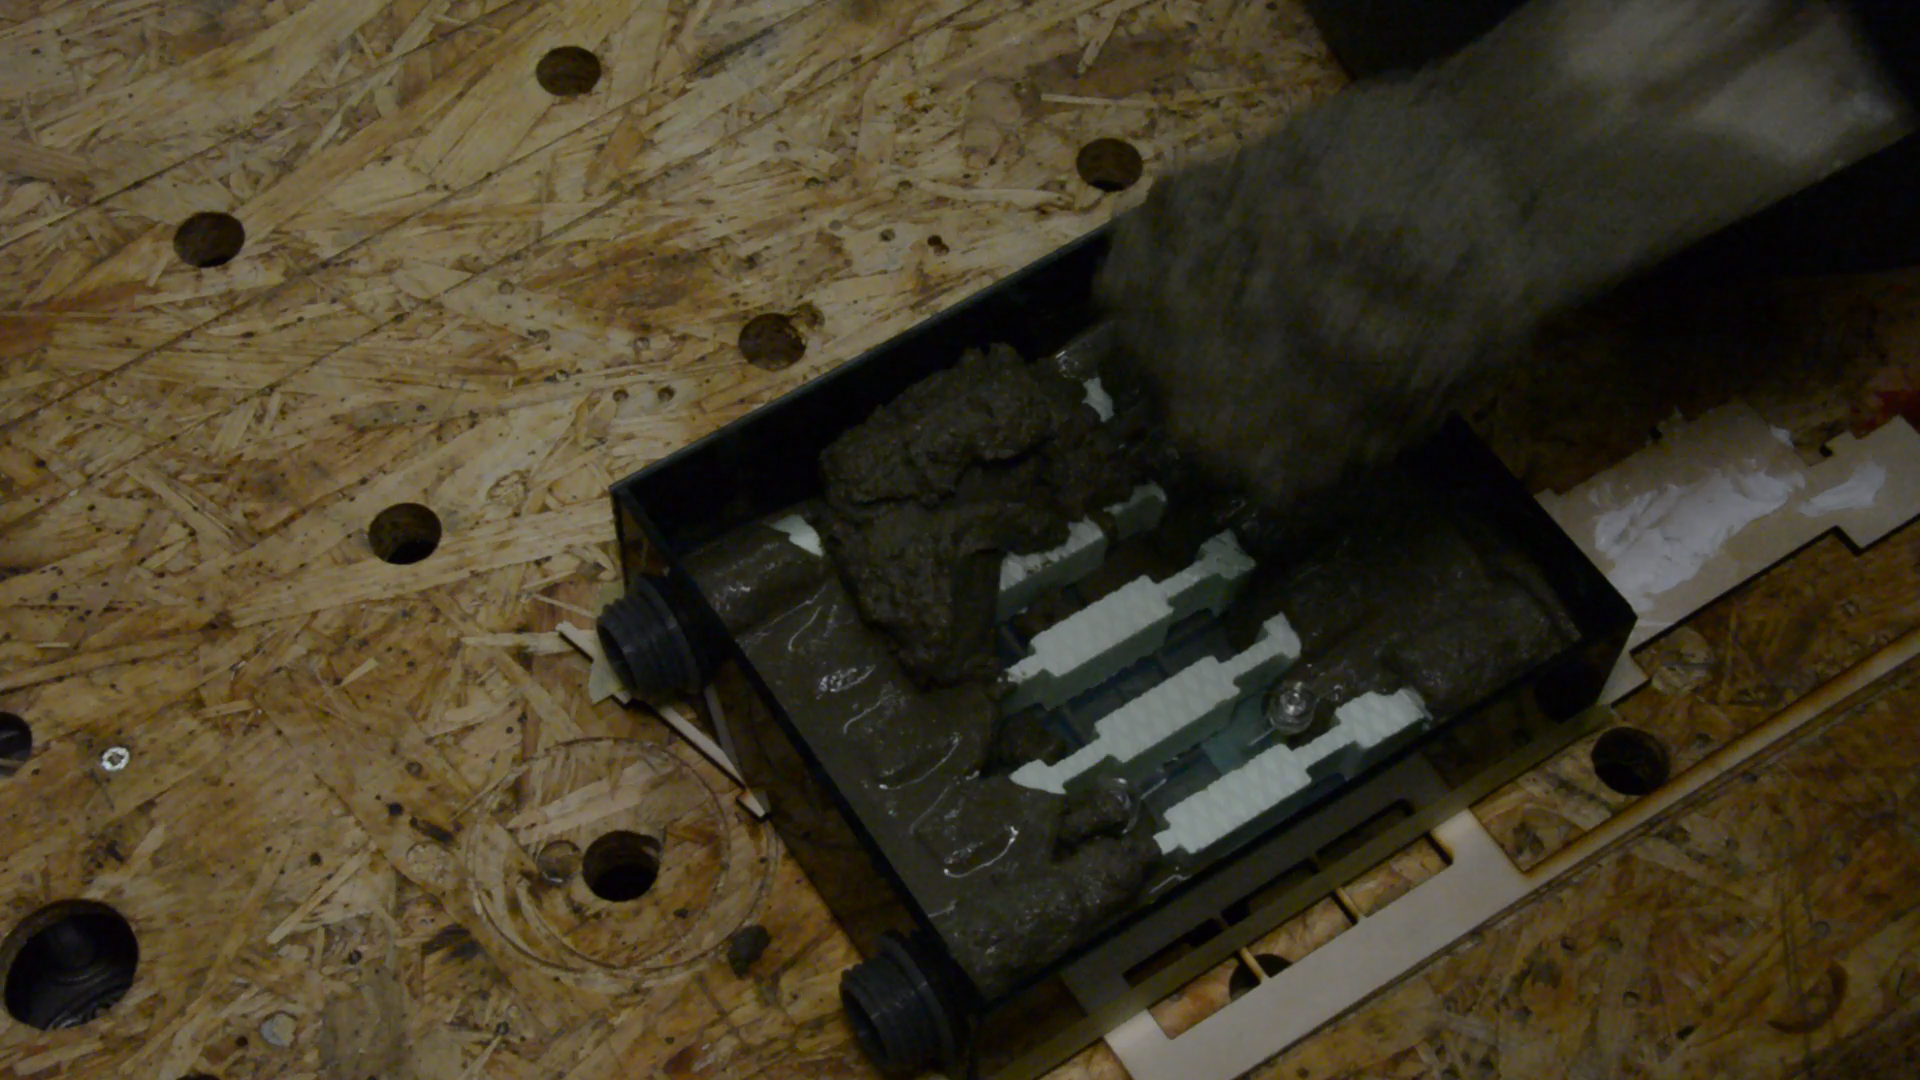
Now we are ready to pour the concrete.
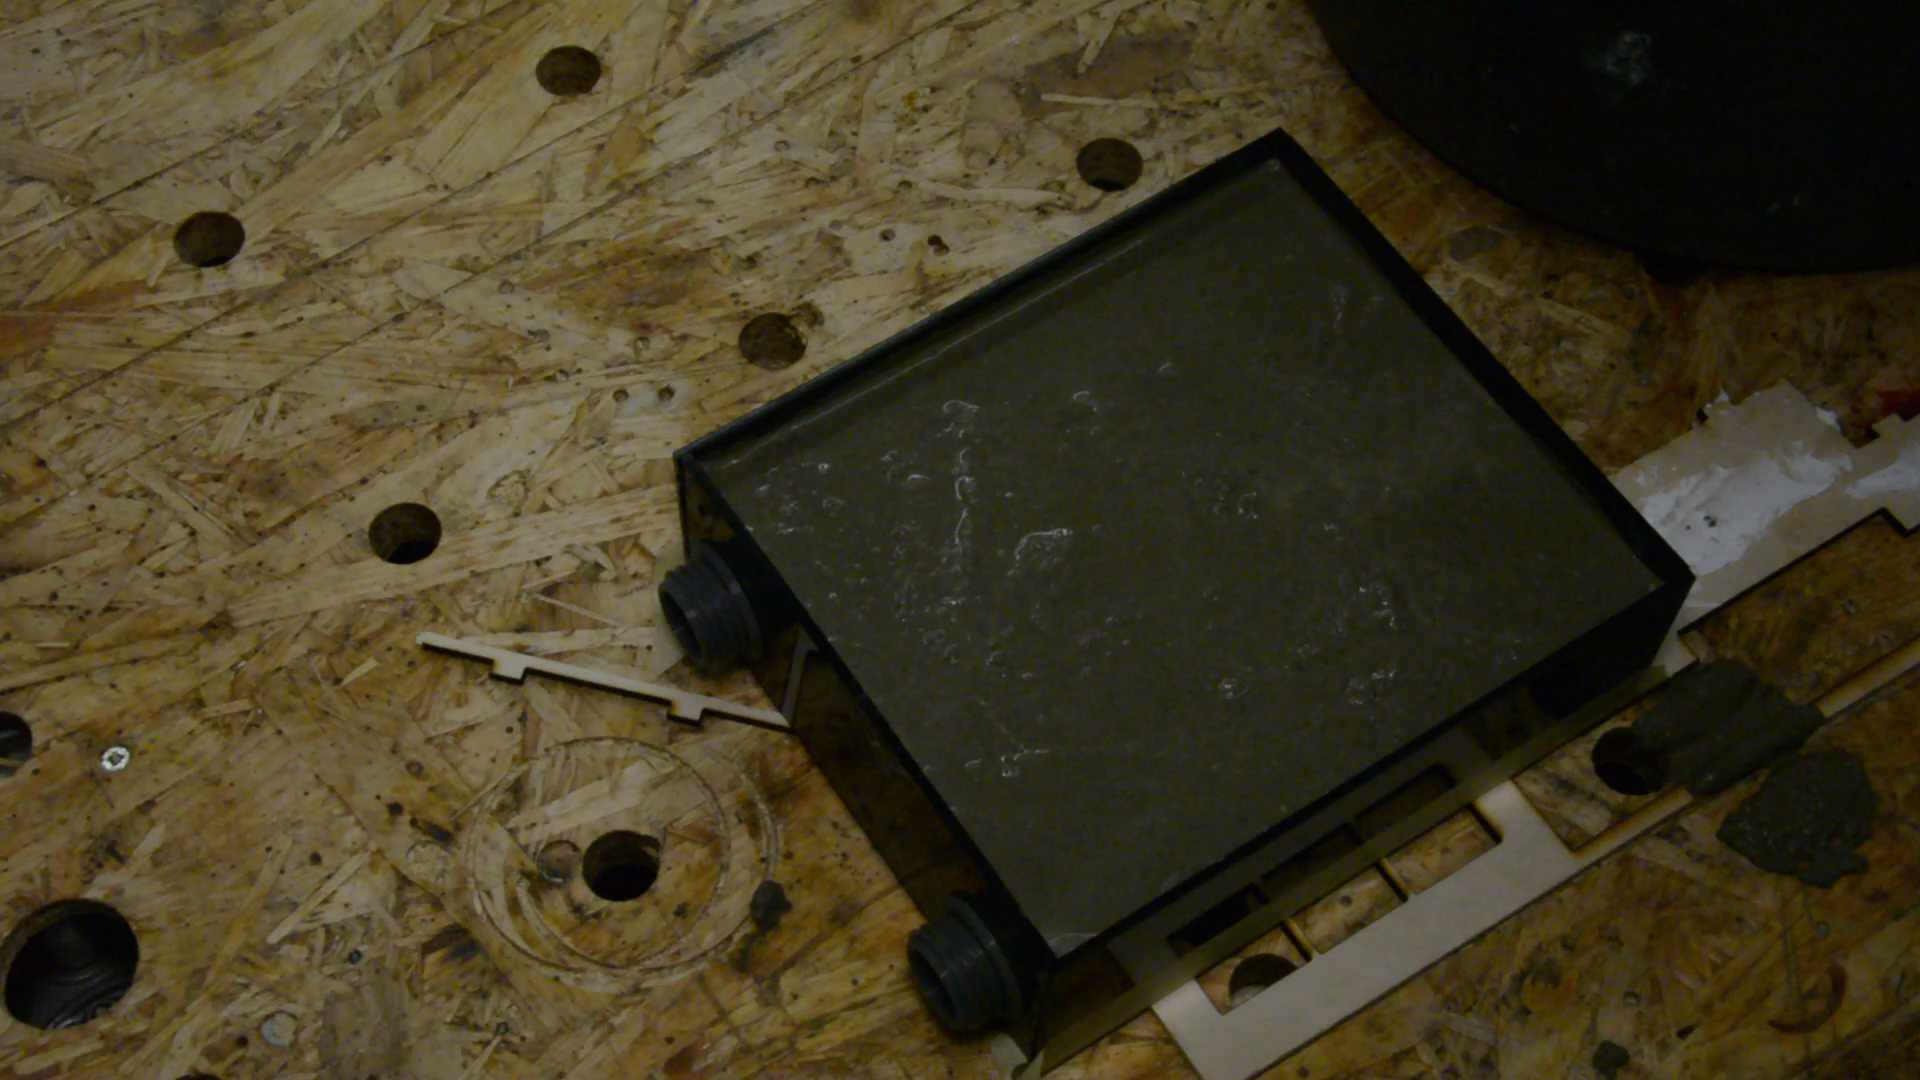
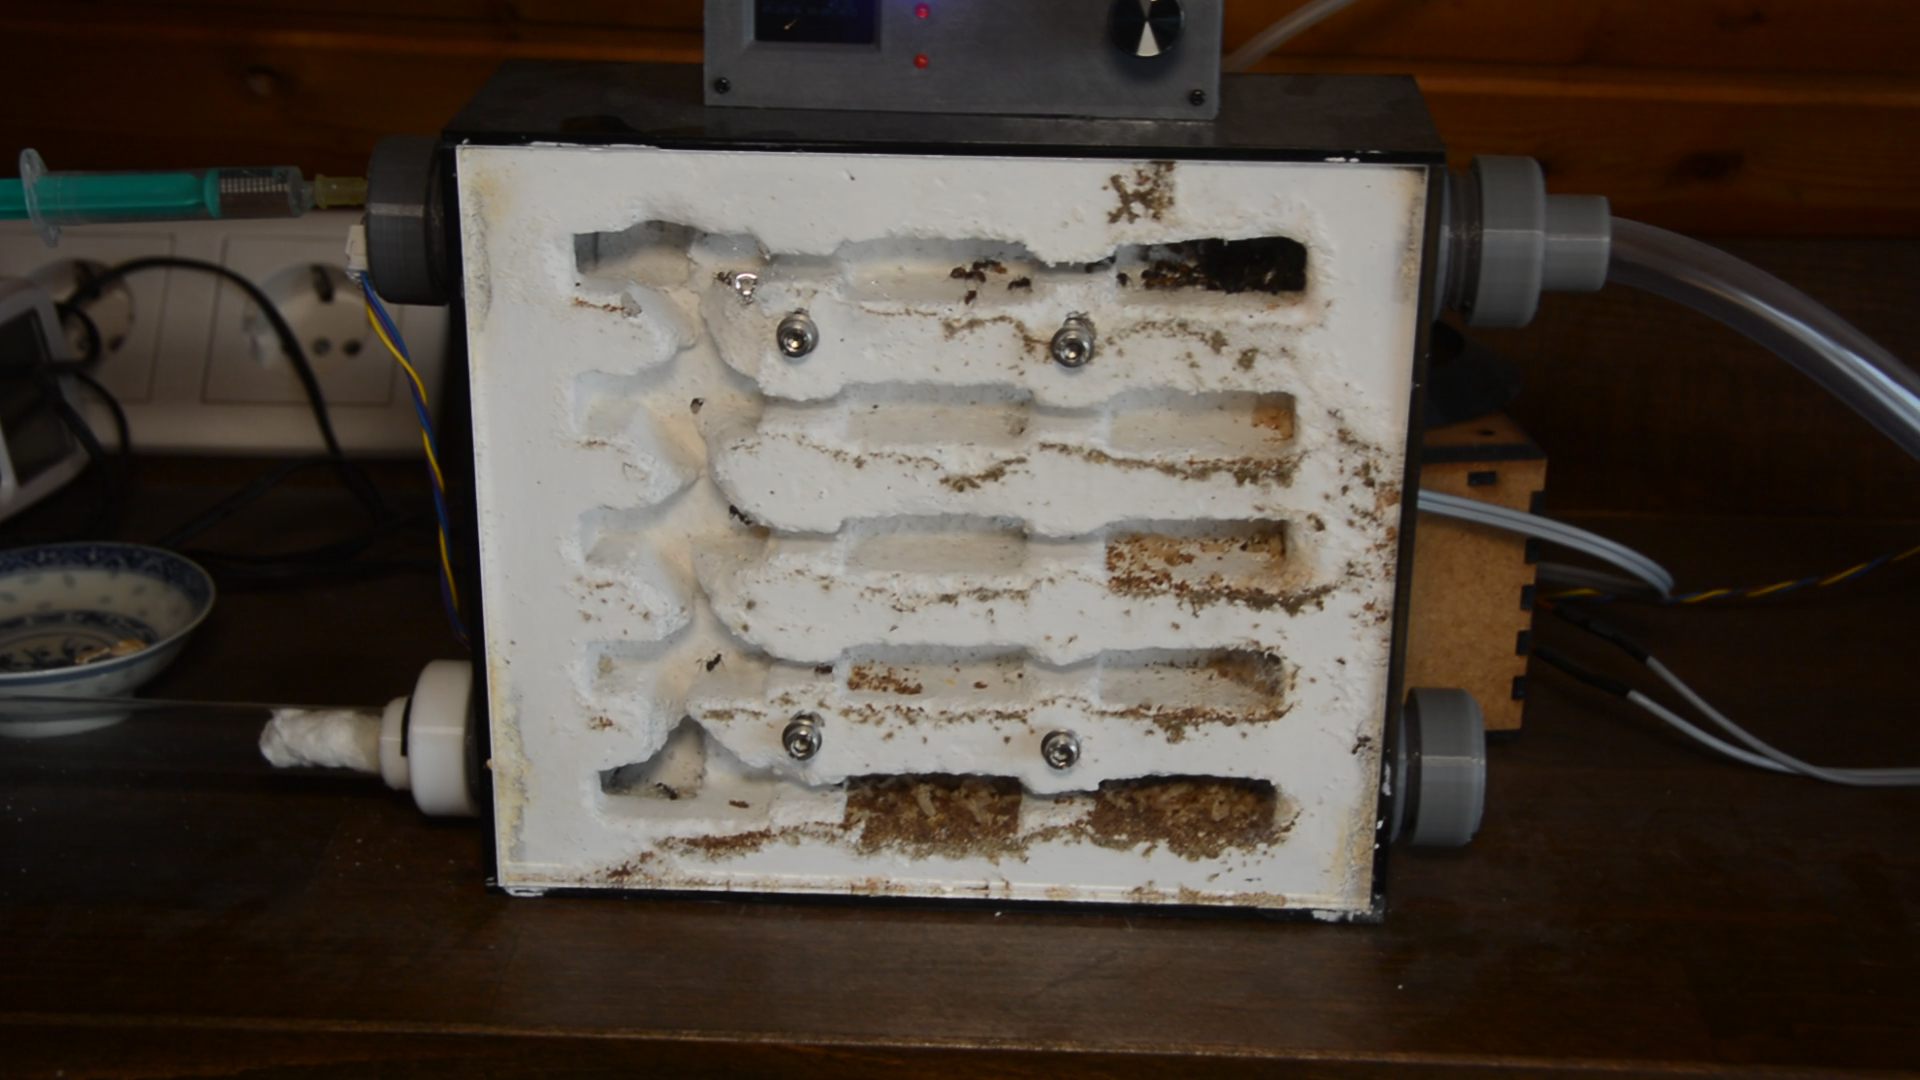
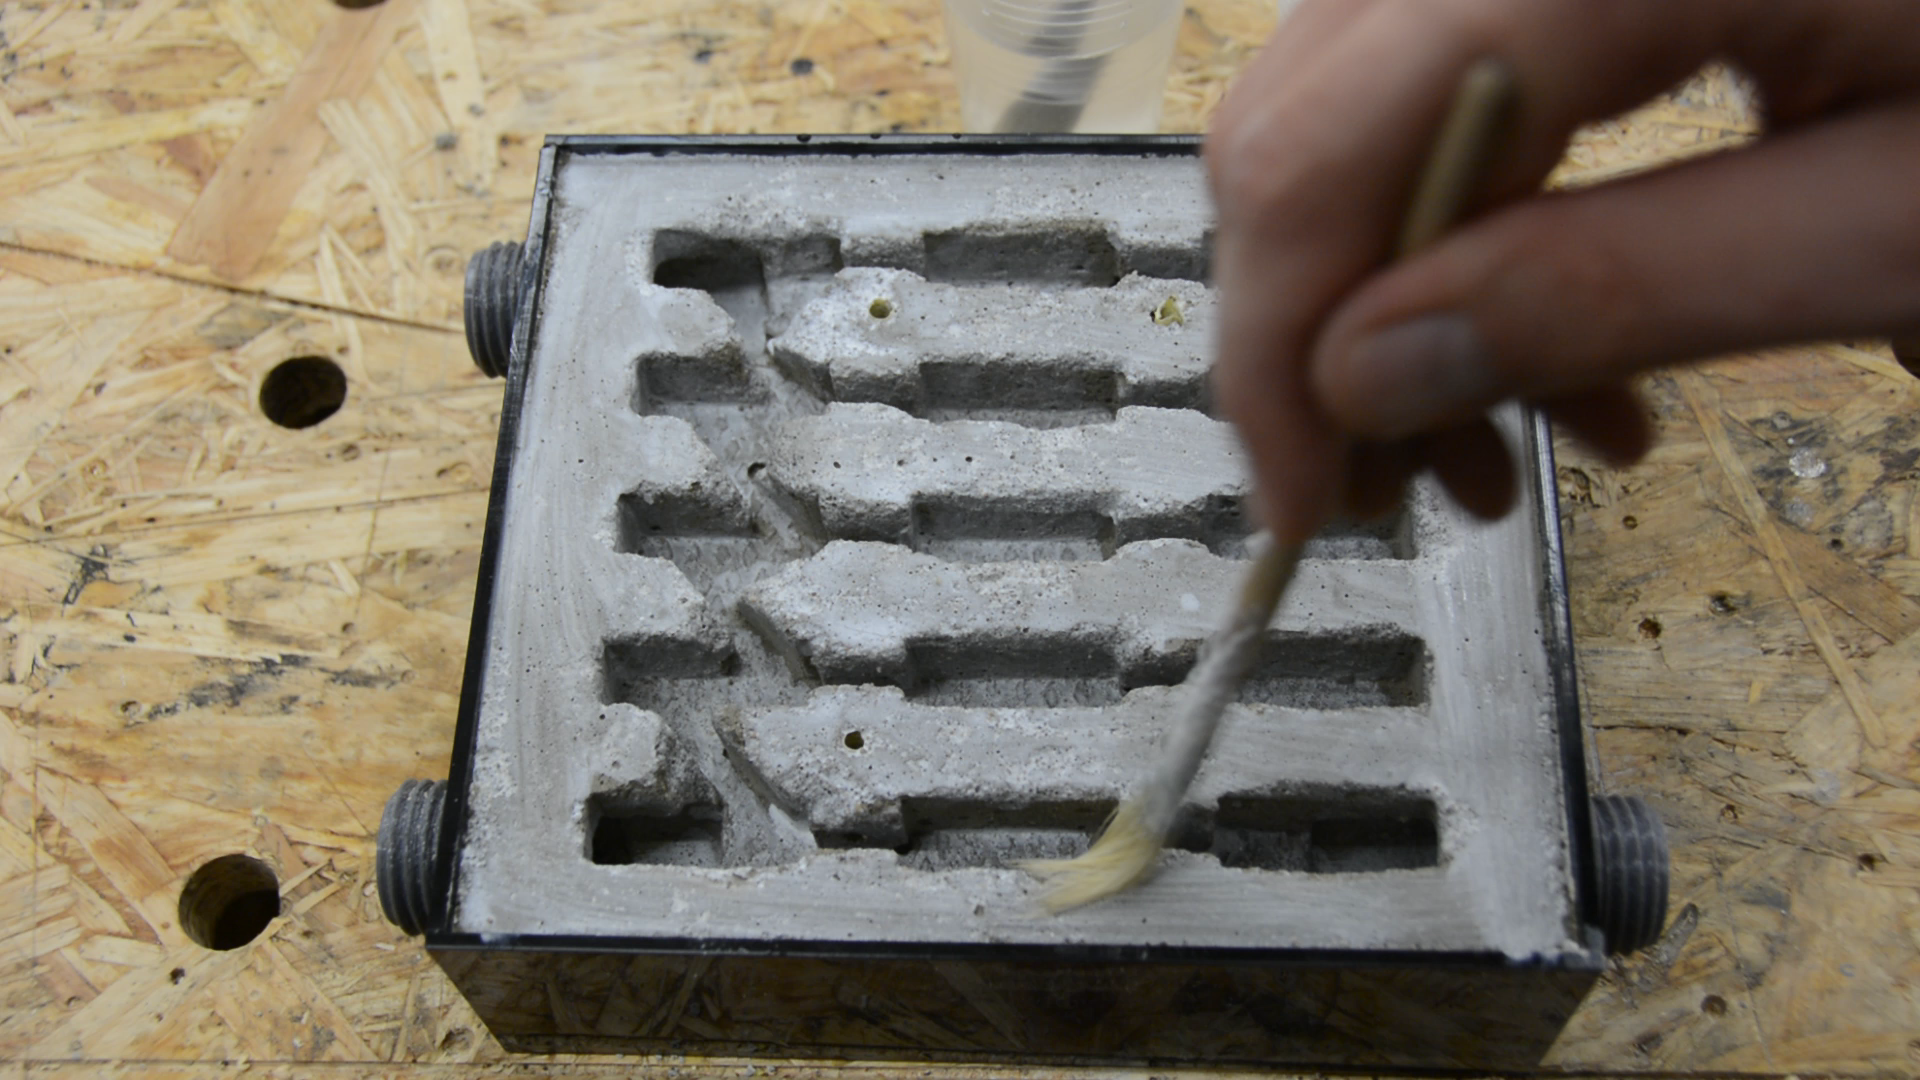
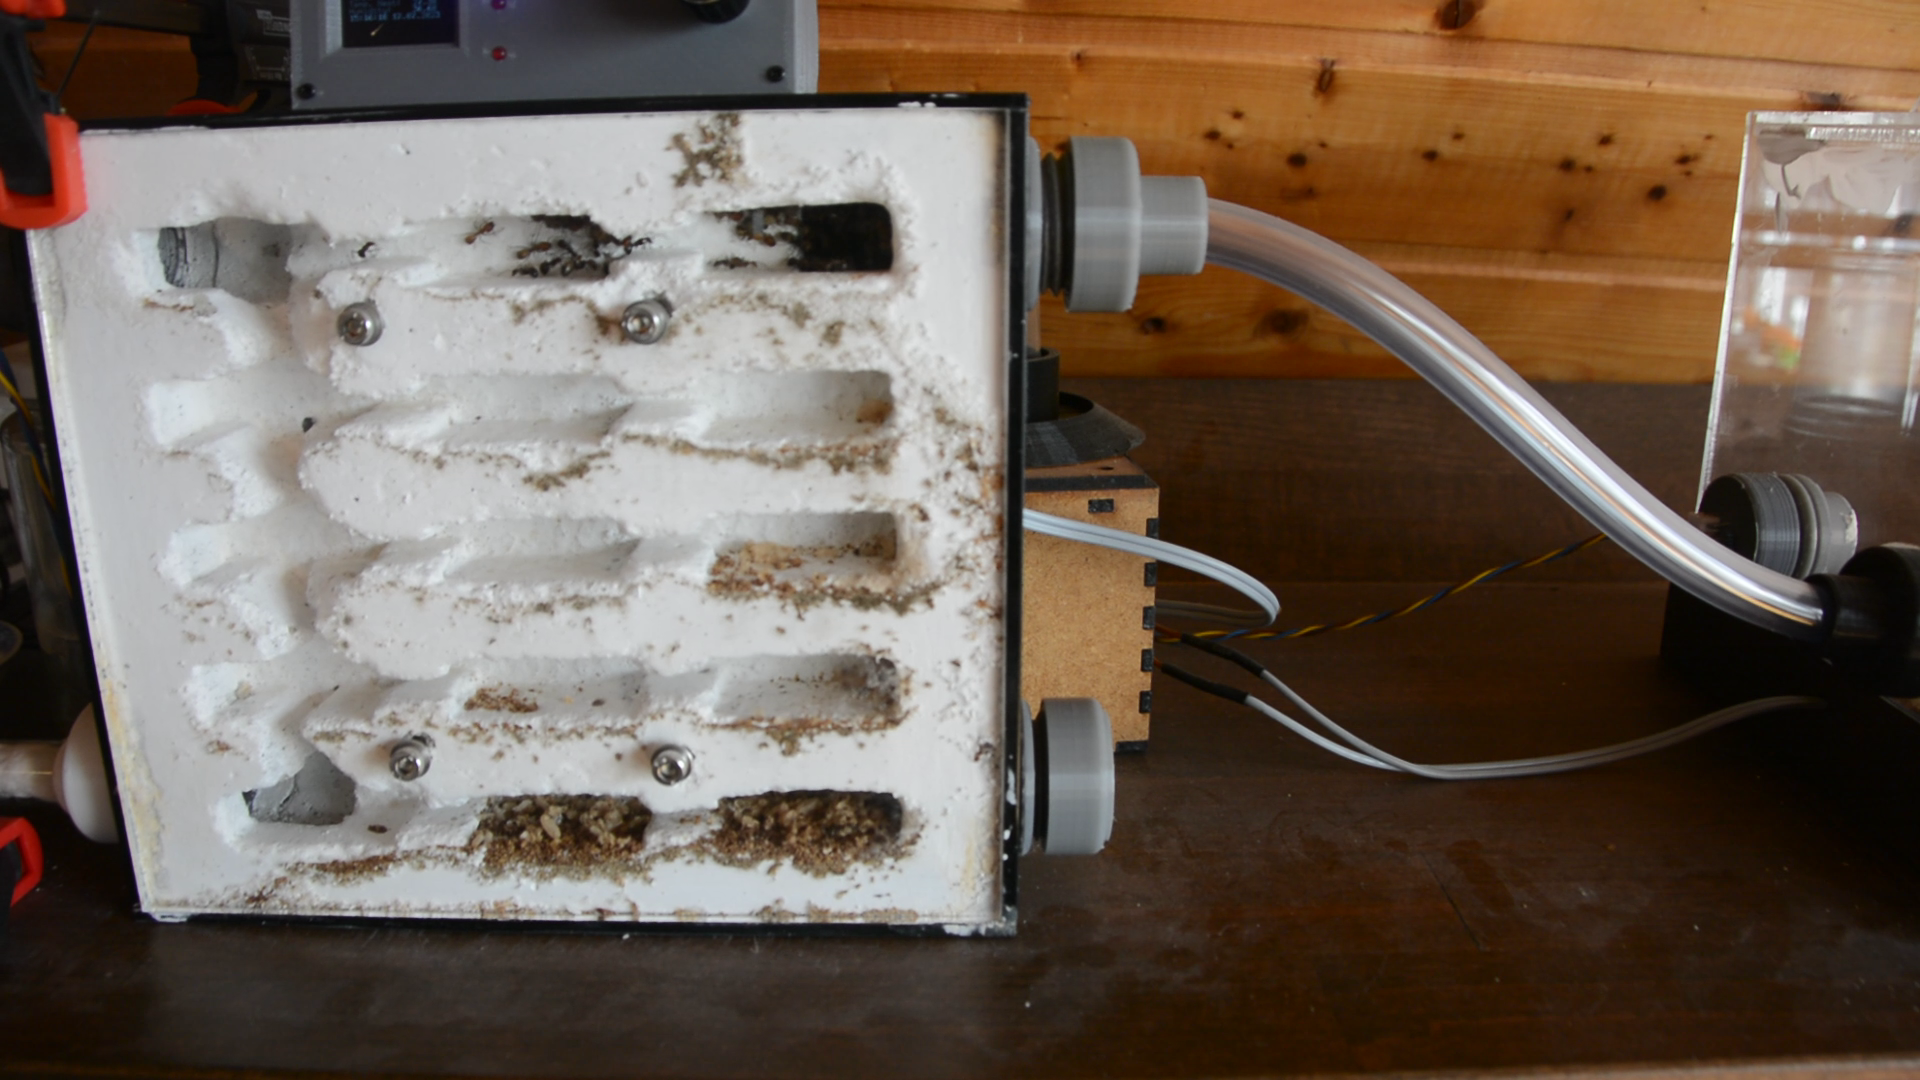
After the concrete is cured I remove all the XPS foam piece by piece.

I paint a layer of lime putty on the concrete to make the environment mold resistant and the white background provides a nice contrast for the black ants.
The electronics
The ants I keep are from a tropical climate so the nest and the arena have to be heated to around 26-28°C. I used this project as an excuse to finally learn how to design a PCB board.
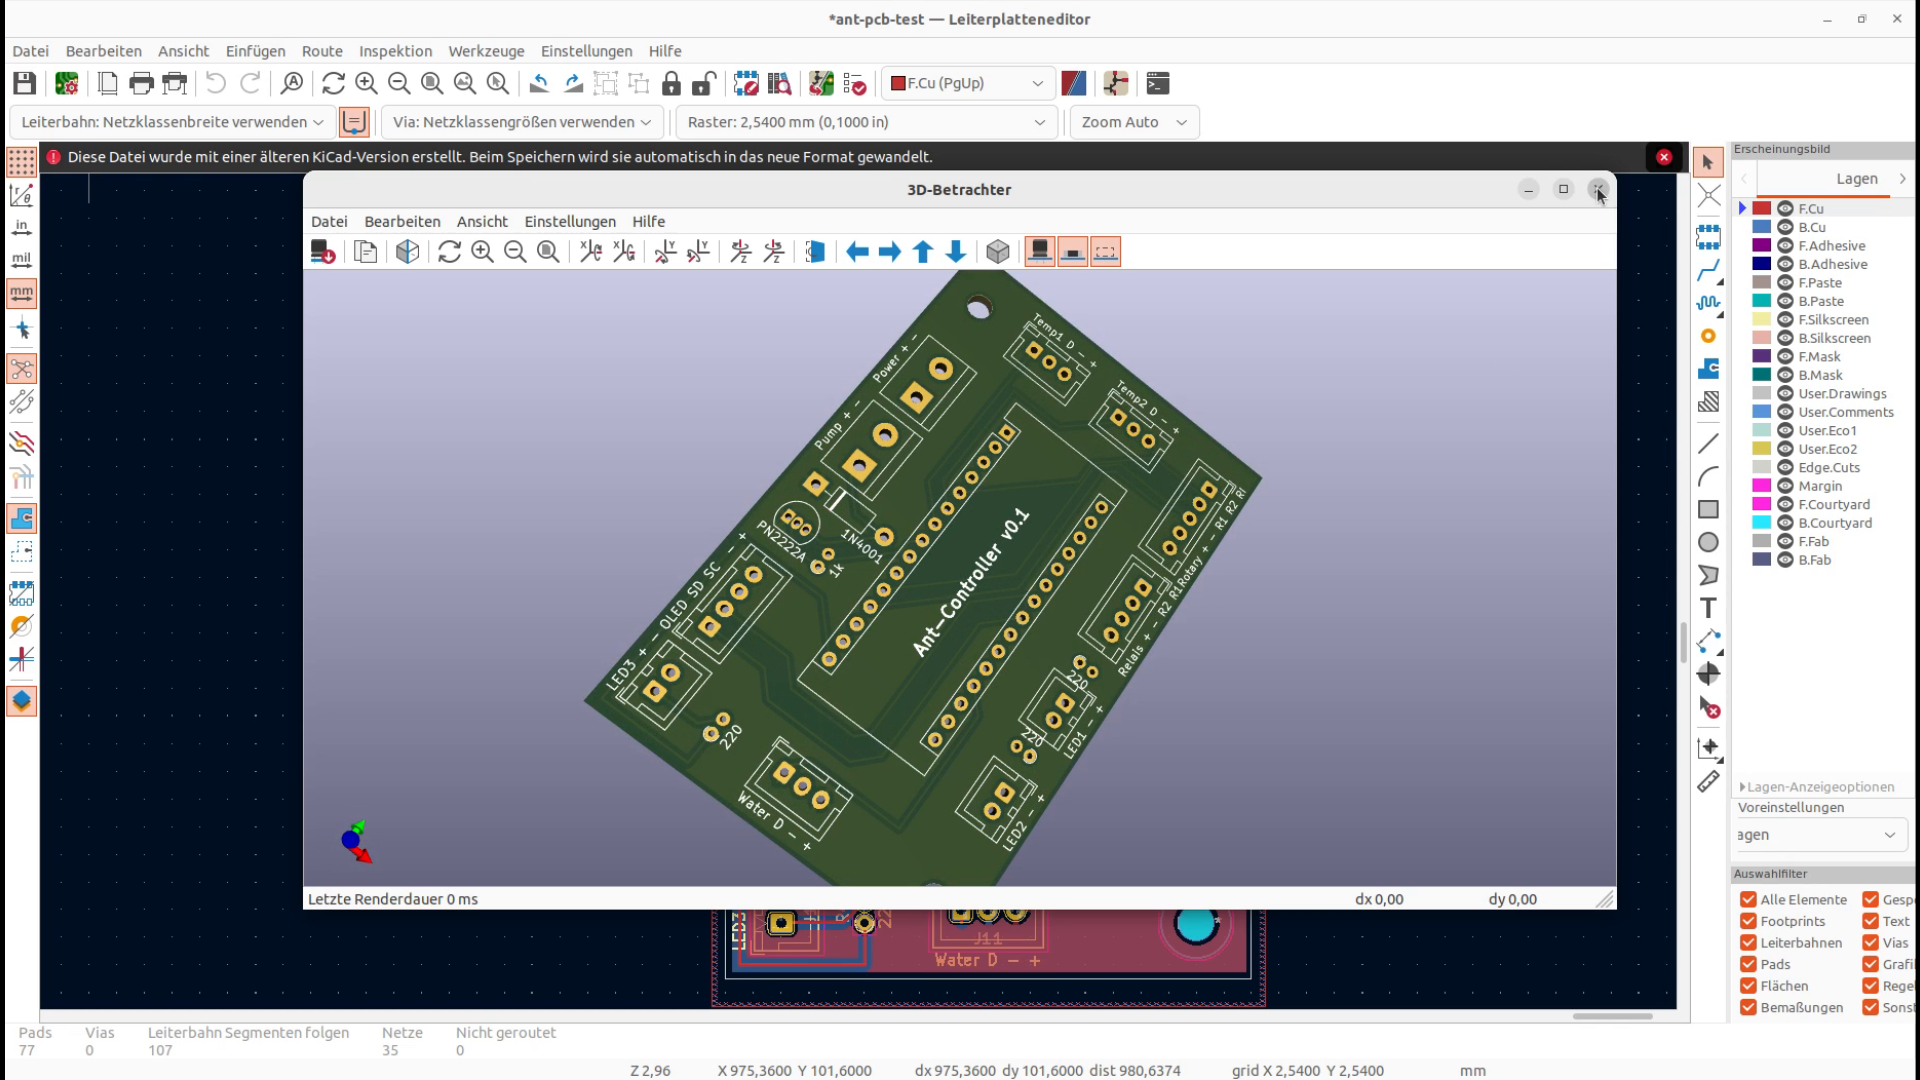
I have to say that I was surprised that this simple circuit worked on the first try.
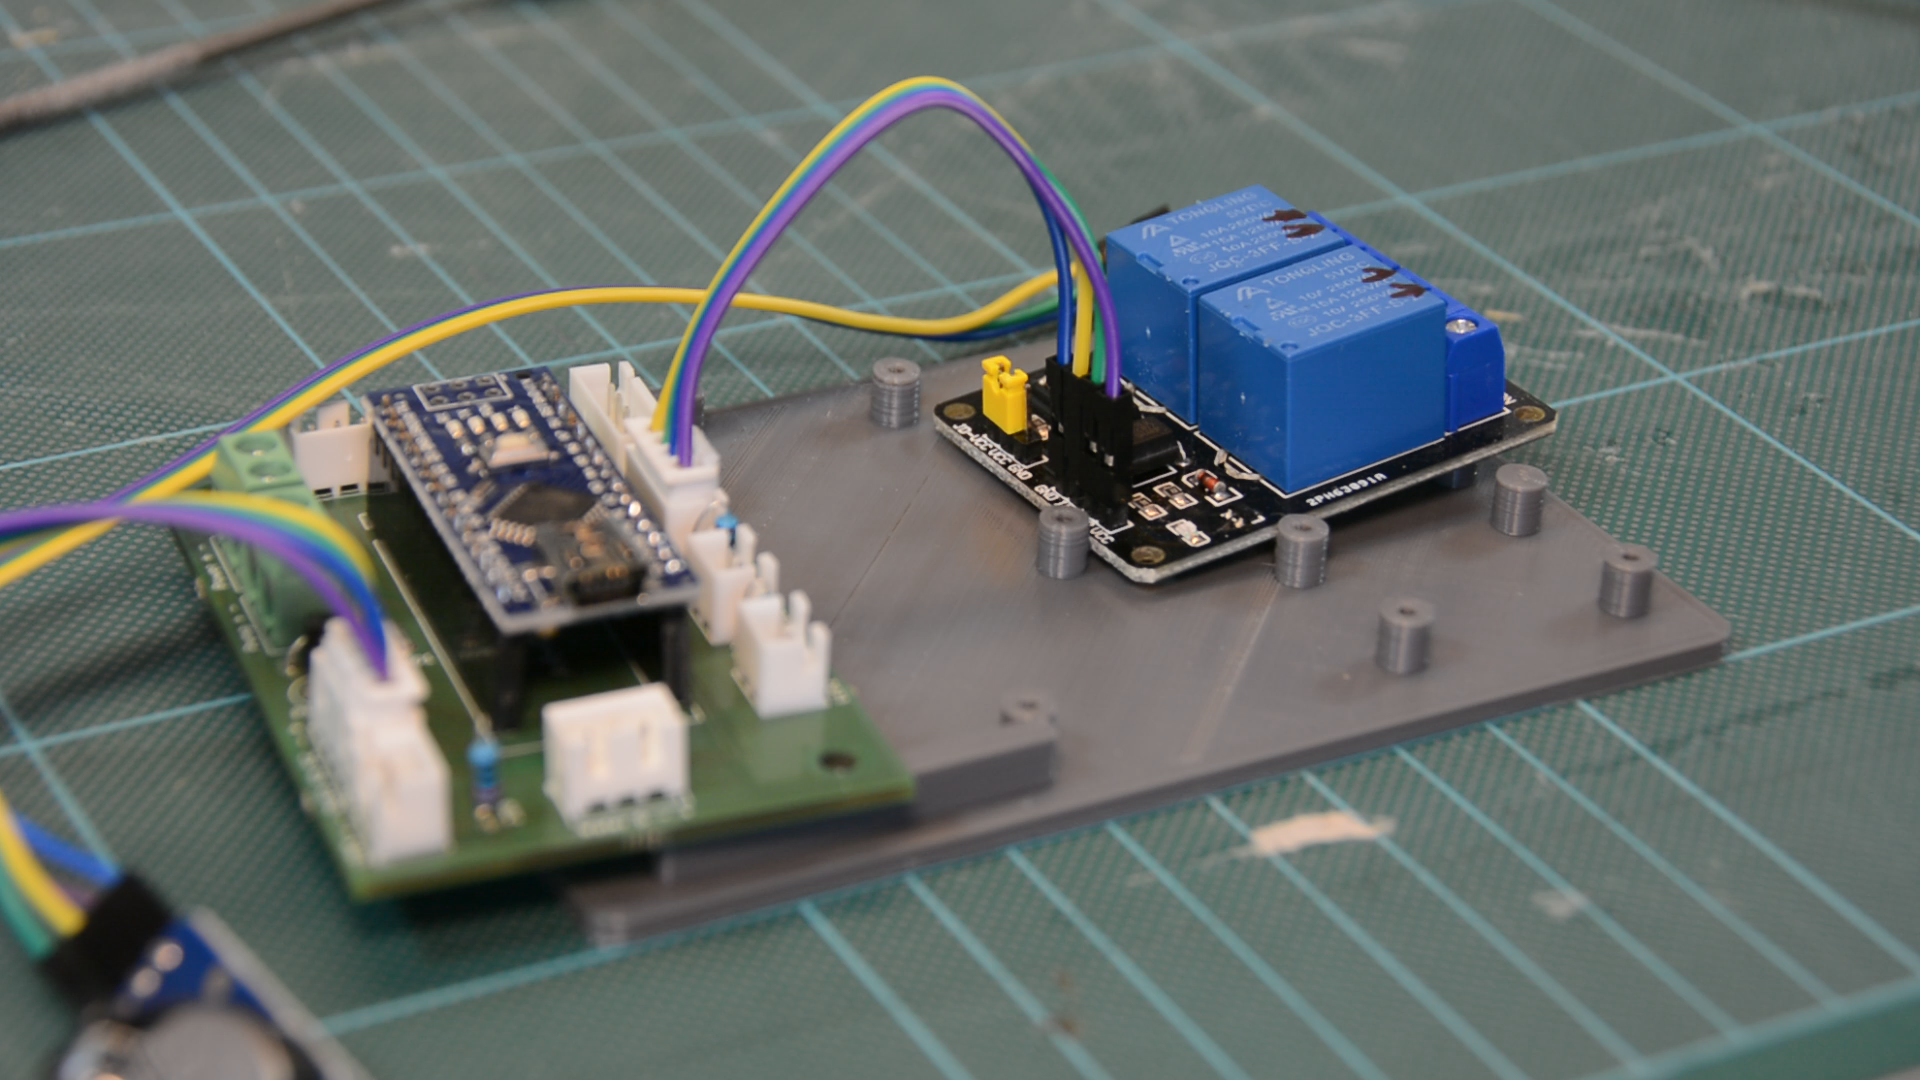
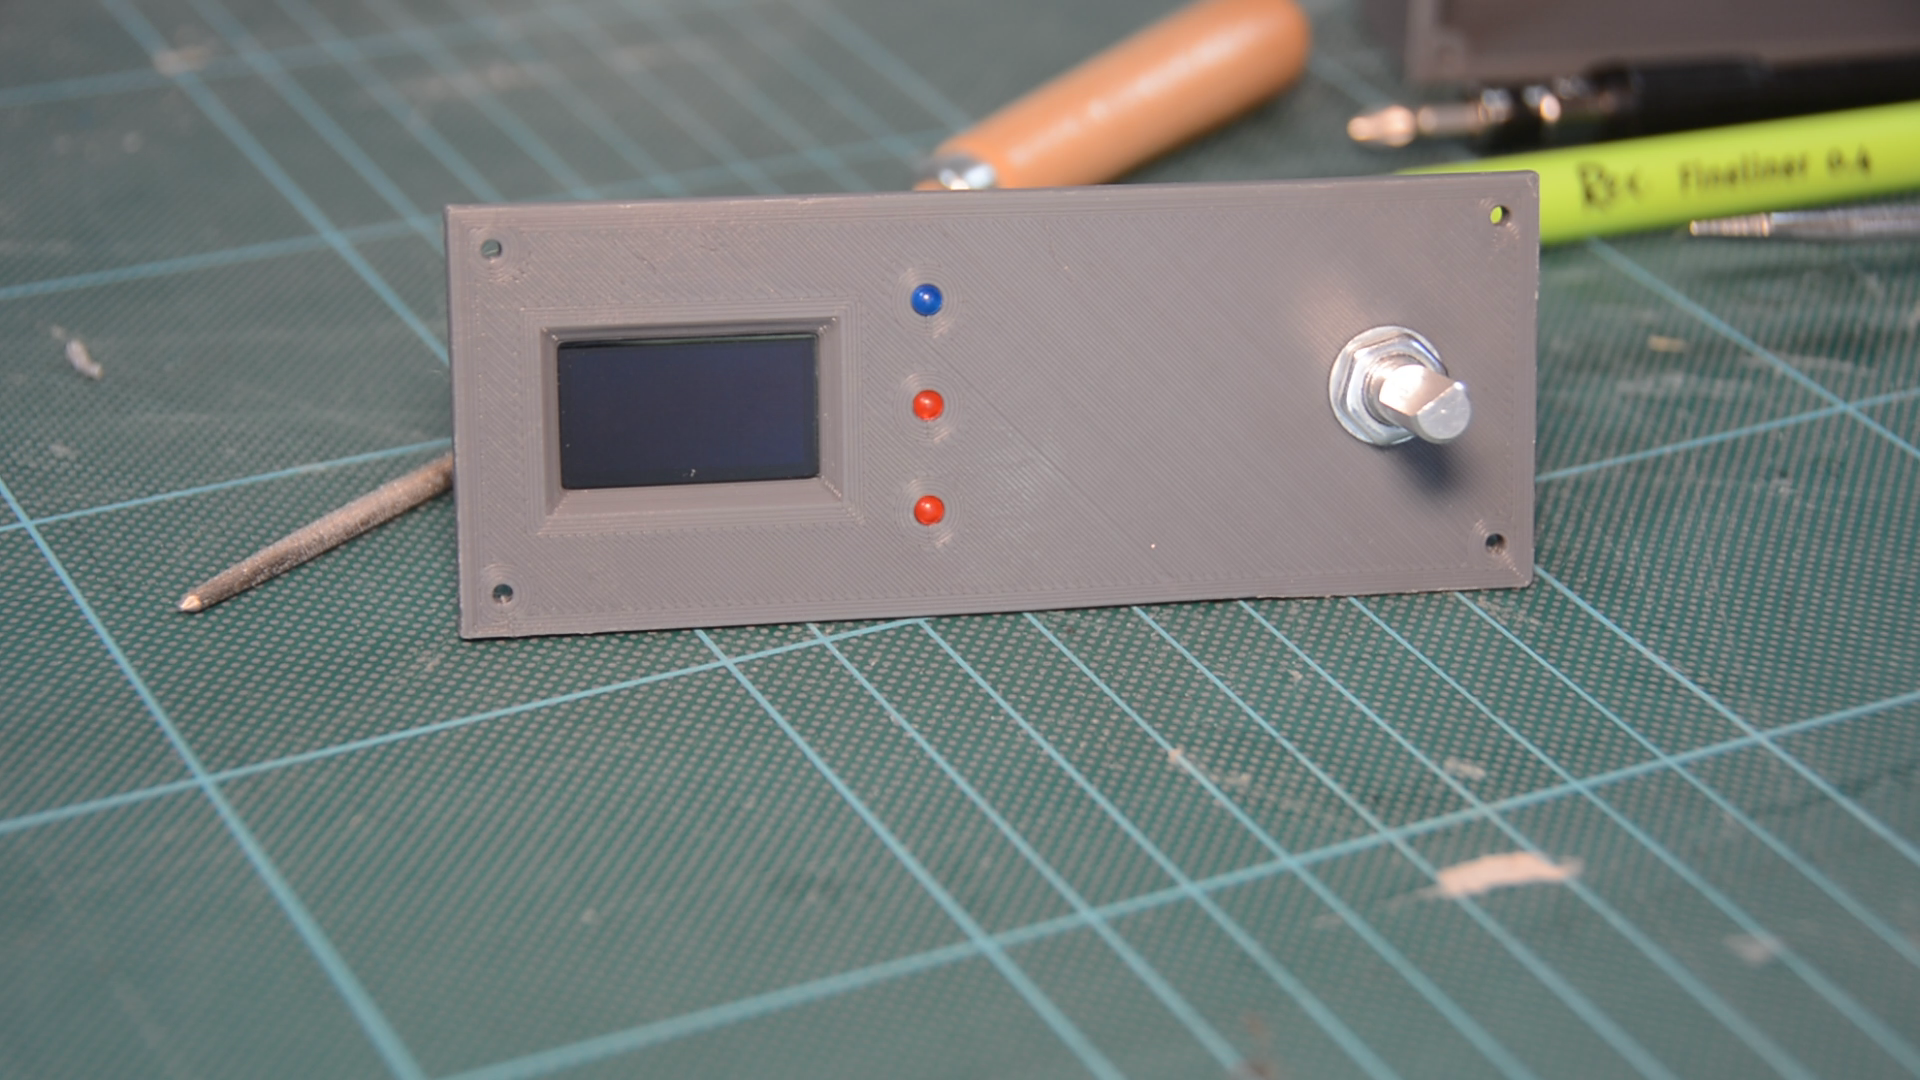
Here you see me mounting a small display in a 3d printed box that will later show the temperature and the humidity in the nest and in the area.
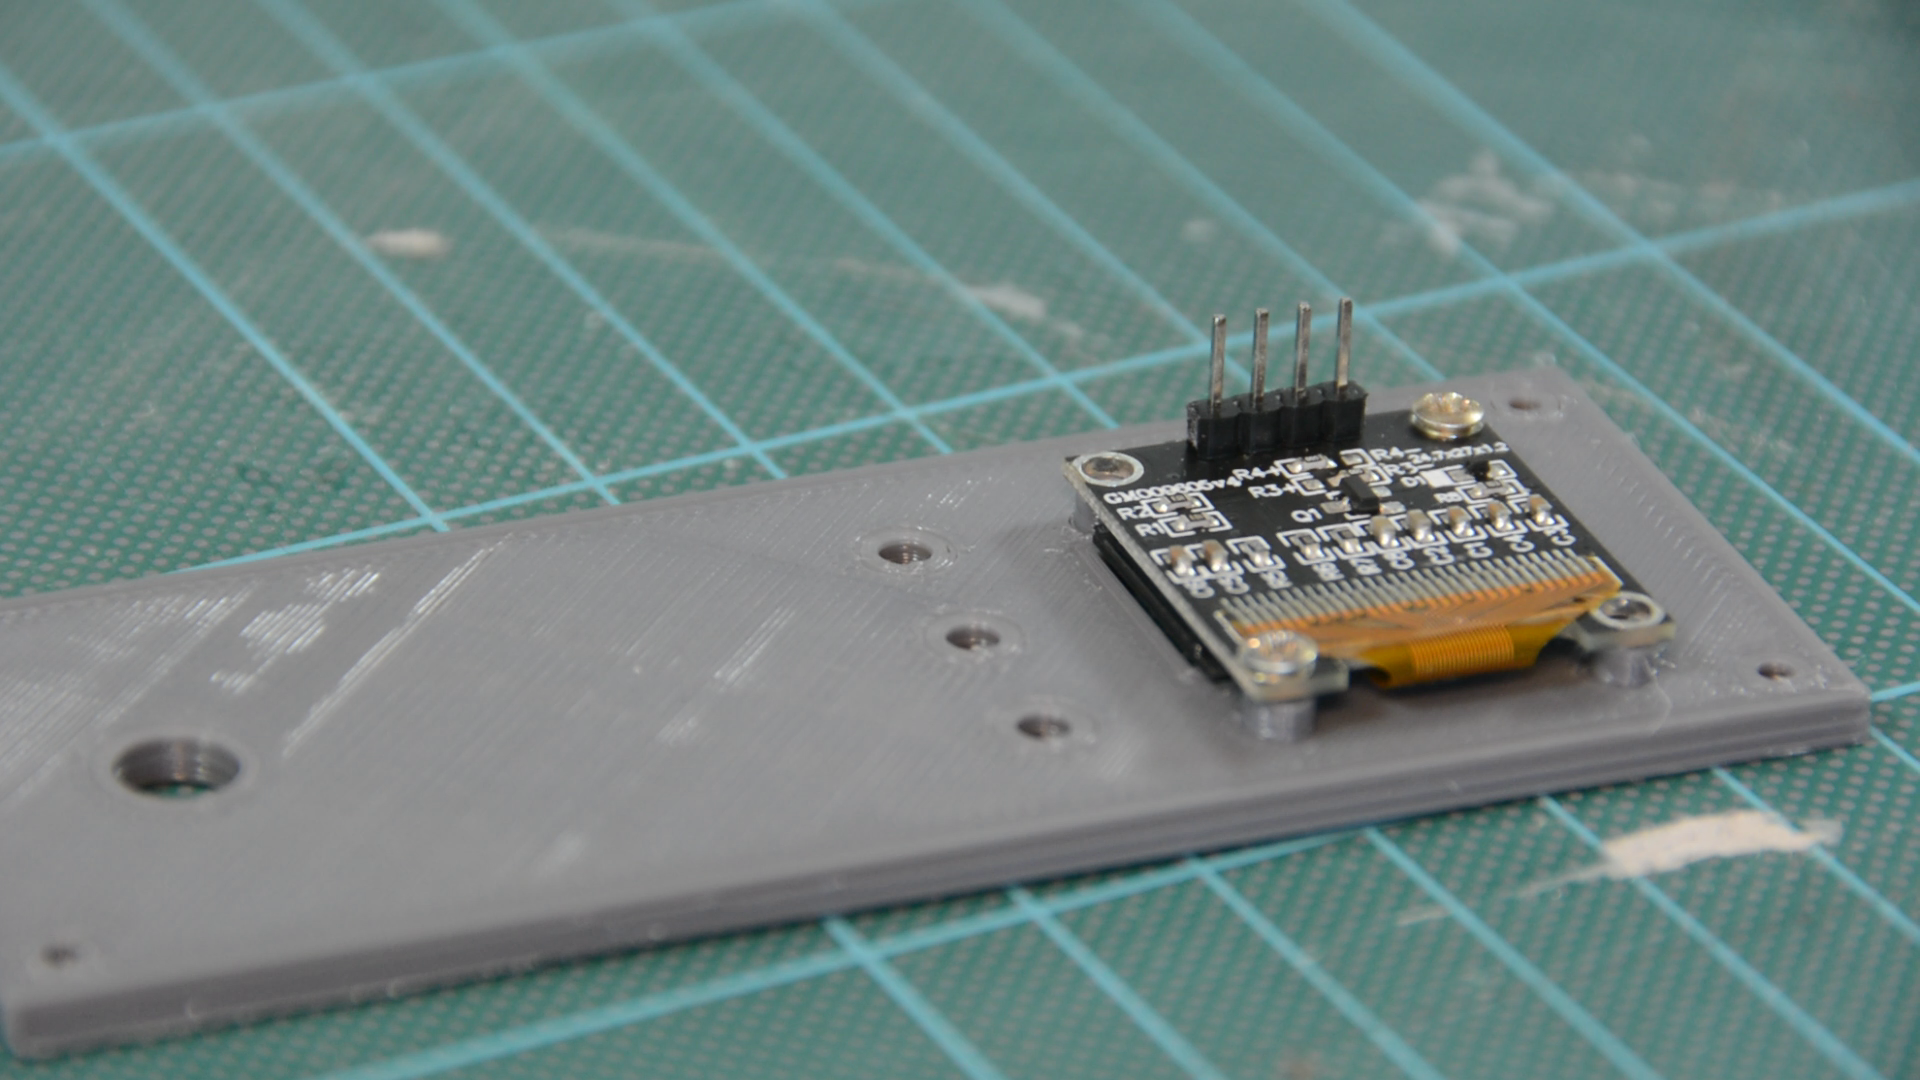
The red LEDs indicate that the heating is switched on and the blue LED shows a low humidity.
Modular sensors
To get the temperature and the humidity we have to install a sensor.
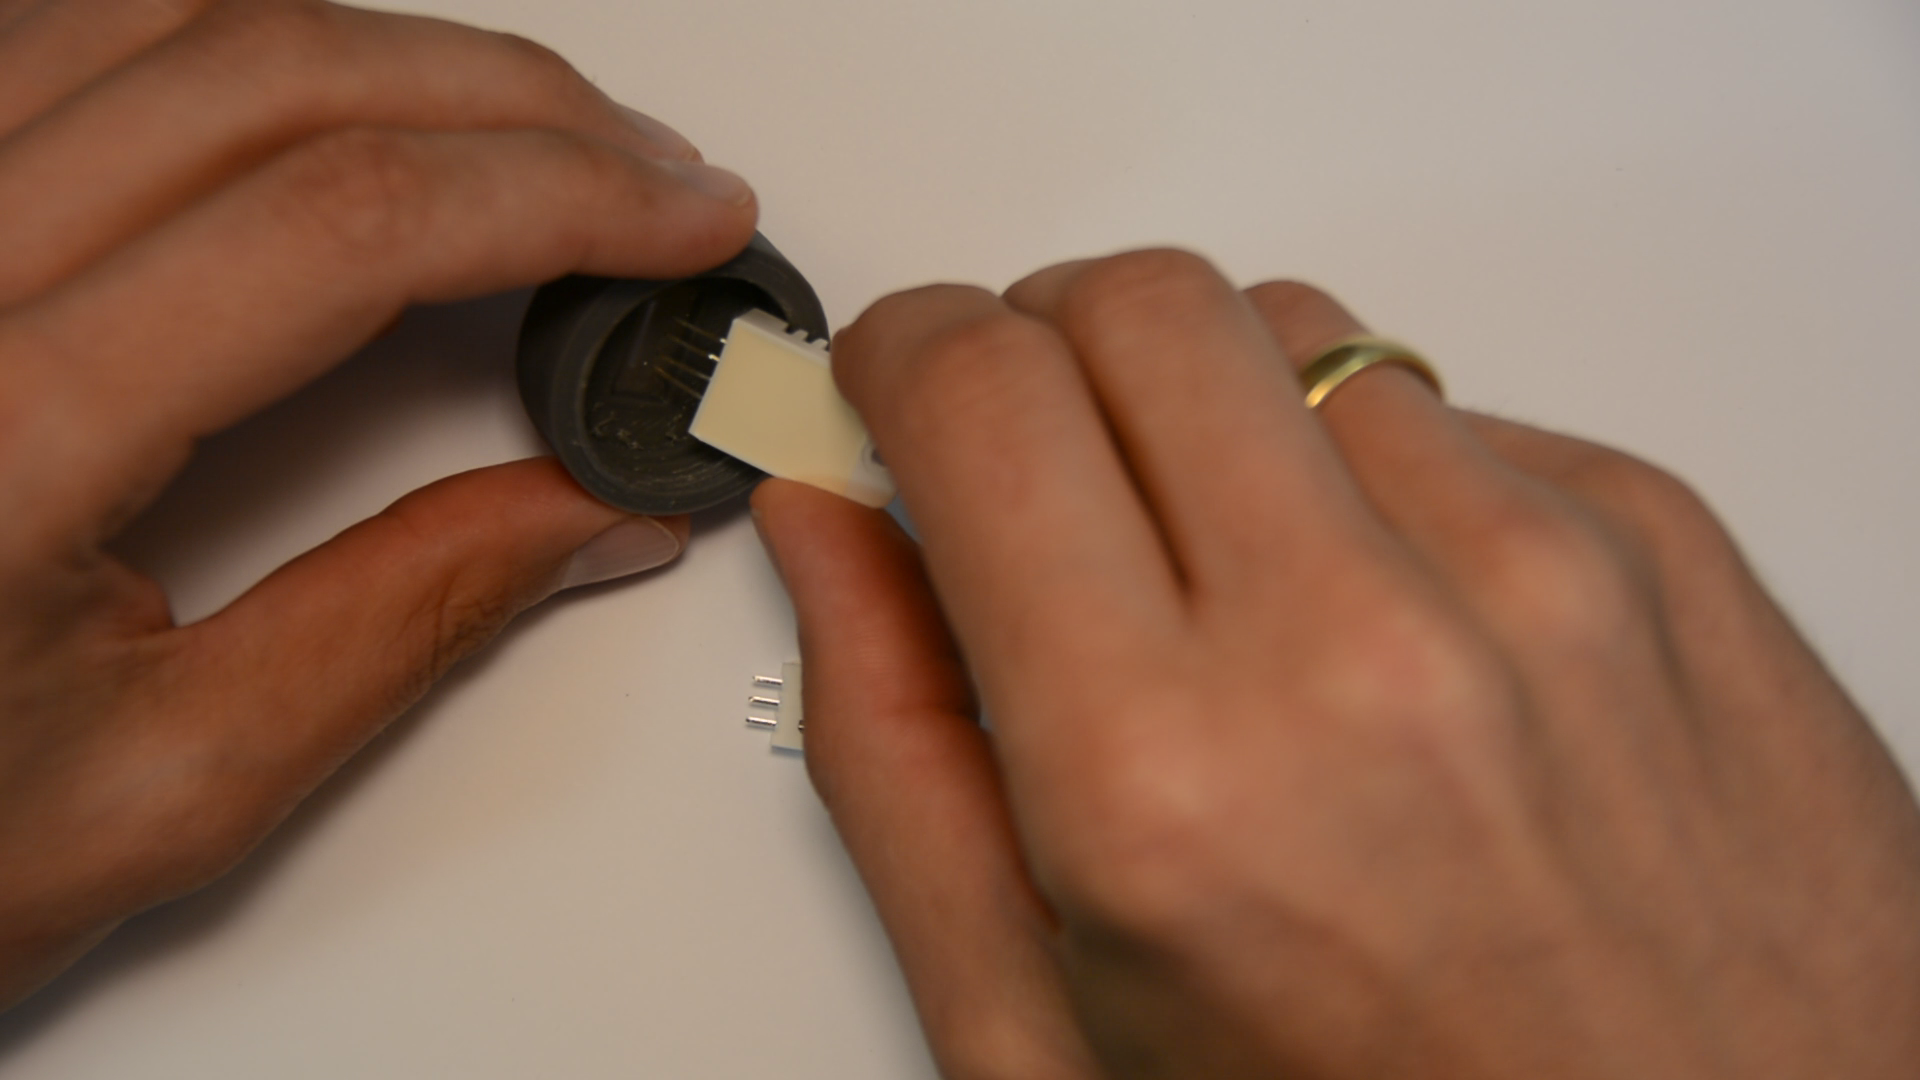
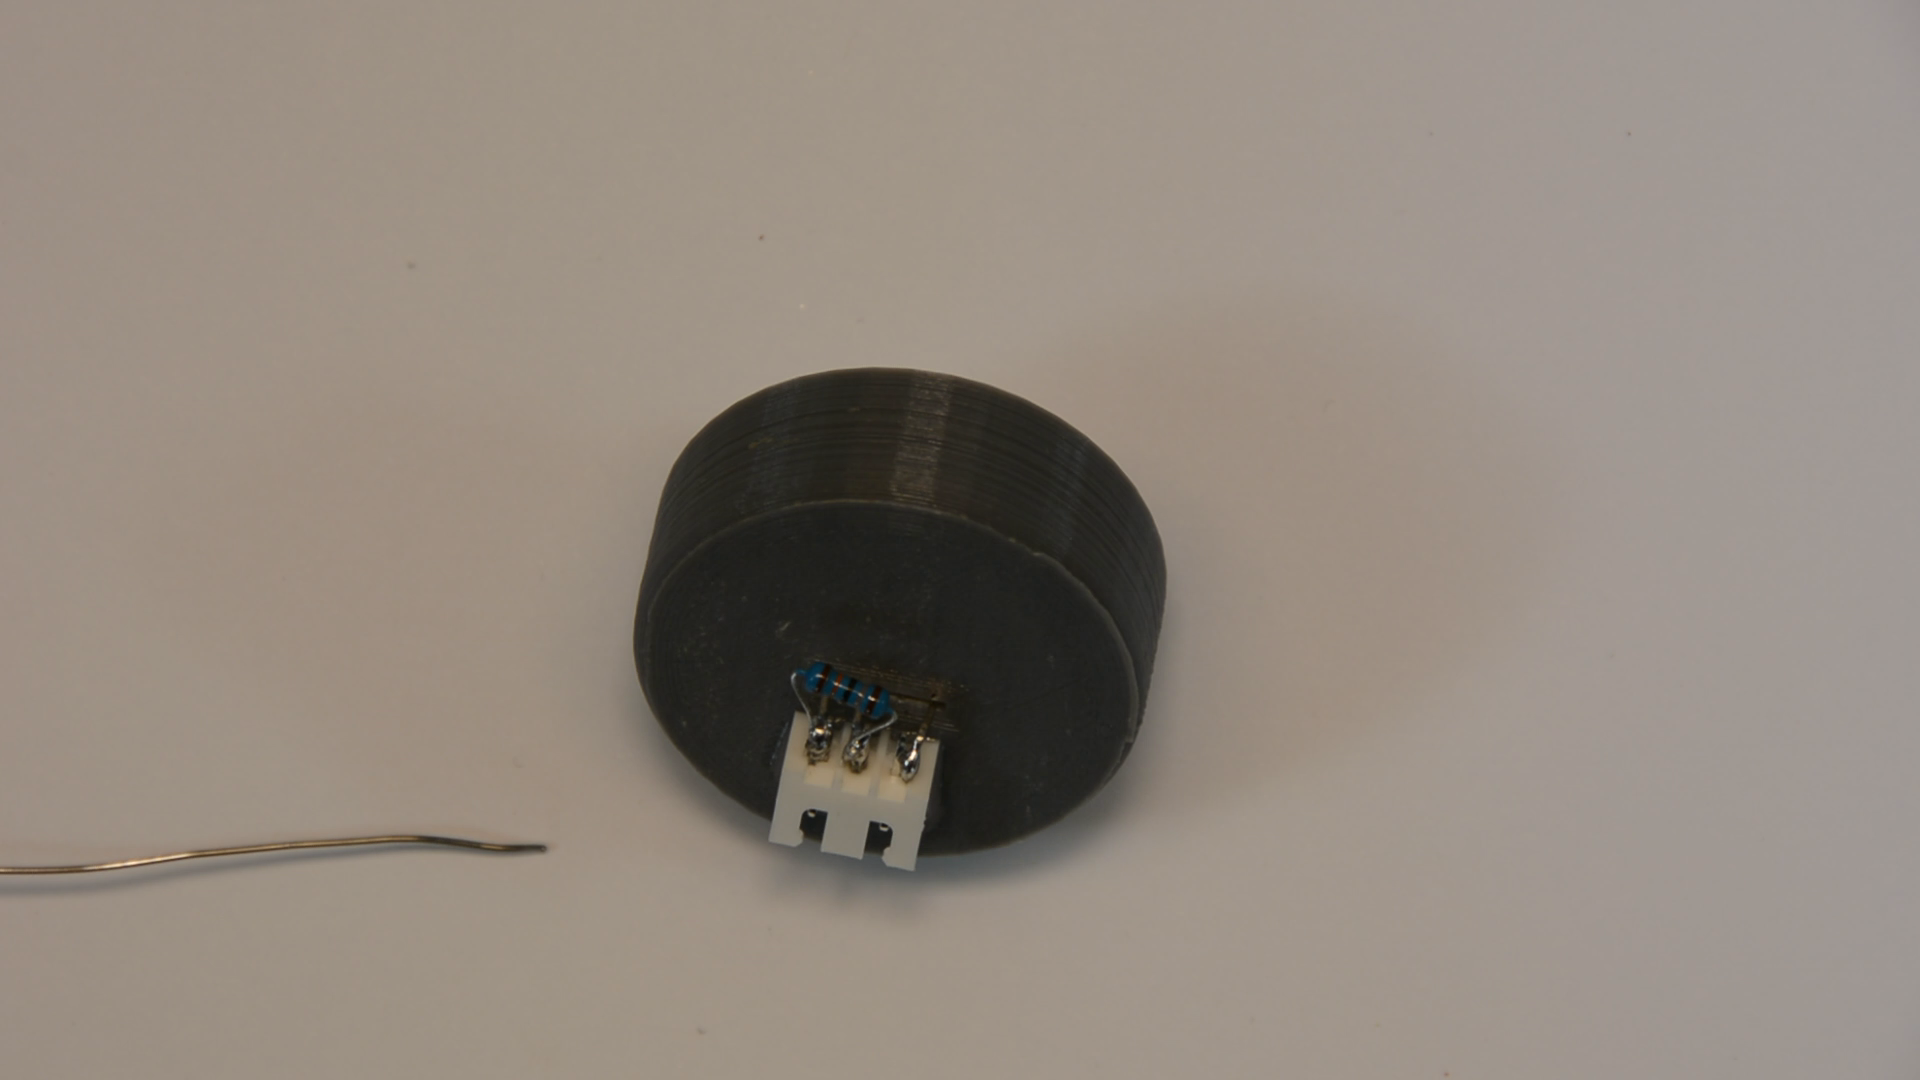
This is where the connectors I mentioned earlier come in handy. These 3d printed caps have a recess that fits snug around a DHT22 sensor that measures temperature and humidity.
The sensor is glued in place with a drop of epoxy. On the outside of the cap I solder a JST connector and a pullup resistor to the sensor.
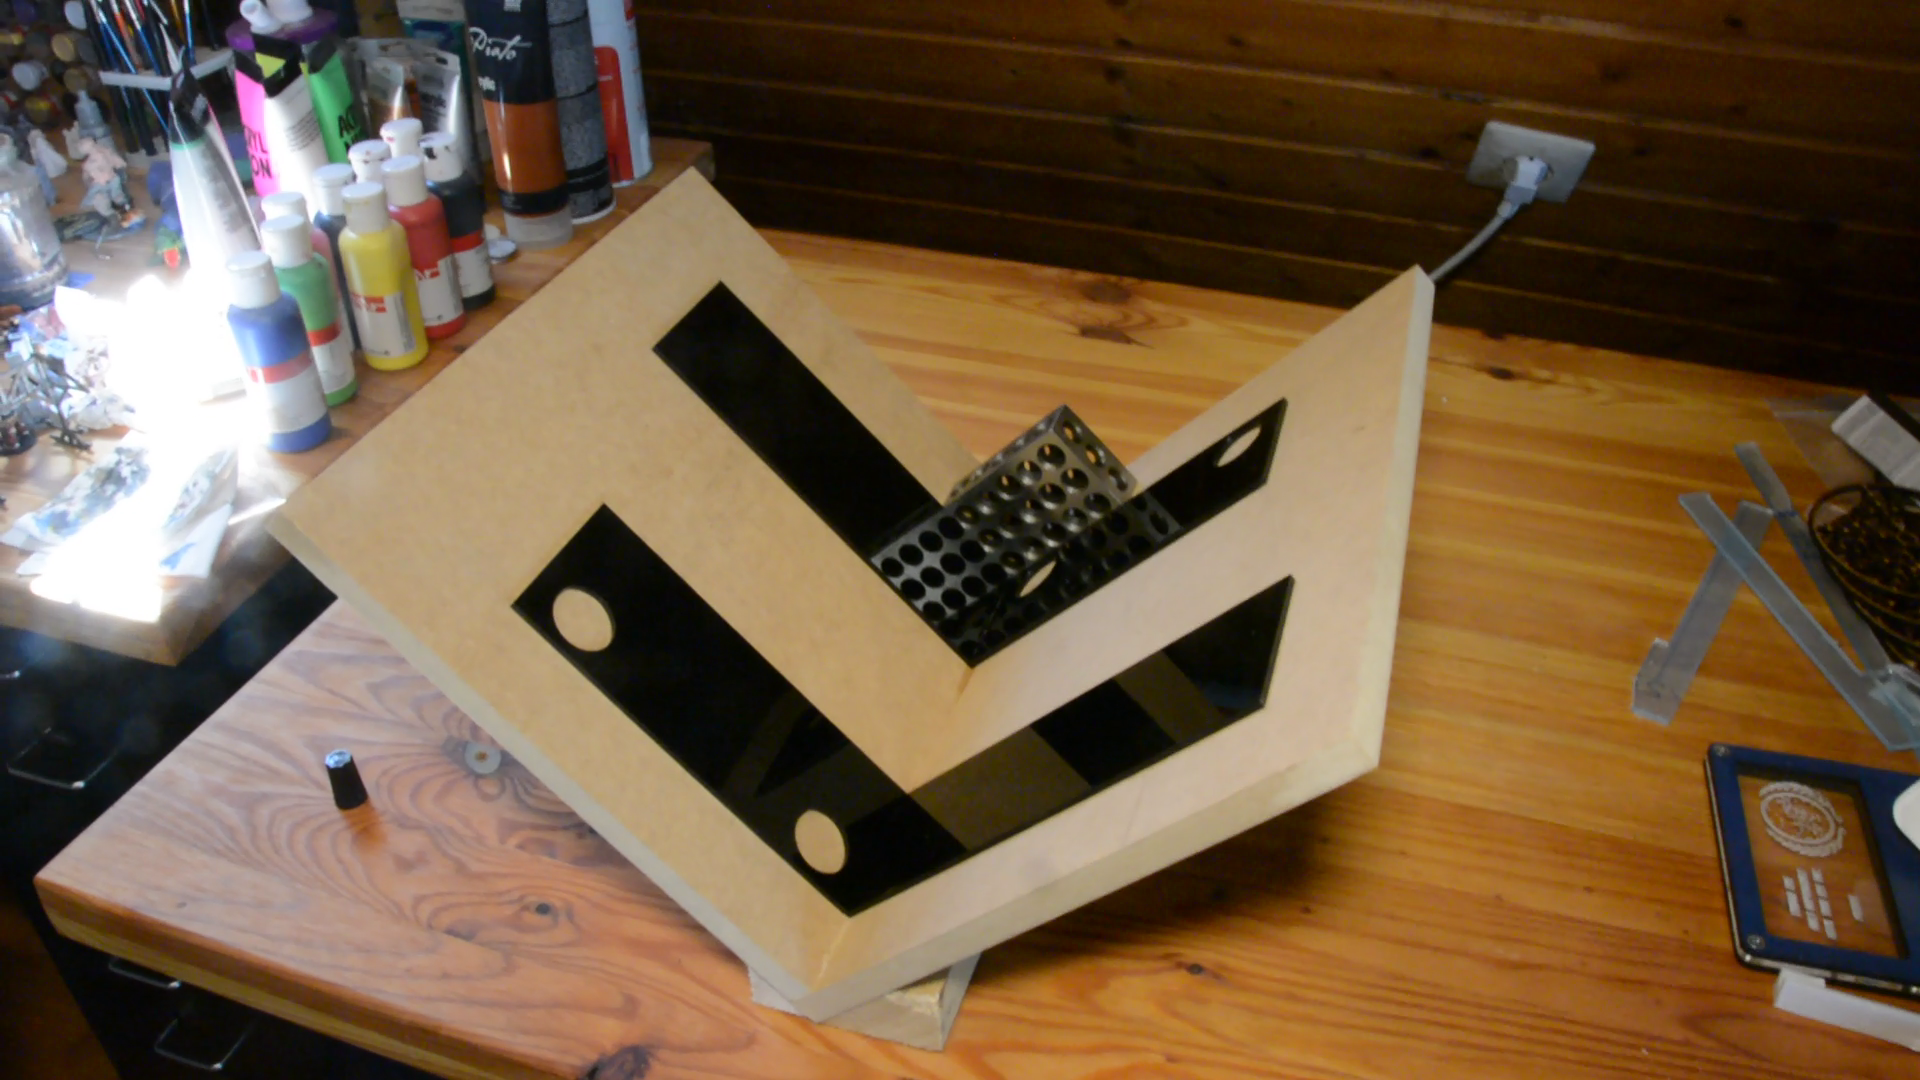
All the electronics components are housed in a lasercut MDF box.
Heating
For the heating of the arena we have to install a heating element. A piece of XPS foam is shaped so that the heating element for a car mirror sits flush
with the surface.
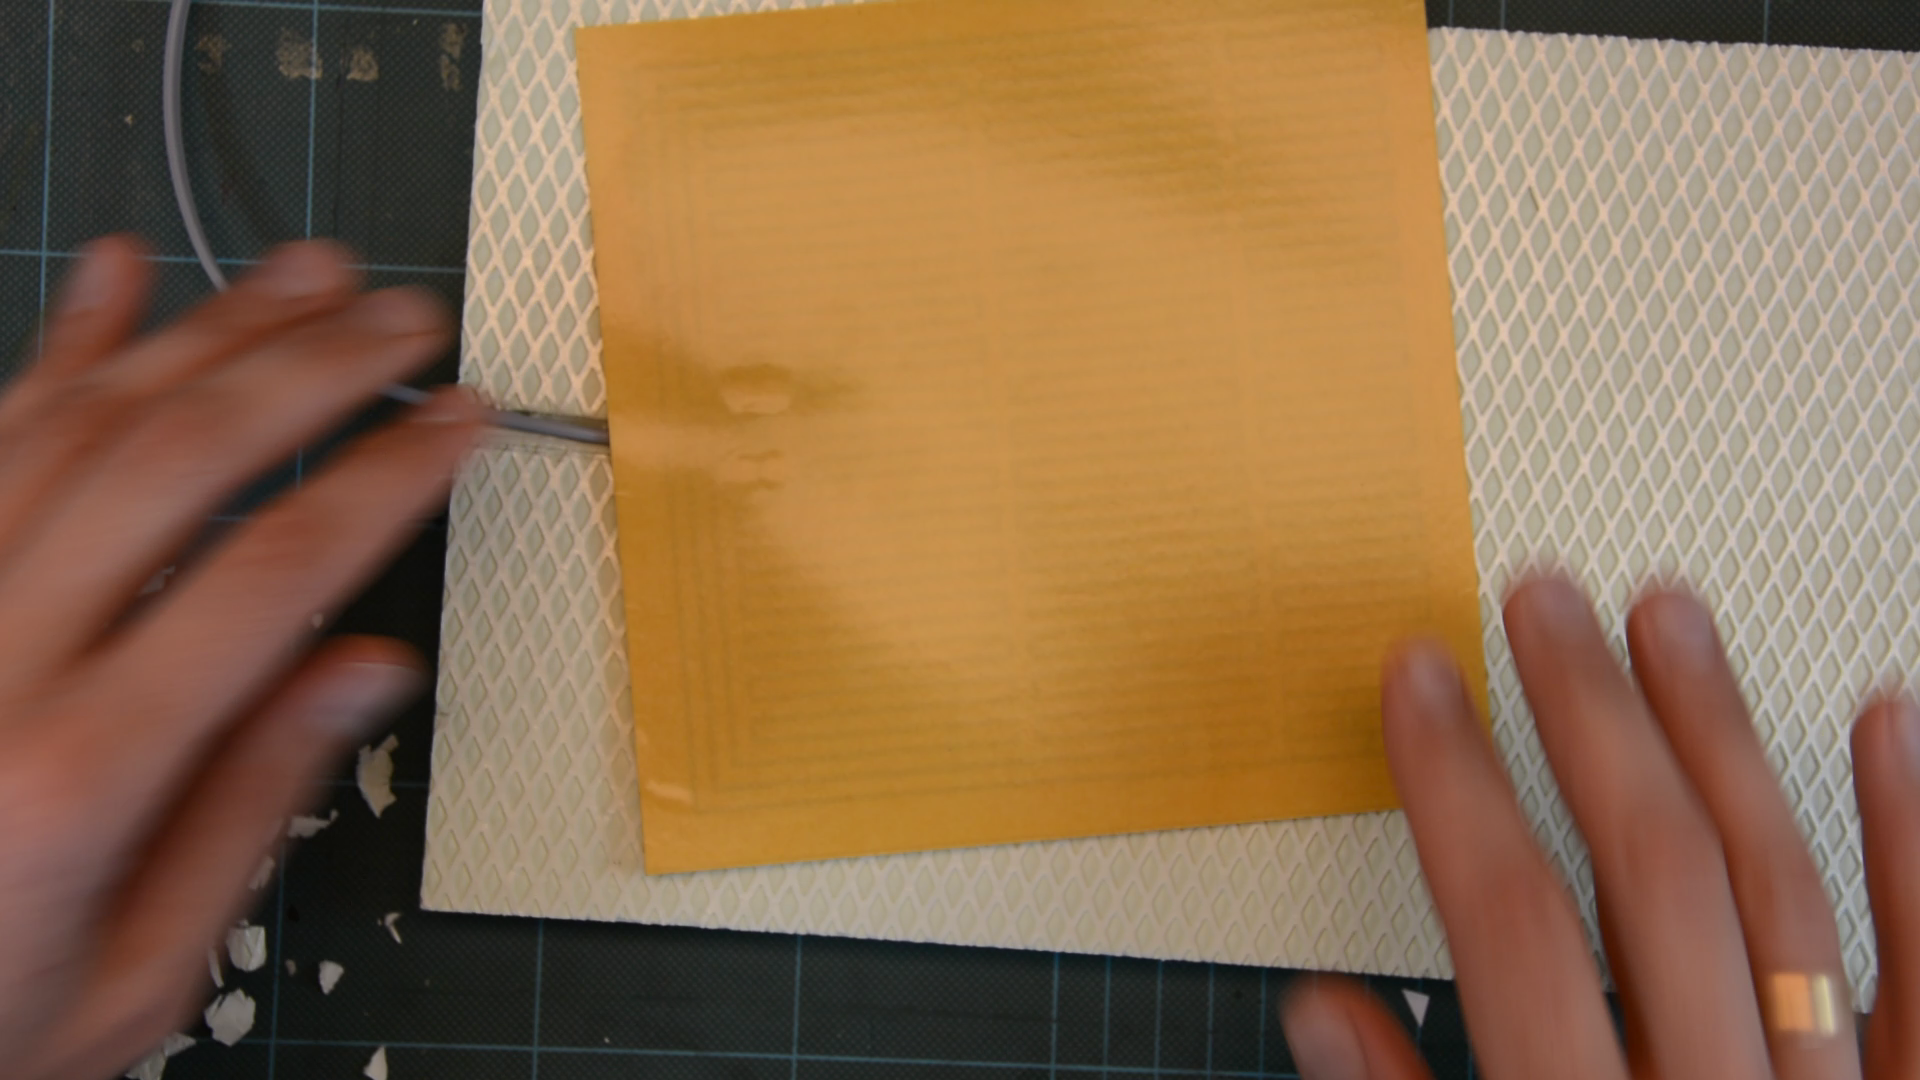
To hide the XPS foam we glue a simple plywood cover together. After the glue dried the plywood is sanded and stained.
Modular 3d printed connectors for the ant nest
The connectors for the arena are put in place and secured with a snap-on ring.
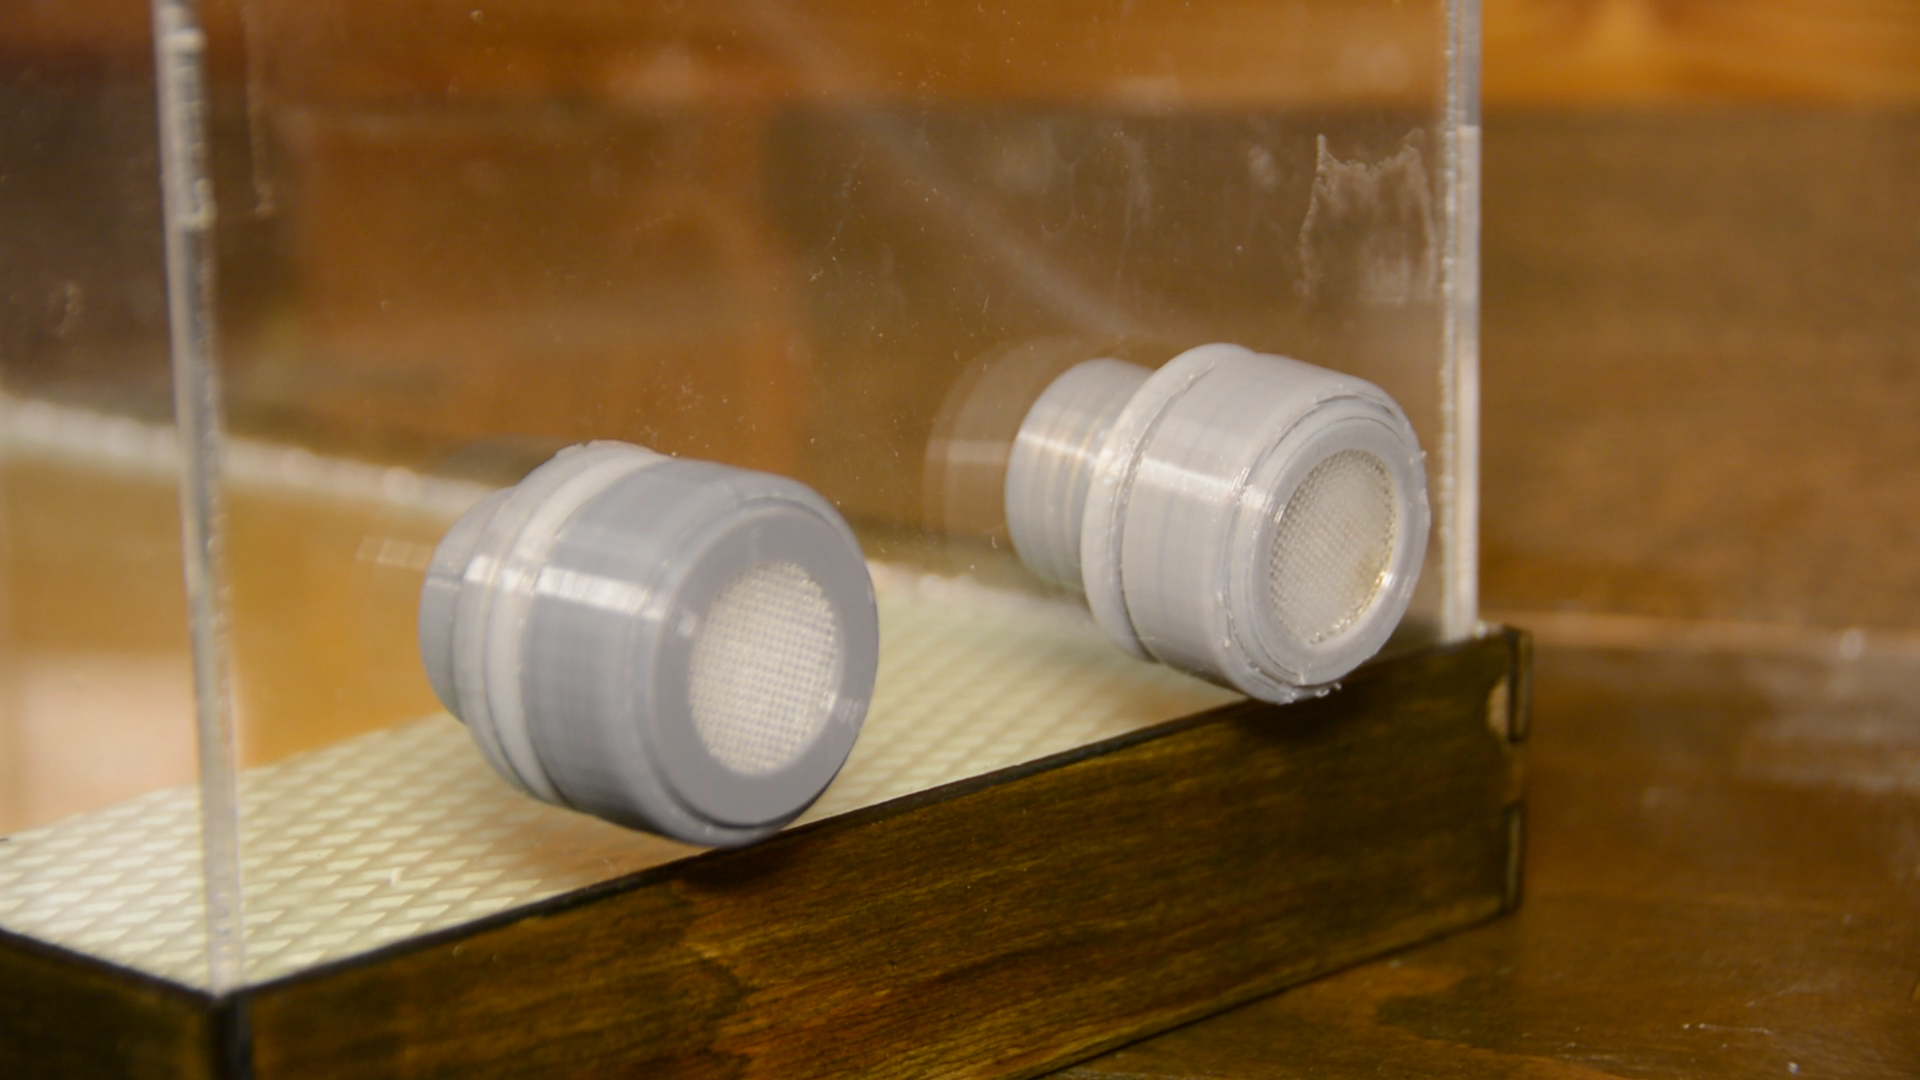
These connectors have already caps with a mesh for some additional air flow installed.
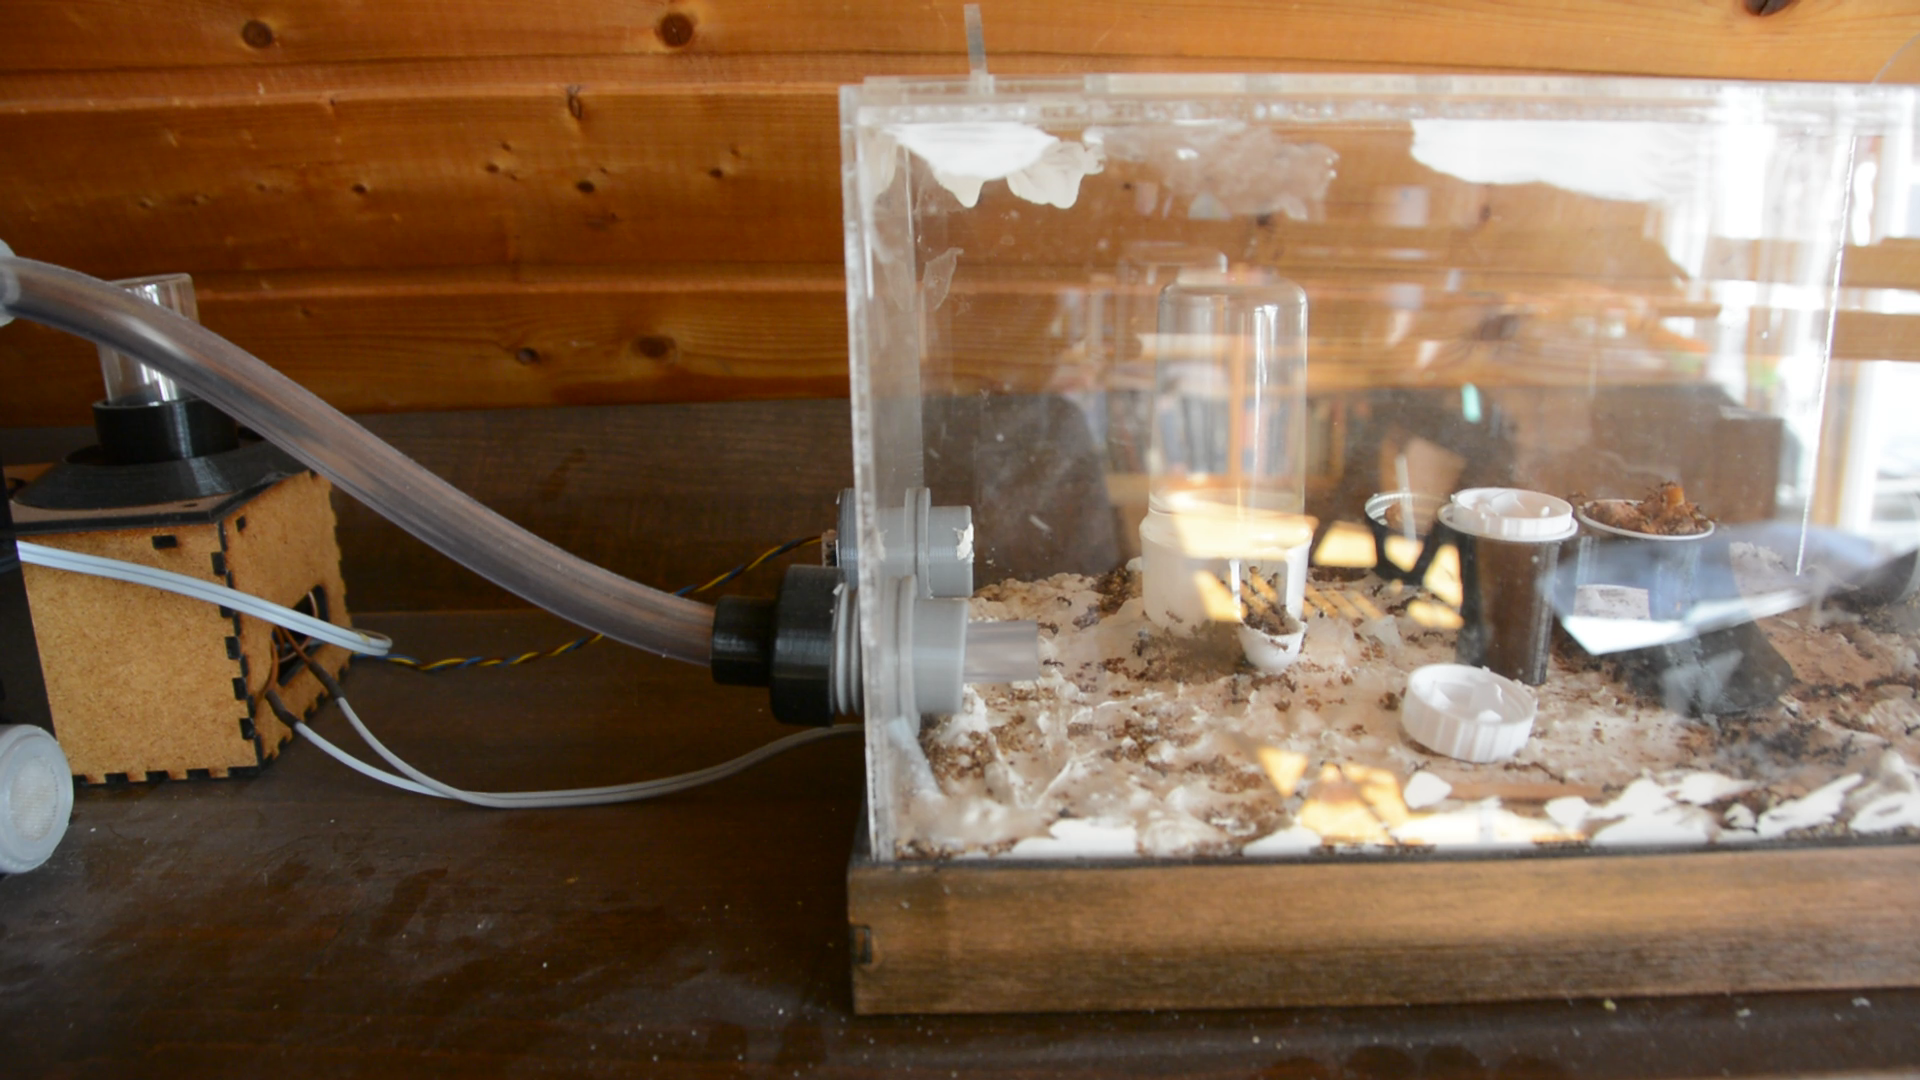
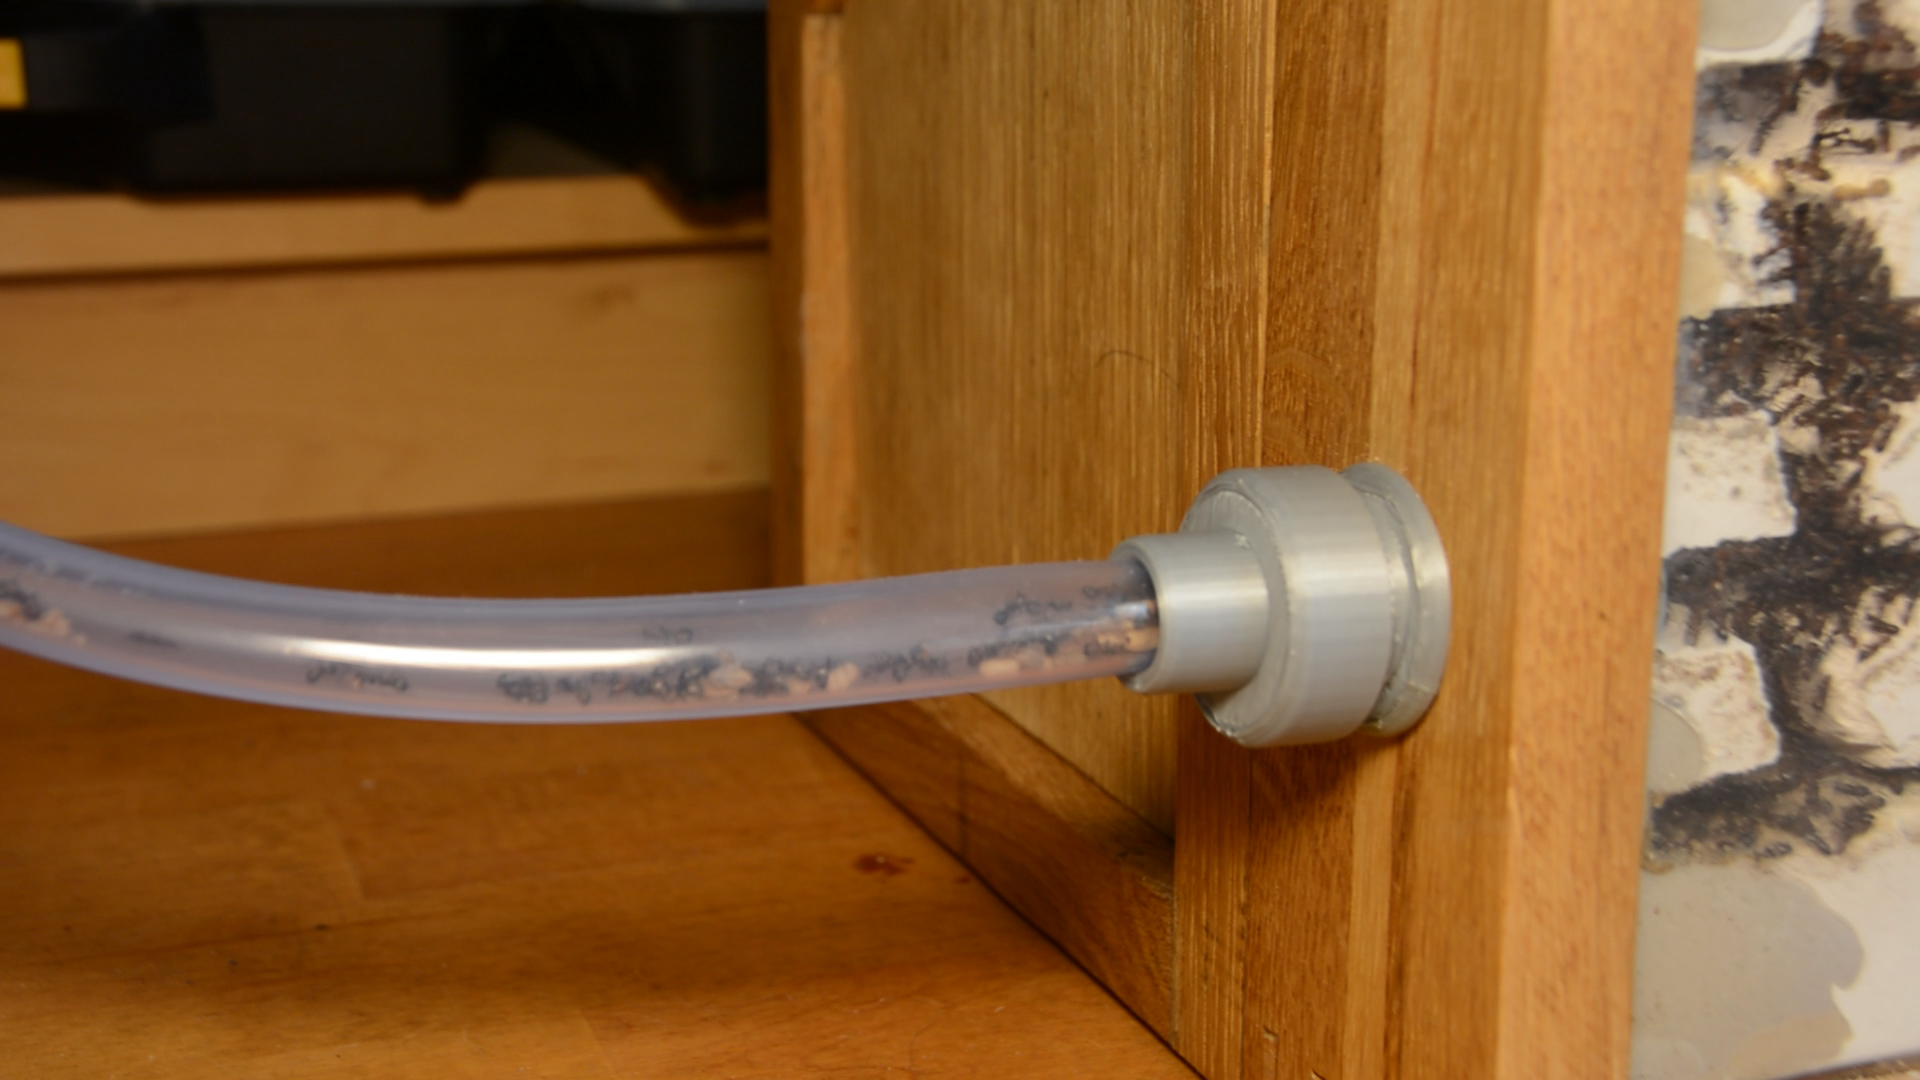
After installing the other connectors a 16mm transparent hose connect the arena and the ant nest.
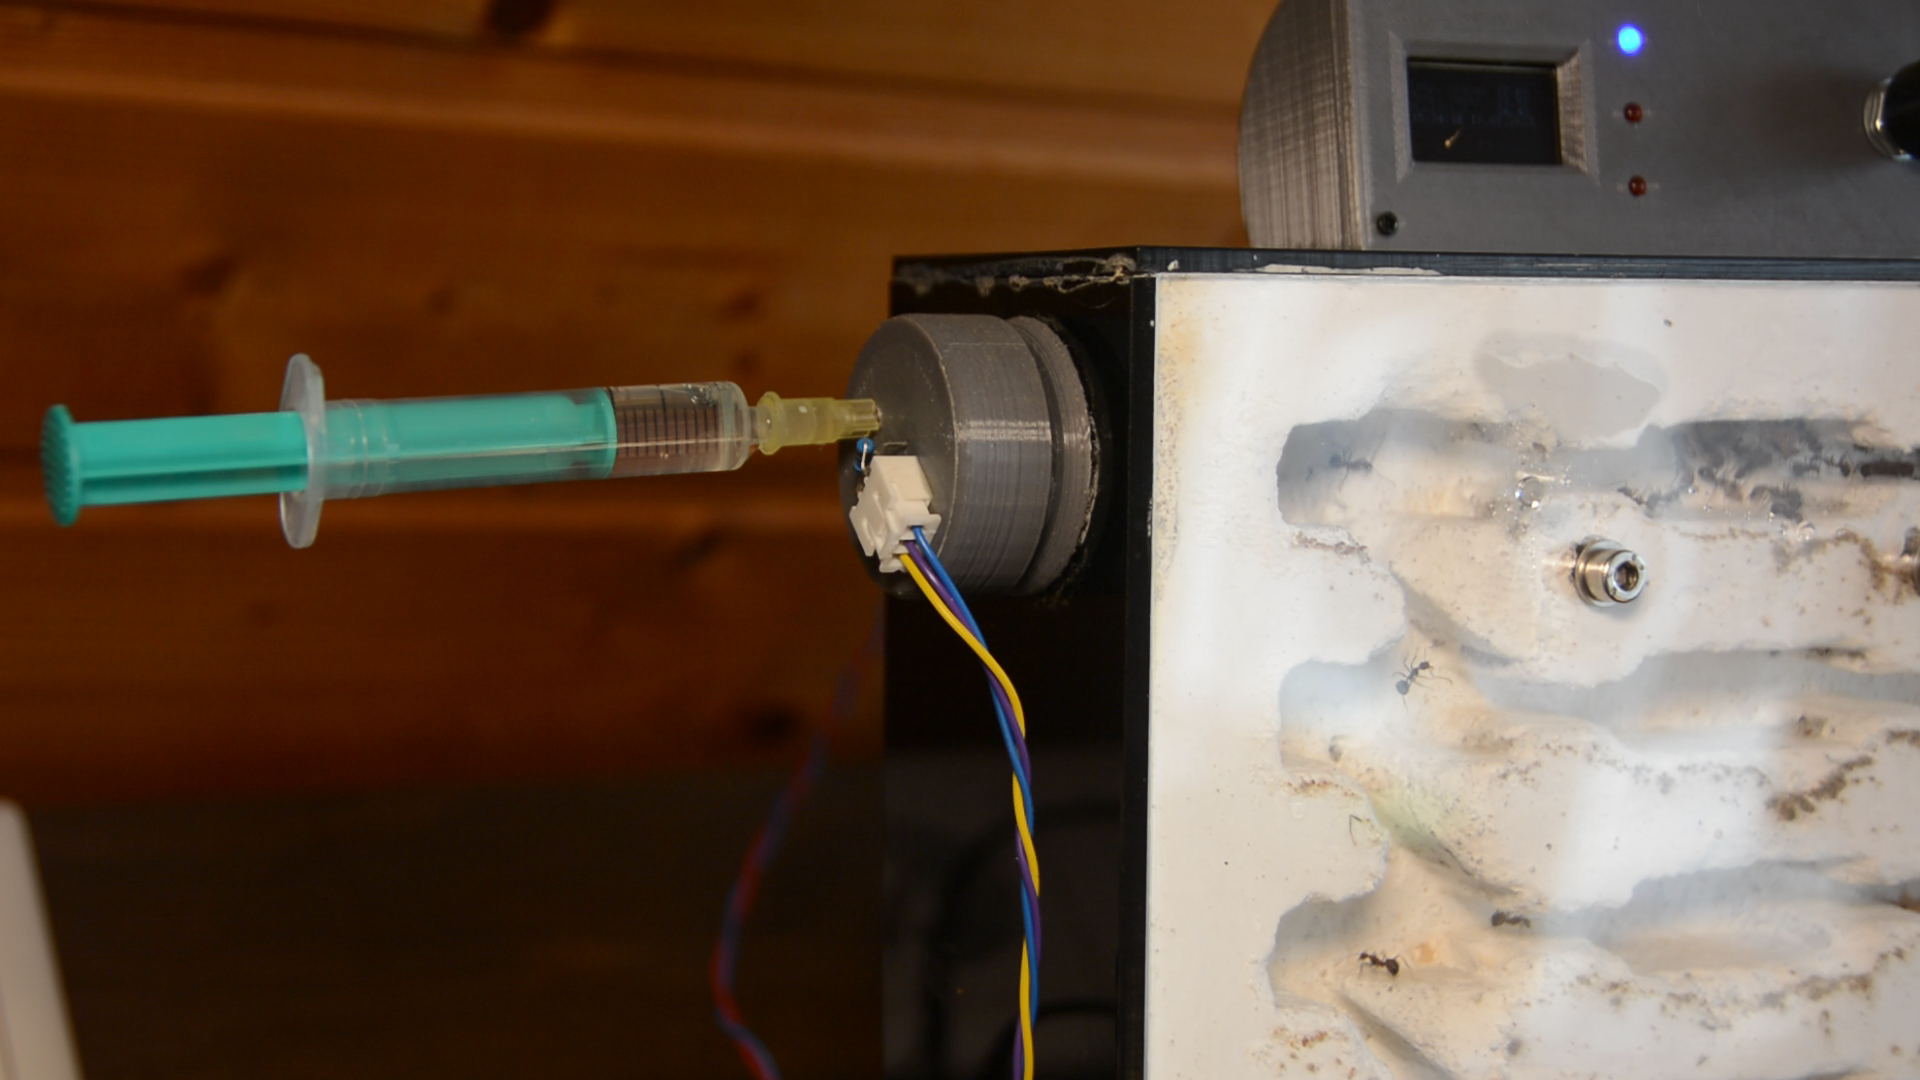
I later developed some more modules for the connectors. With this syringe I inject water to increase the humidity in the nest.
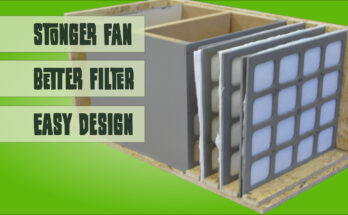
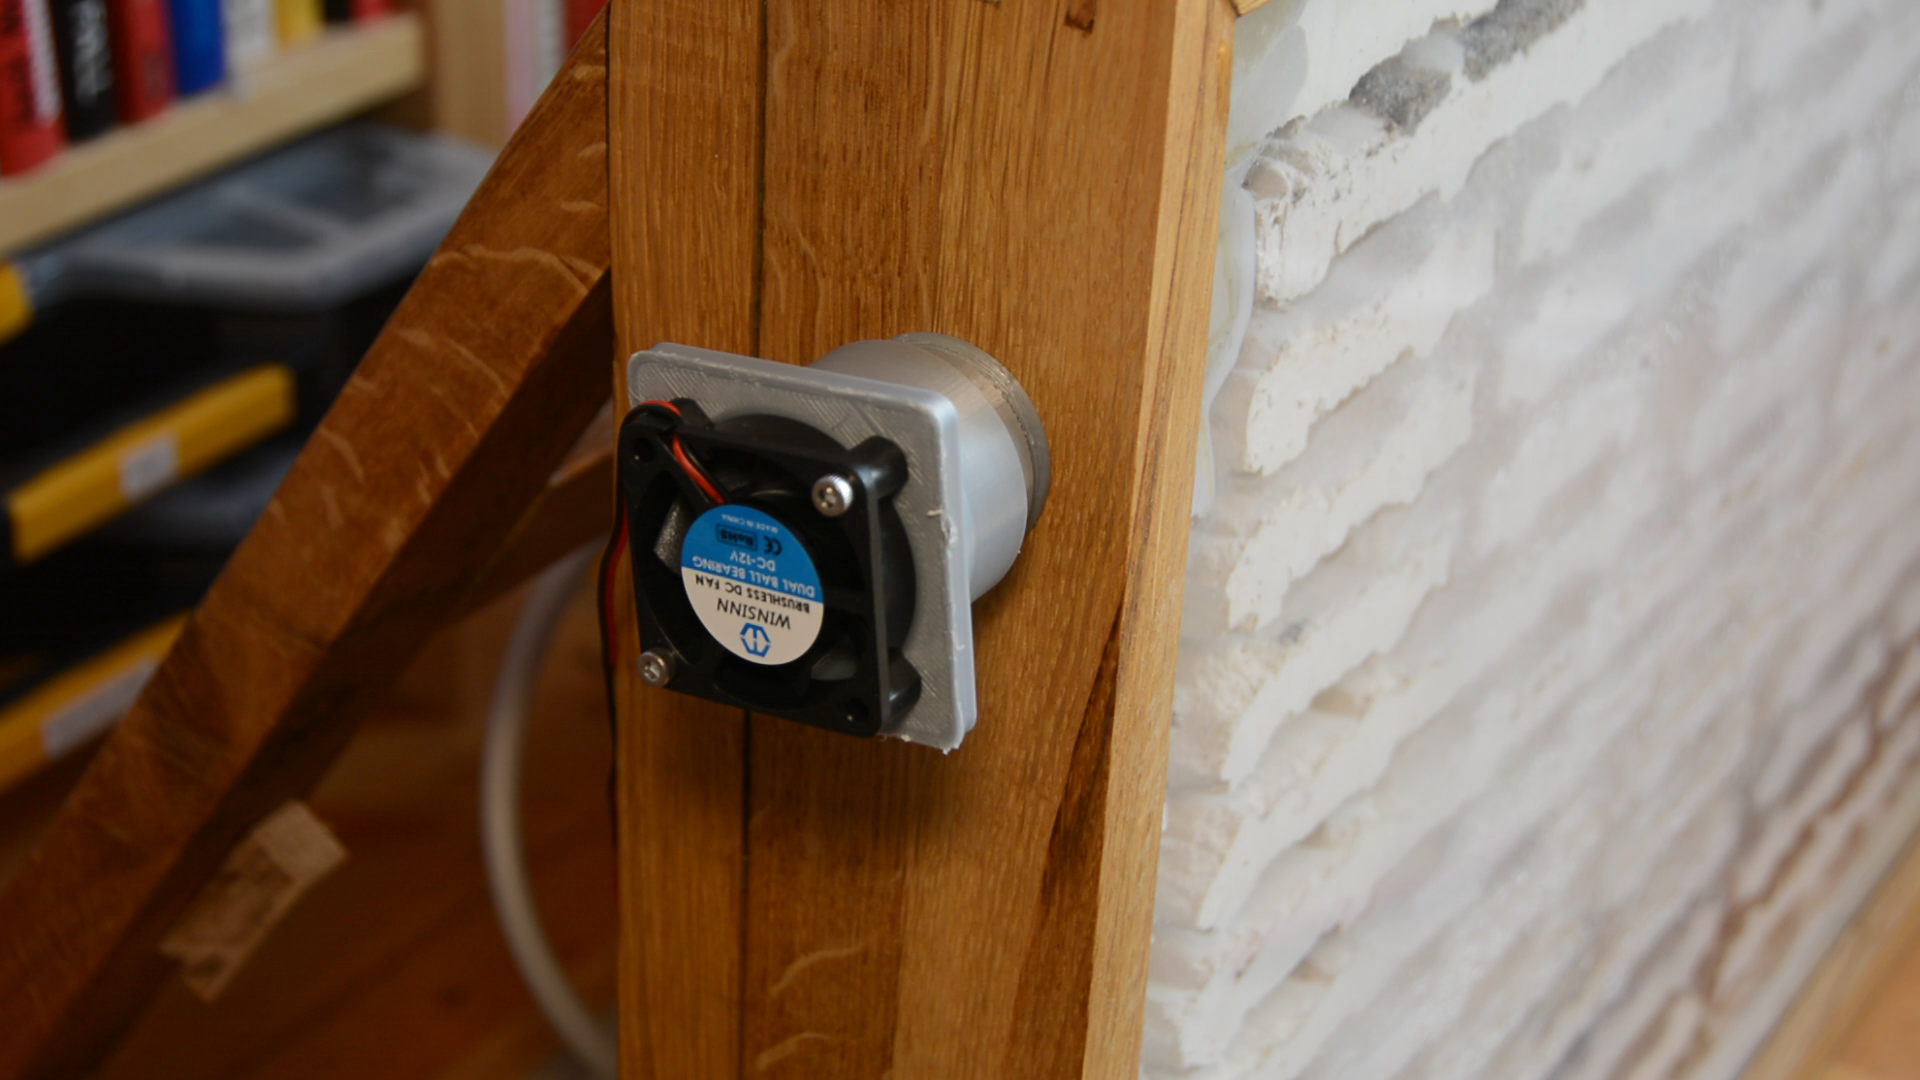
And if you want to decrease the humidity you can put one of these fan holders on top of a connector and increase the airflow.
Current status
The work that you have just seen actually happened three years ago. The ants moved in and they have been growing a lot.
They have been growing so much that I had to build a new formicarium – which was really easy to connect to existing arena thanks to the modular system.
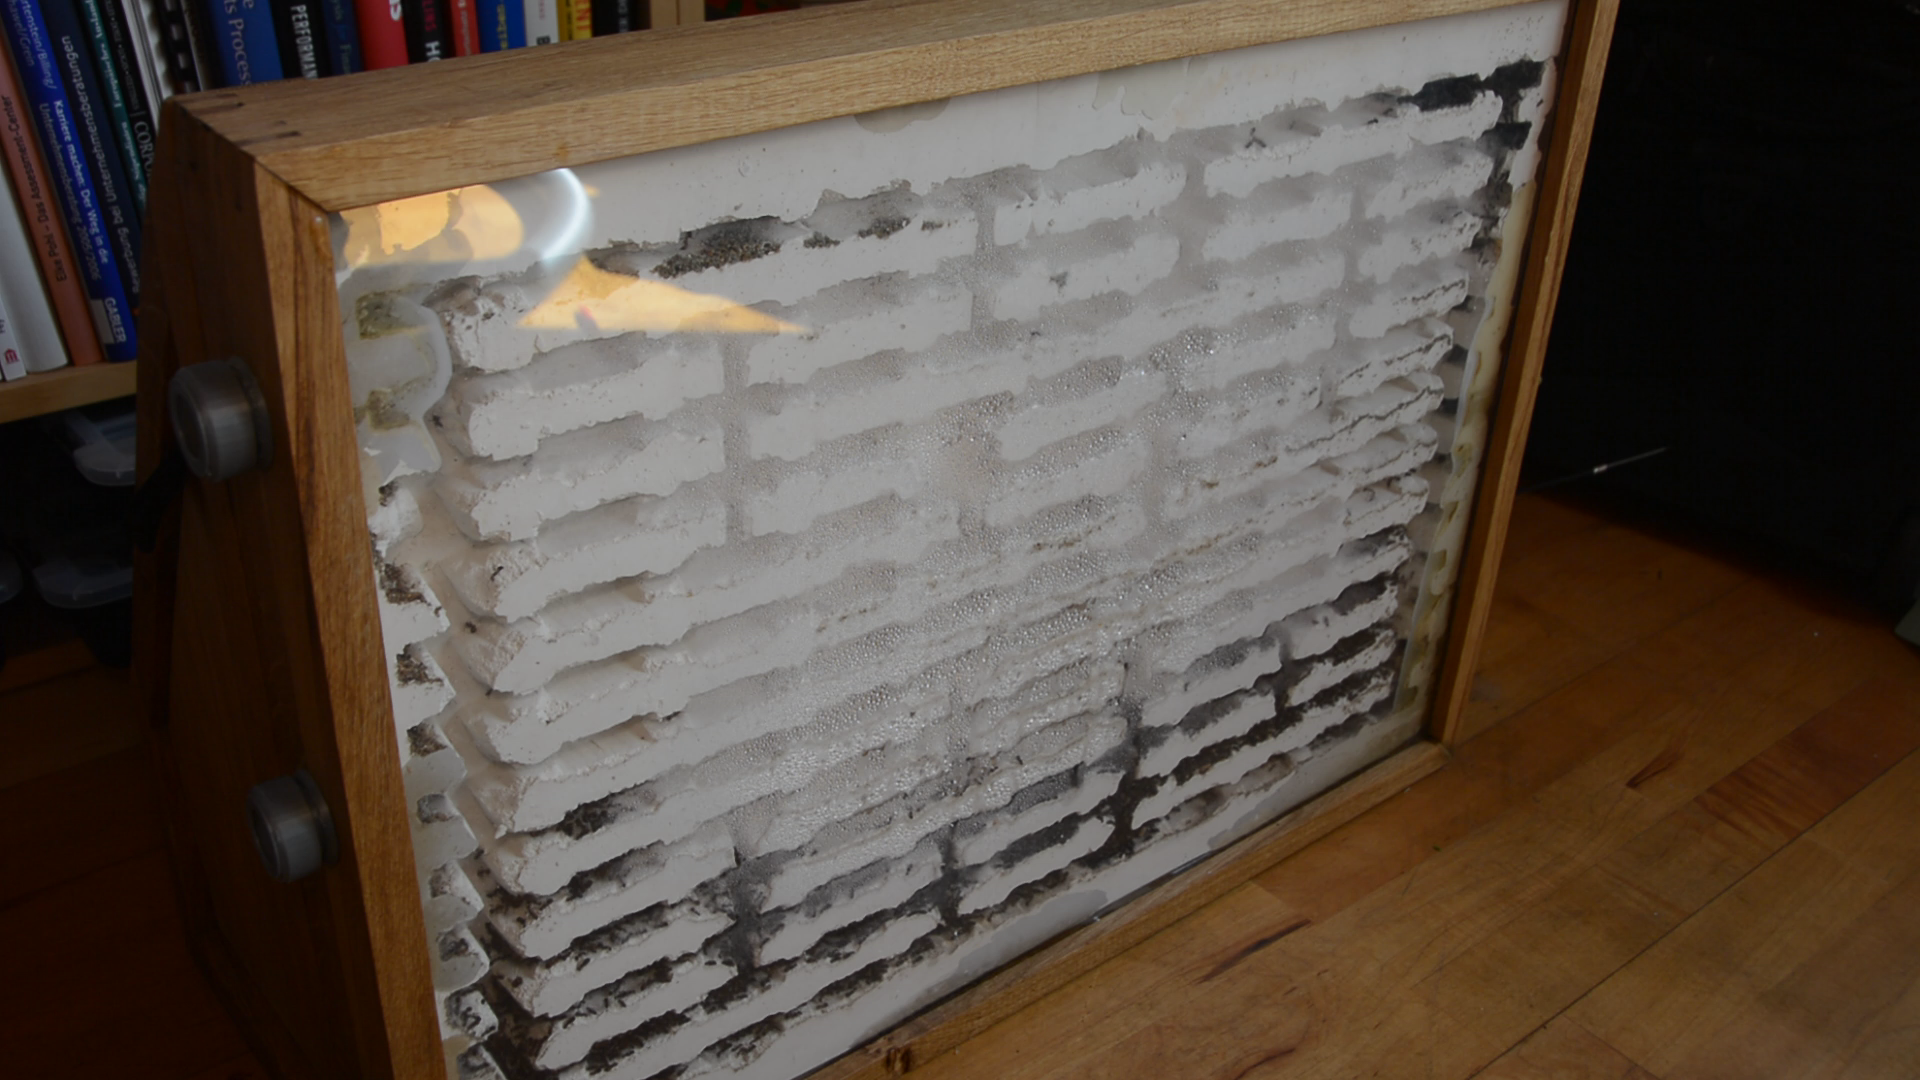
At the moment the ants have moved out of the old nest and most of them are in the new one.