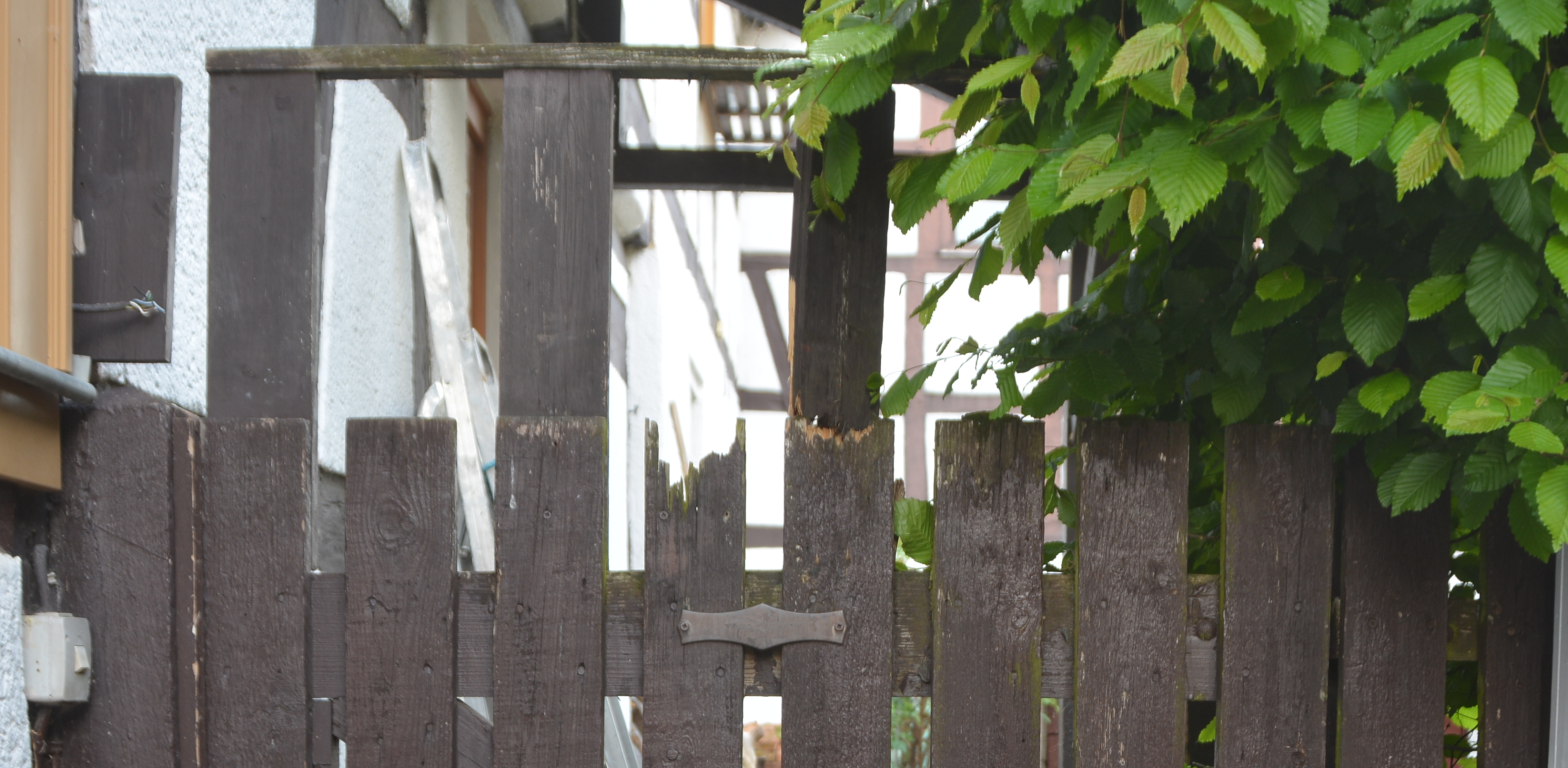
In this article I will finally replace our old and rotten garden gate. I use a strong bracing and tweak the construction to avoid water damage.
Working with what I have
This gate is a clear case of perfect being the enemy of good. After thinking for years about the perfect solution I now decided to no longer postpone this project and over a weekend replace the gate with what I have at hand.

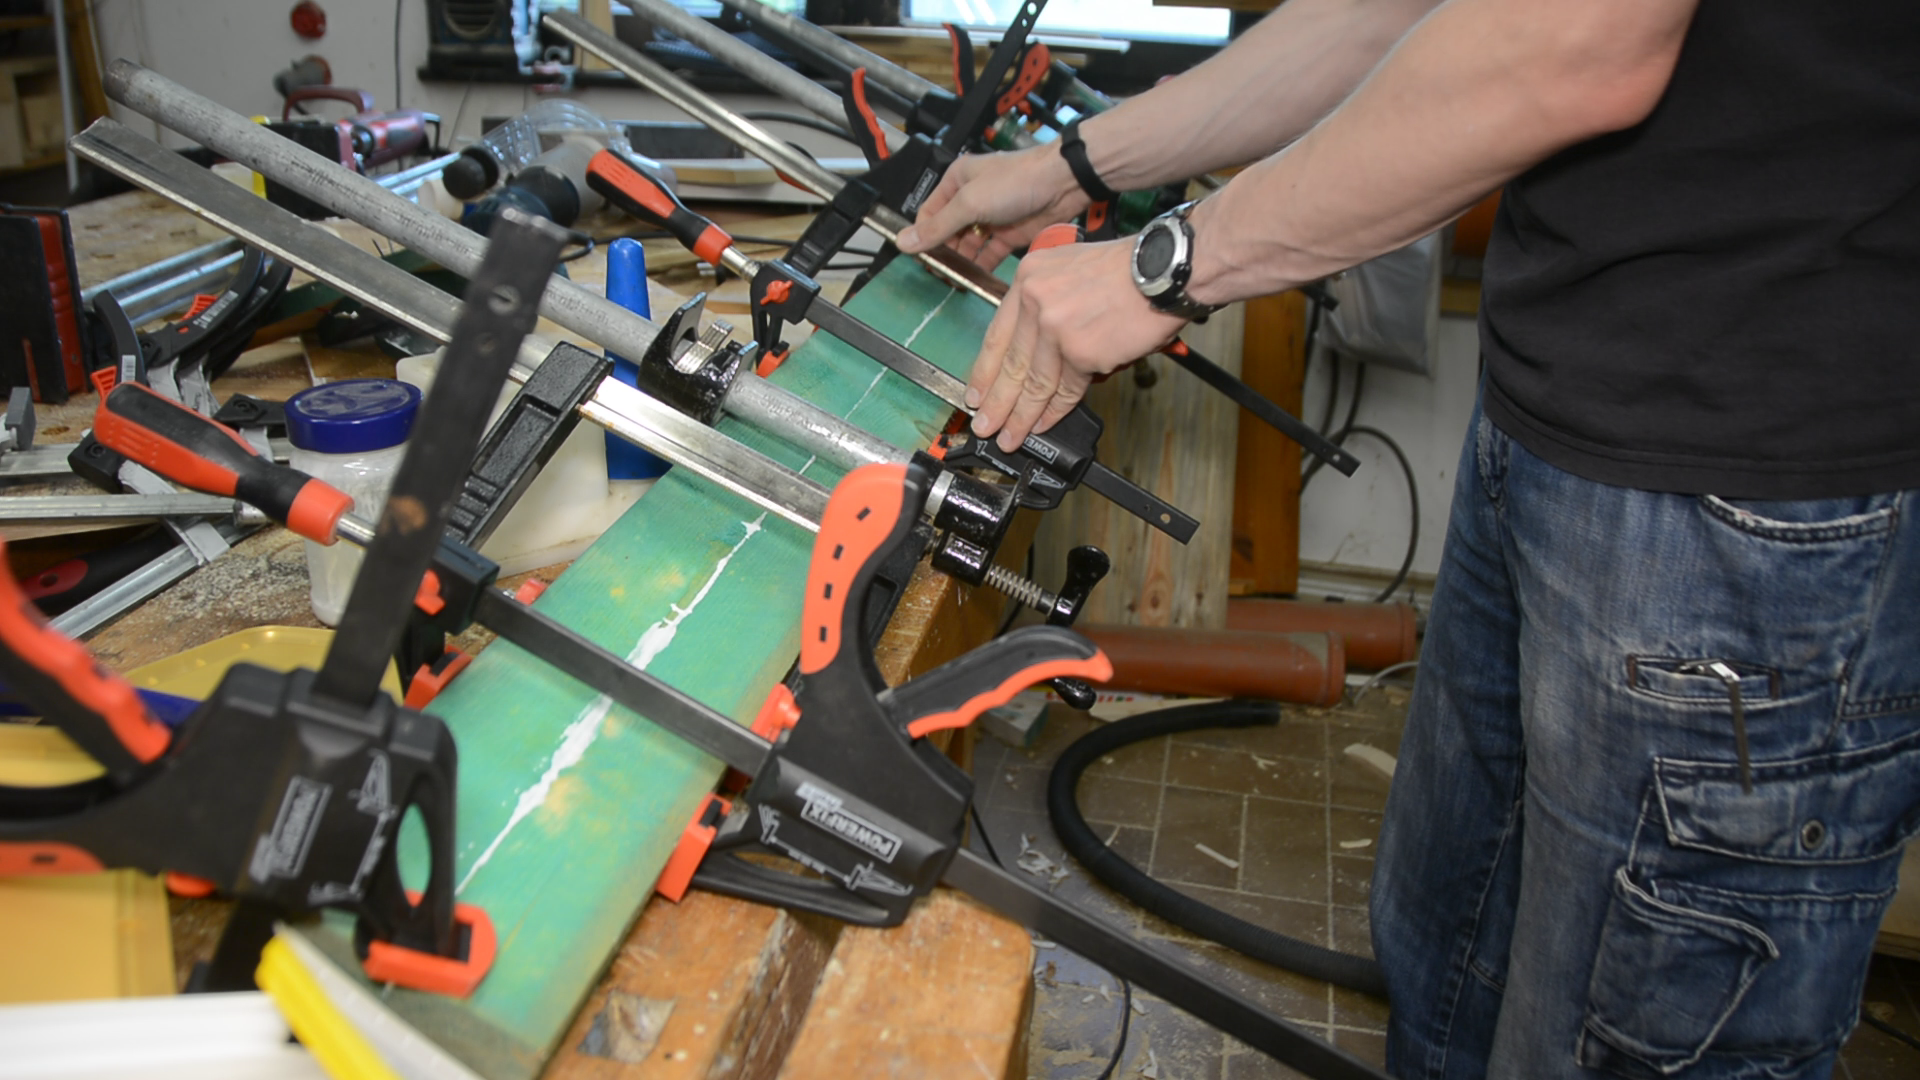
I did not had any wood that would be wide enough for a stable frame so I joined some pressure treated pine one one side for gluing two pieces together.

The two boards are glued together with waterproof wood glue.

For the frame I need 3 glue ups of 2 meter length each.
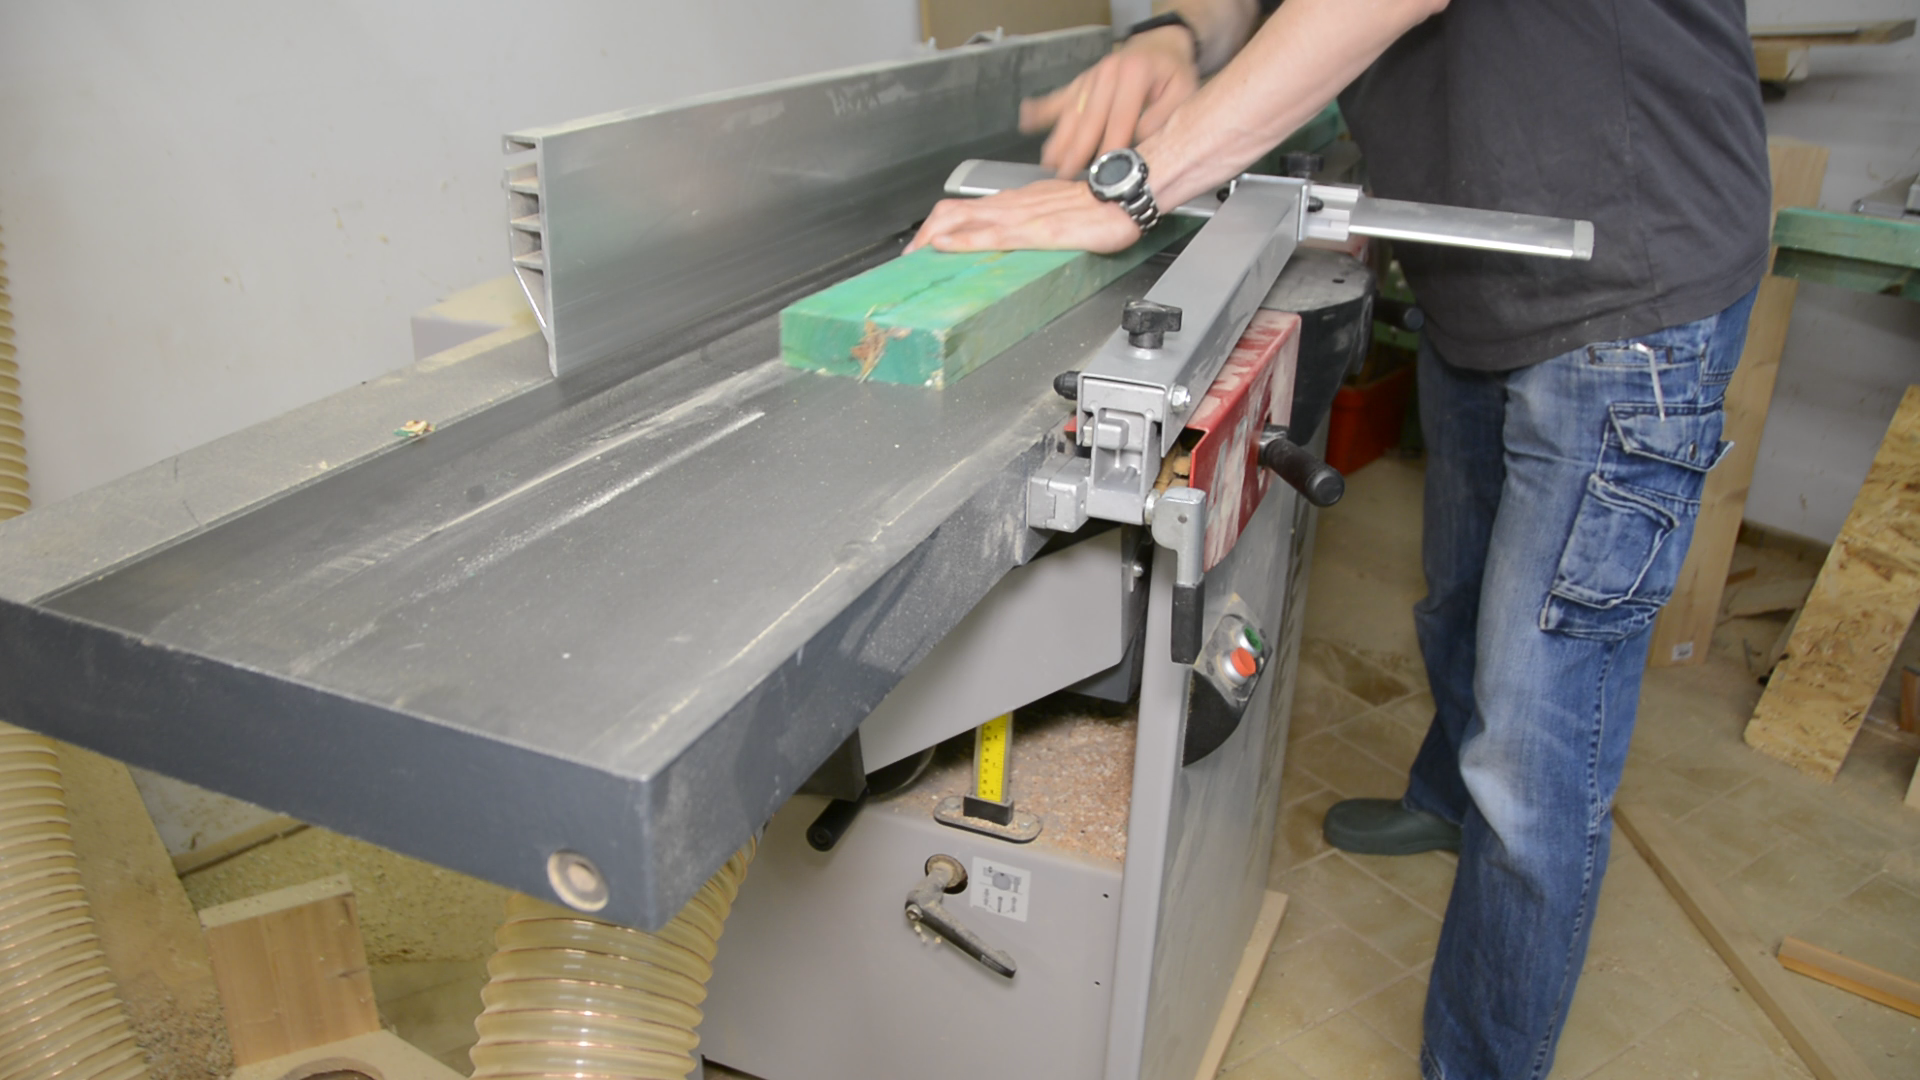
After all the glue has dried I can run them over the joiner and plane them to a consistent width and thickness.

Frame assembly
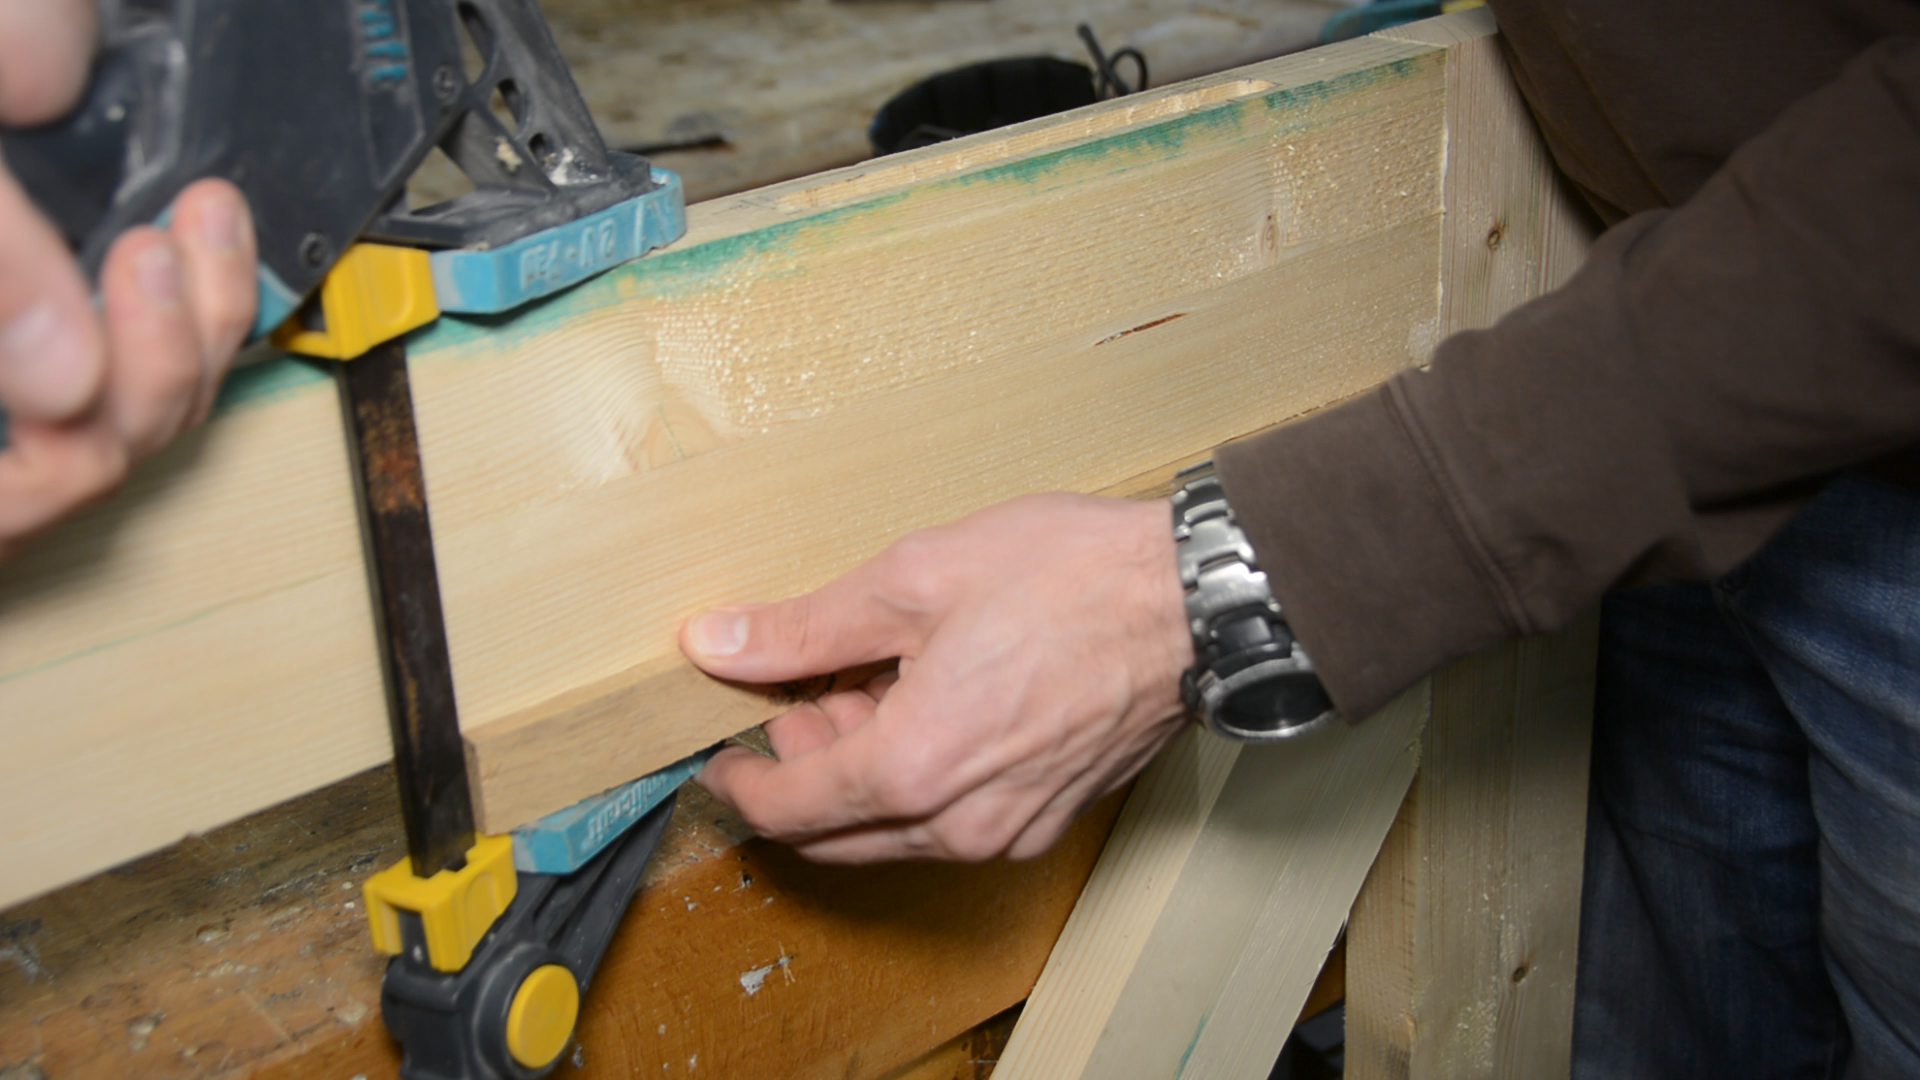
The dimensions of the frame are copied 1 : 1 from the existing gate. Having a diagonal bracing in the frame is pivotal so that the entire weight of the gate is transferred to the lower half of the post. I first clamp the frame together without any glue and then mark at both ends of the diagonal brace a line parallel to the vertical beam – inset about 2 centimeters.
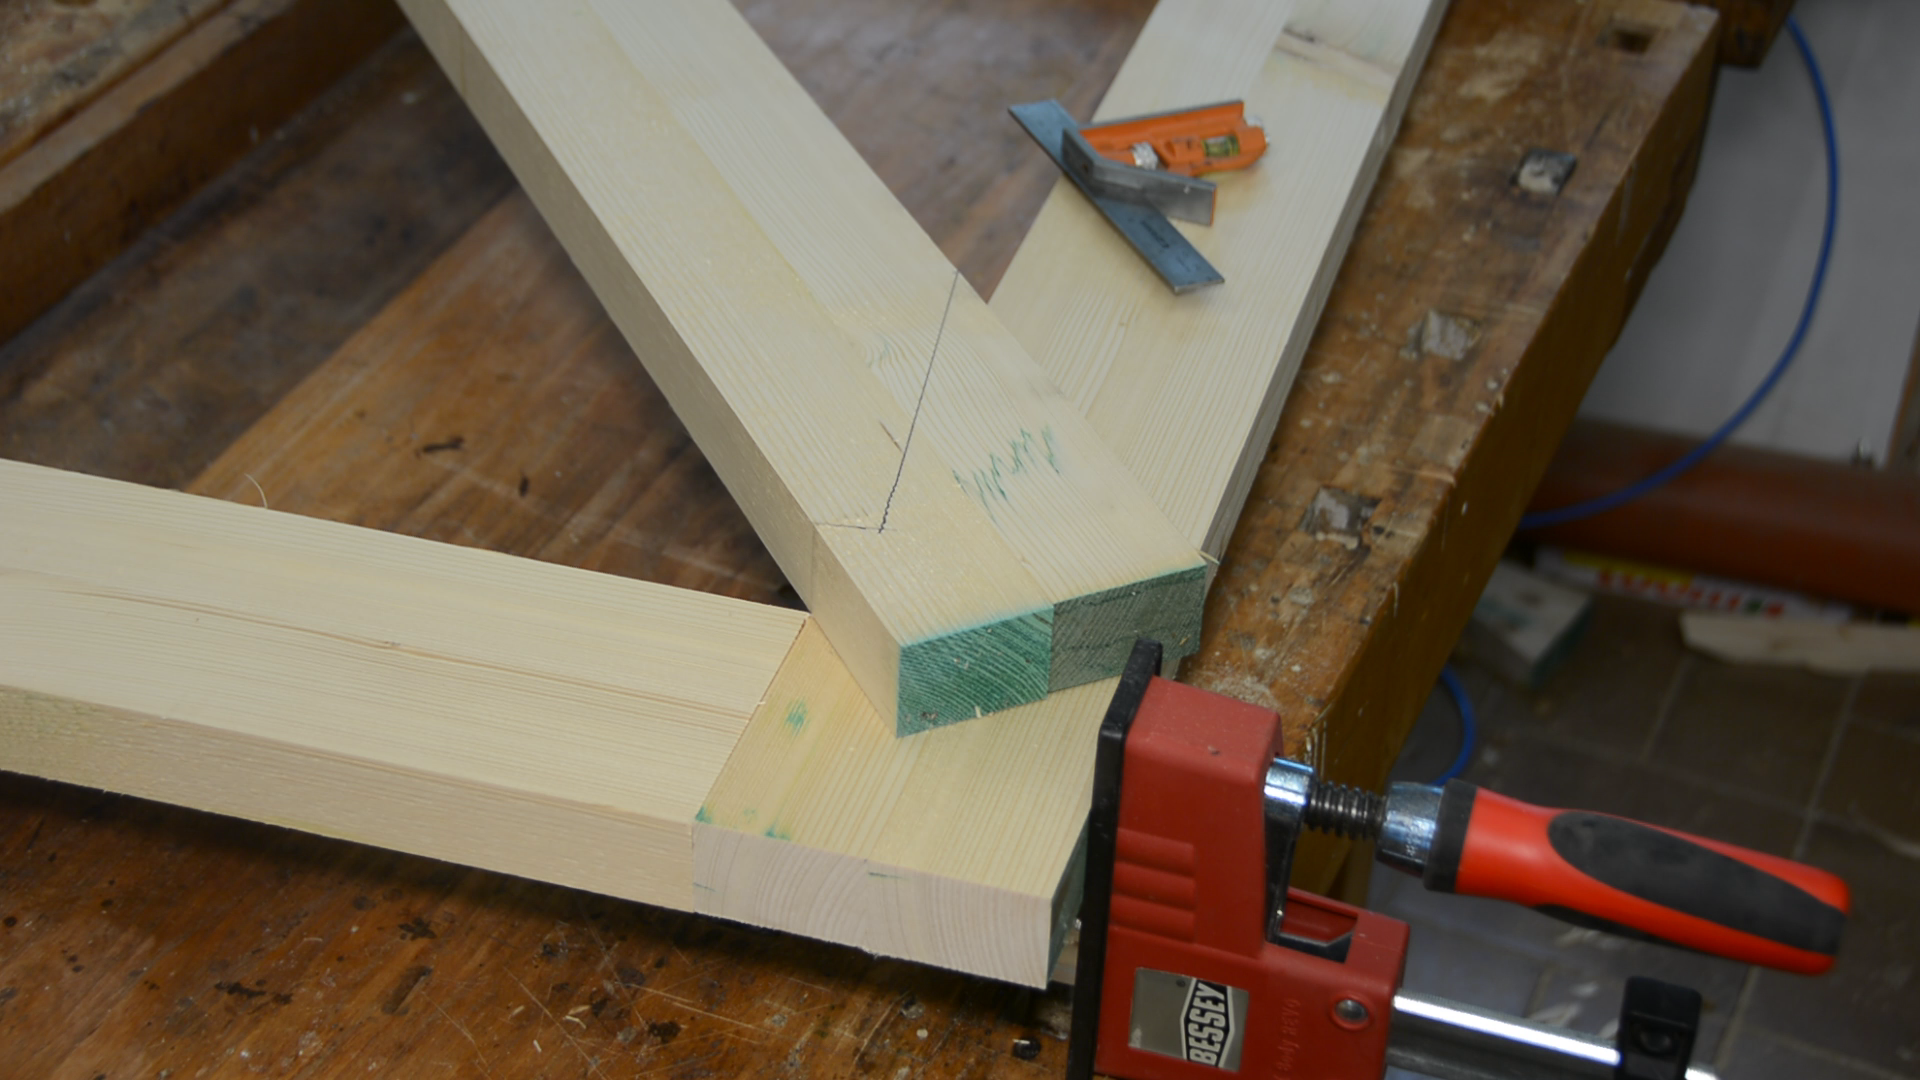
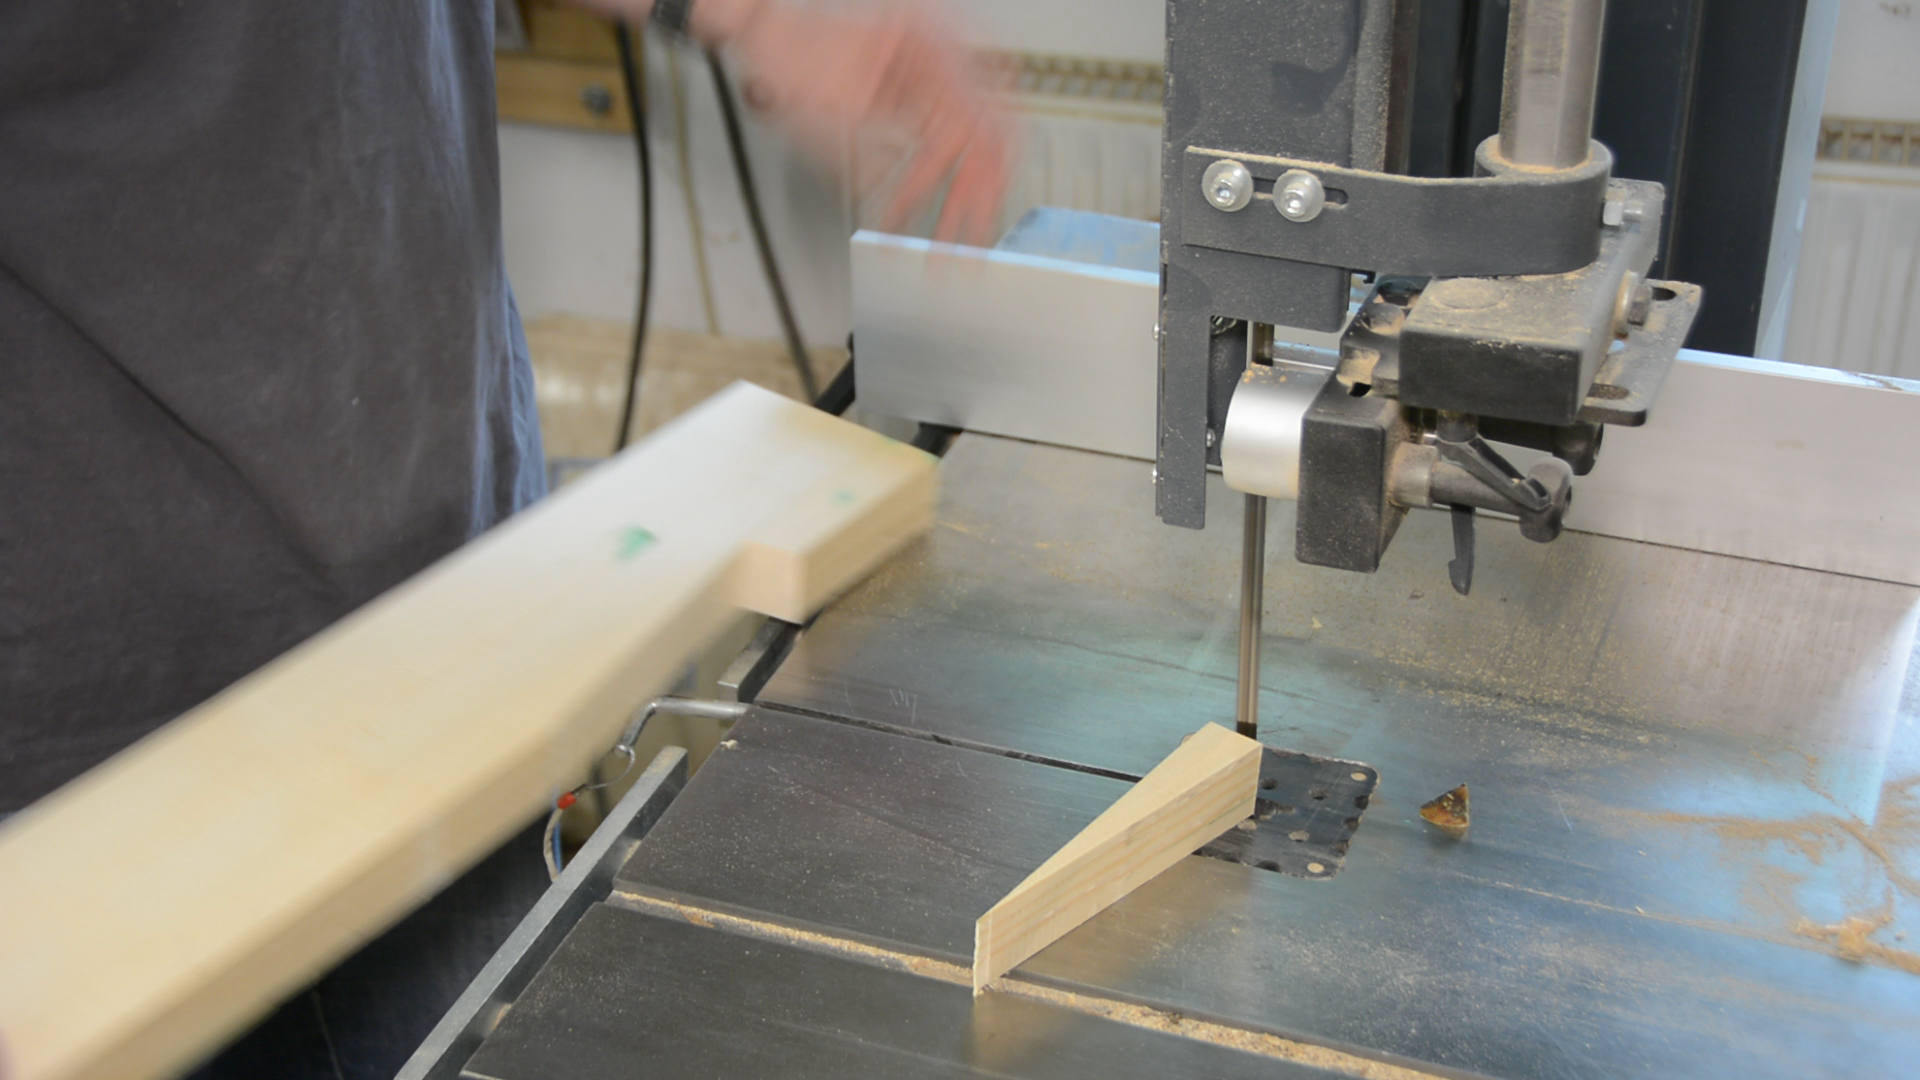
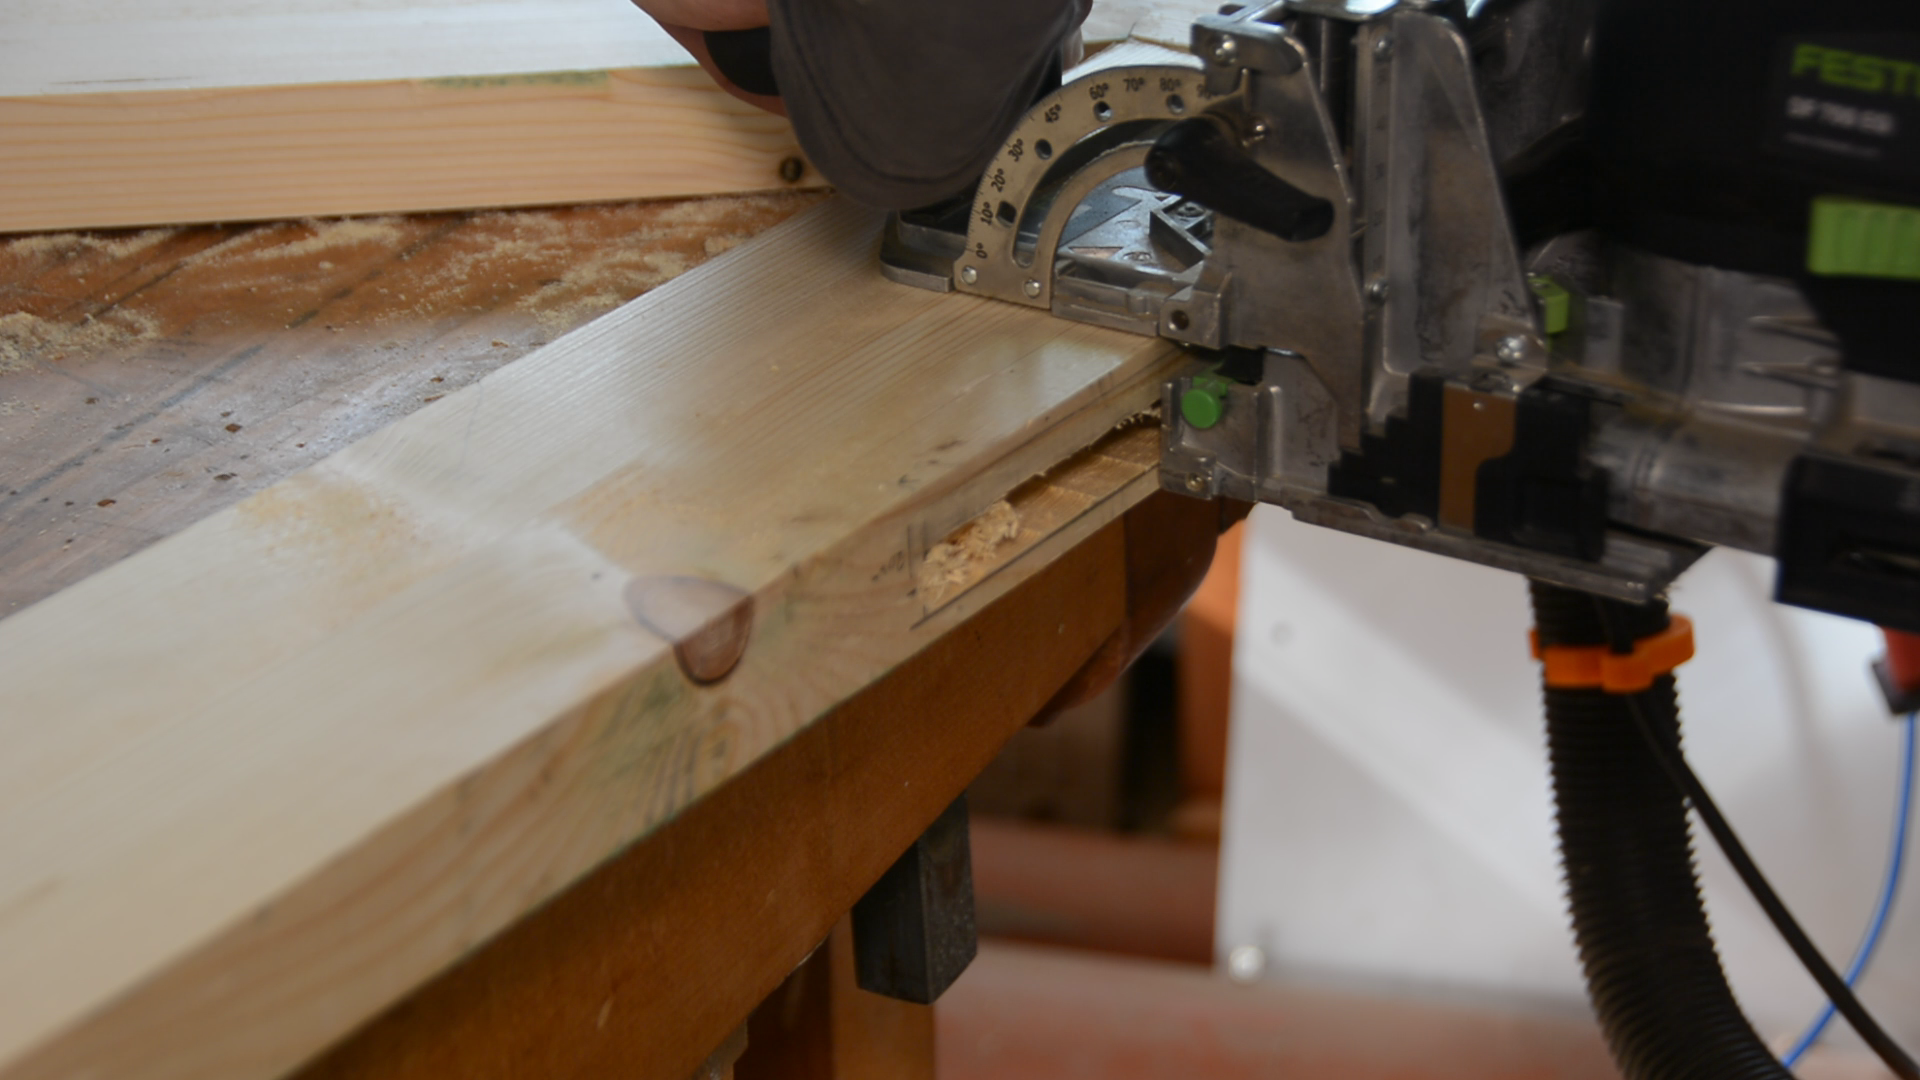
The diagonal piece is cut to shape on the bandsaw. The outline is then transferred on the frame and the notches are cut on the bandsaw as well.

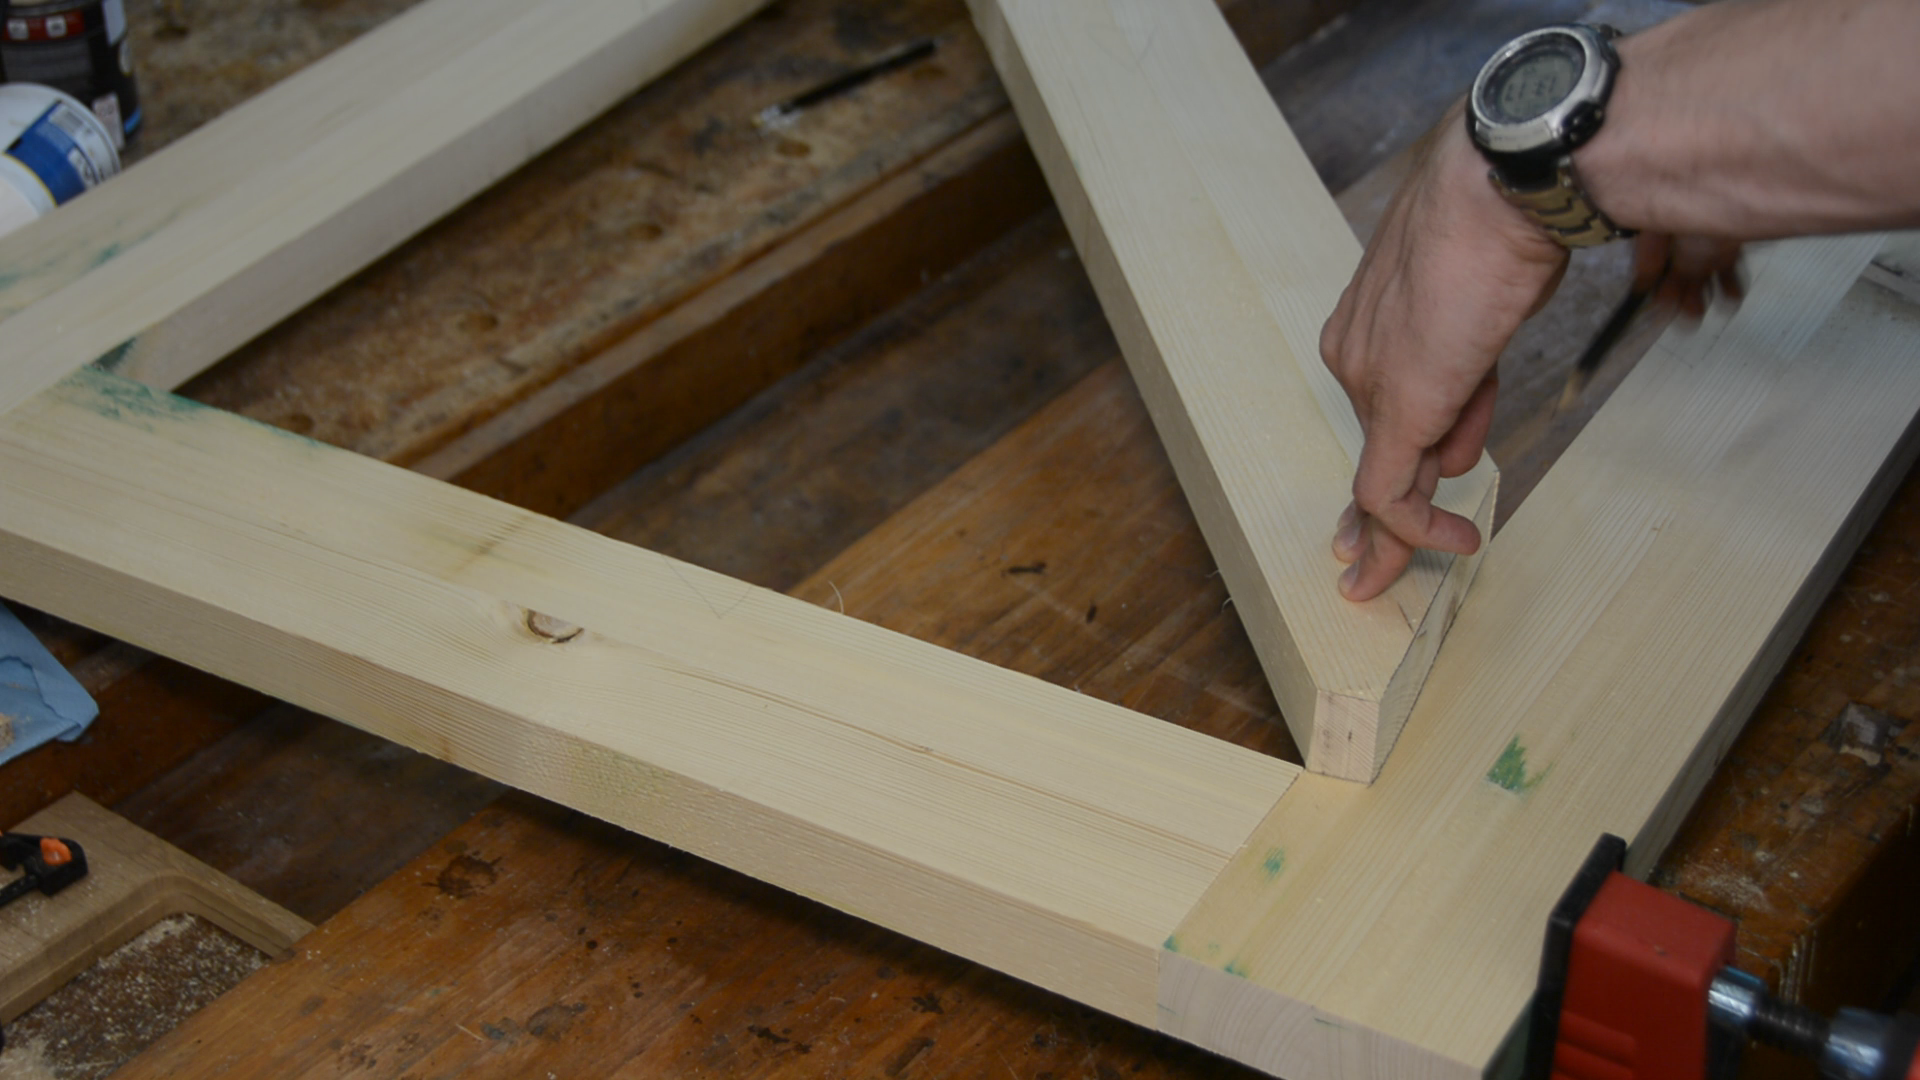
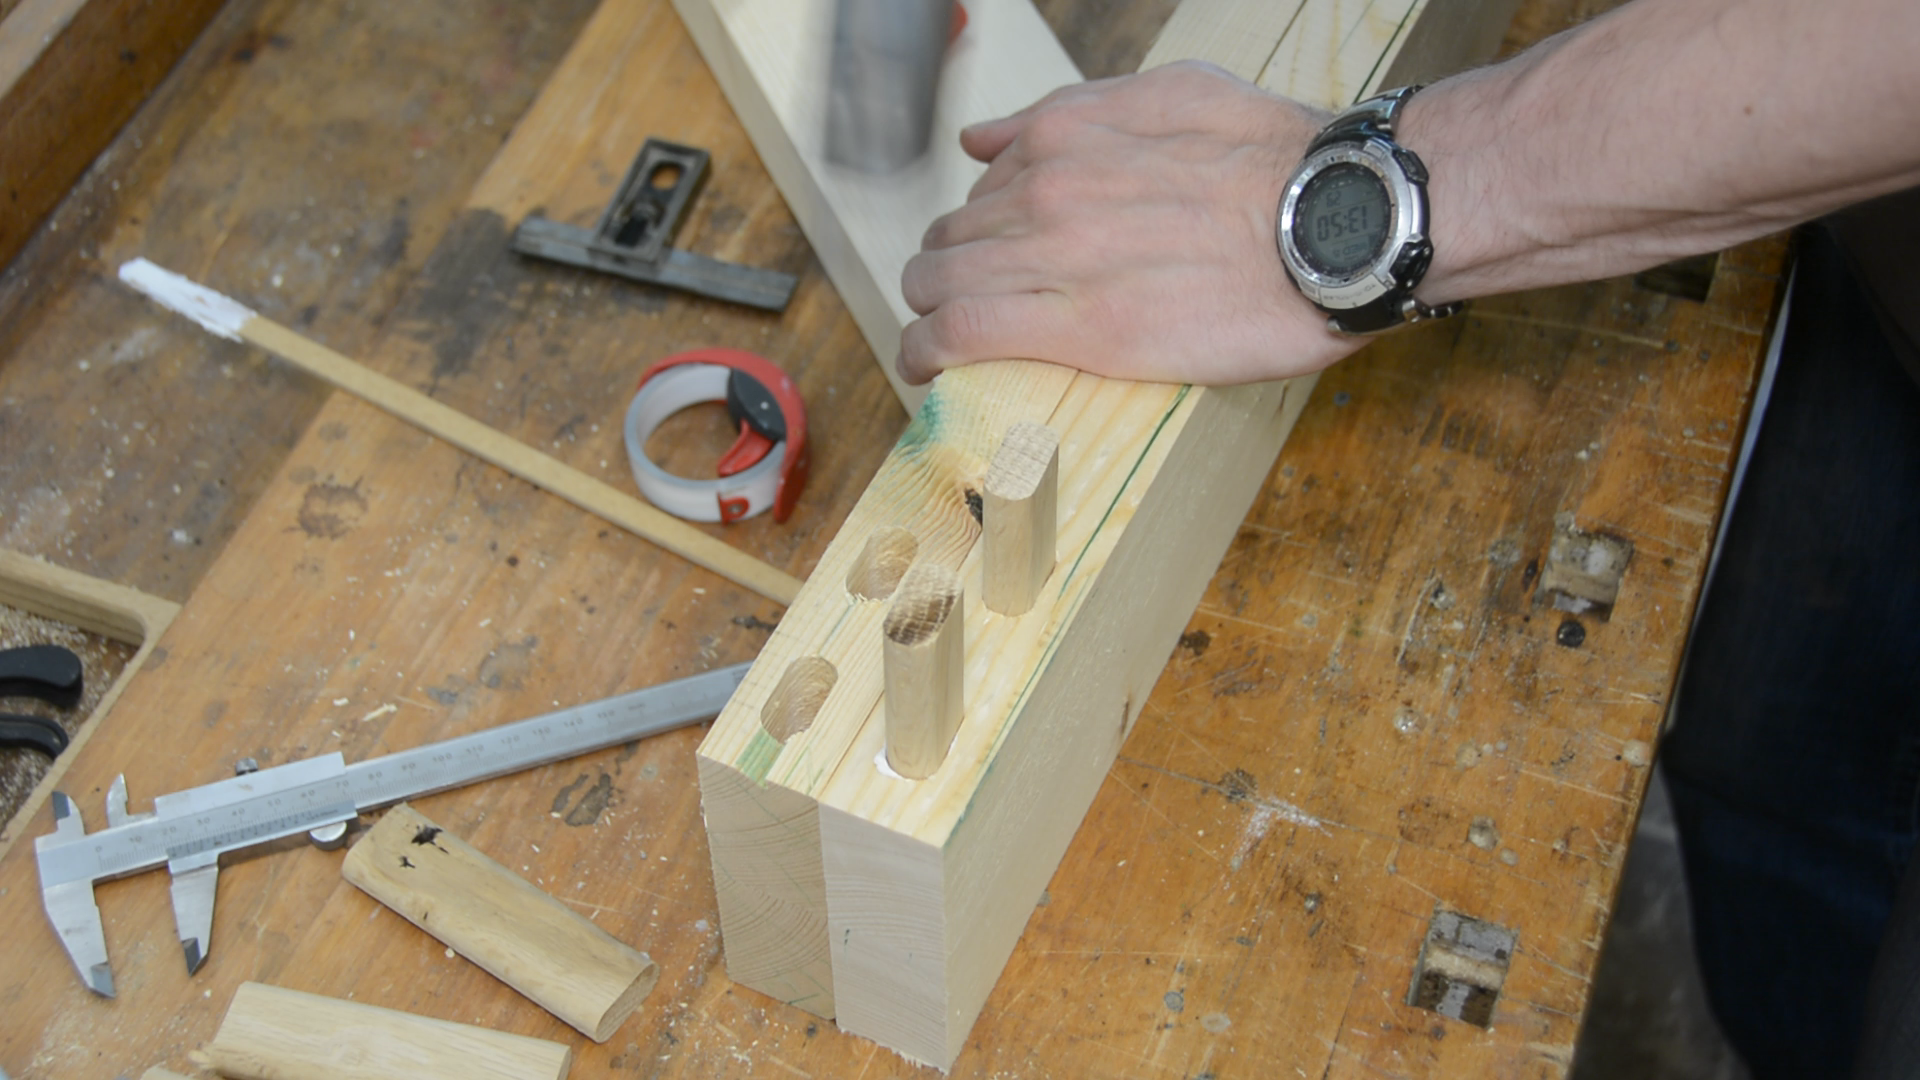
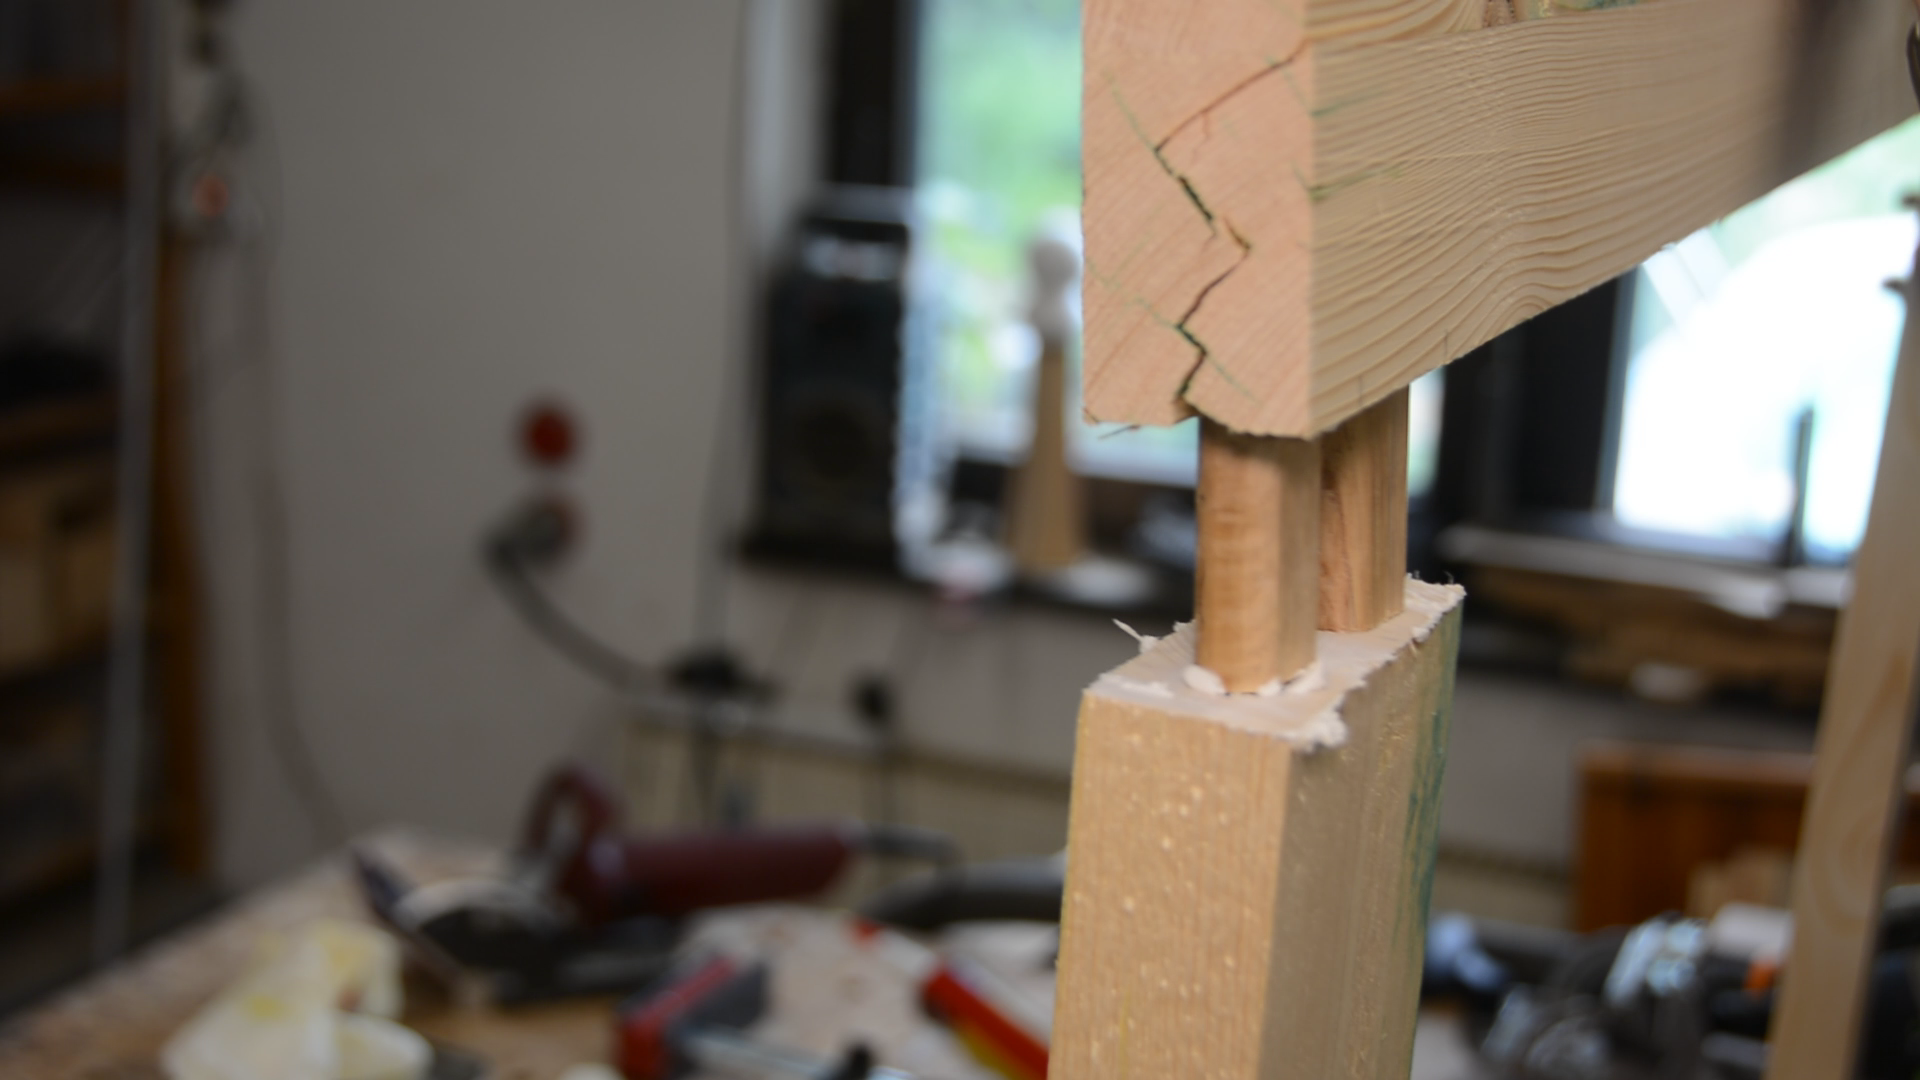
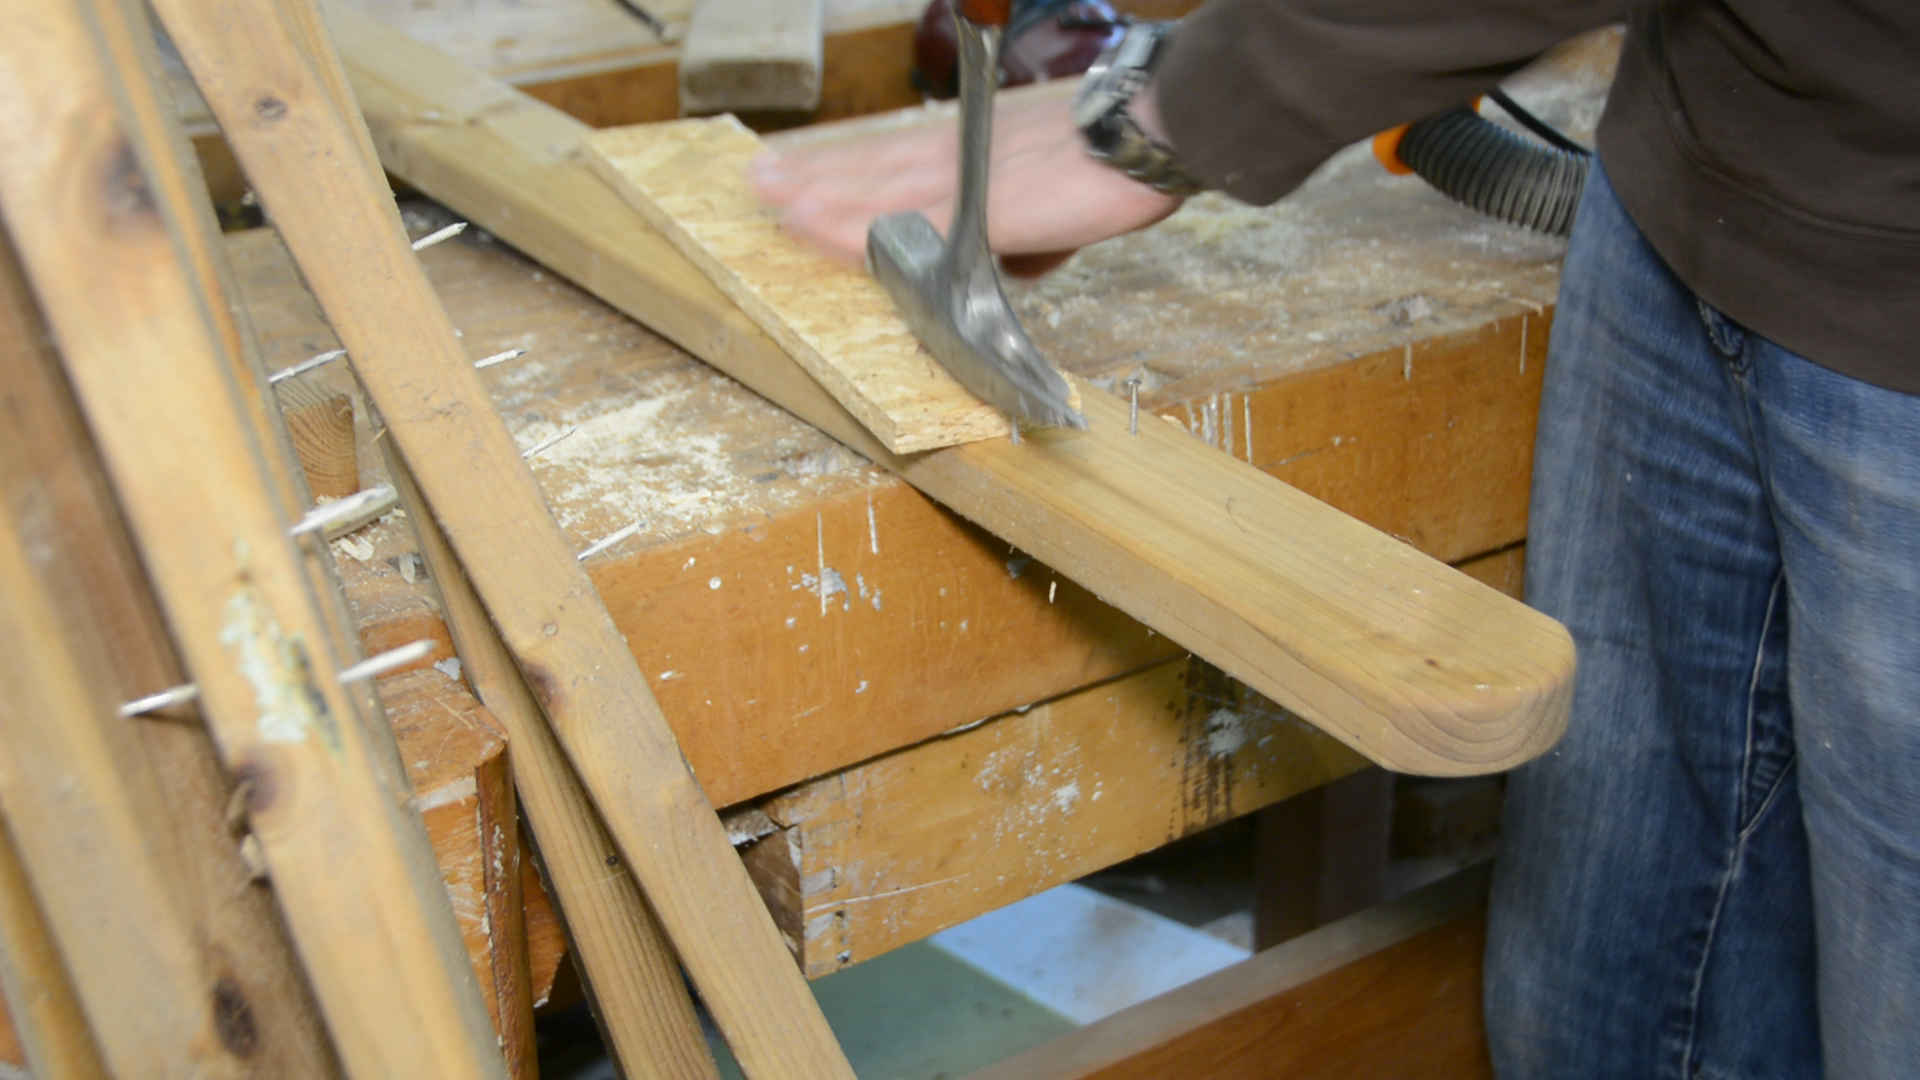
I will use homemade dominos for the assembly of the frame. The homemade dominos are really tight and usually fit very well in the hole if they are compressed with a hammer.
As you can see in this sequence at one side of the frame the domino holes were a bit too close to the outside of the frame and the wood started to split.
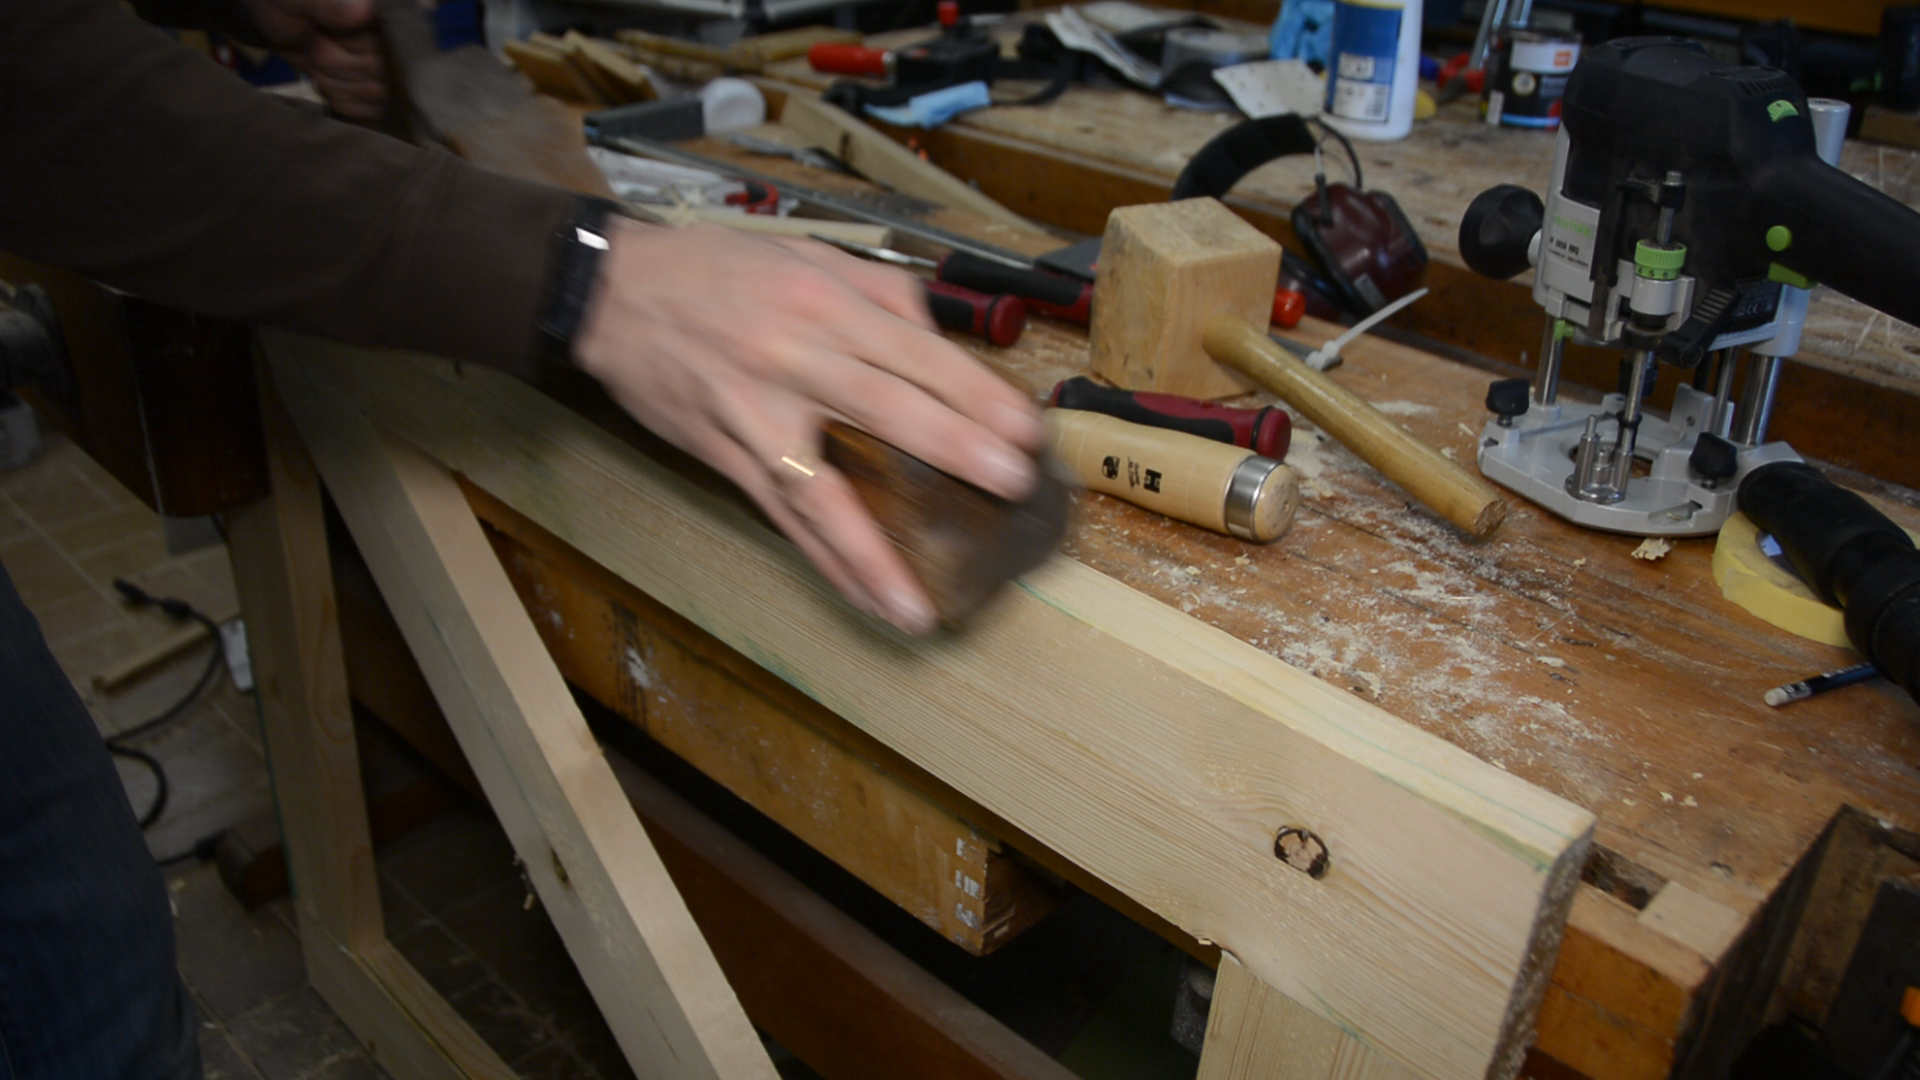
Fixing mistakes
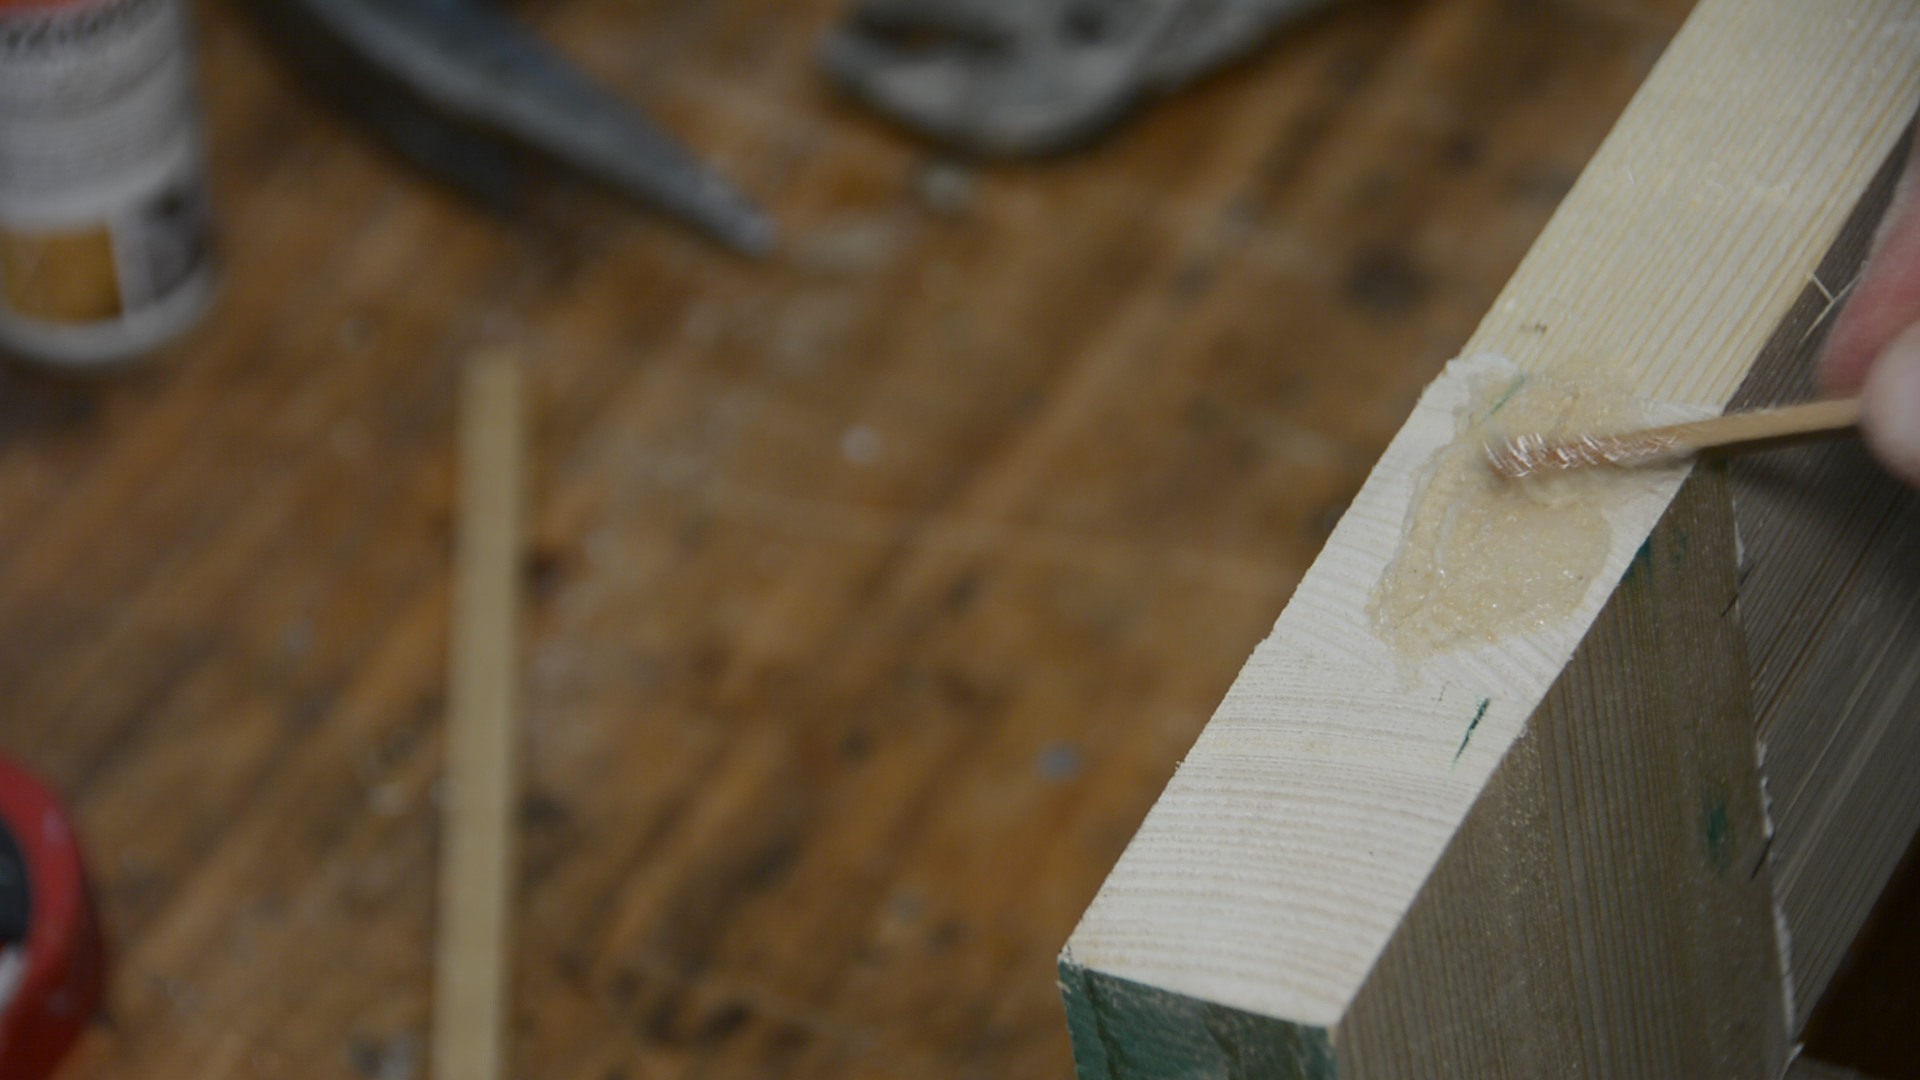
A bit of epoxy and saw dust will easily fix this mistake. I apply the same measure to cracks in the wood that have not been caused by my mistakes but by the drying process of the manufacturer.

Talking about mistakes – the frame was a bit warped when I marked the notches for the diagonal bracing – which results in an ugly gap. While this hurts my ego it will not impact the functionality and the gap can be filled with a small wooden offcut.
Installing the hardware
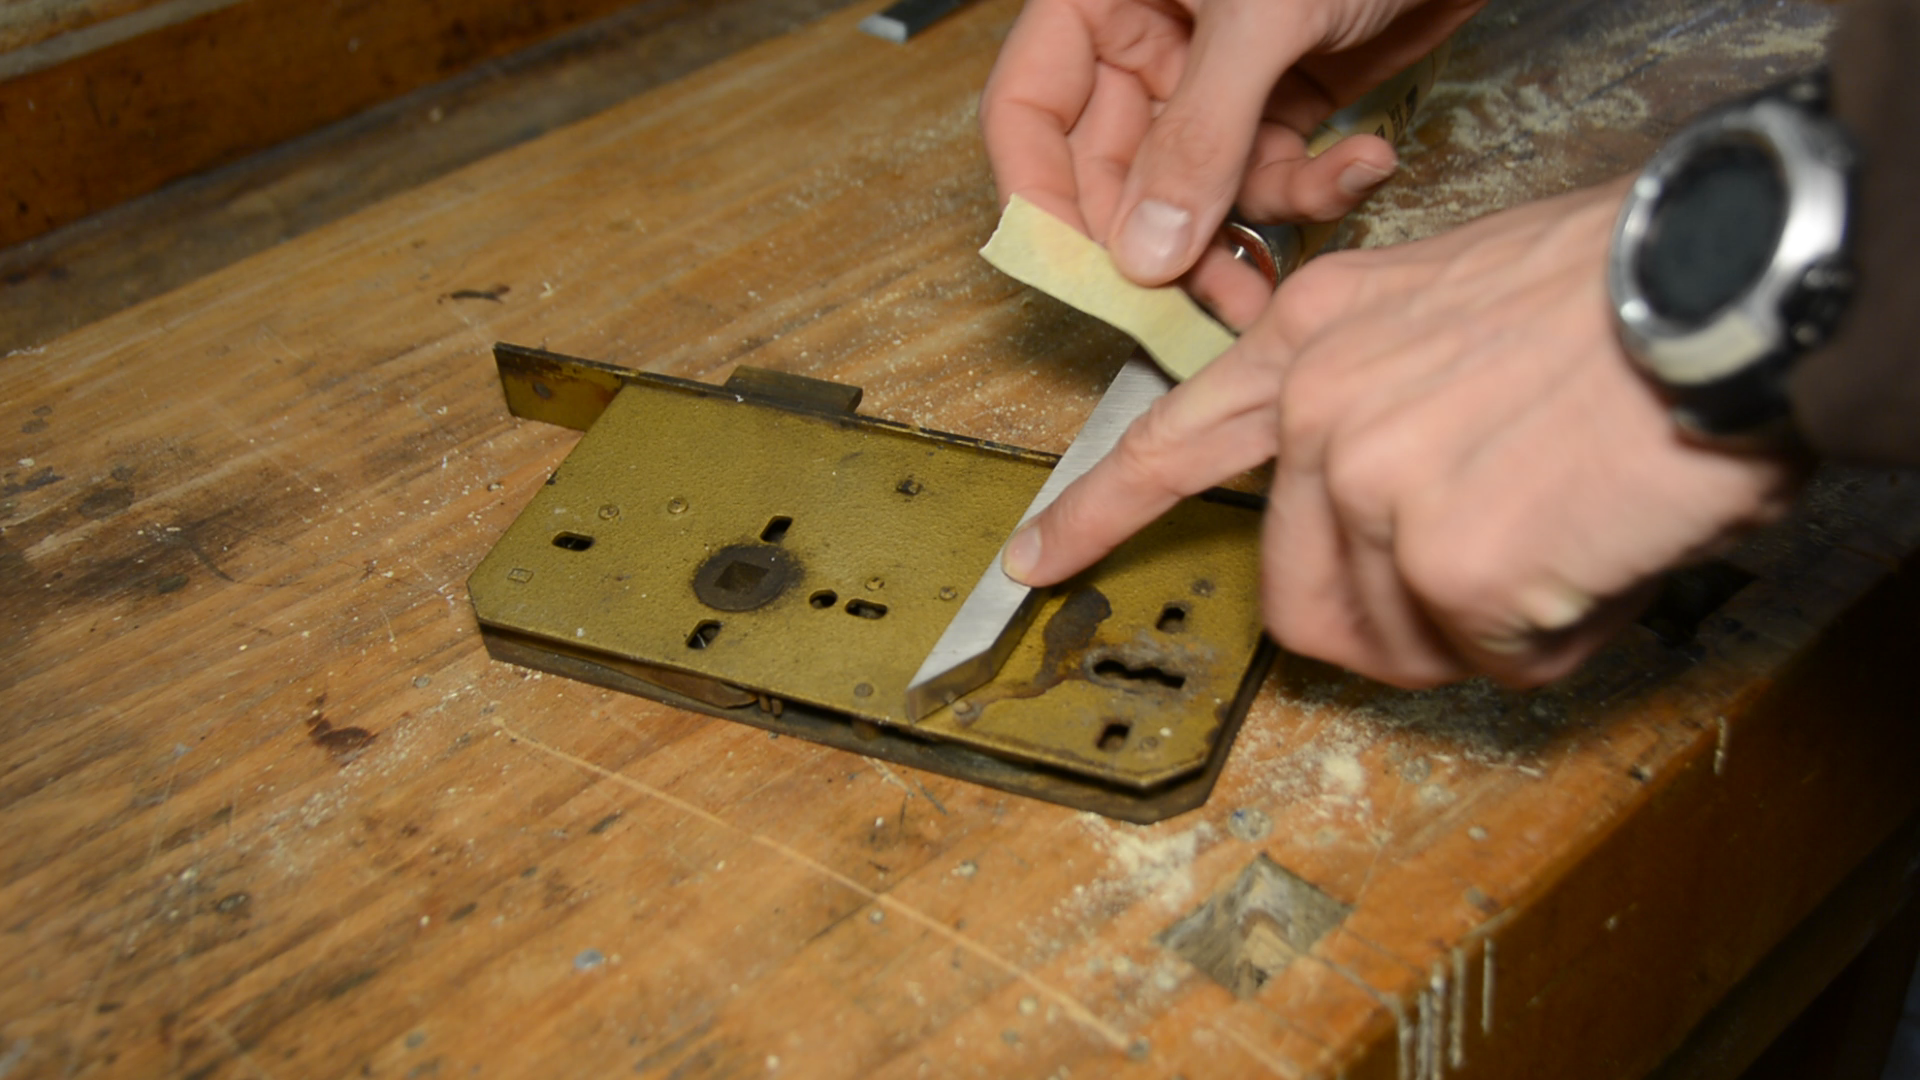
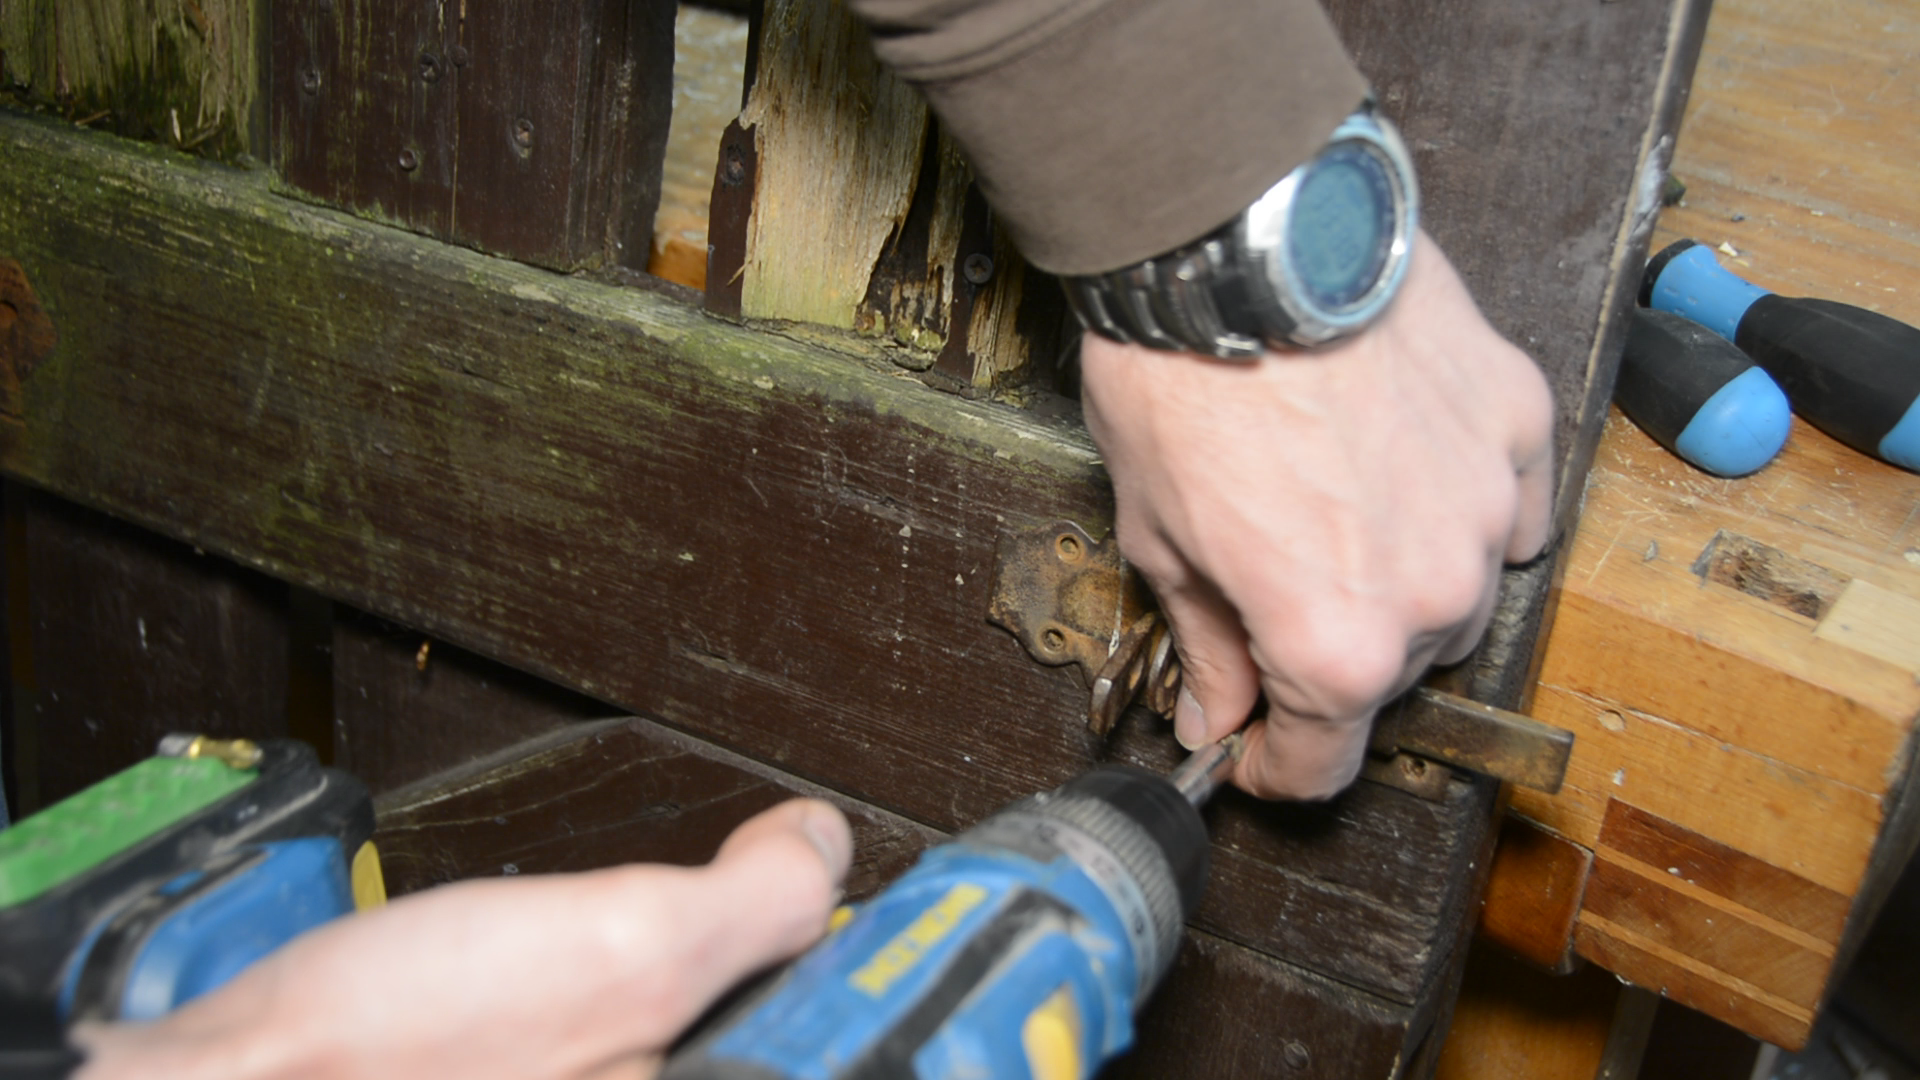
In the spirit of reusing what I have I will use the old lock and mount it in the new gate. This is a massively over complicated as I only need the latch and not the lock but this is what I have which means that we need a large opening of the hardware.
The domino creates a perfect starting point – unfortunately it can not reach the full depth necessary.
I mark the depth with tape on a chisel. As the bottom of the mortise is going to be rather thin I support it with an additional piece of wood.
After the main mortise is cut I use a router and a chisel to create a shallow relief for the cover plate.


Constructive wood protection for the garden gate
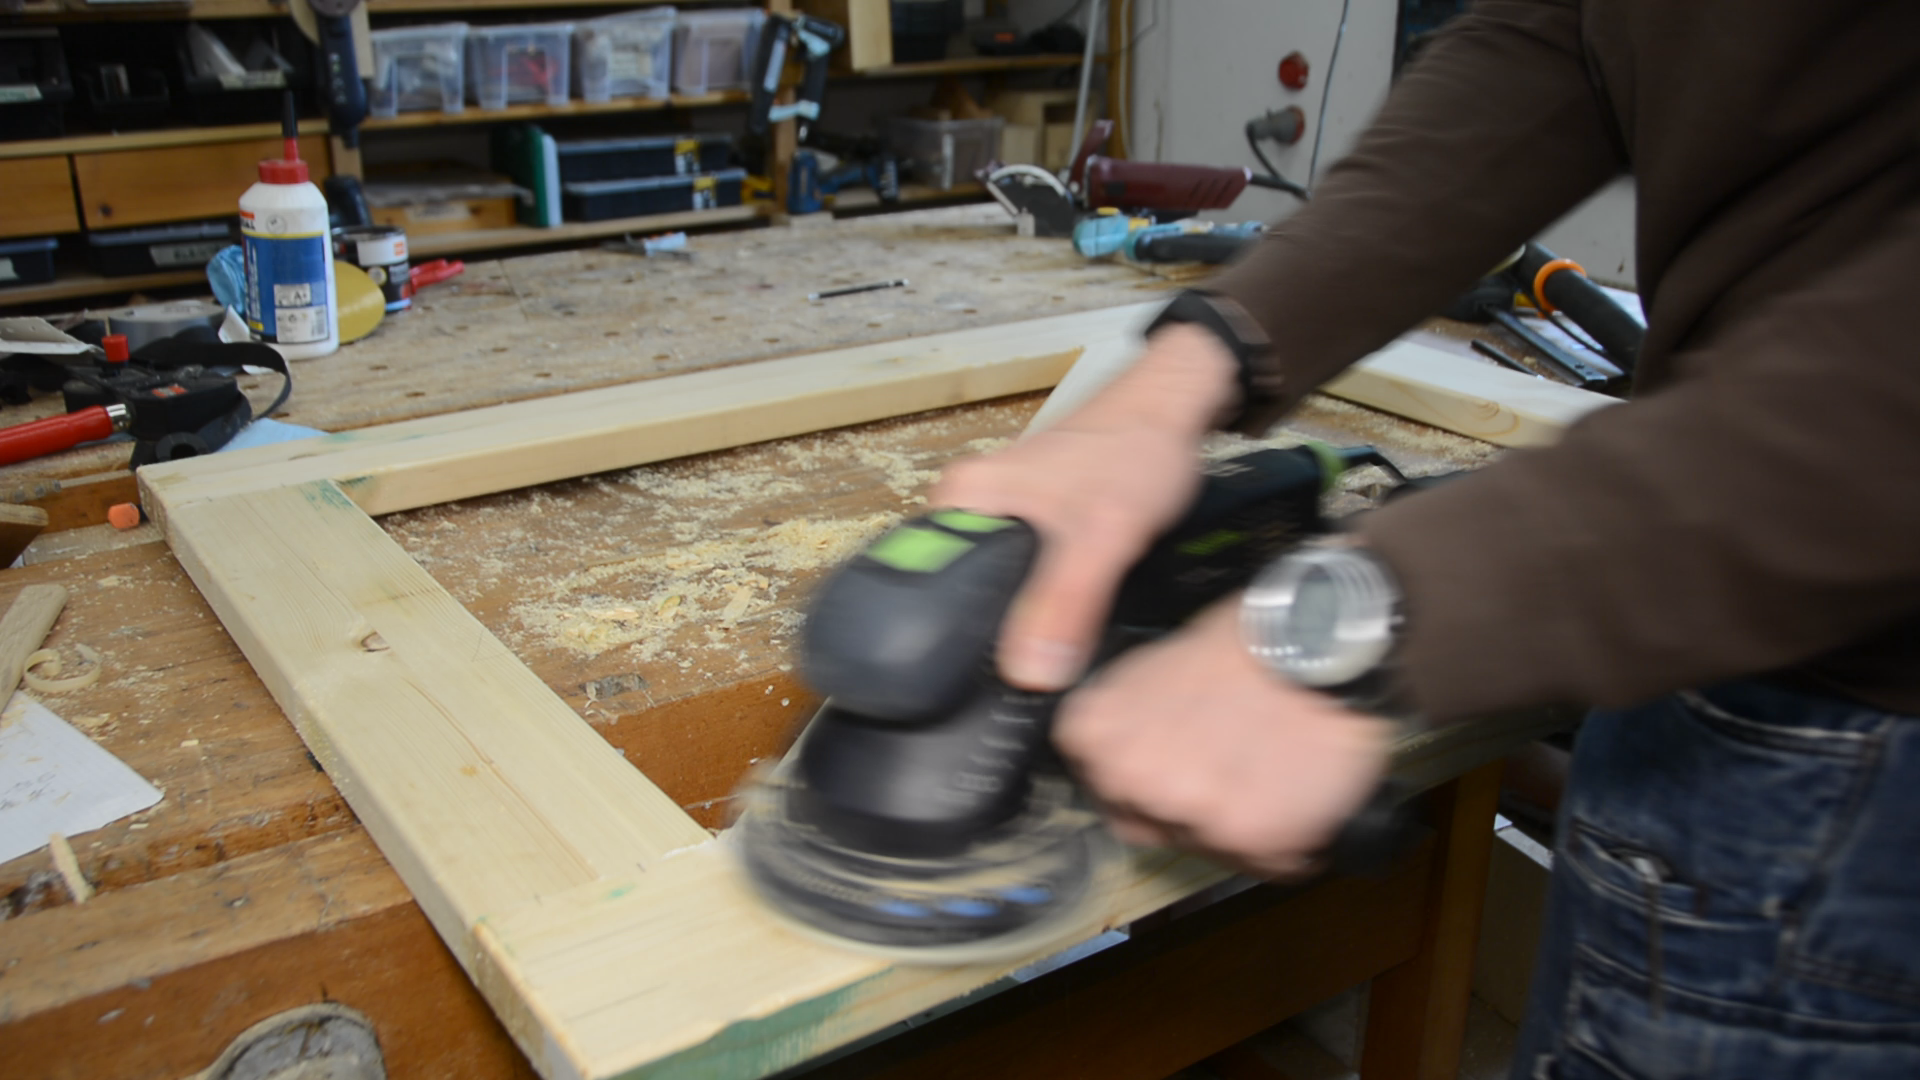
To complete the frame I take three measure that will hopefully improve the durability of the gate The top of the frame gets a shallow angle with the plane so that water drains from the surface.
All edges get a roundover so that drips of water don’t accumulate at the sharp edge.
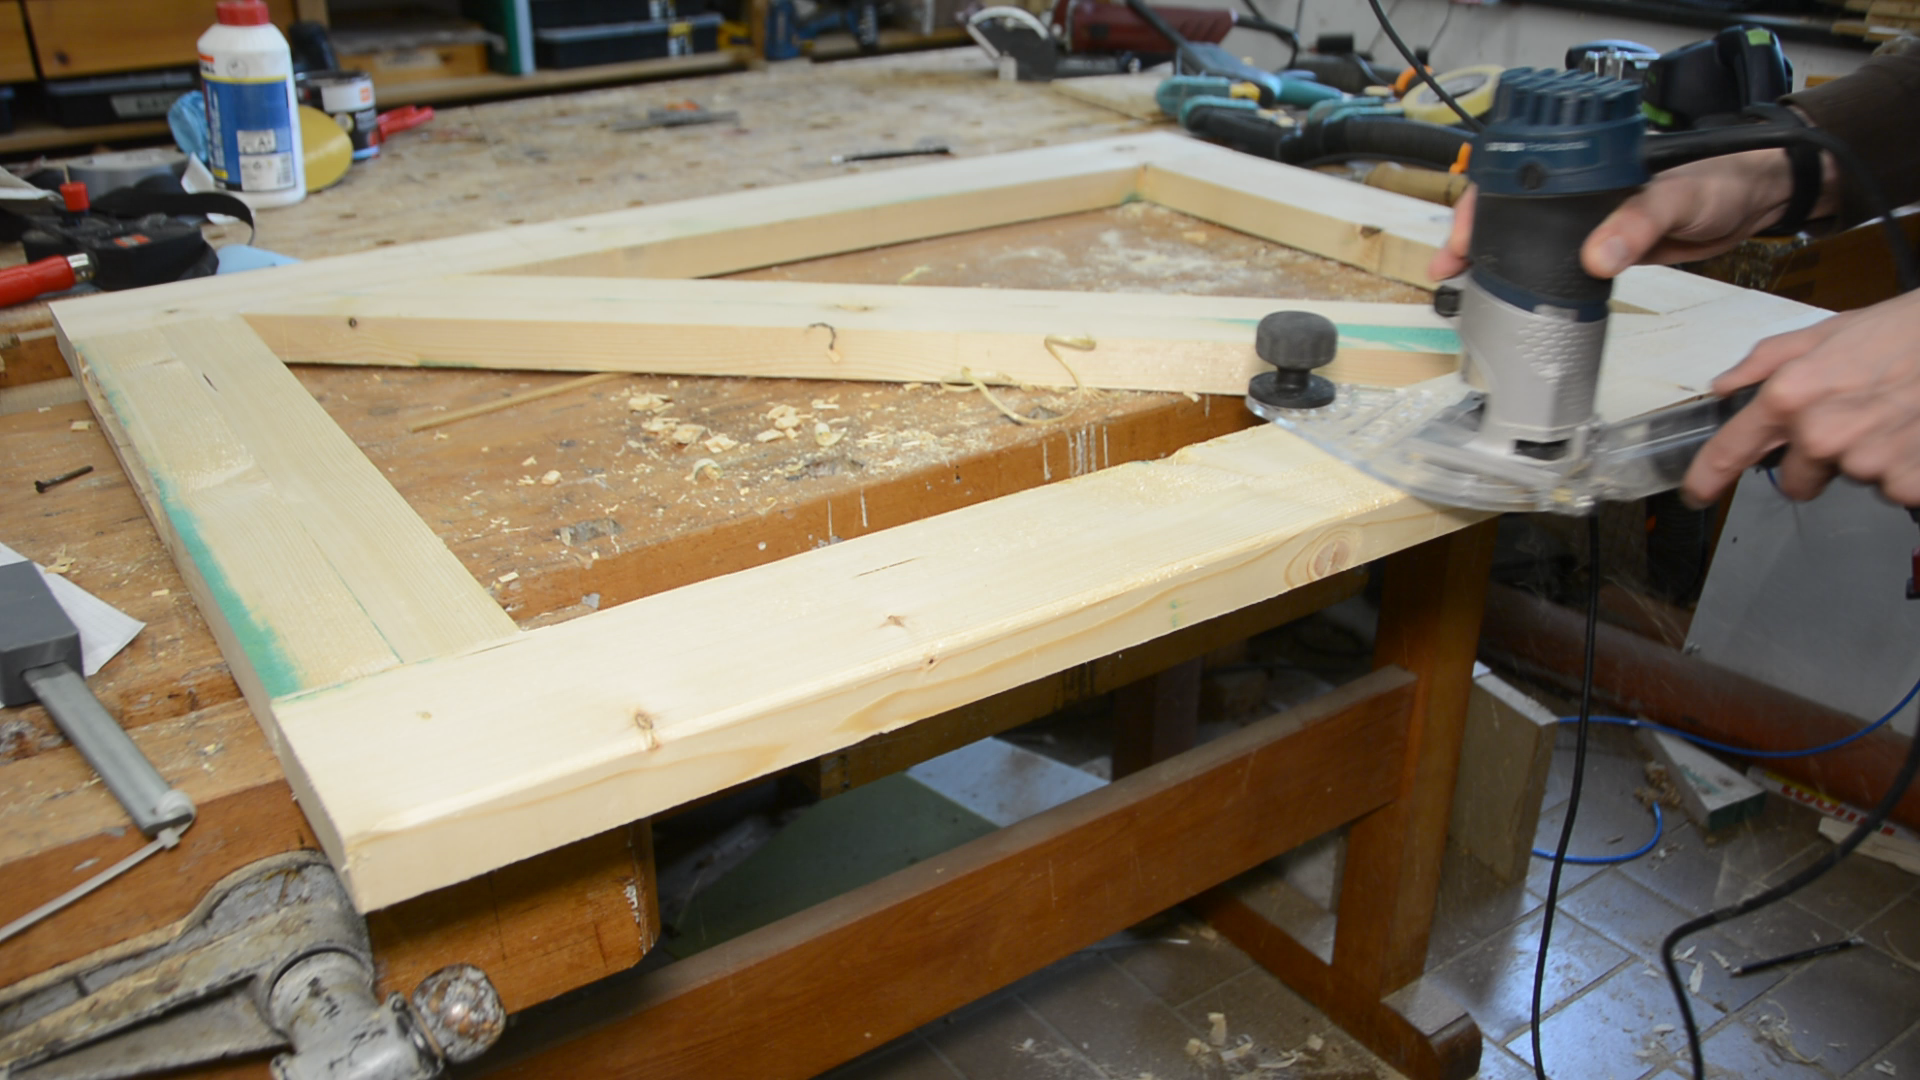
And lastly I sand everything smooth so that water can’t easily penetrate the wood surface.
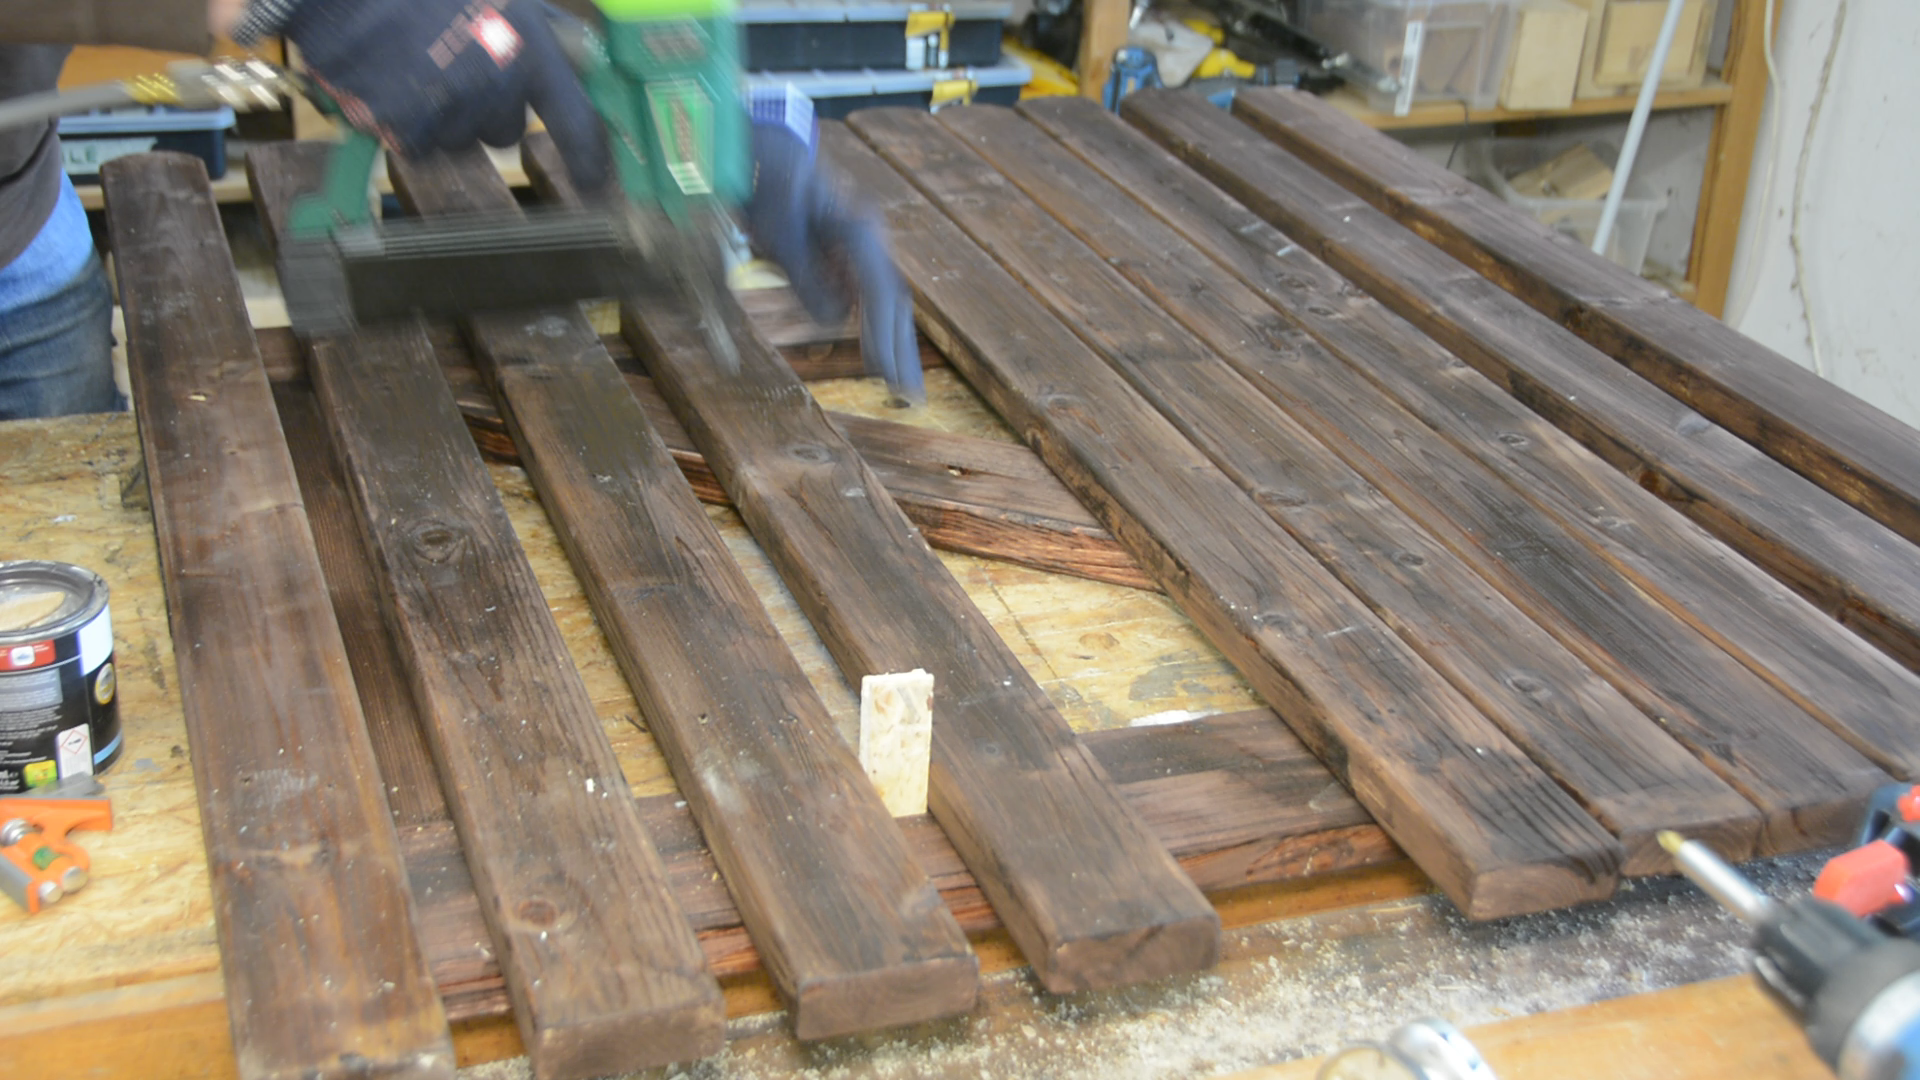
The rest of the wood for the garden gate will come from a leftover piece of fence from another project. I remove the nails and sand the pieces smooth.
The frame and all the fence pieces get a coat of finish.

The door lock is screwed to the frame.

Mounting and finishing the new garden gate
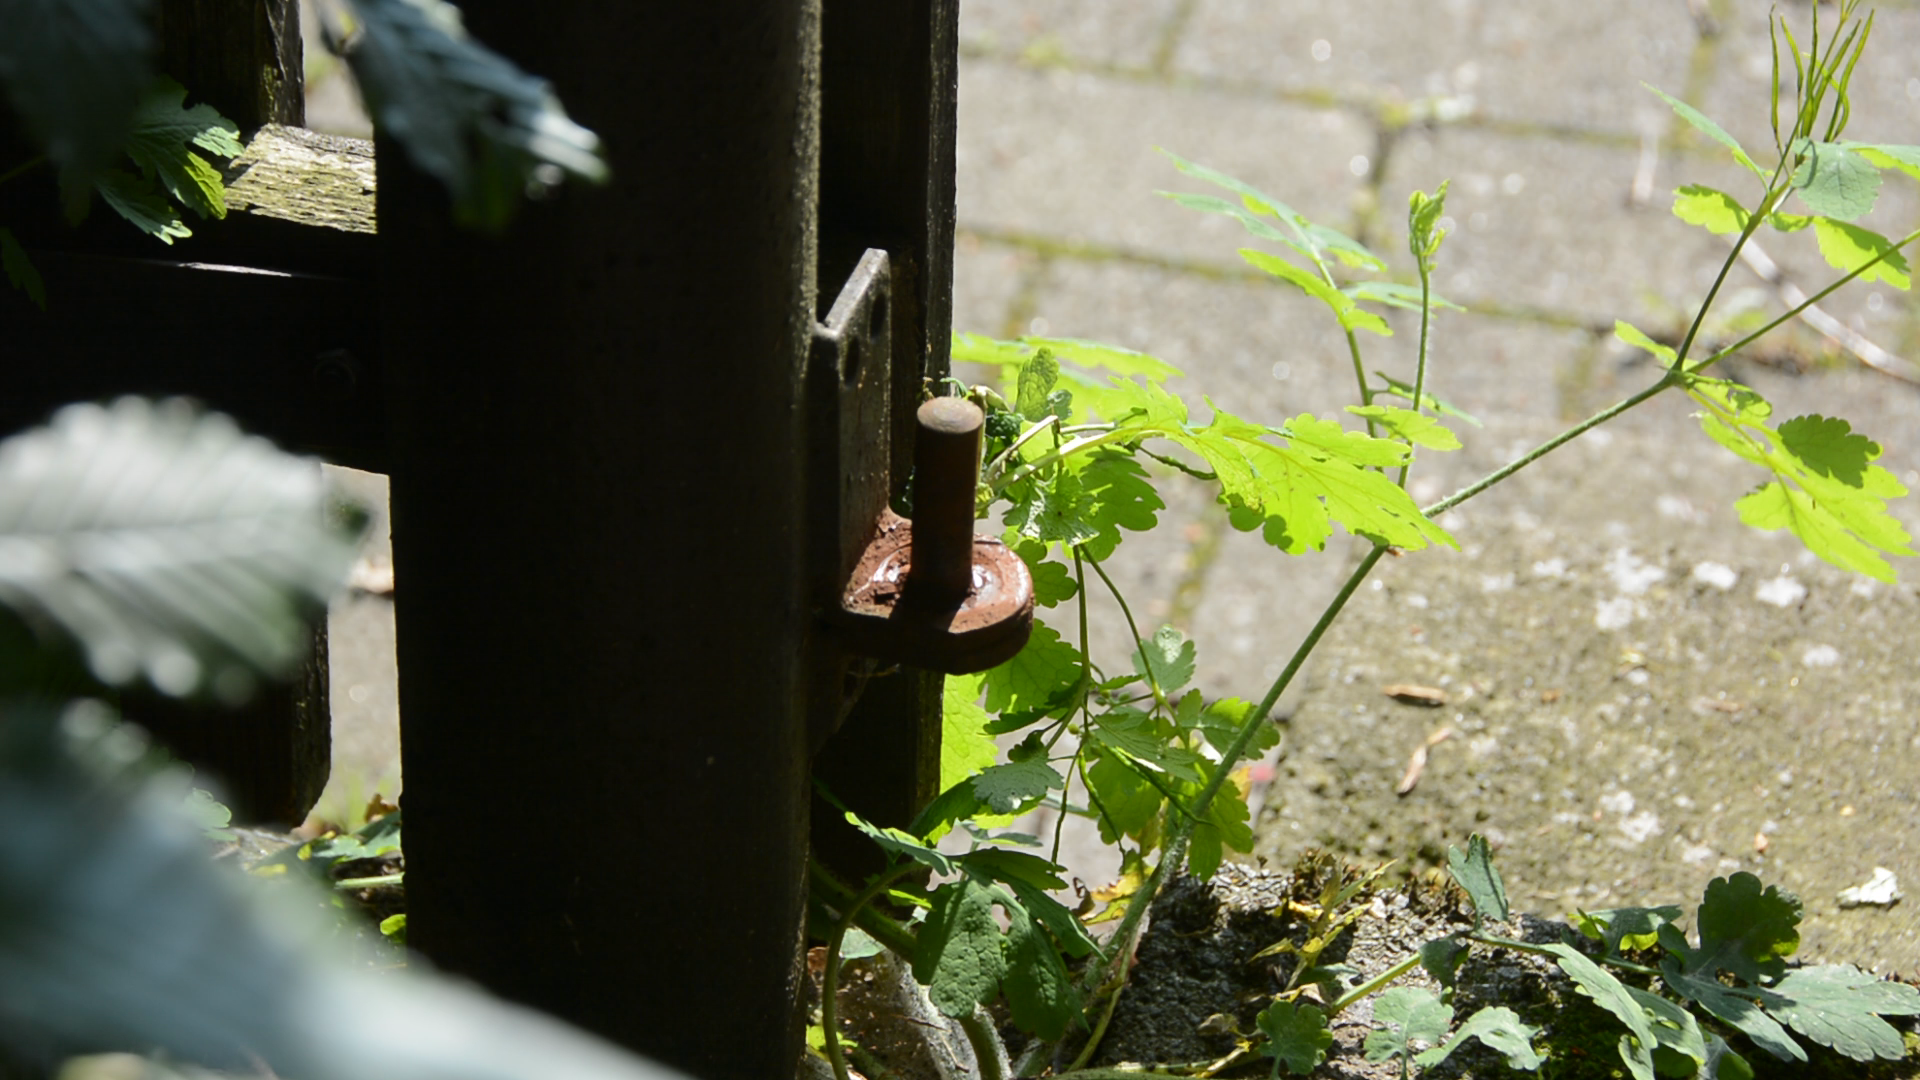
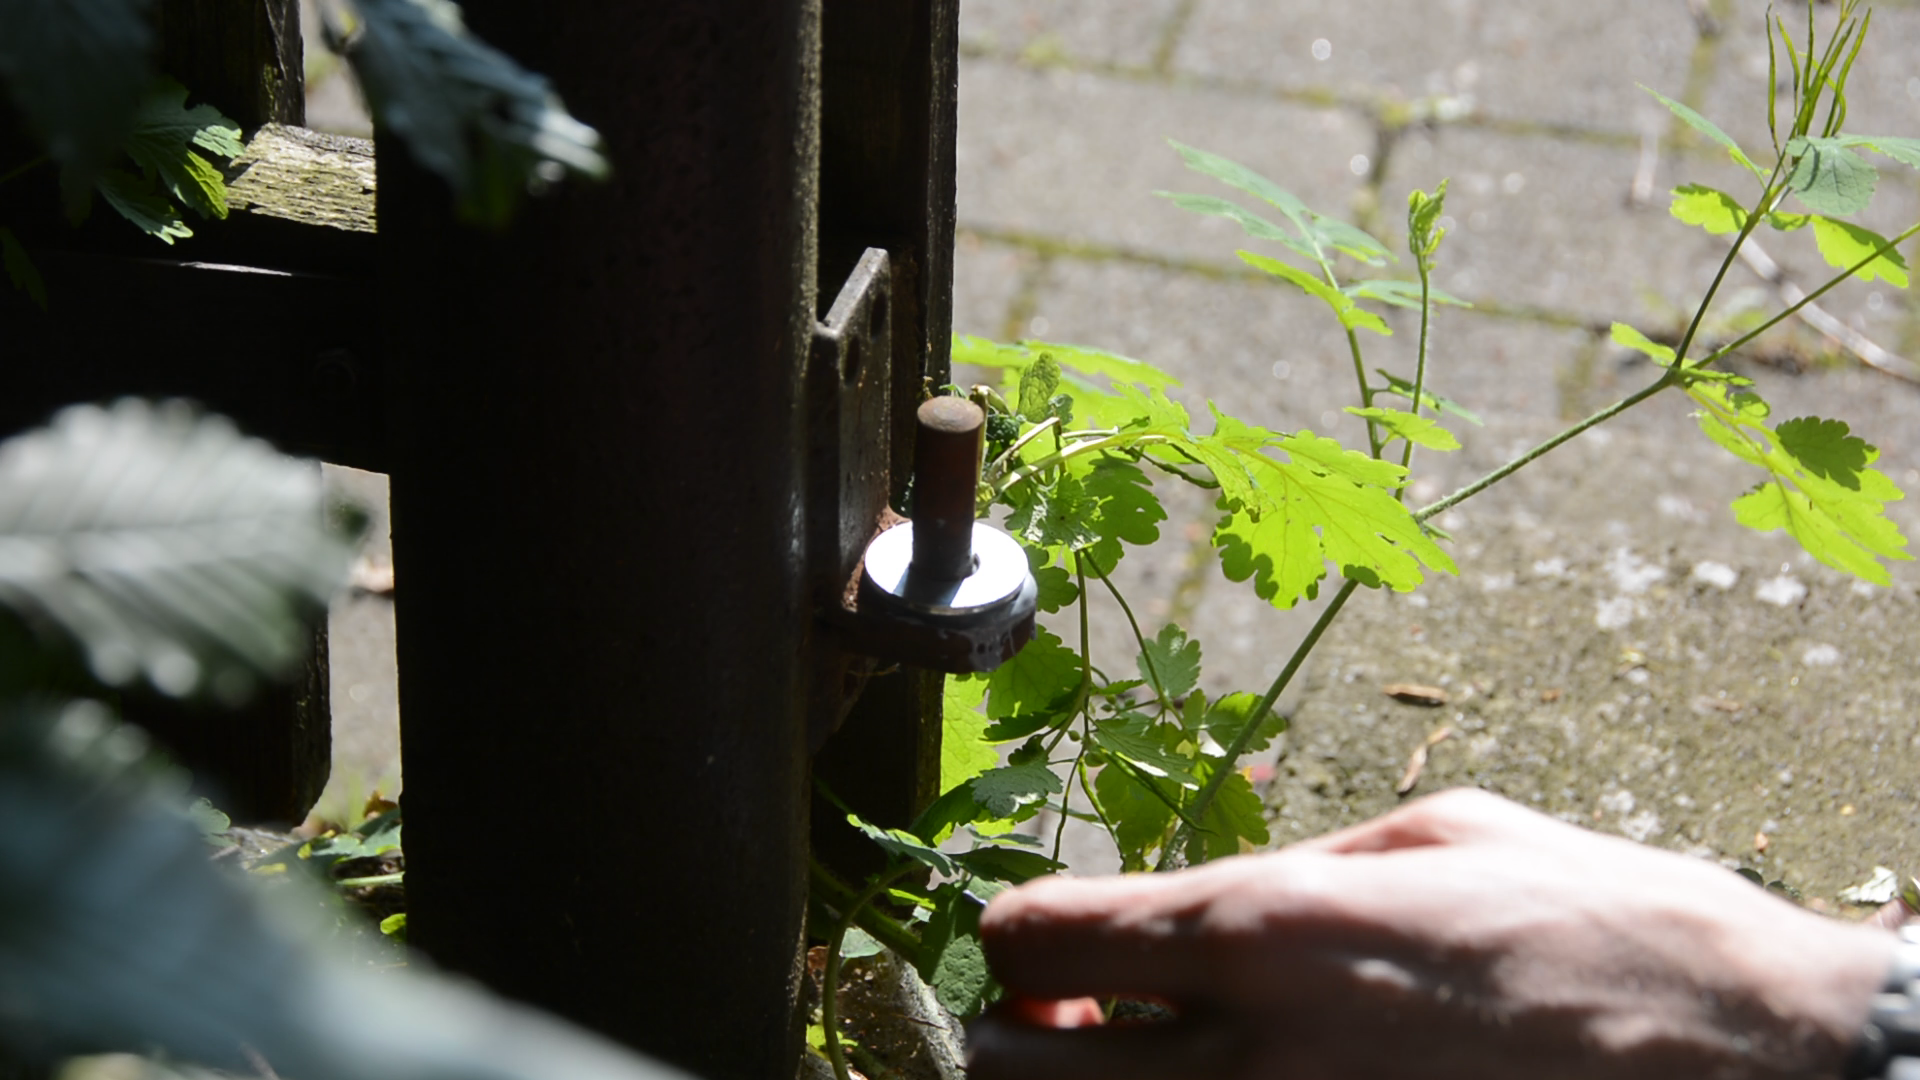
Before mounting the fence parts to the frame I hold the frame with clamps in place and mark the position of the hinges. As the hinges are very worn I mount them on an angle so that the gate is level. This looks quite weird but at least it is not visible from the outside.

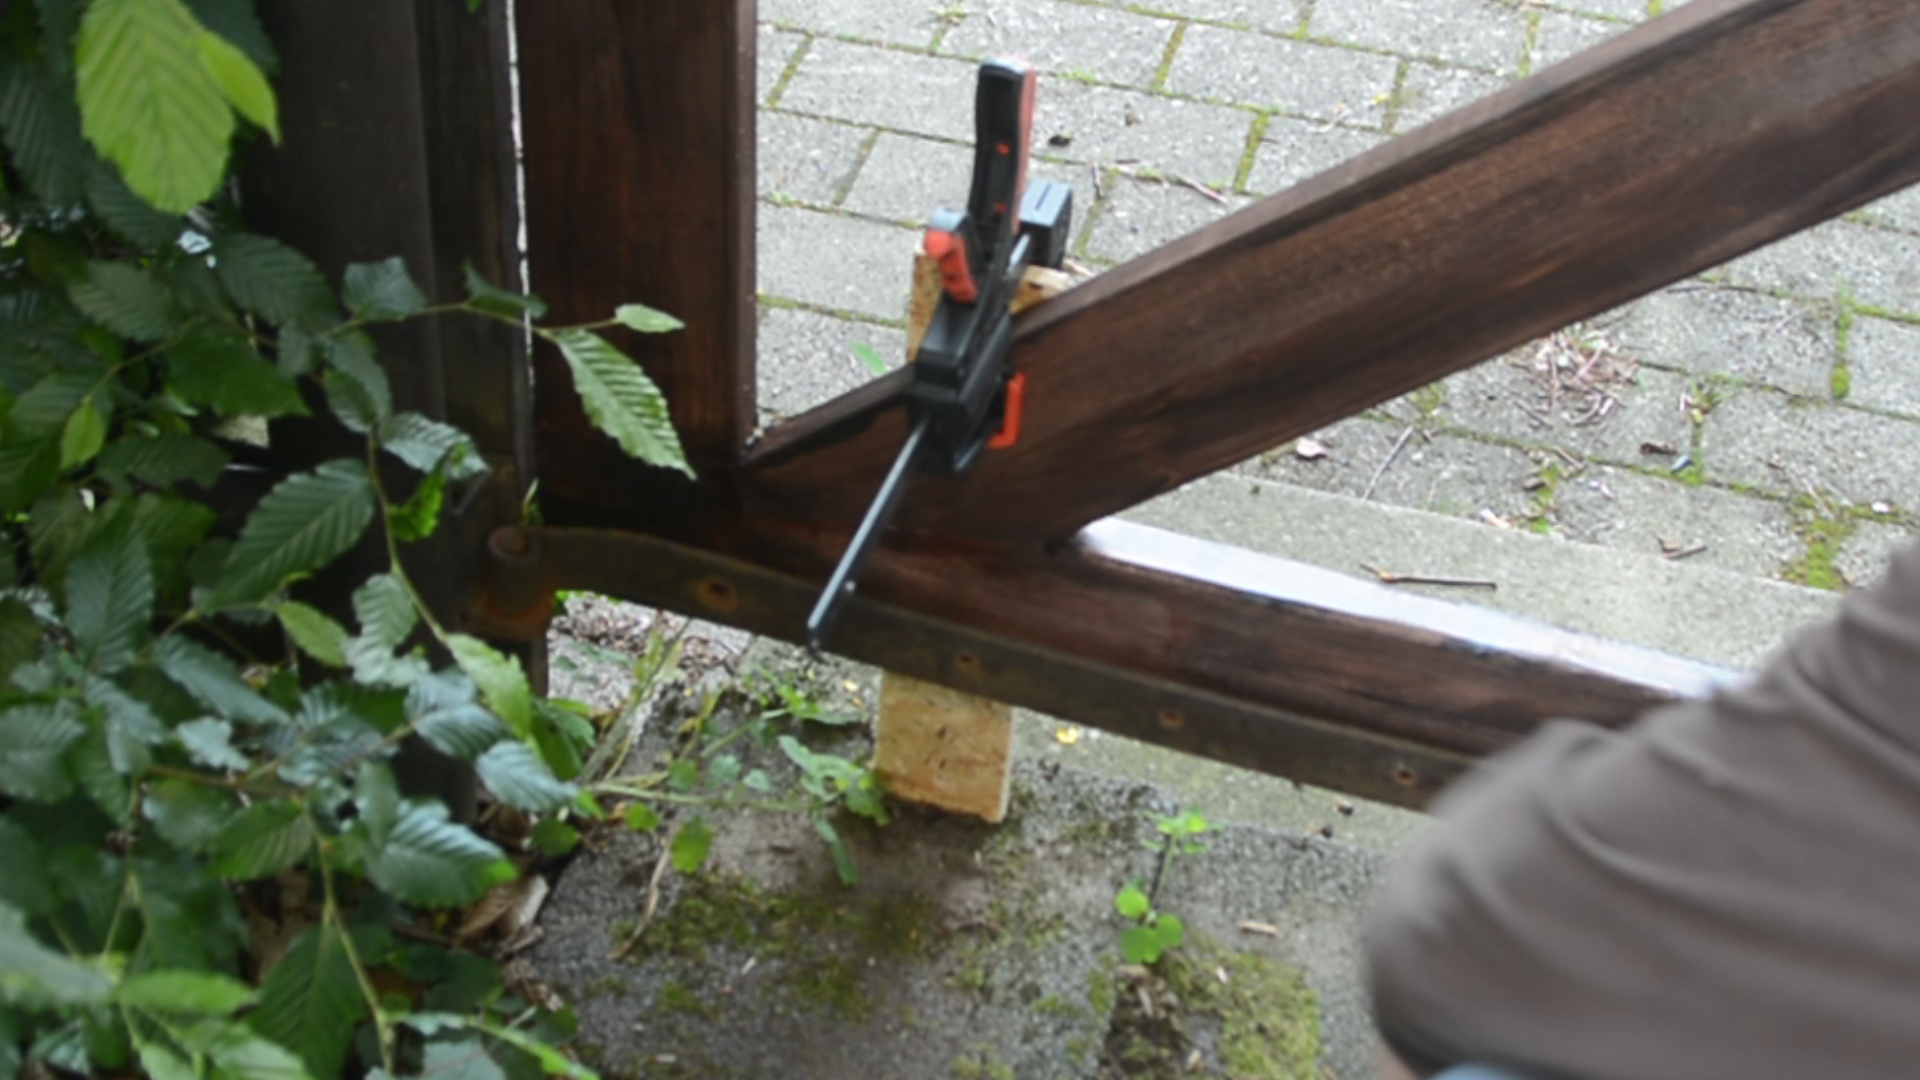
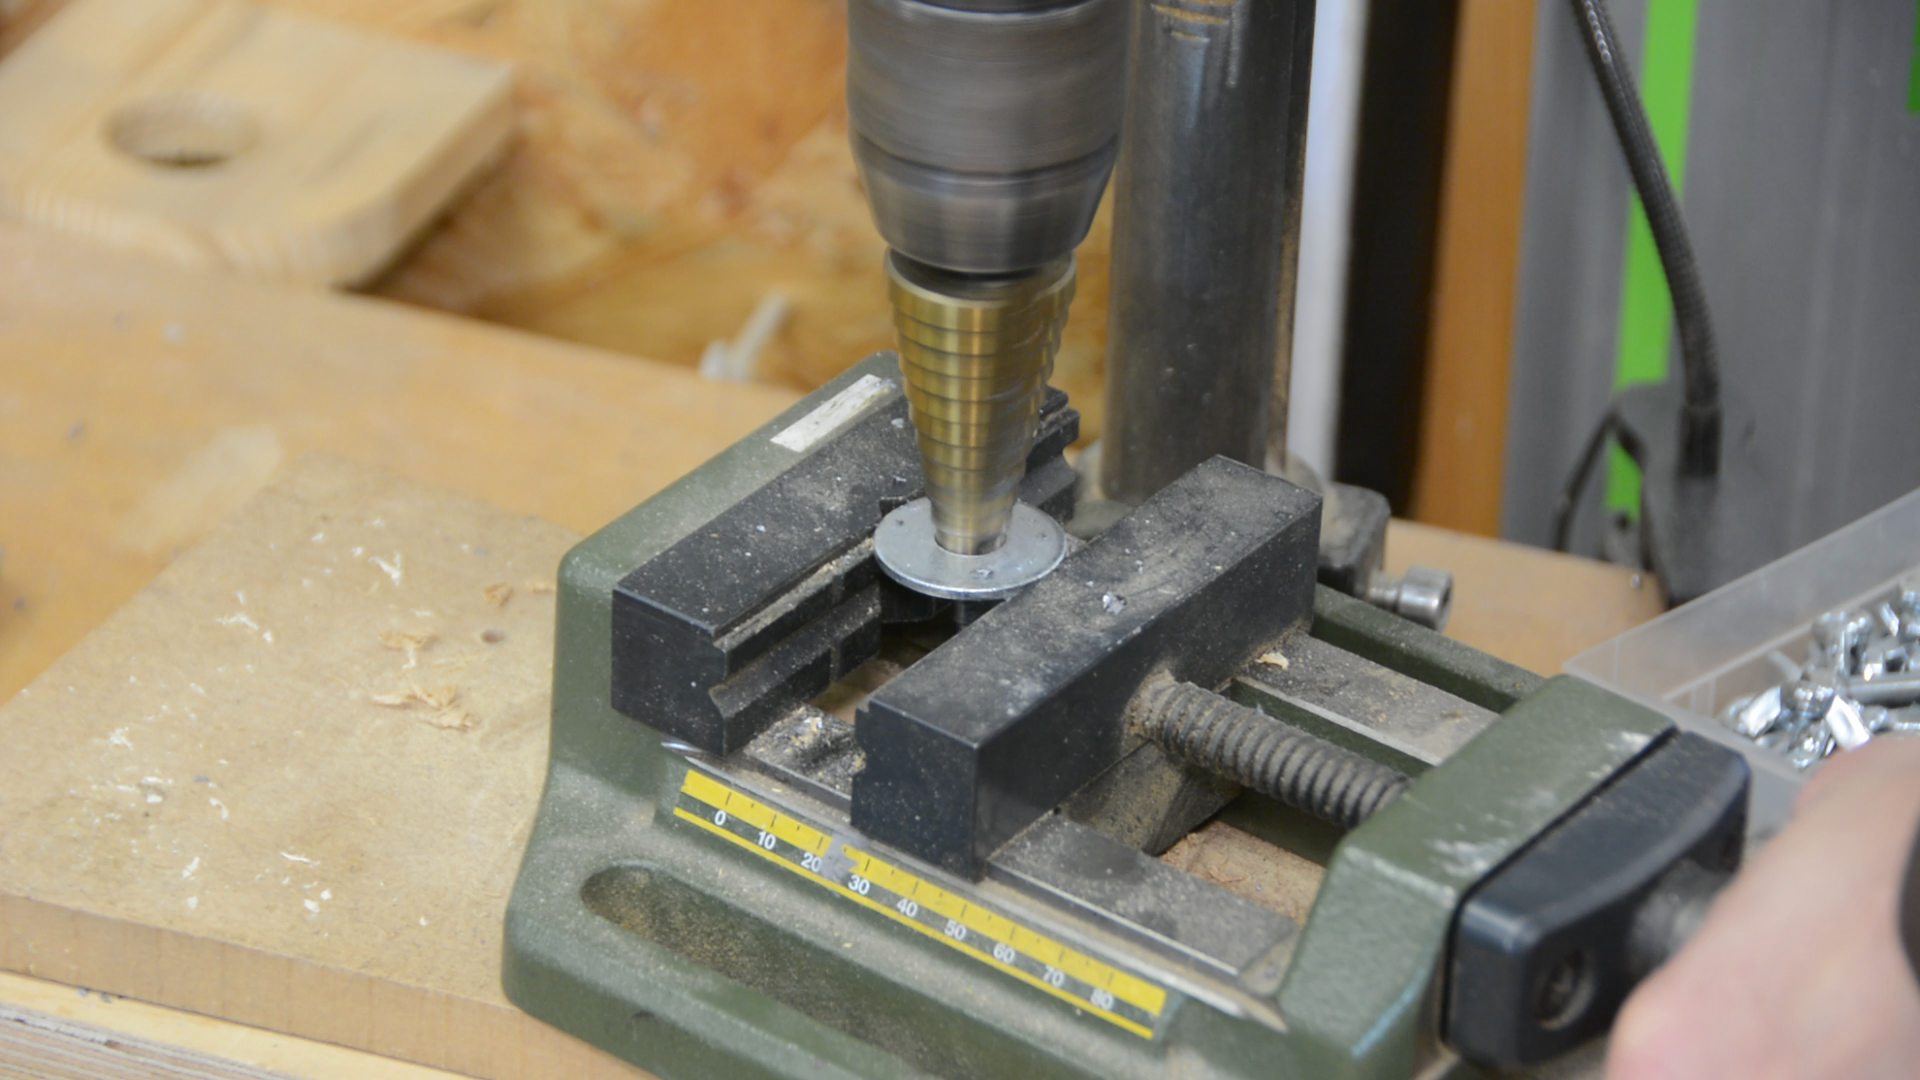
As one rusty part of the hinge was rubbing against another rusty part the gate was quite difficult to move. I increase the opening of a washer to fit the hinge. I then glue it in place – hoping that this will reduce the friction a little bit.
The finish on the fence parts has dried and they can be mounted to the frame. I use small story sticks to position the parts in the correct place and then fix them with a nail. For a more permanent solution each piece is secured with three screws from the backside.
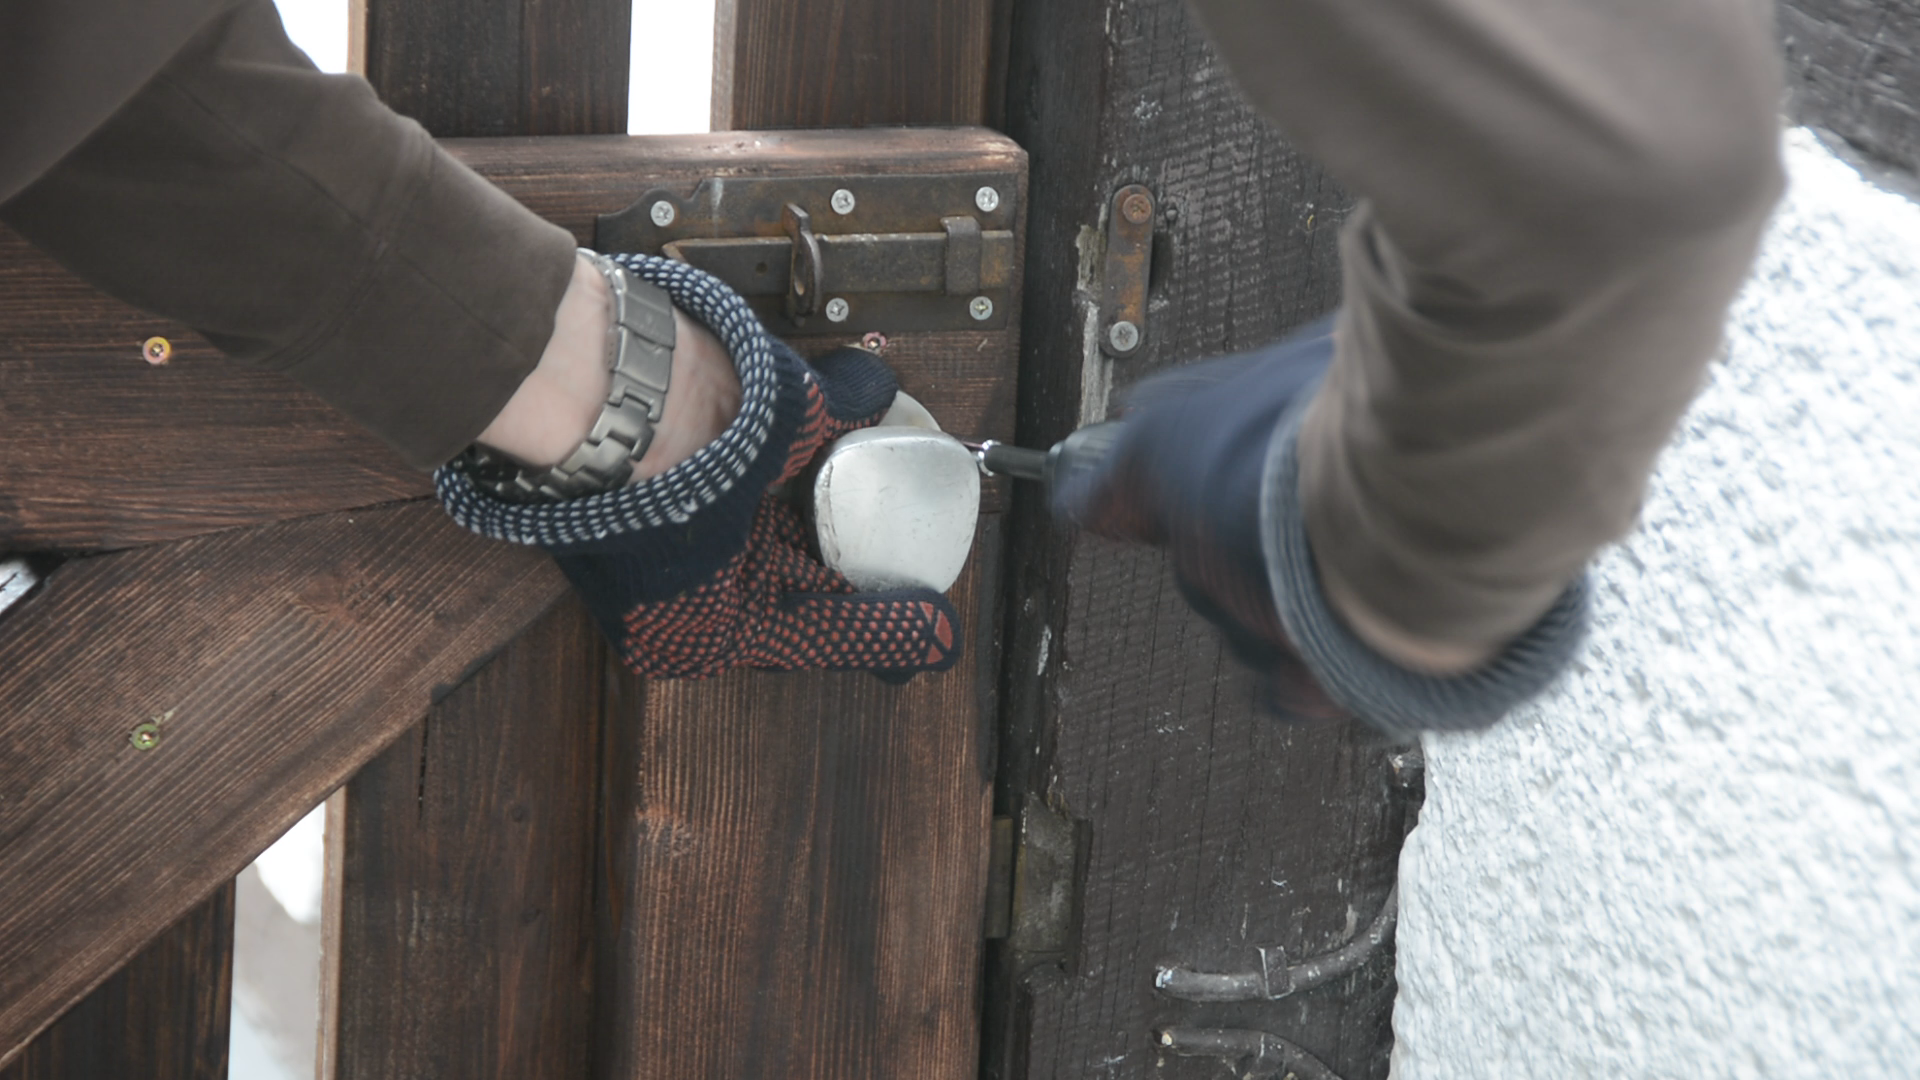
After mounting the gate in its final place I remove the knobs and the latch from the old gate.

The knobs have quite some paint on them that I remove as much as possible with acetone.

Now I can mount the old knobs and the old latch to the new gate.
This is clearly not the project I would be the most proud of. Without the limitation of working with what I had at hand I might have changed quite a few things. However, at least from my point of view the new gate is an improvement over the old and rotten one.