In this article we will build a live edge mirror. We bought our house 8 years ago and after only 3 years with an ugly IKEA mirror I decided that it would be time to get a really nice DIY life edge mirror. It then took another 5 years to complete the live edge mirror with a lamp…
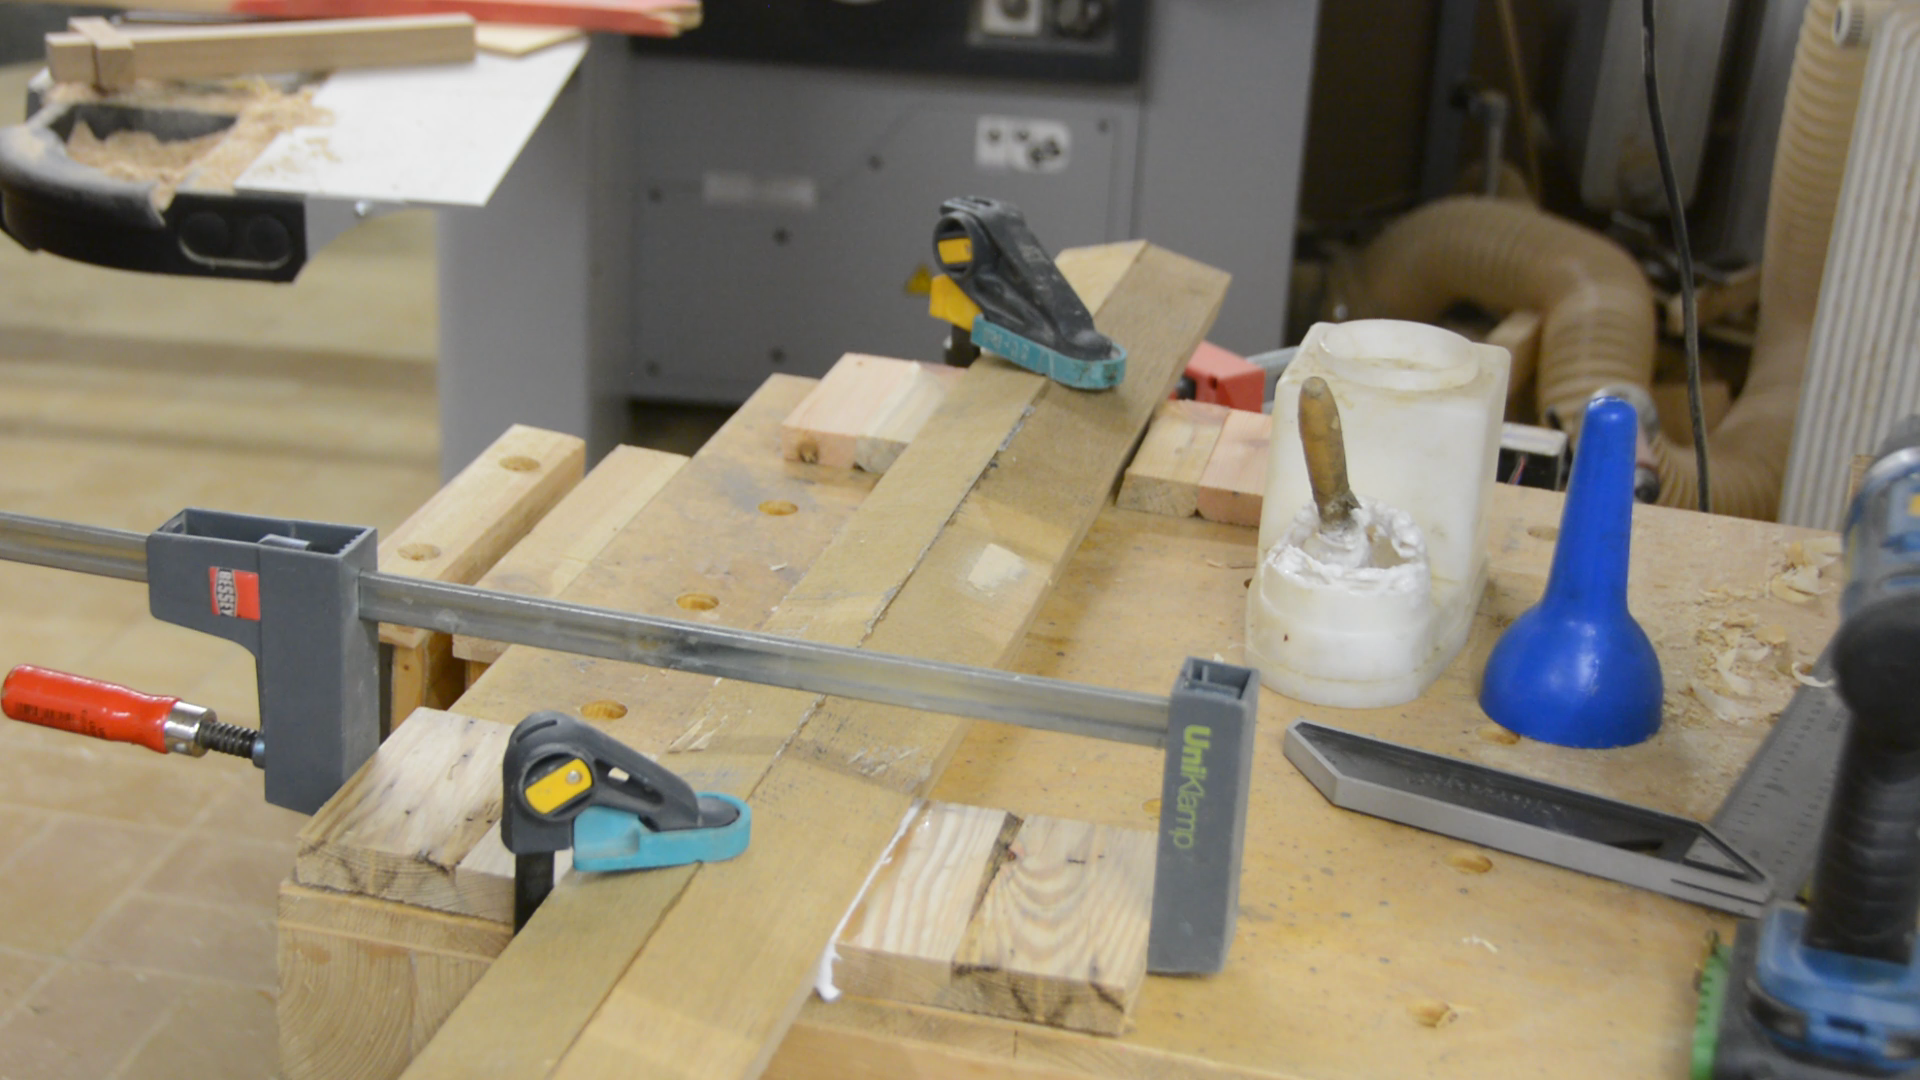
Preparing the material
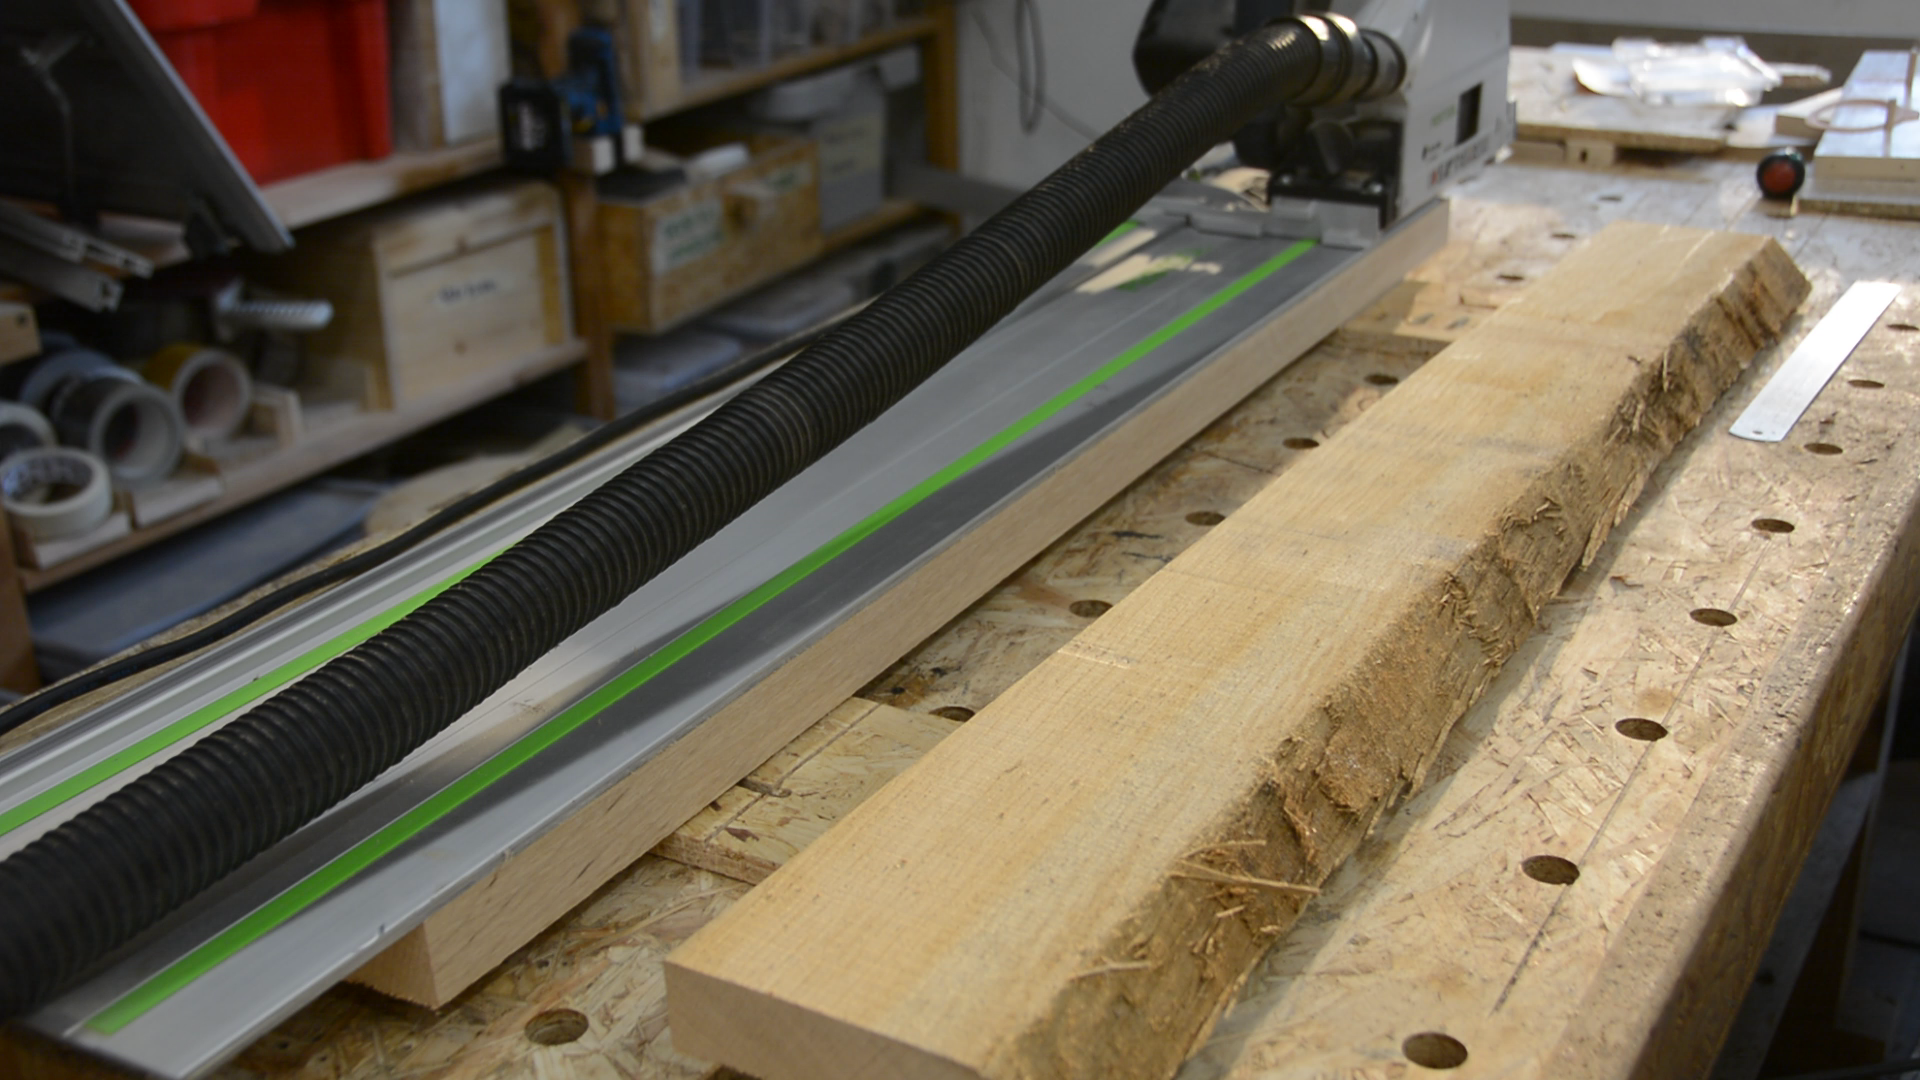
Here you see me cross-cutting an oak board to more manageable size. After crosscutting I used the track saw to get all the pieces close to final width.

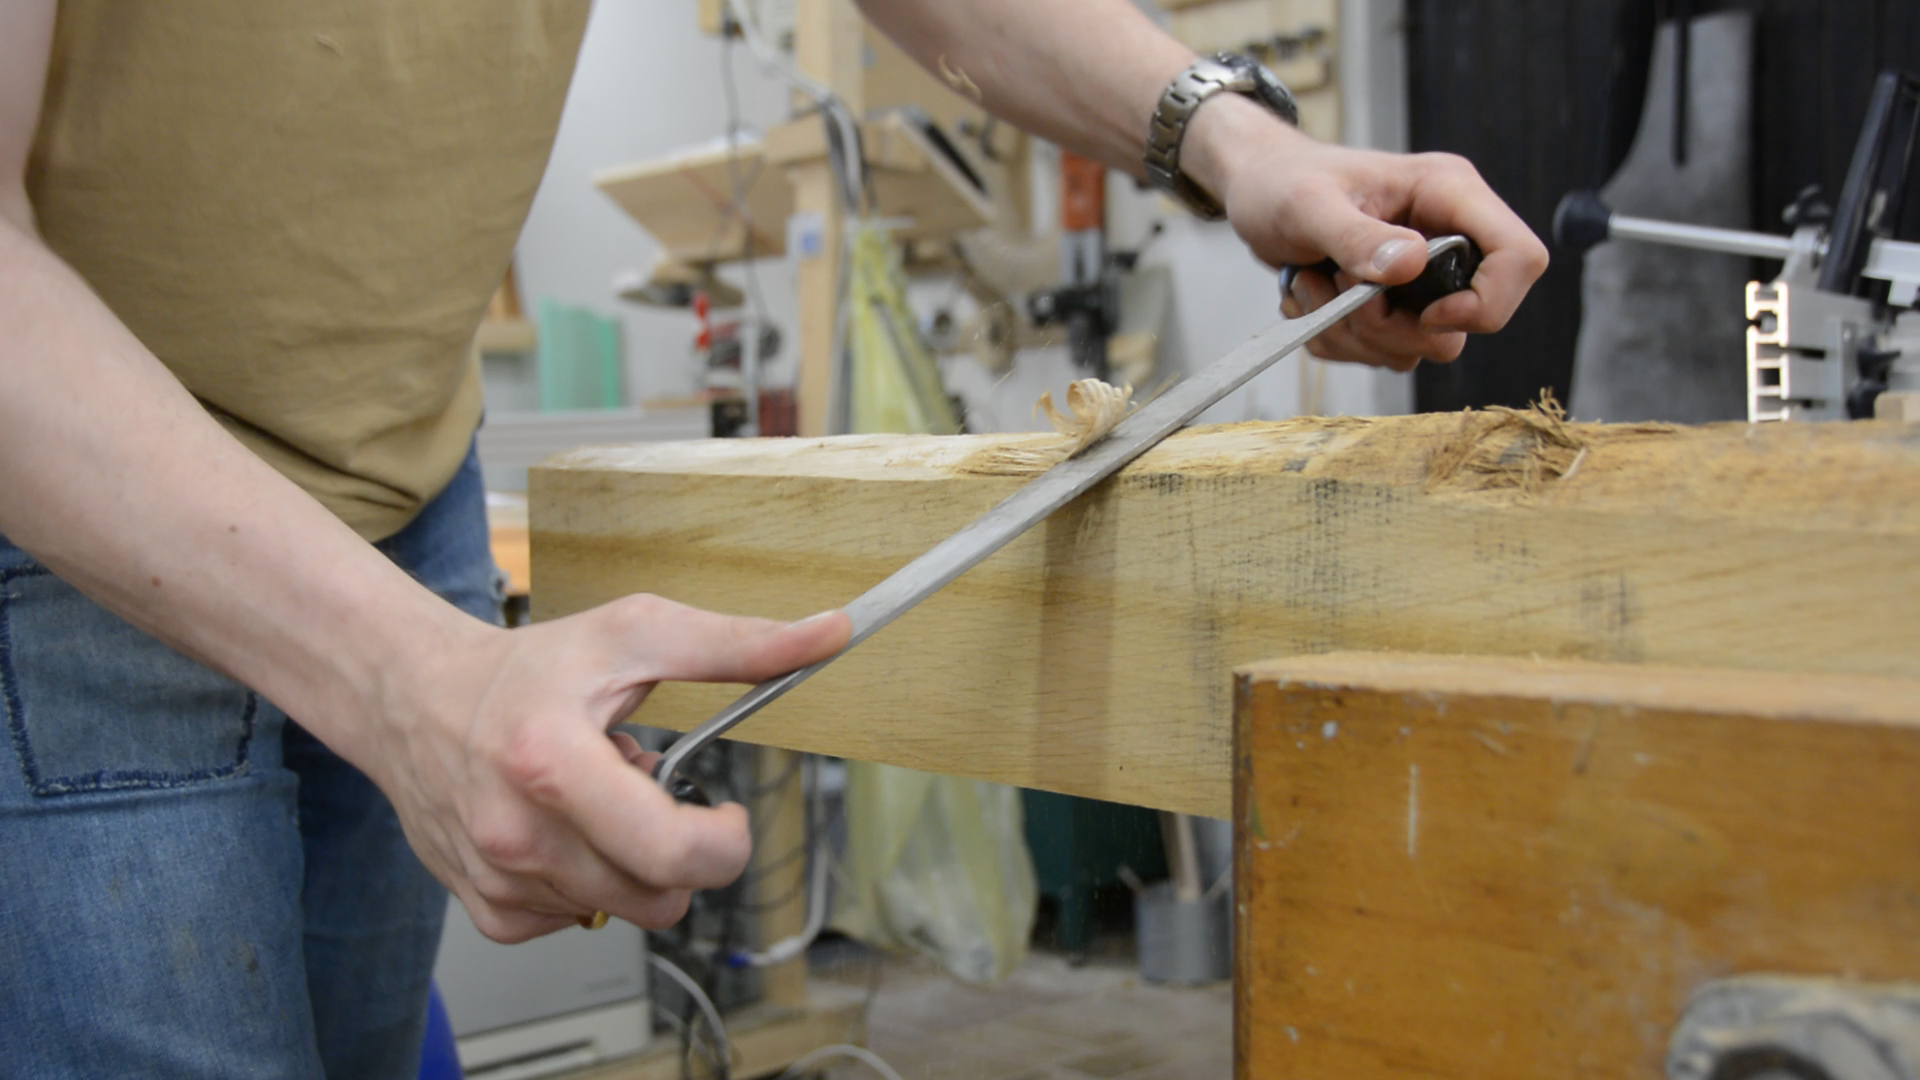
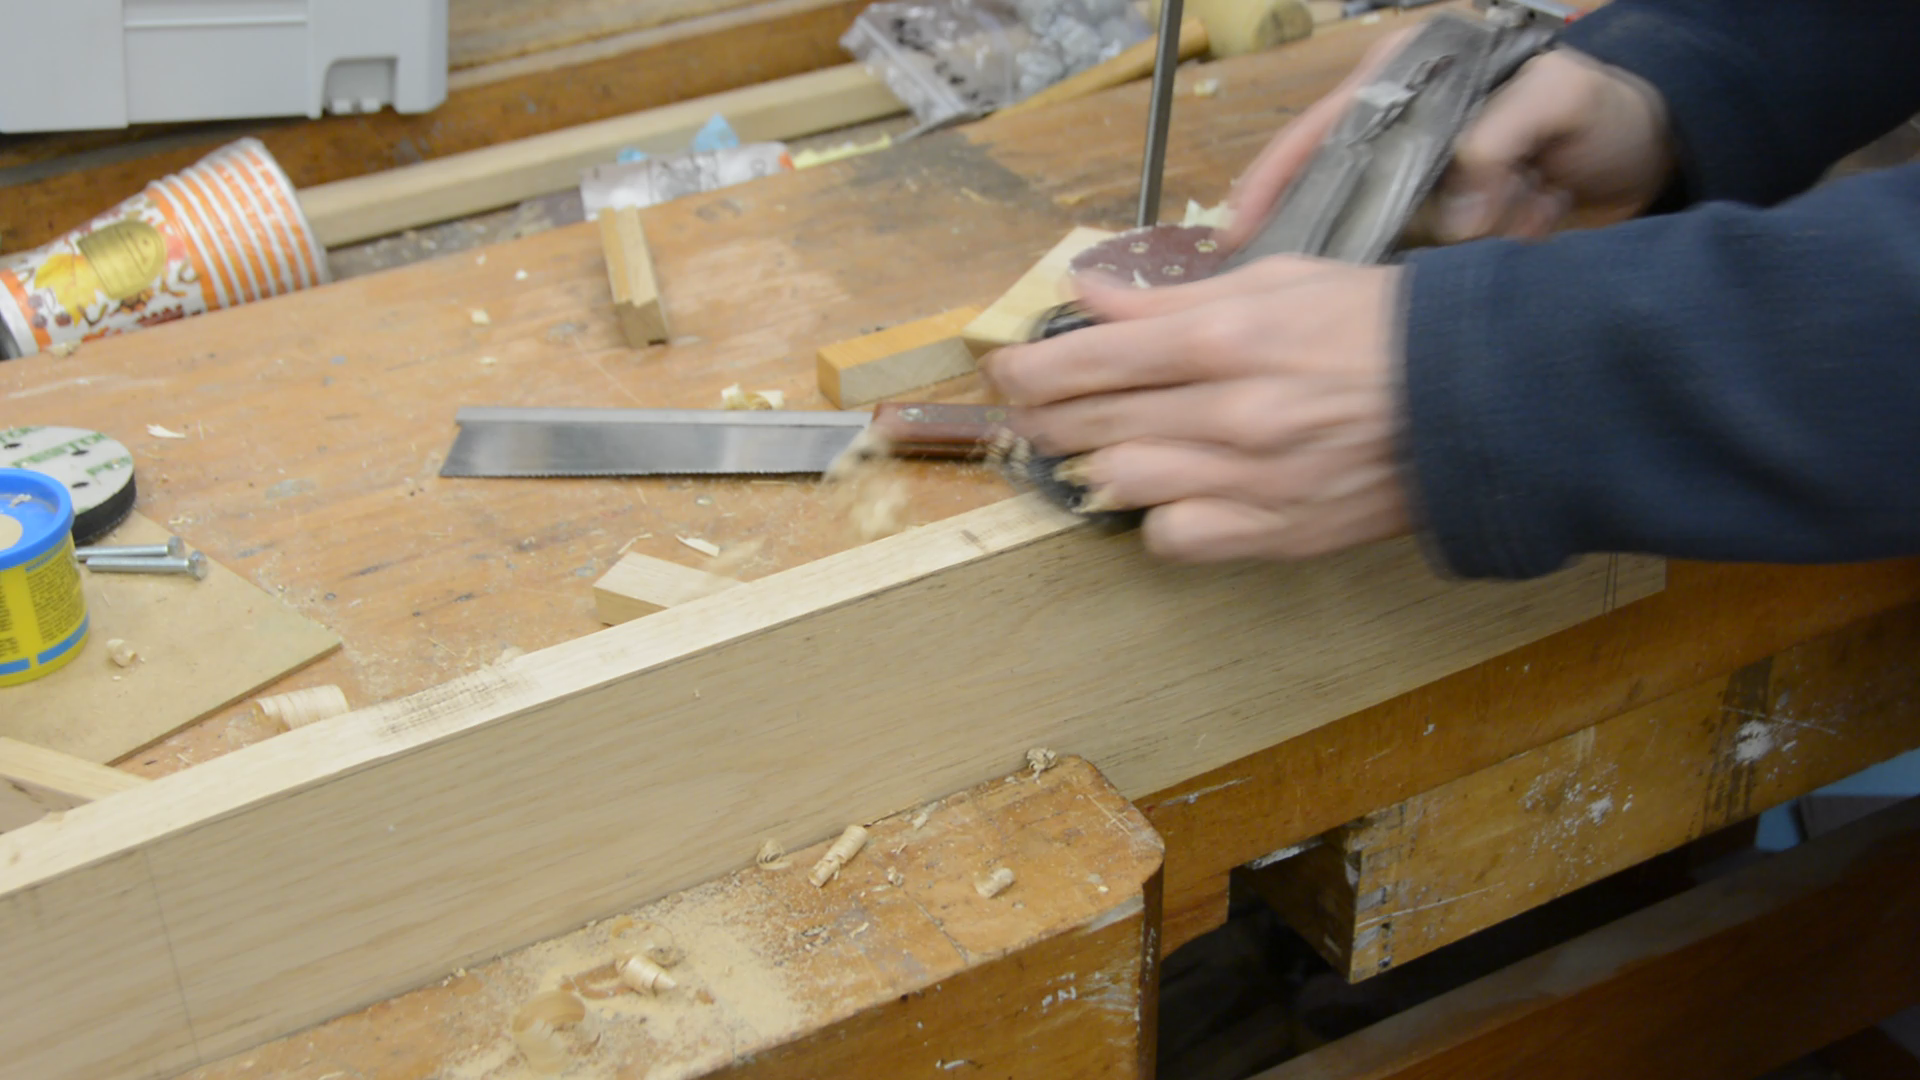
With a draw knife I removed all the bark. After running them over the jointer I have put them to the side to decide how to create a joint in the corners.

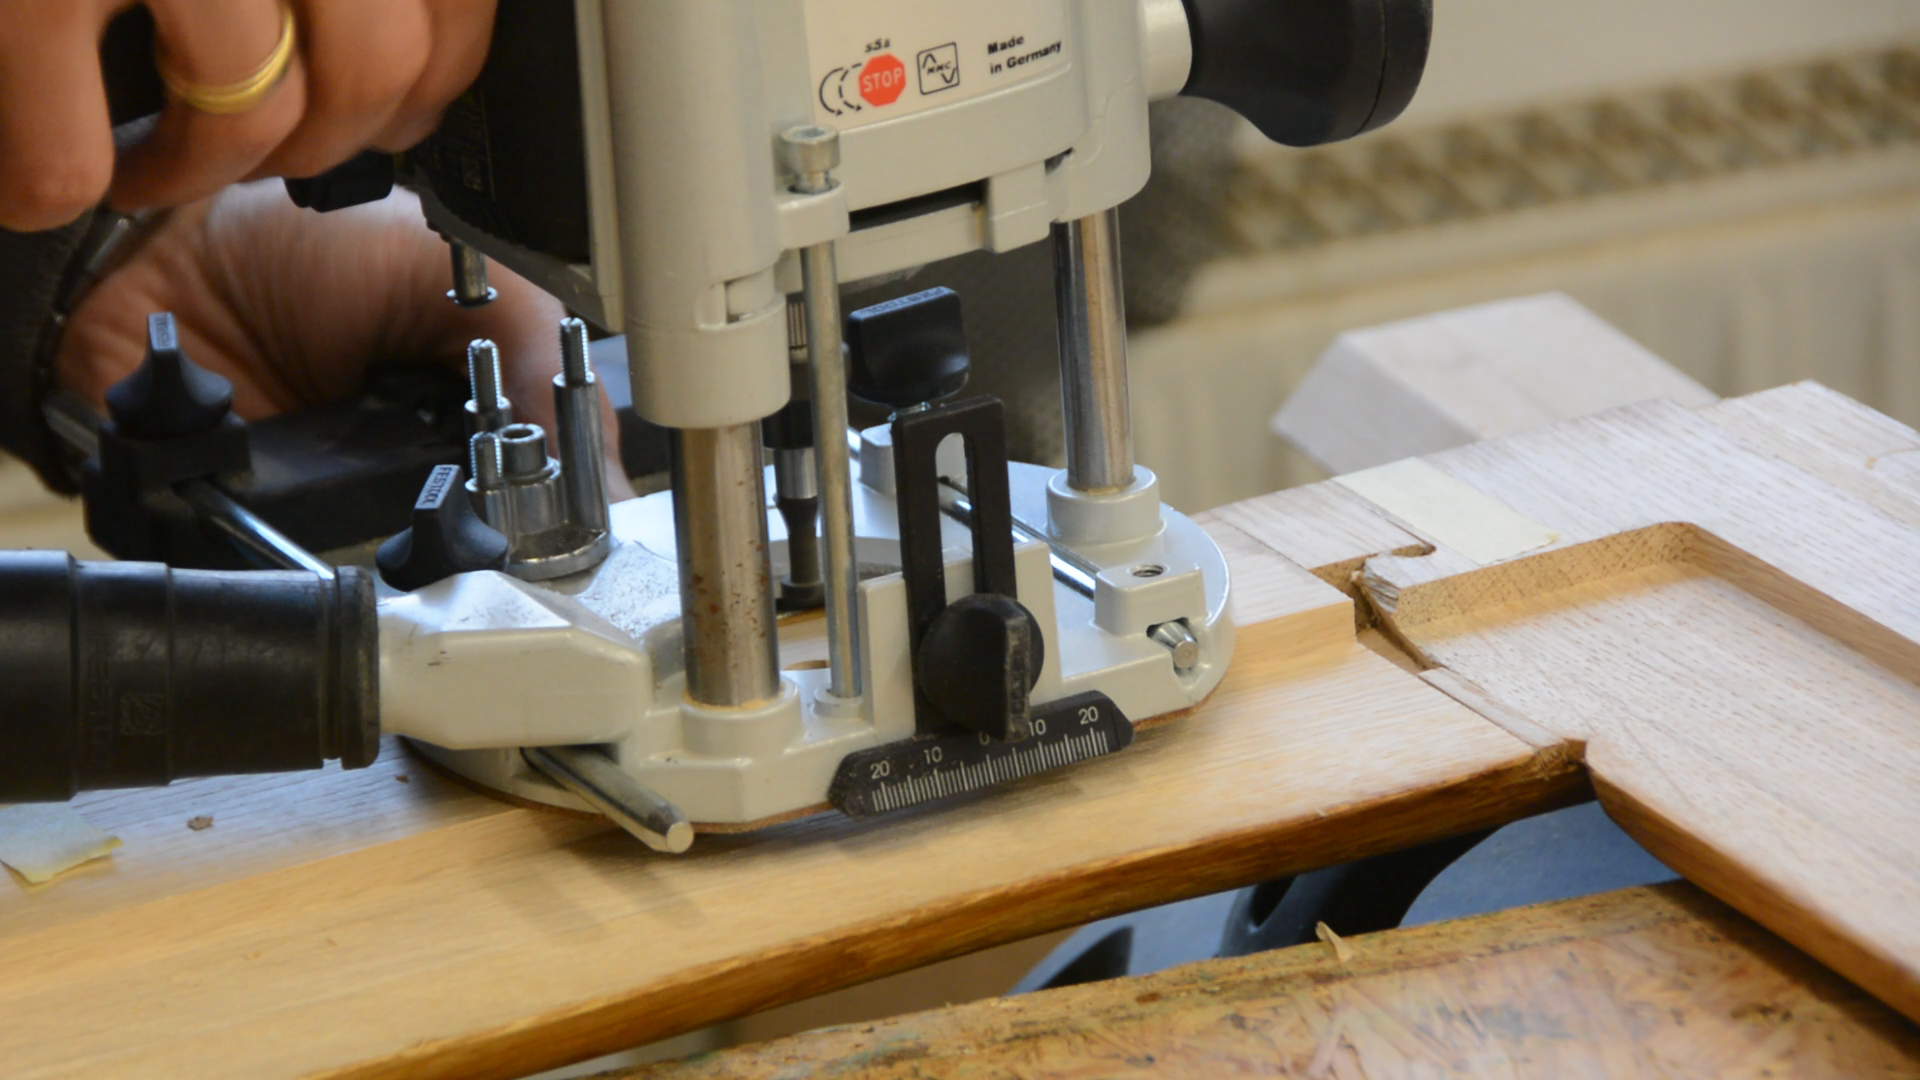
At the time I did not had a reliable CNC machine so I invented a nice way to connect the corners with a router using guide bushings.

For the next 5 years the boards were sitting in my workshop accumulating dust.
CNC work
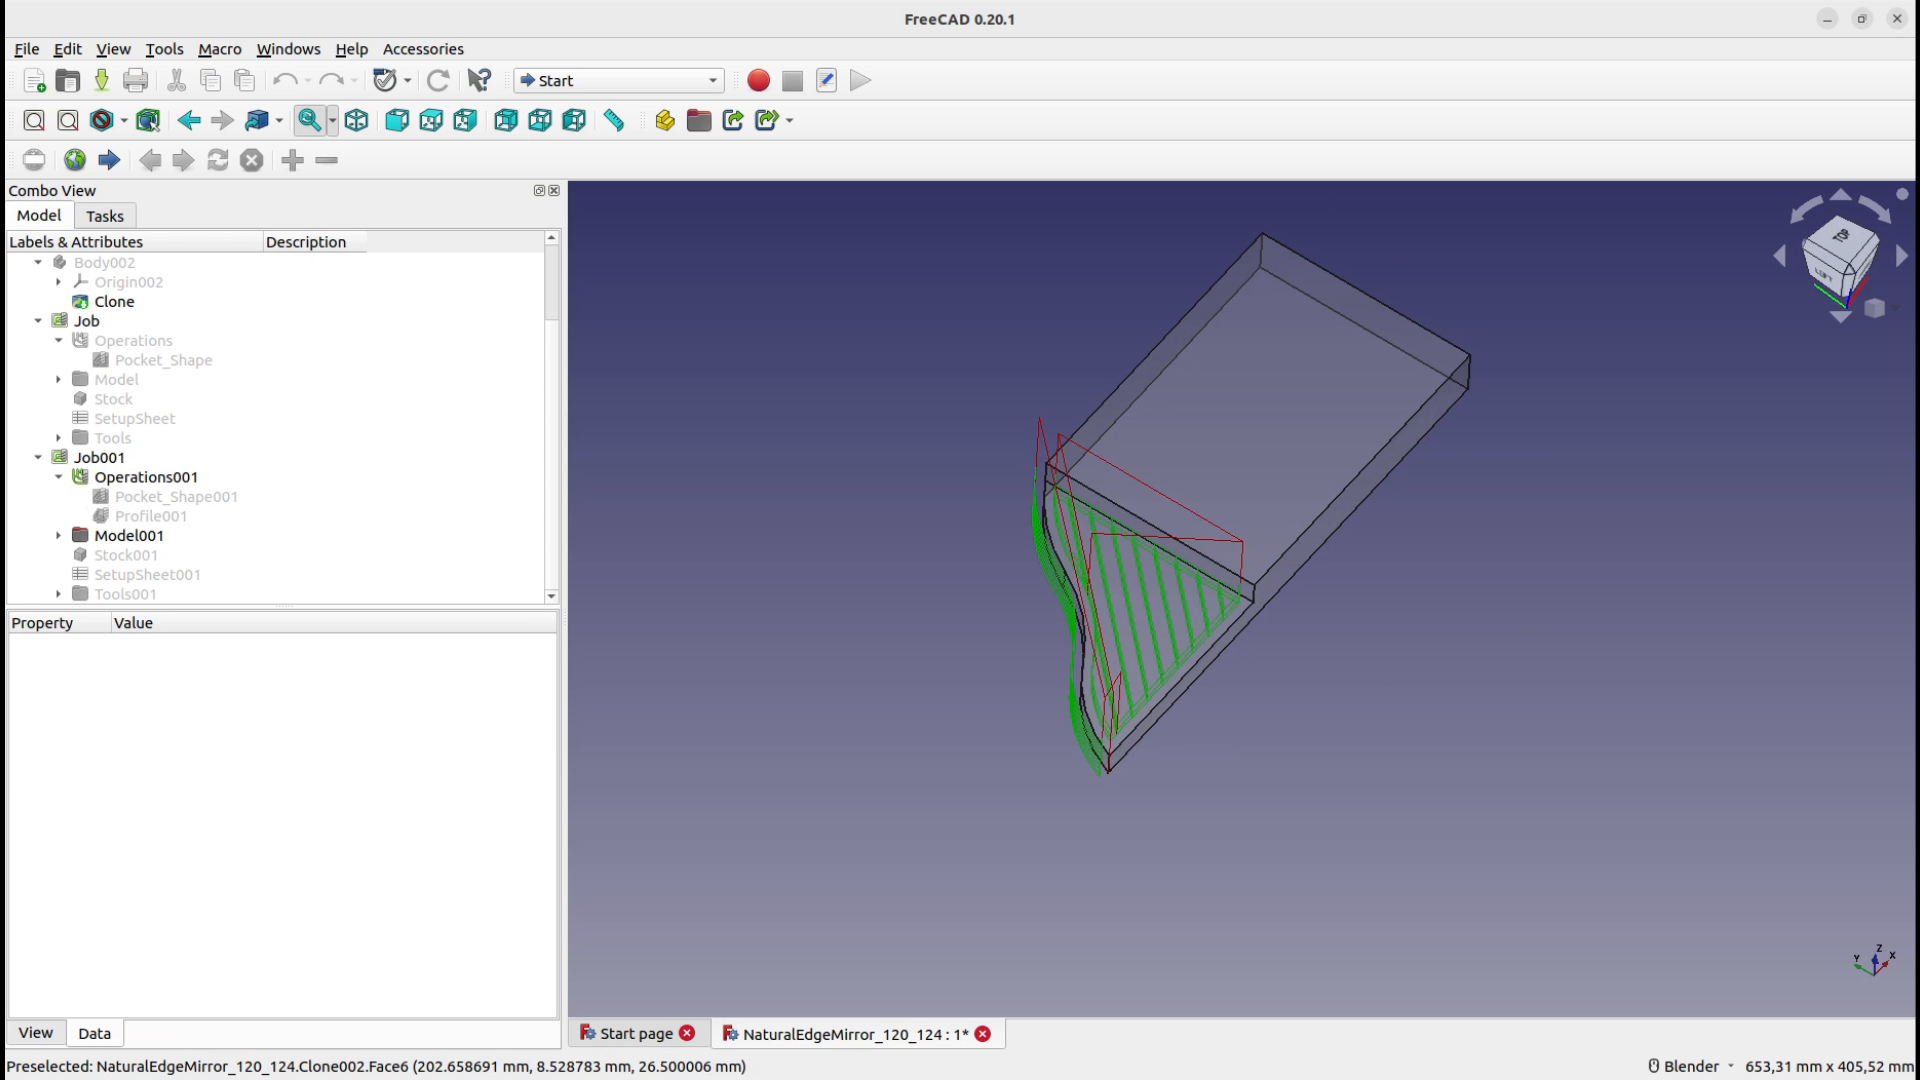
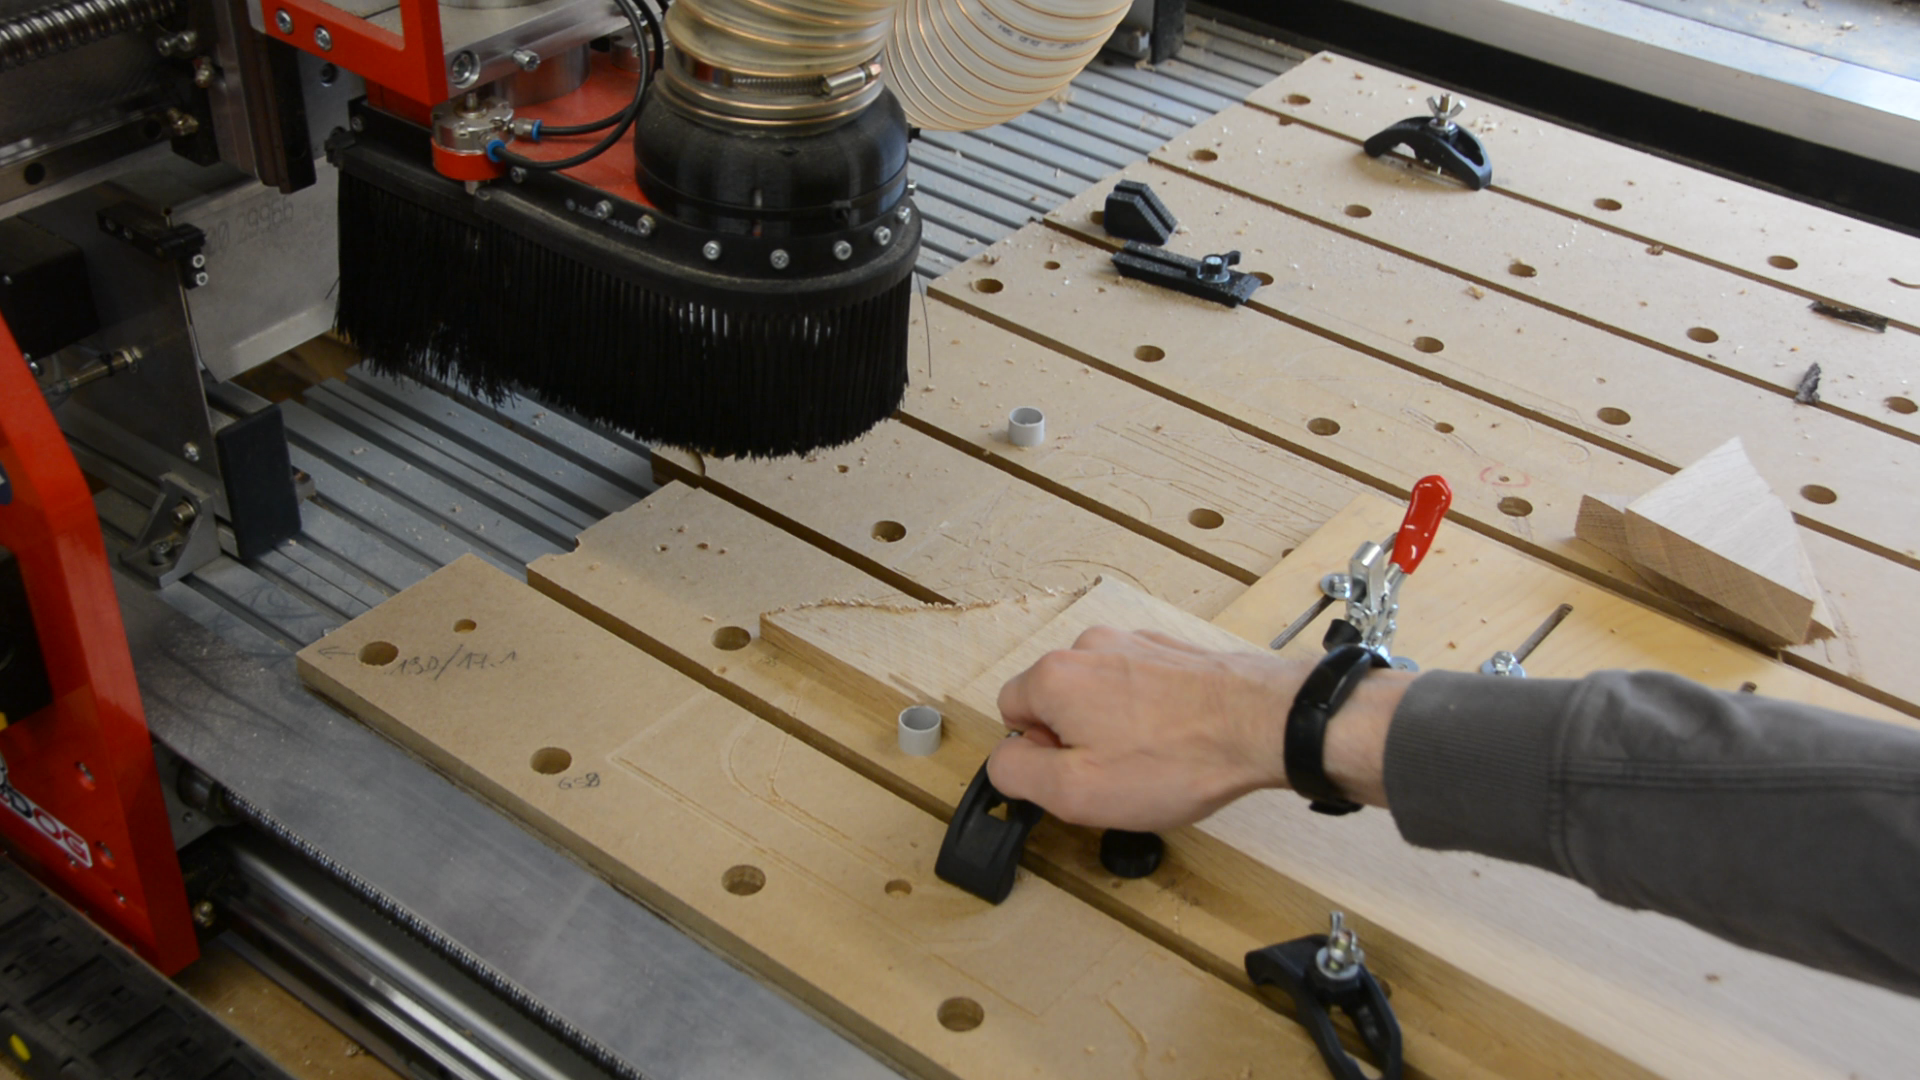
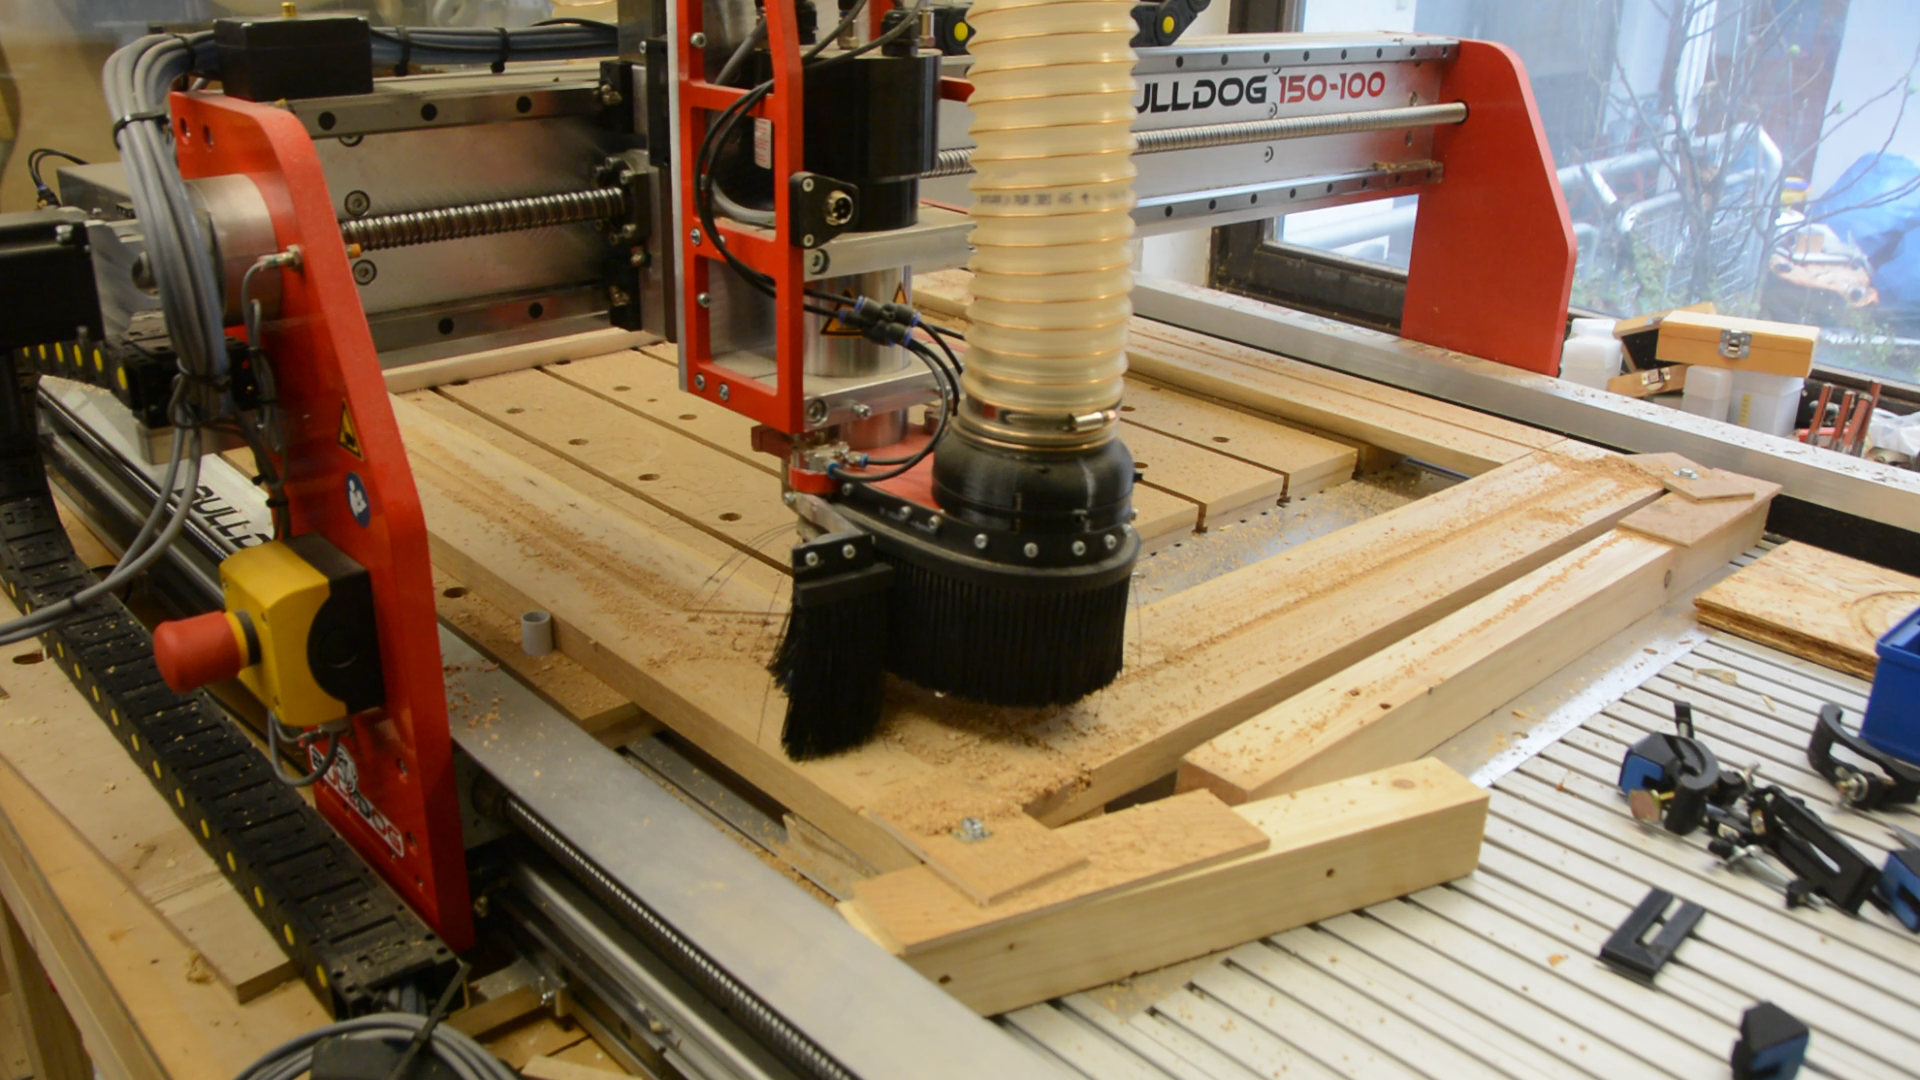
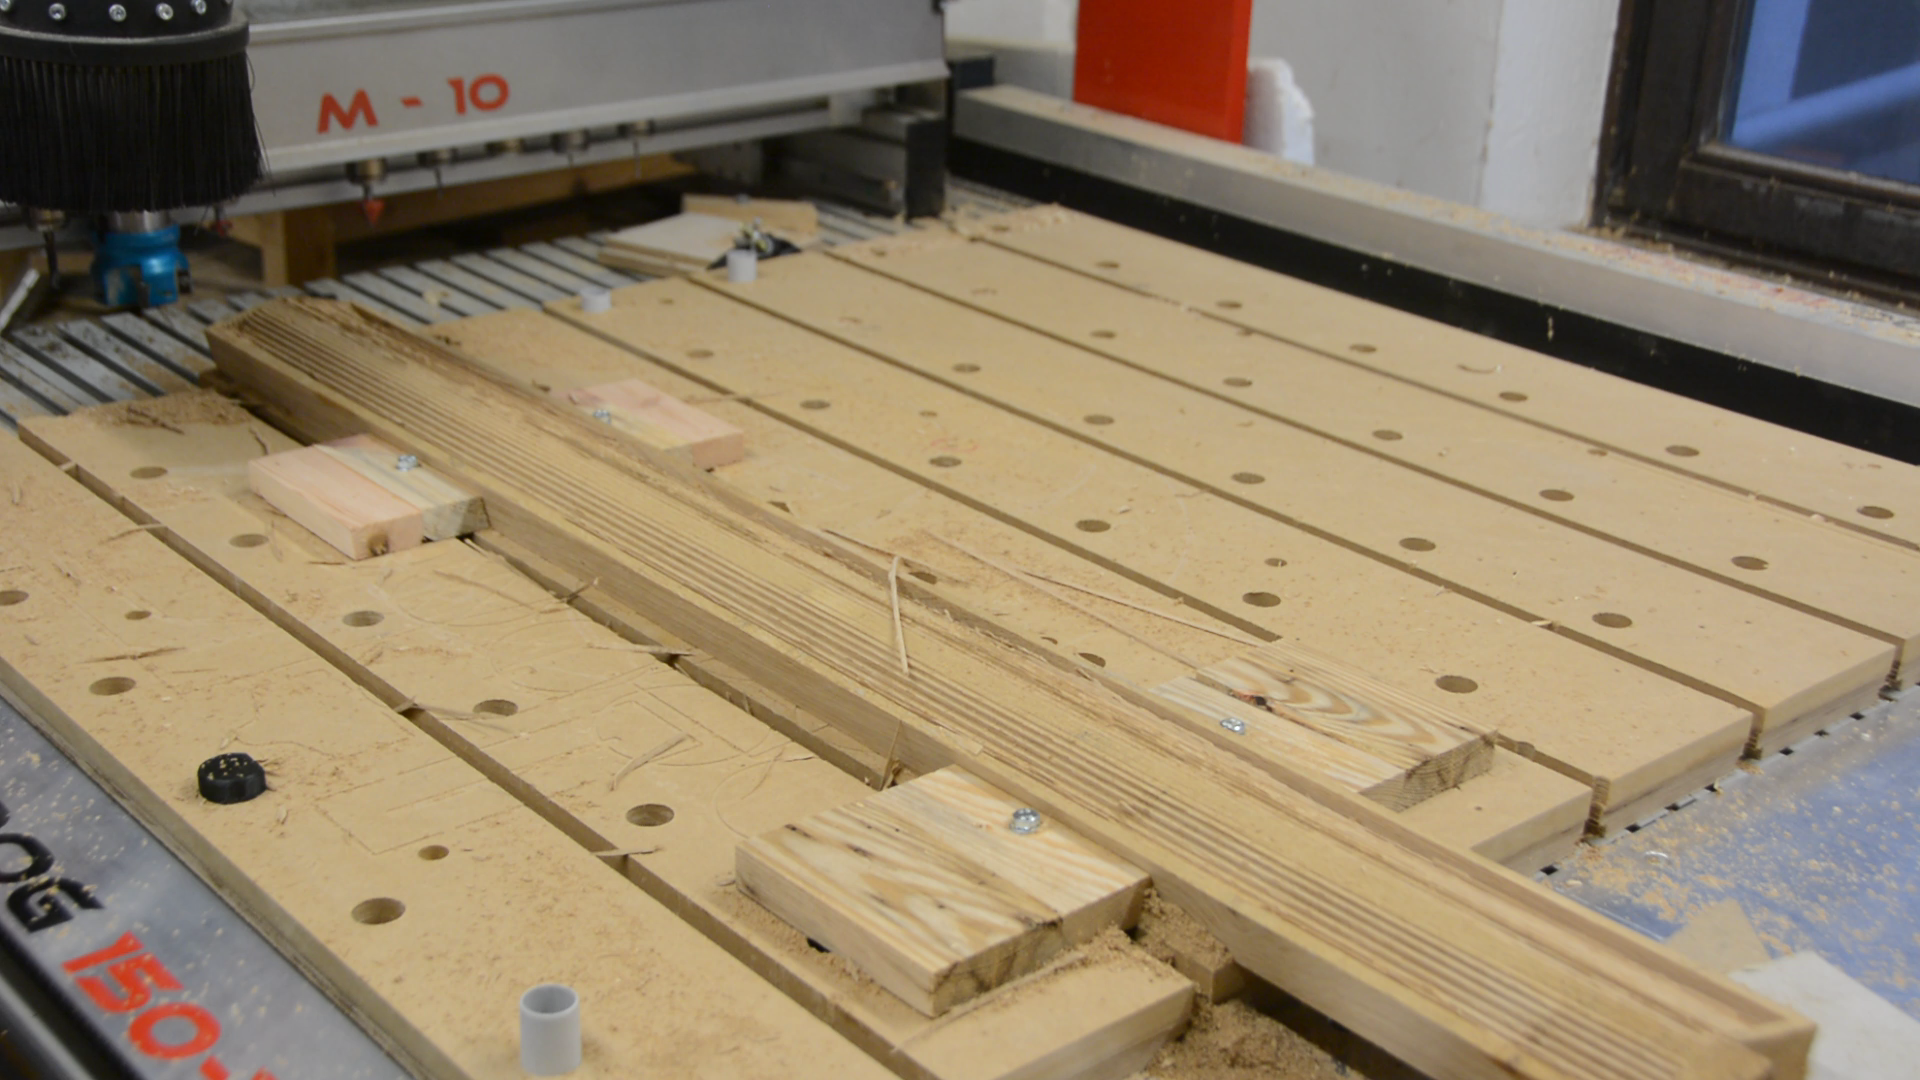
The good thing about this procrastination is that in the meantime I bought a much more reliable CNC and can create the joinery on the CNC based on a really simple FreeCAD model. Having a parametric CAD model makes it really easy to adjust the CNC job for a different width and height of the life edge.
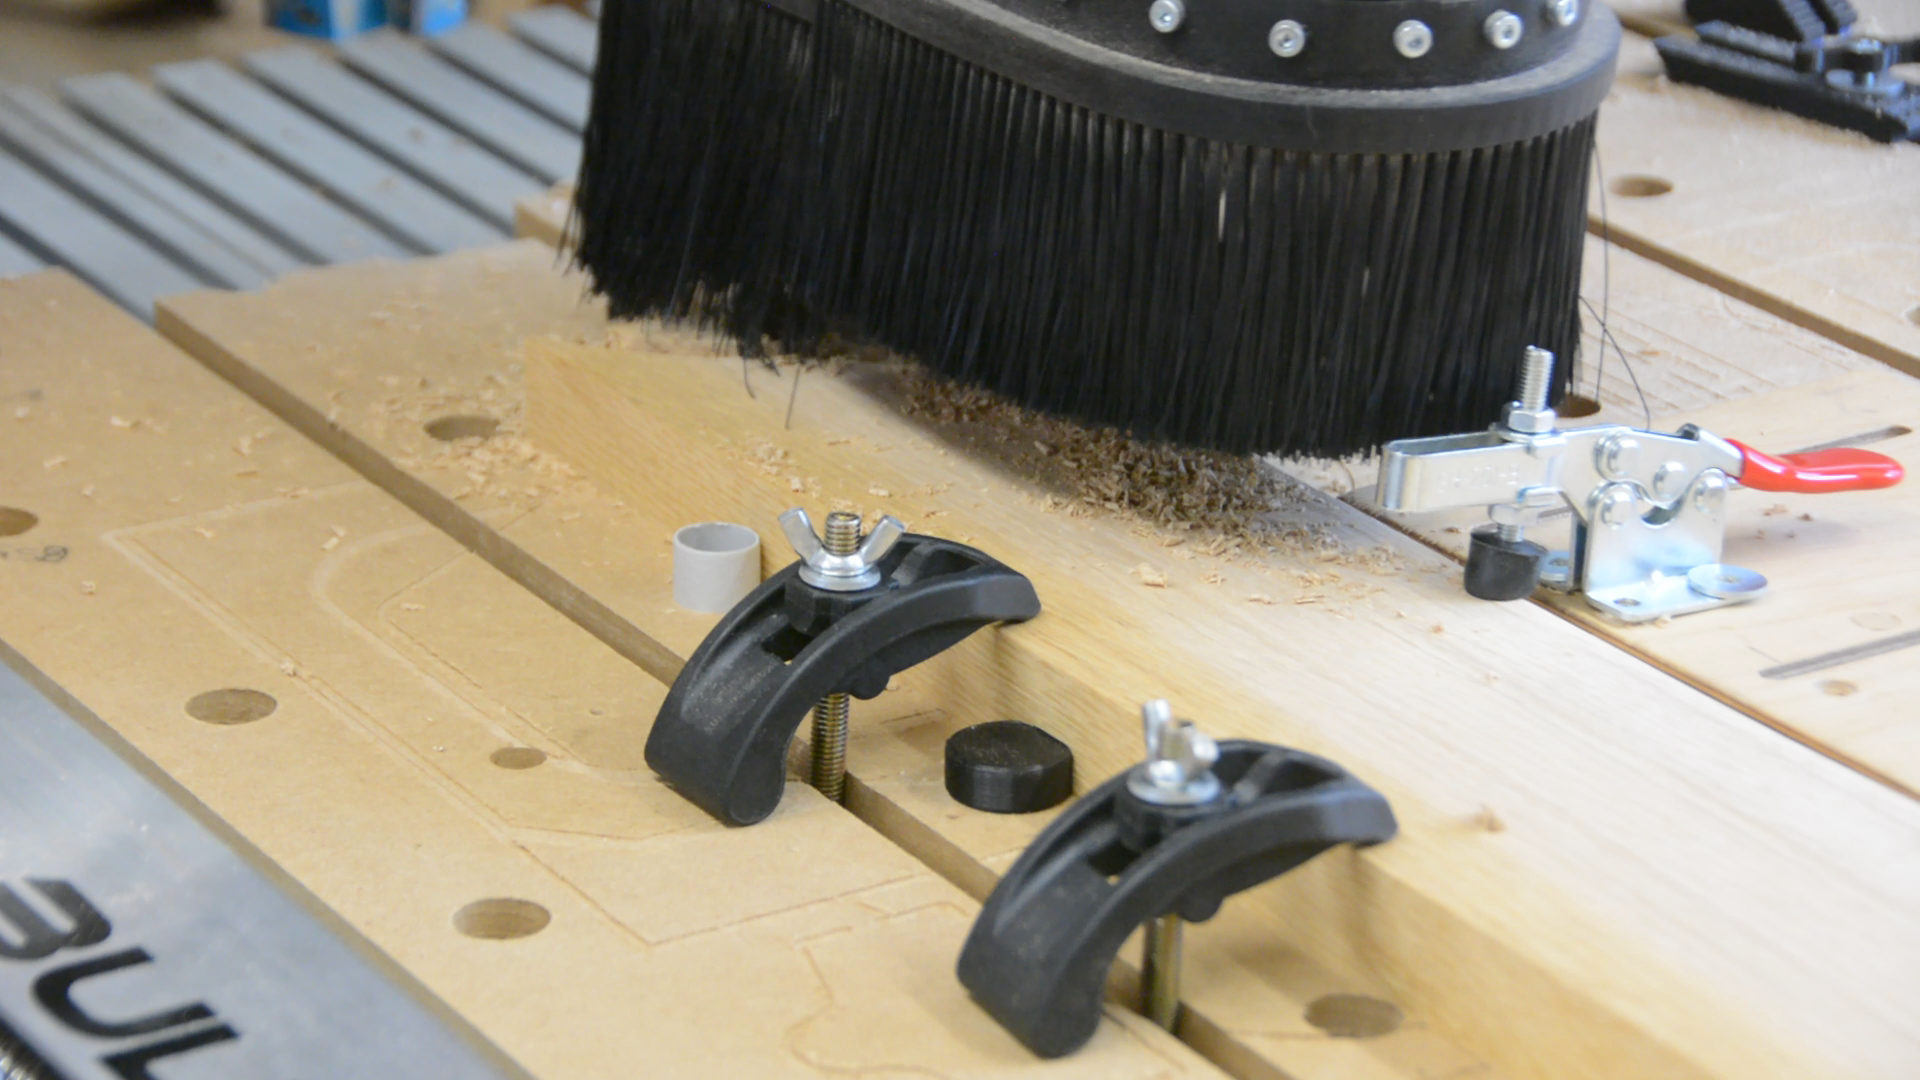
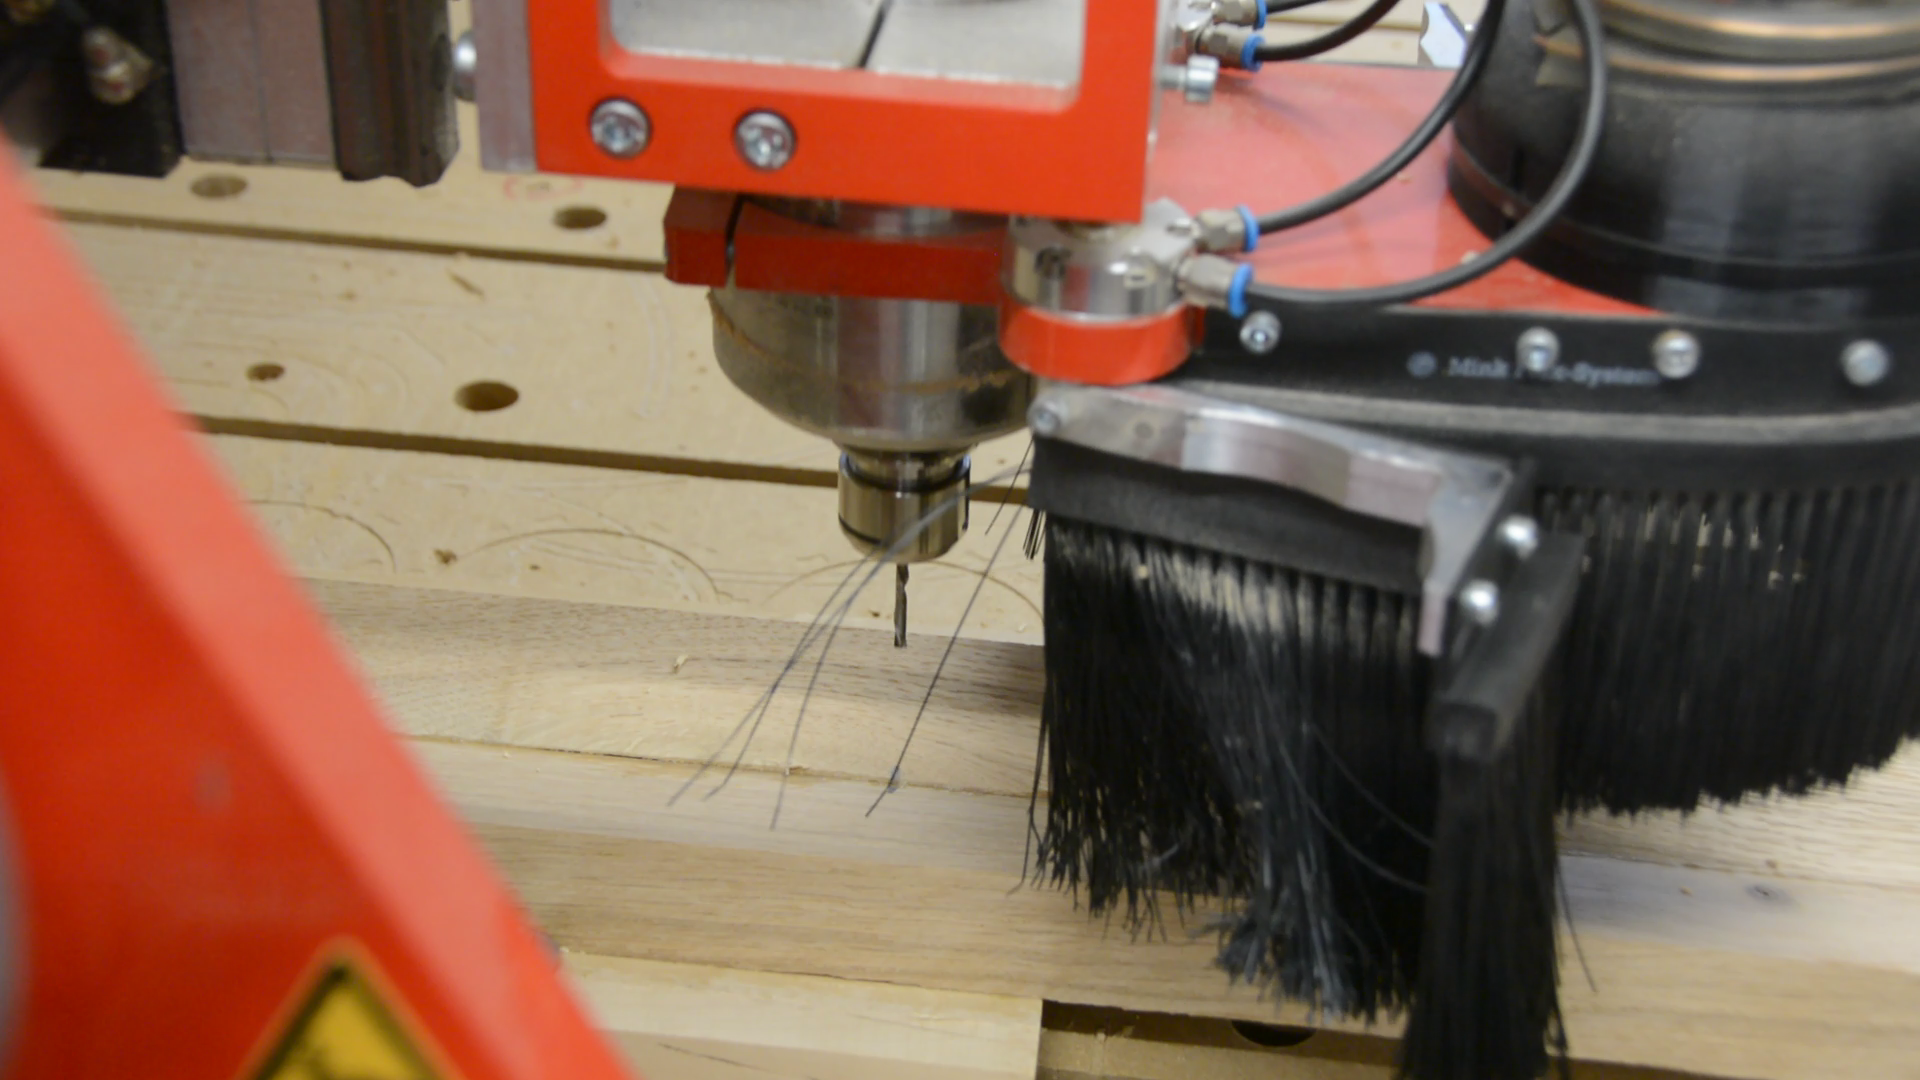
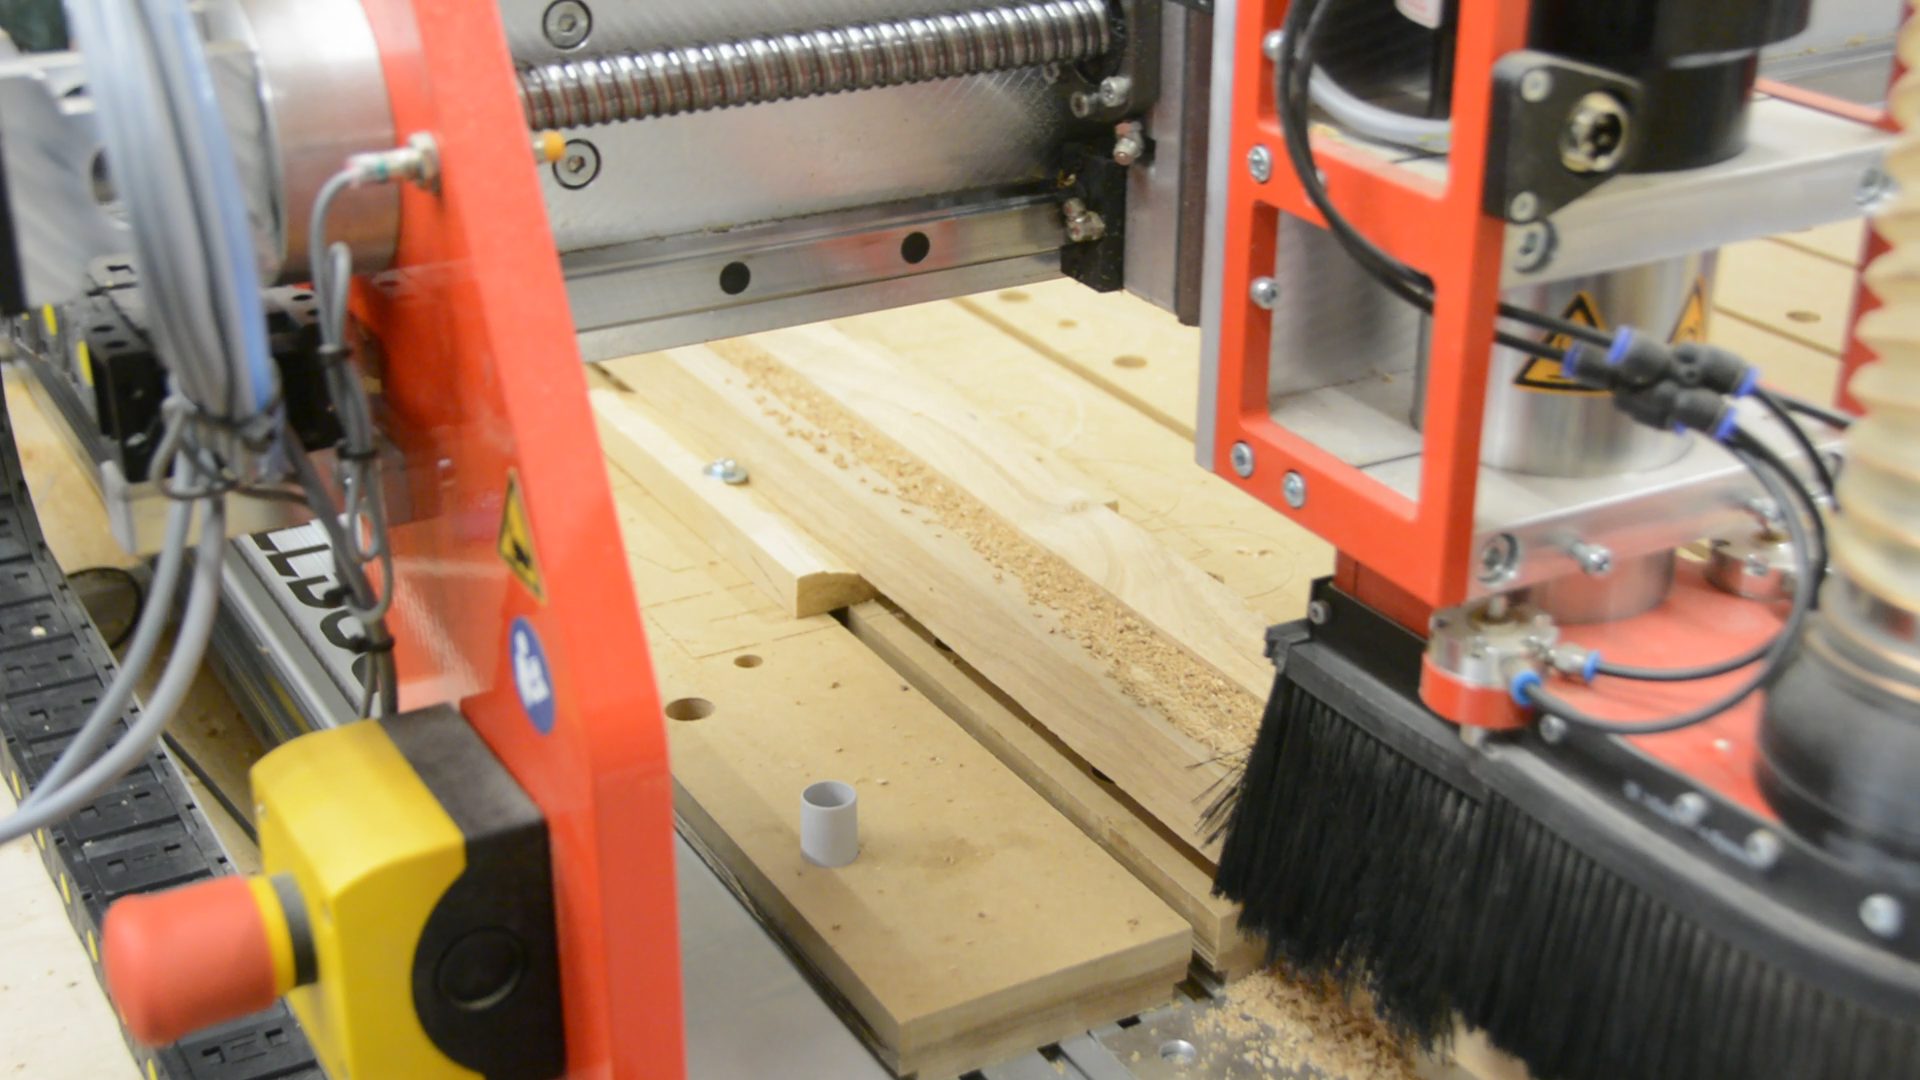
On the CNC I have to clamp the boards down really tight so that the router is not starting to push the board around.
I am running two different jobs for the two parts of the joint. One job runs on the front side of the board and removes half of the thickness.
The other job runs on the backside of the board and removes half of the stock thickness in the area where the two boards are glued together and then cuts the curvy line to match the front part.
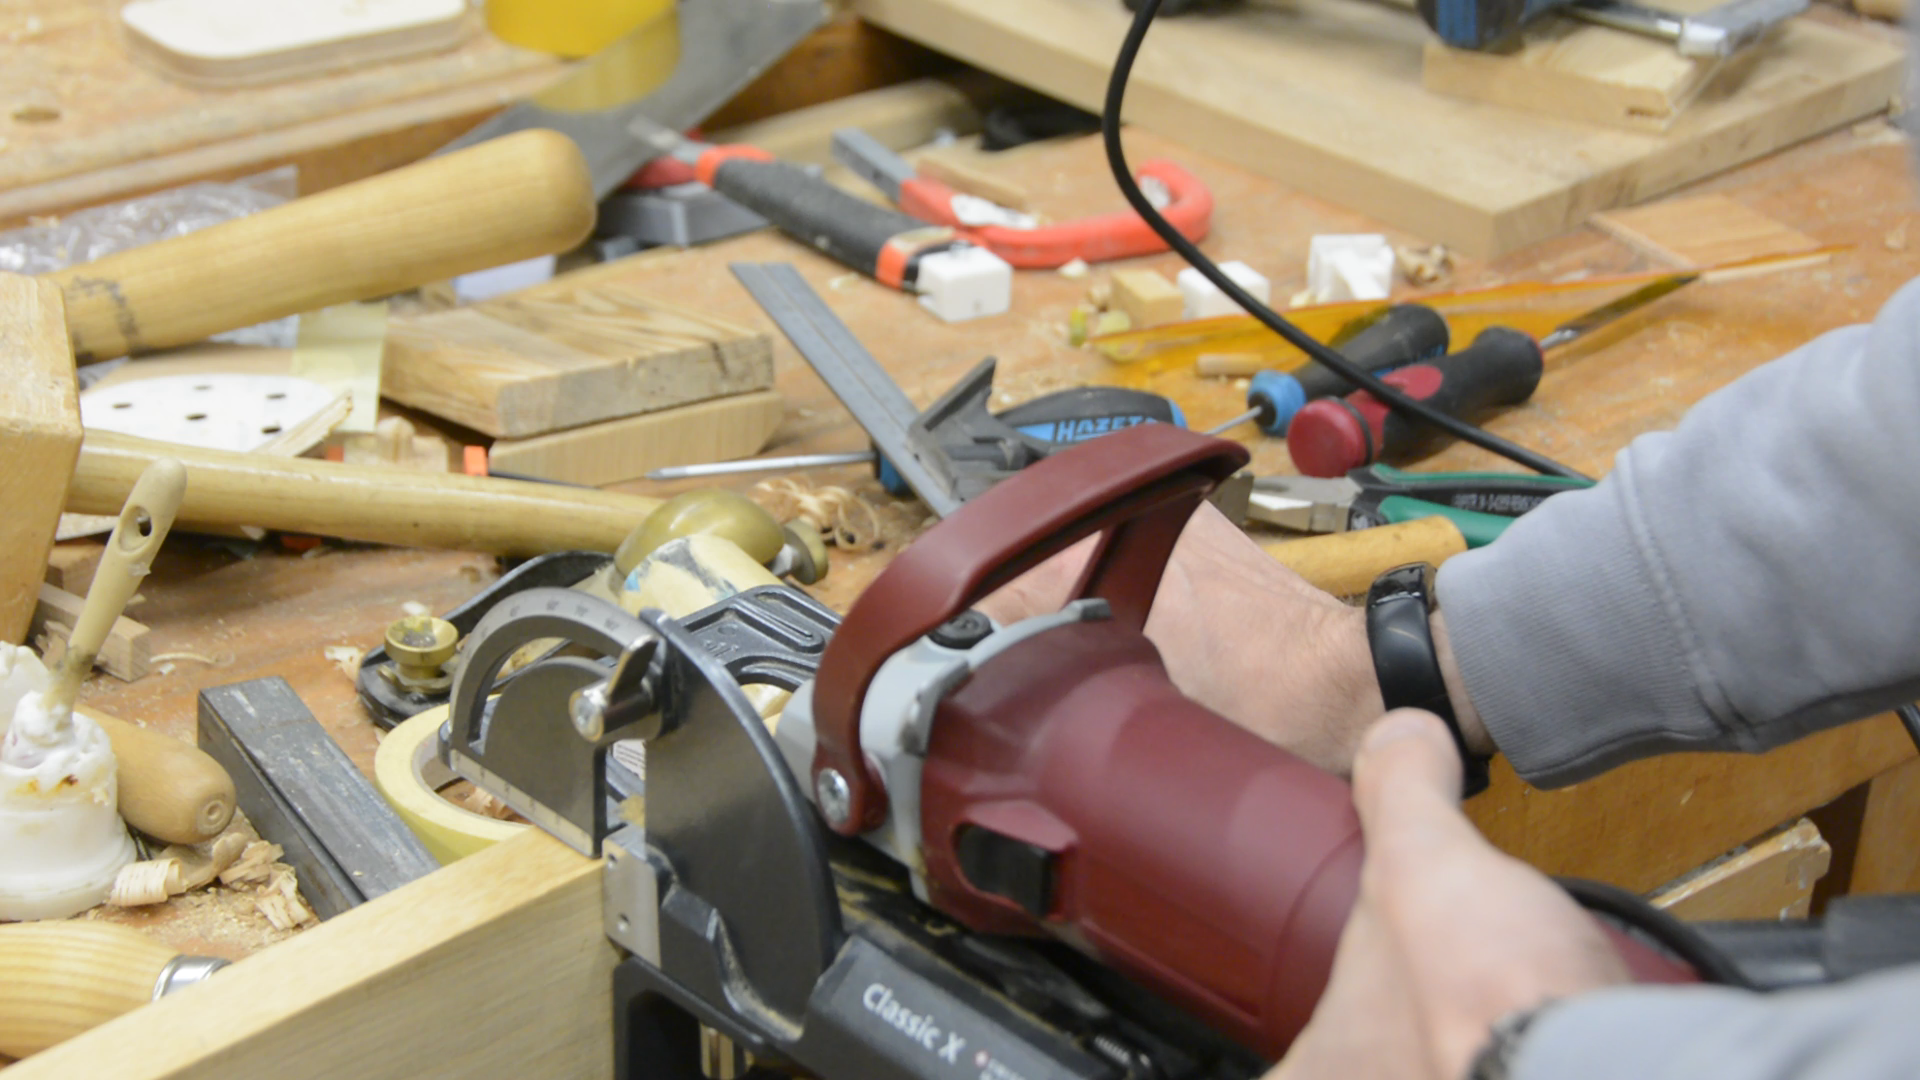
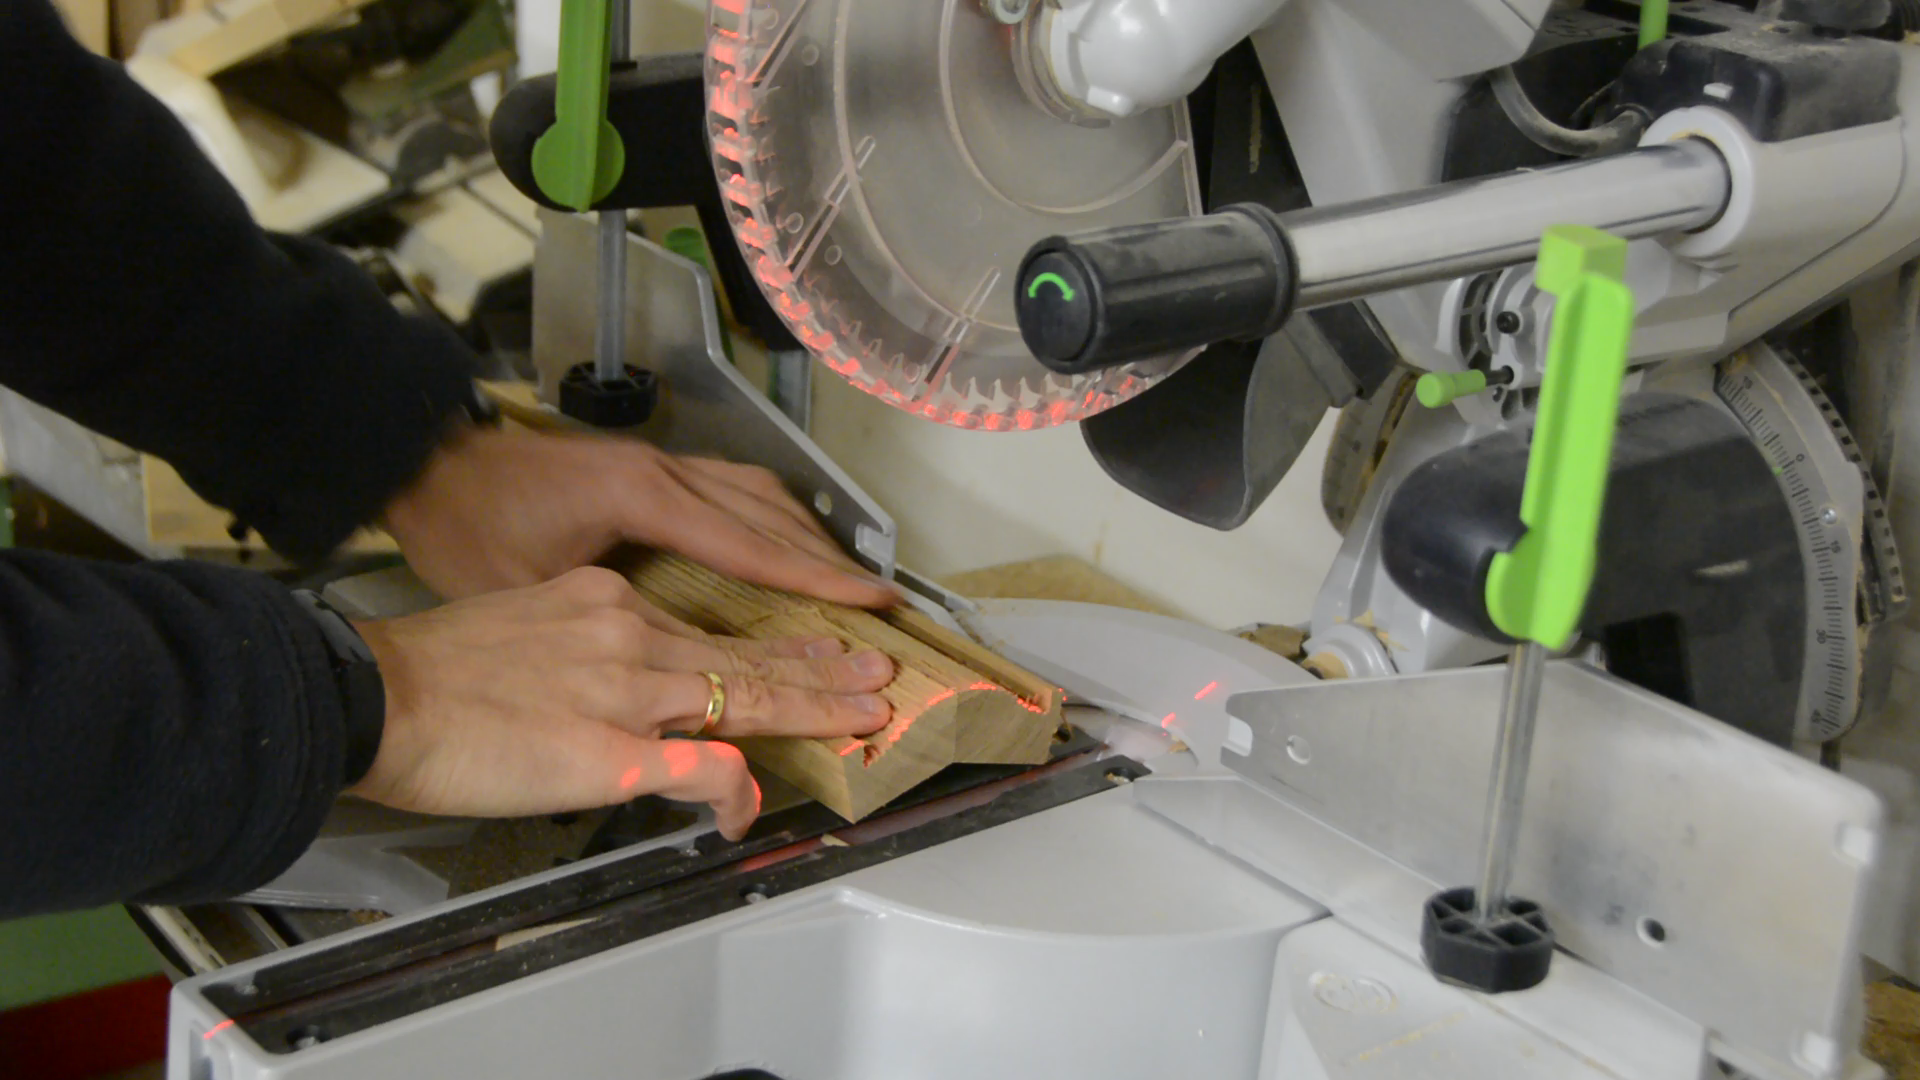
Hand tools to the rescue to fix mistakes
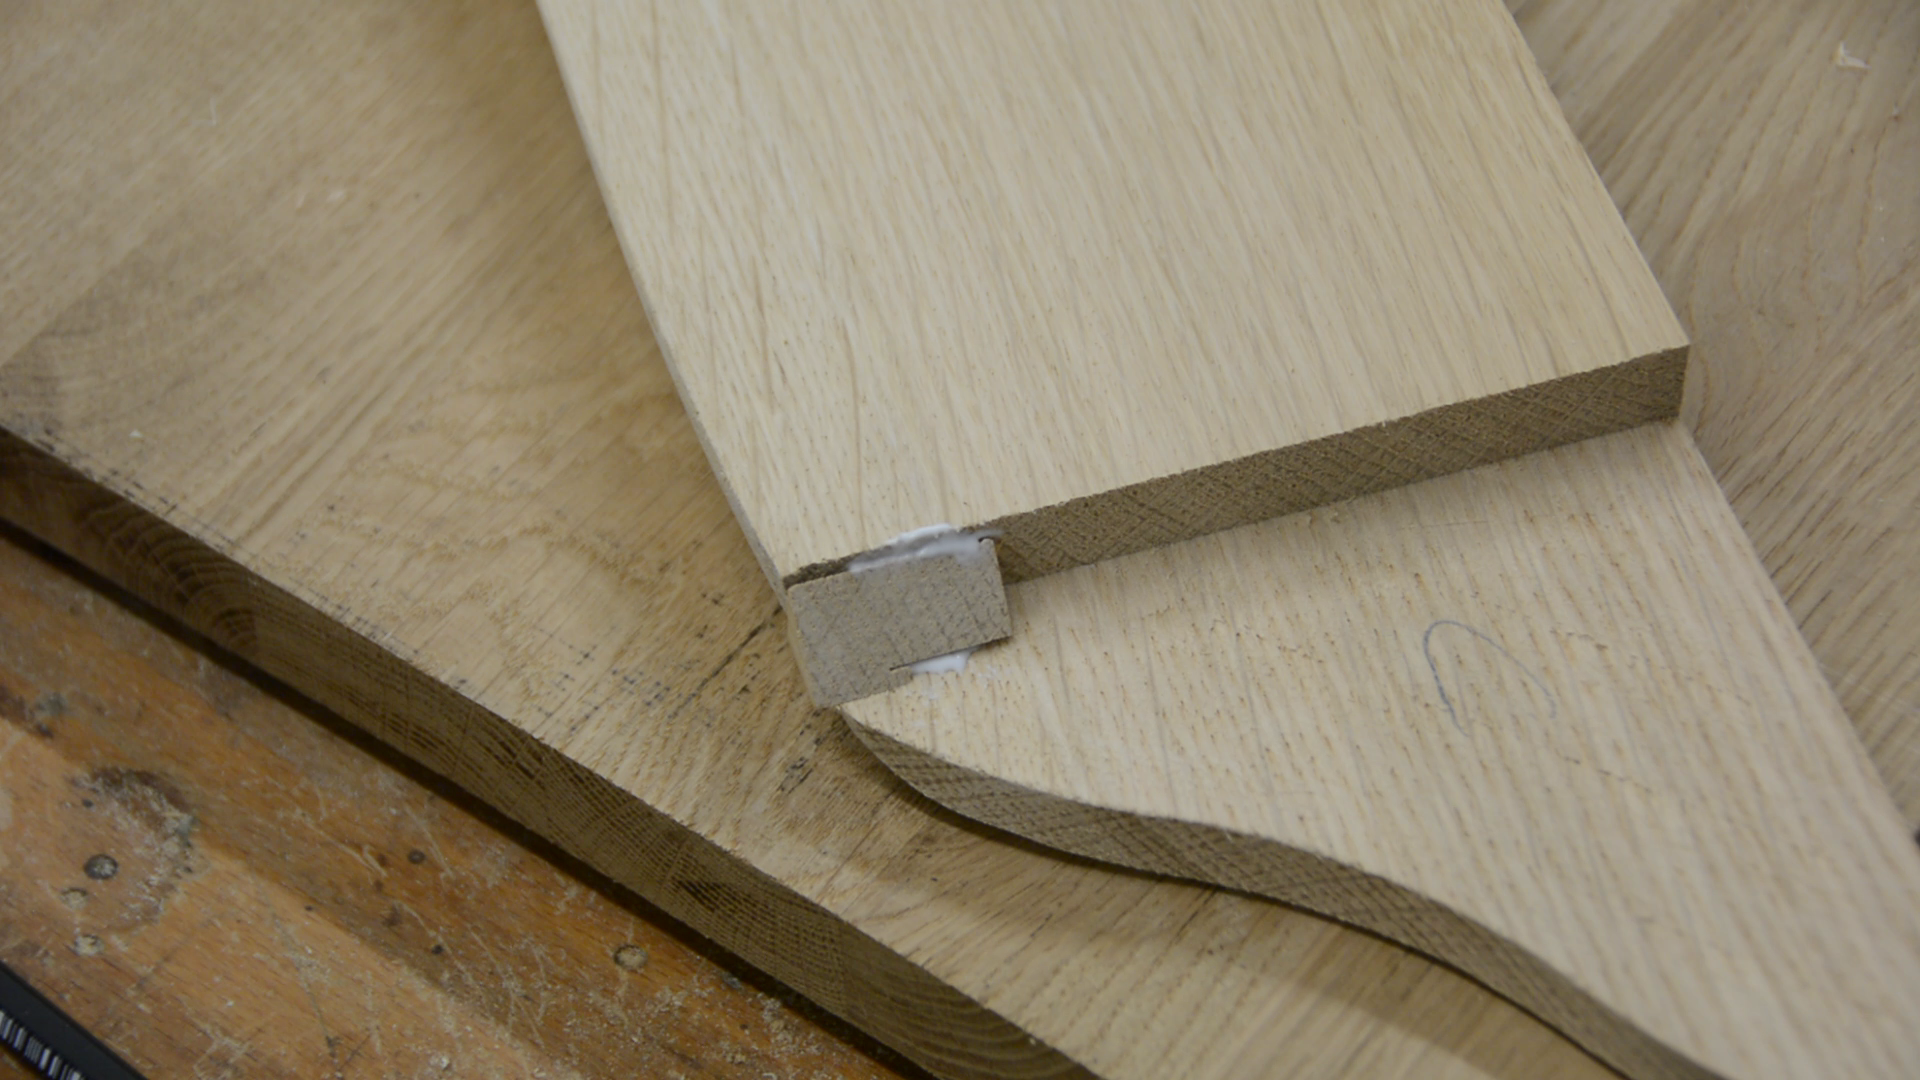
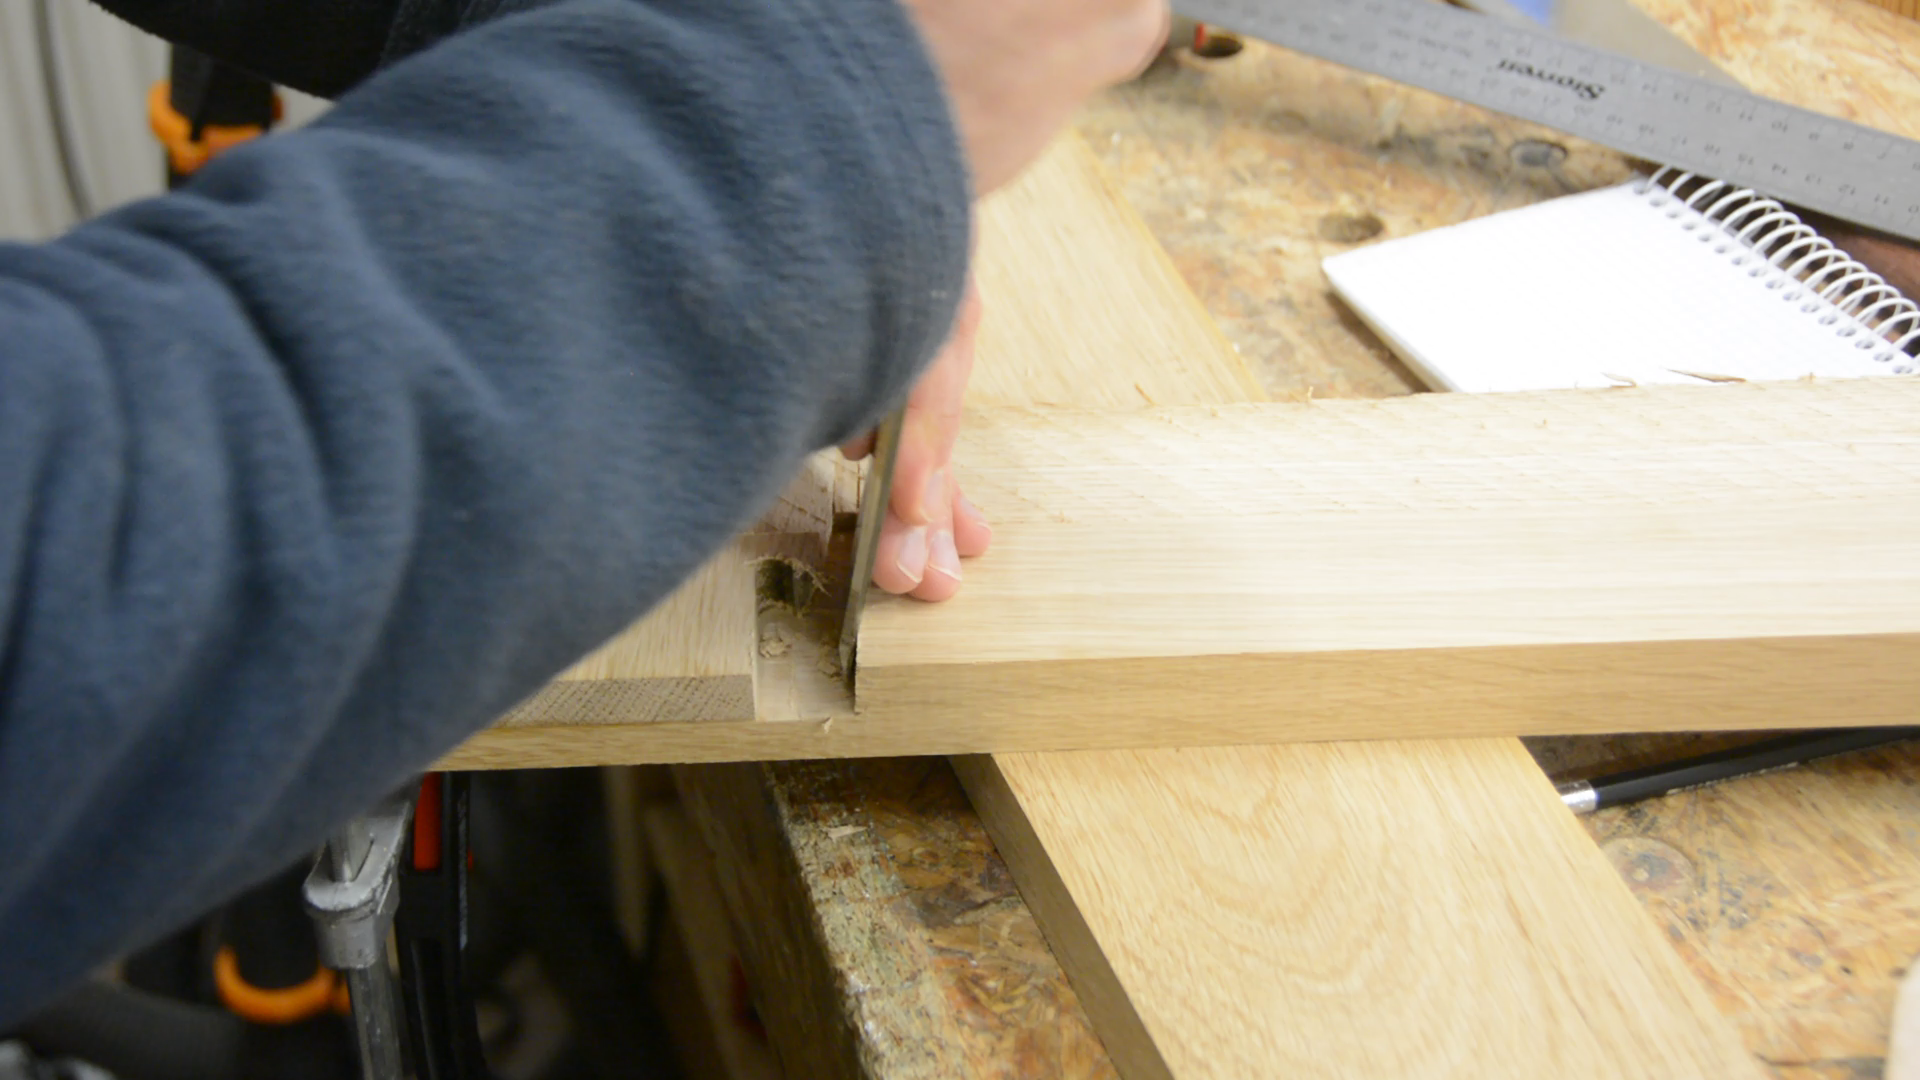
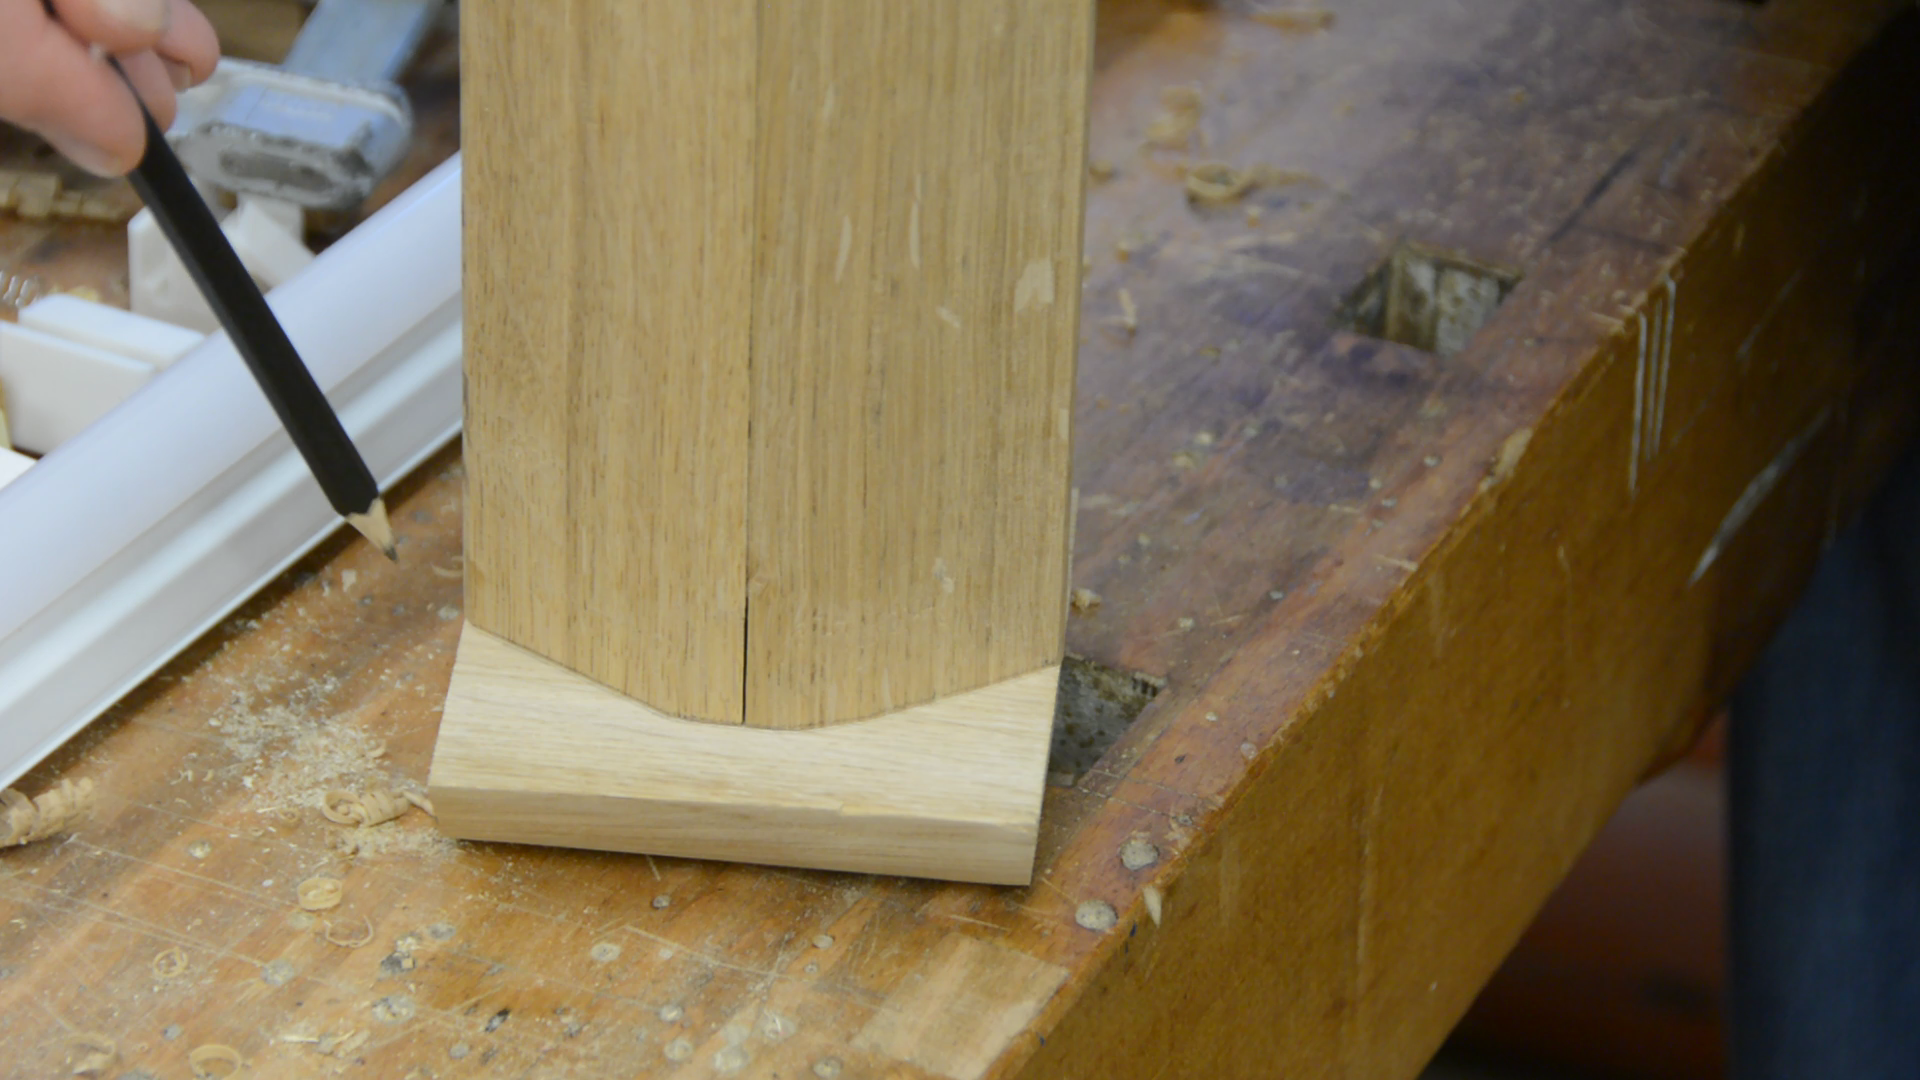
Unfortunately I did not factored the life edge into my cuts in the corner – which left me with an ugly gap. So I traced this gap on painters tape and the cut a plug that I could glue in place.
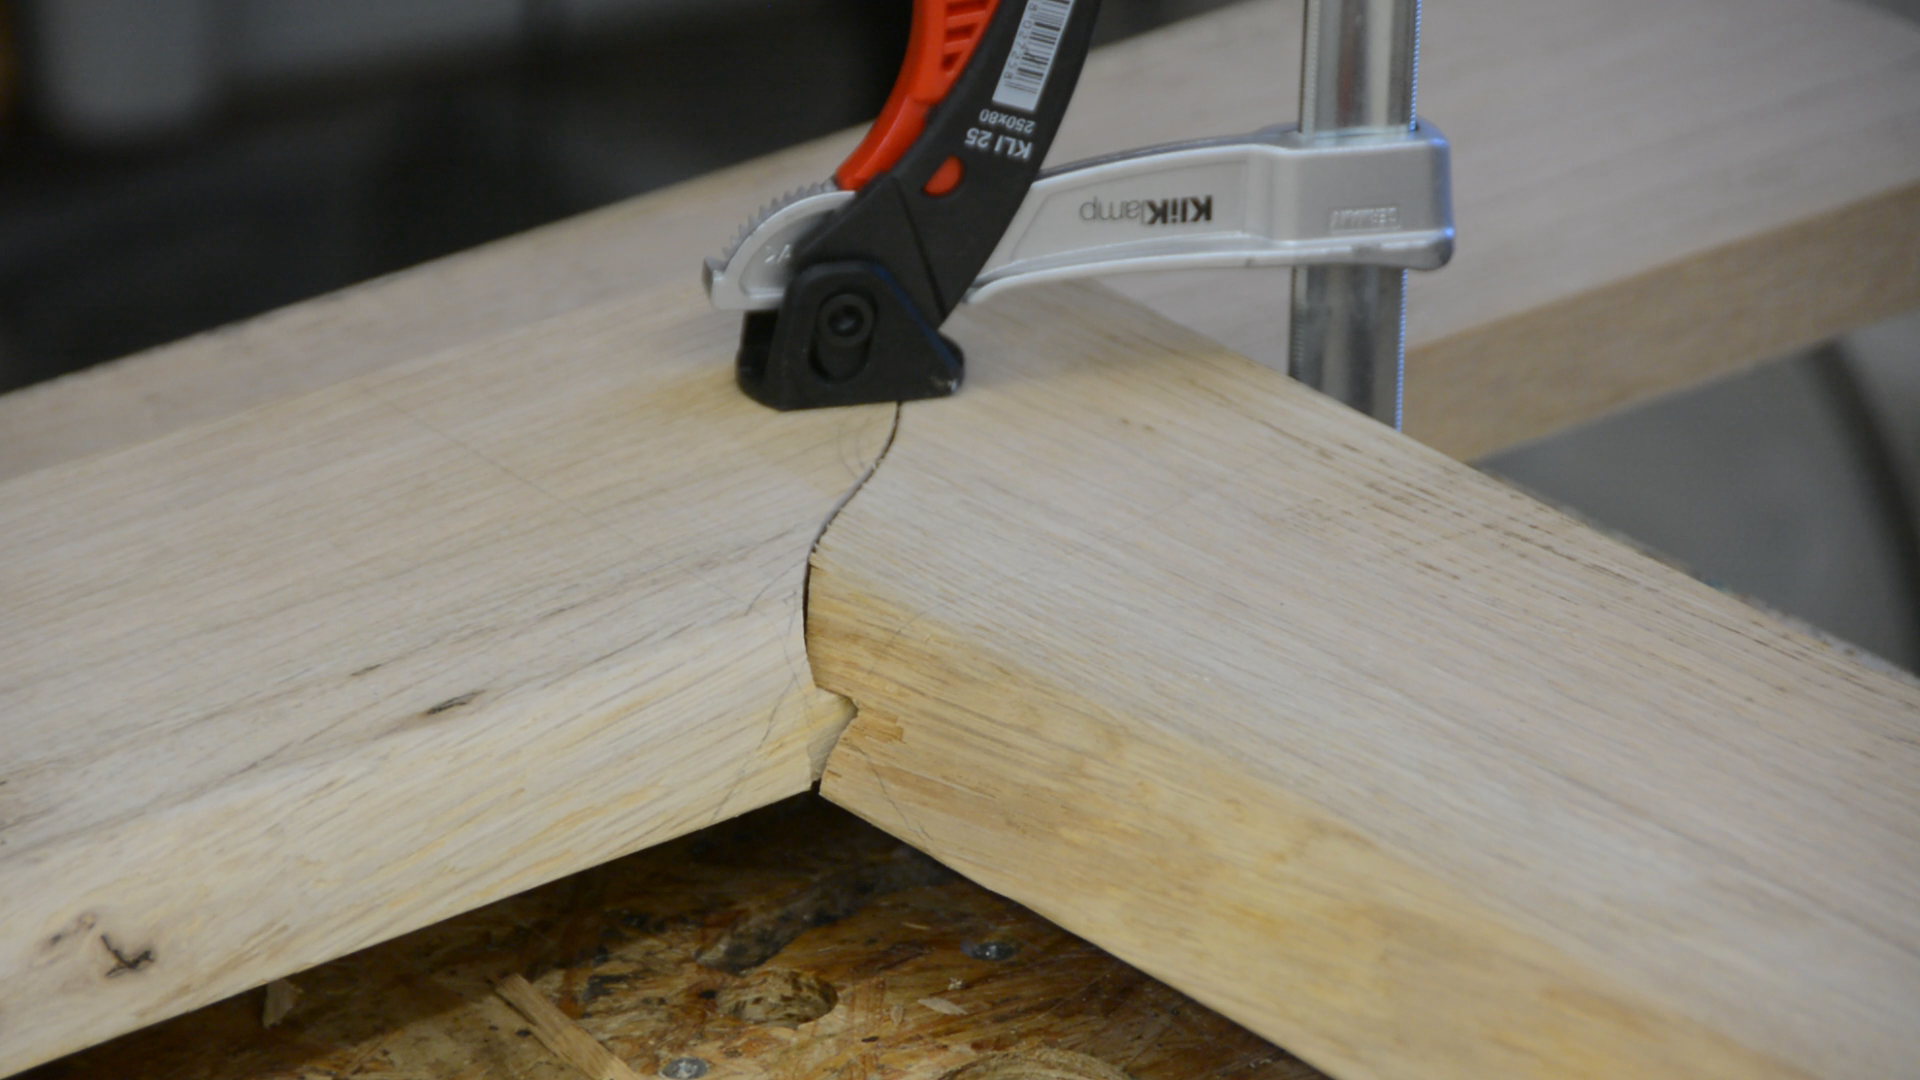

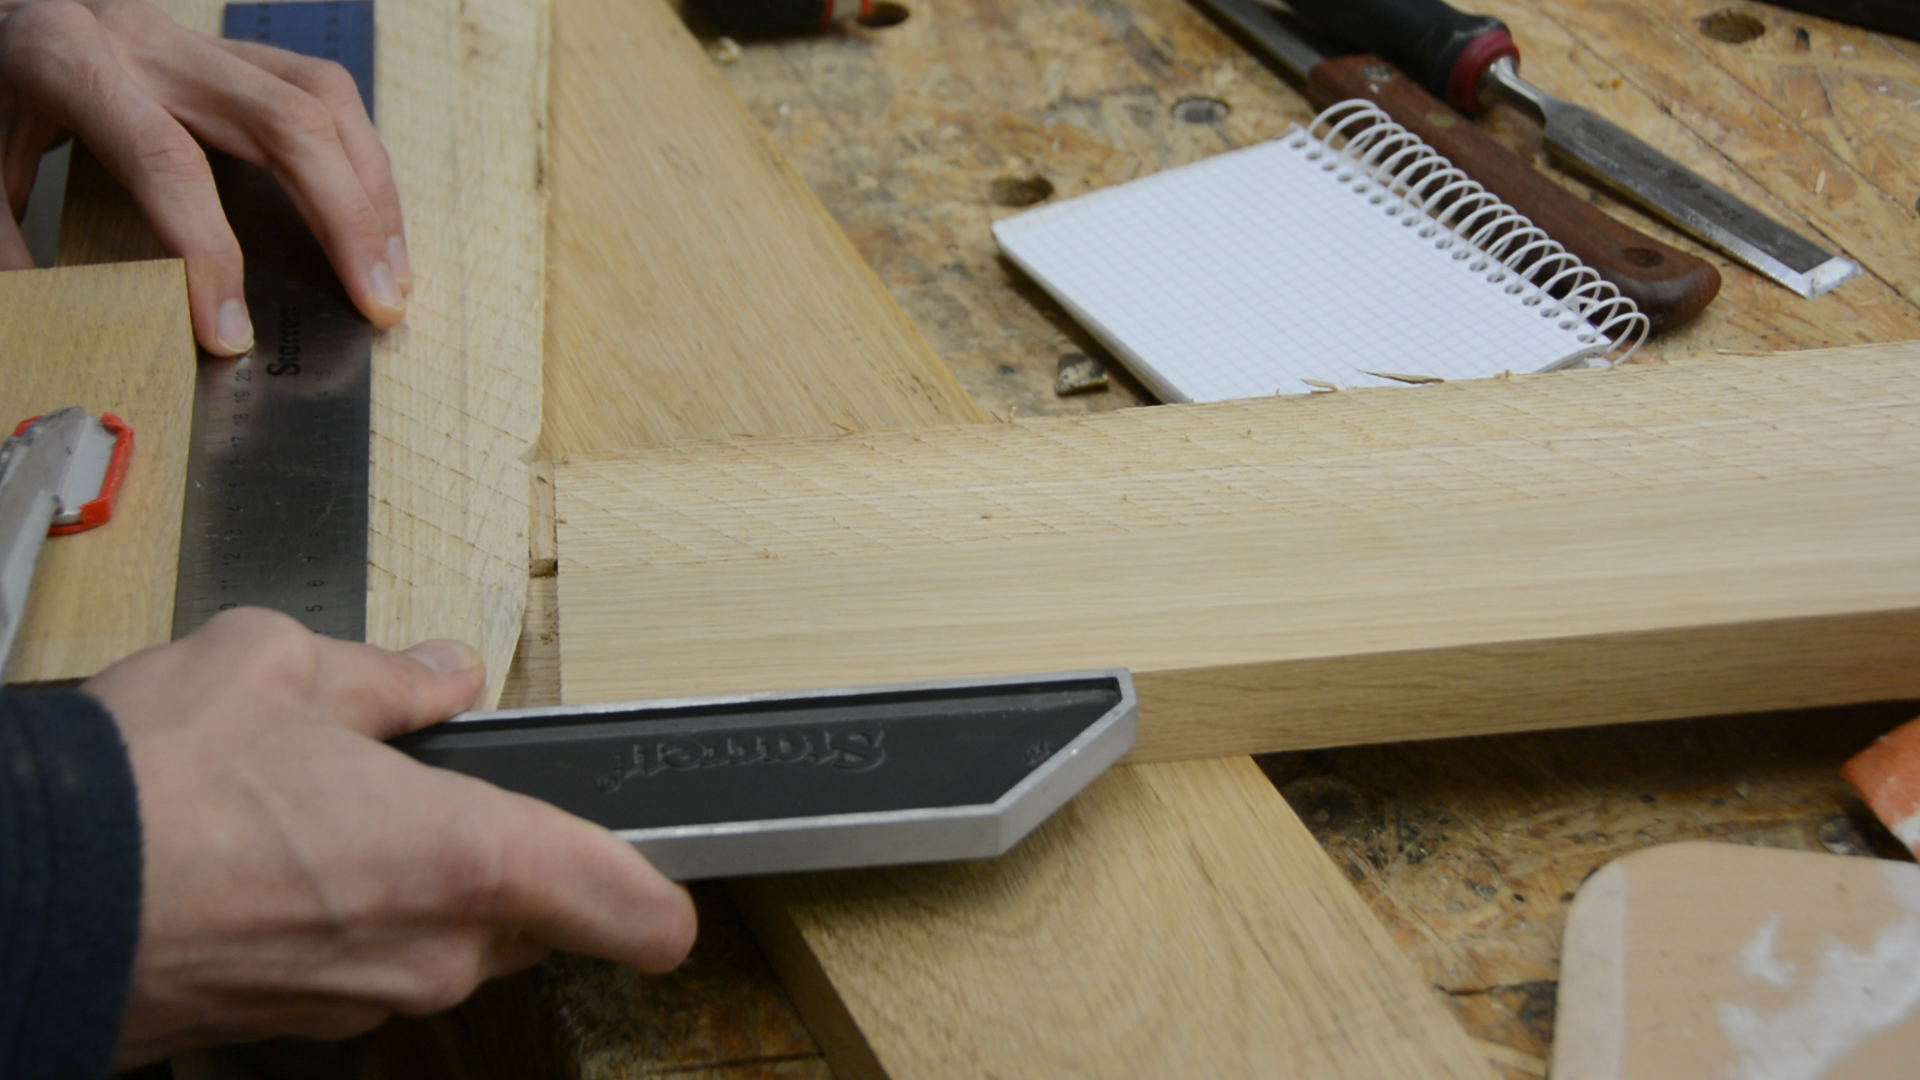
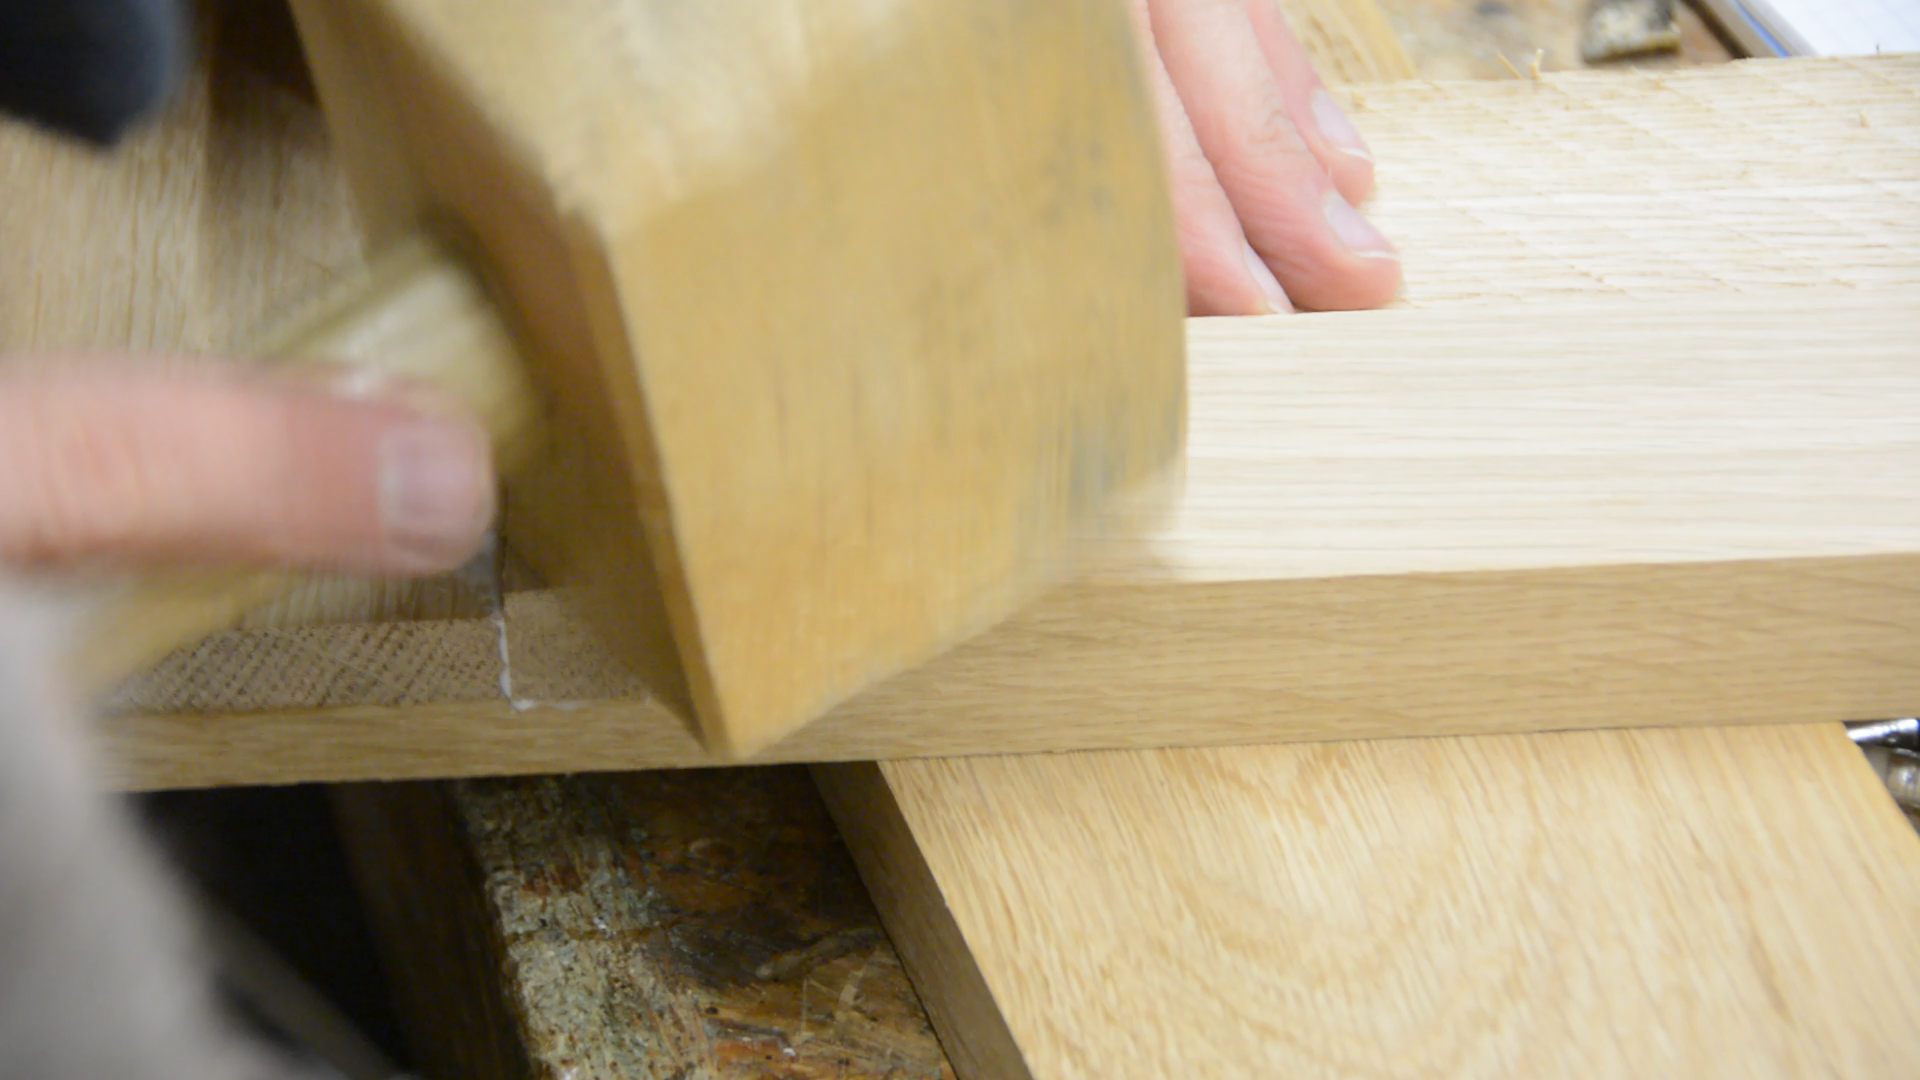
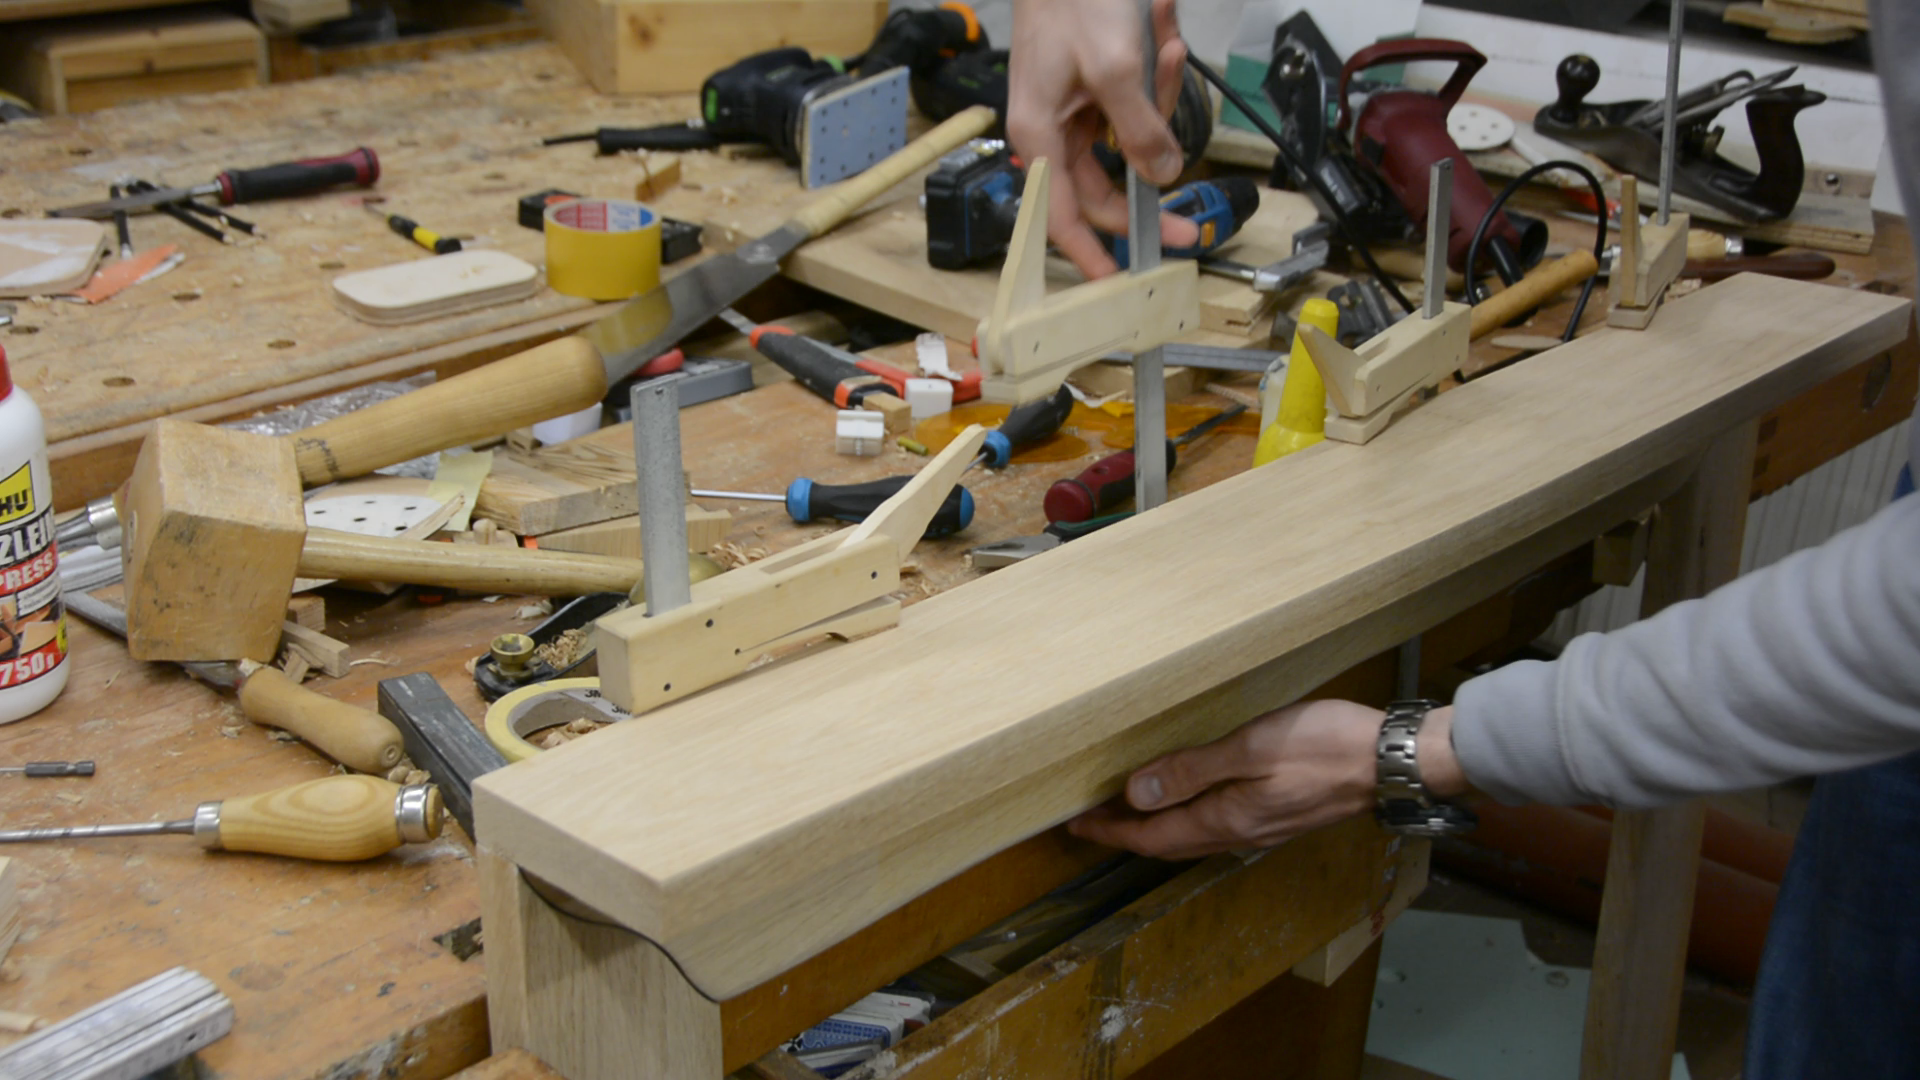
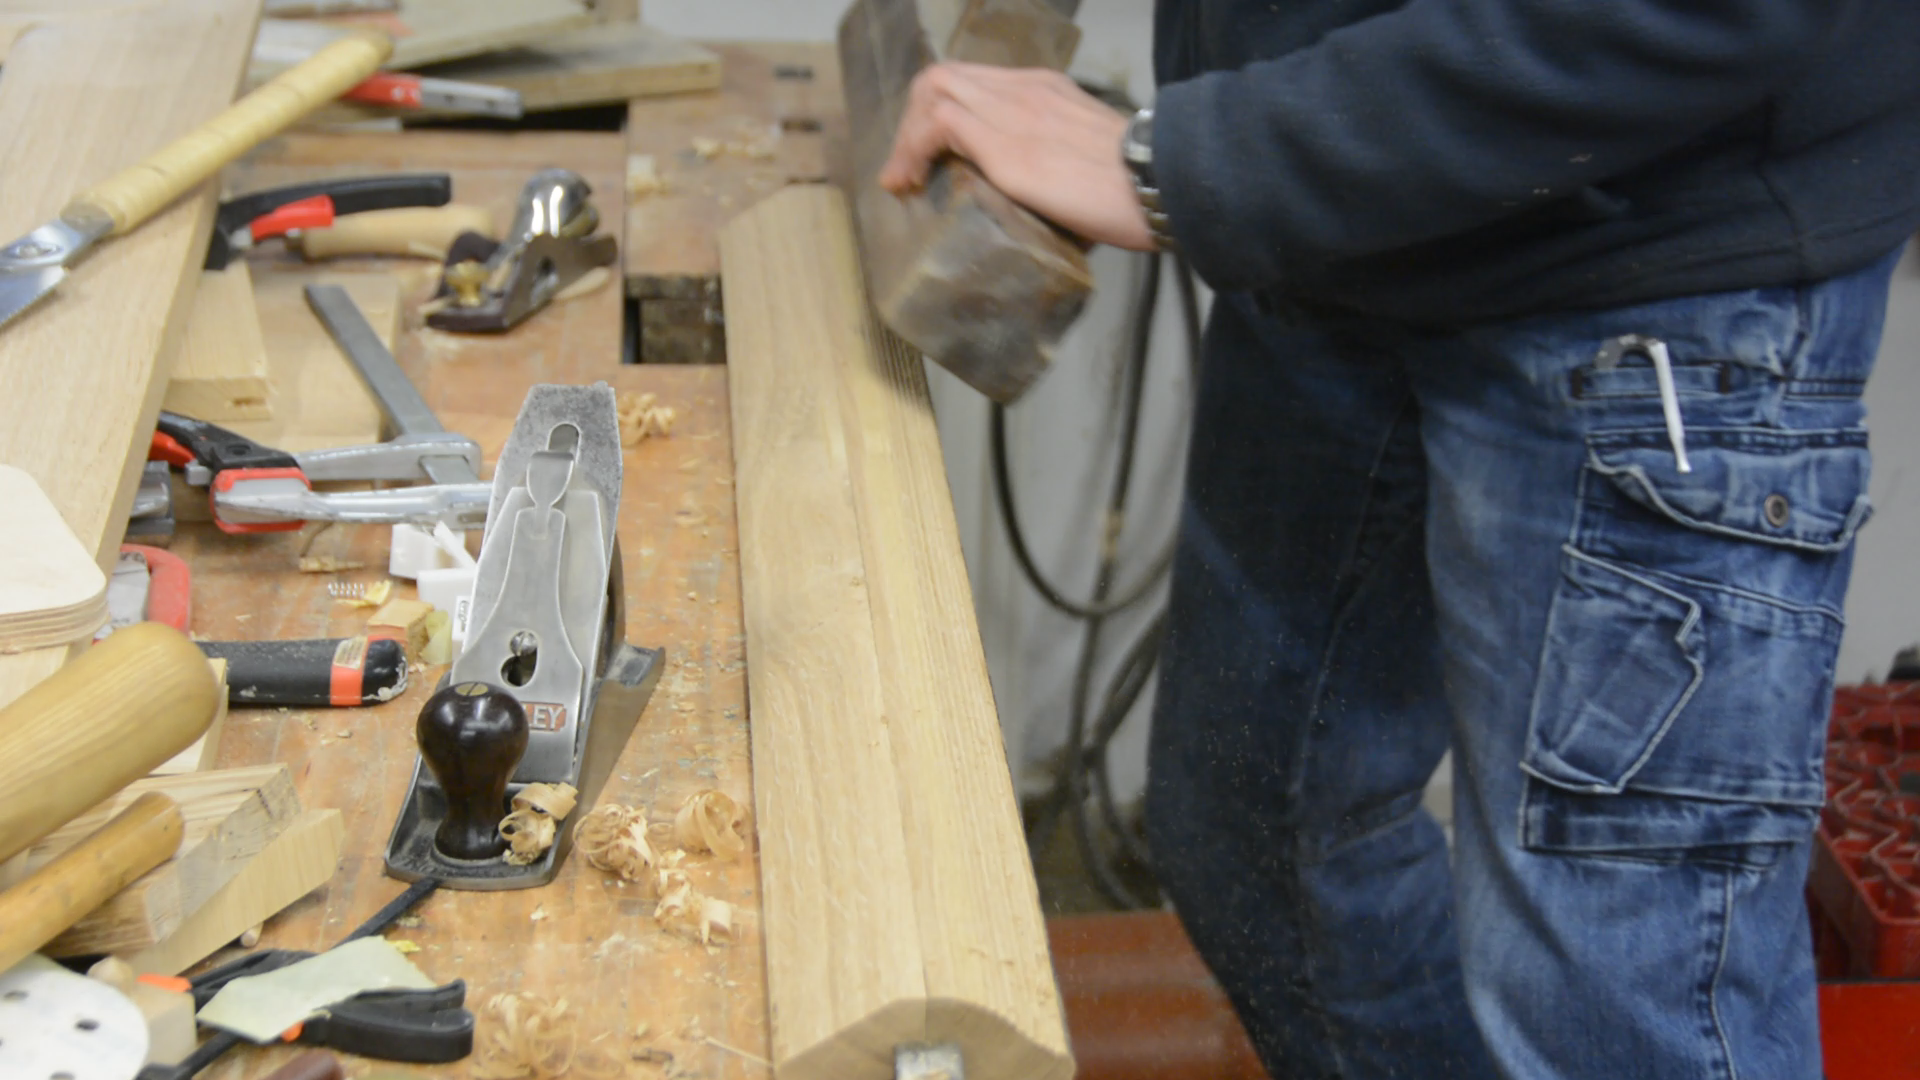
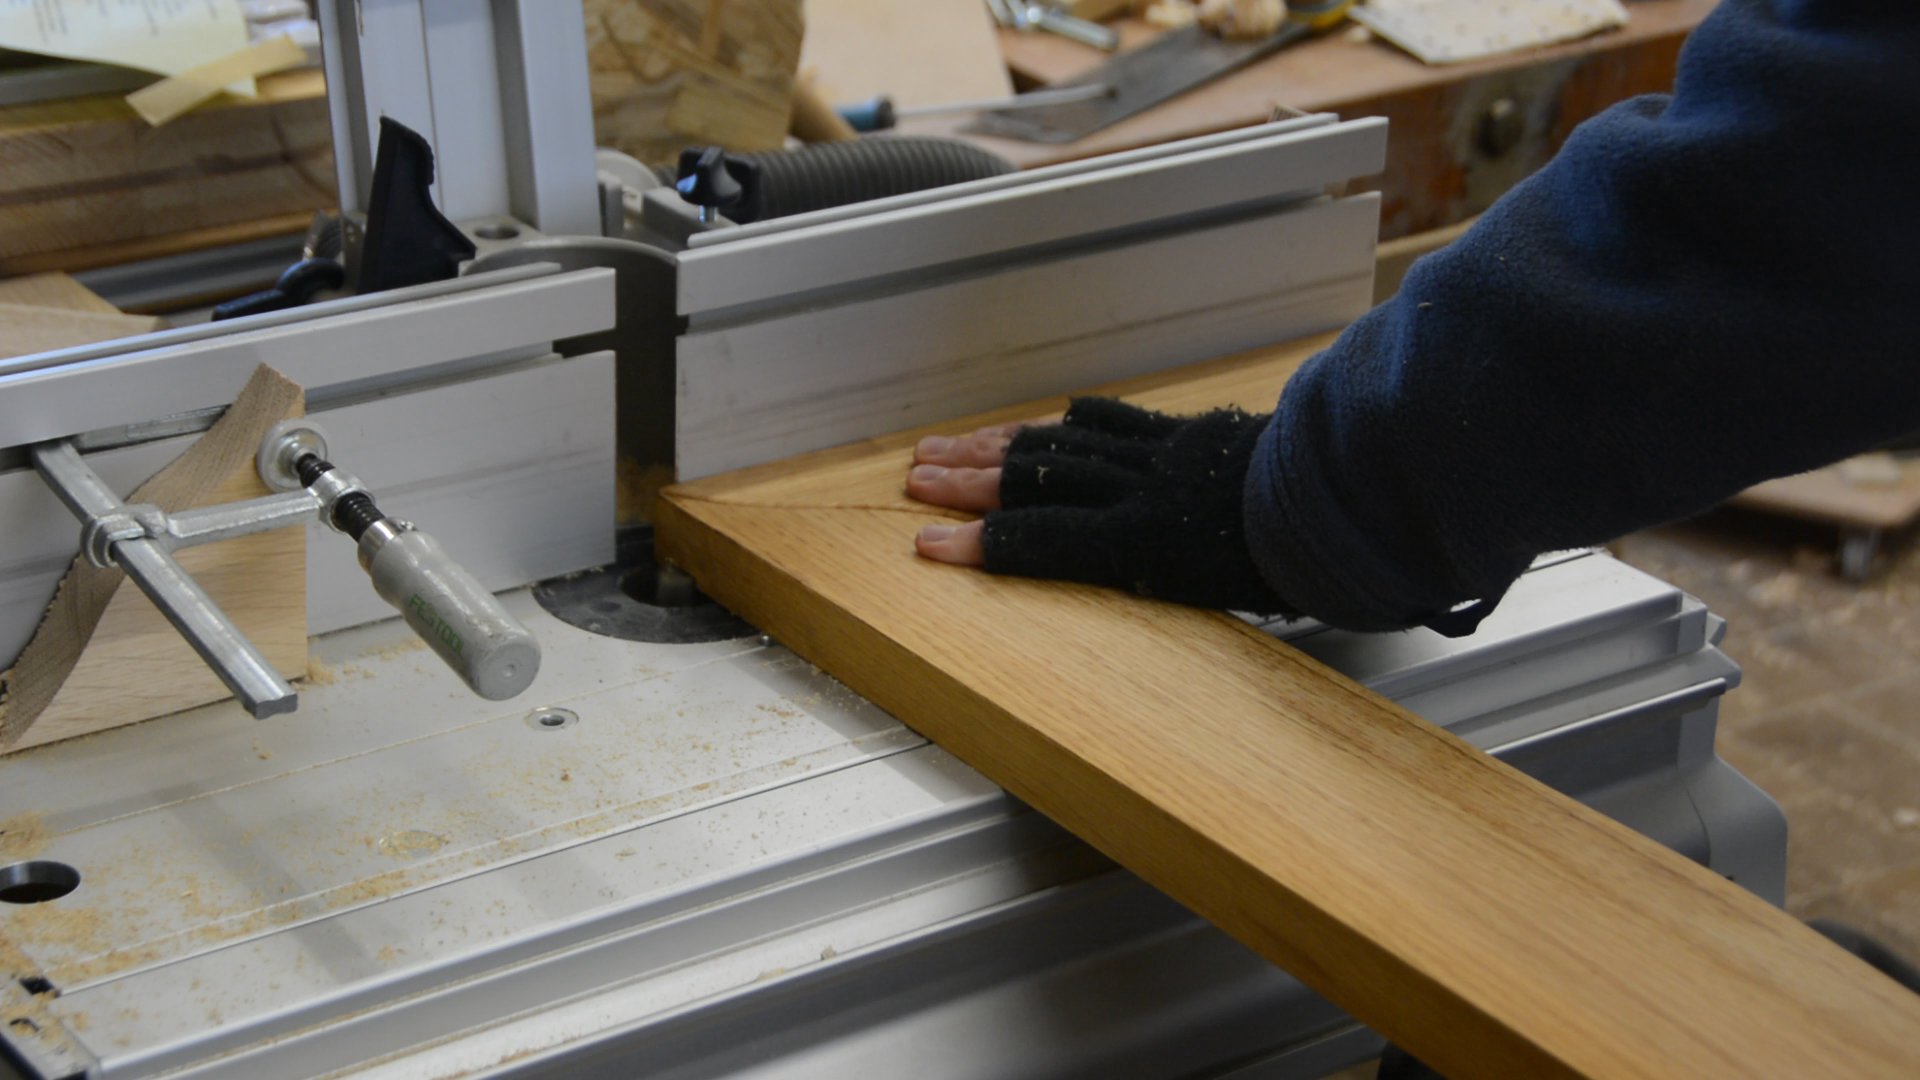
The joints should look very natural and are a design element. I therefore sand them round and make them a little more pronounced rather than just gluing the two pieces tight together.
After a lot more sanding it was finally time to glue all the joints together.
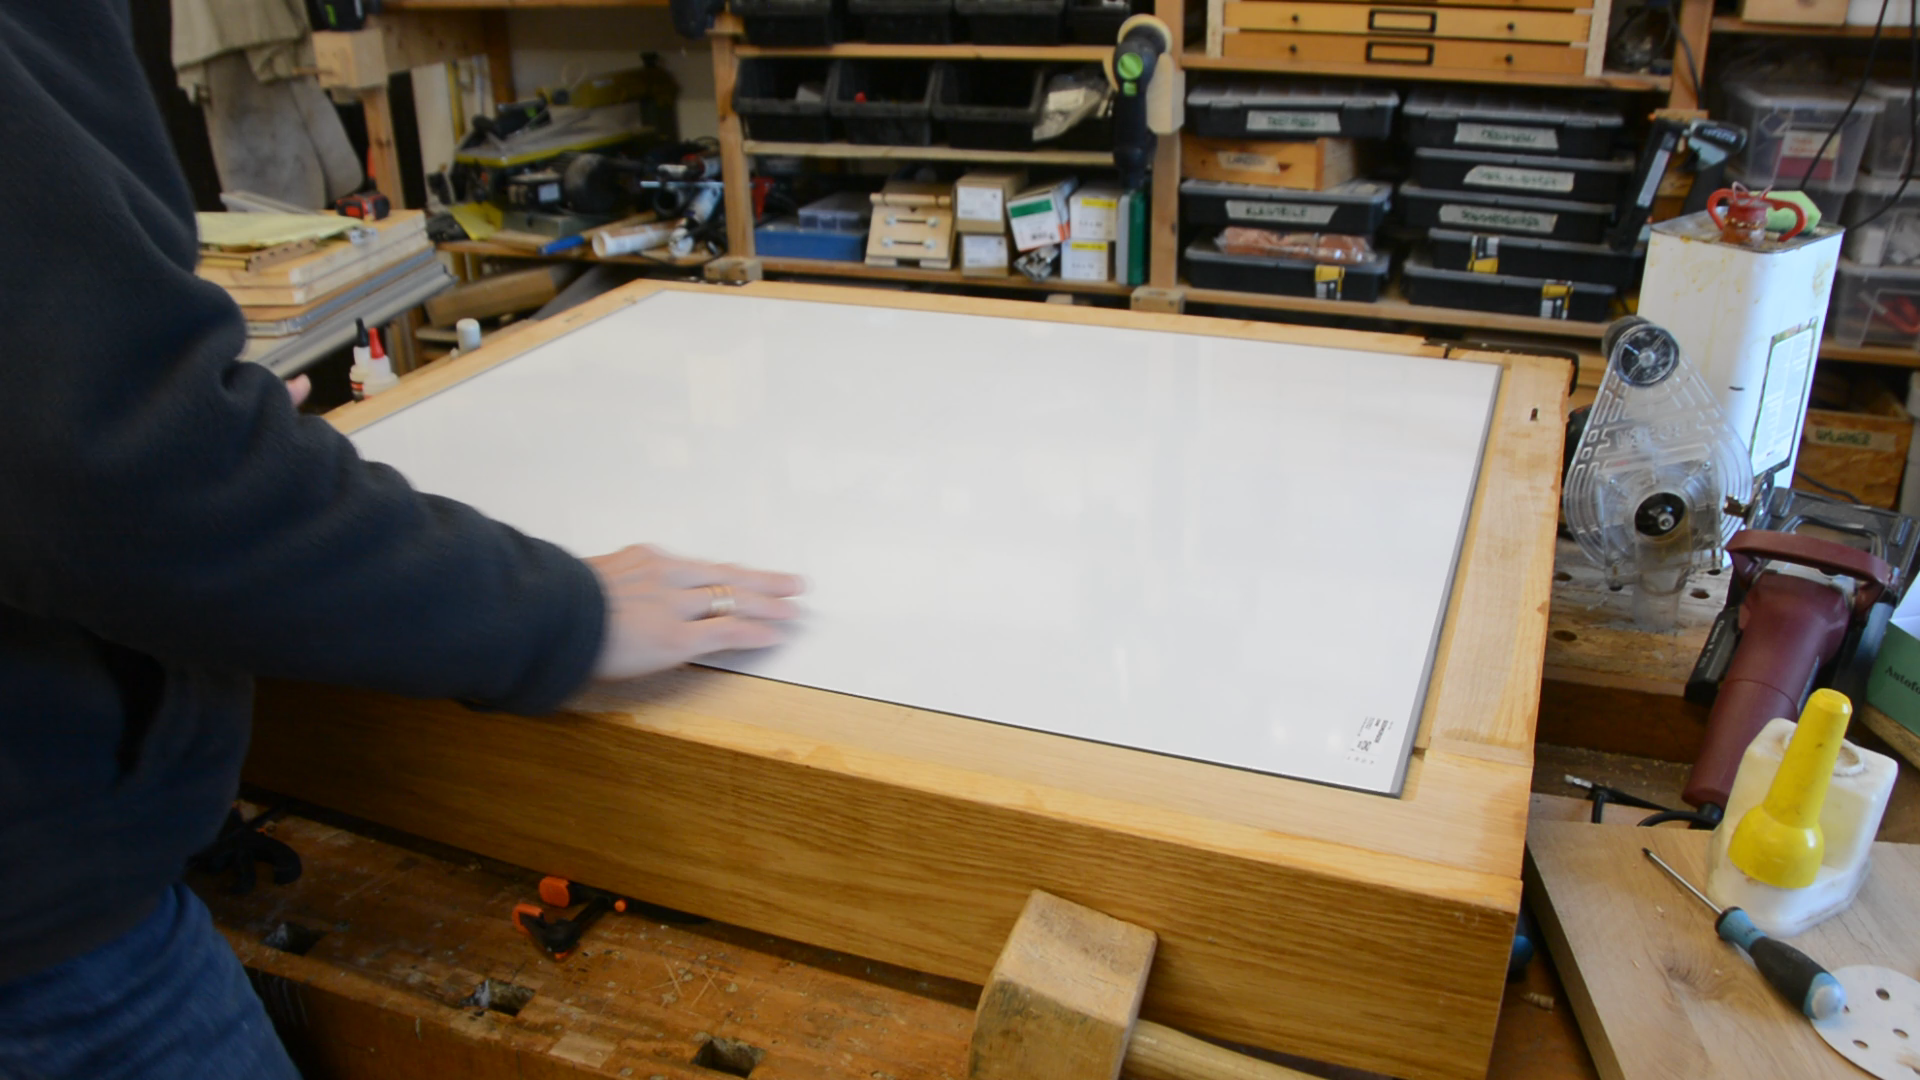
Thanks to the large bed size of the CNC machine cutting a recess for the mirror itself was quick and easy.

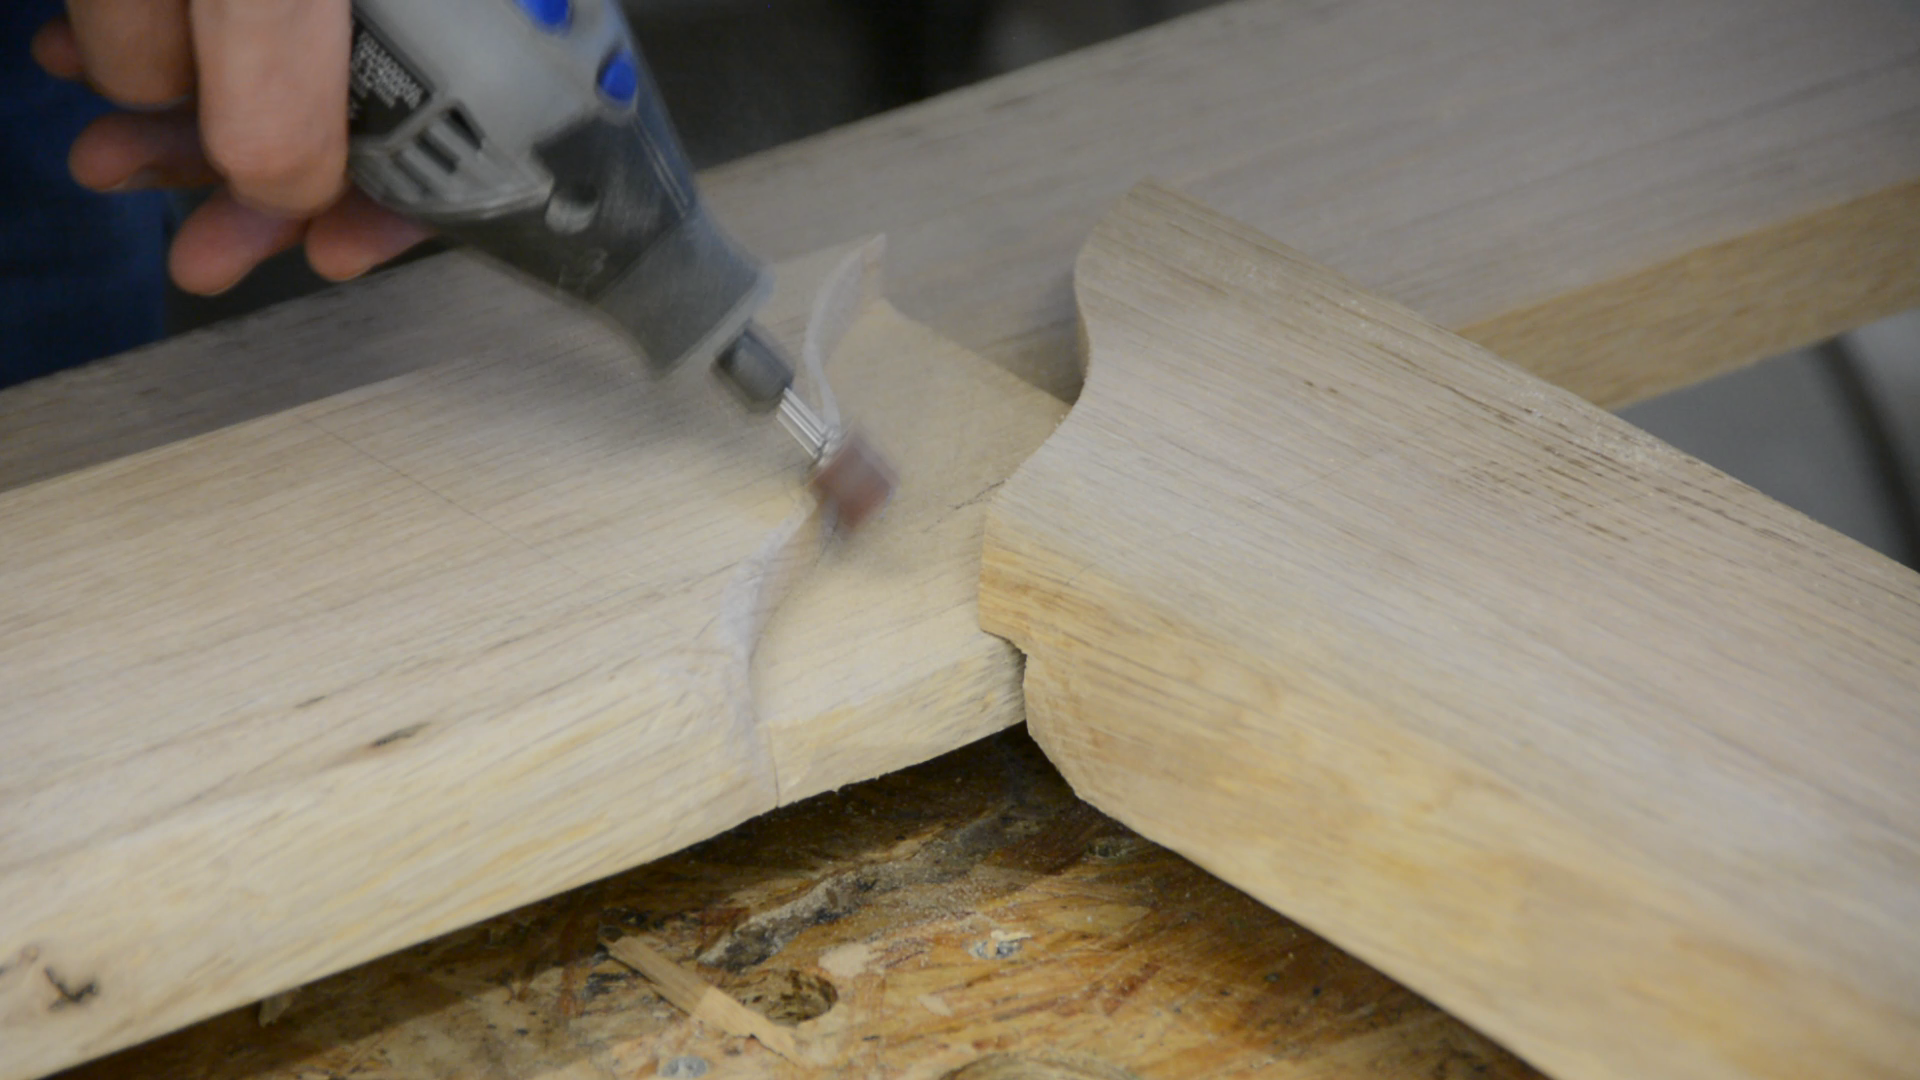
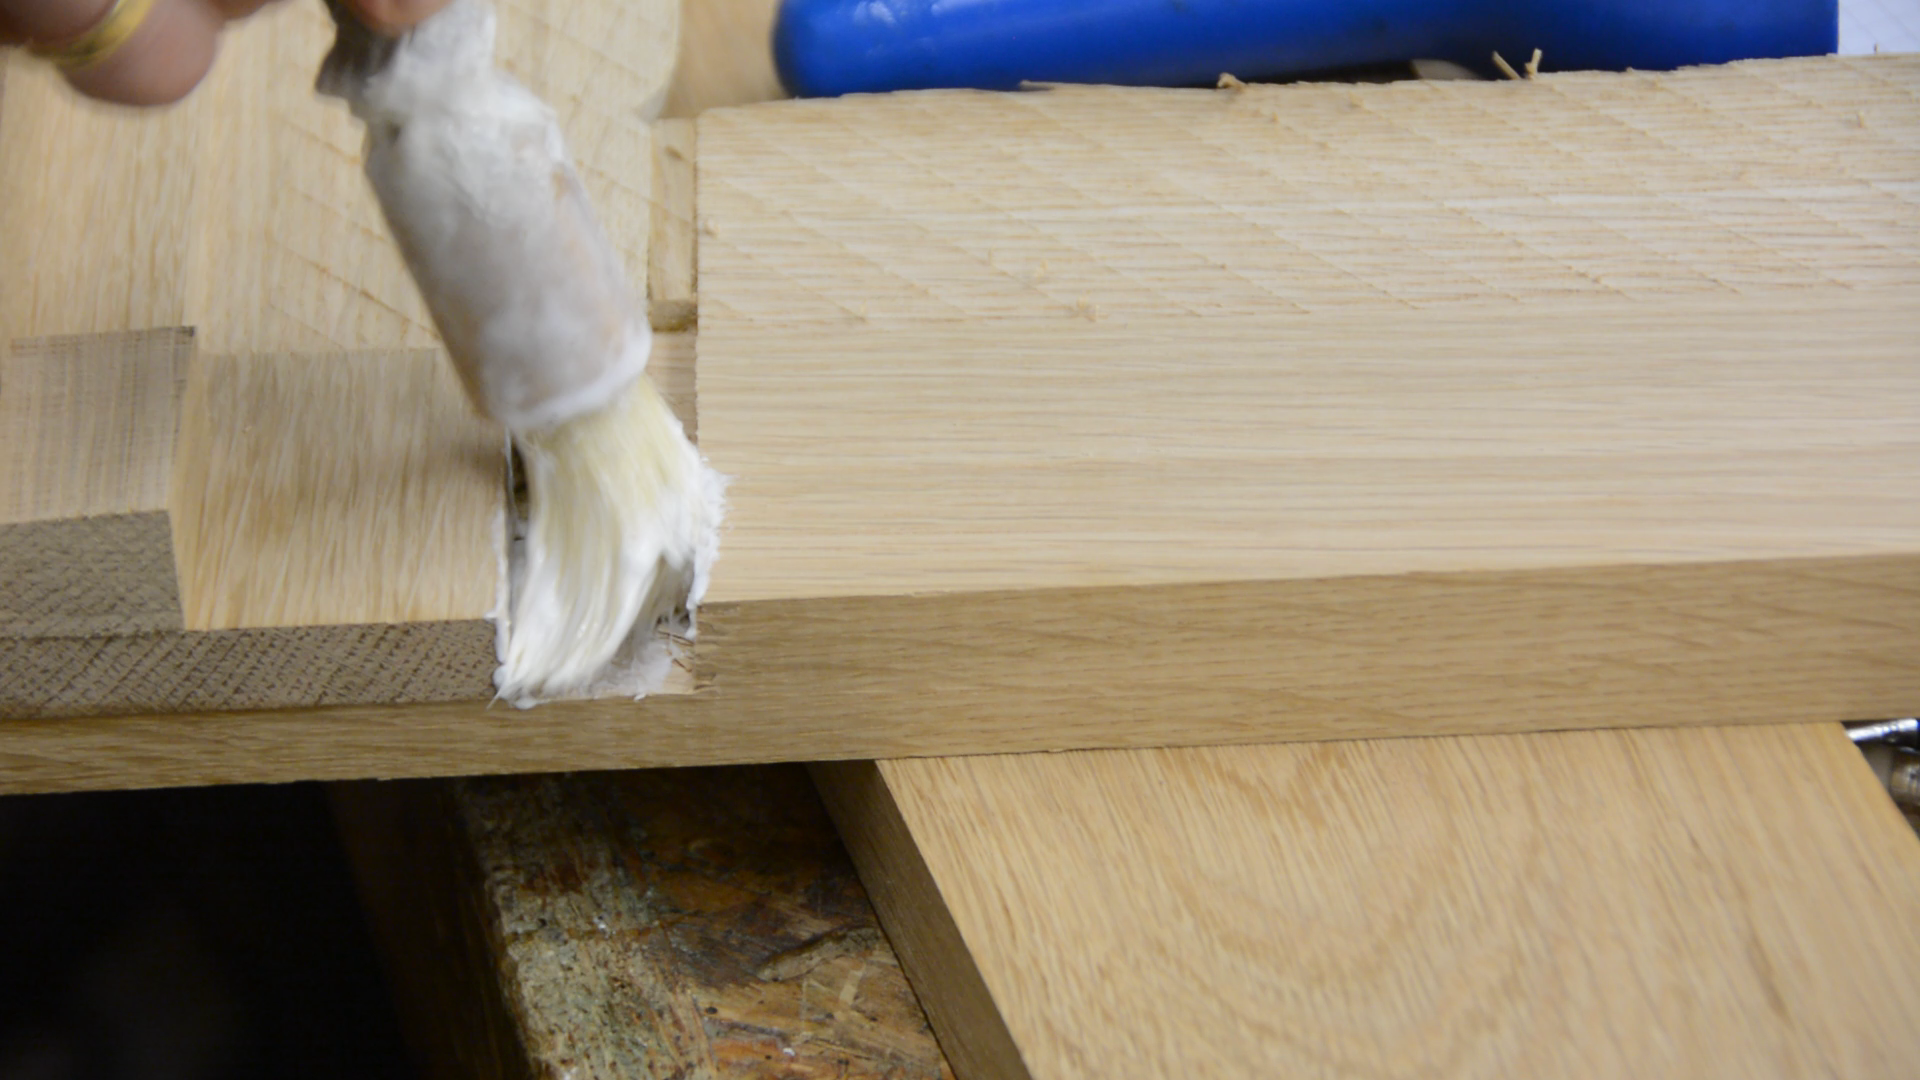
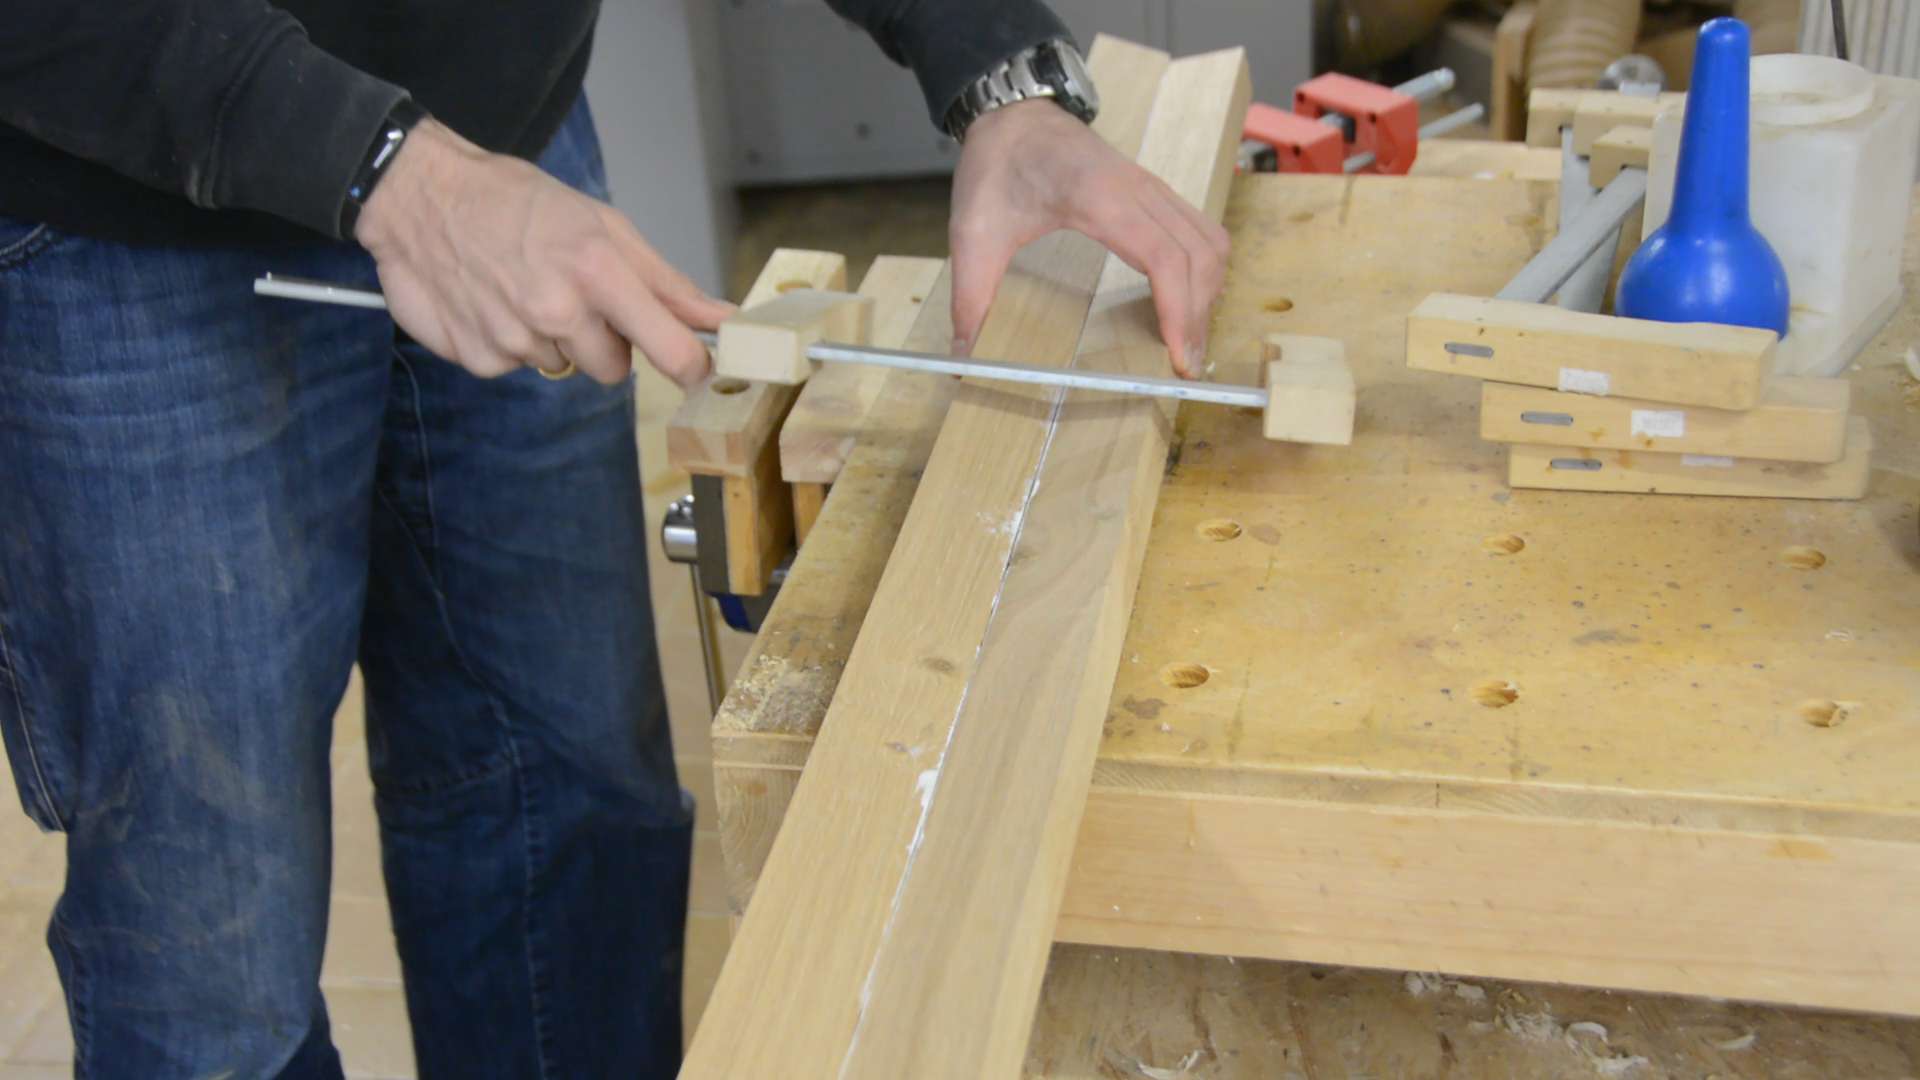
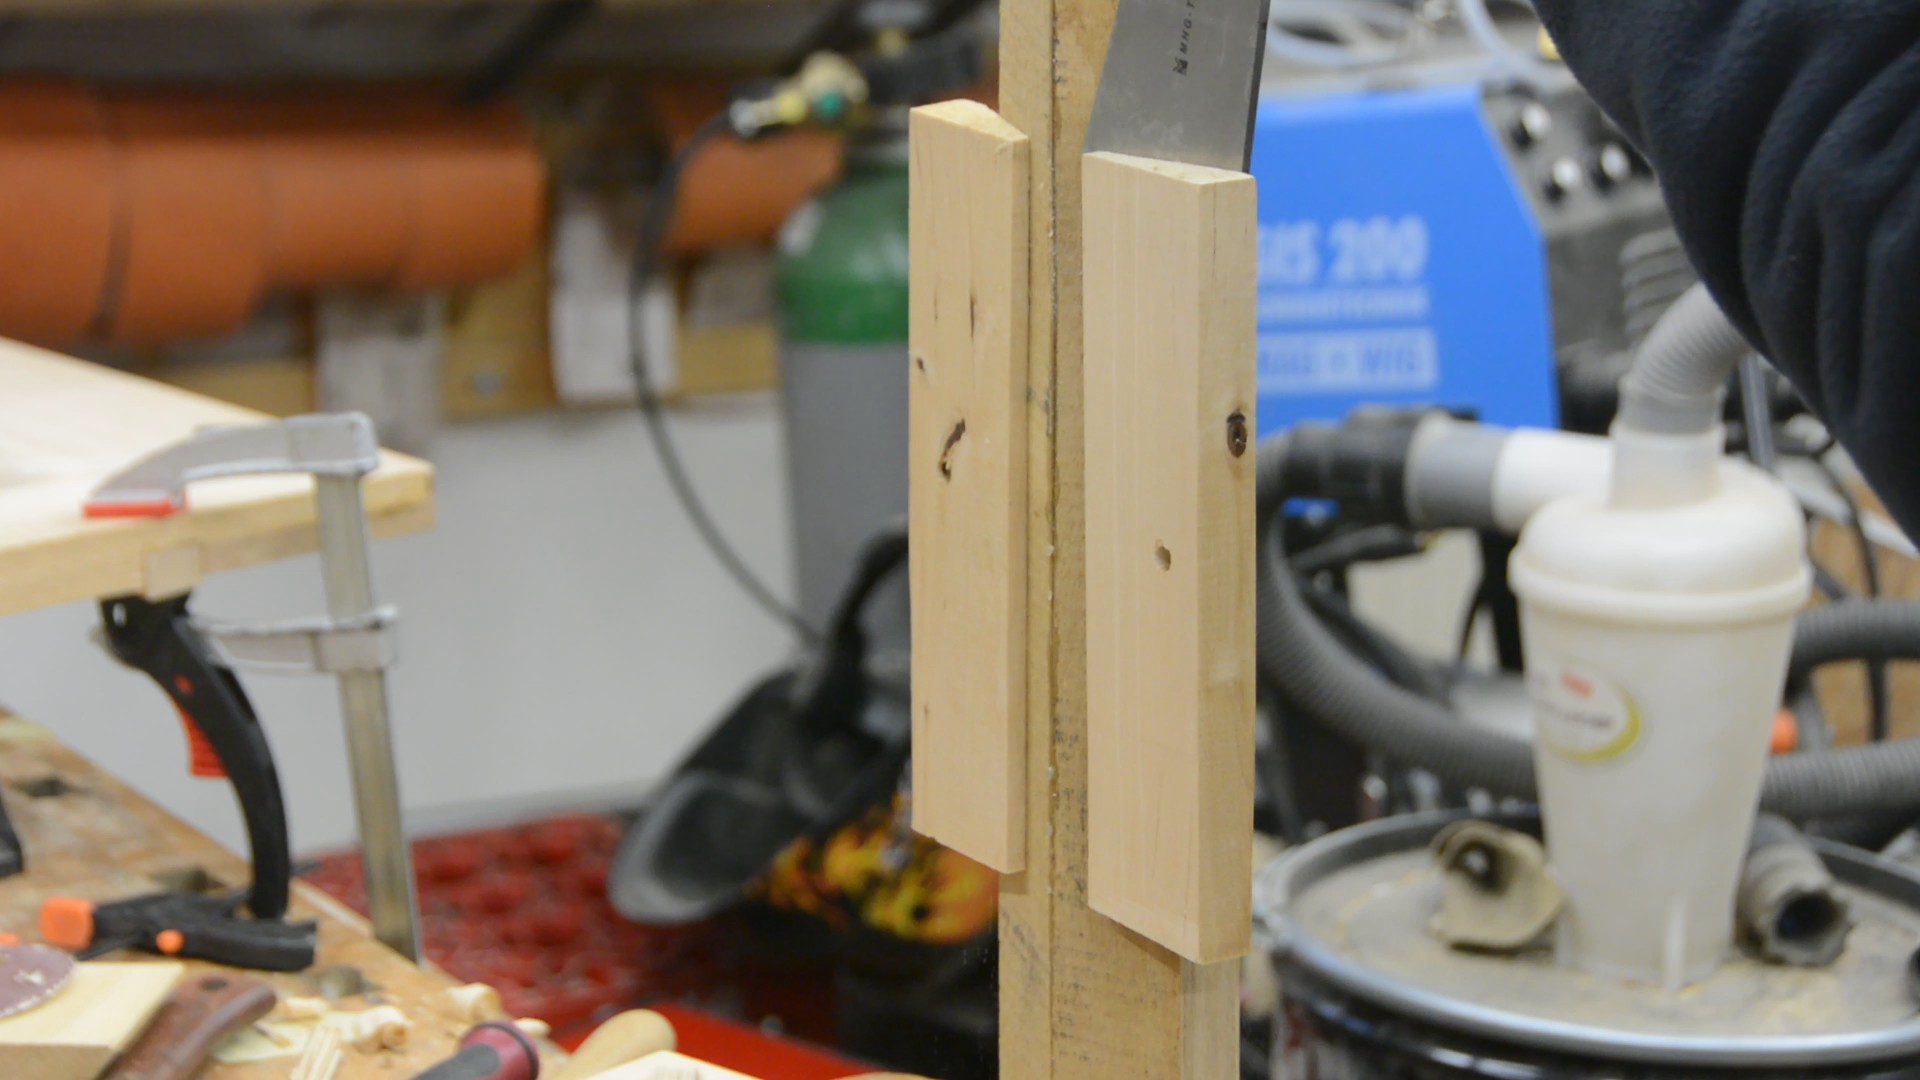
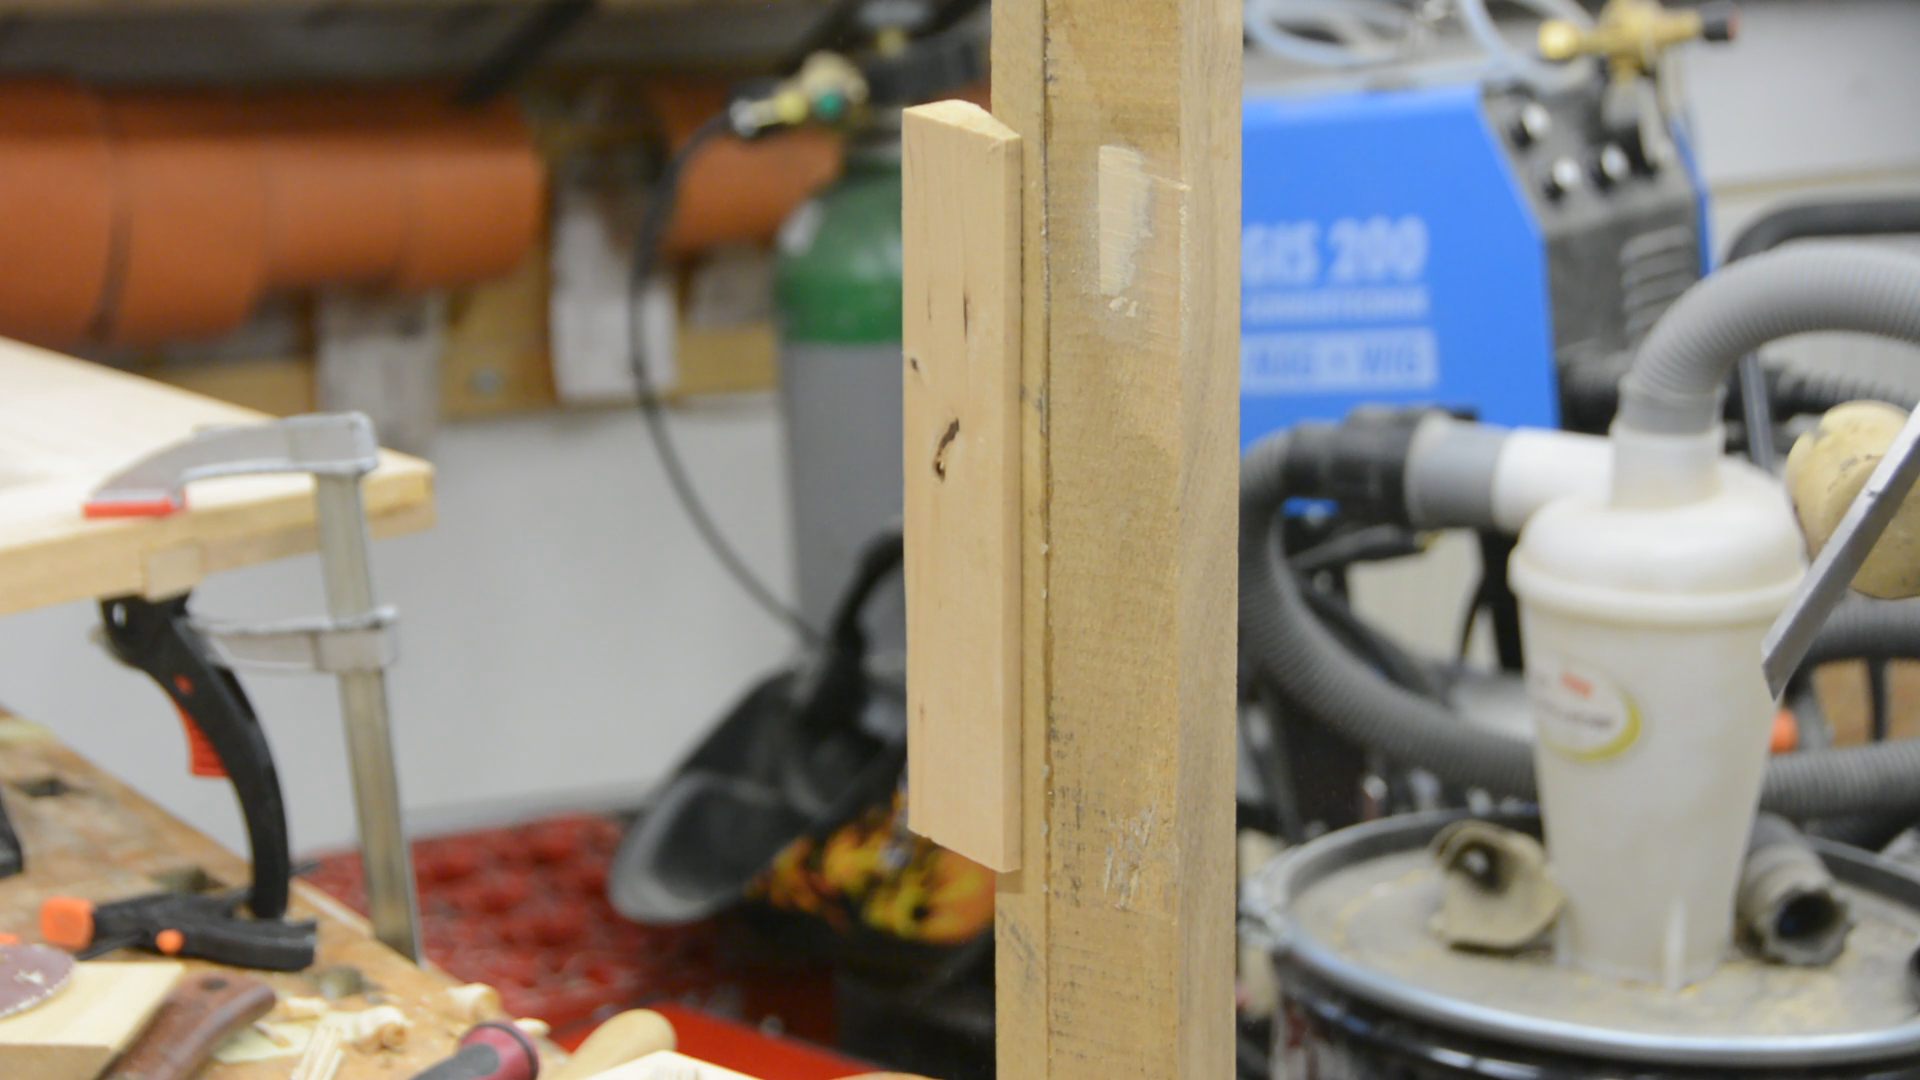
The same mistake that lead to the gaps in the corners also caused some issues at the outside of the mirror. There are again some quite nasty gaps. To fix these I first use a router to get the gap nice and square.
After some cleanup work with the chisel I can glue in a piece of wood that will hide this gap.

A shelf on the bottom
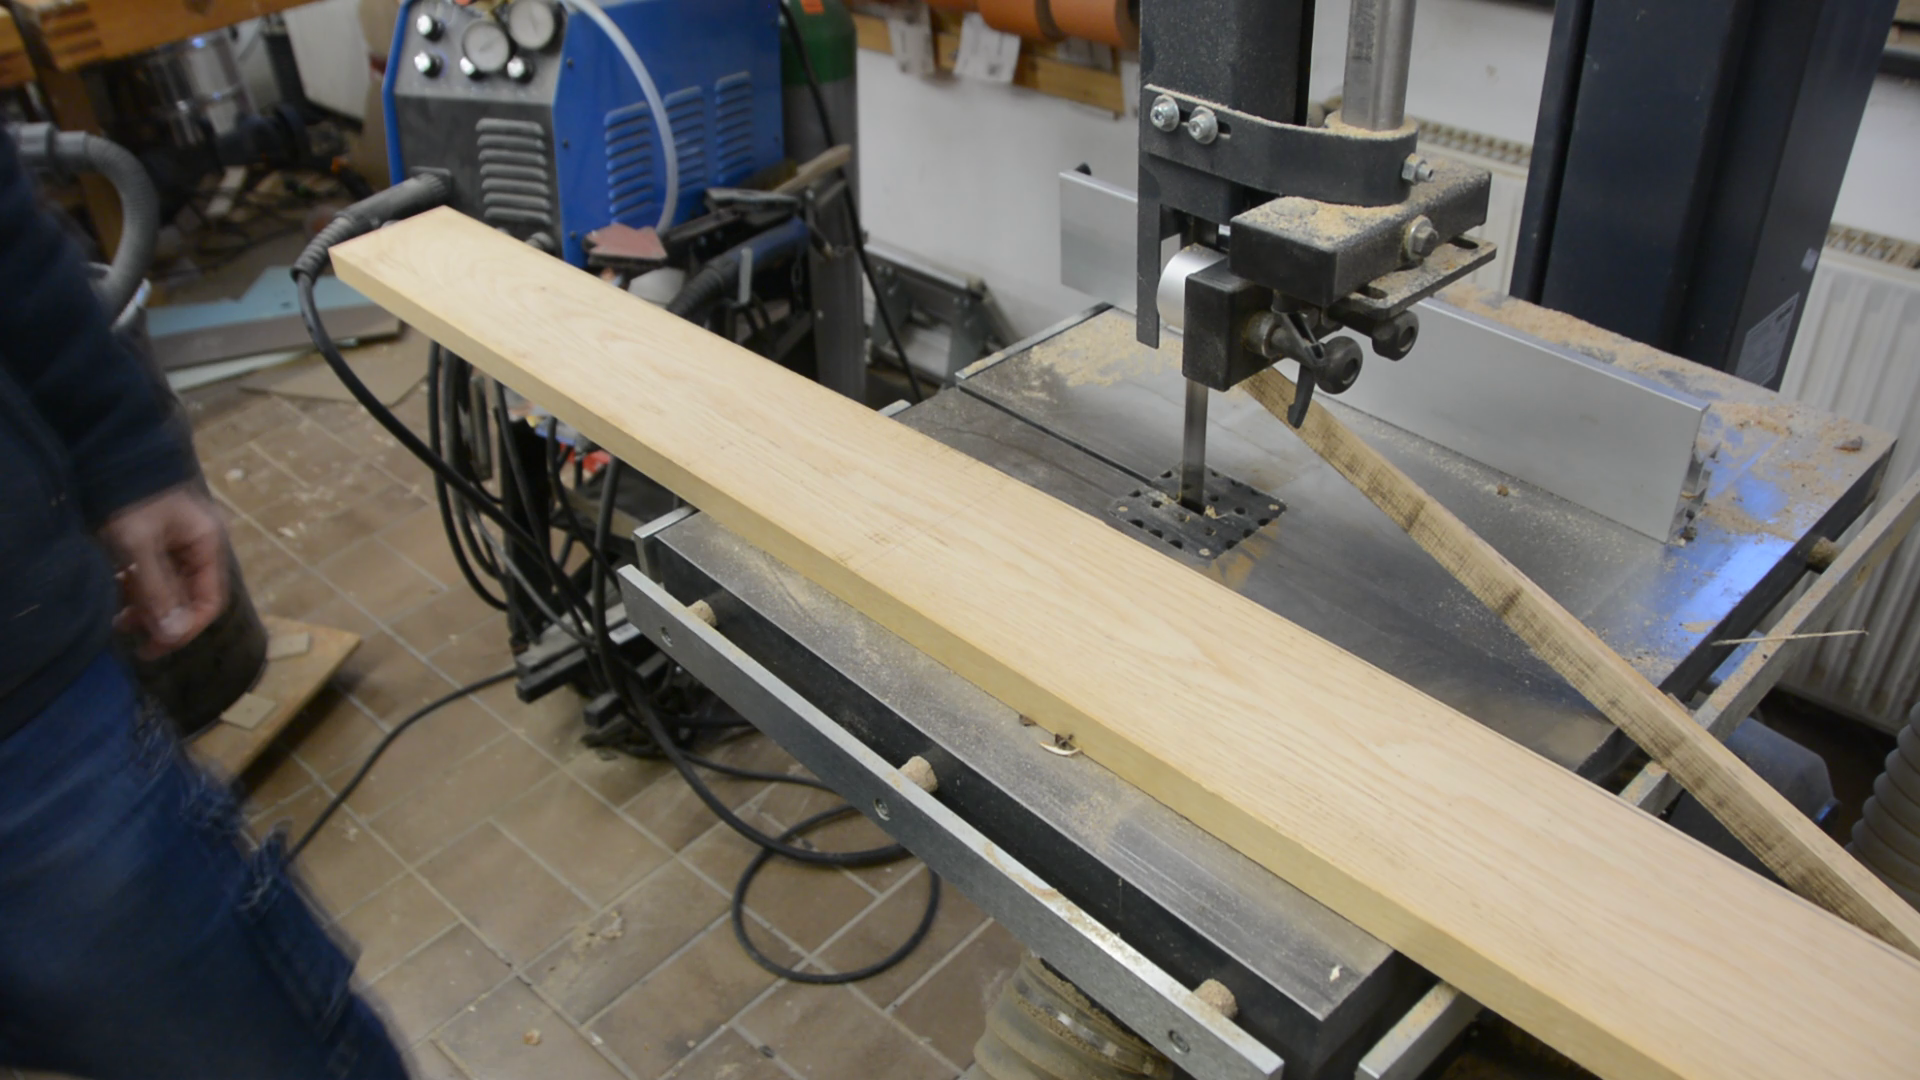
With the frame done the next thing to tackle is a shelf that should sit at the bottom of the mirror. With a PVC pipe I draw a gentle curve.
The rough shape of the curve is cut on the bandsaw.

With a plane the curve is smoothed out and brought to its final shape.
The shelf and the lower part of the frame get a few biscuits and the shelf is glued to the frame.
The lamp
Next comes the lamp. For the lamp I glue two oak pieces together at an angle.
In the same step I also glue some softwood blocks to the lamp so that I can hold it on the CNC table.
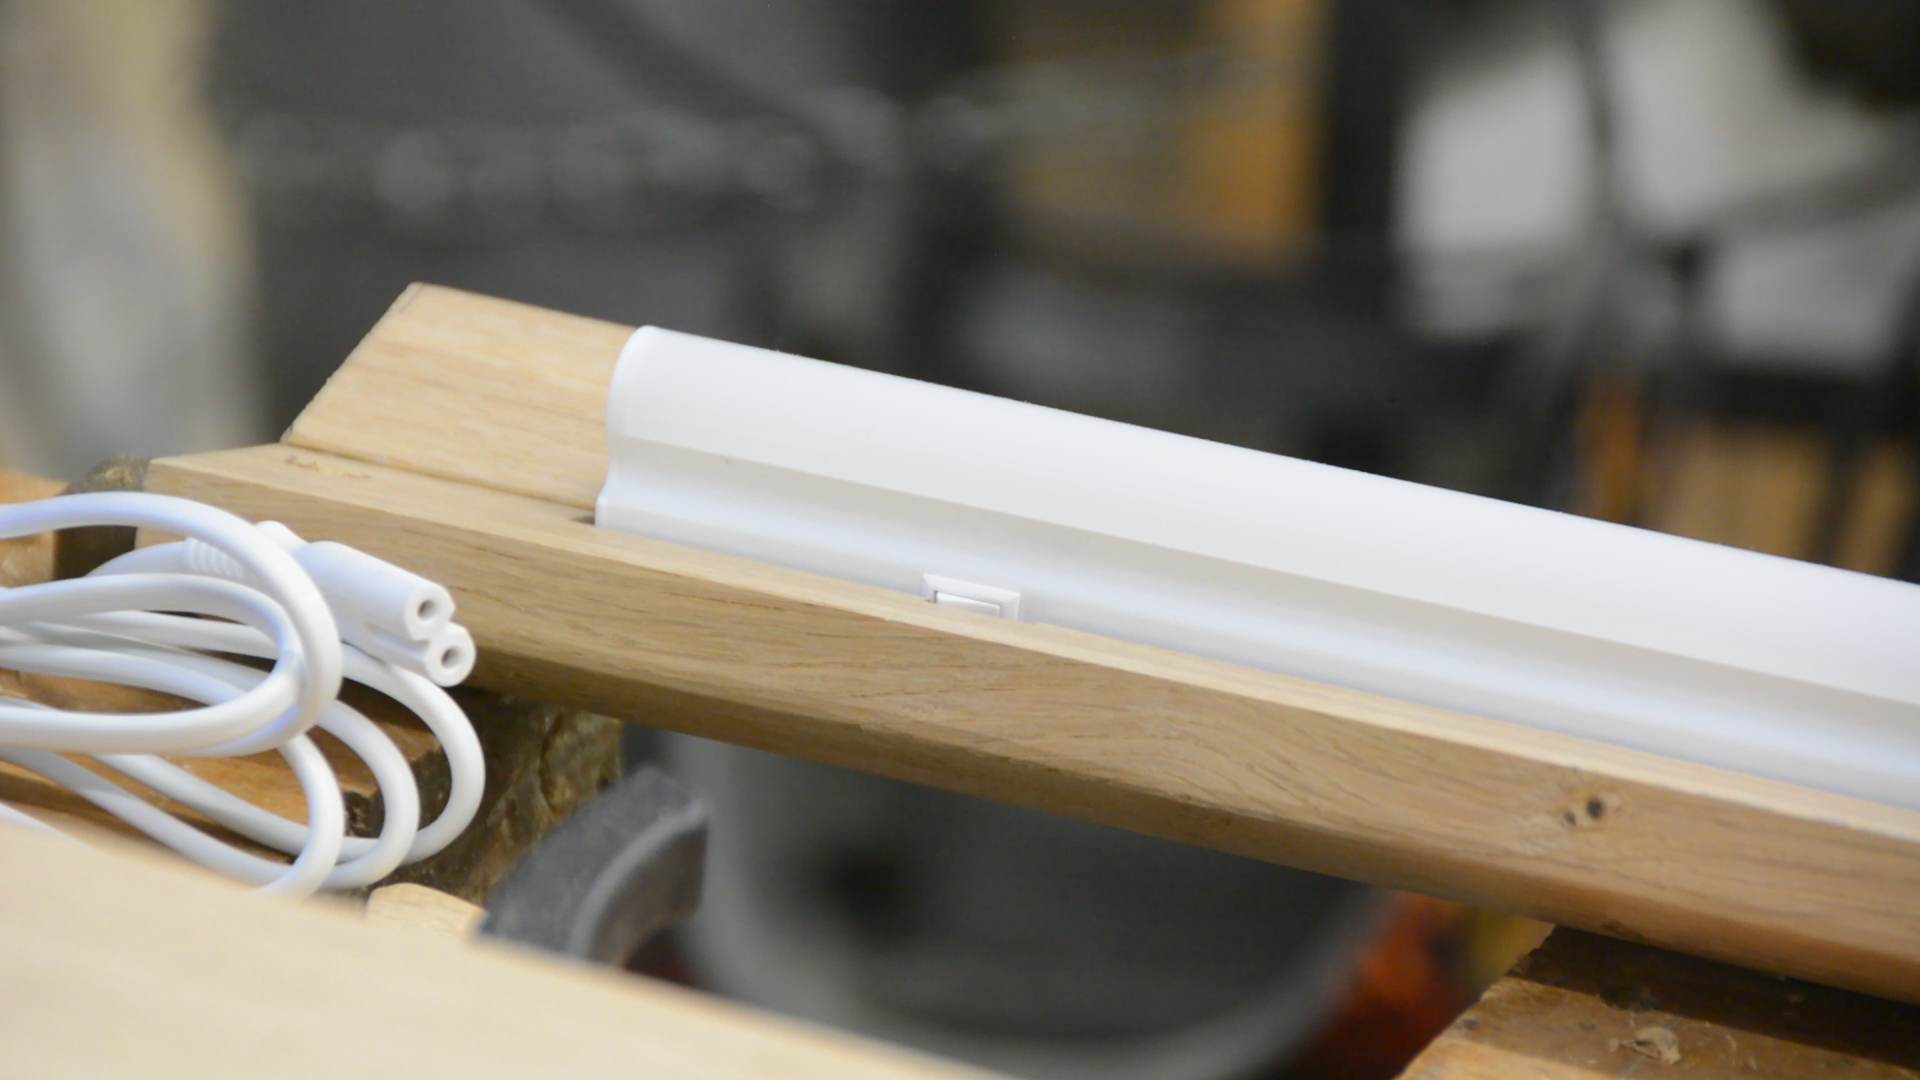
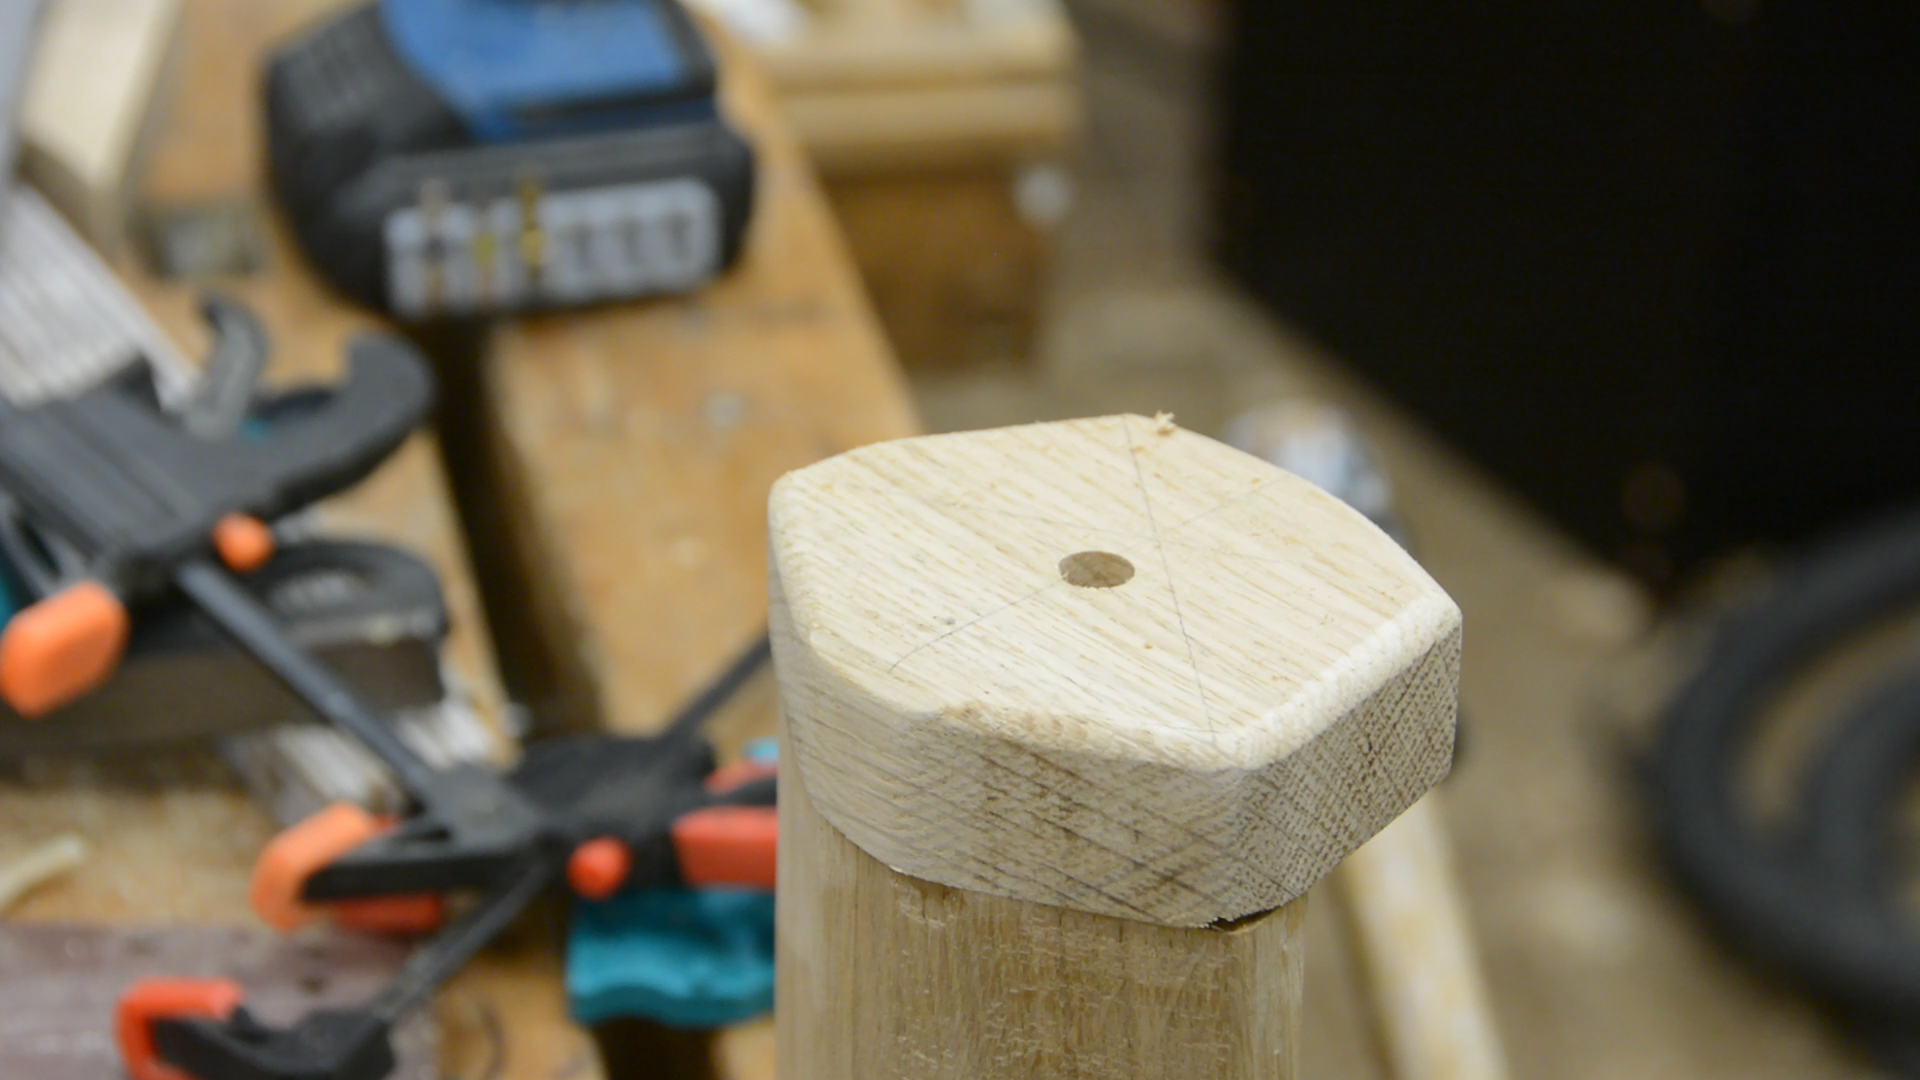
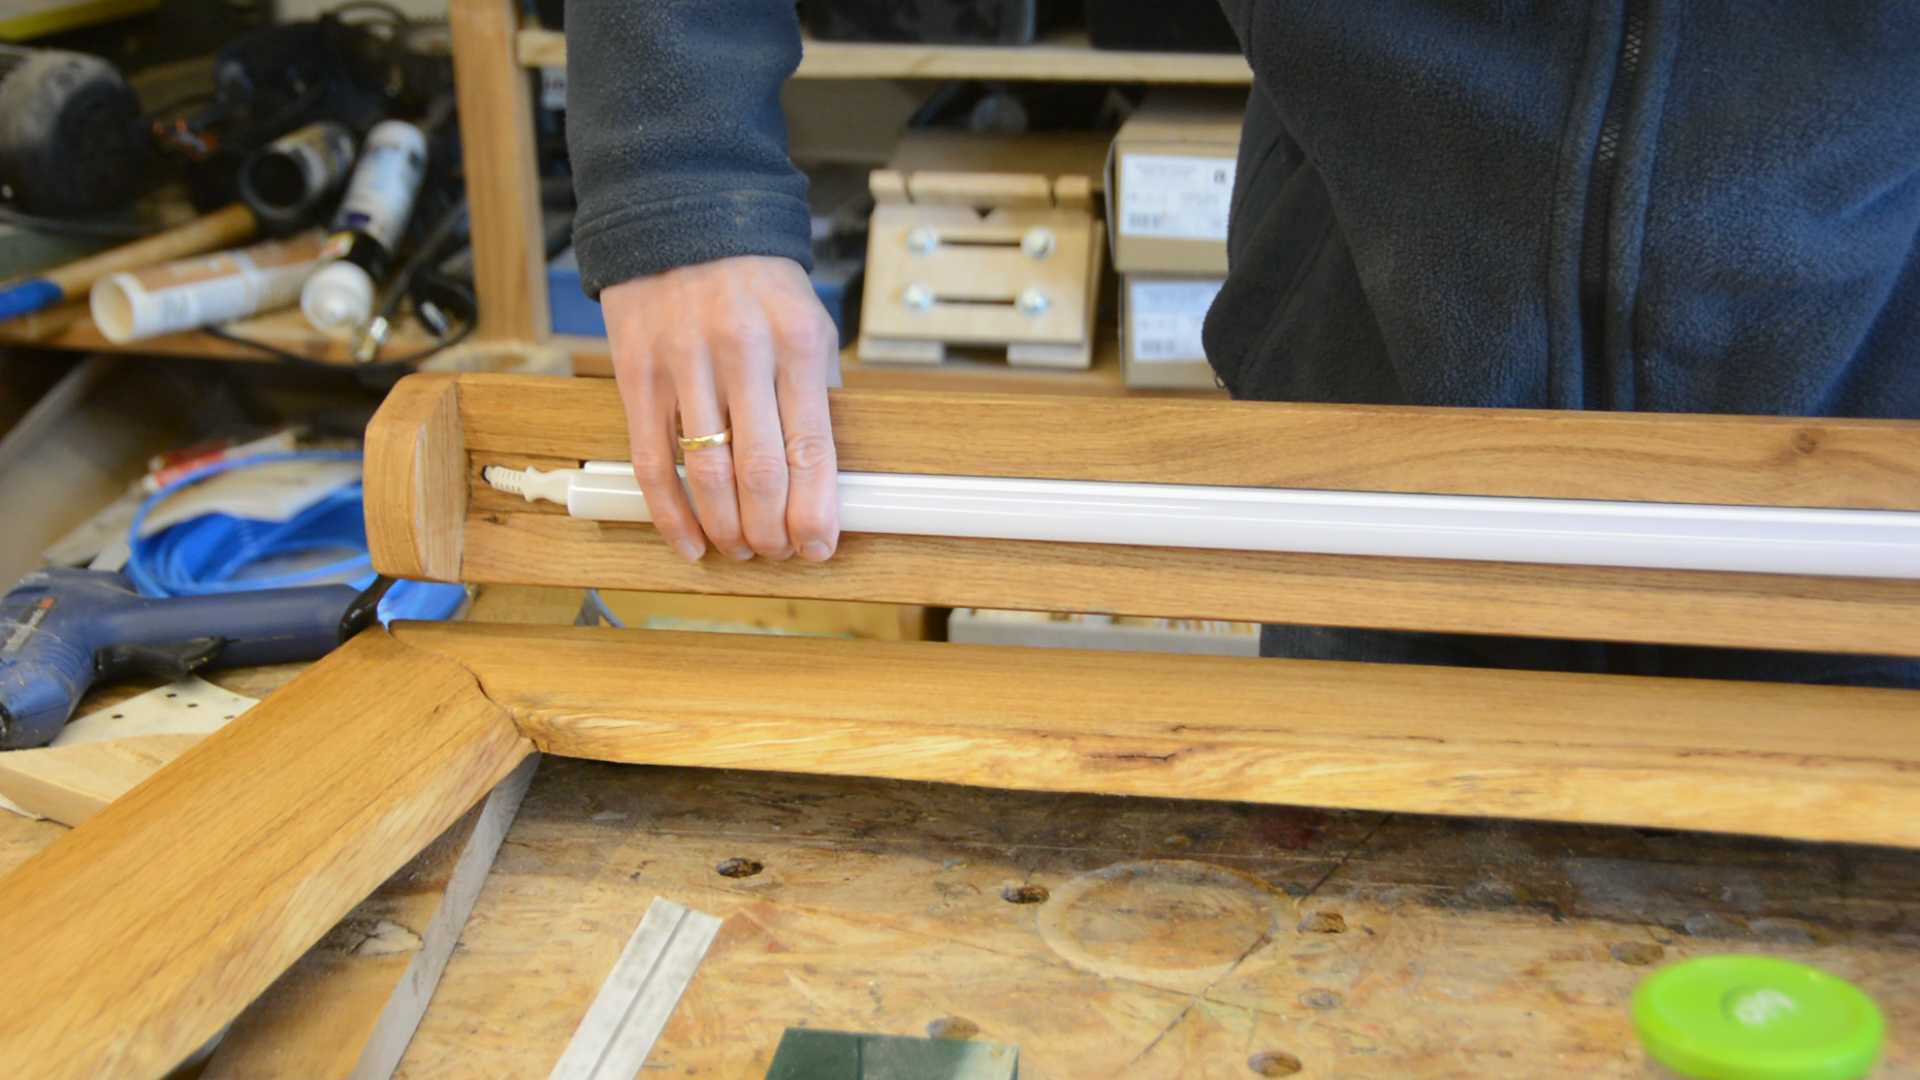
The CNC is then aligned with the middle of the lamp and creates a recess for the LED lamp.

After the CNC did its job I remove the softwood pieces from the future top of the lamp and glue other pieces to the two sides.
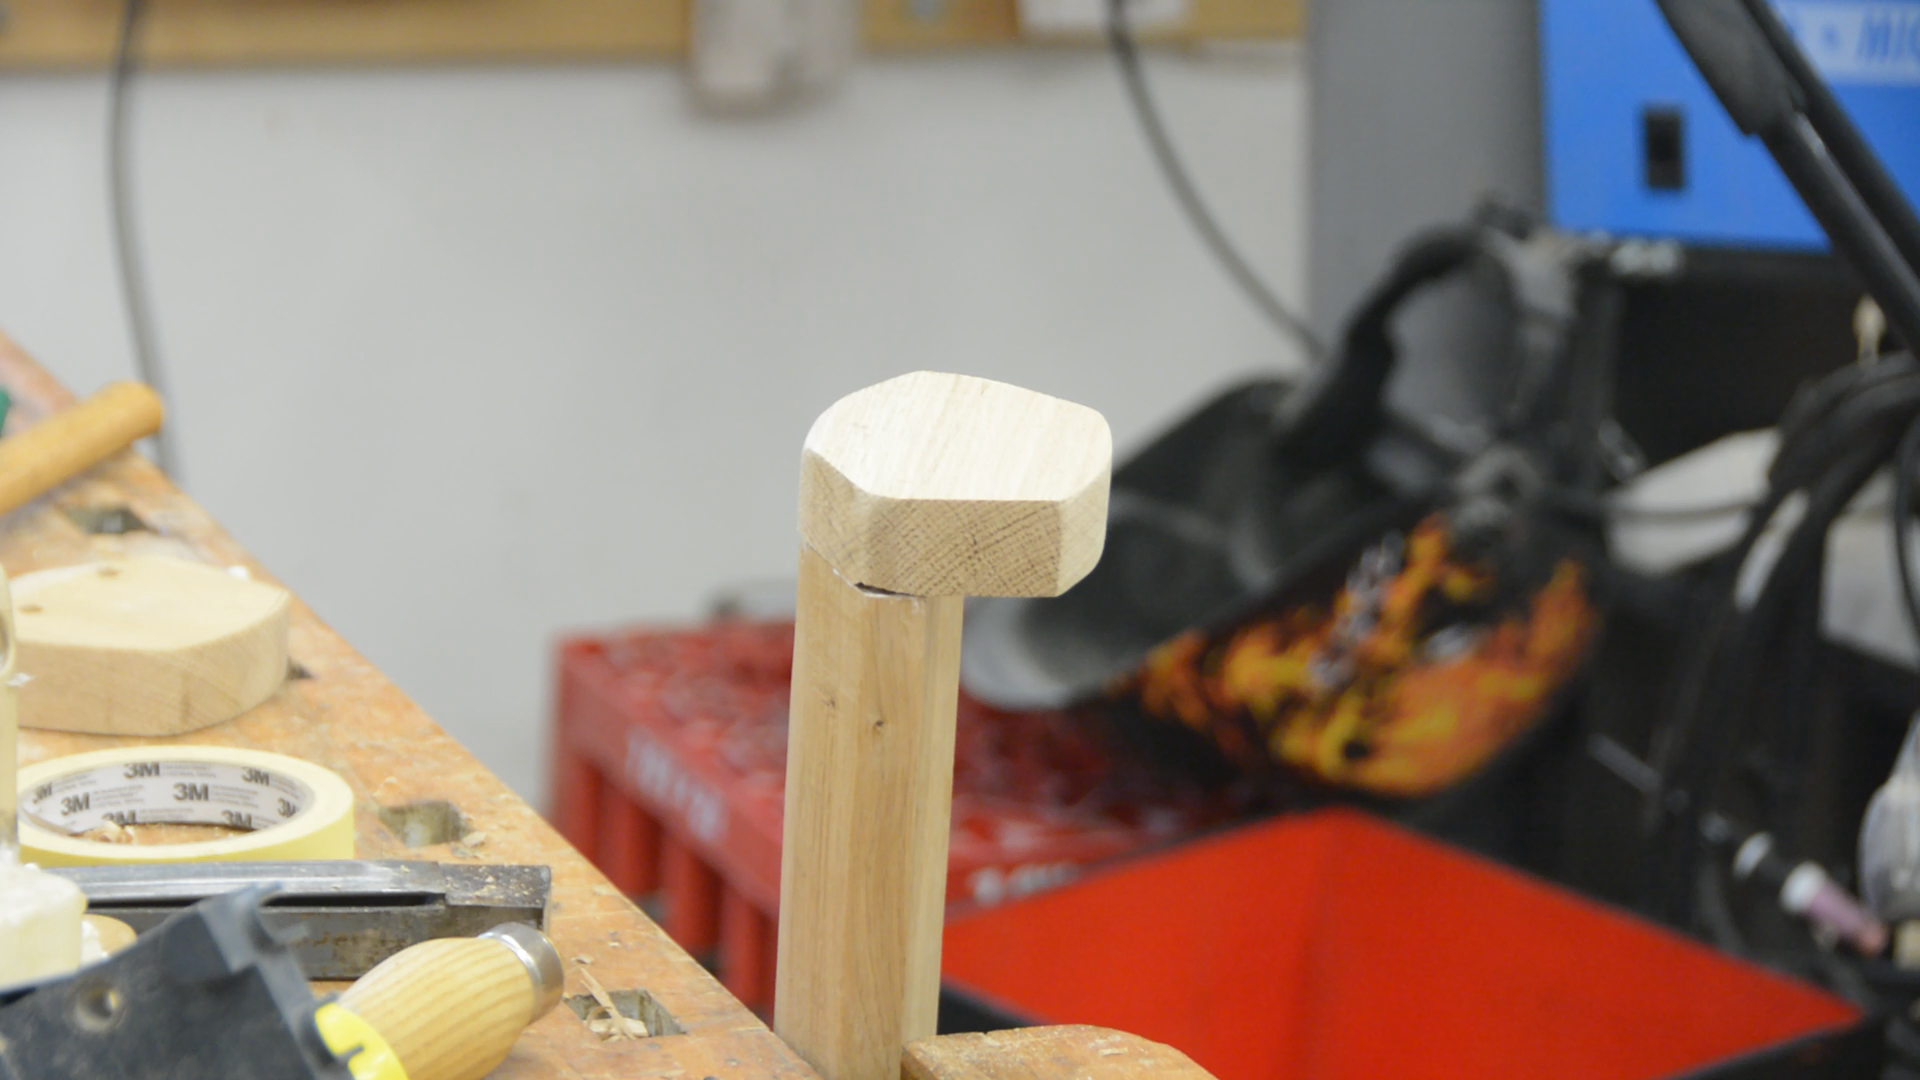
This allows me to hold the lamp with it upside facing up on the CNC and create a curved top. Using the CNC for this task makes sure that I don’t go too deep with the shaping. However you could achieve the very same task with only a plane and some sanding.
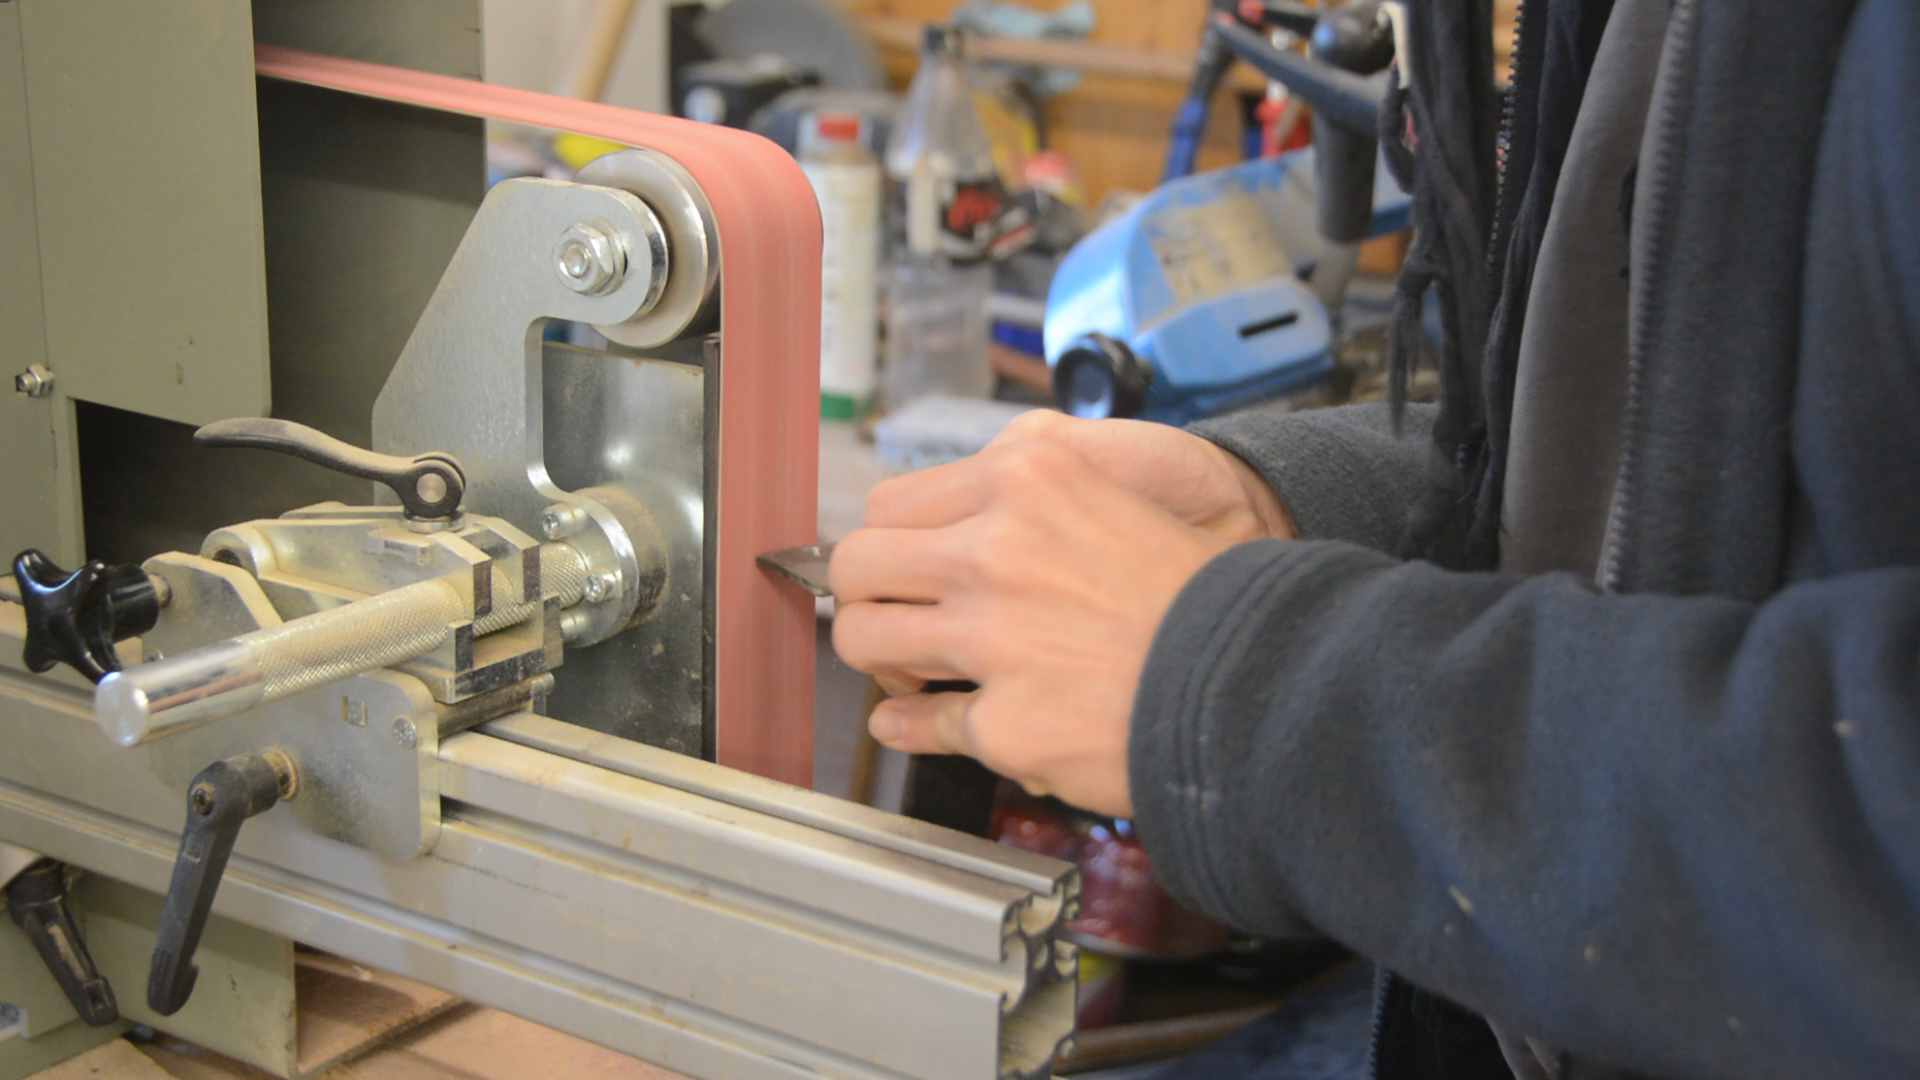
The lamp body is cut to length and the sides are trimmed on the table saw. With the help of the CNC it only takes a few strokes with the plane to get a smooth surface.

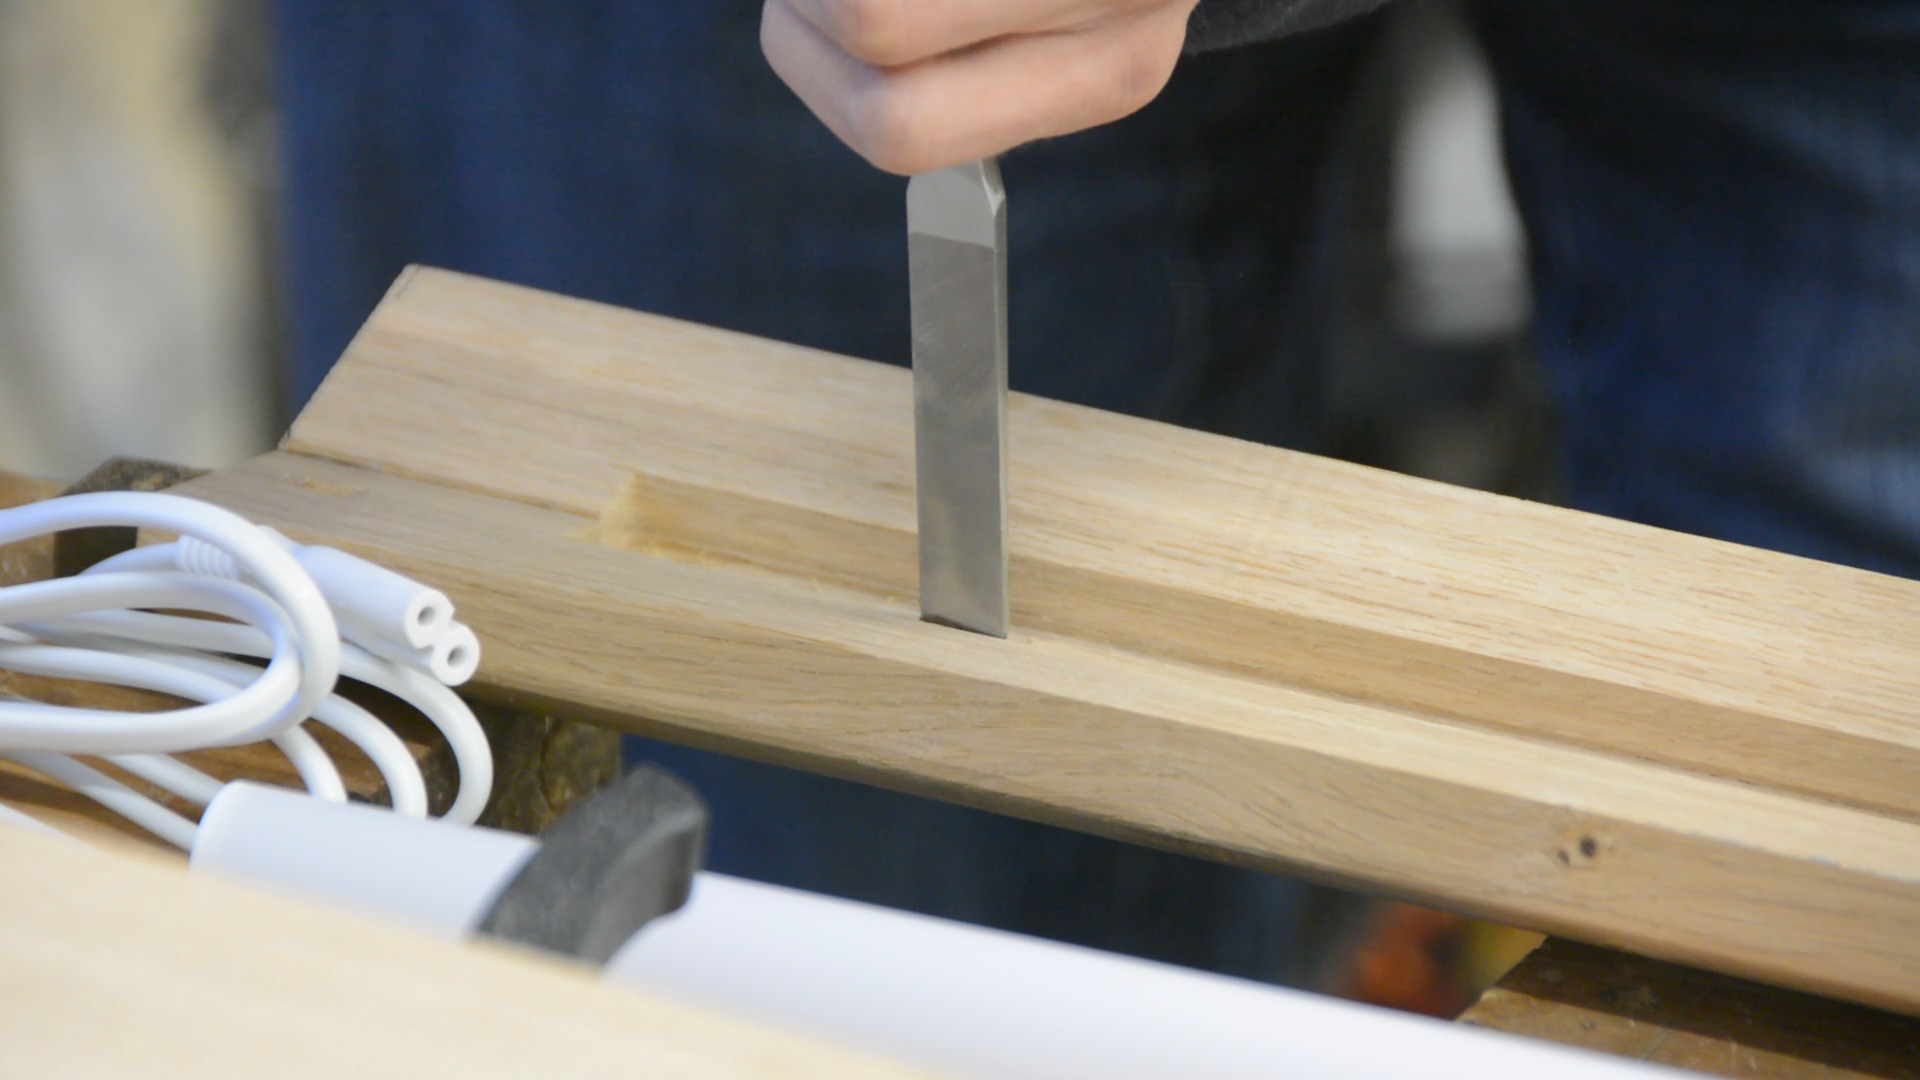
The switch of the lamp needs a small cutout.
The power plug also requires some work with a chisel.

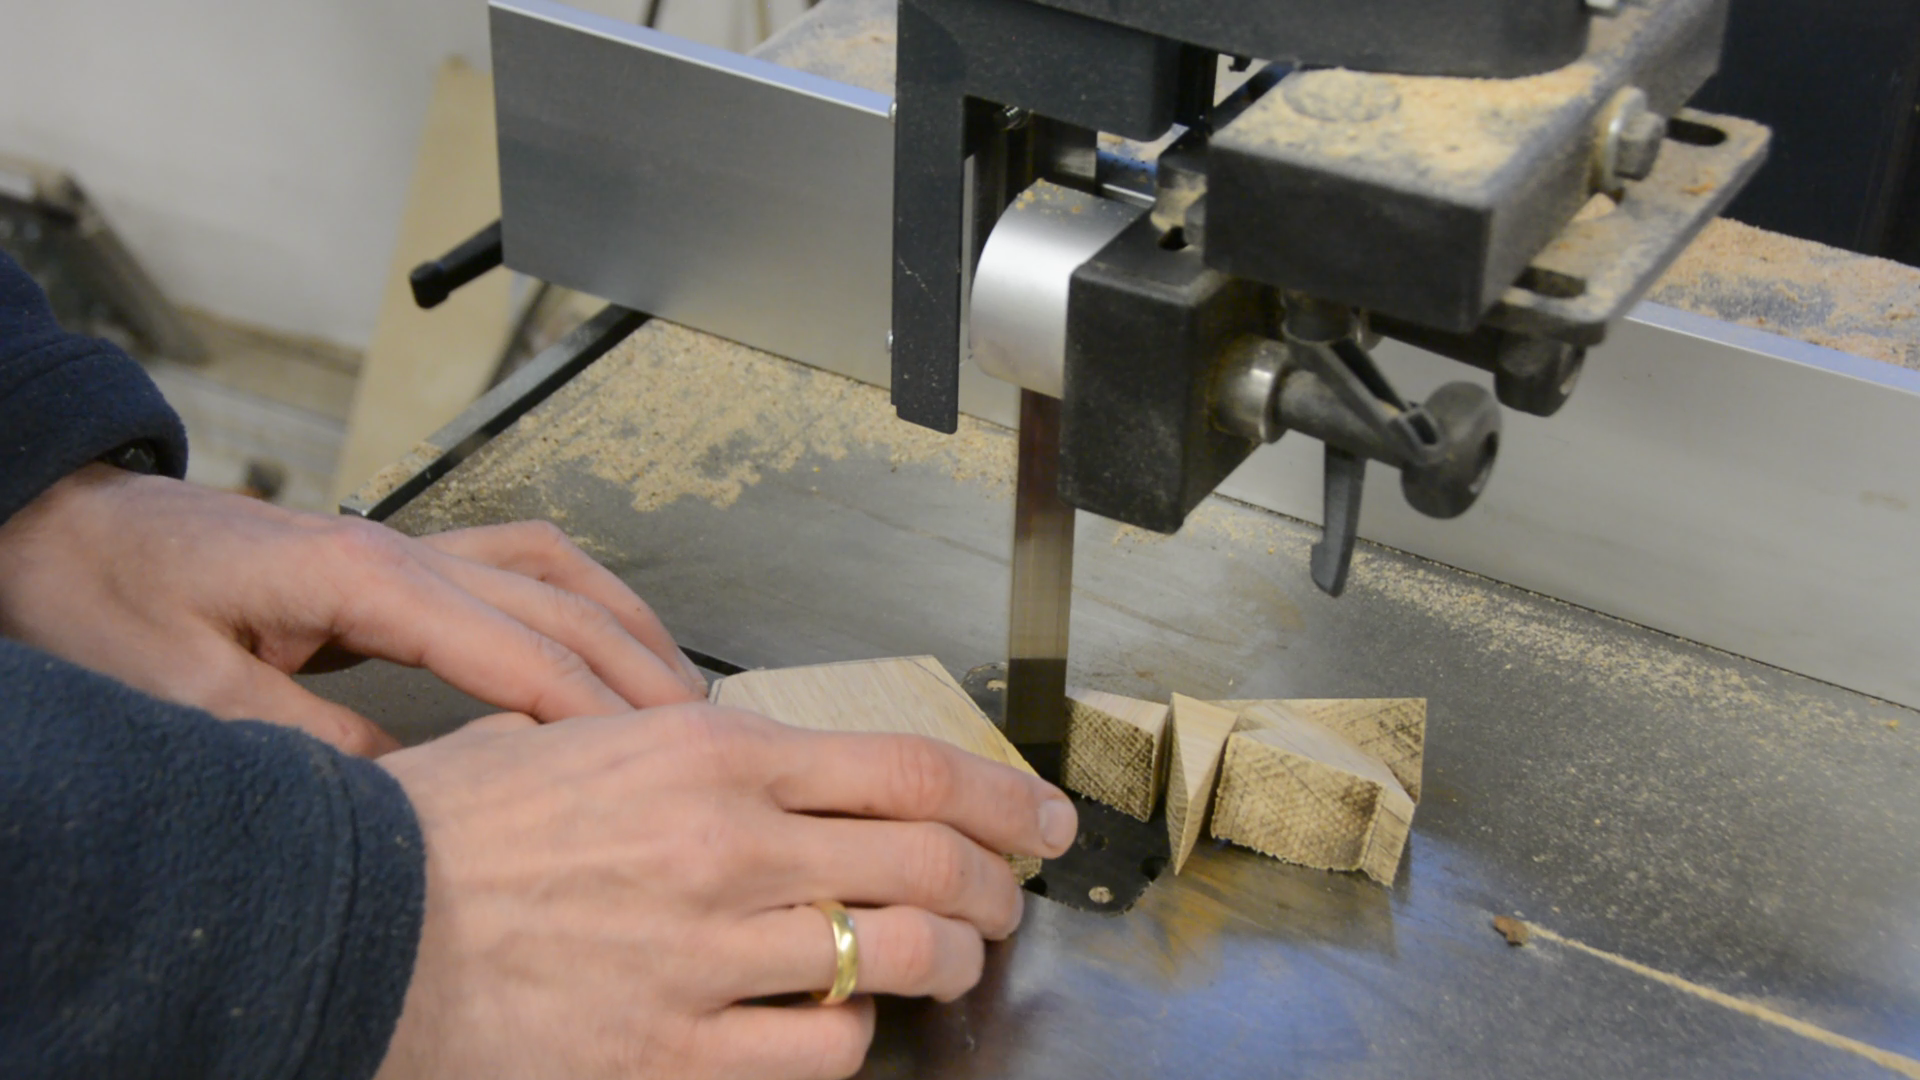
I trace the ends on an offcut and cut them as end caps on the bandsaw.
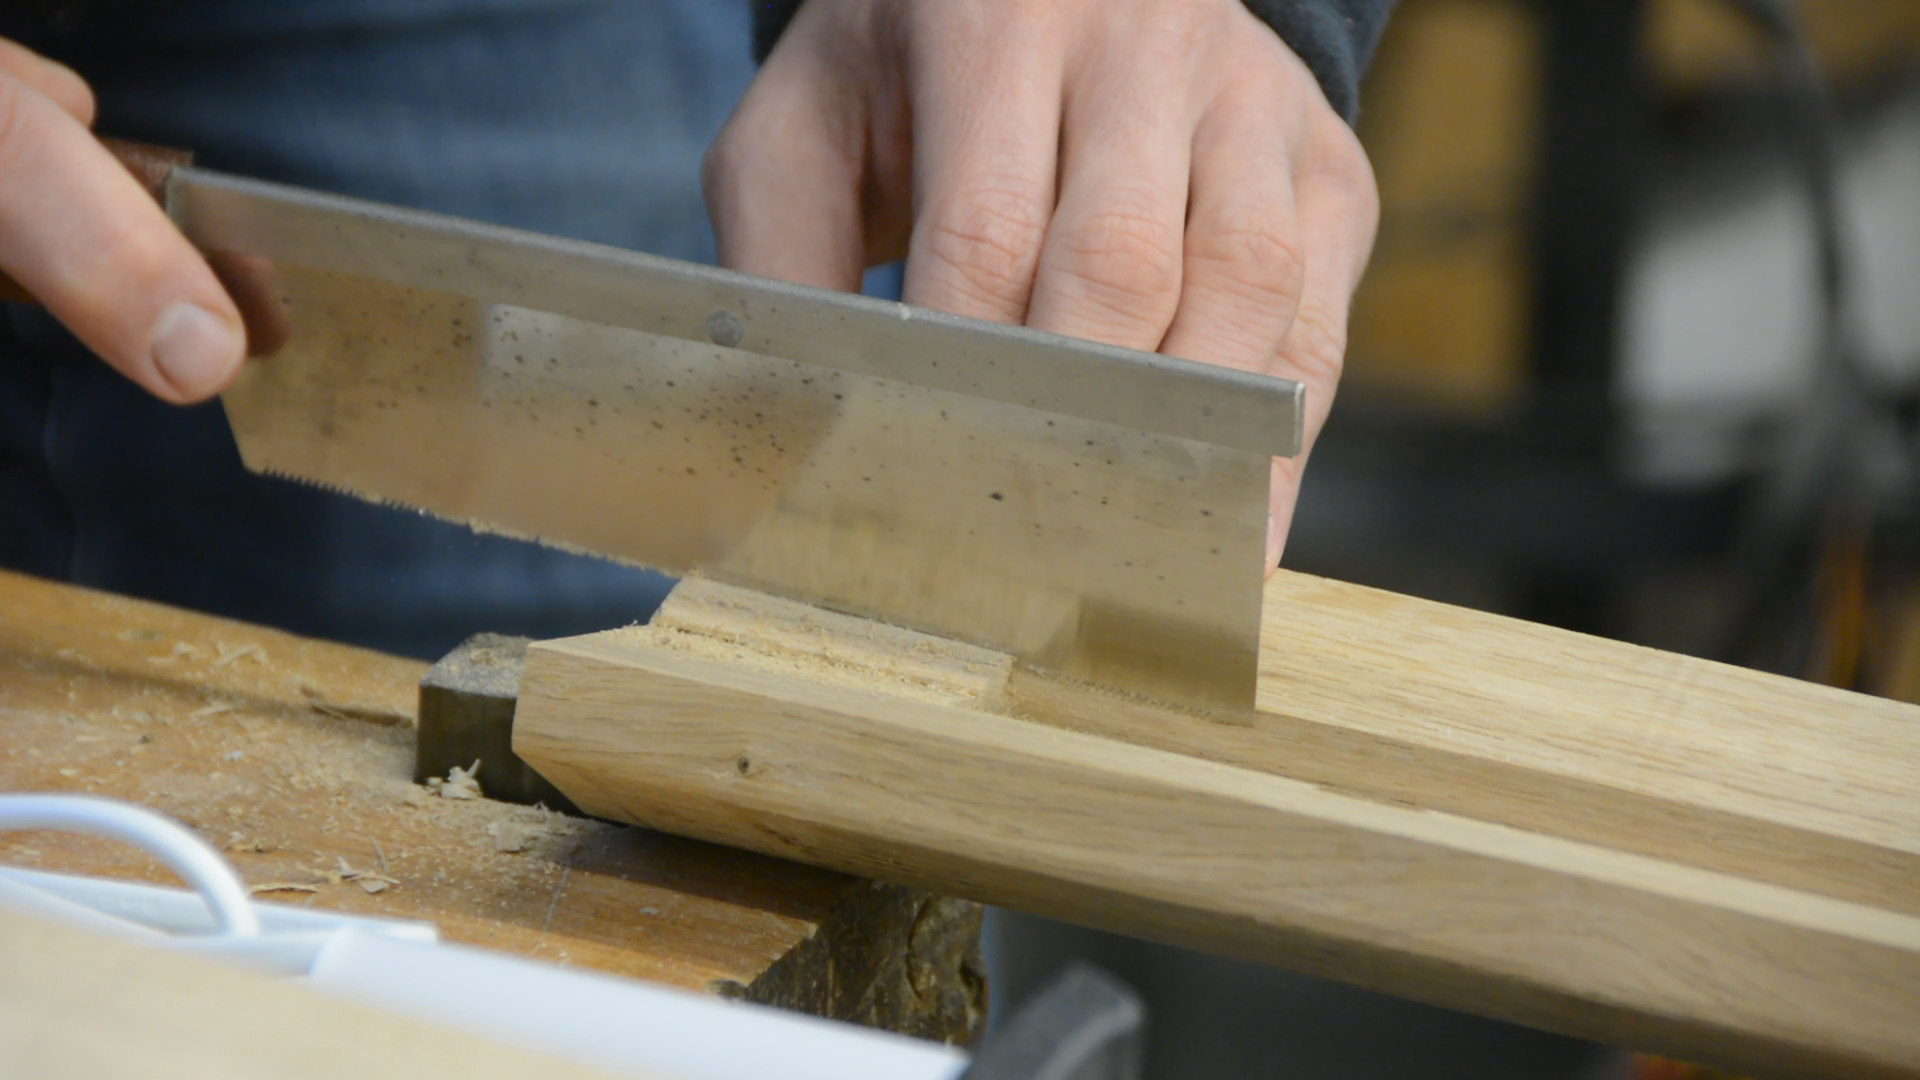

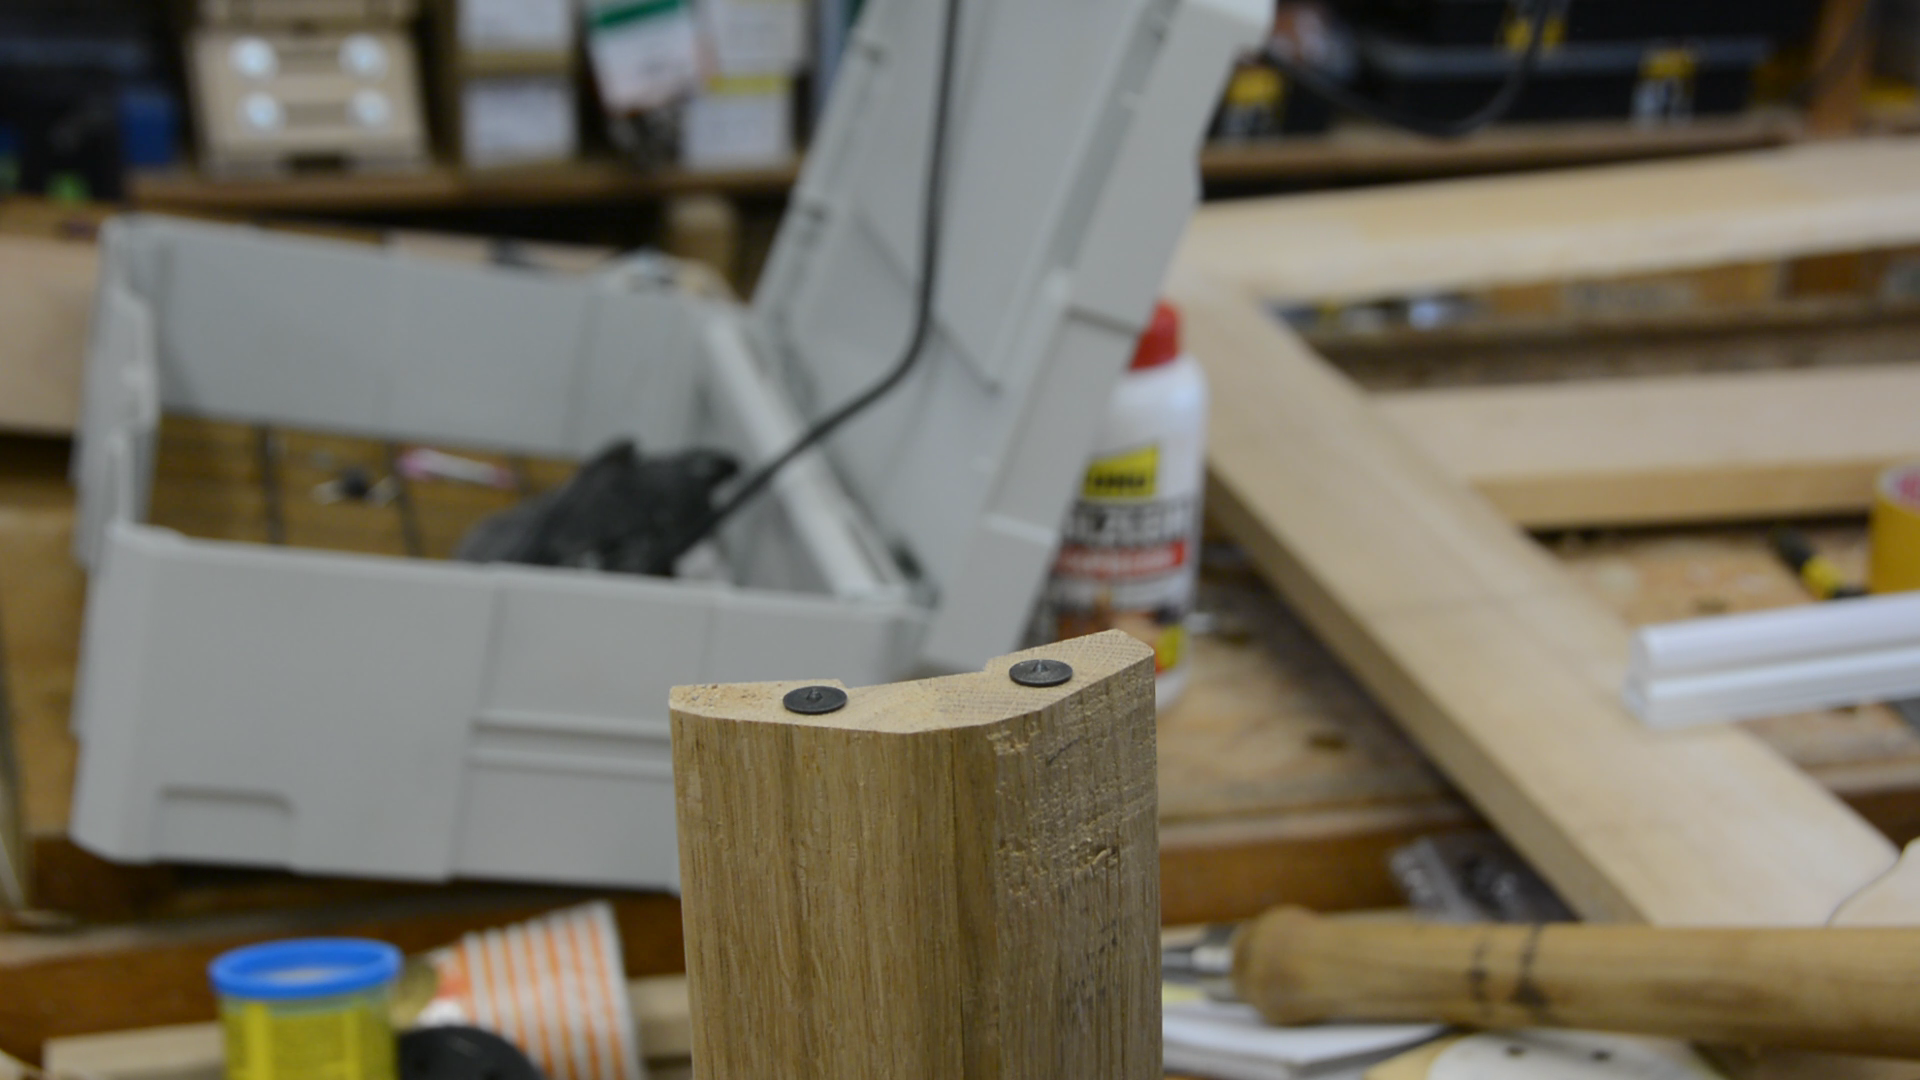
Using dowels for gluing the end pieces to the lamp is the easiest way as there are no straight edges that could be used for biscuits or dominos.

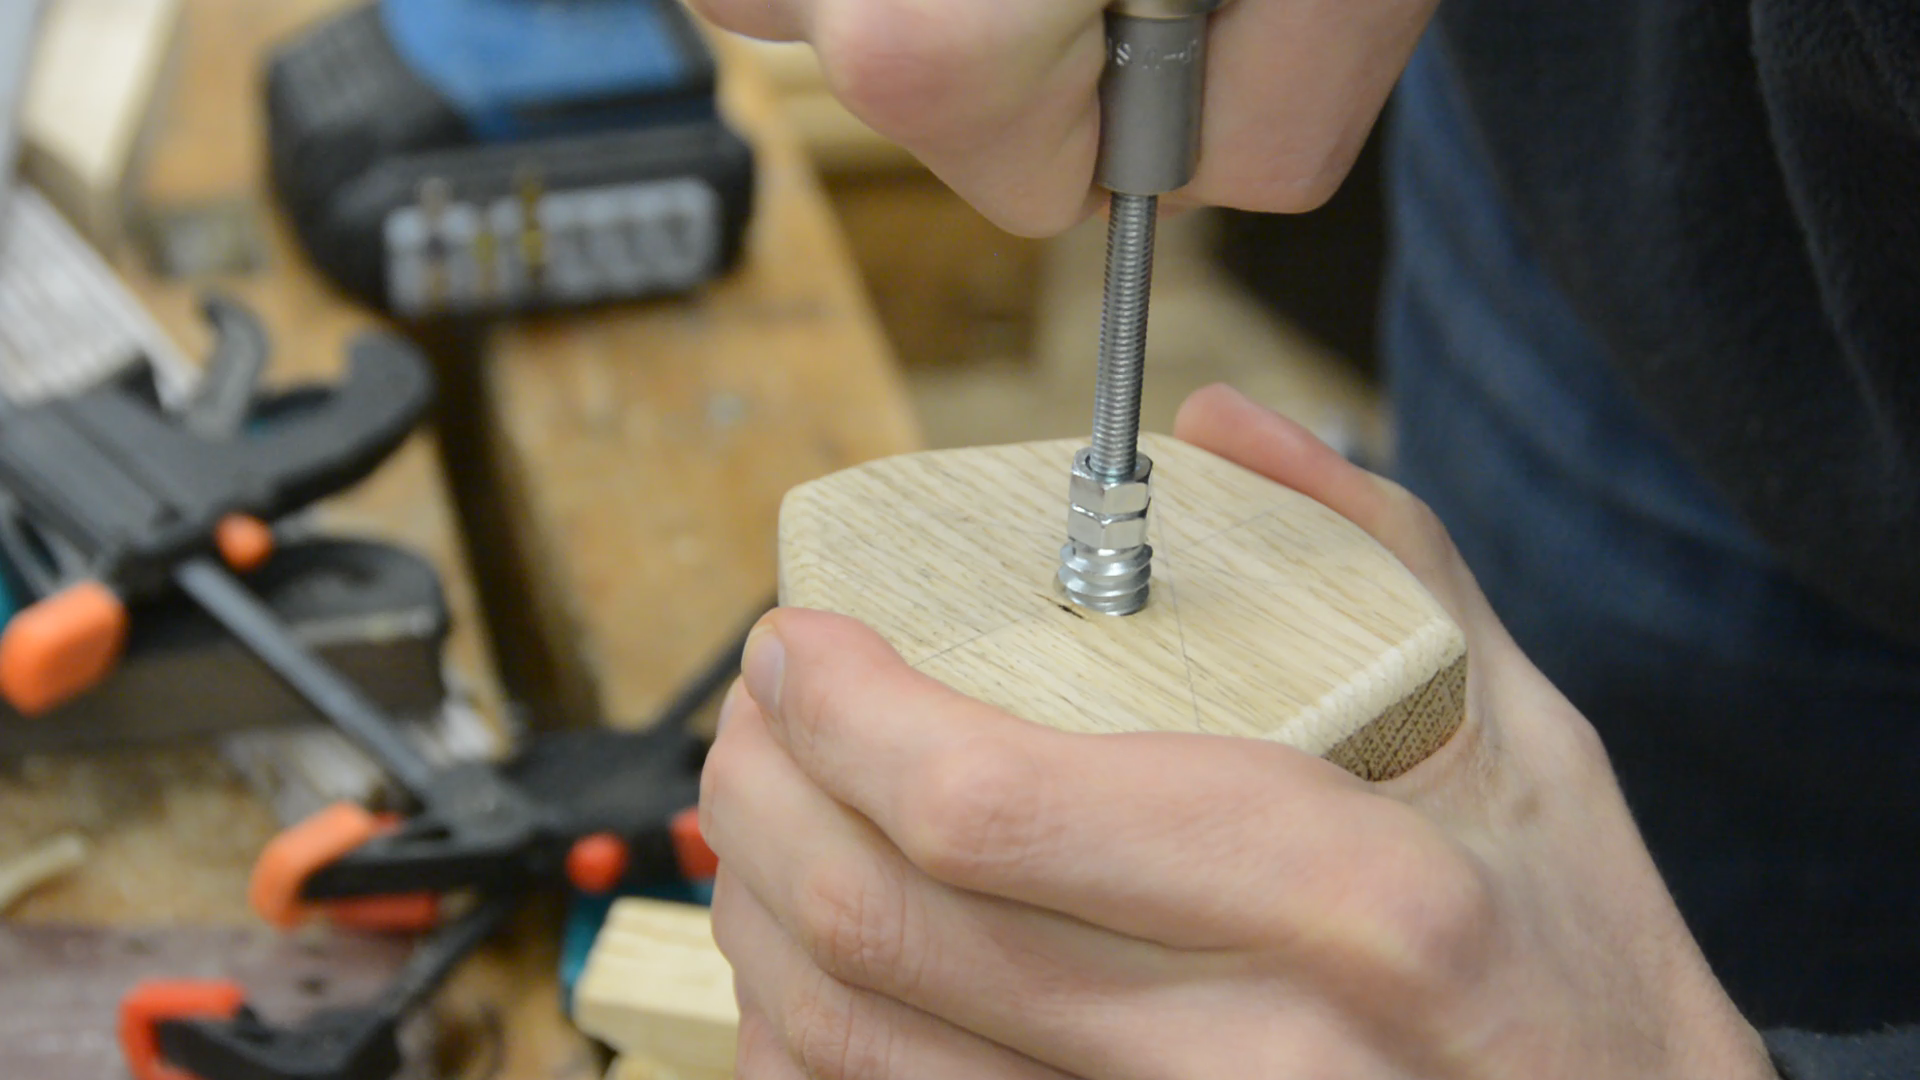
After a quick roundover of the edges and some sanding the lamp gets a threaded insert in each end to mount it to the frame.

For mounting the lamp to the frame I heat up some pieces of flat steel and bend them in shape.

A bit of metal work

After grinding these into shape the get a linseed oil finish.
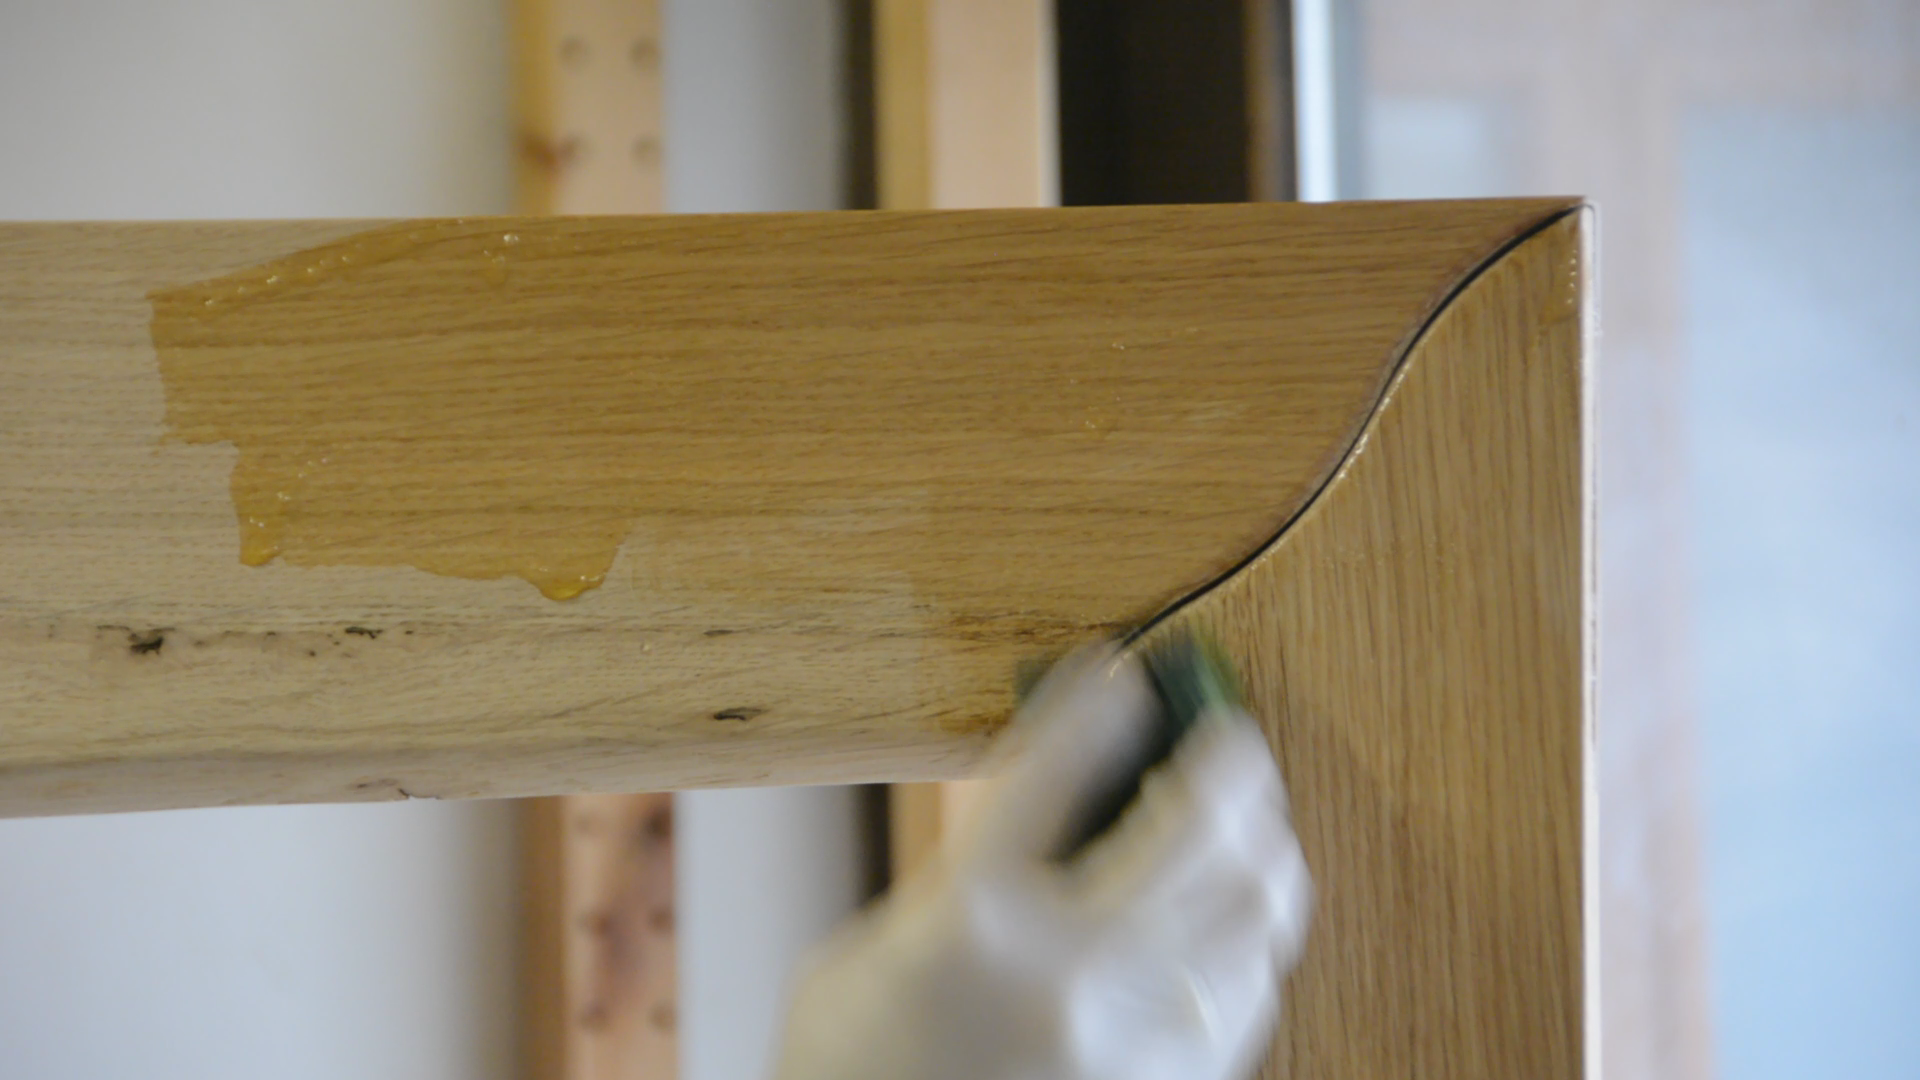
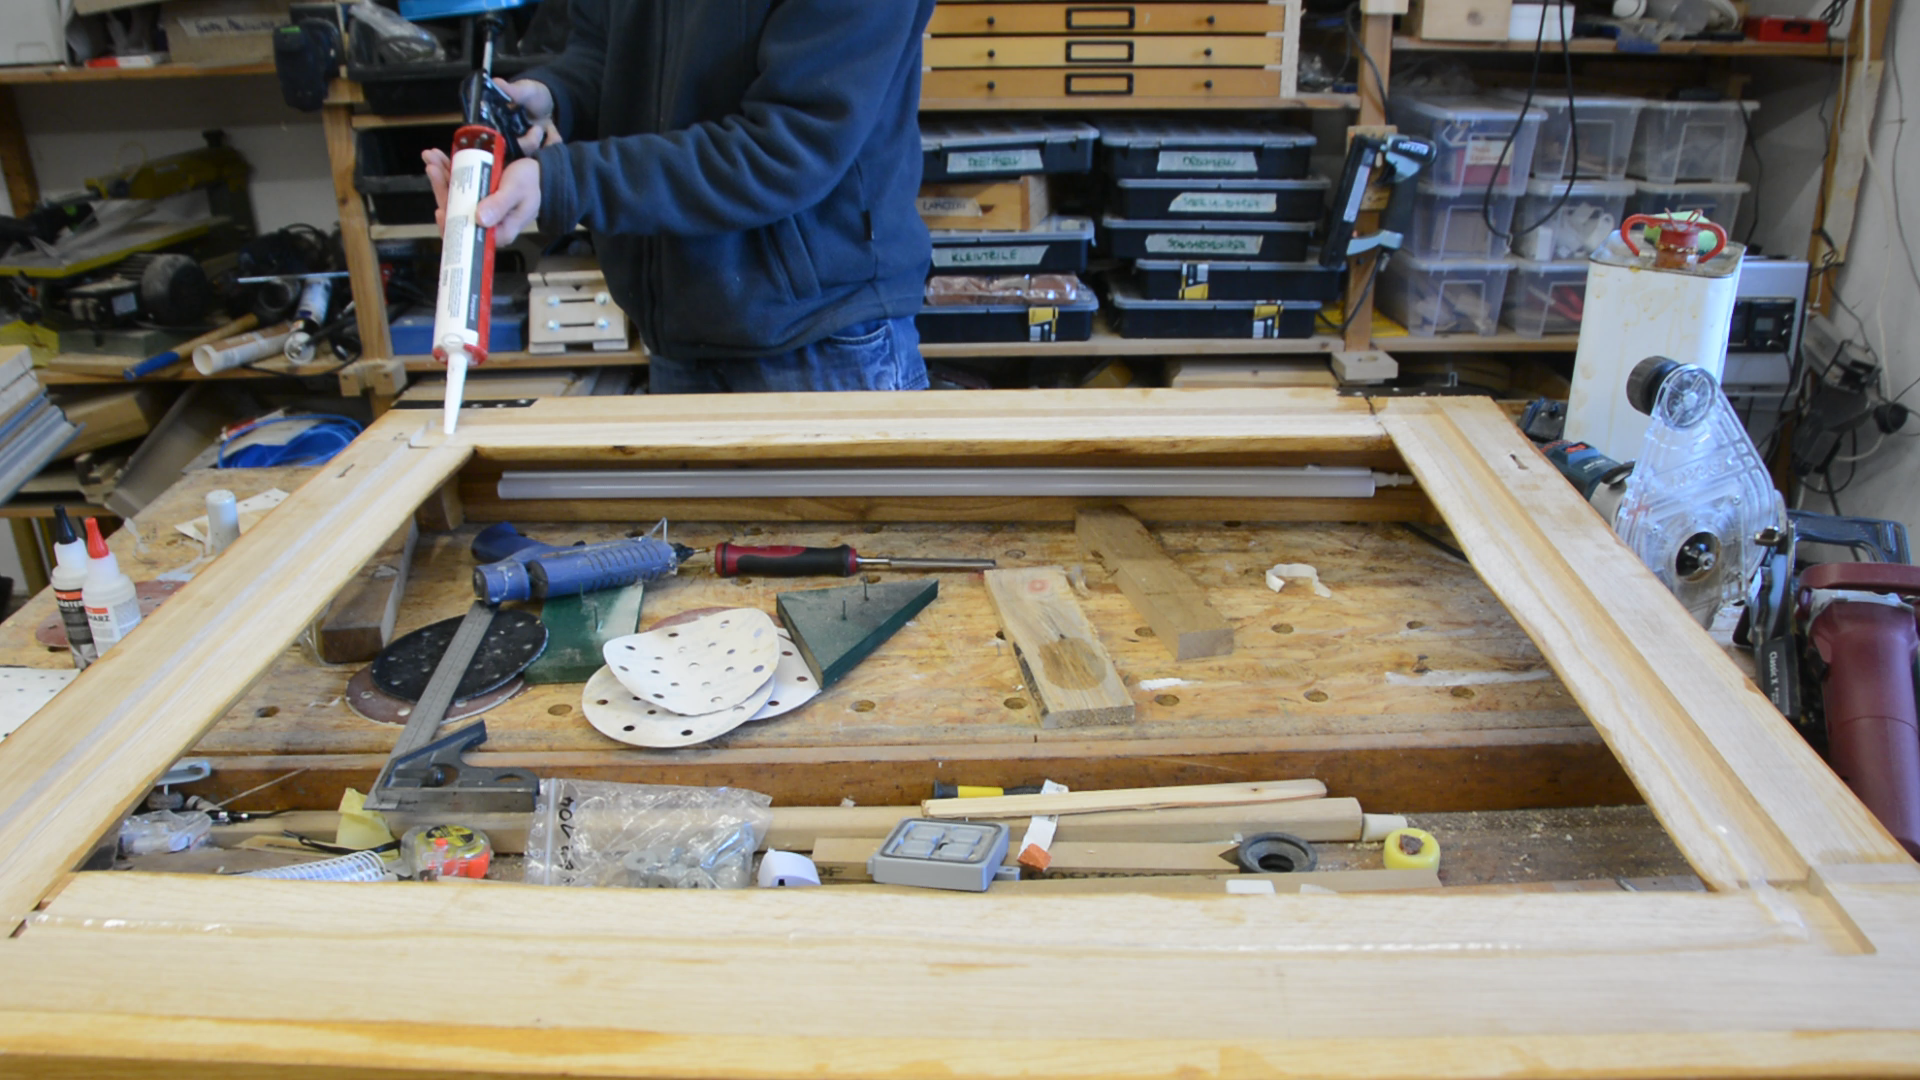
While having the linseed oil out the frame is also gets a coat of oil.

For the frame to be flush with the wall I route a groove into the backside to accept the metal.
With the router I add two keyhole slots for mounting the frame to the wall.

The led lamp is glued into the wooden enclosure.
Last but not least the mirror is glued into the frame and the mirror is mounted to the wall.
After only 5 years we now have a really nice mirror in this bath room.