
In this article we build a better and improved DIY laser air filter for the K40 laser cutter. After working for quite some time with my old DIY laser air filter this build comes with quite a few improvements that reduce the smell, the fumes and make it easier to work with.
A while back I have built this filter for my laser cutter. It contains a few filters for dust particles and an activated carbon filter for the fumes. I am not an air filter expert so this first filter was for me an experiment what works well and what needs to be improved. There were a lot of very helpful comments on the first video and I will try to incorporate these in the new and improved version.
One of the most asked questions was if it still smells if you cut for example acrylics. The answer is: Yes it still smells – far less than without a filter but it still smells like burnt acrylic. Reducing the smell and improving the air quality is therefore one of the main objectives of version 2.
Design improvements
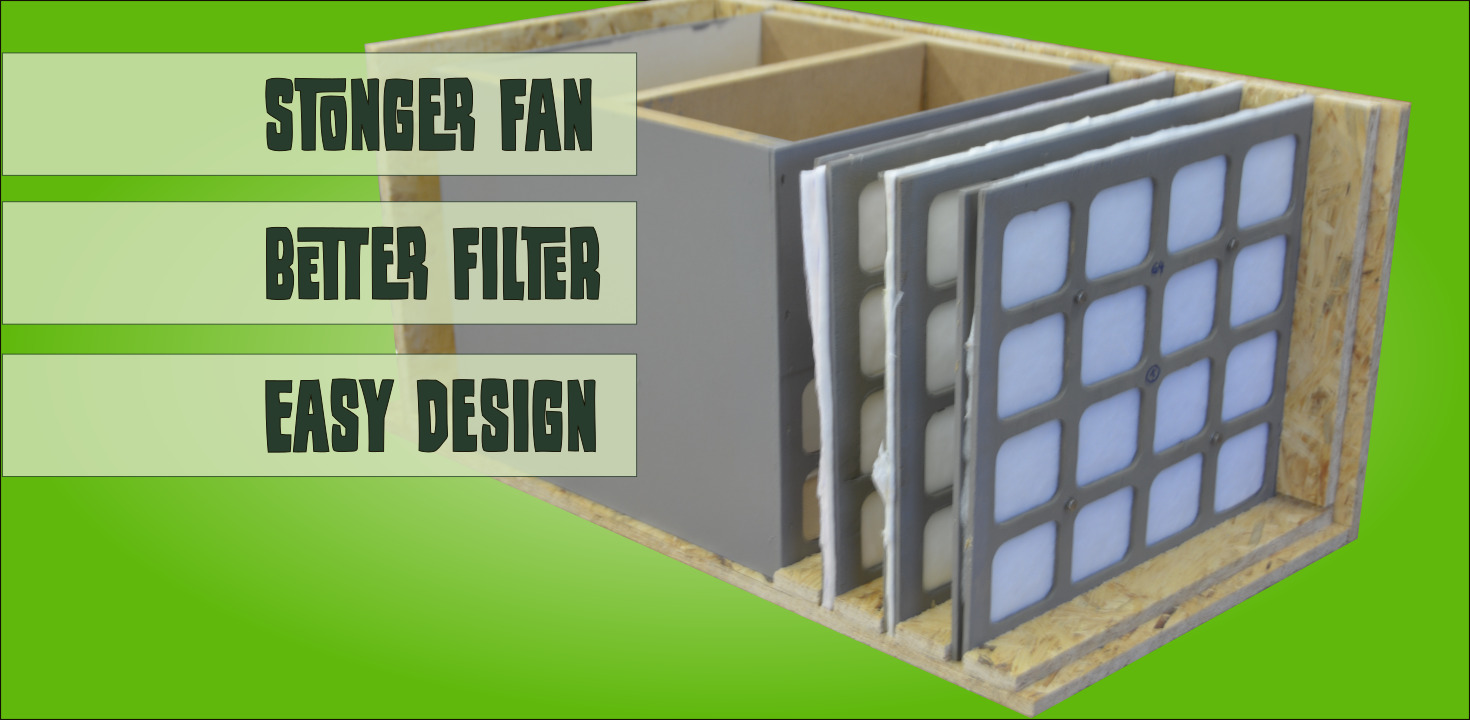
There are a few design improvements with the second version that should eliminate the smell and at the same time reuse some of the components of version 1. Quite a few comments pointed out that the blower needs a higher throughput. In the first design I left the original fan attached to the laser and was hoping for a two stage effect. The first blower should suck air towards the filter and then the other fan pulls it through the filter. This did not work out as planned and fumes from the cutting process exited through the quite sizable gaps of the K40.
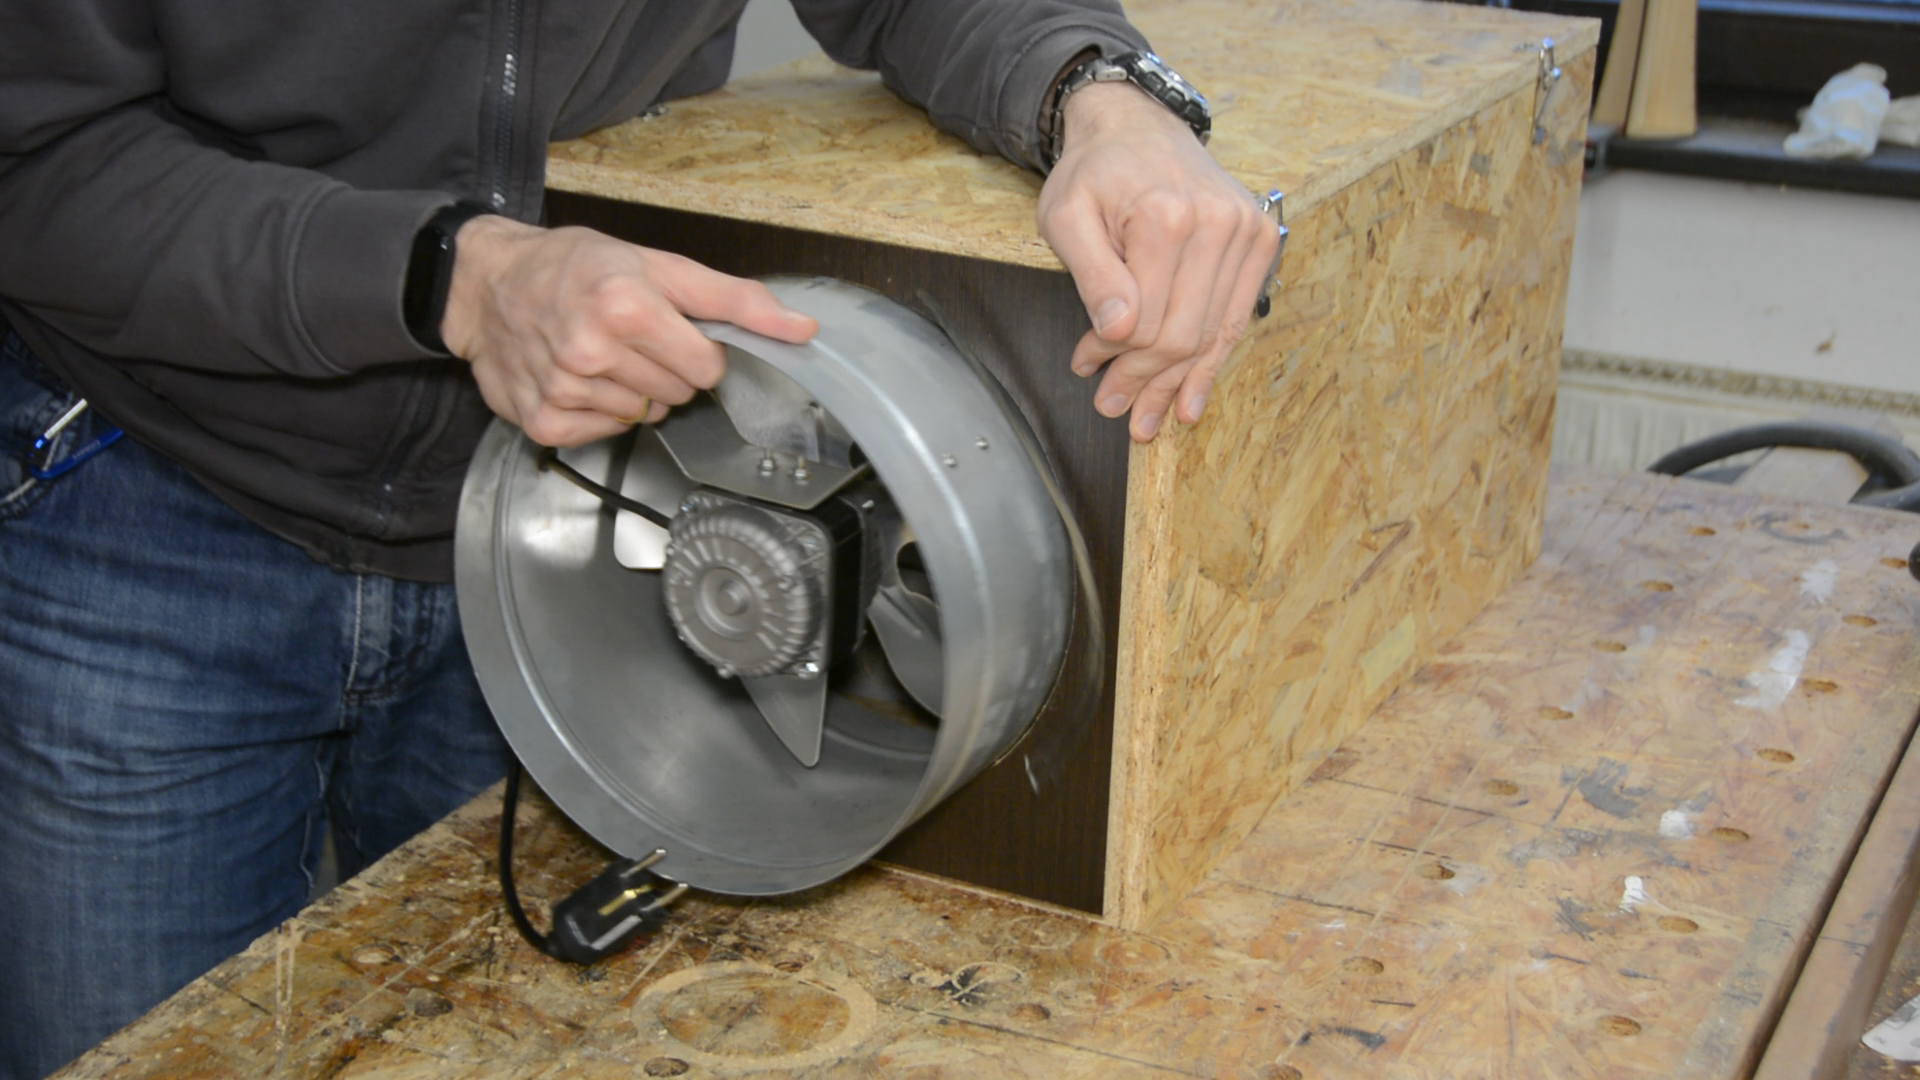
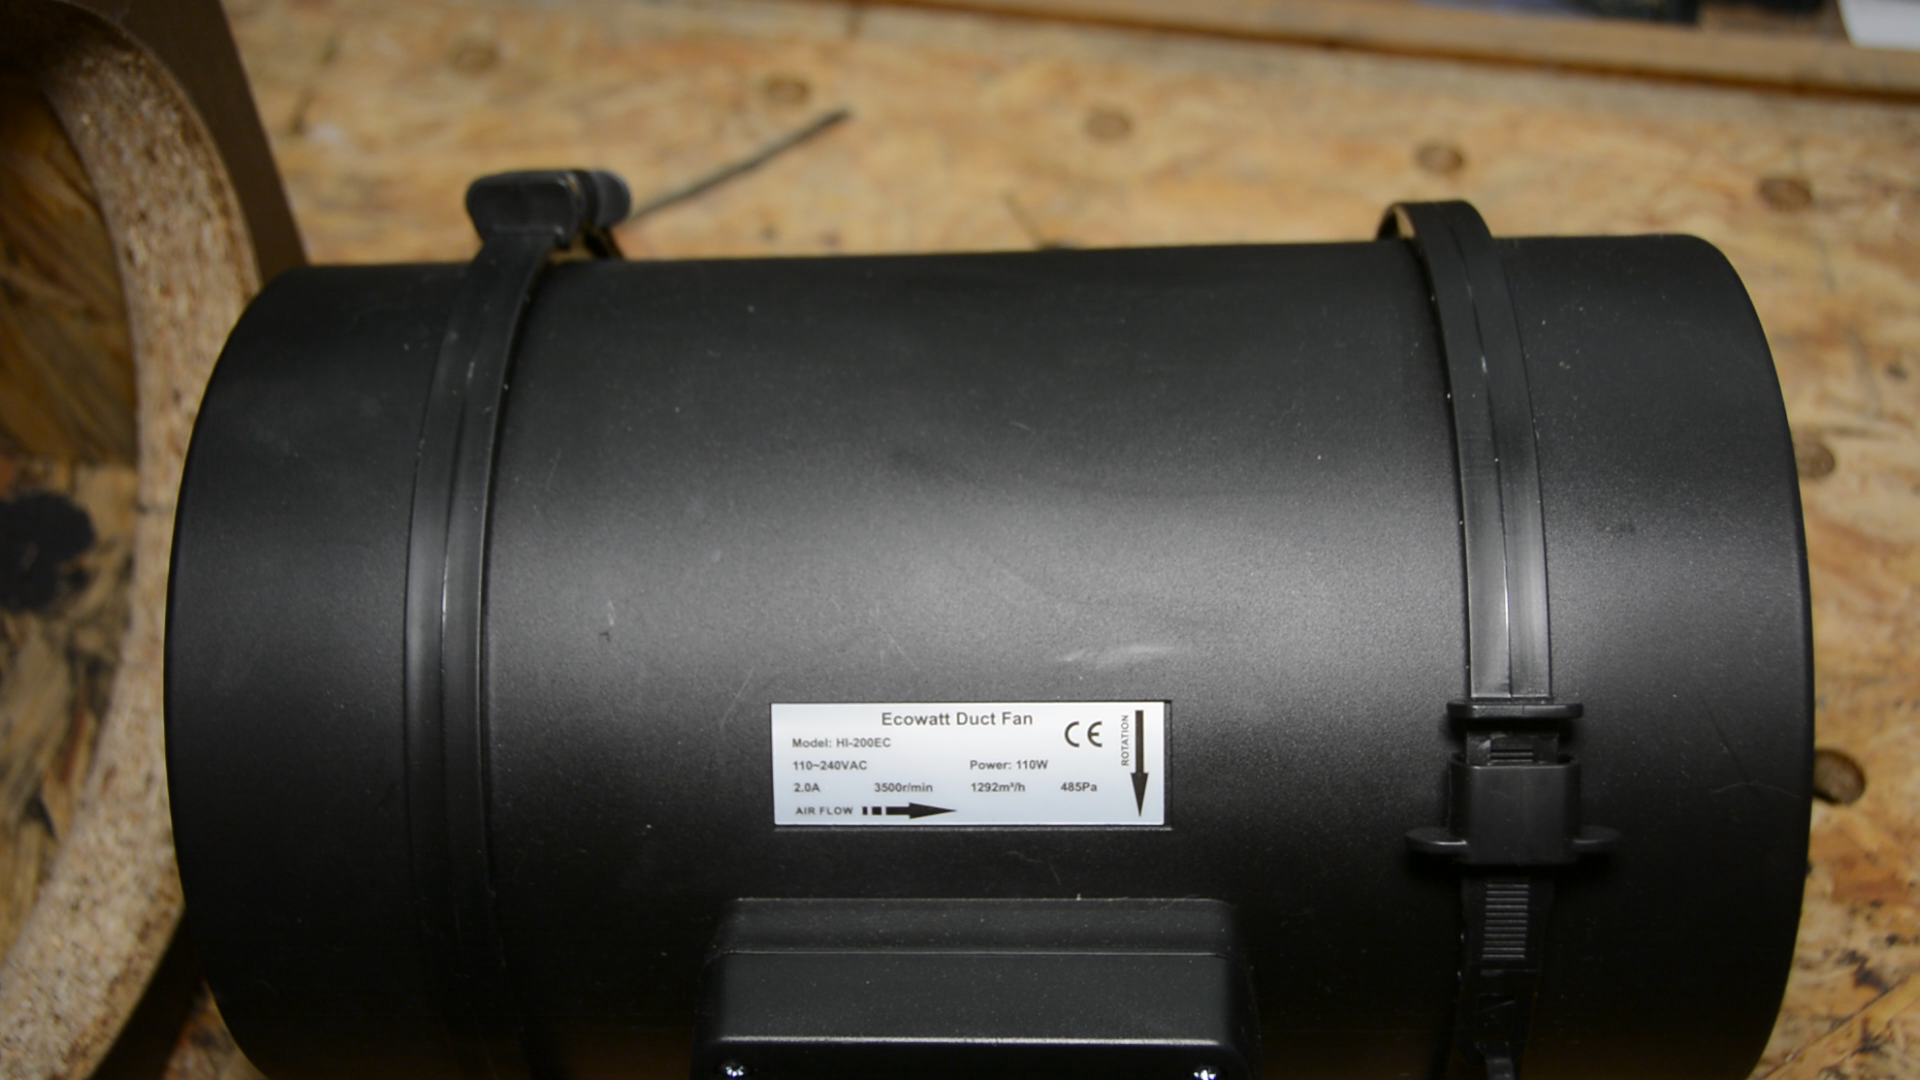
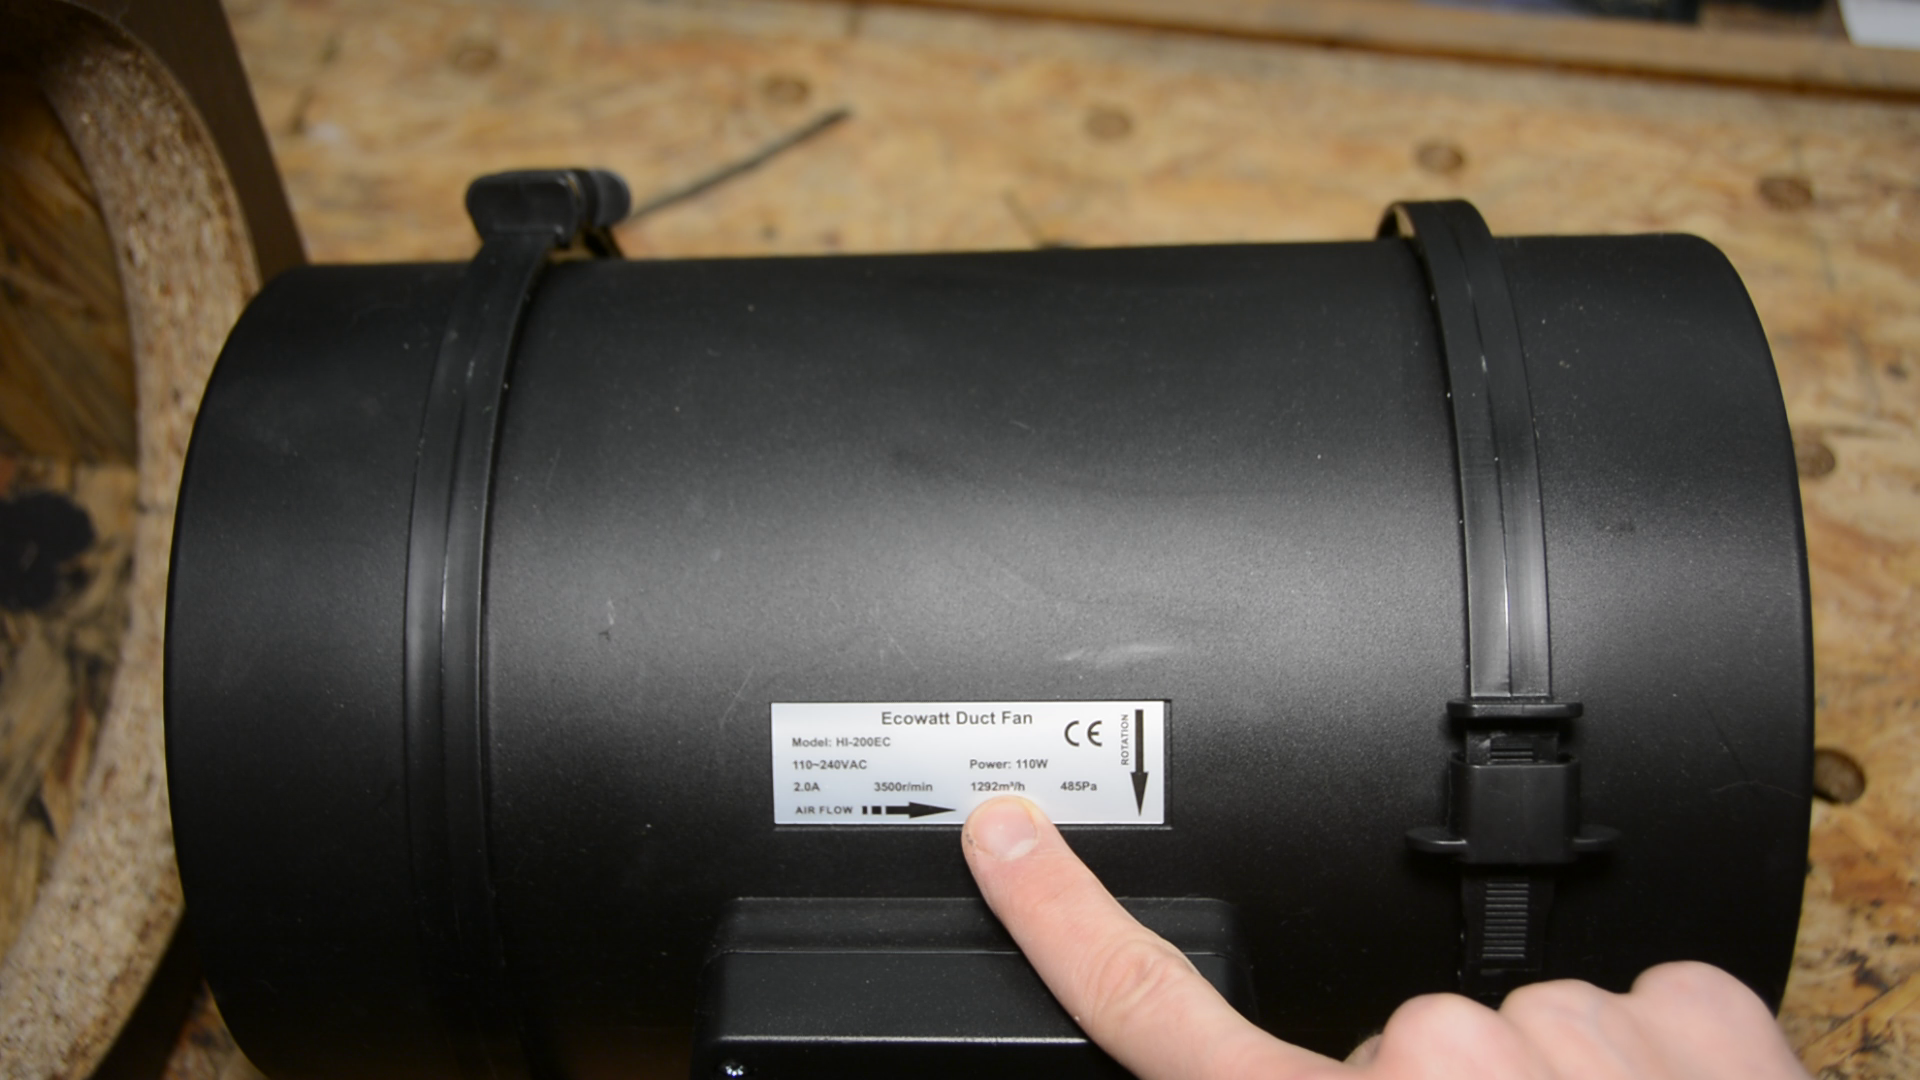
The new blower that I am using was provided to me for free by Hon&Guan. It has plenty of power and works very well. If you want to use the same blower you can find if here There is however nothing special about this fan. If you can get a cheaper one with similar specs you should be fine.
The second design flaw is the activated carbon filter. As the material settles over time it created a gap at the top of the filter – rendering this stage useless as all the air will bypass the activated carbon. I will fix this by redesigning the filter module.
Building the new filter
The build starts with removing the old filters from the box. I have not changed the filters for some time and will replace the filter material. These filters worked well and I will reuse them in the new version.
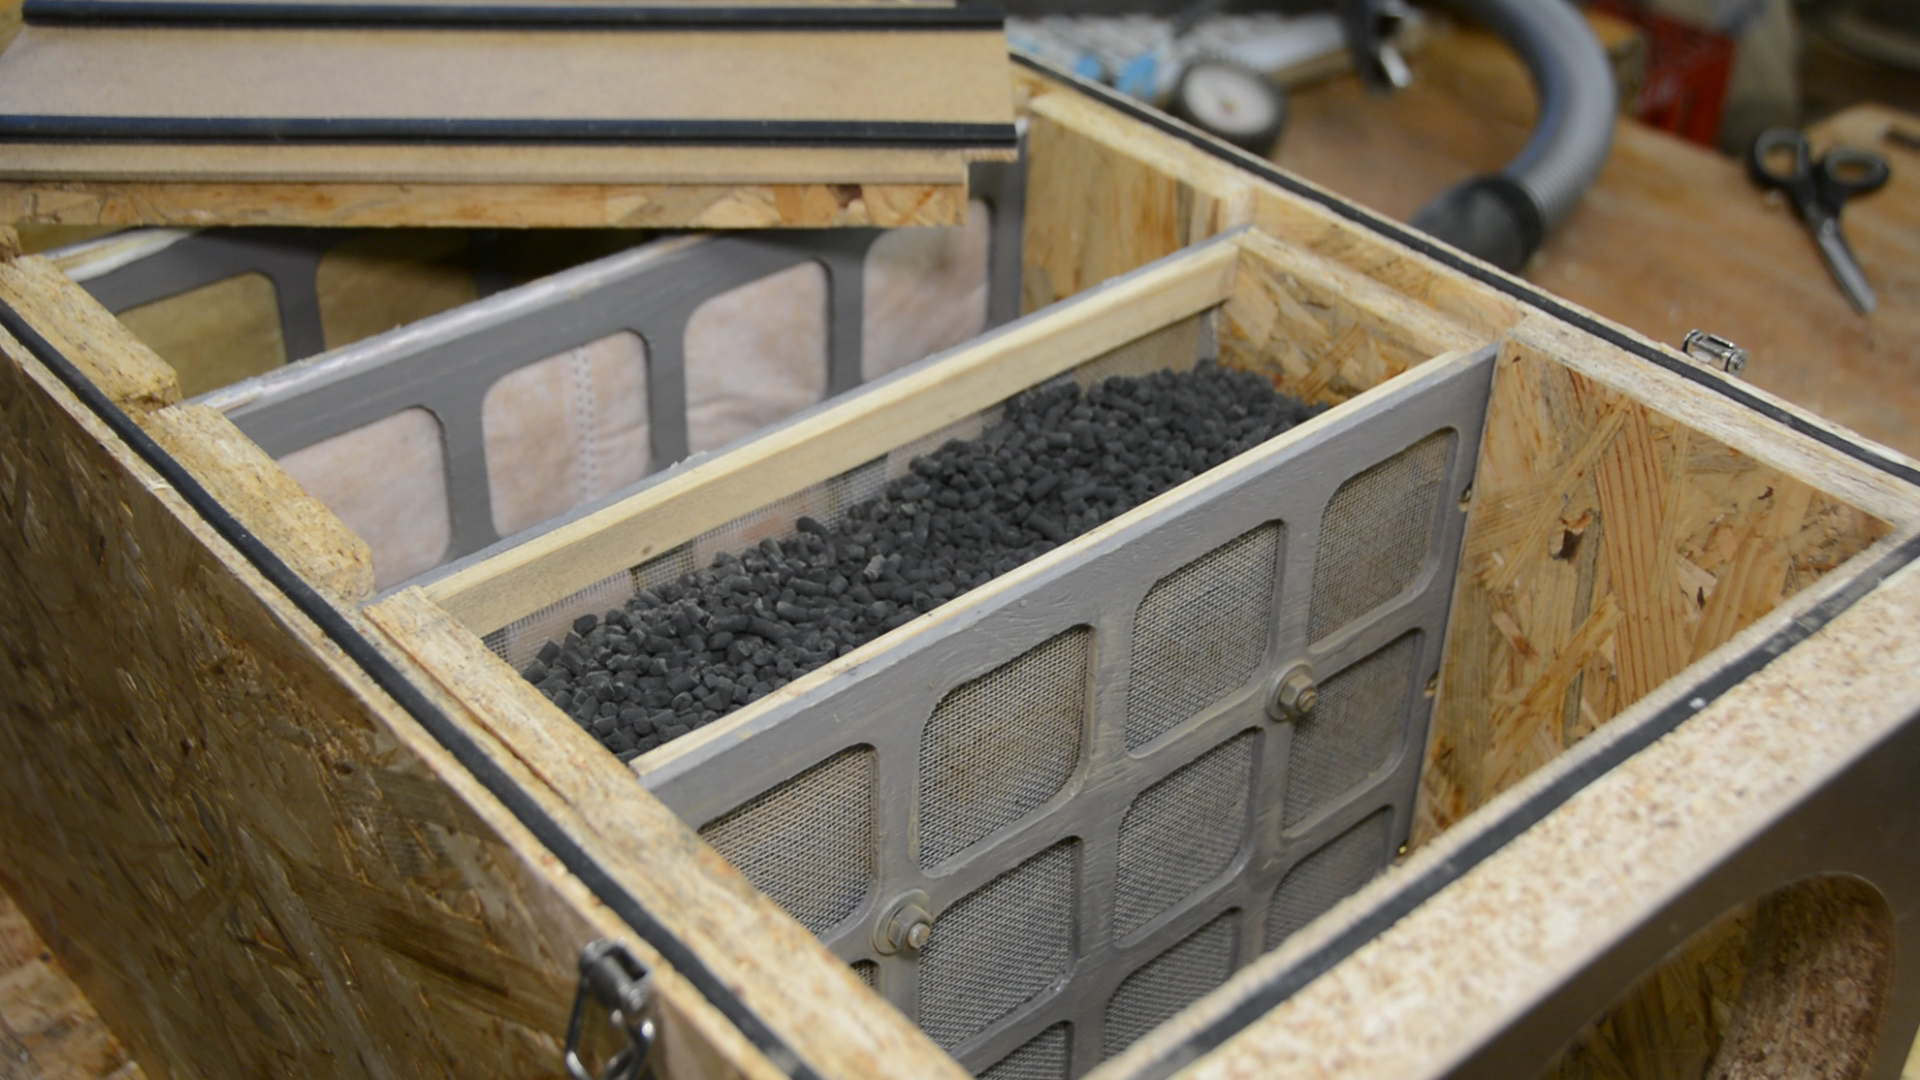
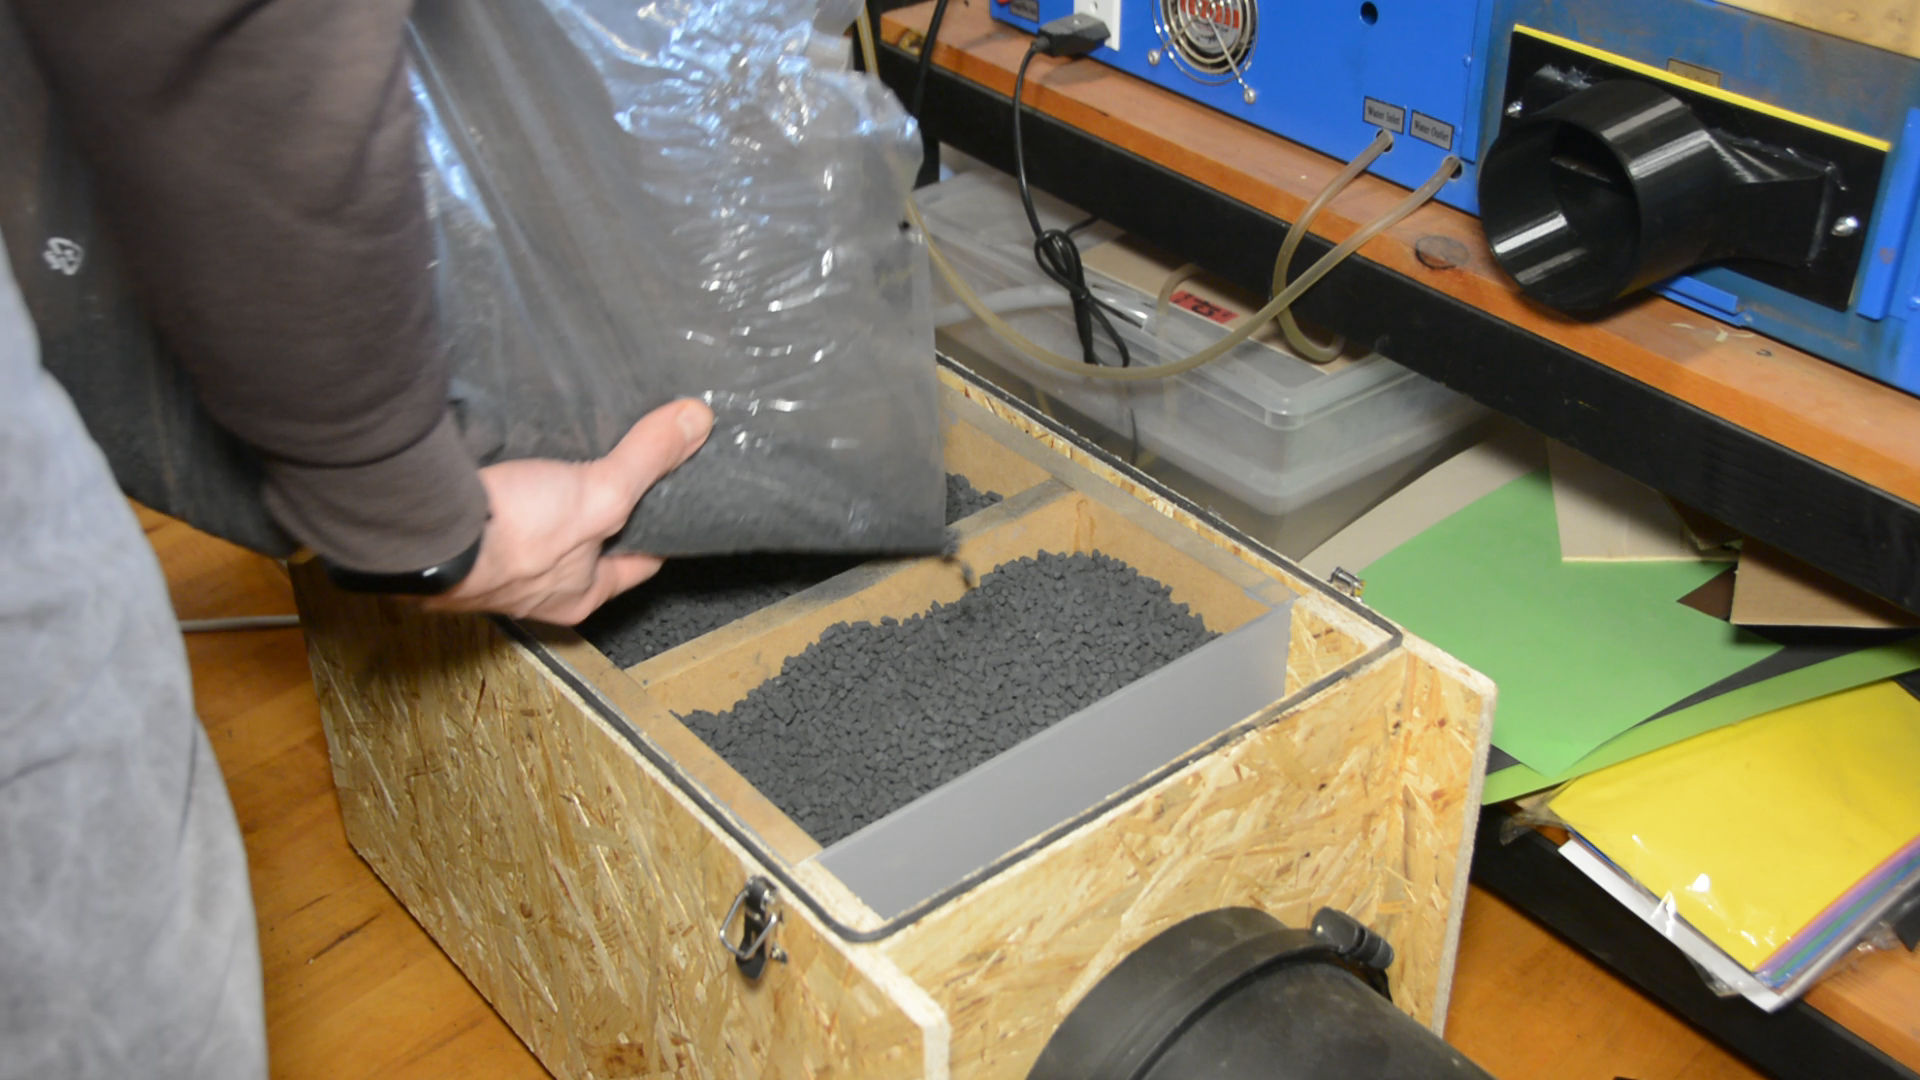
I will not be able to reuse the activated carbon filter. Therefore I store the activated carbon to be filled in the new filter later.

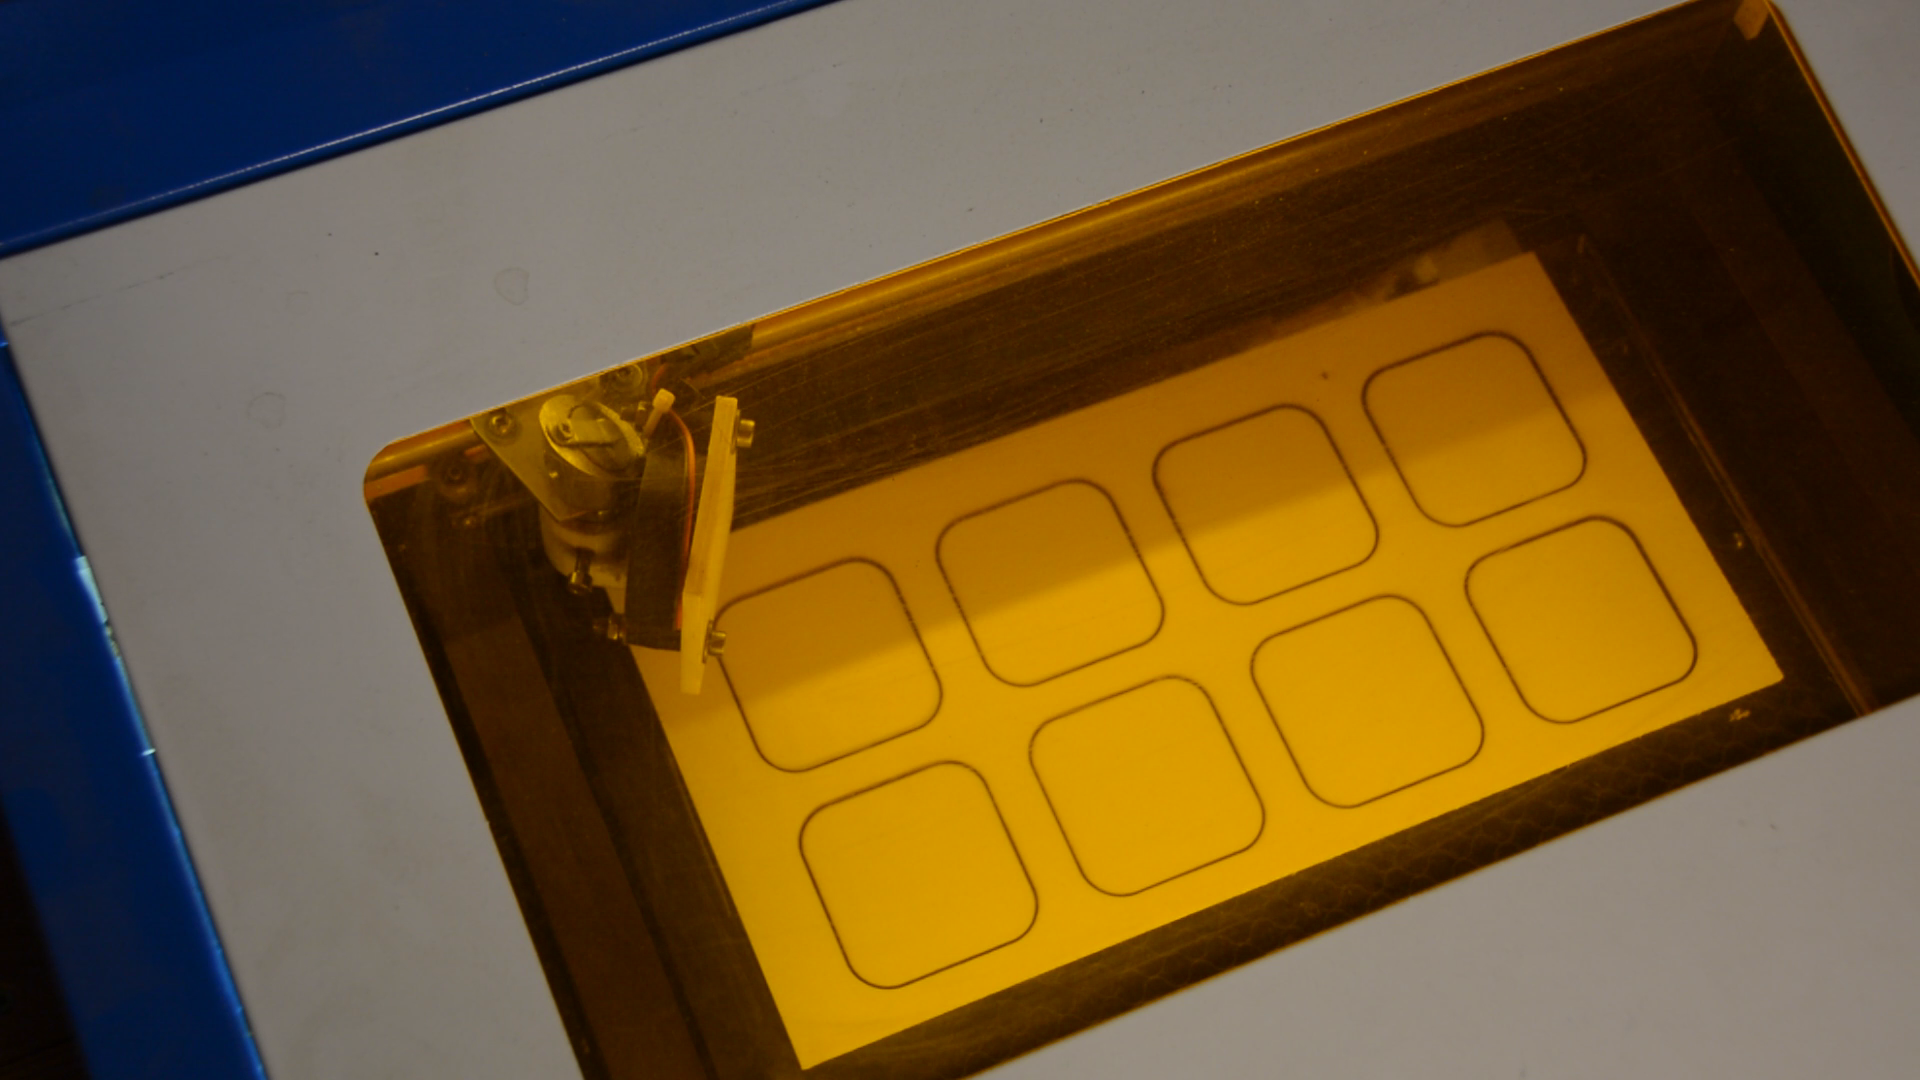
A new activated carbon module for the laser air filter
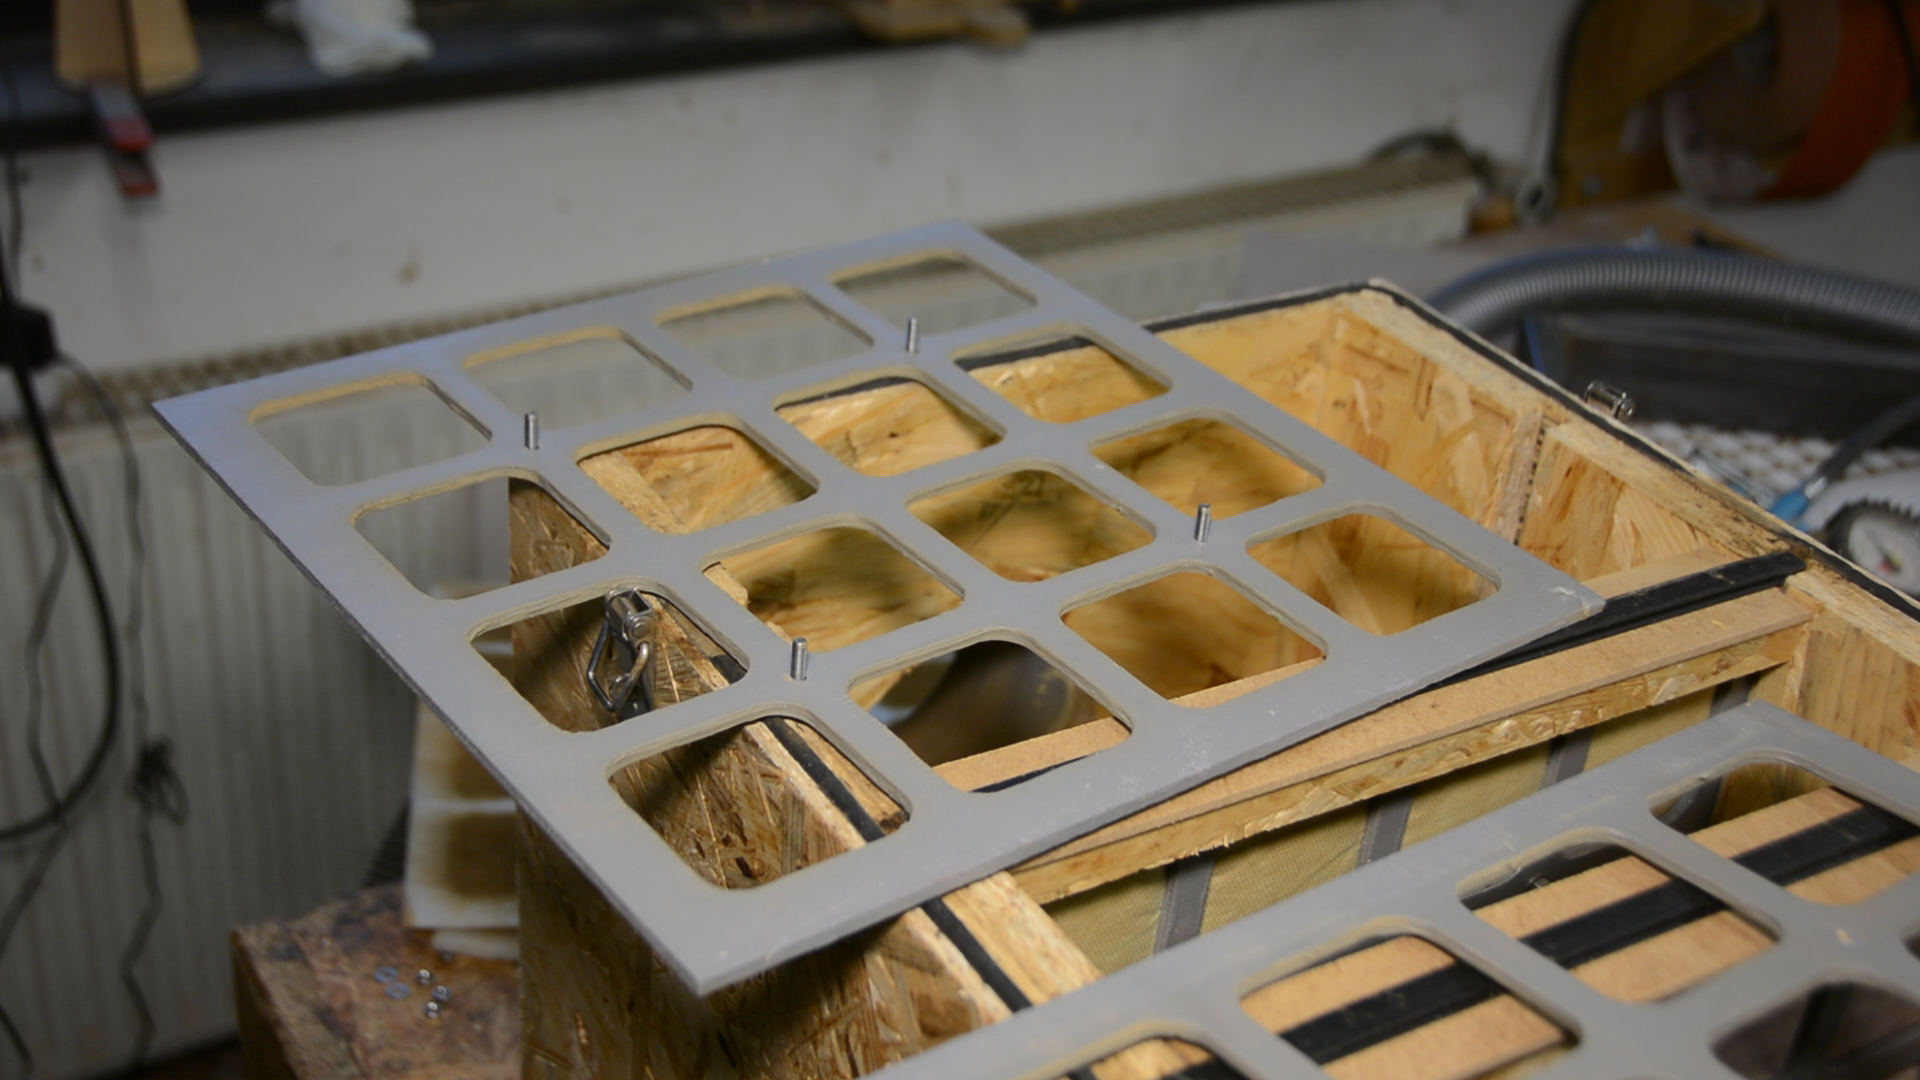
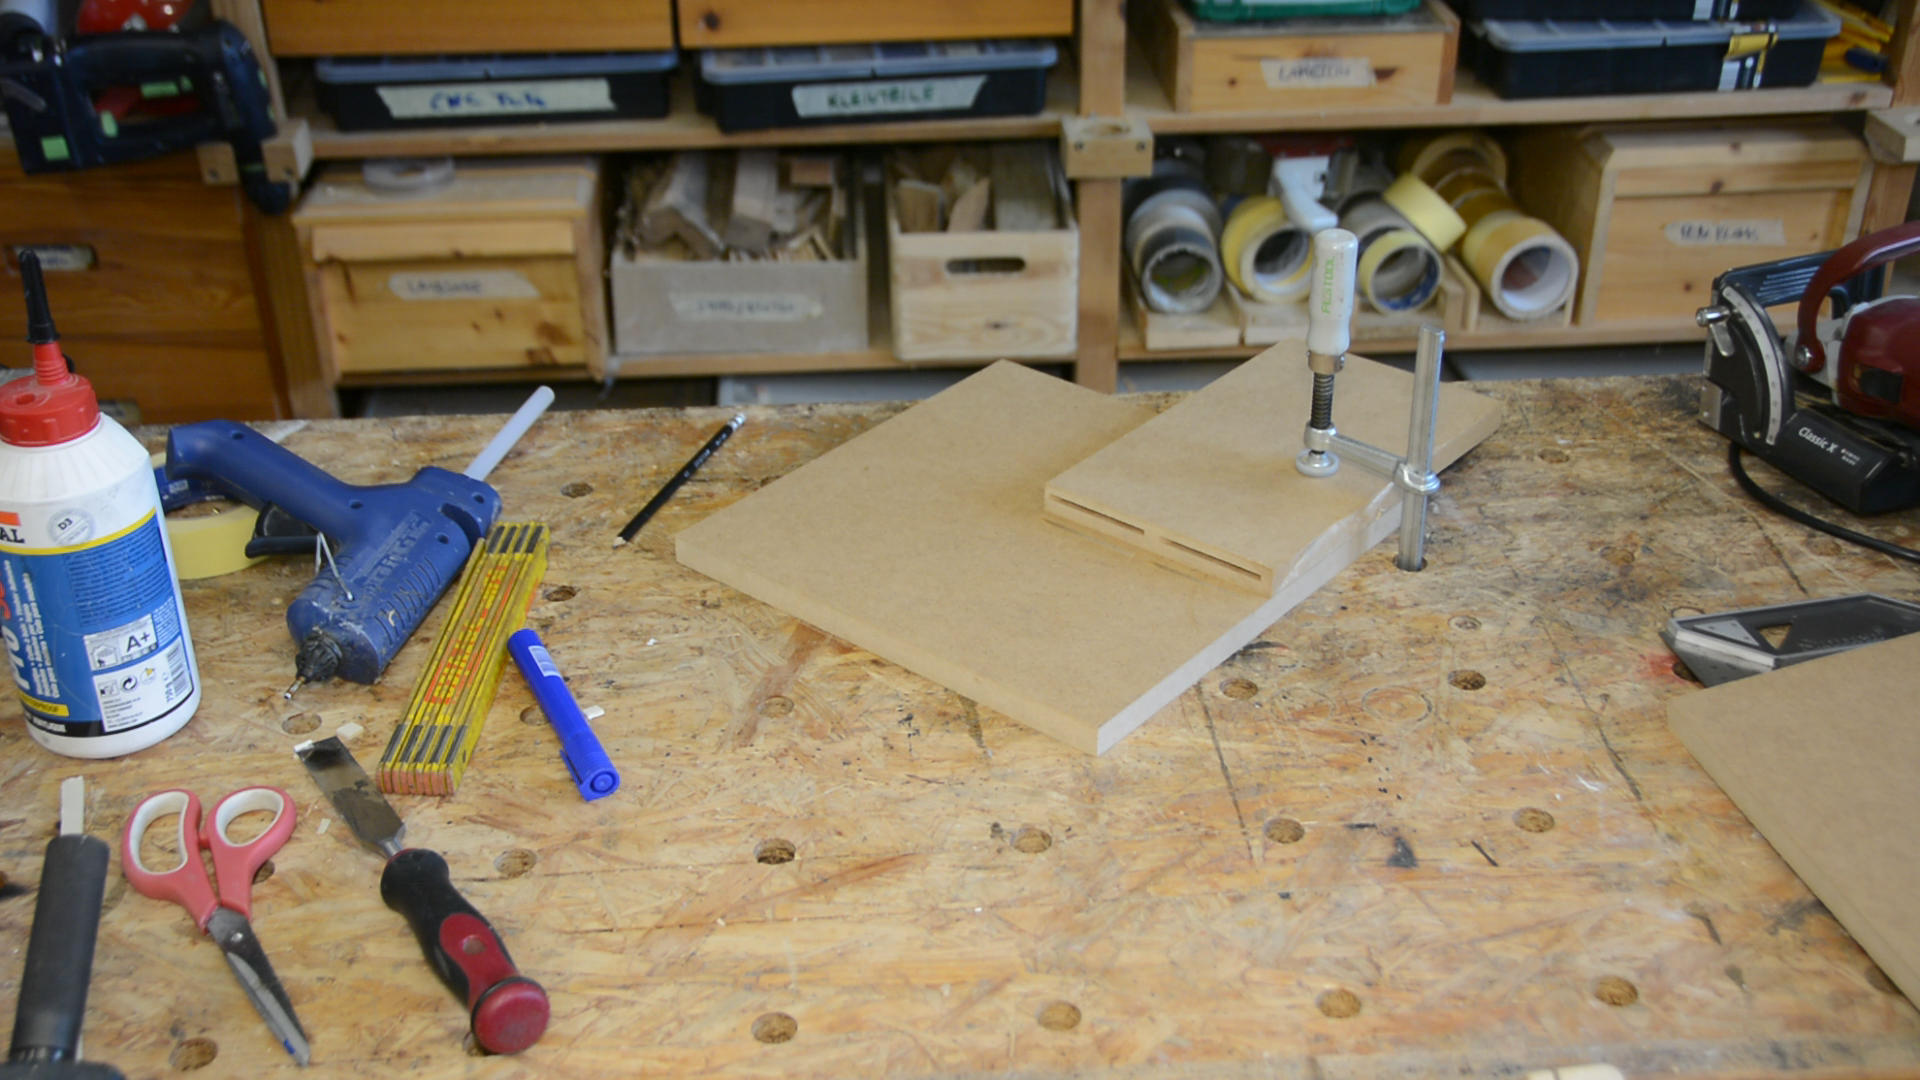
For the new activated carbon module I am cutting openings into a 15 by 30 cm large sheet of 4 mm plywood with the laser.
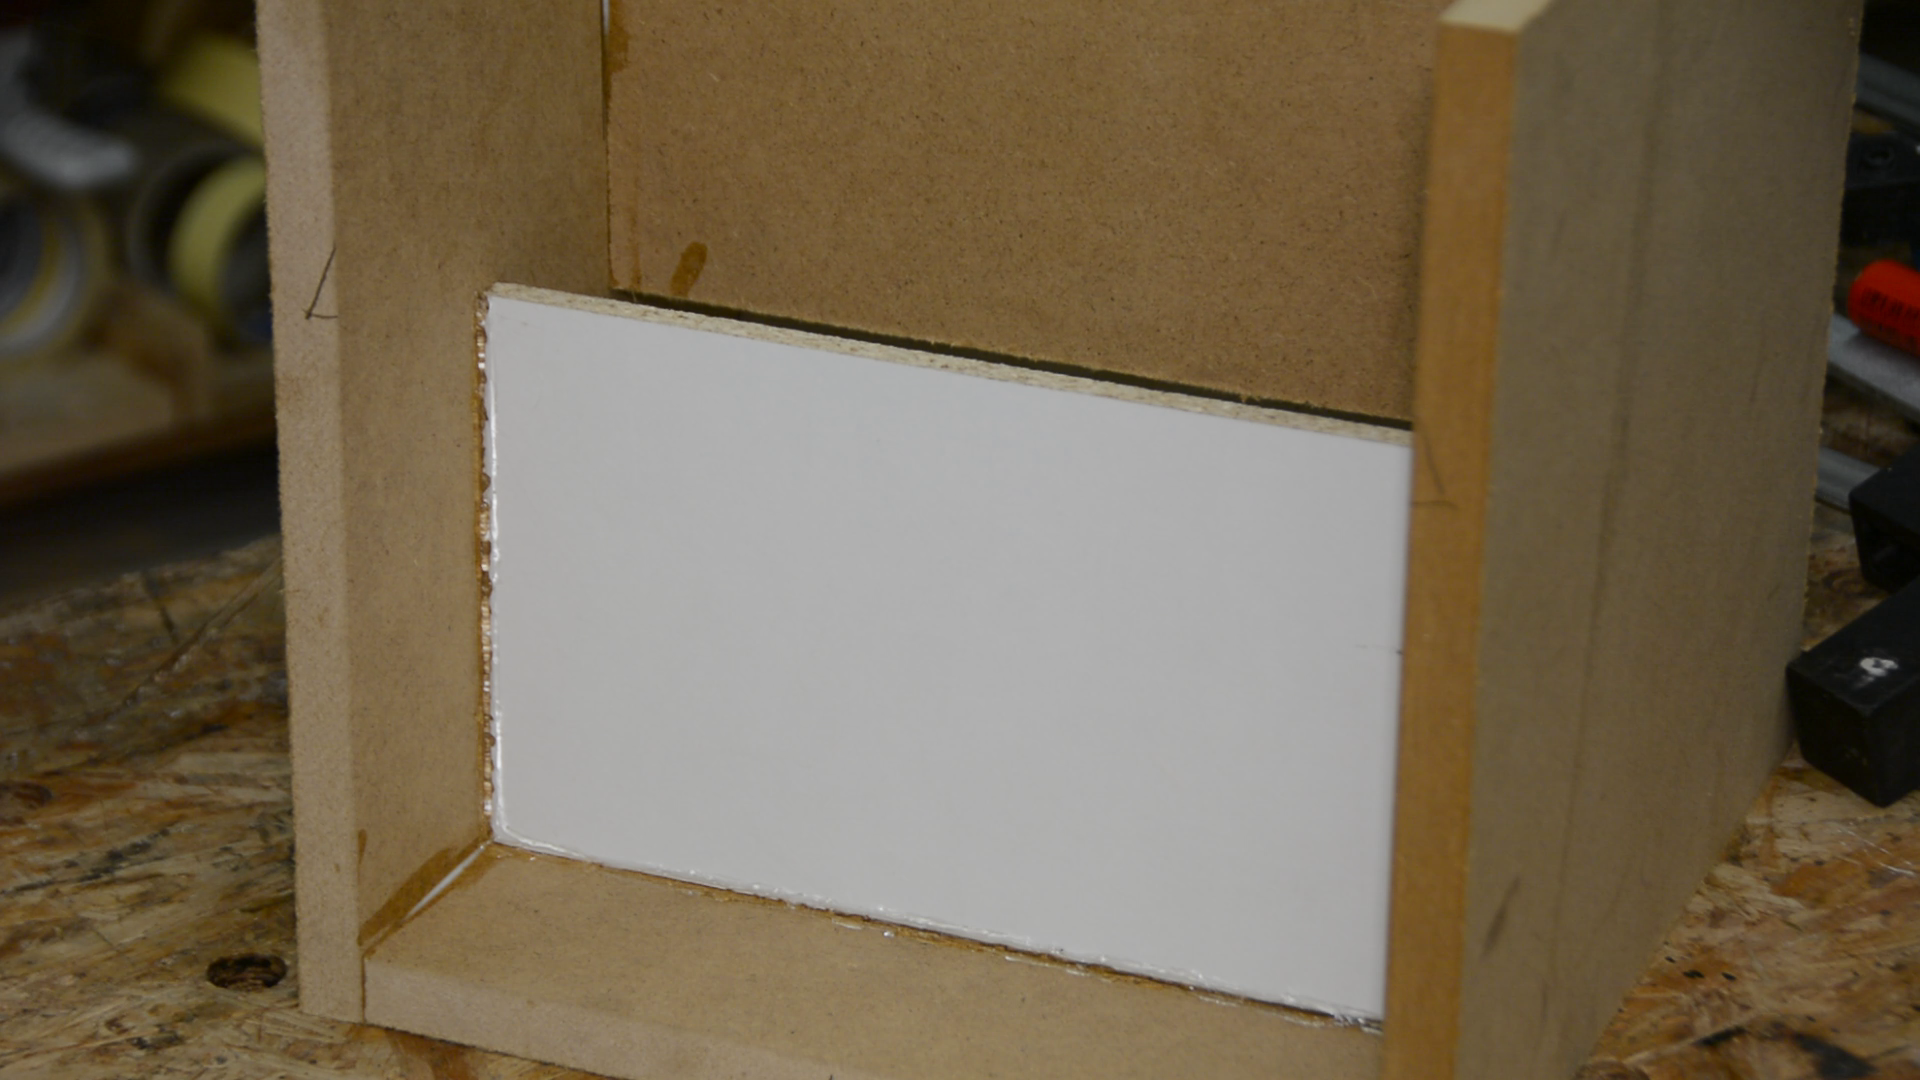
This will be the lower half of the filter and is glued to a piece of ply with the same dimensions but no openings.
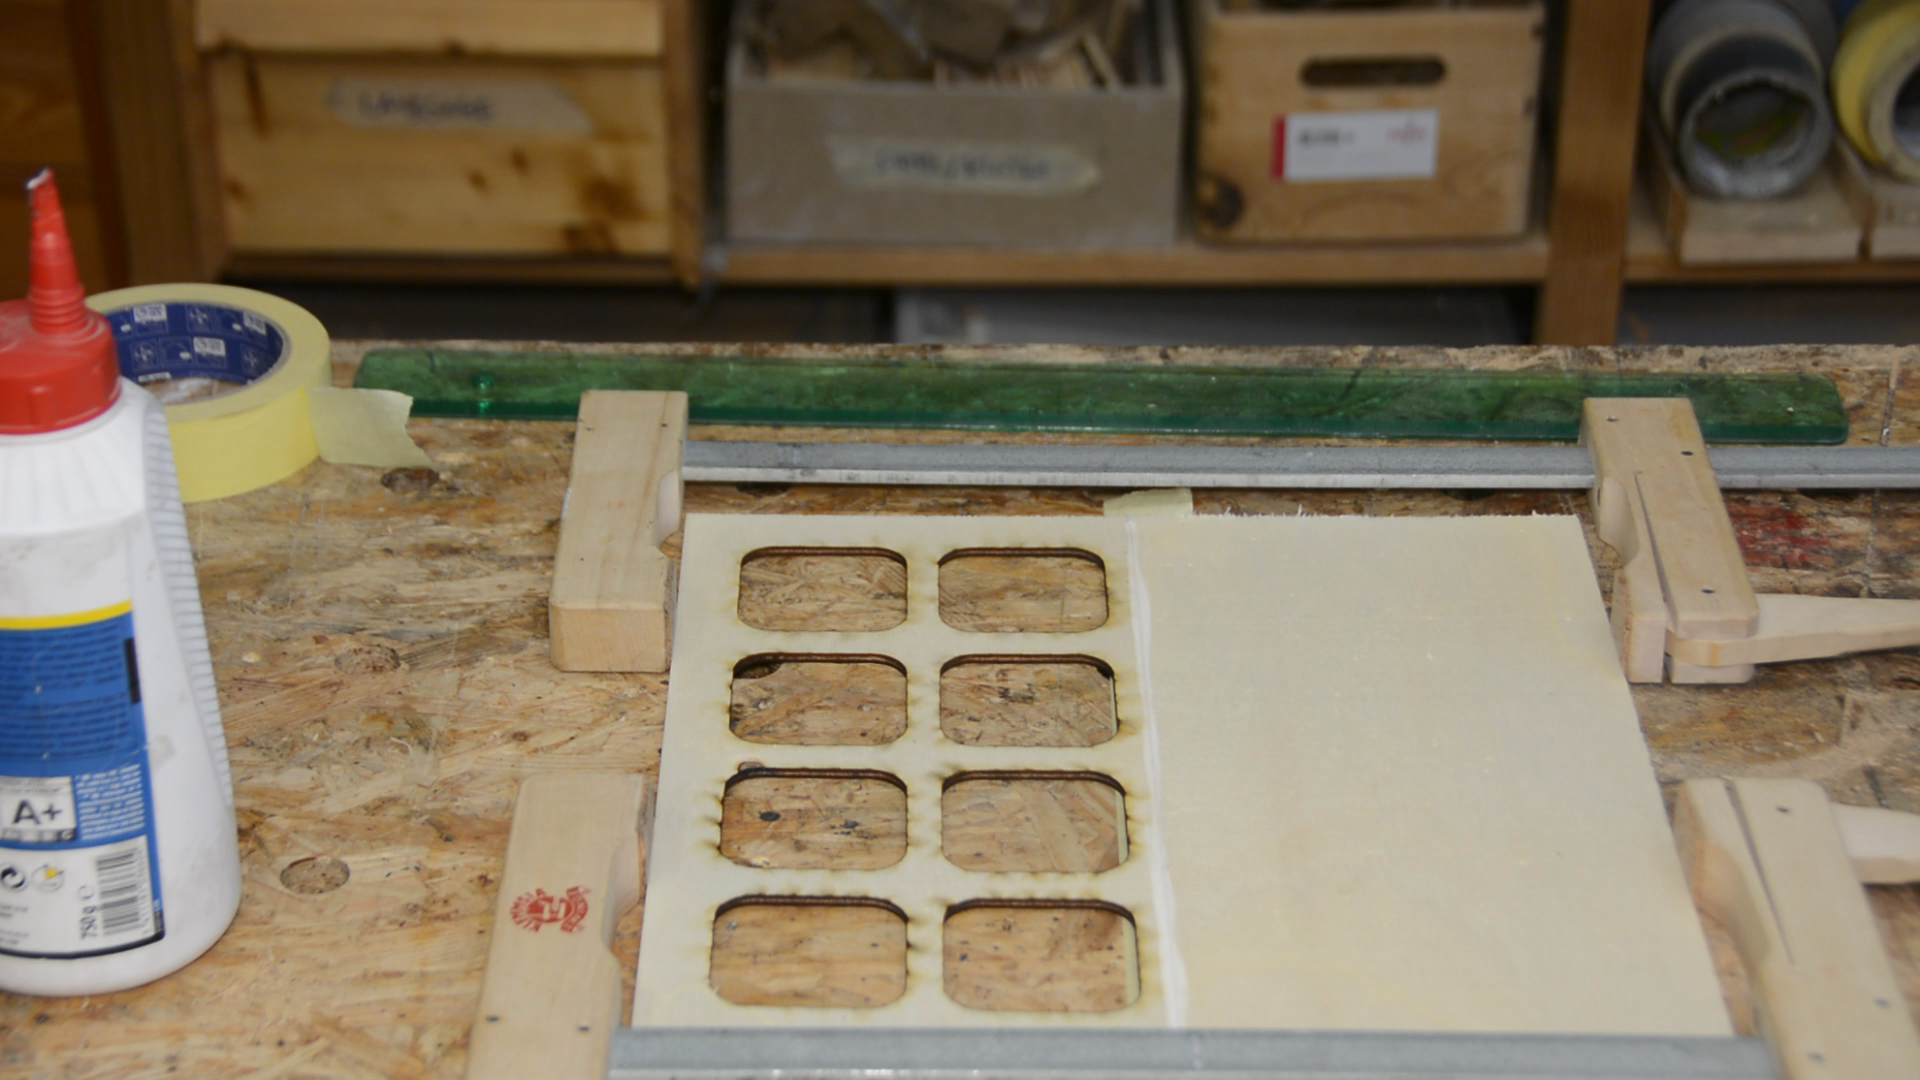
As a reinforcement a few additional strips are glued to the backside. These also hold the metal mesh in place.
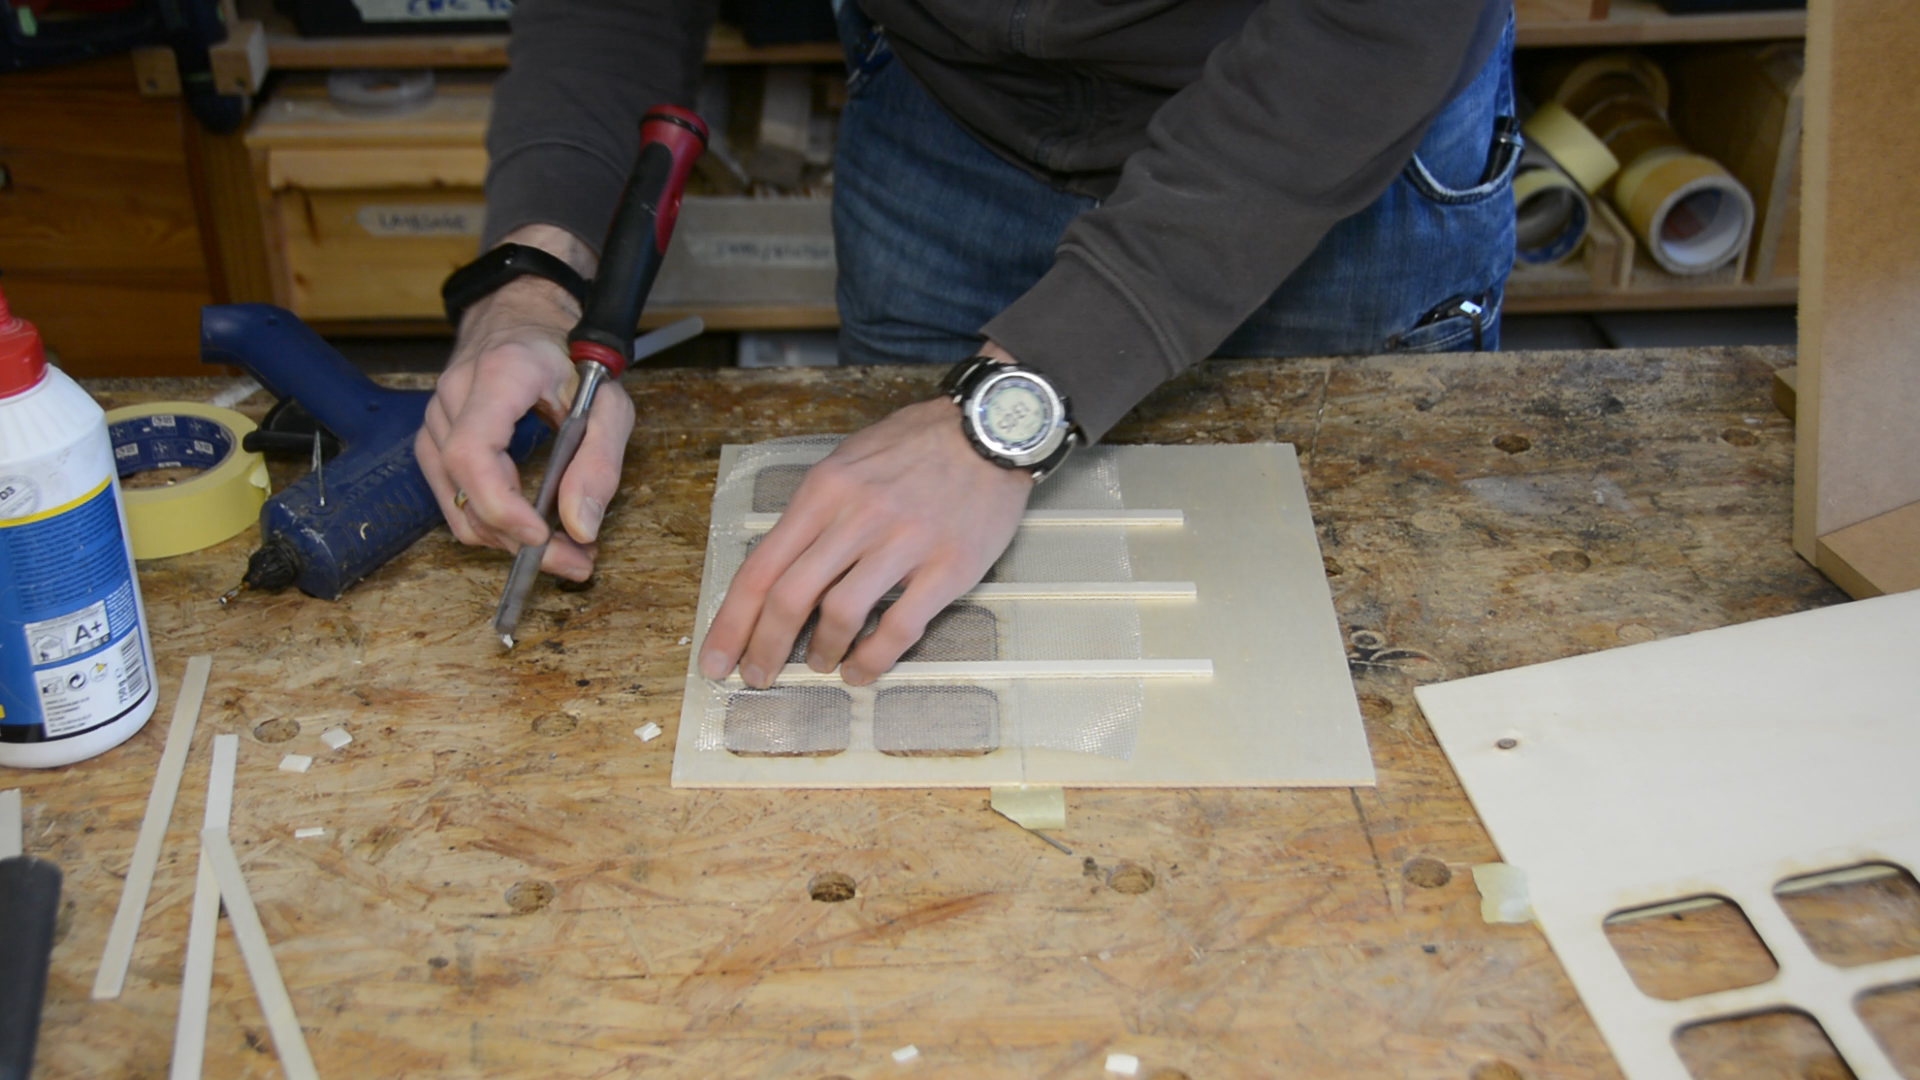
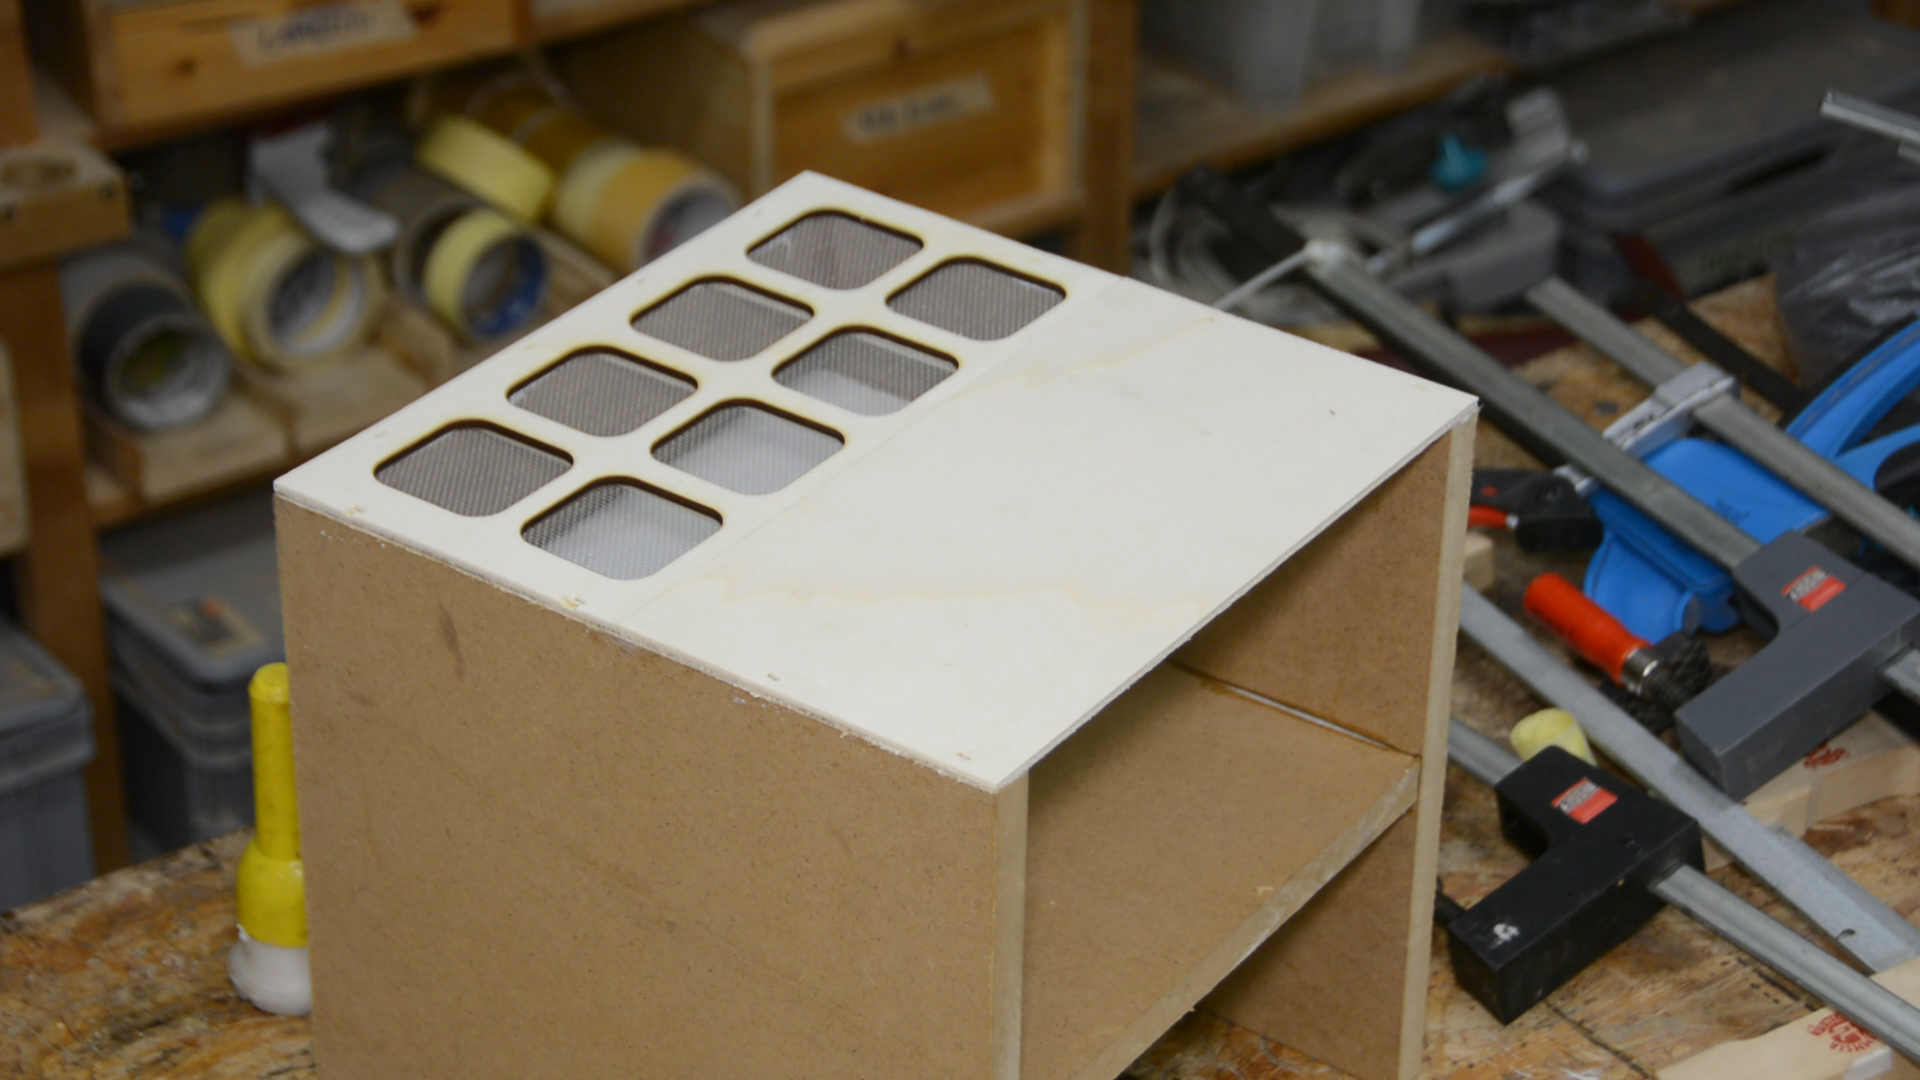
The activated carbon filter module itself is built from MDF. The MDF is connected with biscuits.
With the design I want to make sure that even when partially filled the air has to pass through the activated carbon. The air will enter down through the mesh, is then forced up, down and up and down again to exit the module. This way as long as the filter is half full it should be effective.
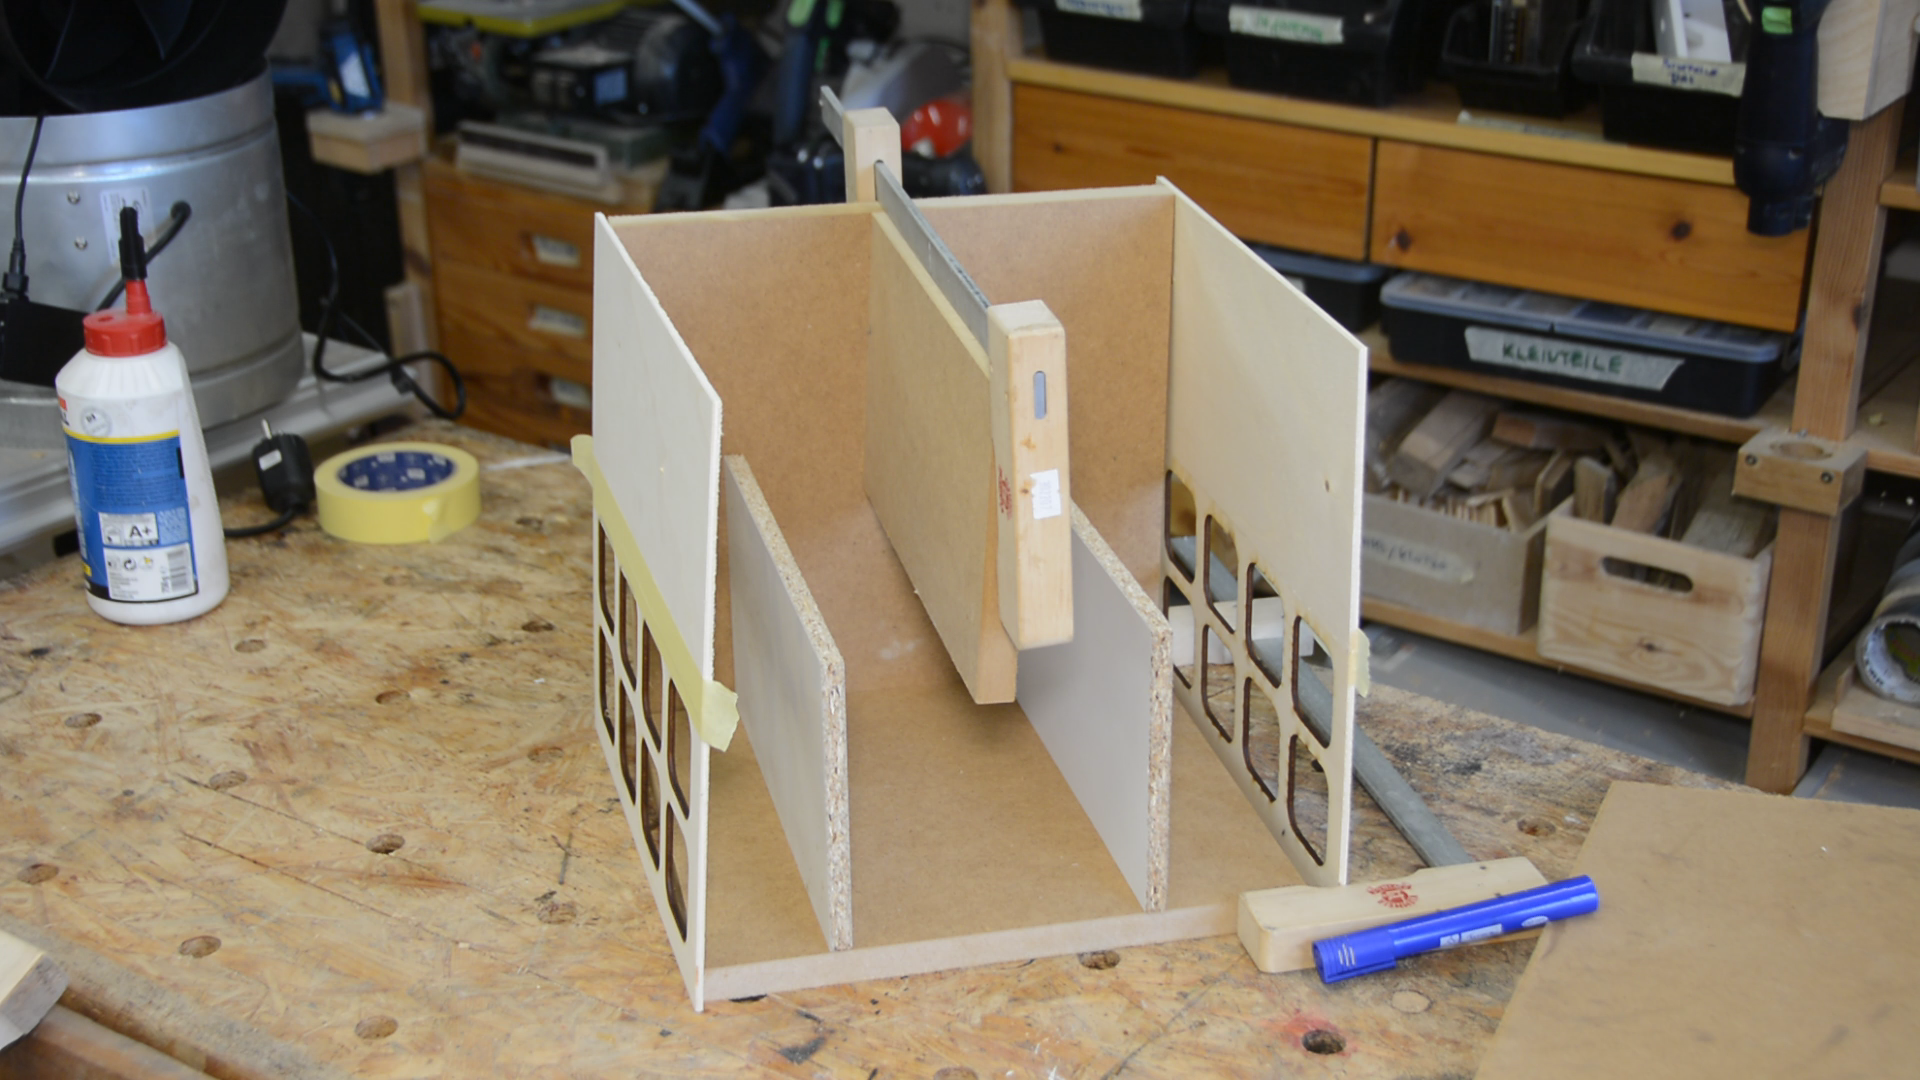
The glue up is pretty easy as I split it in several steps. First the sides and the upper divider are glued together with PVA. I am very cautious that the box is totally square.
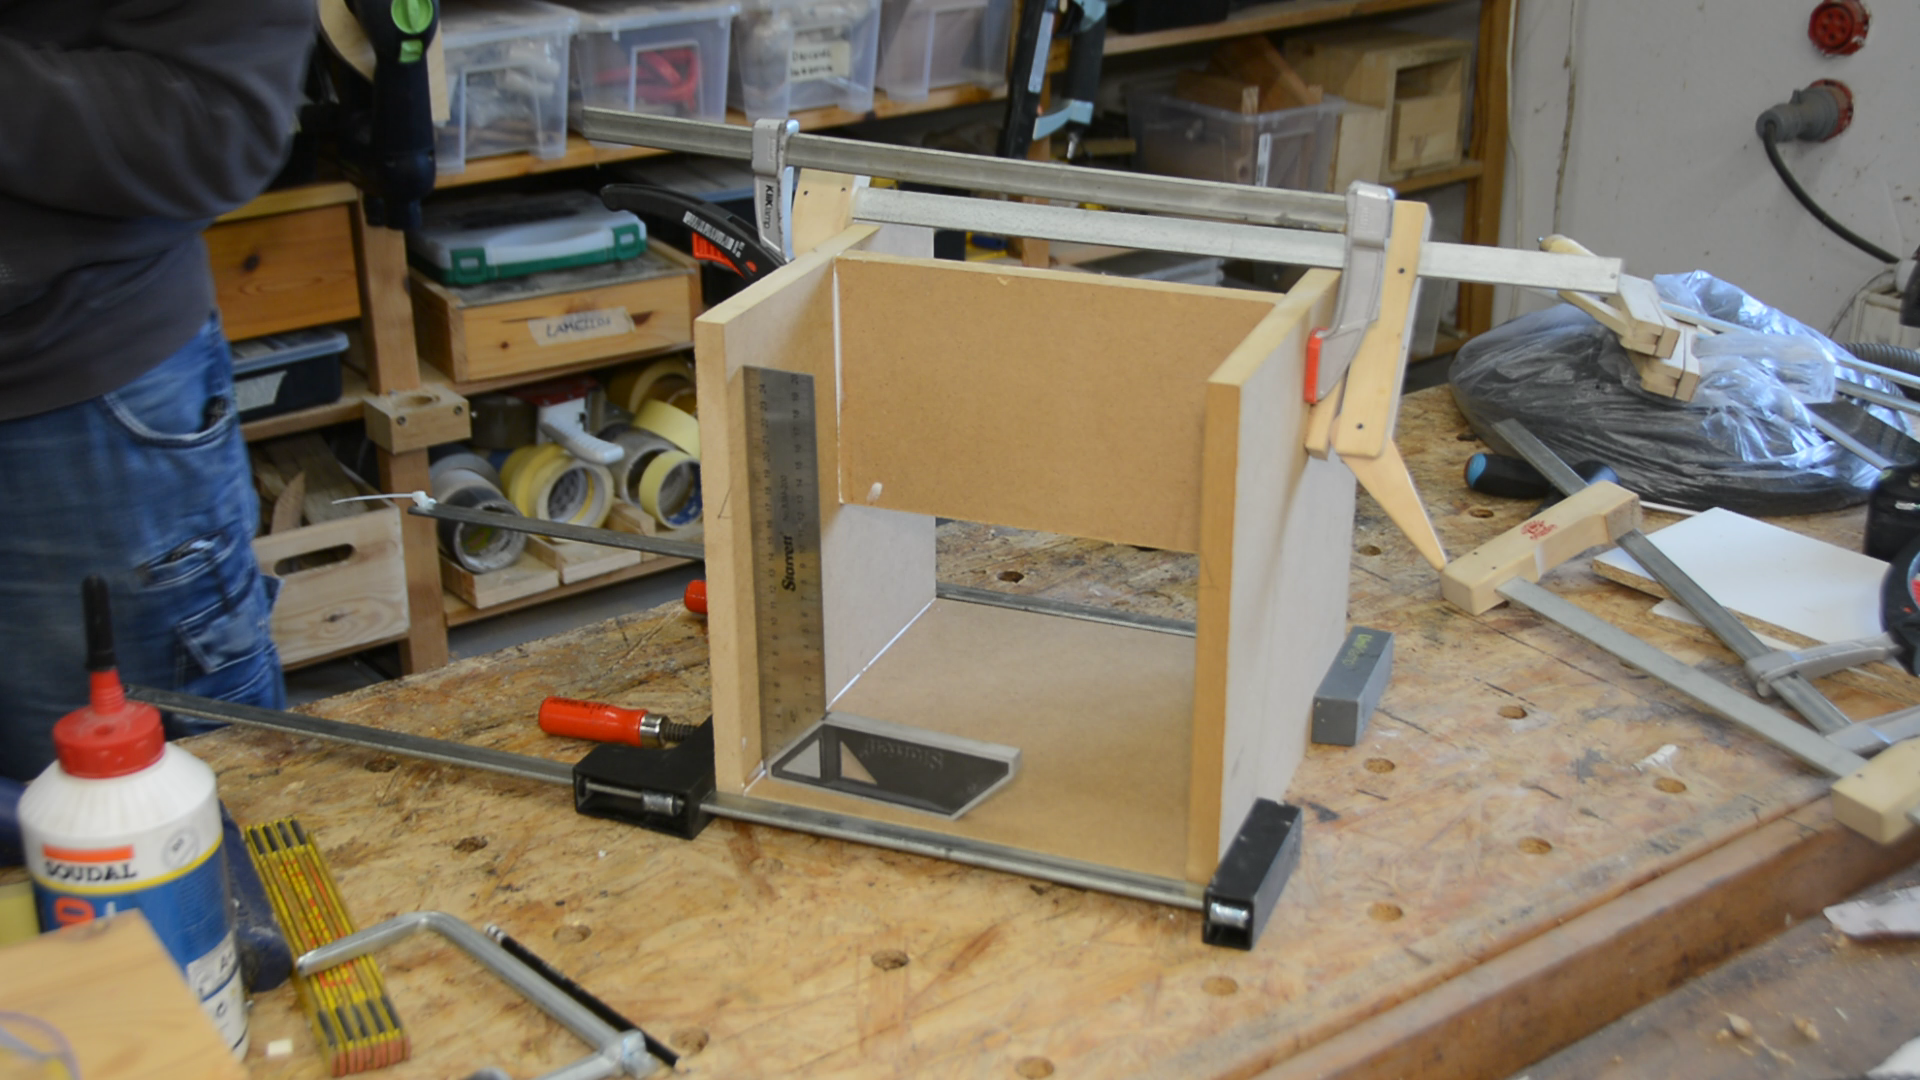
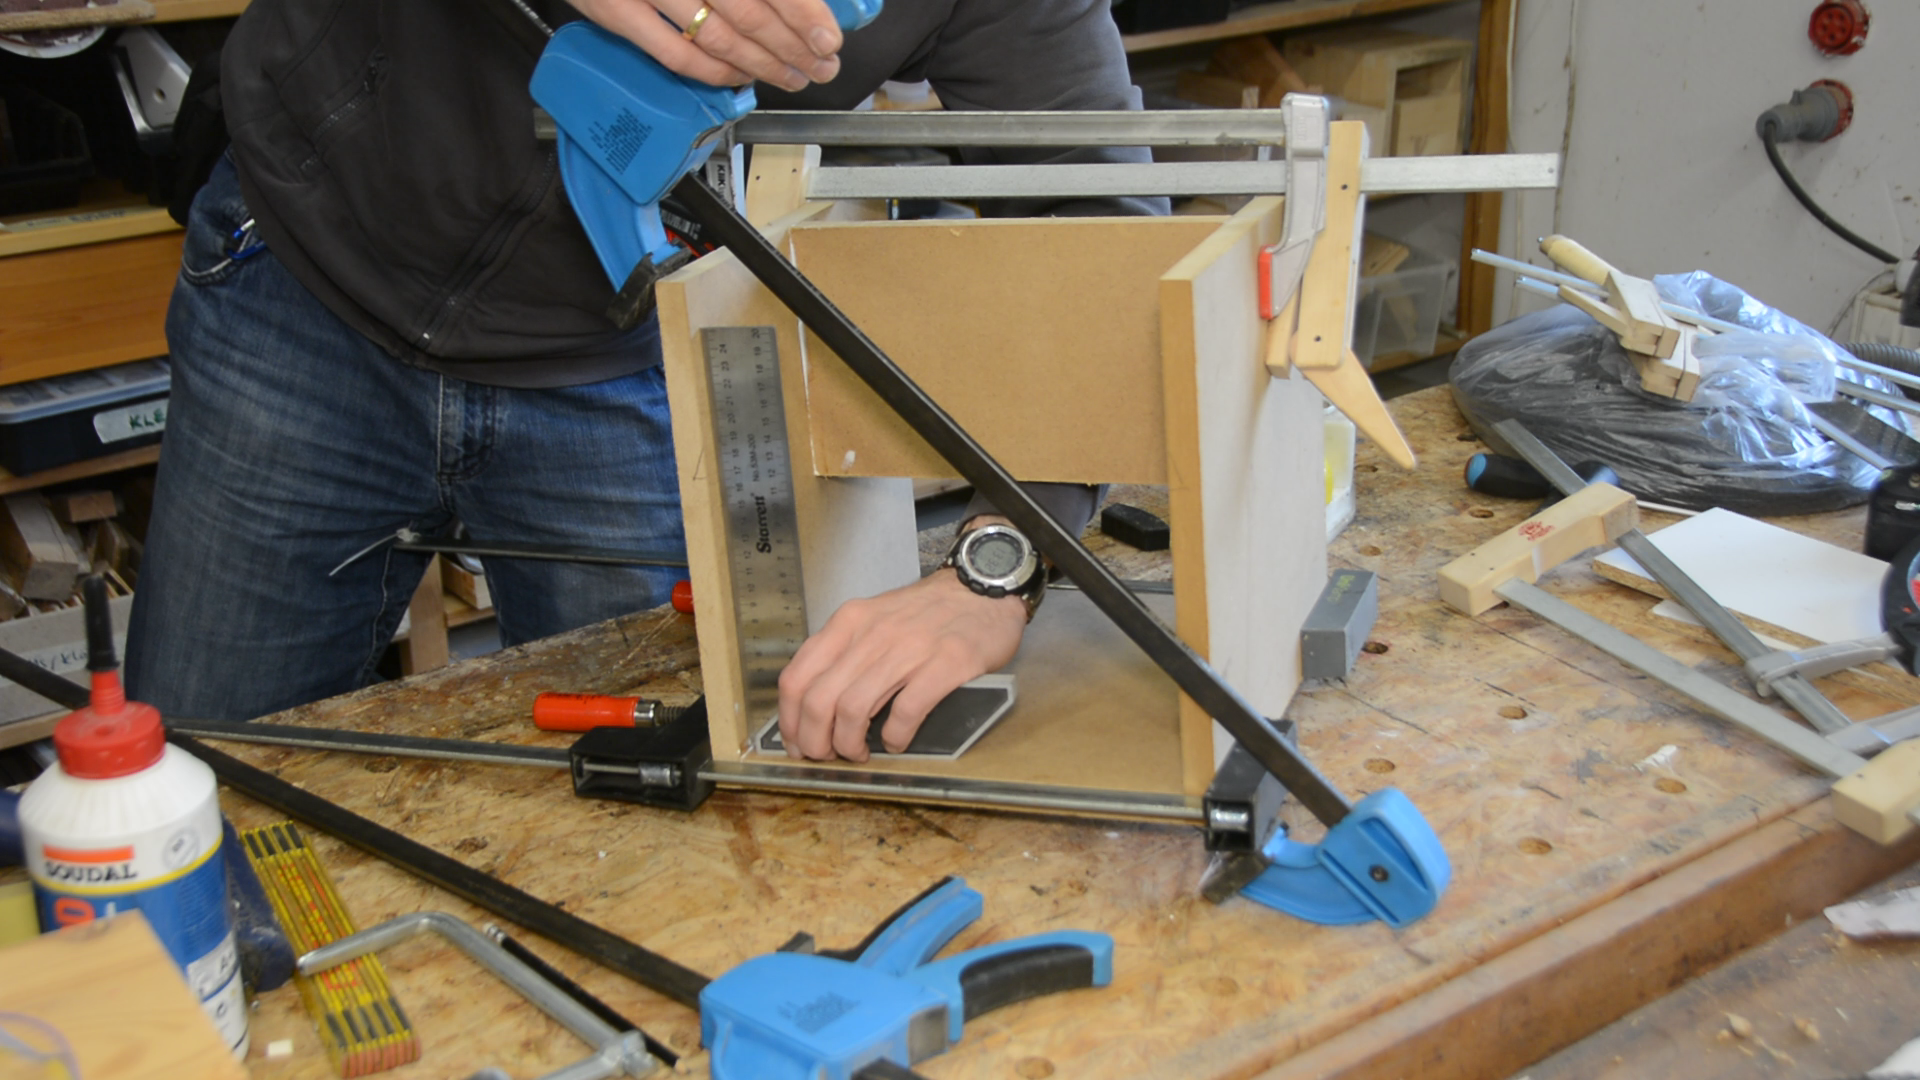
Then the lower dividers are glued in place using hot glue.
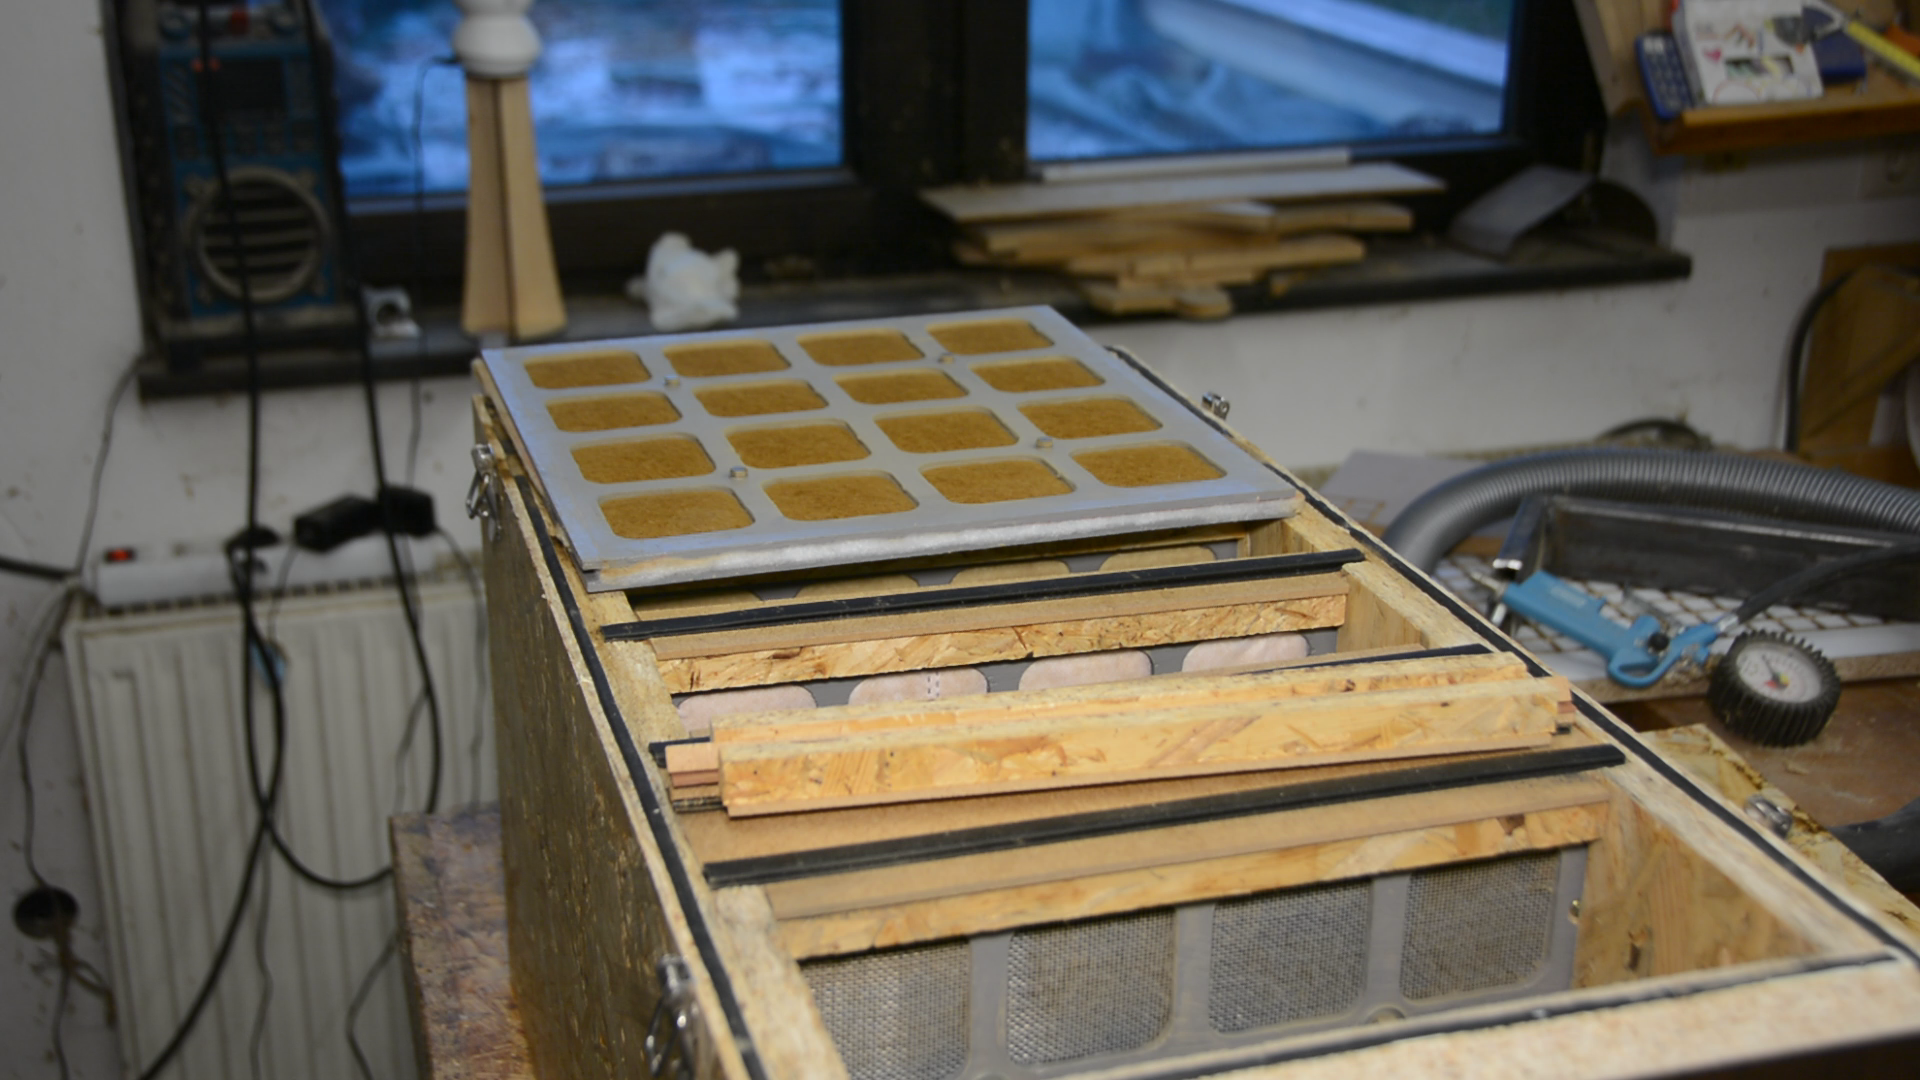
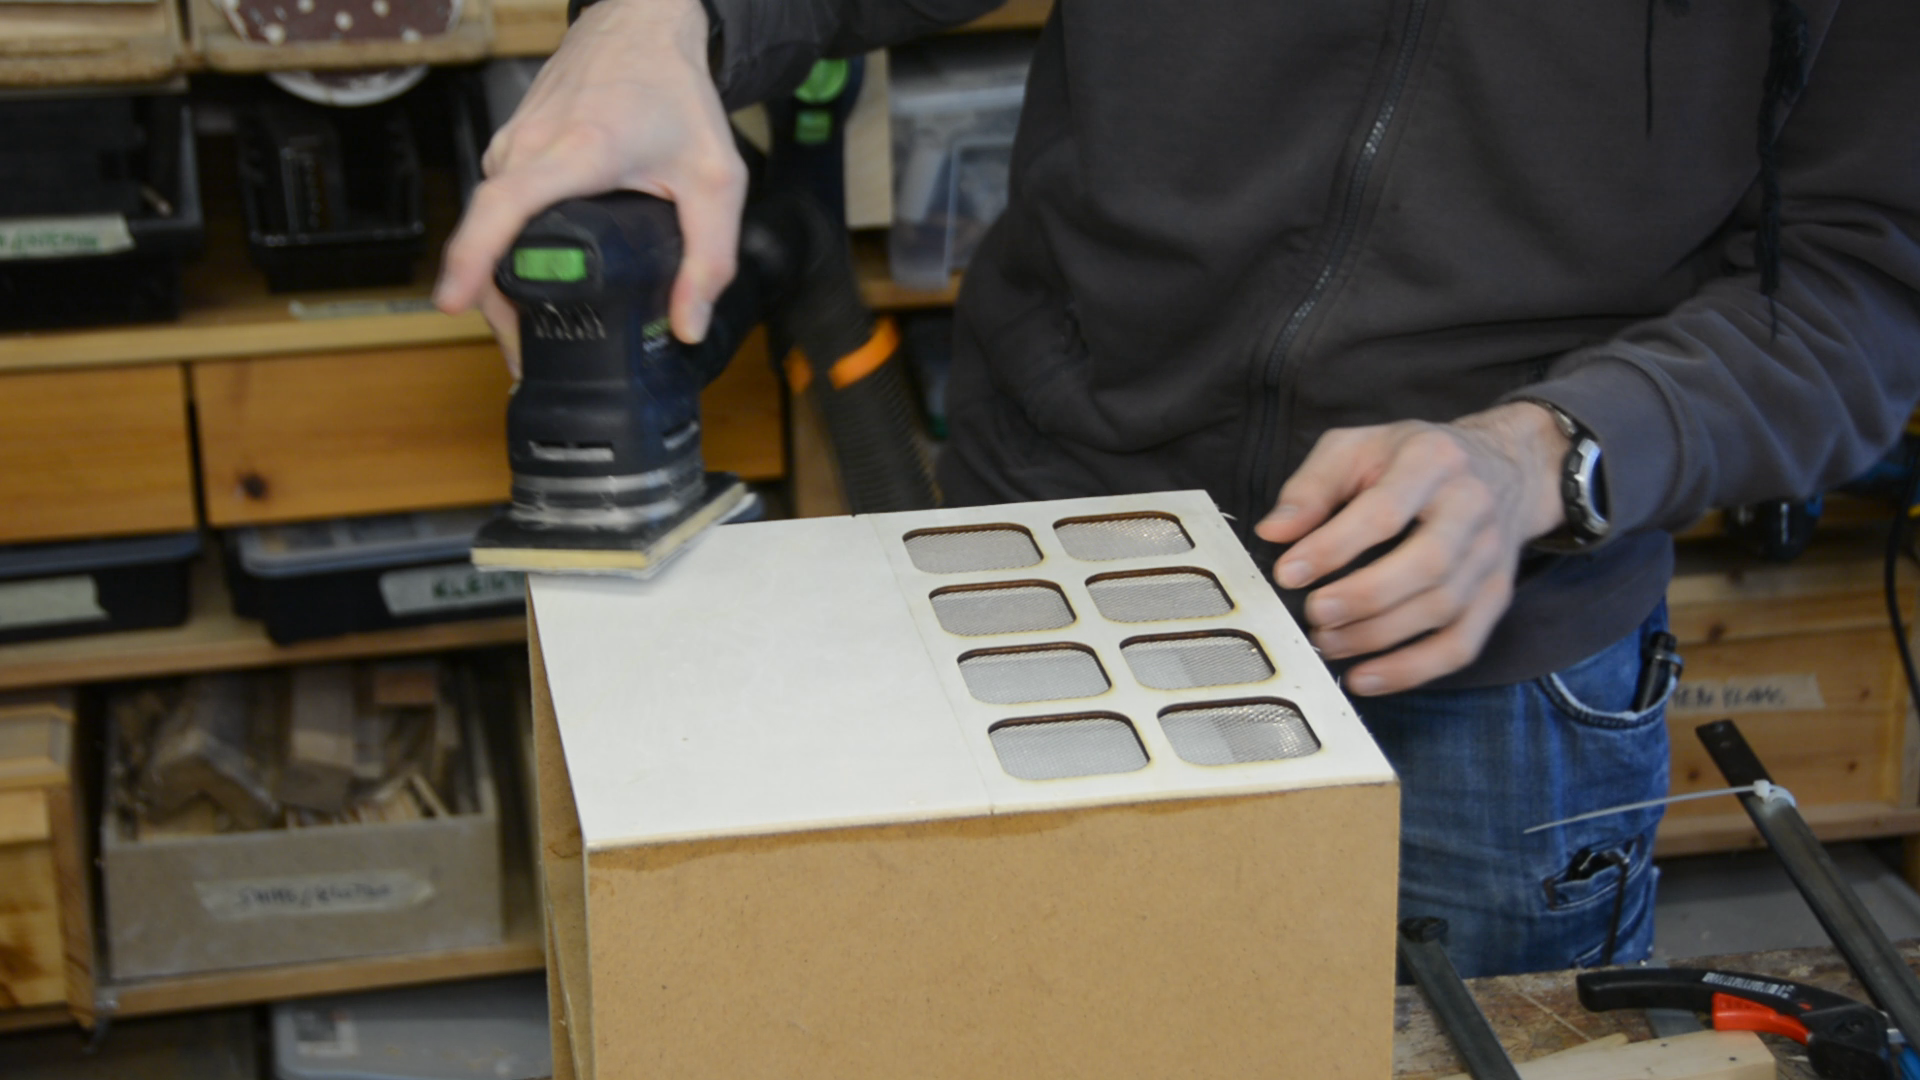
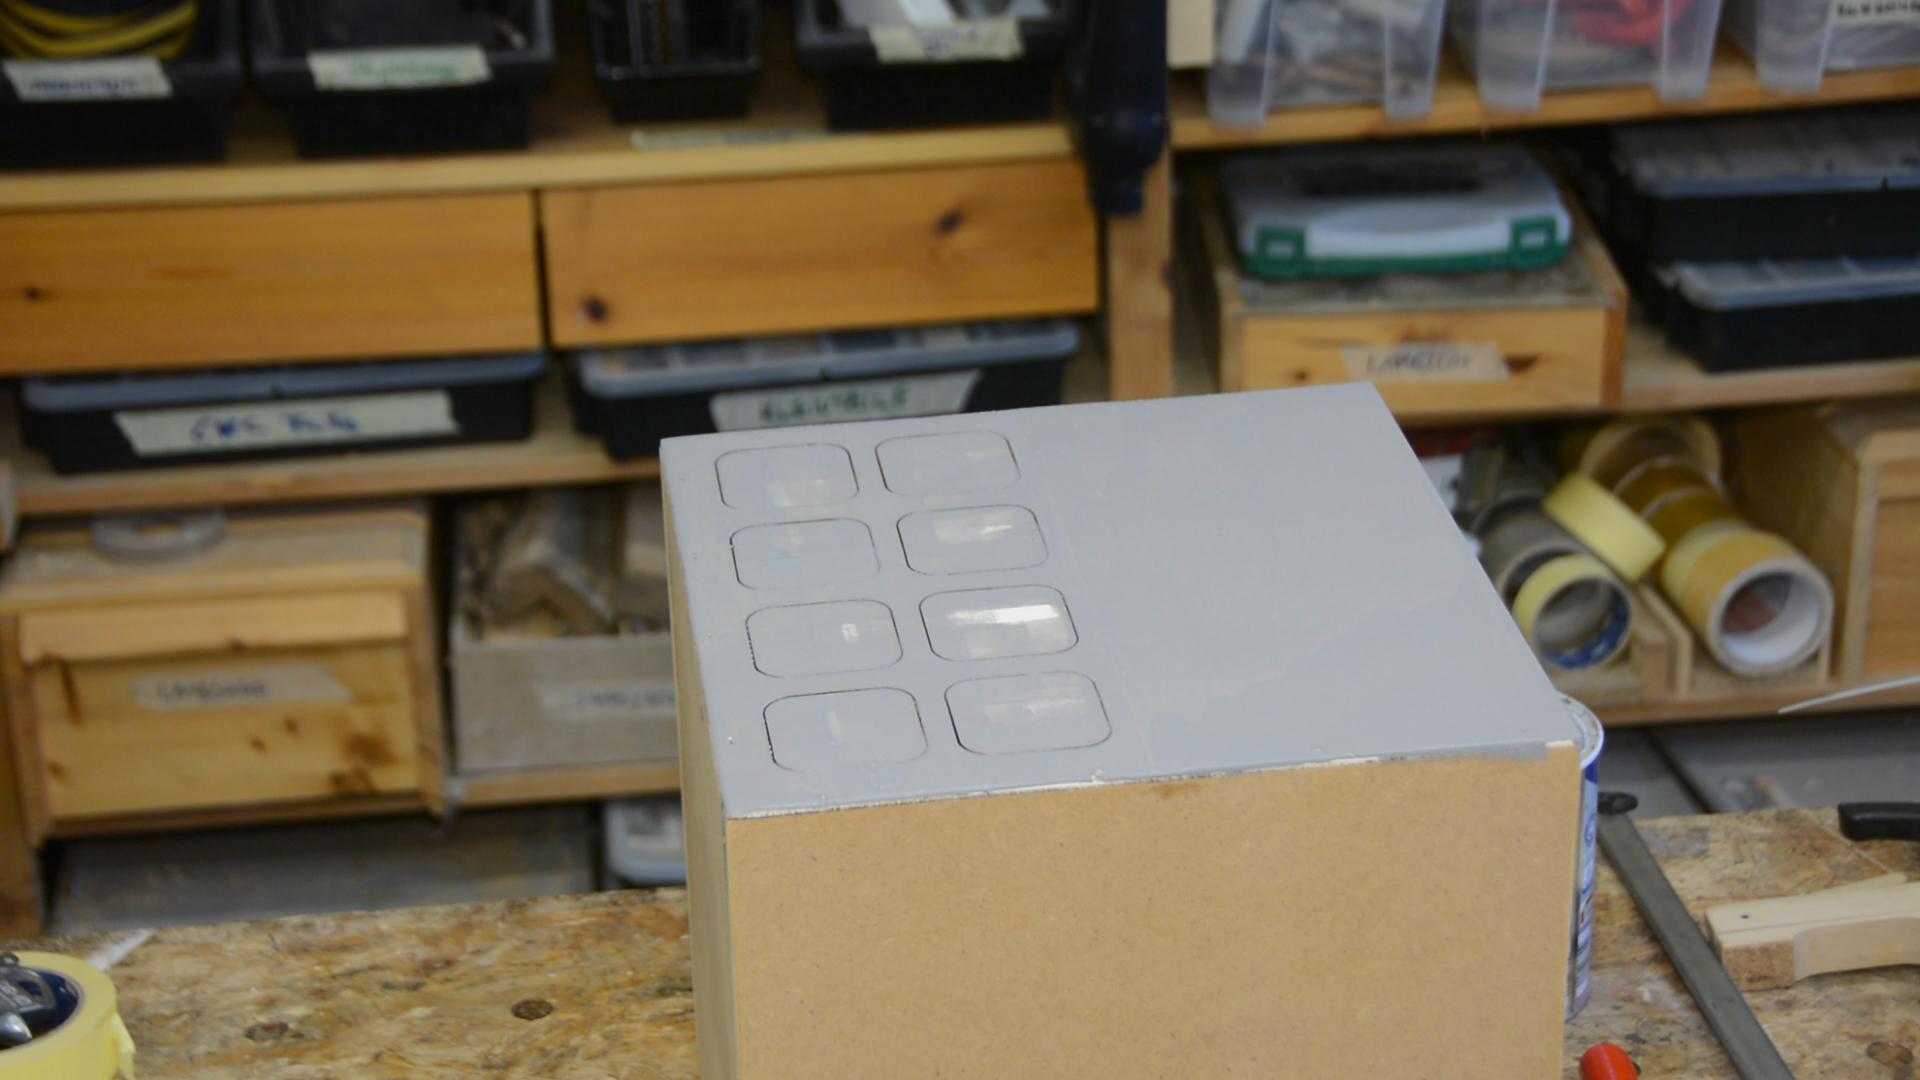
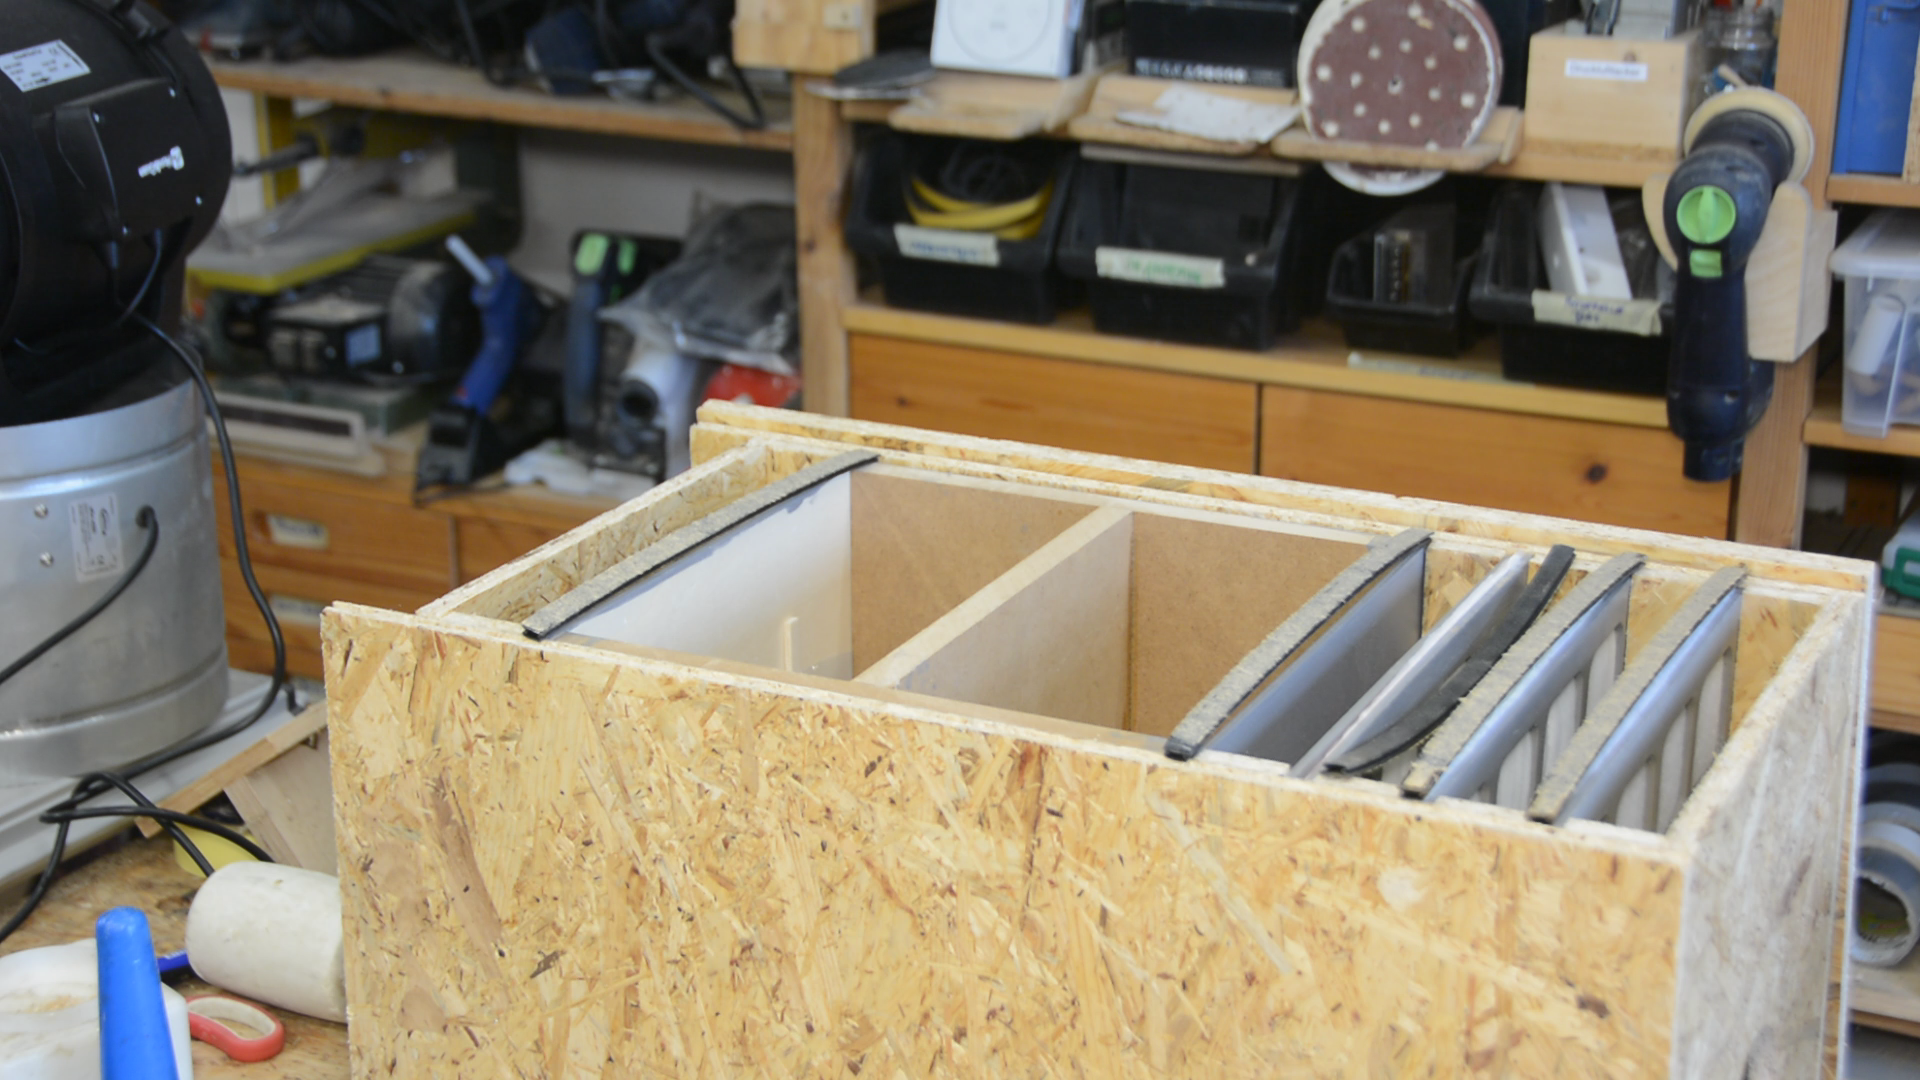
As a last step I glue the cover panels to both sides. After the glue has dried the box is sanded smooth and finished with a few coats of grey paint to make the exterior of the box easier to clean. The cutouts from the laser cutting conveniently cover the metal mesh from any paint.
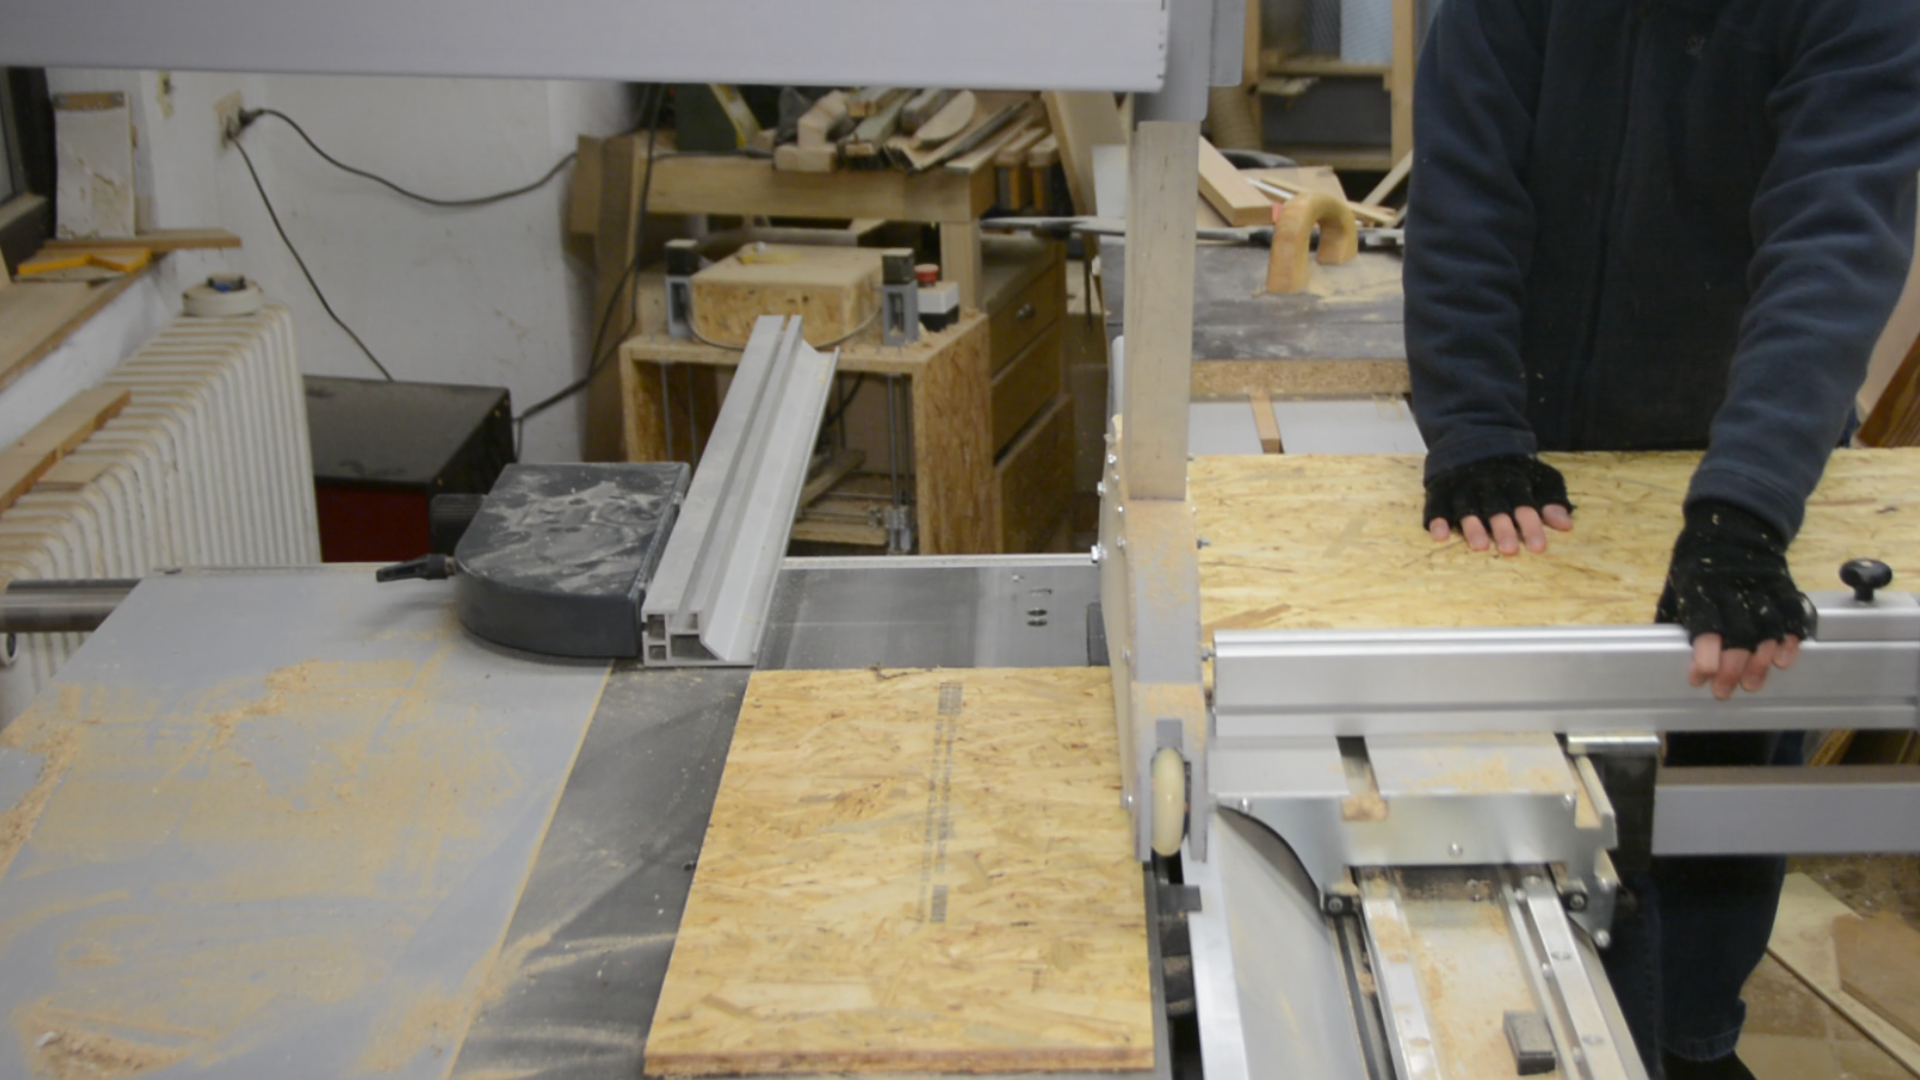
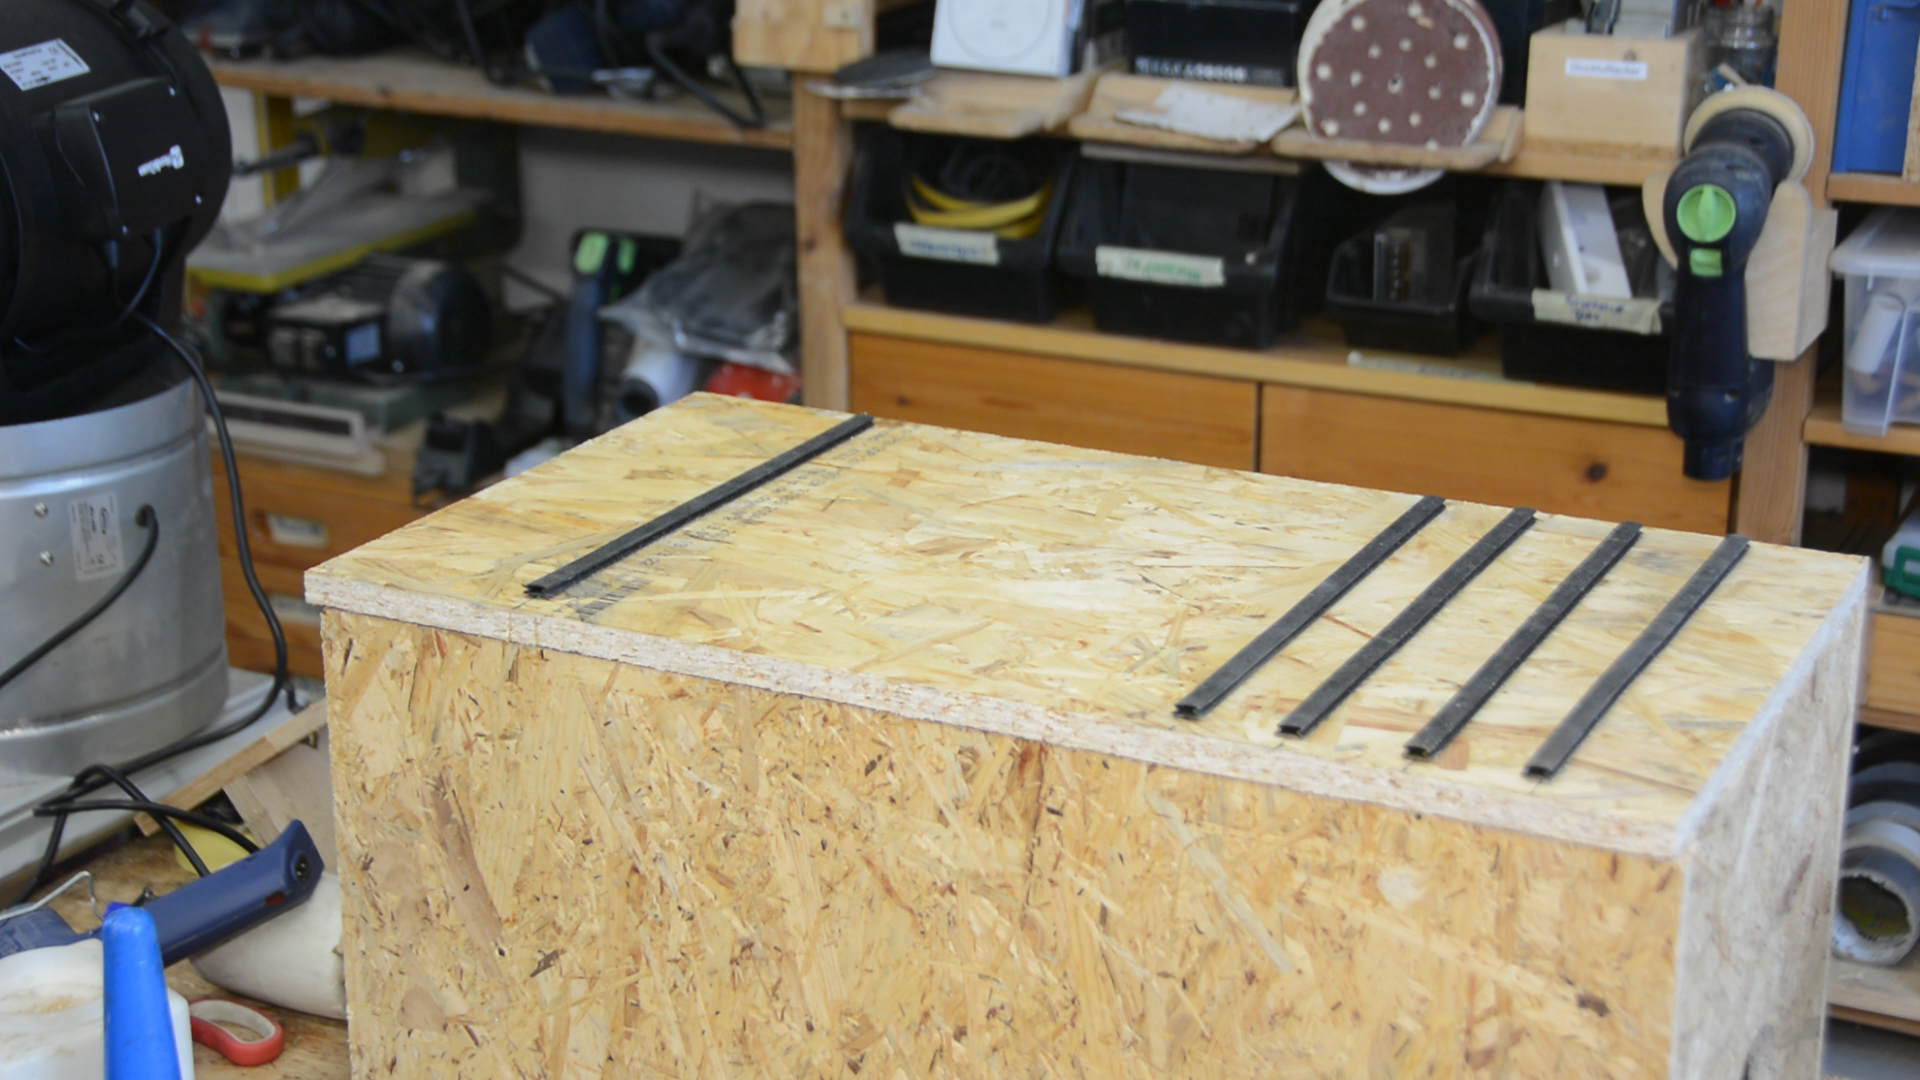
The laser air filter box
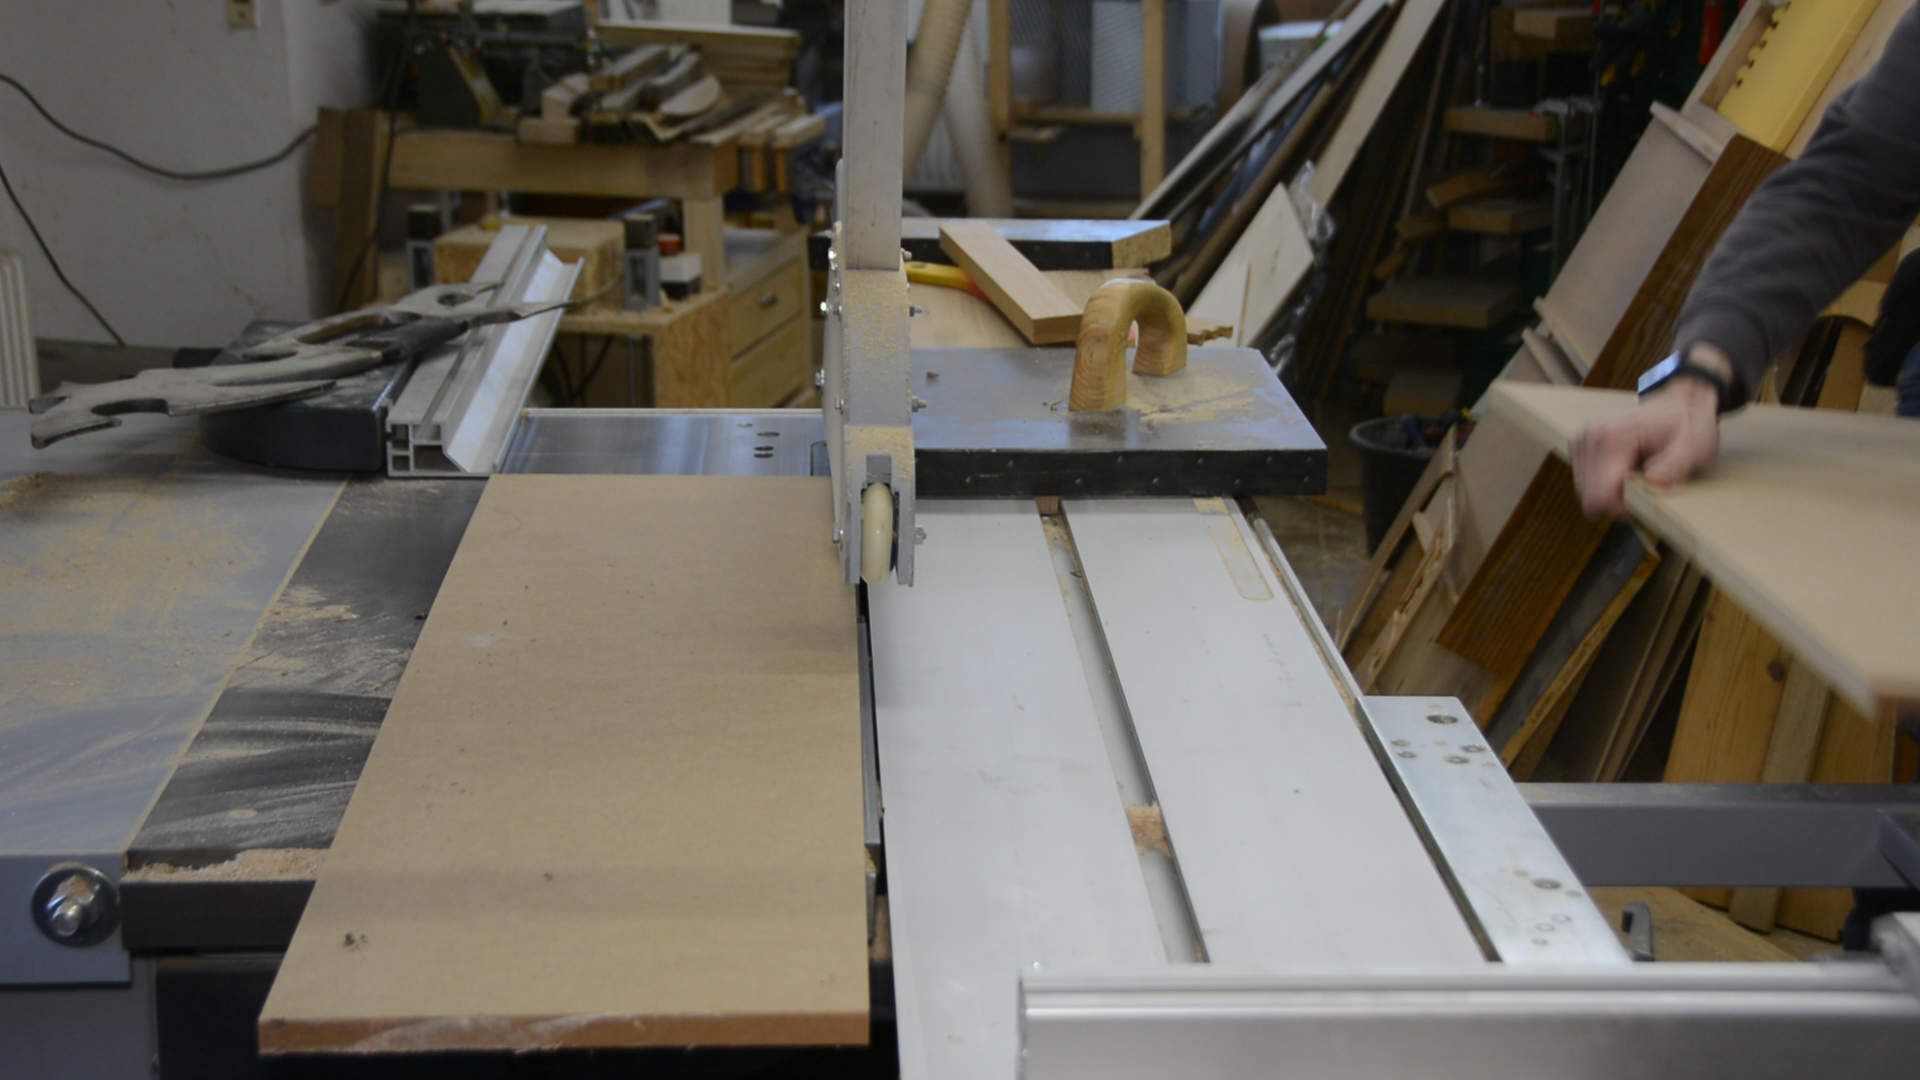
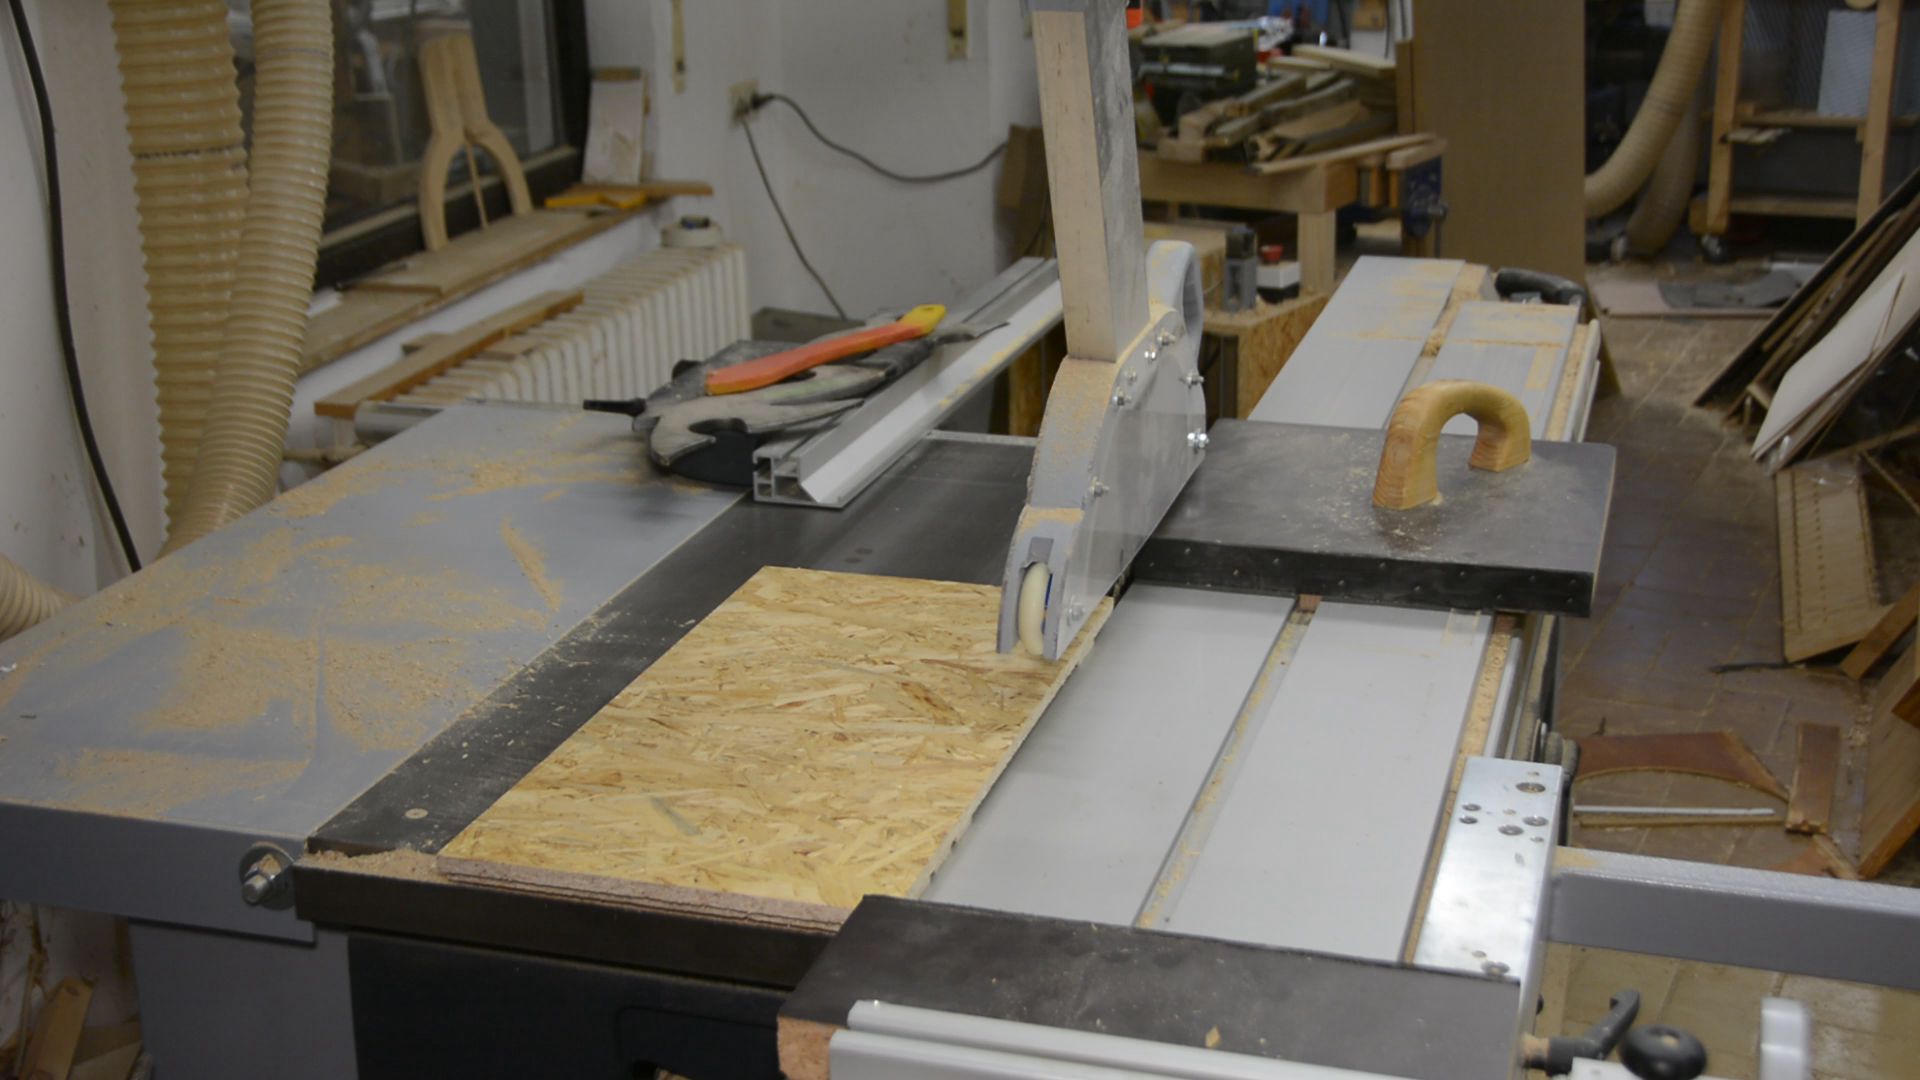
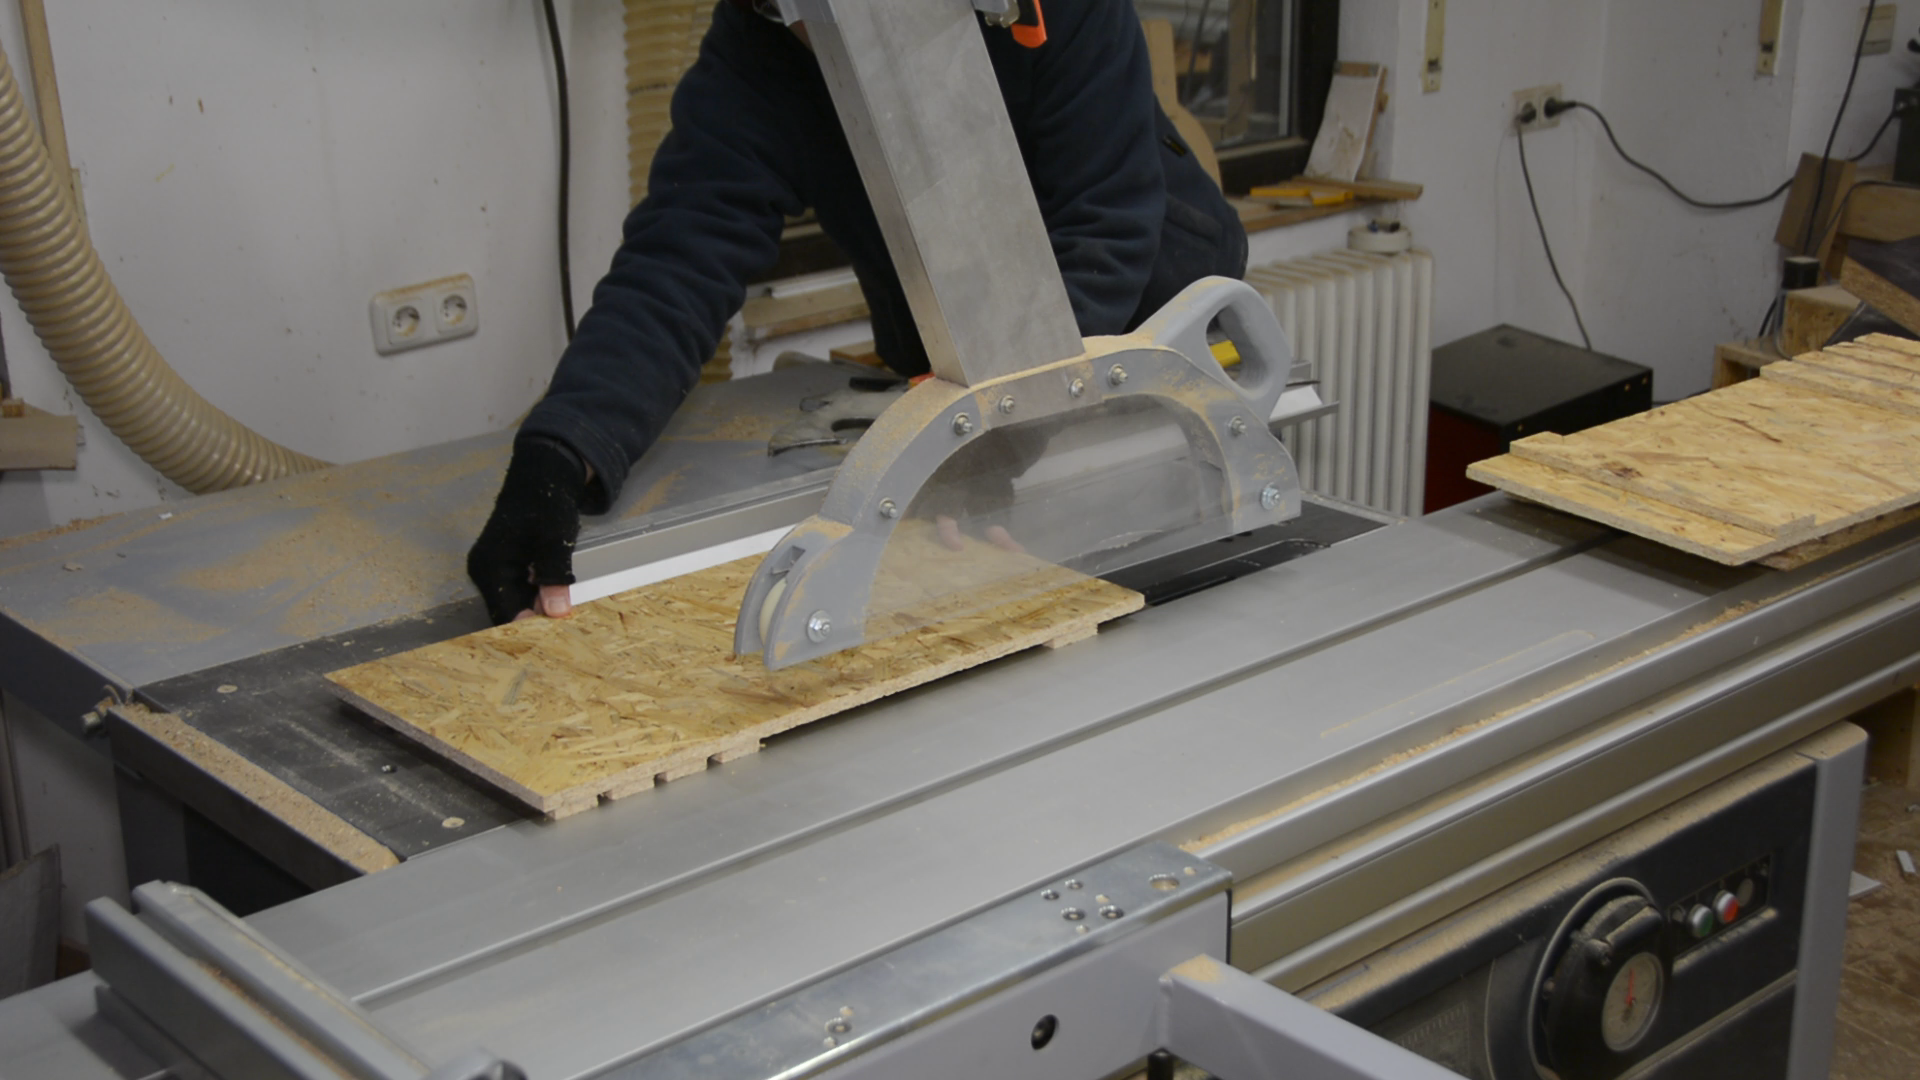
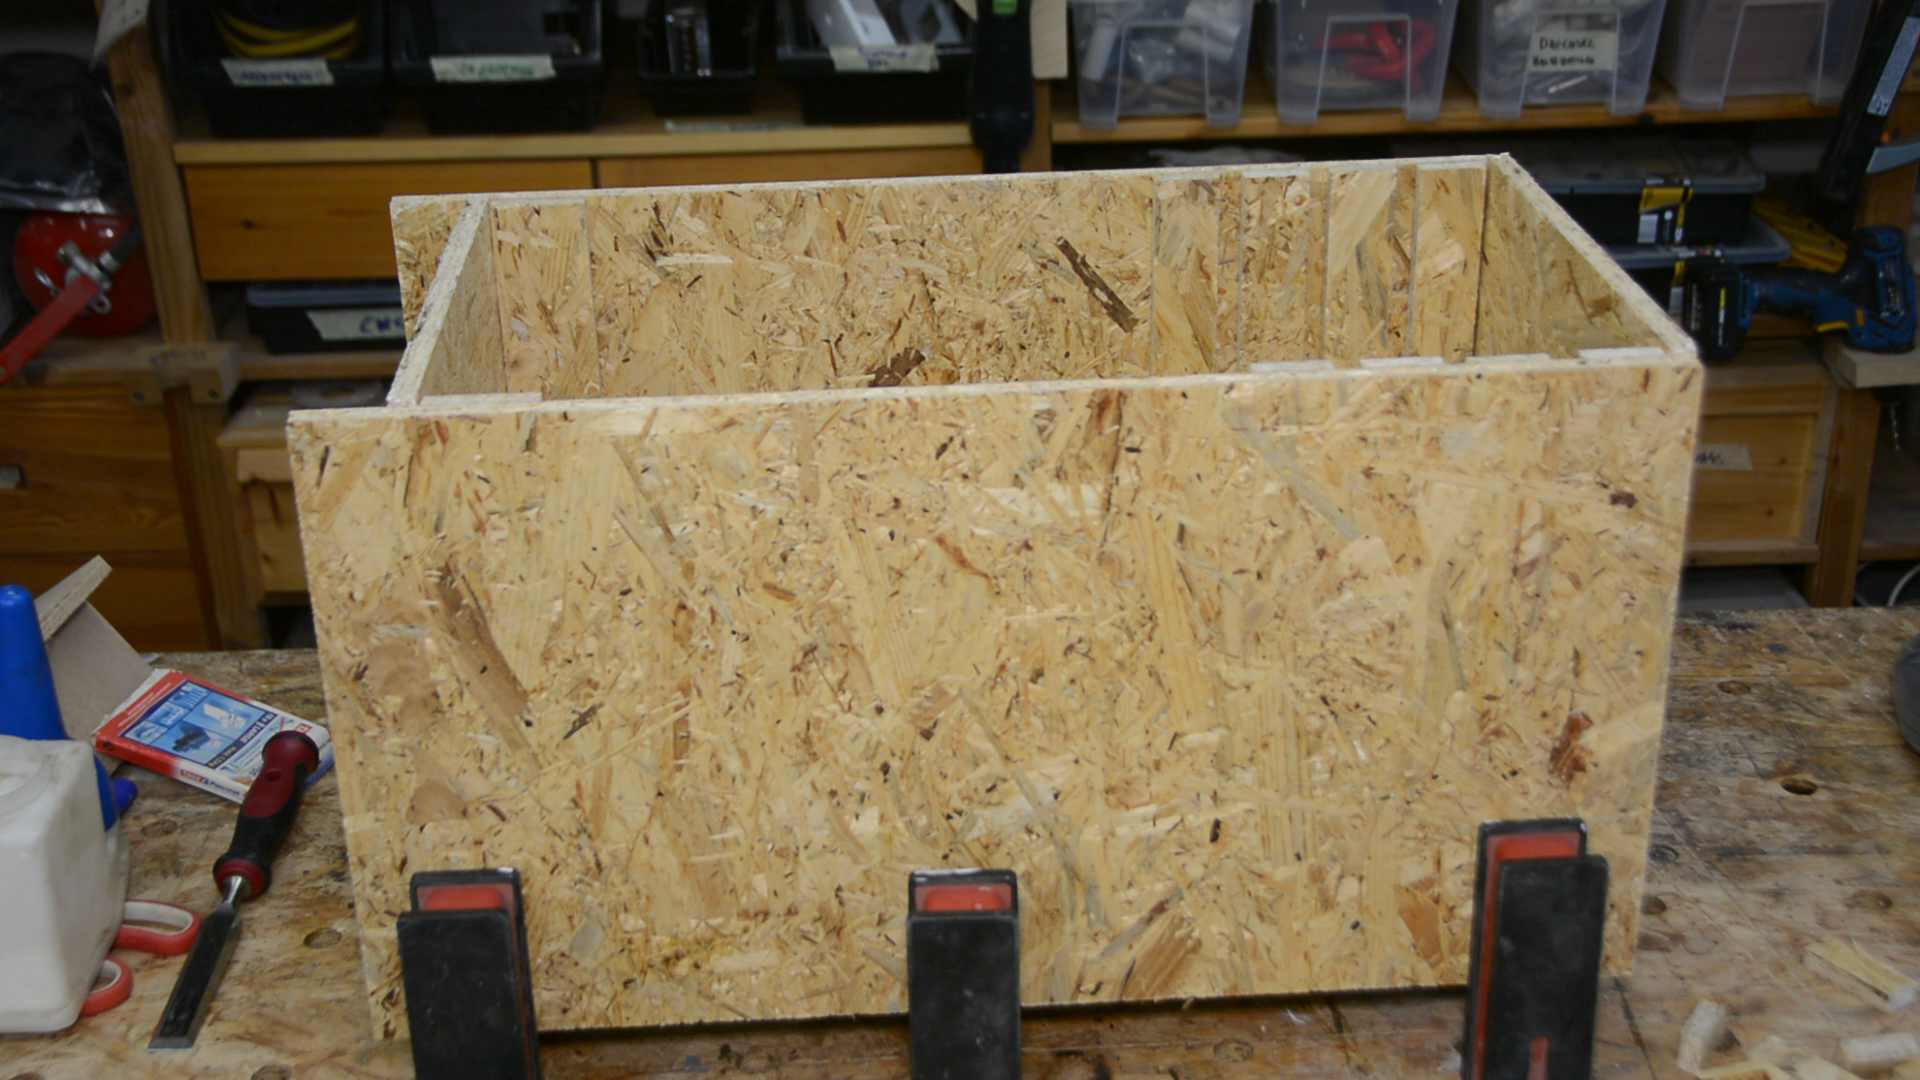
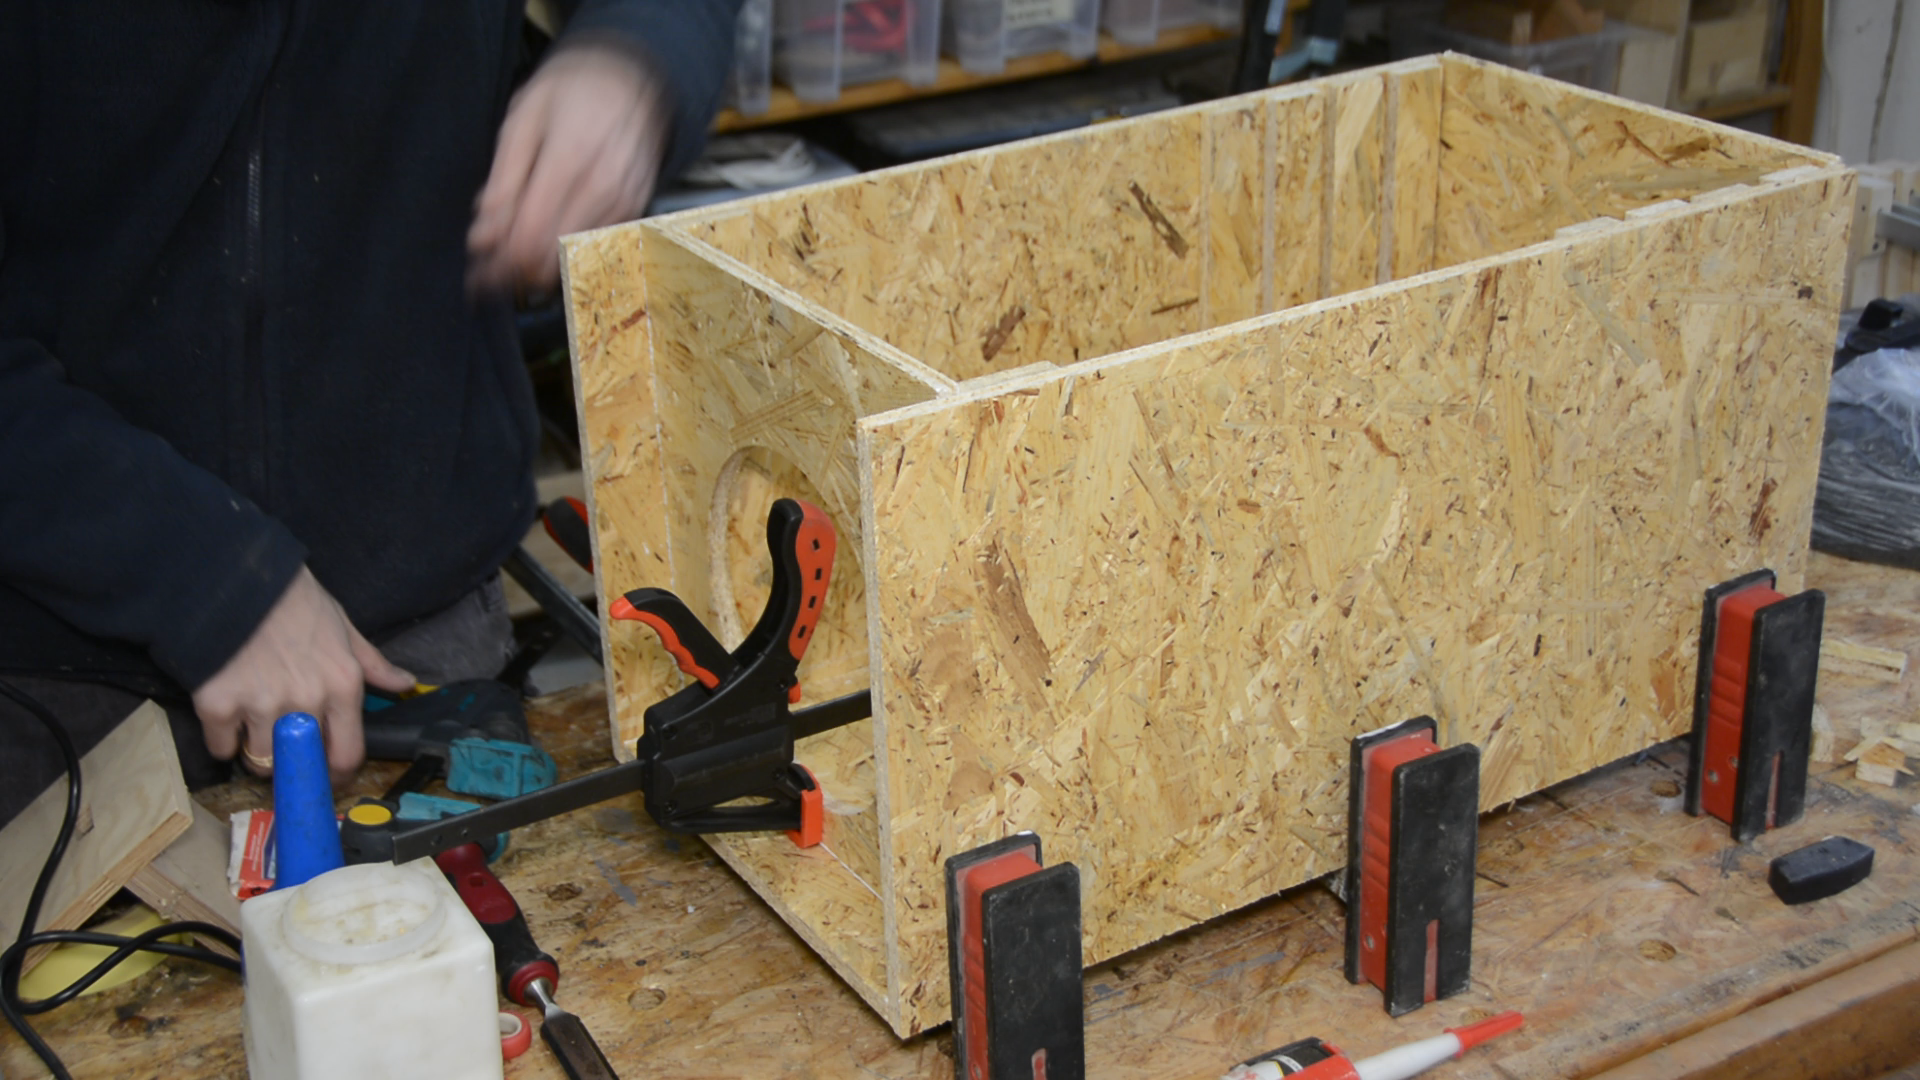
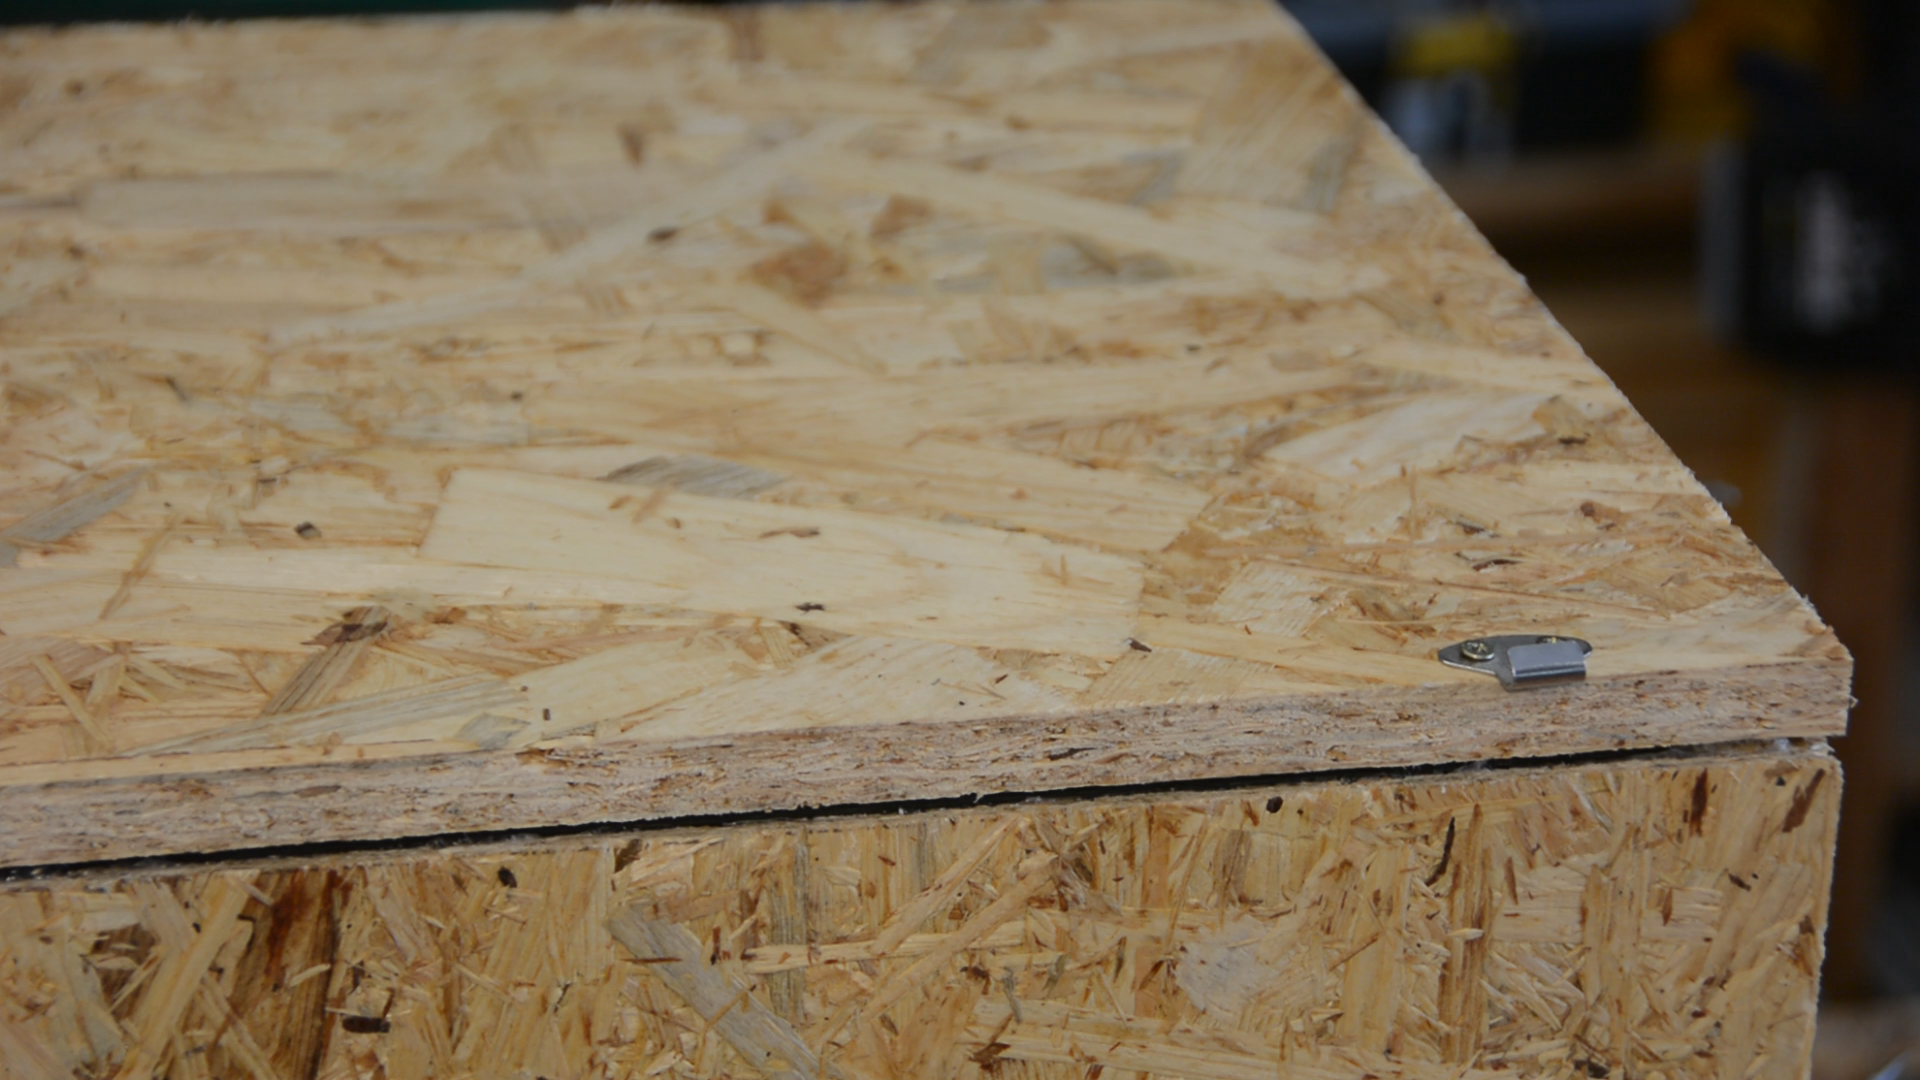
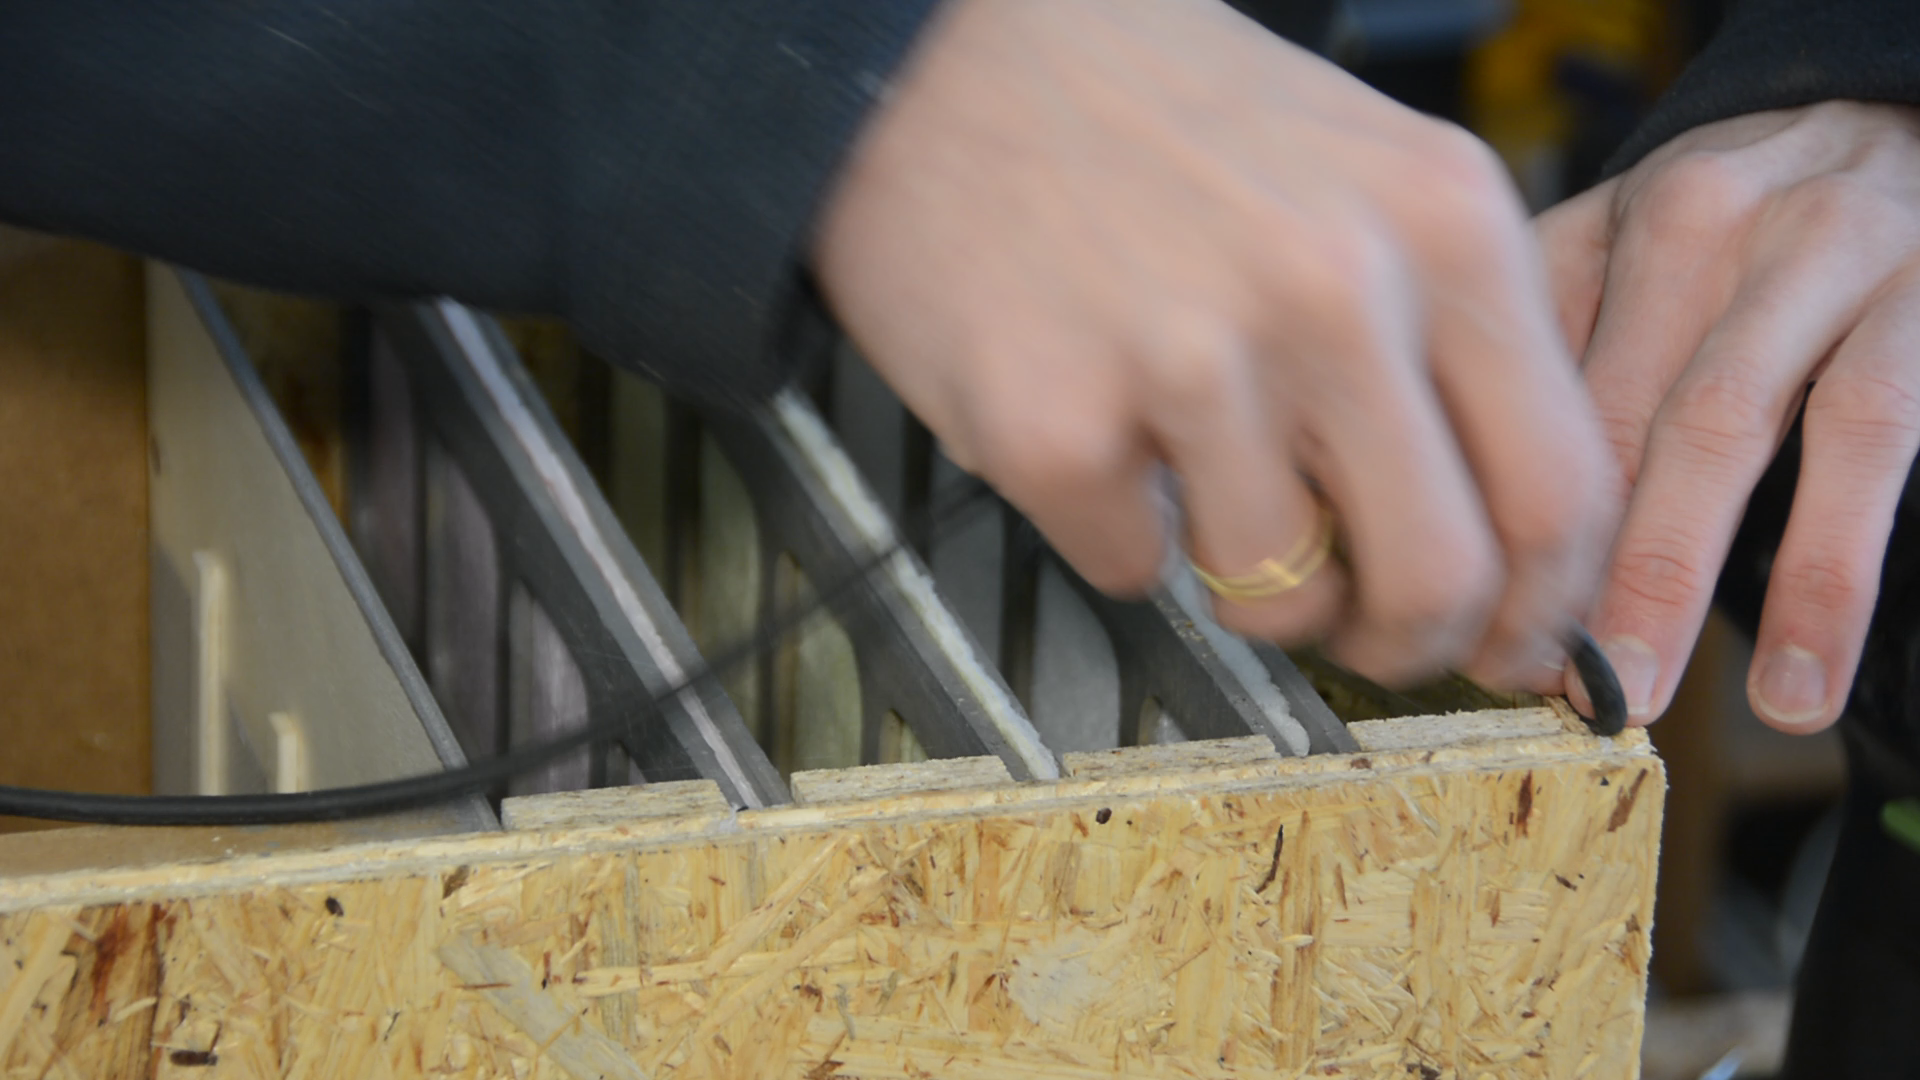
The filter box itself is built following the exact same approach as the first filter. 12 mm OSB is cut to size on the table saw. With all the three panels aligned I glue a strips across them.
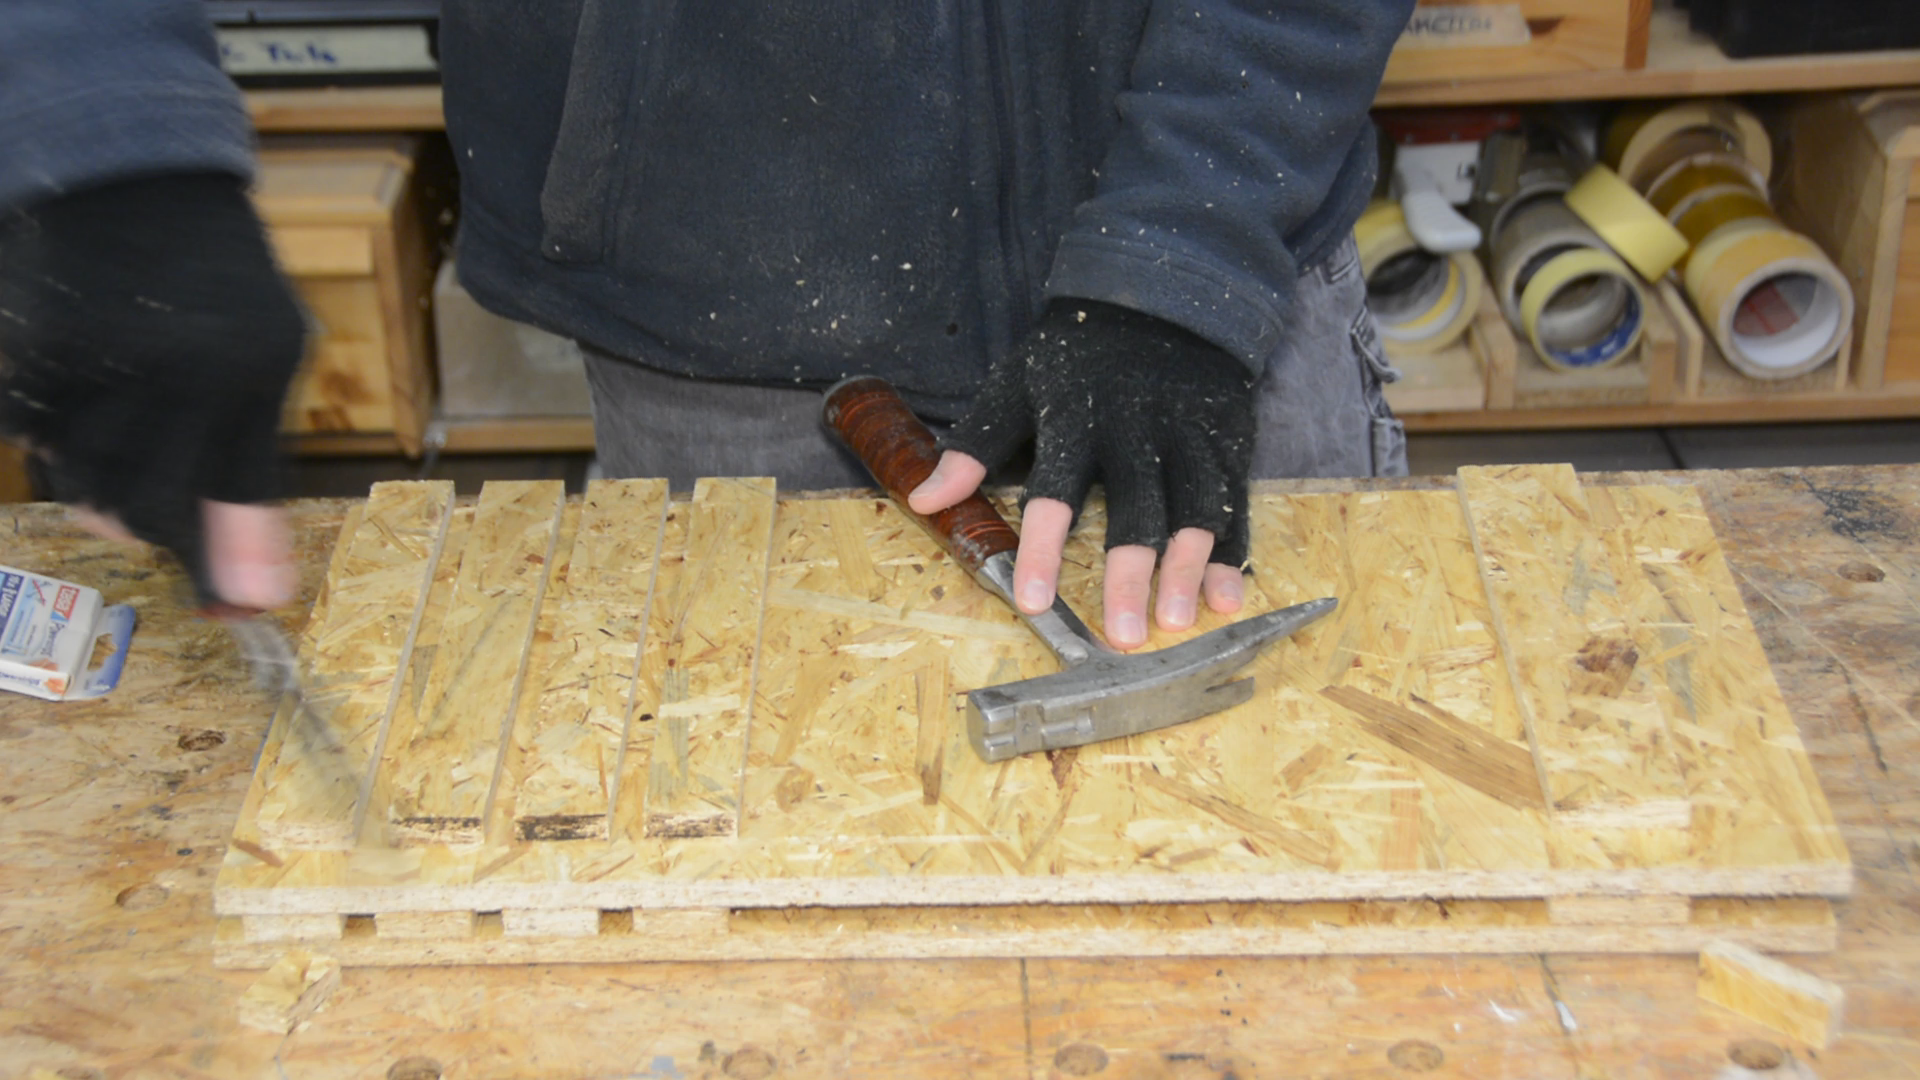
I then separate the panels on the table saw and cut away enough material from the dividers to put the box together. The chisel makes quick work of the cutoffs.
I am using the CNC to cut circular openings for the fan and the inlet. For the fan I make sure that there is a very tight fit so that the fan can be held in place using a friction fit. As before the top of all sides get a shallow groove for a rubber seal.
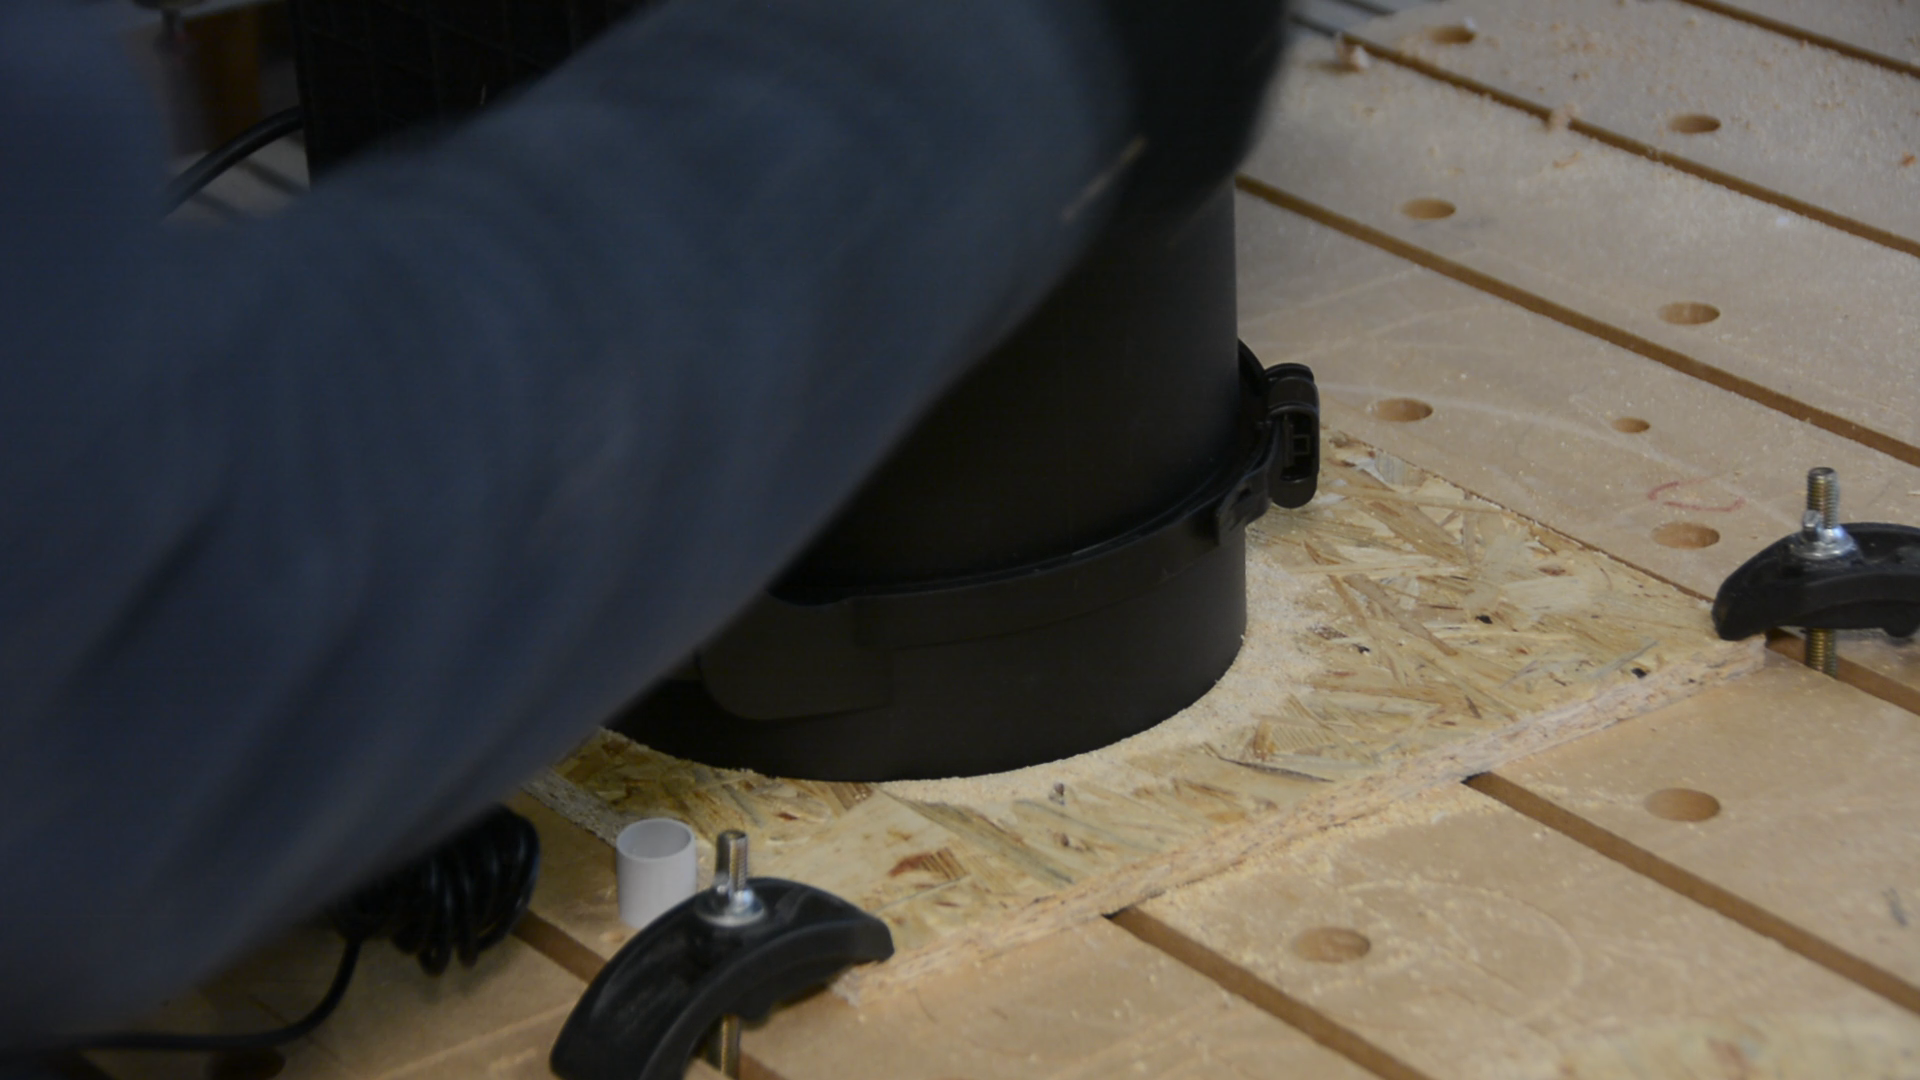
Now the box can be assembled.
The filters all fit snuggly i n their place. The fit on the top of the filters is so tight that I don’t need the wooden top covers this time. I simply transfer the location of the filters to the lid and then hotglue the rubber seal to the top.
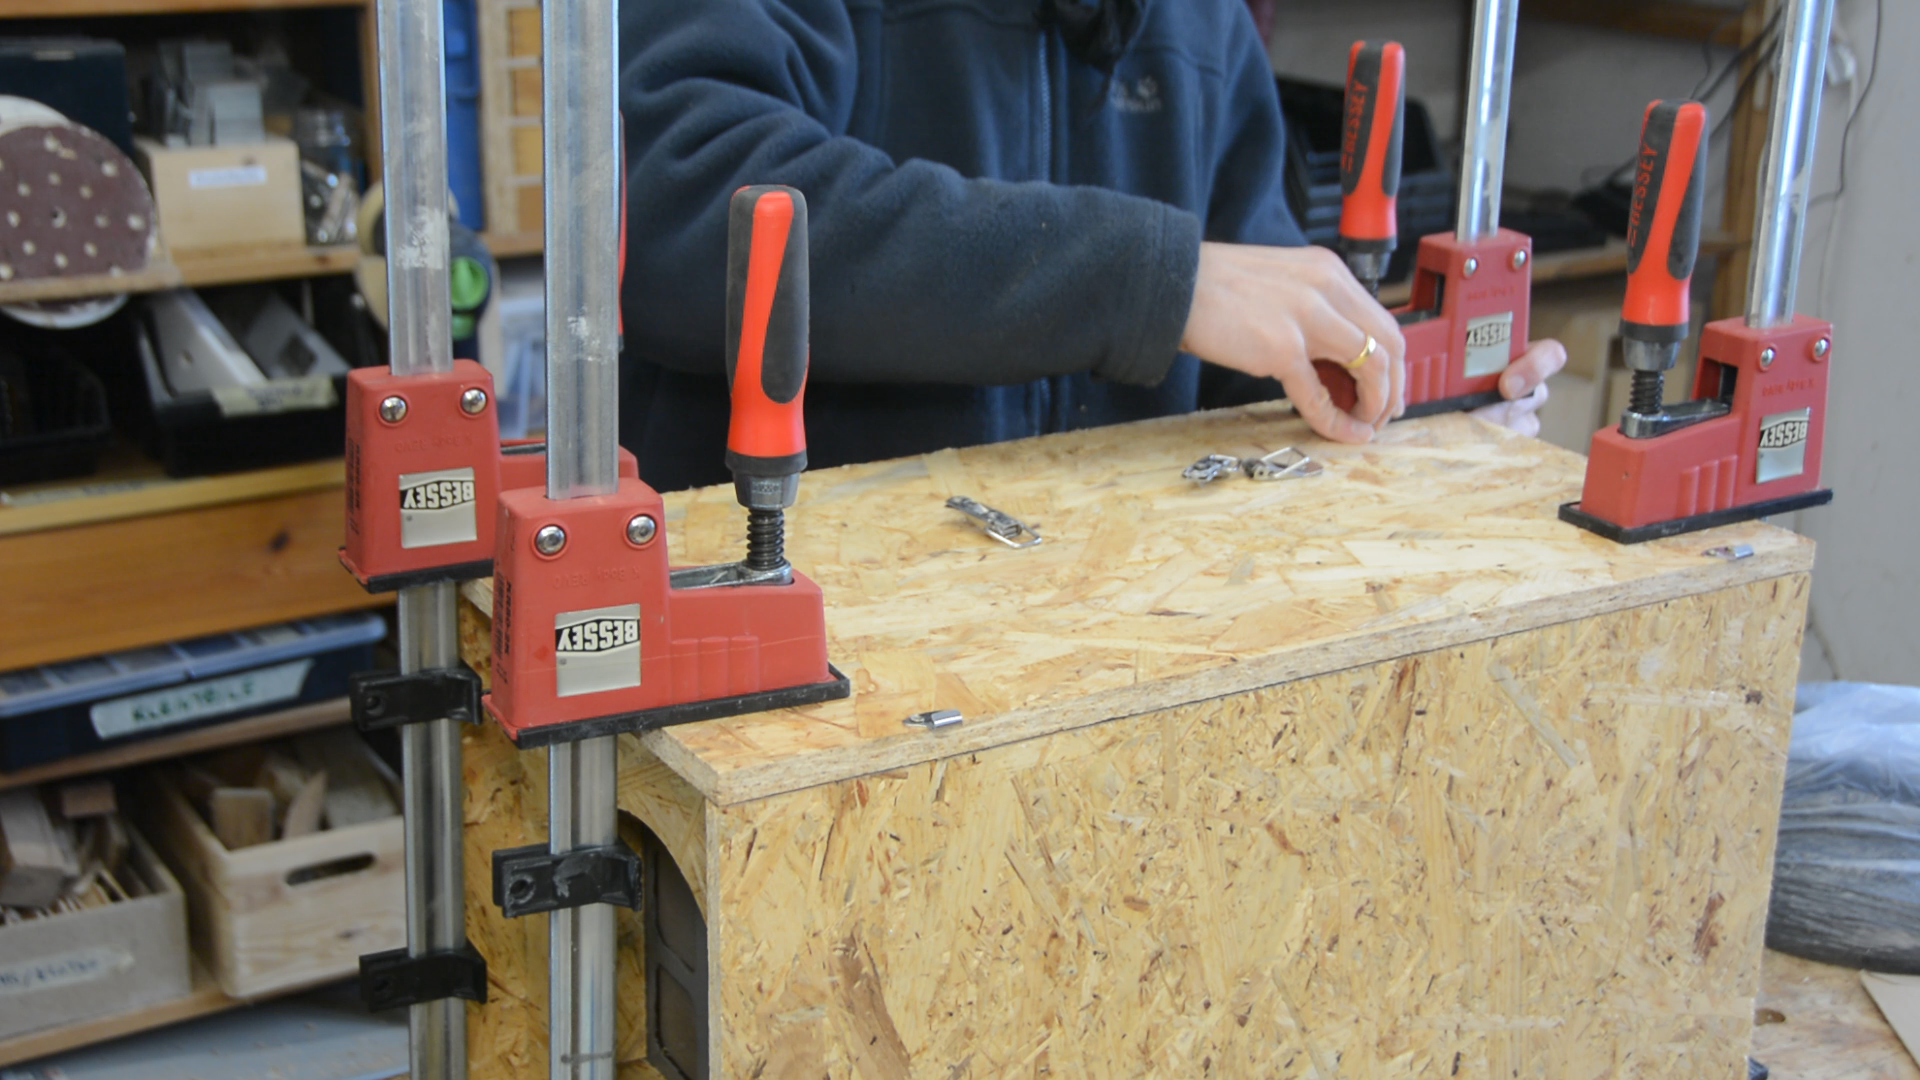
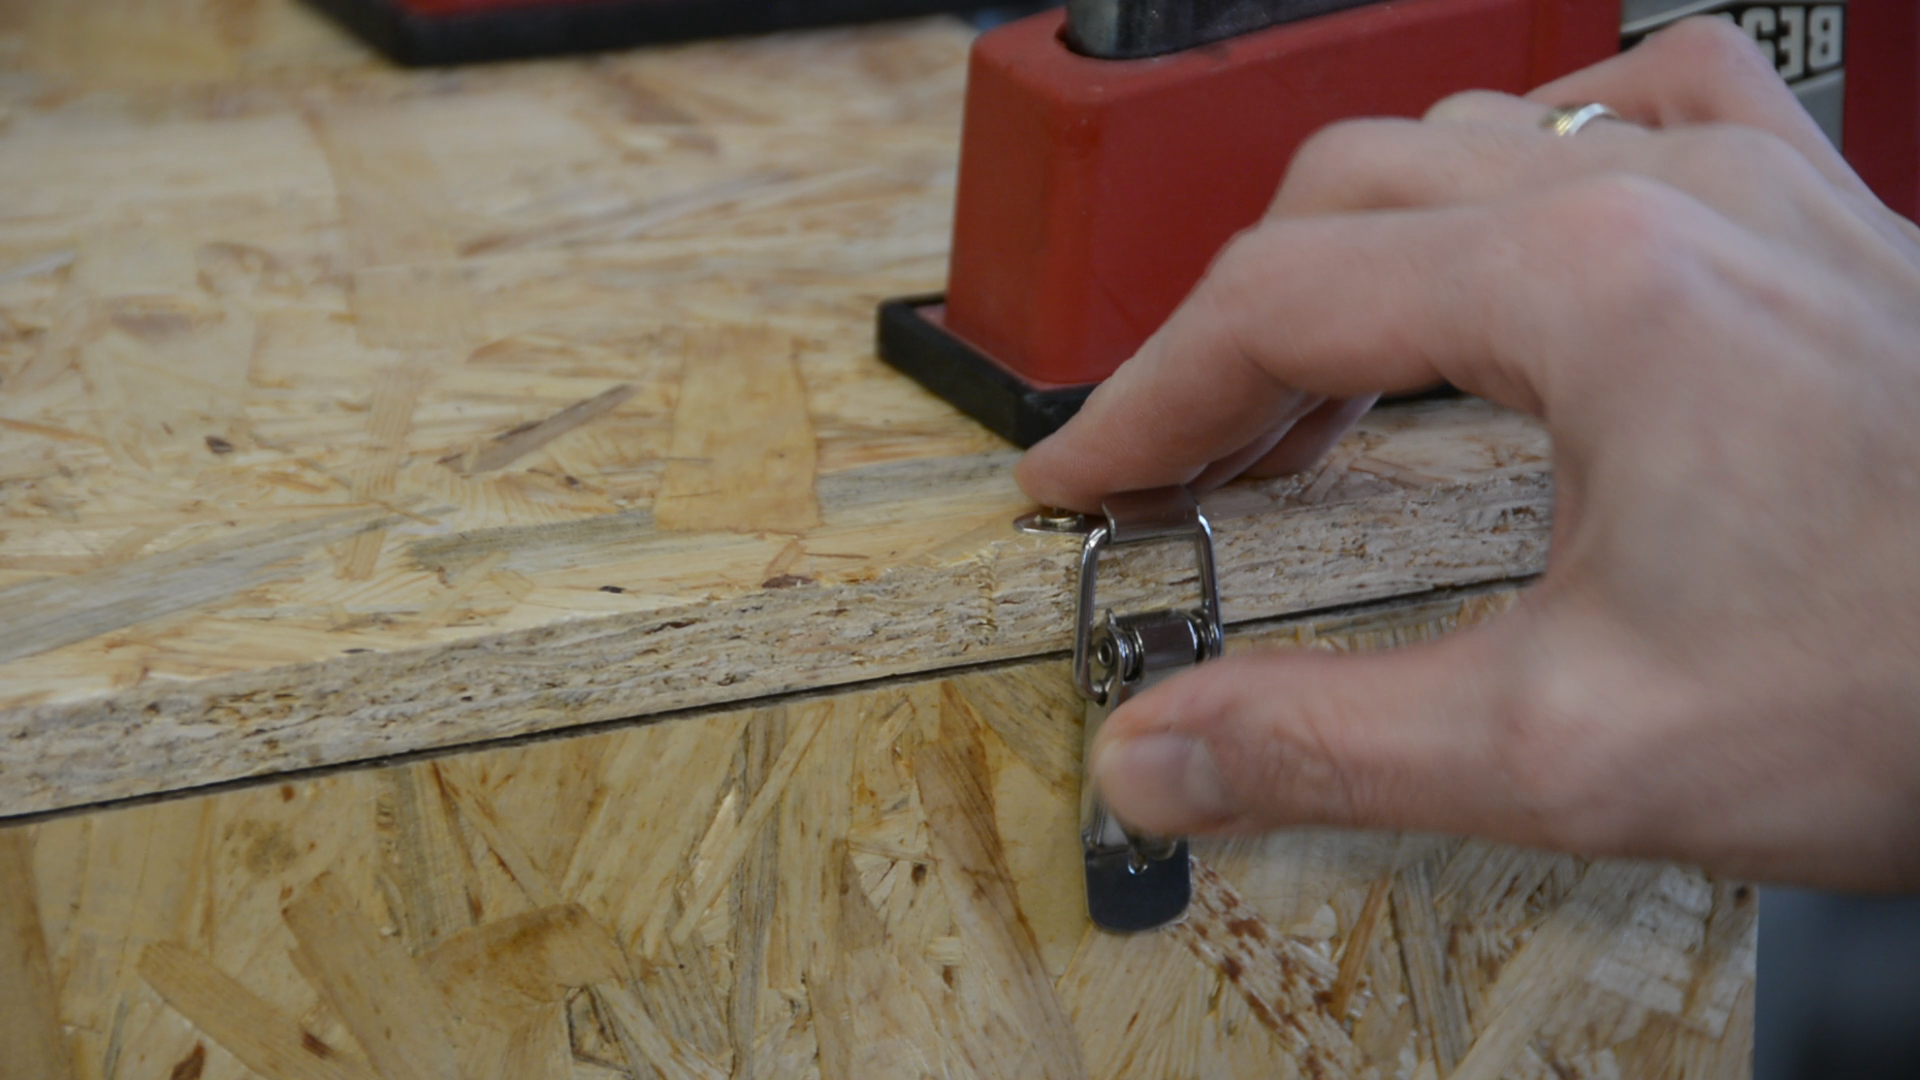
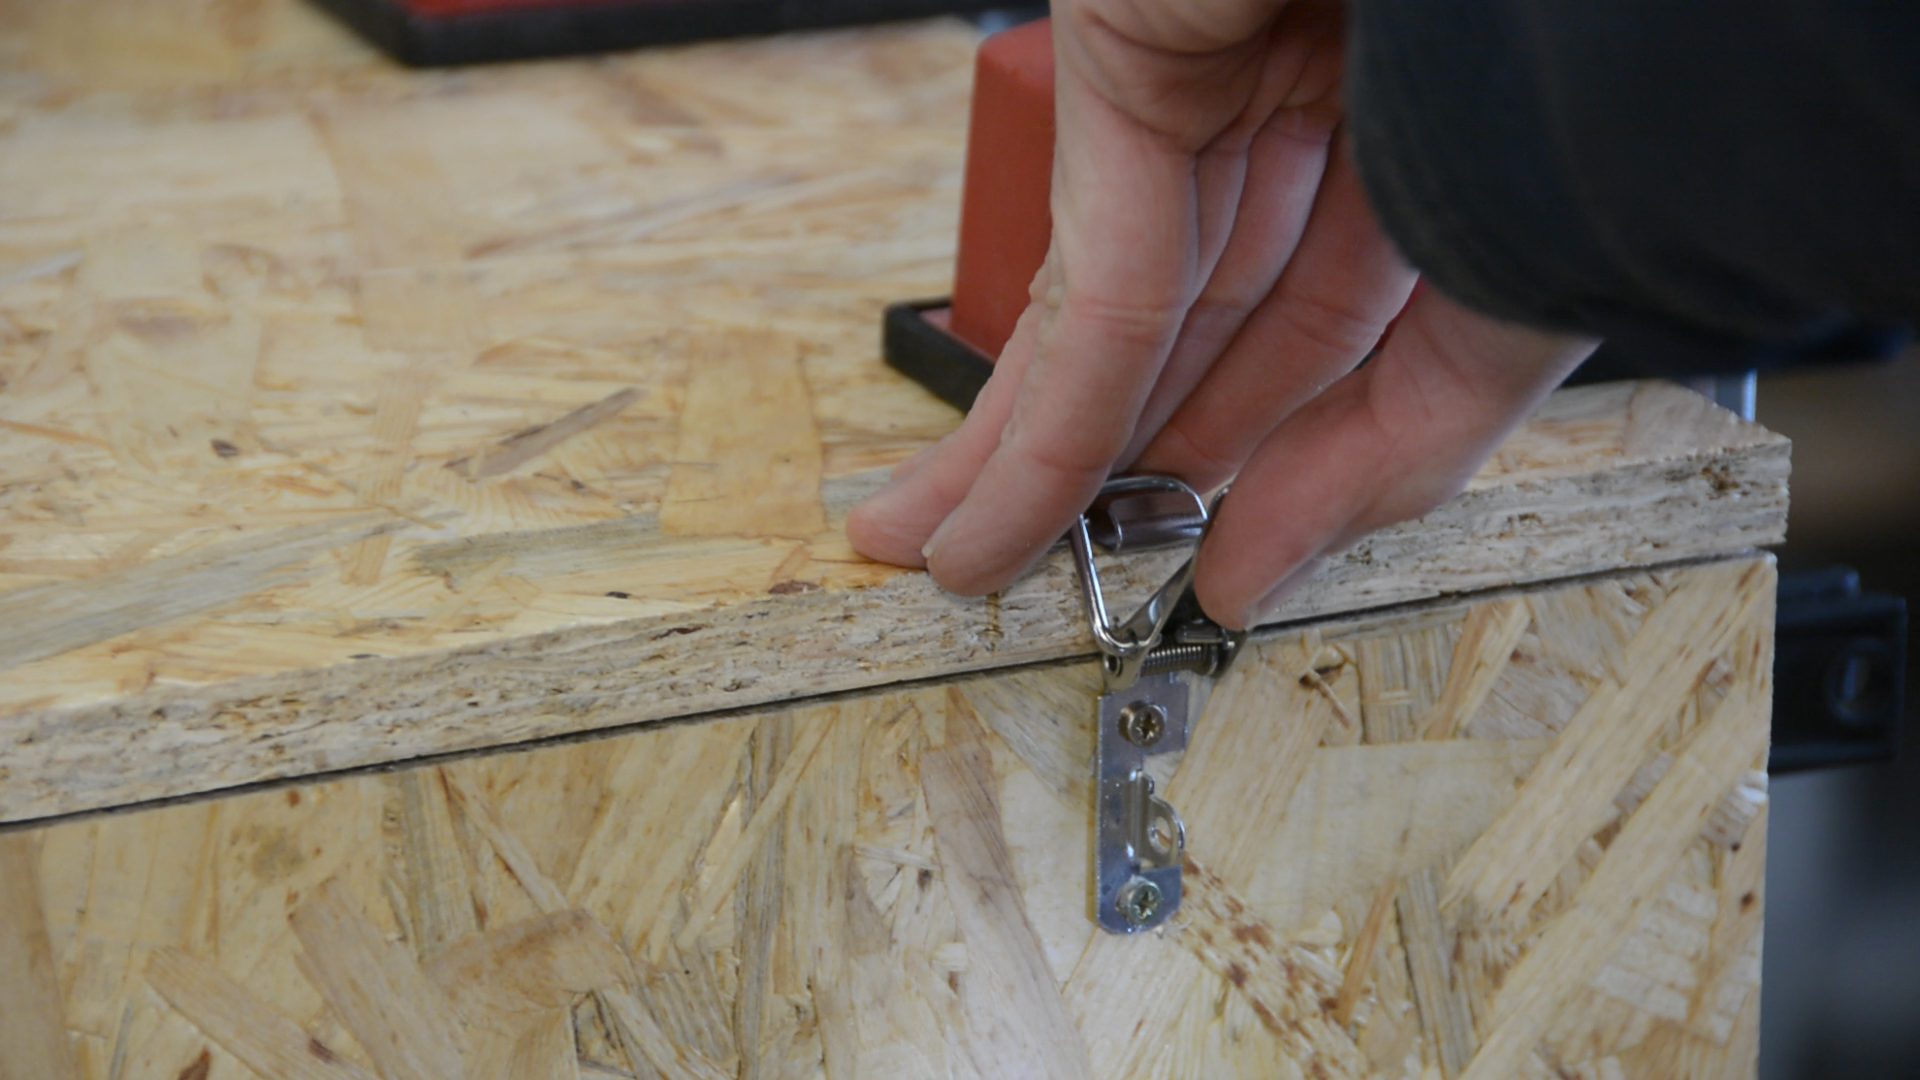
Adding a lid
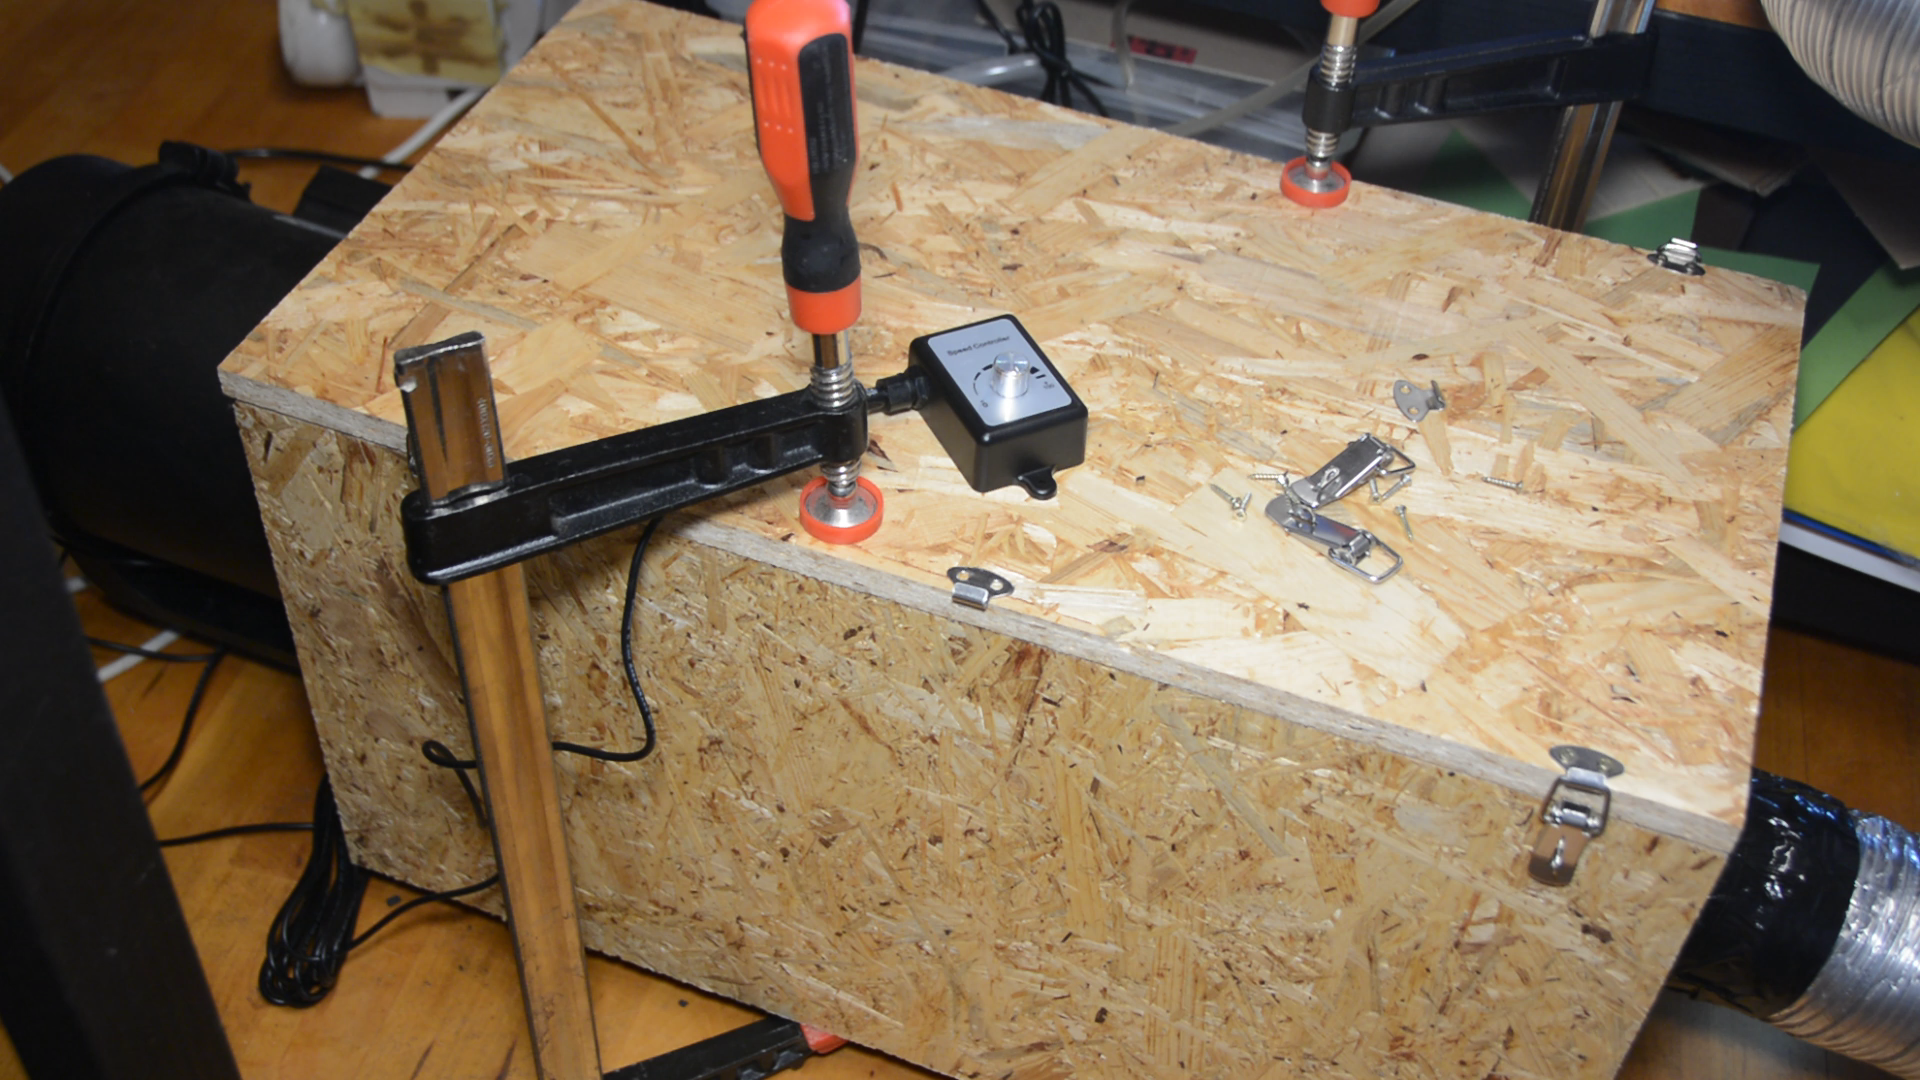
I will reuse the top of the old filter and mount the same latches I used for the old one. As in the first build I mount the top part of the latch, then hotglue the bottom part in place while the lid is kept shut with clamps. Two screws then secure the bottom part permanently in place.

The rubber seal at the top is also glued in place using hotglue.
I designed the air inlet in FreeCAD, then 3d printed and screwed in place with a lasercut foam rubber seal to make it airtight.
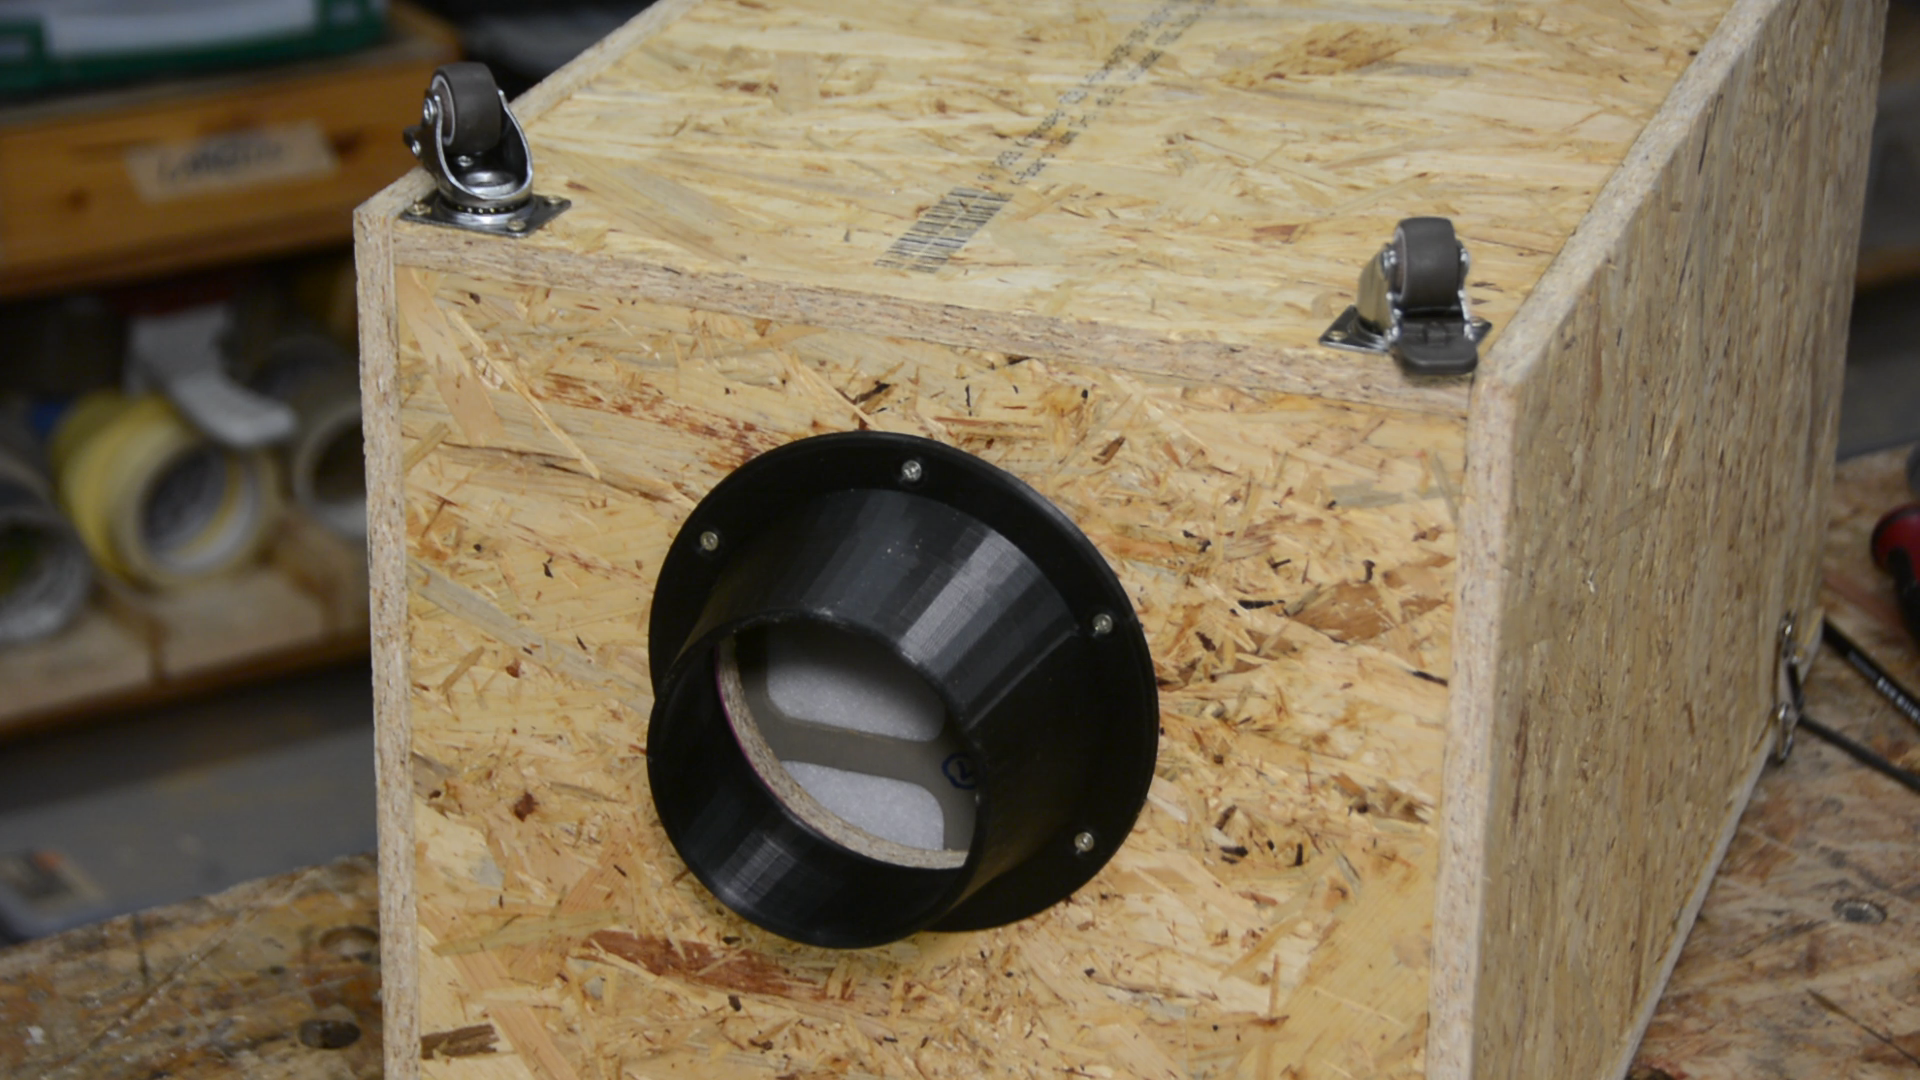
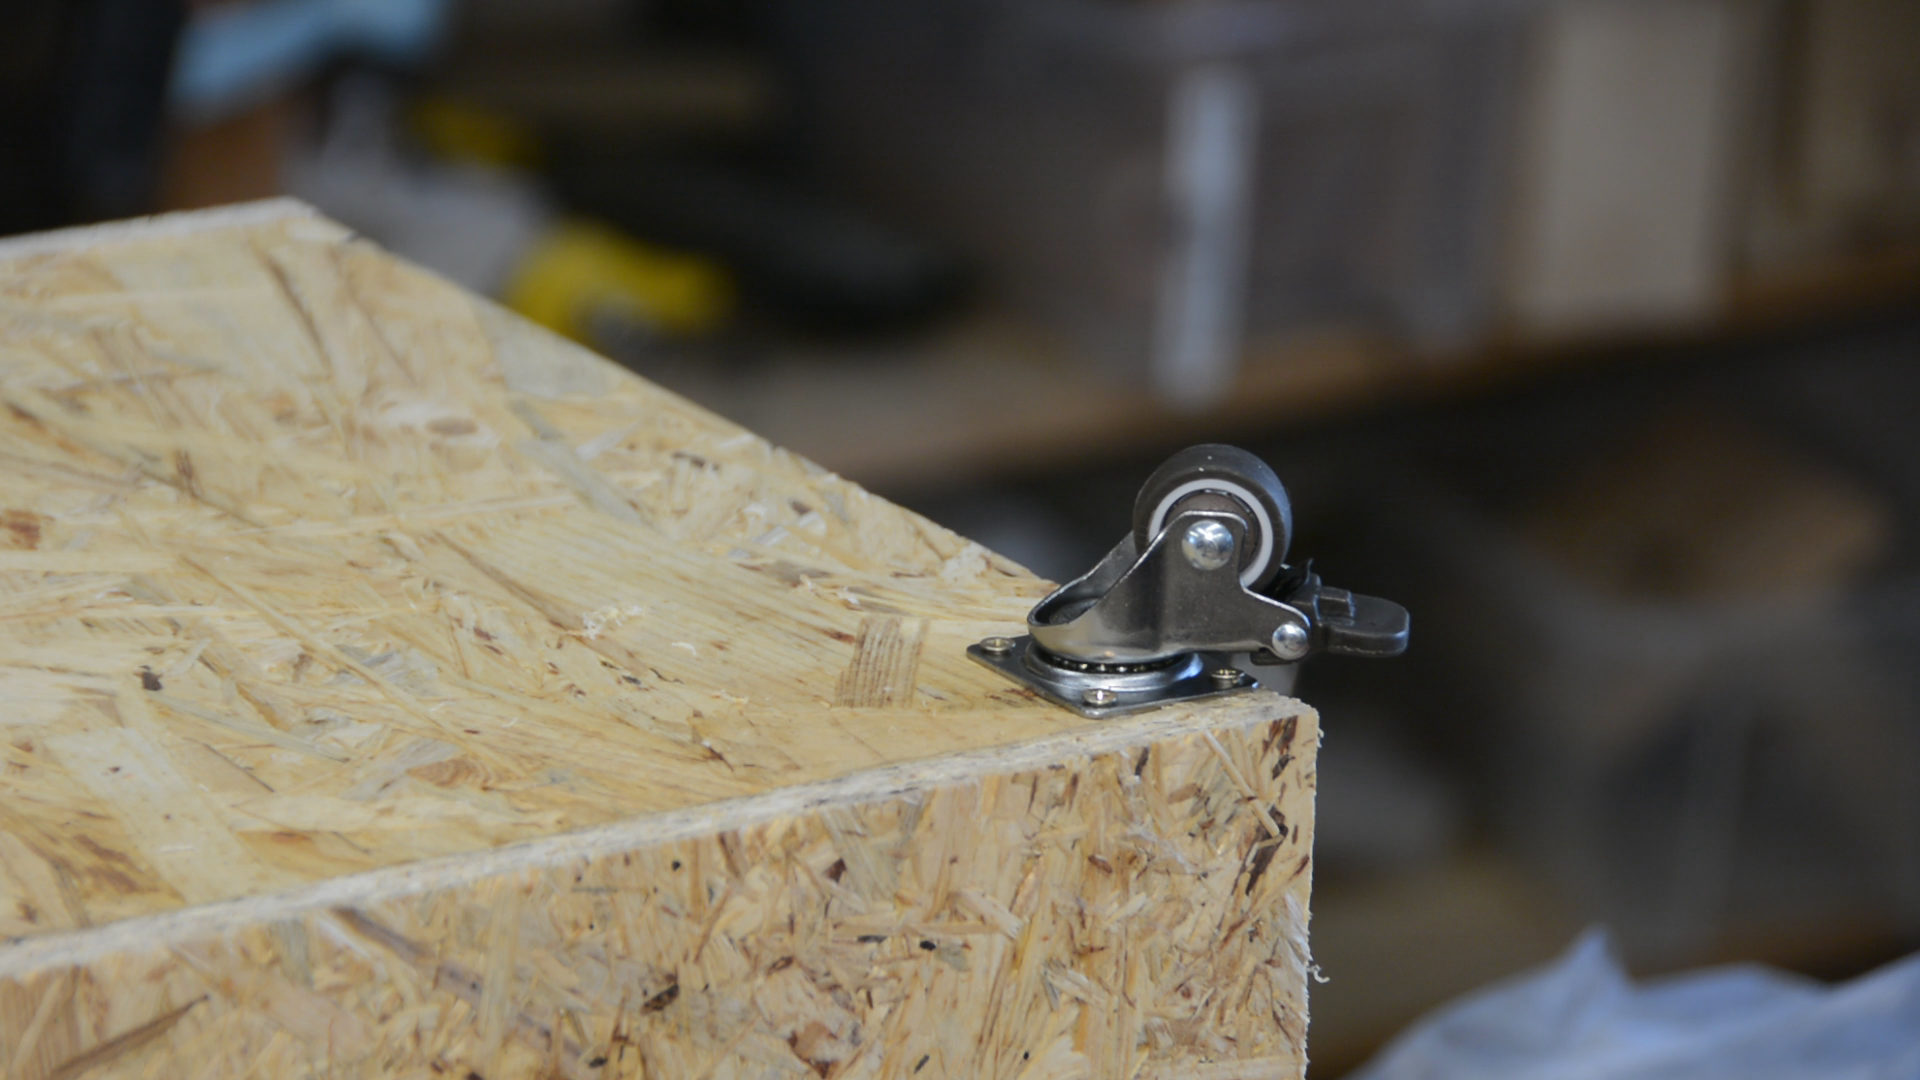
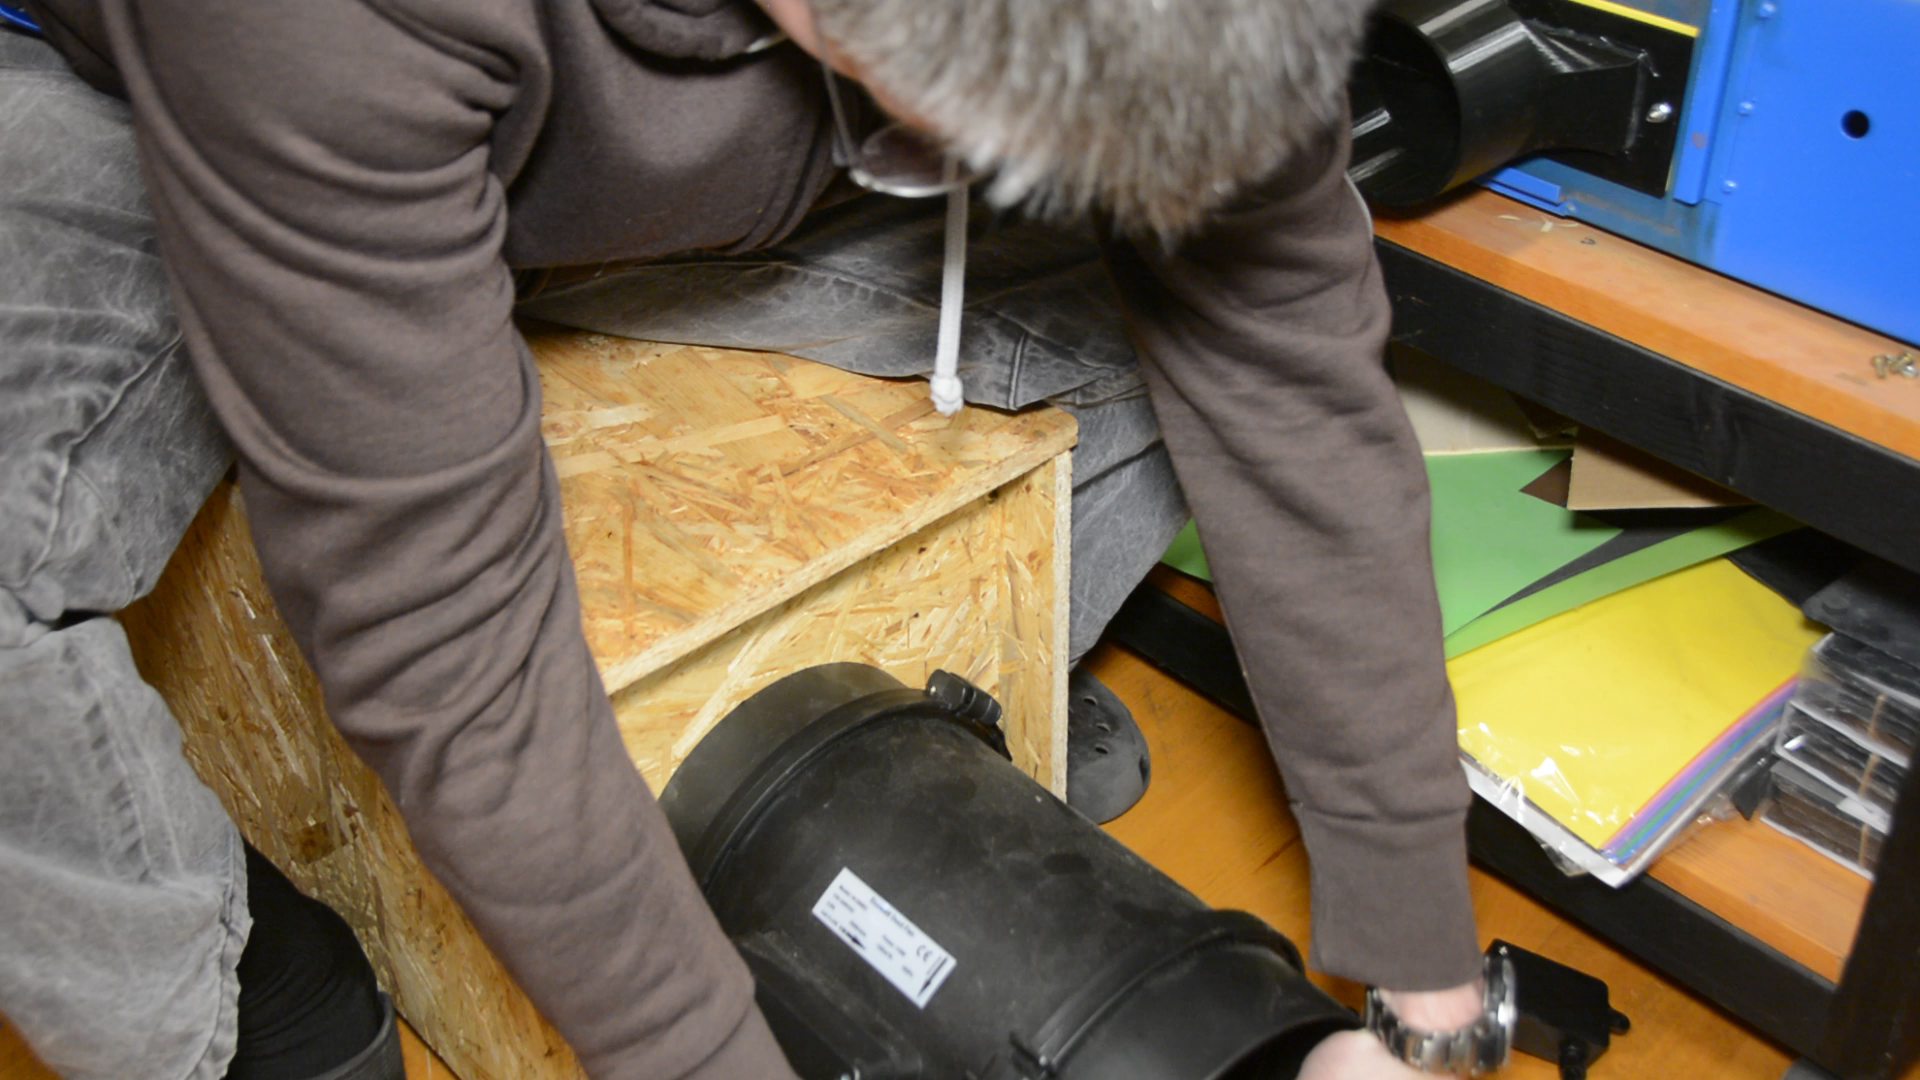
As this filter is even heavier than the previous one I will put it on wheels so that it is easier to move when changing the filters.
Installation
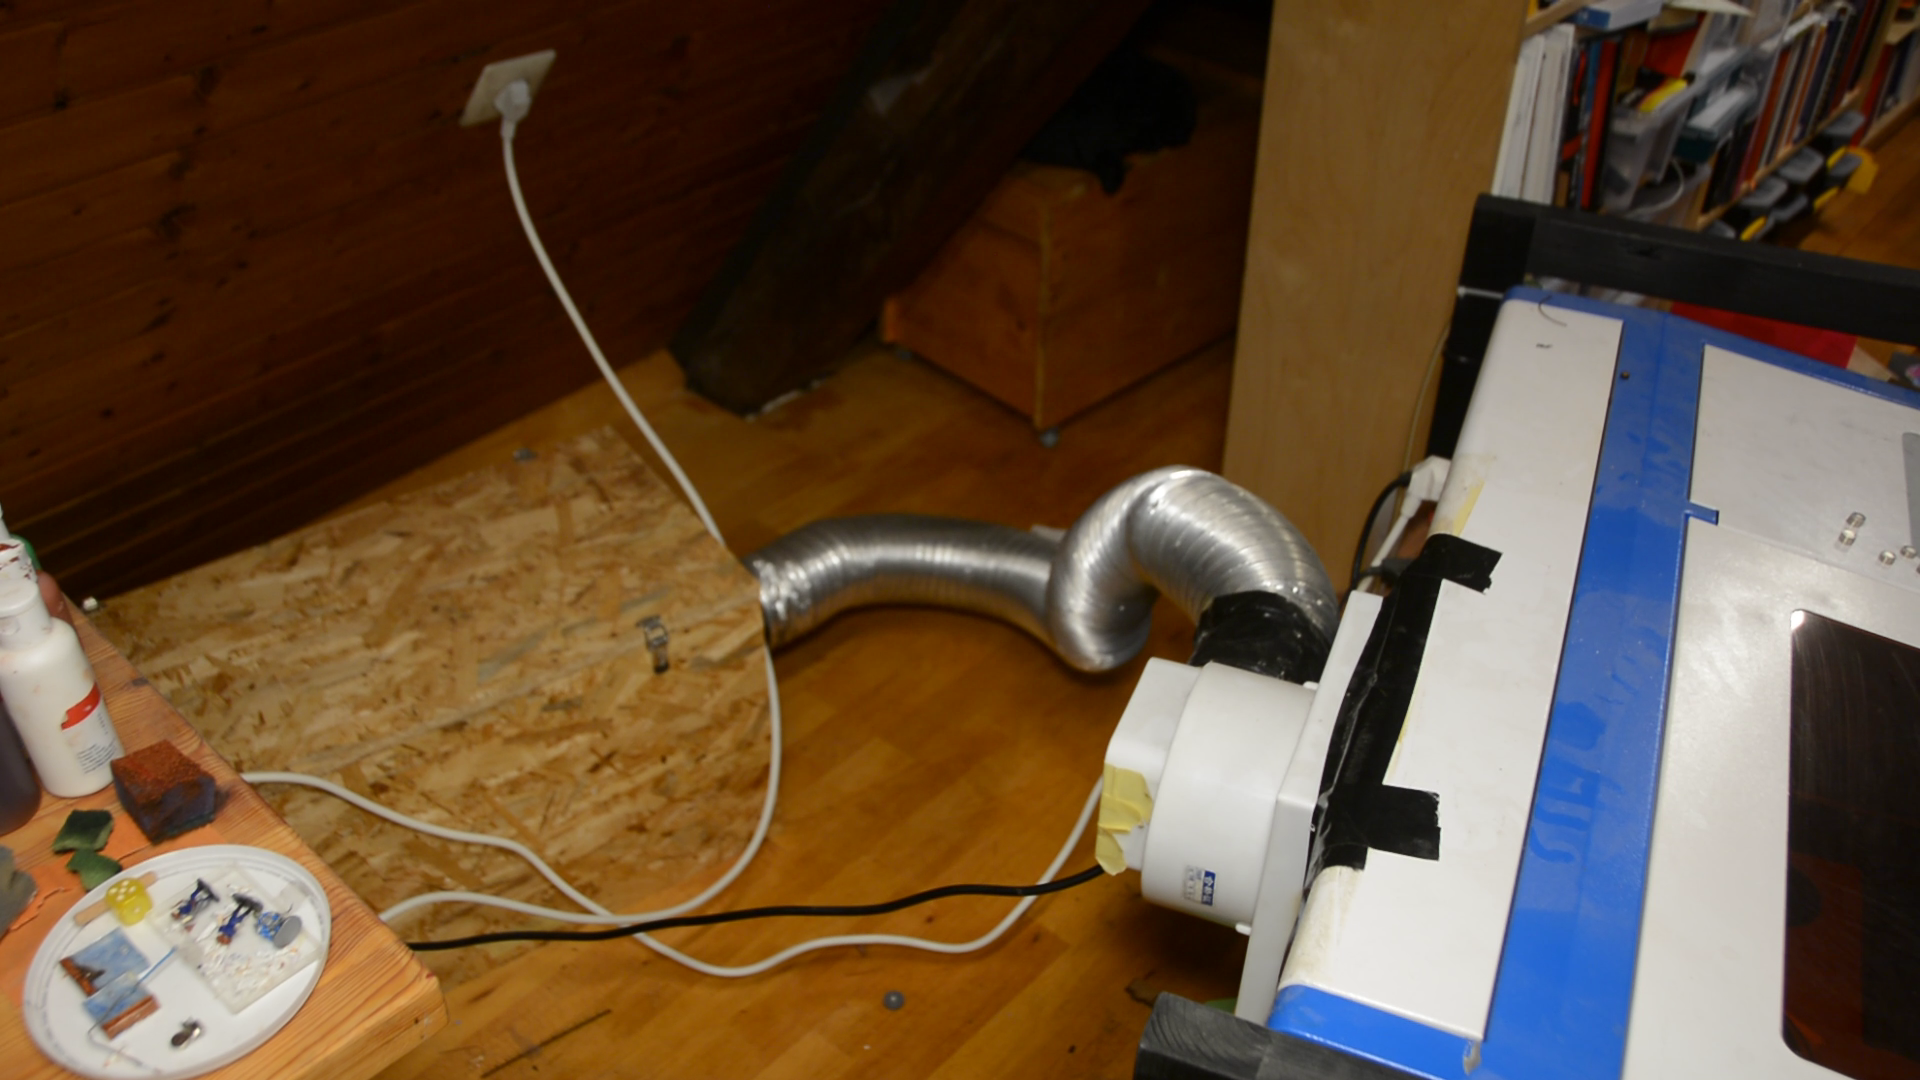
After moving the filter from the workshop to the laser I replace the fan with a 3d printed air outlet.
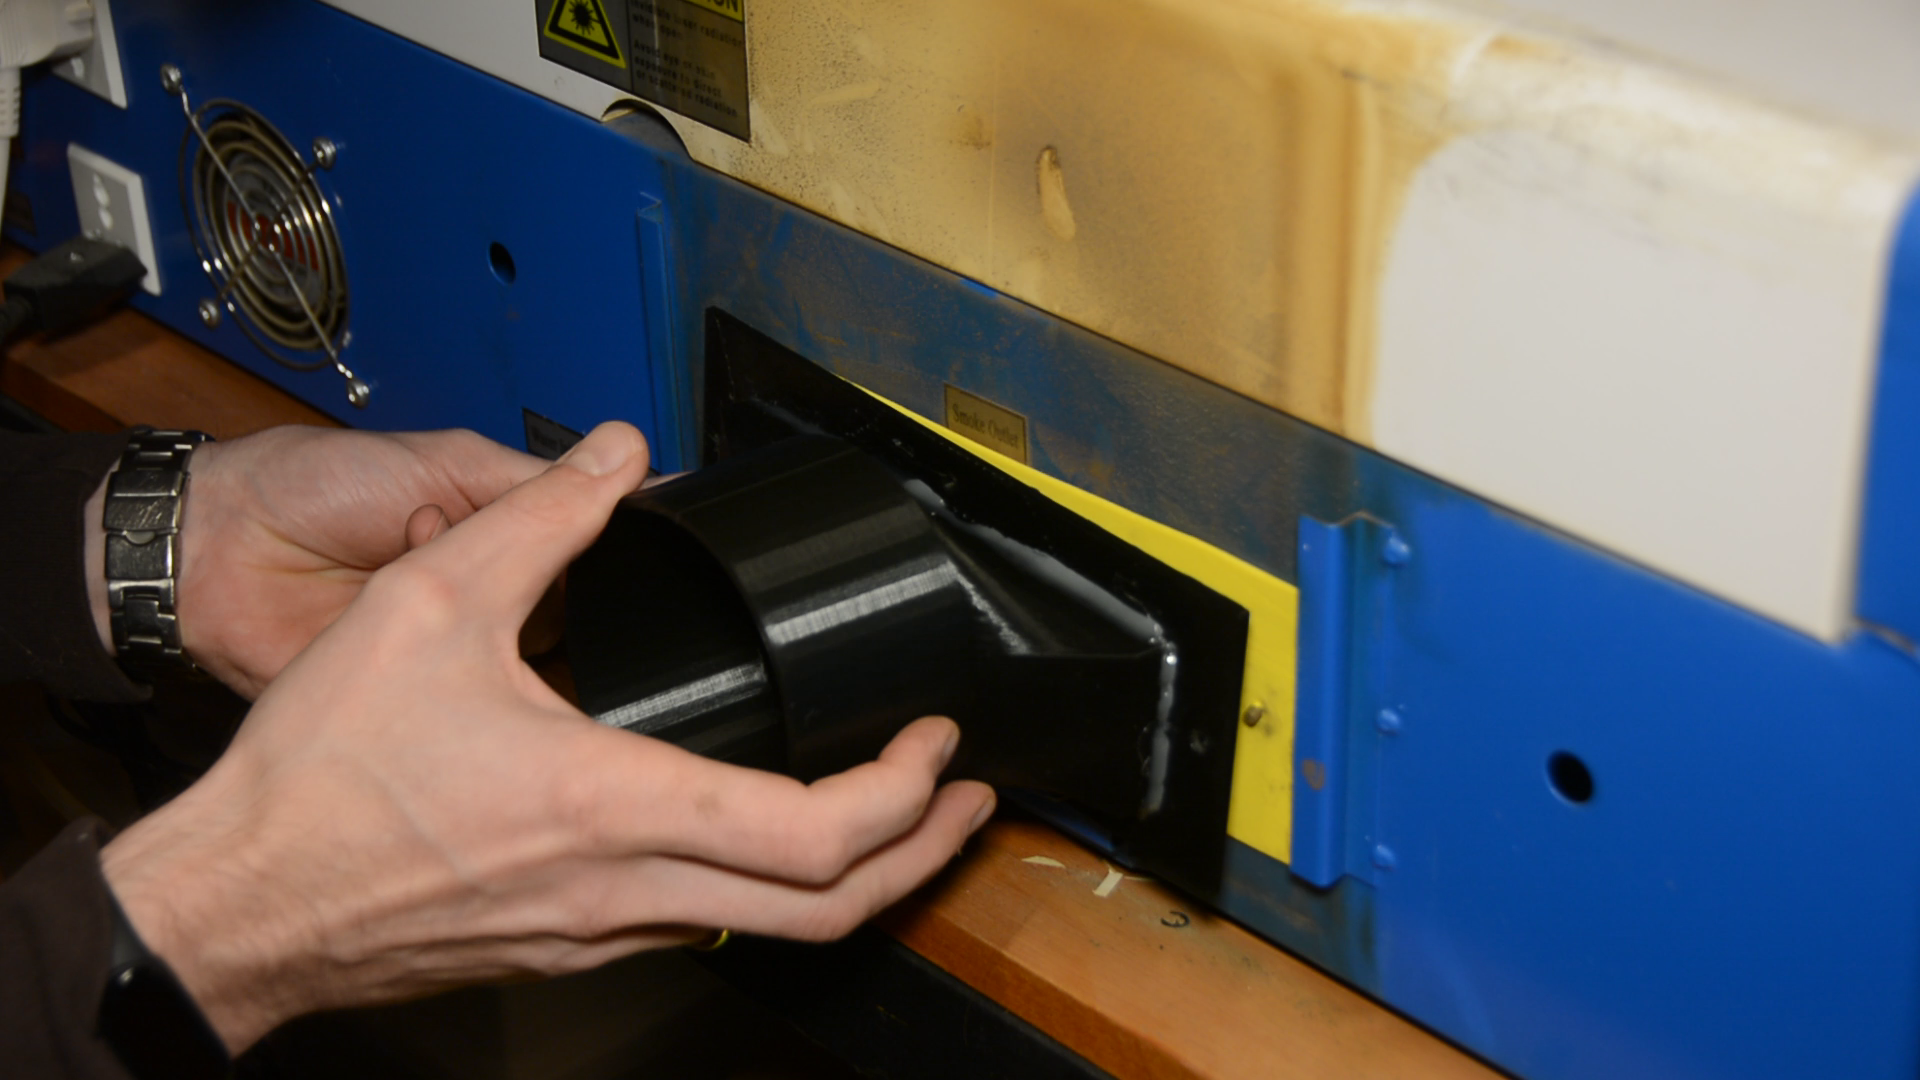
I press the Hon&Guan blower into the opening and use a metal hose to connect the laser with the filter.
Using a metal hose is from my point of view an important safety feature. If there are sparks or smoldering parts sucked into the hose they can’t put the hose on fire. I quickly found out that I have to add another latch in the middle of the lid to keep it really shut.
Conclusion: Is the new laser air filter better than version 1?
Let’s review the new build.
The new fan is nicely pulling the fumes out of the laser chamber and it really improves the smell in the office when the laser is running. On a scale of 0 for no smell to 10 for running the laser with no filter the old filter design was a 5 and the new one scores a 2. It is much better; but you can still tell that the laser is running.
The blower is rated at 1292 cubic meters per hour and 485 Pascal. This amount of power and throughput is also required to move the air out of the chamber. If you have a weaker fan you might want to go for less activated carbon. I now have around 15 kilogram in the filter and this seems to be the limit of that fan.
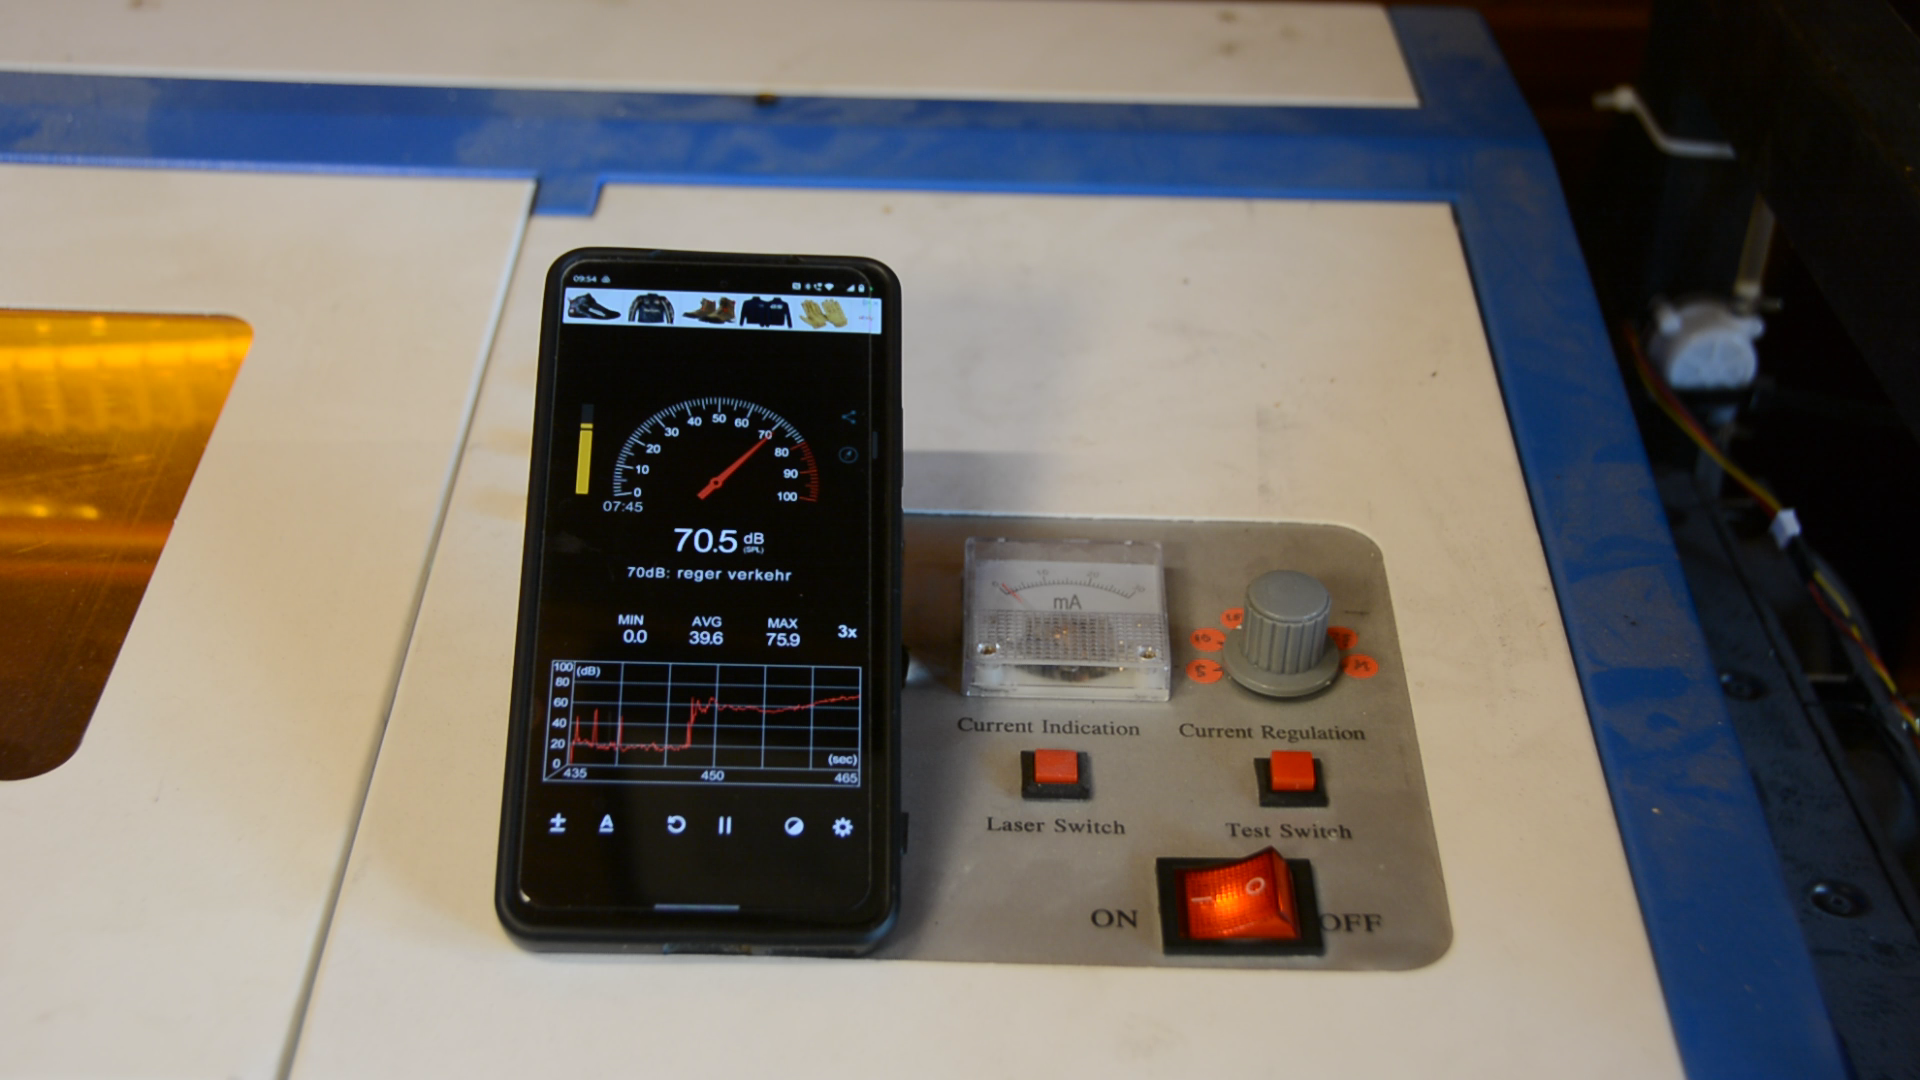
A real downside of this setup over the exhaust going out of the window is the noise level. For direct comparison this is the stock fan of the K40.
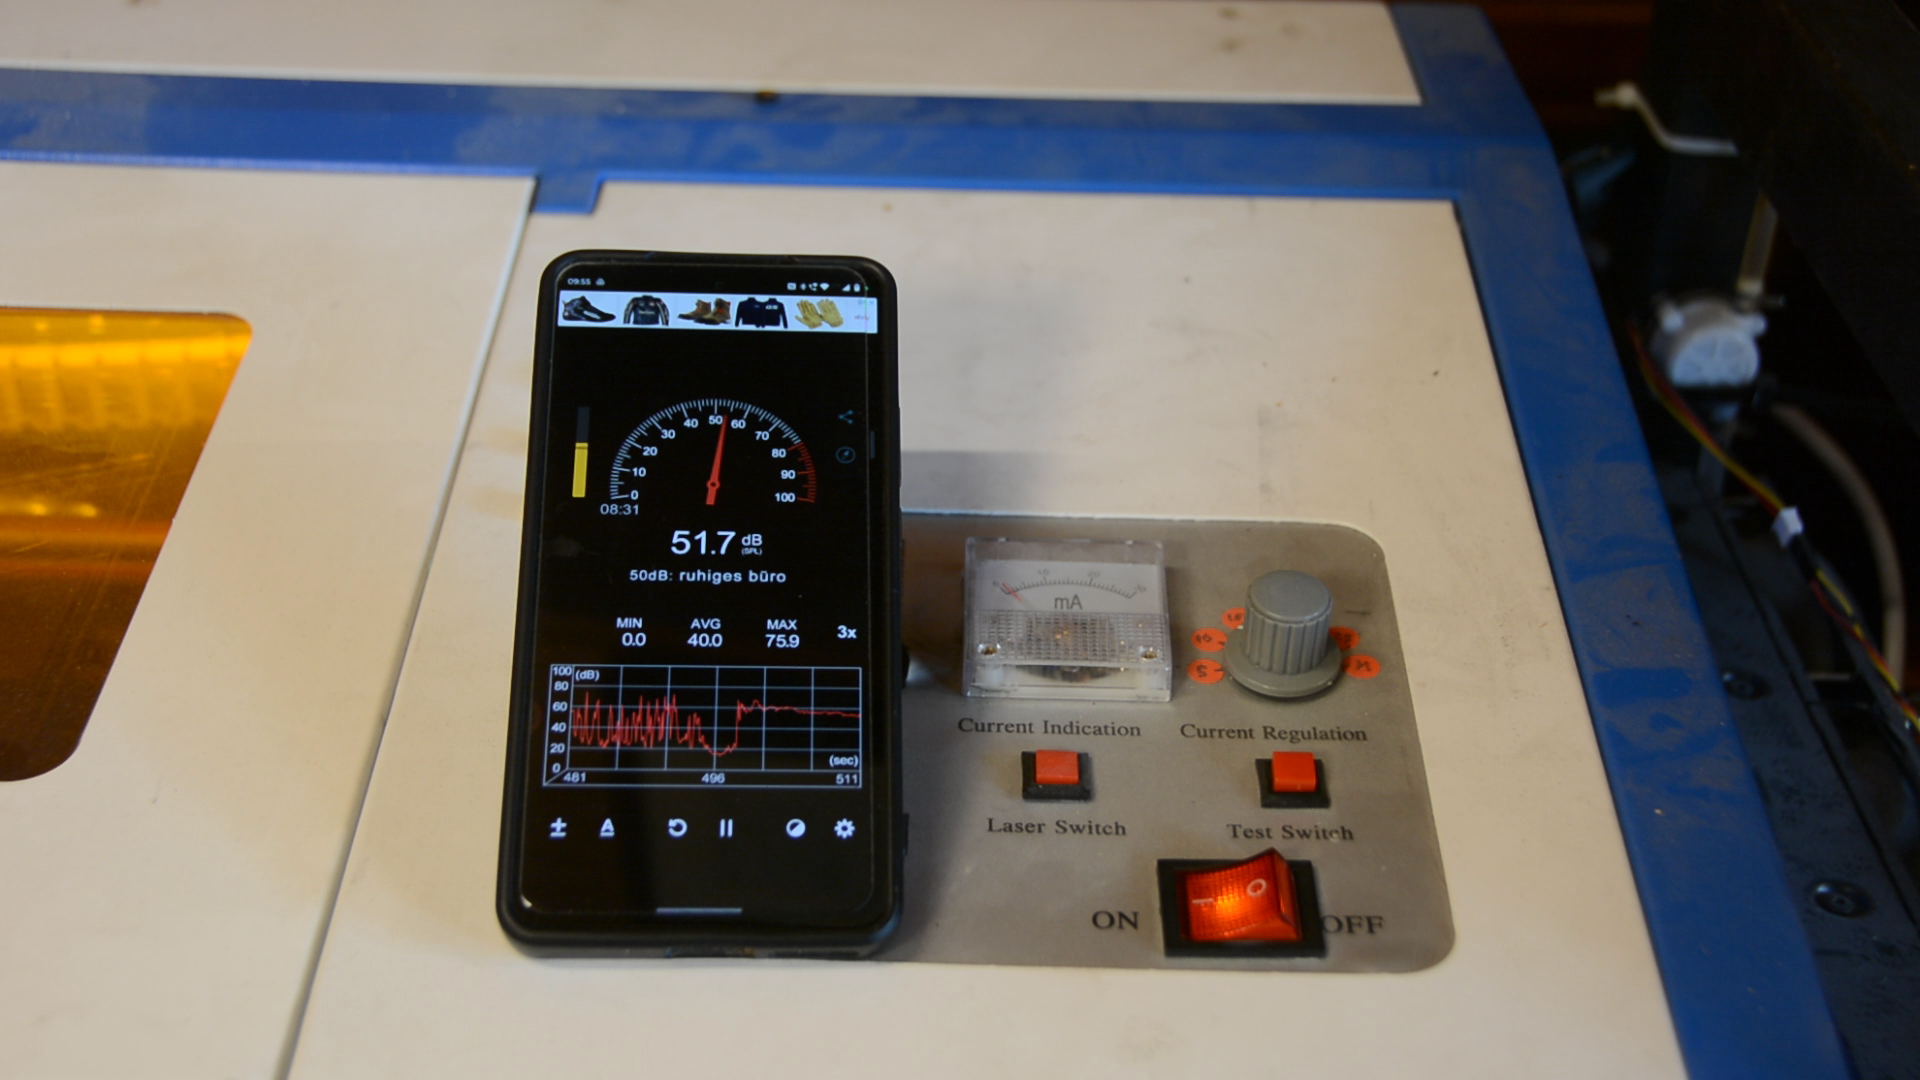
And this is the duct fan running up to full speed. With great power comes great noise.
All in all I am quite happy with this build. I think this is as far as I can push it by trial and error. I am pretty sure one could take it to the next level by some proper calculations of air flow, what filter to use and how much activated carbon to put into it. Let me know if you have additional ideas on how to further improve the design.