In this article we design and 3d print a pen kit to turn wooden highlighters.
I really like writing with a good pen. In the past I have been woodturning quite a few pens and enjoy using them. However – one kind of pen in my arsenal is still extremely ugly – I am talking about highlighters.

I have not found any kit on the market that would offer a kit for wooden highlighters. So I decided to 3d print my own pen kit. Most highlighters are oval and extremely bulky. If you plan to design a wooden hull around it – especially one that is round – the pen would barely fit my hand.
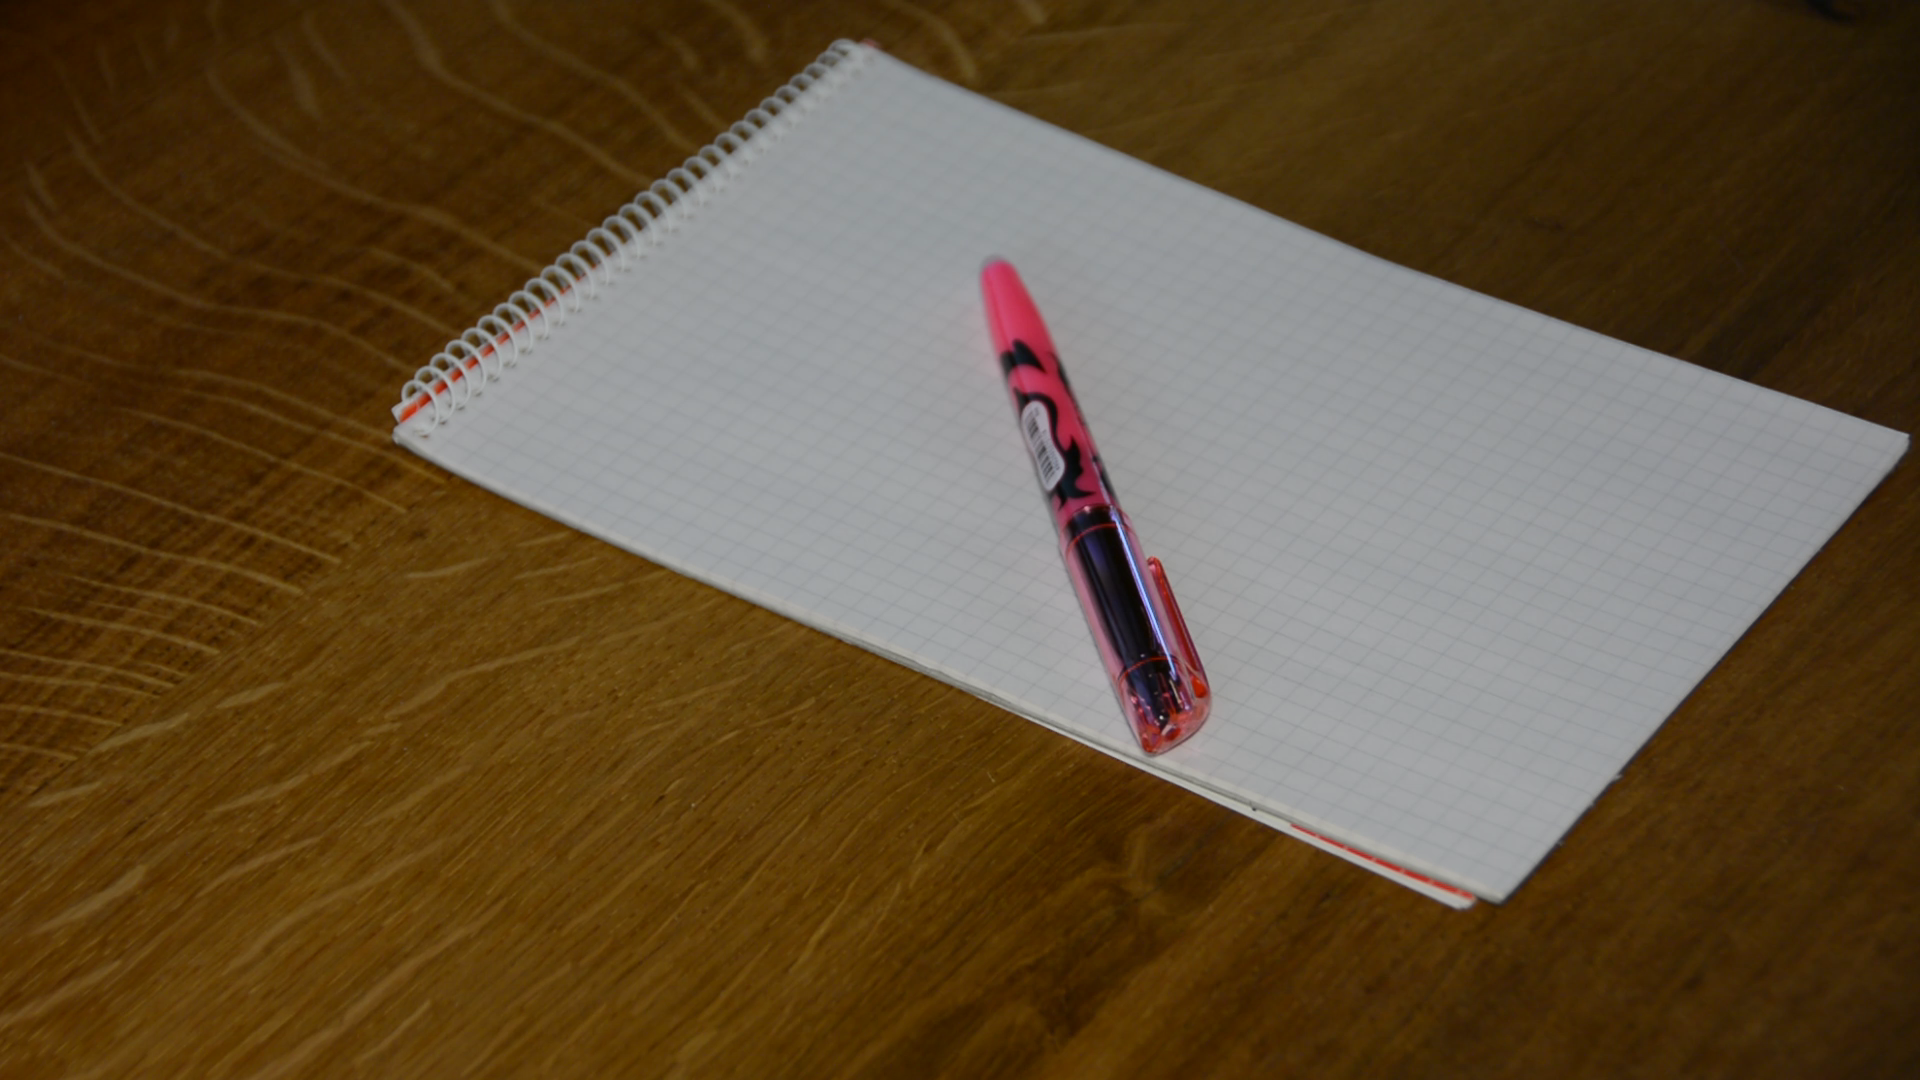
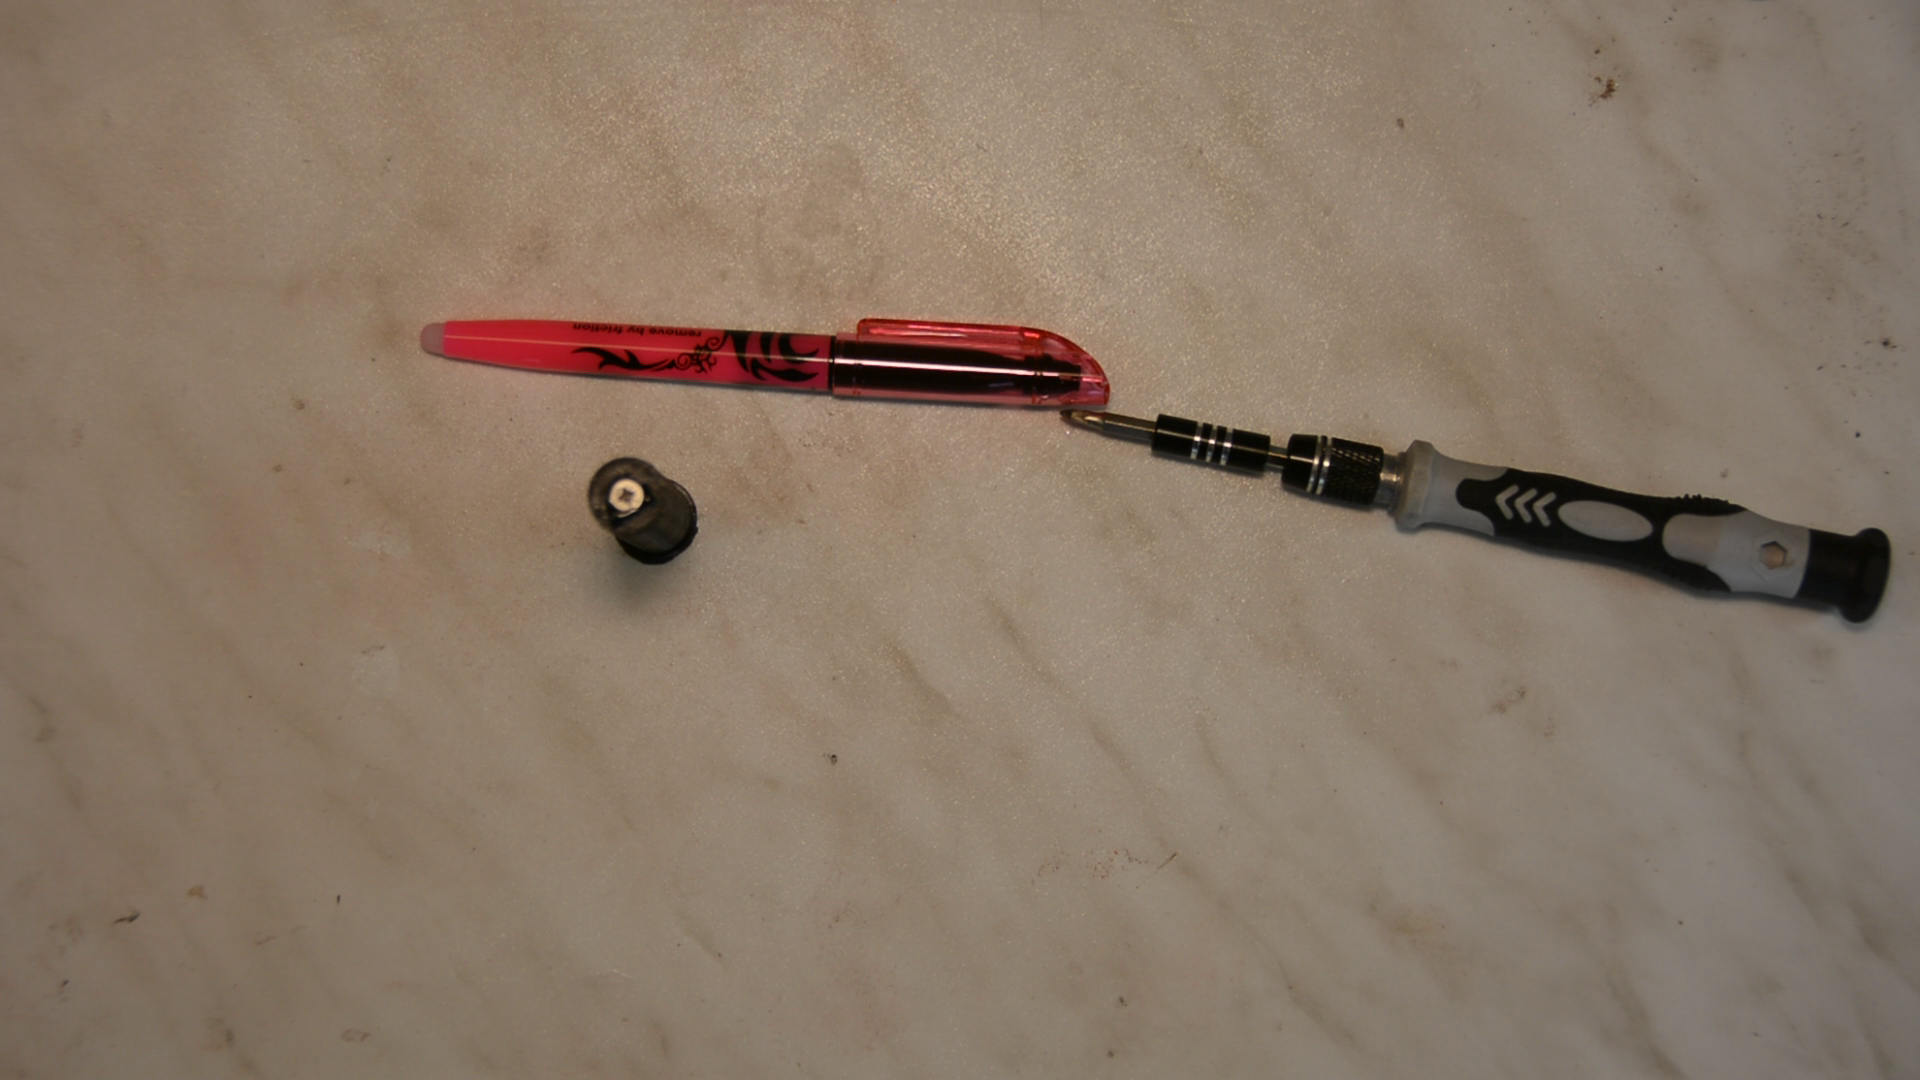
After looking around for some time I found these erasable highlighter from Frixion that are about the size of a normal pen. If I add some PLA and wood around these they should still be usable and not too bulky.
Constructing the pen kit
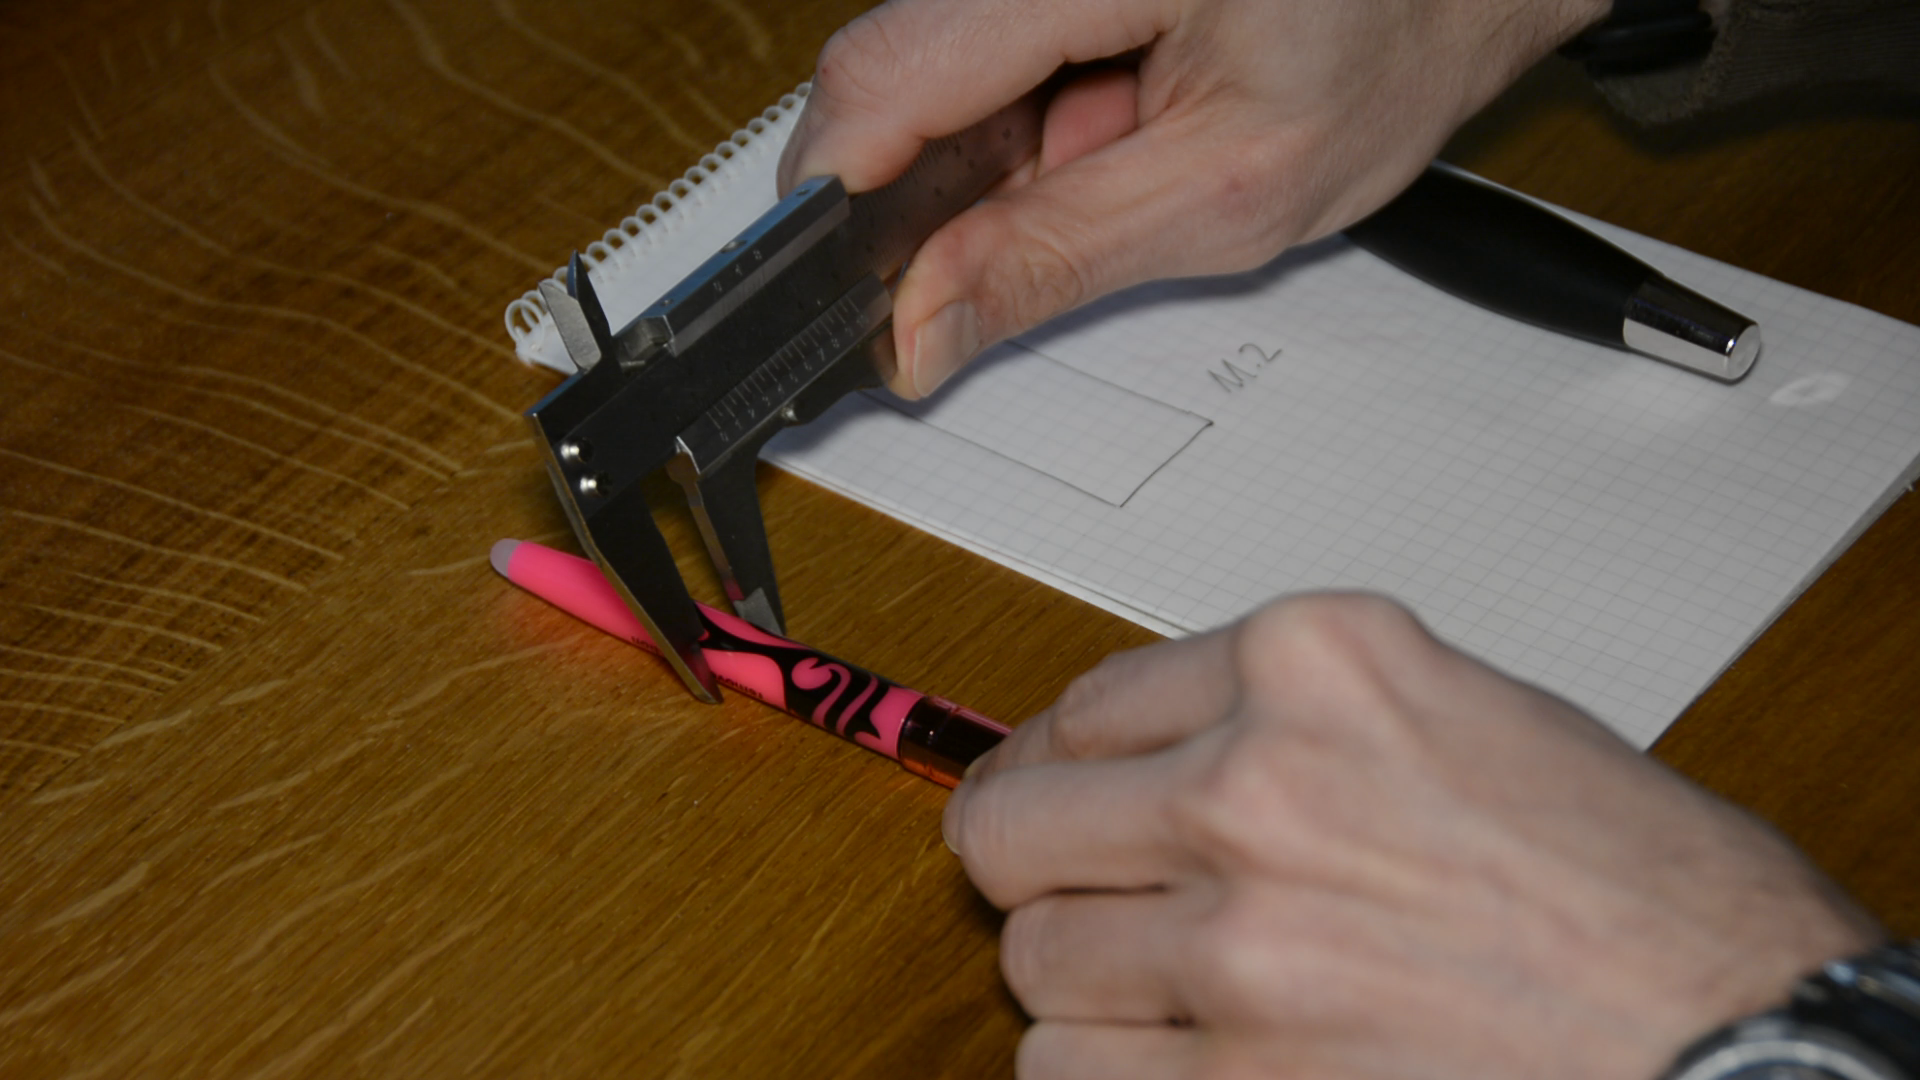
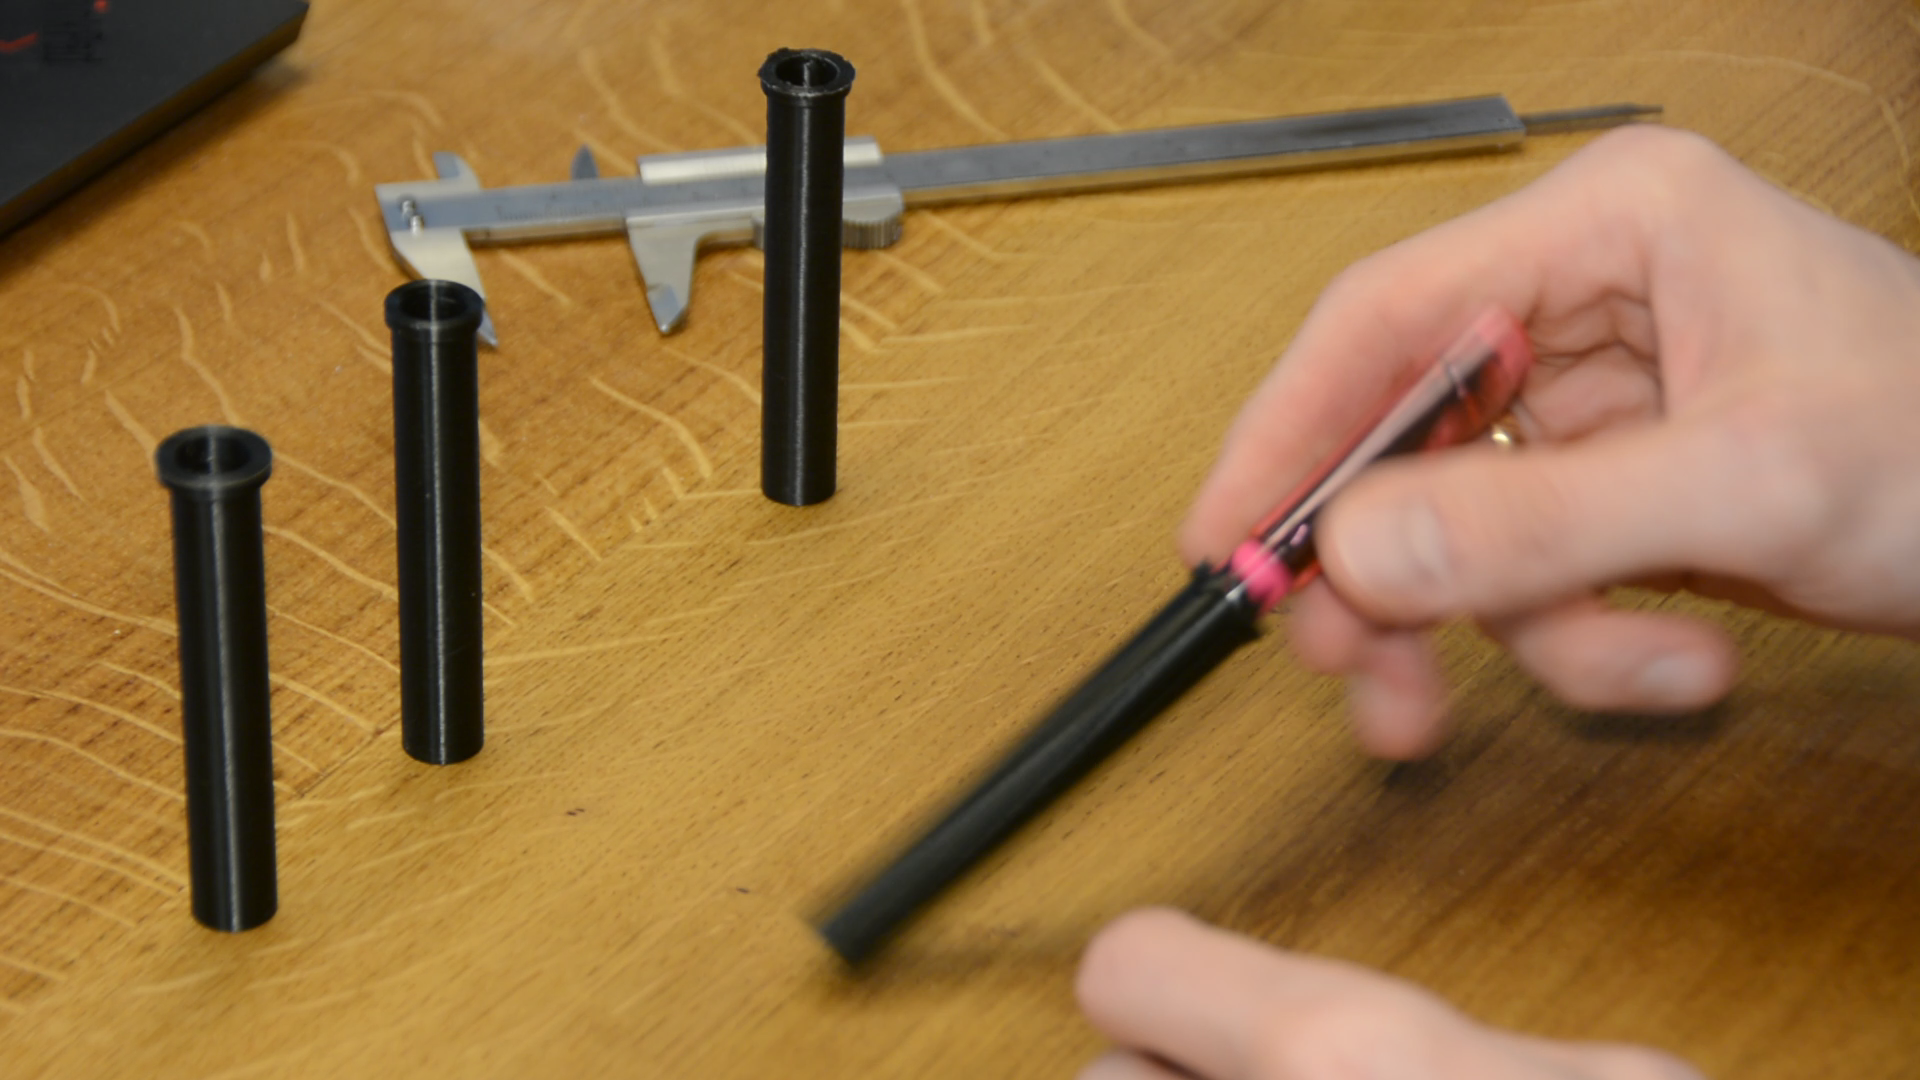
I start by measuring the key points of the pen and then create the model around these measurements in FreeCAD. With a very small amount of play around these I model the 3d print.
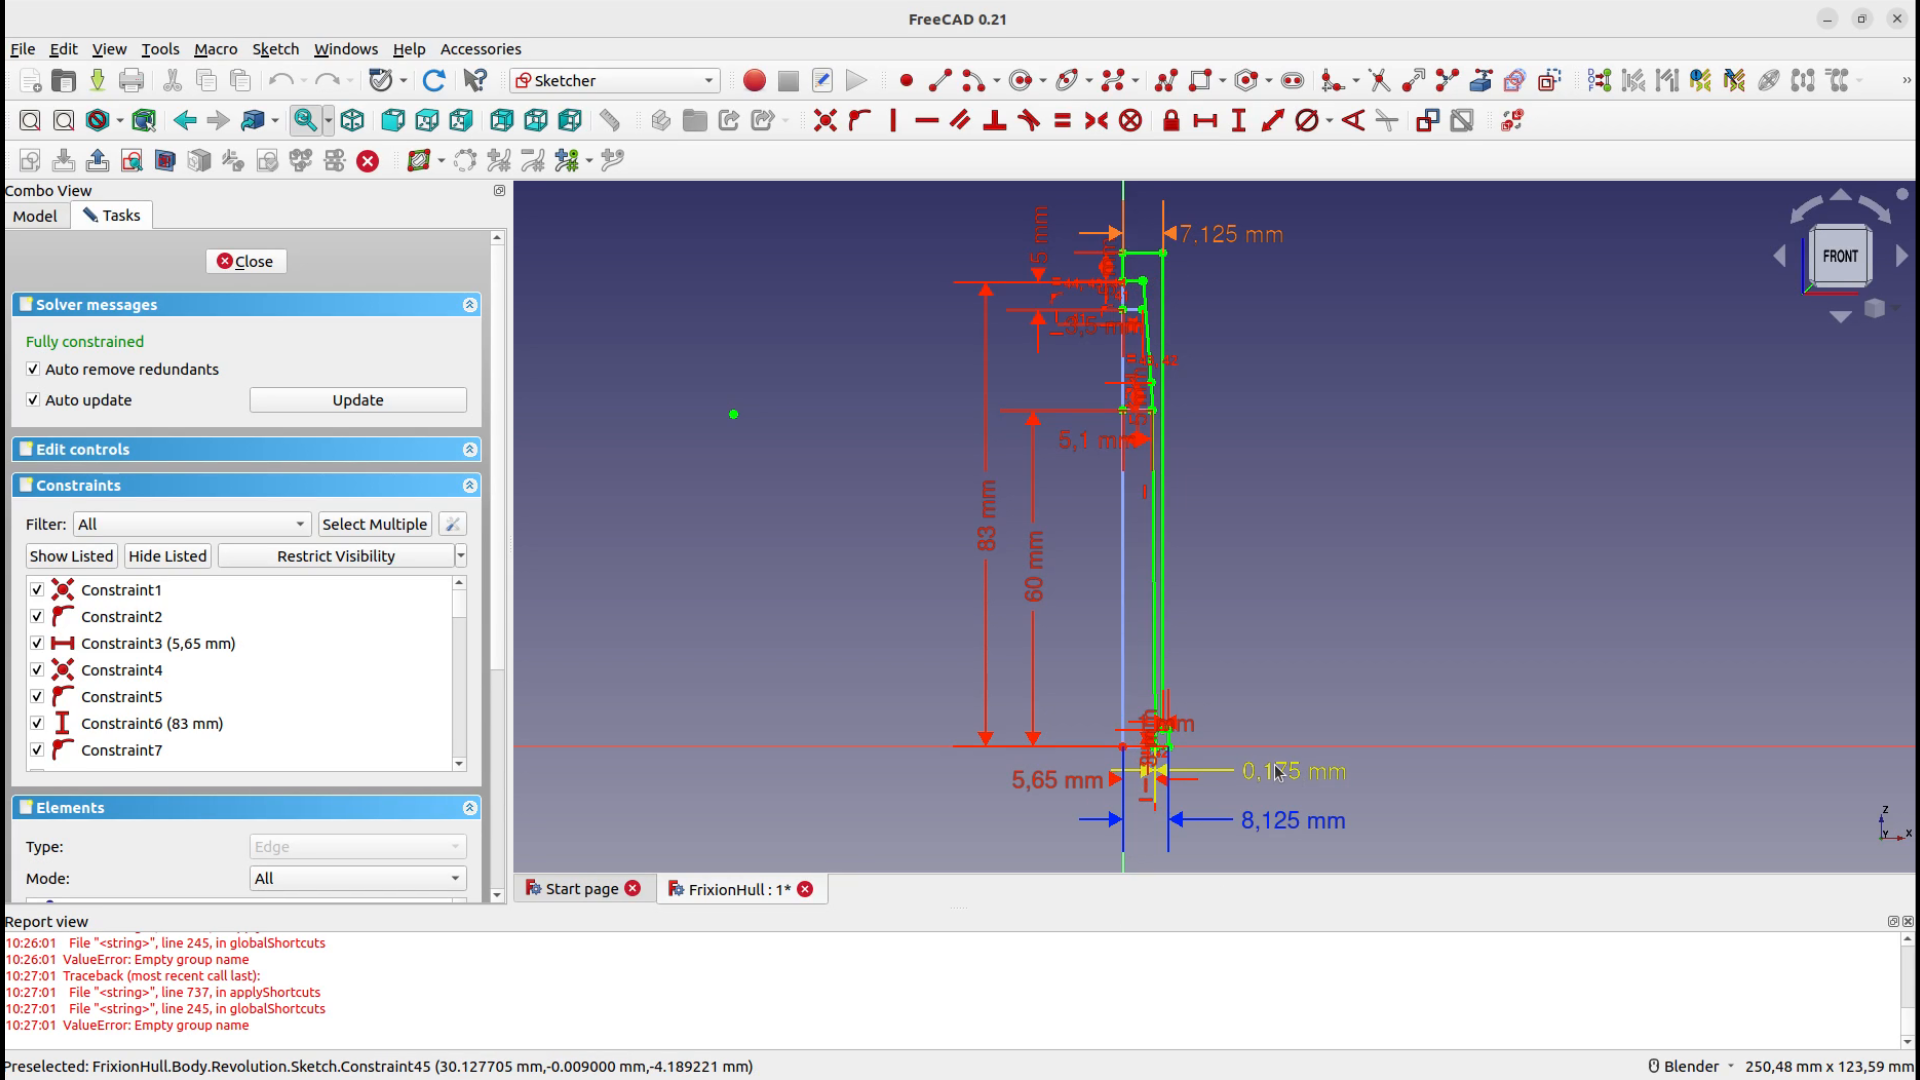
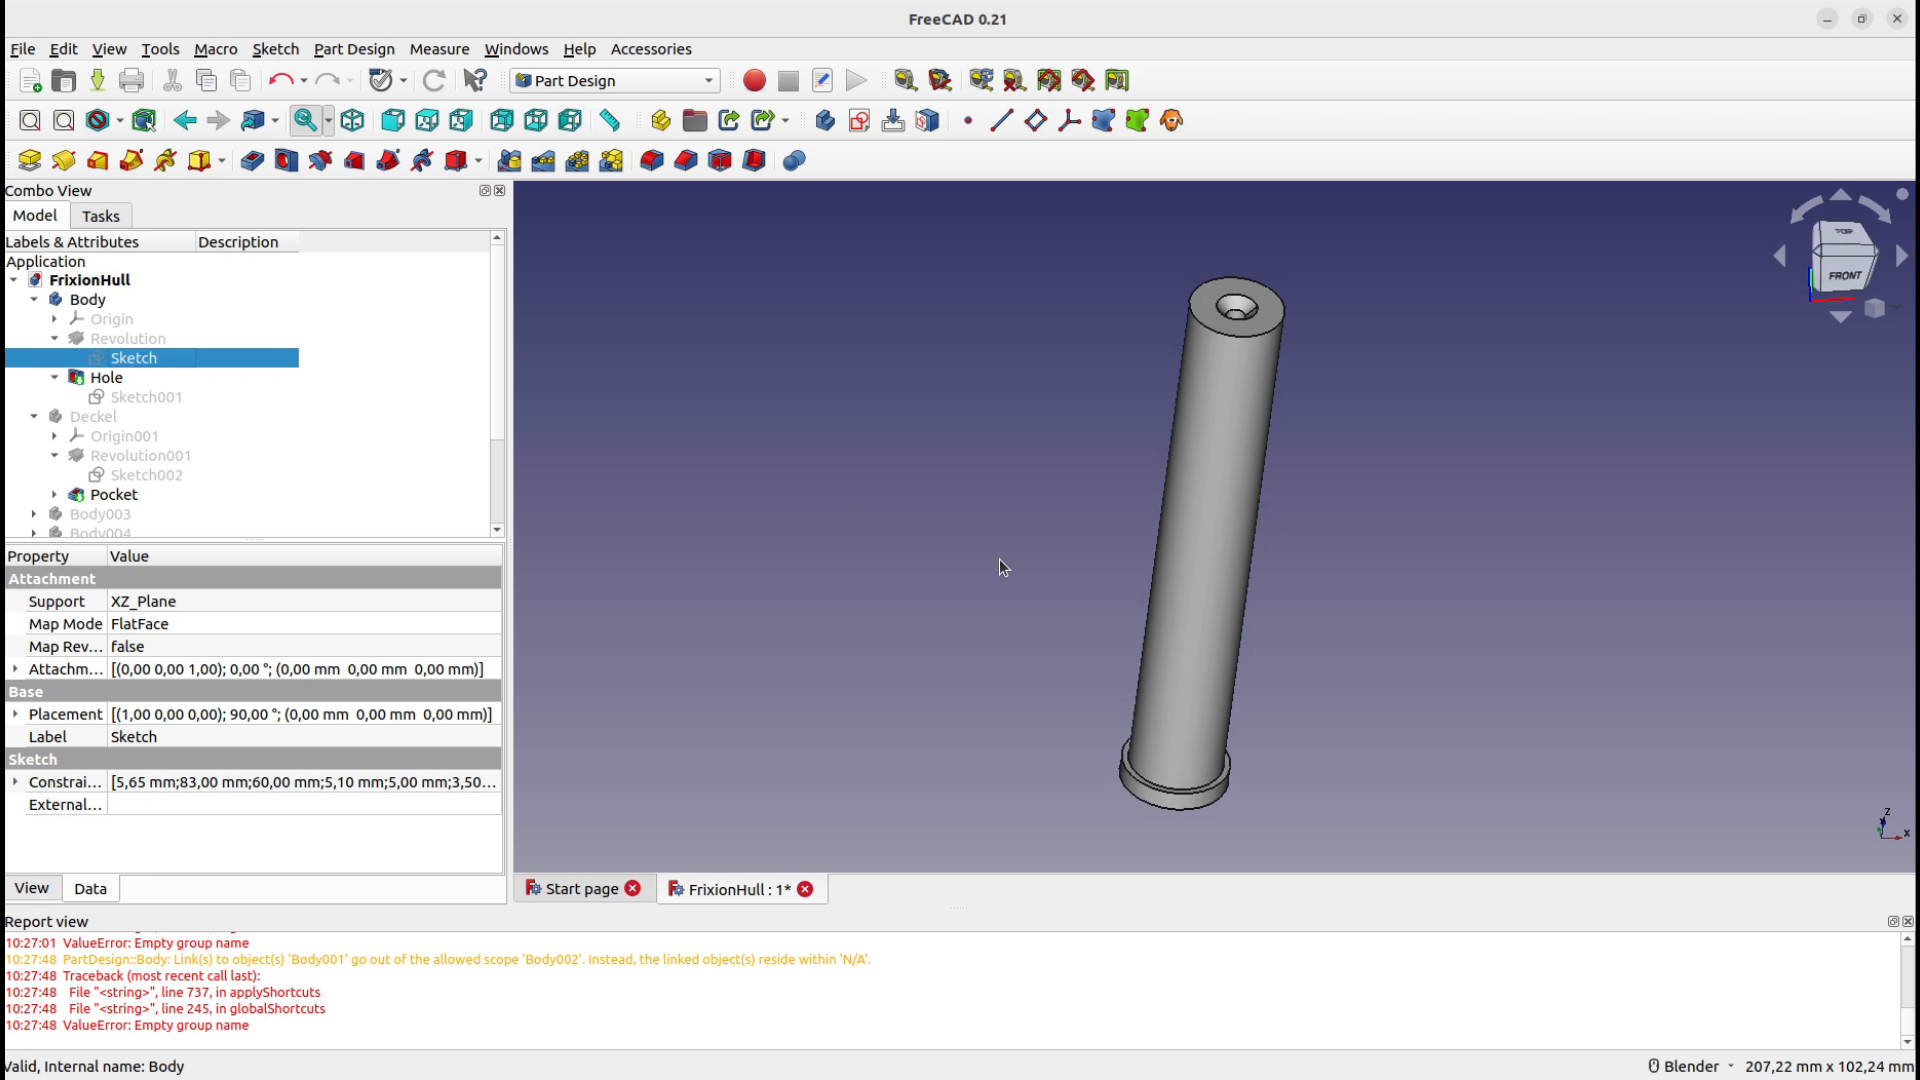
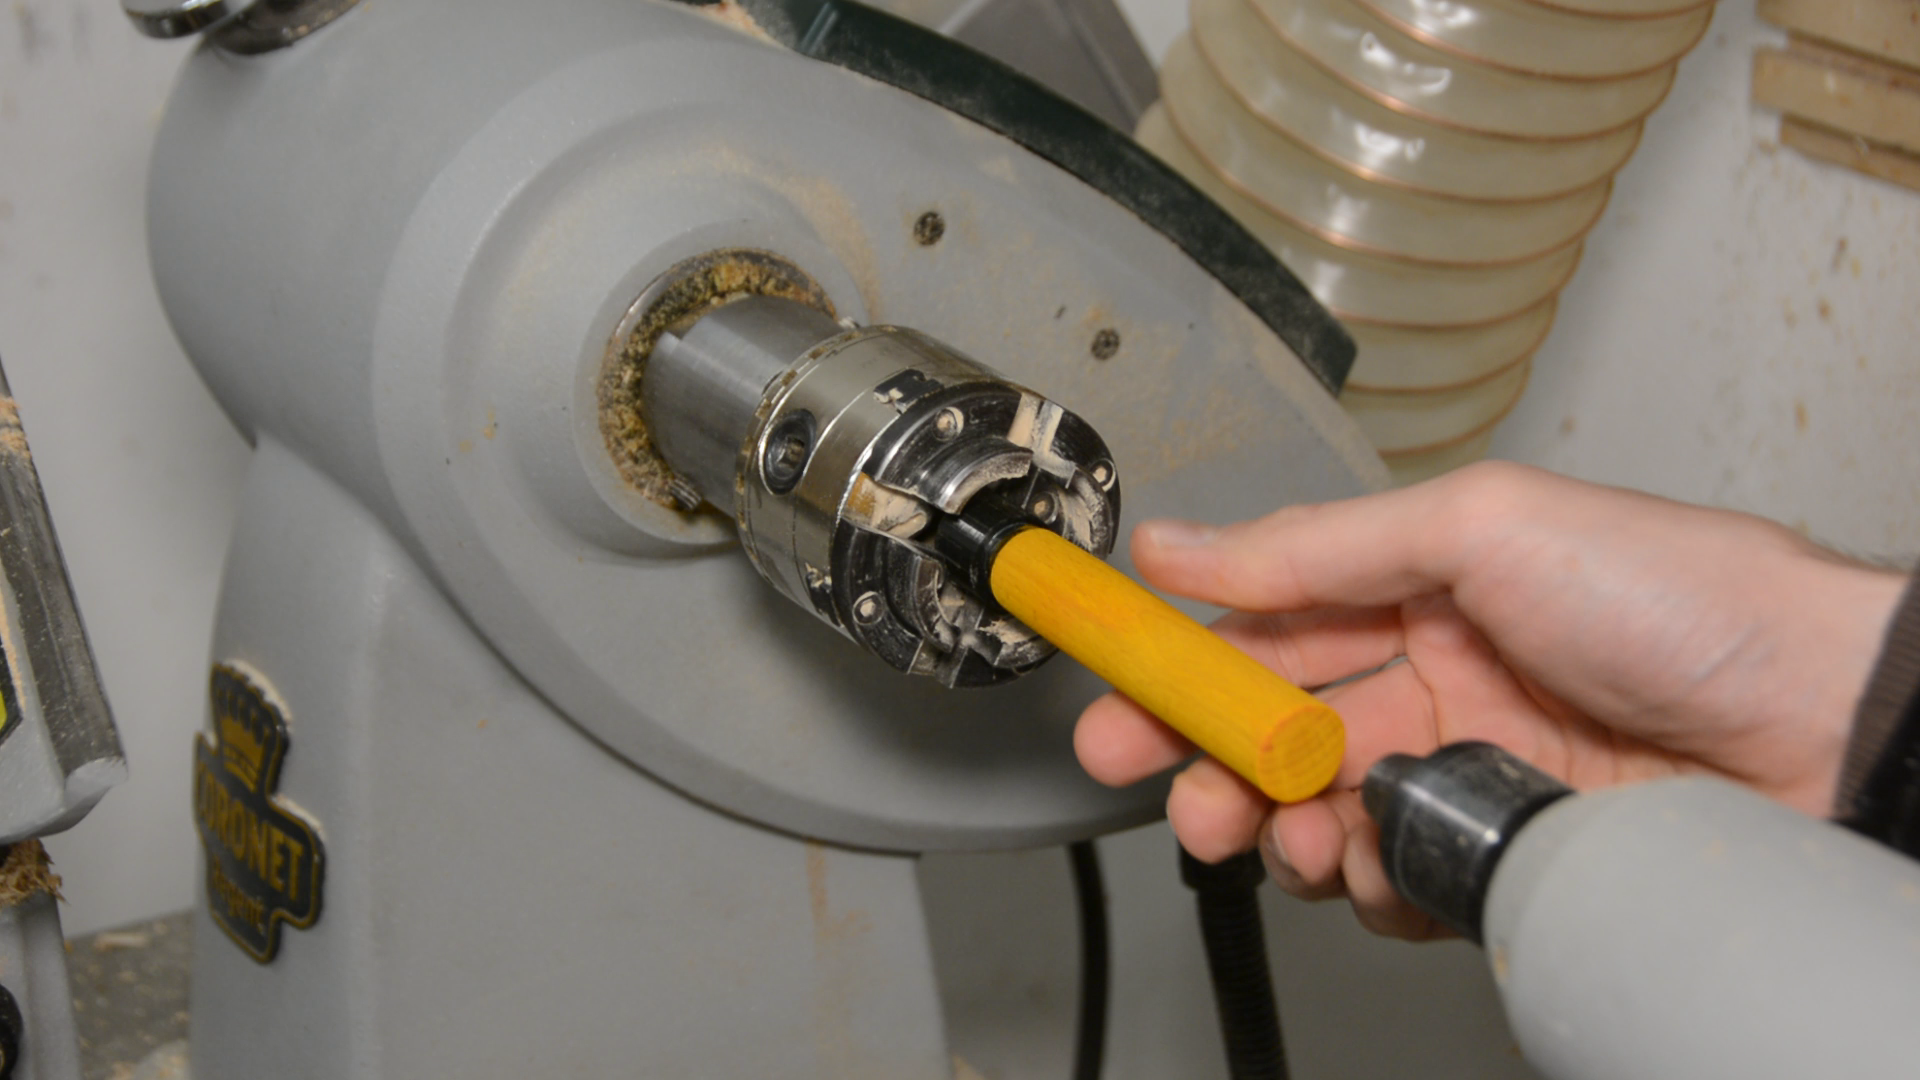
The outside of the print is designed to fit in a 14,75mm diameter hole. I already had the respective drill from another pen kit and getting a bit more wood to work with compared to a 15mm drill seems like a good idea.
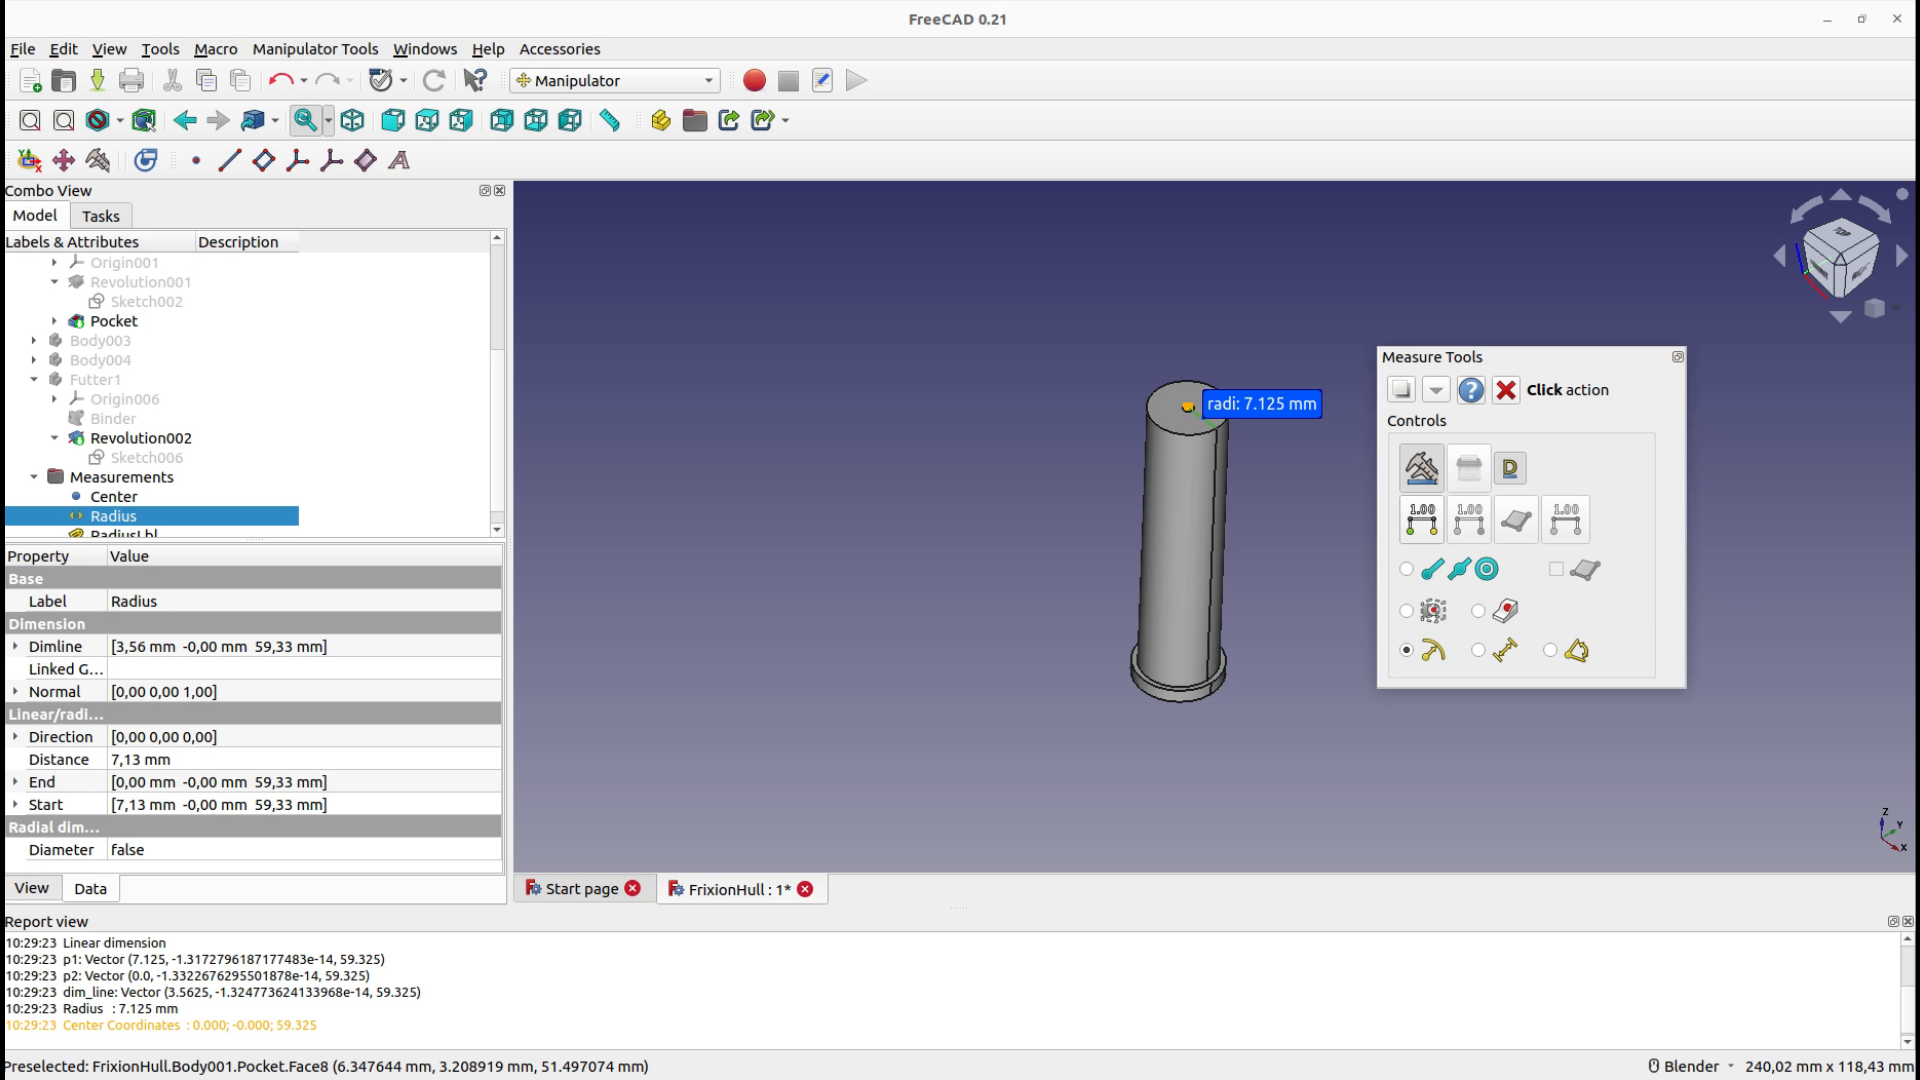
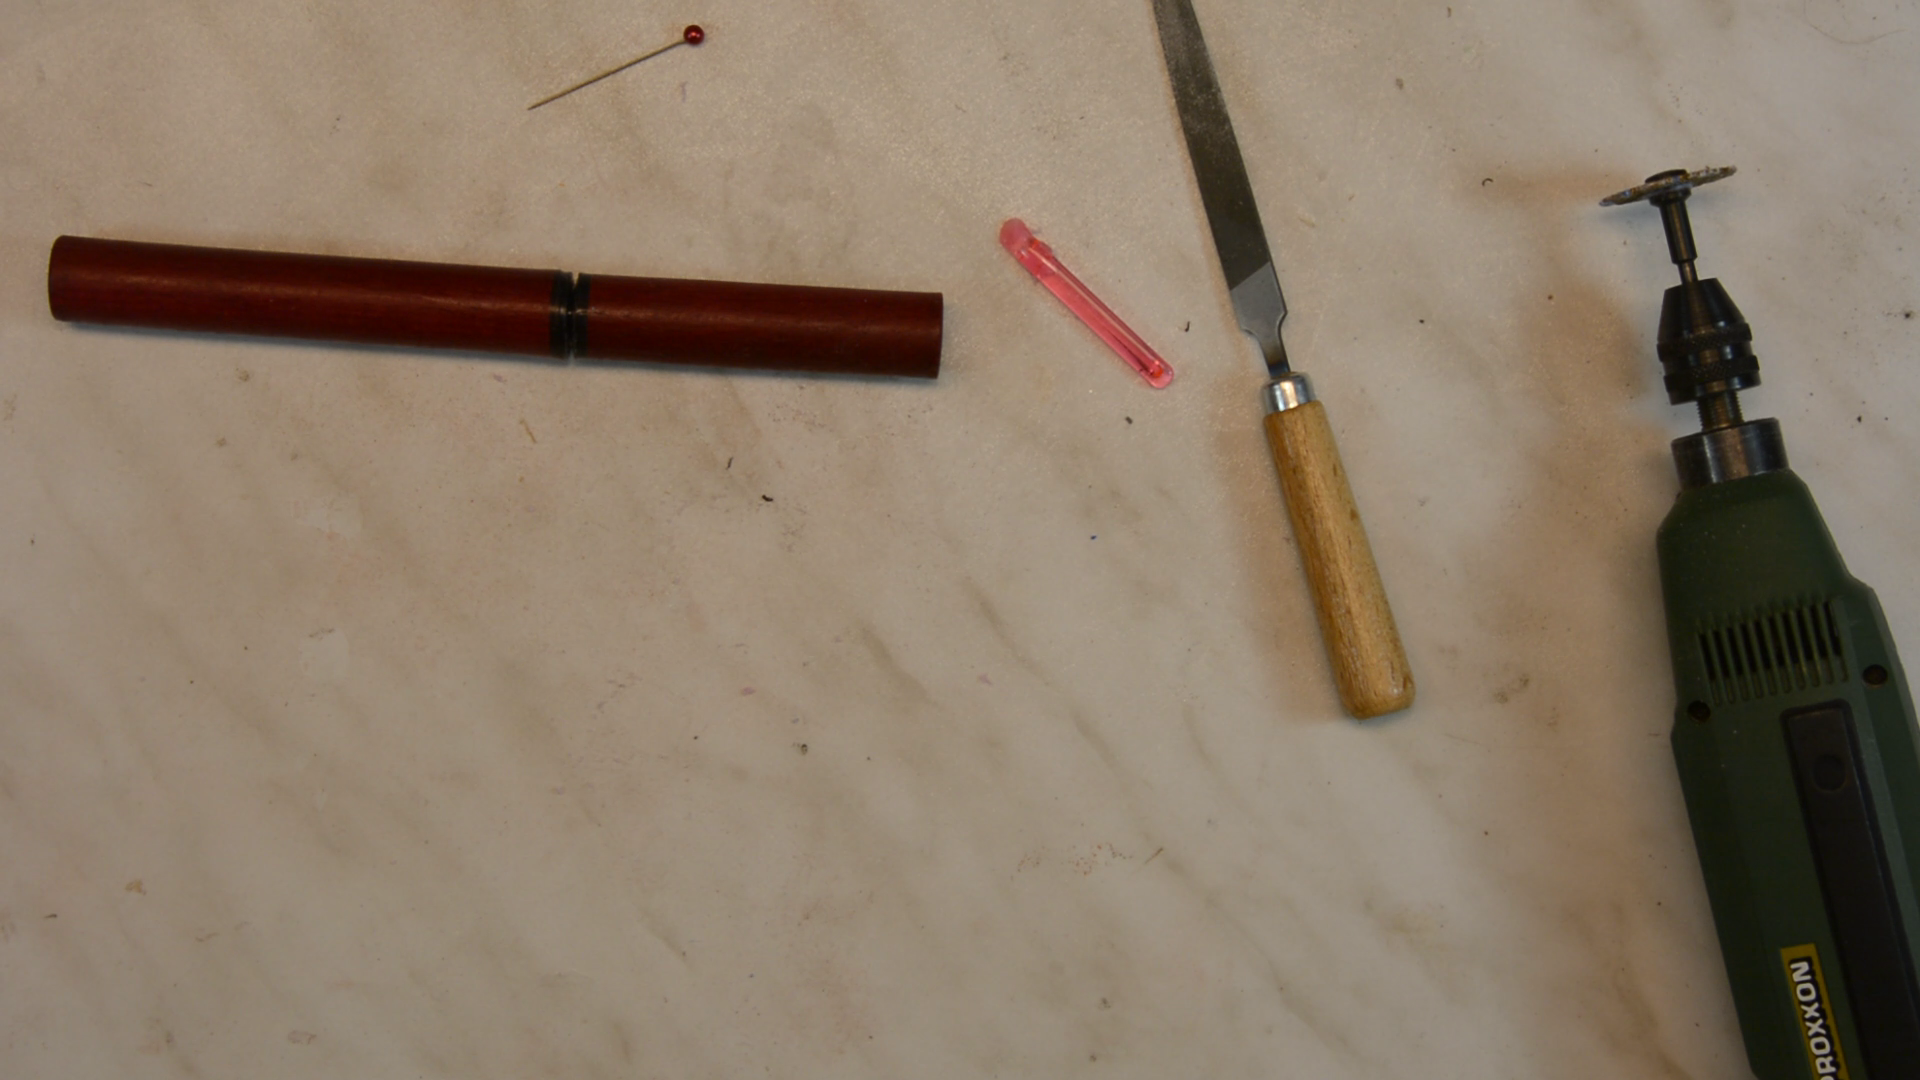
Getting the fit just right to the point where there is a nice friction fit between the print and the hull took quite some trial and error.
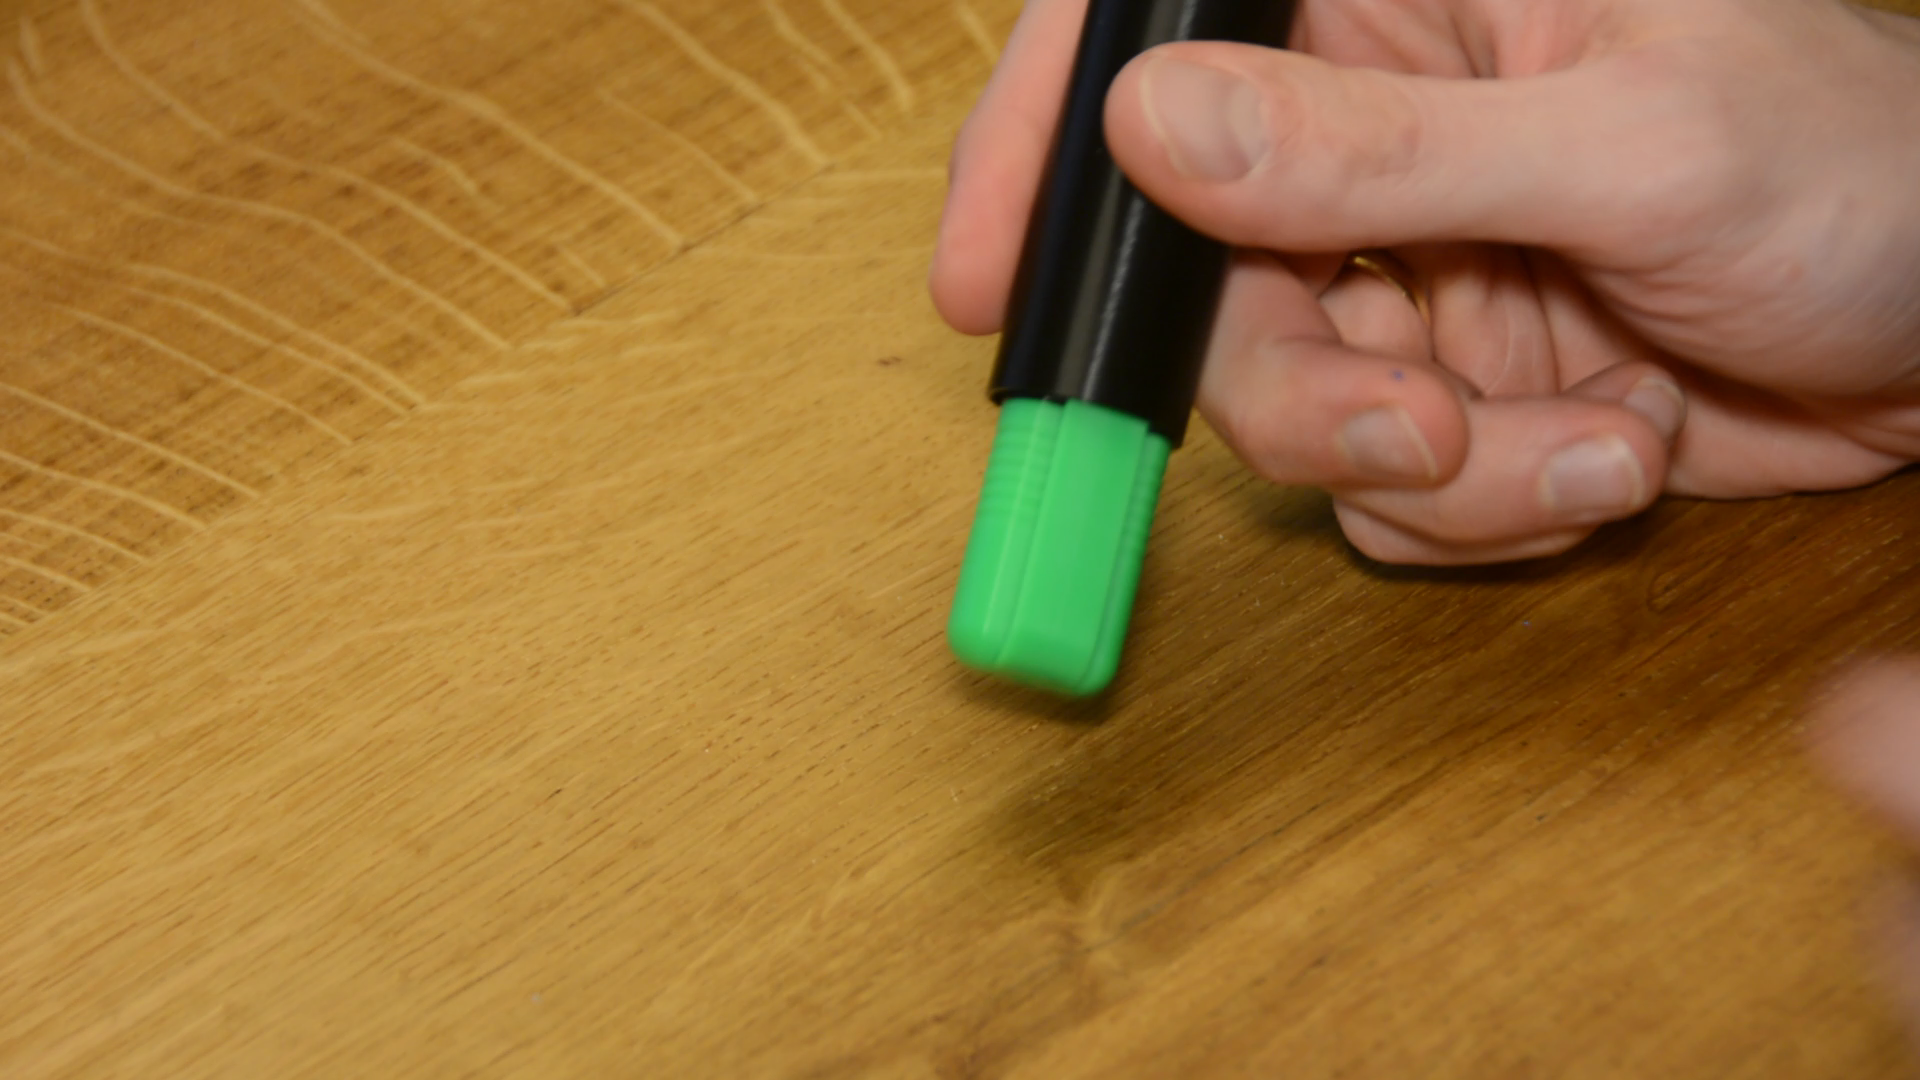
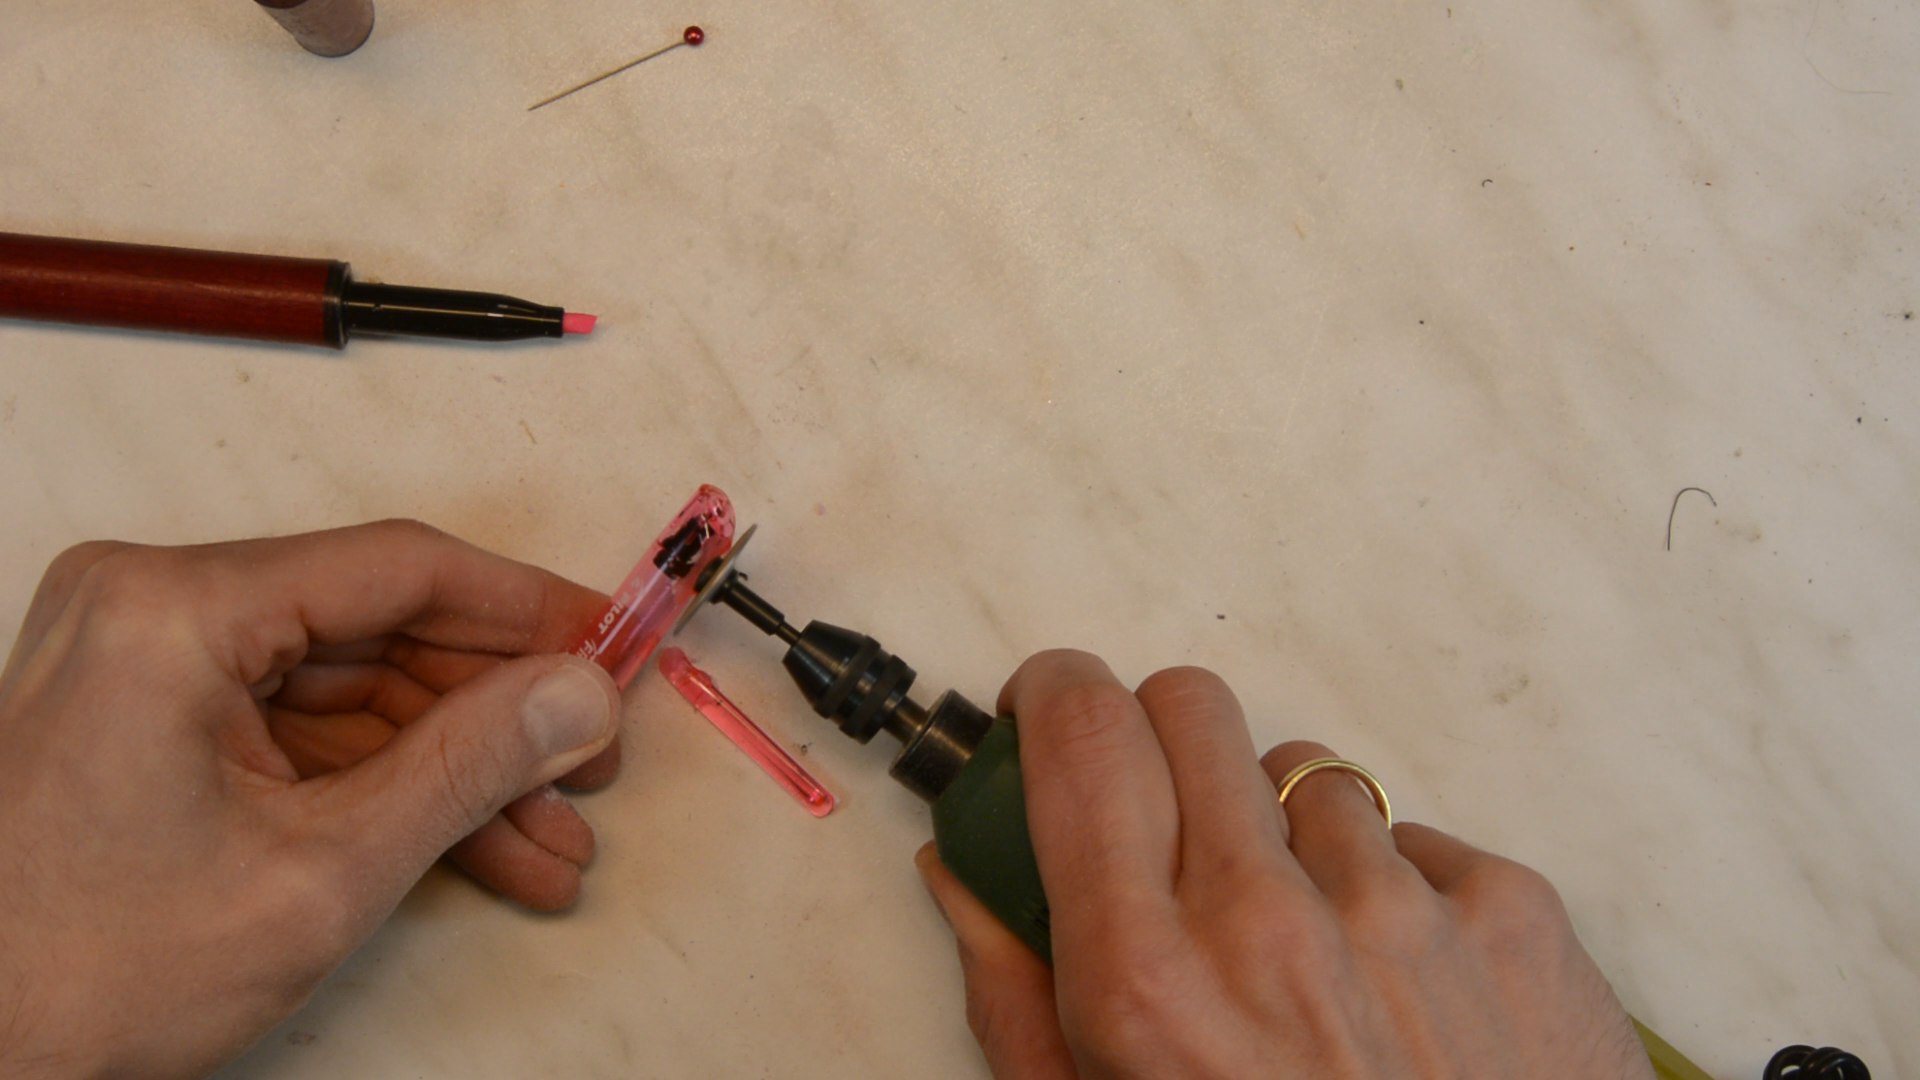
Sadly these pens can’t be refilled so I need a possibility to swap the entire pen when it’s empty. As these are erasable markers they have a small eraser at the end. By gluing a wood screw in the 3d print it will grab the eraser and hold the pen in place.
Woodturning the highlighters
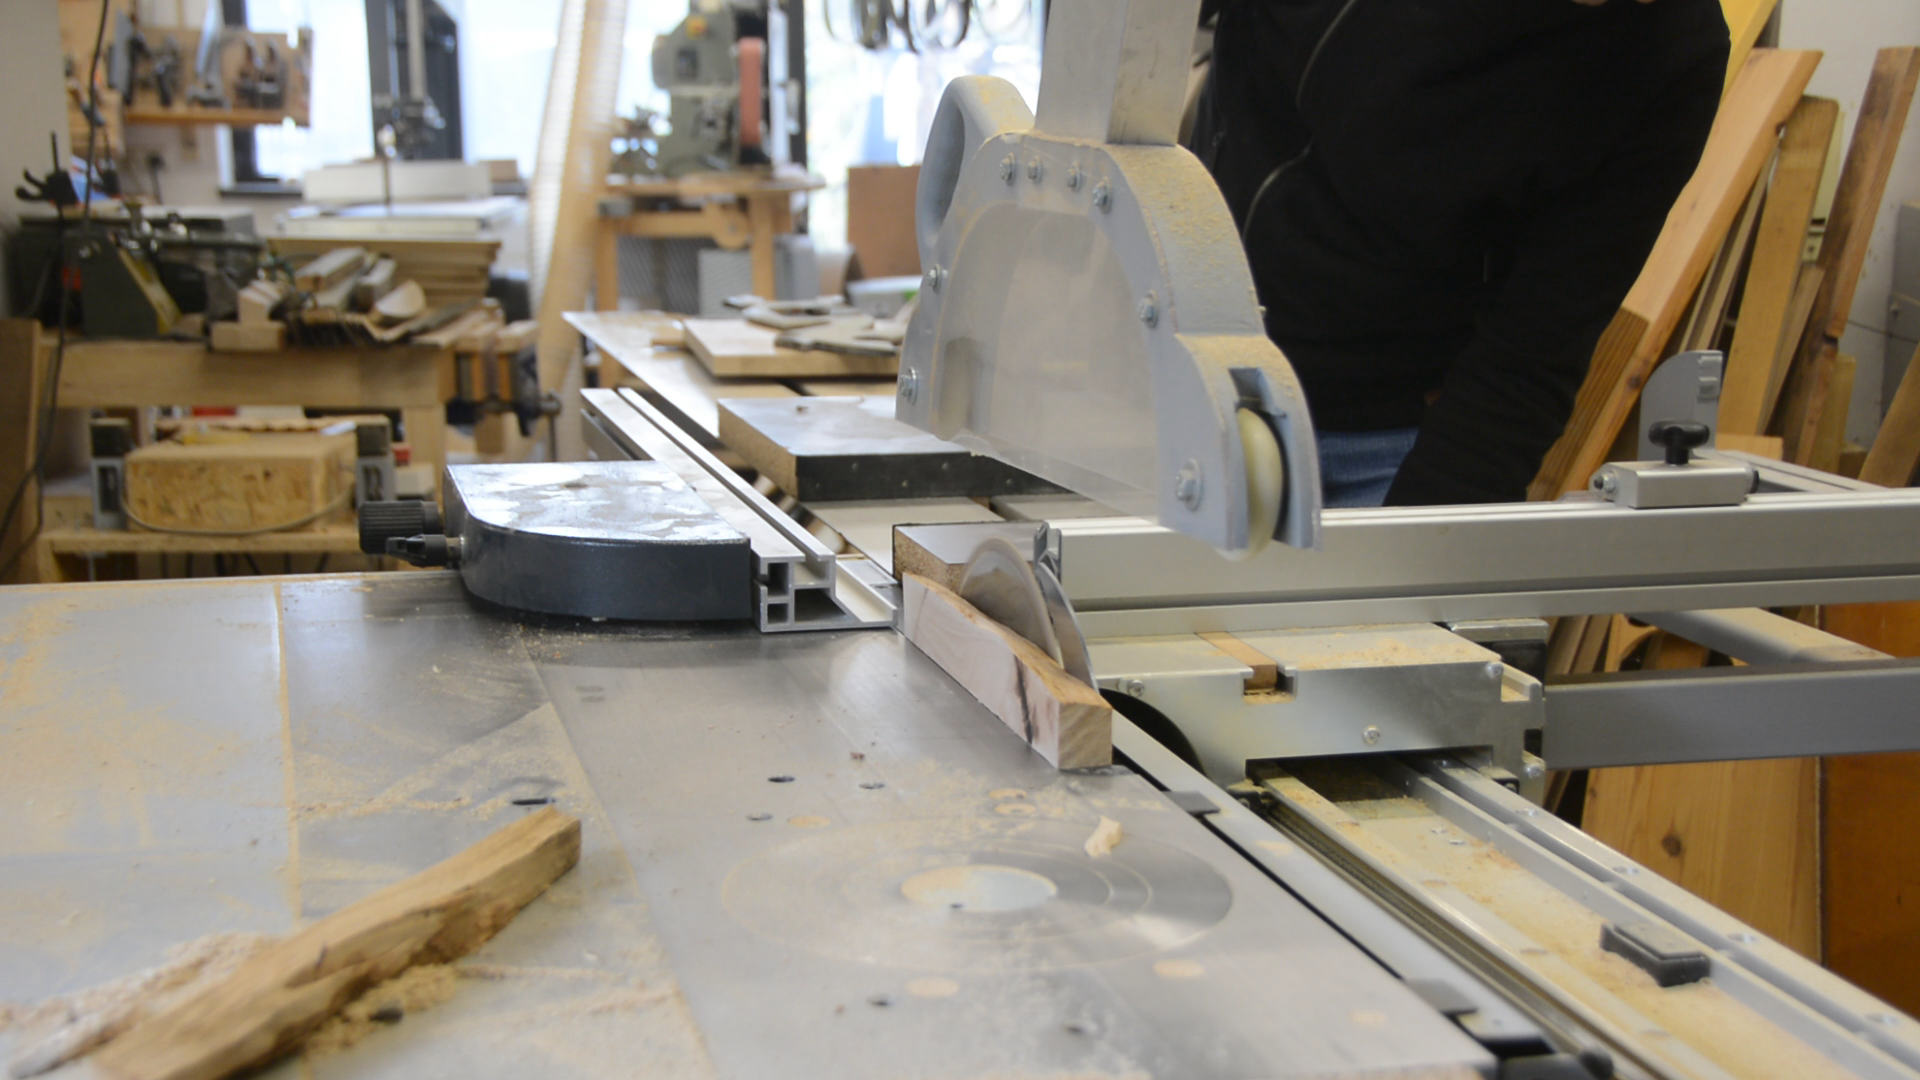
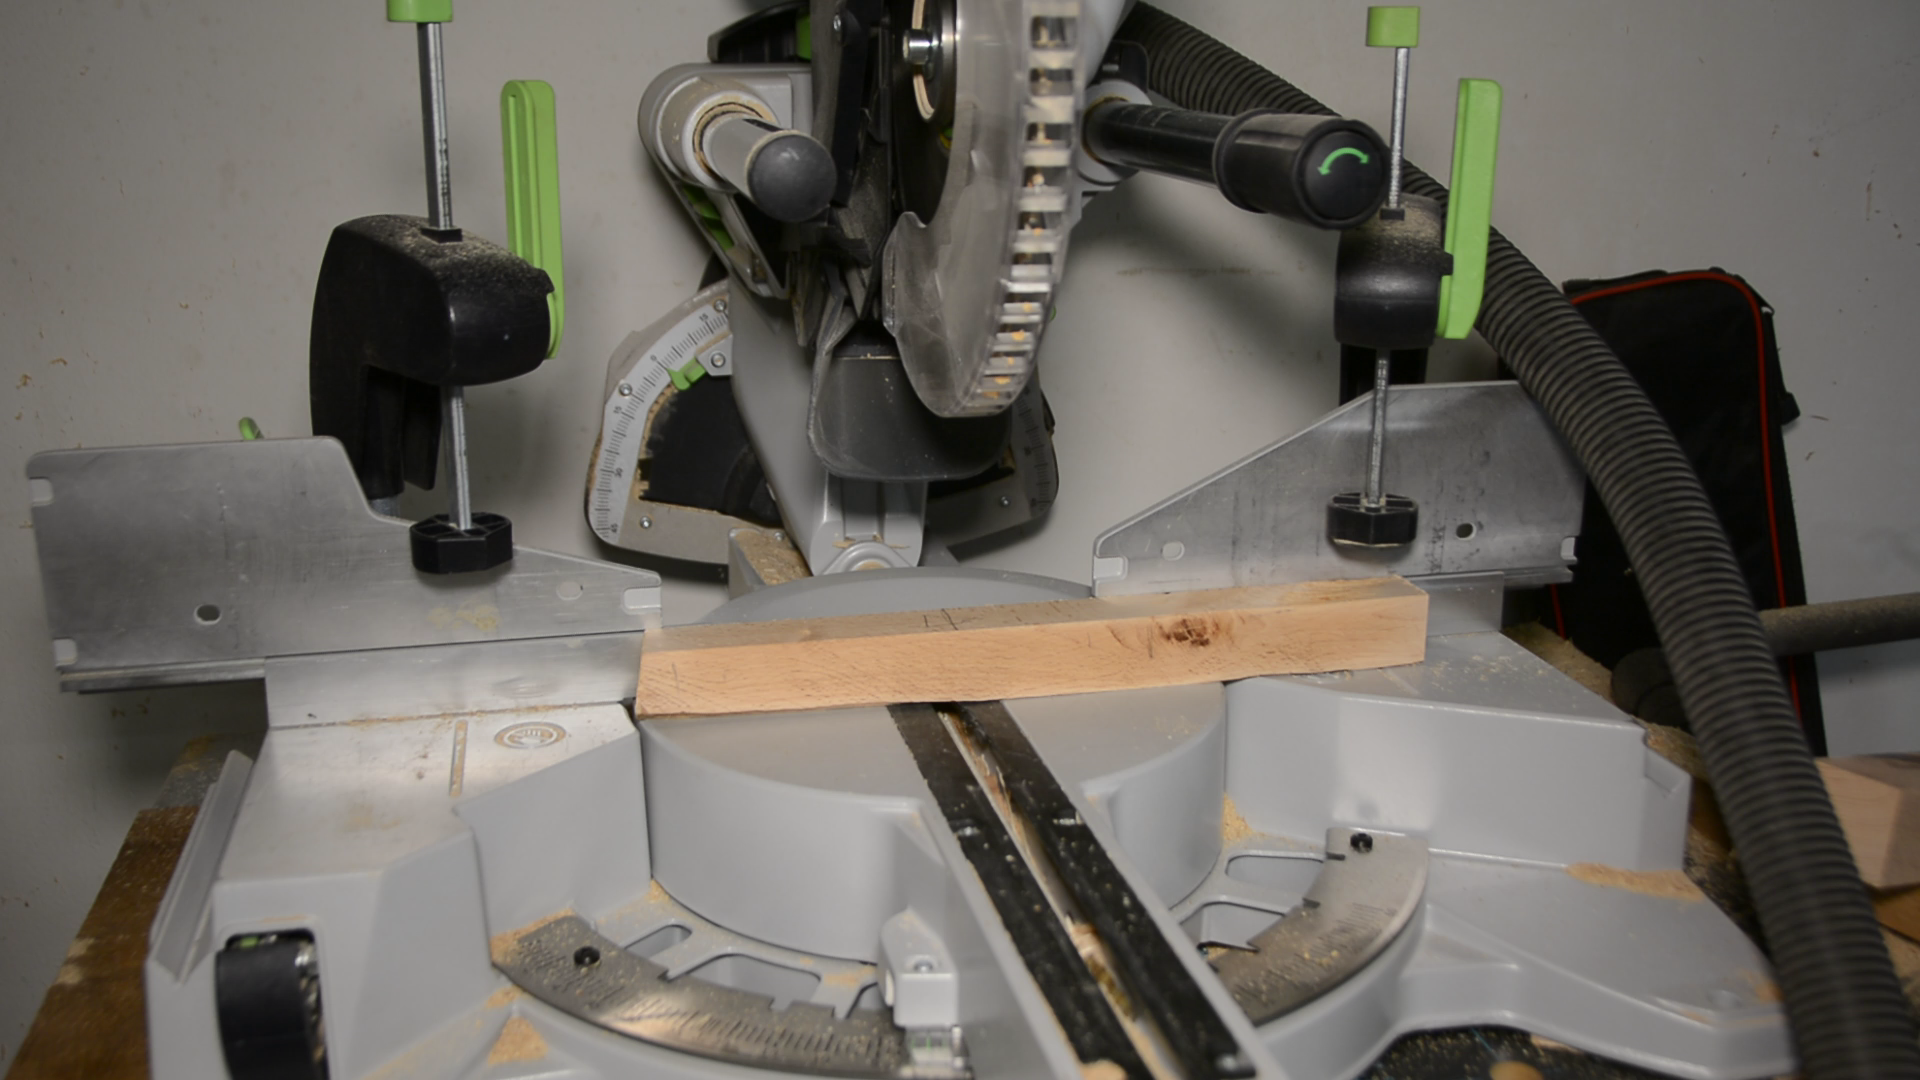
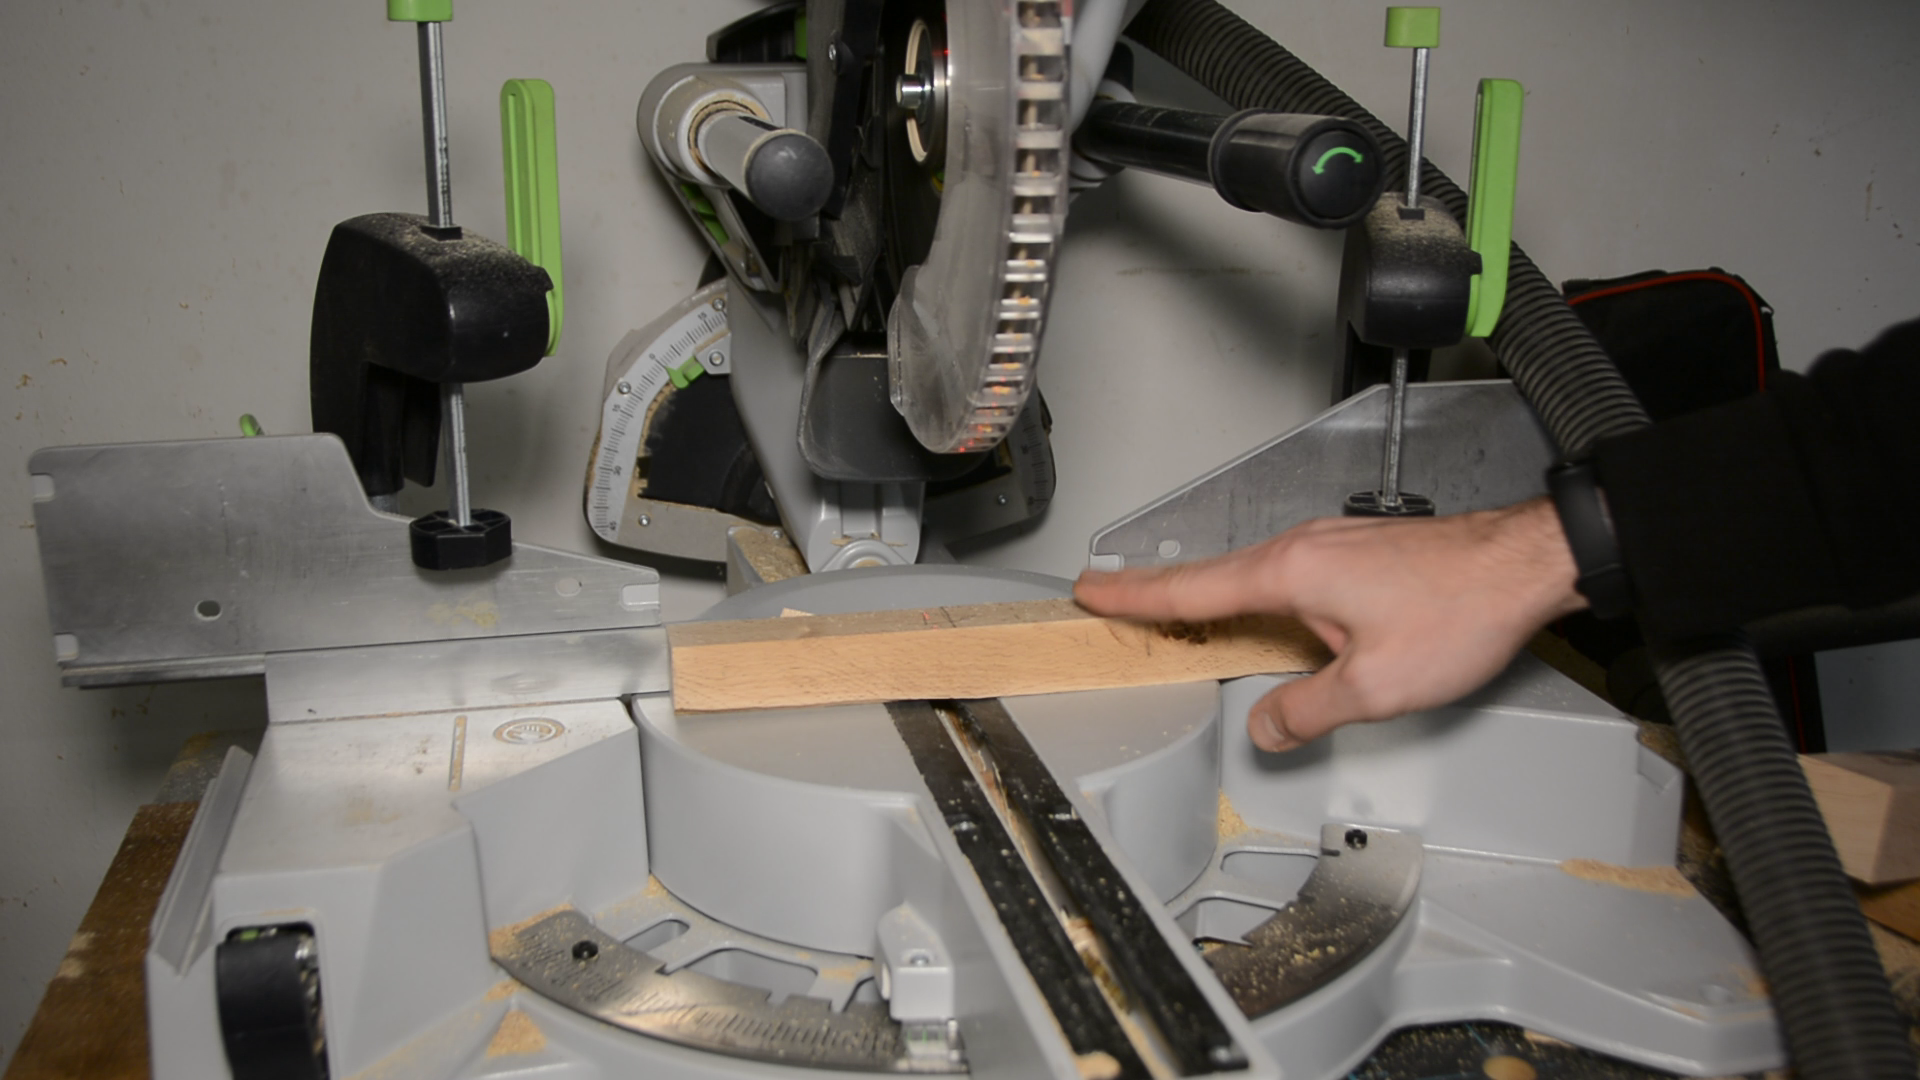
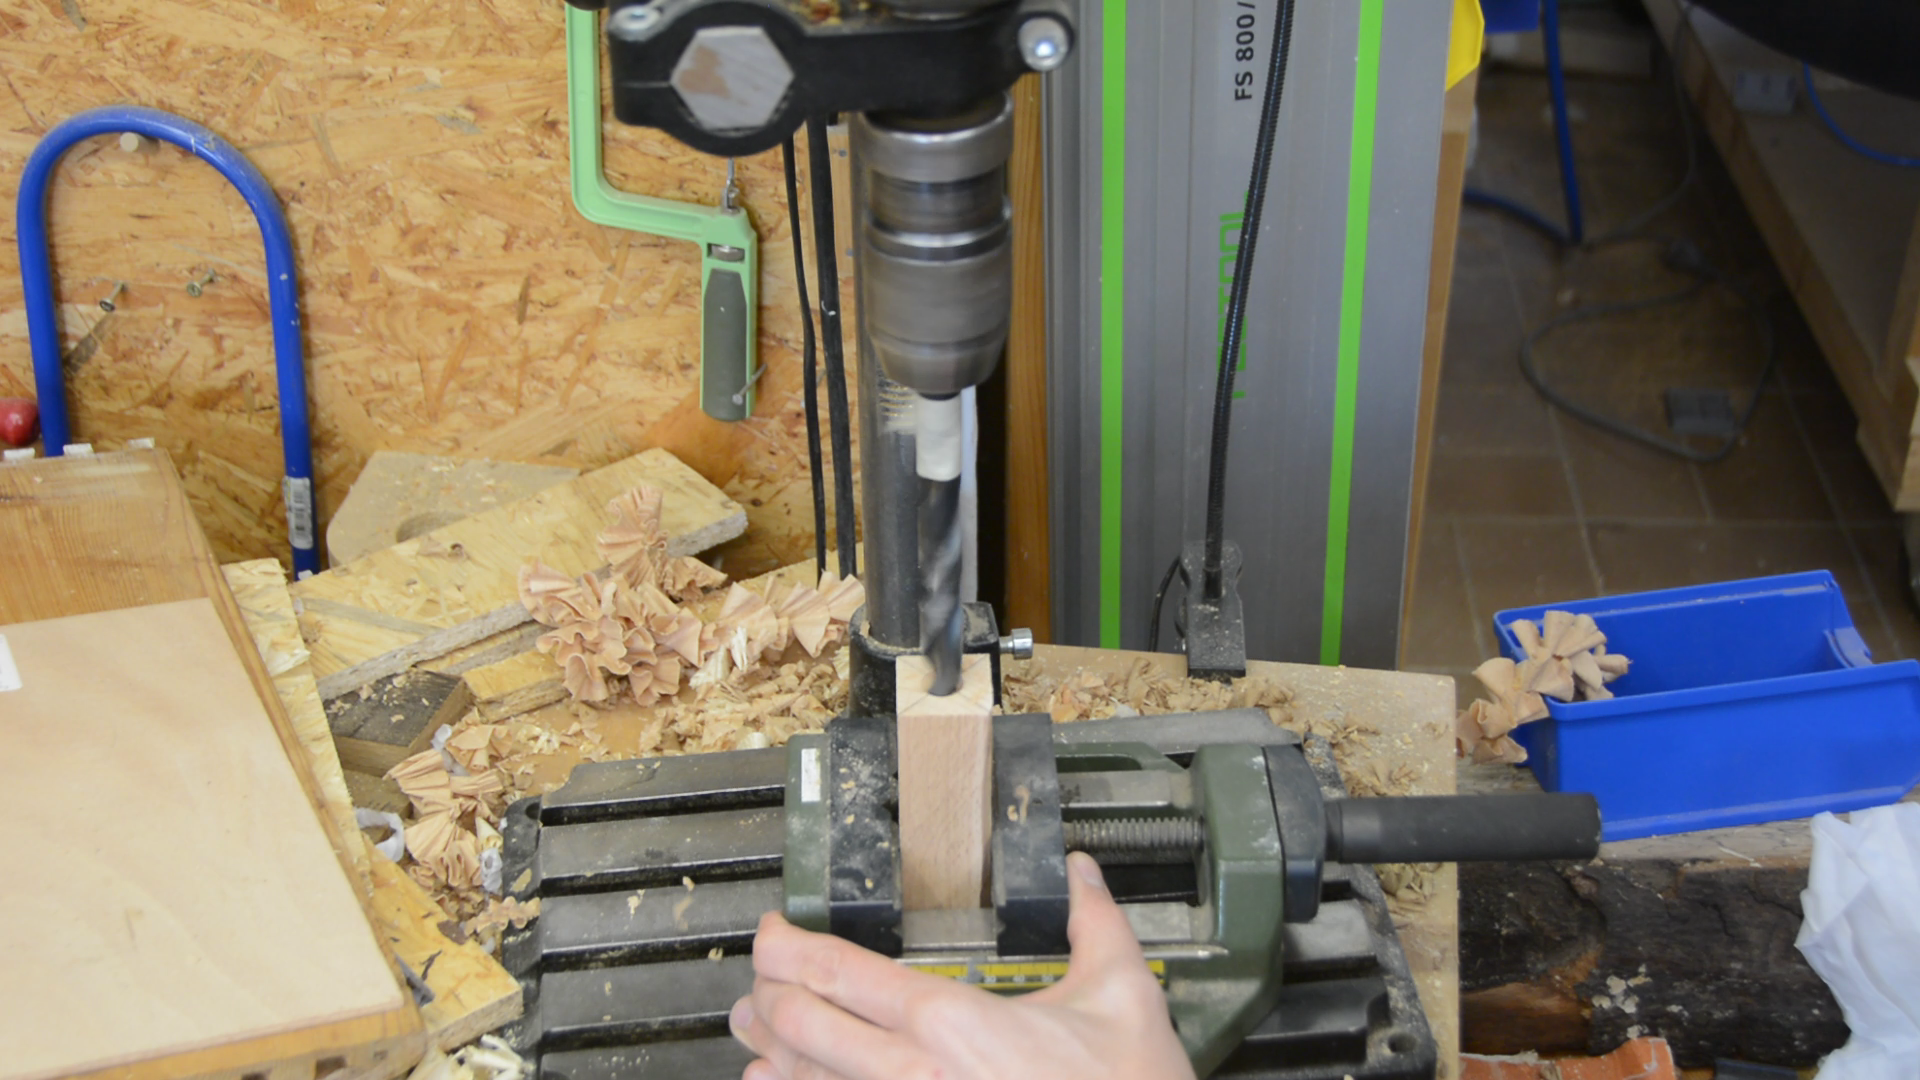
For the wood I am cutting a few oversized blanks from firewood and cut them to length on the miter saw.
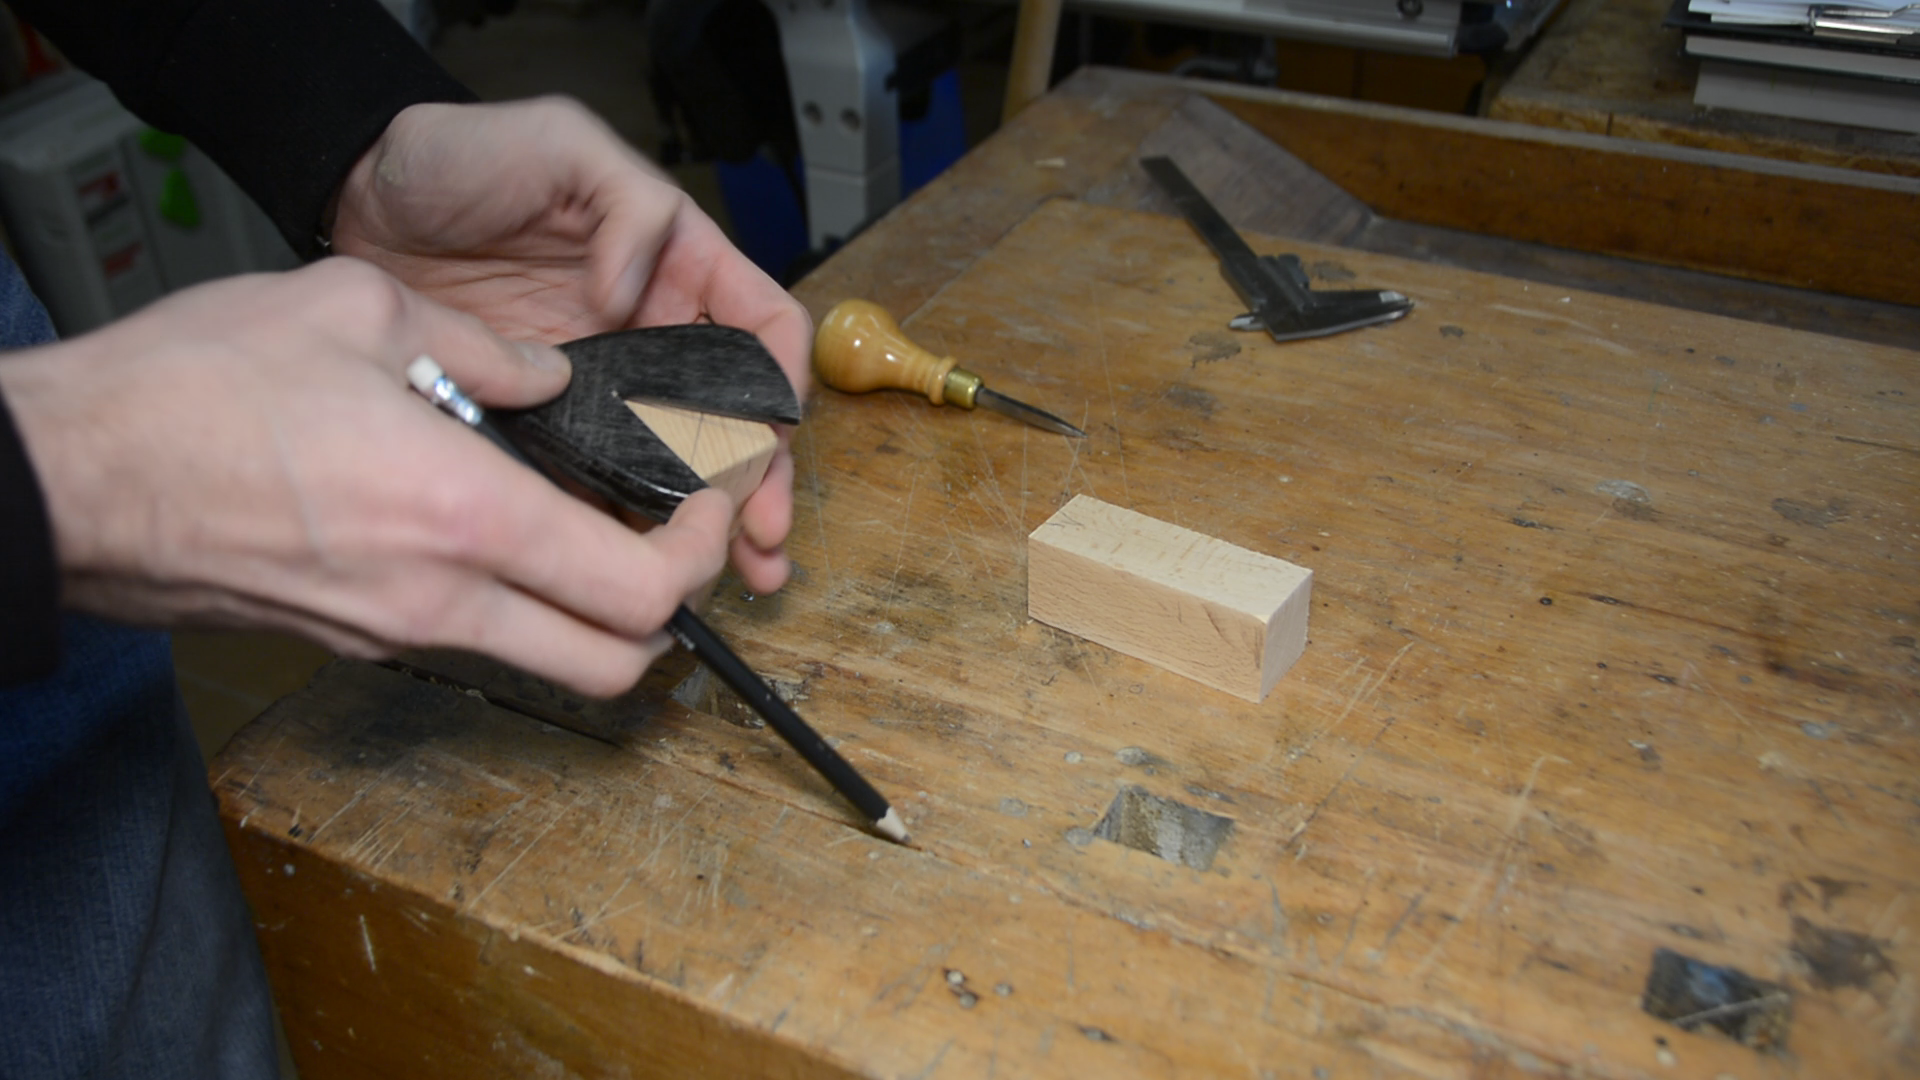
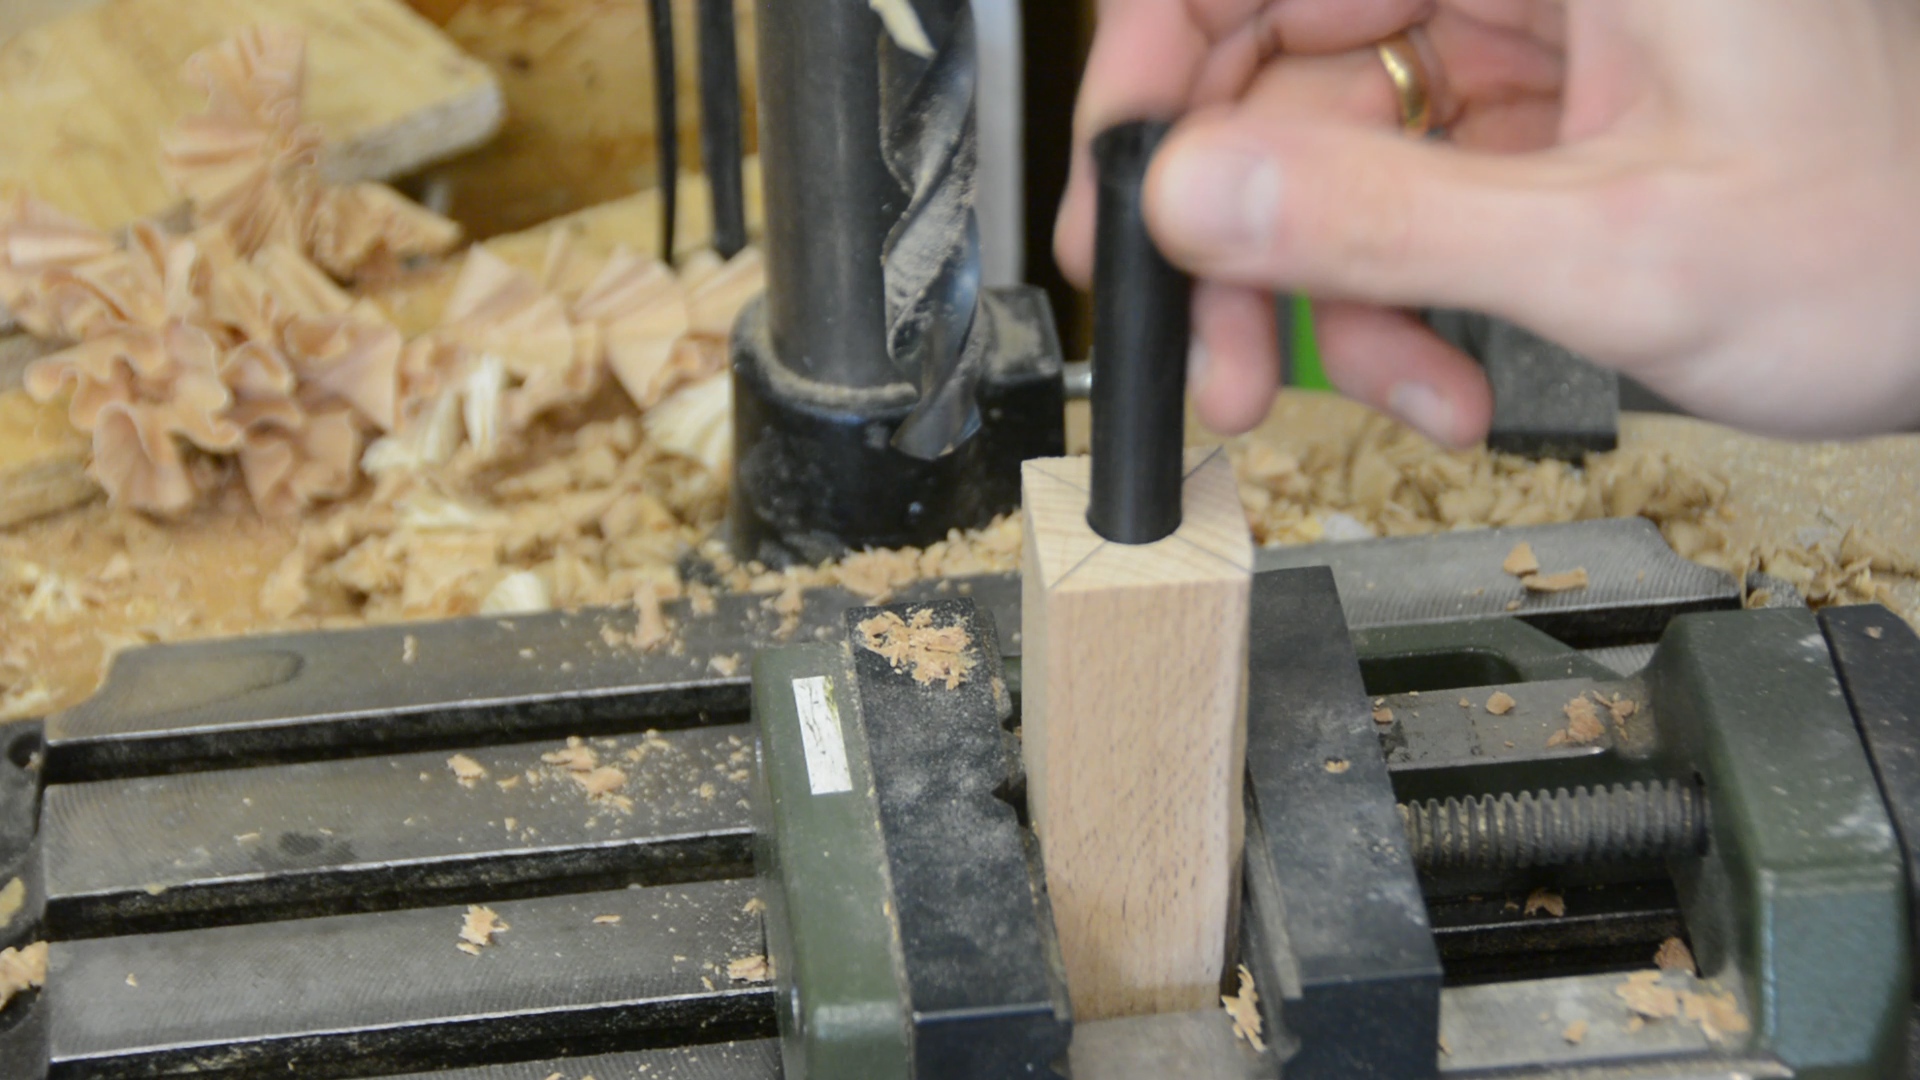
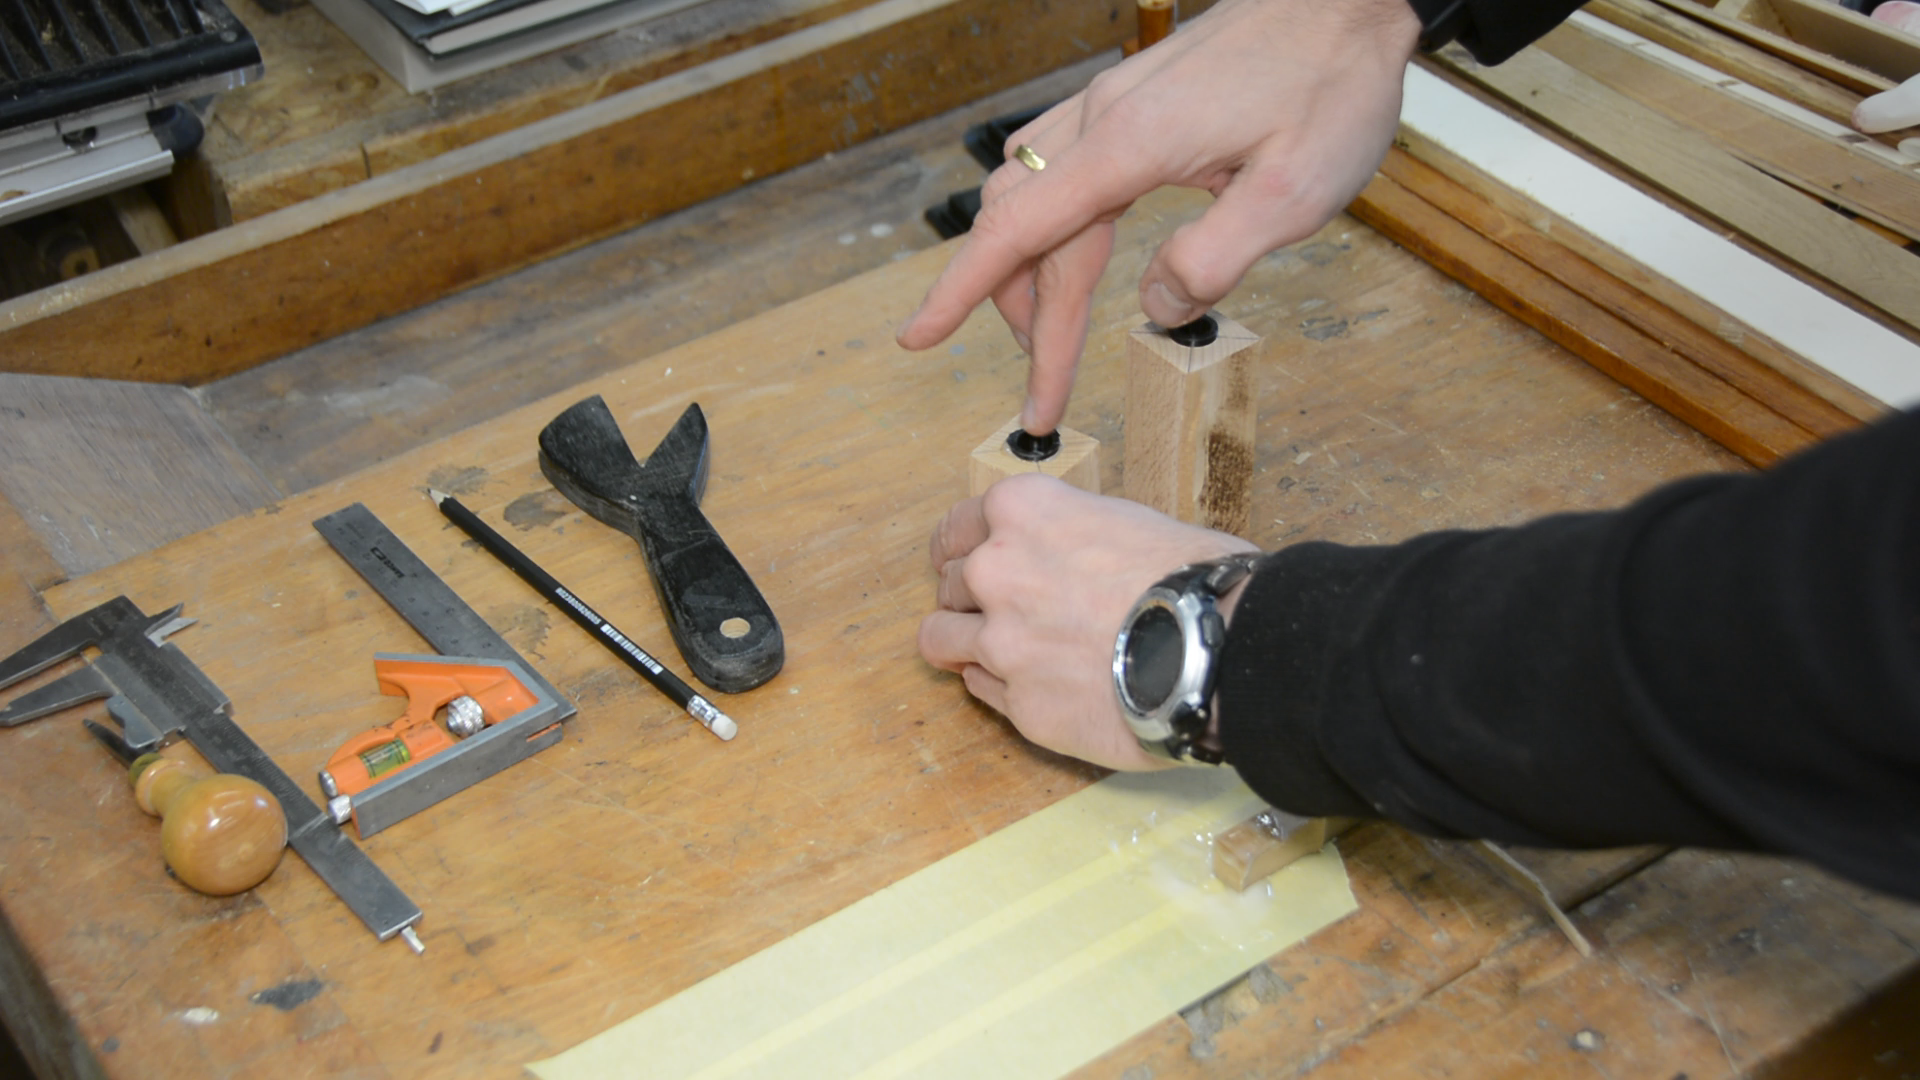
I mark the centers with a center finder.
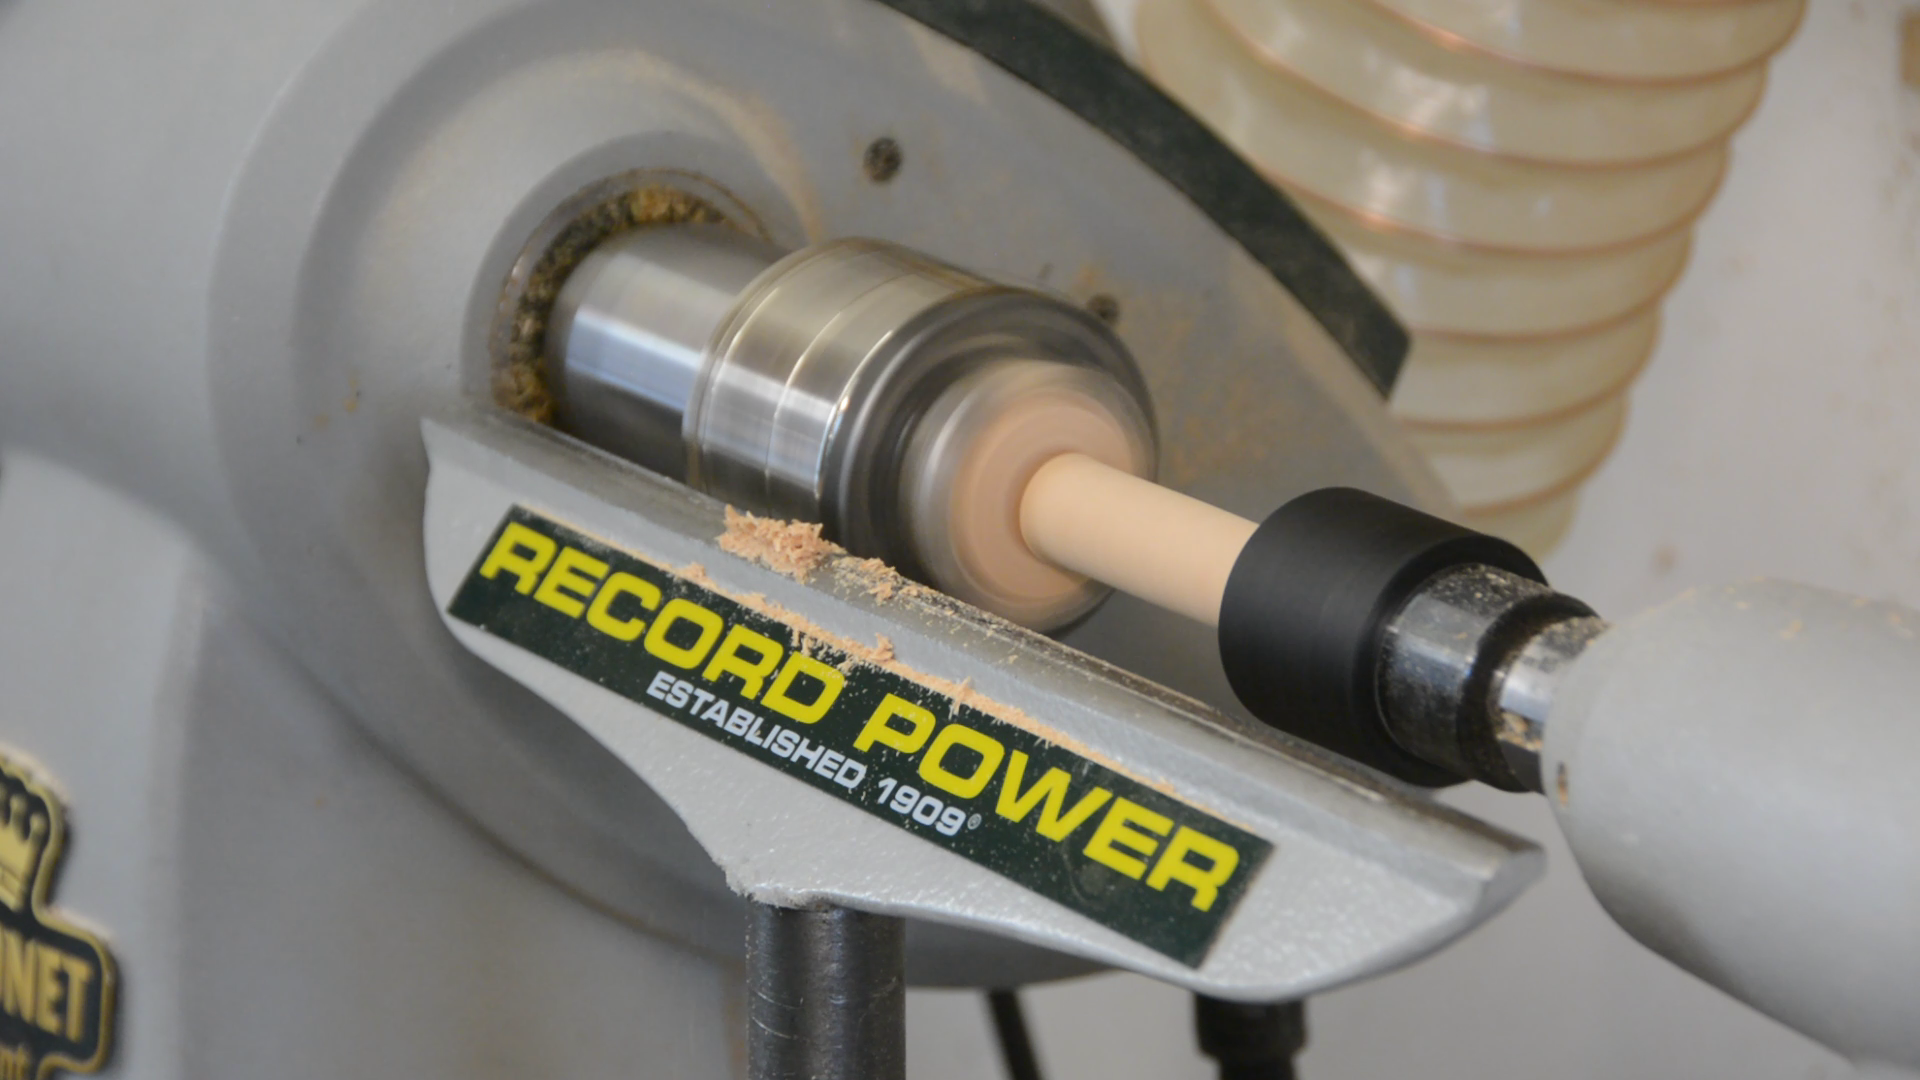
Drilling the hole straight is one of the more challenging tasks in this build. I first drill a smaller hole on the lathe so that I can be sure it is centered in the wood.
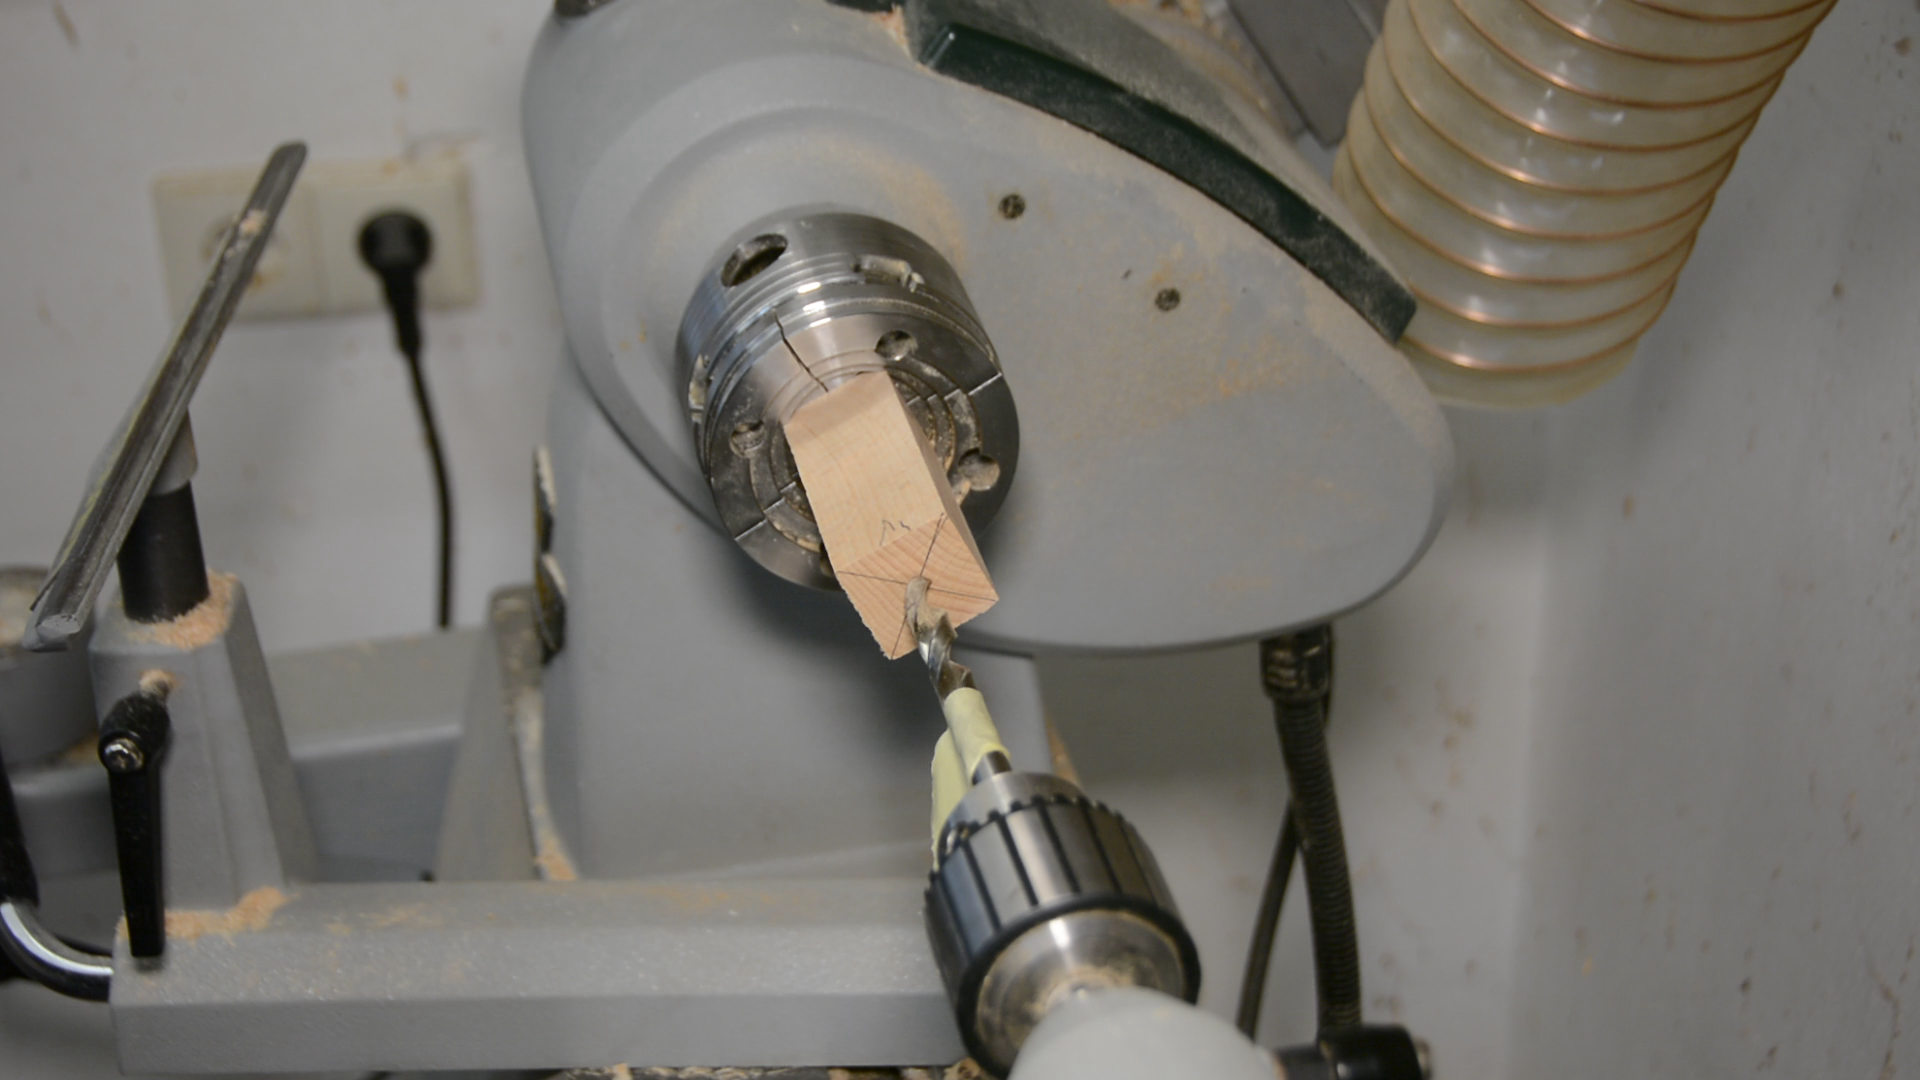
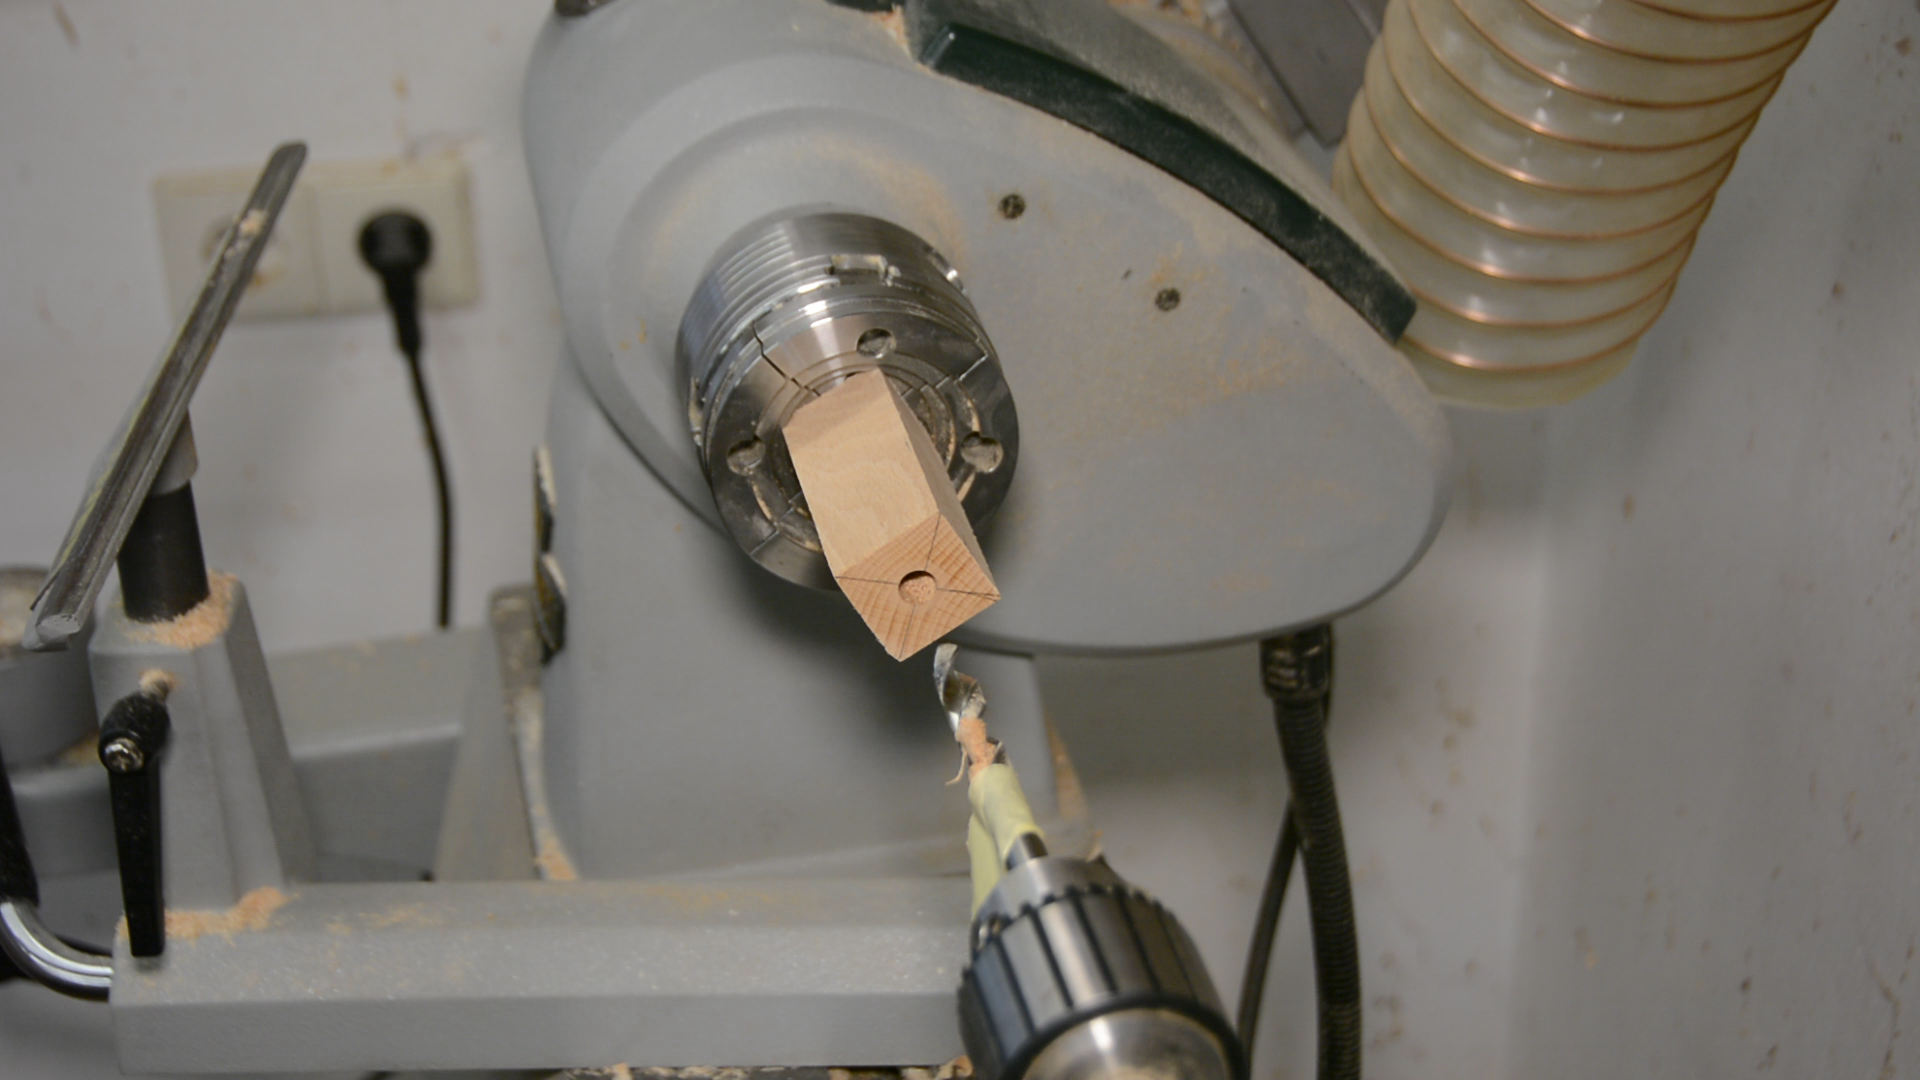
The holes is then extended on the drill press as the larger drill does not fit in the chuck on the lathe. By sneaking up to the final depth I ensure a snug fit.
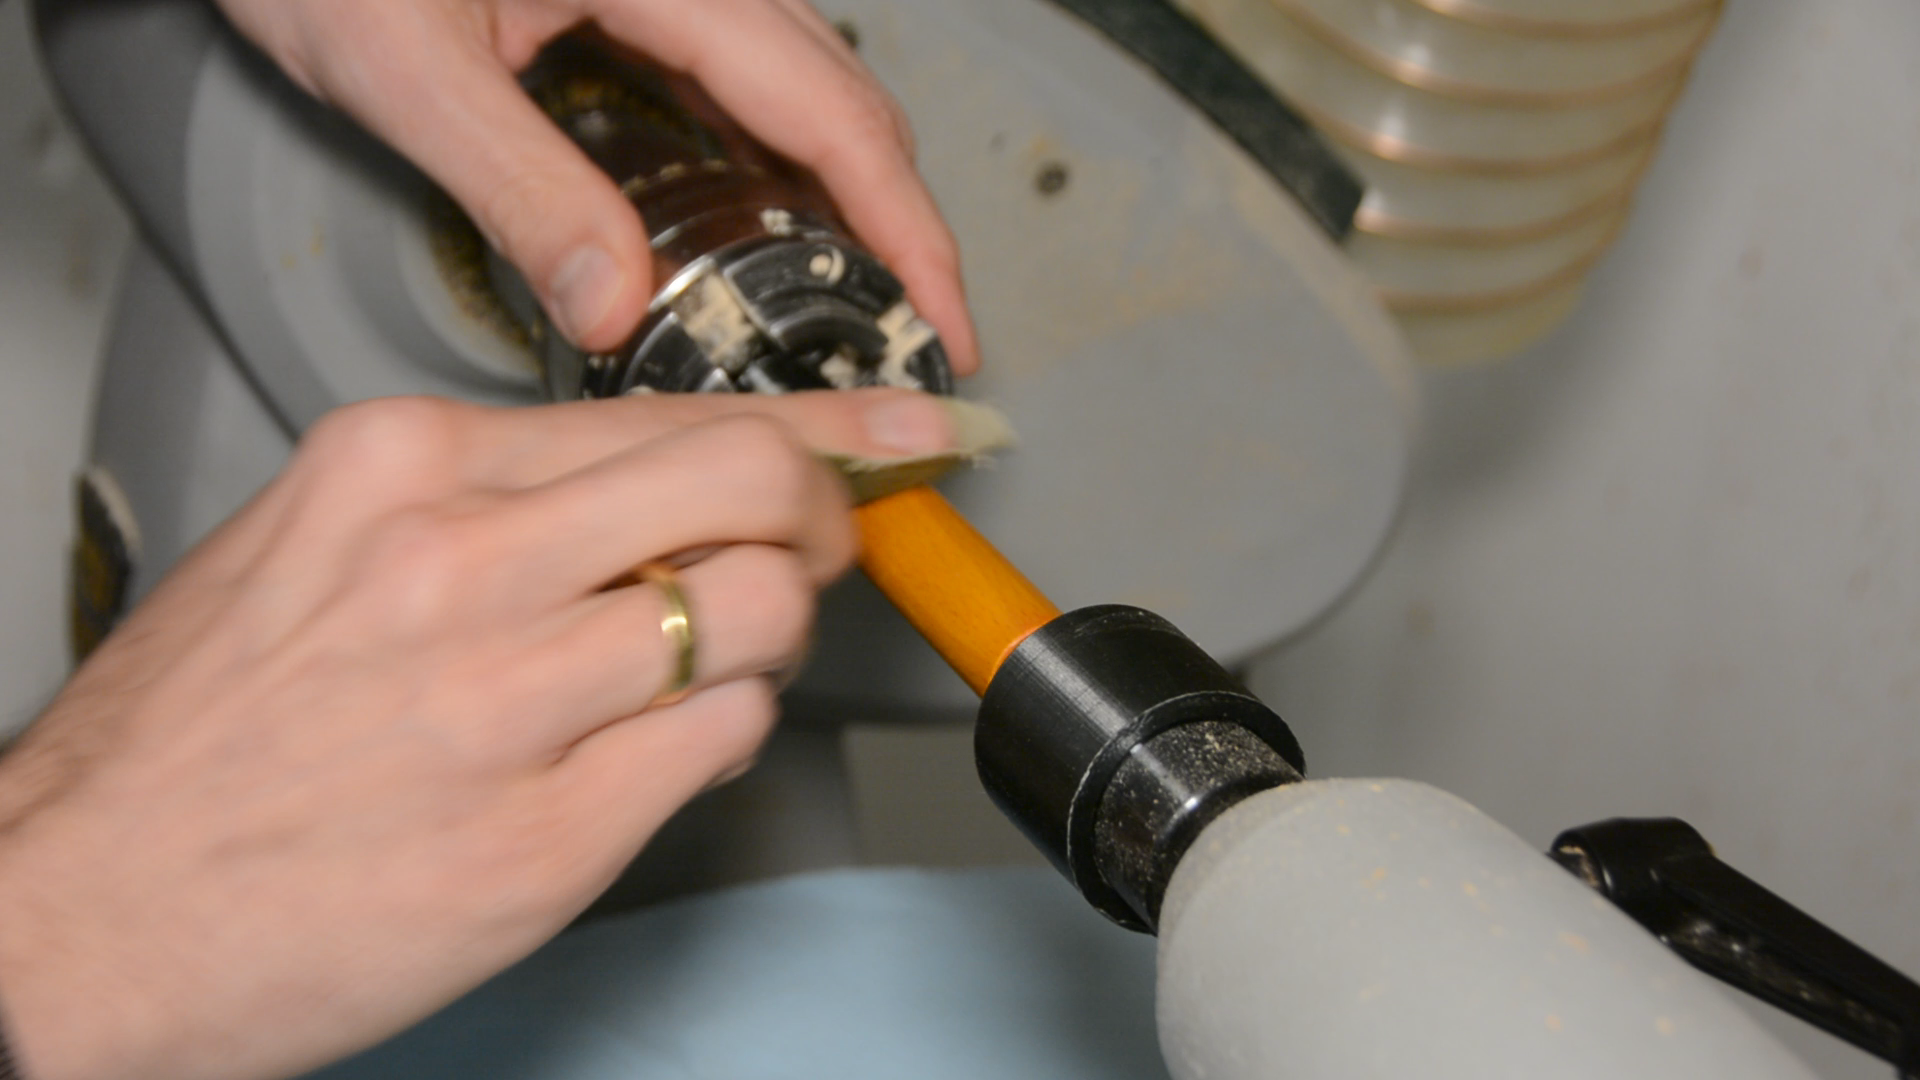
I use a bit of epoxy to glue the 3d printed pieces into the wood.
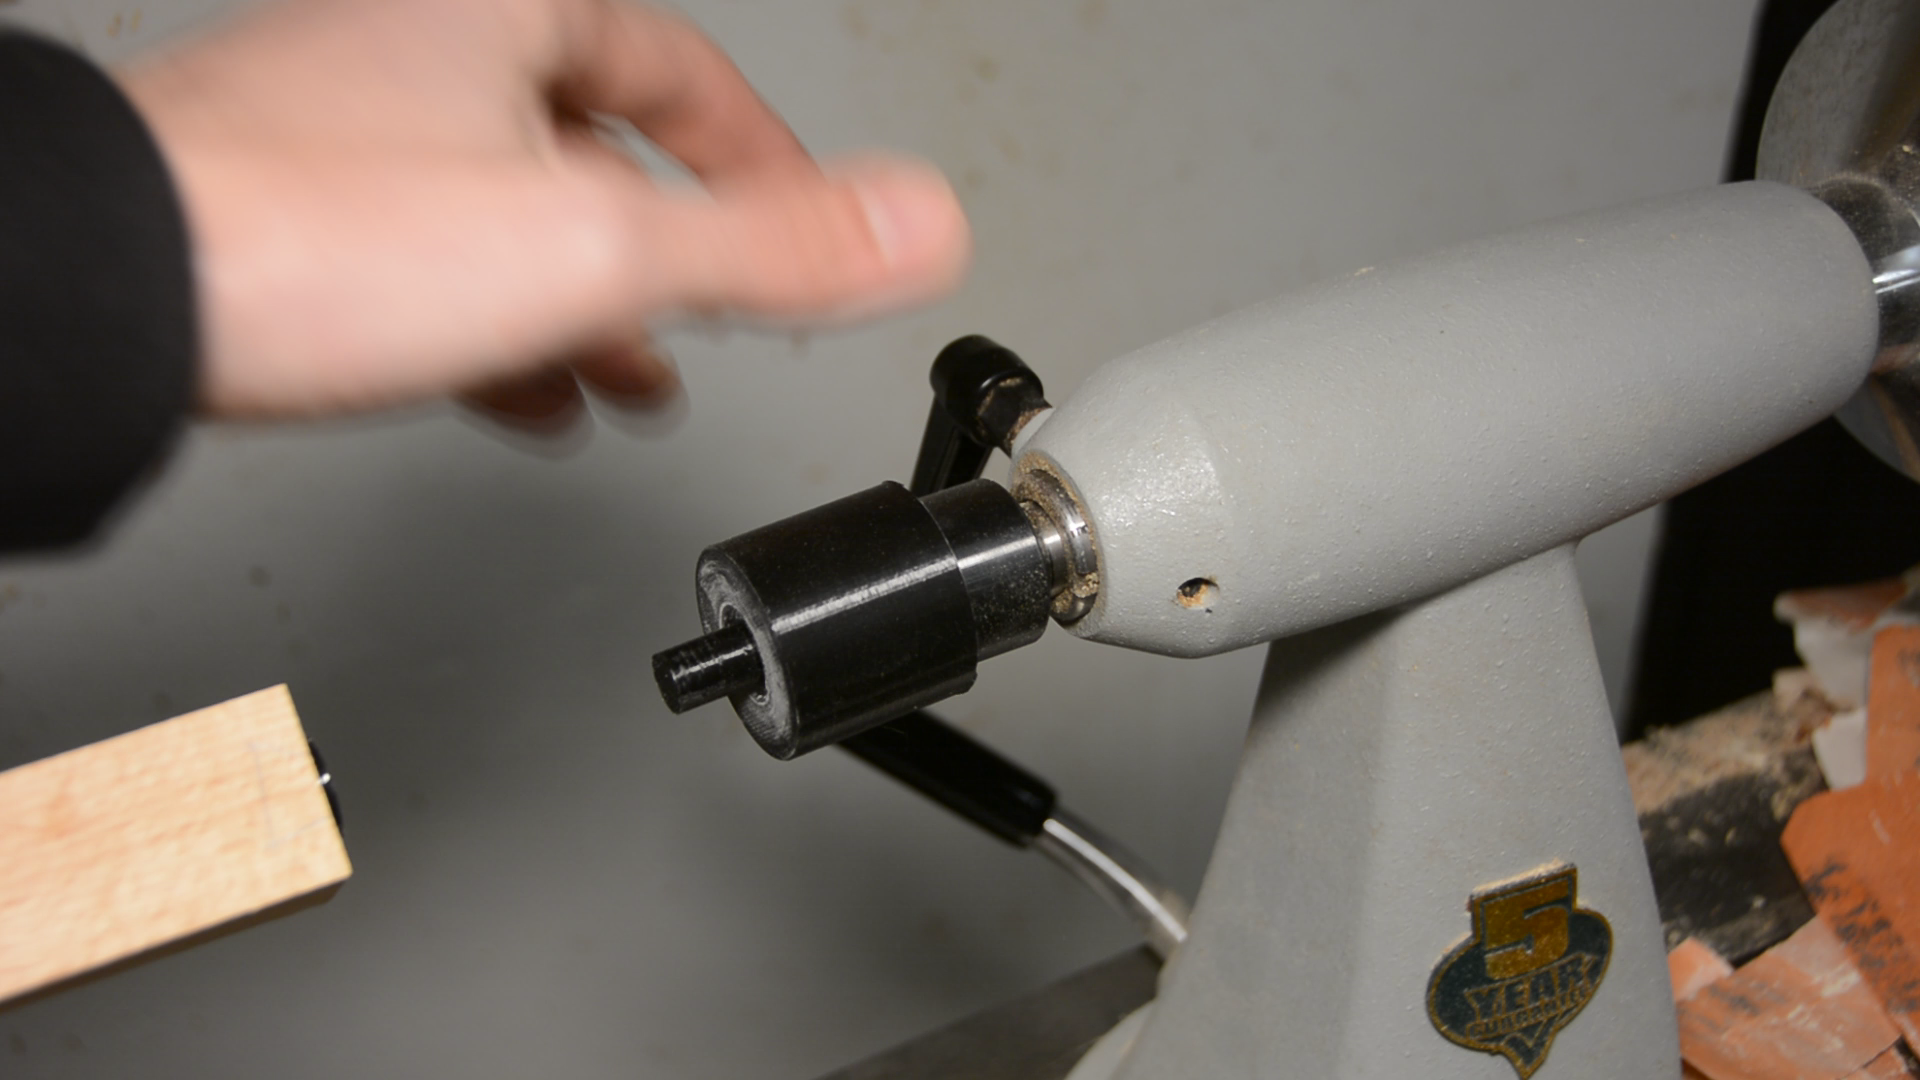
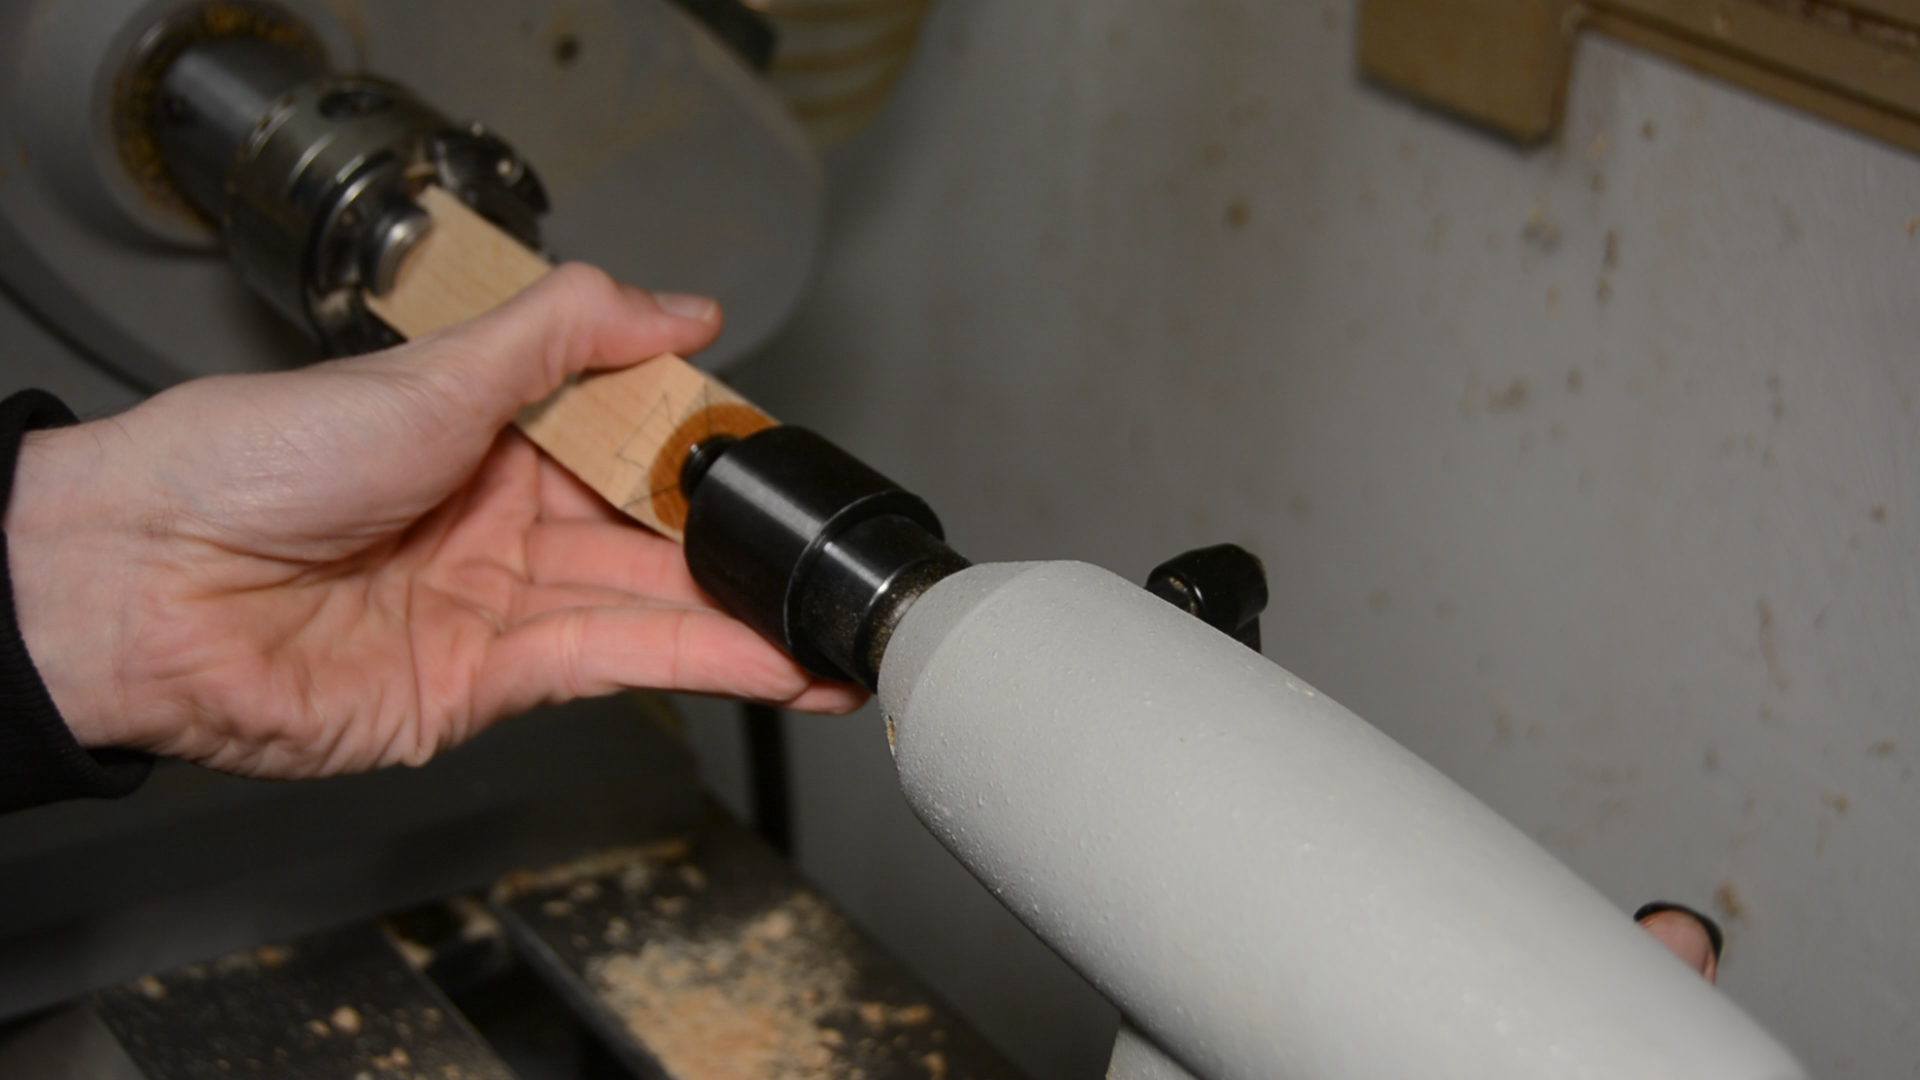
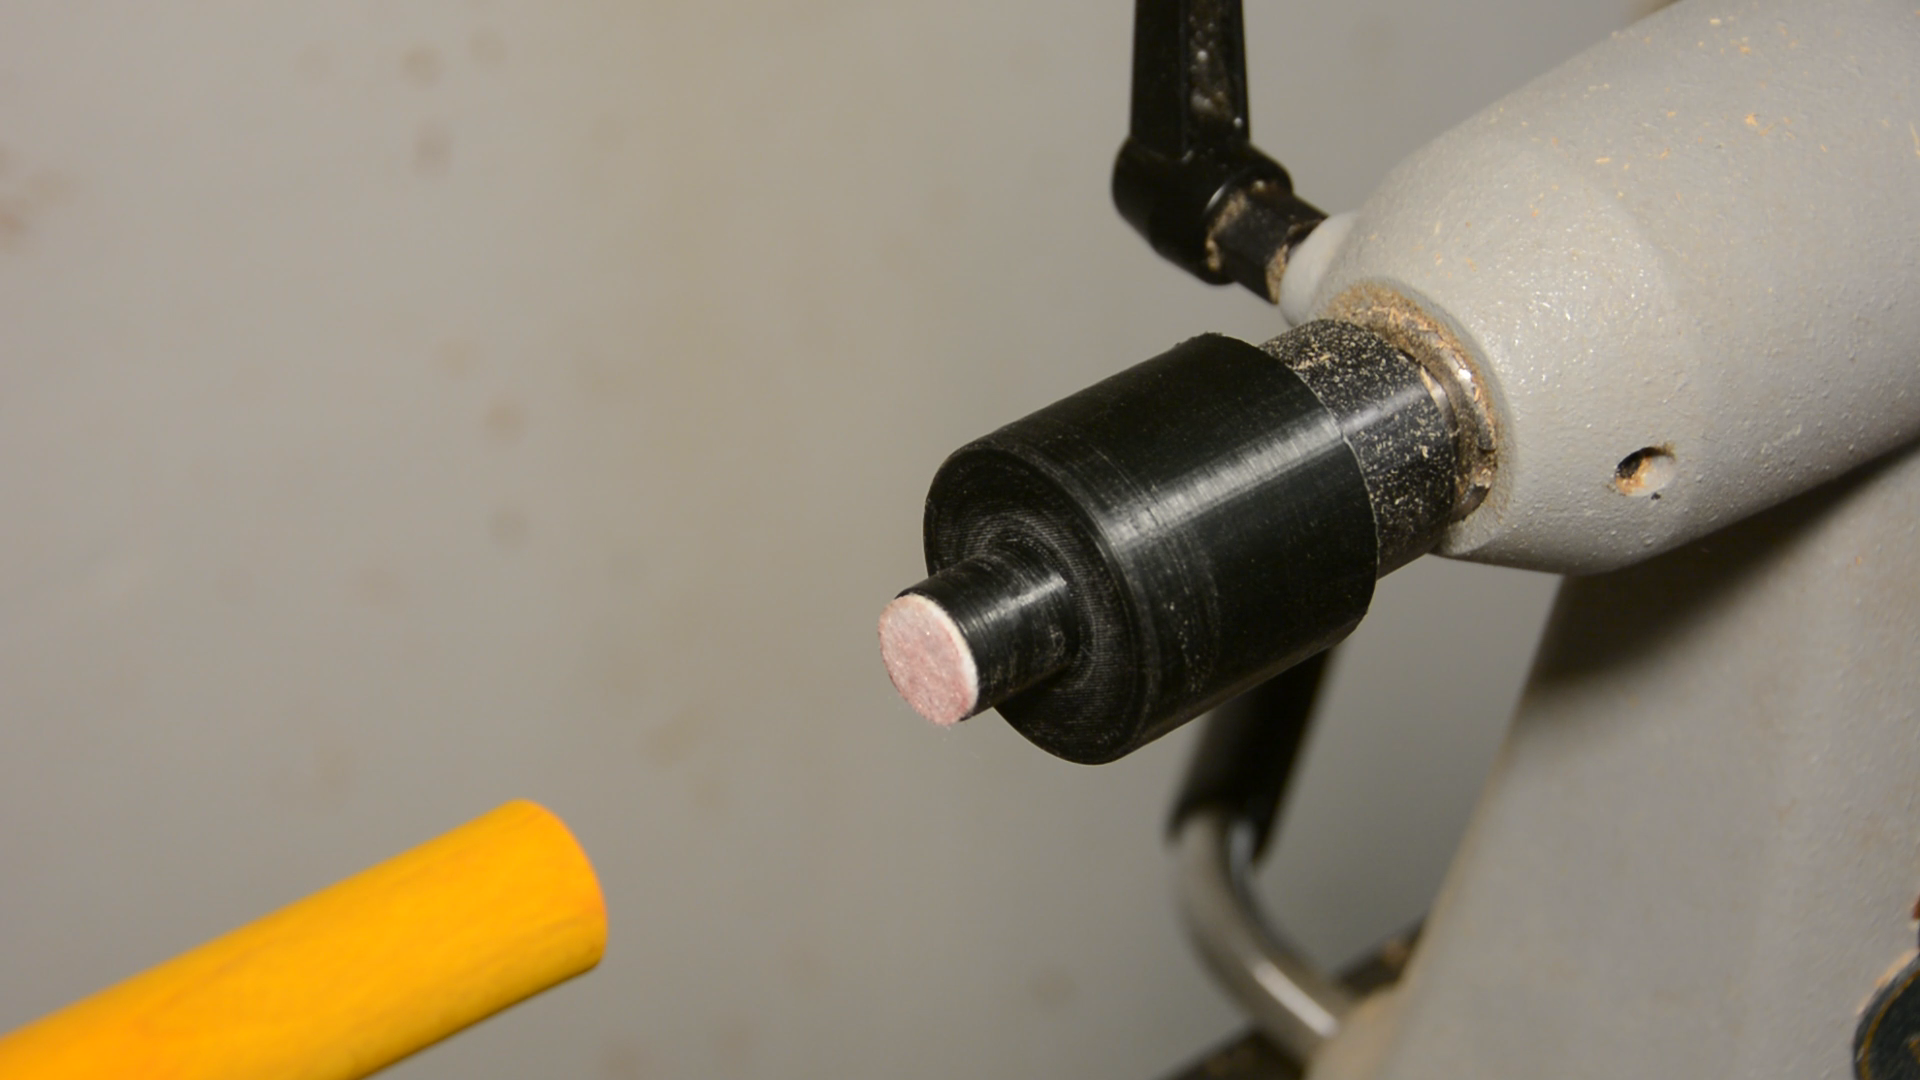
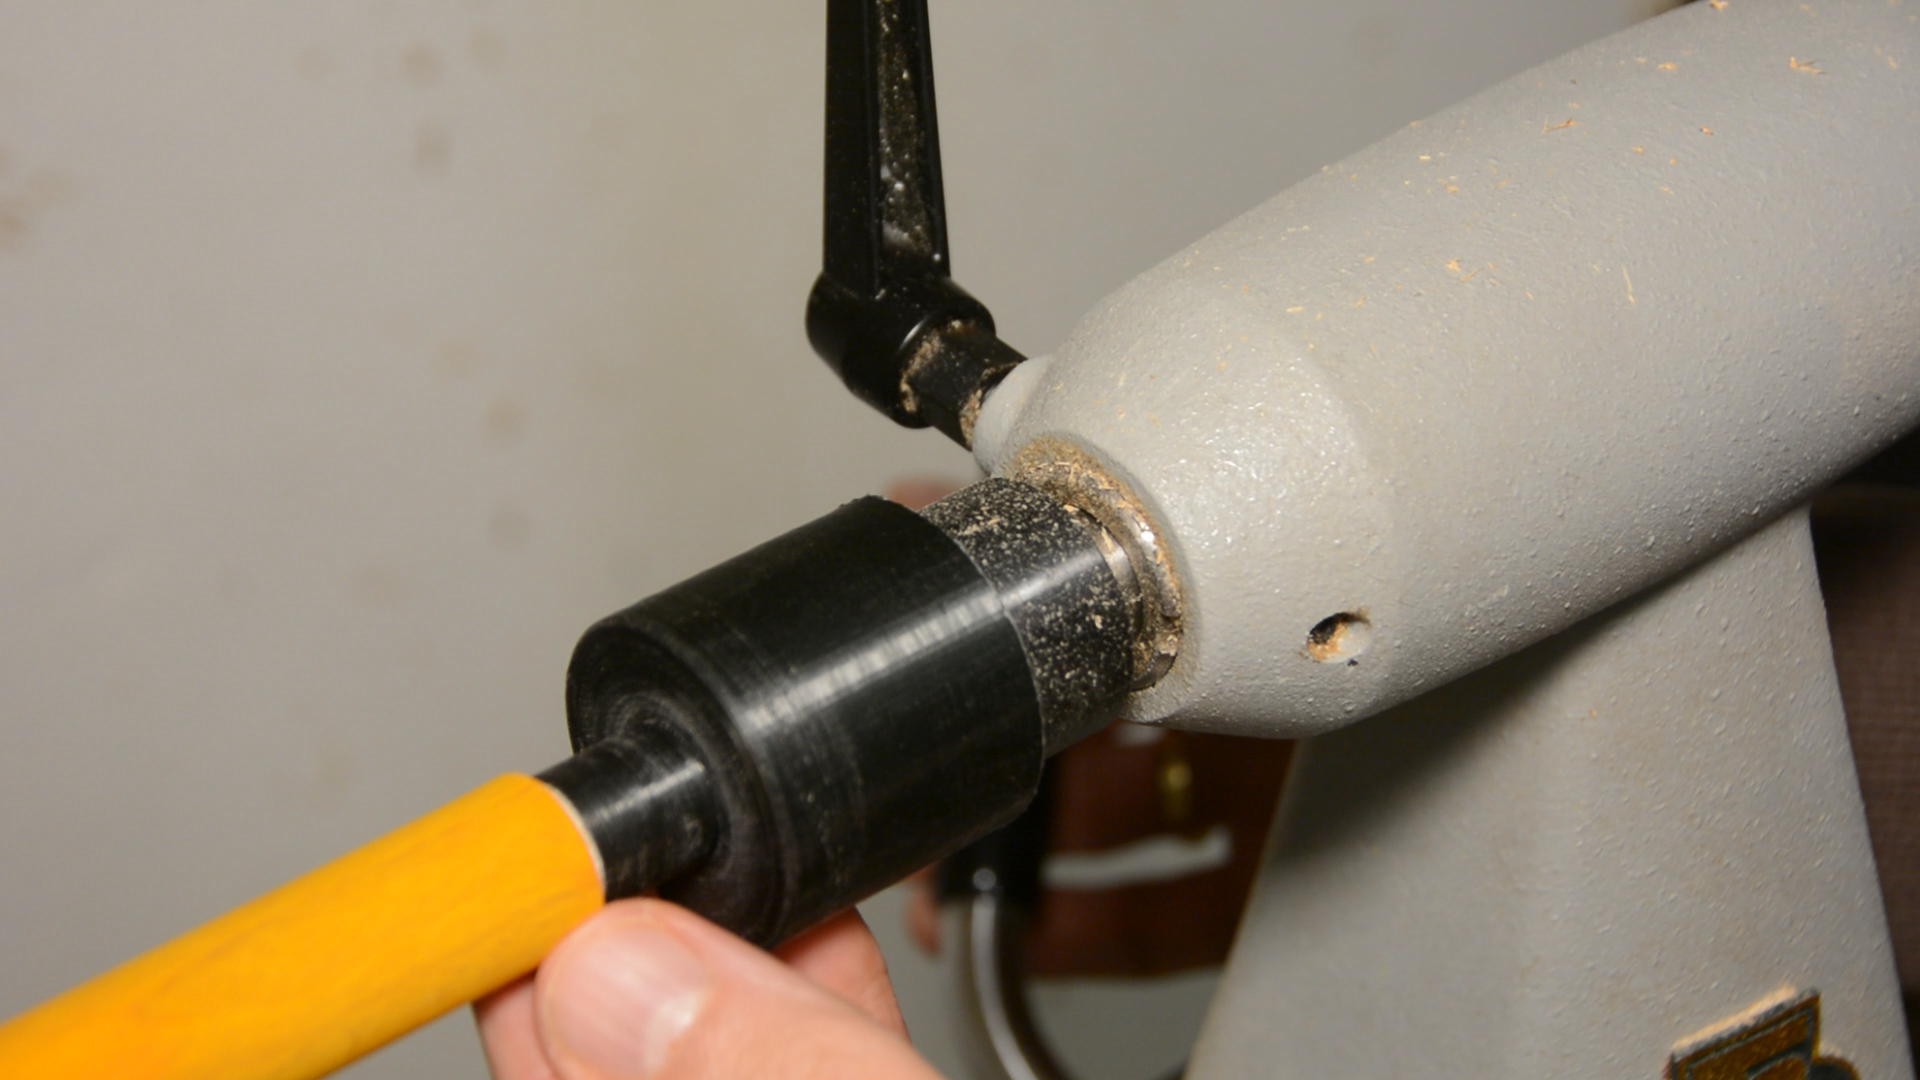
With the pen hull printed I need a way to hold it on the lathe. A simple jig is quickly modeled in FreeCAD and printed as well. It fits snug over the center and helps me to ensure the wood sits straight in the chuck.
The woodturning part is actually quite simple as I go for a simple cylinder shape.
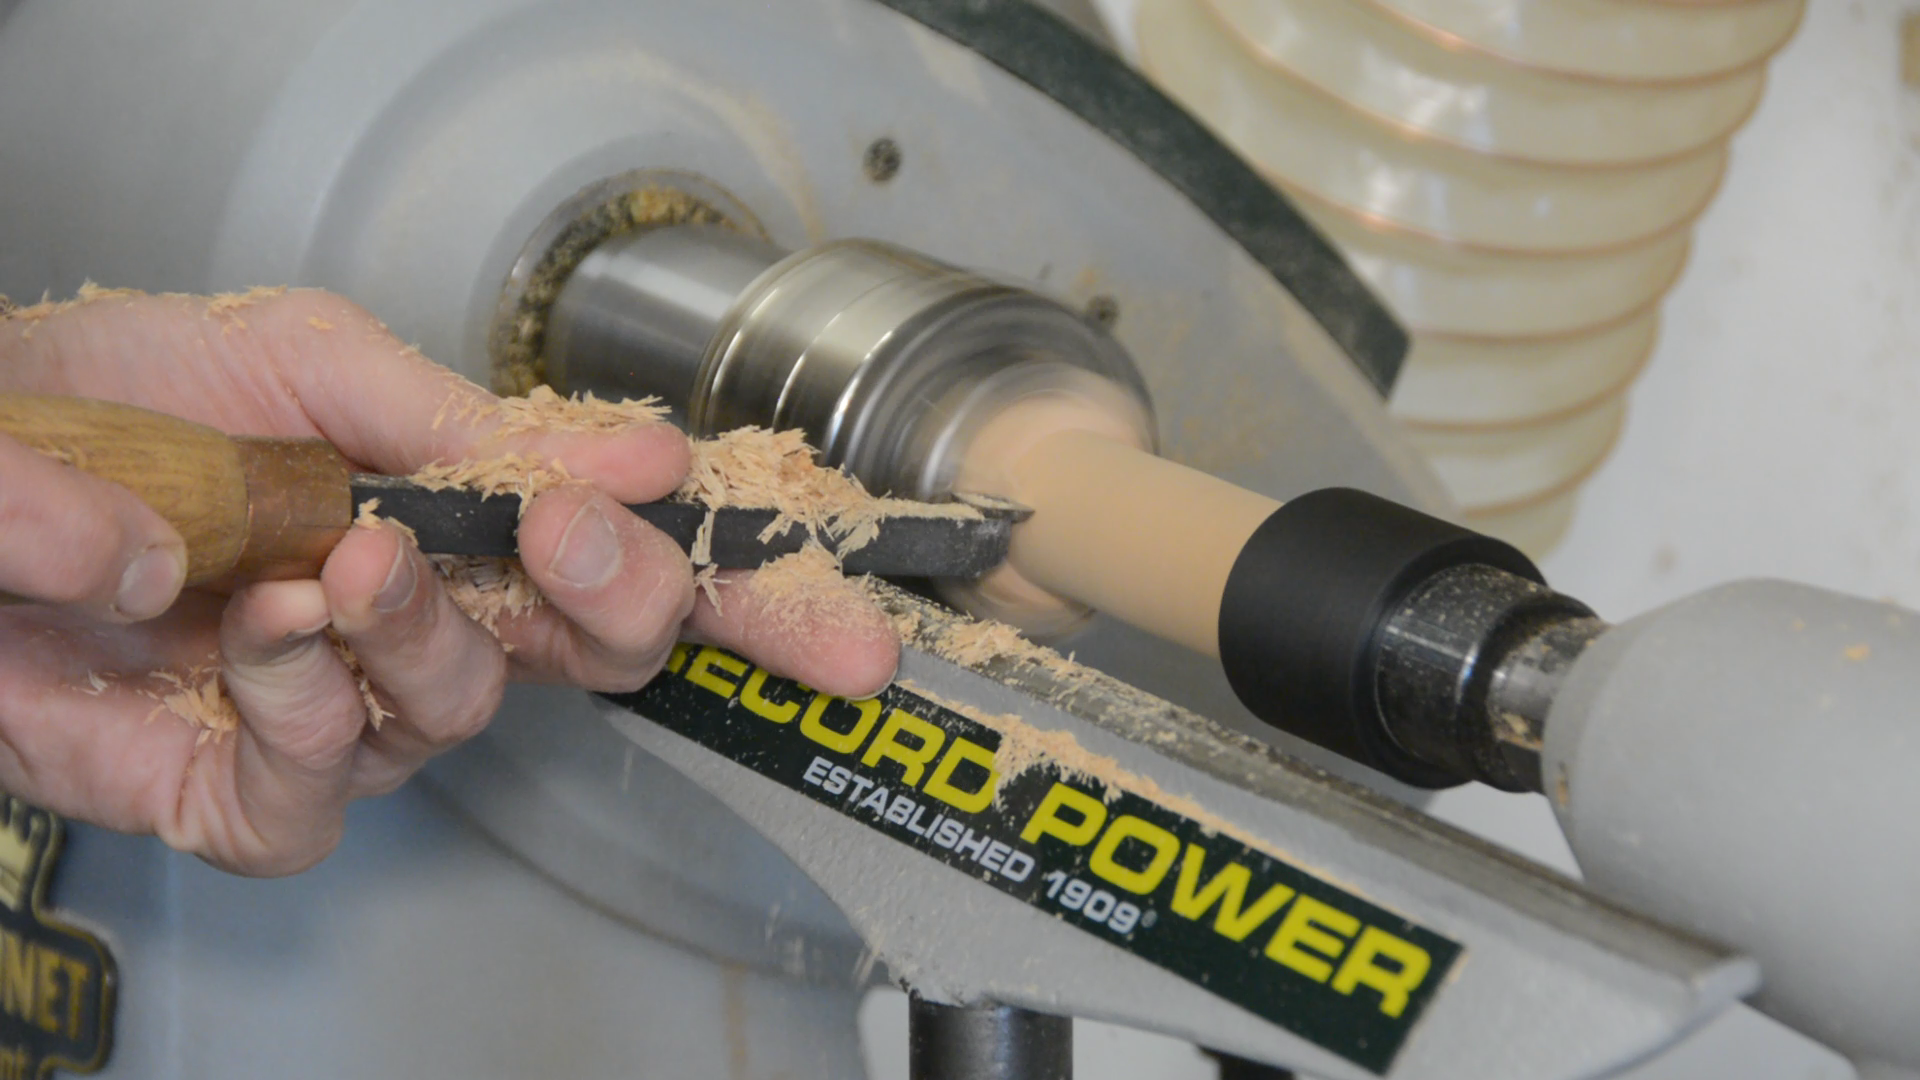
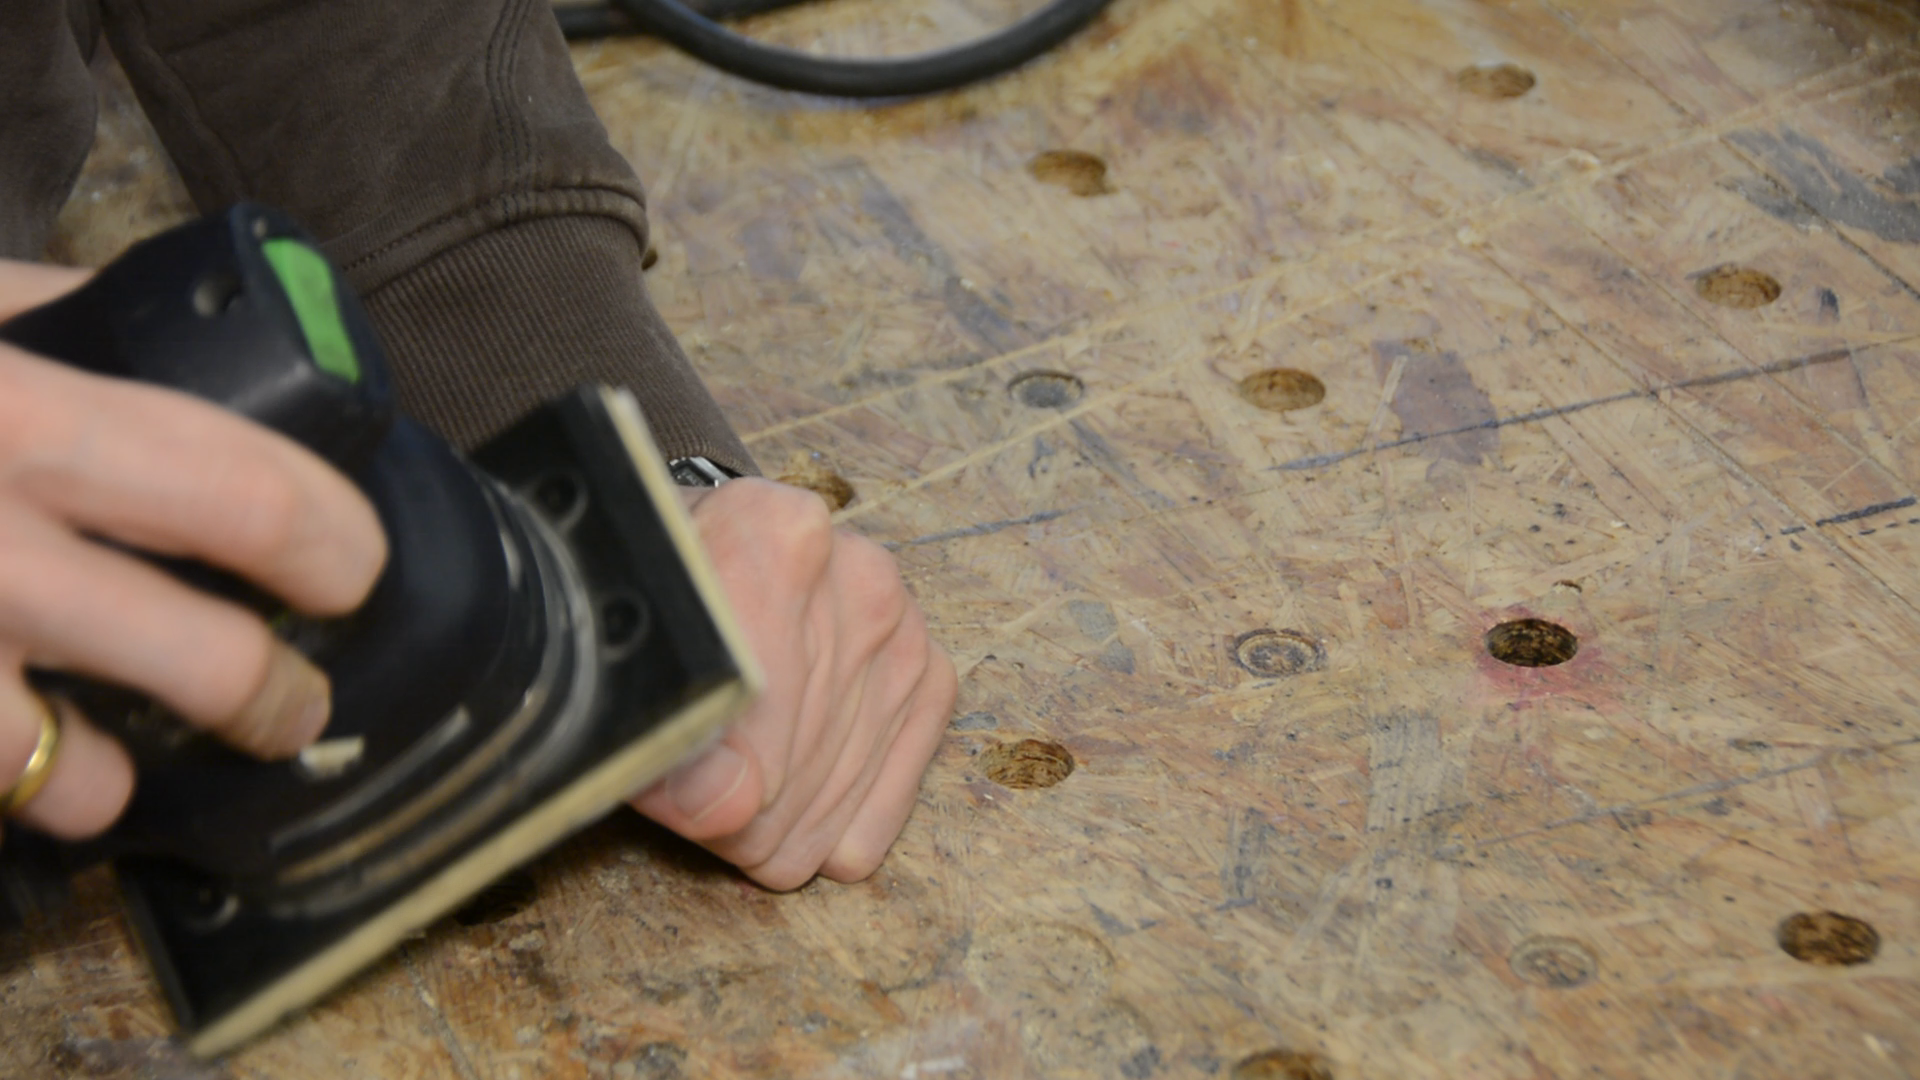
After turning the wood I sand it up to 320 grid. I then free the pen with a saw and sand the end flush.

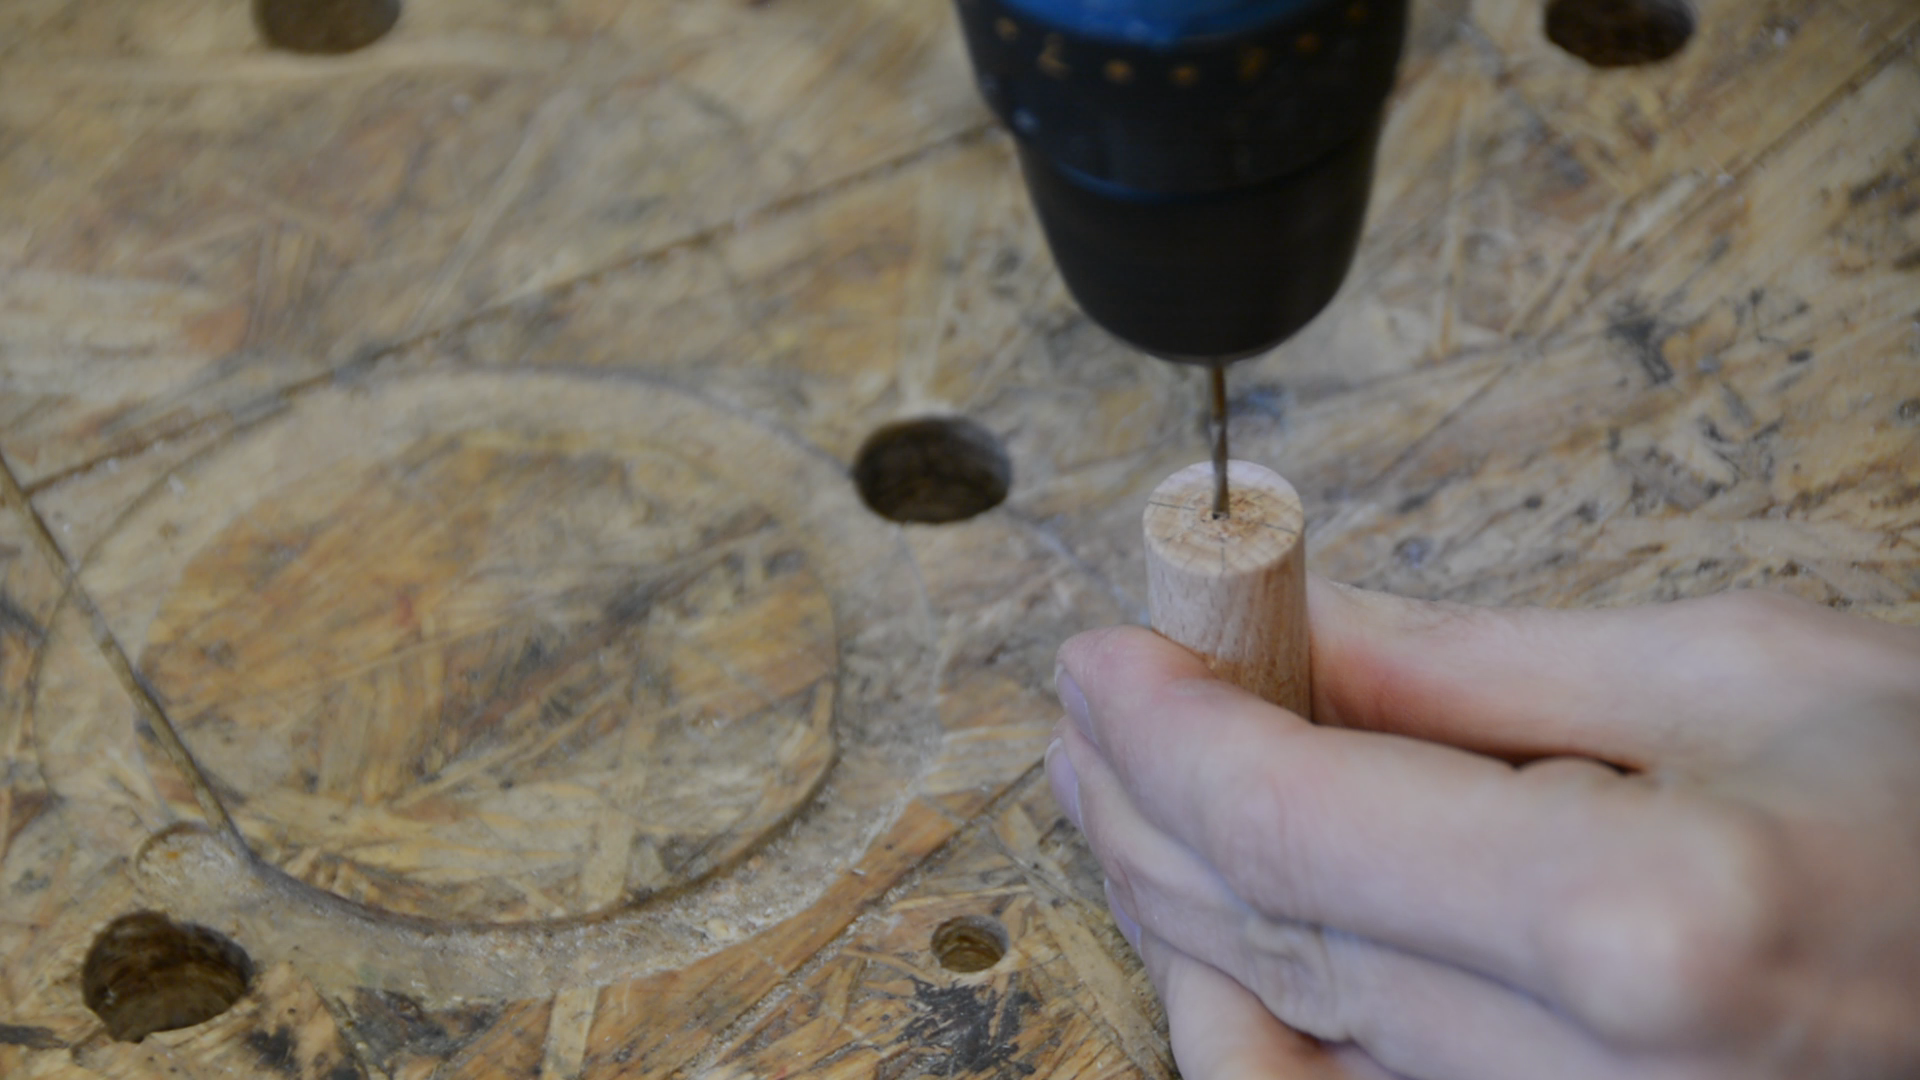
For the pen cap I follow the same process. I drill a tiny hole in the cap part so that the air has a way to escape.
Finishing and assembly
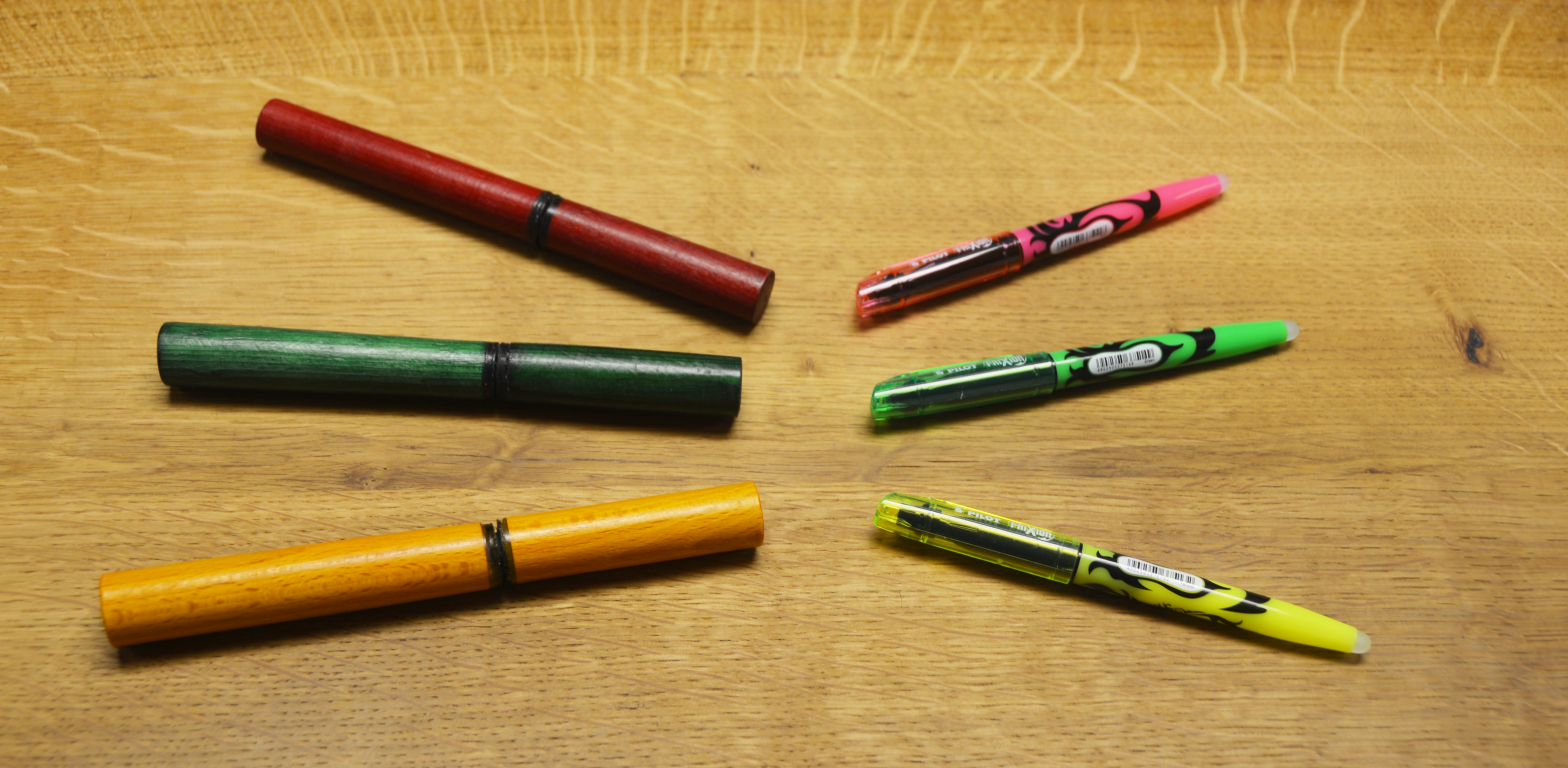
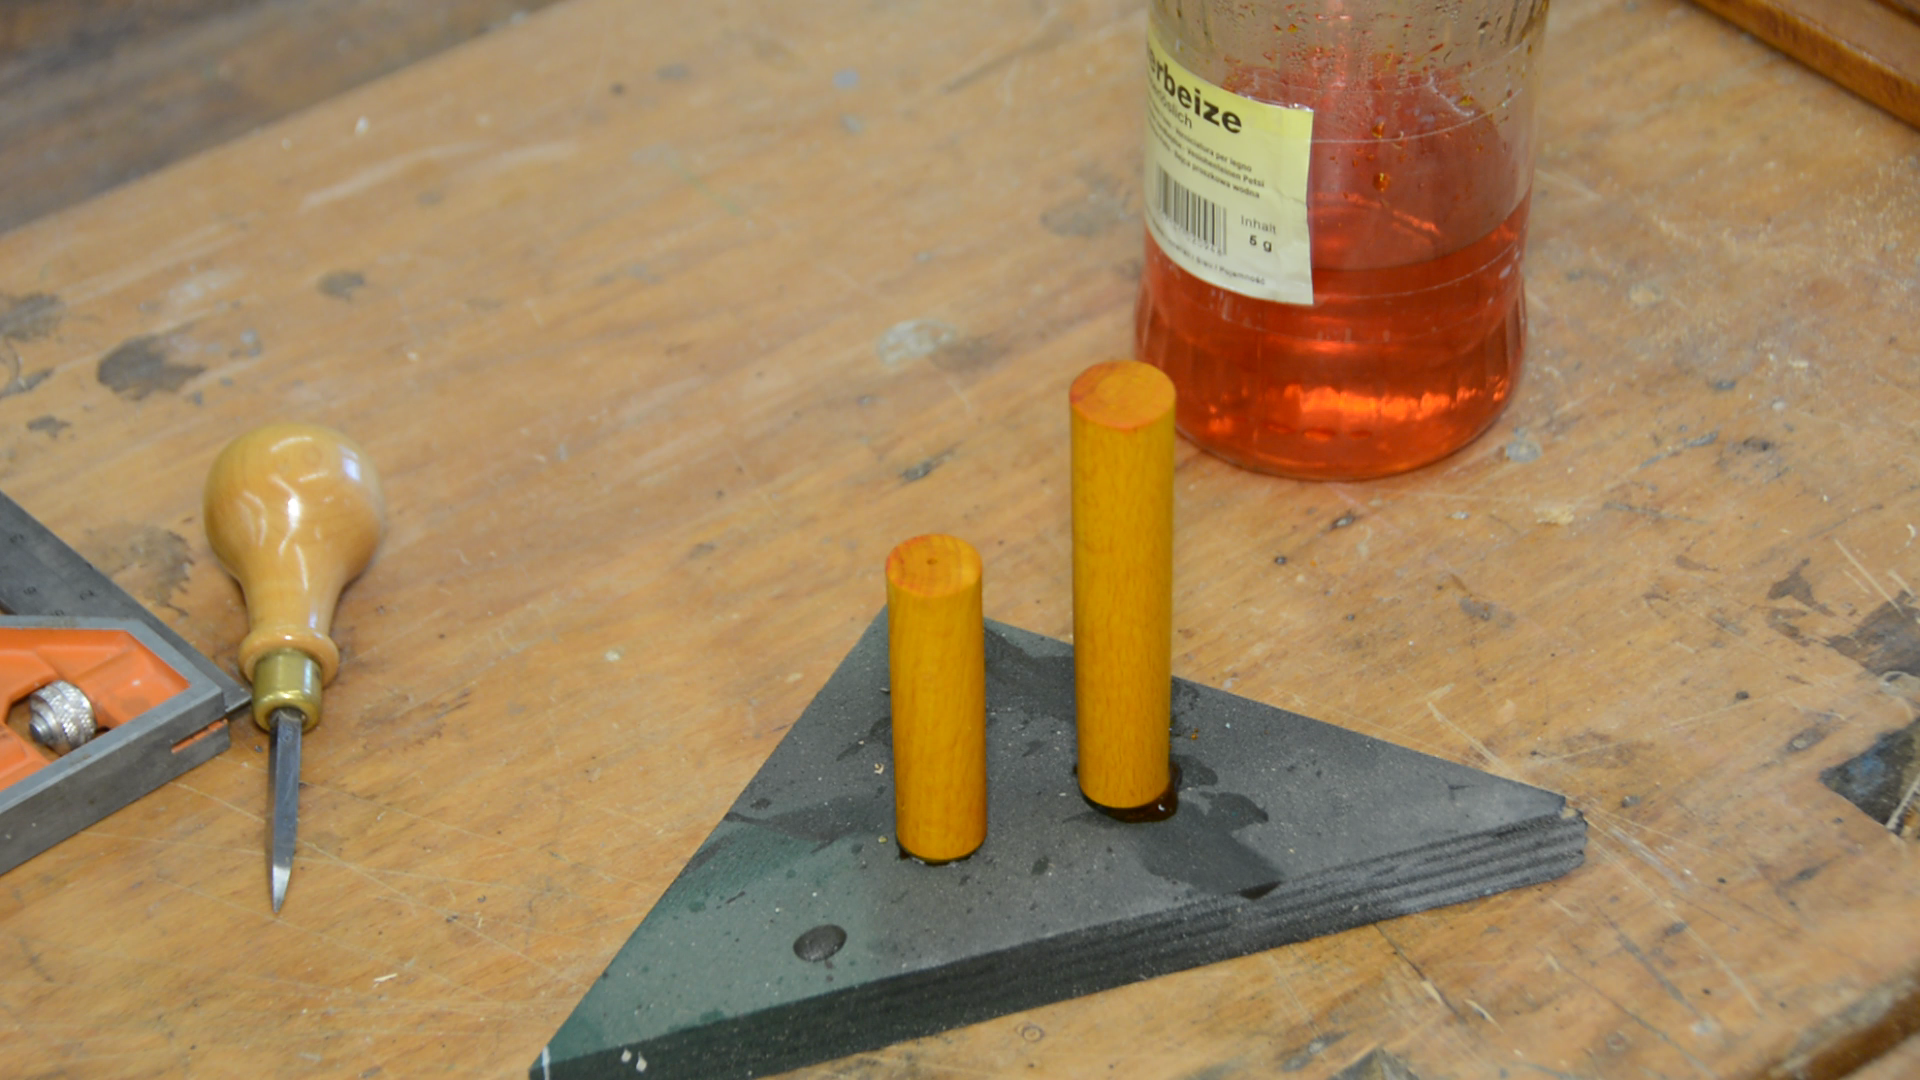
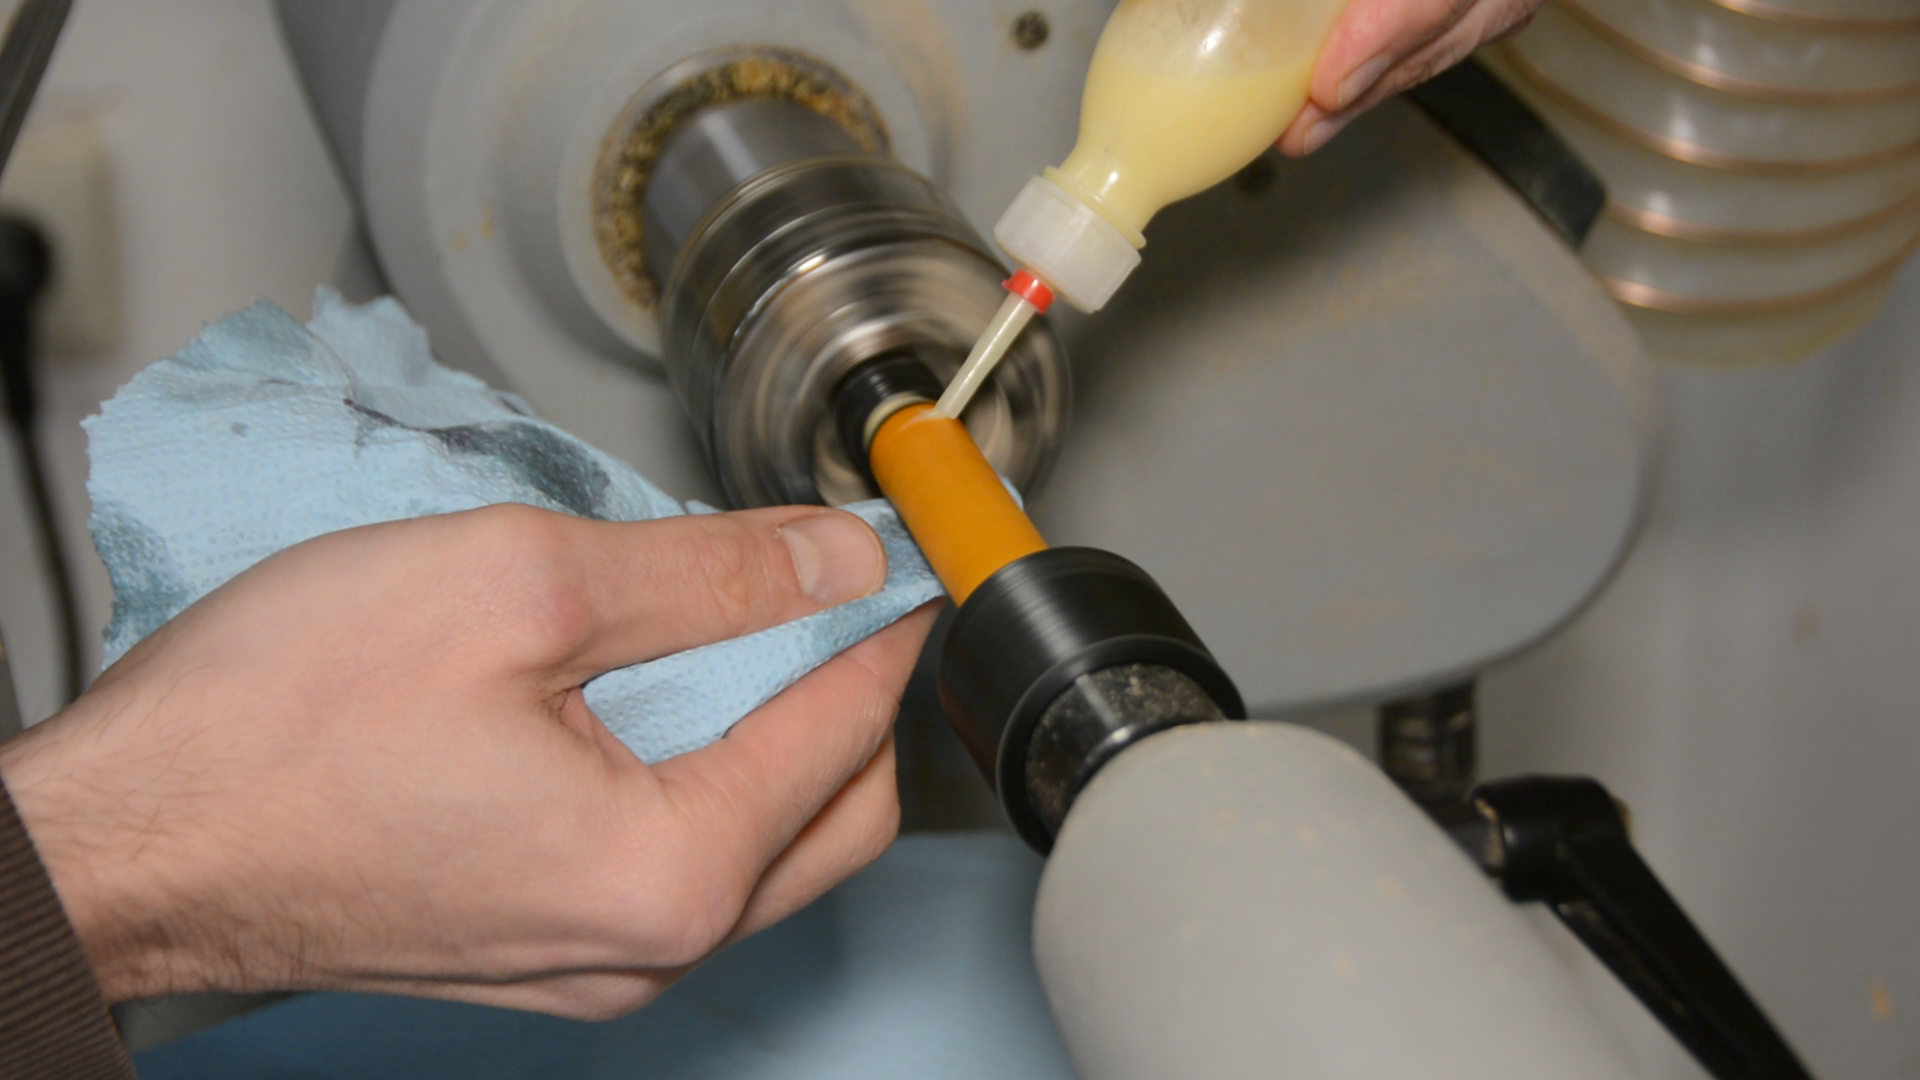
The pen then gets a stain in the color of the highlighter.
Another set of 3d prints help to secure the pieces on the lathe for the finishing.
To seal the stain I use several layers of melamine lacquer and a final coat of wax.
The pen itself can be screwed directly into the wooden part. The clip of the lid has to go and with a bit of dremel work the lid is smooth and fits into the hull.
With a few drops of superglue the lid sits tightly and I got a set of beautiful highlighters.

The pen locks nice and the feels good.