
In this article we are going to create a woodturned pen and a inlayed box as a present for a good friend. It is using the 3d printer, the laser cutter and the CNC in order to create a unique gift.
Making the pen
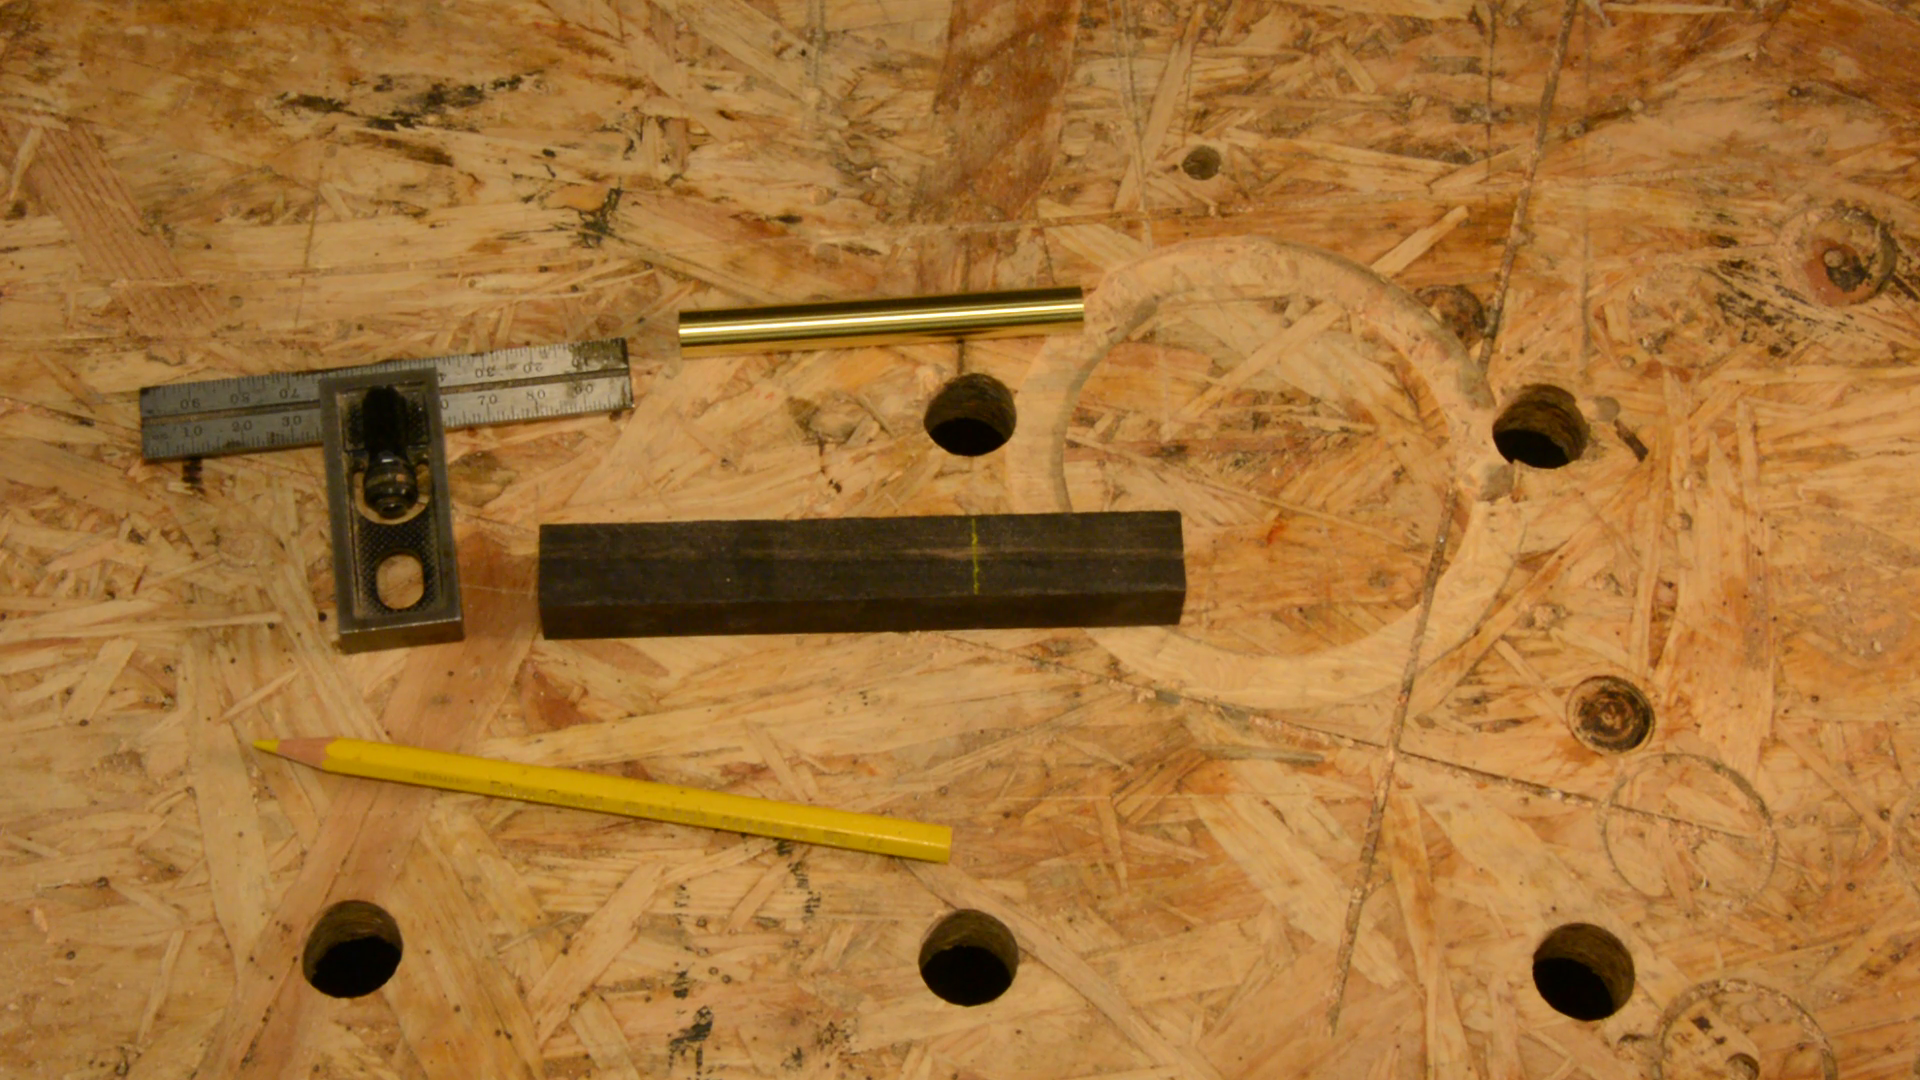
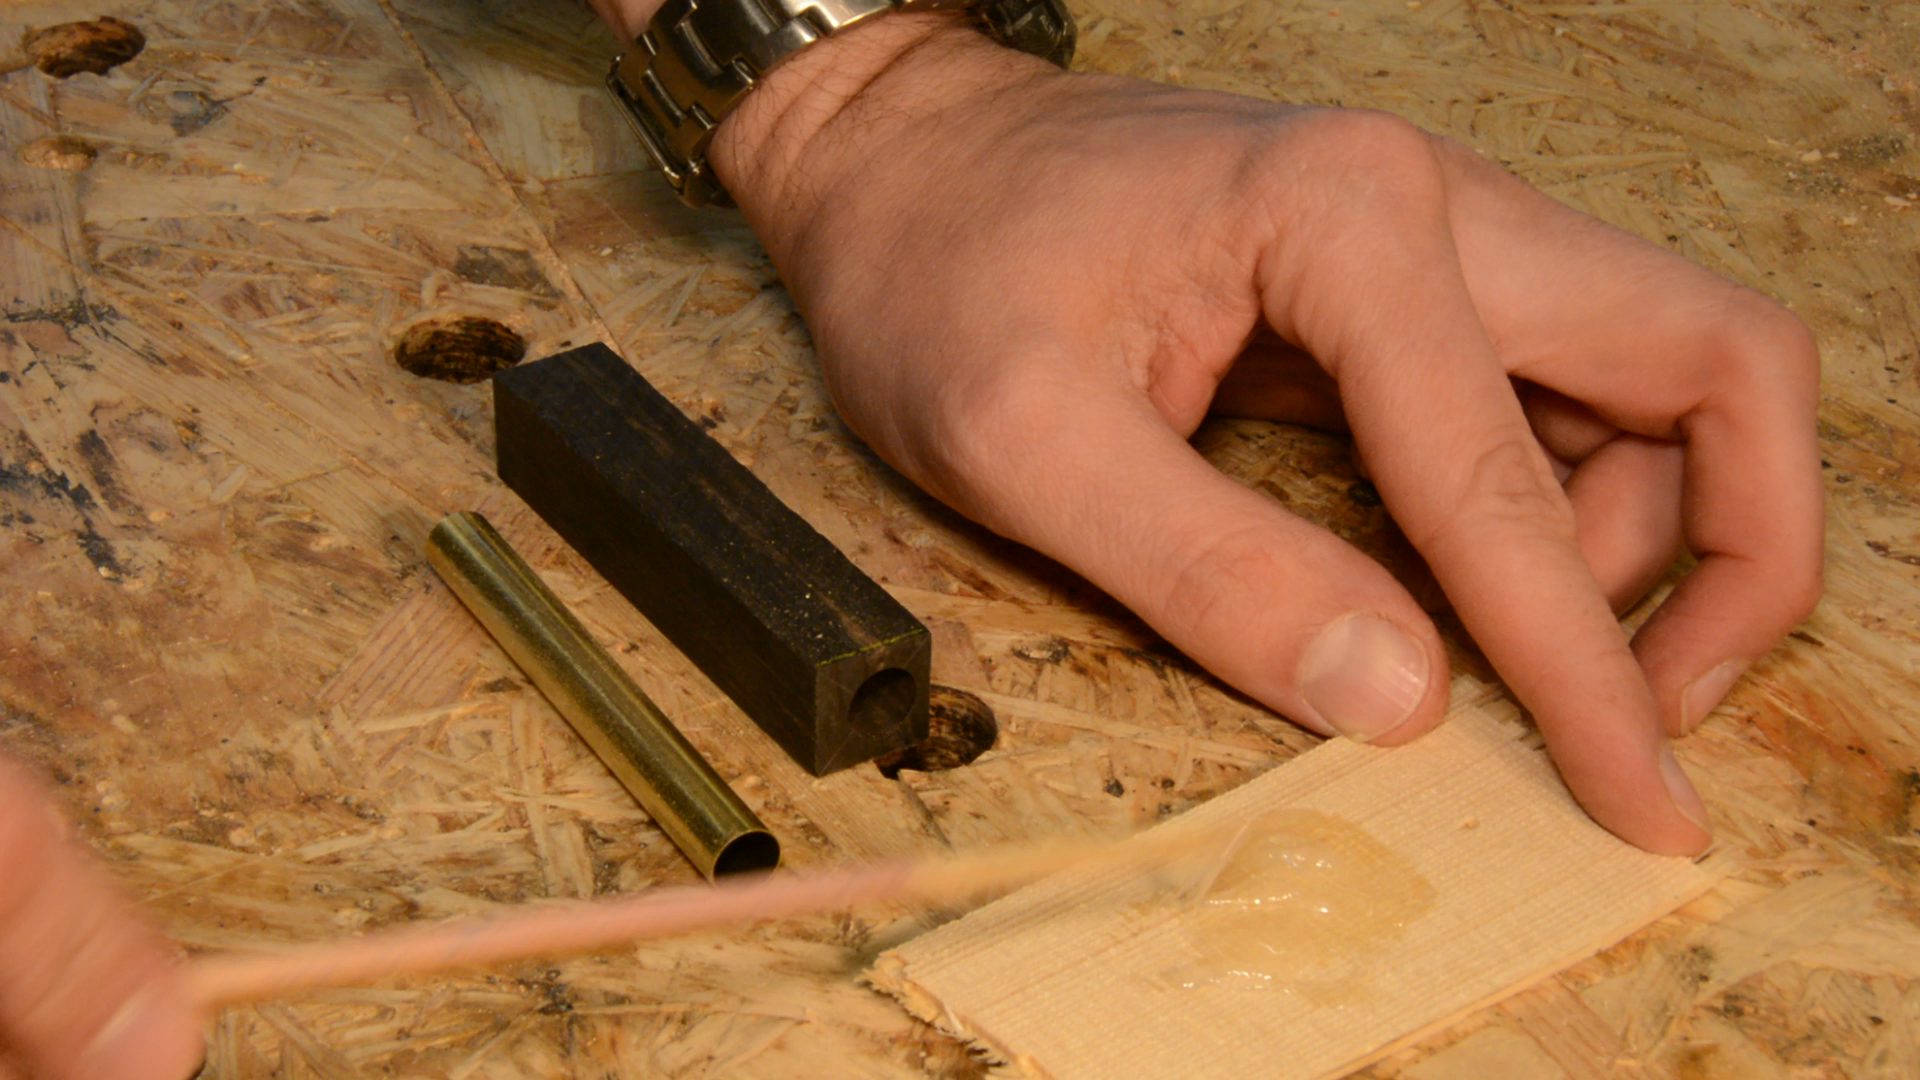
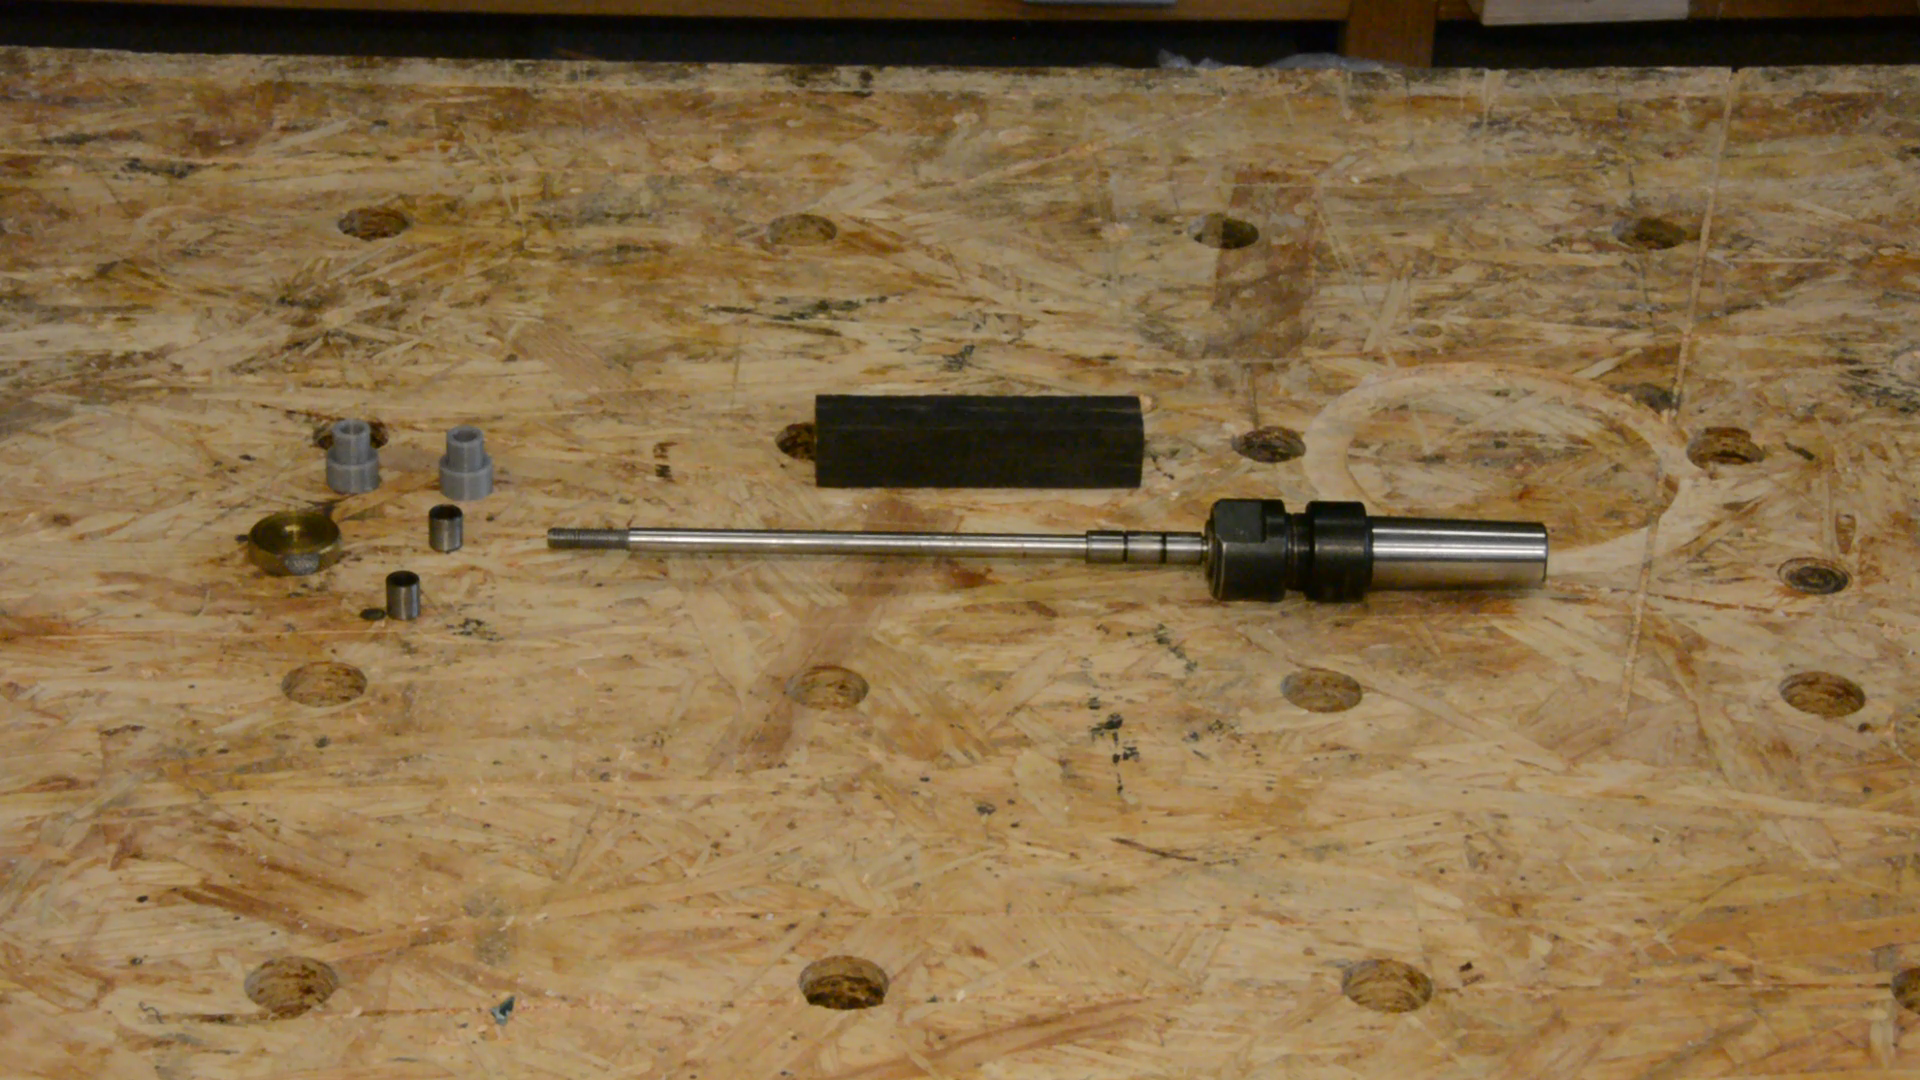
We are starting with a blank of ebony and a pen turning kit. The length of the brass tube is marked on the wood blank.
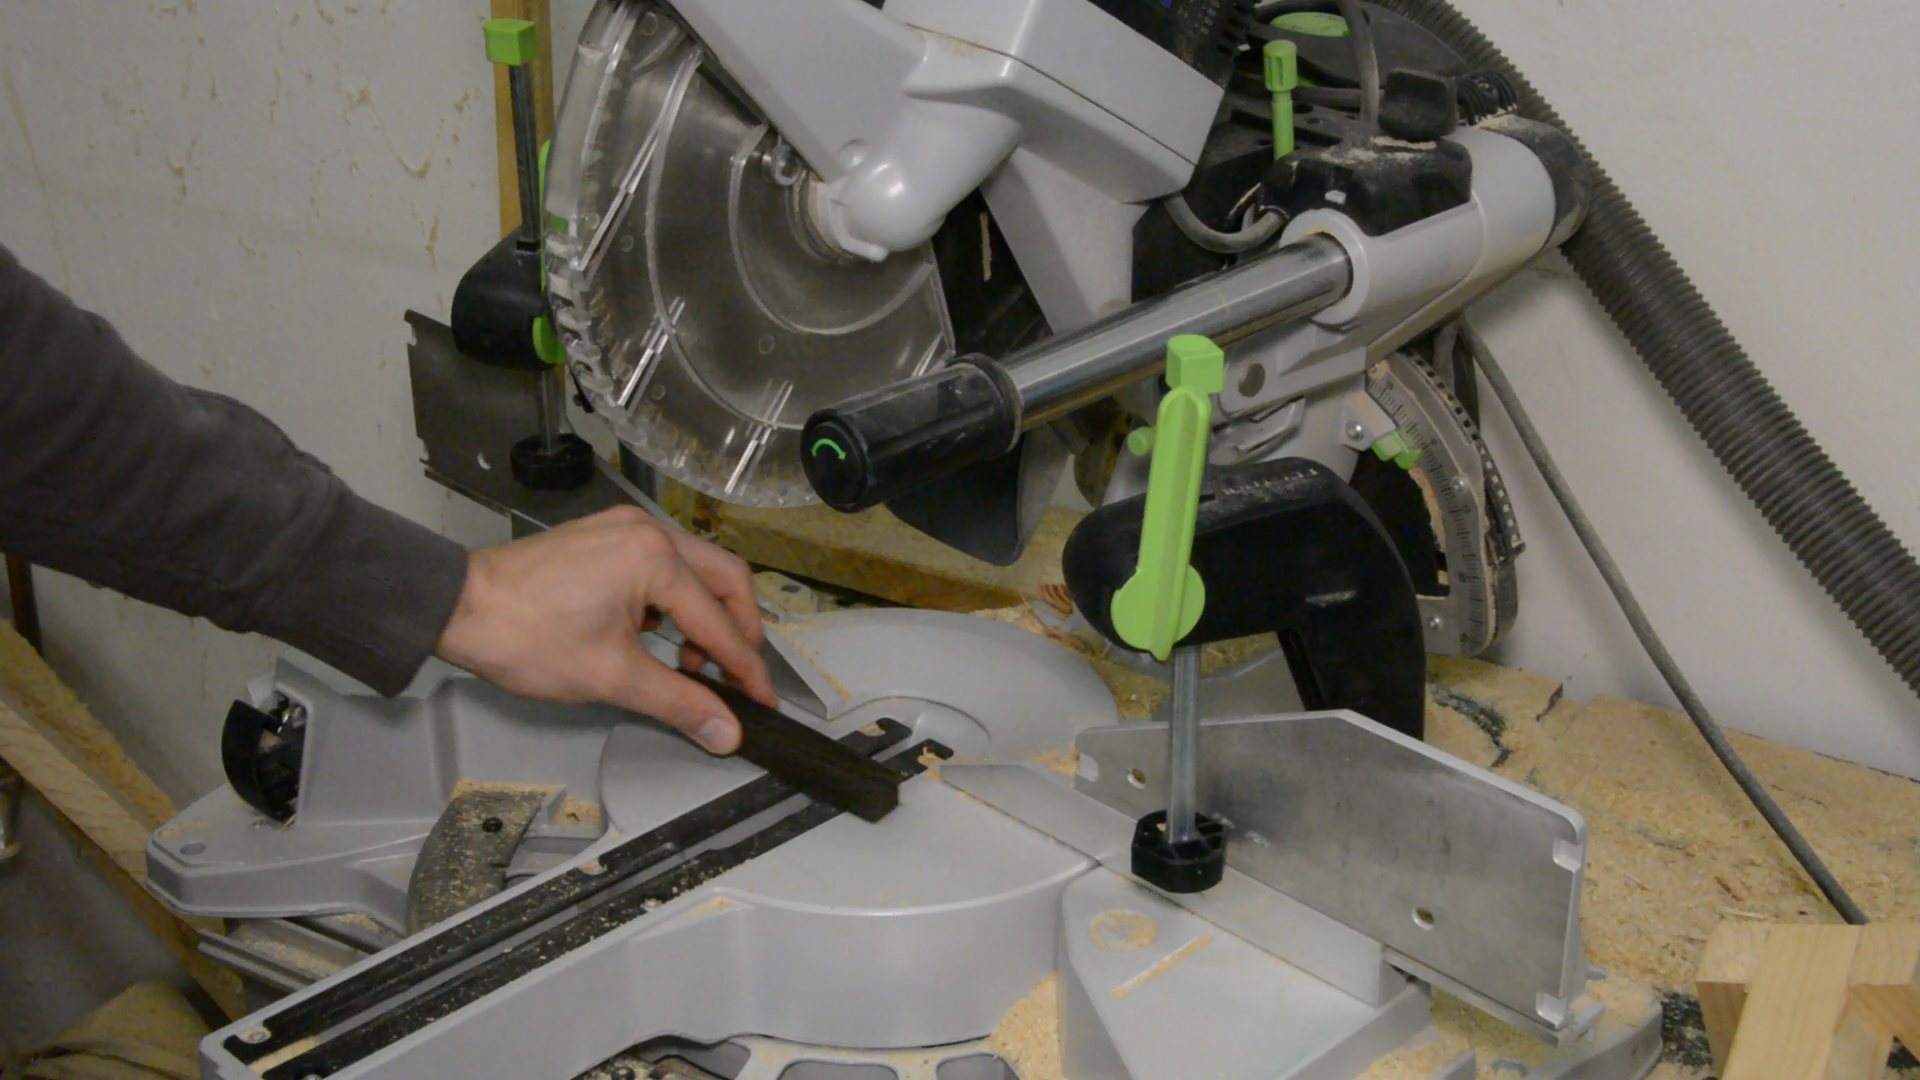
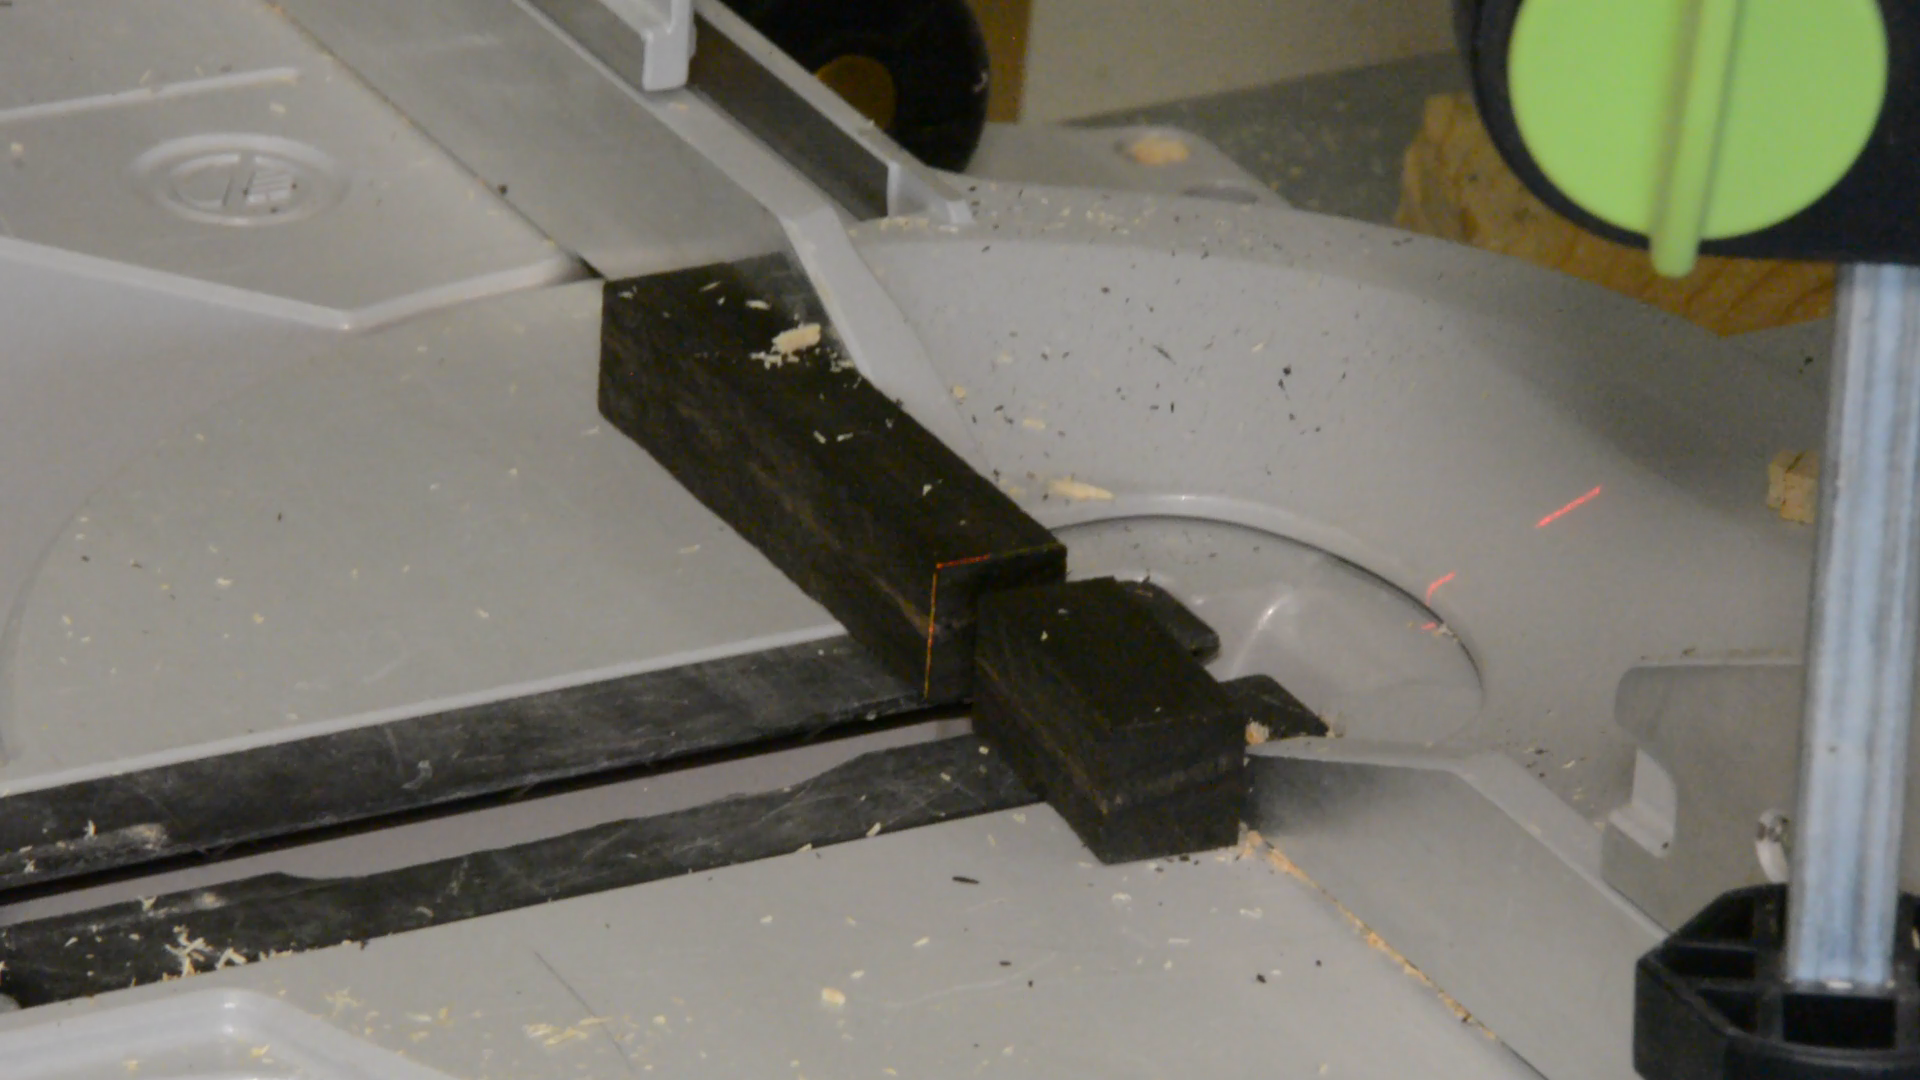
We cut the blank a tiny bit oversized on the mitre saw.
Drilling a hole in a ebony blank is a bit of a challenge.
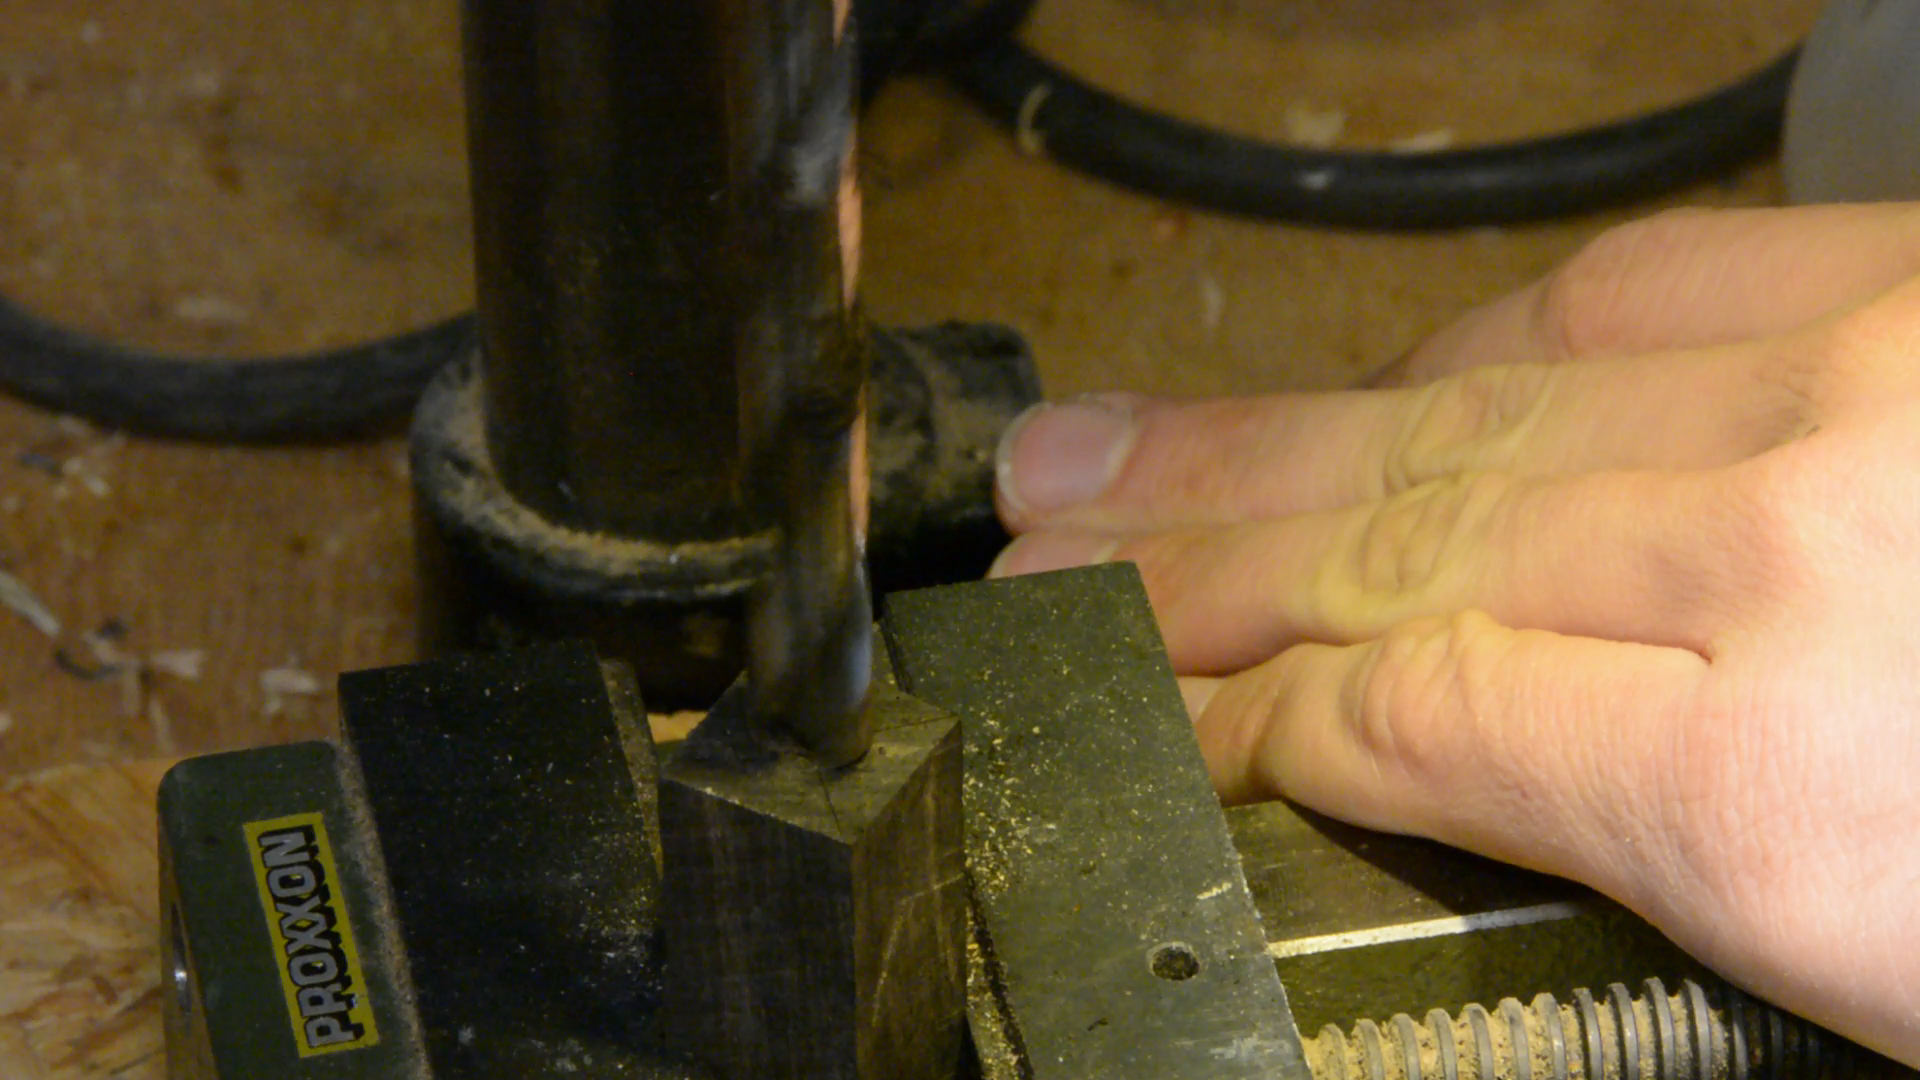
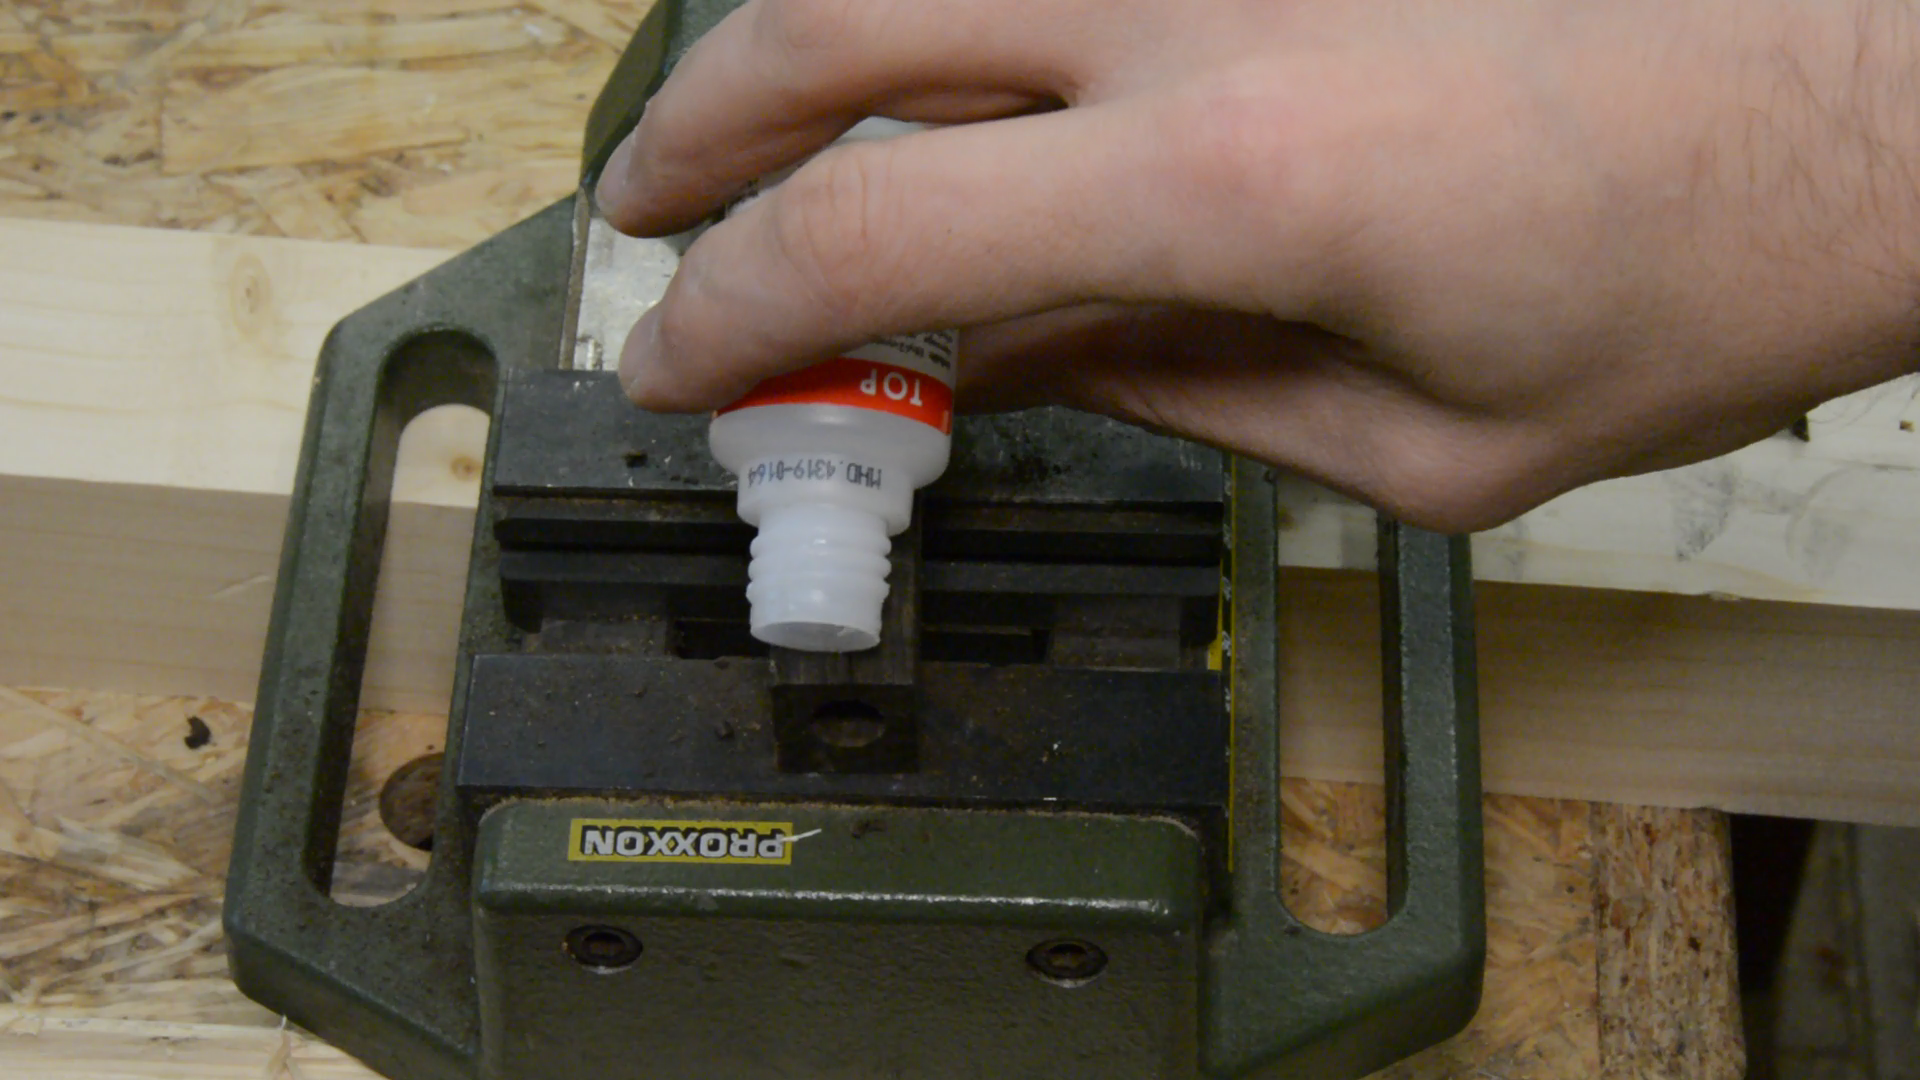
Even when going slowly and removing the chips it sometimes happens that the thin walls split and have to be glued back together with superglue.
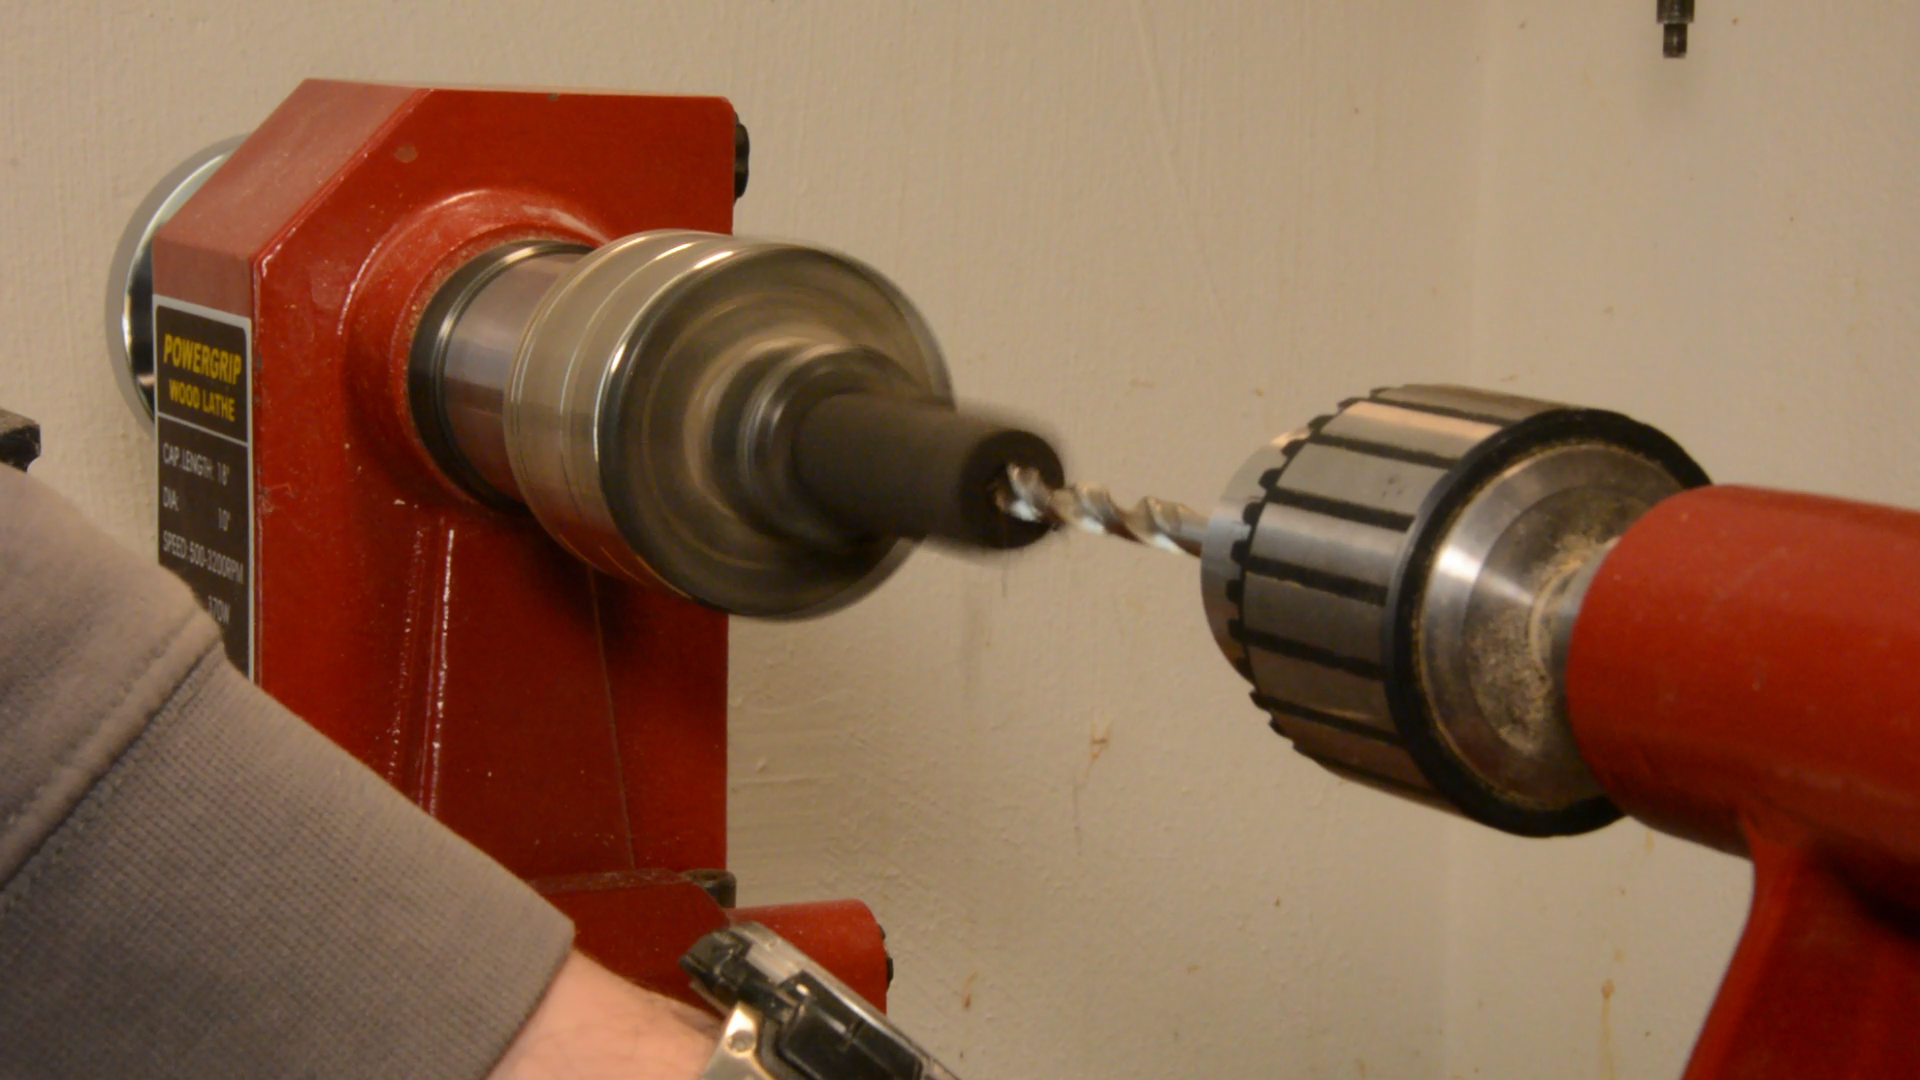
I found that drilling with increasing drill sizes on the lathe is the best way to minimize the risk of splintering.
For good measure we sand the outside of the brass tube a little bit so that the epoxy has a better grip on the metal.

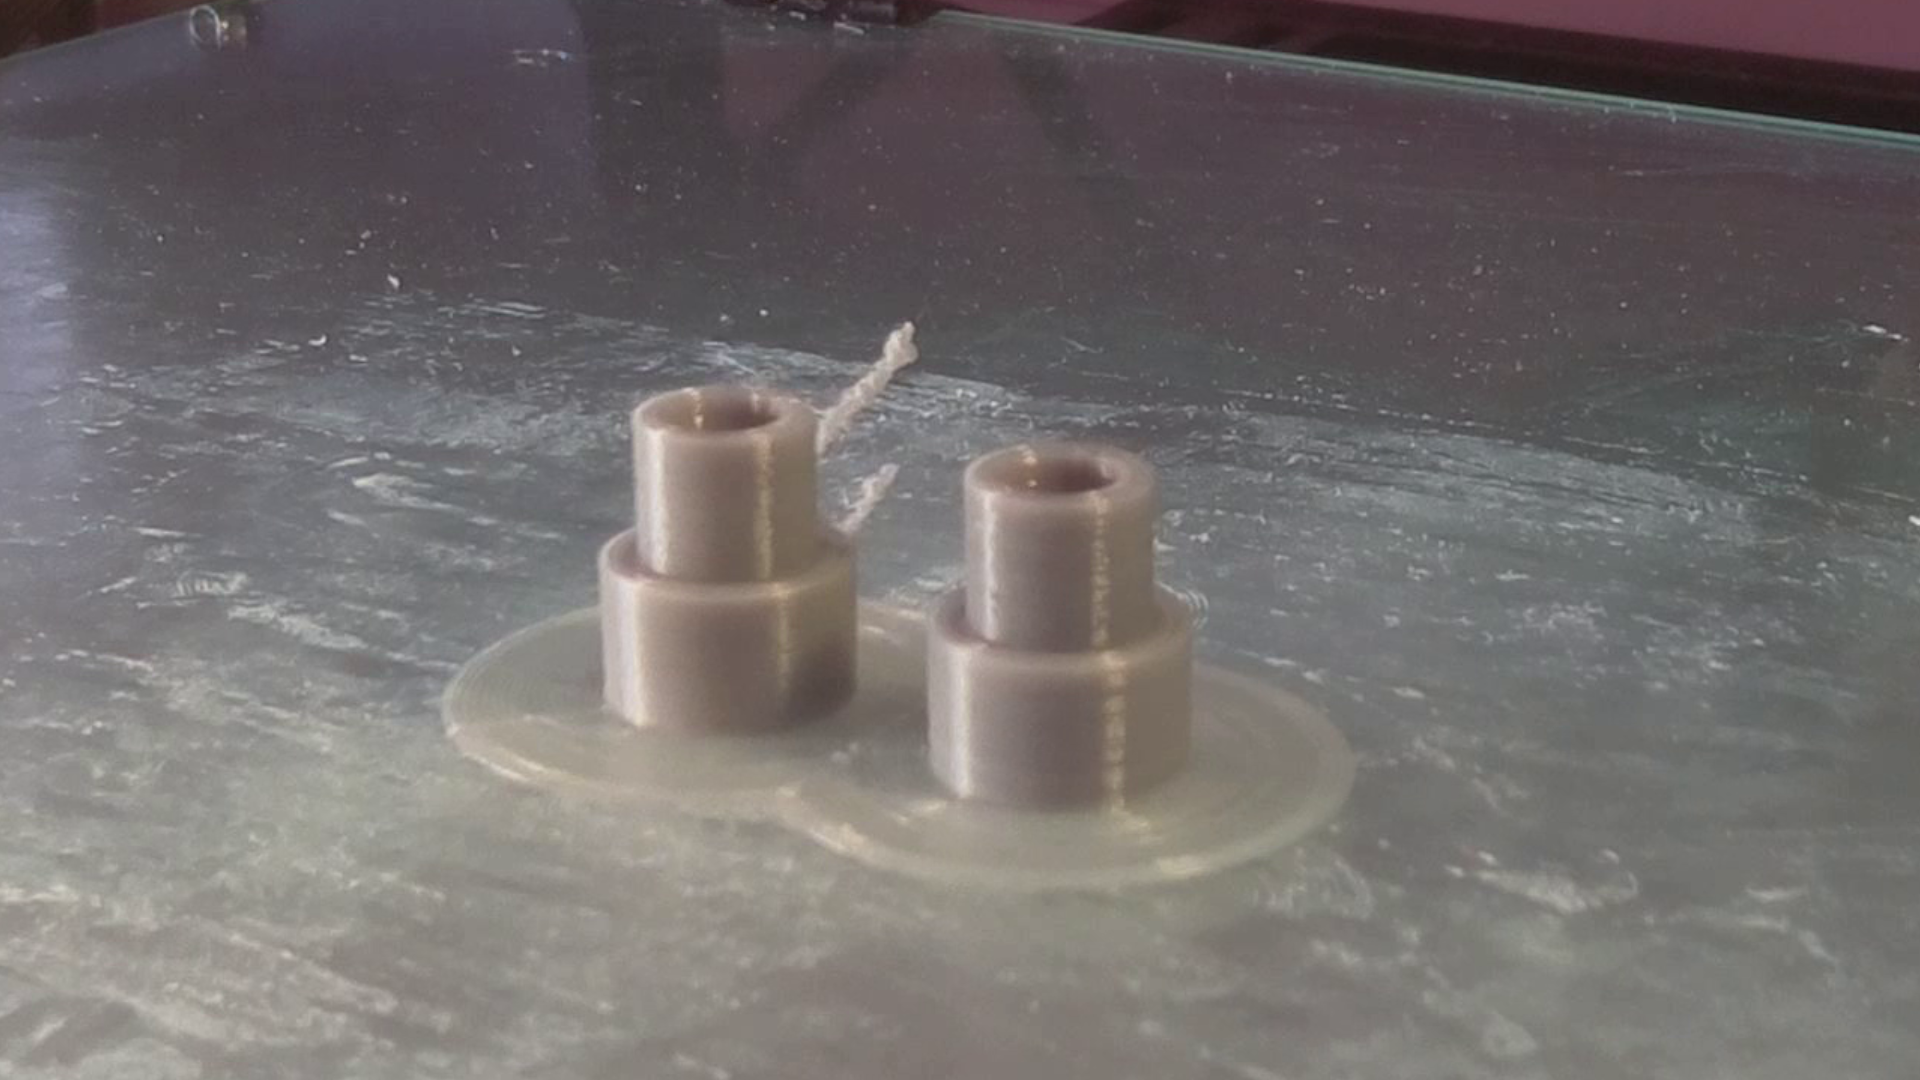
While the epoxy cures we can prepare the mandrel. Each pen turning kit requires a special set of distance rings and their costs add up quickly. But with a few clicks in FreeCAD we have a model for these rings and send them to the 3d printer.
The pen blank was one or two millimeters longer than the metal tube.

The belt sander makes quick work of this and sands the wood flush.

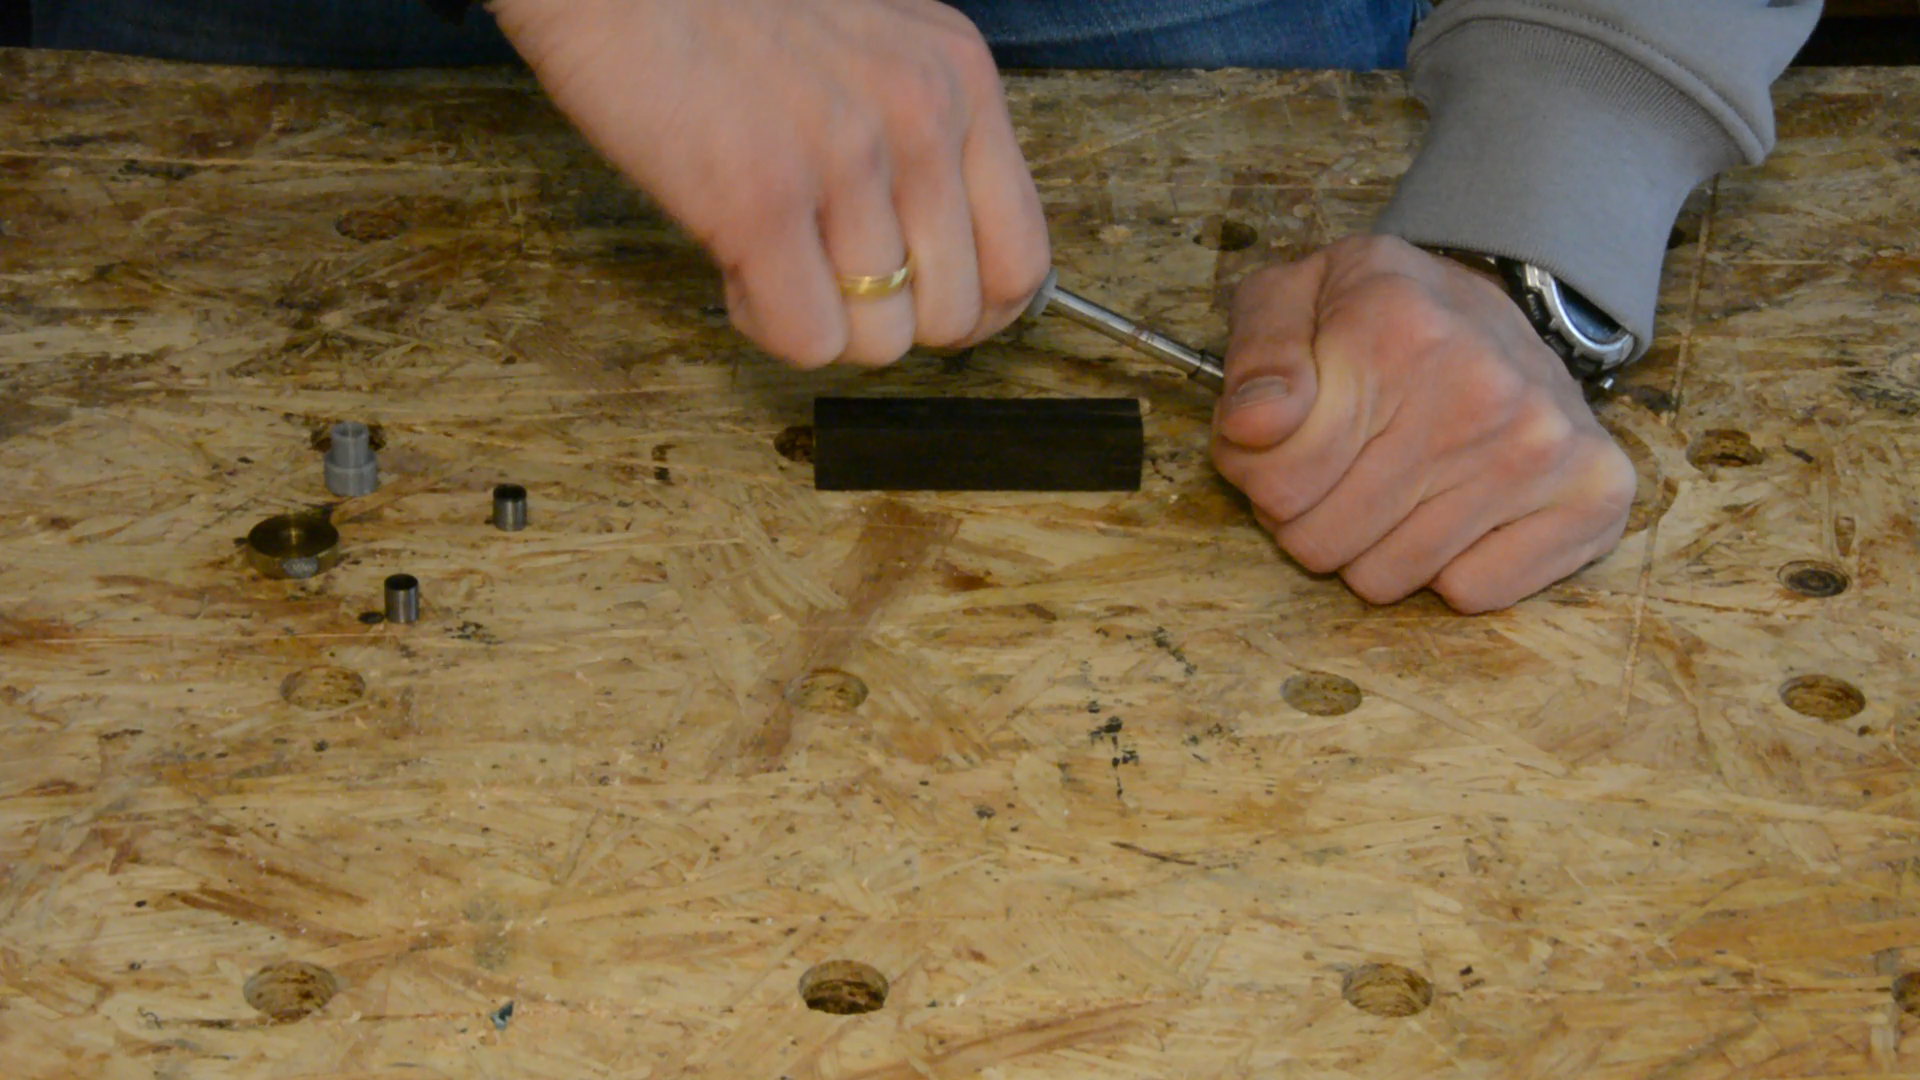
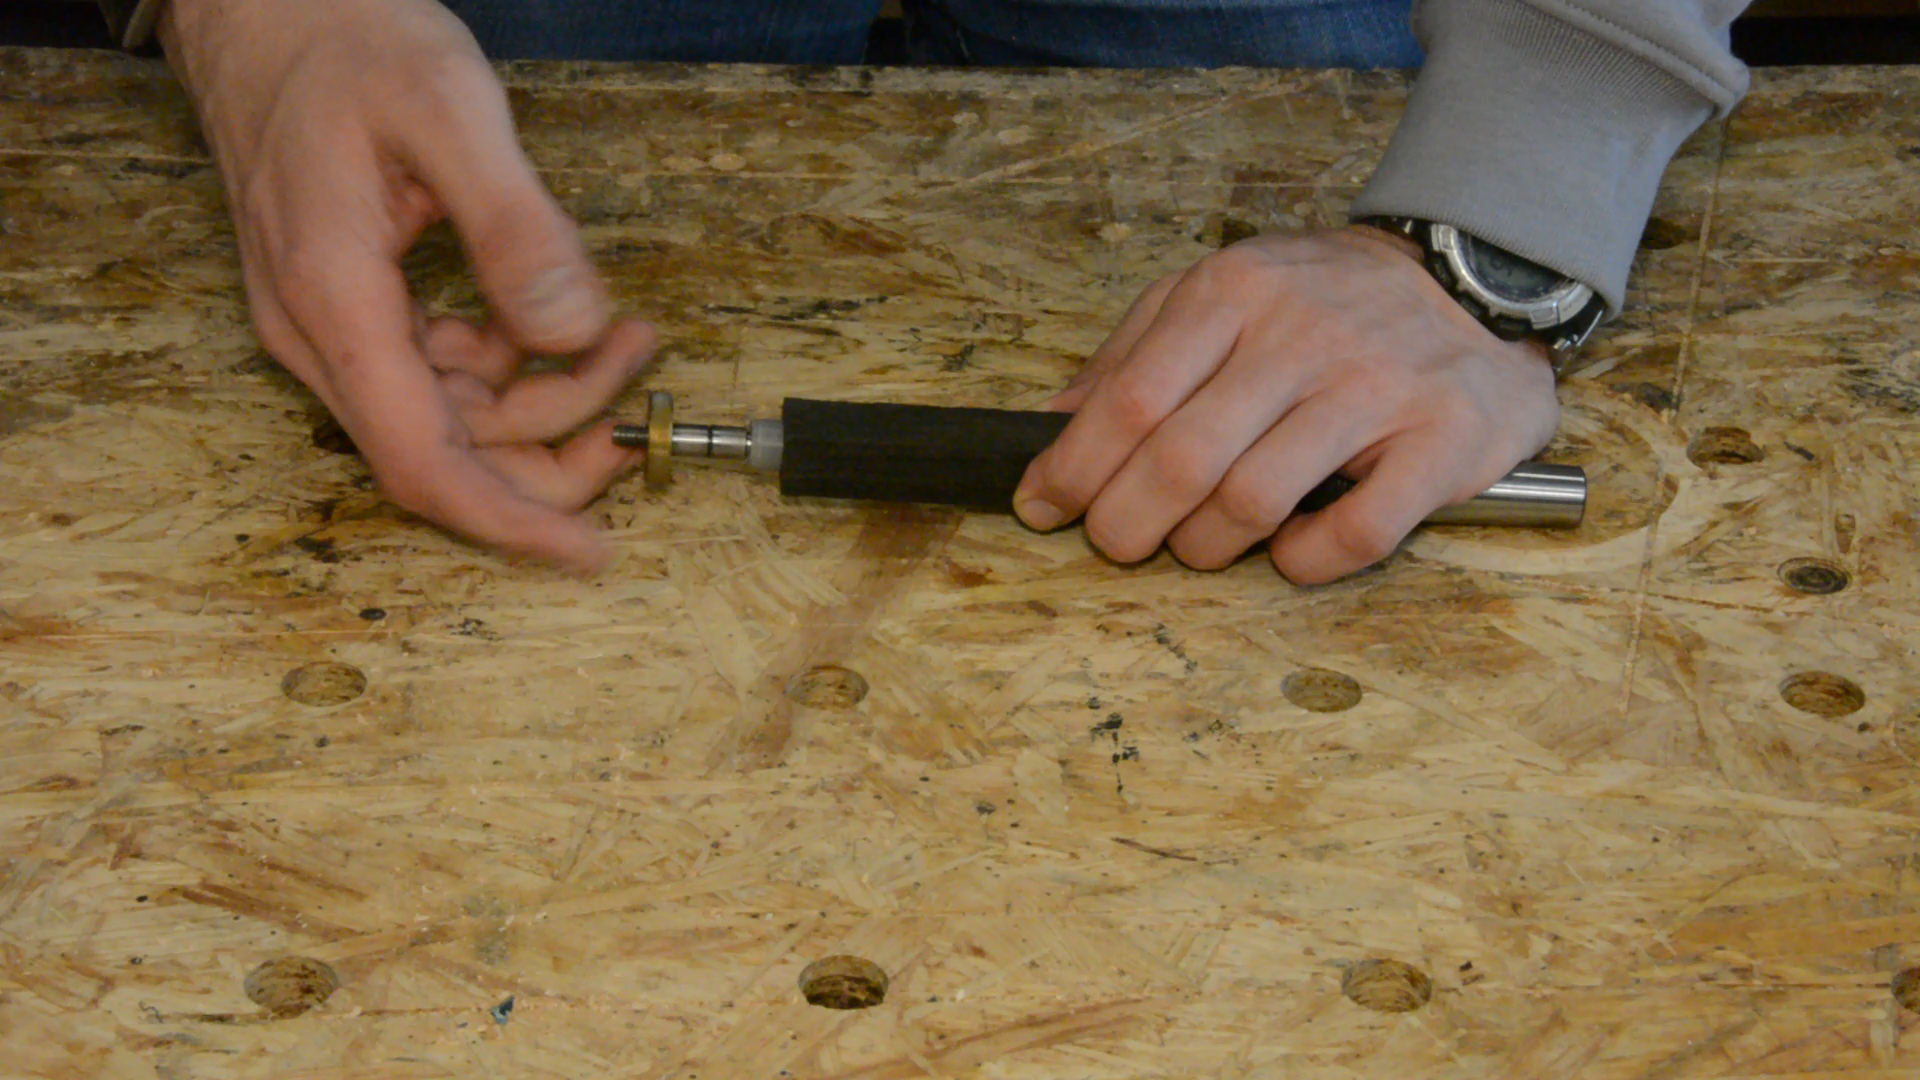
The blank gets mounted on the mandrel.
The distance pieces are a bit tight and require some force to fit.
We turn the blank into a cylinder with a short roughing gouge.

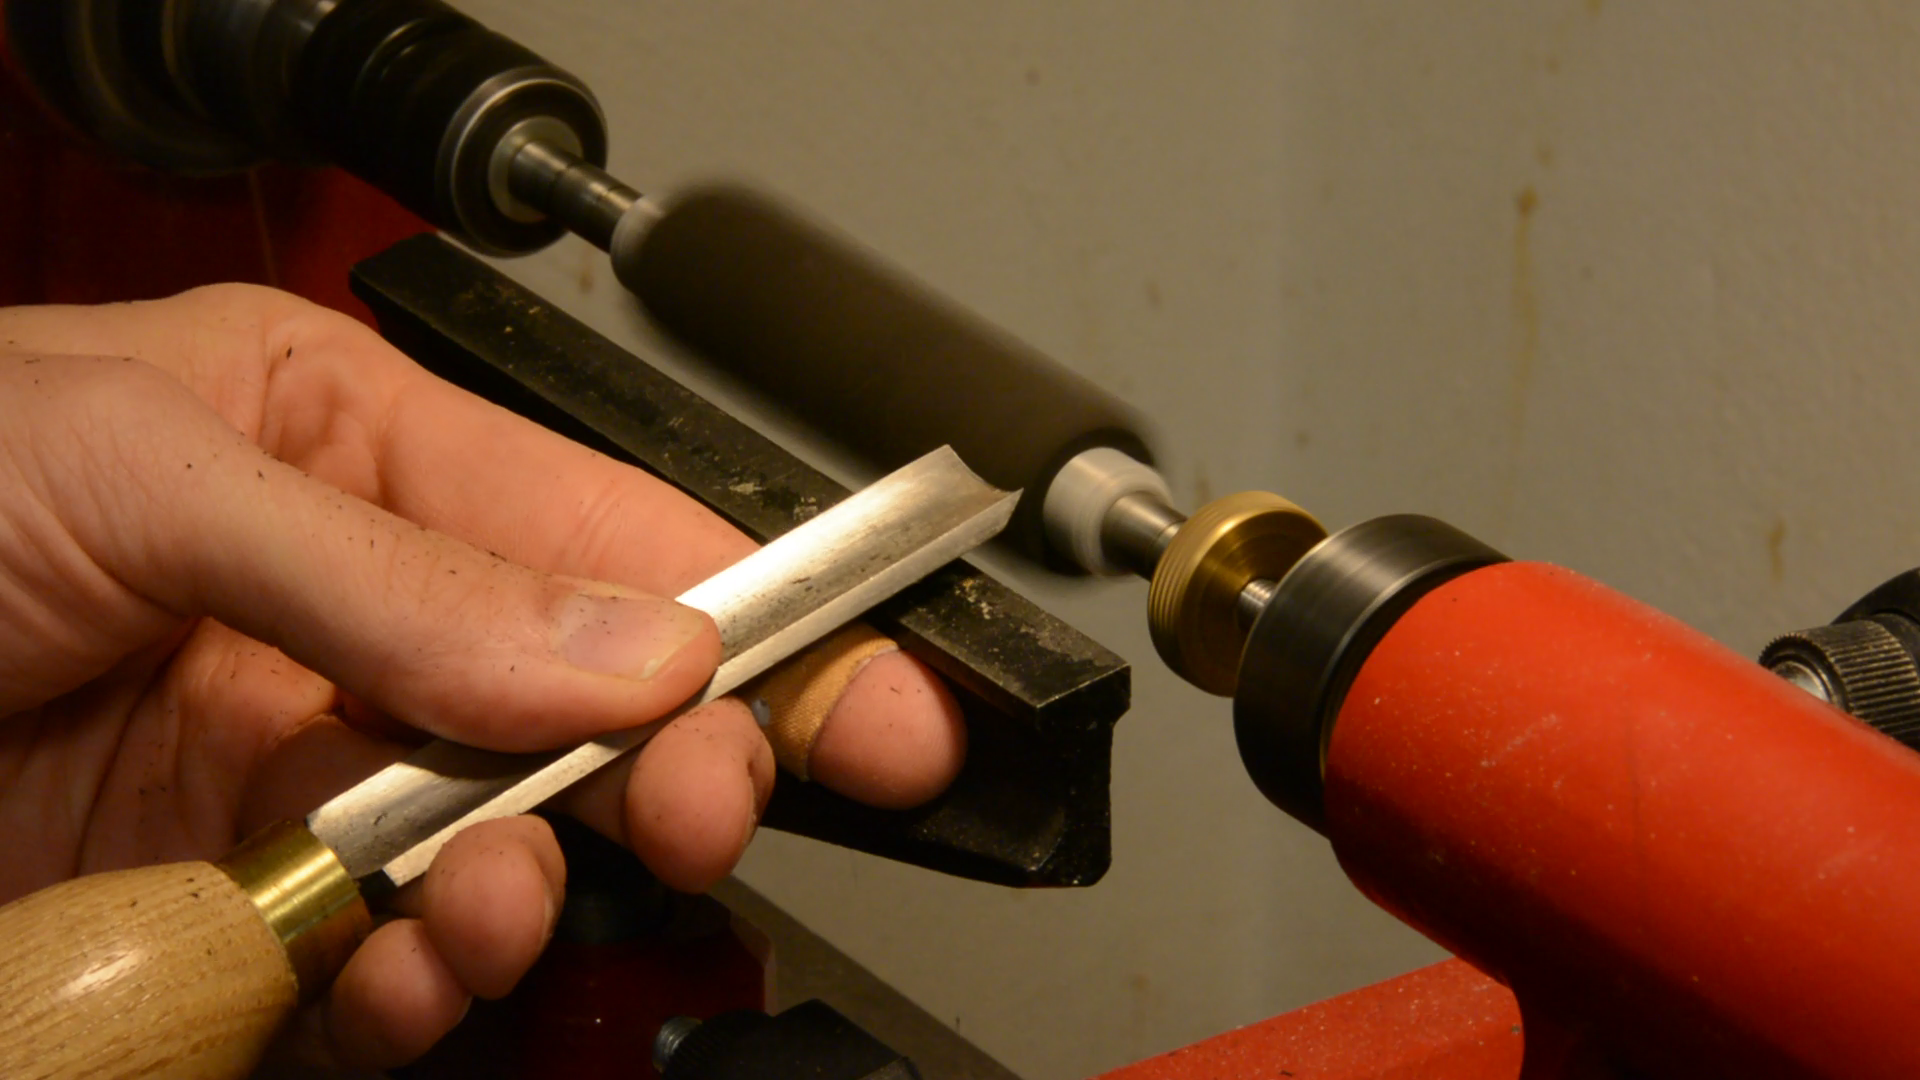
With a skew chisel and some sanding the pen is turned to the diameter of the distance rings.

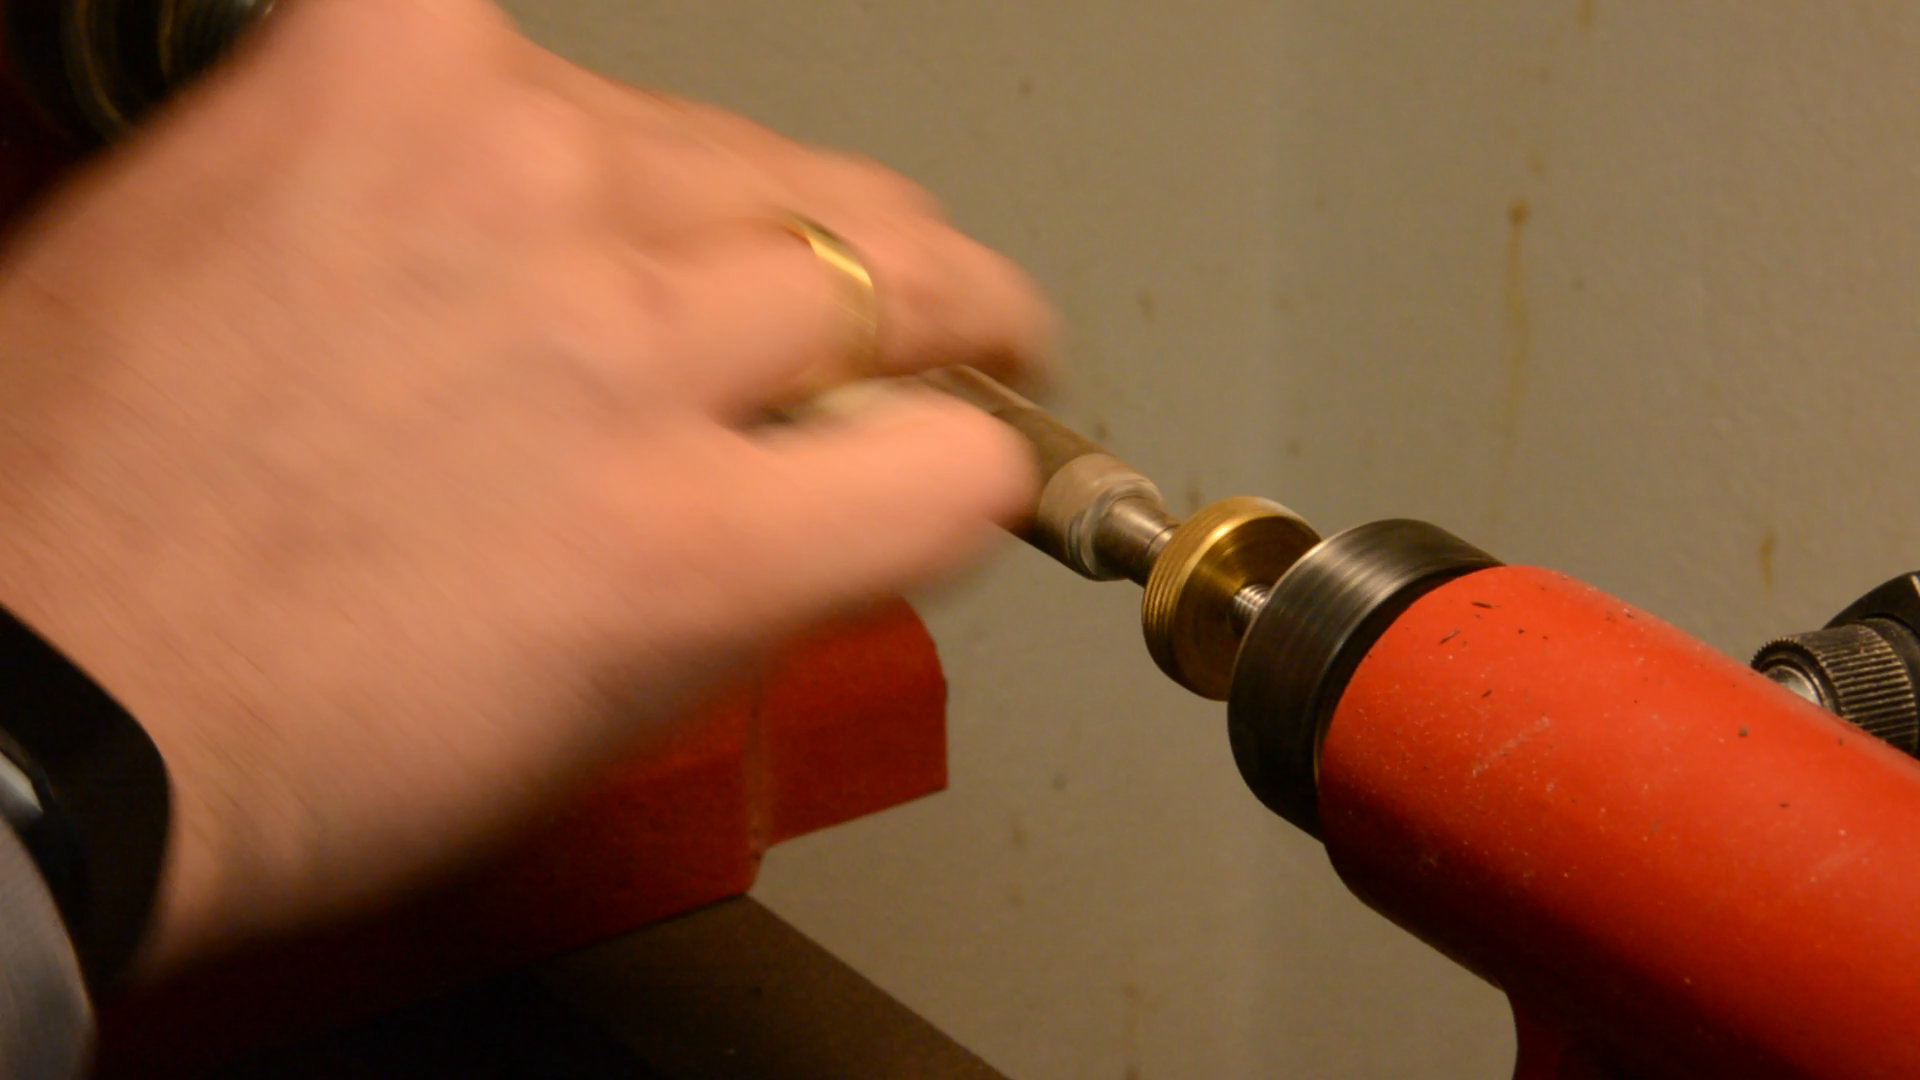
After going through the sanding grids we apply a bit of sanding sealer, some wax and the pen is ready for assembly.

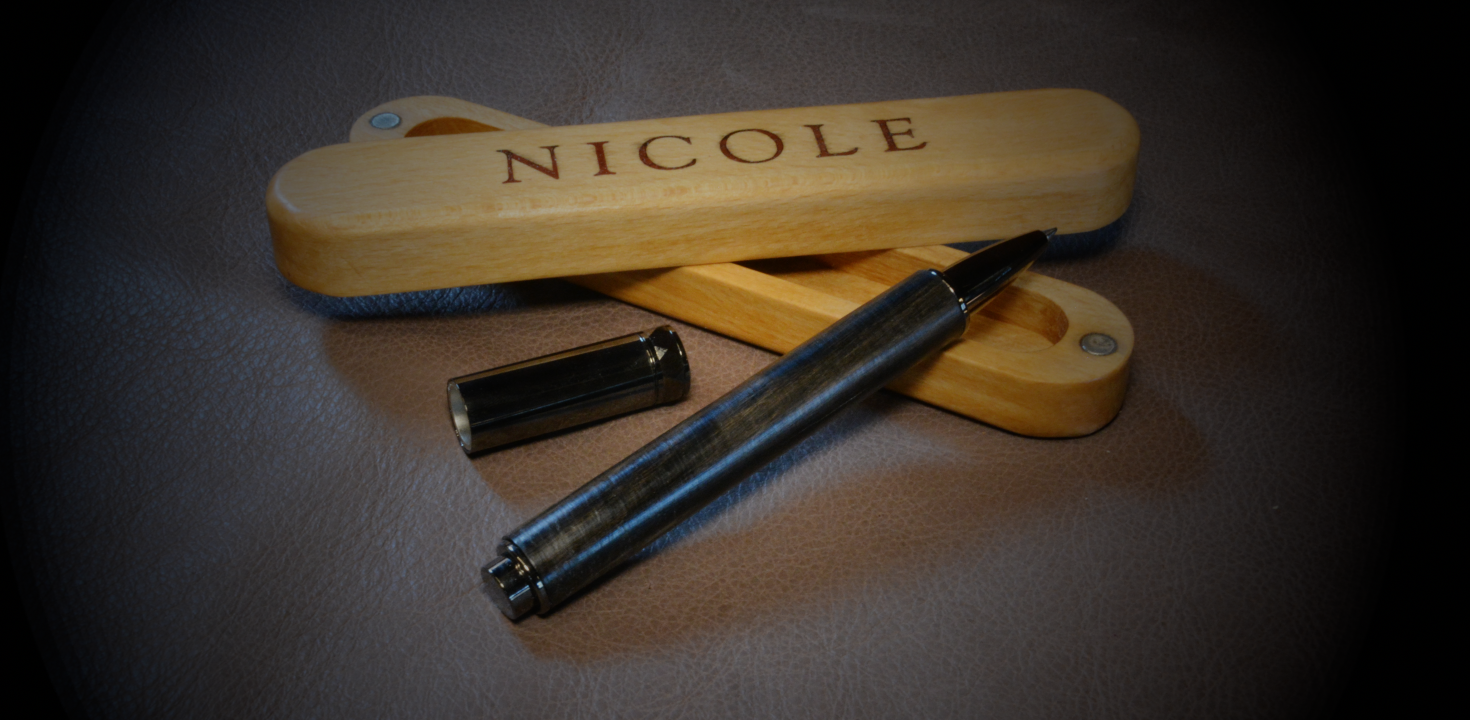
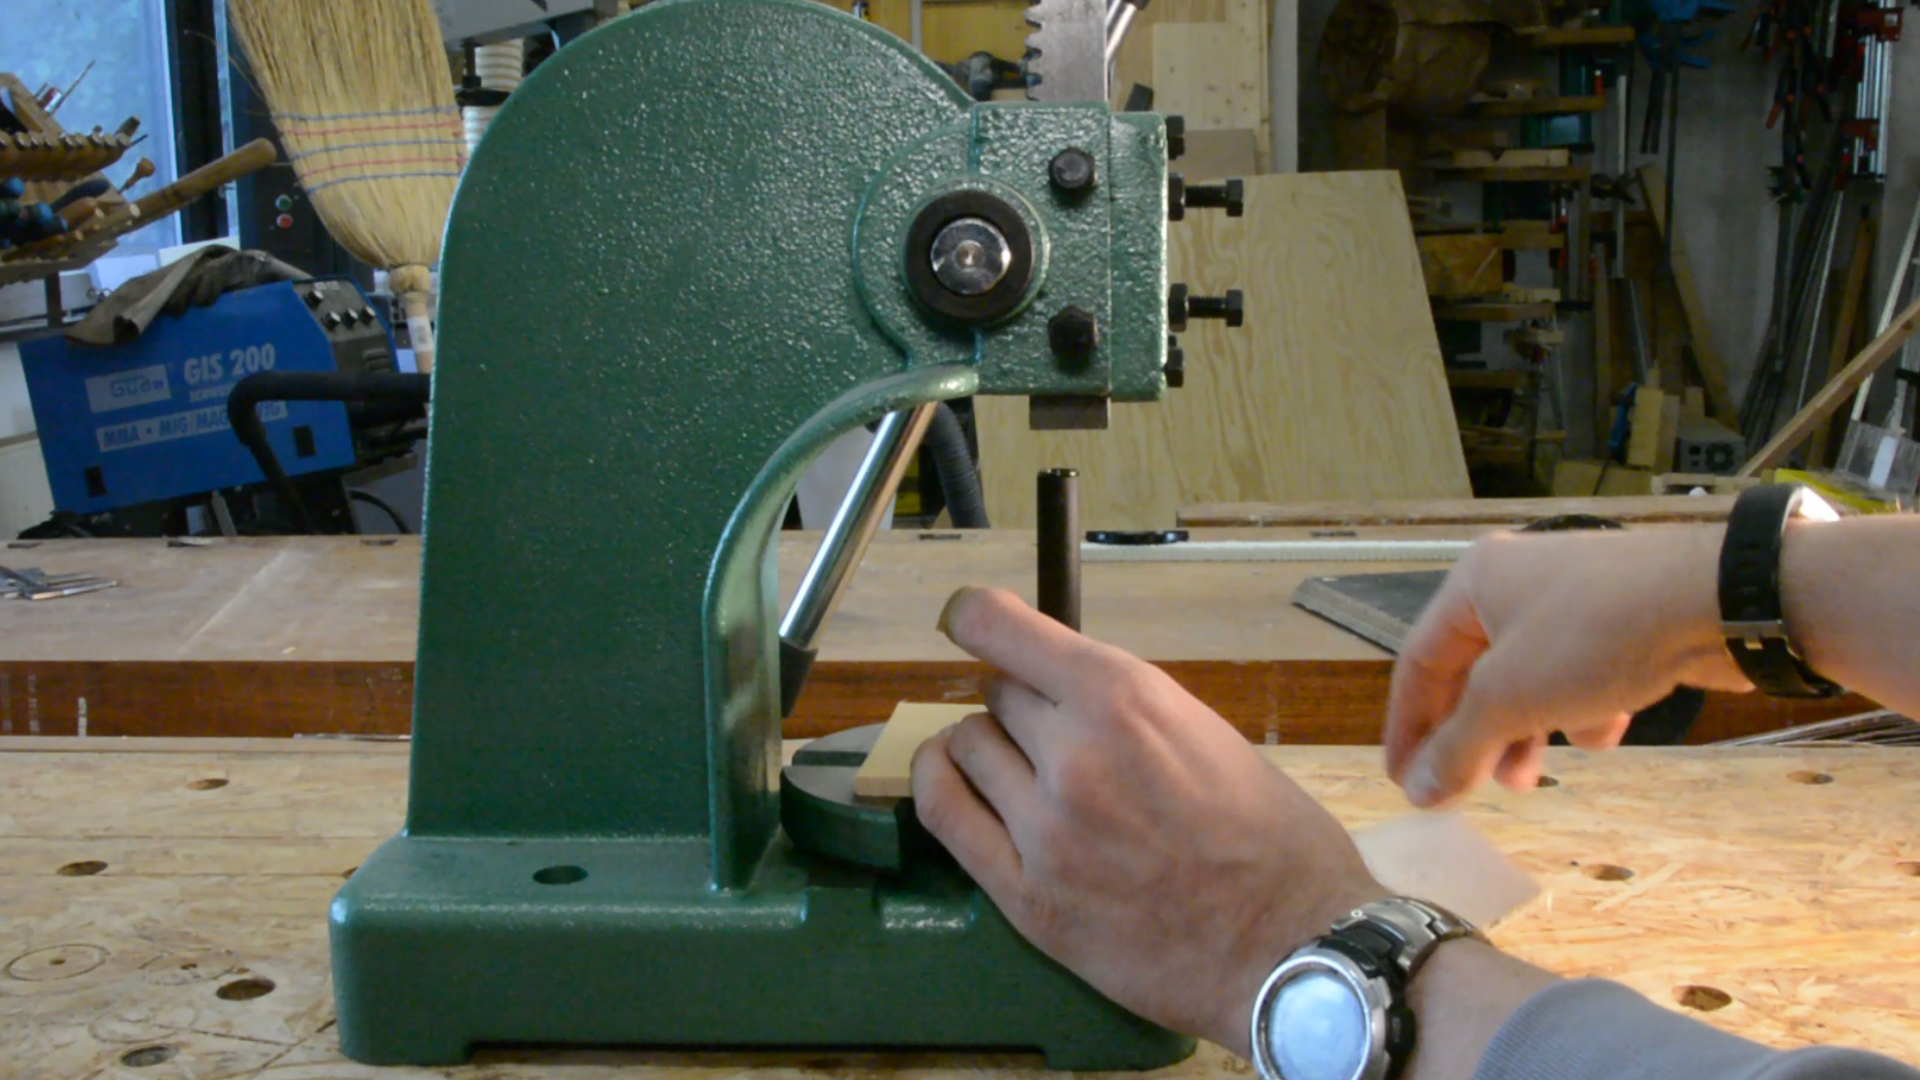
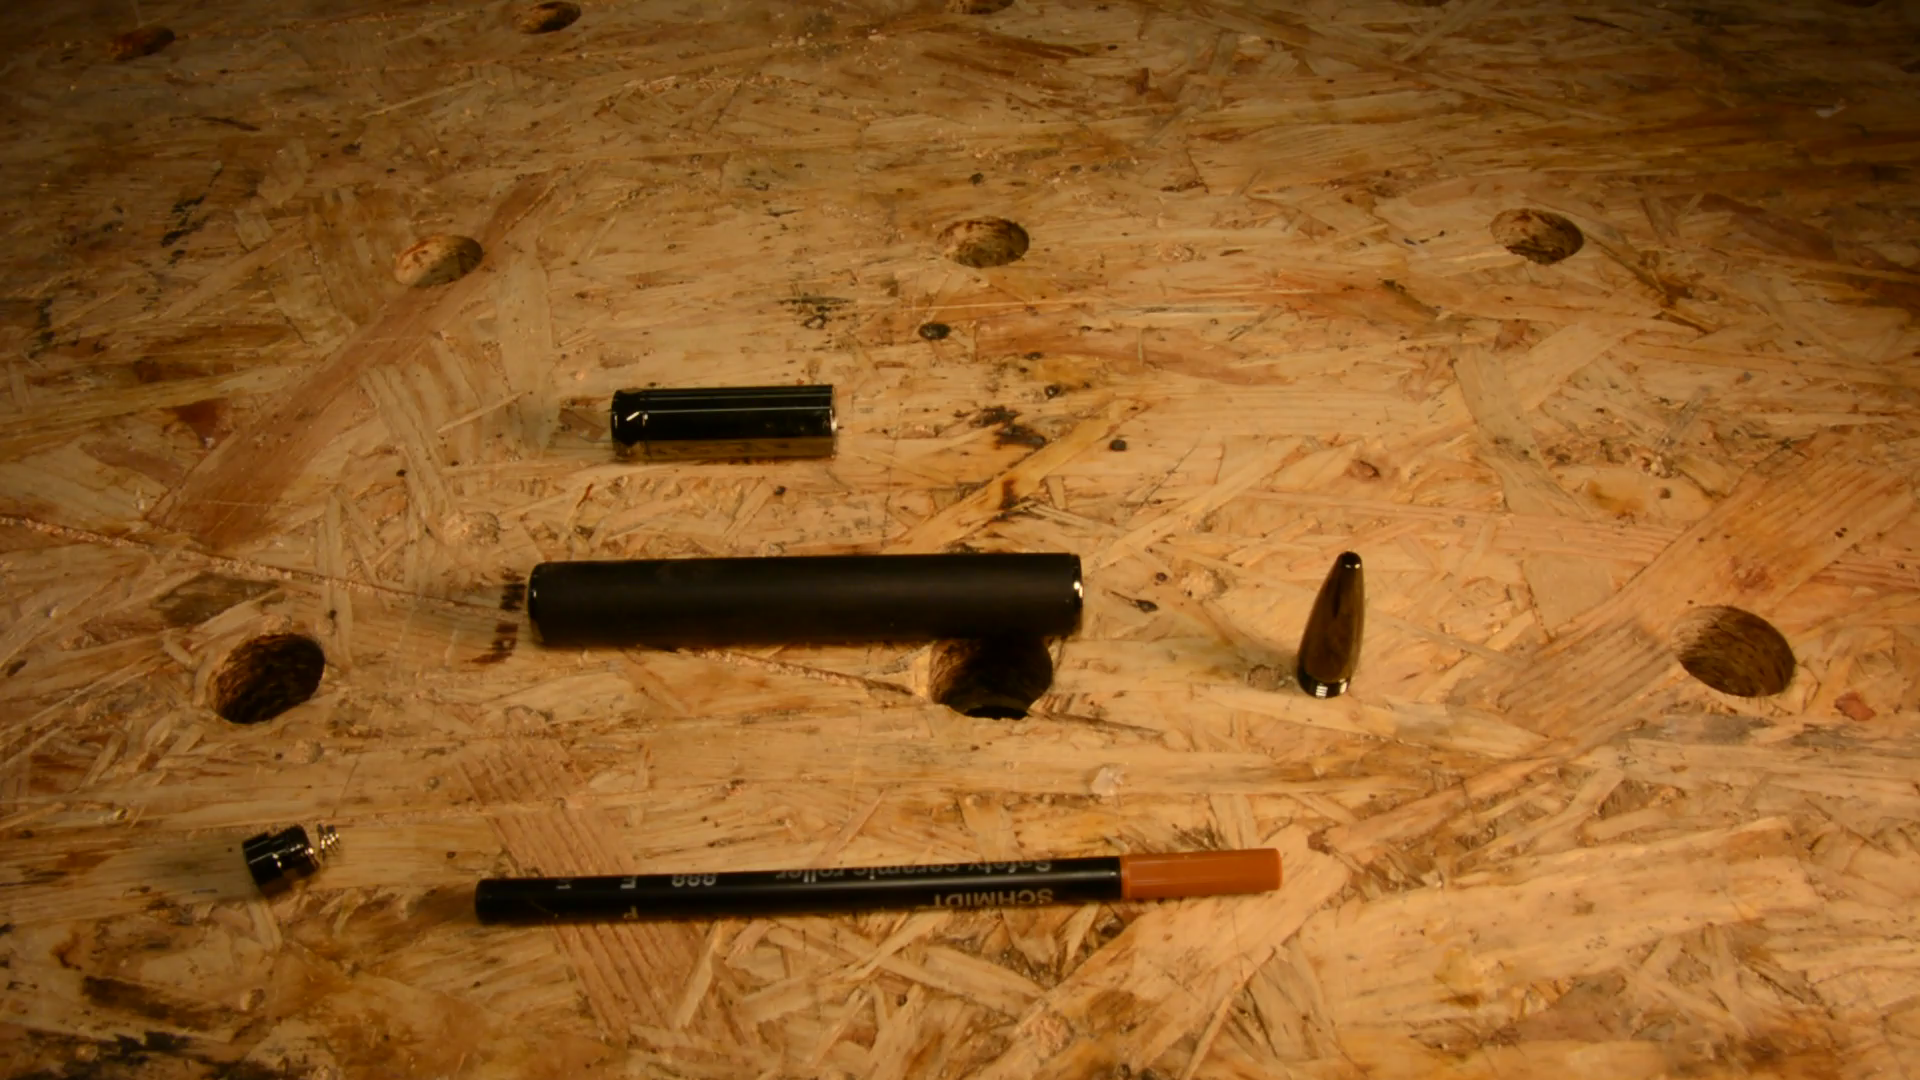
This pen kit is quite simple. We only have to press fit one part on each end of the tube and can assemble the pen. Now this pen needs a nice box.

The inlayed box on the CNC
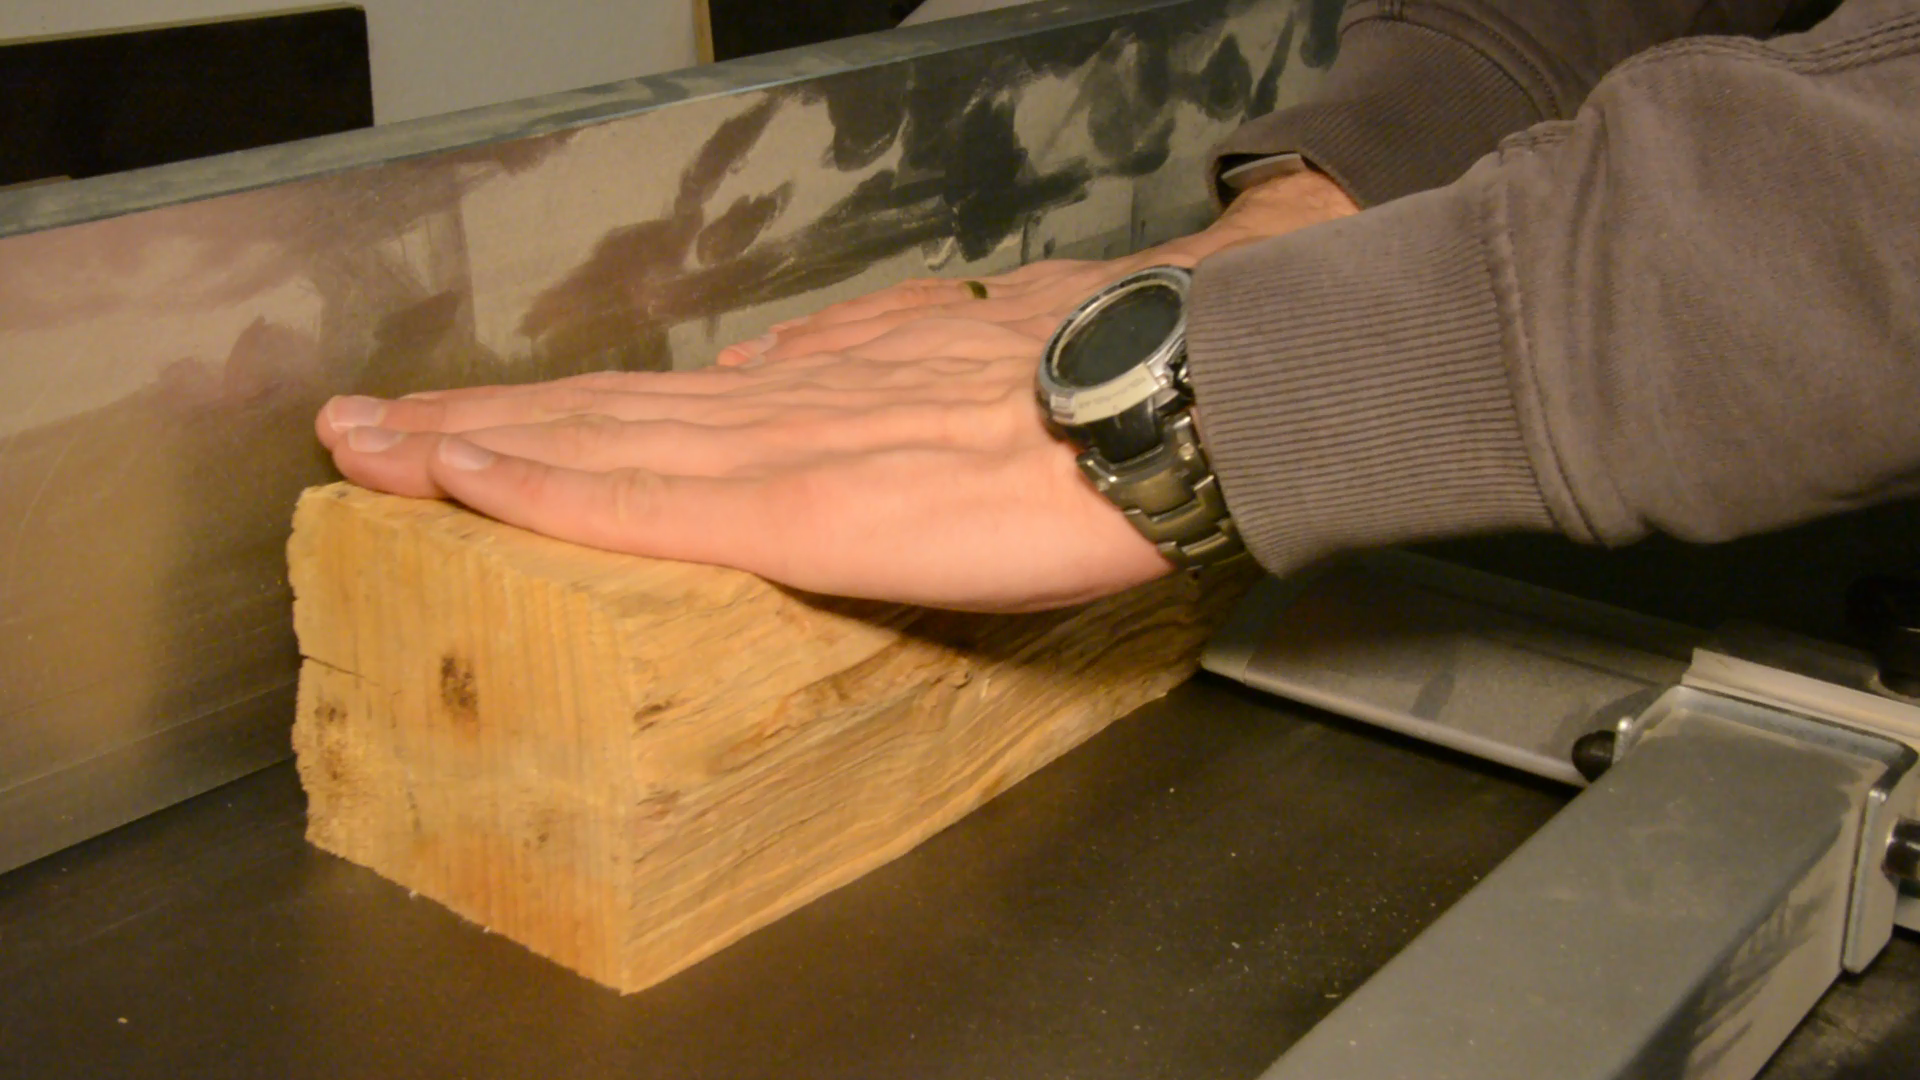
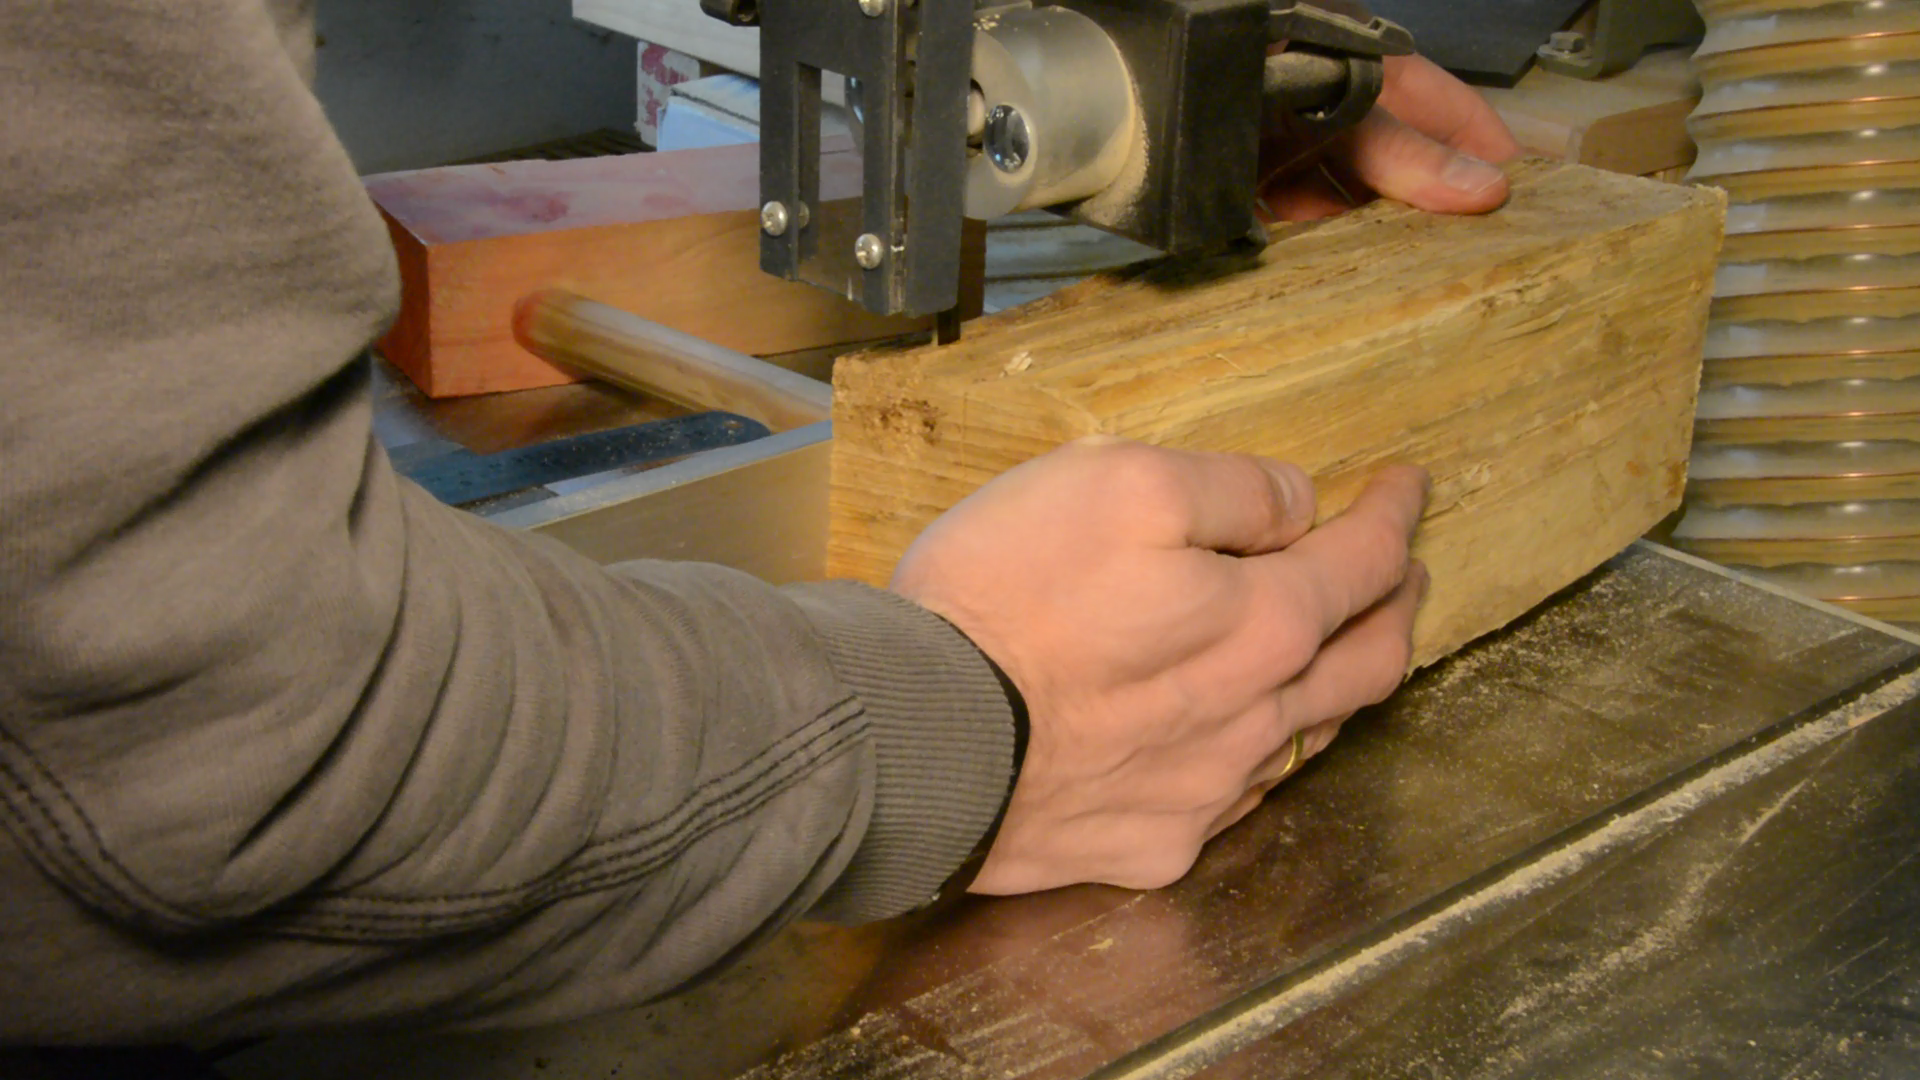
As material for the inlayed box we use a piece of firewood. I flatten one side of the wood on the jointer and then cut it on the bandsaw.

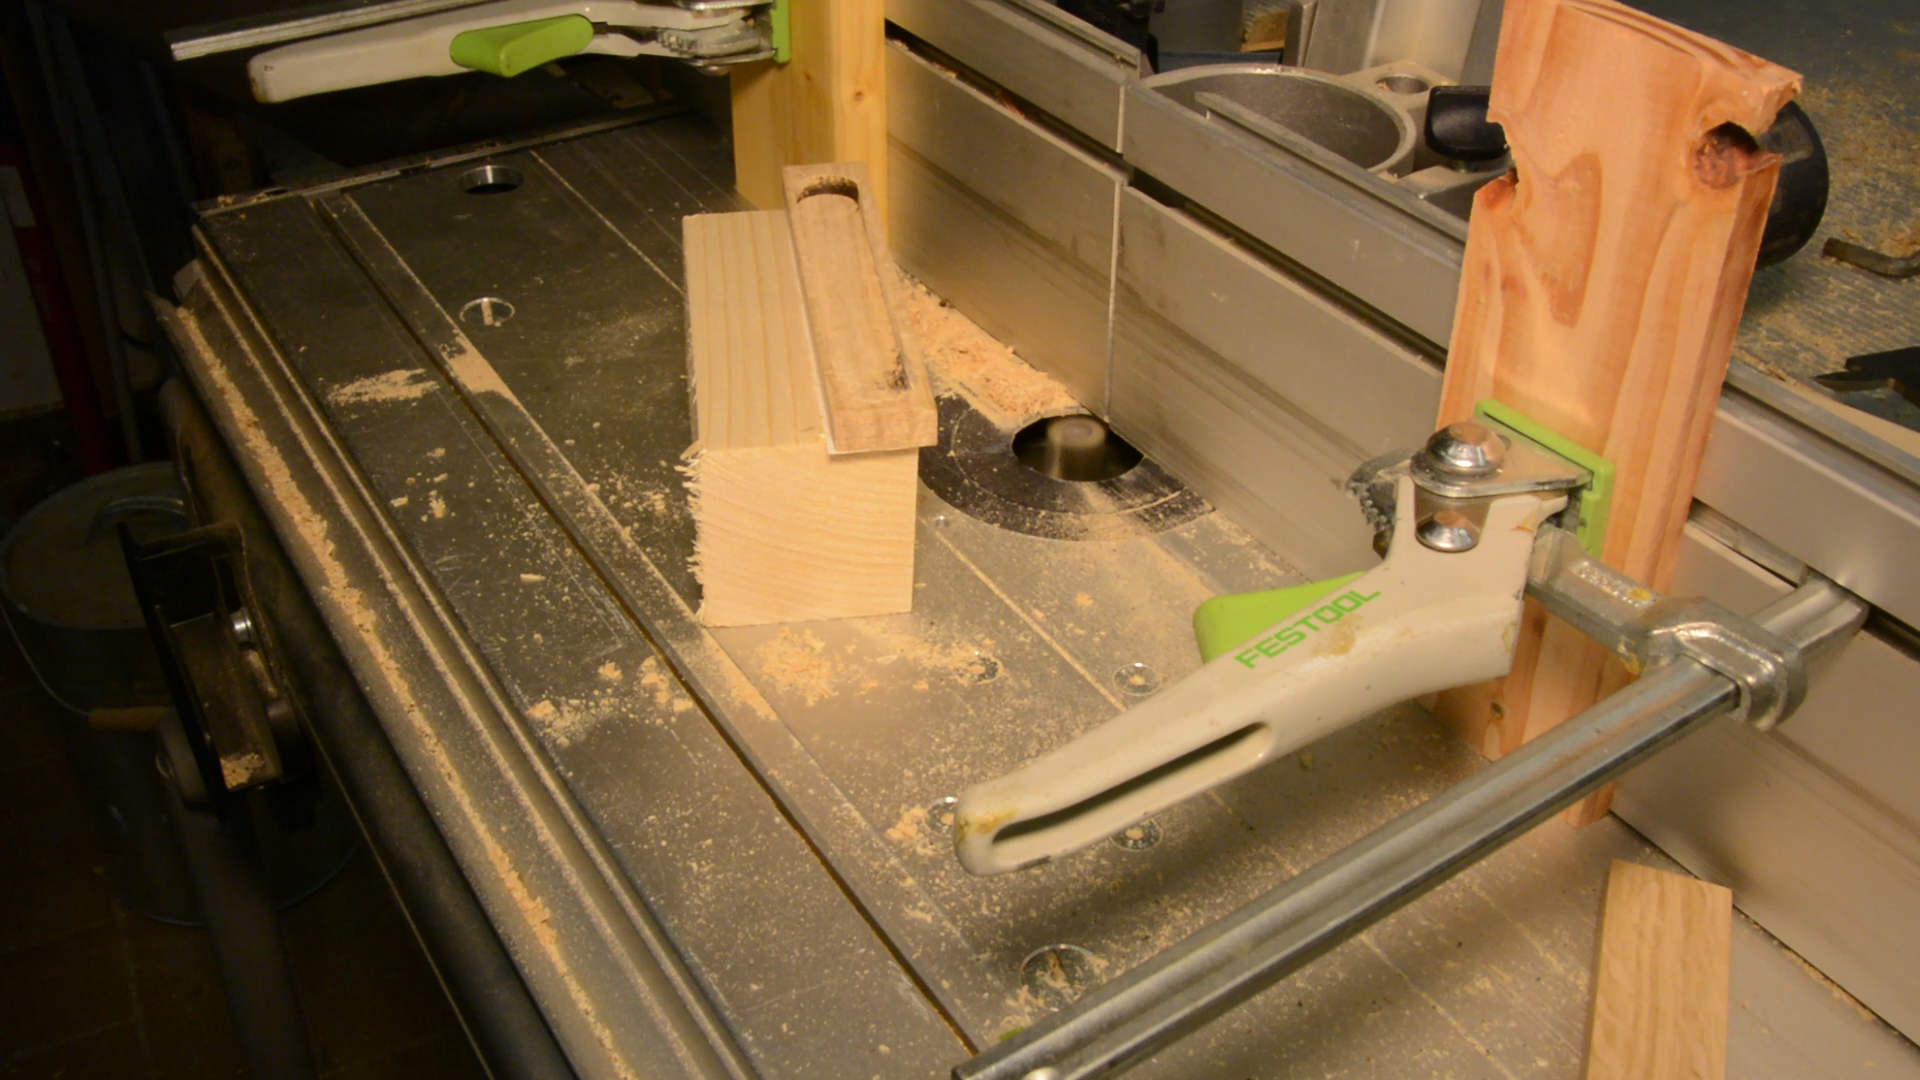
I first tried to route the box on the router table but the operation did not feel safe and sanding the burn marks off would have taken quite some time.

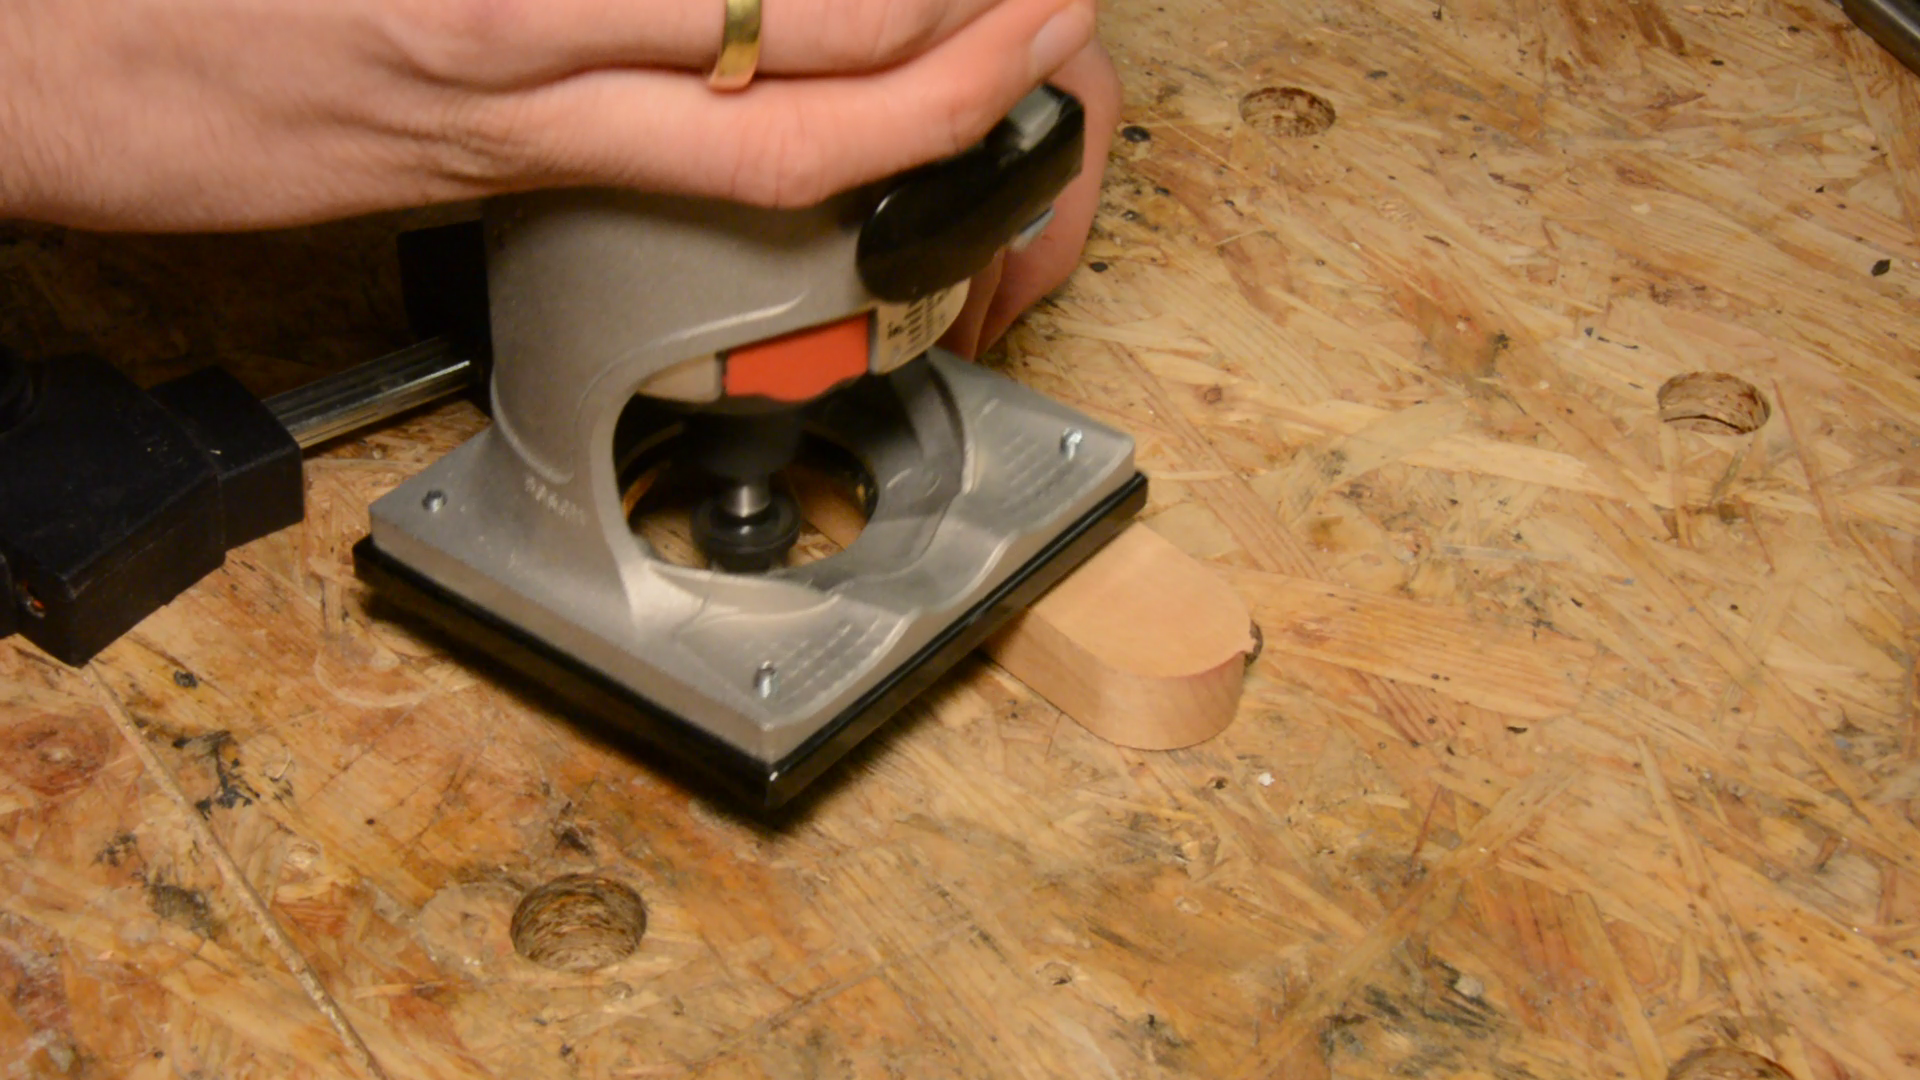
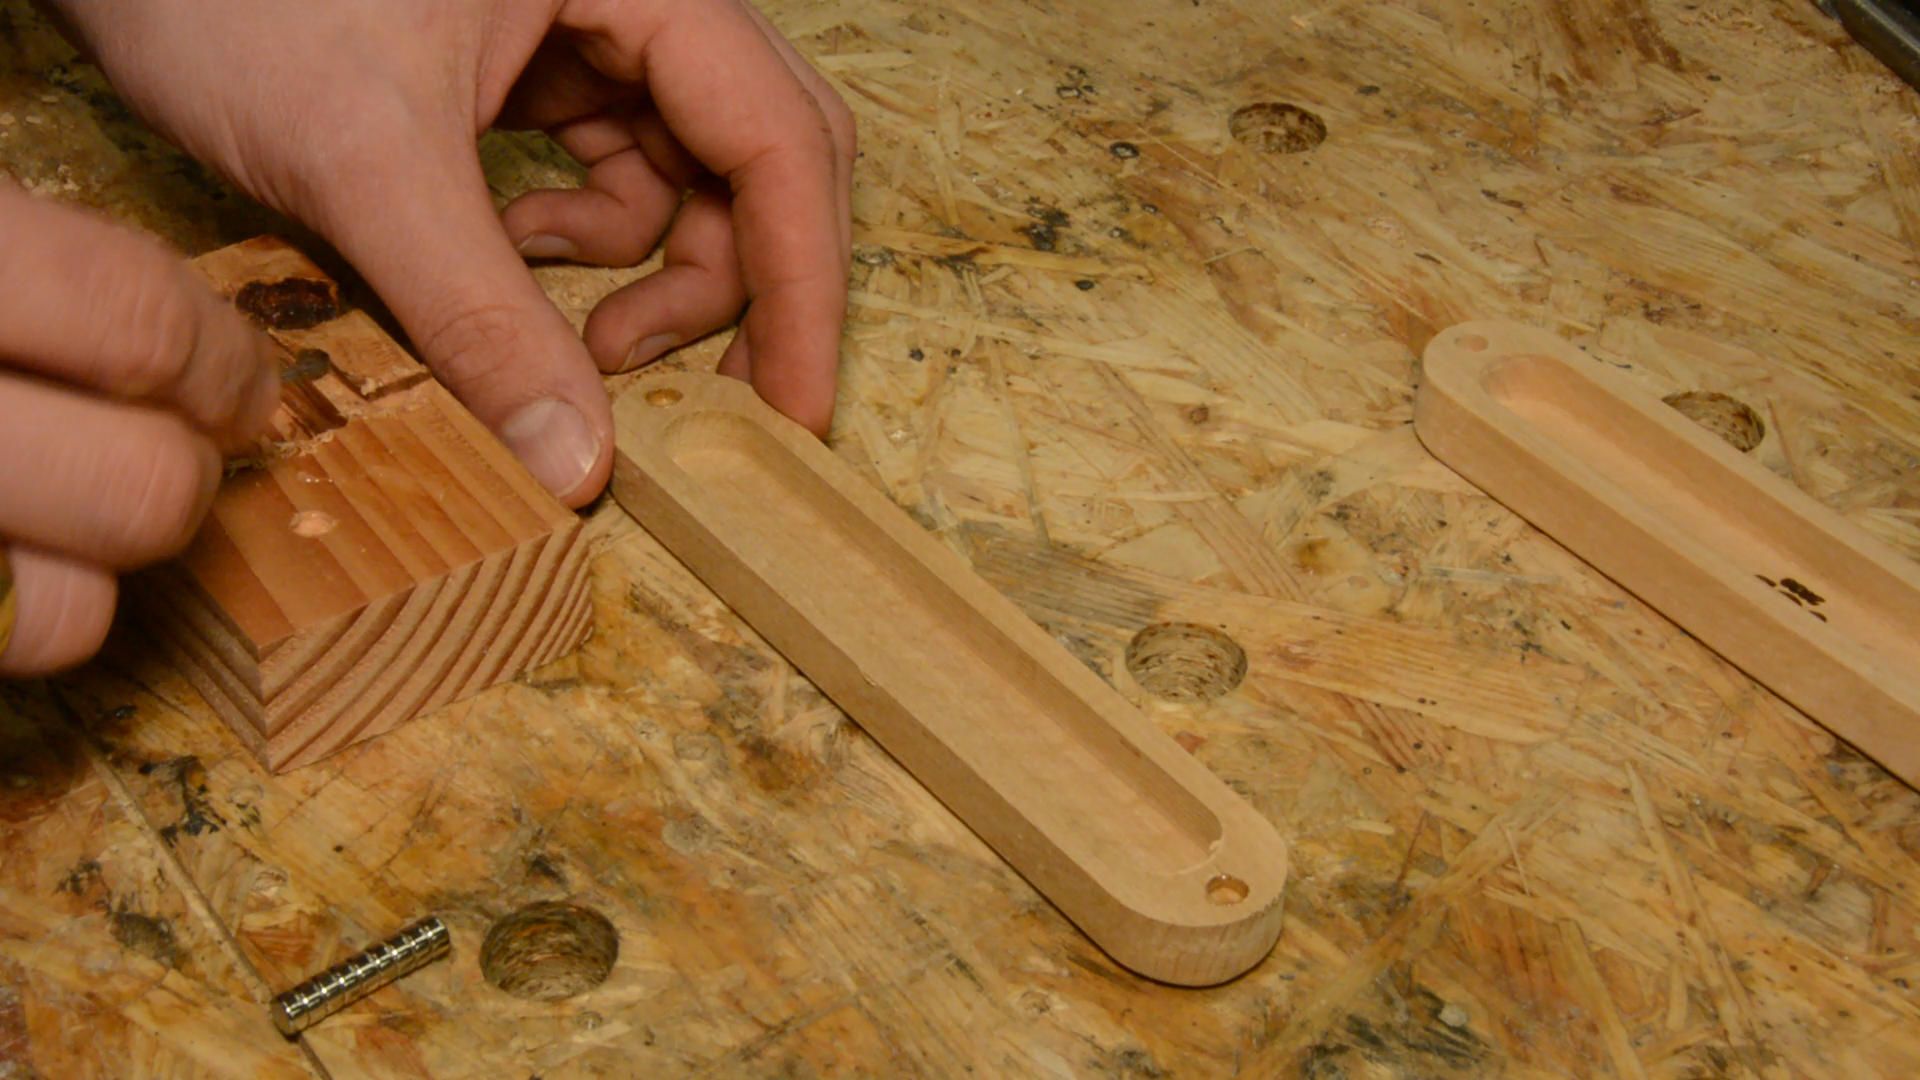
So I let the CNC do the hard work and cut out the boxes from a piece of firewood.
Before we ta take the box to the laser cutter to engrave the name for the inlay it gets one clear coat of spray lacquer. This way the pores are sealed and the excess superglue can be removed cleanly.

Laser cutting the inlay in the box
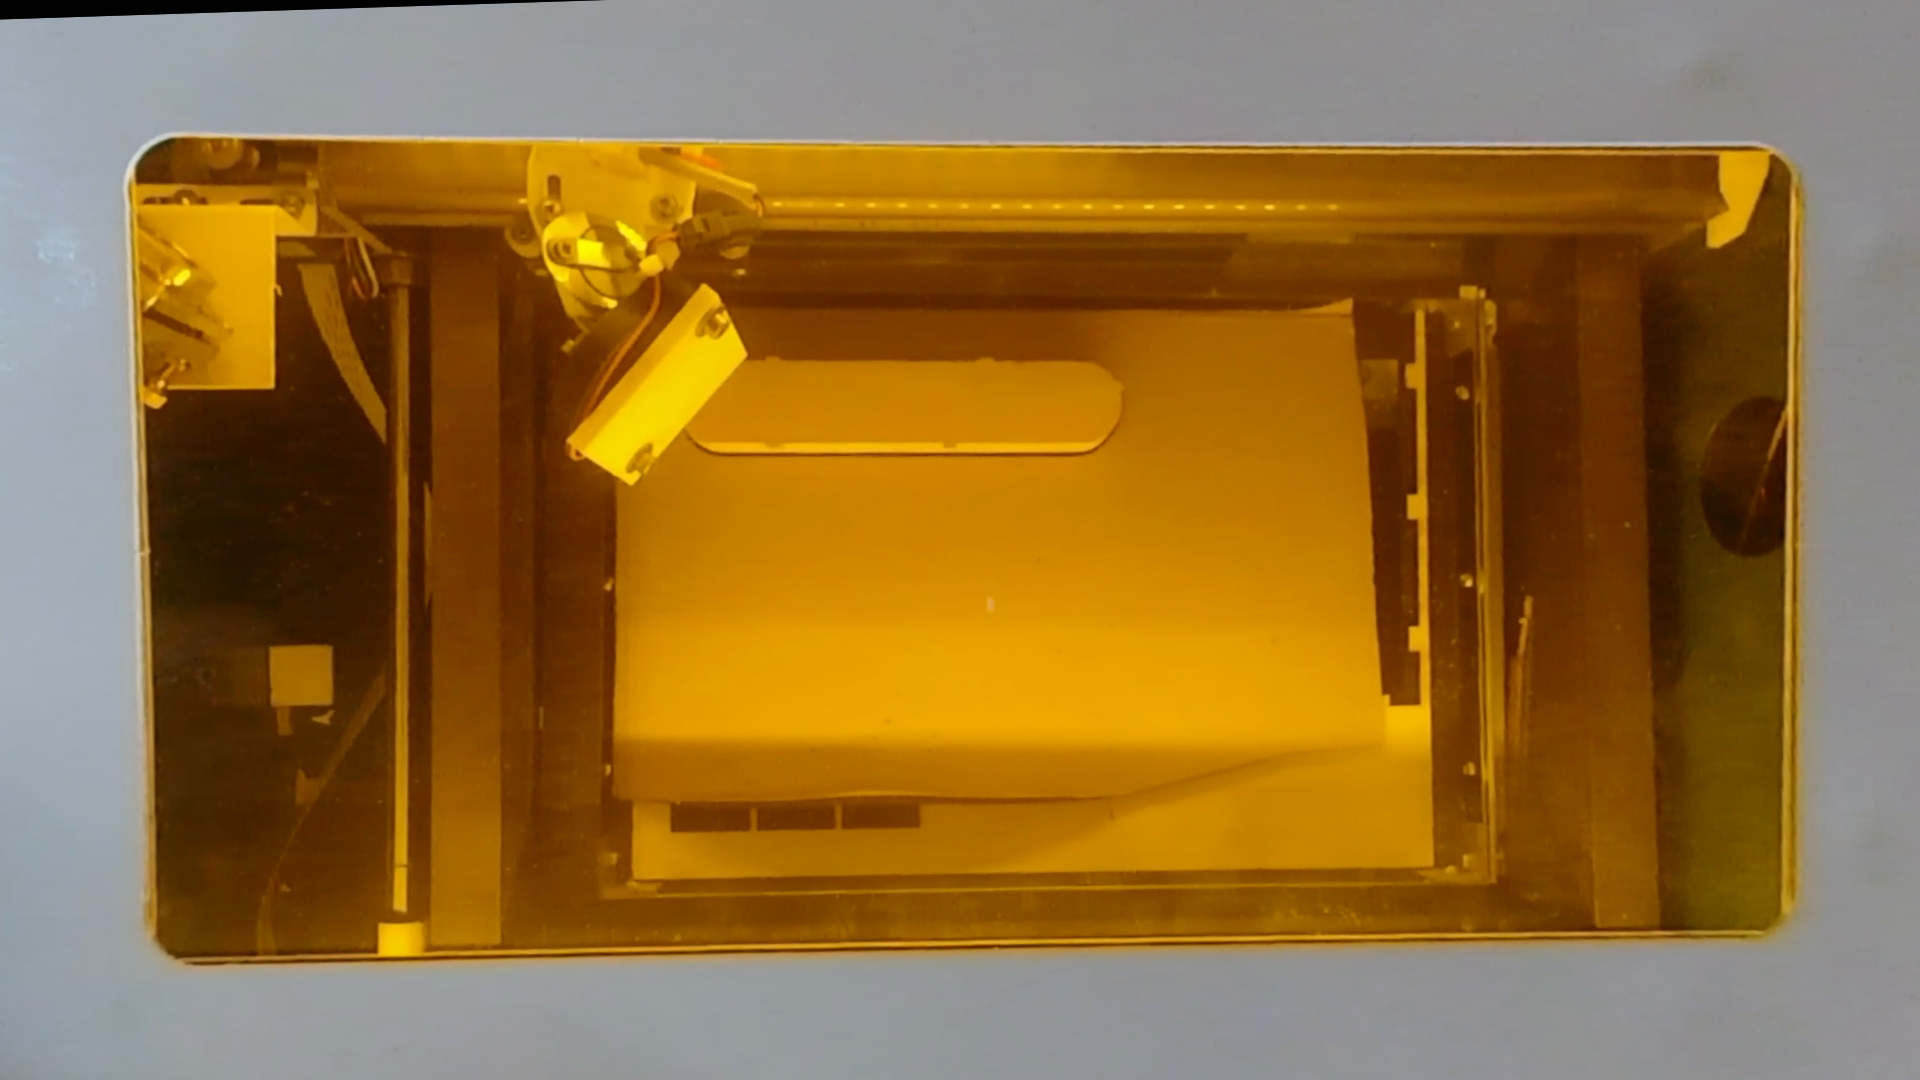
To get the laser to focus on the right height we remove part of the bed. With a scrap piece of plywood the box is at exactly the right height. The position of the box is marked on cardboard.
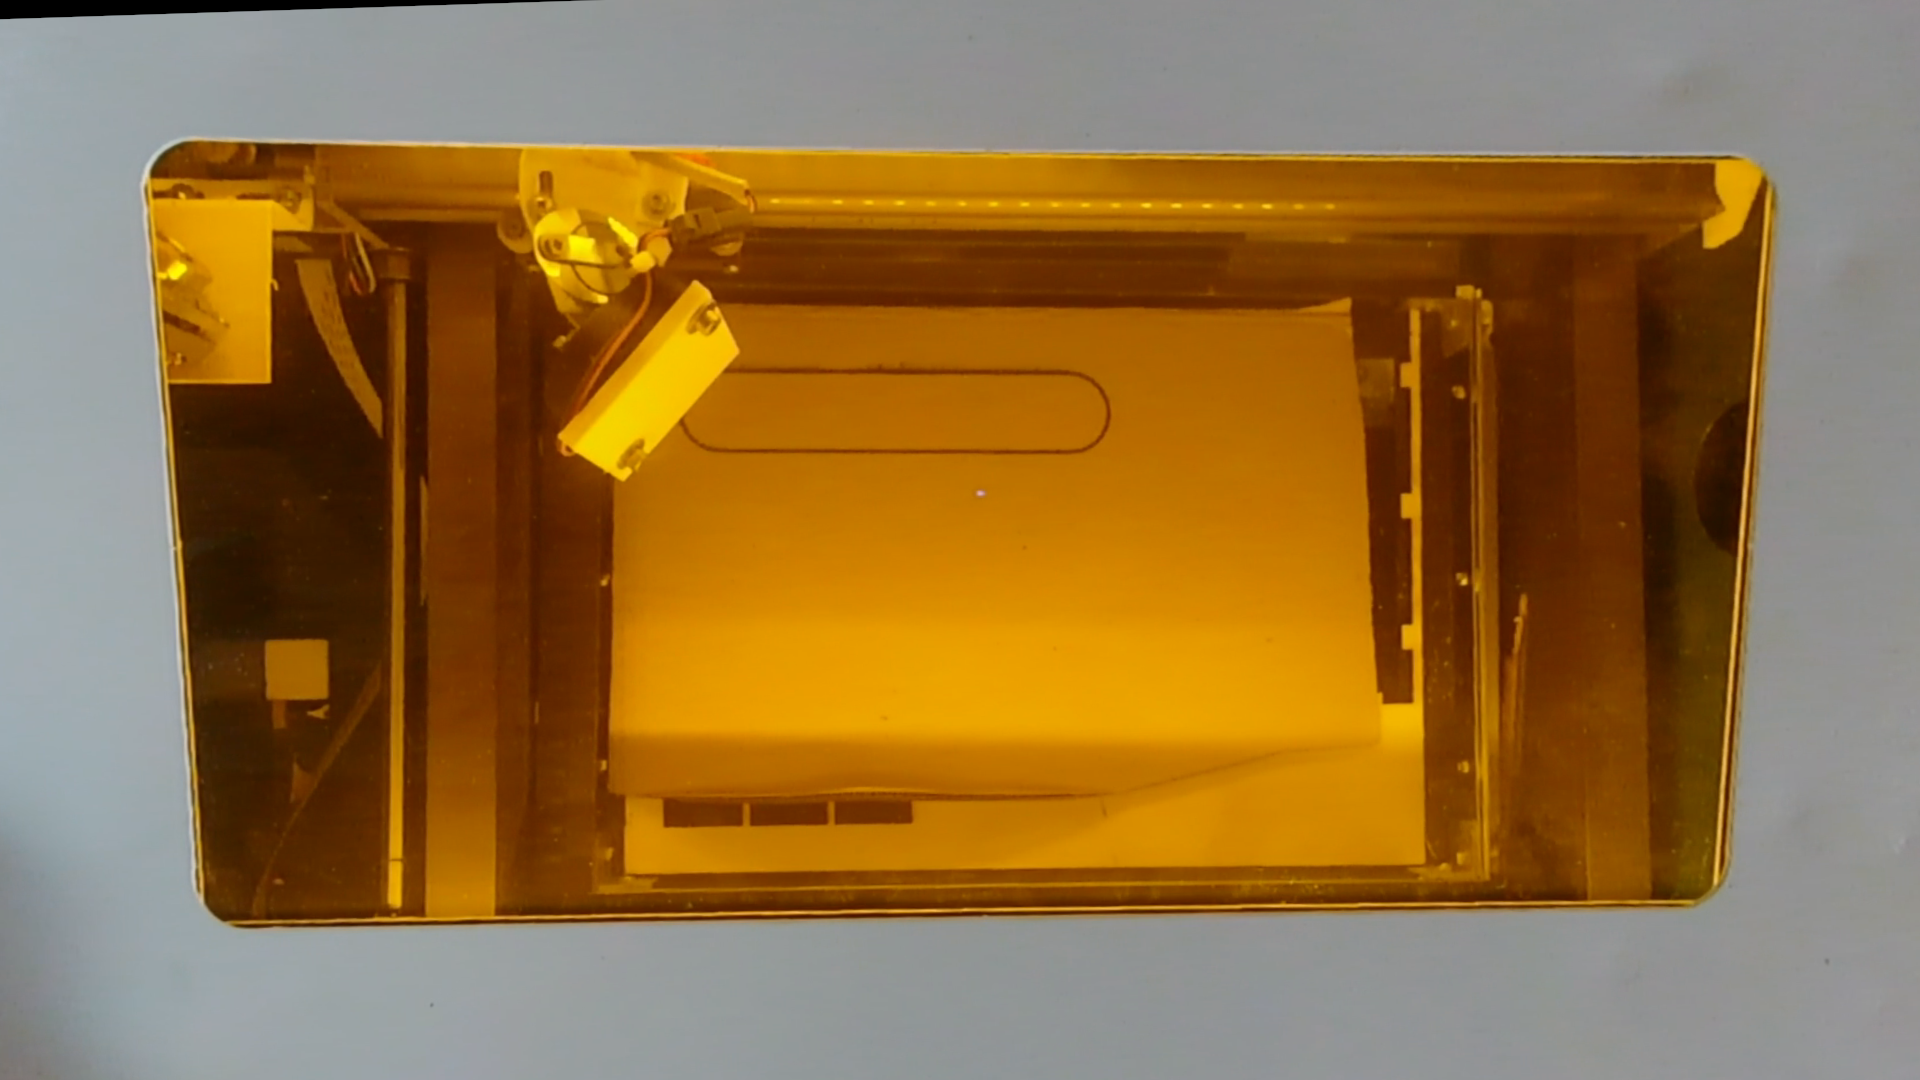
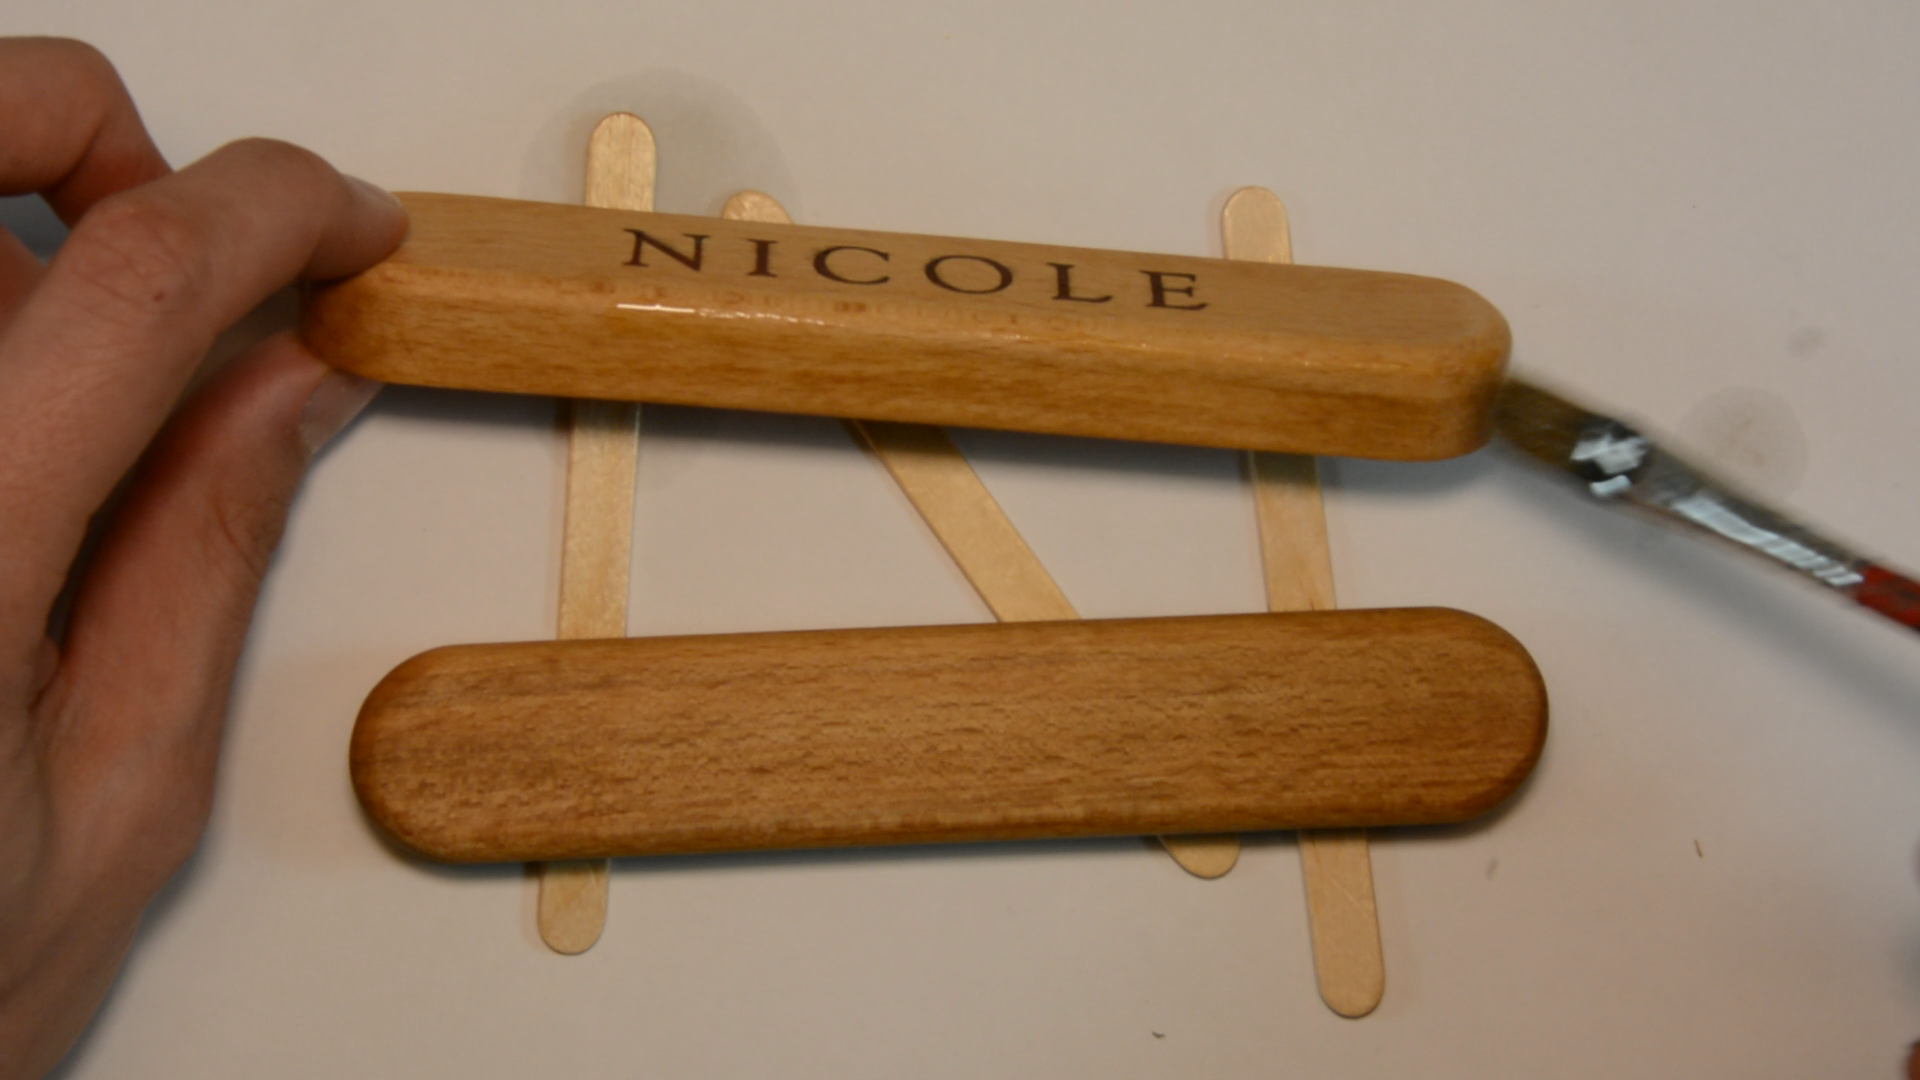
The laser engraves the name even with the finest details.
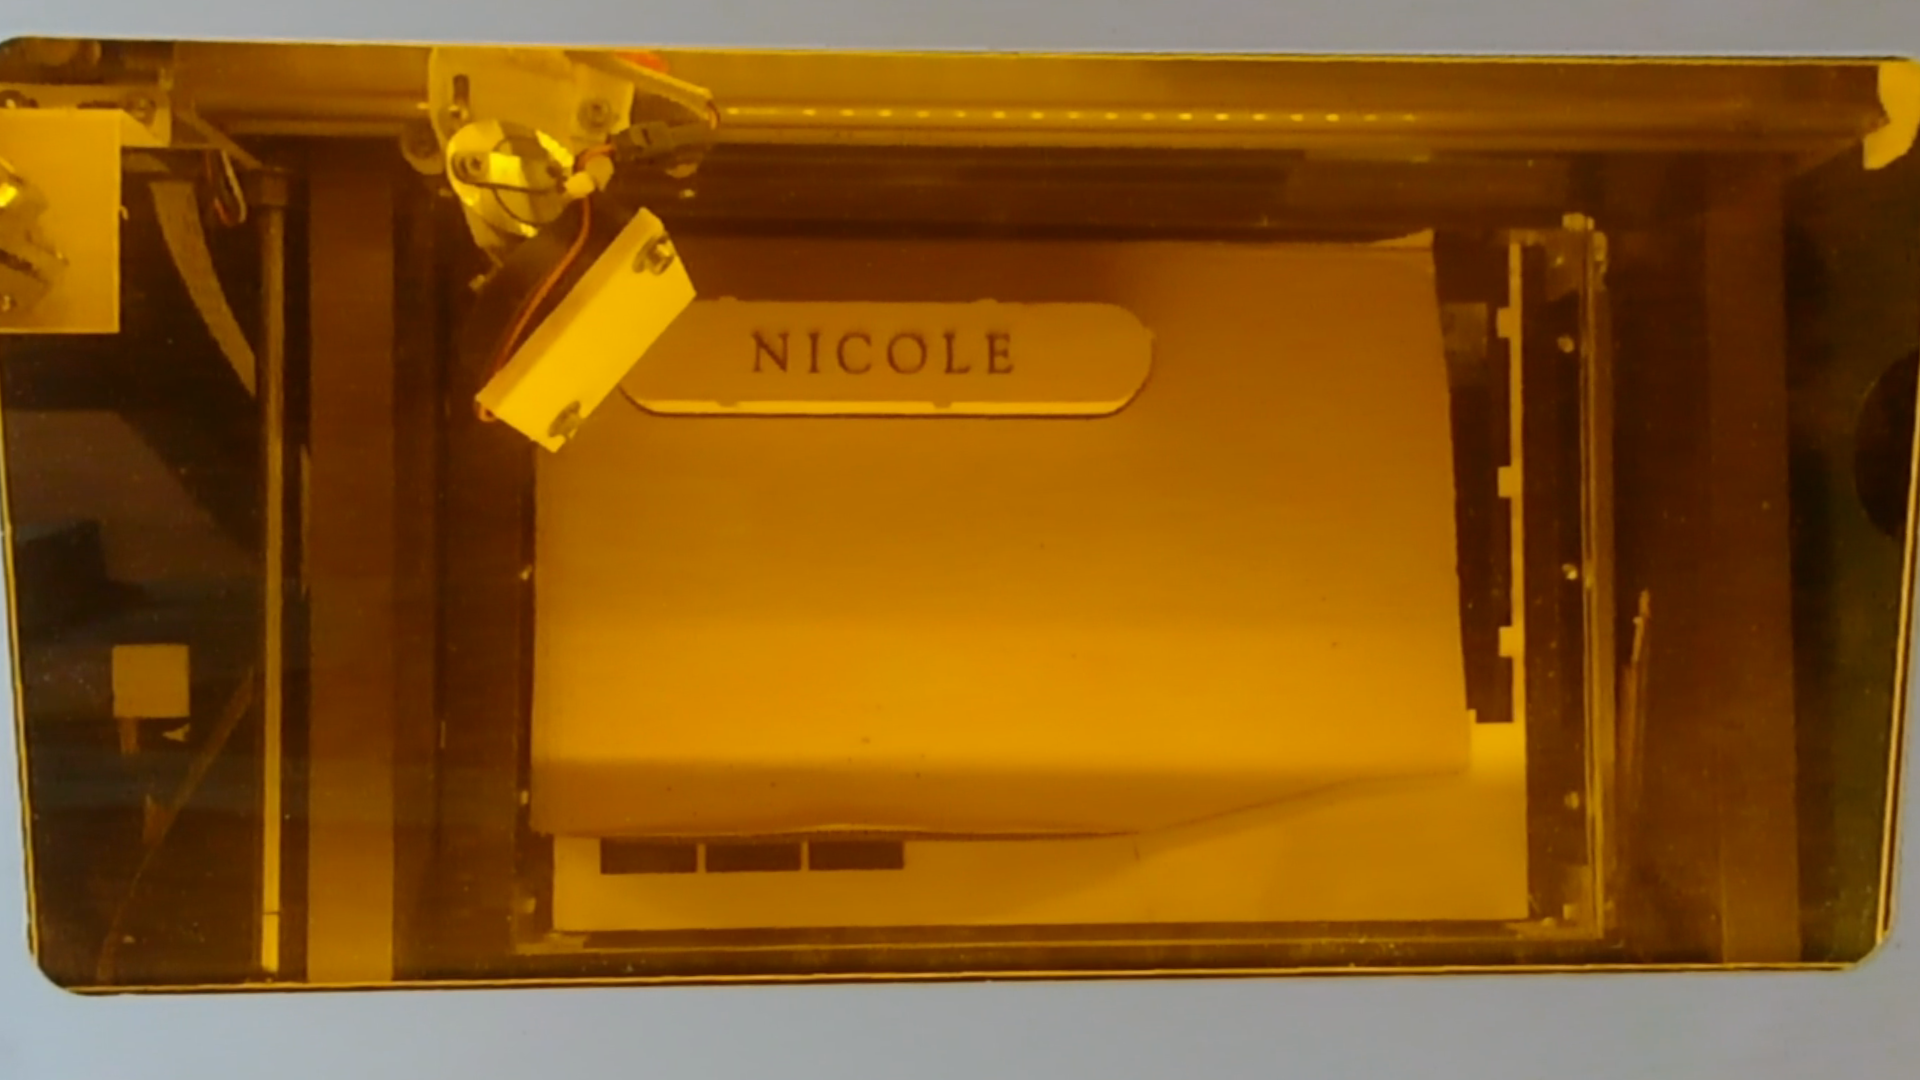
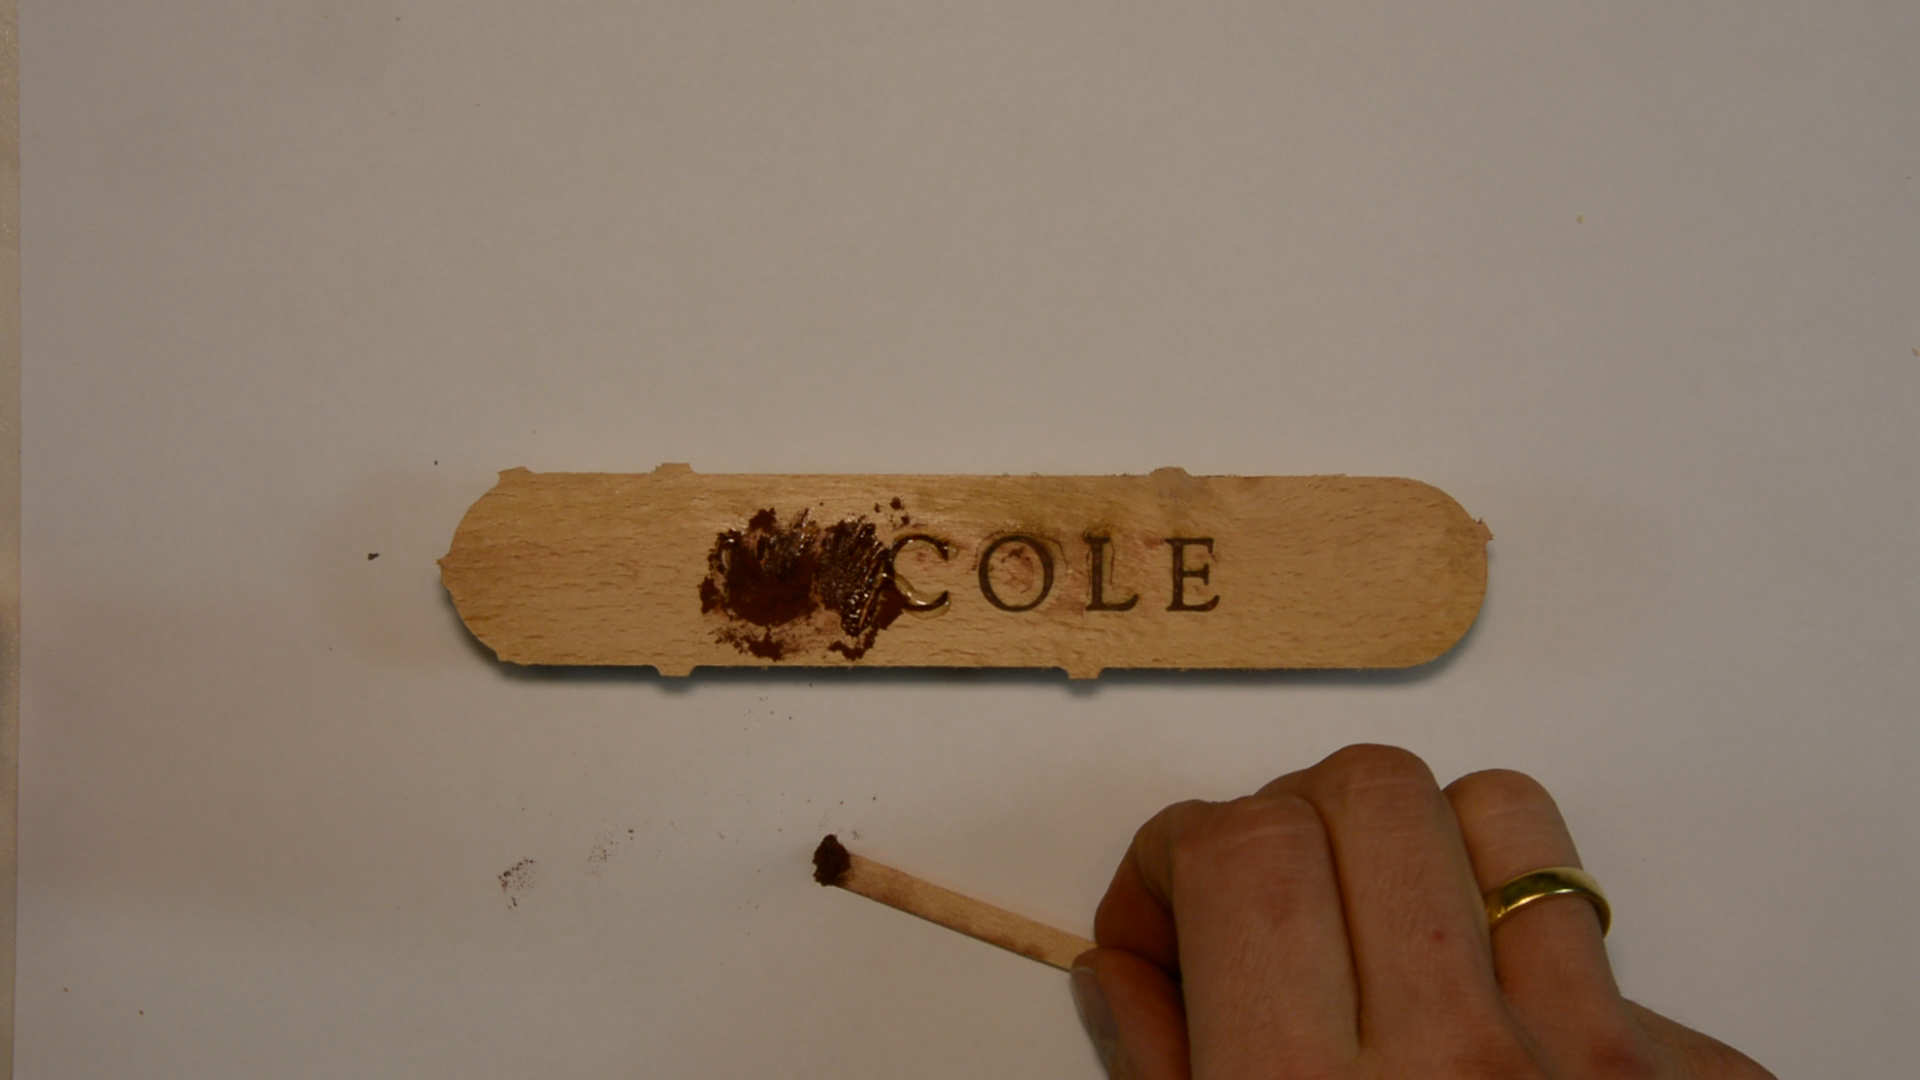
The laser engraving is just deep enough to be filled with natural pigment and superglue.
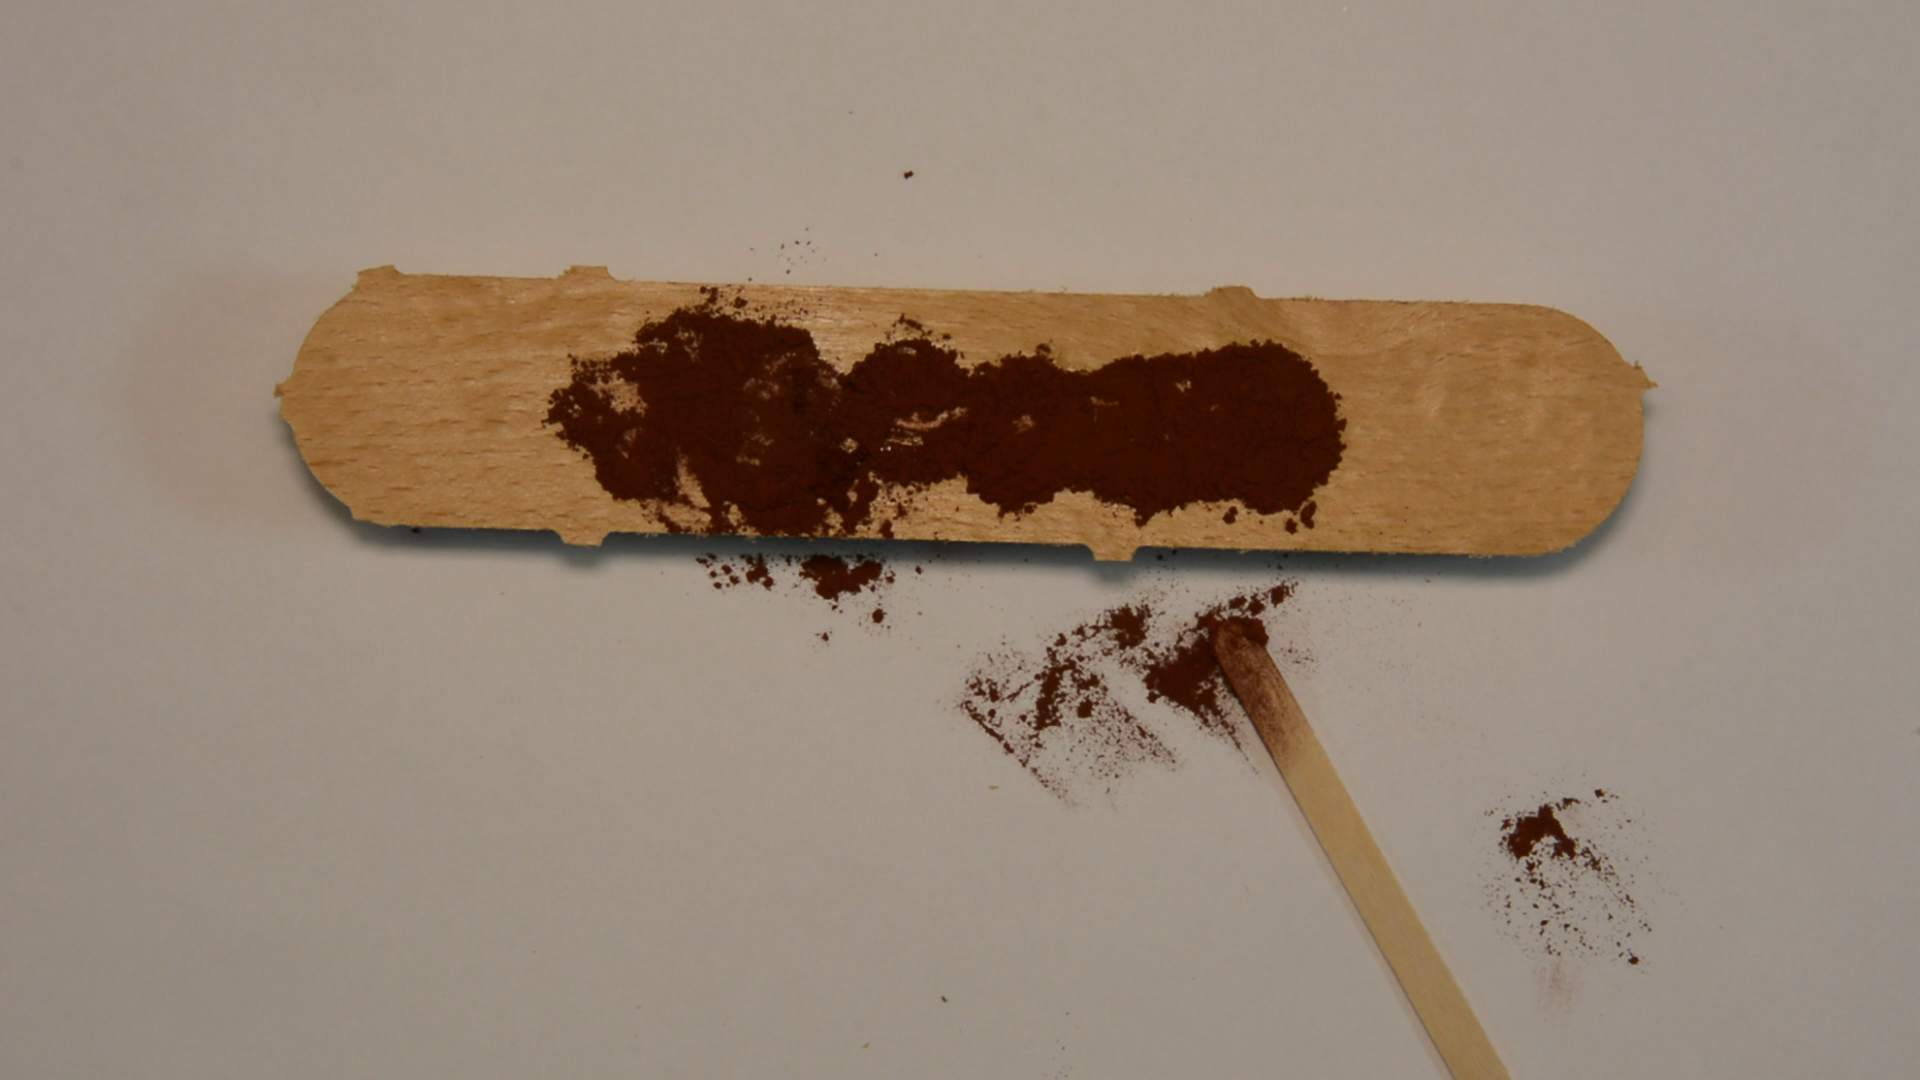
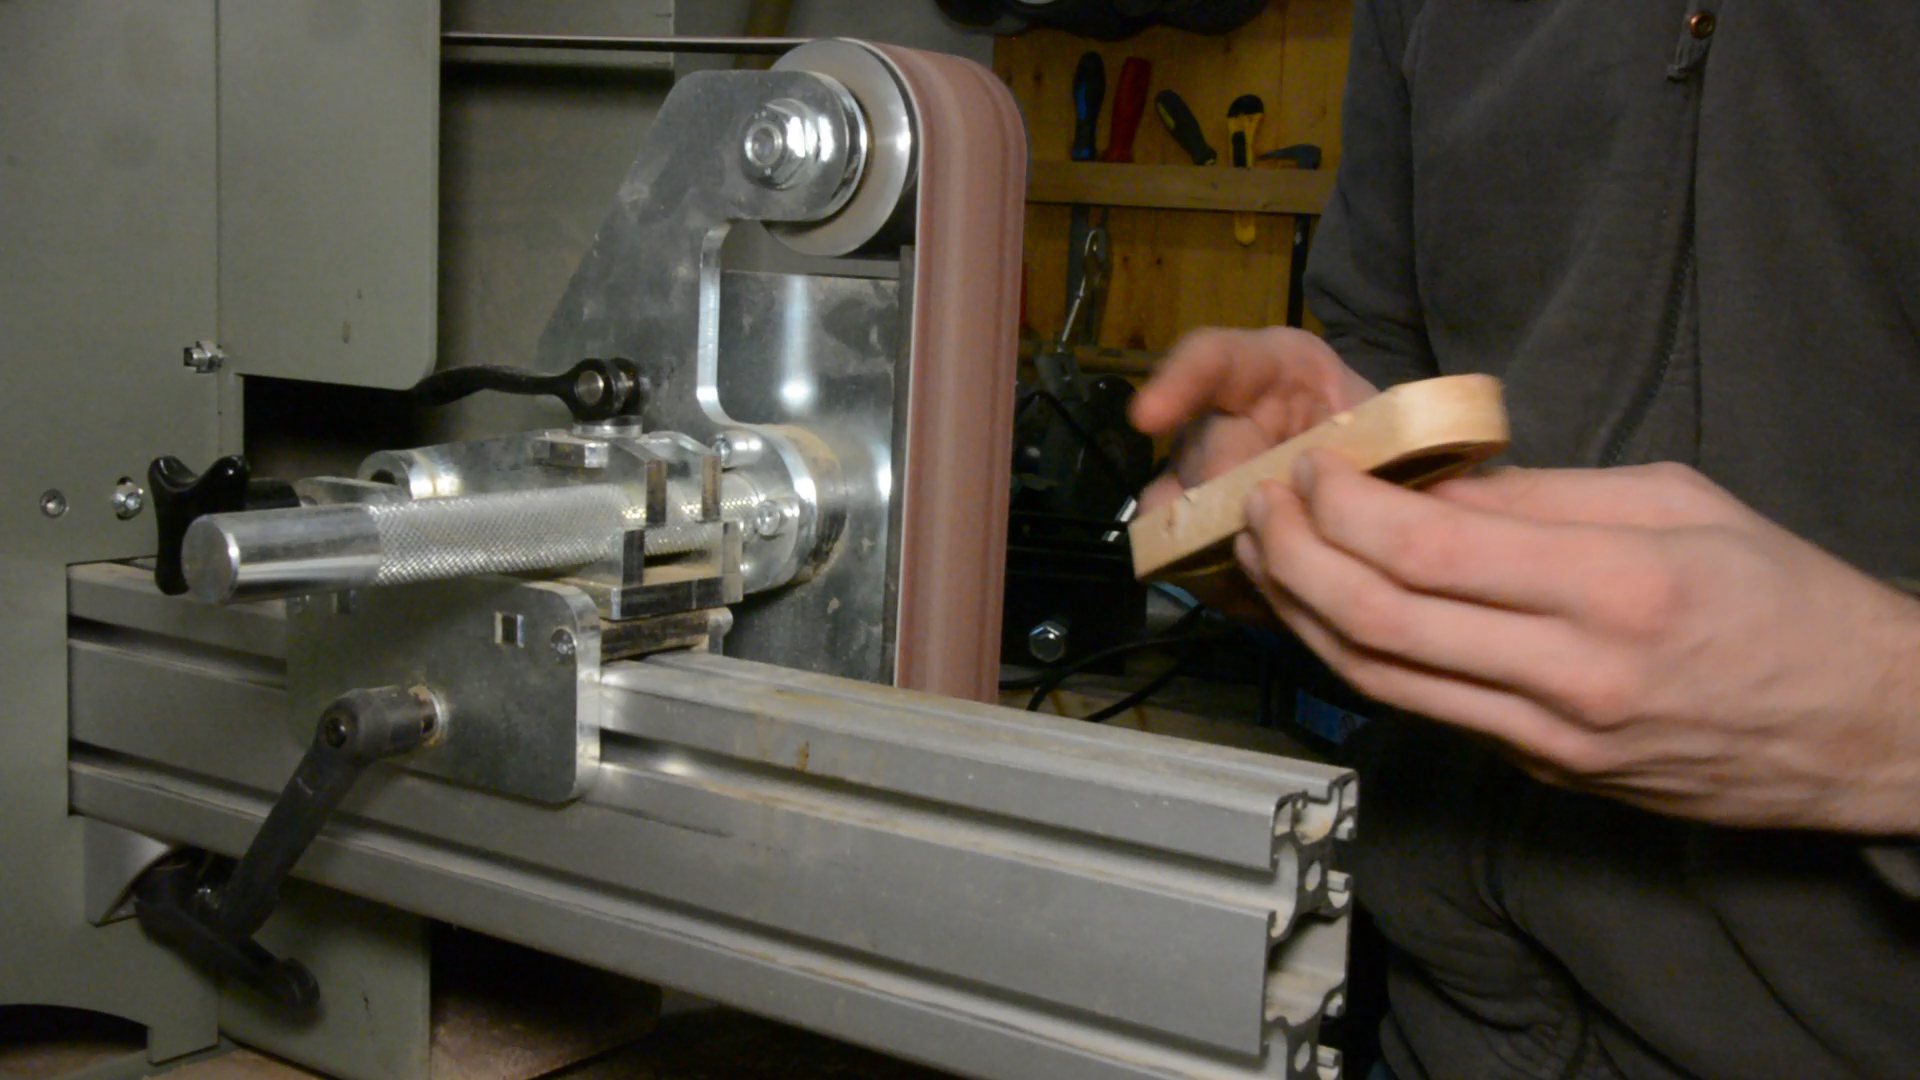
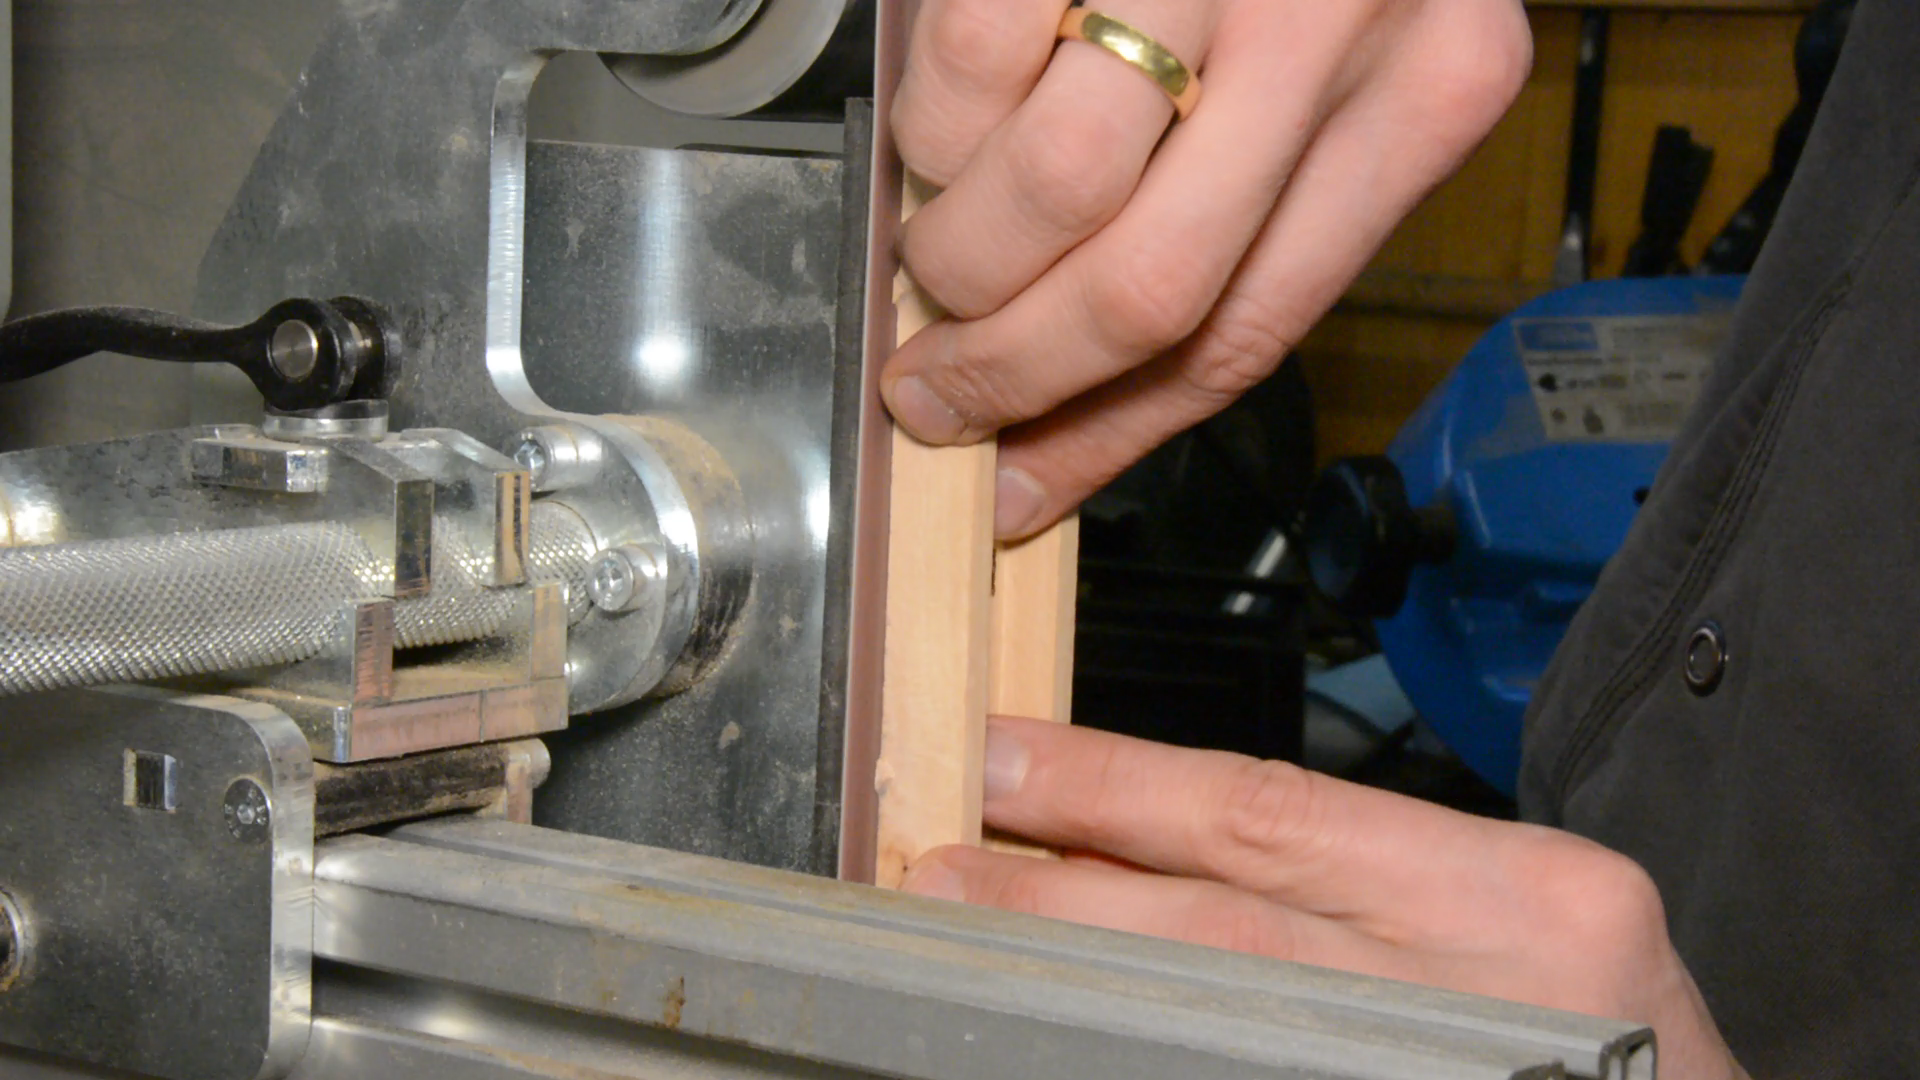
The box looks quite ugly afterwards. Let’s head over to the belt sander and remove the excess material.
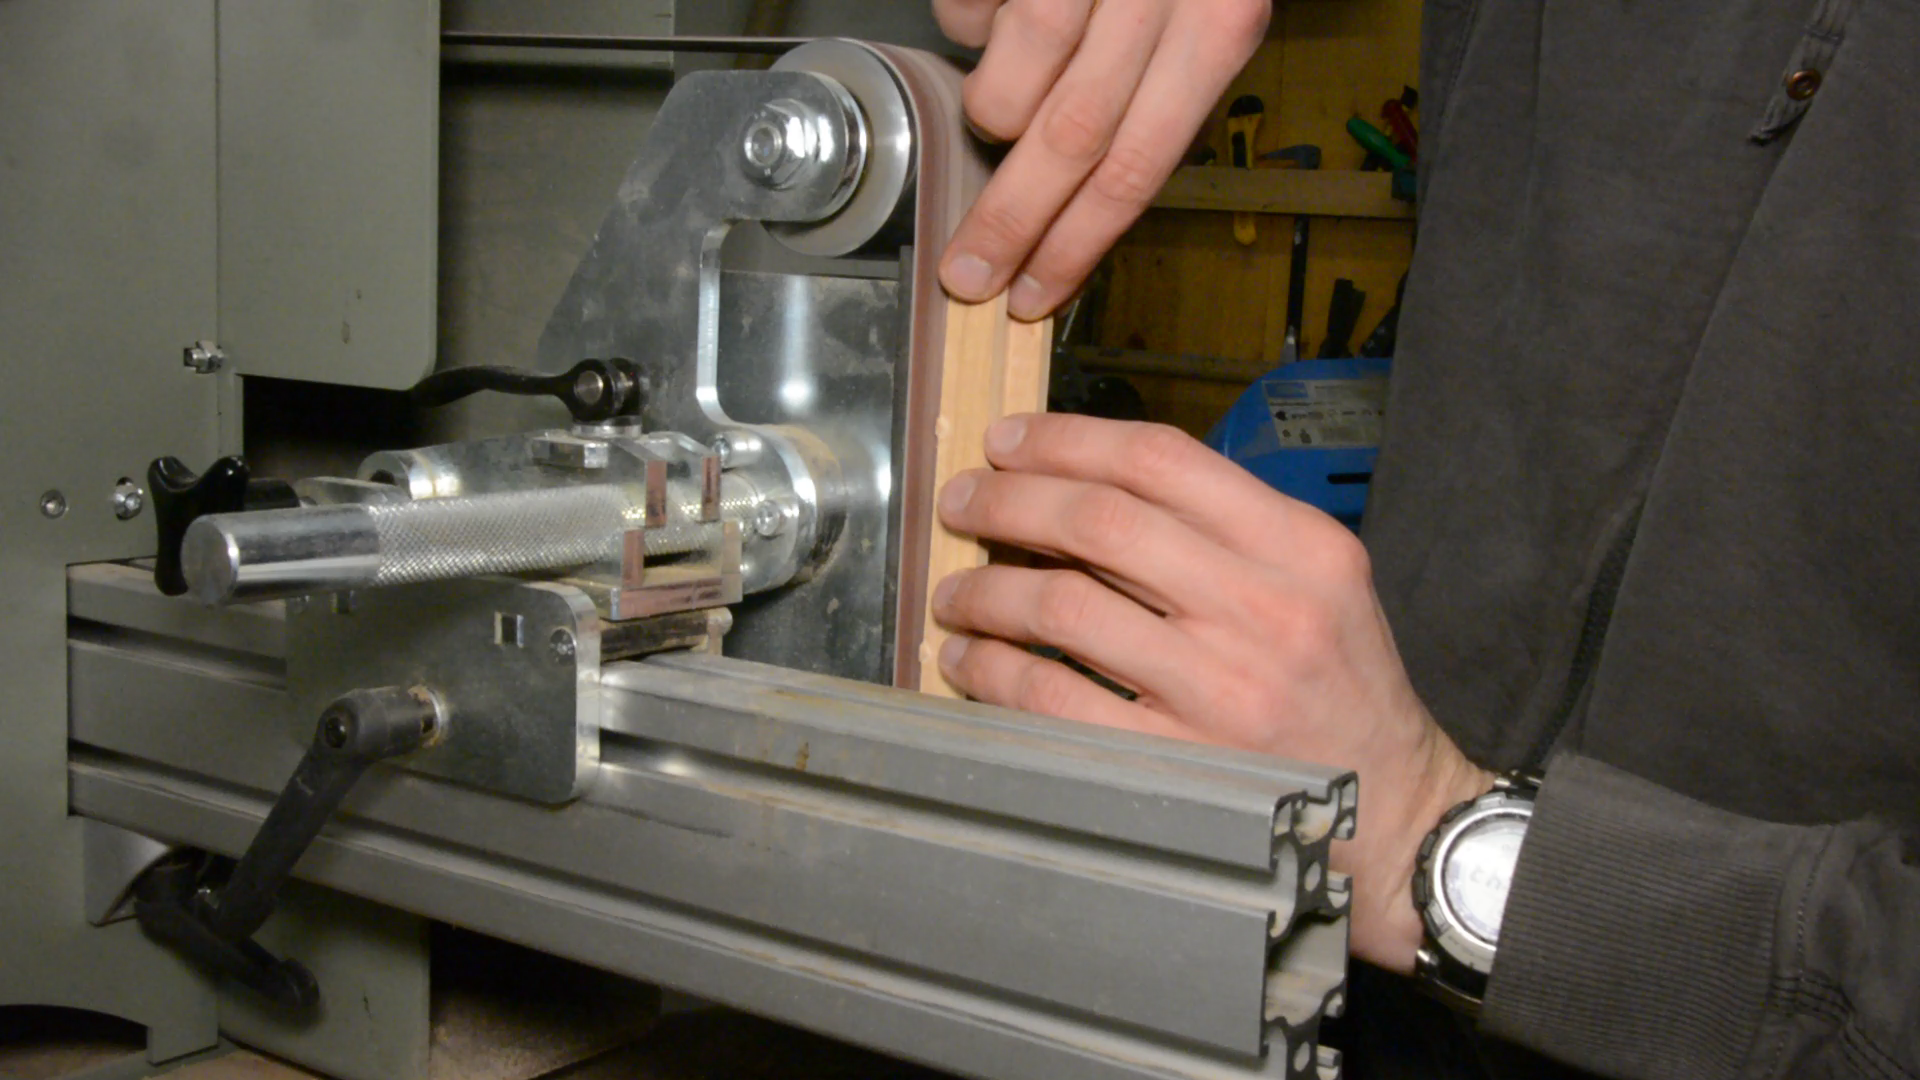
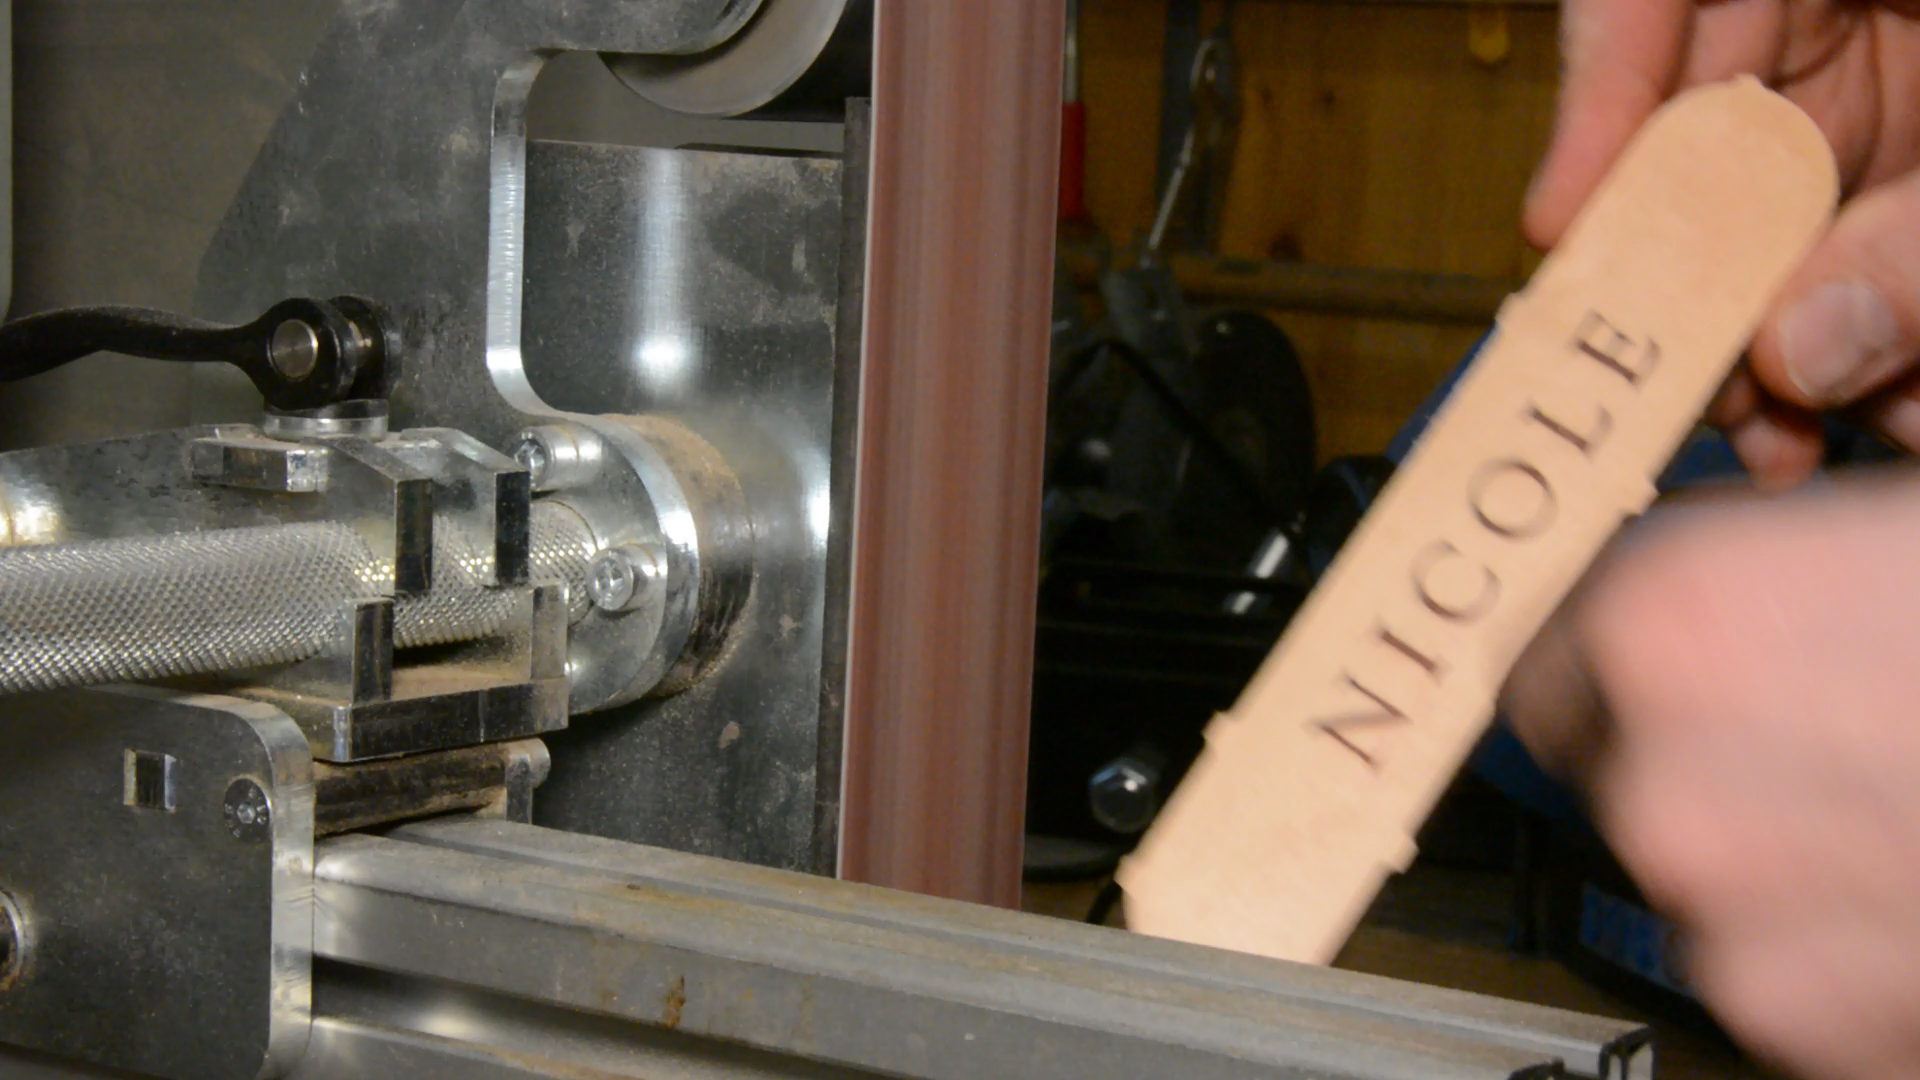
After sanding the letters look much cleaner but still have some voids.
So we repeat the filling and sanding.
We then put a quick roundover on the top and bottom of the inlayed box.

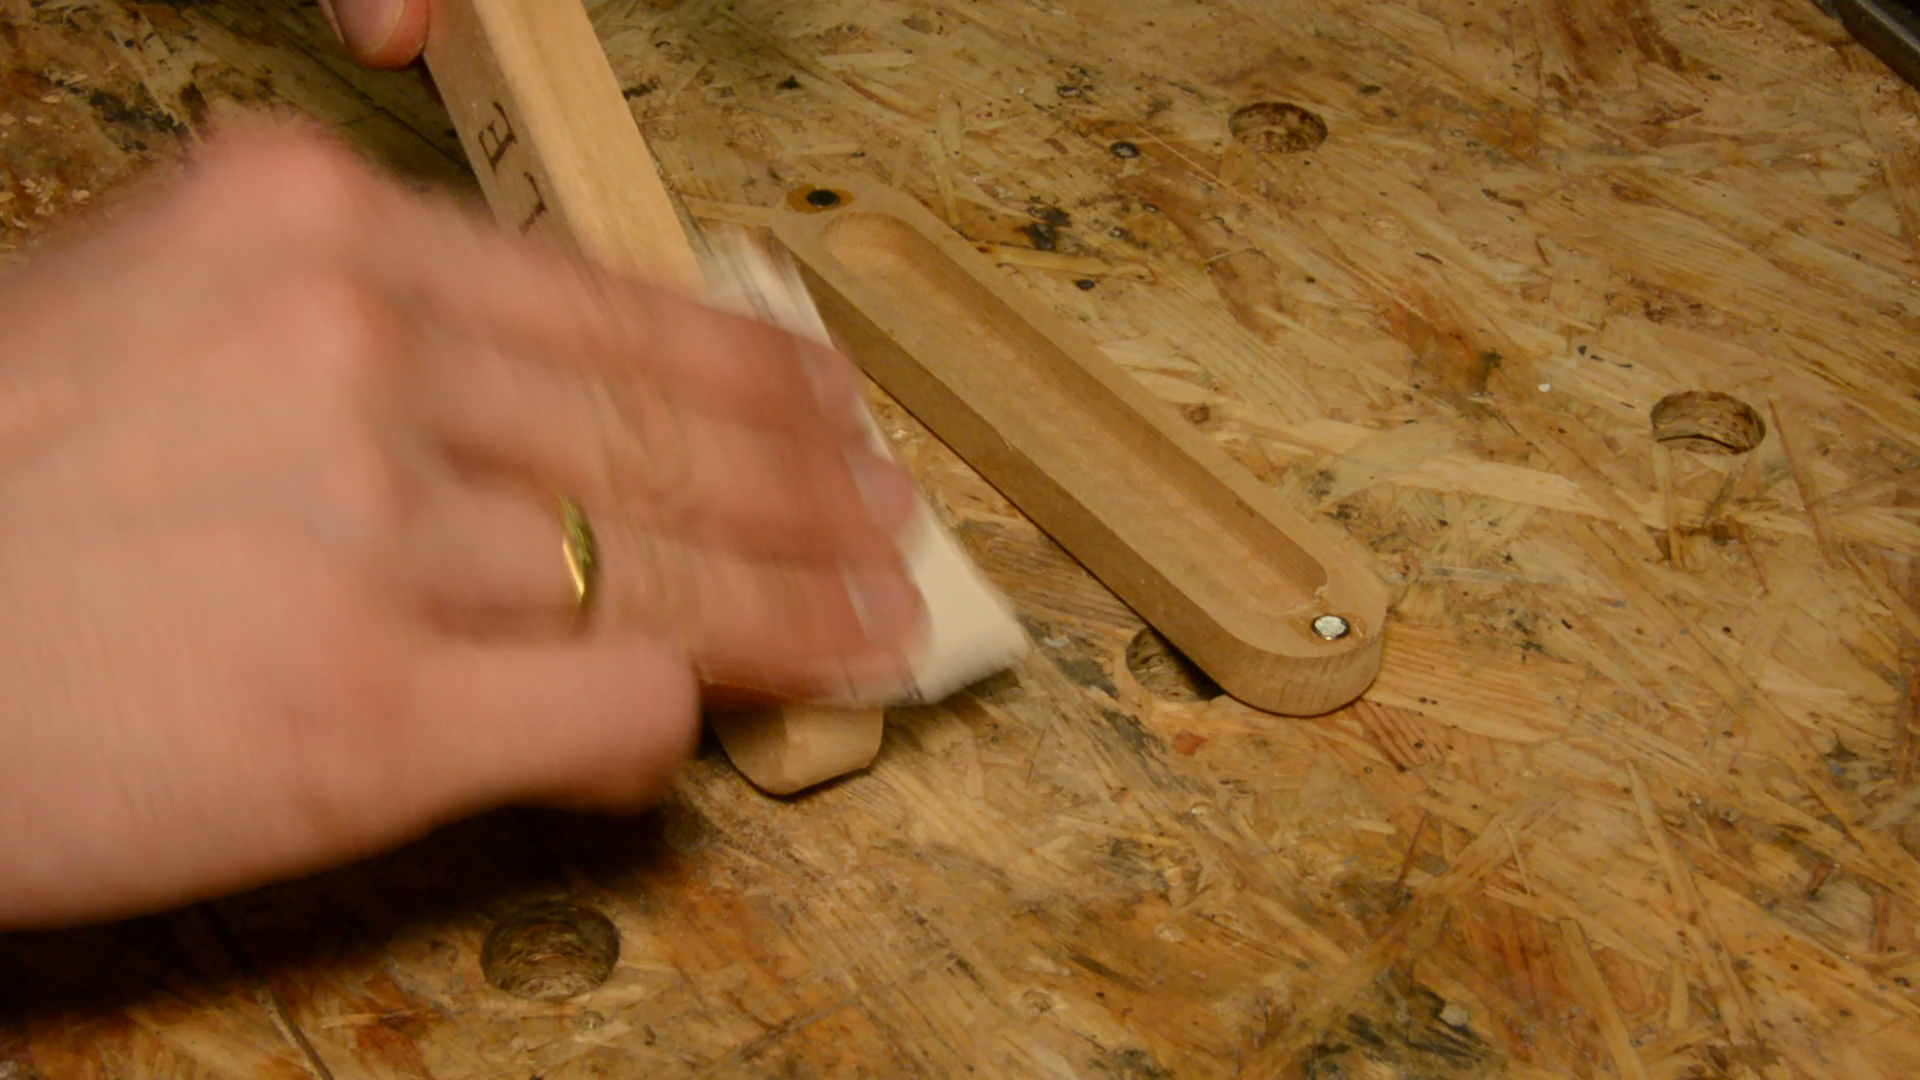
The pen has a nice feature that the cap is held in place by a magnet. We aim to mimic this effect and glue magnets in the box so the lid is held in place by the magnets and snaps in place.
Finishing touches
We finish the box with a quick sanding and two coats of hard wax.

Instead of a normal gift wrap we cut a quick cardboard box to finish the gift.

Using different tools and techniques to create the final result was quite fun.