

After working for a few years on a kitchen countertop on top of a wobbly frame it’s finally time to build my dream desk.
The dream desk design
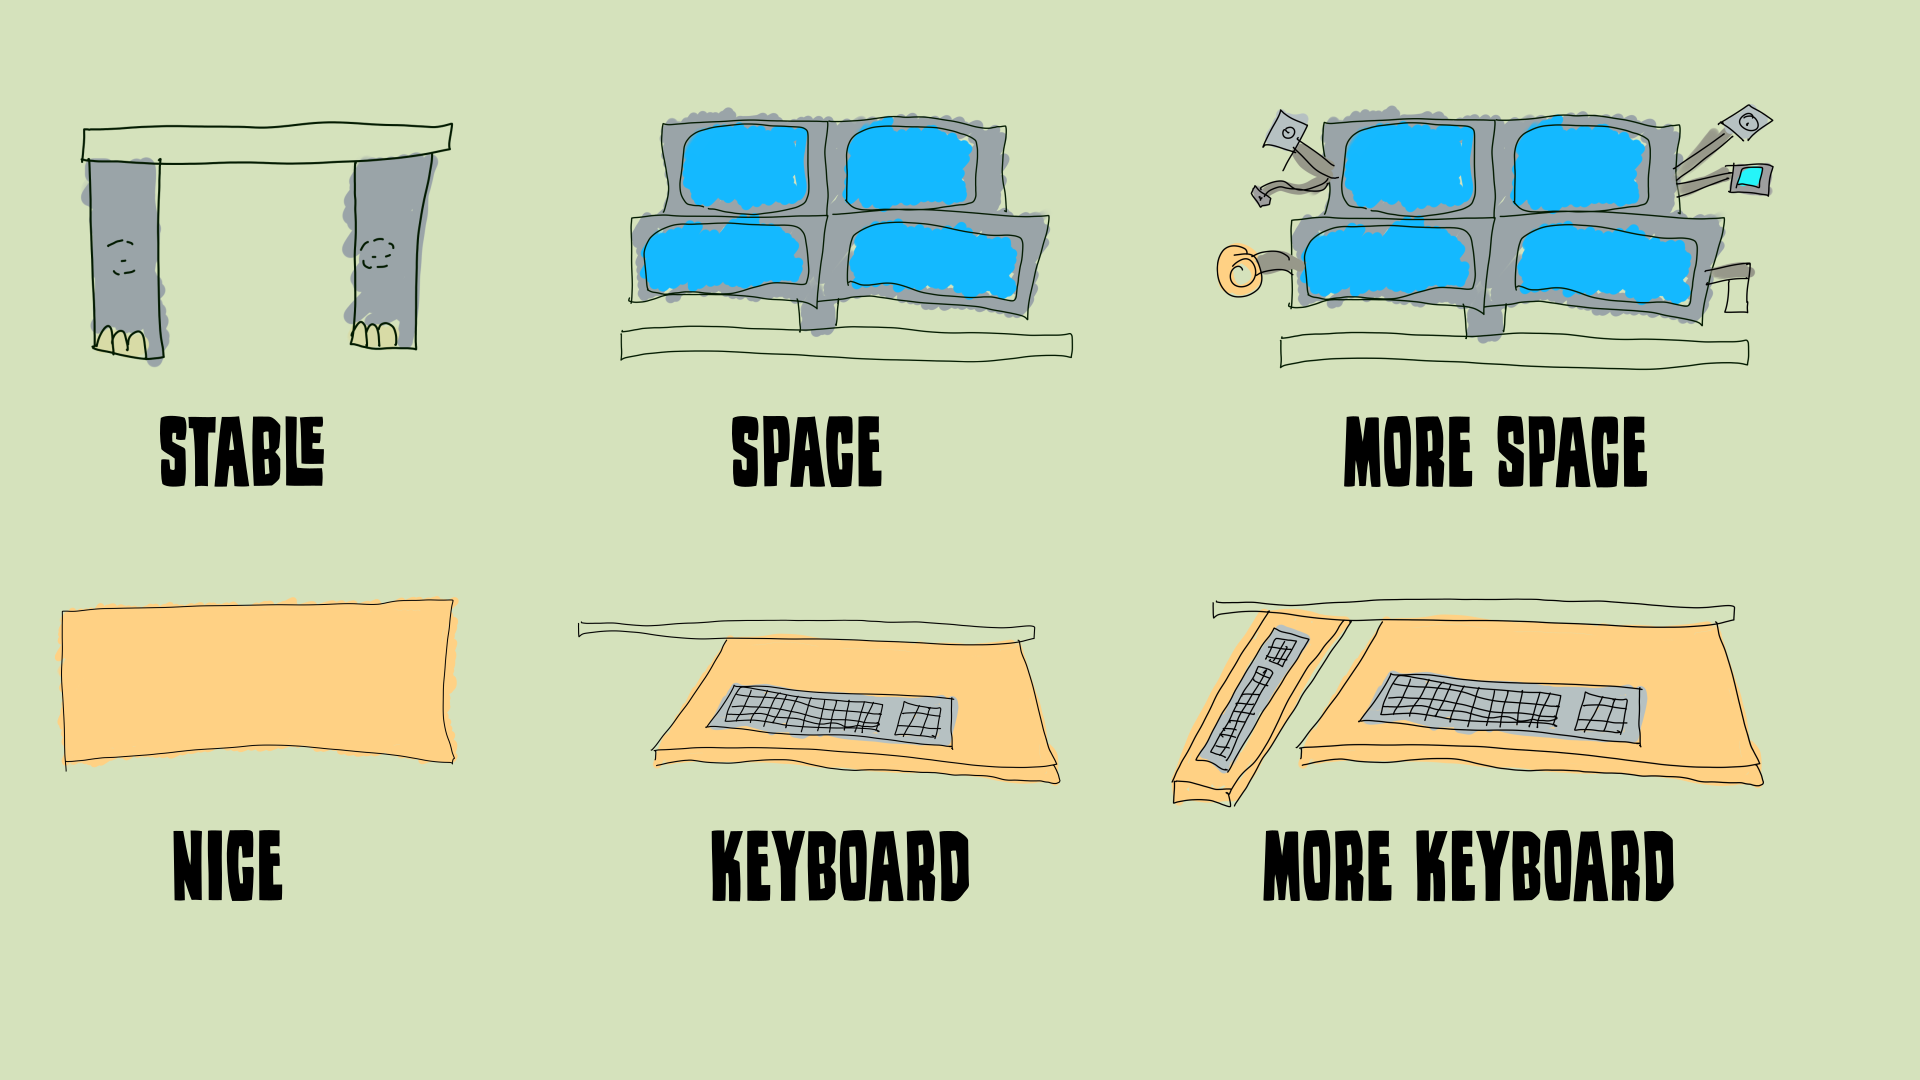
Let’s start with the design requirements for my dream desk:
- Most importantly it should be stable. It should not move when I am typing or writing.
- While being stable and heavy my wife and I should be able to carry the parts.
- I need place for four monitors with enough flexibility to change their size later on.
- Ideally I have a place for other bits and bobs that is not on the table surface.
- The table top should be a nice wood.
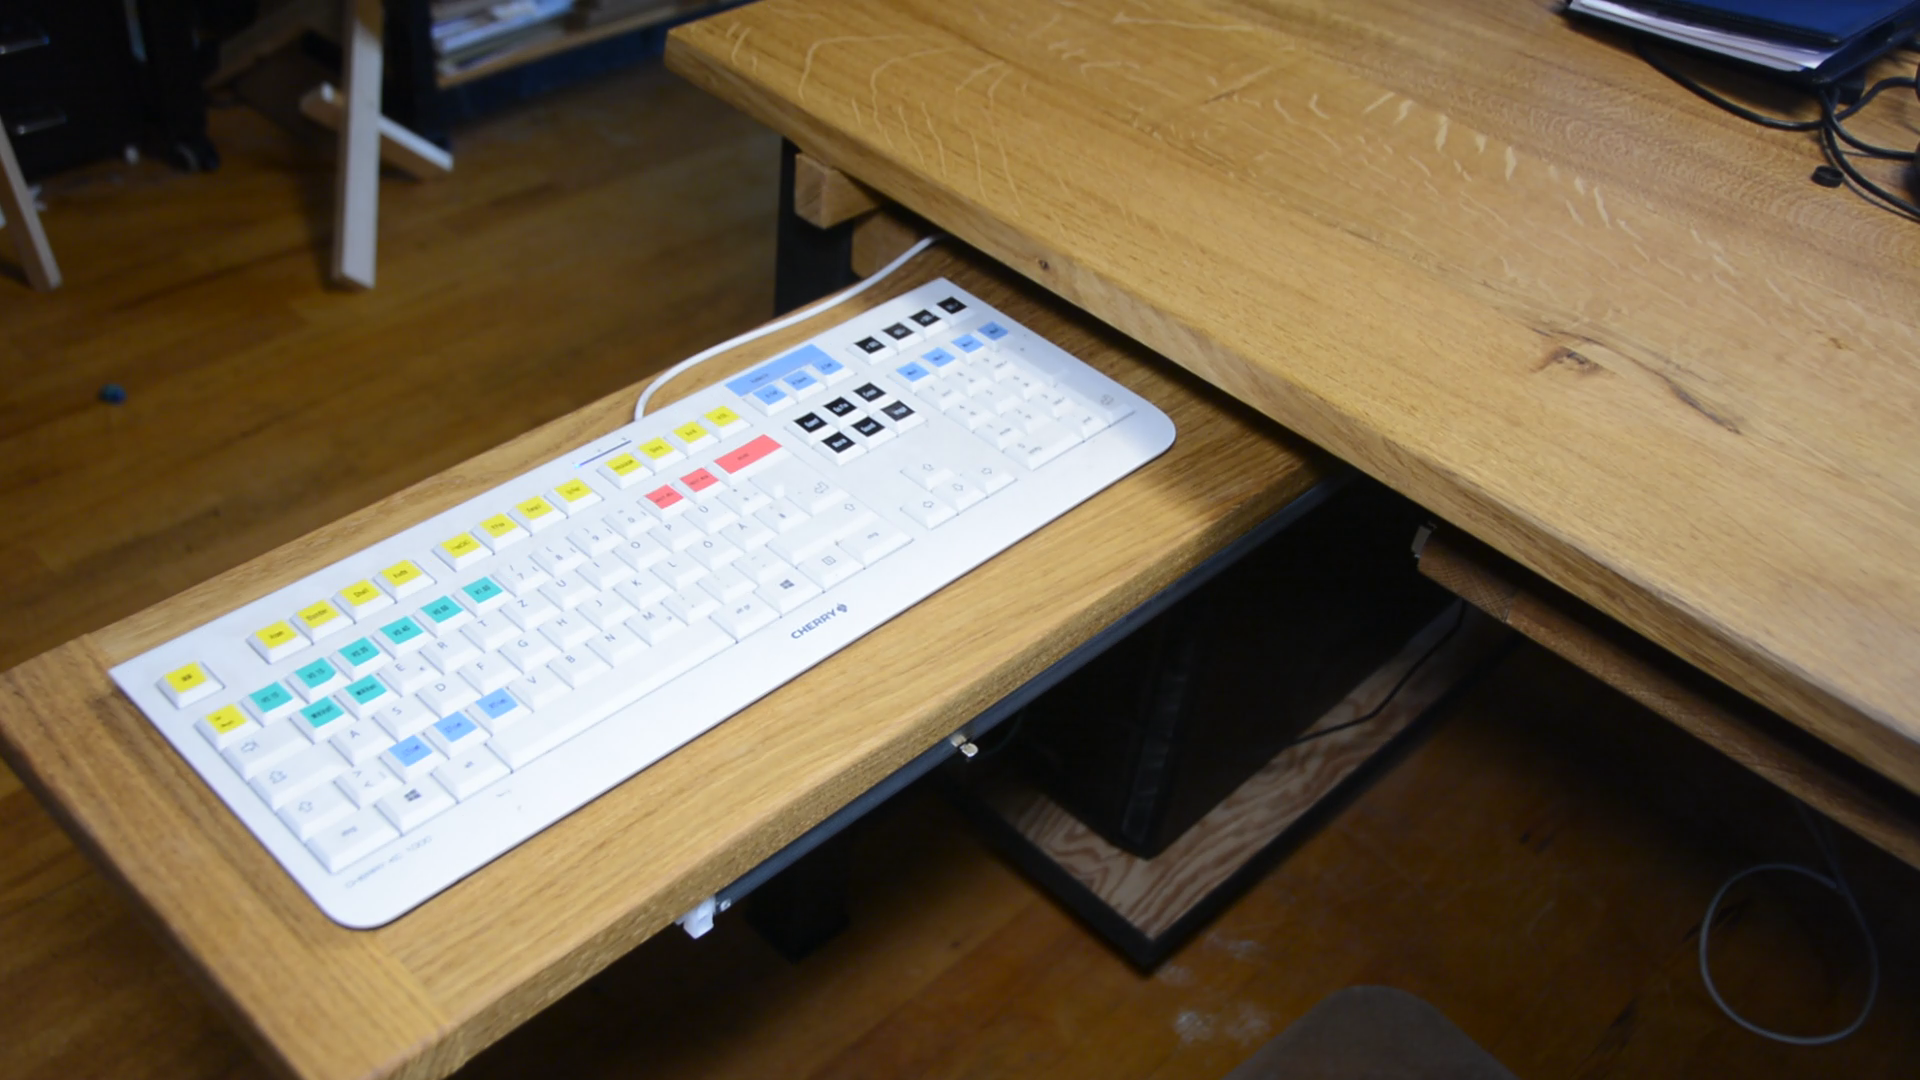
- To switch between computer work and drawing or reading I want a keyboard drawer.
- As I use a second keyboard as a macro keyboard I actually need two keyboard drawers.
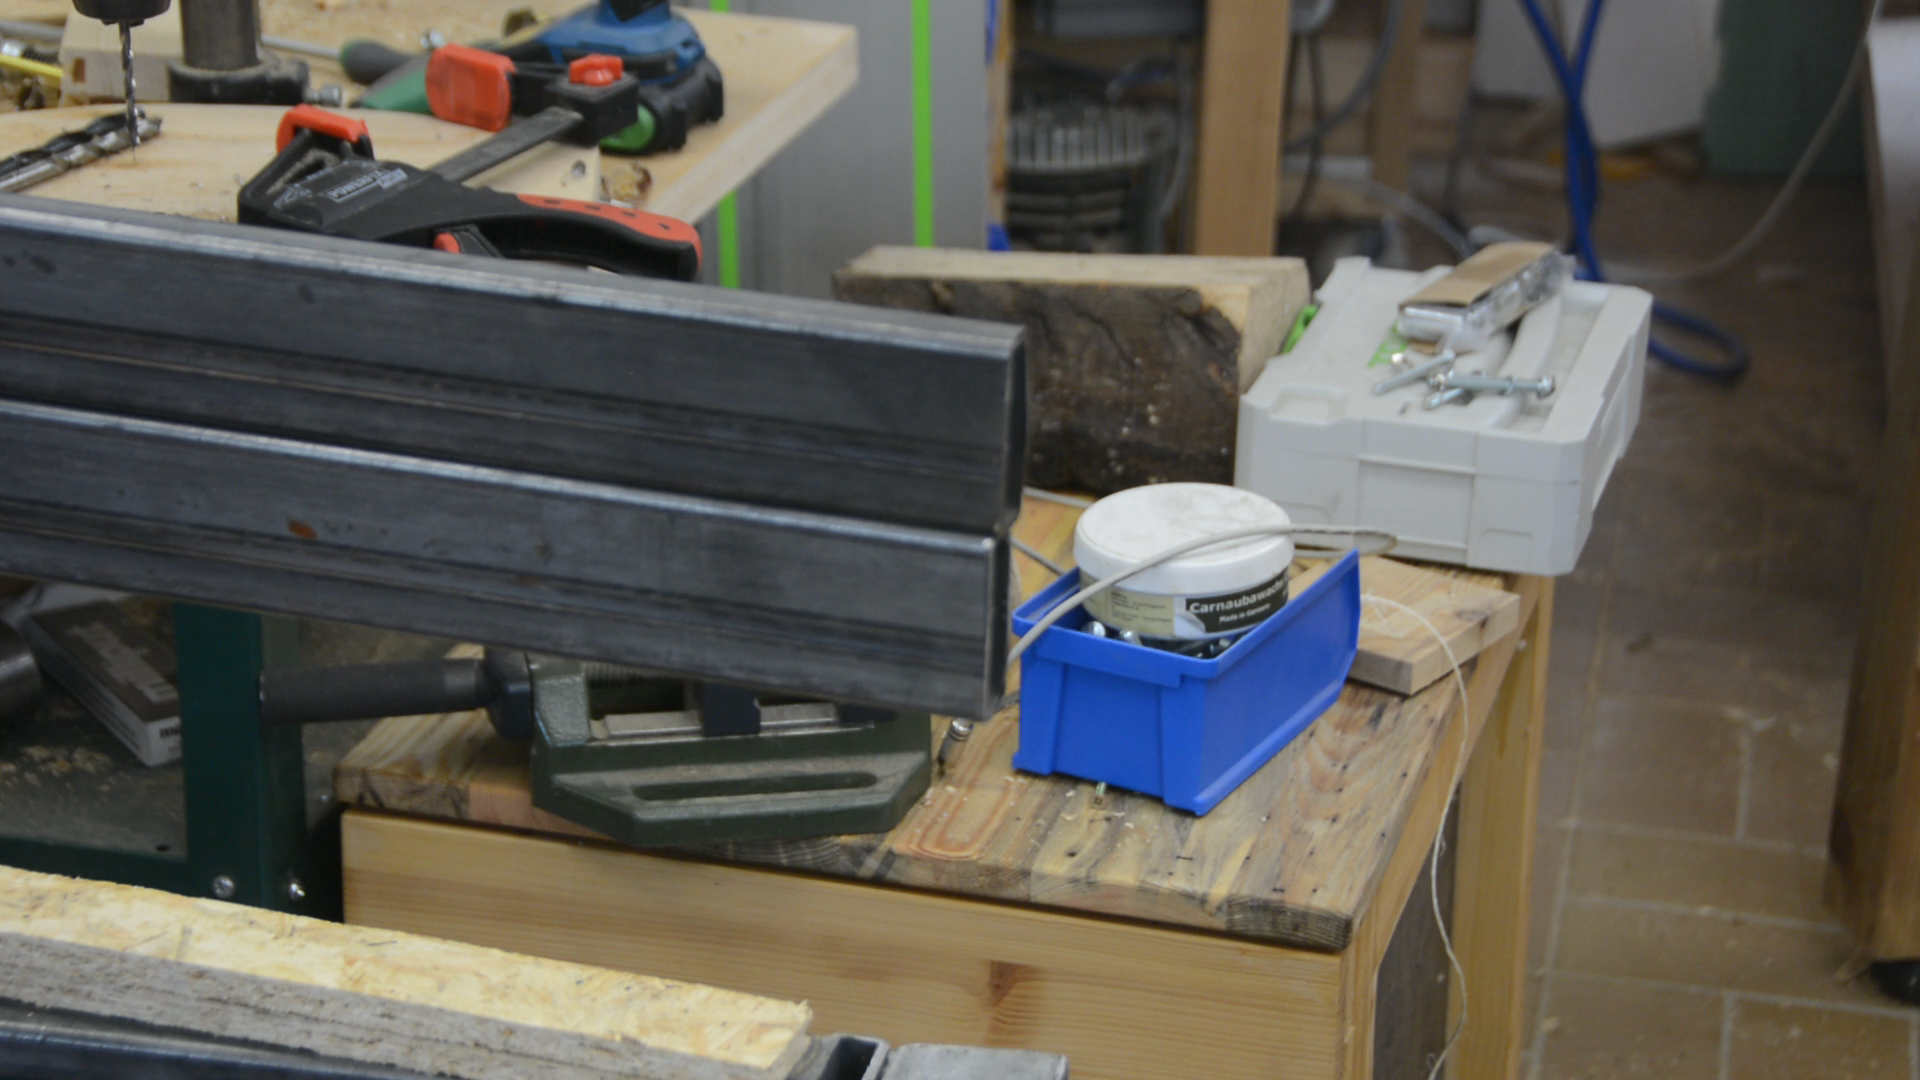
Building the steel base
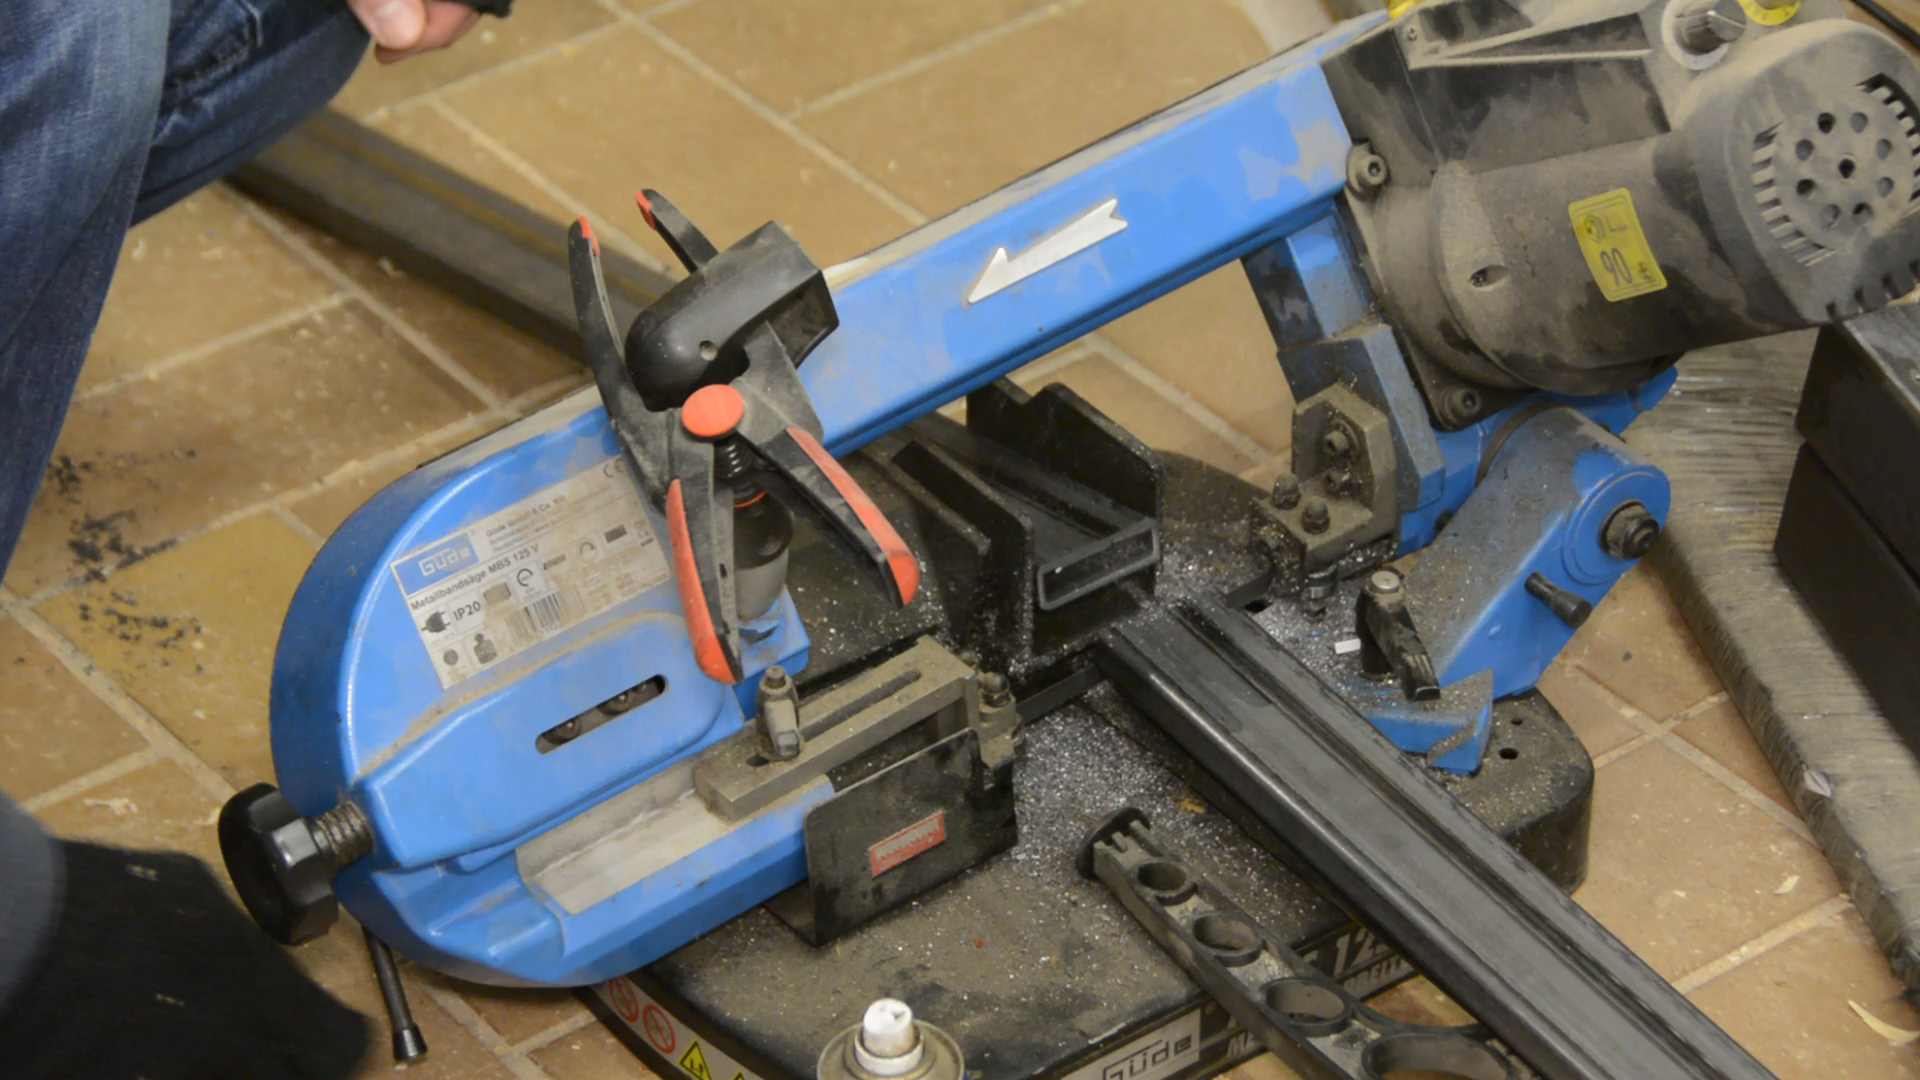
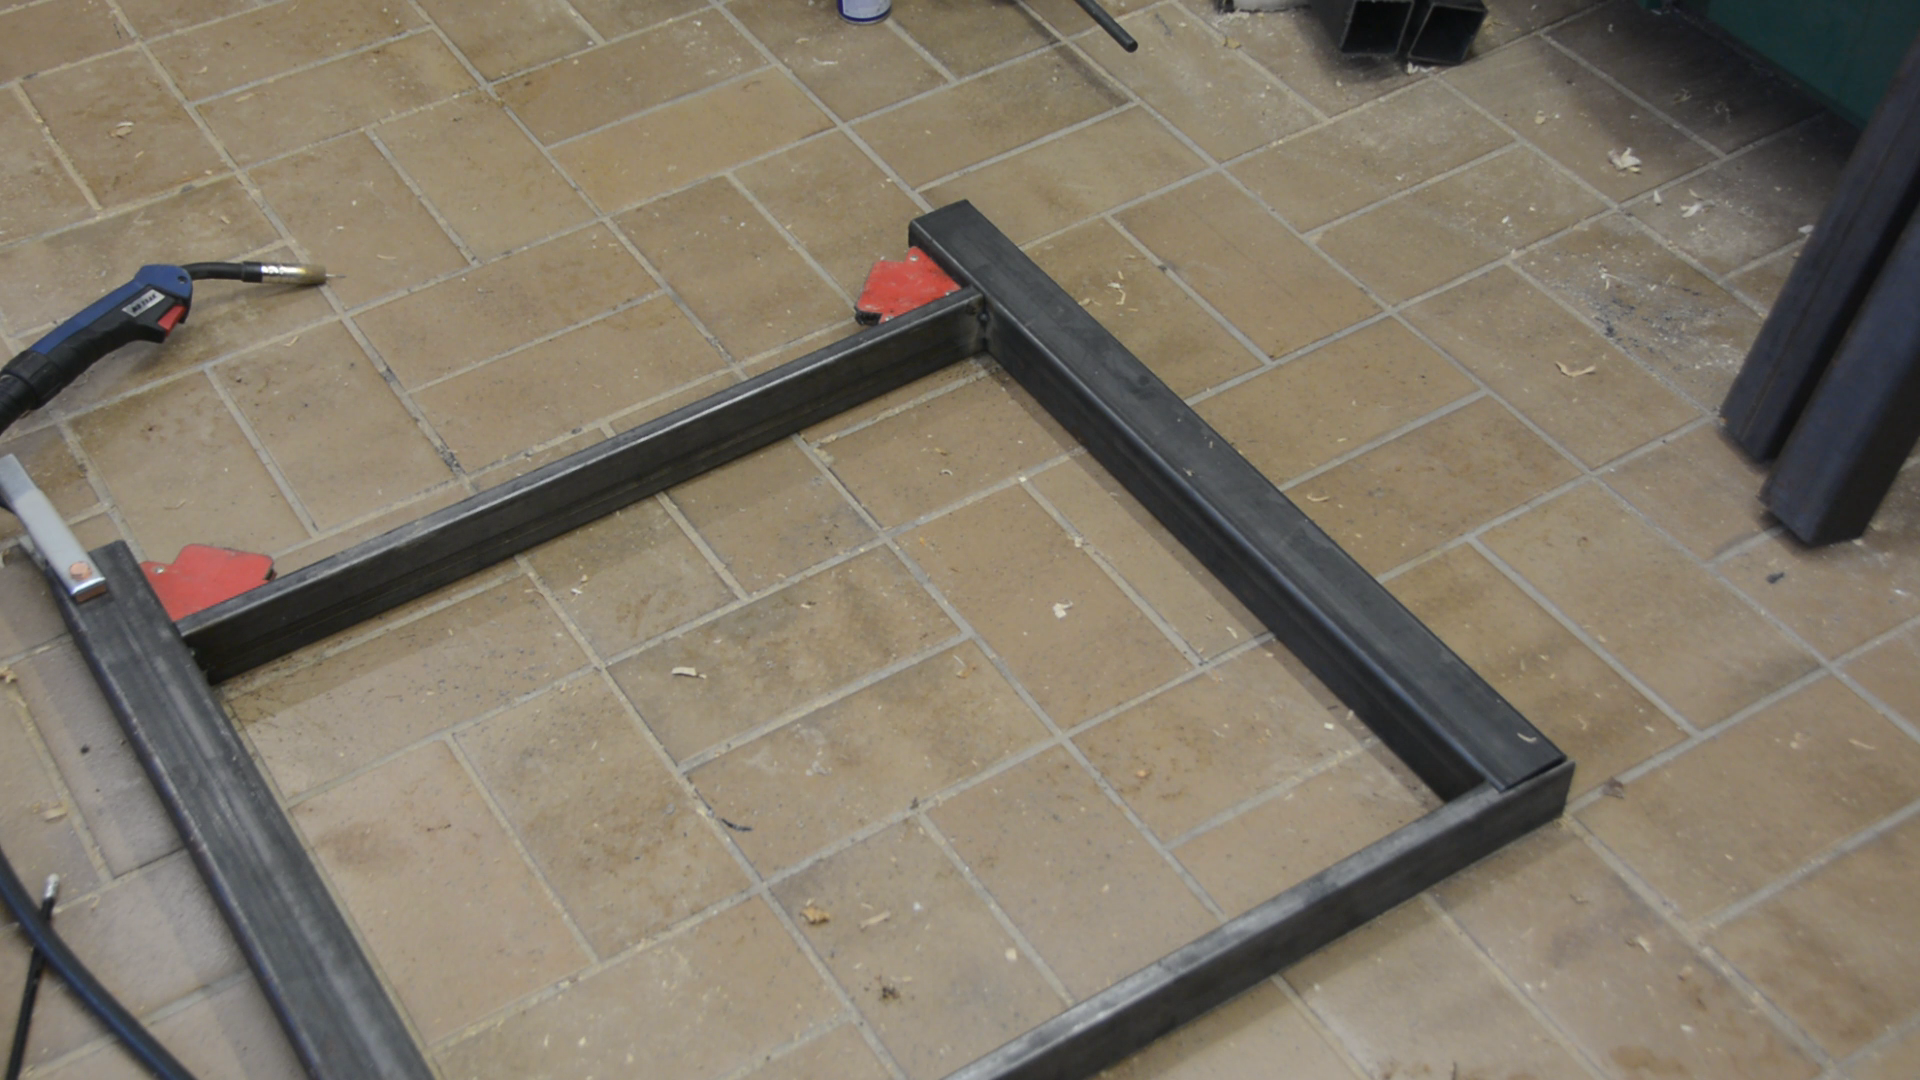
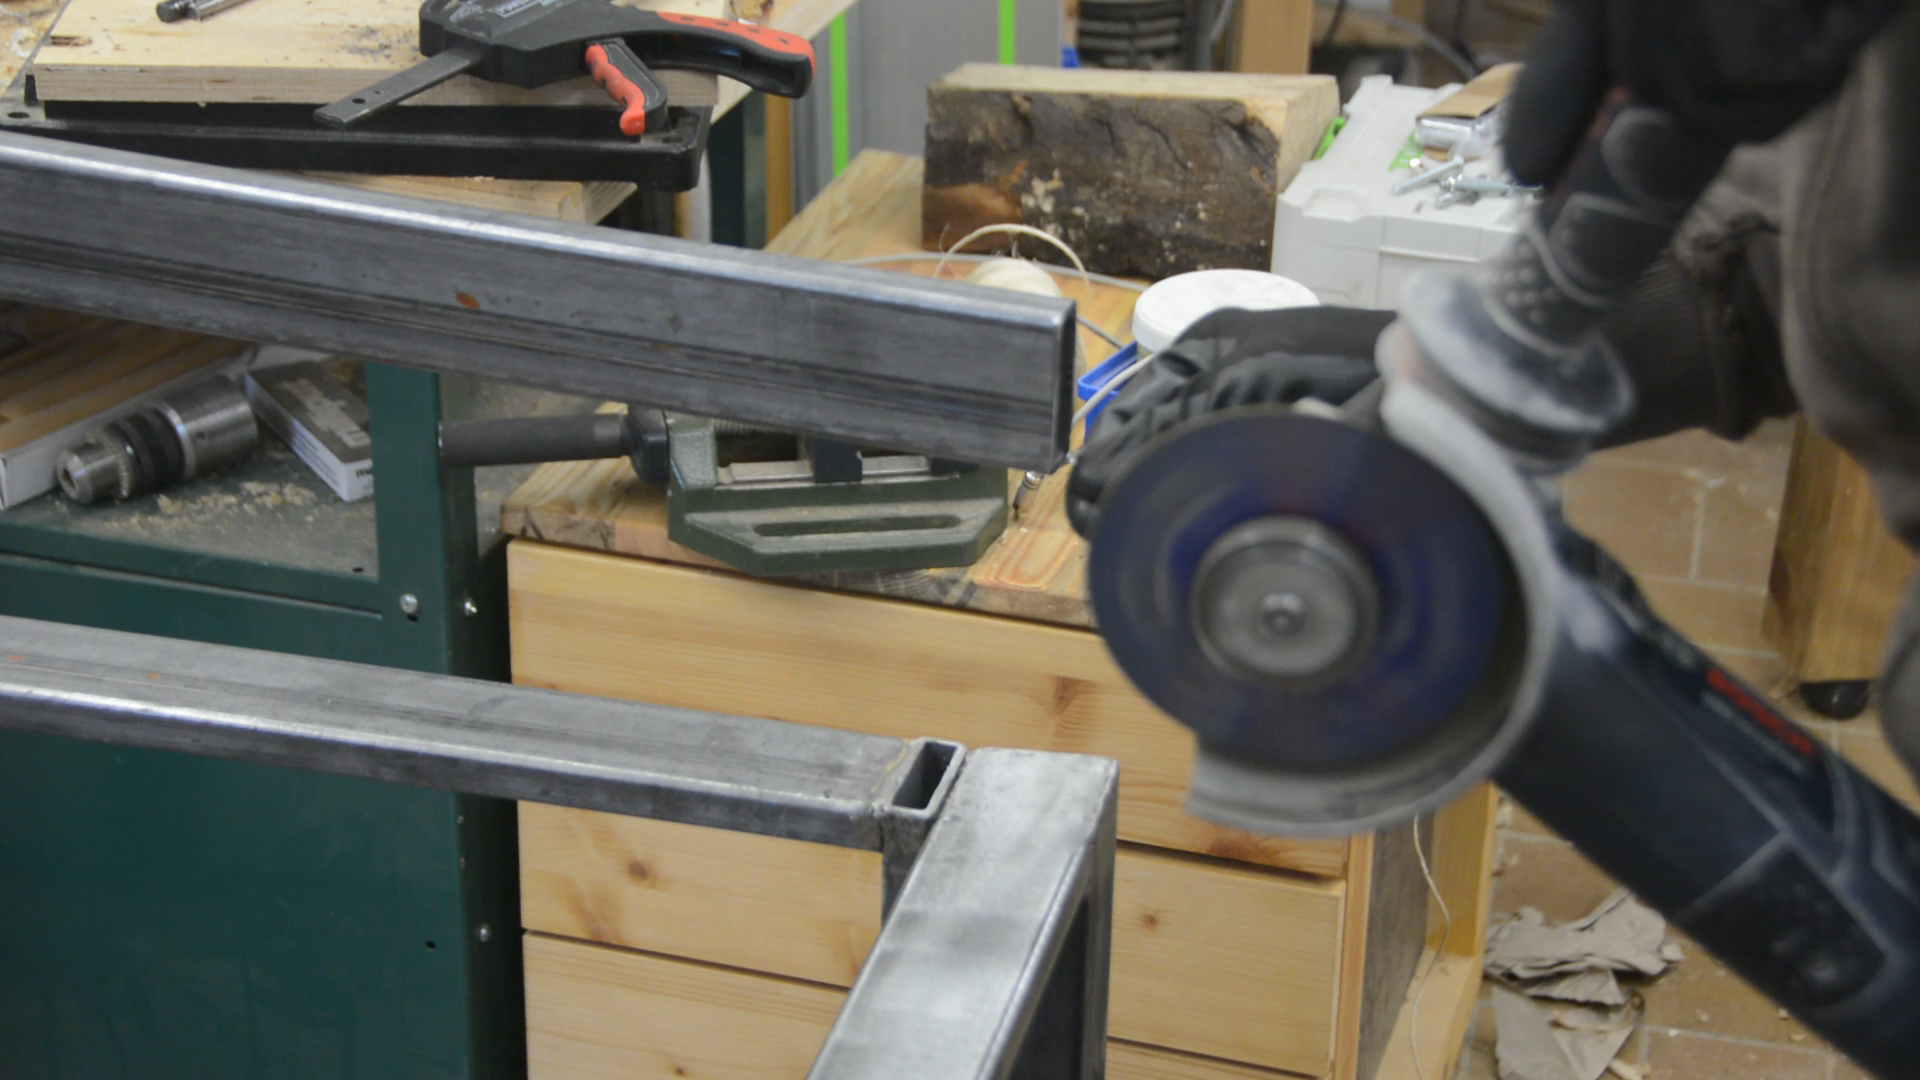
Let’s get started building this table. As I want the table to be super stable I will create a steel base. All the steel tubing is cut to size on a metal bandsaw.
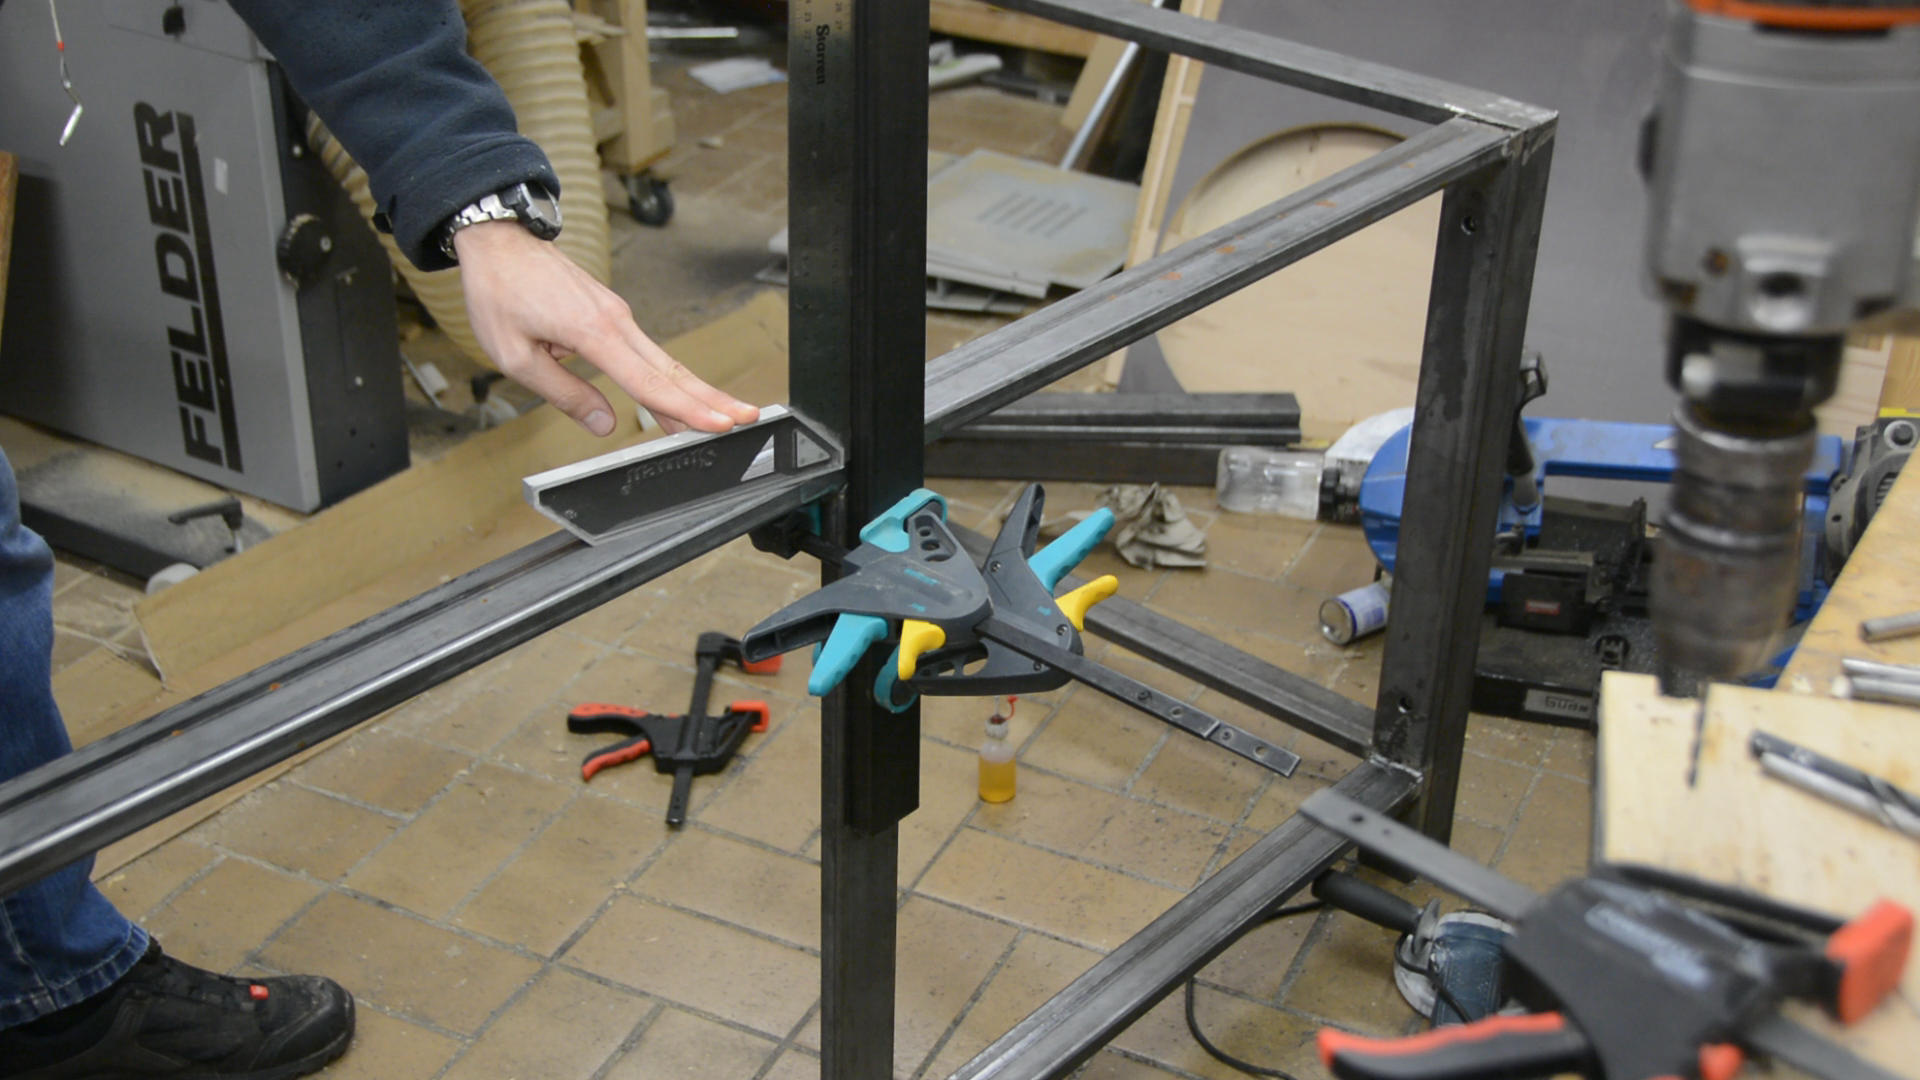
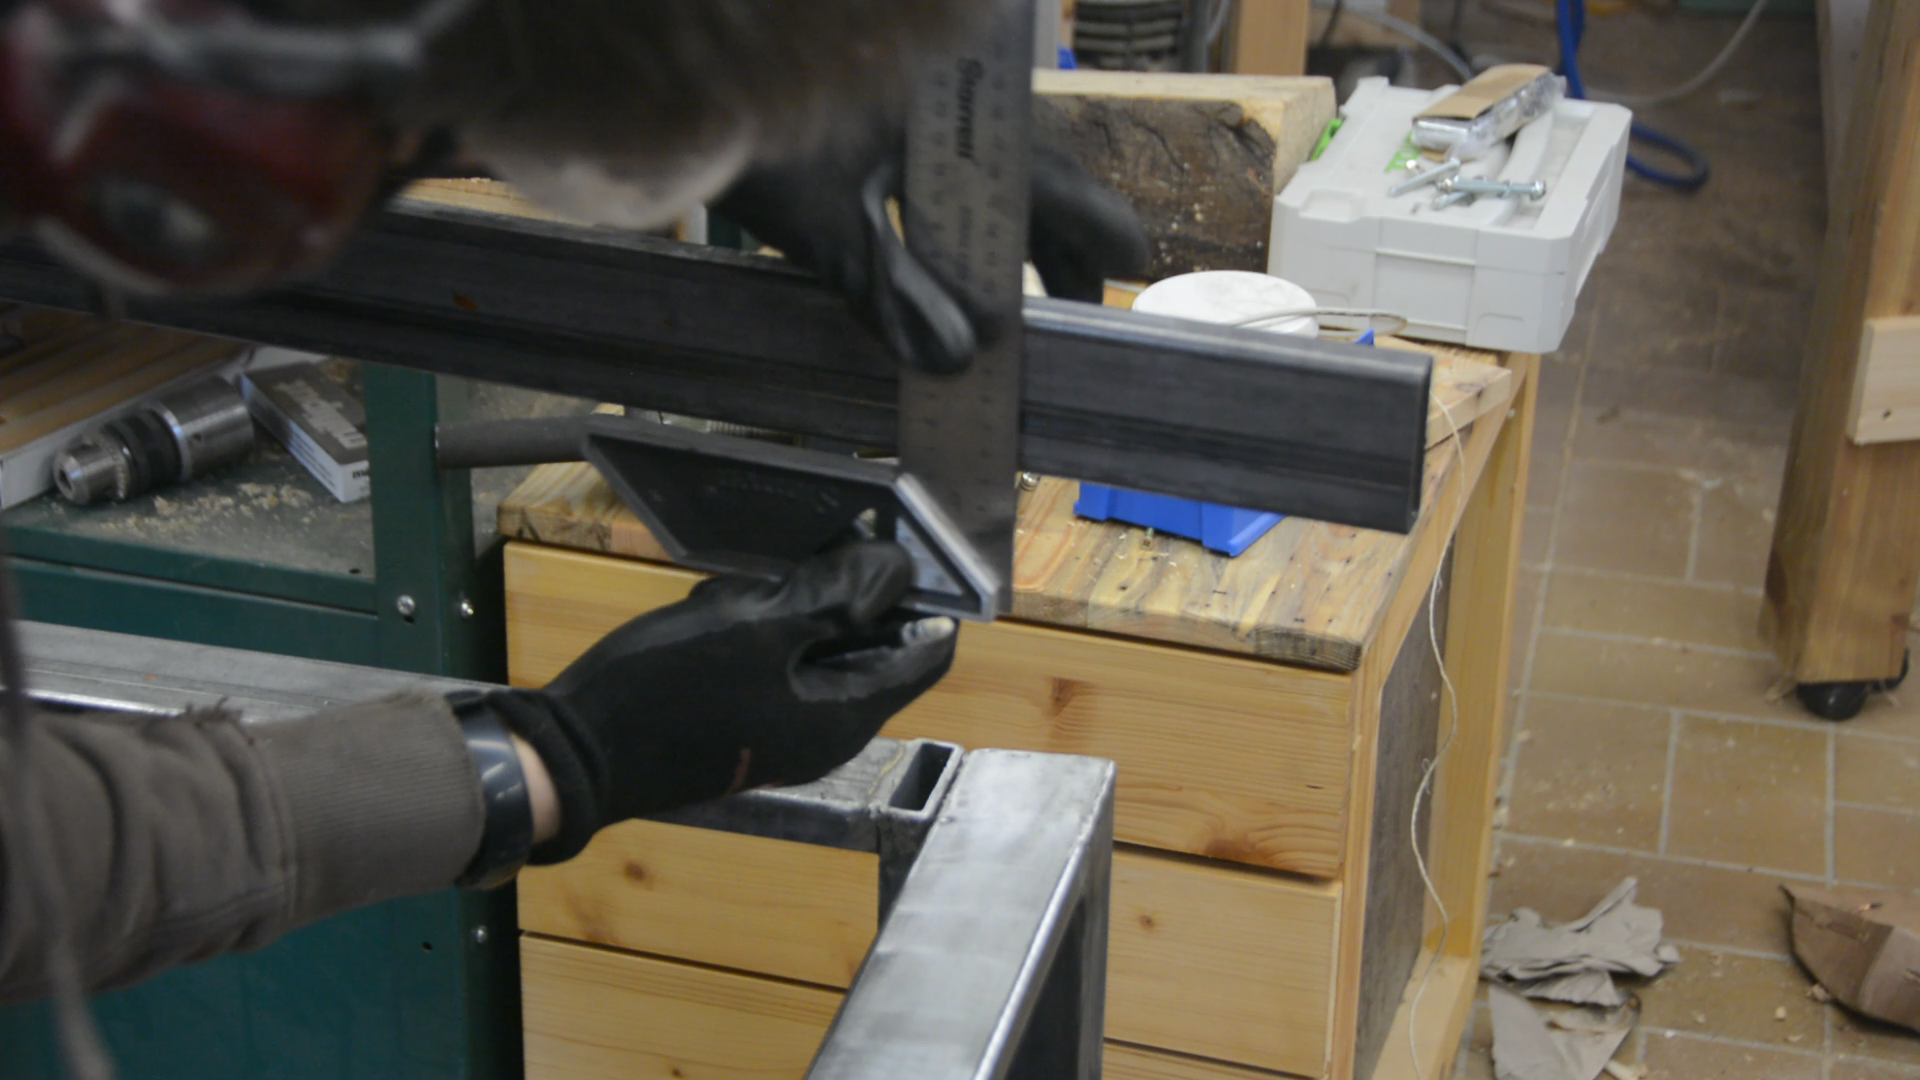
At the corners I mark the overlapping part of the steel tubing and then remove it with an angle grinder.
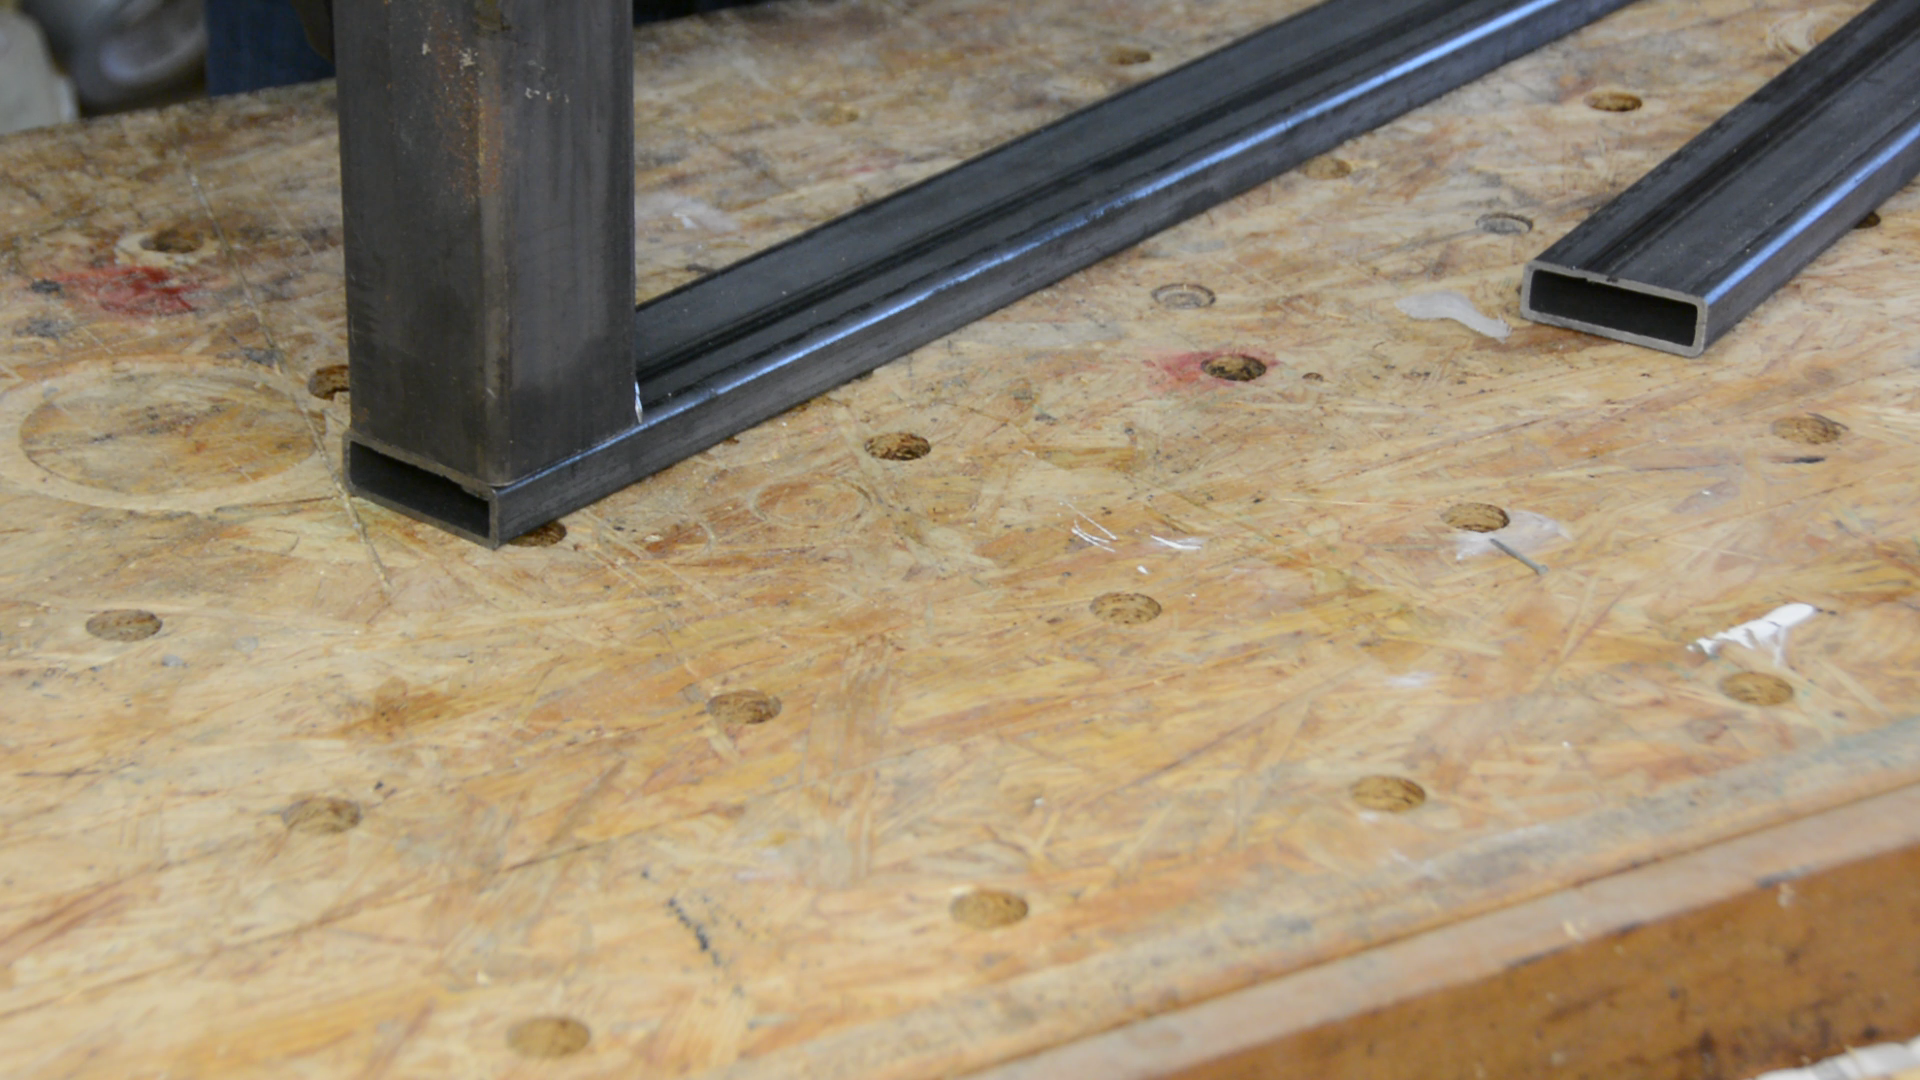
While it’s not strictly necessary for this project I prefer the corners to be closed.

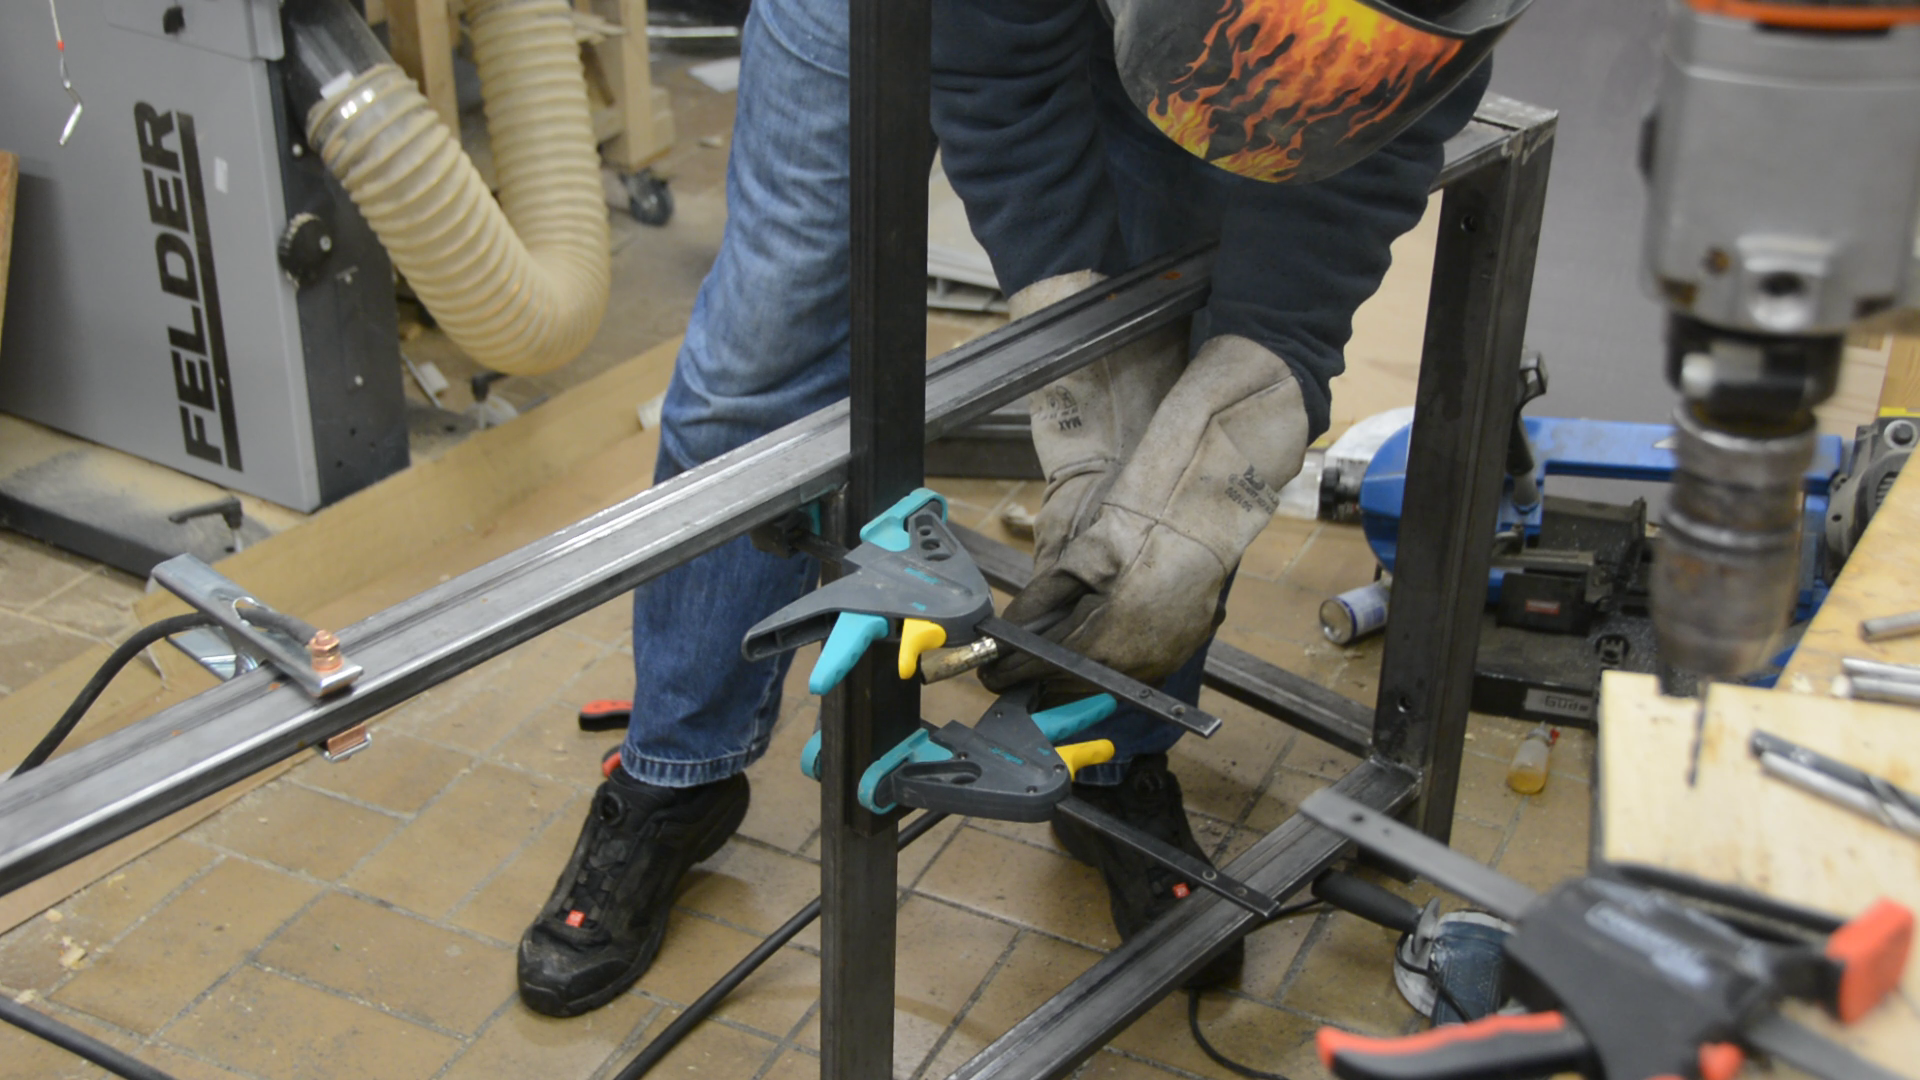
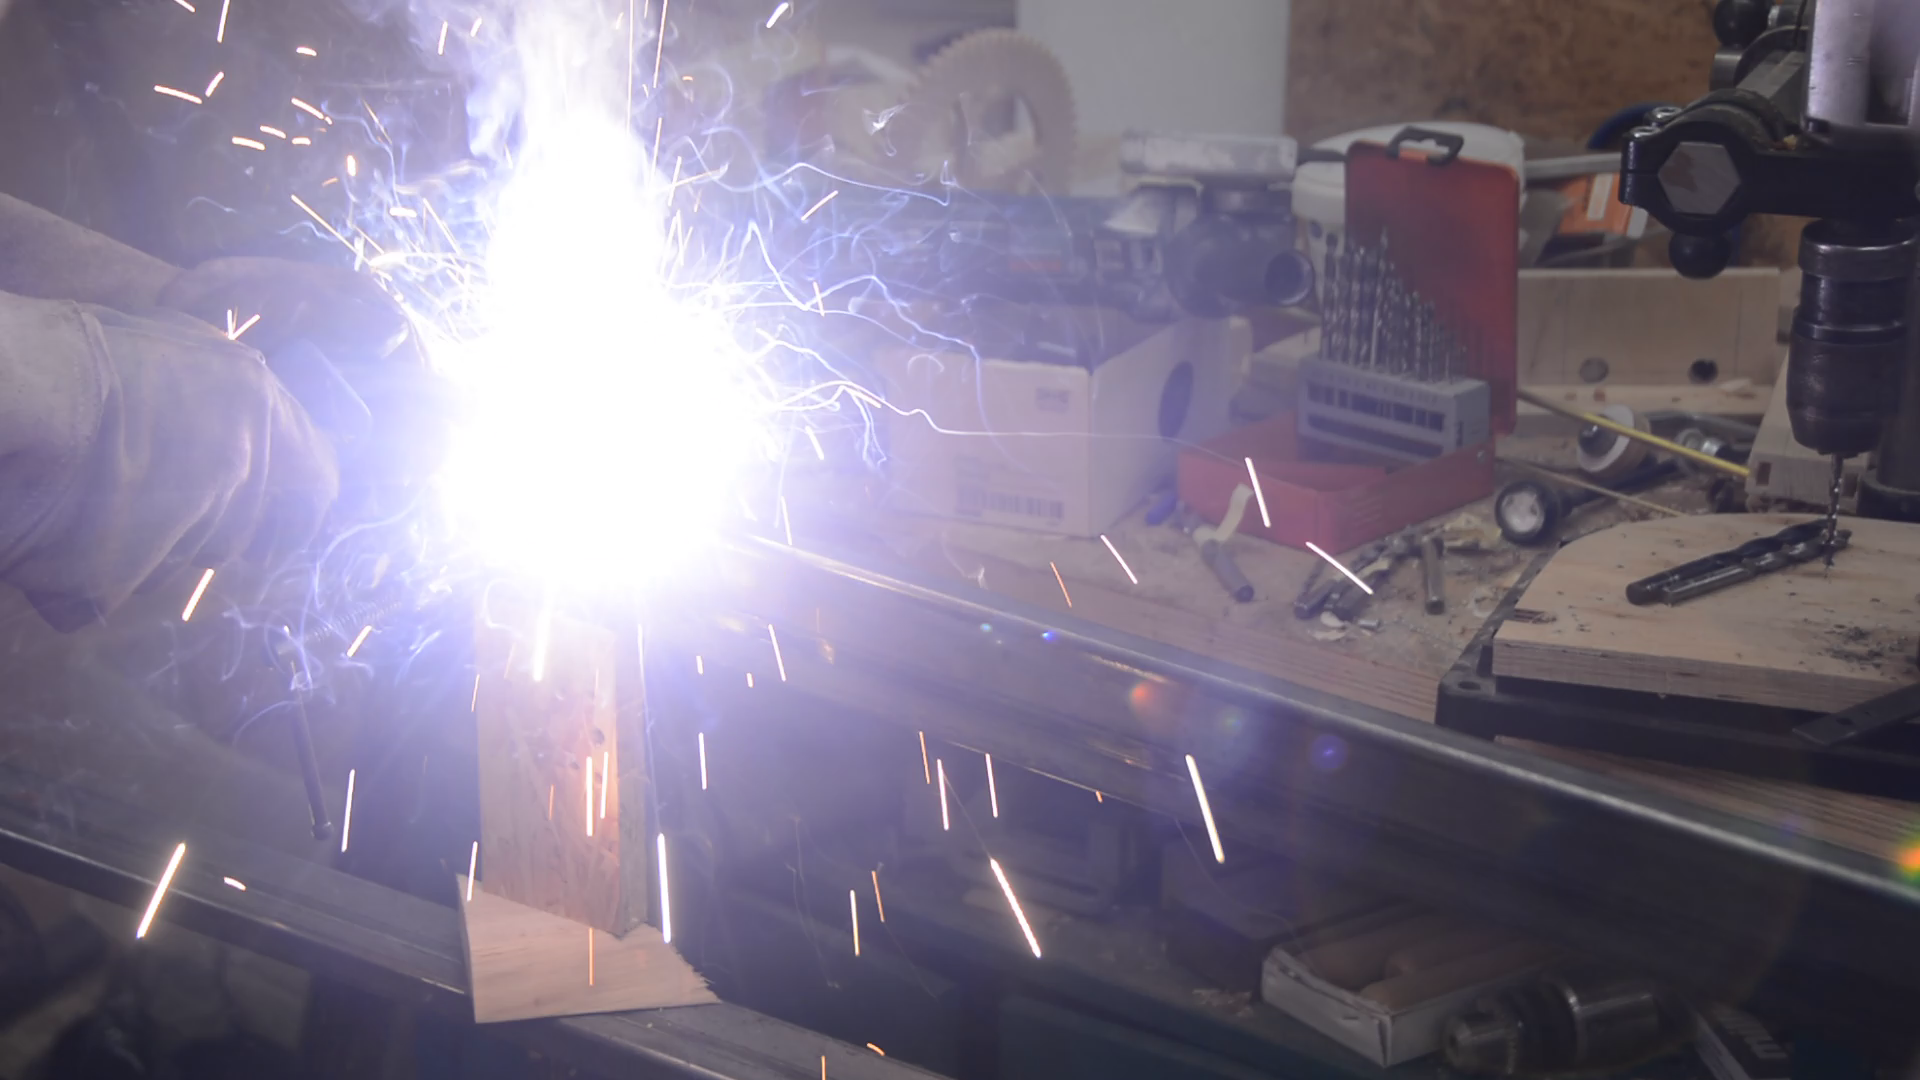
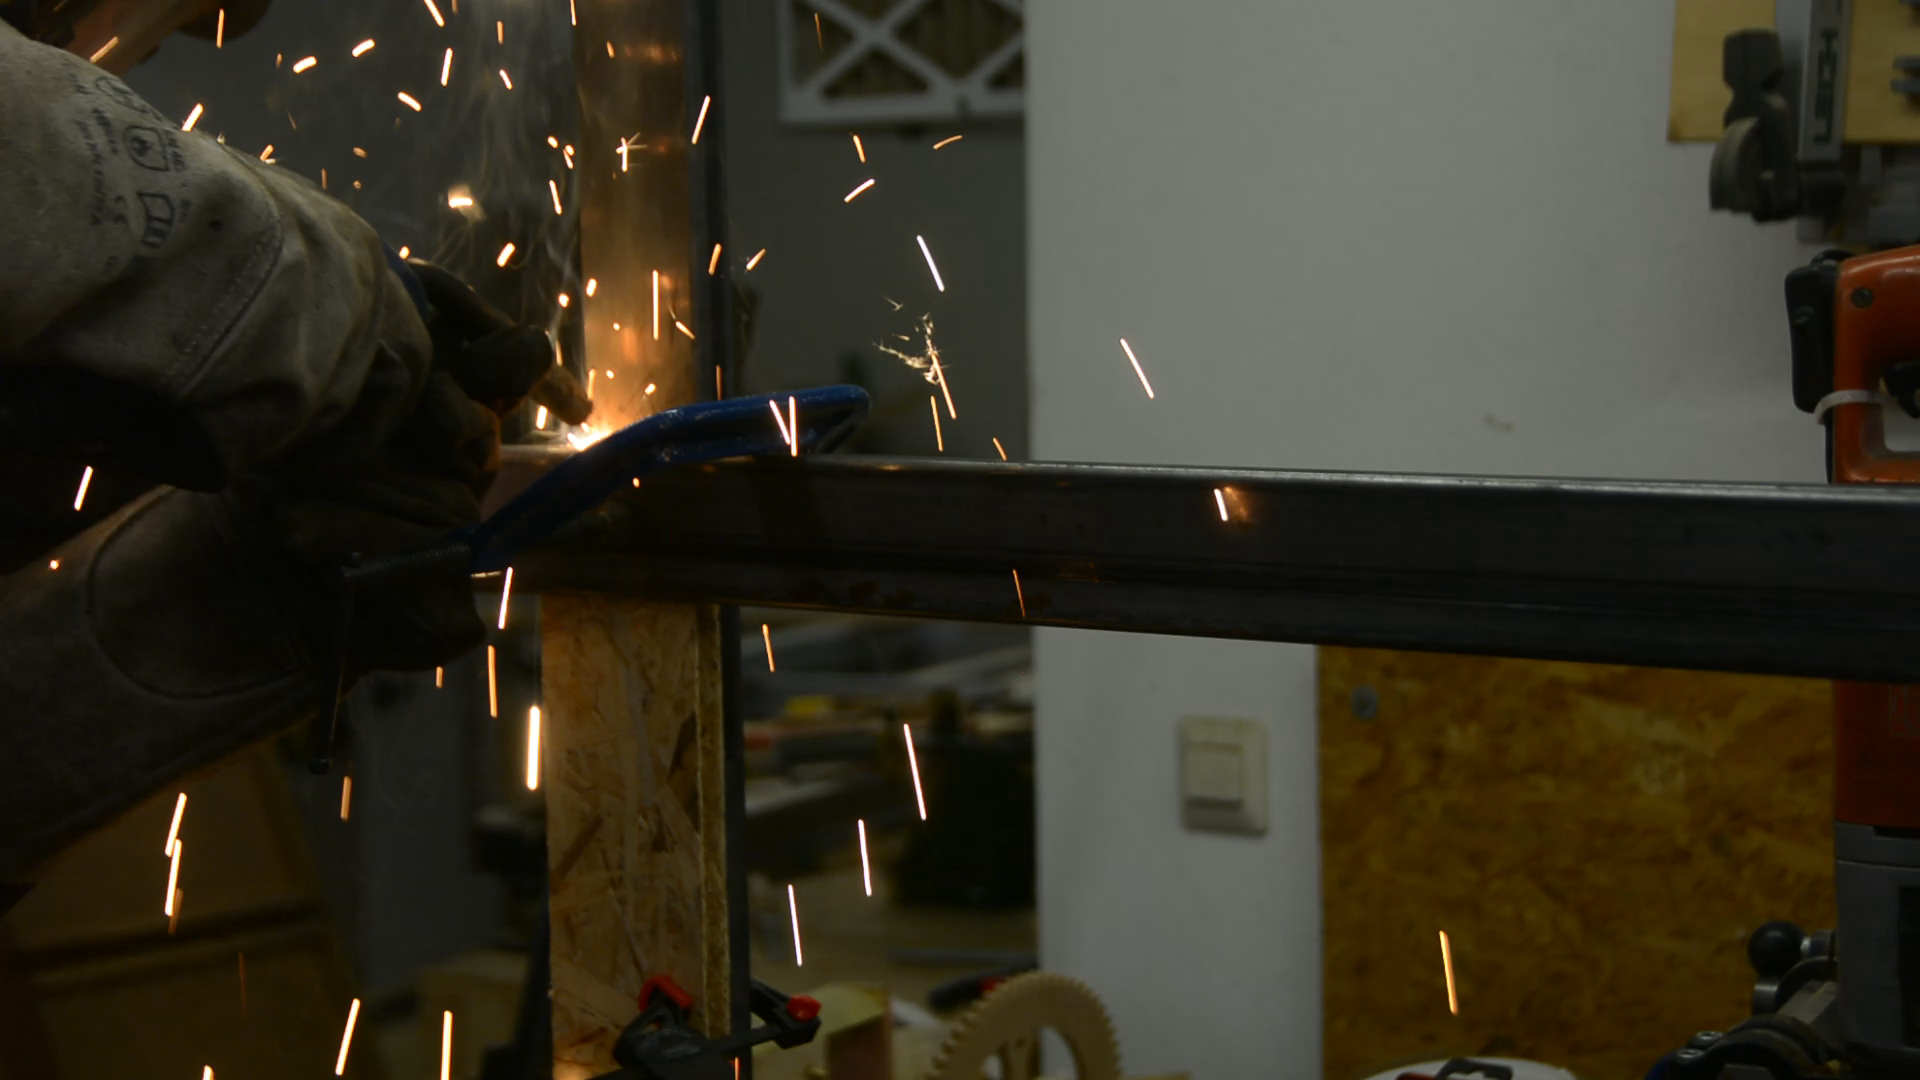
The two short sides of the frame are welded together with a small gap at the bottom to make it easier to clean the floor. The bar is also high enough so that the roomba can pass below it.

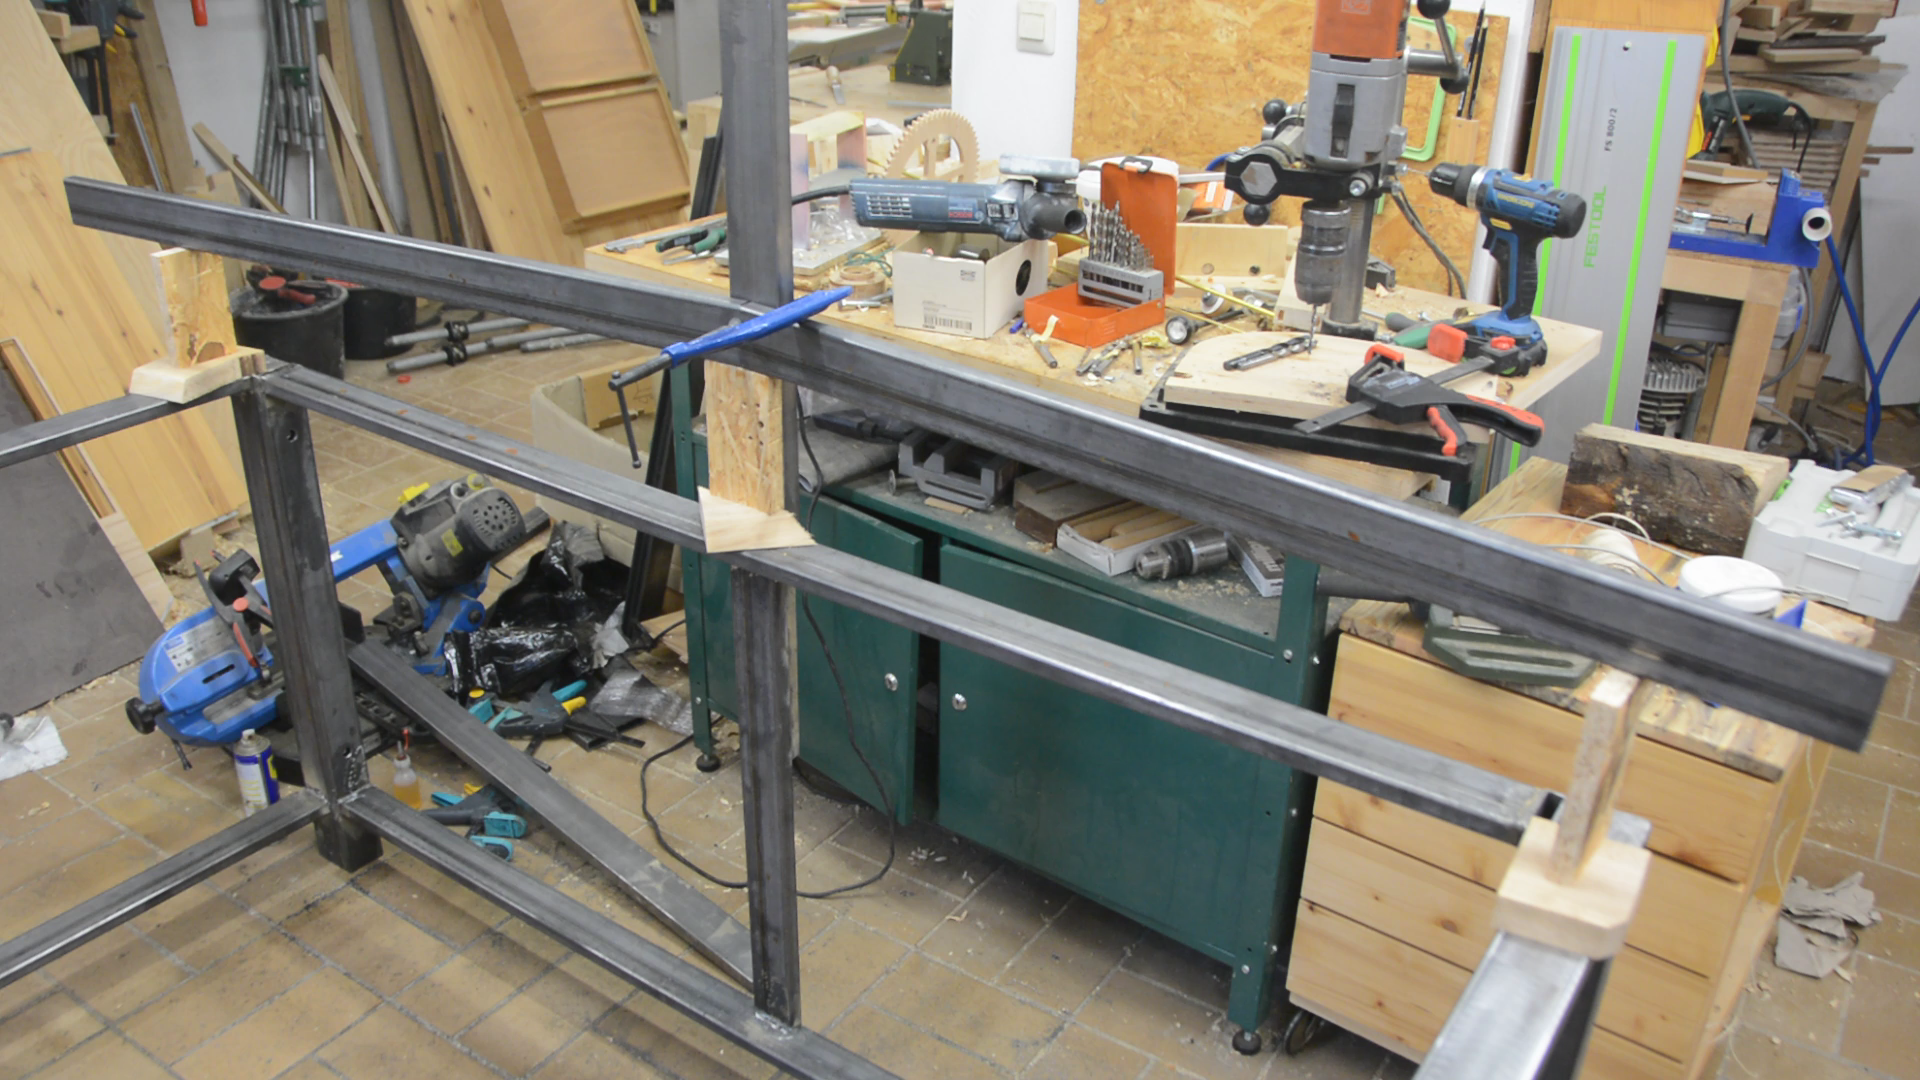
After cleaning up the ugly welds with a flap disk on the angle grinder I cut and weld the frame for the long side. The long side follows the same approach but gets a center support – we will need this later to secure the monitor stand.

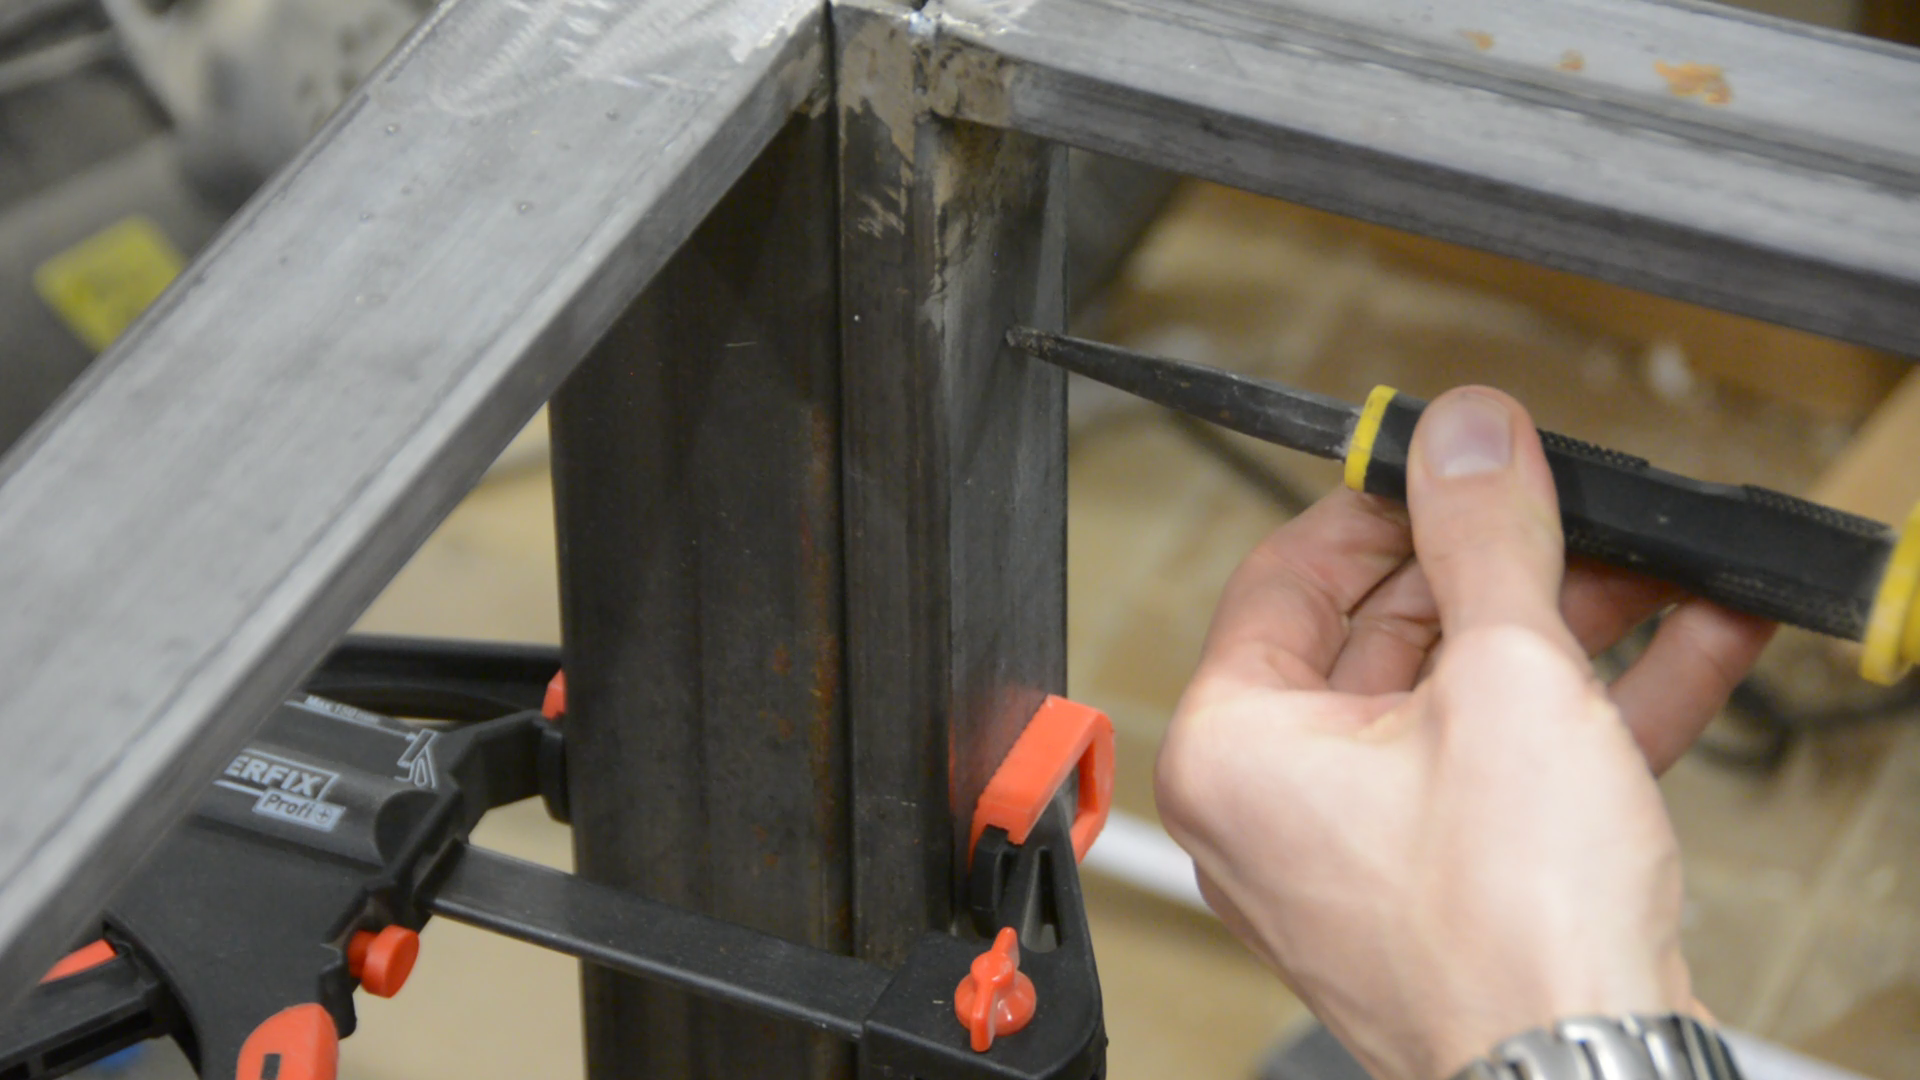
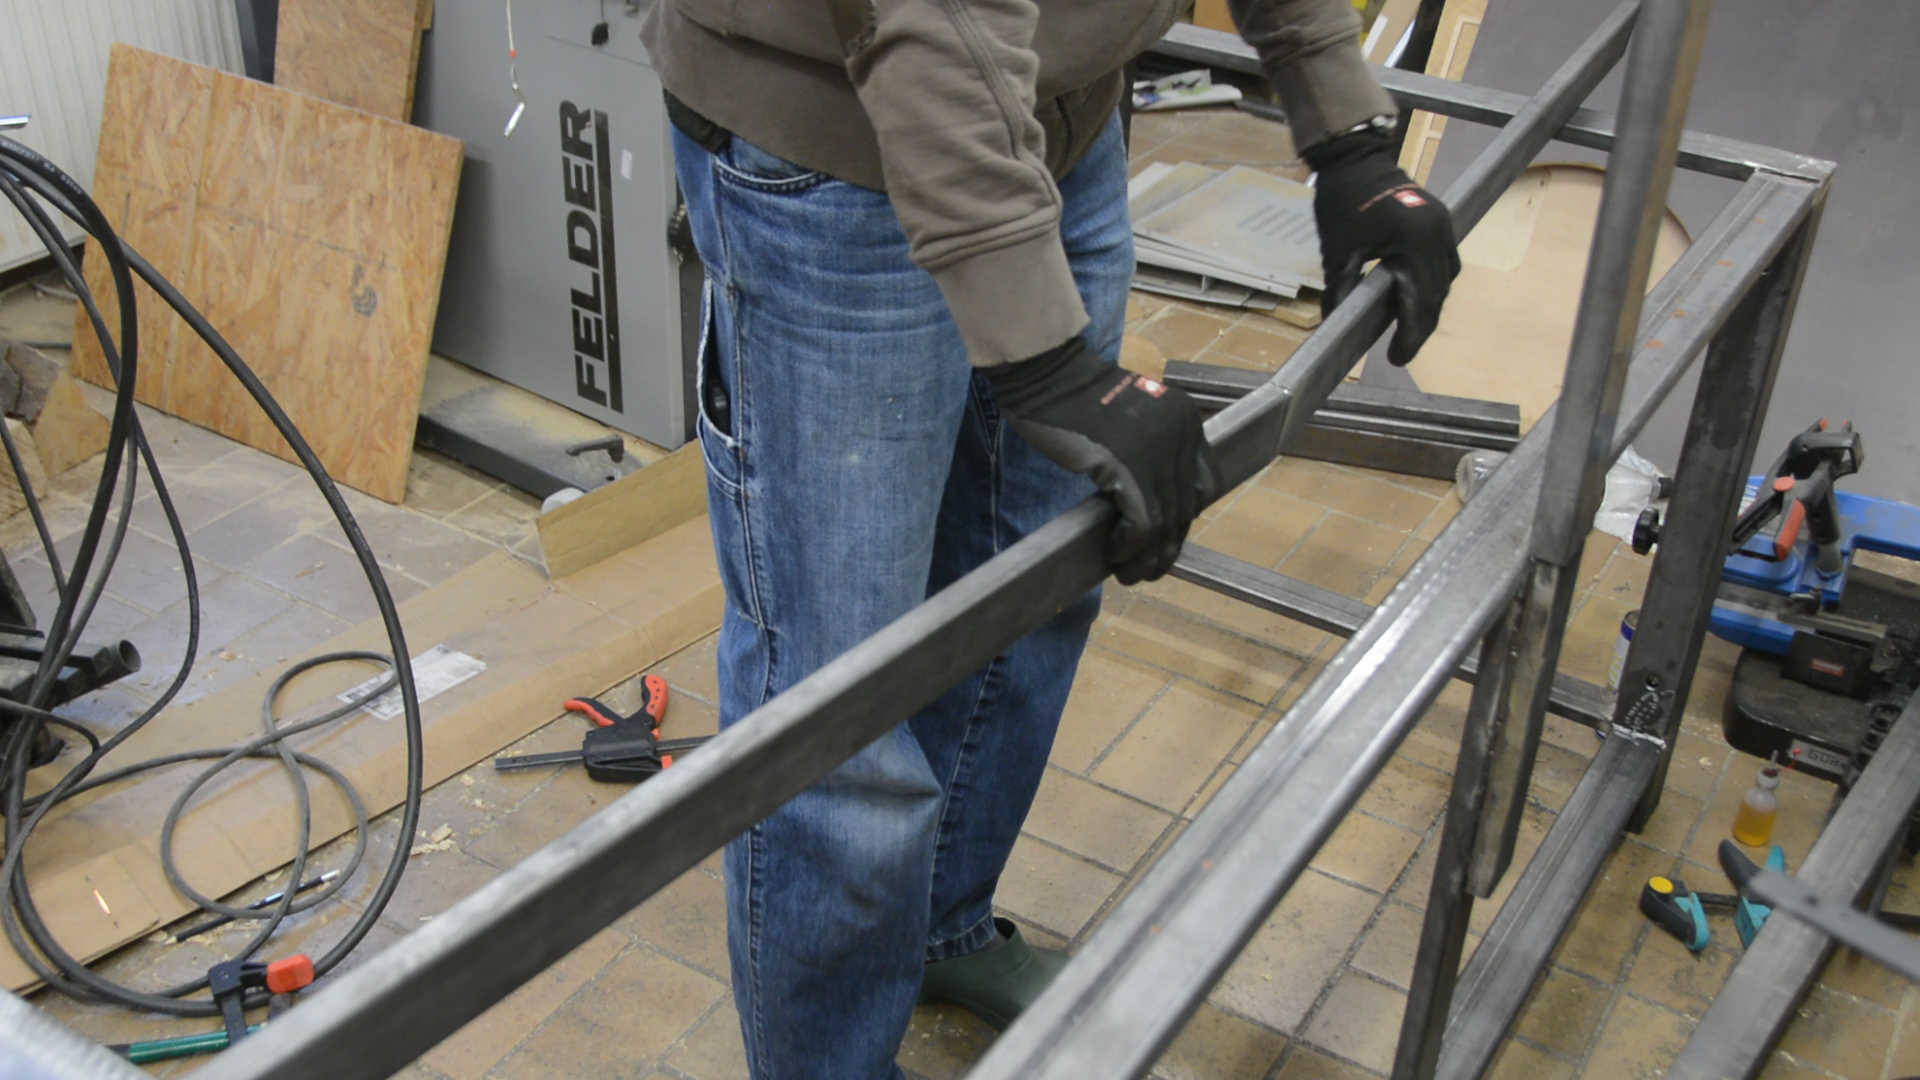
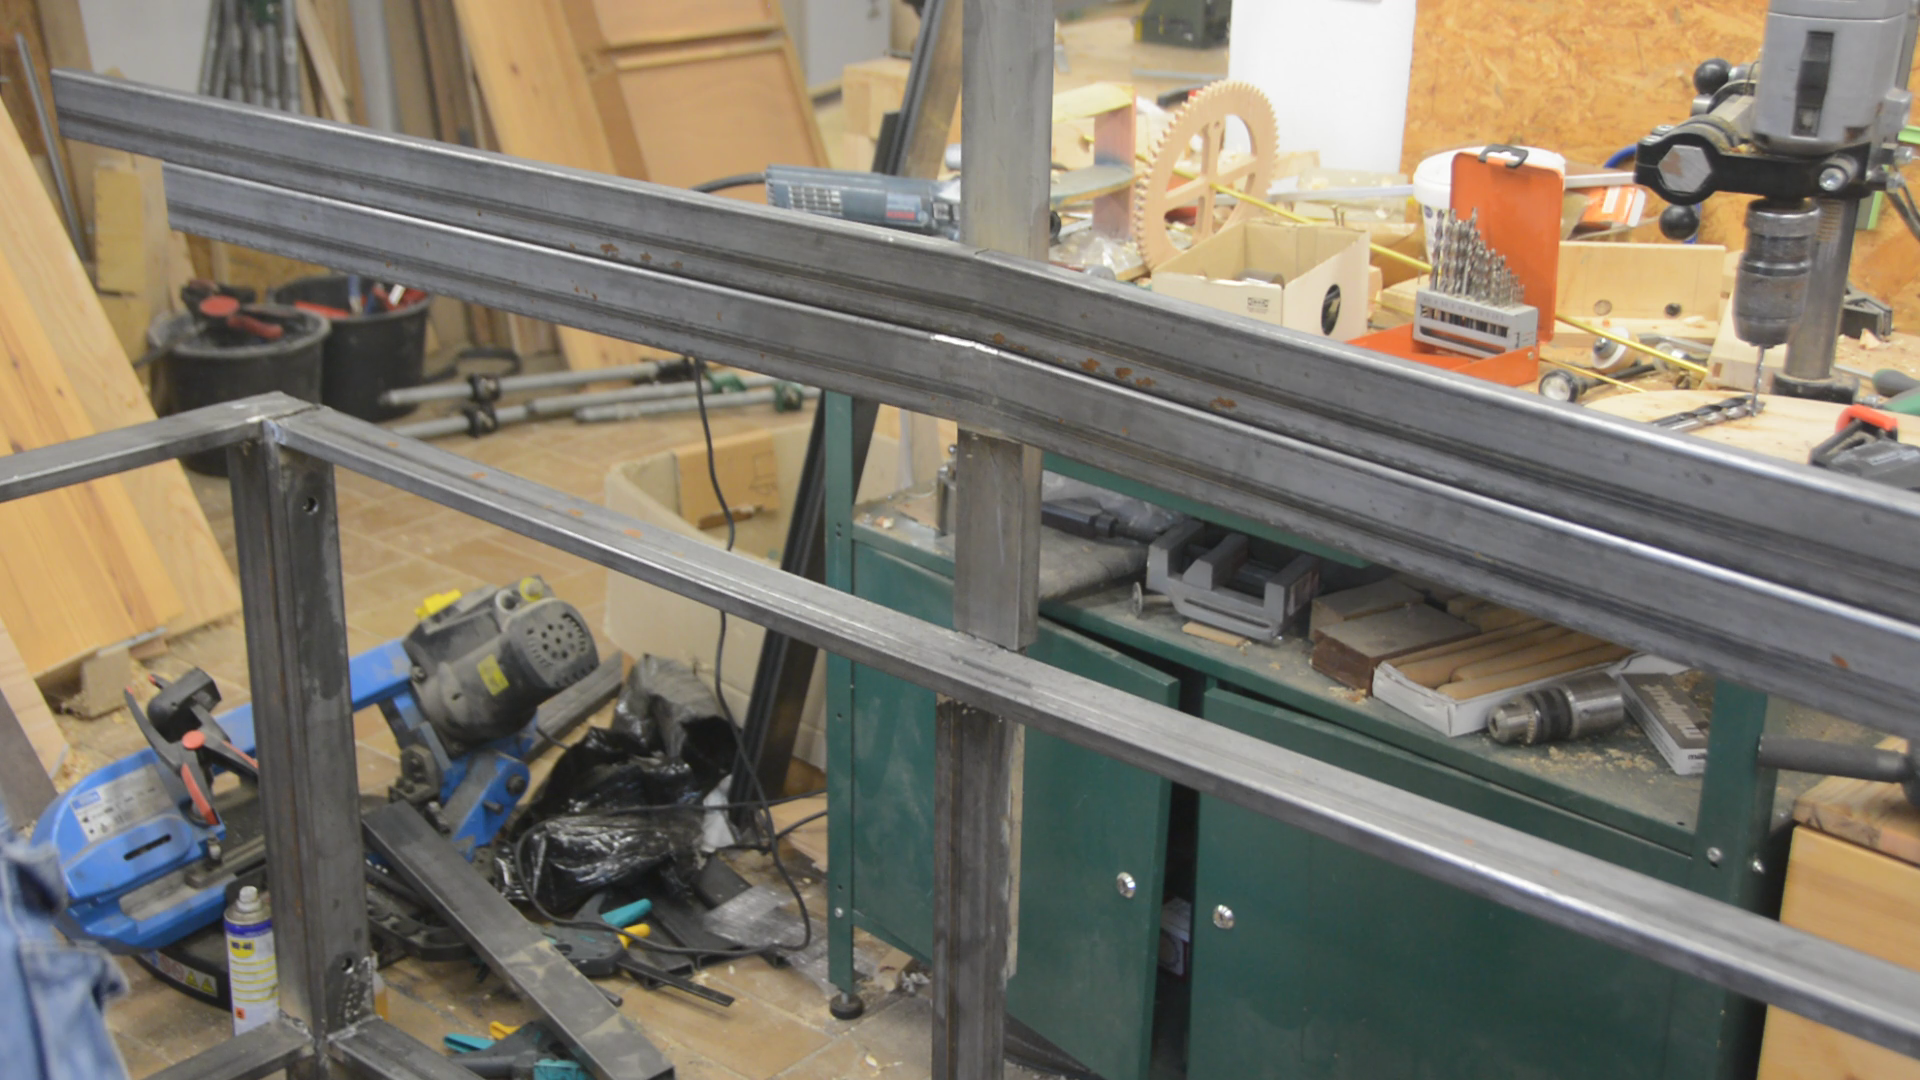
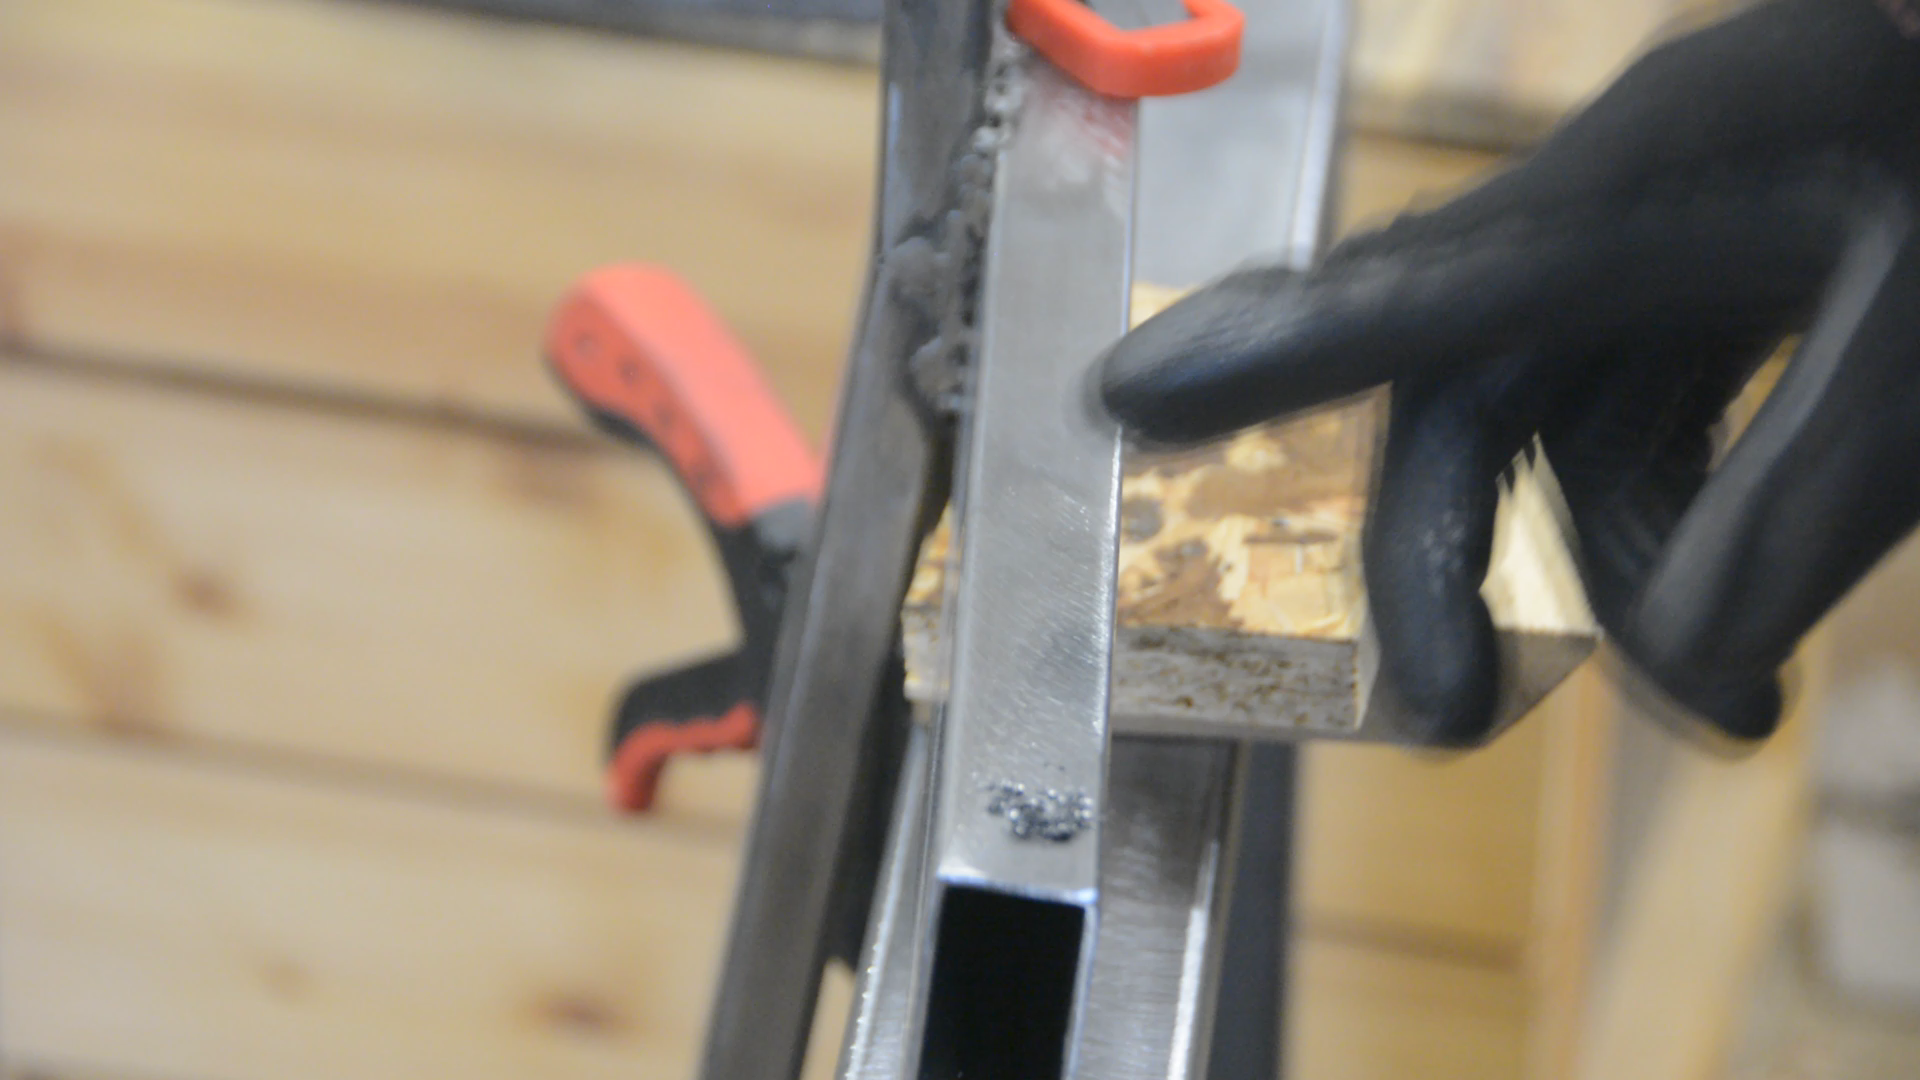
Separate parts for easy transport
The first criteria is fulfilled as this amount of steel is not going to wobble. If I would weld all the parts together it would be a pain in the neck to carry this monster to the second floor. So I clamp the short sides and the long side together and drill a 6.5 mm hole through both parts.
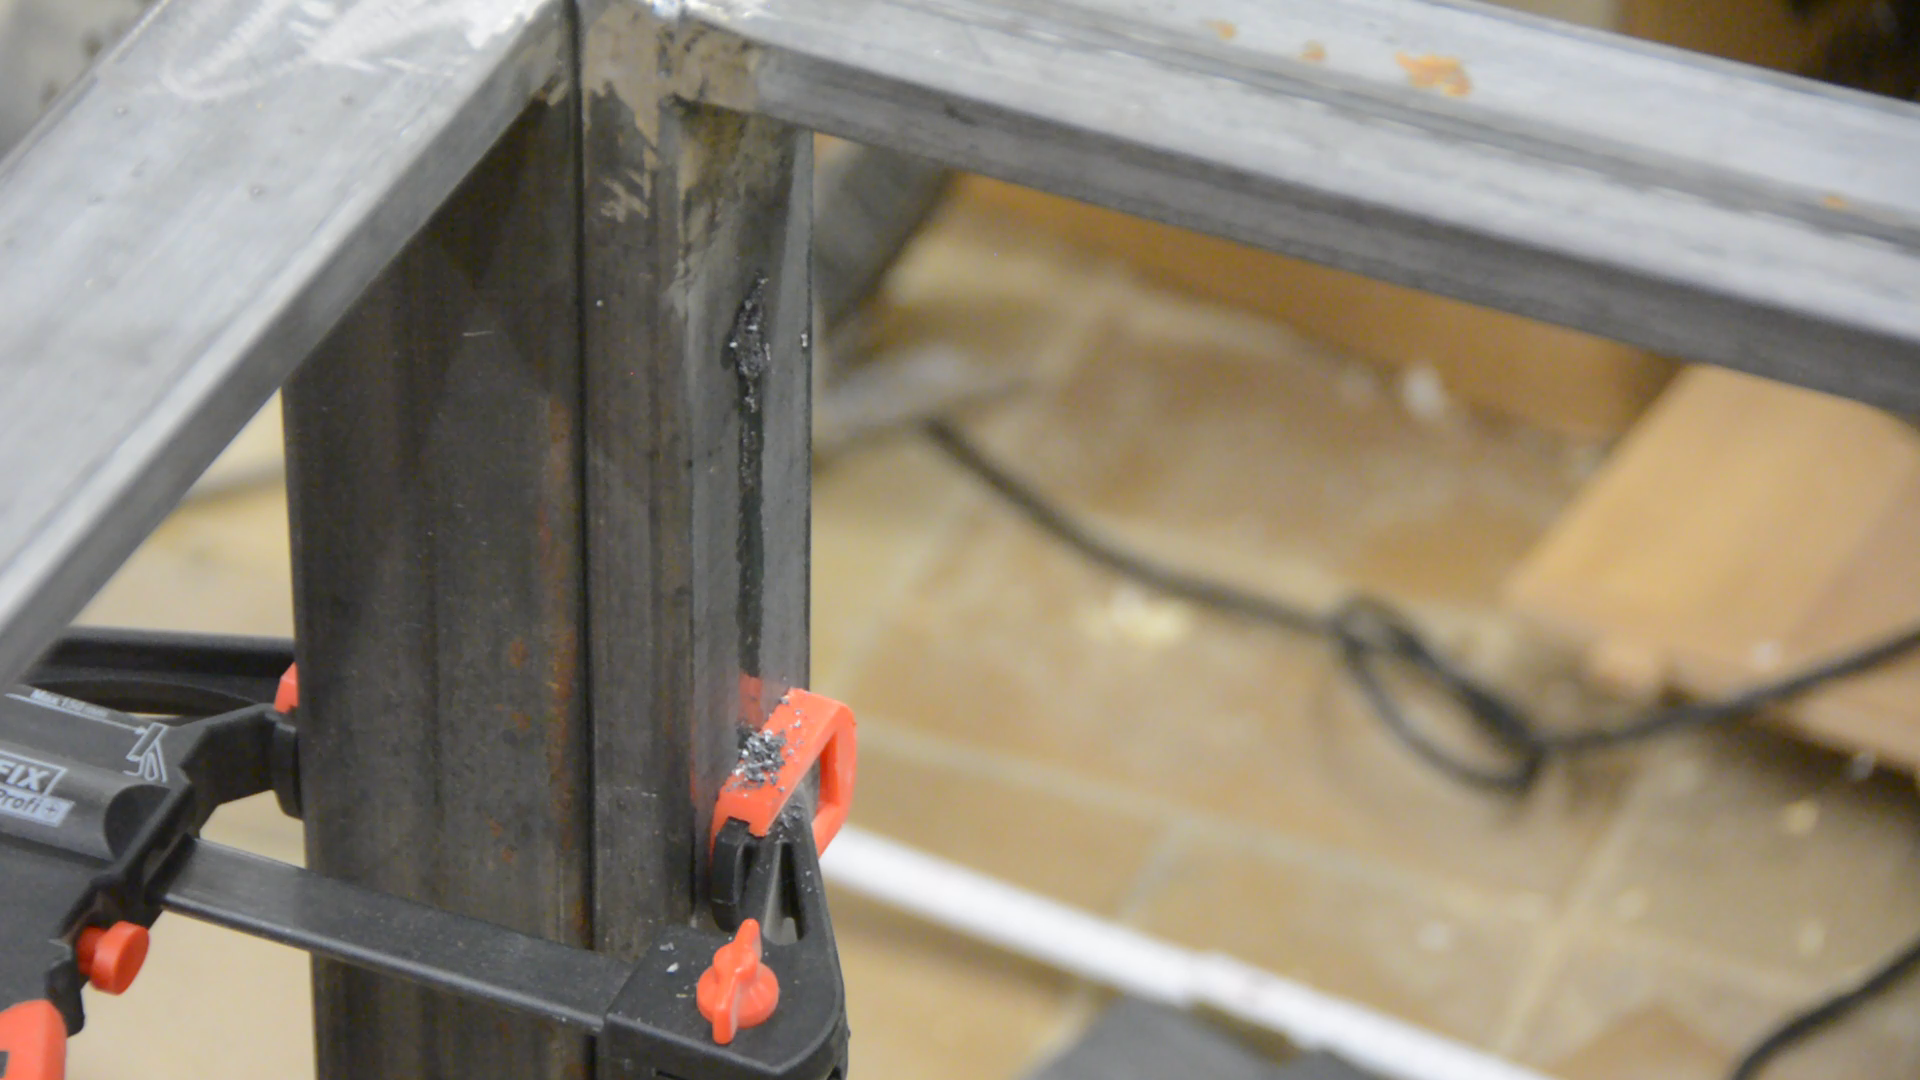
The hole in the long part is first extended to 8.5 mm. … … and then one side of the steel tube is enlarged to make room for the head of a M8 machine screw.

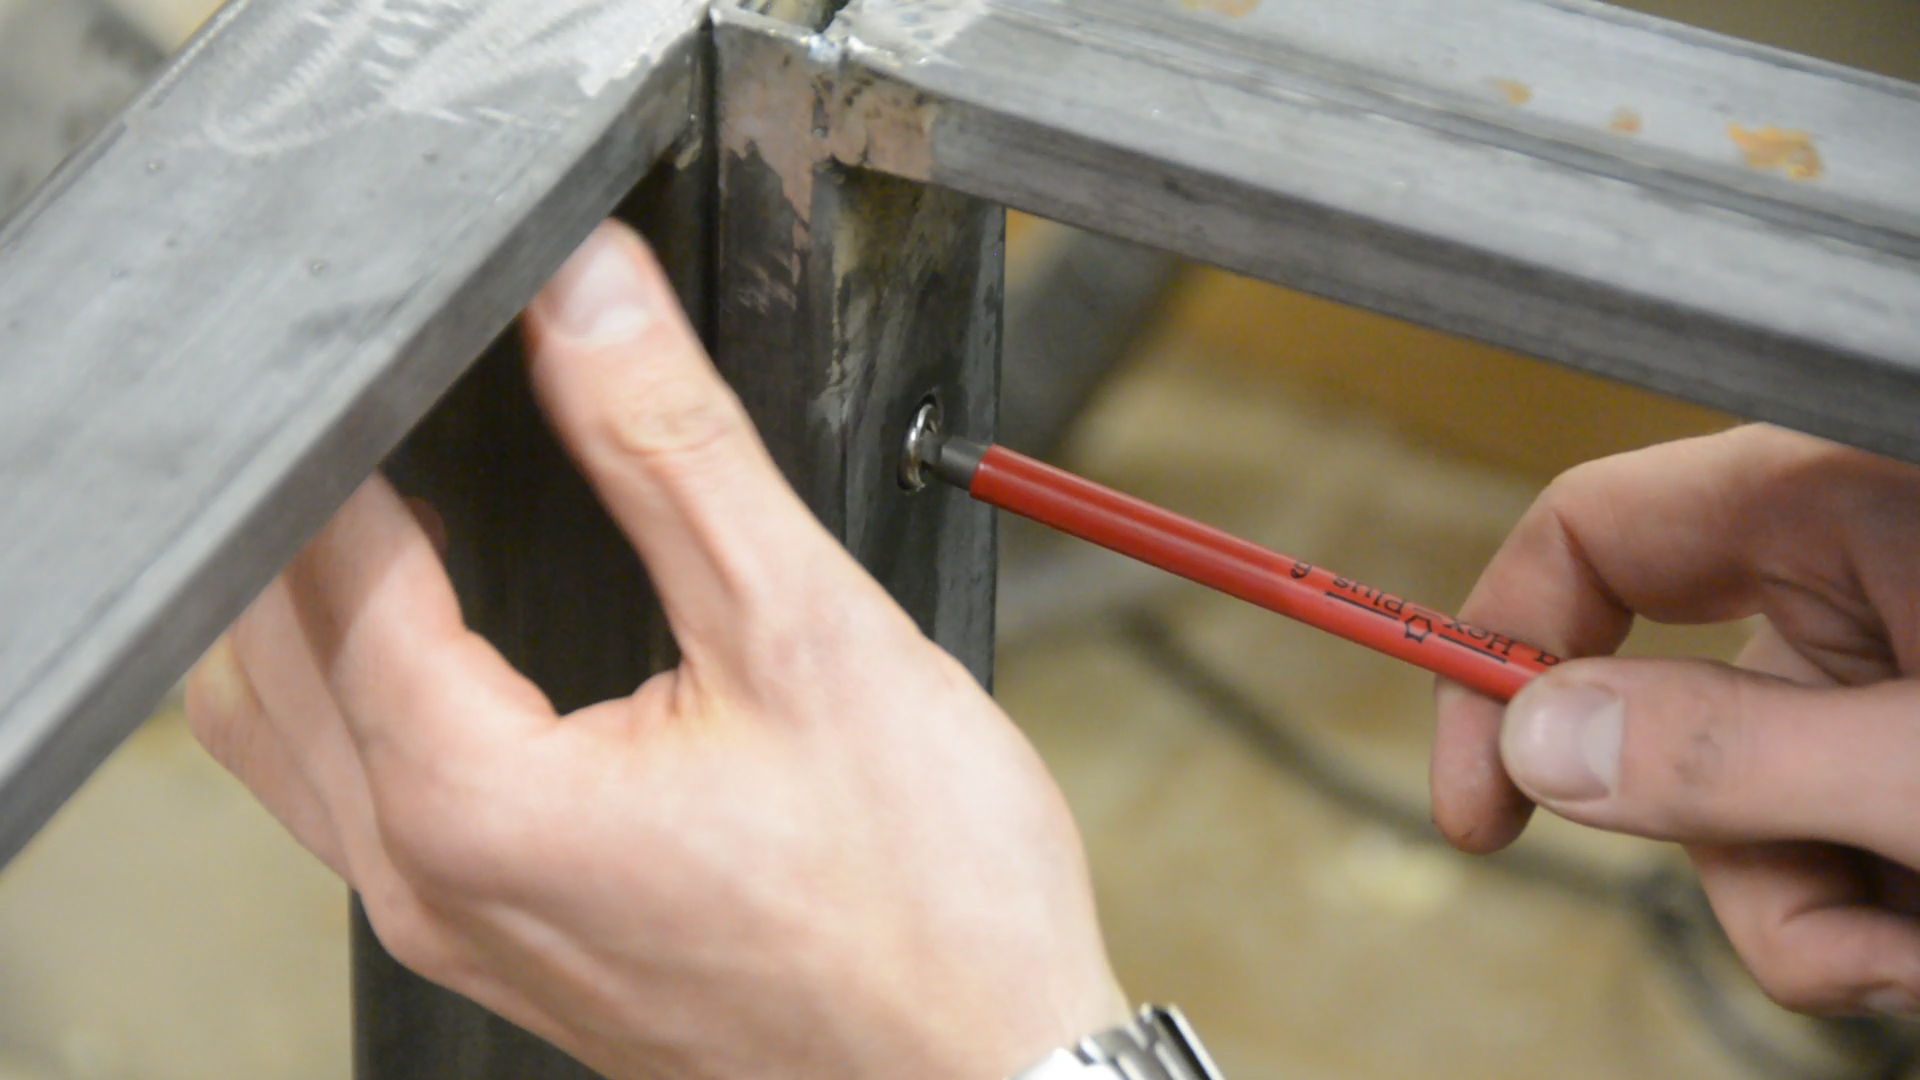
The holes in the short parts are tapped and with that the table base can be temporarily assembled.
Mounting four monitors
All the things that I don’t want to sit on the table surface will be attached to this central post. As it’s going to carry some load I am welding it directly to the table base.
I have another steel tube that fits perfectly over the one I just welded to the base. It has a little bit of play to both sides that we will later use for a fine adjustment option. I am cutting the steel tube that later holds the monitors with the angle grinder so that it can be bent in a slight angle.

The part is then mounted with scrap wood in the correct position and welded to the steel tube sleeve.
After welding the monitor arm to the sleeve I cut the ends flush with the table base.
Two monitors done – two more to go. For these I start by cutting a second steel tube to the exact same length and bend it to the same angle as the first one.
The second tube is welded in place following the same approach as for the first one.
Small holes in the sides of the sleeves are tapped and allow for levelling of the monitors.
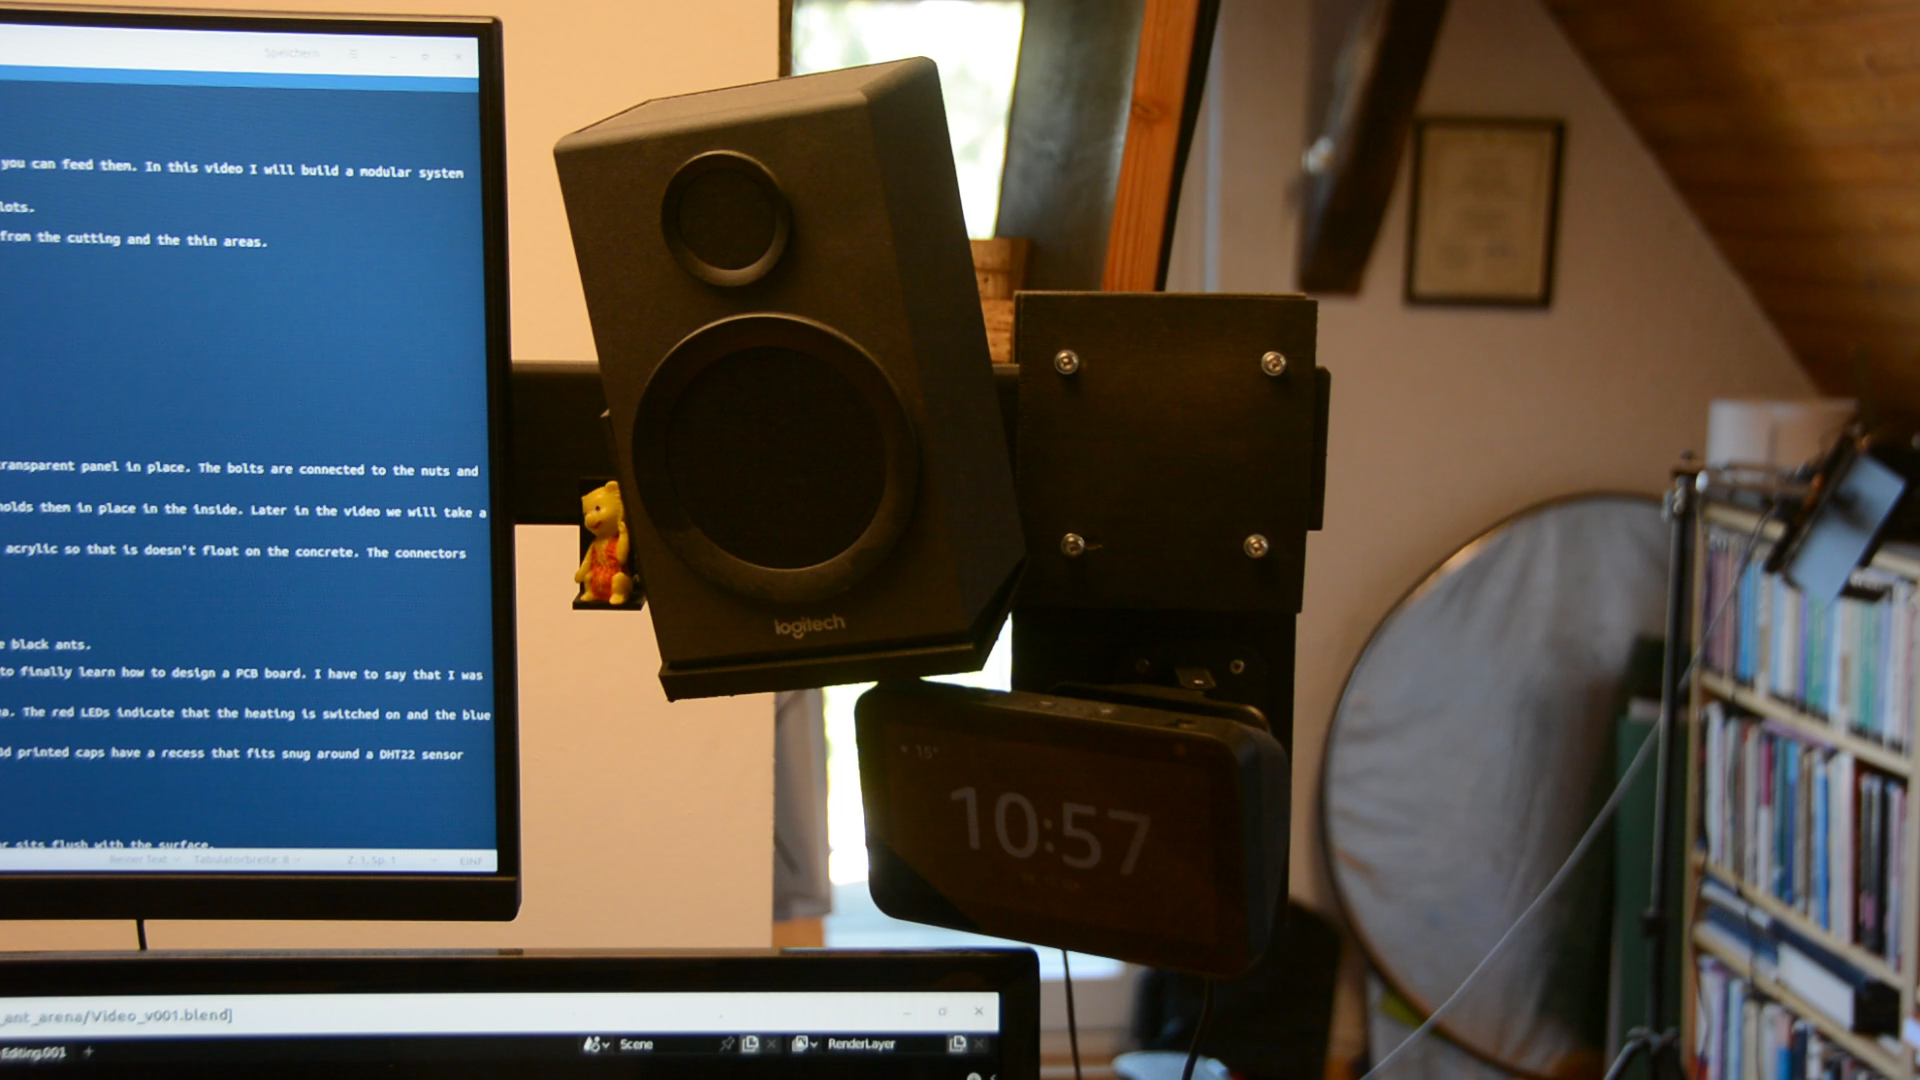
We will later see that these arms do not only hold the monitors but are also a great place to mount a variety of other things.
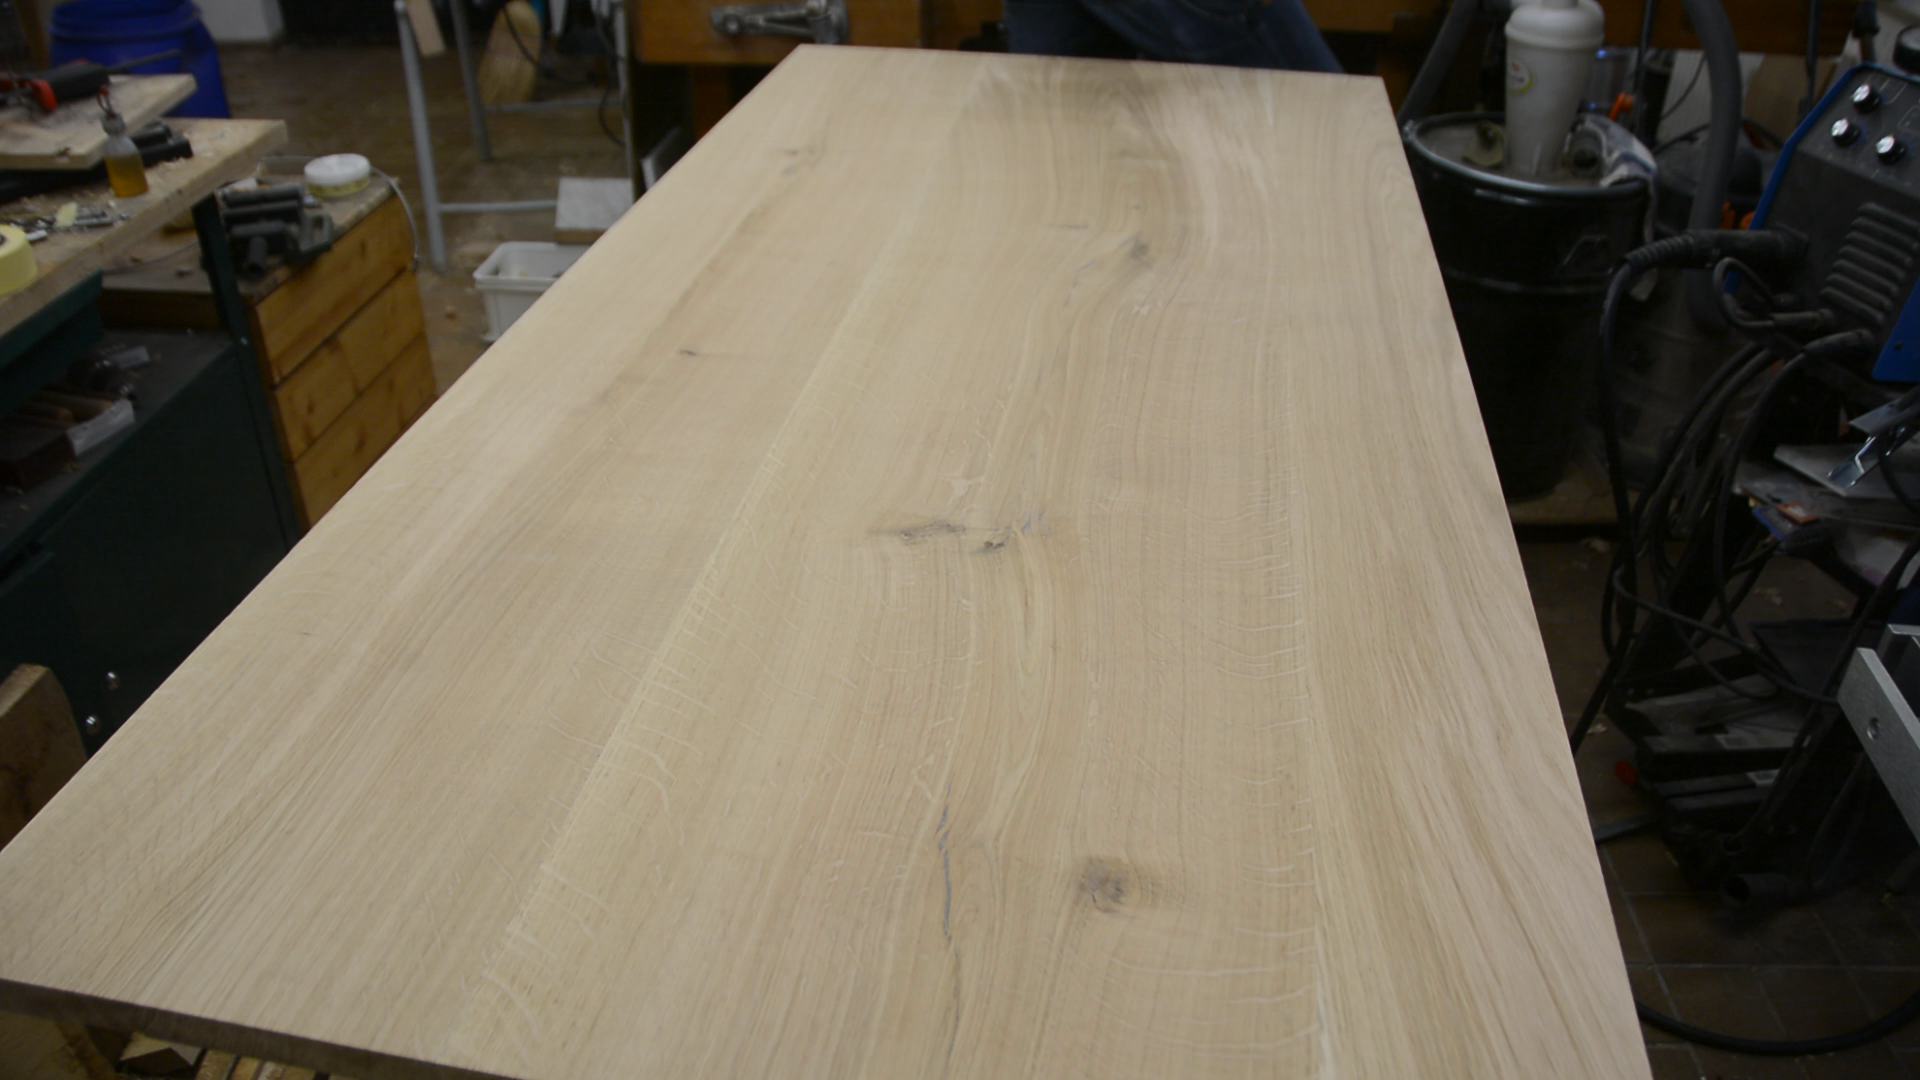
Creating the table top from oak
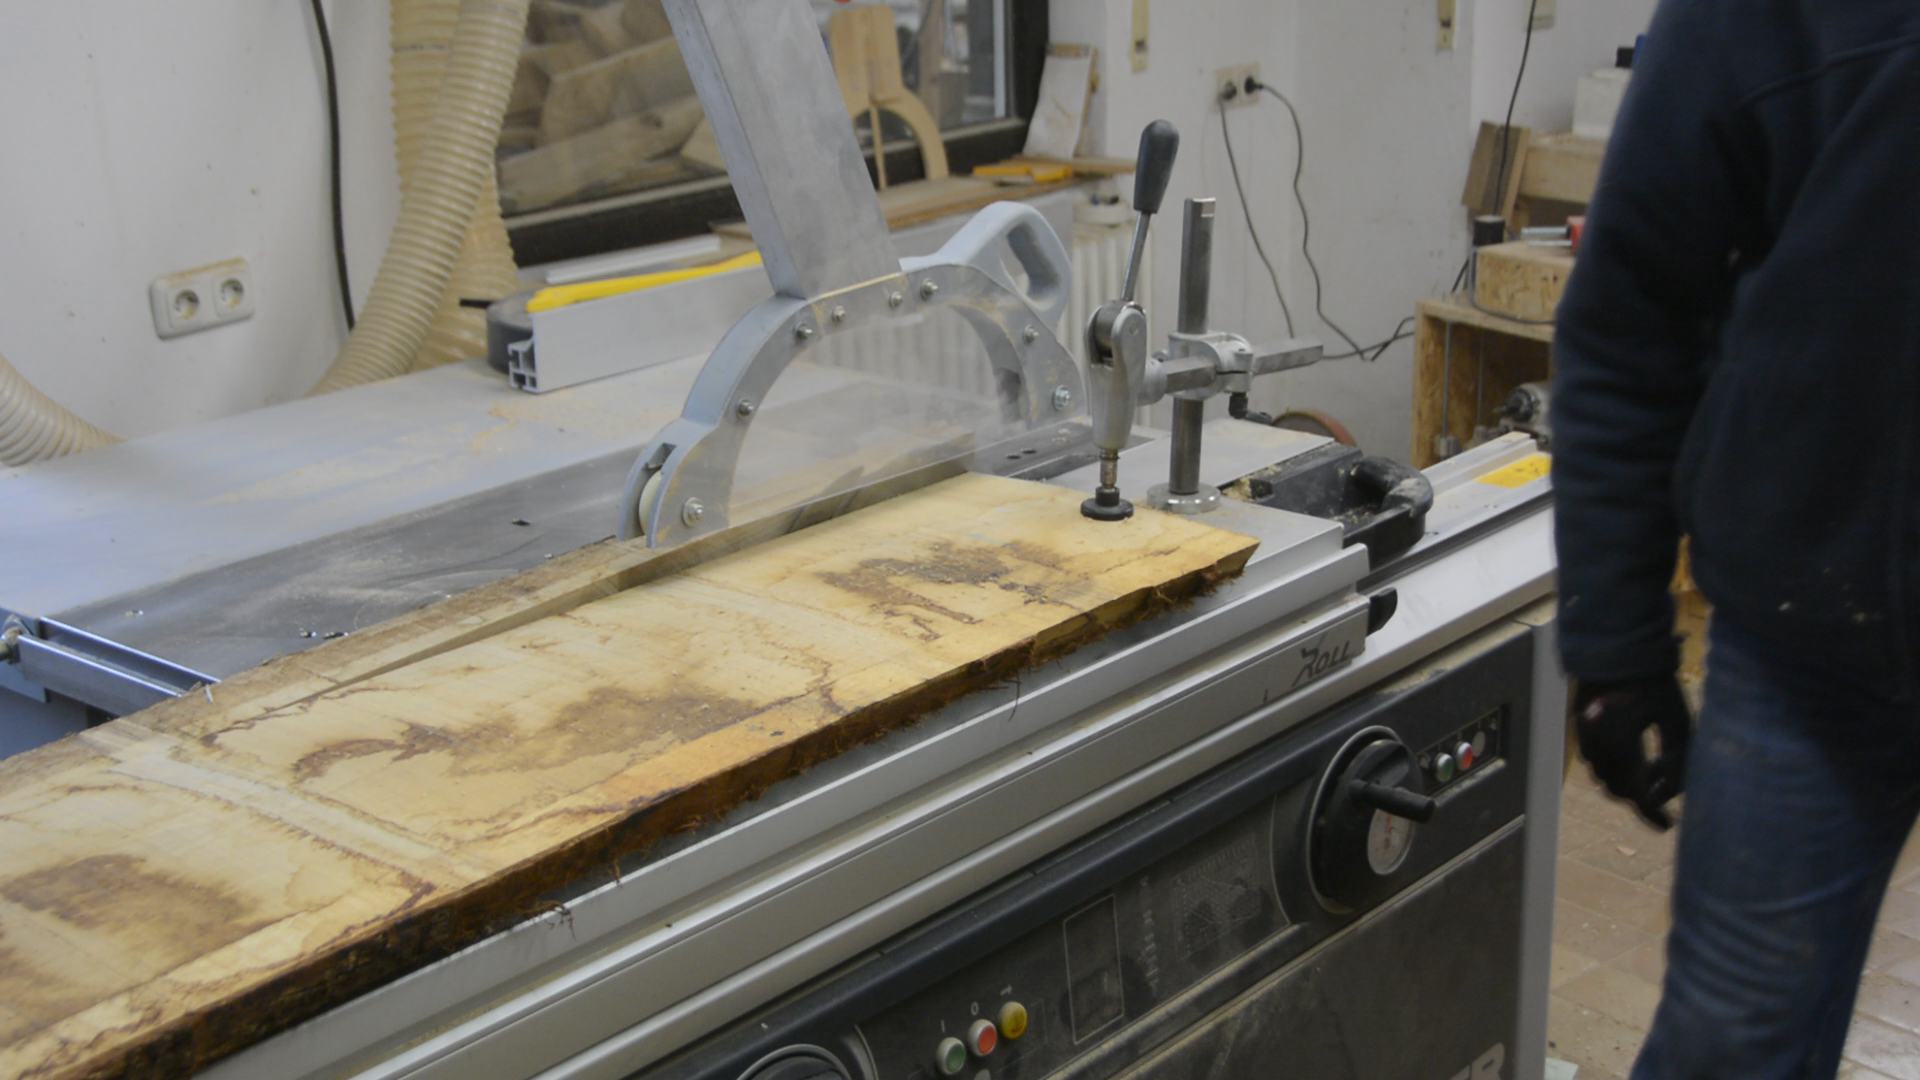
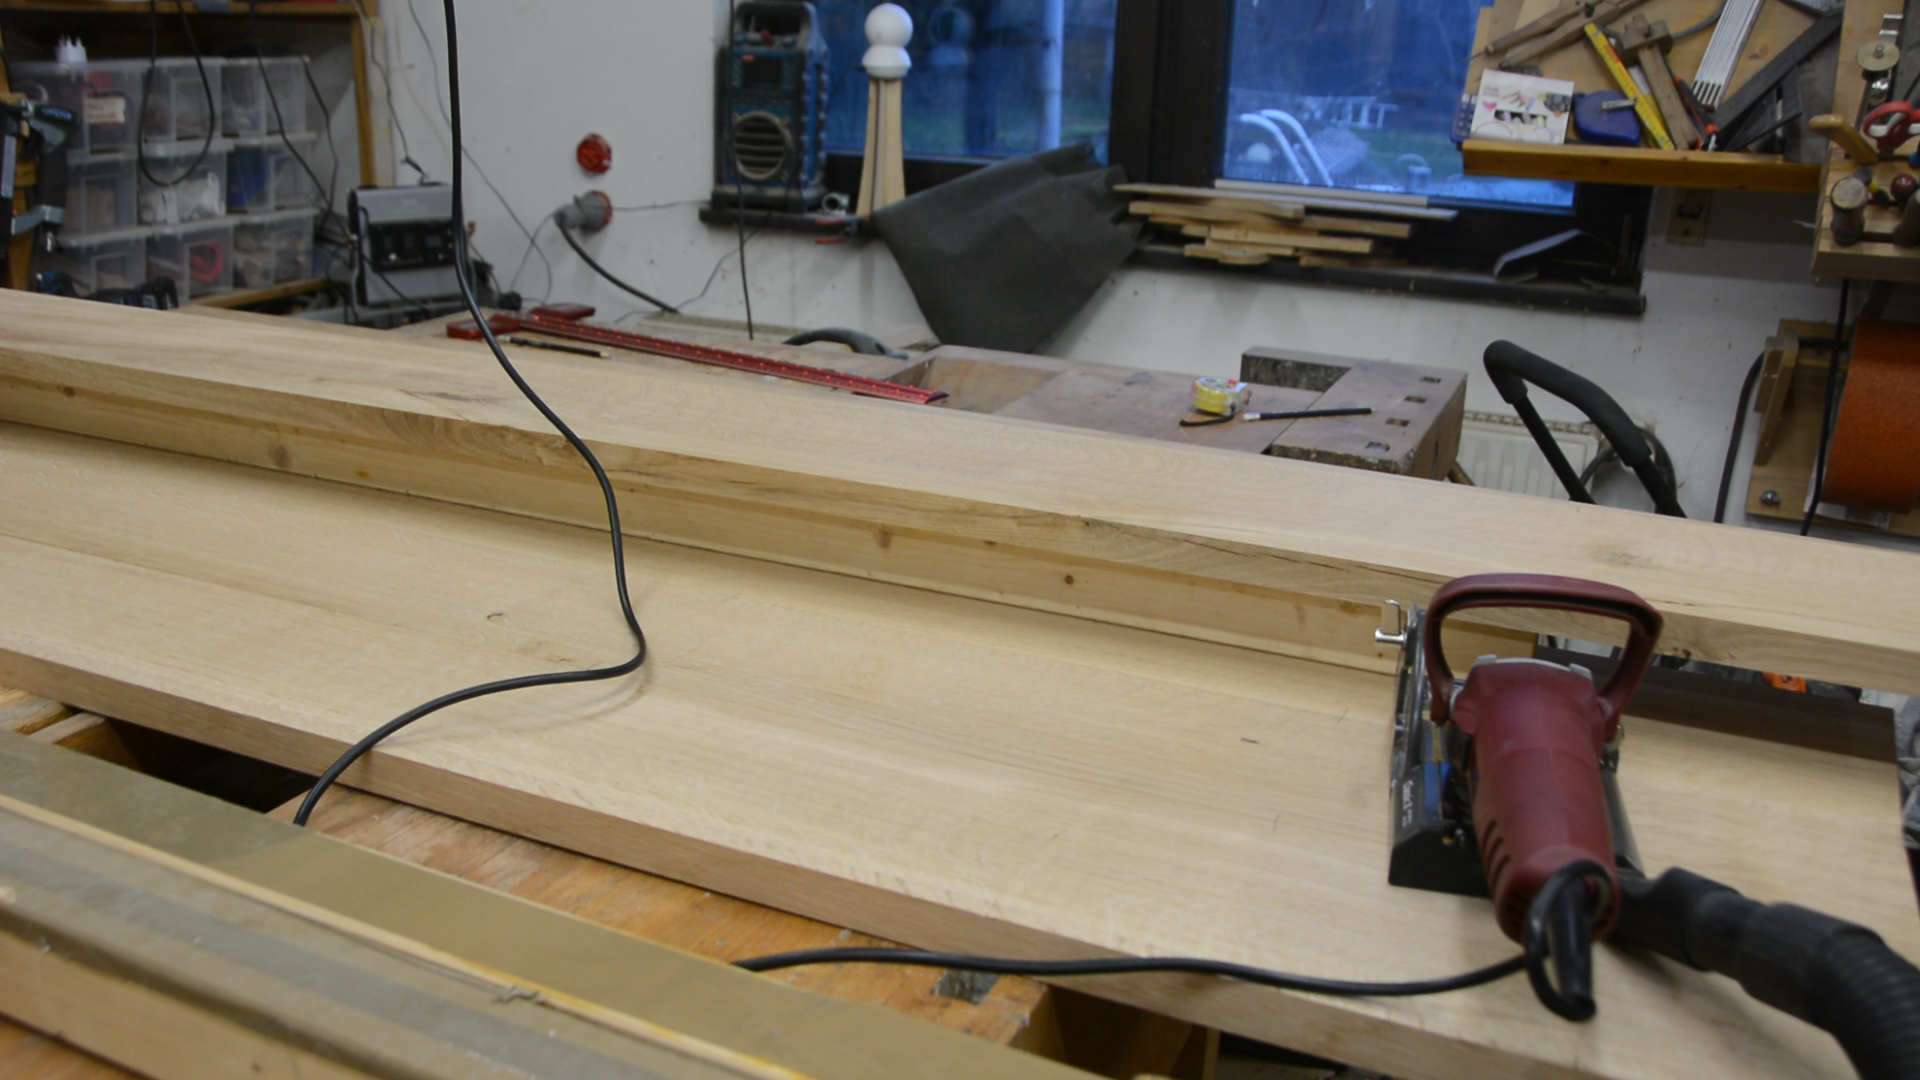
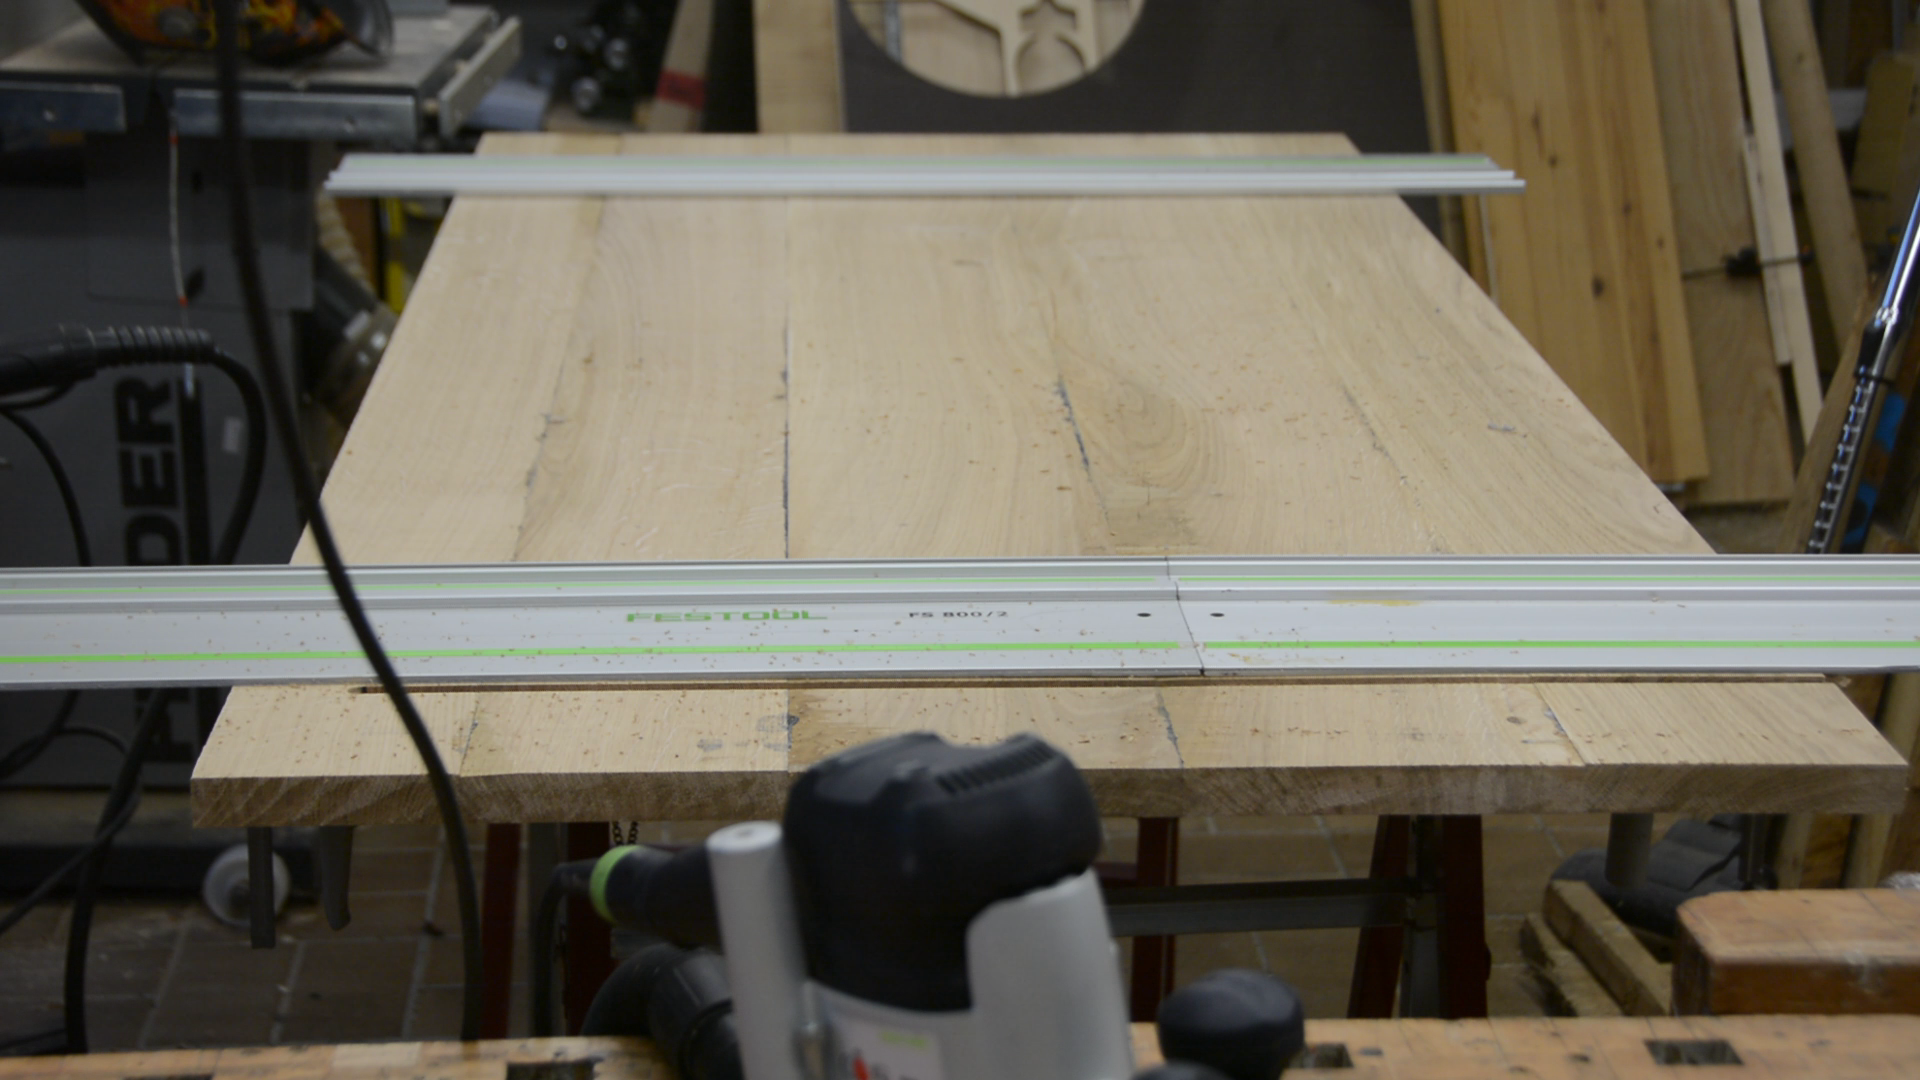
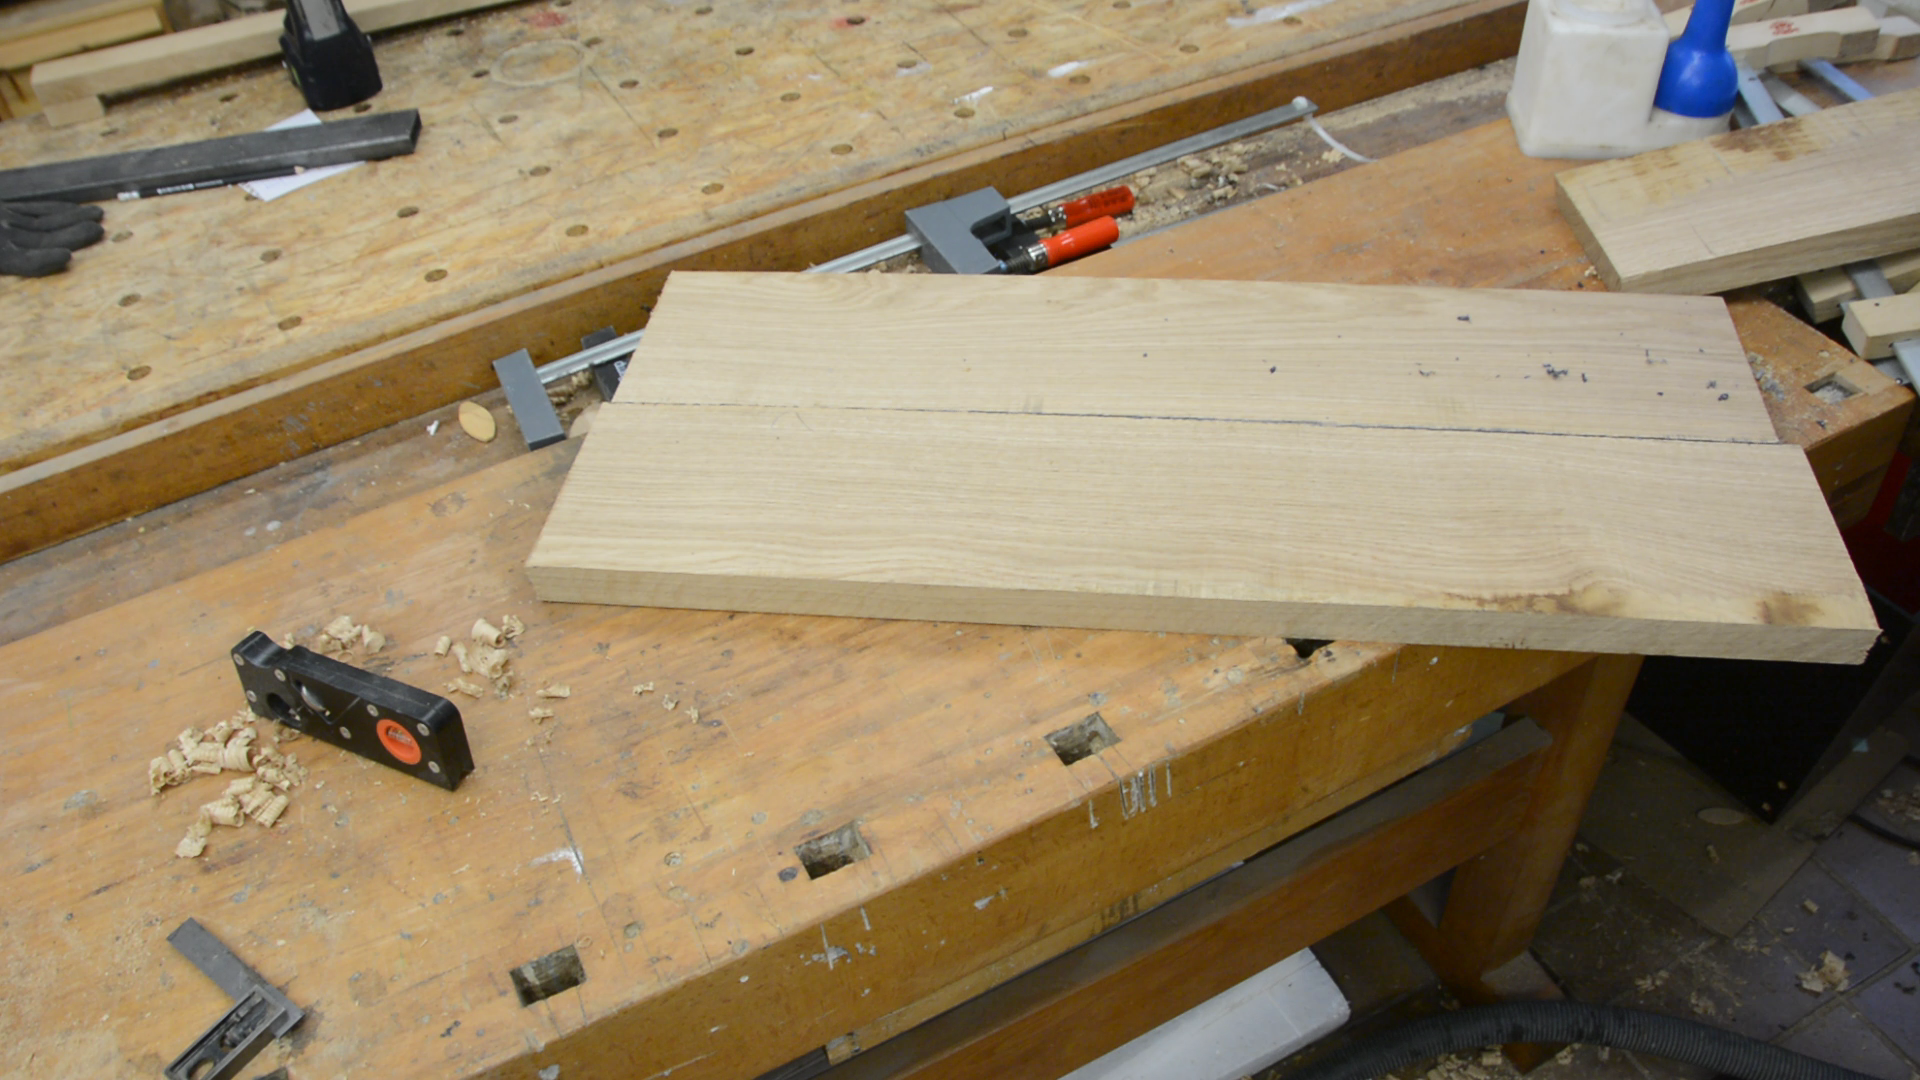
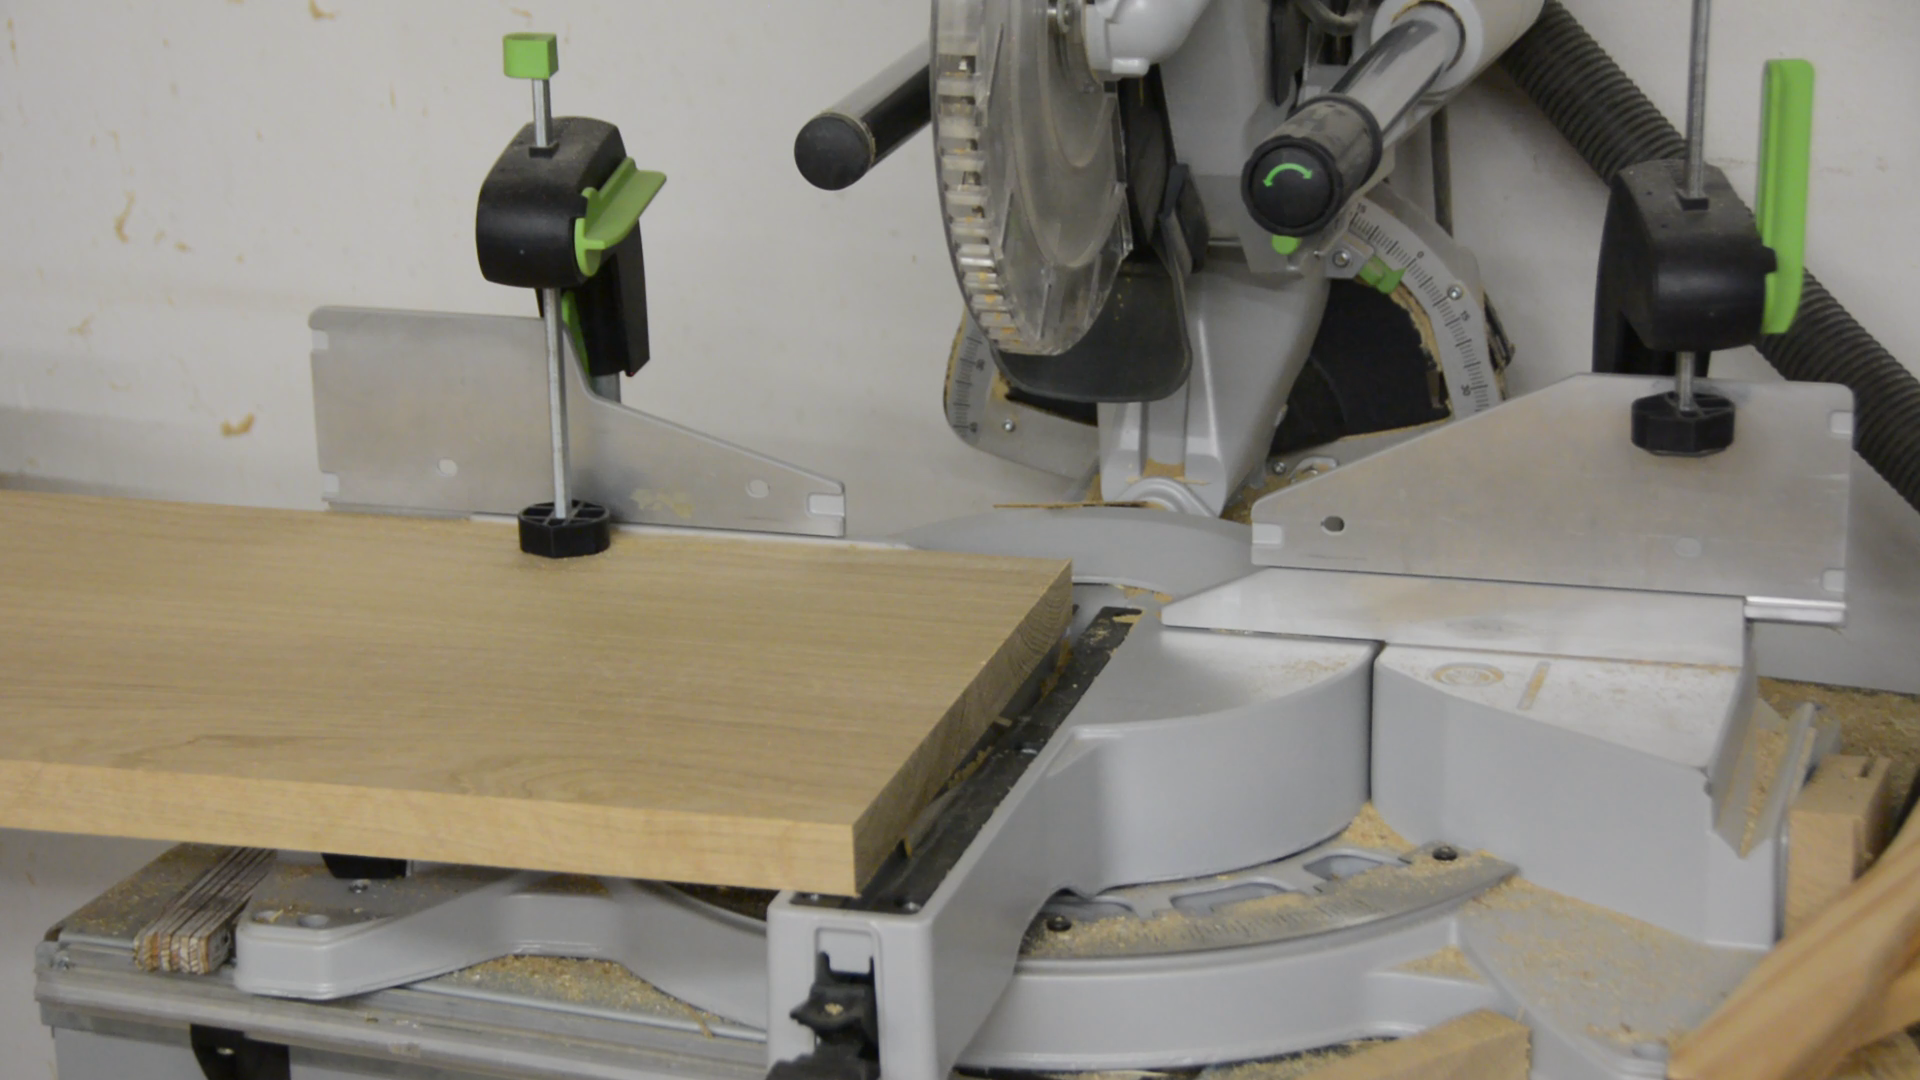
The table top is made from these oak boards that I first cut to a more manageable size.
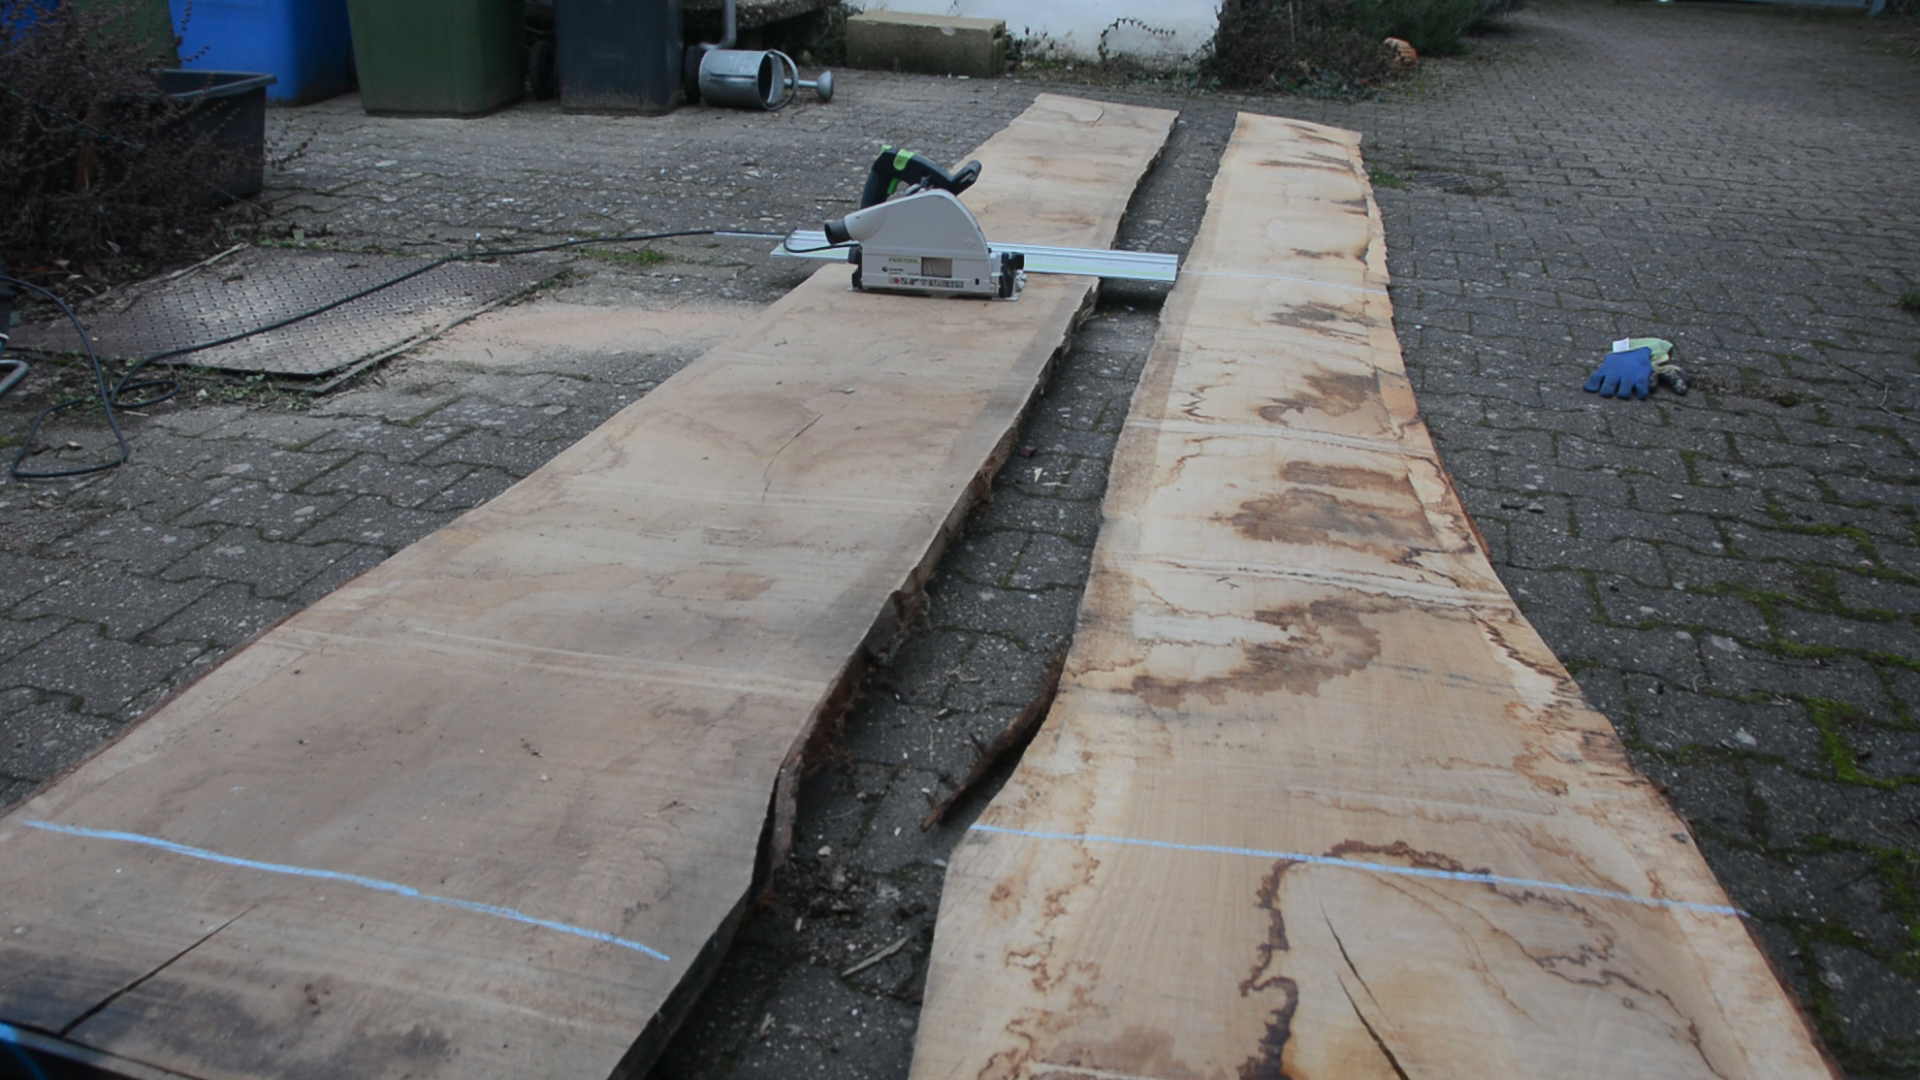
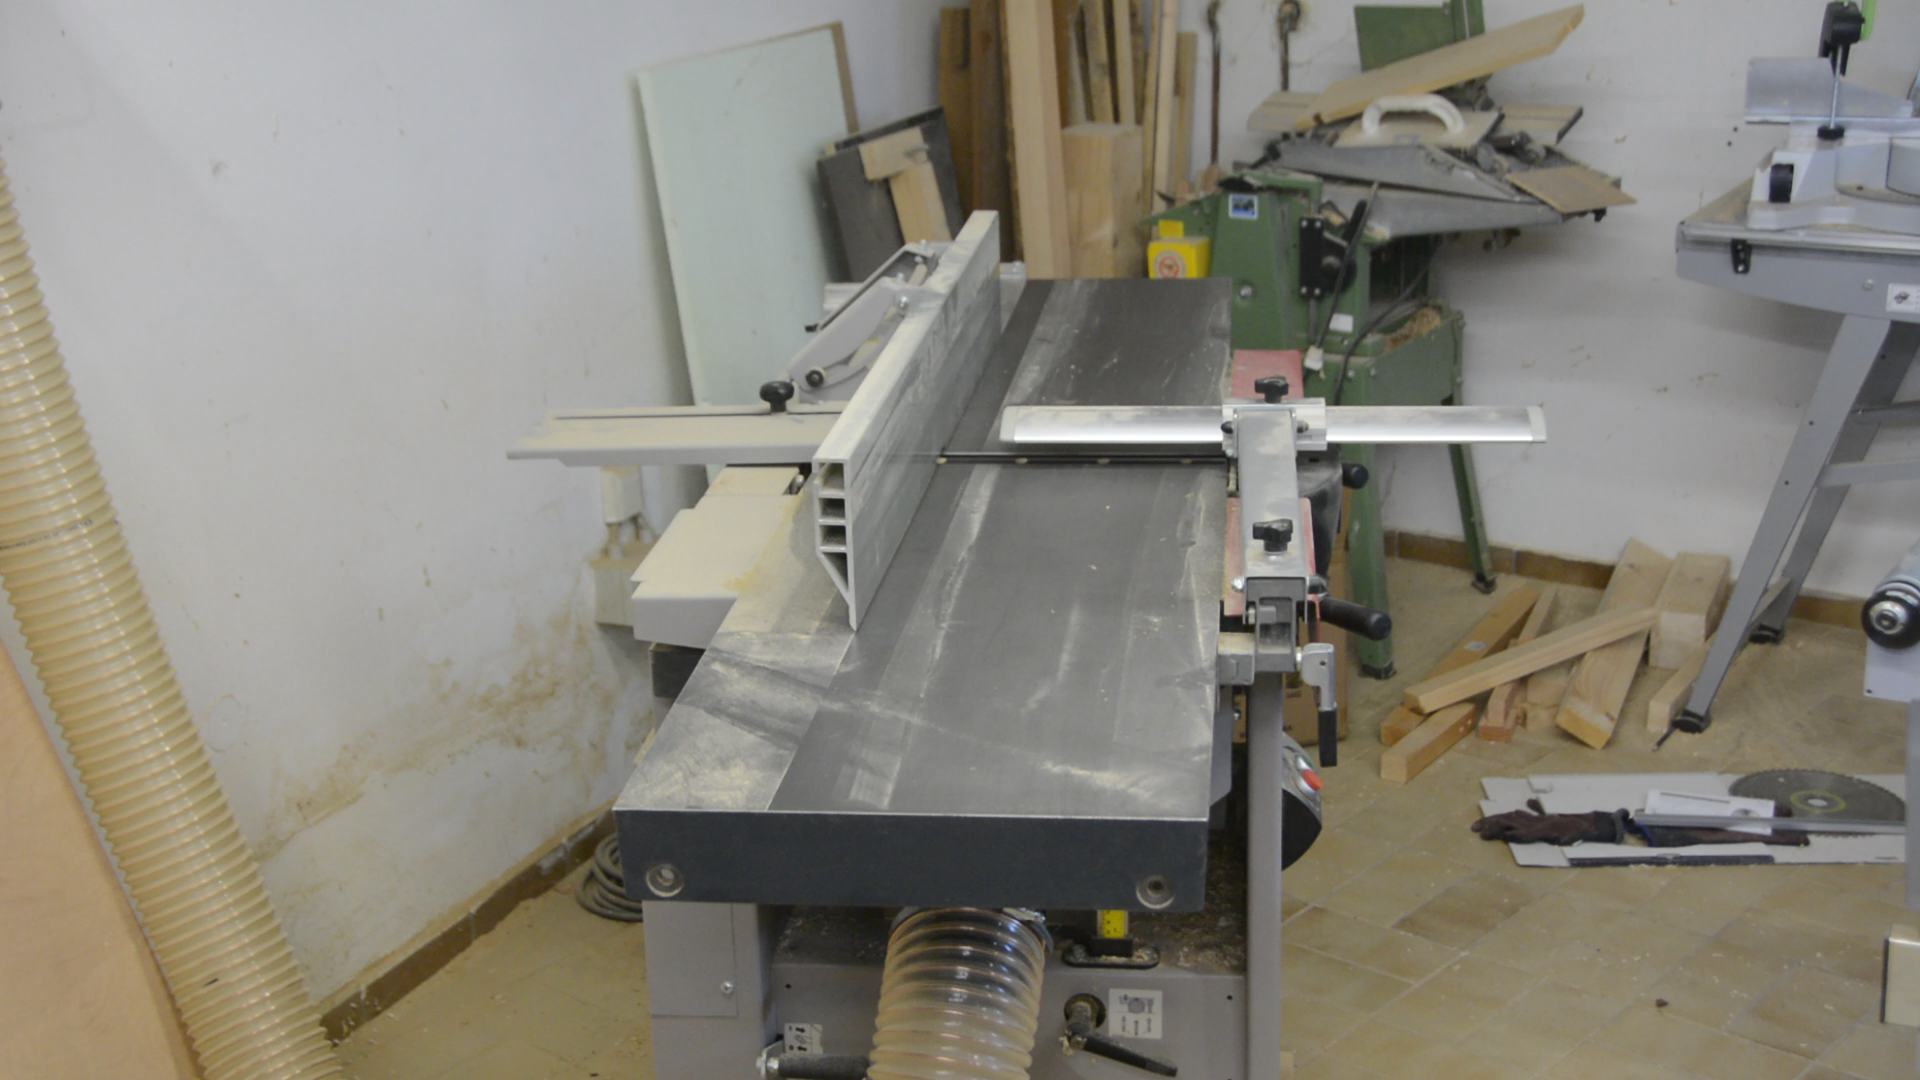
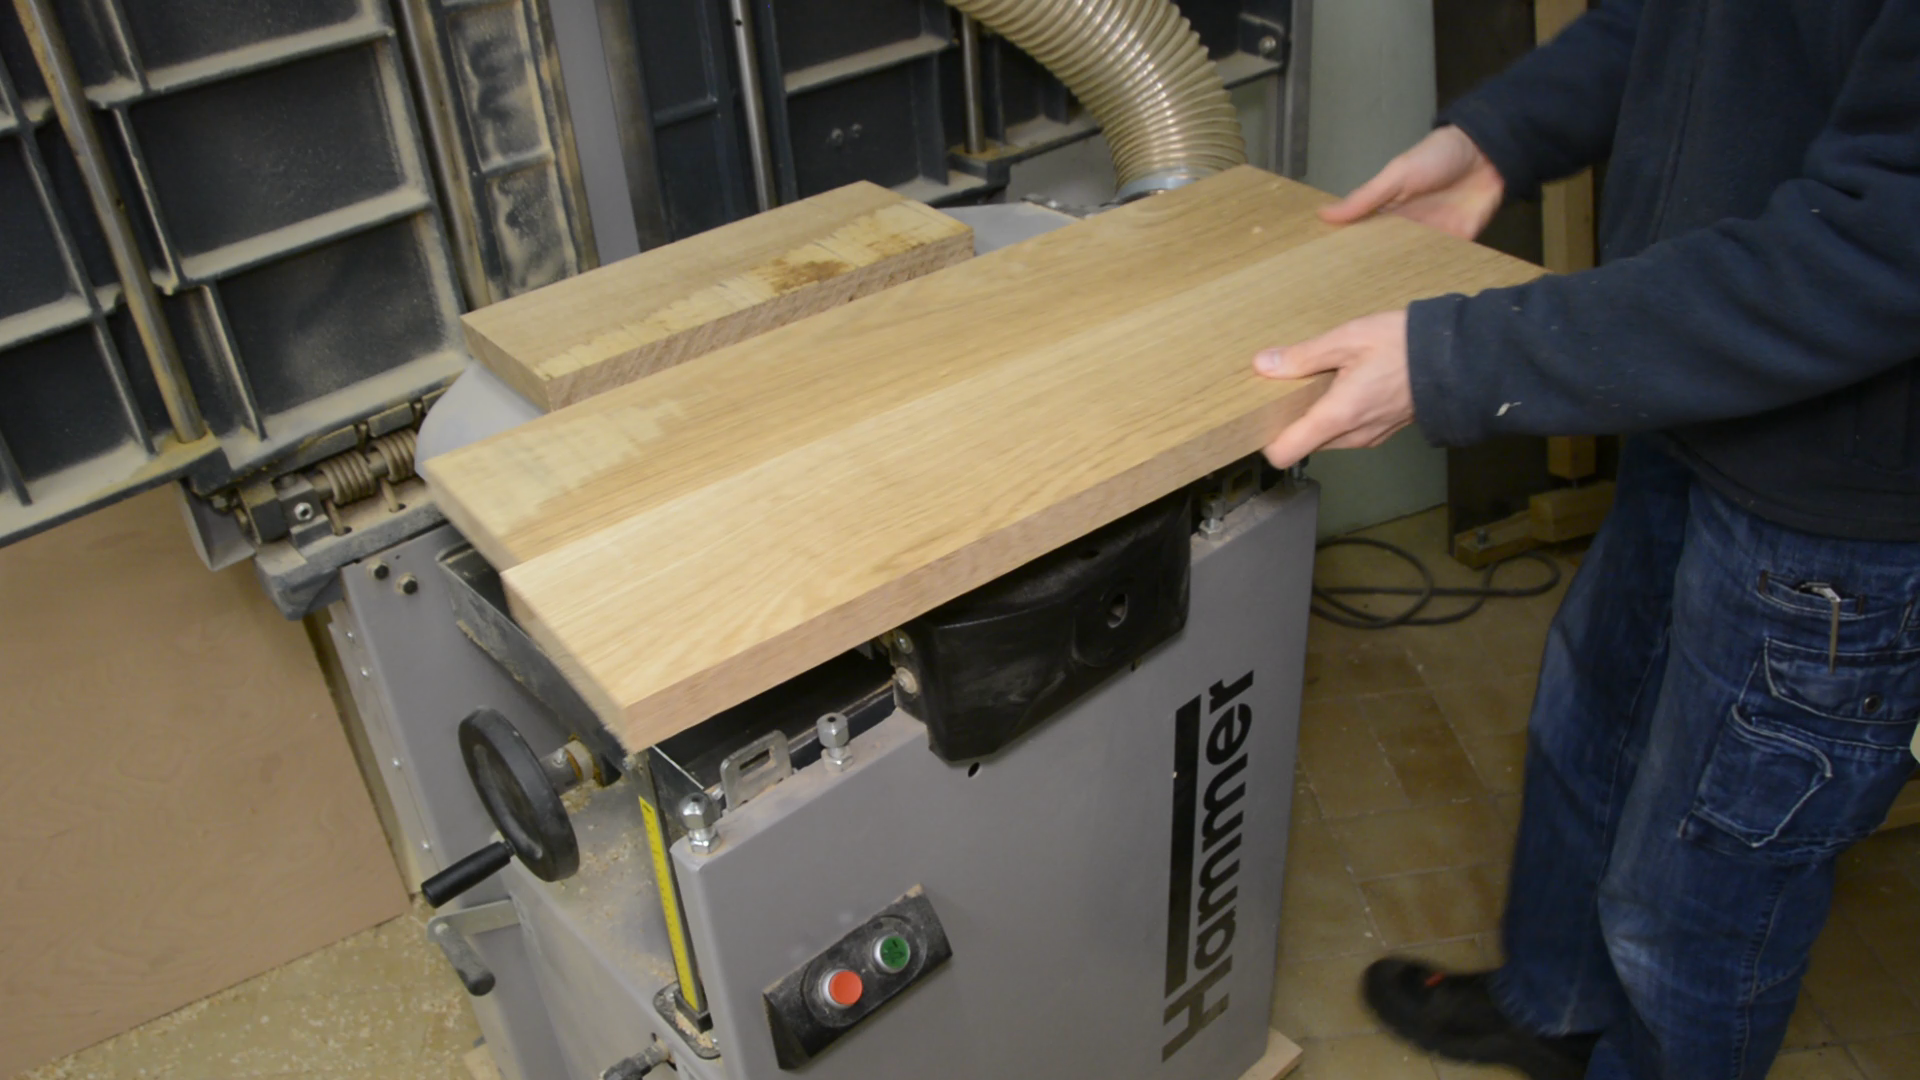
I am milling and cutting the oak boards in a way that I can make the table top from as few boards as possible.
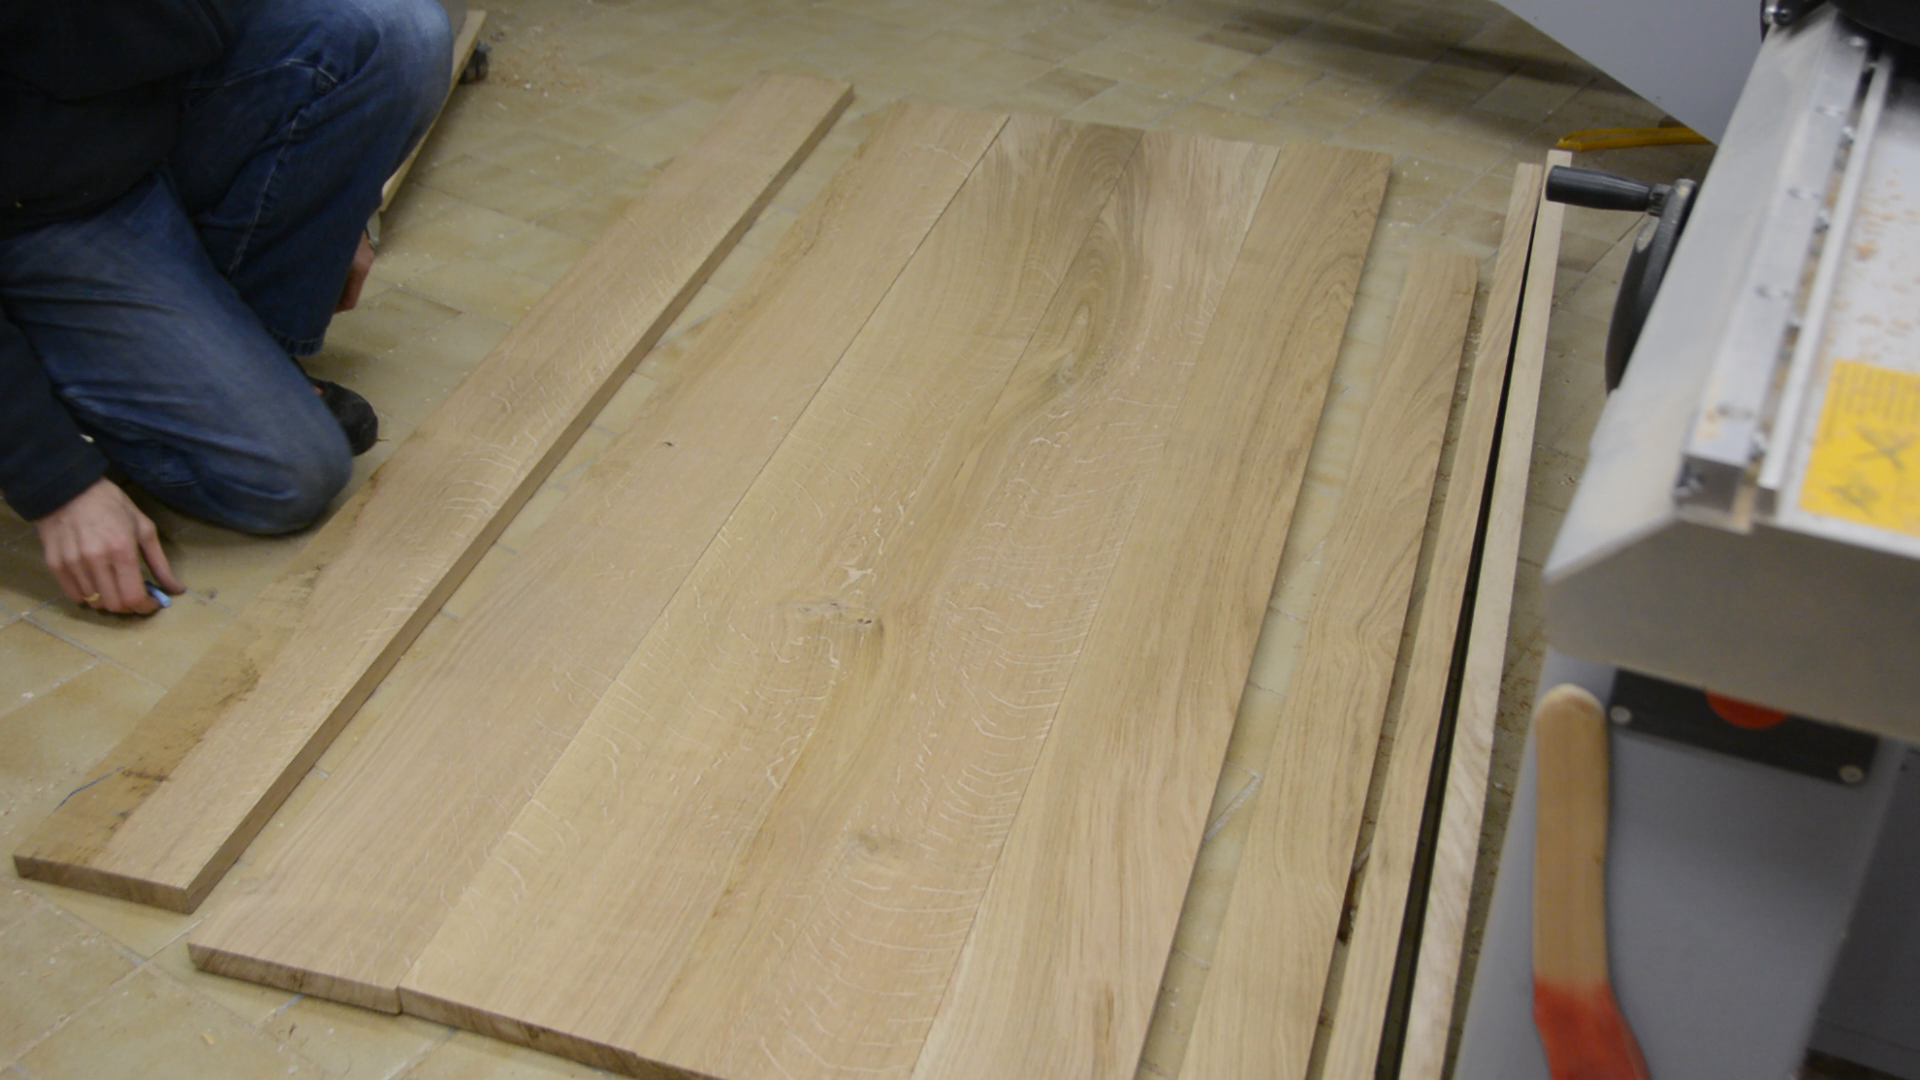
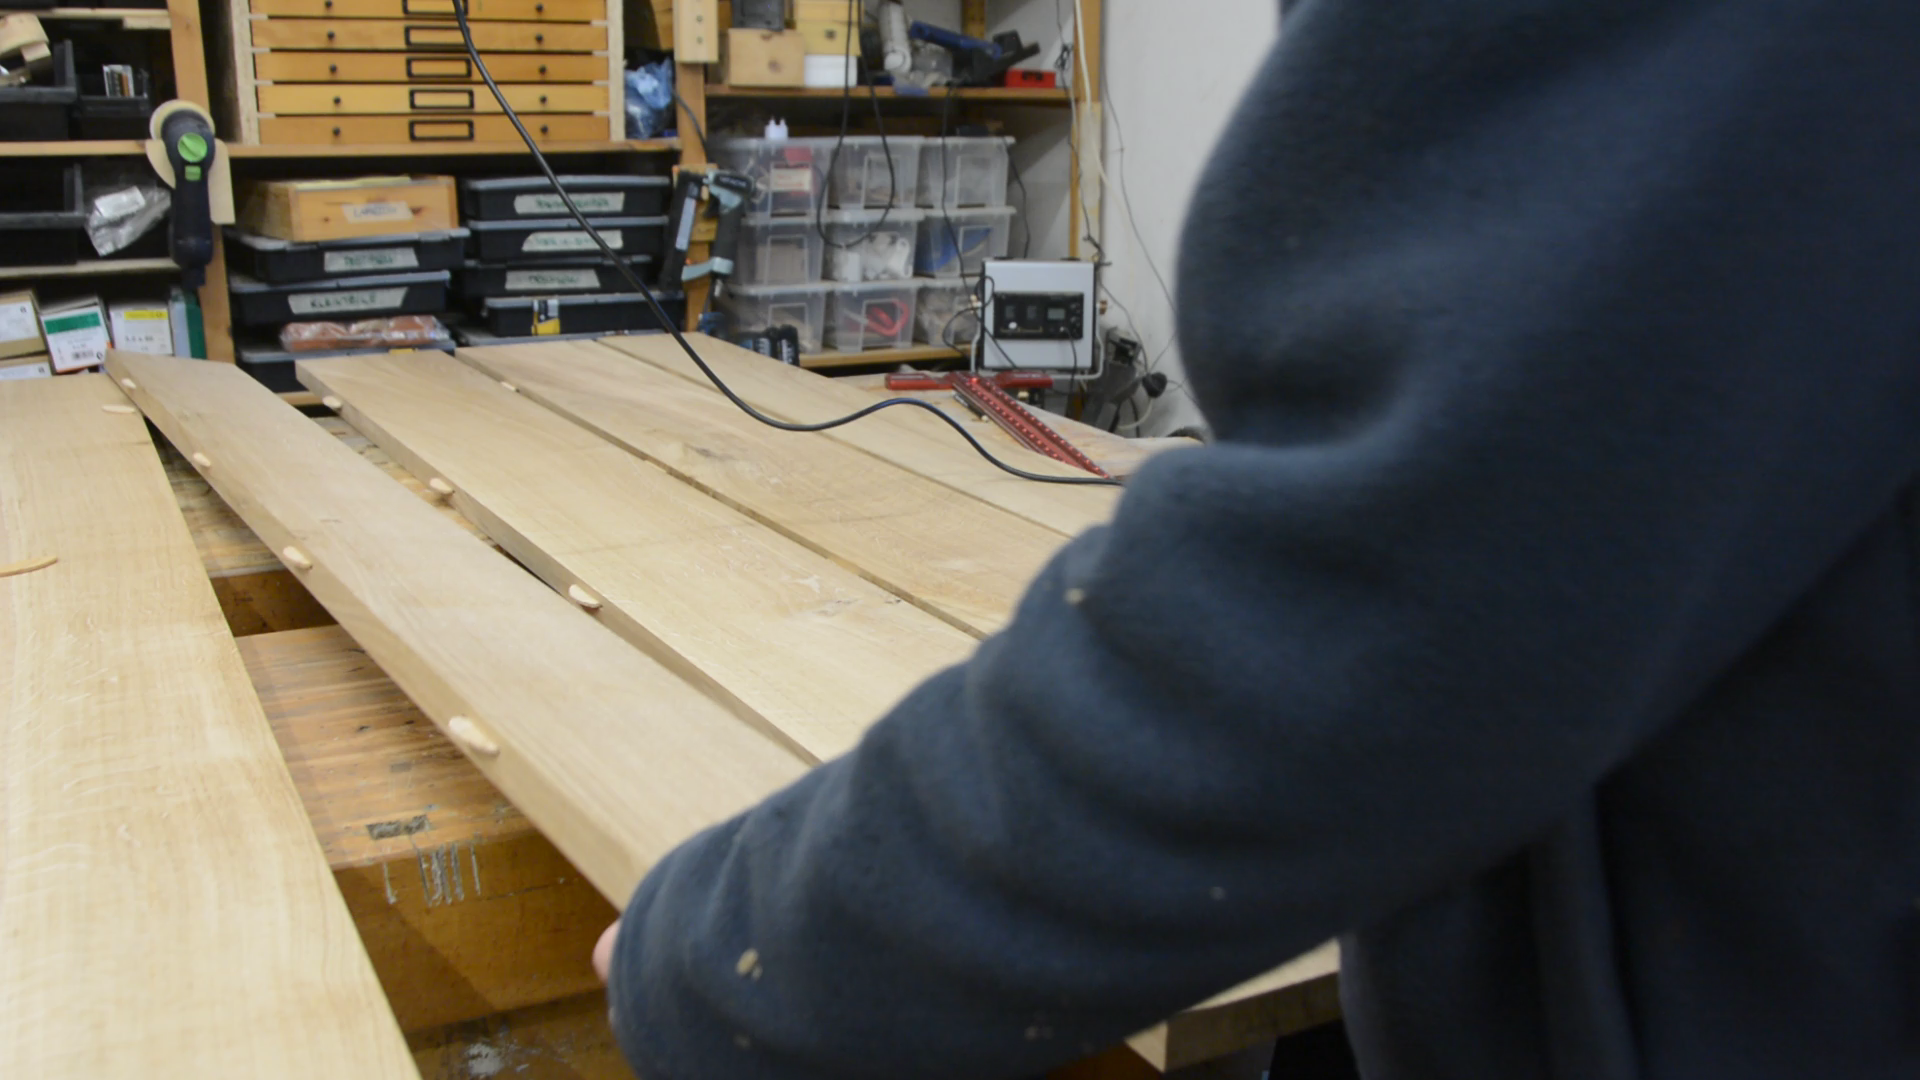
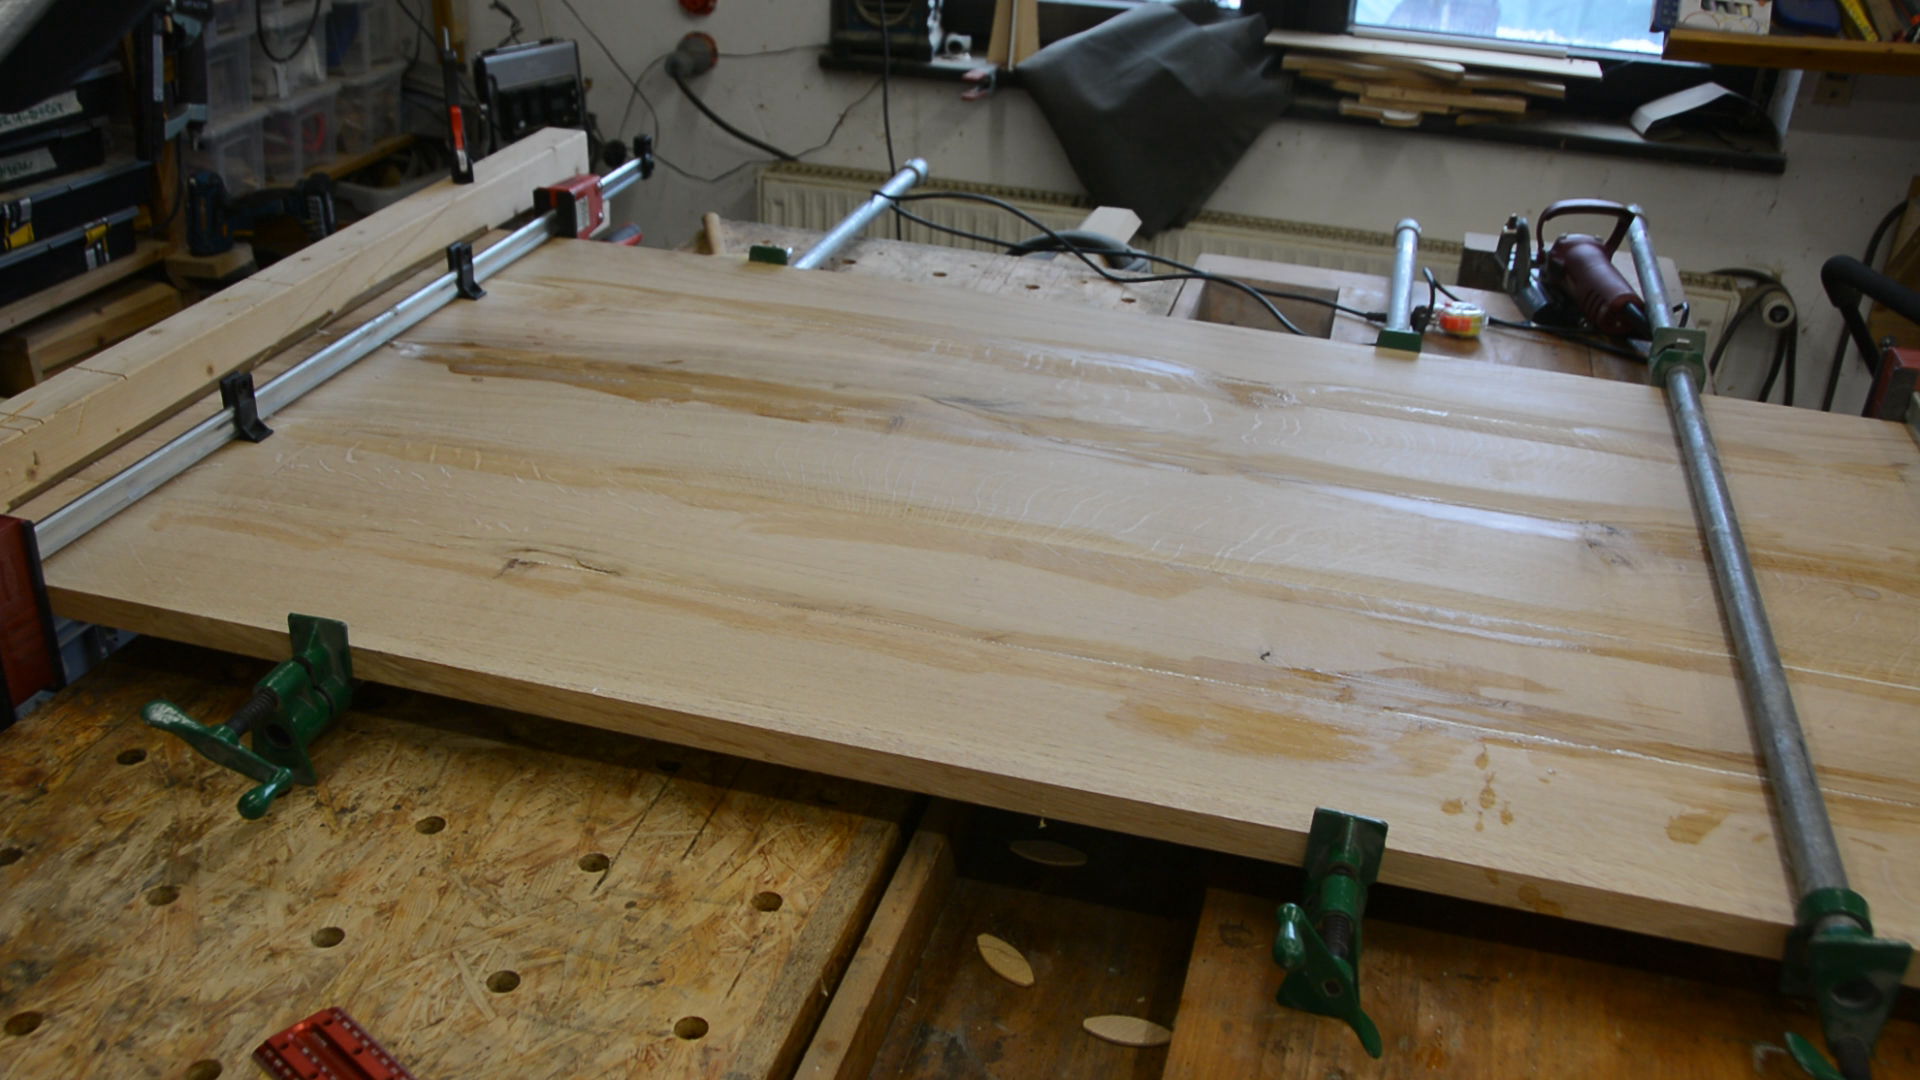
A few biscuits help to align the boards for the glue up.
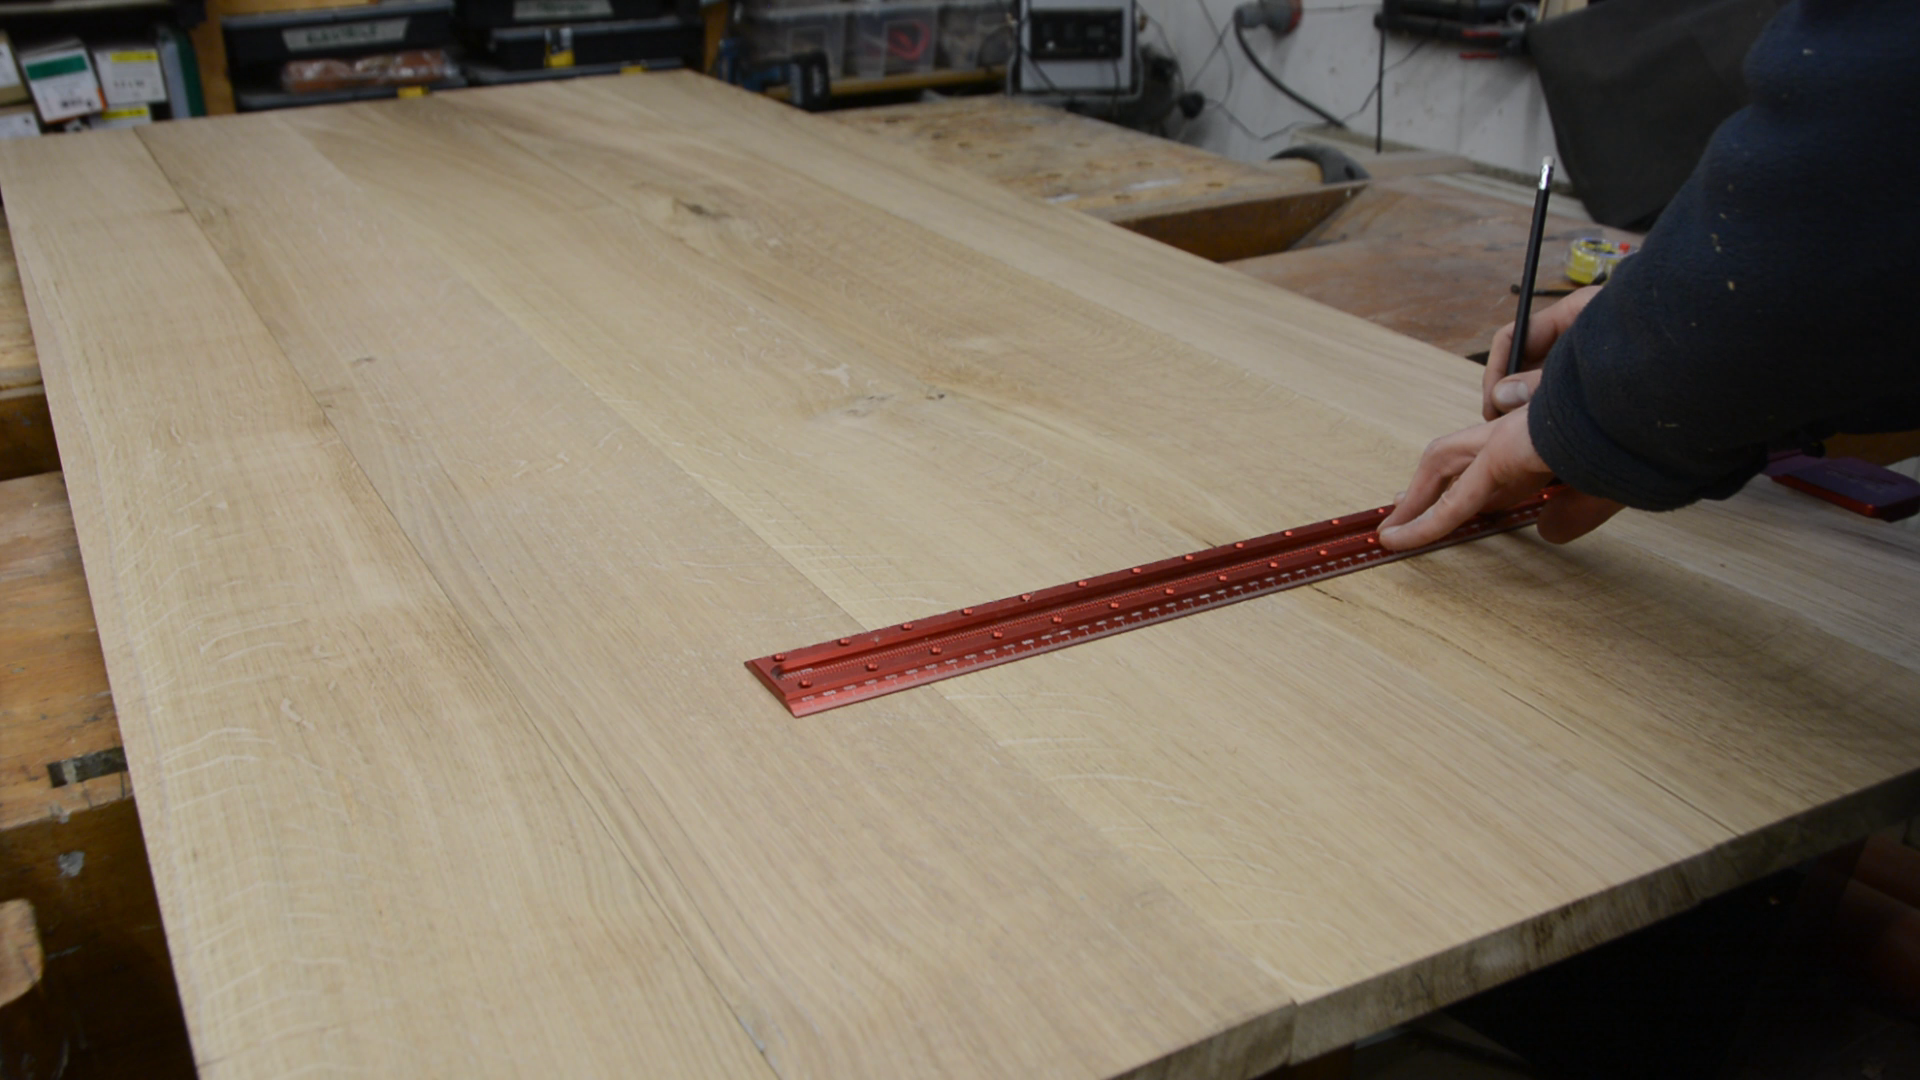
The table top is then cut to its final size and the few gaps are filled with epoxy and sawdust.
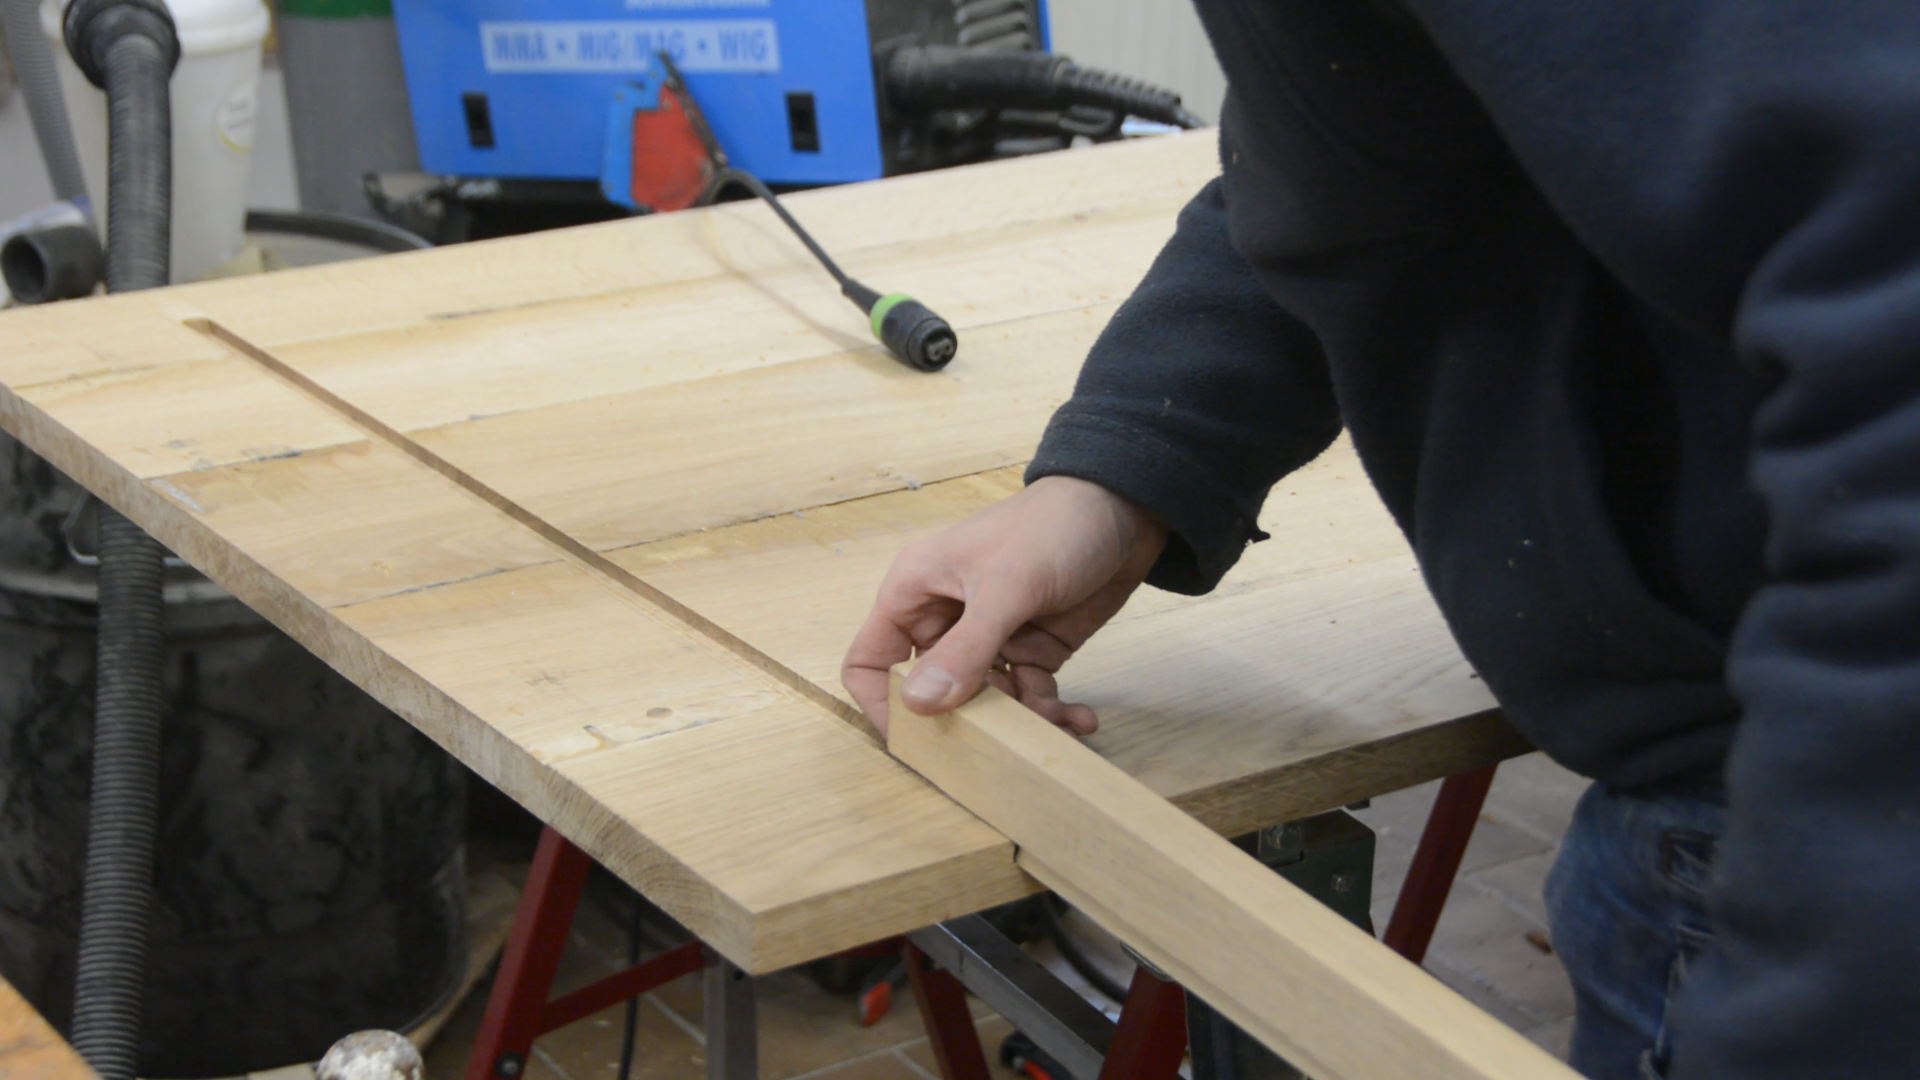
Sliding dovetails
With the wide boards the table top would certainly warp.
With the first pass I create a straight rabbet and then extend it with a second pass with the router to a dovetail shape. With several passes I fit the corresponding sliding dovetail so that it goes into the rabbet with a snug fit.
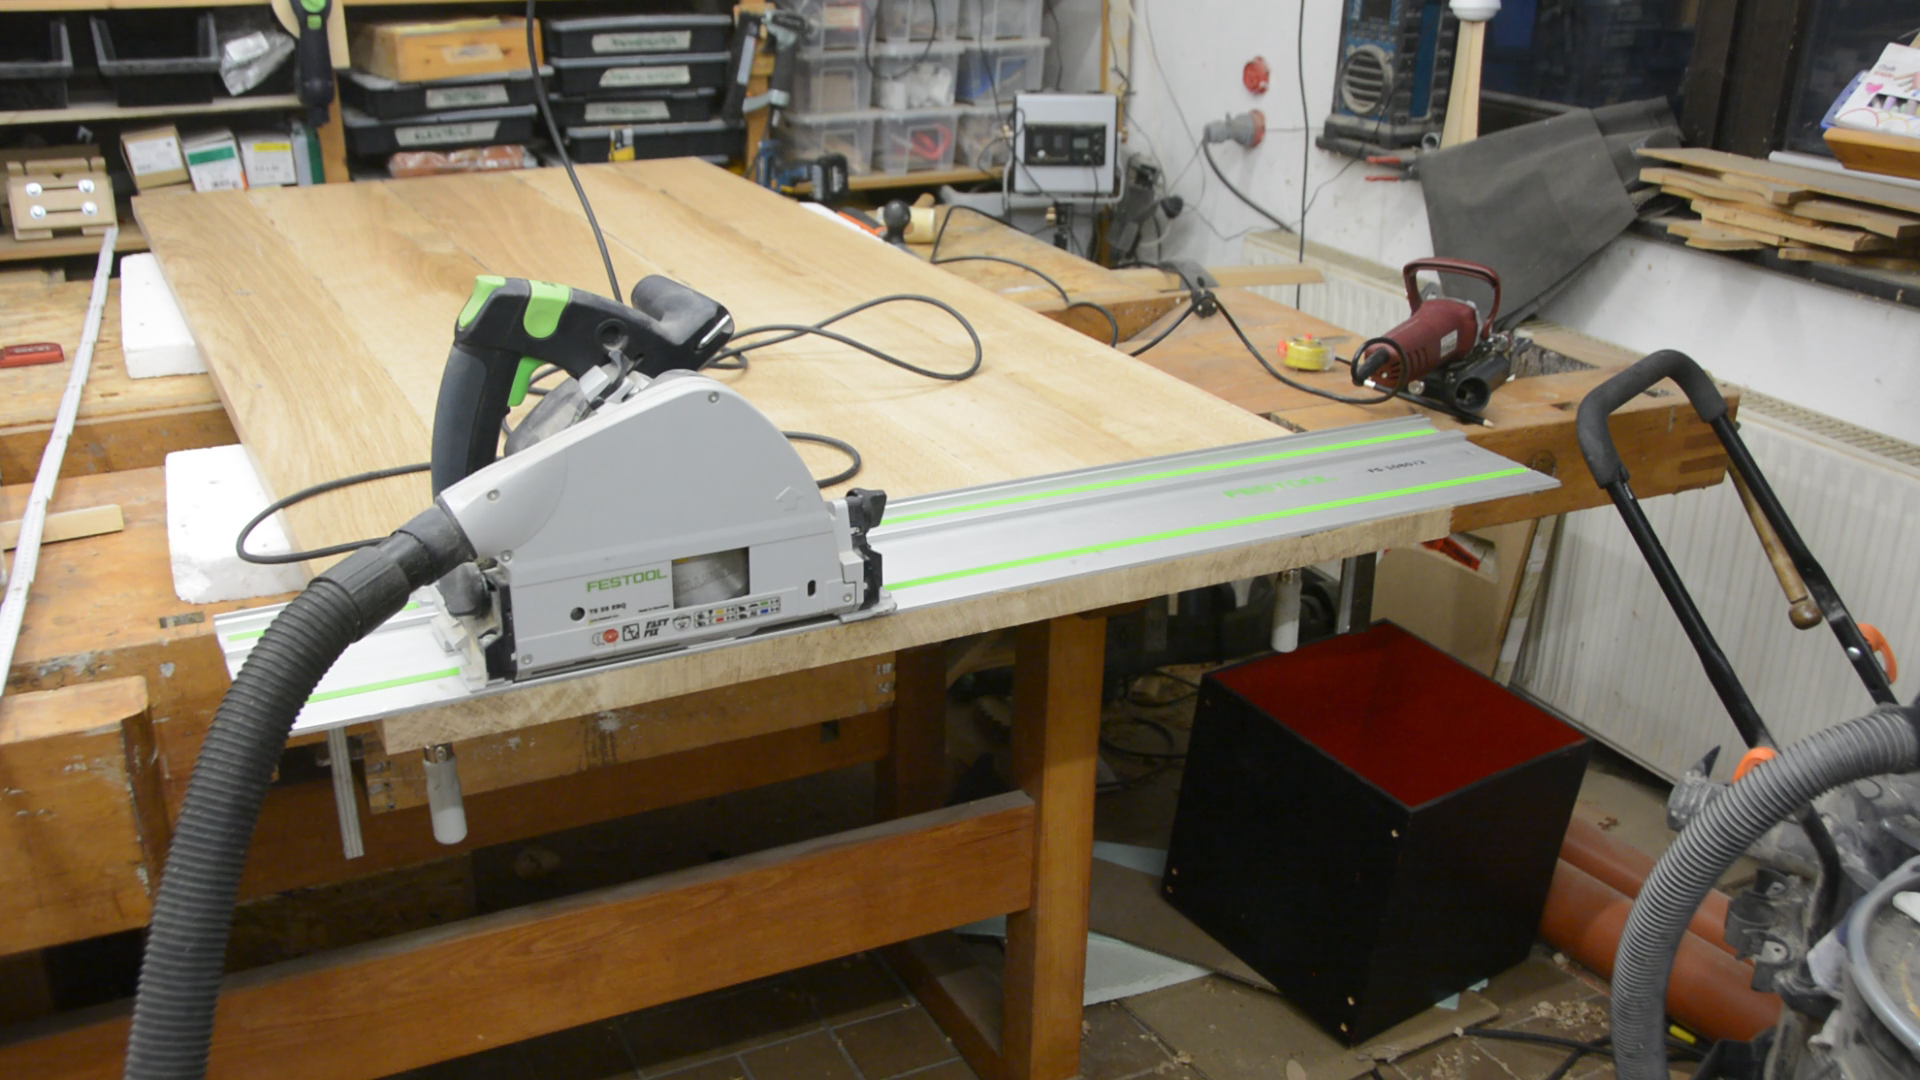
The overlap on the front is cut flush with the table top and then the entire table is sanded to 240 grit.
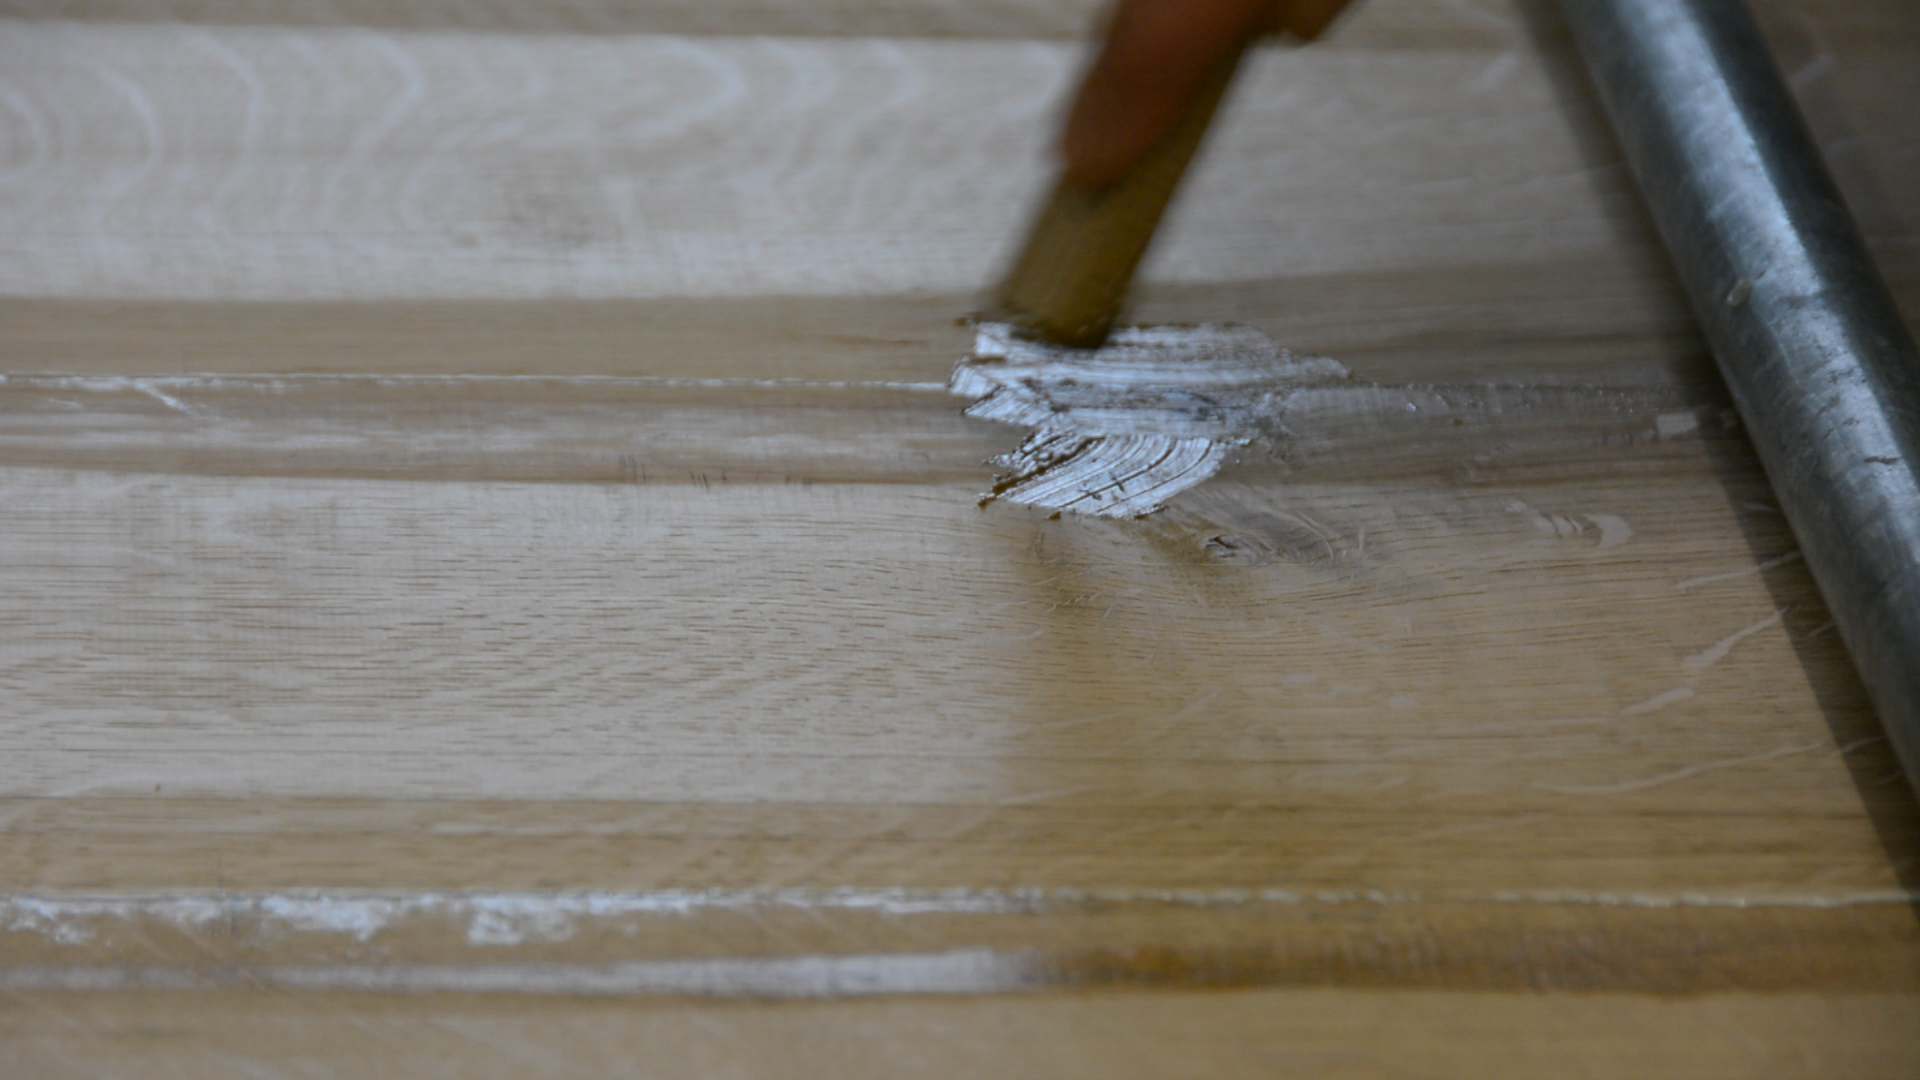
An oil finish brings the oak grain to life.
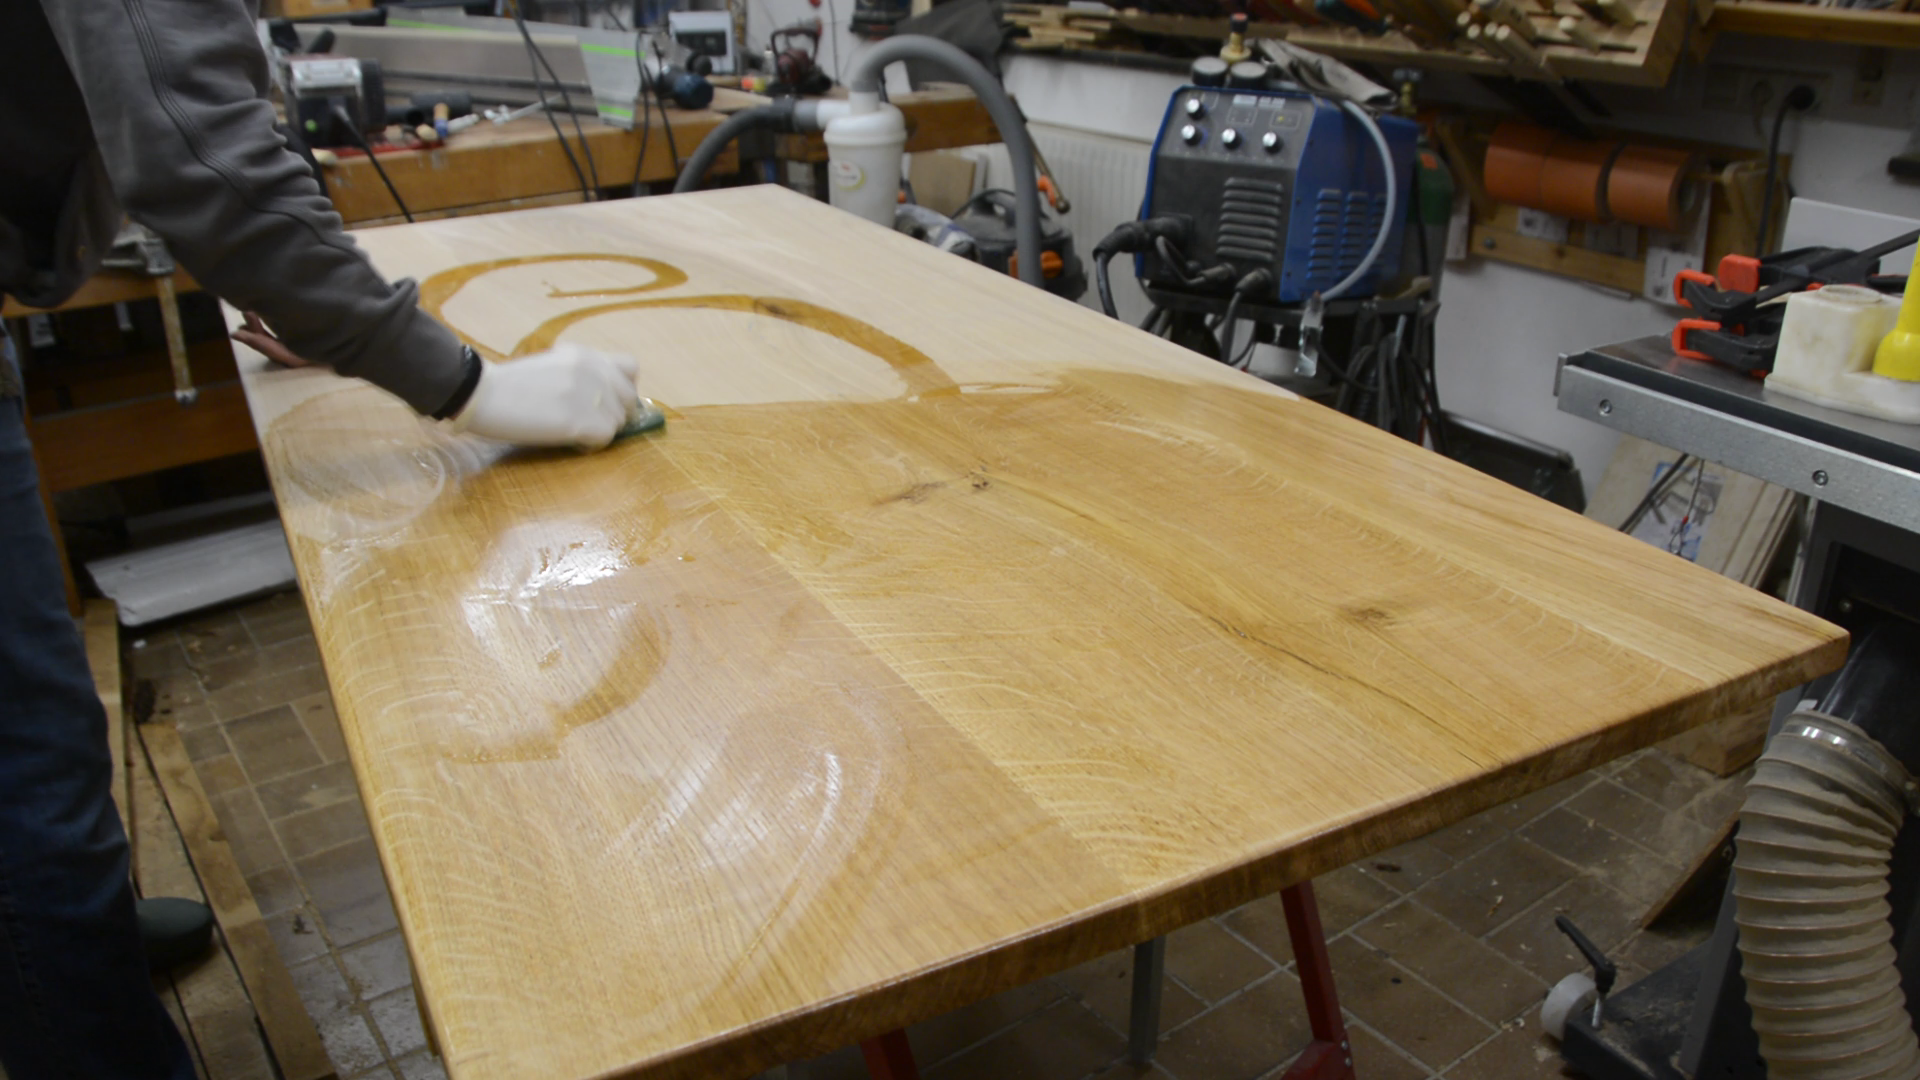
With a quick maker mark the table top is complete and can meet the base.
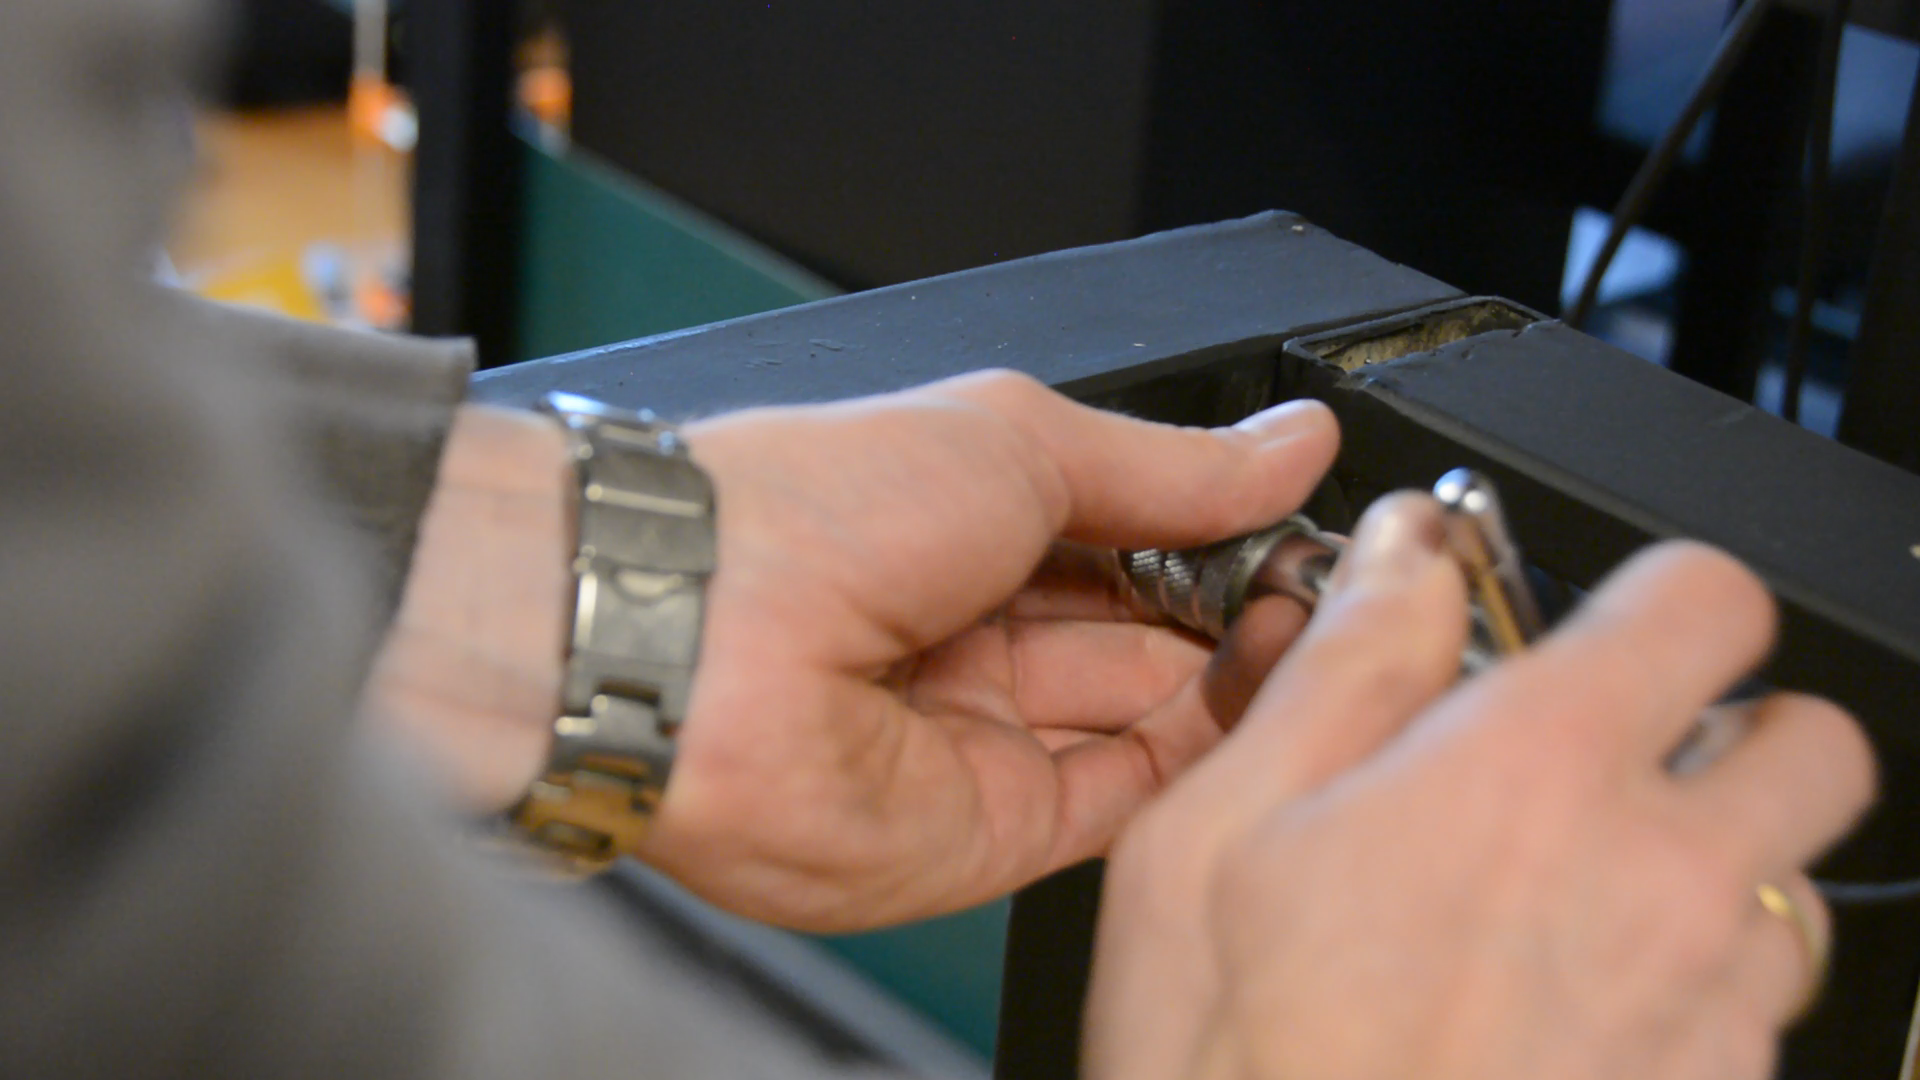
I drill a hole through the sliding dovetail into the metal sides. The holes are then tapped and used to mount the table top to the base.
Keyboard drawers
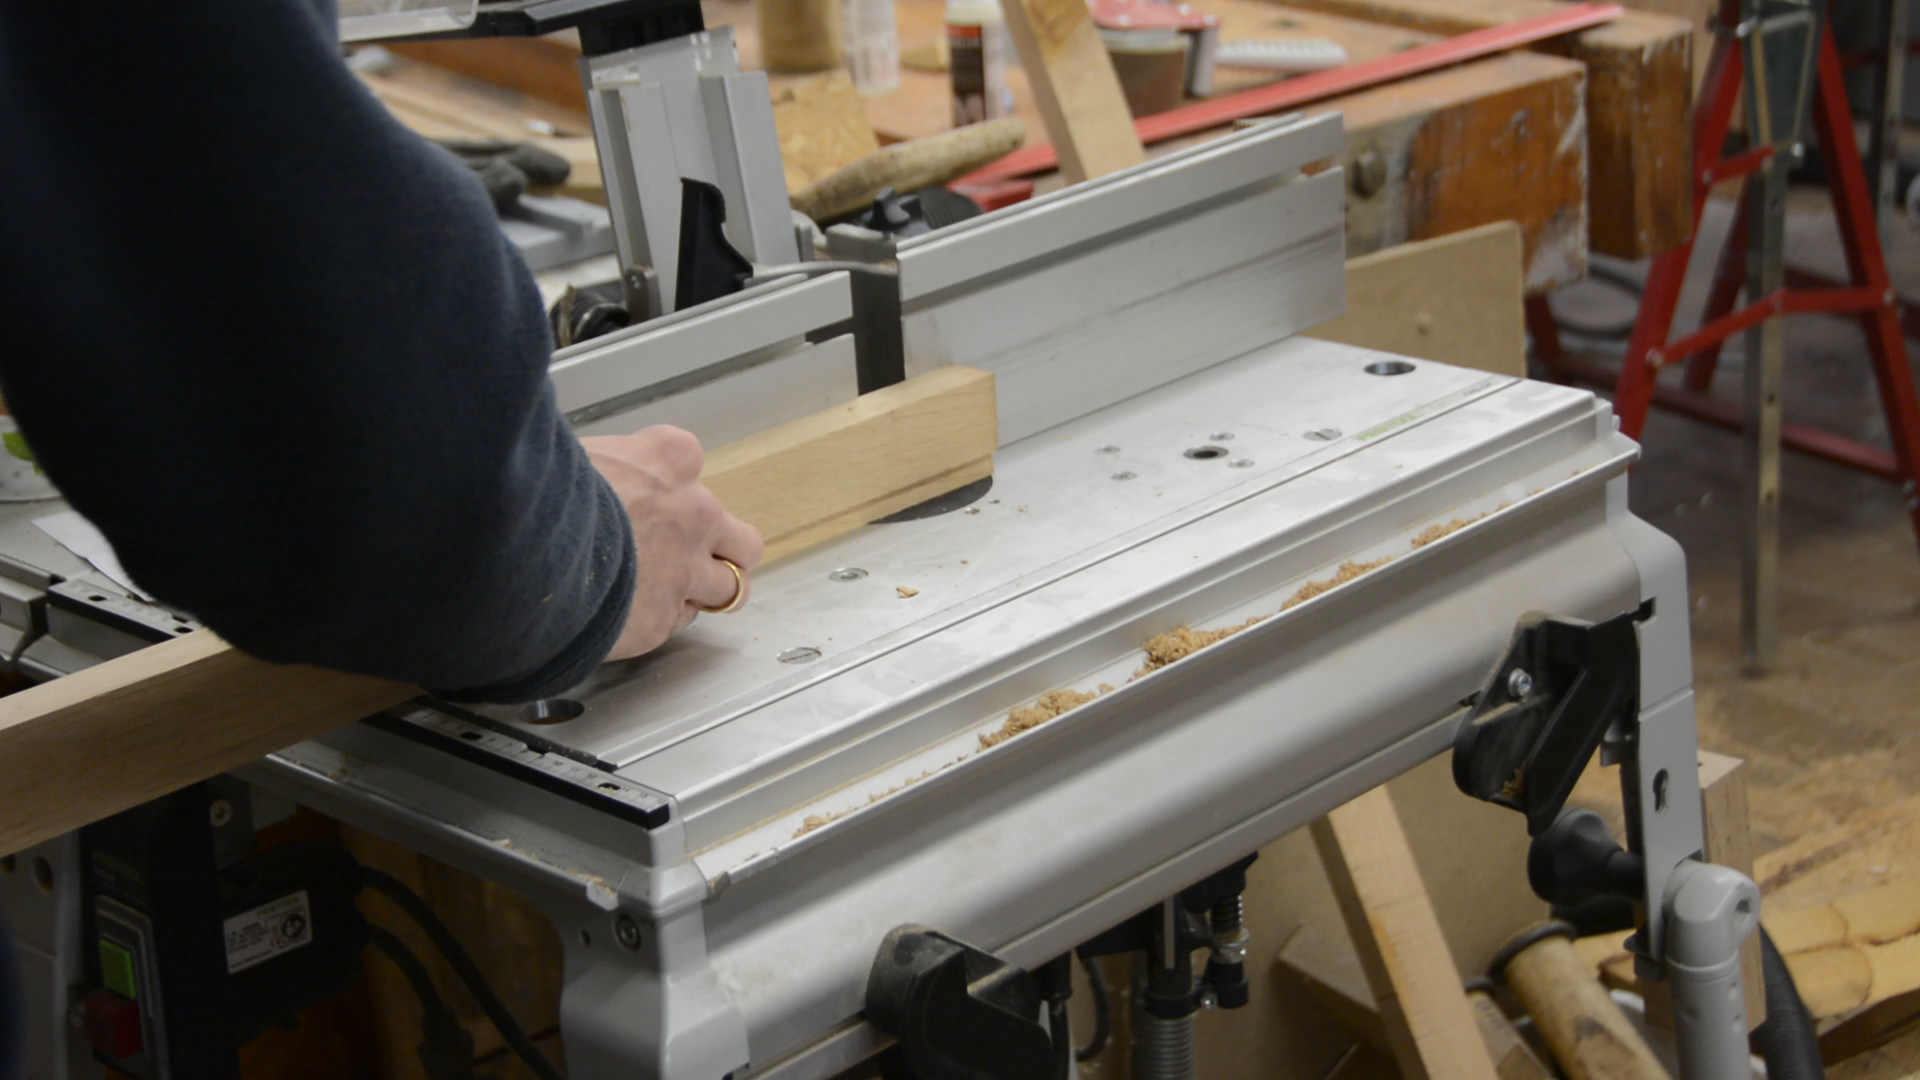
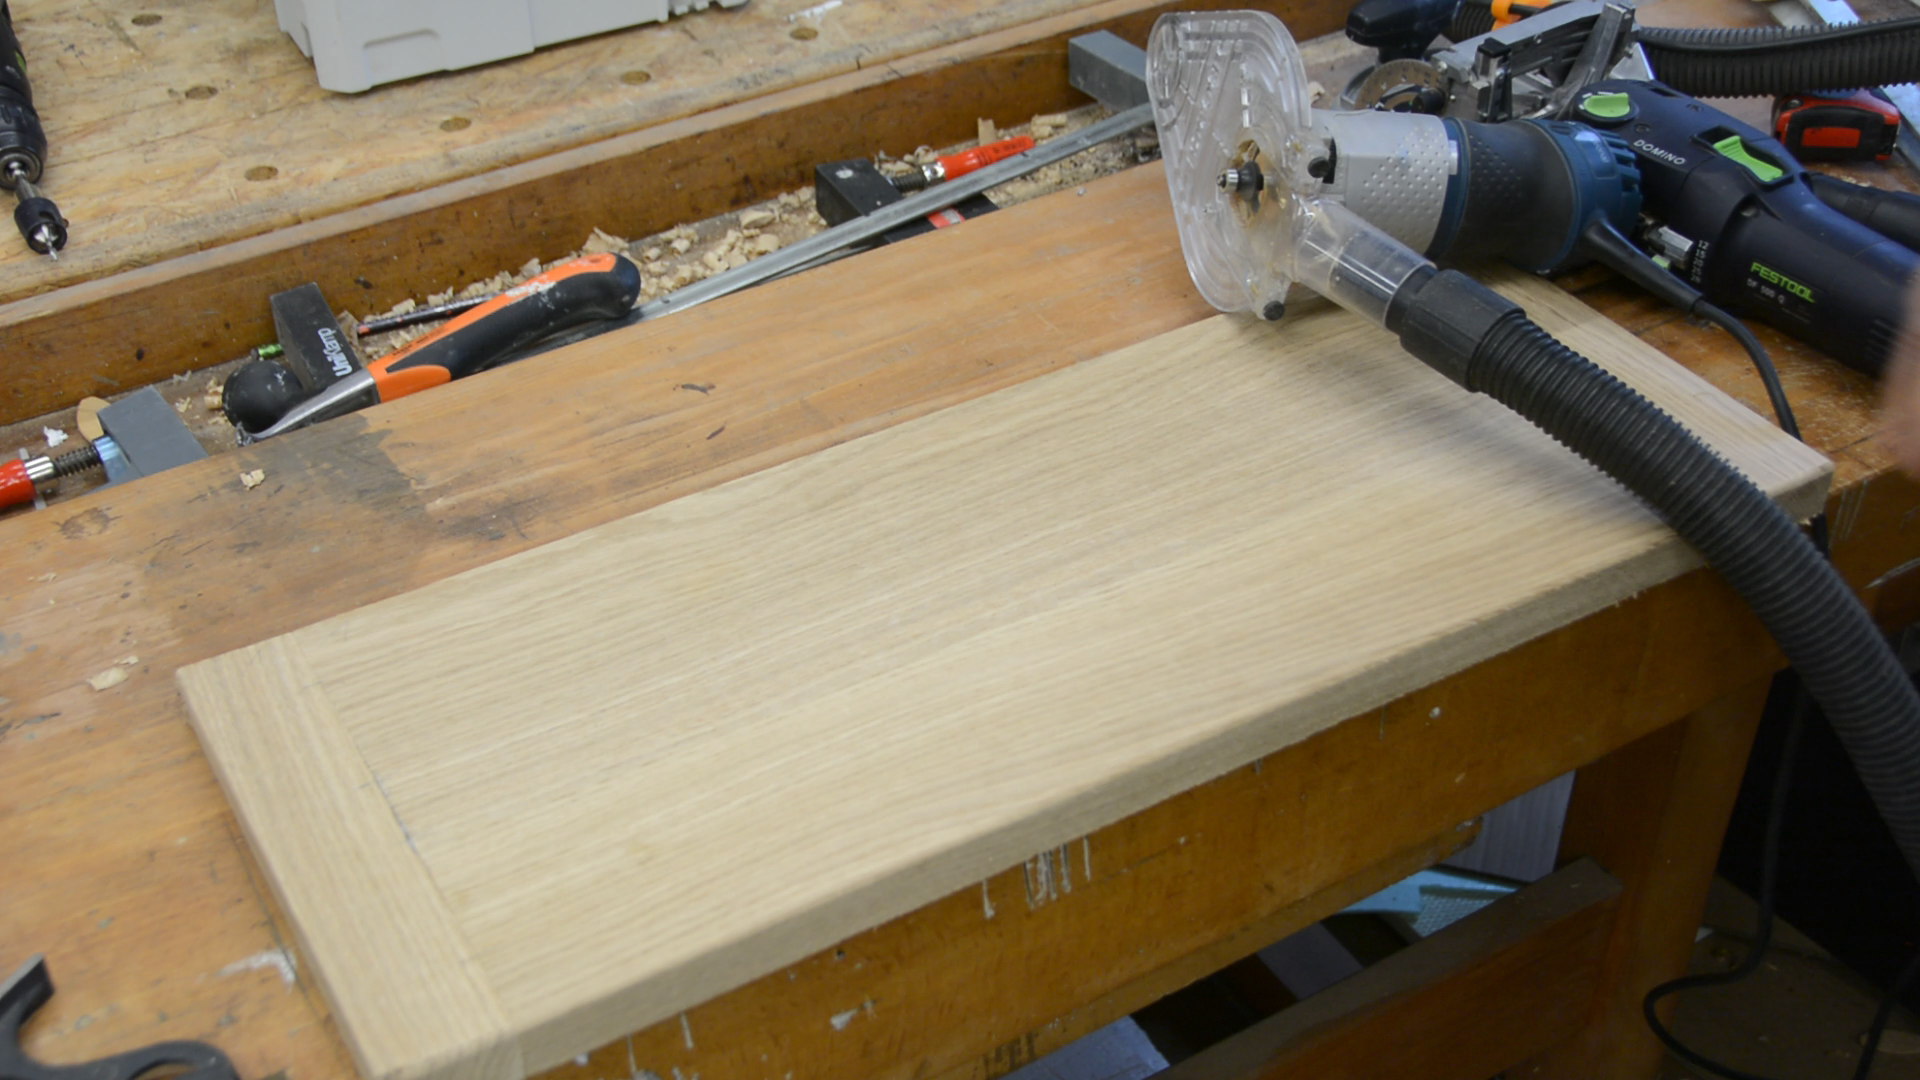
With the top done we need to add a keyboard drawer next. The drawer is made from the same piece of oak. It’s cut to size, milled and glued together.
I want to avoid warping of the wood and keep it flat. For such a short piece a breadboard attached with a few dominos is good enough.
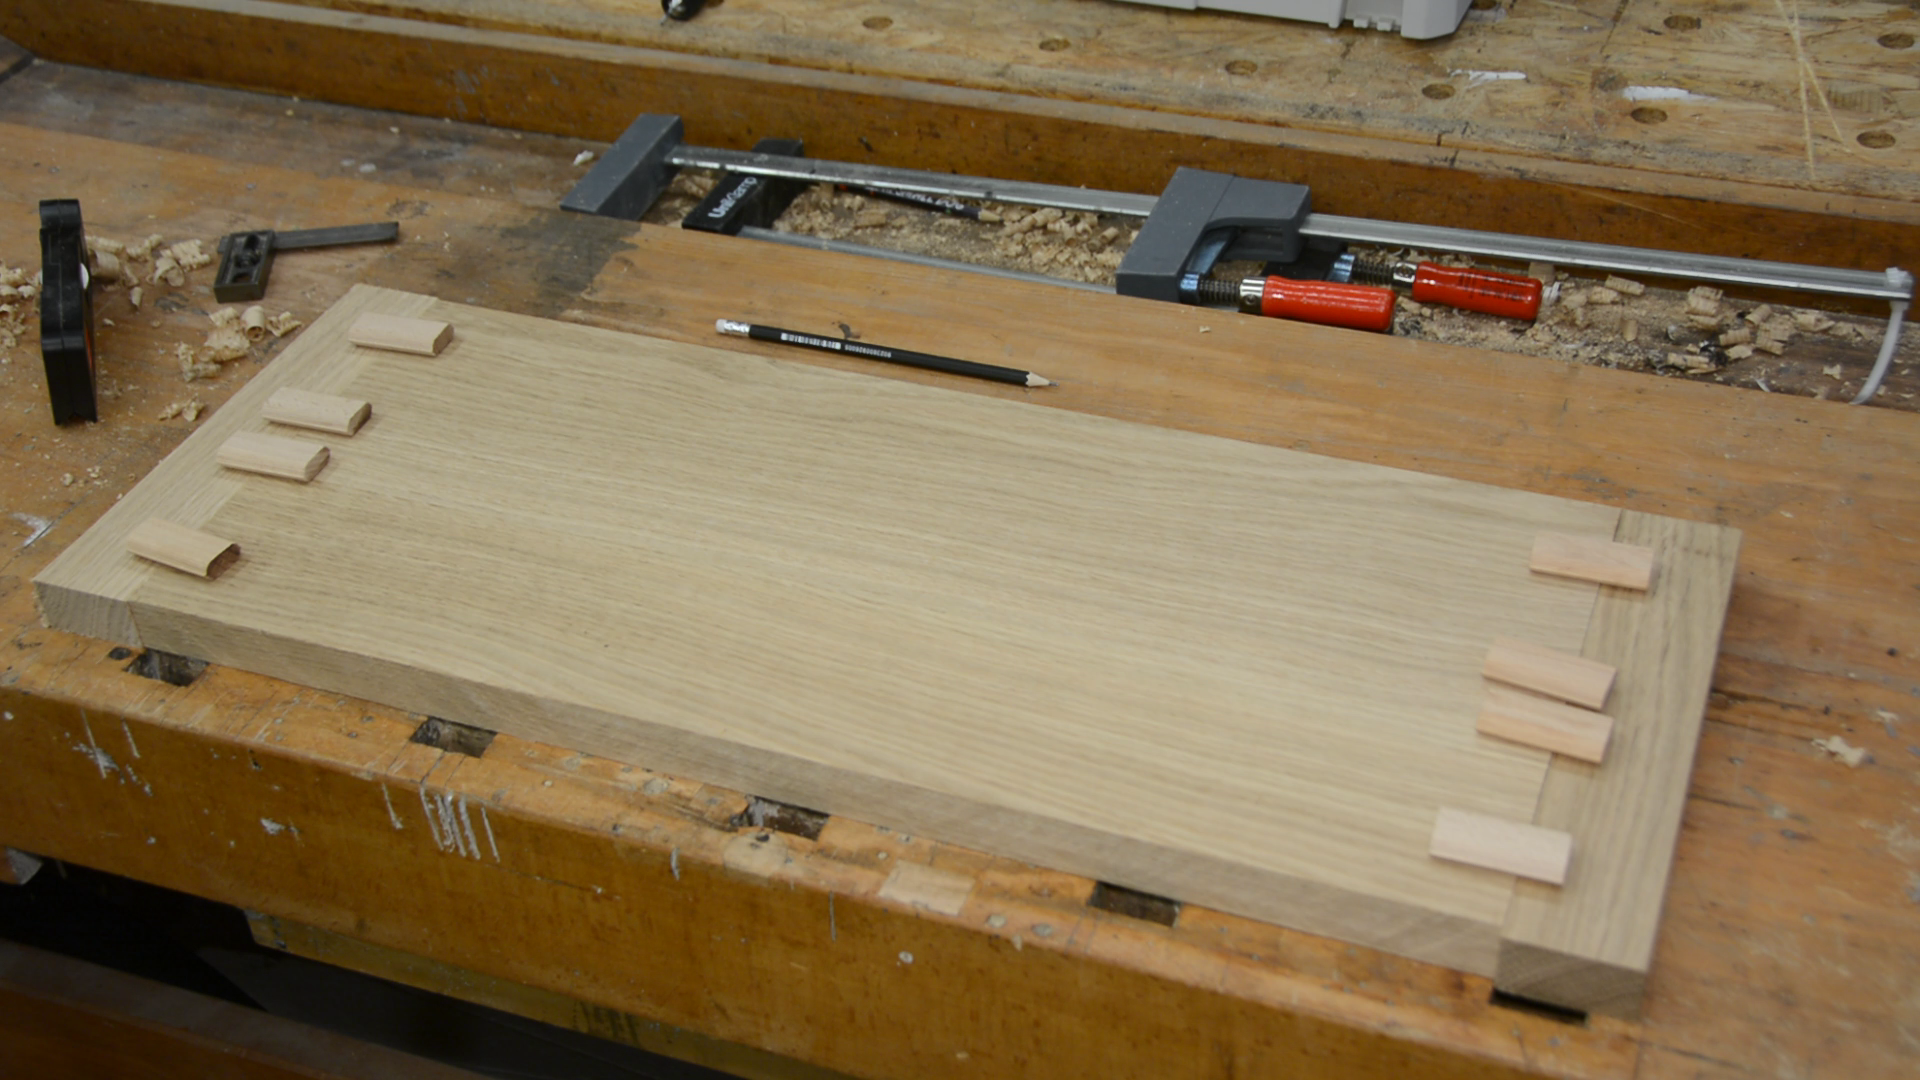
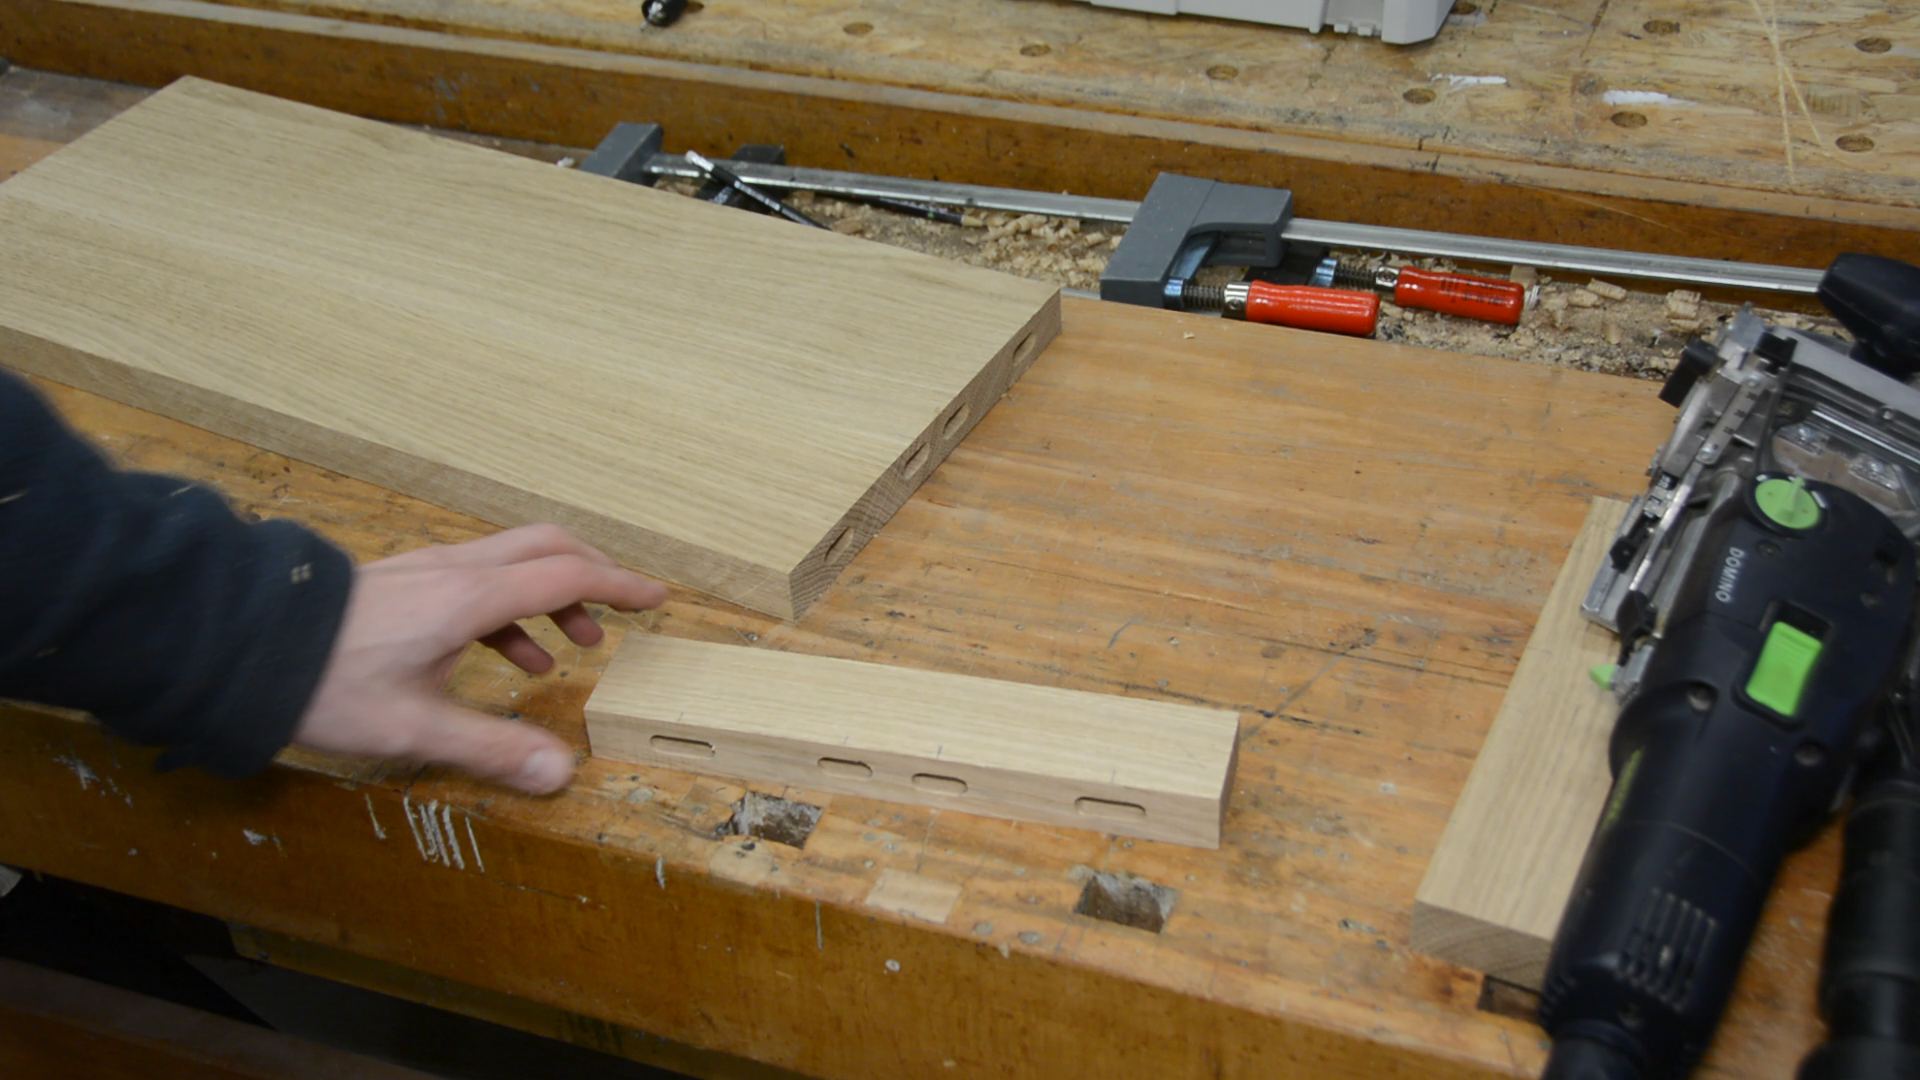
I glue all the dominos into the drawer board.
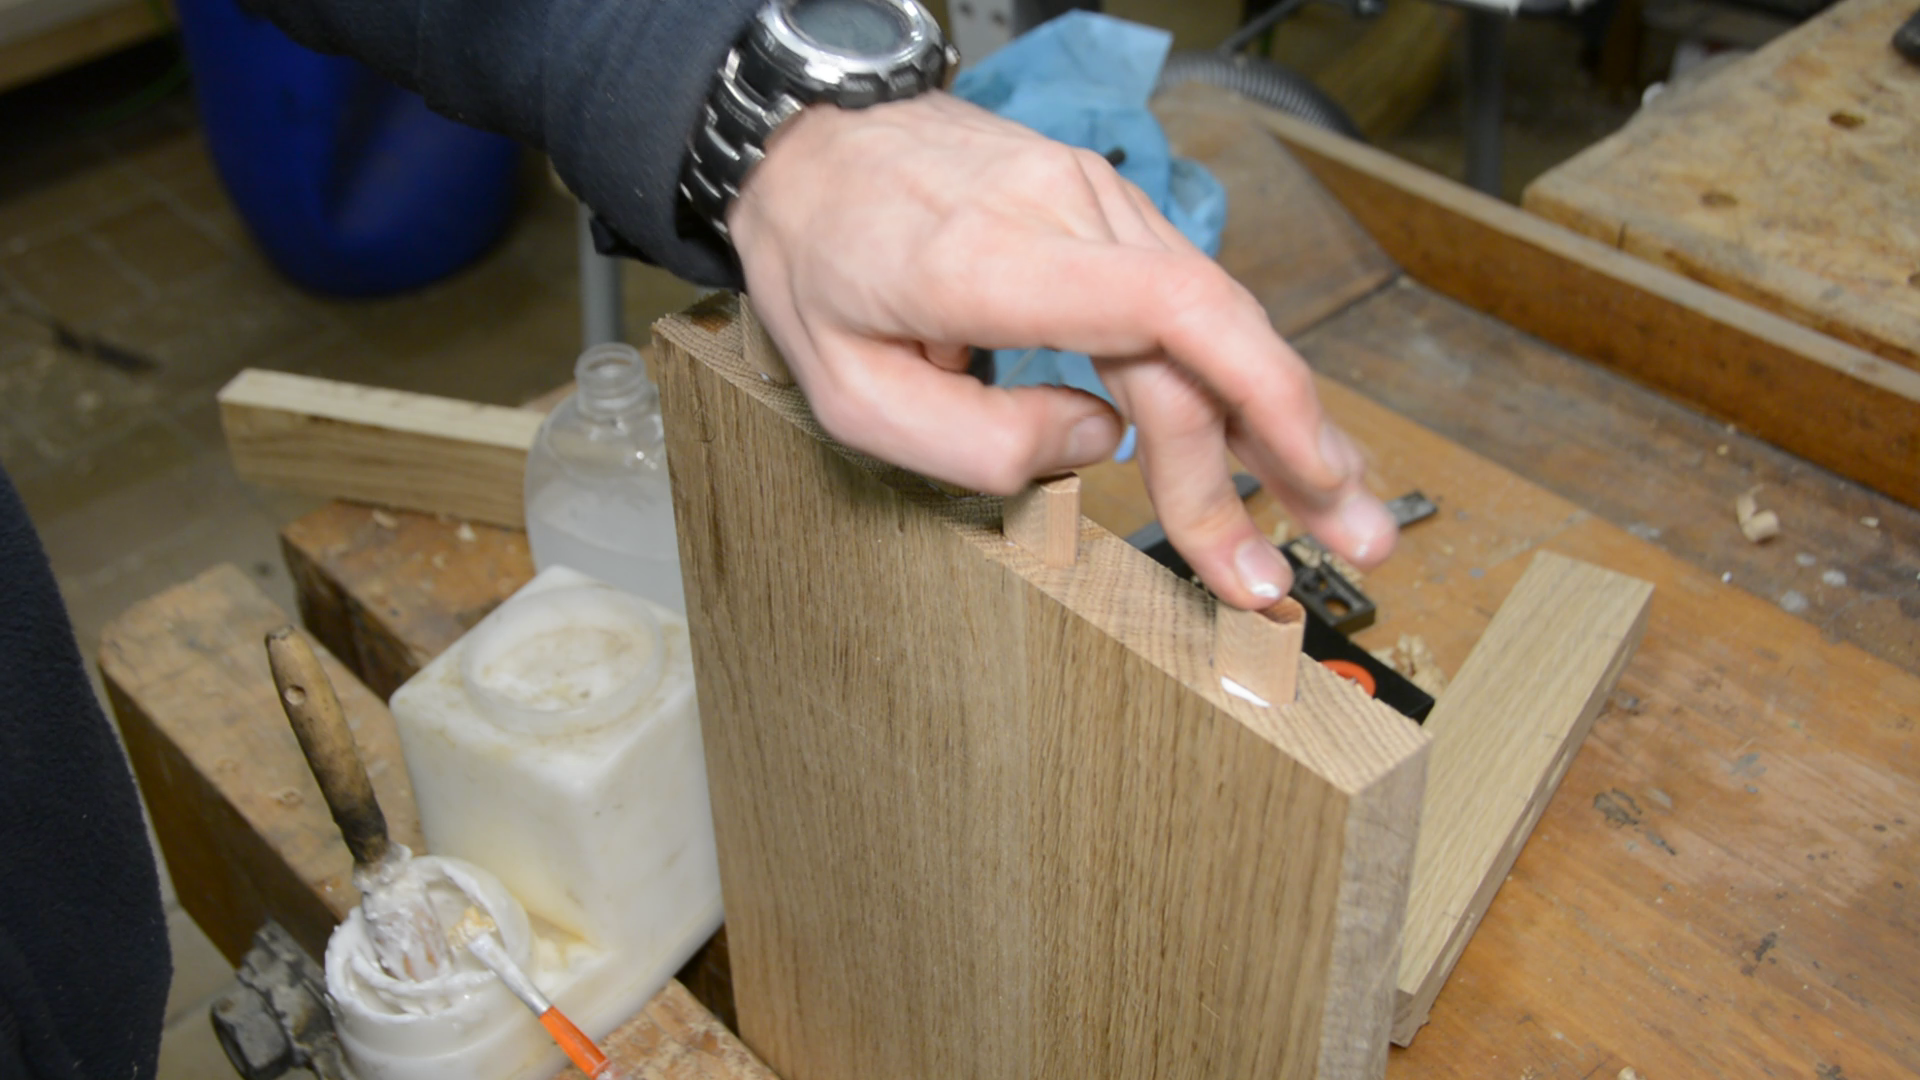
Only the two dominos in the middle are also glued to the breadboard. The outer dominos also have some play to allow for wood movement.
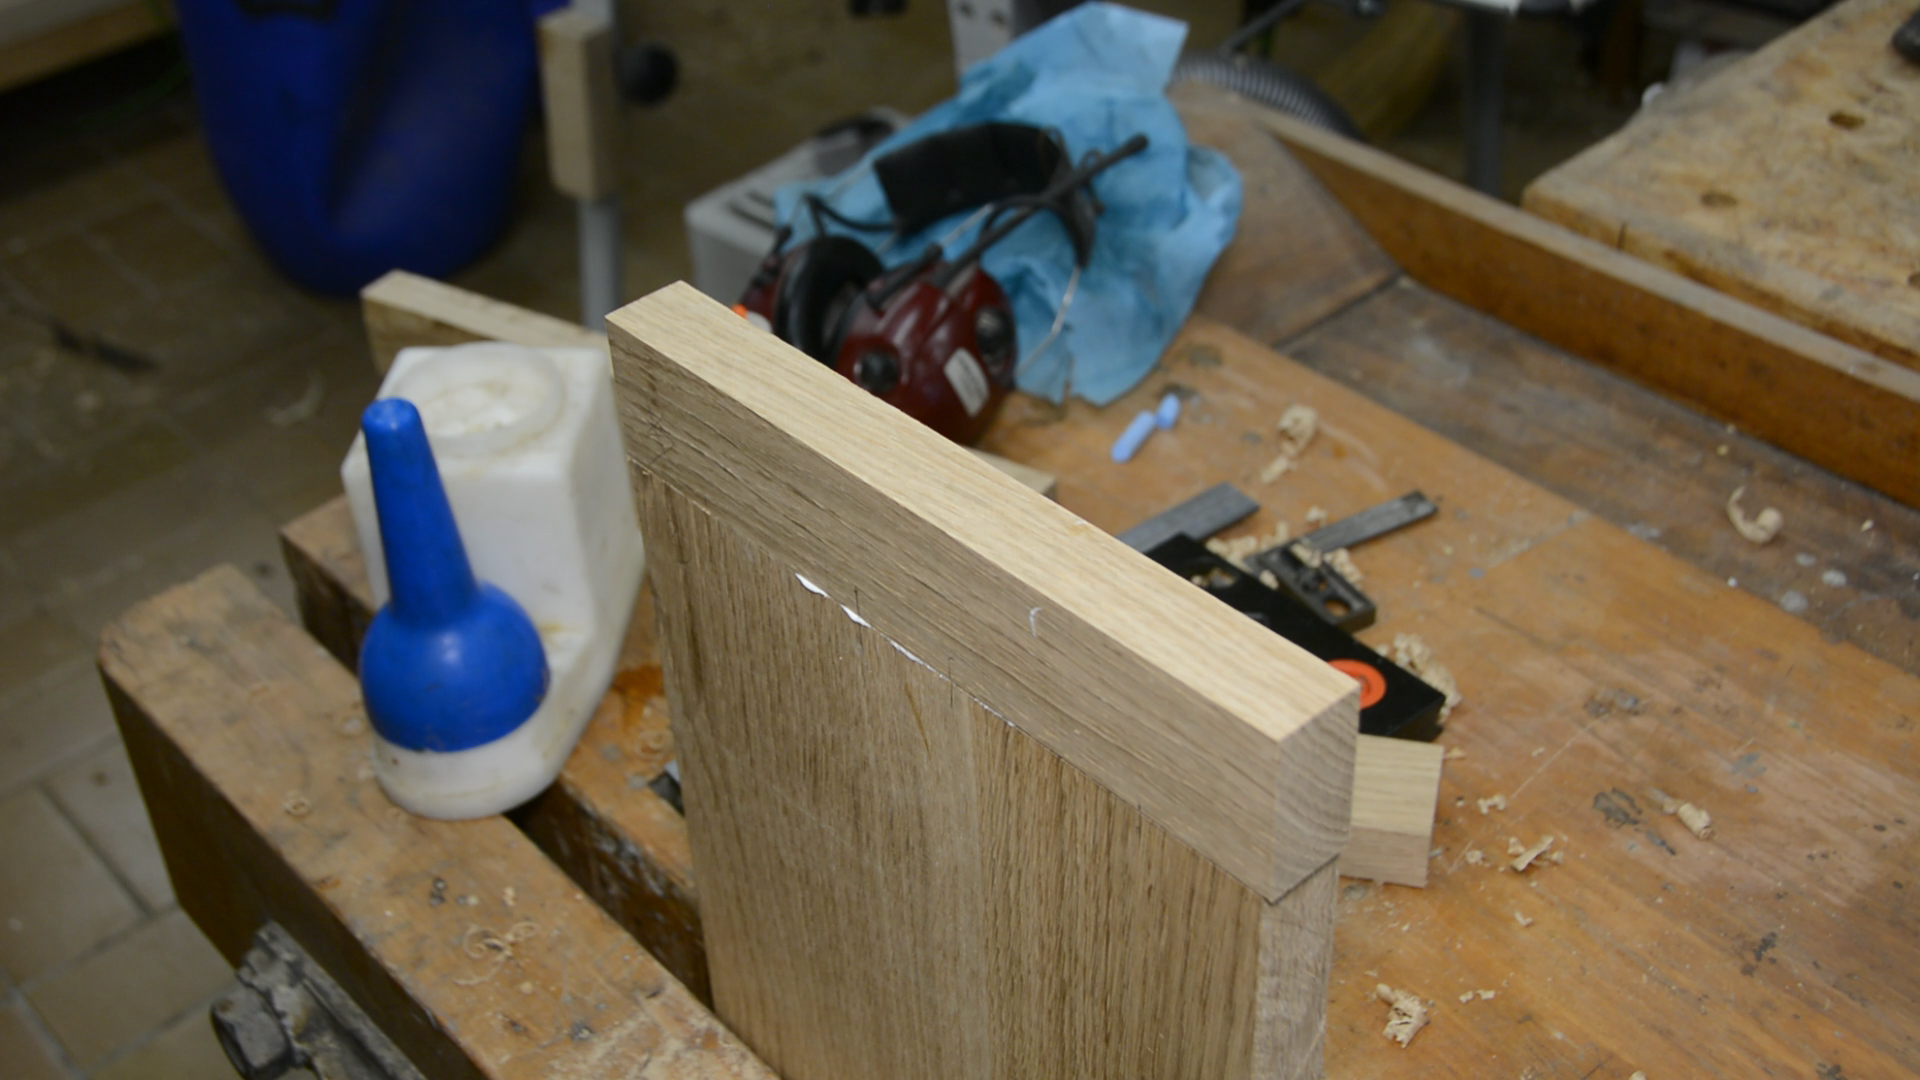
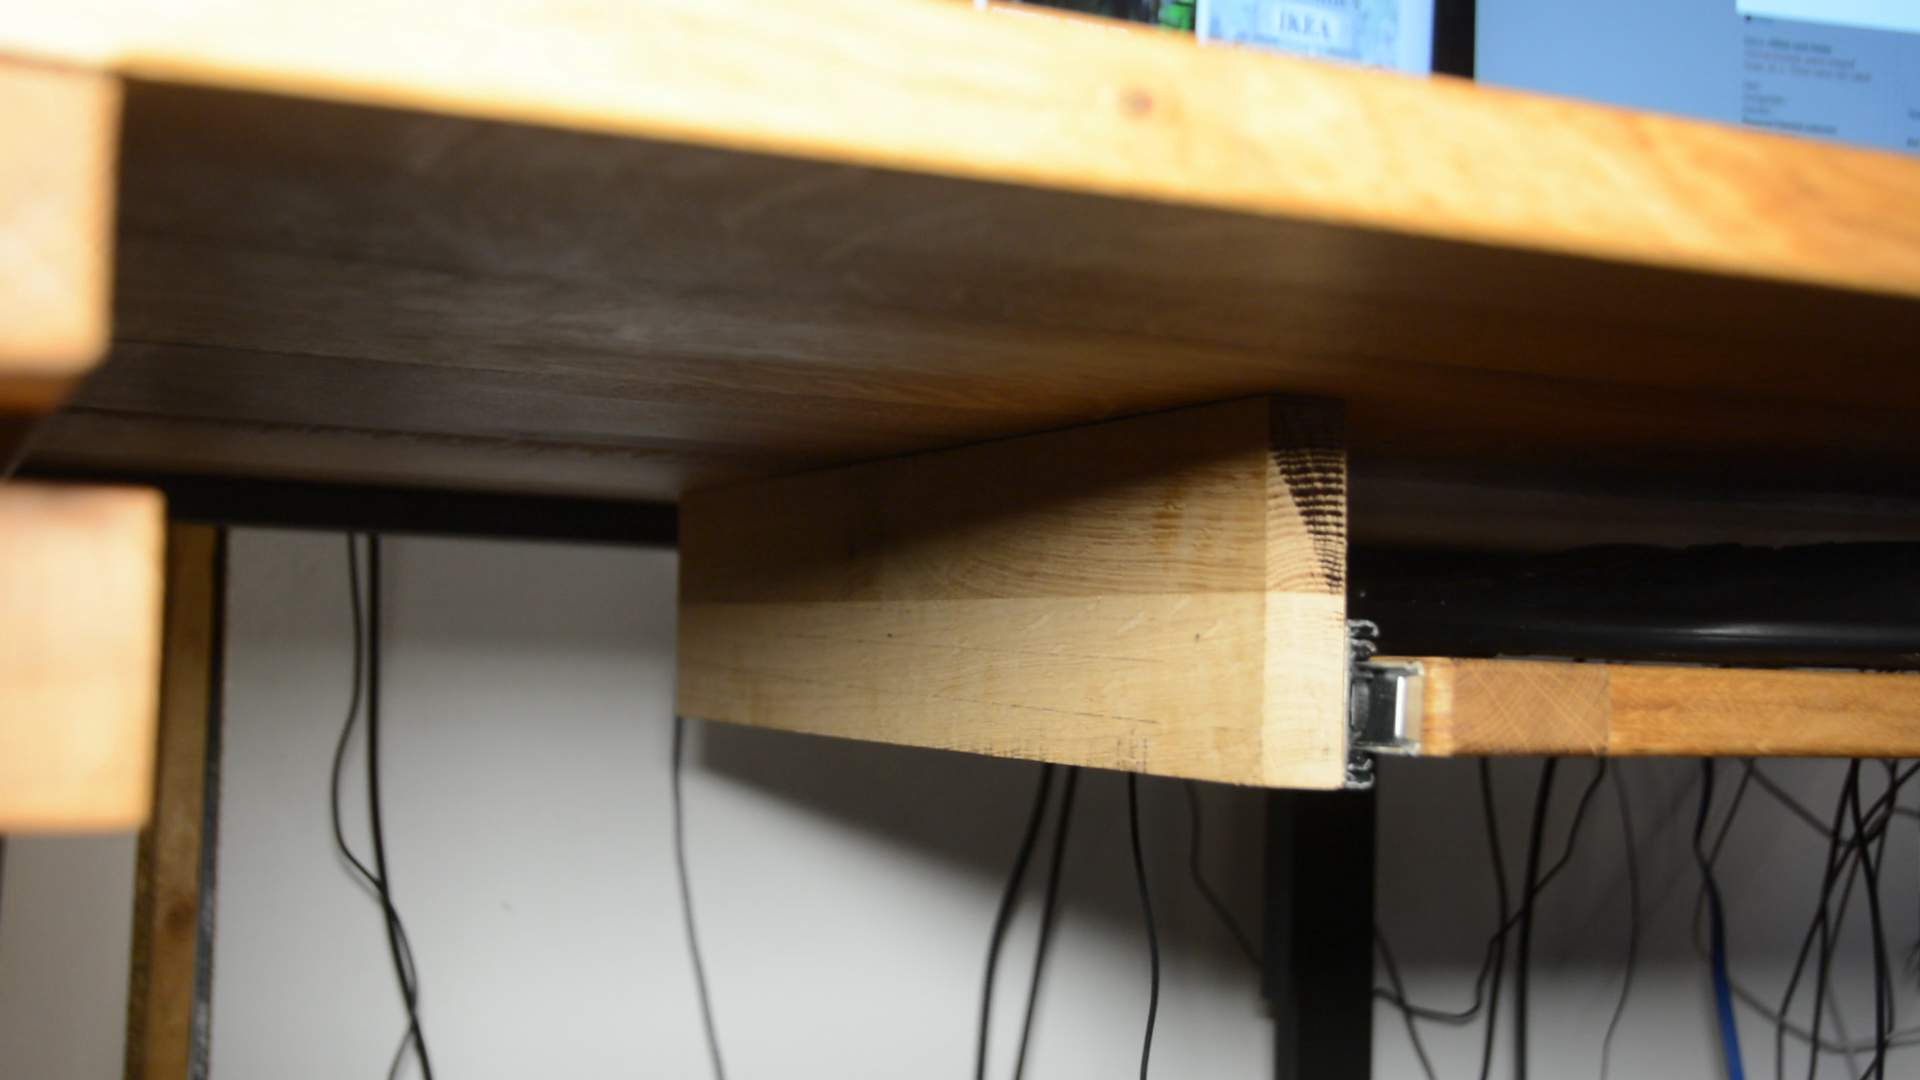
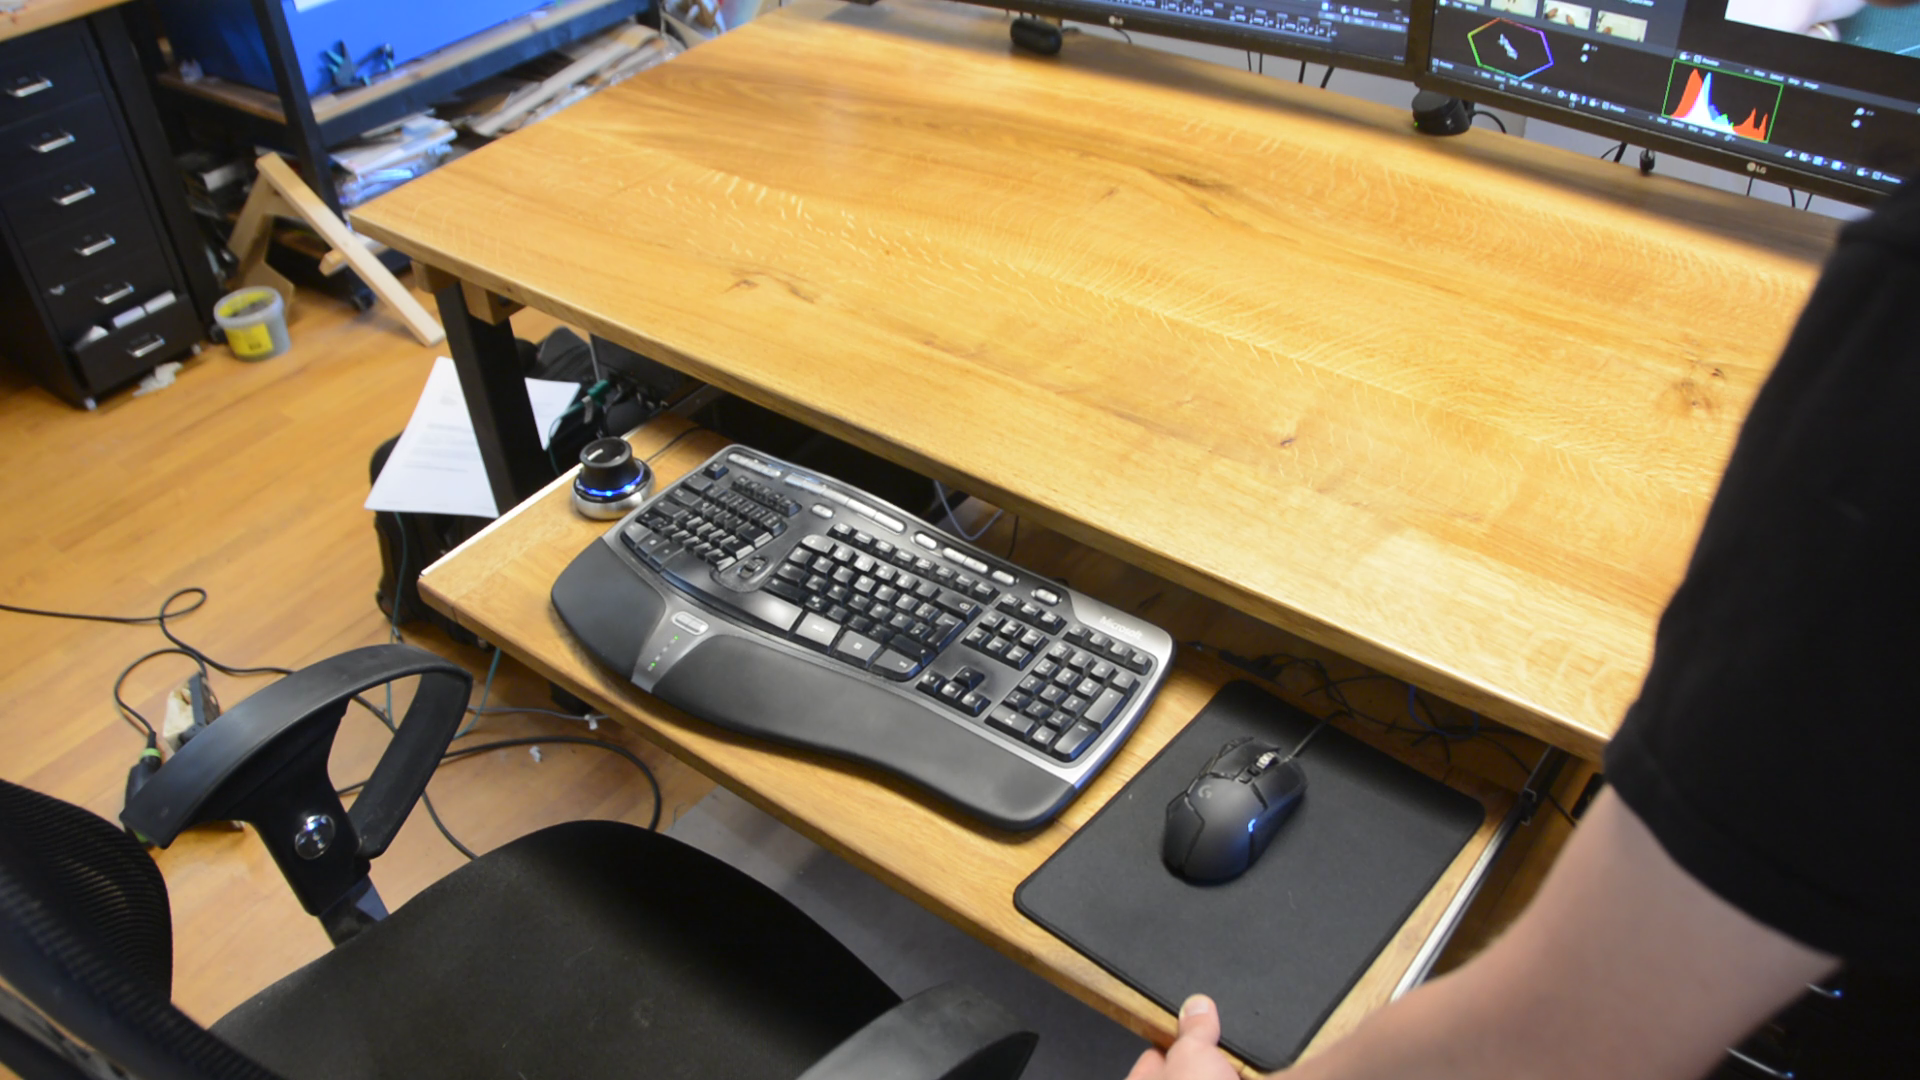
After rounding over the edges, sanding and finishing I mount the keyboard drawer below the table top.

As one keyboard drawer would be really boring I create an identical one for my macro keyboard and mount it to the side of the first one.
The finished dream desk
Let’s have a look at the finished desk.
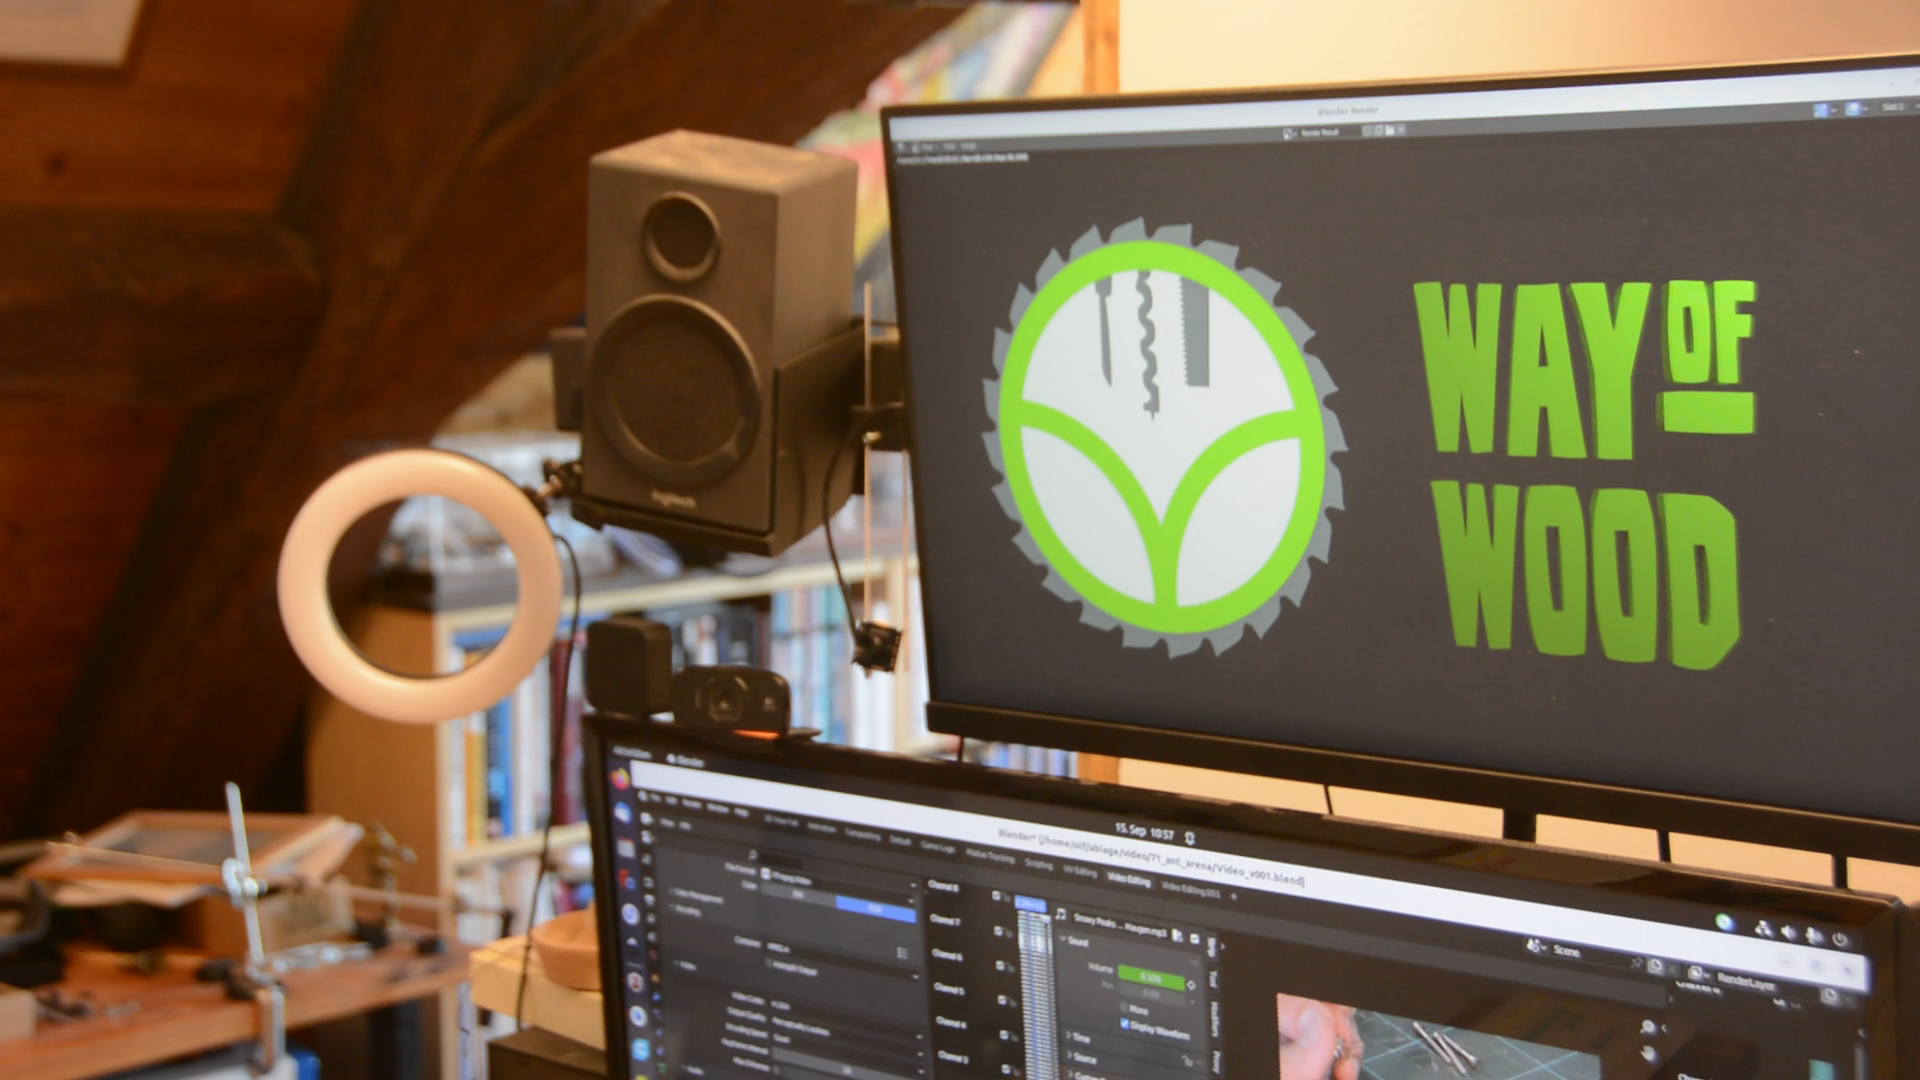
The four monitors are great and the mounting arms leave enough space for other stuff – like the speakers, the echo show and other things.
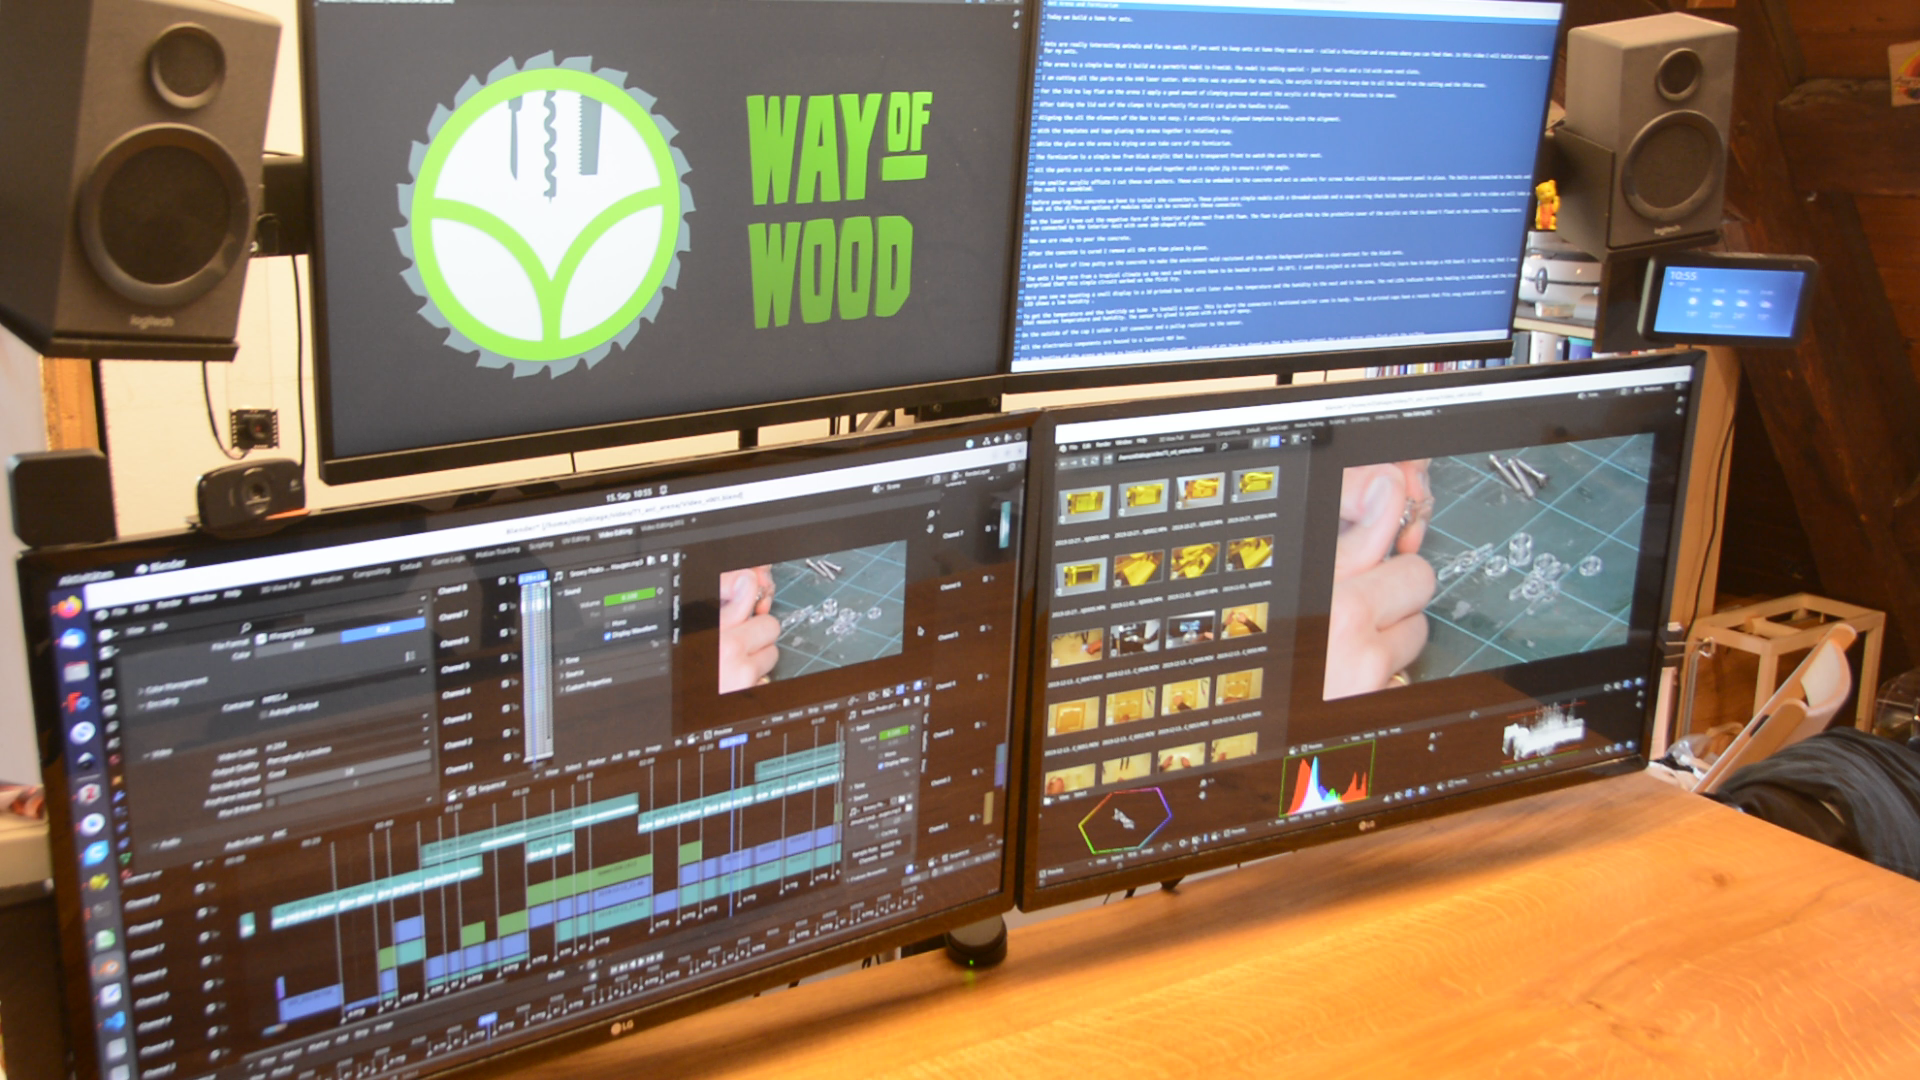
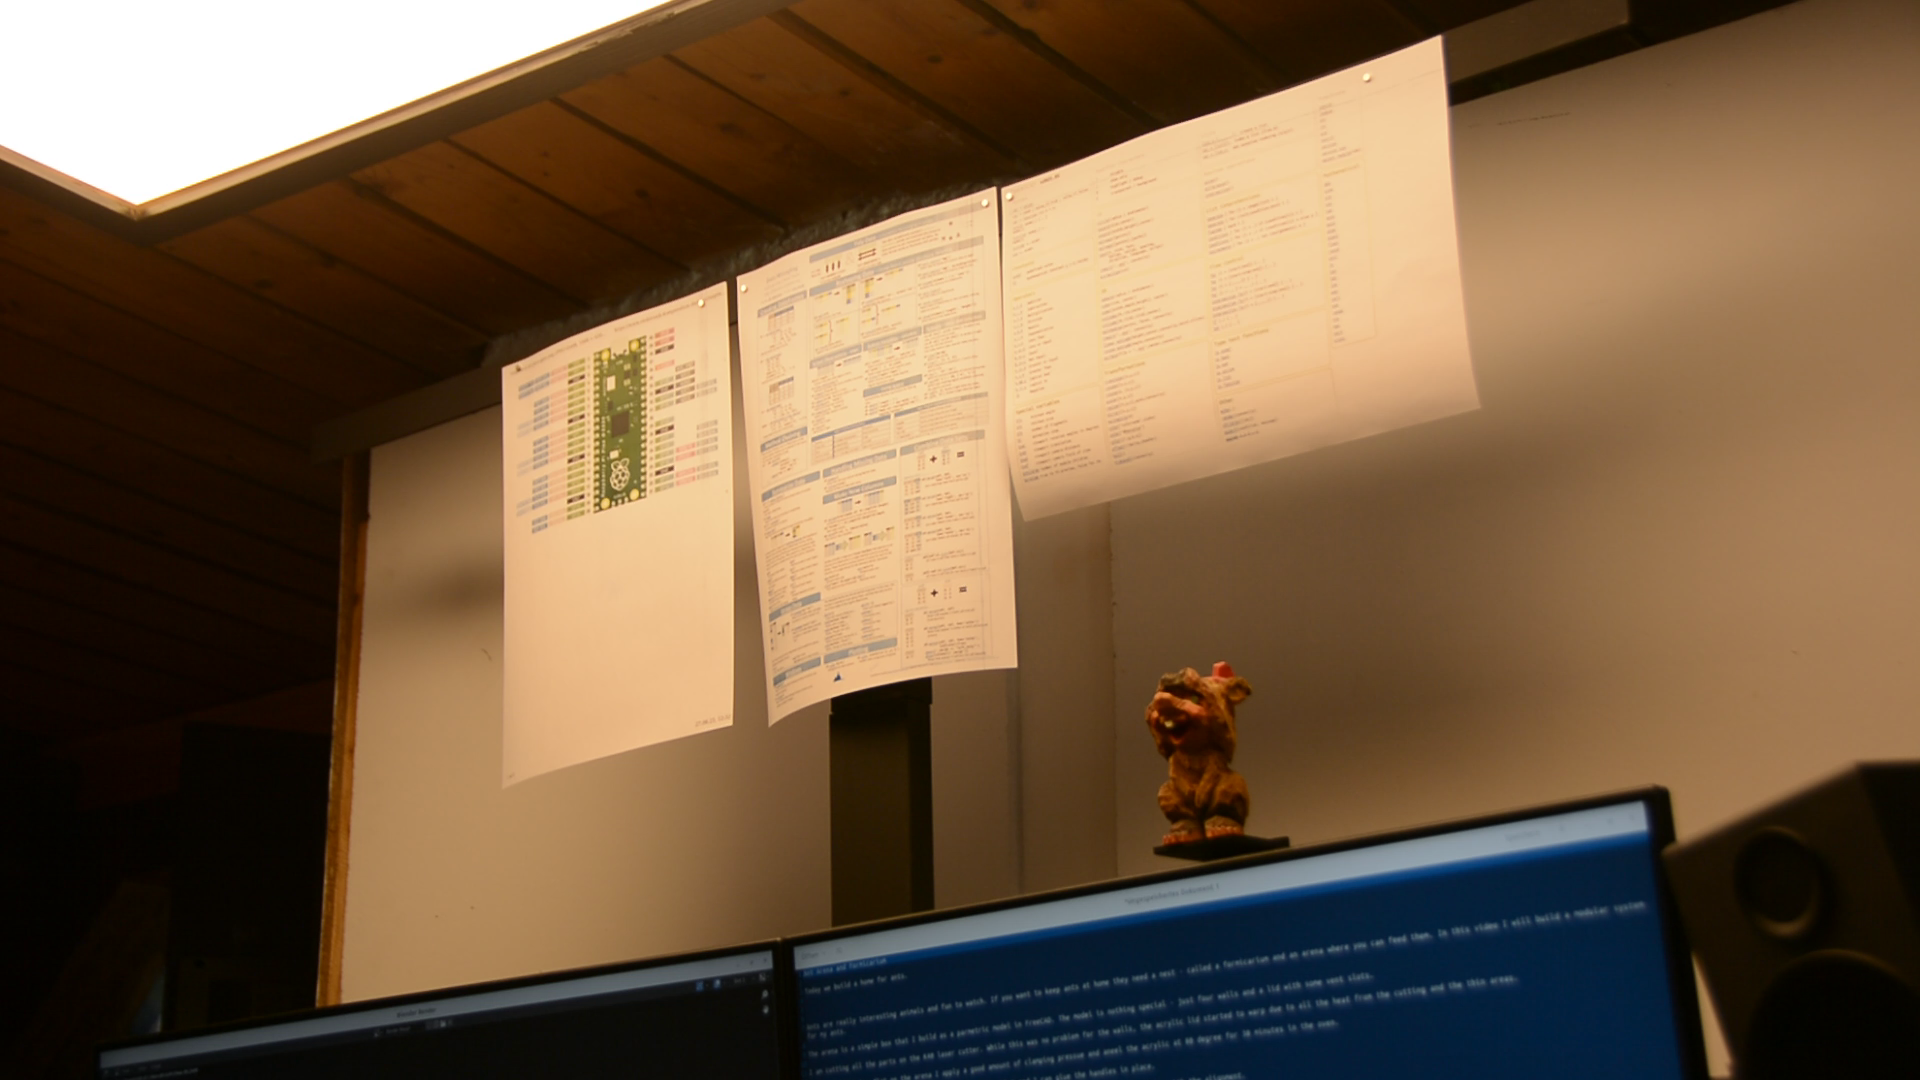
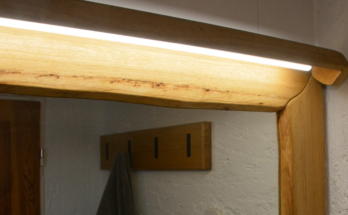
On top of the upper monitors I mounted an additional horizontal bar where I can attach cheat sheets from different programming languages or other material I would like to keep at hand.
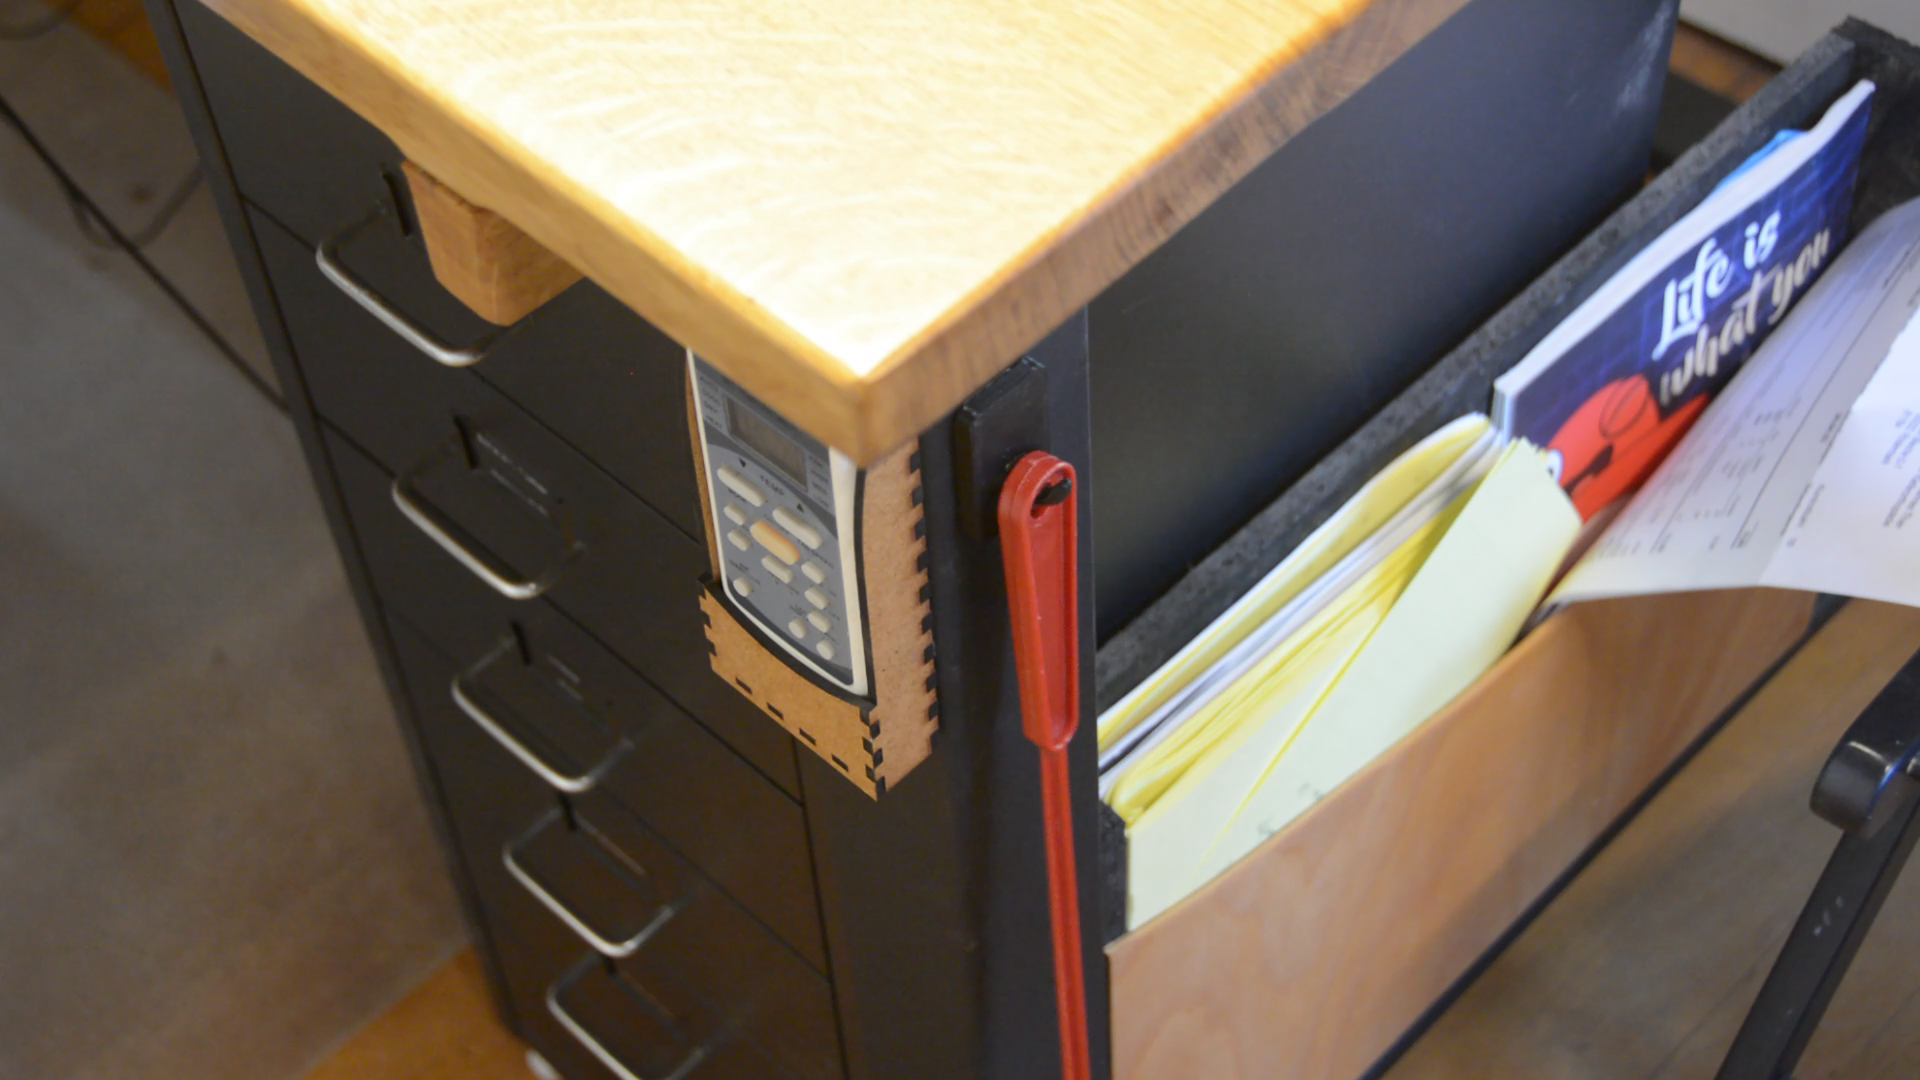
The metal base makes it quite easy to attach even more stuff using magnets. Like the remote control for my aircon or a 3d printed hook for the fly swatter.
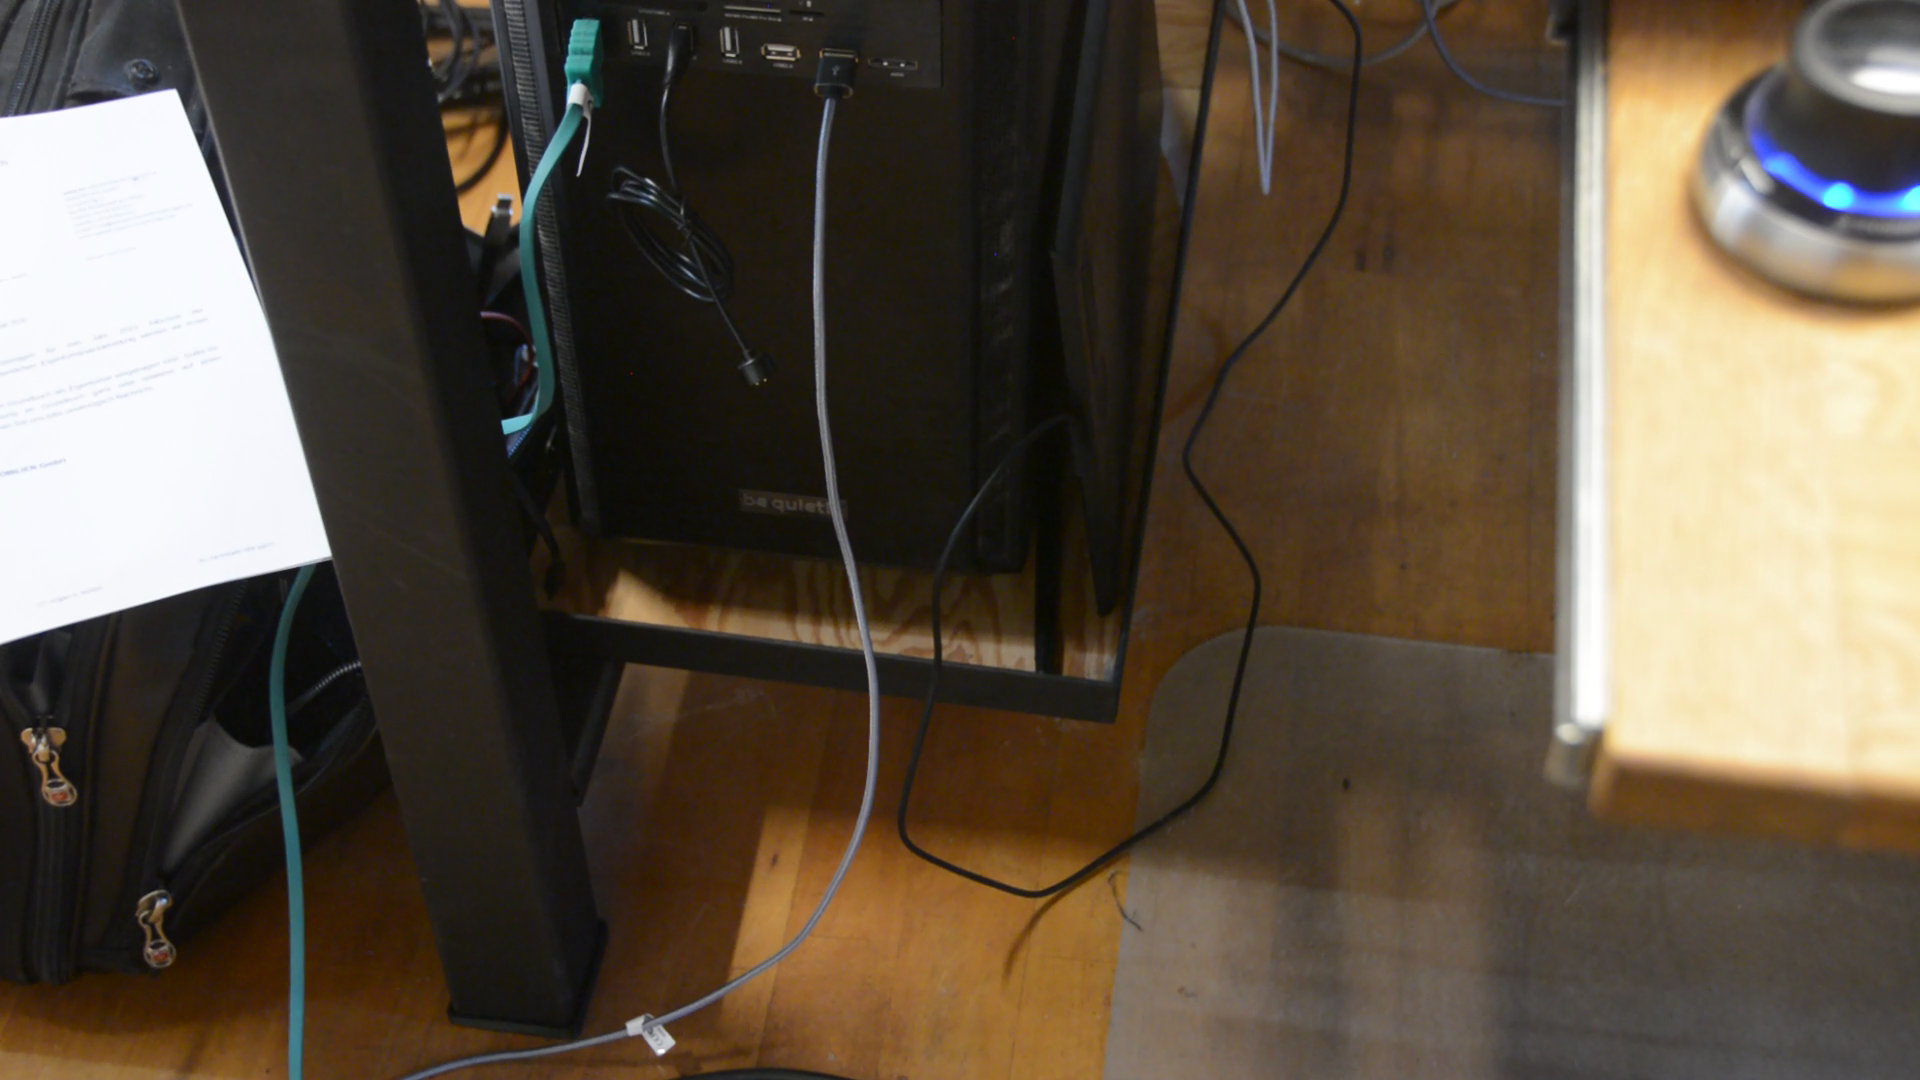
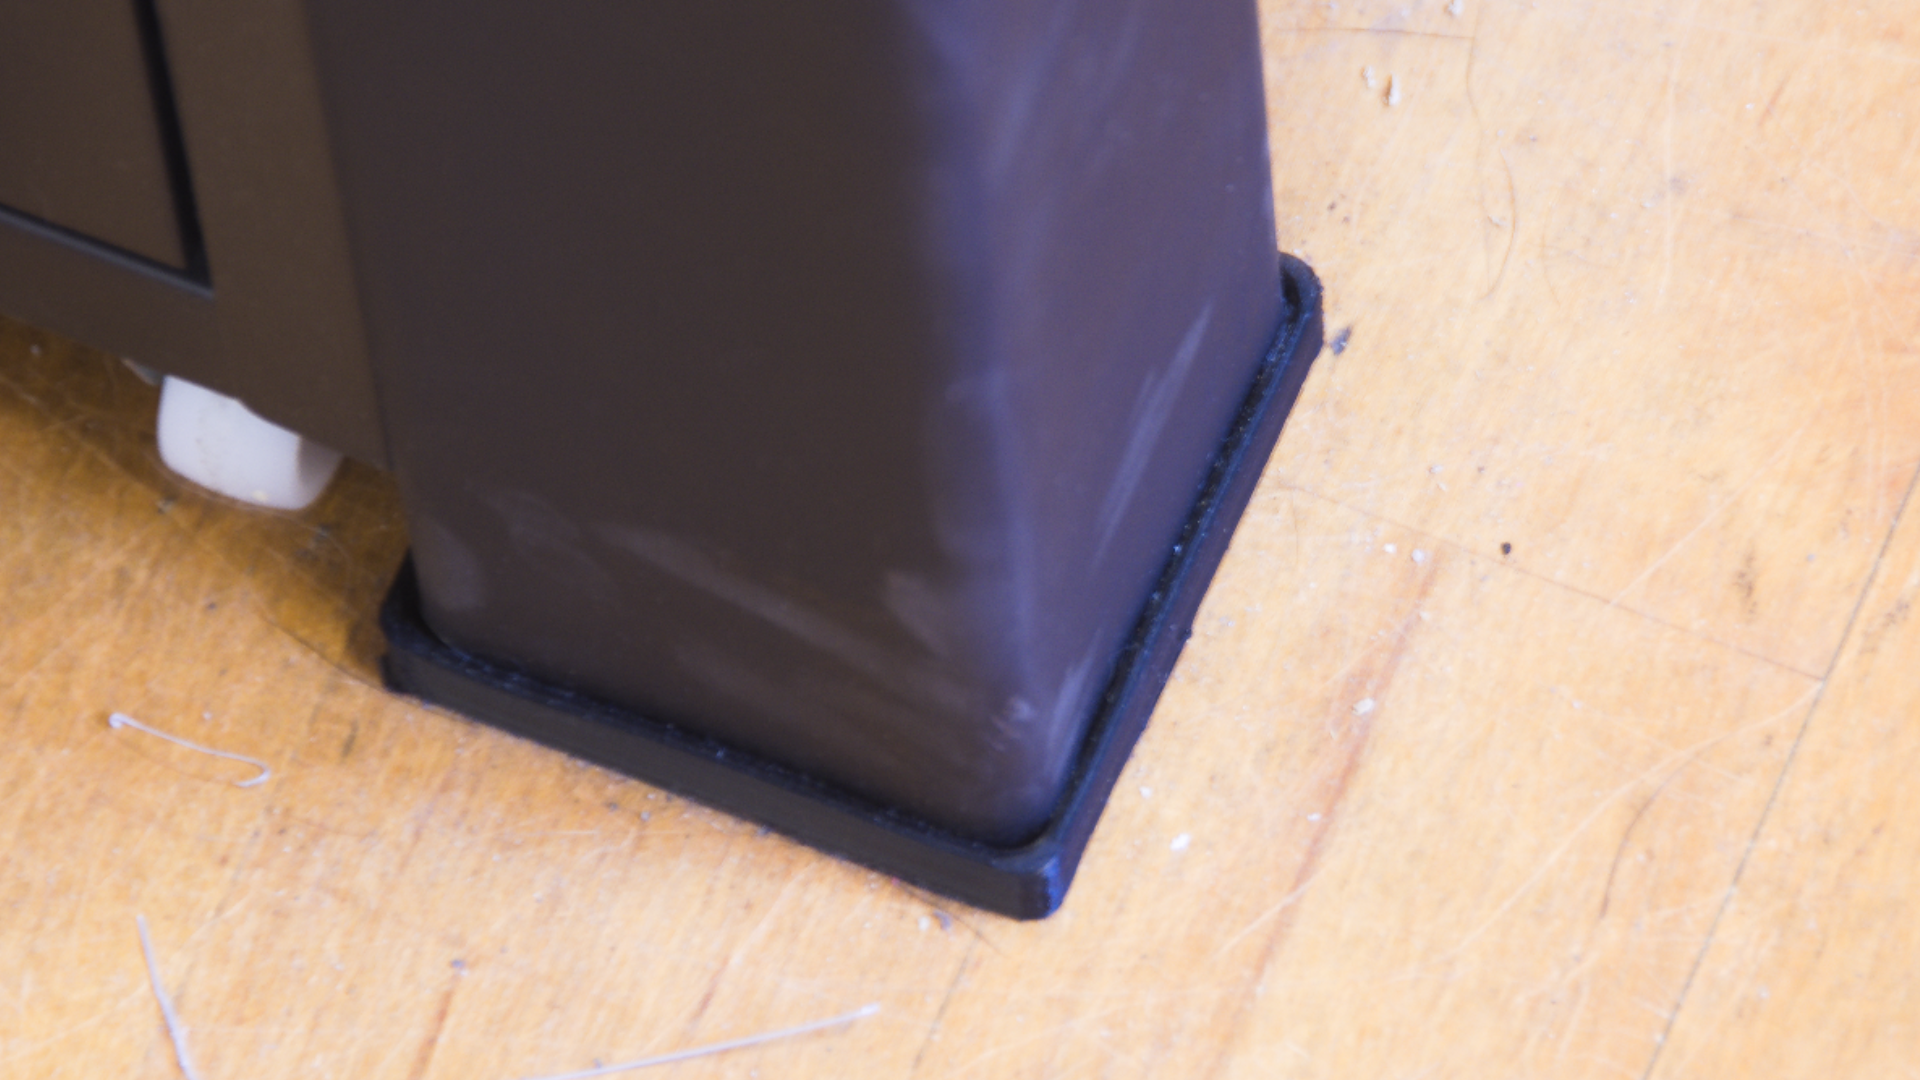
Off camera I welded a quick frame to keep the PC off the floor and the feet got 3d printed protectors so that they don’t scratch the floor.
Overall I could not be happier with the dream desk. Let me know if you have additional ideas for features I could add to it.


Your dream desk build is truly impressive! I’m particularly intrigued by the sliding dovetails you used to ensure the table top doesn’t warp. How did you decide on this method over other potential solutions? And do you foresee any challenges with this approach in the long run
Thanks. I have used this approach in several pieces and never had problems with it. The advantage over breadboards is that you have a very clean table surface and a continuous grain.
As this is actually not my invention but has been used by joiners and carpenters since centuries I am pretty confident that it won’t cause any problems.