
In this article I describe how to create an open source free wargame that is so small that it fits into a suitcase.
Free Wargame in a Suitcase overview
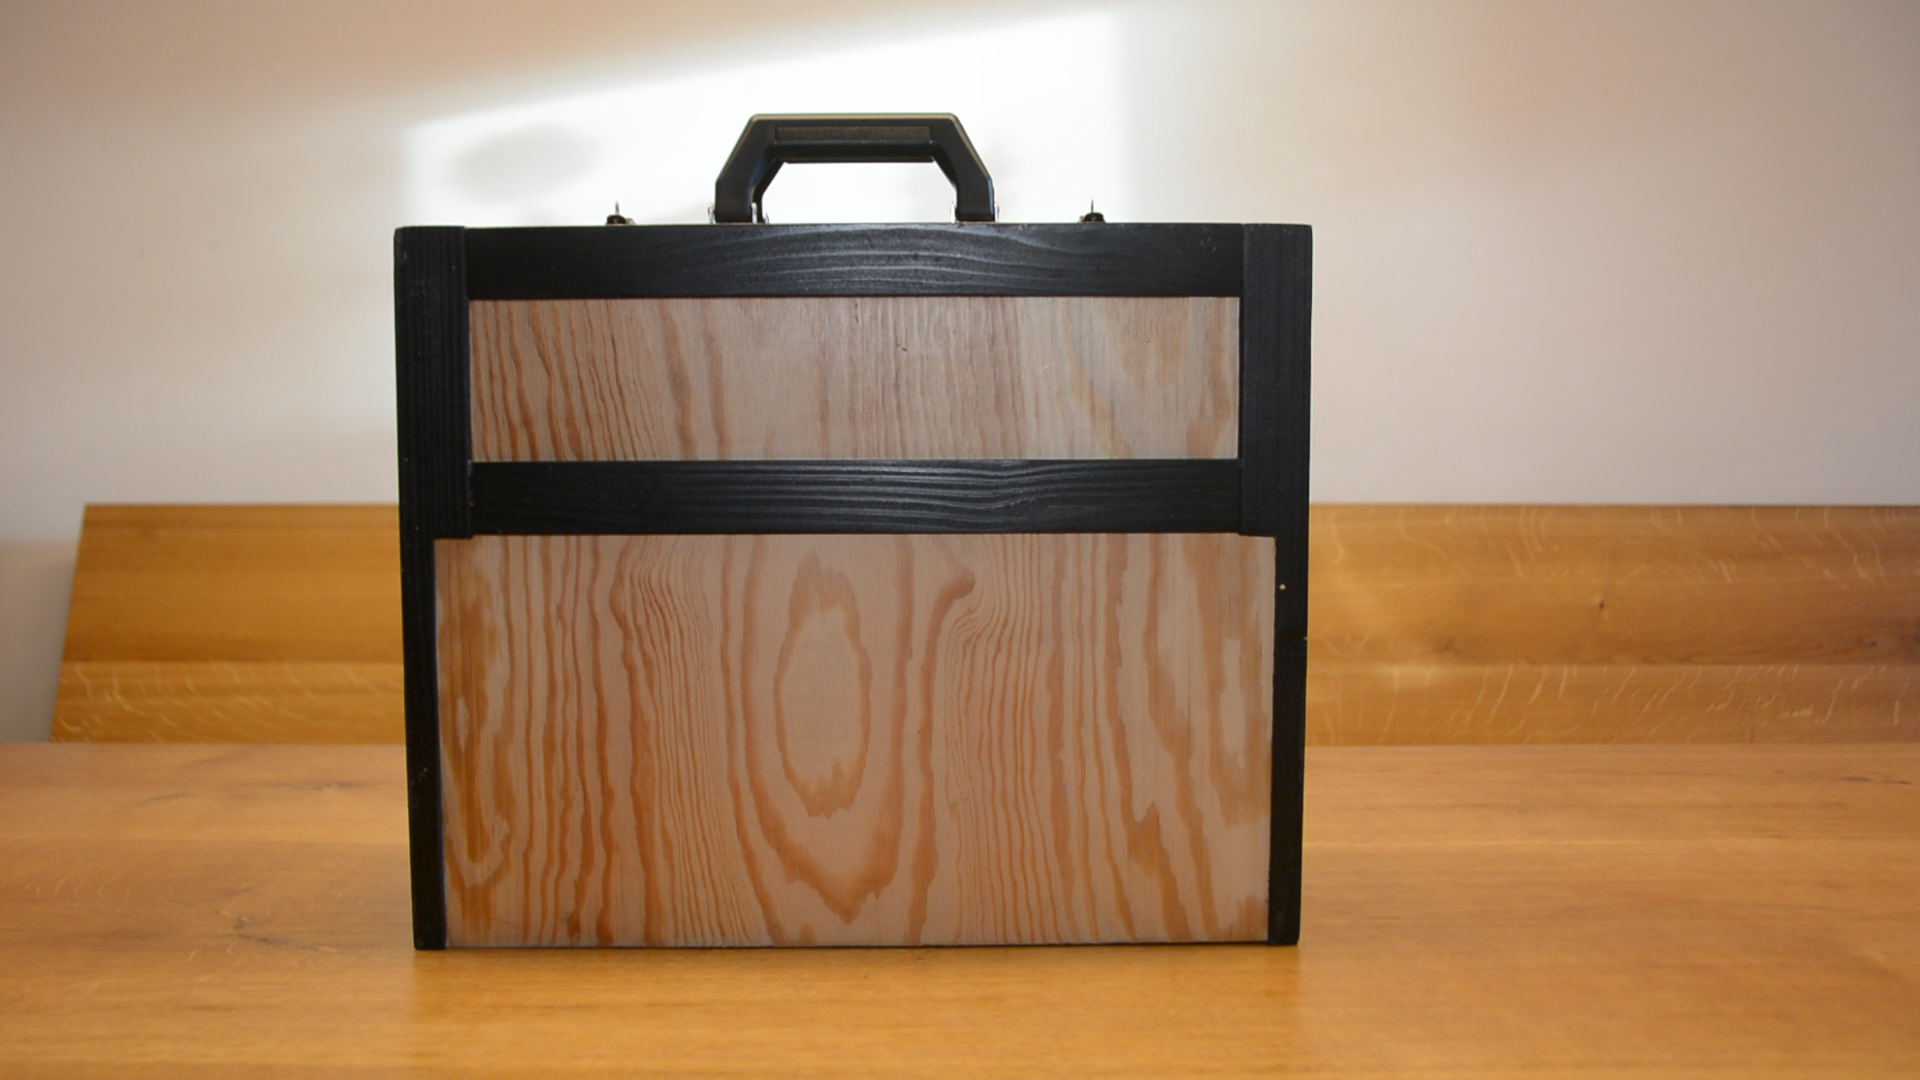
Today, we create an opensource mini wargame that fits into this suitcase. Let me introduce this free and open source wargame in a suitcase. It contains terrain,armies, dice and everything else you need to play a casual game.
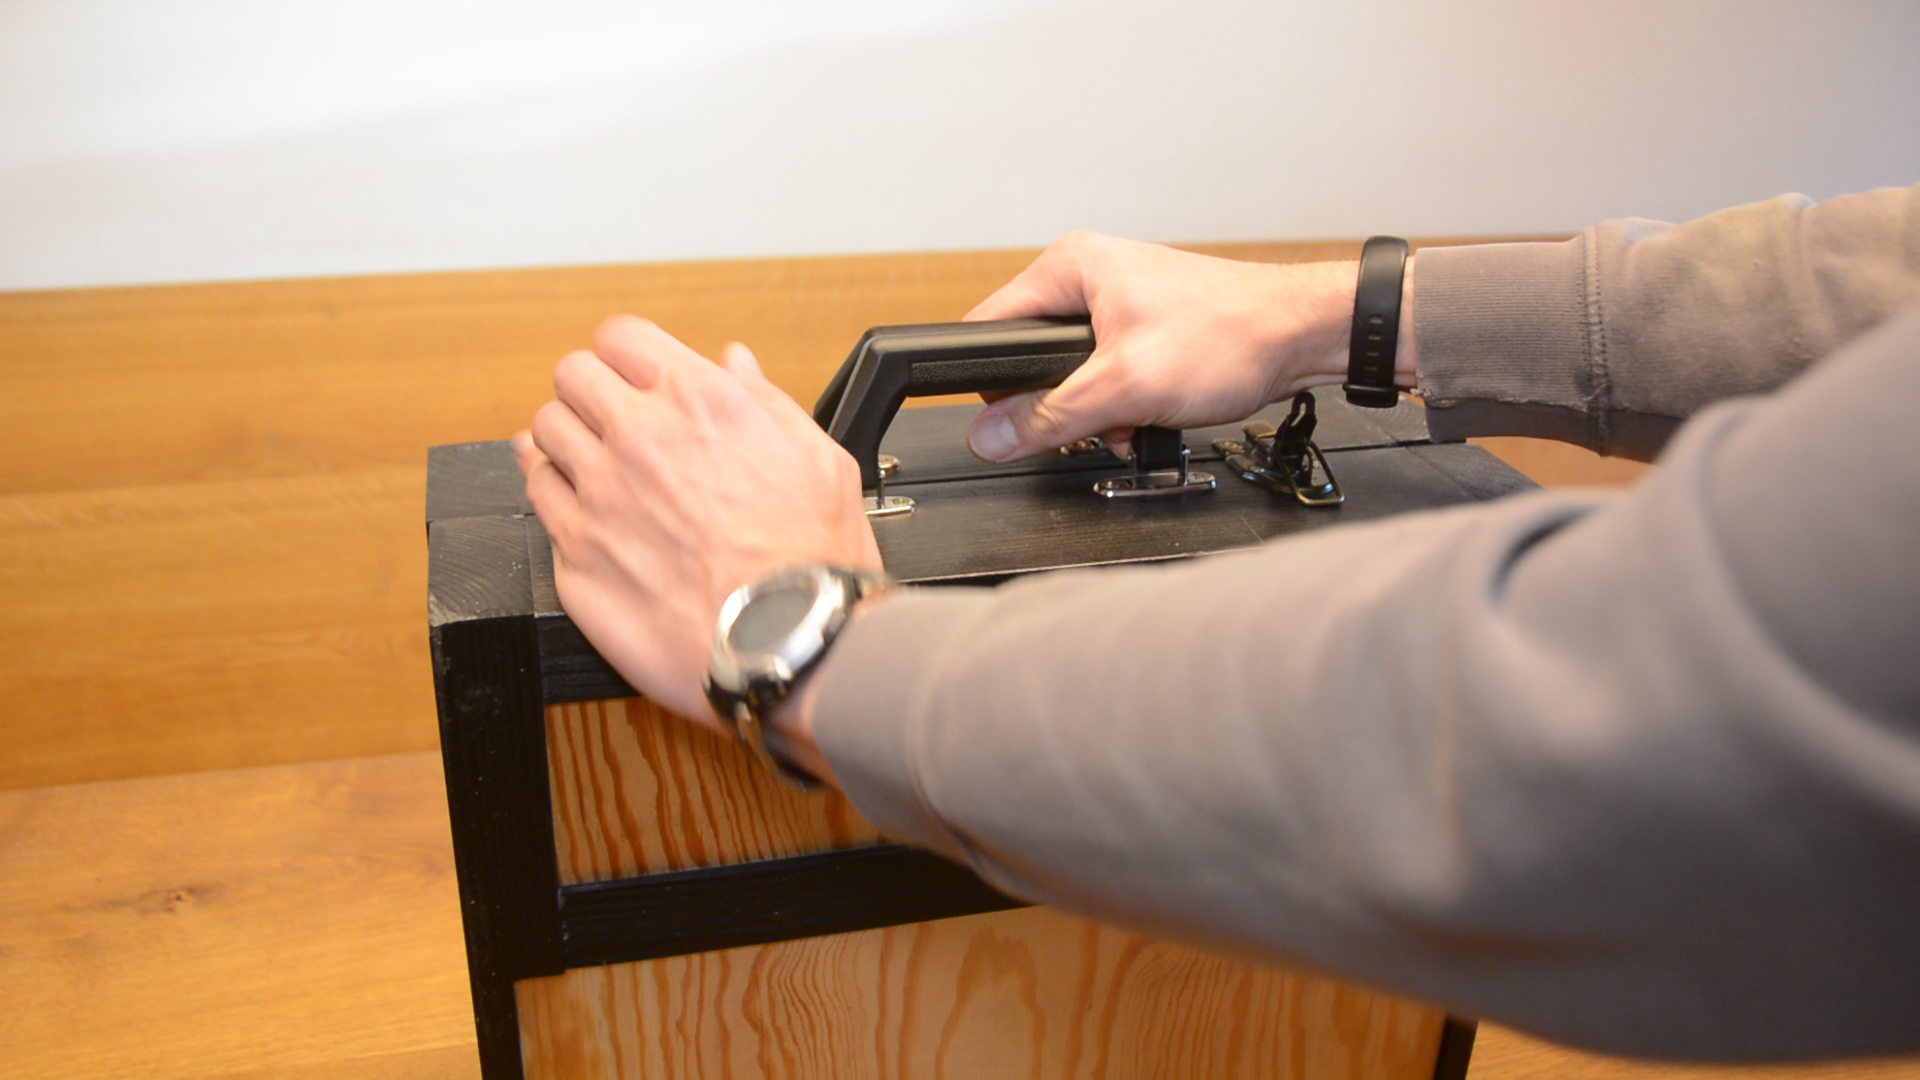
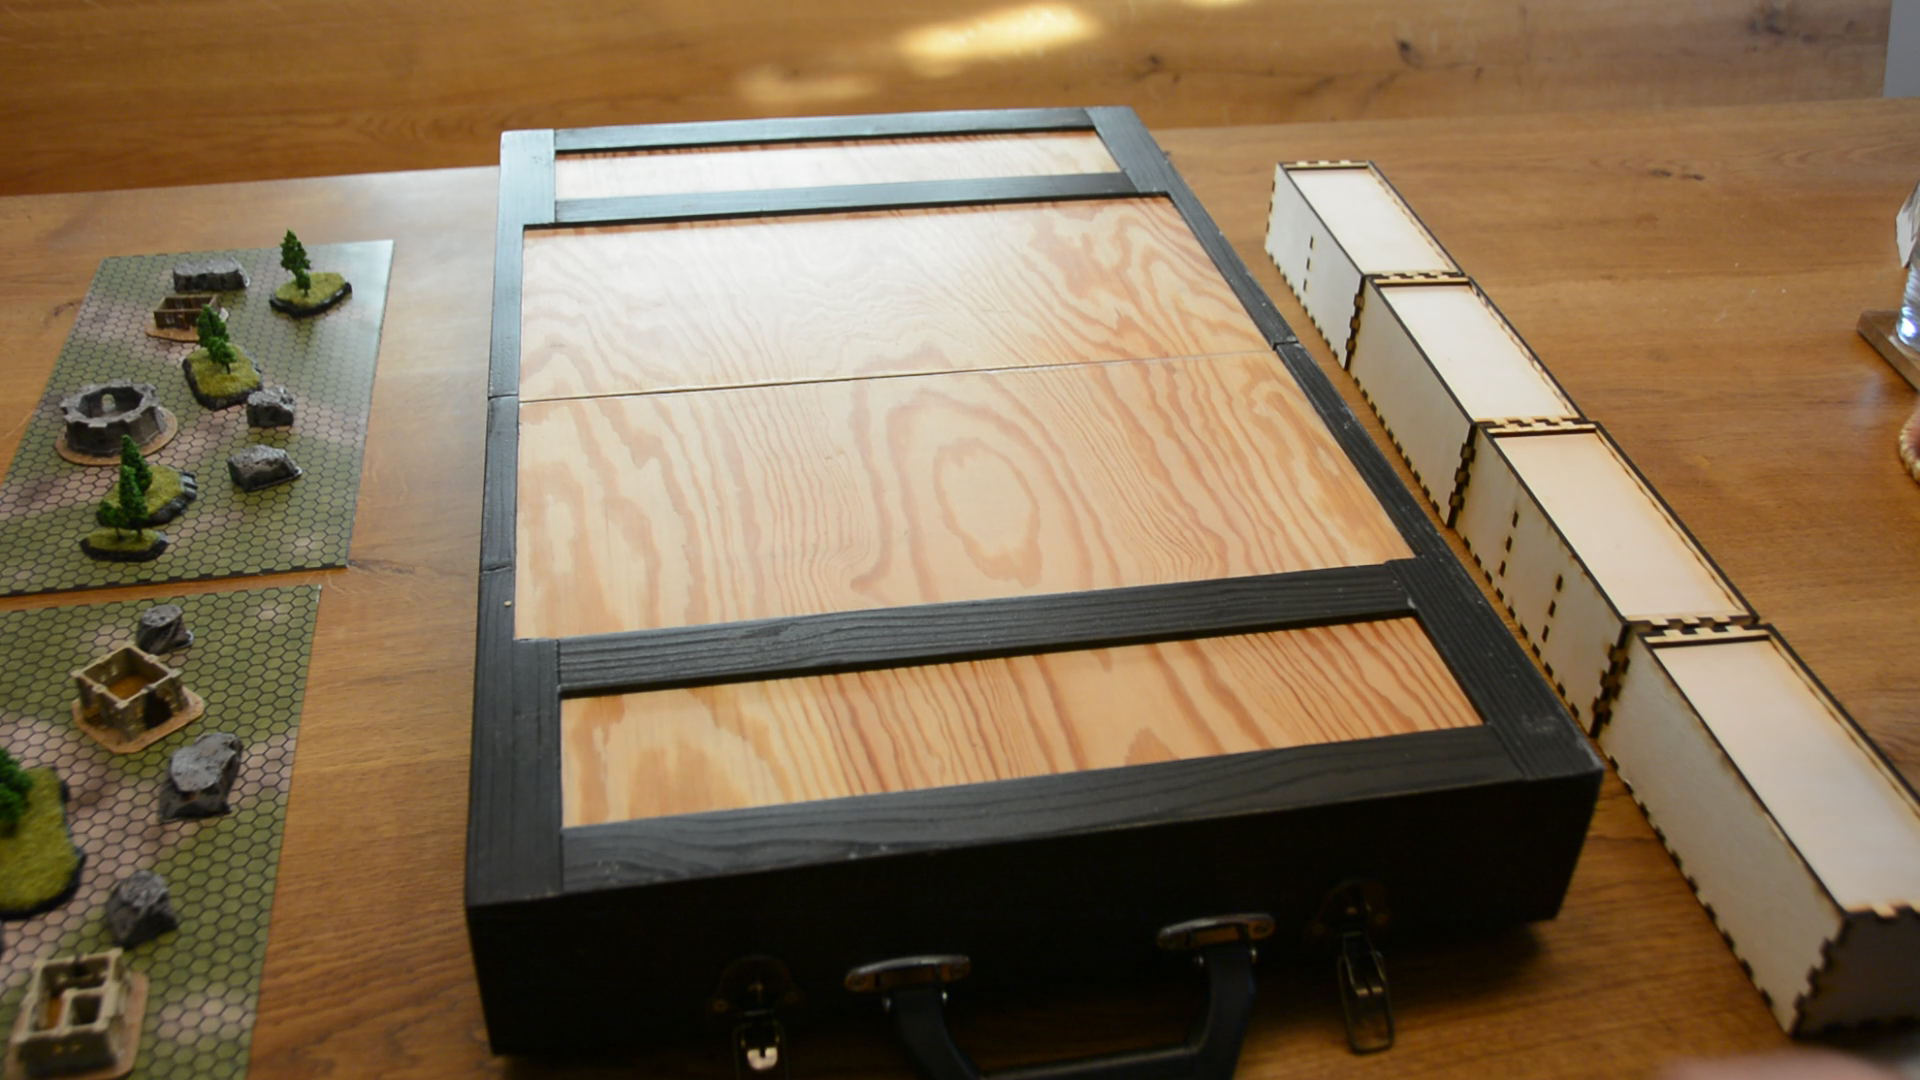
After opening the case I lock the four 3d printed standoffs in the corners. Without these elevating the suitcase the hinge in the middle would scratch the table.

All the armies, dice and the rules are in these four lasercut plywood boxes.
The battlefield and the terrain are stored in the main compartment of the suitcase.

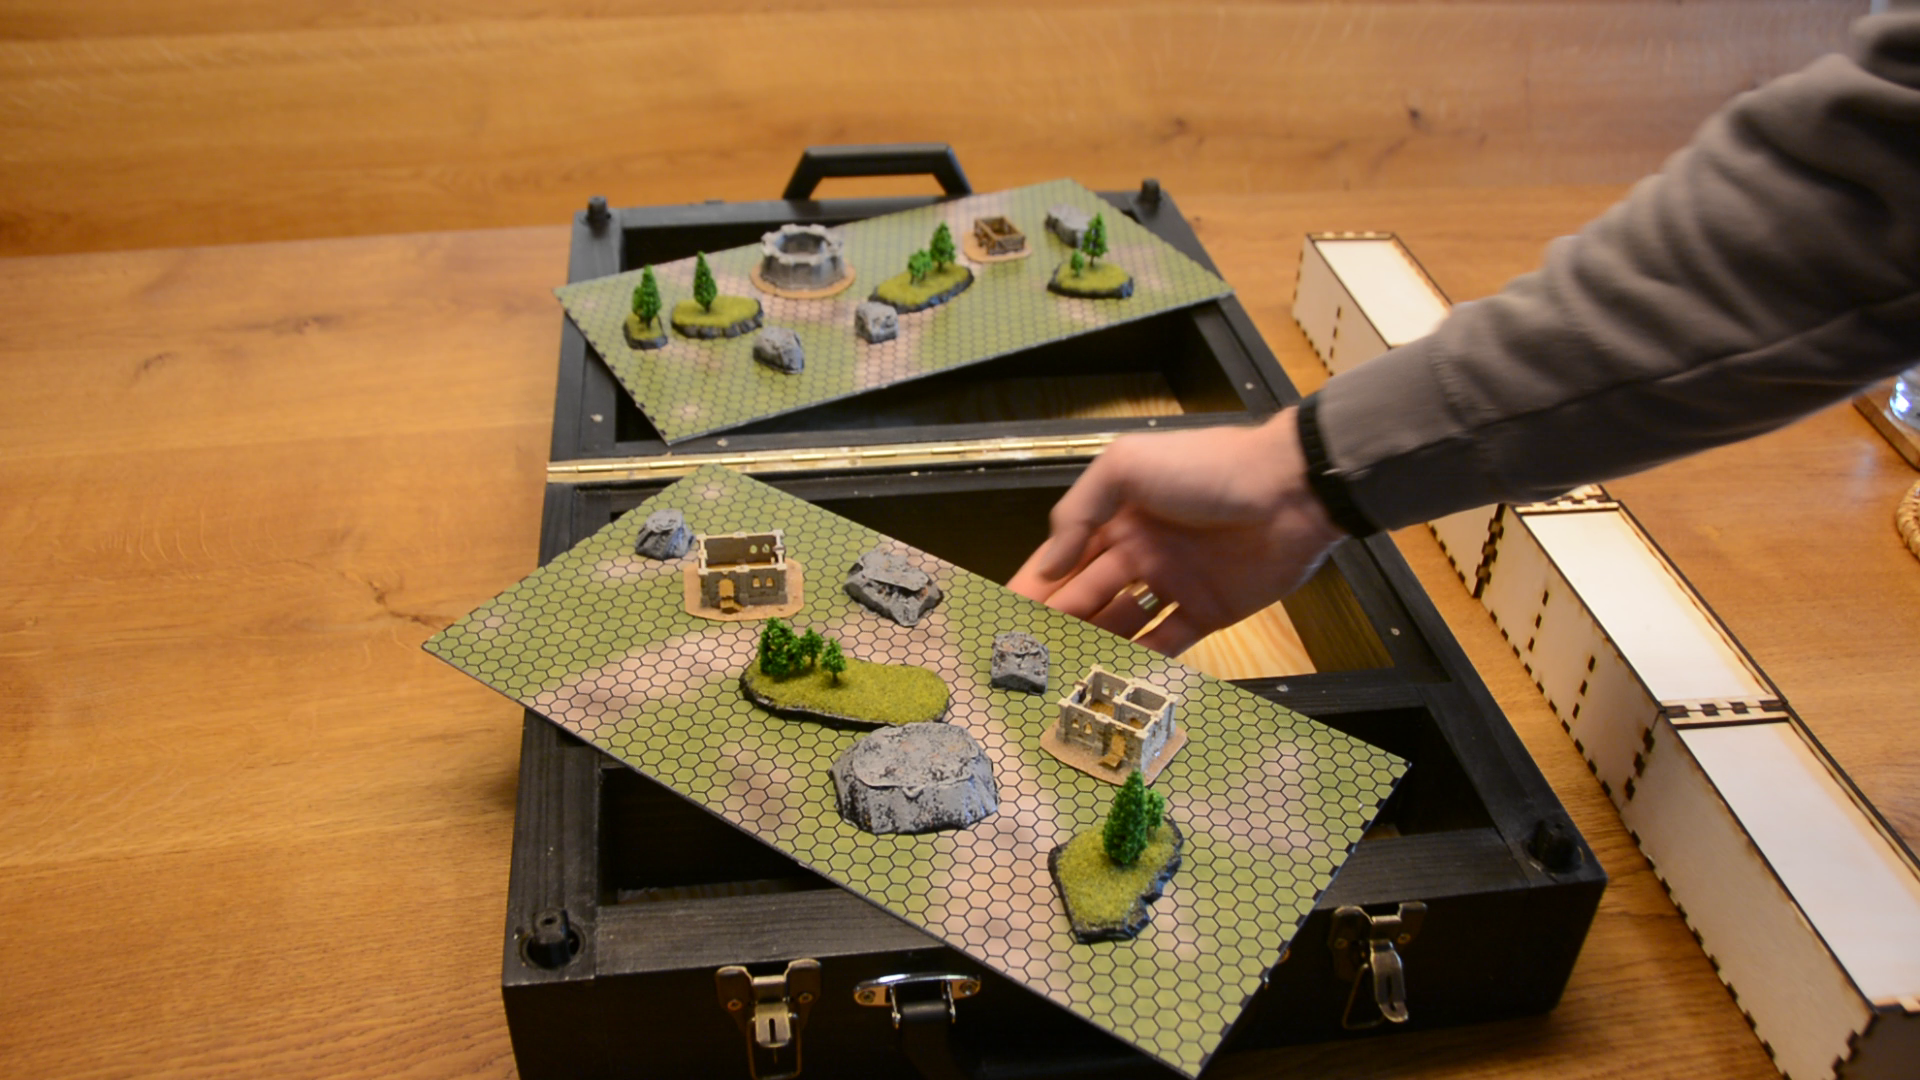
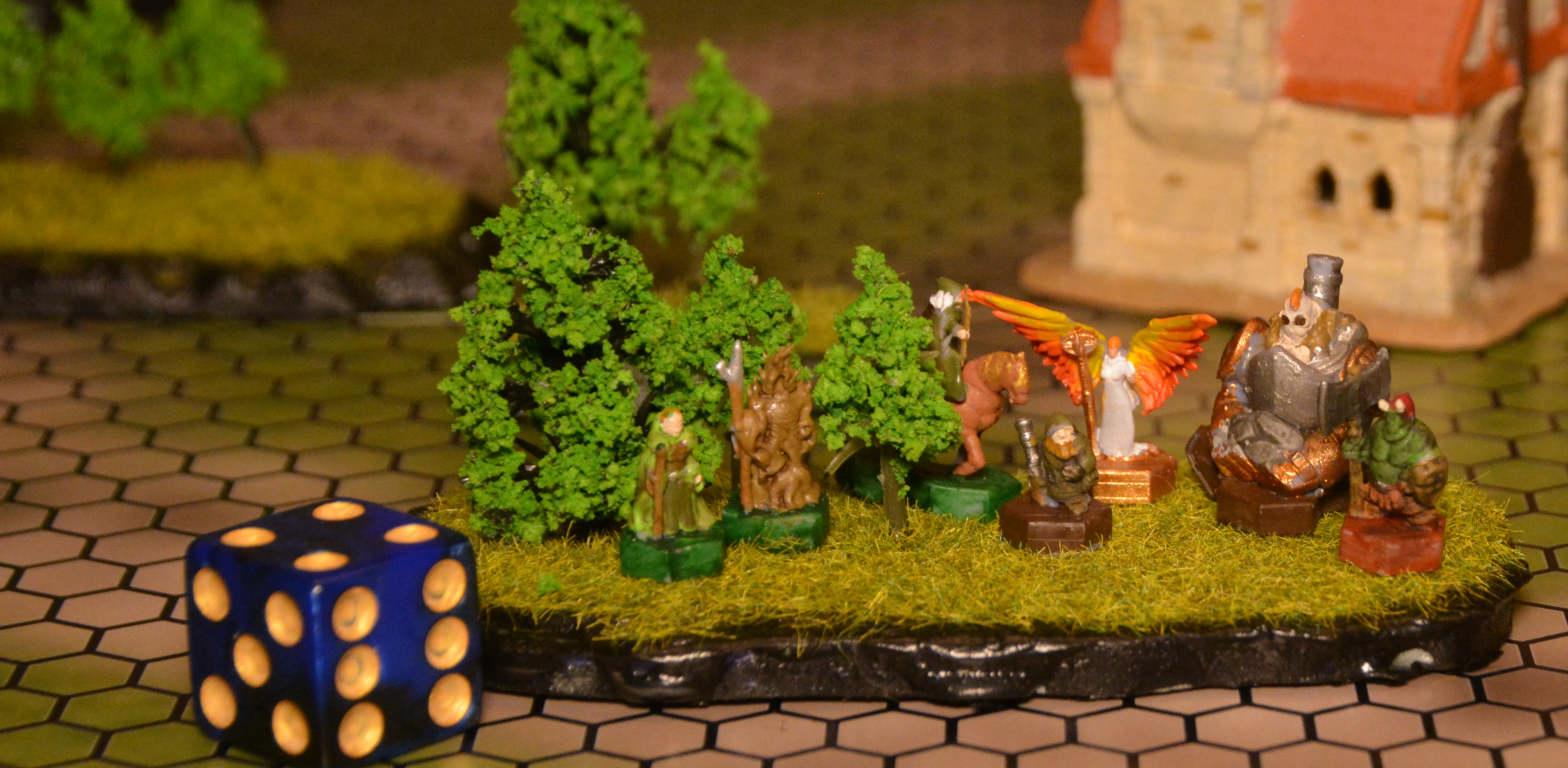
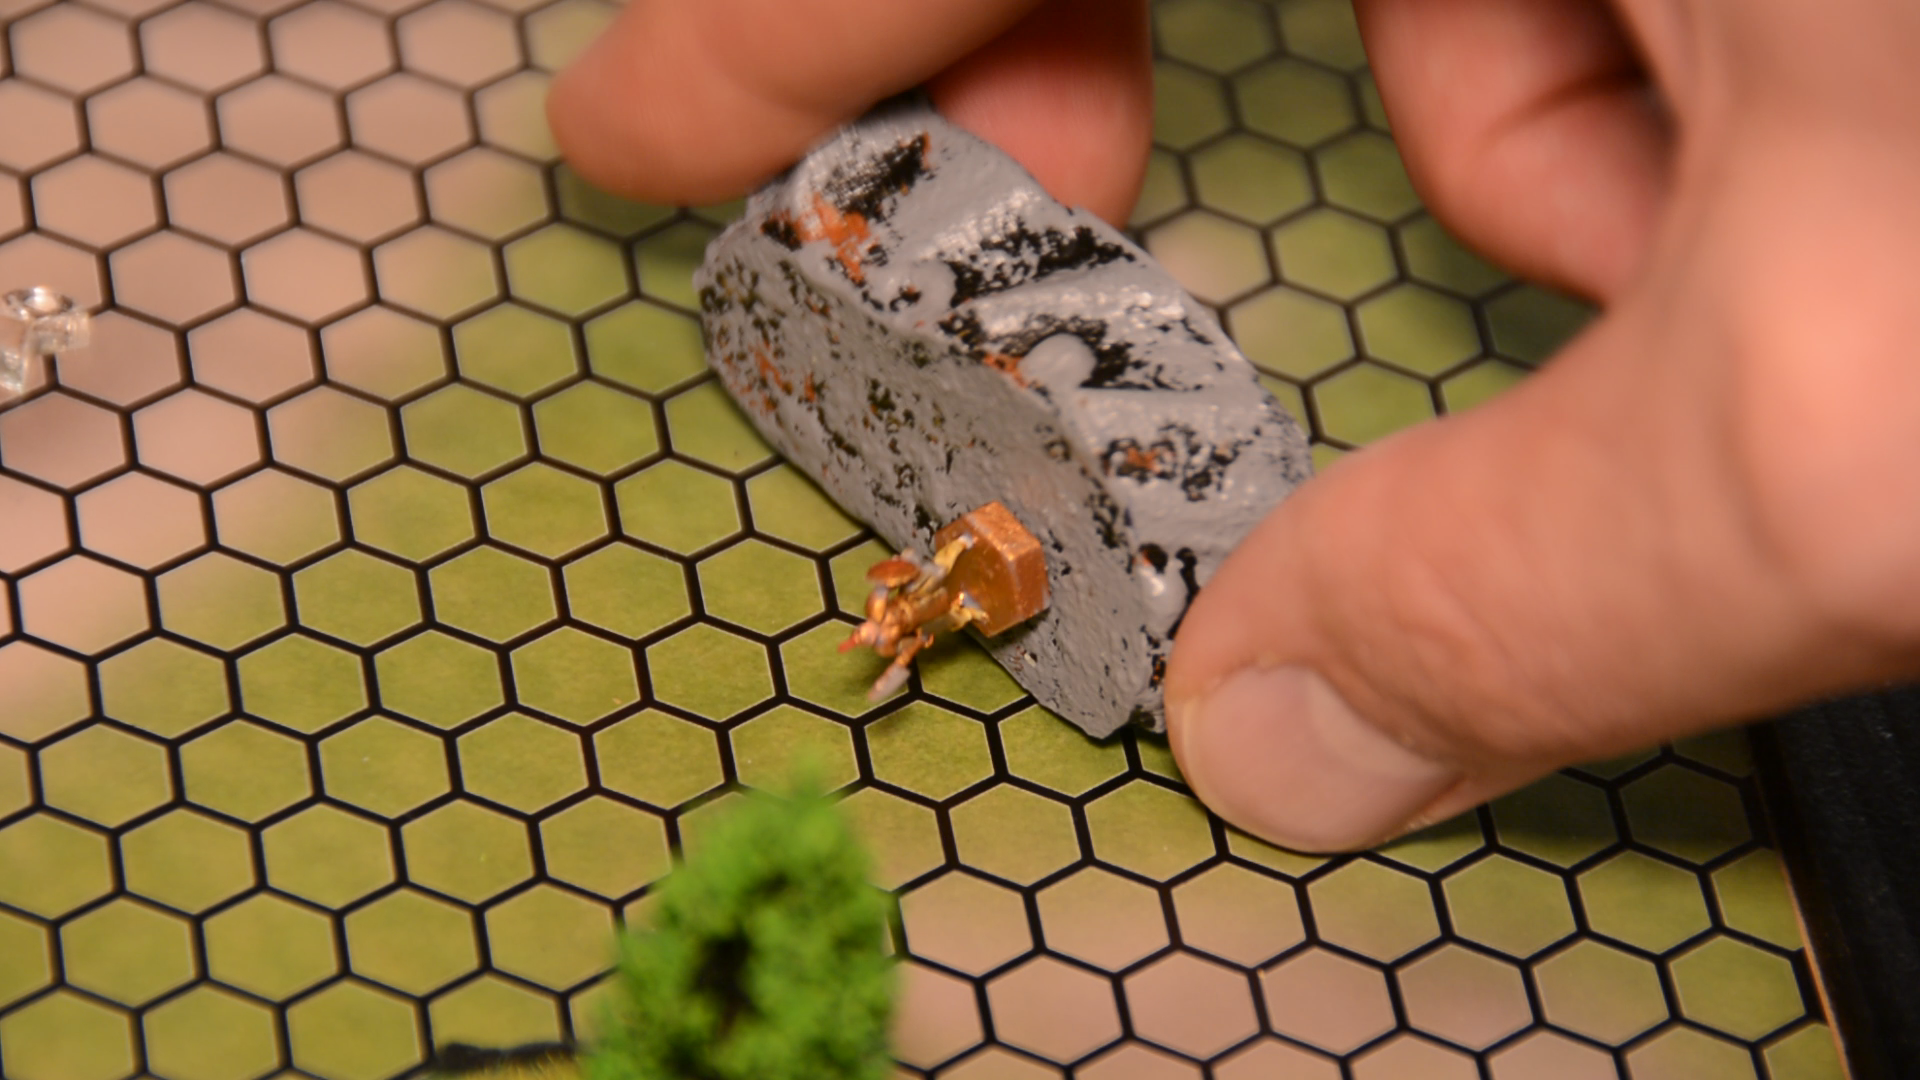
After taking everything out we can turn the suitcase so that its outer side becomes the playing surface. All the terrain is magnetic and sticks to the battle mat.
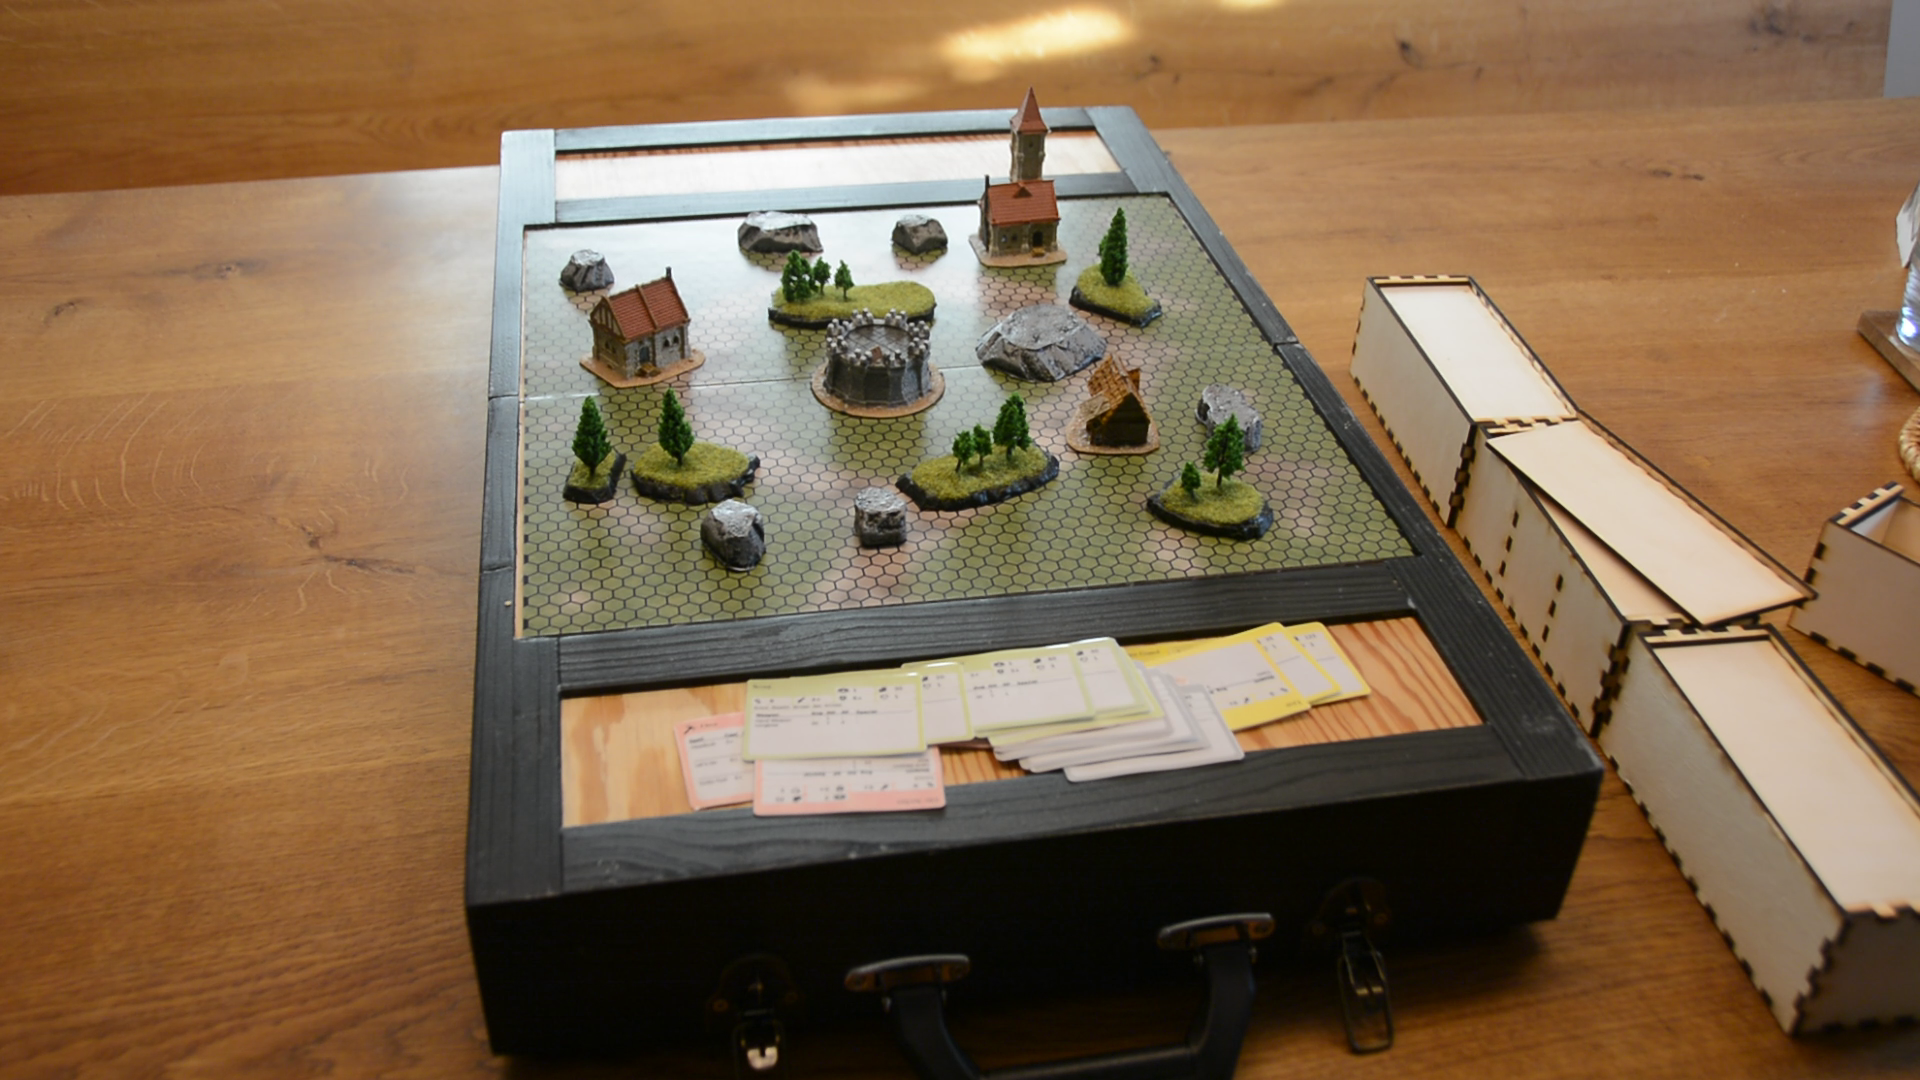
The missing terrain features are in one of the boxes and within a minute the battlefield is ready to play.


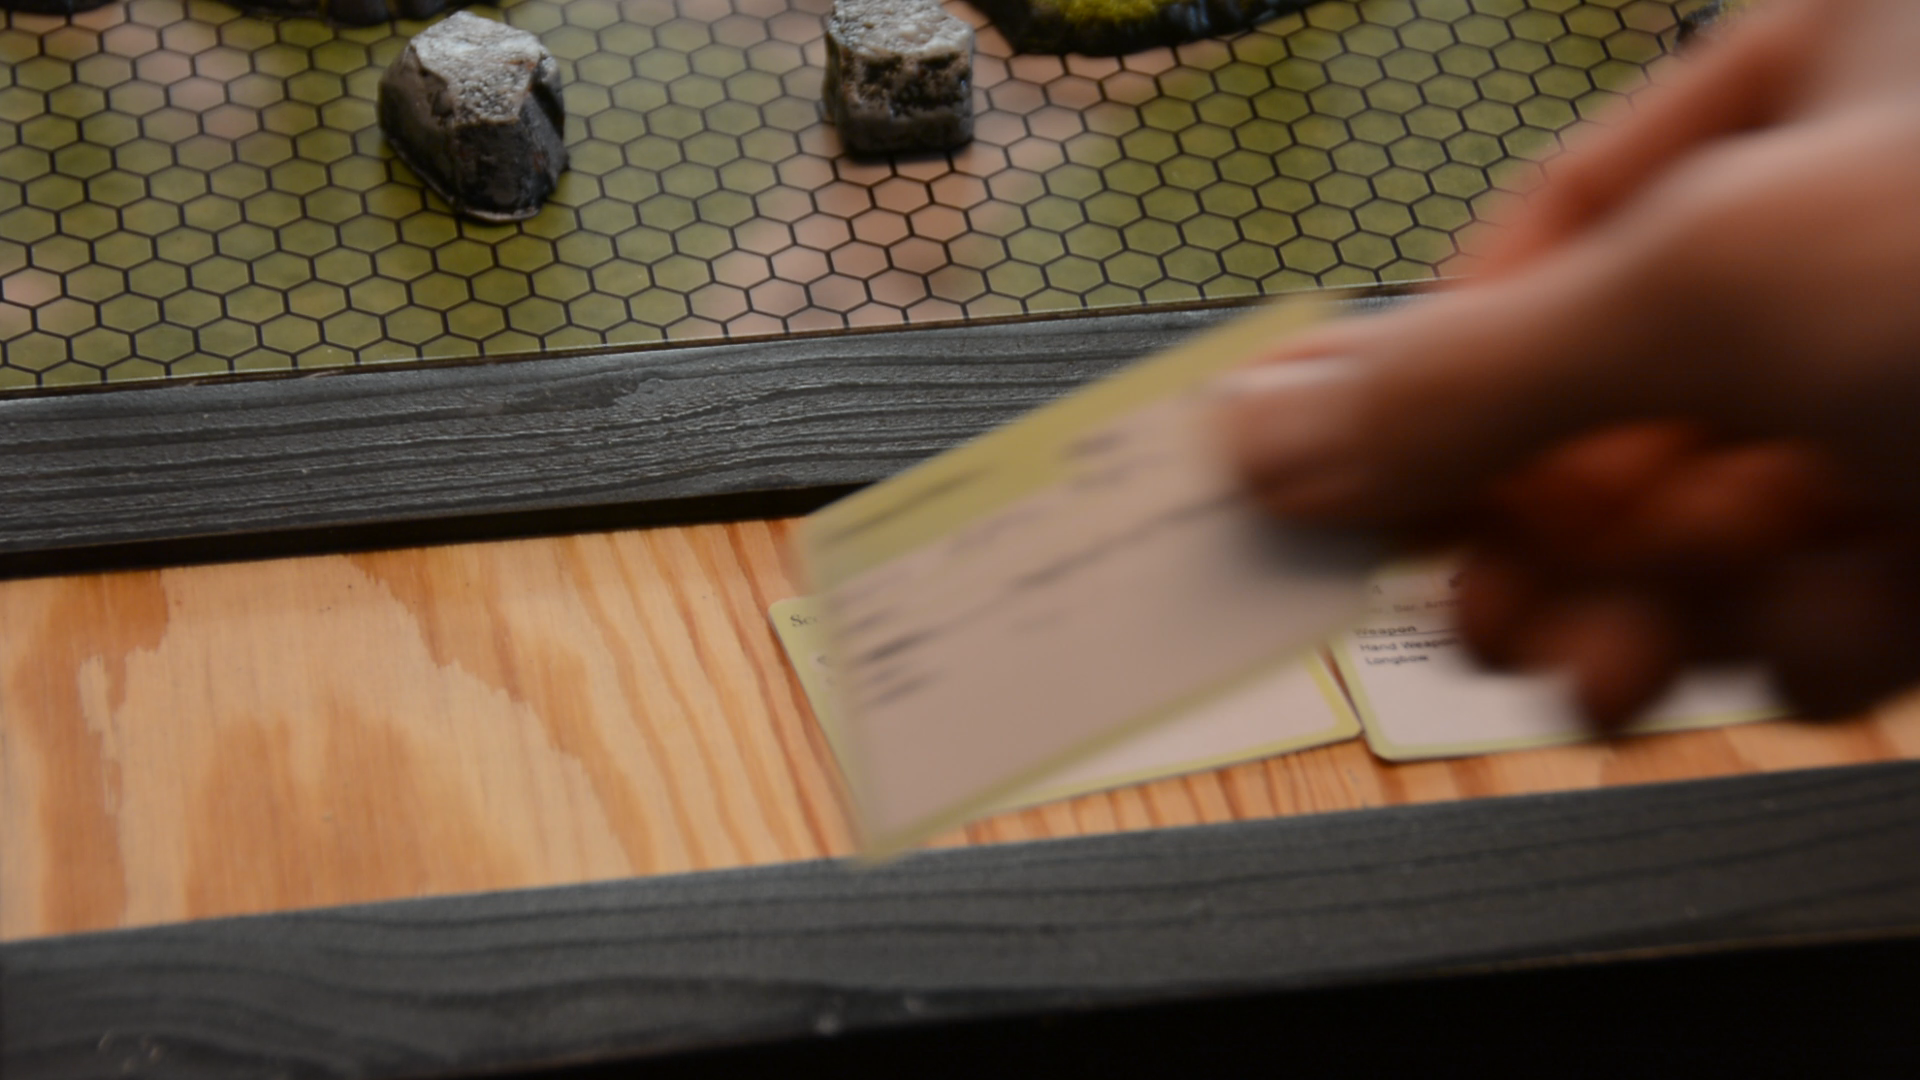
The same box contains cards with descriptions of the units.
Speaking of the units they are in a different box on these cute little trays. They are super simple to print and paint and look actually look quite nice.
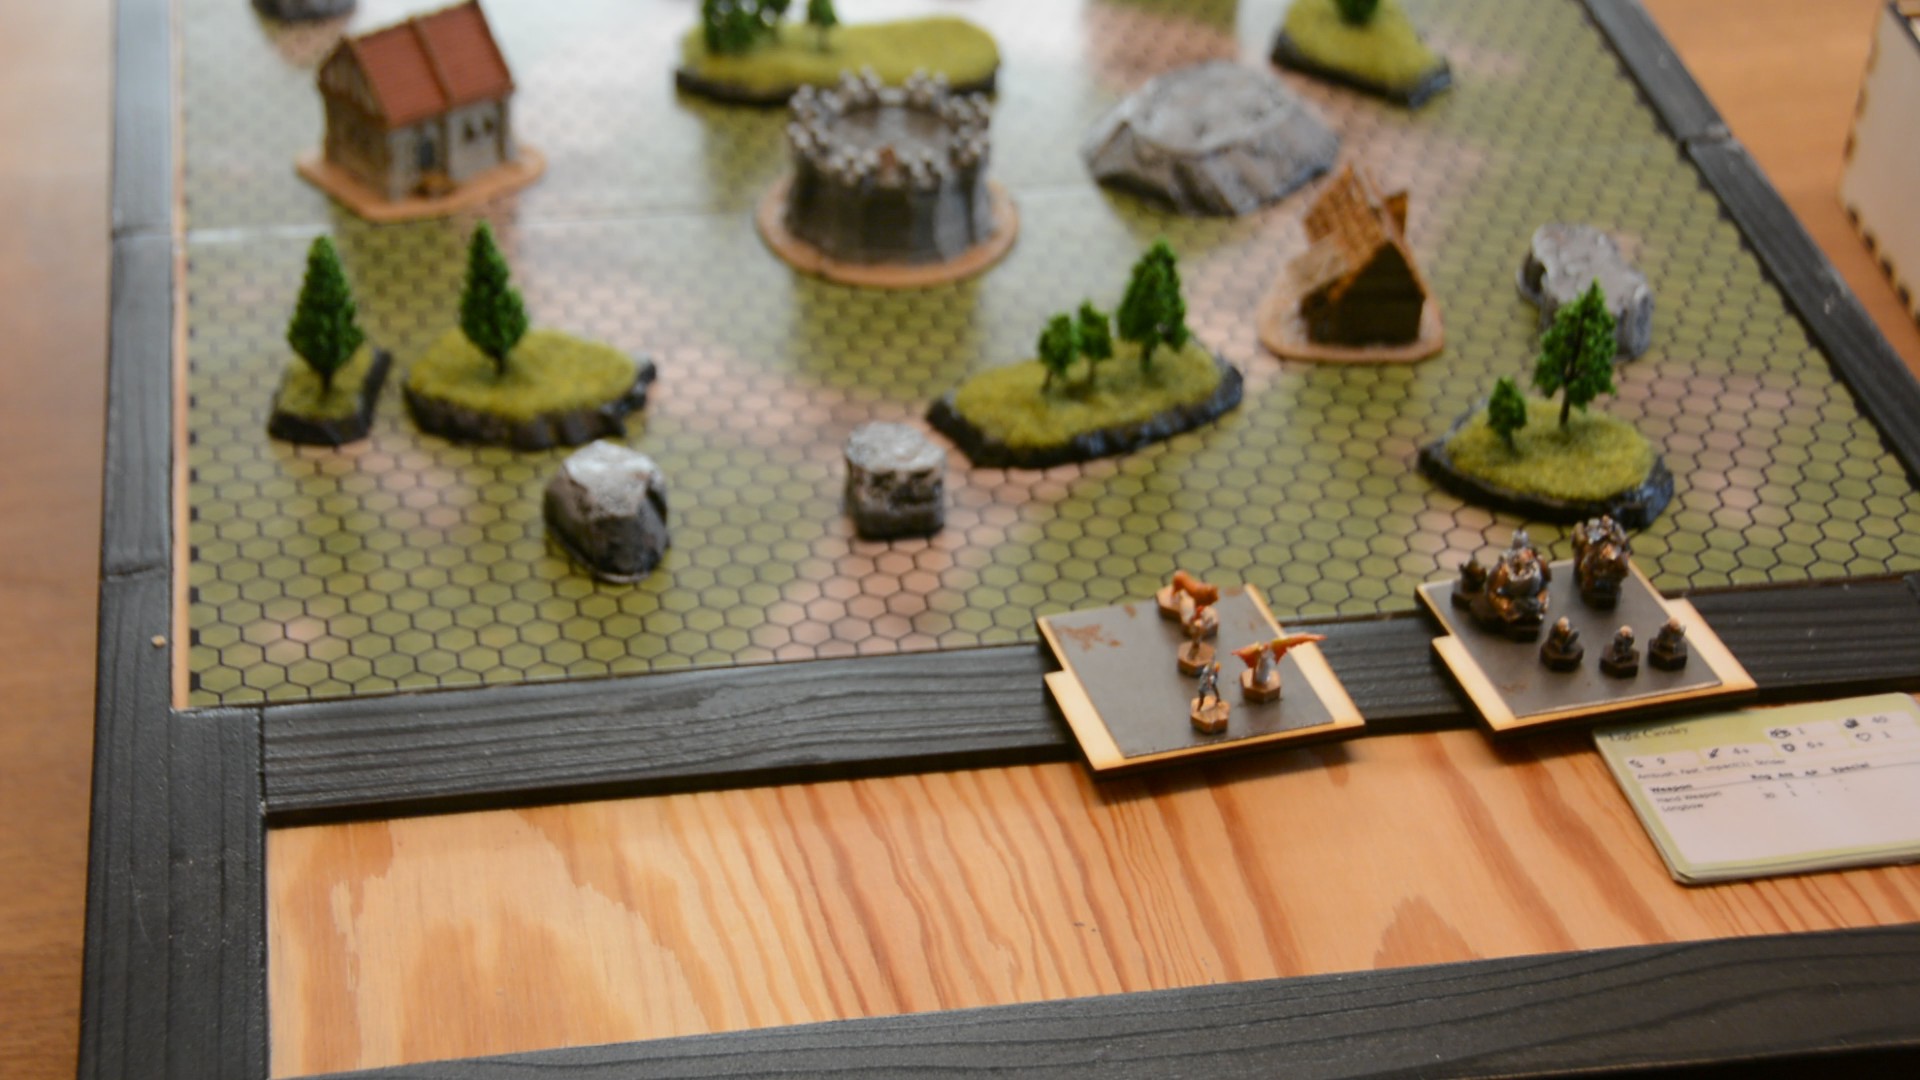
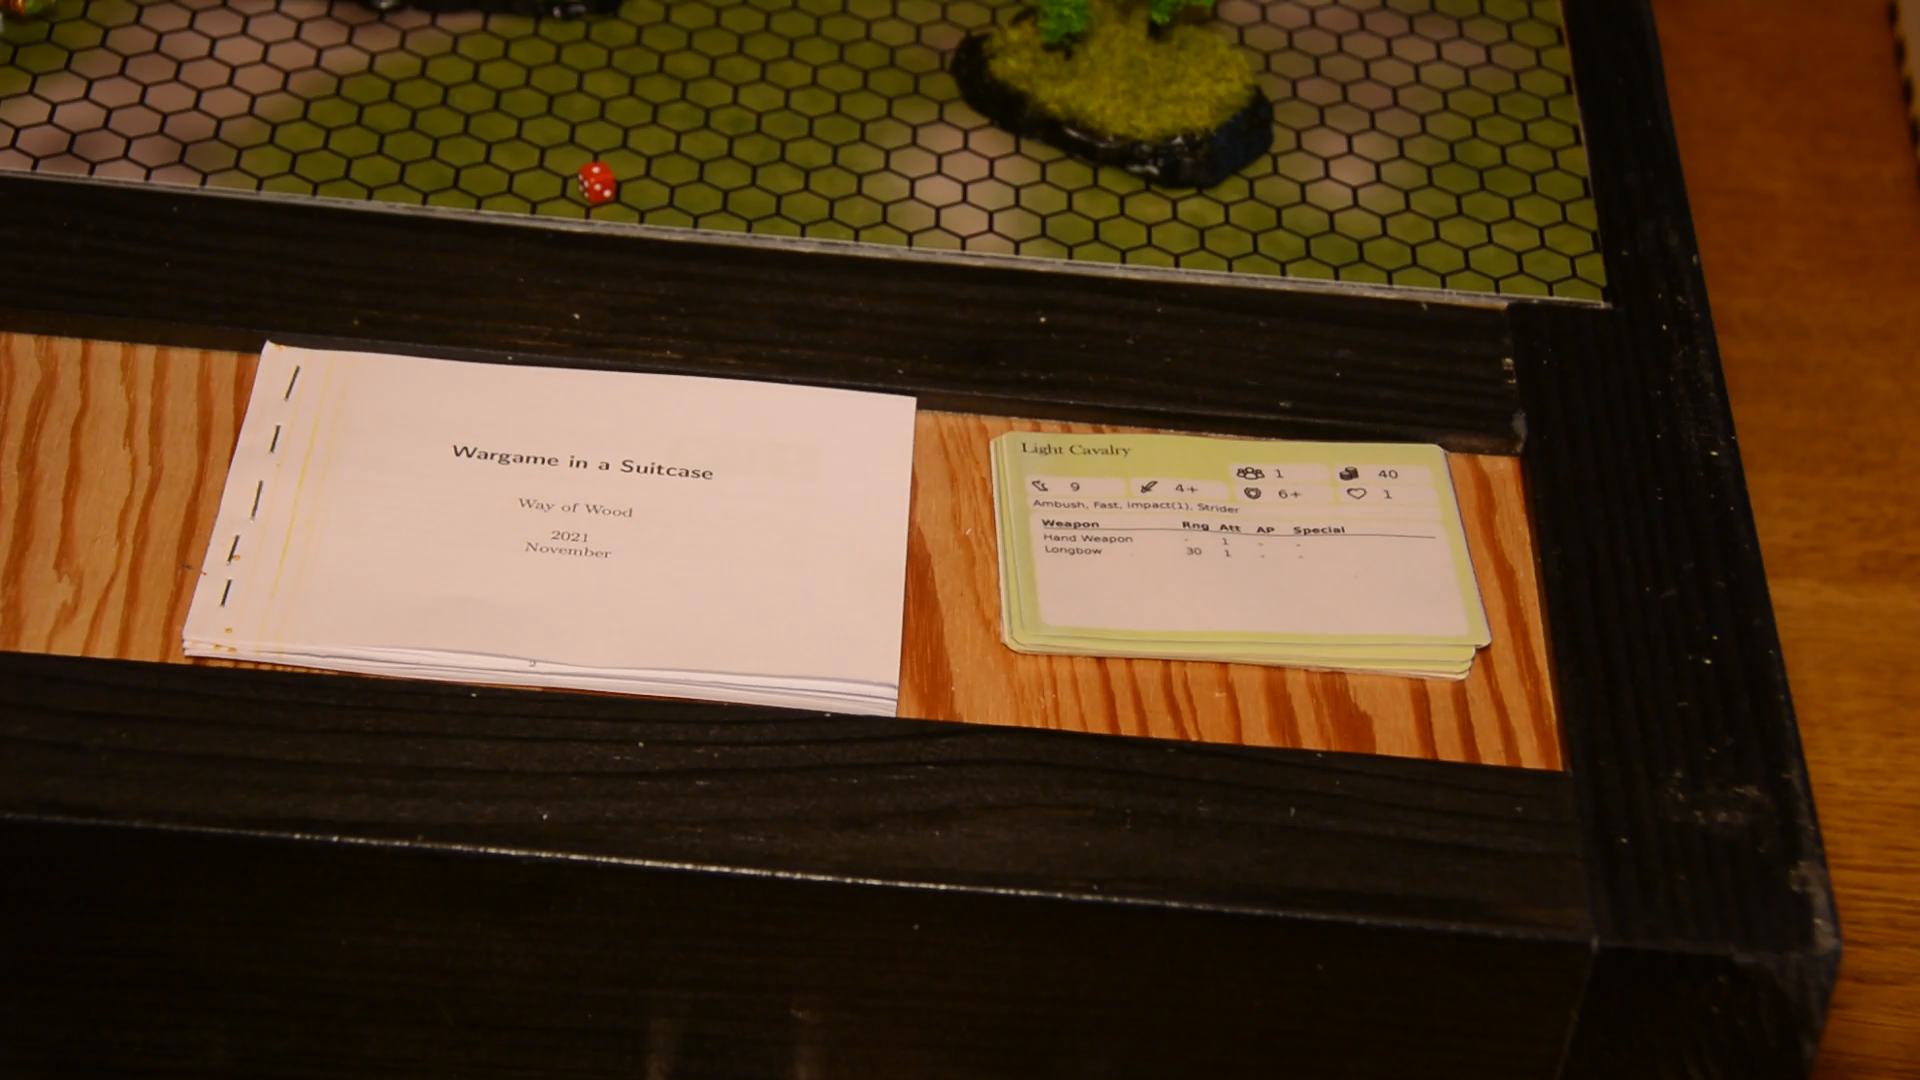
After placing the units on the table the game follows an adoption of the age of fantasy skirmish rules from onepagerules. All the rules are summarized in a little booklet. The stats for each unit are on these cards.
All measurements are based on the hex fields. Using a ruler is therefore completely optional. As all the units have magnets it is even possible to stop in the middle of a game put everything back in the case and continue with the game another time.

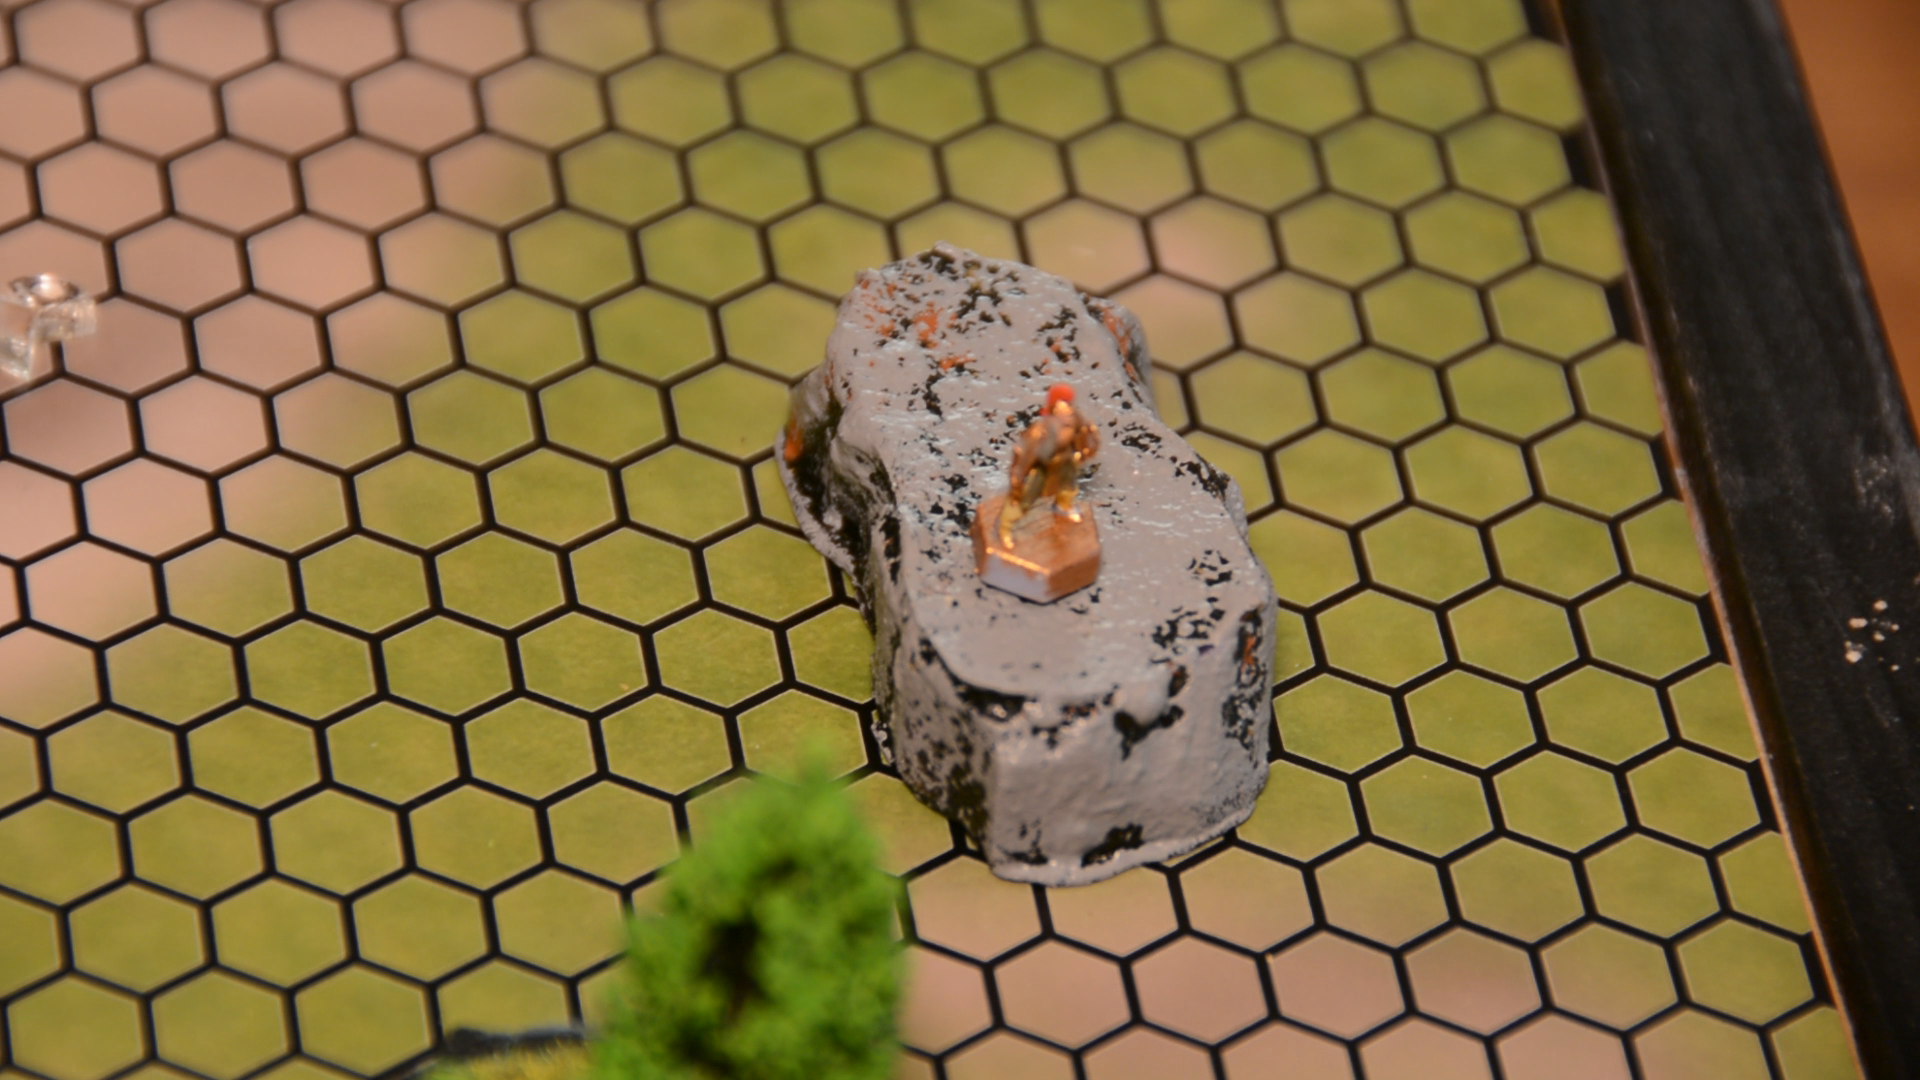
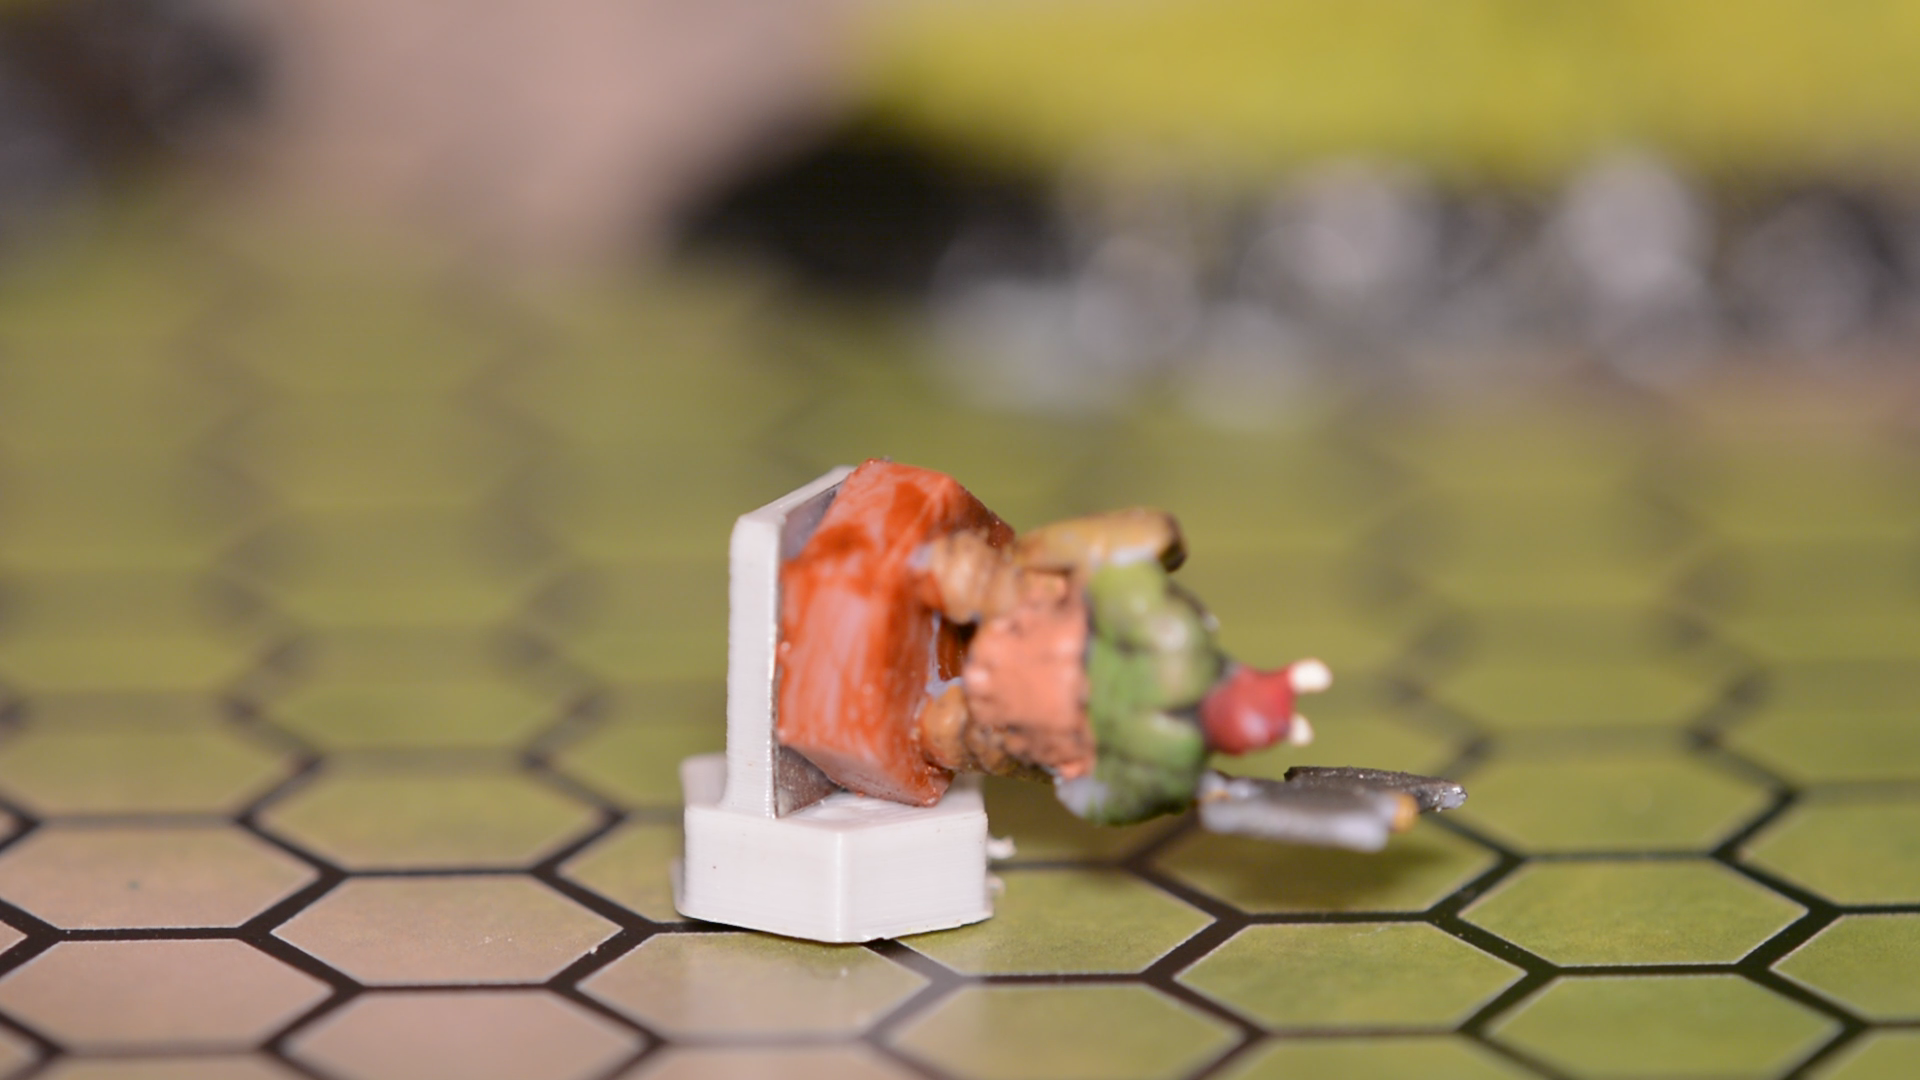
Units are fighting one another with shooting or melee weapons. When a unit is wounded it is either removed from the game or it is stunned. This is indicated by putting it on its side on a stunned stand and placing a small dice with the amount of wounds next to the model. Models that have been activated are marked with an activation marker.

All the elements of this game are open source and available here. But now let’s build the game itself.
Creating the battlemat
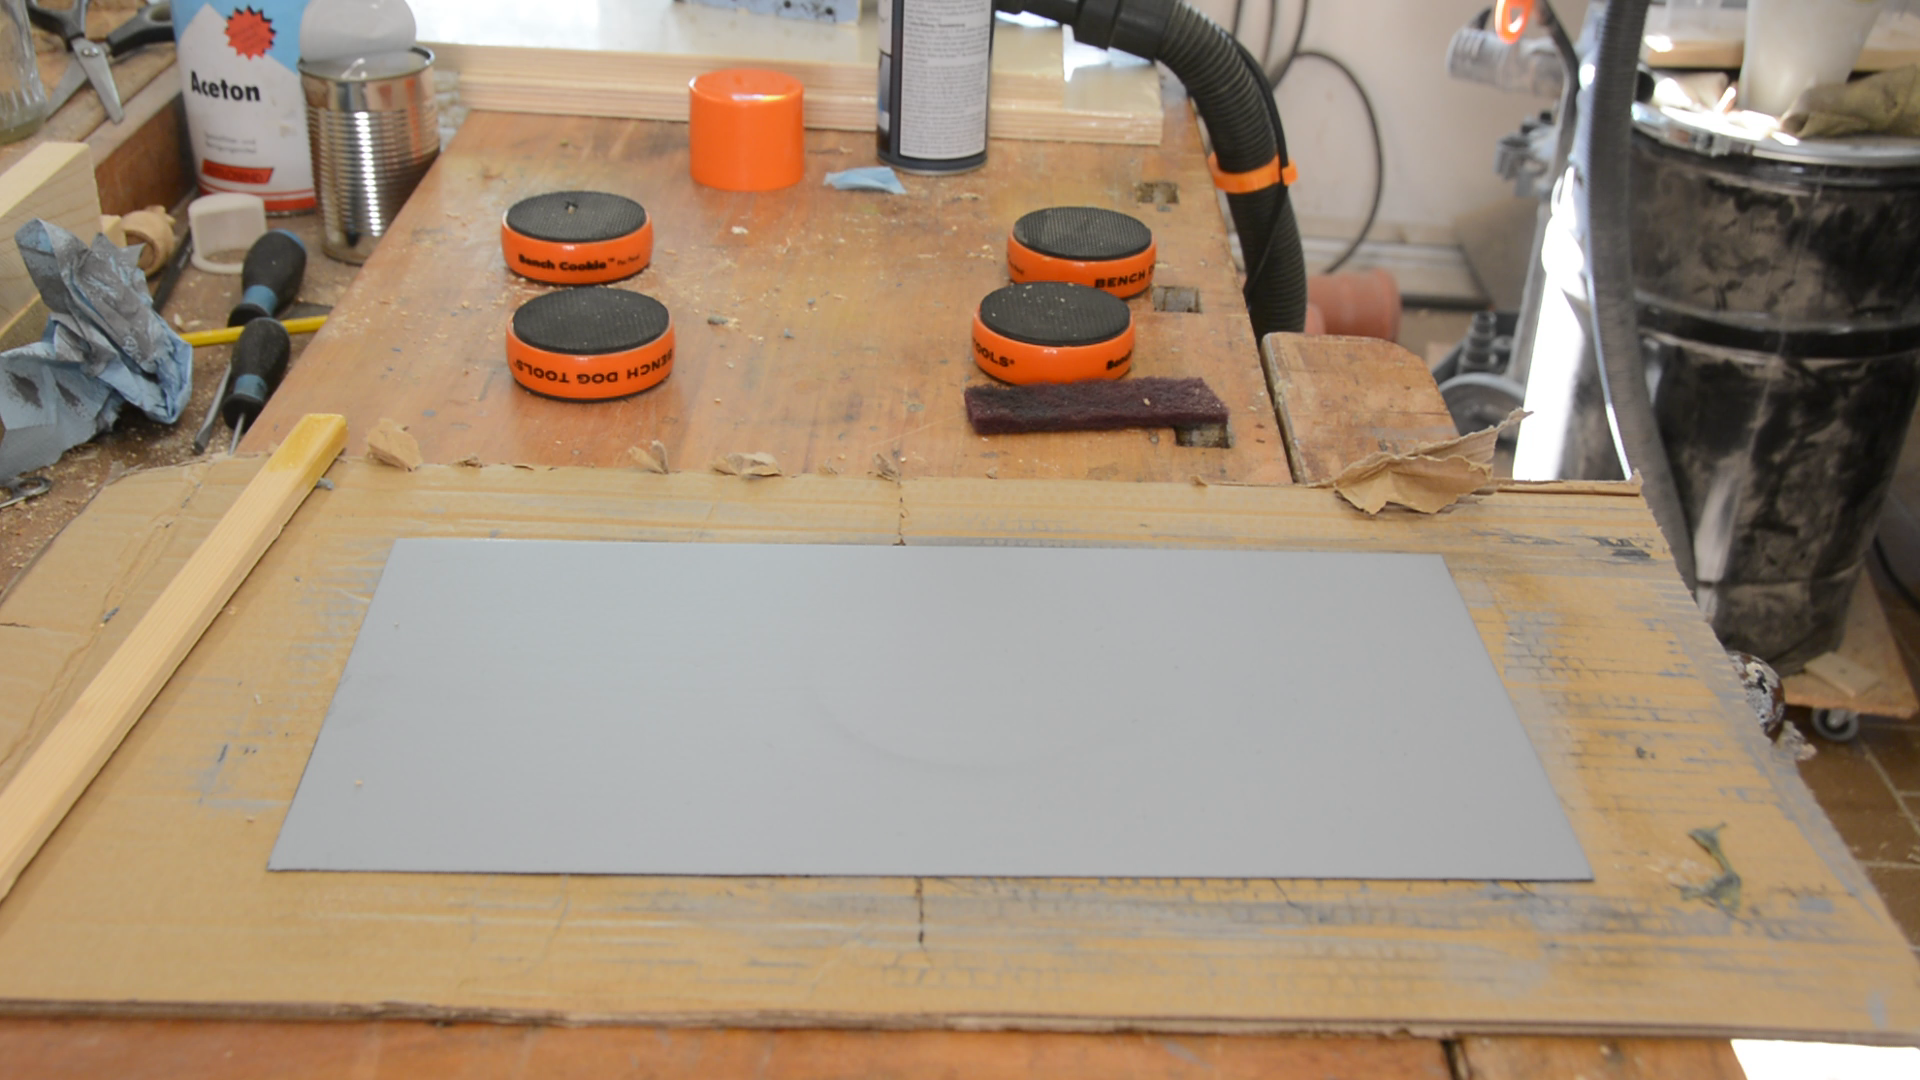
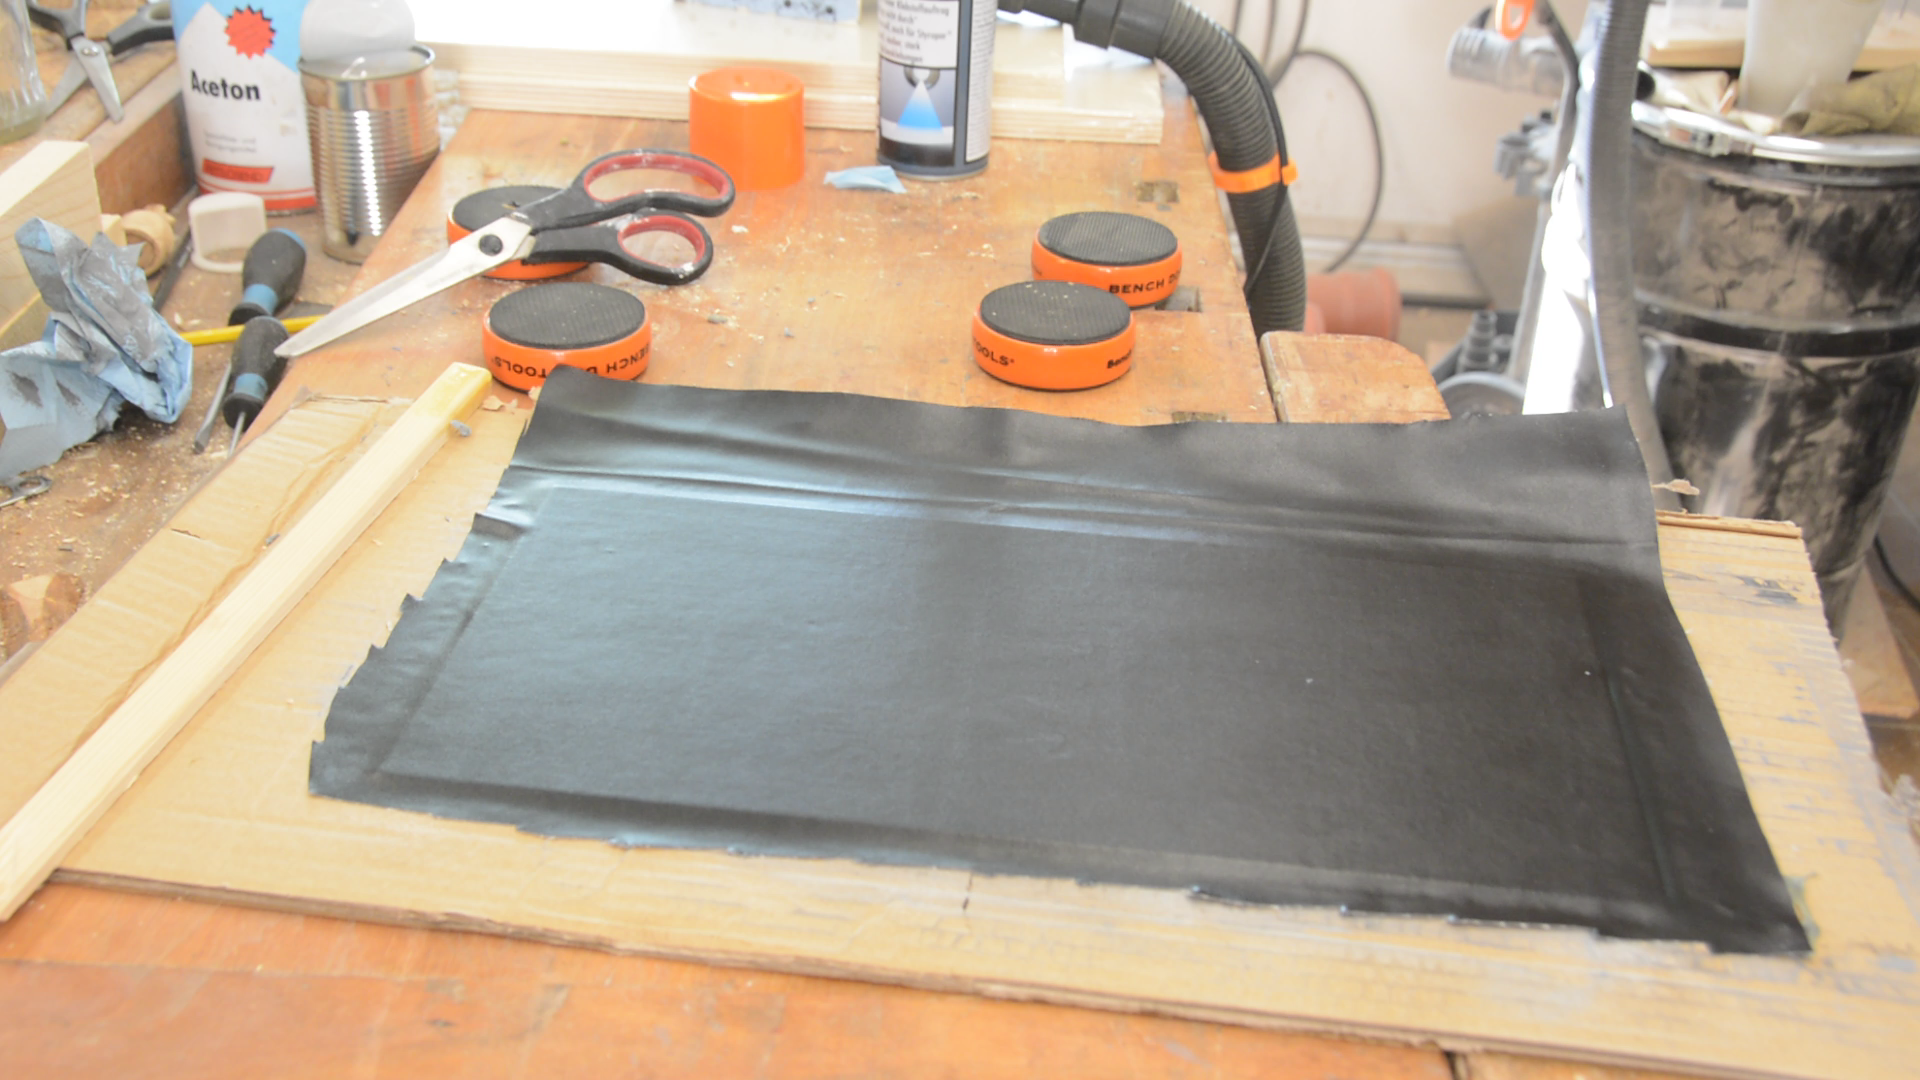
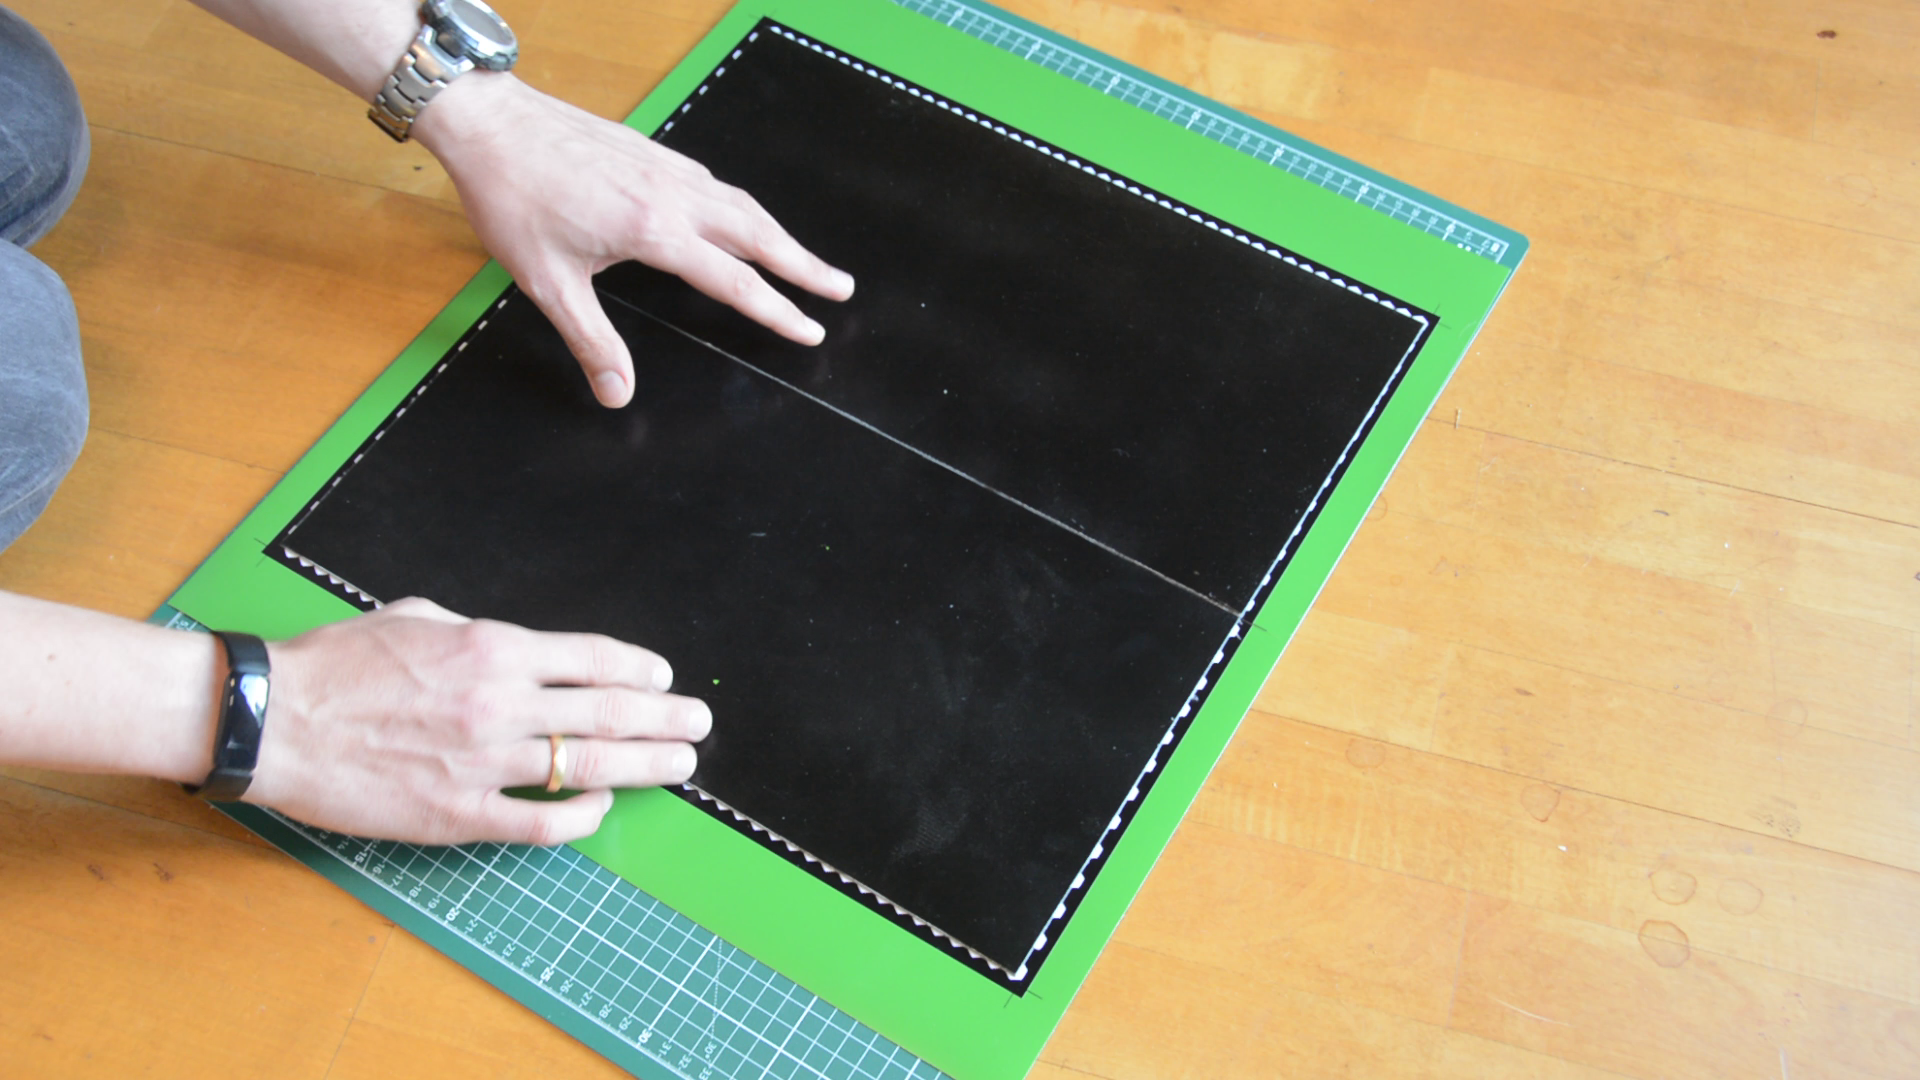
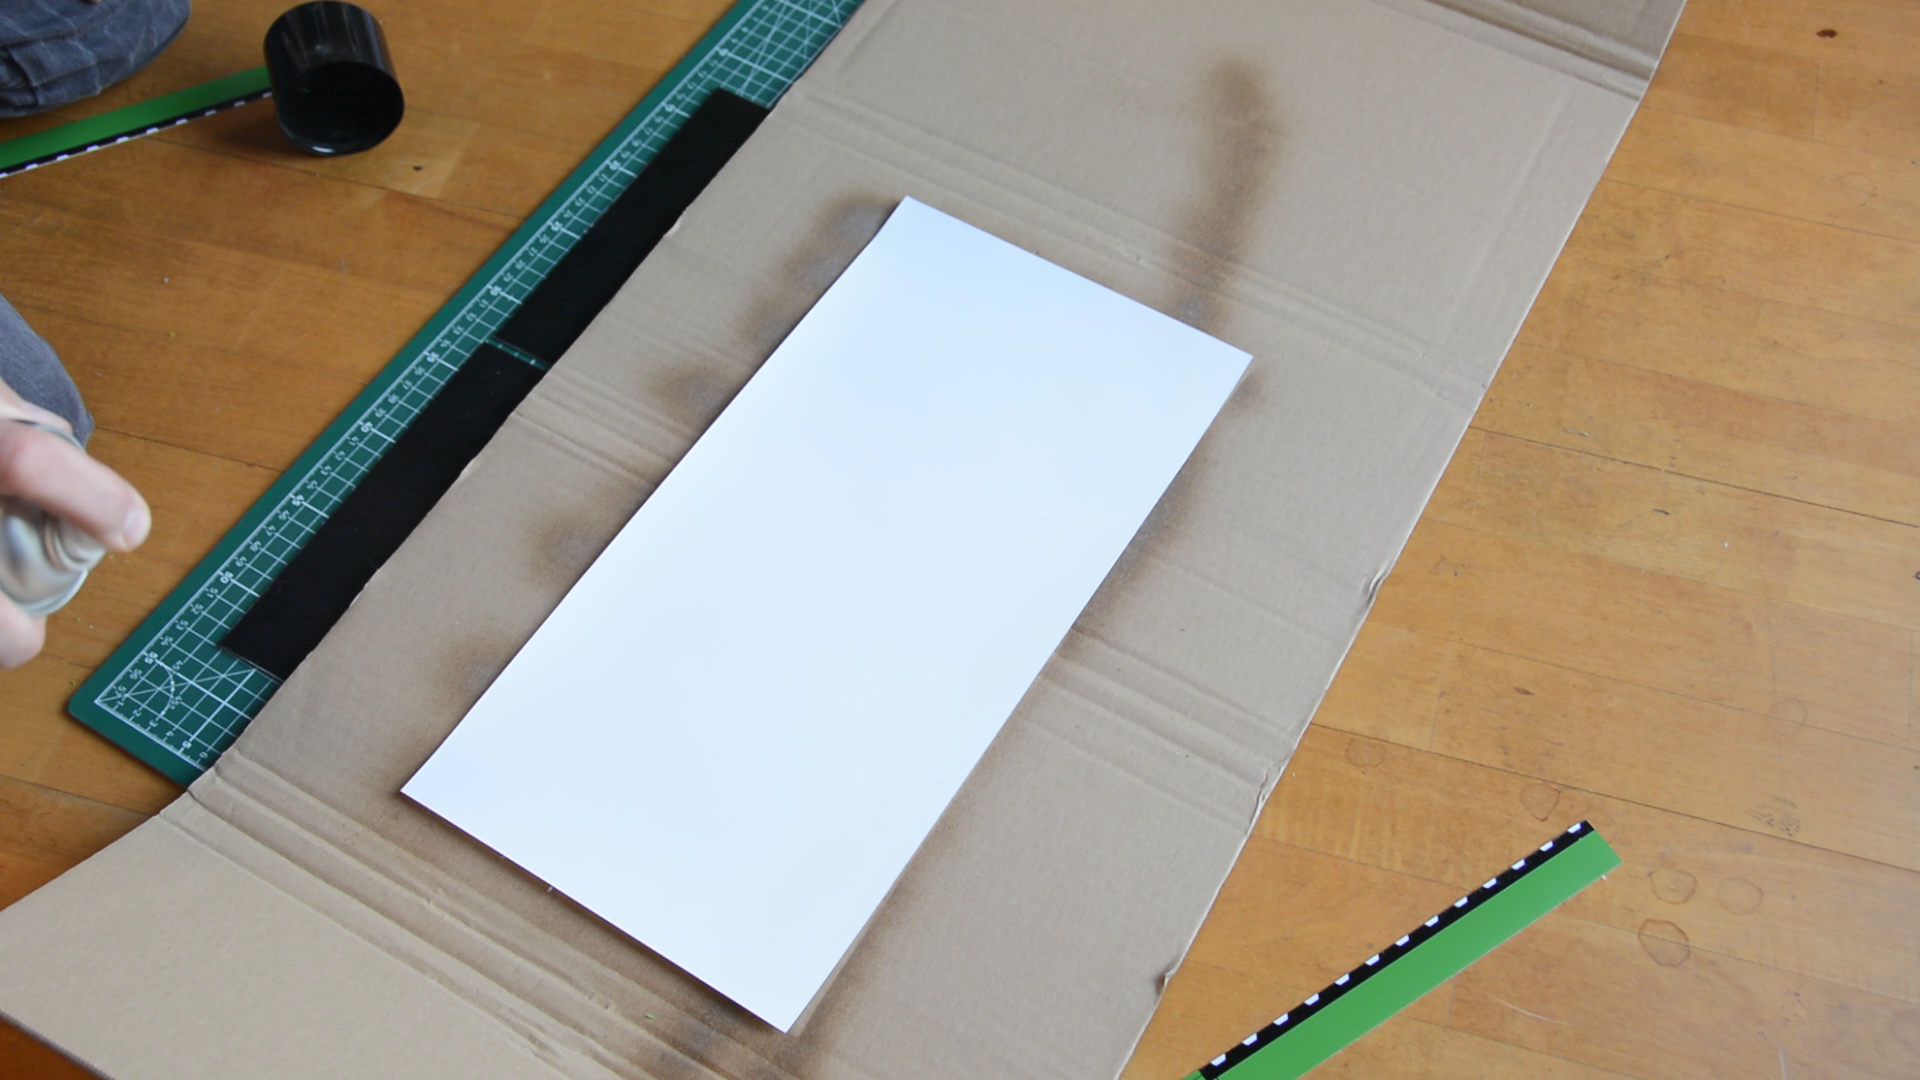
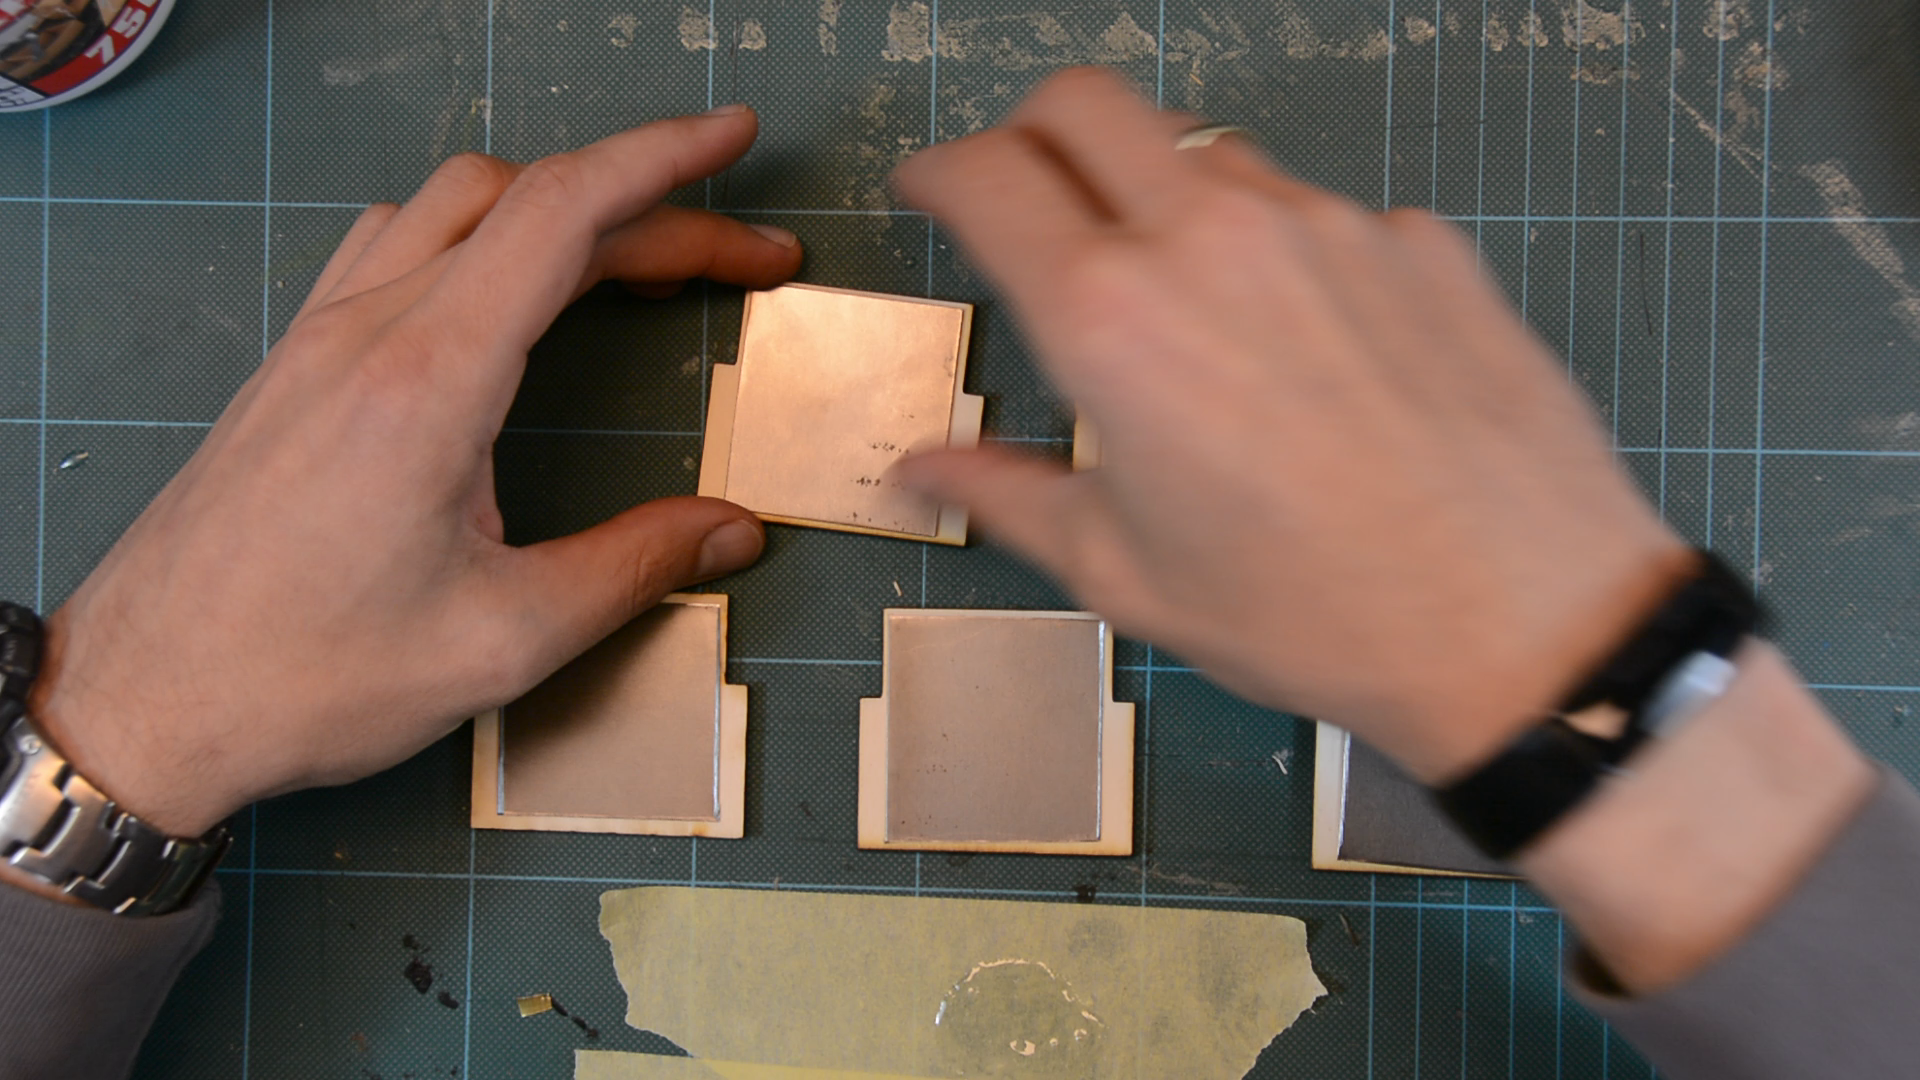
For the gaming board I use two sheets of 0,7 mm steel. In order to prevent rust I primed the sheets with grey paint. They are 200 by 400 mm in size. Together they form a 400 by 400 mm surface. To make sure that they don’t slip I use spray adhesive to glue fake leather to their underside.
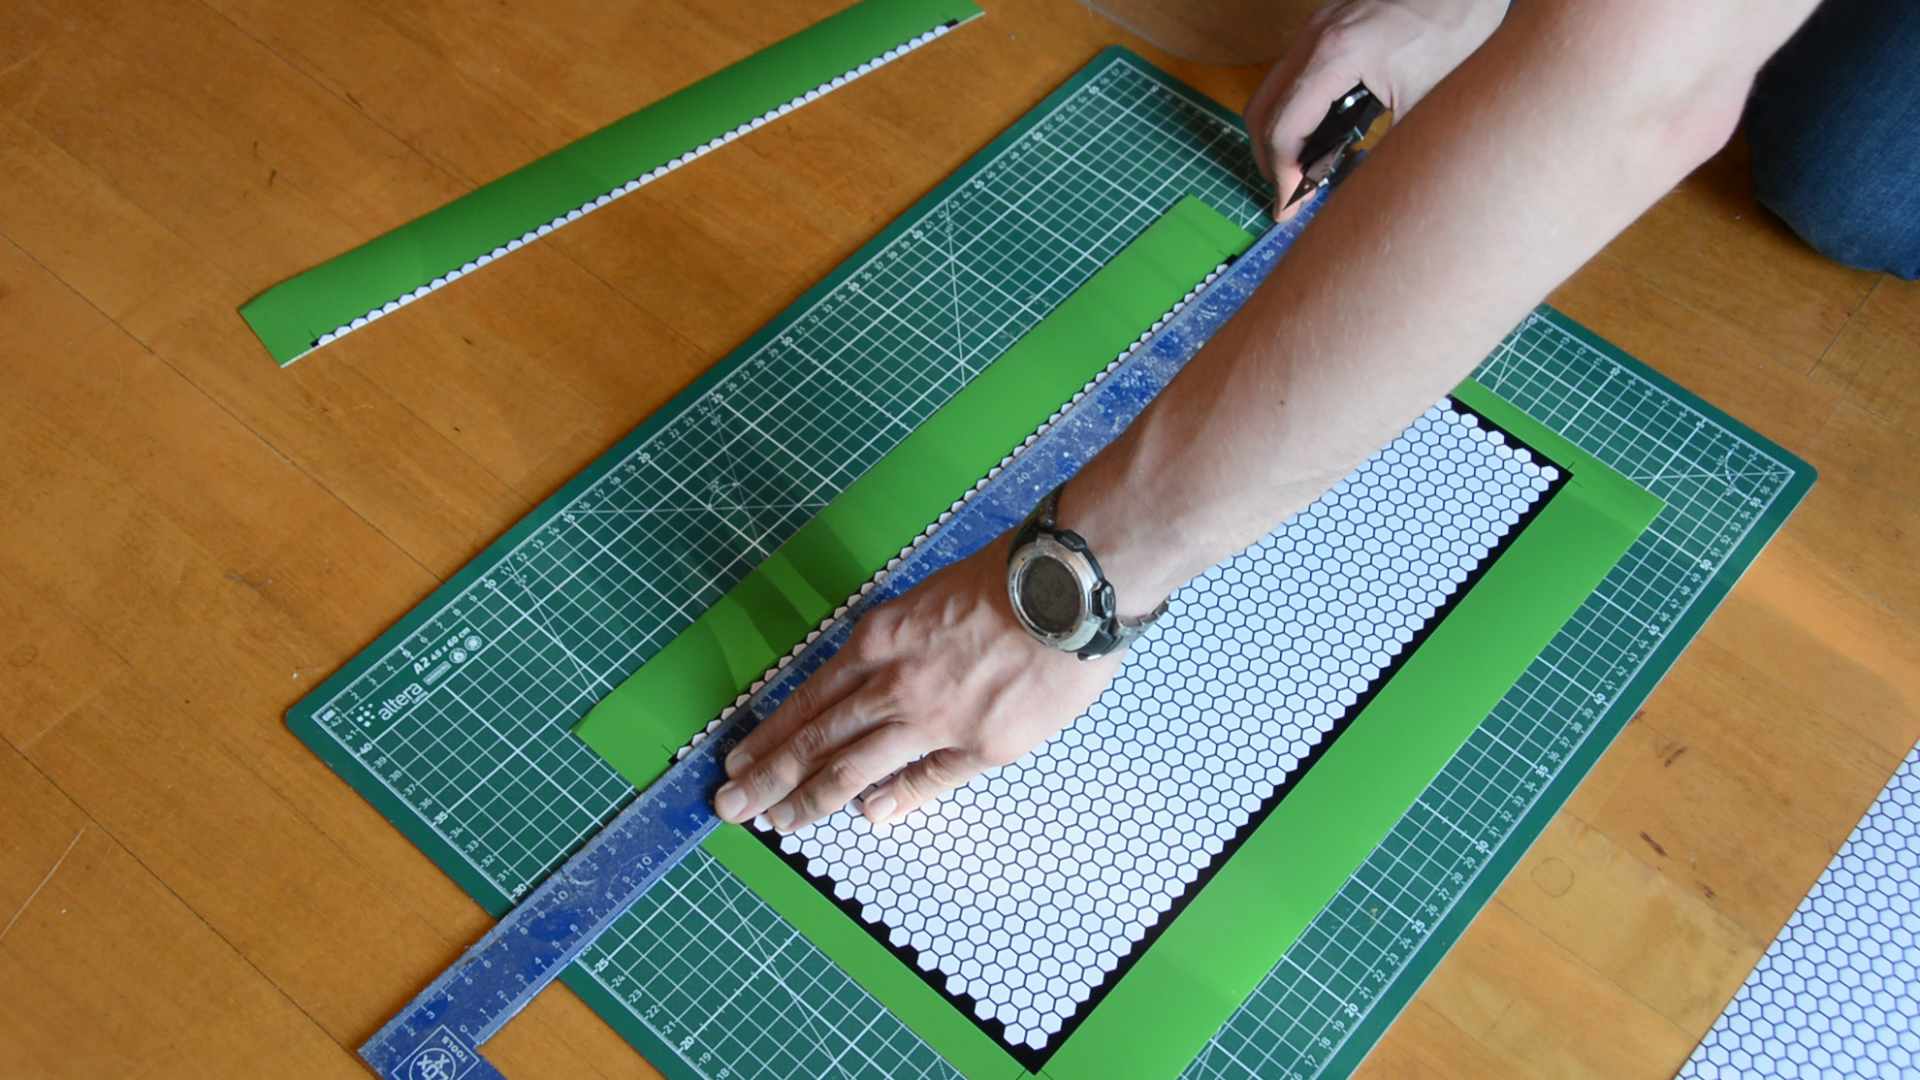
For the gaming mat I use a hex pattern so that I don’t have to measure distances but can simply count the number of fields. The hex board is designed in Inkscape and as everything else available here.
I had an online poster service print the hex boards. With painters tape I temporarily secure the two halves together. With the steel plates as a template they are cut to size.
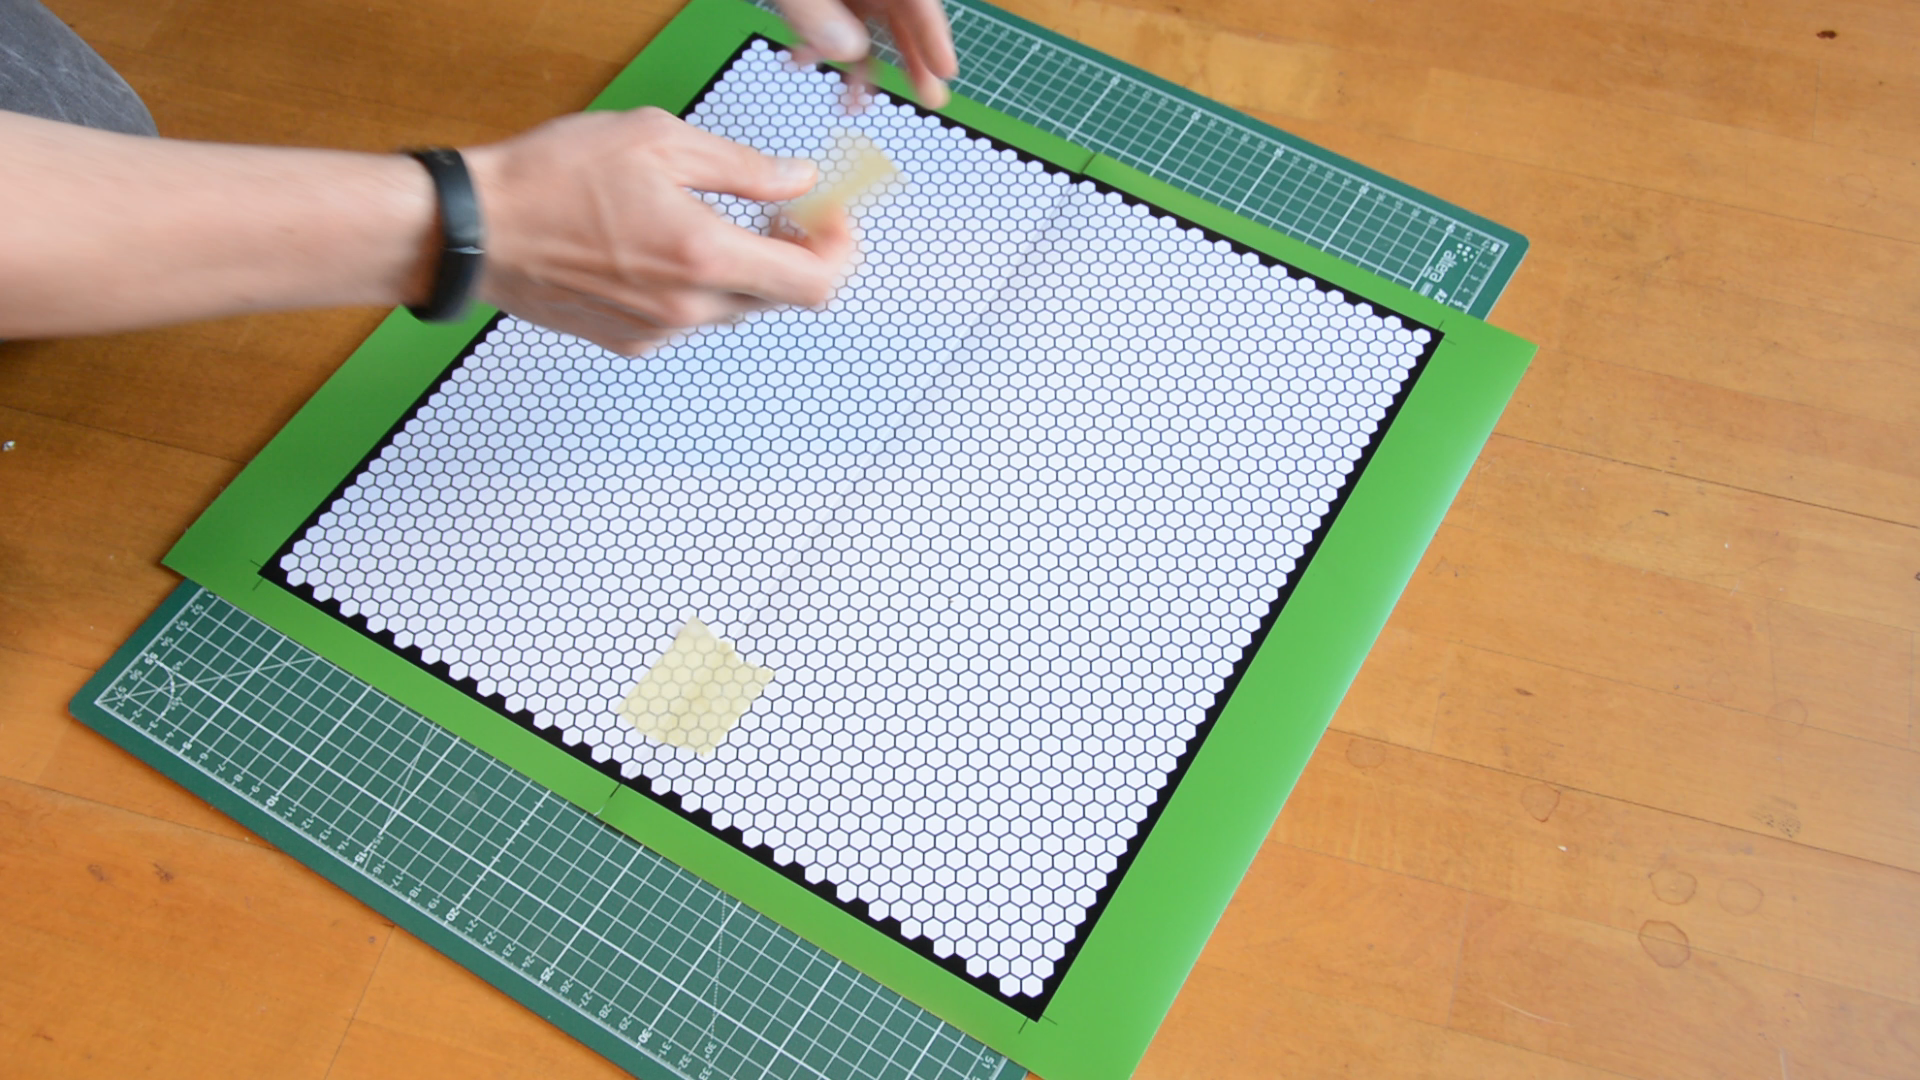
This time I apply the reversible spray adhesive only to one side so that the photo prints can be removed in case I want to have a different design. Which was promptly the case after playing a few rounds on the boring white battle mat I designed a green and brown background and replaced the battle mat.


With the game board ready we can move on and build a case for the board.
Building the suitcase for the free wargame
I build the case from scraps that I have in the workshop. These offcuts are construction lumber that we have used to build raised beds in the garden. As the lumber is rough I have to joint one face and one edge to get flat face and a square edge.
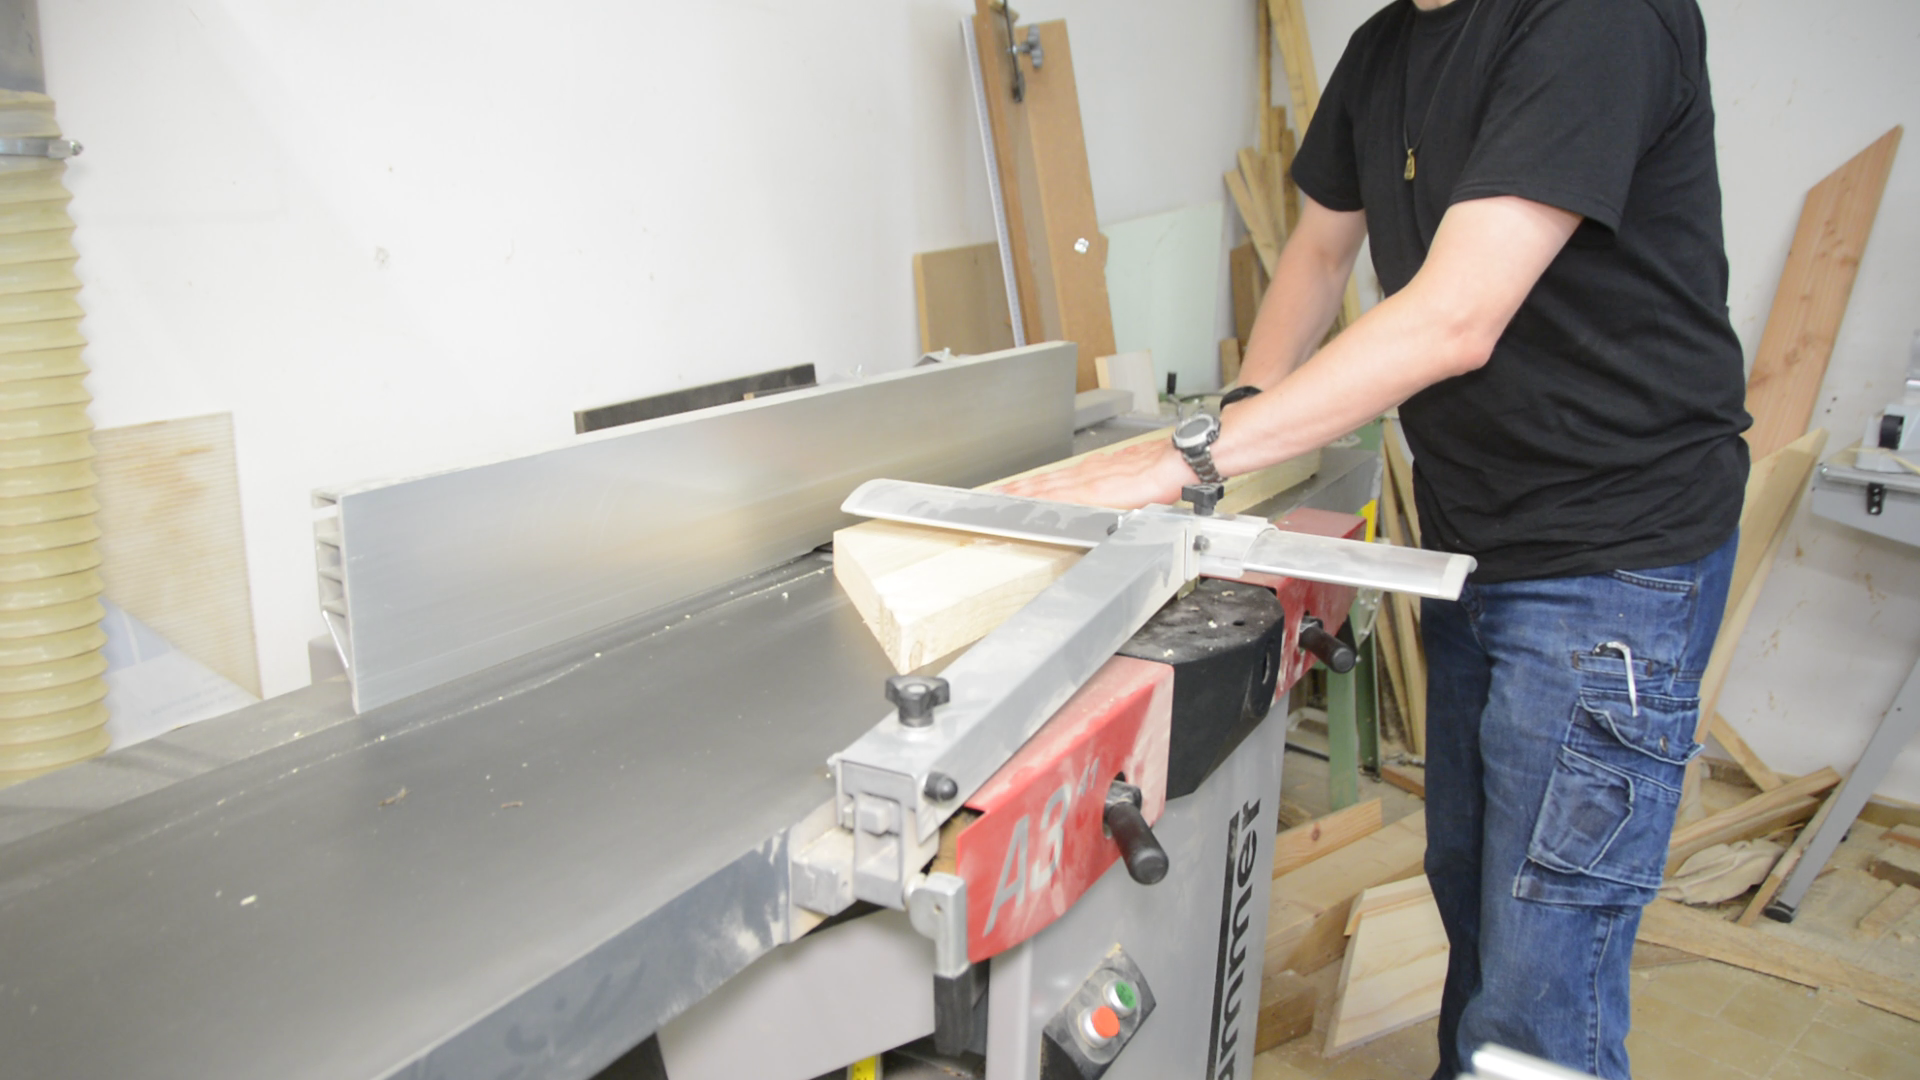
In the thickness planer all the boards get the same thickness of around 32 mm.

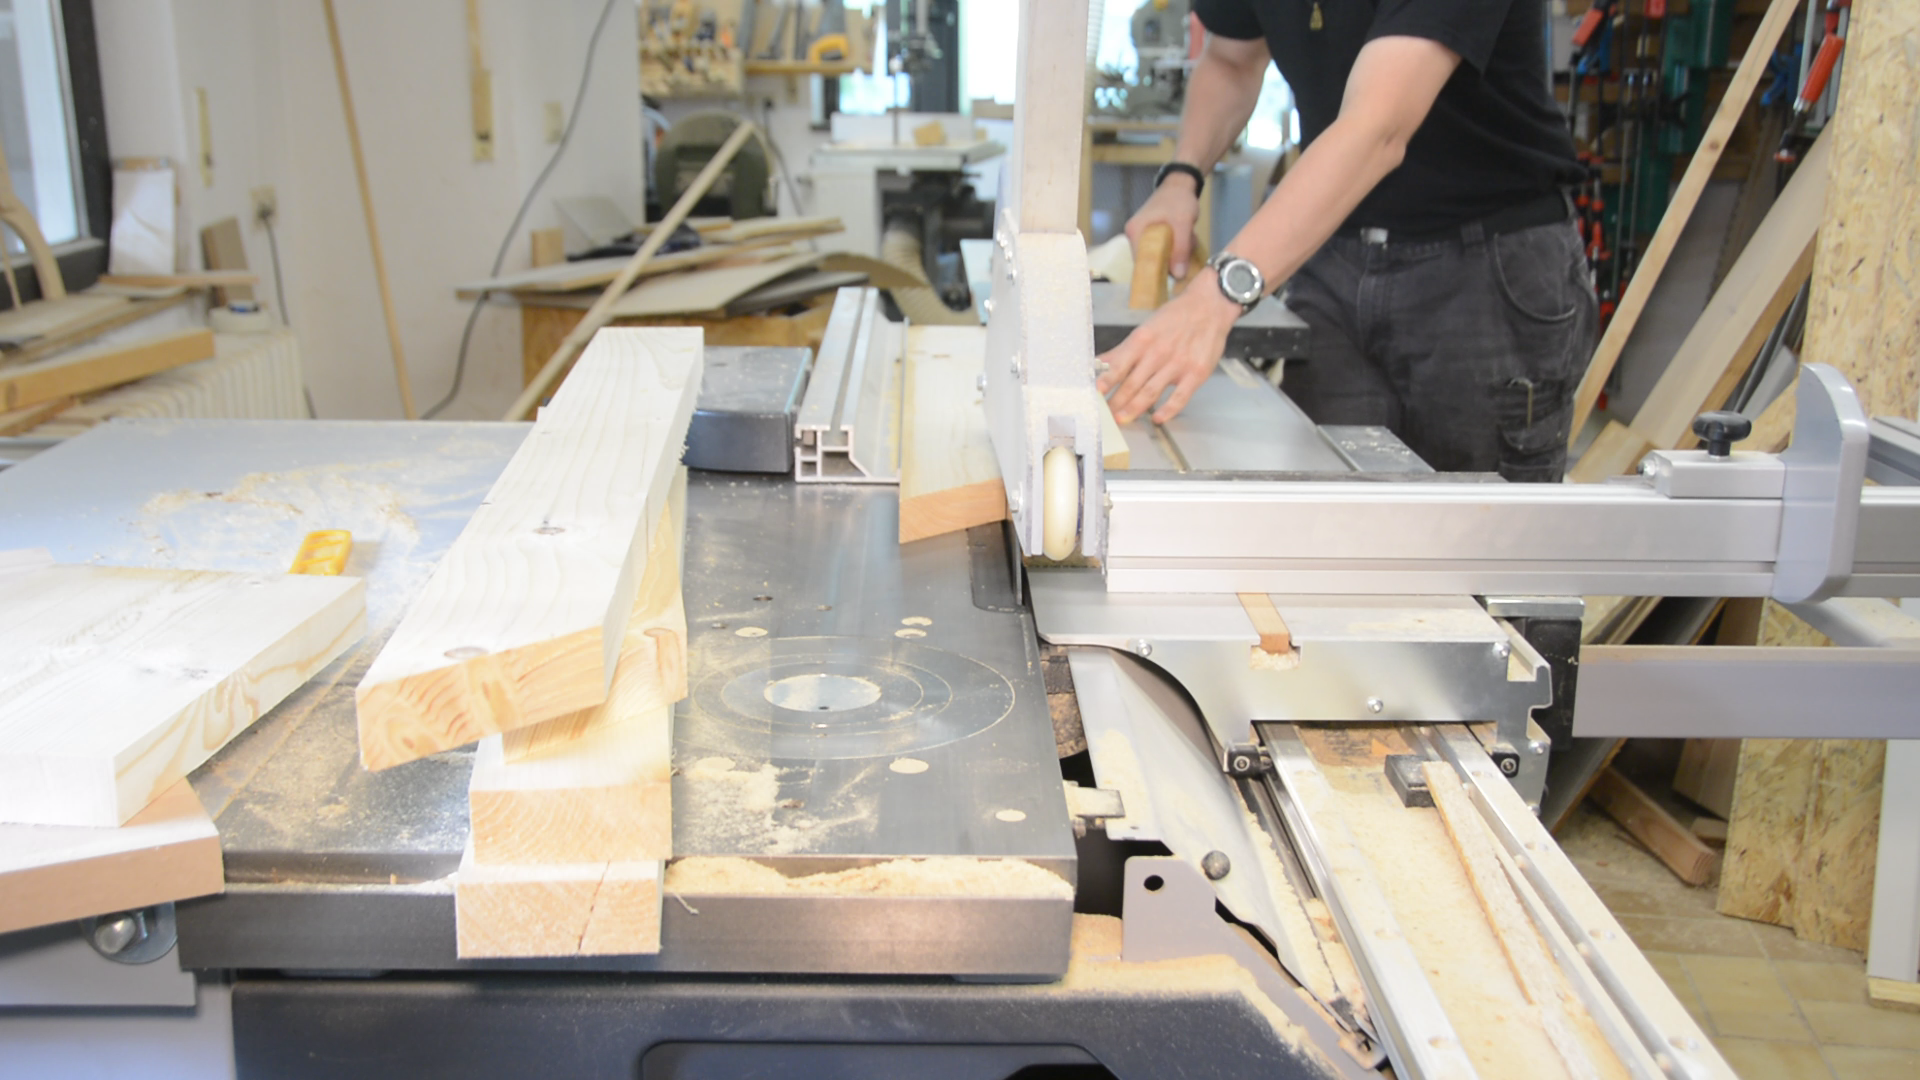
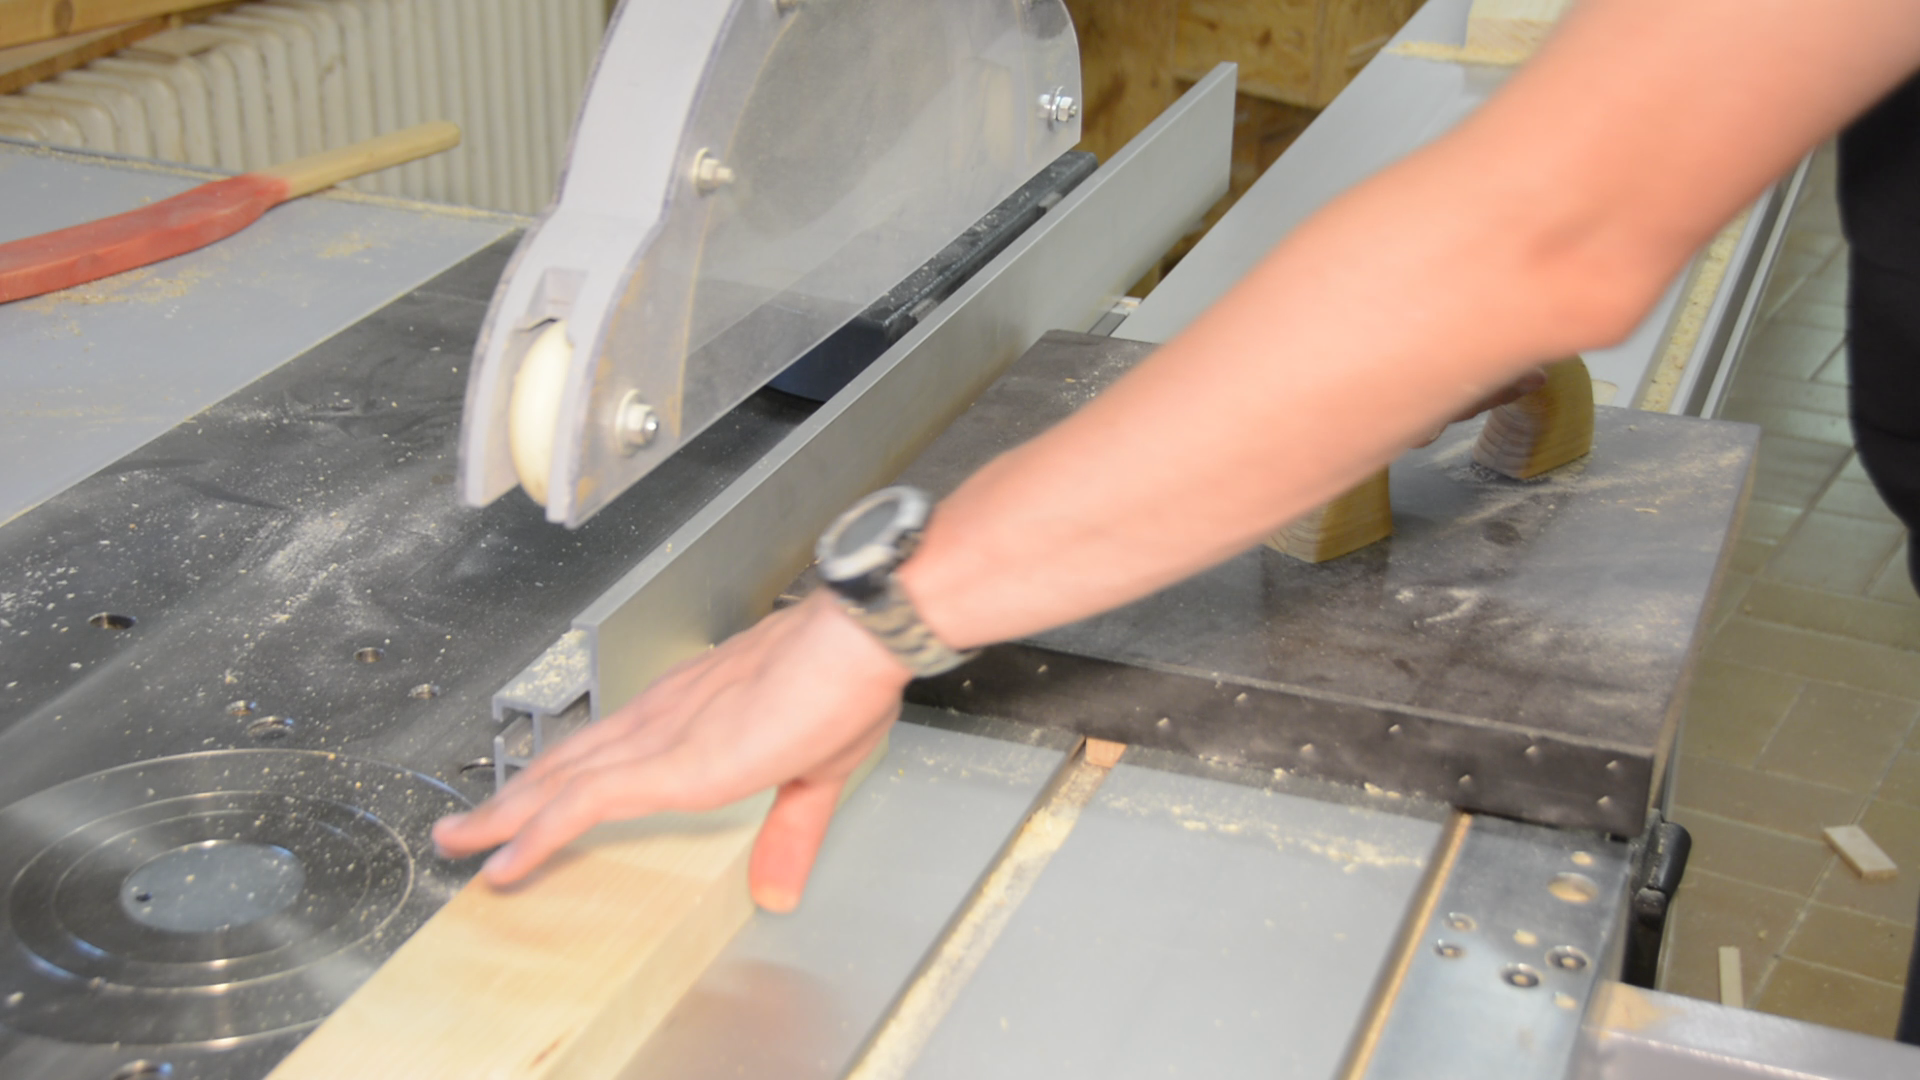
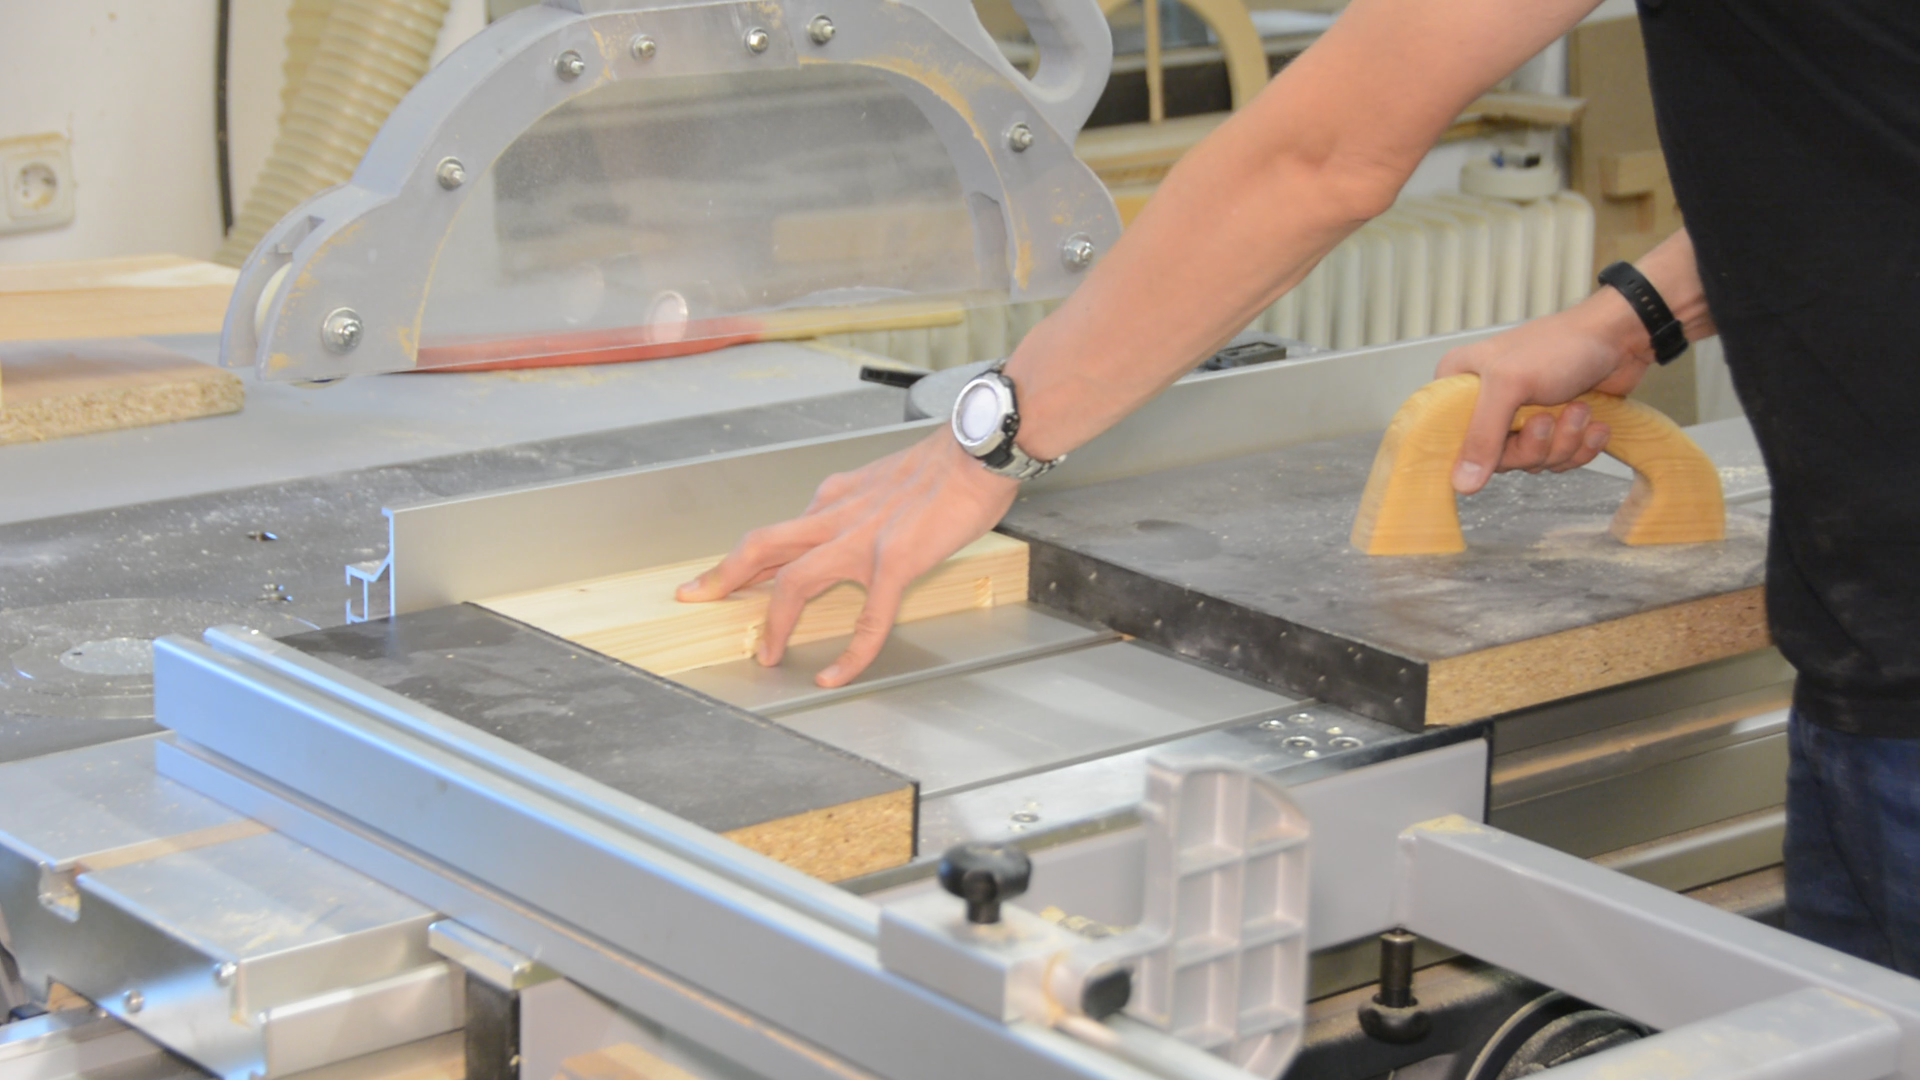
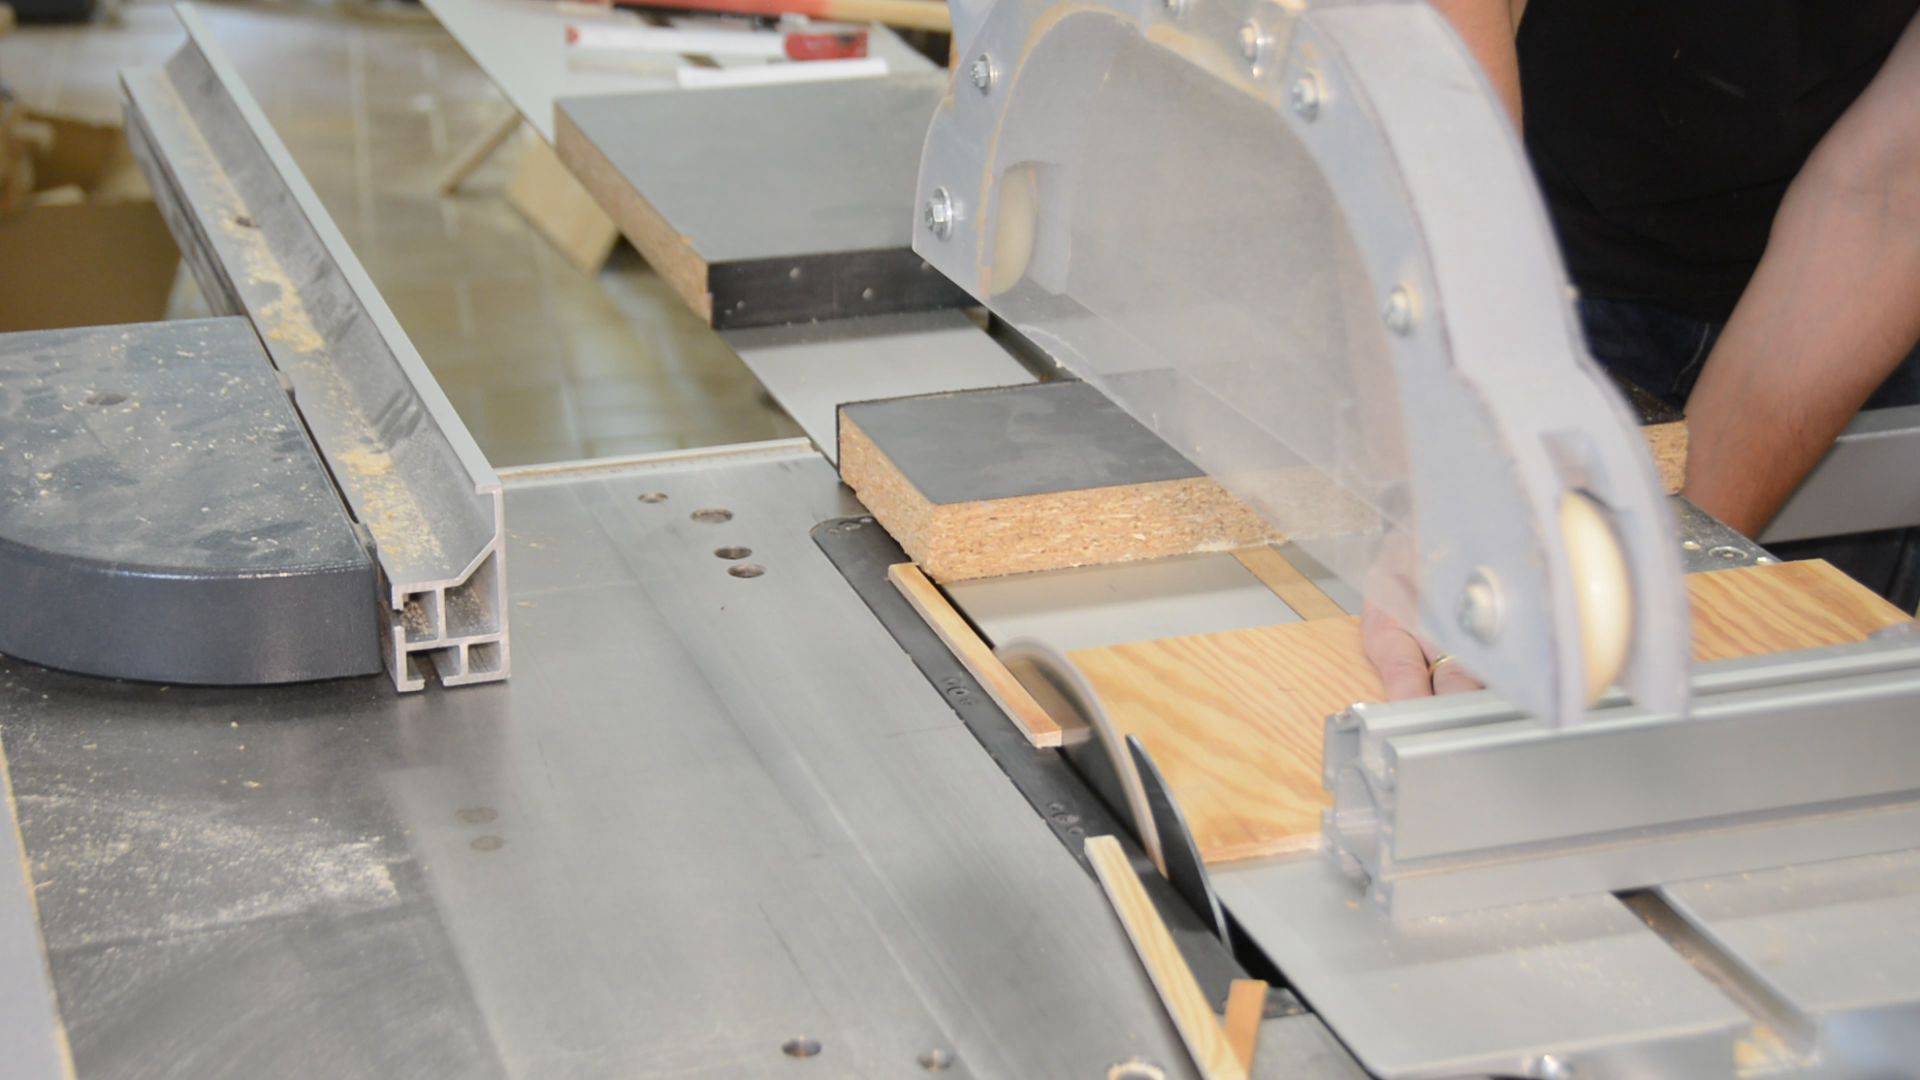
On the table saw I rip them to 90mm wide pieces for the frame of the case.
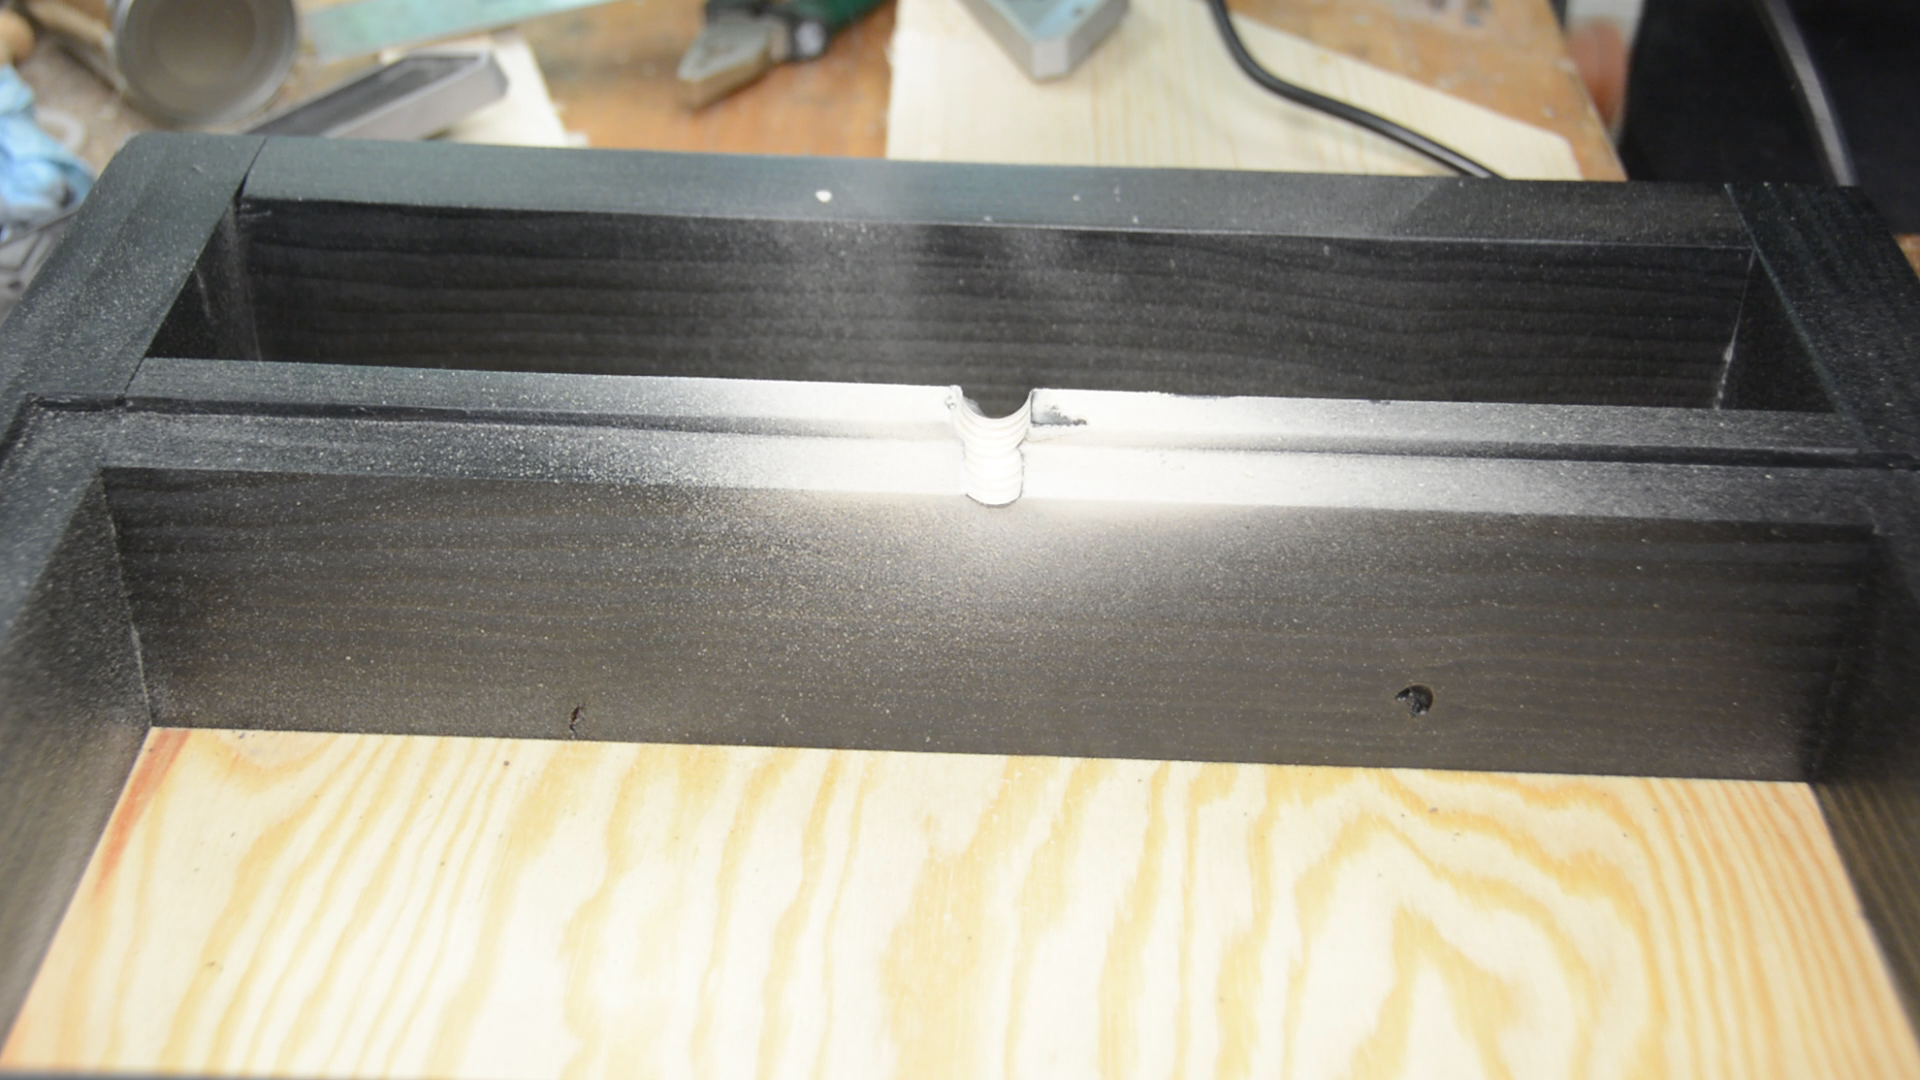
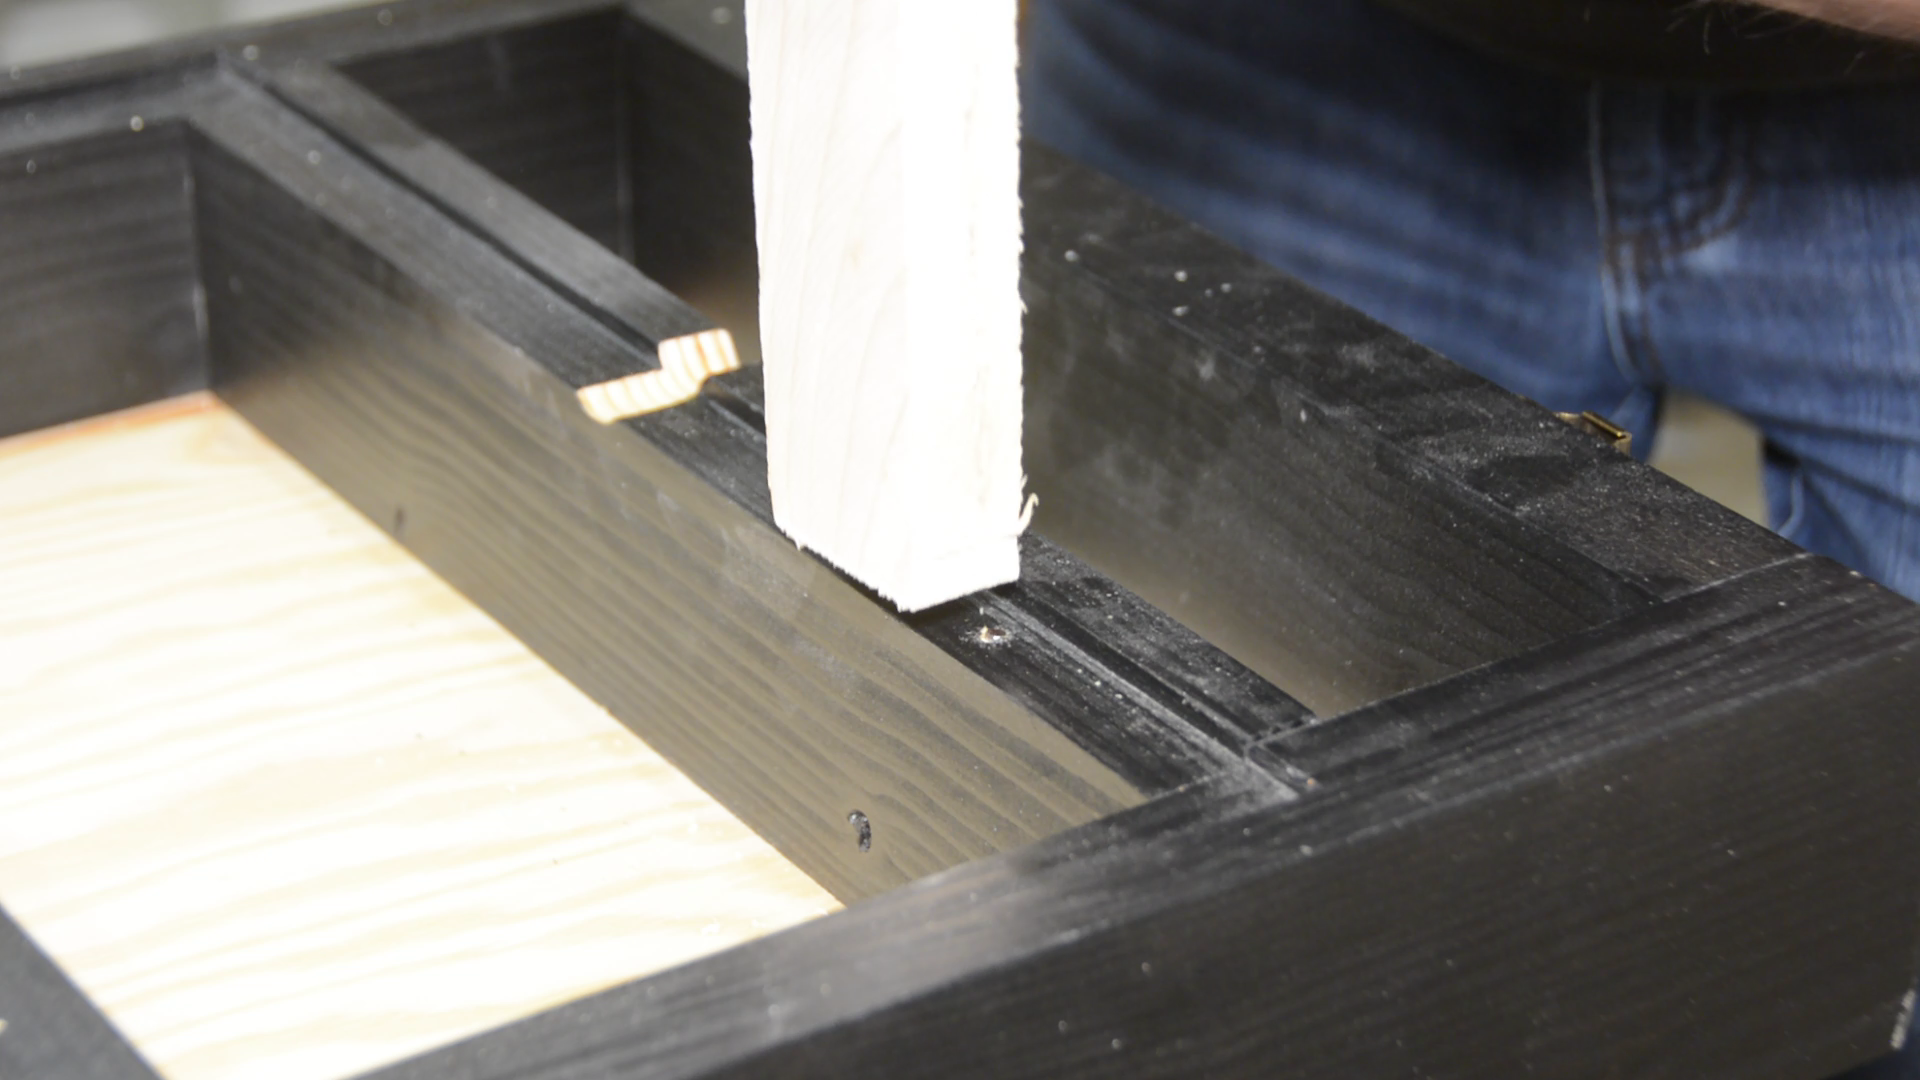
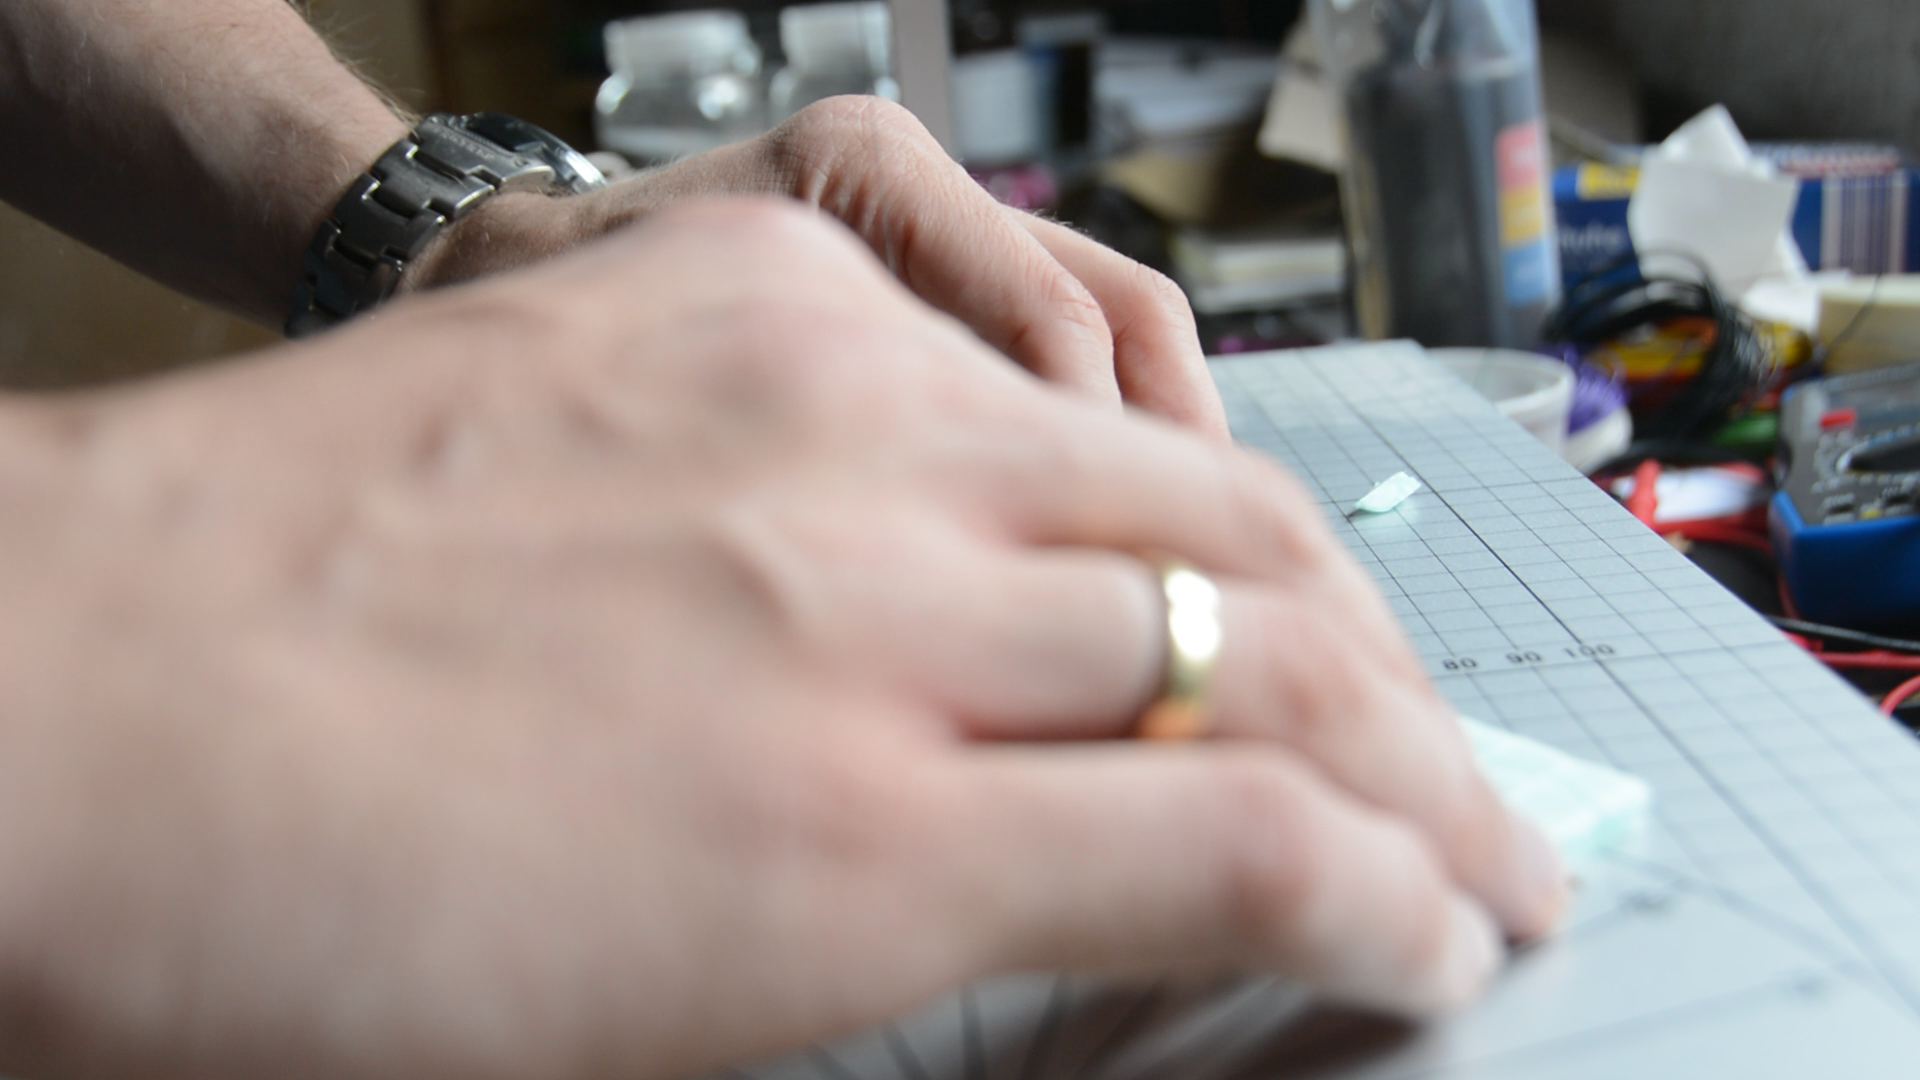
Instead of using a complicated CAD model I use the steep plates as a reference and measure where to connect the middle piece.

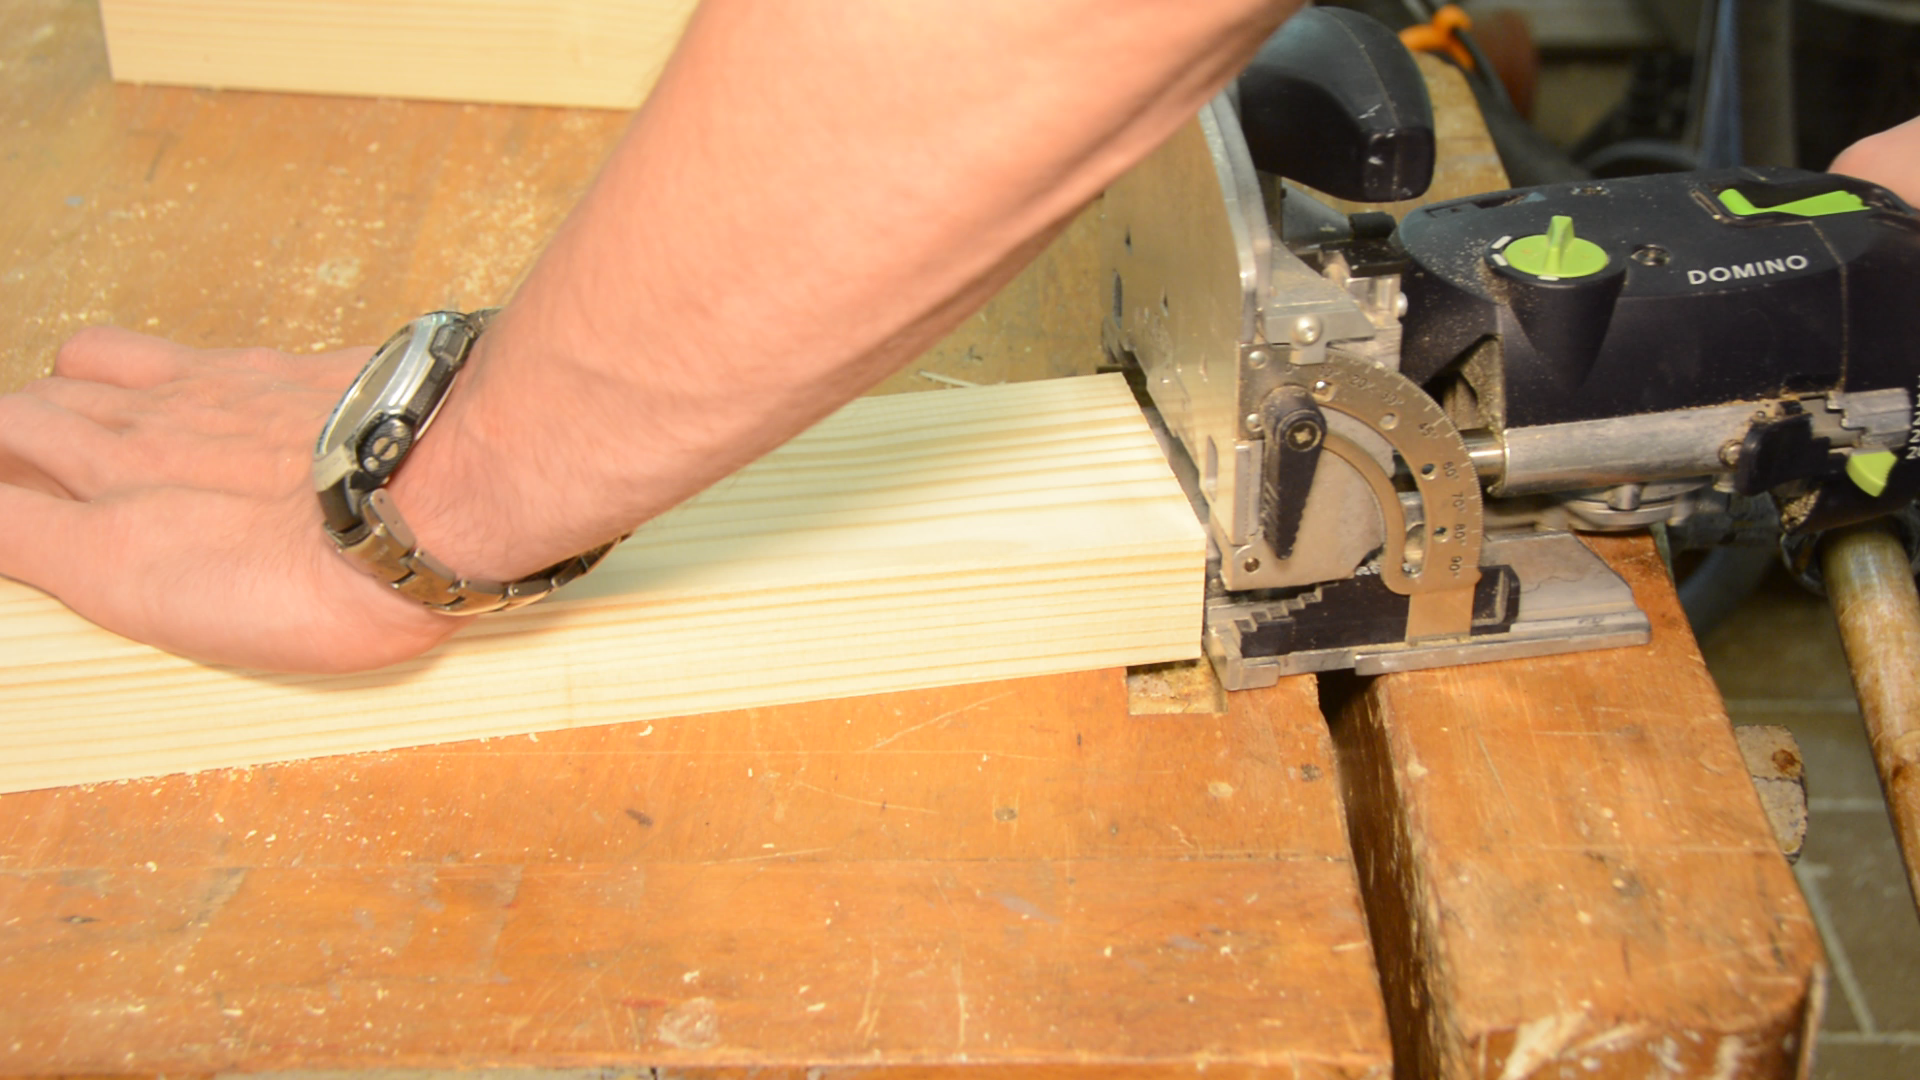
I use the Festool Domino to connect all the pieces but you could as well use my 3d printed loose tenon jig , dowels or screws.

The next step is the most complicated one in the entire build. The case needs a variety of rabbets all around the large openings. Some of the sides need rabbets on one side, others need to be stopped. Holding the wood together as a dry fit and marking the areas for the rabbets was the easiest solution without running into the risk of messing it up.

For the sides where the rabbet goes along the entire length I just push the pieces through the router bit. For the stopped rabbets I make marks on the top side. This is where I will start and stop the routing.

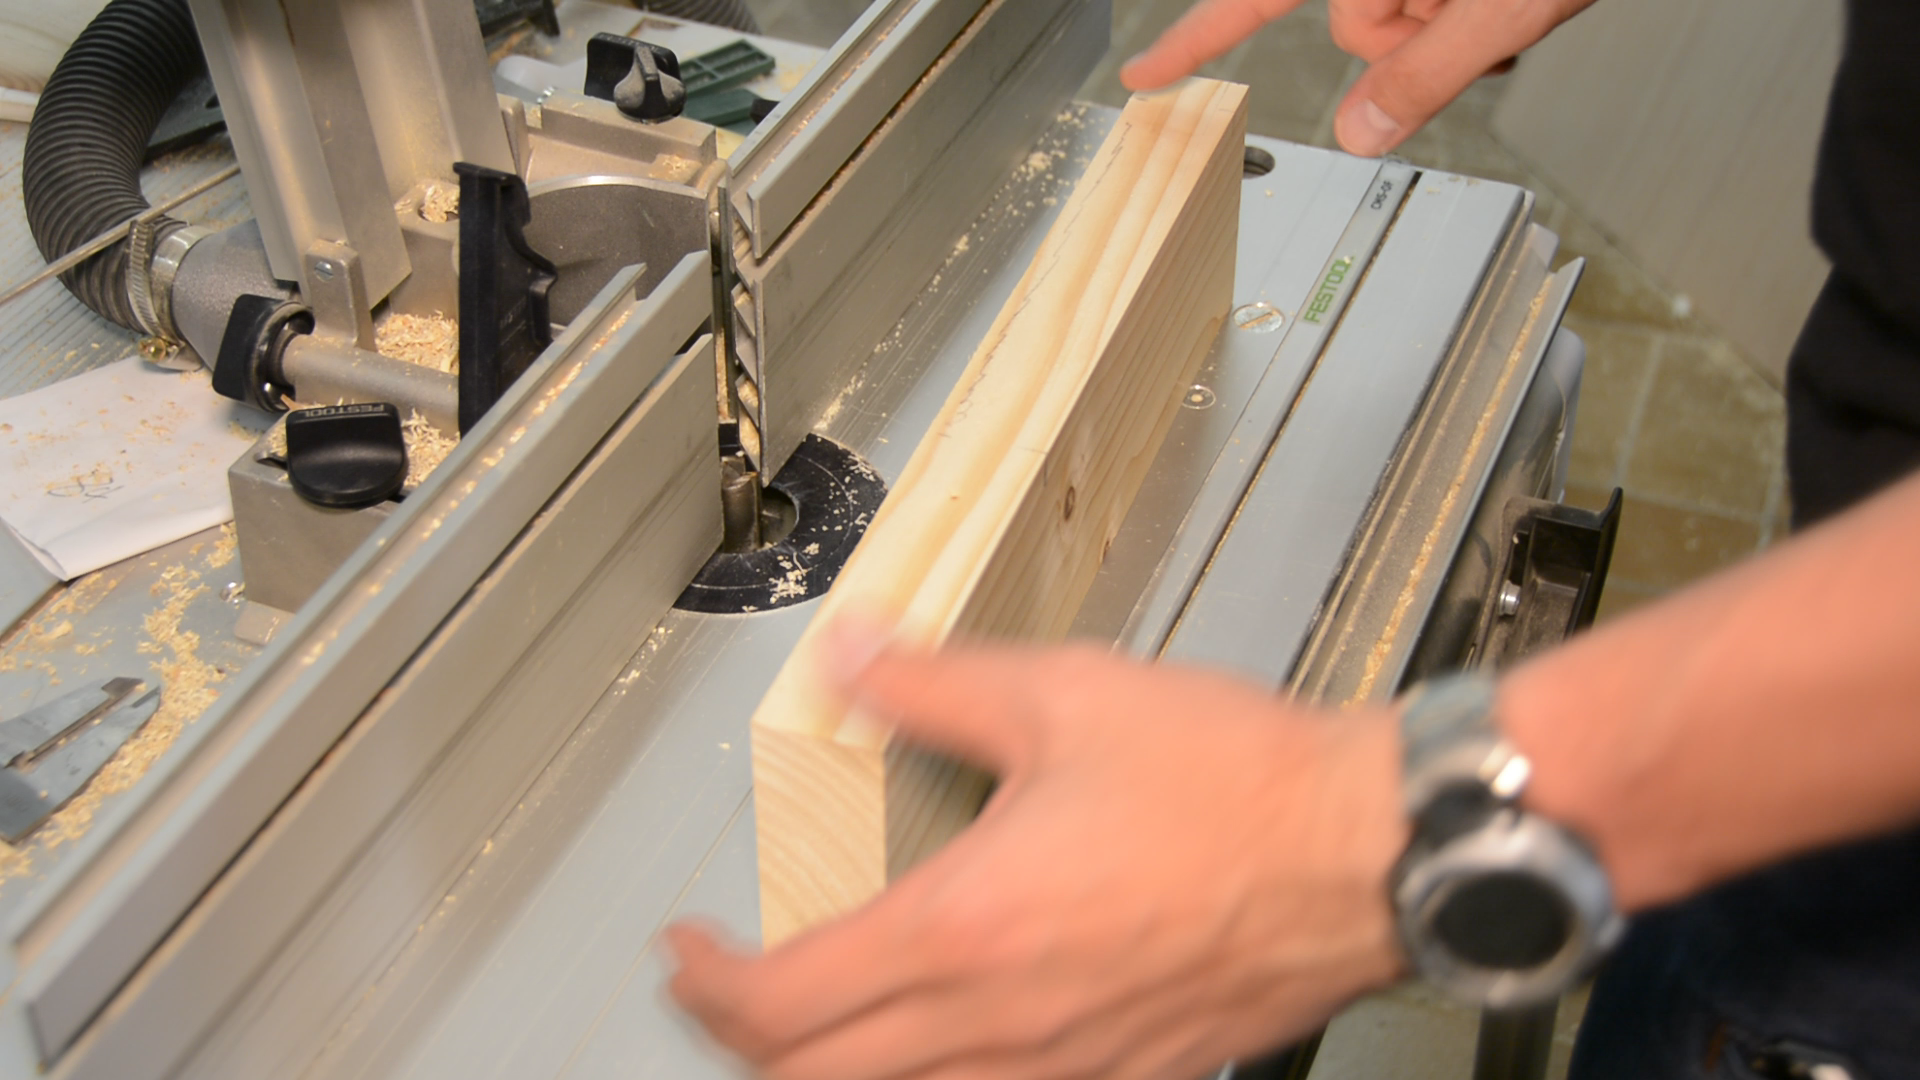
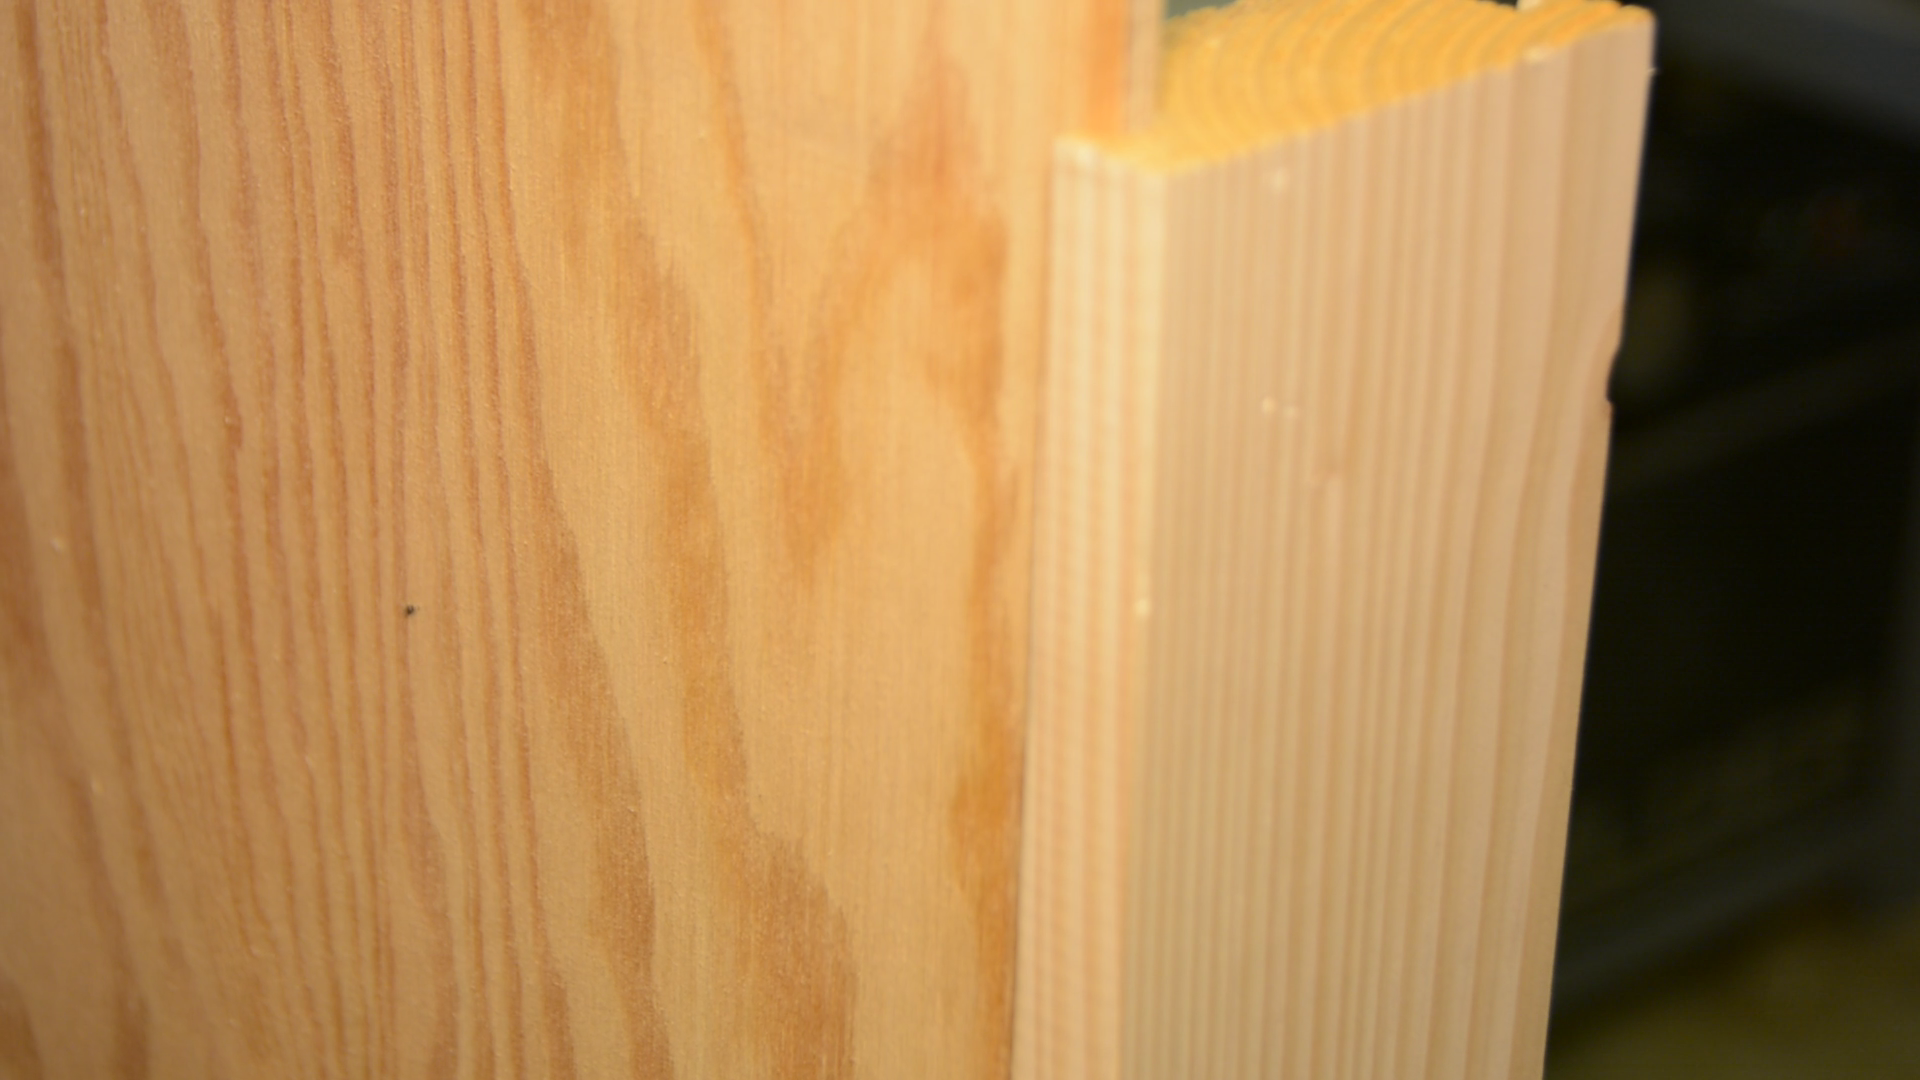
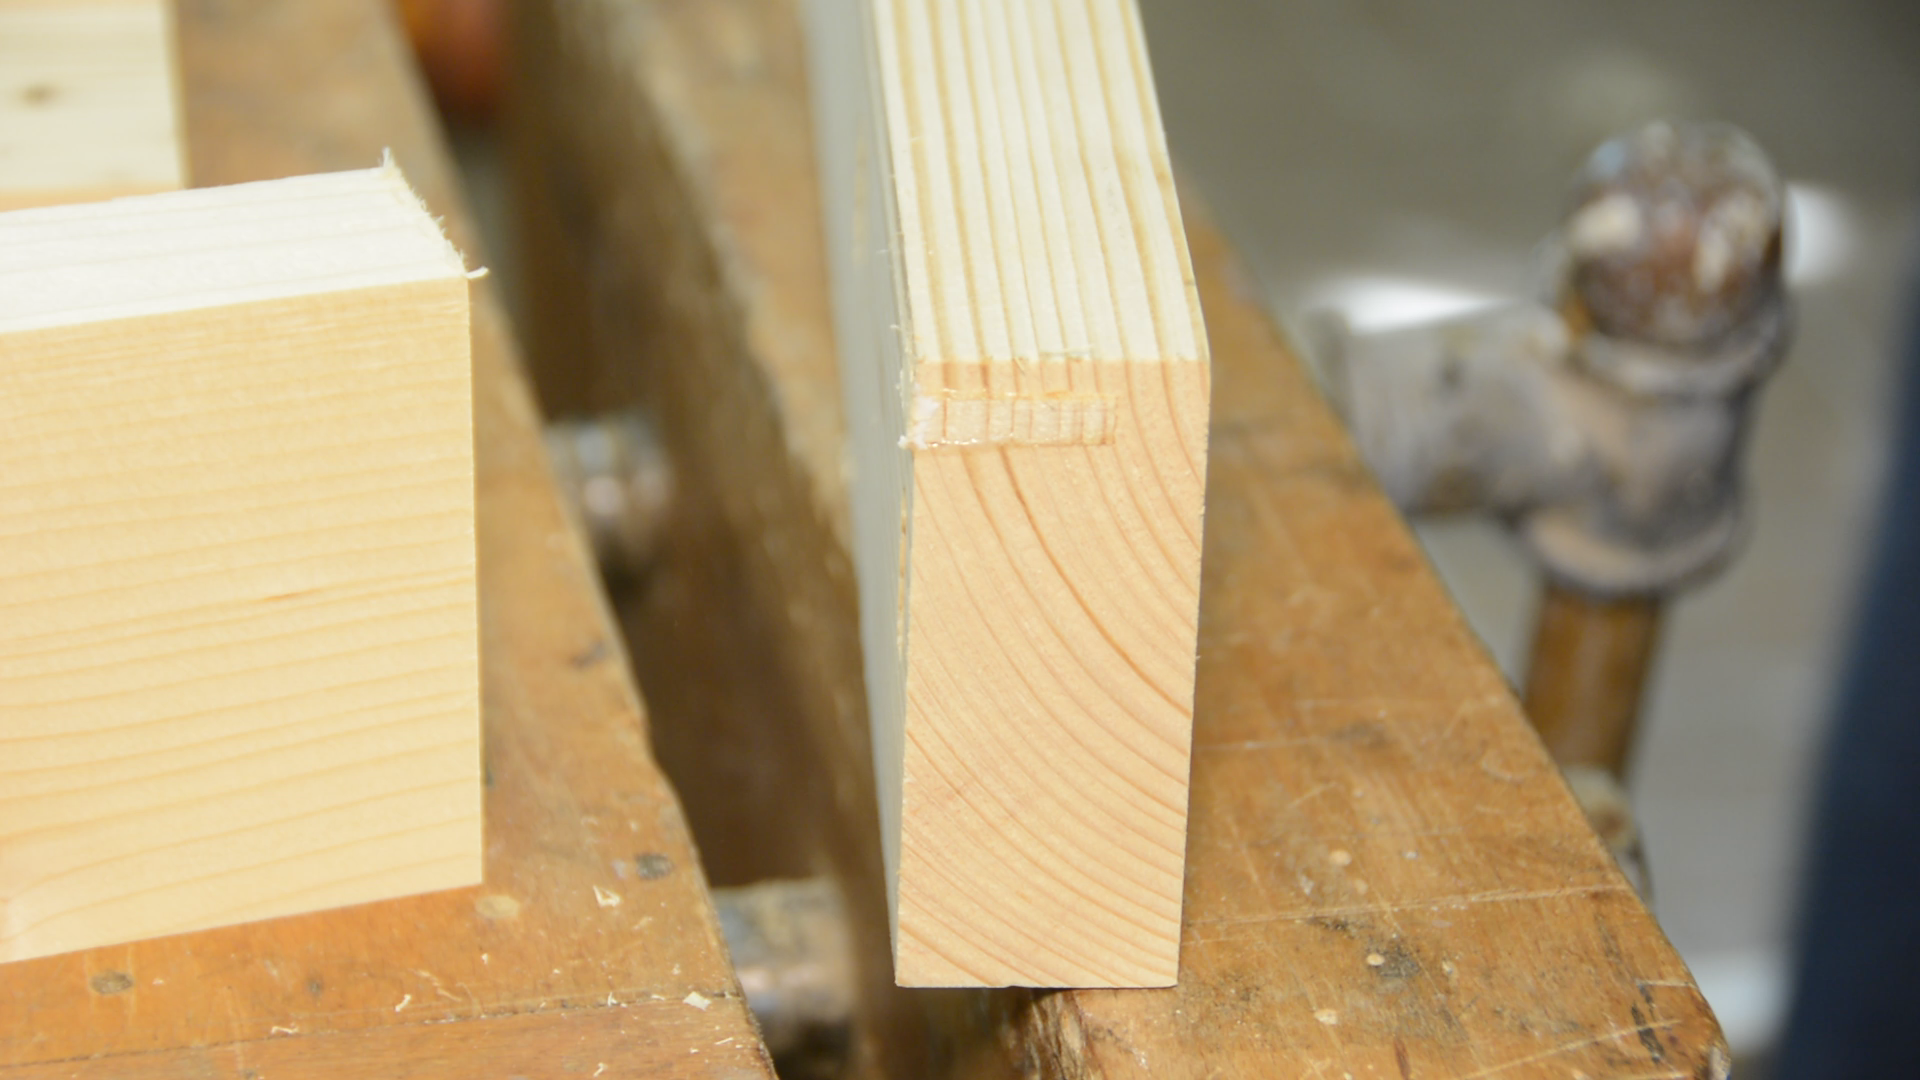
Later the steel plates will sit in these rabbets. Below the rabbet I want a slot in which the panels for the sides of case are going to sit. As these slots are very narrow and deep it is easier to cut them on the table saw rather than on the router table.
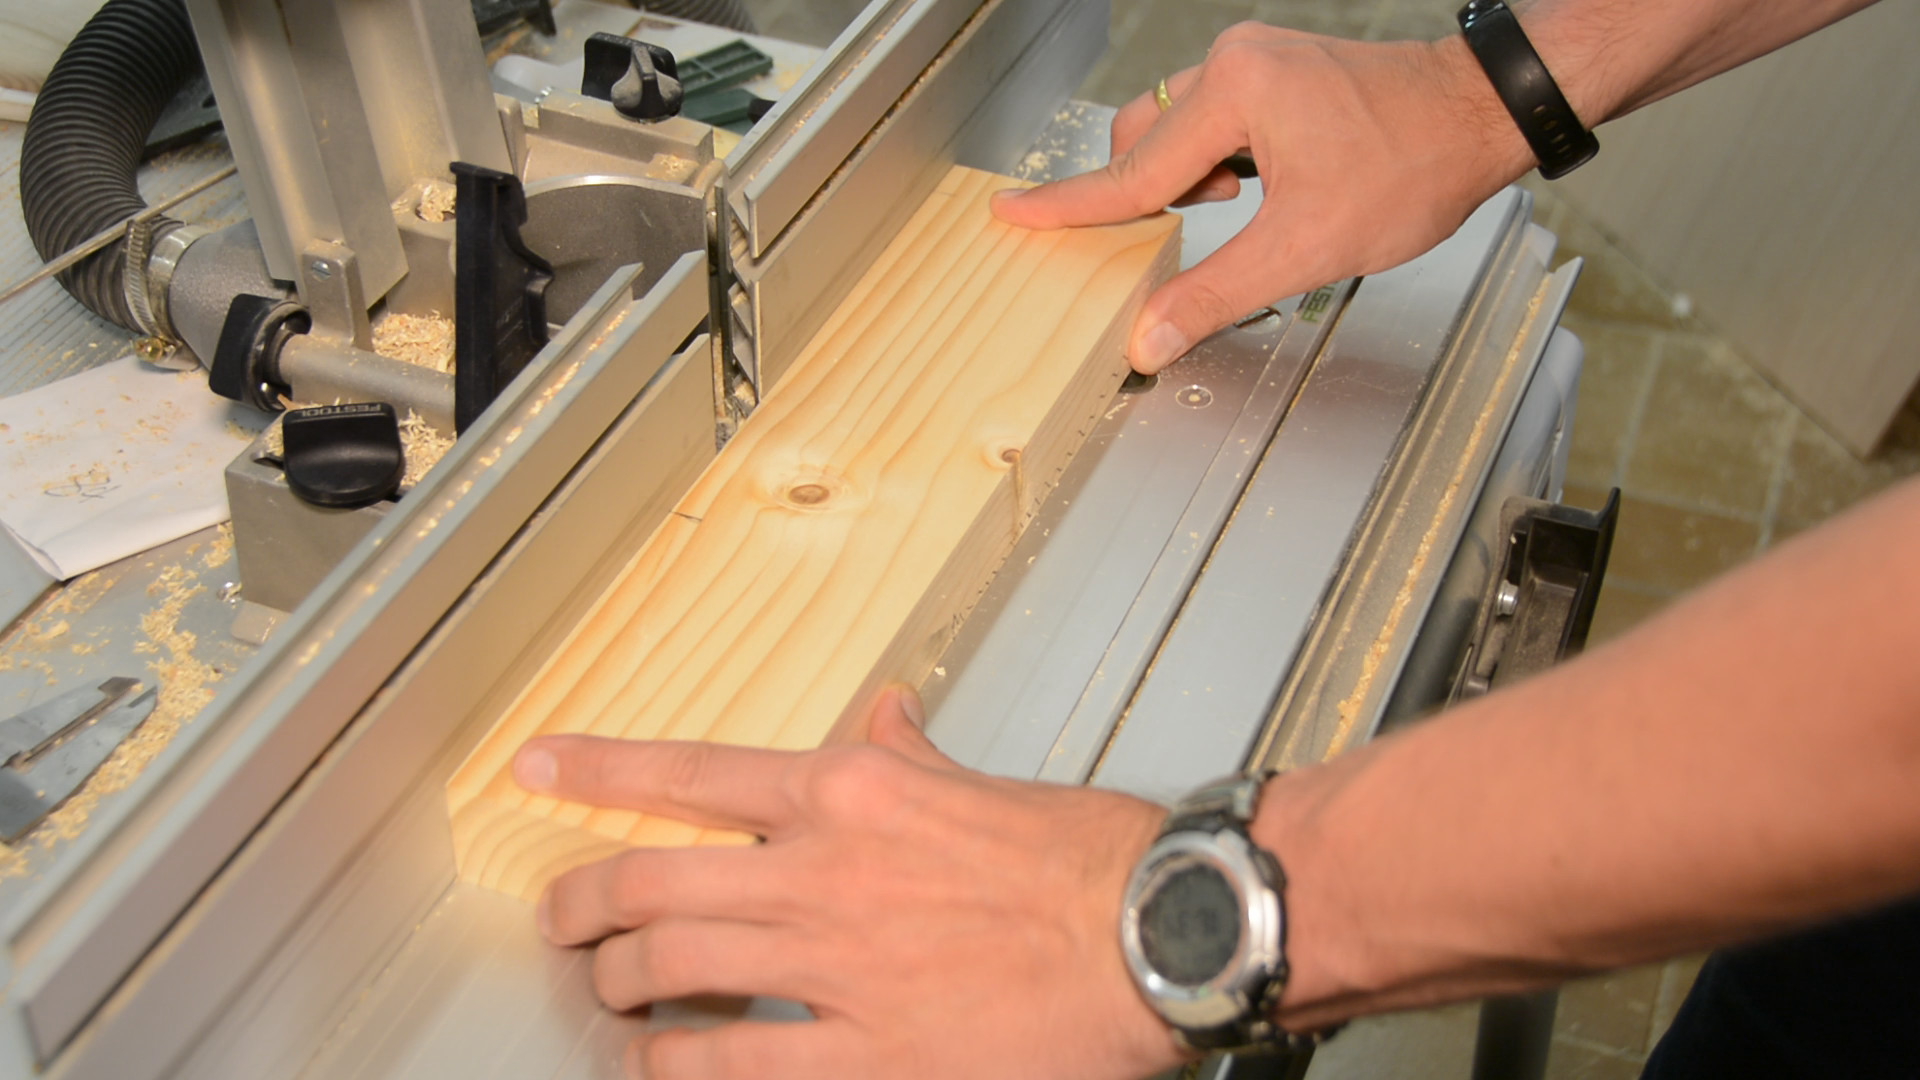
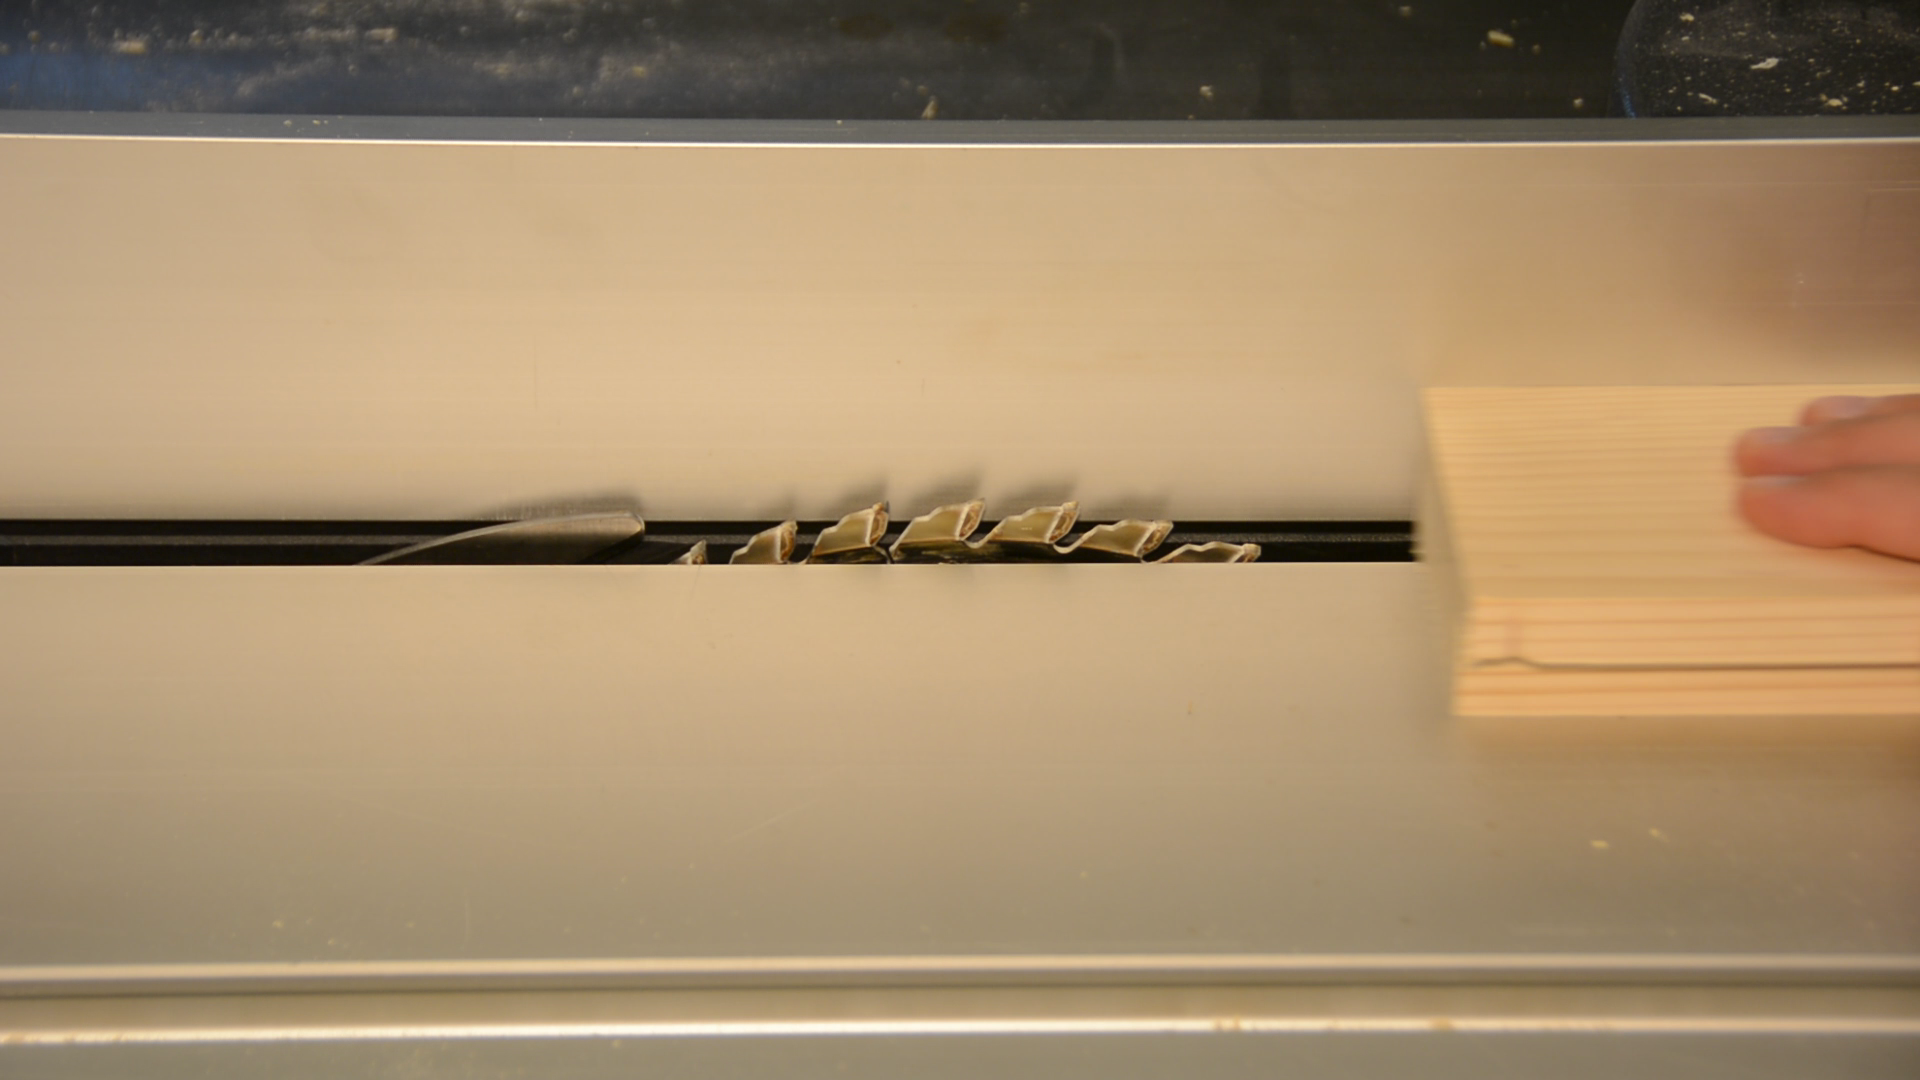
After setting up the table saw I can quickly put a groove in all the side pieces.
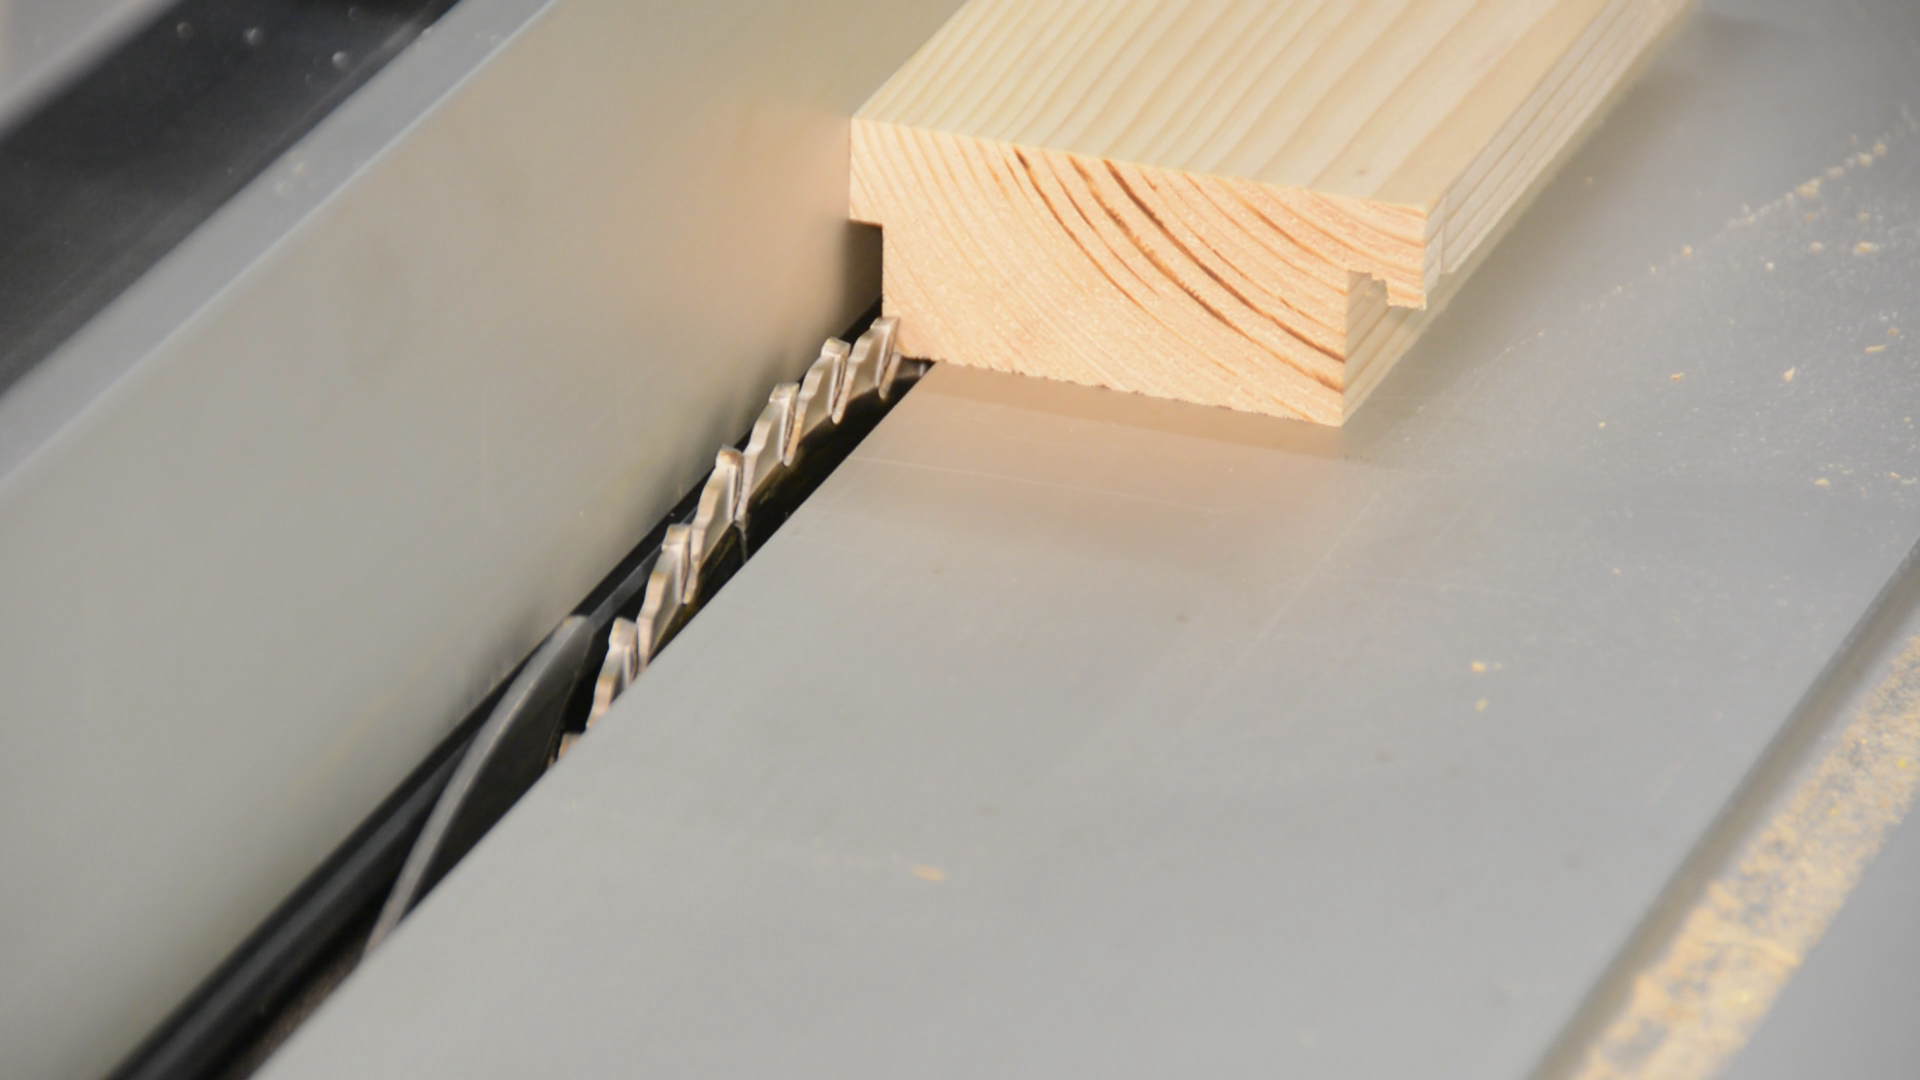
For the panel to sit snug in these grooves I carefully bump the fence over for a second cut so that a test piece has a perfect fit.
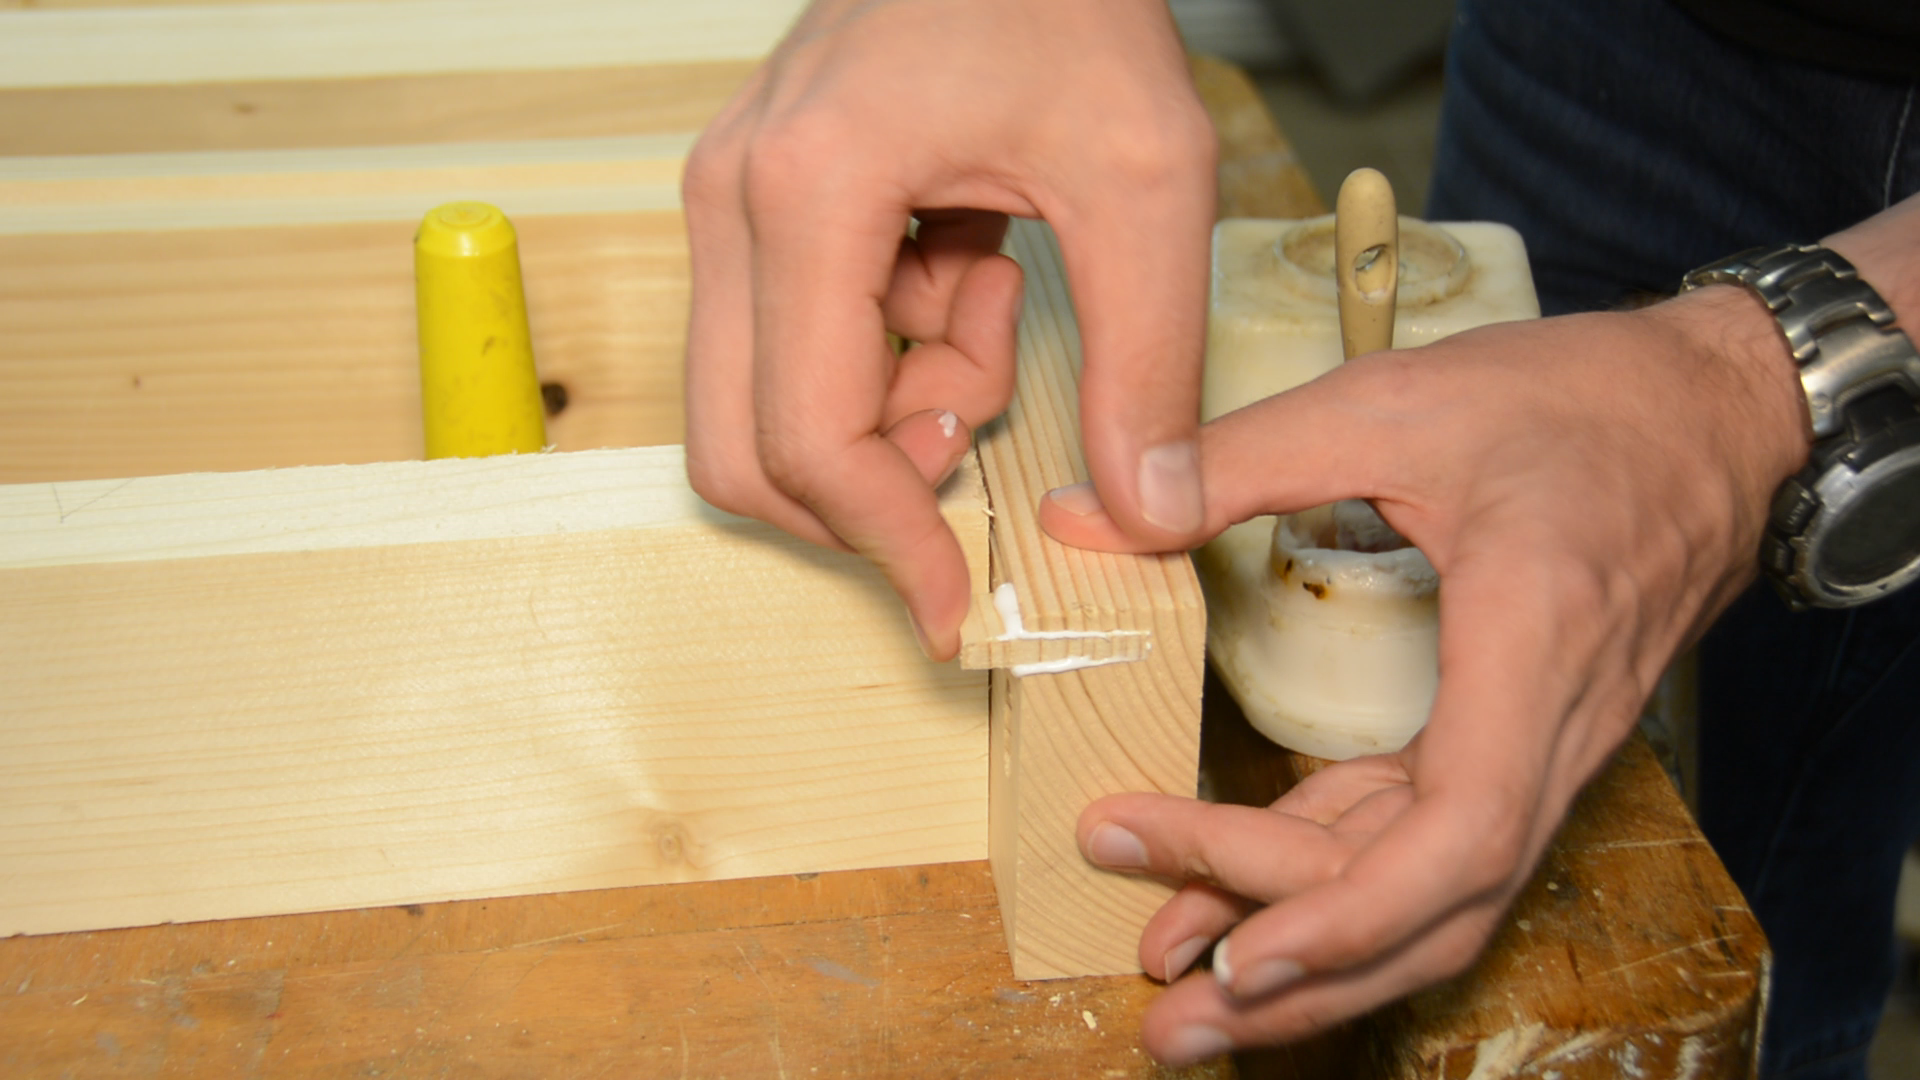
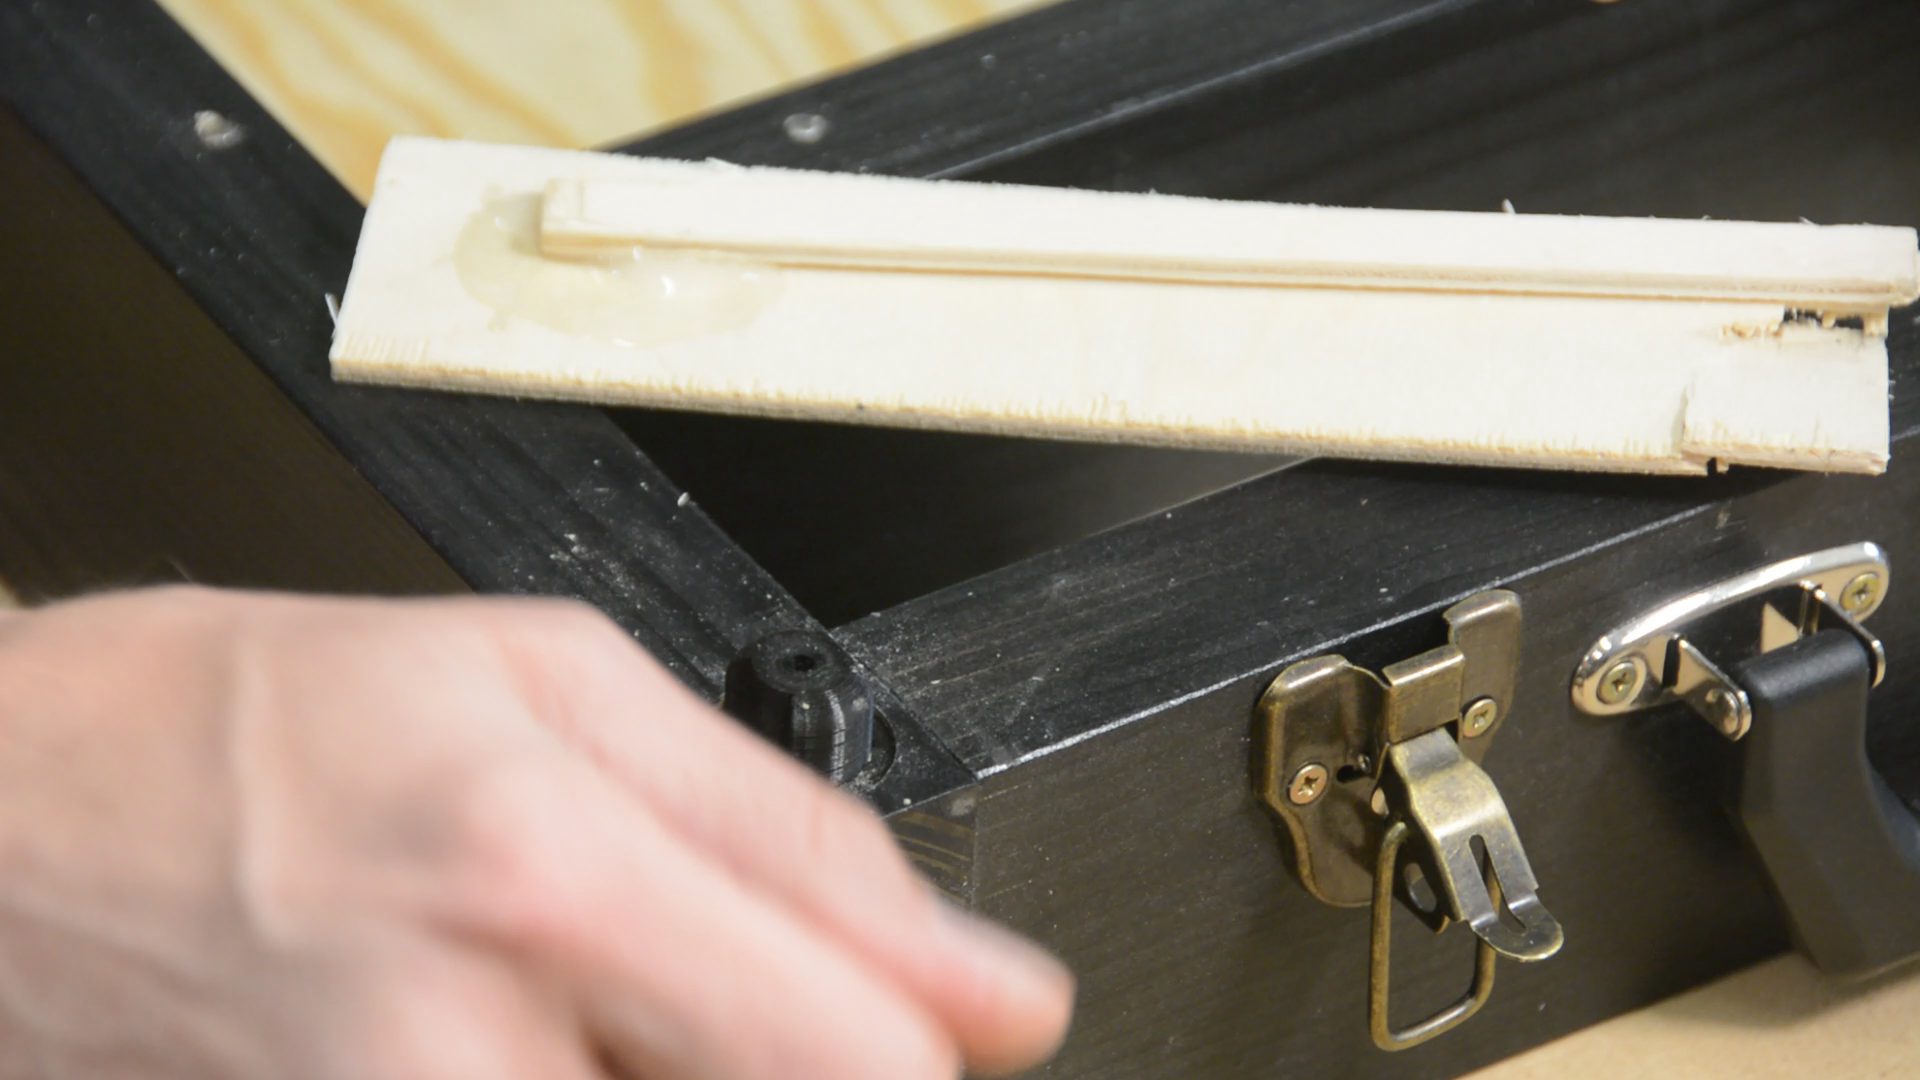
One disadvantage of using the table saw is that the slot is visible on the outside of the case. Given that this is not fine furniture I simply fix these slots by gluing in a thin piece of wood. After the glue has dried the fix is sanded flush and once the case is stained will be barely visible.
Assembly of the free wargame suitcase
I can take measures directly from the dry assembled box and cut plywood panels accordingly.

While still dry fit together I use a chisel to clean up the round corners of the rabbets.

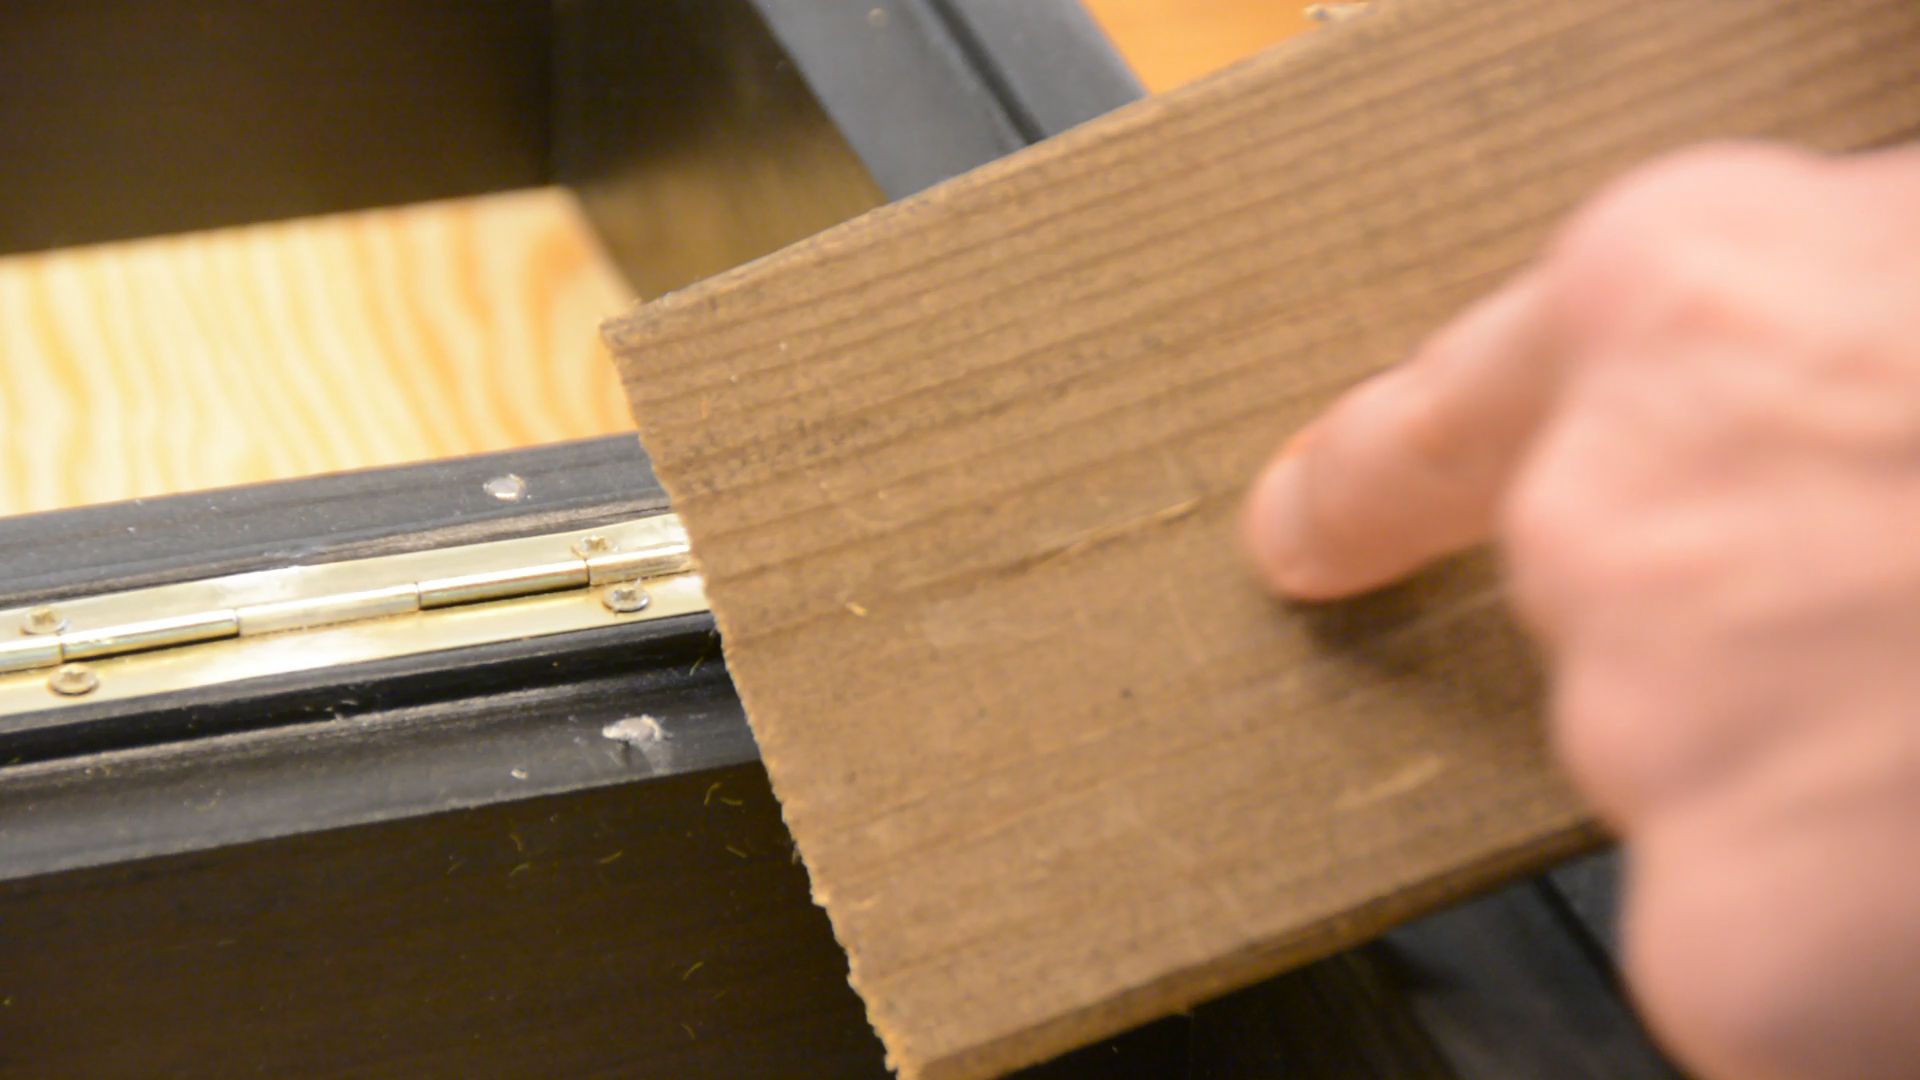
A last rabbet is put in place to install the hinge.

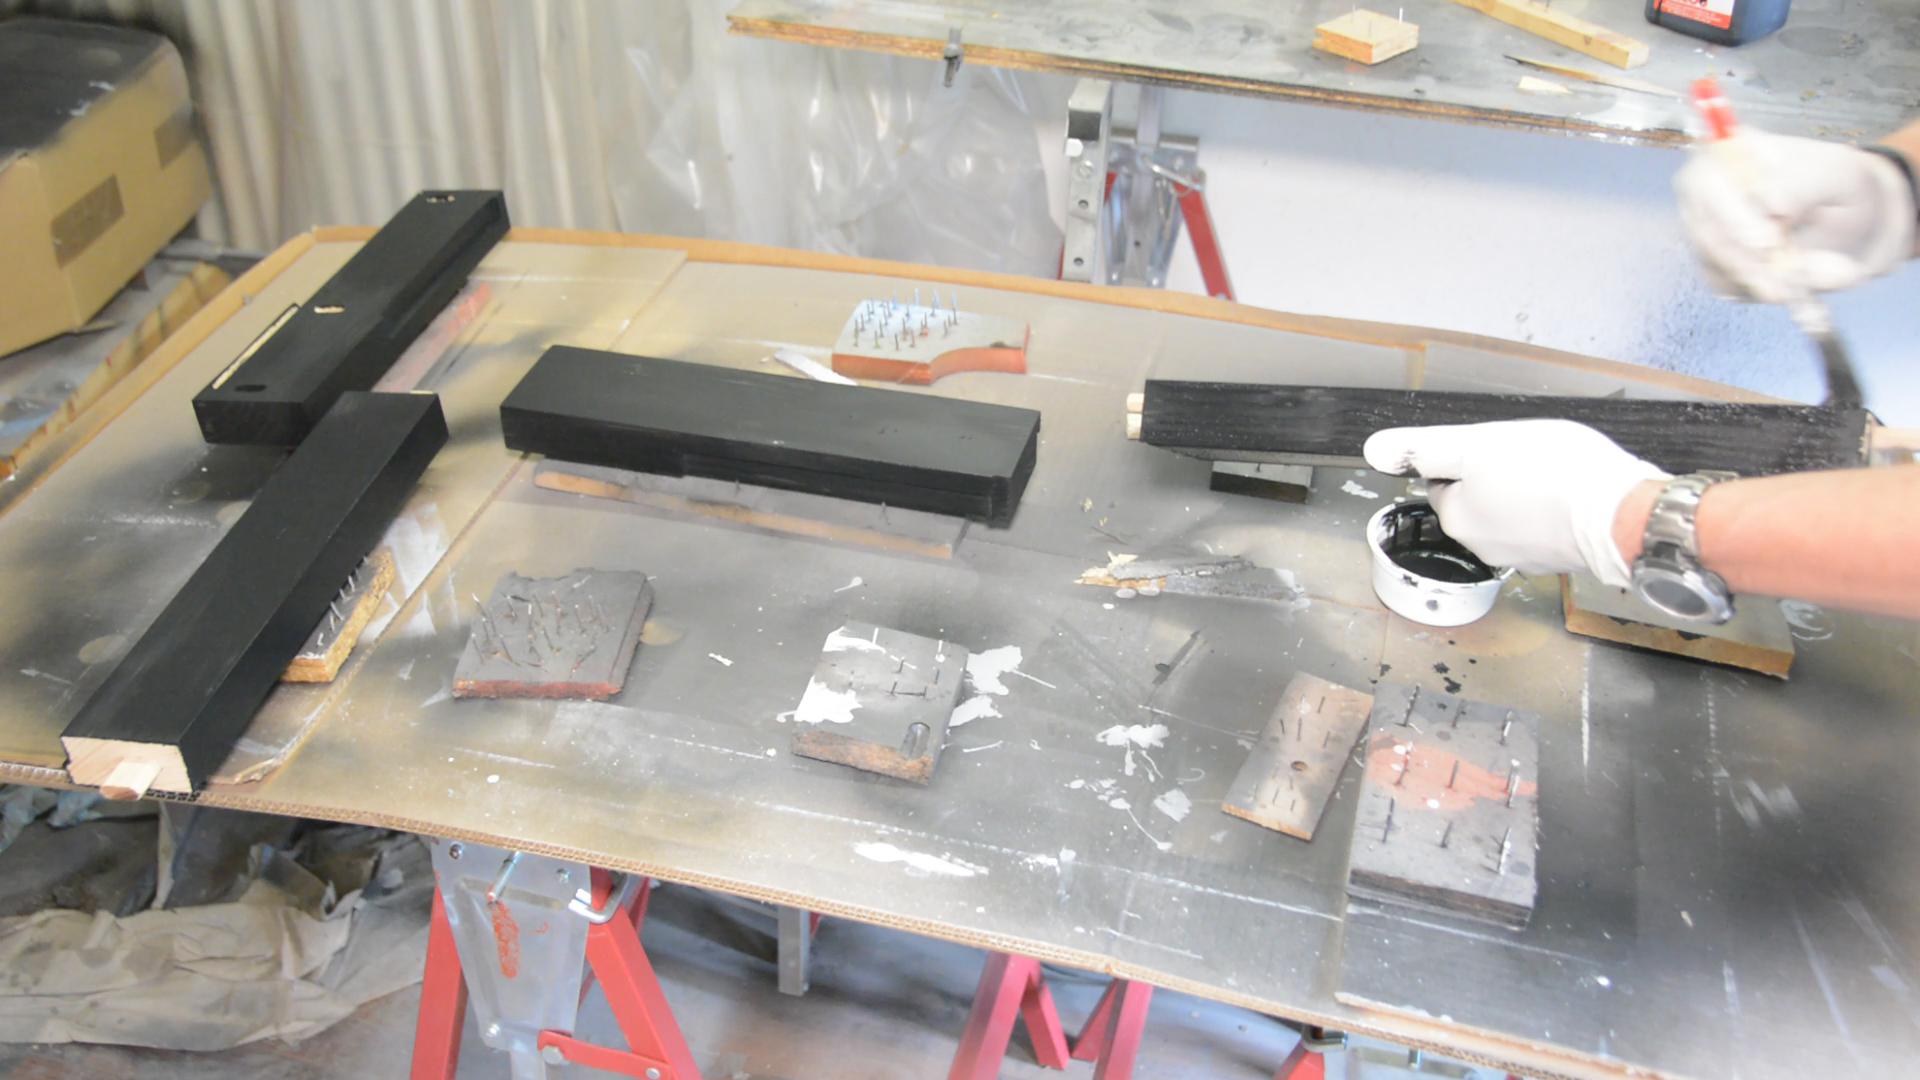
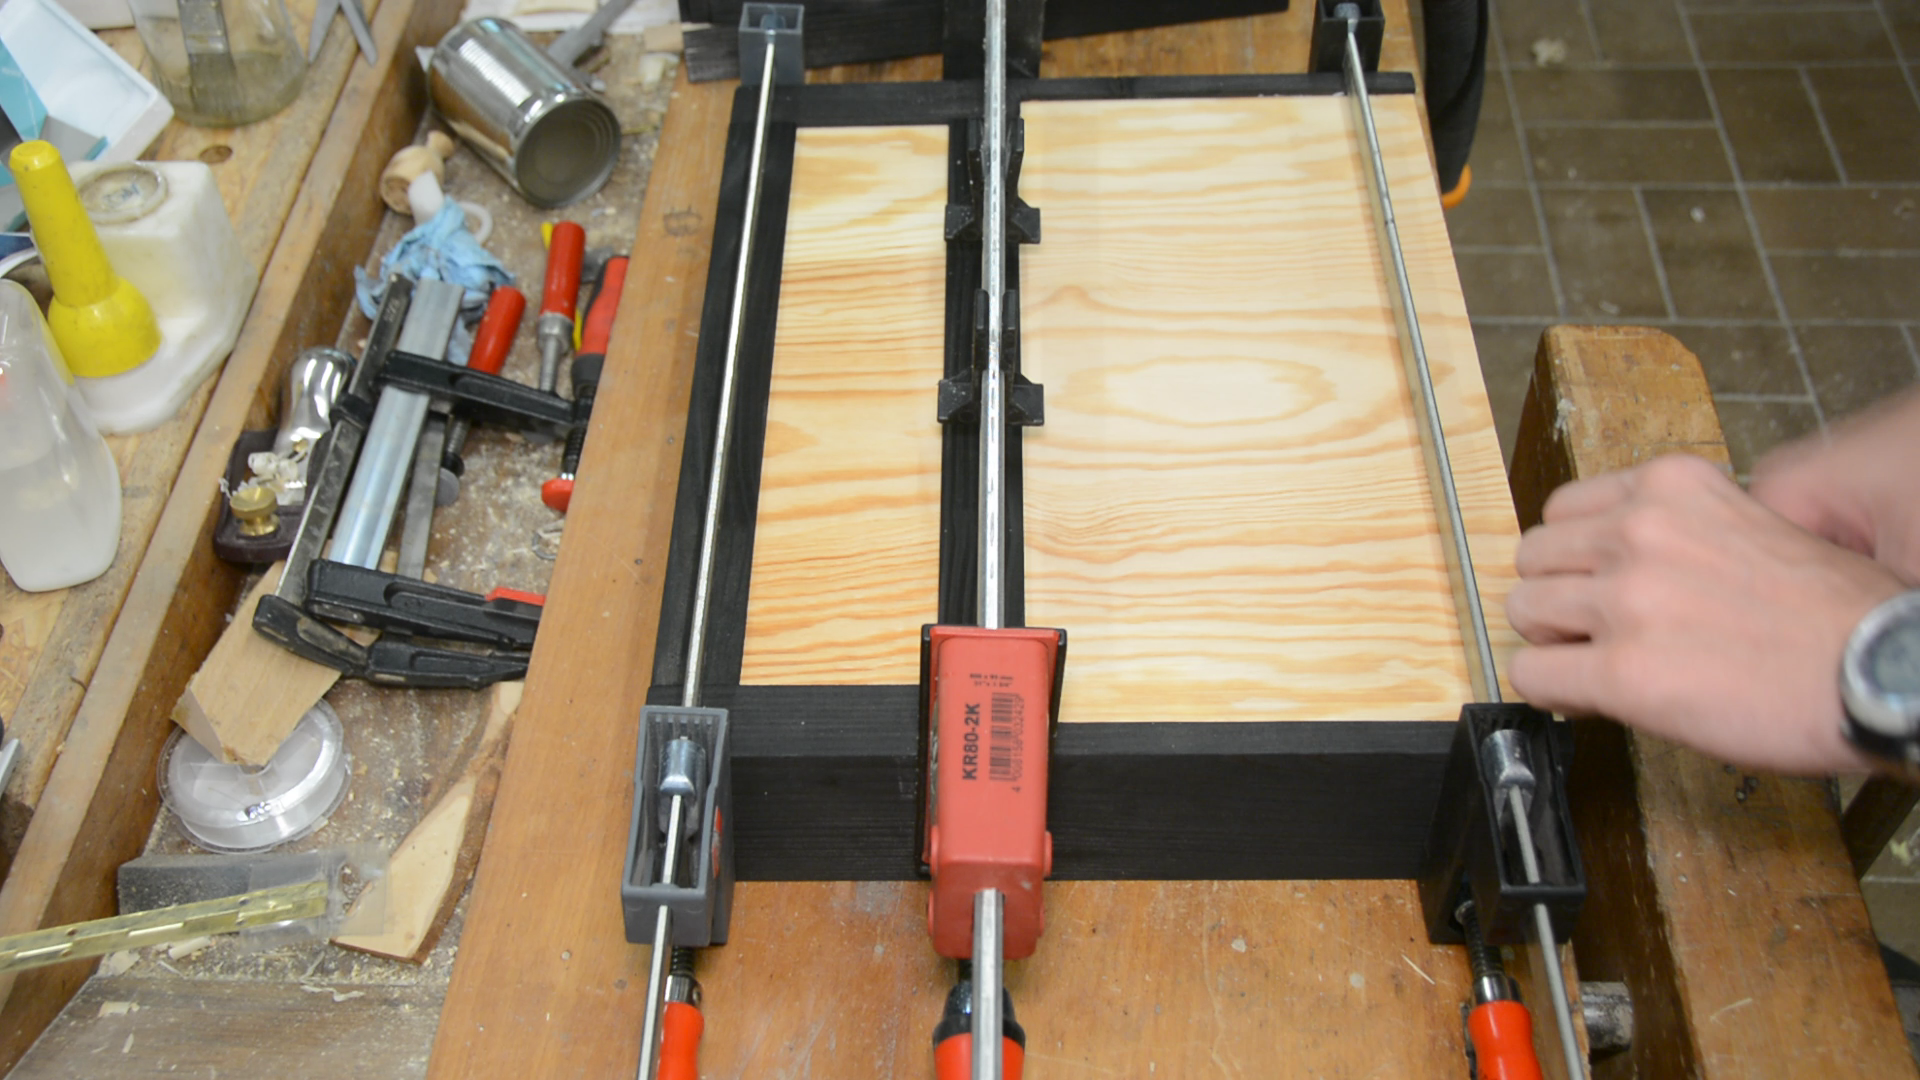
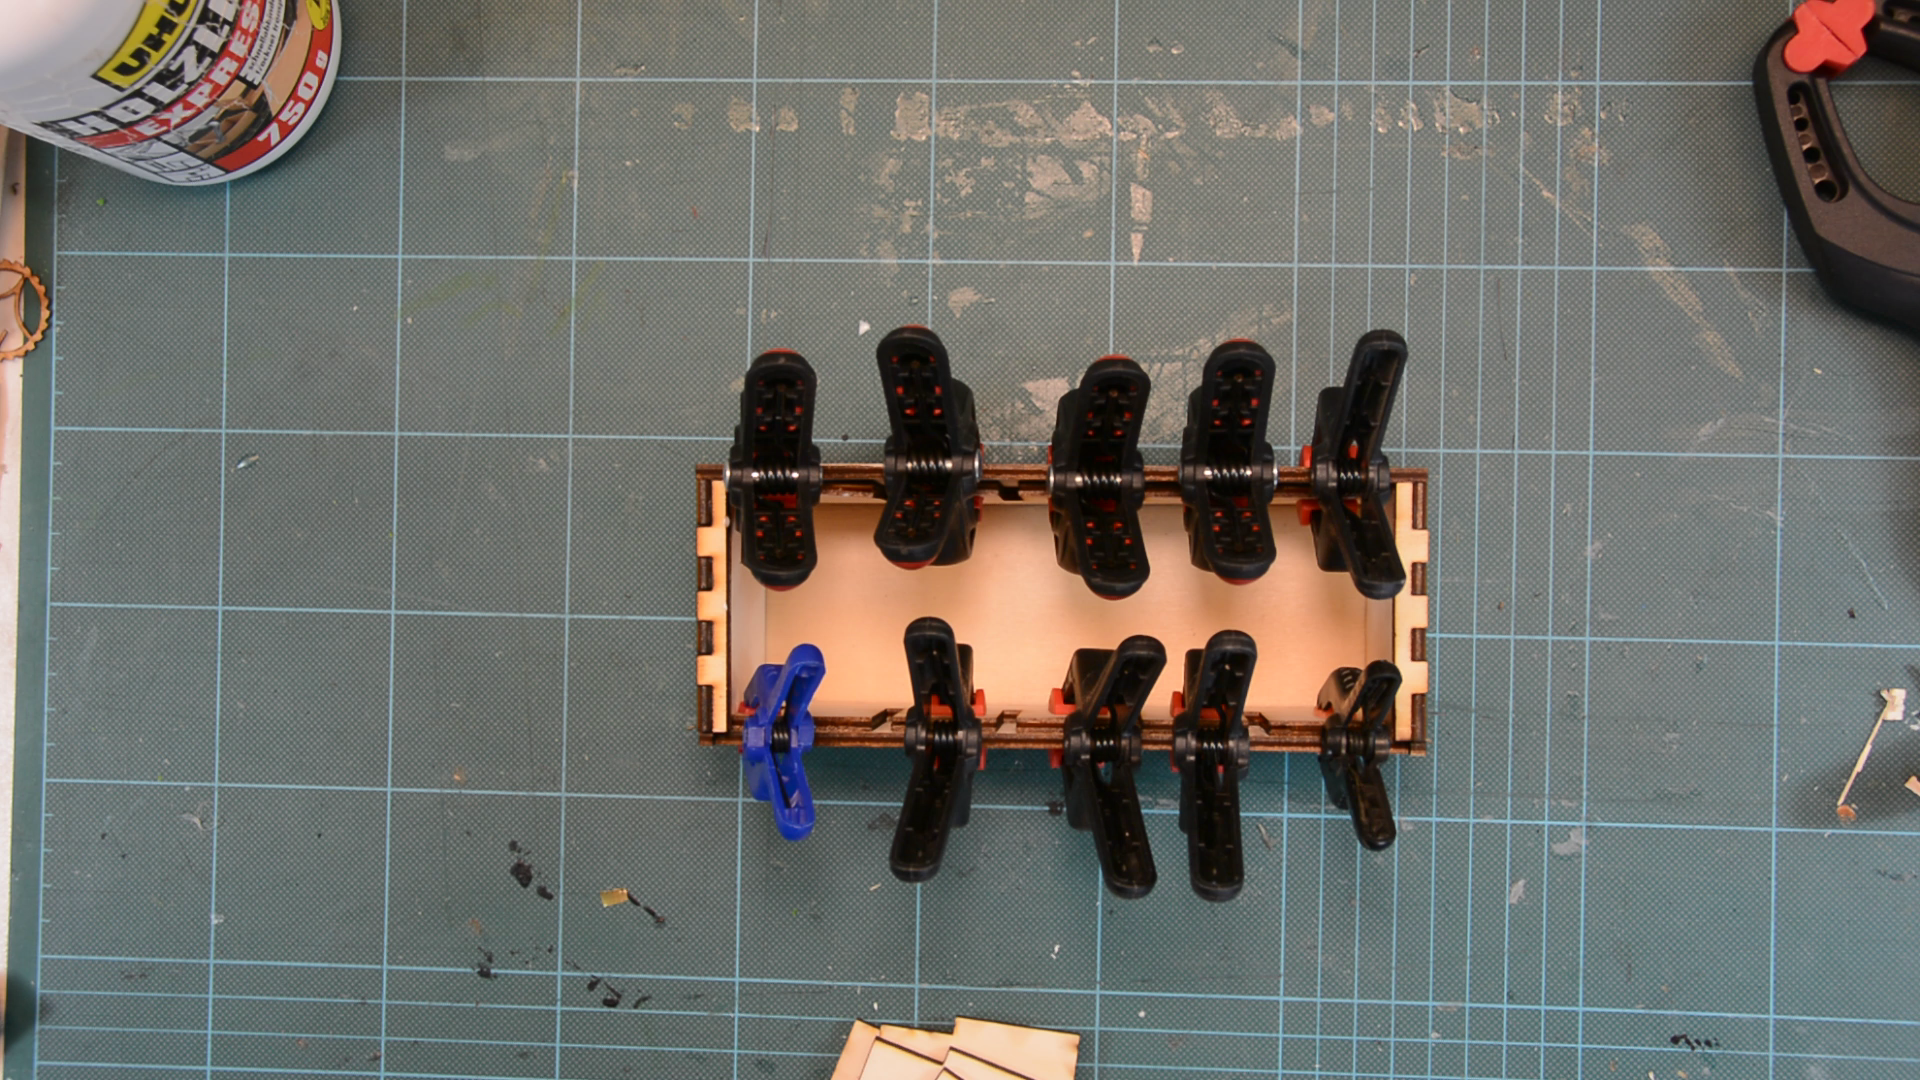
Then the domino dowels are glued into one side and the entire frame is sanded up to 220 grid. The frame is stained black and then glued together with the panels.

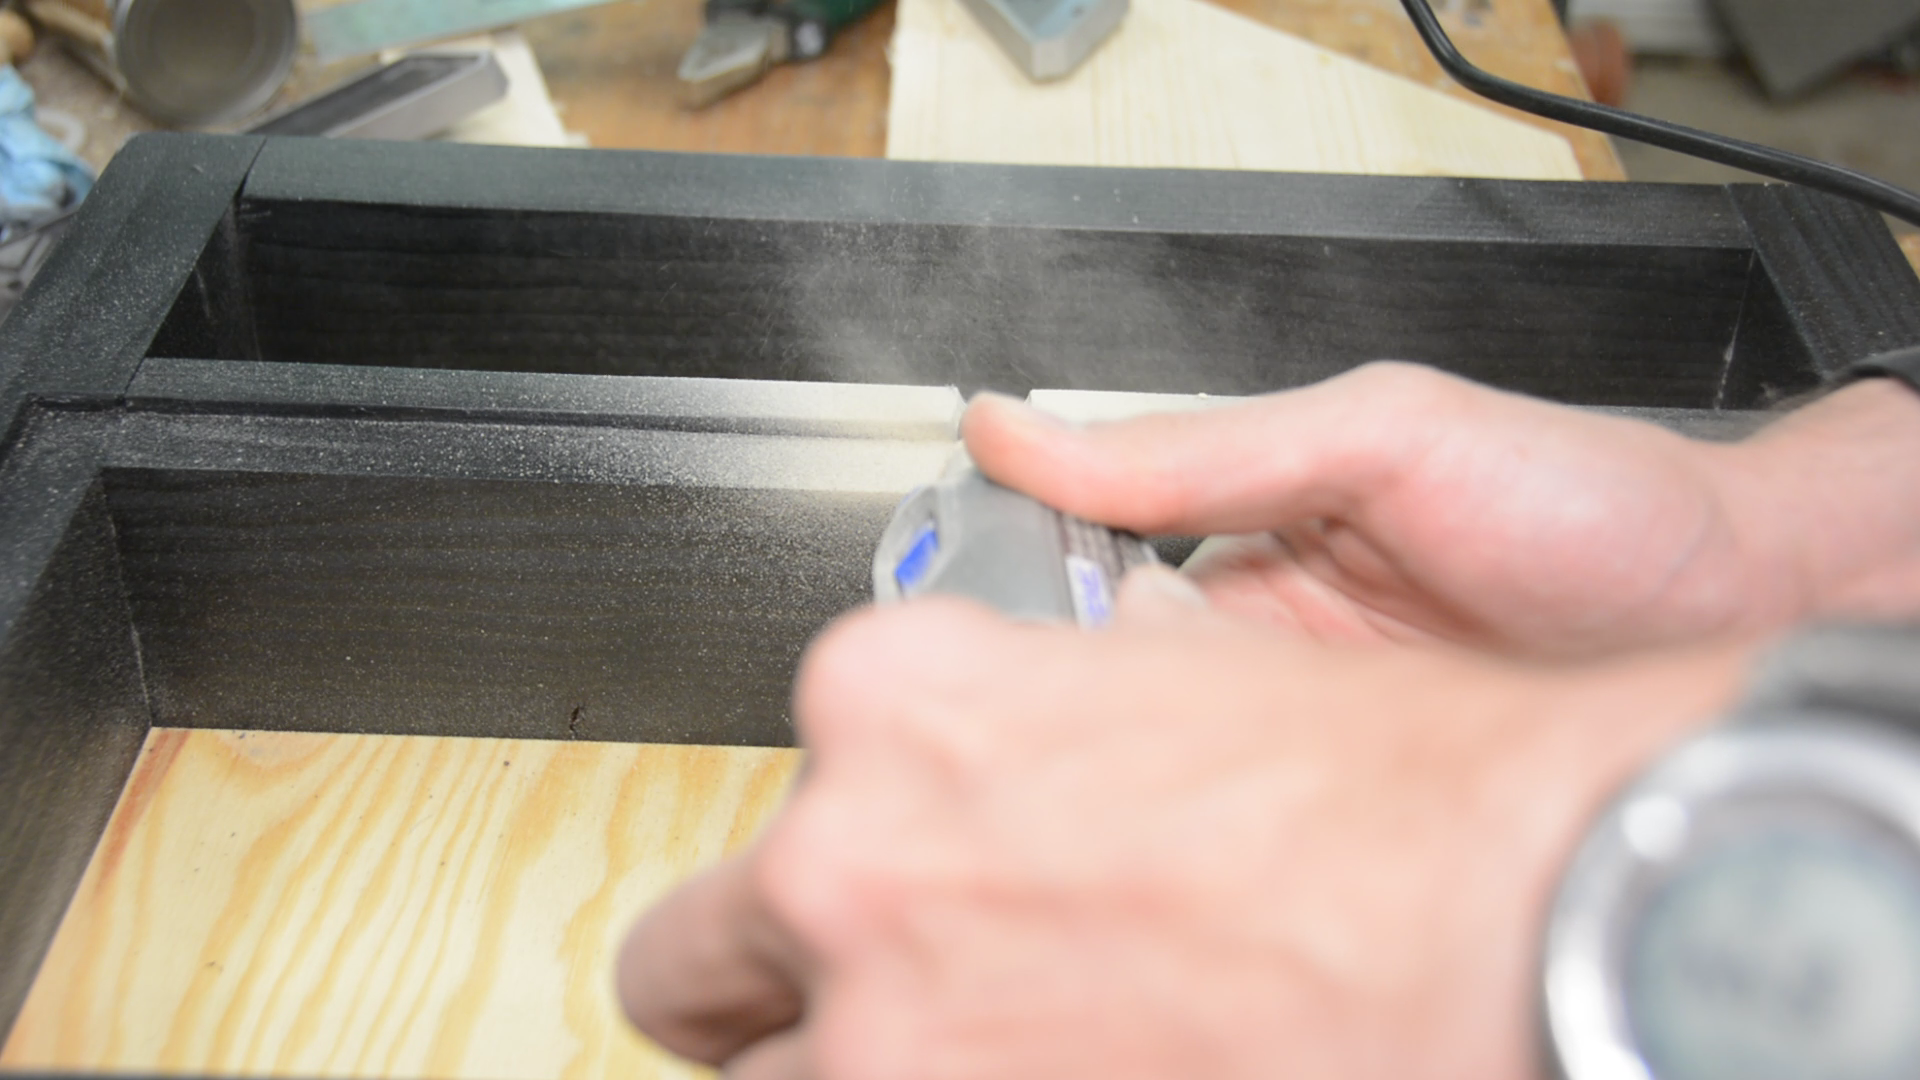
The inside gets a recessed grip before the entire case is finished with a clear coat.
Installing the suitcase hardware
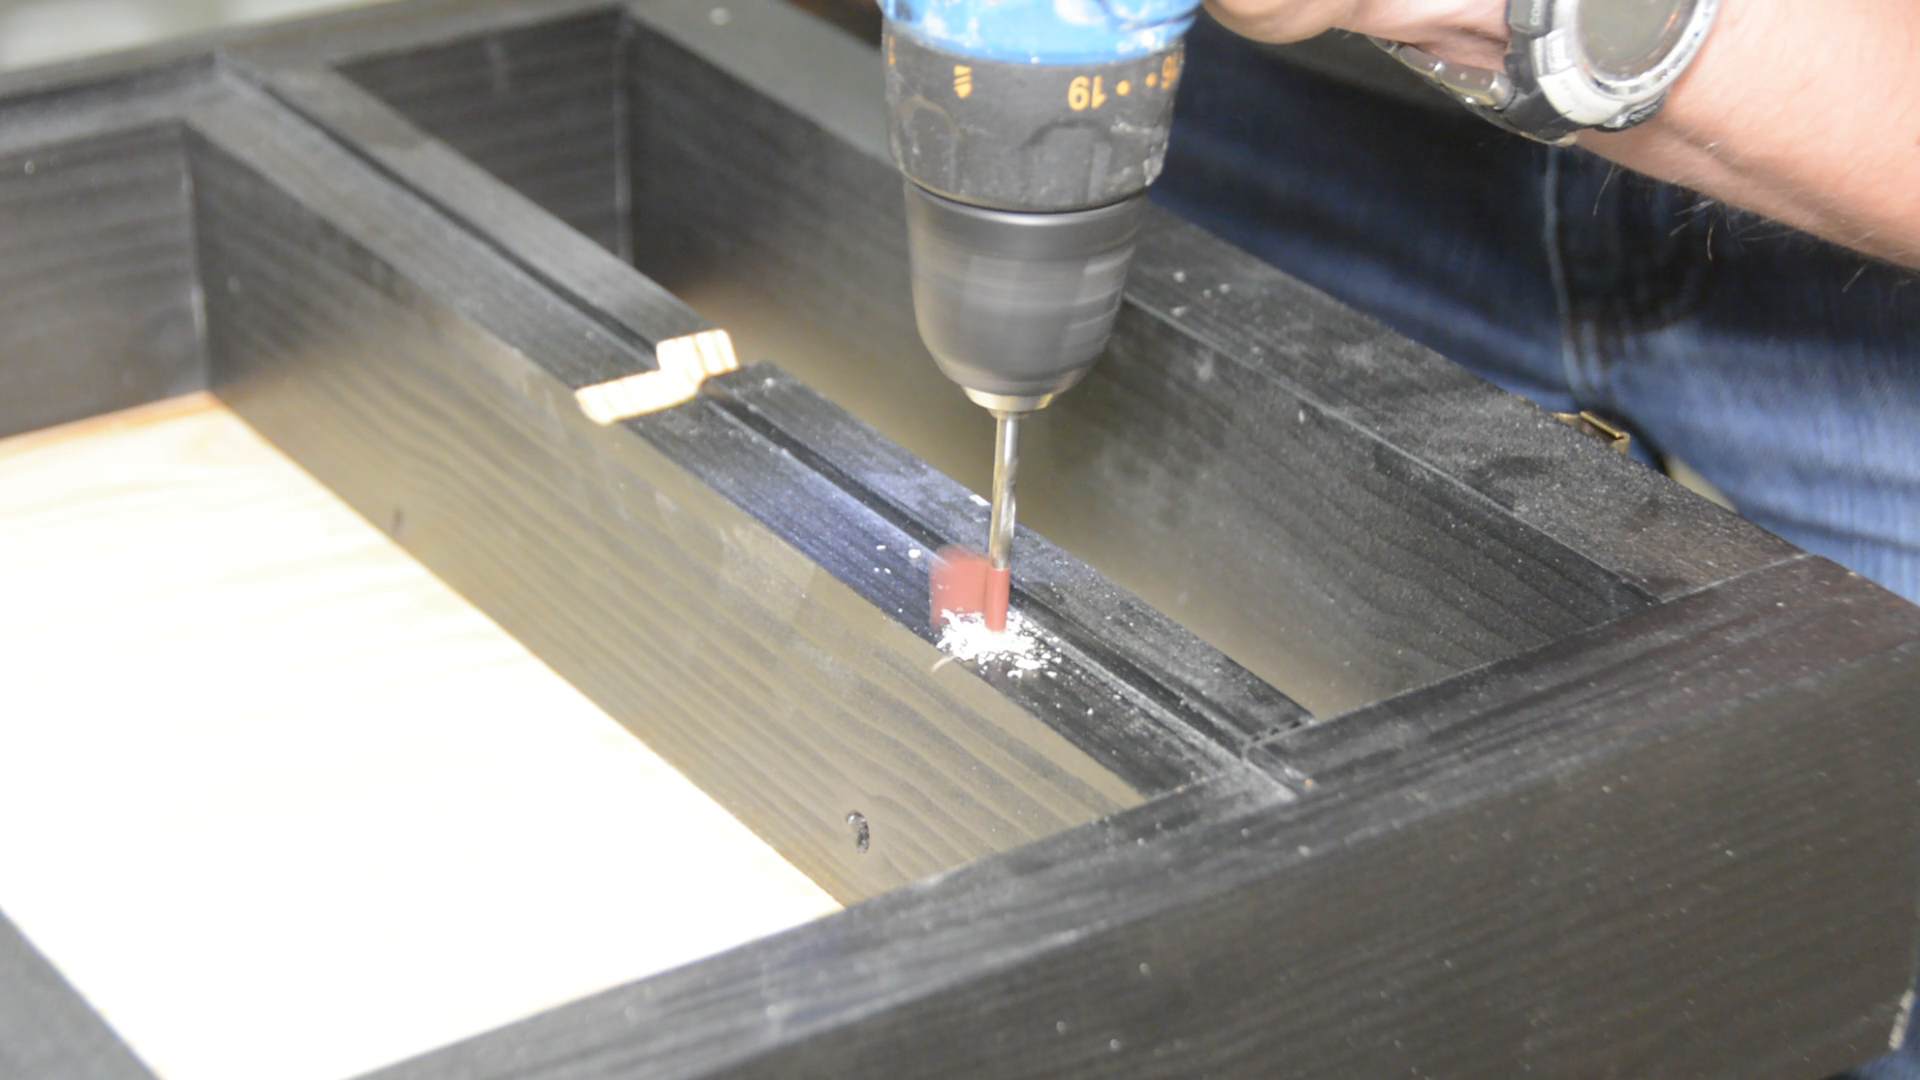
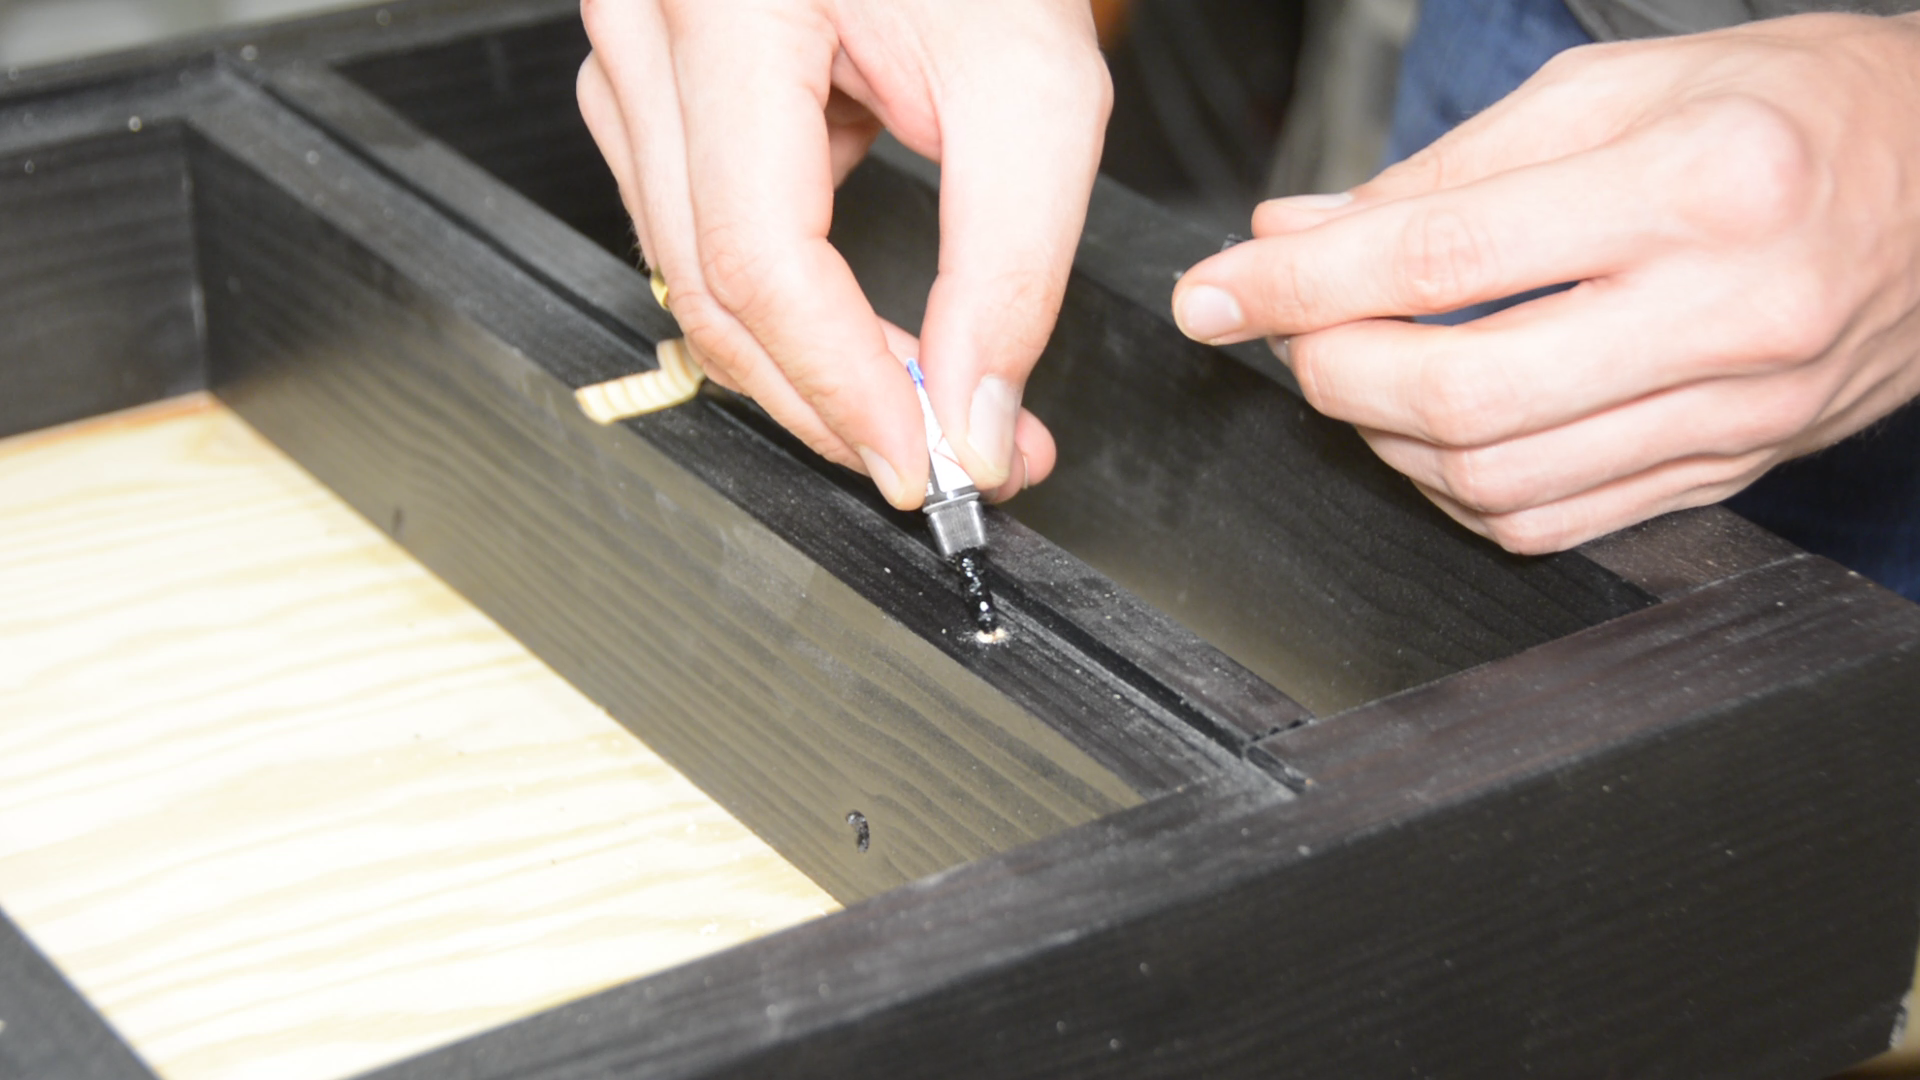
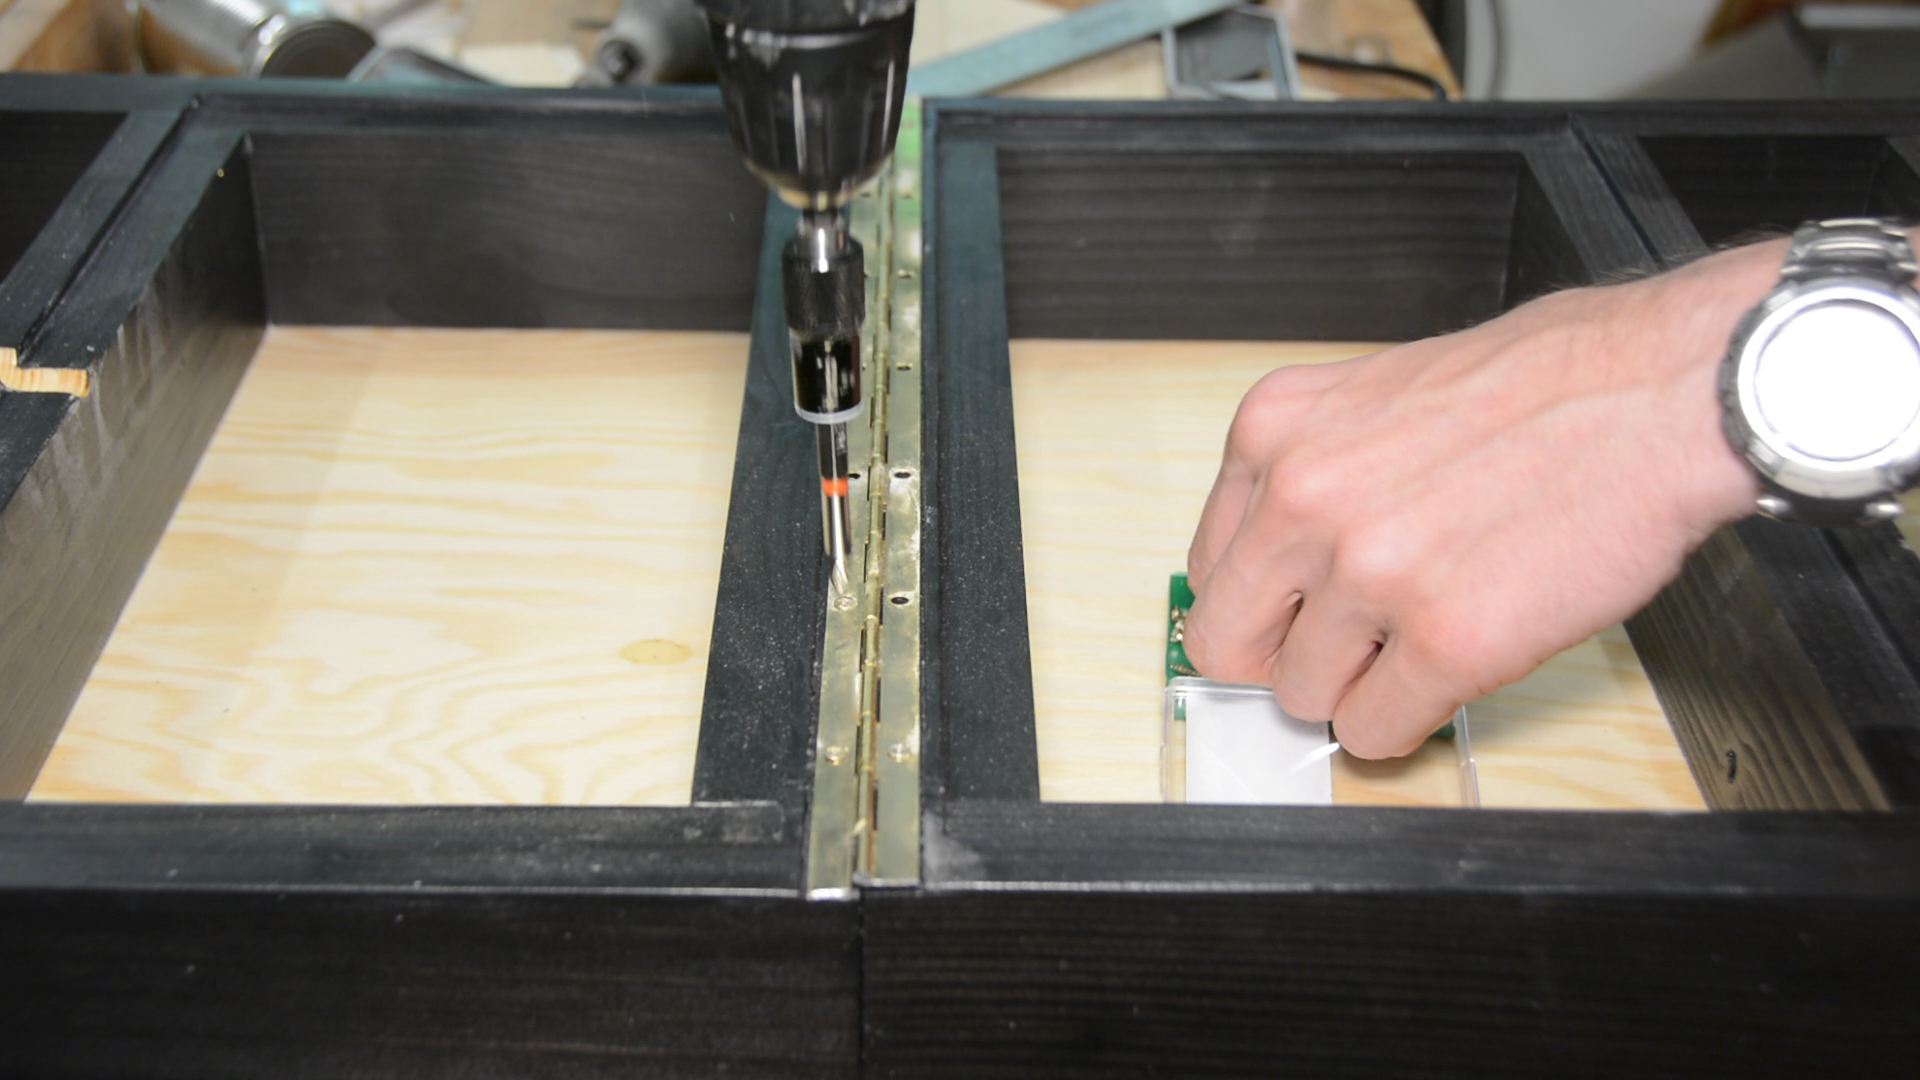
To hold the steel plates in place I drill holes and glue a bunch of small magnets in place.

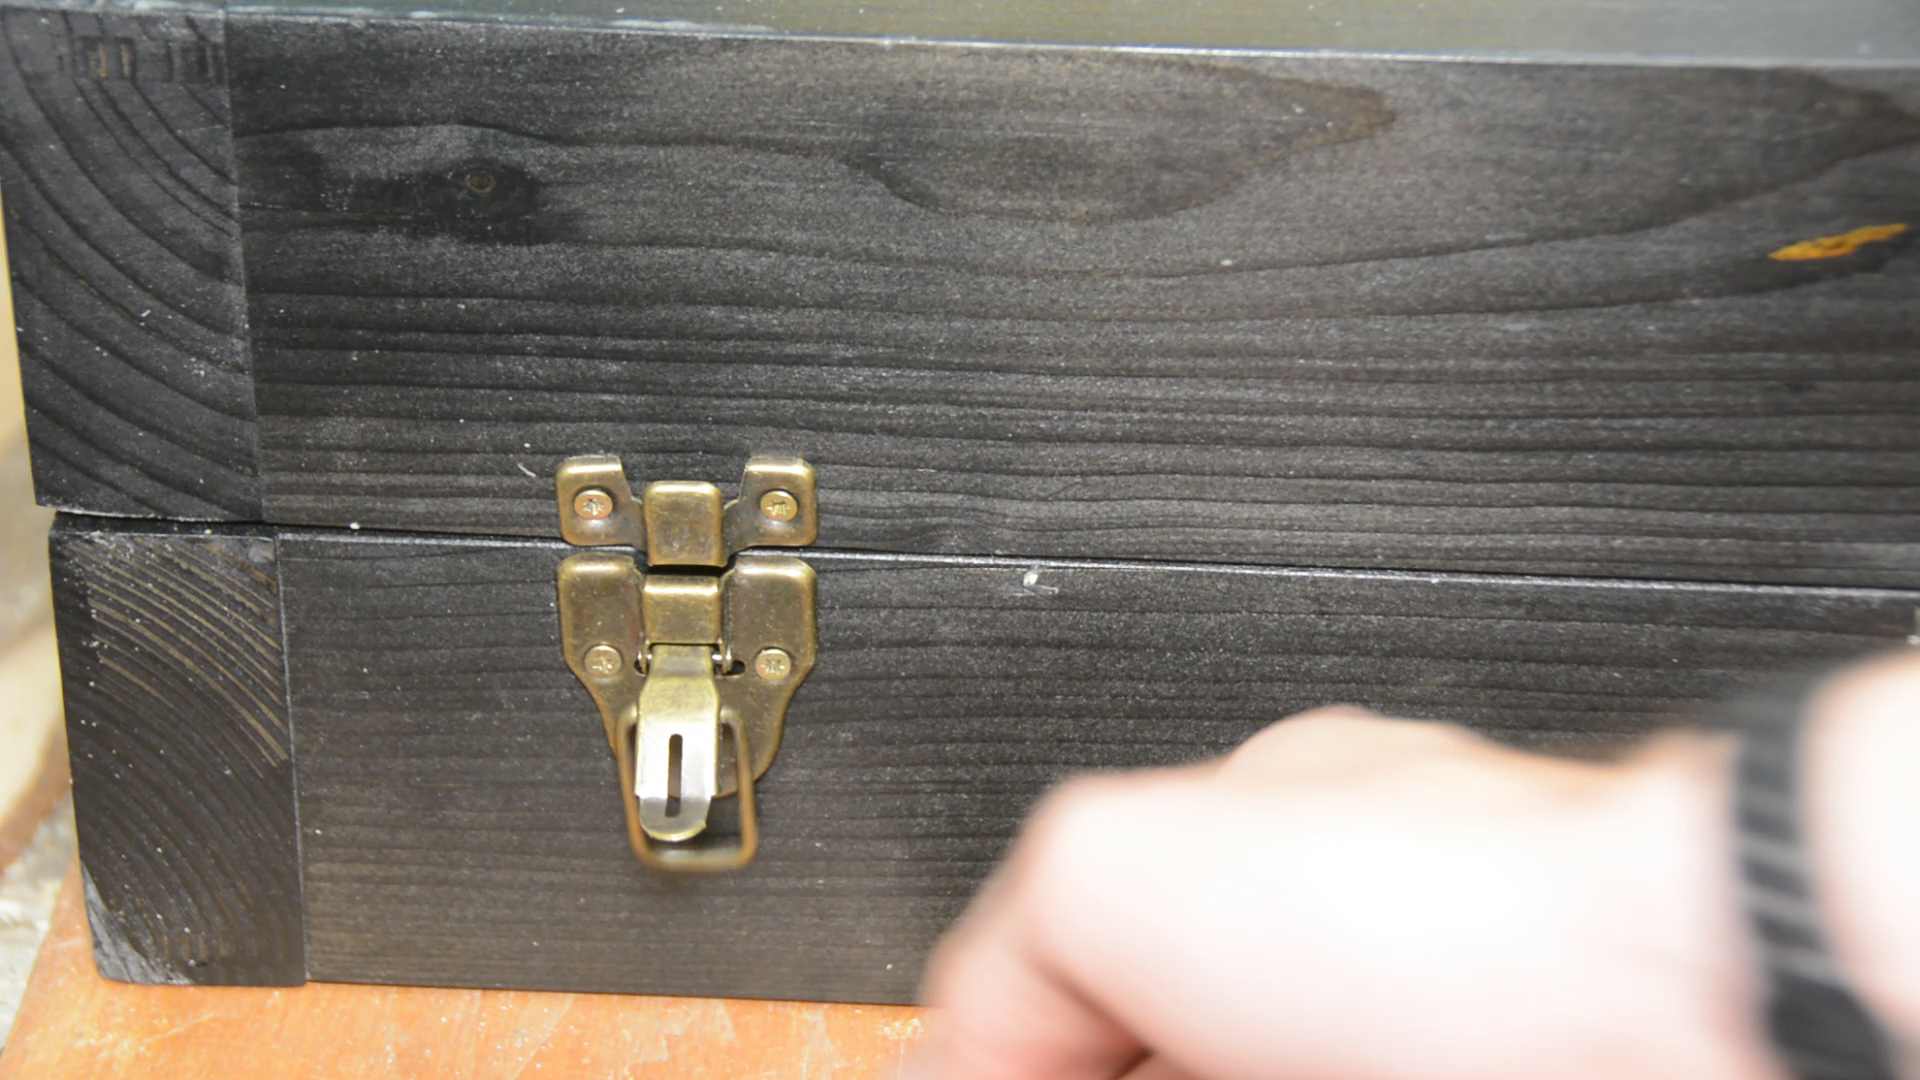
The hinge and the suitcase hardware is installed and the case is finally finished.

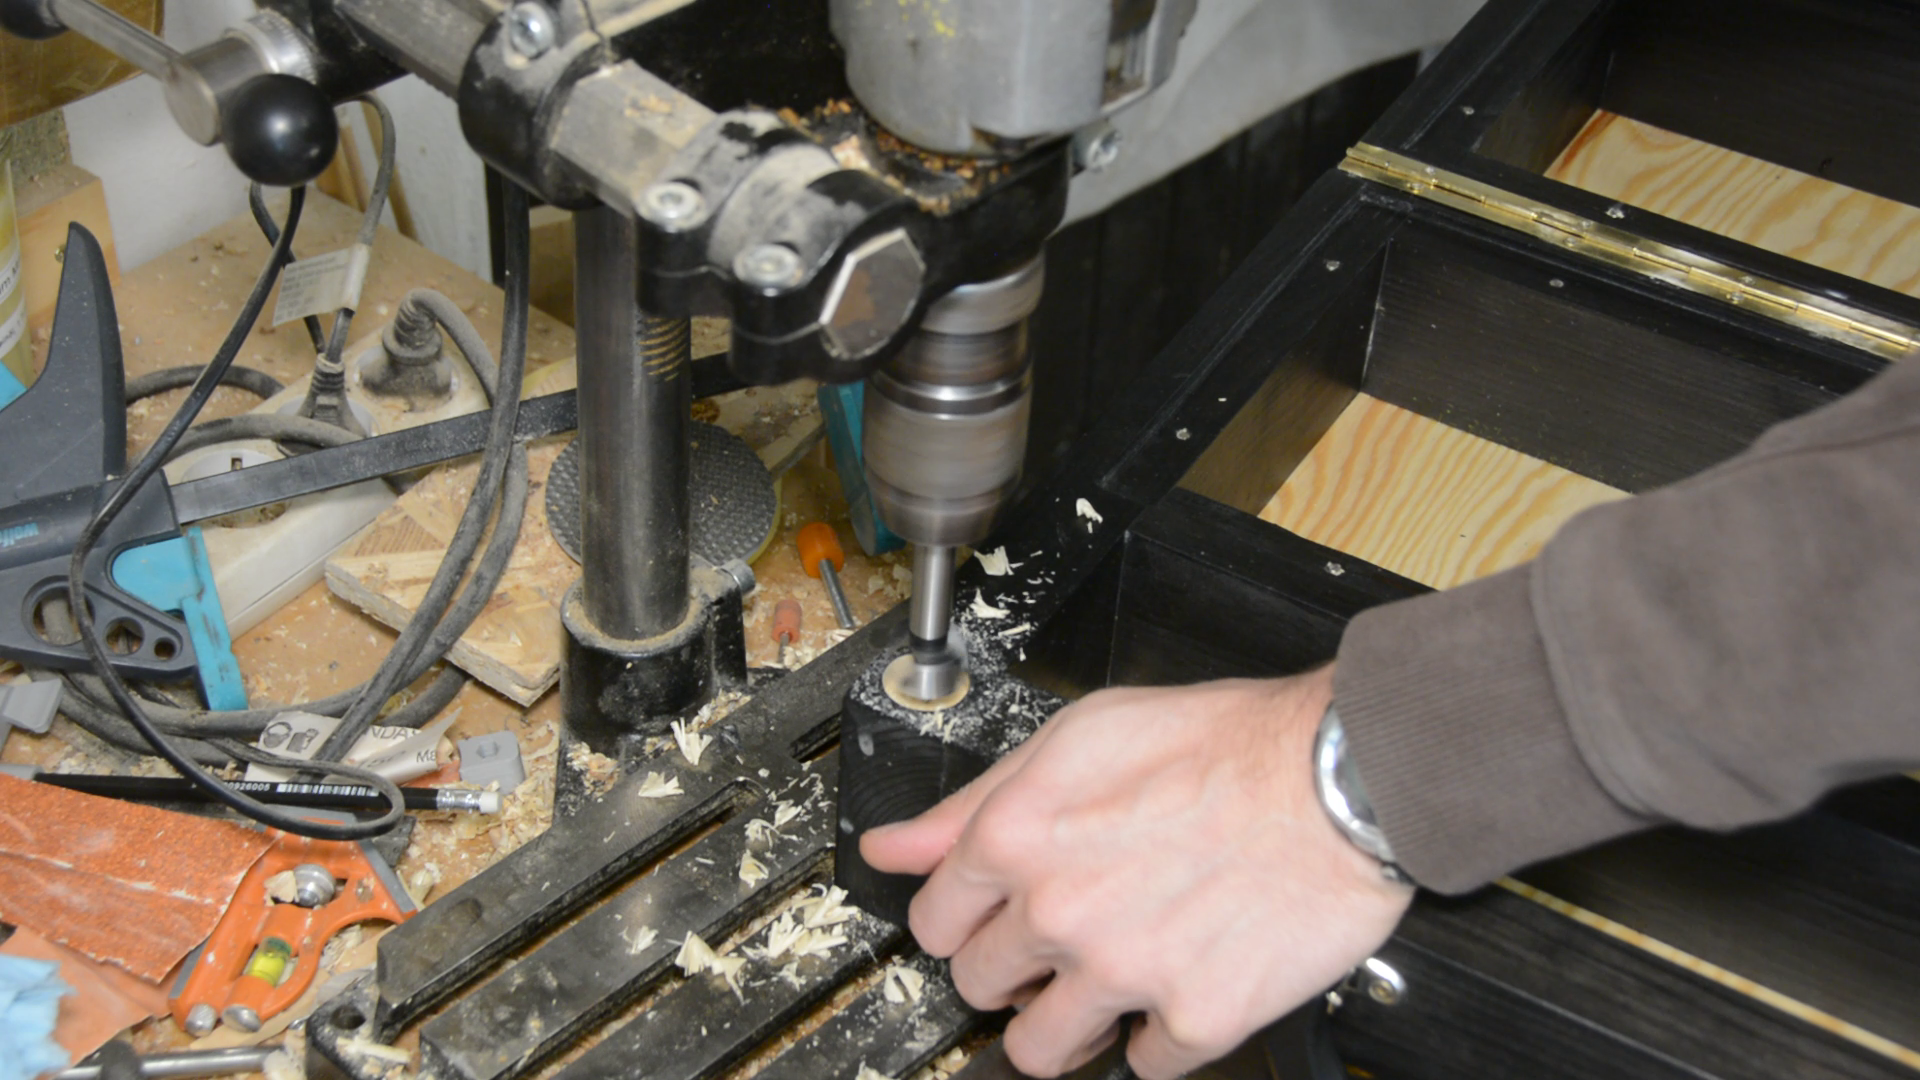
In the current form the piano hinge would leave nasty marks on the table surface. To elevate the case from the table below I designed these standoffs that are glued in 25mm holes. I might make a separate video on the design of these.
Wargame Terrain
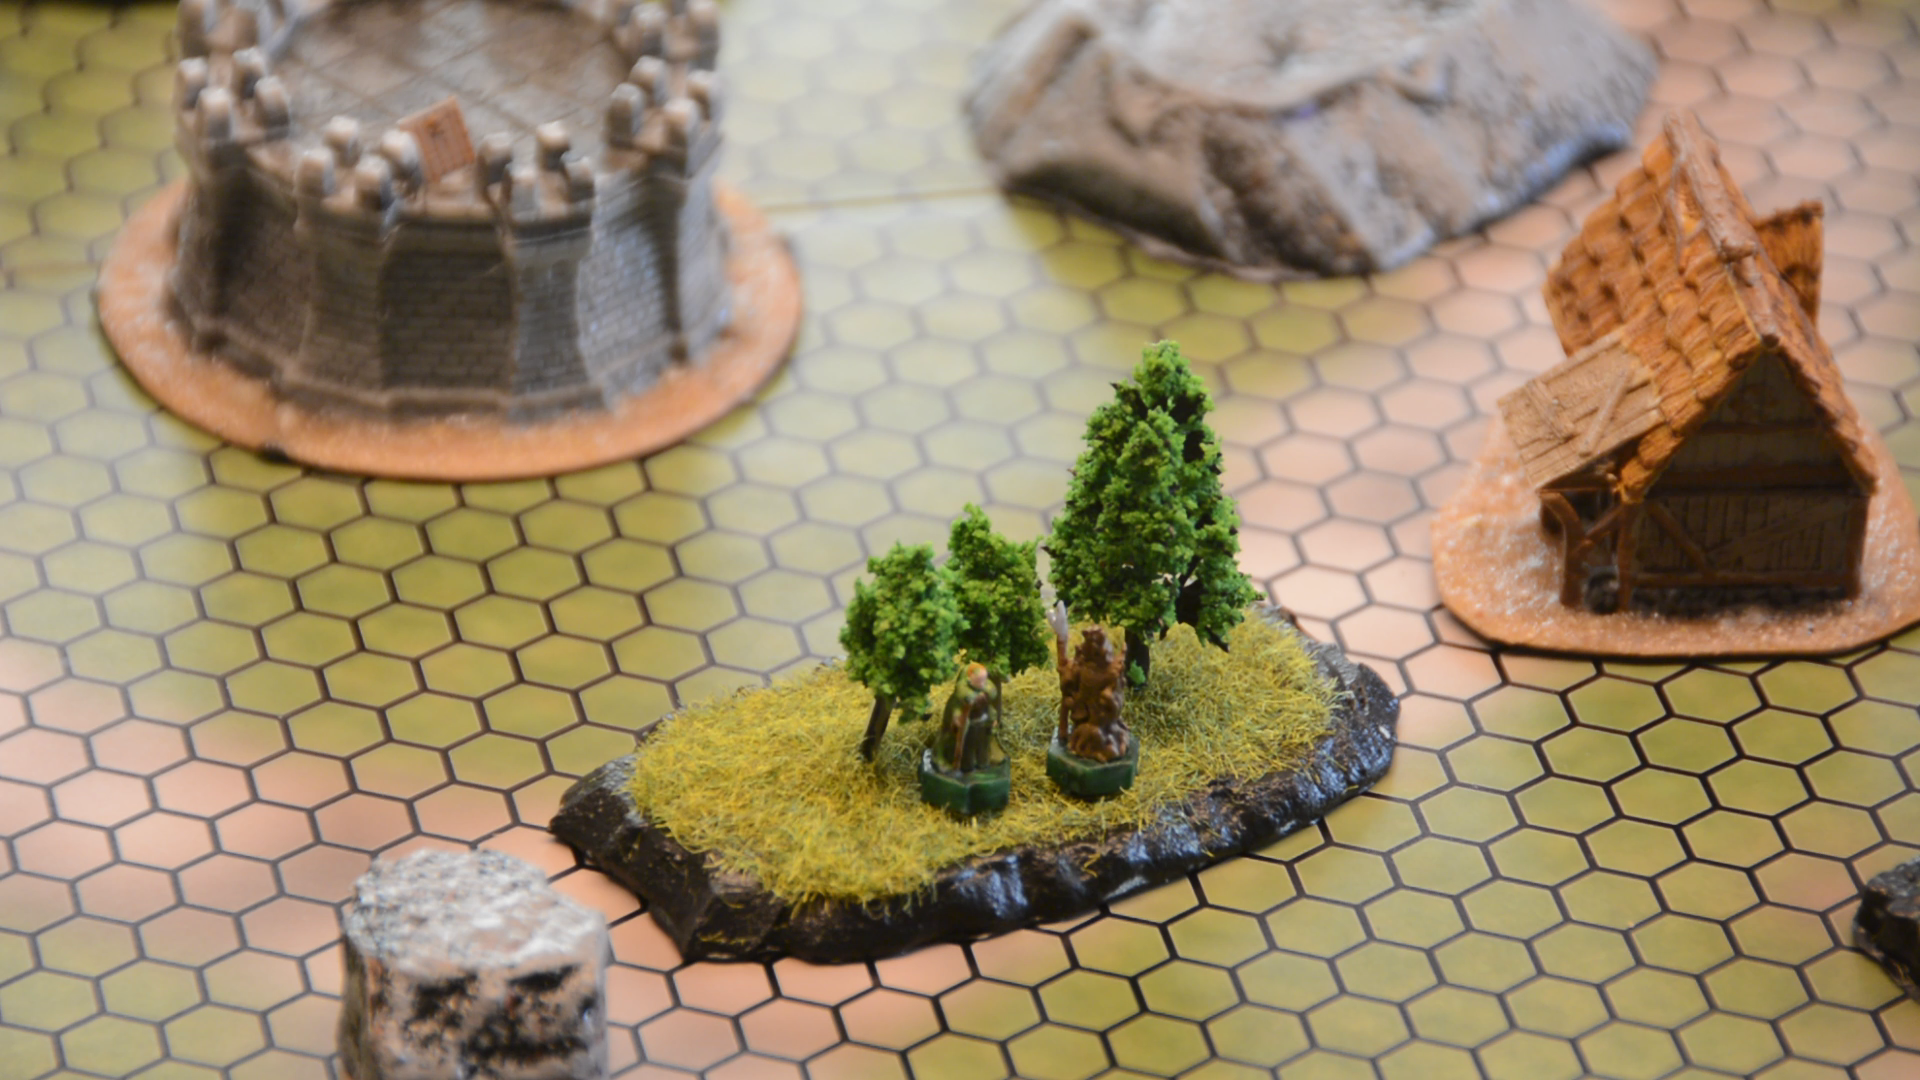
The battlefield still looks a bit boring – so let’s add some pieces of terrain. Most terrain pieces that you find for 3d printing are meant for 28mm scale.I found these Ulvheim models on Thingiverse a nice set to print. For our purpose we have to scale it down by 30%. We then print it, paint it and glue some magnets to the bottom.
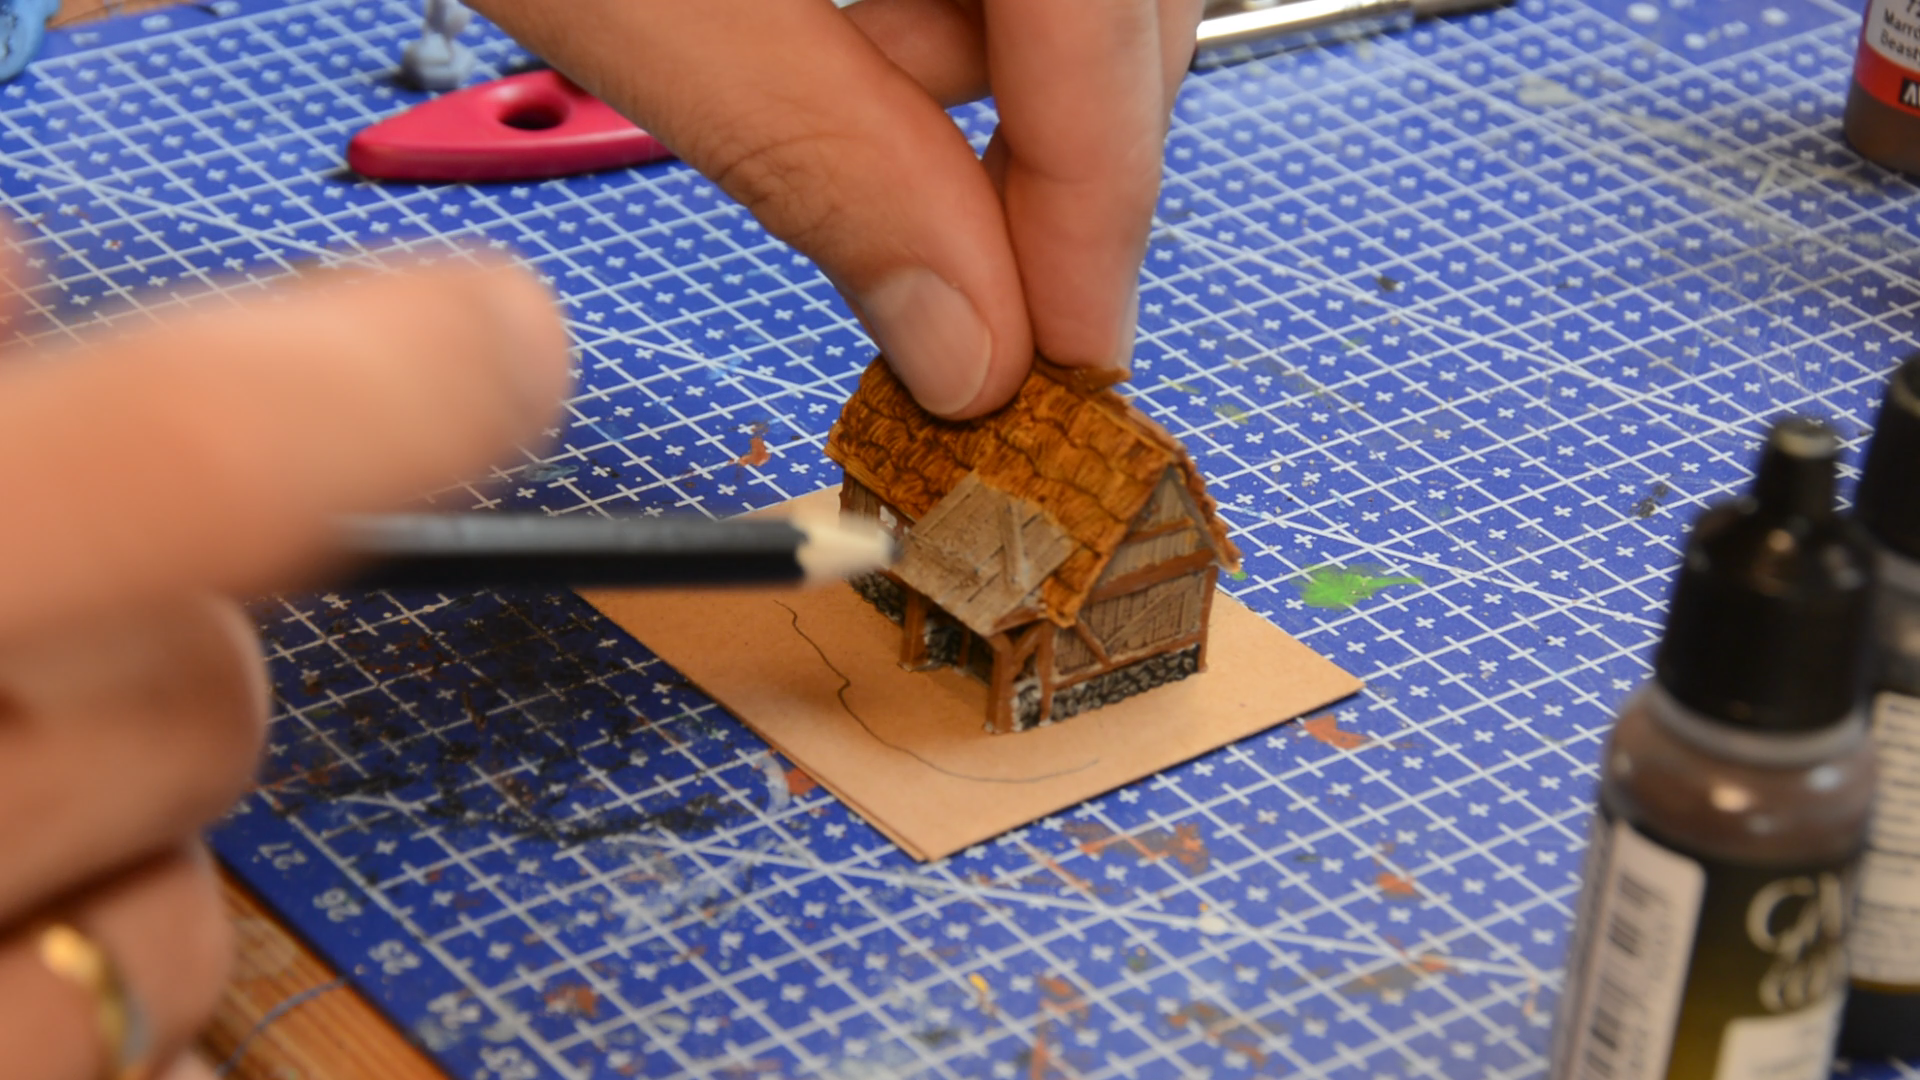
For rocks and forest pieces I cut XPS foam on the hot wire cutter. In the bottom of each foam piece I drill a very shallow hole to receive a 1 mm thick magnet.

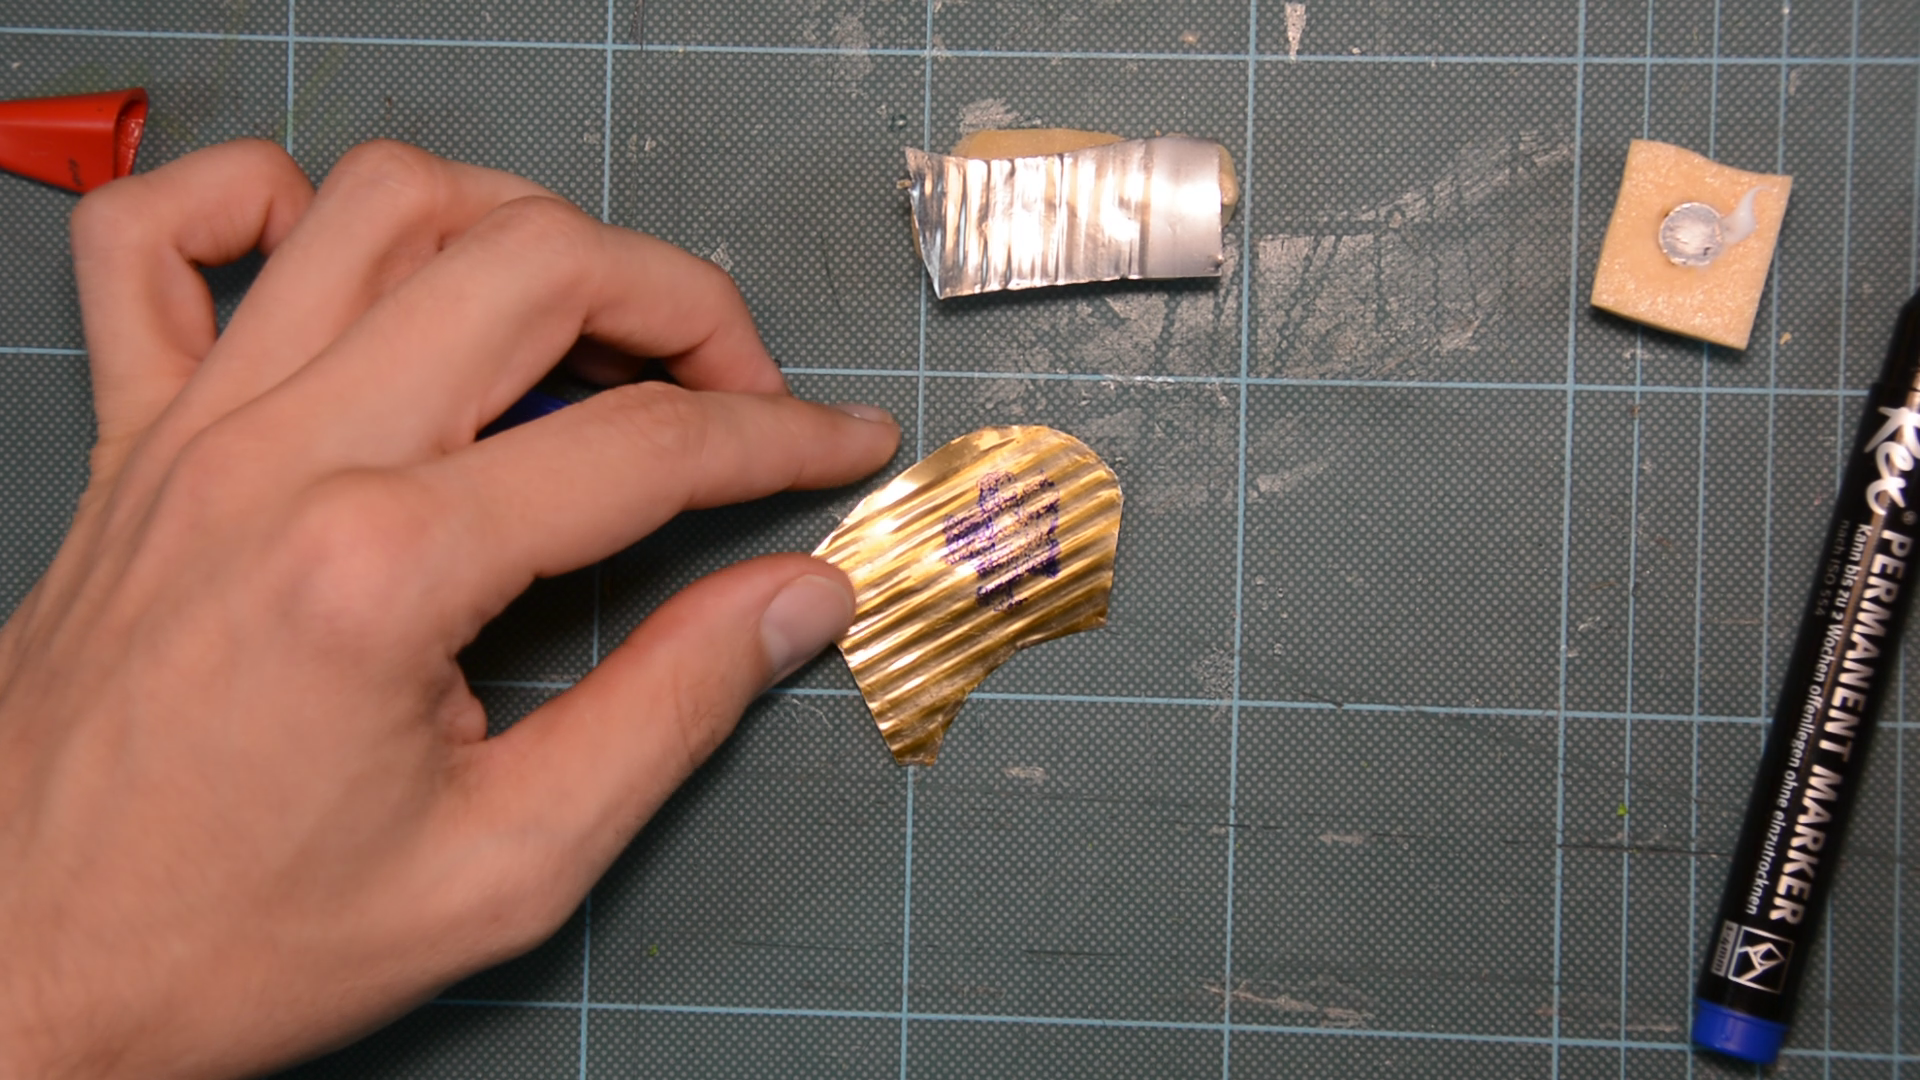
The miniature figures will receive magnets and they should stick to the terrain as well as to the floor. In a piece of sheet metal from a can I drill holes and hammer it flat. I then use the XPS foam itself as an improvised stamp and mark the top surface on the metal.

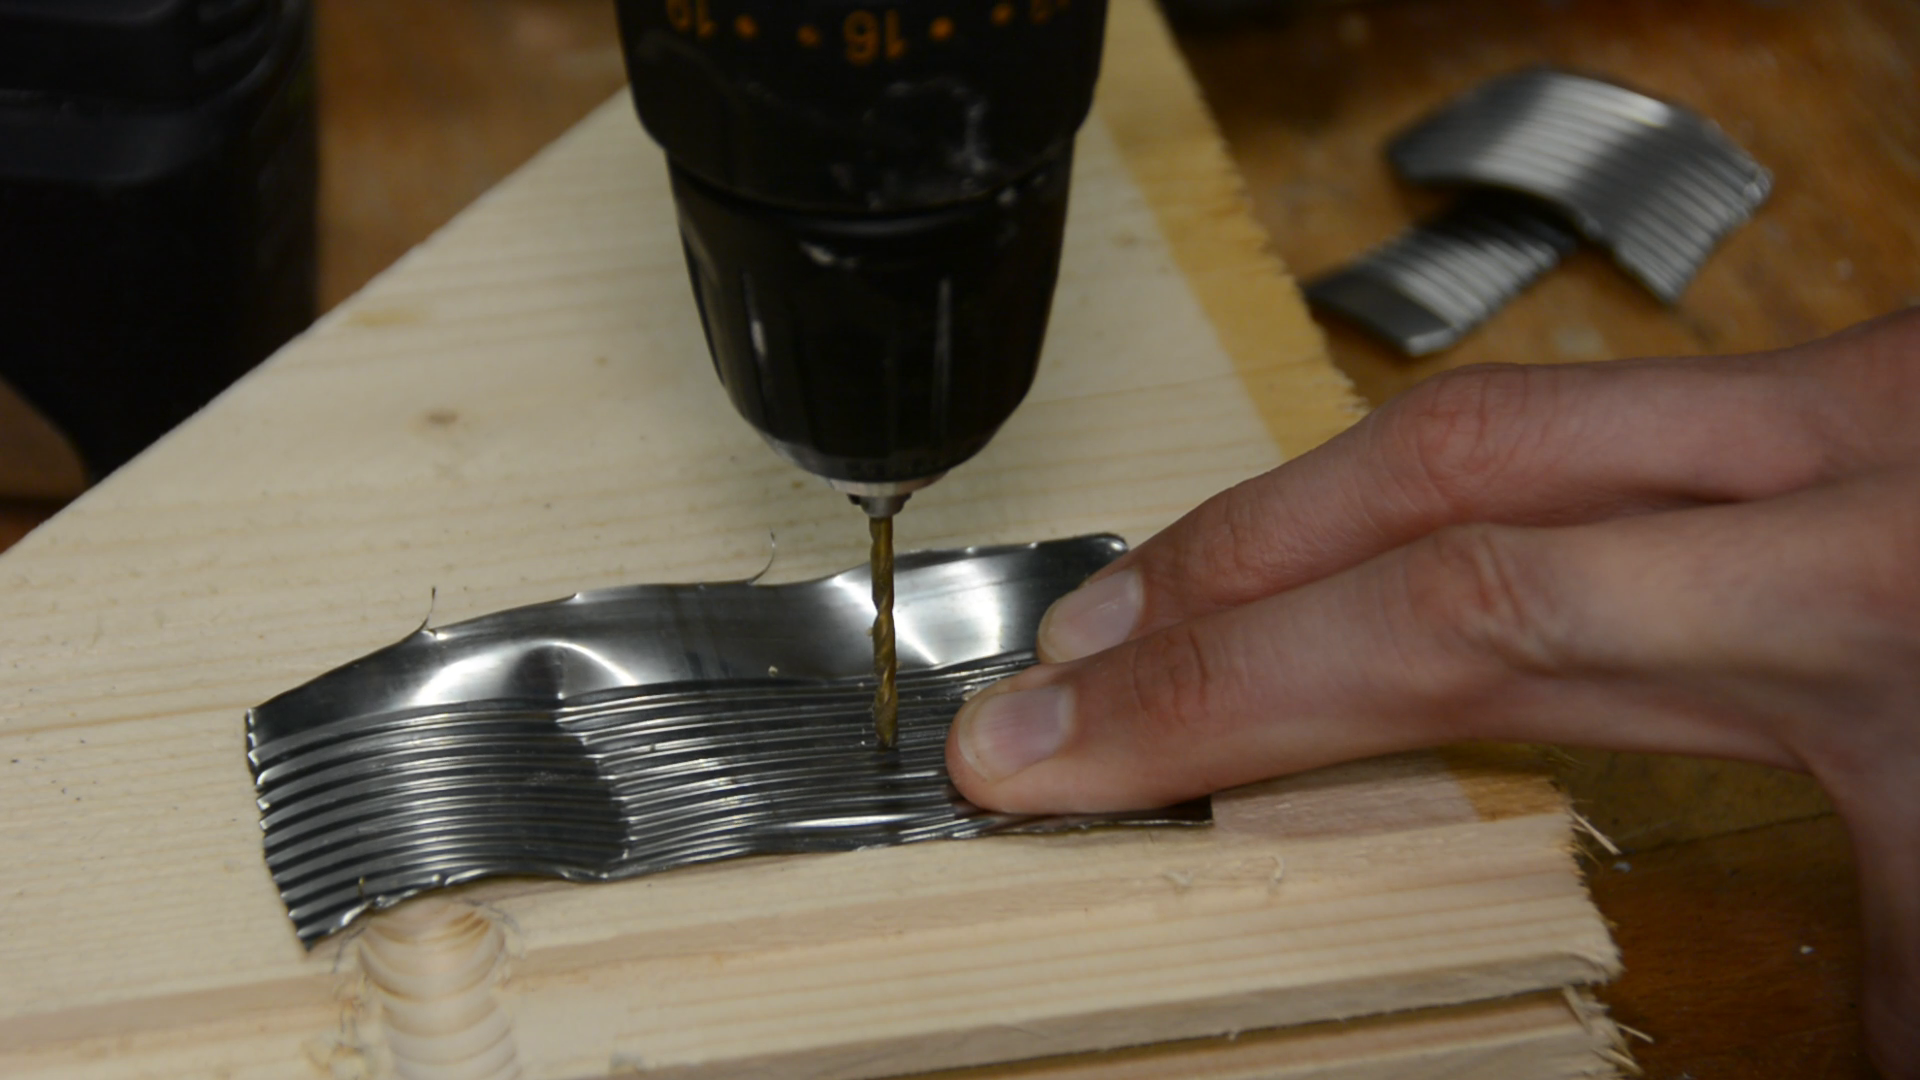
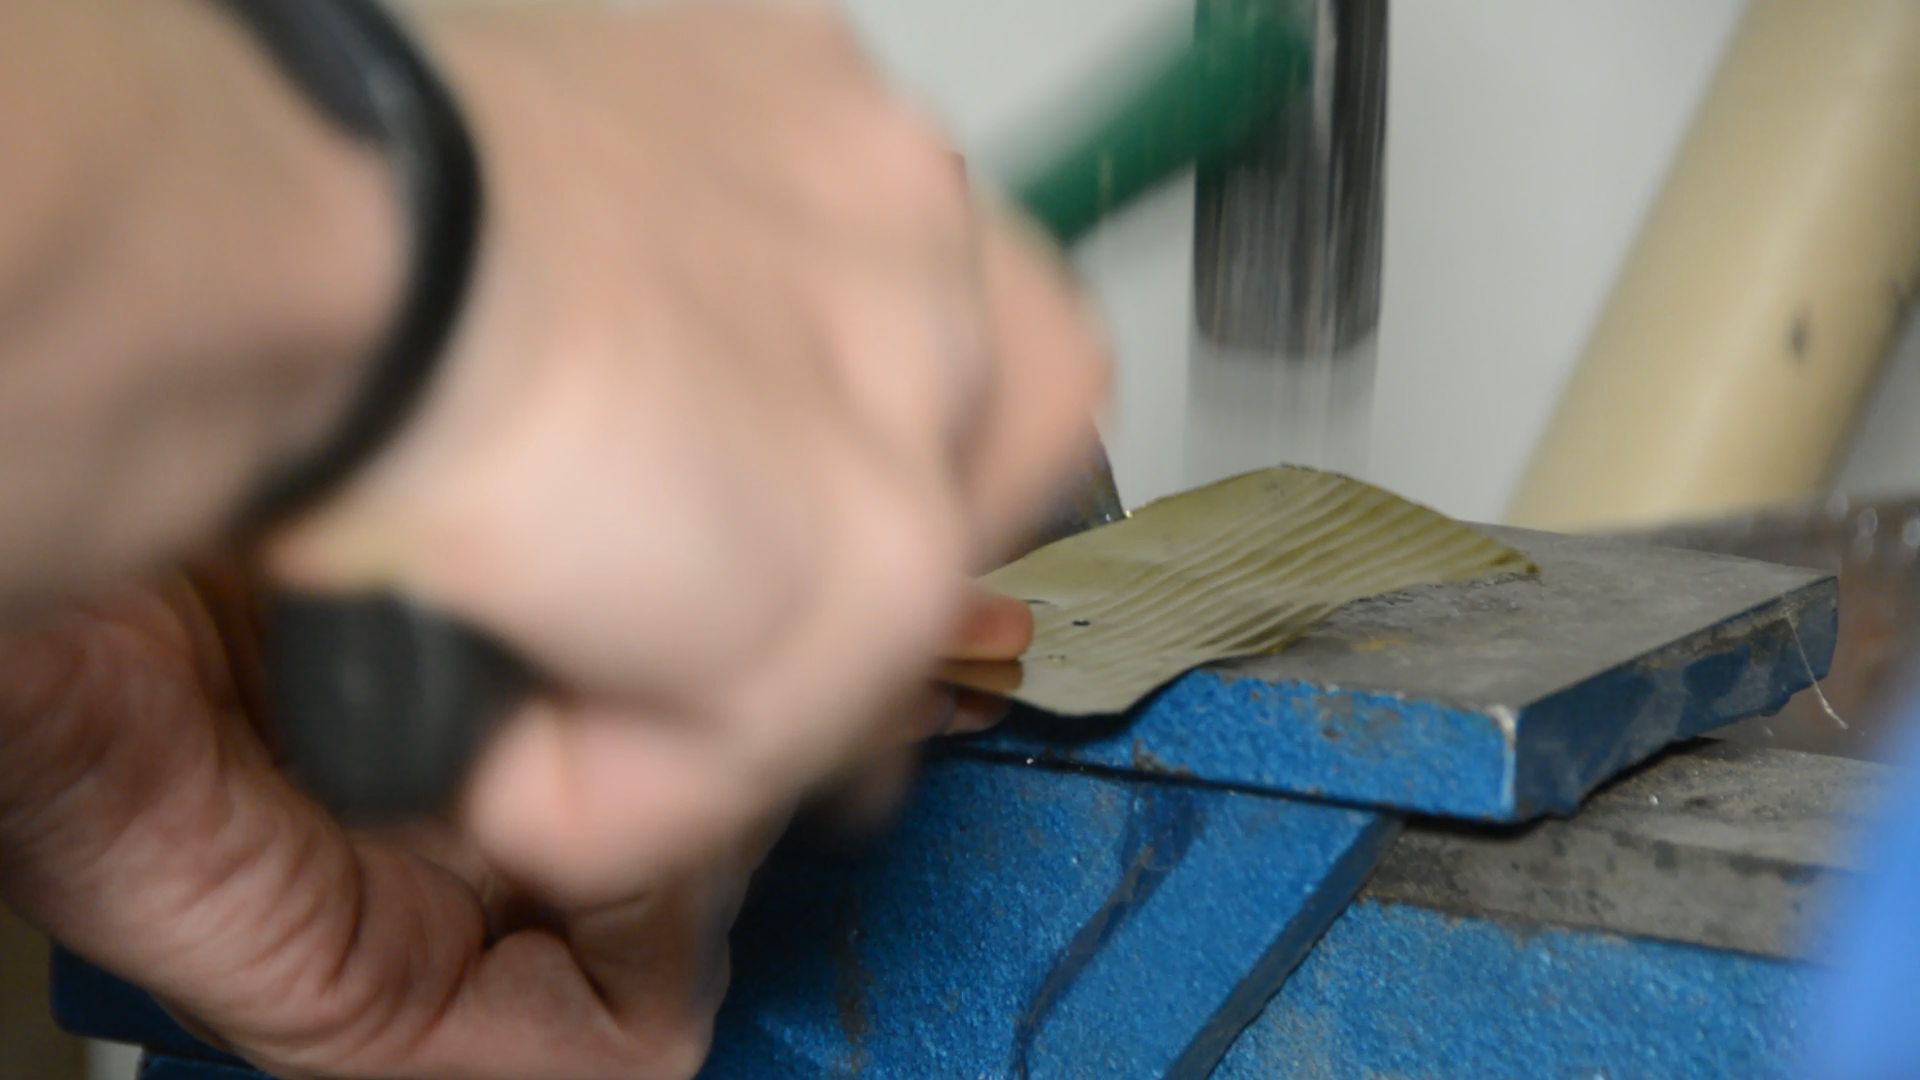
With a tin scissor I cut along the outline and glue the metal to the XPS foam.
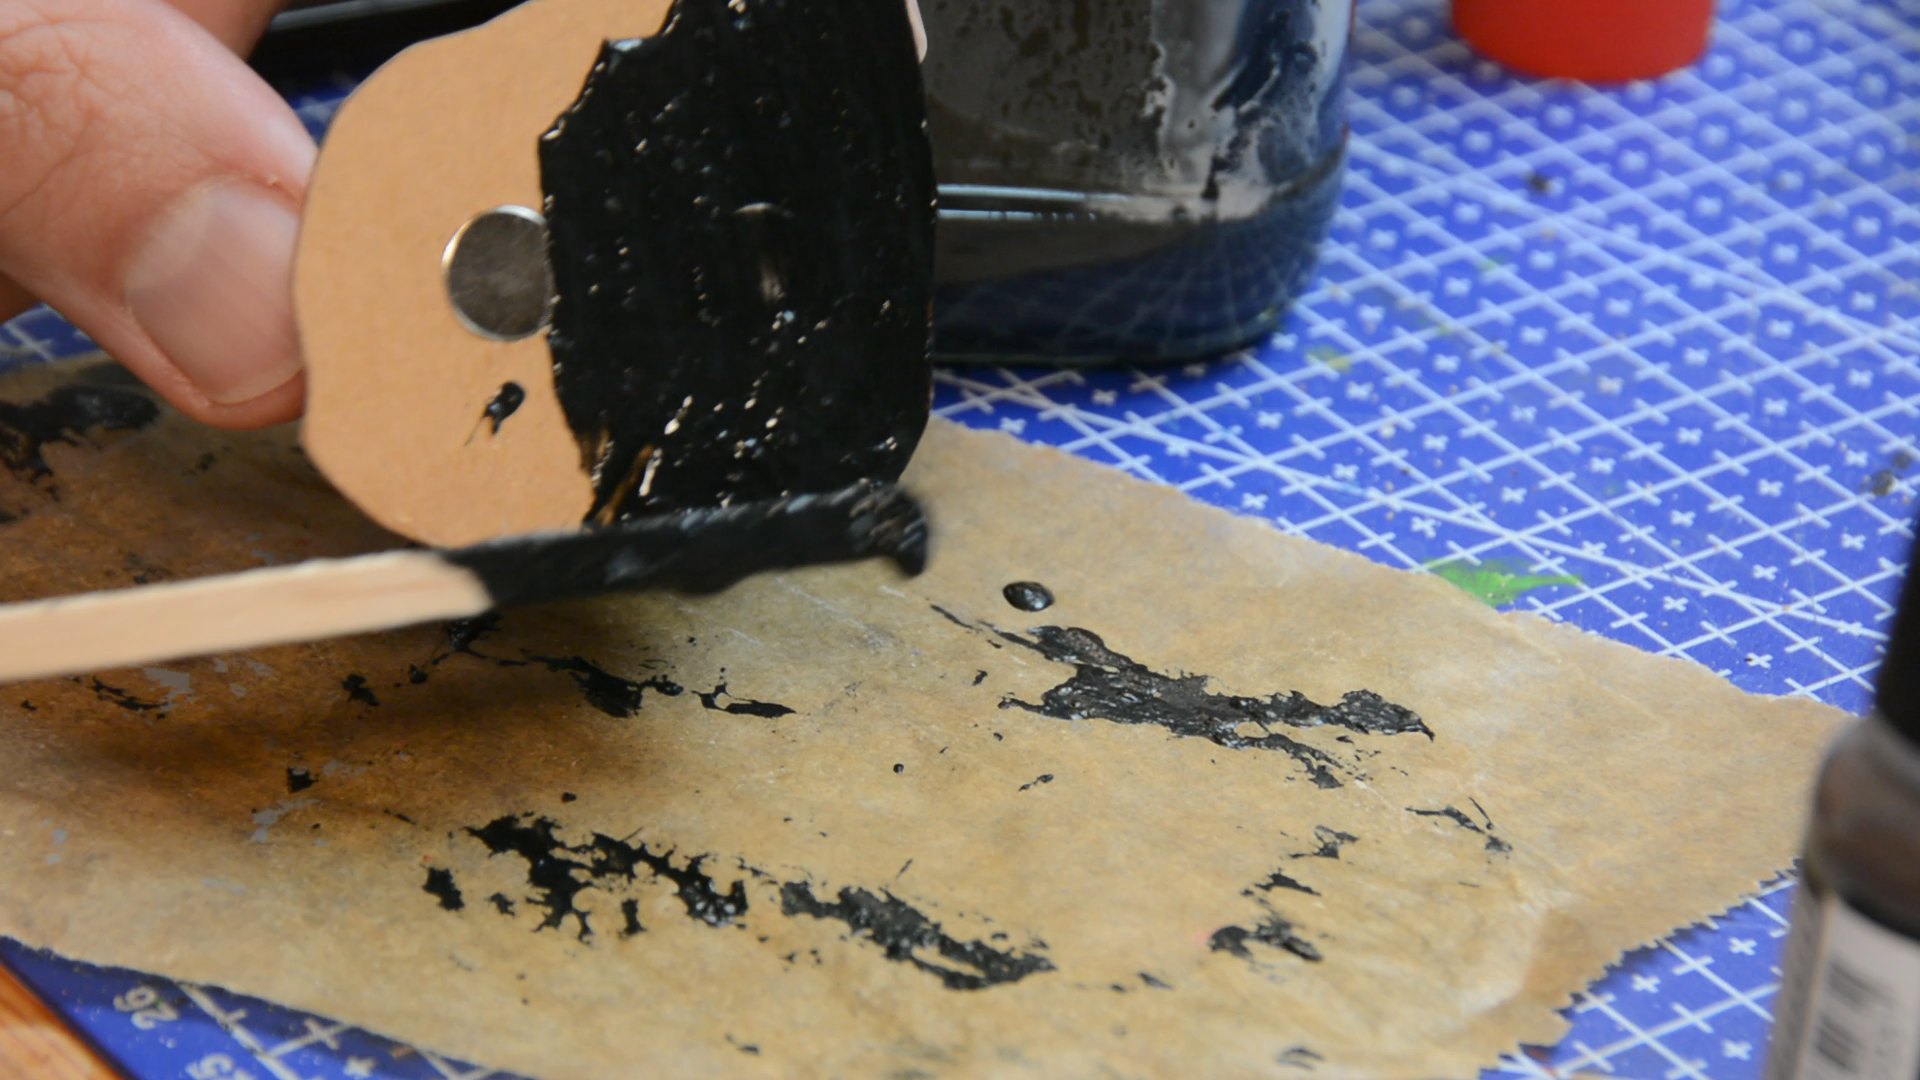
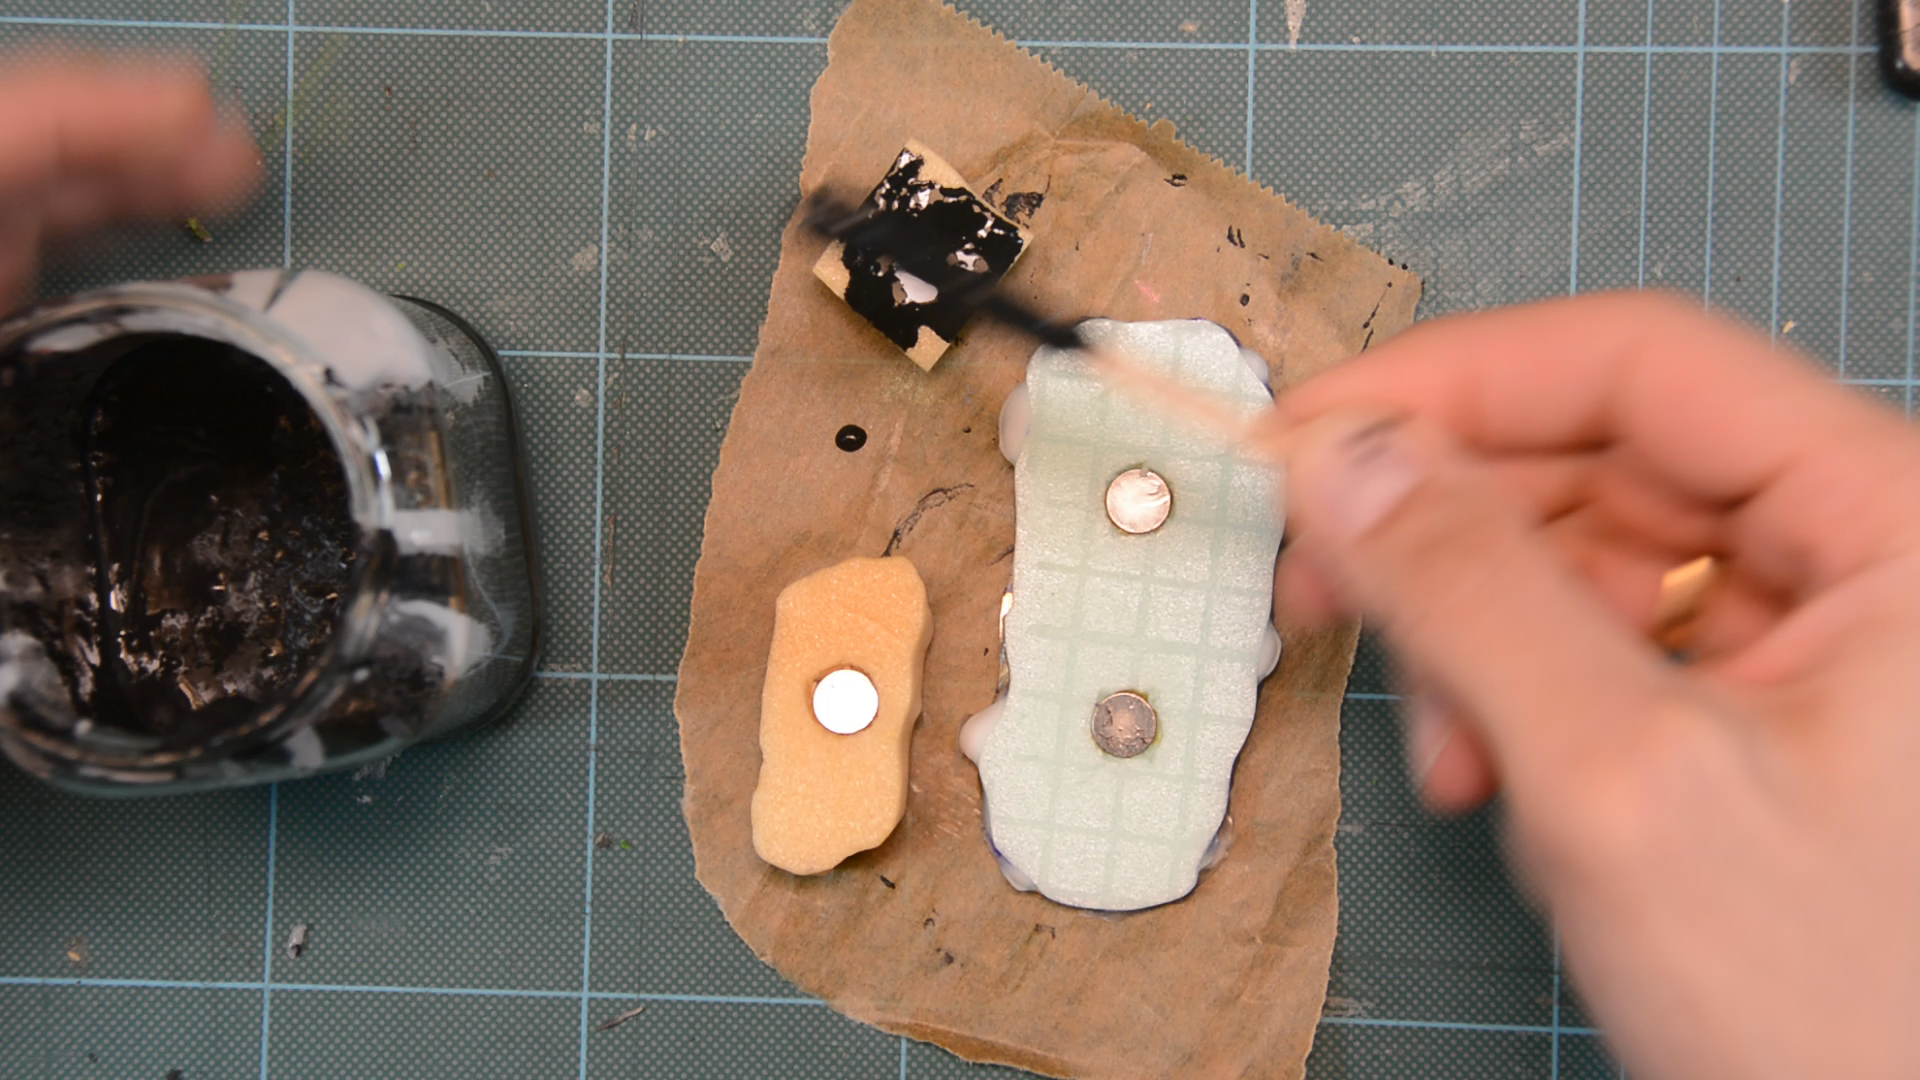
To secure the magnets to the bottom and to make it look nicer I cover the entire bottom with a mix of 50 percent PVA glue and 50 percent black acrylic paint.

After the glue layer on the bottom has dried I put model trees from Amazon through the holes I drilled earlier and also cover the metal plate with the PVA-black-paint-mixture.
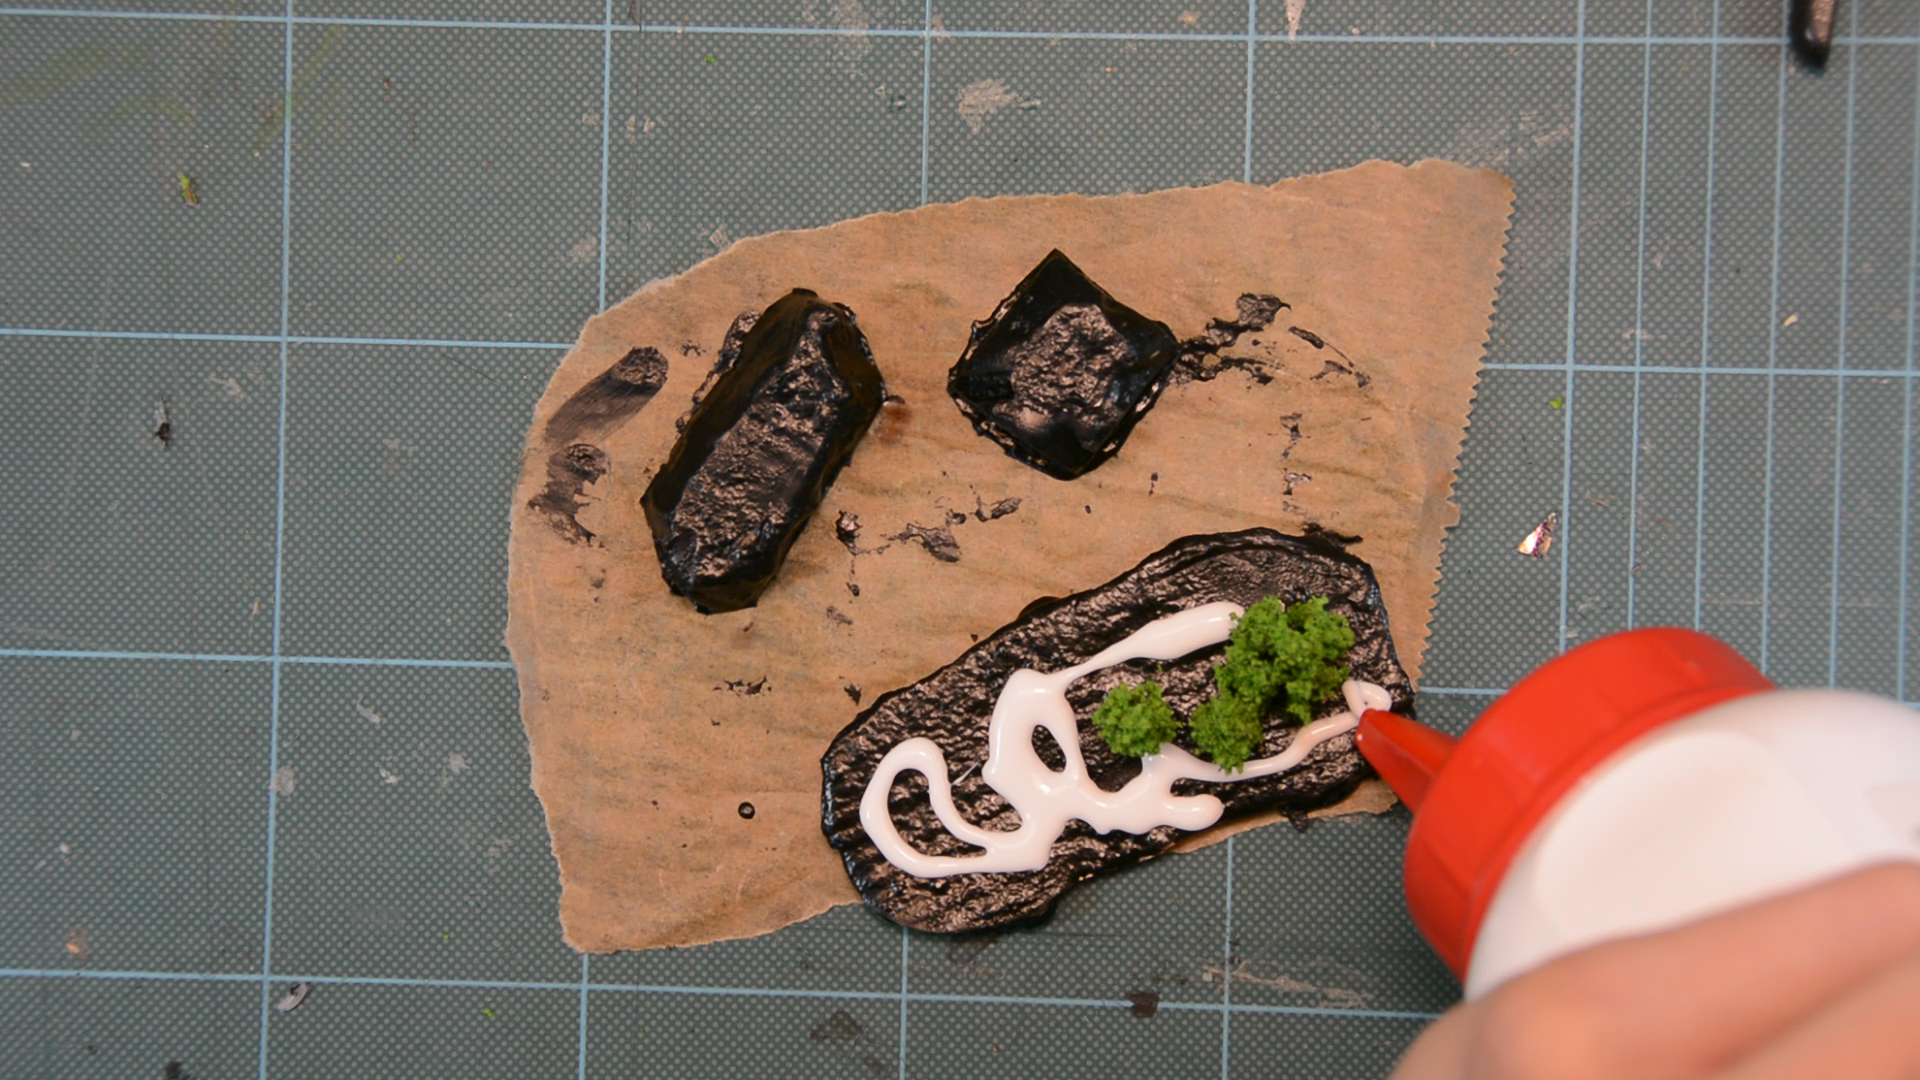
For the forest terrain pieces I apply a generous amount of PVA glue to the surface and then cover the pieces with grass flocking.

The rock terrain pieces first get some red and brownish color applied with a kitchen sponge.

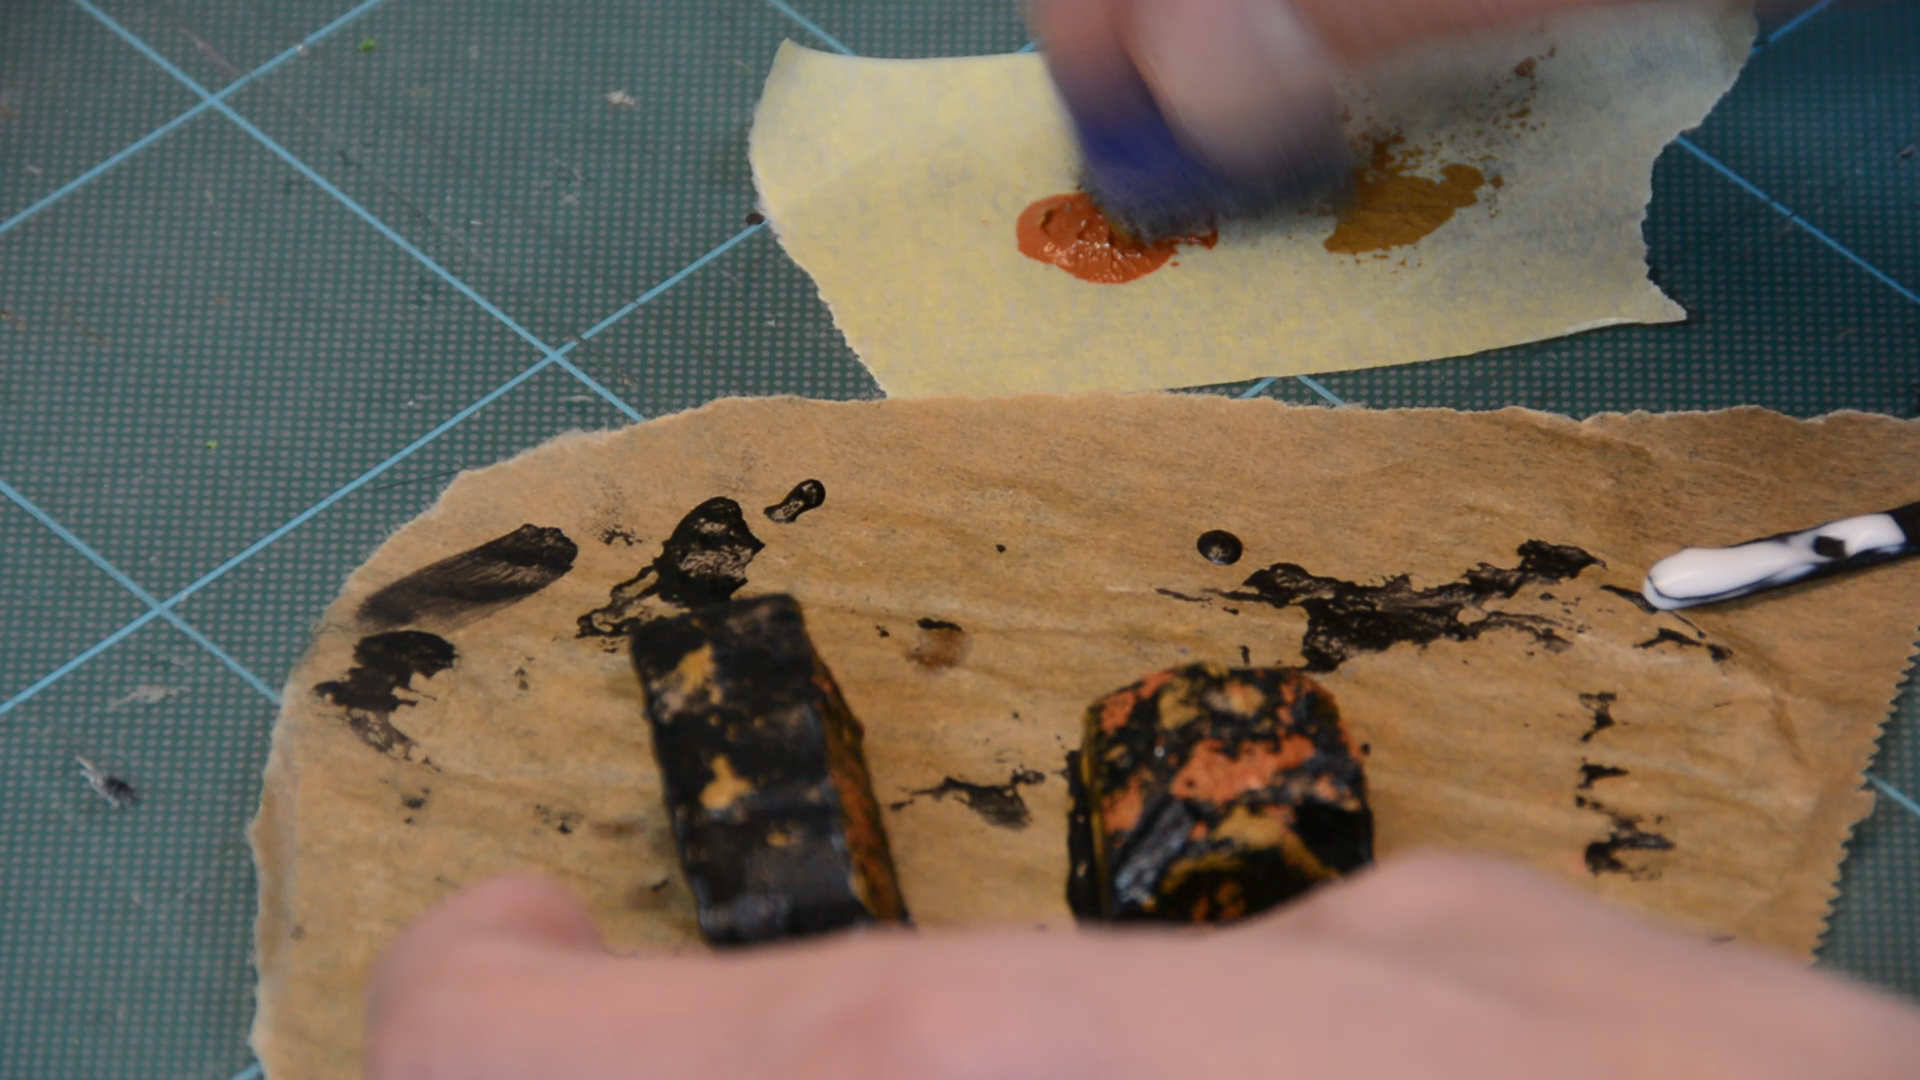
After these colors are fully dried I cover most of the stone surface with a grey that is also applied with a kitchen sponge. If you want to get into terrain making I highly recommend Wyloch’s Armory, Black Magic Craft and DM Scotty.
Free Wargame Miniatures
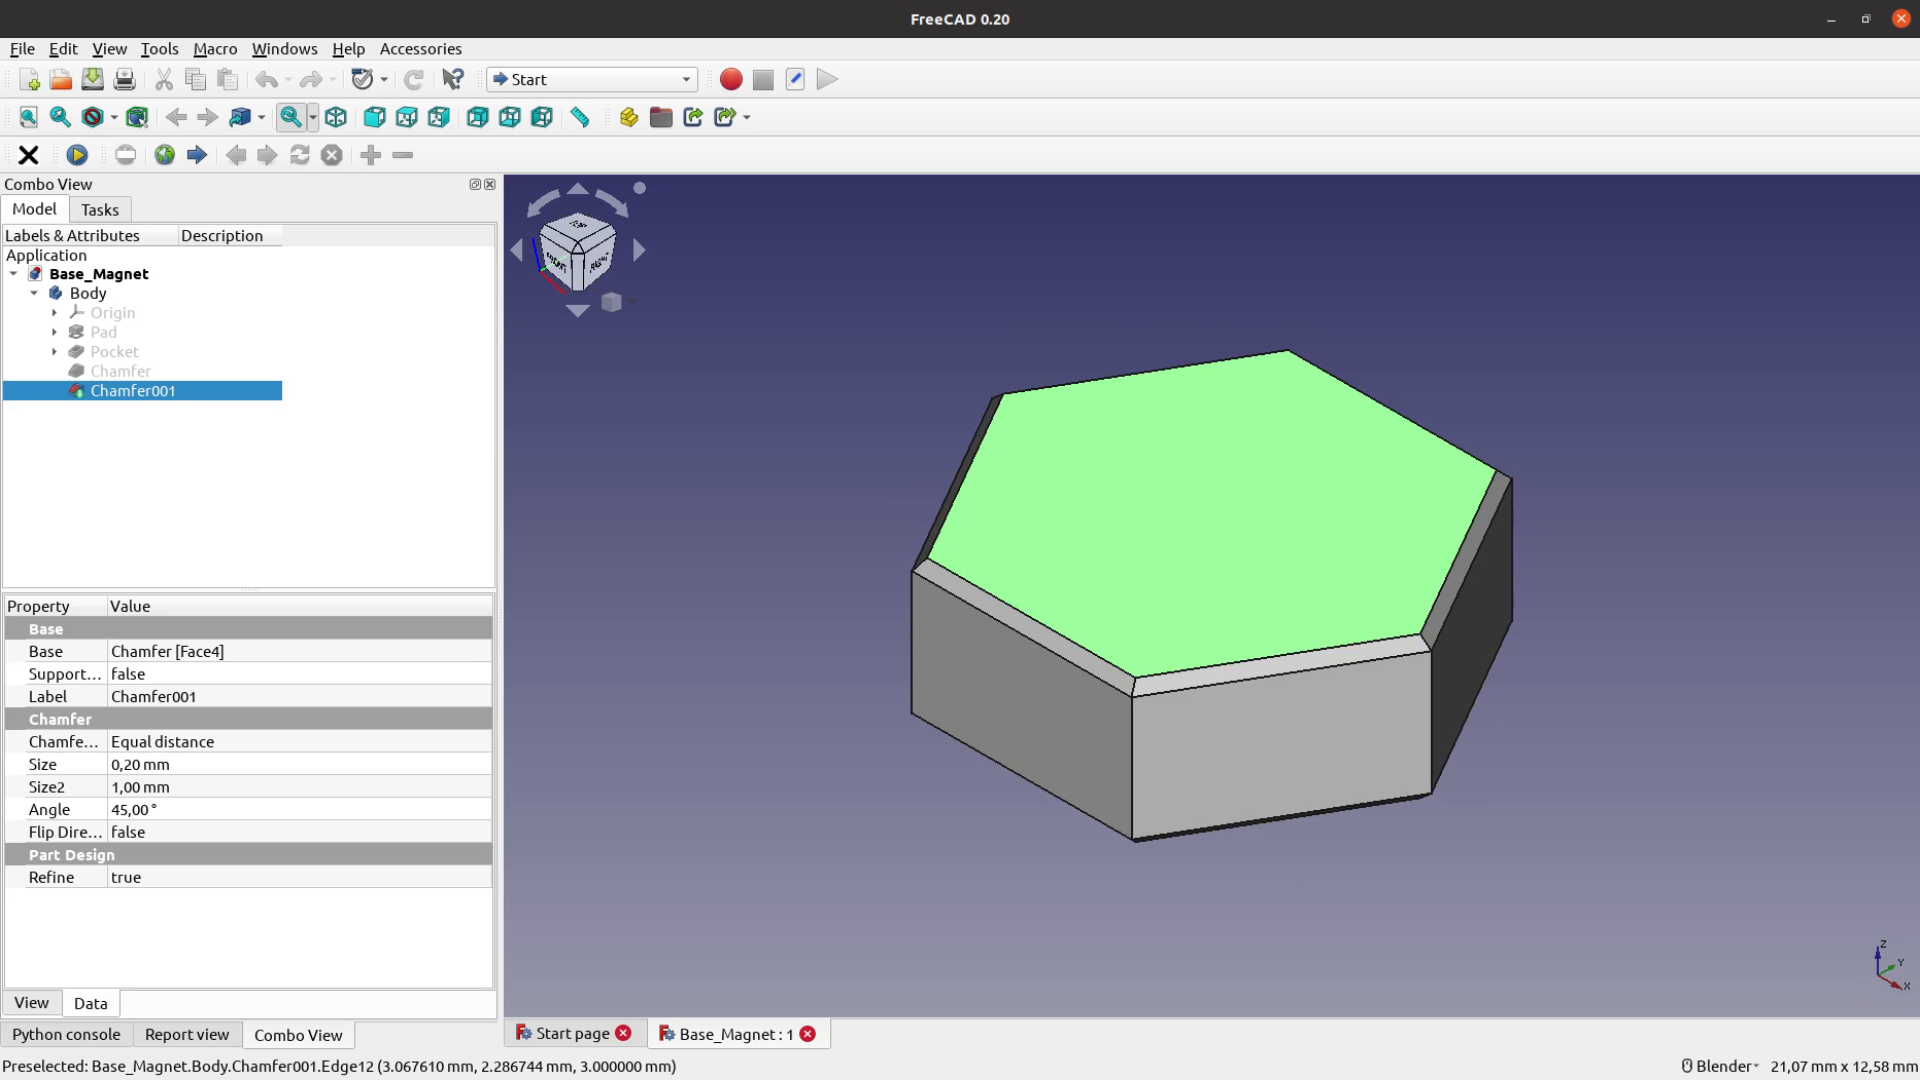
Last but not least we are missing some Minis to play with. In FreeCAD I create a standard base that has the size of a hex field and a hole in the bottom to house a magnet. I also creates a few bases that cover multiple fields for larger models. As everything else these files will be available under an open source license available here.
Most of the models I either created on desktophero3d or downloaded them from Thingiverse.
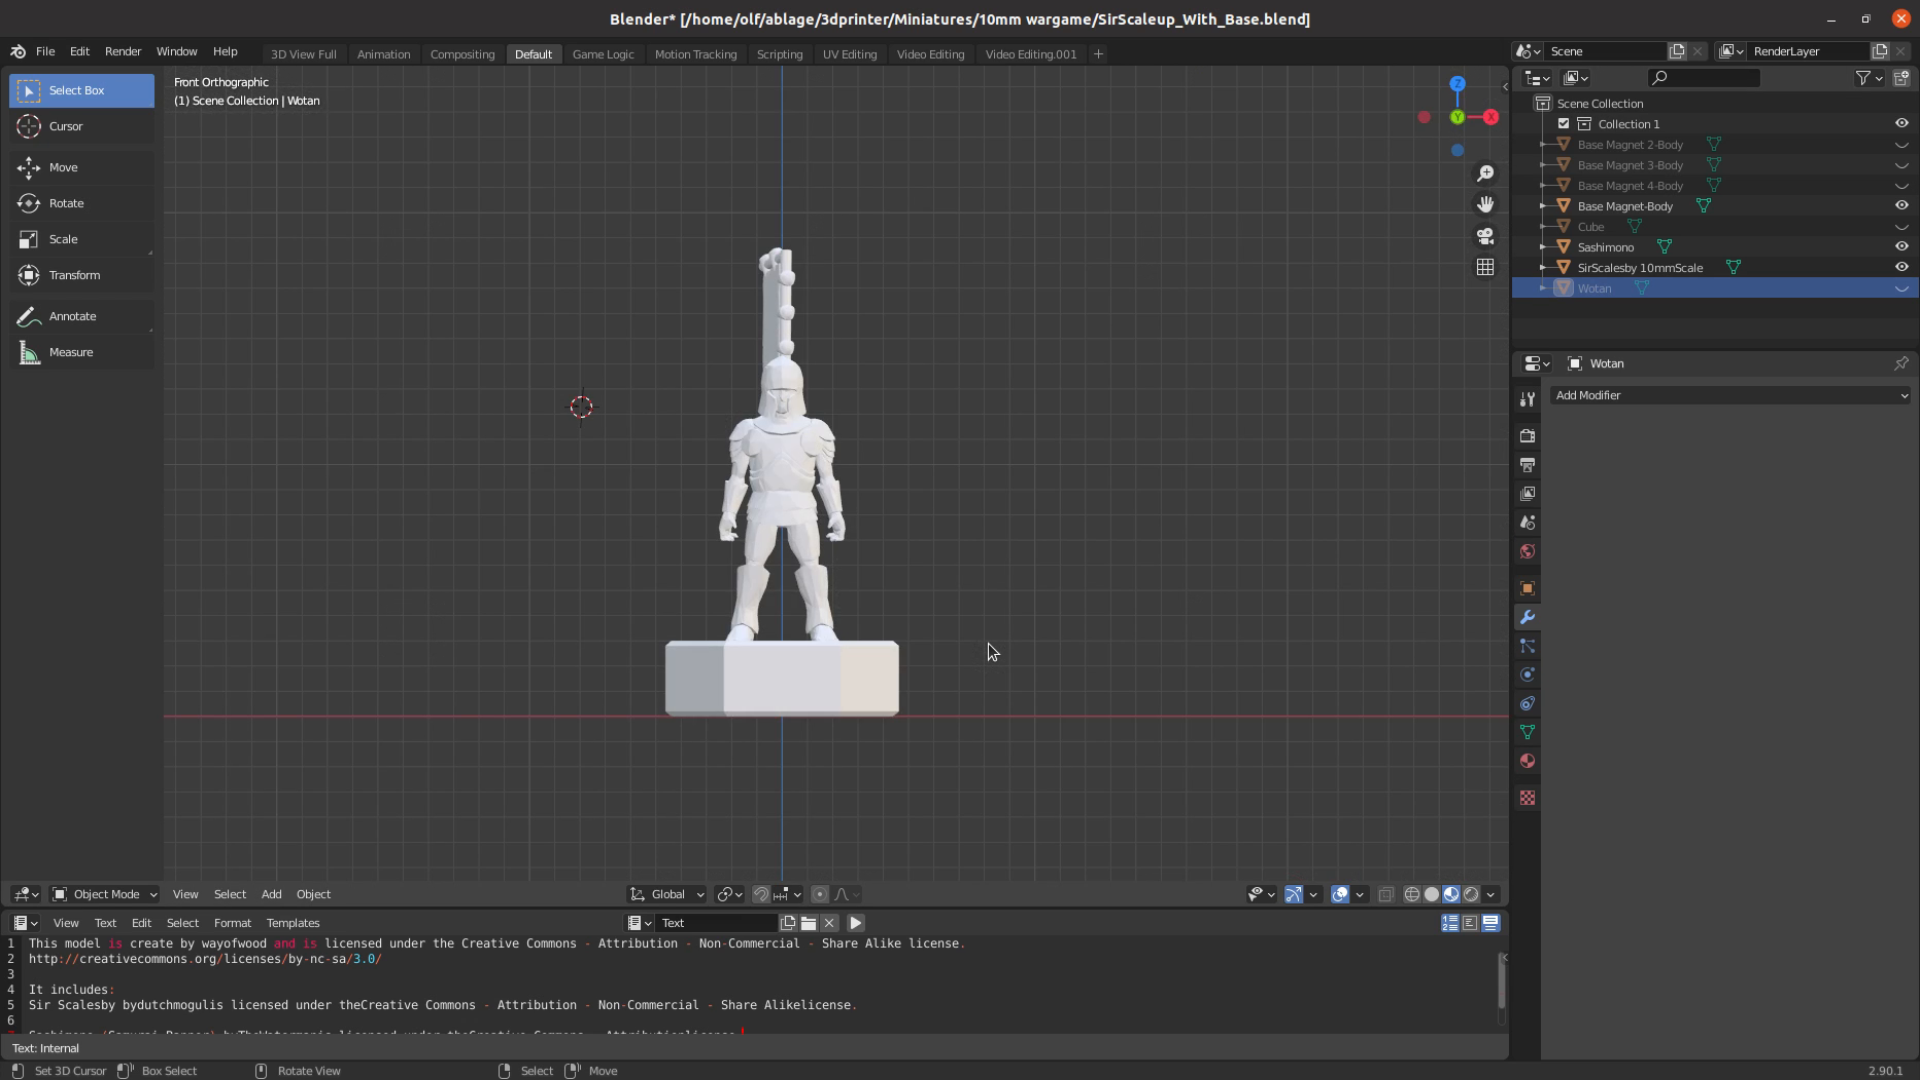
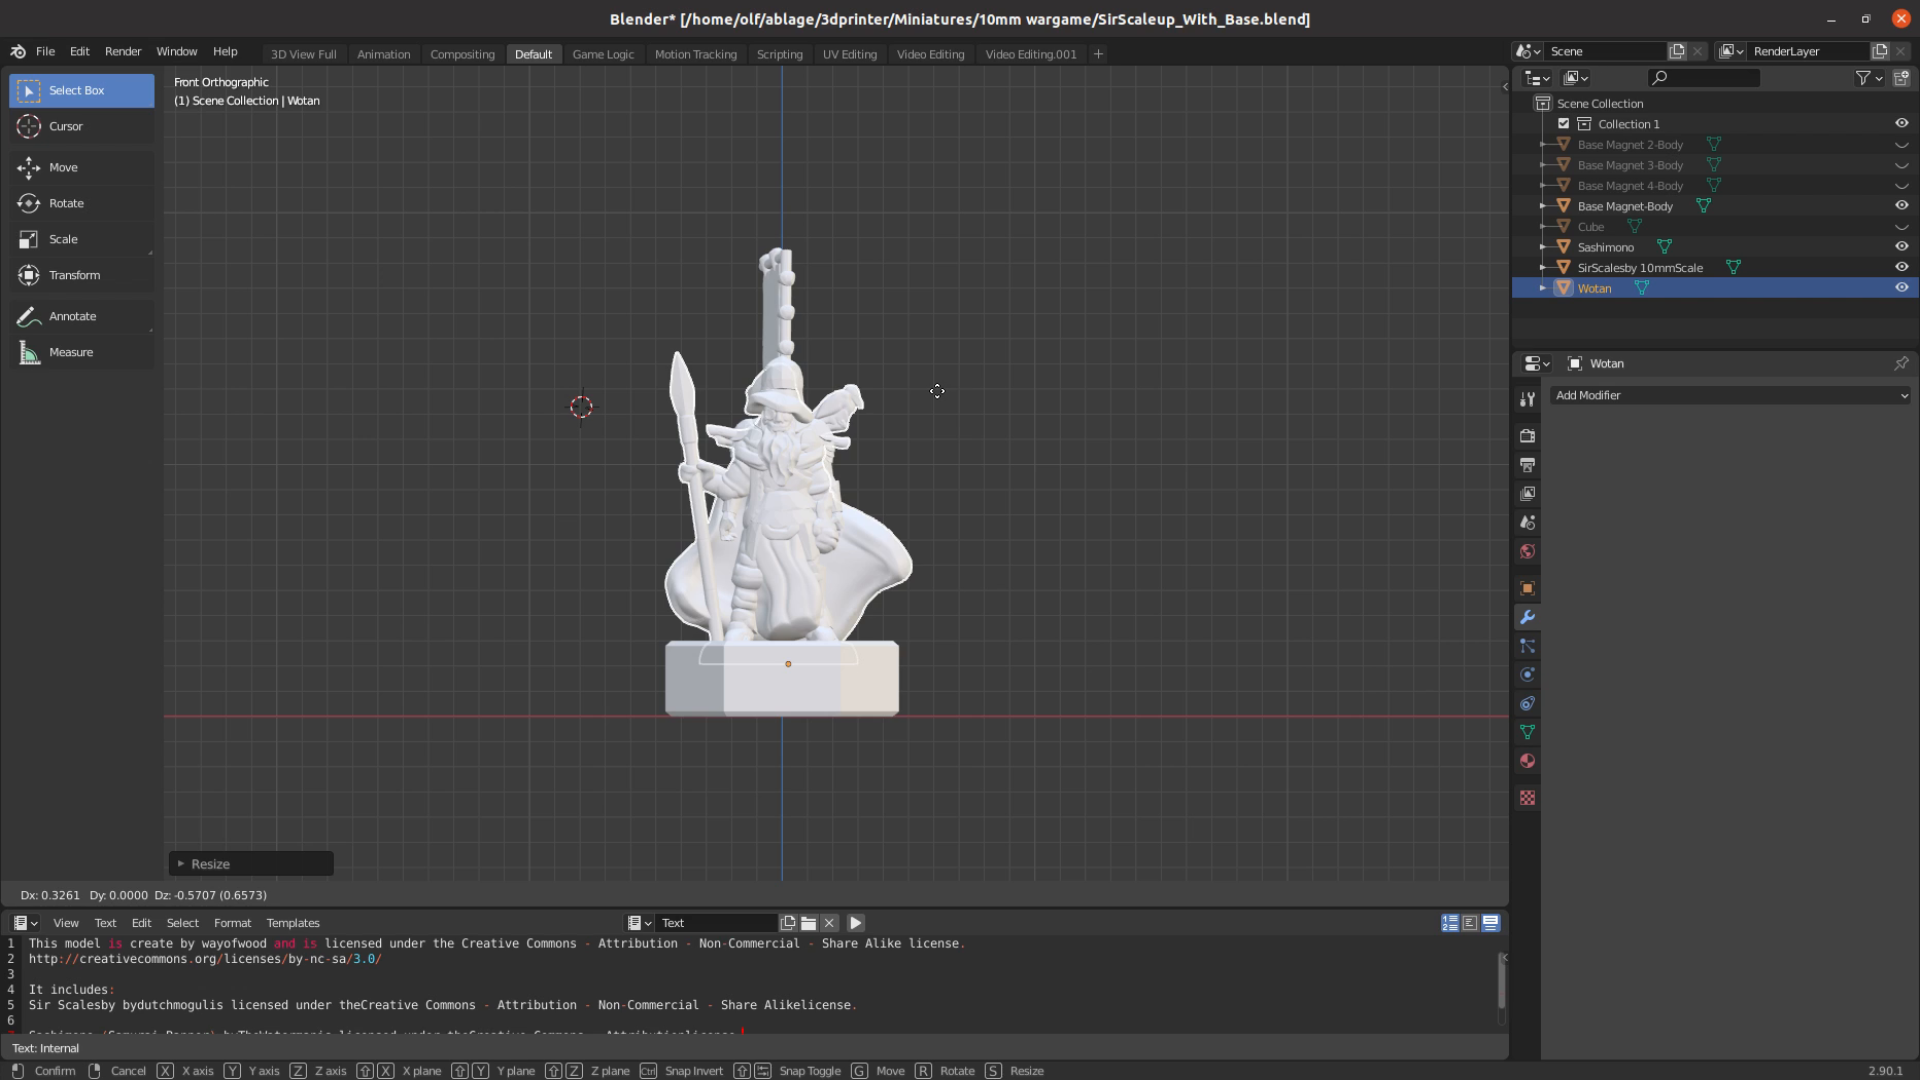
I import these in blender and scale them to the 10mm scale. If they are already on a base I use a boolean modifier to remove the original base and then combine them with the hex base.

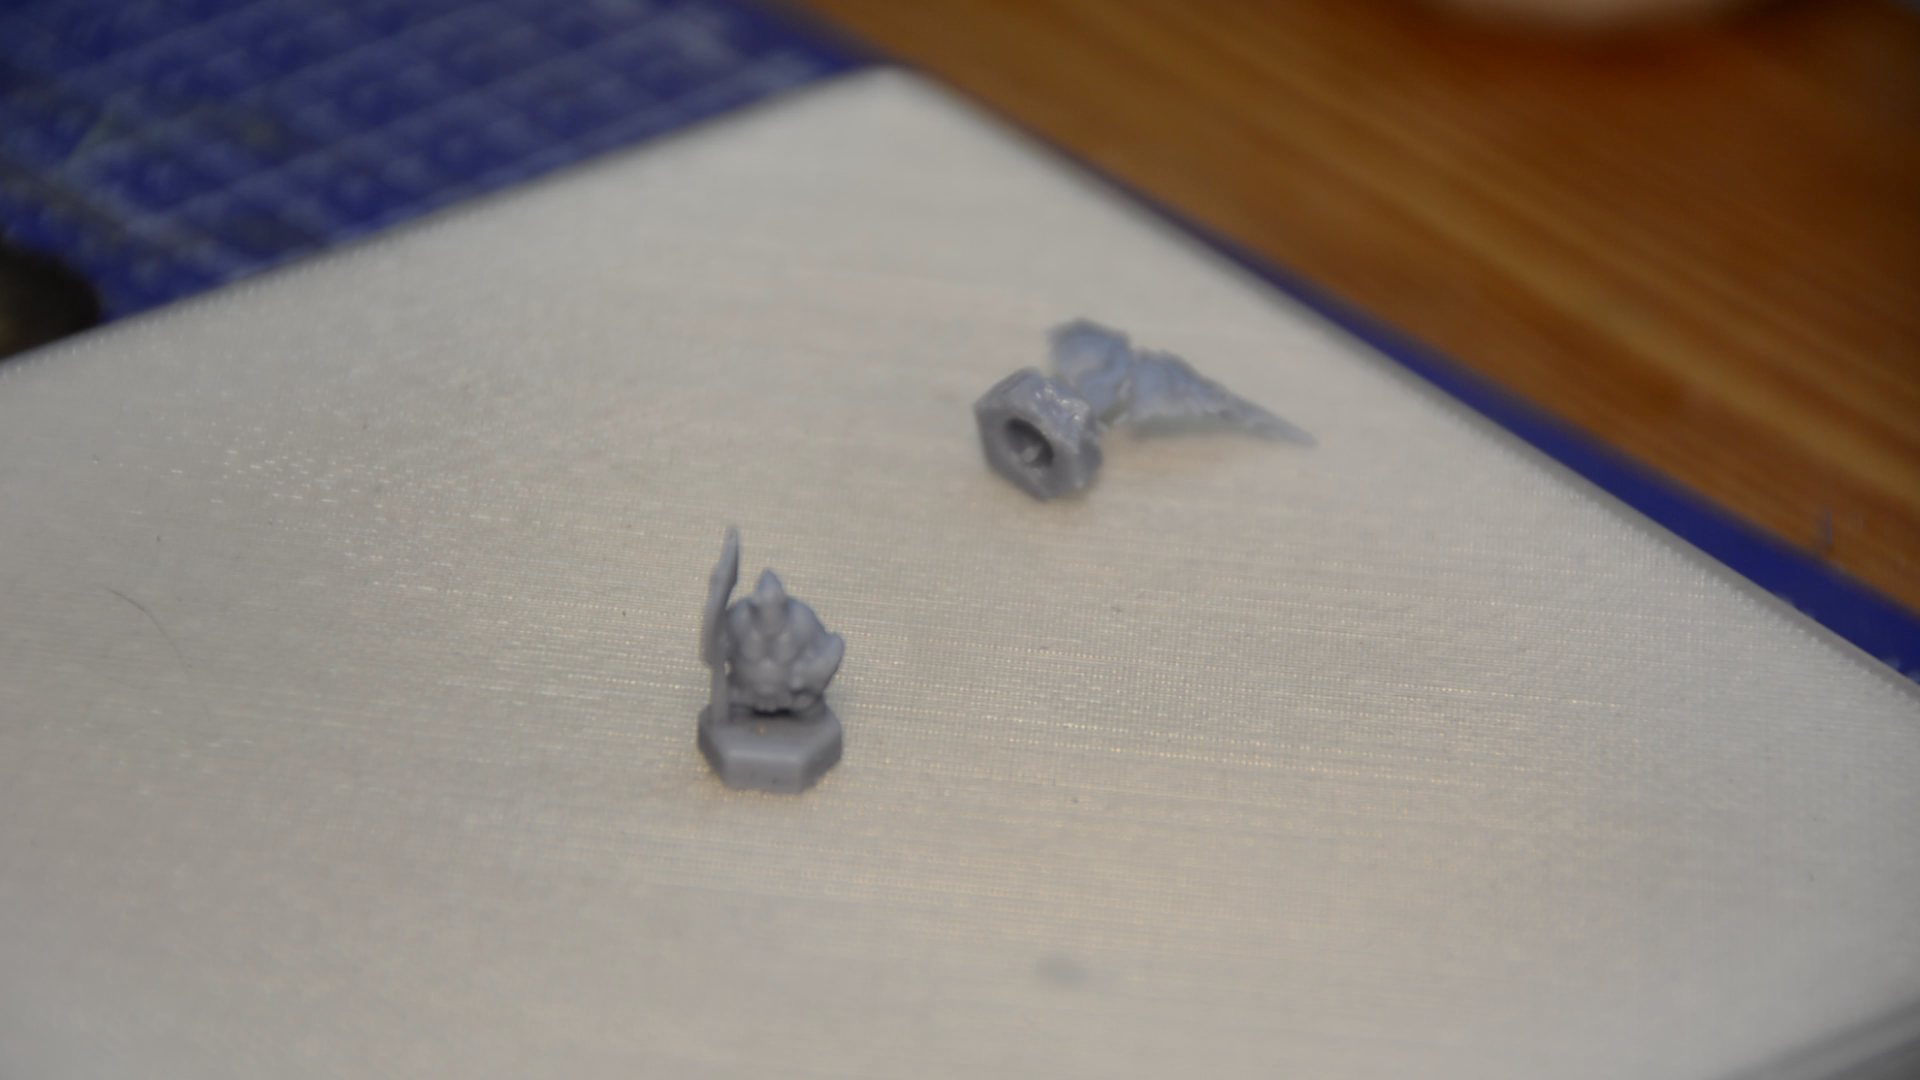
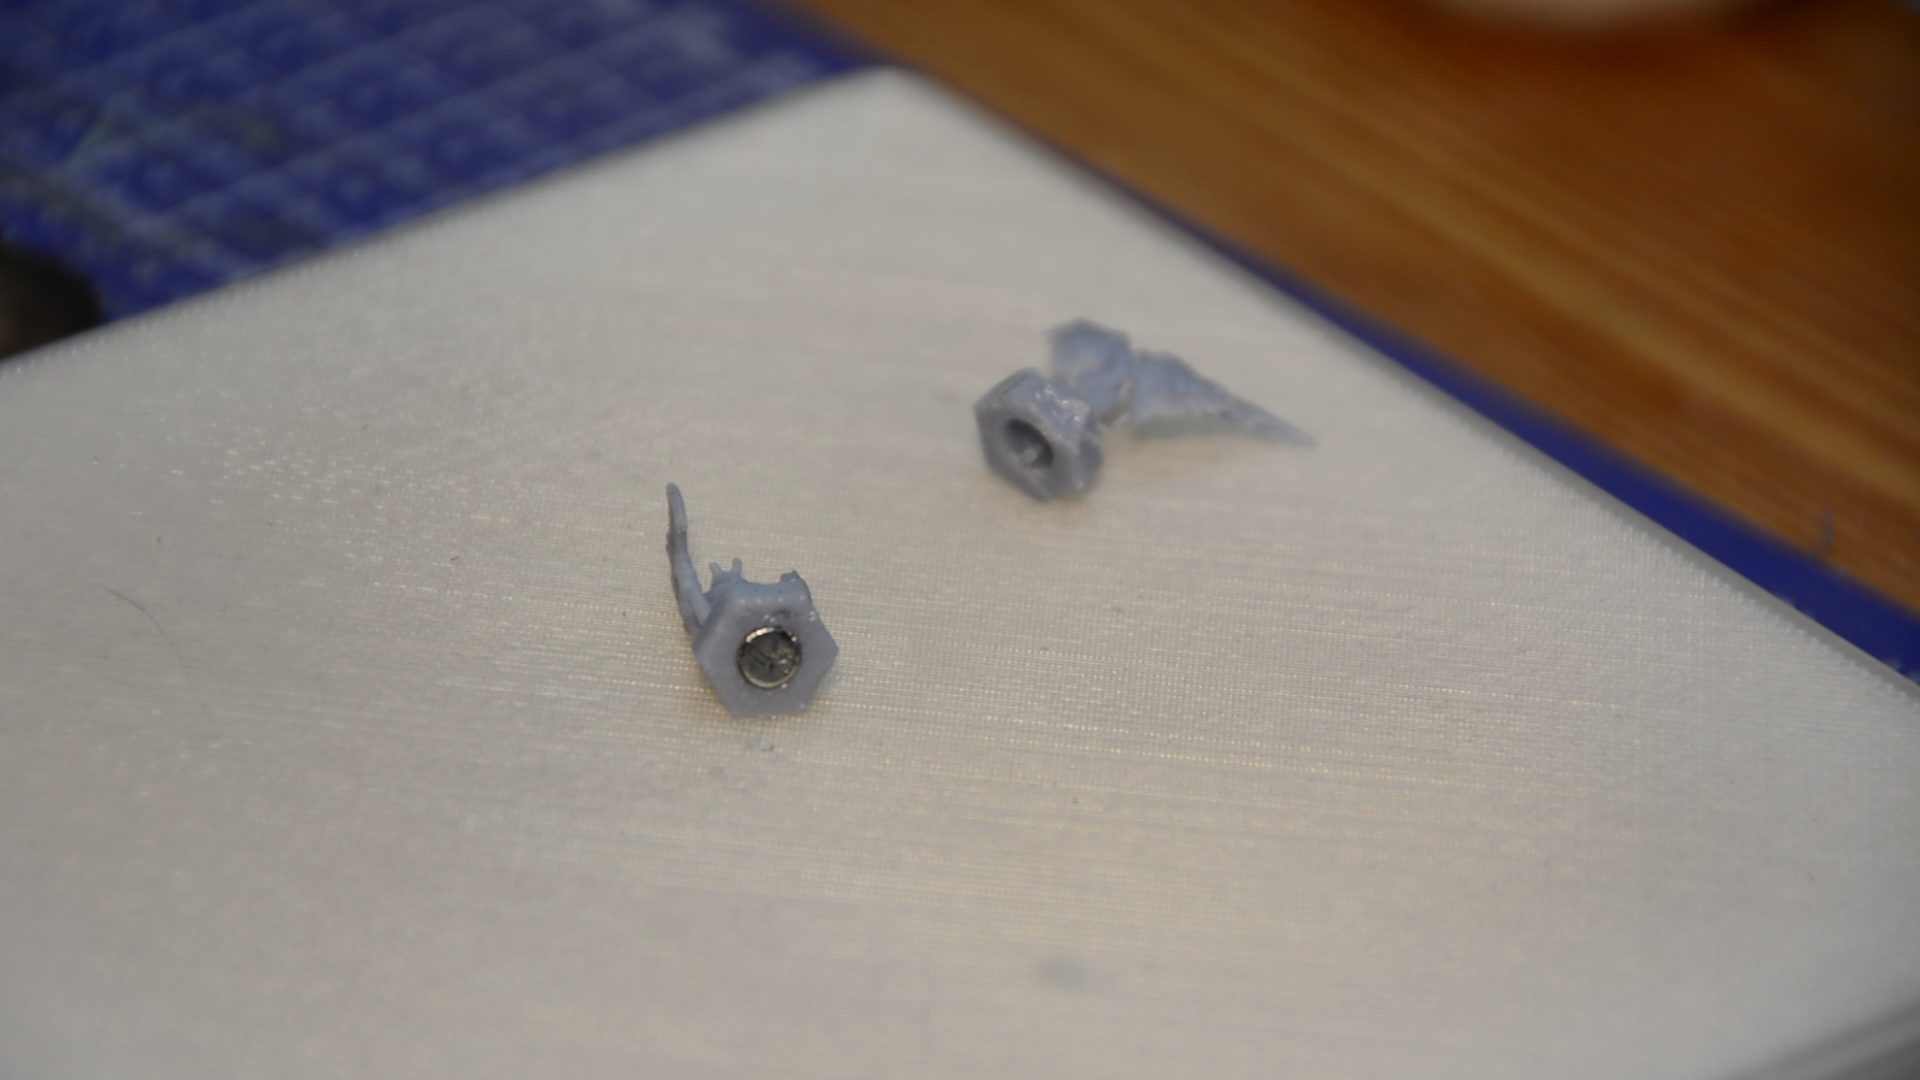
The models are printed on a resin printer and then get a small magnet glued into their base.

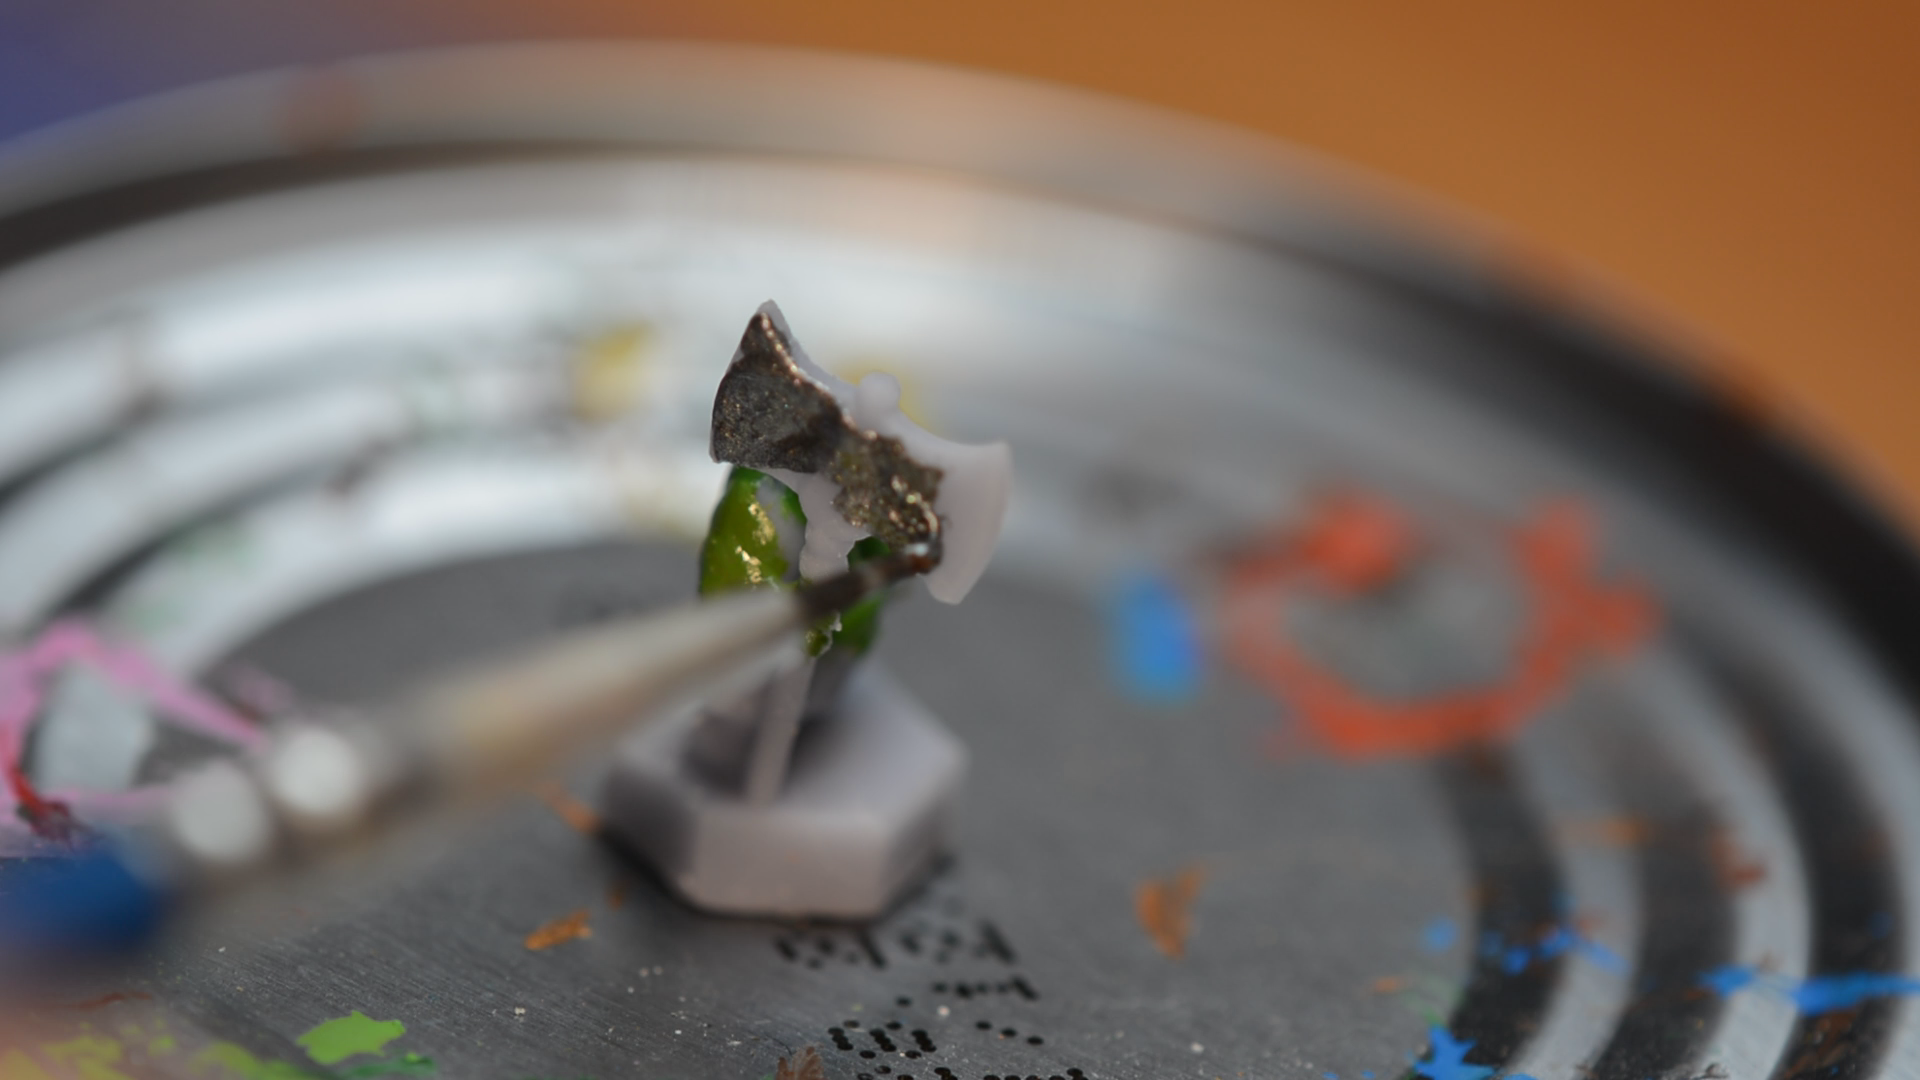
With the magnet they can be fixed to a can so that they are easier to hold for painting.
Next to the minis I also created a quick set of objective markers in different colors.

I also printed a few of these stunned stands to put models on their side.
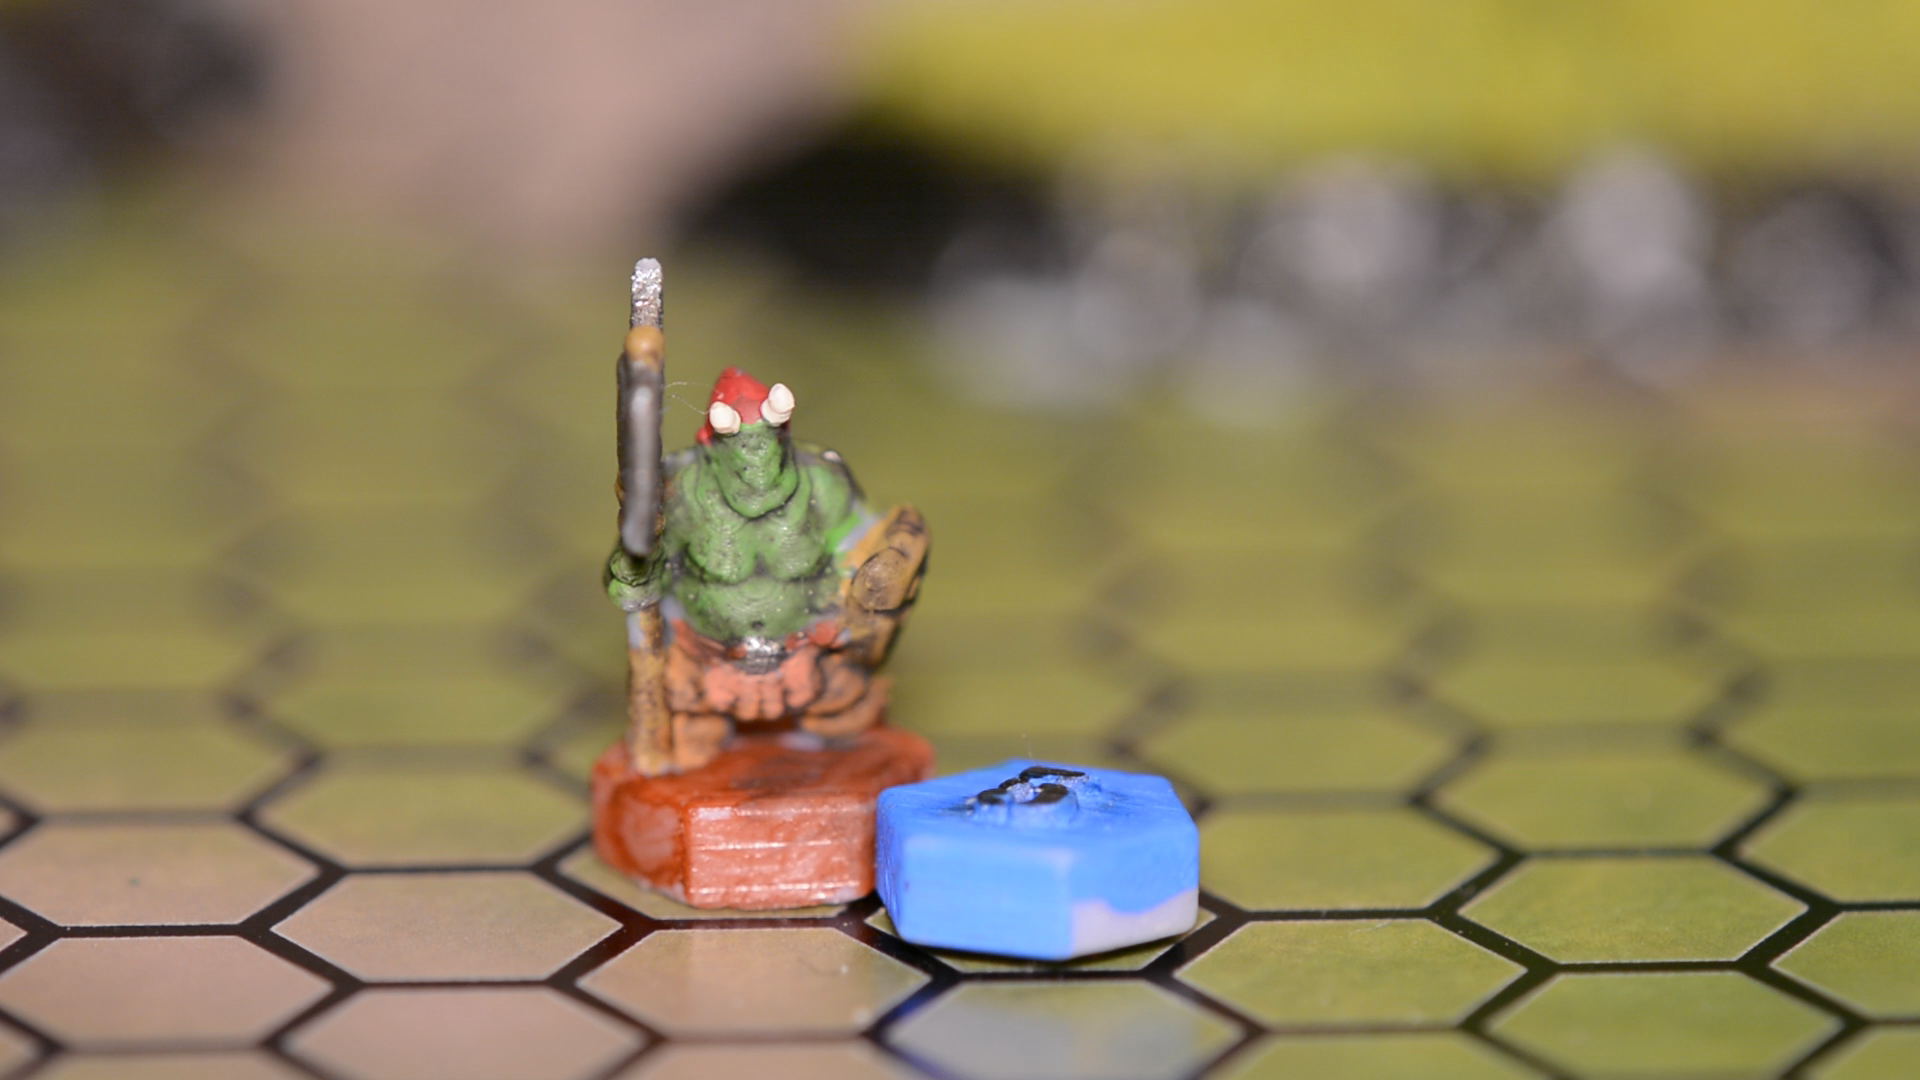
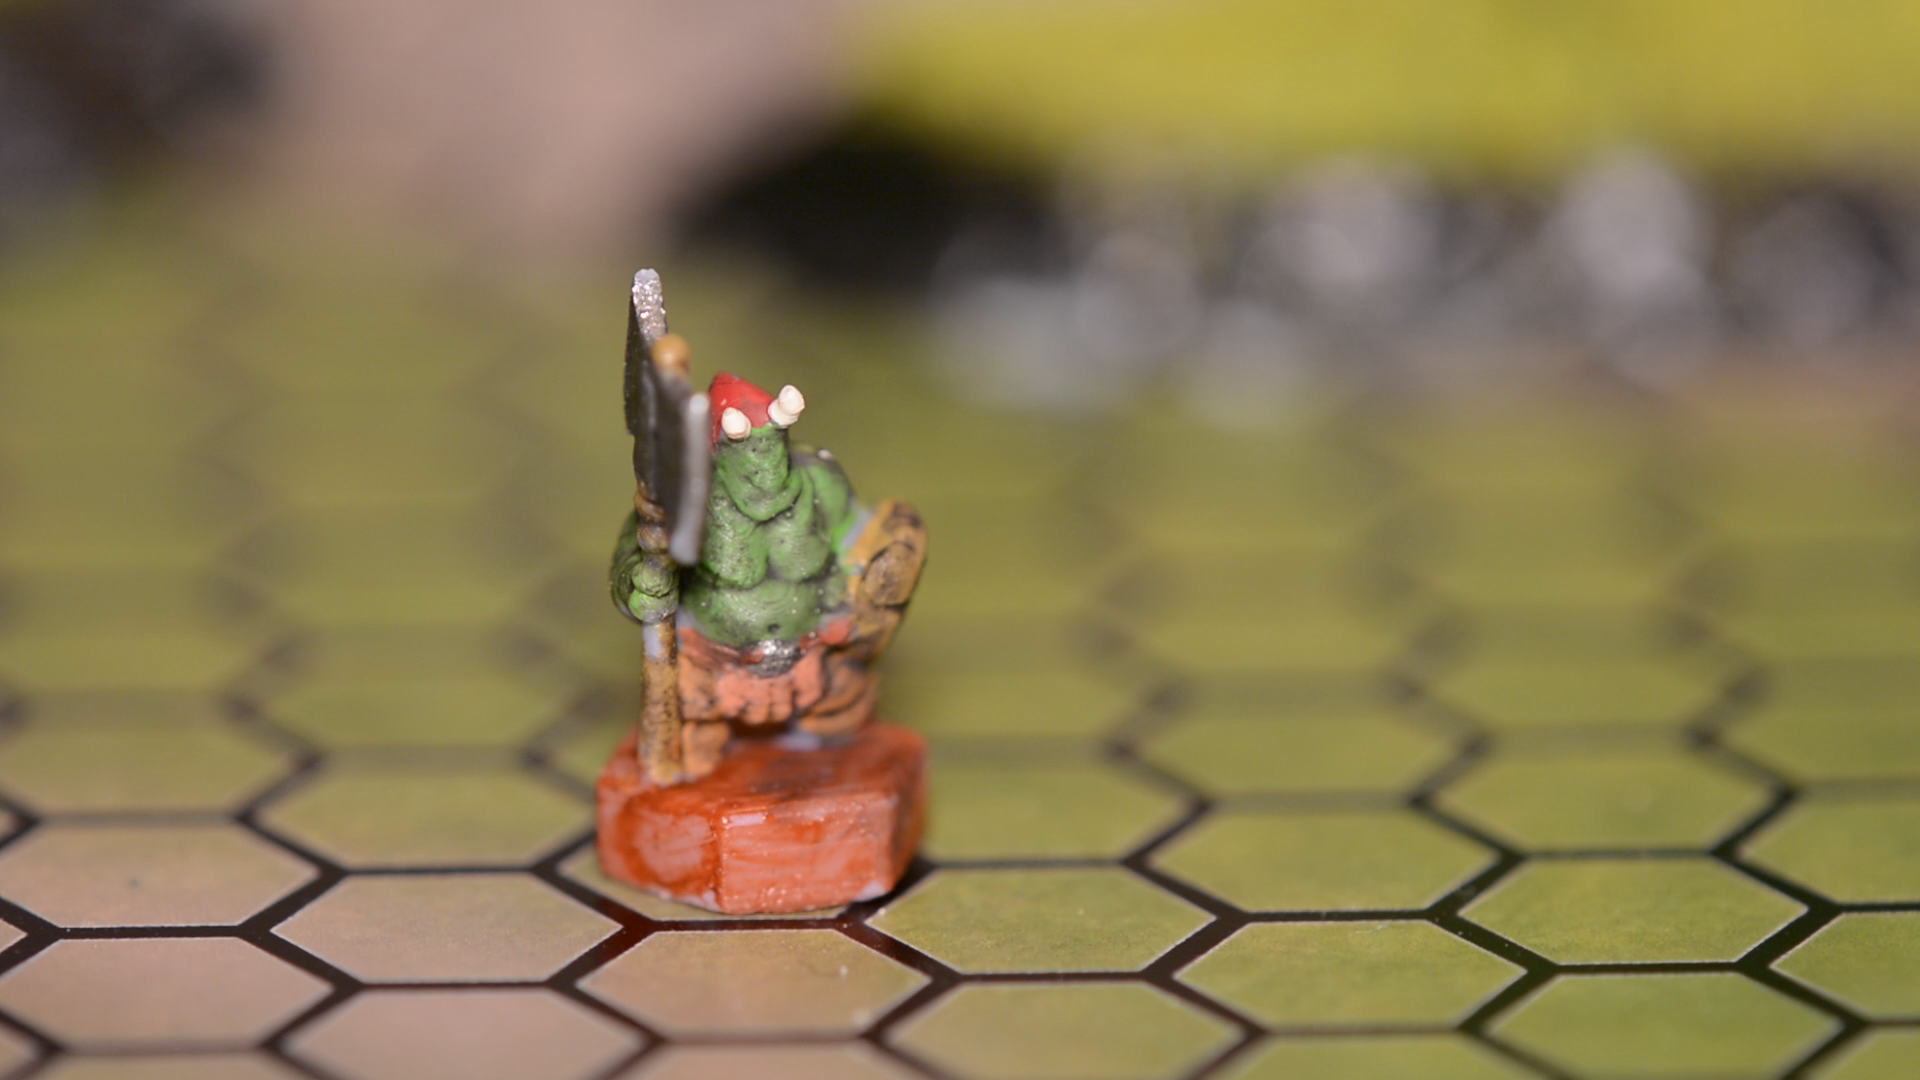
Given the small scale of the models painting goes quite fast. The details of the model will anyhow not be visible on the board.
Cards, rules and storage boxes
With Inkscape I created a template for these cards that contain all the unit stats. Using a plugin it is easy to create you own unit cards for quick reference.


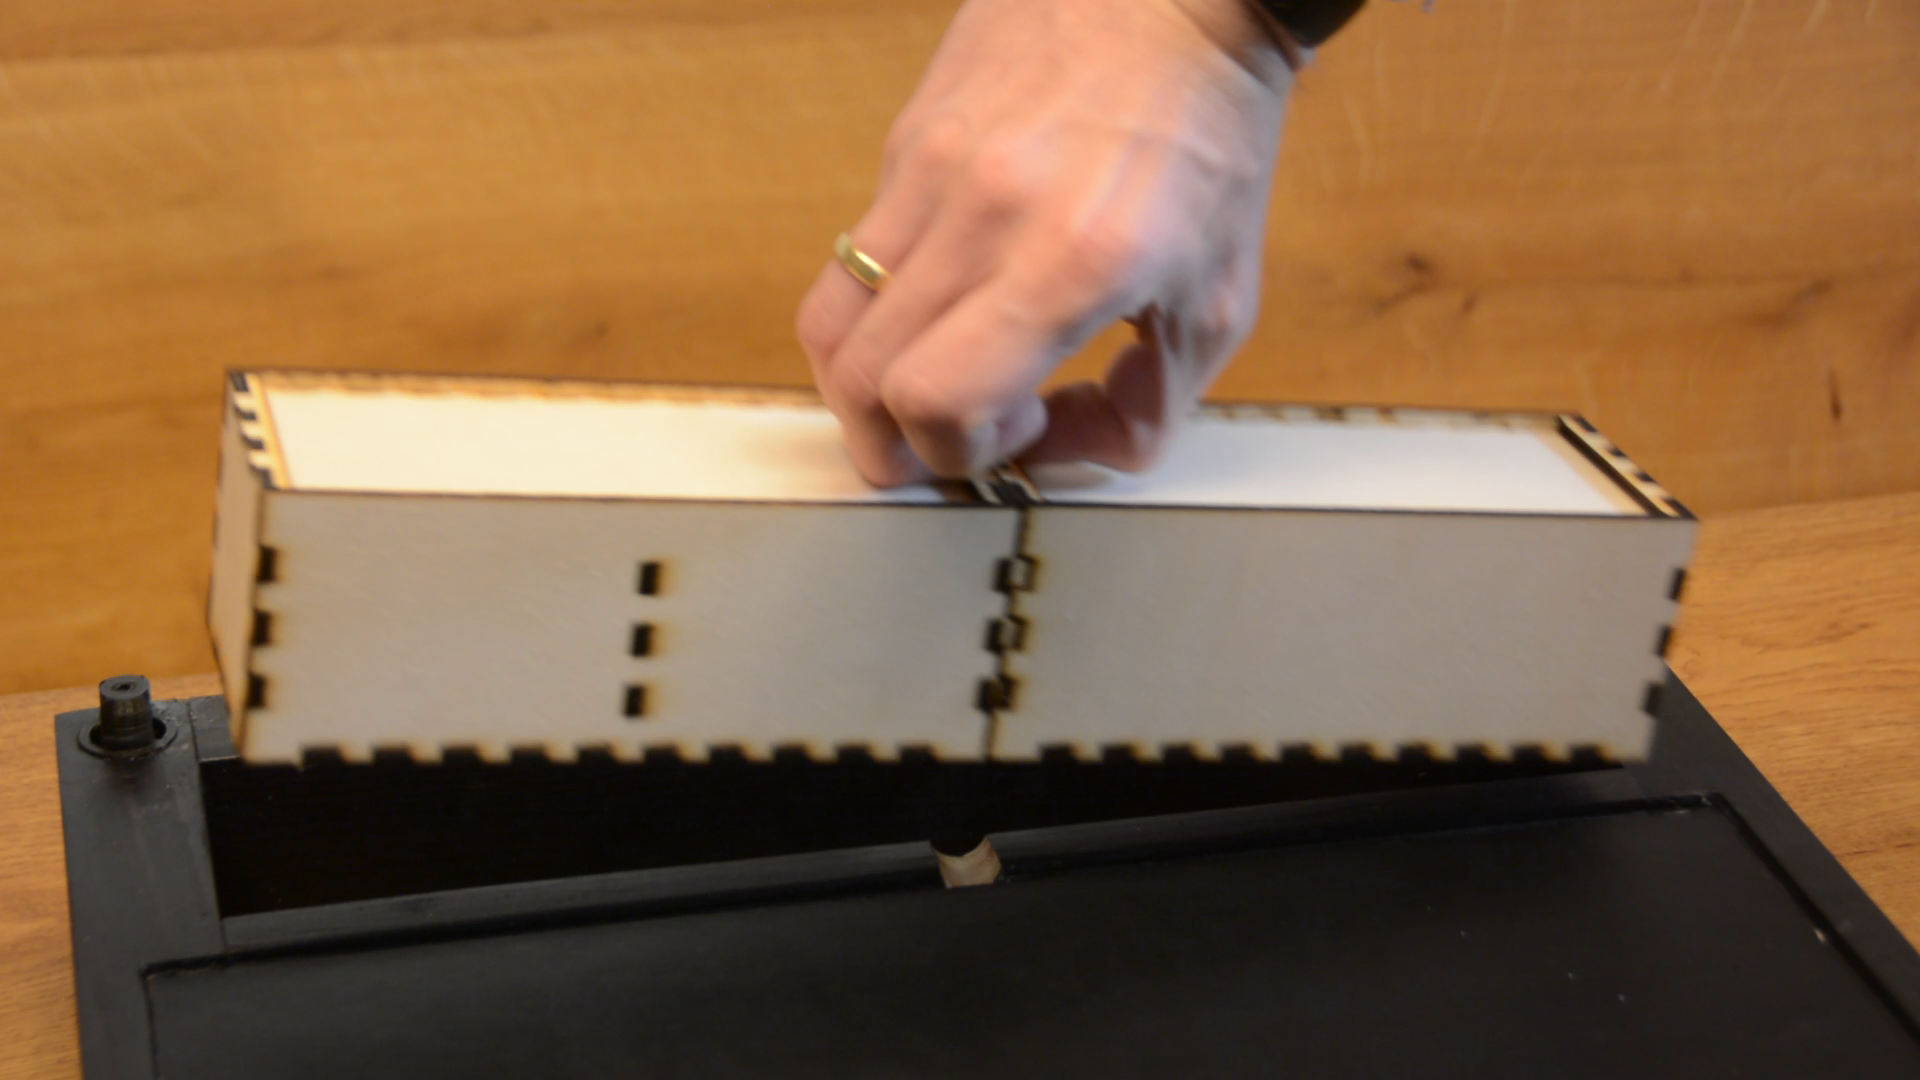
There is one last thing that we need to make: For dice, cards or other stuff we have these additional storage areas in the case. With the open software boxes.py I create a few storage boxes with compartments and cut them on the K40 laser cutter. The files for these boxes are here.

One of the boxes gets slots in the walls so that it can hold trays with the miniatures. Each of the wooden trays is covered with a piece of steel to securely hold the minis.

Let’s have a look at the finished product. The minis and all the terrain pieces stick so well to the steel plate that they can stay there in between games or when a game is interrupted.
After putting the battle mats down on the top side they do not slide around due to the fake leather and stay in place. During the game the upper side of the storage compartment is good for rolling the dice or placing killed miniatures. I am very happy with the game and had a lot of fun playing it with my son. Let me know what you think about this free wargame project and if there is any aspect you would like to understand in more detail such as creating the mini models or understanding the rules of the game.
