
In this article I will review the Aufero Laser Cutter that was provided to me from Ortur. The Aufero is a mid sized, portable laser cutter and engraver that comes with three different modules that have a different power and capabilities.
Unboxing the Aufero
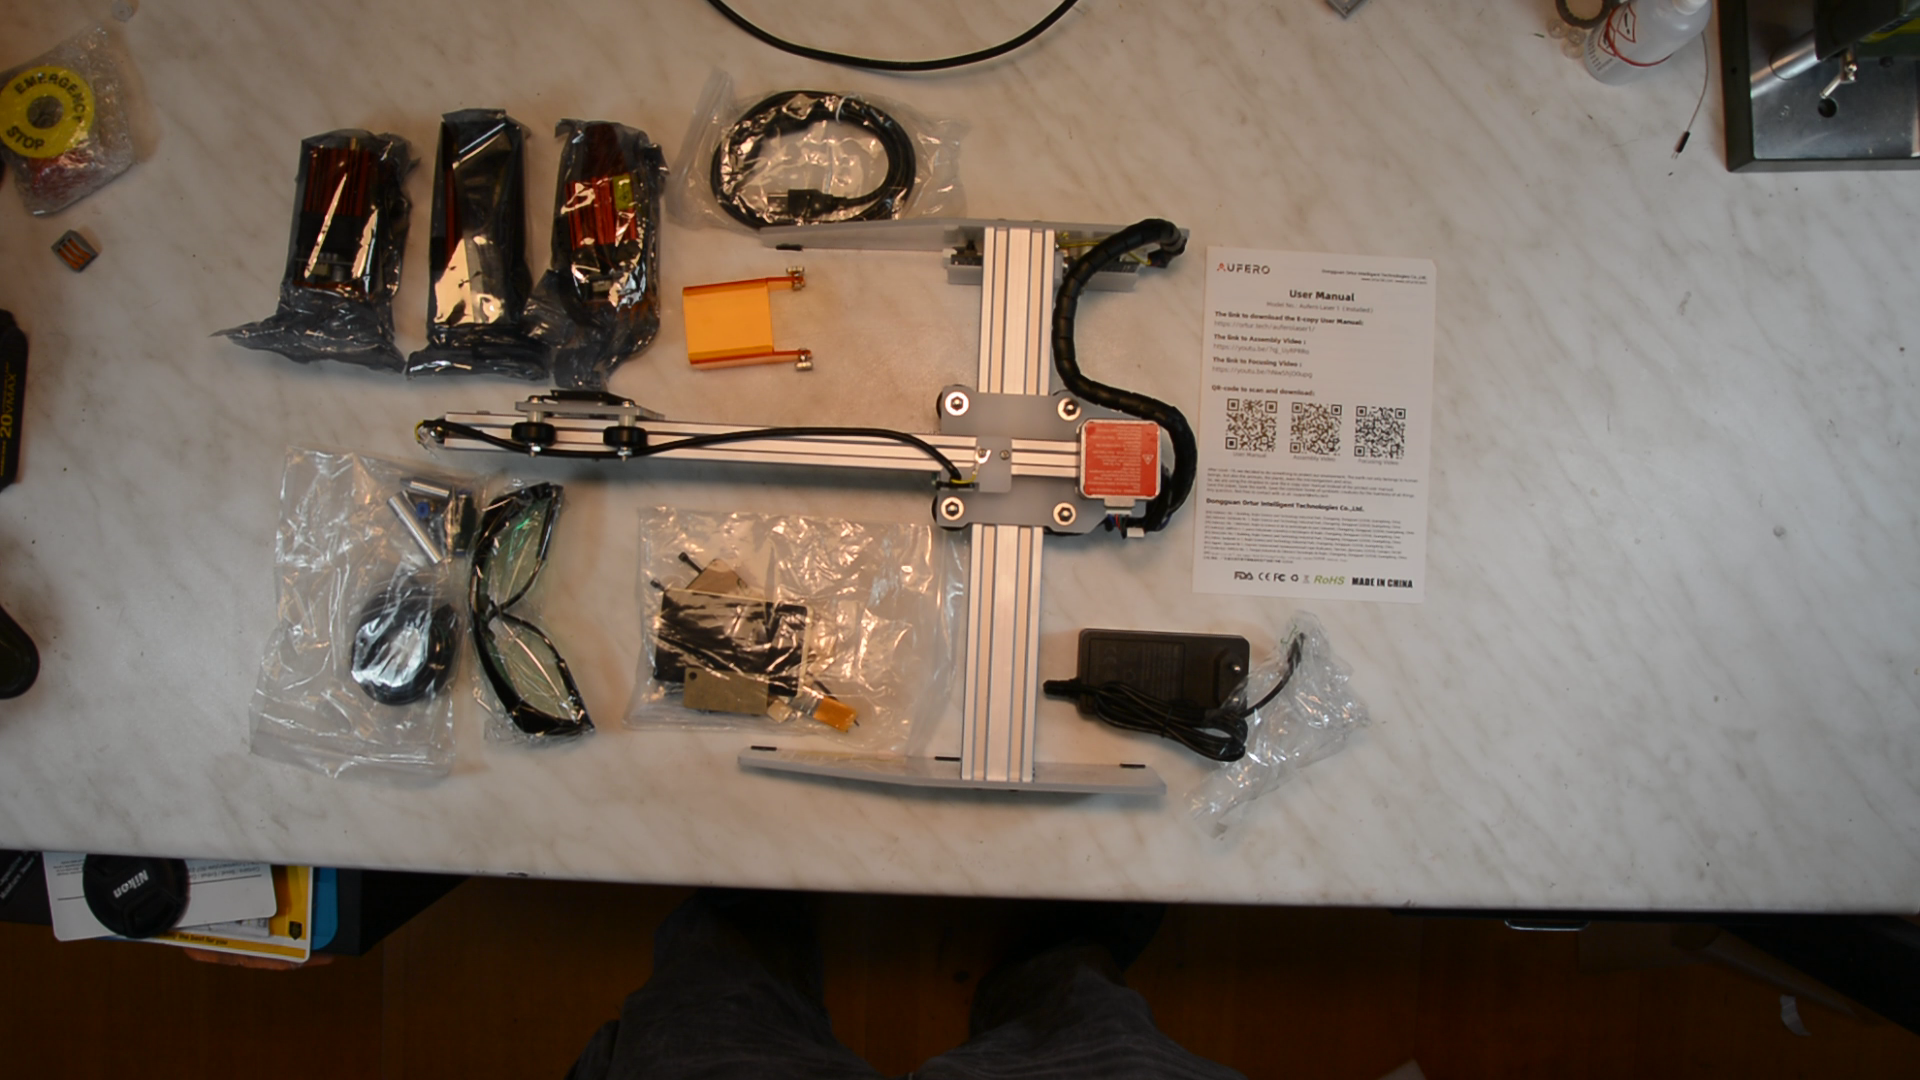
When Ortur asked for a review of the Aufero that I am unpacking here it caught my interest as in contrast to many other laser devices it can not only engrave but can cut many different materials. Overall the possibilities are much closer to a 40W CO2 laser like the K40 but the laser is portable and quite lightweight. Ortur provided me the machine for free in exchange for an honest review. The laser arrived preassembled and nicely packaged.
Using LaserWeb with the Aufero
Before we talk about the three different modules let’s talk about the software side first. I love the fact that the Aufero is using an open source solution called GRBL as a controller. As this firmware is quite popular there are a lot of different software alternatives available.
Ortur recommends Lightburn as a commercial software or LaserGRBL as a free alternative. I tested the laser with Lightburn but don’t want to pay their license fee. LaserGRBL looks nice but I was not able to get it up and running on Linux. While there is a post on GitHub that describes how to get LaserWeb running on Linux I was not able to reproduce this on my Ubuntu installation.

The solution I would recommend is LaserWeb.

It is an open source software that is very well designed and runs on Windows, Mac, Linux and even on the Raspberry Pi. It comes with quite a few features that make it a very powerful tool.
For Windows there is an installer; for Linux you just download the AppImage. You might have to scroll down a little bit on the page to find the Appimage.
LaserWeb comes with a safety feature that it will only send data a known firmware. As the Aufero does not send the firmware identifier after the connect we need to reset the laser when it connects. Just create a file that is called “.env” and paste the string RESET_ON_CONNECT=1 into that file.
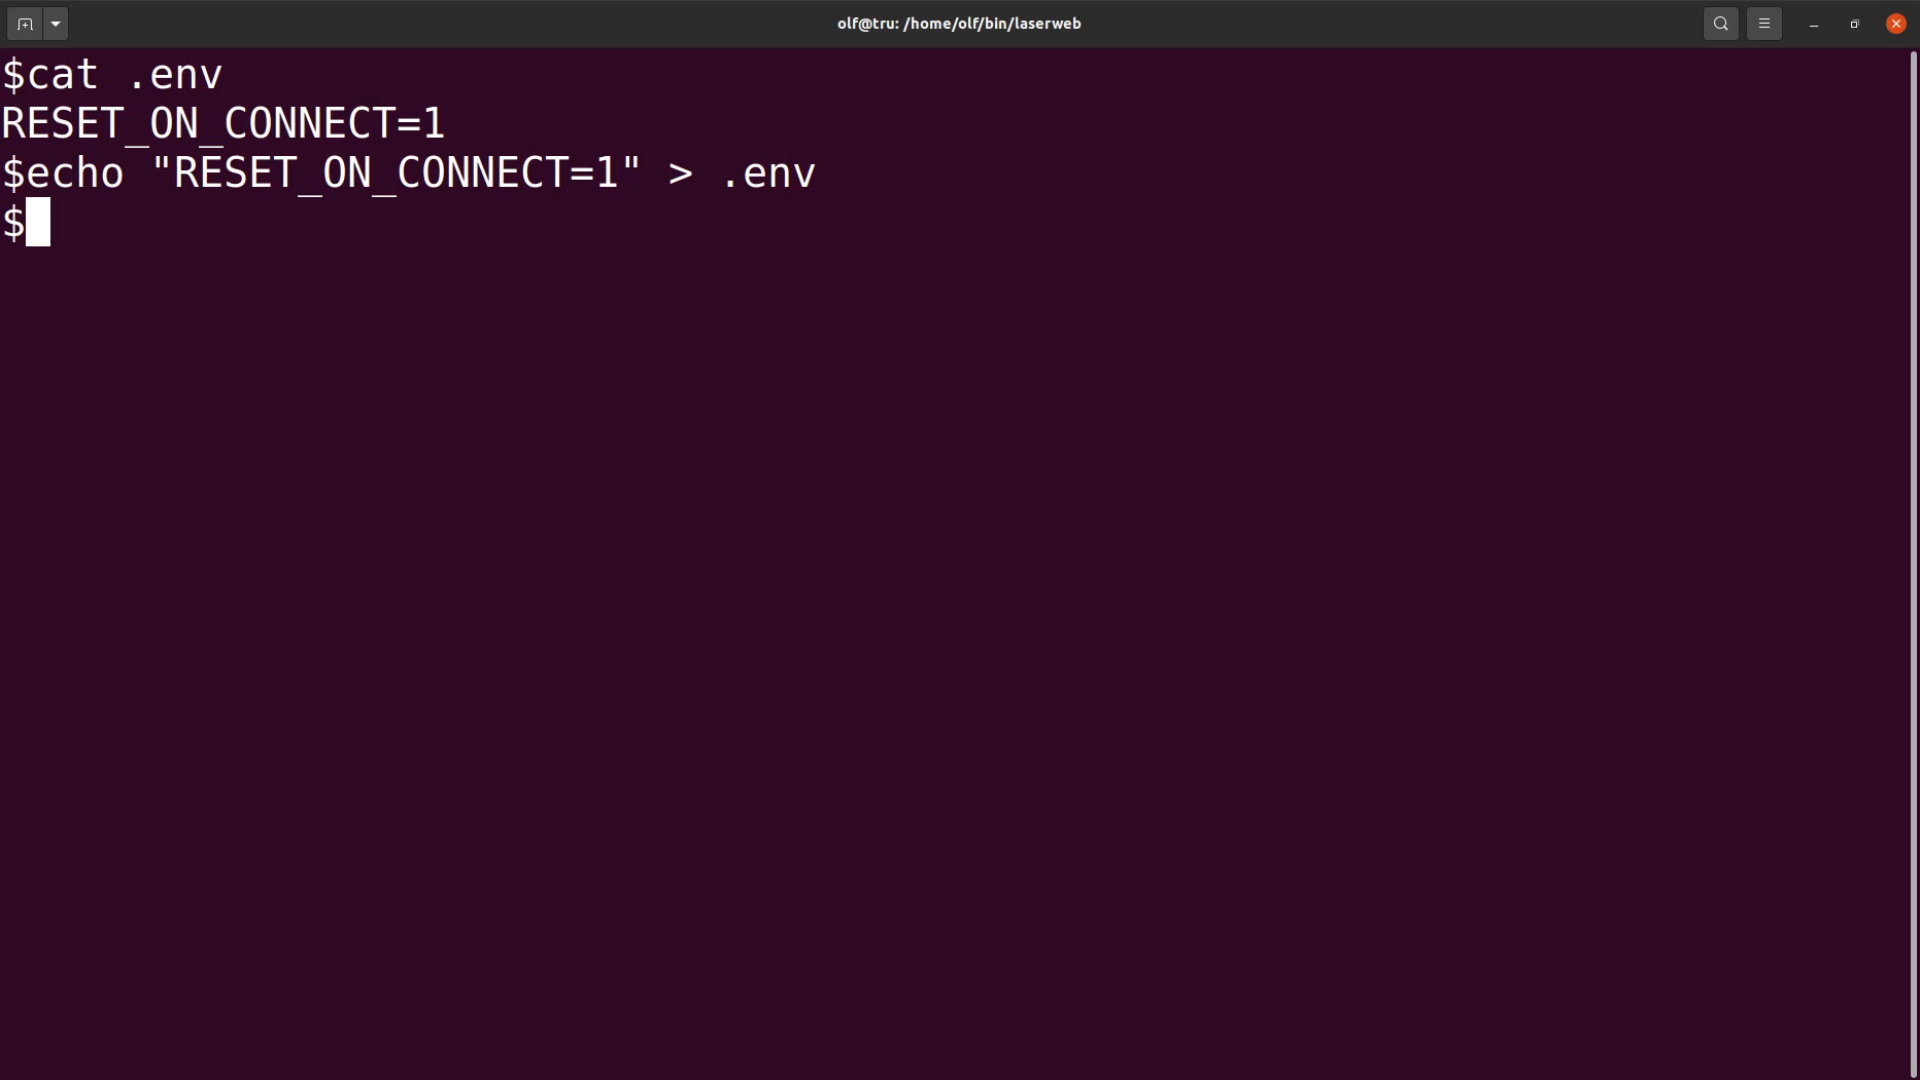
After restarting LaserWeb it should recognize the laser running GRBL 1.1. When running the software for the first time we have to adjust some settings.
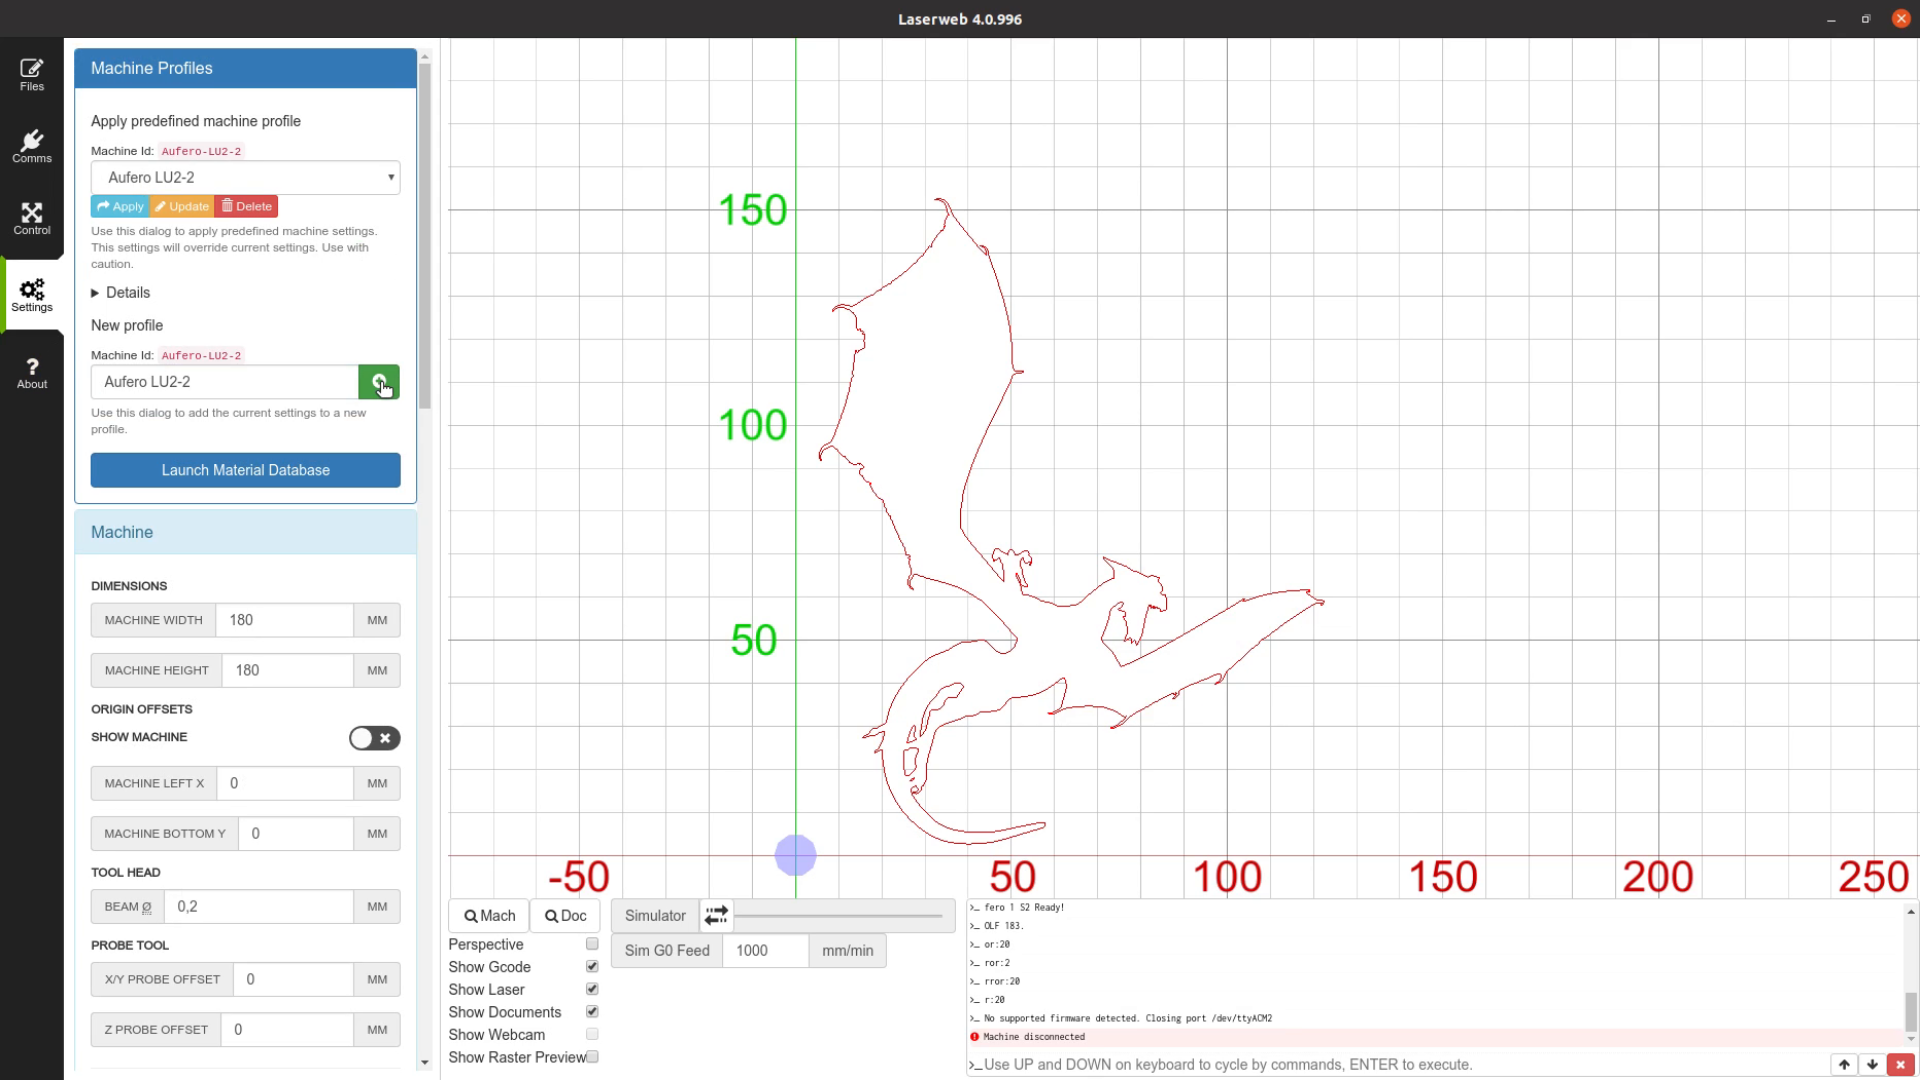
Under settings we start from a generic GRBL machine.

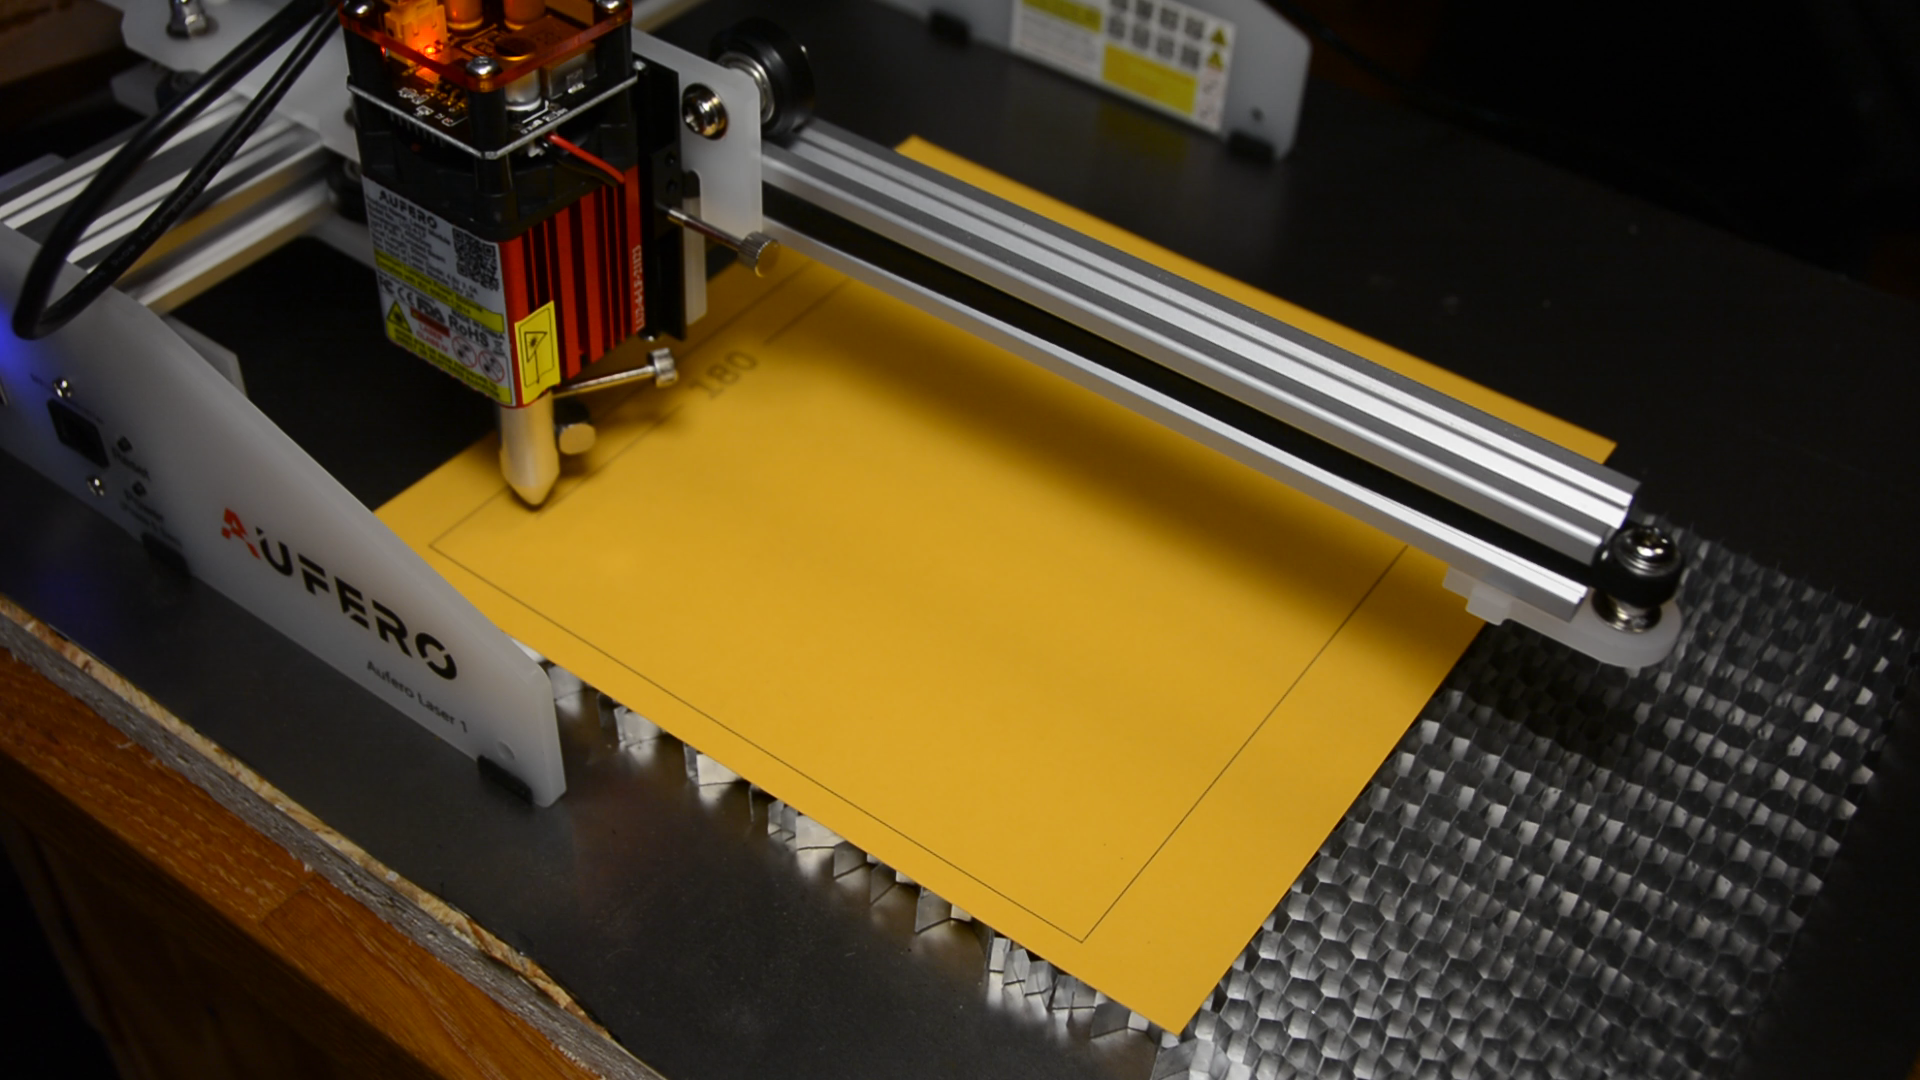
In the machine section we adjust the width and height of the working area to 180 by 180 – which is the maximum size the Aufero can handle.
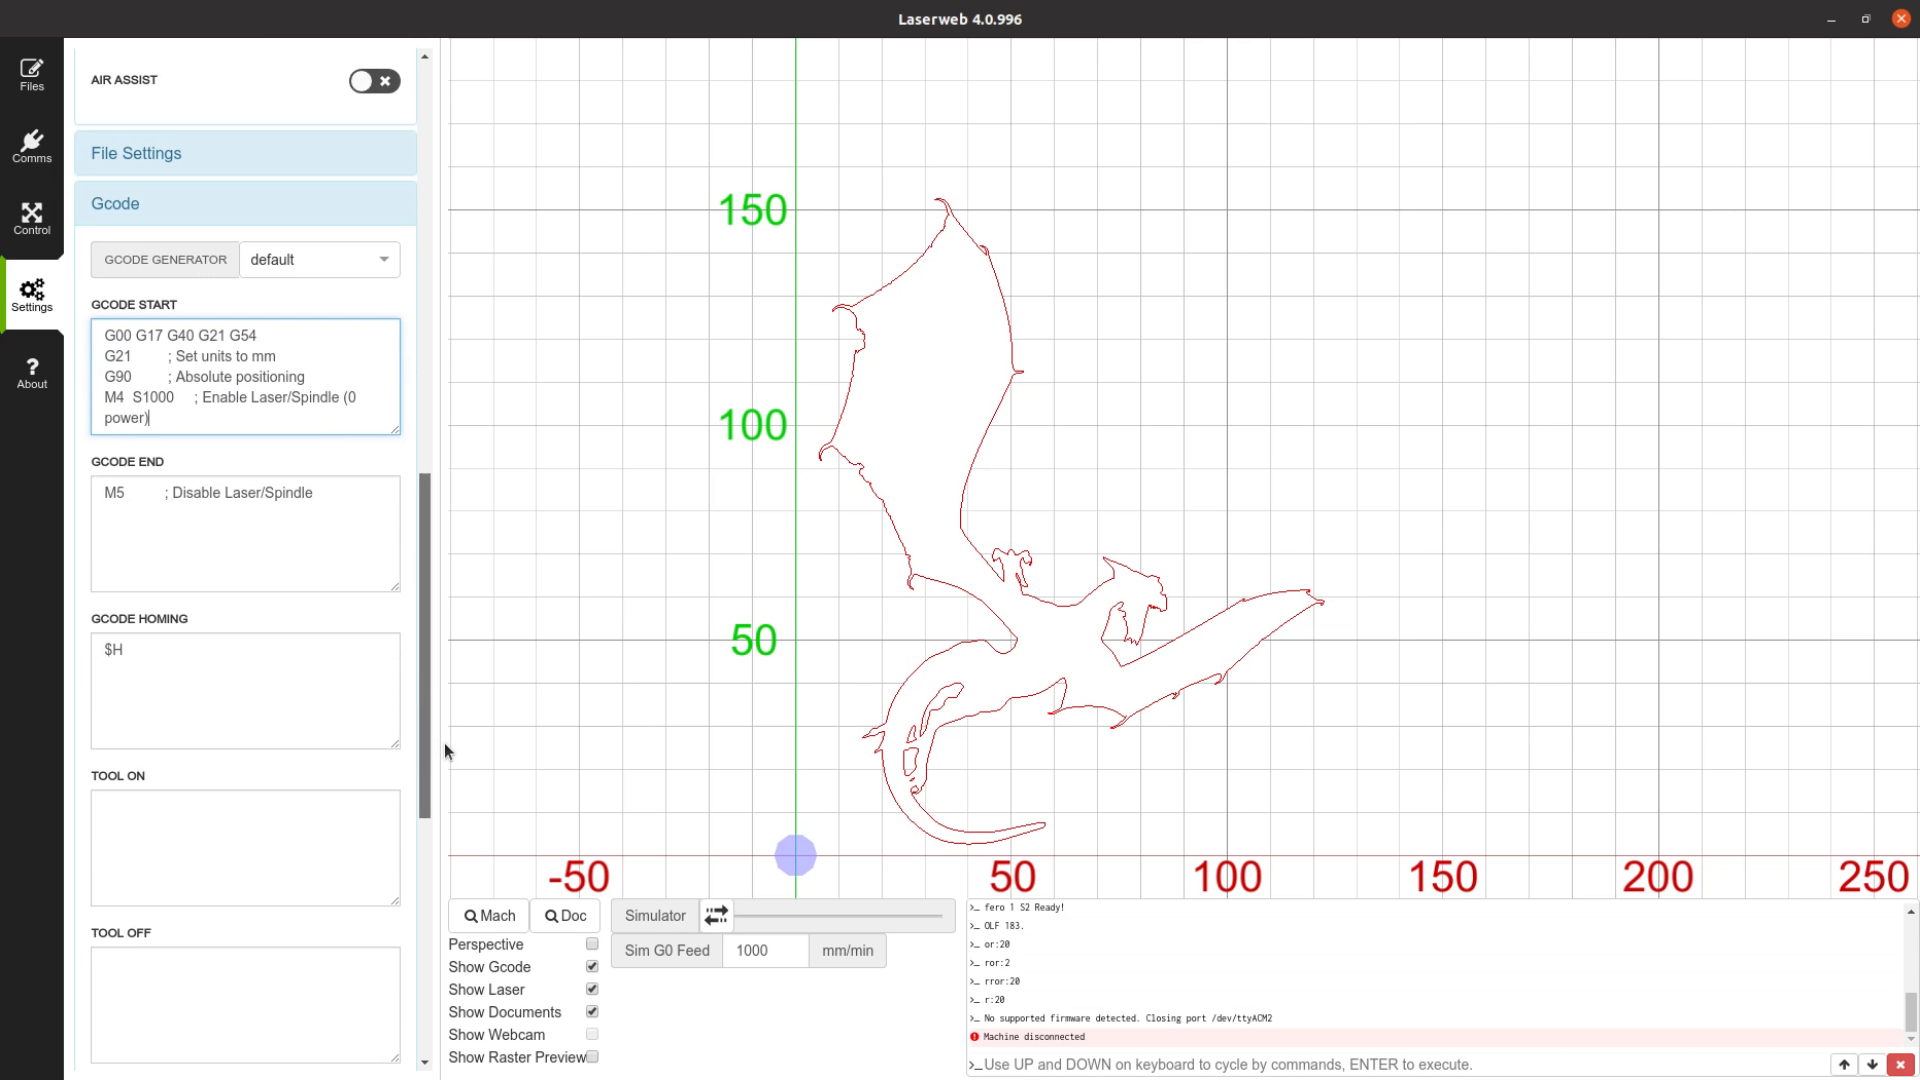
The other necessary changes we are going to make are in the G-Code section.
Just copy and paste the settings from the section below:
GCode start:
G00 G17 G40 G21 G54
G21 ; Set units to mm
G90 ; Absolute positioning
M4 S1000

Gcode end:
M5

Gcode Homing:
$H
LaserWeb offers a lot of other features like using a numpad or gamepad for moving the laser head, adding a camera feed and many more to explore.
These might be worth another video – for now let’s add a file and start cutting something.
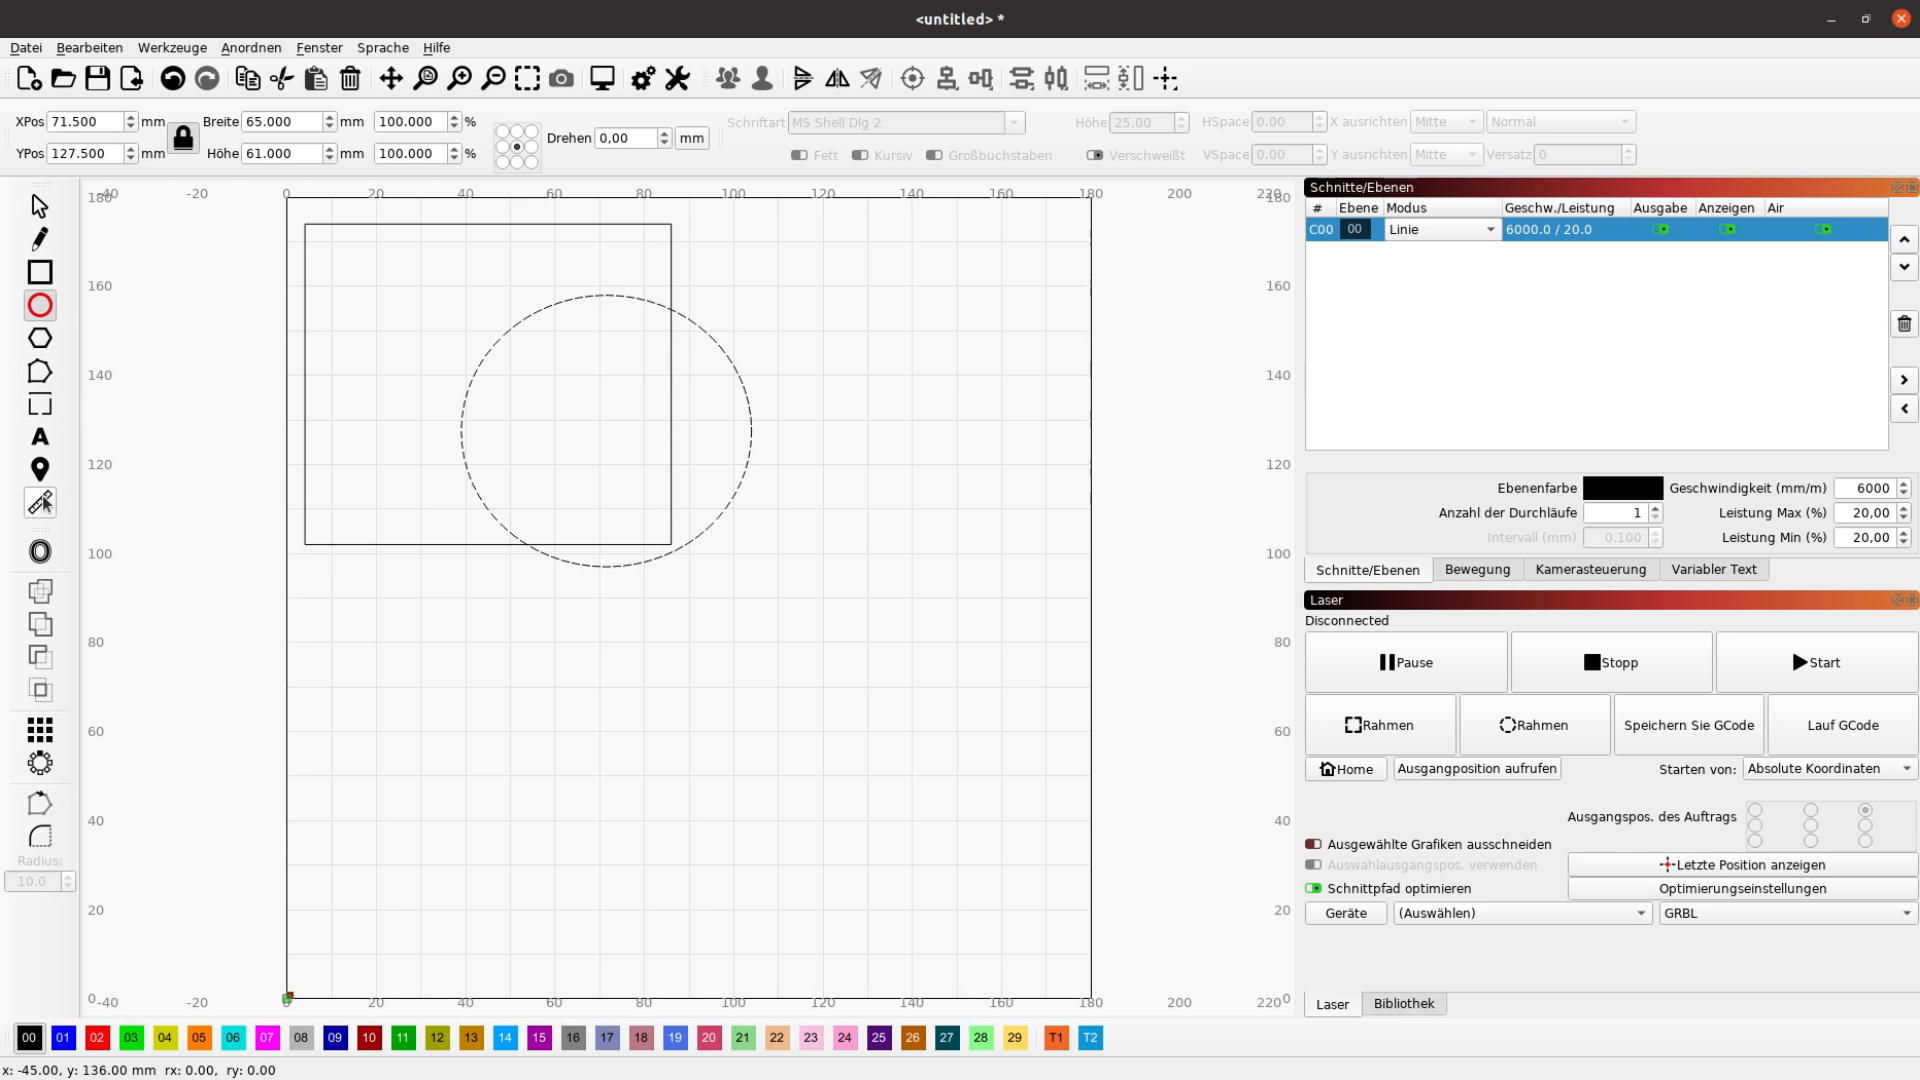
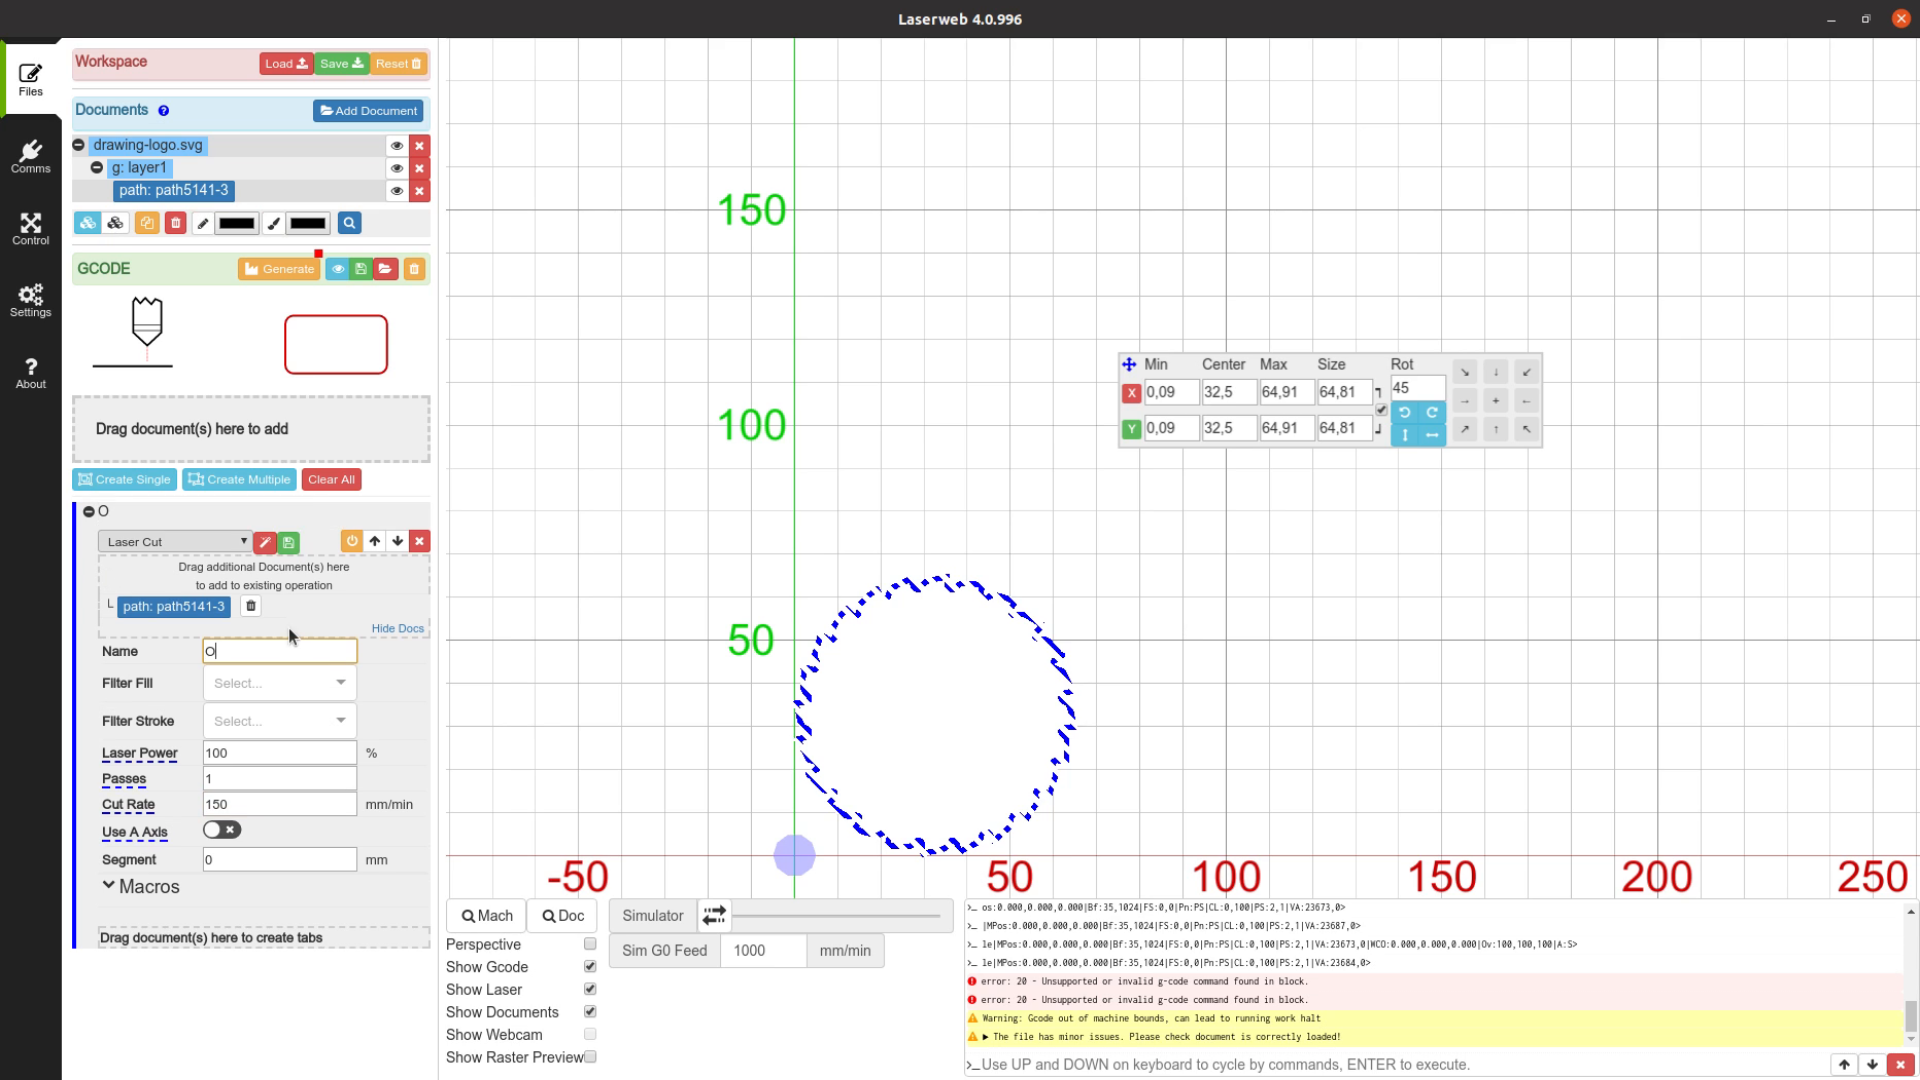
In the file section of LaserWeb you can add raster and vector images in the upper part. You then drag the document in the lower section to create an operation like cutting or engraving.
While this might seem to be double work at first it actually is quite handy as you can select different parts of a vector image to be cut with different parameters.
For now let’s just set the speed and we are done.
In the control panel we can home the laser, let it indicate the area we are going to work on and then hit run to let it cut the piece.
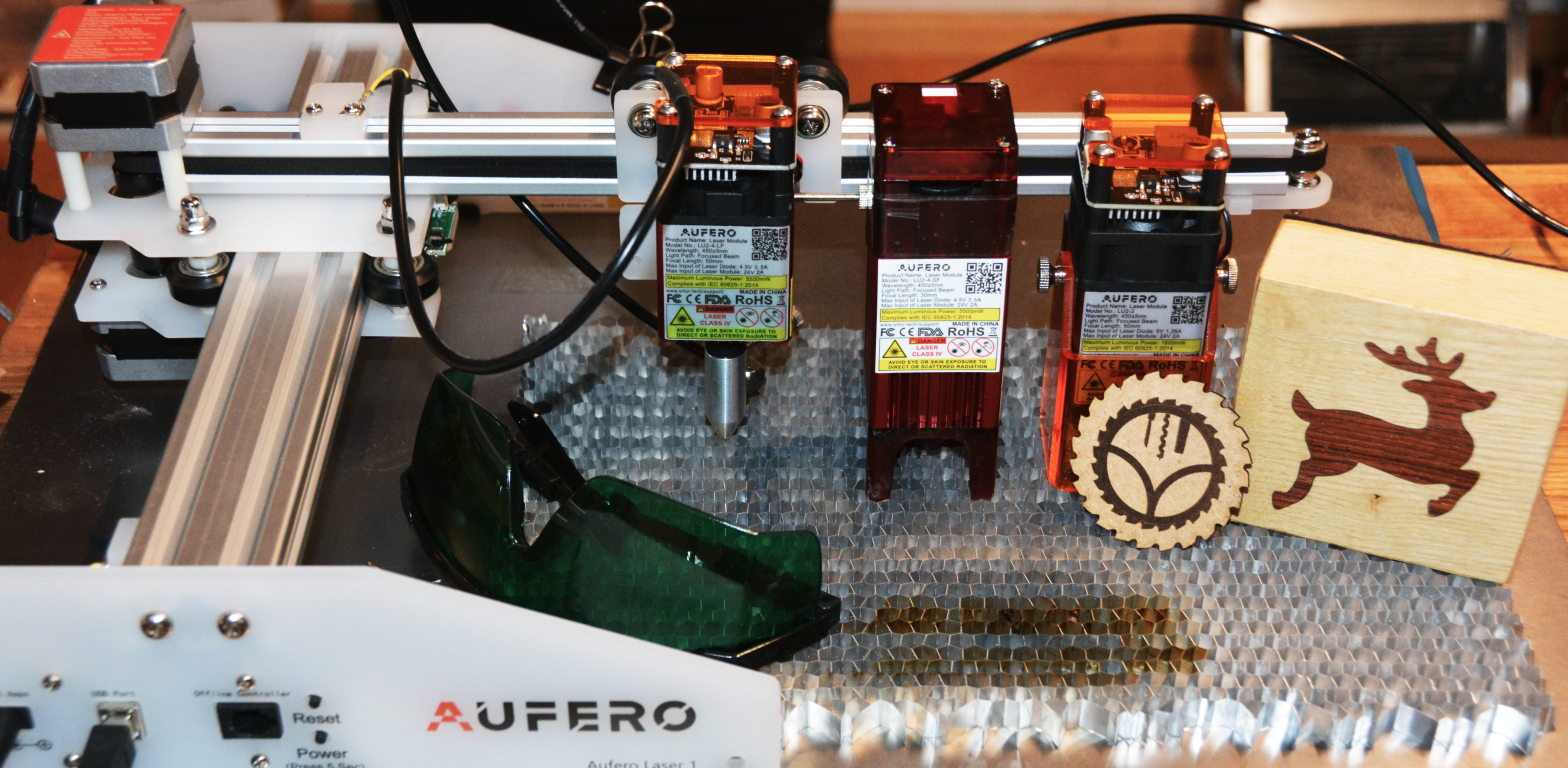
Aufero LU 2-2 module for engraving
As we got the software out of the way let’s focus on the laser itself. I got three different modules to check. This is the LU 2-2 with a power of 1 to 1.6 Watt.
The assembly is just to connect ground and a small plug and we are ready to go. The laser comes with an aluminum cylinder that you place under the module to adjust the focus.
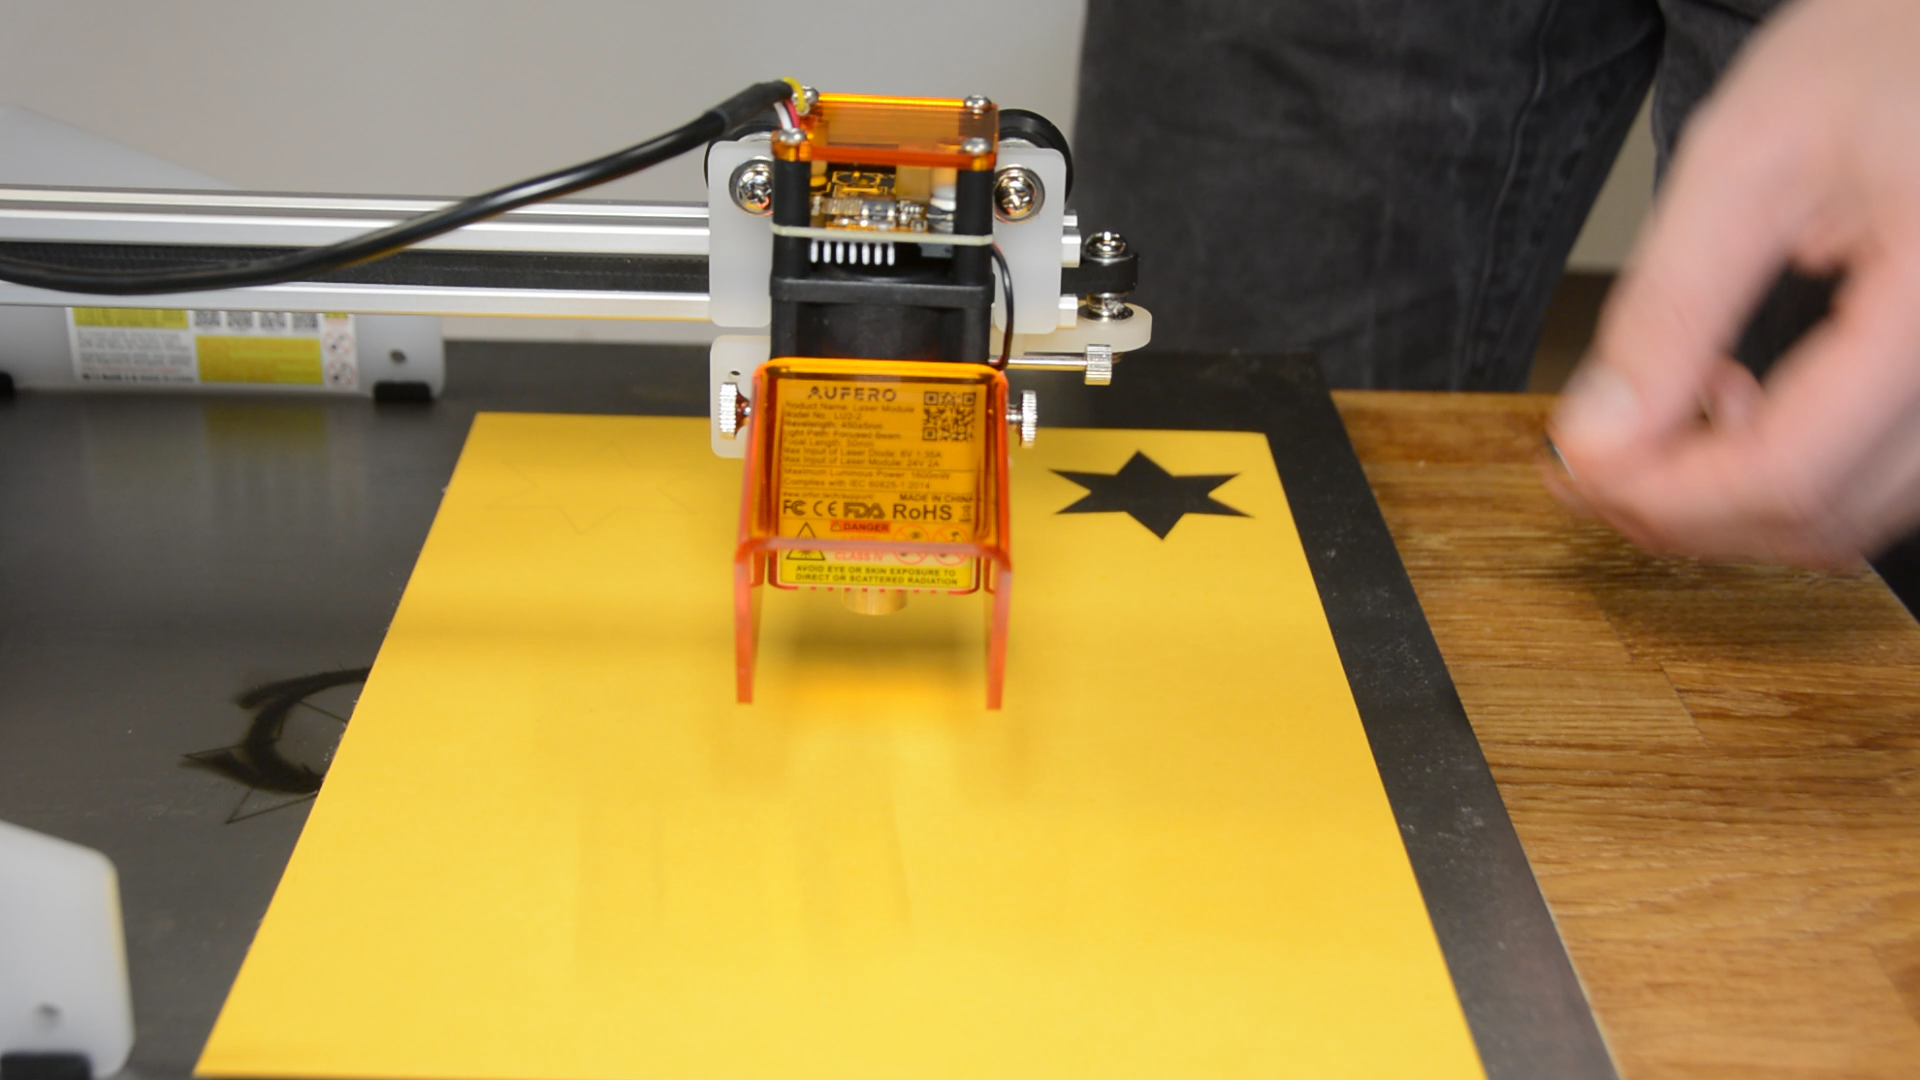
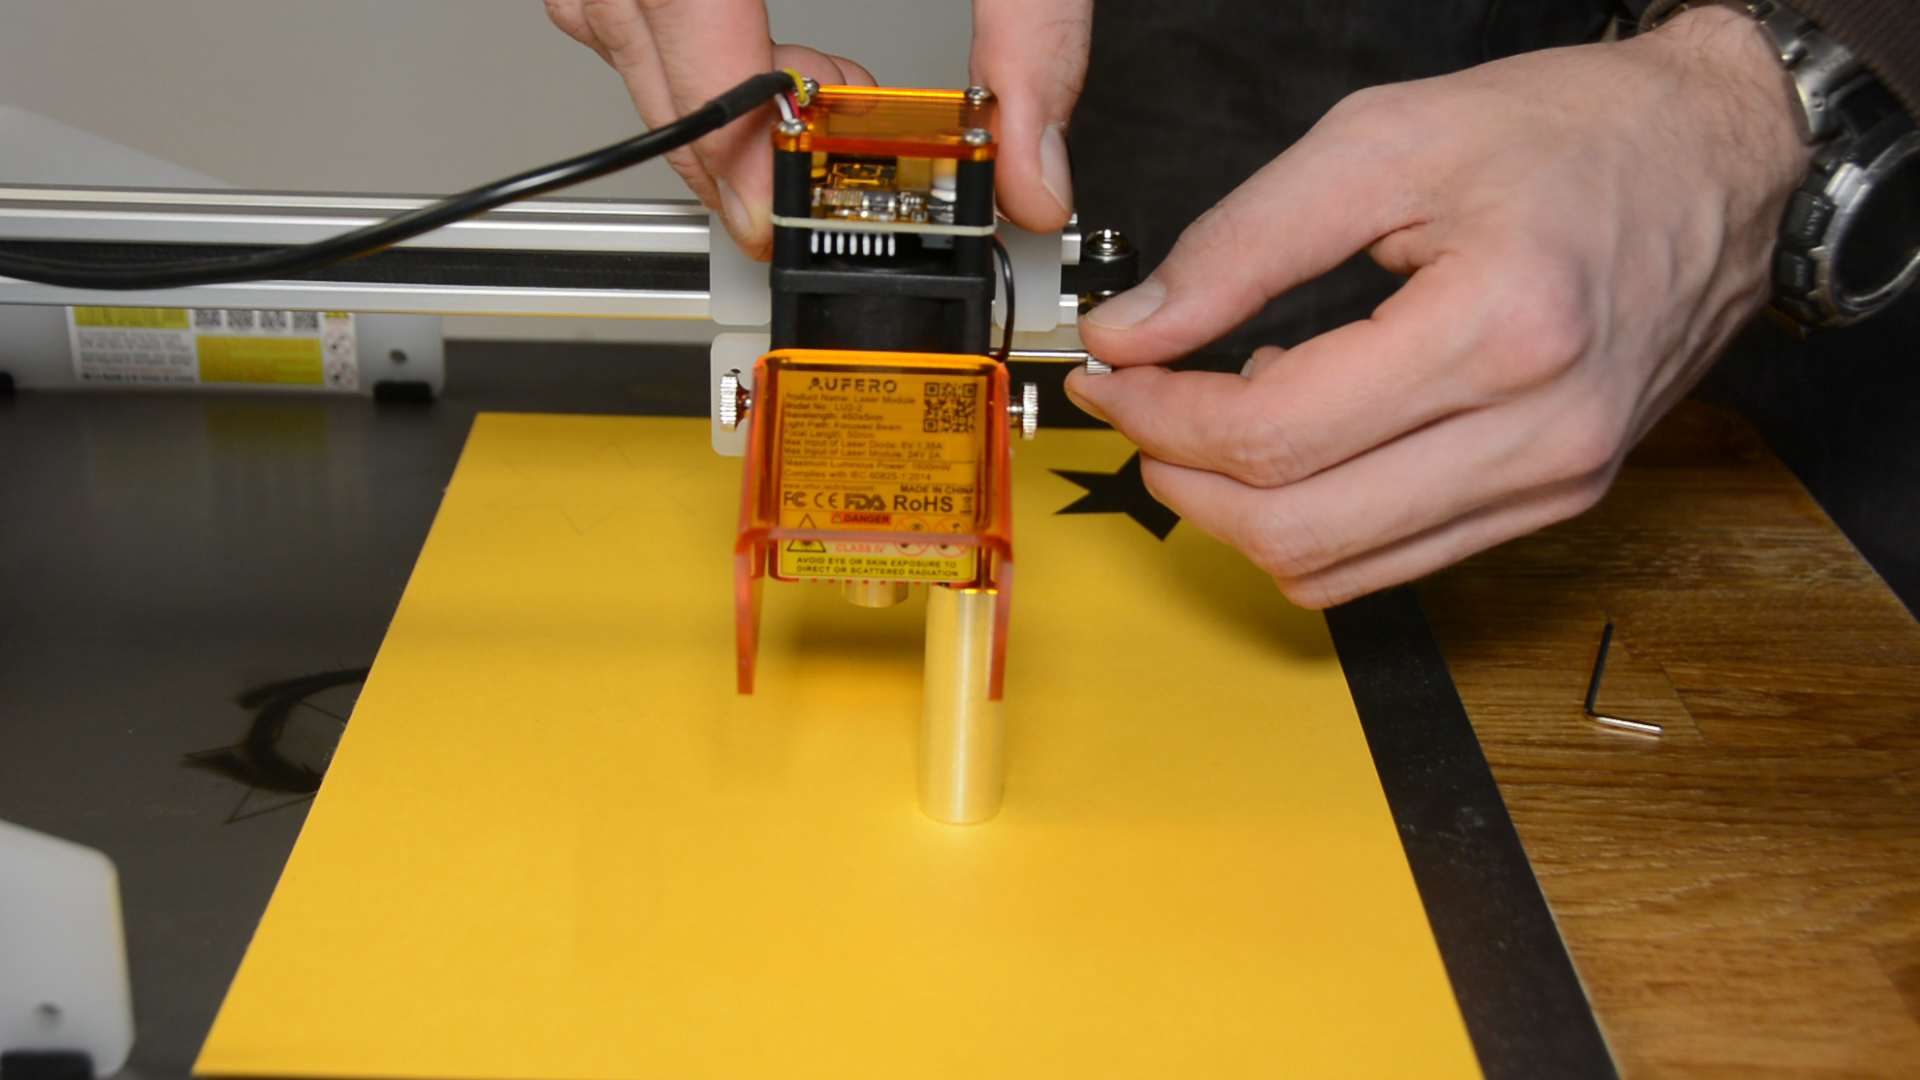
The primary purpose of this module is engraving. You can engrave very nice and dark picture in wood and it will also work on painted metal, leather and other materials. Besides engraving it is also able to cut paper and cardstock.

The laser comes with a table (on this page – you have to scroll down to the bottom) that helps you find the right settings for each material. This is very nice as when I first got the K40 I had to try and experiment a lot to find the right settings.

You should go with this module if you mainly wand to engrave and cut some paper and maybe fabrics or leather.
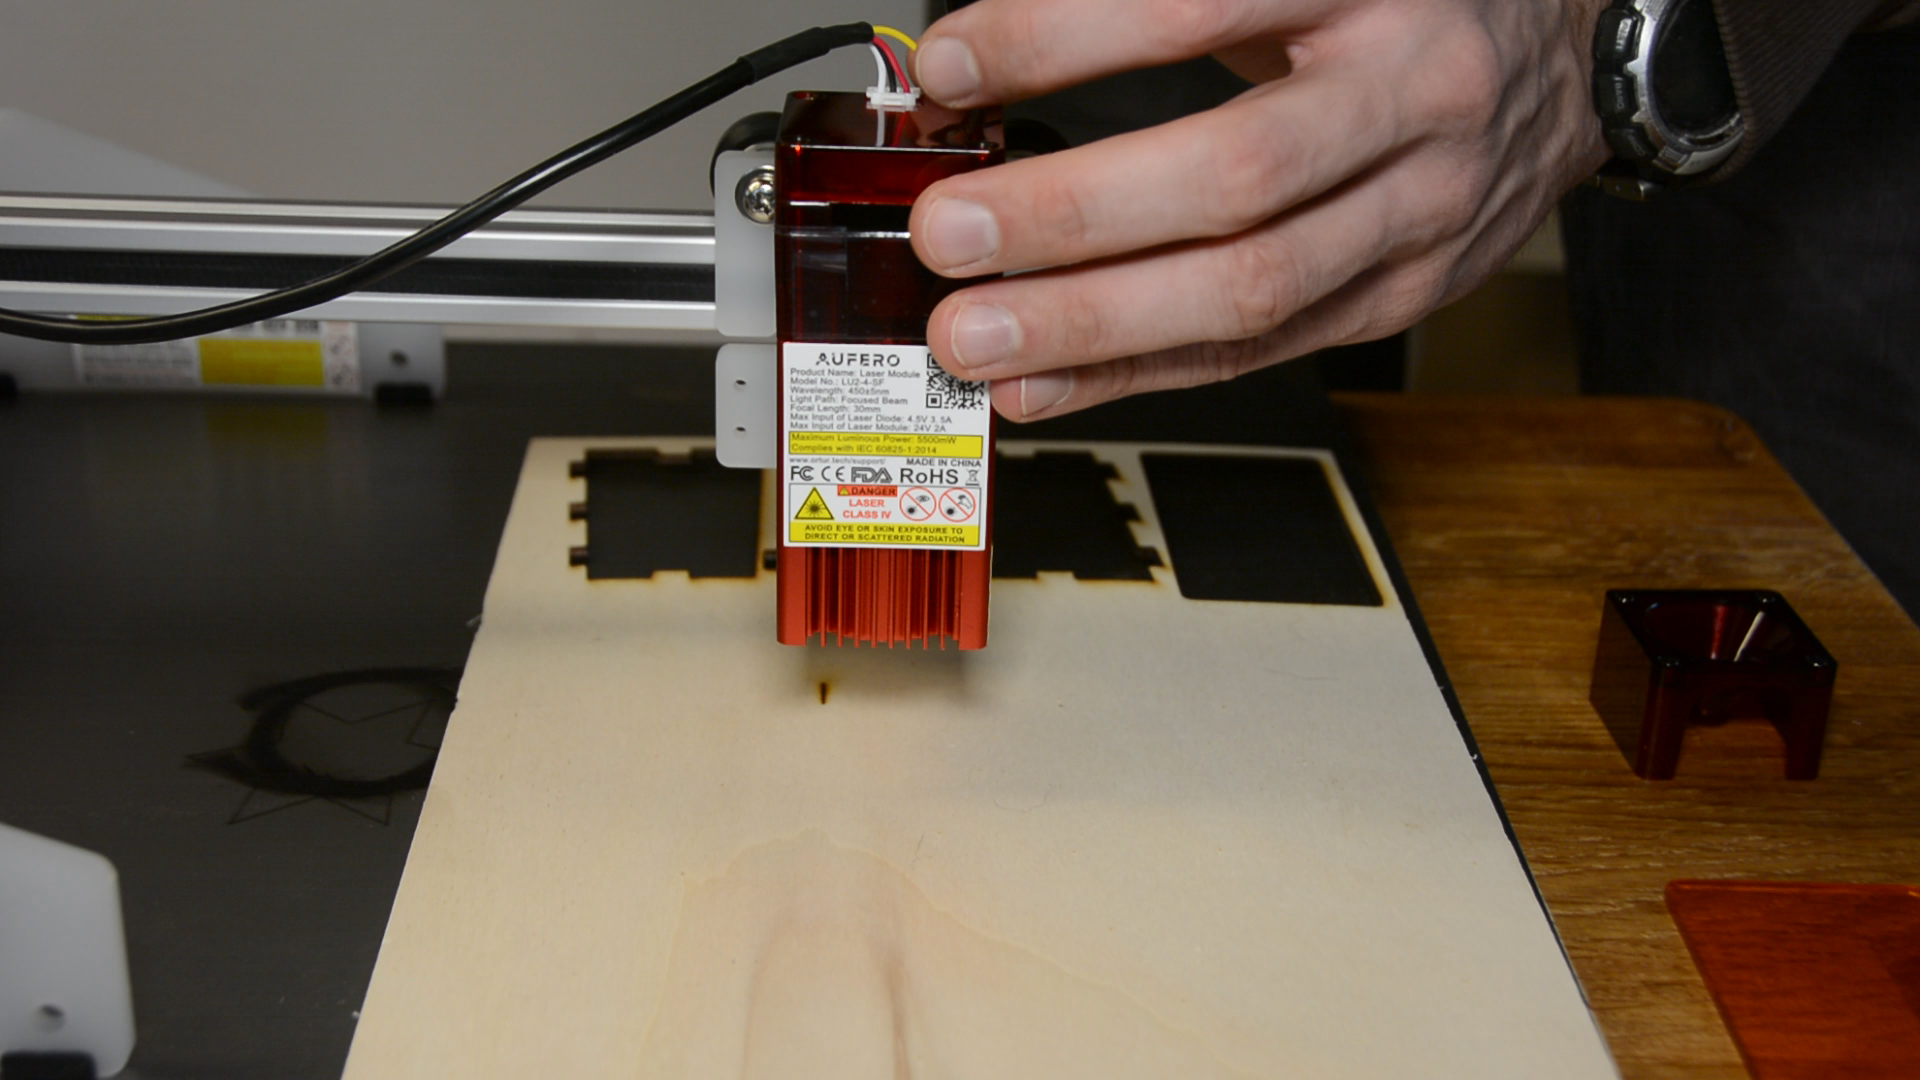
Aufero LU 2-4SF module
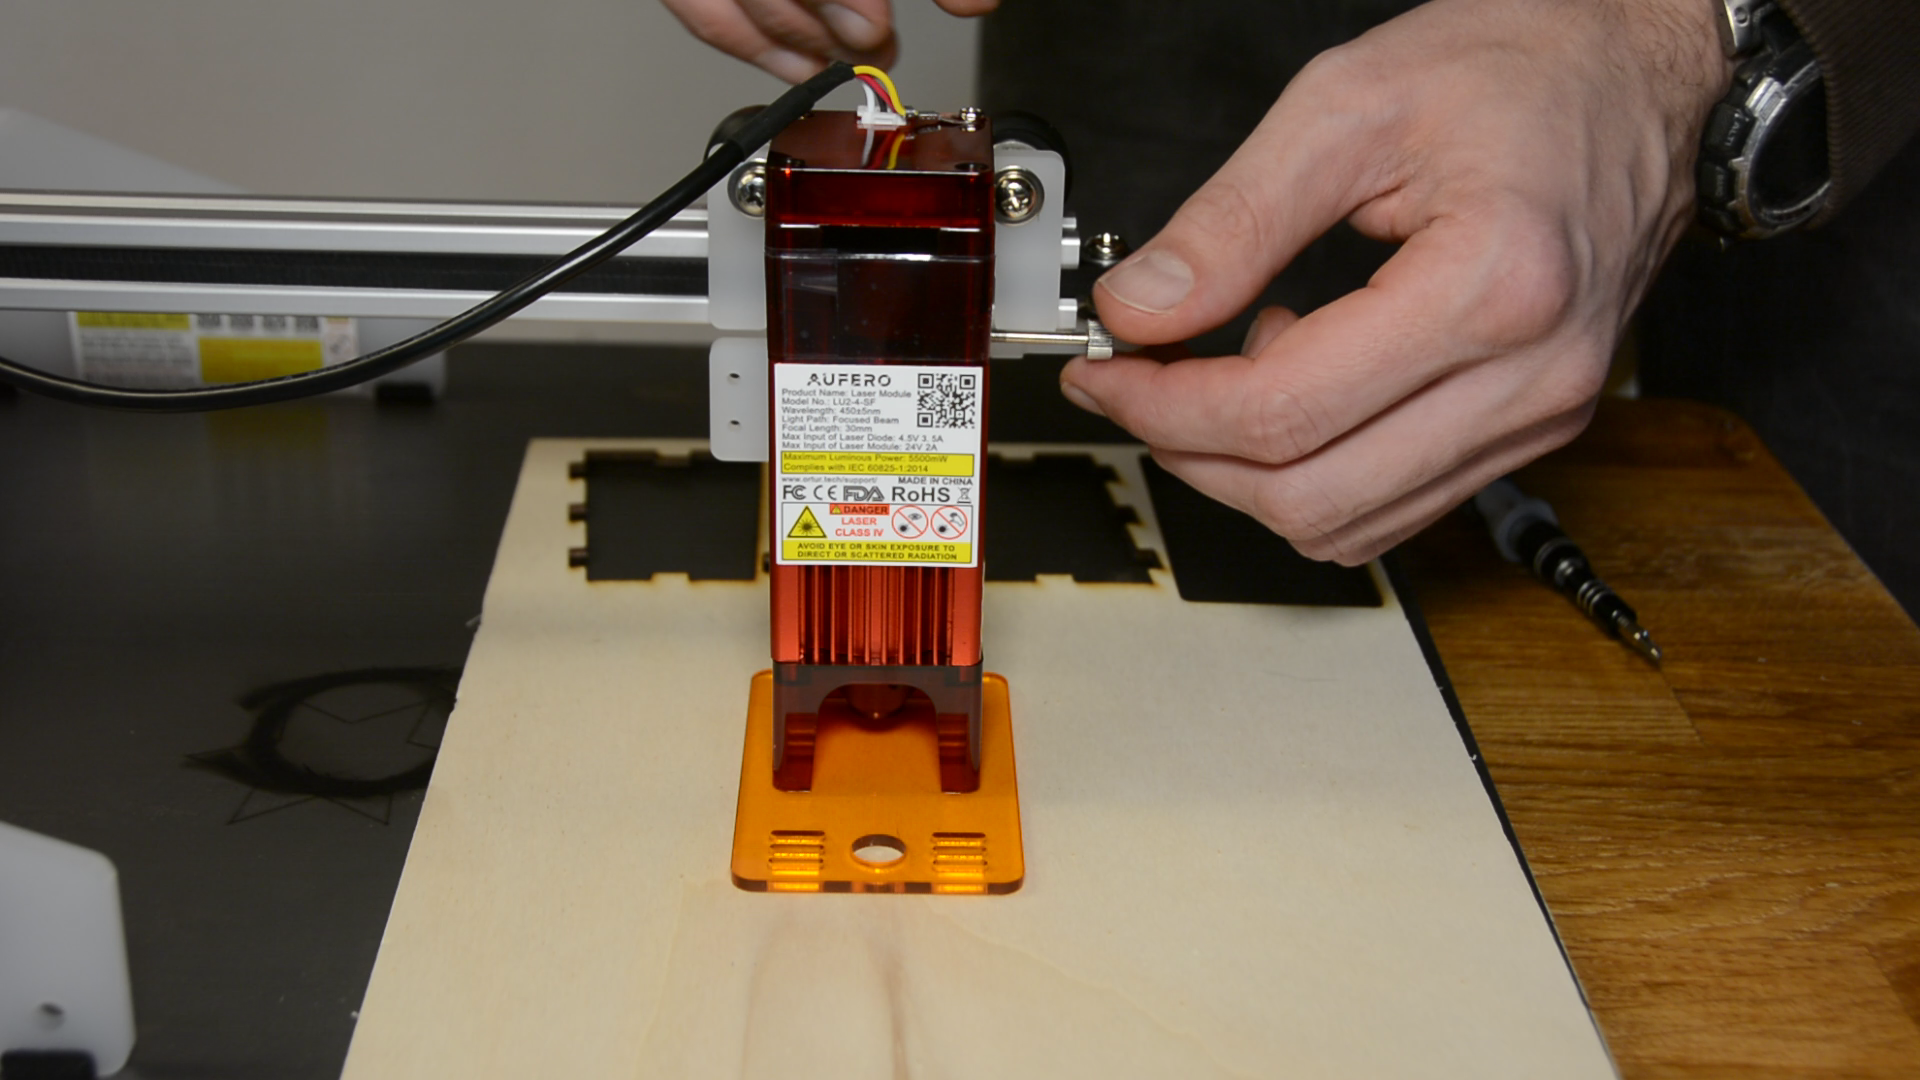
If you want to cut thicker wood the LU 2-4SF is worth a closer look. This module can be attached to the same base with fastening one screw and fixing the ground wire.
Before making things with the laser it is worth to have a look at the security. In the past I have build enclosures for laser engravers where the beam could easily bounce off from the surface.
This cover that is held in place with magnets seems reasonably safe to me. But even with the enclosure you should always wear safety glasses.
Cutting MDF works with 150 mm/min – which is a bit slower than a 40W CO2 laser. Also here the engraving is very dark, sharp and detailed.
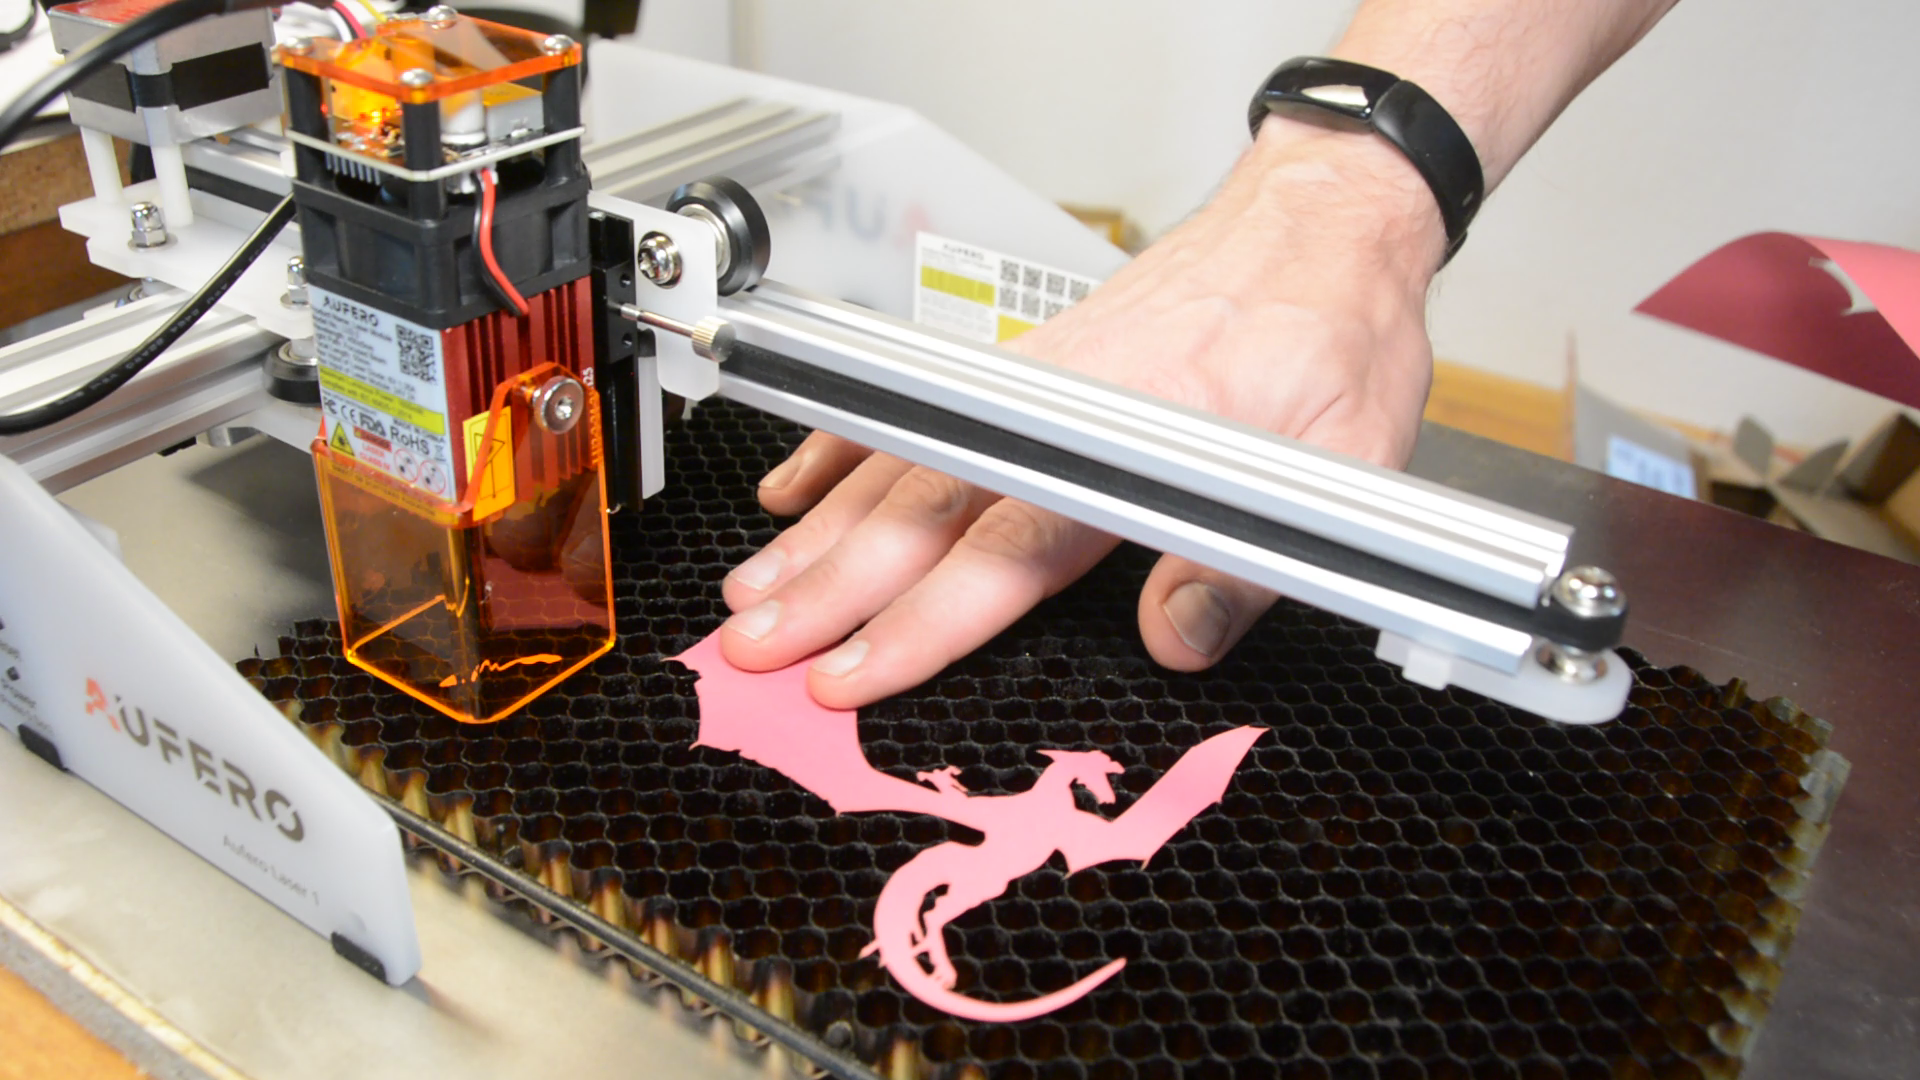
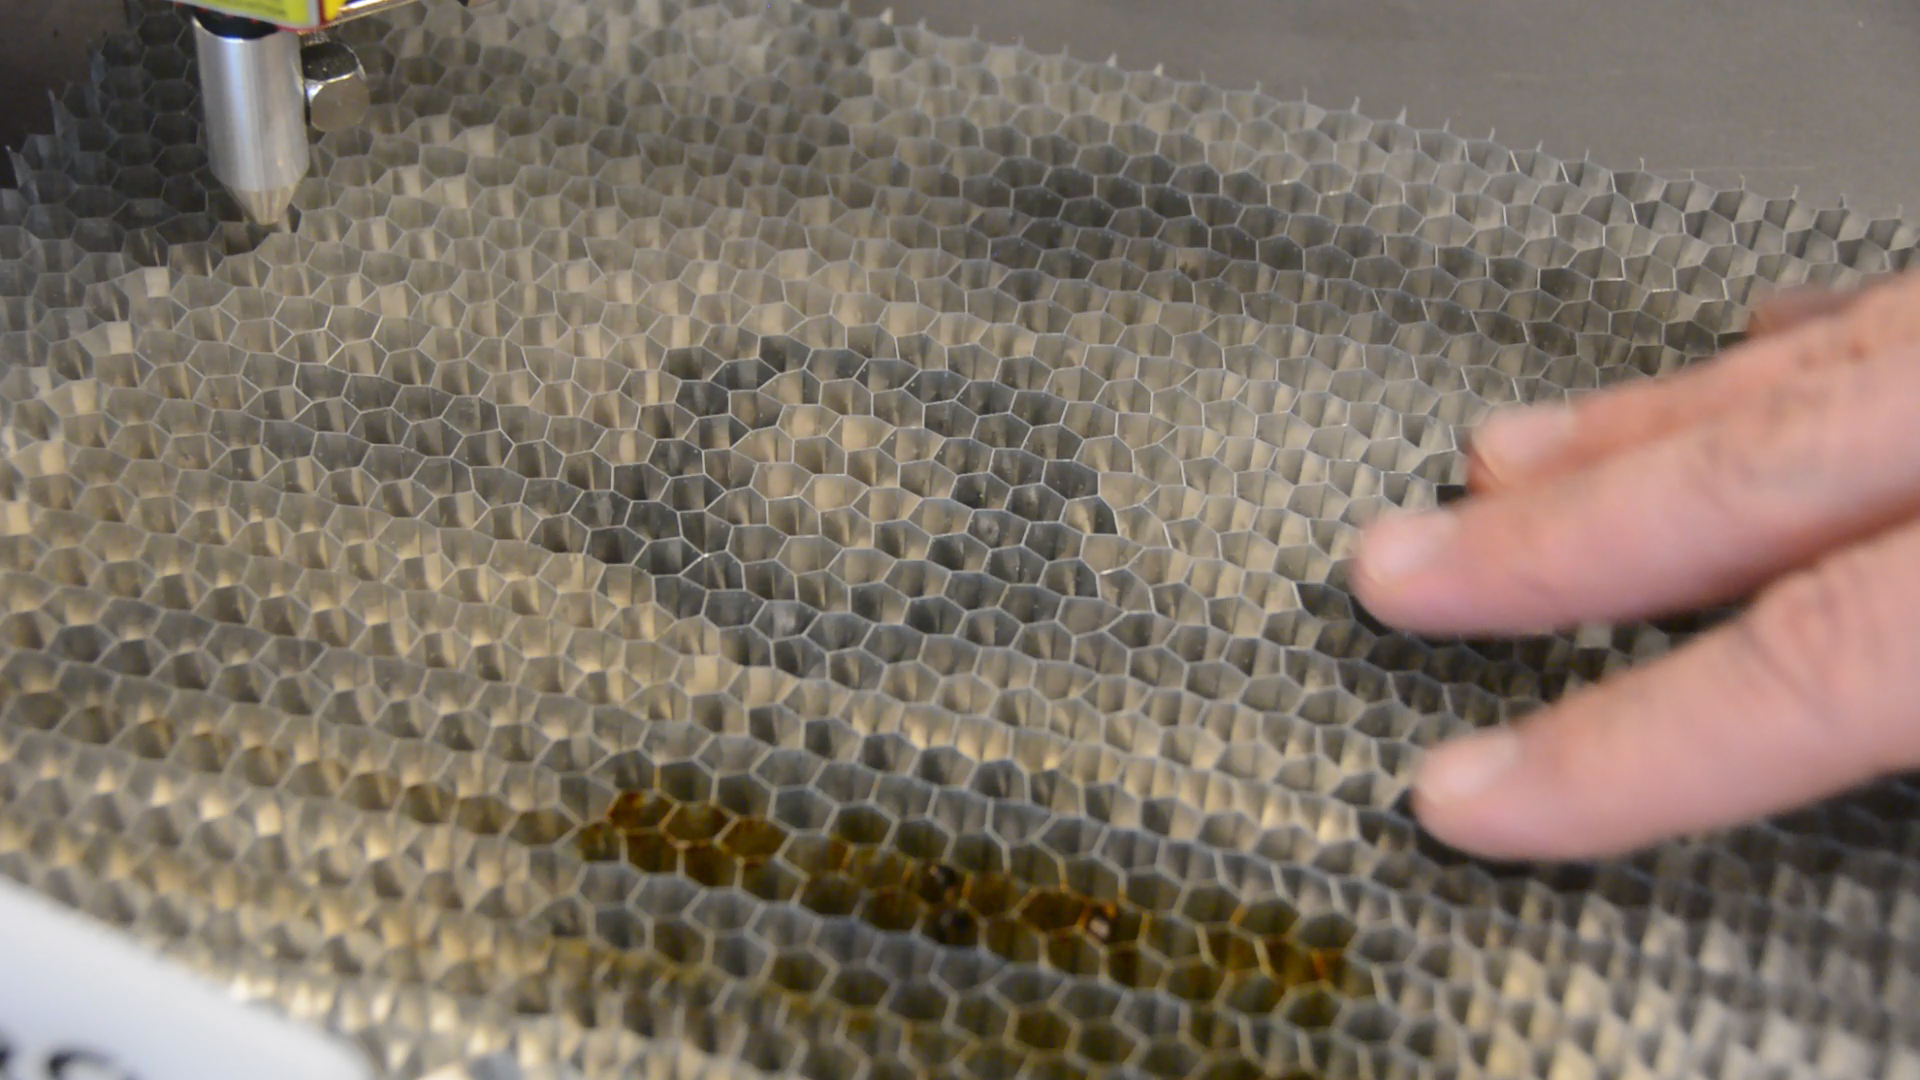
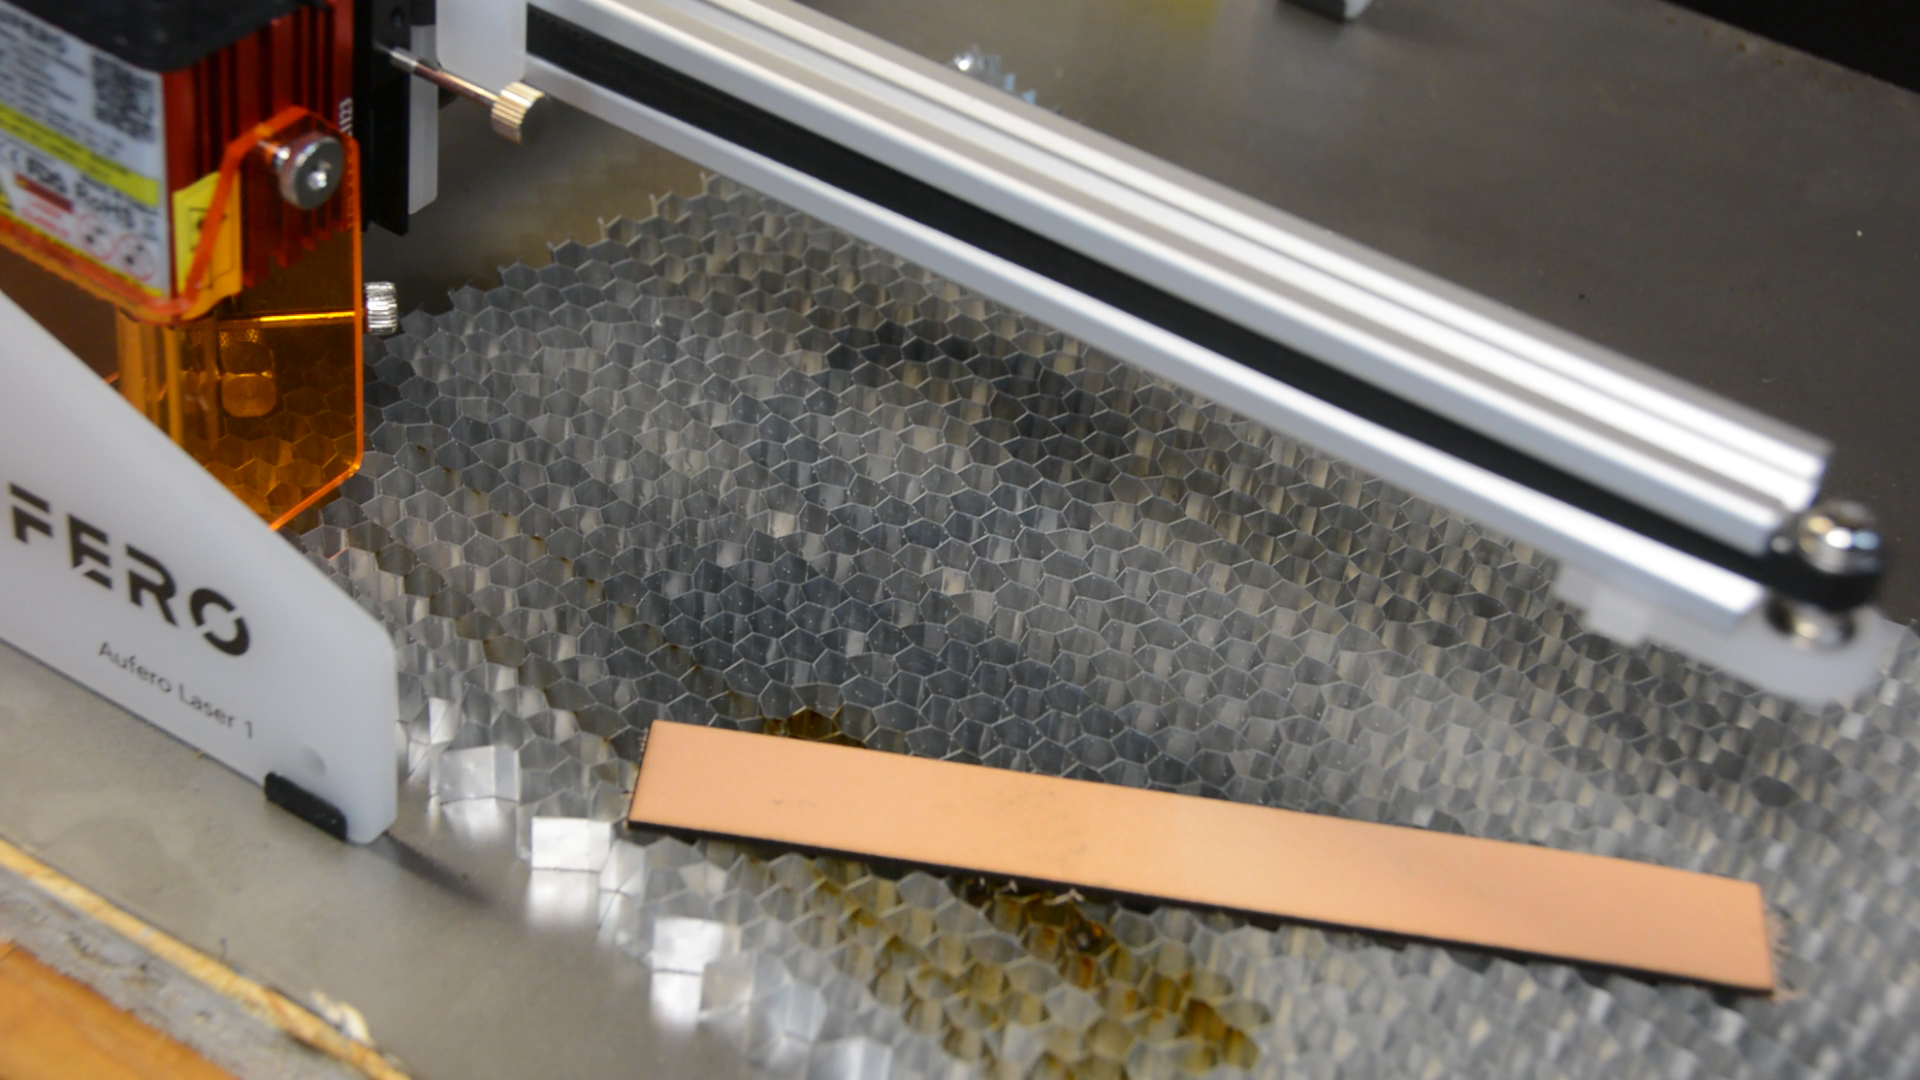
When cutting material directly on a piece of steel you get ugly burnmarks on the underside of your piece. It is therefore advisable to get a simple bed. You can get an aluminum honeycomb structure for around 15 to 20 bucks at ebay.

Besides MDF we can also cut 4mm plywood.
Making a Xmas box
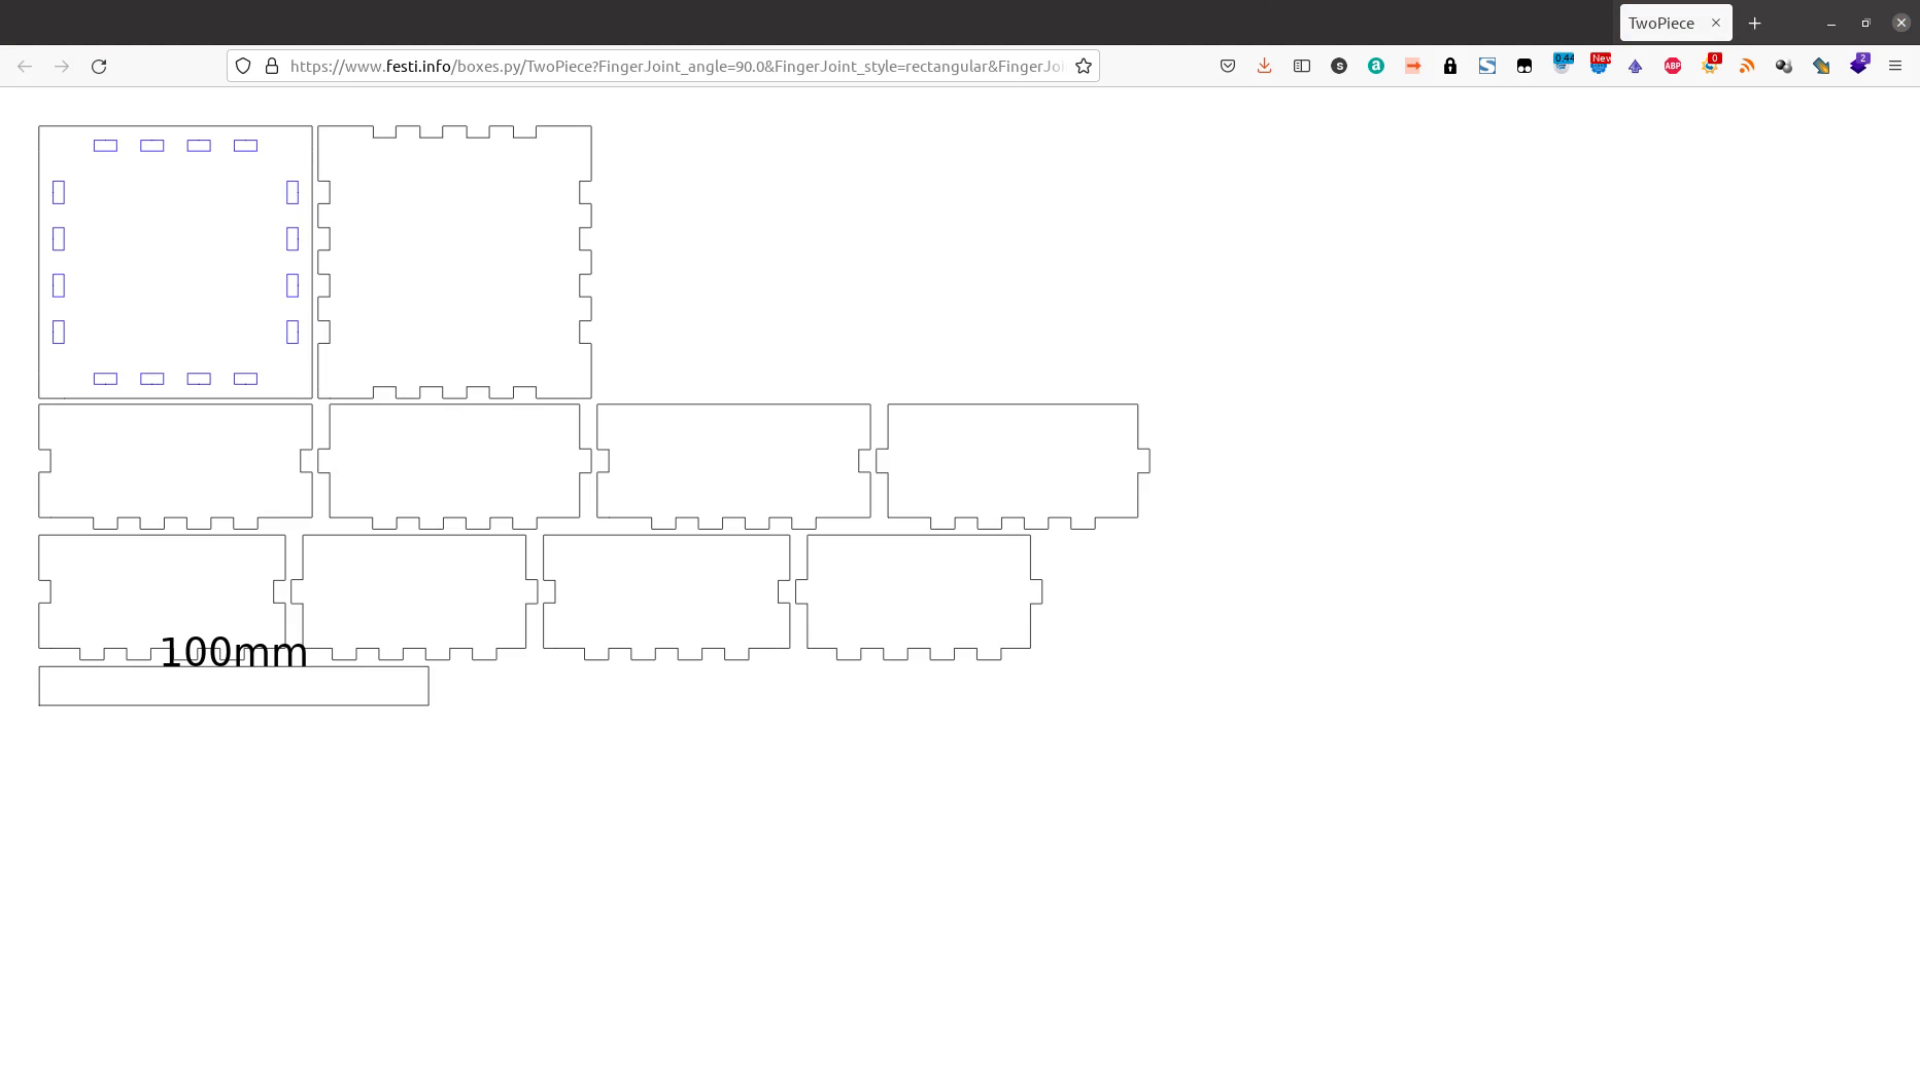
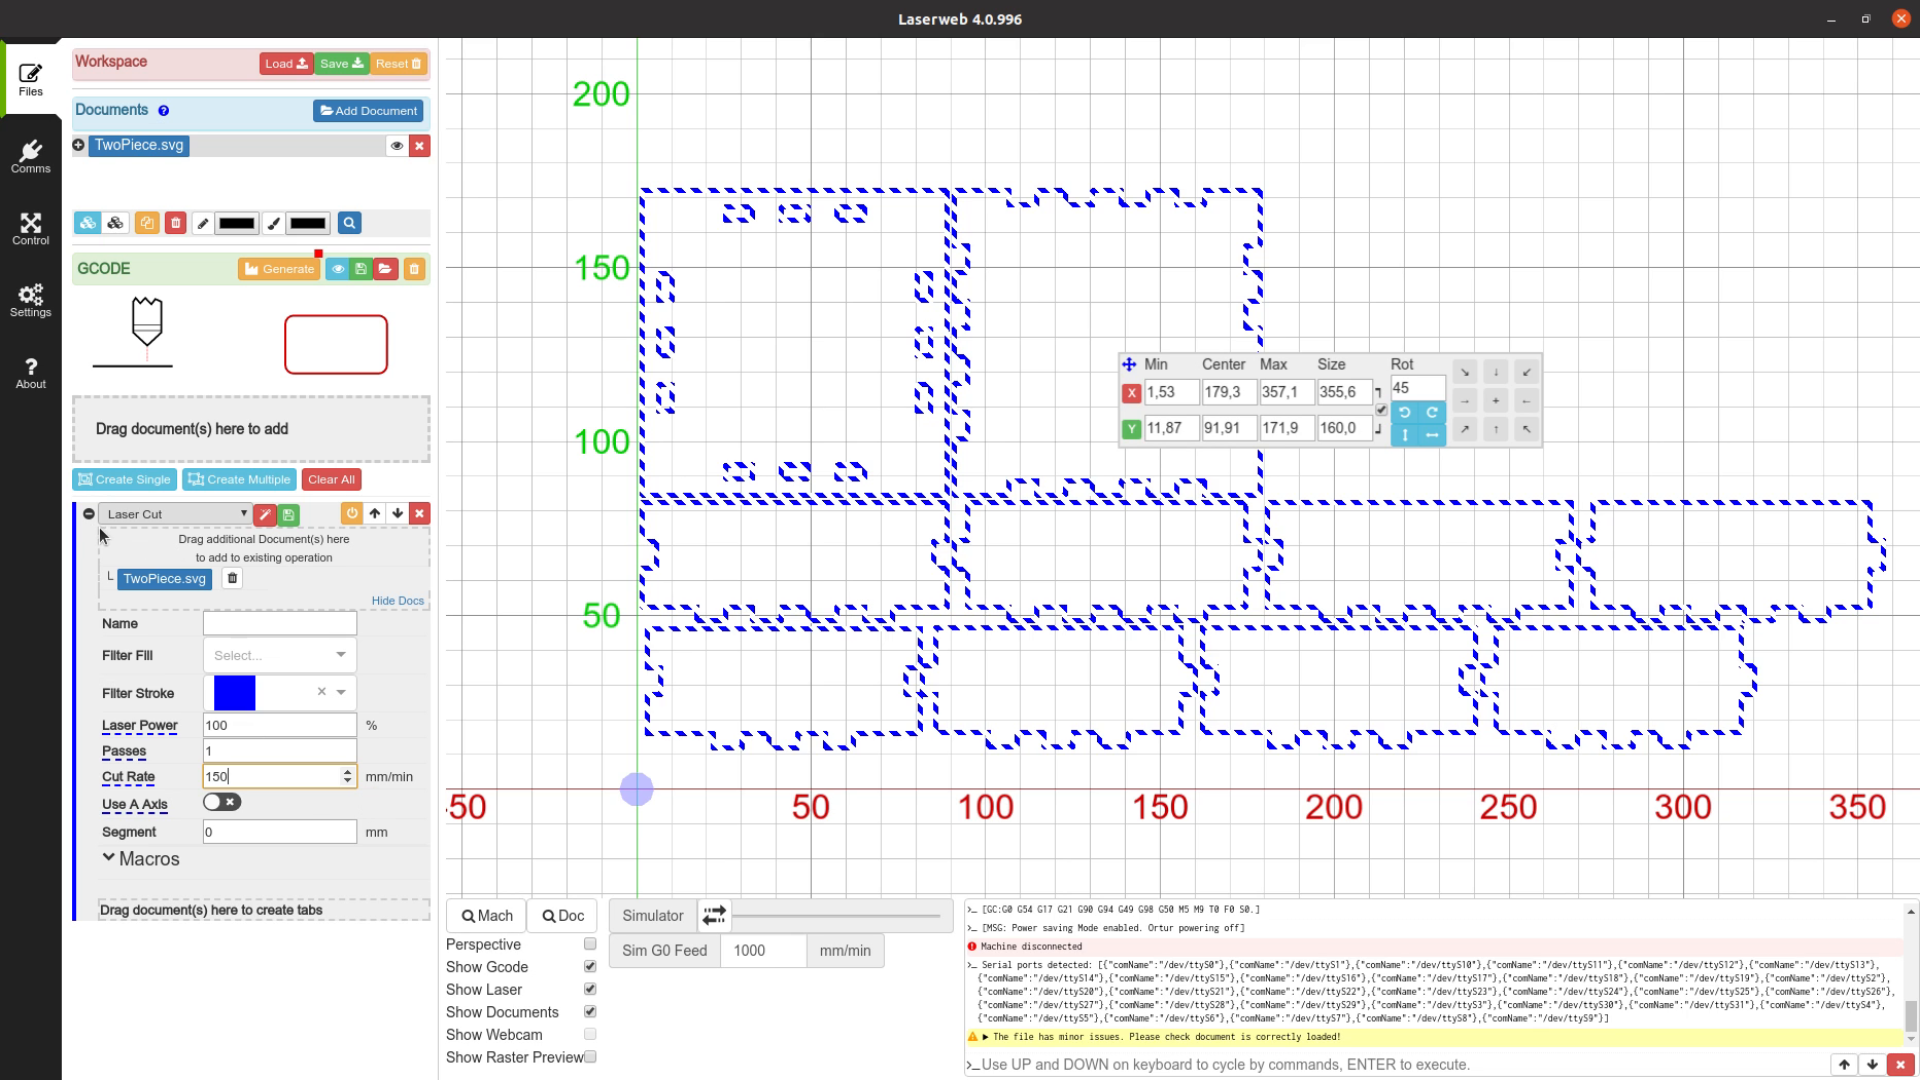
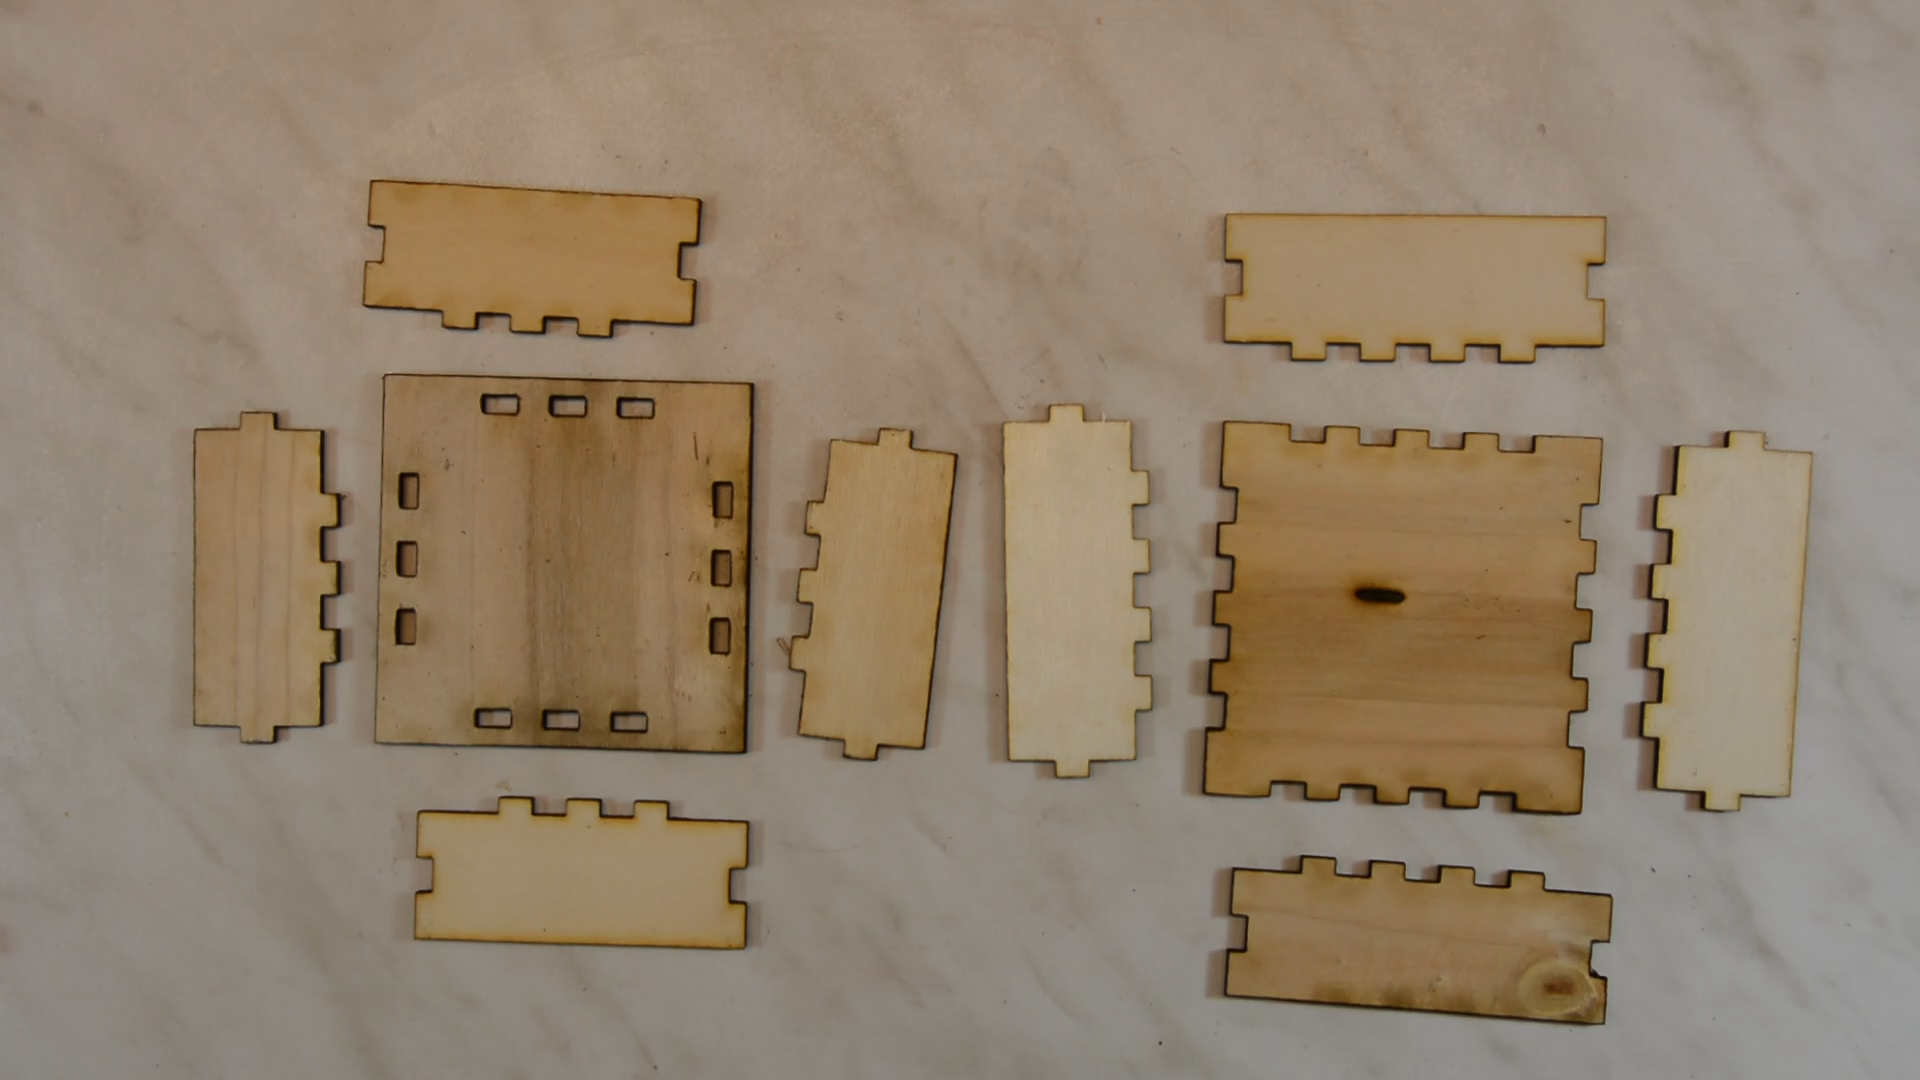
Cutting only test pieces quickly gets boring so let’s make a small box. The Boxes.py box generator is awesome for a quick box design. We just select the size of the box and get a shape that is ready to be cut.
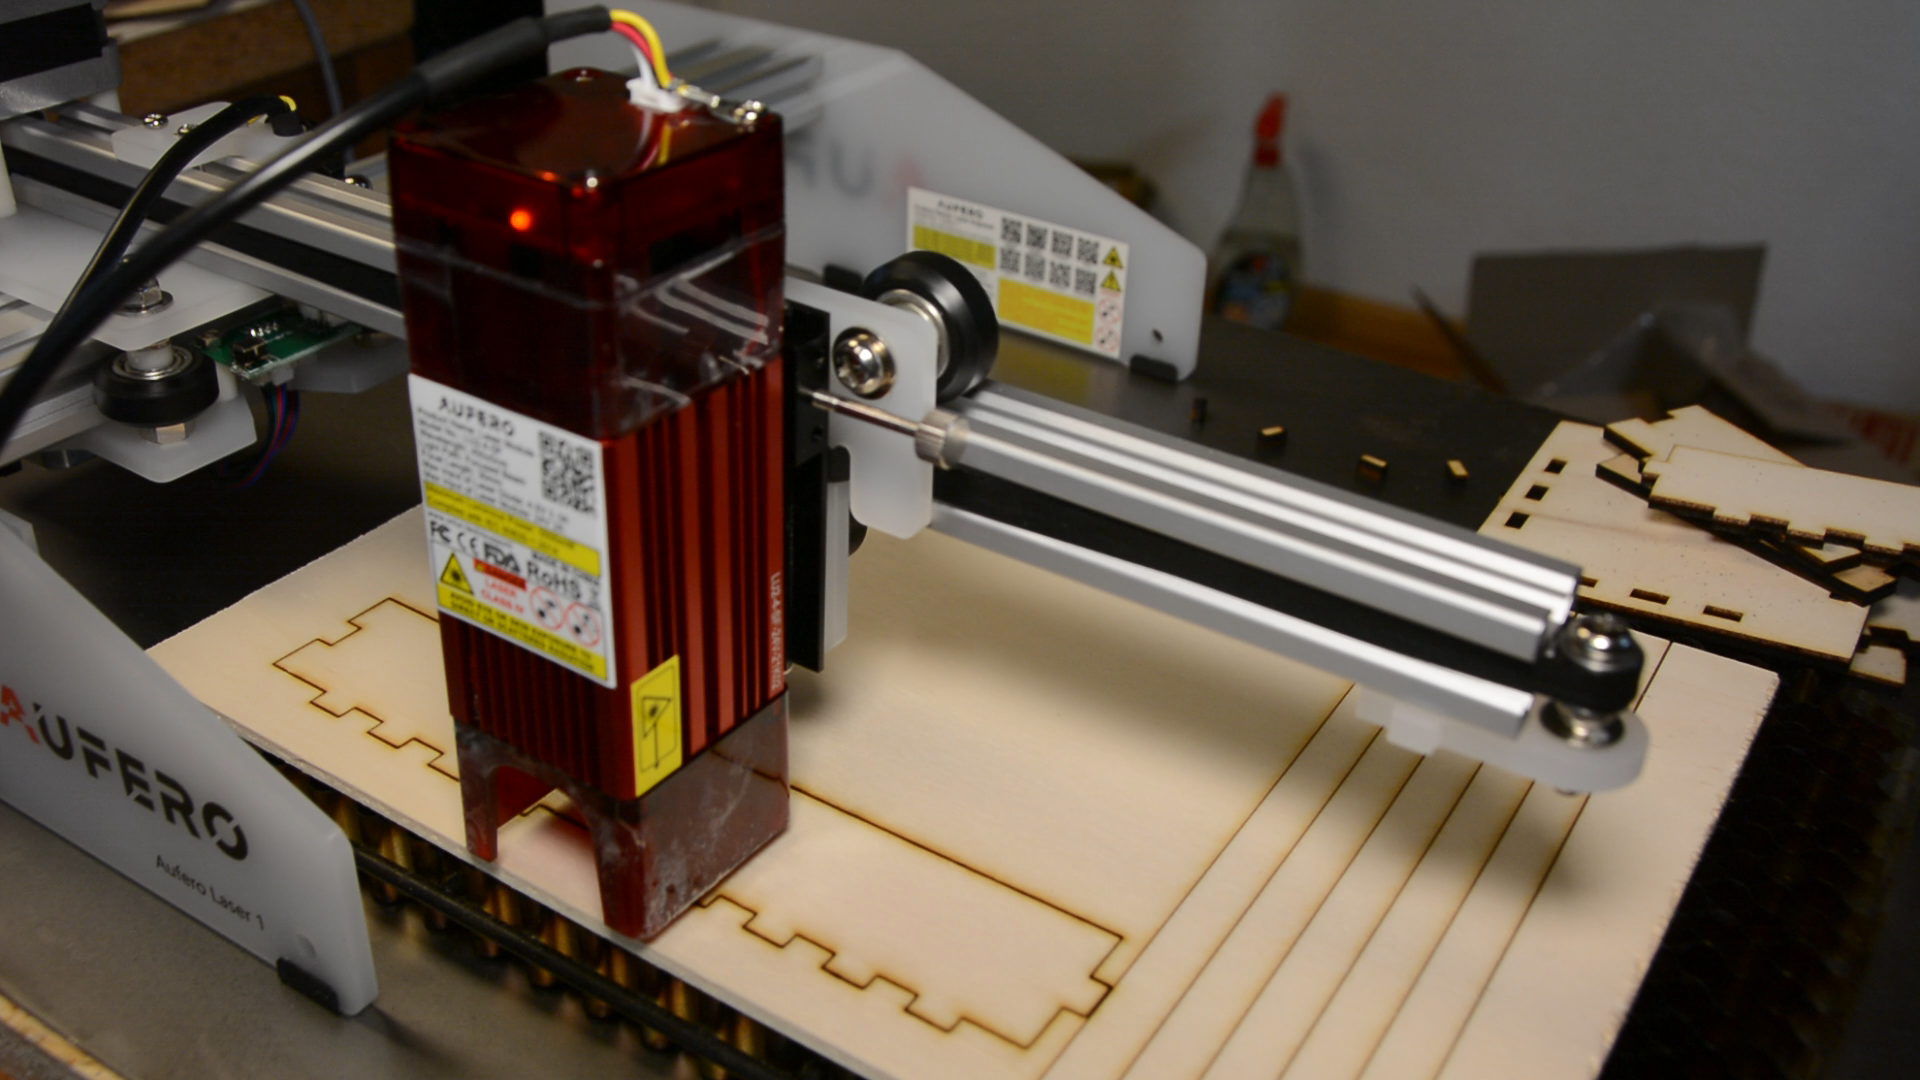
In LaserWeb we select the blue outlines to be cut as the first job by applying the stroke filter. In a second operation we cut the pieces free.

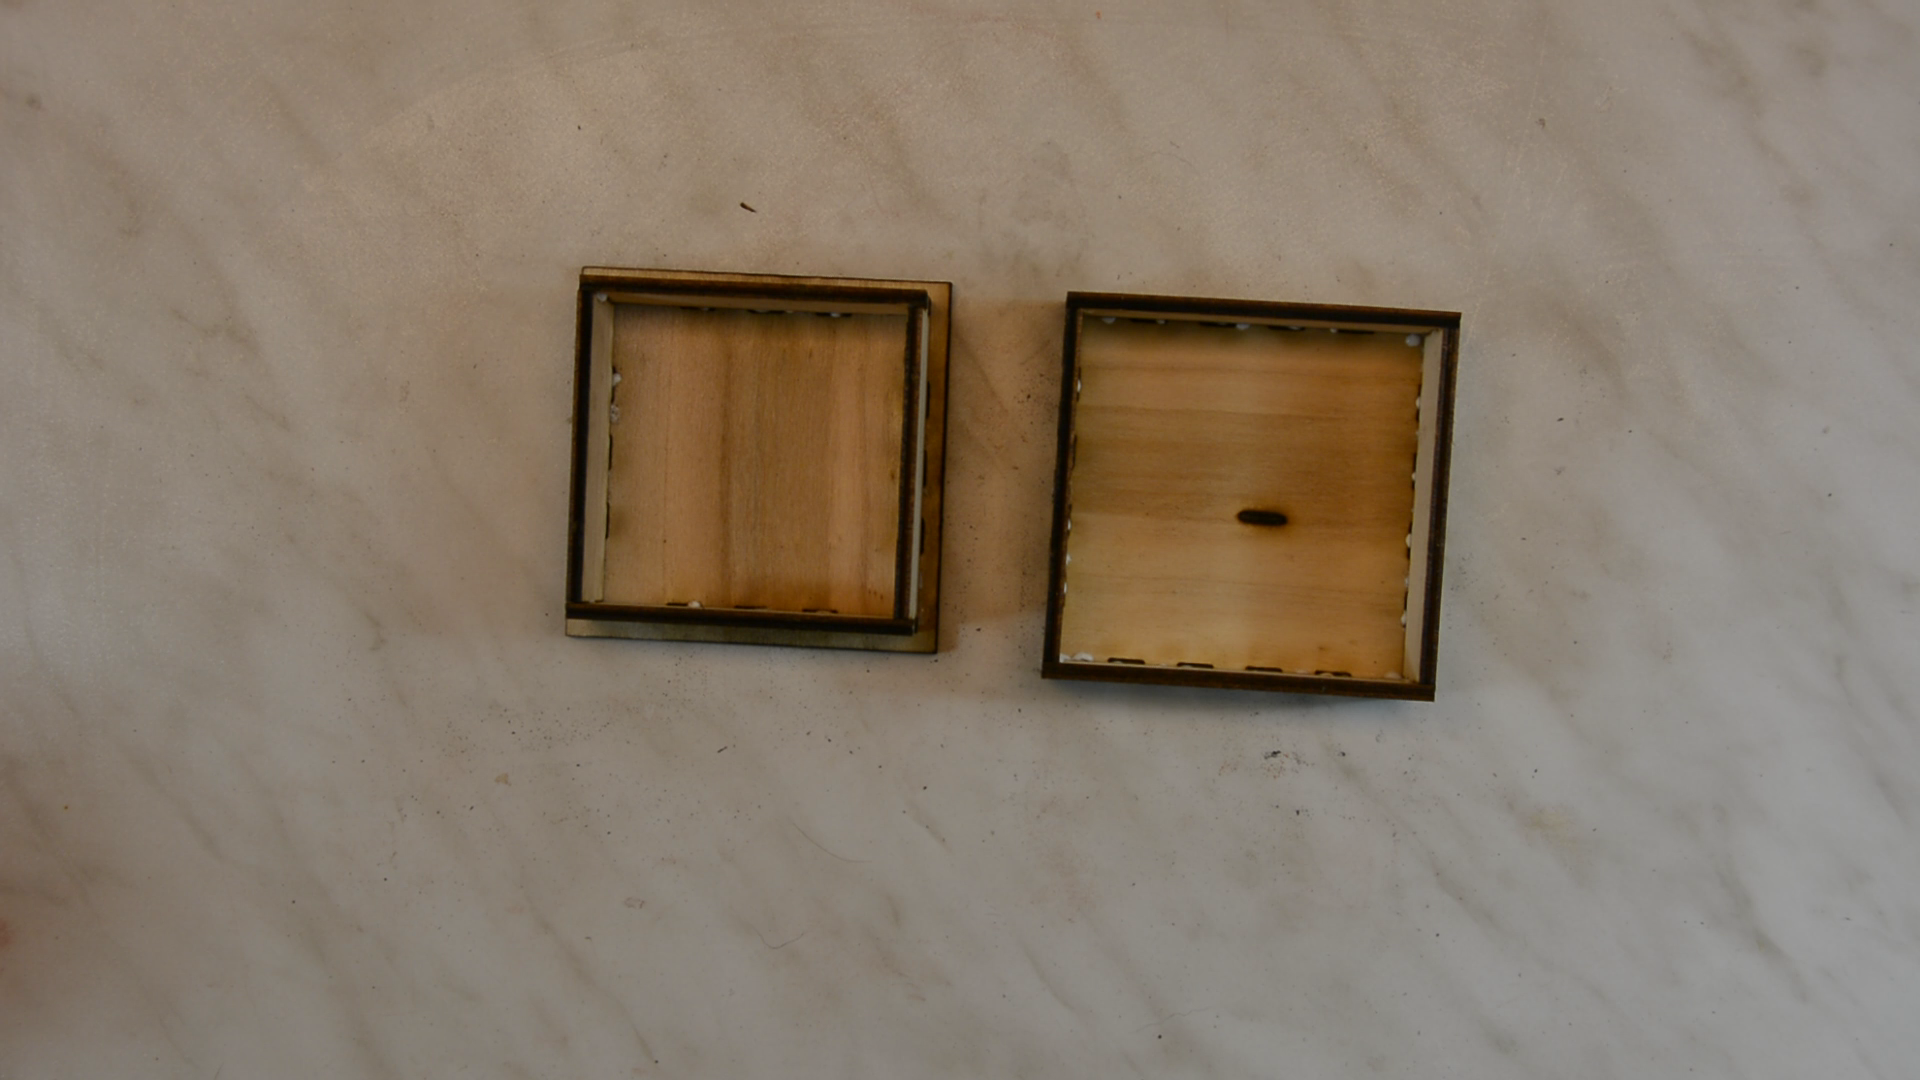
With a little bit of glue we have a small box with a lid.
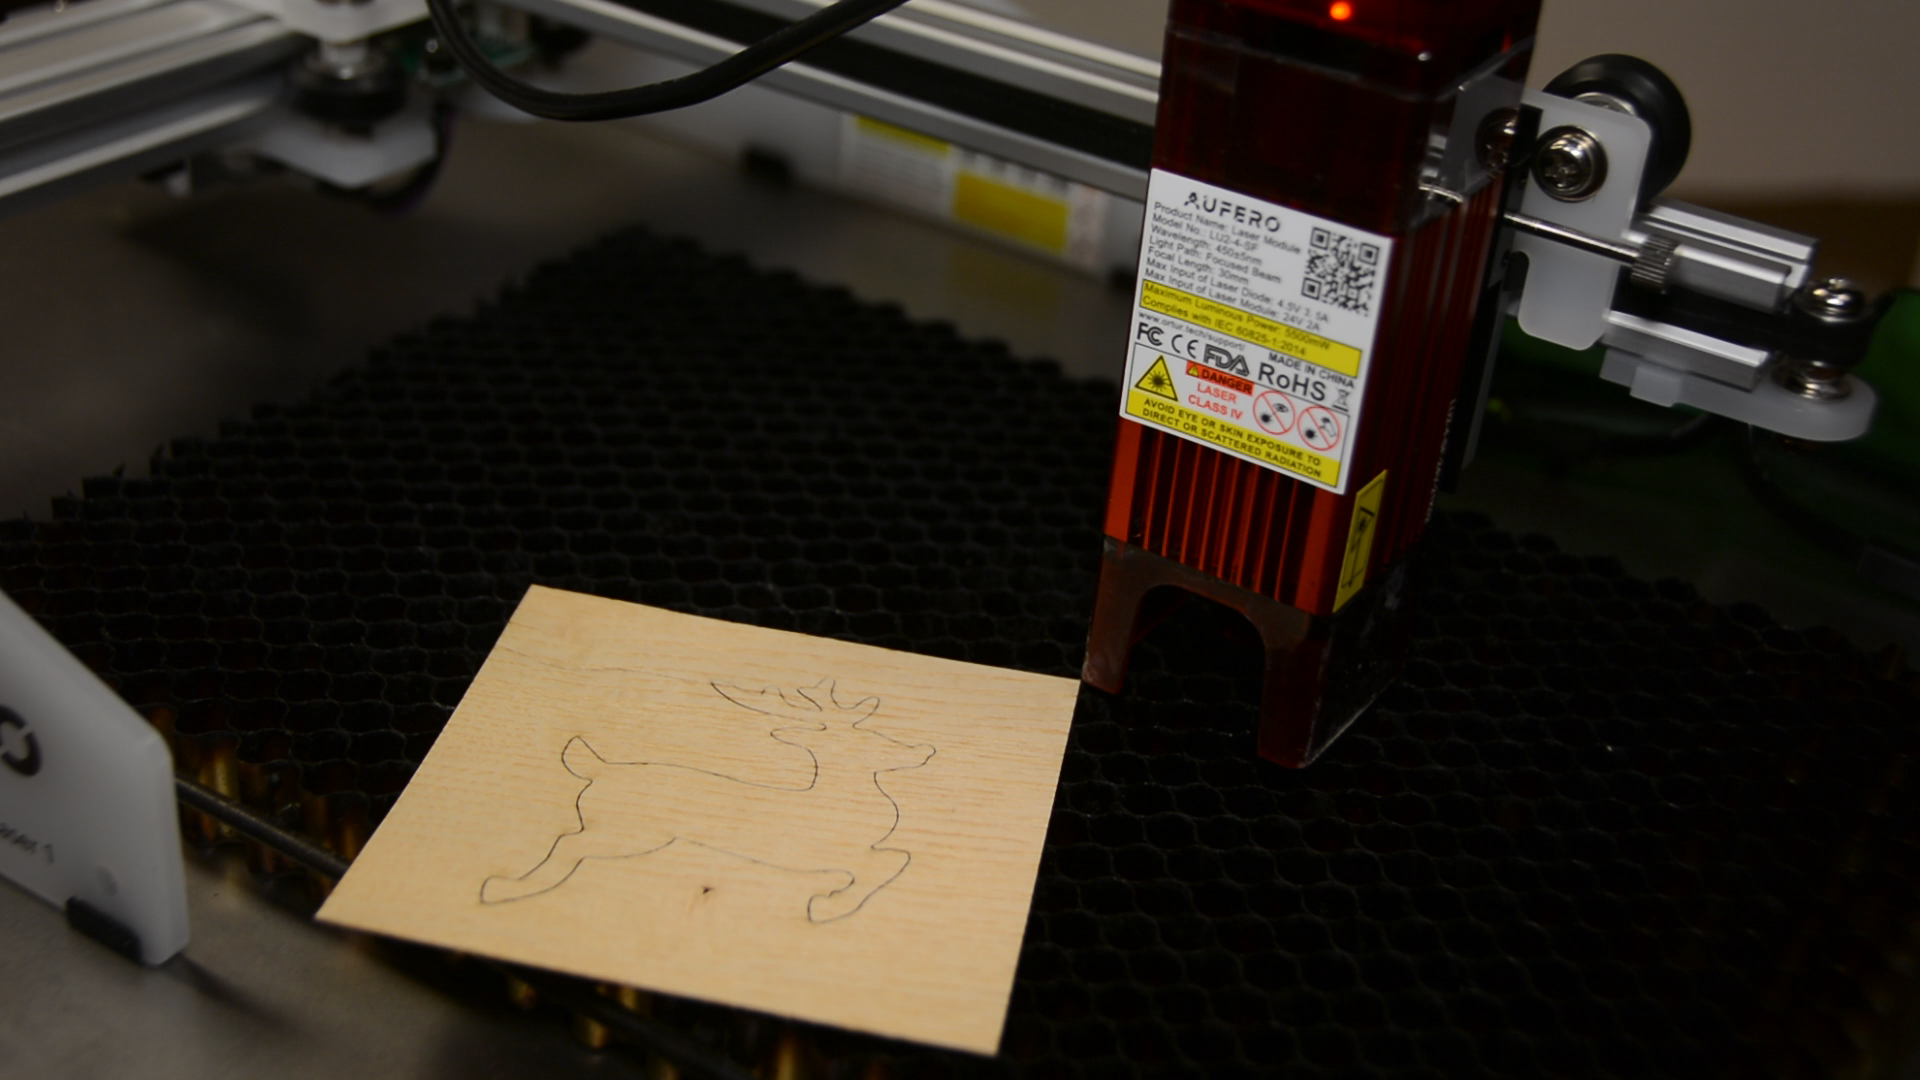
The next thing we want to cut is some wood veneer. As Christmas is approaching quickly let’s cut a reindeer from the oak background and a matching inlay from a darker wood.

The small diameter of the laser beam is a big advantage when putting the pieces together. They neatly friction fit in one another although I have cut both with the same shape. For the K40 laser cutter I always had compensate for the width of the laser beam.


This makes inlay work so much easier. To finish the project we glue more veneer to the sides.
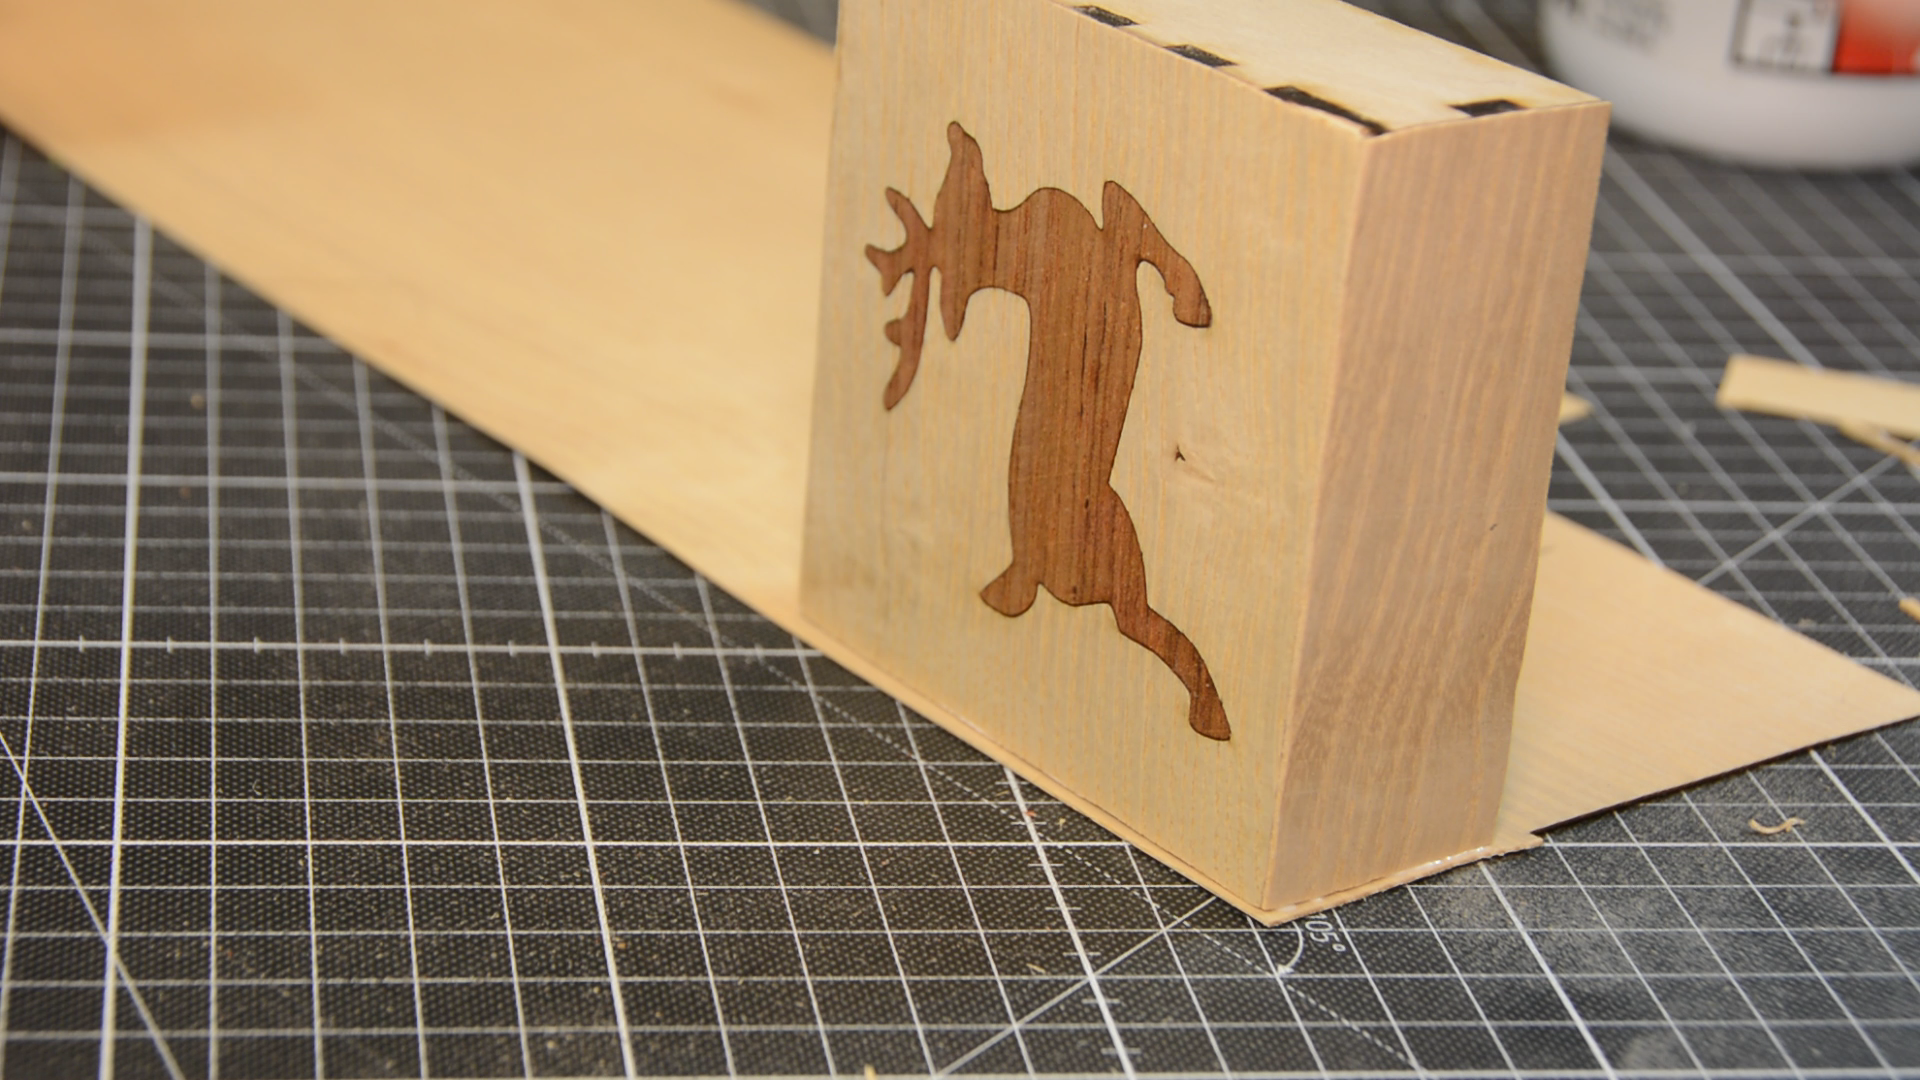
One coat of hard wax oil and we are done with the box.

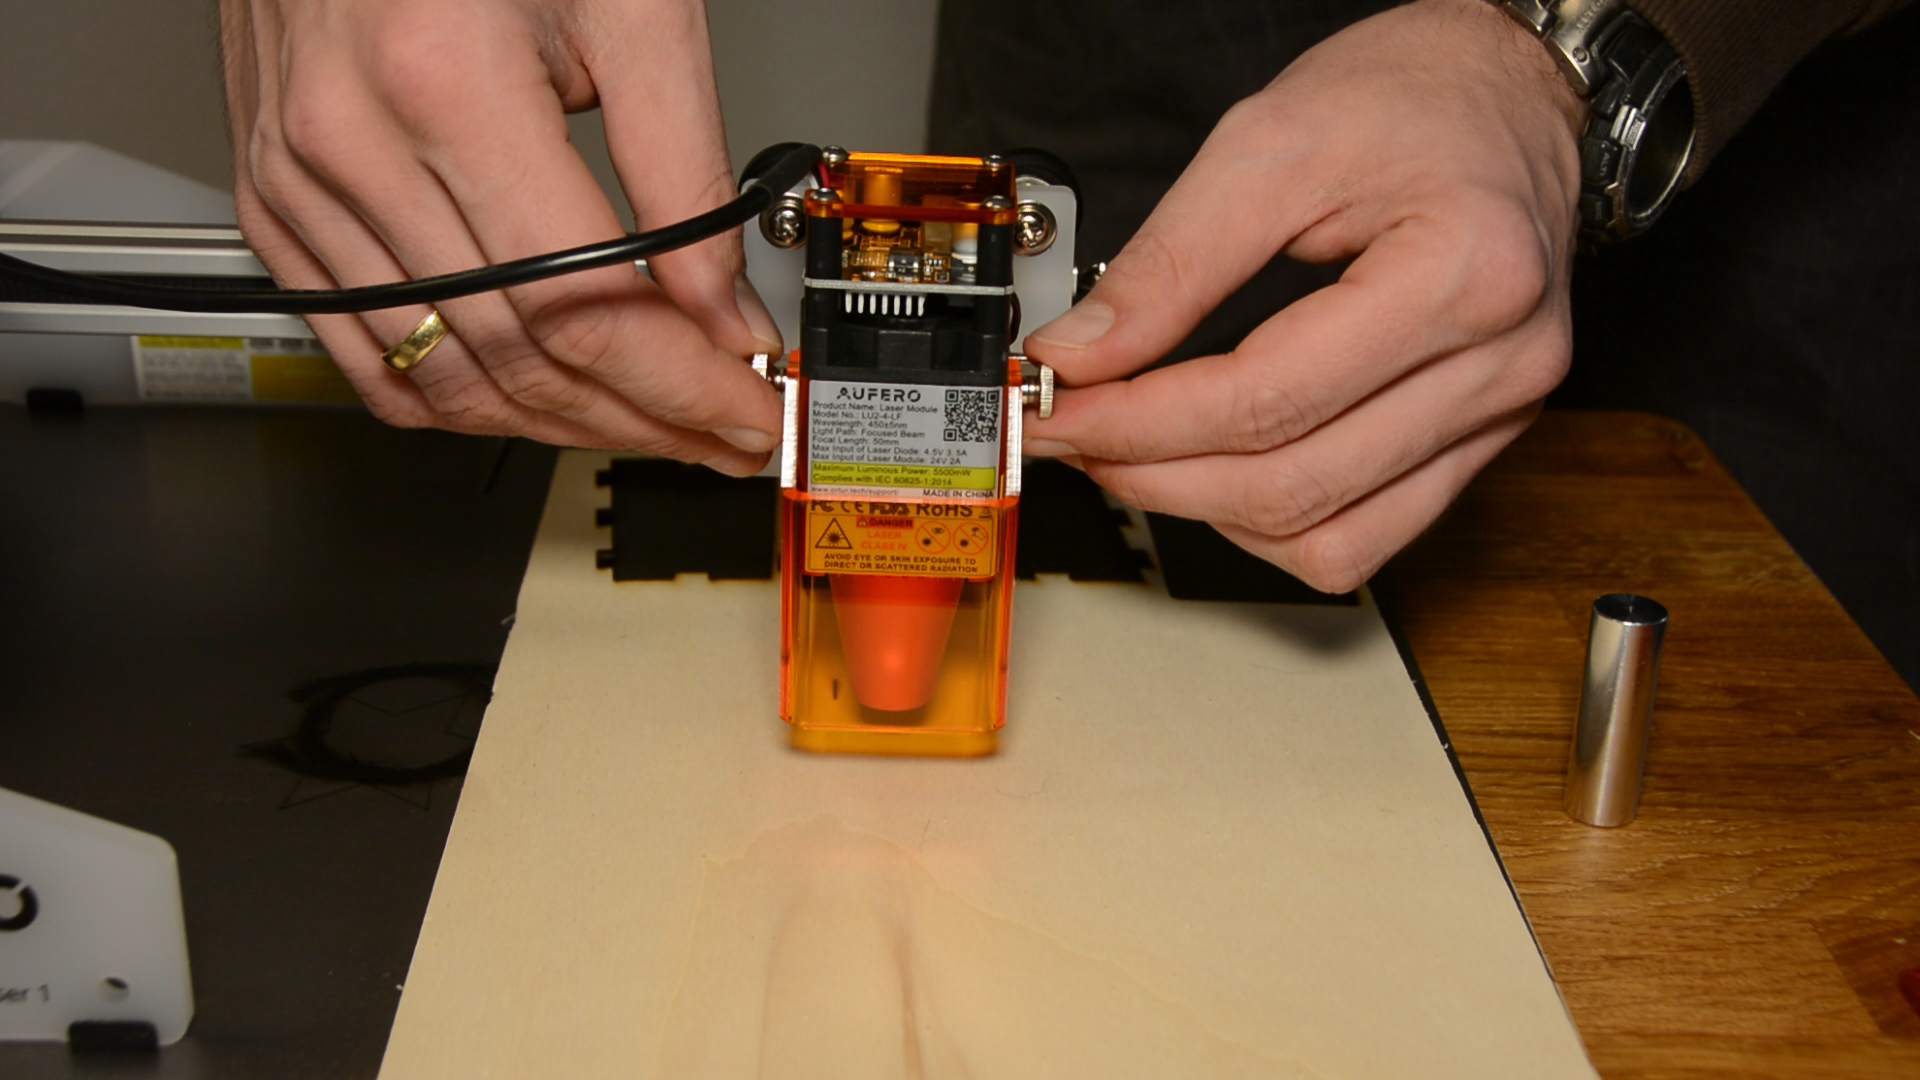
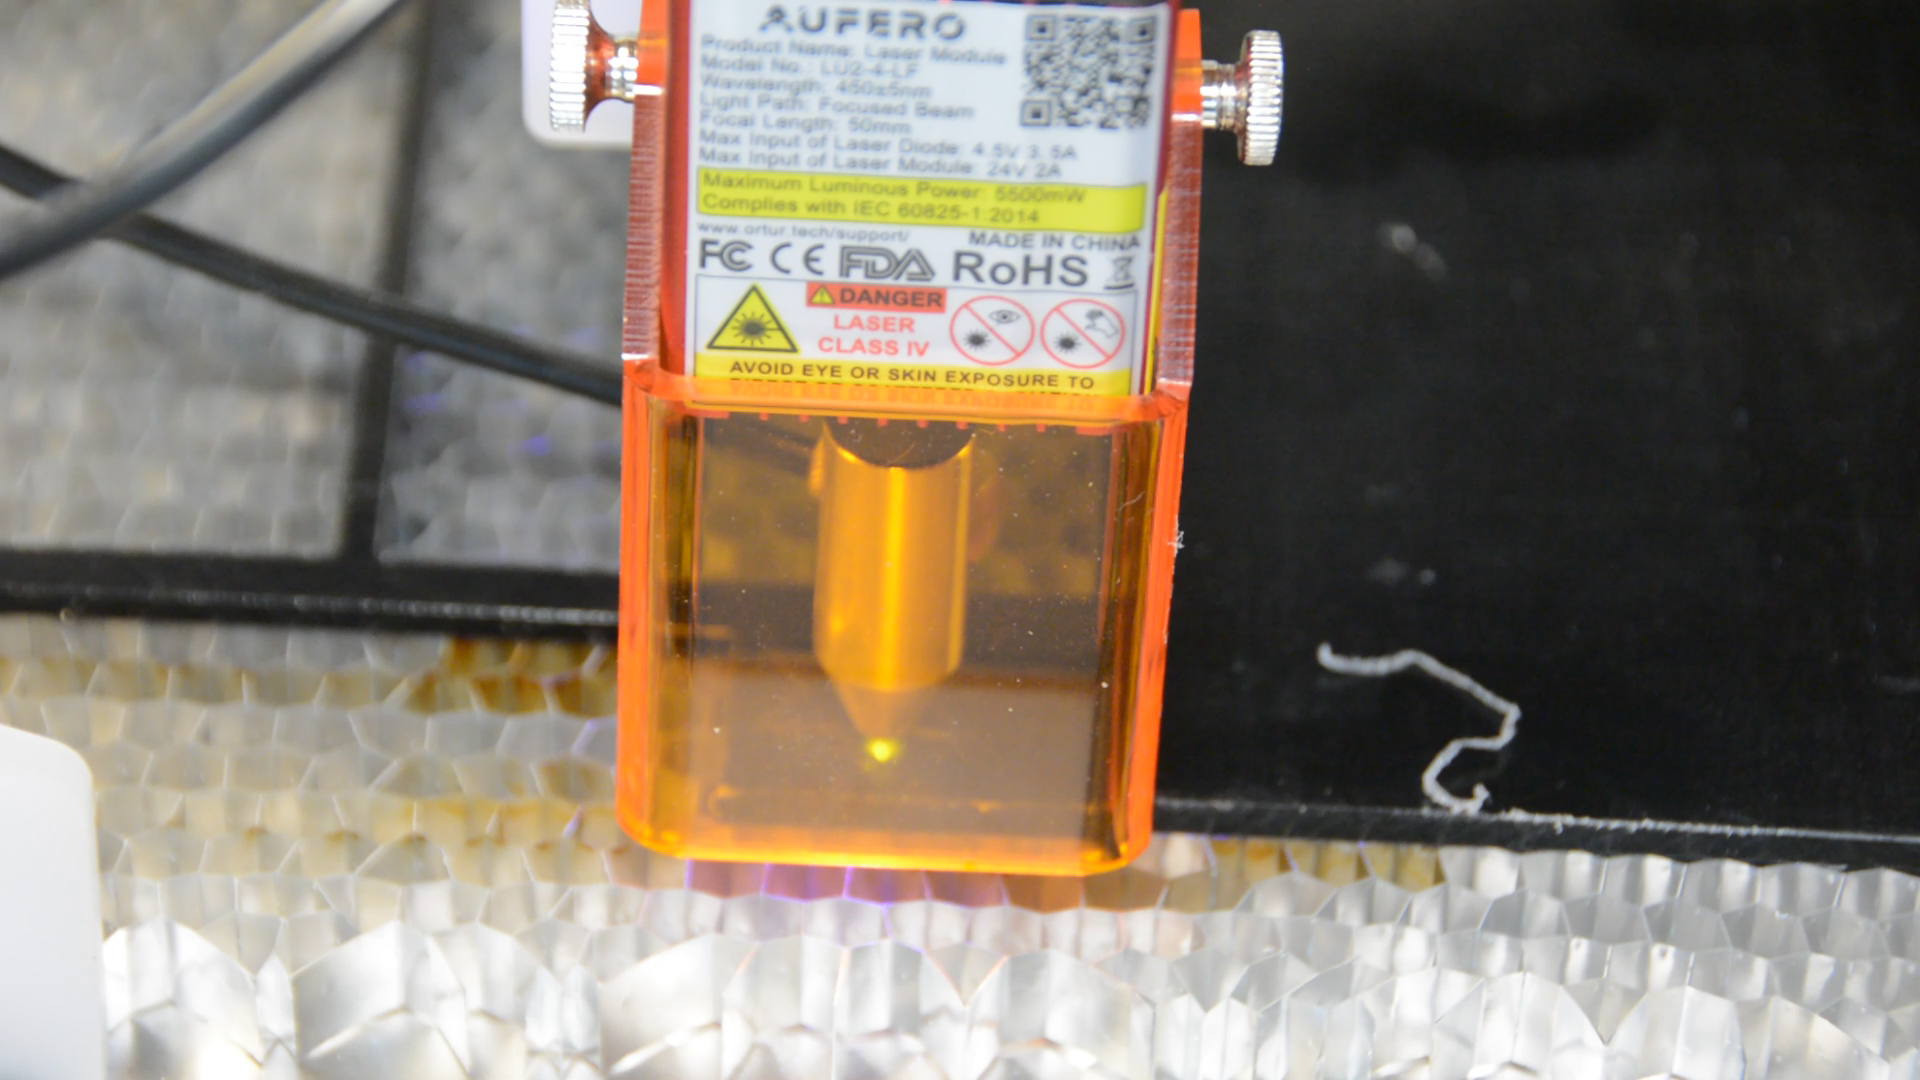
Aufero LU2-4LF module with Air Assist
Let’s take a look at the third module, the LU2-4LF. As the LU2-4SF it comes with a power of 4,5 to 5,5 Watt and is able to cut even a bit faster through most materials.
The focus length for this module is set in the same way as for LU2-2 with the 50mm metal cylinder.
It is able to cut all the material that the LU2-4SF can cut. Let’s start with an engraving on a slate coaster.

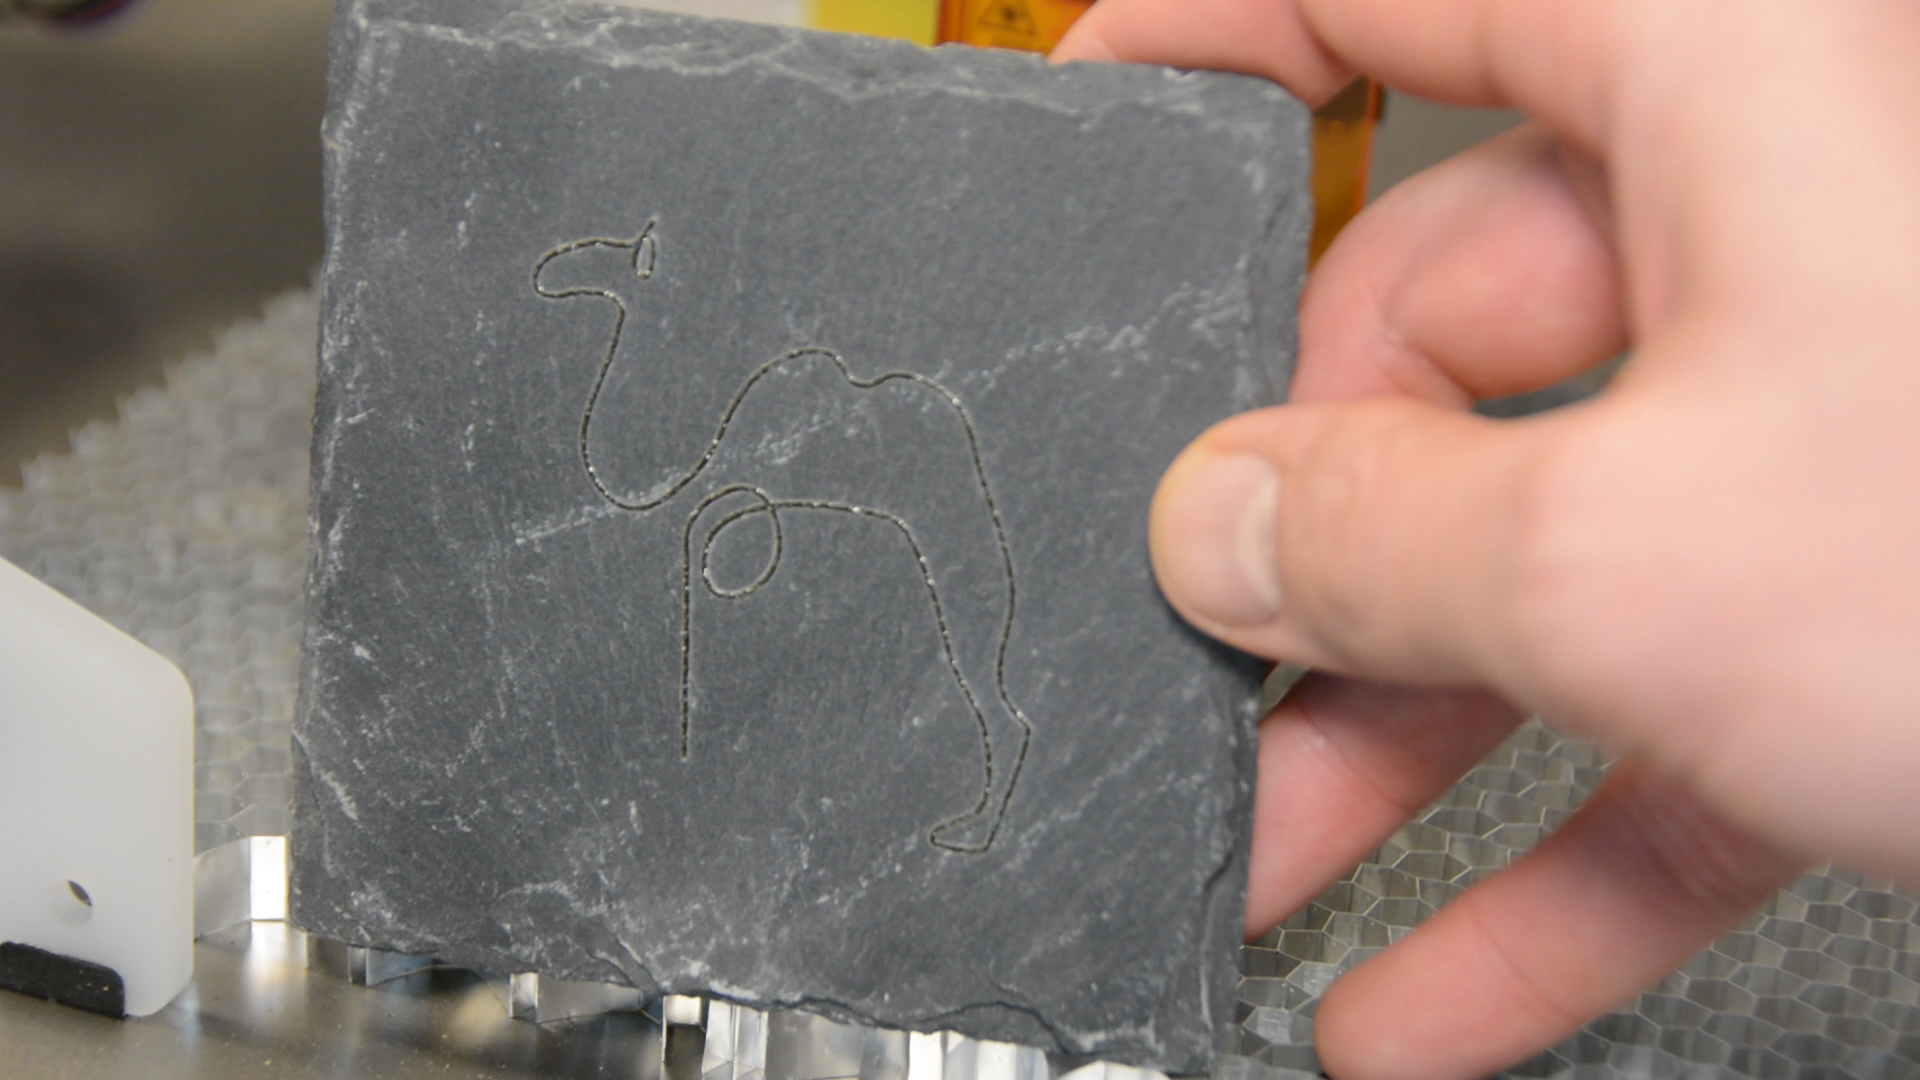
The classic Picasso camel engraves nice and deeply.
Attaching the air assist
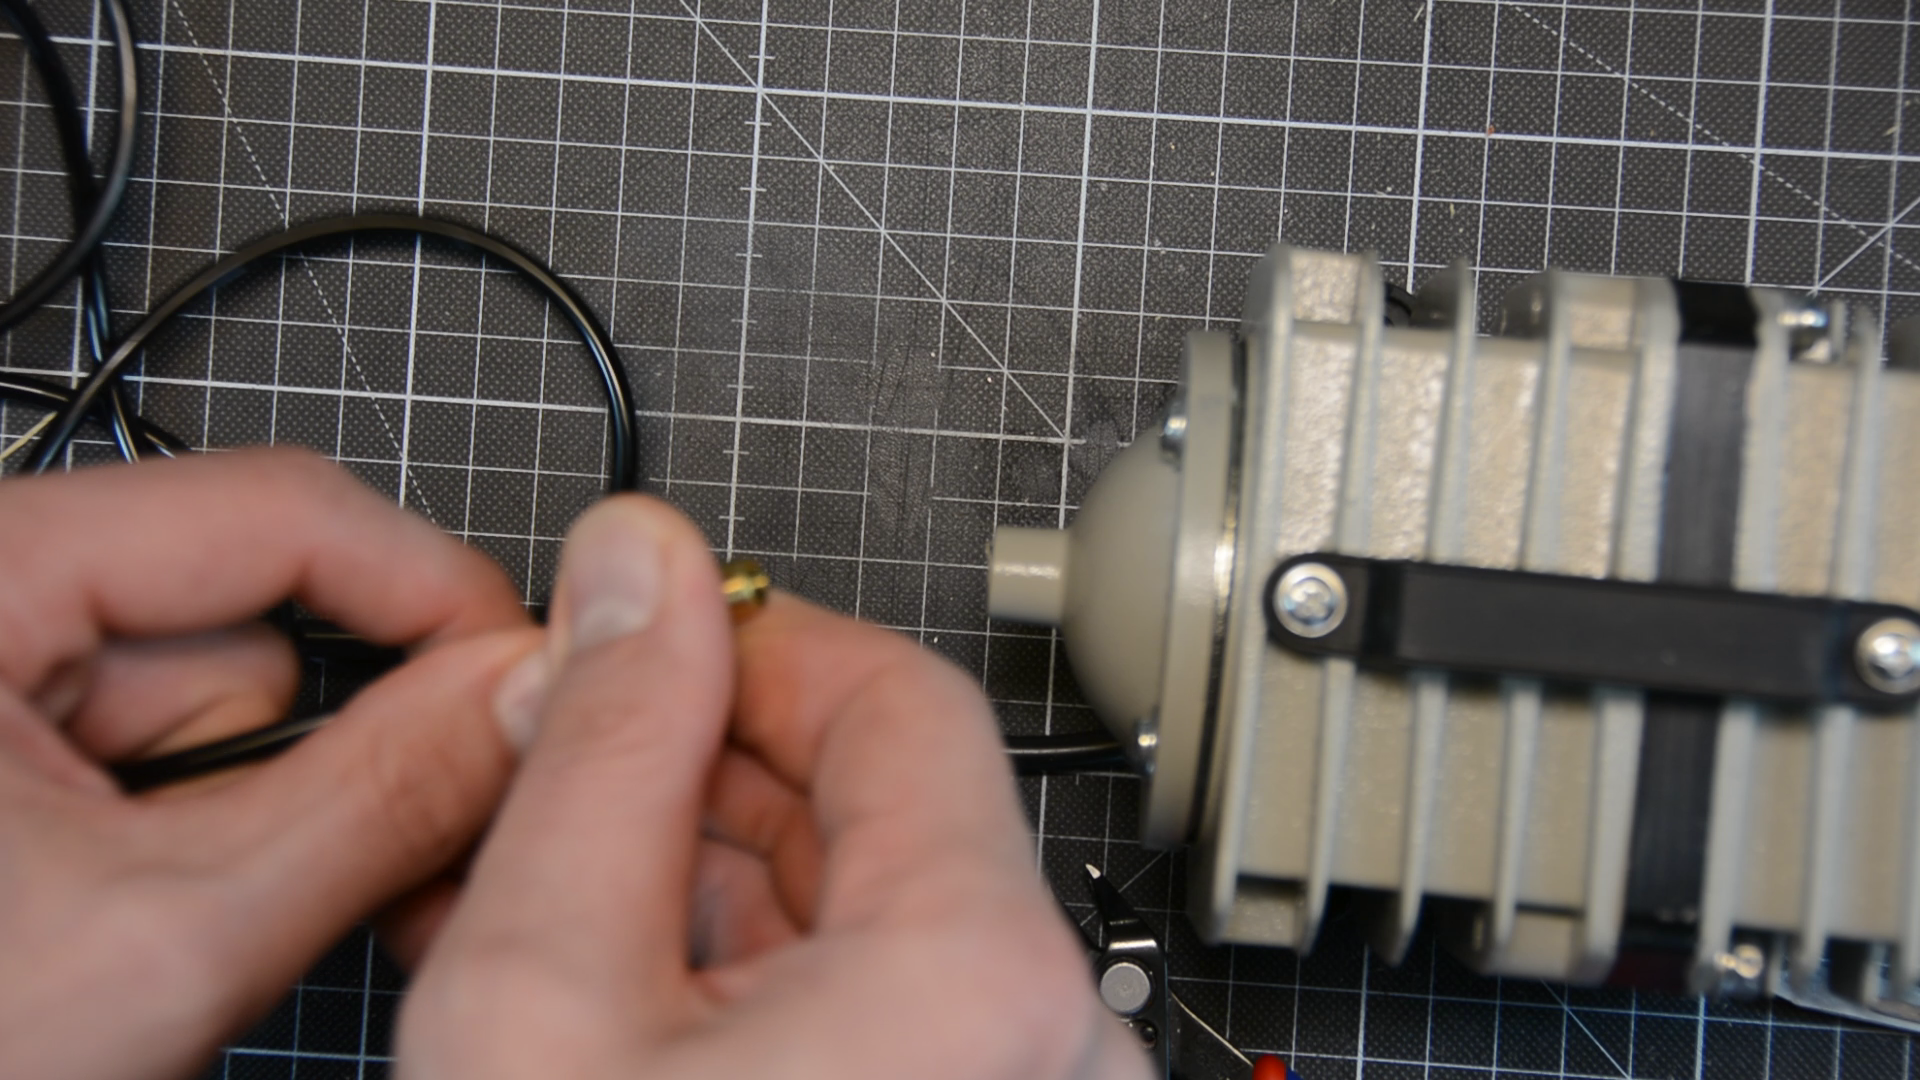
For cutting we can can attach an air assist to this laser module.
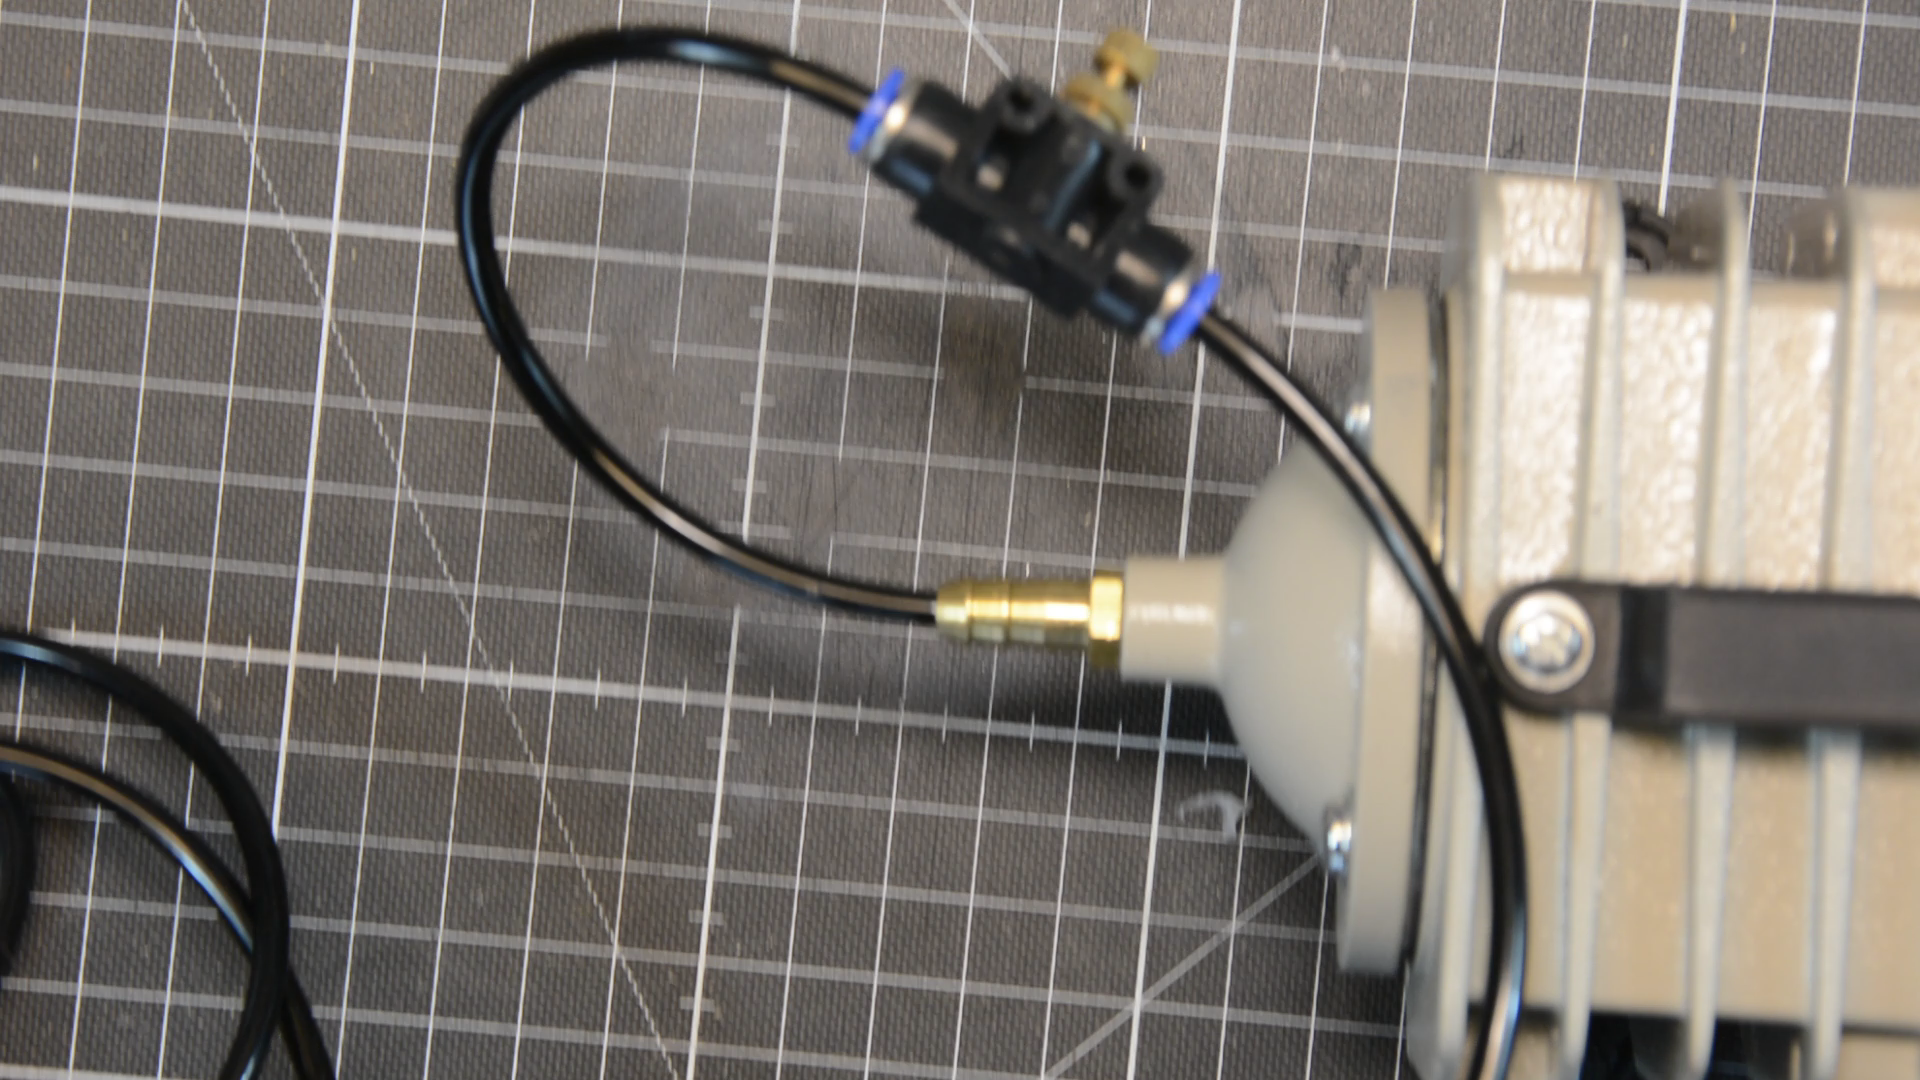
It comes with all the hoses and connectors – you only need a small aquarium pump in order to run the air assist.
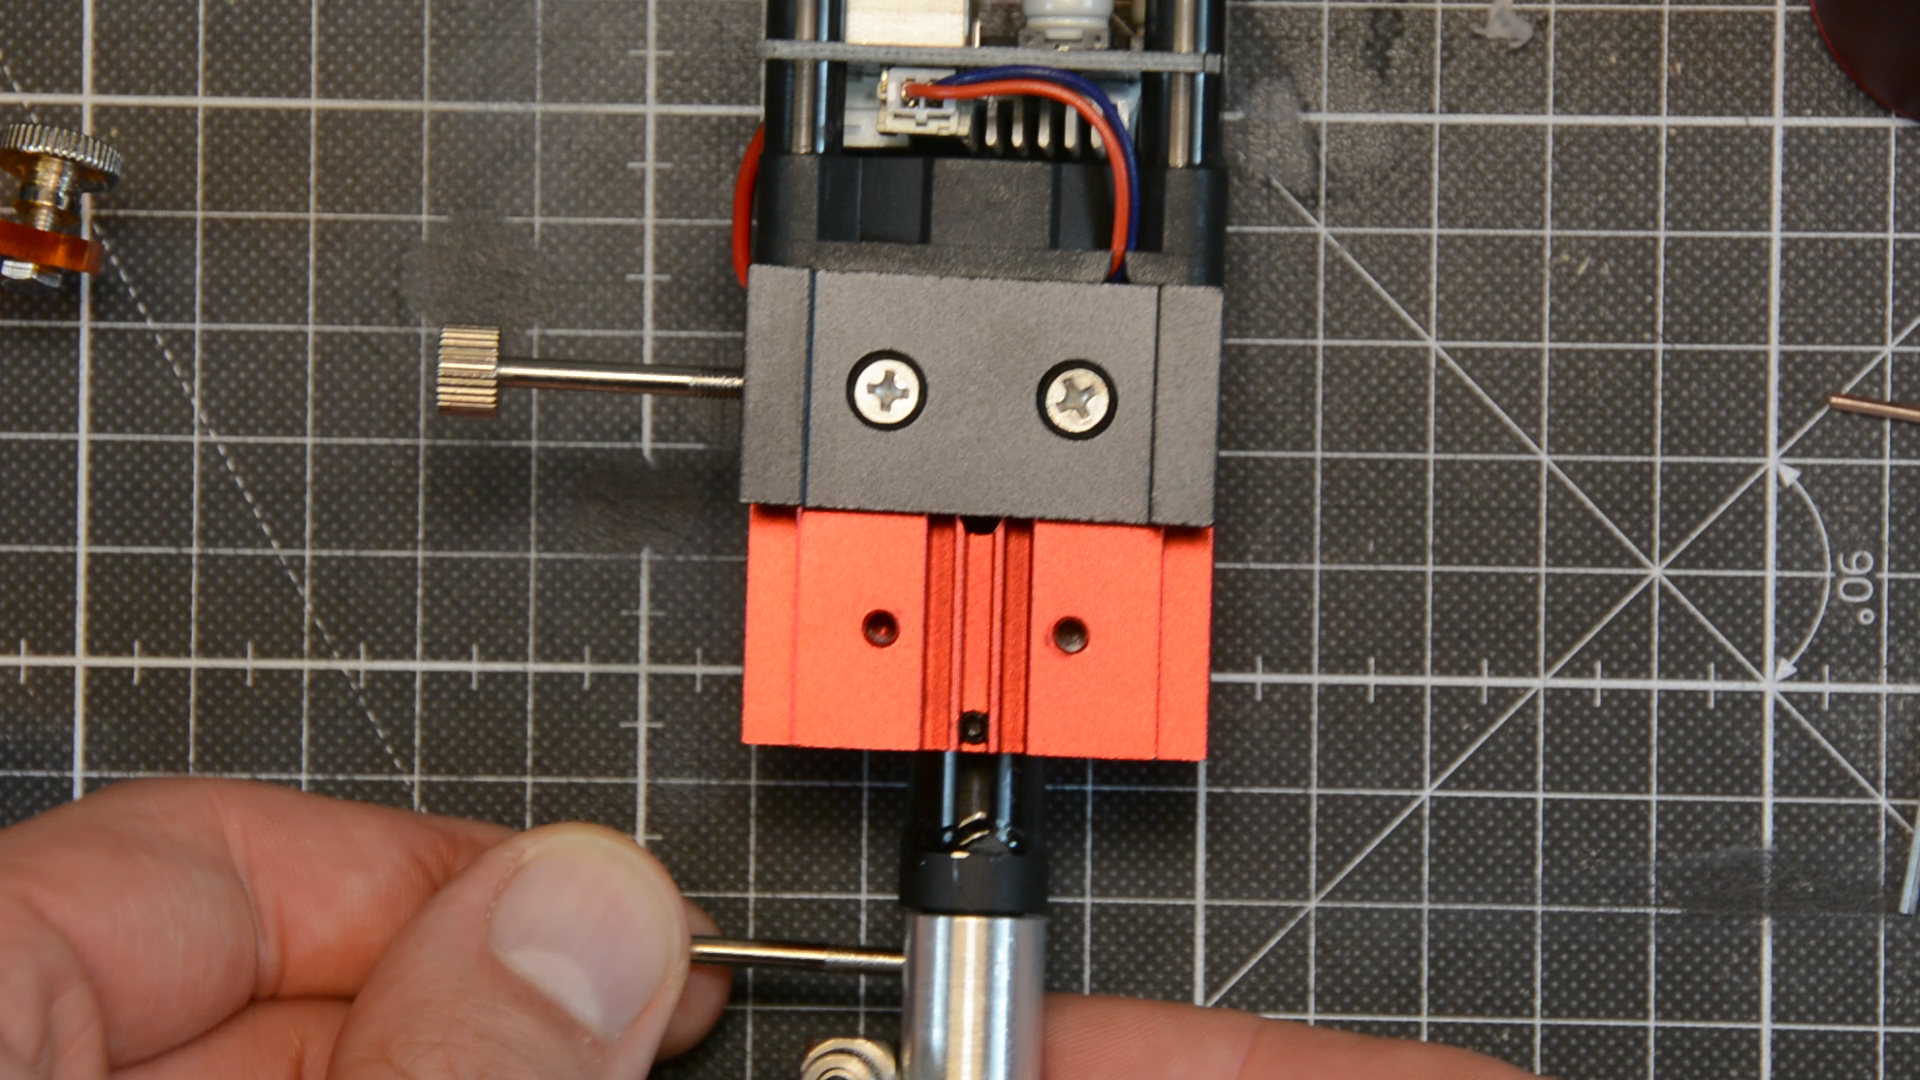
Get the headless screw in the back of the laser loose and unscrew the cone.

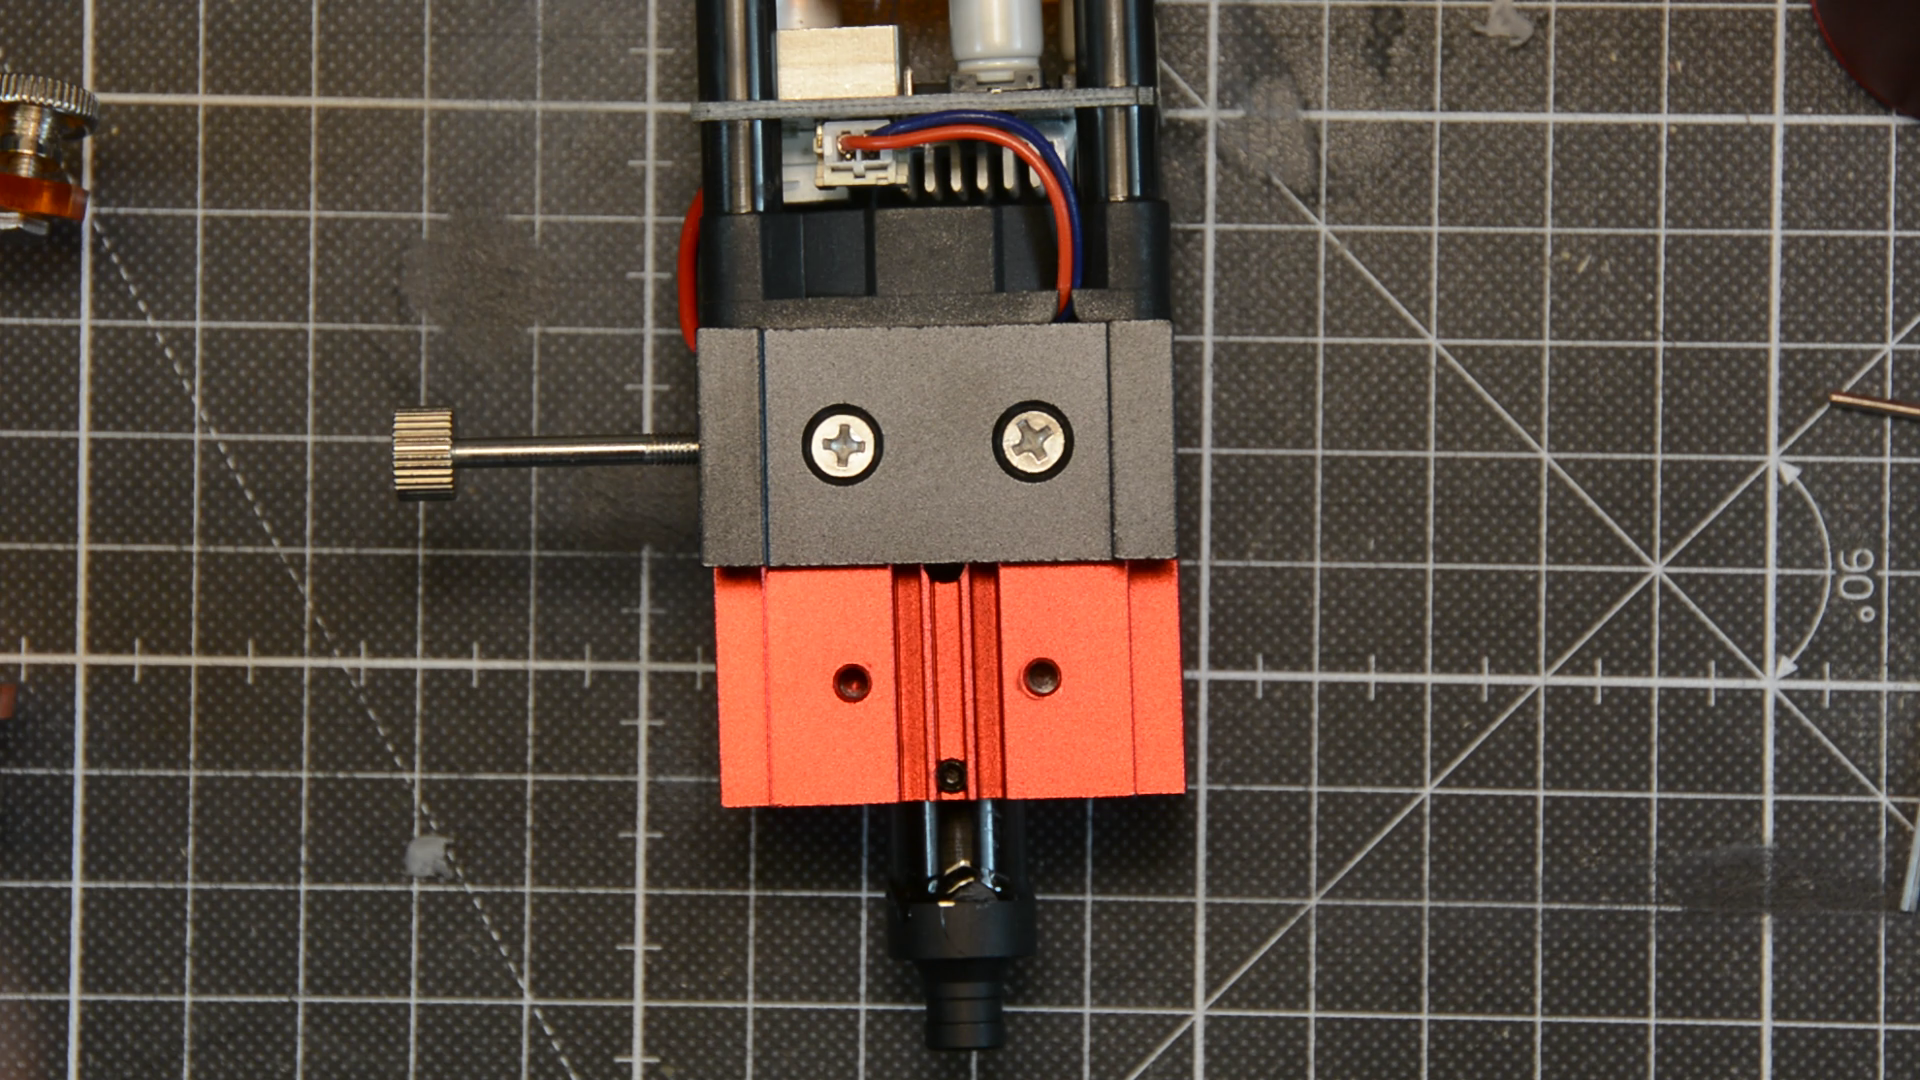
The cap on the side is removed, so that we can slide to hose over the inlet. Then secure the hose with the cap. Attach the air assist to the laser and secure it with a long screw.

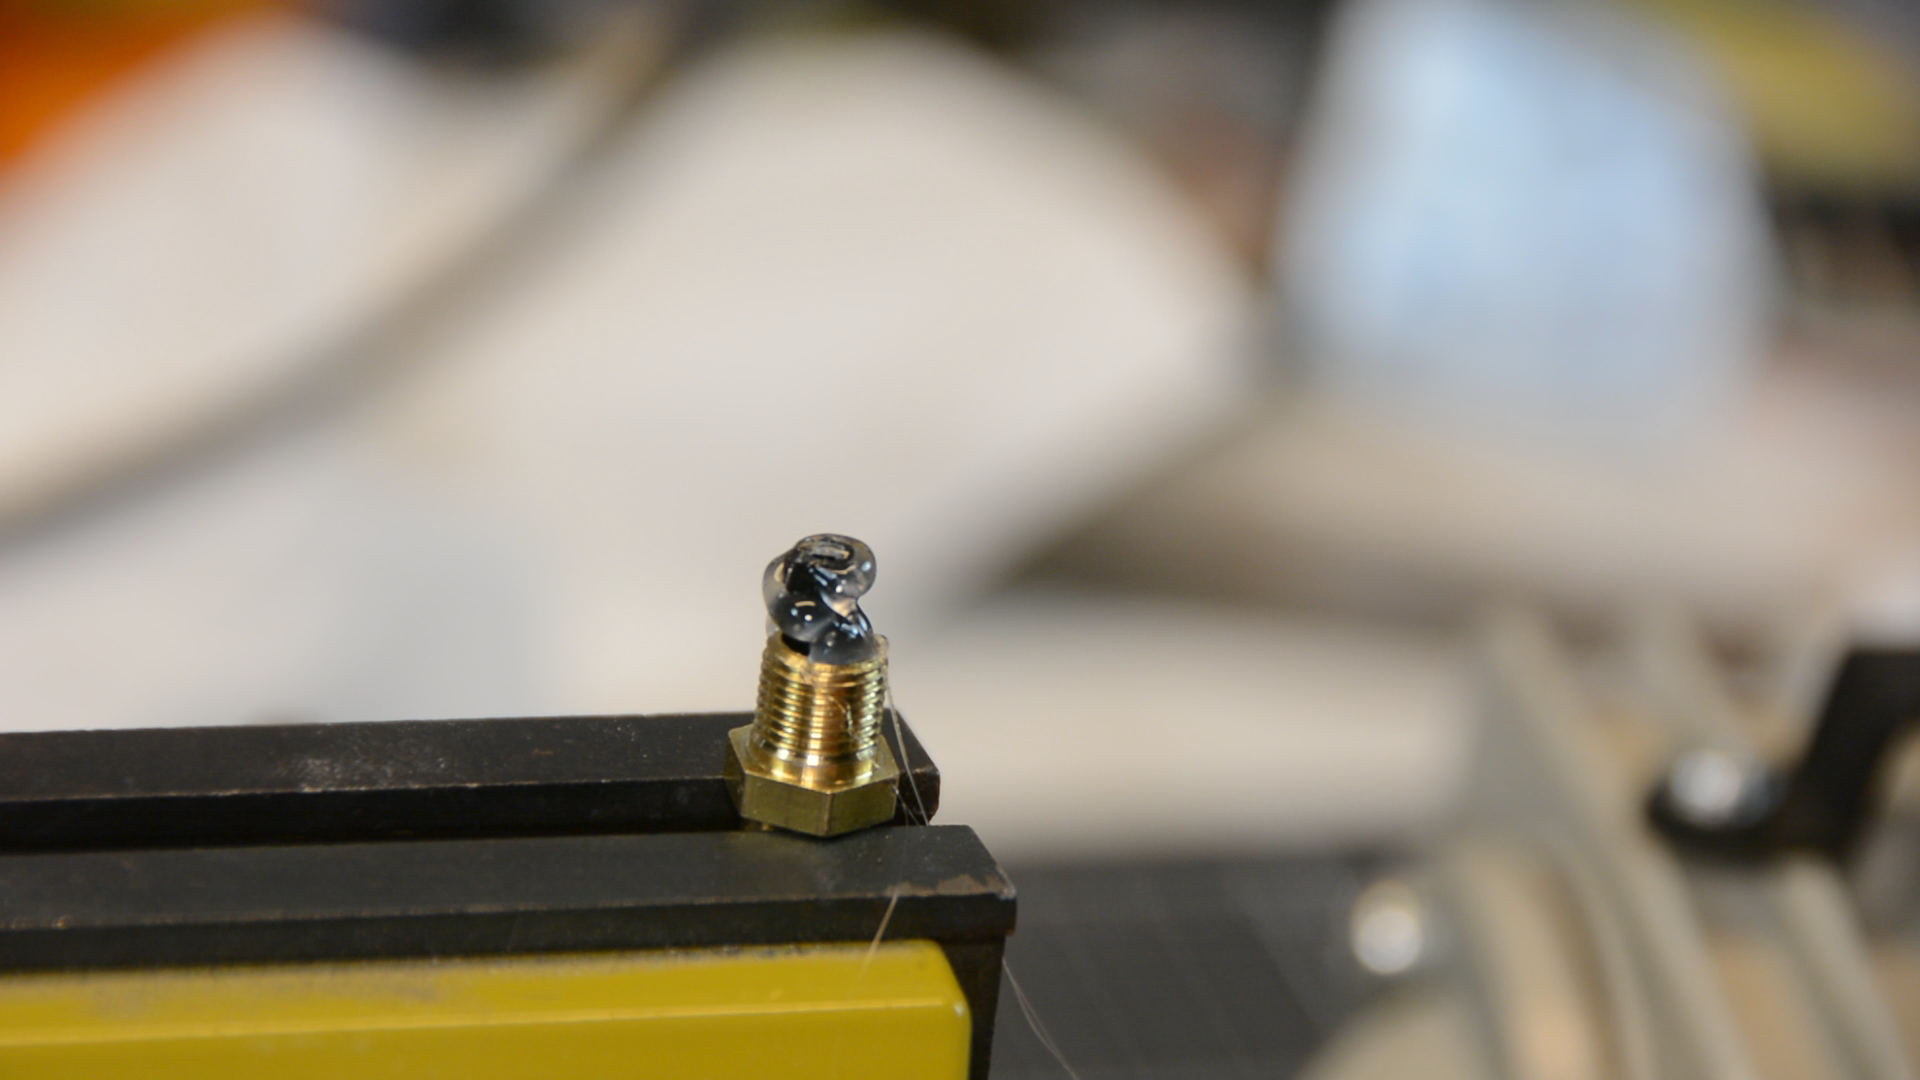
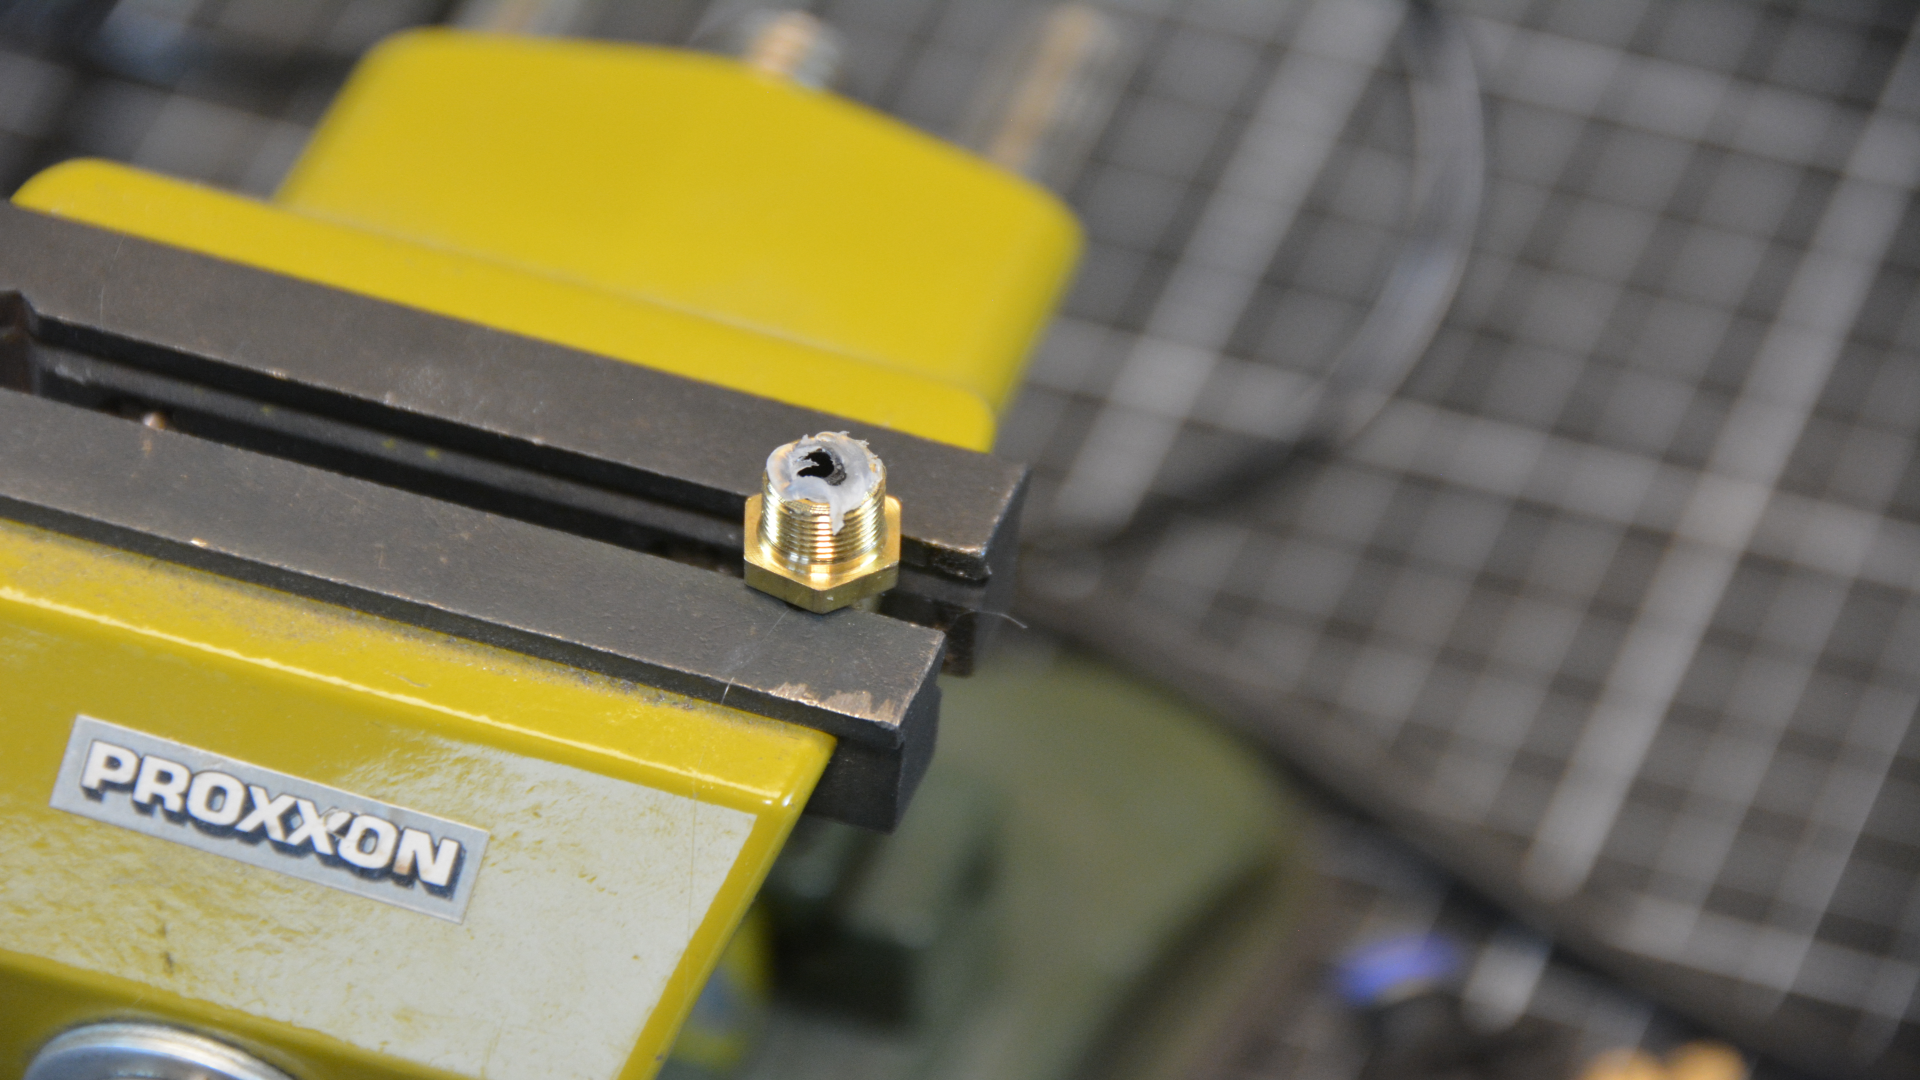
The connector on the pump is not ideal but with a bit of hot glue the hose fits very well. The air pressure of the pump is not going to be high – so the connection should be good enough. The hose is connected with the air regulator and an other piece of hose is connected to the small pump that I bought on amazon.
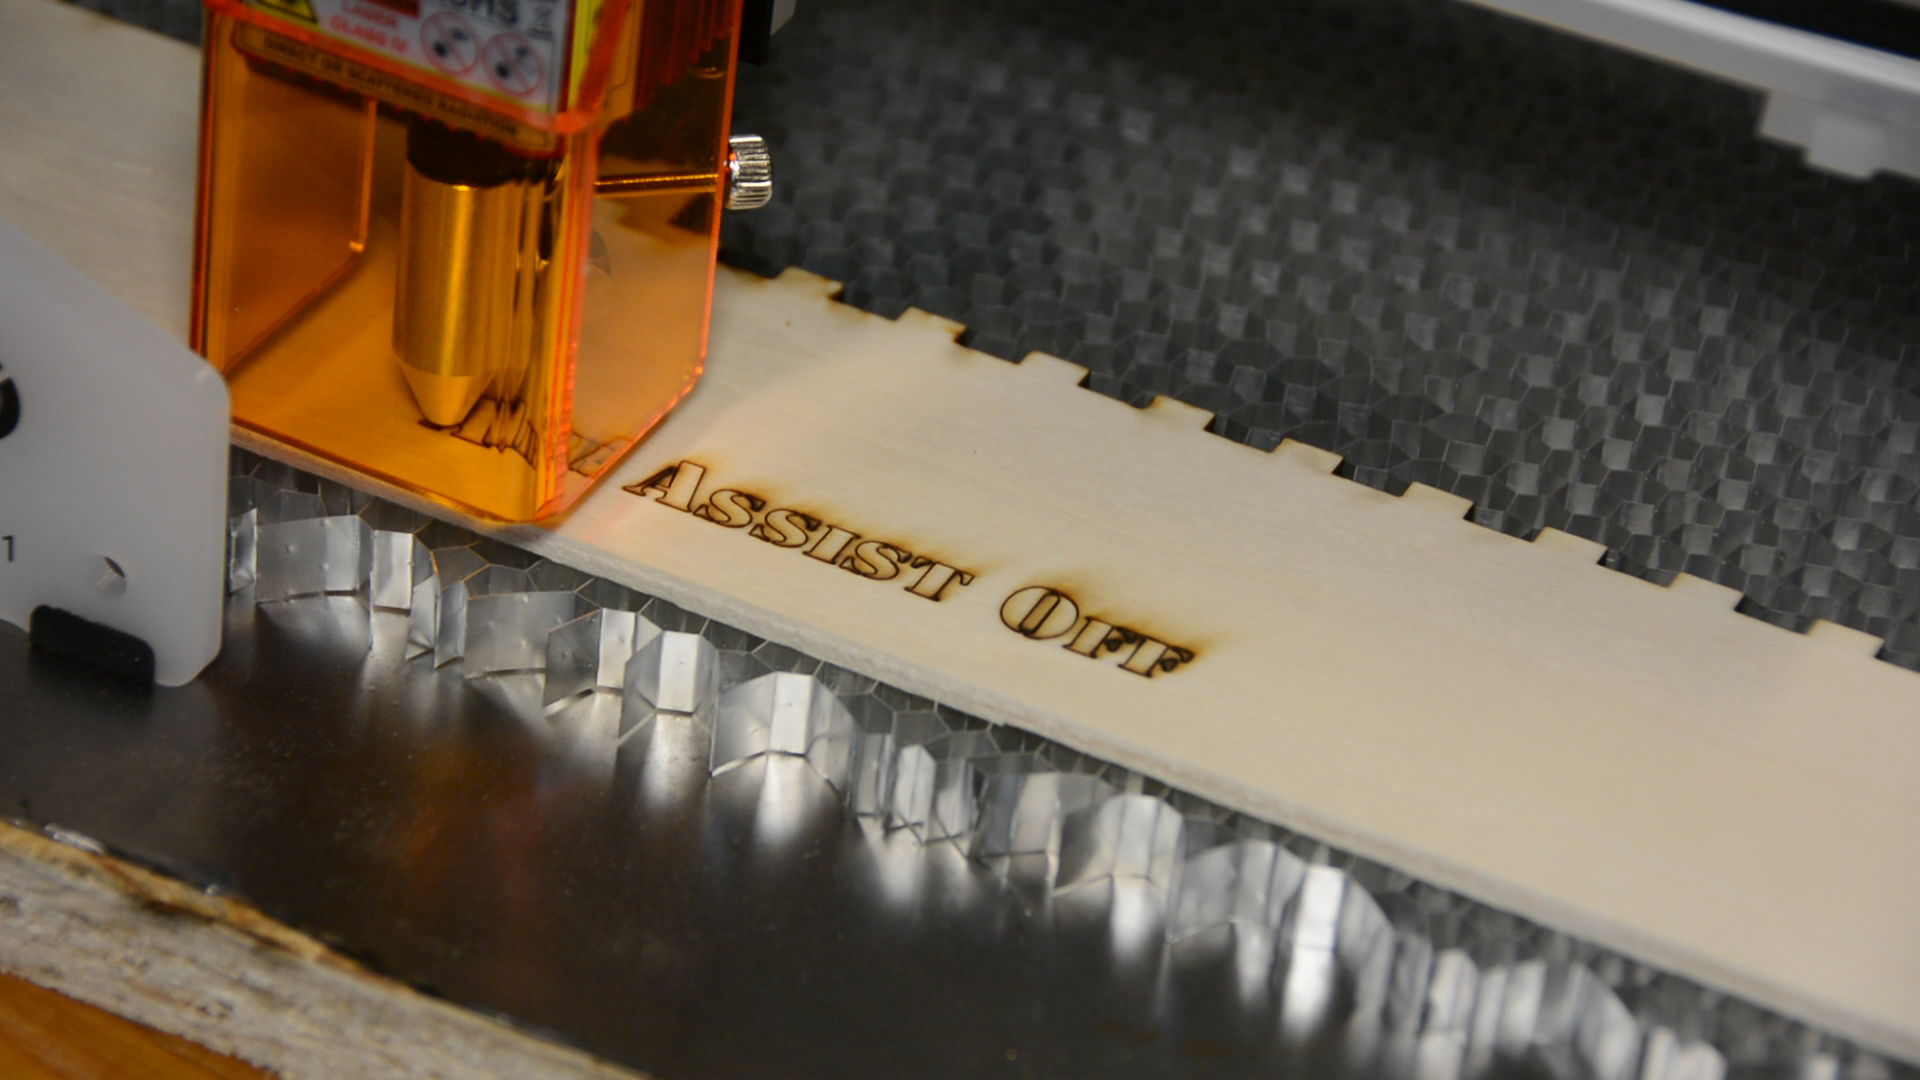
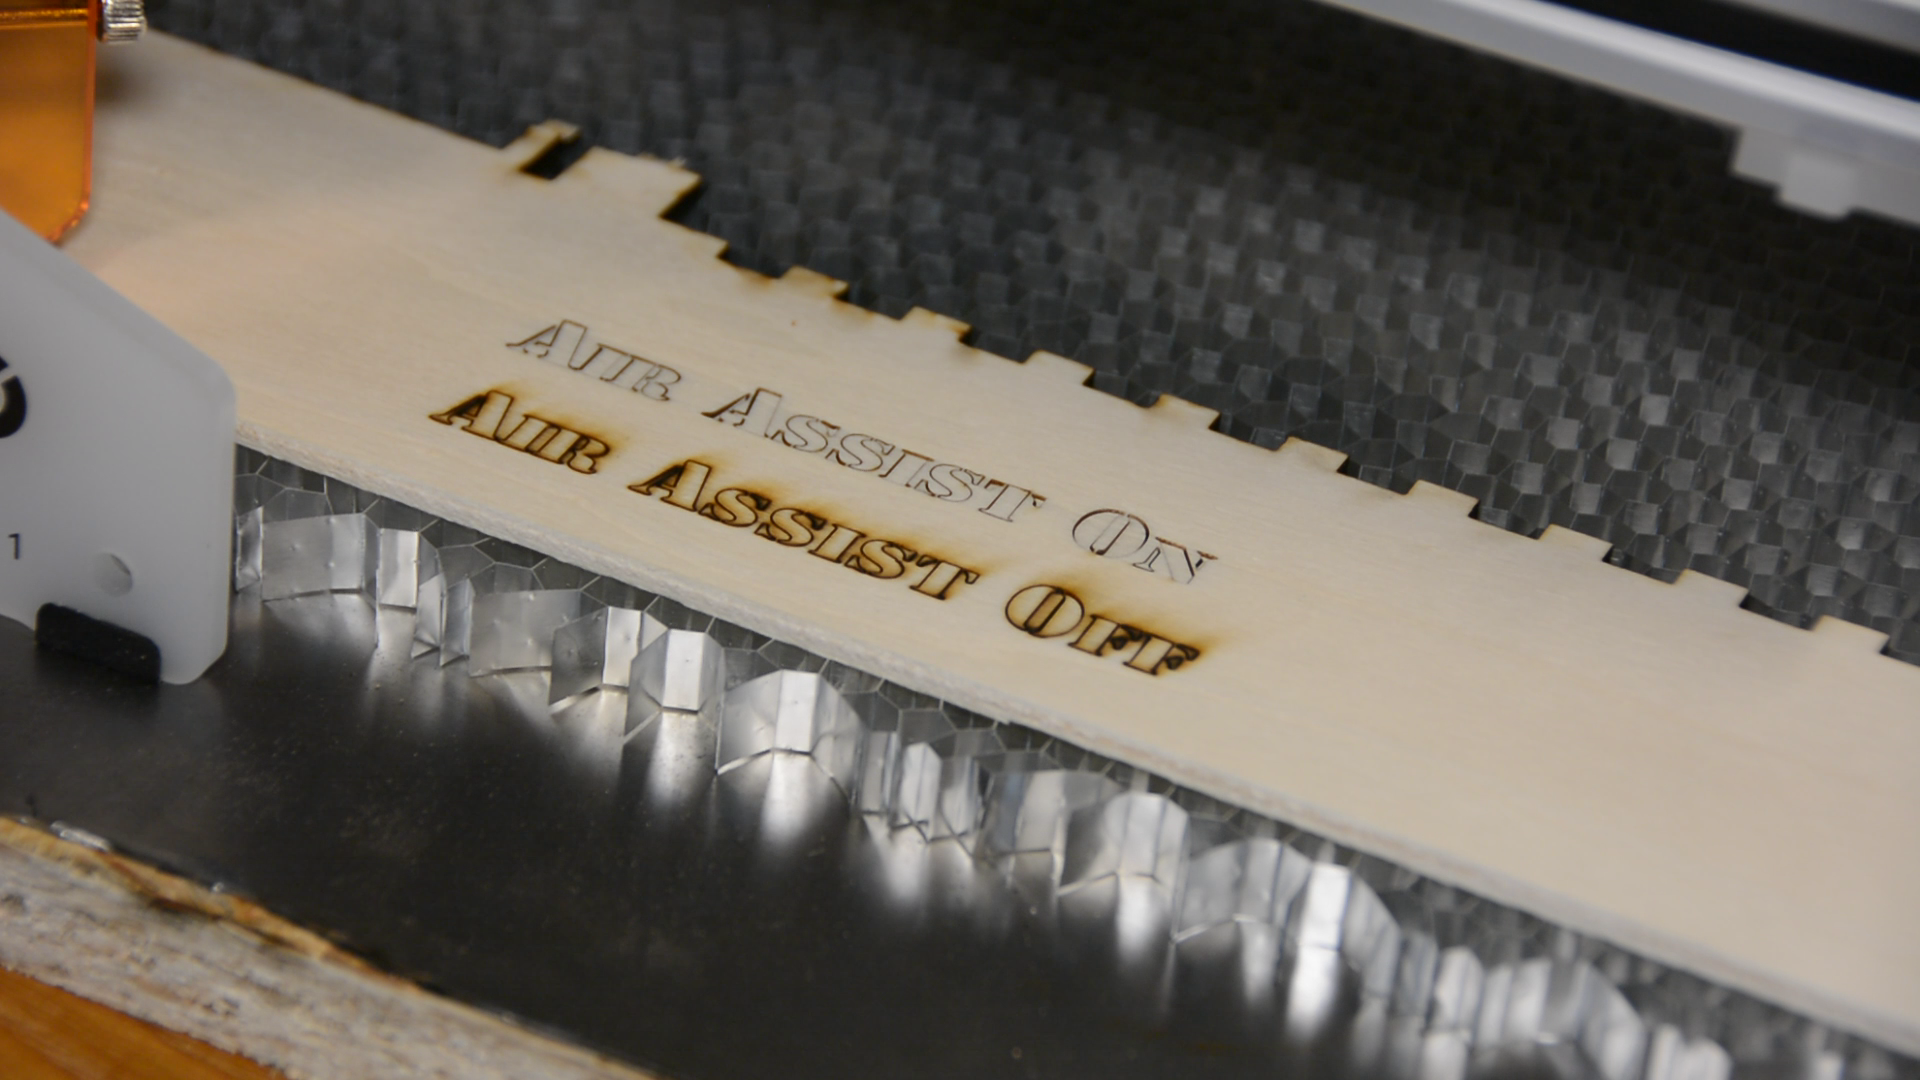
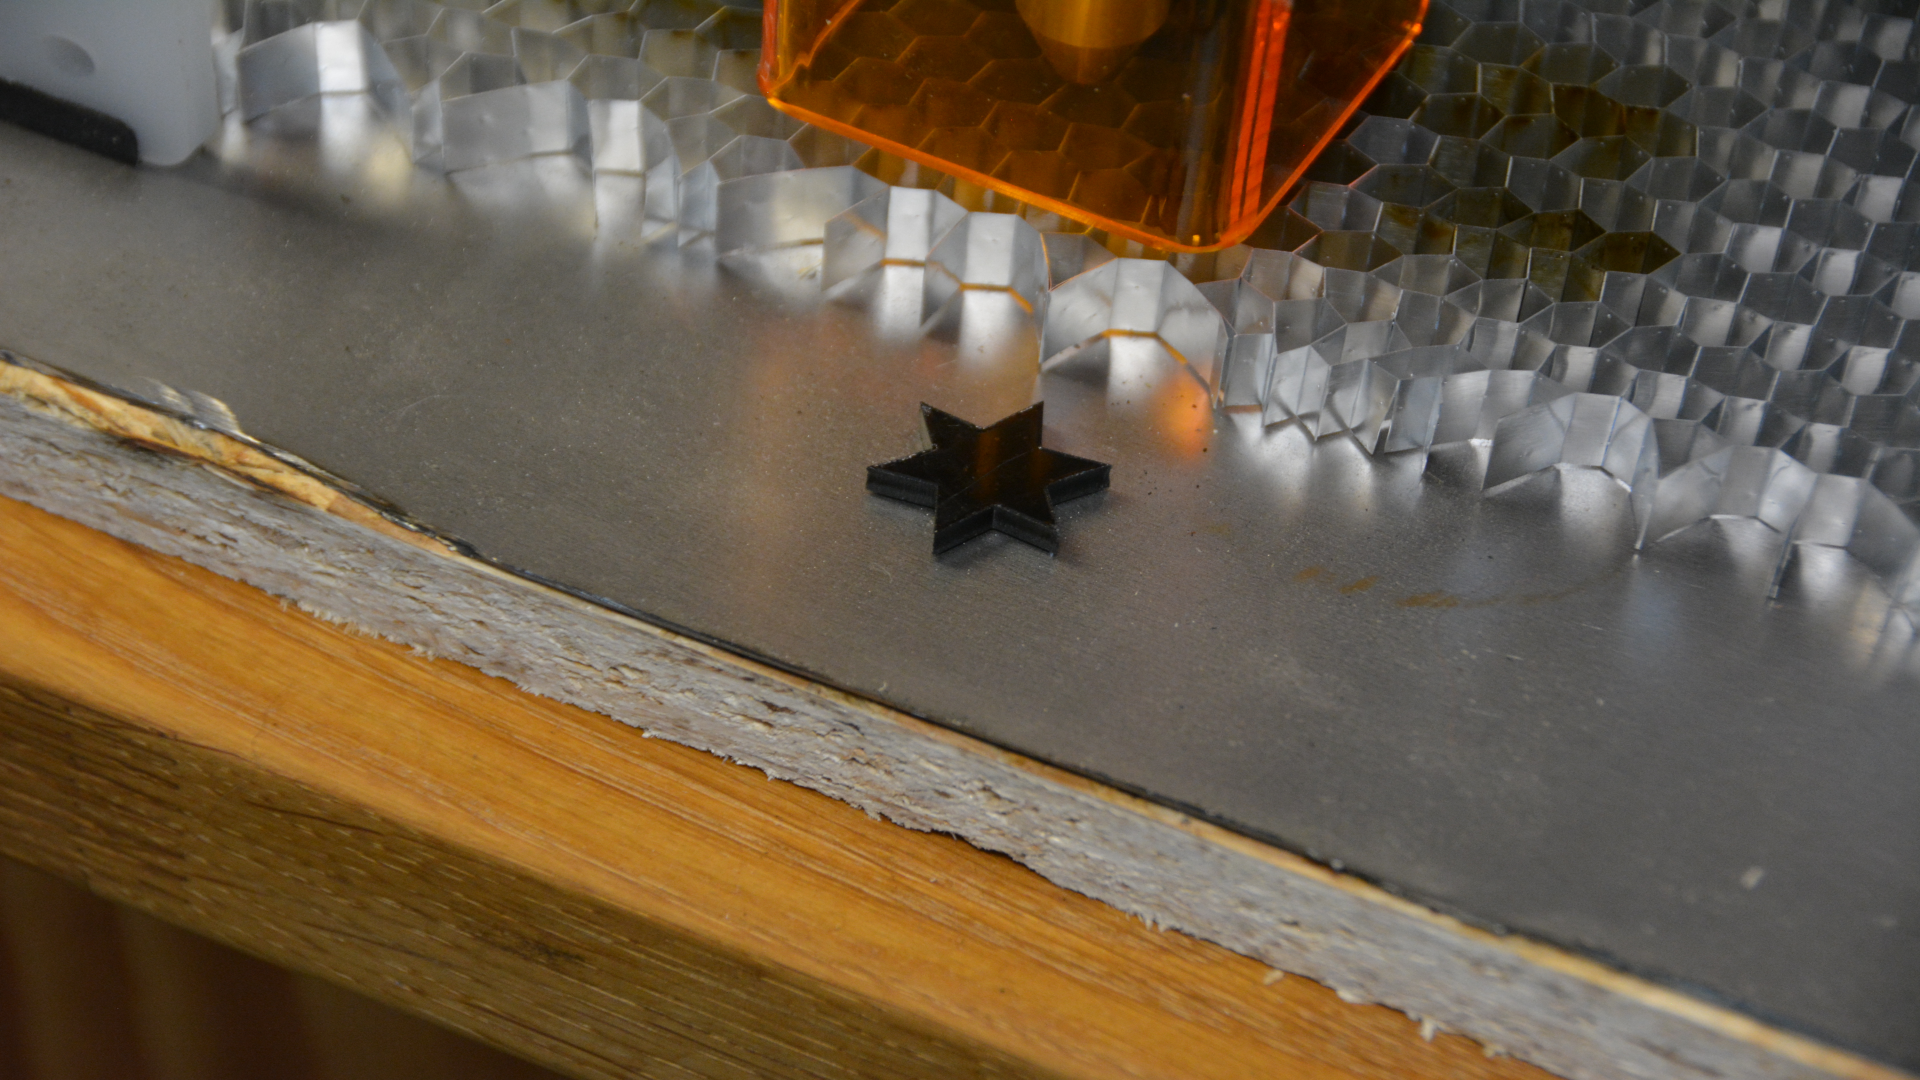
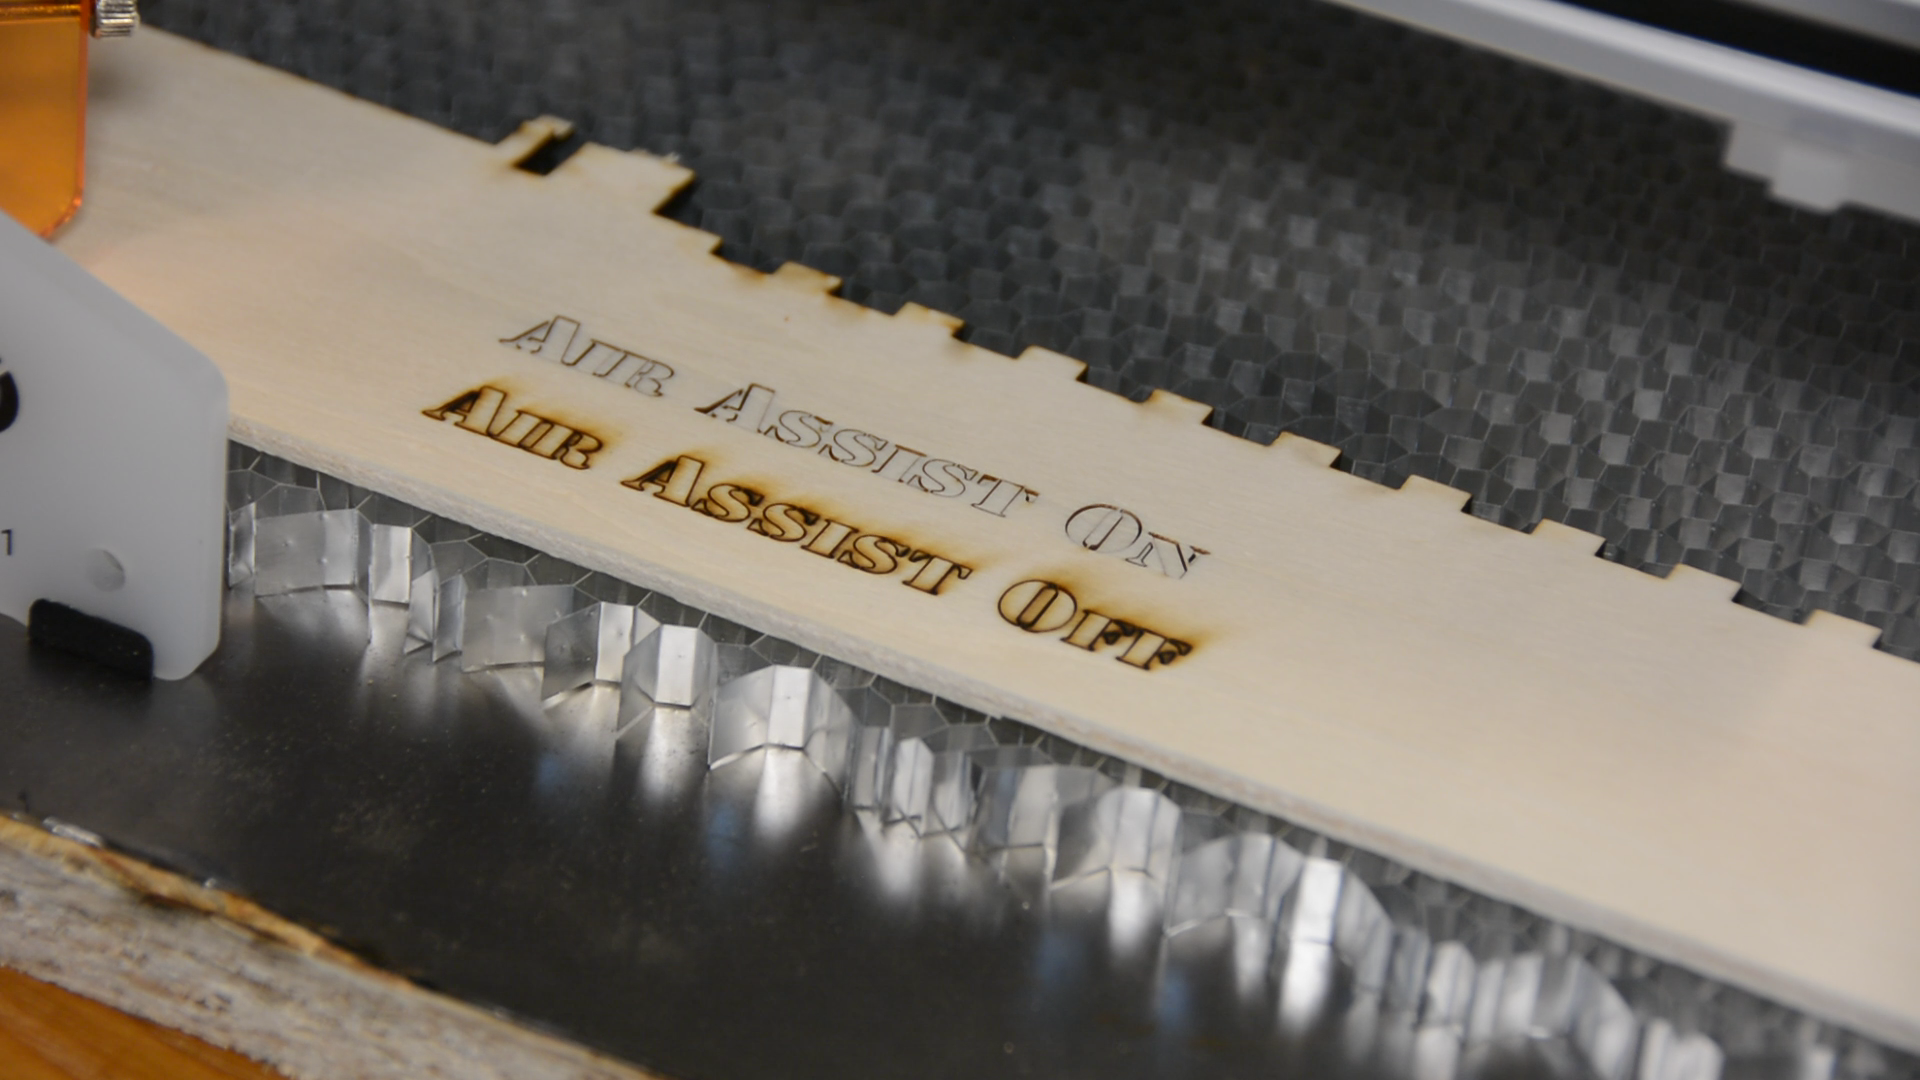
Let’s cut a simple shape with air assist turned off and anther one with the air assist. You can clearly see that the cut is much cleaner with the air assist.
Also if you are planning to cut thicker material in multiple passes an air assist helps to remove the burnt material from the cut and allows you to cut deeper.
Cutting leather and acrylic
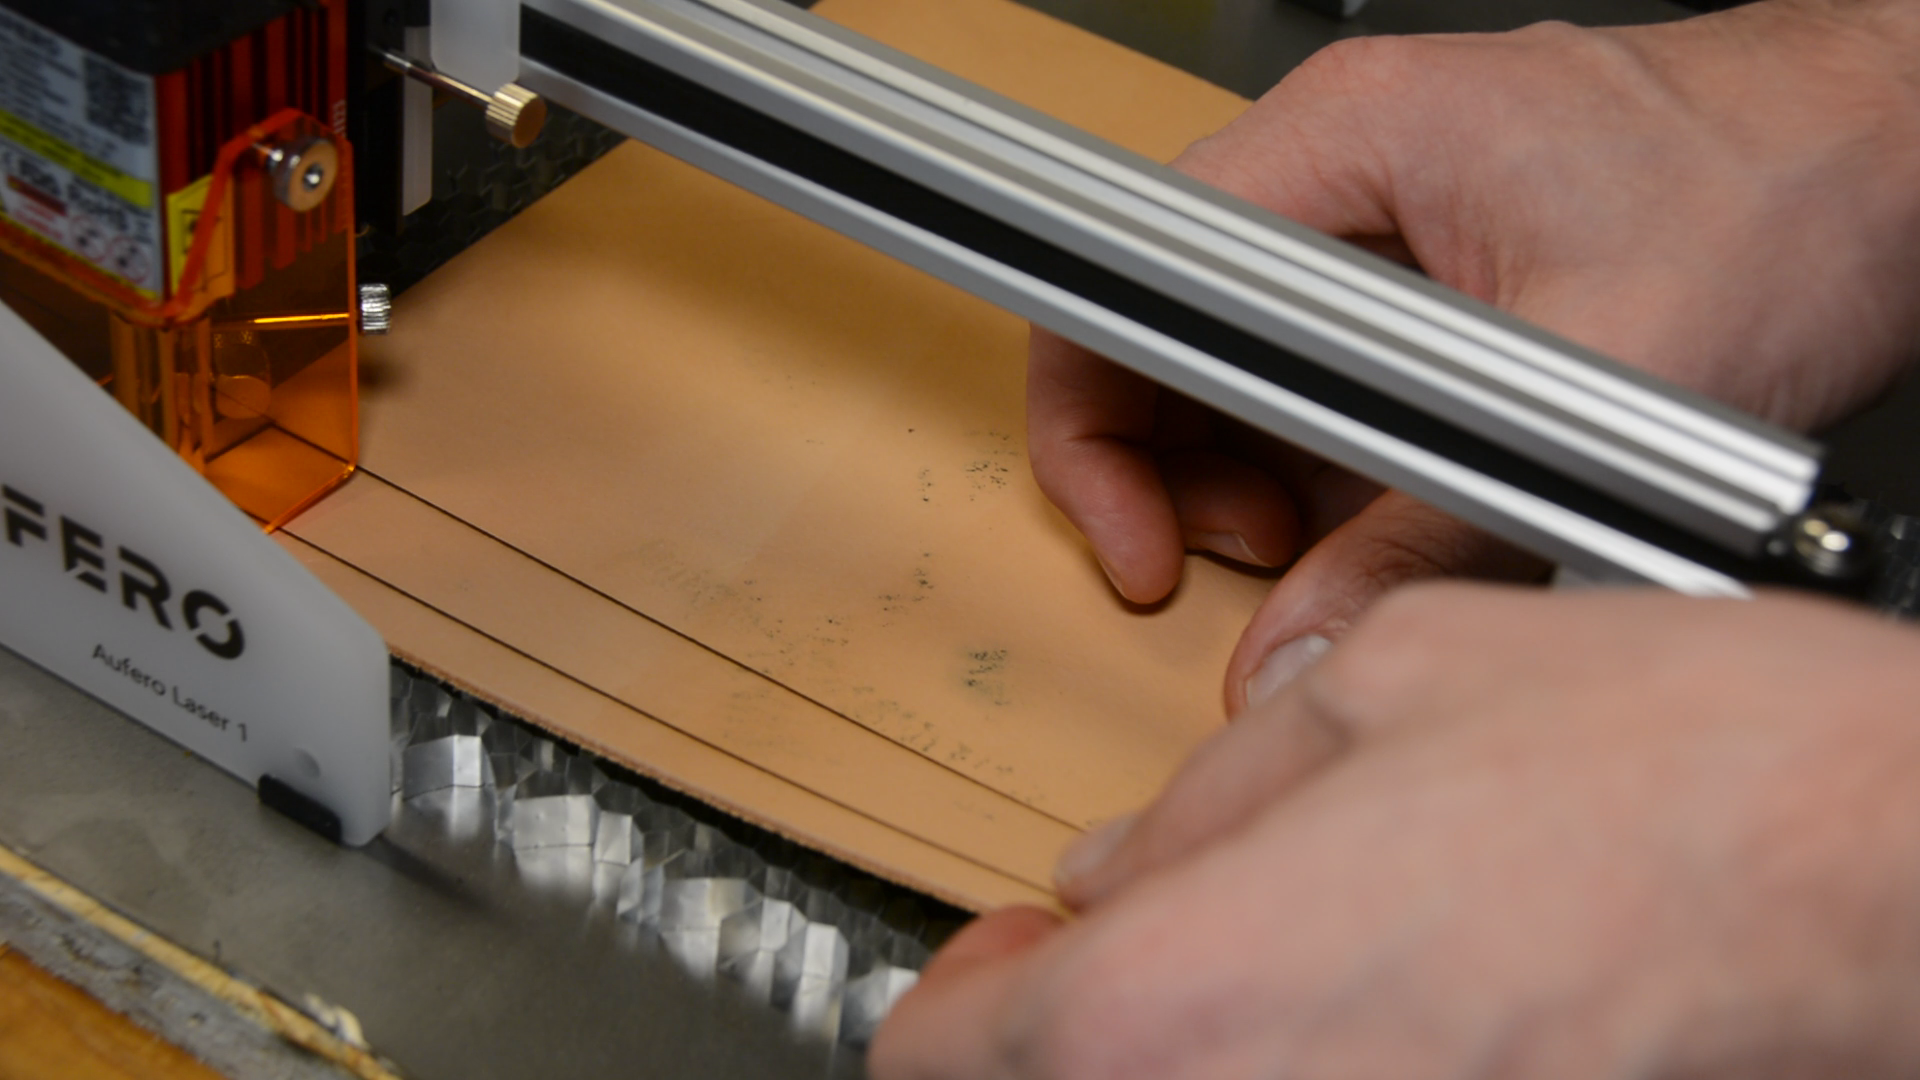
For another project I needed a piece of leather – which was cut without any problems.
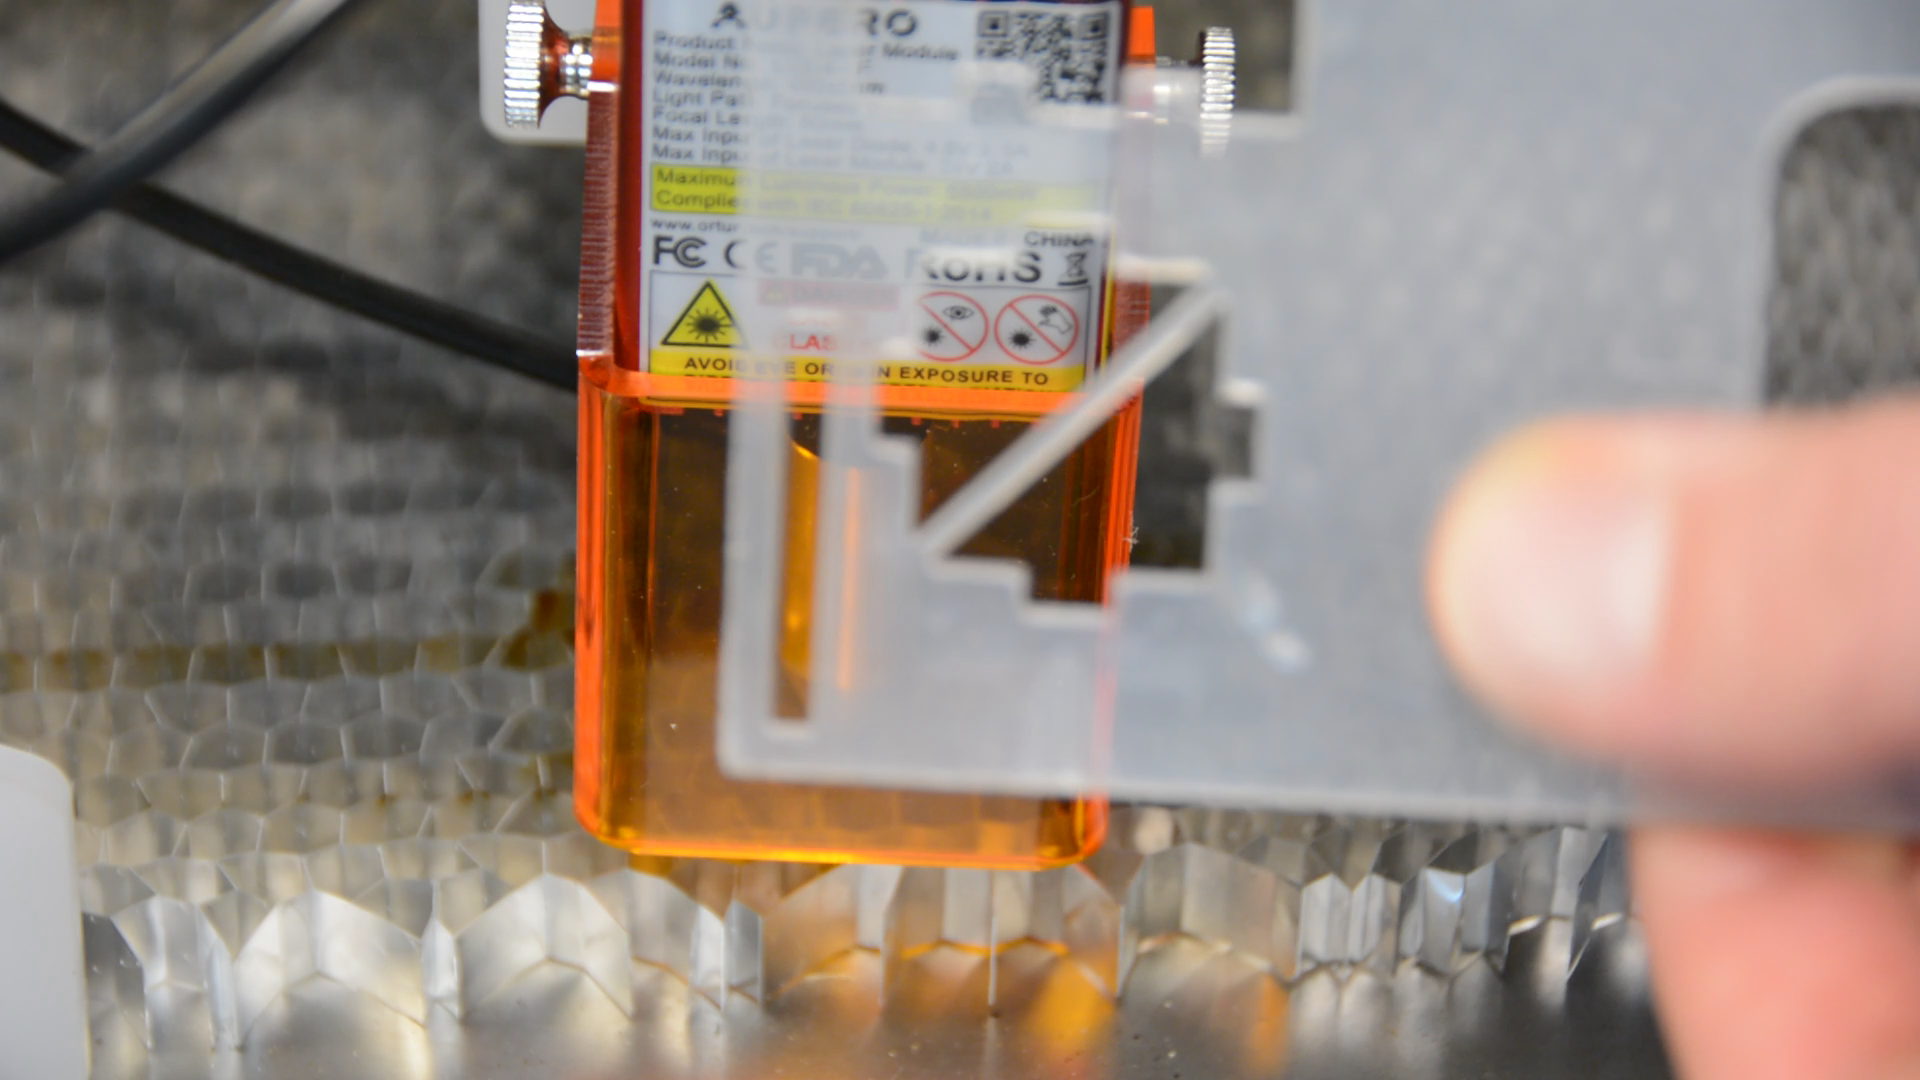
Also cutting colored acrylic is fast and easy.
The laser is due to its wavelength not able to cut clear acrylic.
With some painters tape it is possible to engrave the surface but even when coloring the surface or covering it with black paper I was not able to cut clear acrylic.
Recap and summary
So let’s recap and look at the key features of this laser.
If you follow the link on the product detail page the current price of the Aufero with the LU2-4LF Module is around 300 Euro. I think this is a decent price given the features. Compared with a K40 laser you would save around 100 bucks.
I also like the fact that the LU2-4LF gives you the possibility to attach an air assist – something that requires a bit of fiddling with other laser cutters such as the K40.
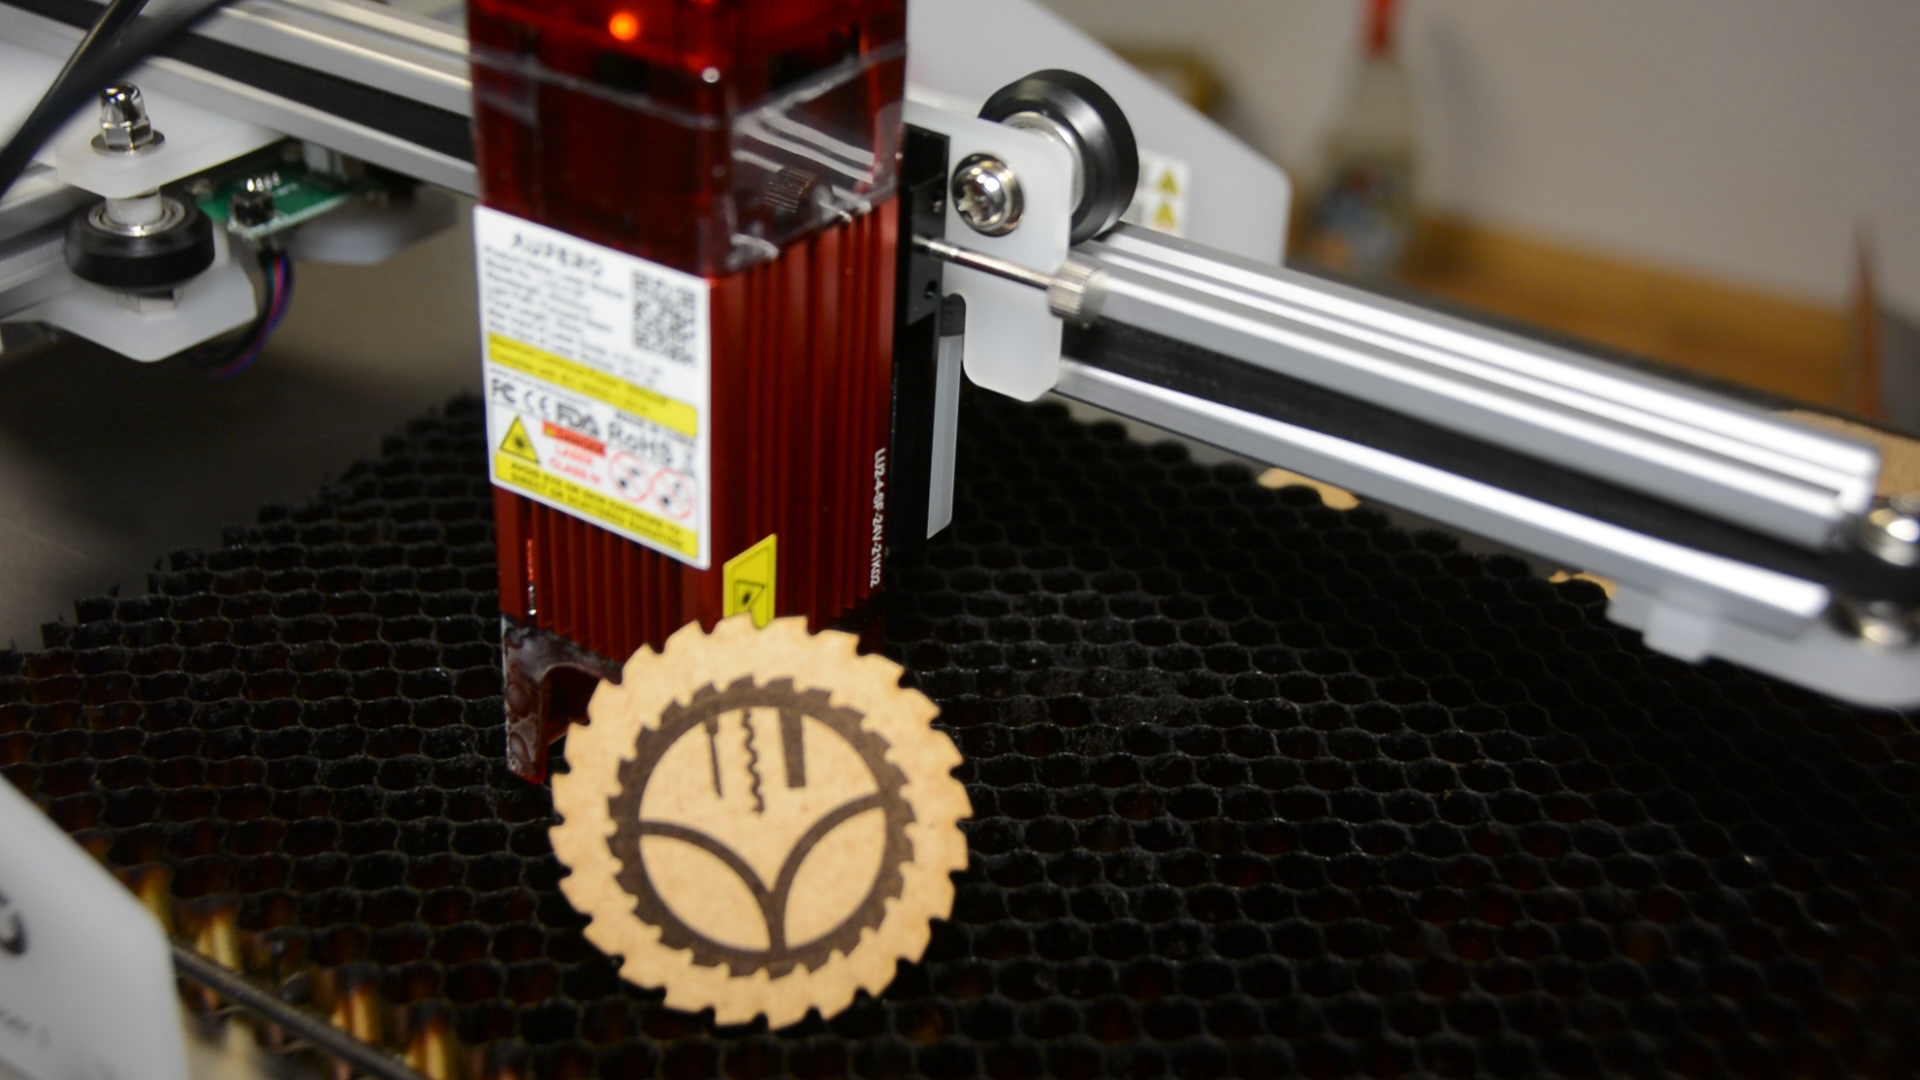
The capacity of the Aufero is 180 by 180 mm. The key advantage is that you can put is on top of the work piece to engrave for example your maker mark on a piece of furniture. Also the structure is made from standard aluminum profile – so increasing the size to 200 by 300 mm would cost less than 20 Euro. However I like the portability of the device and will not upgrade it for now.
When it comes to the cutting the speed and performance it really works similar to a CO2 laser. Only for transparent acrylic I would look for a device with a different wave length.
The fact that it is not based on some proprietary firmware but uses GRBL is great. I think I will attach a raspberry pi to the machine and install LaserWeb server on the Raspberry so that I can use the machine in wireless mode.
The safety of a machine without enclosure can never match an enclosed machine but for a portable laser I don’t see a lot of additional safety features one could add. I you plan to install it permanently I would build a plywood box with a tinted acrylic door around it. This would not only increase the safety but would also offer a possibility for adding an exhaust fan.