
In this article we build a custom roof rack for our car.
A few weeks ago Bob on I like to make stuff made a custom roof rack. Have a look at his video here. This is such a great idea that we had to build one as well.
Around here you can get a roof rack for free – as long as you don’t care about the car model.
Cutting the steel
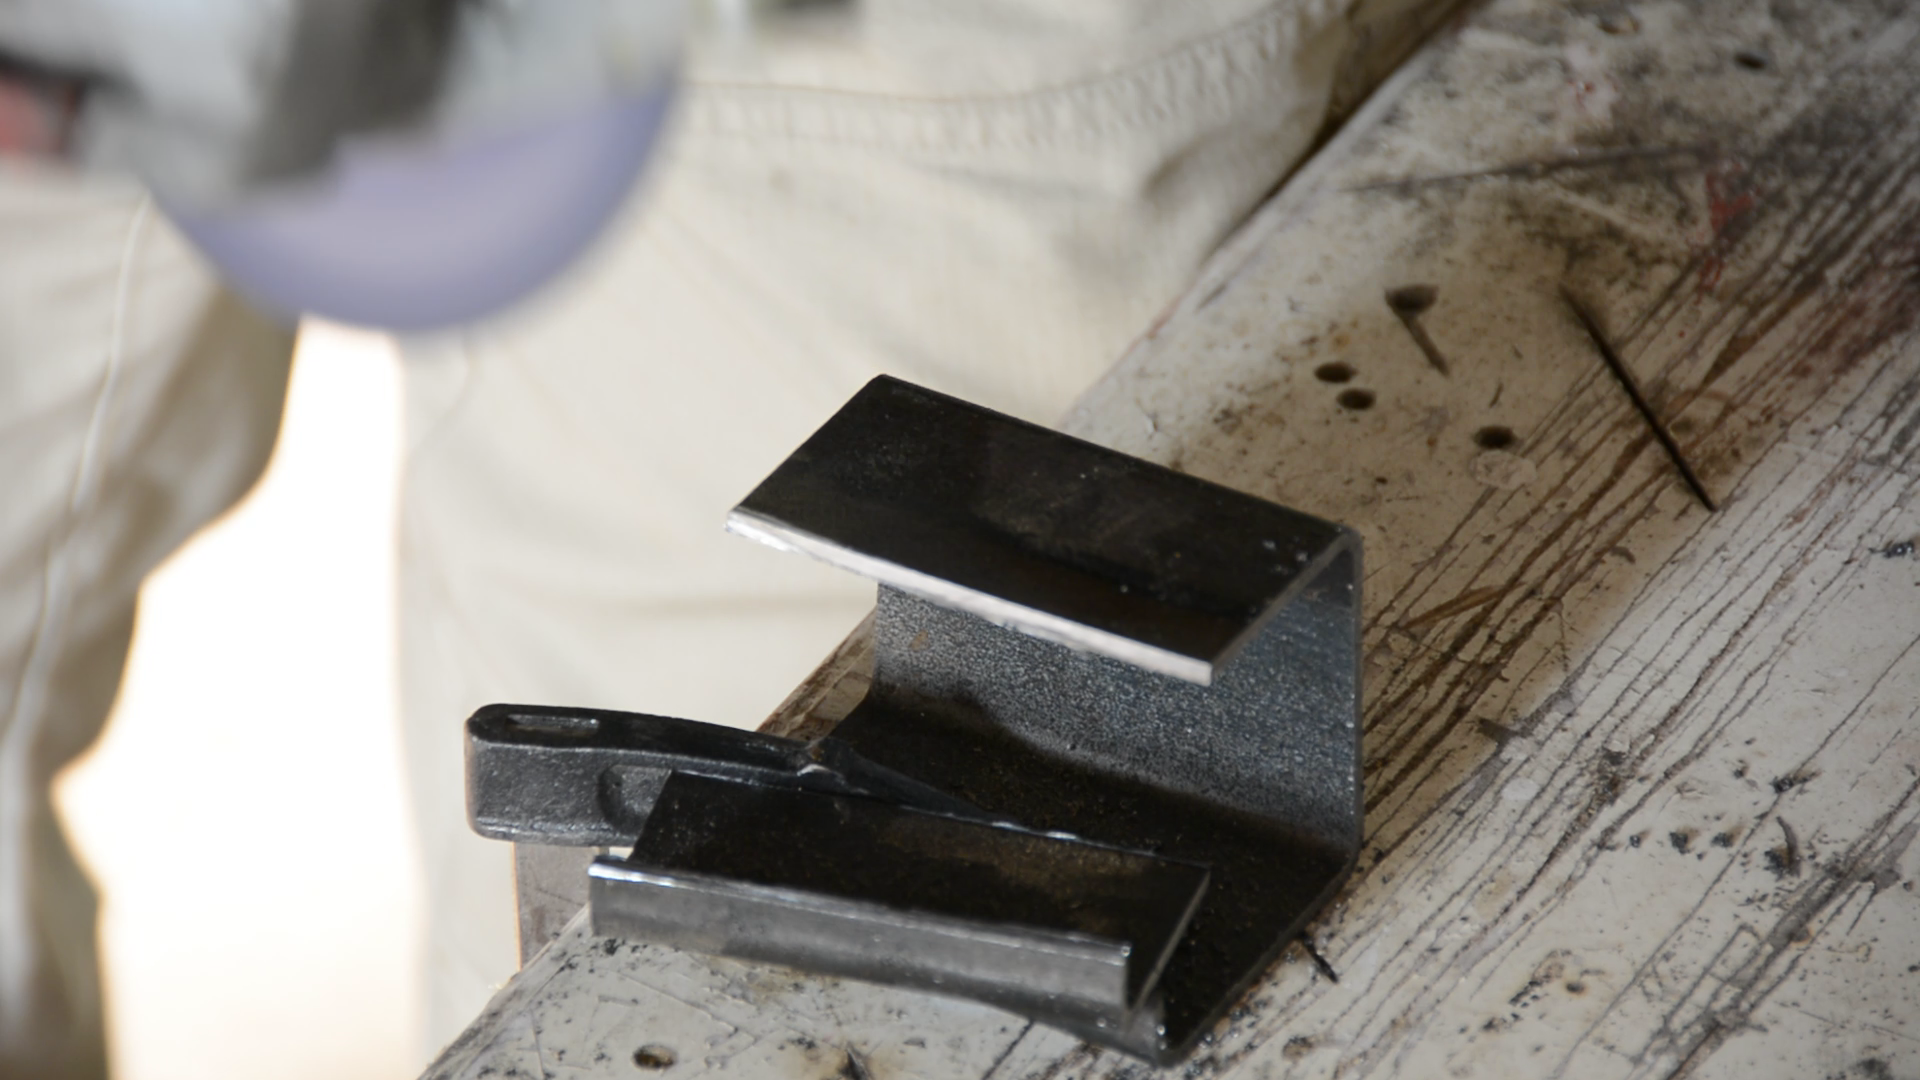
We had one from our old car — so the main task was to design a mounting mechanism.
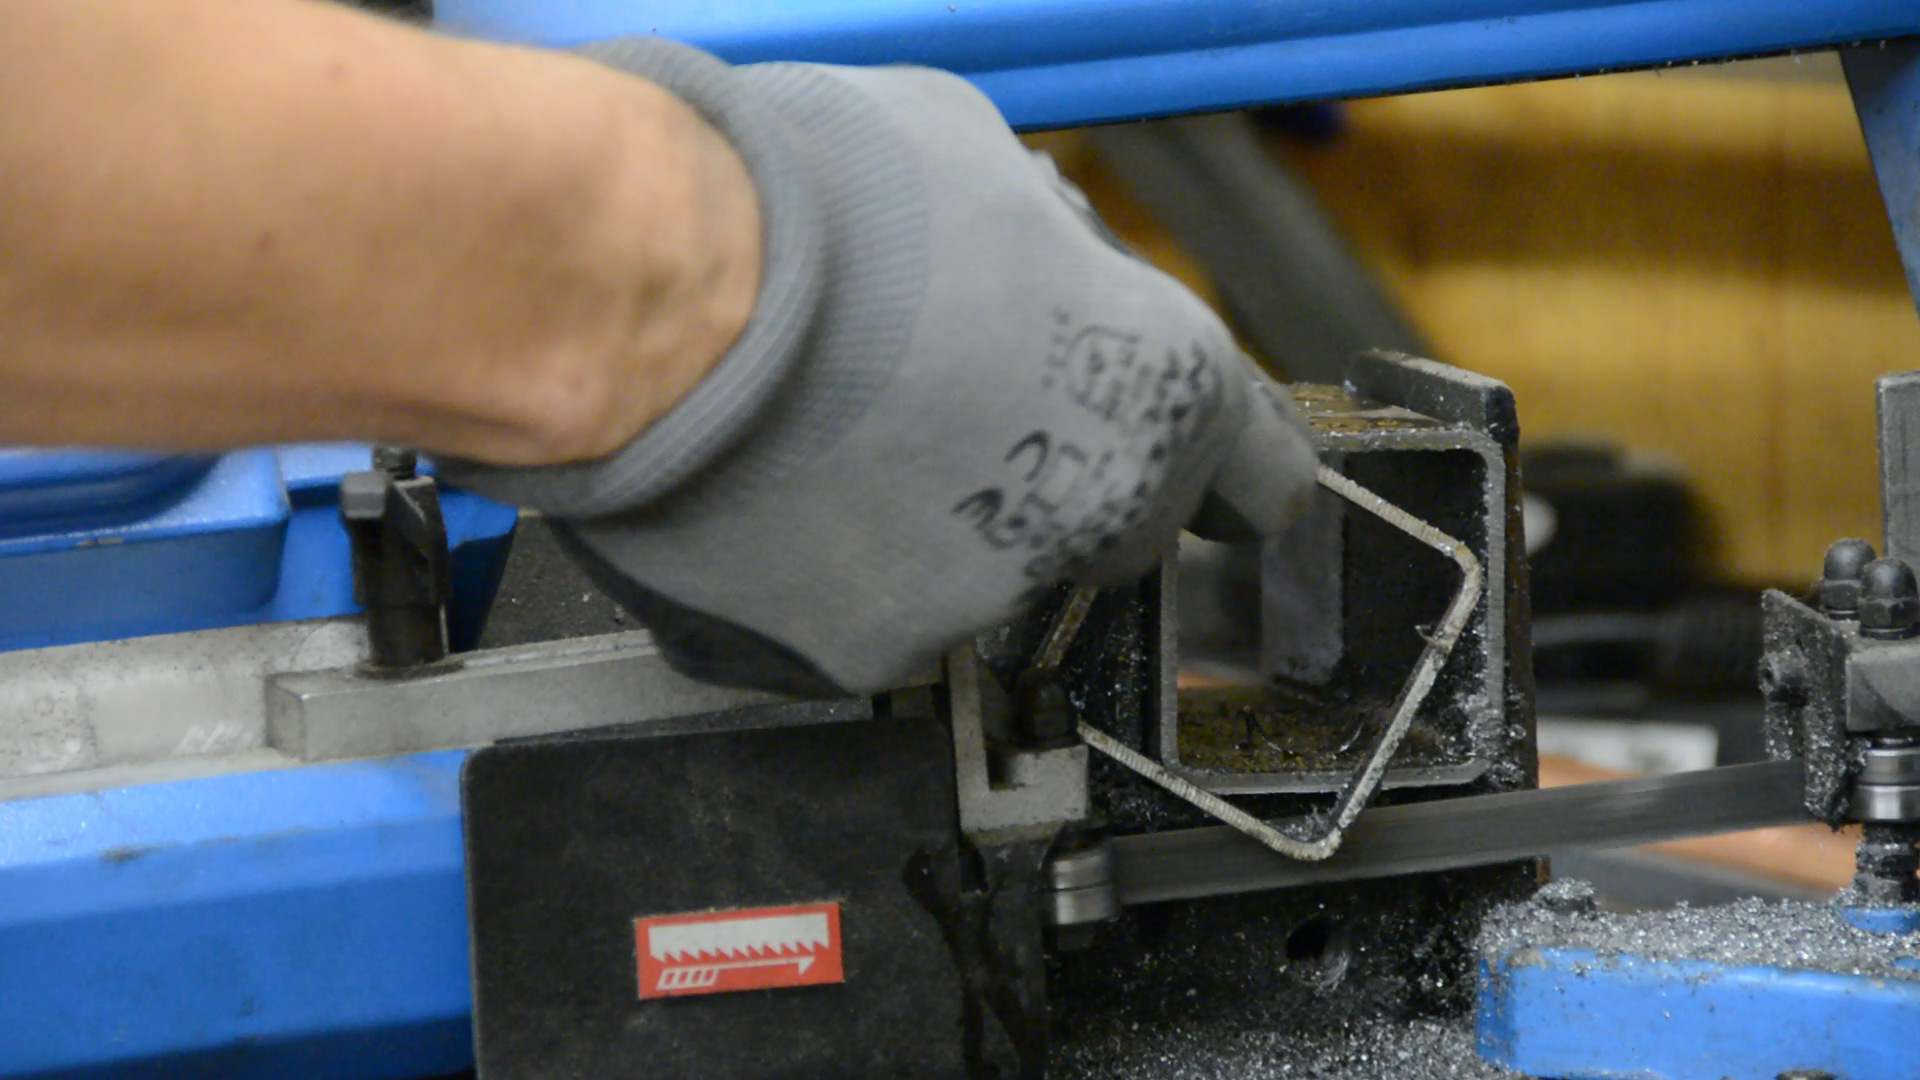
Bob used flat steel that he bend in shape. We only had some scrap square tubing left – which is great as is comes already pre-bend. We started by cutting three pieces on the metal cutting band saw.
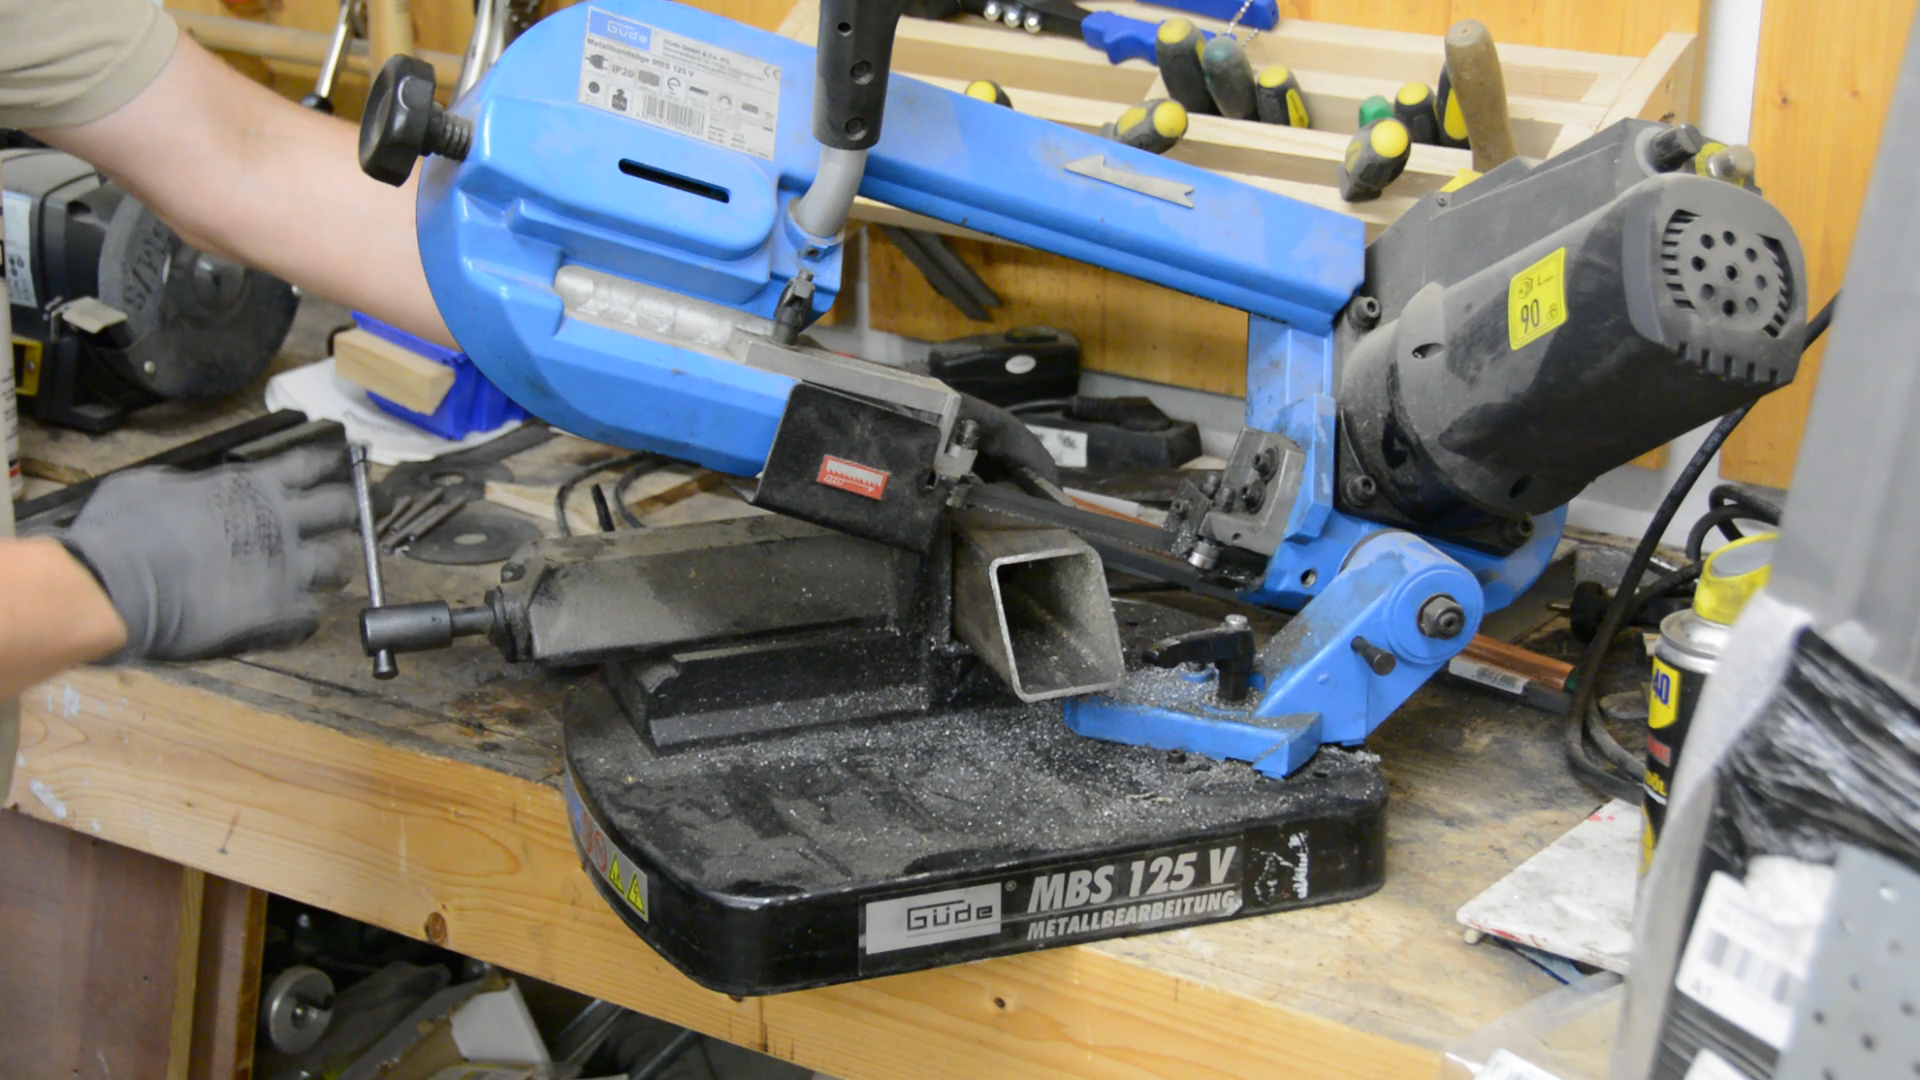
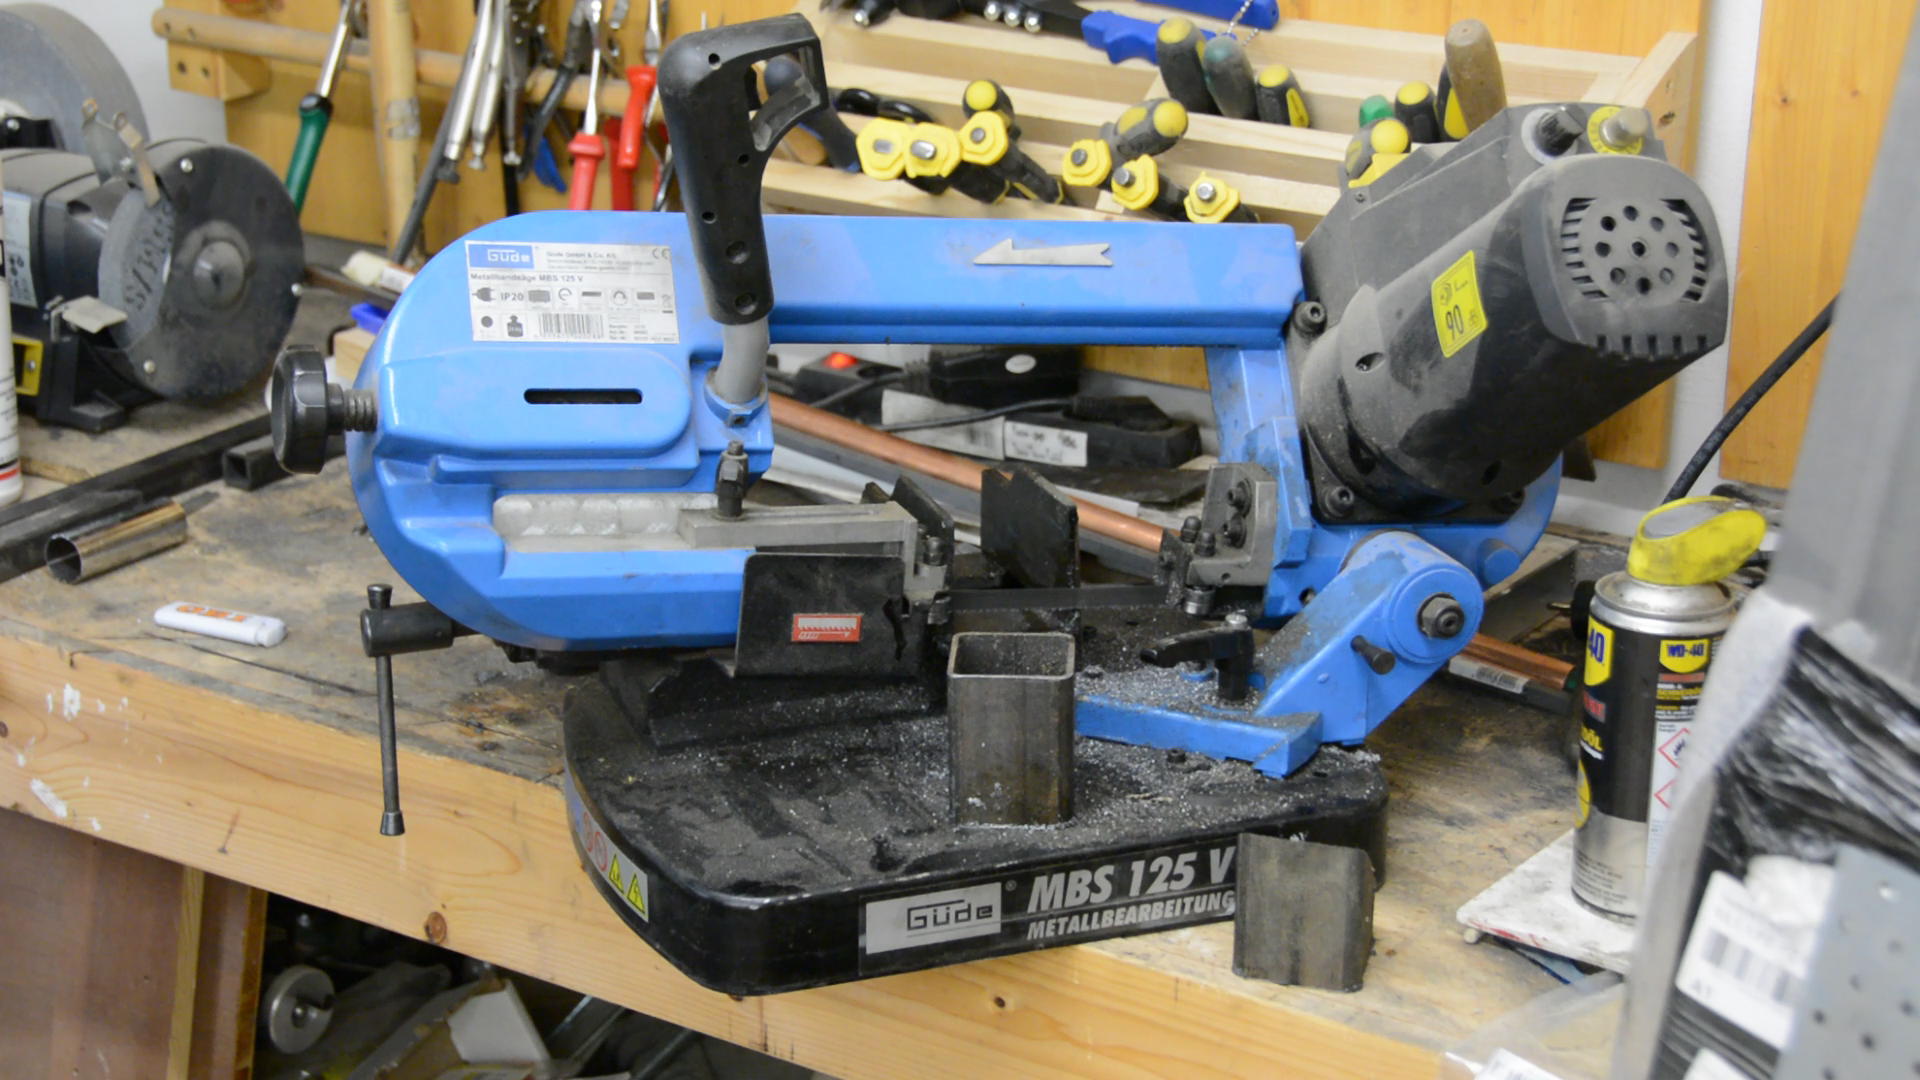
If you don’t have a bandsaw an angle grinder will work as well.
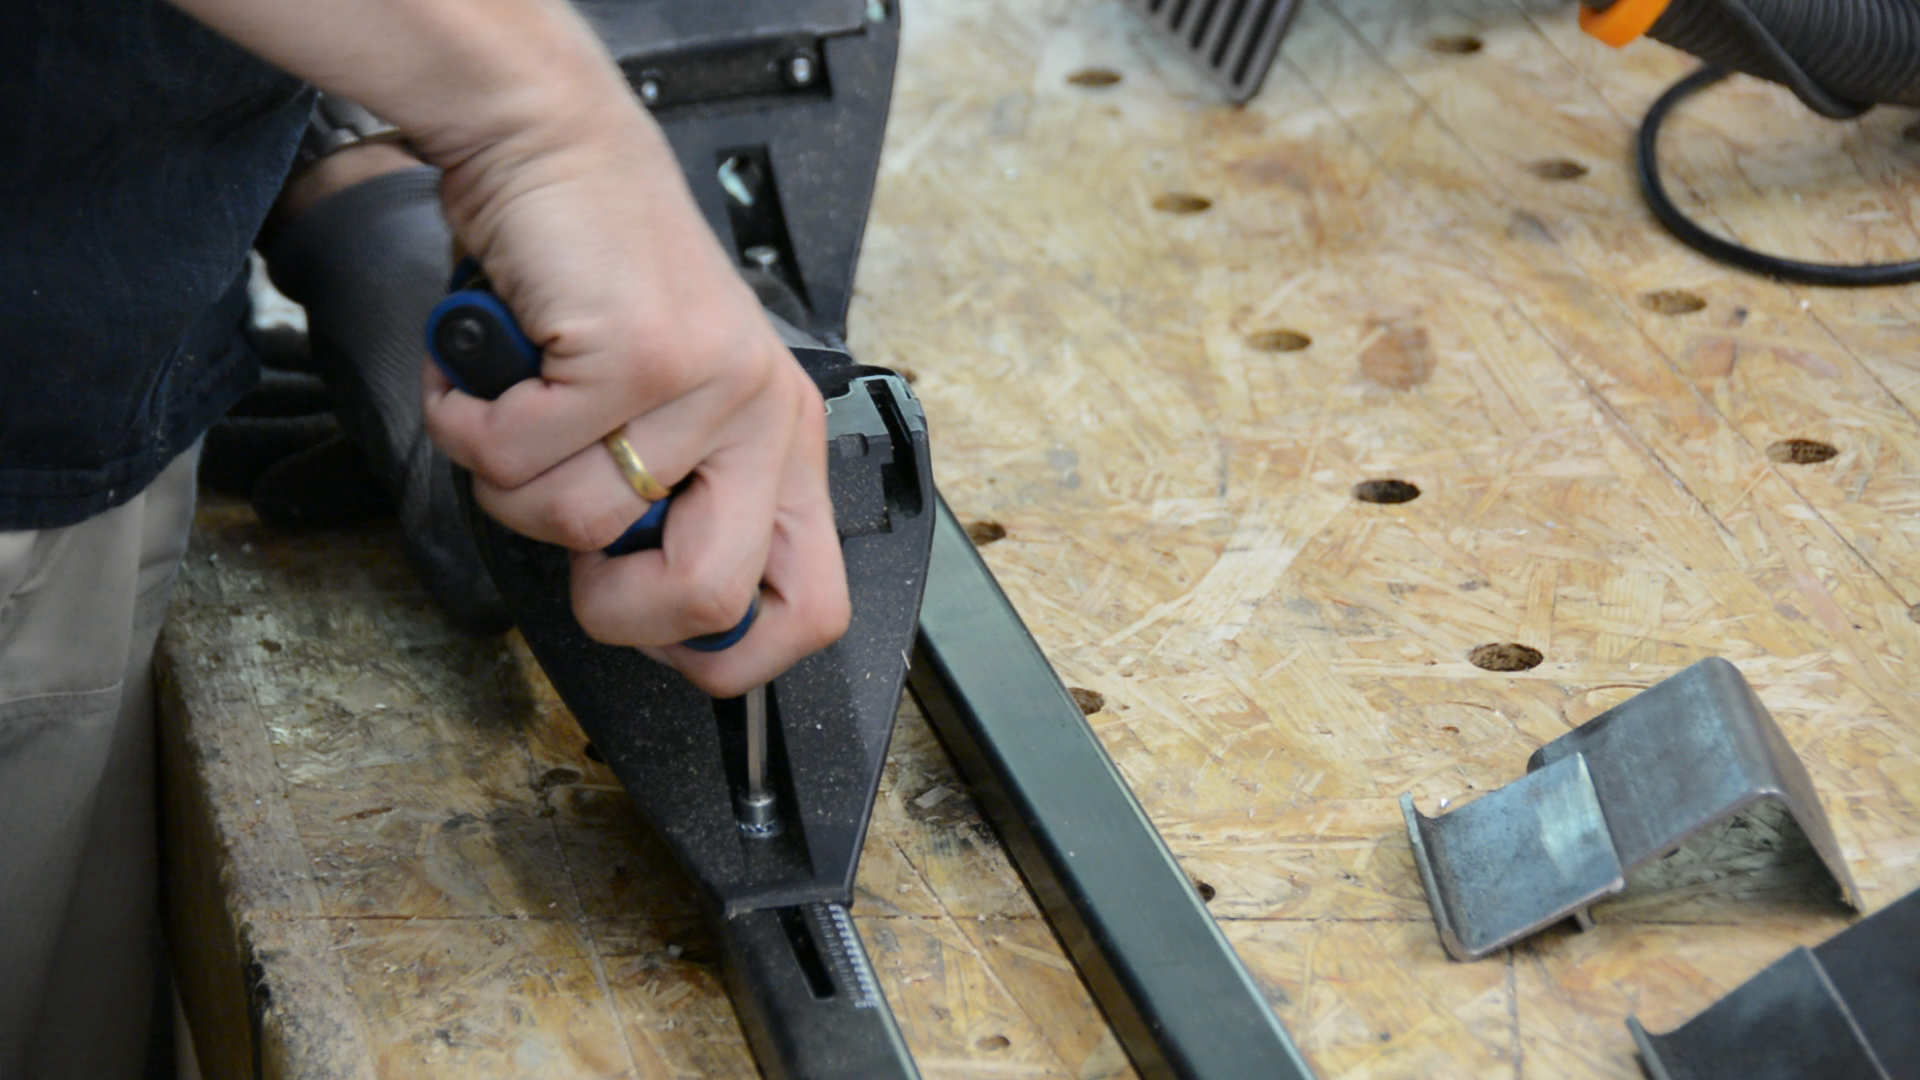
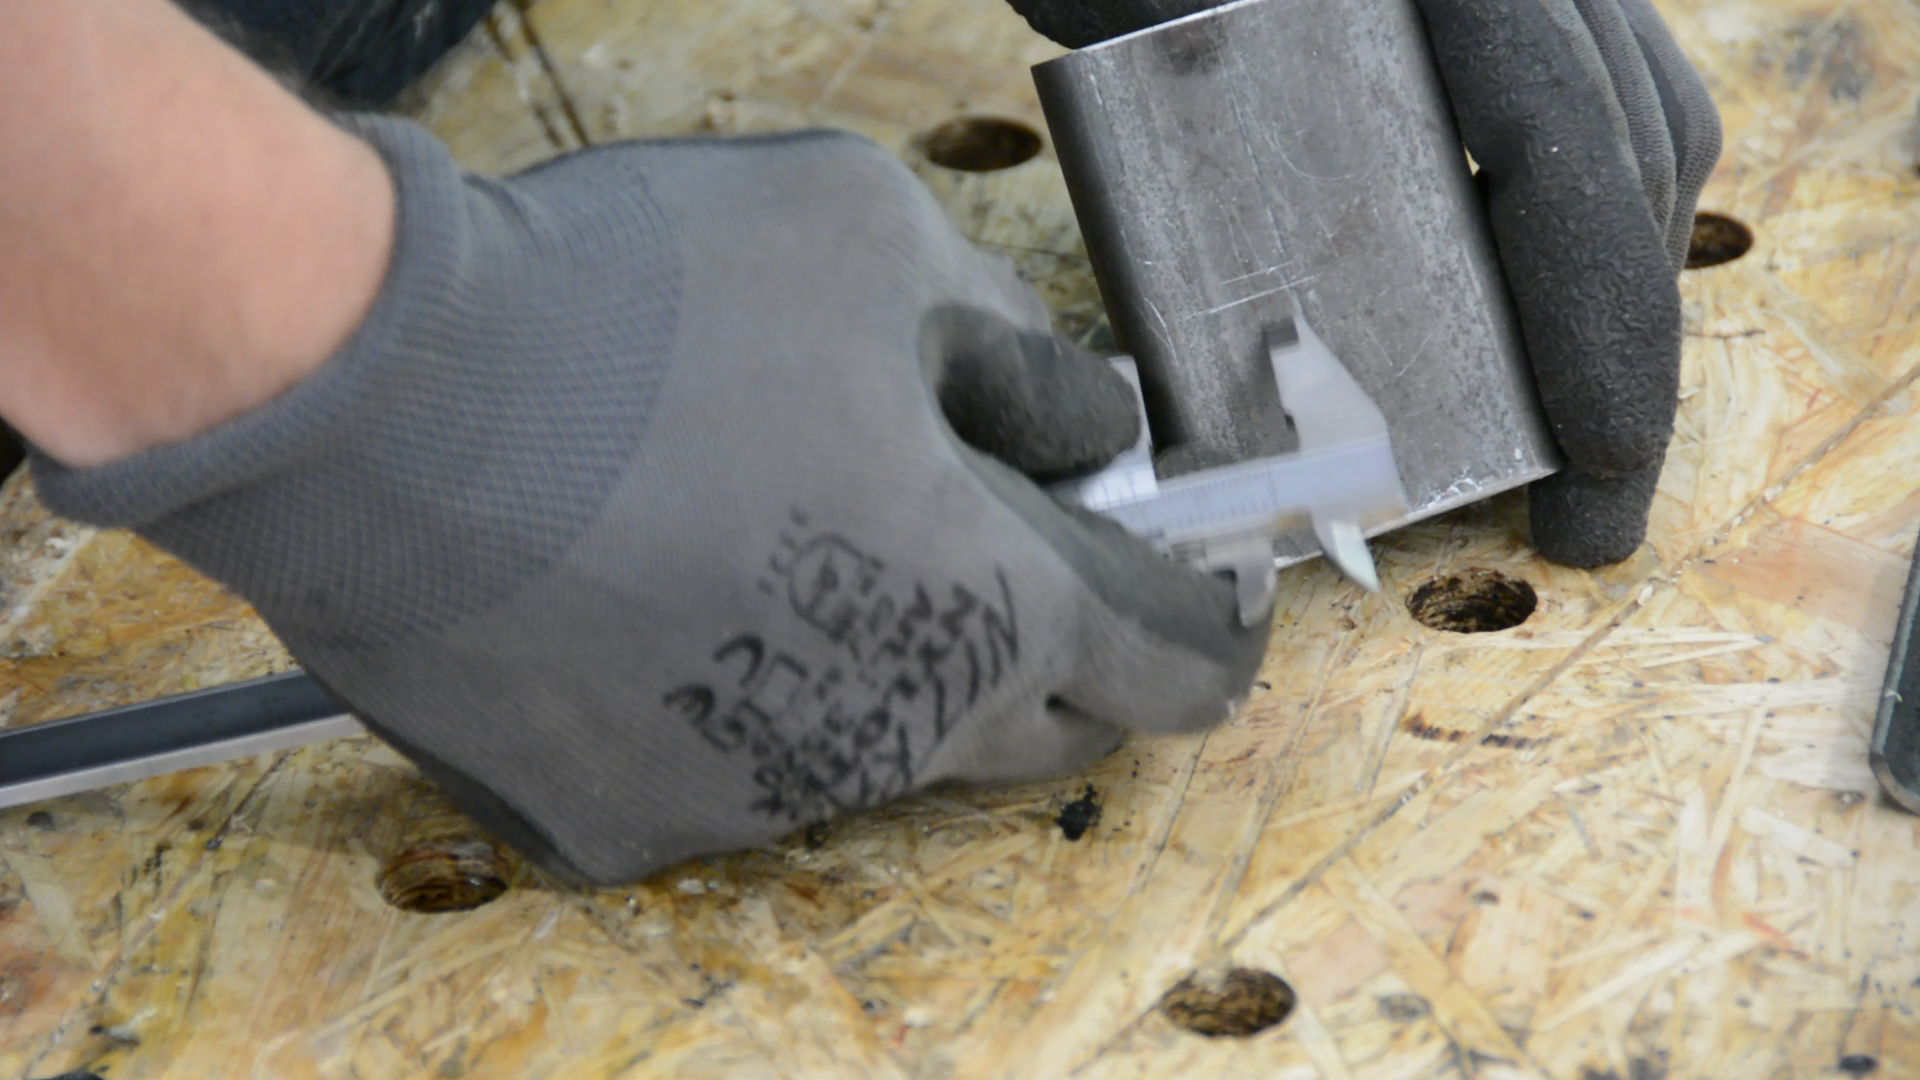
We then used a caliper to mark a line around 12 mm away from the edge.
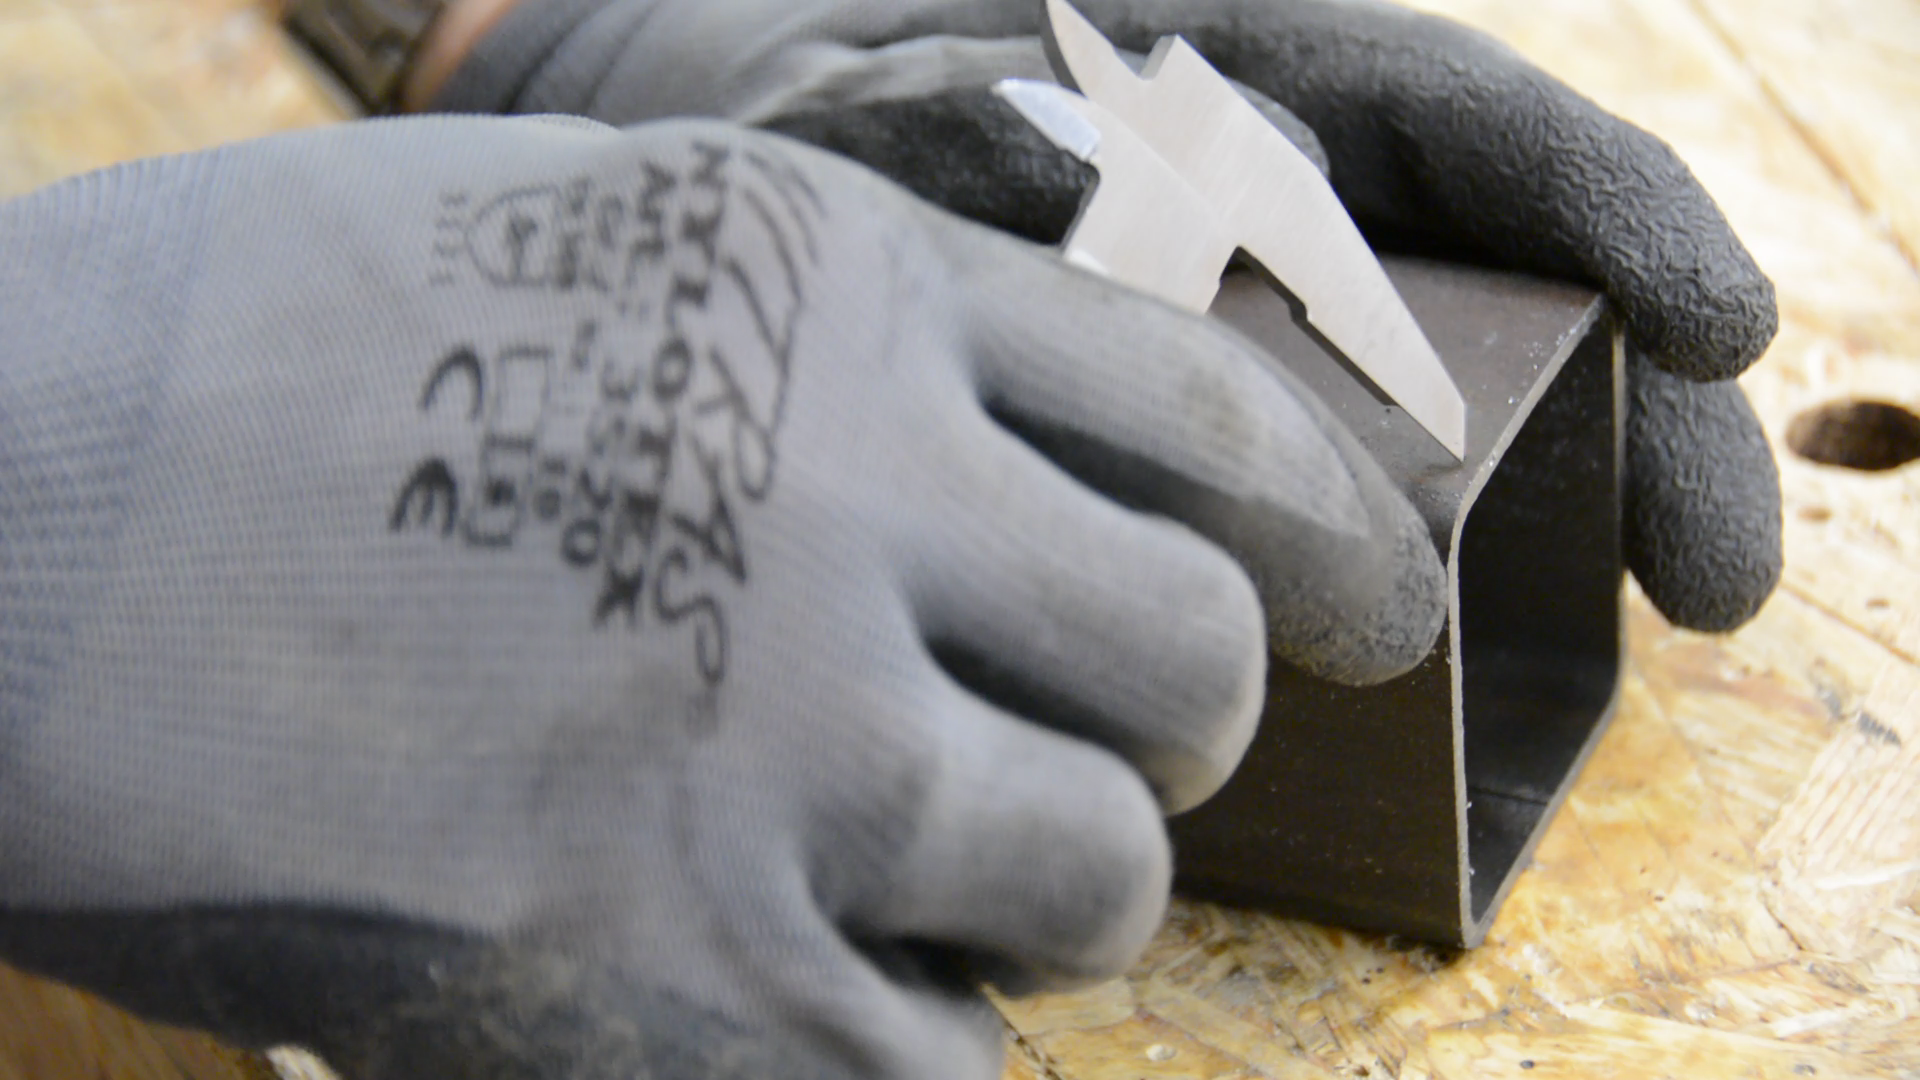
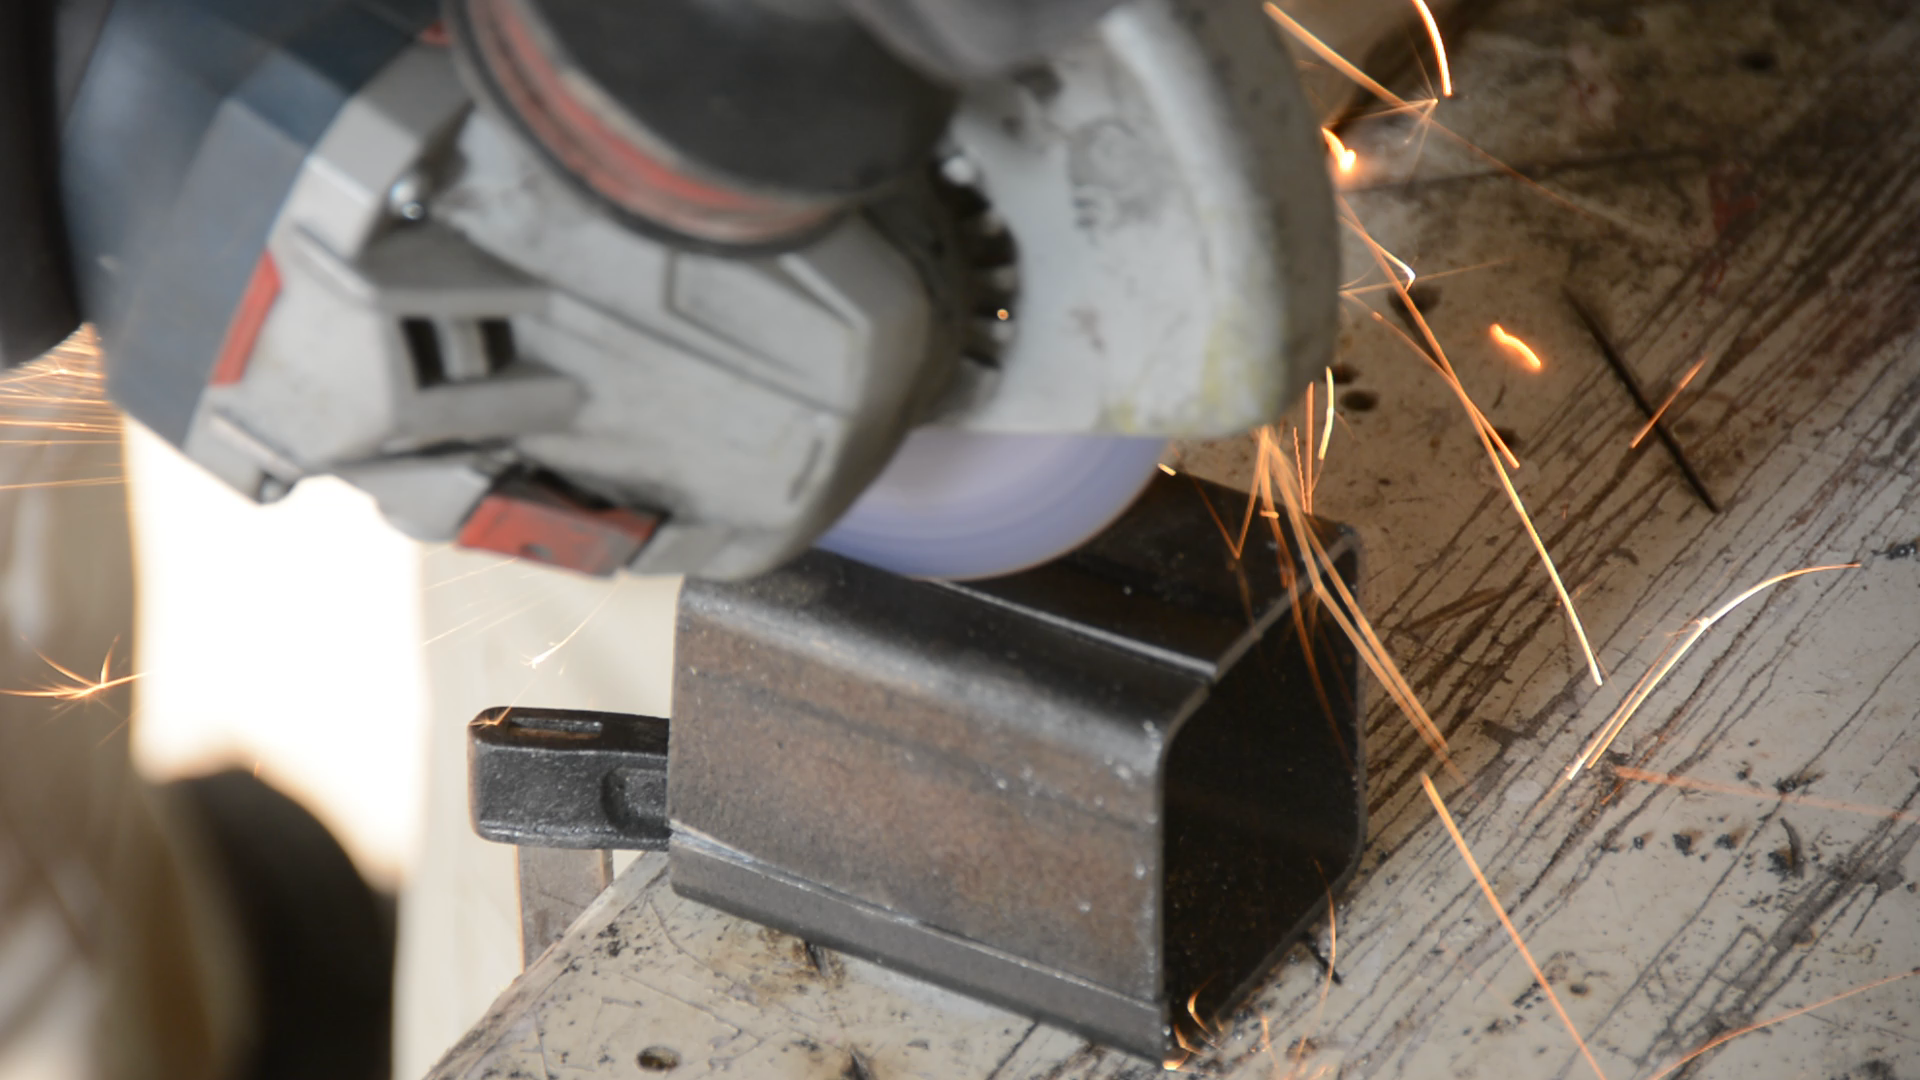
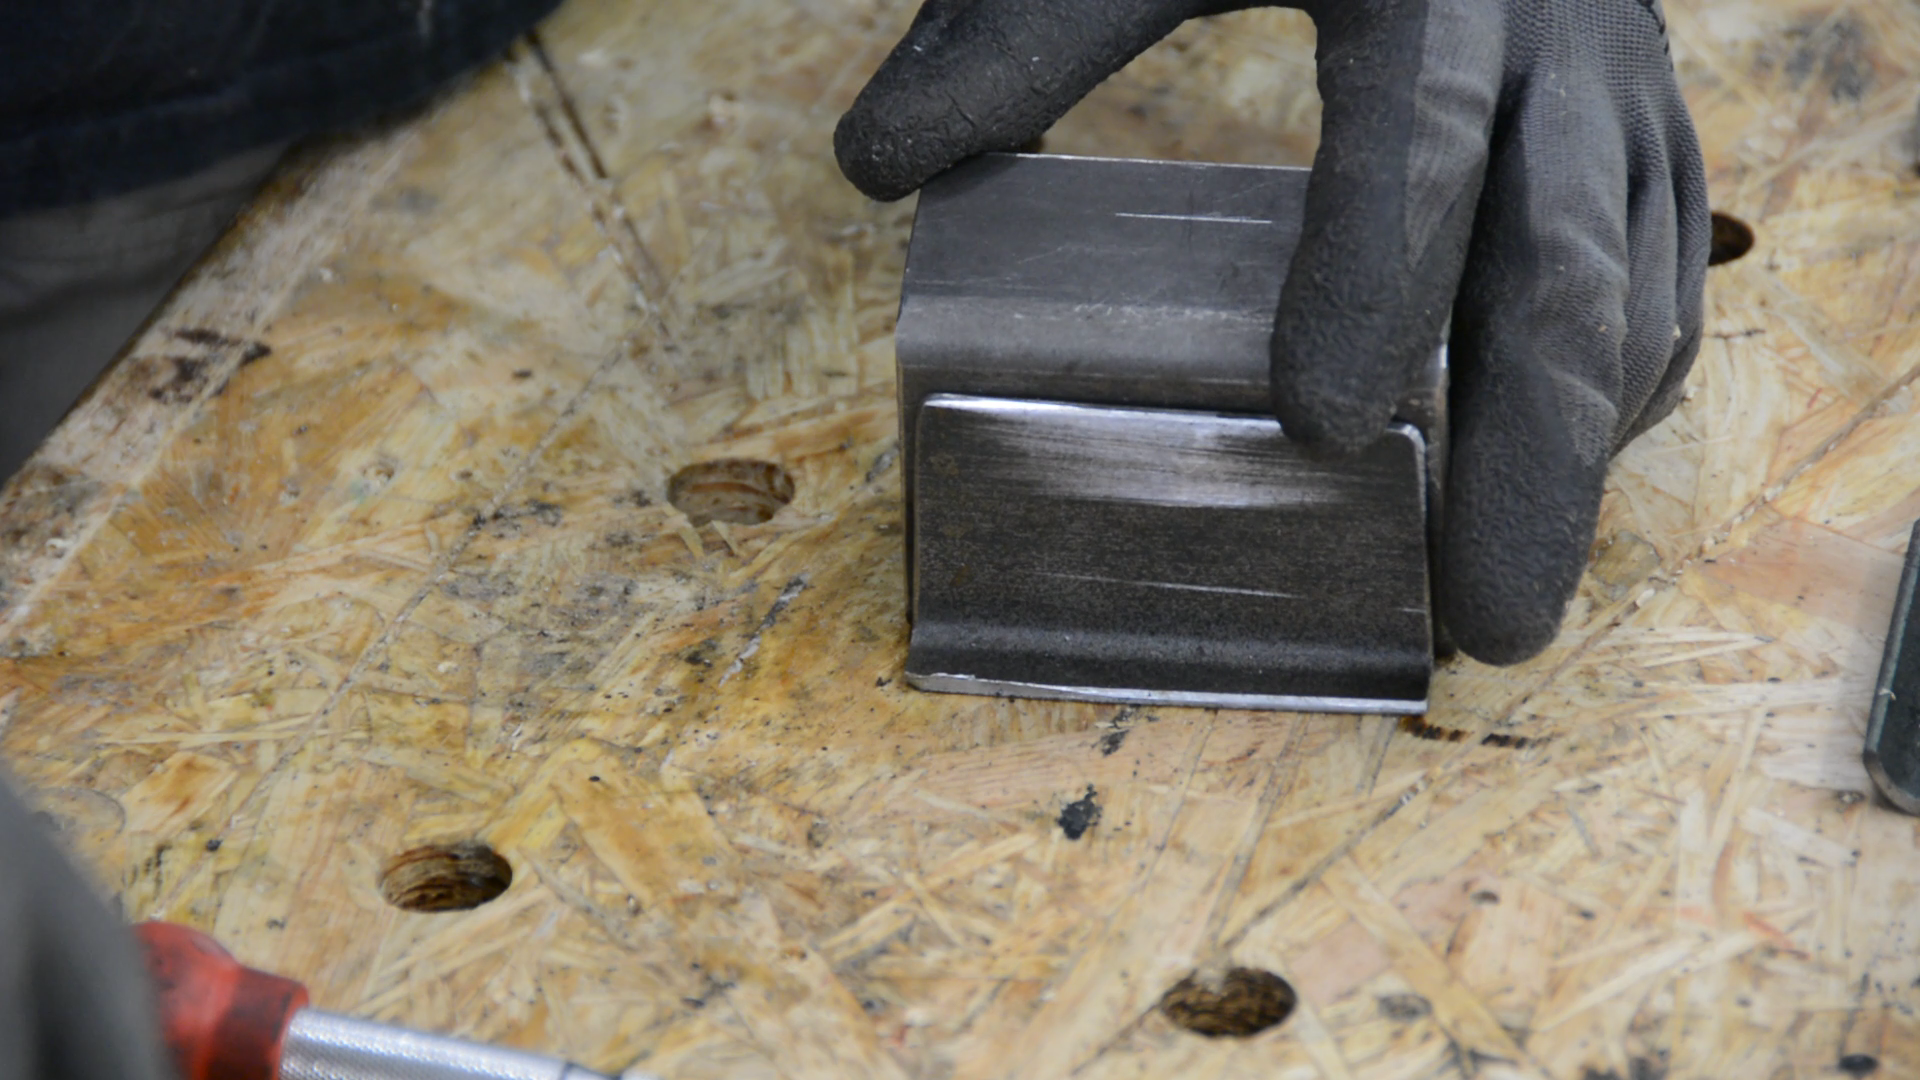
With a cutoff wheel on the agle grider we carefully score the steel along the marked line. From one part of tubing we cut 4 pieces and from 2 more parts we are cutting 2 pieces. With these 8 pieces we have all the parts we need to mount the roof rack.
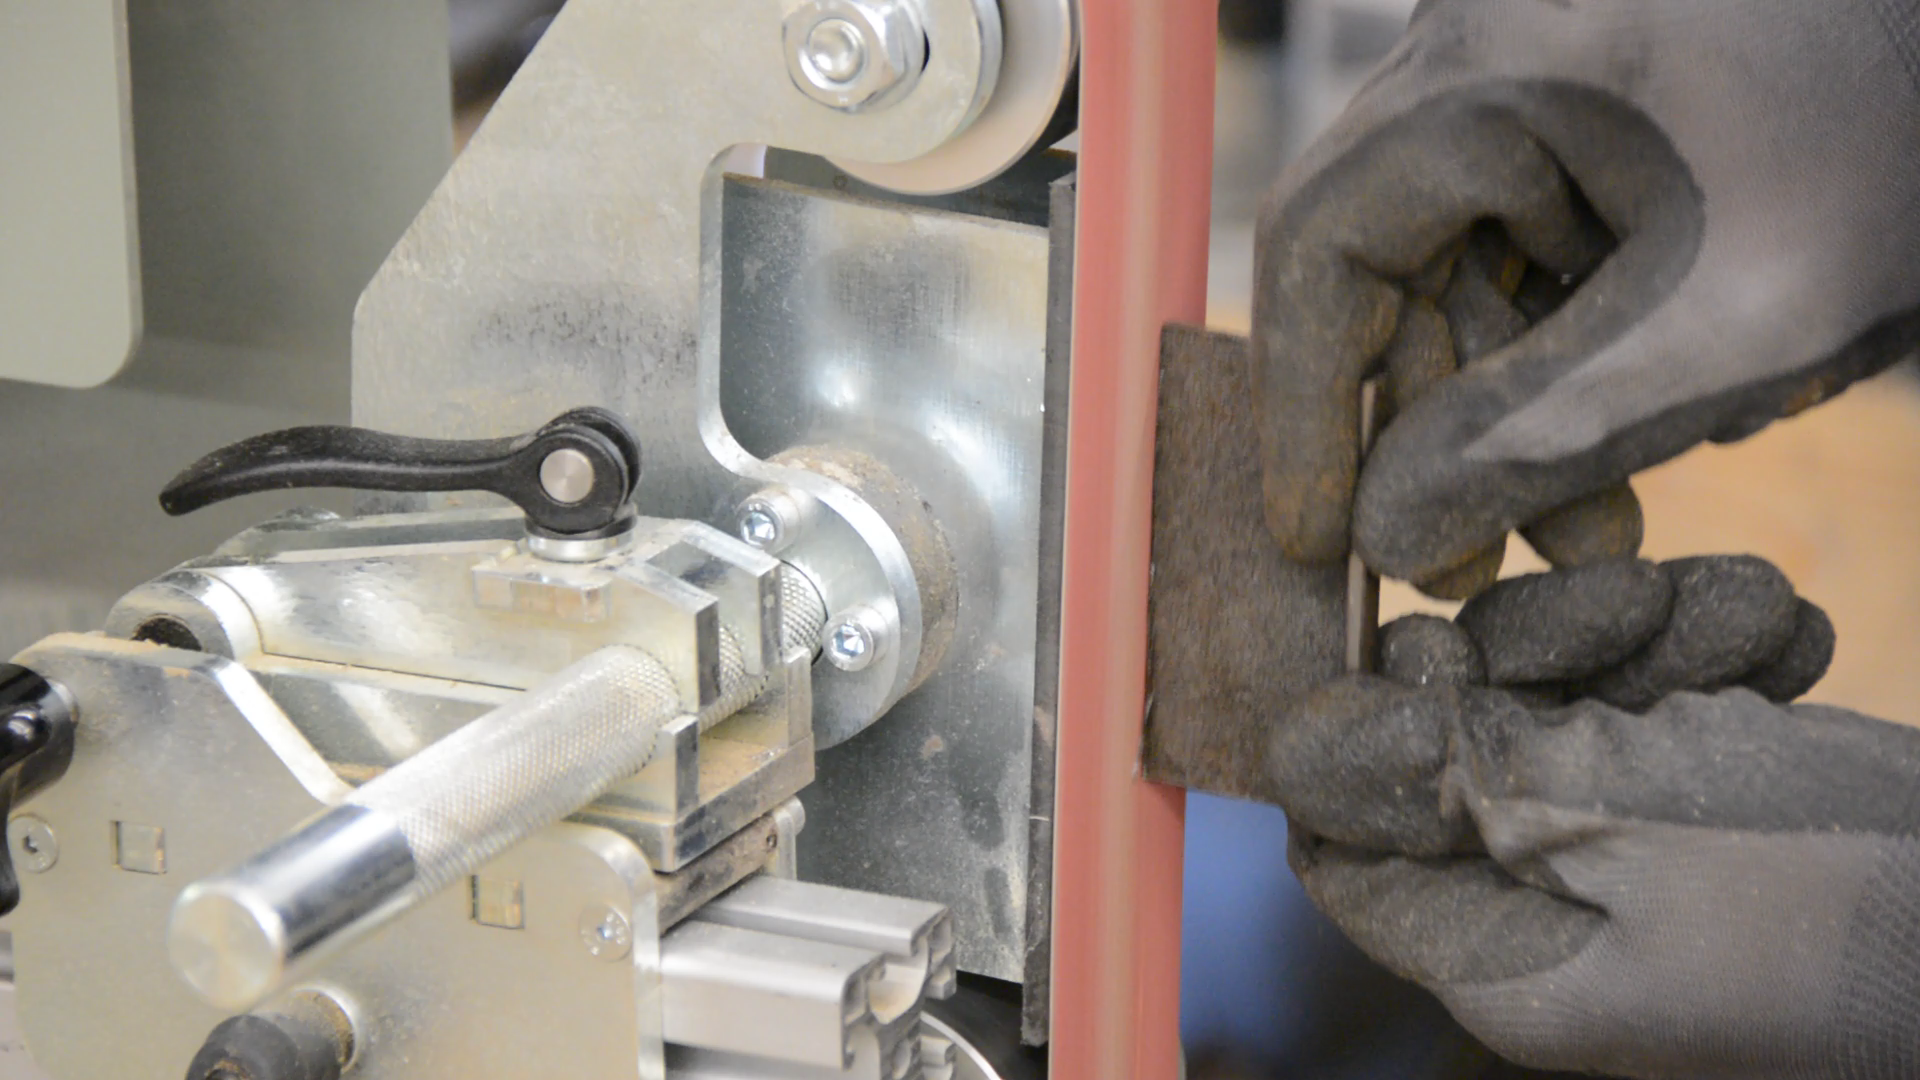
We clean the edges of the parts on the belt sander and also adjust the fit of the pieces that way. If you don’t have a belt sander a sanding disk on the angle grinder will work as well.
Preparing for mounting
With the mounting hardware done we remove the mounting hardware from the old roof rack but we keep the nuts and screws that held the old hardware in place.


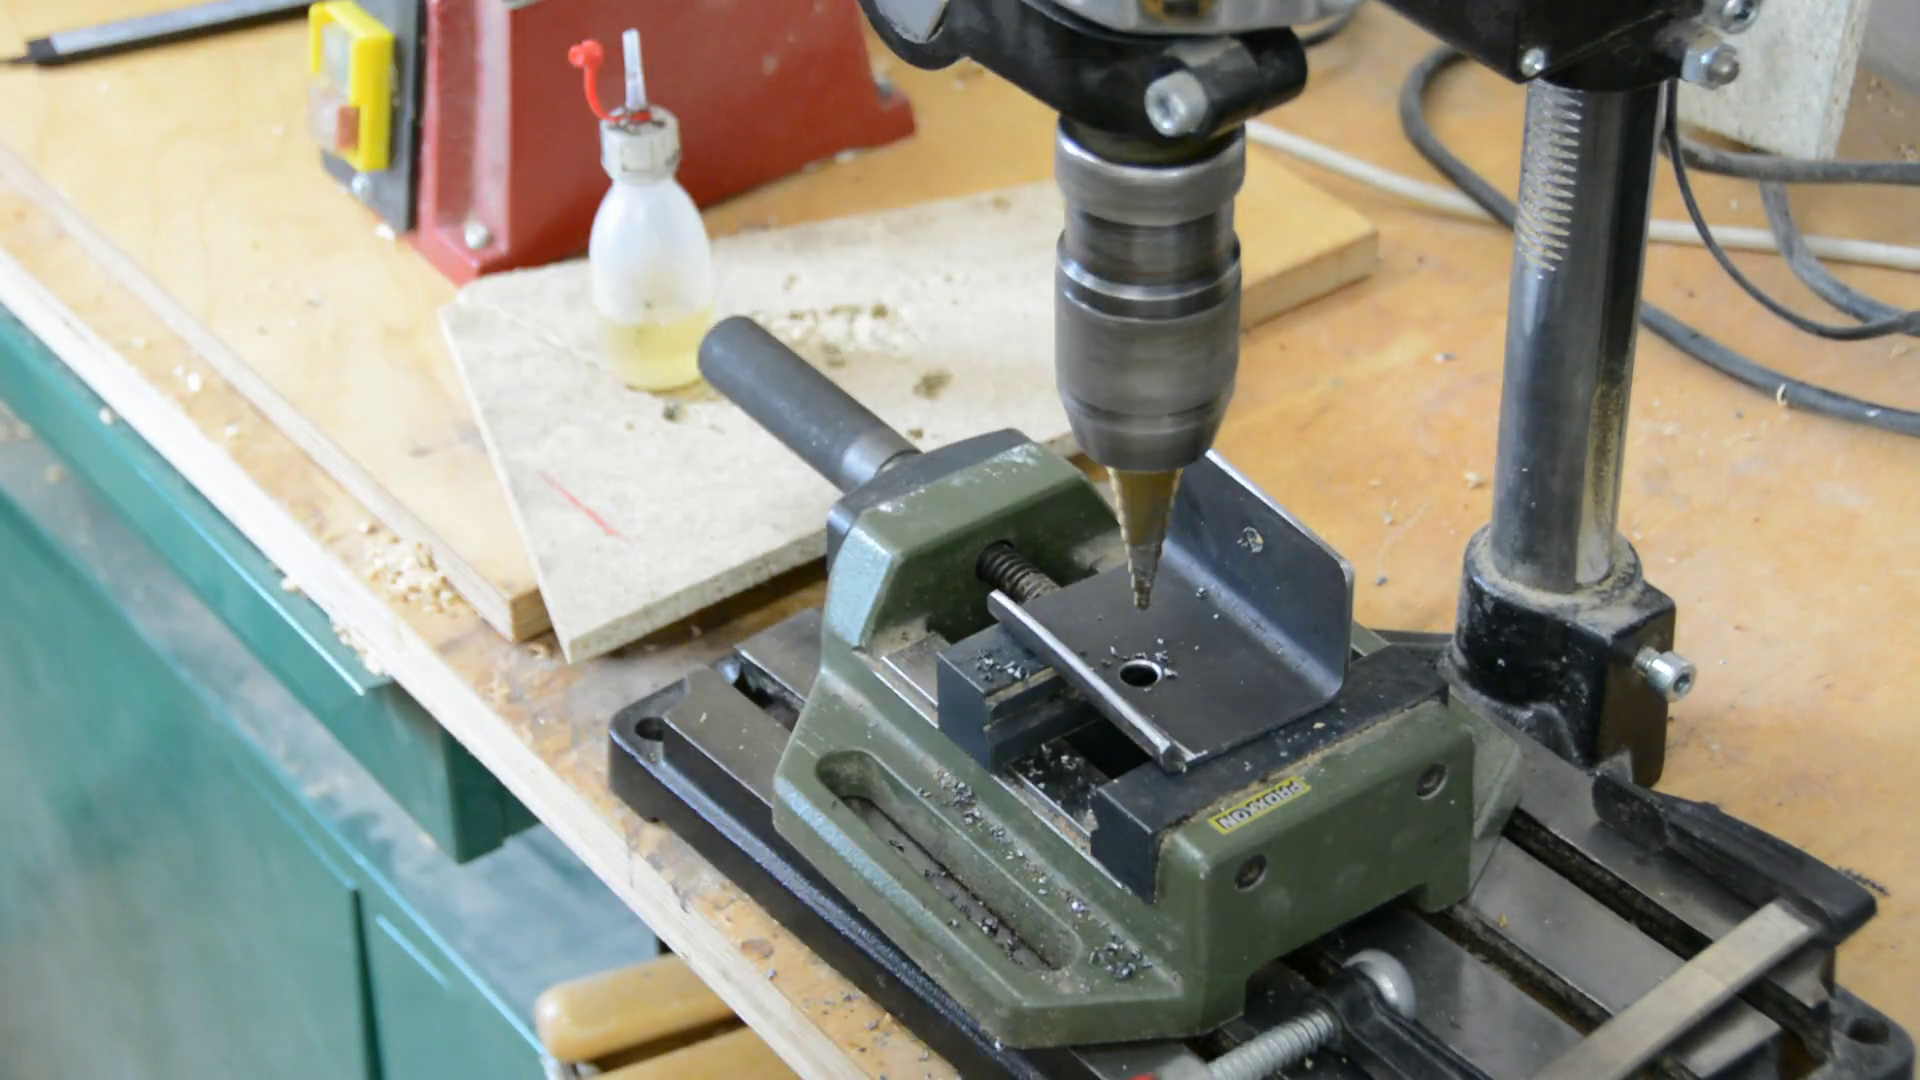
We mark a hole location in the lower third of the larger and the smaller part.
The shorter side of the large part gets a hole location marked in the center of this side.
First we drill all the holes with a 6 mm bit.
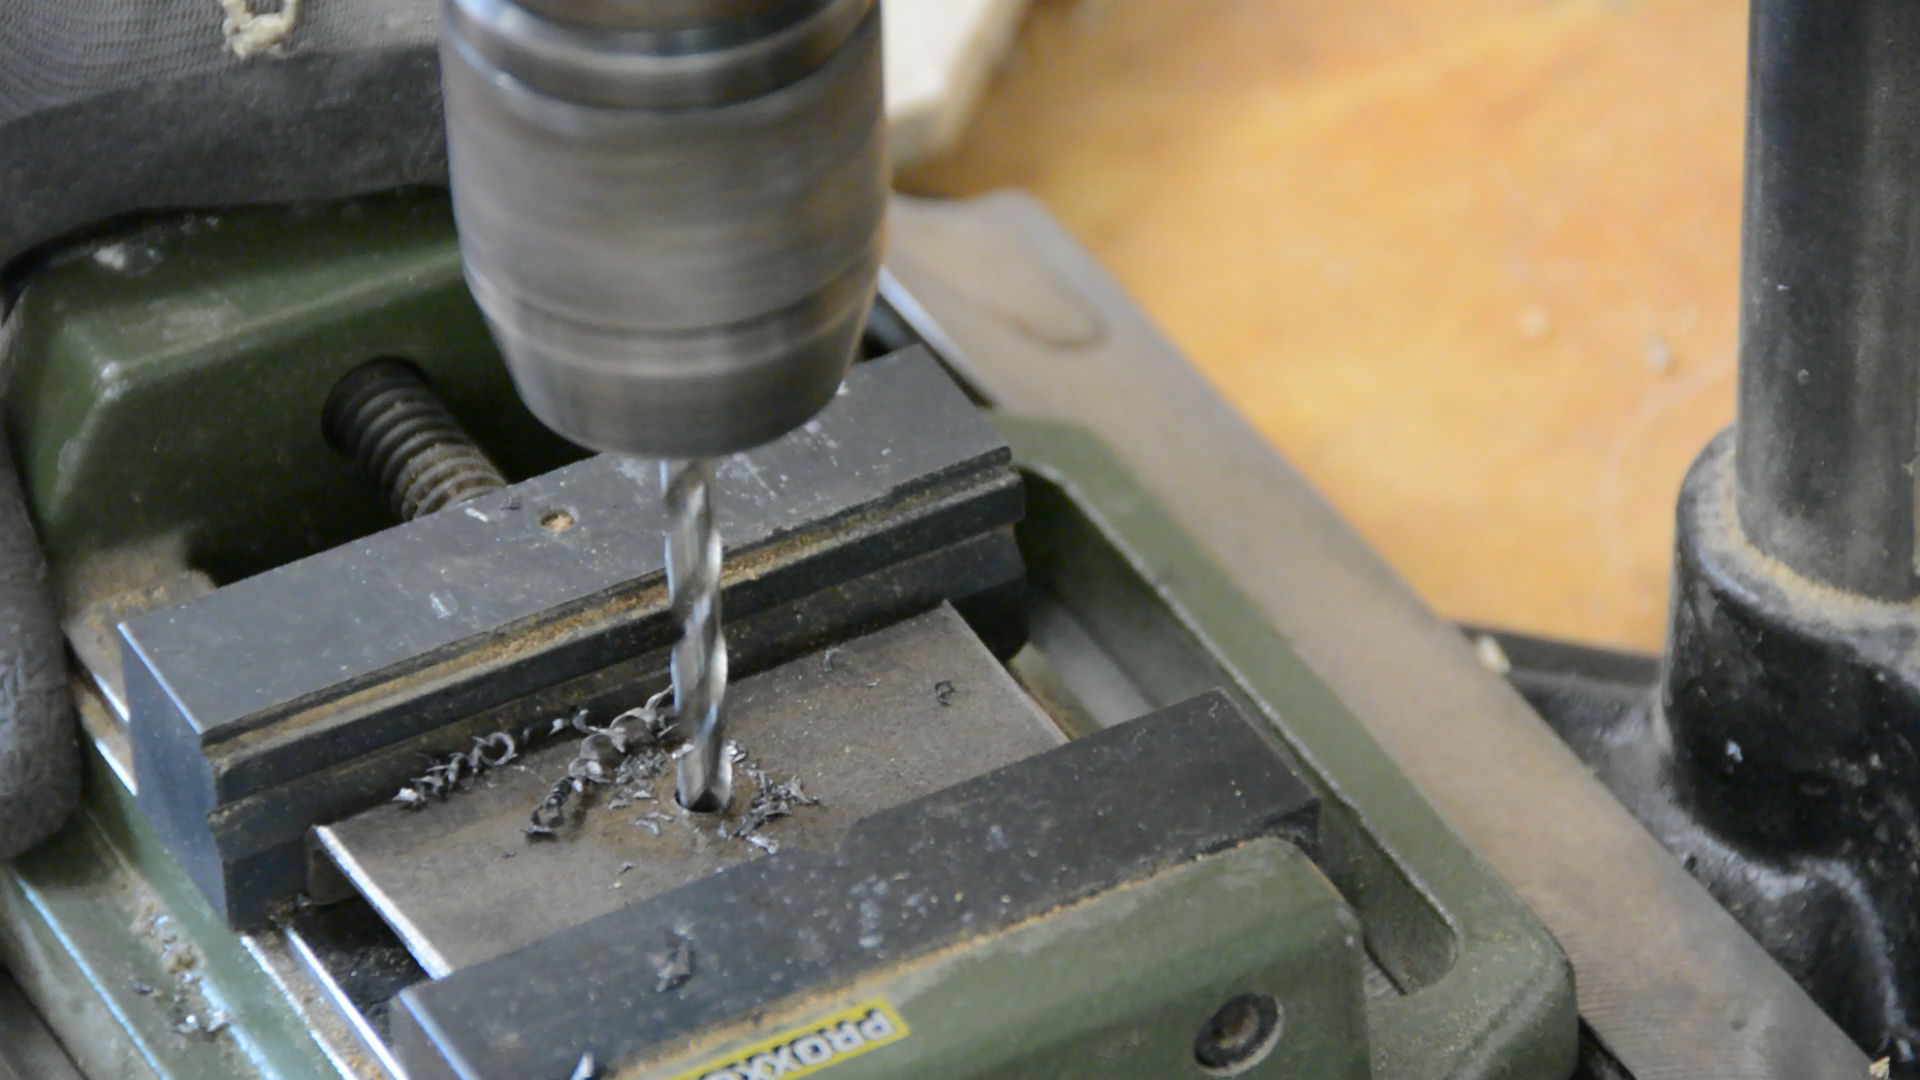
A drop of oil and a sharp drill bit make quick work of these holes.
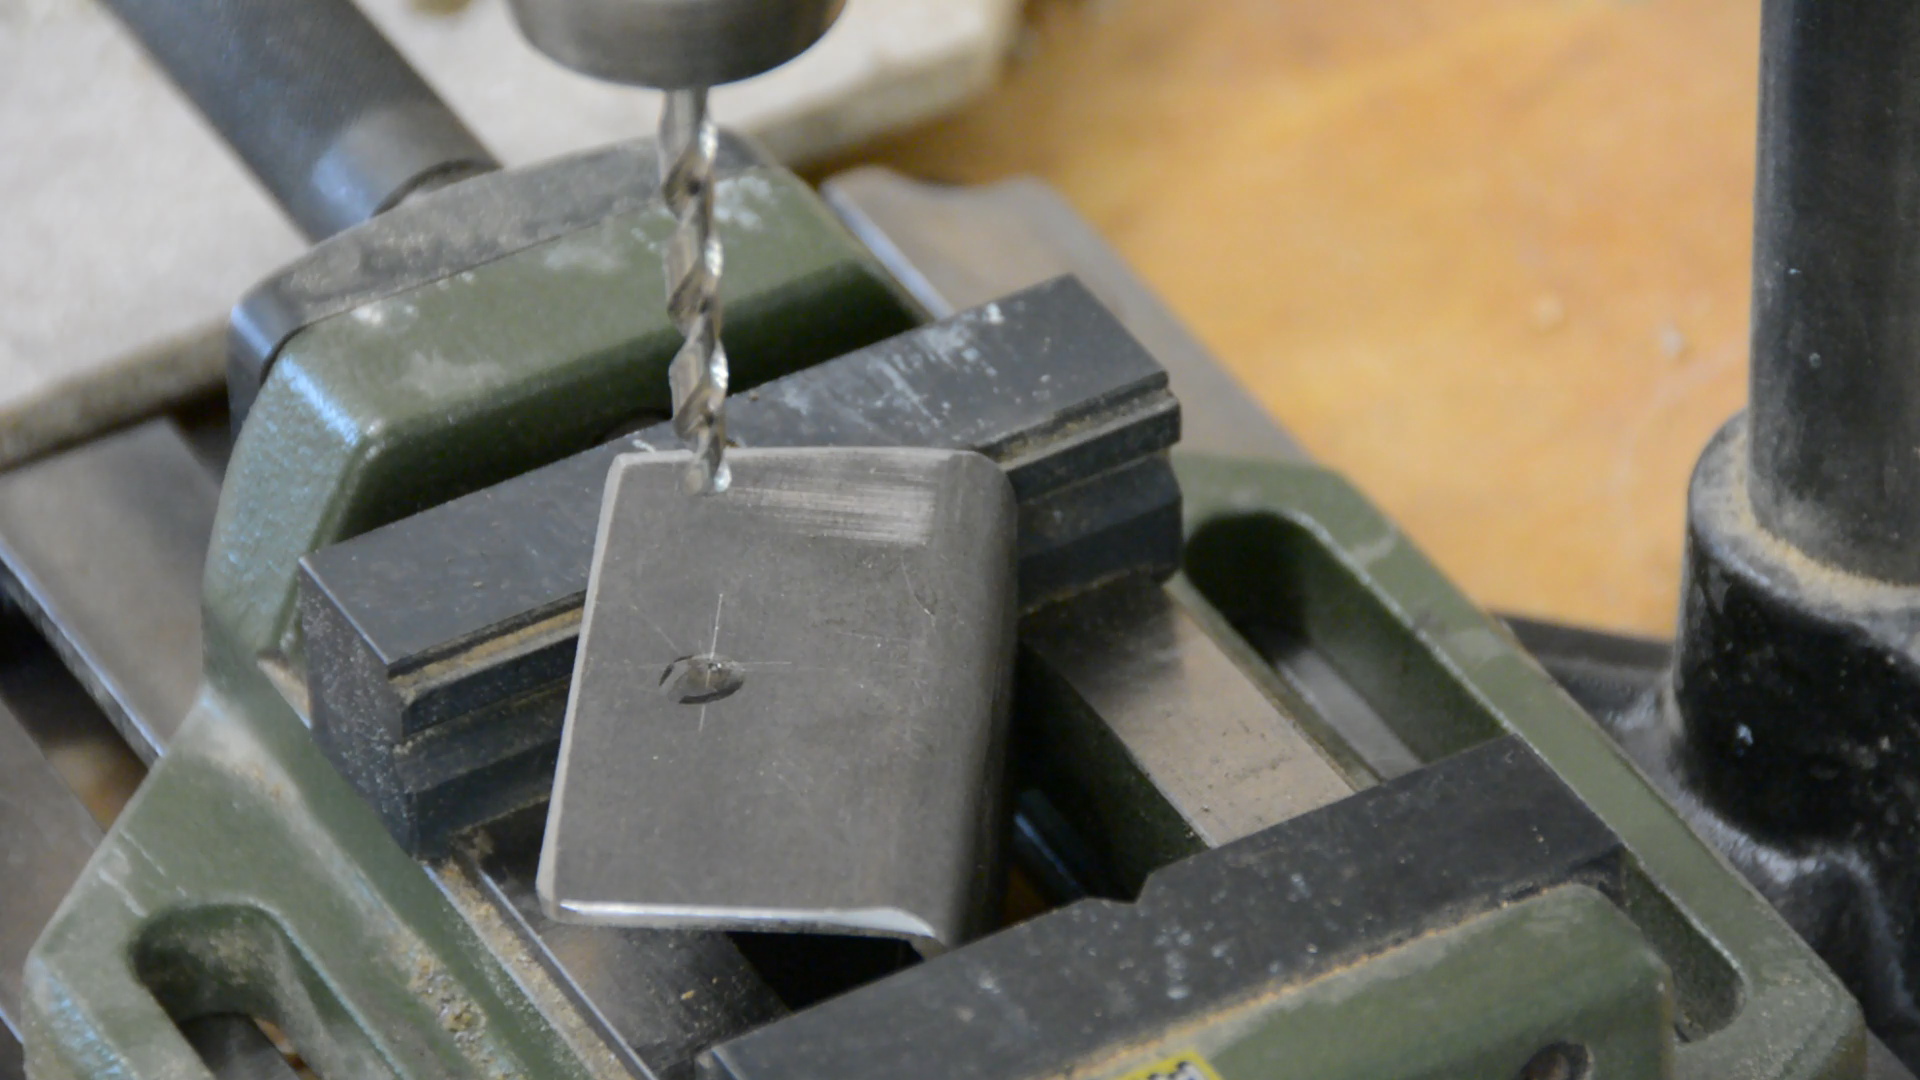
The two holes in the sides are then enlarged to 10 mm and slightly chamfered.
That’s it the only thing left to do is to protect the steel.

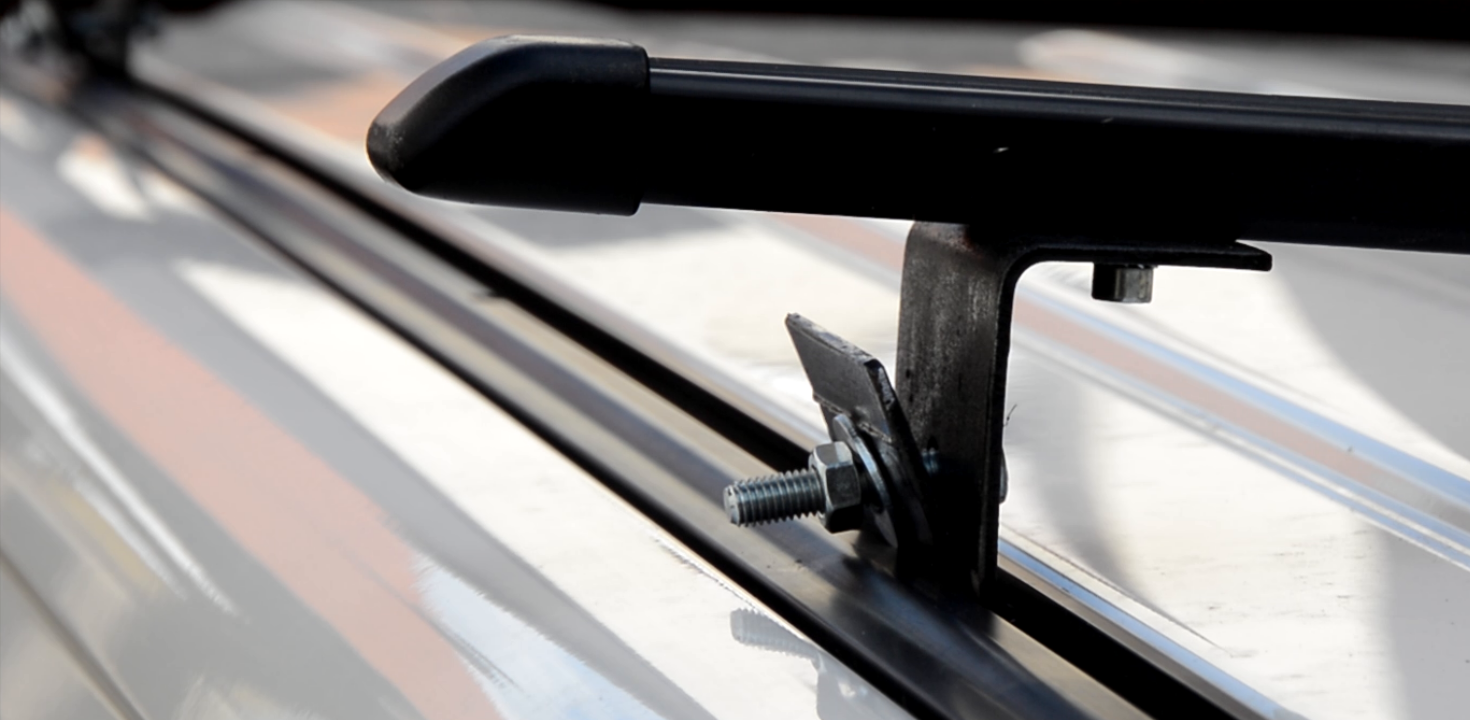
As we don’t have a powder coating setup some good old paint will have to do the job. After the paint is dry we use a M8 machine screw with two washers and a nut is to connect
the two steel pieces.

The old screws connect the mounting plates with the roof rack.
Installation and use
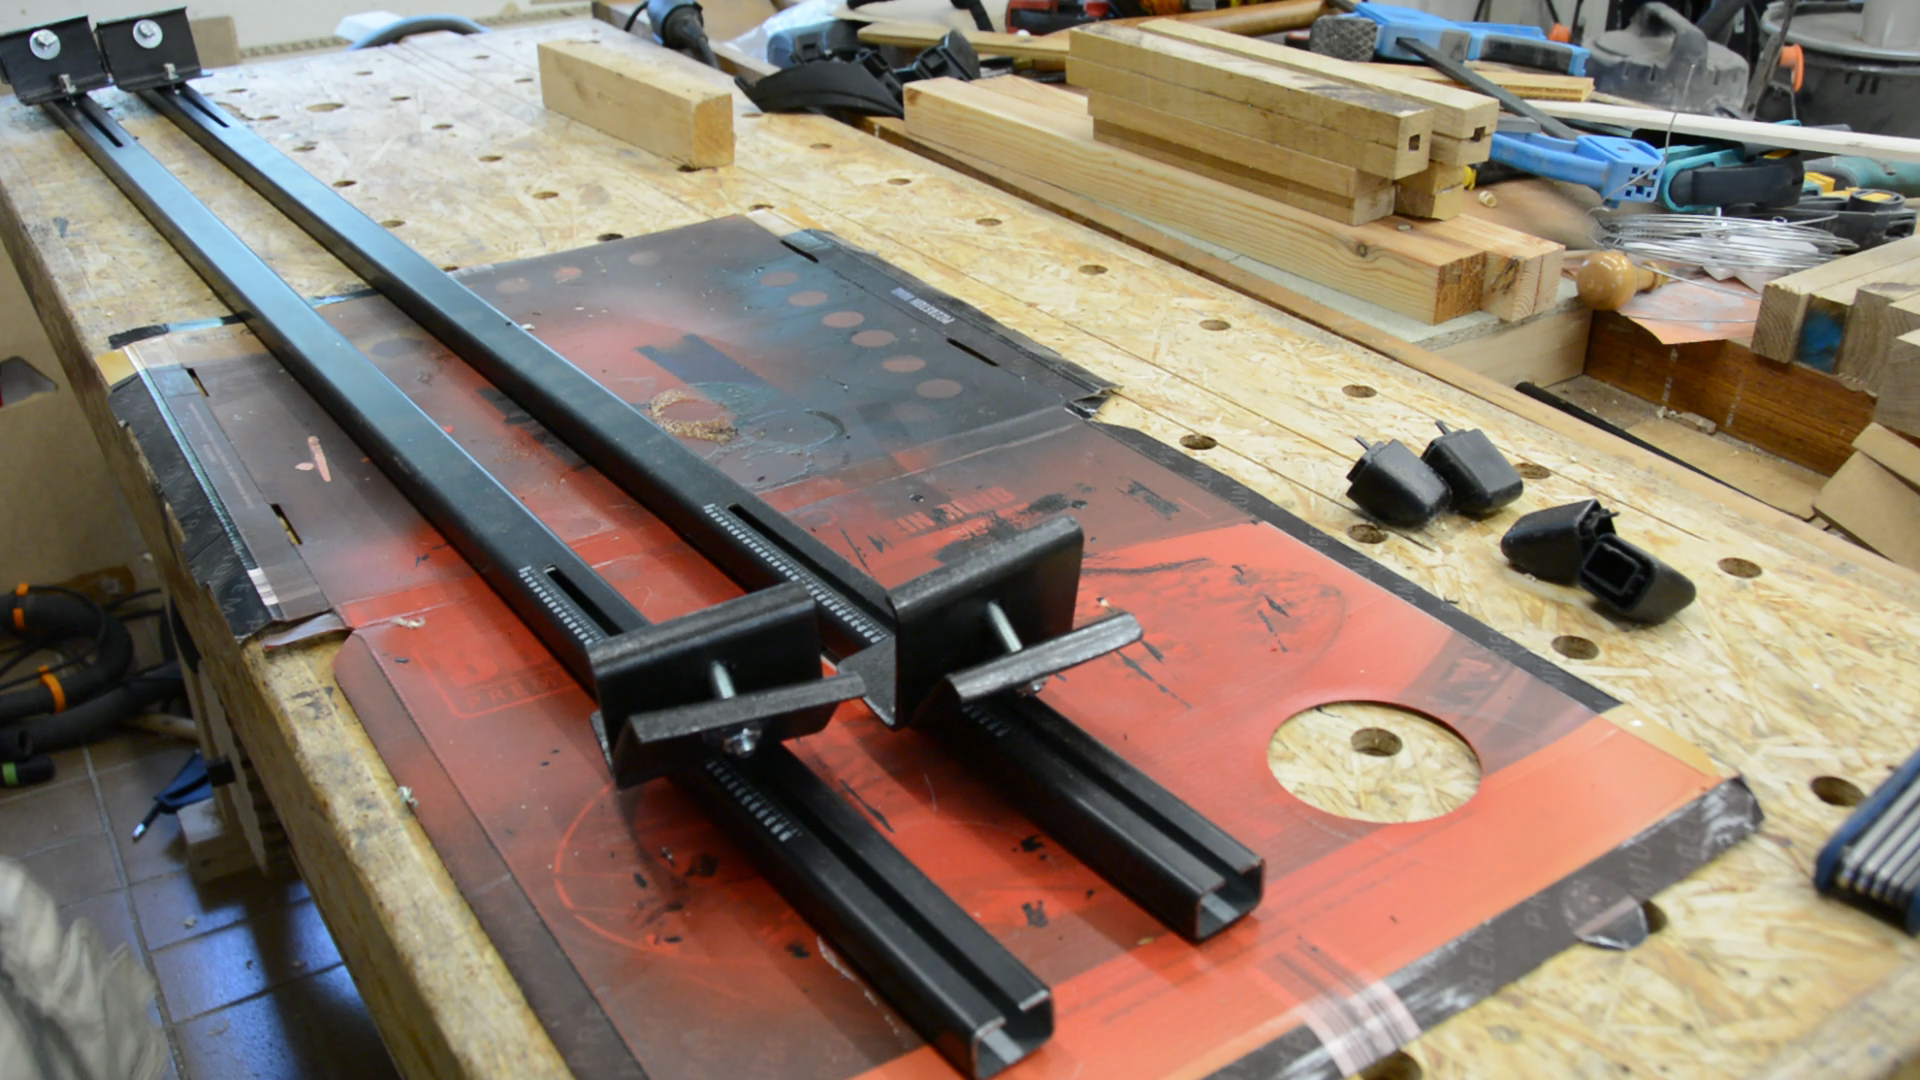
After putting it in place we tighten these screws so that the width of the mounts is adjusted to fit the car.
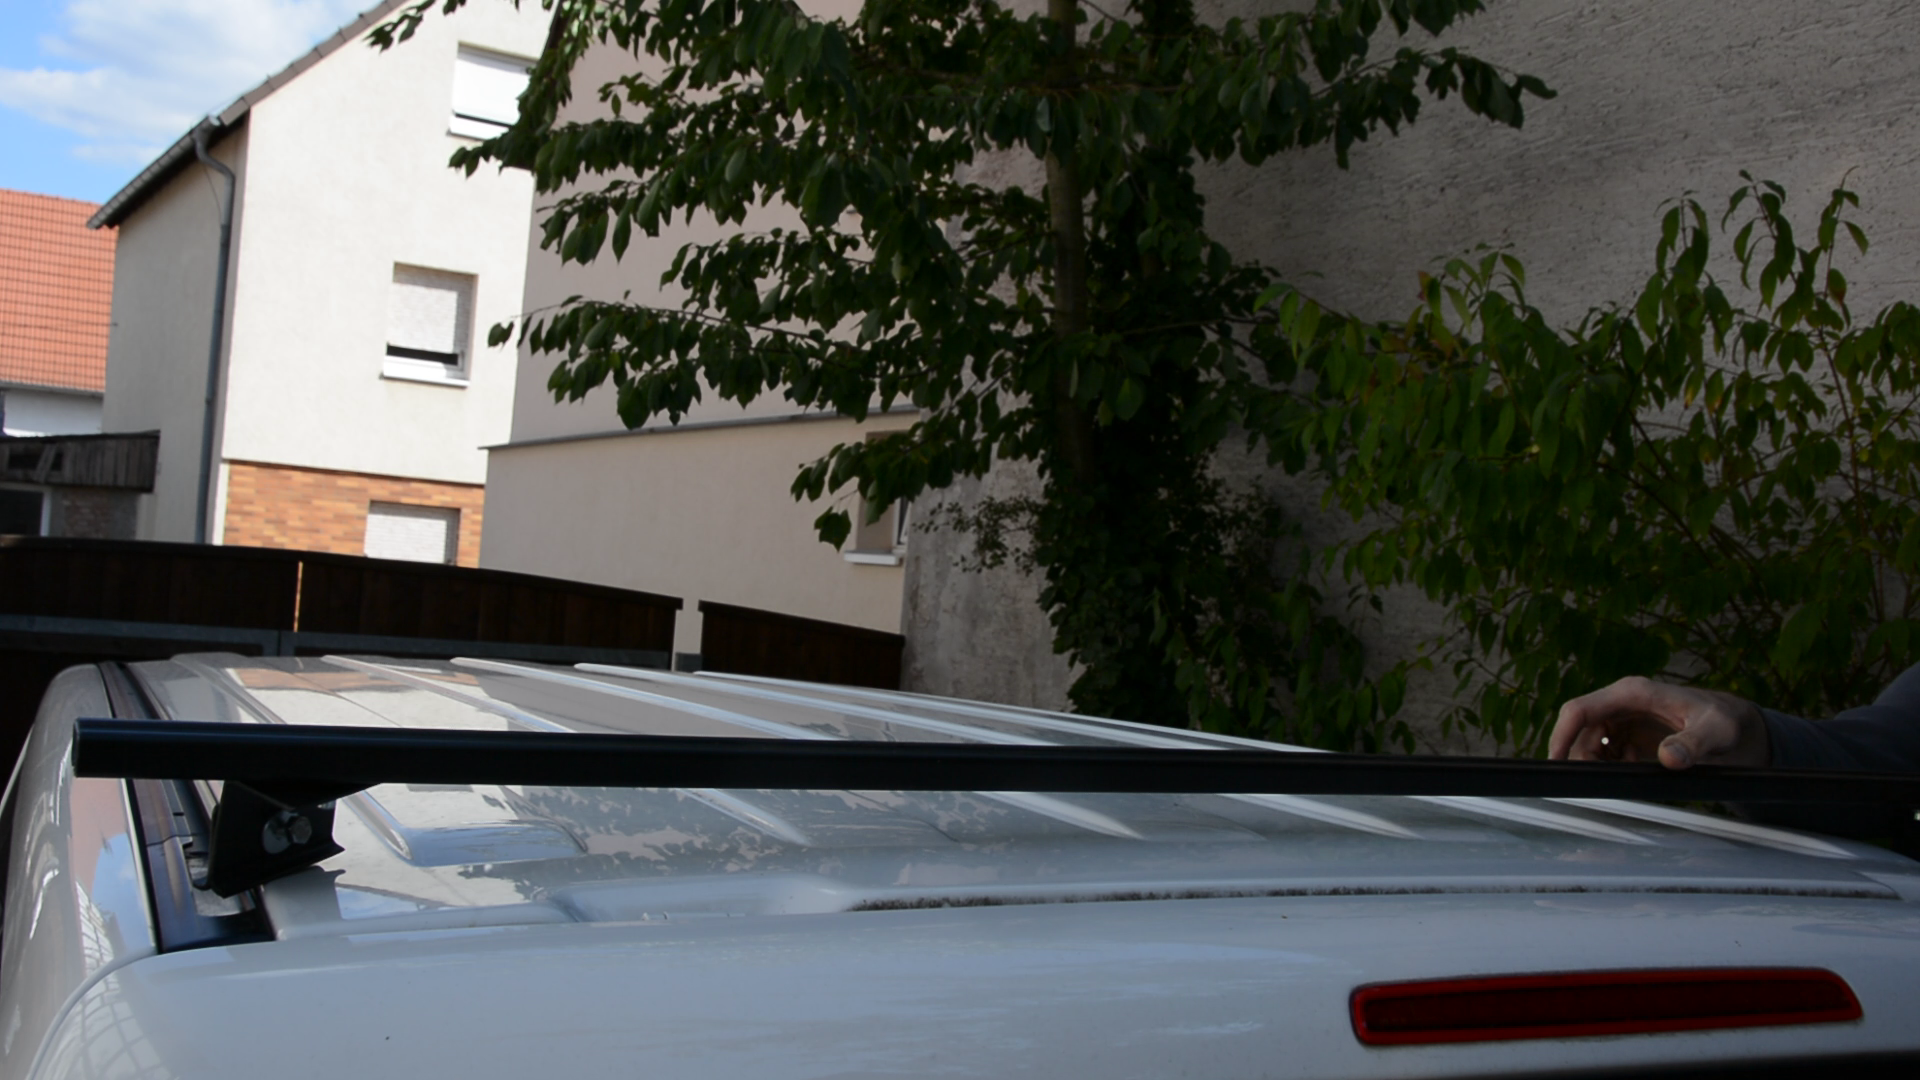
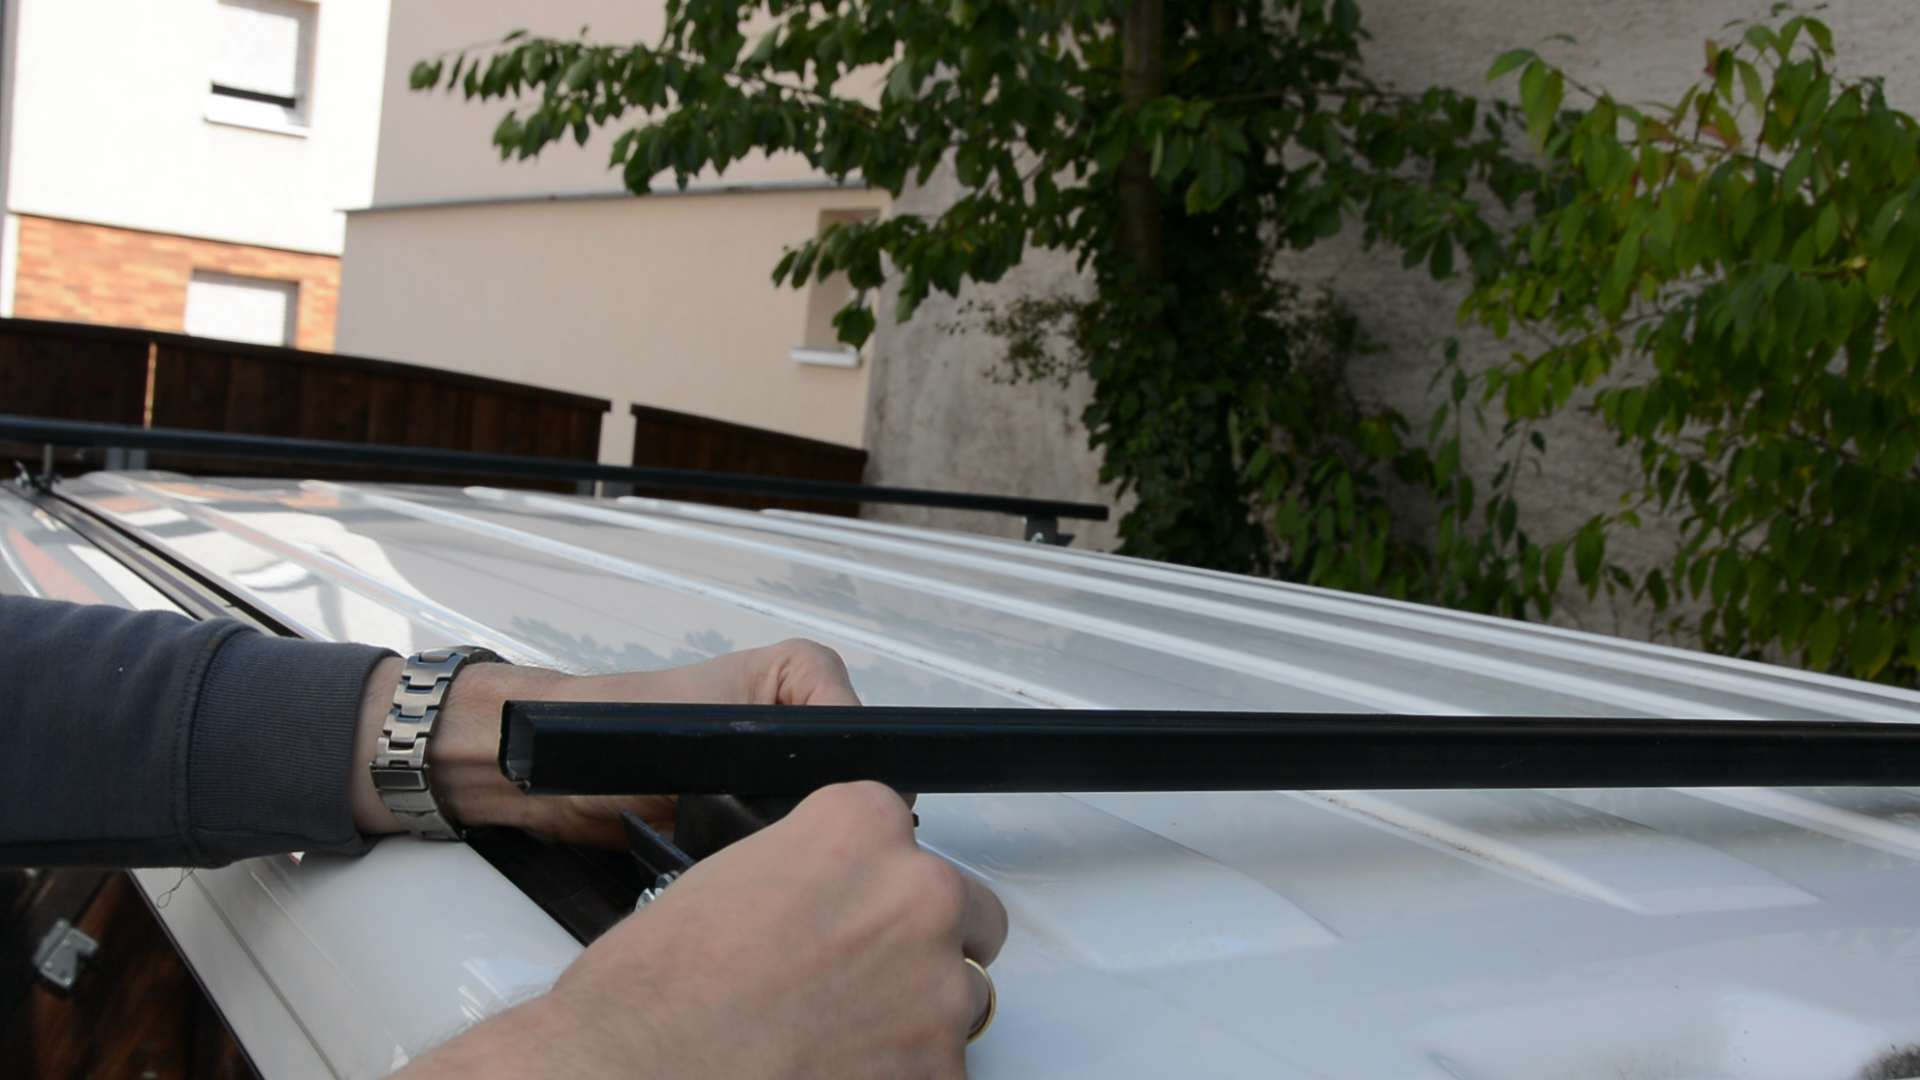
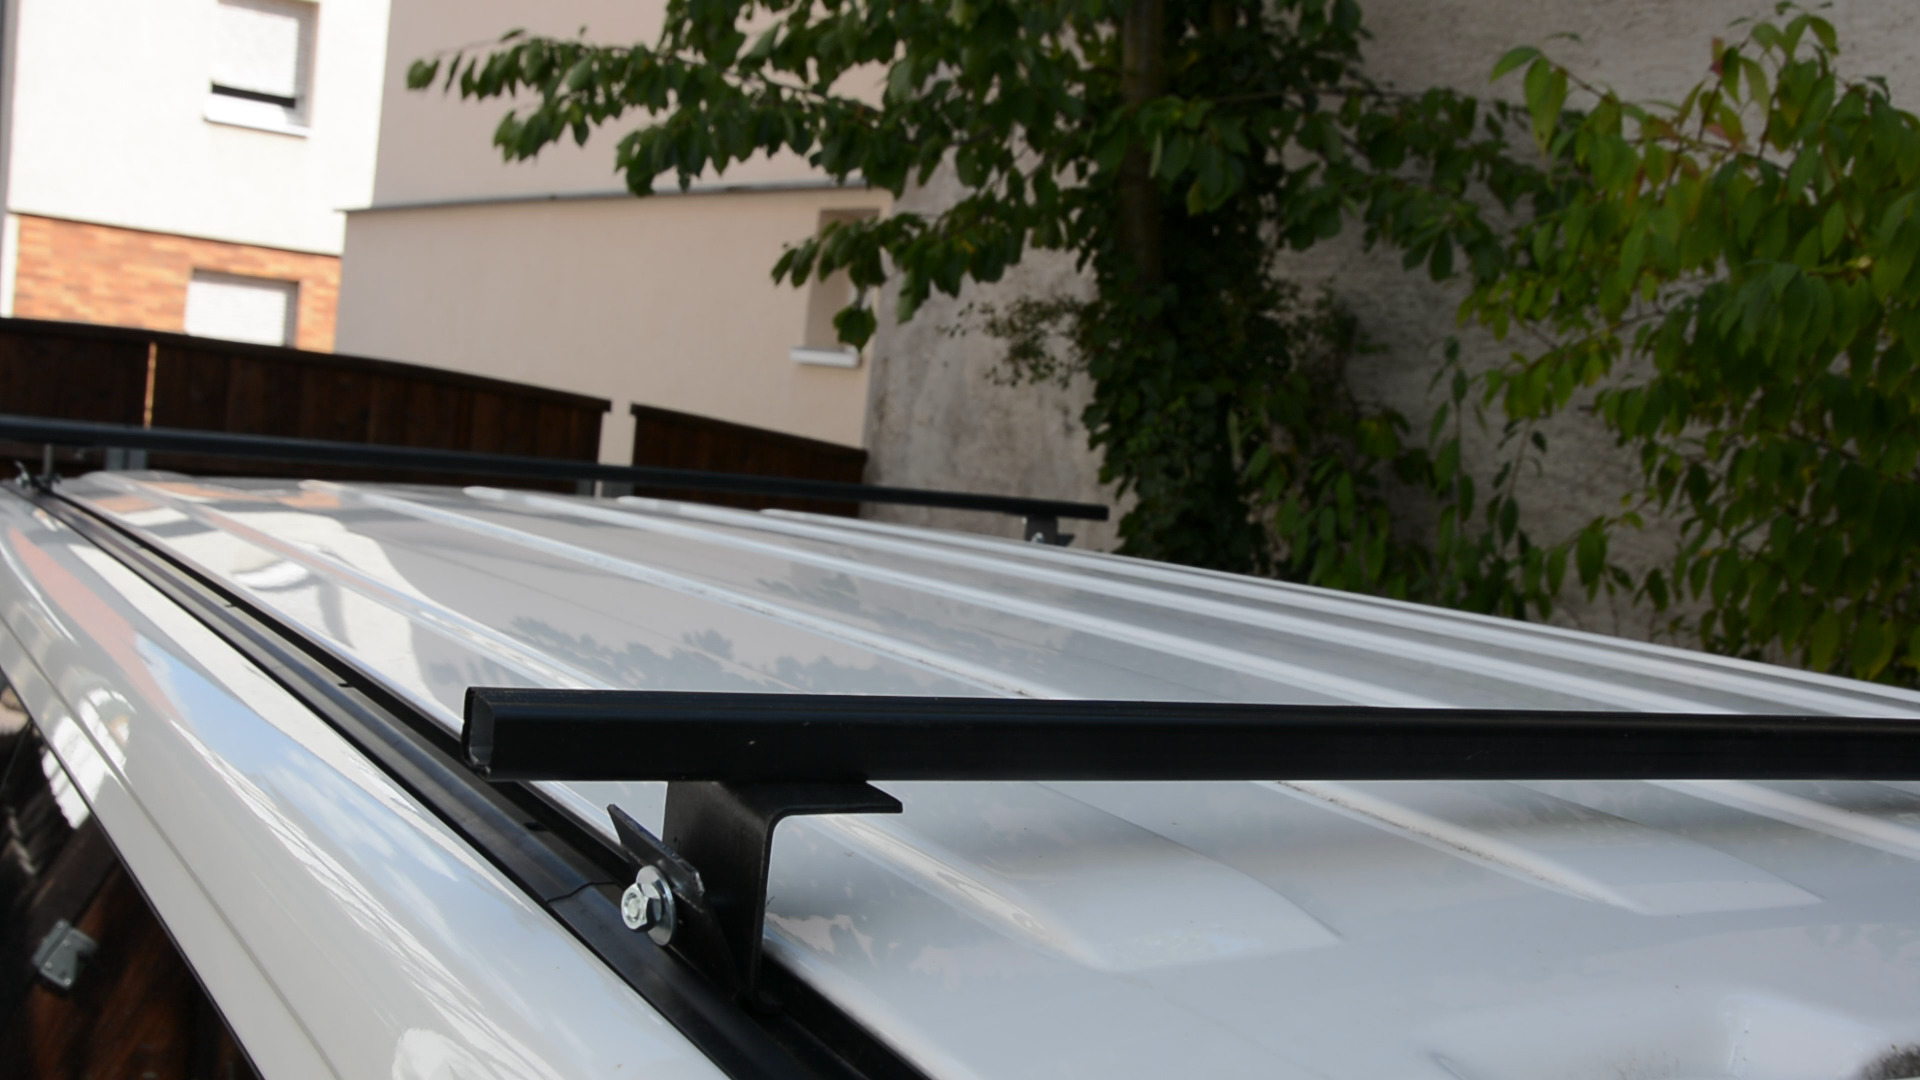
We can then slide the two bars in position and tighten the M8 screws to clamp it in place.

To test it we got some particle board from the home center.
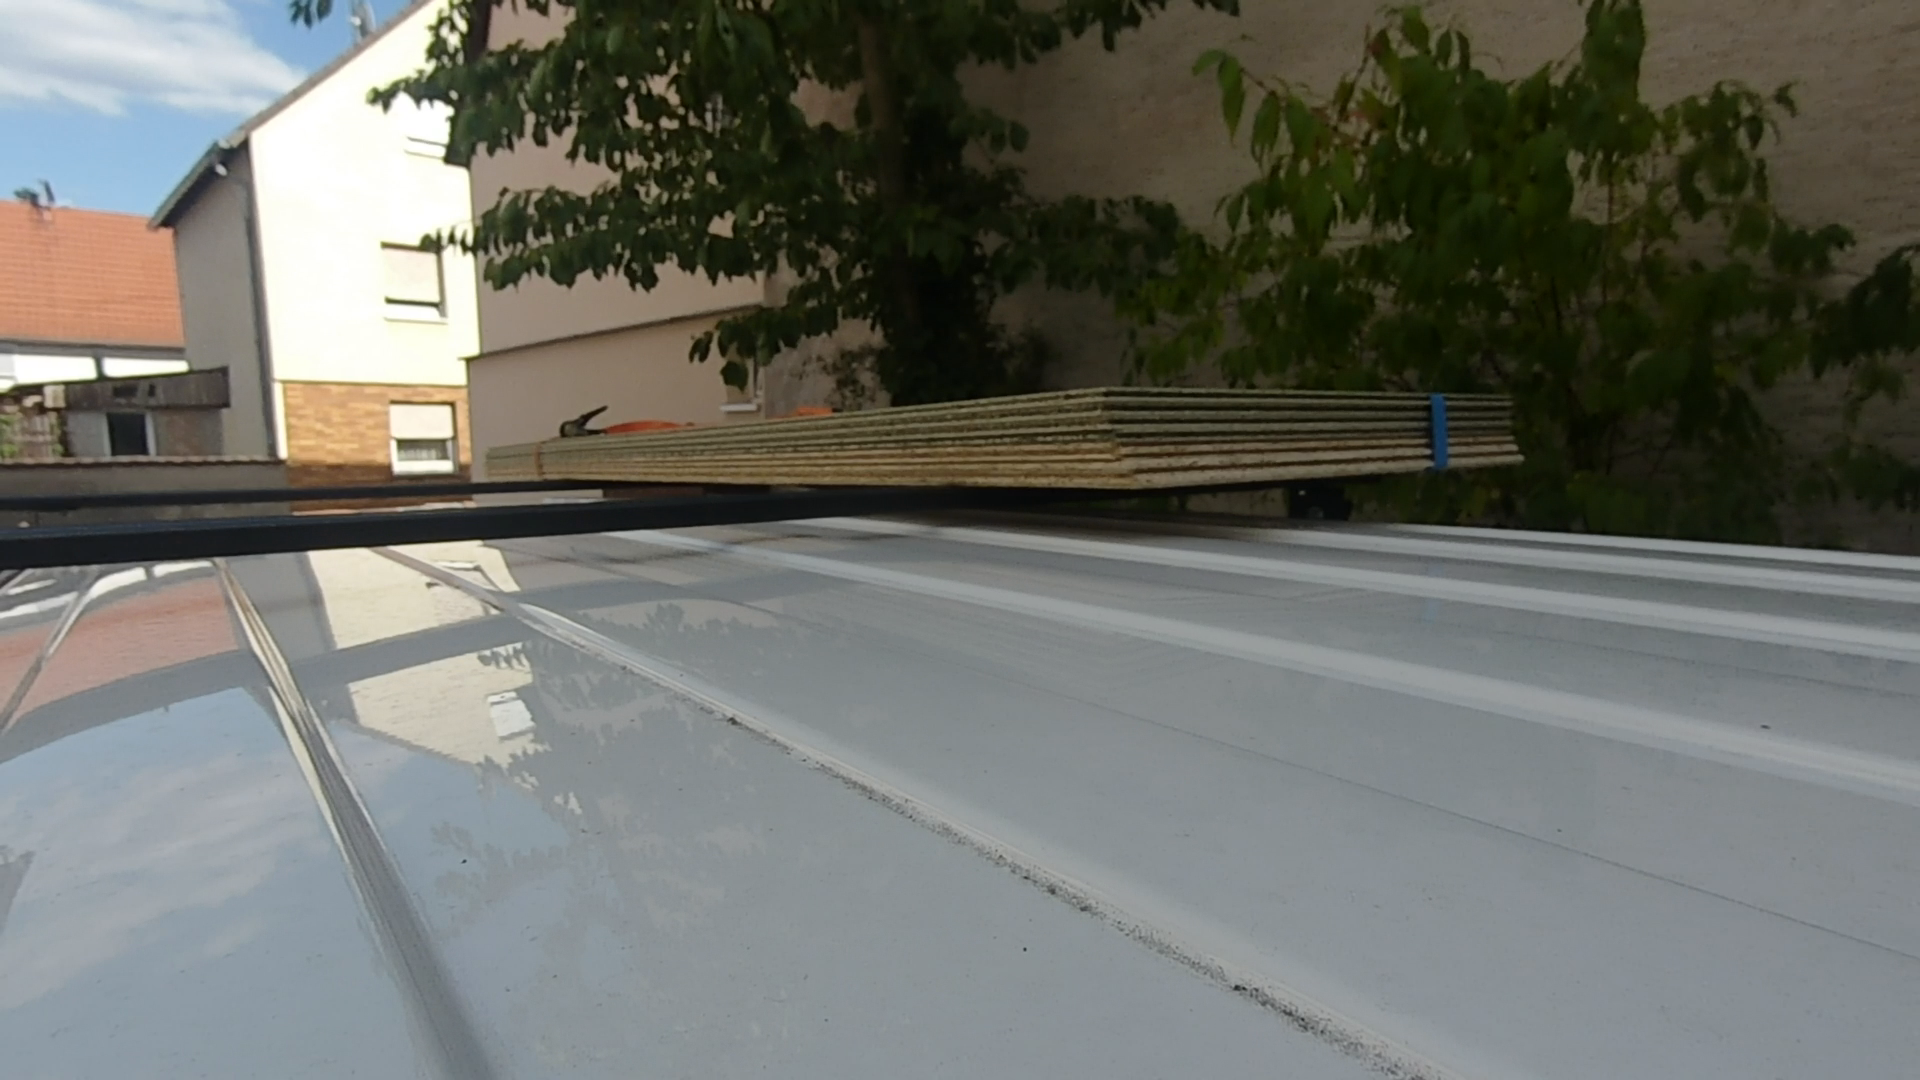
We are very happy with the roof rack as it is easy to remove and to install. It saved us a bunch of money and was a nice little project.