In this article we will turn one of these glass lids on the wood lathe using a few 3d printed woodturning tools and jigs.
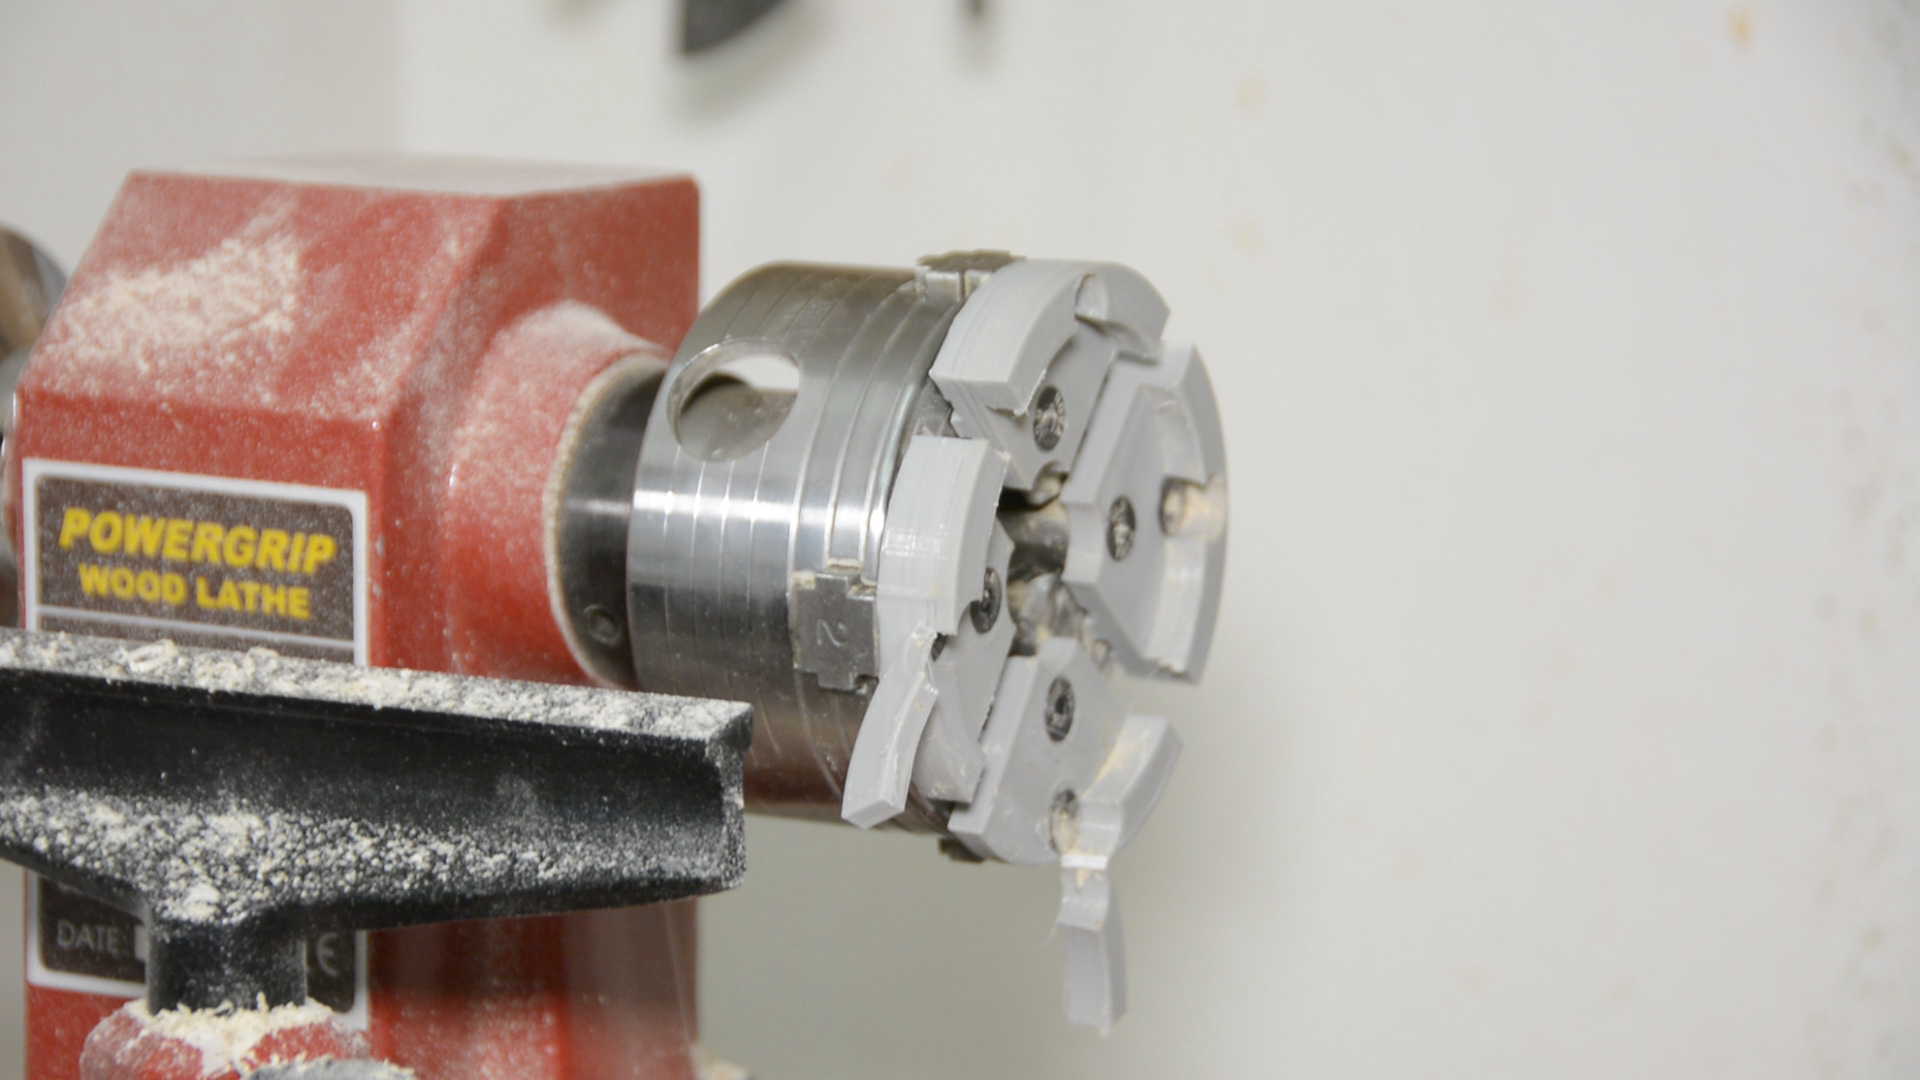
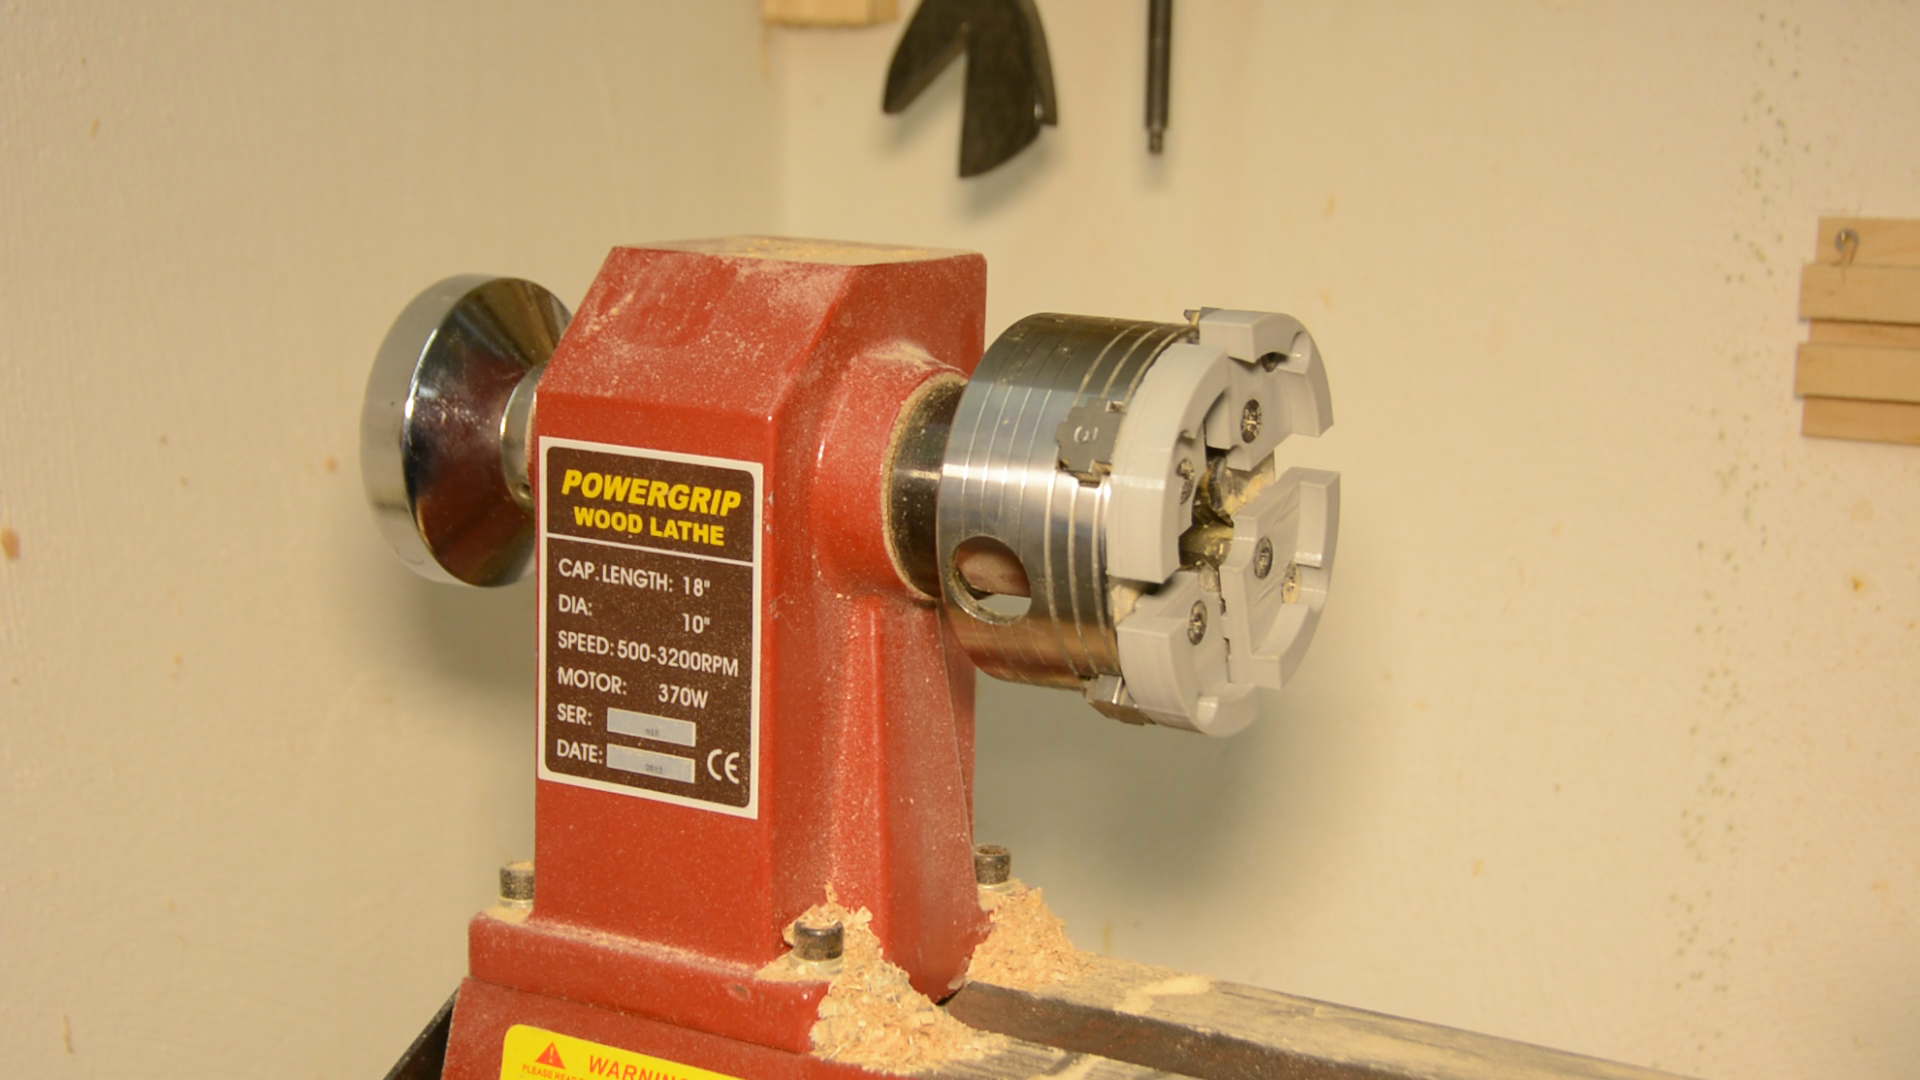
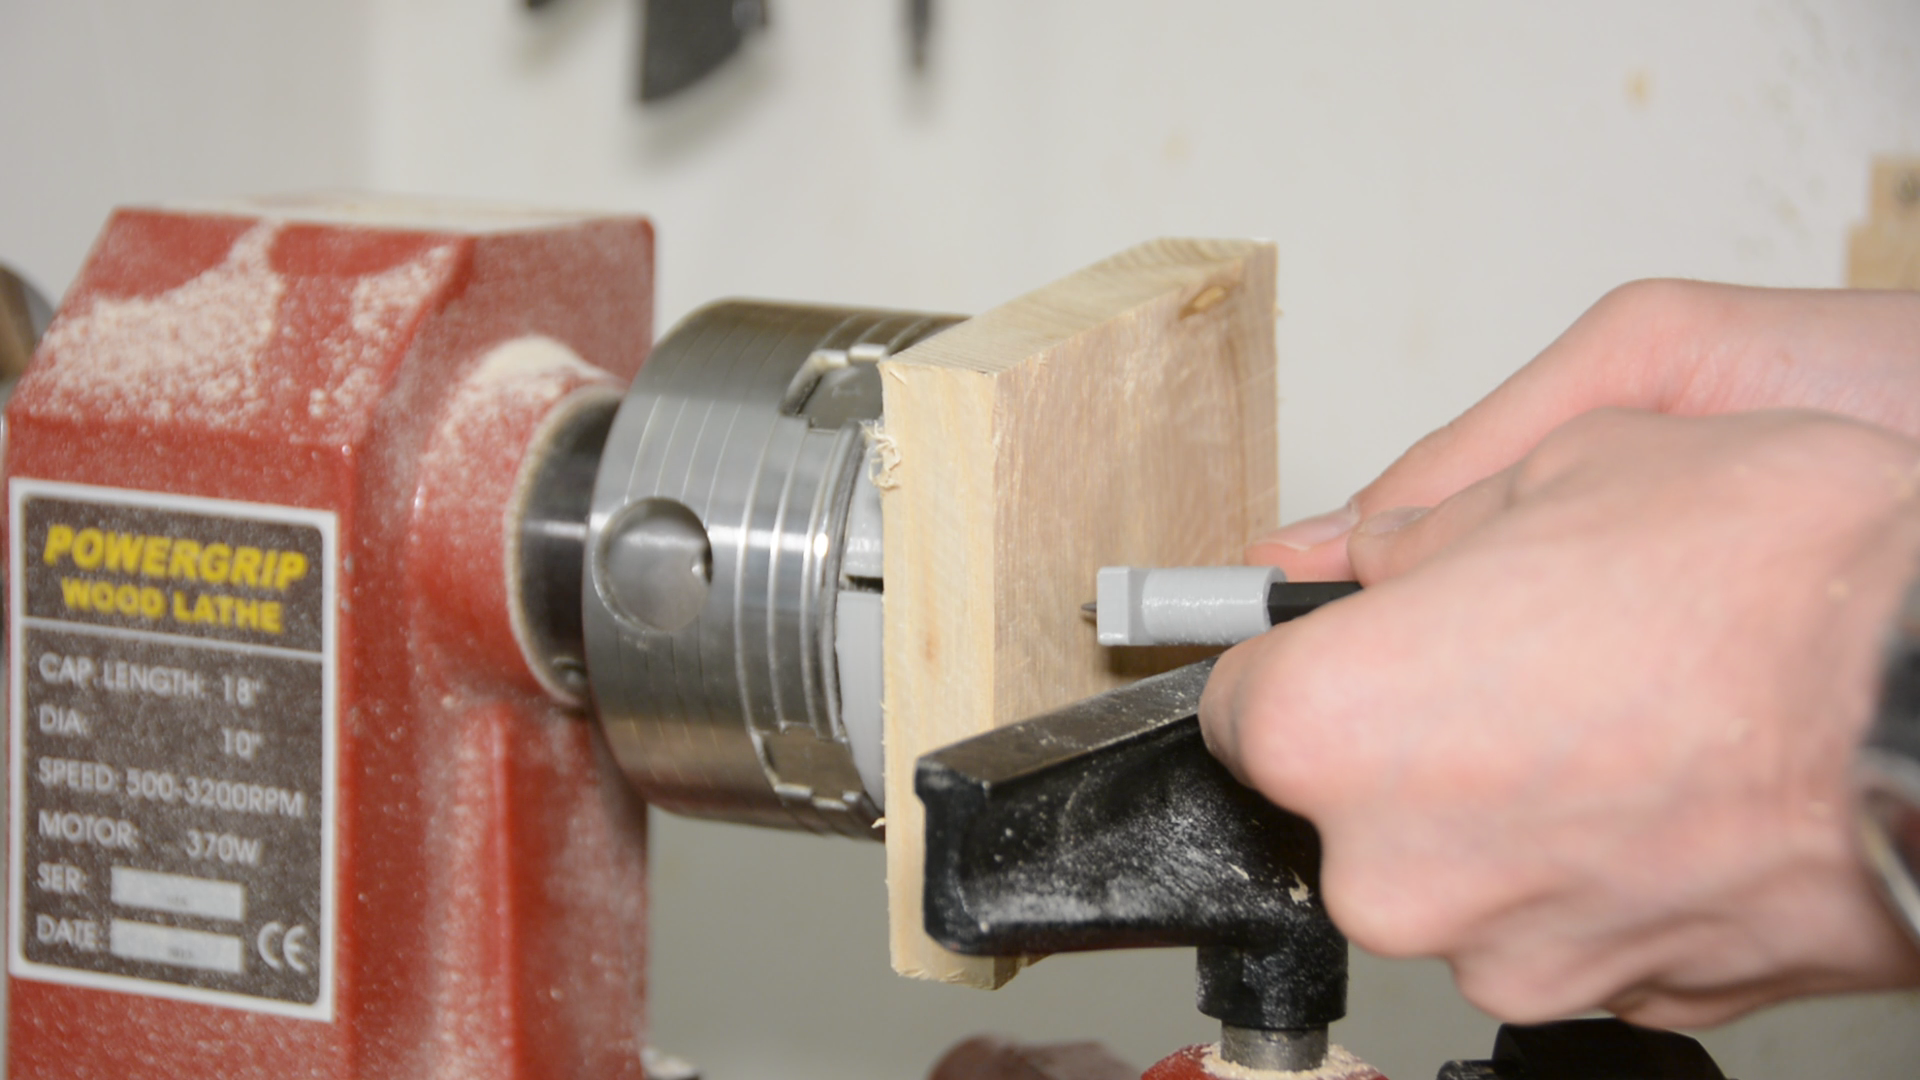
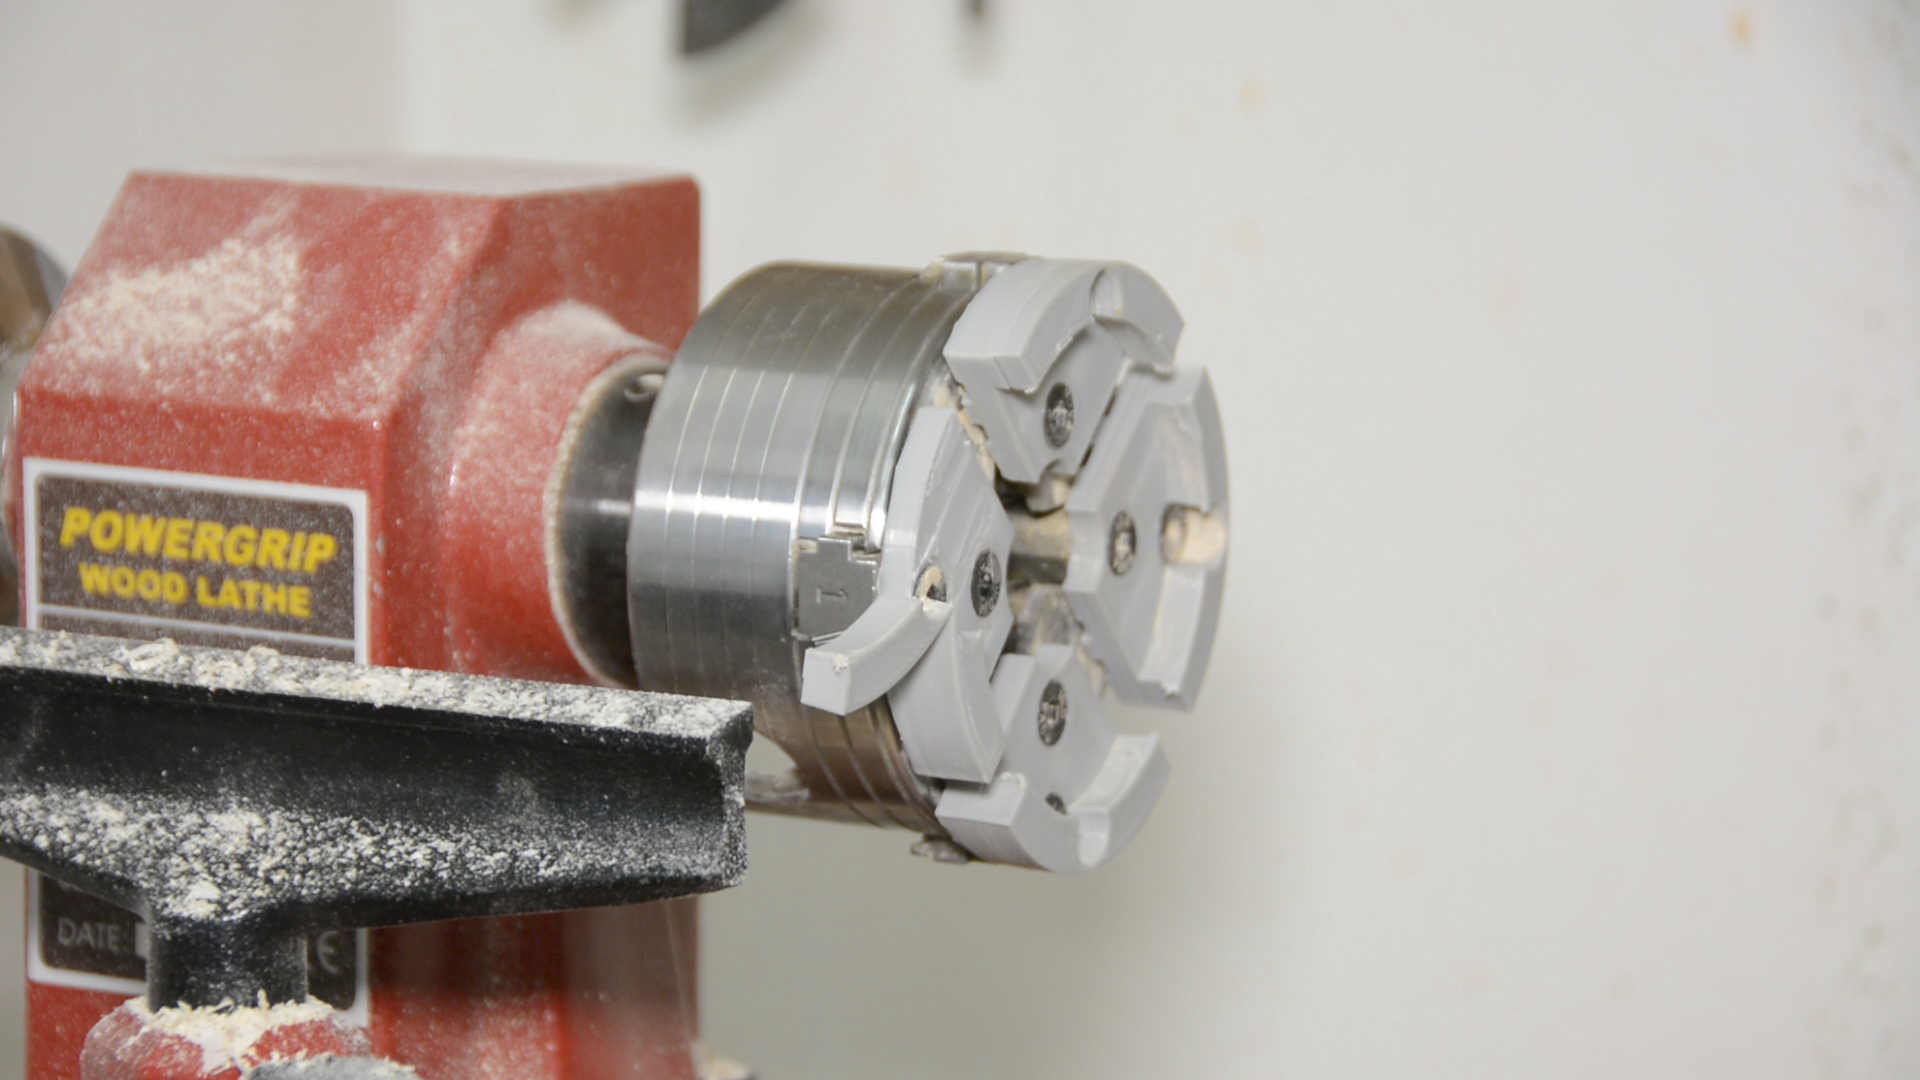
In order to work on the lid we have to hold it in the chuck.
However the jaws of my chuck are not large enough to hold the lid.
3d printed woodturning jaws
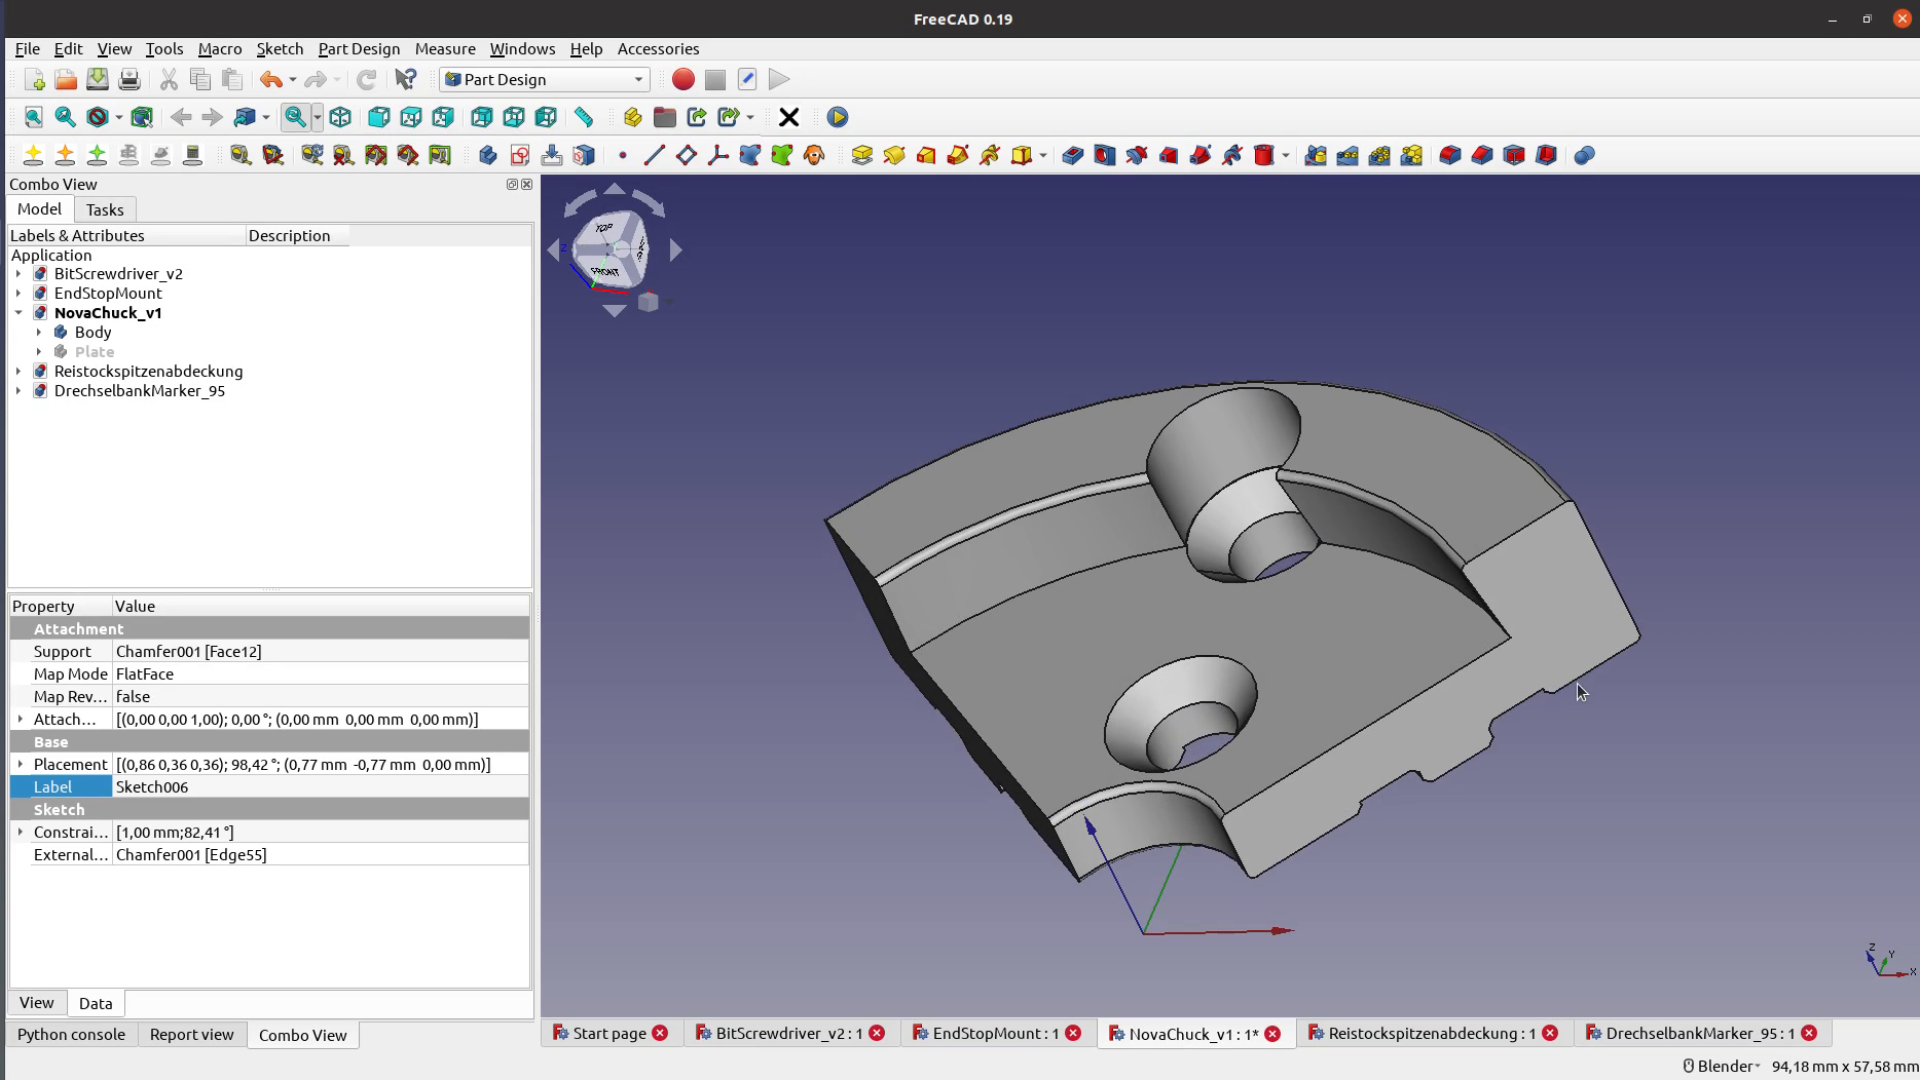
So I used FreeCAD to create a quick design of a jaw with the right size and printed them with 100% infill from PLA.
Let’s mount them on the chuck and see if they are going to explode.
Turning a glass lid (“Deckelche”)
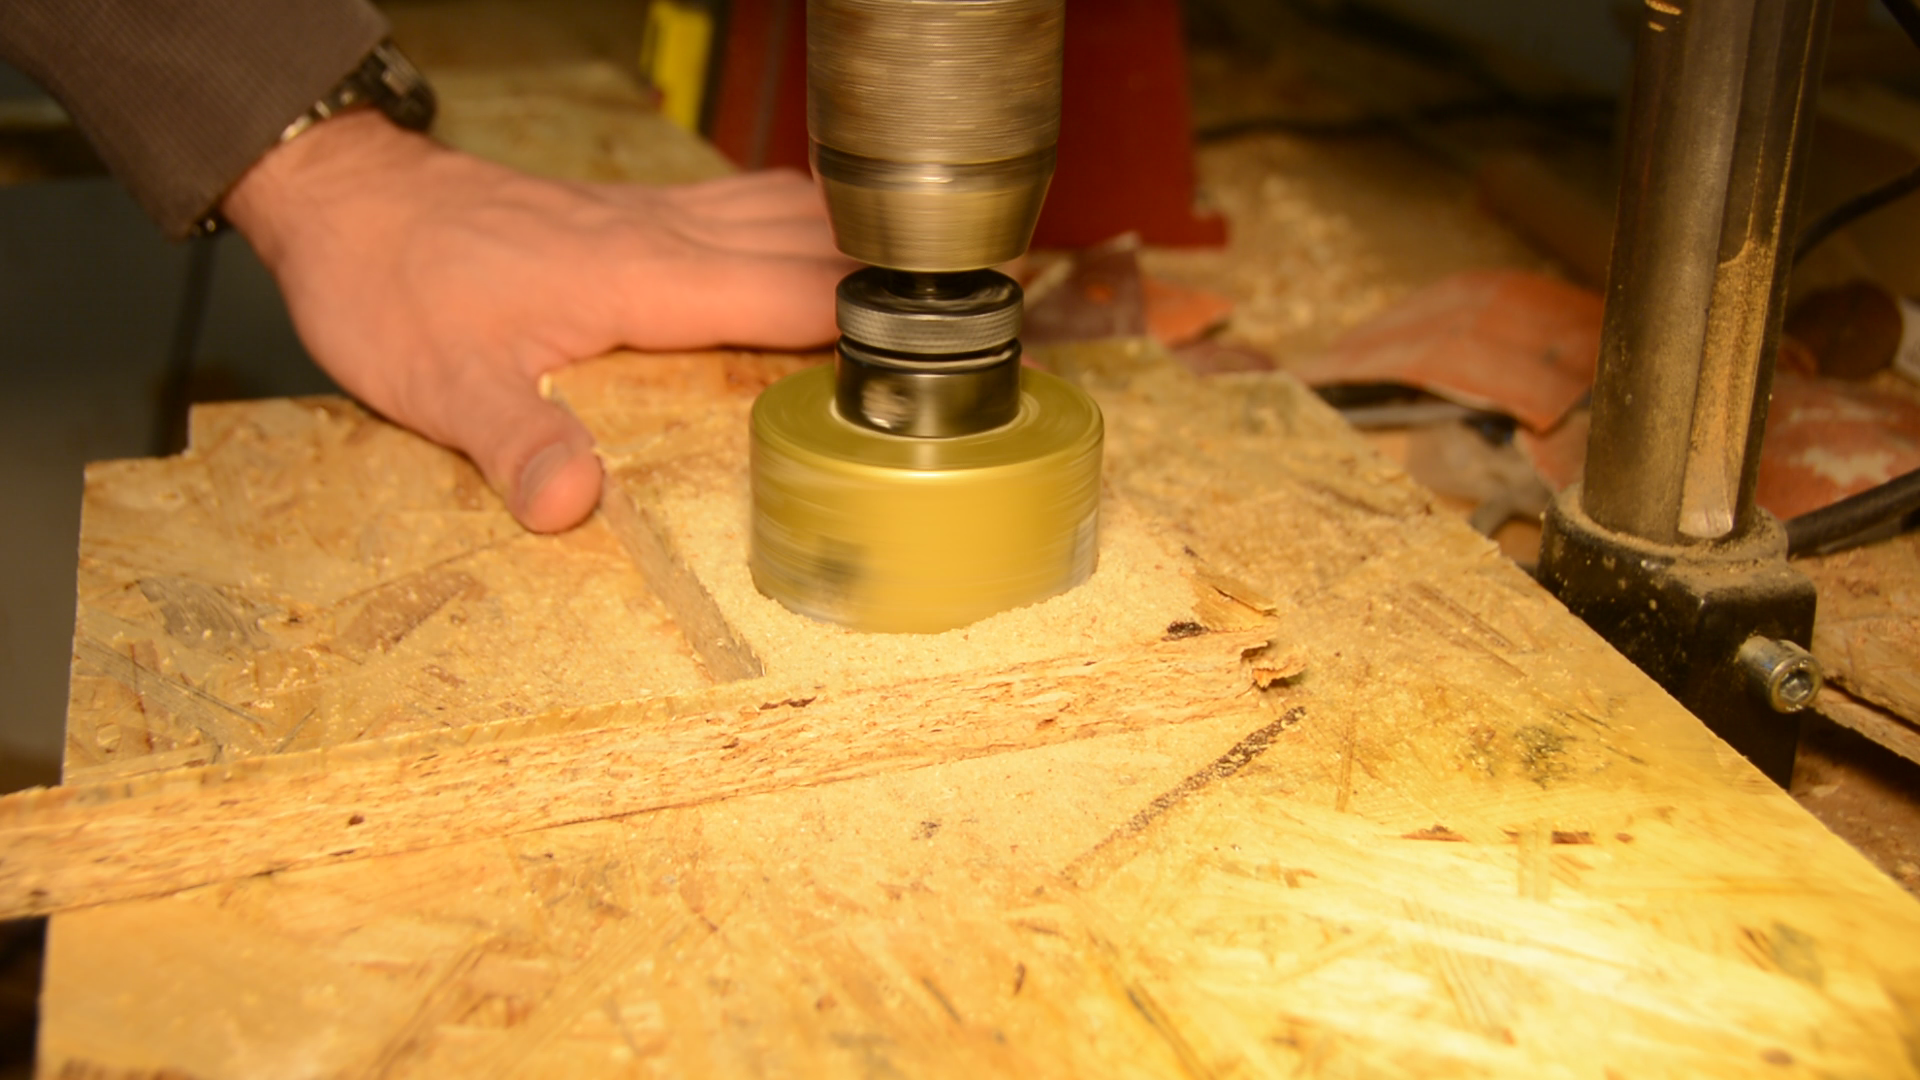
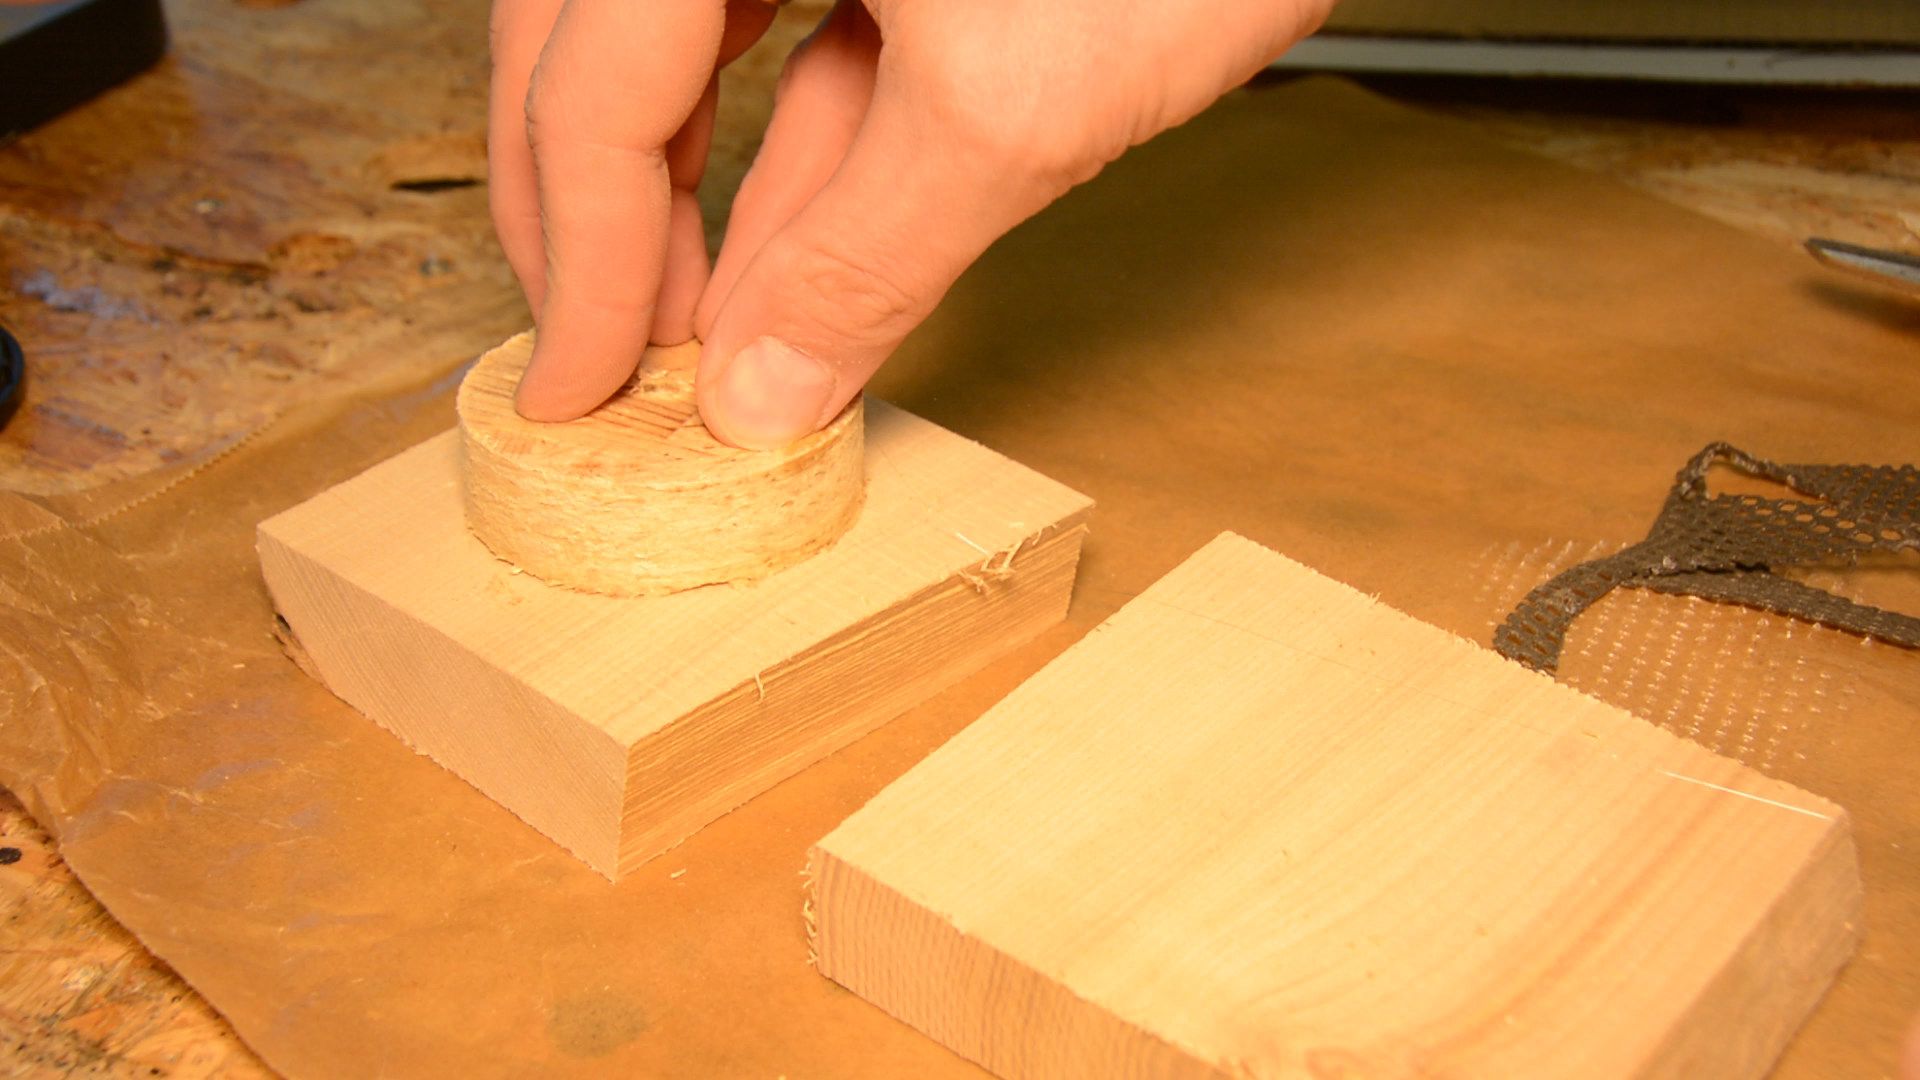
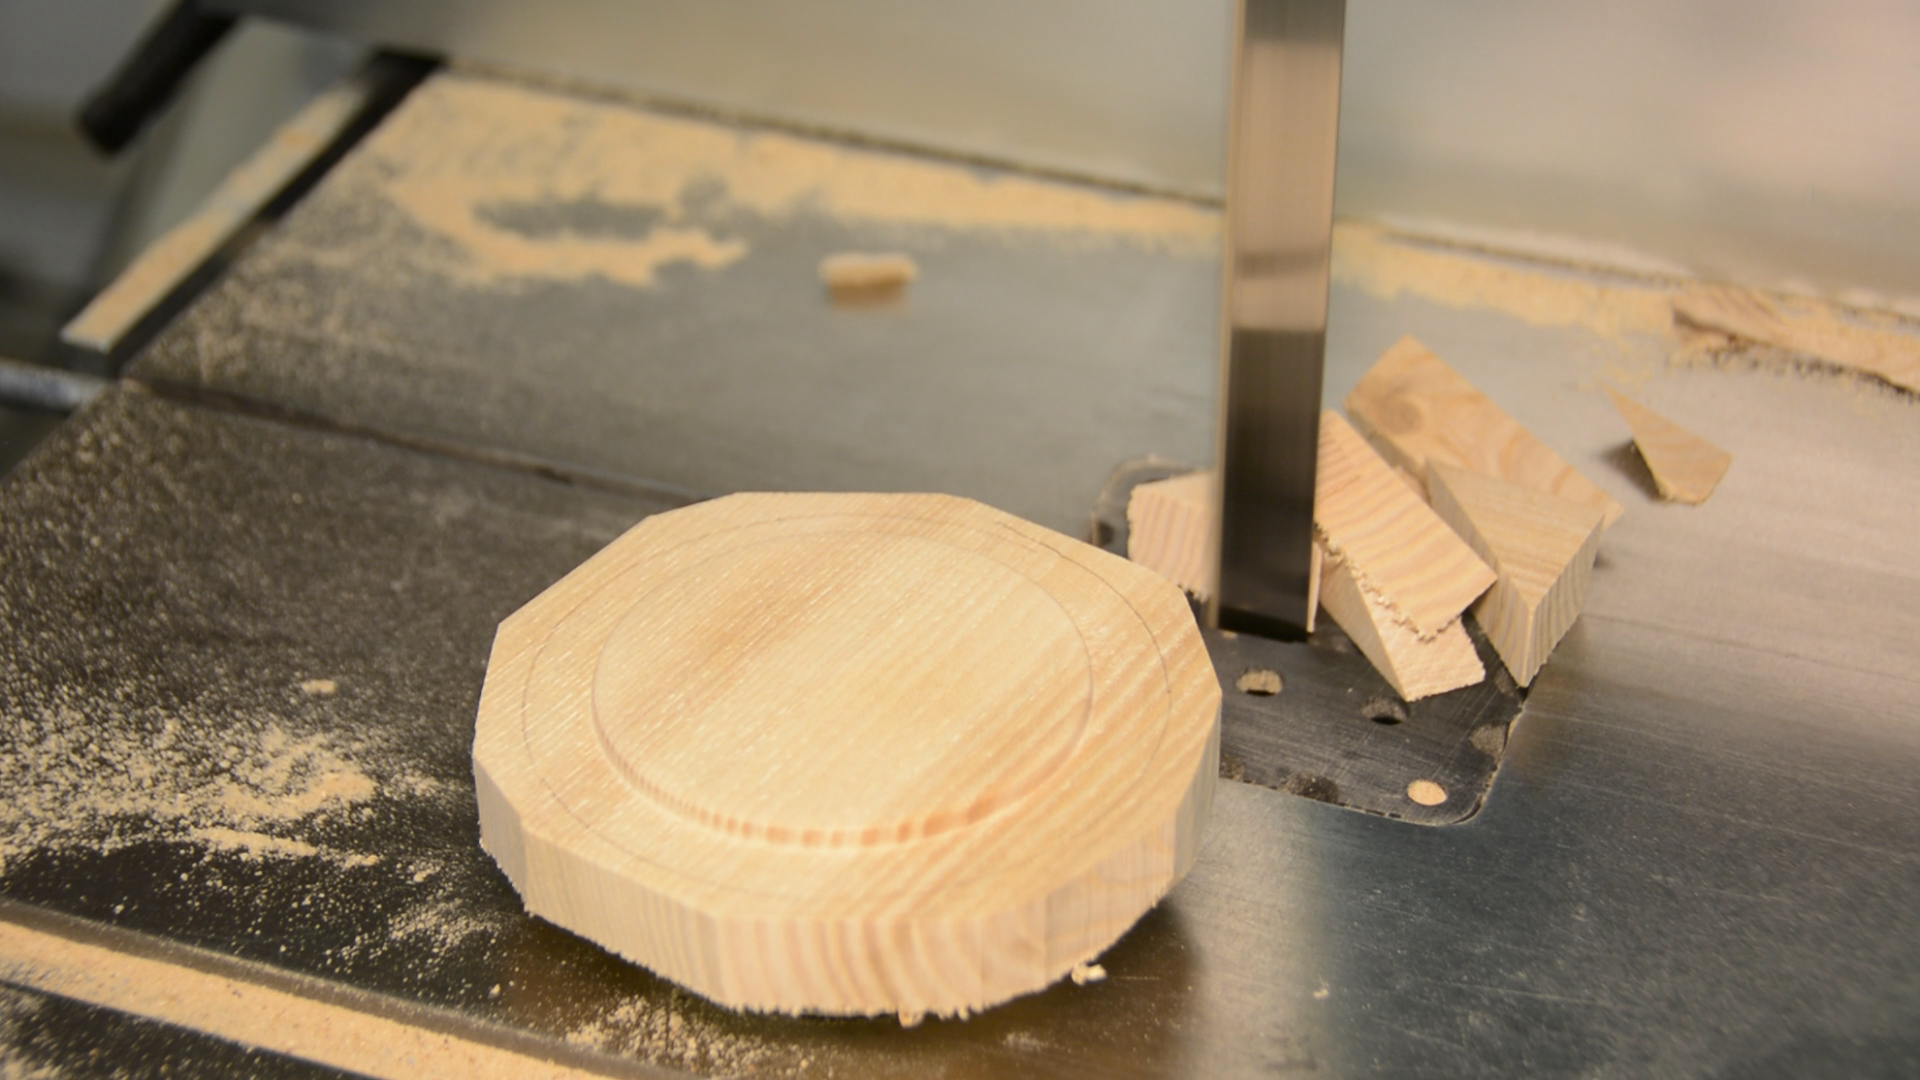
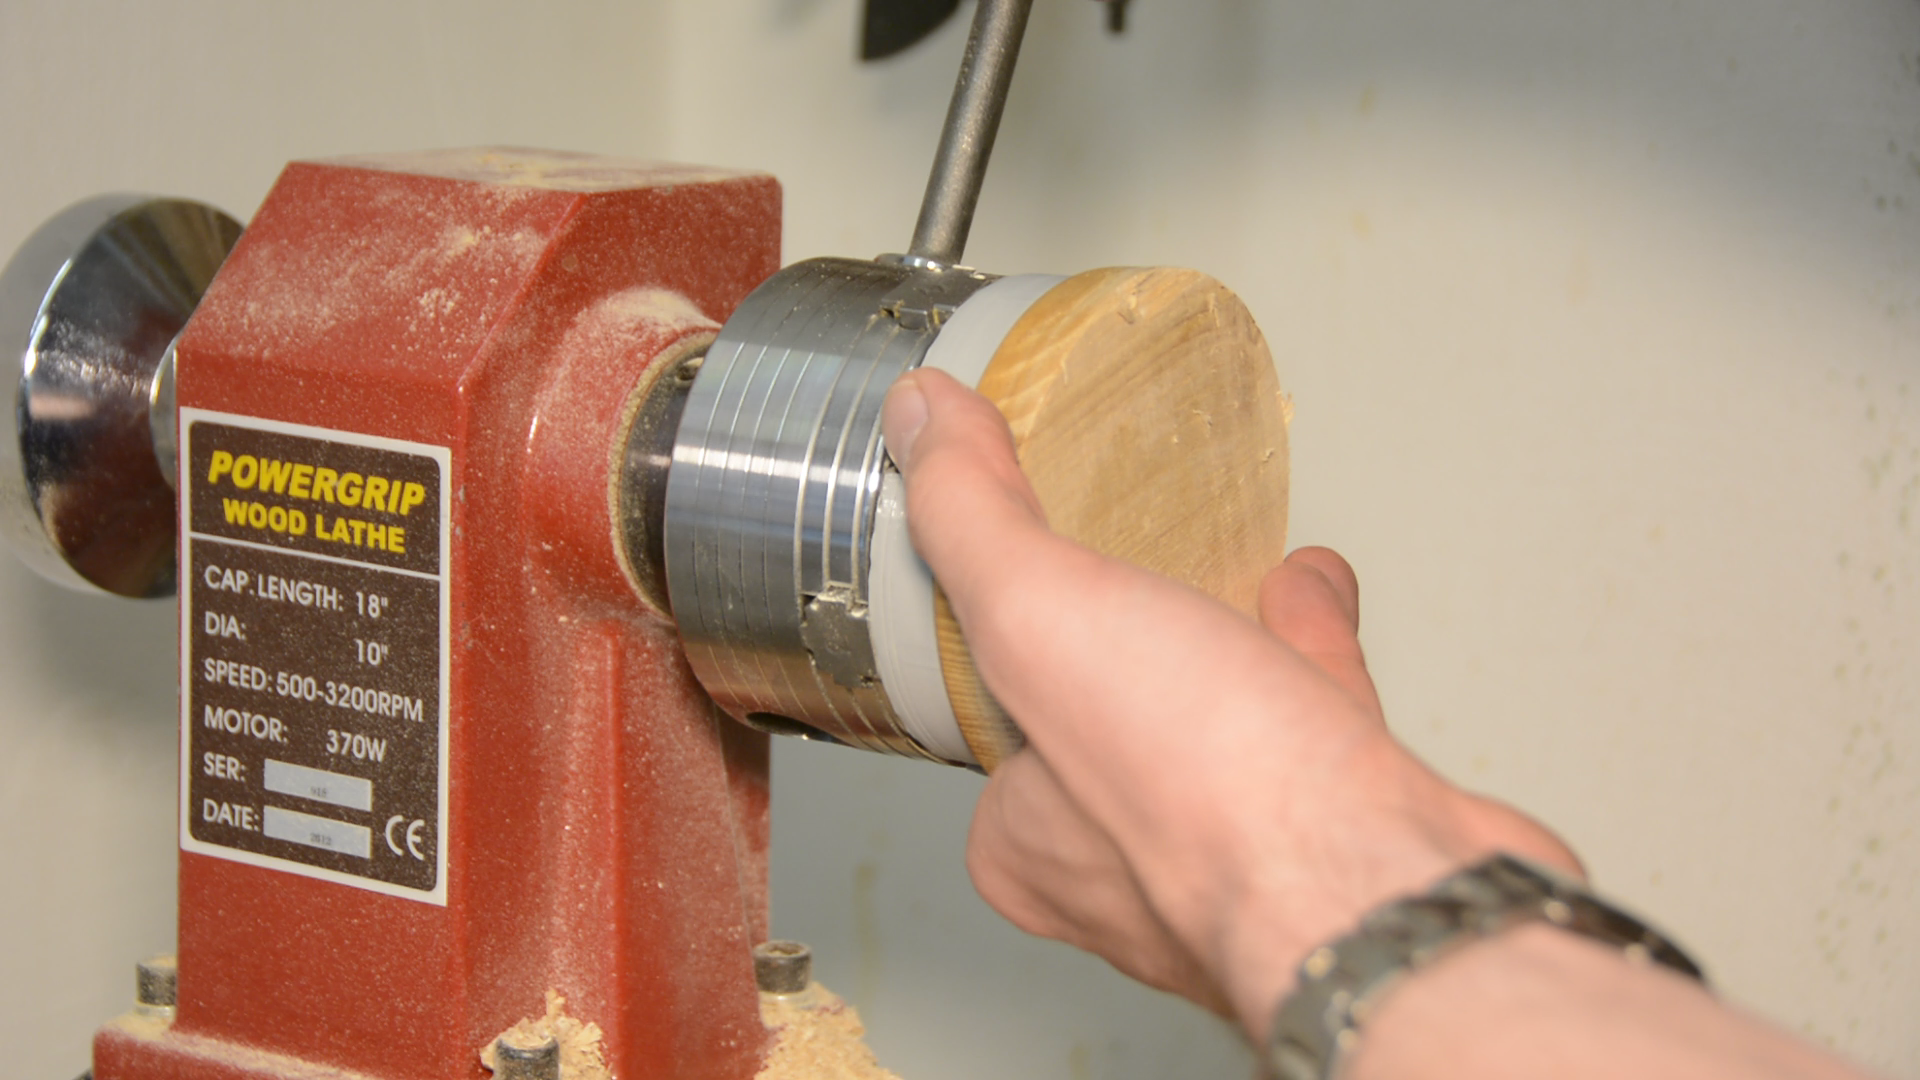
To hold the wood in the chuck in the first place I make circular discs with a hole saw and the glue these discs with hot glue on the wood.
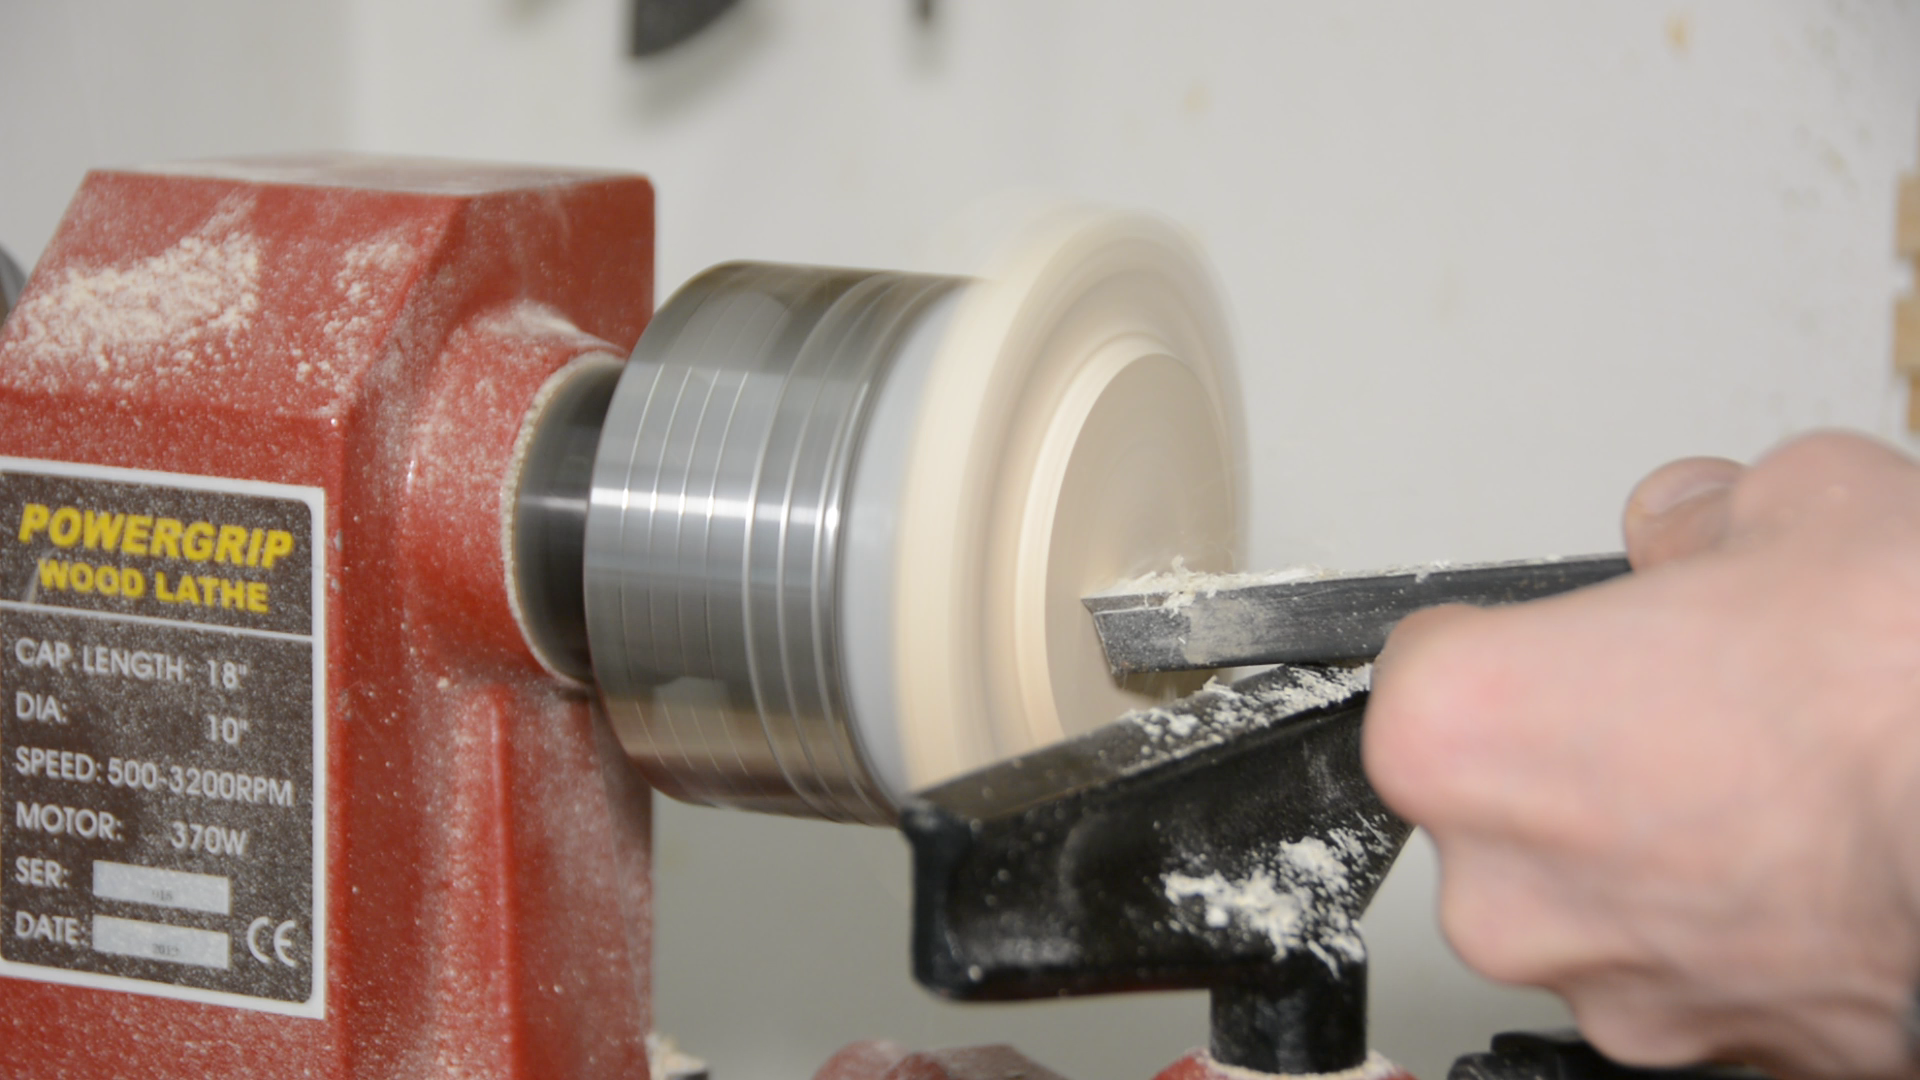
We can now use a scraper to work on the underside of the lid.

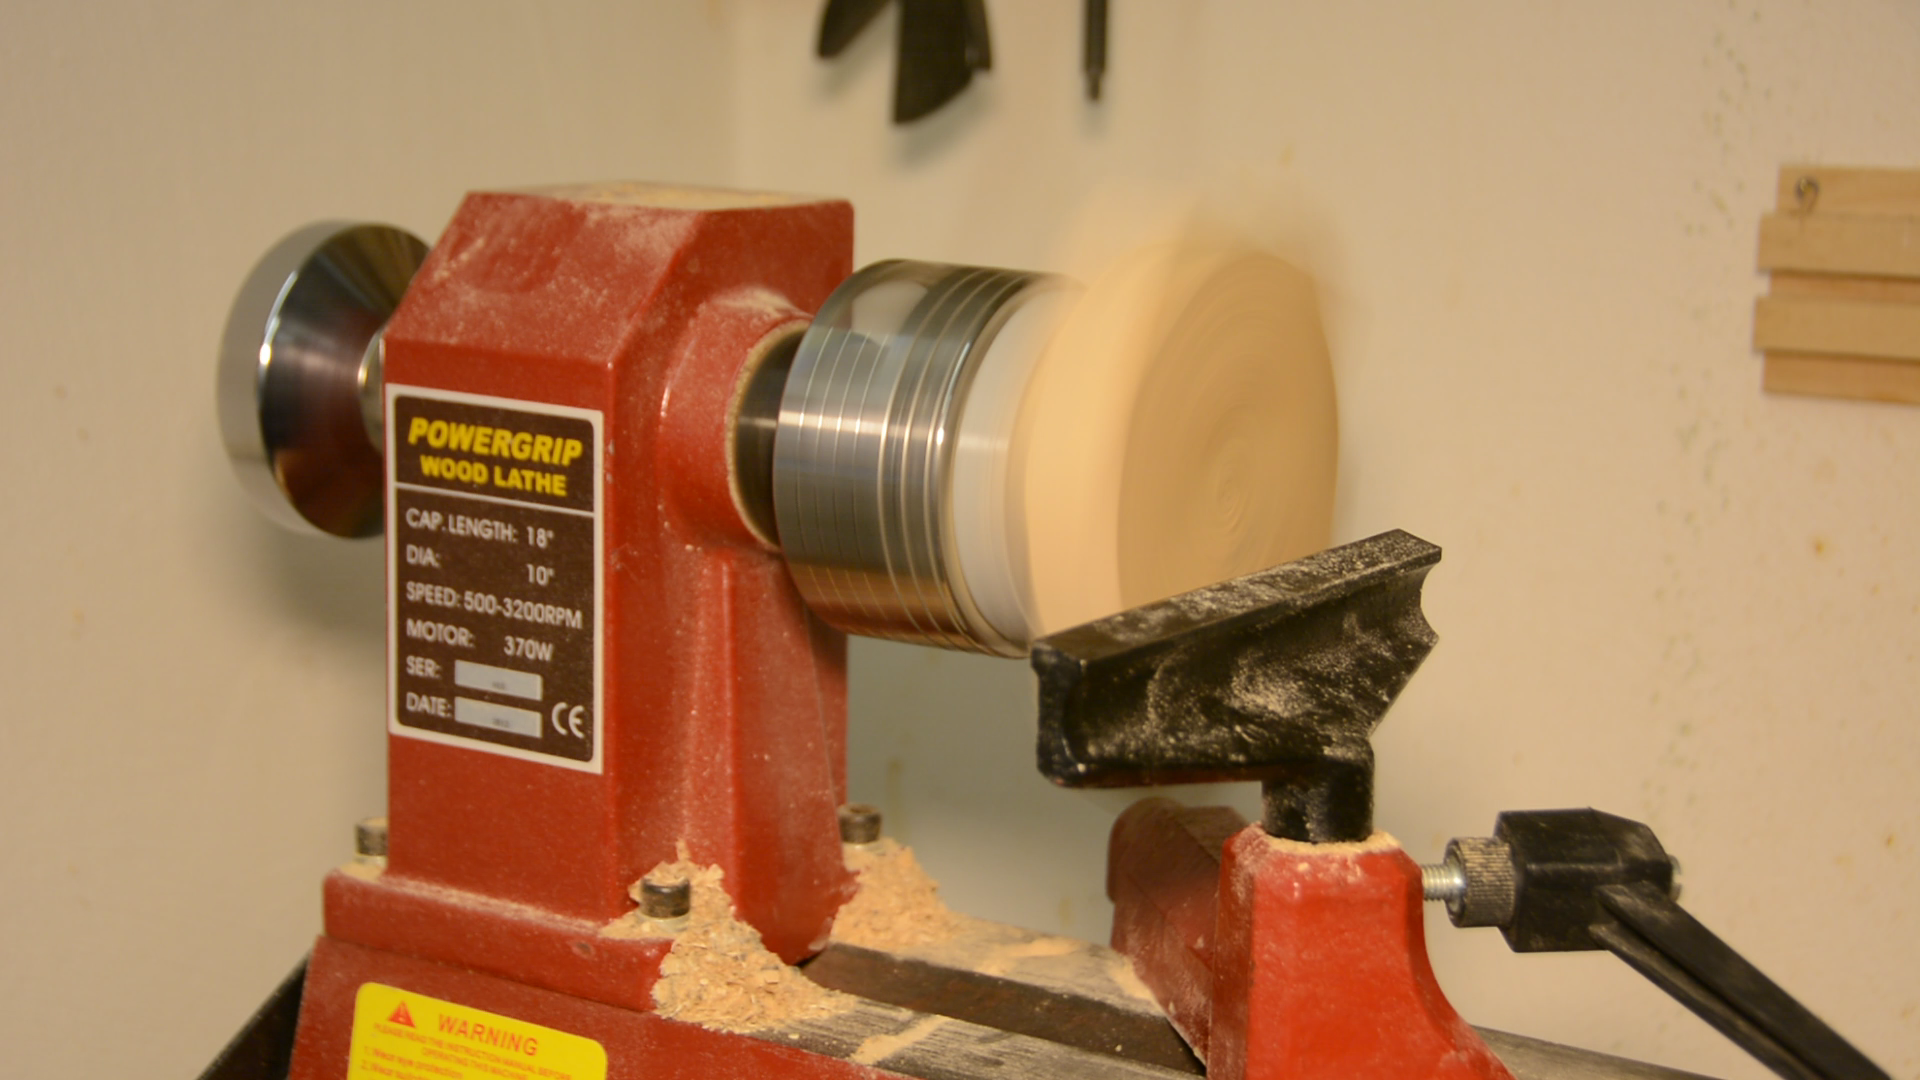

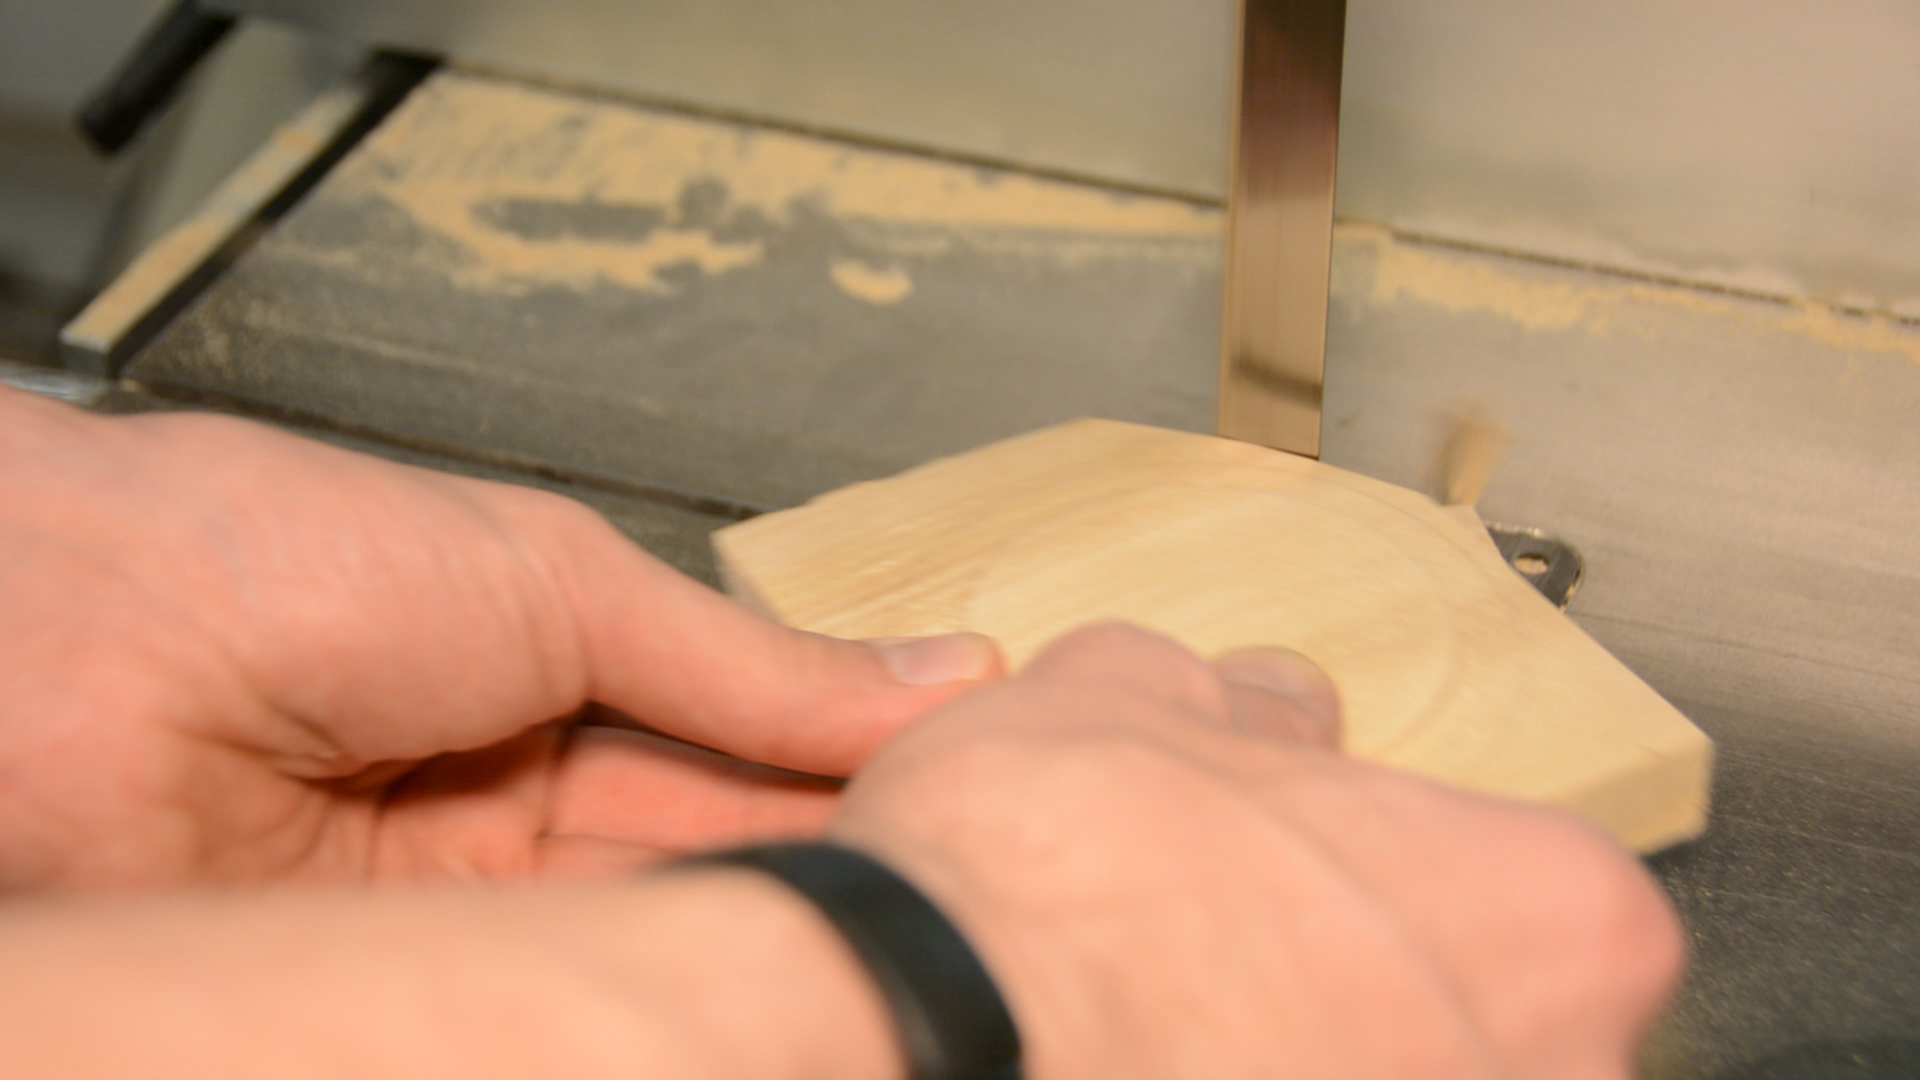
This tenon keeps the lid on the glass and can be used to hold the lid in the chuck when working on the upper side of the lid. After cutting the tenon we can sand it. I have to say that the 3d print so far holds very well. Before cutting the part round I remove the corners on the bandsaw – mainly to avoid putting too much stress on the 3d printed parts.
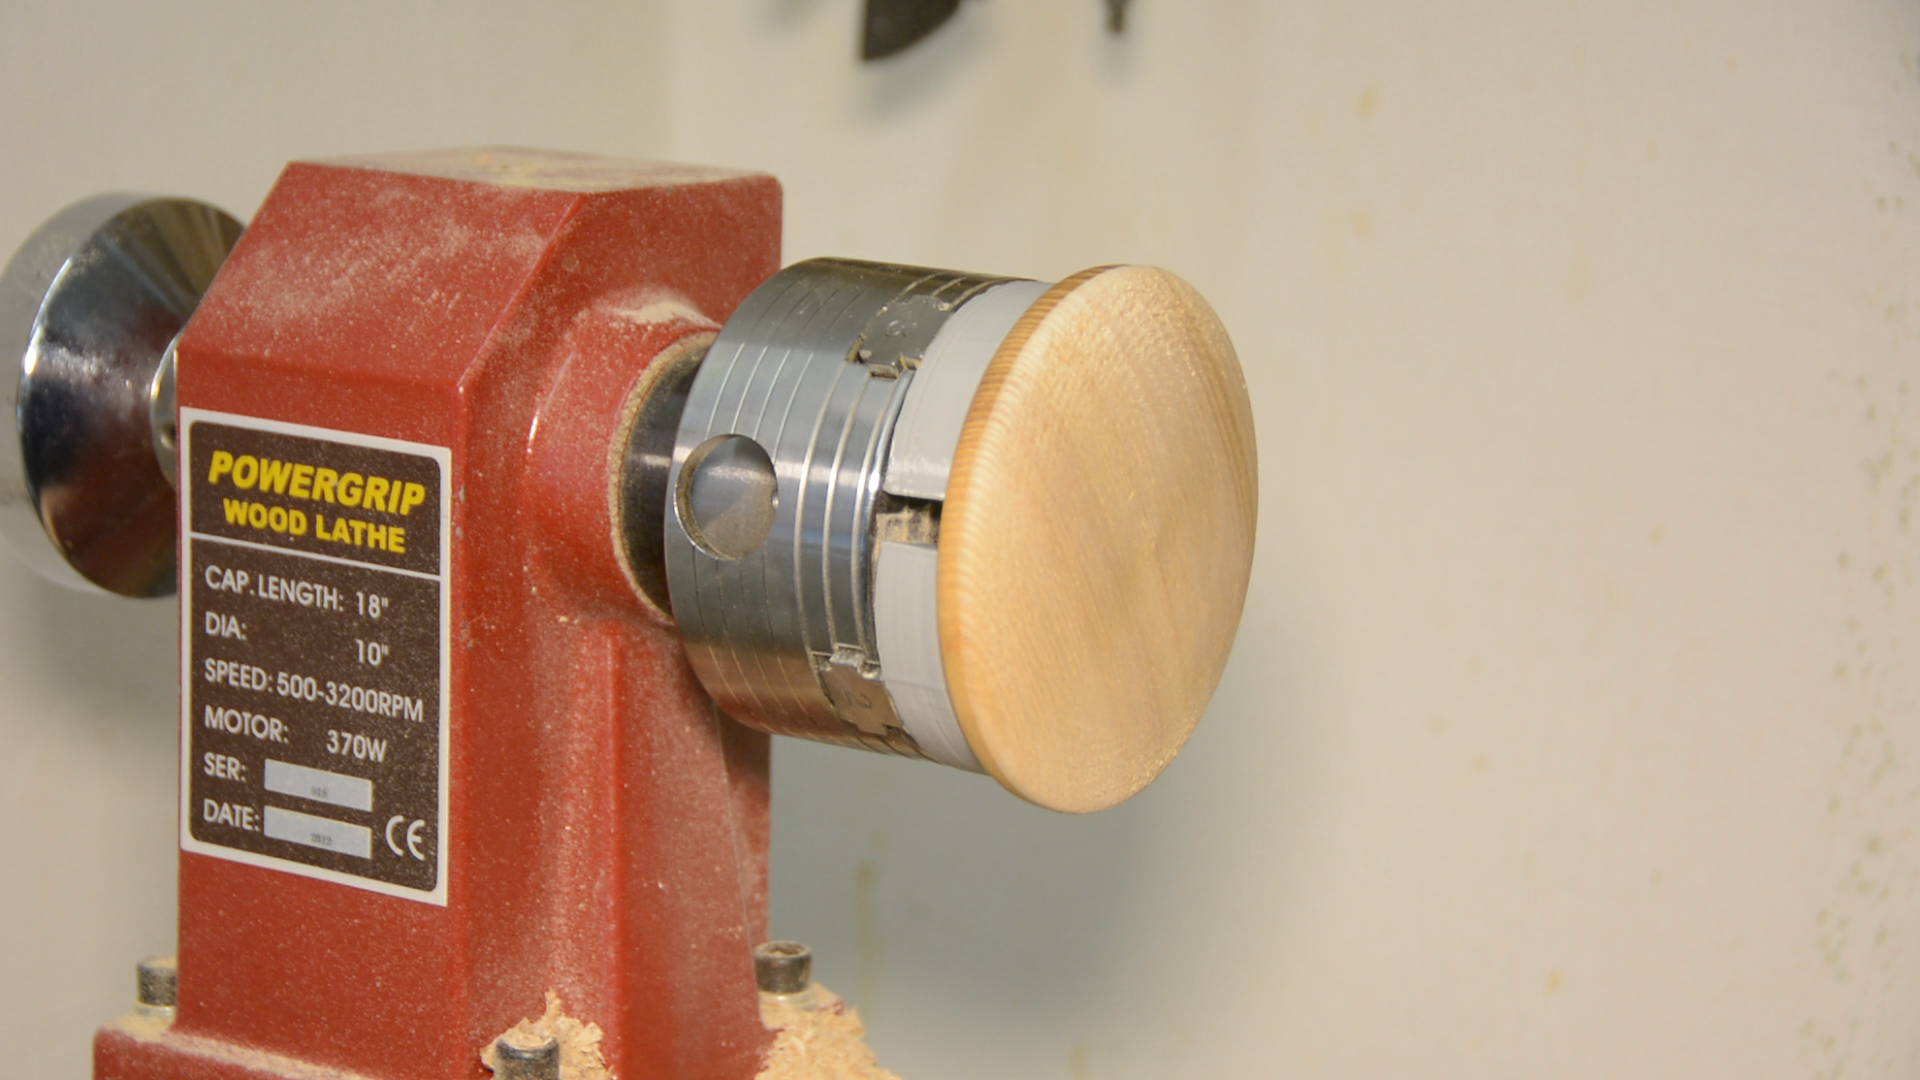
We can then work on the outside of the lid.
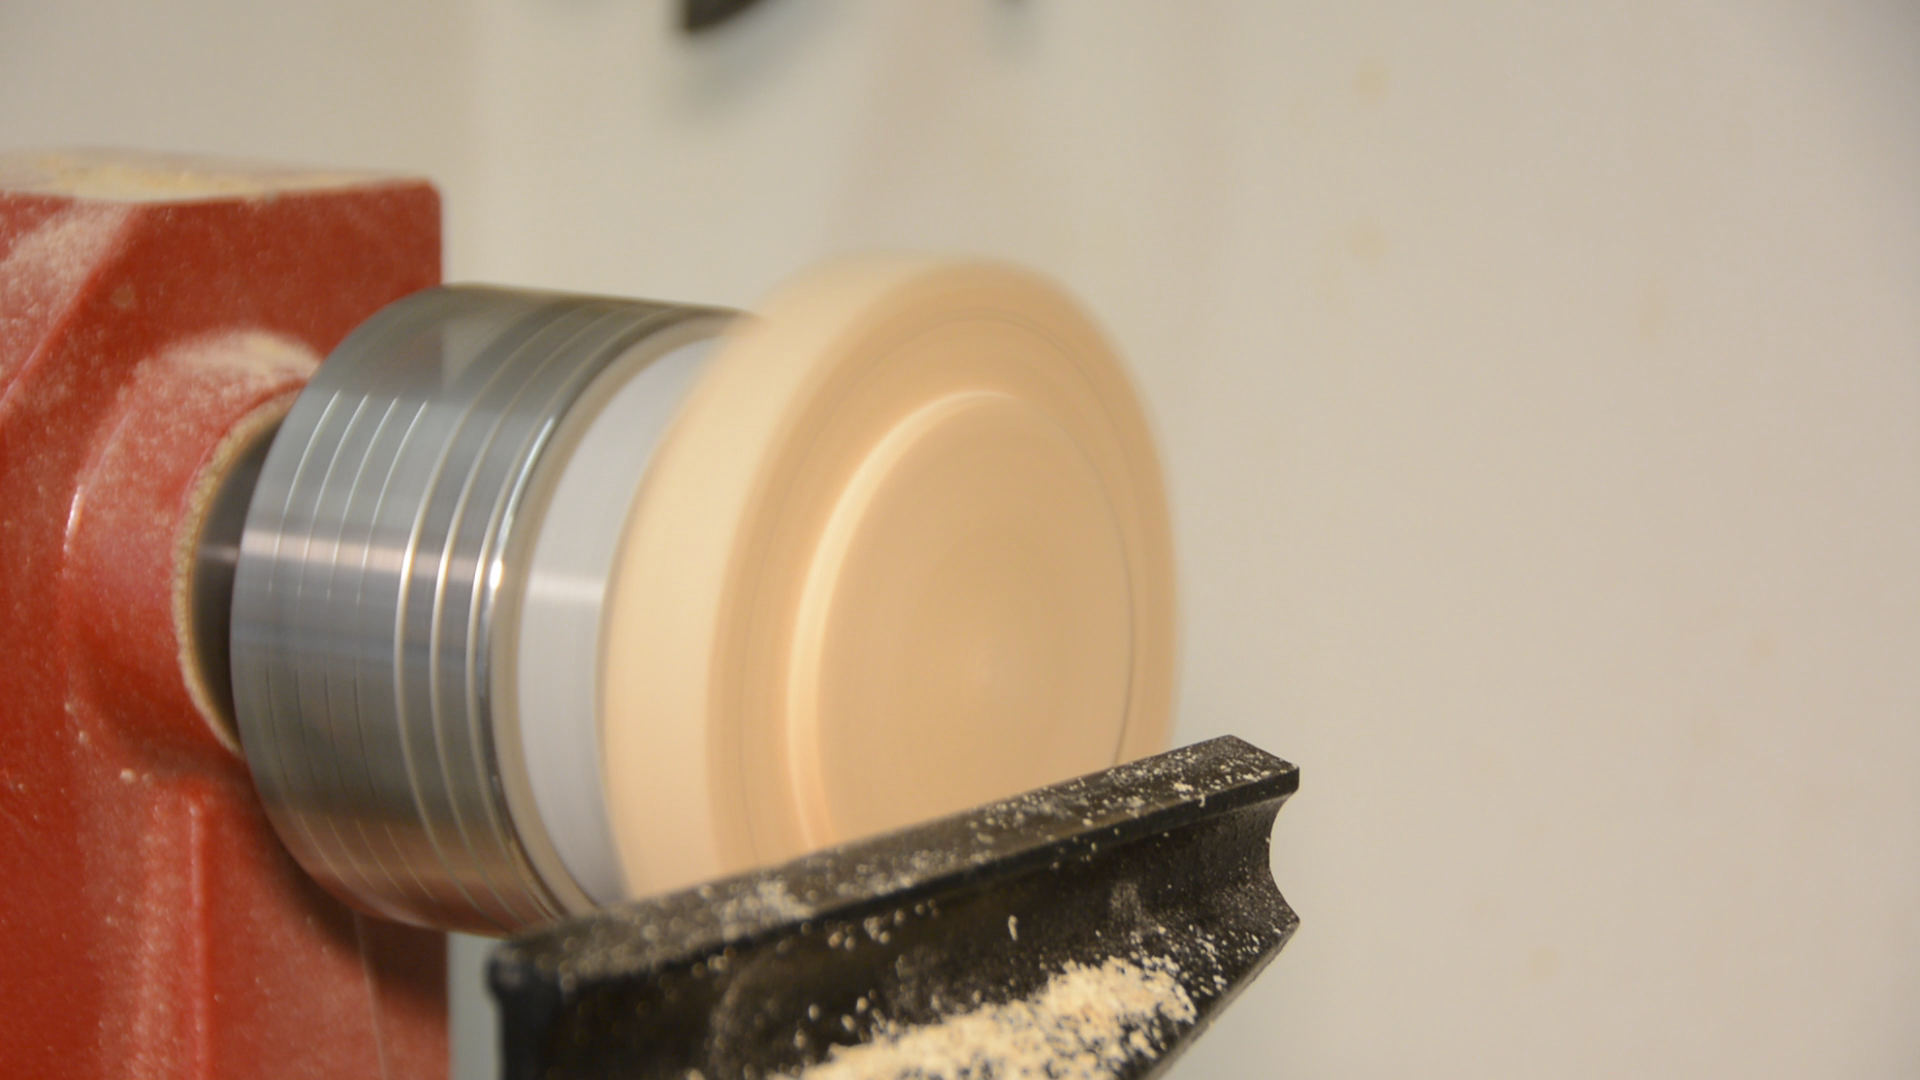
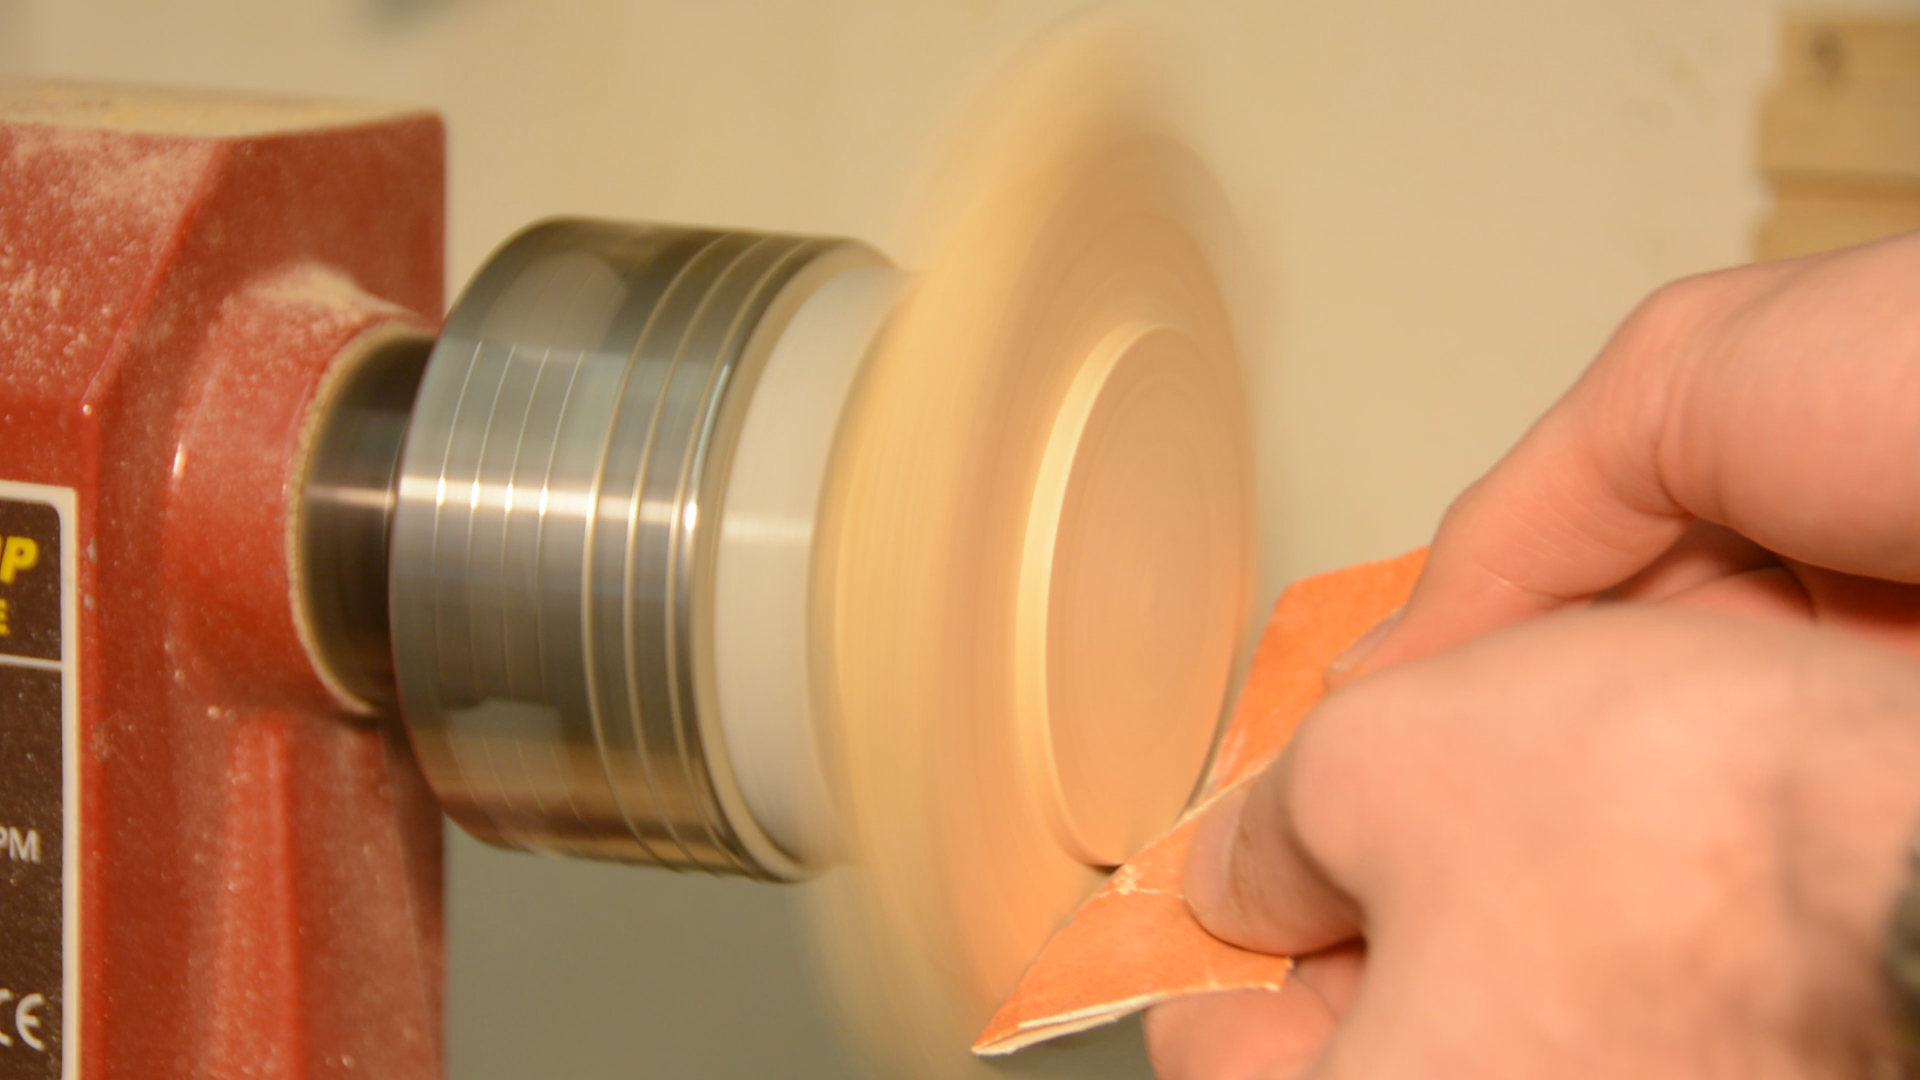
After working in a small radius I sand it smooth.
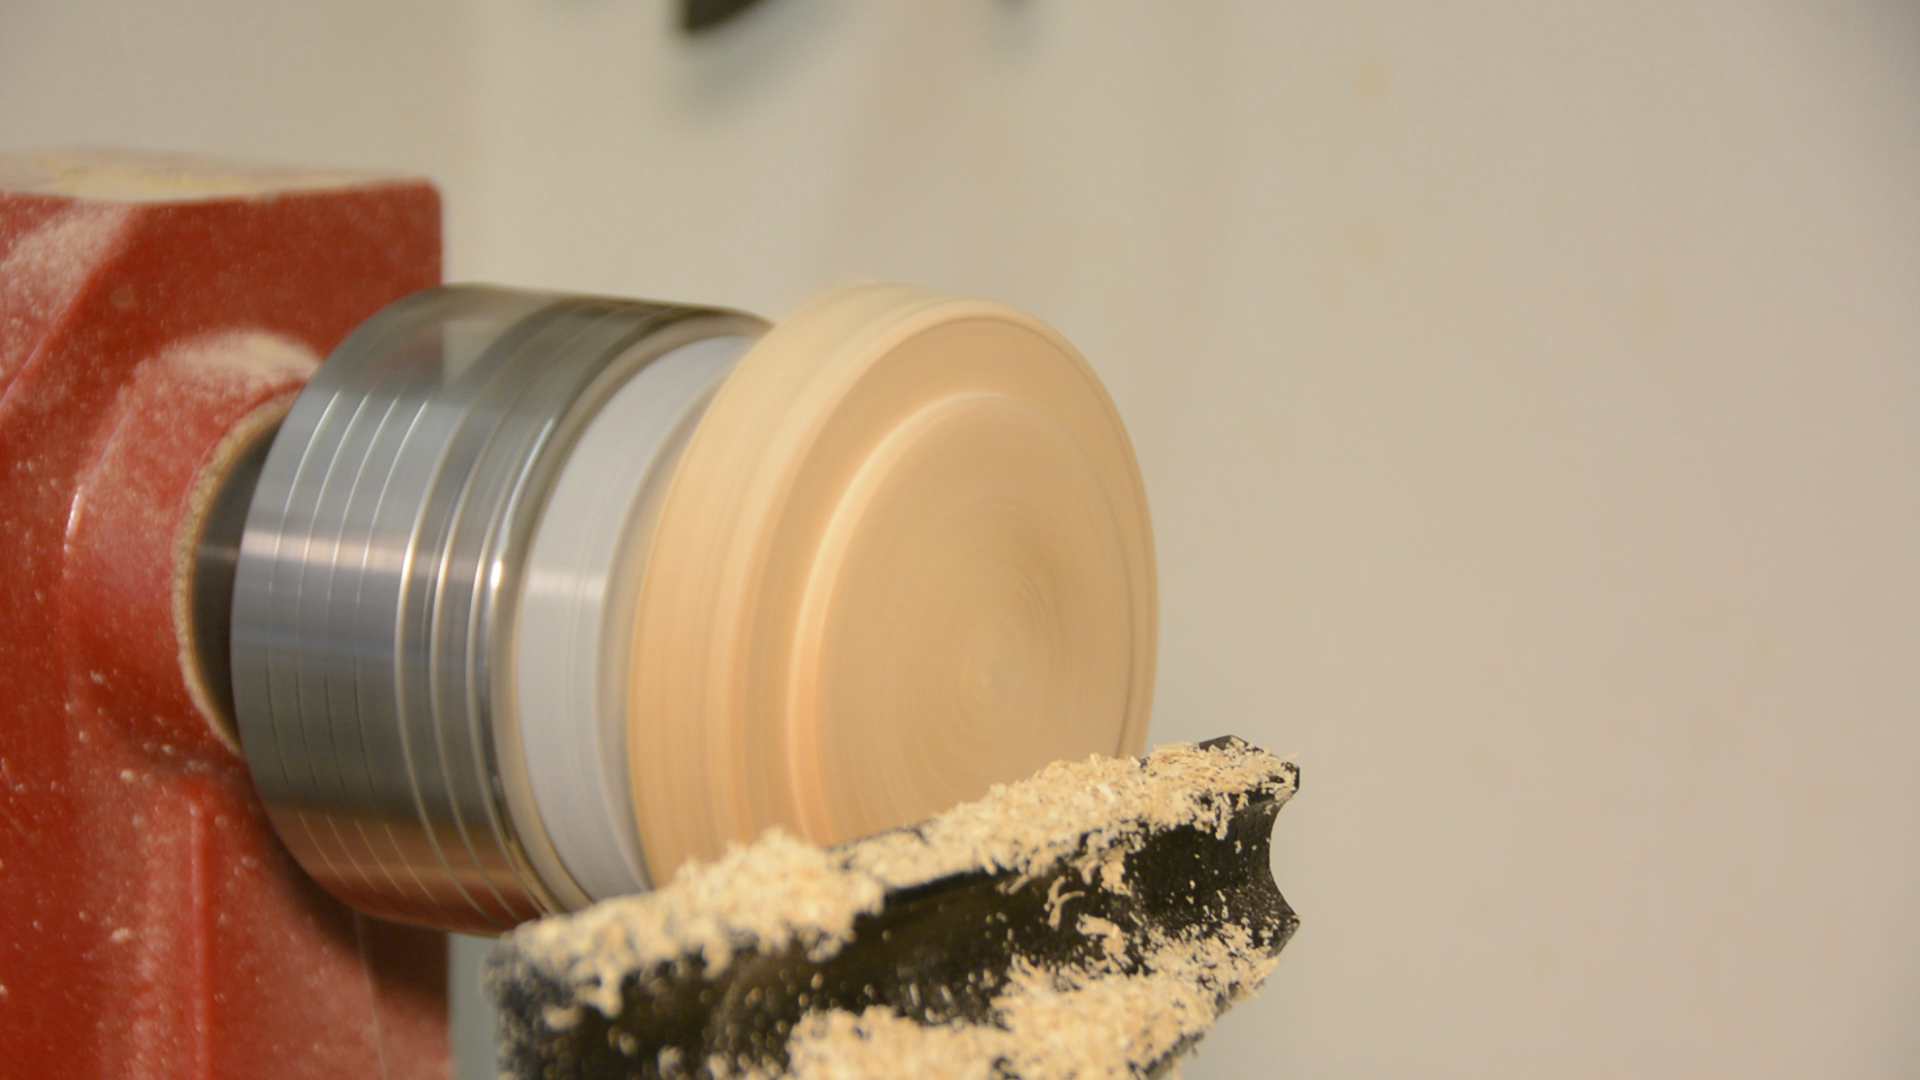
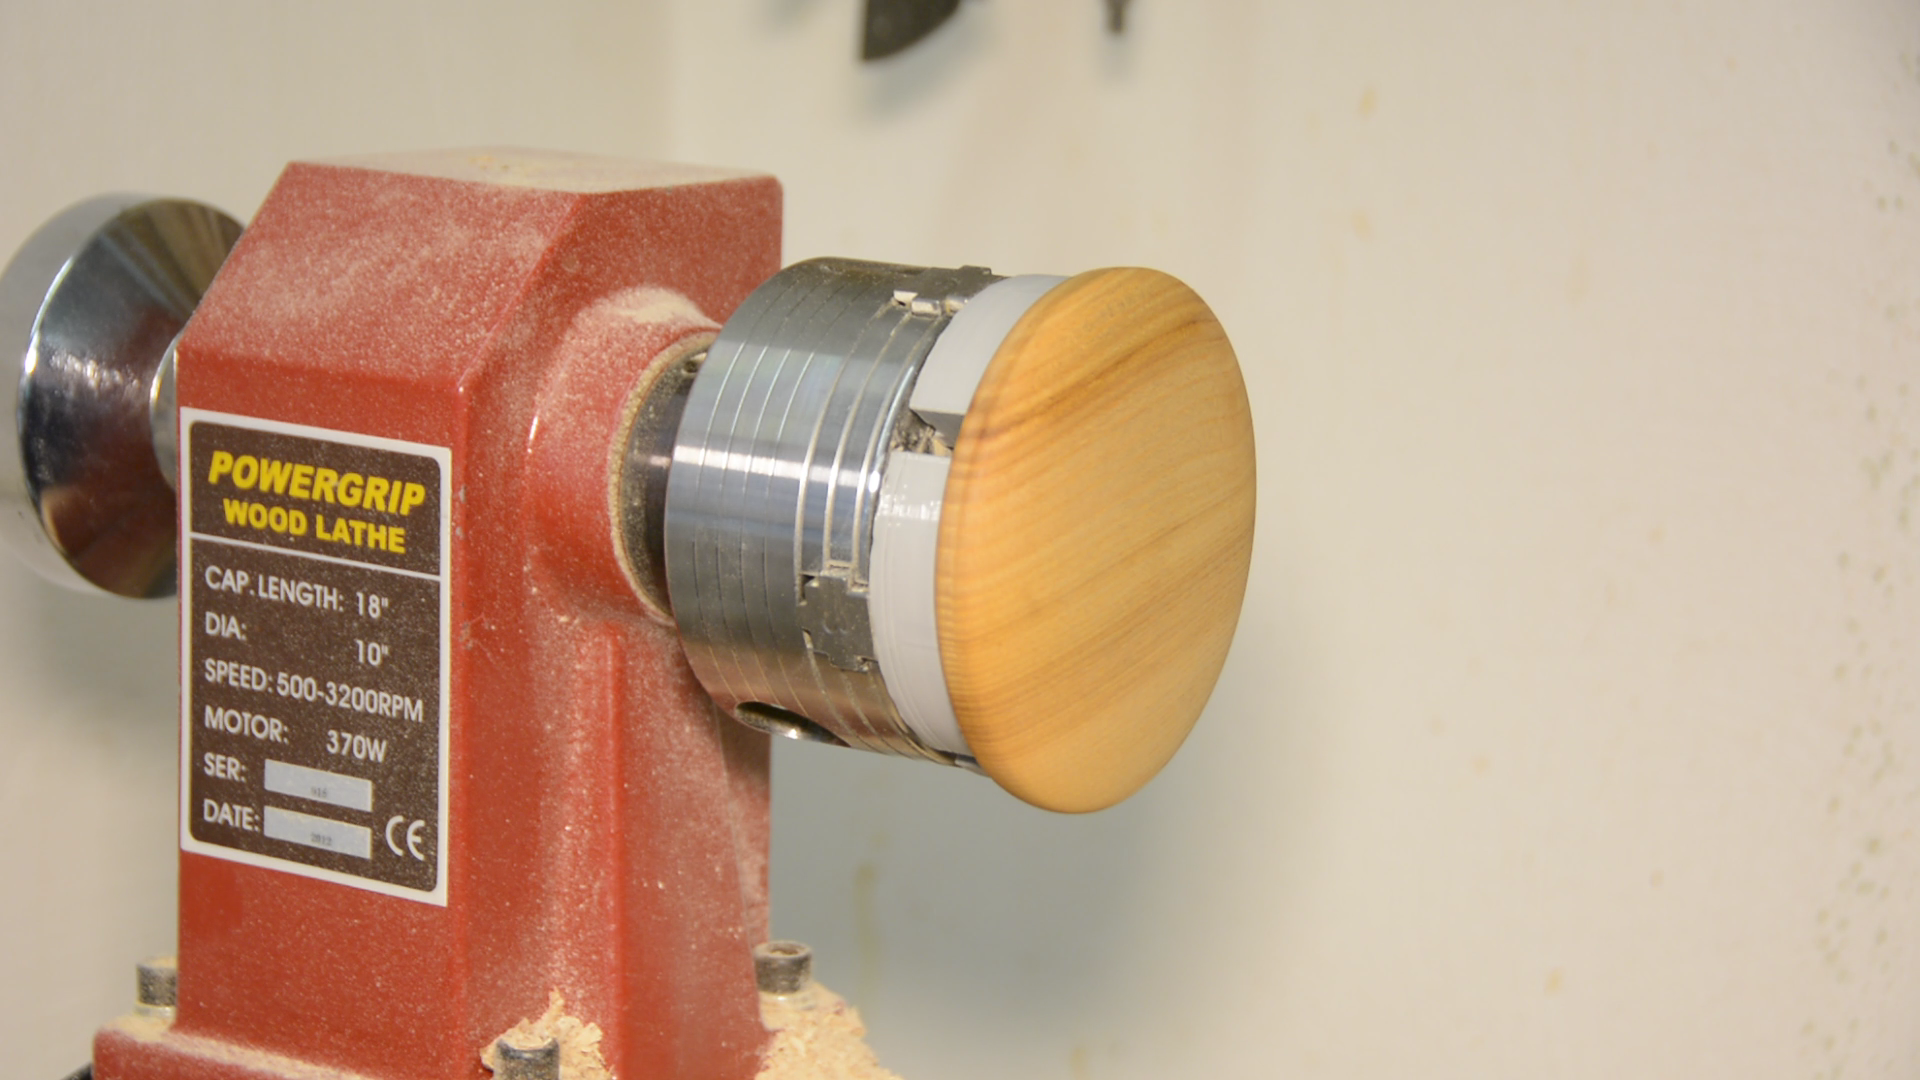
With a chisel I can easily pop off the temporary tenon. The new tenon is now used to hold the lid in the chuck while working on the top of the lid.

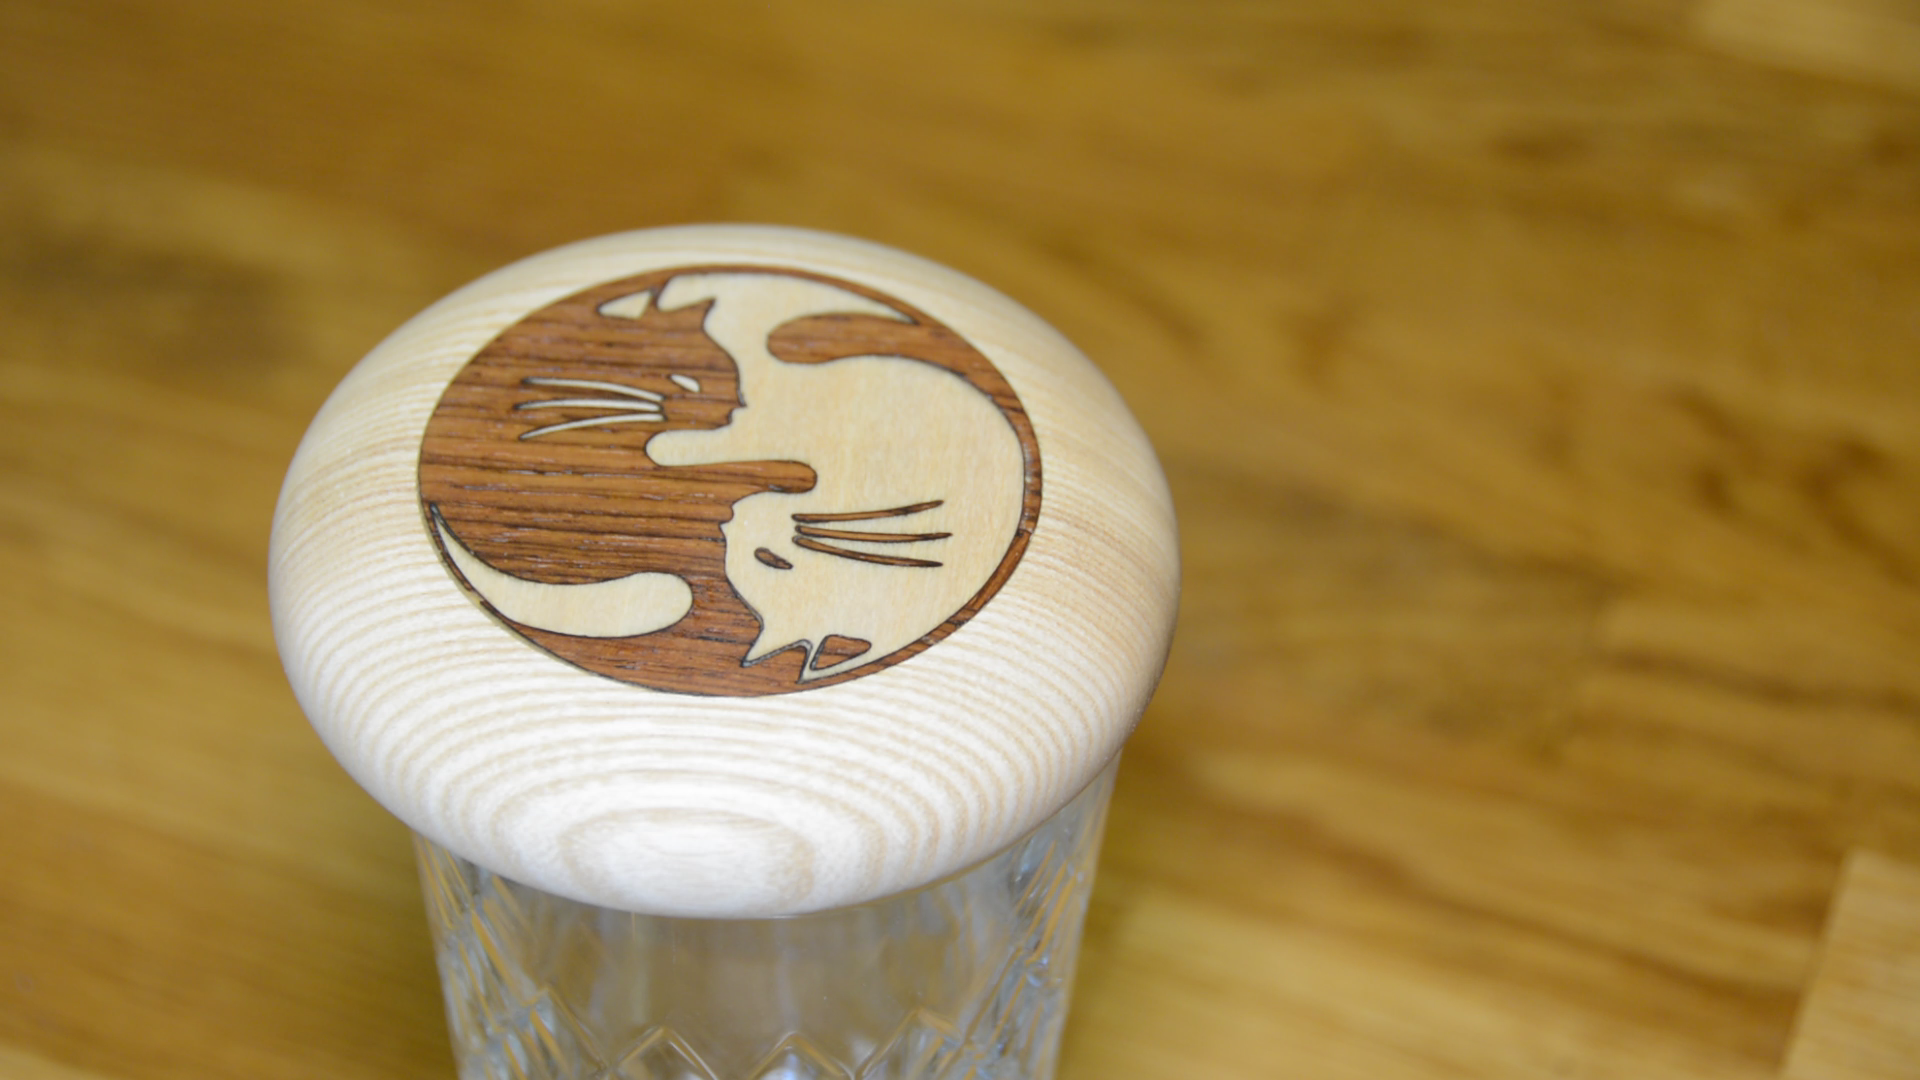
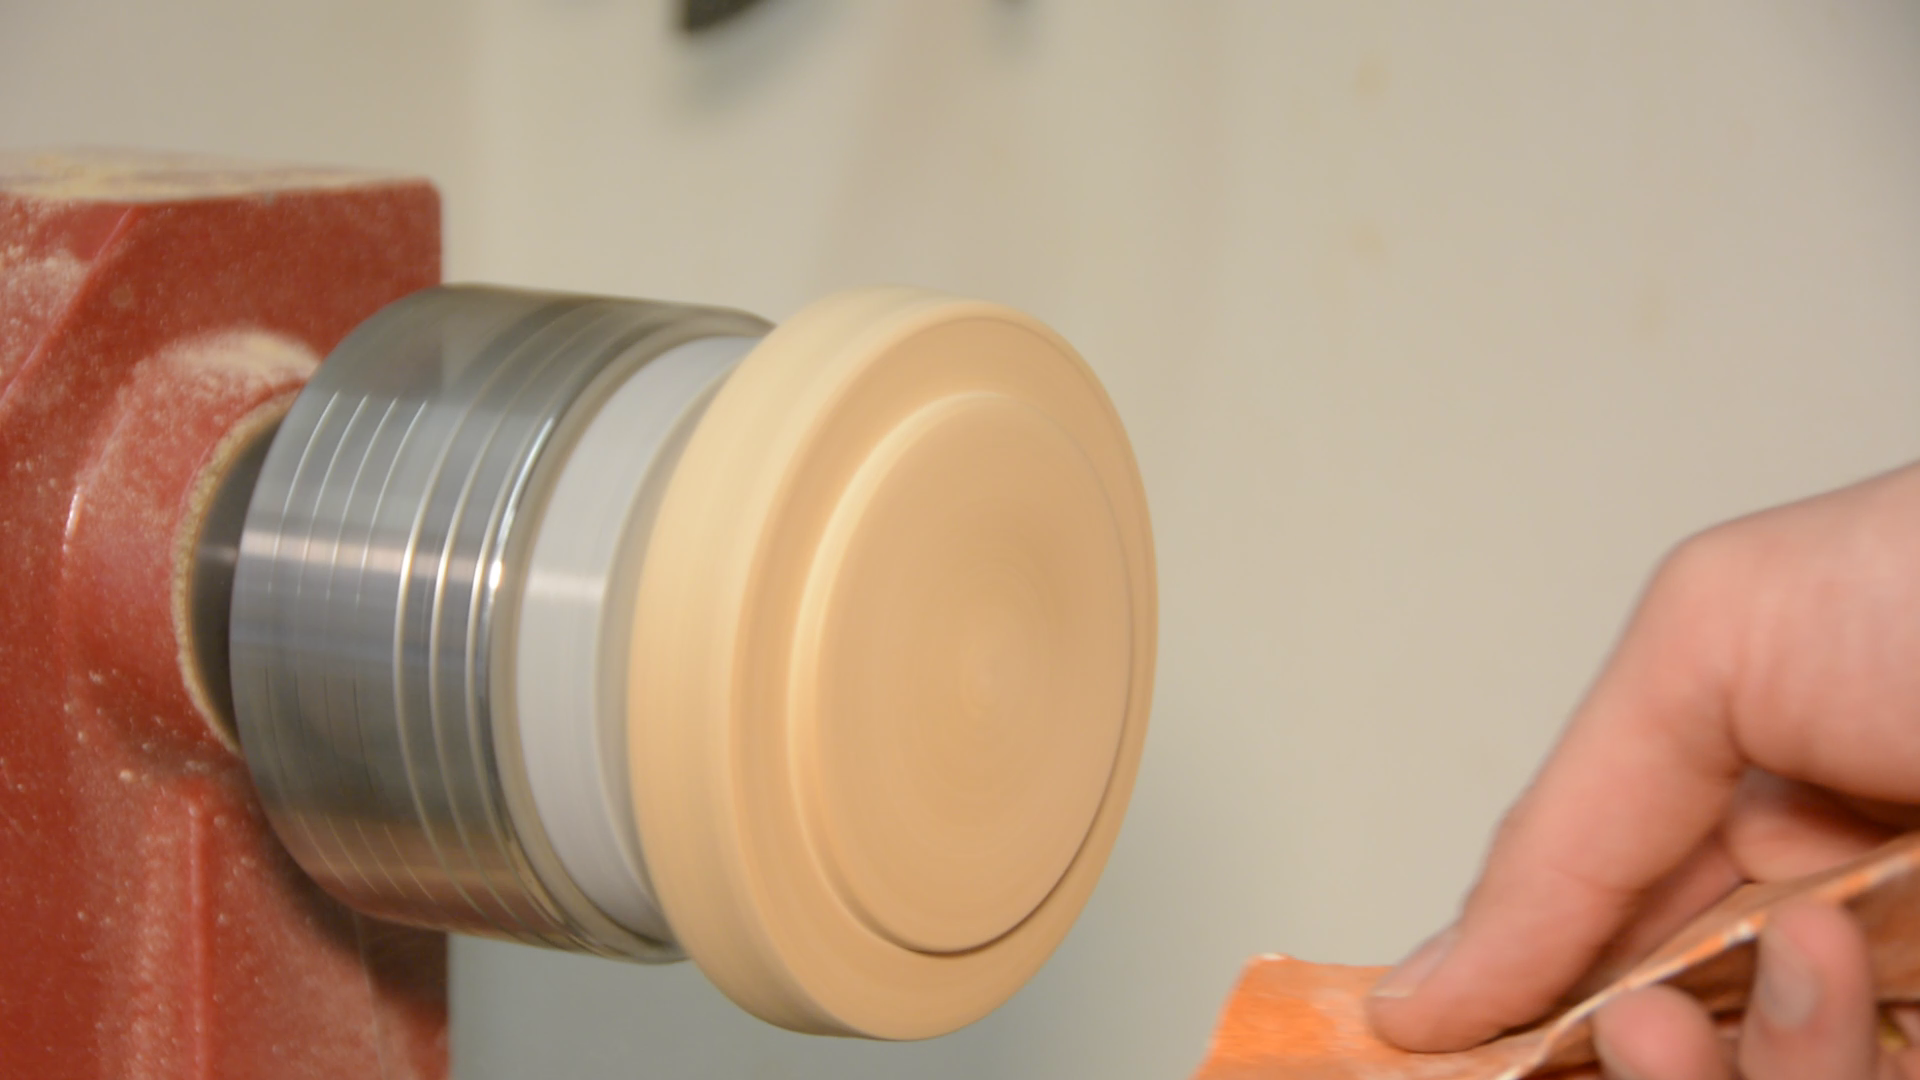
After sanding the surface to 320 grit the lid gets a coat of hard oil.

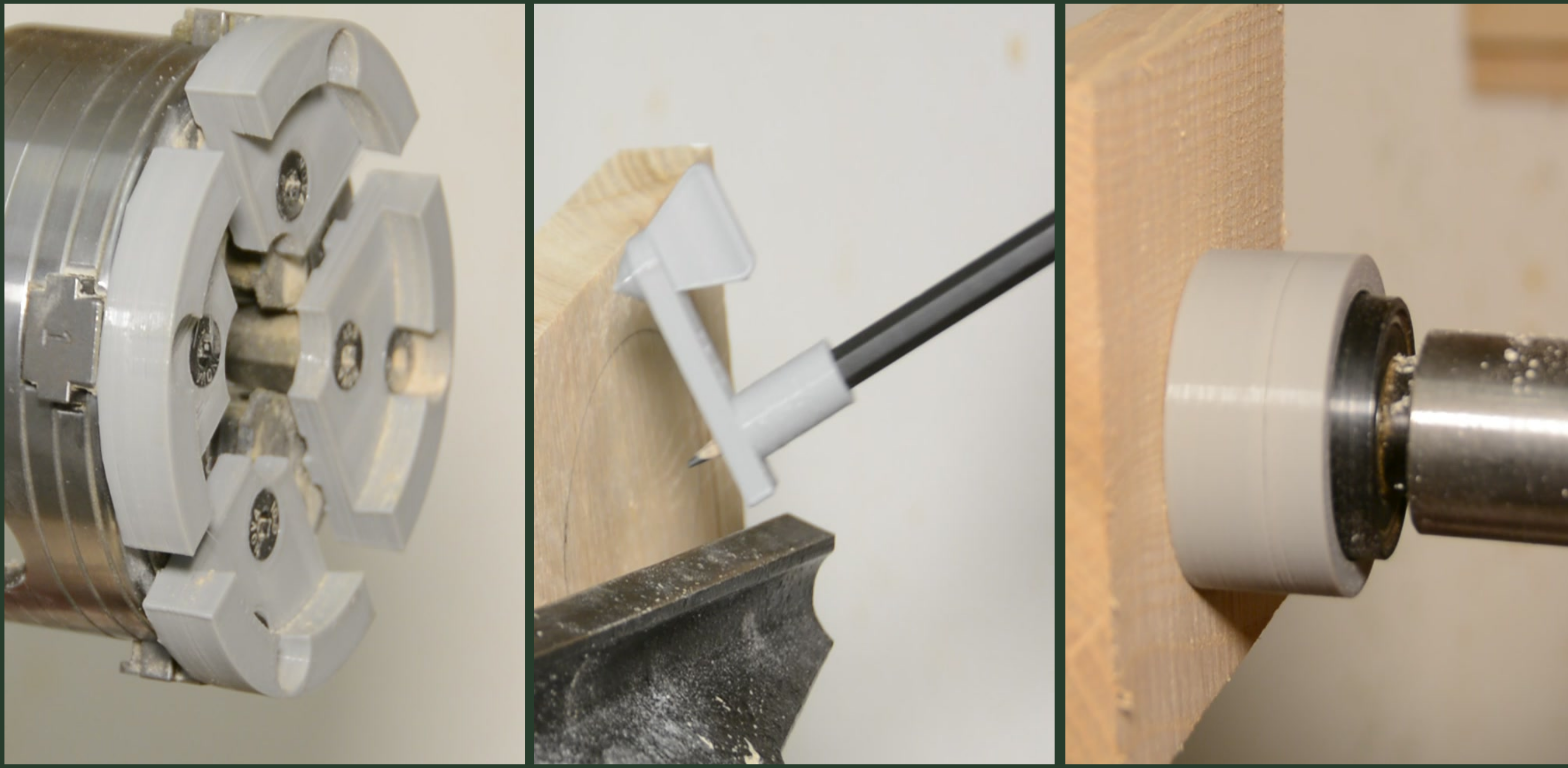
More 3d printed woodturning jigs
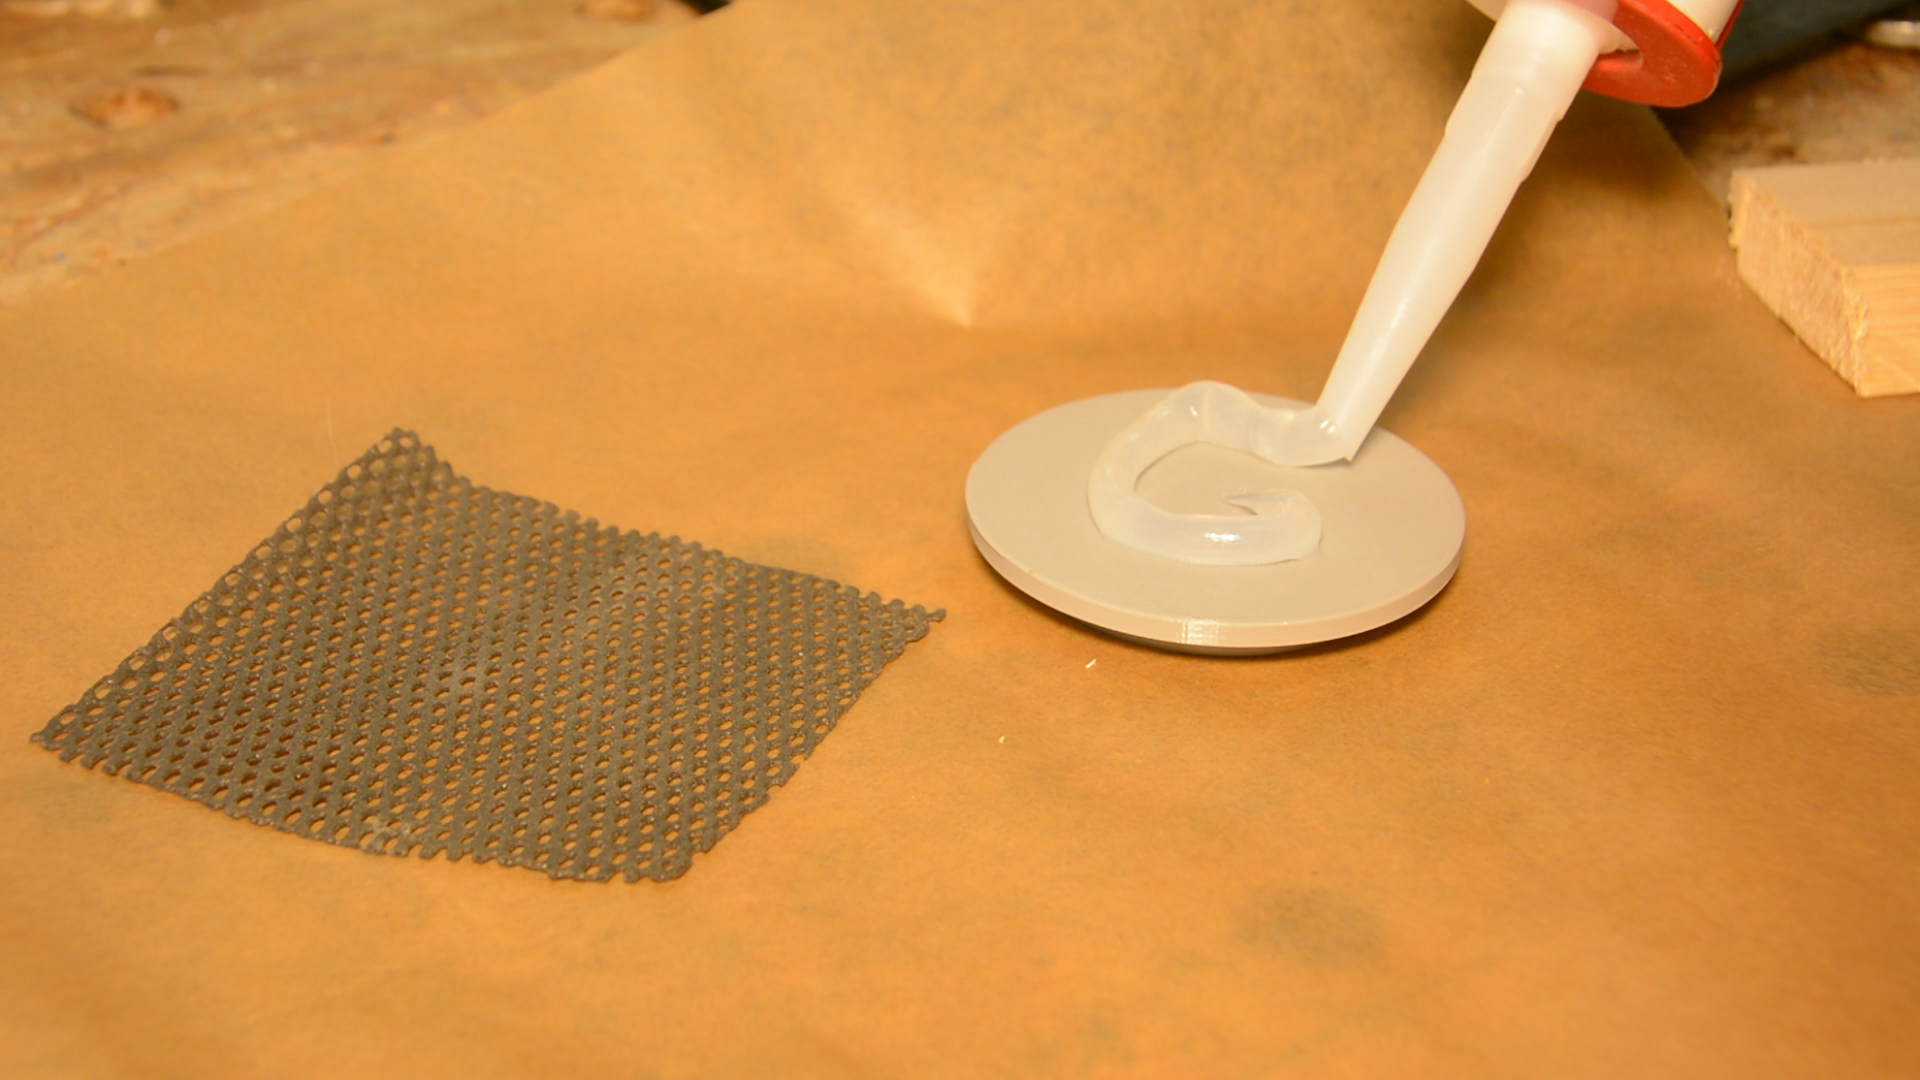
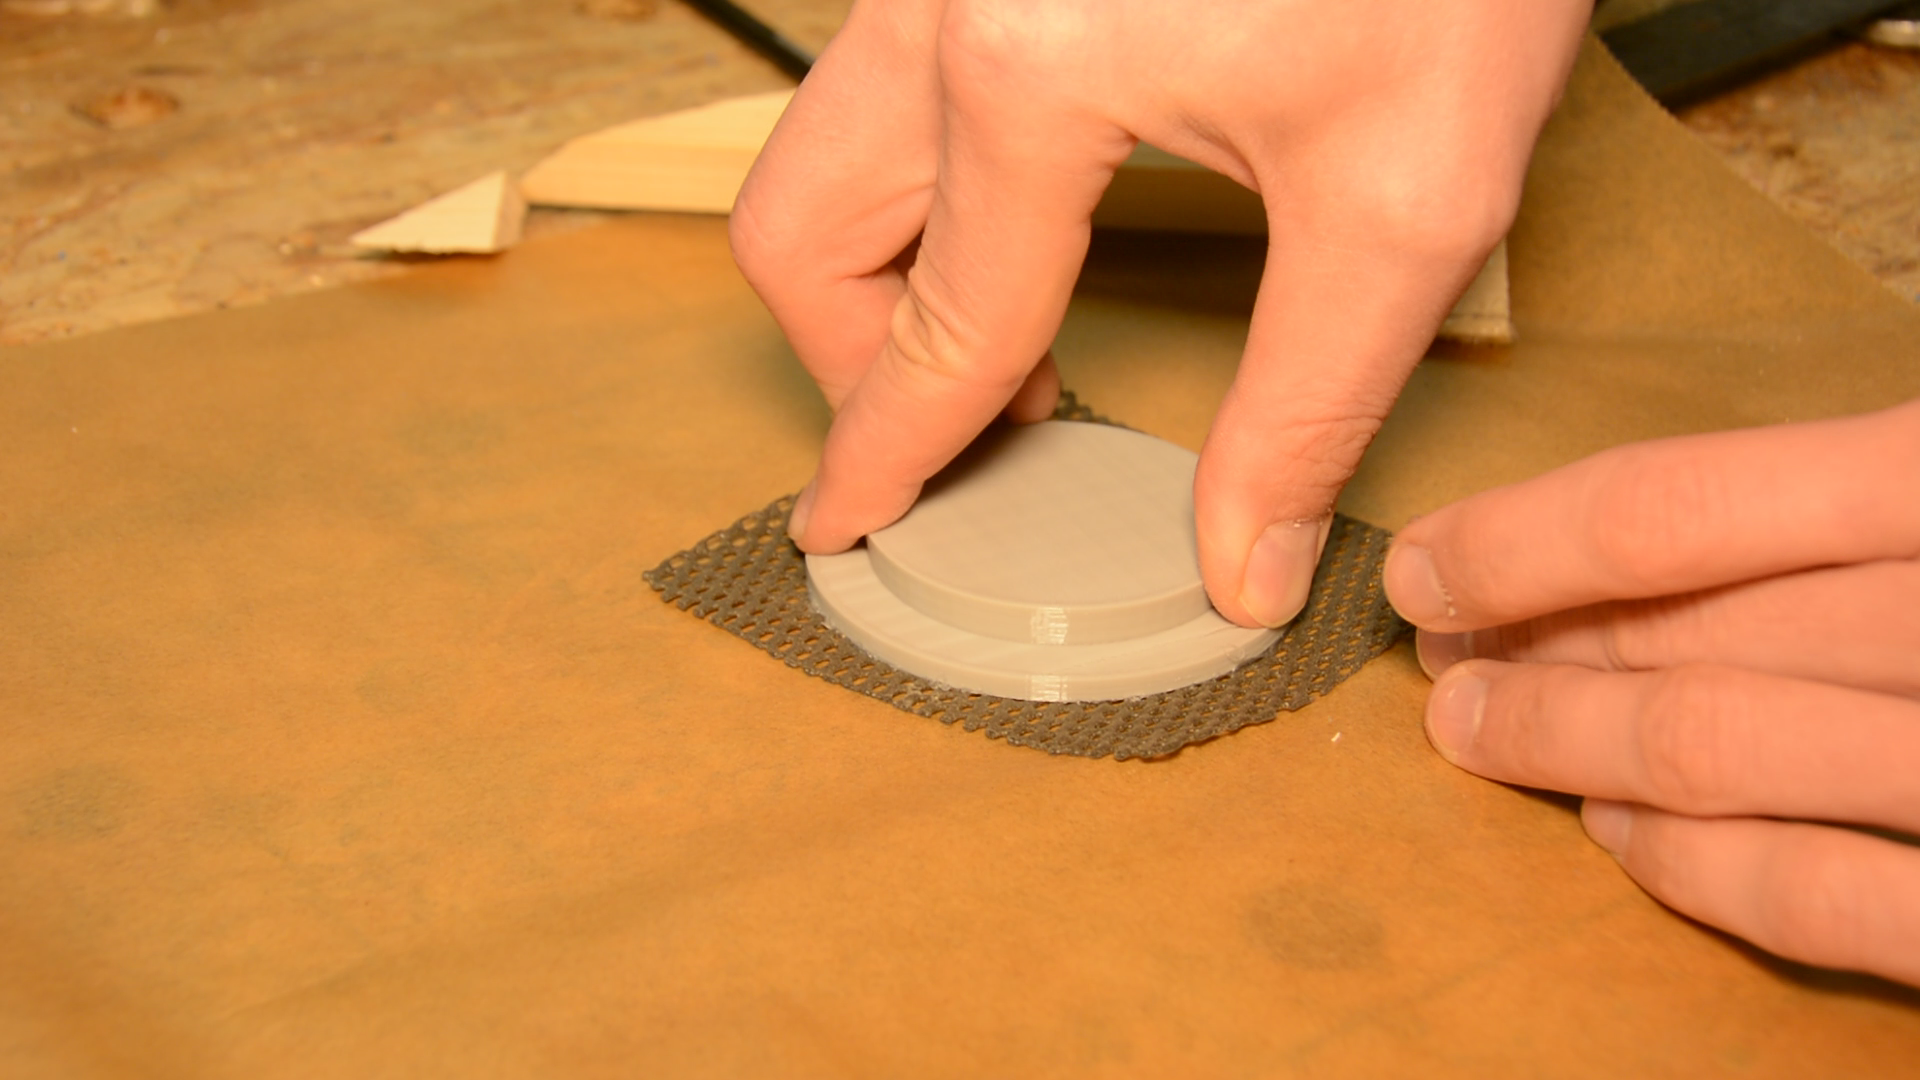
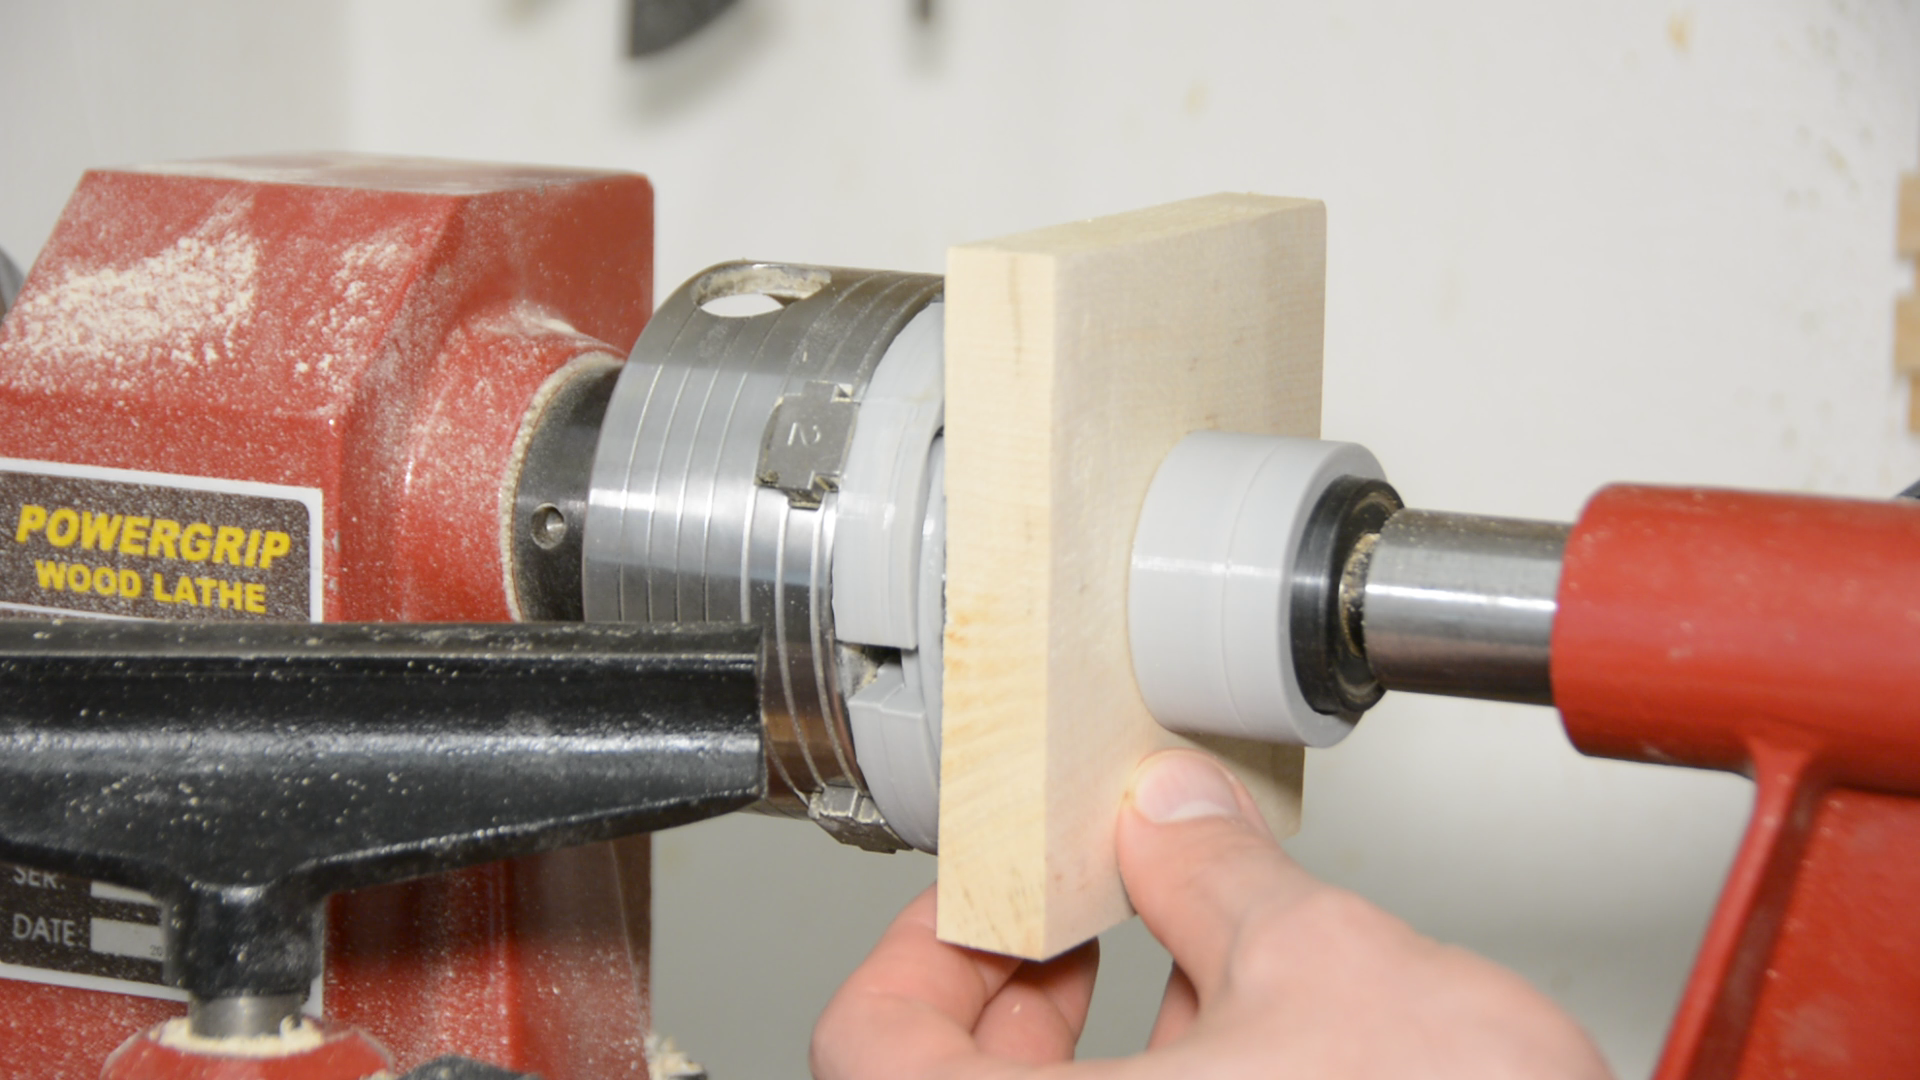
While the oil on this lid is drying let’s look at an alternative method on how to create the lid without using the temporary tenon and hot glue. To do so we need this super simple disk that fits perfectly in the 3d printed jaws. We cover the surface of the plate with a generous amount of silicone and then glue a piece of anti slip rubber on the plate.
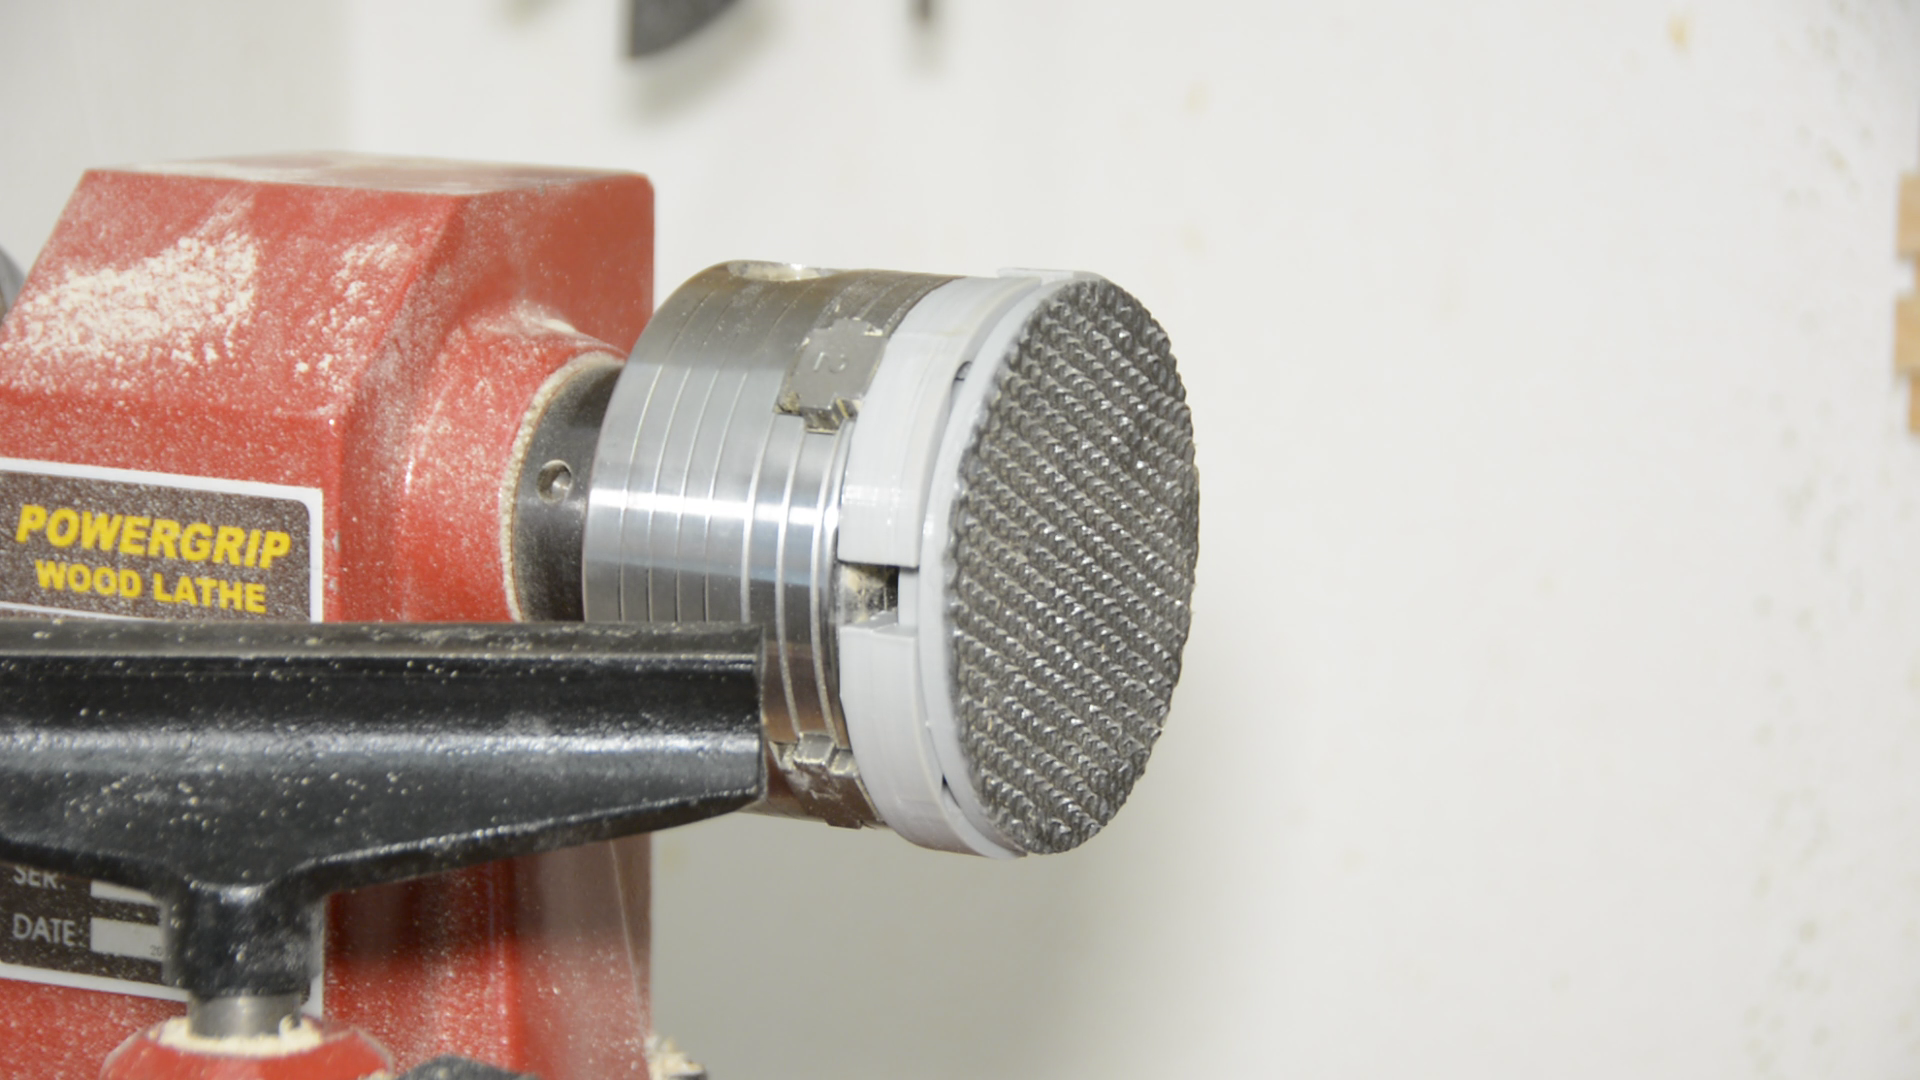
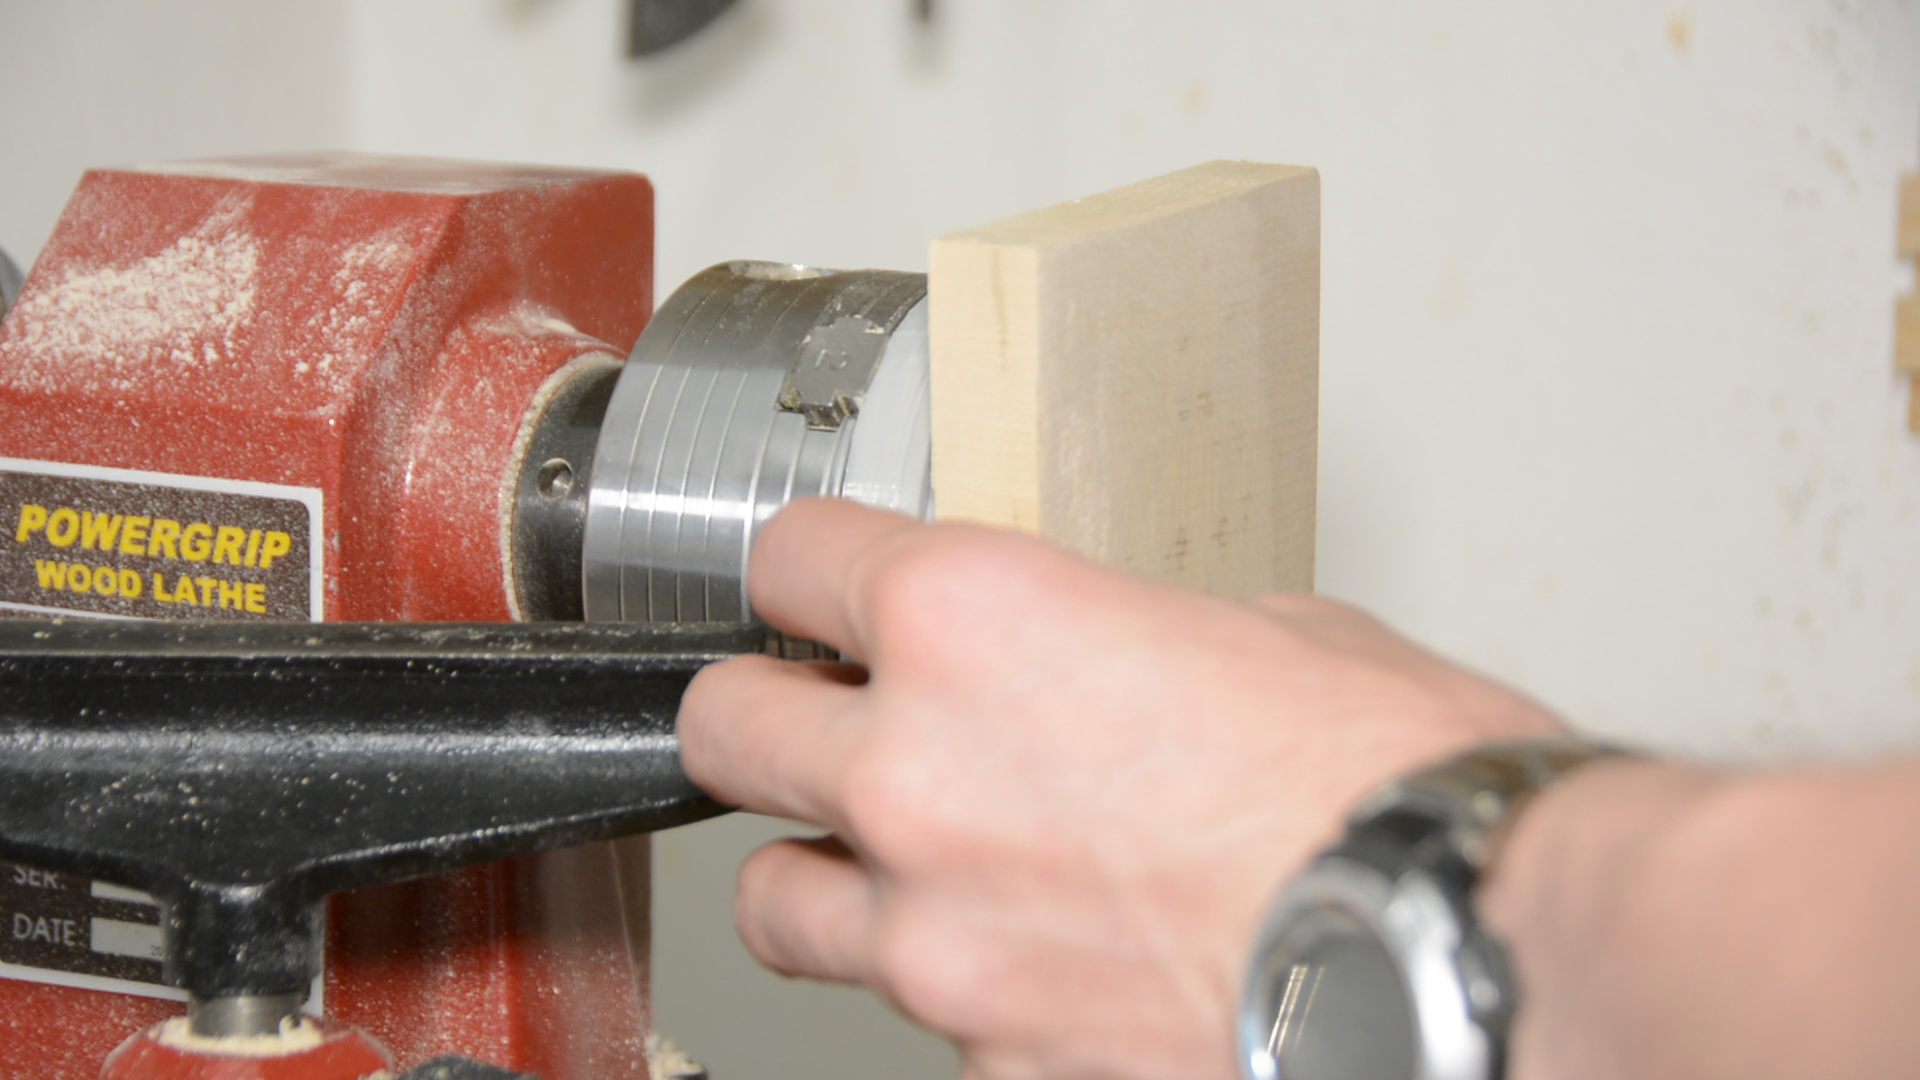
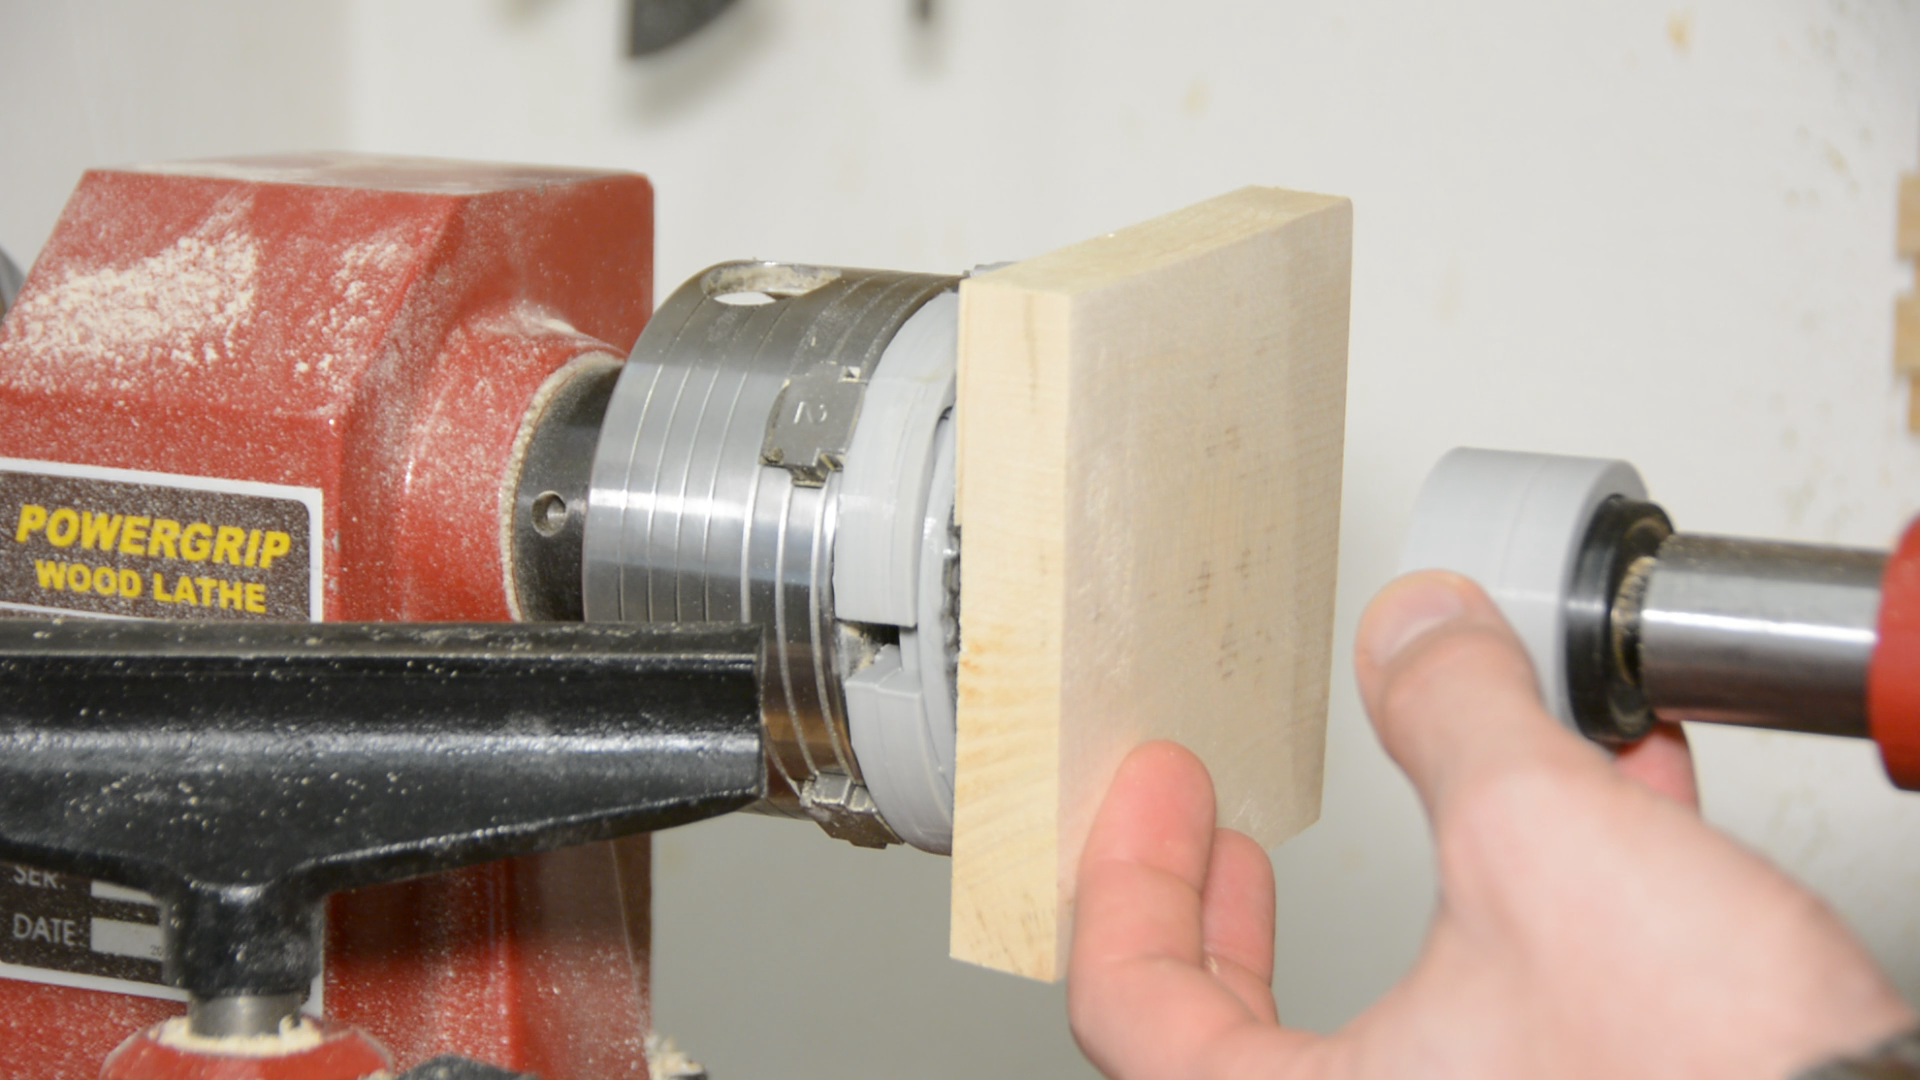
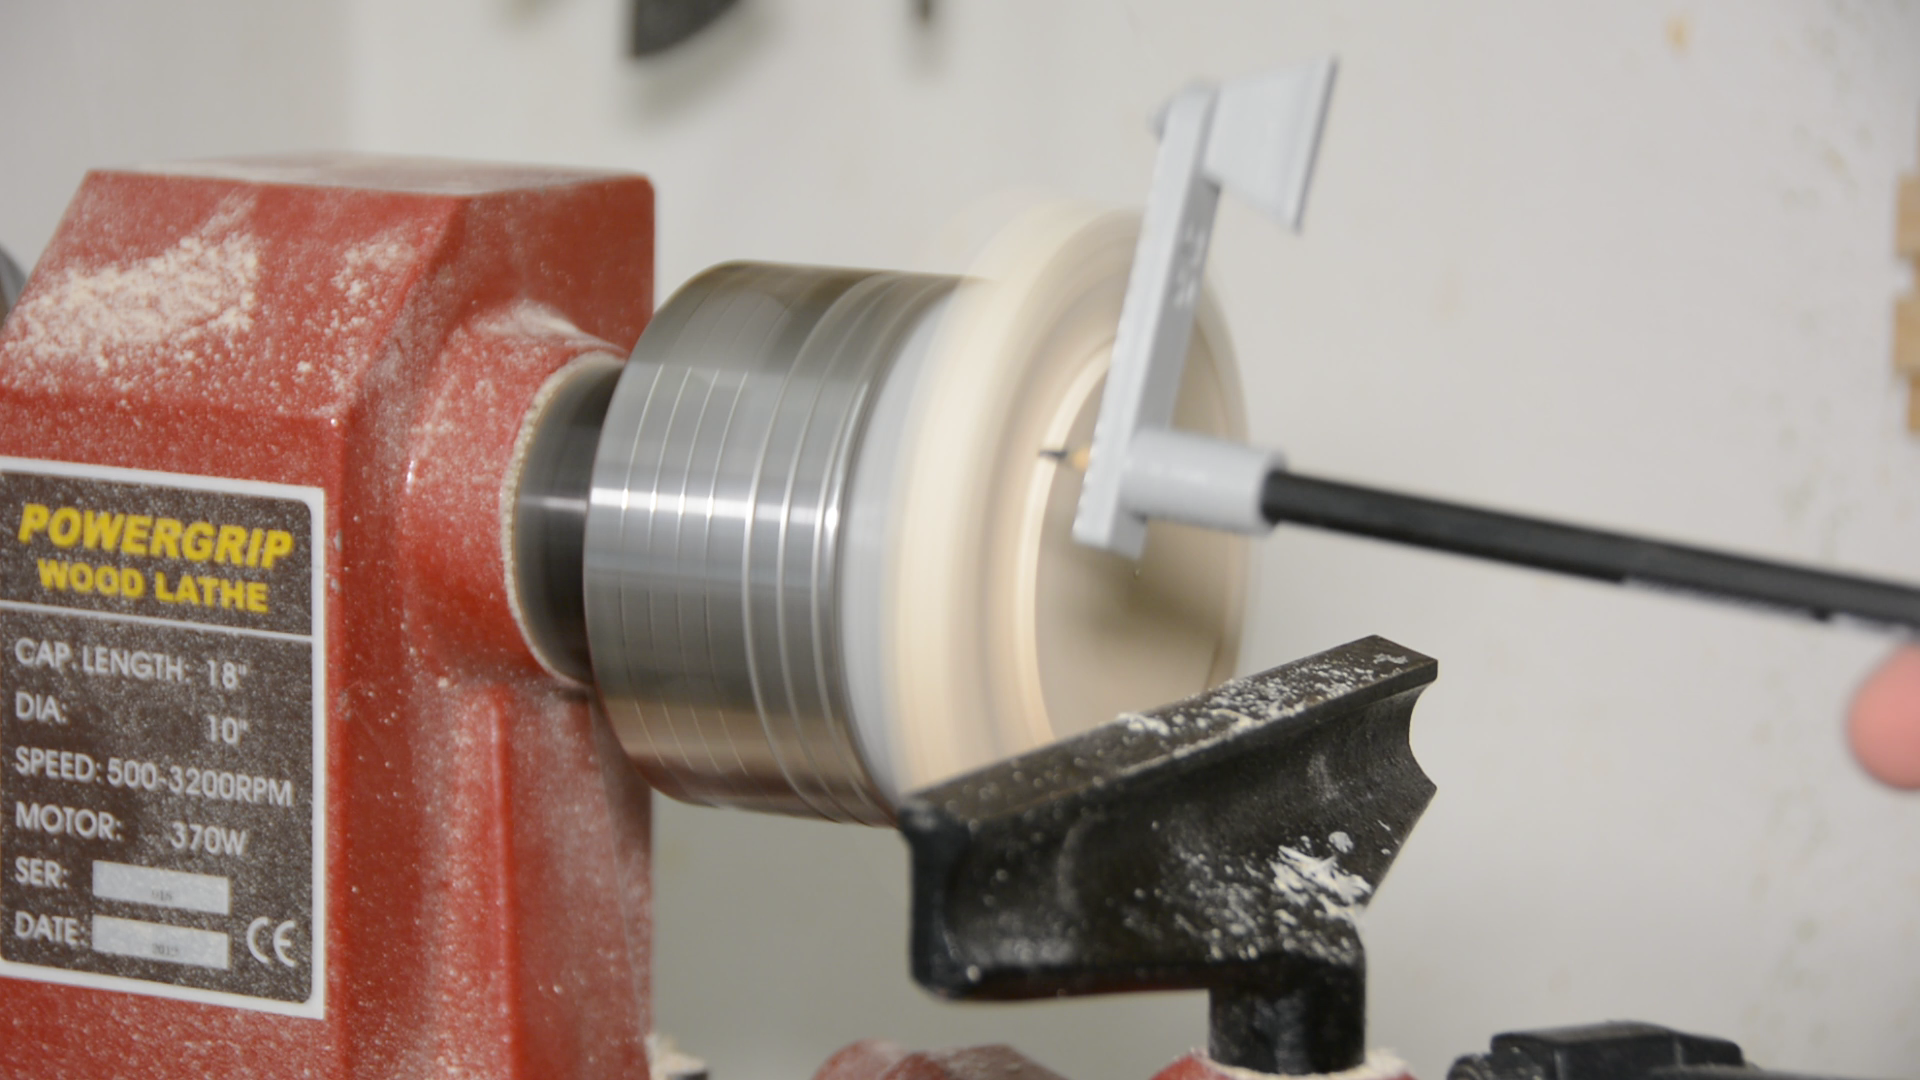
After mounting this plate in the chuck we can use a simple 3d printed cover that we put over the tailstock and then firmly press the wood with the tailstock against the plate.

I have printed a small accessory that holds a pencil and if pressed against the tail stock cover marks a circle of exactly 65 mm.
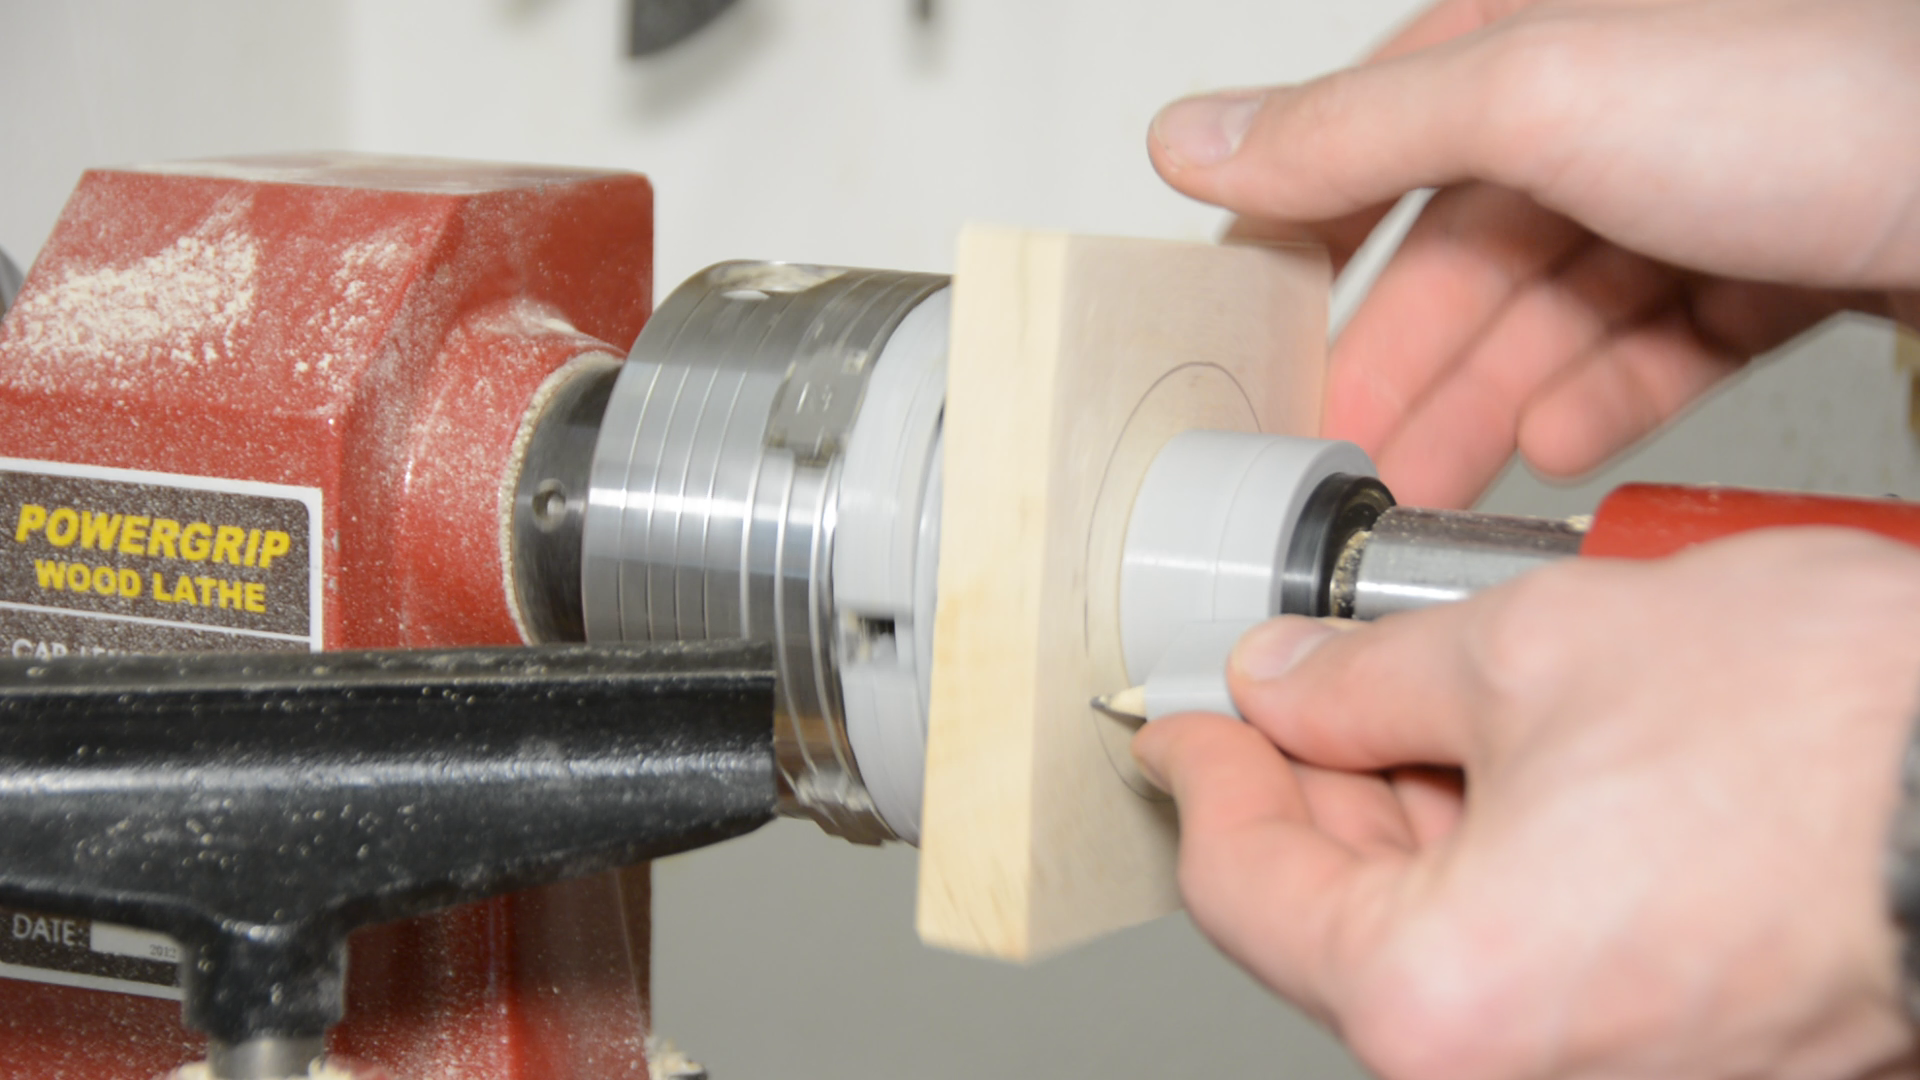
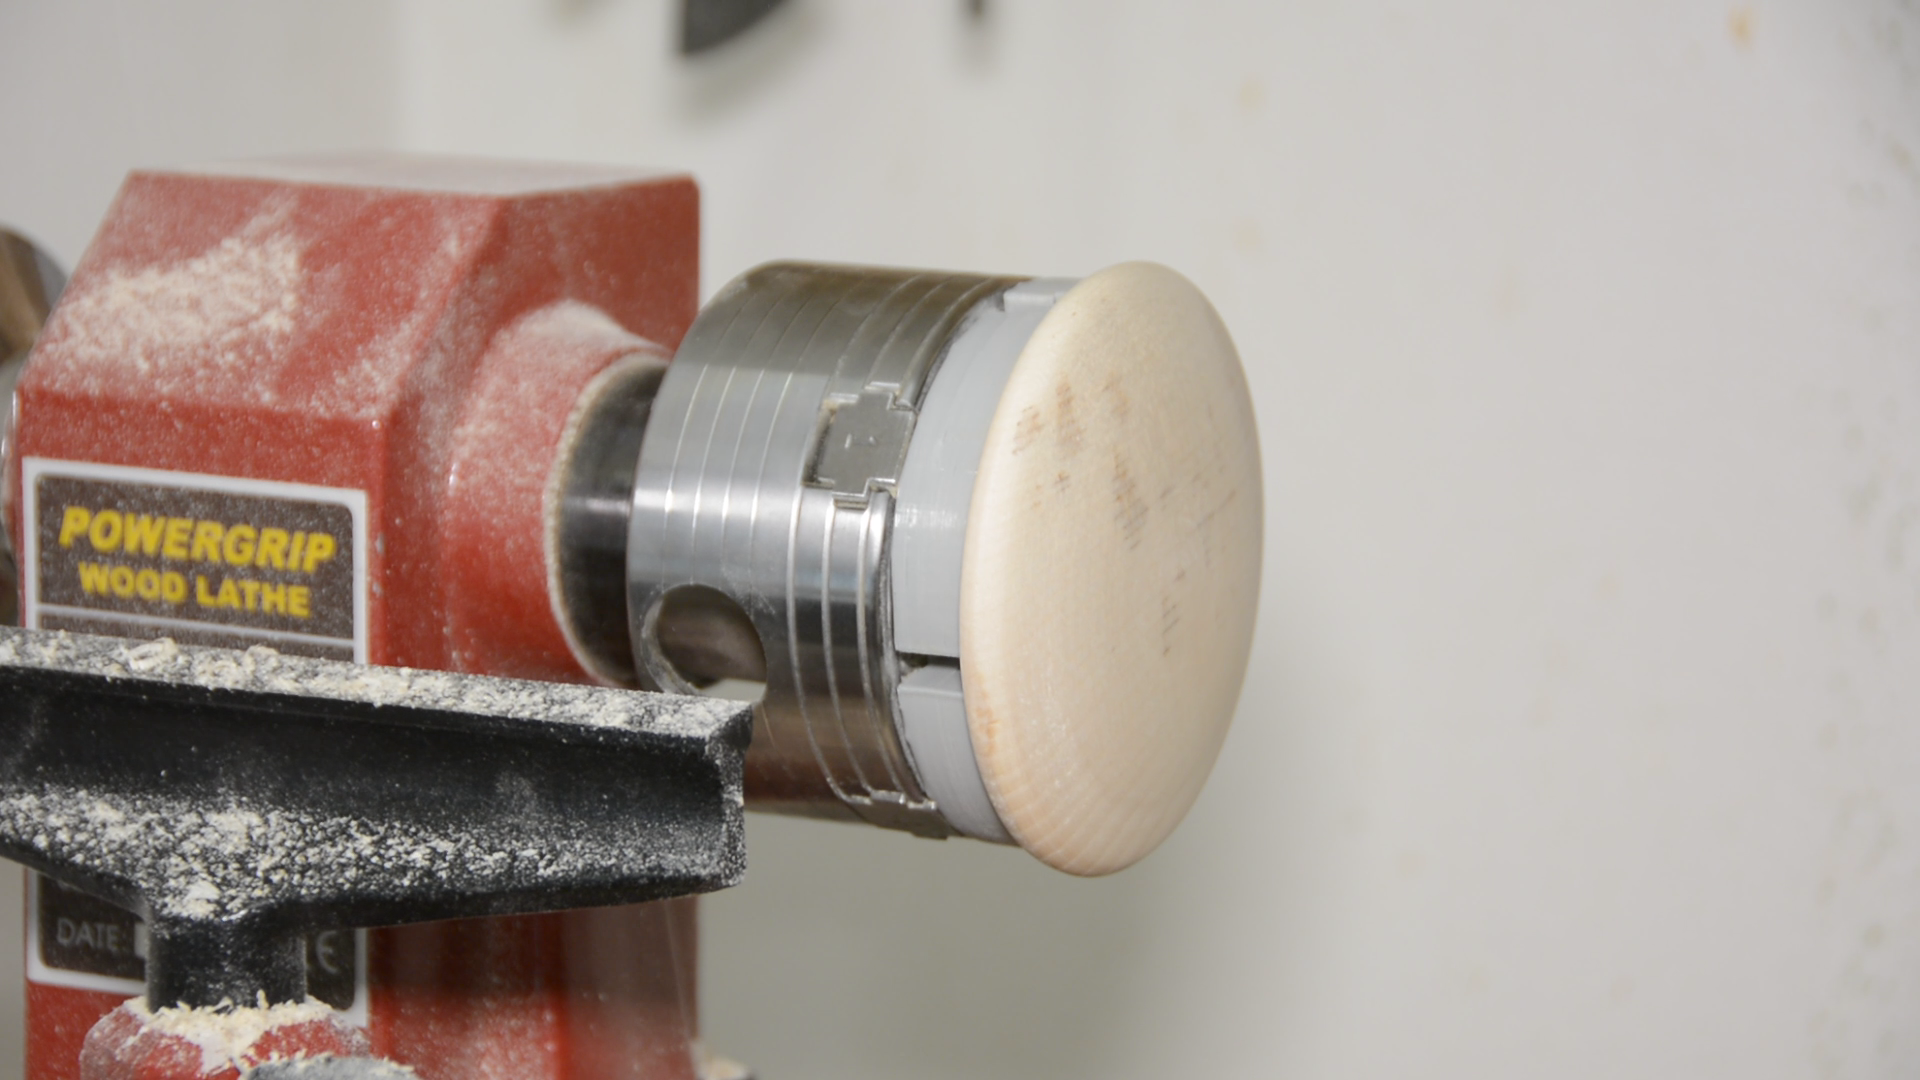
We now create a shallow tenon of this diameter .
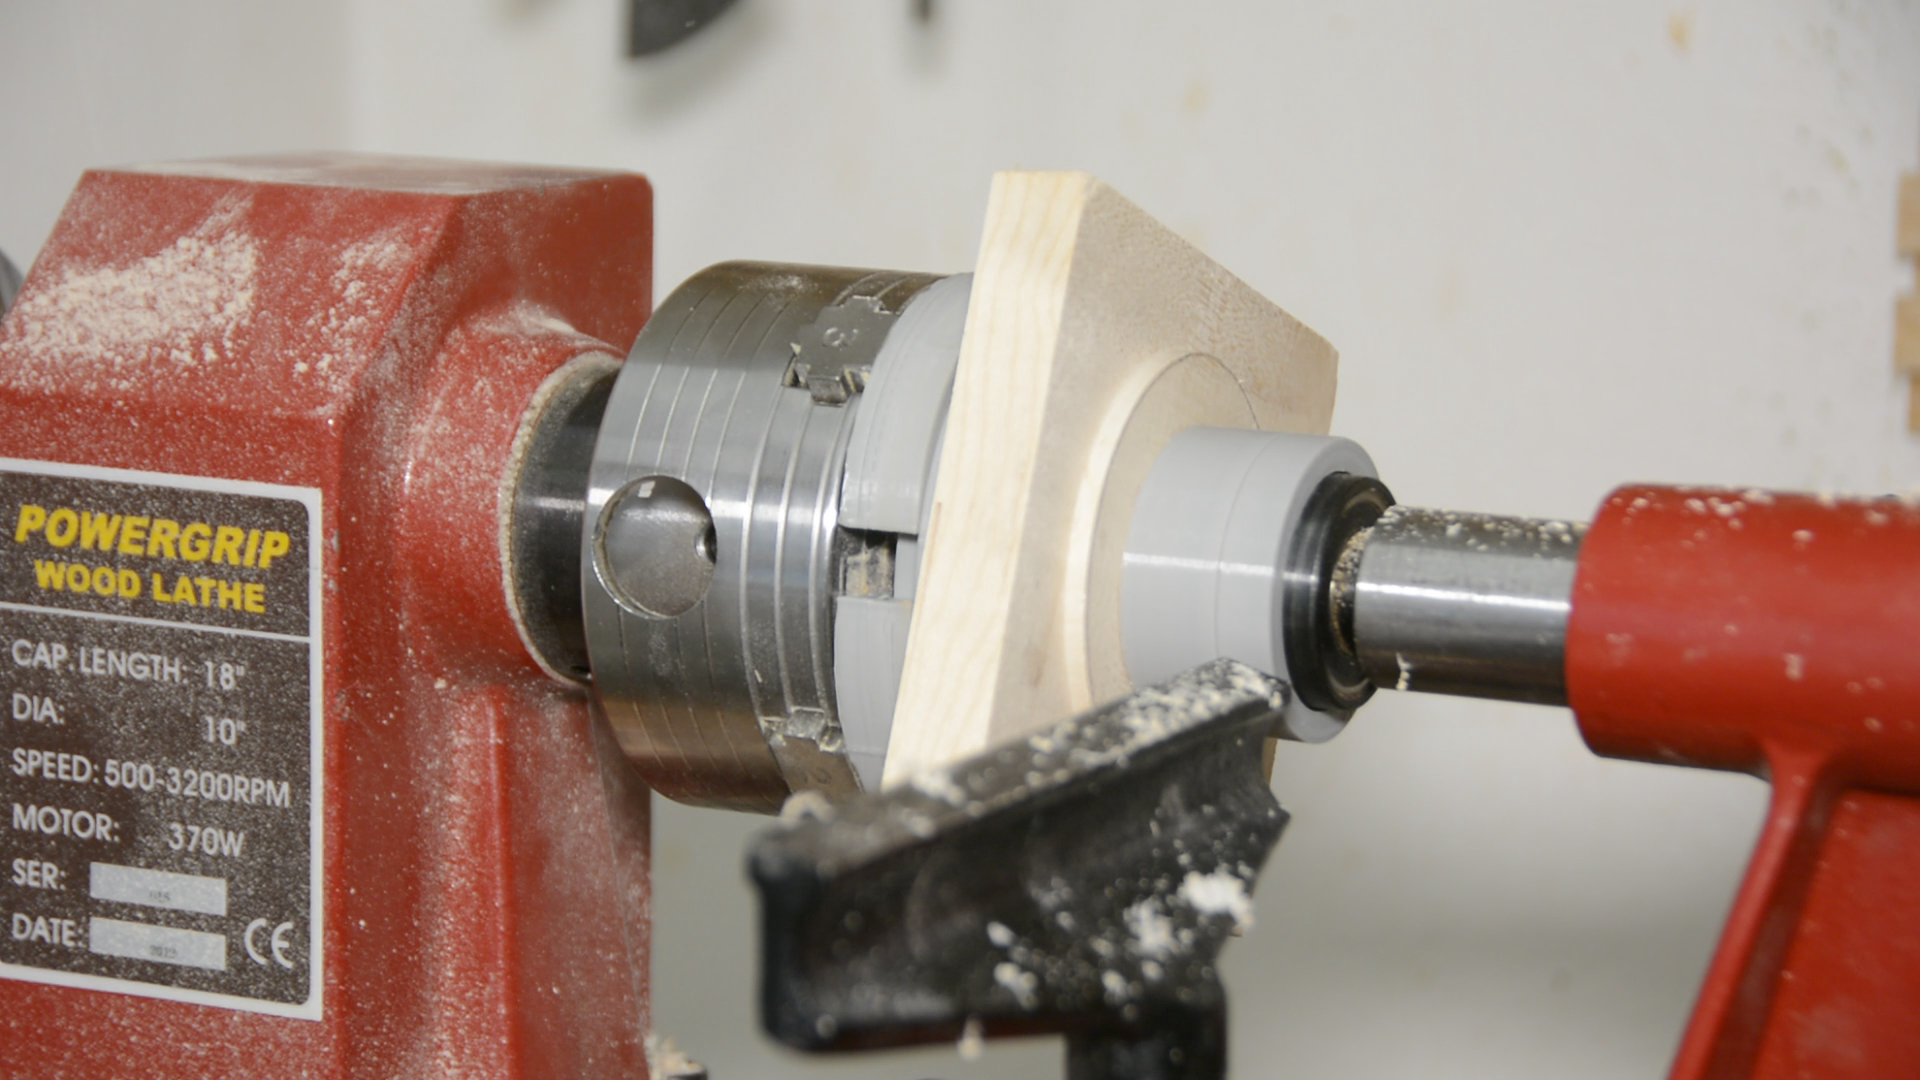
Next we remove the rubber-coated plate and fix the tenon in the chuck. I can not work on the underside of the lid.

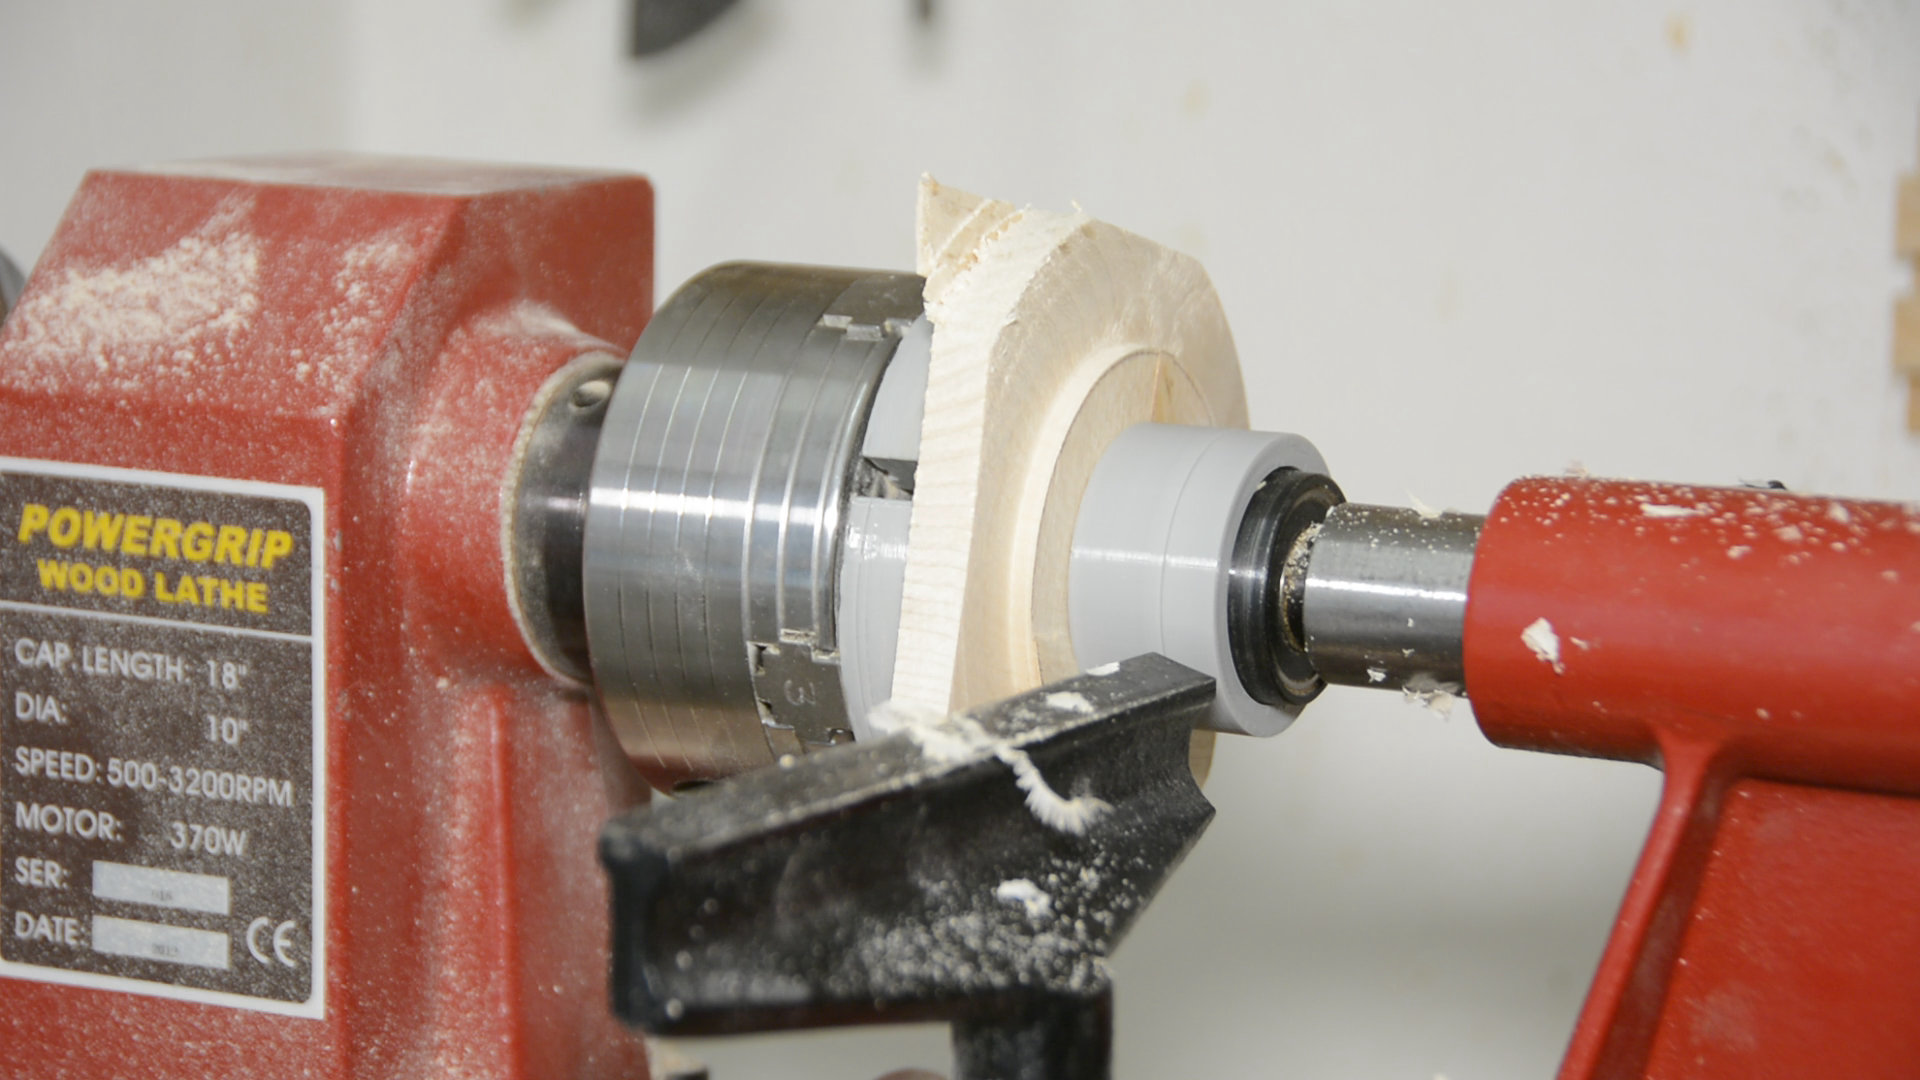
As before I create a tenon and while still supported by the tailstock turn the piece round.
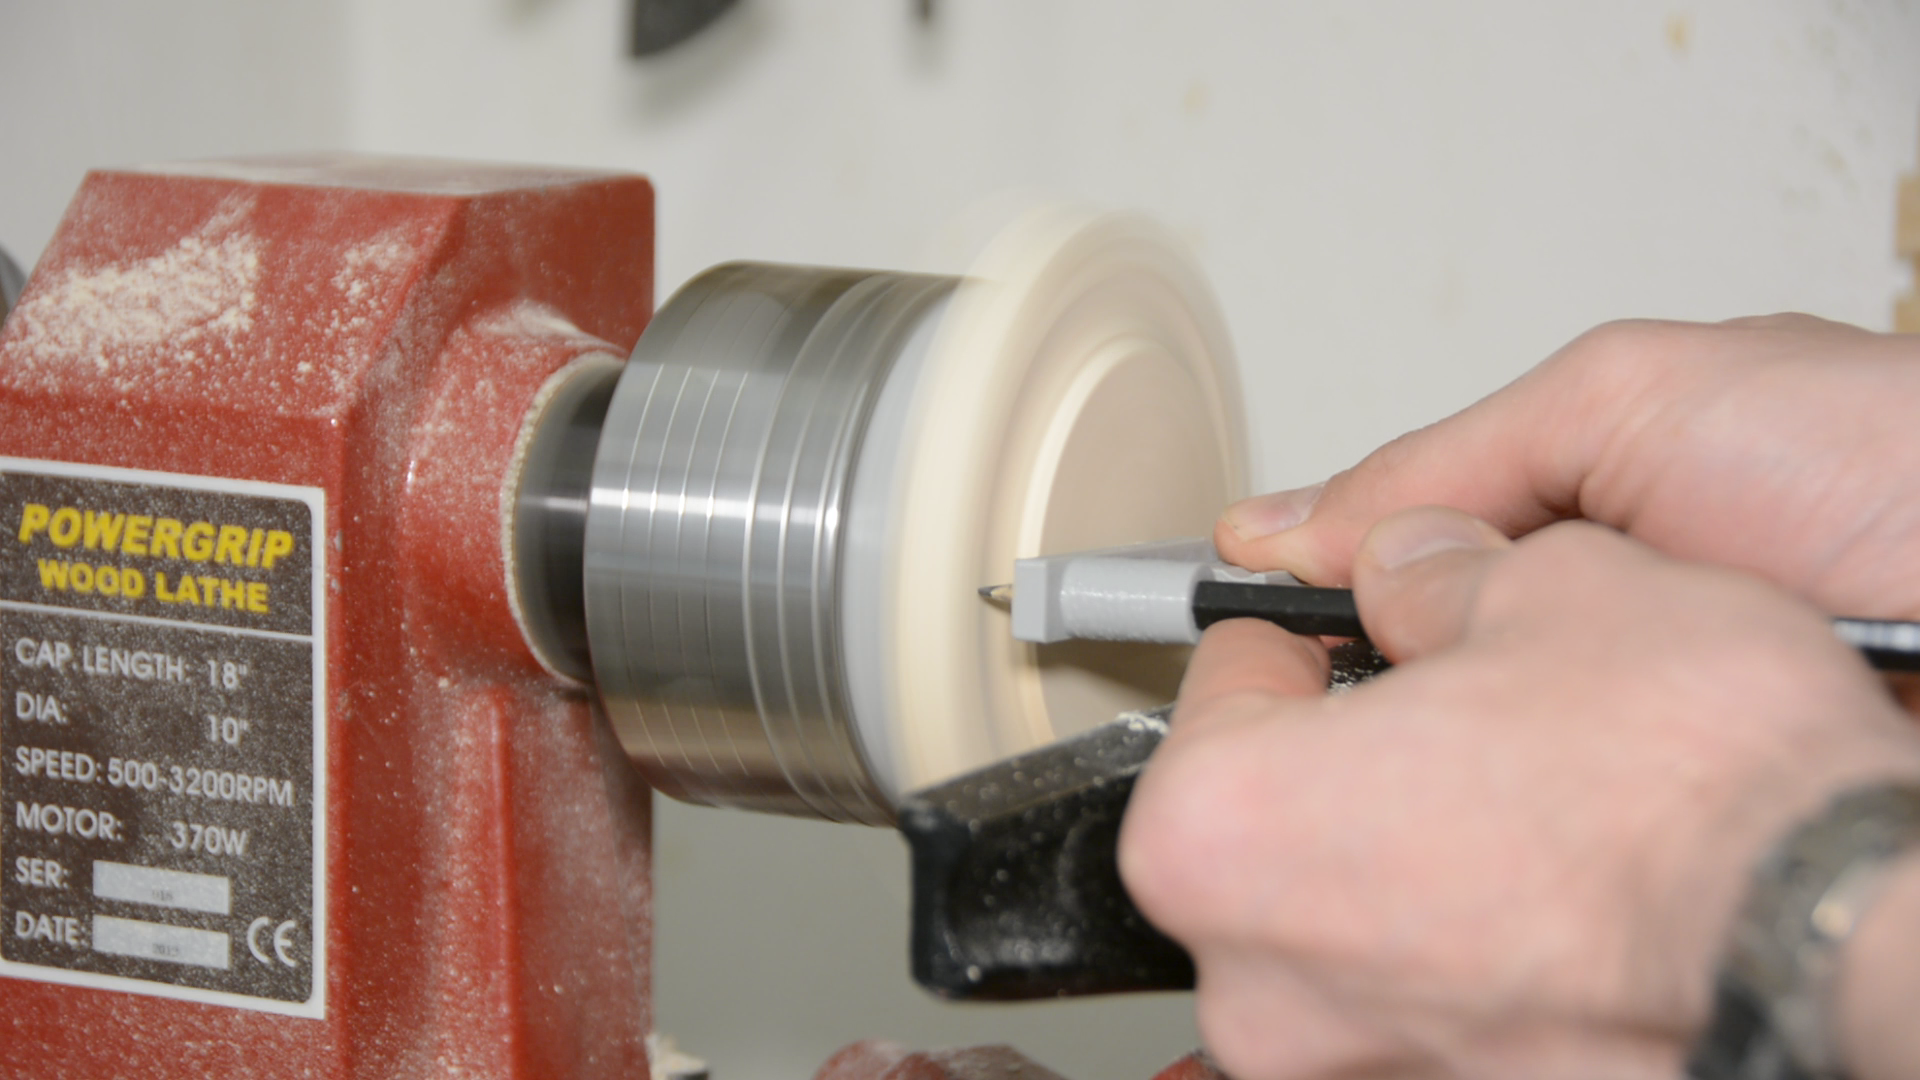
For marking the outer diameter I came up with another simple jig that takes a pencil and when I align the tip with the center of the workpiece it marks a precise 95 mm wide circle.
The rest of the process is the same as before: creating a smooth surface on the upper side, and sanding it.
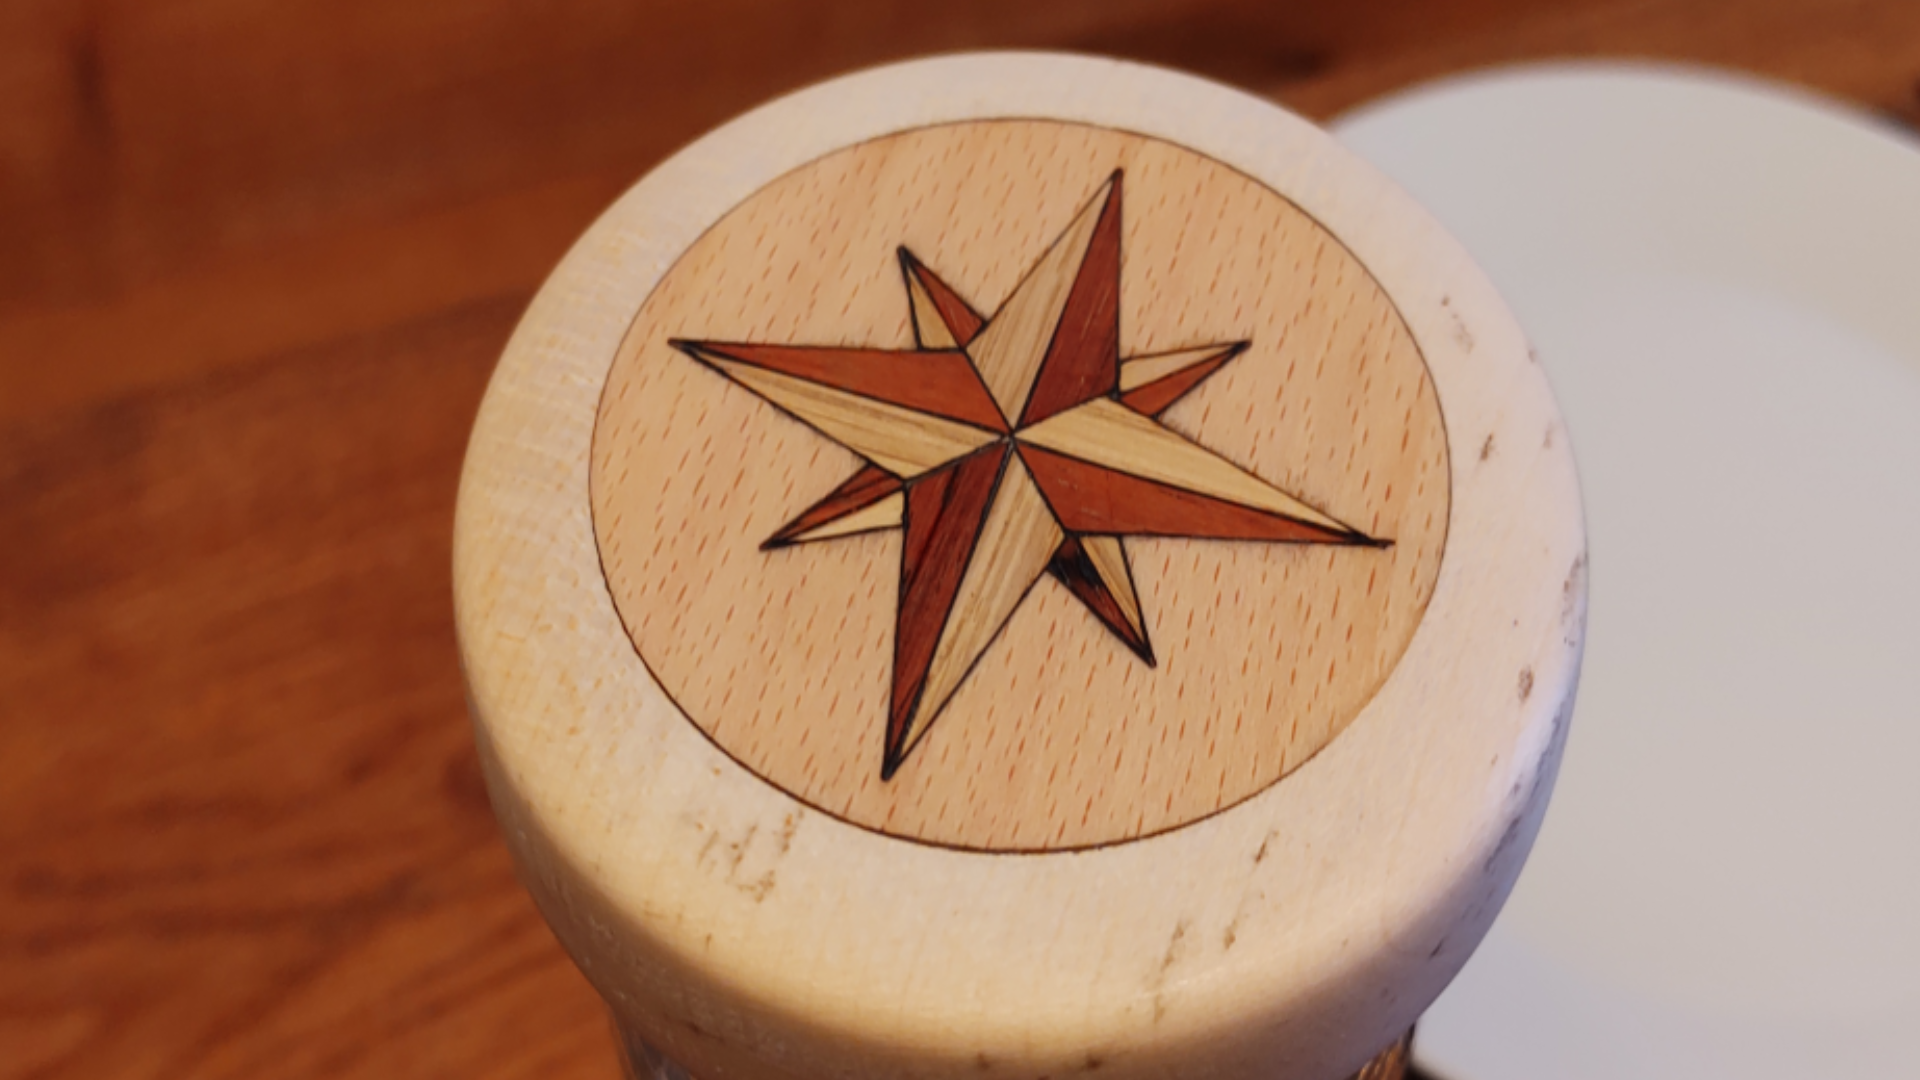
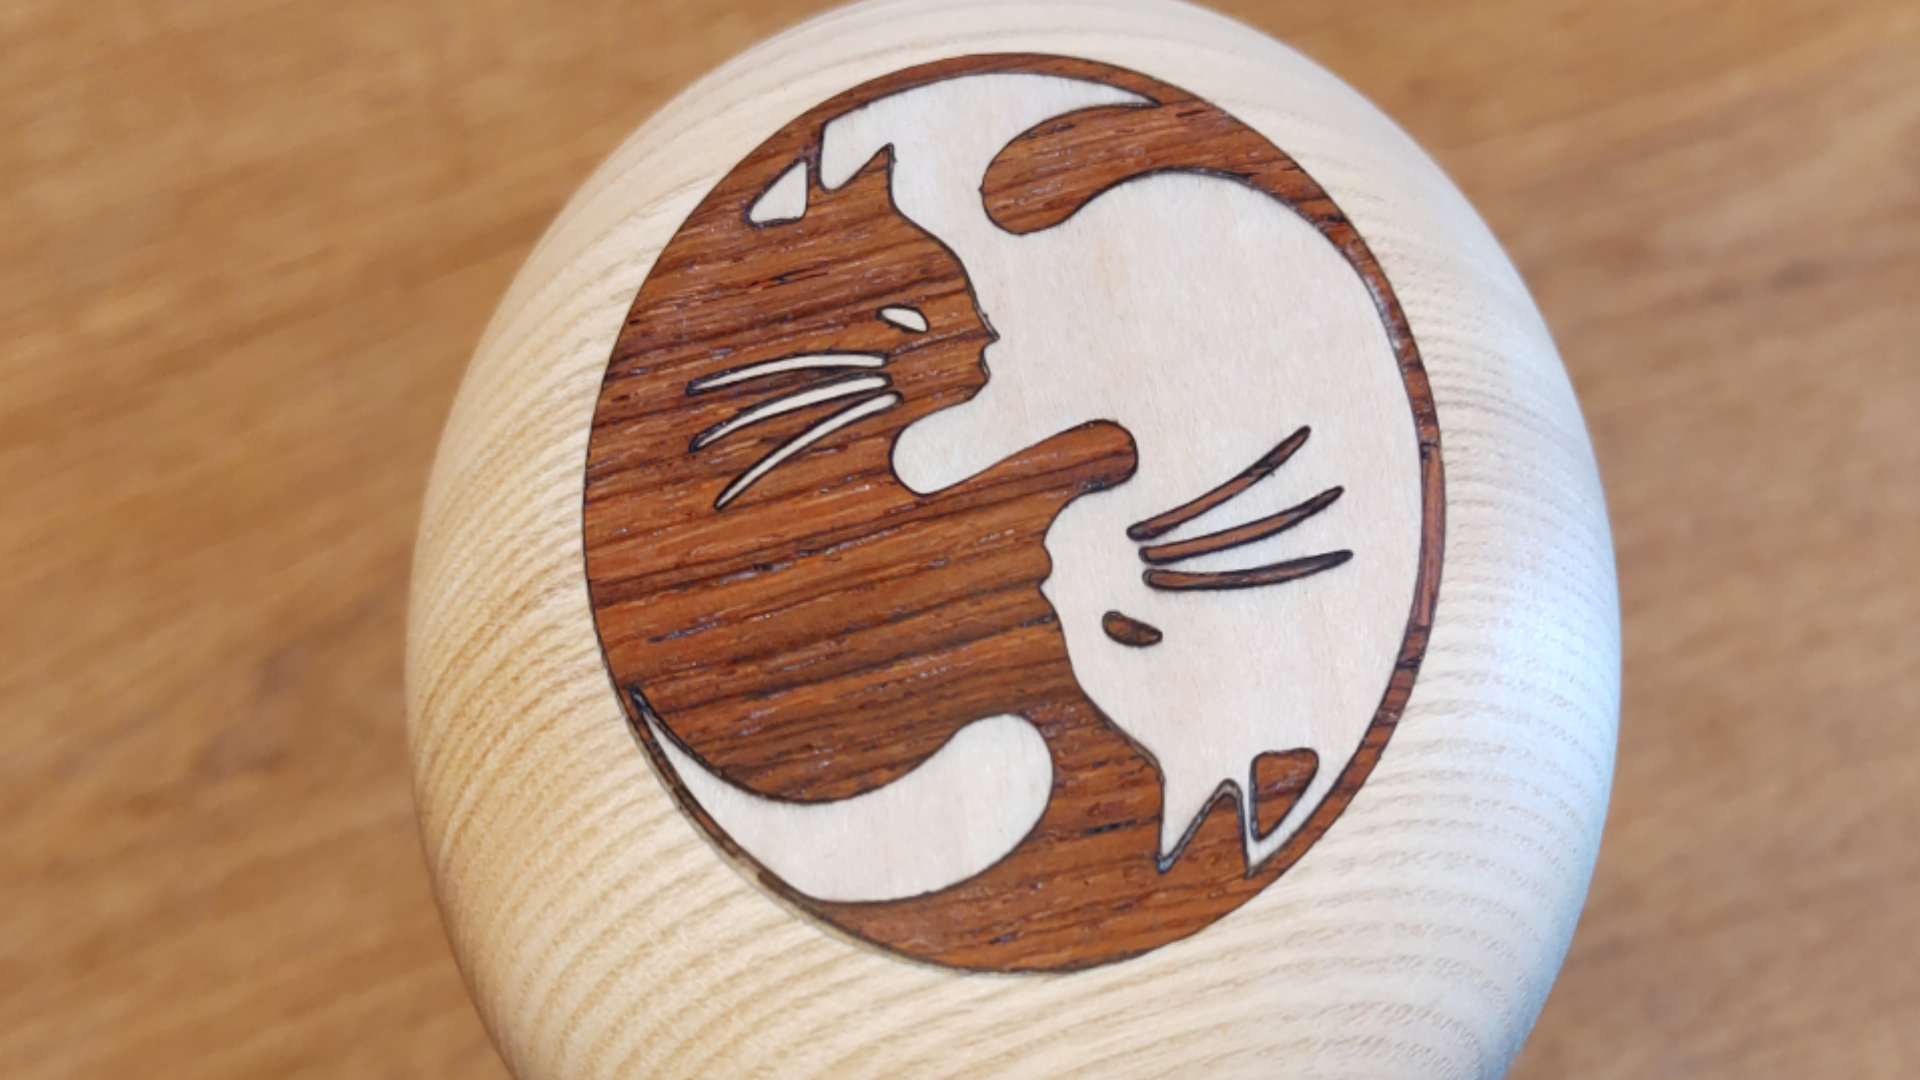
These lids are nice presents – especially when combined with an epoxy laser inlay or by inlaying some laser-cut veneer. If you are interested on how I cut the veneer have a look at this article where I go through the process in detail.

Summary: 3d printed woodturning jigs
But now let’s take stock on how well the 3d prints performed on the lathe.
Marking tools
There is no question that the marking jigs are super helpful and easier than fiddling around with calipers.
Tailstock cover and plate
Protecting the tailstock with a 3d printed cap works well and the rubber coated plate is also pretty stable.

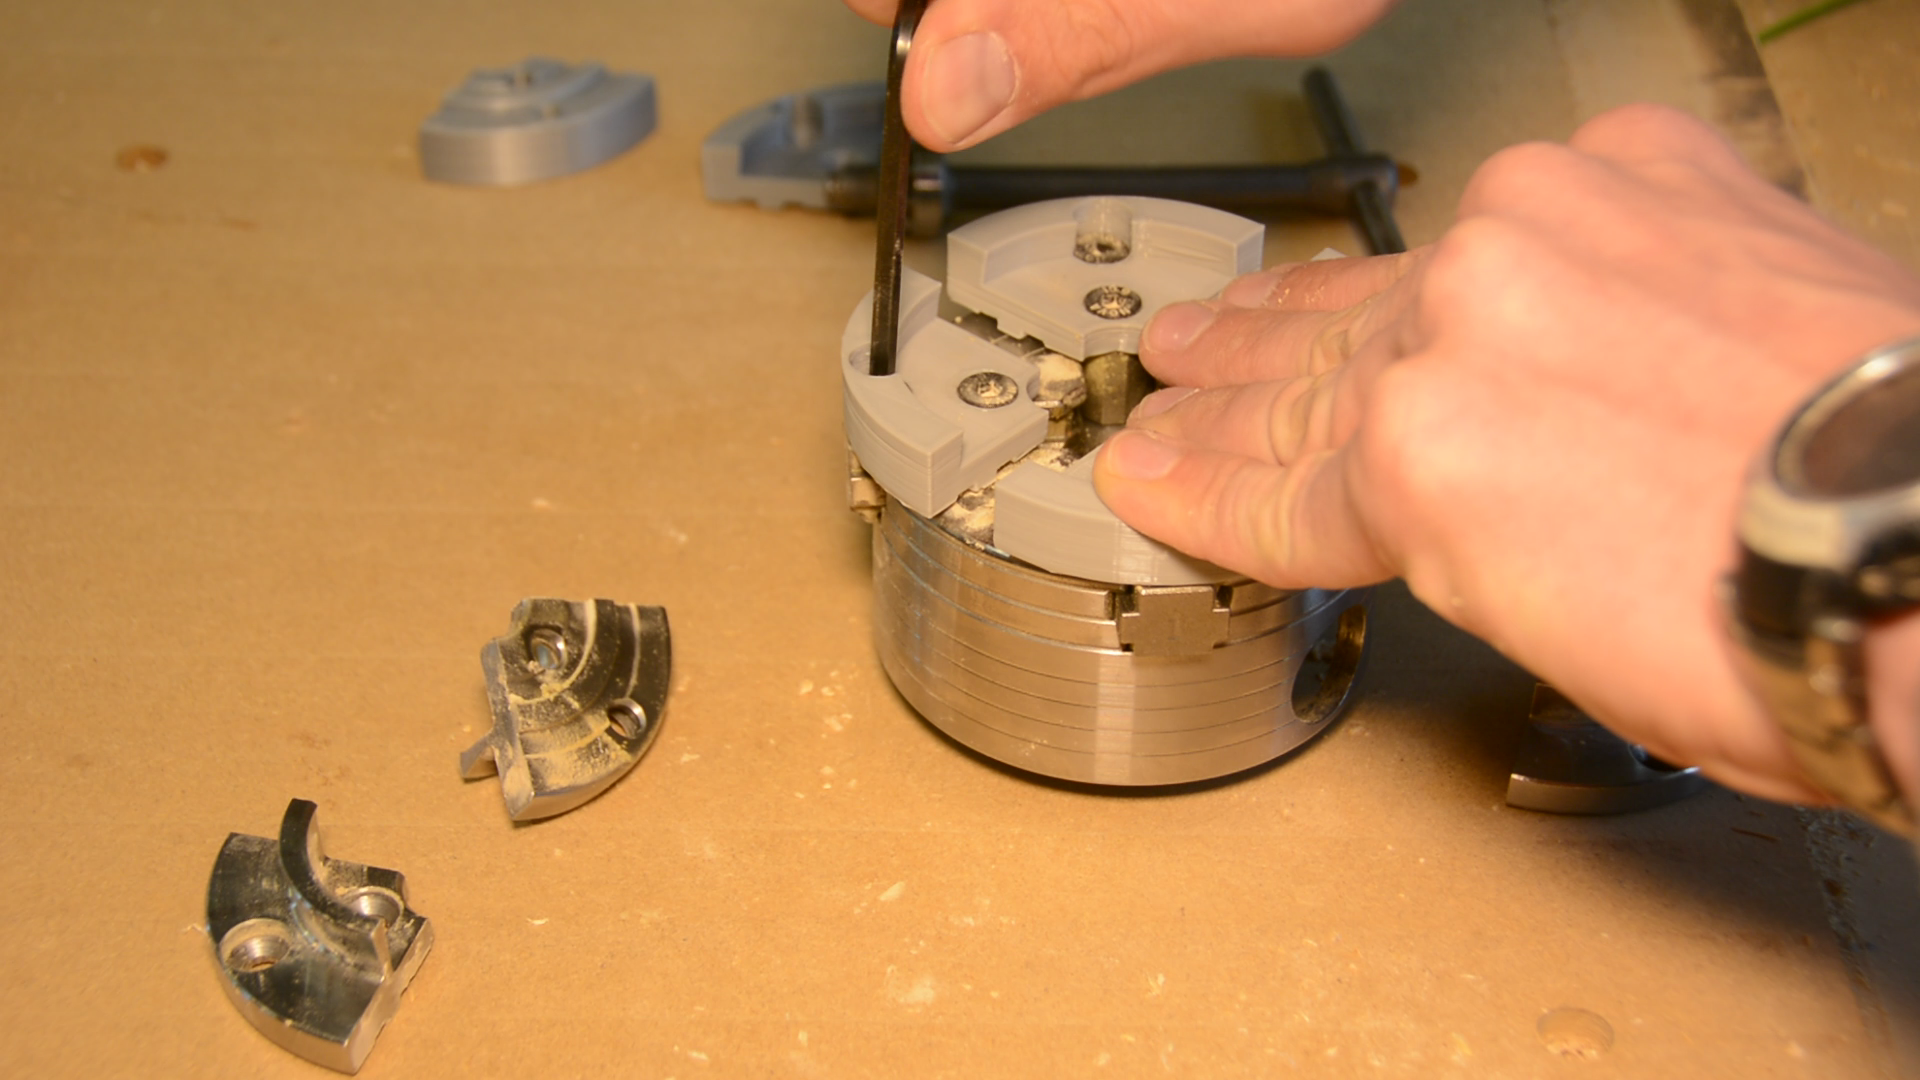
3d printed jaws
The jaws have been doing a good job for 3 or 4 lids but after that started to break along the layer lines. So it works decent and it might be possible to improve this with other filaments such as PETG or Nylon.
However while they are not a long-term replacement for steel jaws they did a good job for a few lids and sometimes this is all you need for a one off object.