
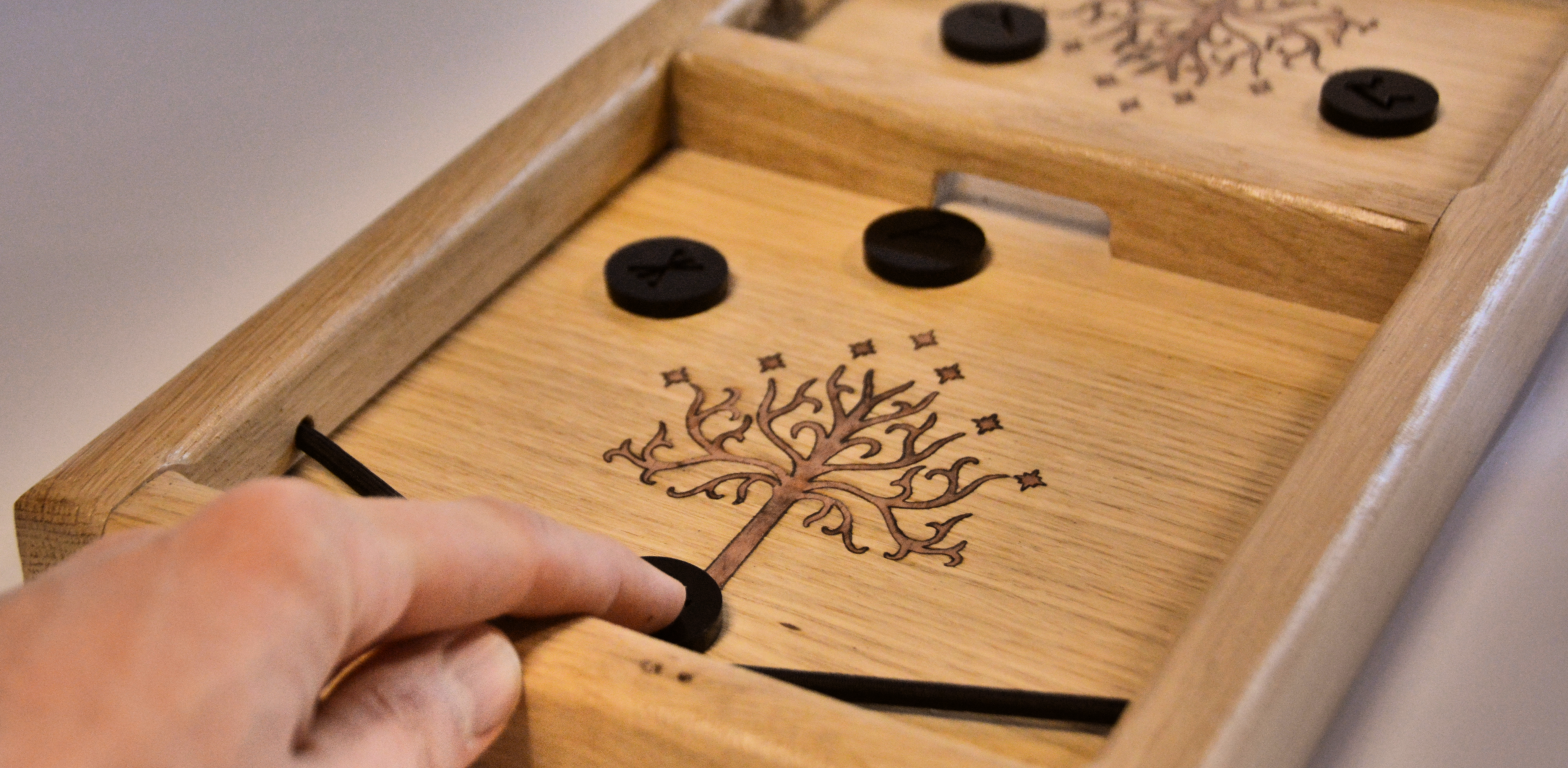
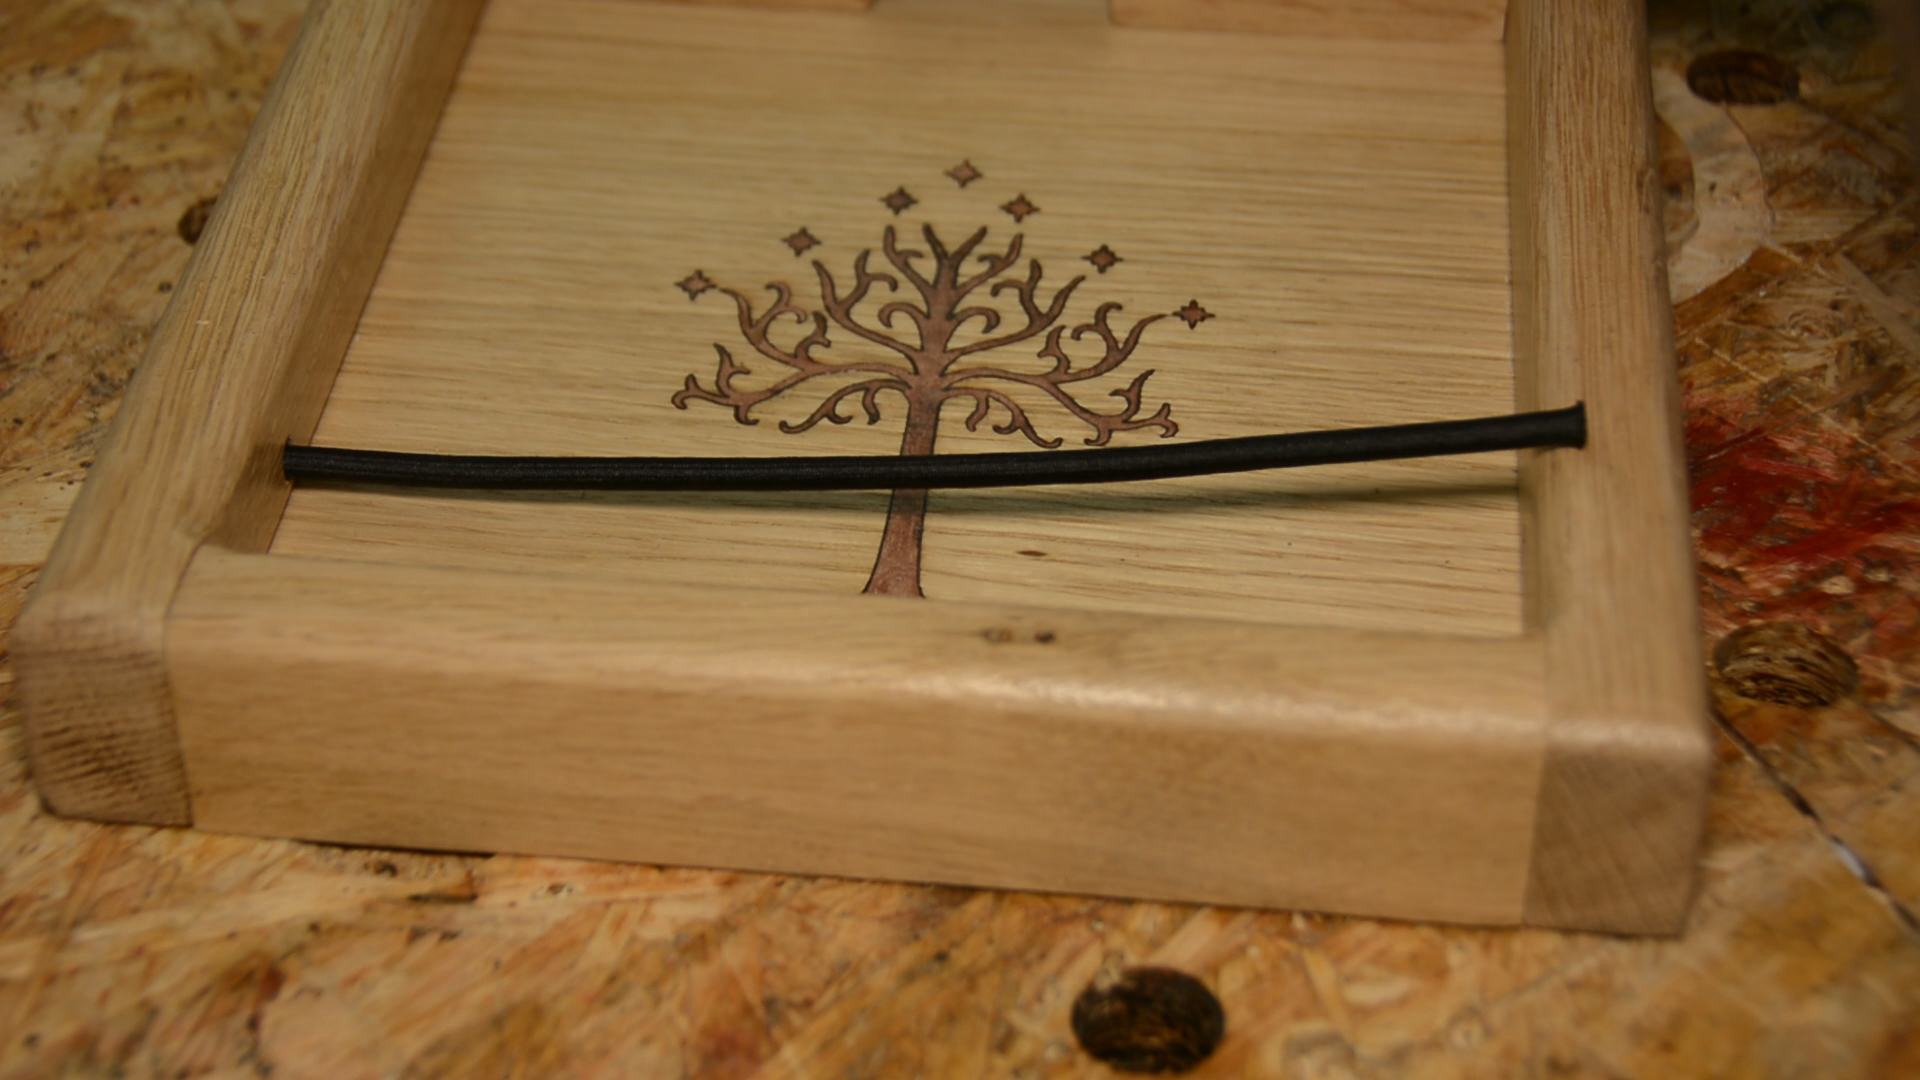
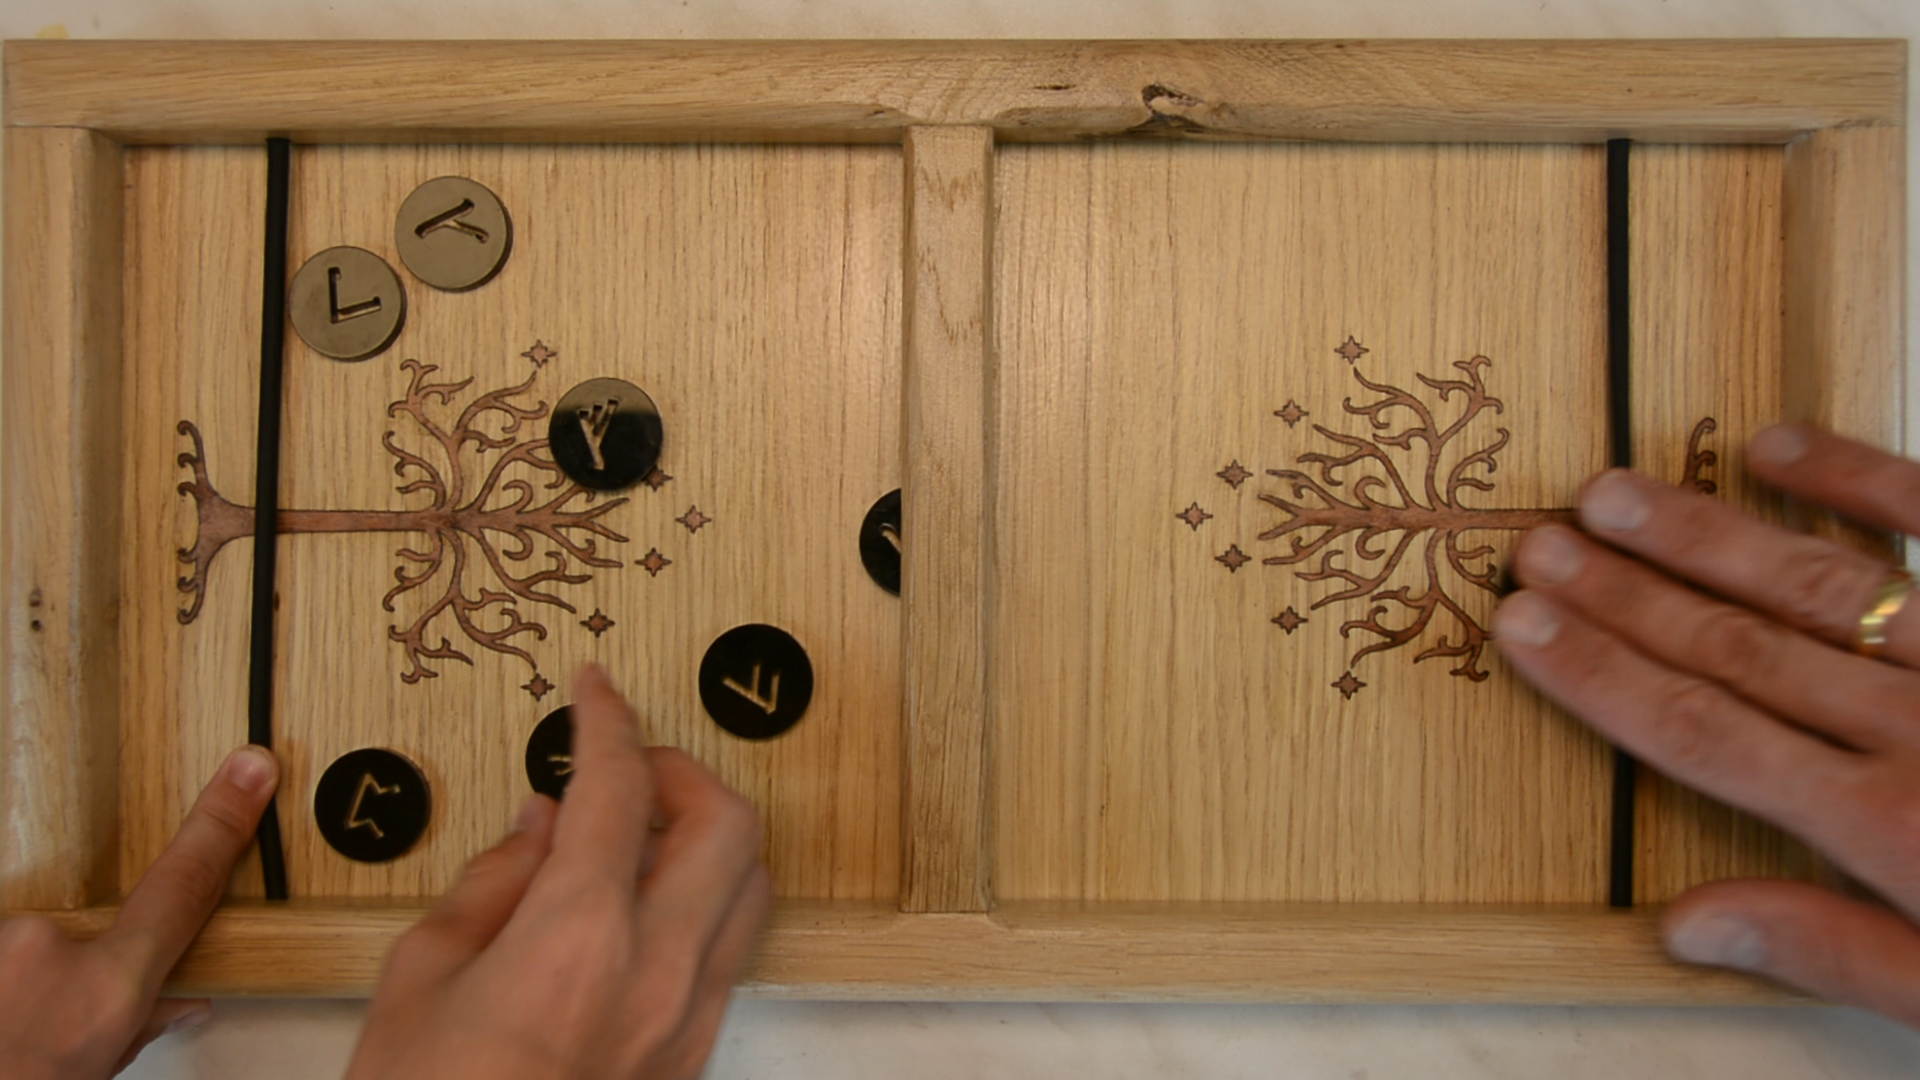
In this article we make this lord of the rings themed slingpuck game. We will cut a wood veneer with the laser cutter showing the white tree of Gondor. For the pucks we cut 5mm thick acrylic with the K40 laser cutter featuring runes as a decoration.
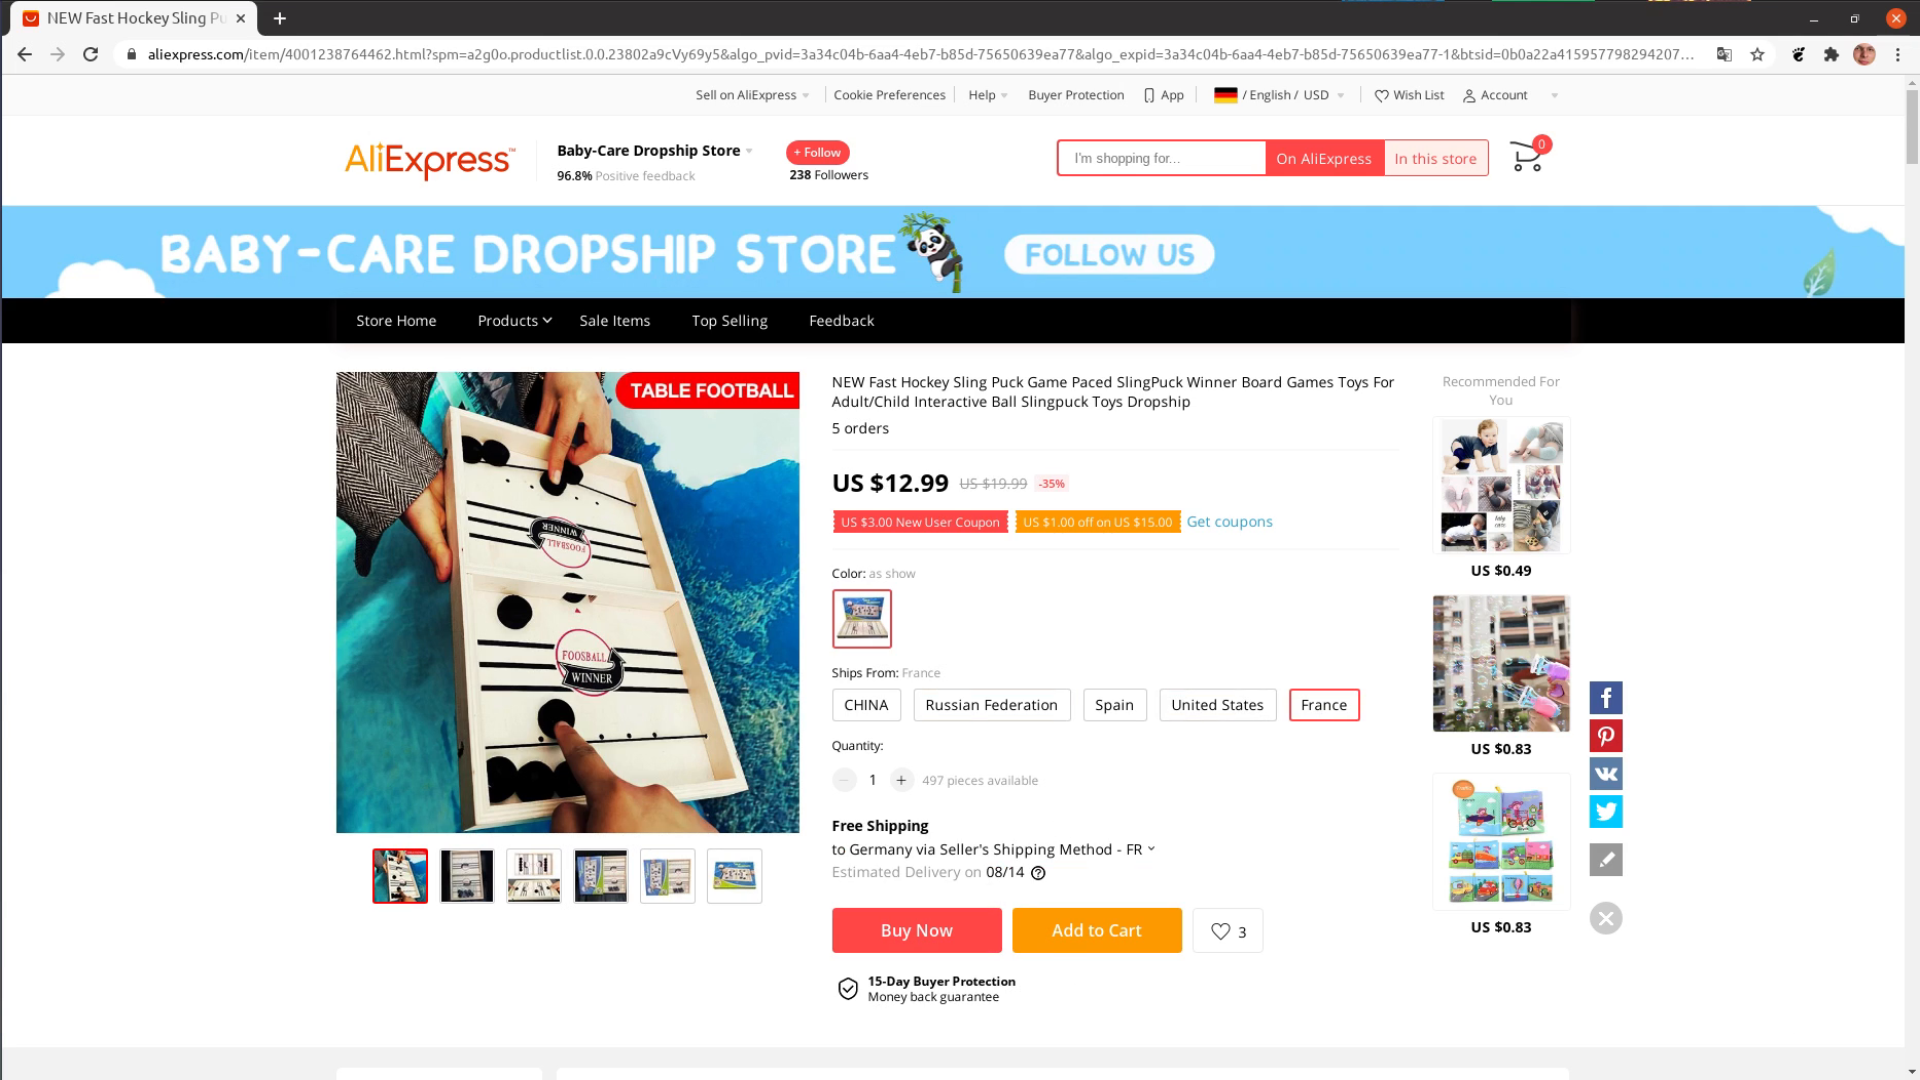
We love games and when I saw an ad for a slingpuck game on Alibaba I was tempted to buy it for 12 bucks. But why should I buy a game if I can make it for only four times the money and a few days of work. So let’s get to it.

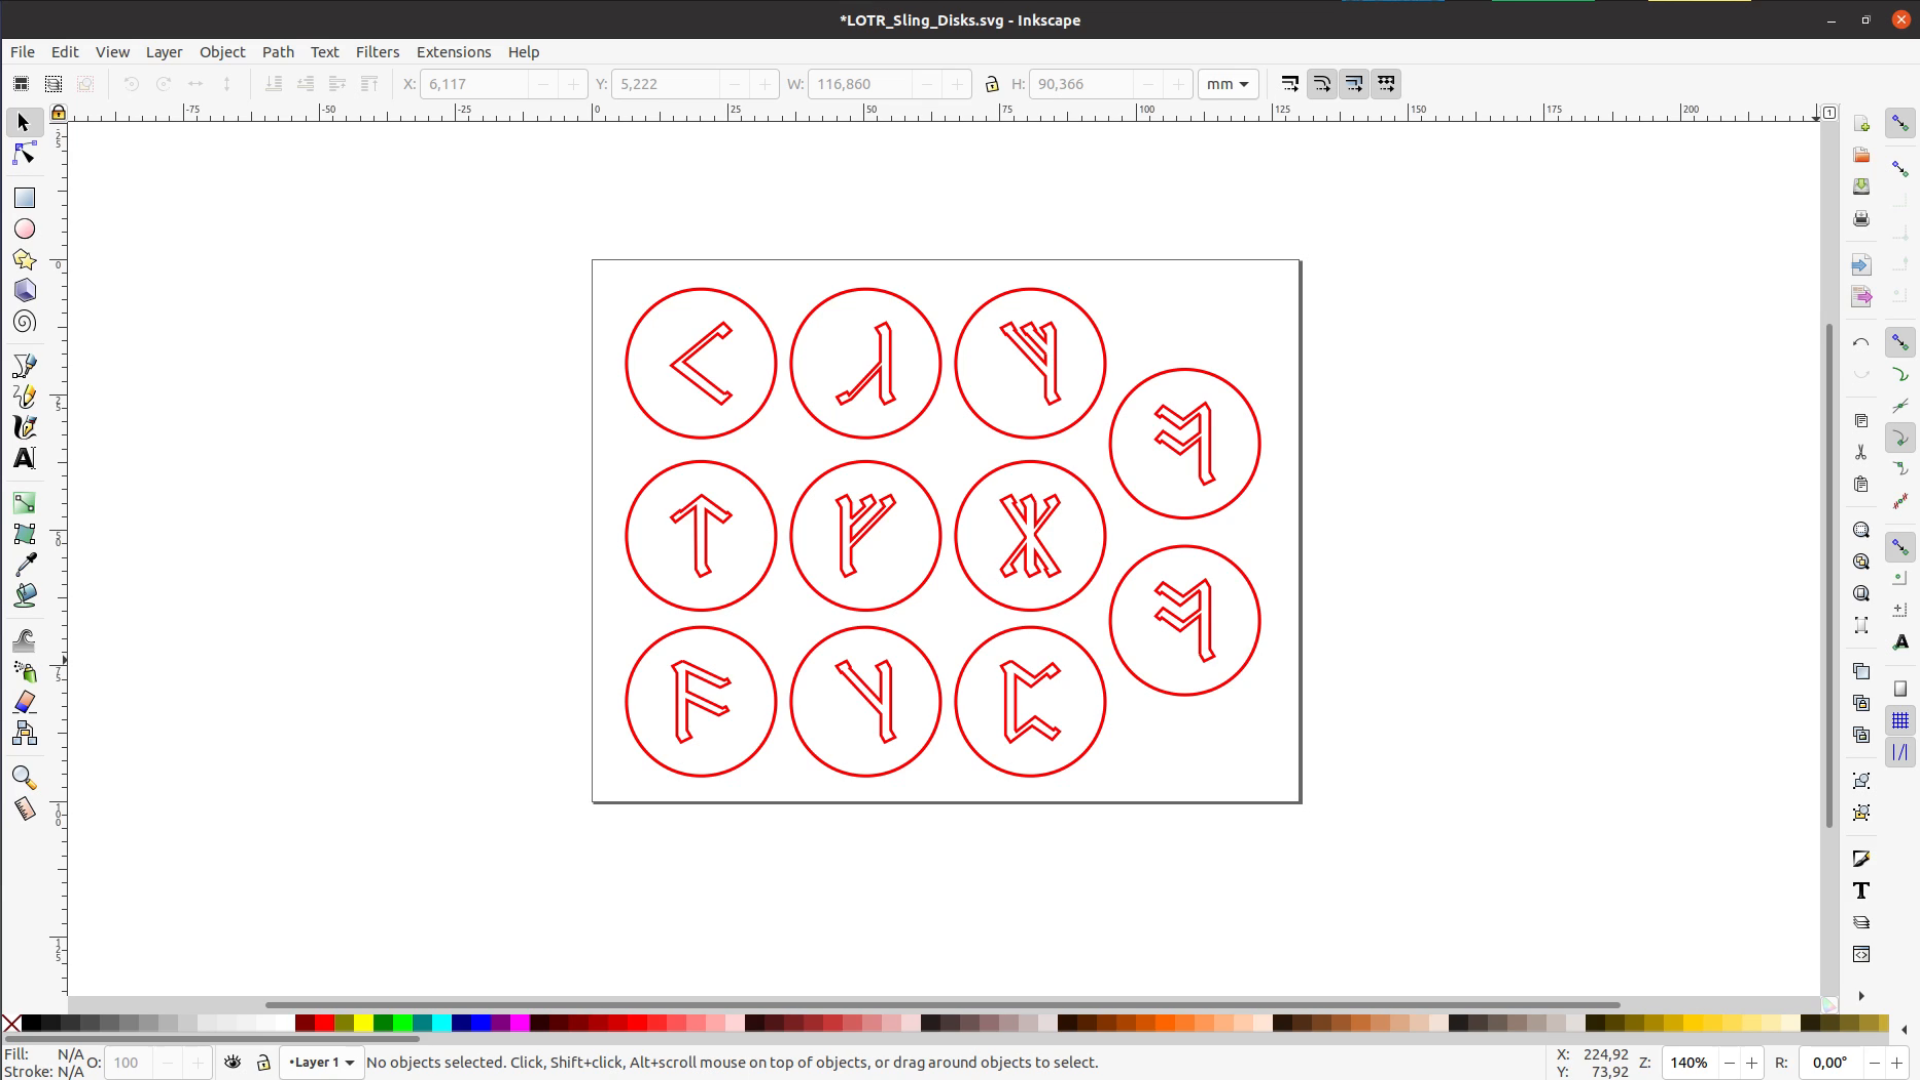
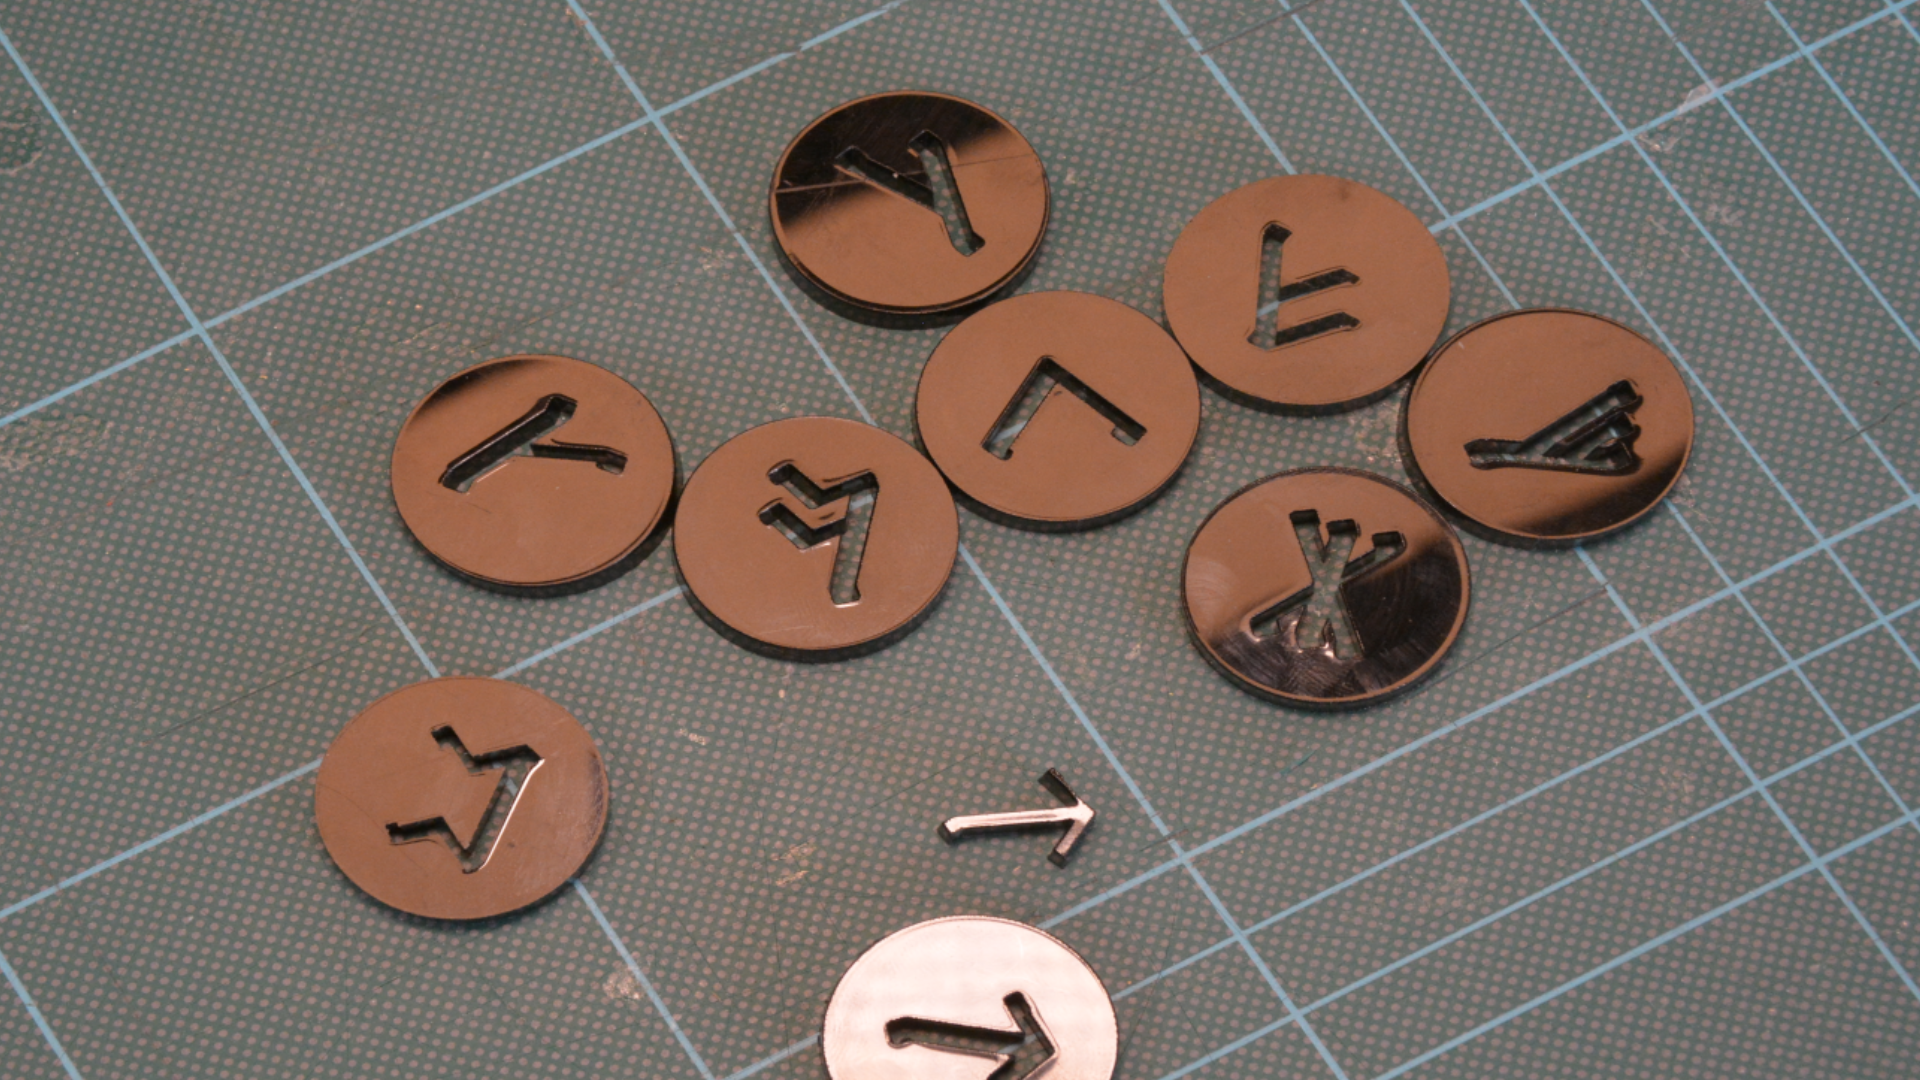
Laser cutting the pucks
The easy part are the pucks. I found the runes from Tolkien online, converted into vector files and cut them out on the laser cutter from 5 mm acrylic.
Laser cutting the slingpuck game board
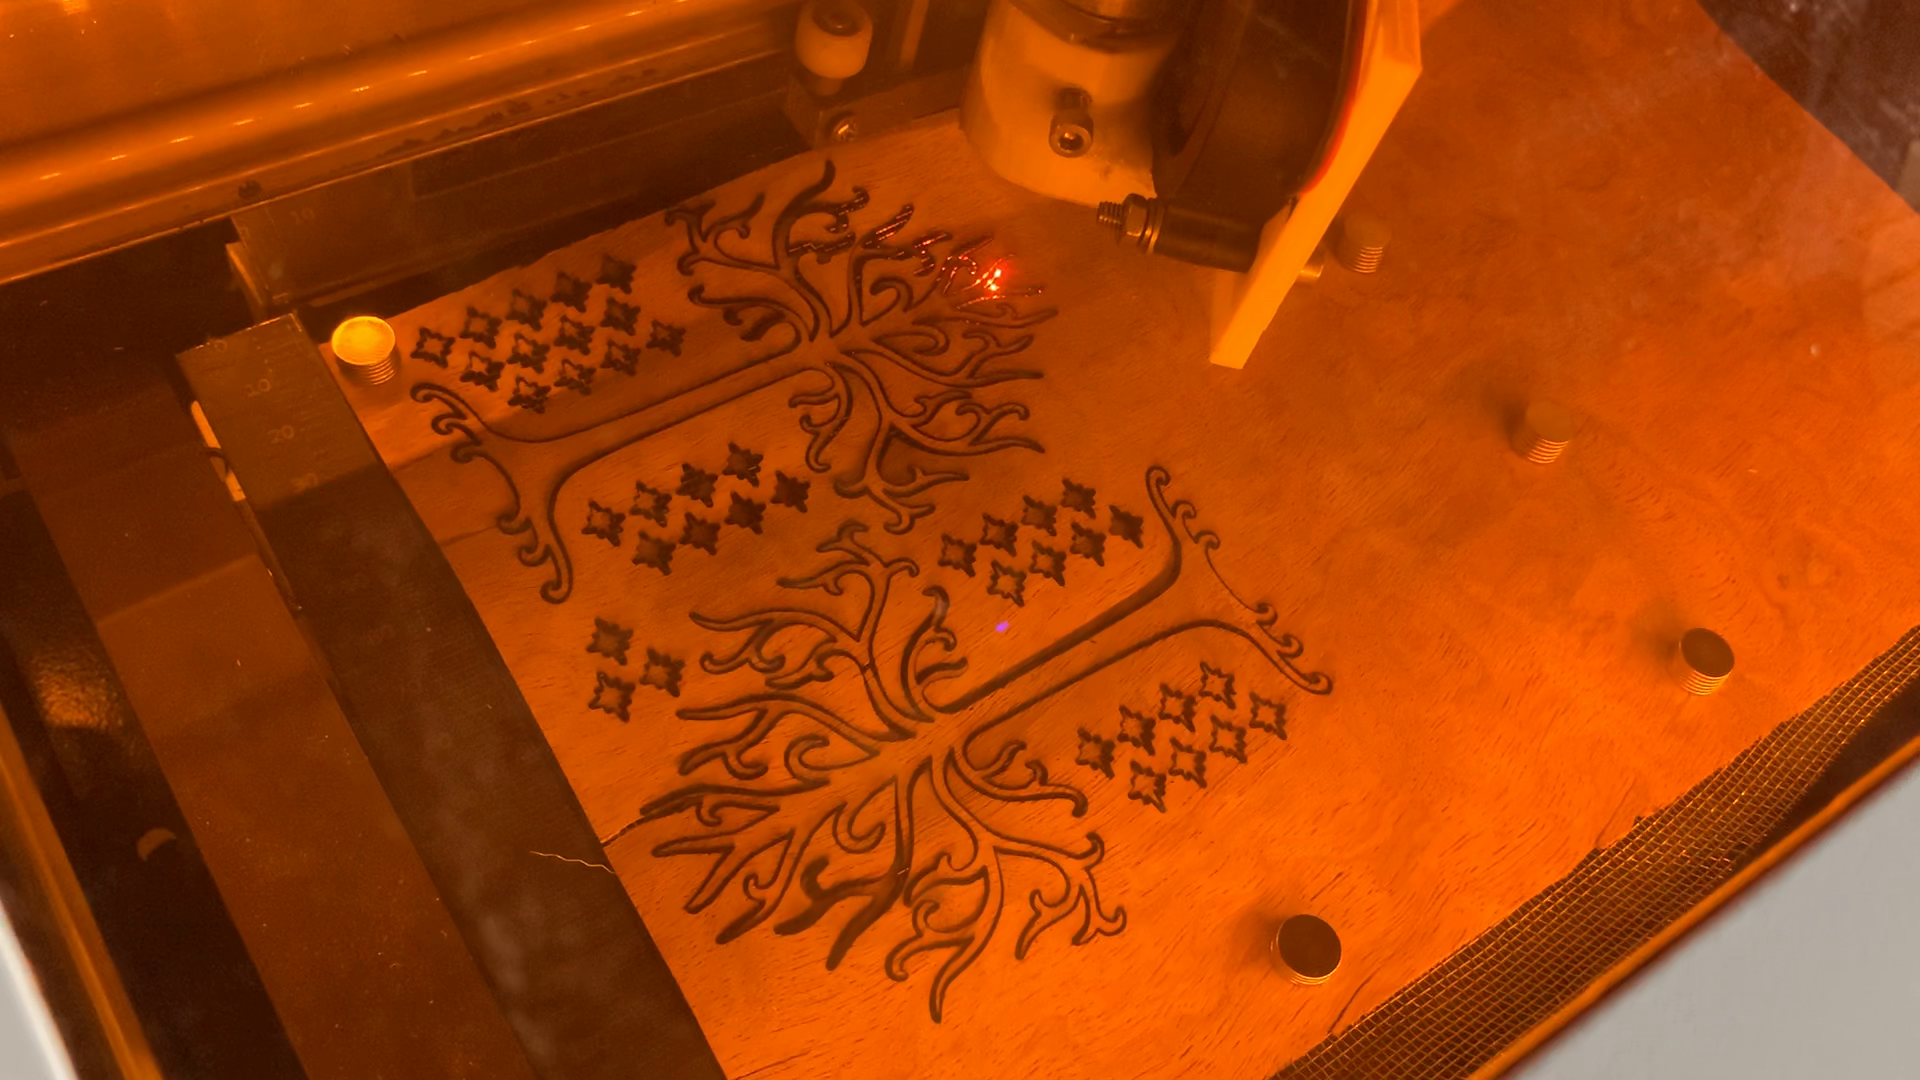
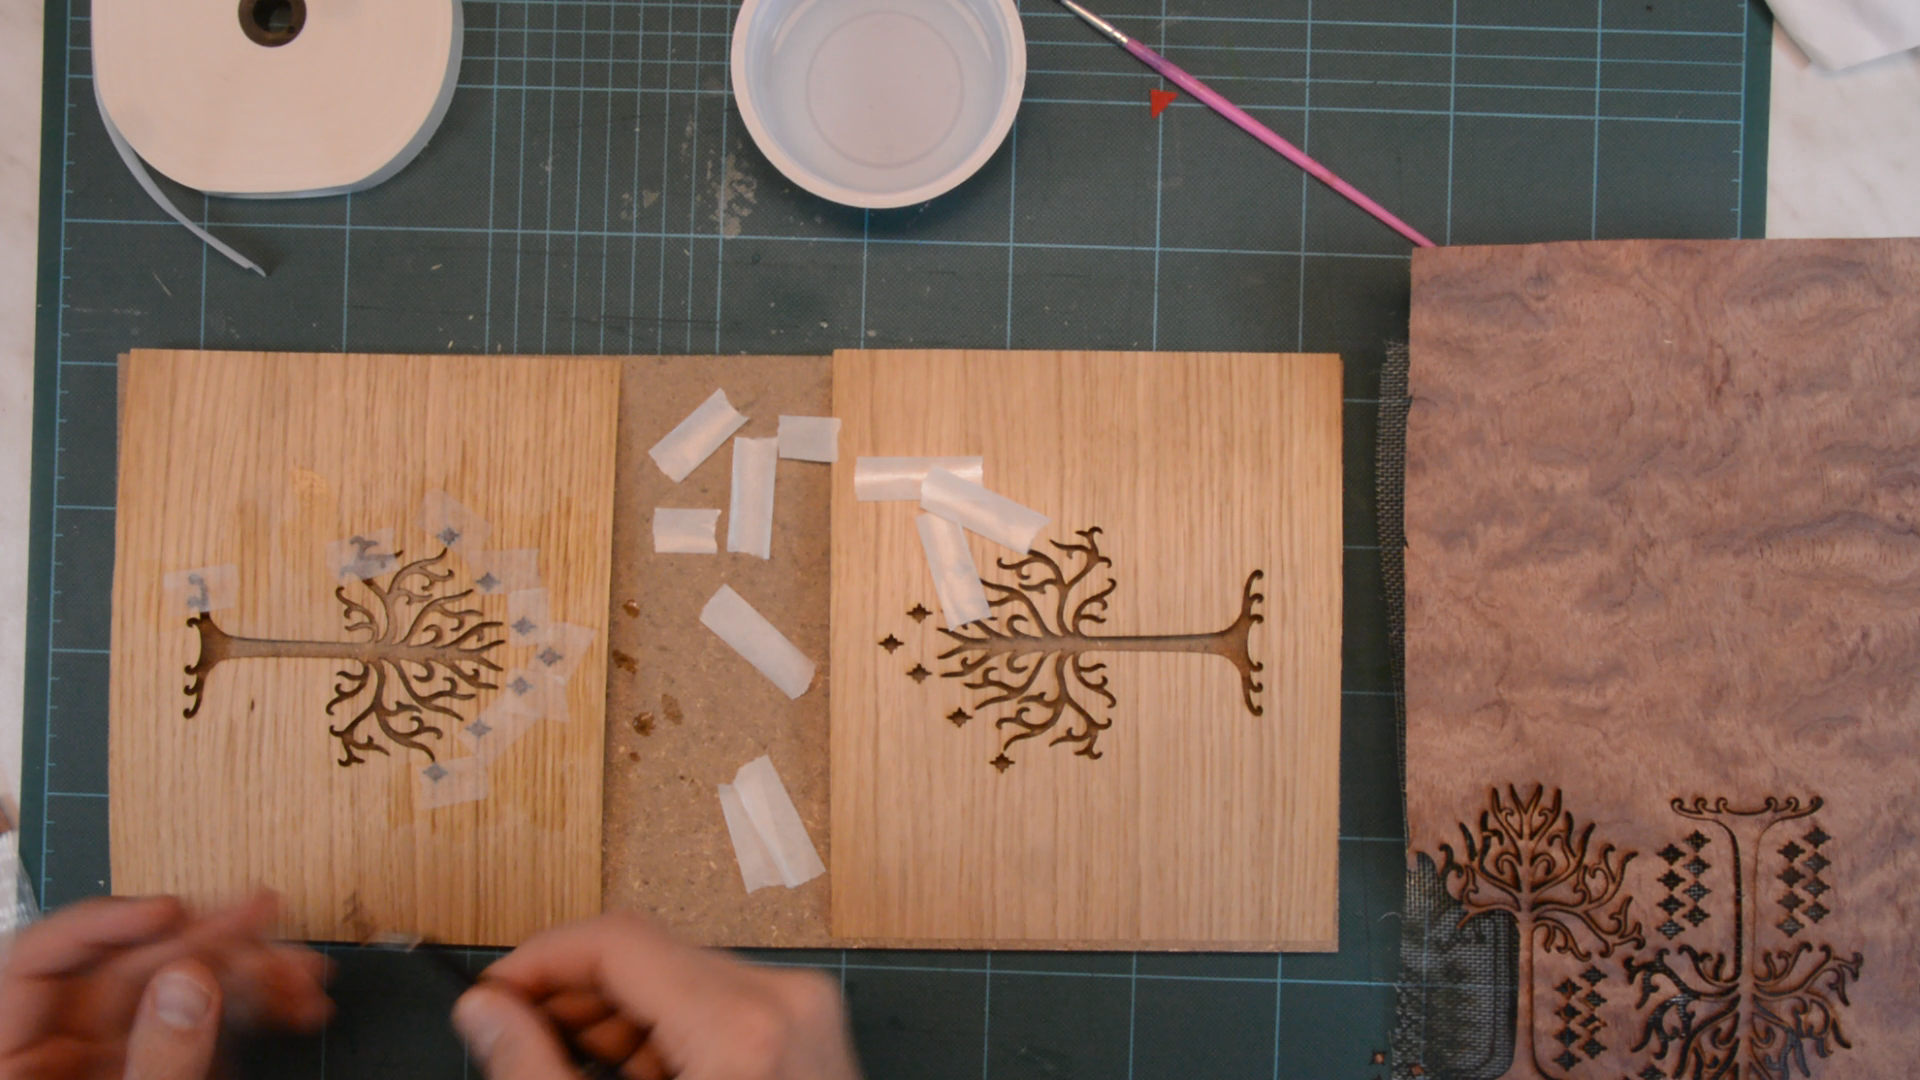
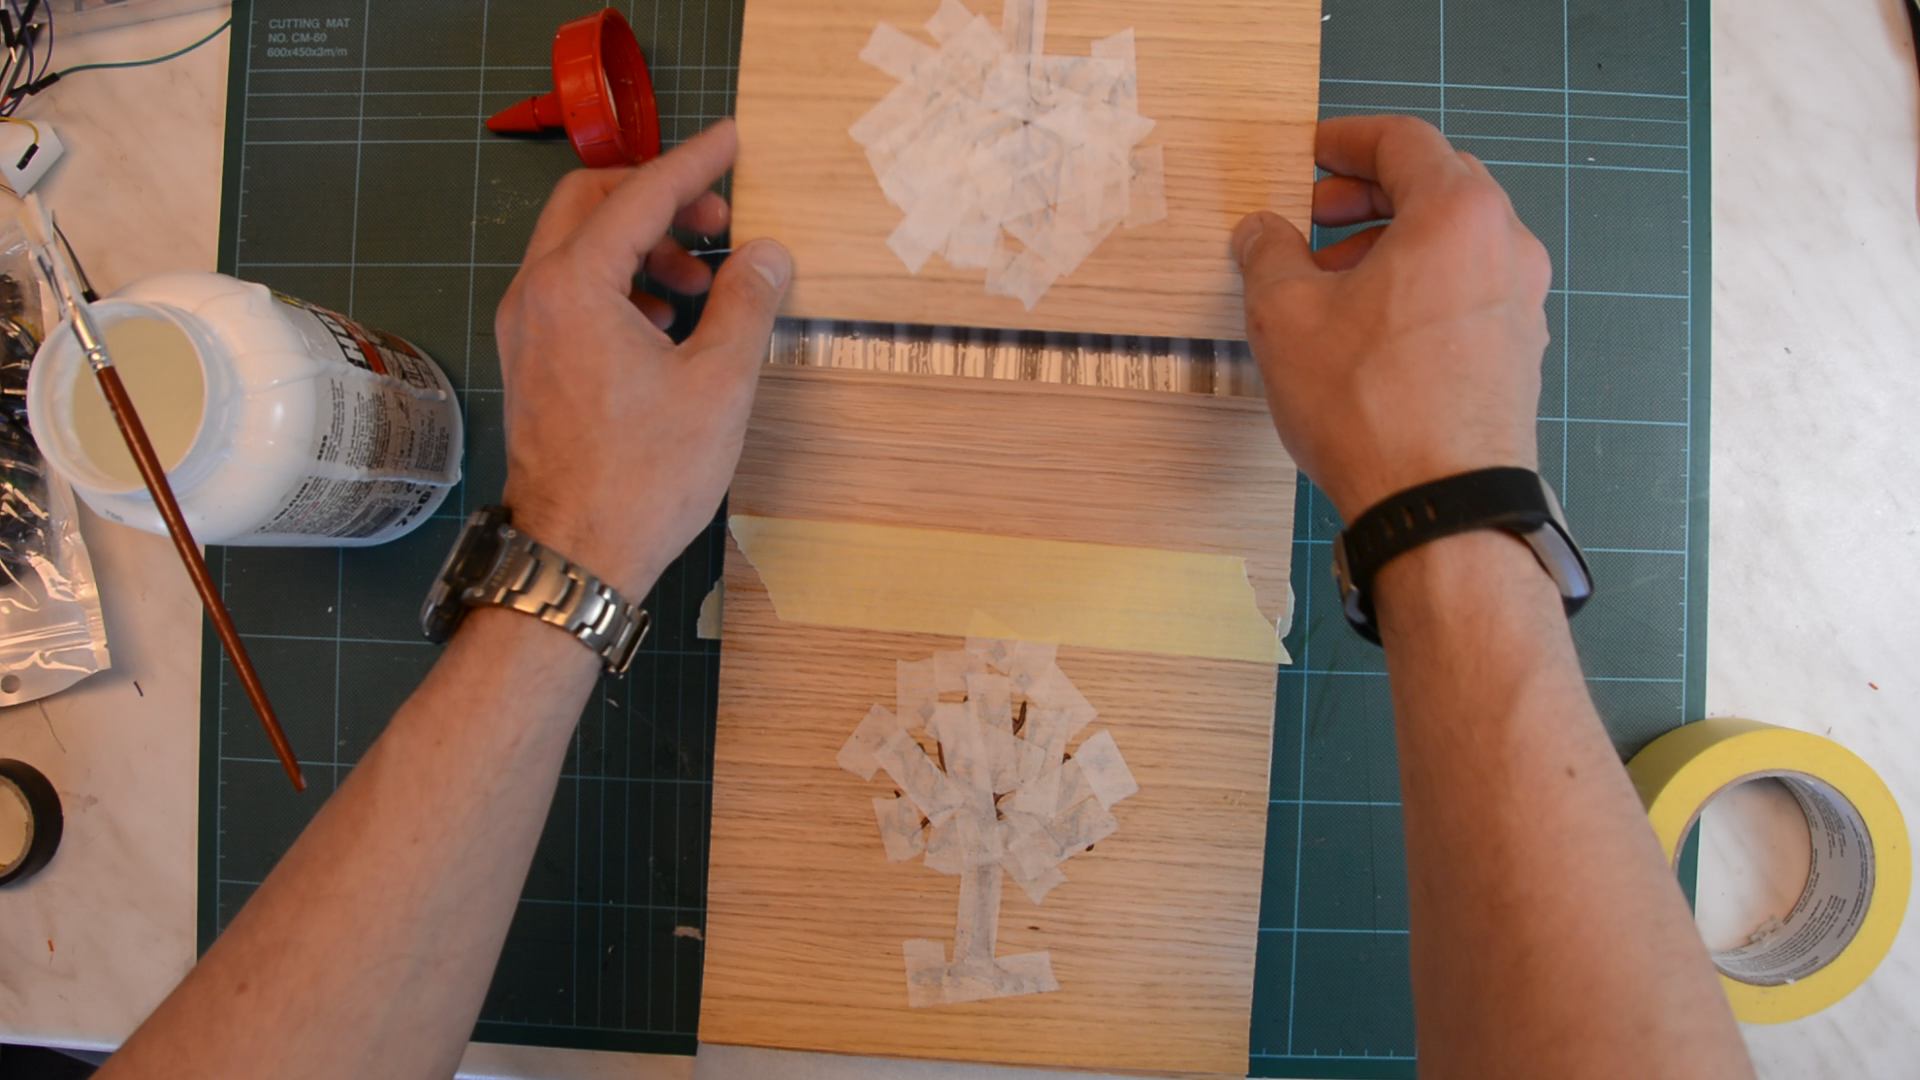
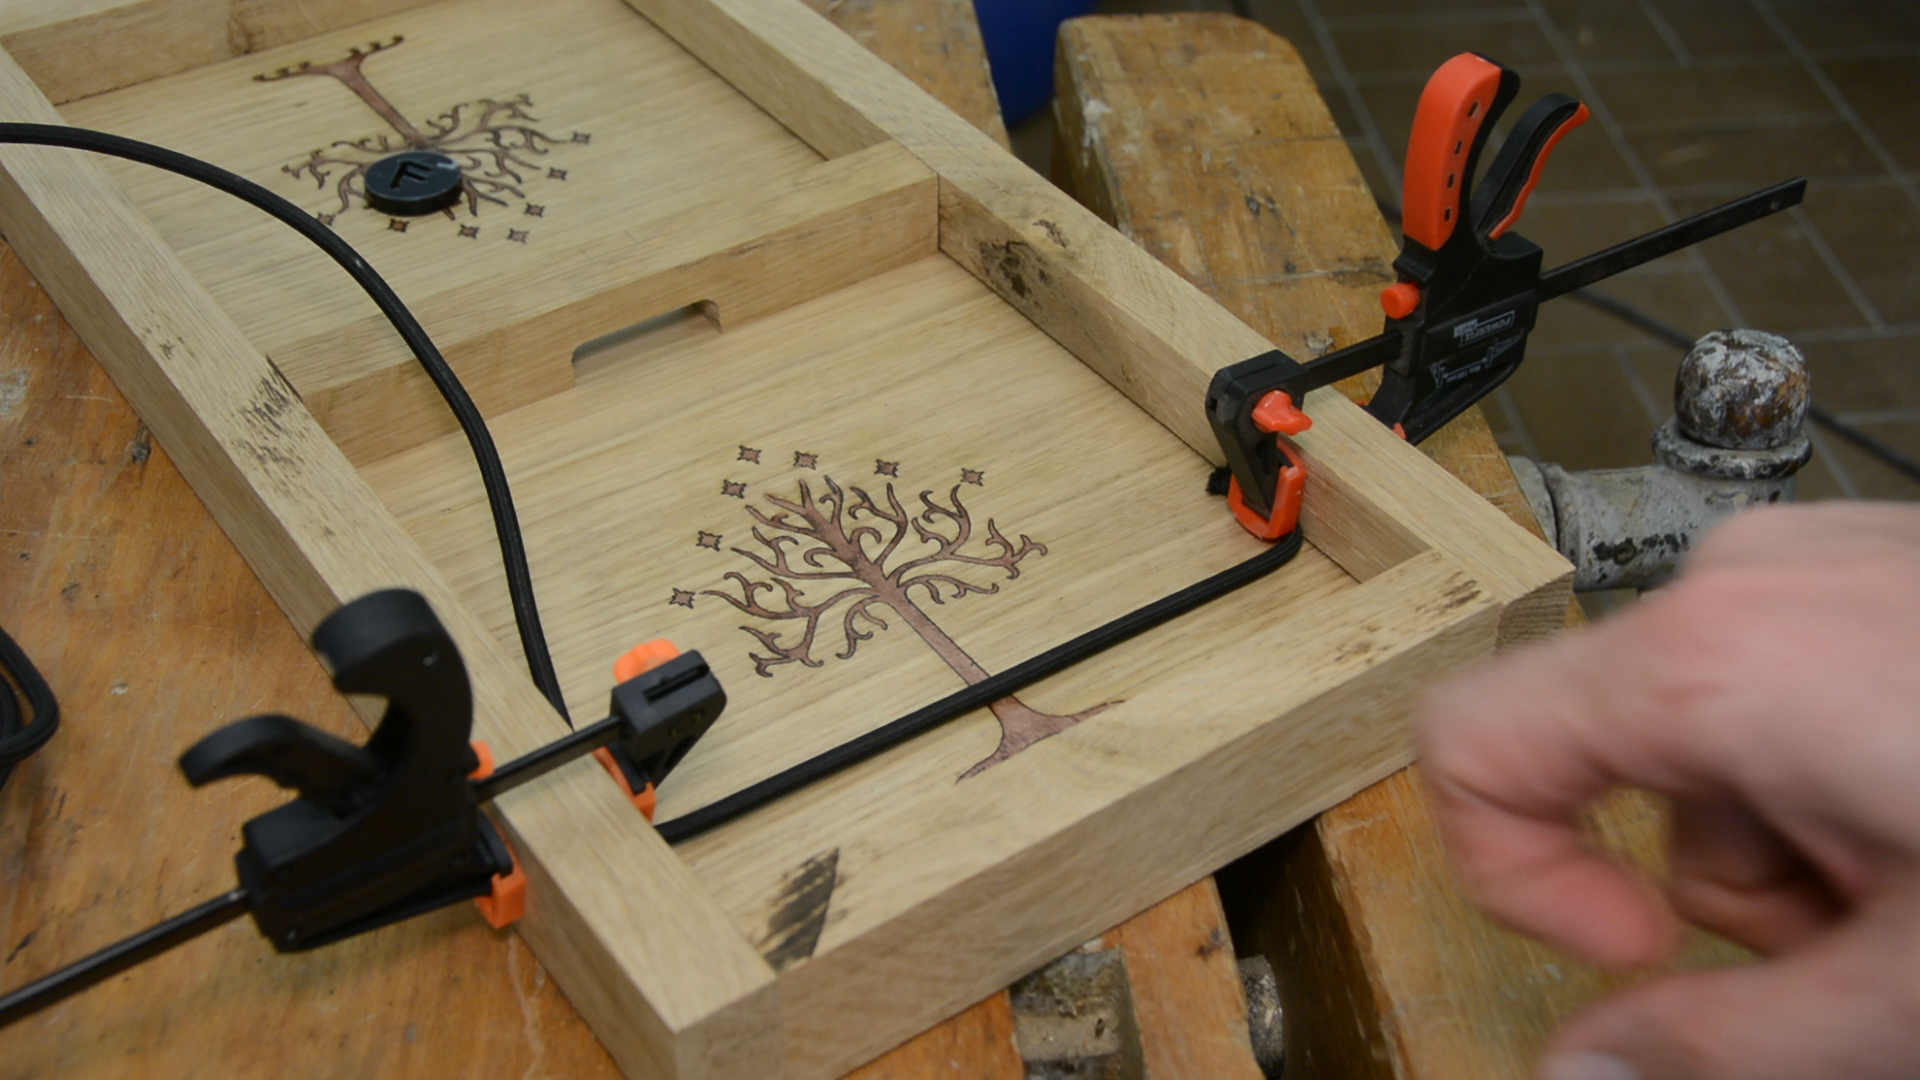
For the game area 20 by 40 cm seemed like a good size. Each side should feature a wooden inlay of the white tree of Gondor so let’s start by cutting the tree from some oak veneer.

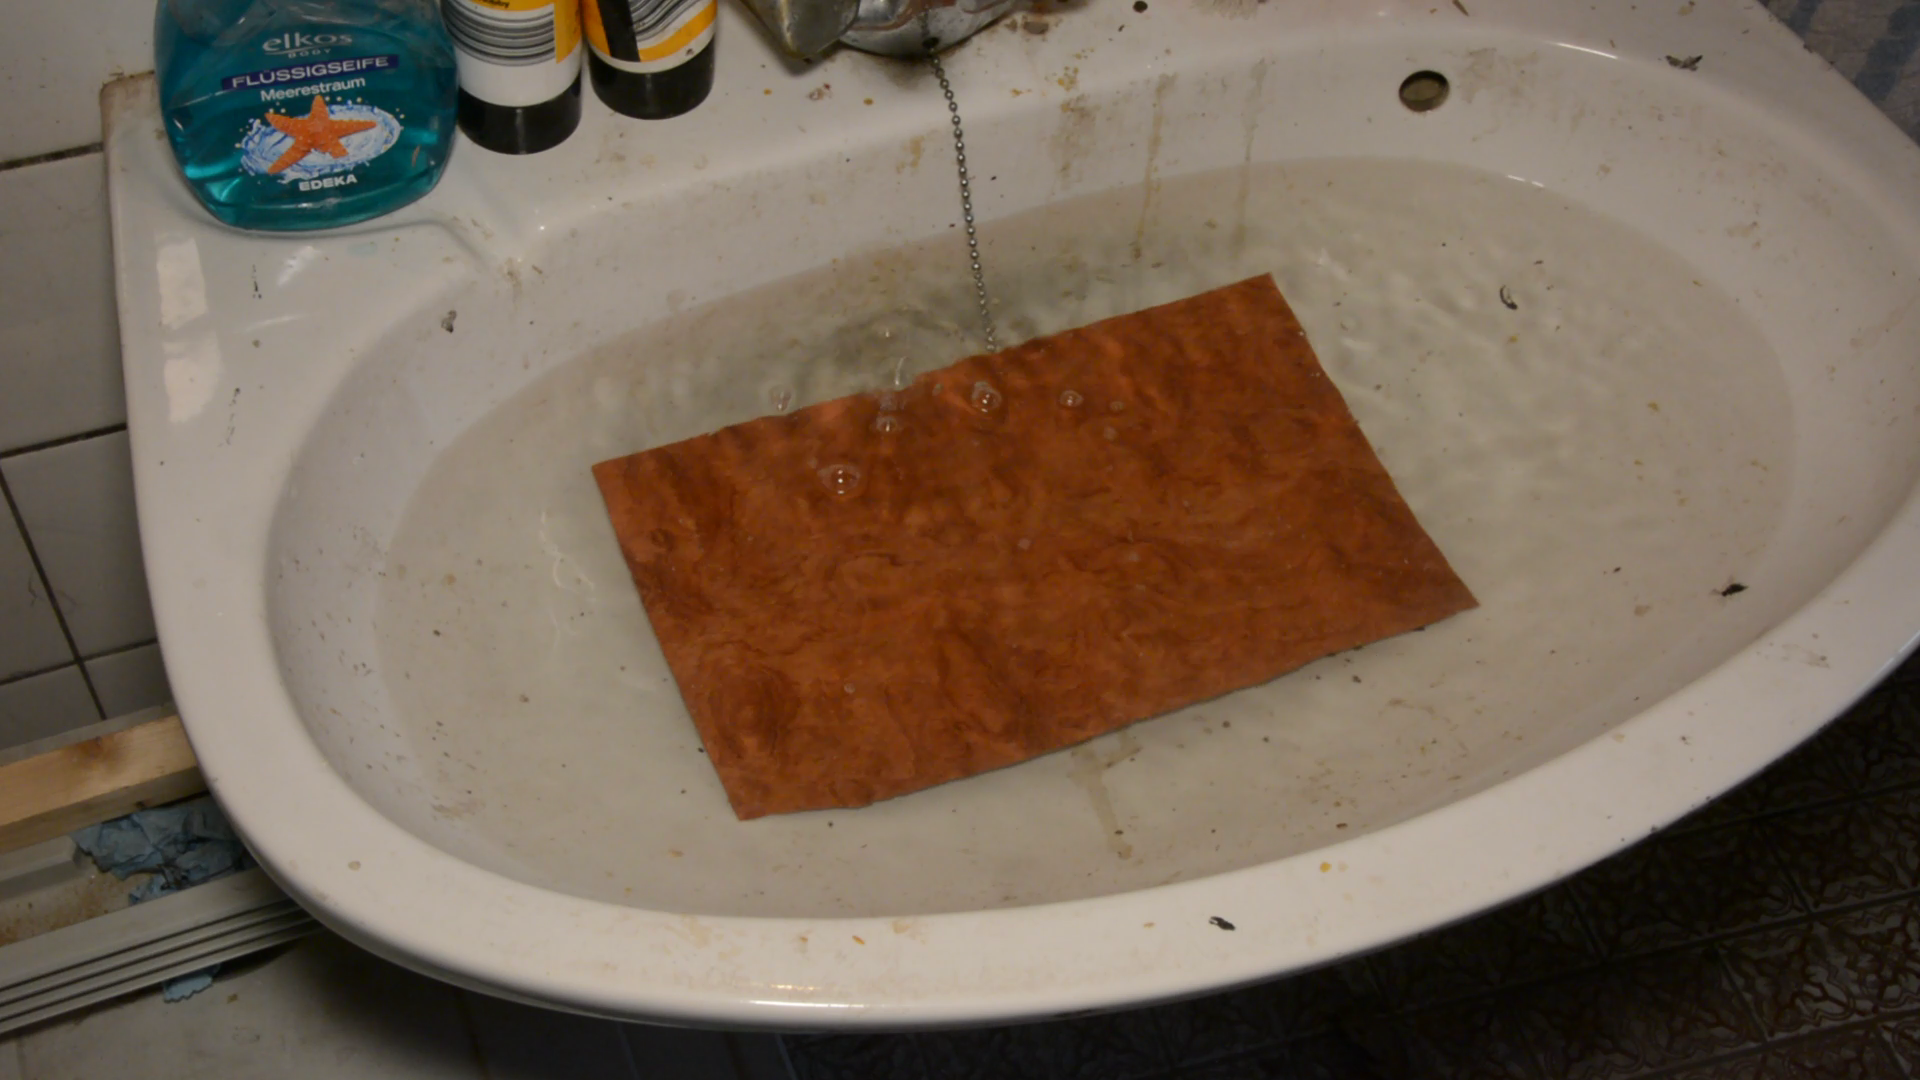
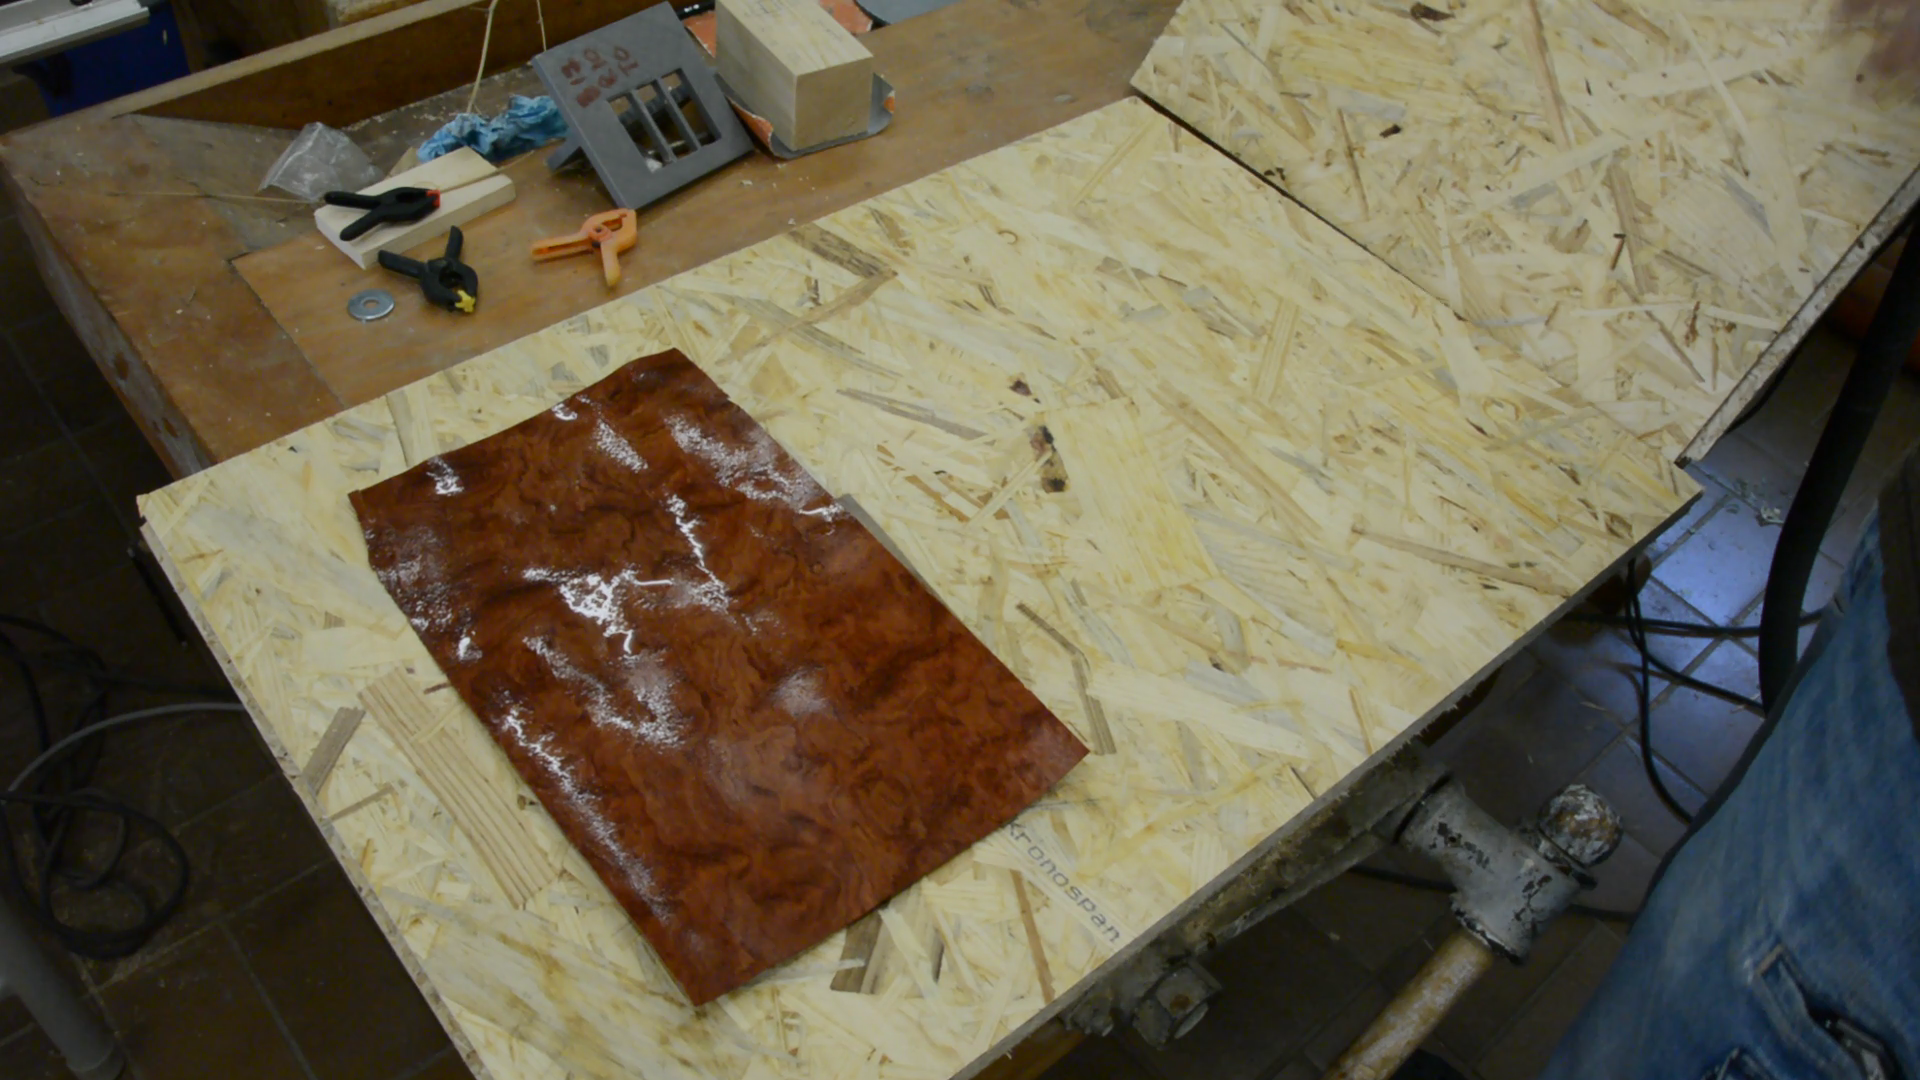
While cutting the oak was pretty straight forward the darker veneer was quite wavy. I let the veneer soak in water for half an hour and in the meantime prepare the inside to be cut in Inkscape.
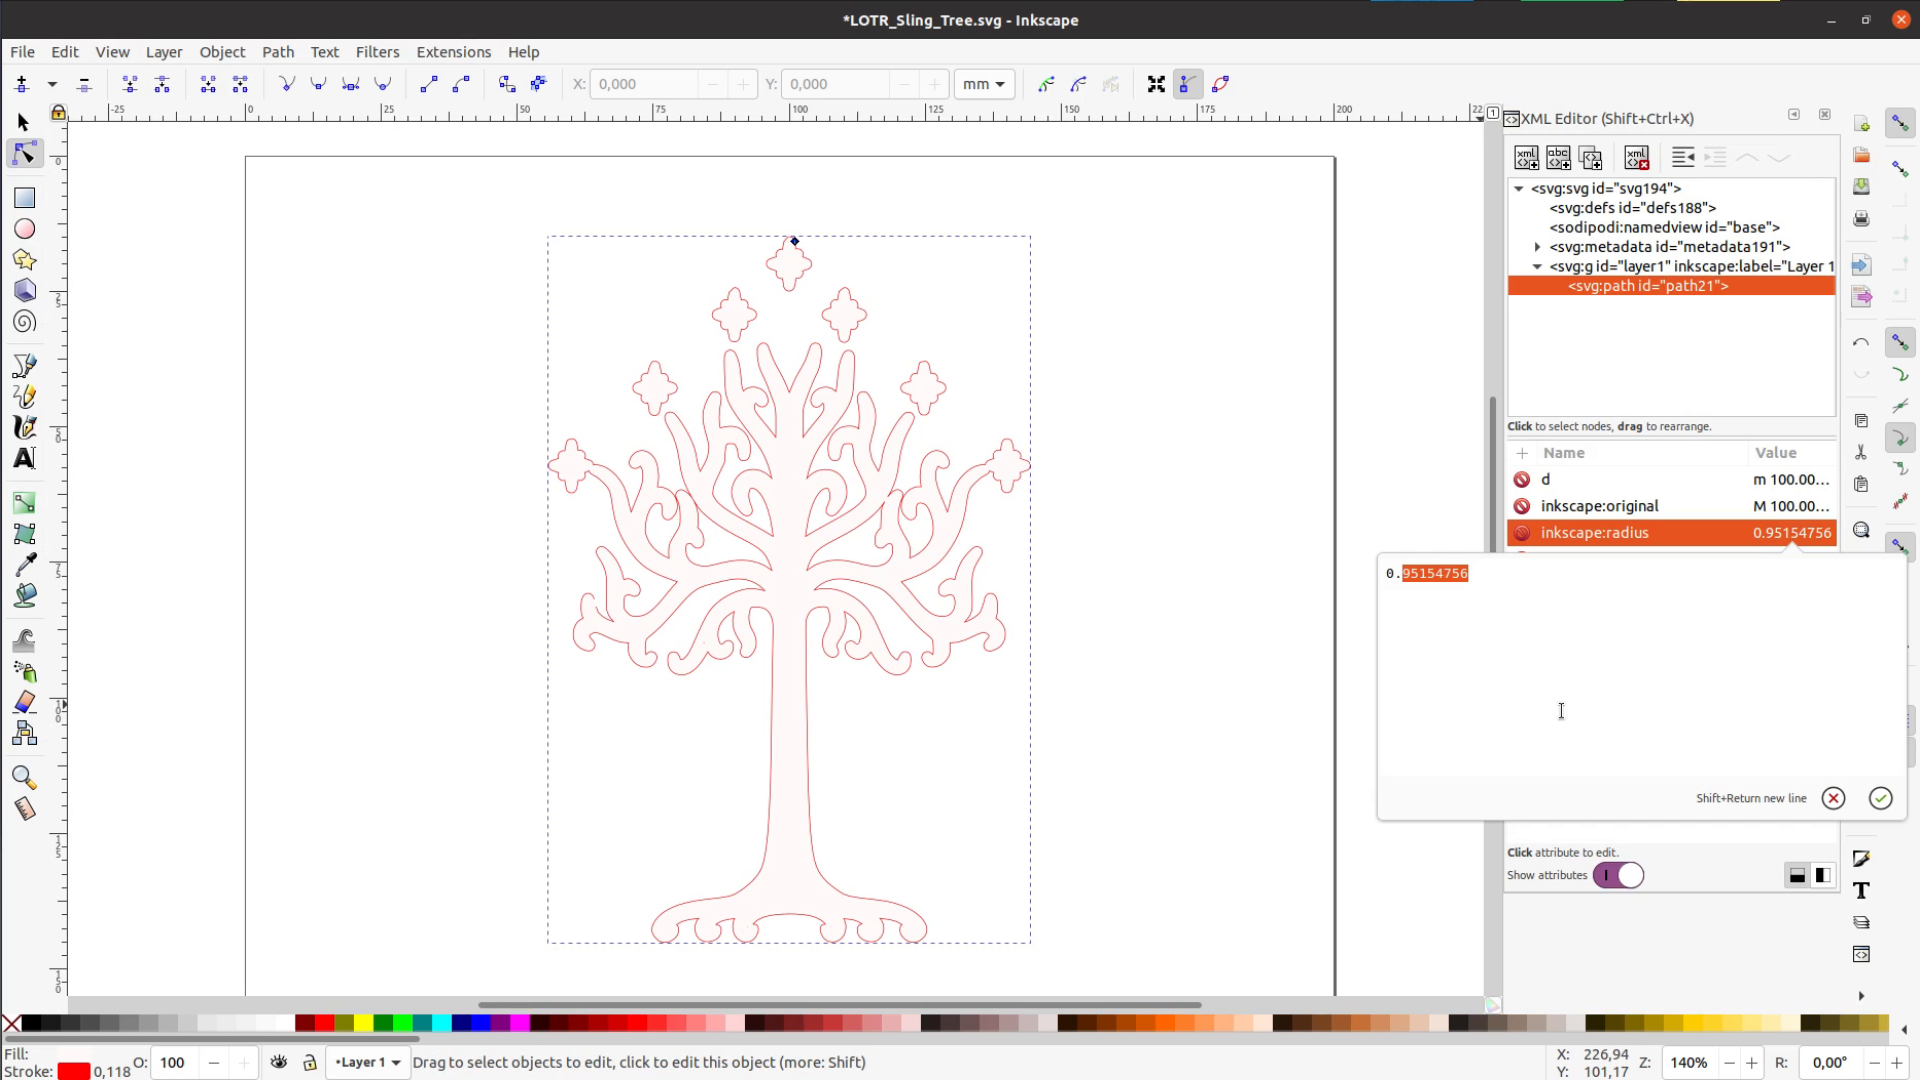
To cut the inside we have to compensate for the Kerf, the width of the laser beam. In Inkscape adding an offset is easy. Just select dynamic offset from the path menu. This allows to add material all around the shape. With Edit – XML Editor you get an editor where you can try different values to precisely compensate for the width of your laser beam. Also have a look at the wooden inlays for the lamp project for more detailed information.
The inside parts are cut as well on the K40 laser cutter.
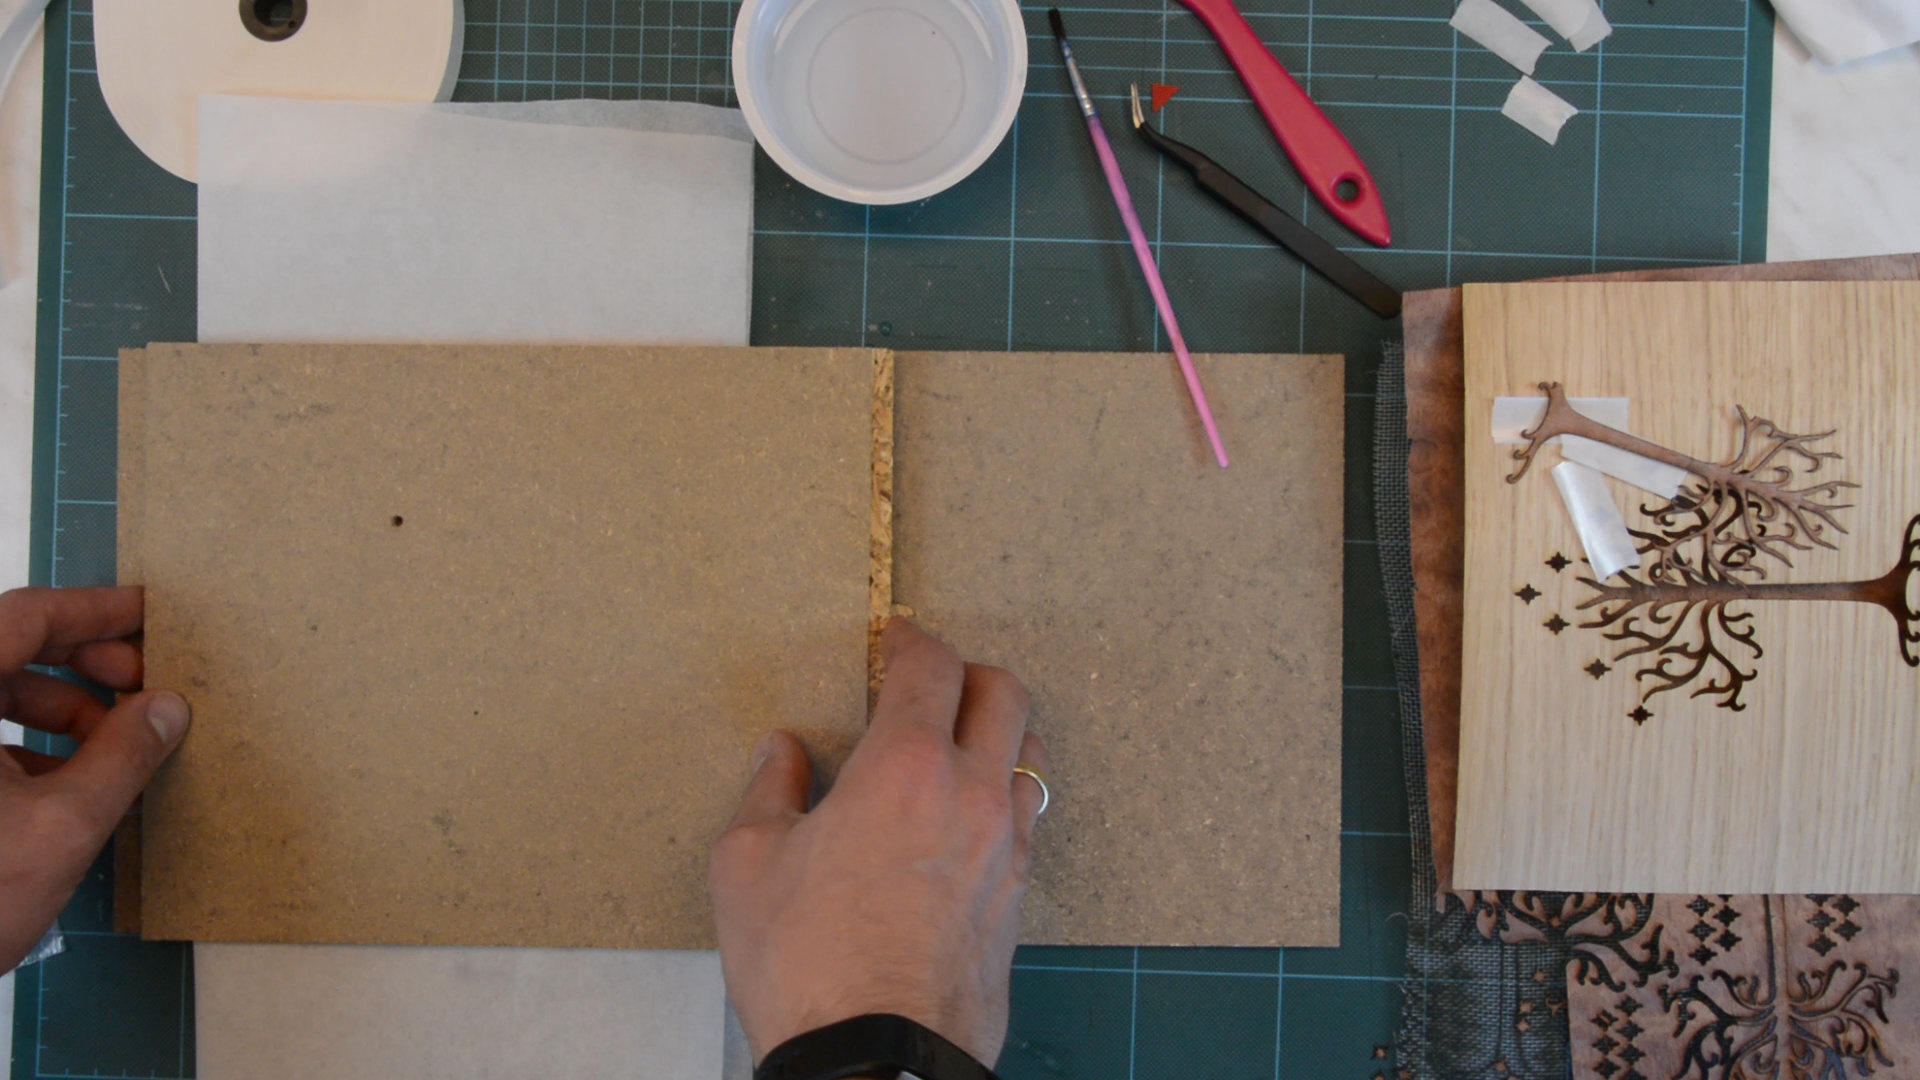
Glue up of the slingpuck game board
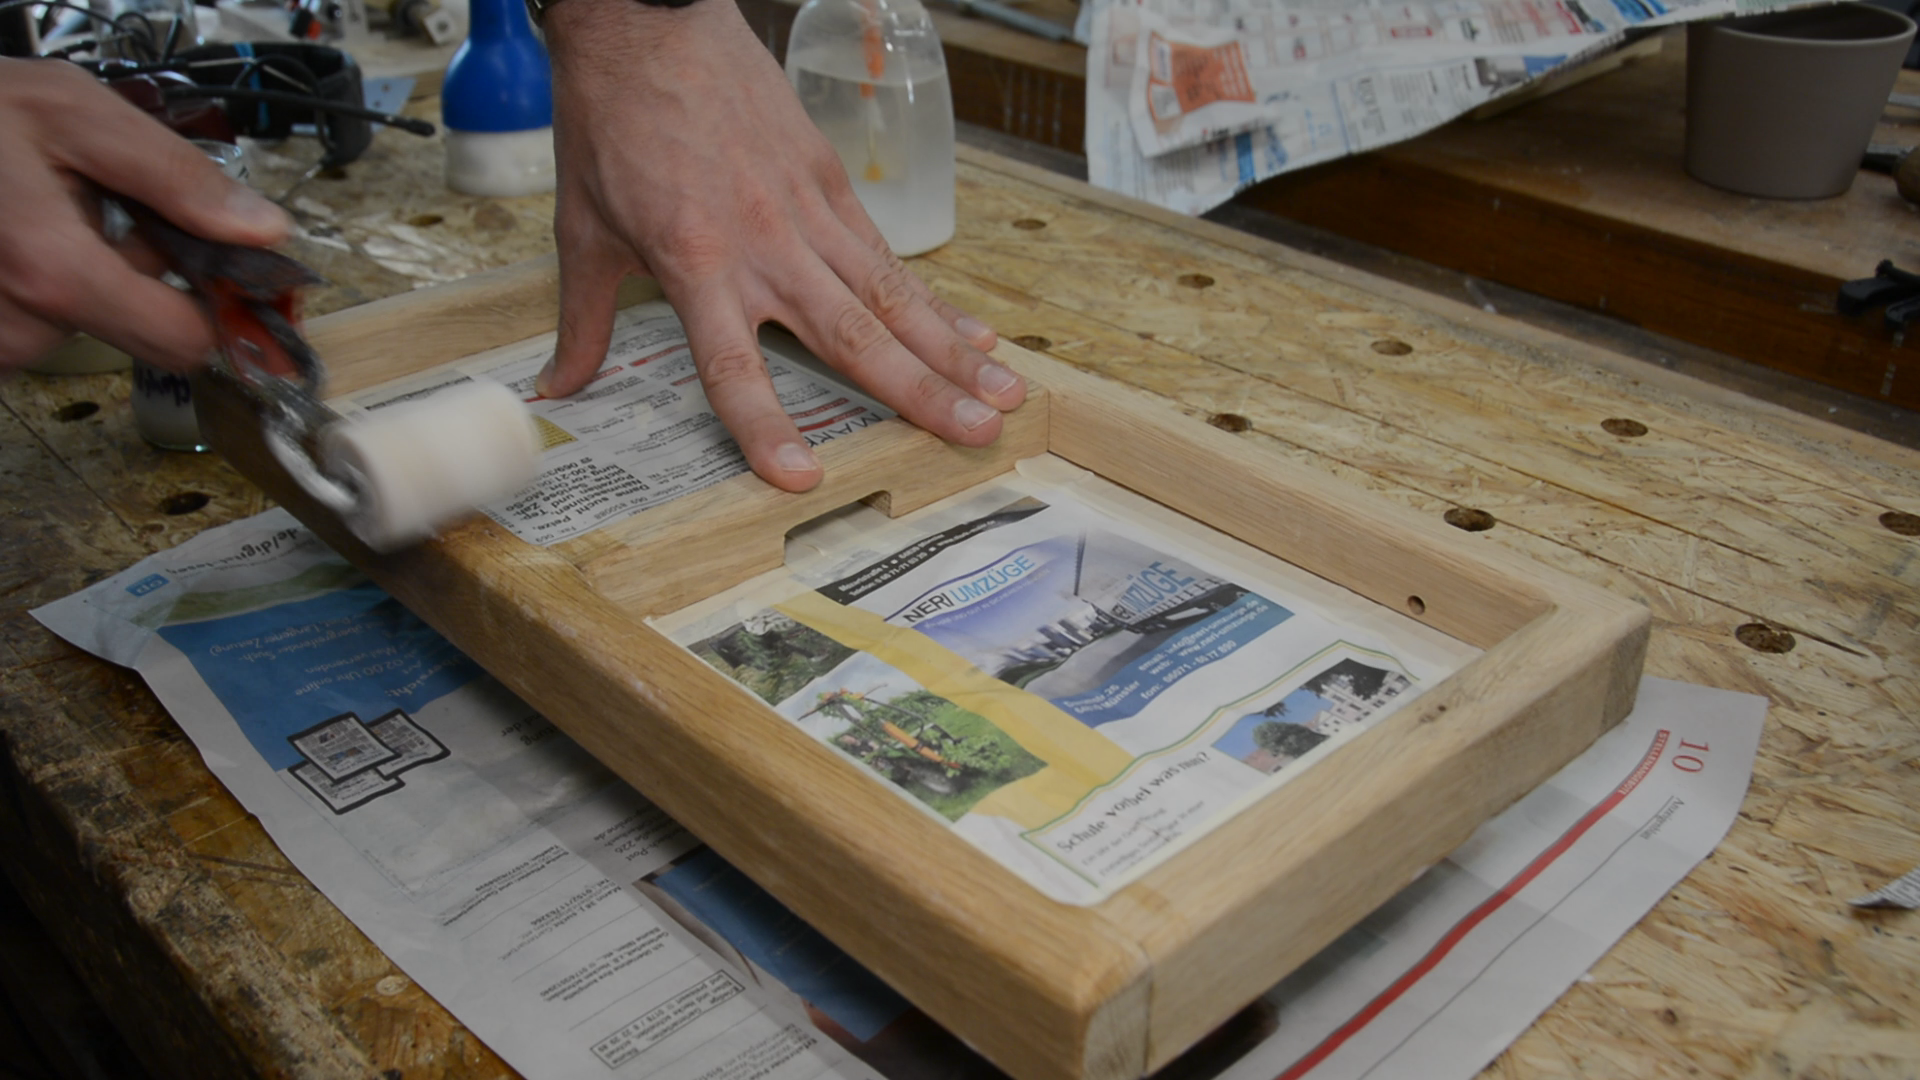
After both parts are cut we can start to glue everything together with veneer tape.
The veneer is pressed between two sheets of wood to ensure that is does not warp and stays flat.
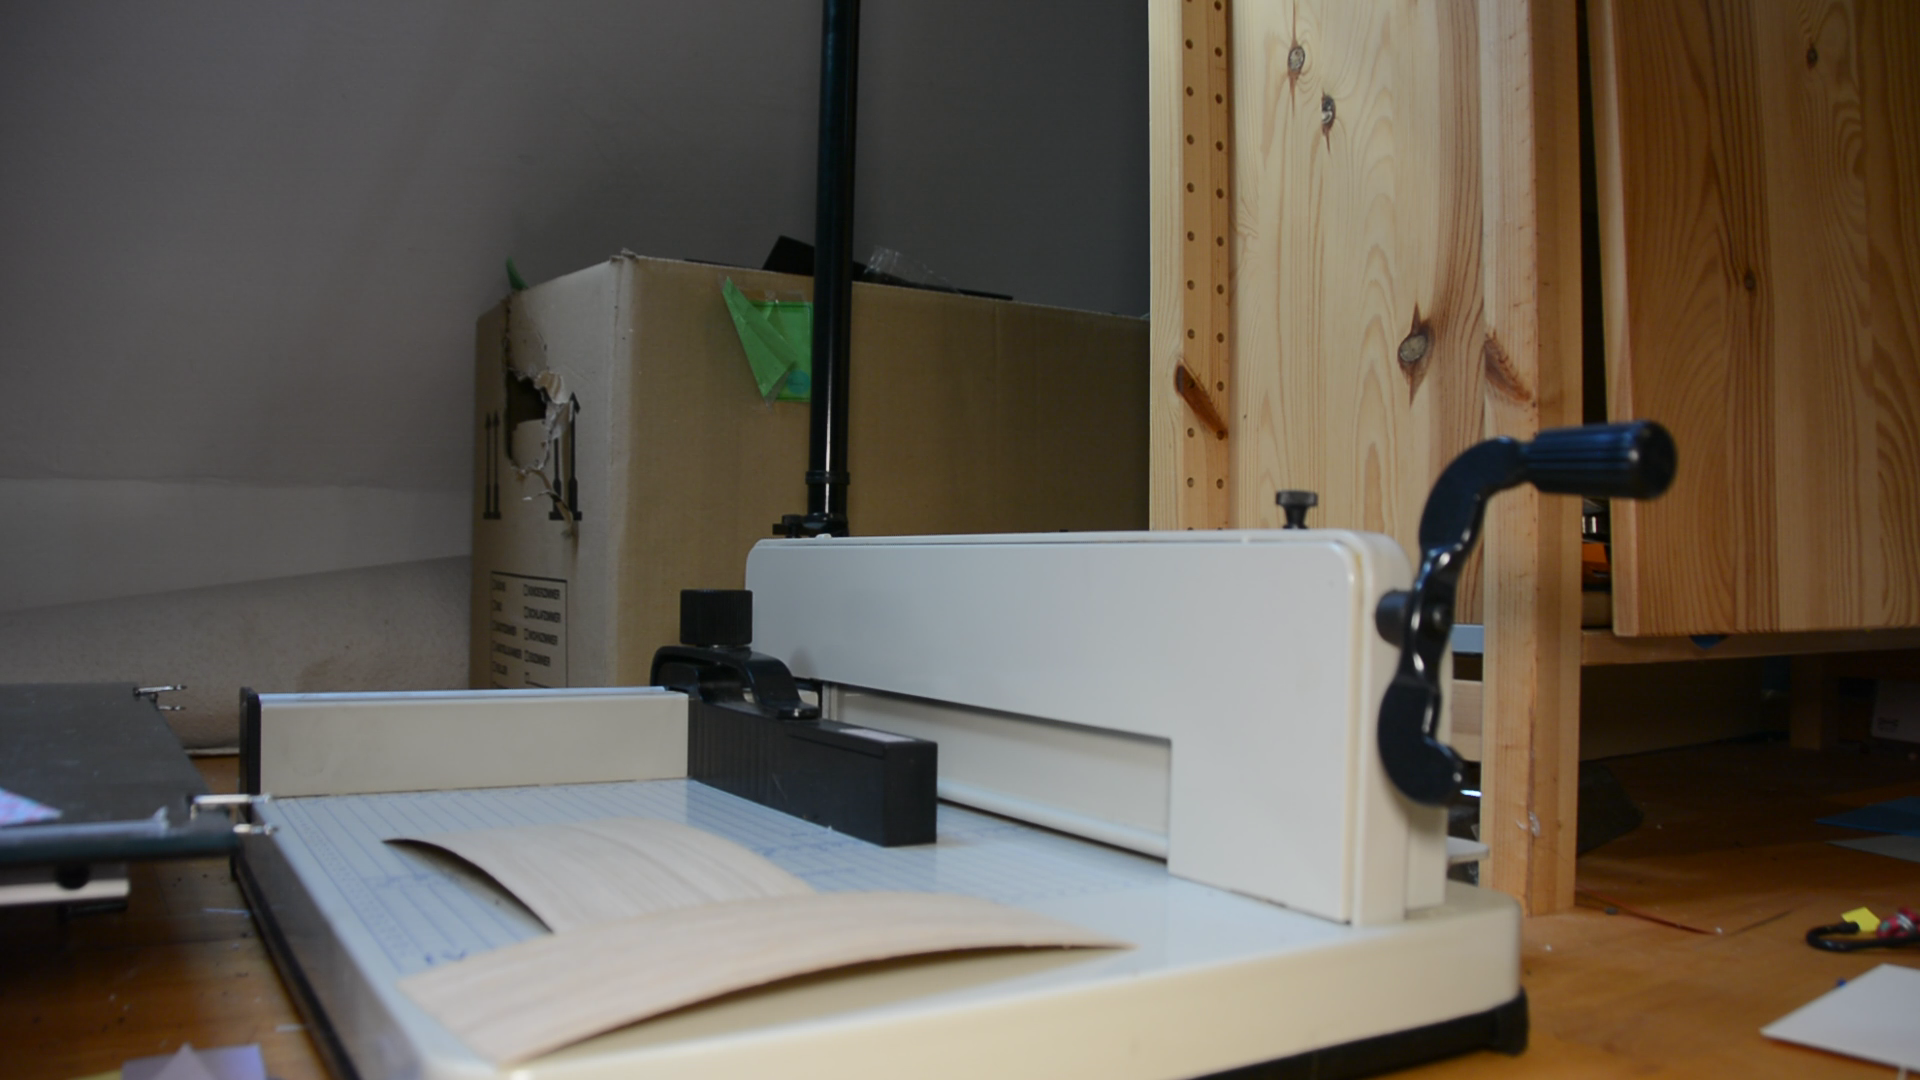
When cutting veneer with the grain I found that an x-actor knife does not work so well as it tends to follow the grain more than the ruler. A better solution is to simply use a paper cutter. The cuts from the big blade are super straight and it is very precise.
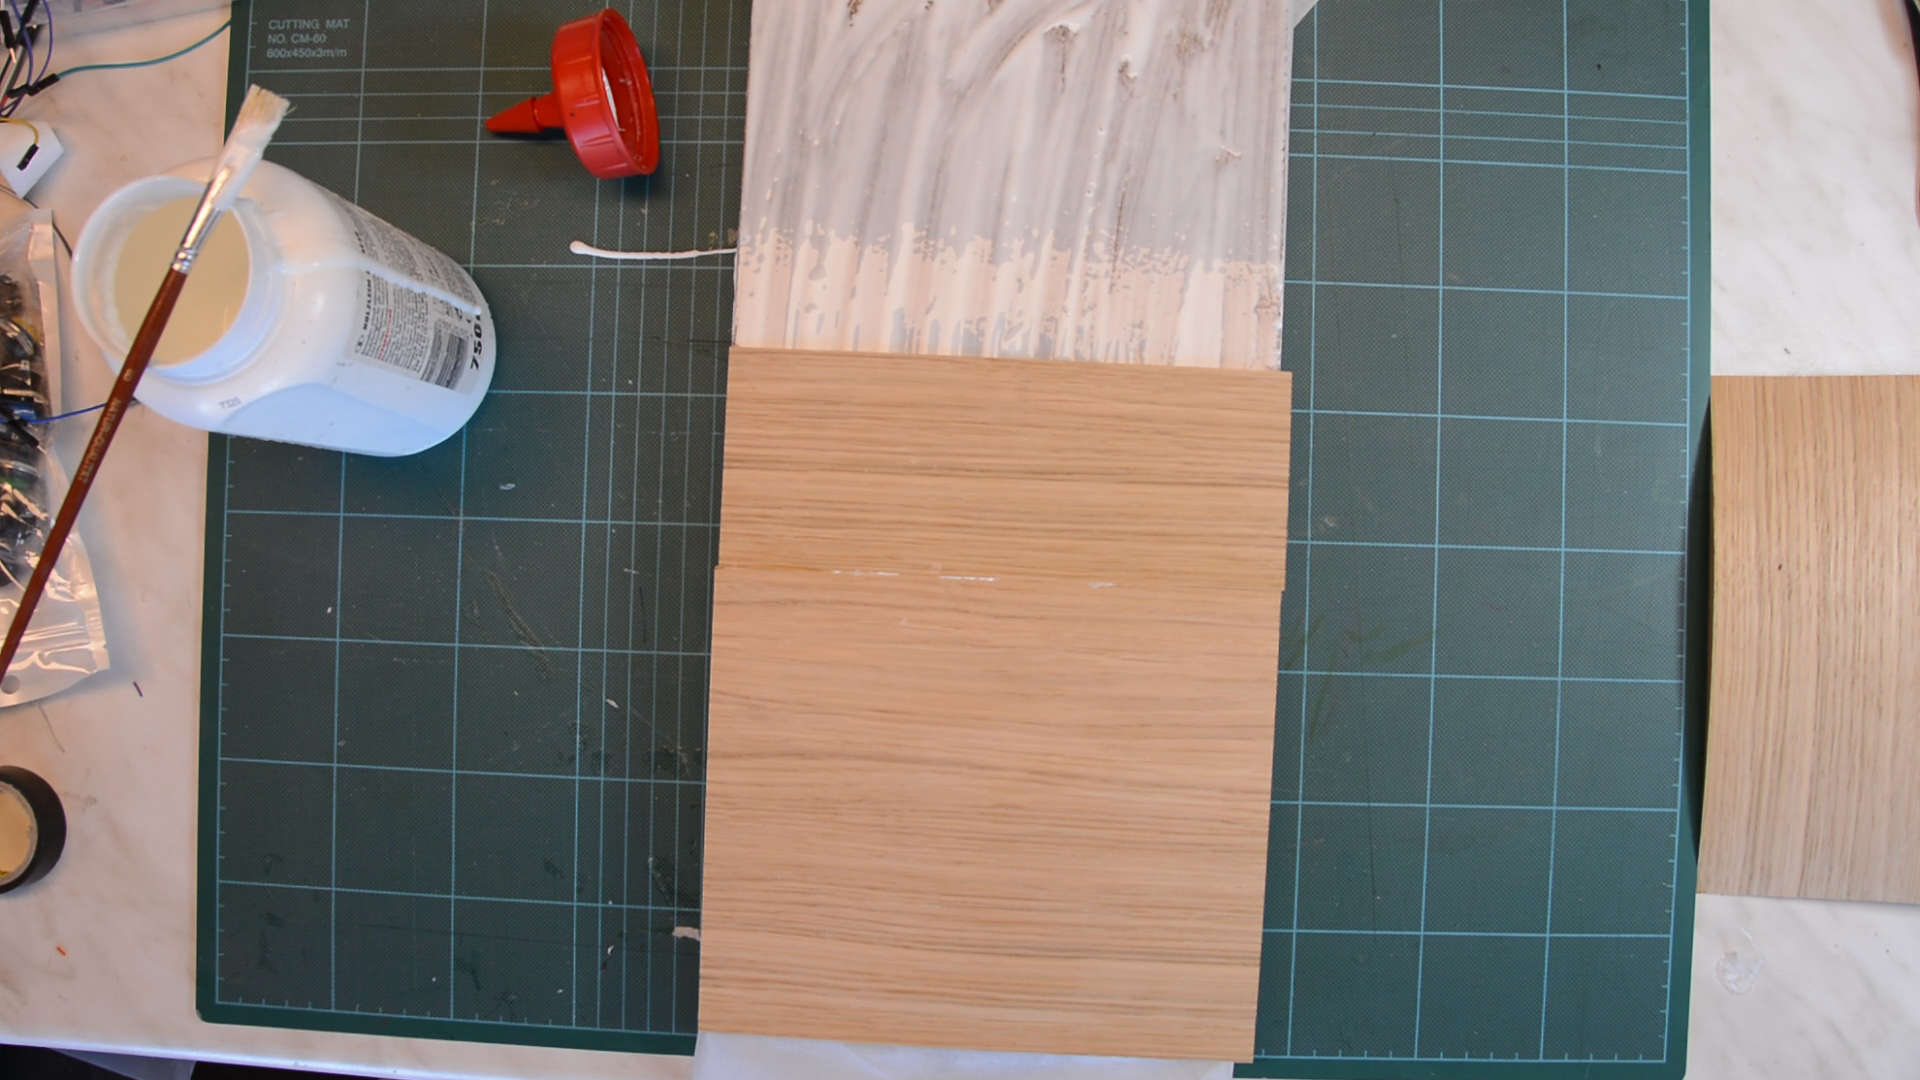
We are cutting several strips of veneer to cover the from and the back of a piece of particle board. It‘s important to always put veneer on both sides – otherwise the particle board is going to warp. I am gluing the veneer with express glue on the particle board. We will see a little later why this is an advantage.
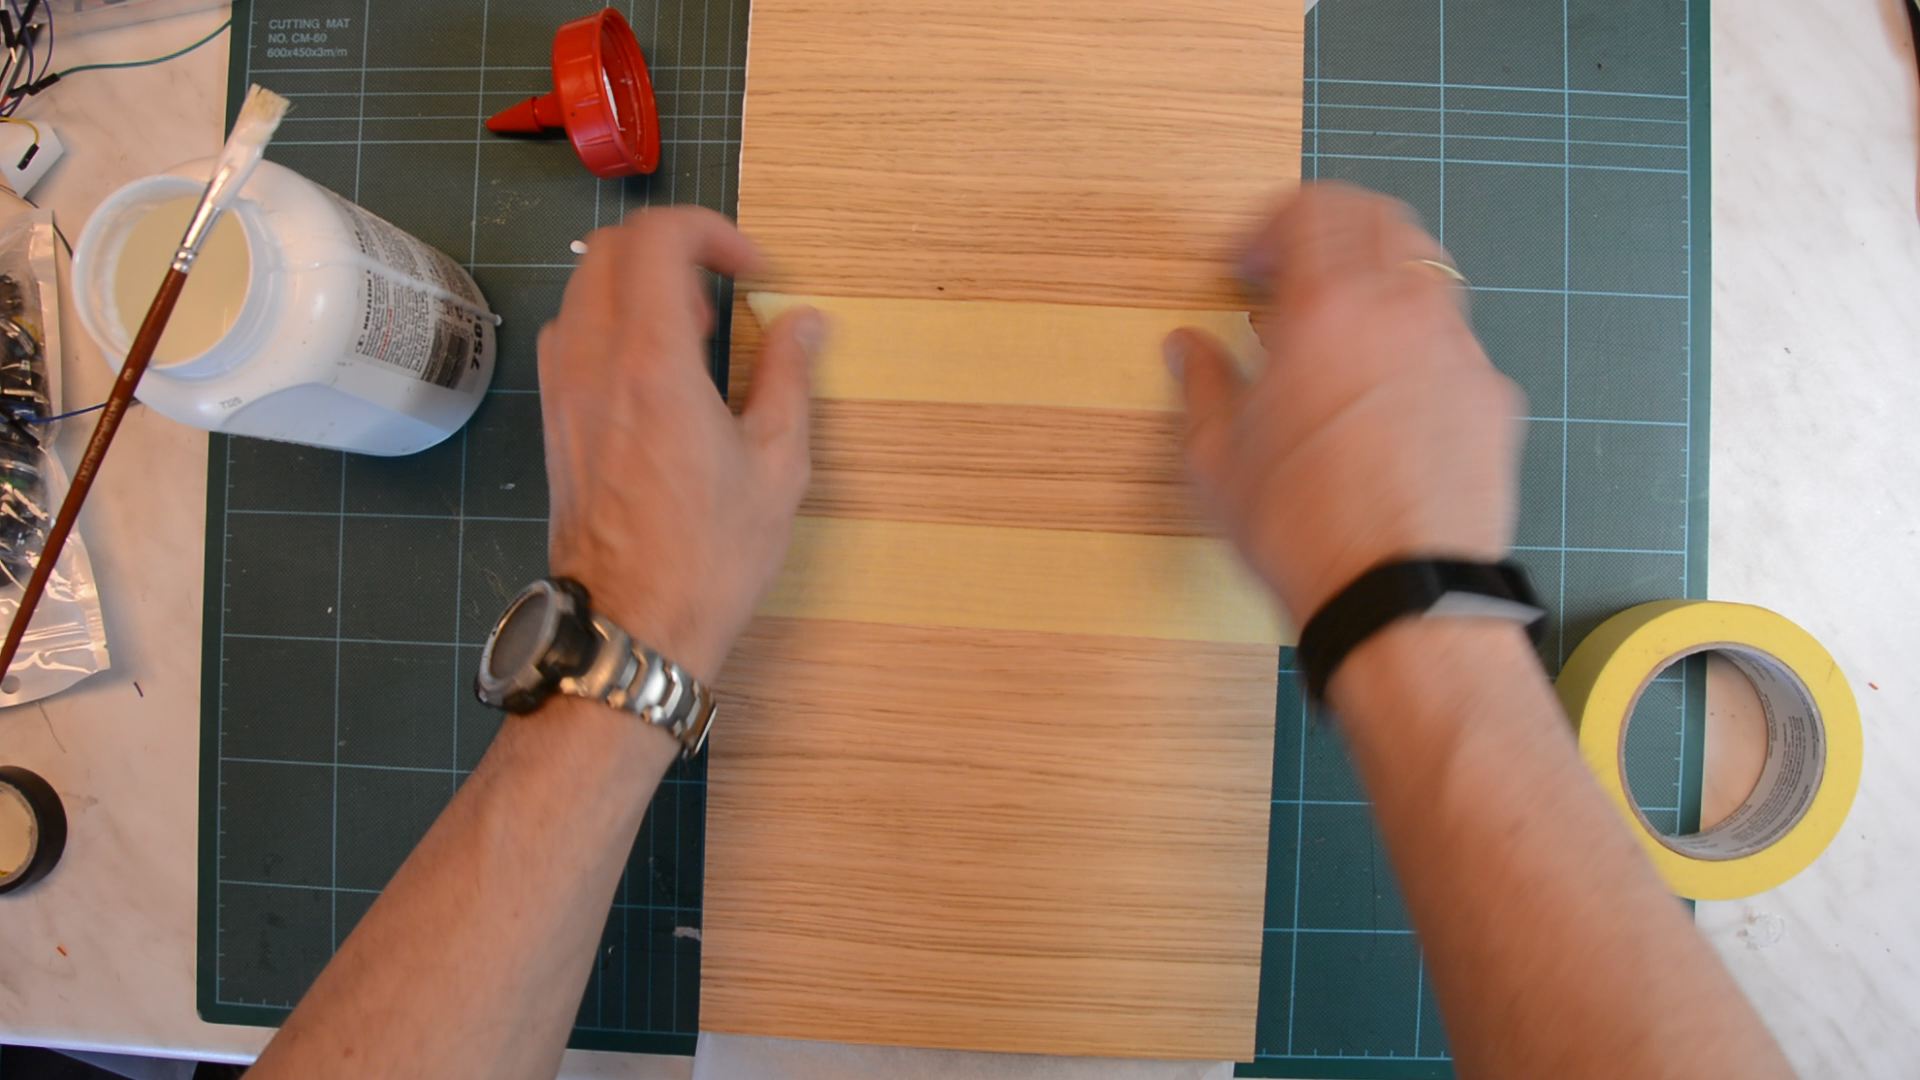
The seams between different sheets of veneer are held together with masking tape.
For separating the veneer from the wood used to spread the pressure I am using parchment paper. The downside of using express glue is that I have to be quite fast in getting a lot of spring clamps on the piece.
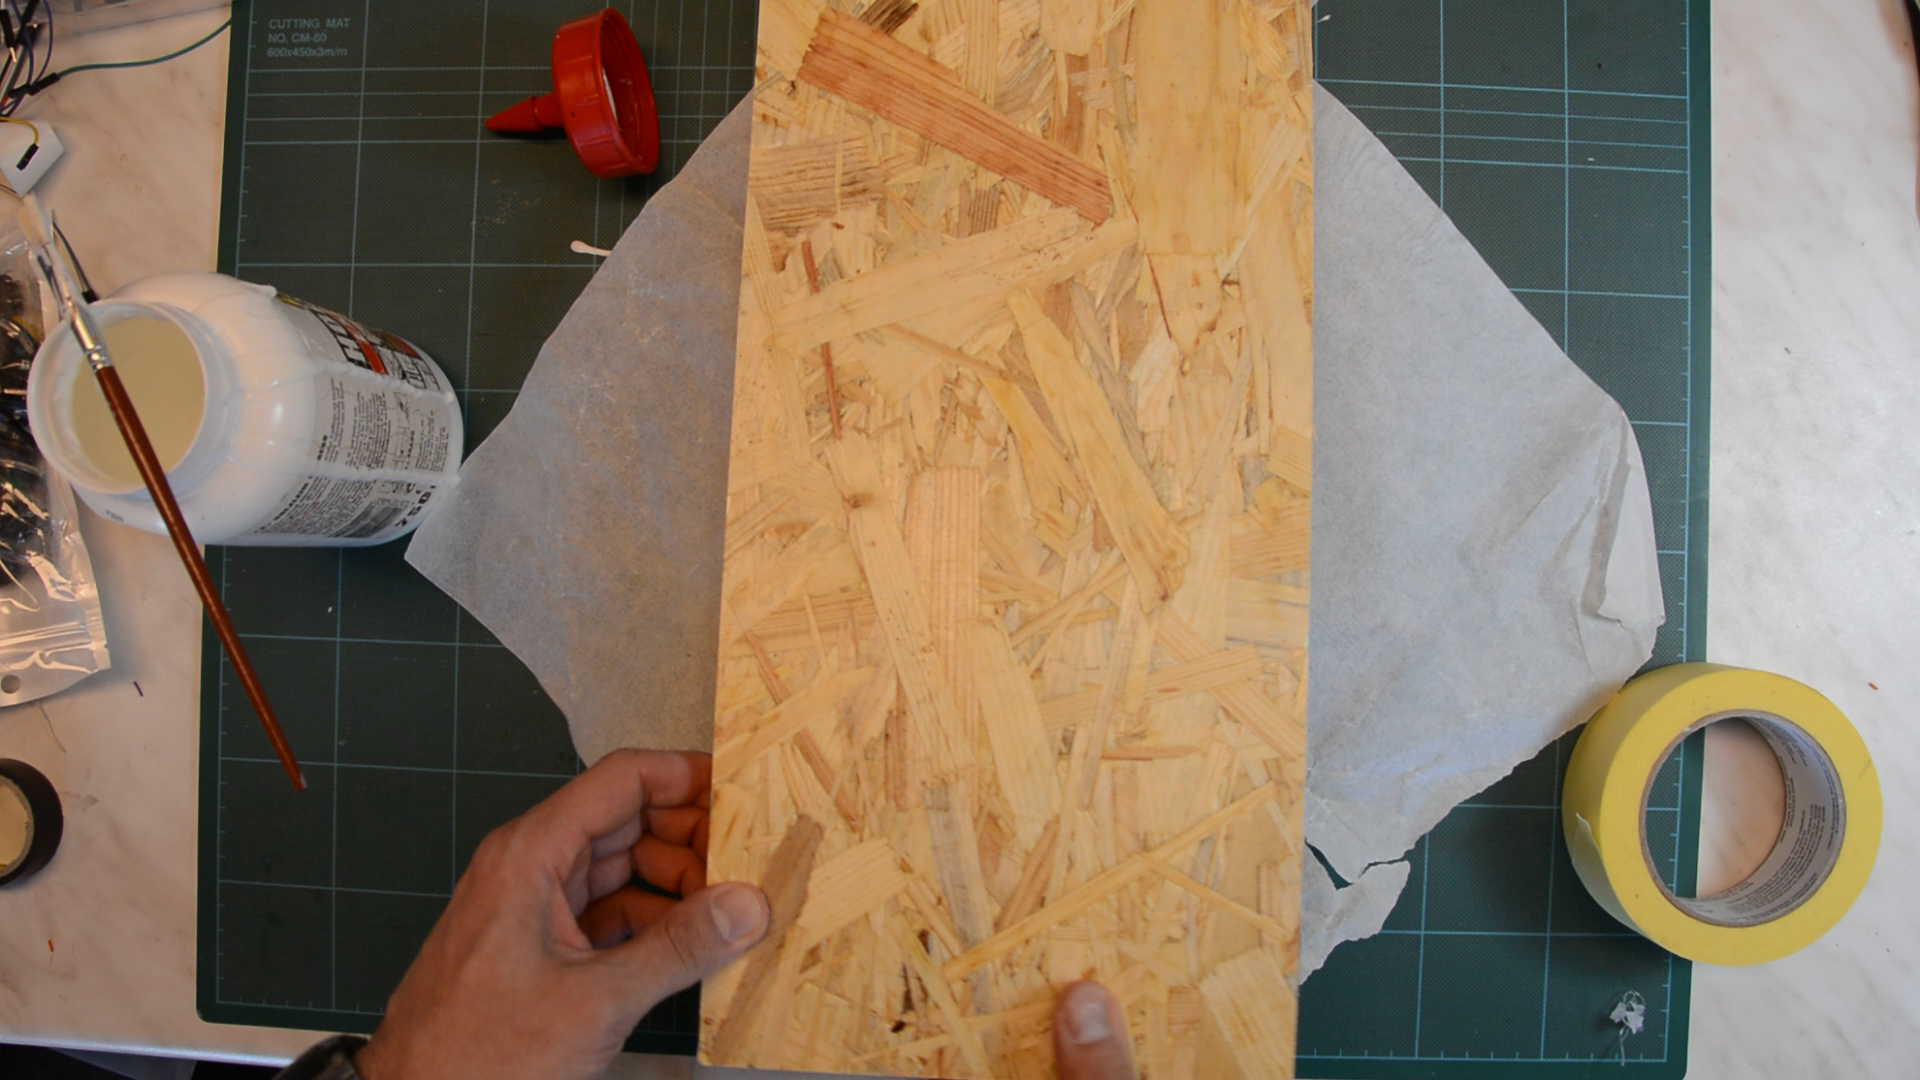

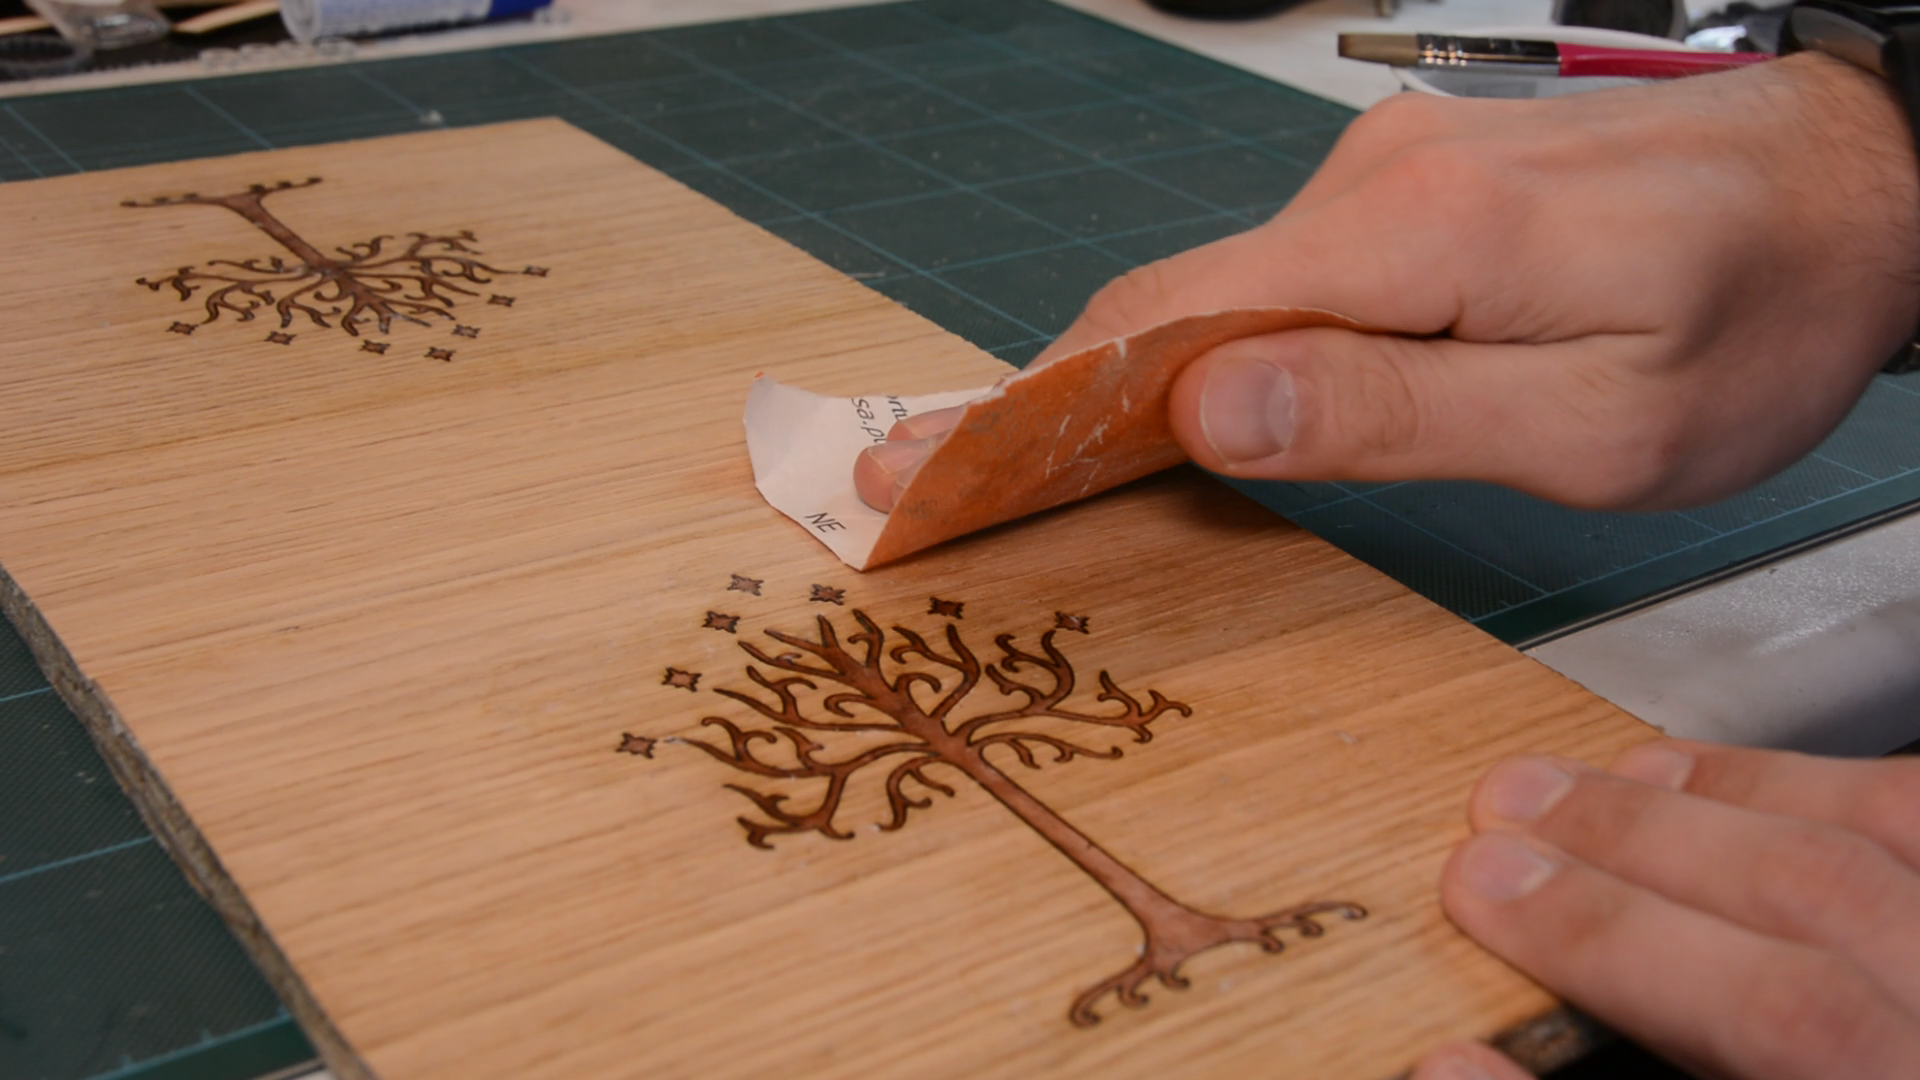
We let the glue cure for 2 hours, remove the clamps and trim the excess veneer with a sharp knife.

With water, patience and a scalpel I remove the veneer tape from the surface.
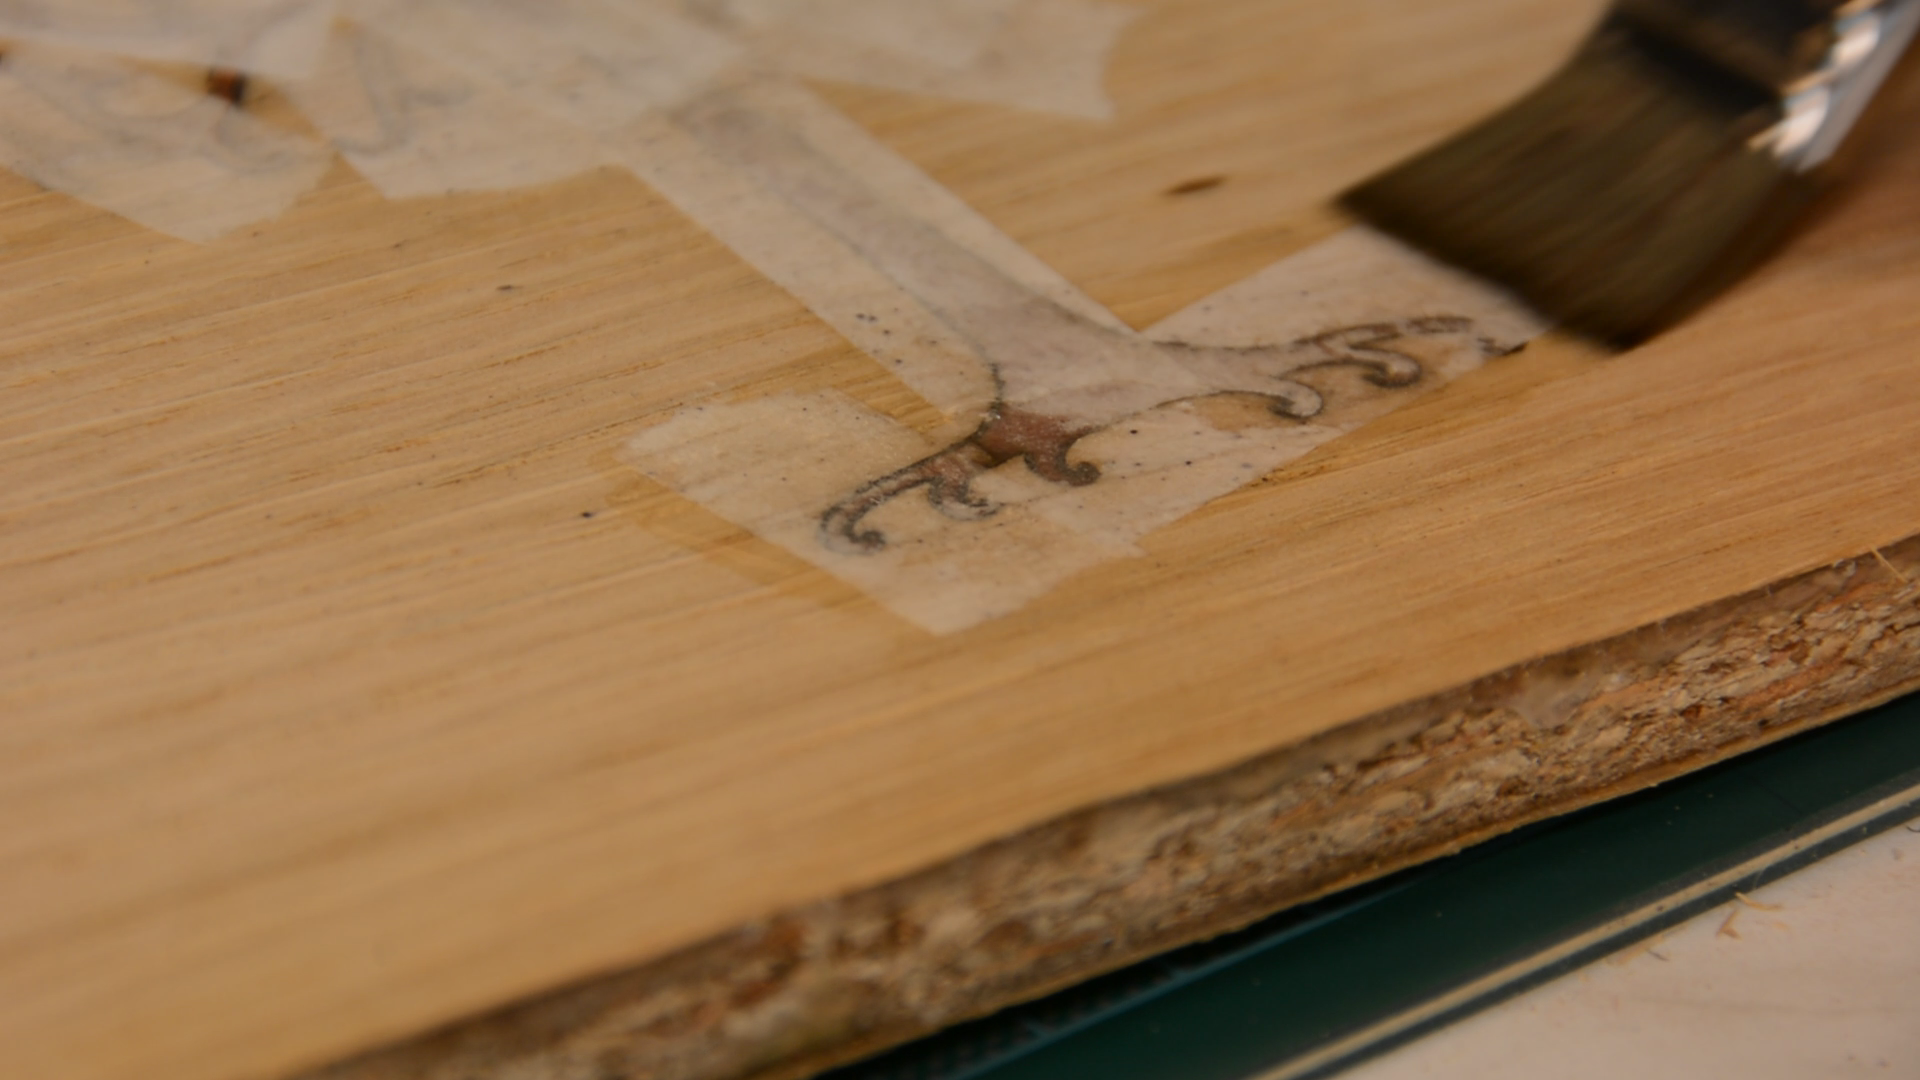
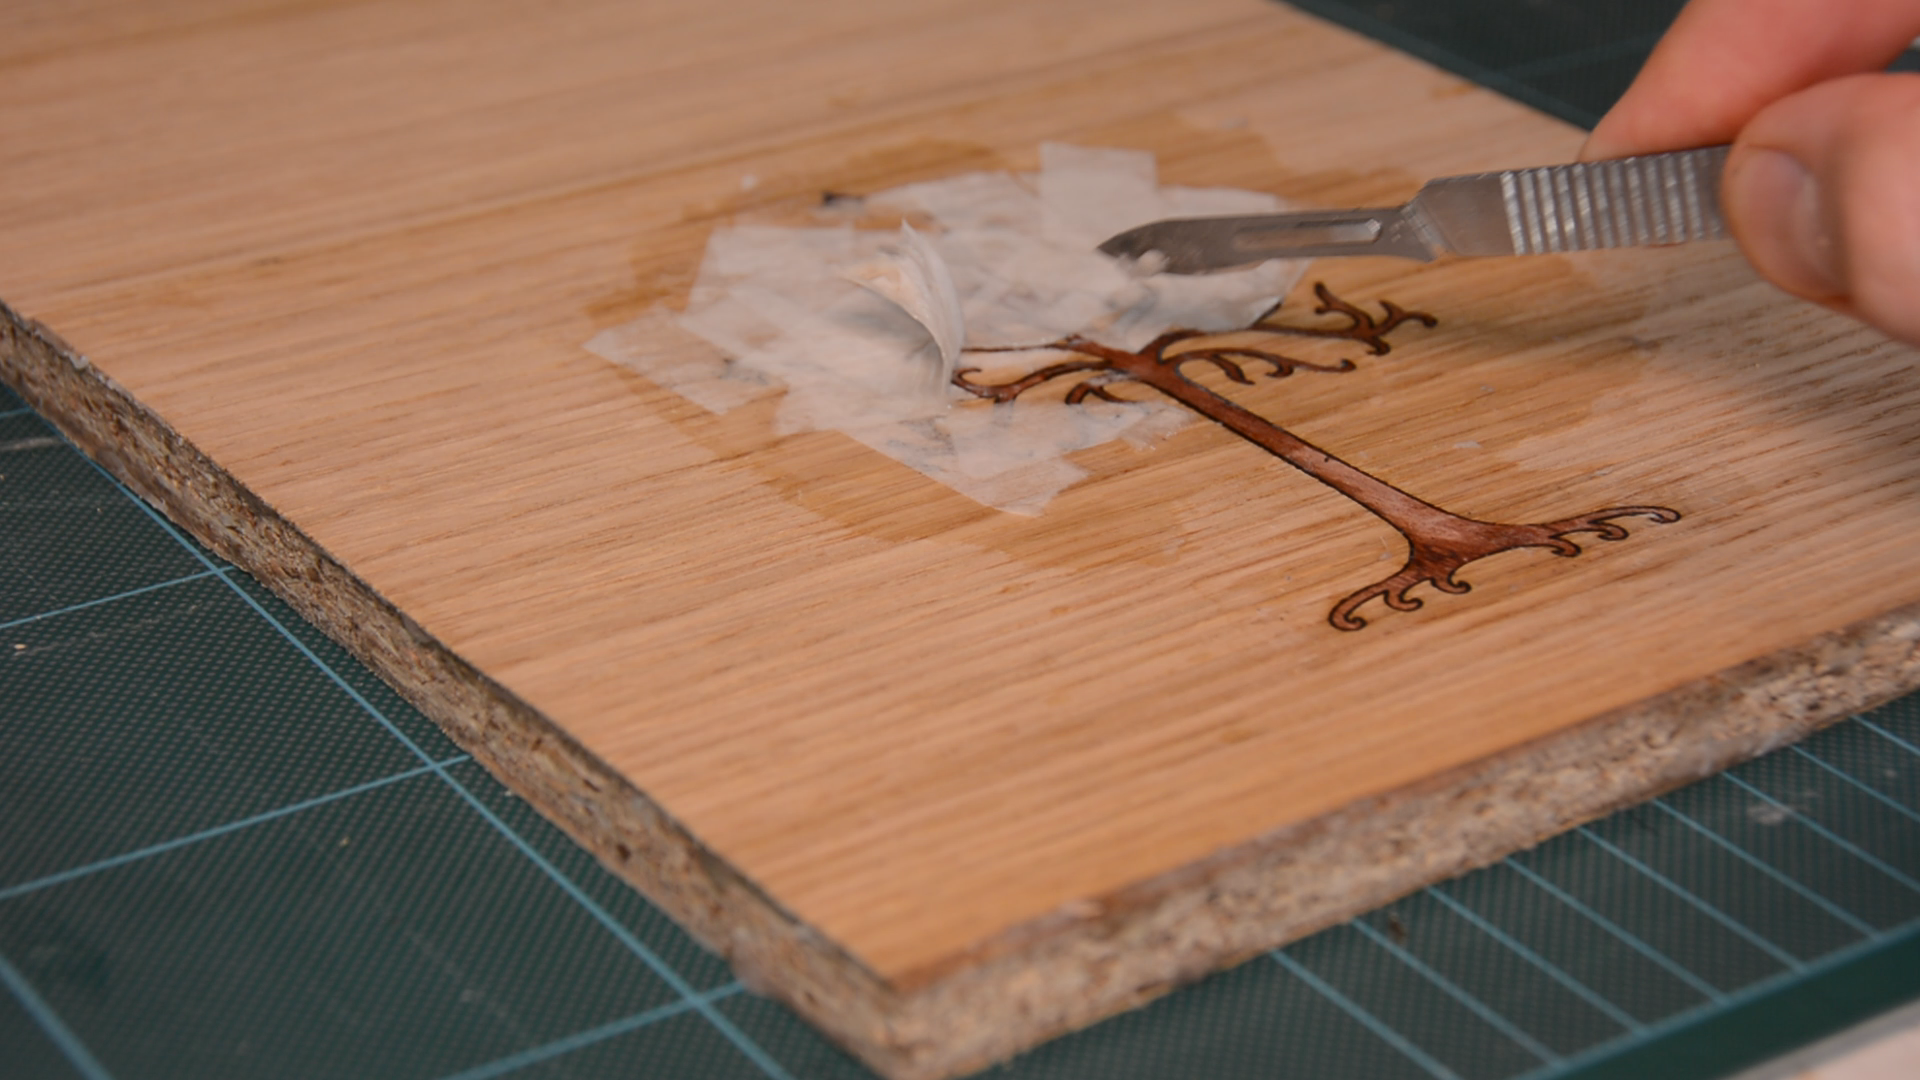
Here you see a problem: the glue at one of the stars failed and I didn’t noticed it before. Remember that I said there is a reason for using express glue? This small glitch is the perfect example to show you the reason: The express glue can be reactivated by heat. So all we have to do is cut a replacement star, put it on top of the gap, reactivate the glue with an iron and the inlay looks perfect.
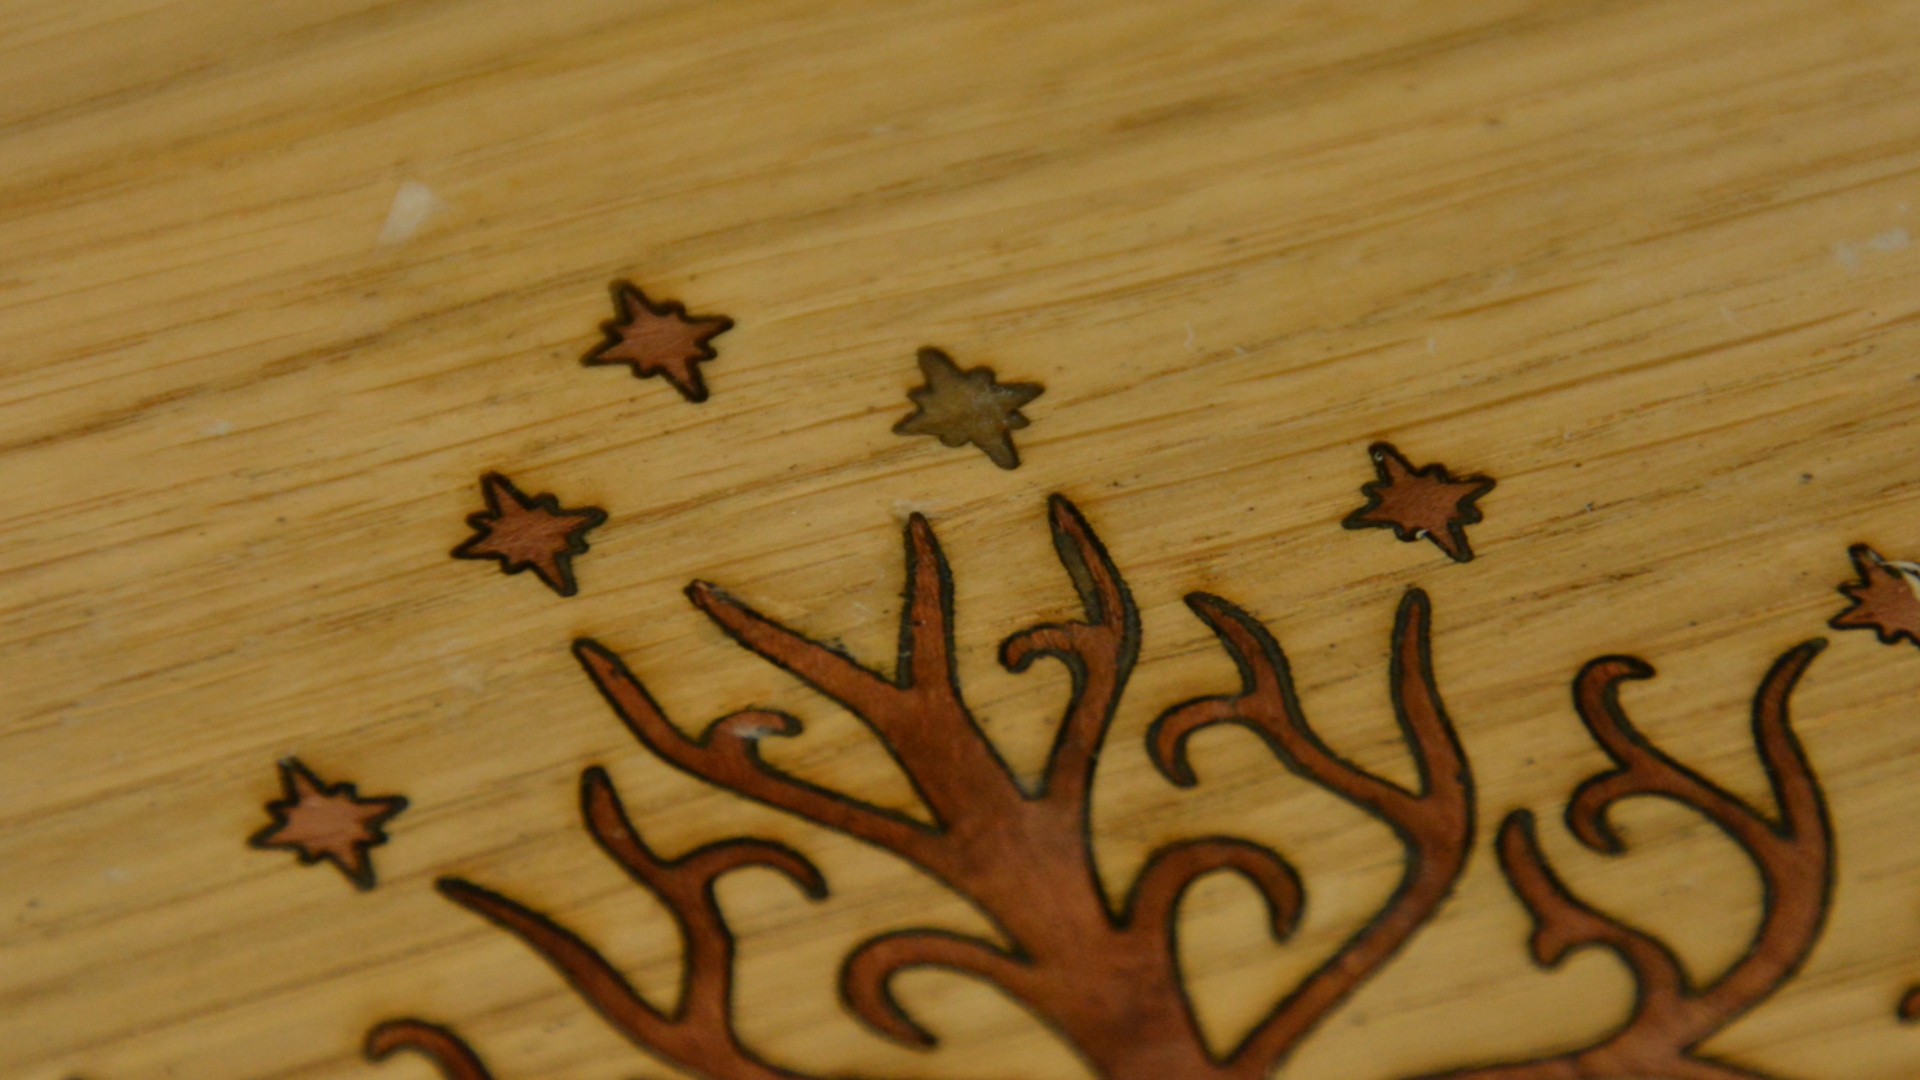
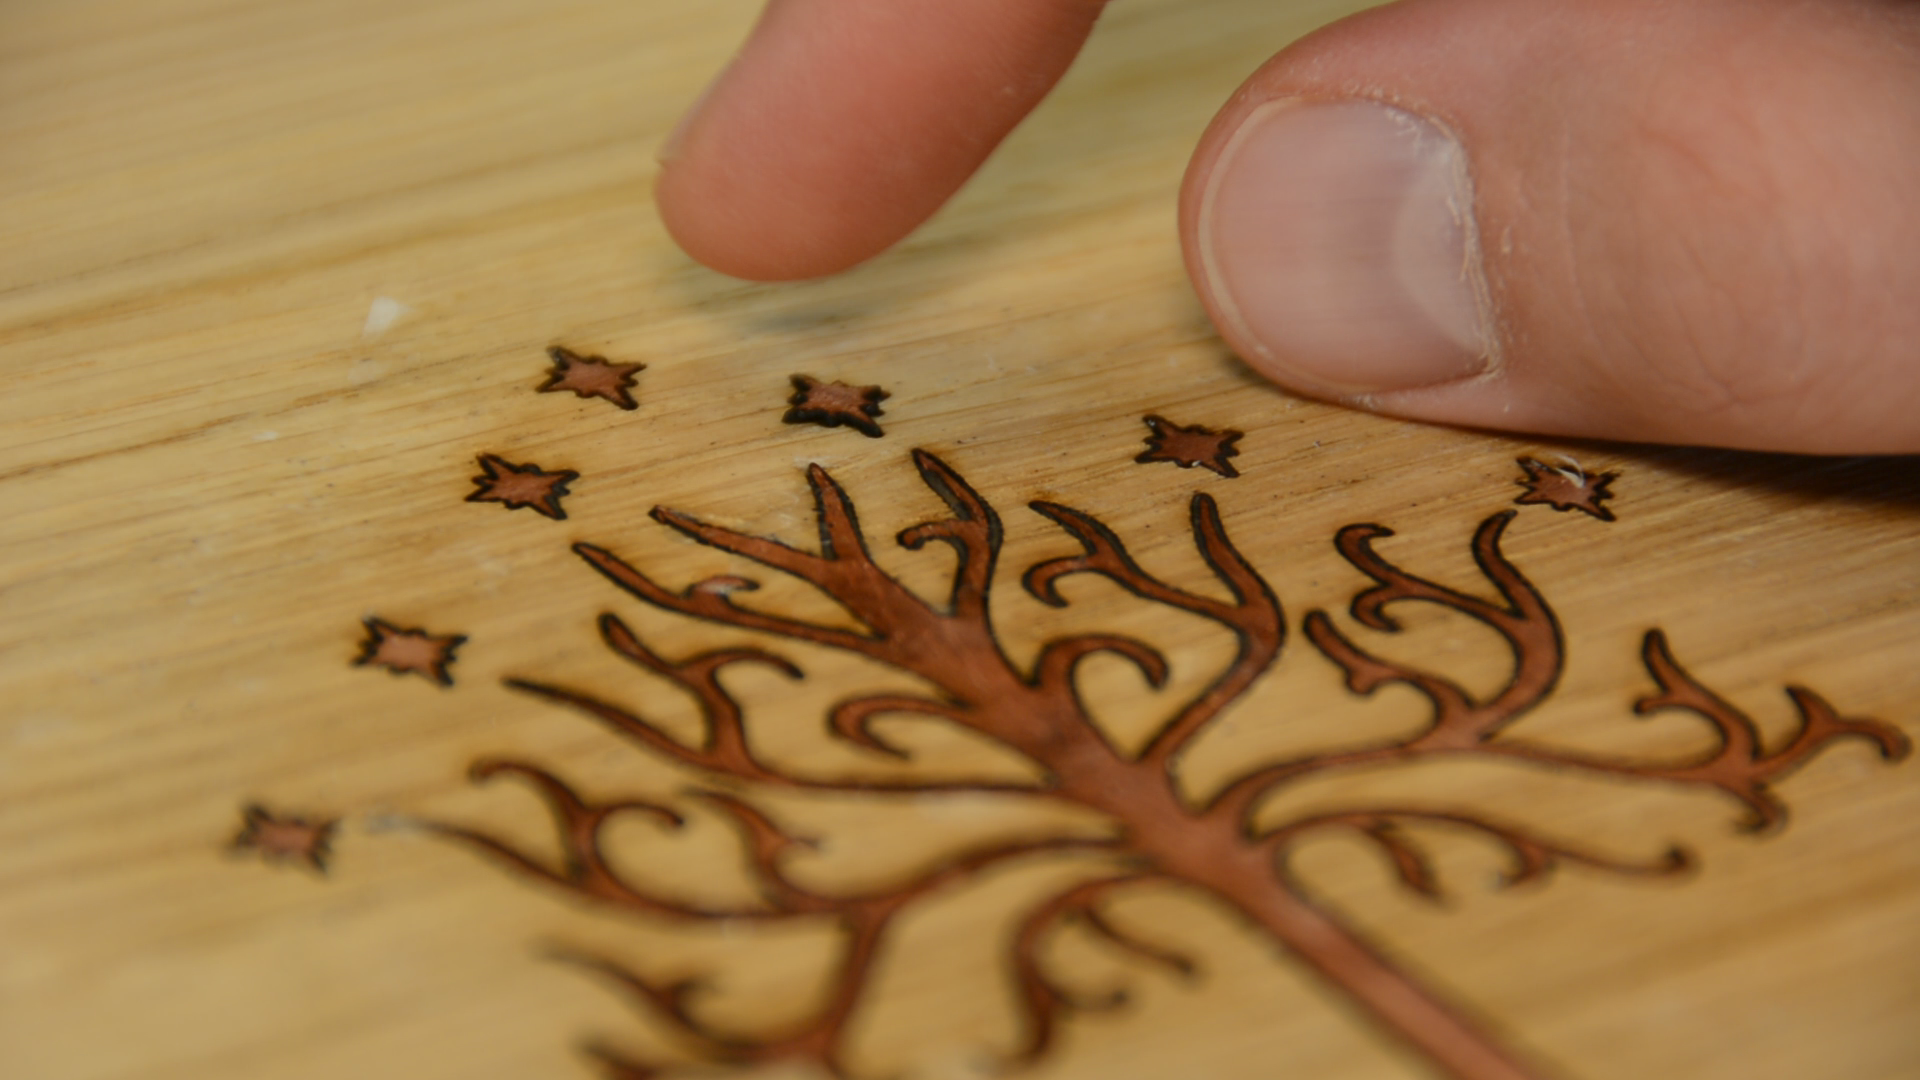
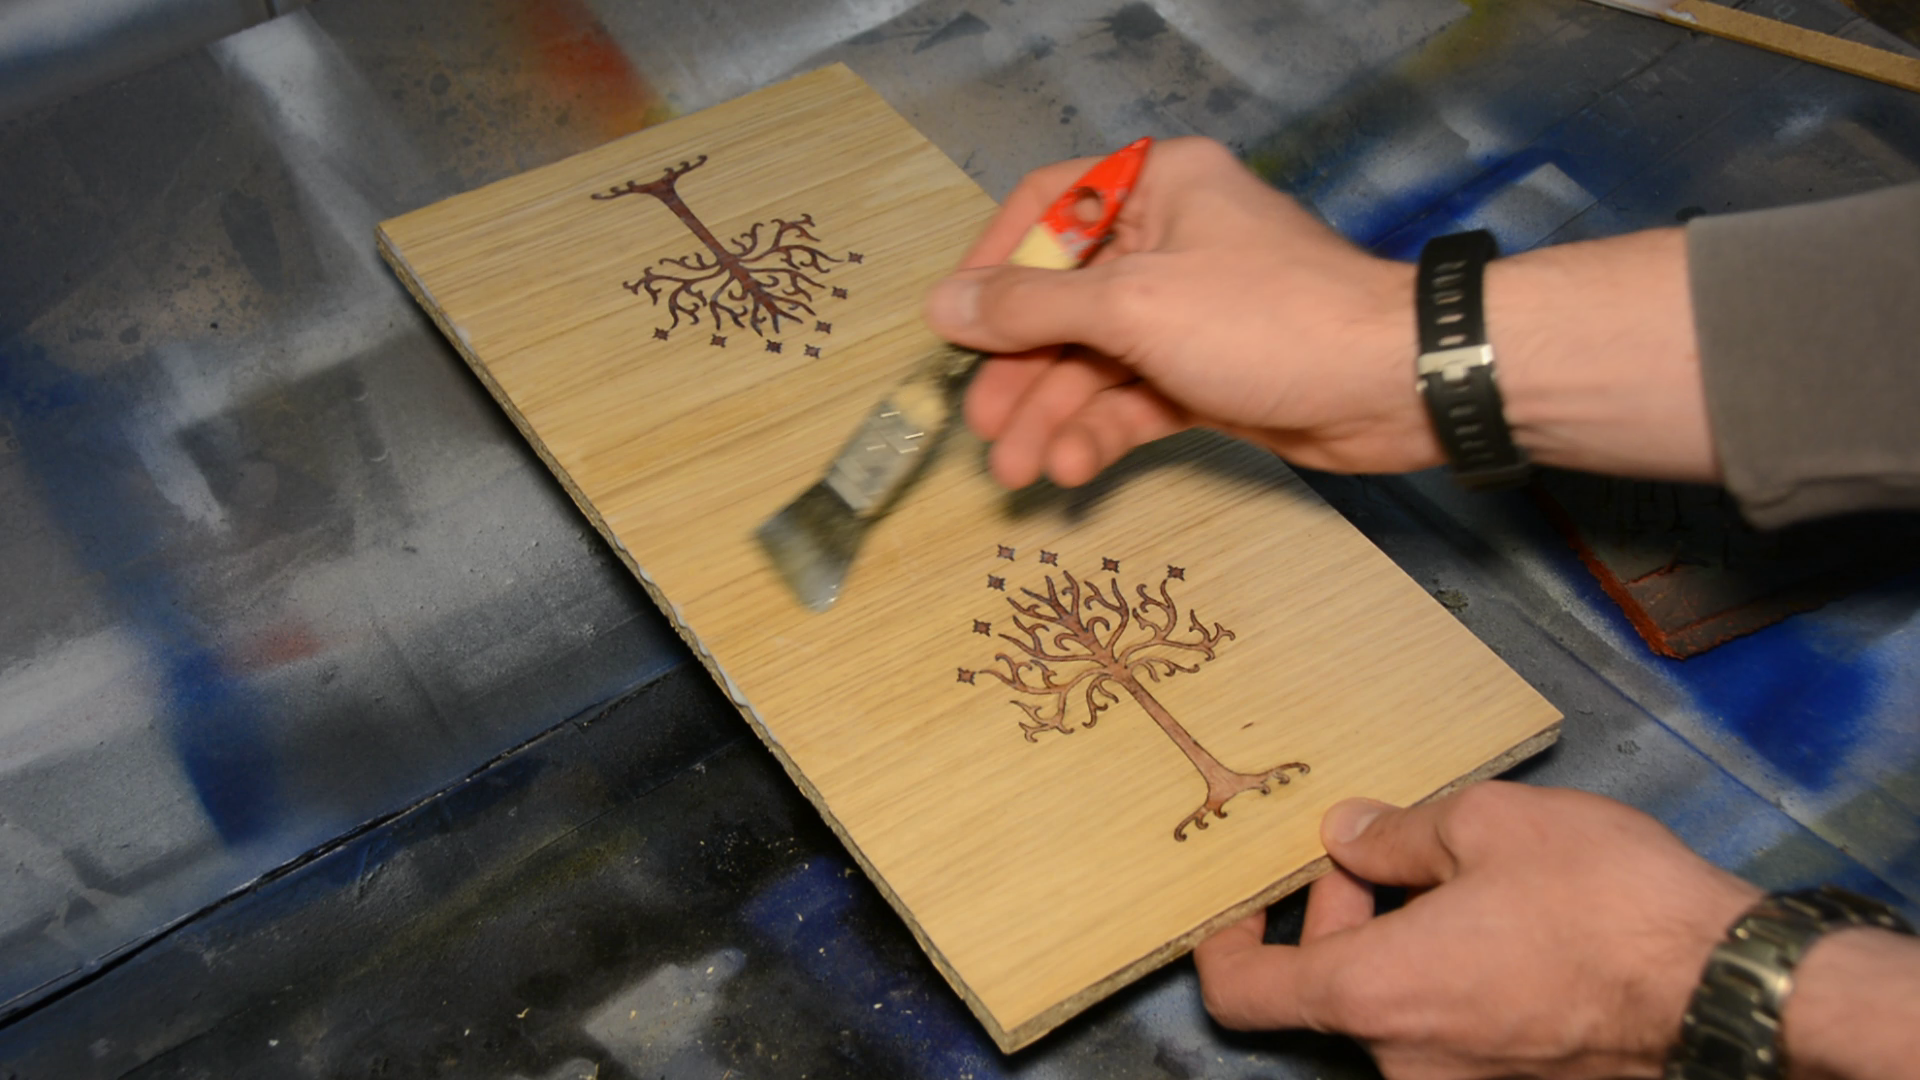
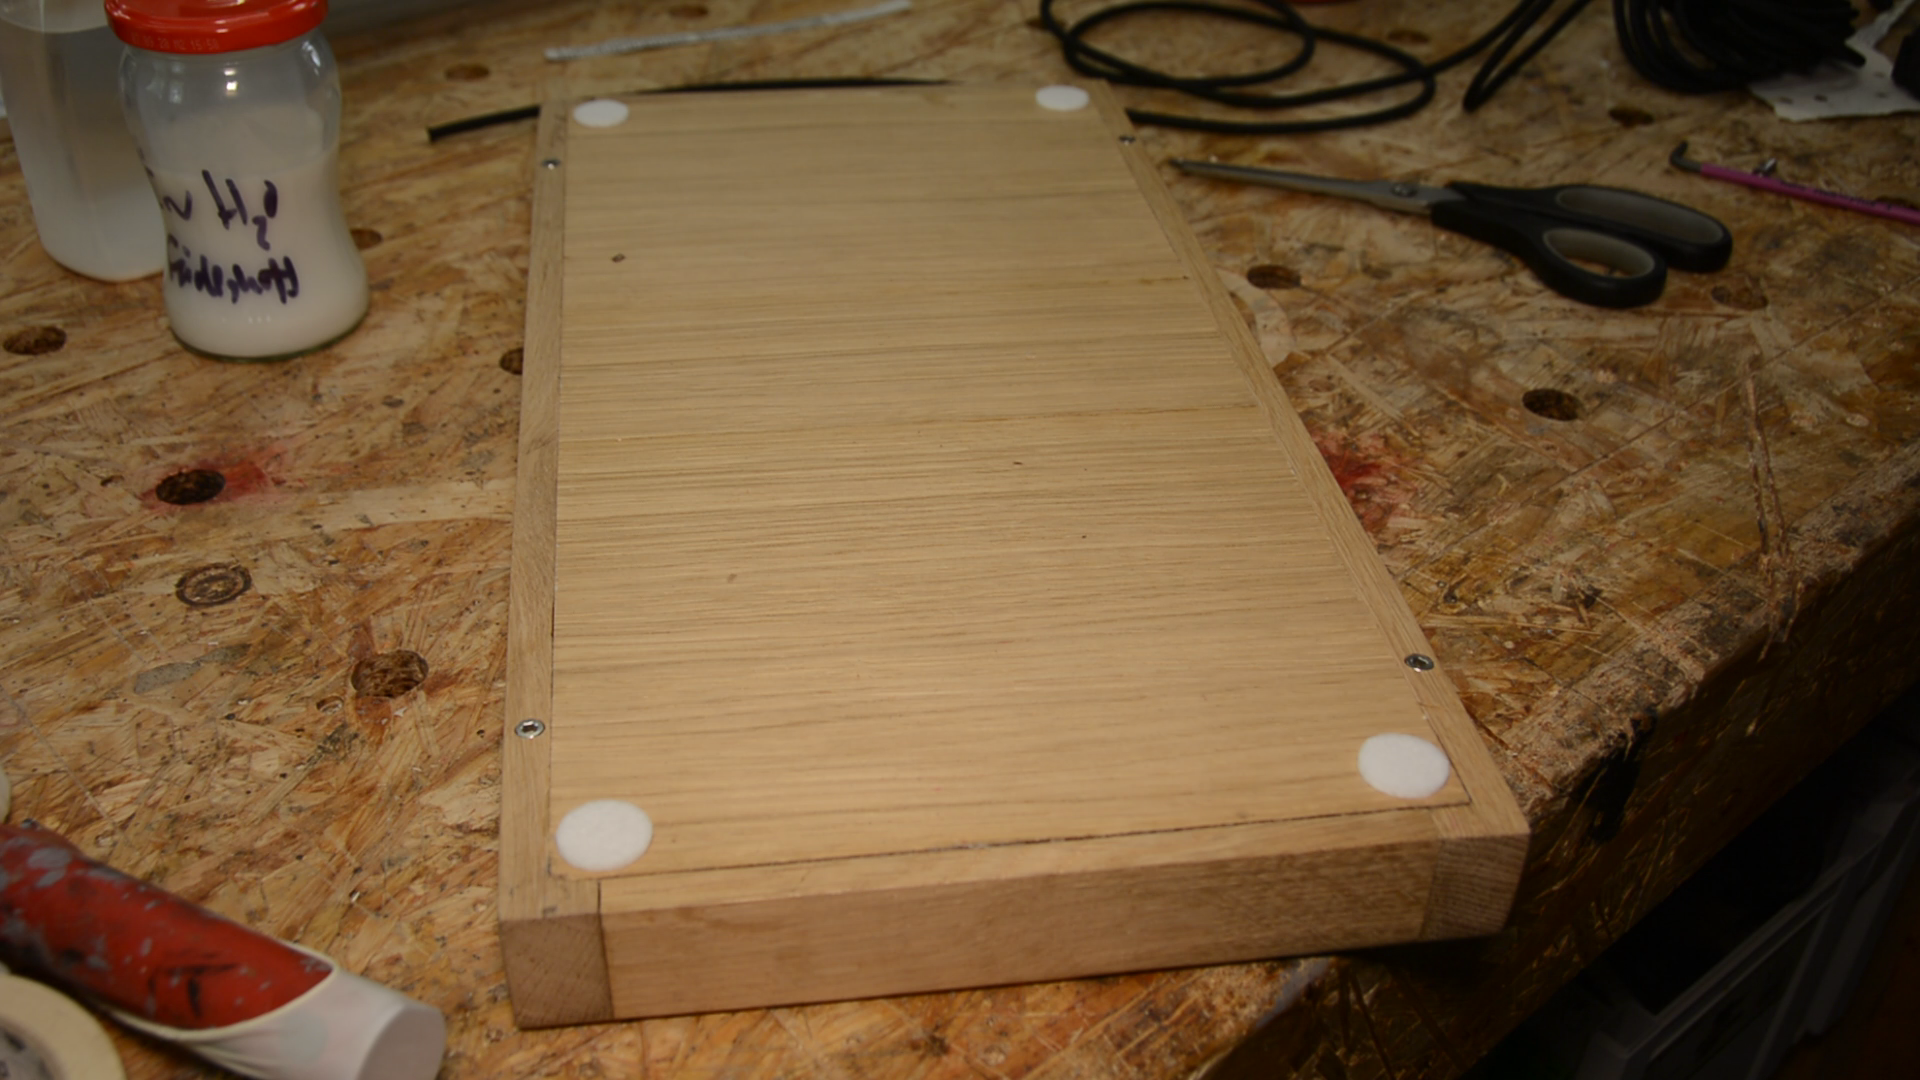
After a light hand sanding I am putting five or six coats of a waterbased poly on both sides.
Cutting and routing the frame
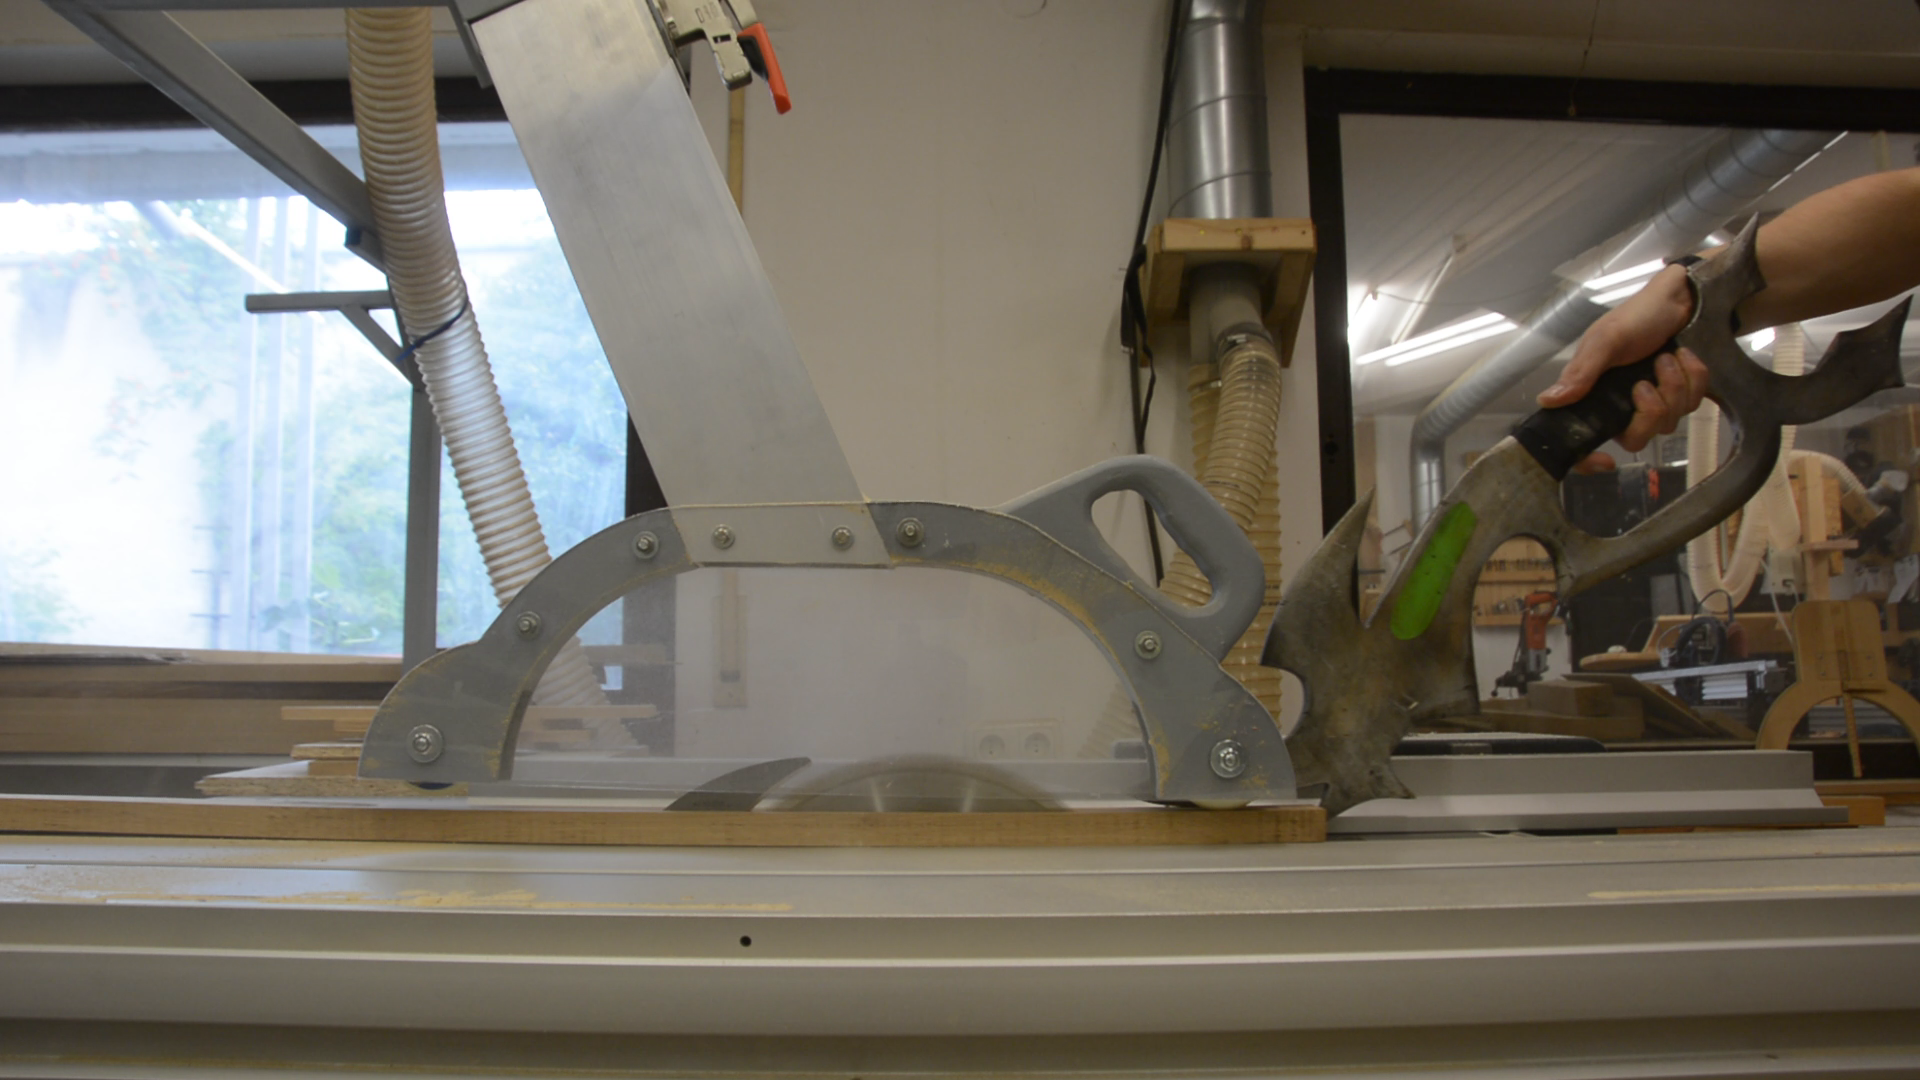
While the finish cures we can work on the frame. On the table saw we cut oak board to the right width and the to the dimensions of the frame.

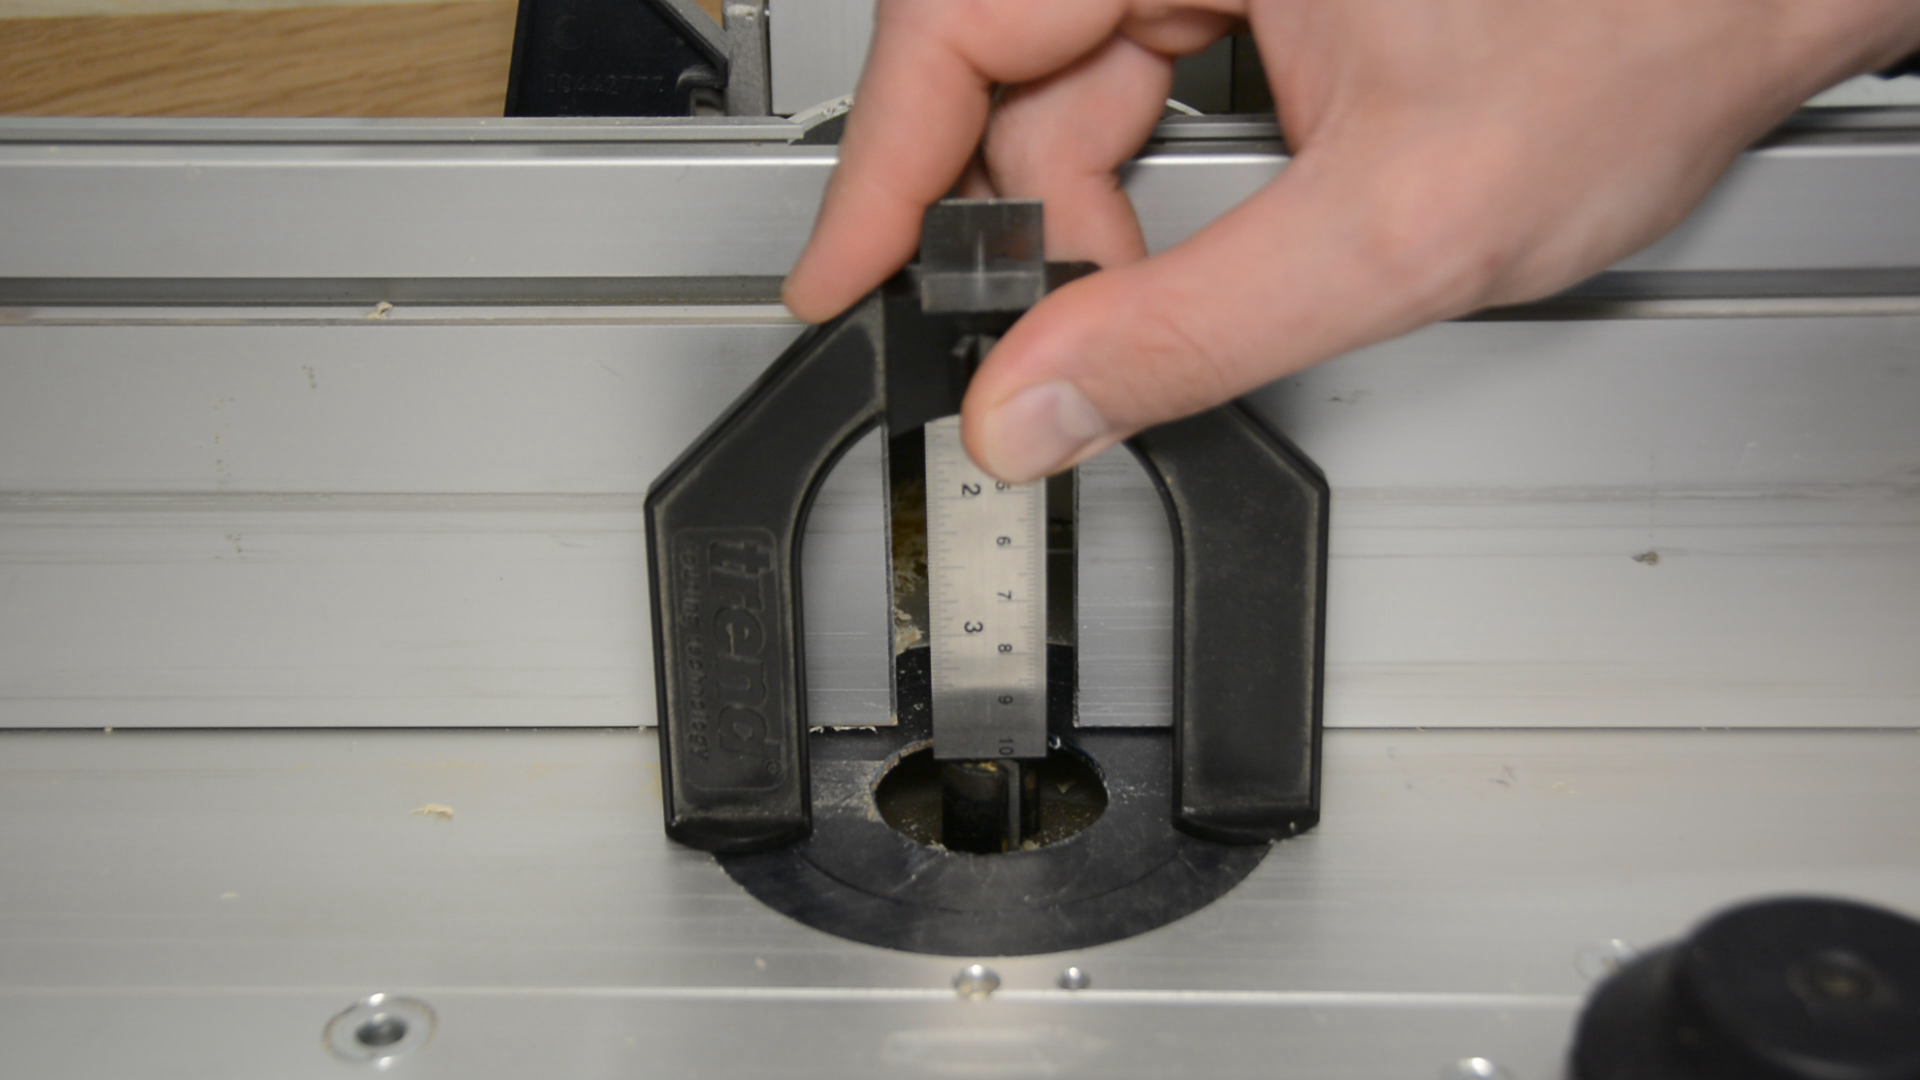
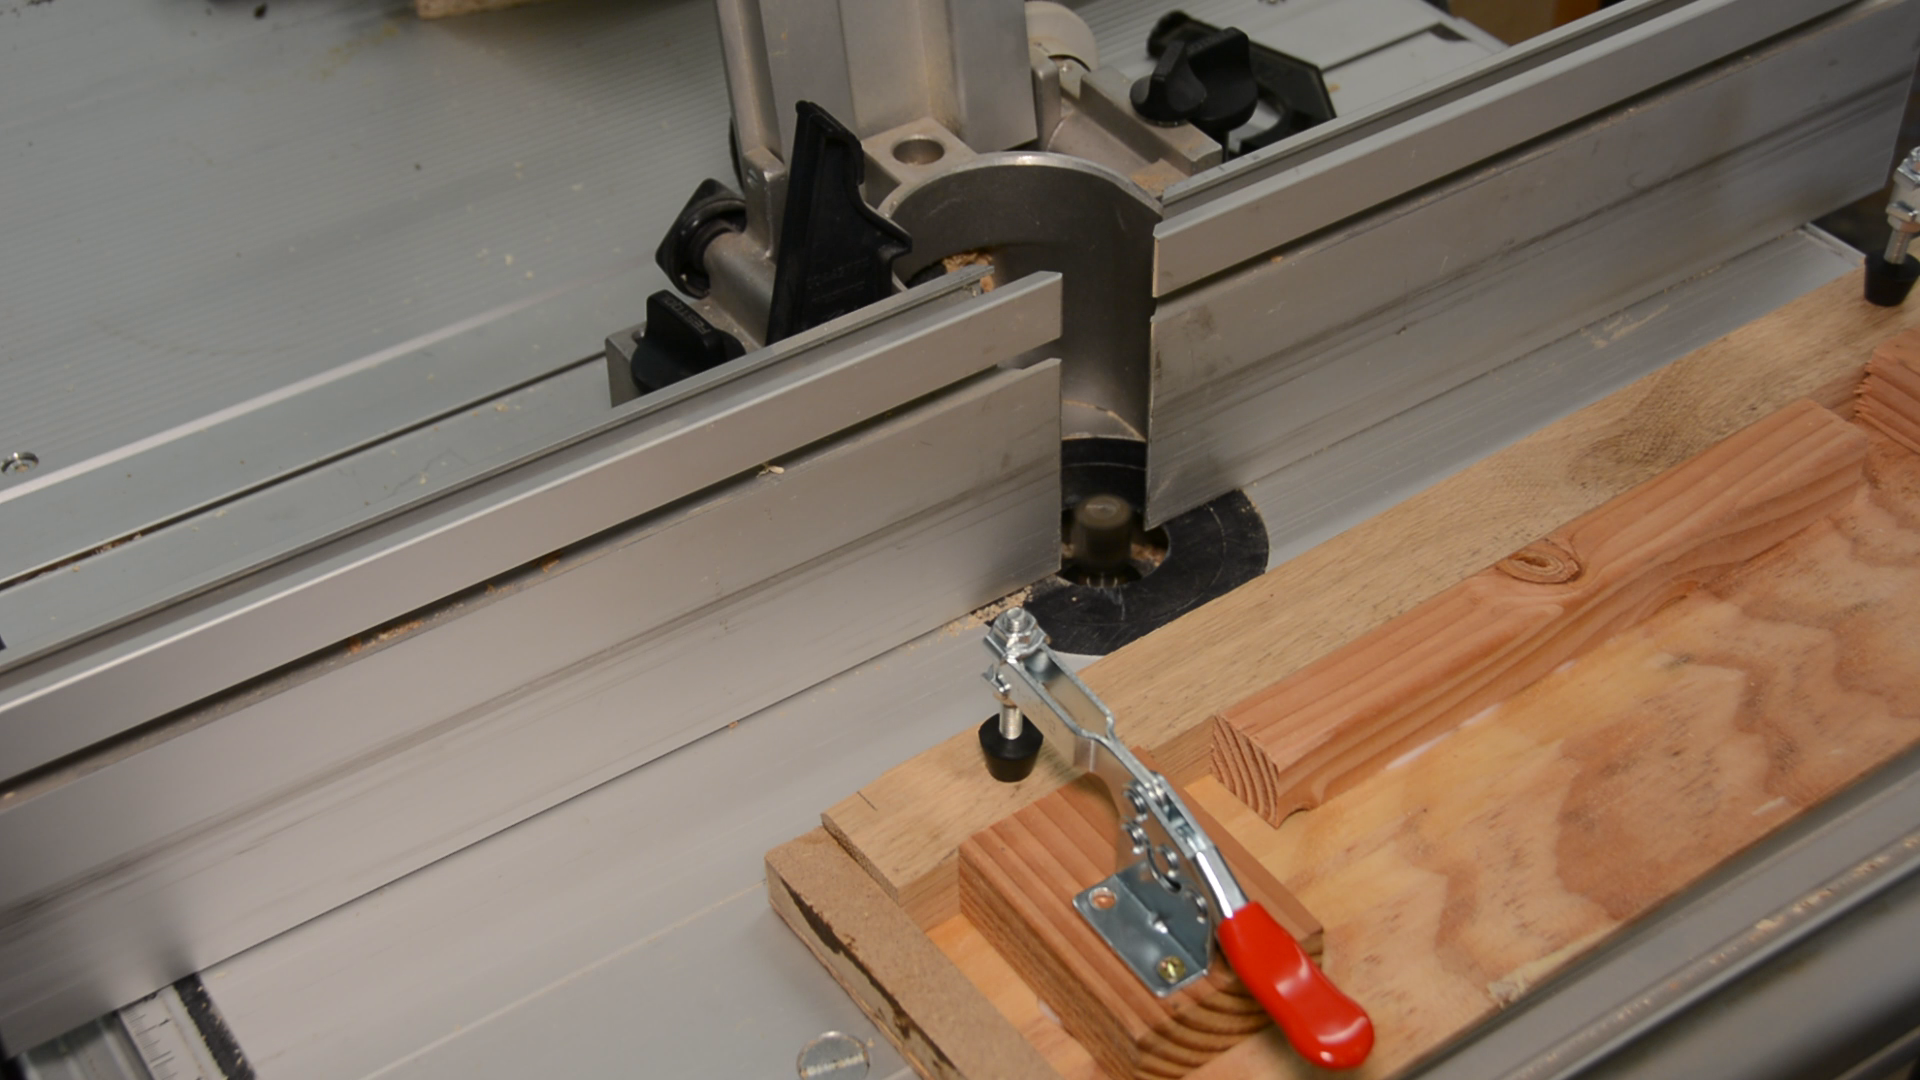
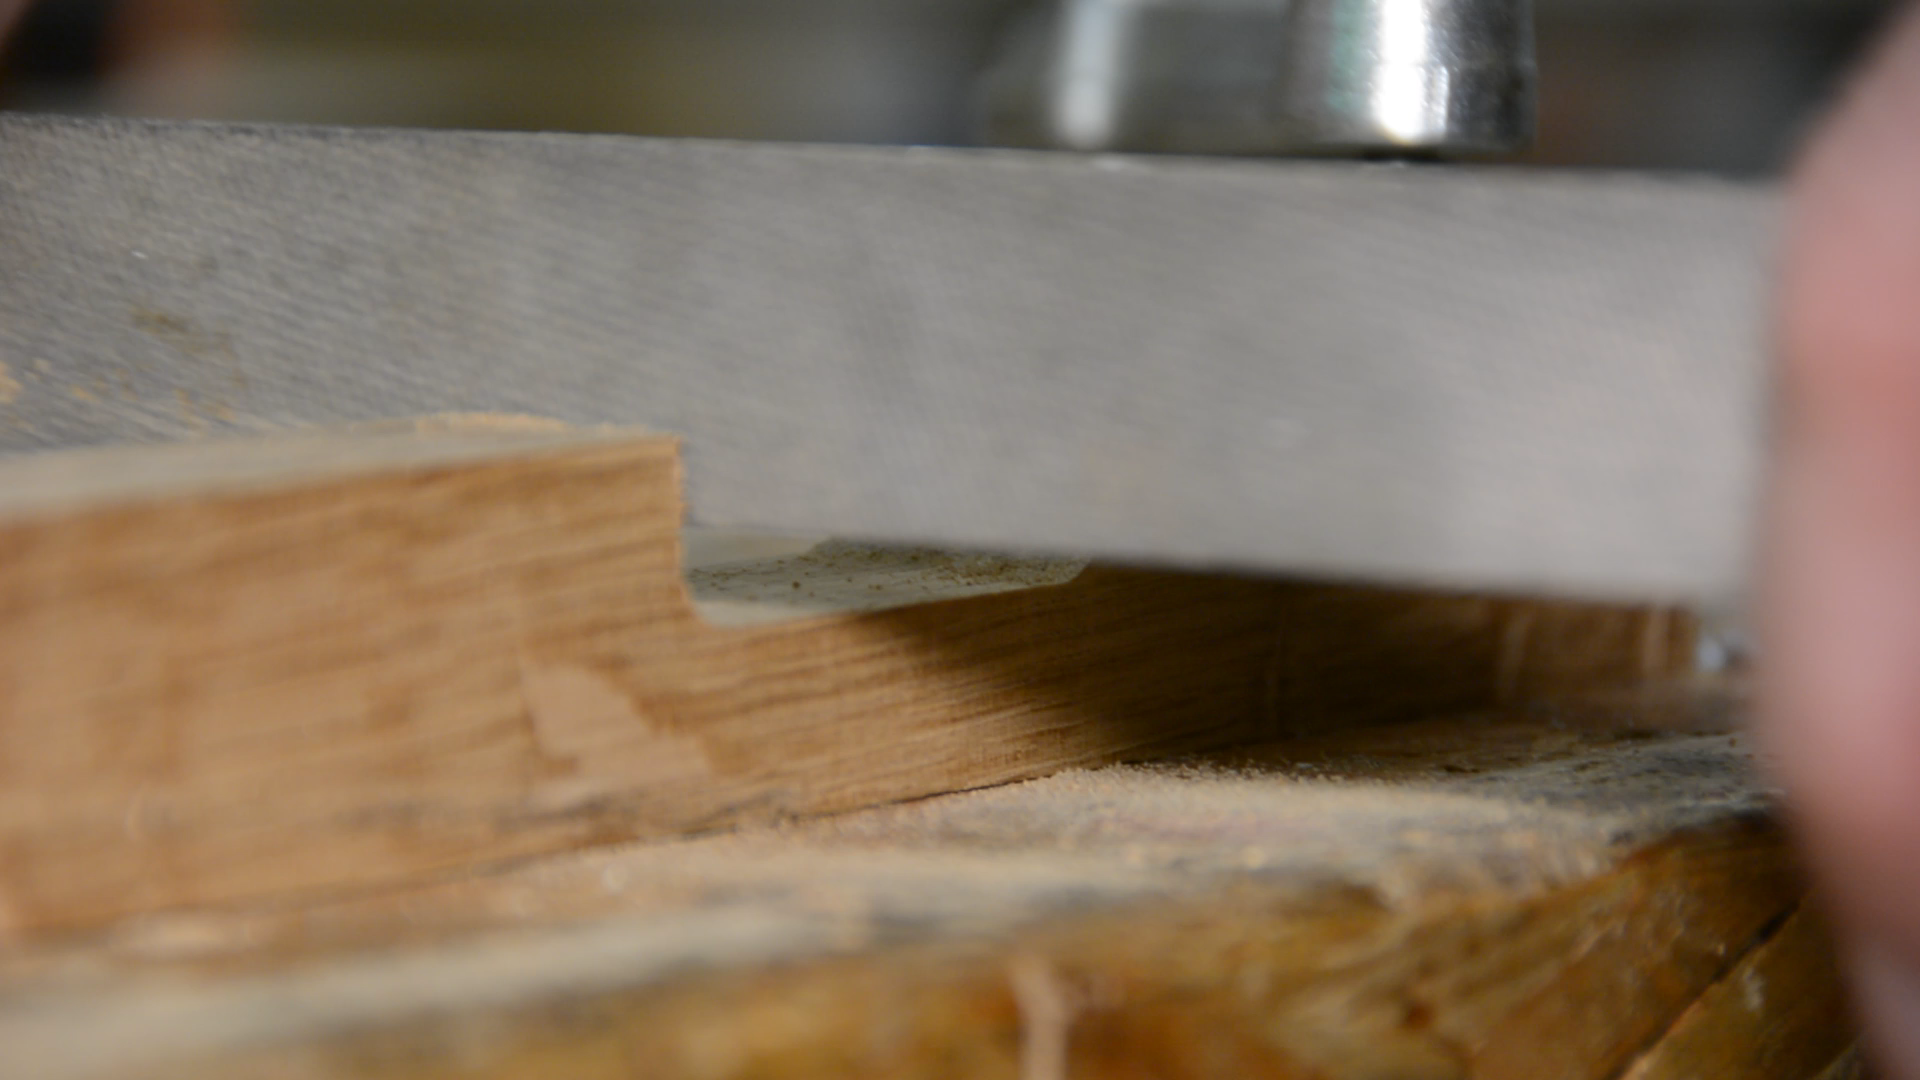
In order to accept the panel all the parts need to get a groove in the bottom. We first adjust the router table to the right height and depth.

Now I am not paranoid when it comes to safety but having my hands this close to the spinning router bit doesn’t feel good.

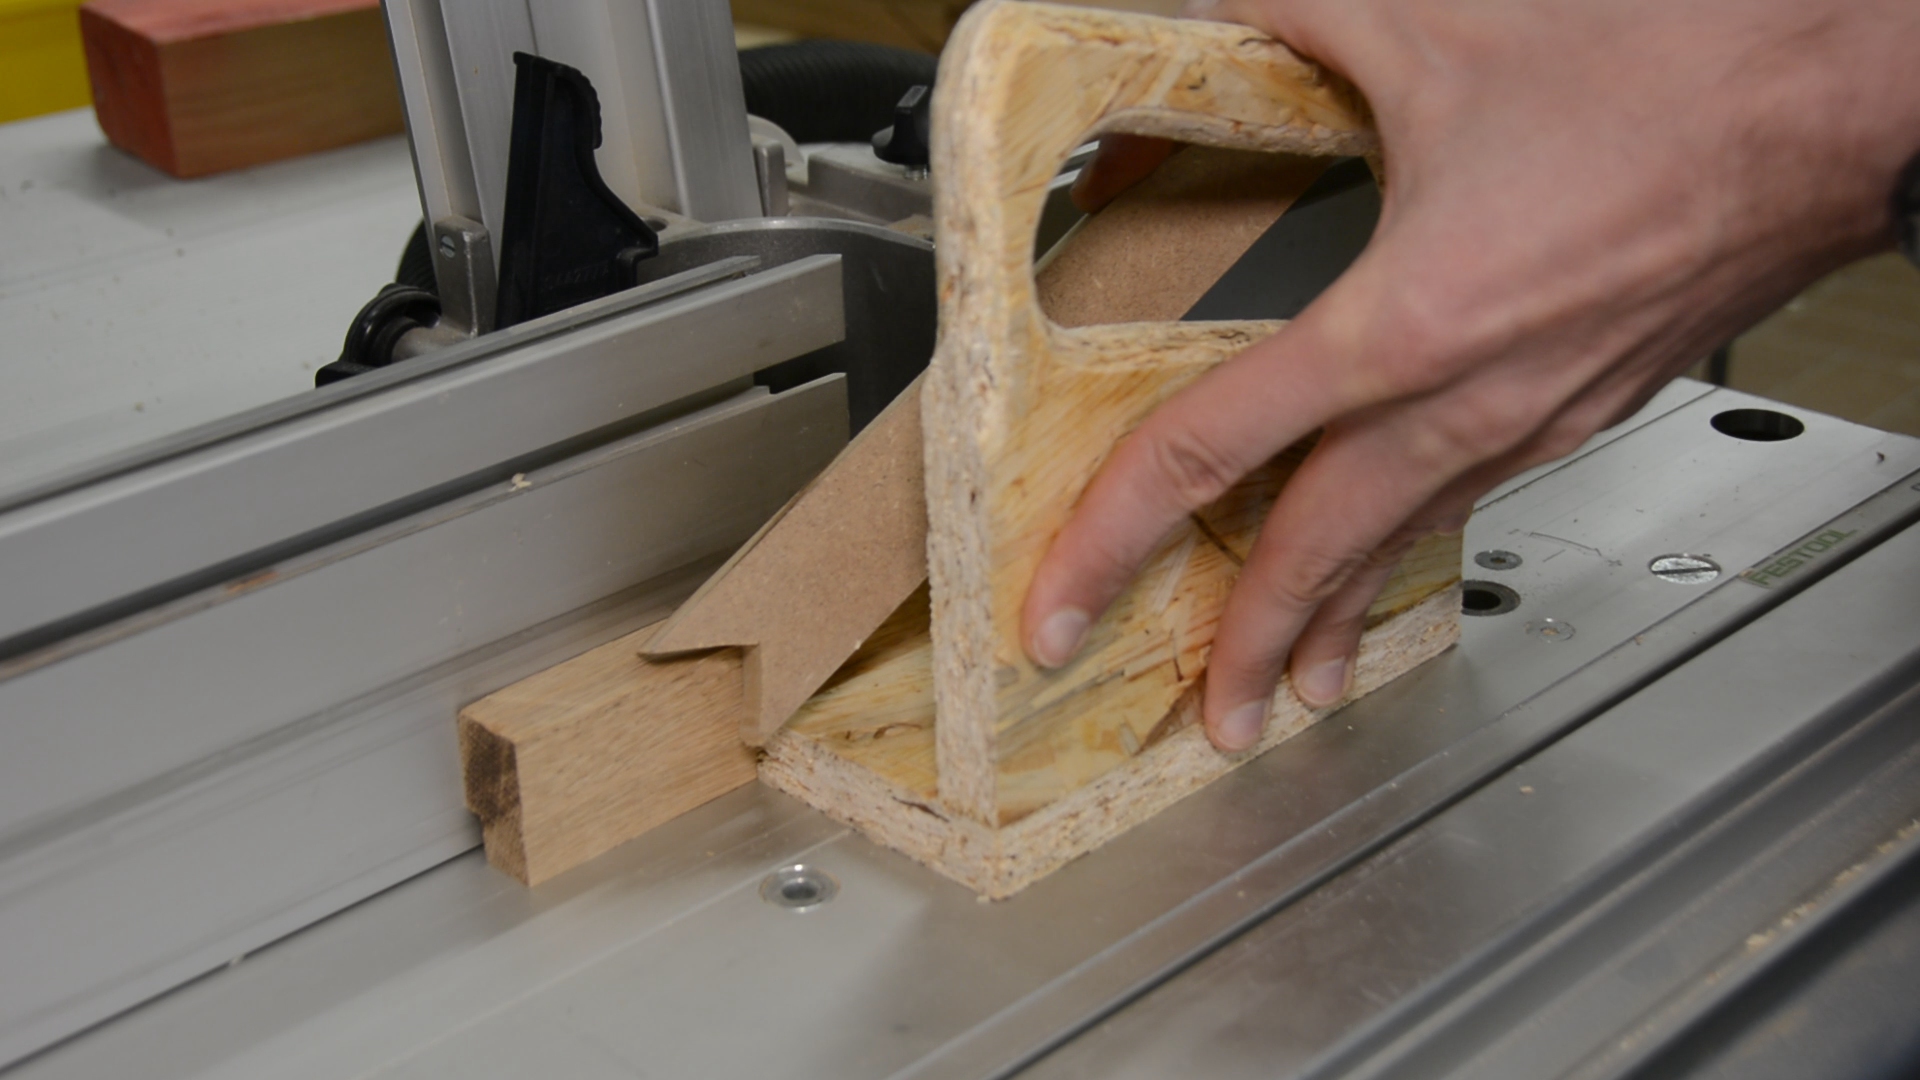
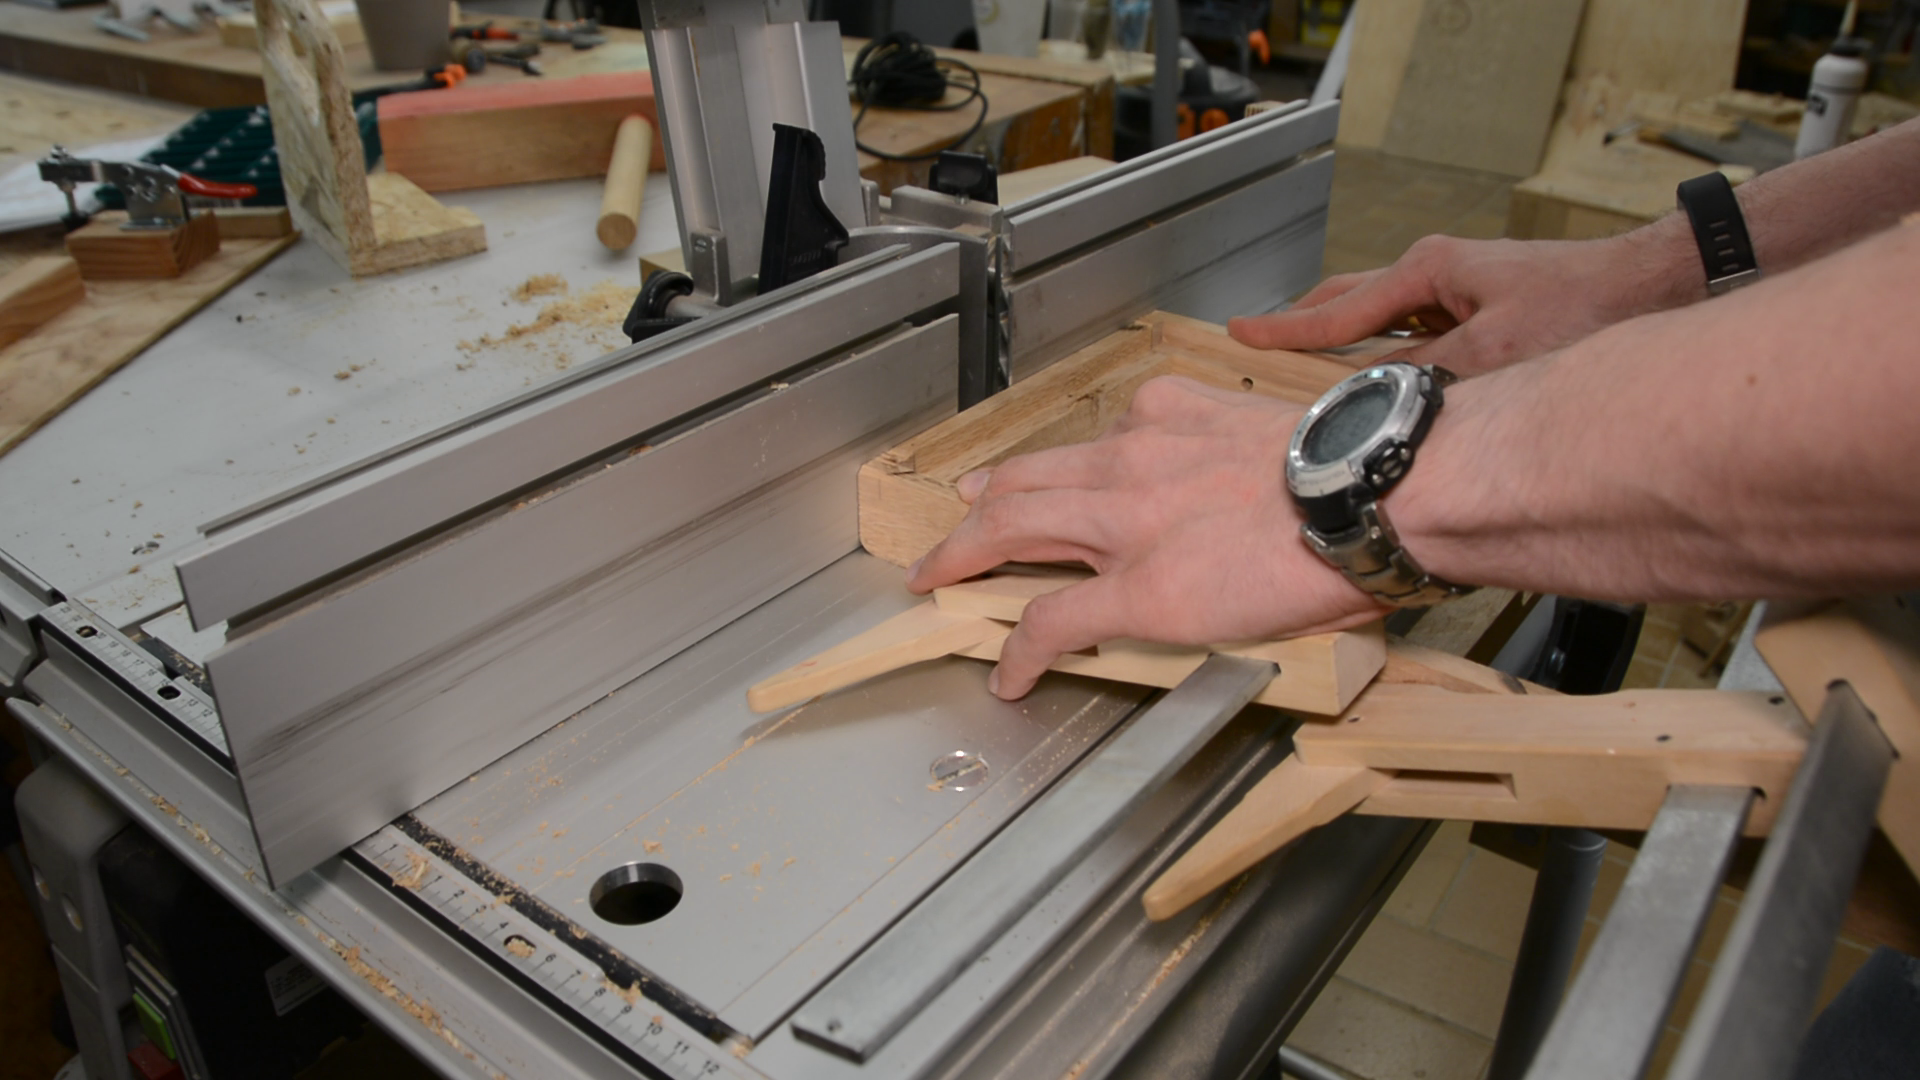
For the smaller pieces that get a through cut I use this simple jig that allows me to press the piece against the fence and at the same time push it forward.
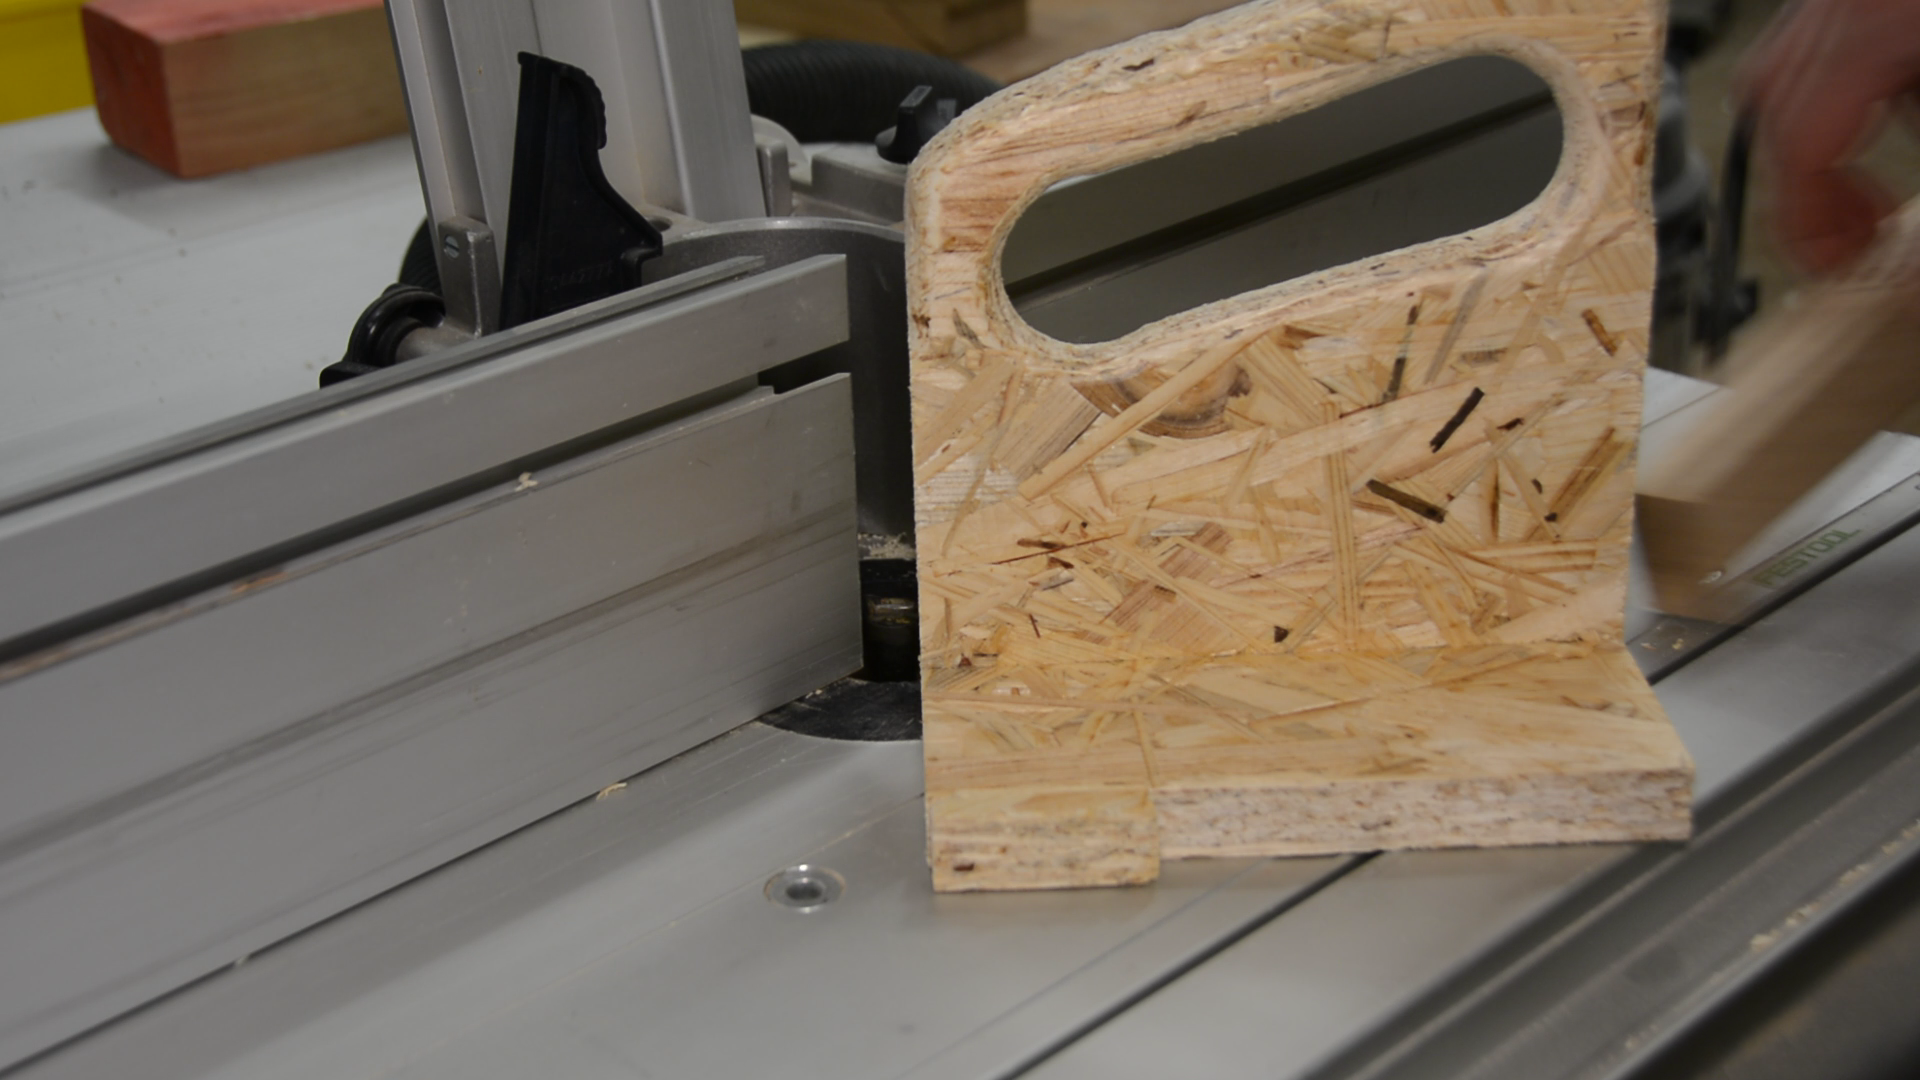
For additional downward pressure I use a strip with a V cut.
The stop groove is a bit more difficult. To hold the piece in a safe way we glue a few scrap pieces on a thin piece of ply and screw on two toggle clamps.
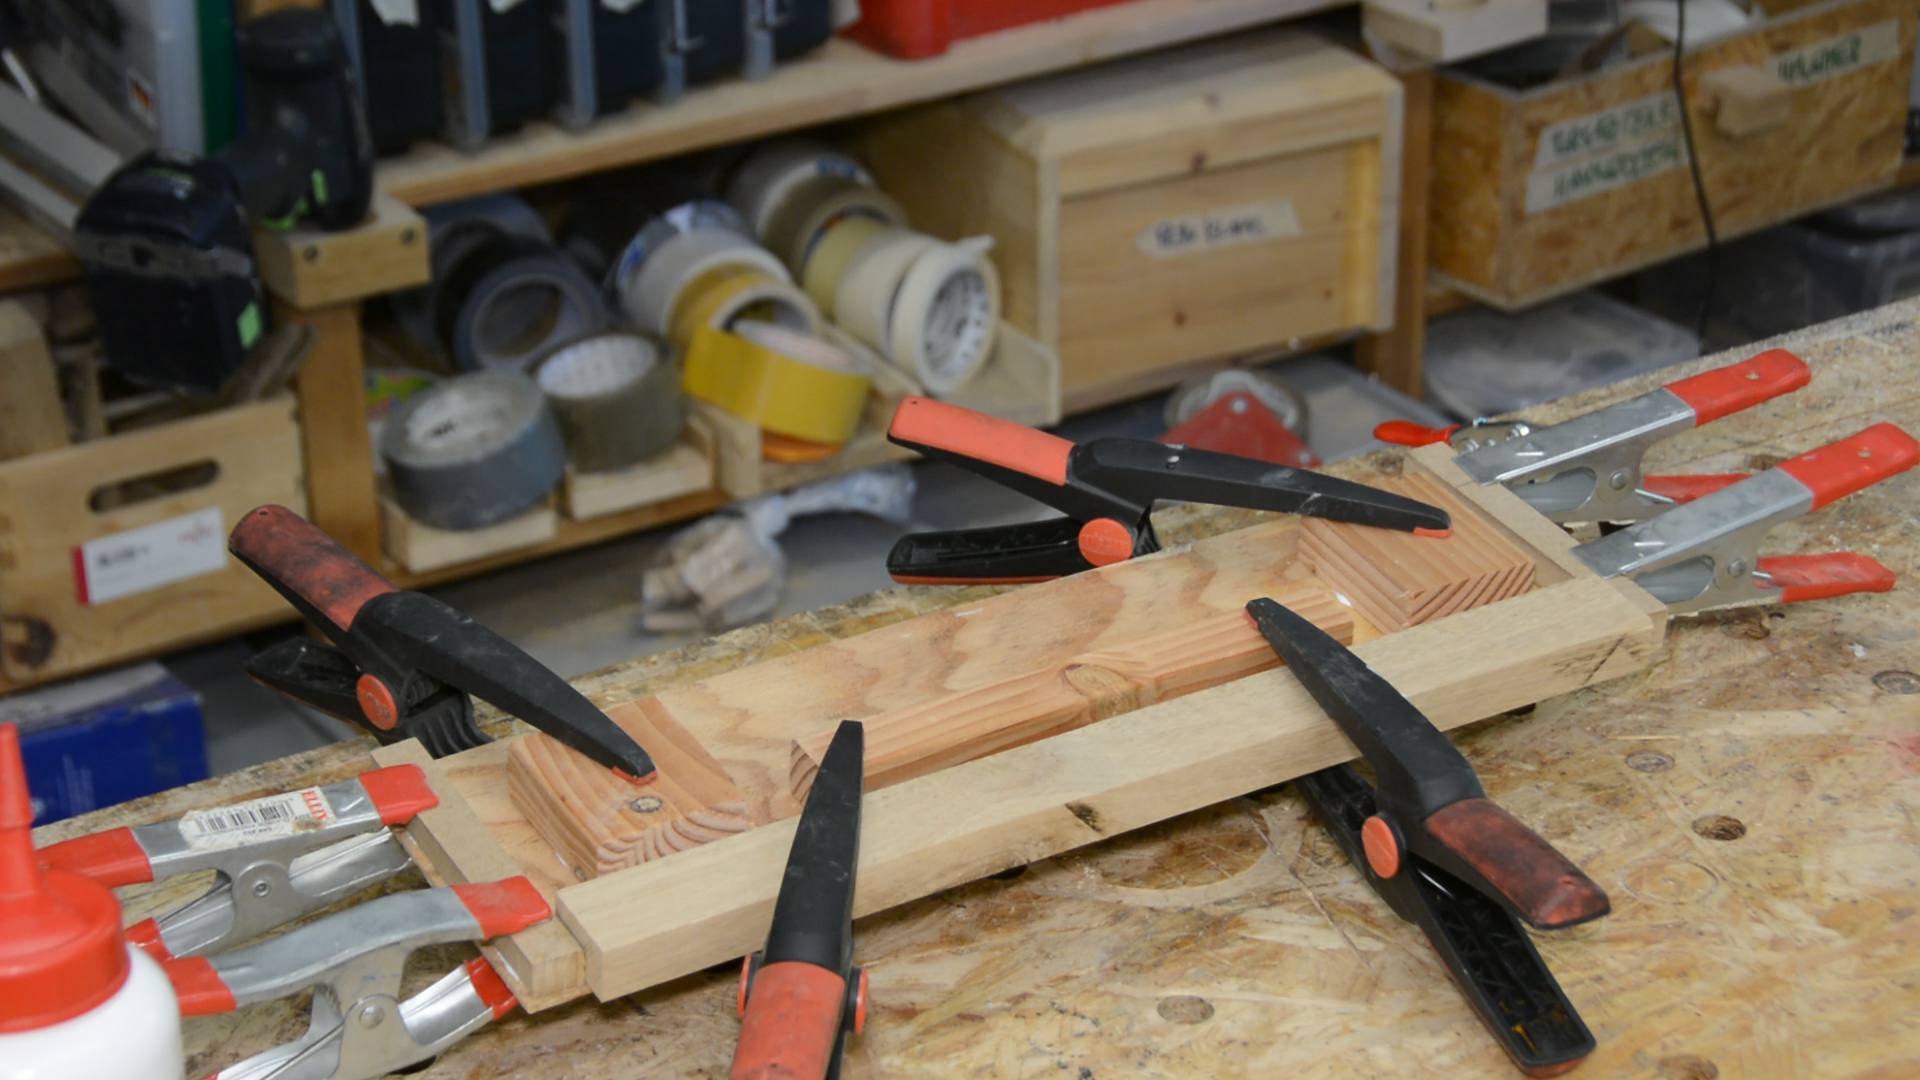
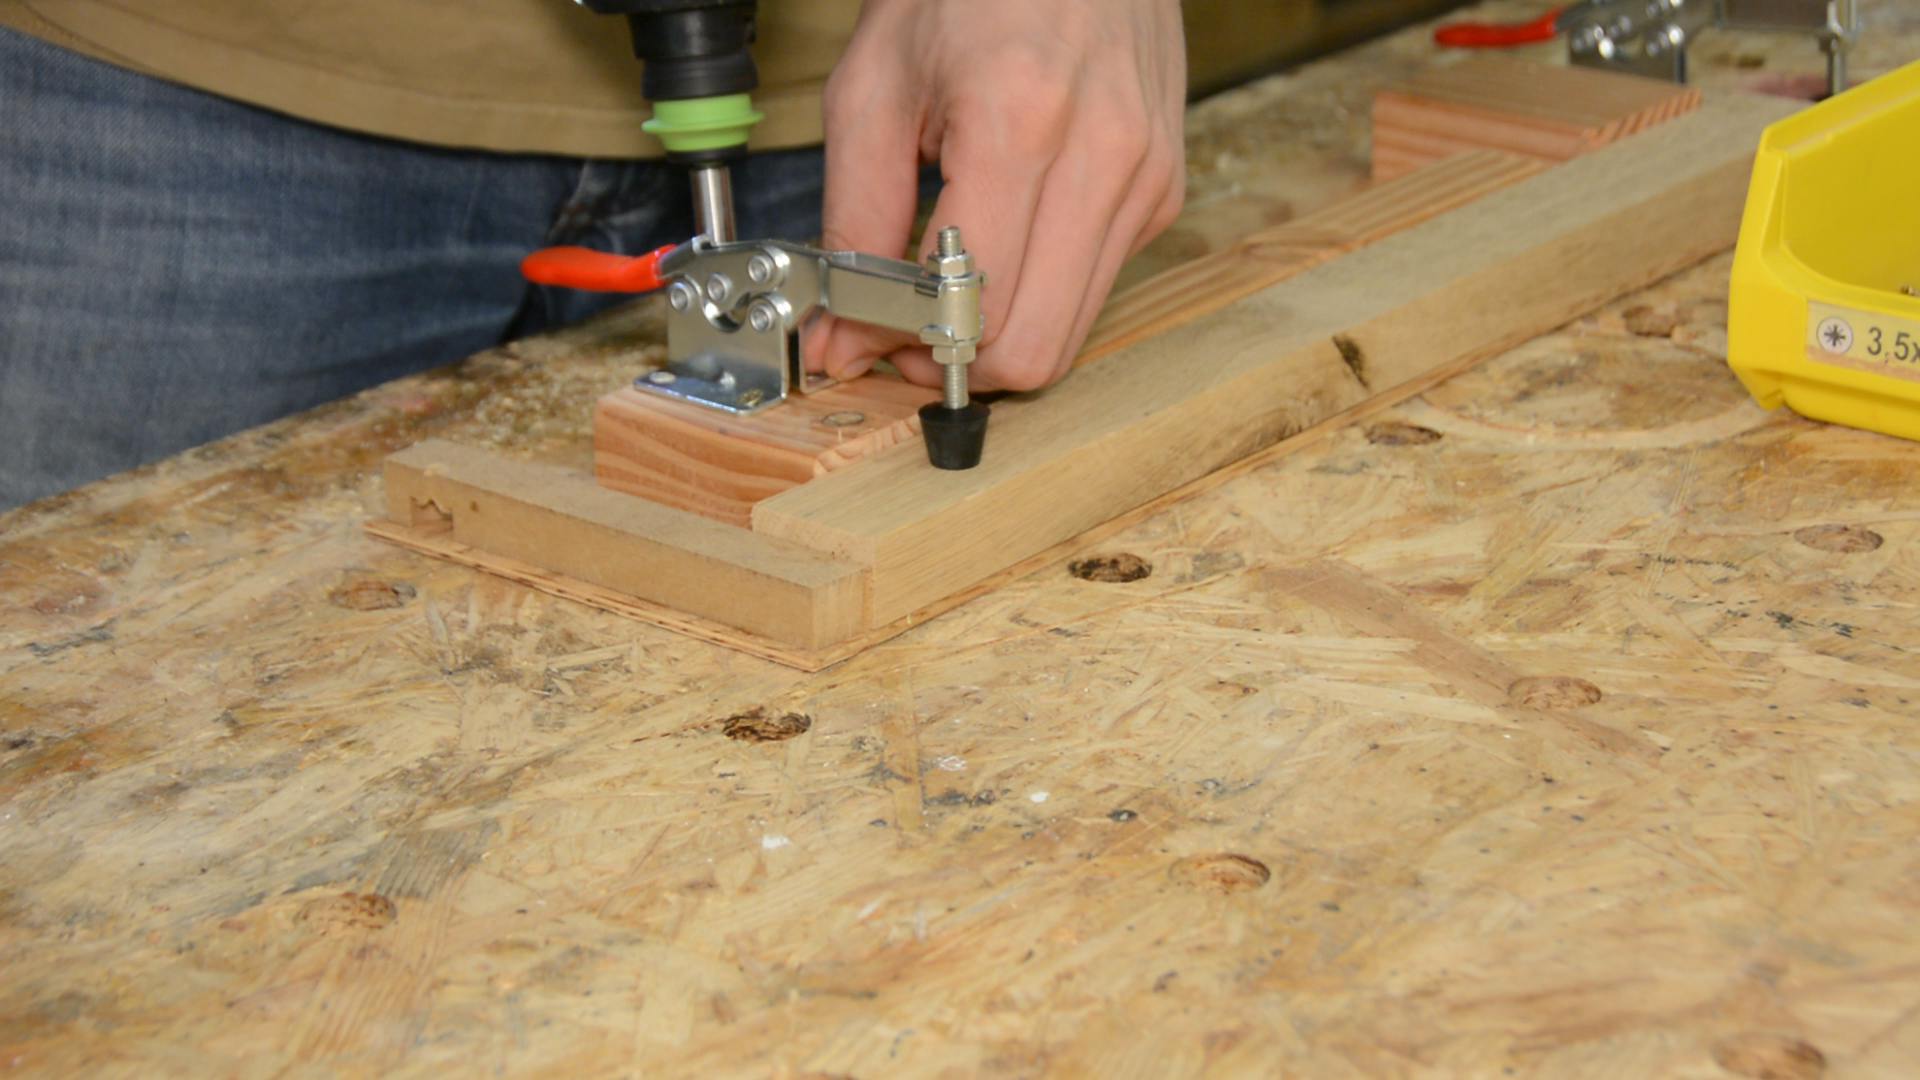
With this contraction it is easy and safe to route the stop grooves.

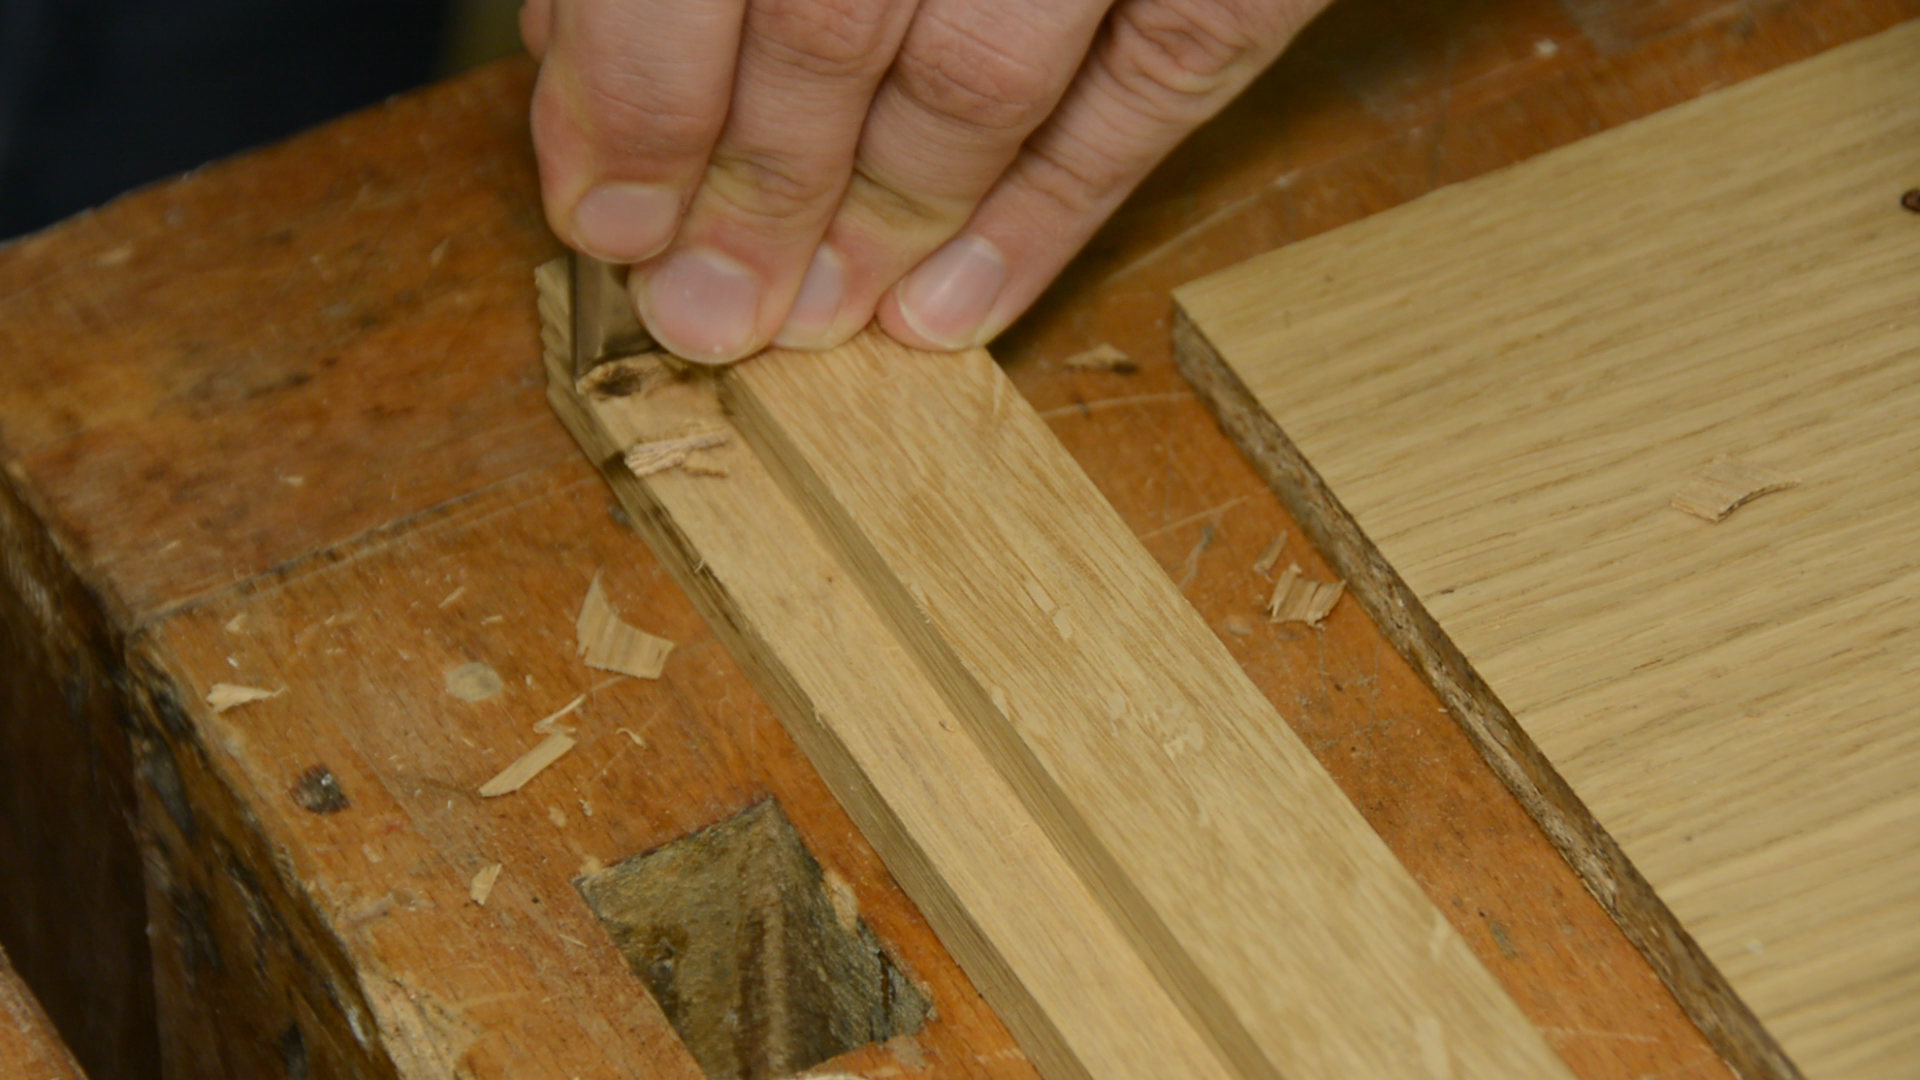
The corners are cleaned up with a sharp chisel.
Joinery on the frame
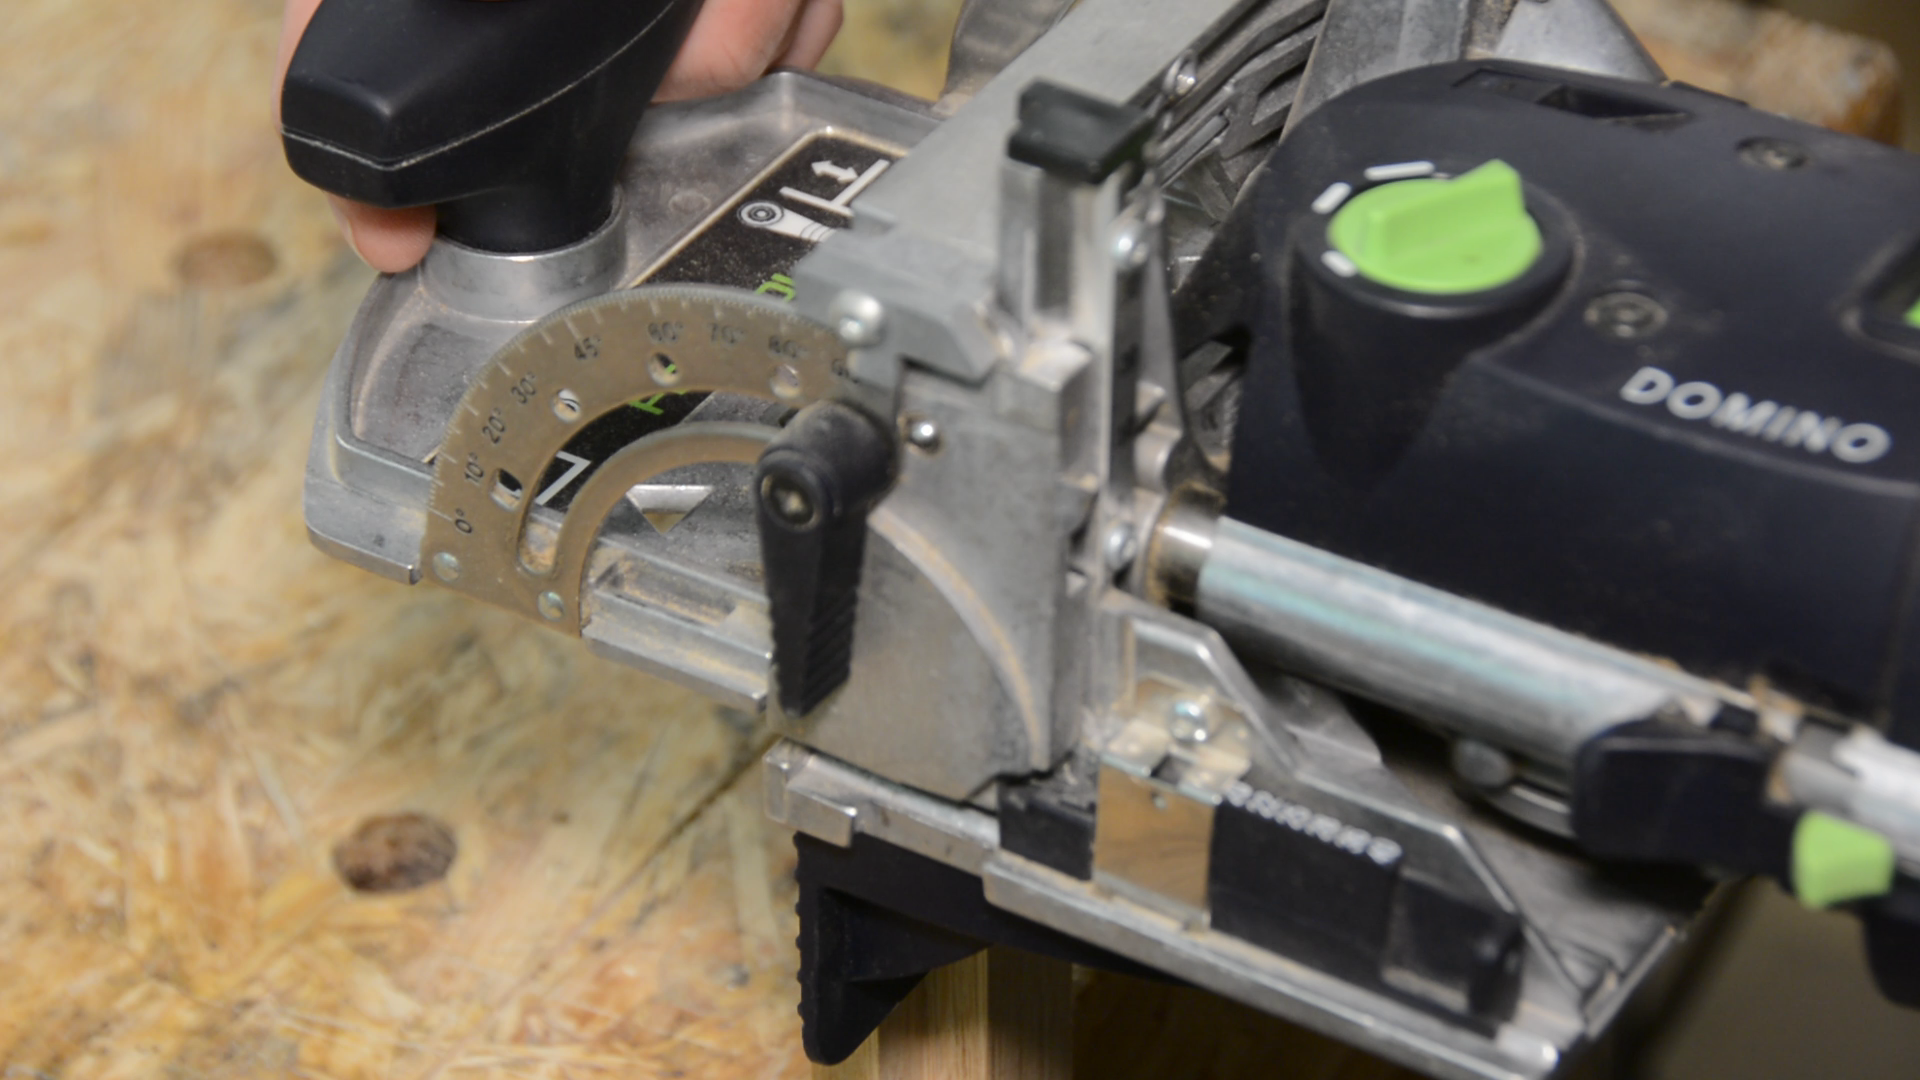
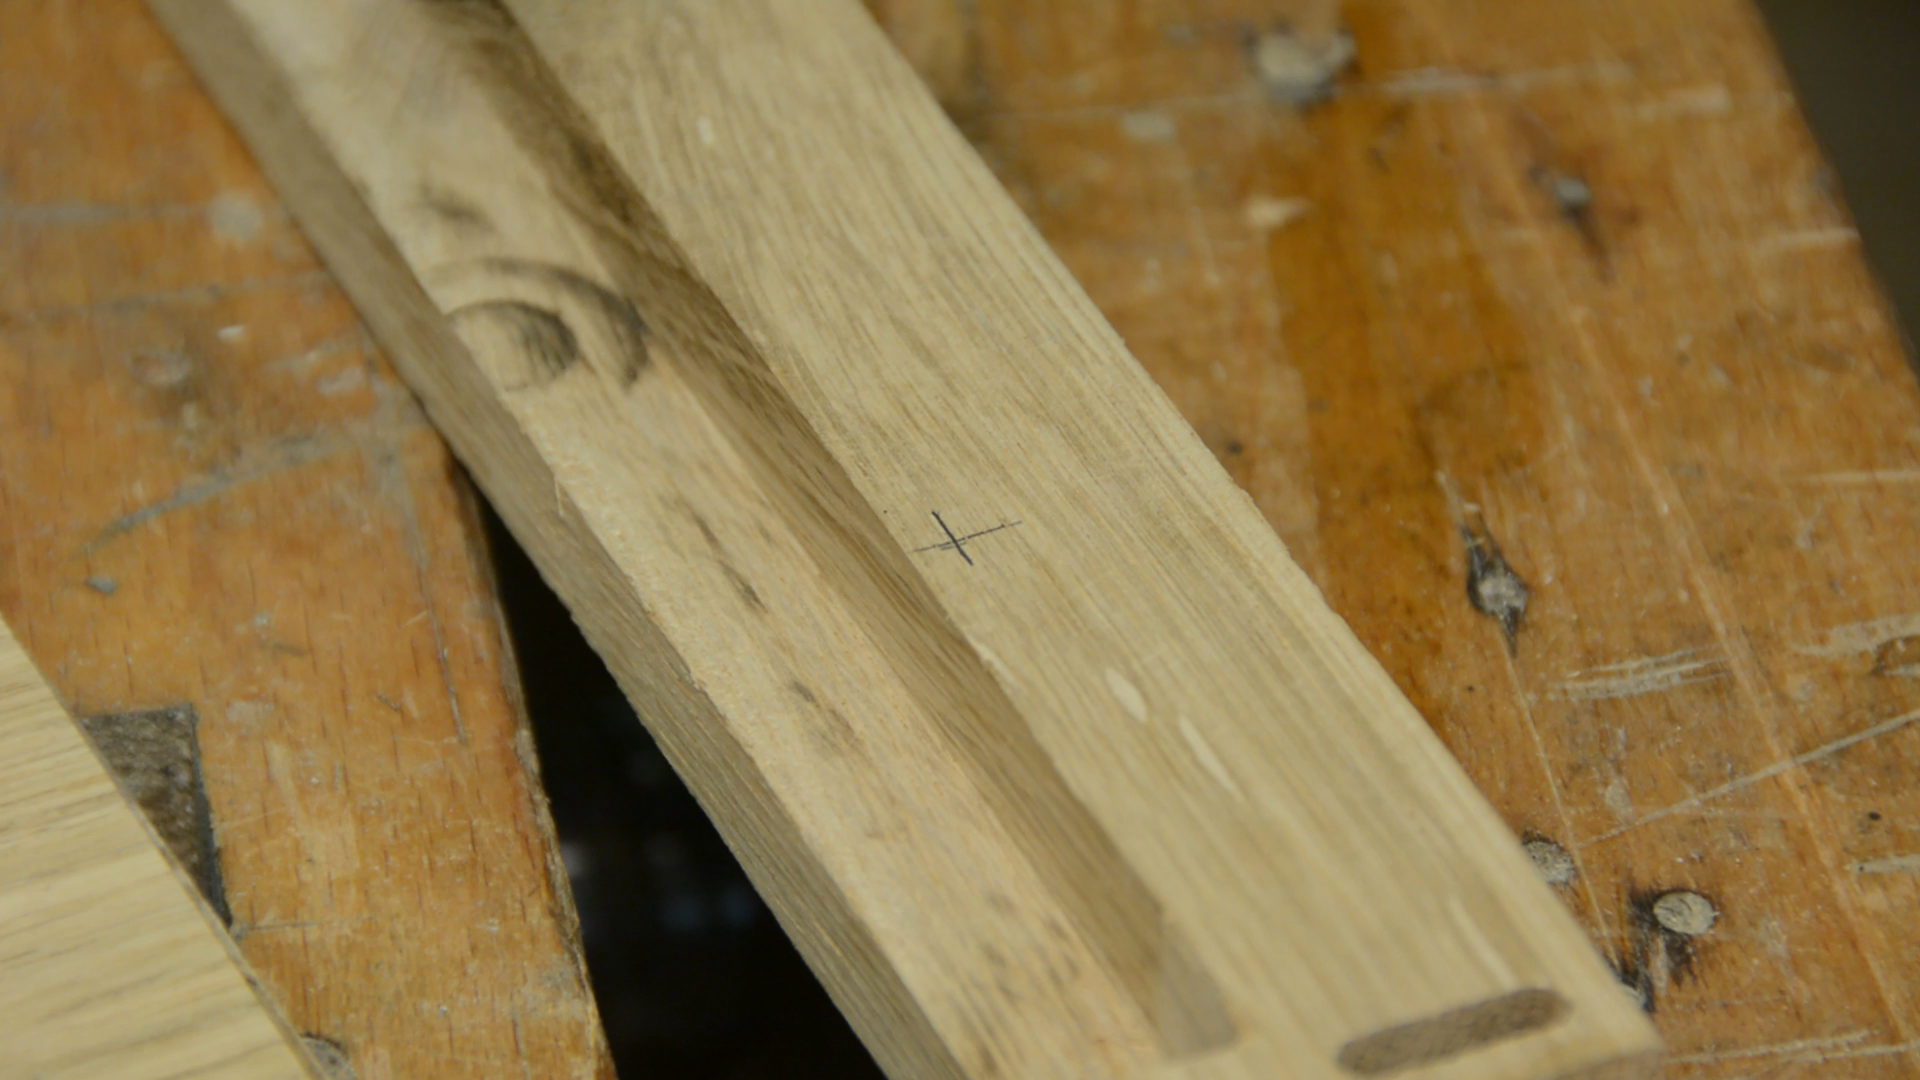
The frame itself is connected by dominos.
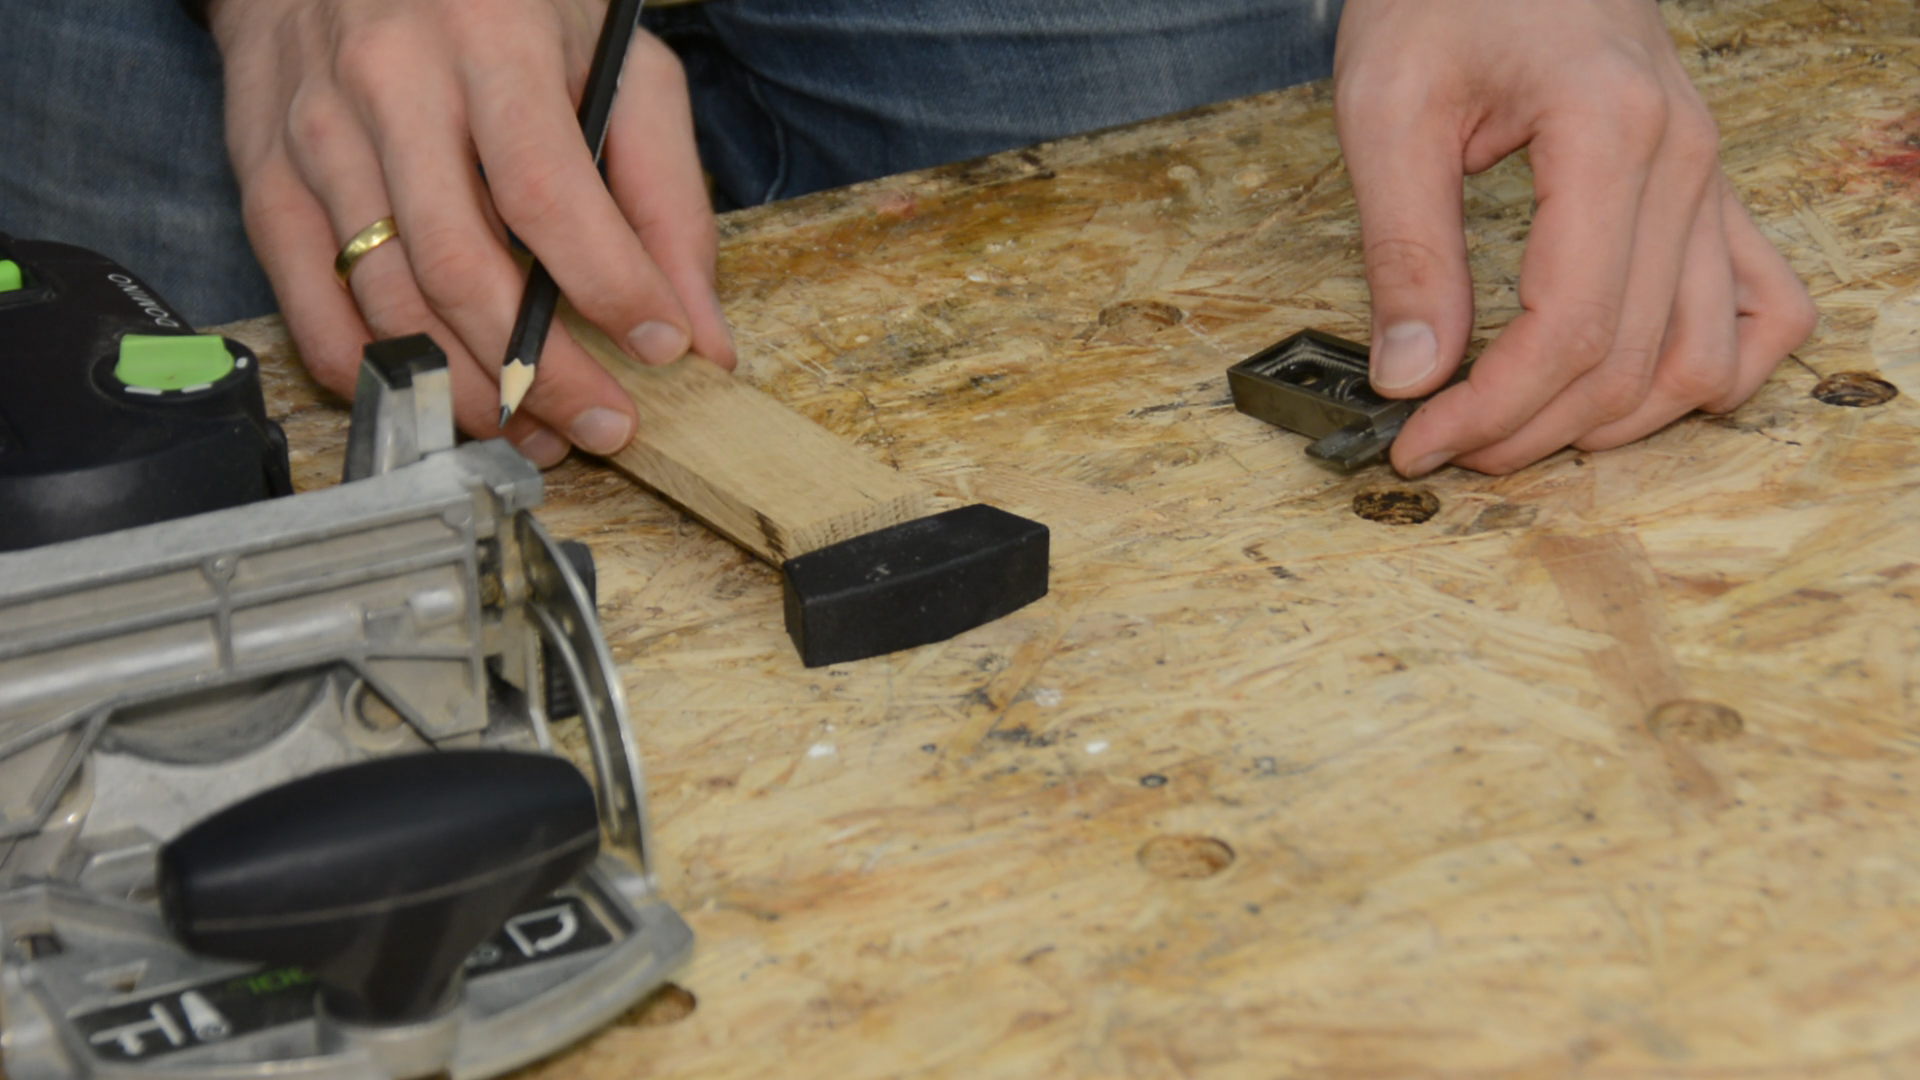
If you don’t have a domino you can use a mode made jig for loose tenons.
I also mark the middle of the long pieces and add dominos there to connect the middle to the sides.

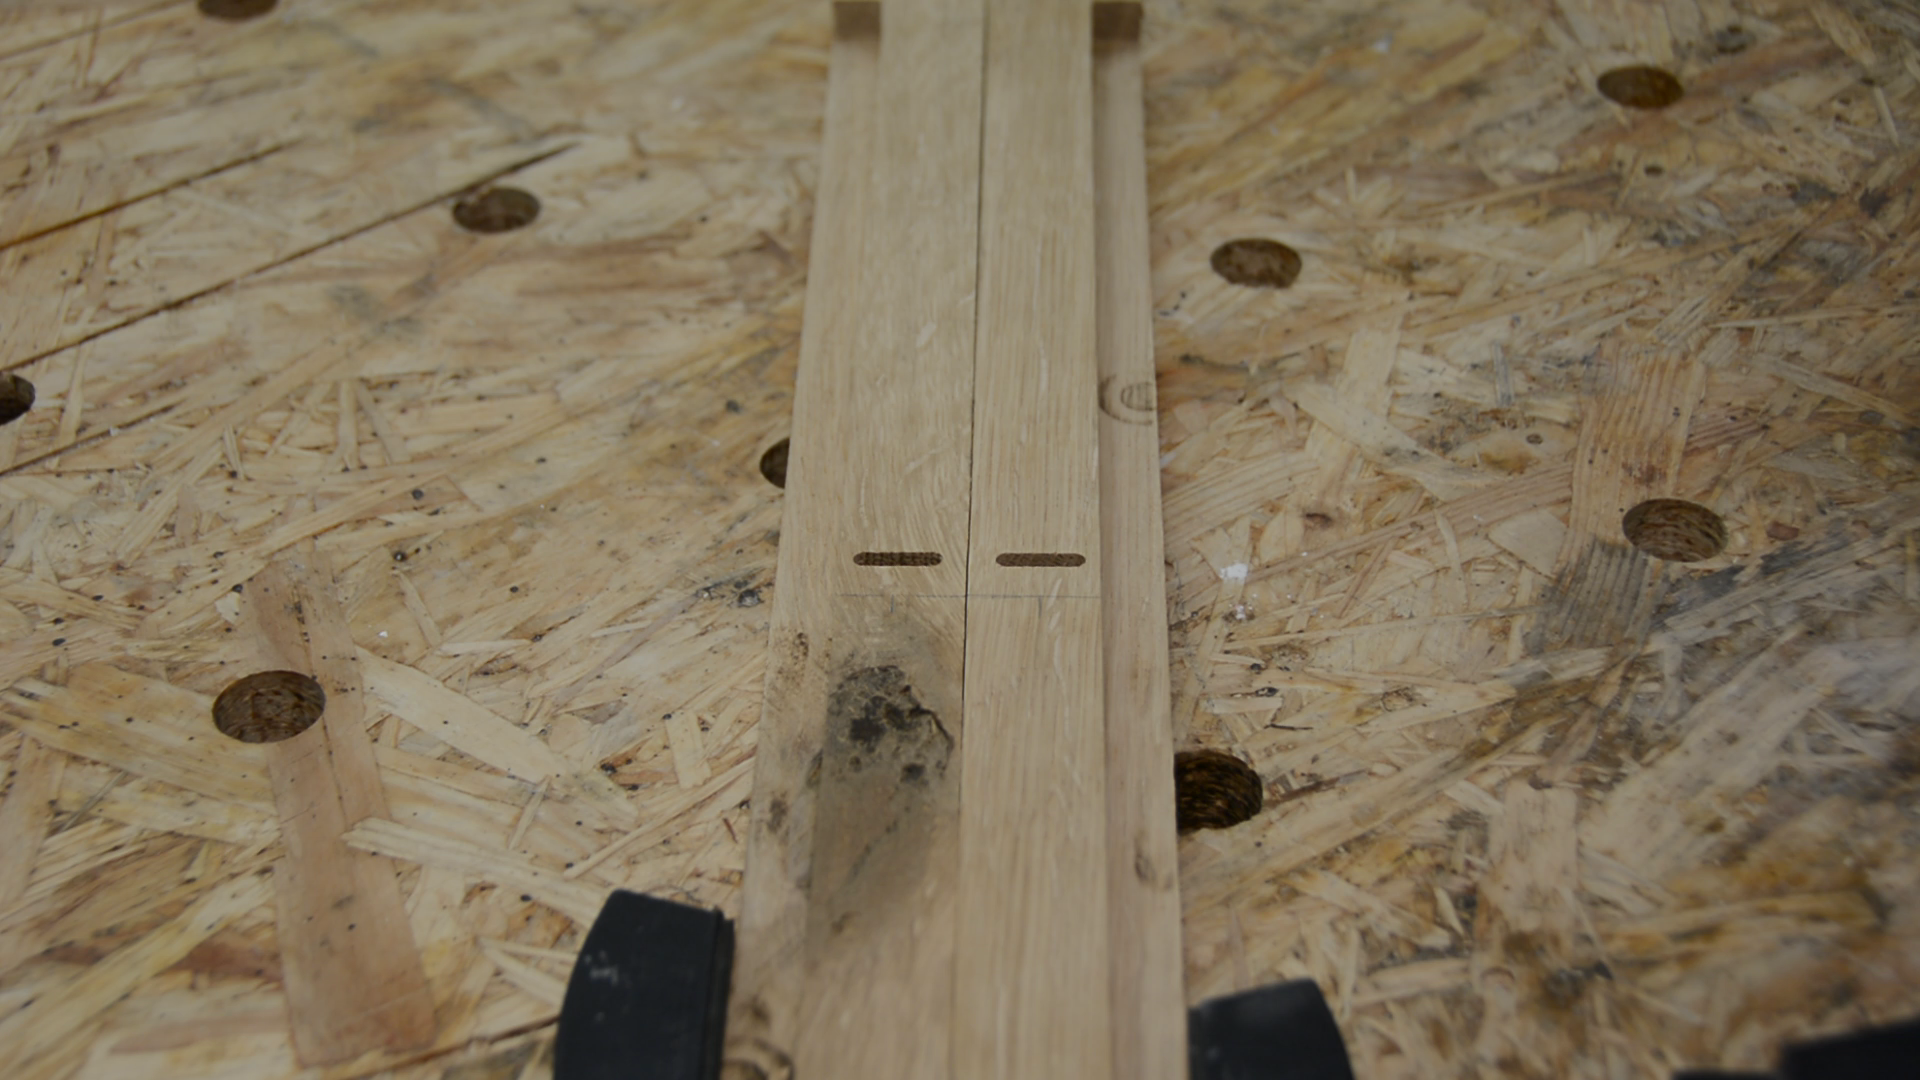
And as I have the domino router already out I also use it to establish the gap in the middle.
After routing a slot in two overlapping positions I mark the side, cut them with a Japanese pull saw and use a file to get the sides smooth and flush.
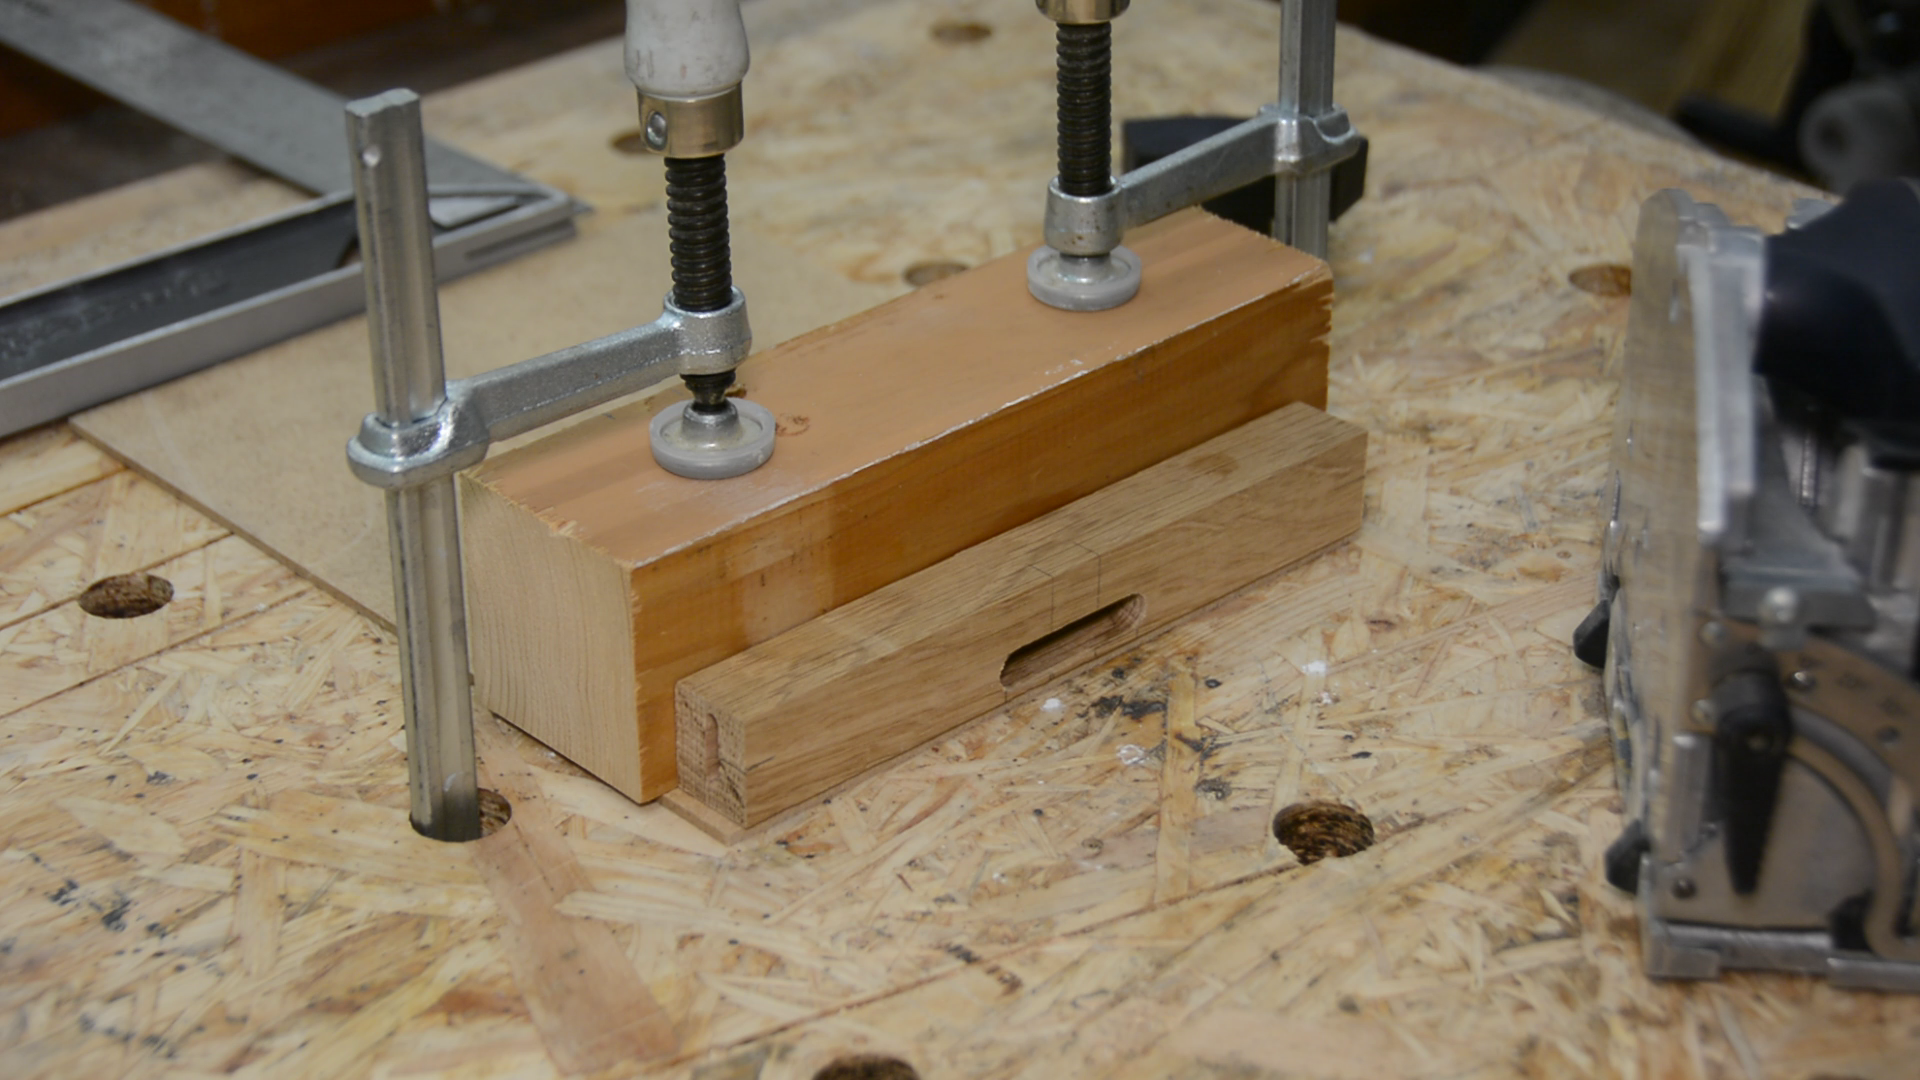
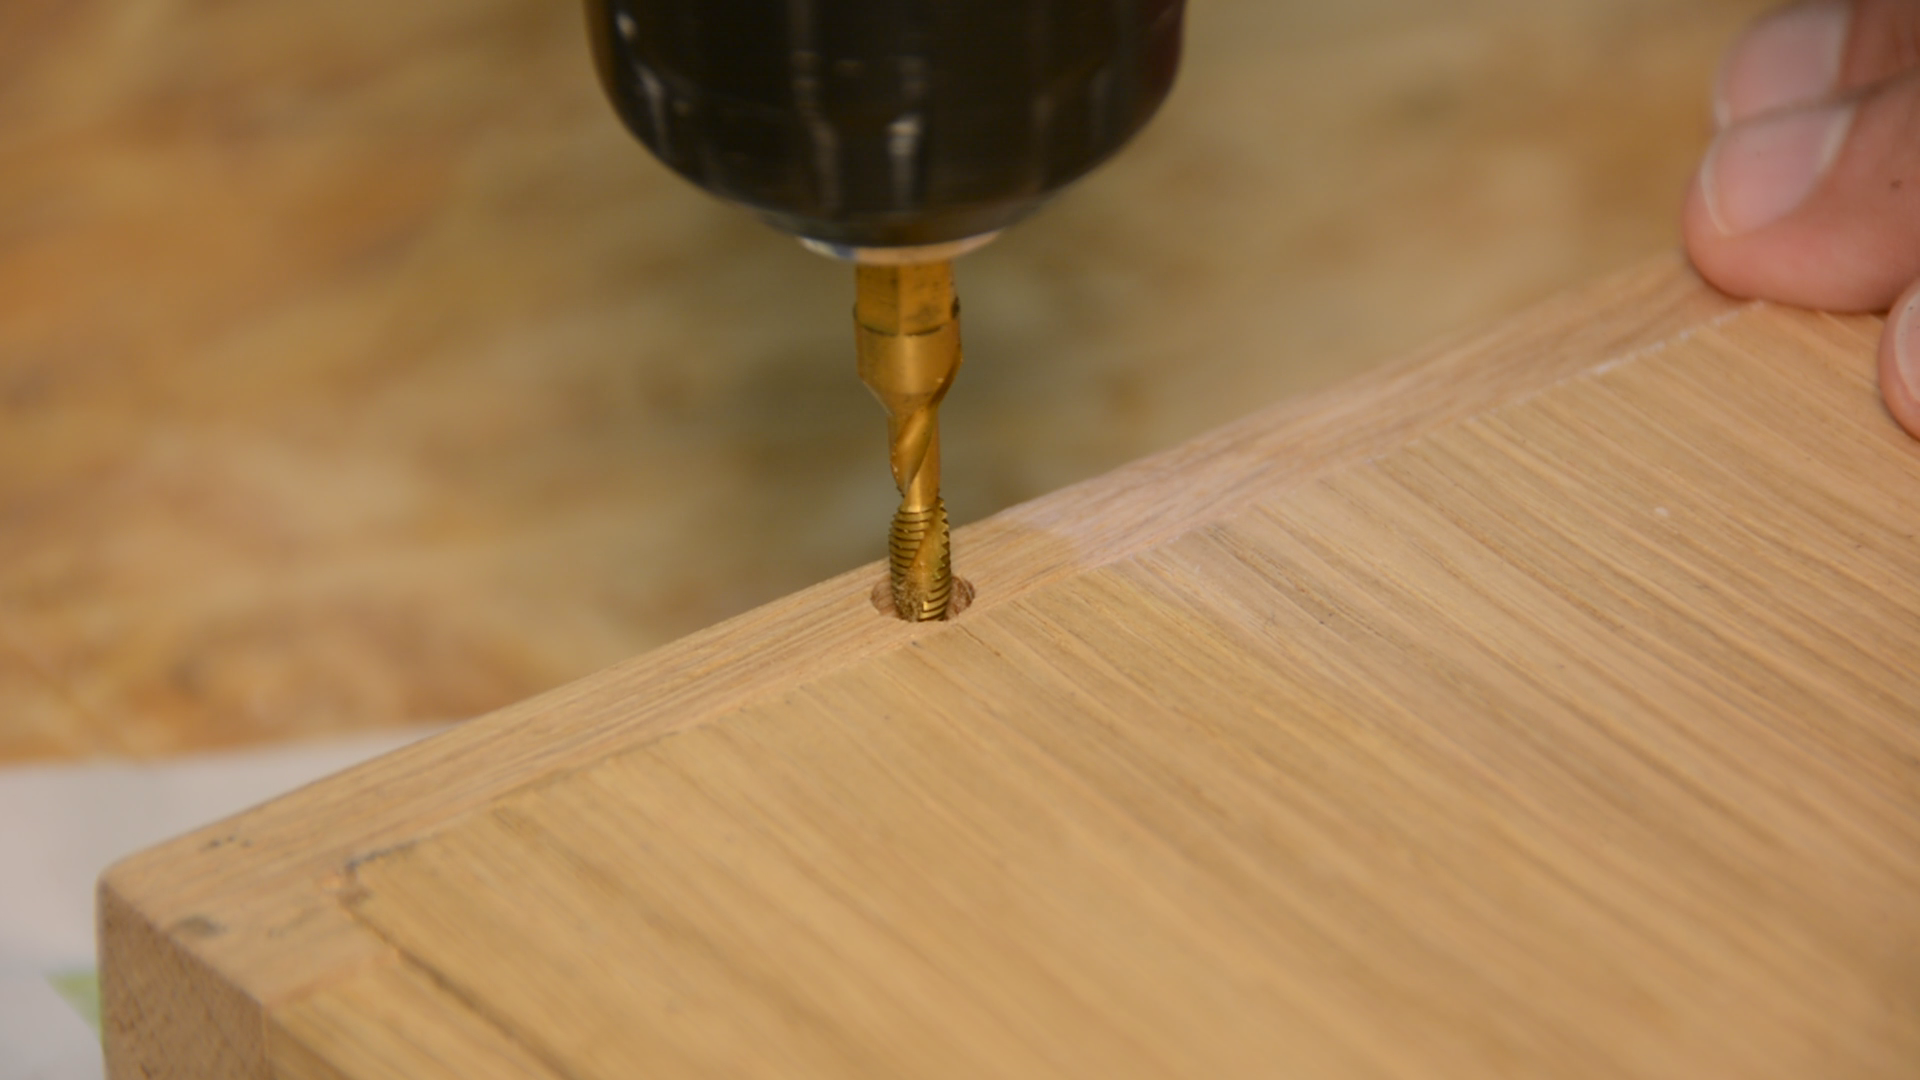
Holes for mouting the rubber band
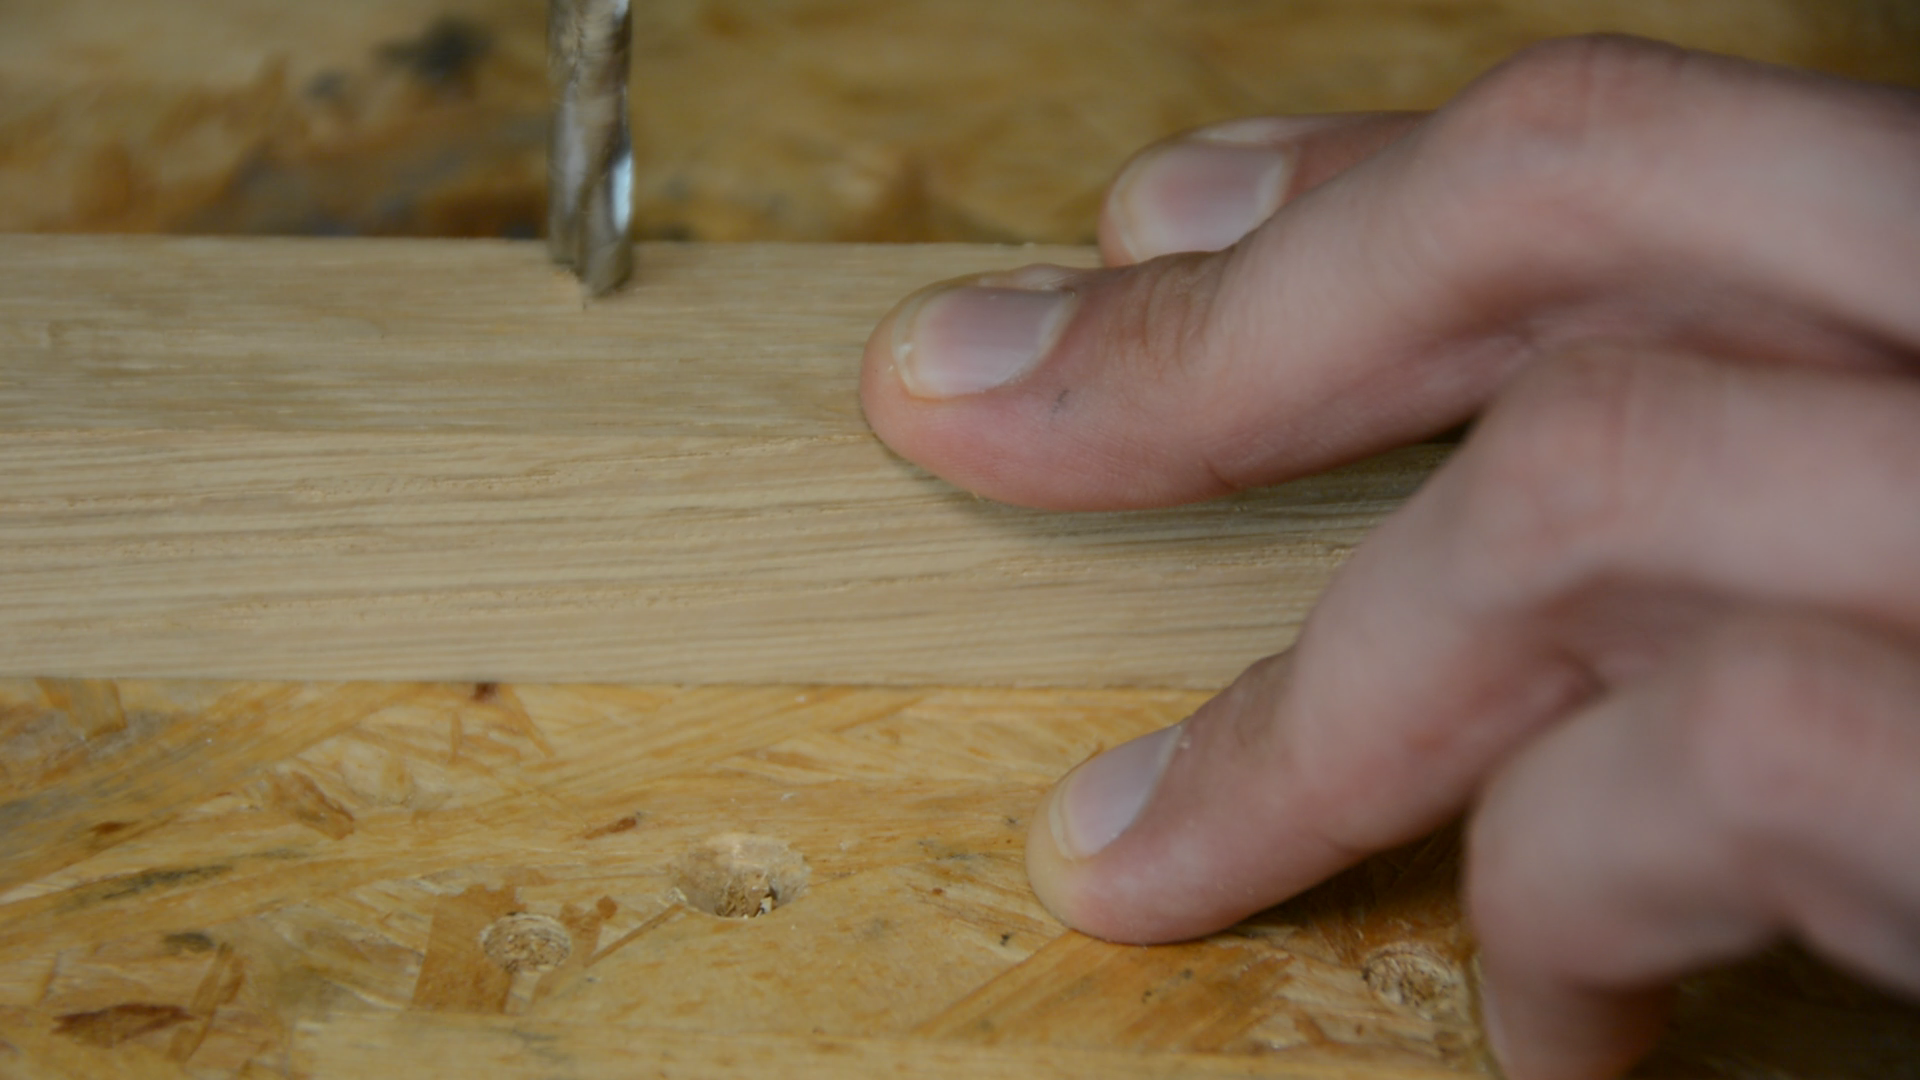
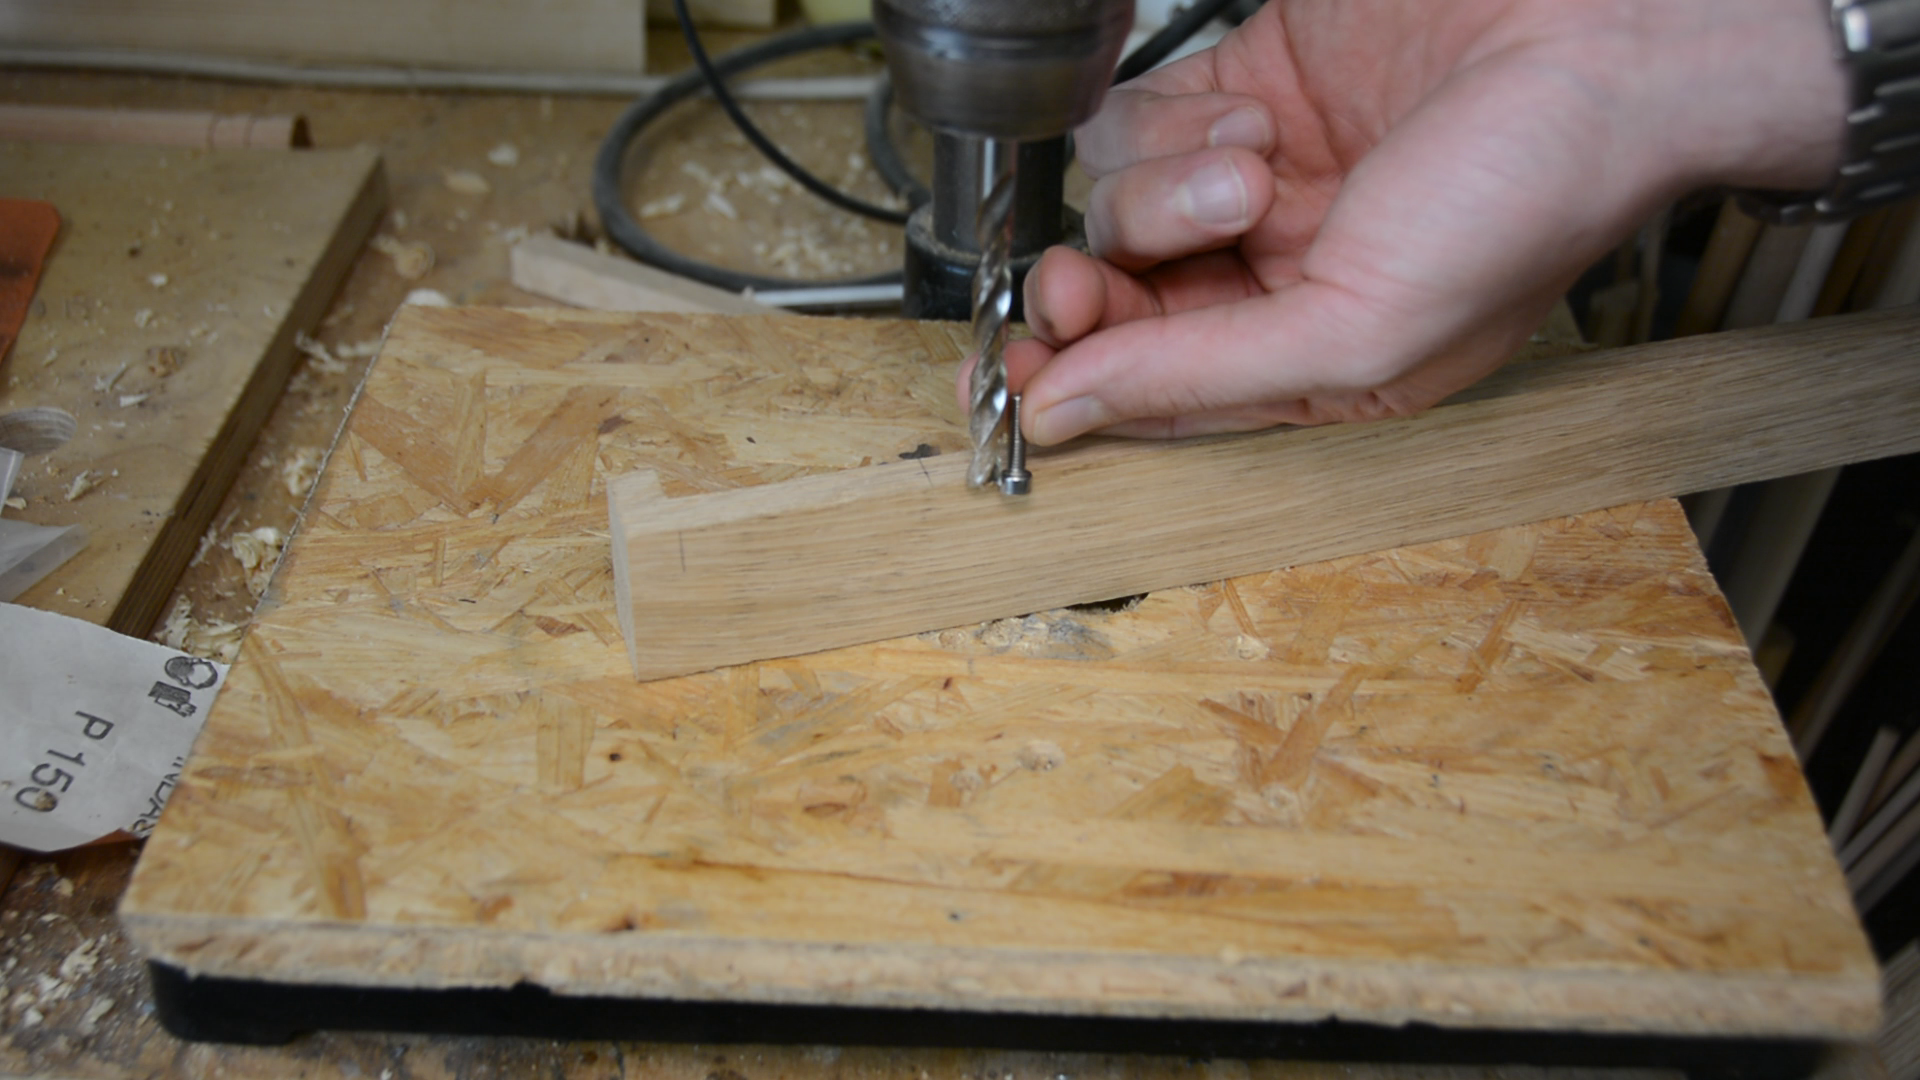
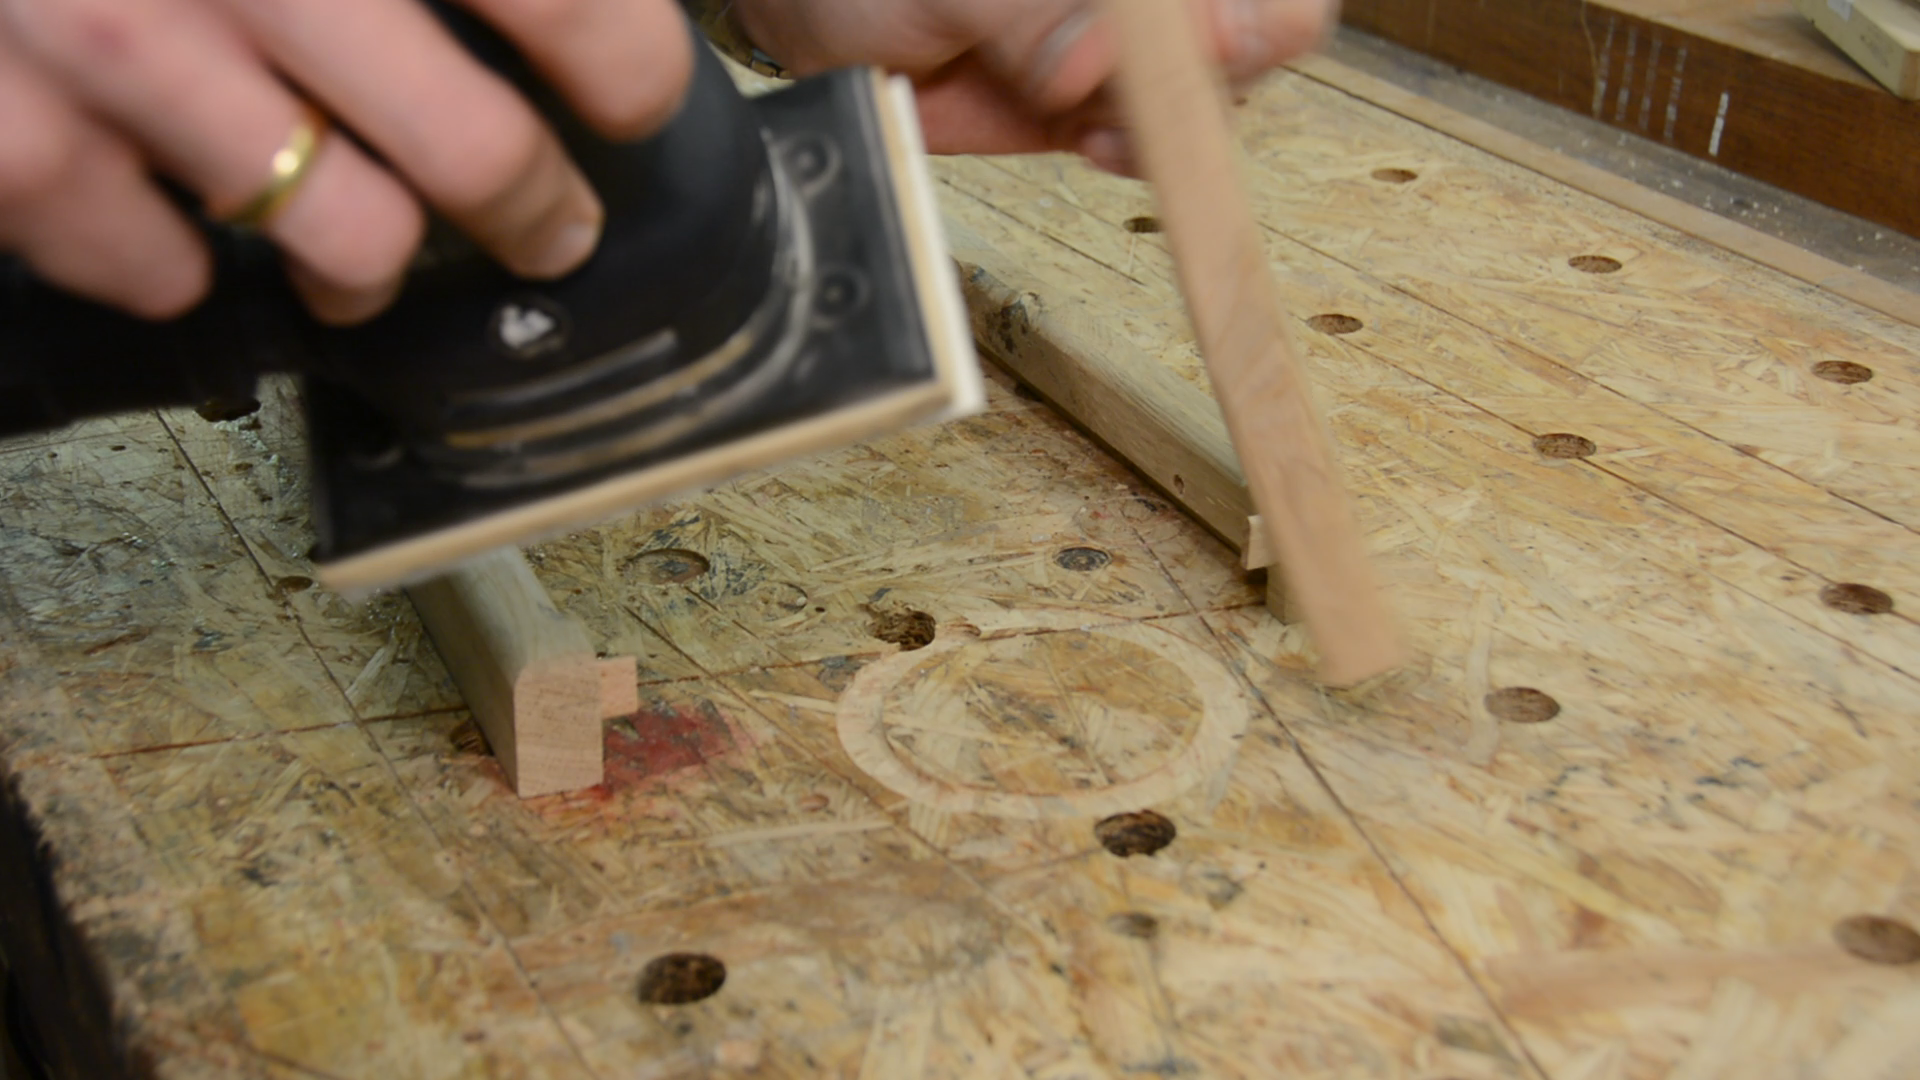
Now comes the most daunting part. I have to bore all the holes to mount a 6 mm rubber with very little margin for error.
After mocking up the setup with the rubber and two clamps I mark the holes for the rubber to go in the sides, set a depth stop on the drill press and drill a hole nearly through the entire side.

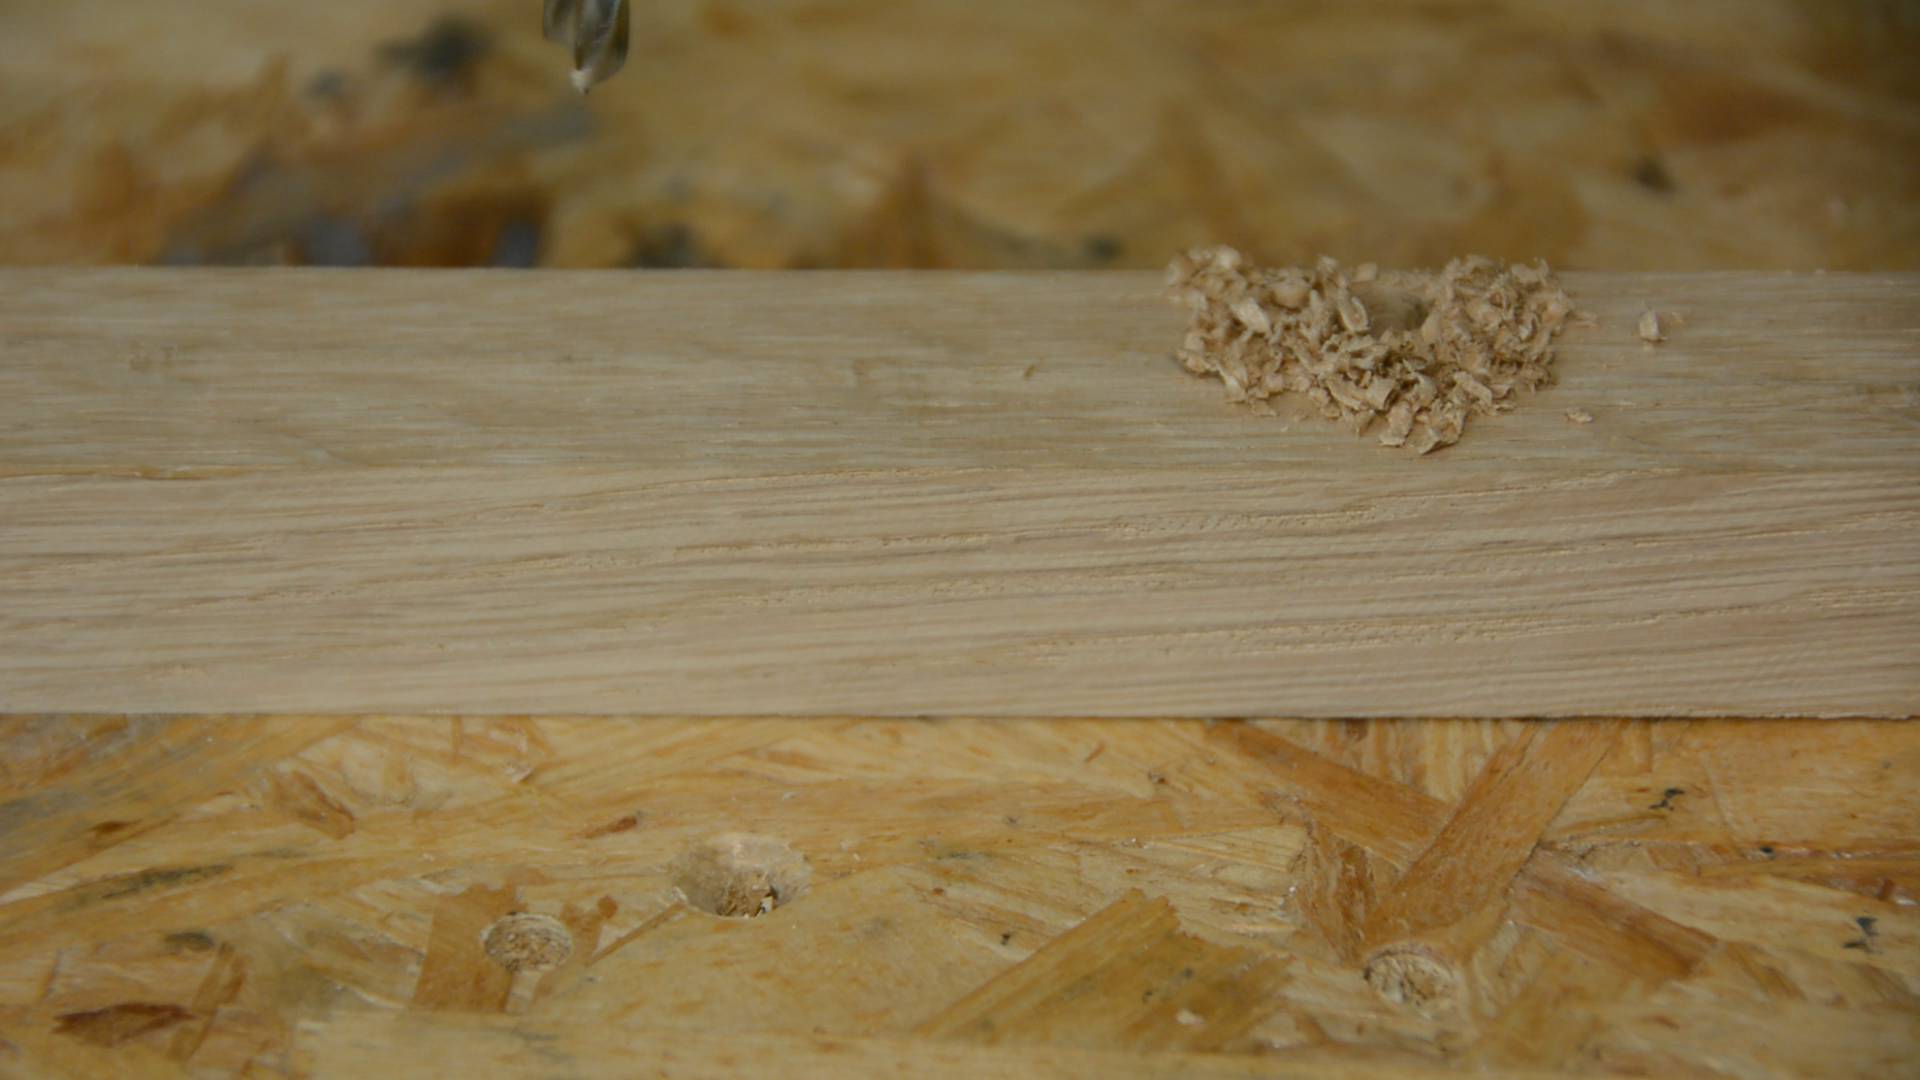
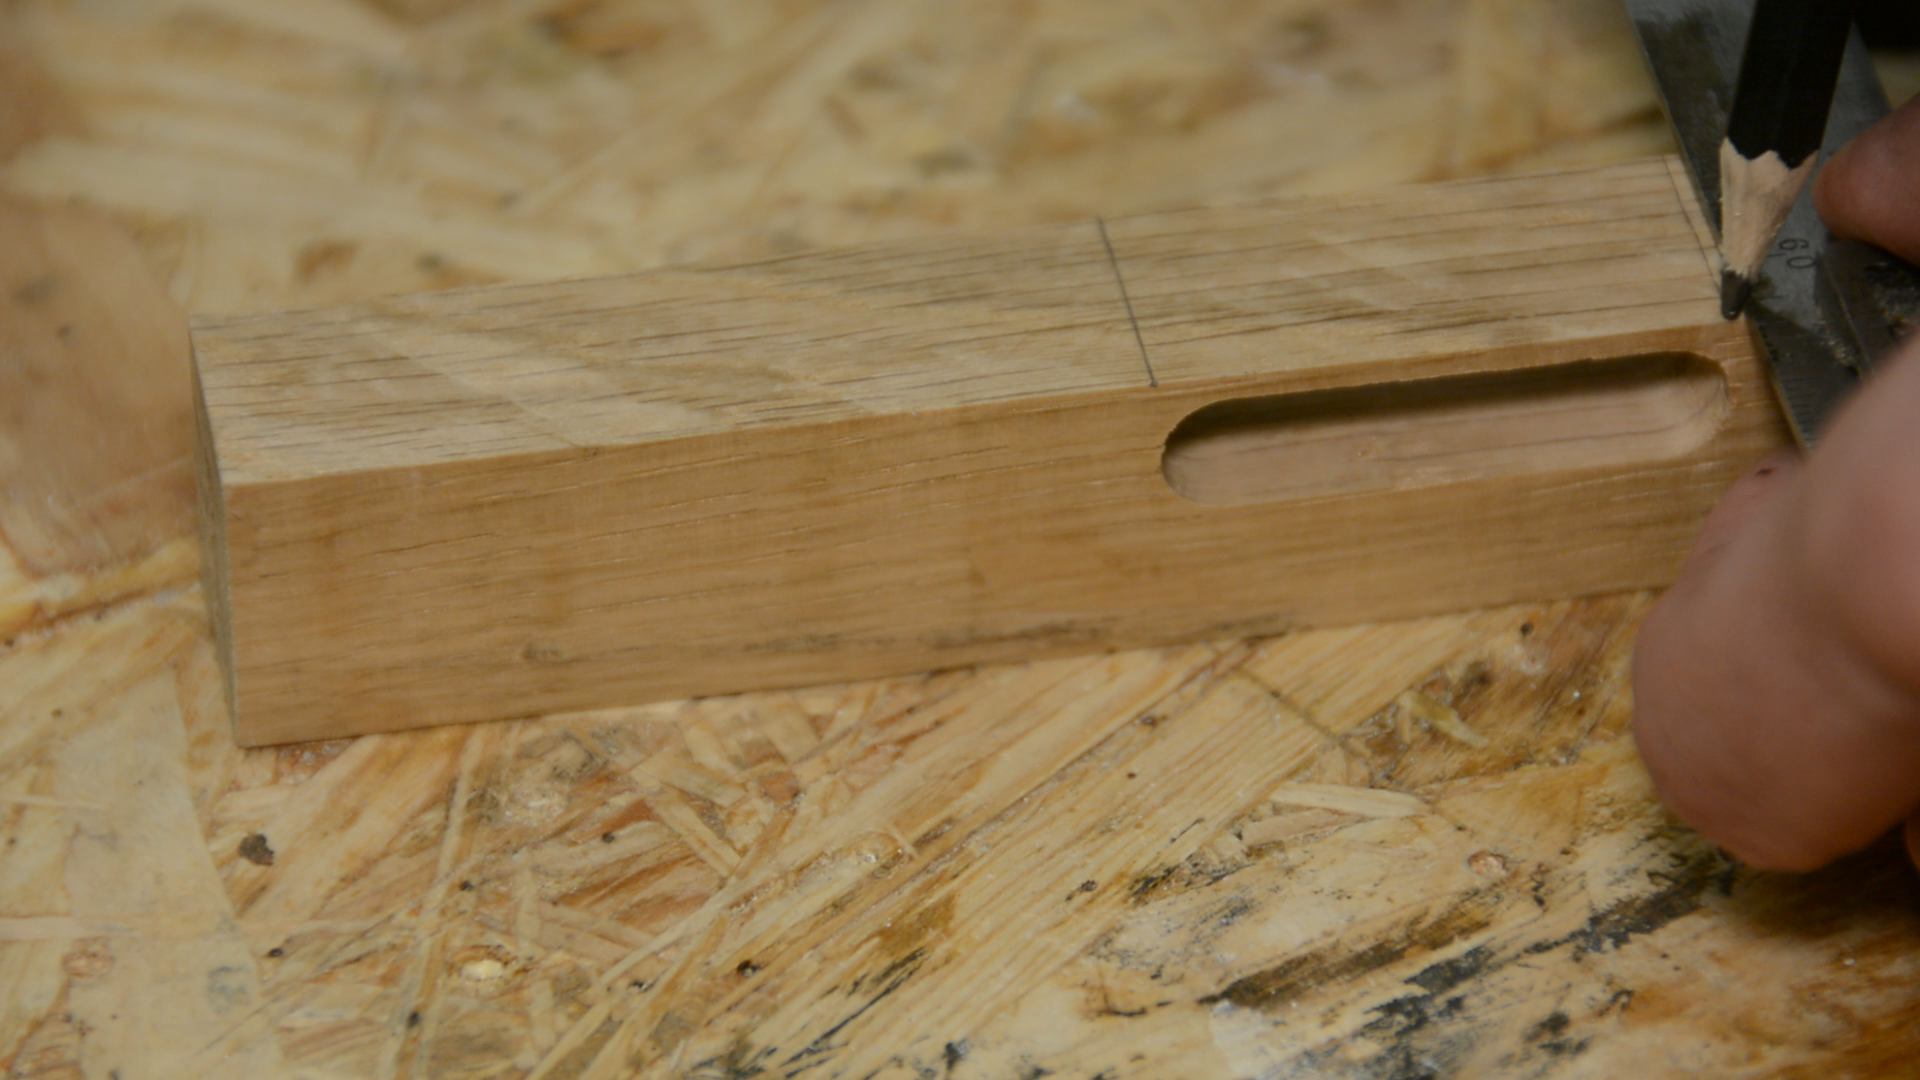
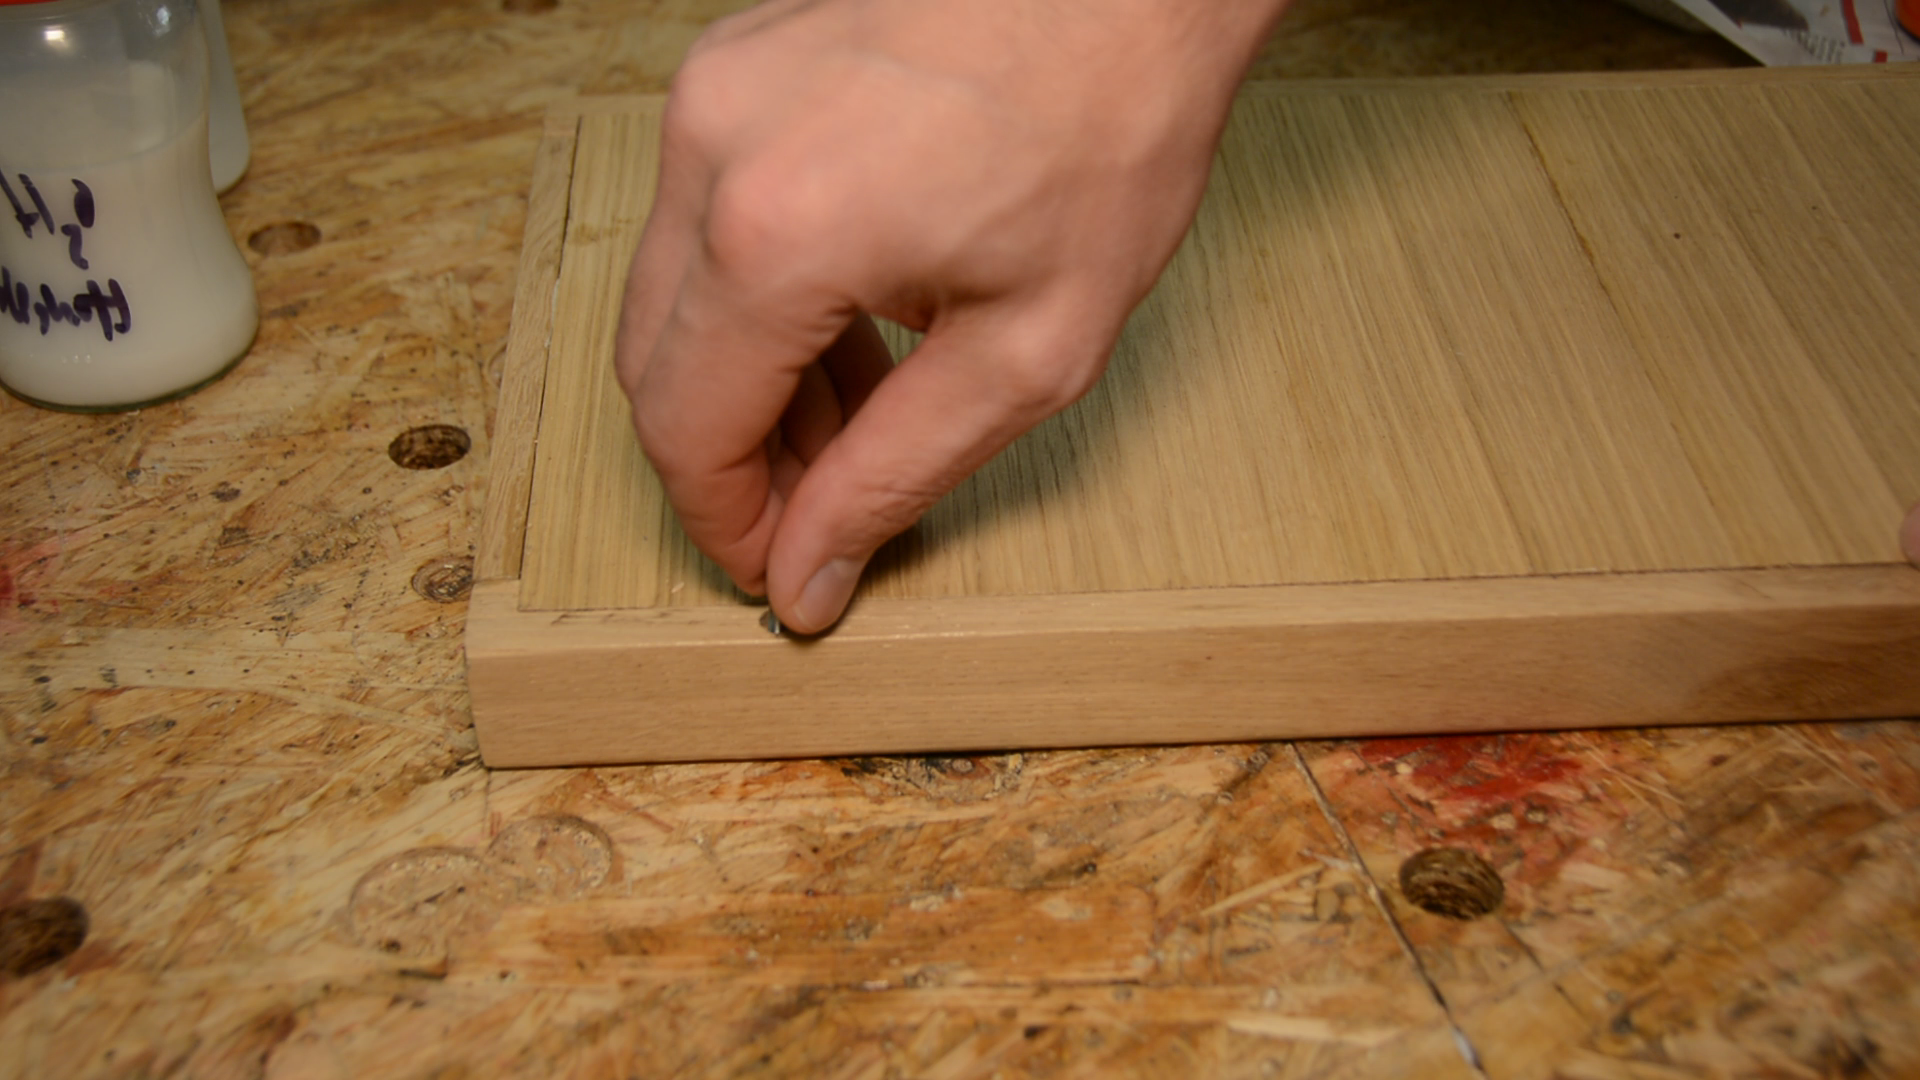
Next I mark the same distance at the bottom and drill a hole just deep and wide enough to hide the head of a M4 screw.
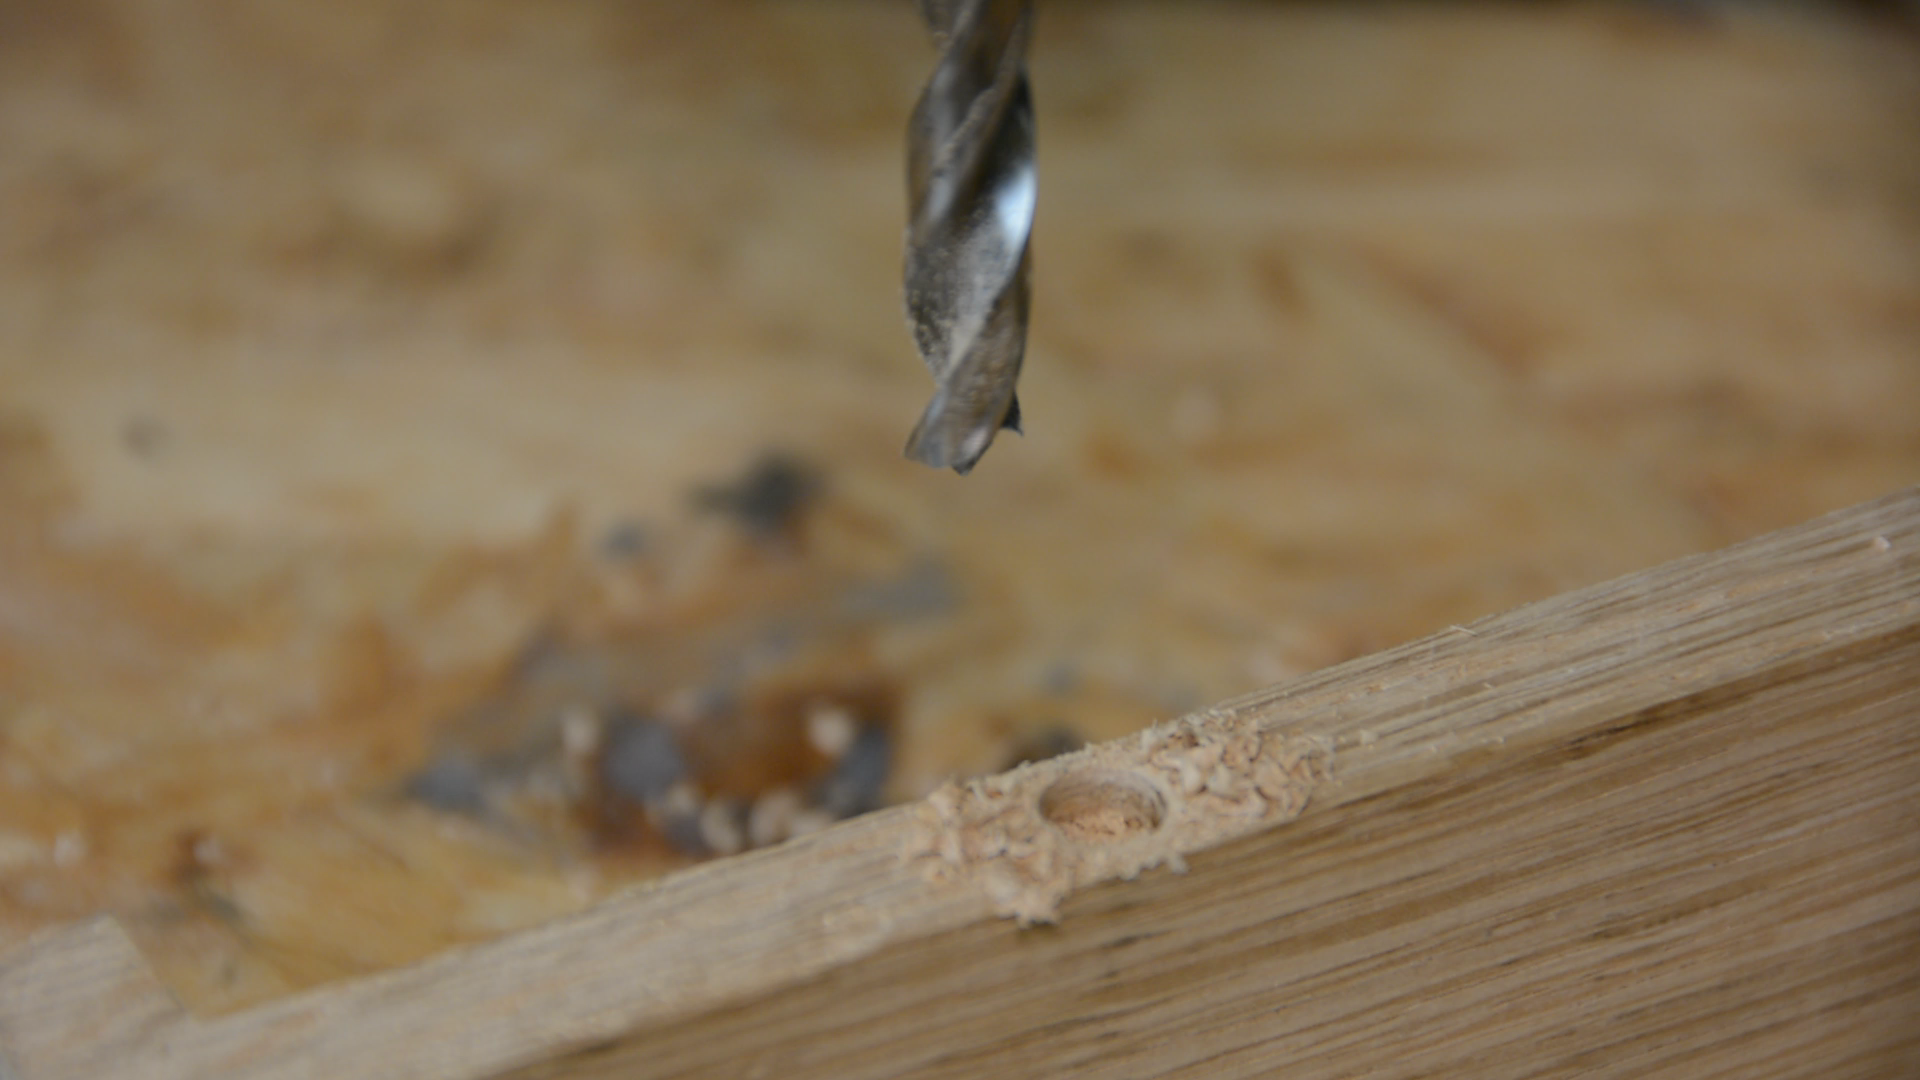
In the center of the larger hole we bore a 3 mm hole to the depth of the hole in the side.

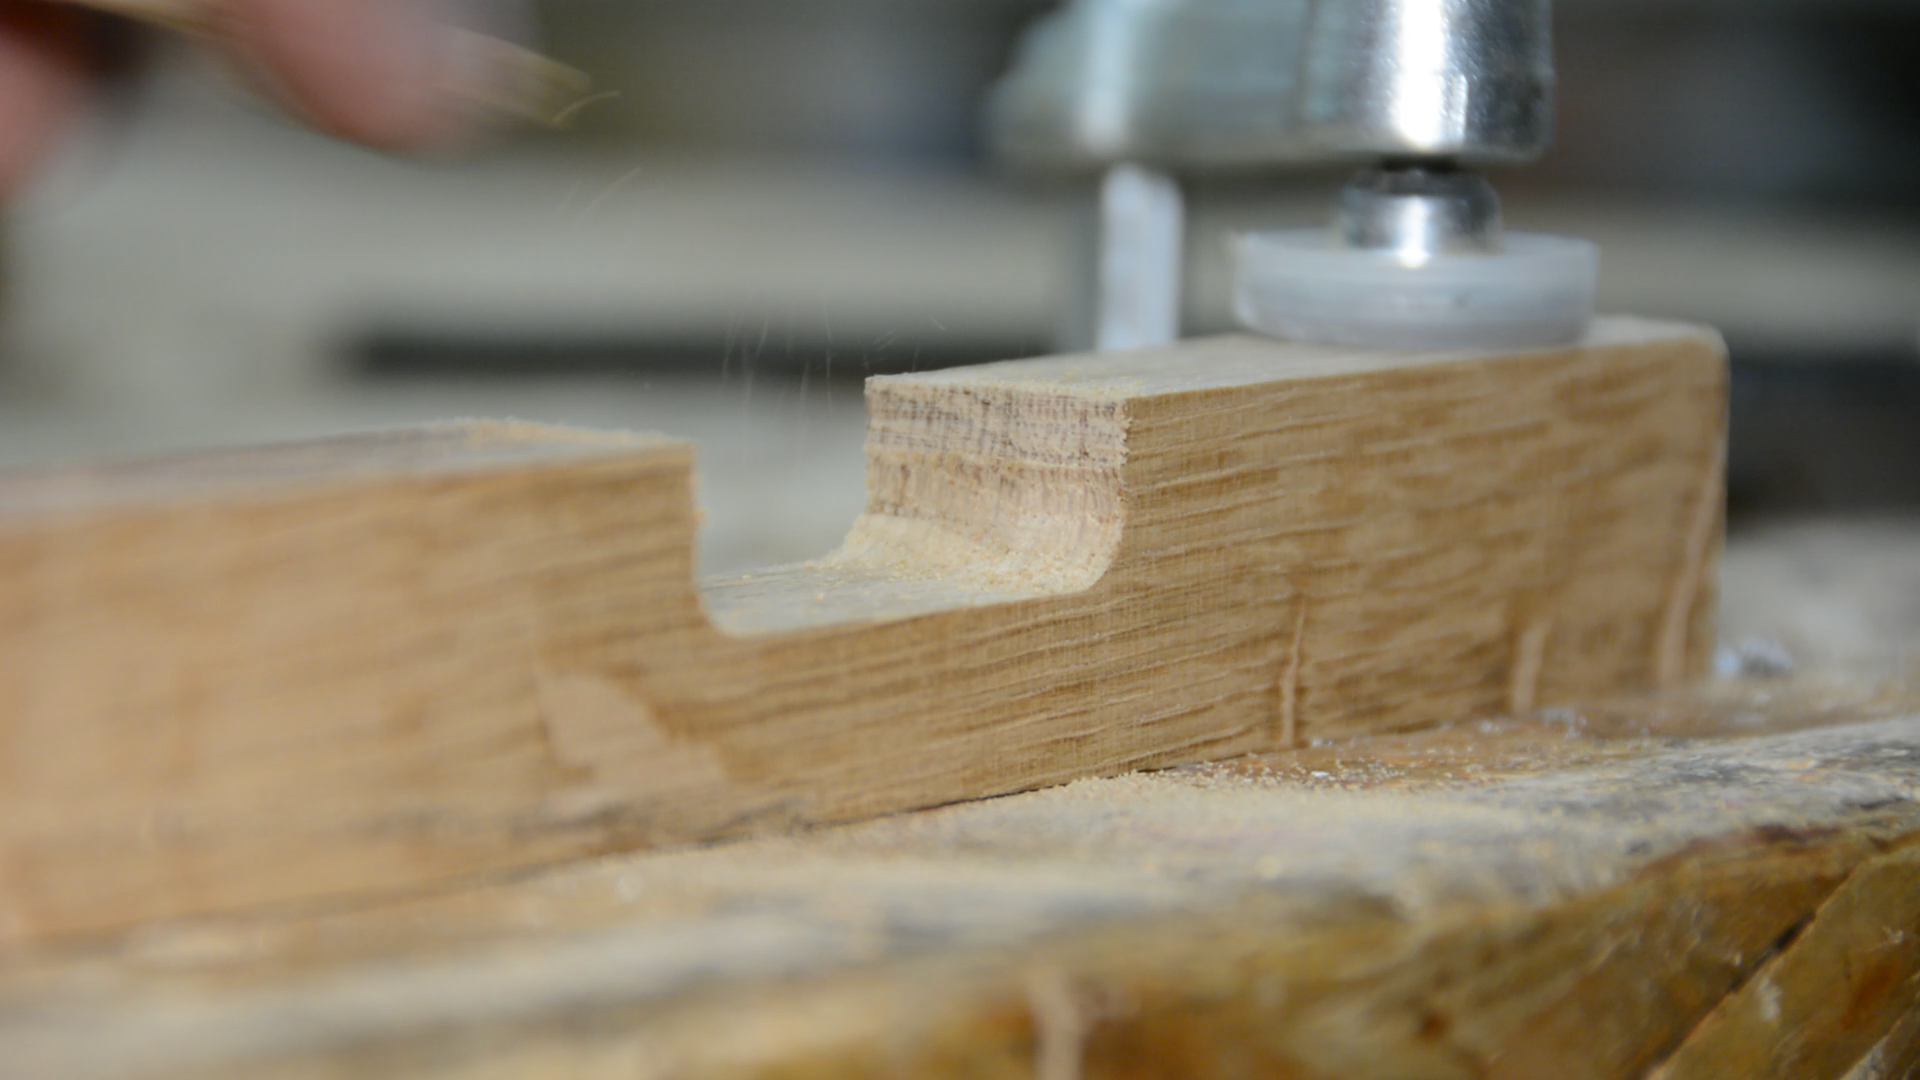
The next step is to create roundovers on all sides. For the insides I clamp the frame together.

The same goes for the short sides.
The long sides can be routed without any clamps.
Sanding and Finish
We sand the frame from 80 to 240 grid.
Everything is glued together with regular white glue. The top side gets a final sanding after the glue up to even out small height differences.
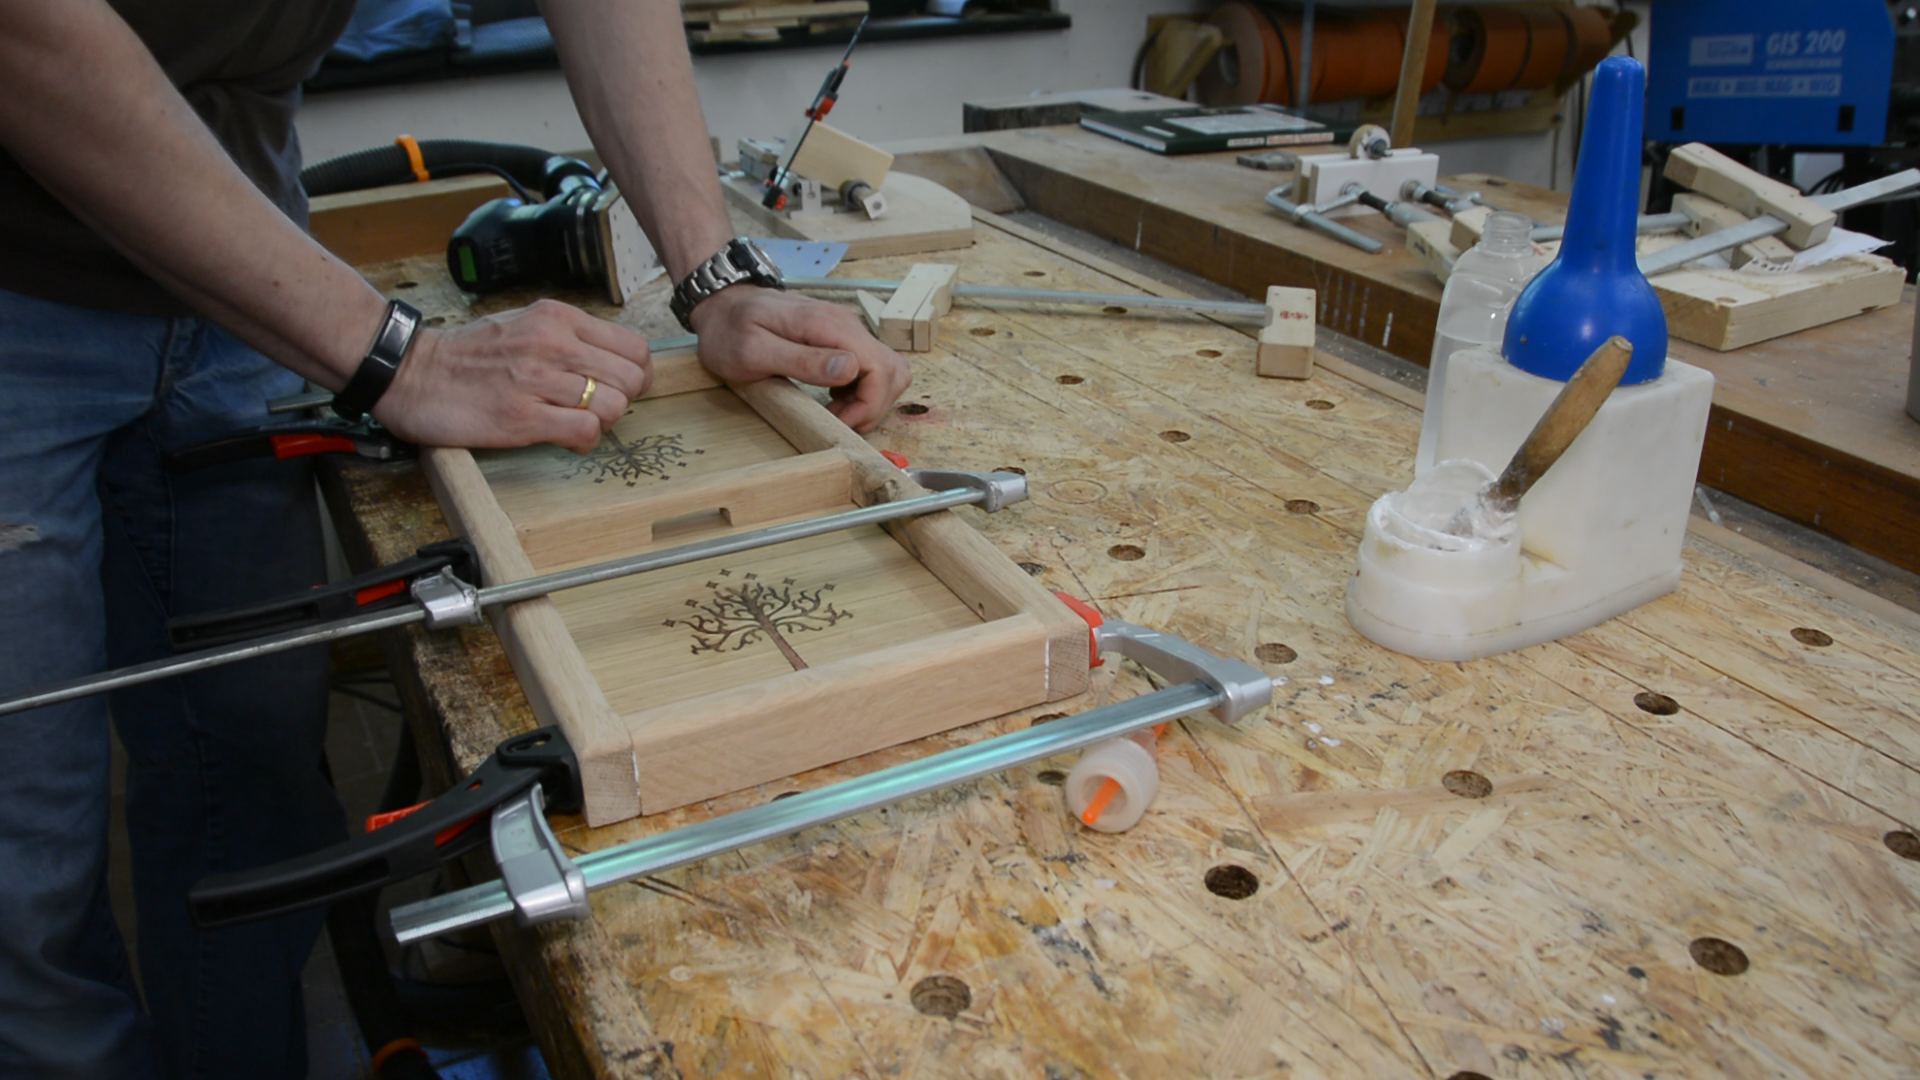
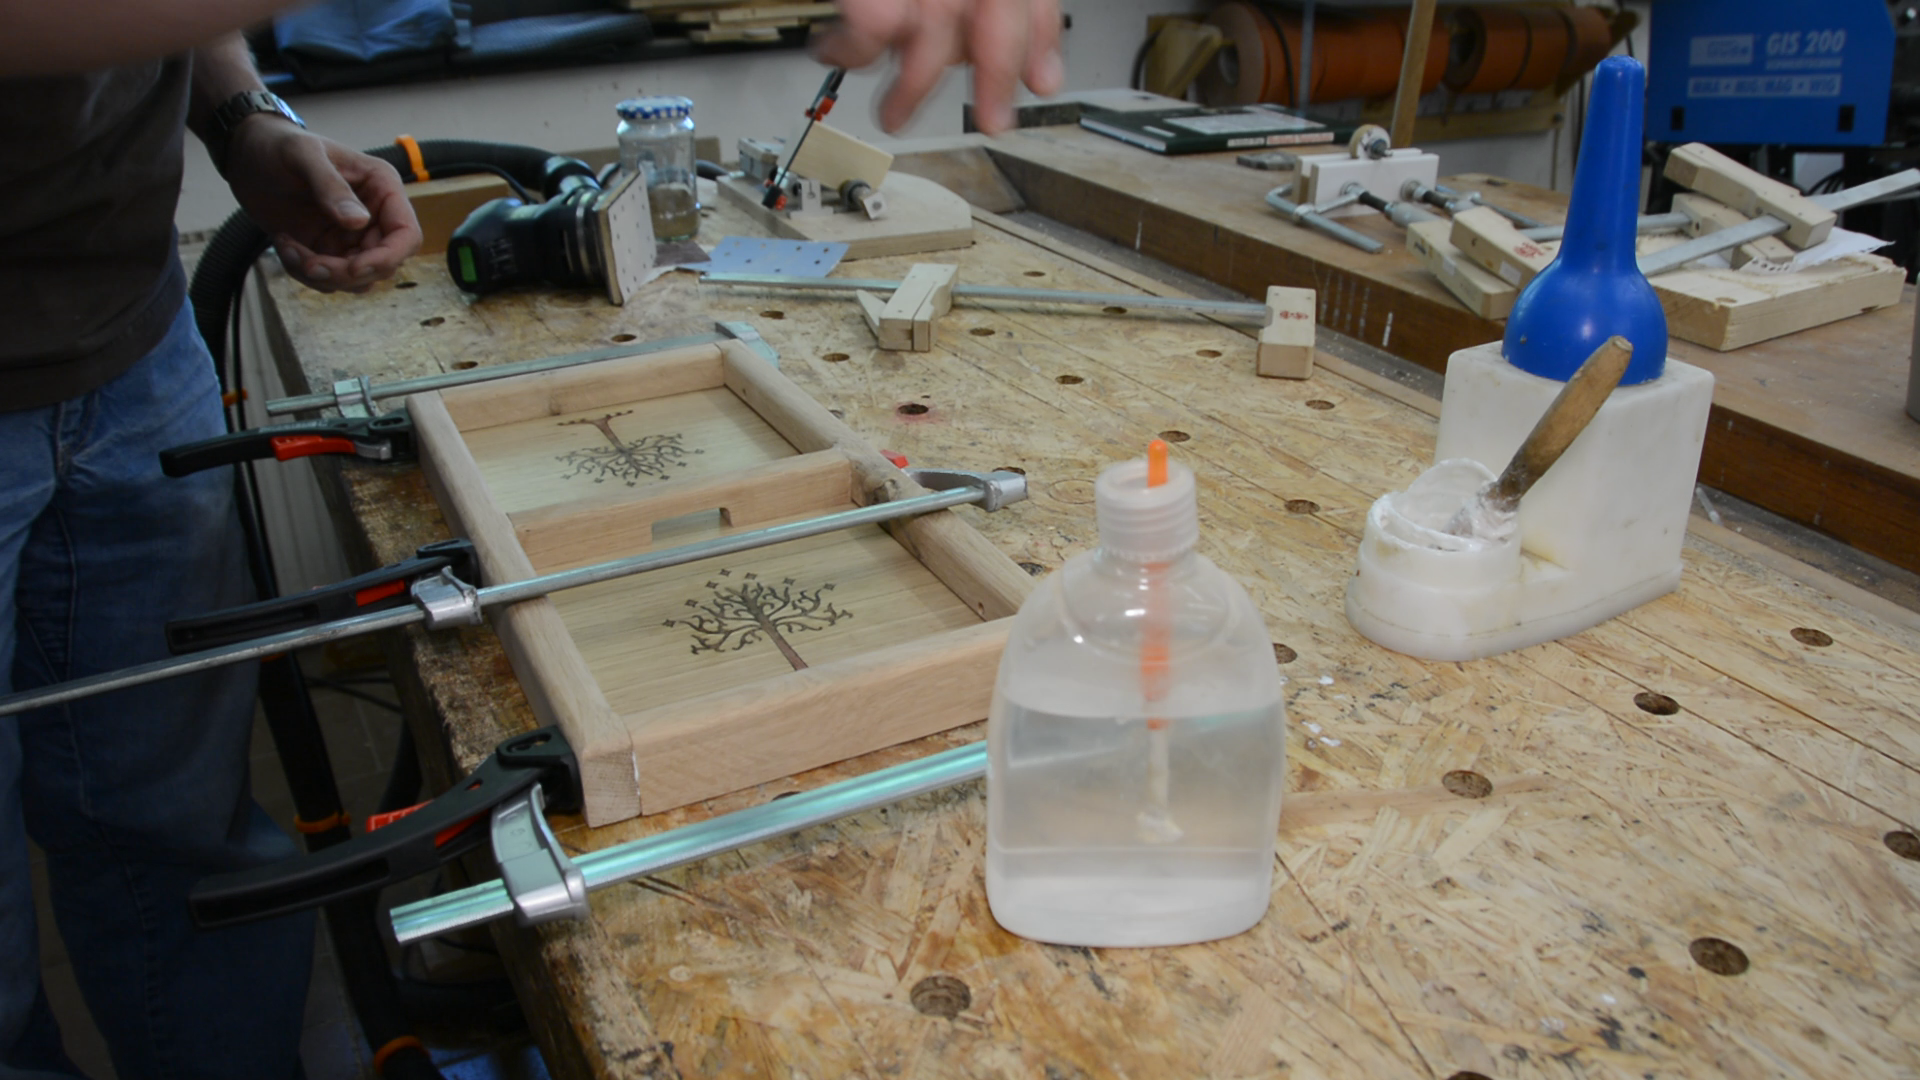

I finish the frame with the same waterbased poly as the playing field and give it a few coats.
Lastly the 3 mm holes are tapped.
The rubber band is fed into one hole and secured with a M4 screw.


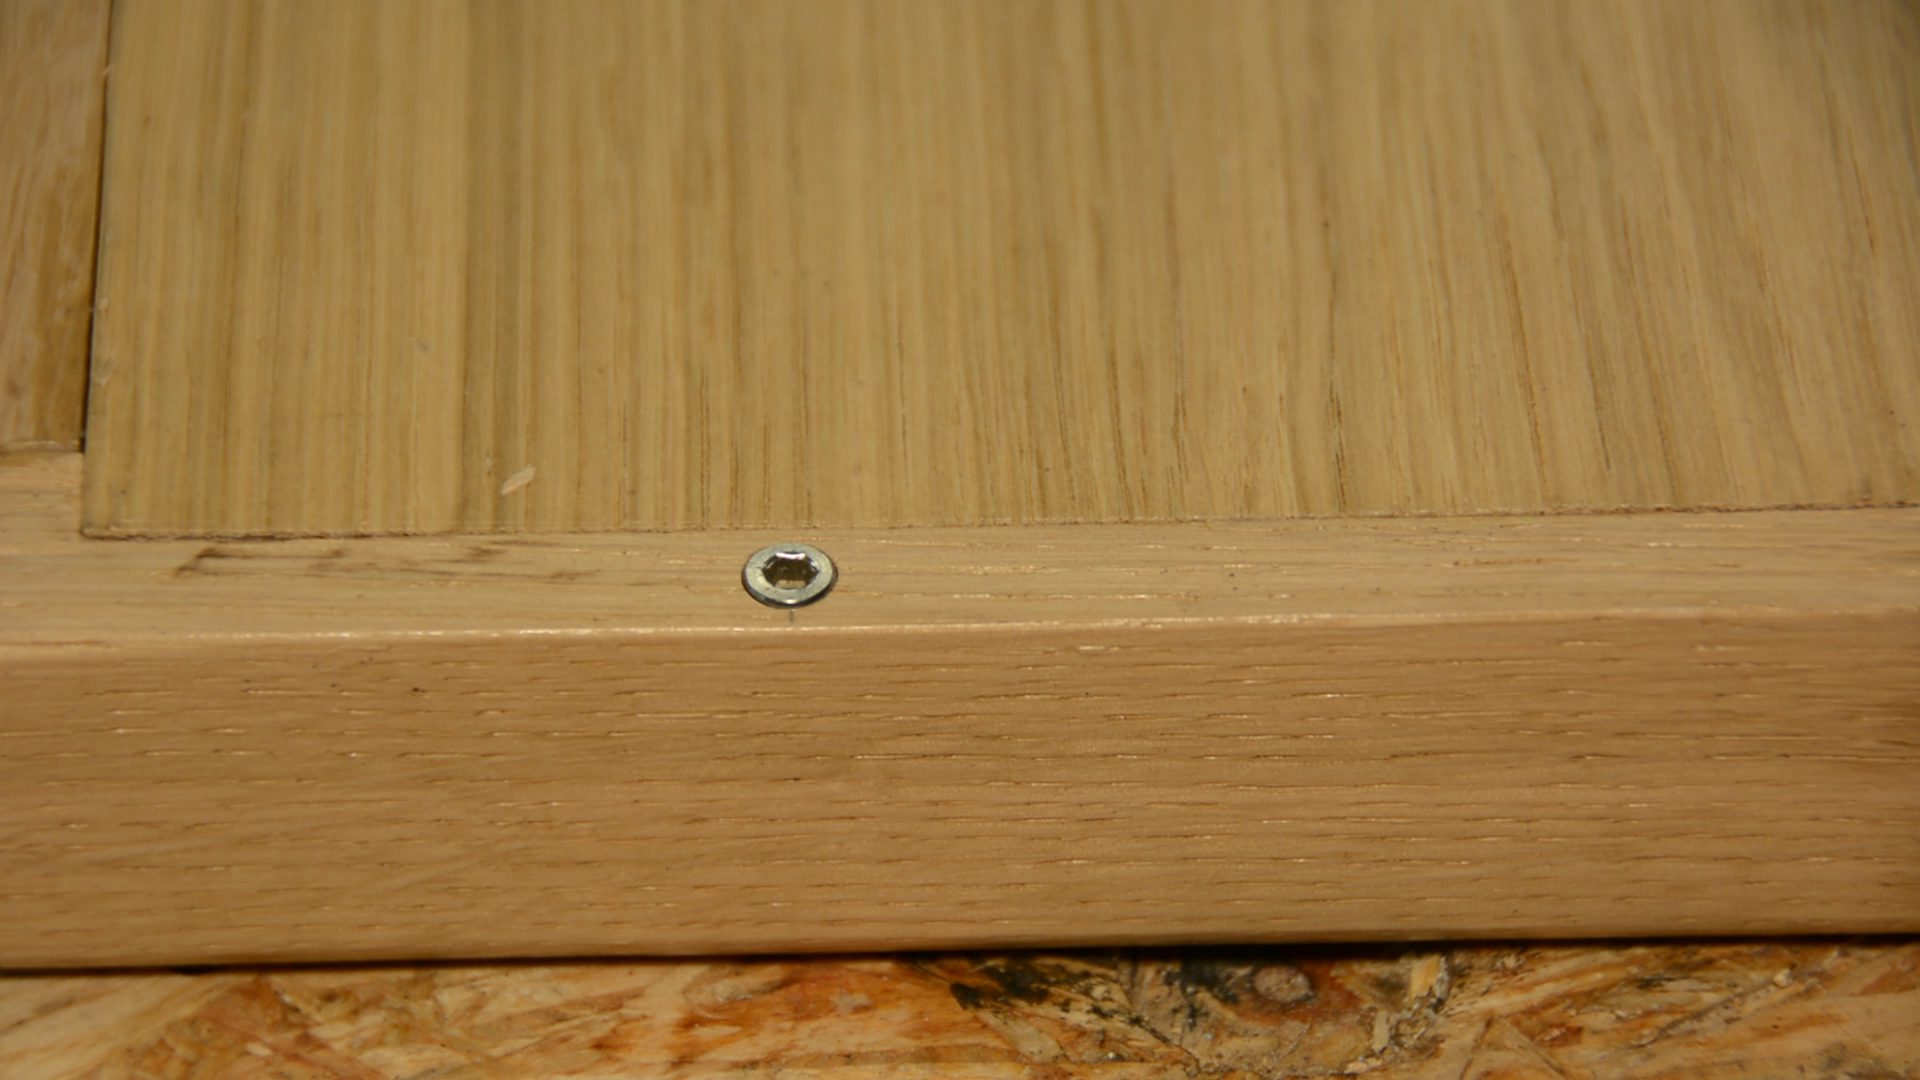
I then cut it to size and secure the other side the same way.
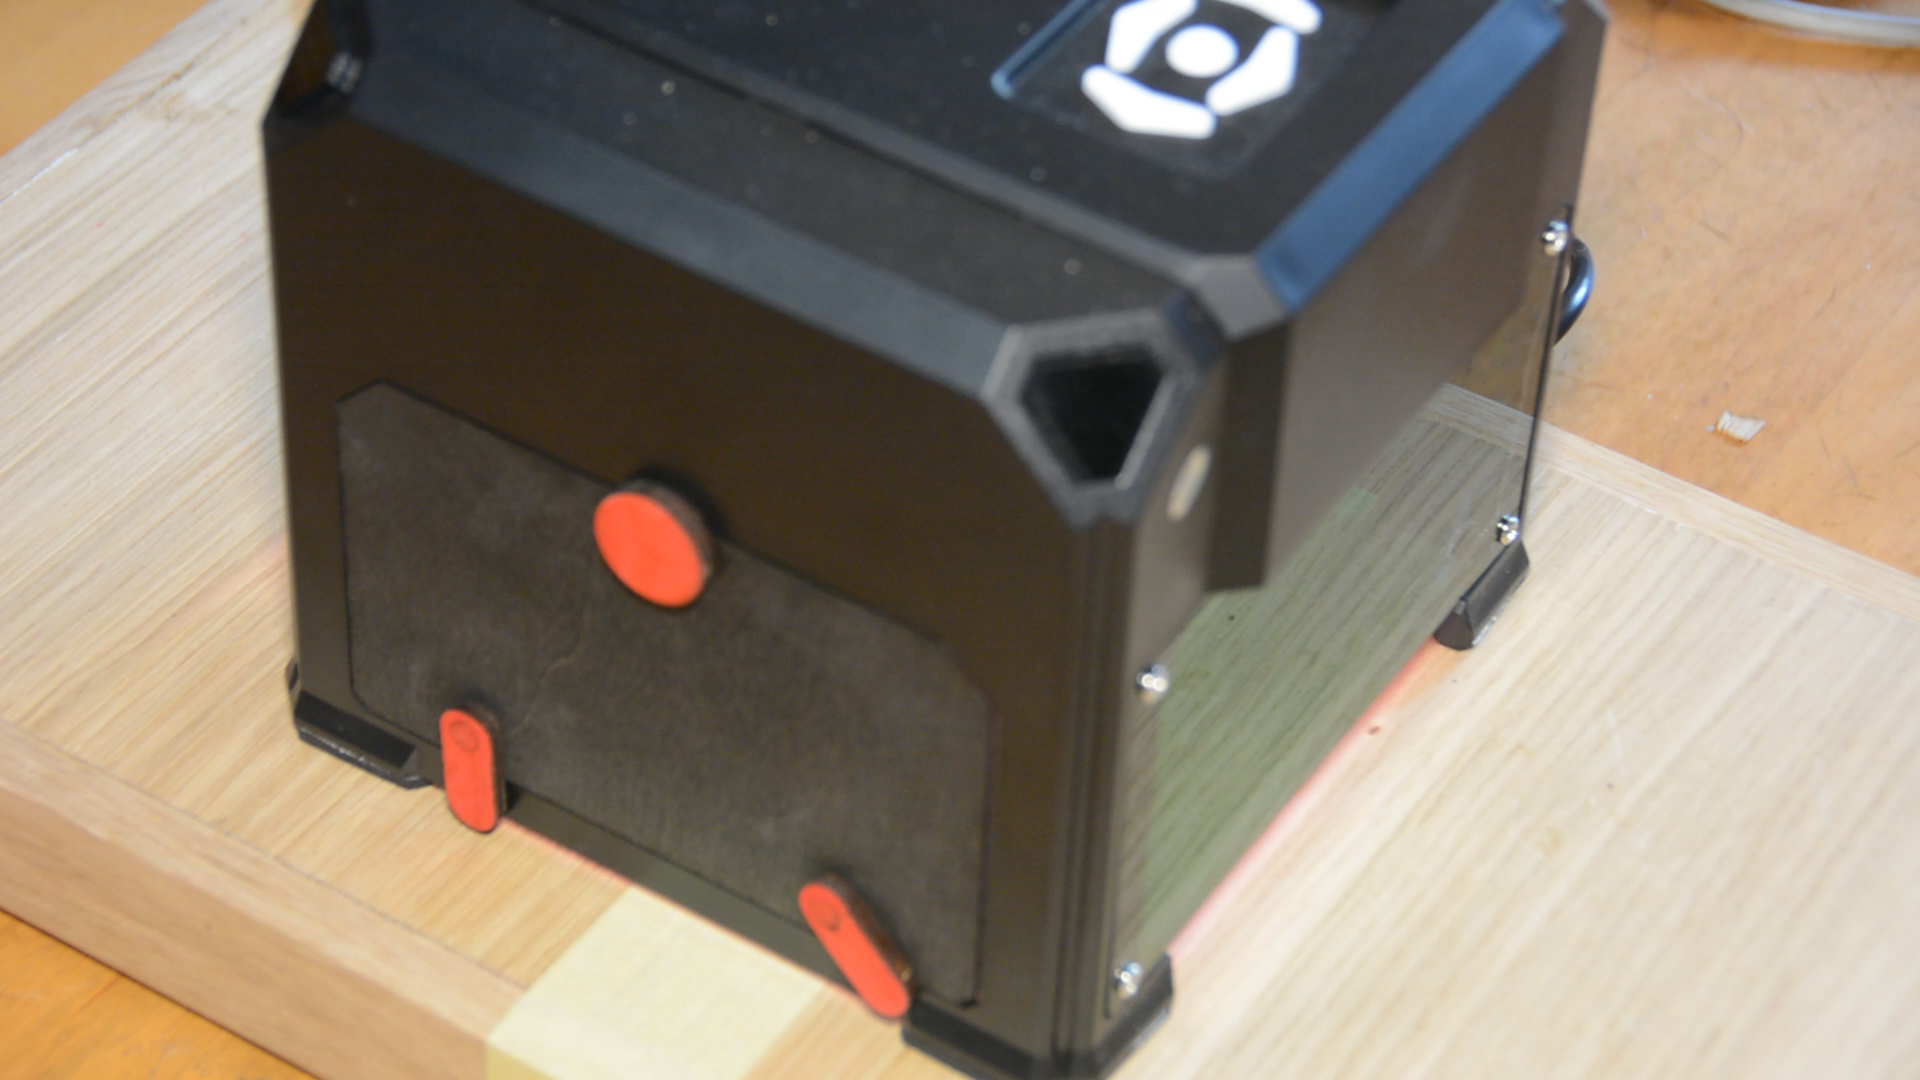
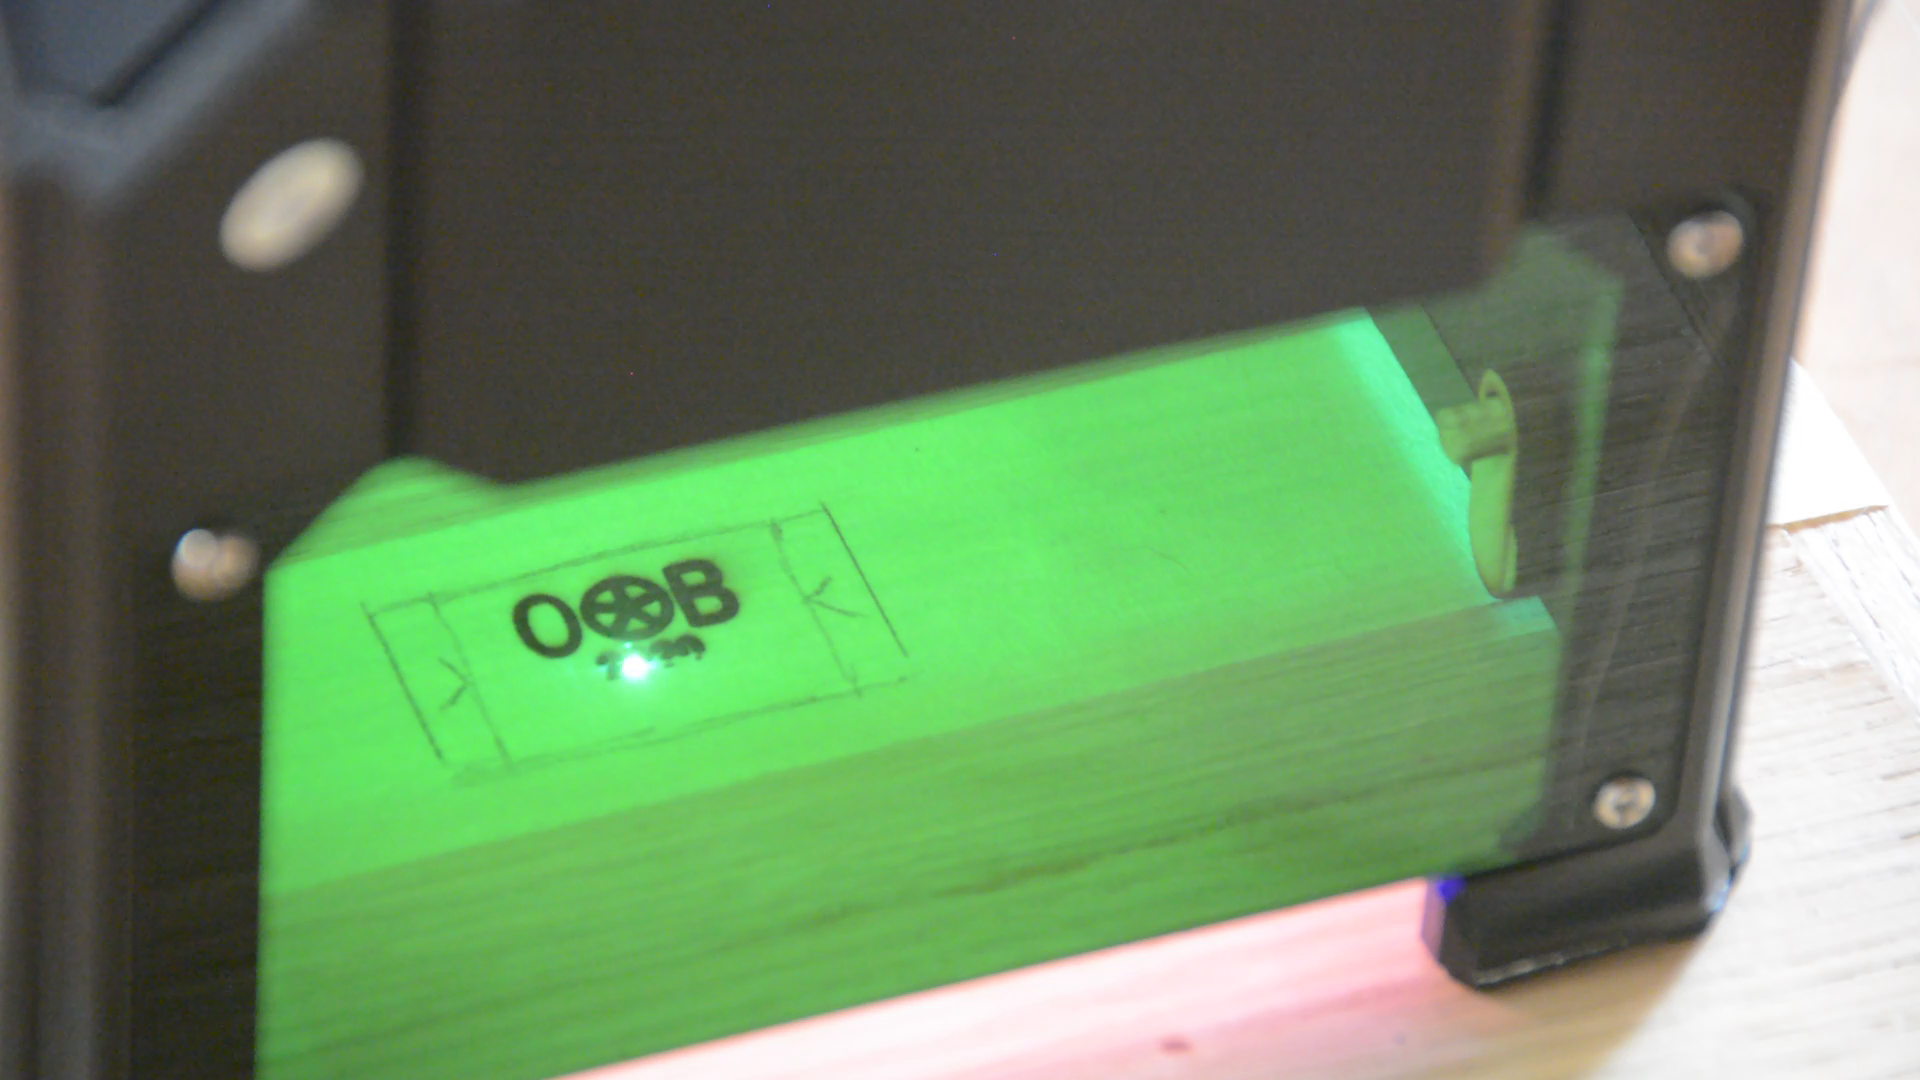
A few felt tips on the bottom give the game a rigid stand and my new laser engraver puts my maker mark on it.
This project was really fun and showed a key reason why I bought the K40 laser in the first place: Making things possible that I otherwise would never be able to create.
For some people it might be possible to cut such a veneer with an x-actor knife or a scroll saw but I was never able to cut such a level of detail.
Here the laser cutter is great as it makes quick work of a super fine inlay work.