
In this article we will take a look at different ways how to design 3D objects for the laser cutter. We use Inkscape and a free Boxmaker to make a holder for toothbrushes and a razor from acrylic. The article should get you started to design your own laser cutter projects in Inkscape.
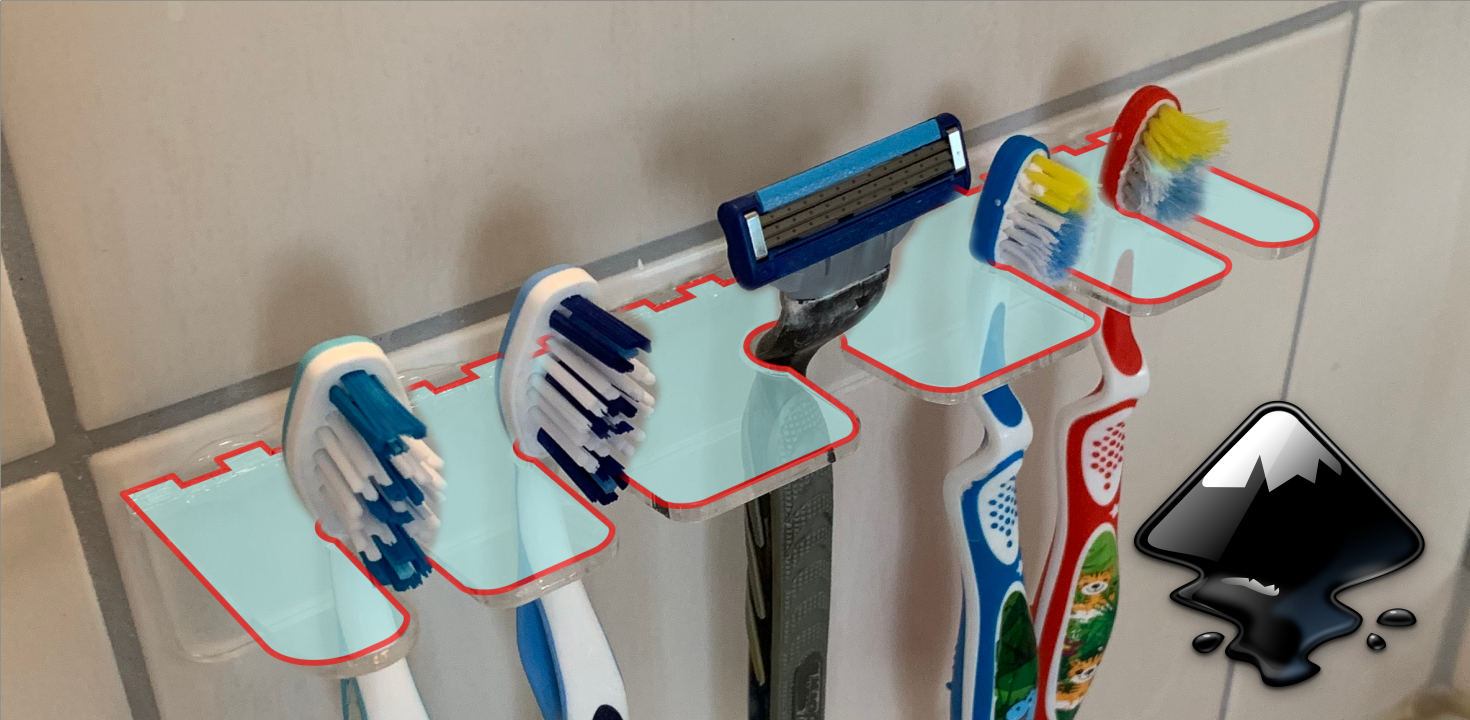
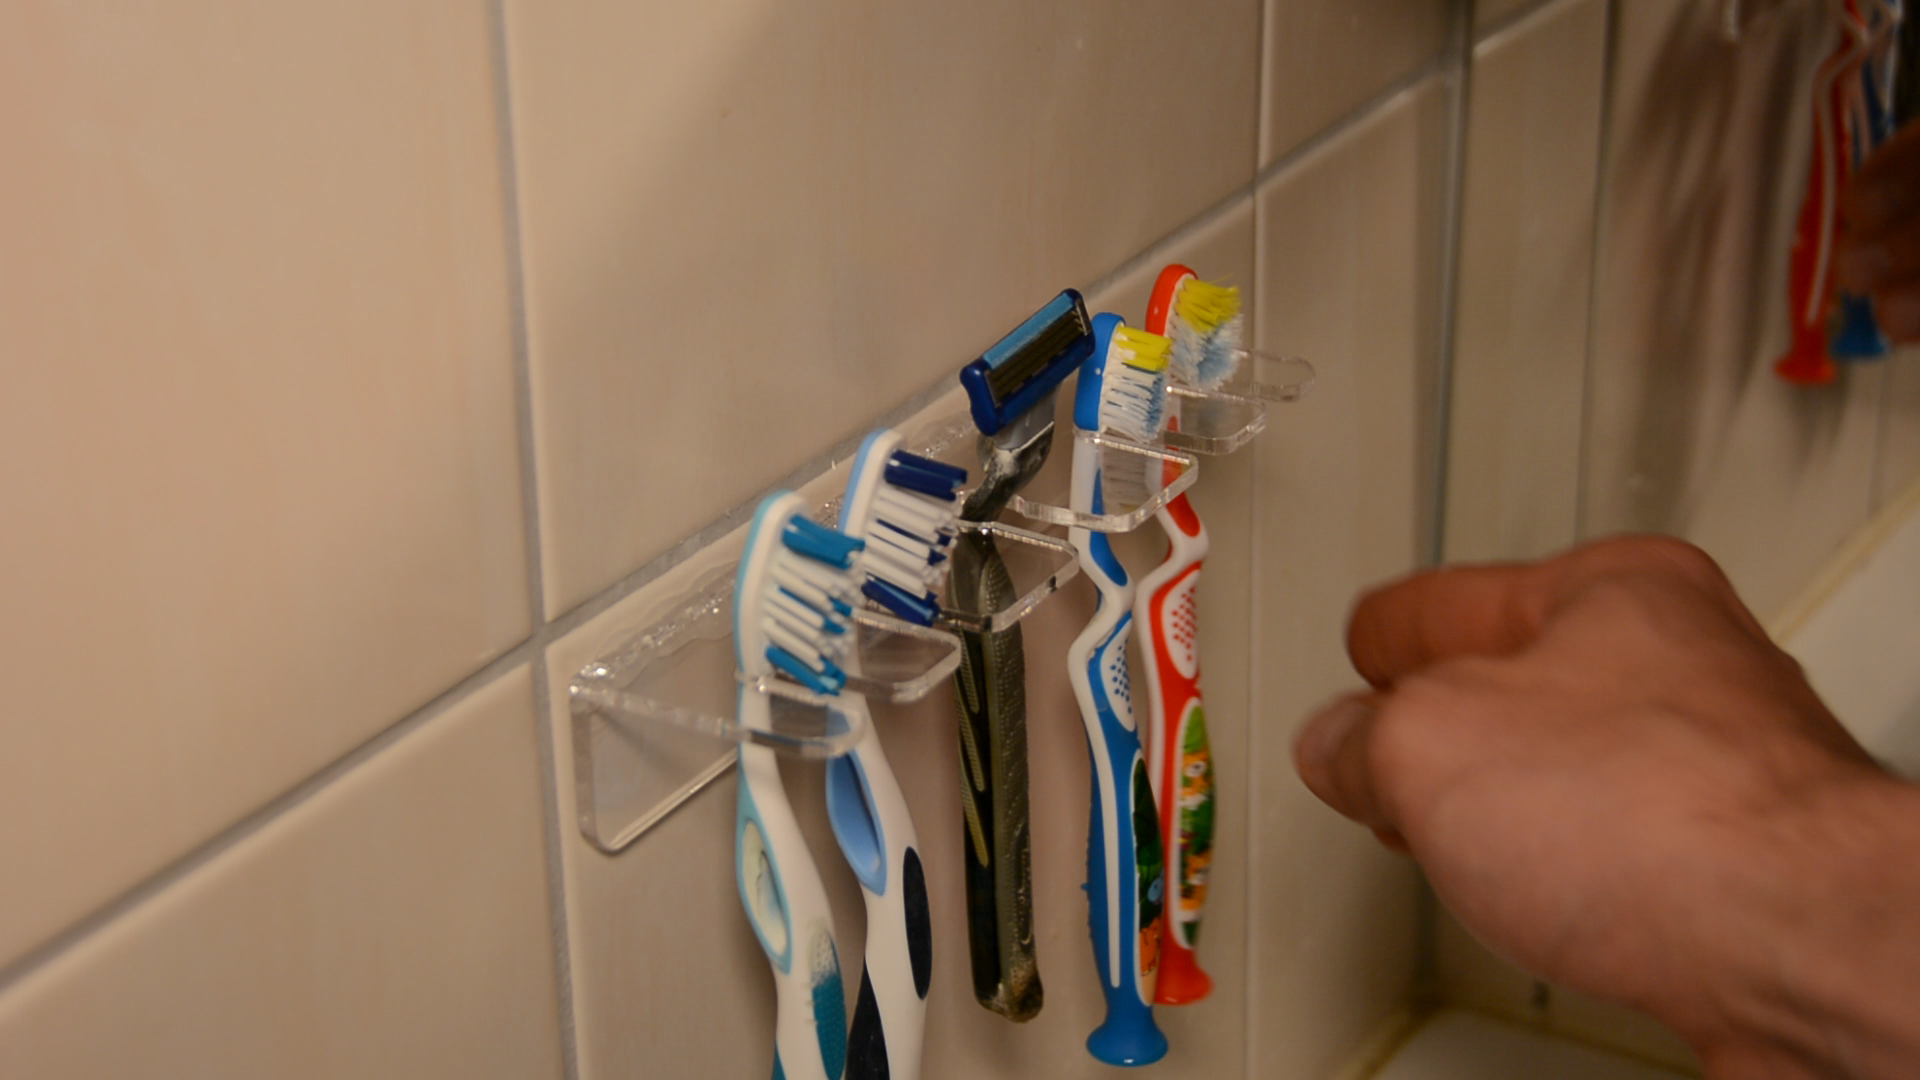
In another article we will look at 3d modeling options using FreeCAD. For the first project we want to create this simple toothbrush and razor holder from acrylic. It fairly easy to design this in Inkscape.
Boxmaking
Before we go in Inkscape we create a finger joint the easy way – by using a box maker. Our preferred one is boxes.py.
This website offers a broad variety of boxes and other objects for the laser cutter. There are boxes with life hinges, round corners, but also gears, tray inserts and more. We use a UniversalBox design as a starting point.

As we want to have rather a tube than a box we choose the option straight edge for the top and the bottom. The x and y dimensions are not that critical as we will anyhow change them in the next step in Inkscape. The height h is 150 mm.
This corresponds to the desired width of our holder. For acrylic we usually lower the beam width quite a bit. A loose fit is not a big issue as the acrylic glue is gap filling. With one button click we have a svg file that we can import it into Inkscape.
Importing in Inkscape

In Inkscape we can start to turn these pieces of a box into a functional holder. We go to file, document properties, switch the document to landscape and then turn the
box elements by 90 degree. With a right click on the object we ungroup the object, mark the elements we don’t need and use the delete key to remove these pieces.

K40 Whisperer cuts only red lines. We mark all the objects and click on the red color while holding down shift to create a red outline.
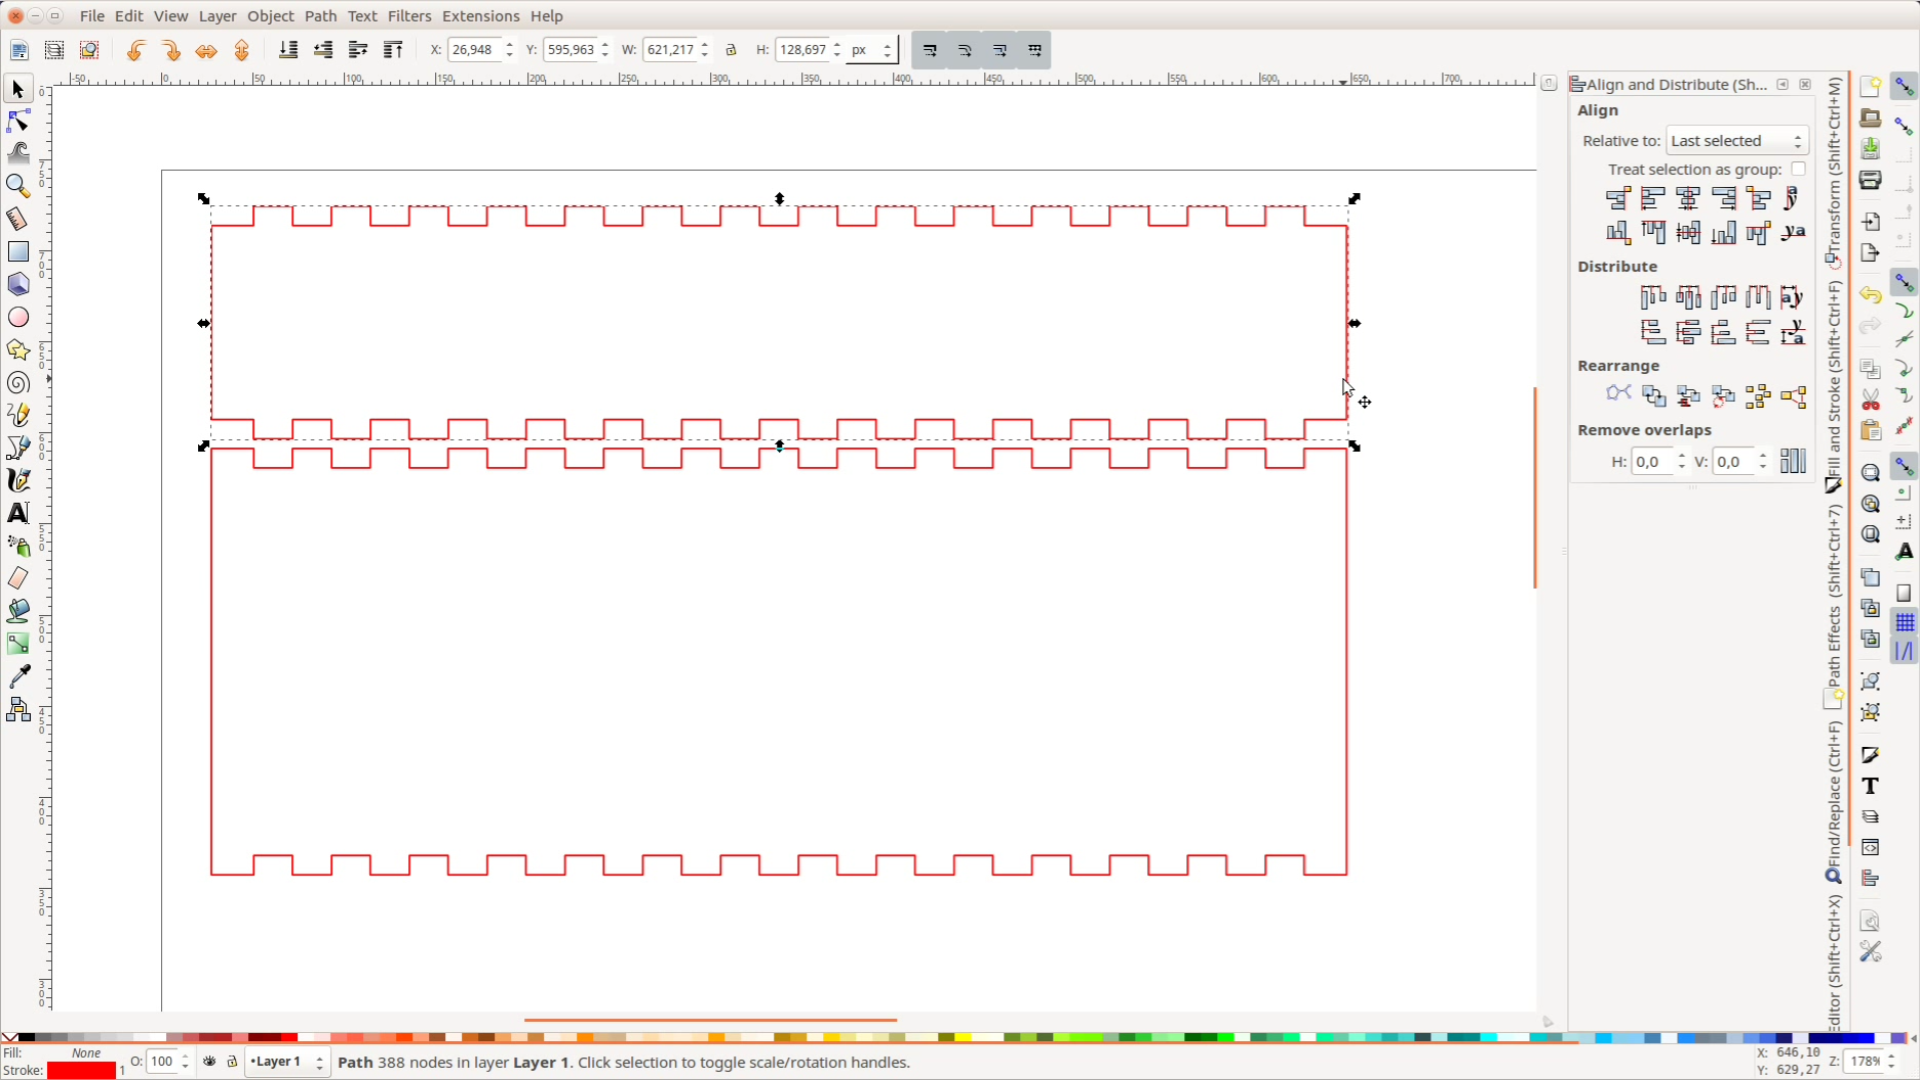
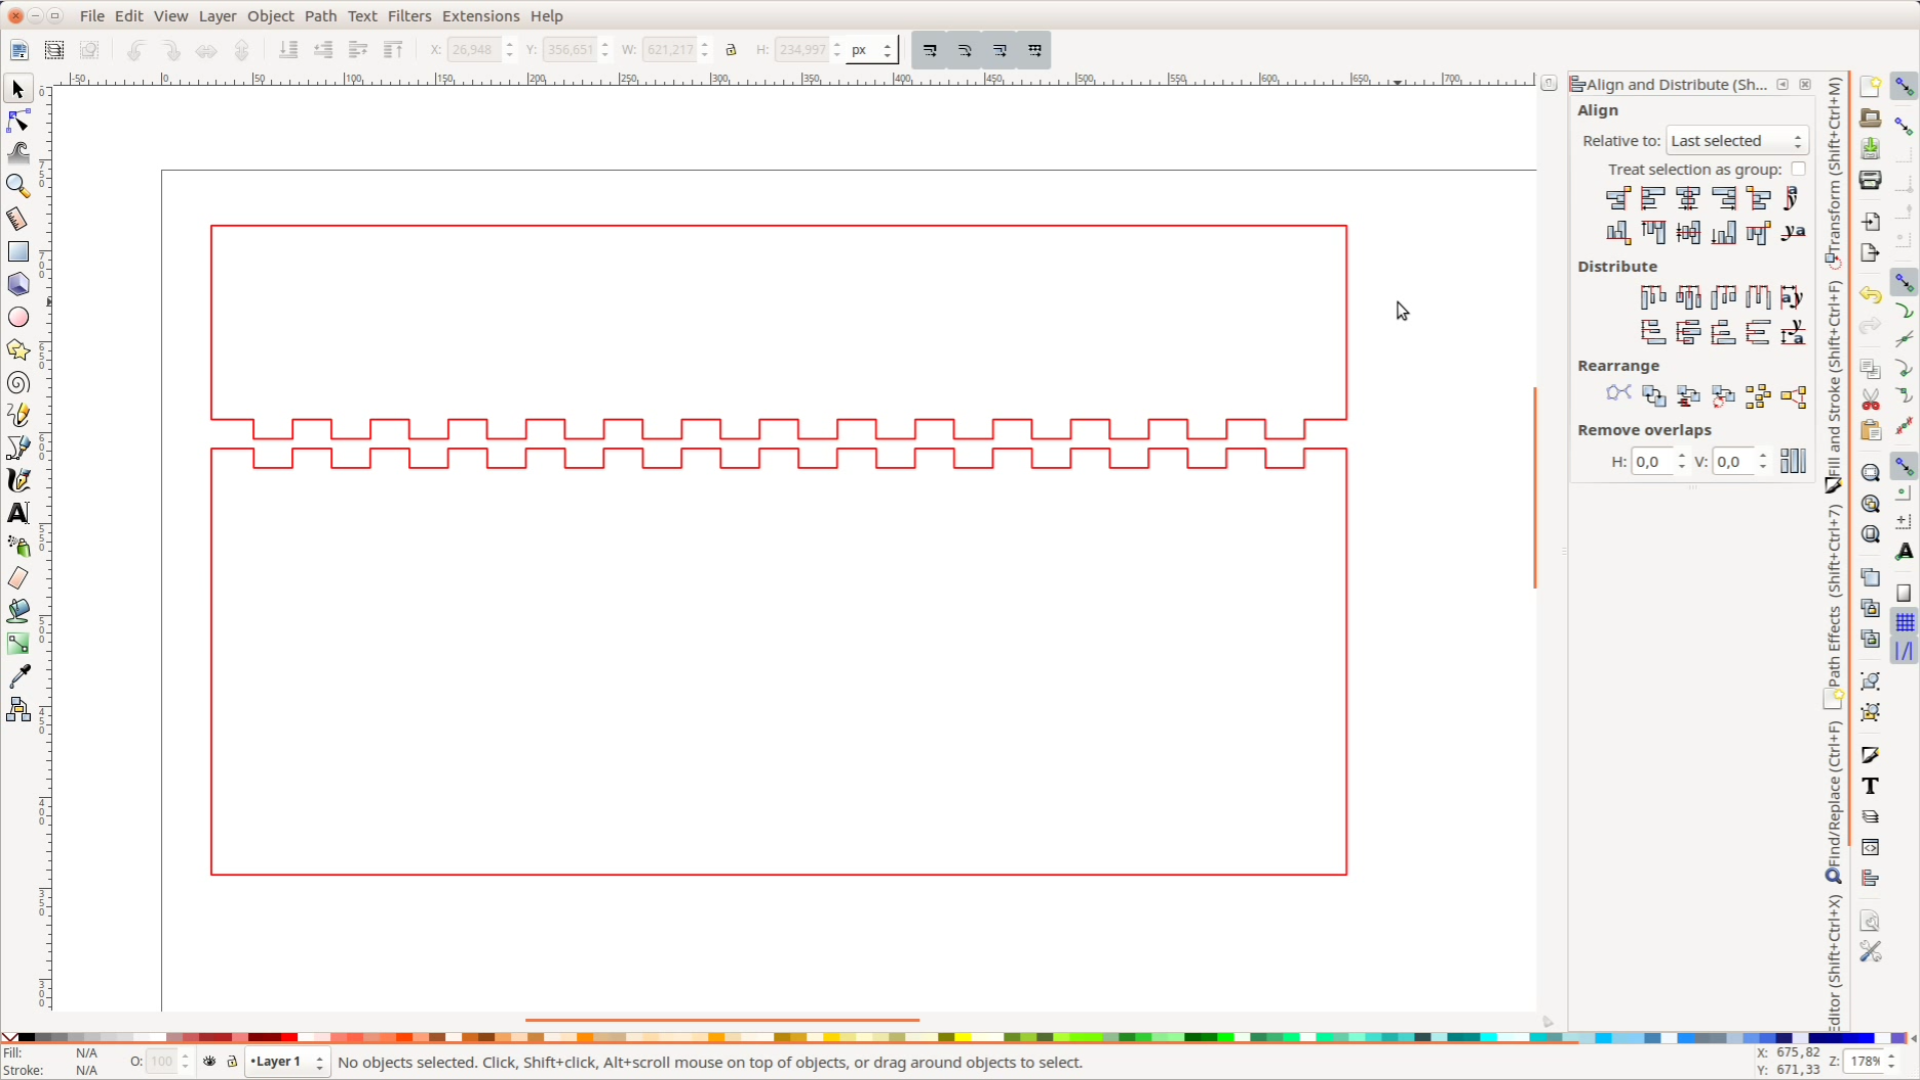
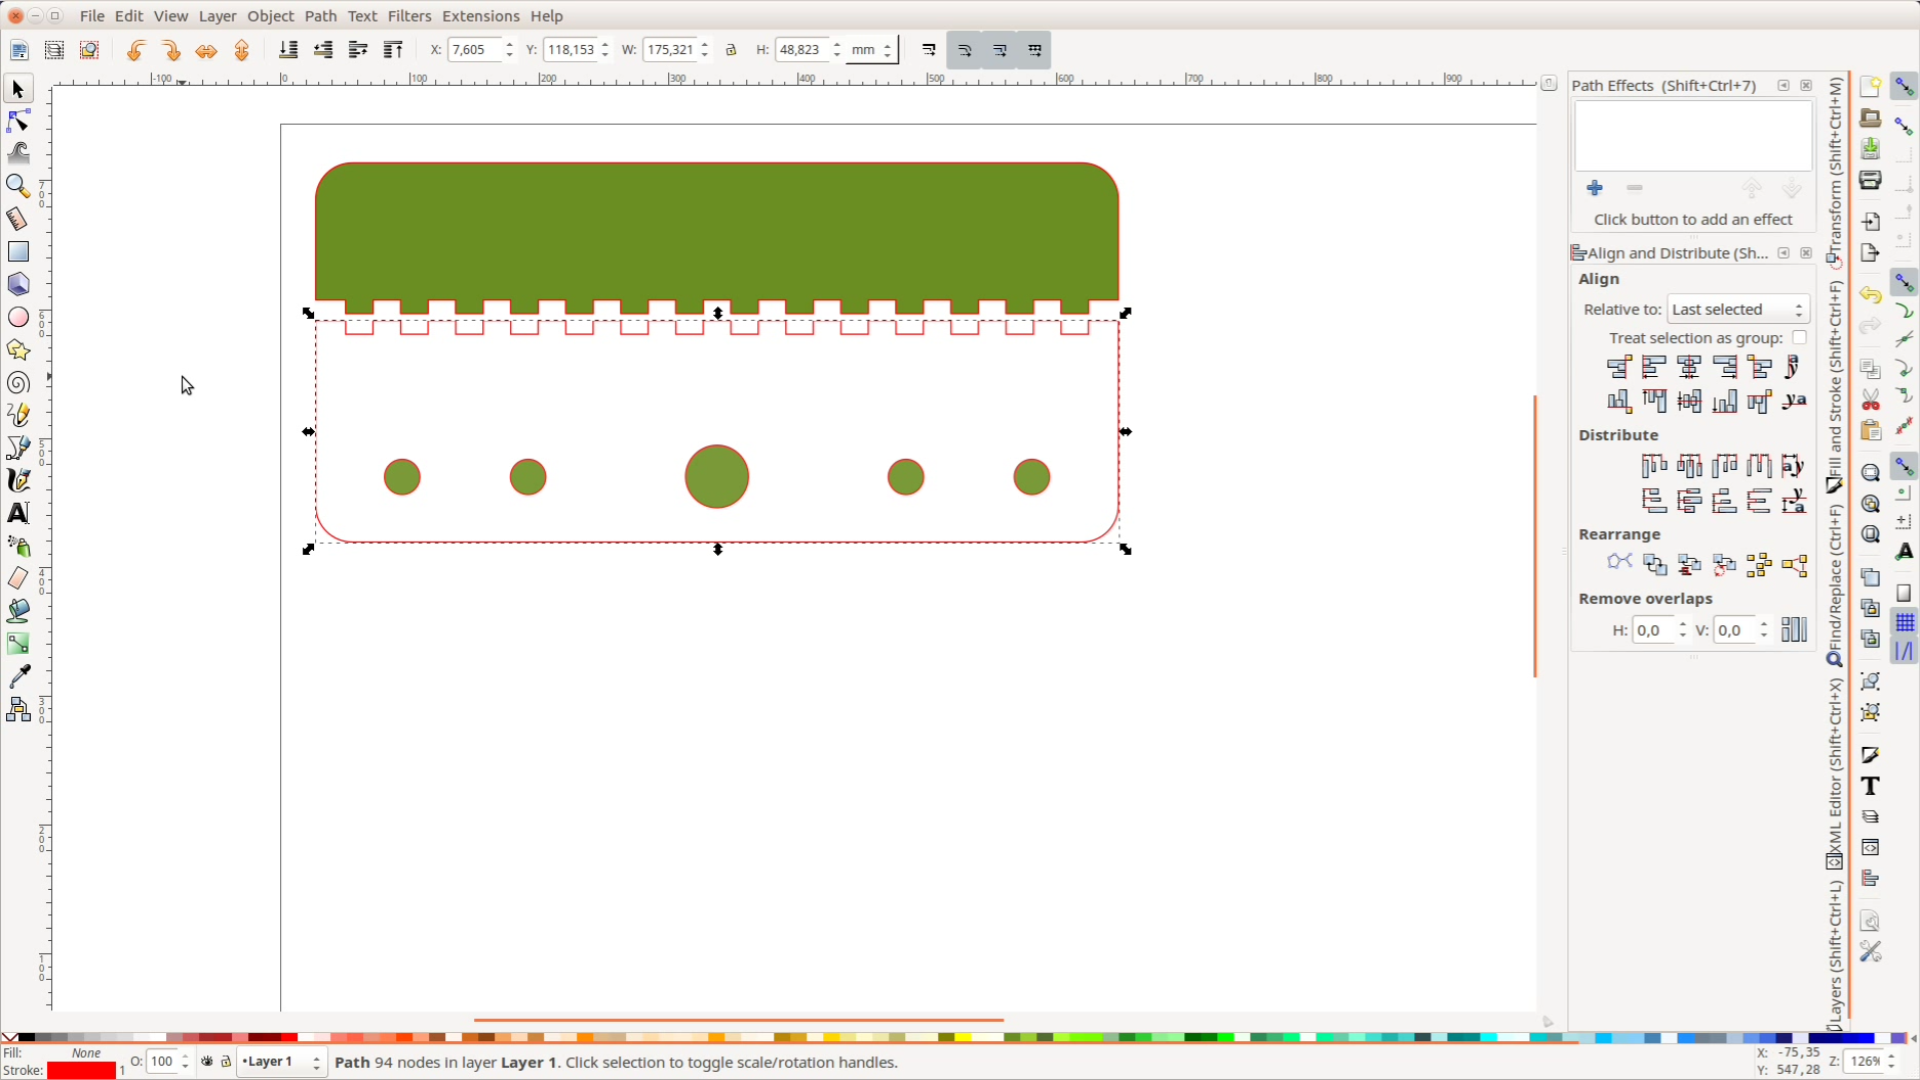
The second button on the left hand side is the node editing tool. With this tool we select all the finger joint nodes on one side and remove them by pressing the delete key. This button adds a line between the two open ends.
Now comes an important point. We select all nodes and then click on the merge node button. This connects all the lines and closes the shape.
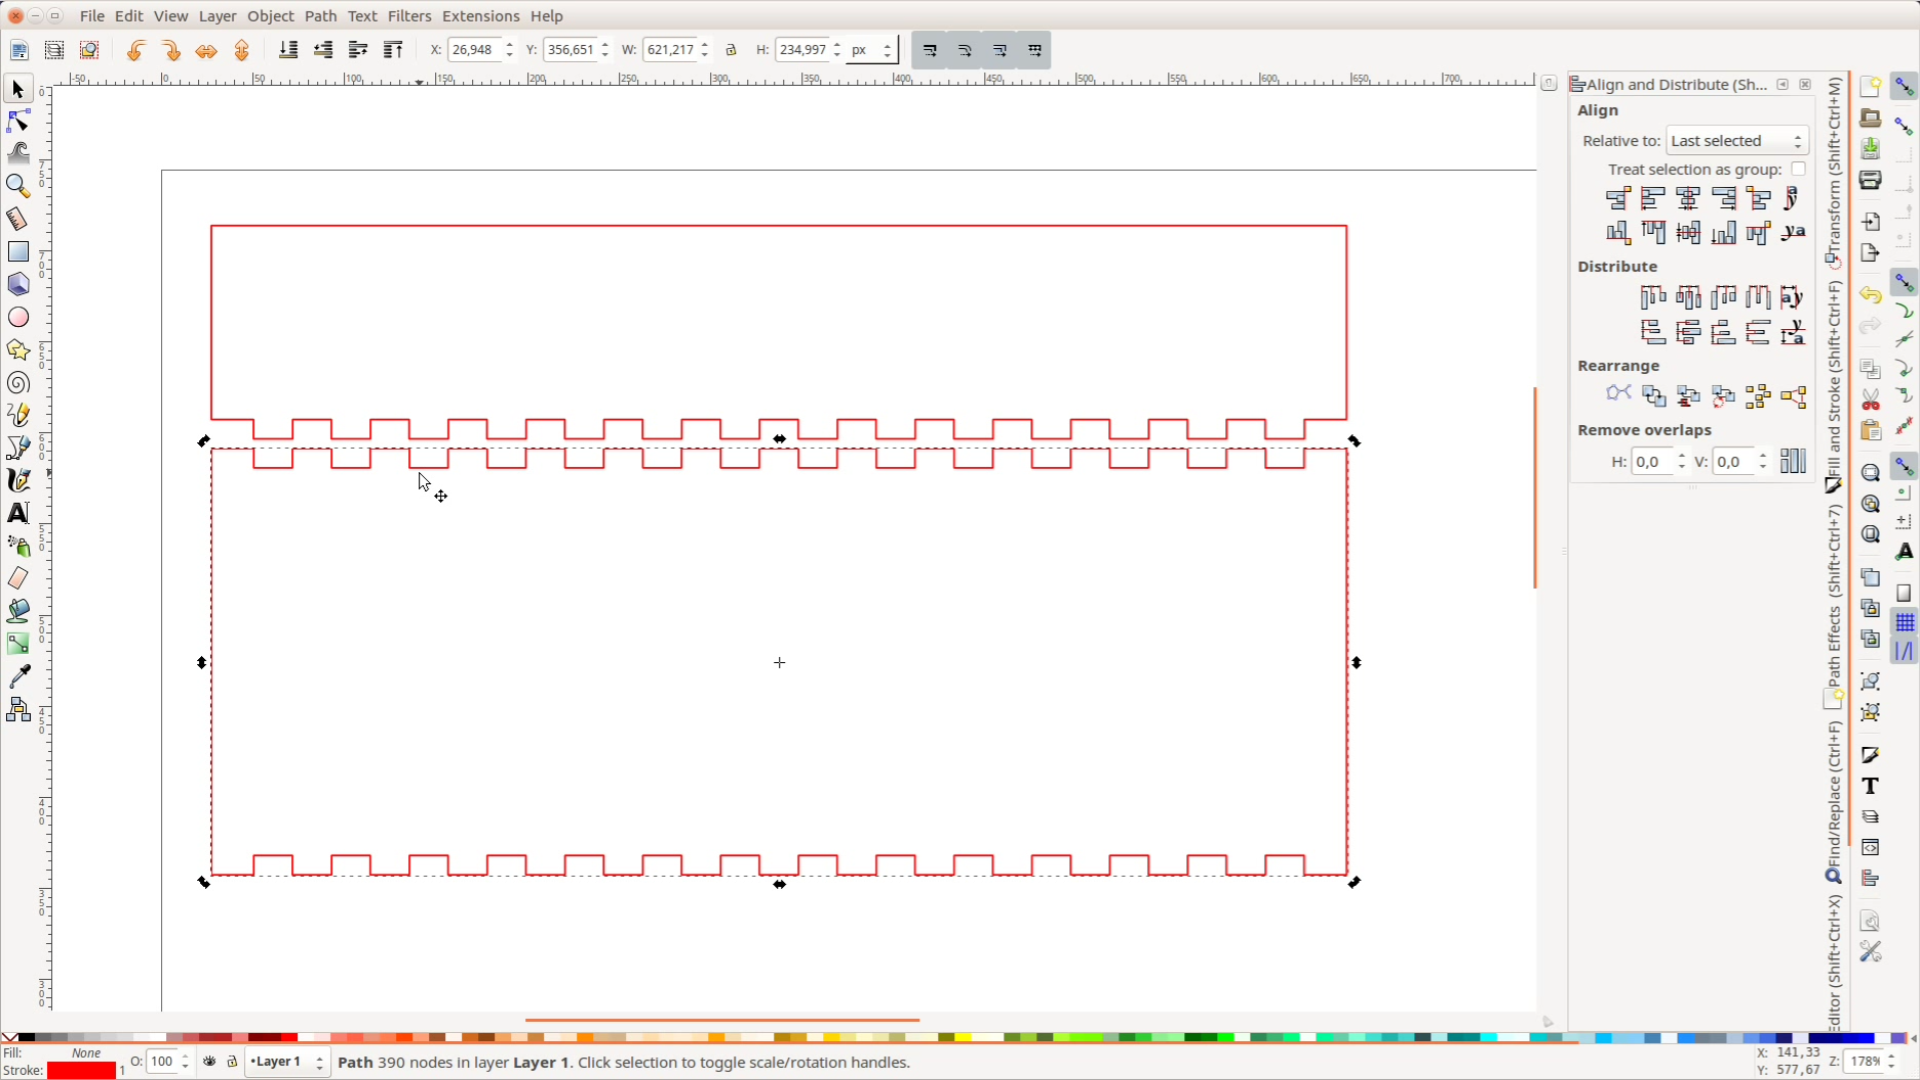
We repeat the same steps for the second part.
Rounding the corners
There will be a fillet tool in future versions of Inkscape. Till then we have to create a workaround. We create a rectangle and give the corners a nice 8 mm radius by typing this value in the Ry box. We duplicate the rectangle with ctrl + D.
Then let’s align the round rectangle with the left and the upper border of the part. If you don’t see this menu just press Ctrl, Shift and A. After aligning it we clip off the corners with Path, Intersection.

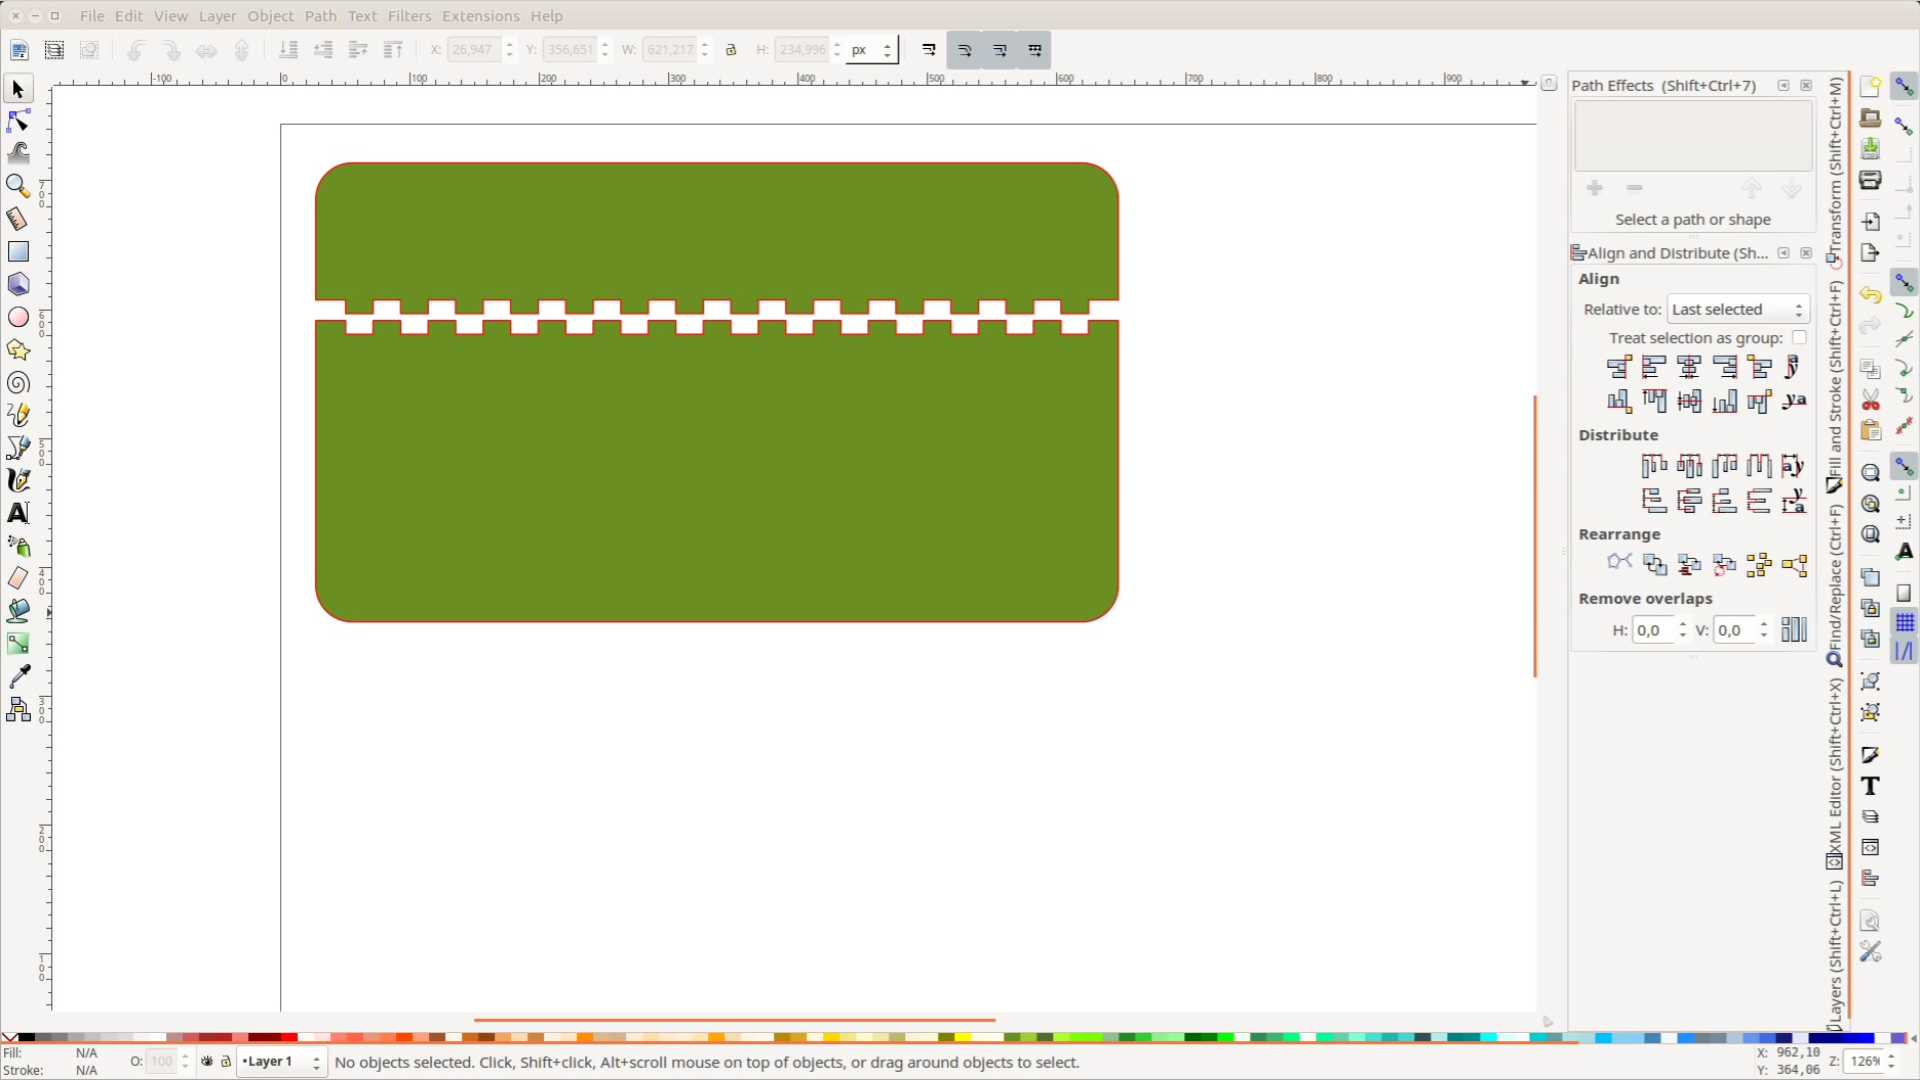
After repeating the process the part that will be mounted on the wall has round corners.
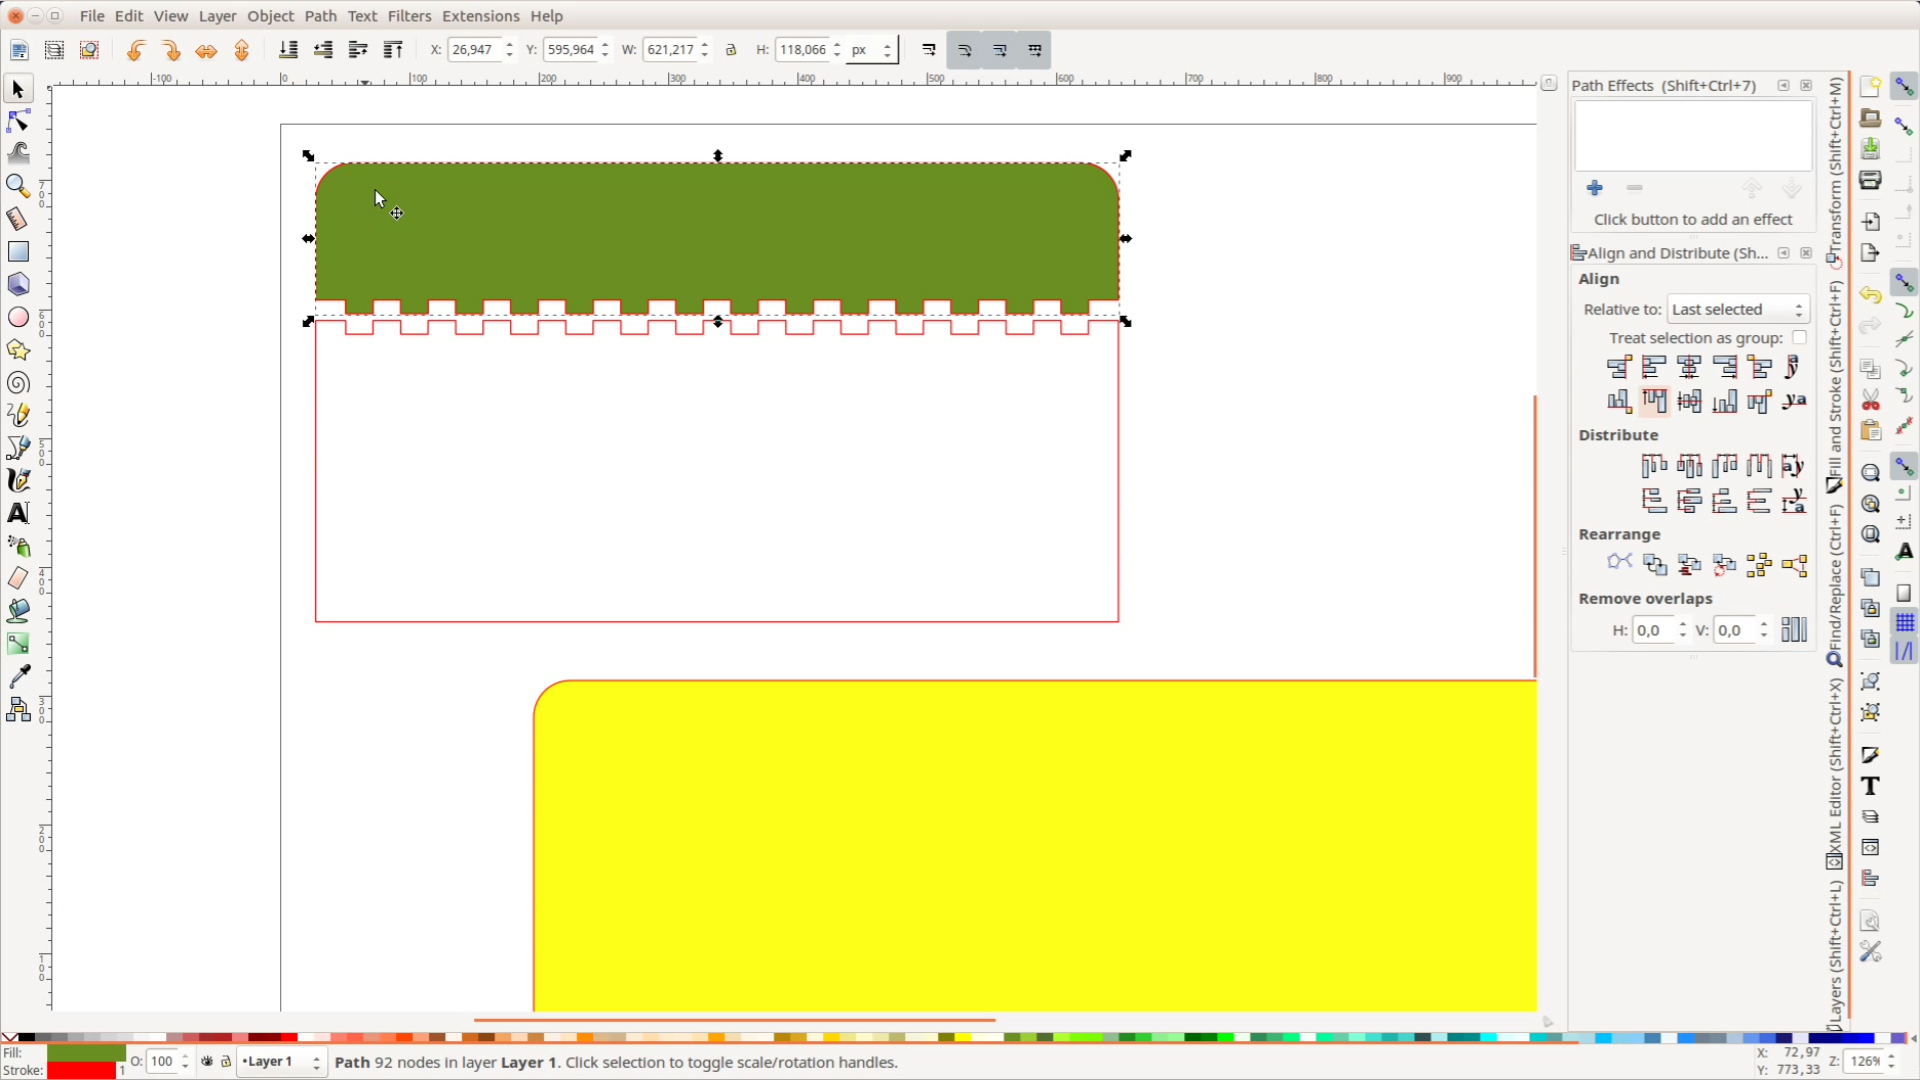
When you try to cut the corners and it doesn’t work you have not combined all nodes. Click on any color at the bottom to fill the form. If only part of the form is filled open again the edit node tool, mark all nodes and combine them.
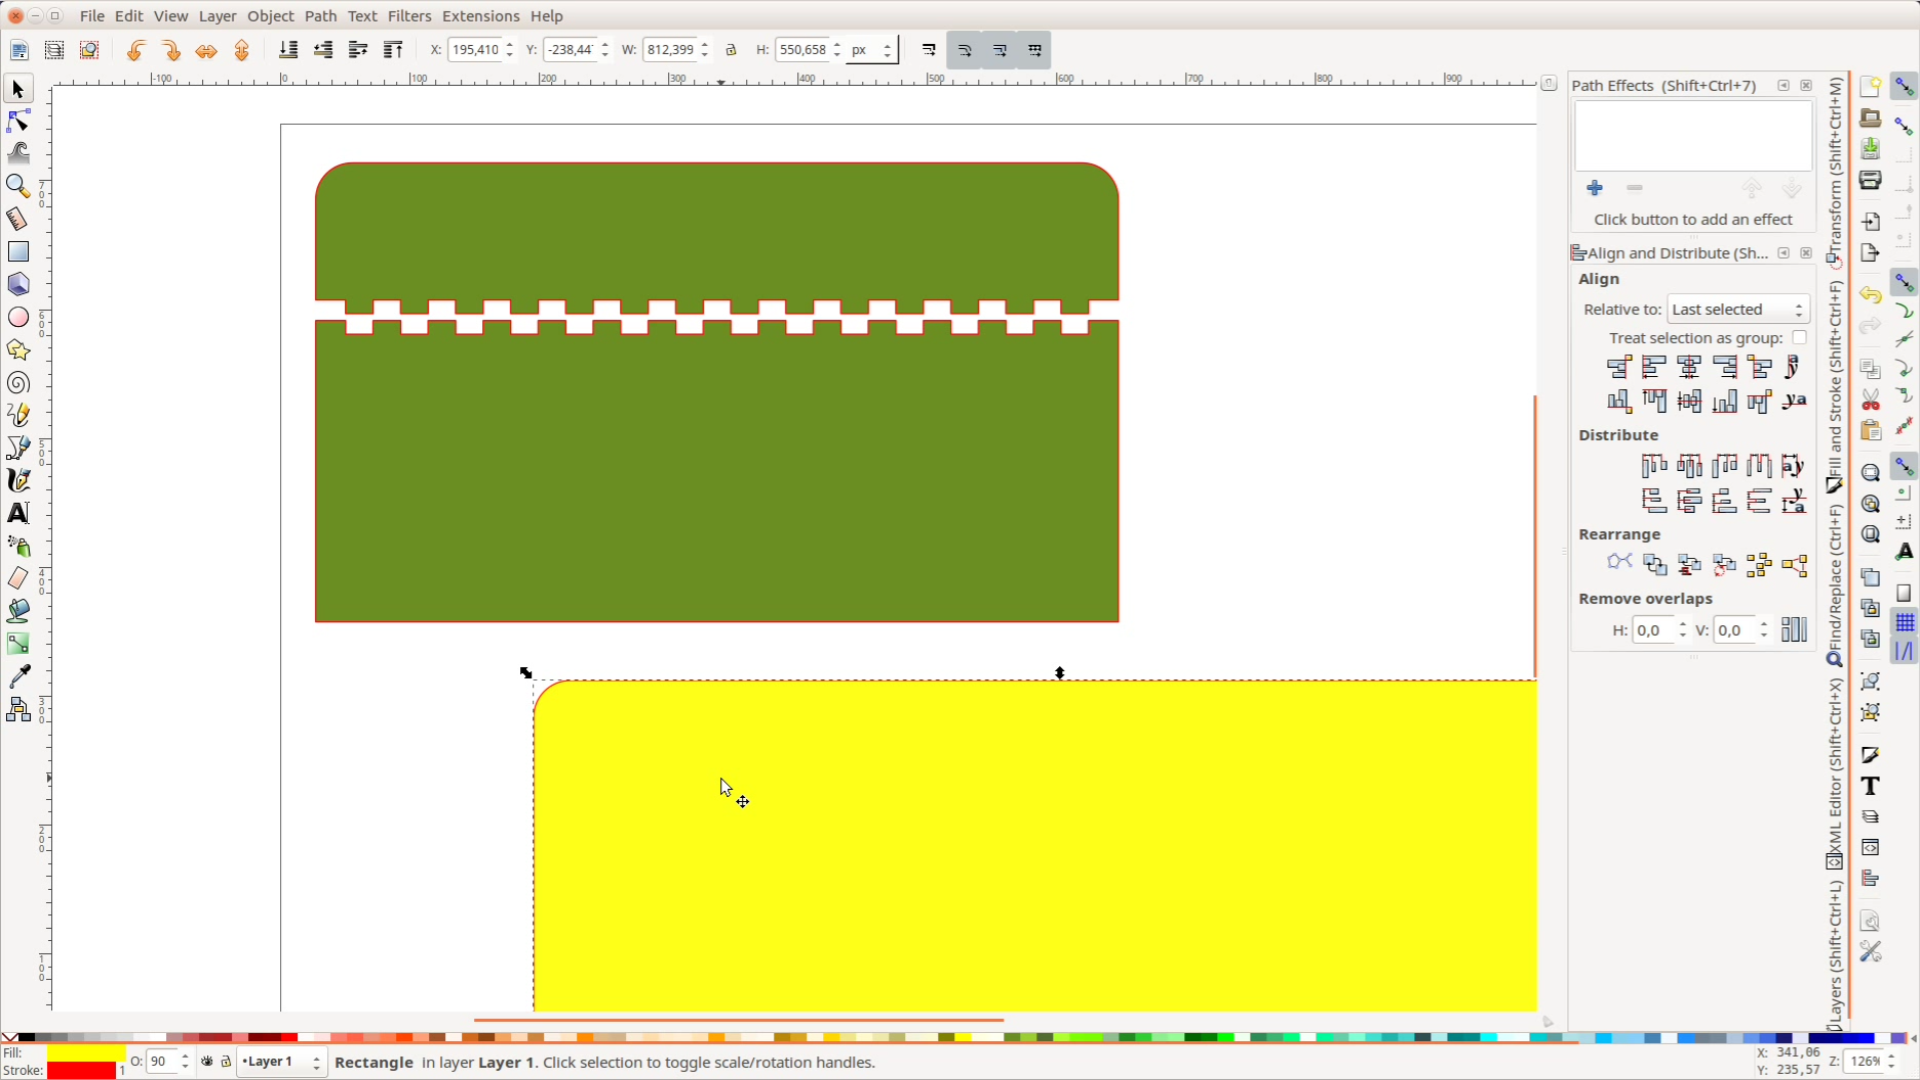
We follow the exact same process to round off the corners of the larger shape.
Cutting holes
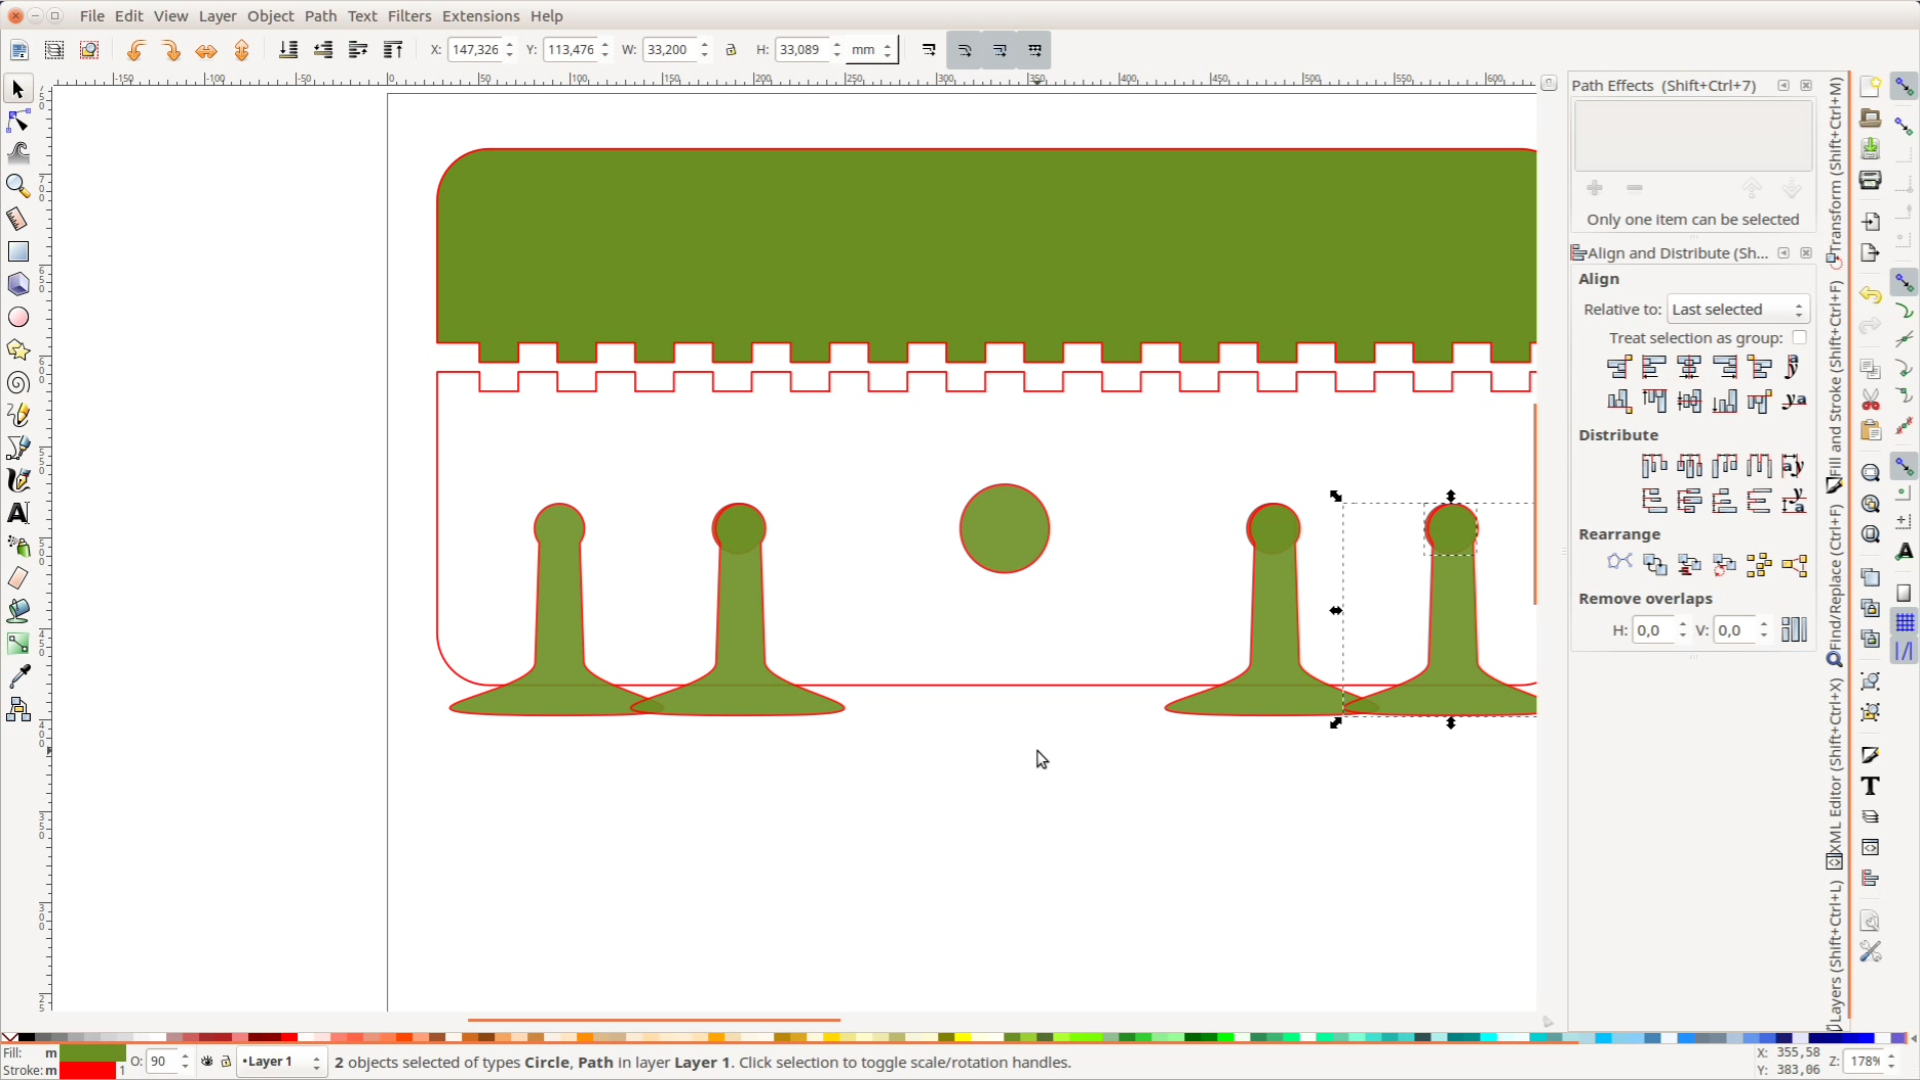
Next we mark the positions of the razor and the four toothbrushes. After drawing a circle we adjust the values for width and height.
The small lock makes sure the ratio between width and height stays constant. The small circle for a toothbrush at the left is first aligned with the left side of the piece. Inkscape does accept simple calculations in the input fields. We type plus 15 and the circle moves inwards and the repeat the same on the right hand side.
We distribute six copies of the circle across the entire area and then remove to two middle ones to make room for the razor.
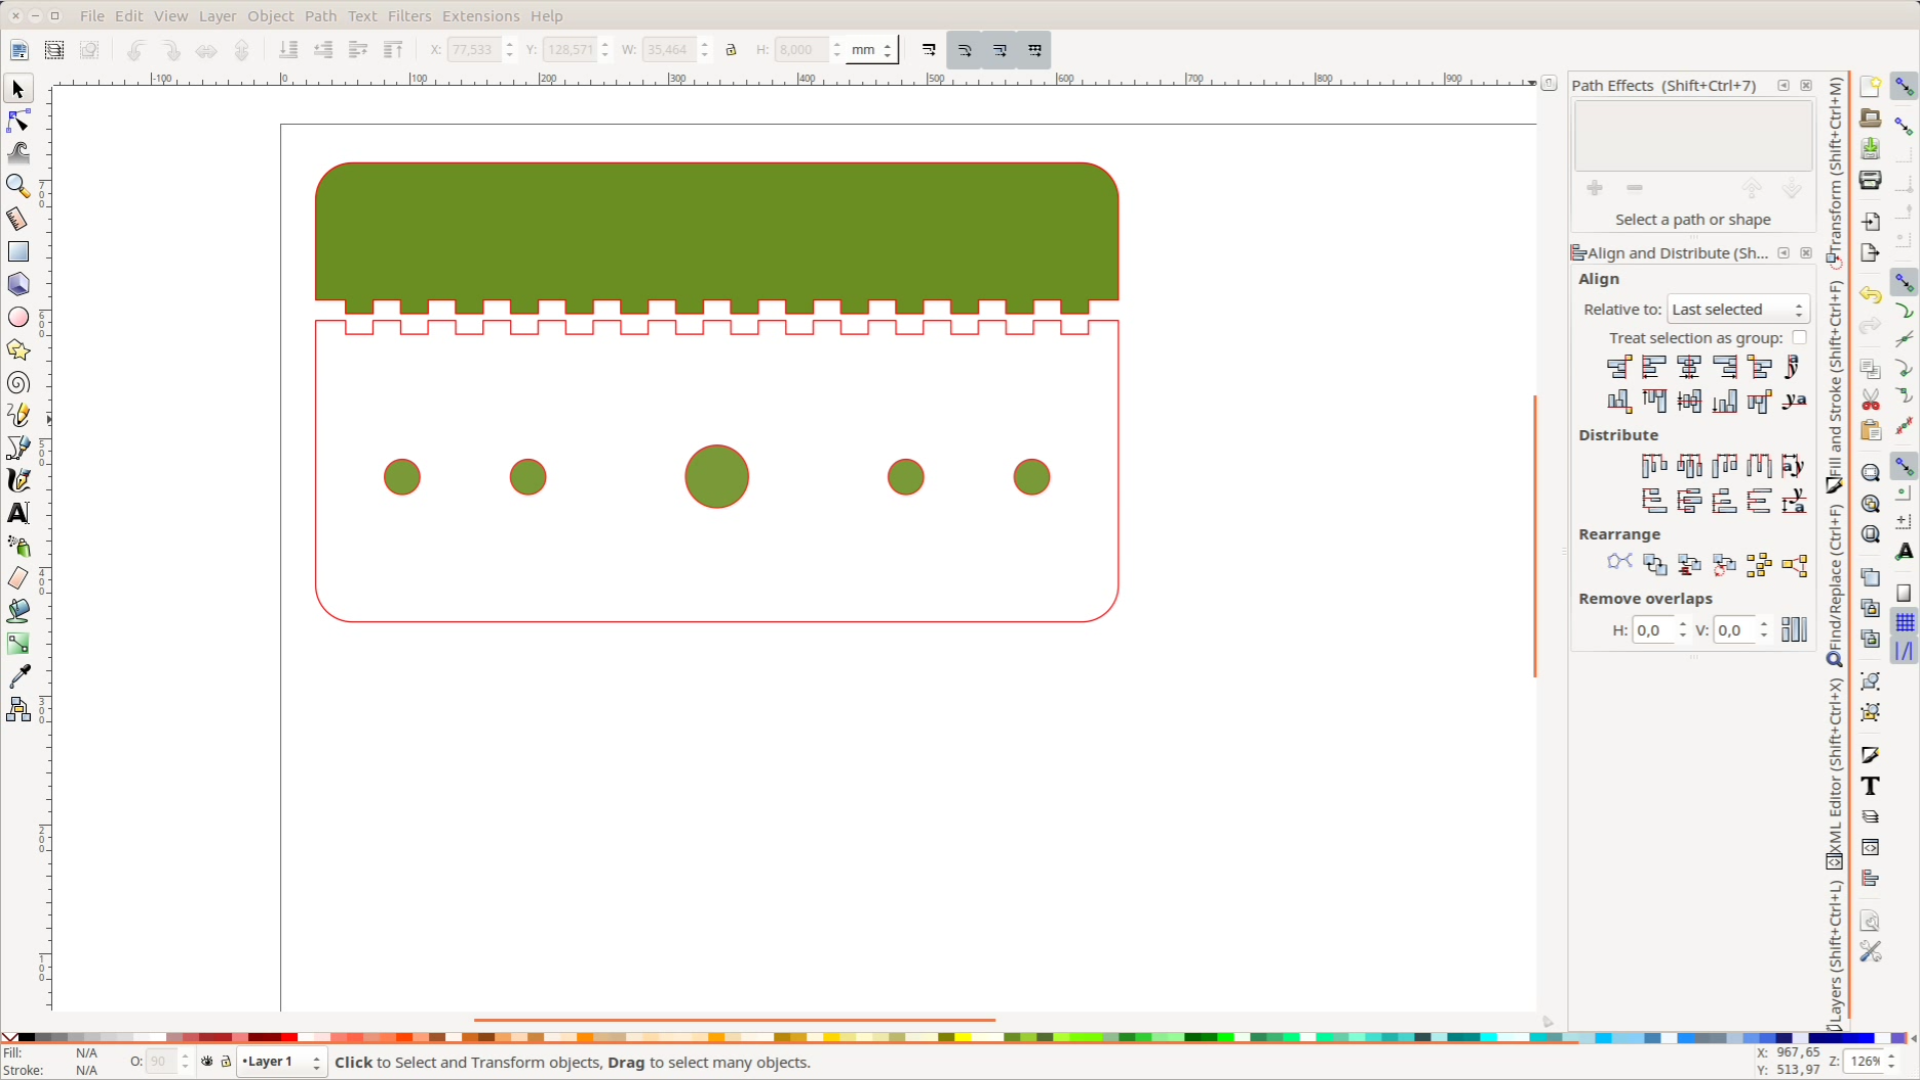
The holder looked far too big at this point in time. With the edit node tool we make it a fair bit smaller.
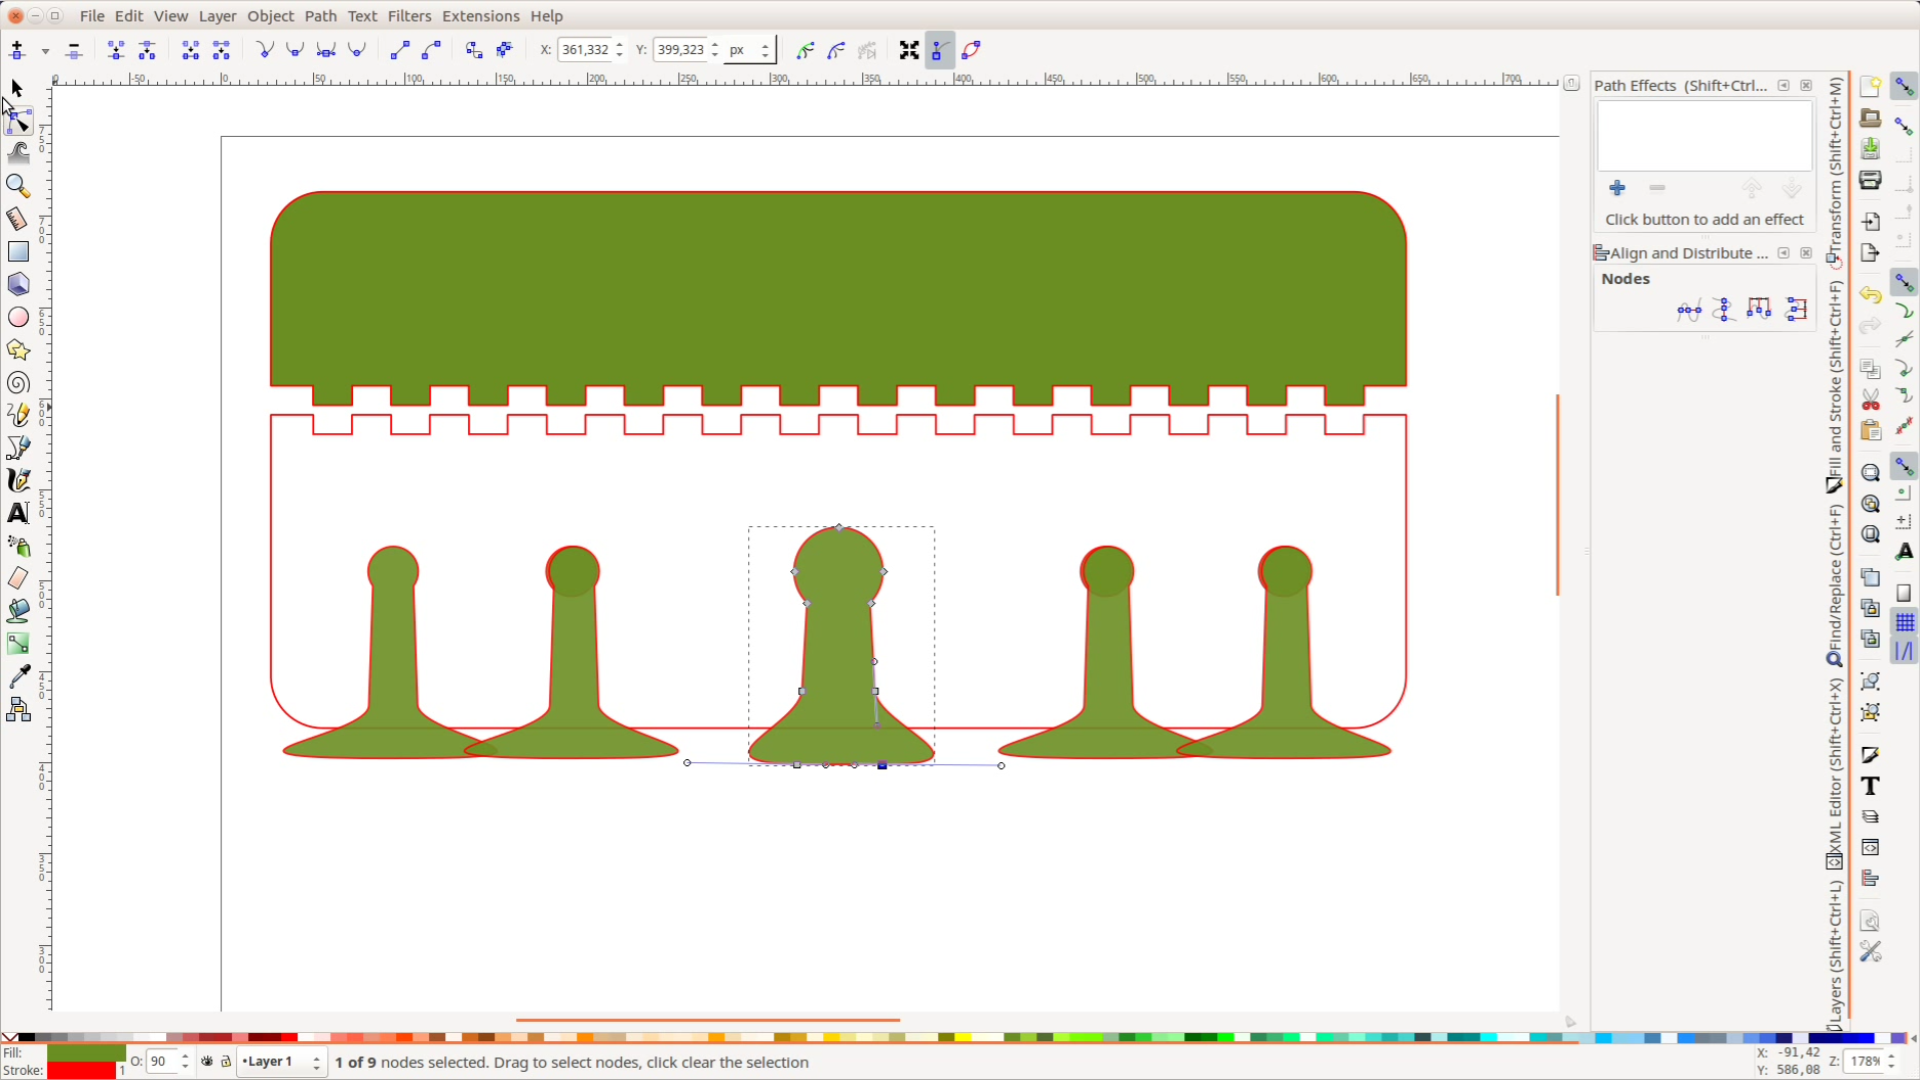
We move the circles with the arrow keys in the right position and then create an additional rectangle, align it and convert it into a Path with Object, Object to Path.
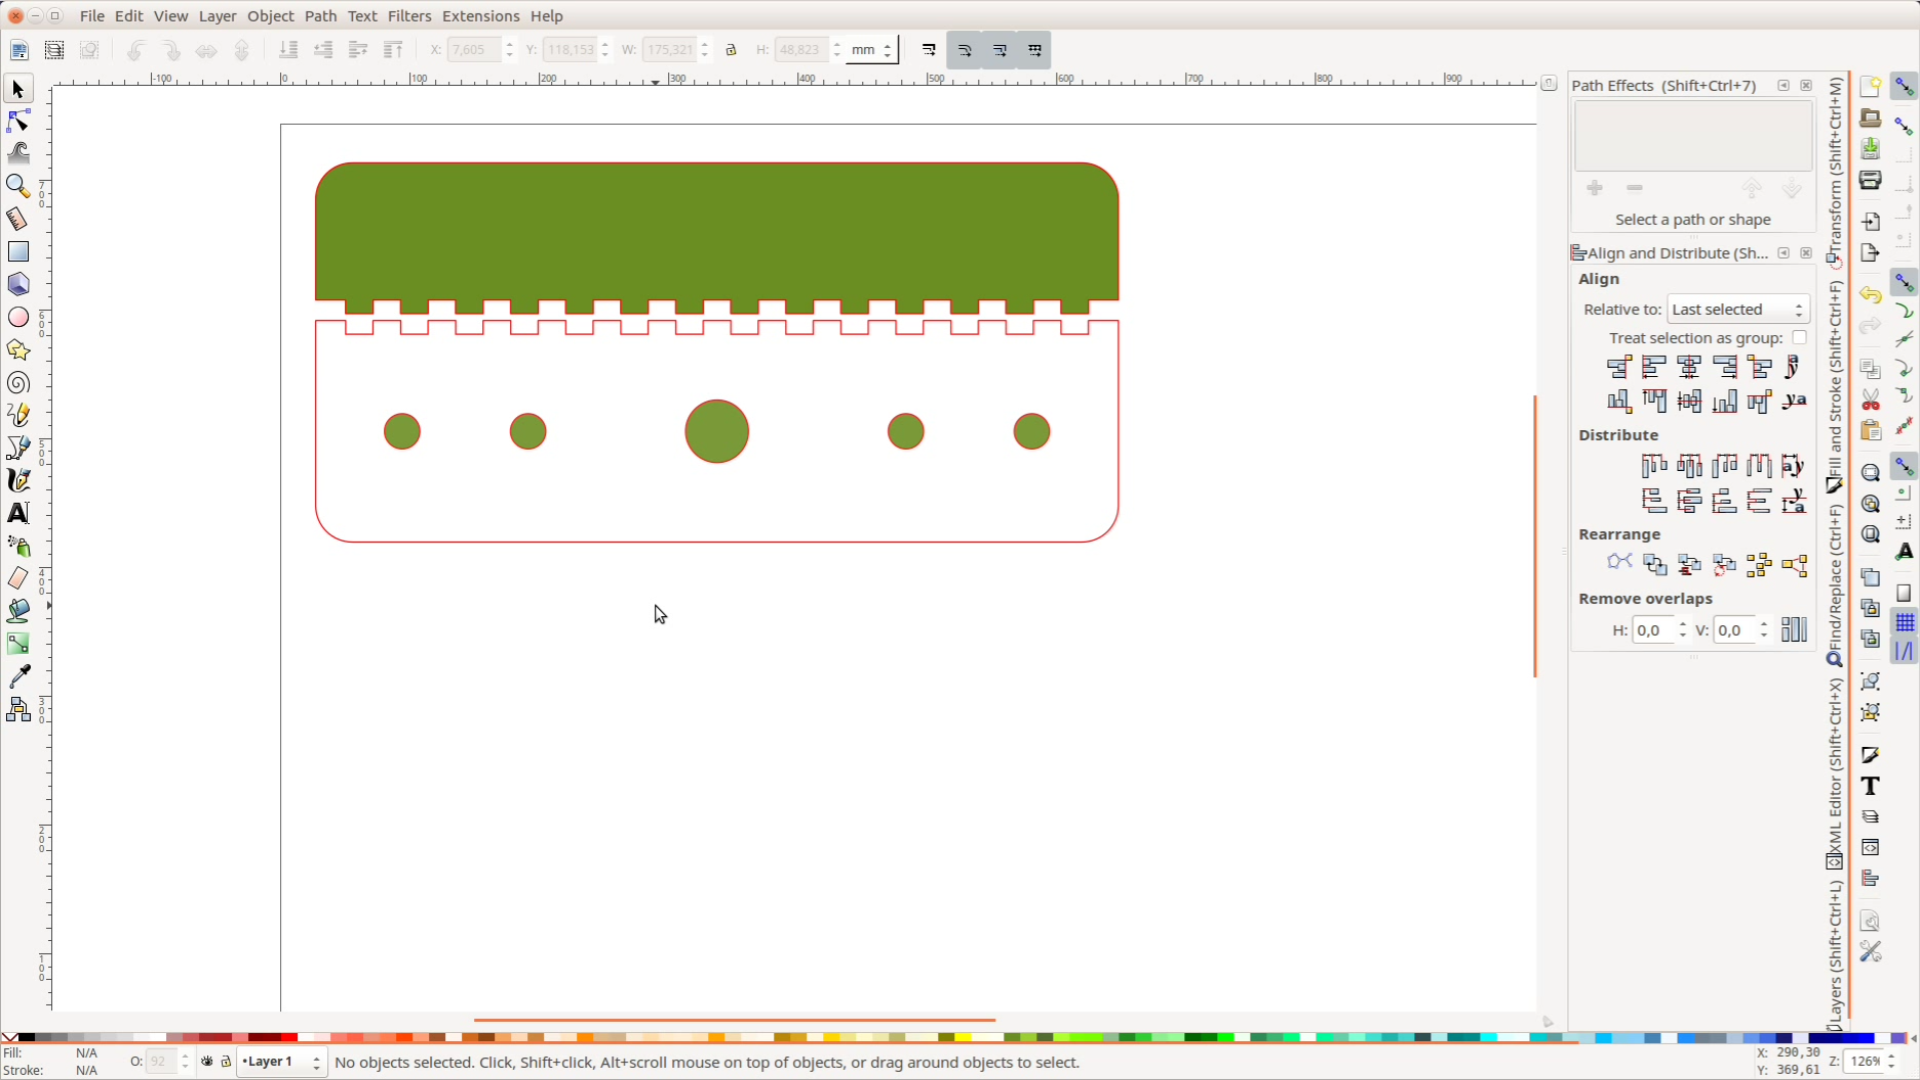

Now we can use the edit tool to make to from part wider and then use Path, Union to merge it with the circle.
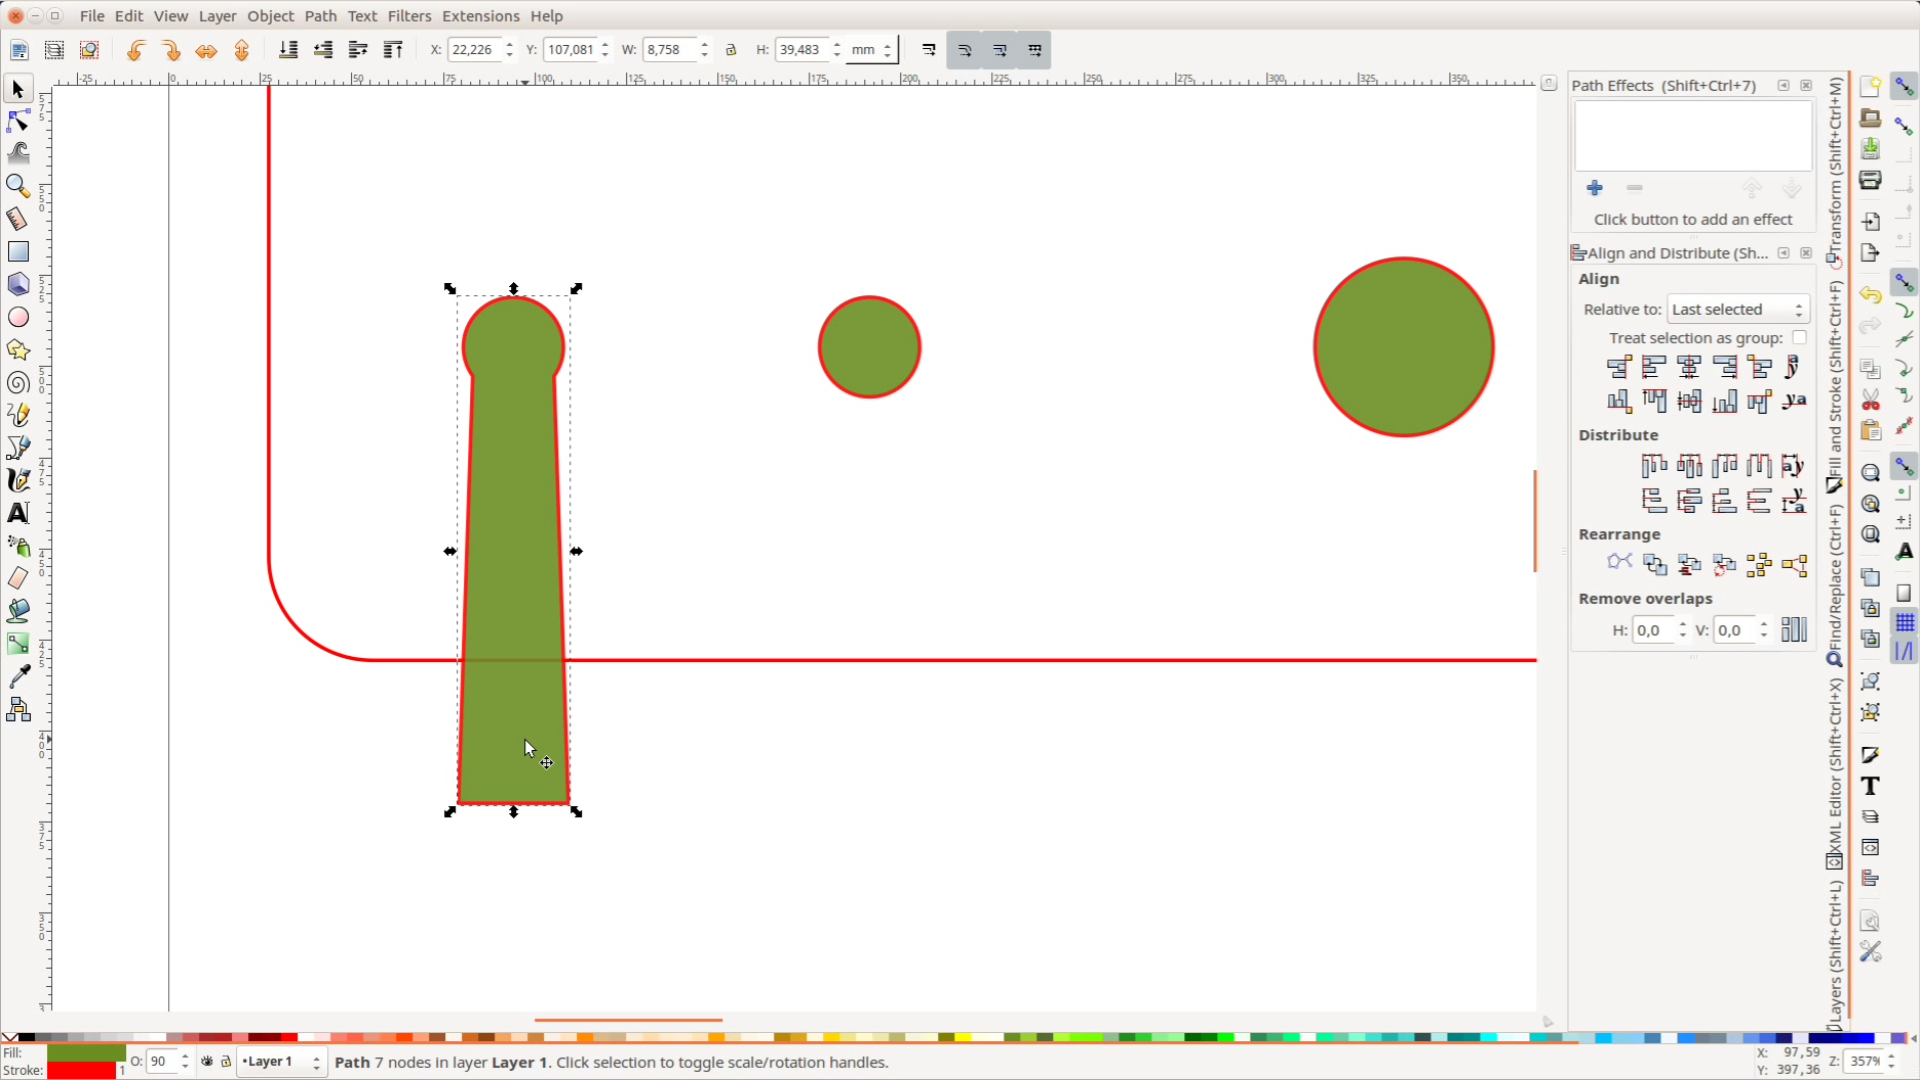
With the edit node tool we create smooth transitions. With two new nodes we create the starting point for a round corner at the bottom.

Before we repeat the same steps for the razor we align the form with the middle of the circles.
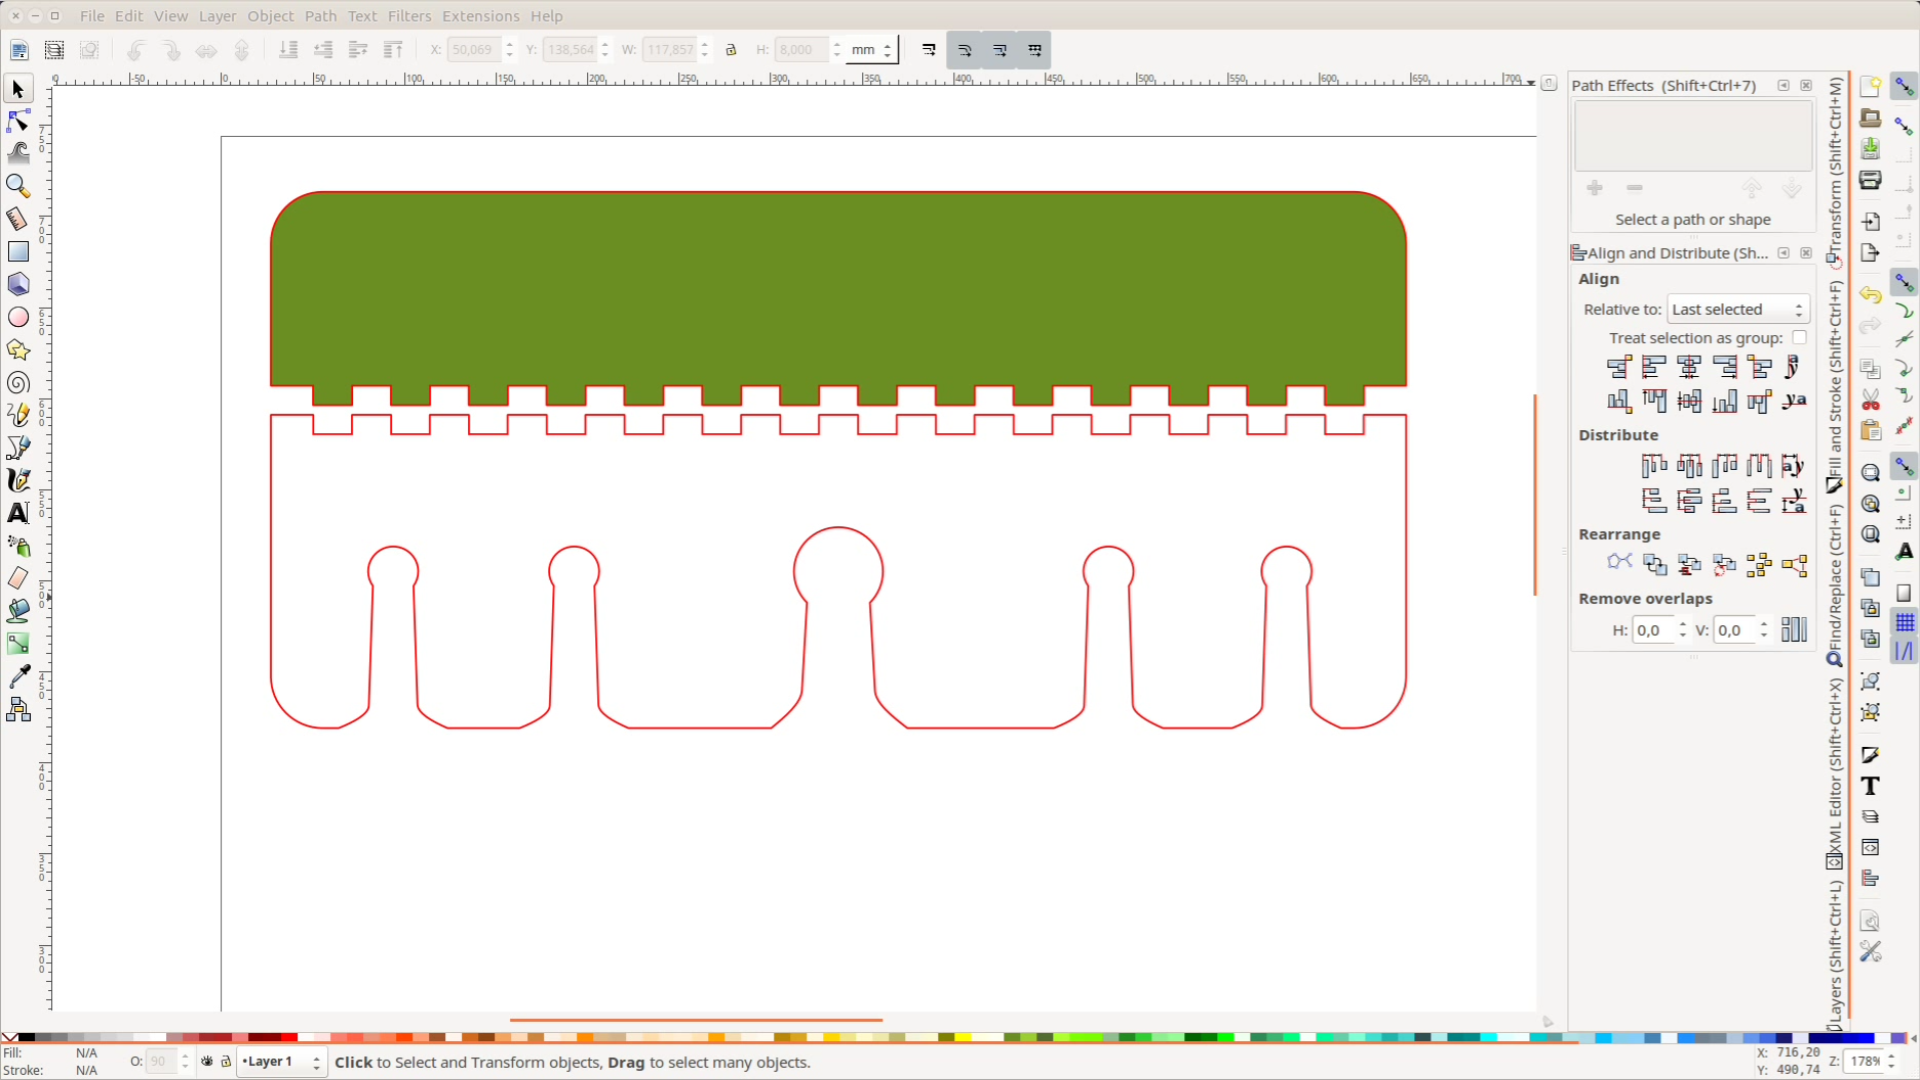
After cutting the openings with Path Difference from the main piece we are more or less done. We use the node edit tool again to smooth some corners and after saving the file we
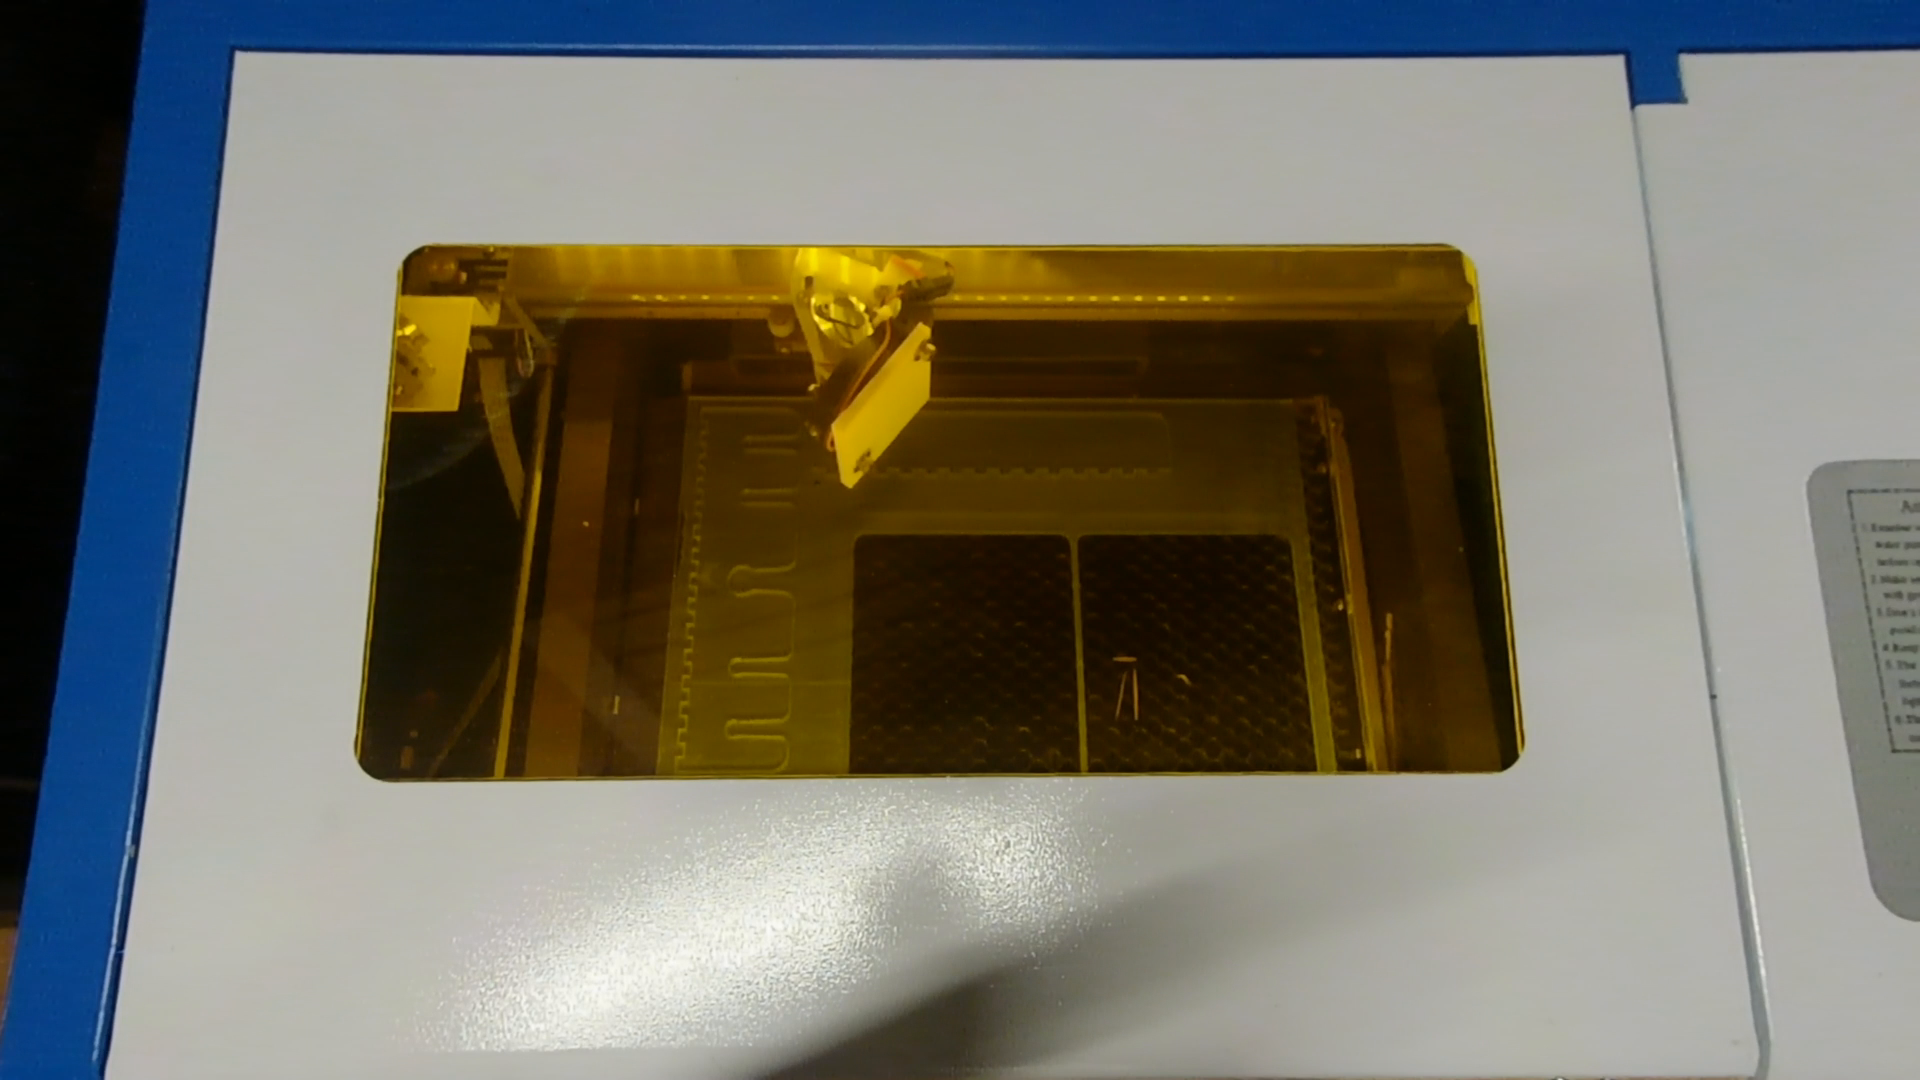
can send it to the laser.
The holder improves the organization in our bathroom quite a bit. Hopefully the article helps you to use Inkscape for your own laser cutter designs.