
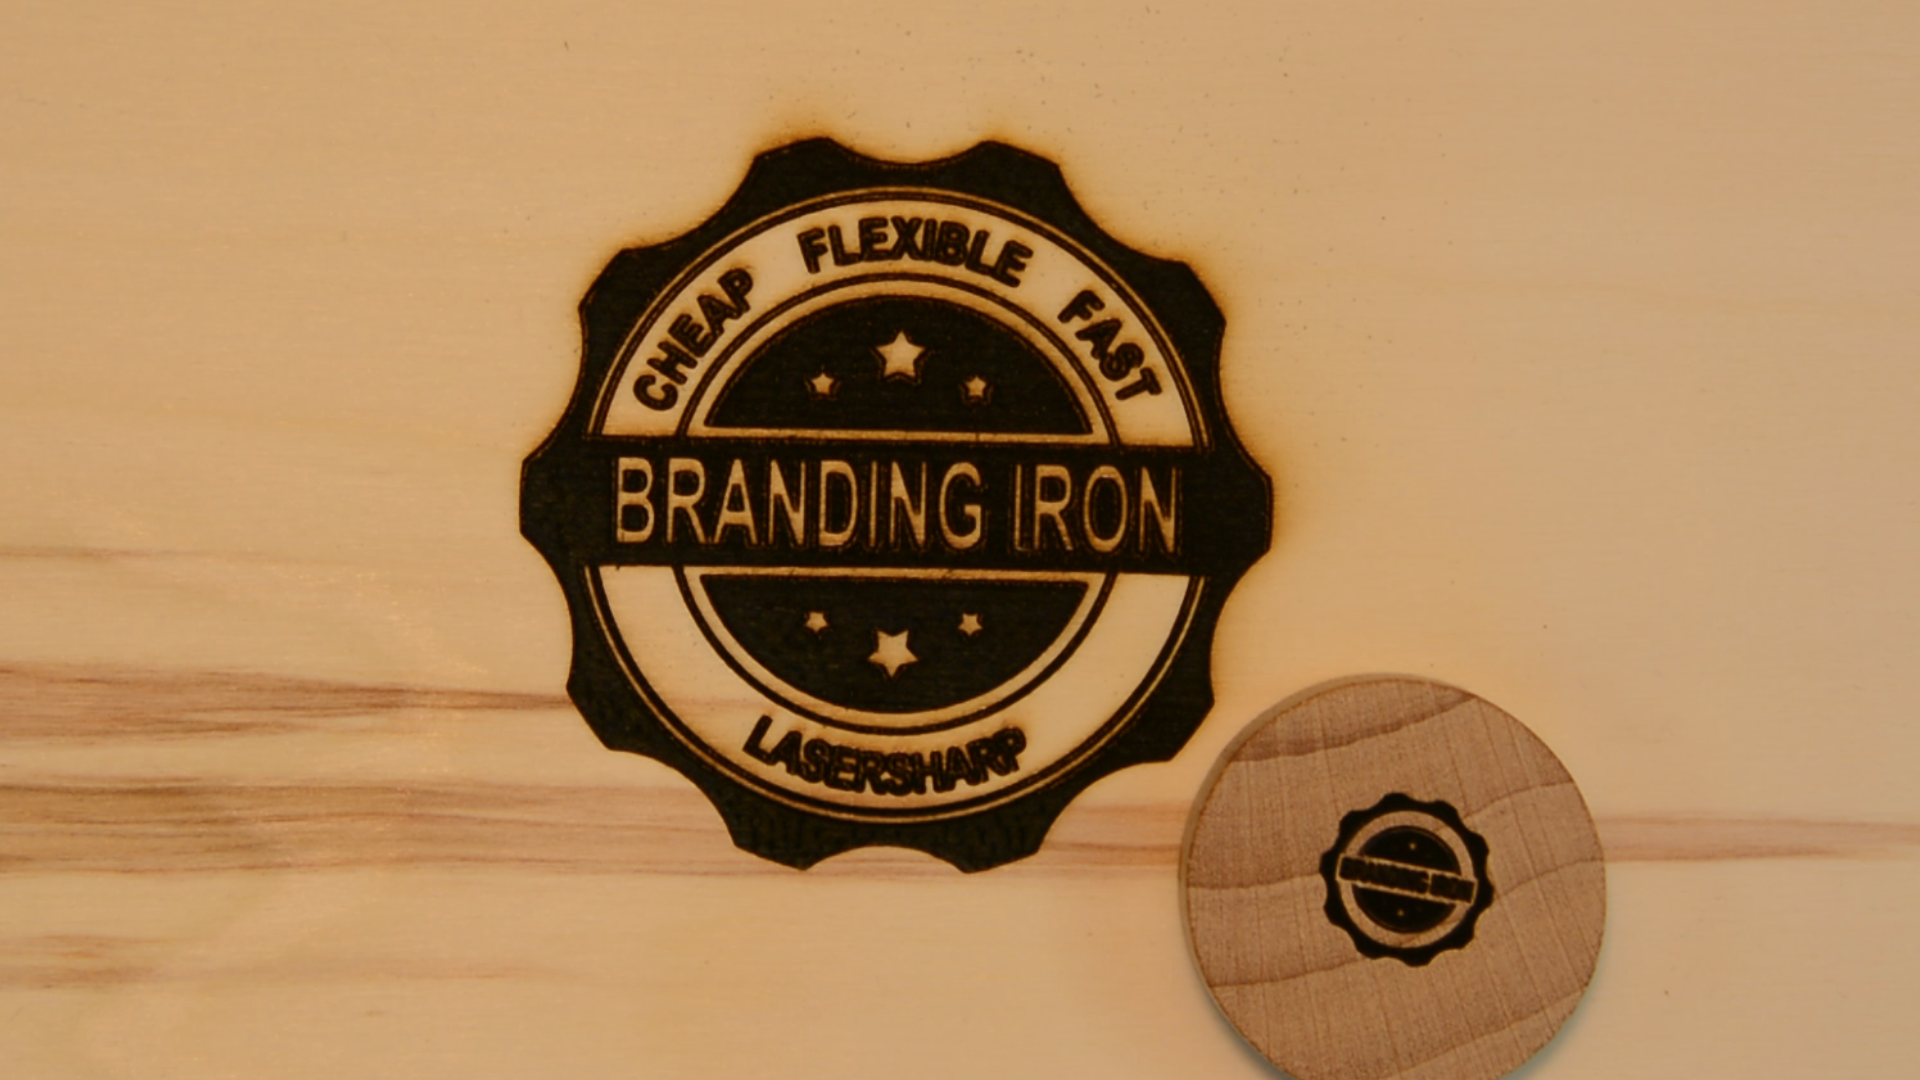
In this article we look at a cheap alternative for a branding iron that is able to produce different designs at different sizes. The Chinese 3000 mW laser we use for this branding iron or maker mark is easy to use and you can change the logo with each application.
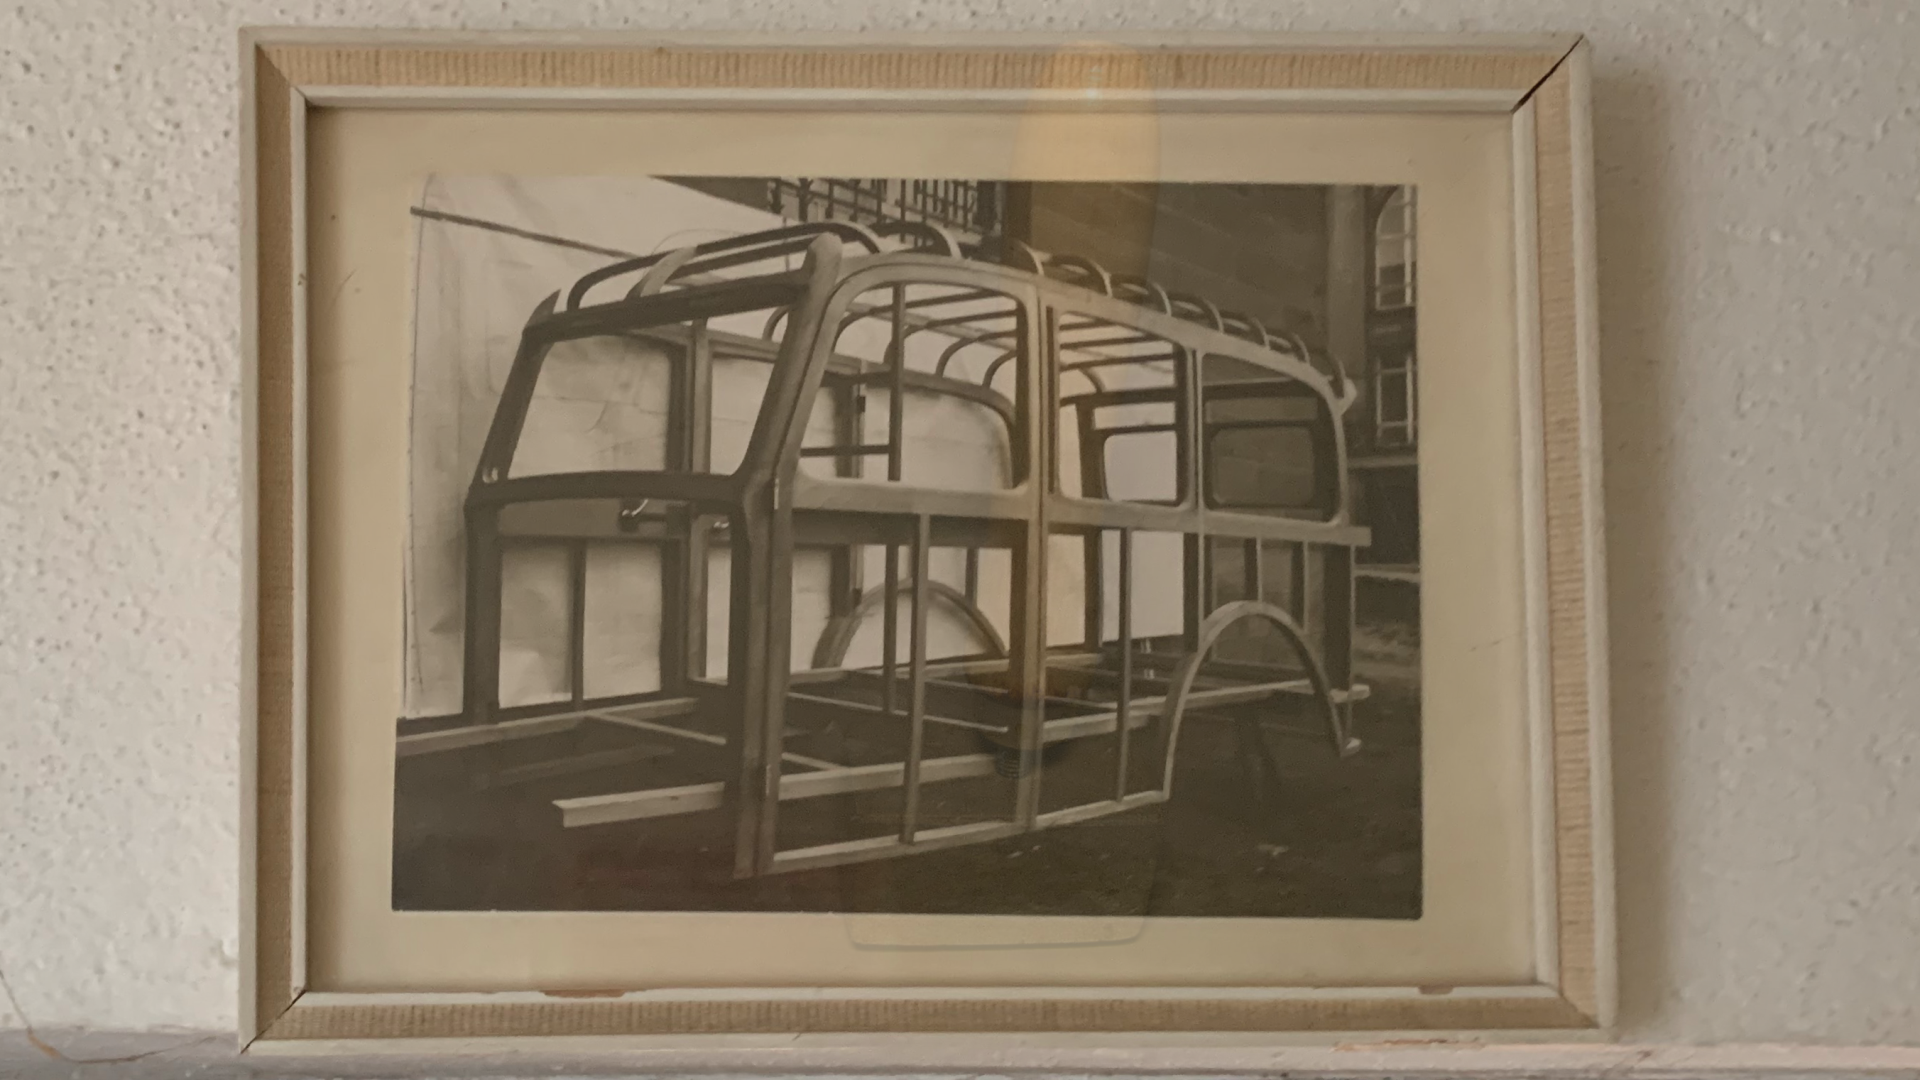
This is my grandfather’s branding iron. He was a wheelwright and later created wooden car bodies.
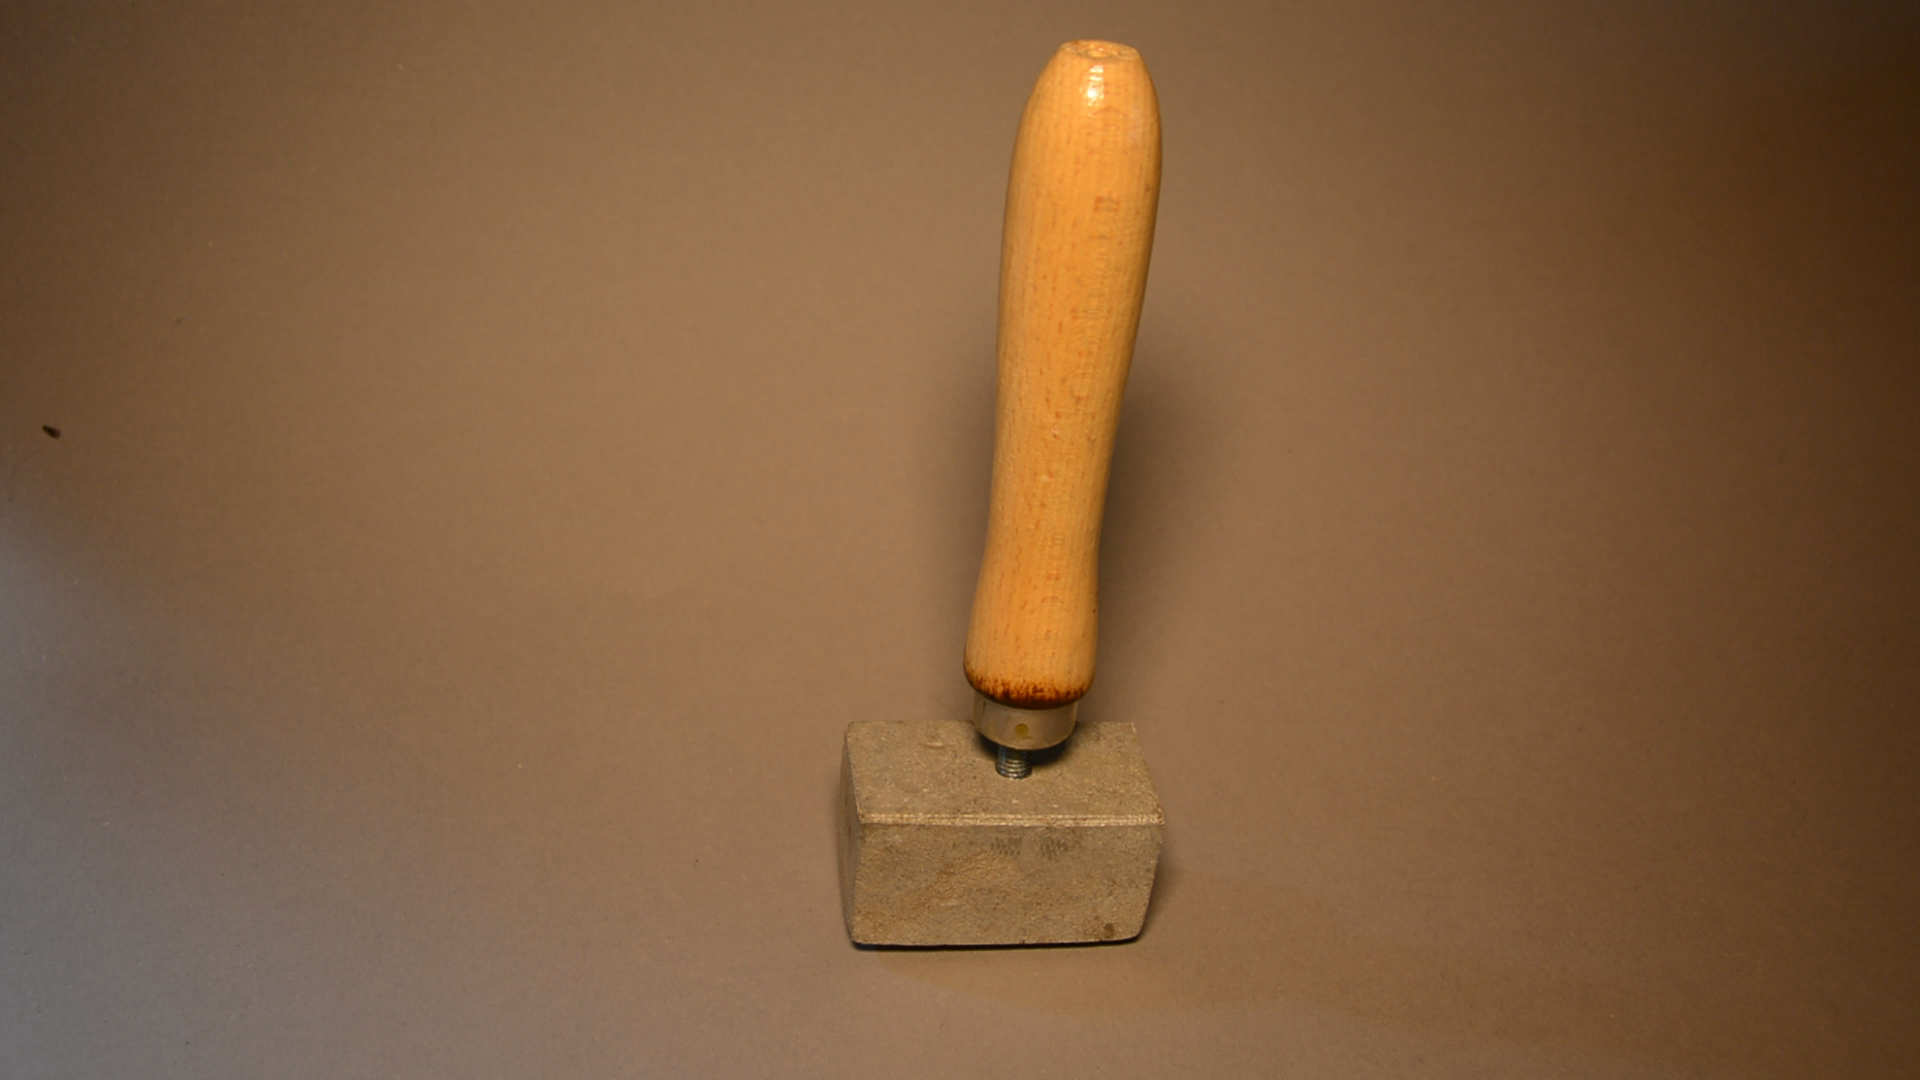
While I love this branding iron I produce a lot of things that are smaller than a car. For these it is too big and I would like to include the year of the build.
Even a custom branding iron for 150 Euro would not allow me to add the current year or change my mark.
Laser engraver as a branding iron
When looking for an alternative solution I found this cheap laser engraver. I bought is on sale for a little over 80 Euro.
The basic idea is very simple: You put the laser on the workpiece, connect it to power, press a button, align the laser, press the button again and the logo gets engraved.

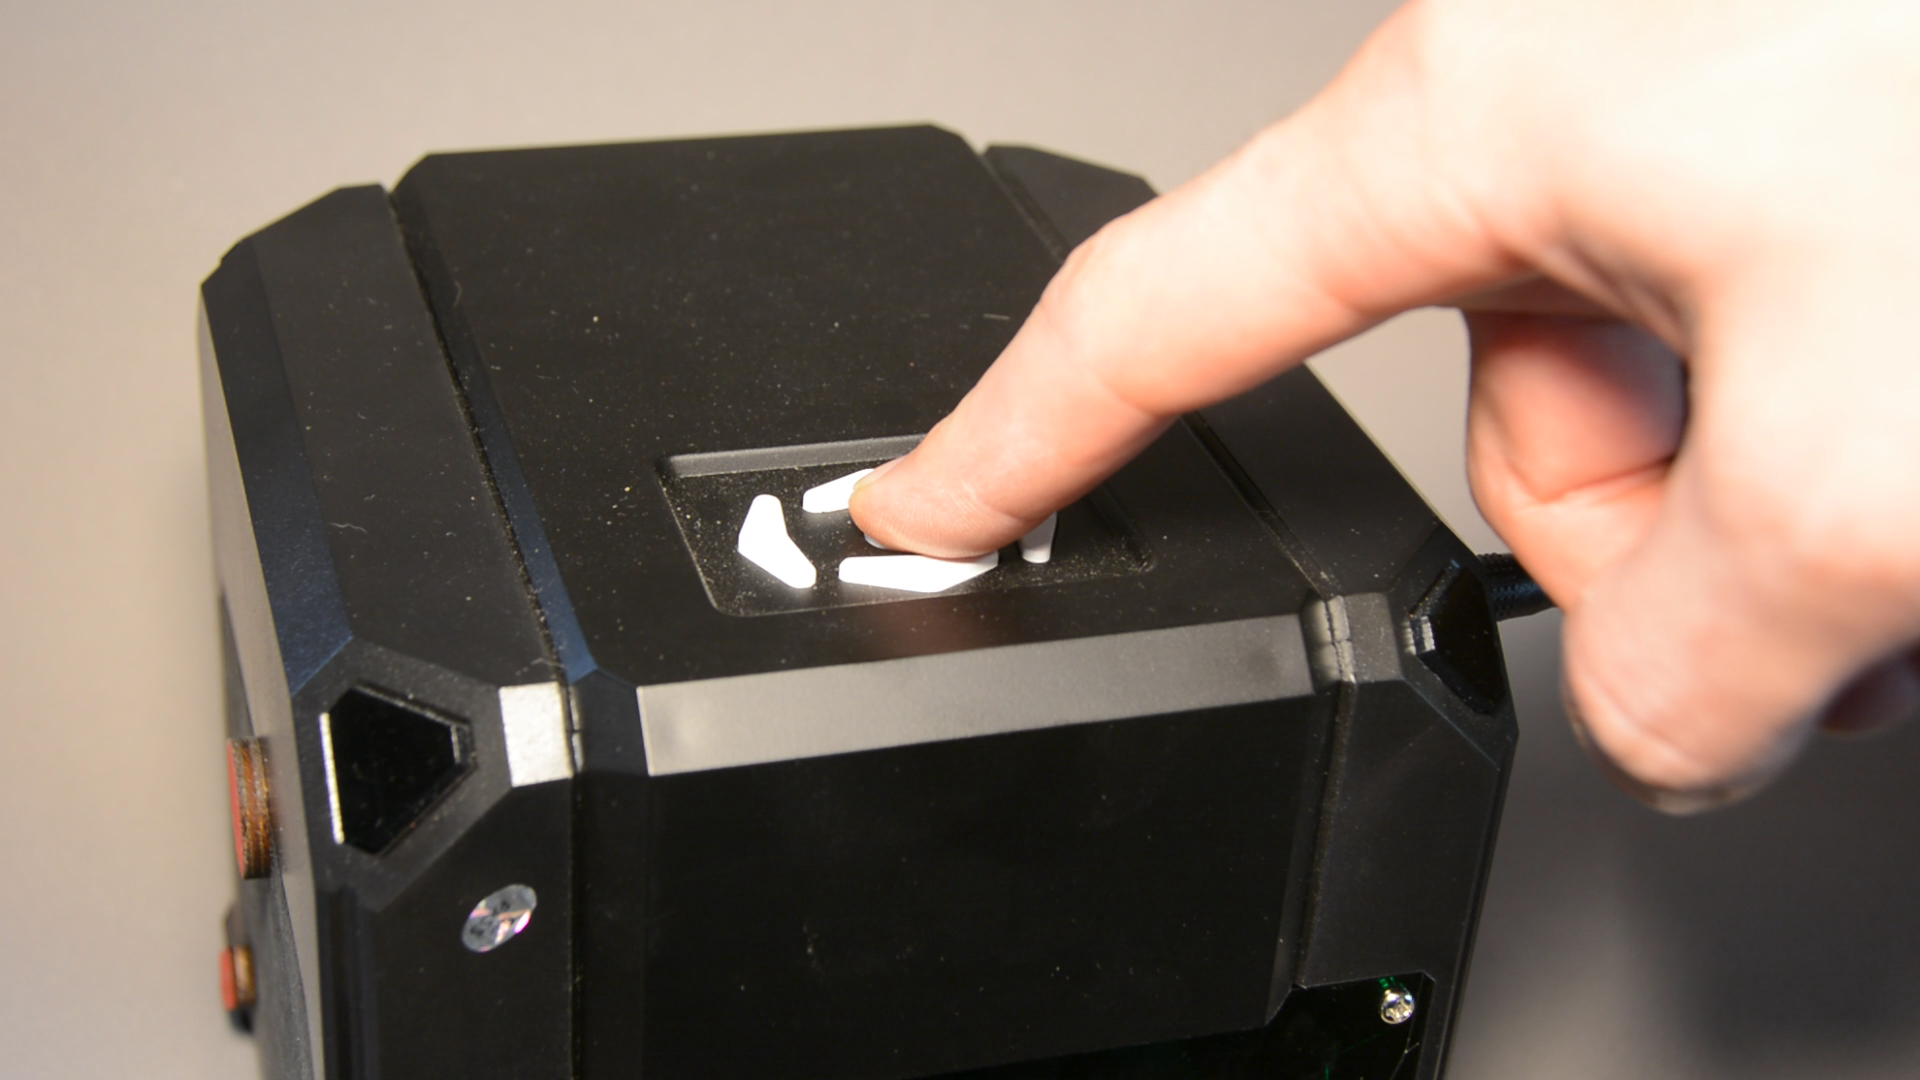
Once a logo is pre loaded on the laser it does not even require a connection to the computer anymore.
In principle you could use the engraver as it comes out of the box but there are a few improvements that make it even easier to use.
Let there be light
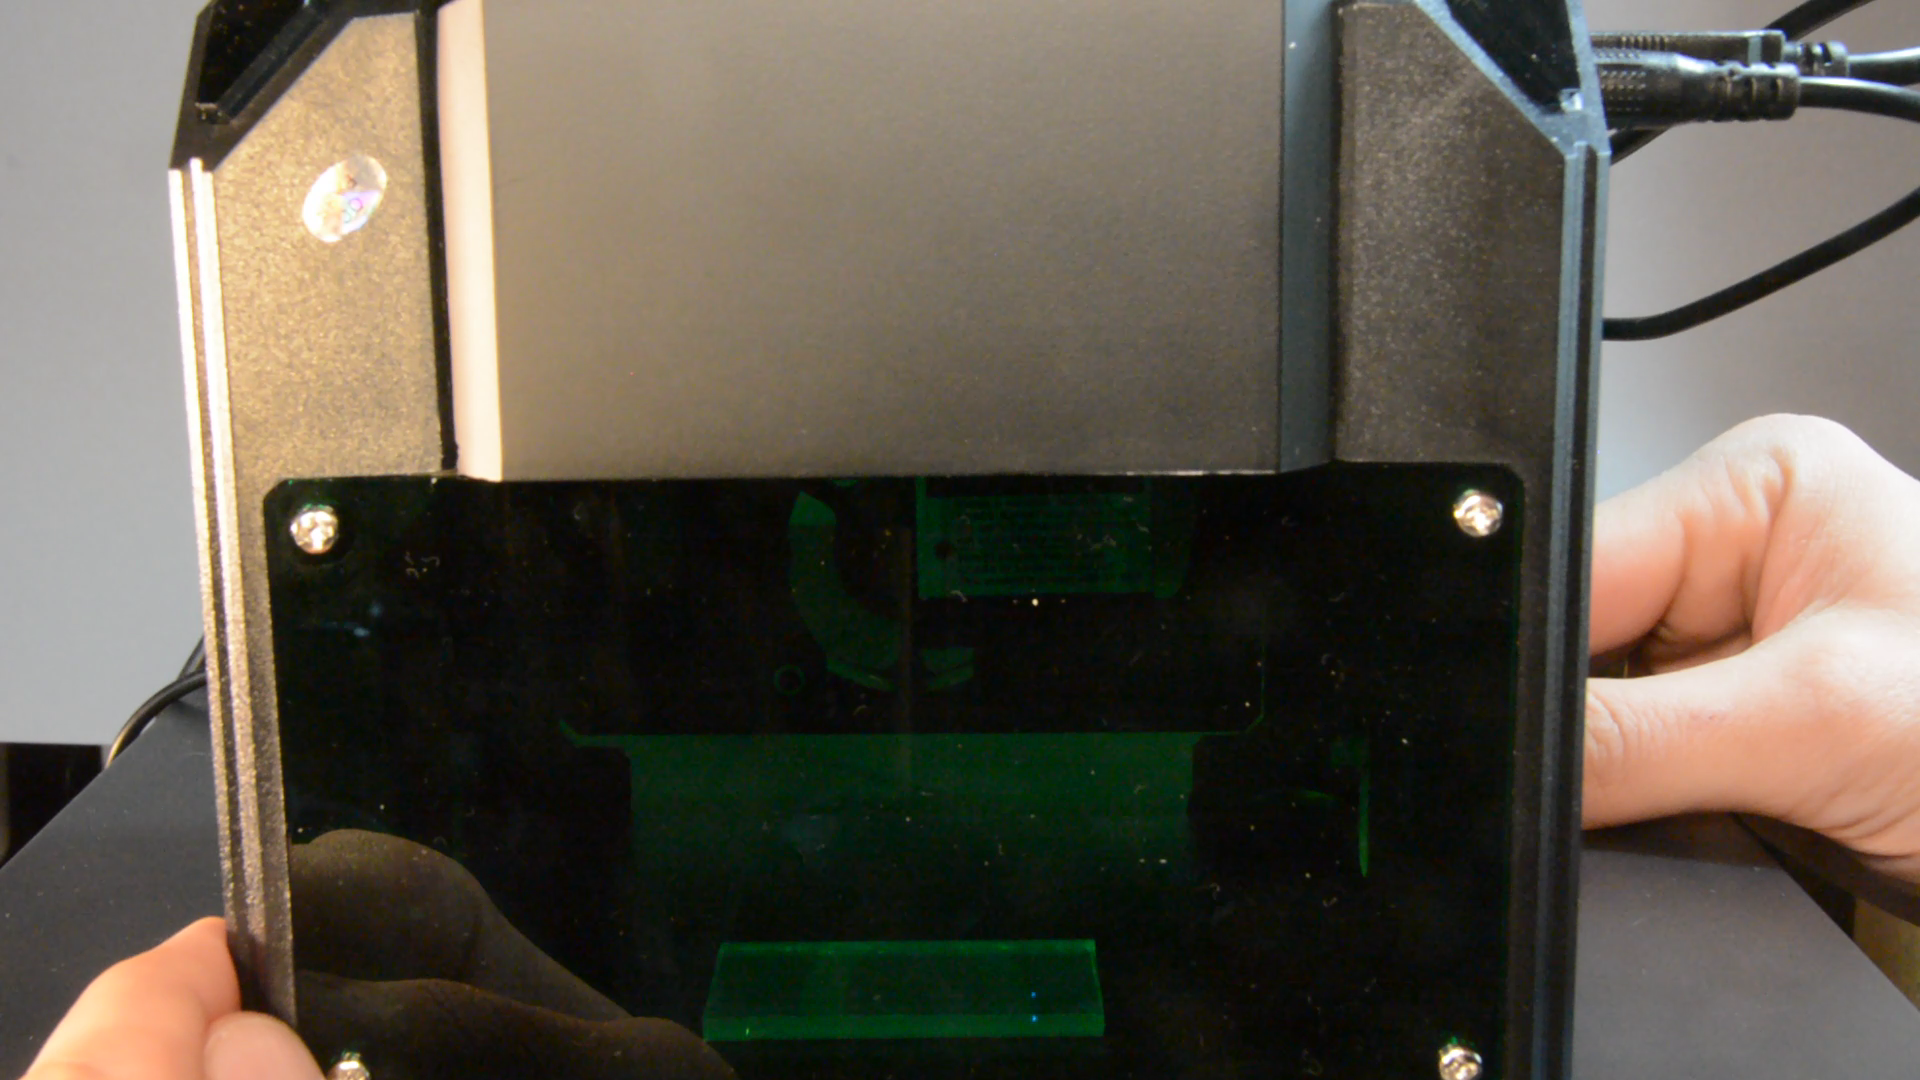
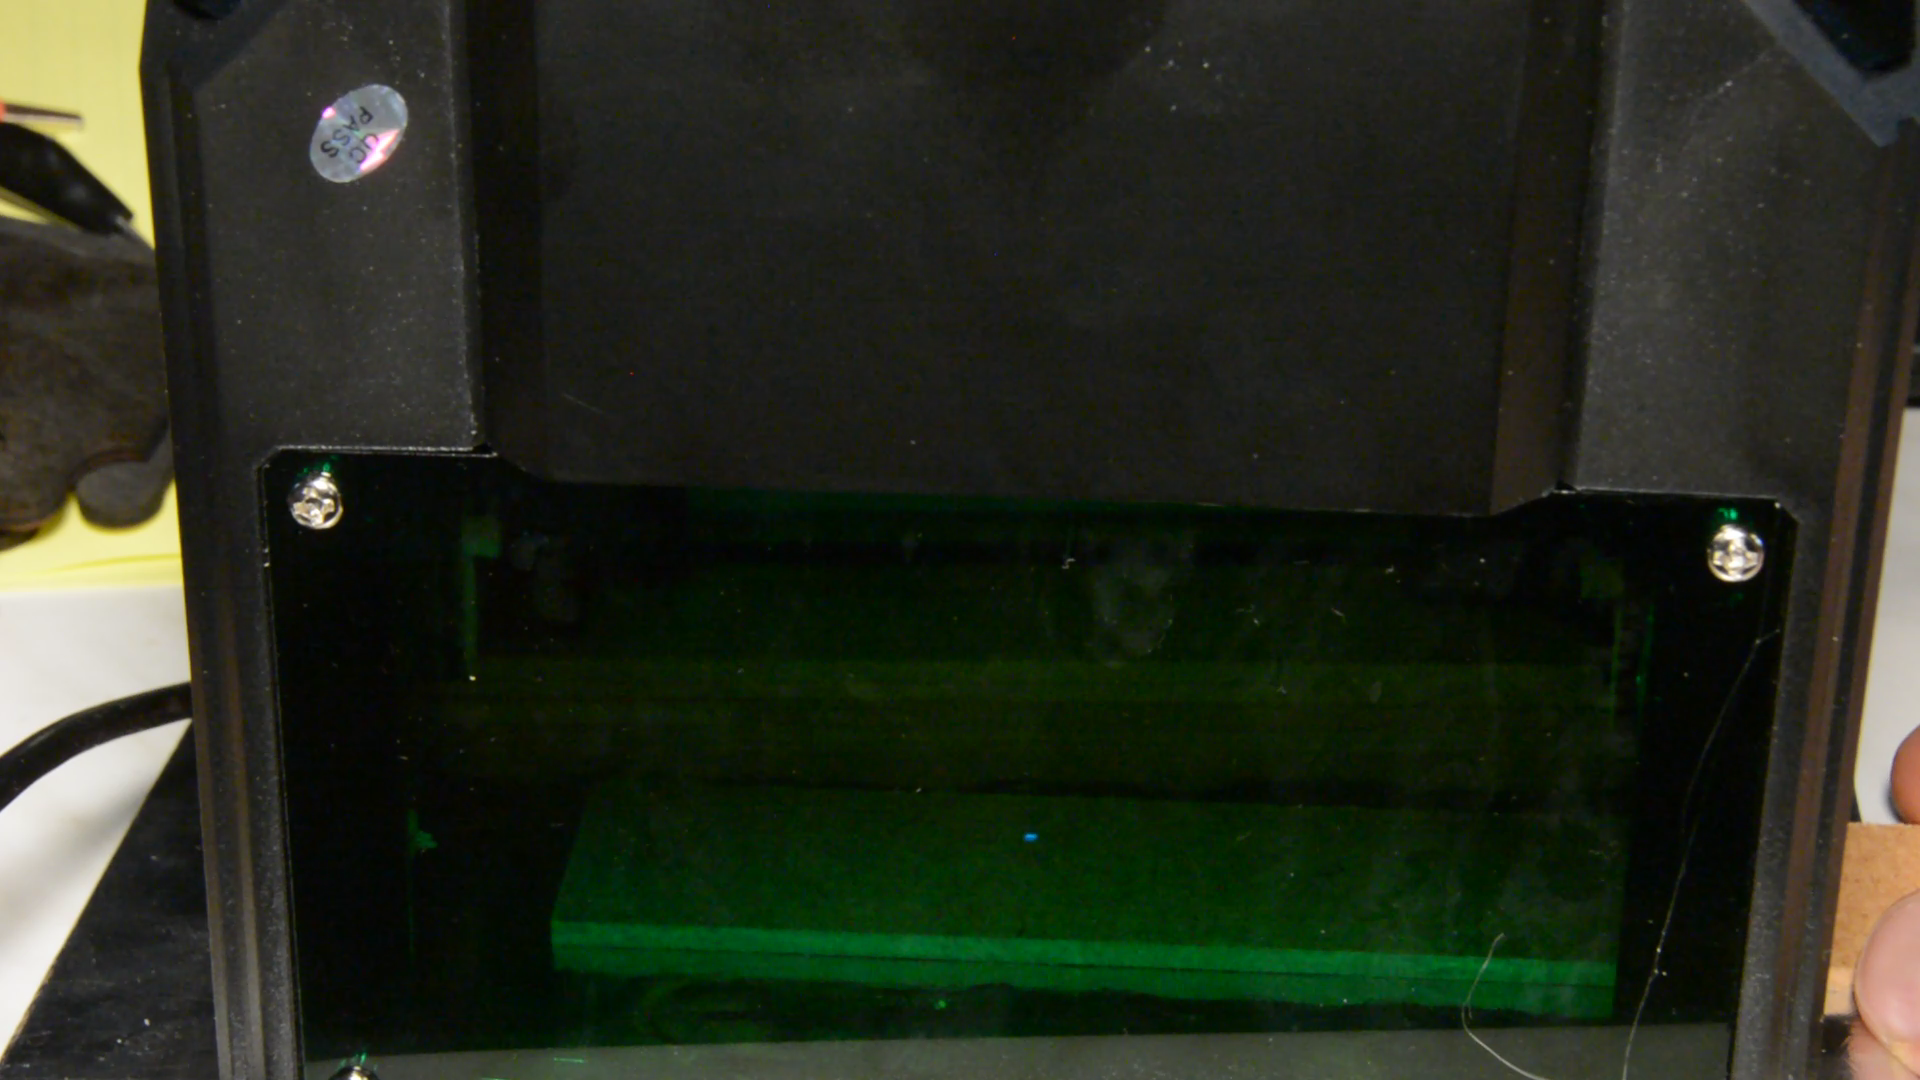
In this article we have build these protective covers.
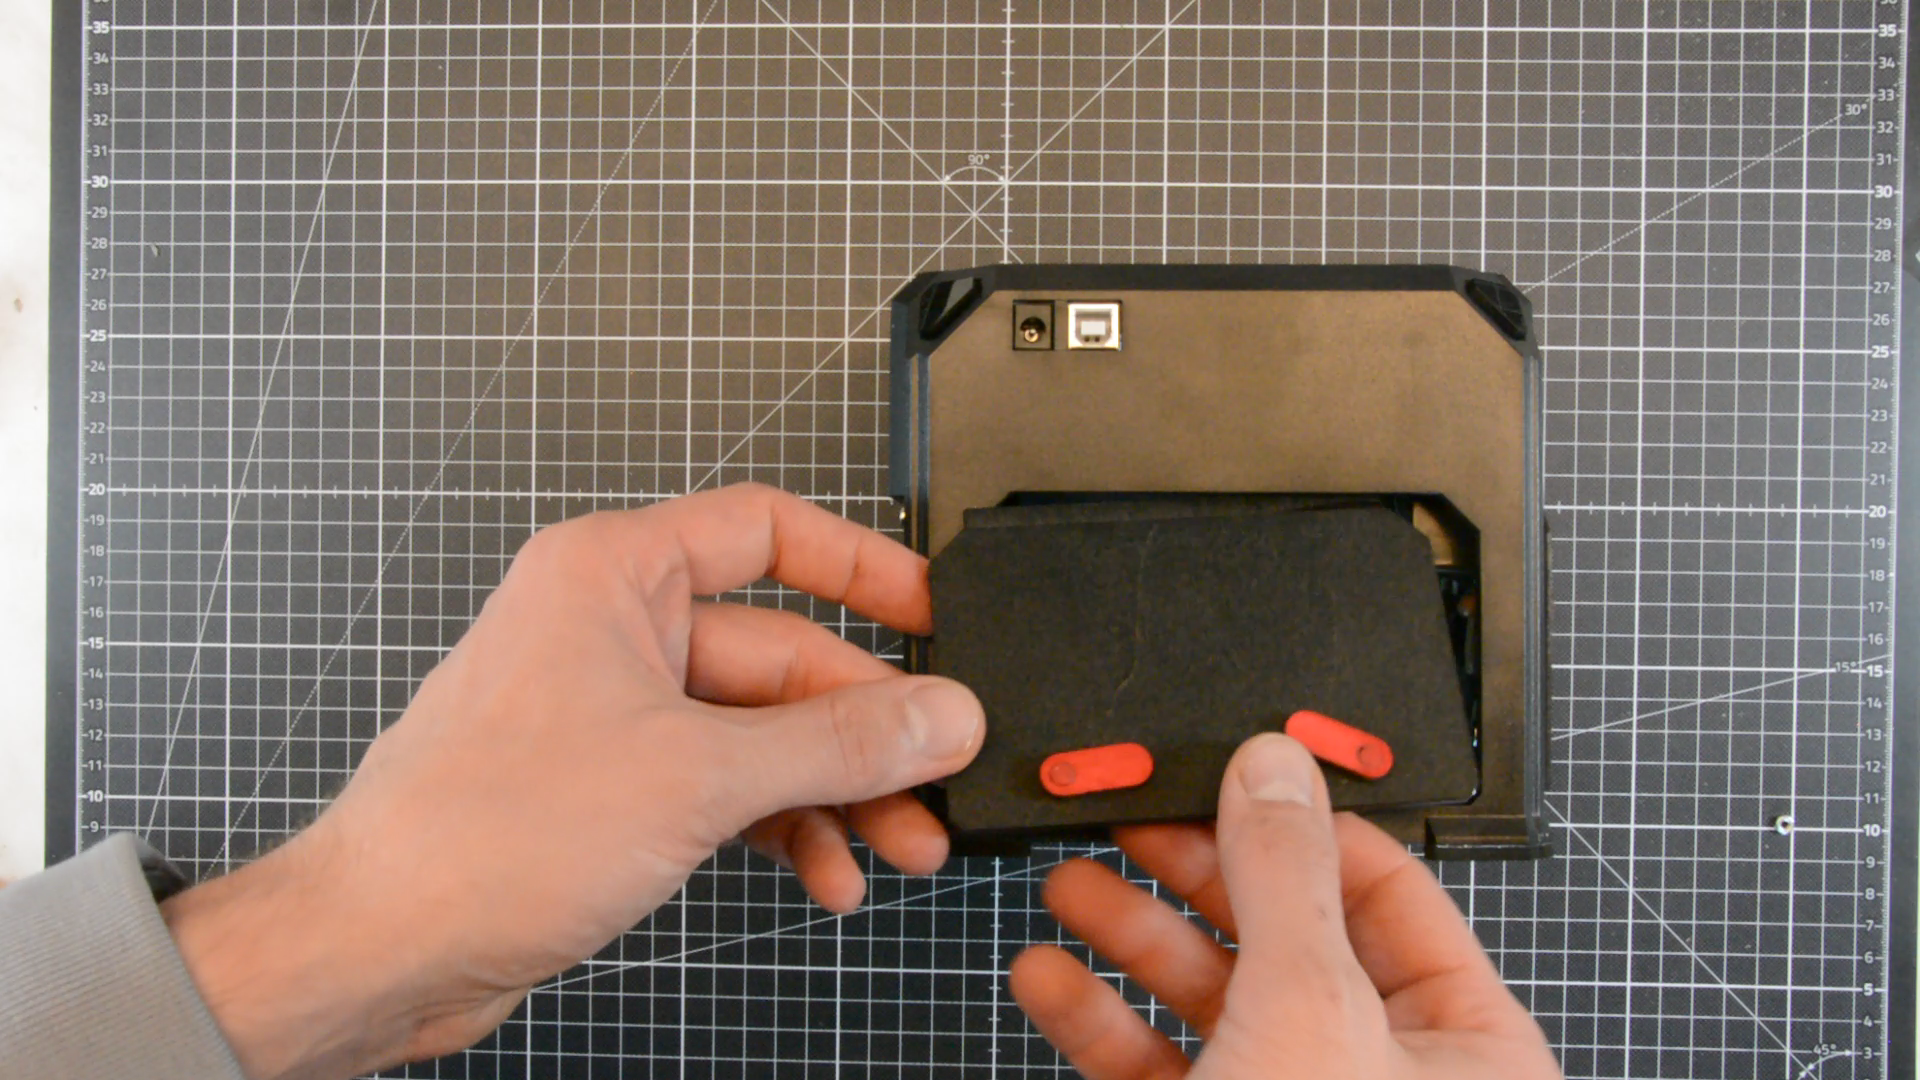
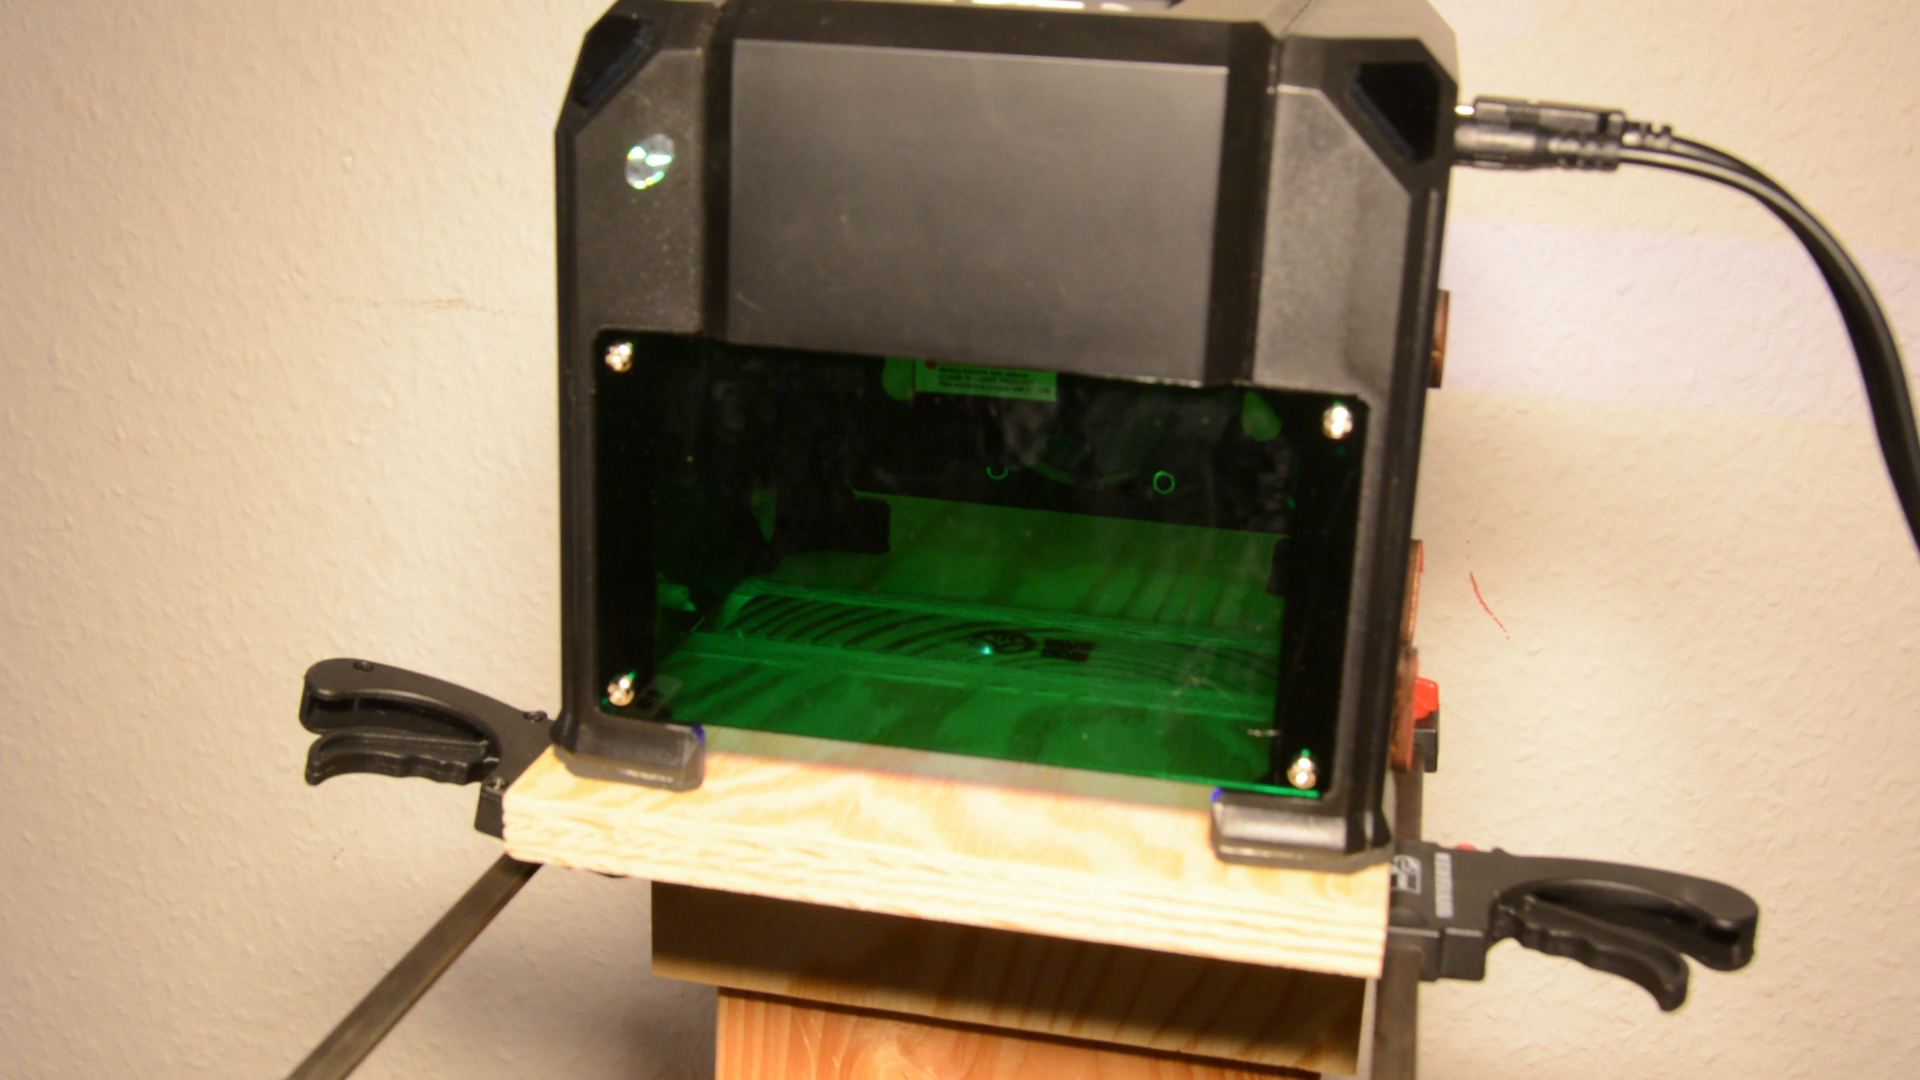
Putting the covers on the laser is a critical safety feature, but the interior becomes very dark. At least for me it is very difficult to align the laser on the workpiece that way.
My first thought was to build a small jig to simply the alignment the center of the laser with the position of the mark. Unfortunately the center of the virtual workspace is not centered within the physical cube – so this idea did not work.

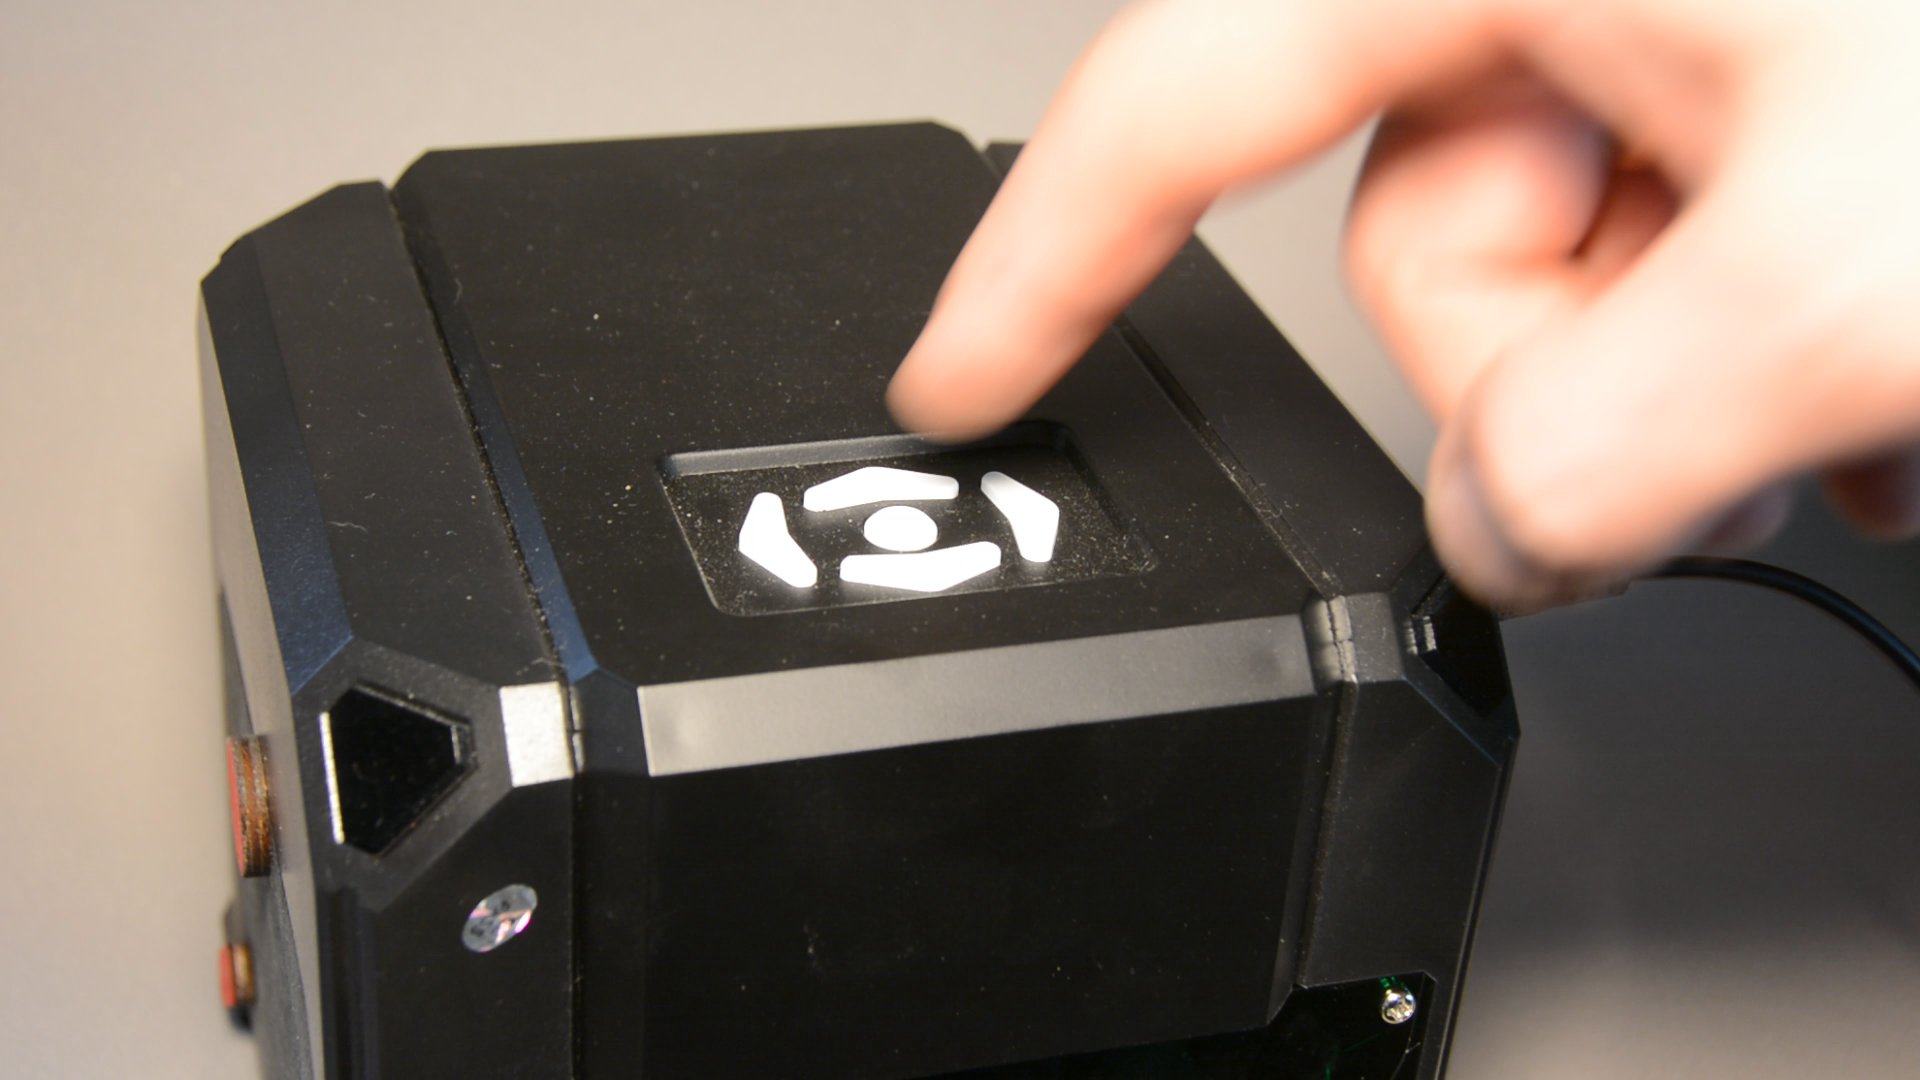
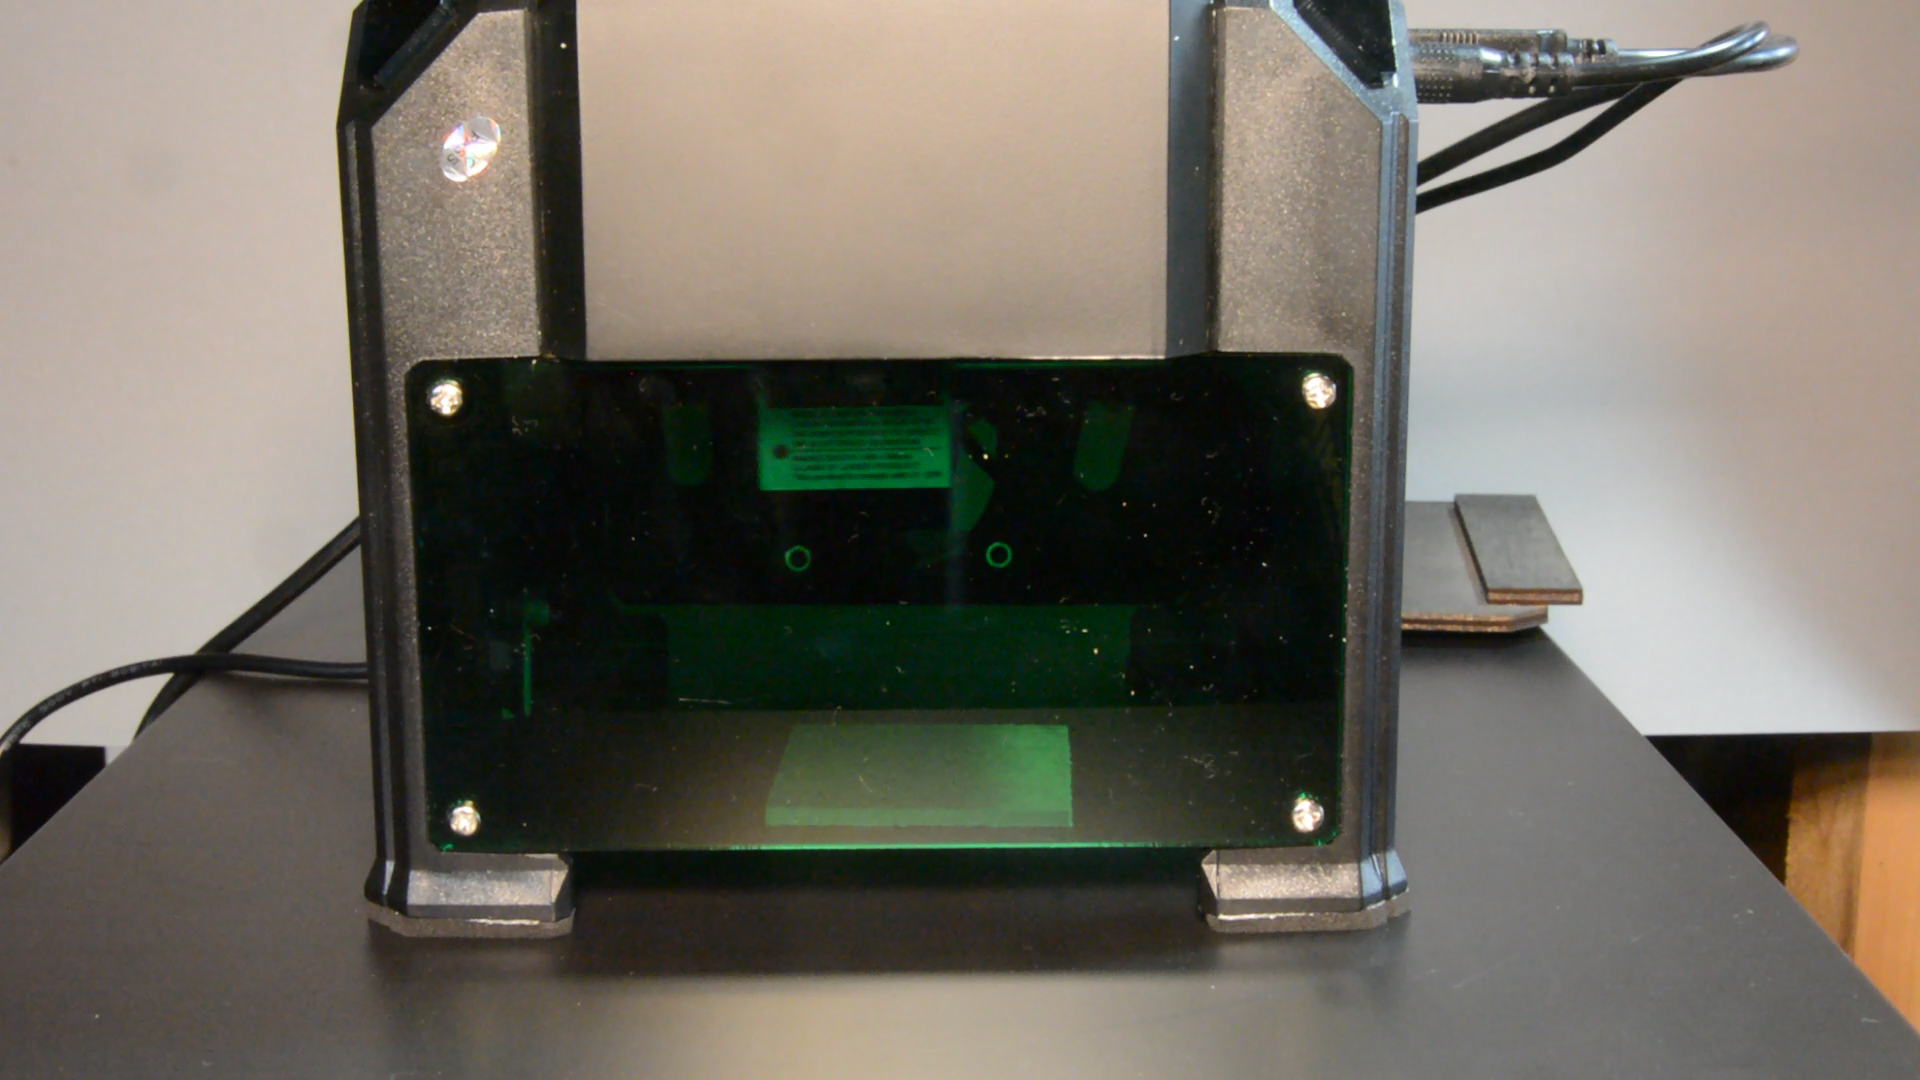
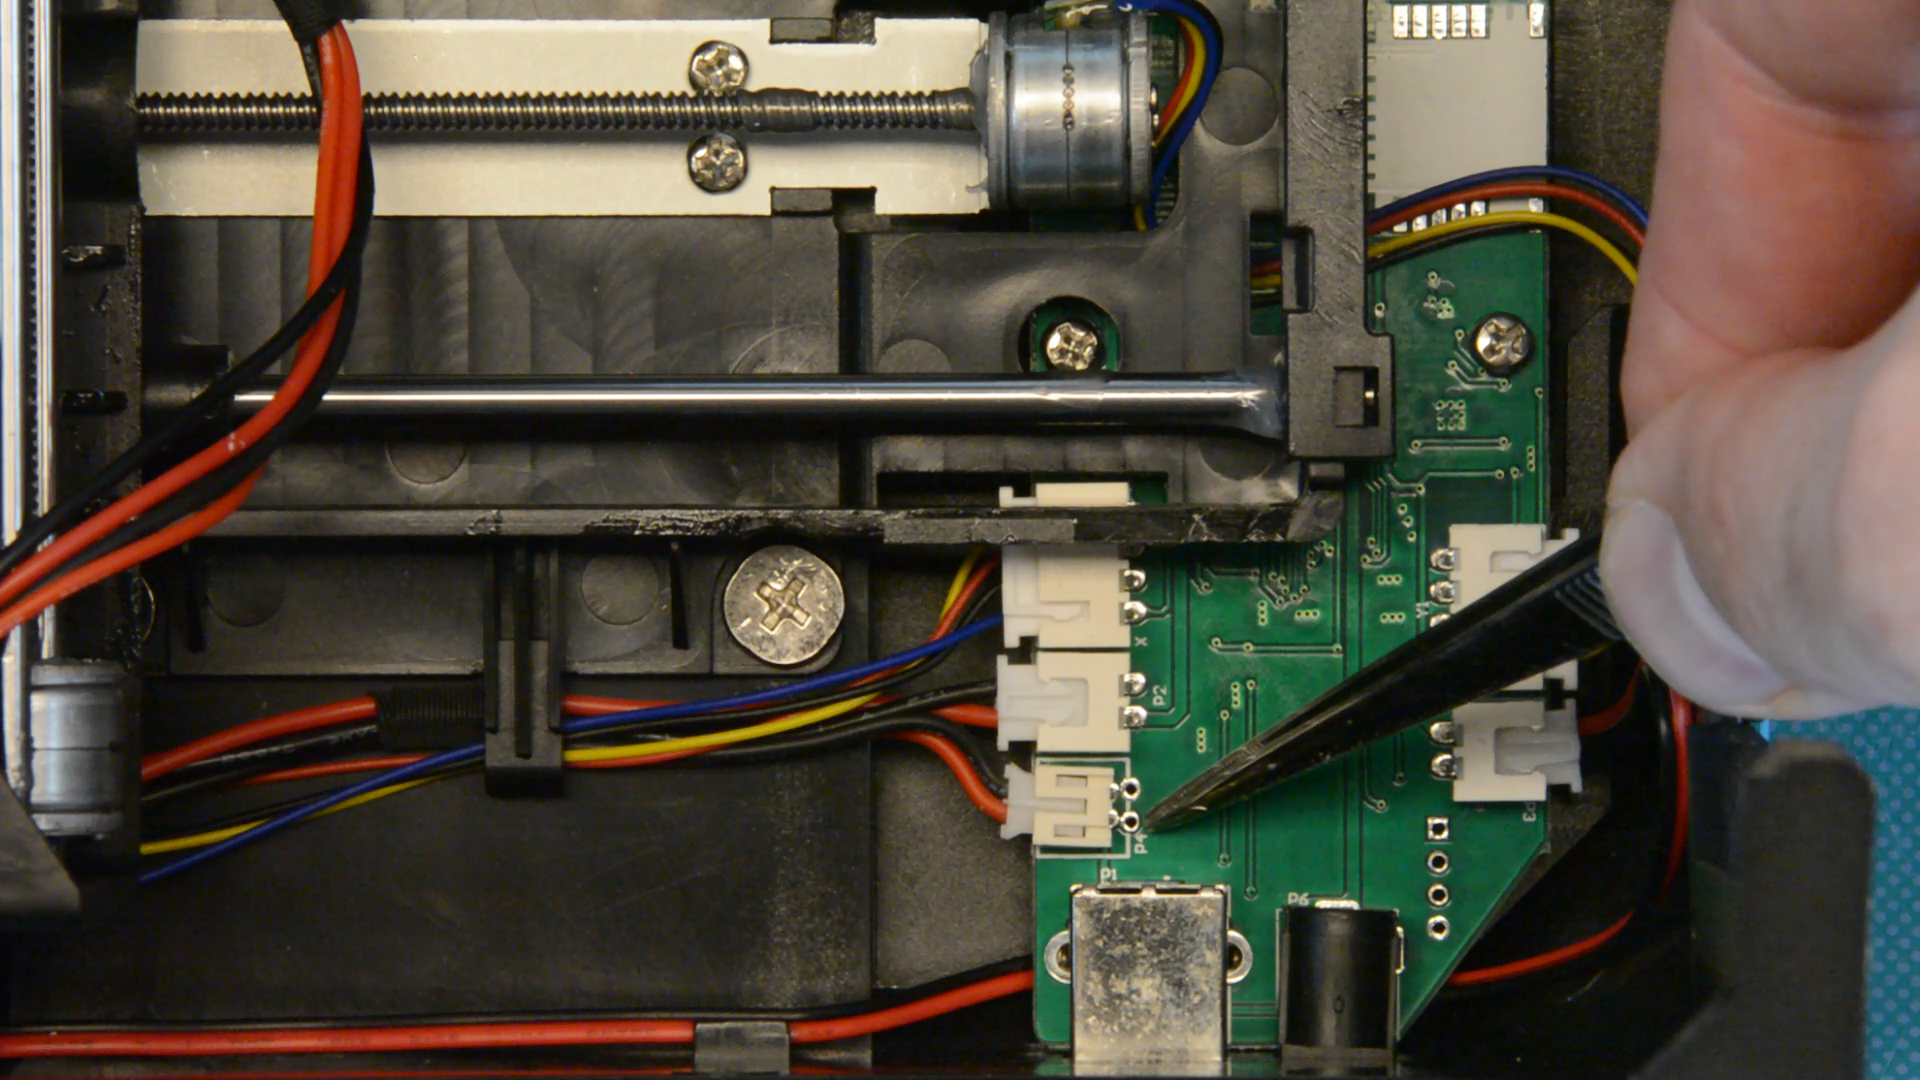
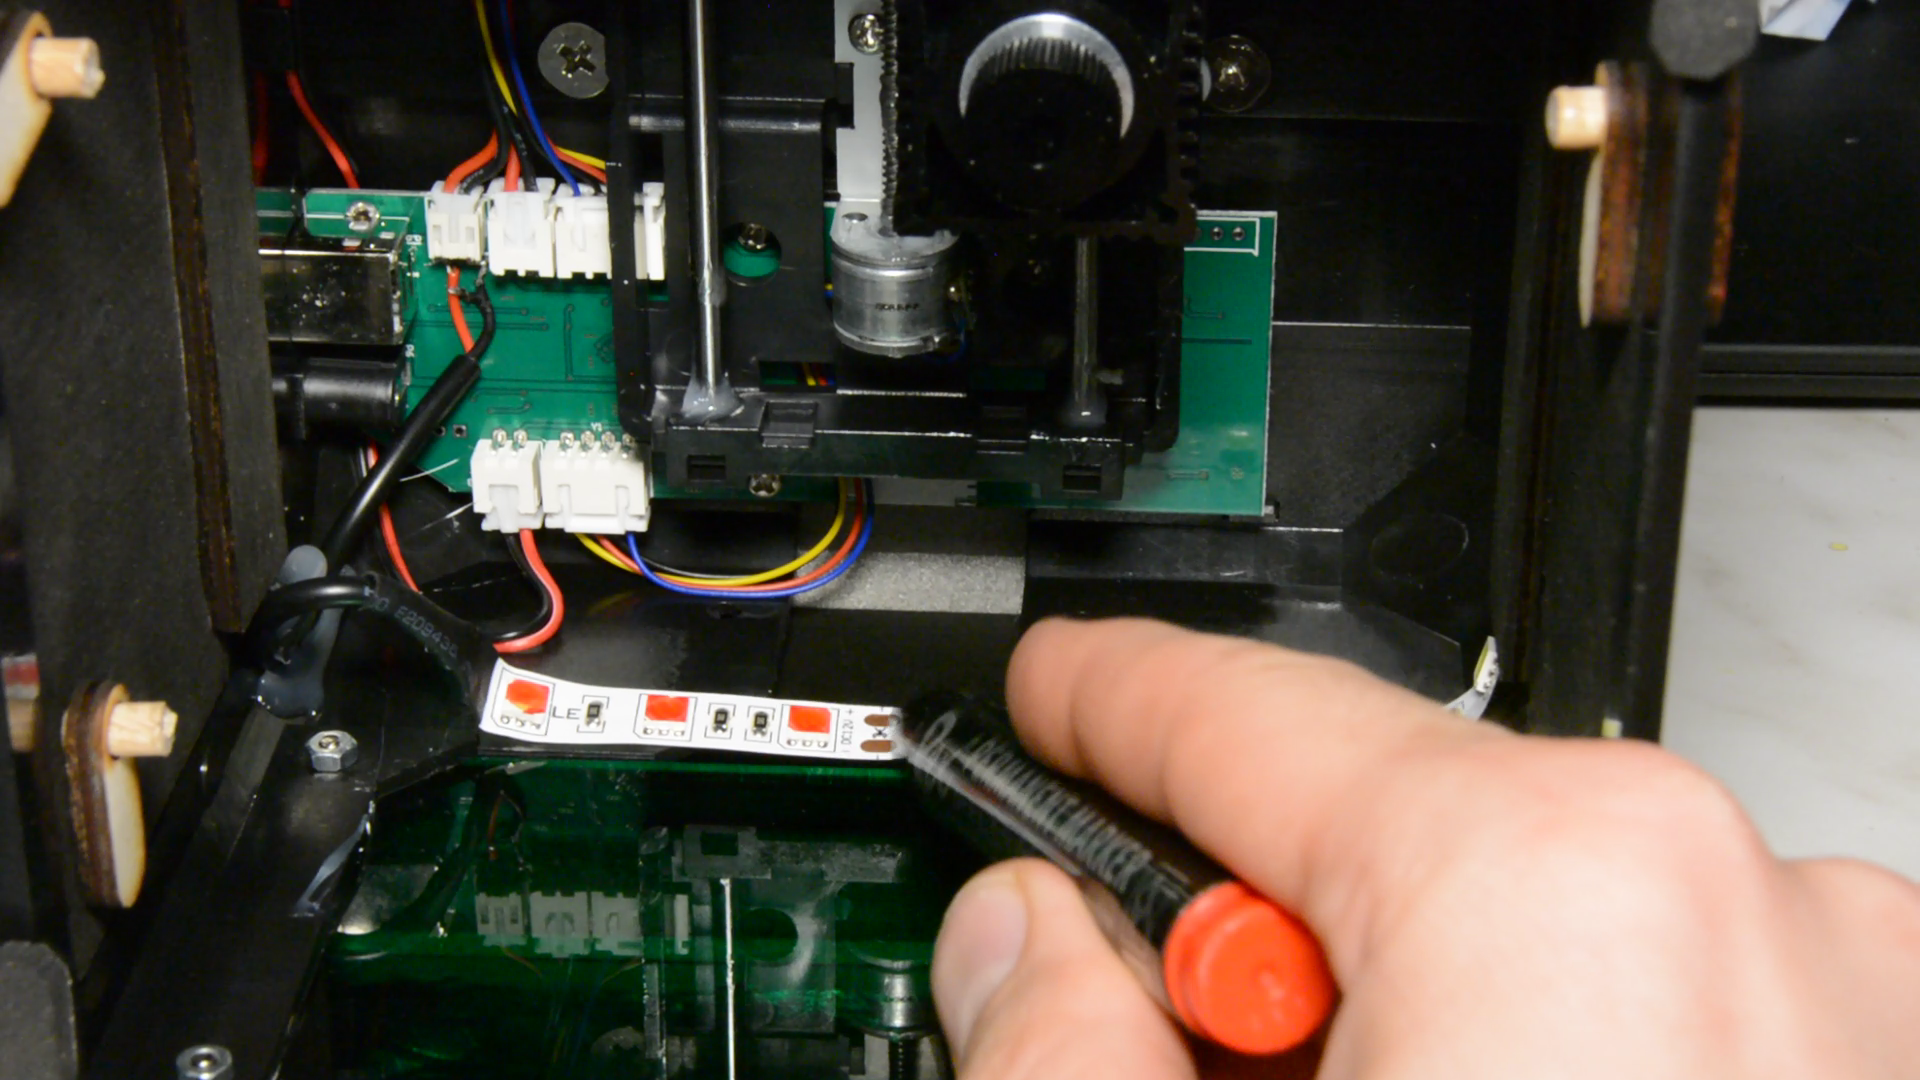
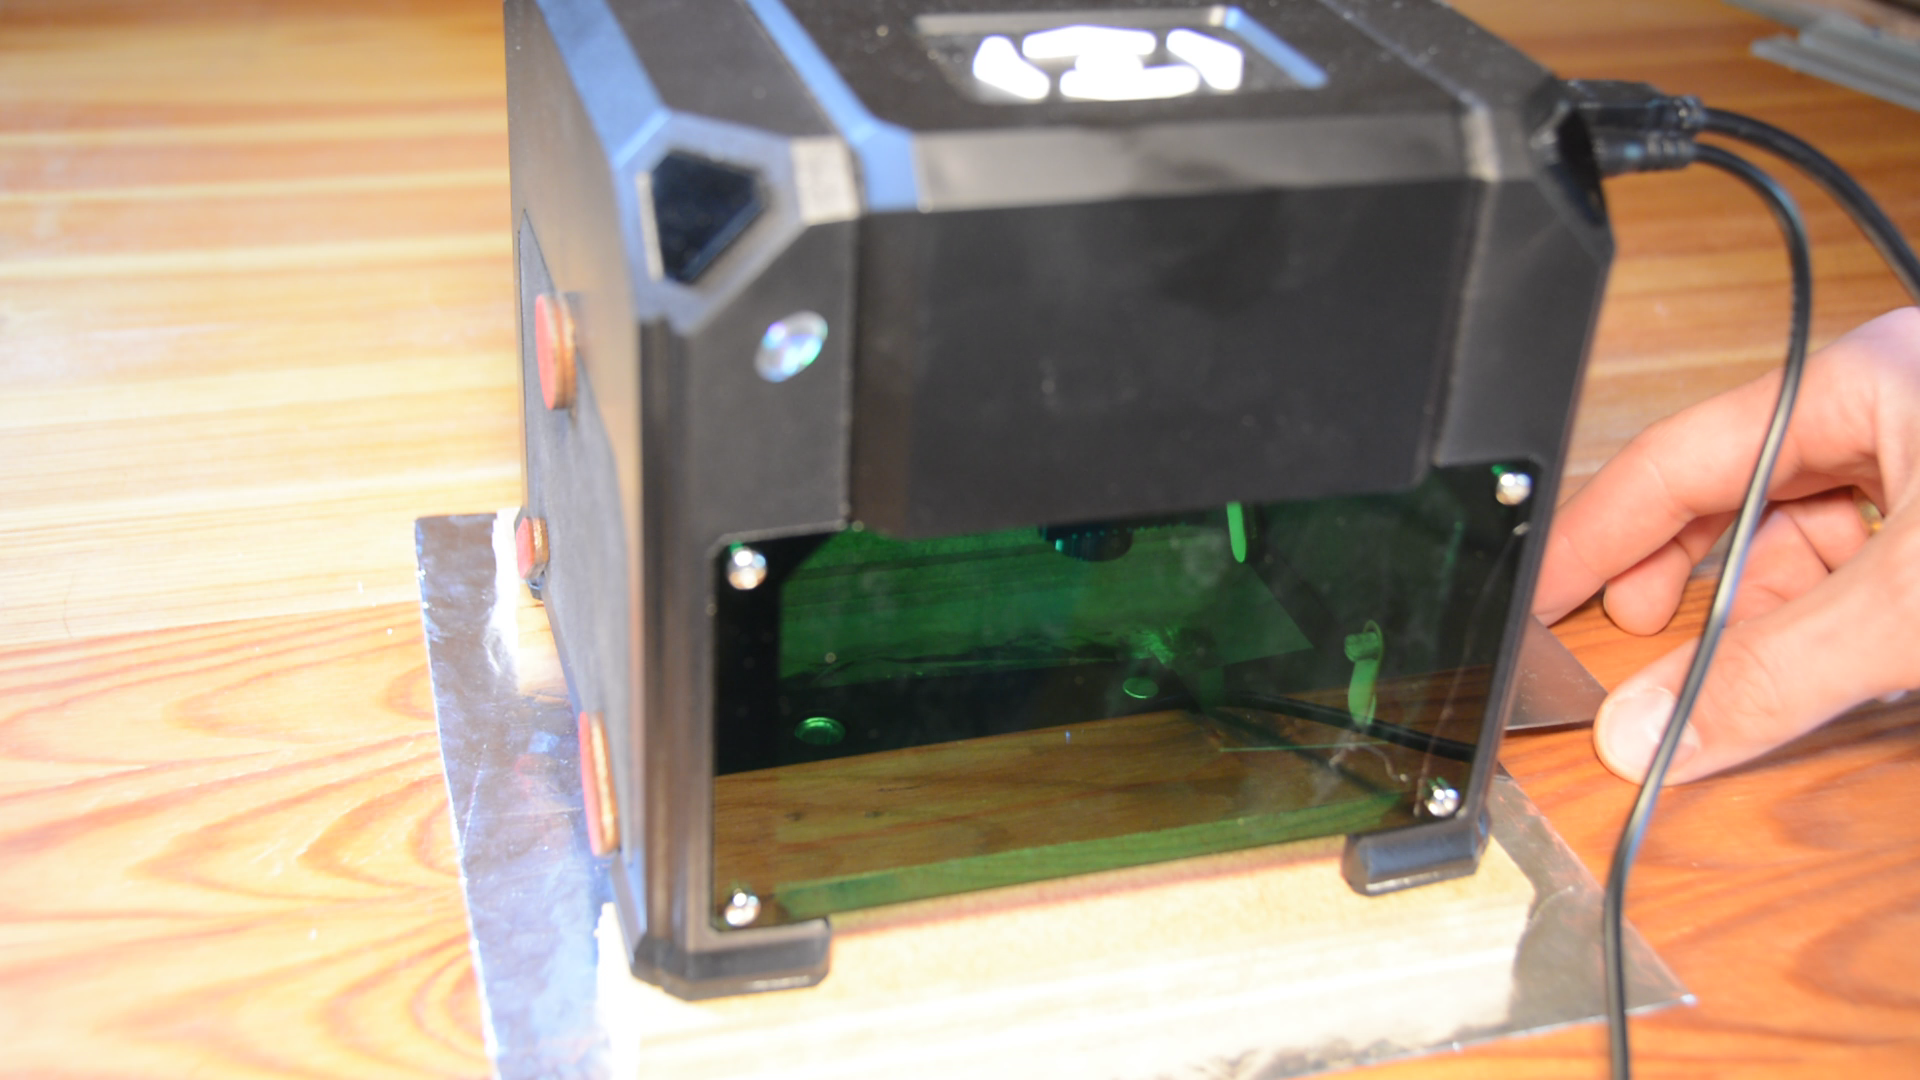
But the friendly manufacturer from China placed two additional solder points in their PCB. These provide 12 Volt. We quickly solder a LED strip to these pads and have bright light in the cube.

In fact the light is so bright that now the blue laser indicator is hard to see.
With some red color on the LEDs we reach a good compromise between visibility of the surface and the indicator.
For a hobbyist that is putting his mark only on a few pieces the 5 to 10 min to engraving time for a mark do not really matter. If you run a production shop with 50 items a day this might not be the right solution for you.
Laser engraving the maker mark on small items
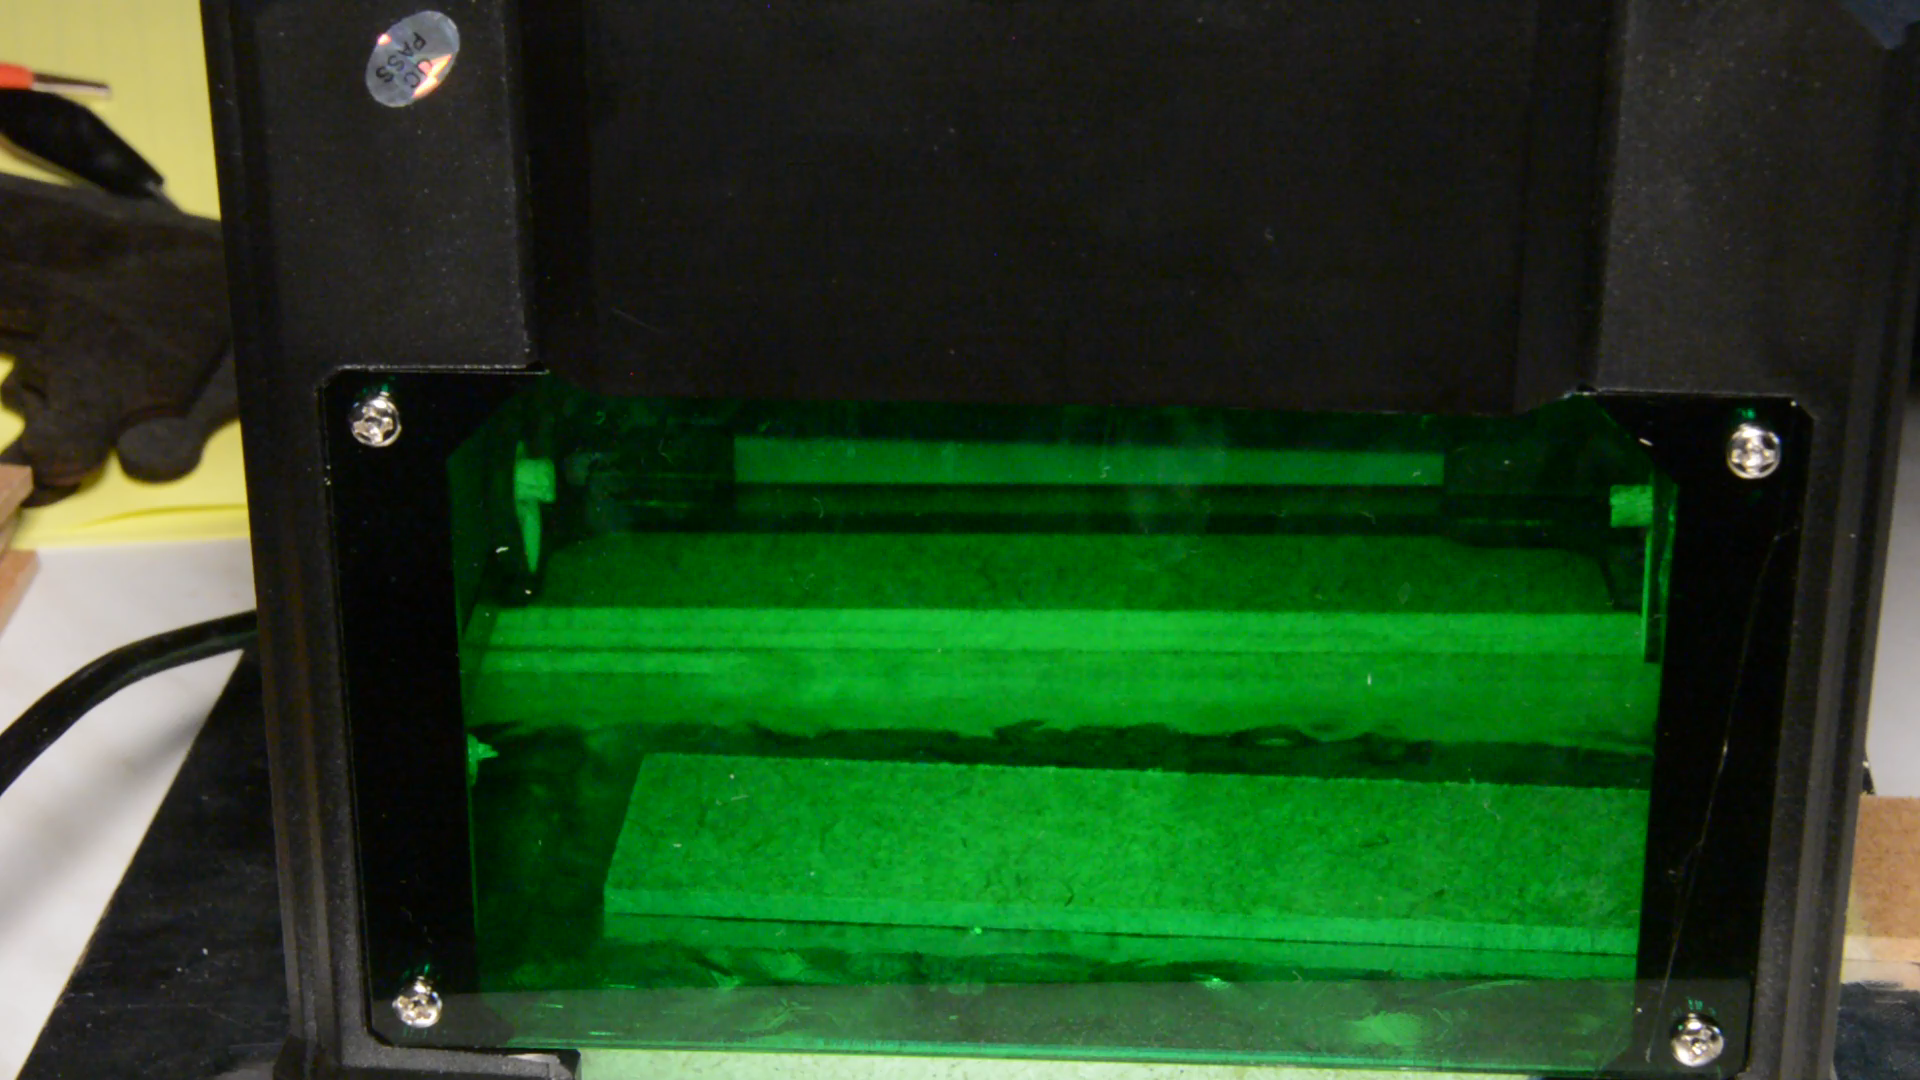
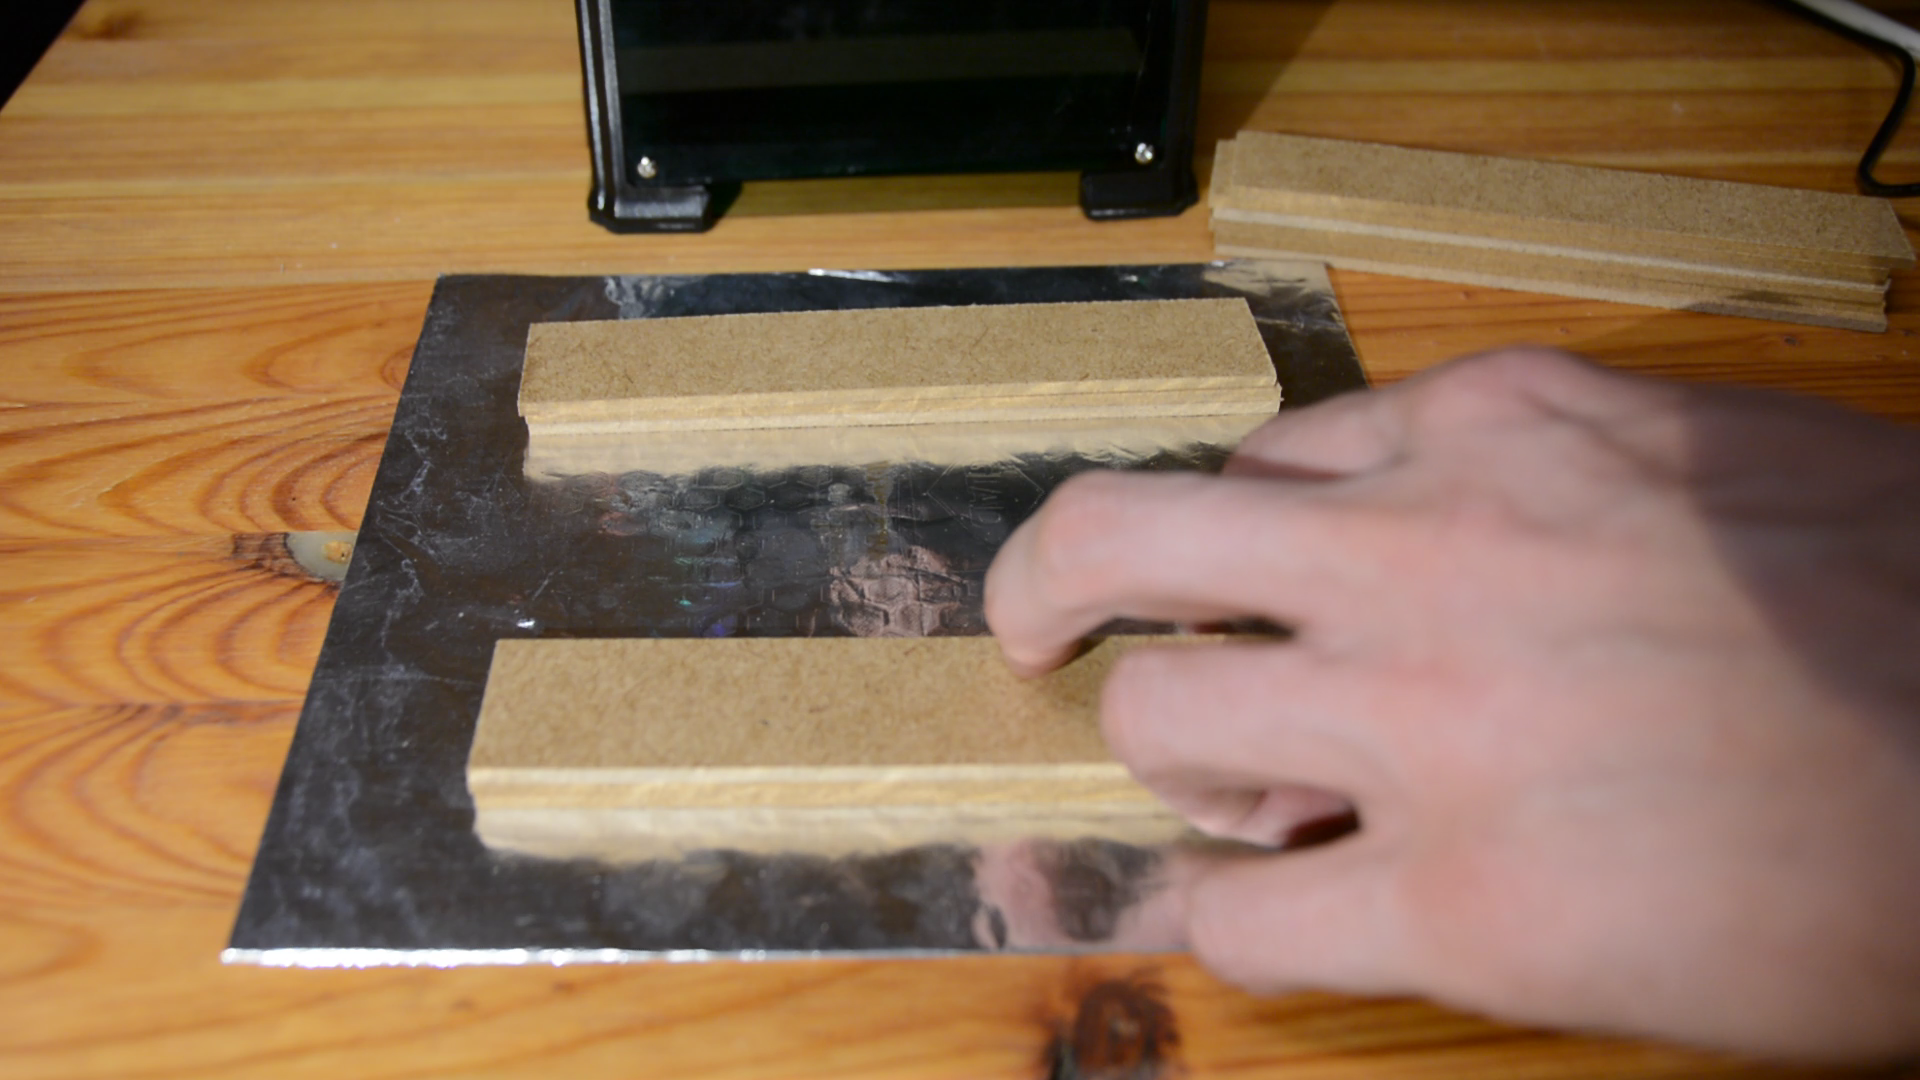
Next we cut a few scraps of 3mm MDF to size. With these we can raise the laser off the ground and put smaller objects such as this pen under the laser engraver.
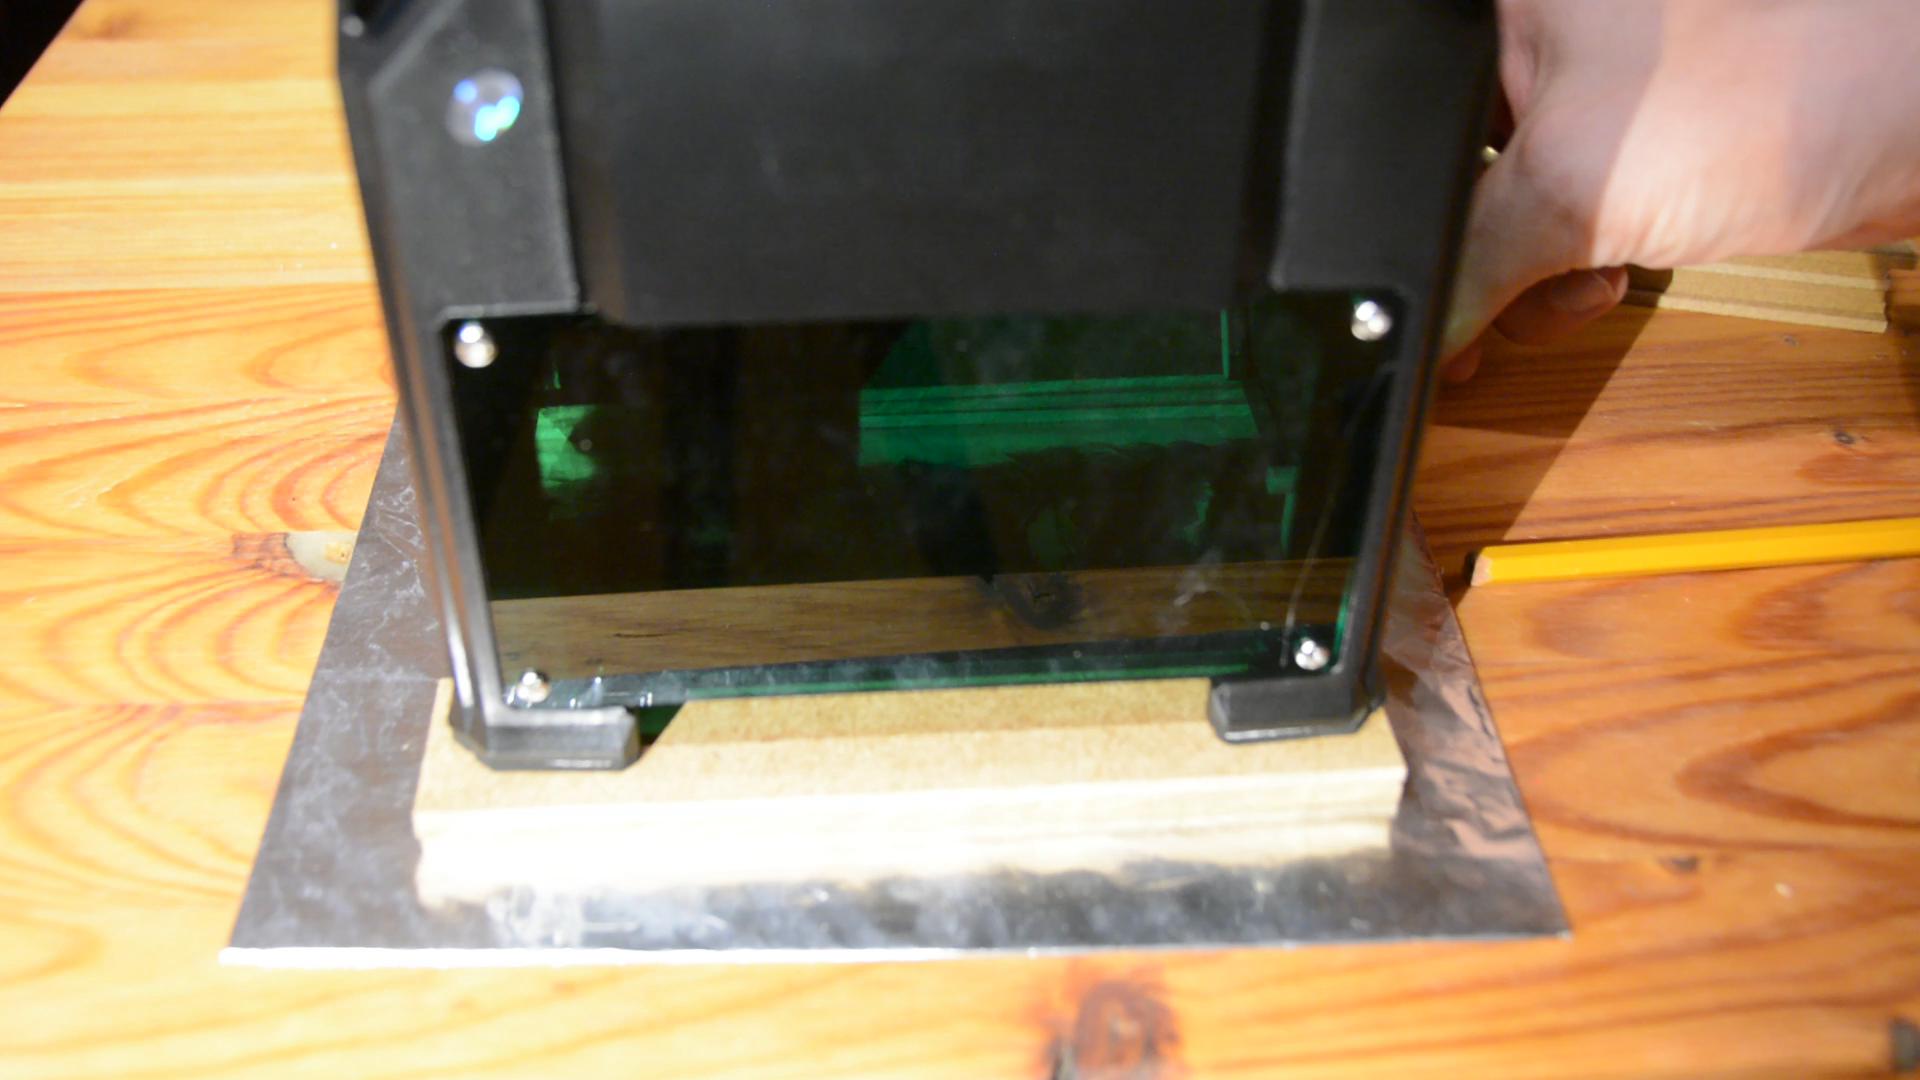
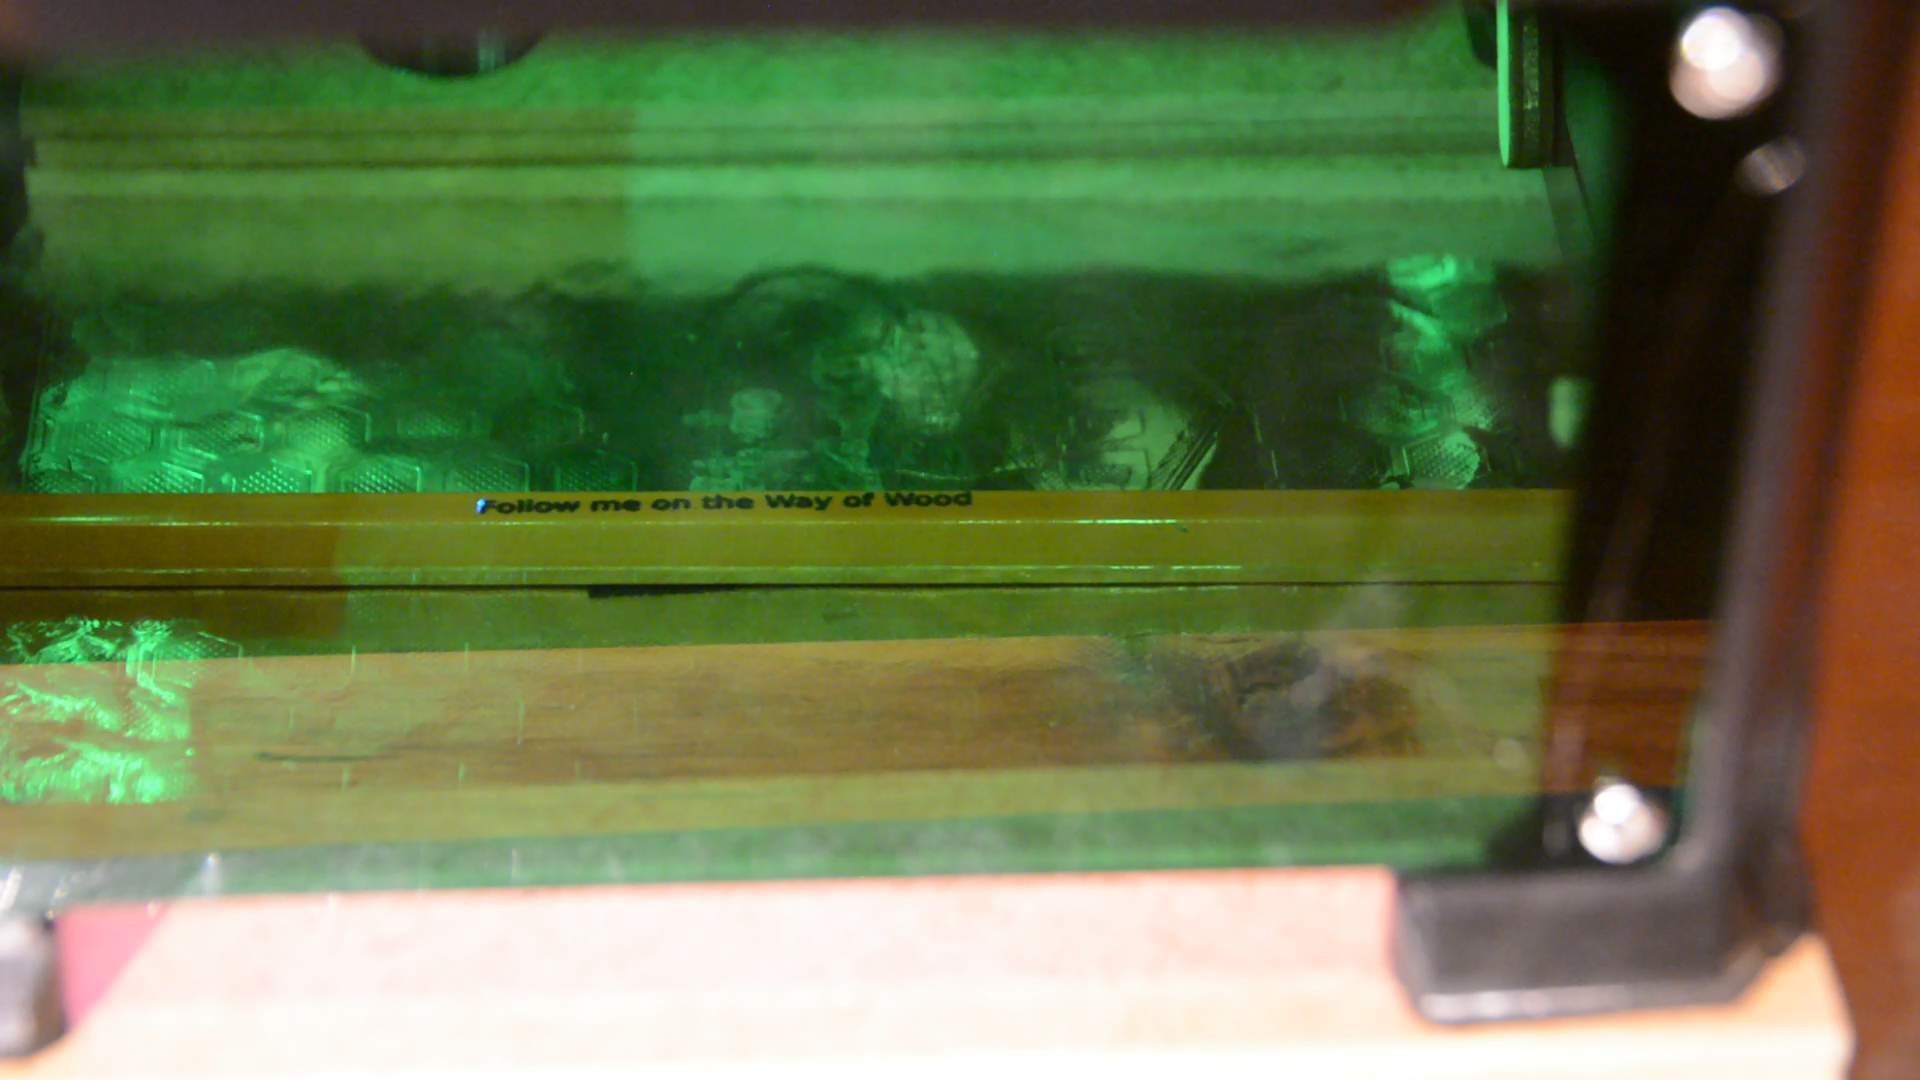
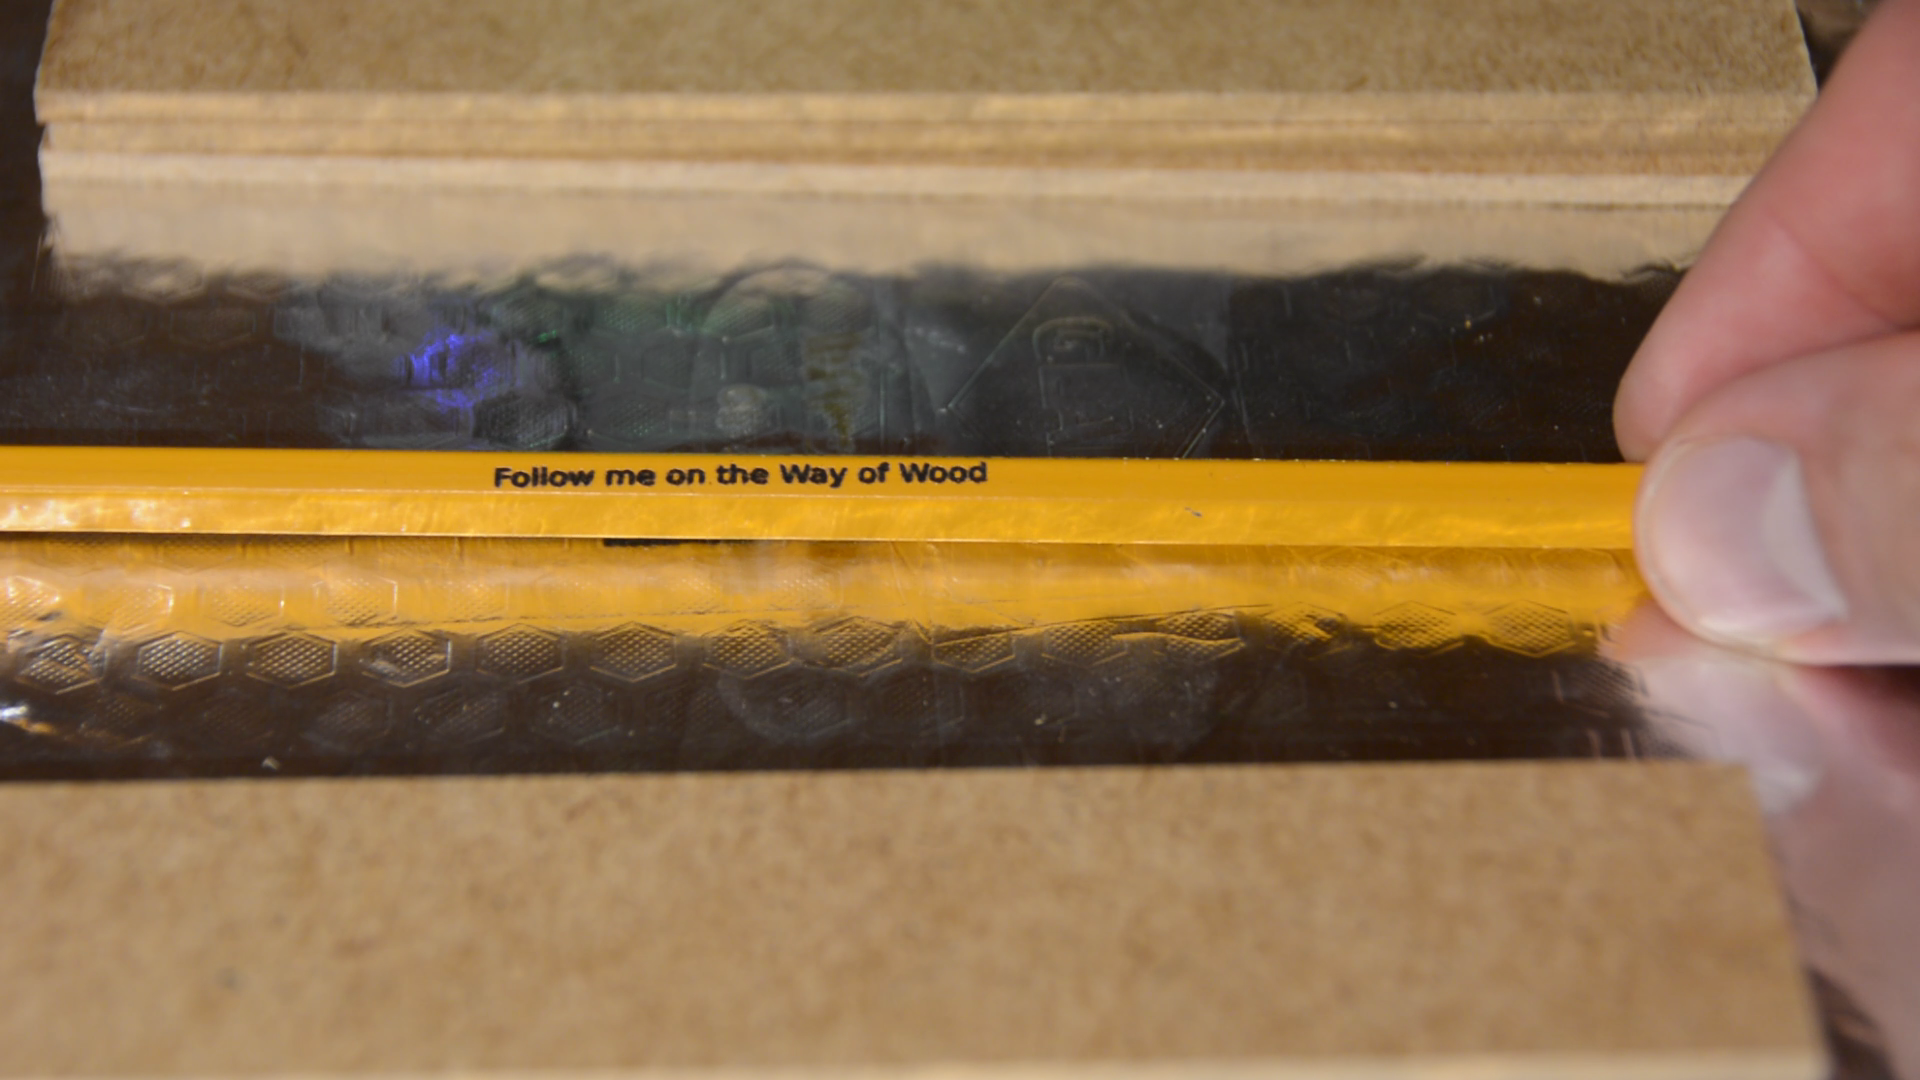
Marking tools with the “branding iron”
It is easy to position the laser and the engraving goes very quickly.
If you work a lot on construction sites the laser engraver is also a great way to mark you tools. Also here the strips come in handy.
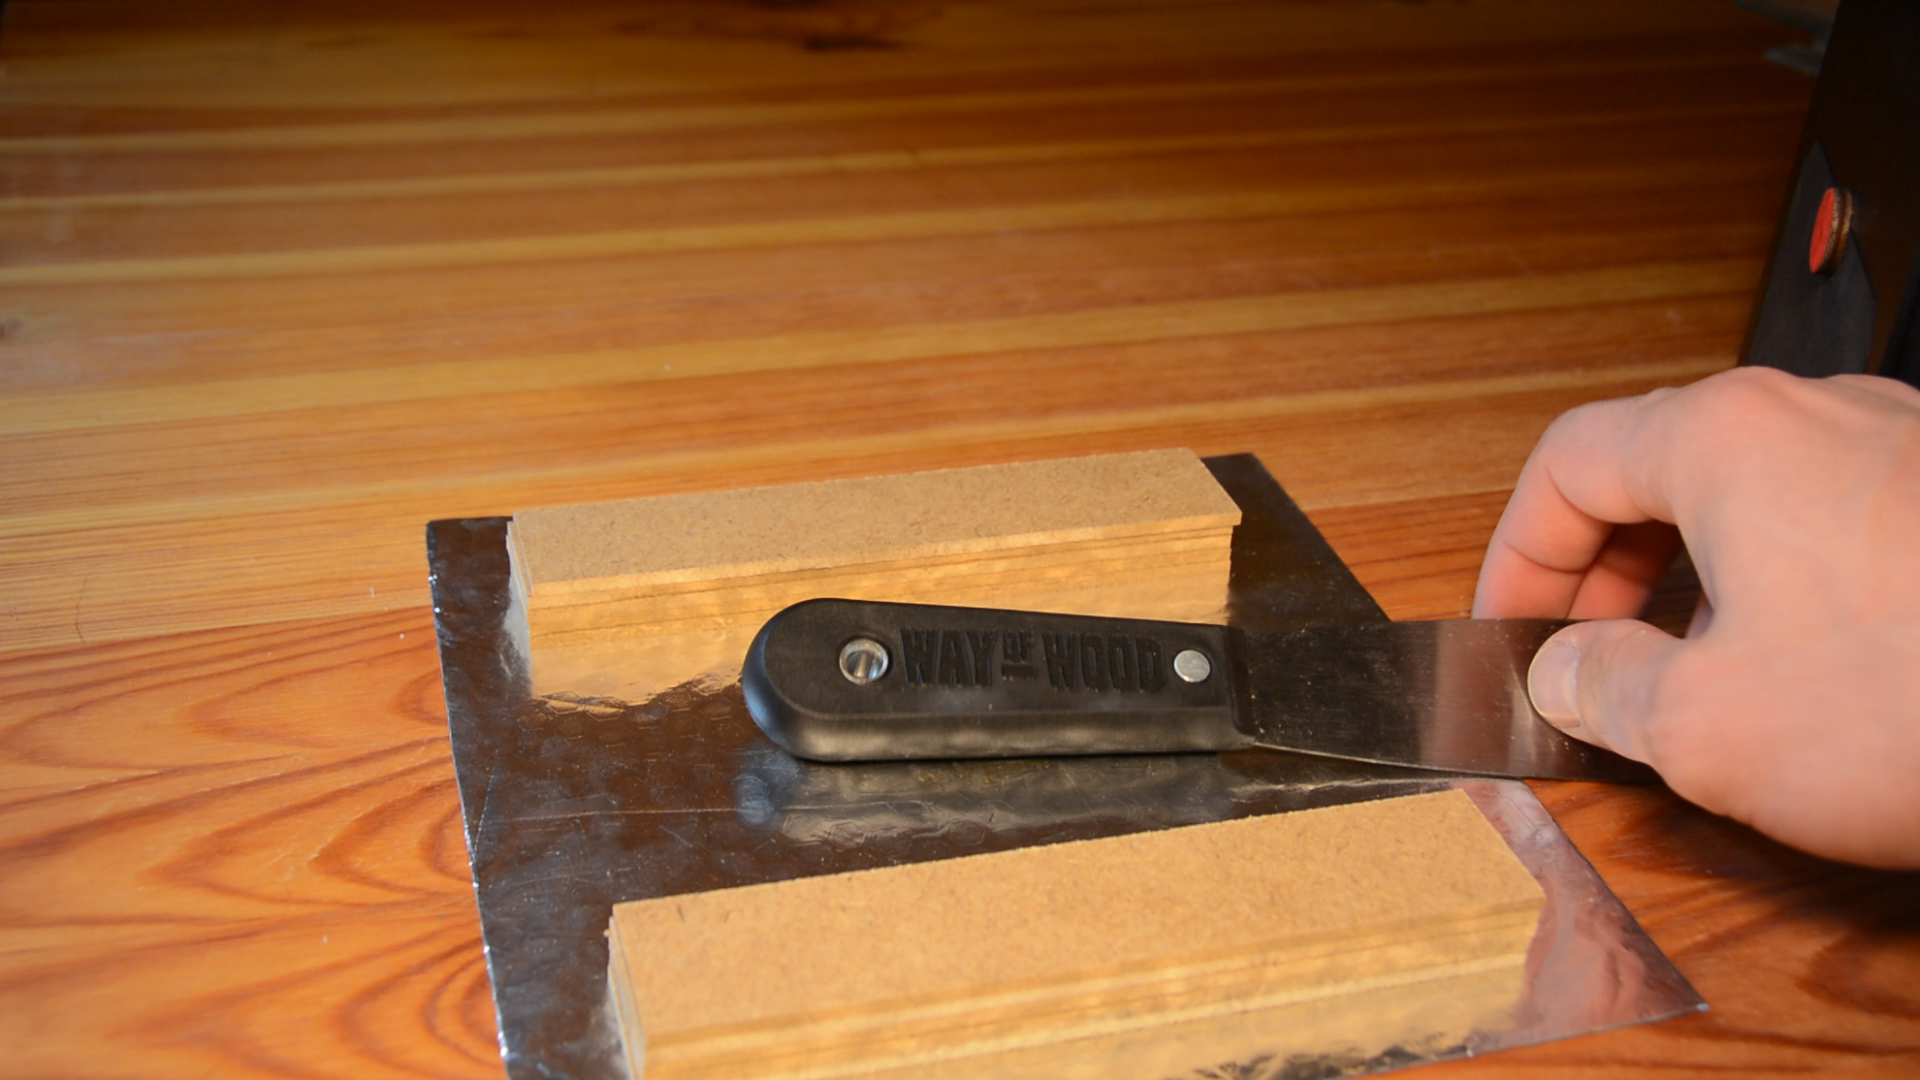
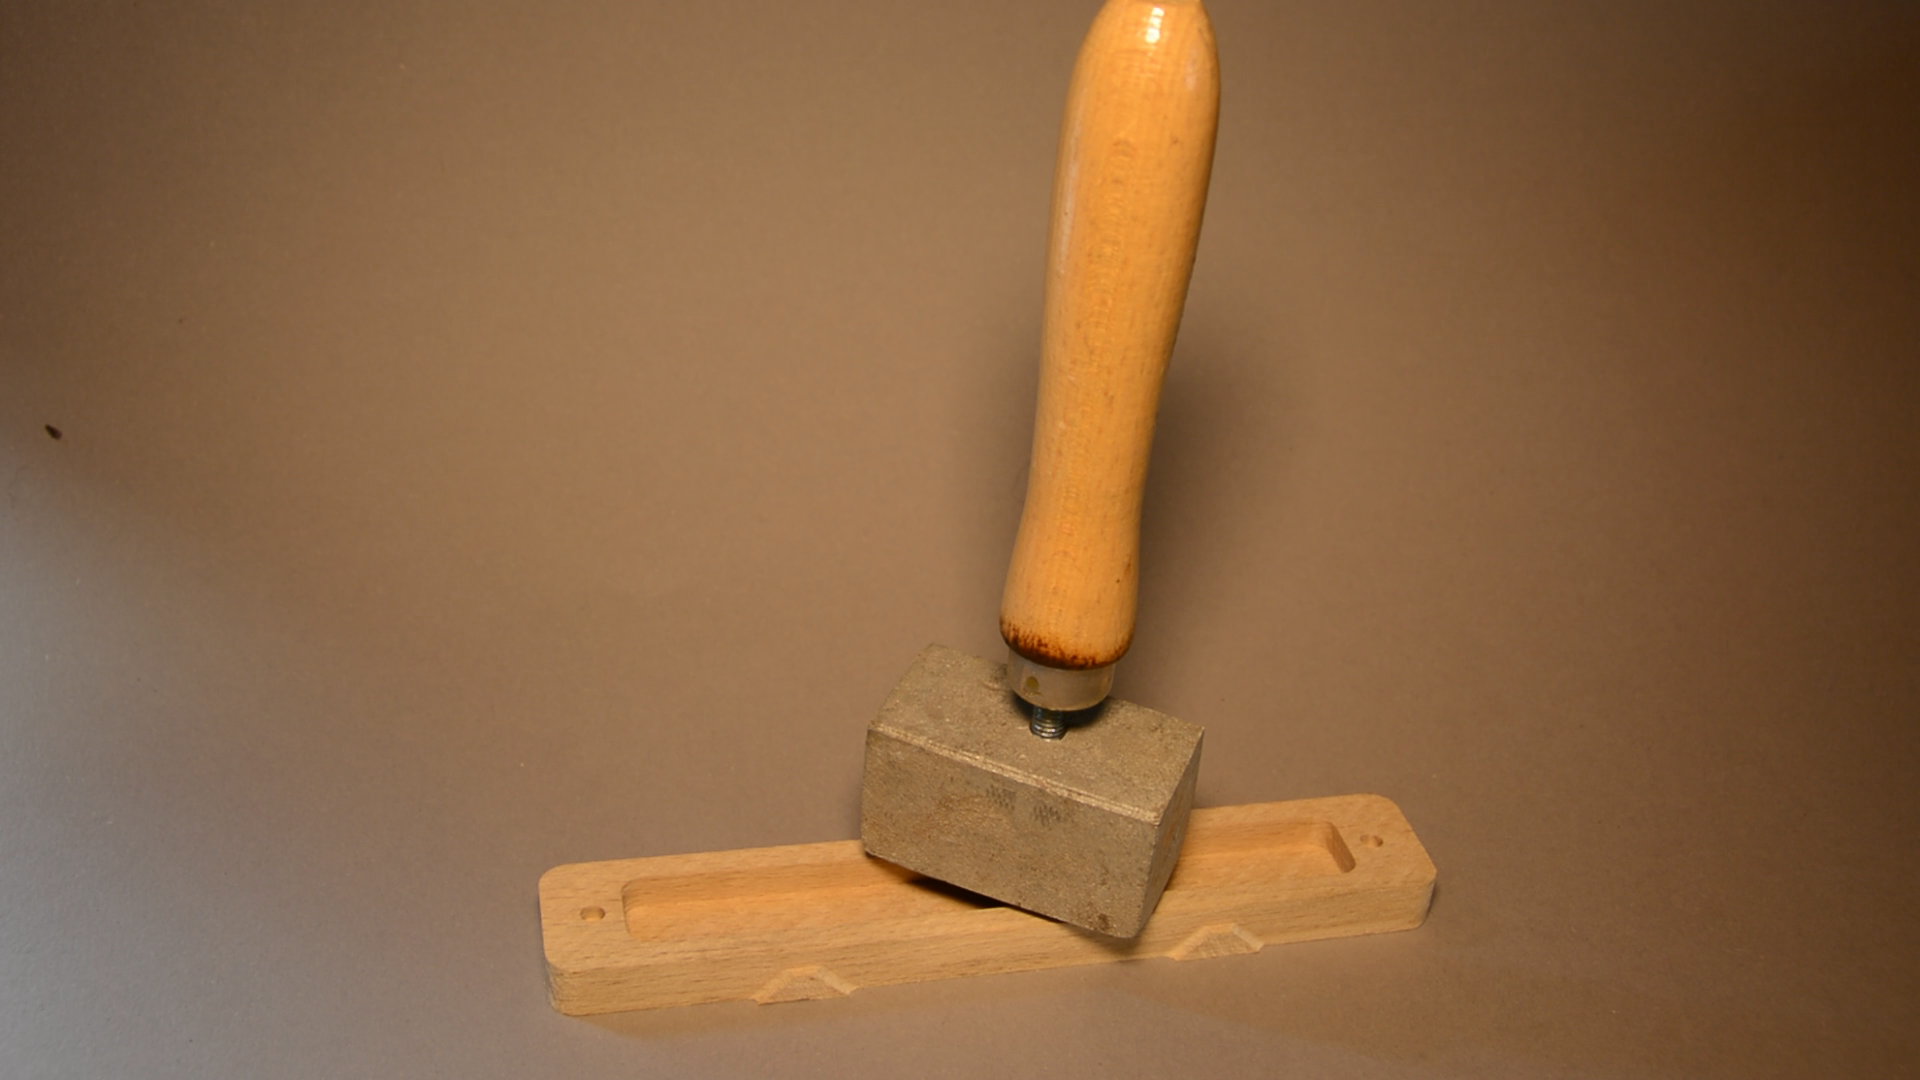
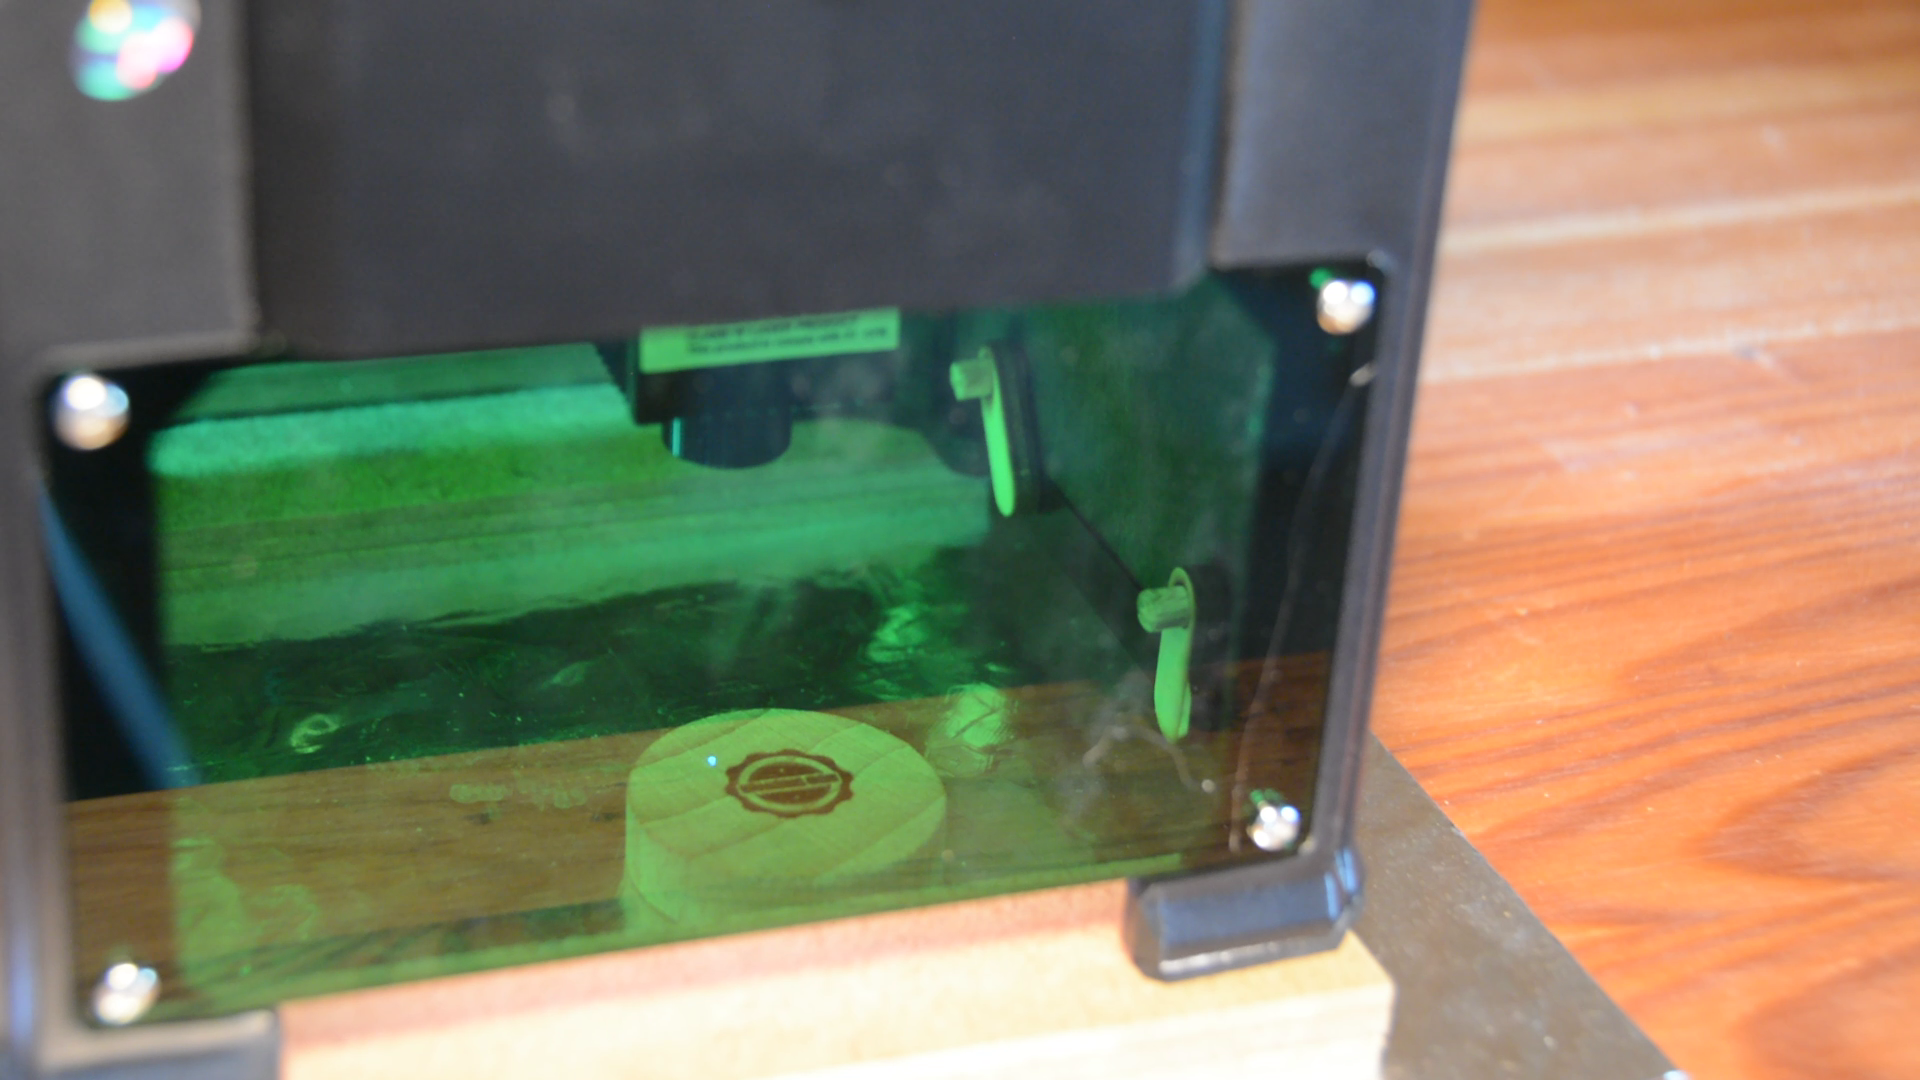
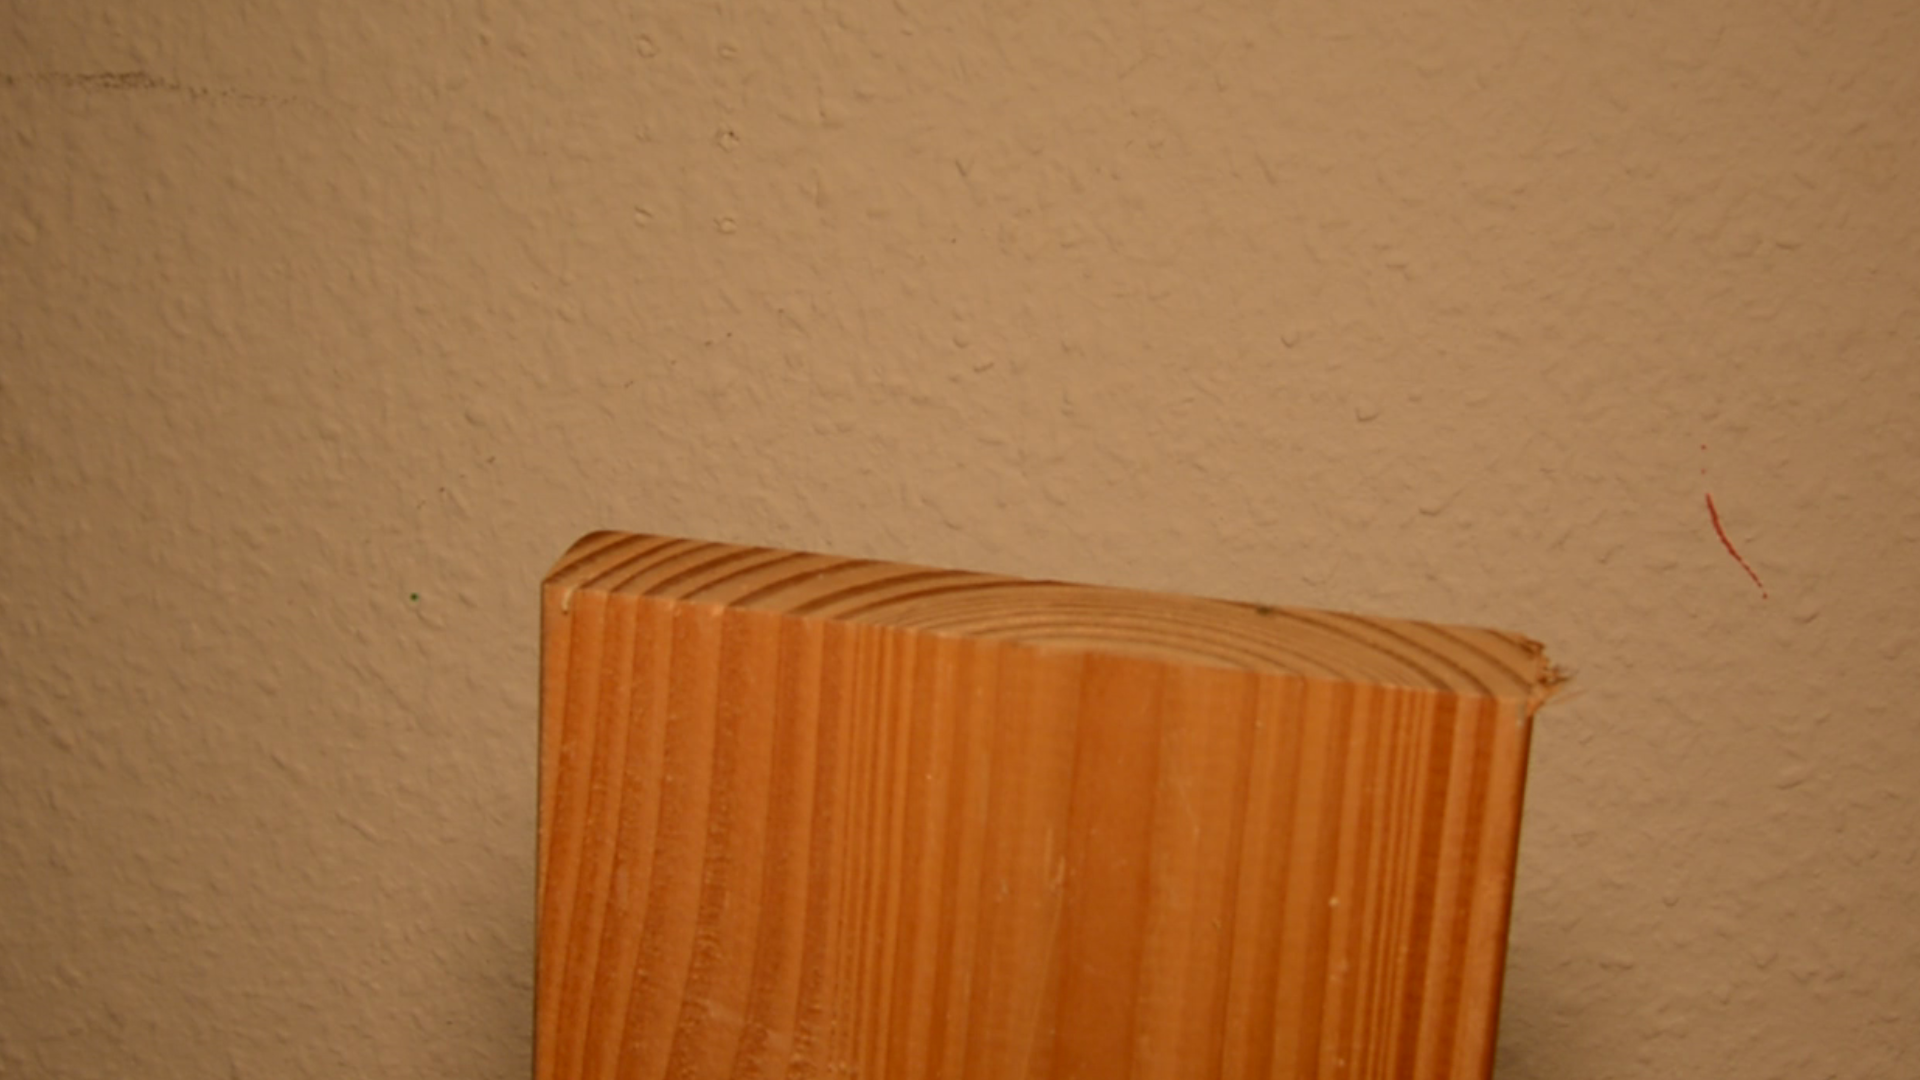
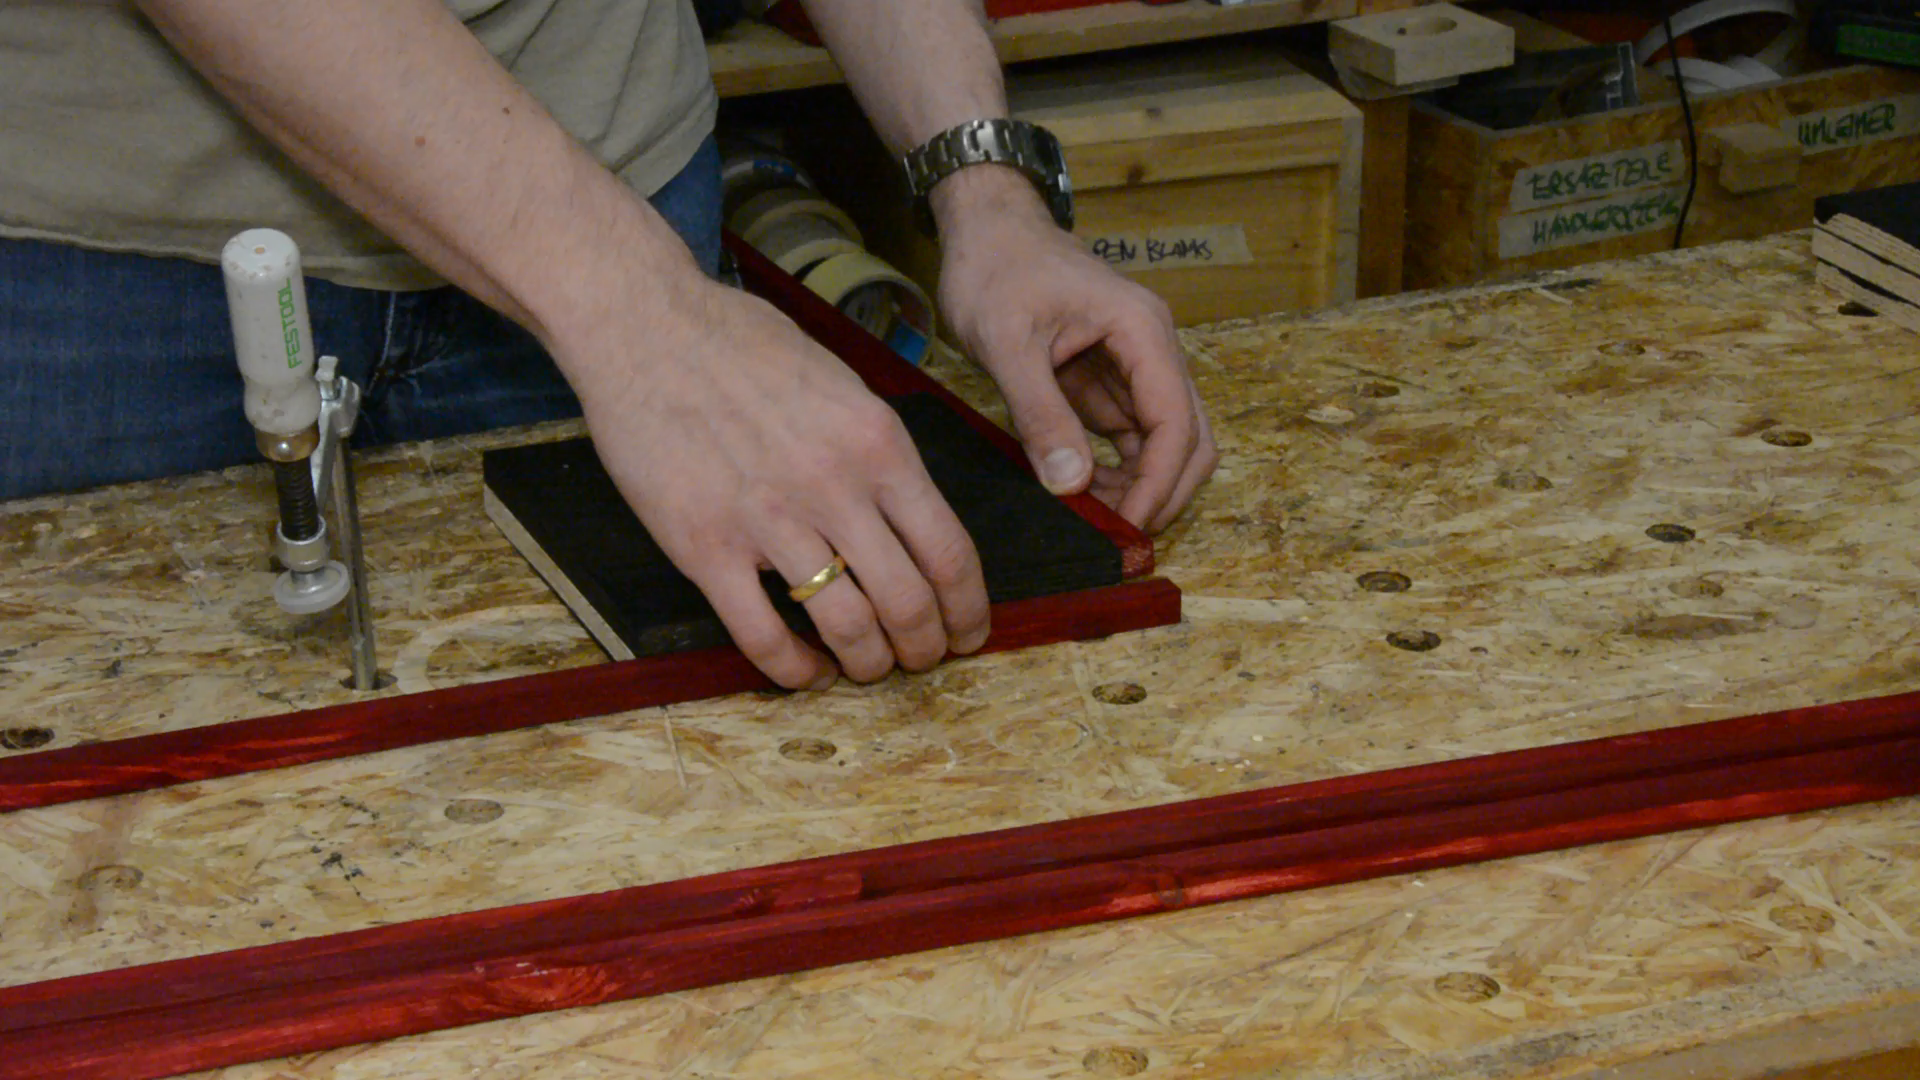
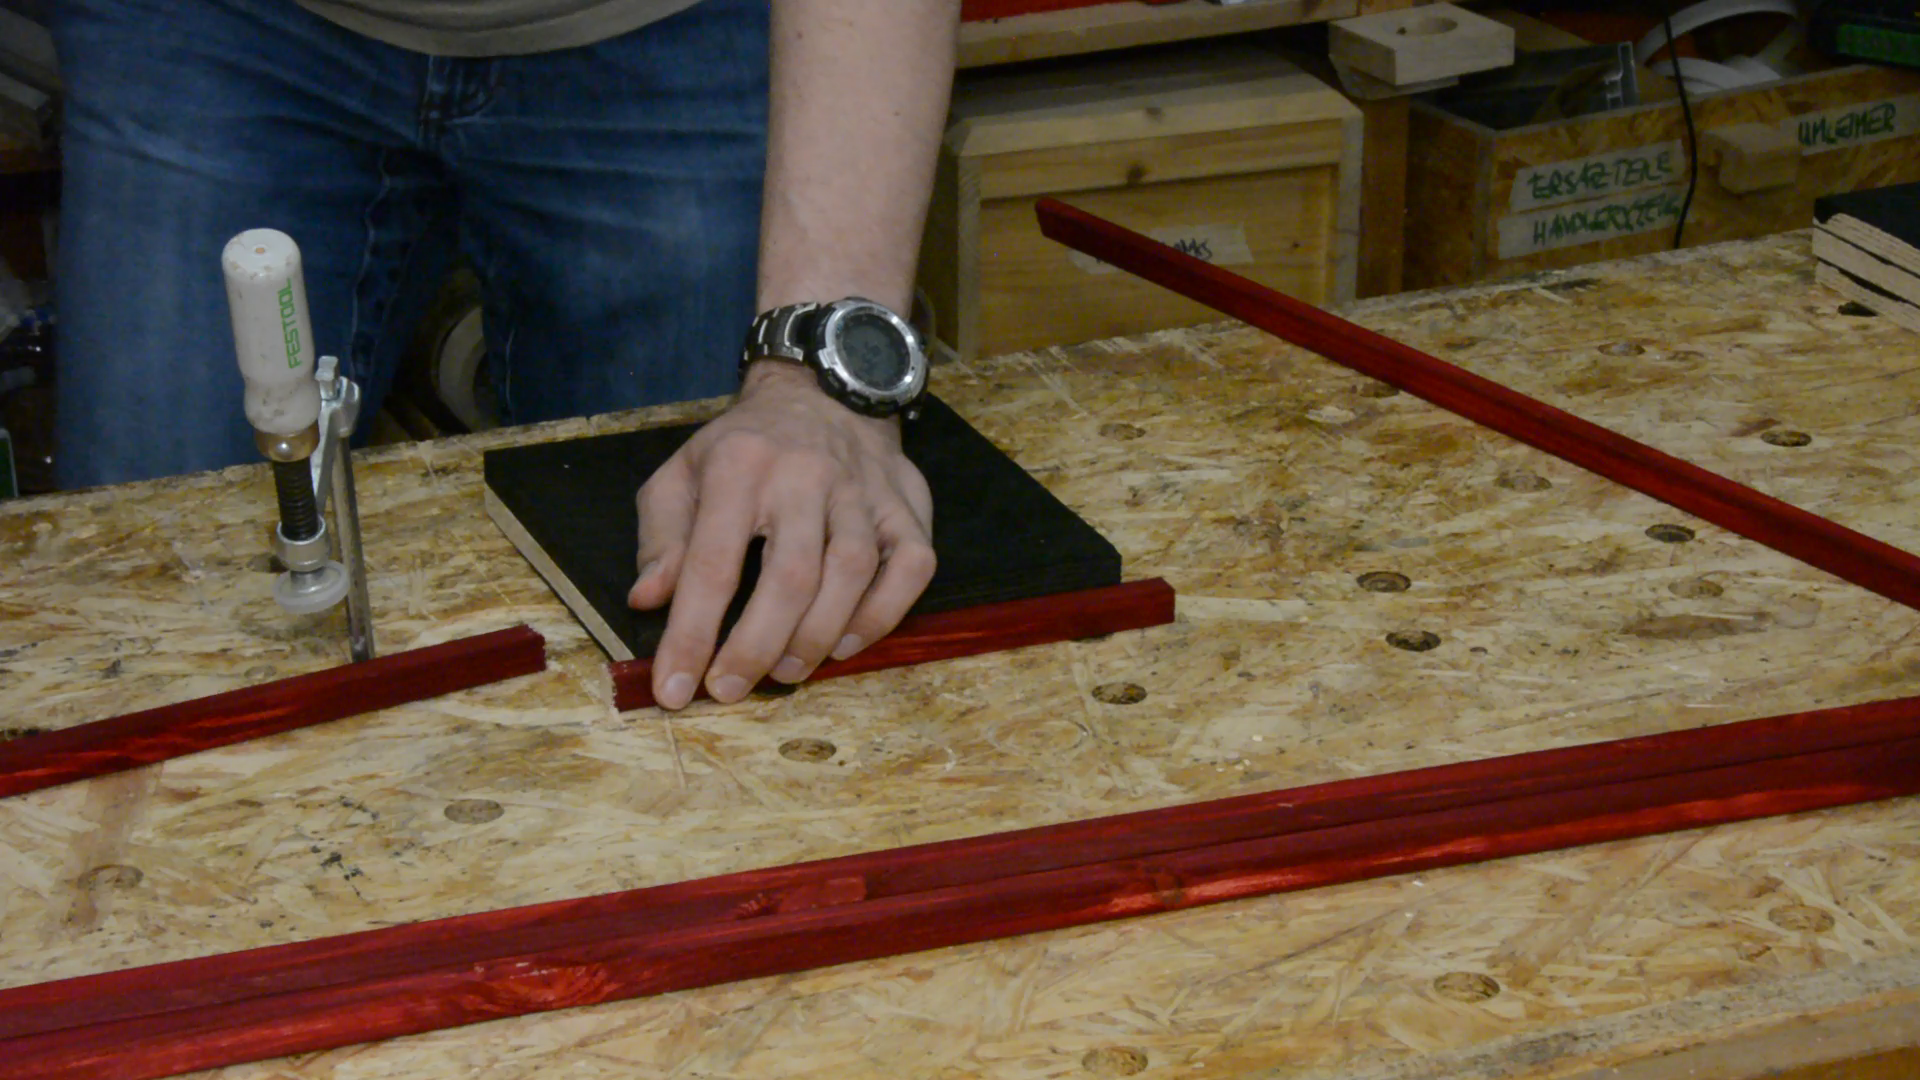
Marking the narrow side of a board
For some furniture the narrow side of a board is the best place to position the maker mark.
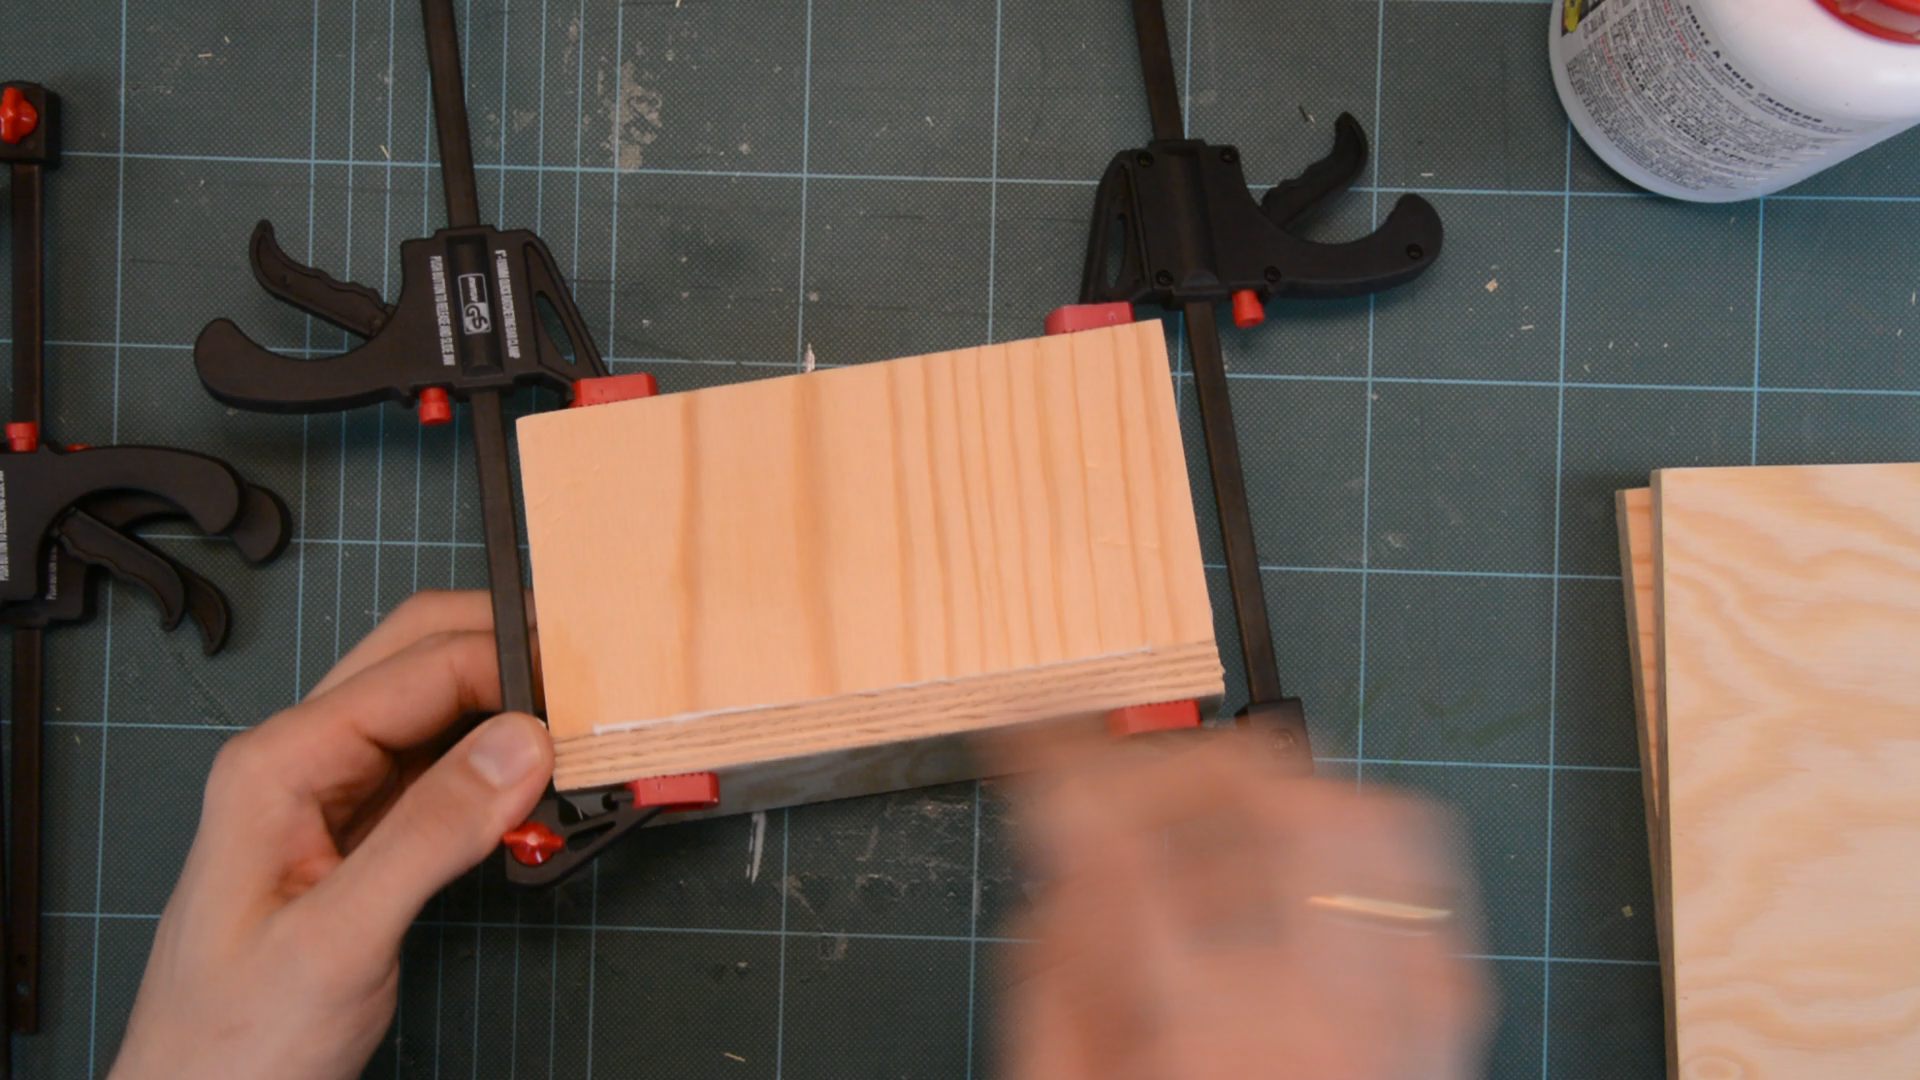
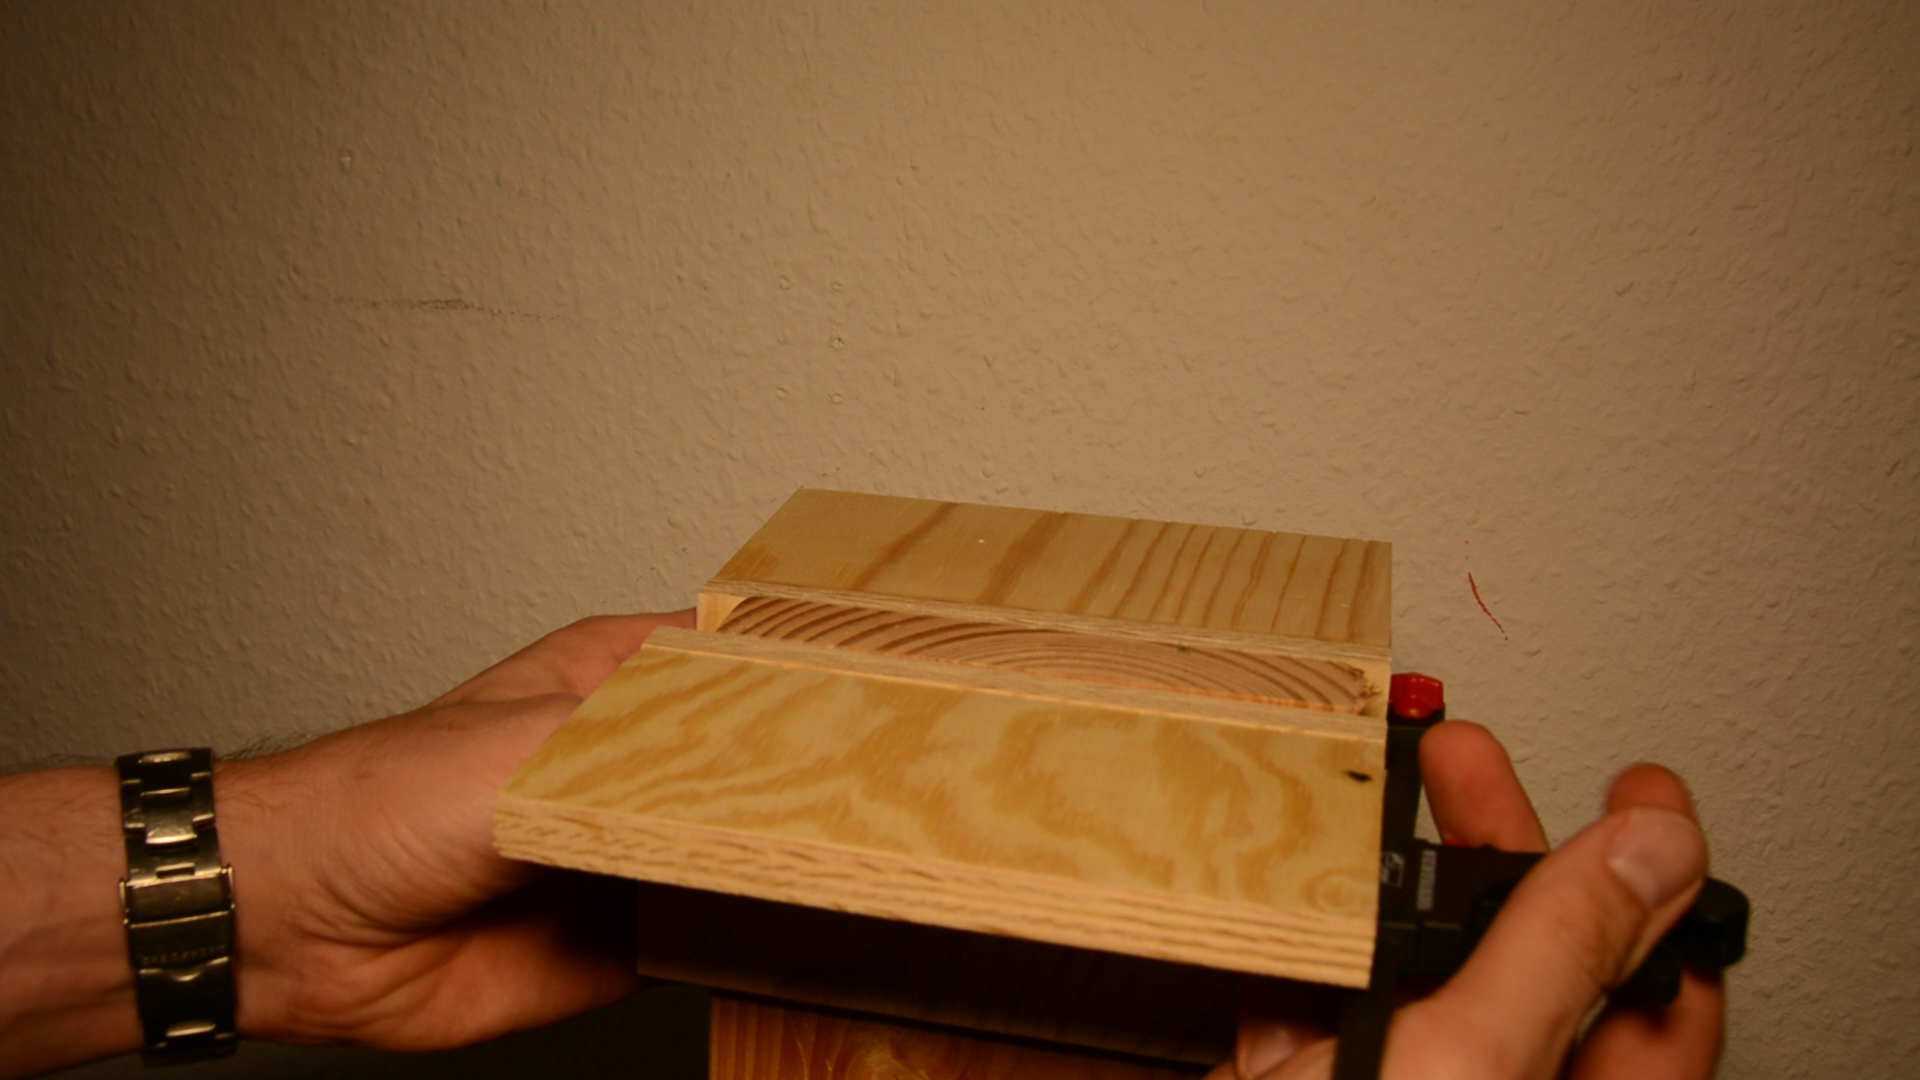
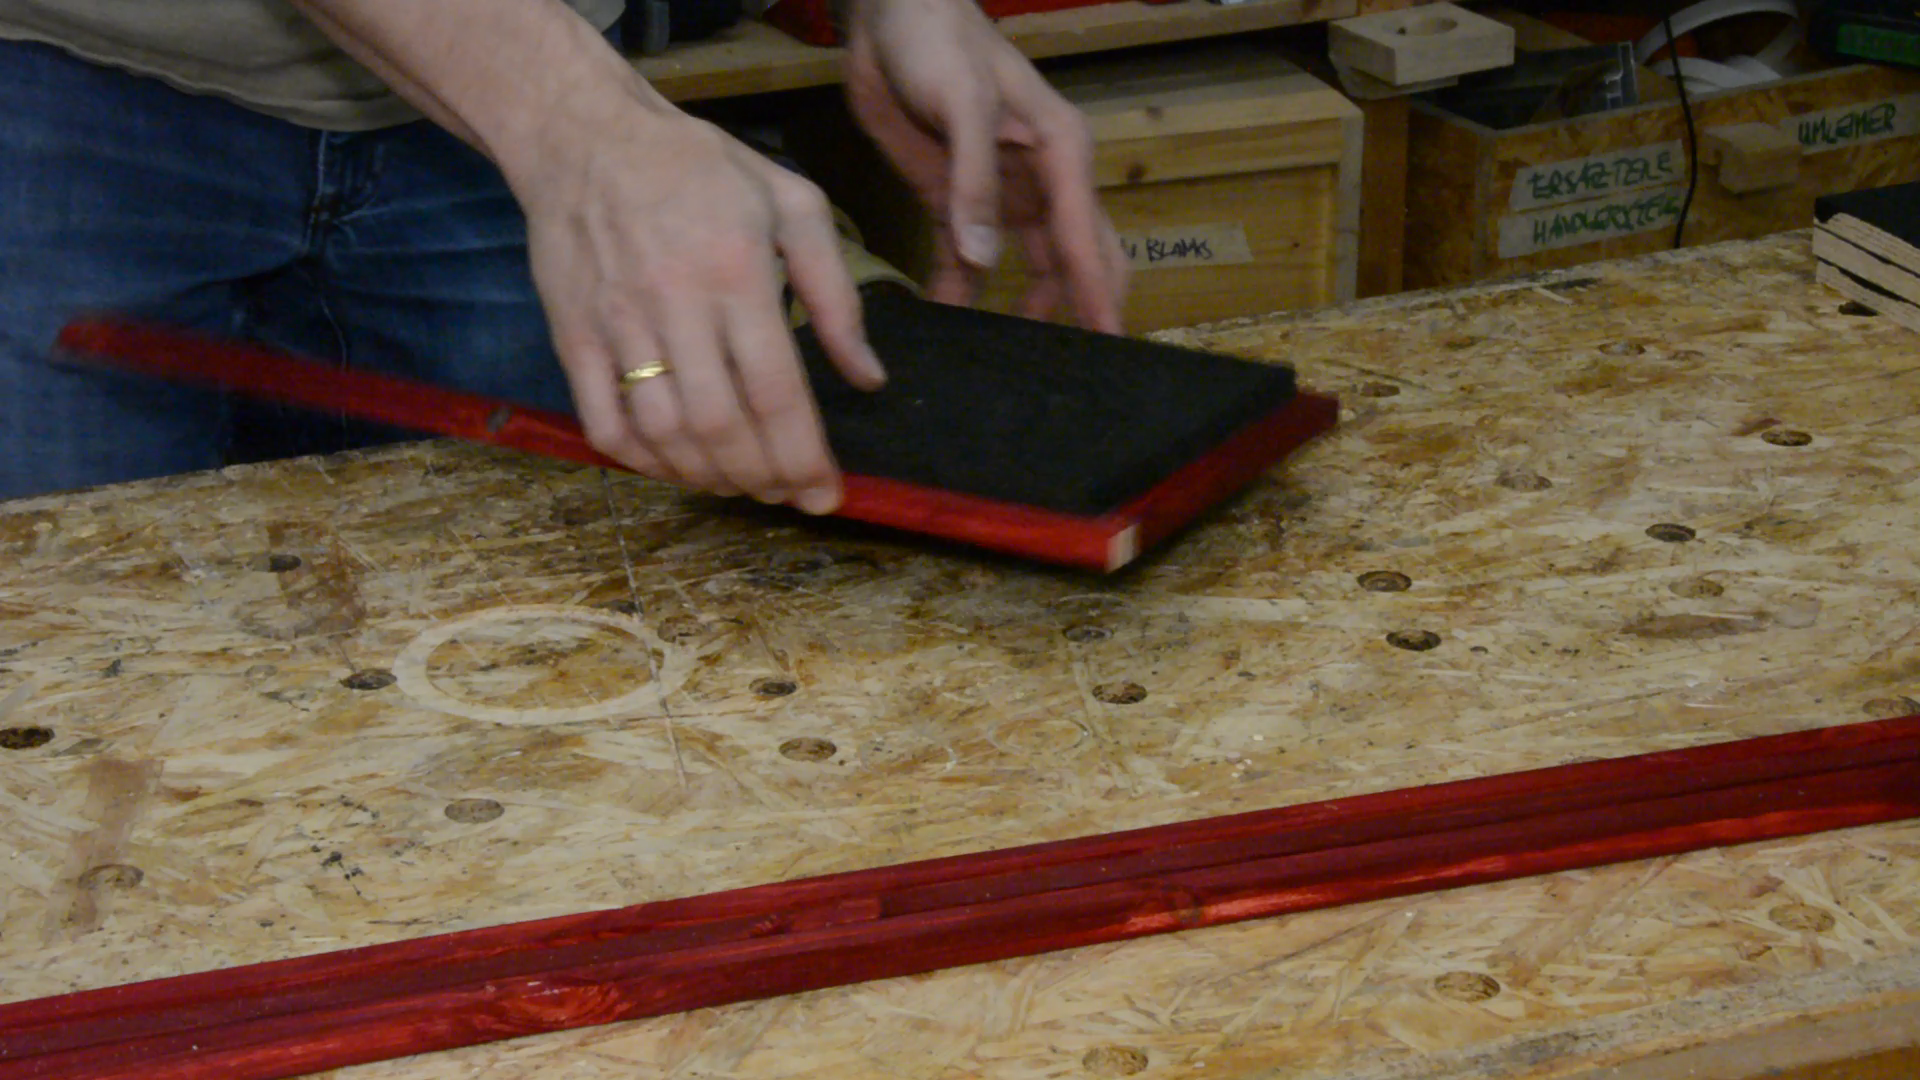
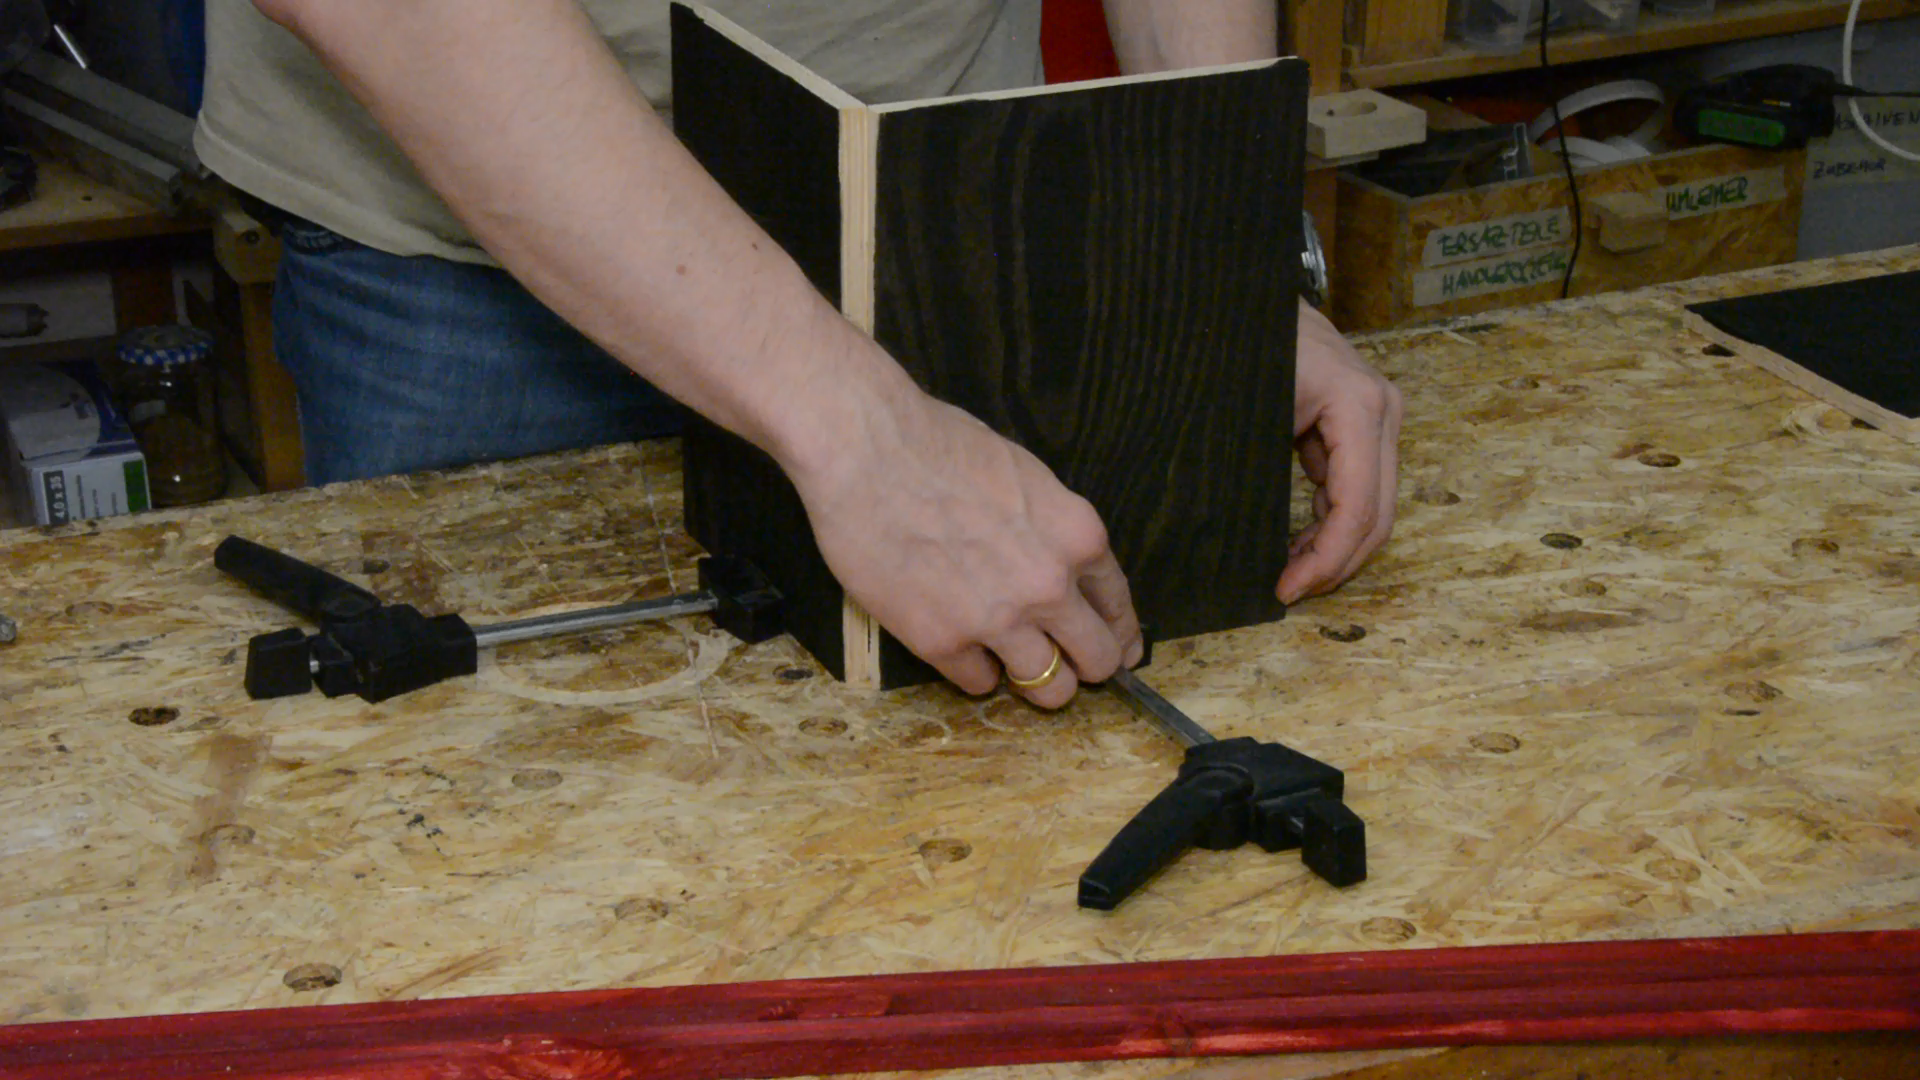
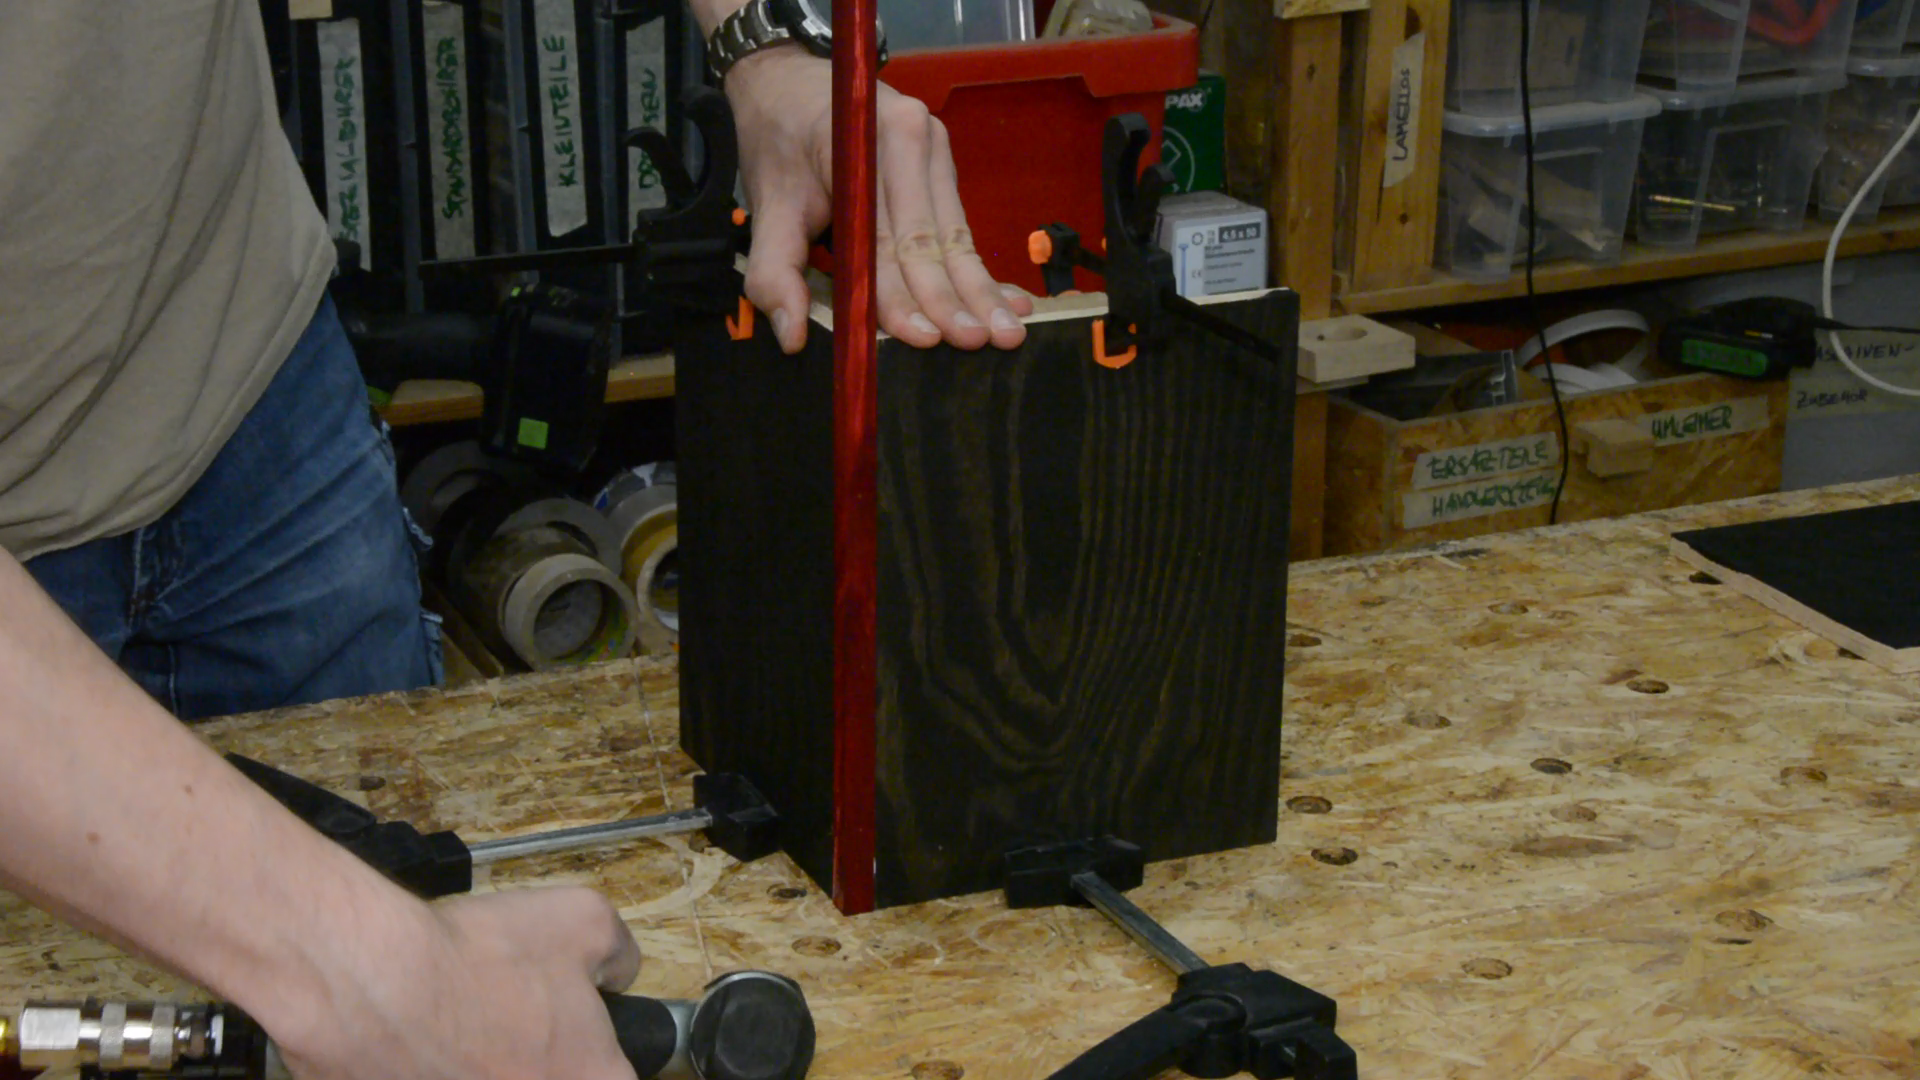
To do this we glue four plywood pieces together. With two clamps they form a platform for the laser engraver to stand on. Engraving the logo is easy and it is in an unobtrusive place.
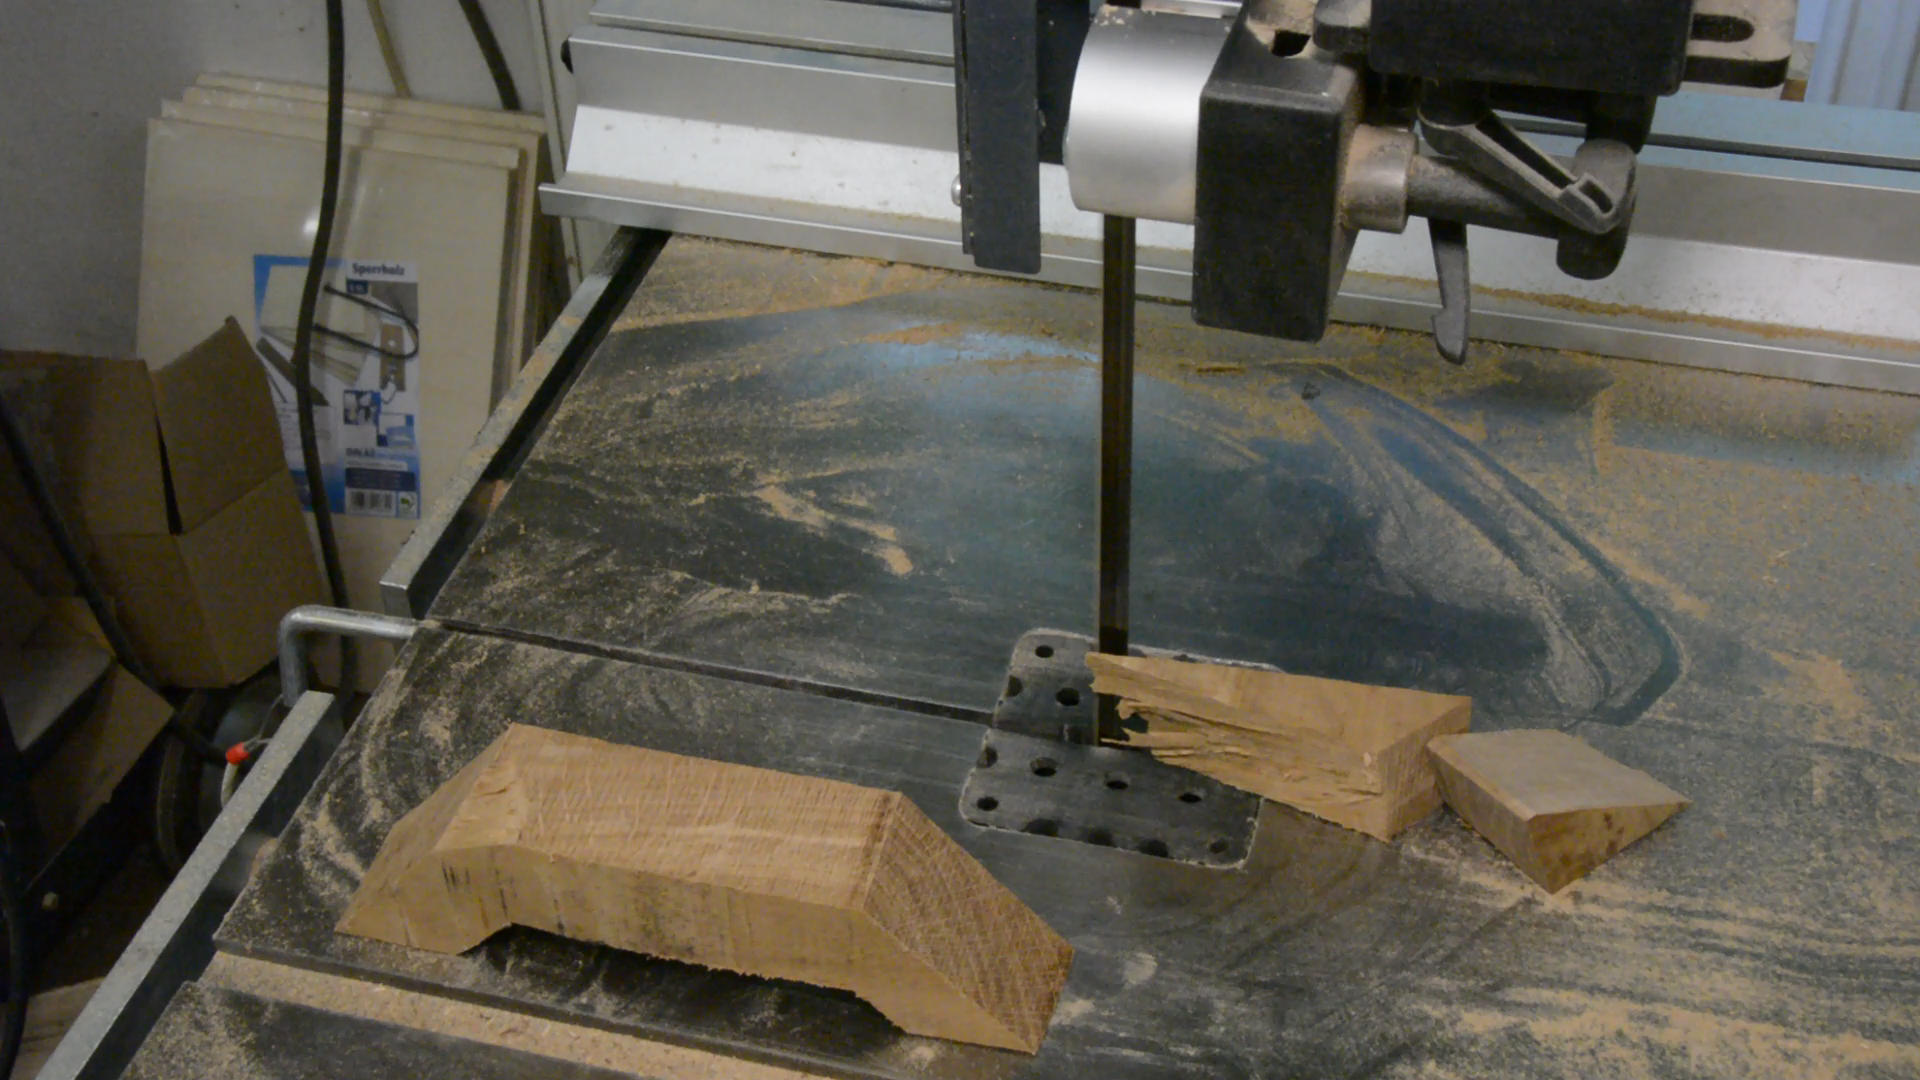
A box to protect the laser
The last thing to complete this project is building a case for the laser engraver so that the machine can survive the in the shop environment.

The design is a bit special as I am using the edge banding of the plywood not only as a colorful accent but also as the joint between the panels.


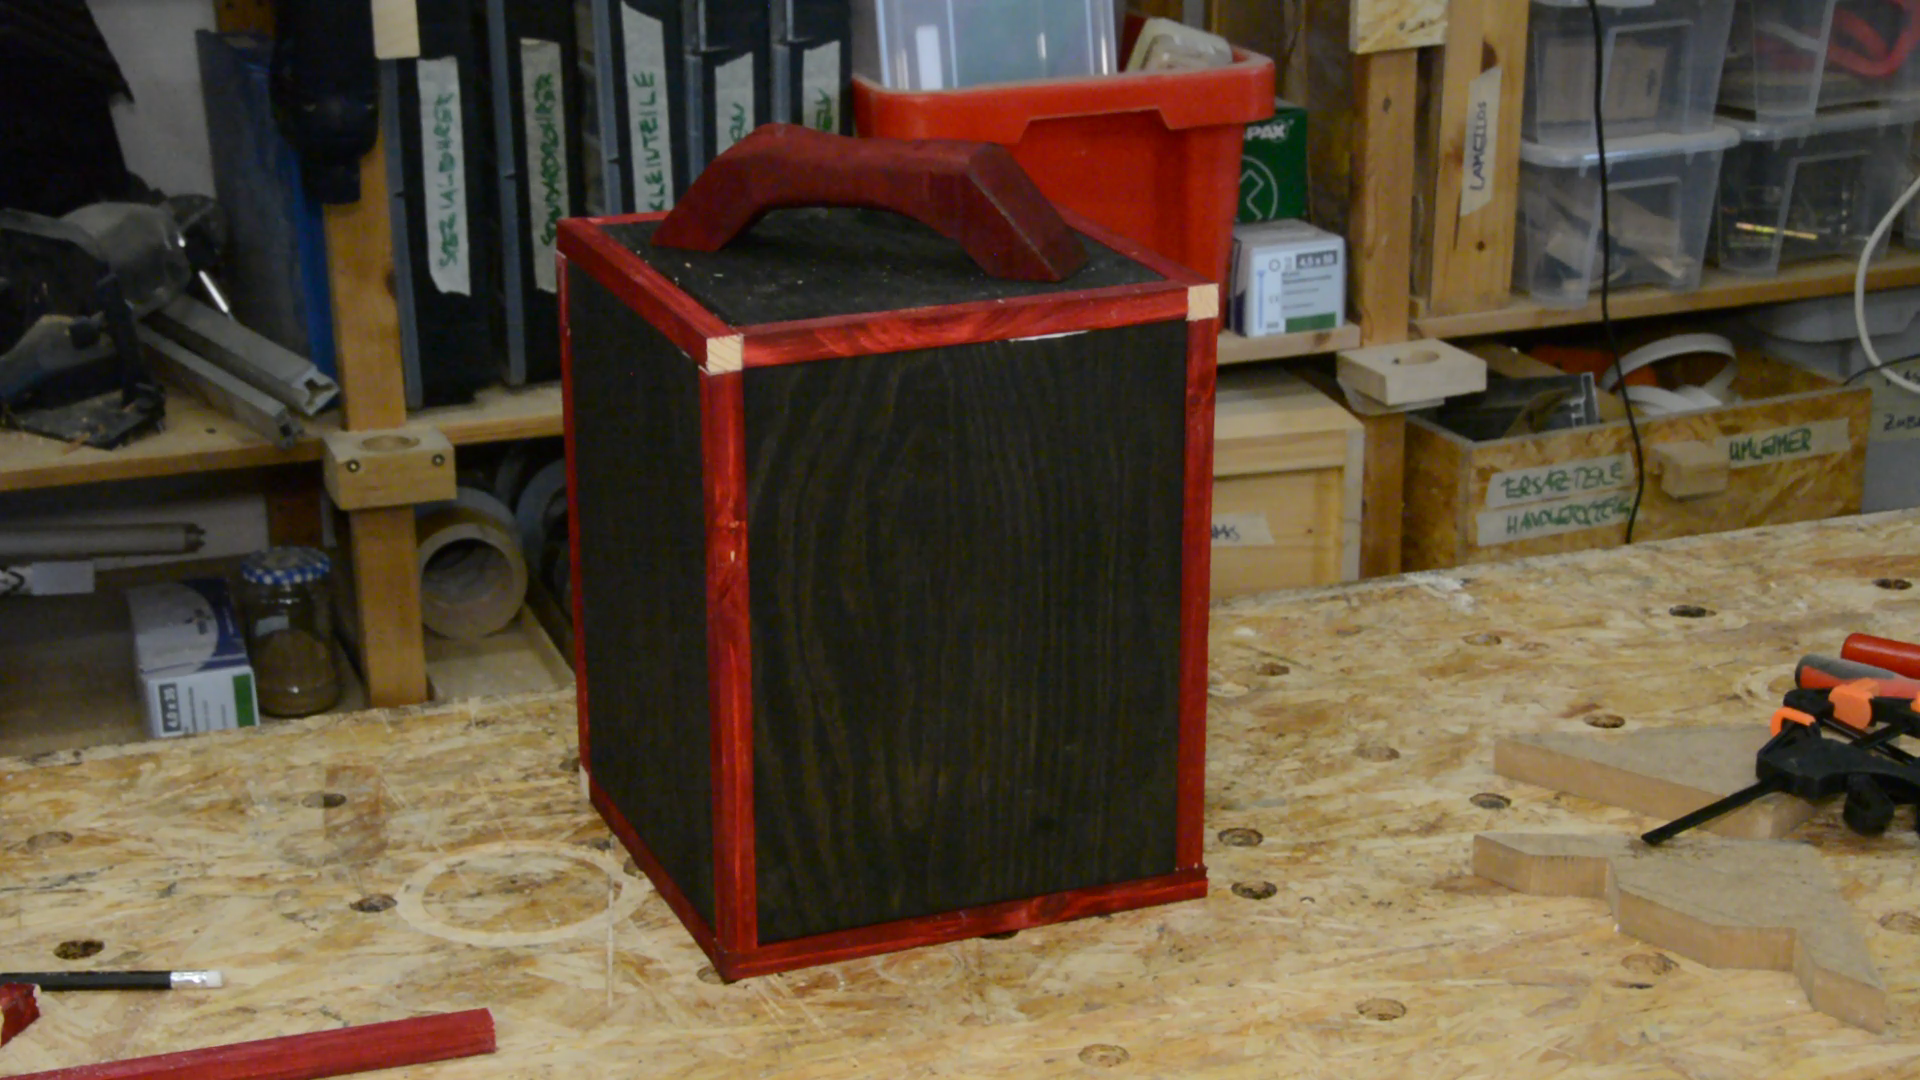


With the box my branding iron is ready to use and to put my maker mark all over the place. I think this tool is going to see a lot of use in my shop.