

In this article we build a cheap soda rocket for our kids birthday party from an empty bottle and some 3d printed parts.
The web is full of plans for a soda rocket or water rockets. A particular interesting one is the one from the National Physical Laboratory that also explains all the ins and outs of the underlying physics. Most of them require PVC pipe, garden hose adapters and a few hardware parts for 20 to
50 bucks – which is already quite cheap.
As part of our kids birthday (for which we have build already the invitation card in another post) party we wanted 10 kids to build each their own rockets. So 20 bucks per rocket was still a bit too much.
Design and 3d printing
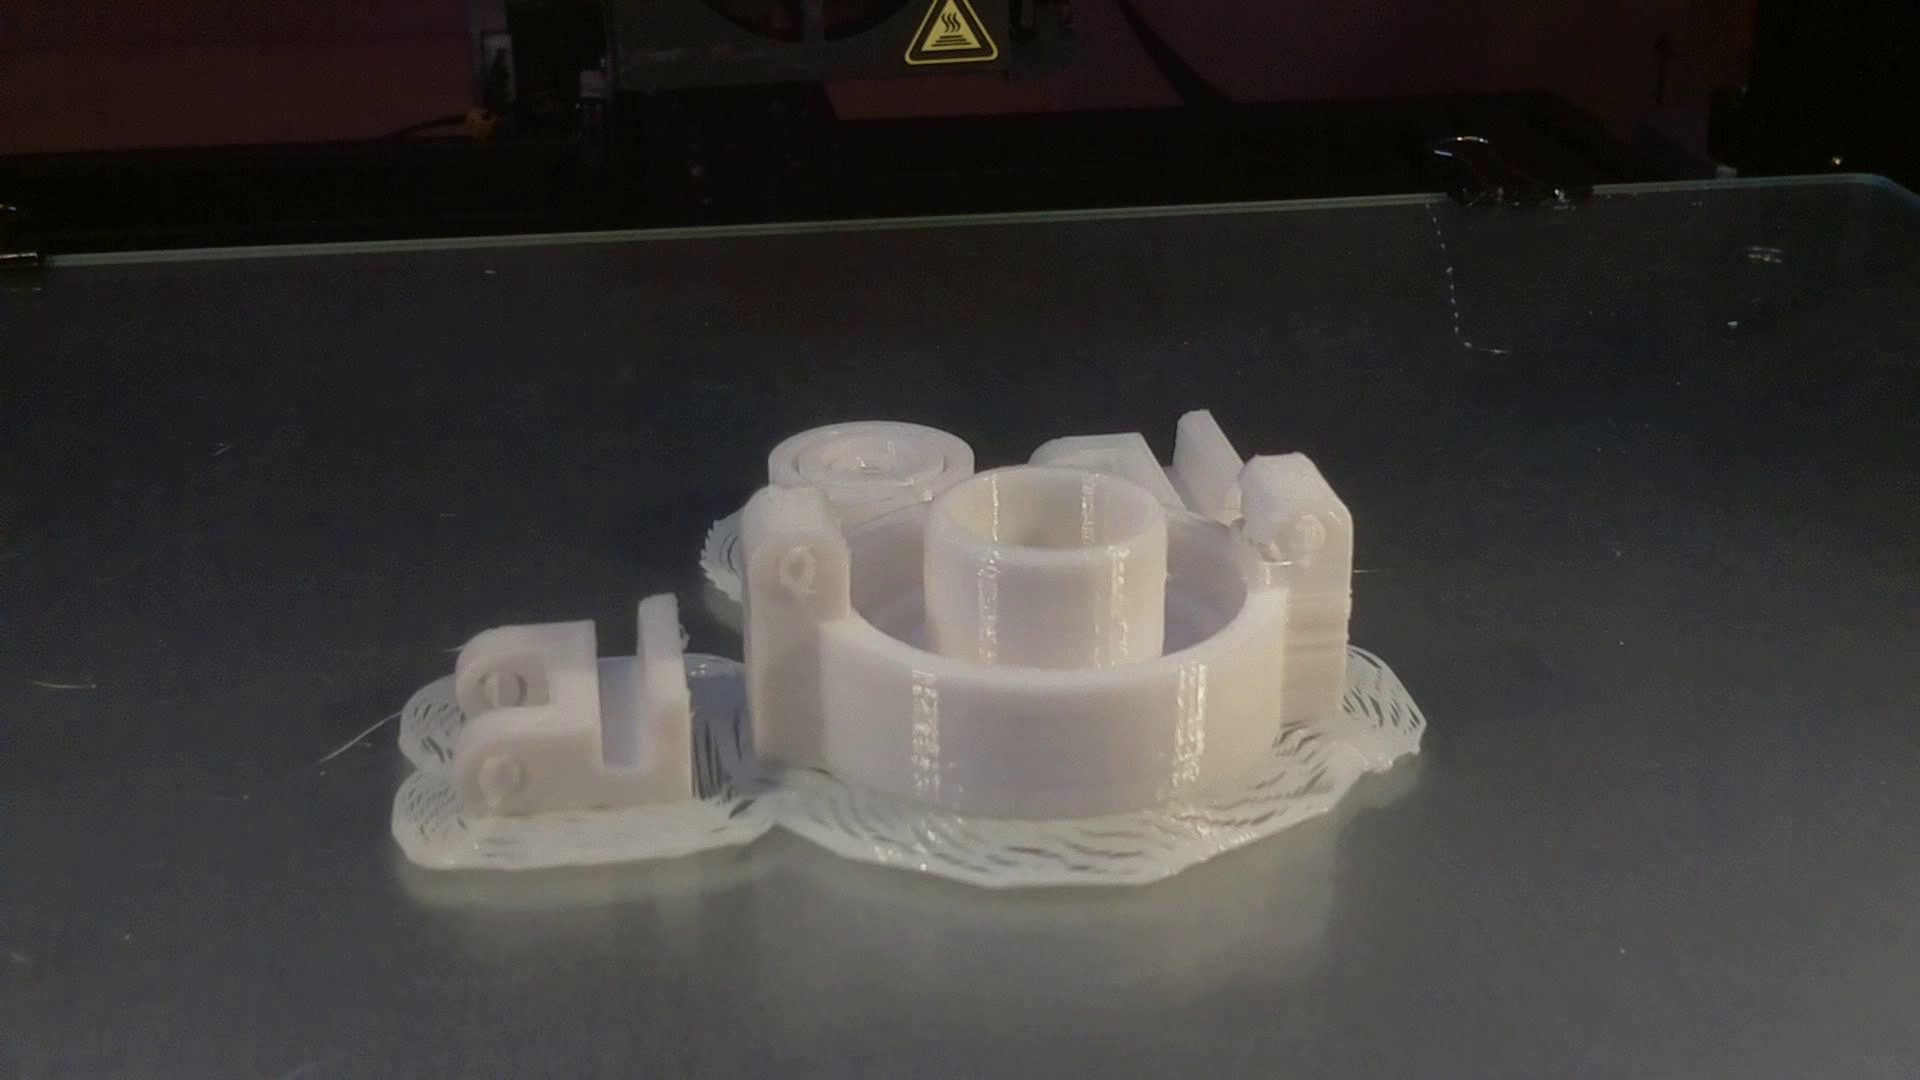
We started to design our own even cheaper version with 3D printed parts in FreeCAD with a total cost of less than 5 bucks for each soda rocket.

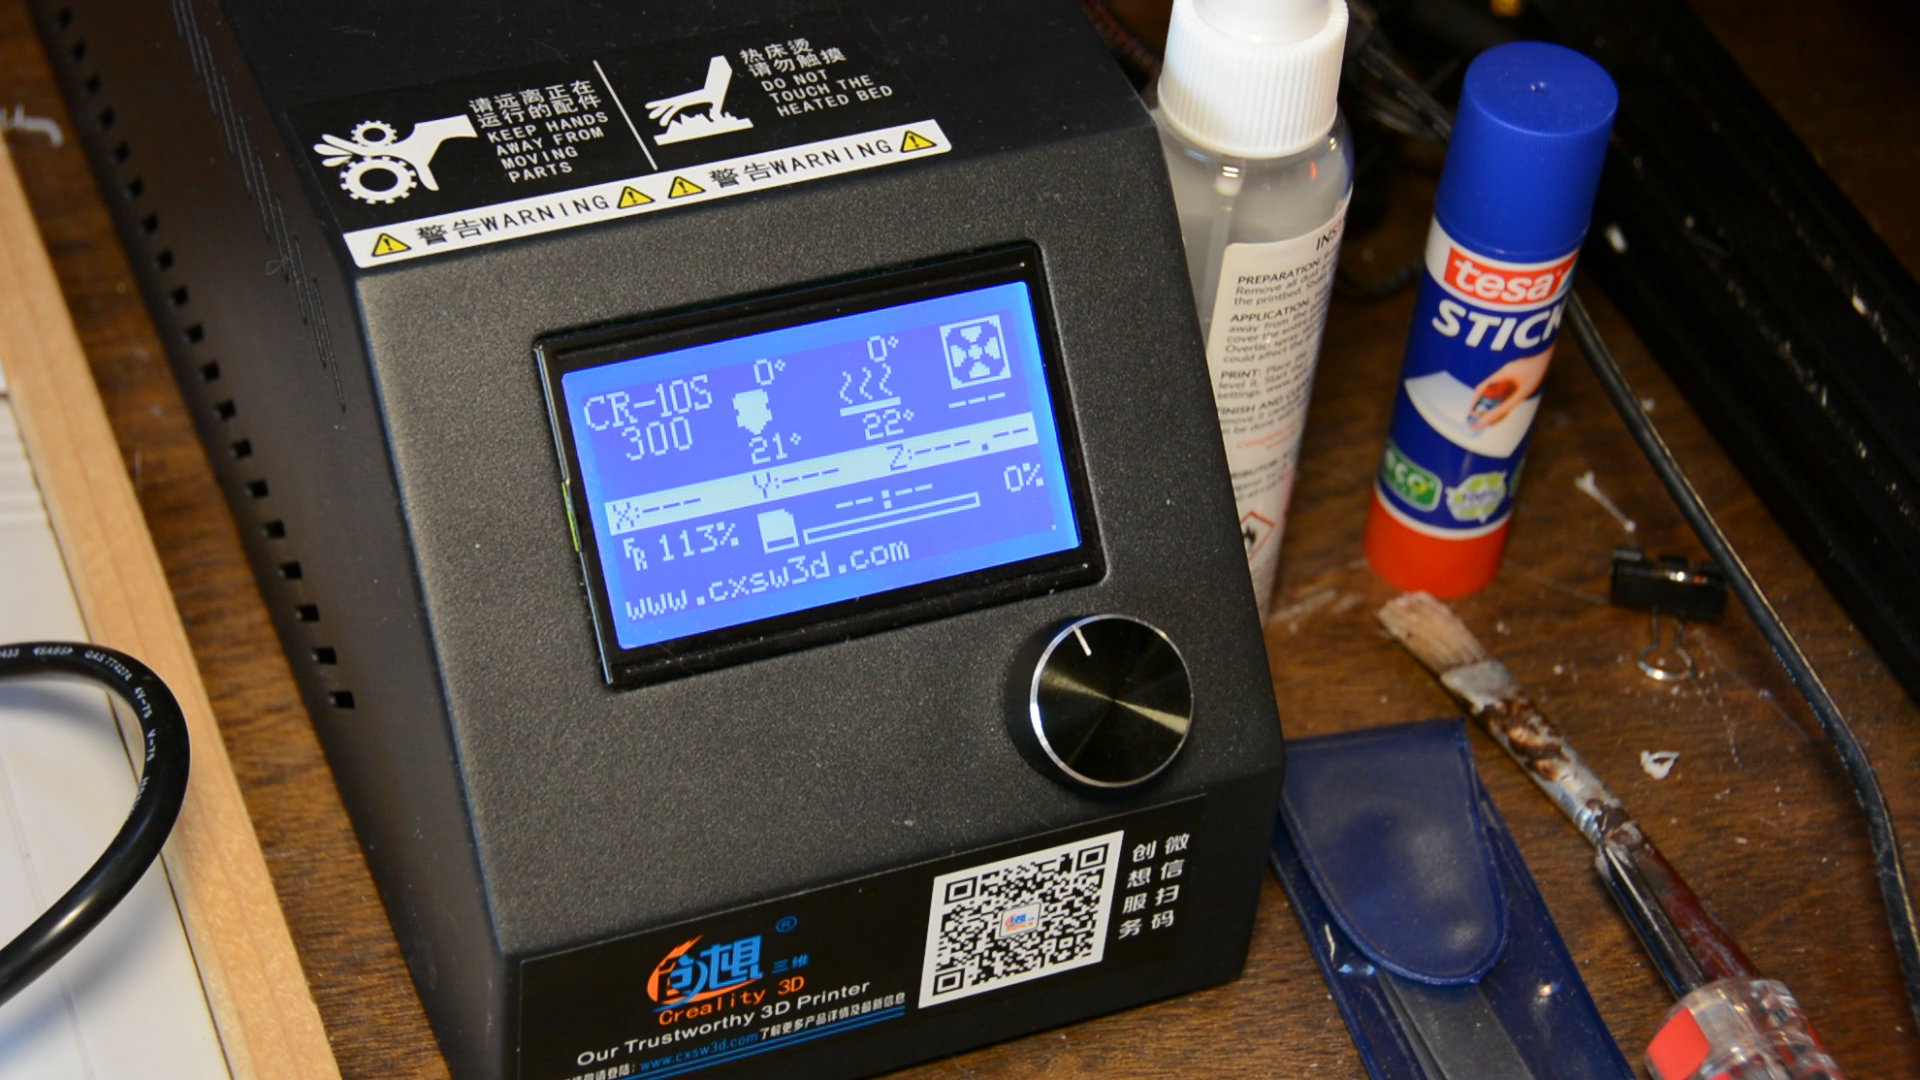
We printed the parts on the CR-10. For the parts to be water tight we increased the flow at the 3d printer to 113%. The 3d model and a set of free plans are available here.
Building the launcher tube
The first part of the rocket launcher is made by cutting a piece of electrical conduit to a length of 35 cm. When we tested this step with our kids cutting the pipe straight was actually quite challenging for them.
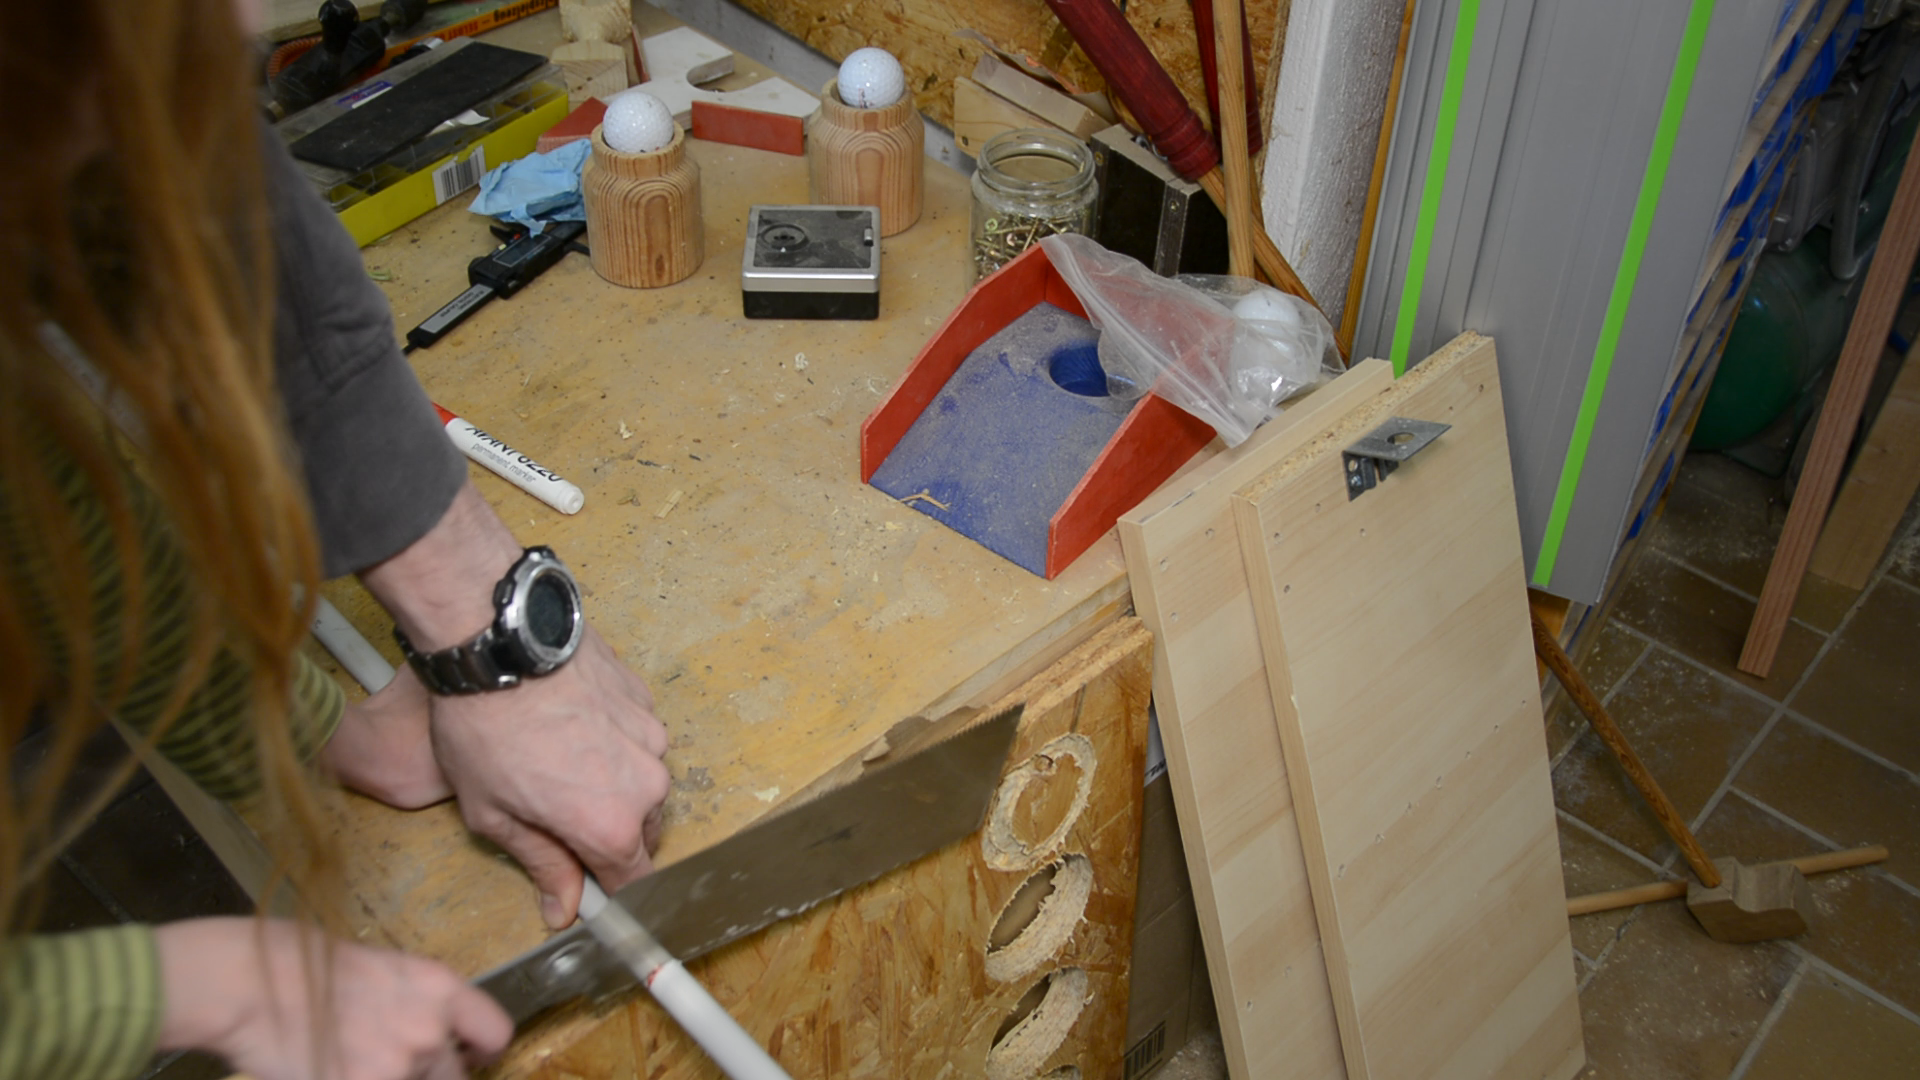
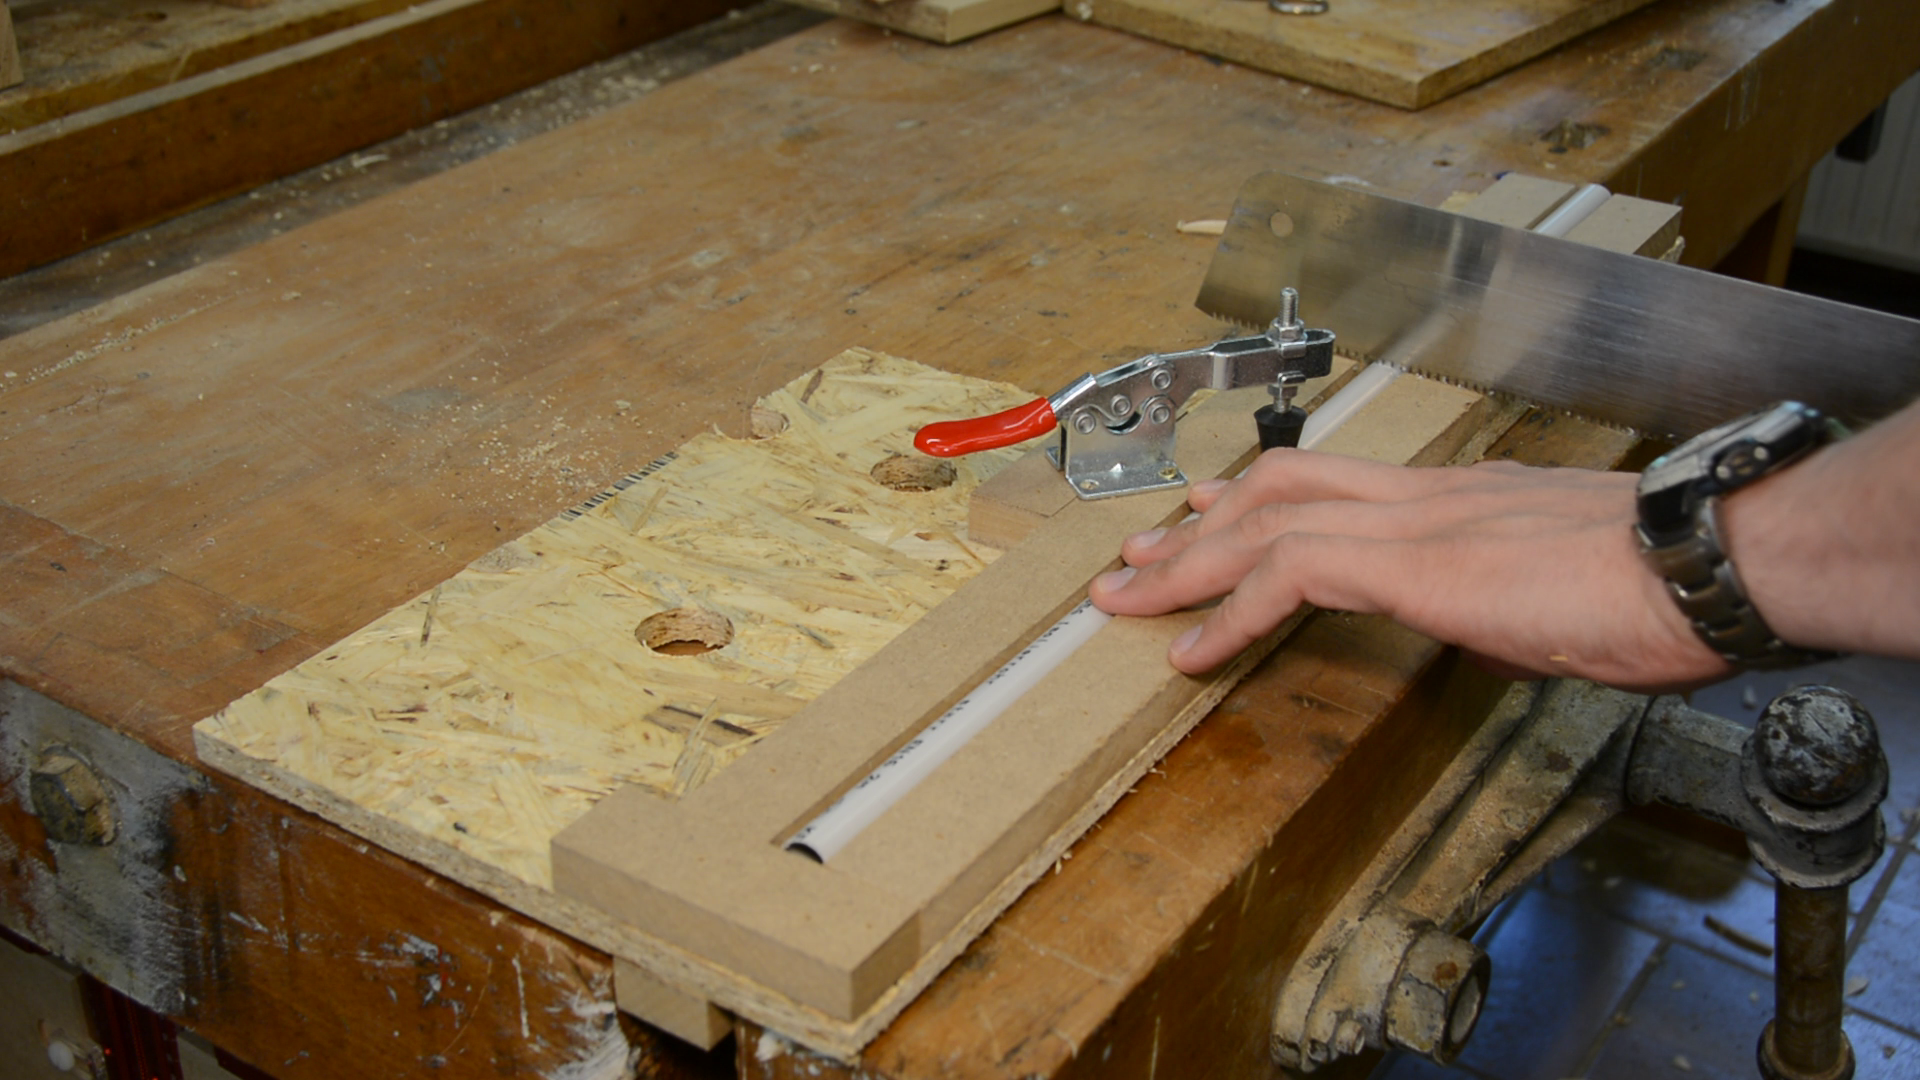
So for the party we created this simple jig where the conduit is clamped in place. The saw cut is then guided and results in a straight end.

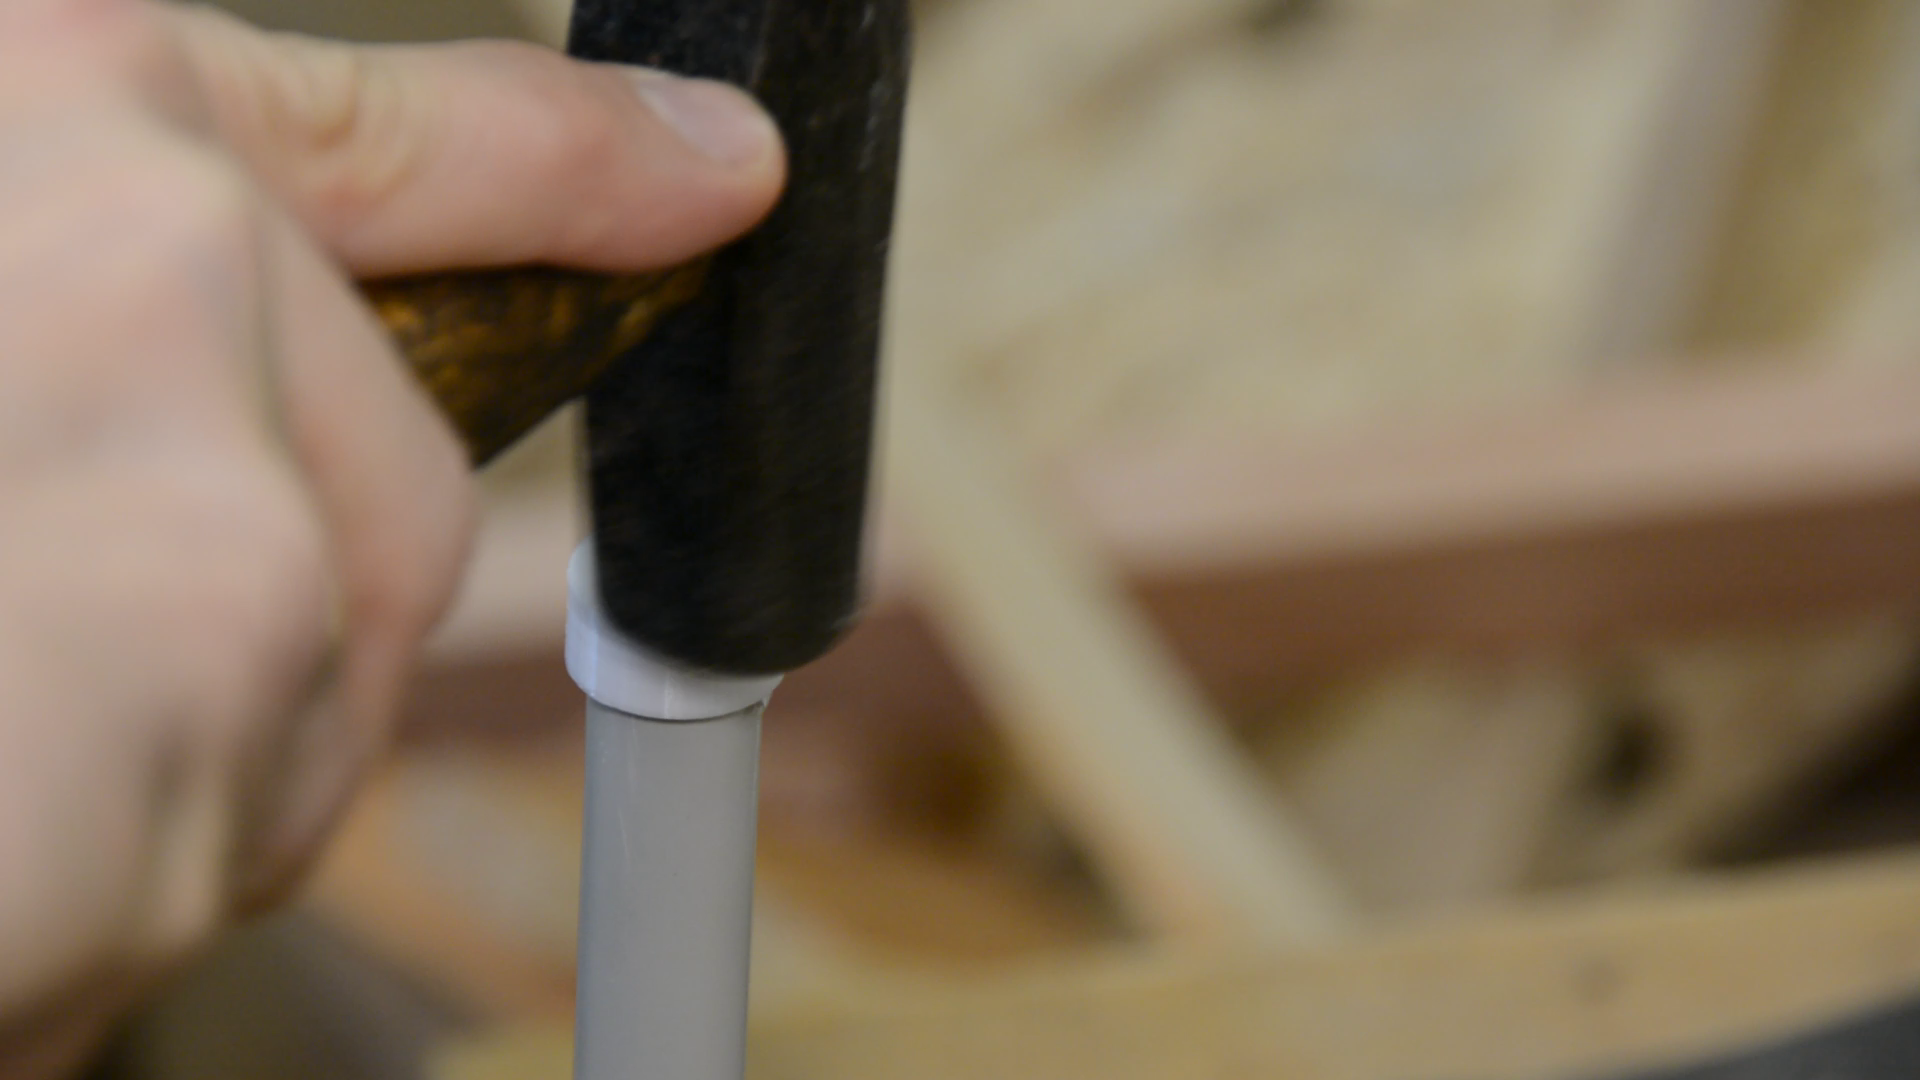
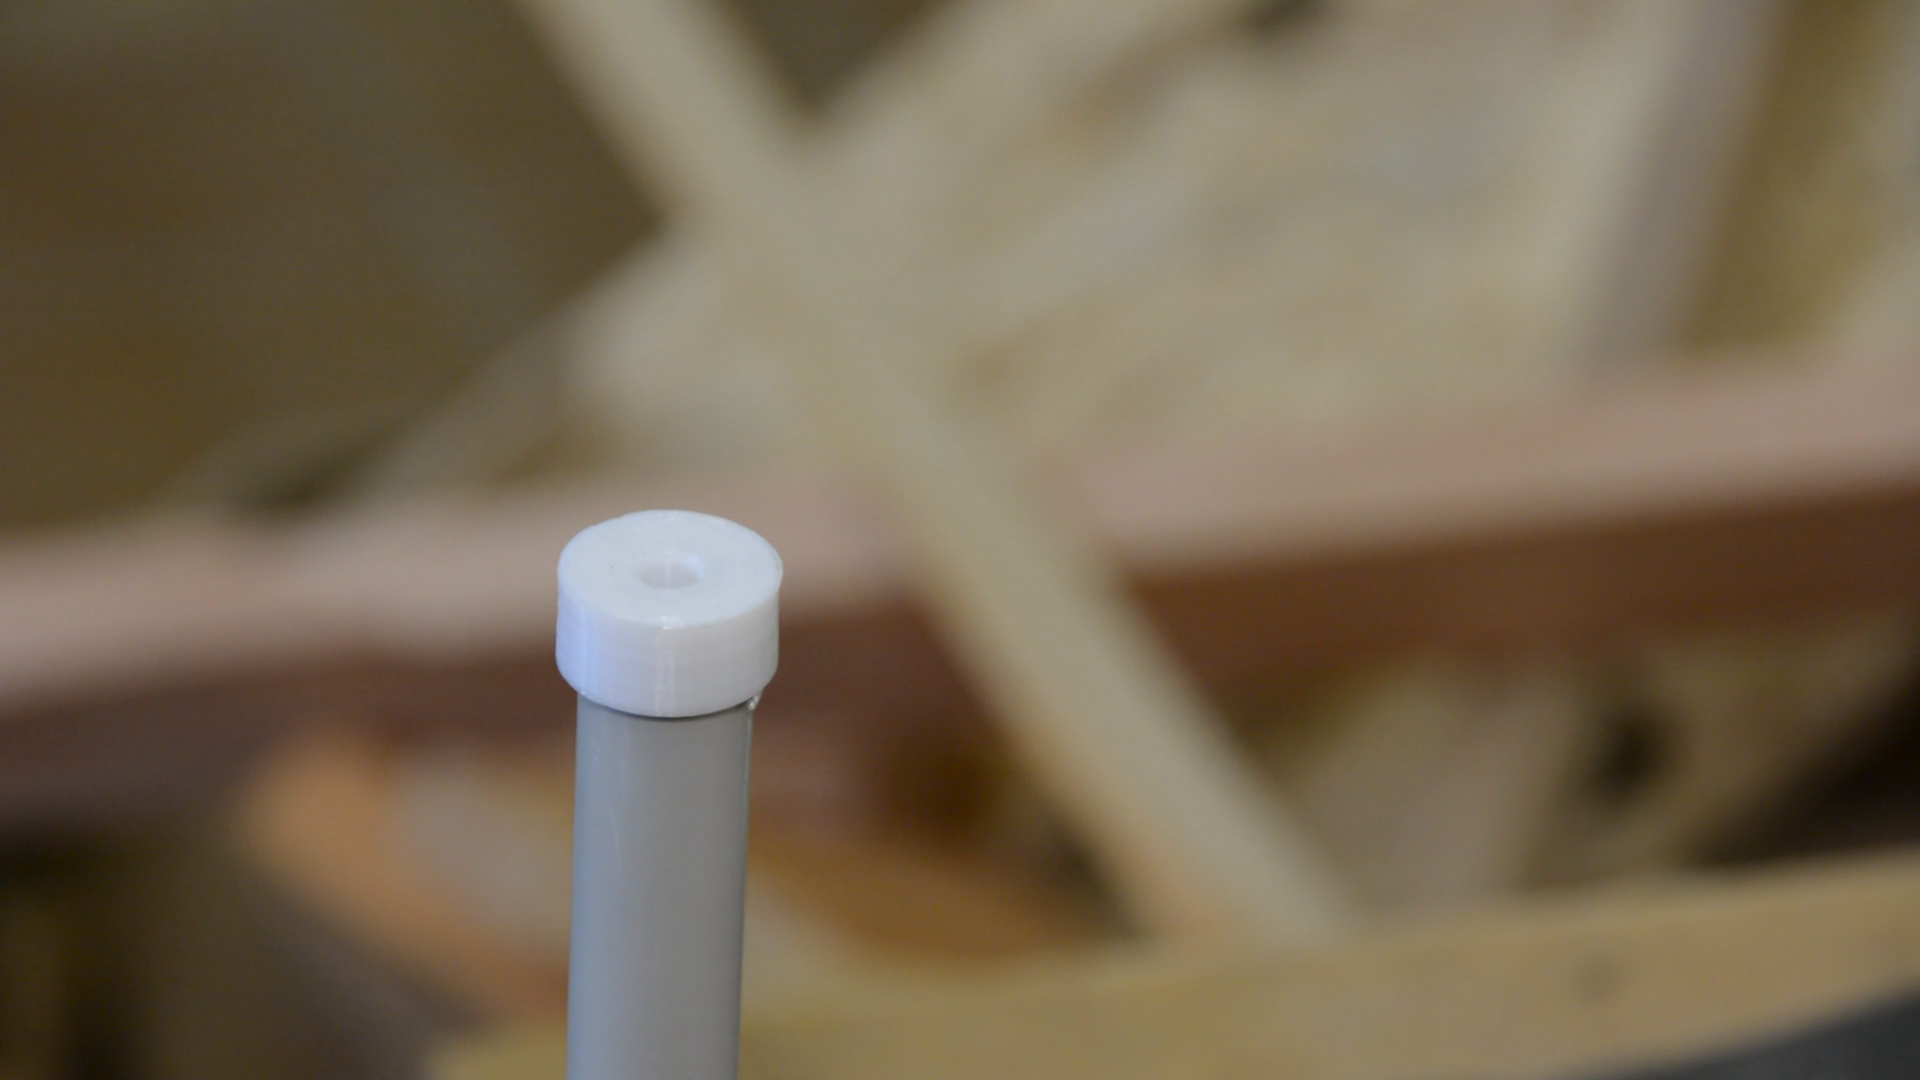
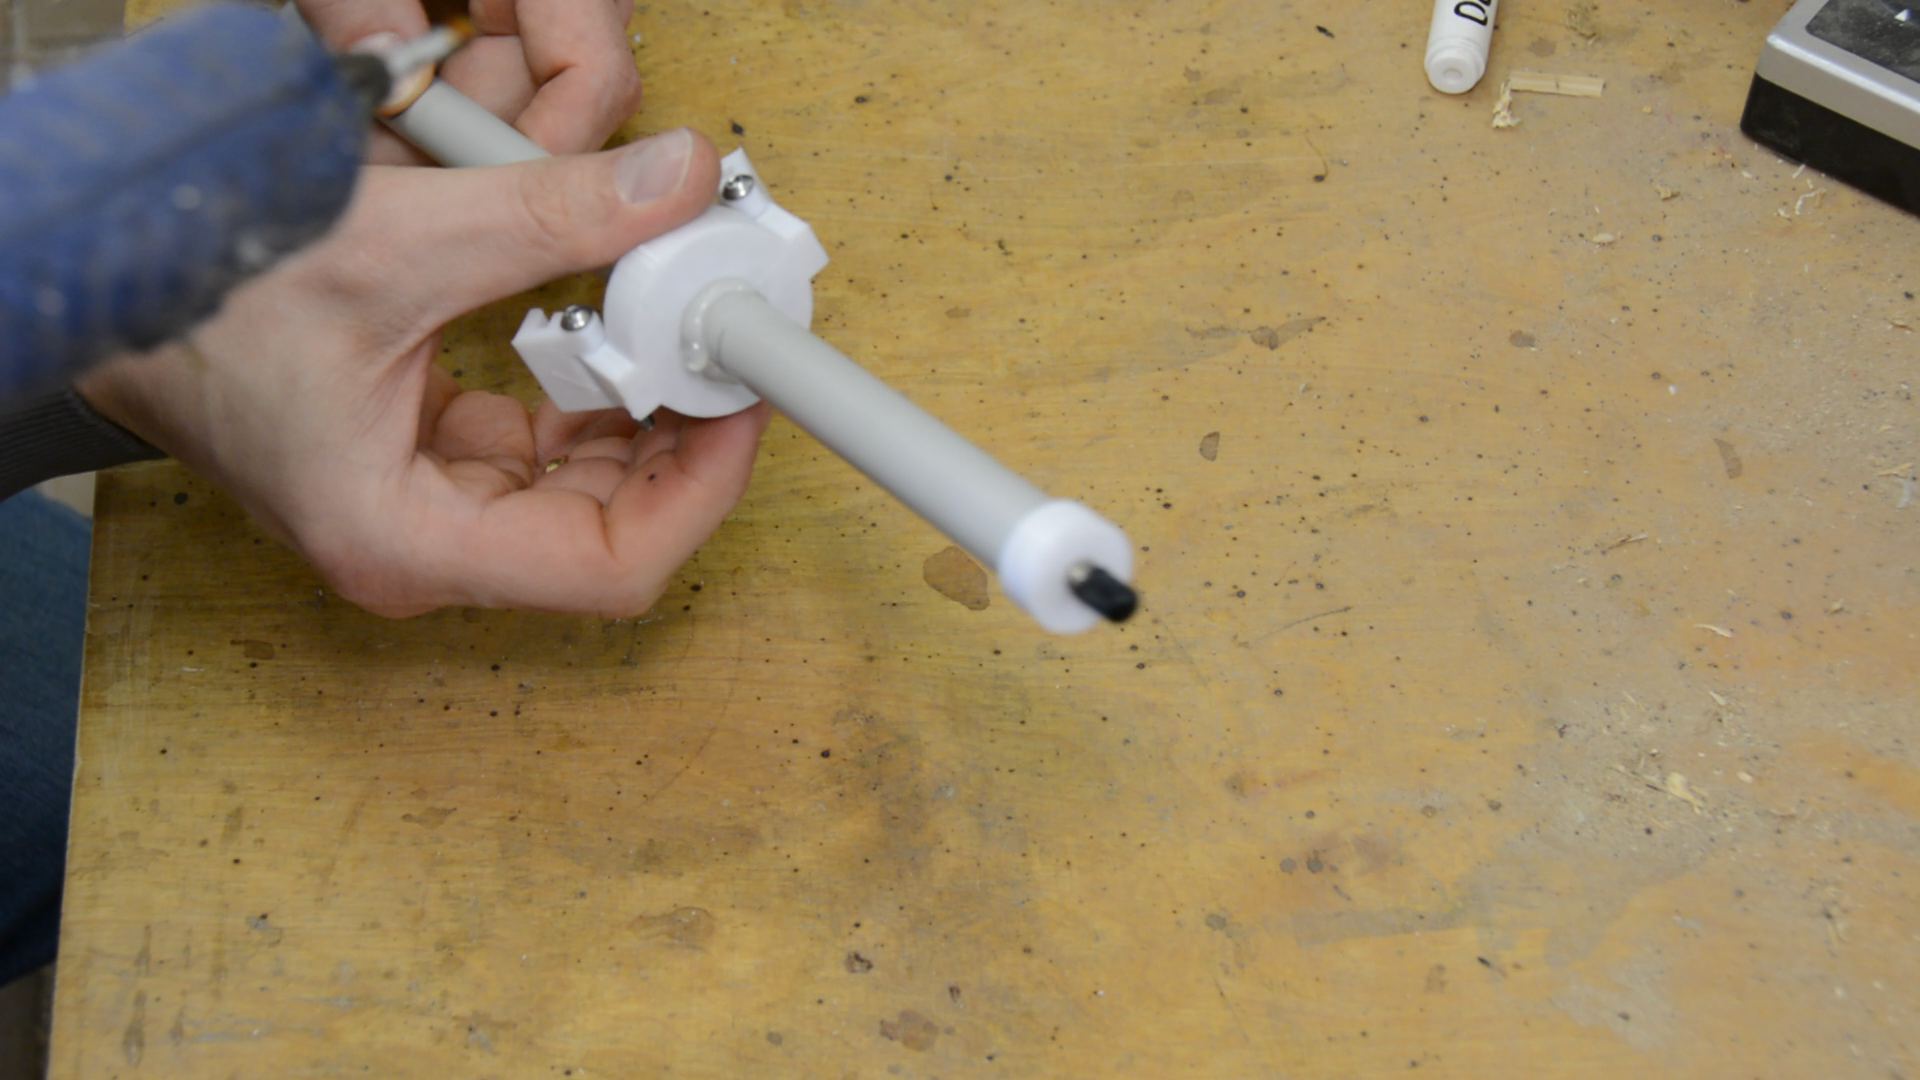
This end is then closed with a 3D printed cap. The cap is secured with a bit of superglue and then gently tapped on the pipe with a few hammer blows.
Superglue should not be handled by kids so at the party we took over this step after they prepared the pipe and the 3d printed parts.
In the hole of the cap we glue a bike valve.
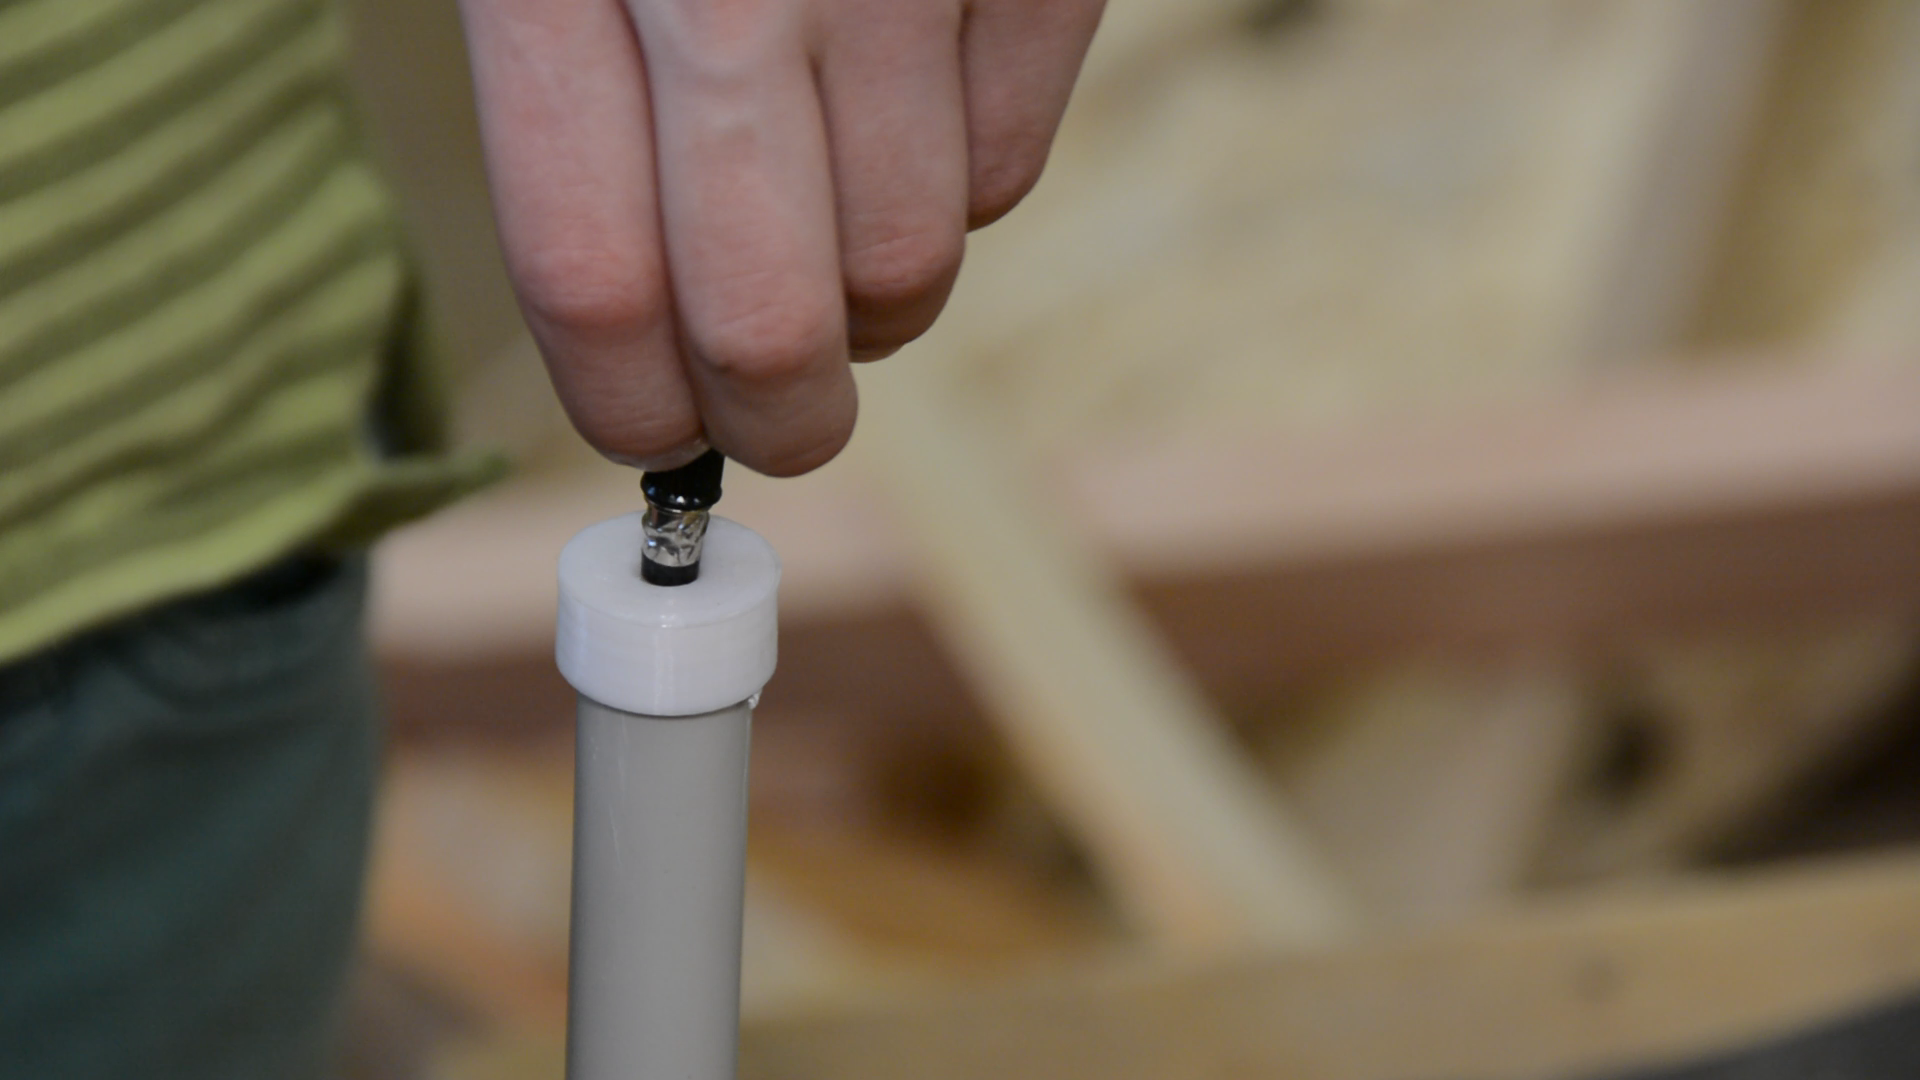
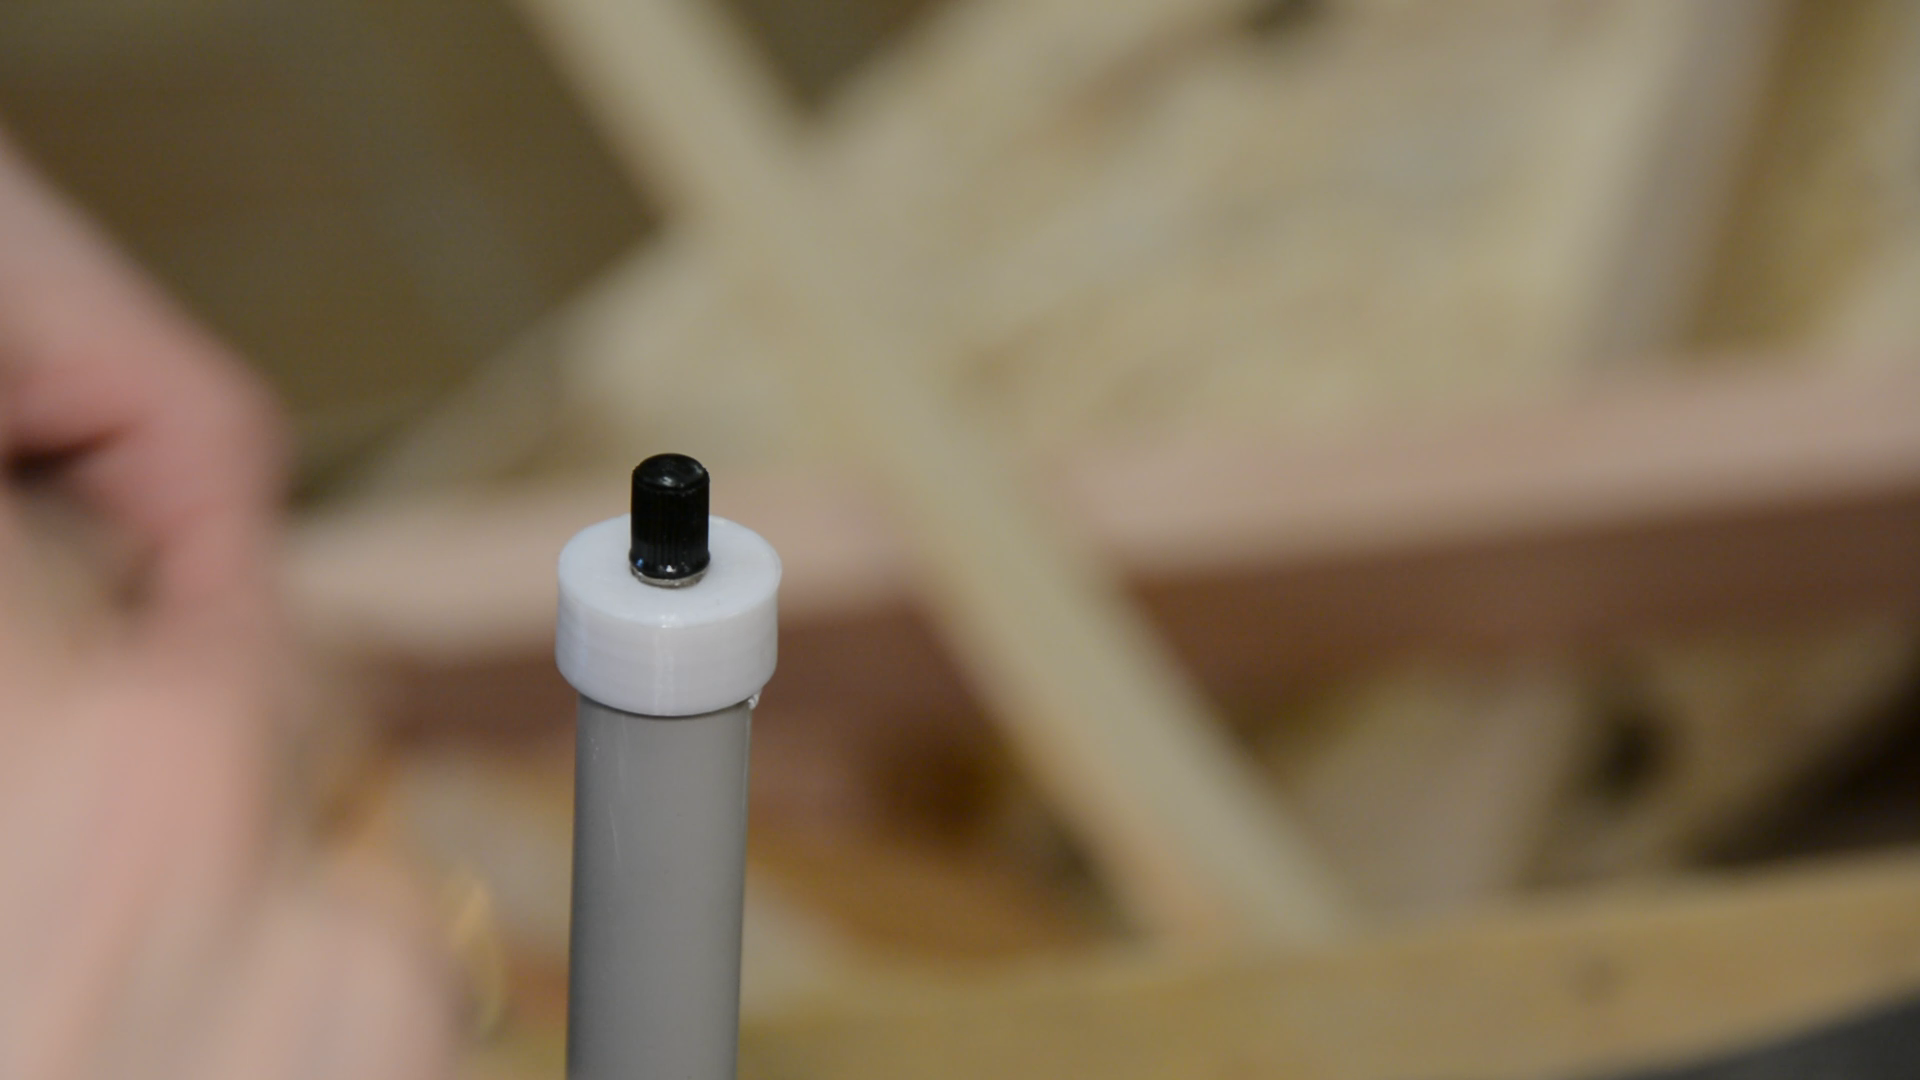
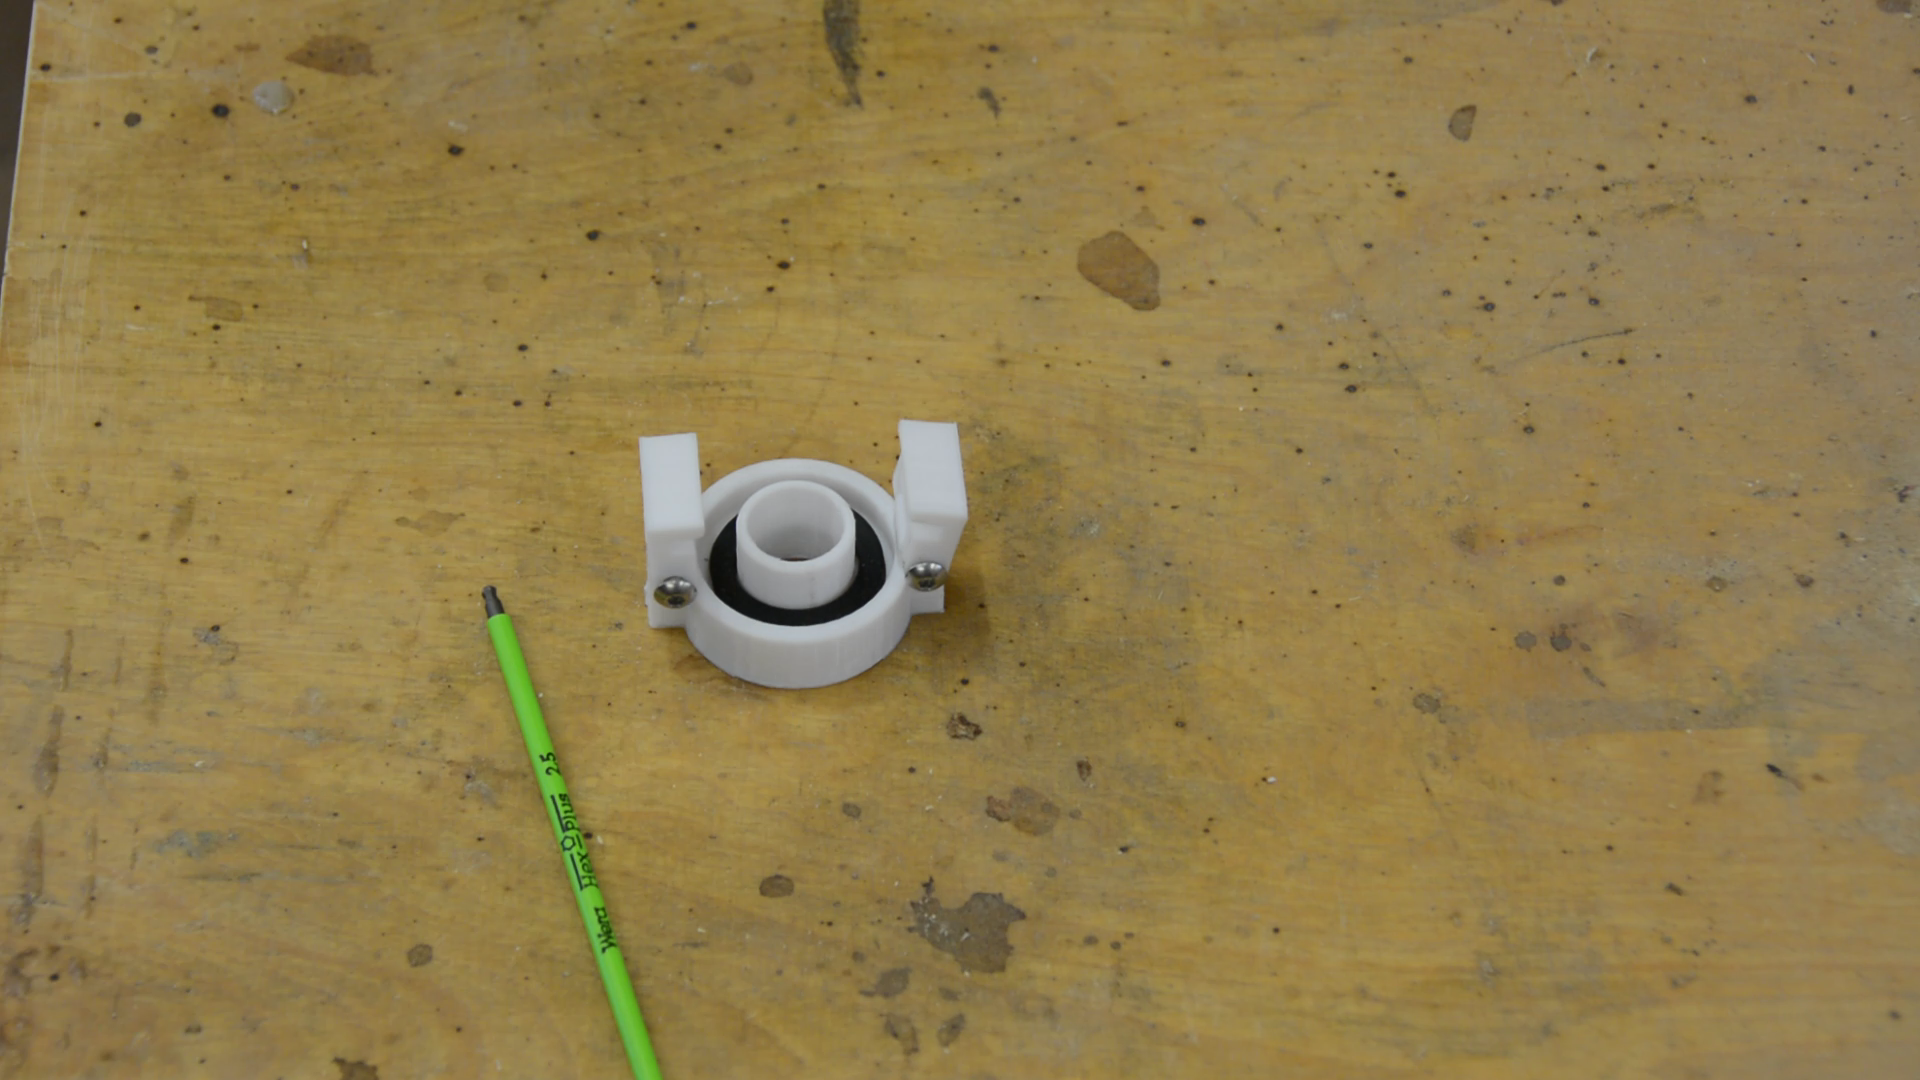
To create a really tight seal we insert a rubber seal in the 3d printed part.

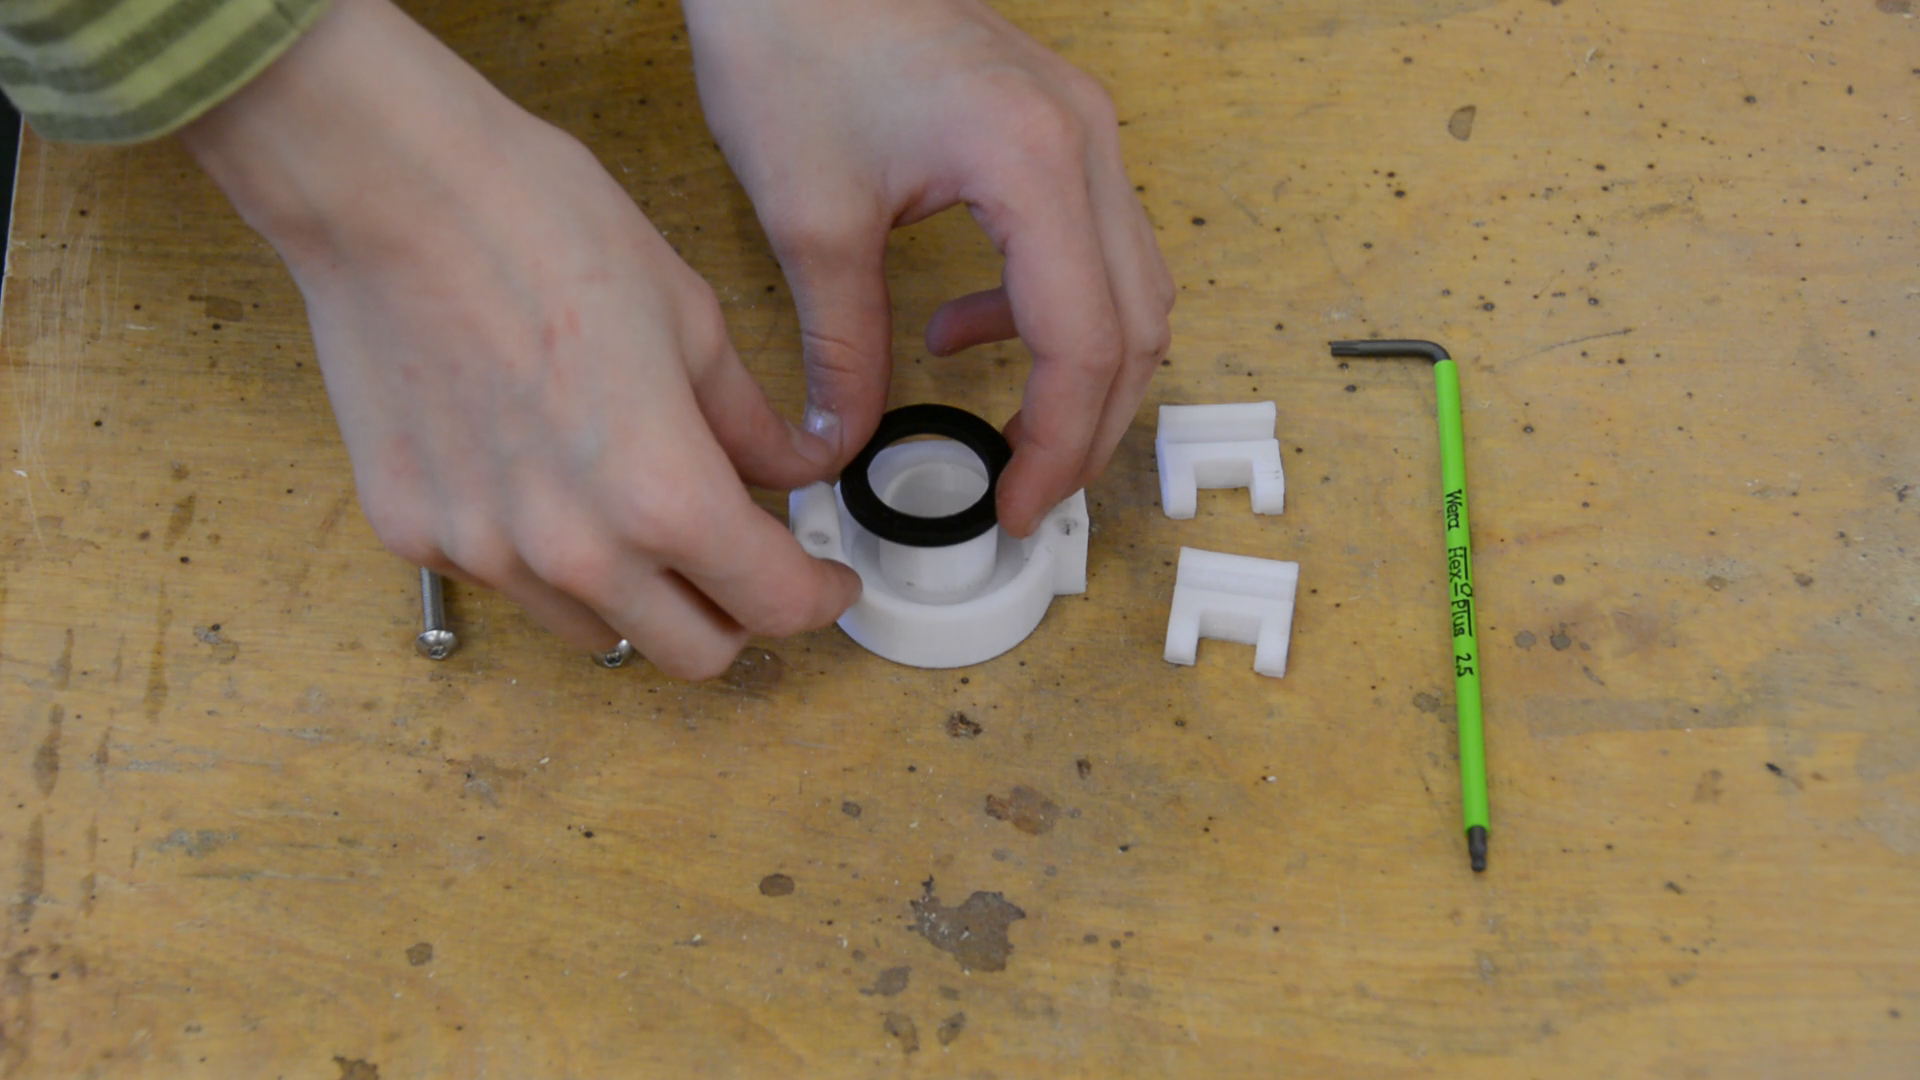
The other 3D printed parts are assembled with screws and secured to the conduit with hotglue around 10 centimeters from the end with the valve.

If you don’t have 10 screaming kids around you and have some patience epoxy or a glue used for PVC pipes creates a better seal but in a hurry hot glue works just fine.
Creating the stand
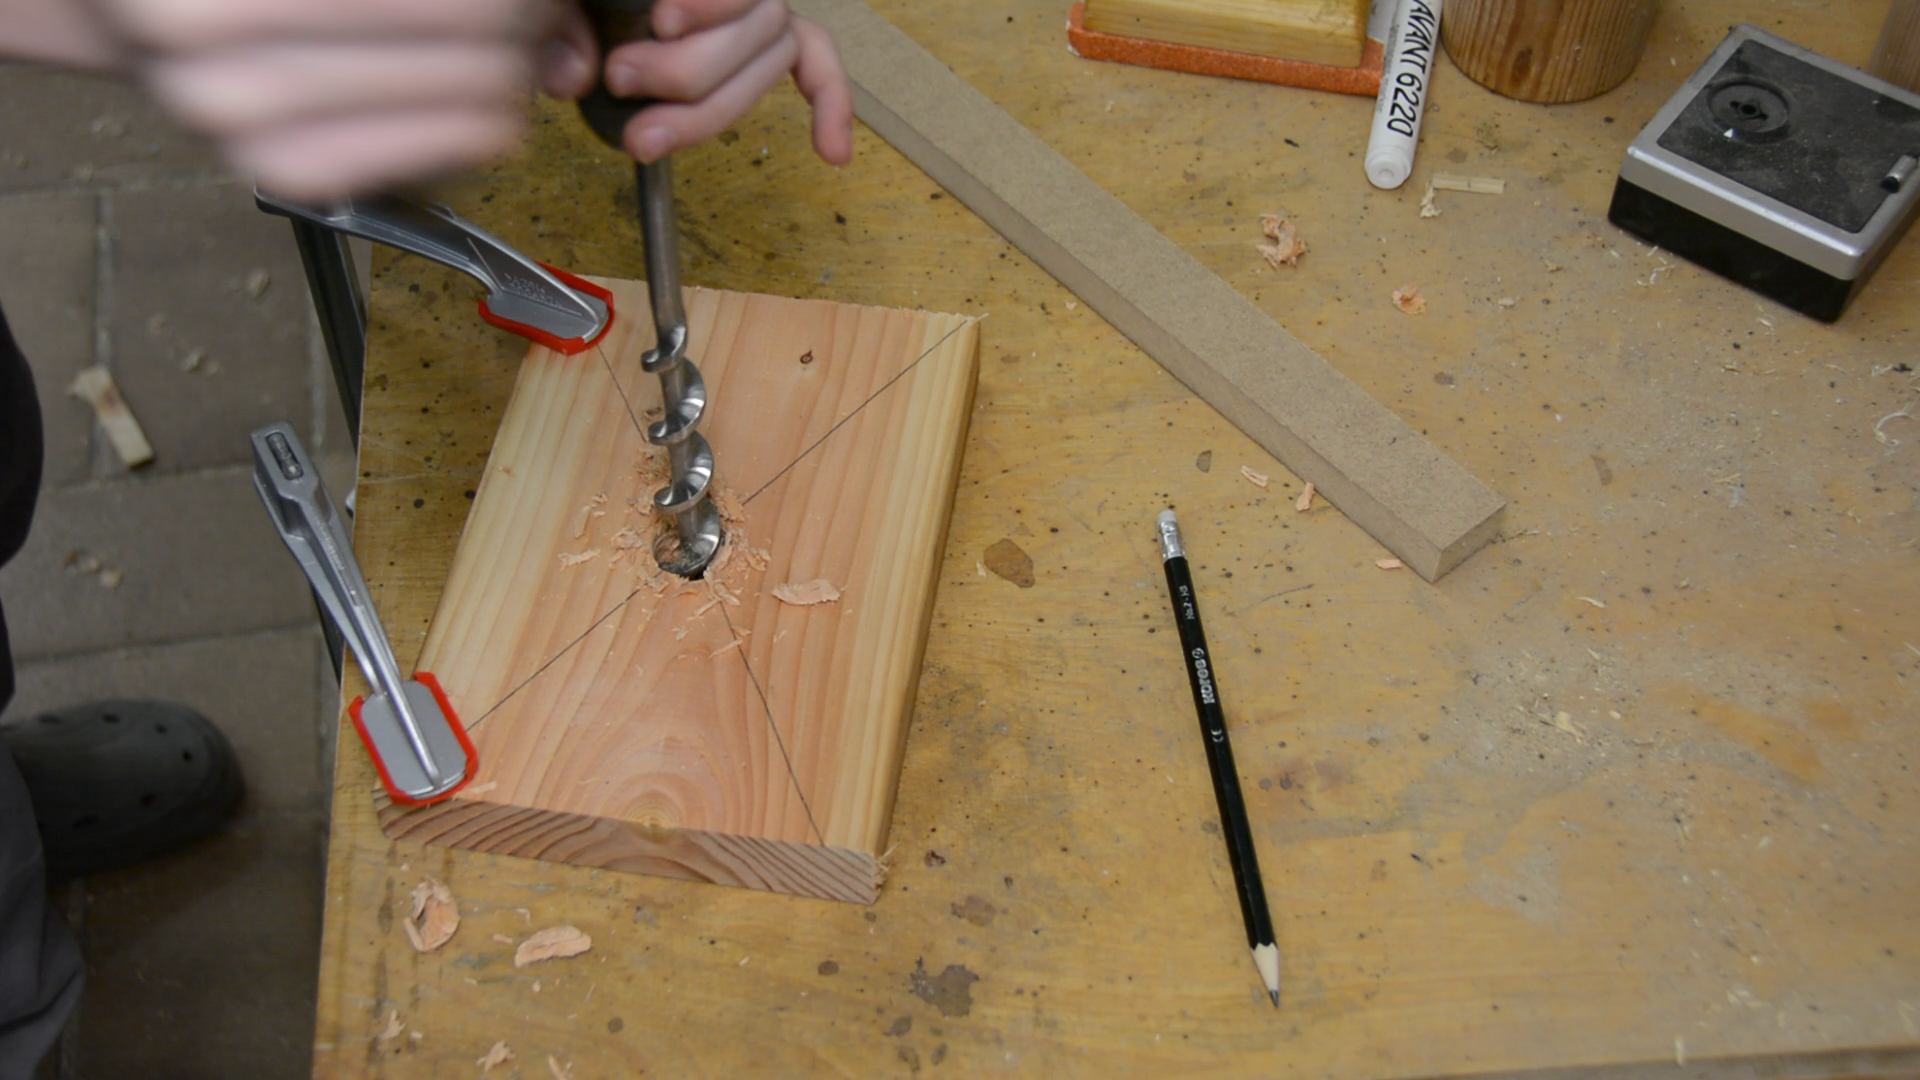
For the rocket launcher we need 5 wooden scrap pieces in total. All the dimensions can be found in the plans.
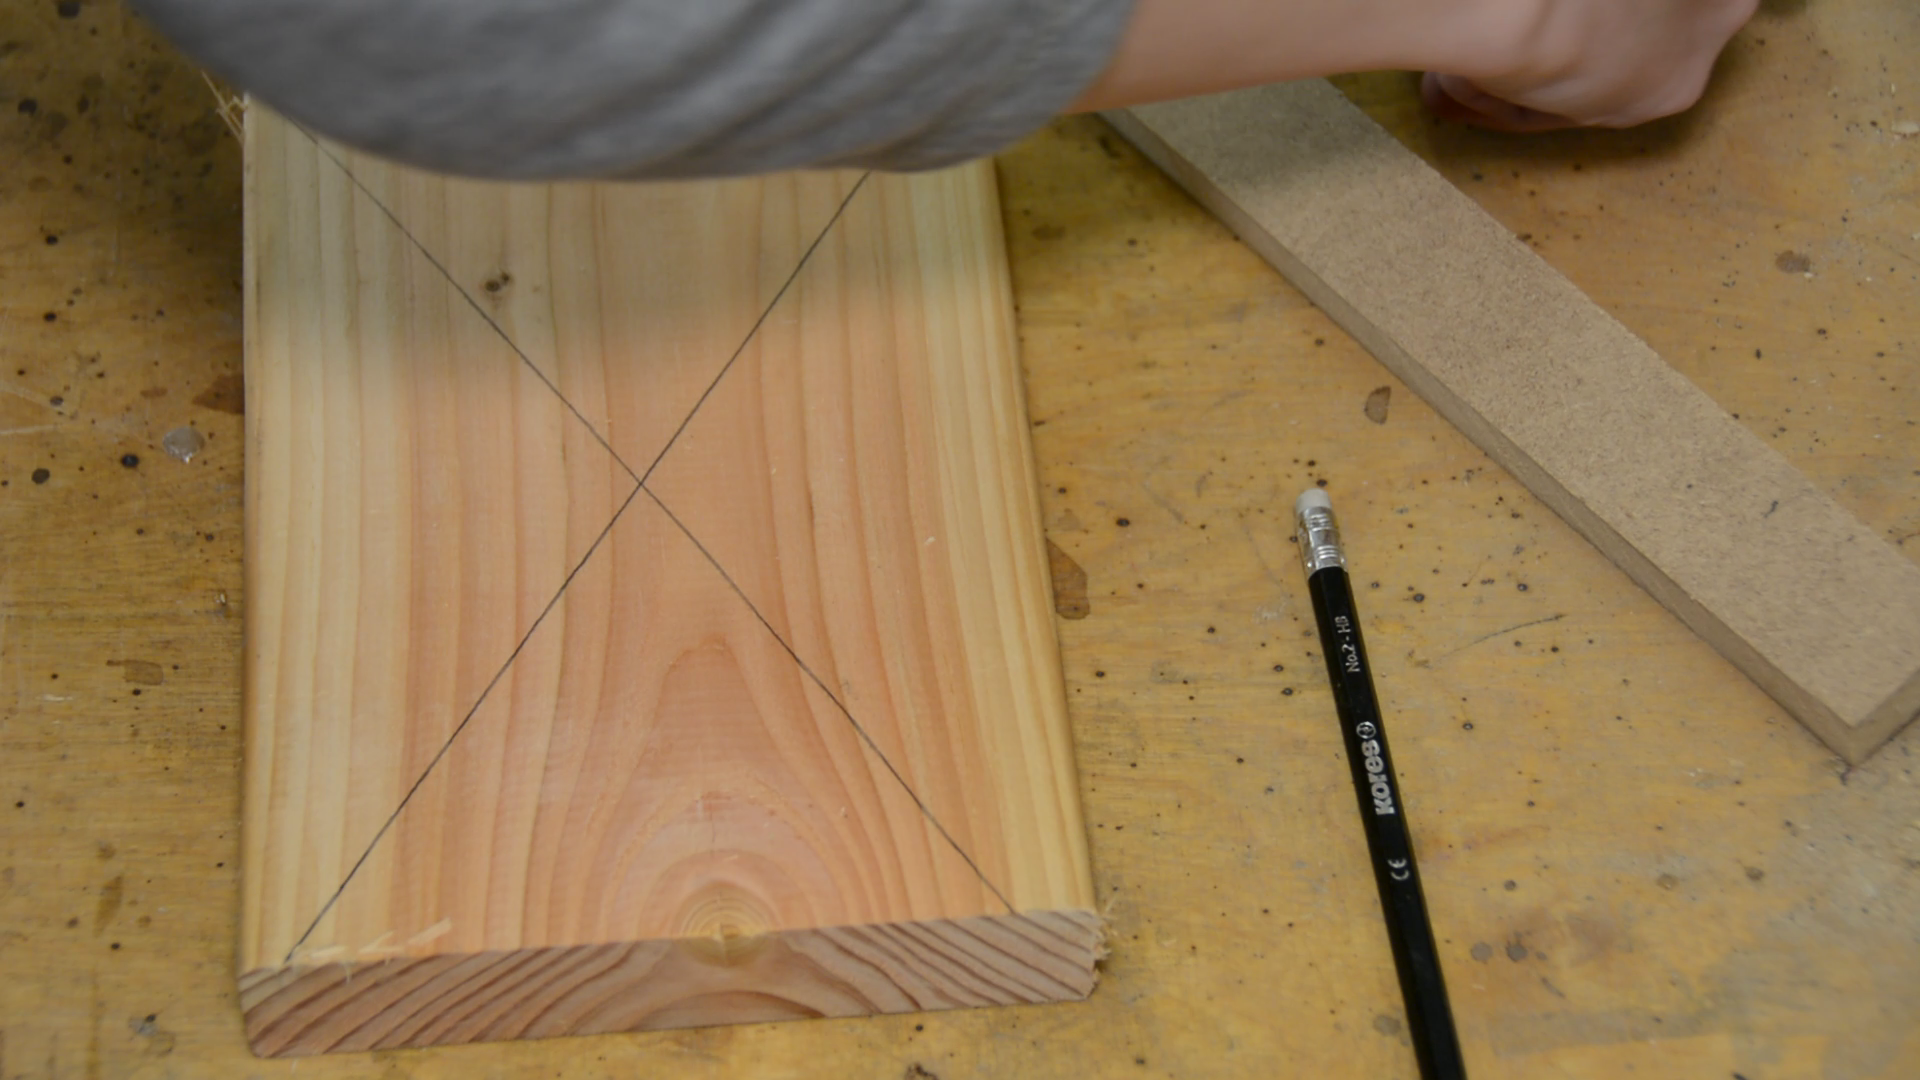
For the largest piece the kids connect the corners to find the center point of the board. Here they use an old hand drill with an auger bit to bore a hole.
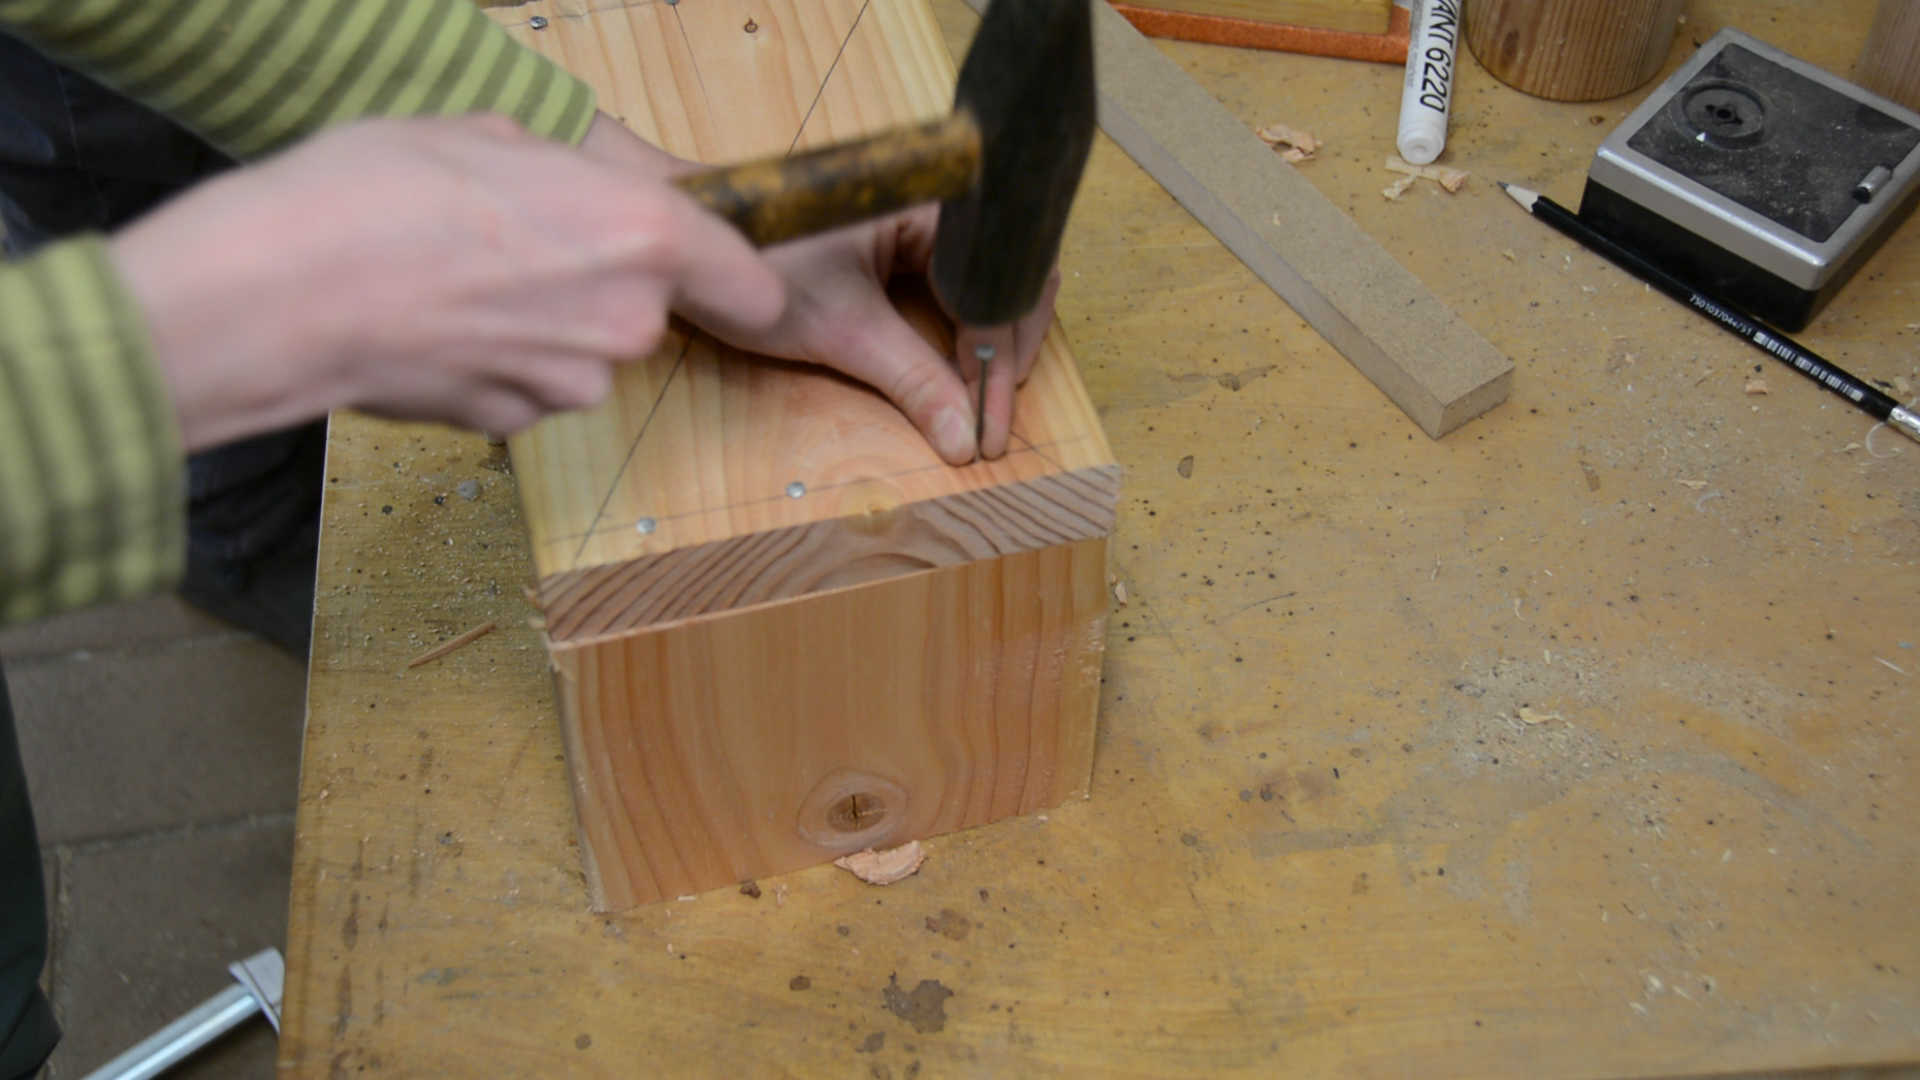
They then nailed the larger piece on the two smaller ones to create the stand. During the party we used a dap of hot glue to hold the pieces in place and the kids can
drive the nails home.
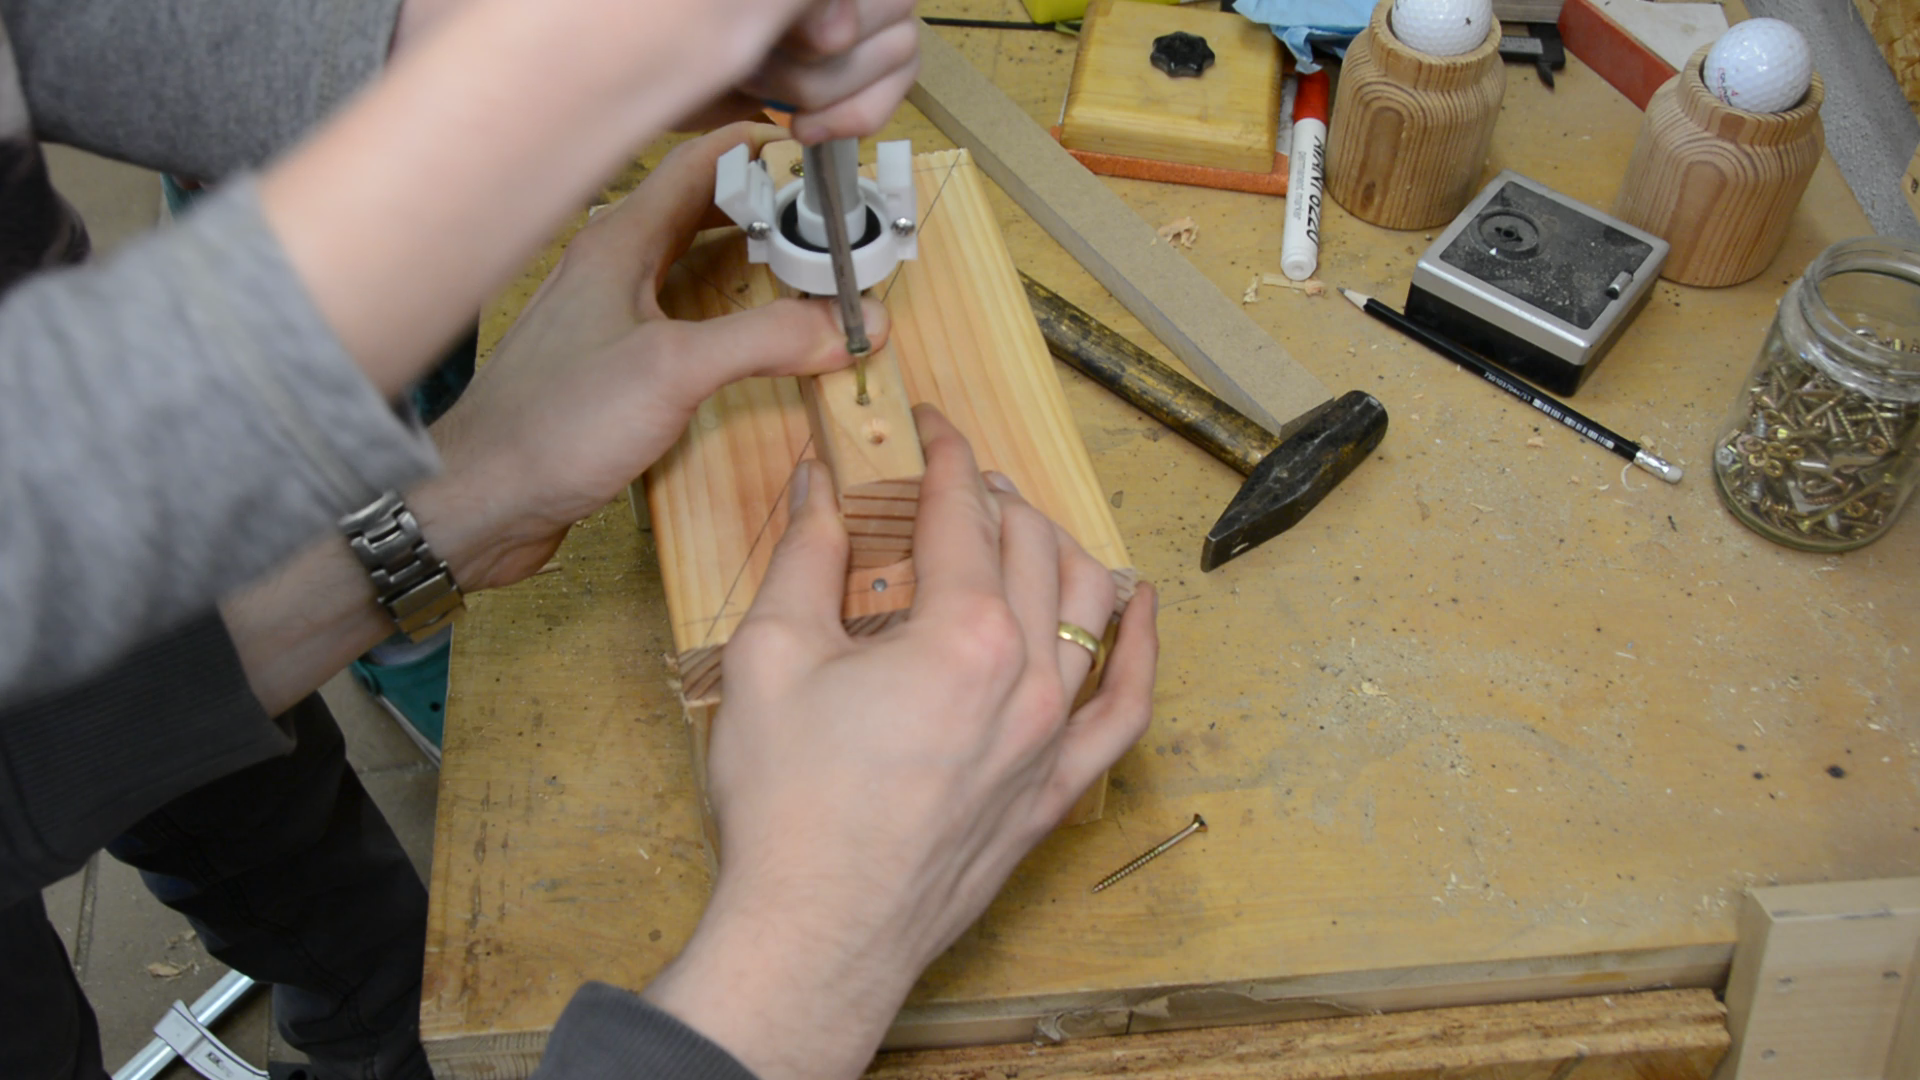
Another scrap piece gets a center hole before it is cut in half and two mounting holes are drilled in each part.
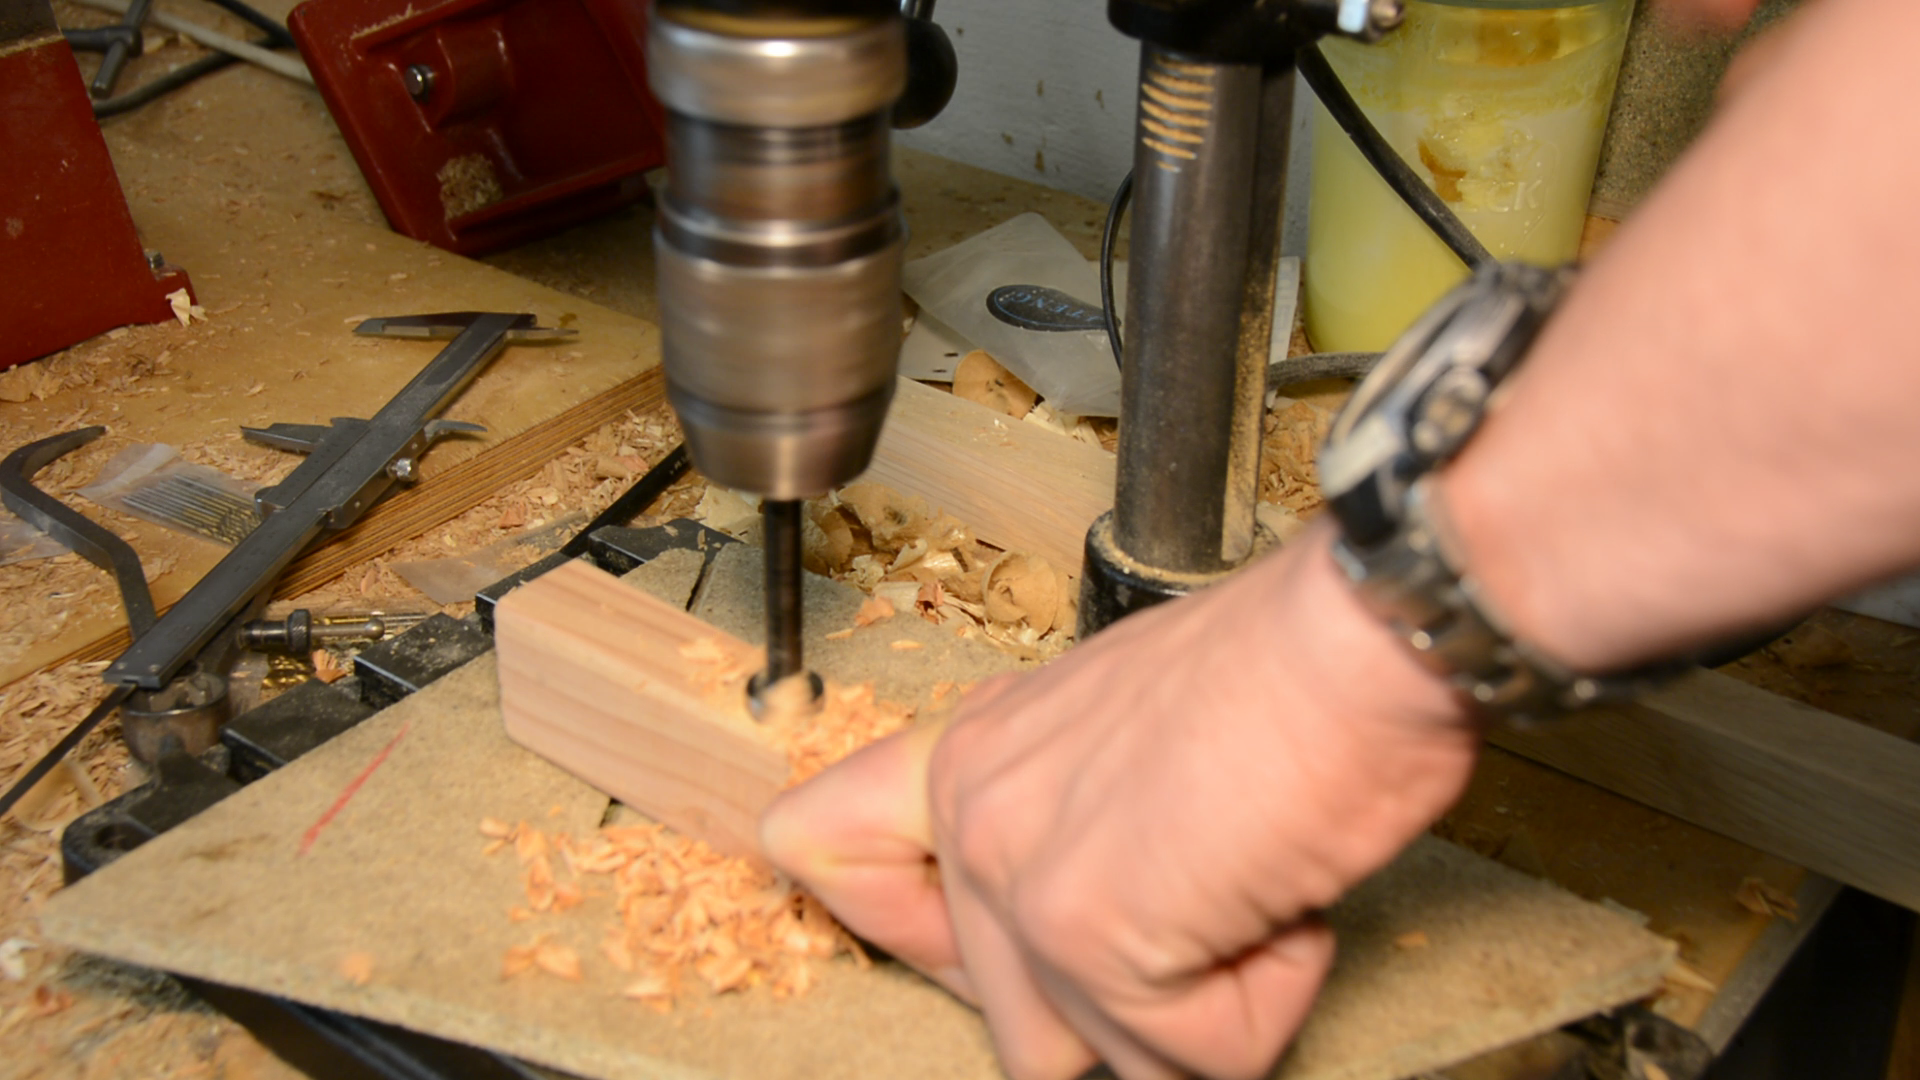

The kids use these pieces to screw them into the base and secure the conduit in an upright position.
From a pure functional perspective the rocket launcher is done and we could start launching soda bottles.
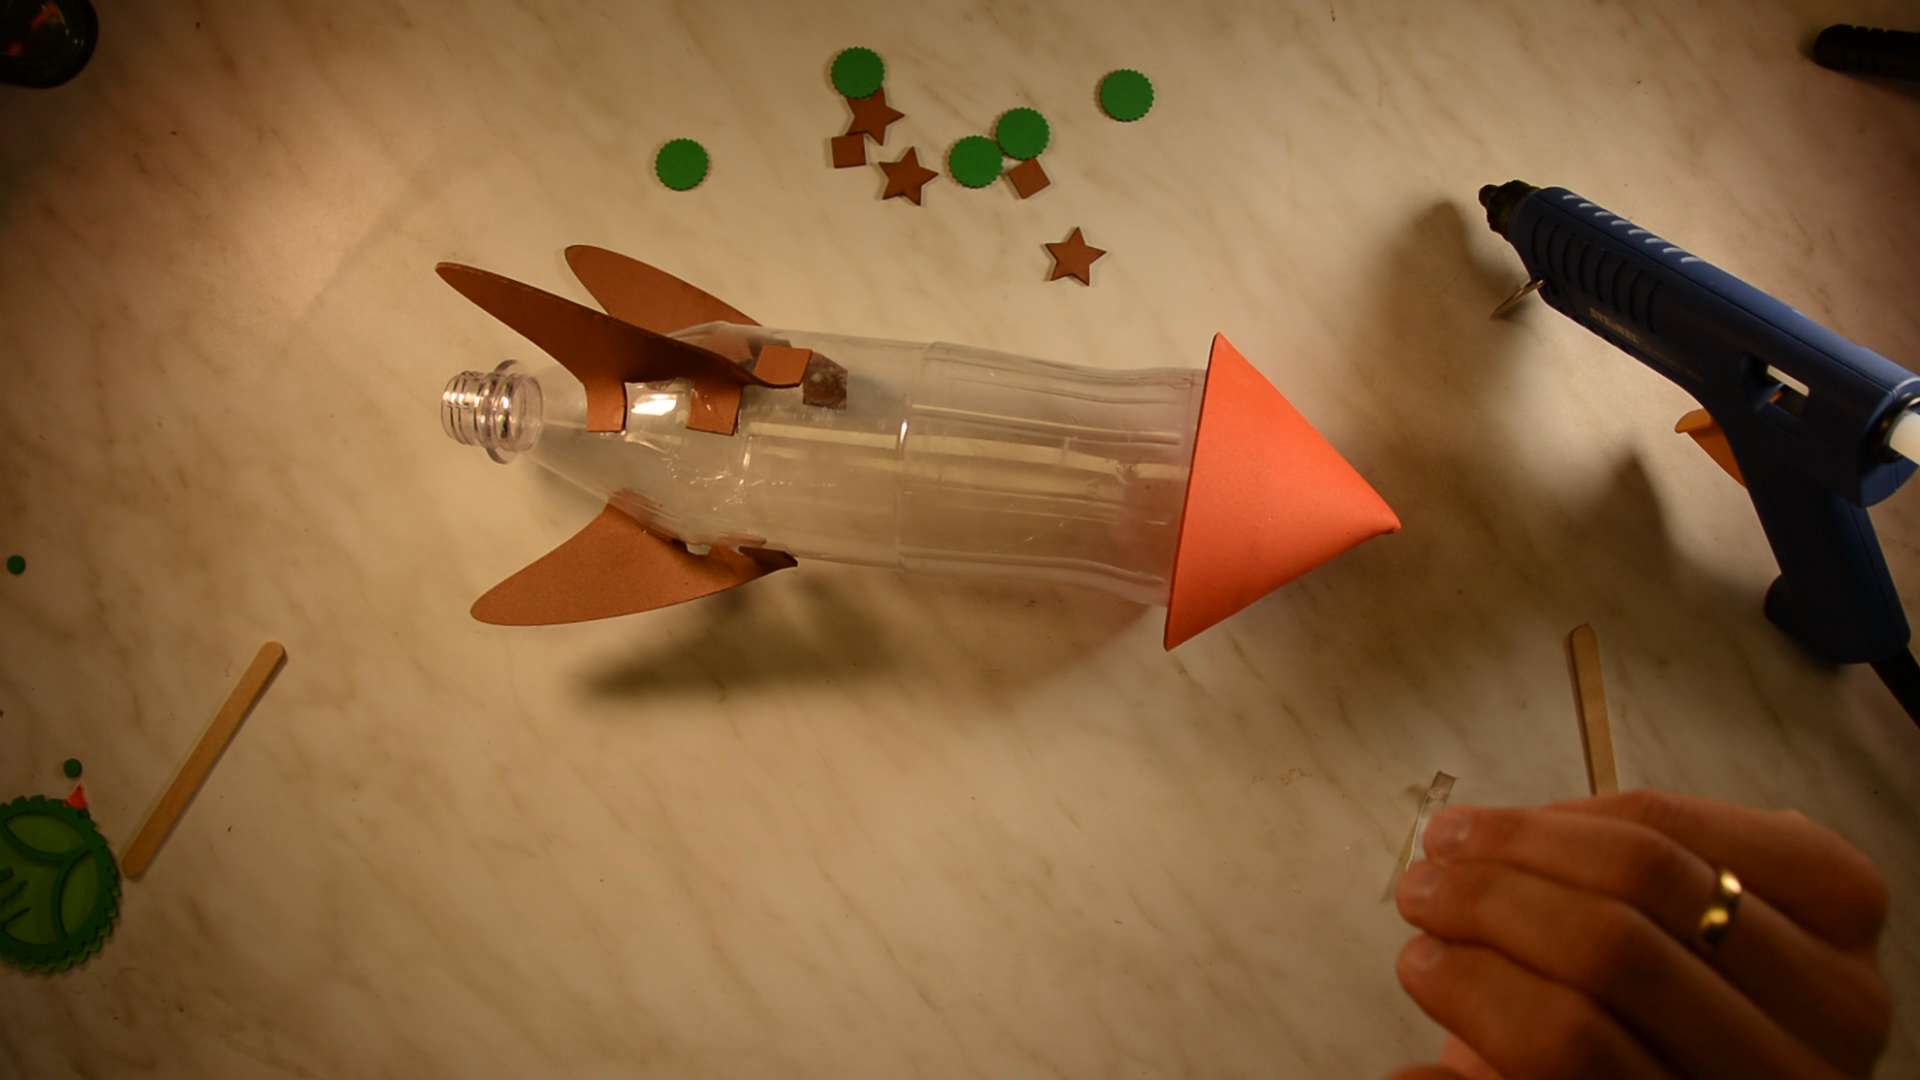
Soda Rocket design time
But we don’t want to launch soda bottle — we want to launch rockets.
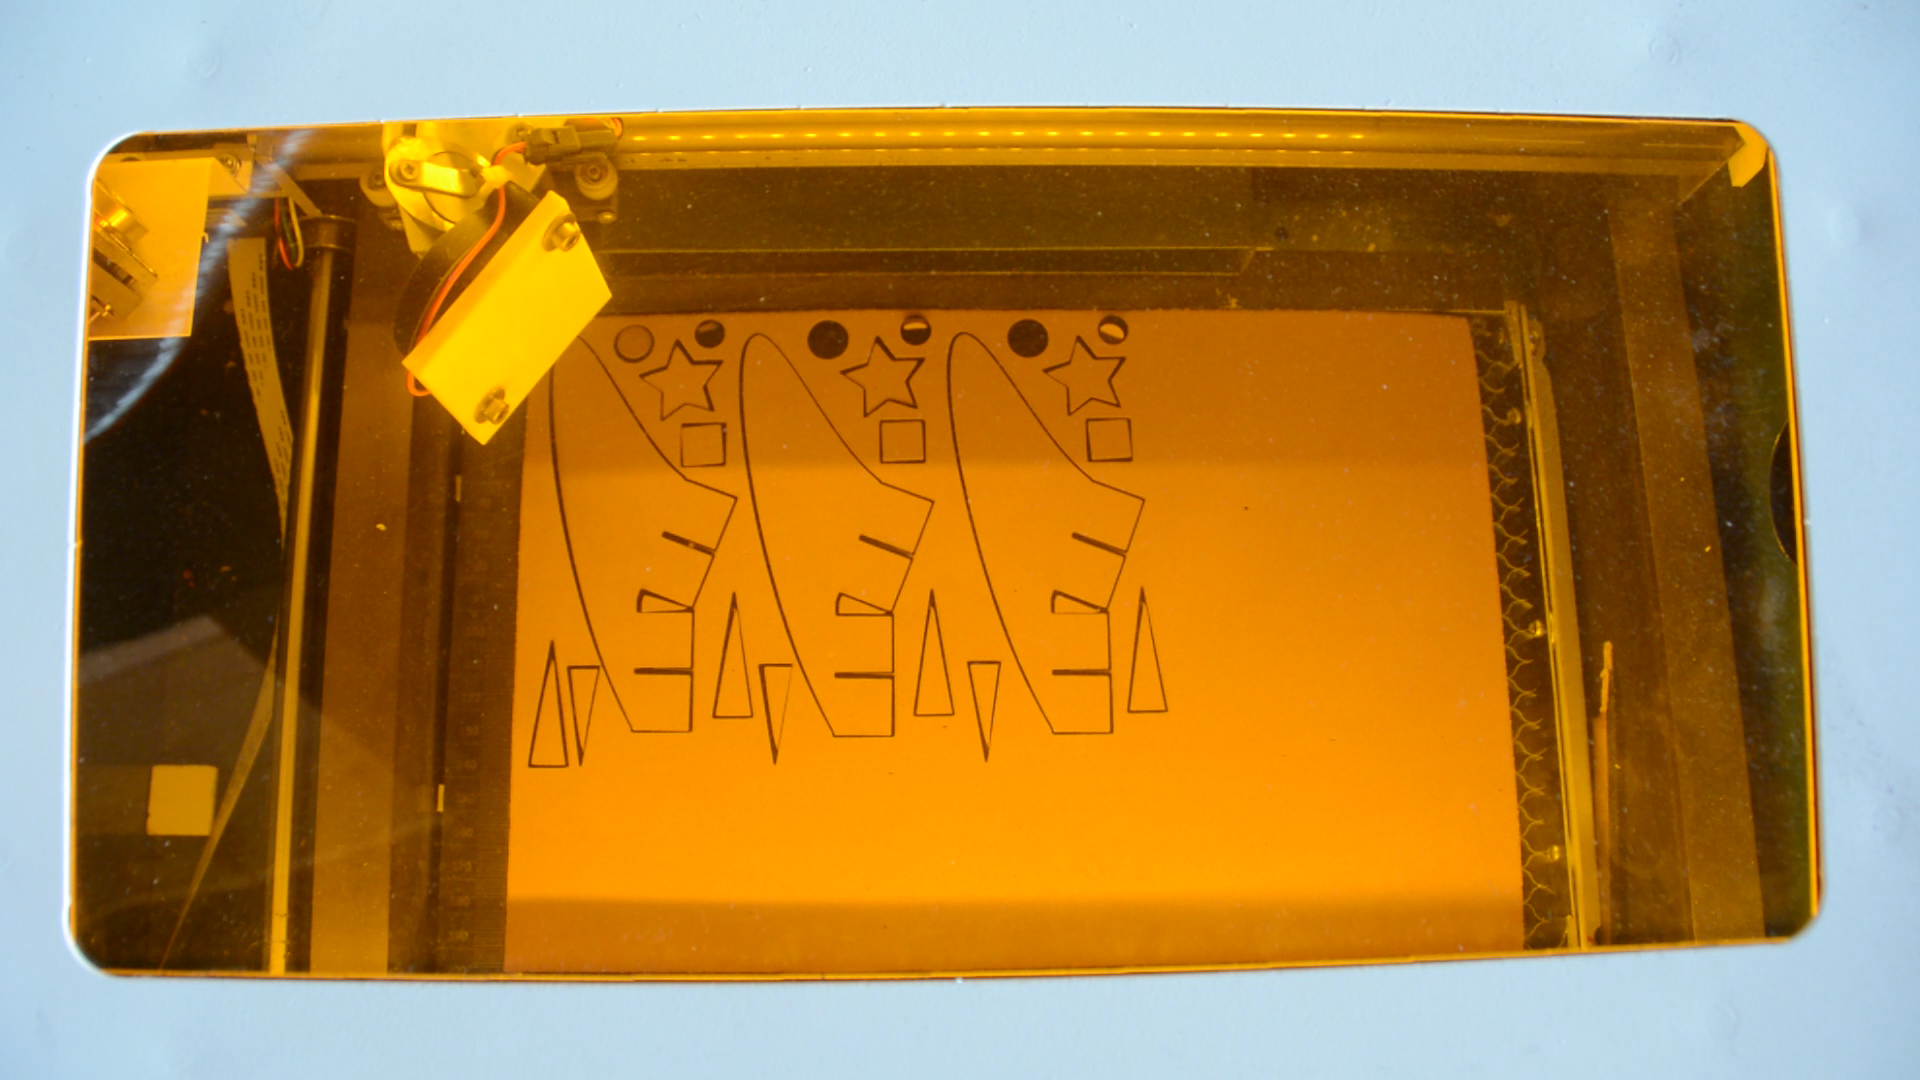
So we cut some pieces of craft foam on the laser cutter so that the kids have fins, a cone and some decorative elements.
3, 2, 1 …
The last thing missing is a remote trigger. At the moment you would have to hold the brackets with your hand and would get wet during the
launch. So we cut more scraps in shape on the bandsaw.
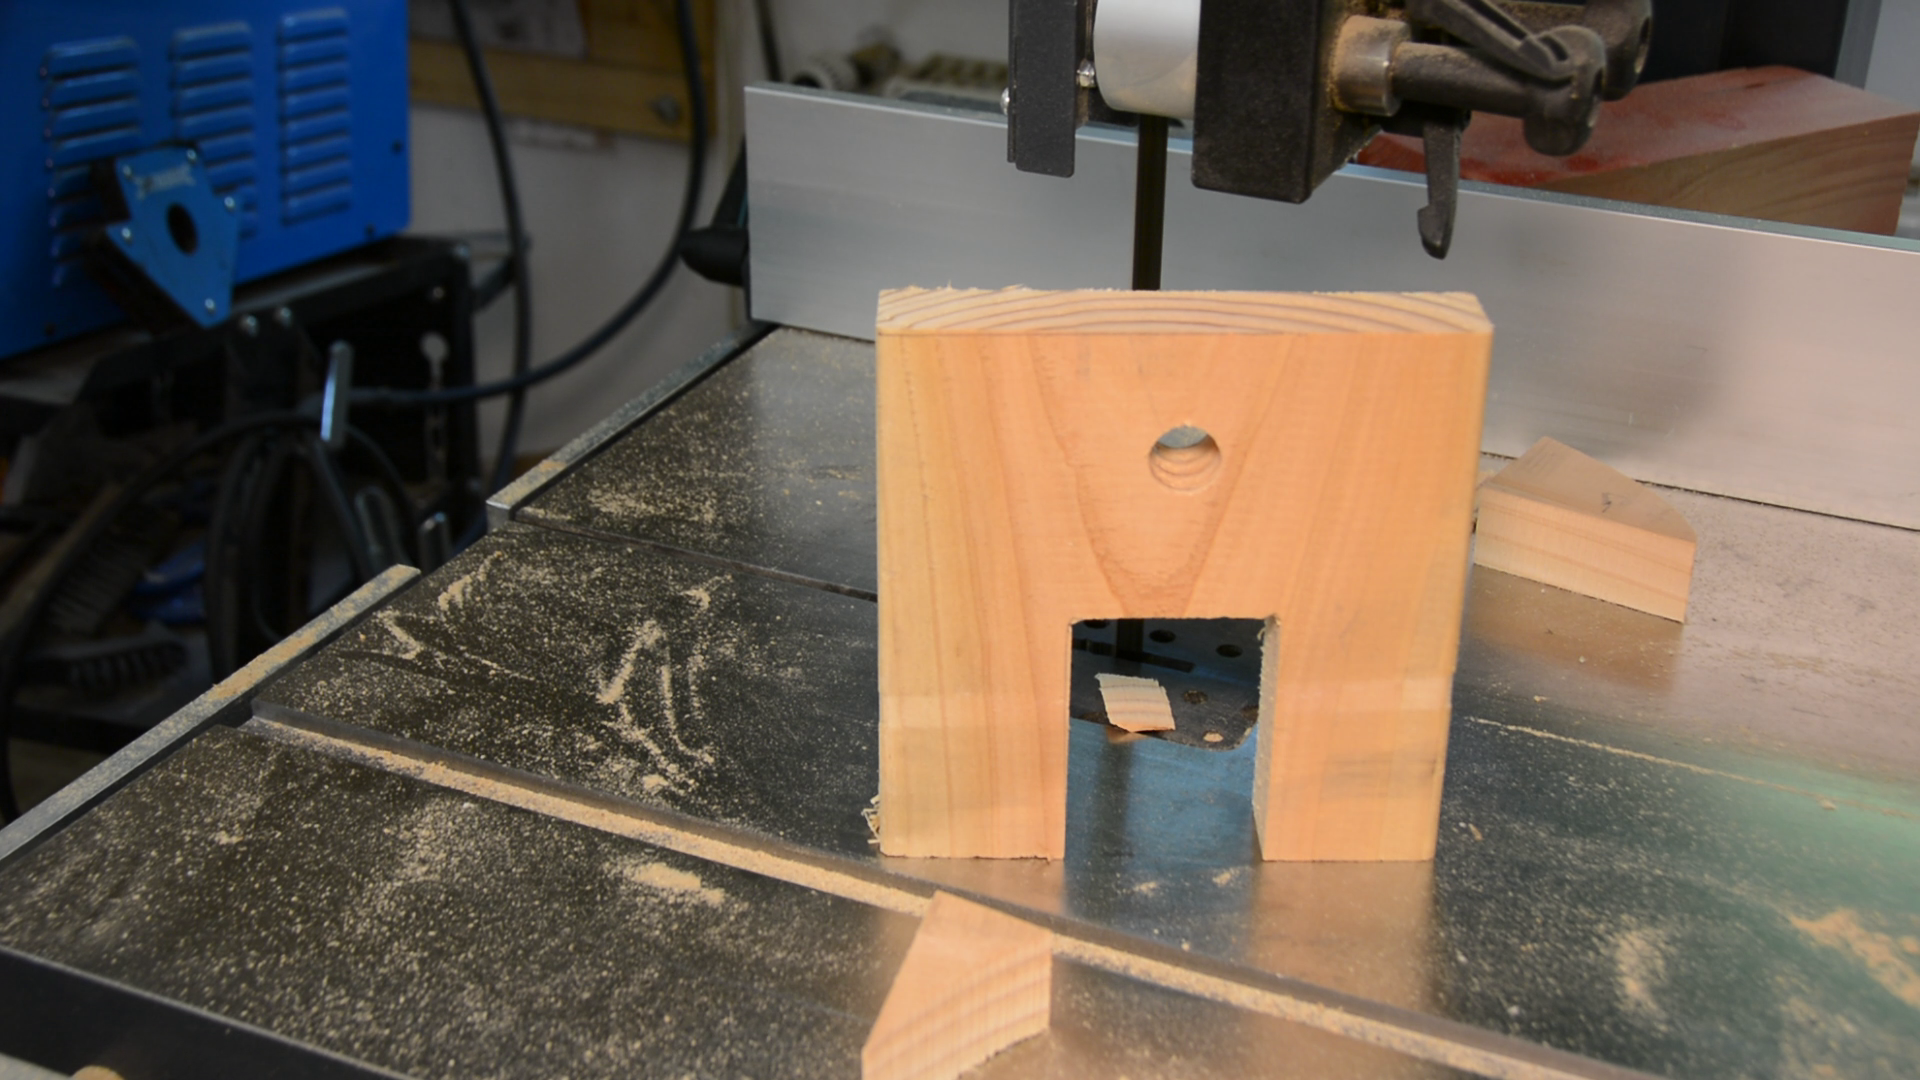
This part can now be slit over the two brackets and holds them tight while pressure is being build up in the bottle.
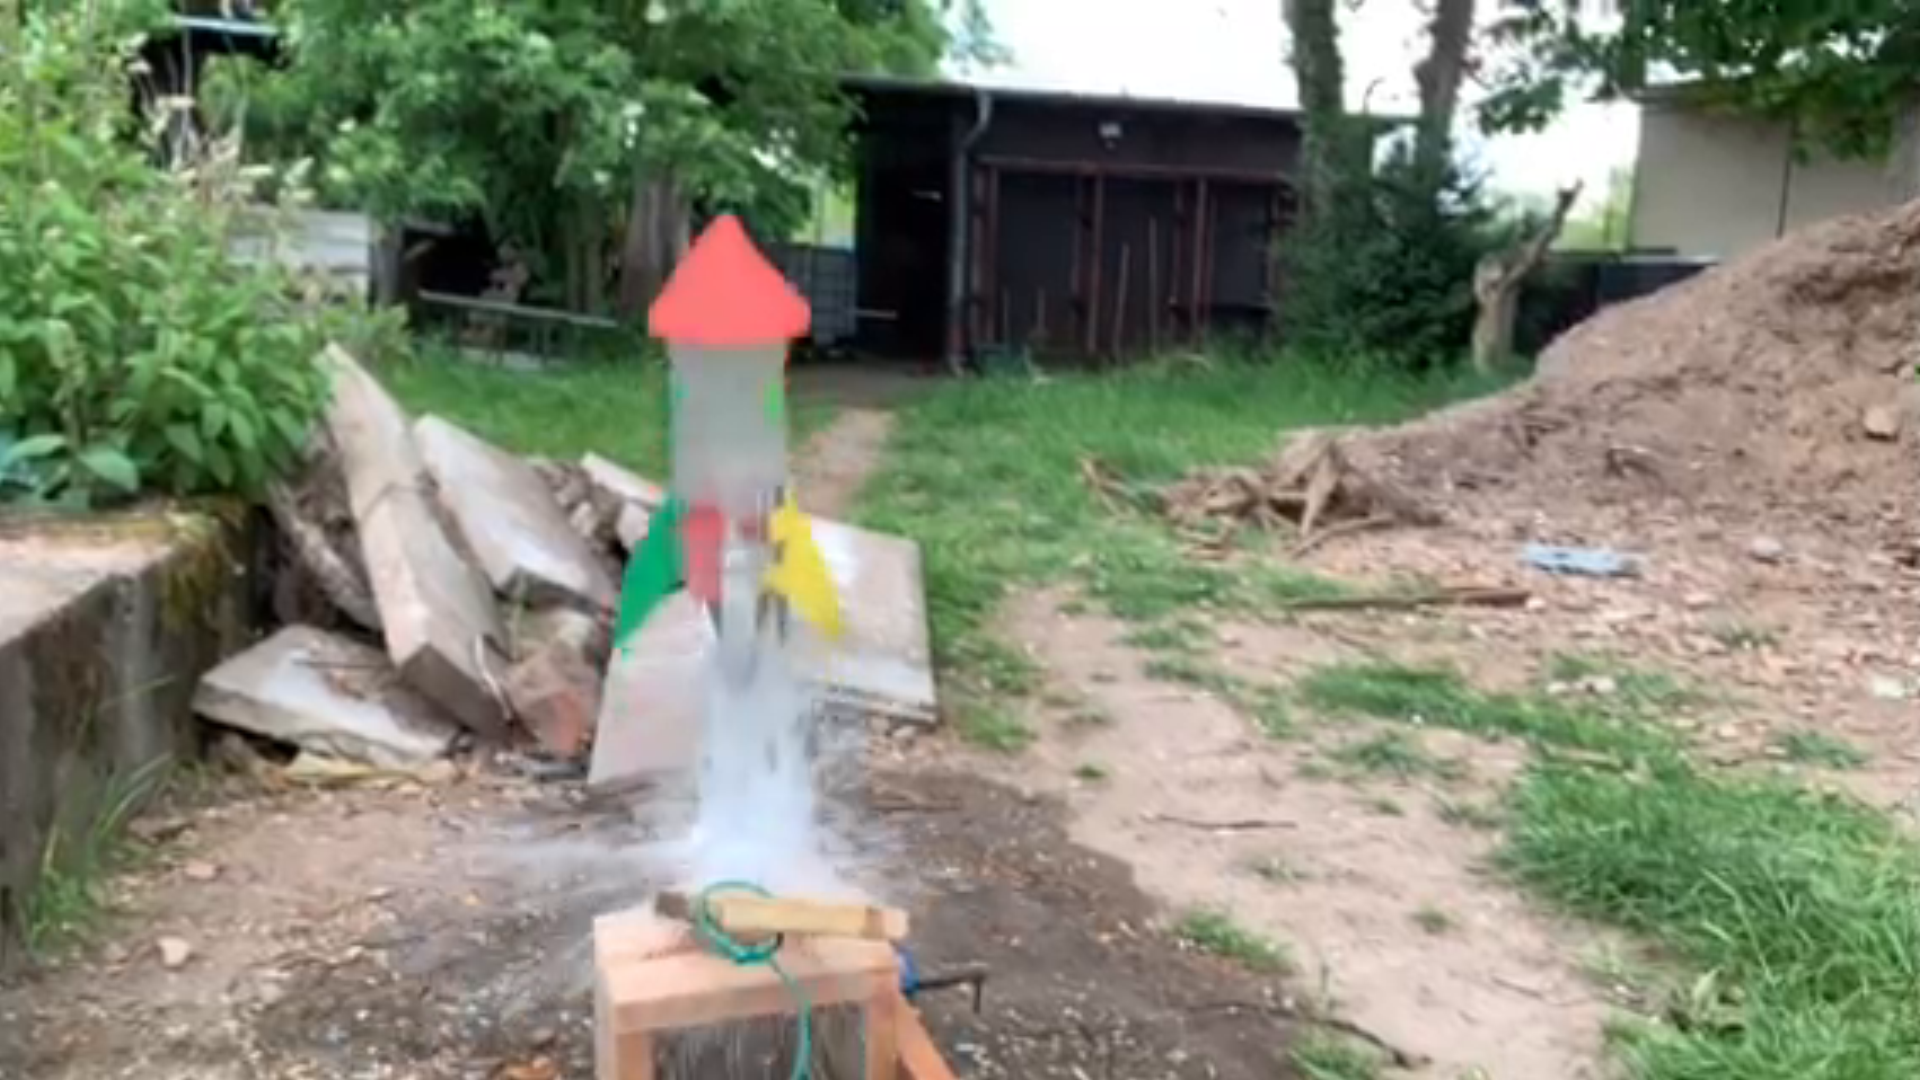
With a piece of rope attached to it you can pull the trigger and launch the rocket.

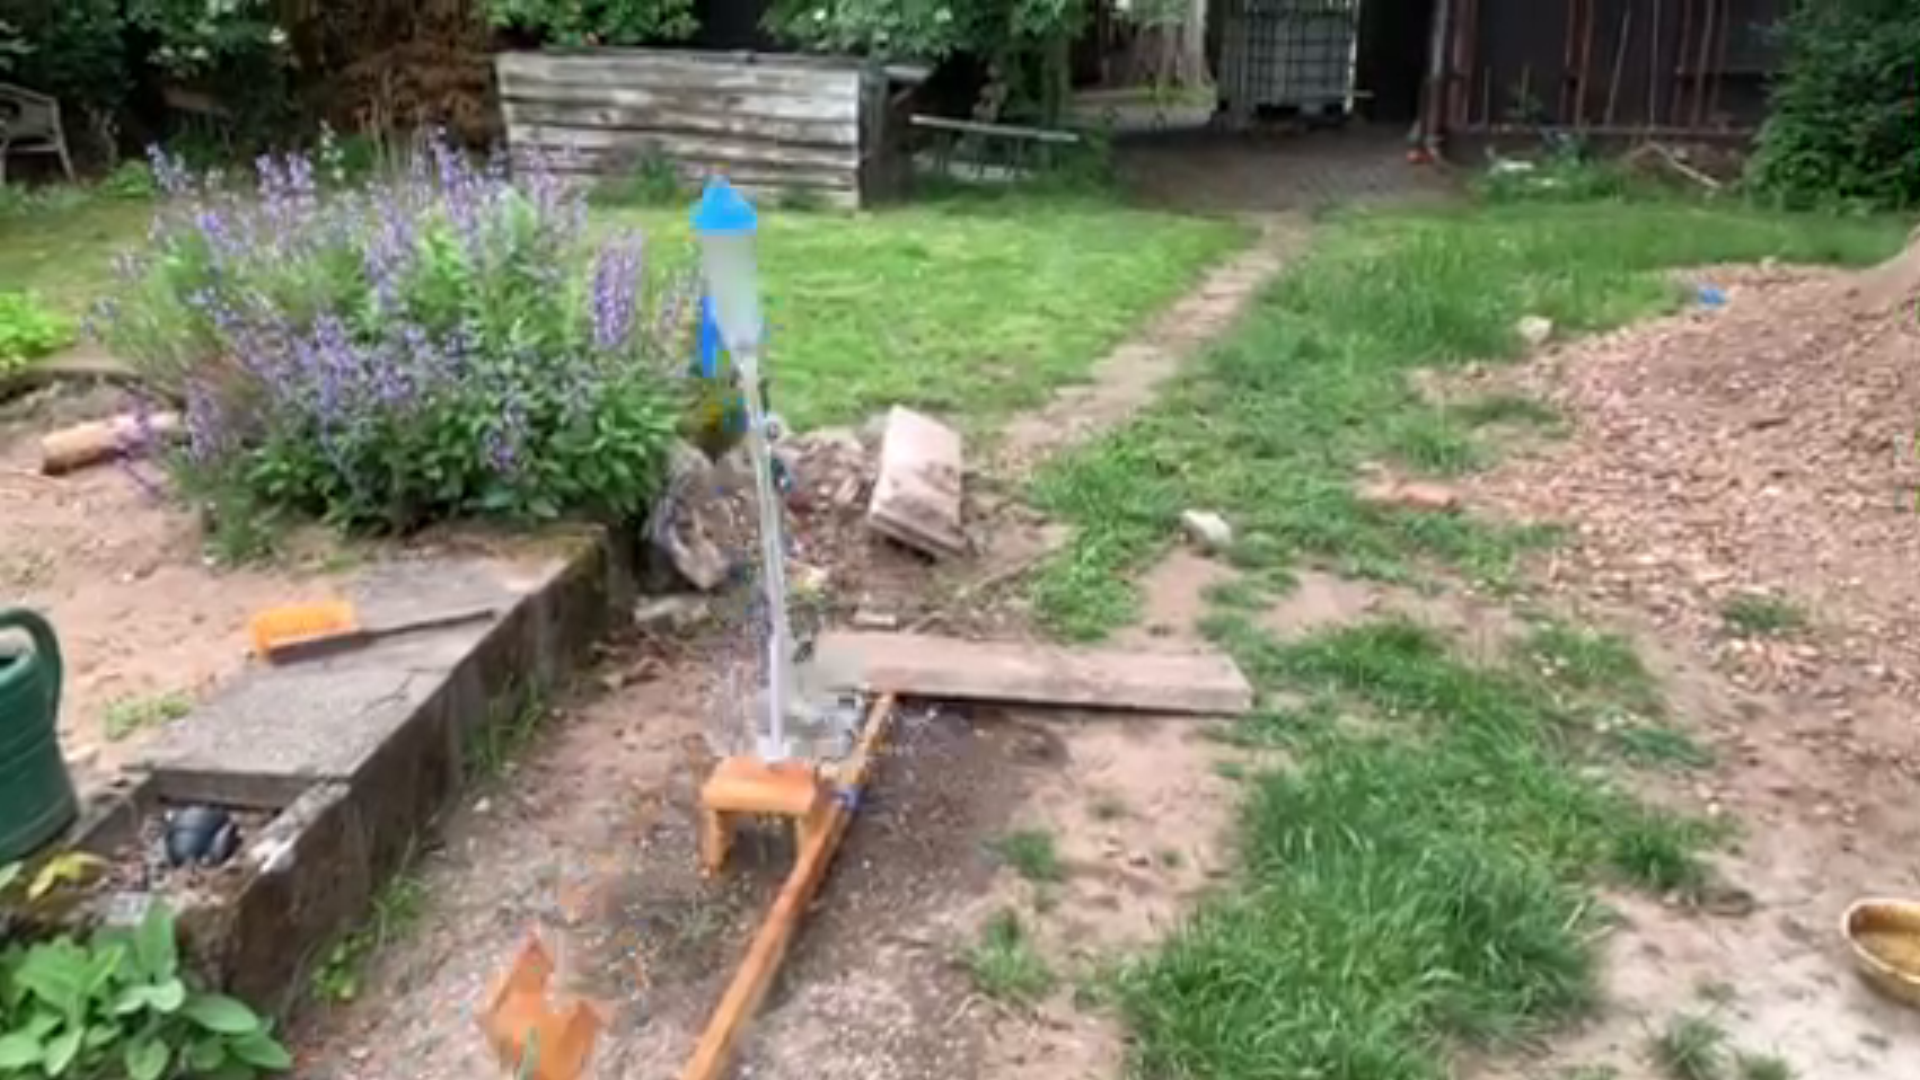
When the soda rocket is finished it’s launch time. We fill the water rockets half with water, then build up some pressure with a bike pump and
launch them.
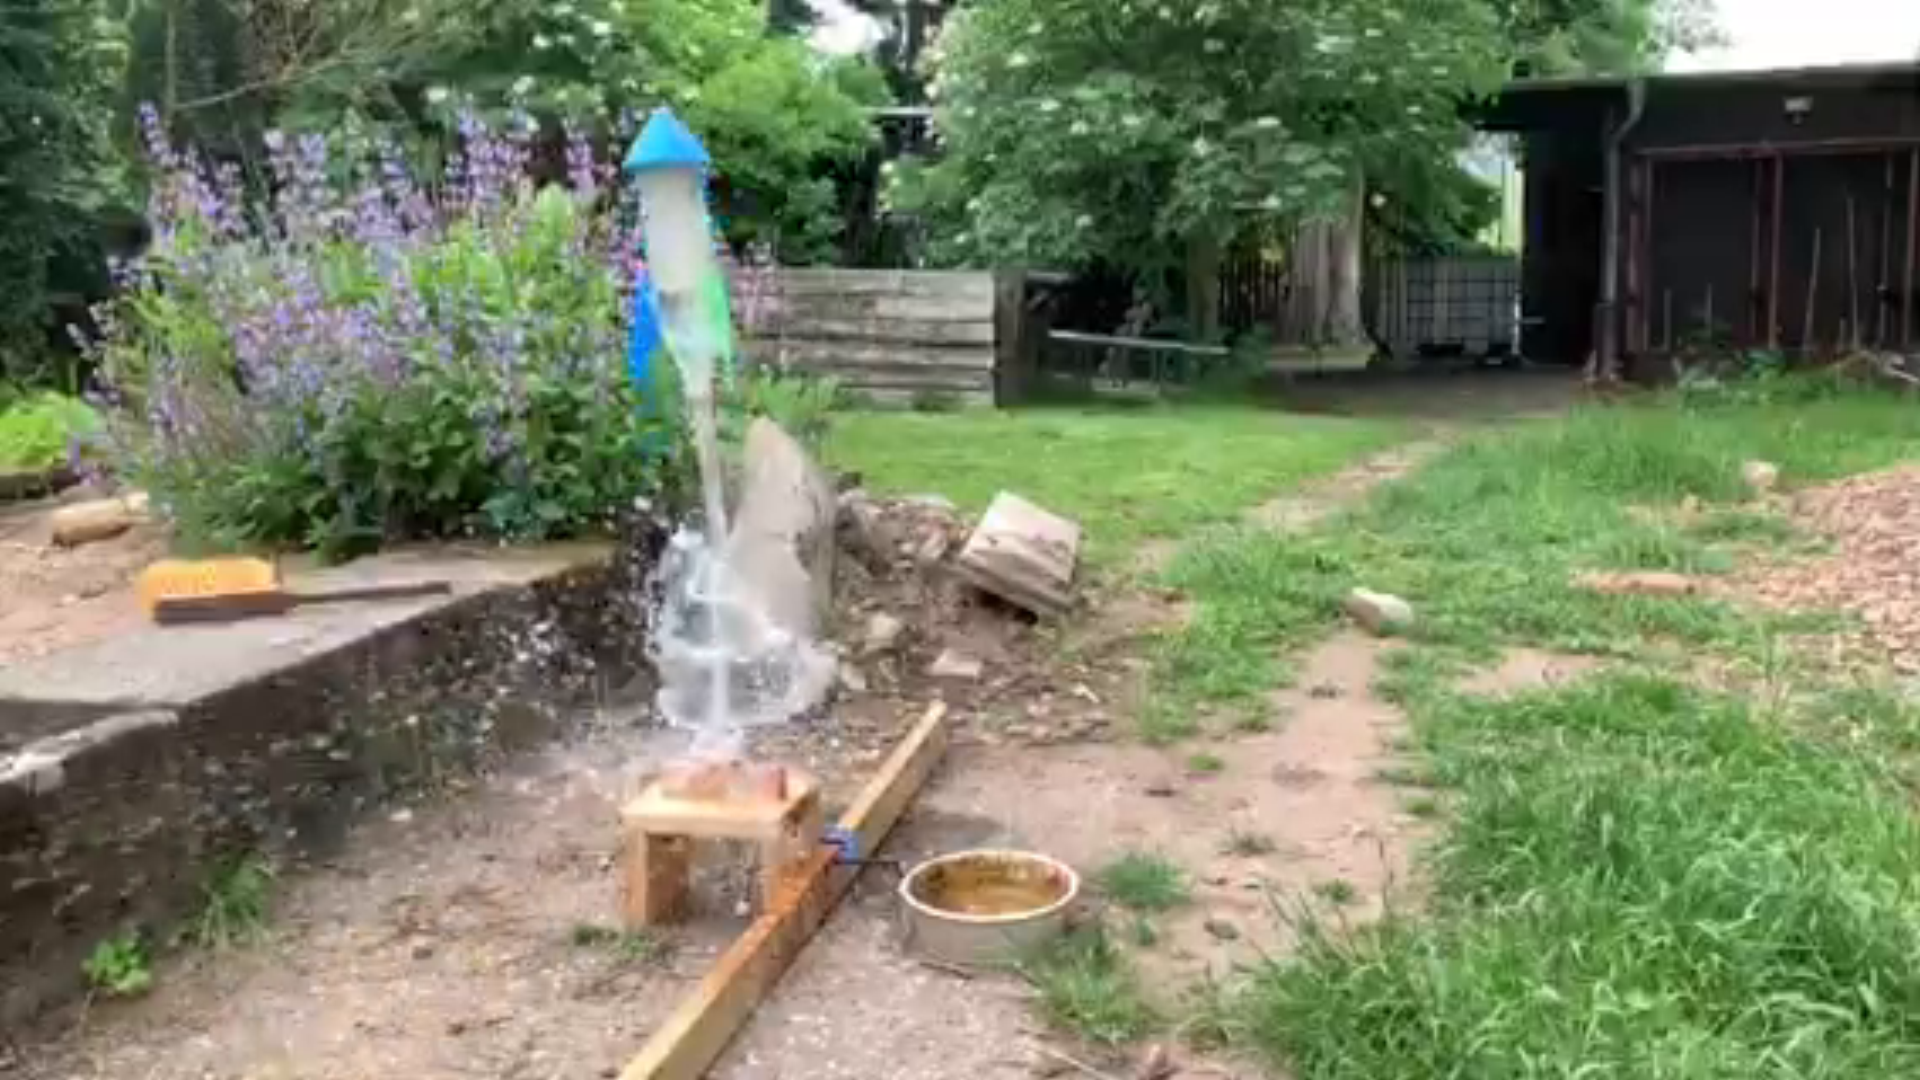
This was a super fun project to design the soda rockets and build them with a bunch of kids.
Resources
- Free plan: https://wayofwood.com/product/soda-rocket-free-plan/
- 3d model on Thingiverse: https://www.thingiverse.com/thing:3673920