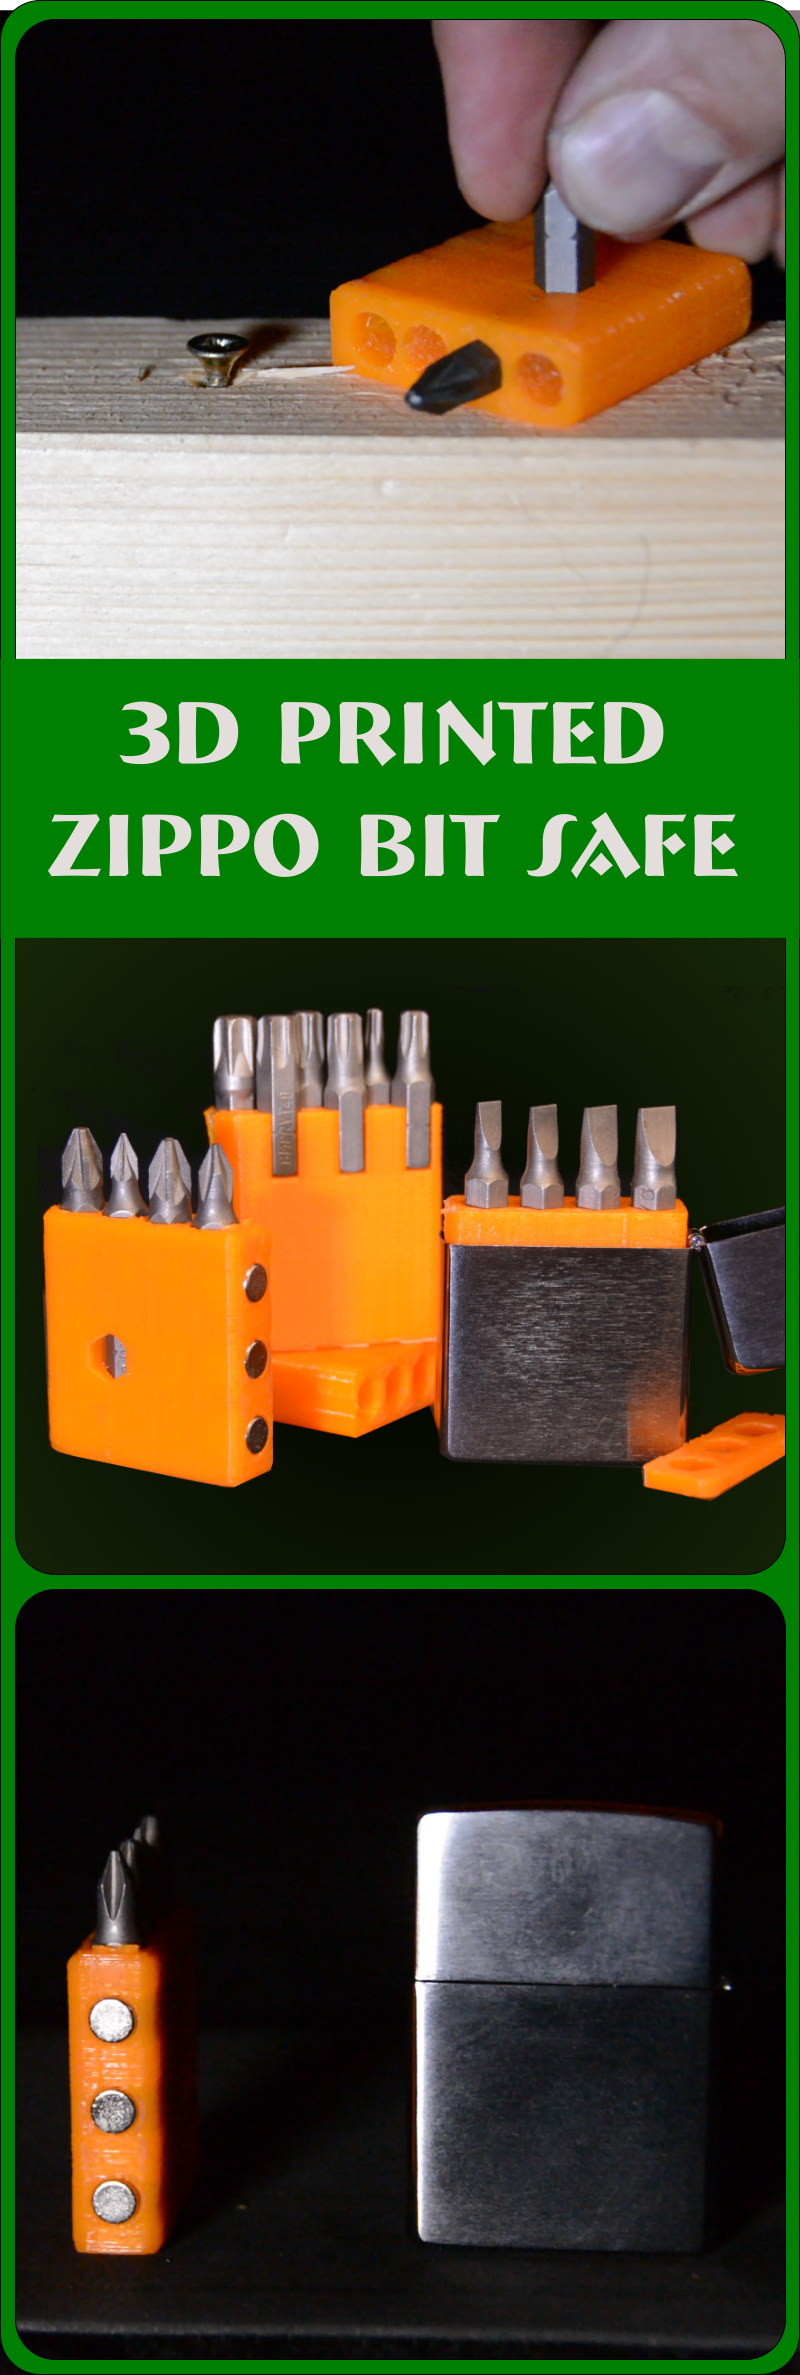
Today we design alternatives for Laura’s Zippo bit safe. Laura Kampf created a bit safe from aluminum in our of her last videos. She asked the viewers to have some fun and change the design.
Re-creating the original design
So let’s have fun and work with the design. I start with measuring the size of the inside of a Zippo as well as of a standard bit and 3d print a quick test piece to adjust the fit.


Then I re-create Laura’s original design in Fusion360 and print it on my Anet A8 printer.
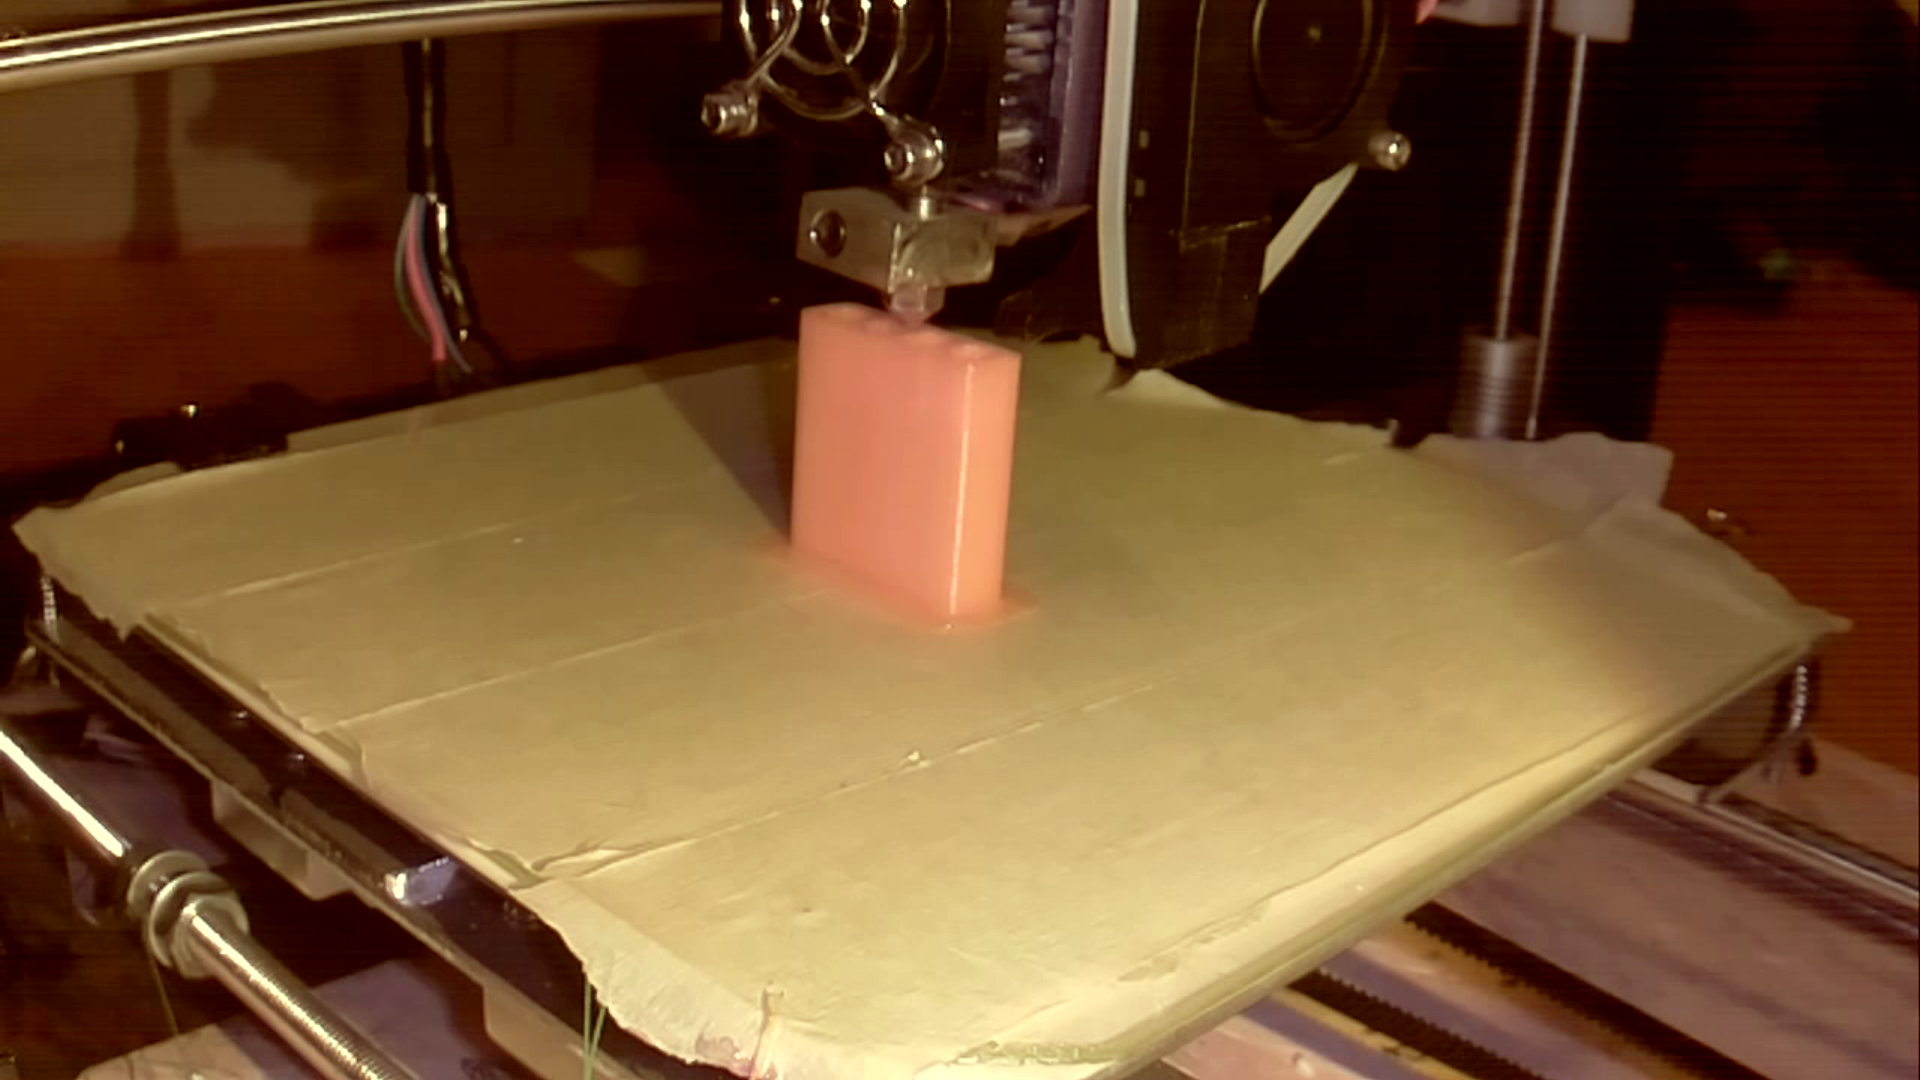
My first print was too short and the lid did not close properly. With a quick change of the parameters in Fusion this is fixed and we have the same functionality as the original design.
More bits
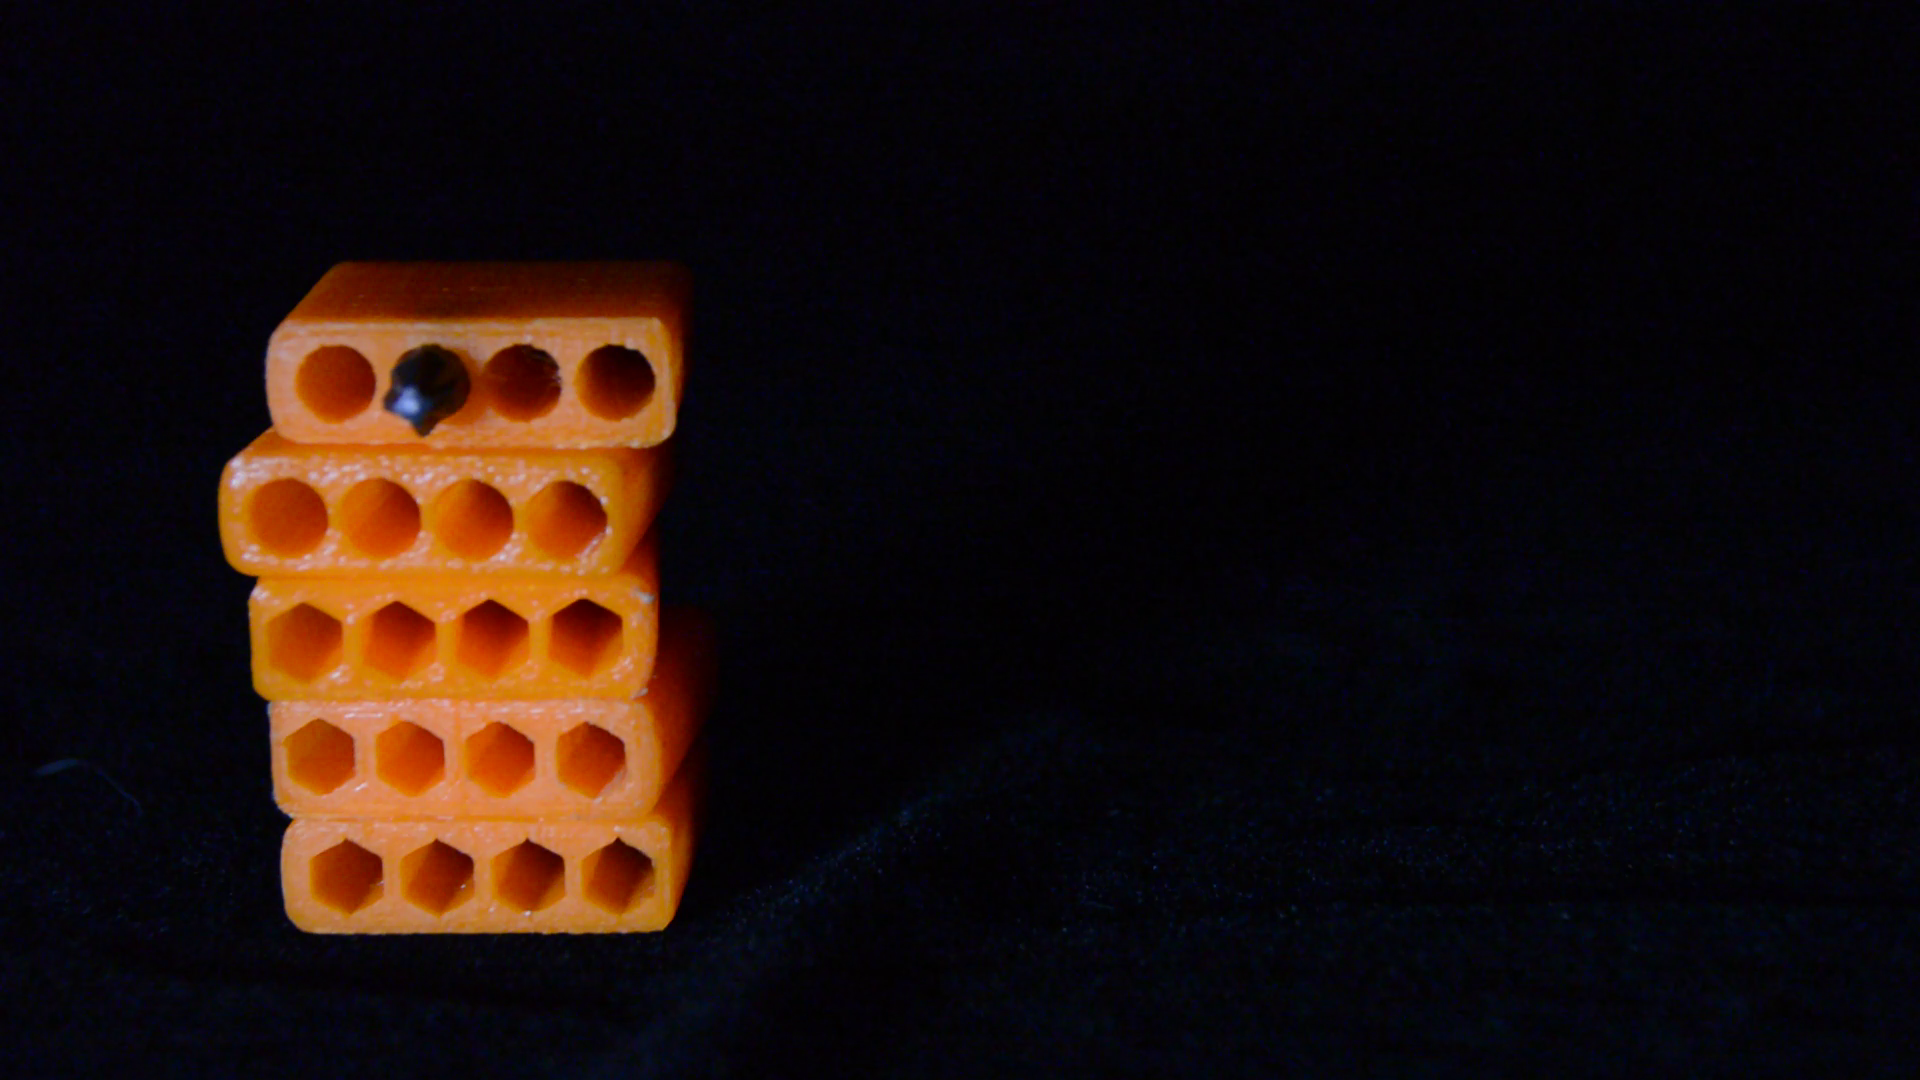
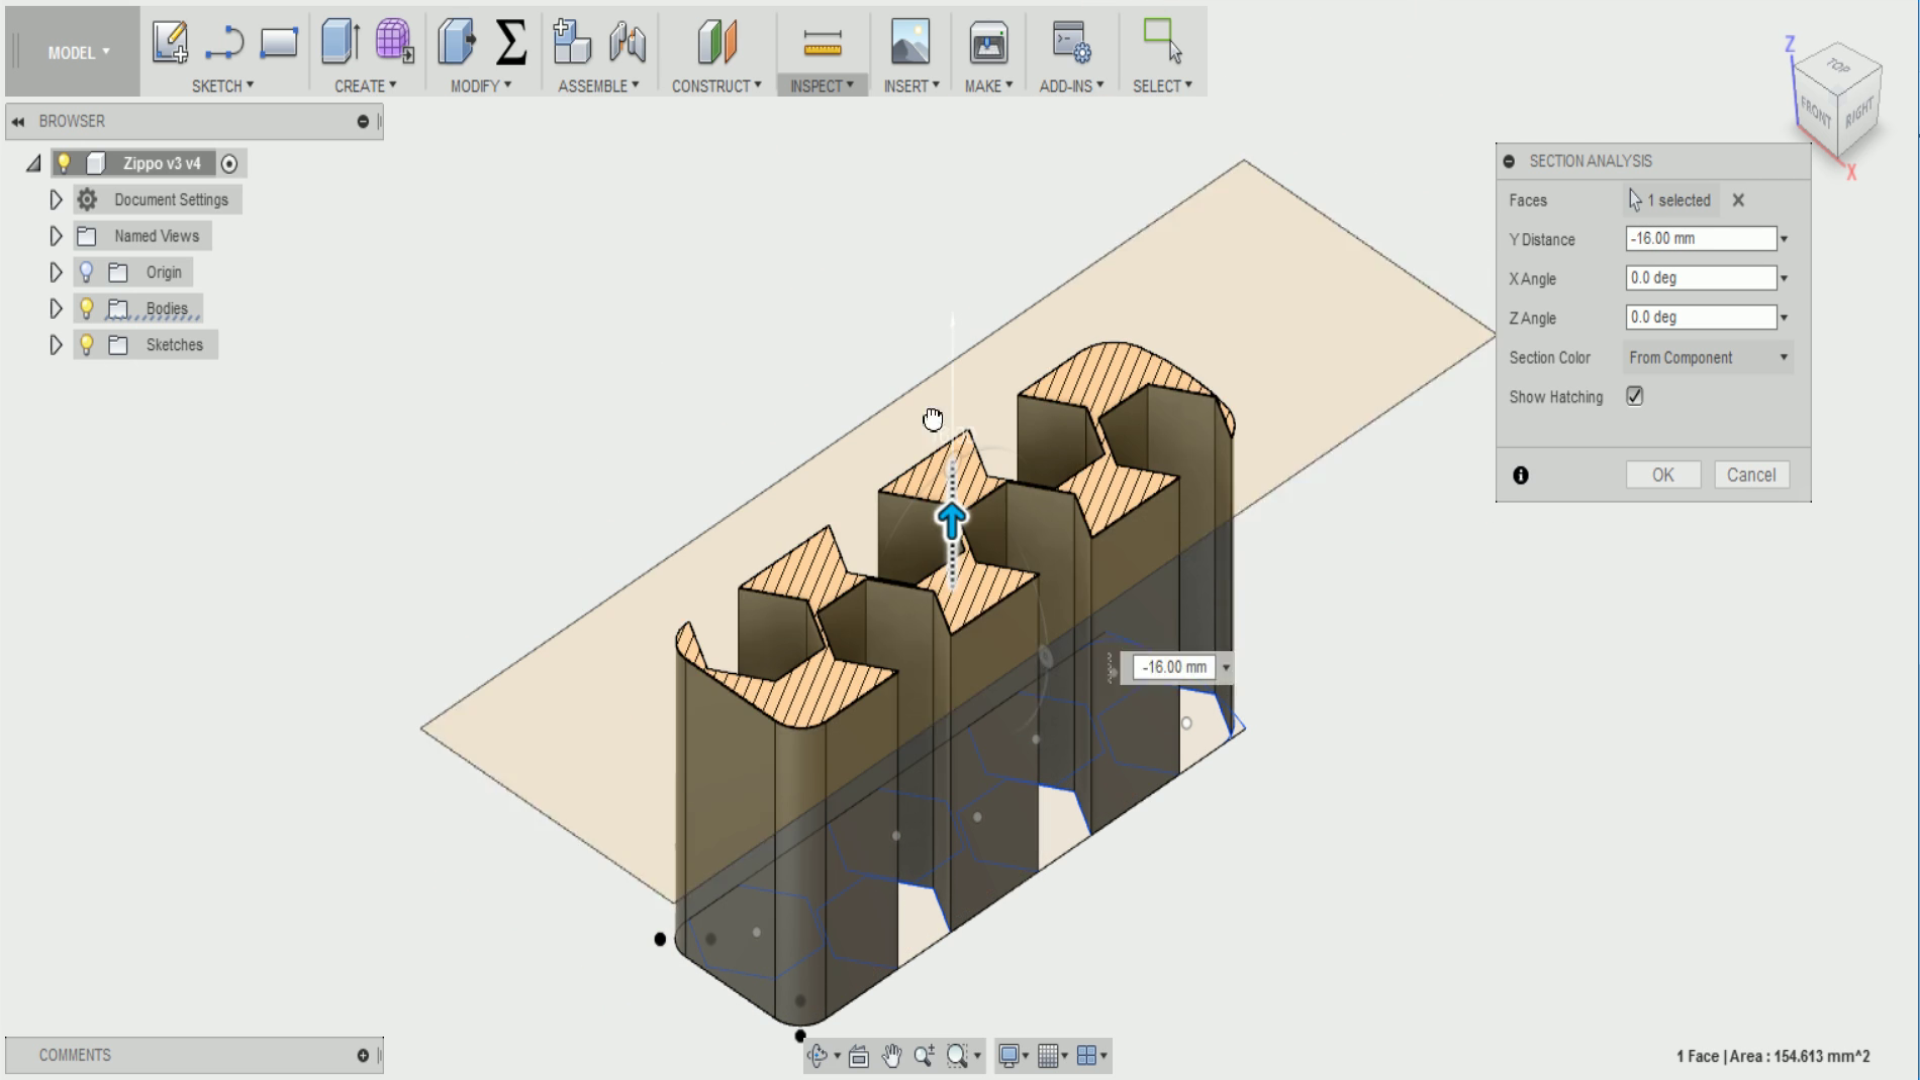
Just by playing around with the bits it seems possible to store 6 bits instead of 4 if we arrange them differently. When modeling this in Fusion I realize that it only leaves me with 0.2 mm between the bits. Let’s see if that works.


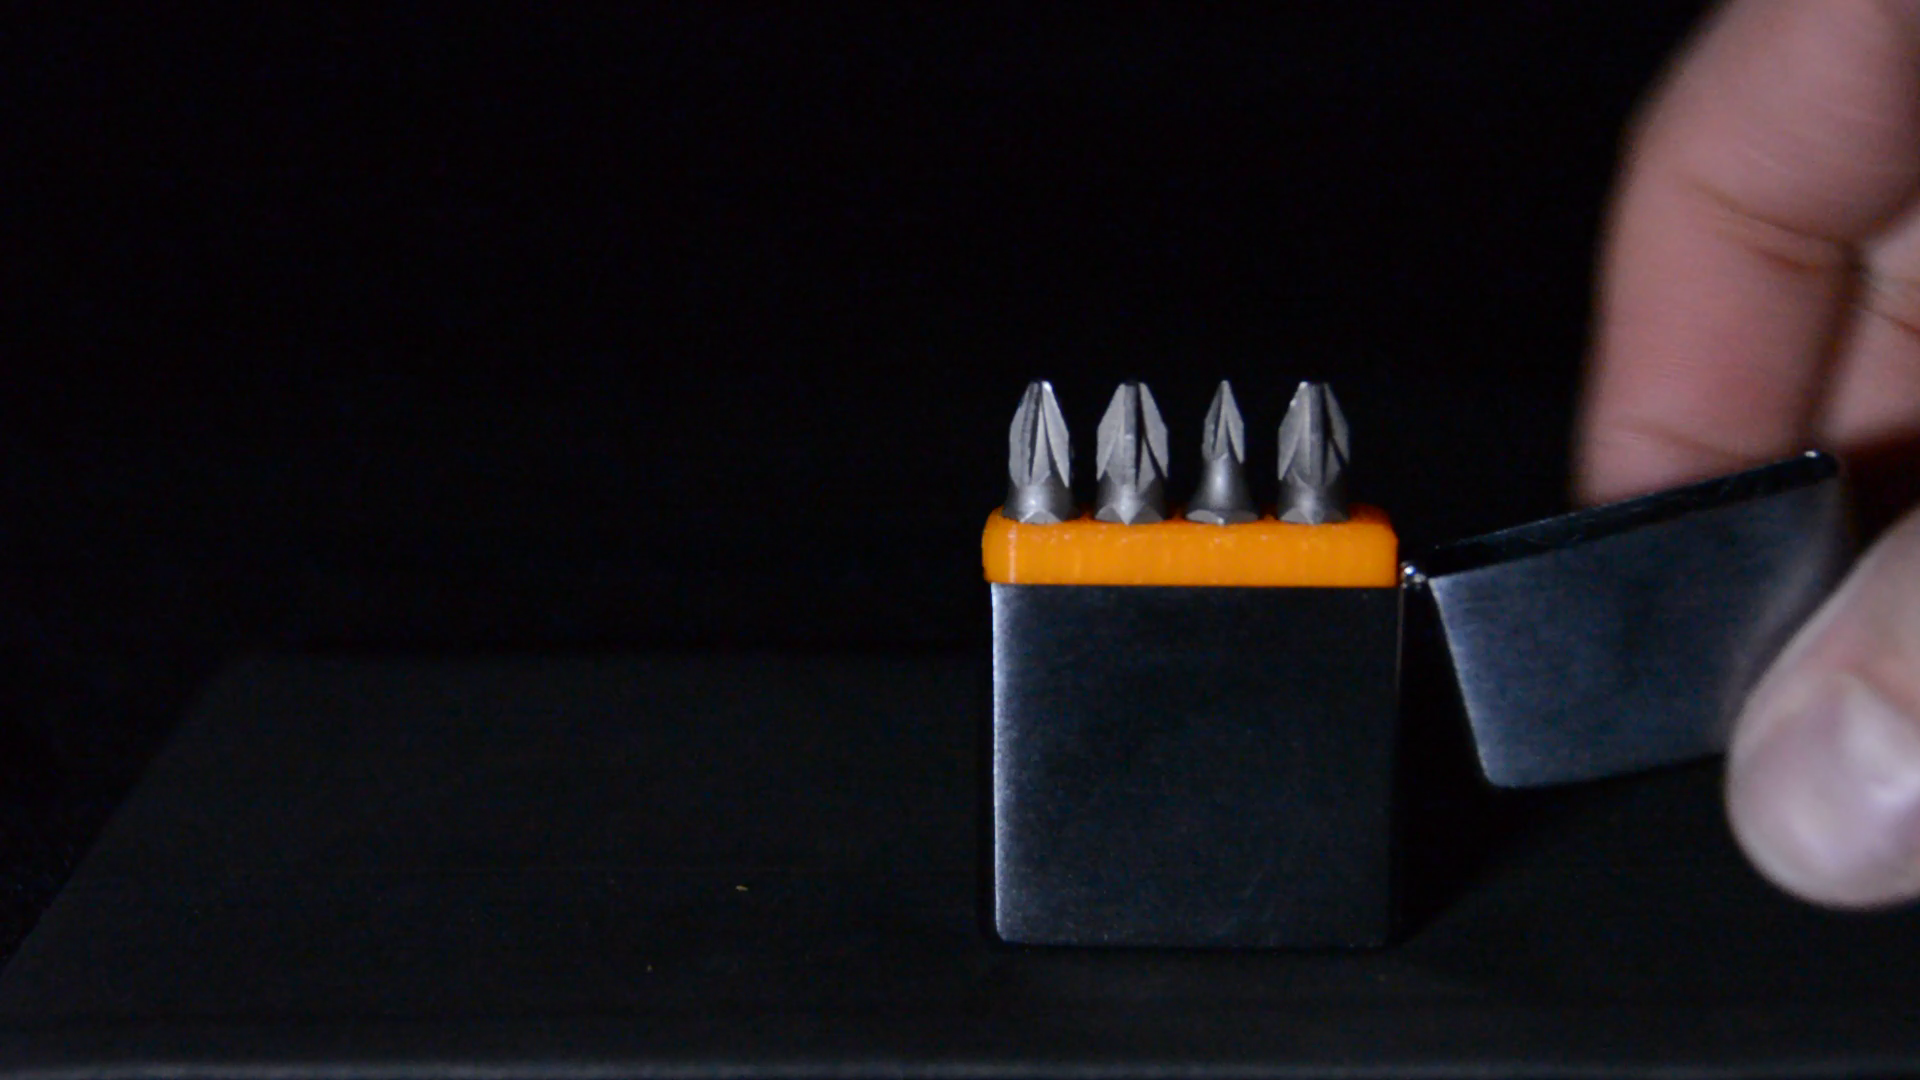
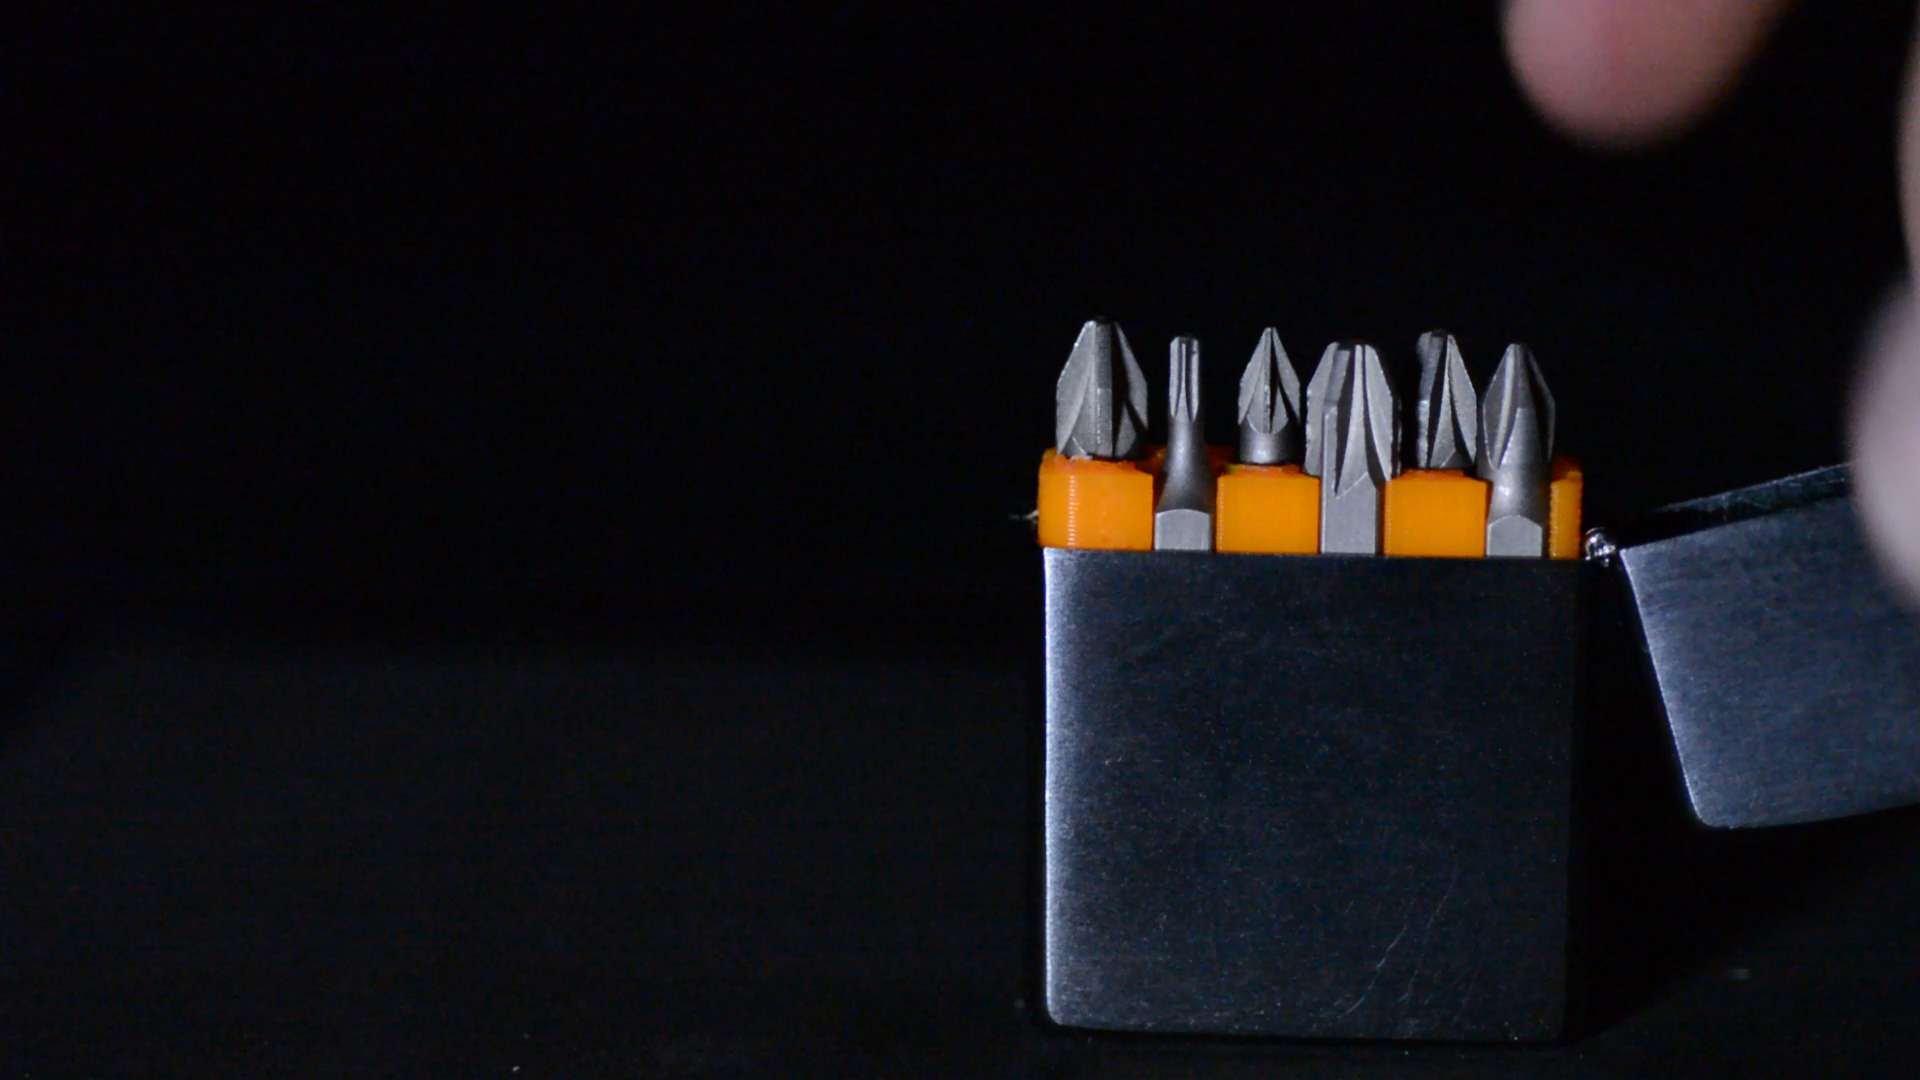
This solution seems to hold the bits just fine. While it works and stores more bits but it doesn’t make use of the space in the lower half of the Zippo. If we go back to the original design and punch the holes all the way through we would have enough space for 8 bits.
After printing this the first print is too loose, the second print is too tight and the third one again too loose. After quite some forth and back I realized that the friction might be easier to control when using a circle instead of a hexagon.
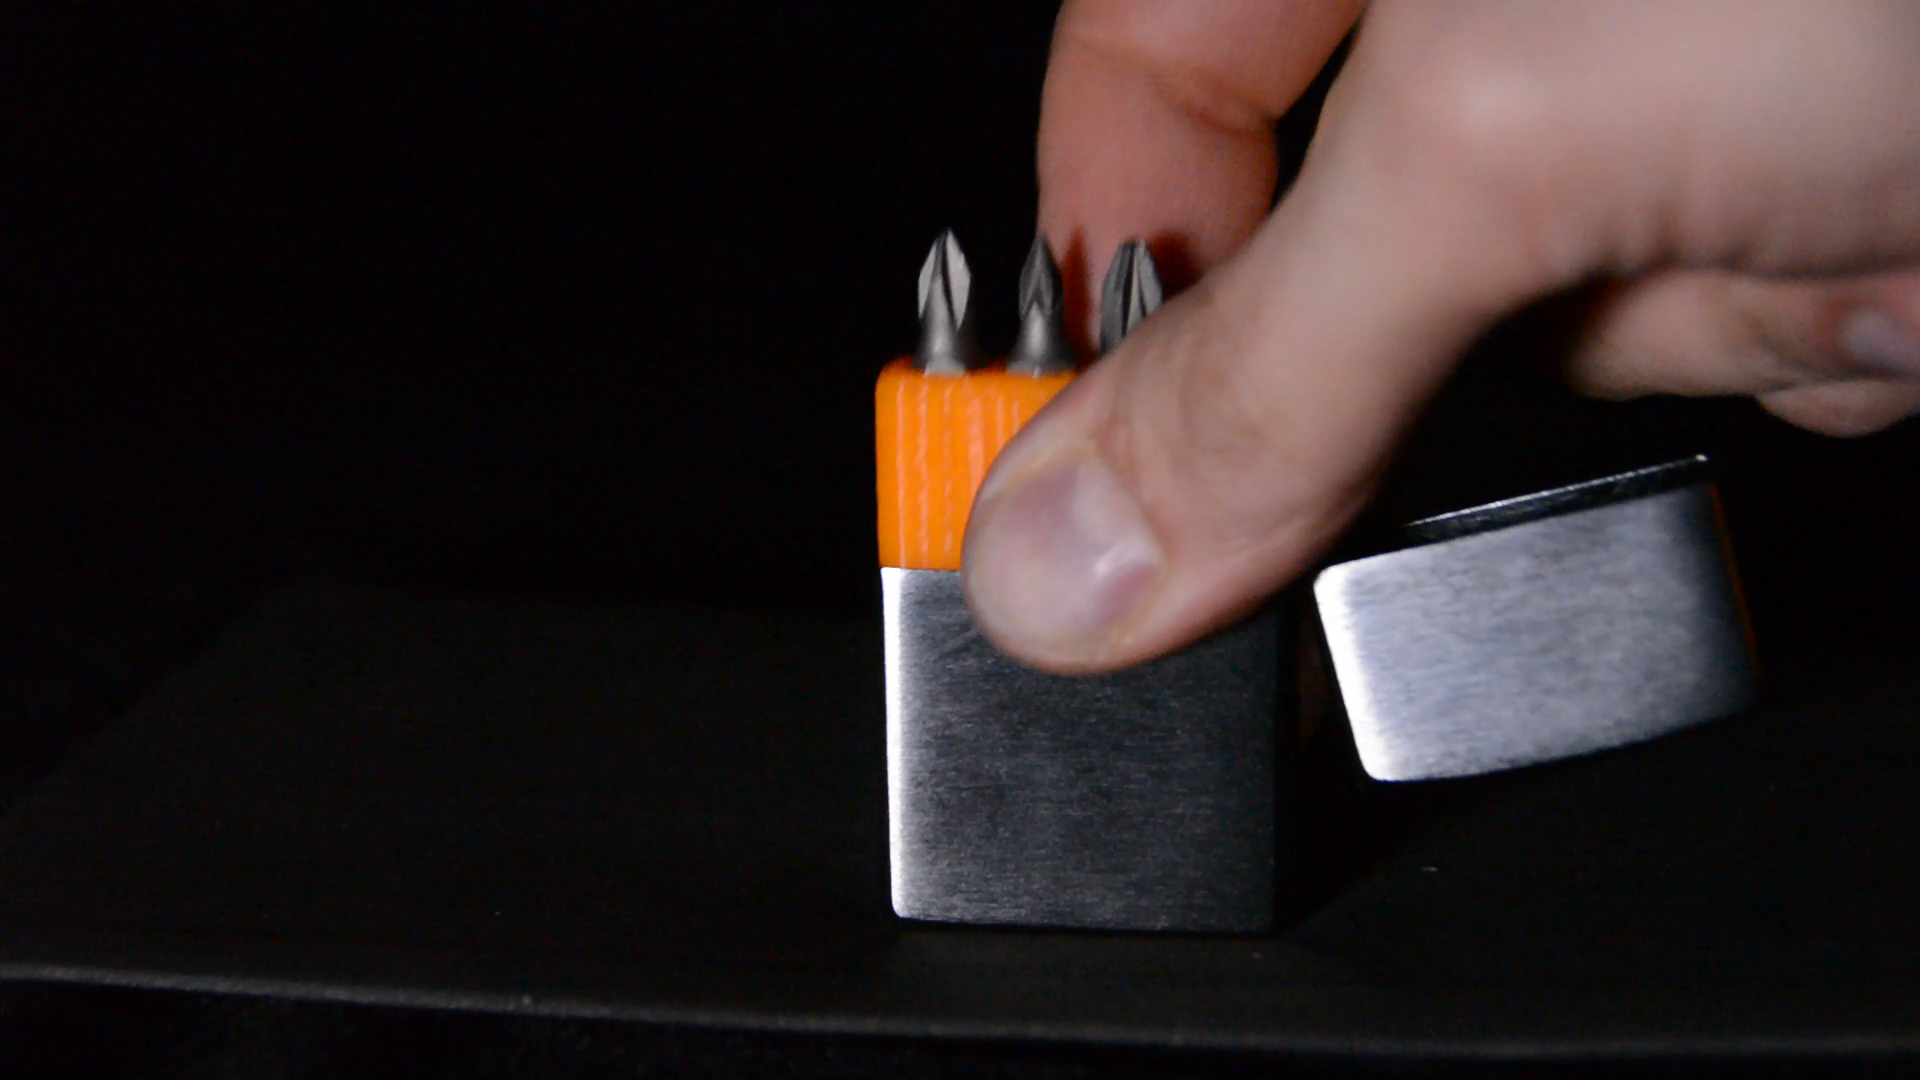
The first circle was too loose again but the second attempt produces a nice friction fit. What I like about this version is that you can take the insert out, flip it and you have a second configuration of bits.
In CAD we could create the same design with through holes for 6 bits but the walls will be too thin to be practical.
A screwdriver
I am happy with the storage capacity of this one – in particular as it works identical to the original if you don’t need any of the additional bits.
Let’s explore another design purpose. We could try to add more functionality to the holder.
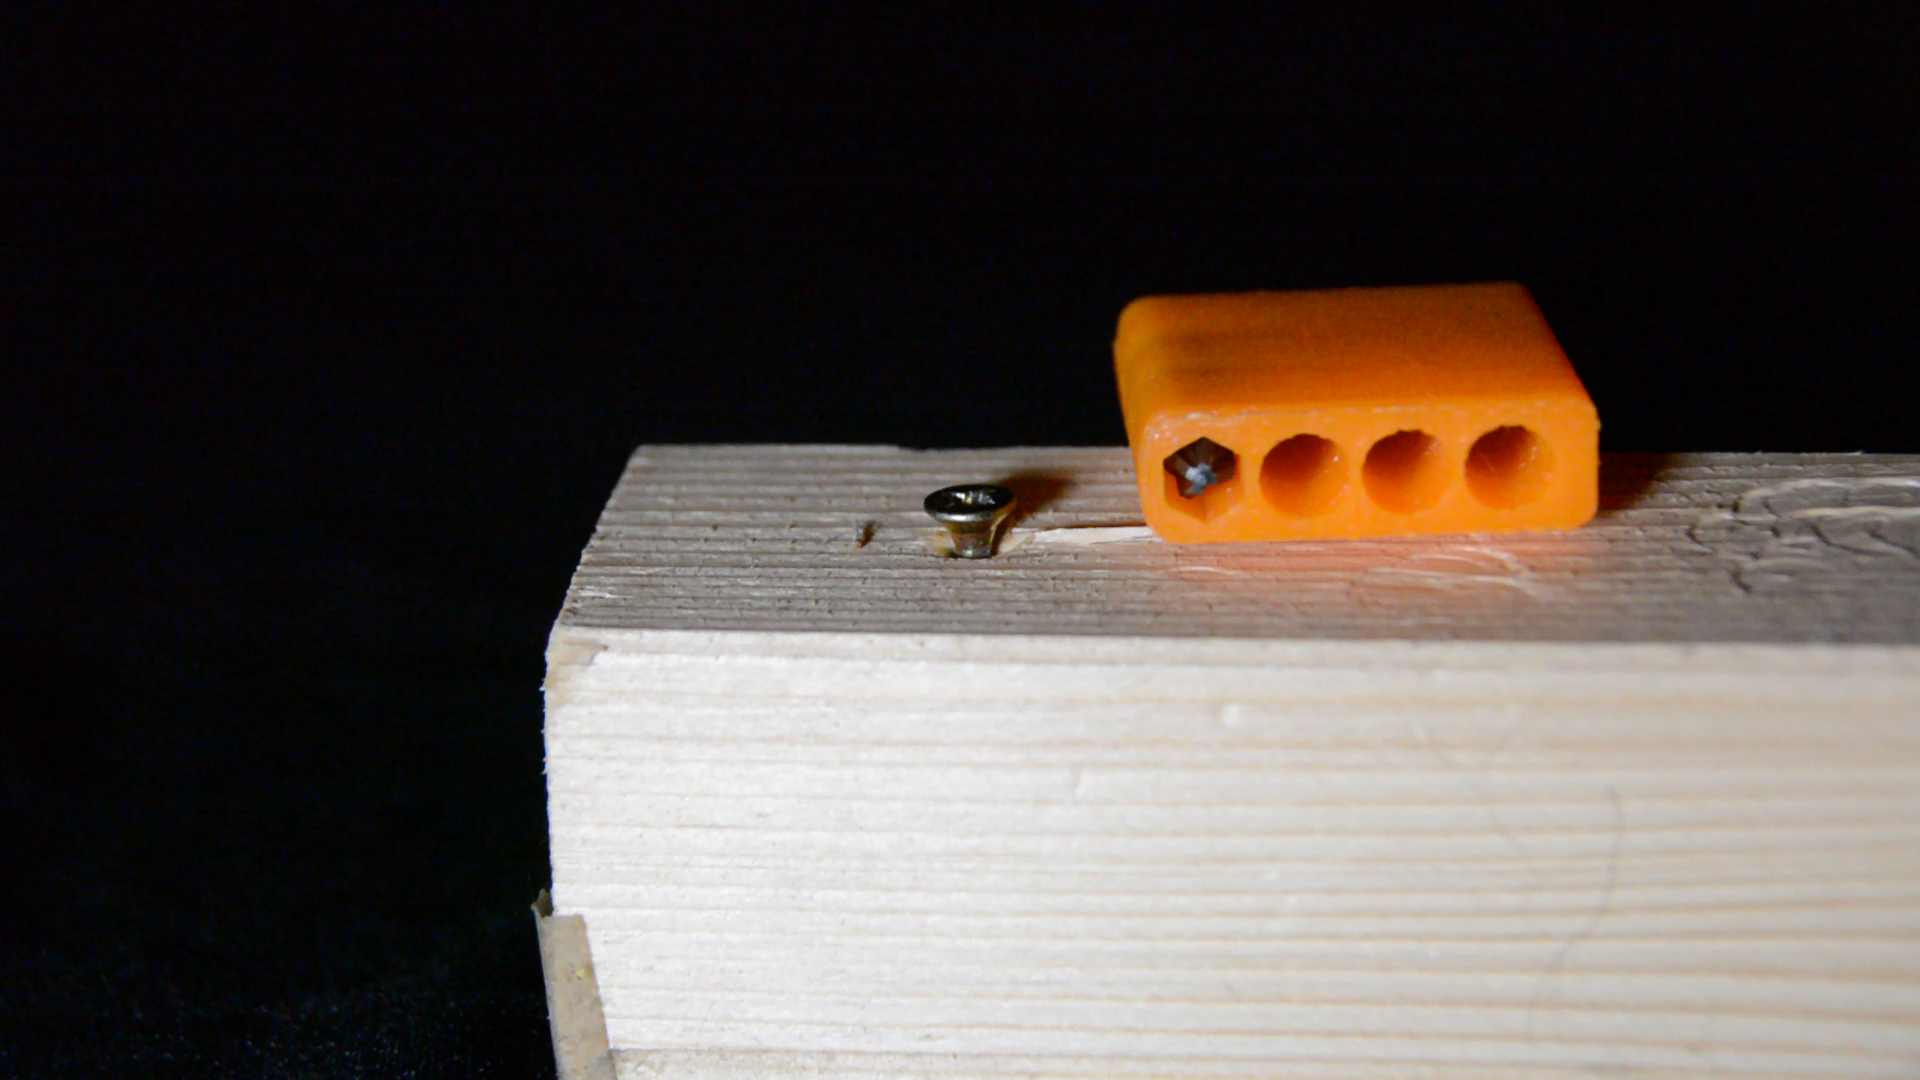
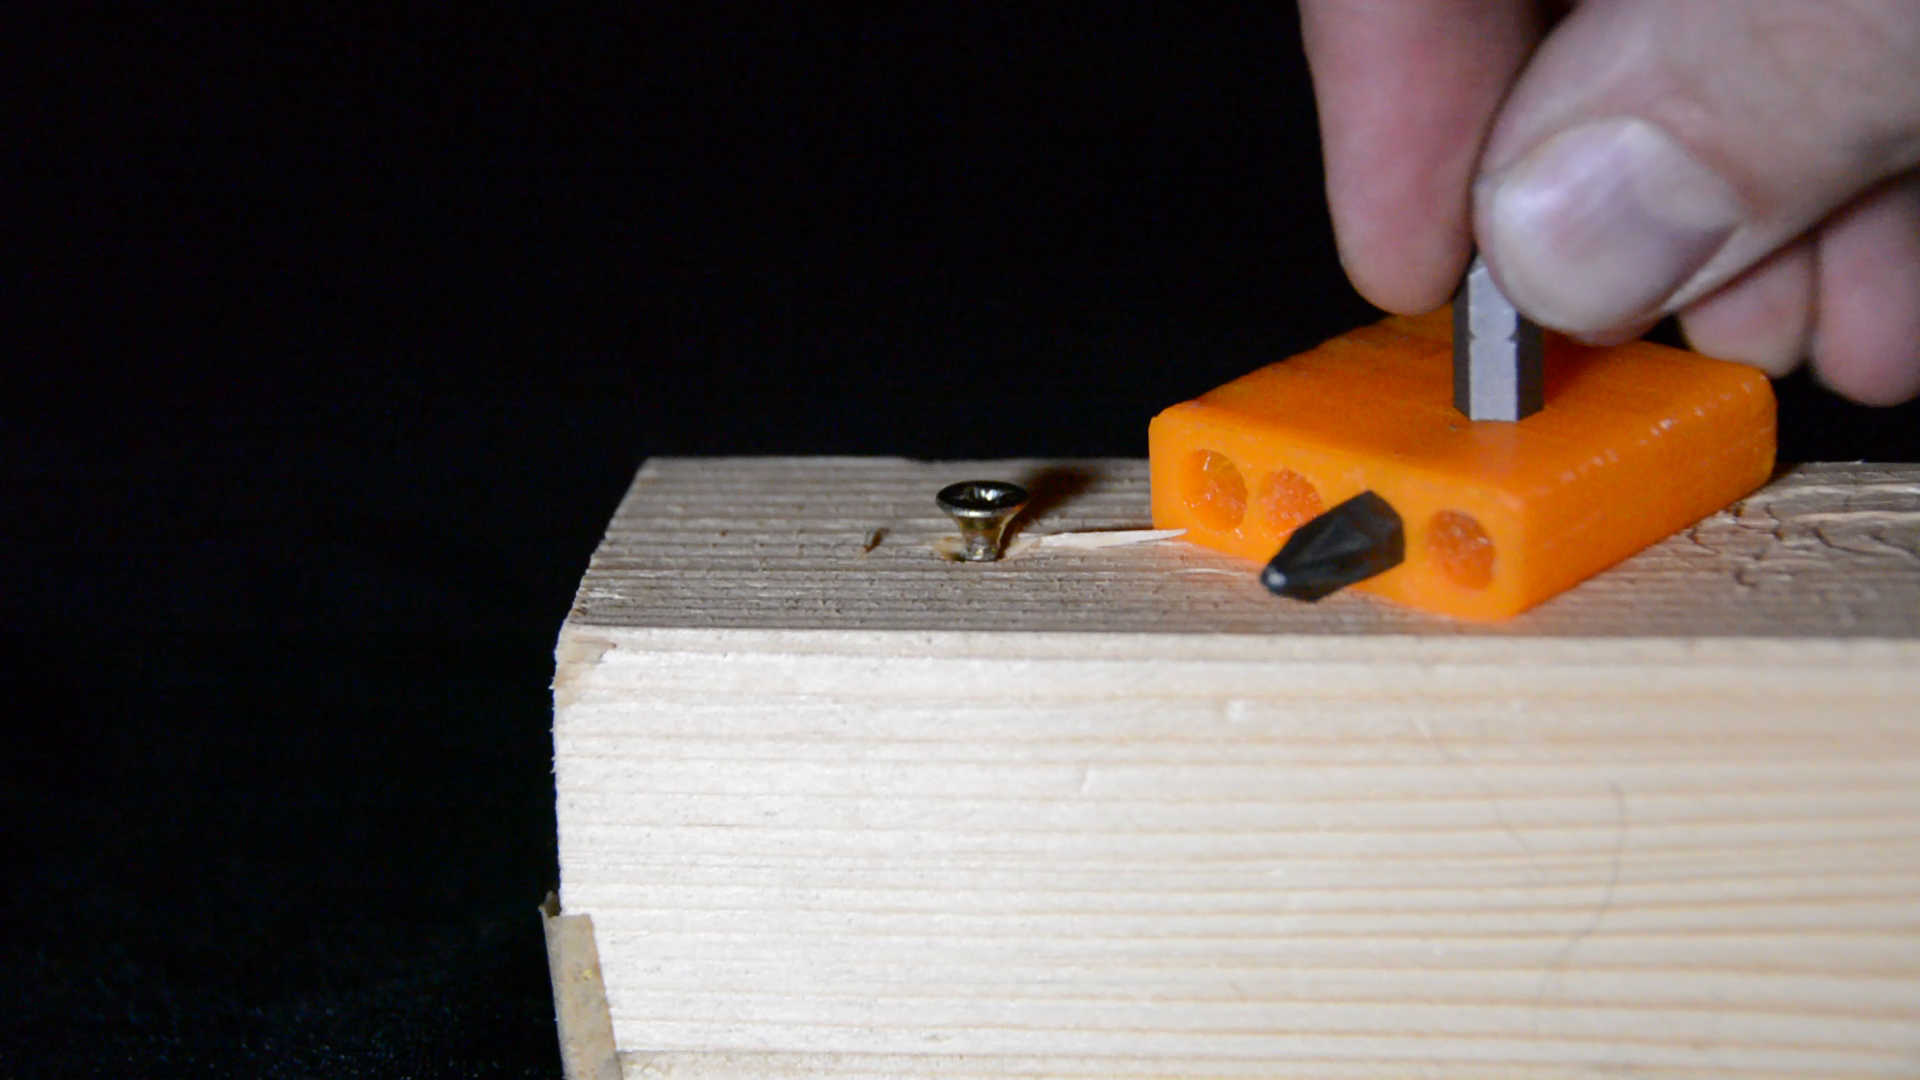
An obvious feature would be to add some kind of improvised screwdriver. I just go back to the model and add back the hex shape to one of the circles and print it again. It seems to work quite well. For sure it will break if you apply a lot of torque but it works surprisingly well.
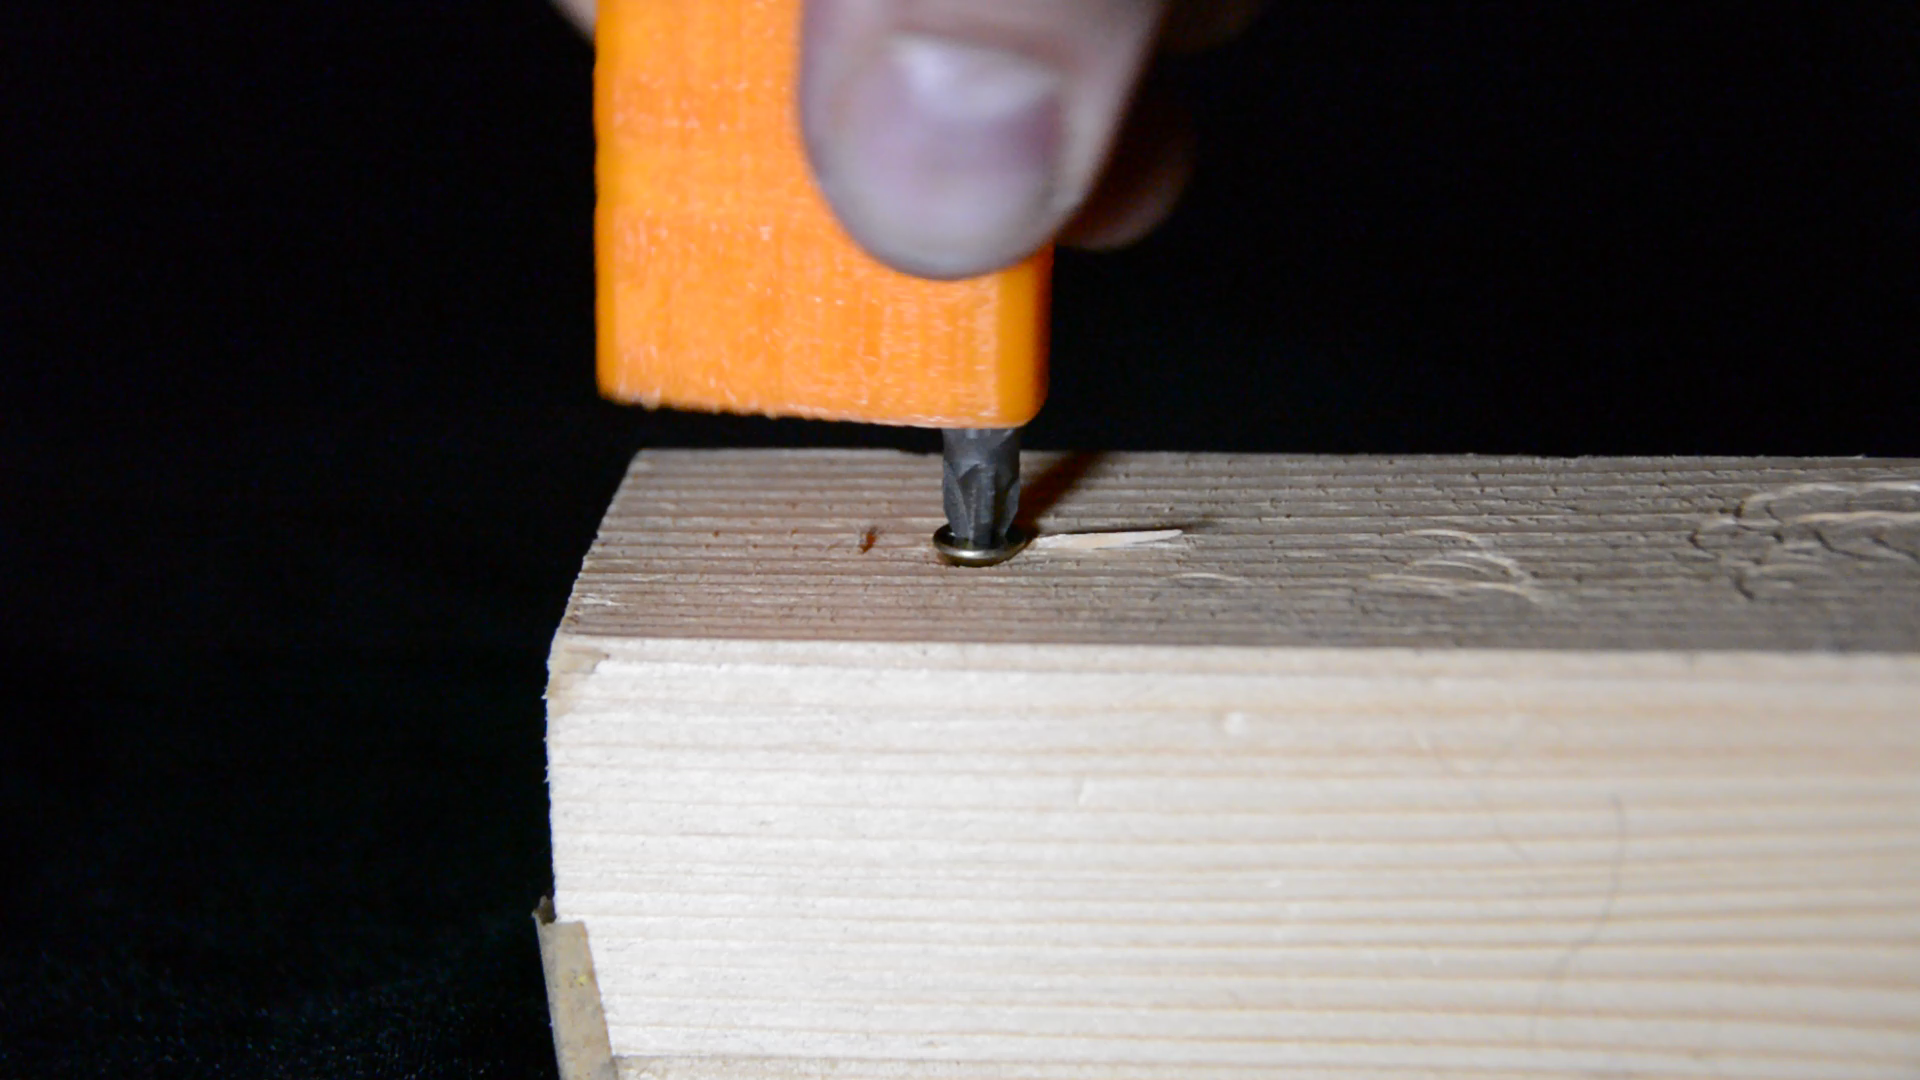
The only problem is that the bit slips into the holder if you apply downward pressure. Let’s add one more hole in order to secure the bit.
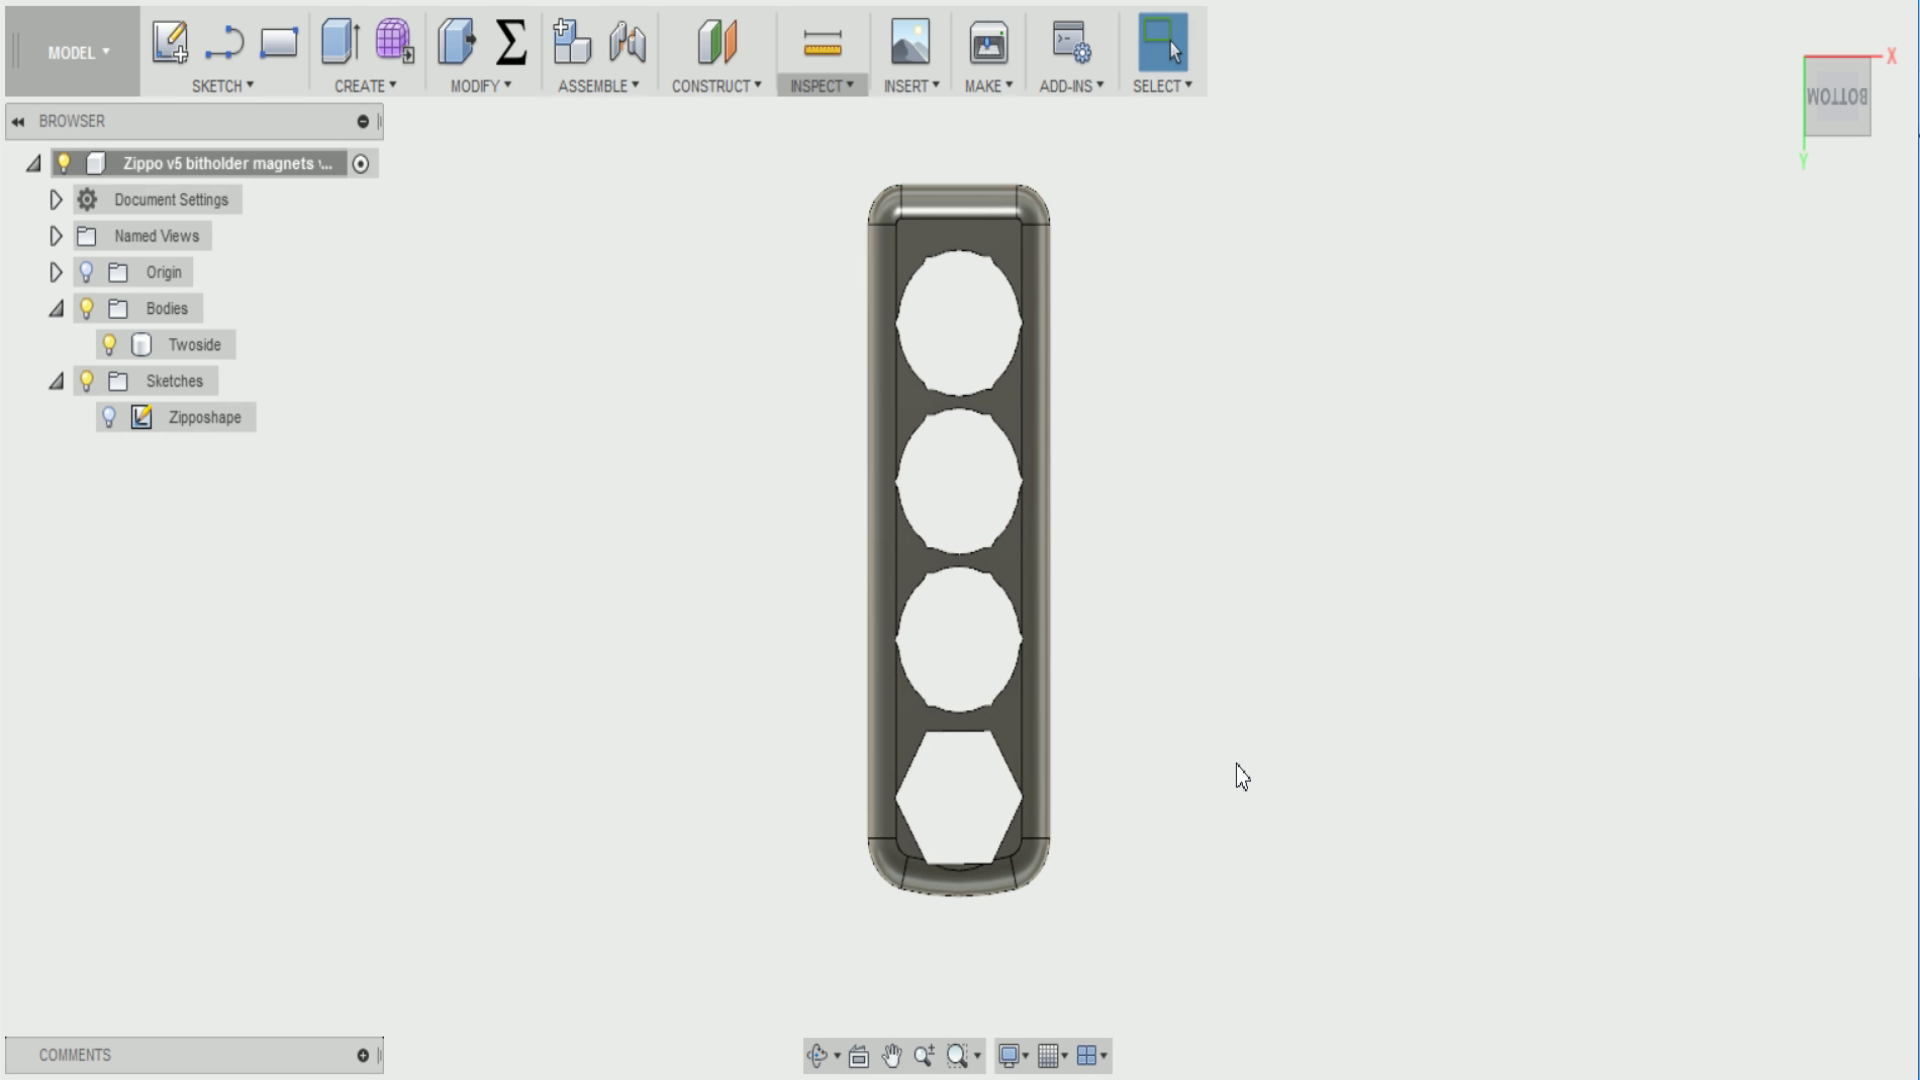
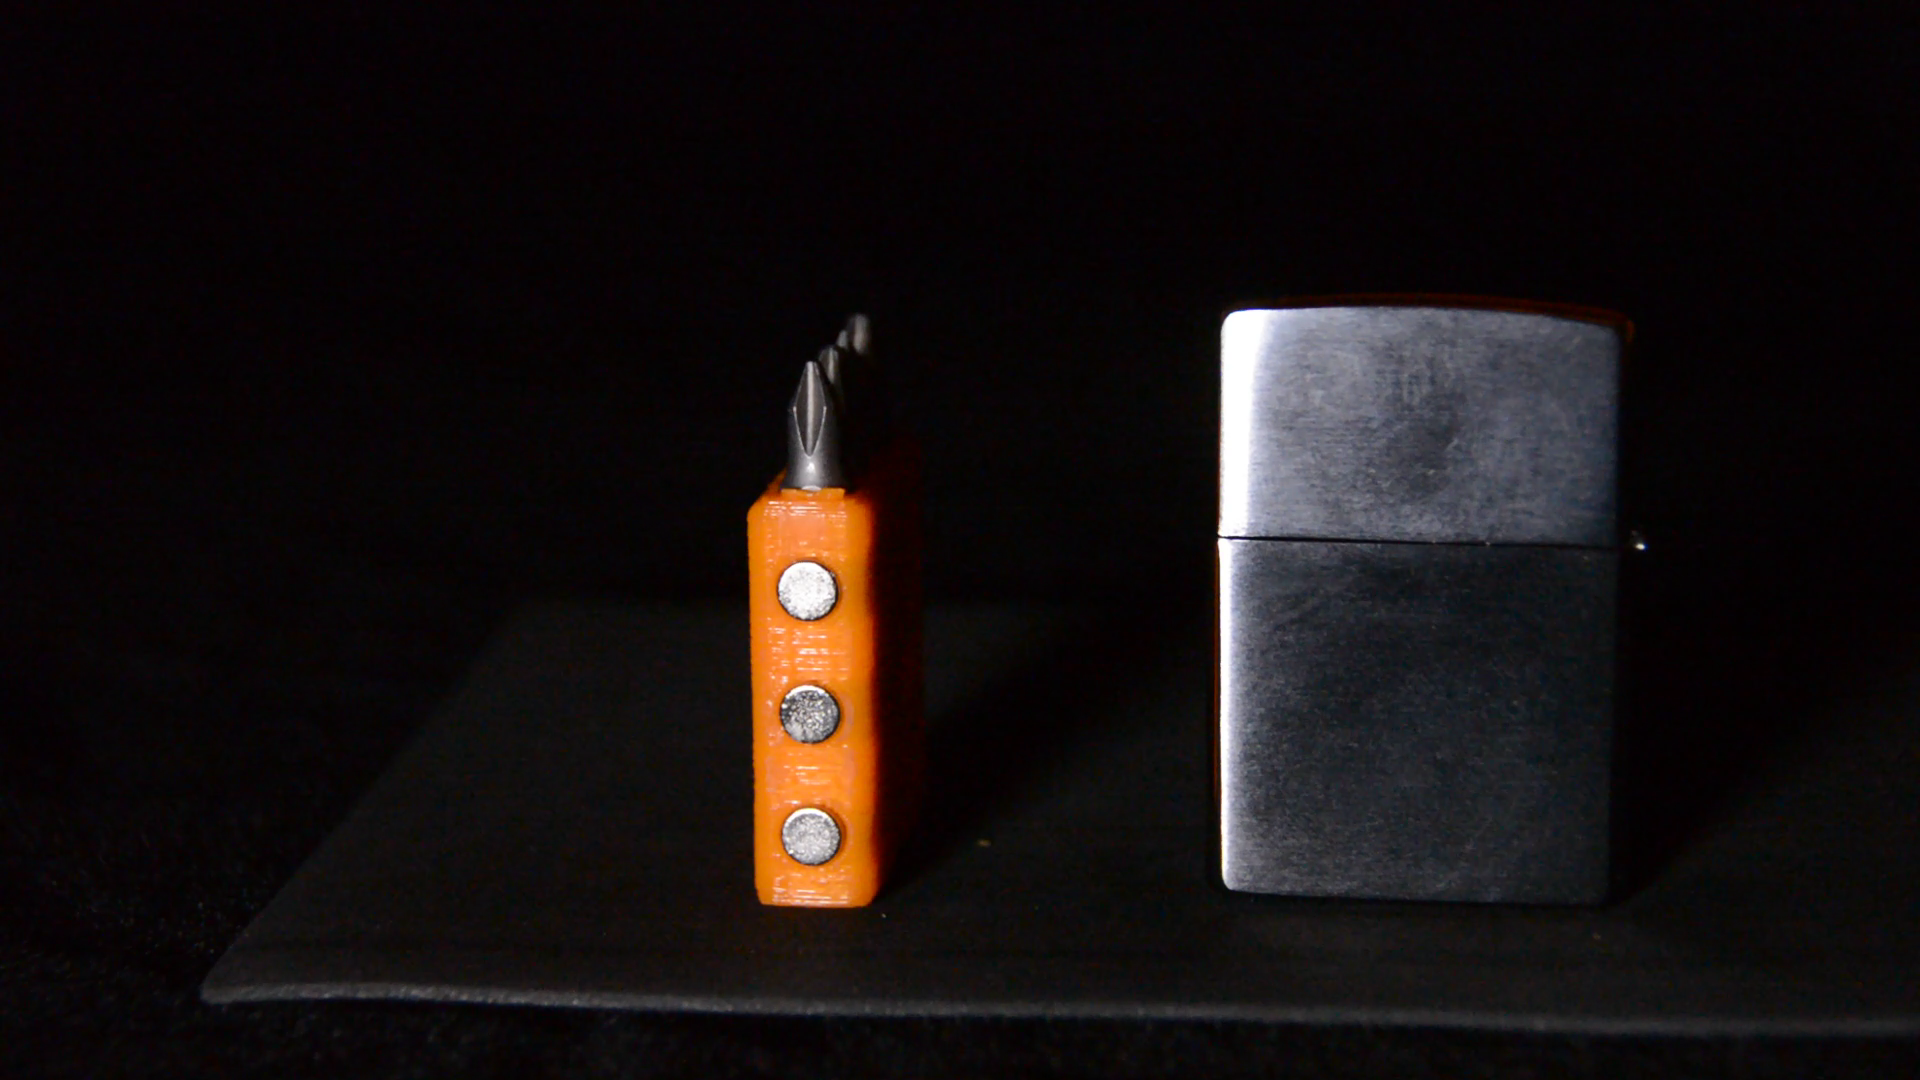
Magnets
If we move the bits a bit closer together and move them a little bit around we actually have enough space for some rare earth magnets. With these in place the screws will stick to the Zippo case and don’t get lost.
I will stop here as this version provides me with the functionality I need: The holder can store up to 8 bits. All the bits are easily accessible. It can act as an improvised bitholder and after pulling out a screw you can store it on the shell.
Let me know in the comments if you have additional ideas how to change or improve the design. All the files will also be available under the link below so you can start your own experiments.

A big thank you to Laura for the inspiration. You can find her manual version here and the CNC version here.