
In this article we come up with a method to join two live edge boards.
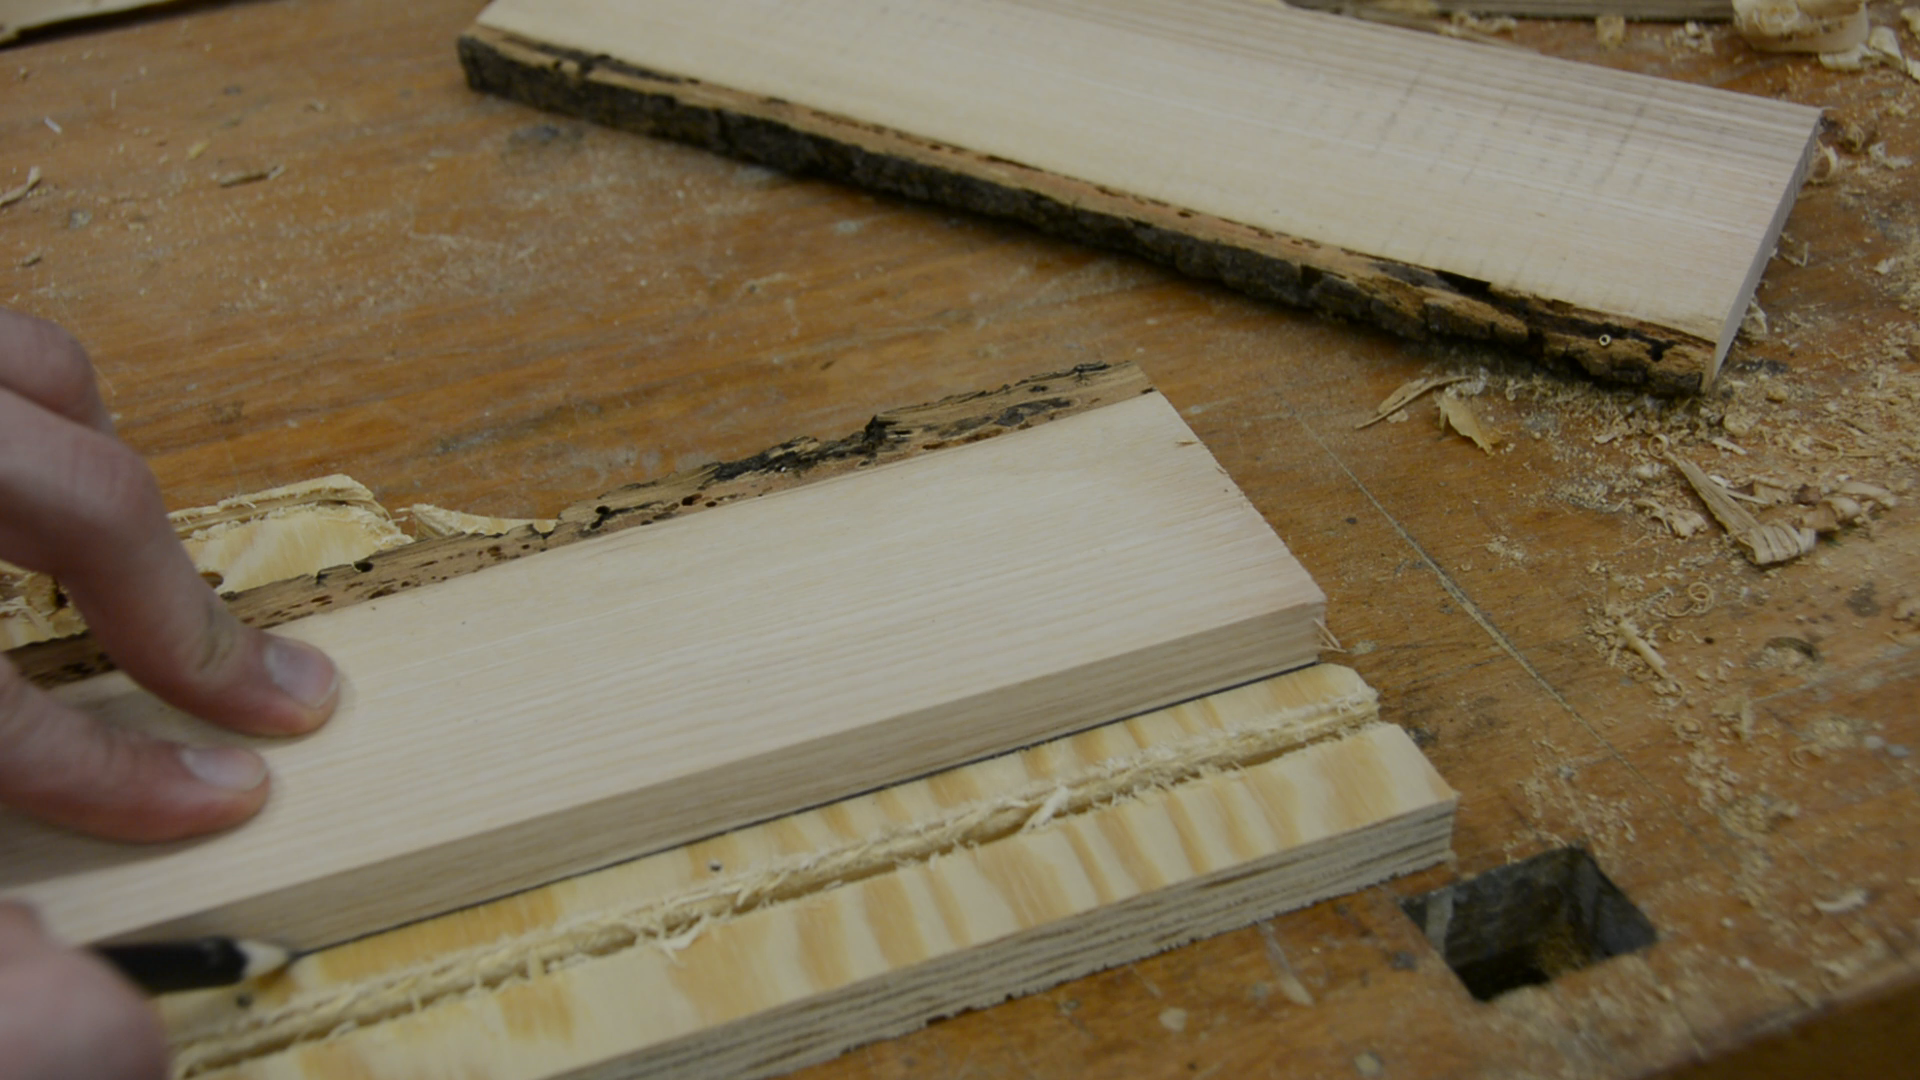
For an upcoming project I would like to create a frame from live edge oak. Building this frame is tricky.
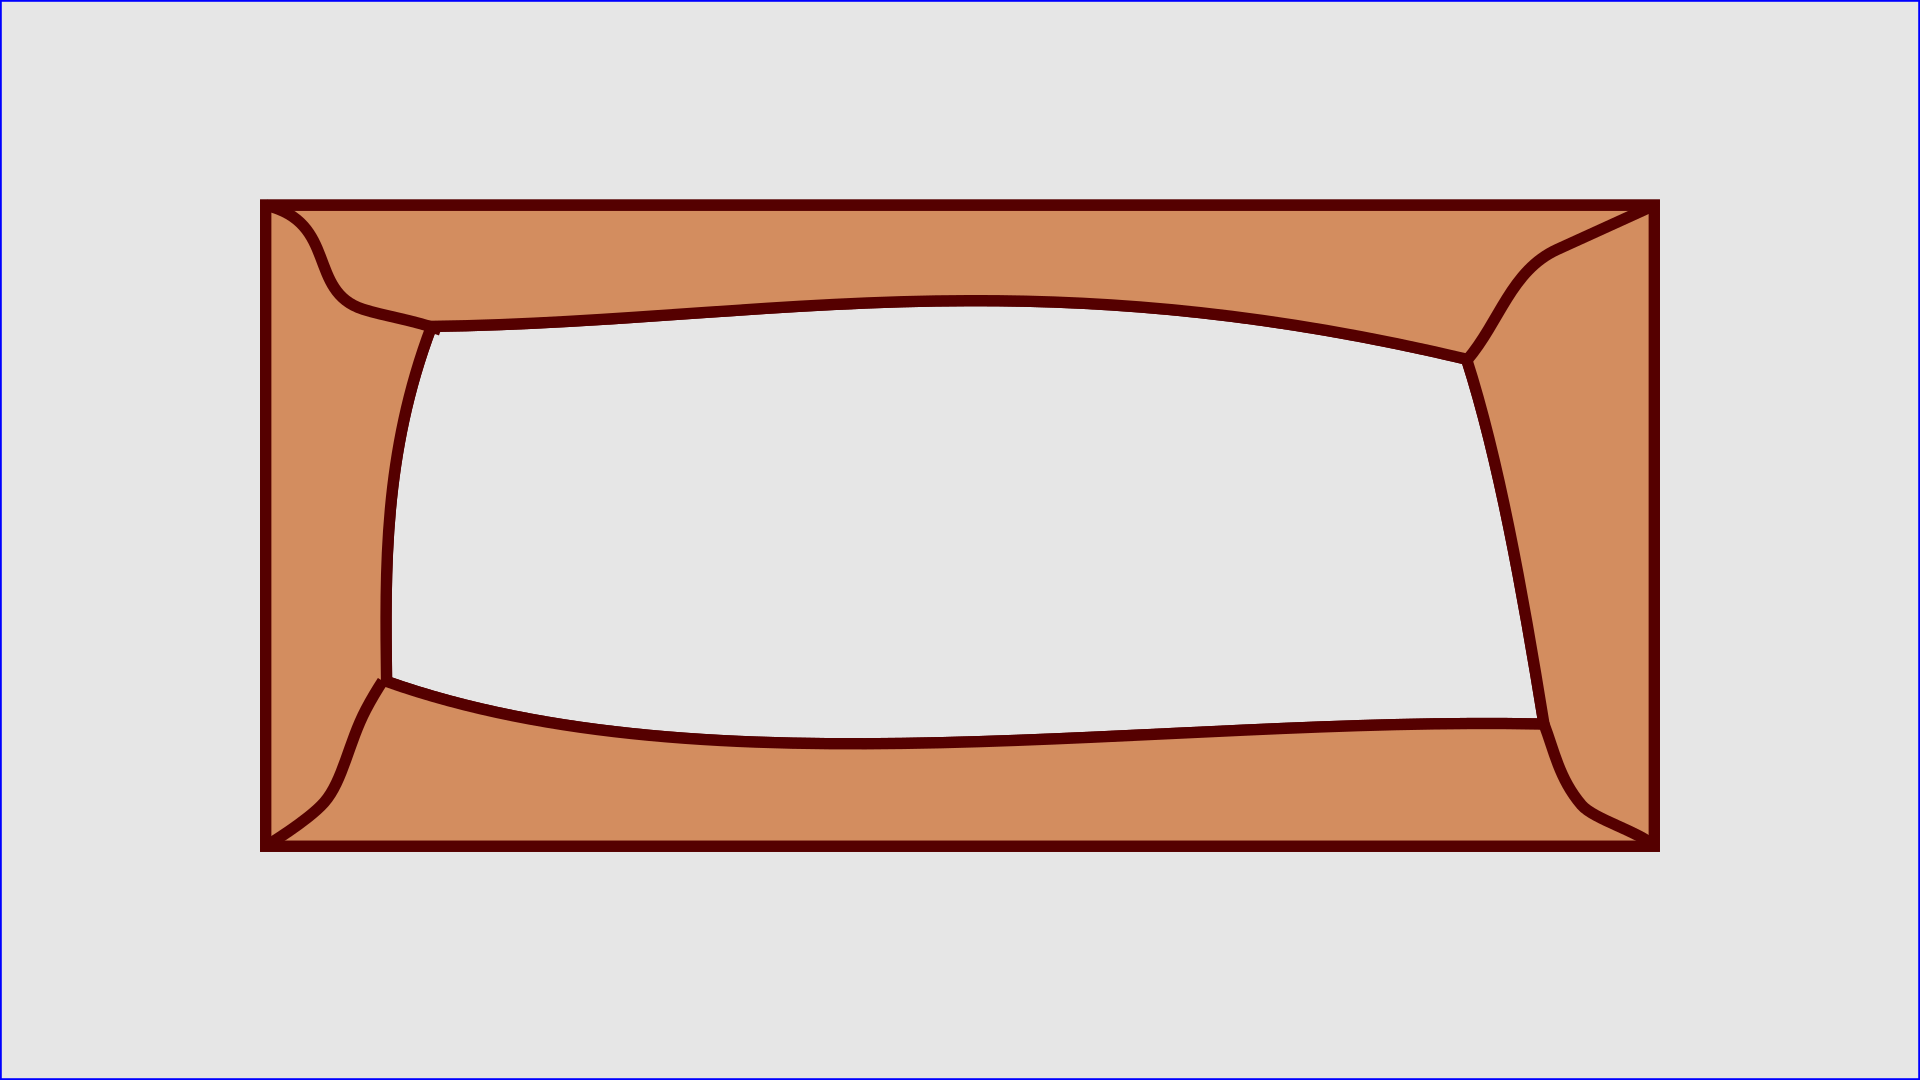
You obviously can’t join the pieces with a butt joint as one of the sides isn’t straight.
So we have to connect the two pieces with a mitre joint. As the width of the two pieces is different a simple 45 degree will leave us with an ugly
gap.

We can eliminate the gap by connecting the outside and the inside corner with a straight
line.
This looks ok for one corner but is going to look totally weird if all four cornershave a different angle. It looks weird because it is very easy for our brain to spot the different angles of
the 4 lines. So the idea is to disguise the difference in the angle by replacing the straight lines by a curve, wavy line.
Let’s now create this joint.
Creating the joint
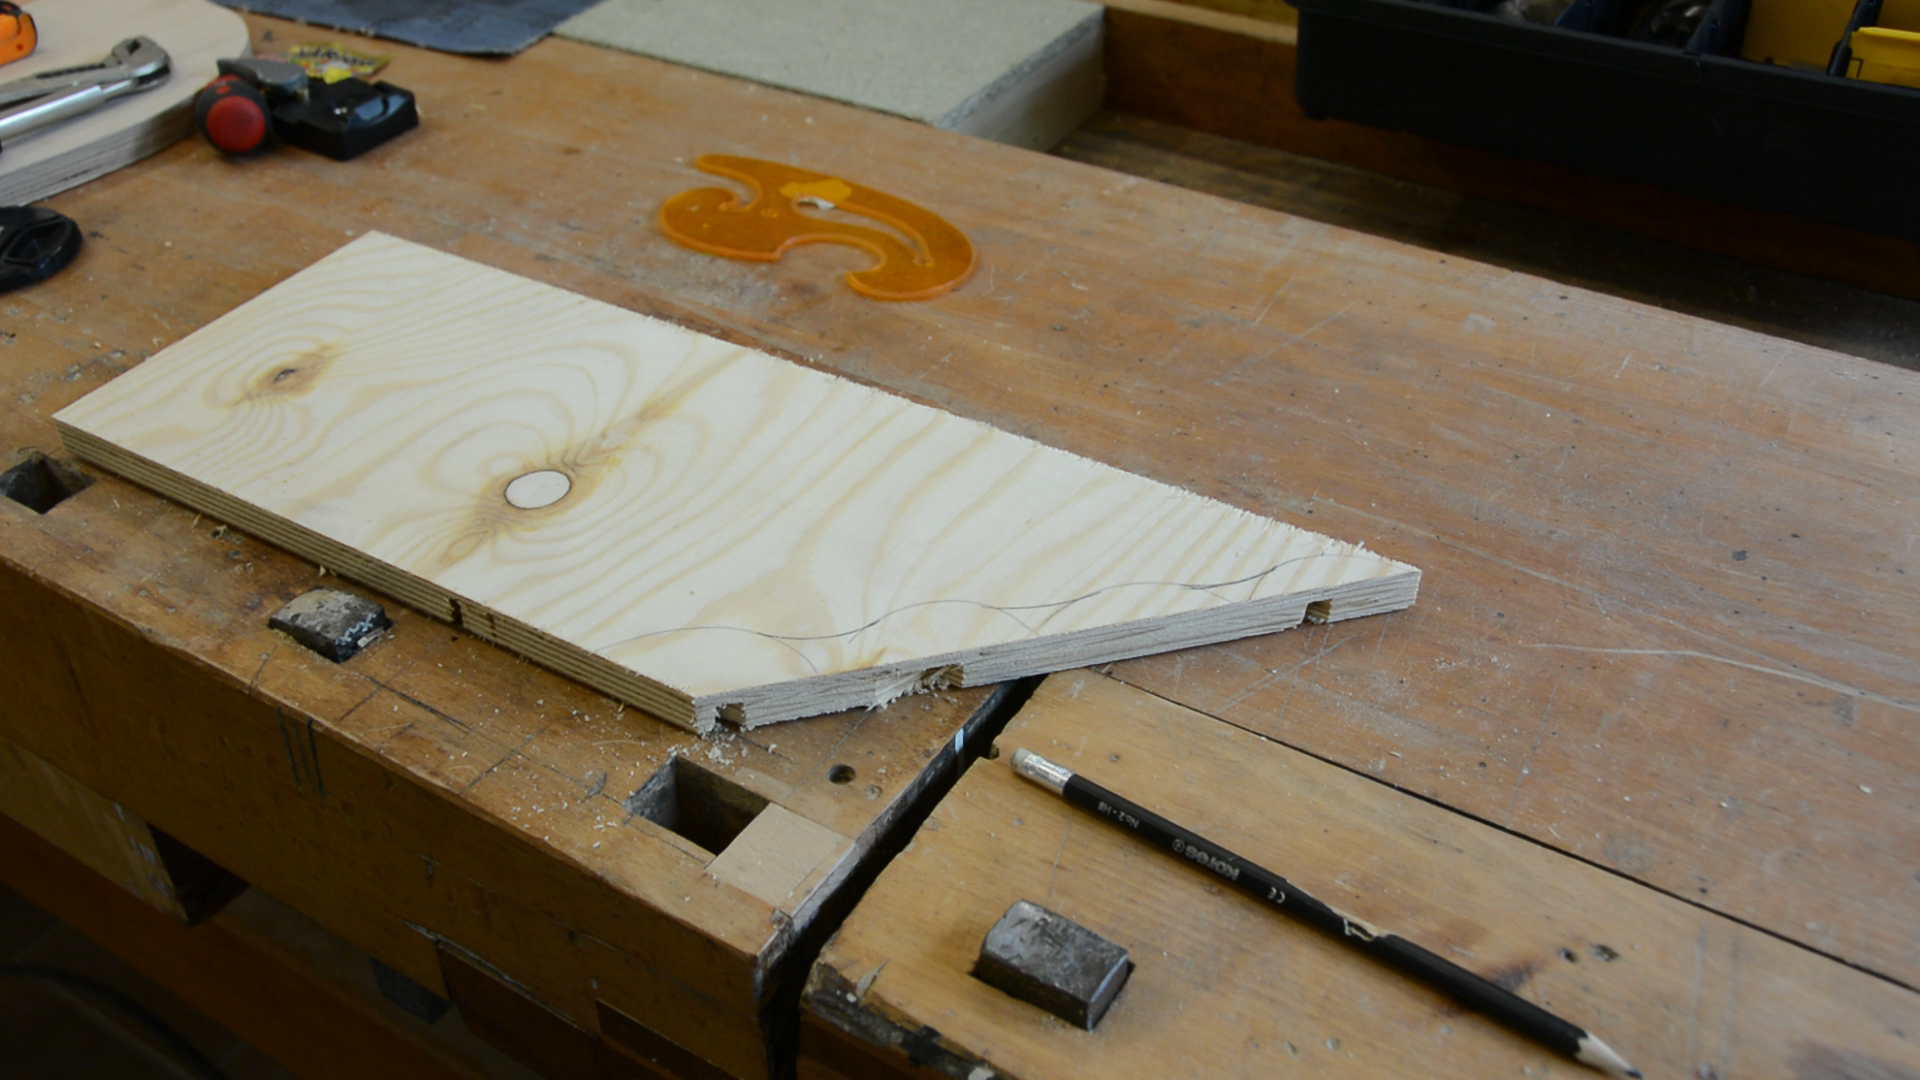
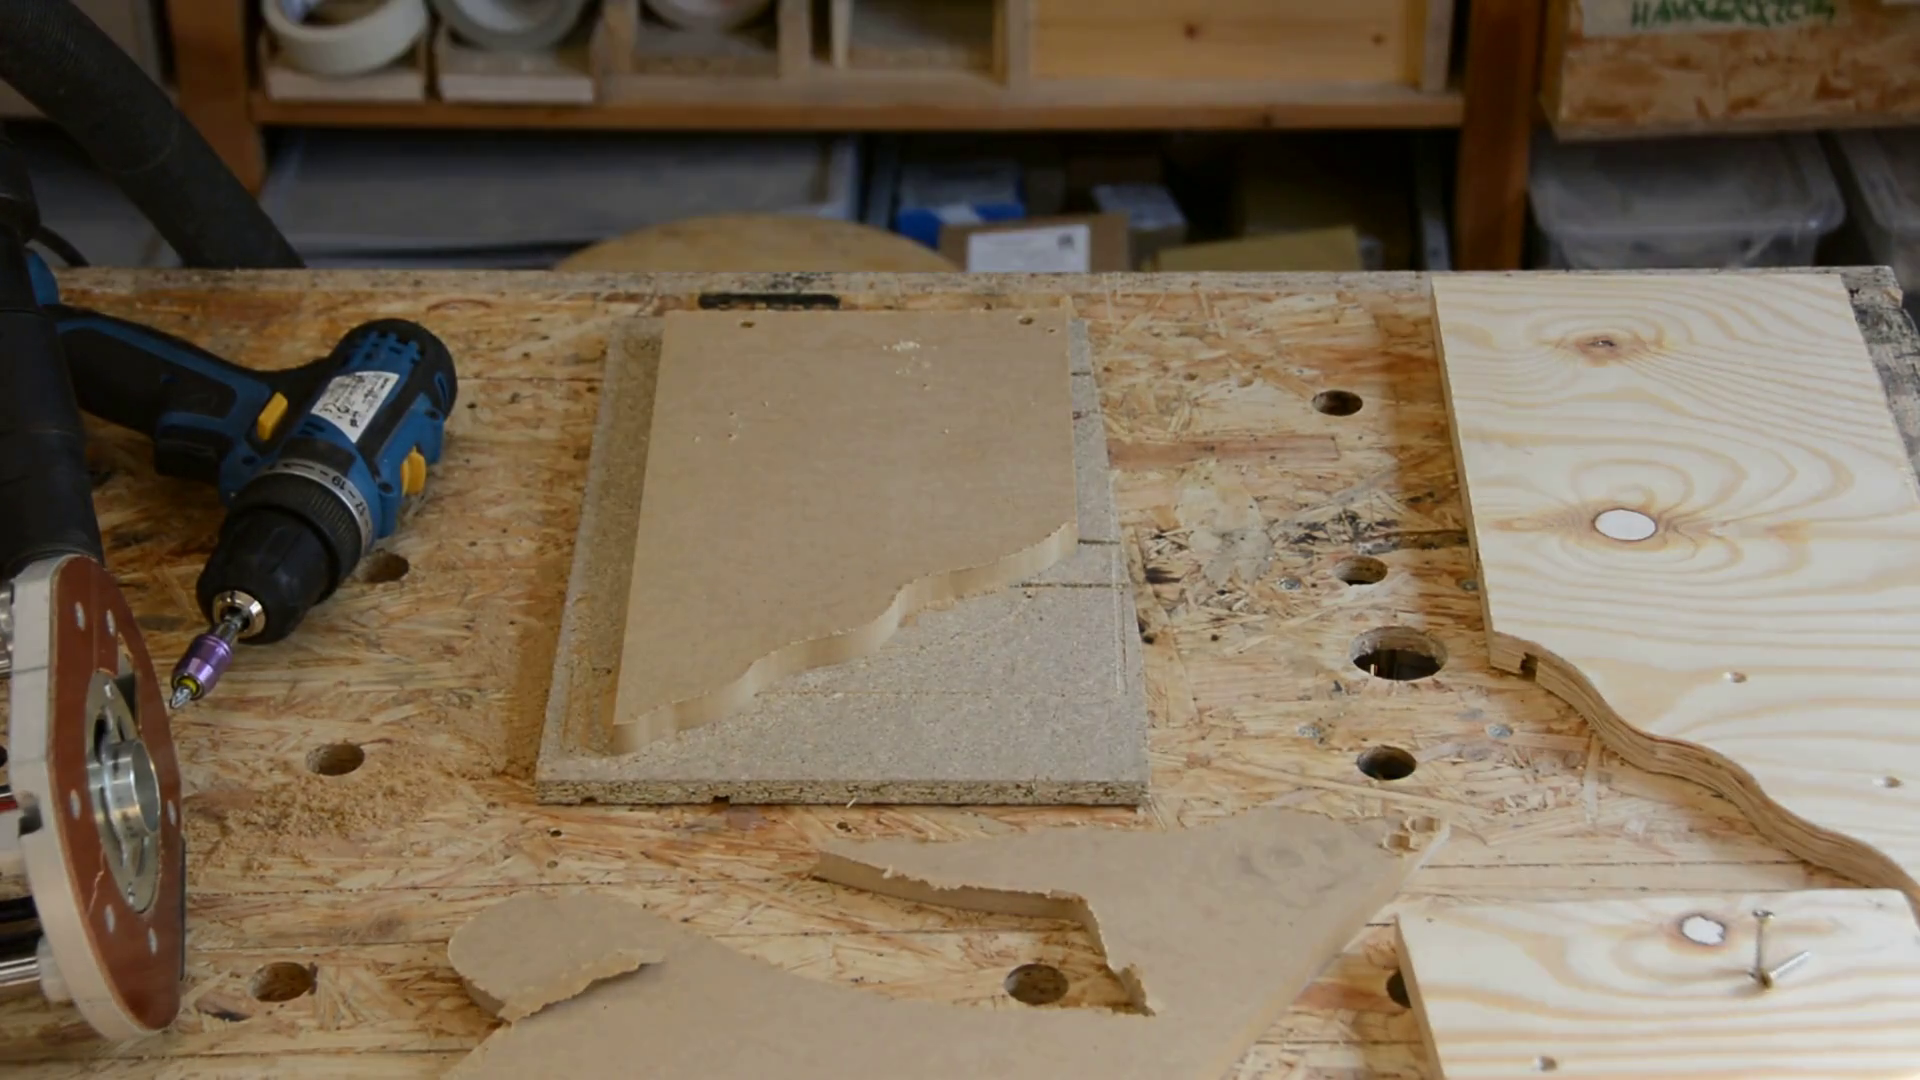
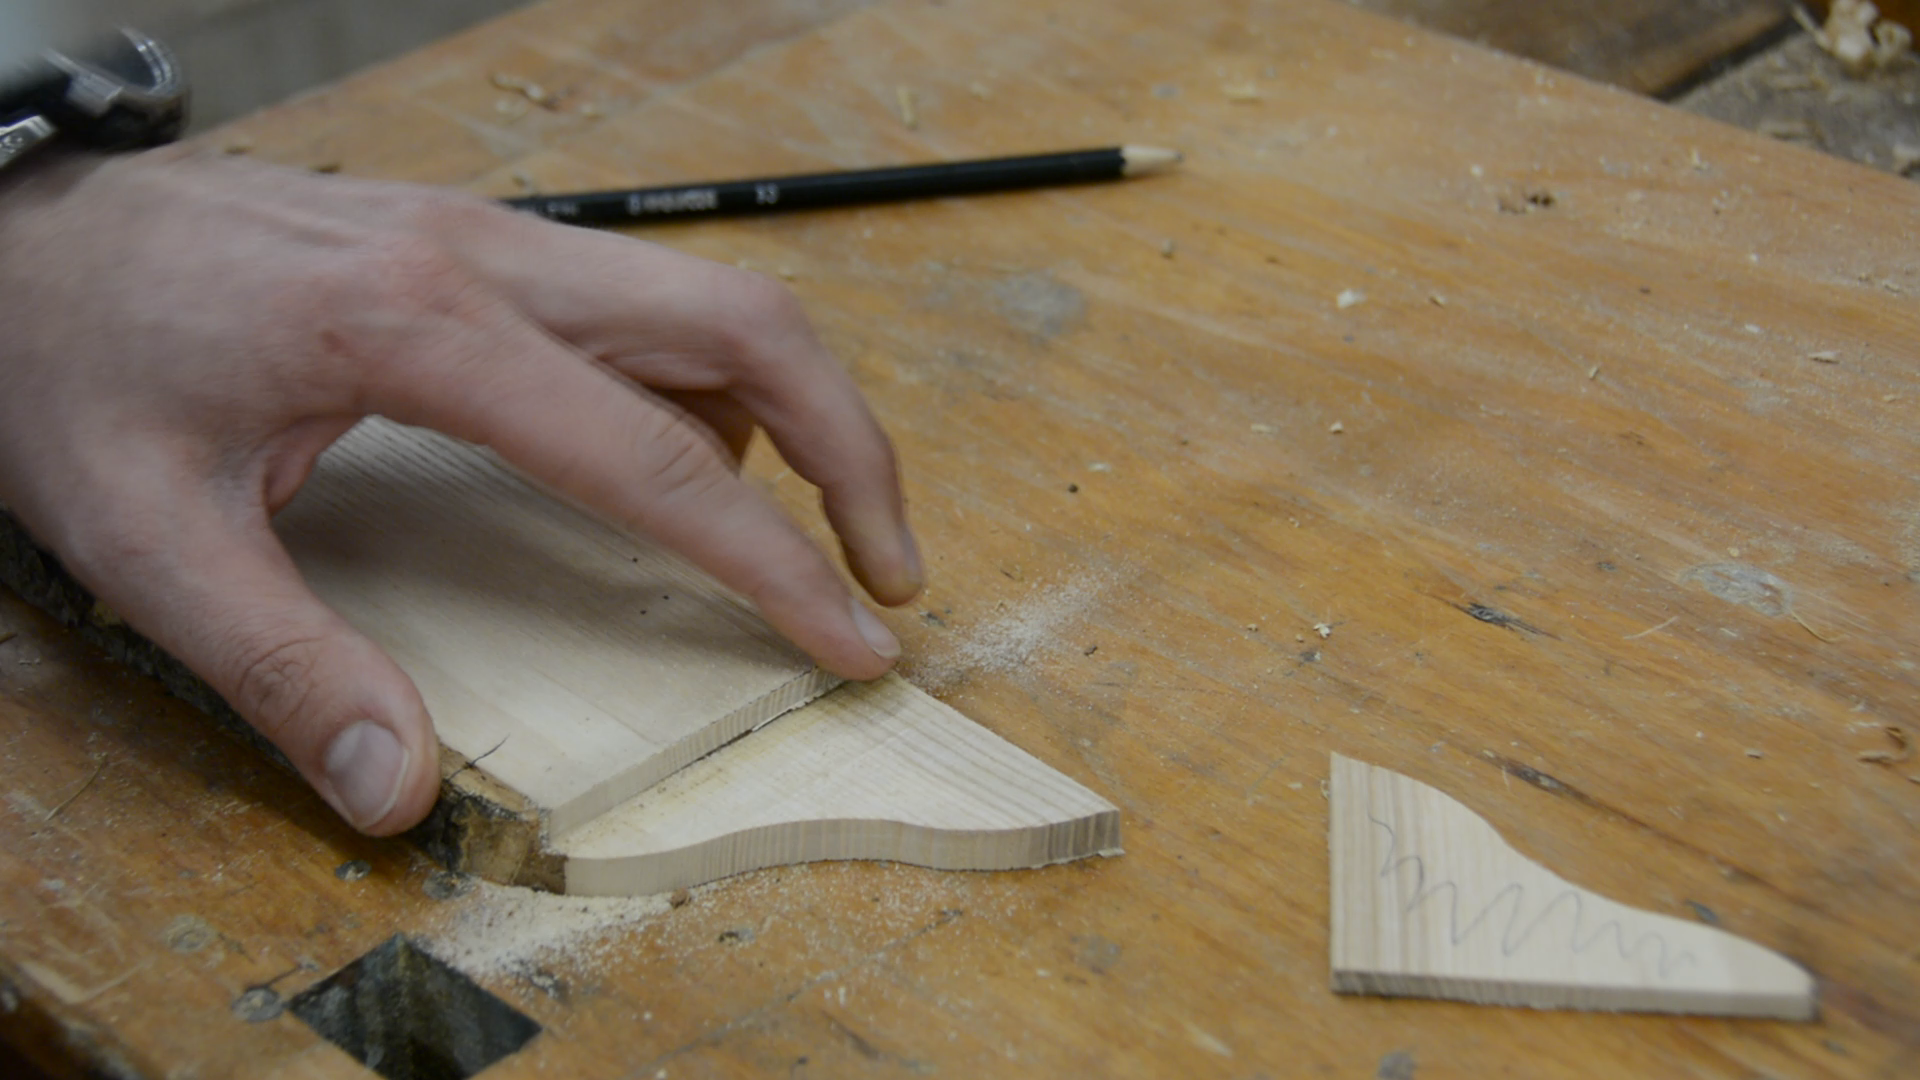
I start by drawing an arbitrary curve on a piece of scrap wood.
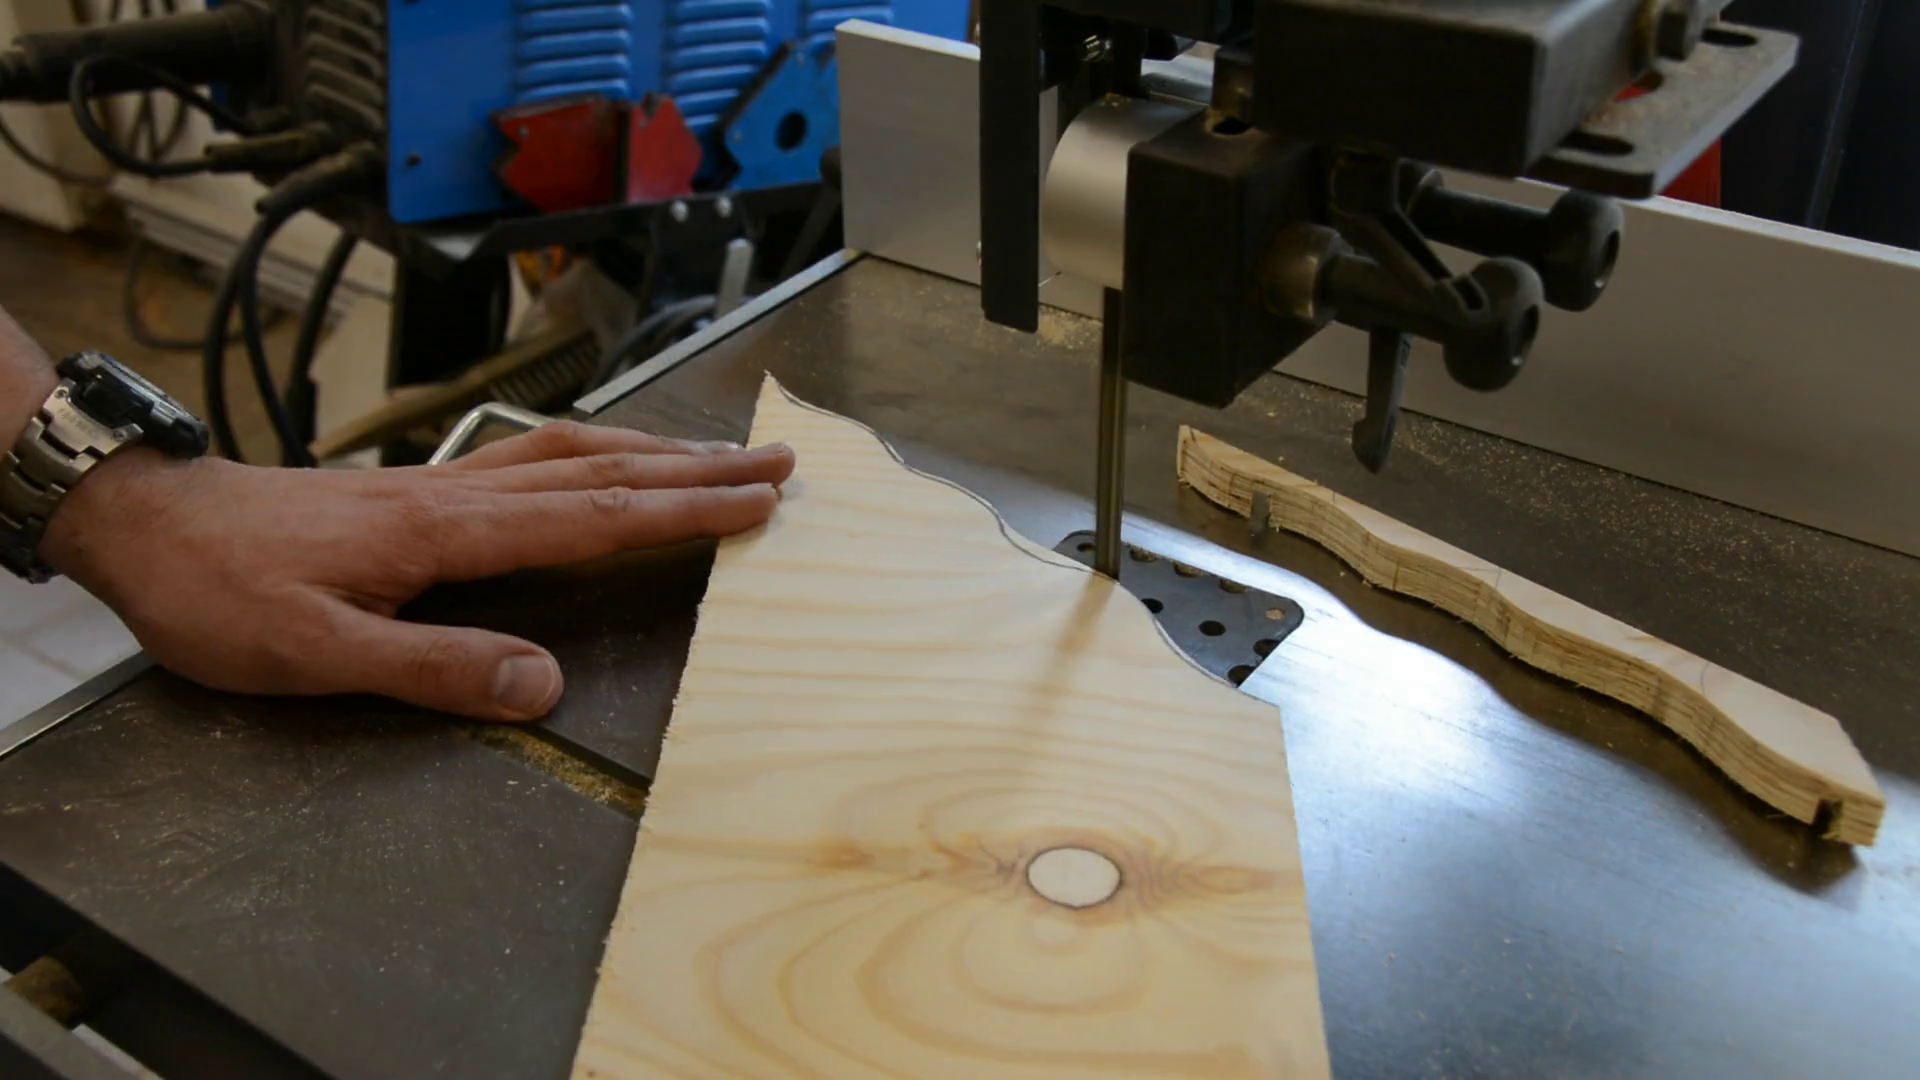
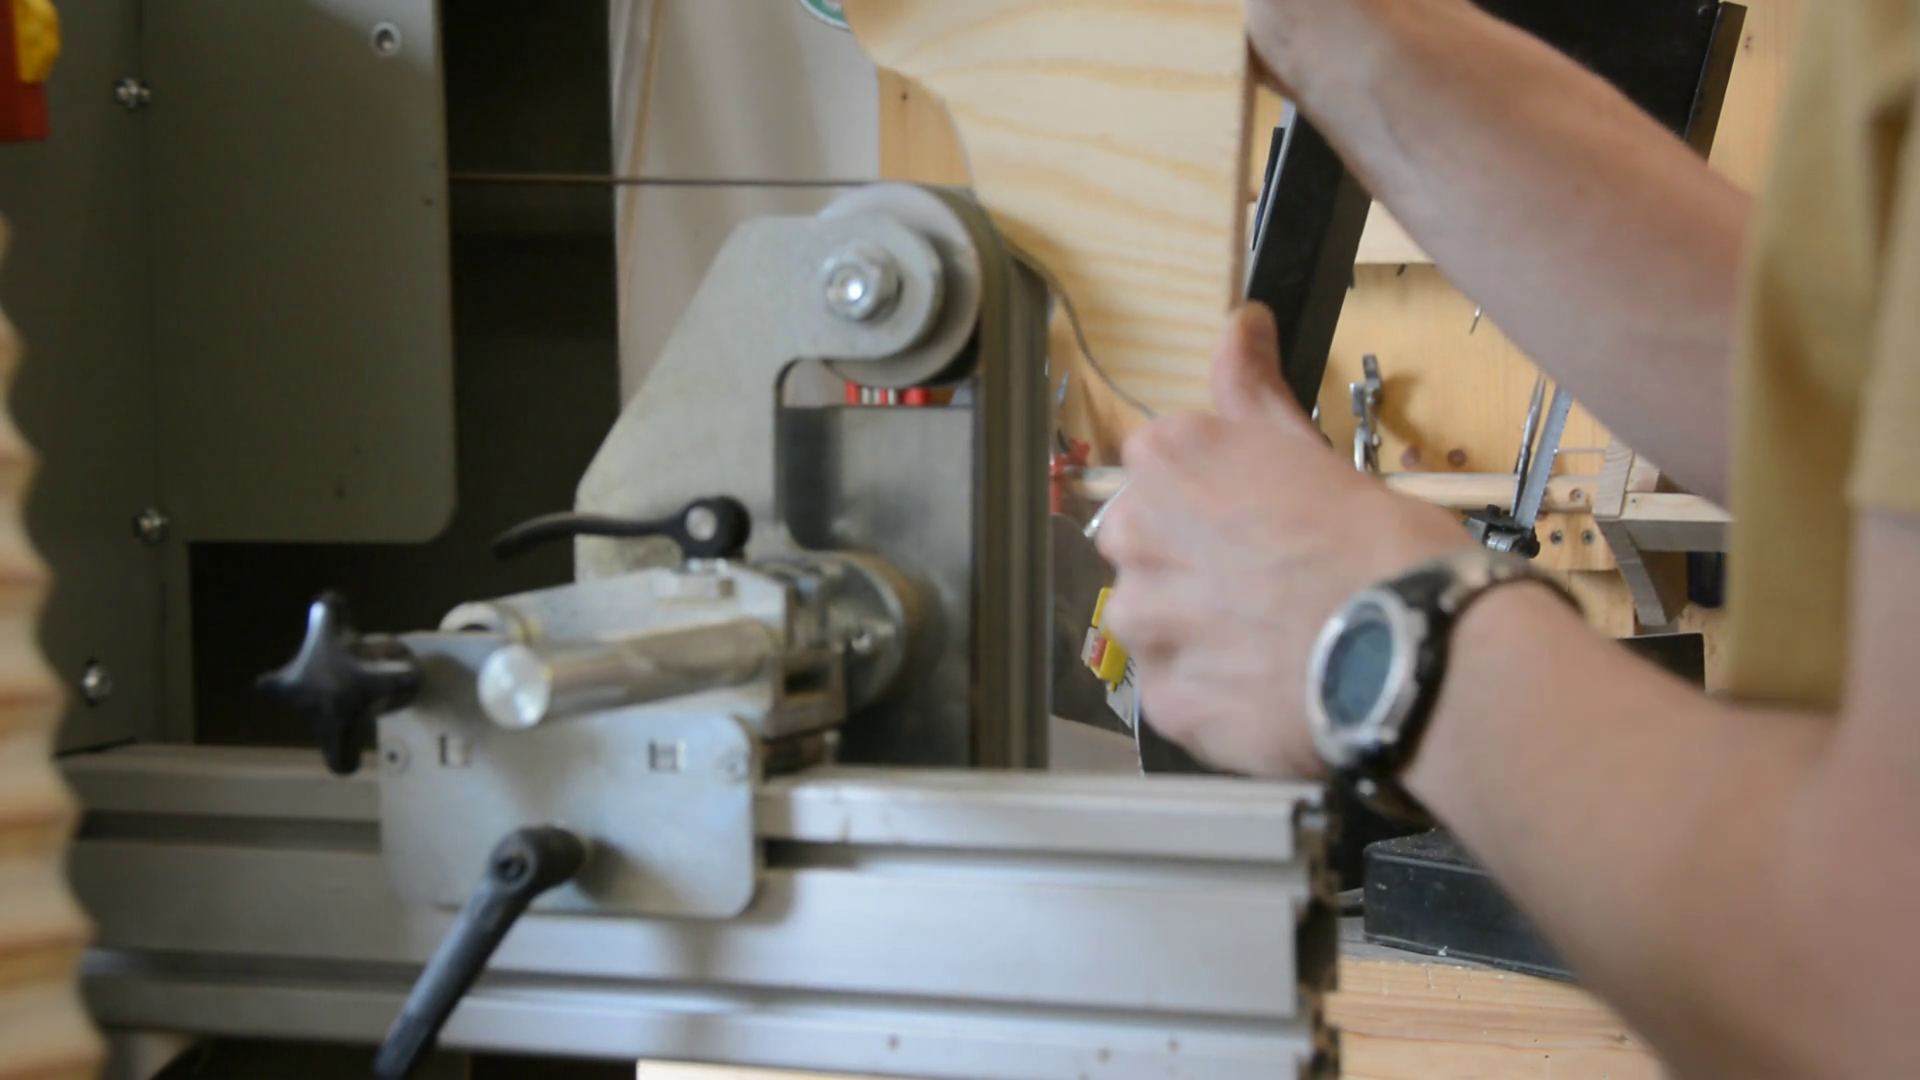
On the bandsaw I follow the line and smooth out the shape on the beltsander. Just to be safe in case I mess up the template I create a copy of it with a flush trim bit.
Next we create the matching template.
I use the same method that I’ve used in my dollhouse river table.
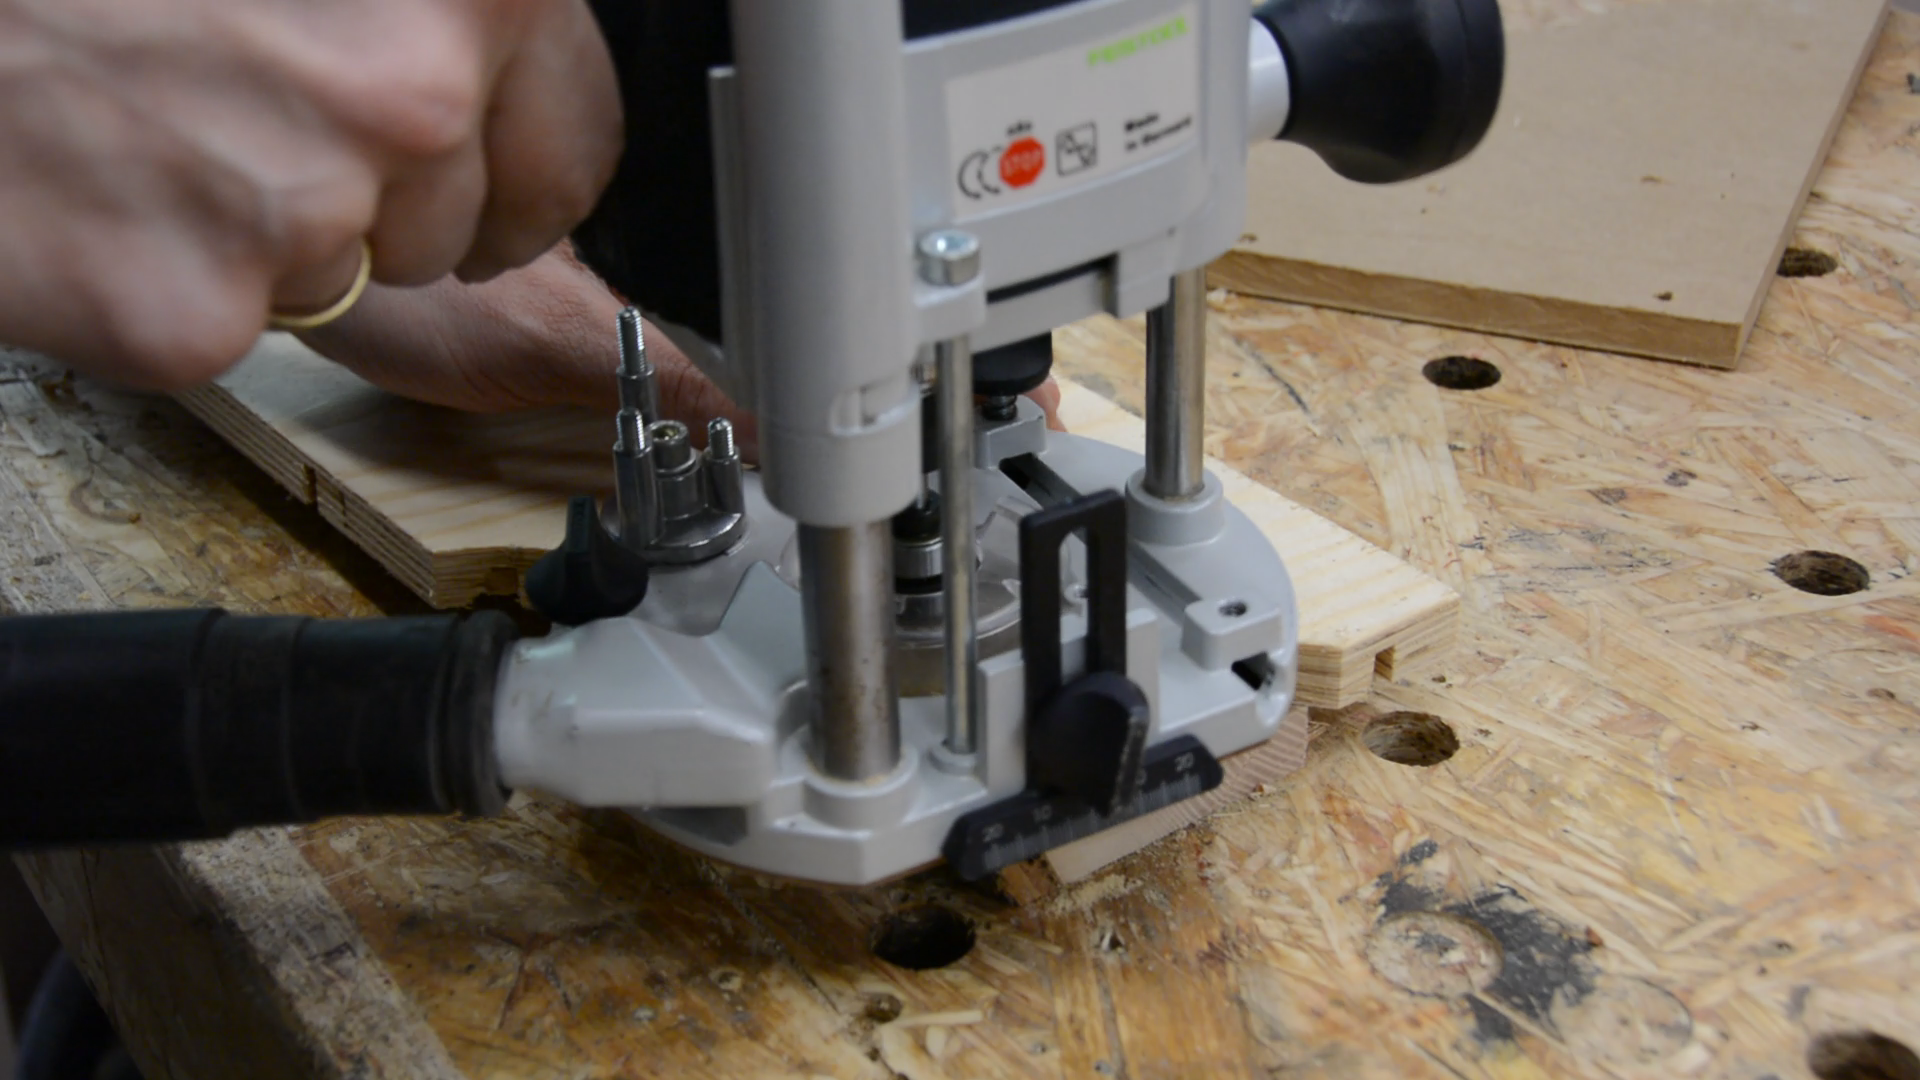
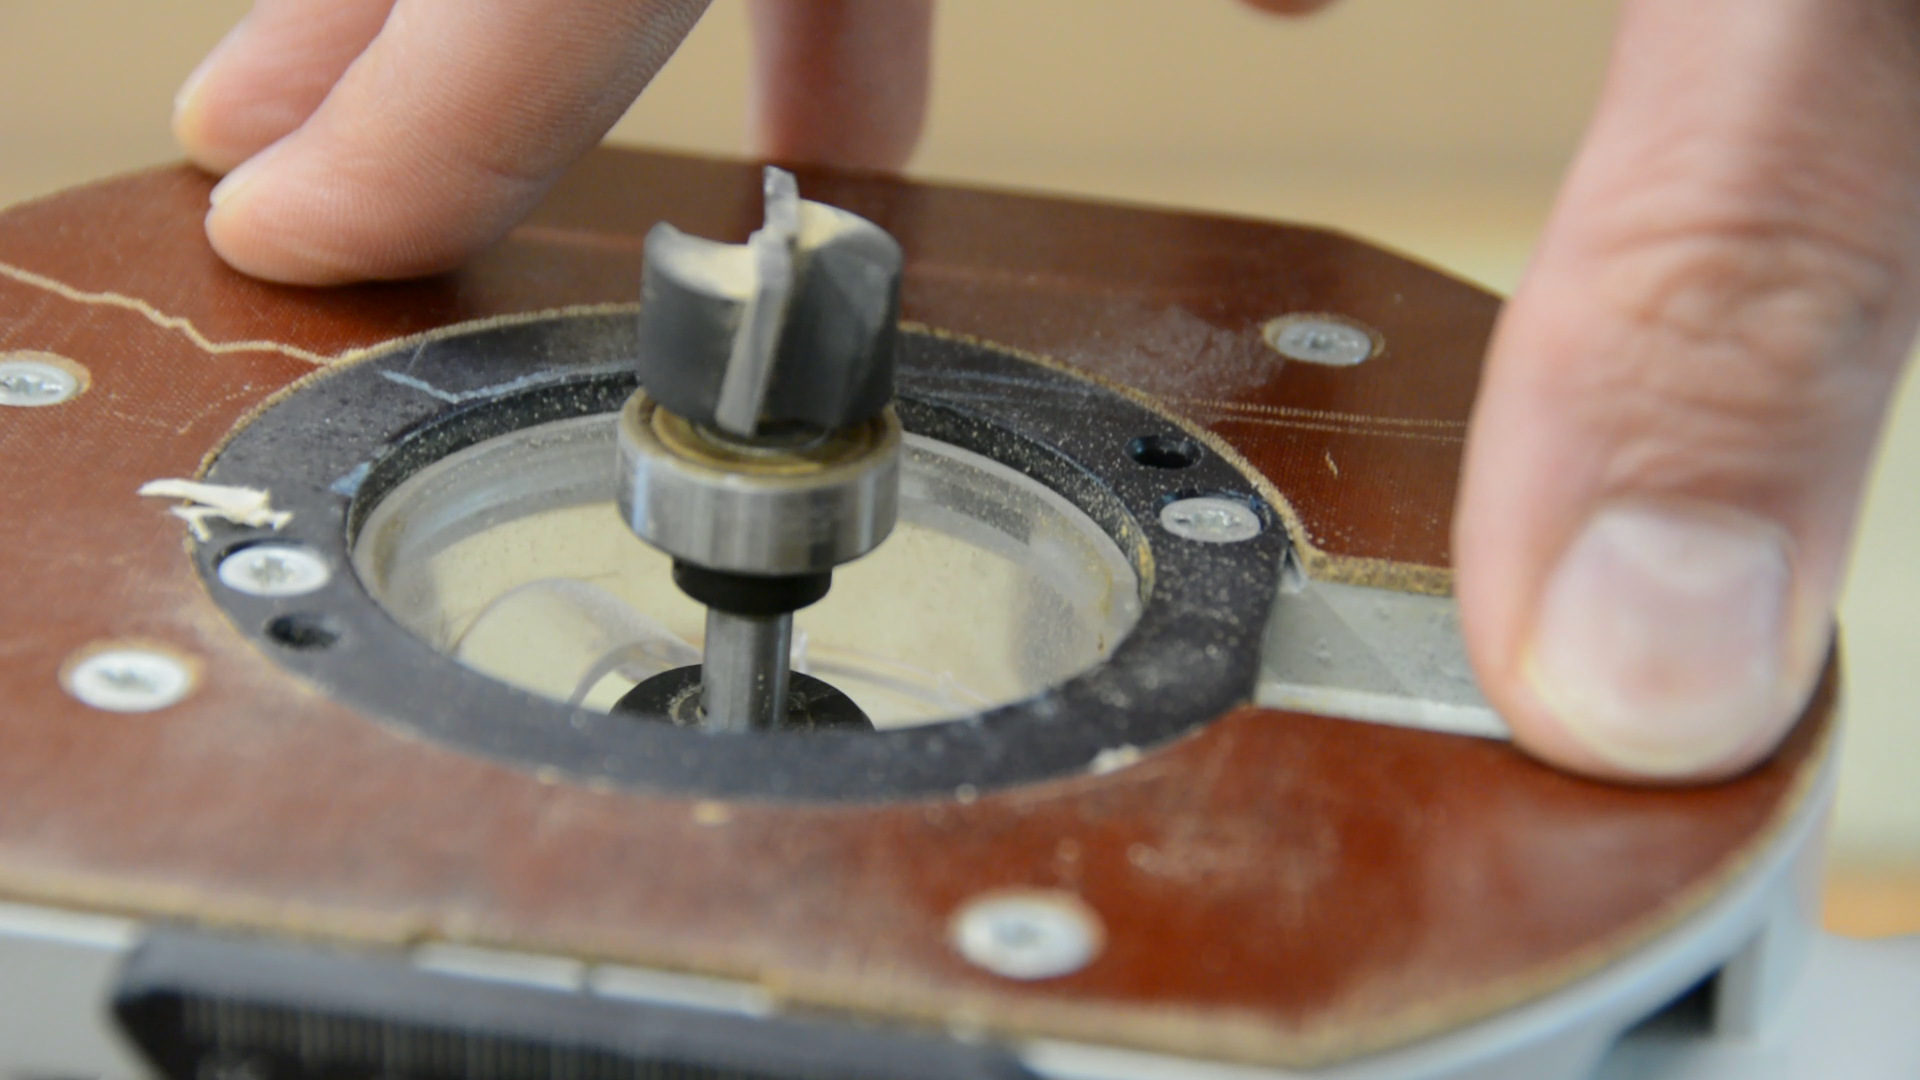
With a 17mm guide bushing and a 5mm router bit I cut a temporary template.
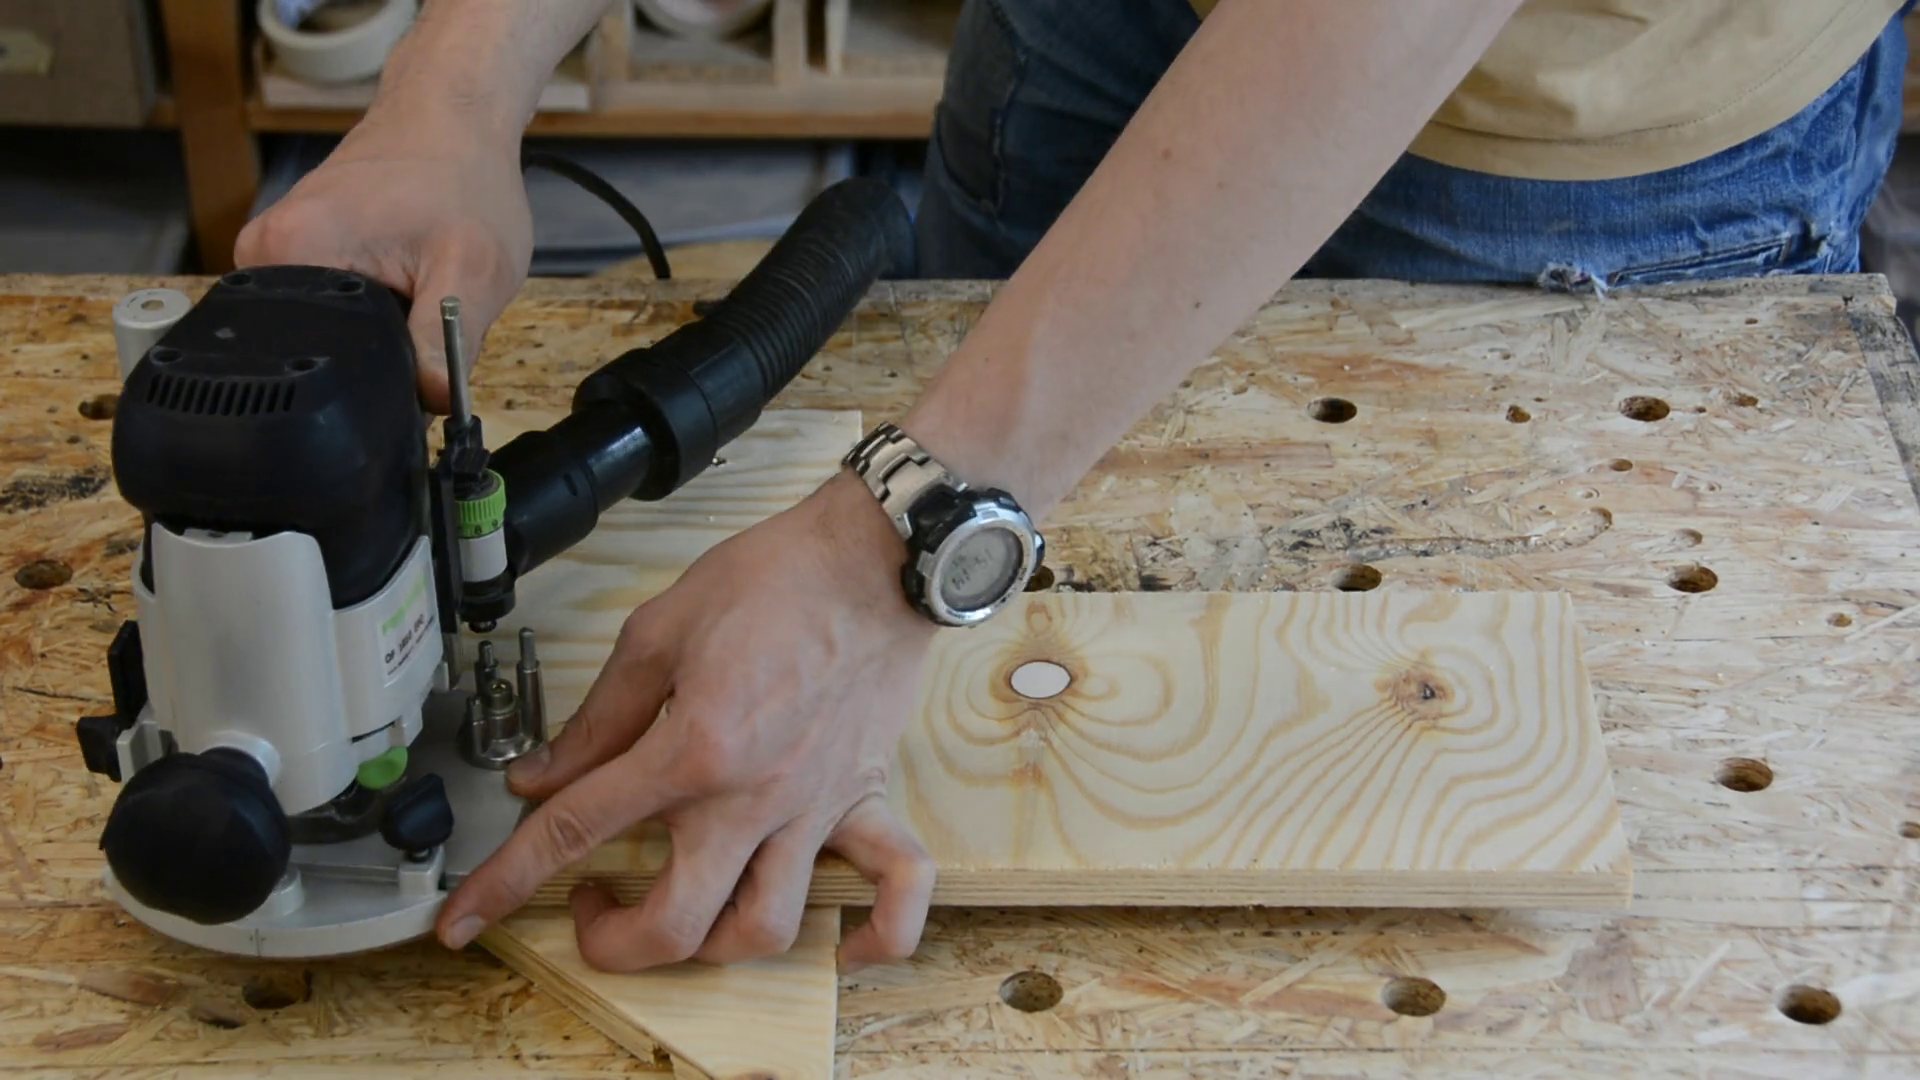
By following this shape with a 30mm guide bushing and a 8mm router bit we get a template that matches the first one we created.
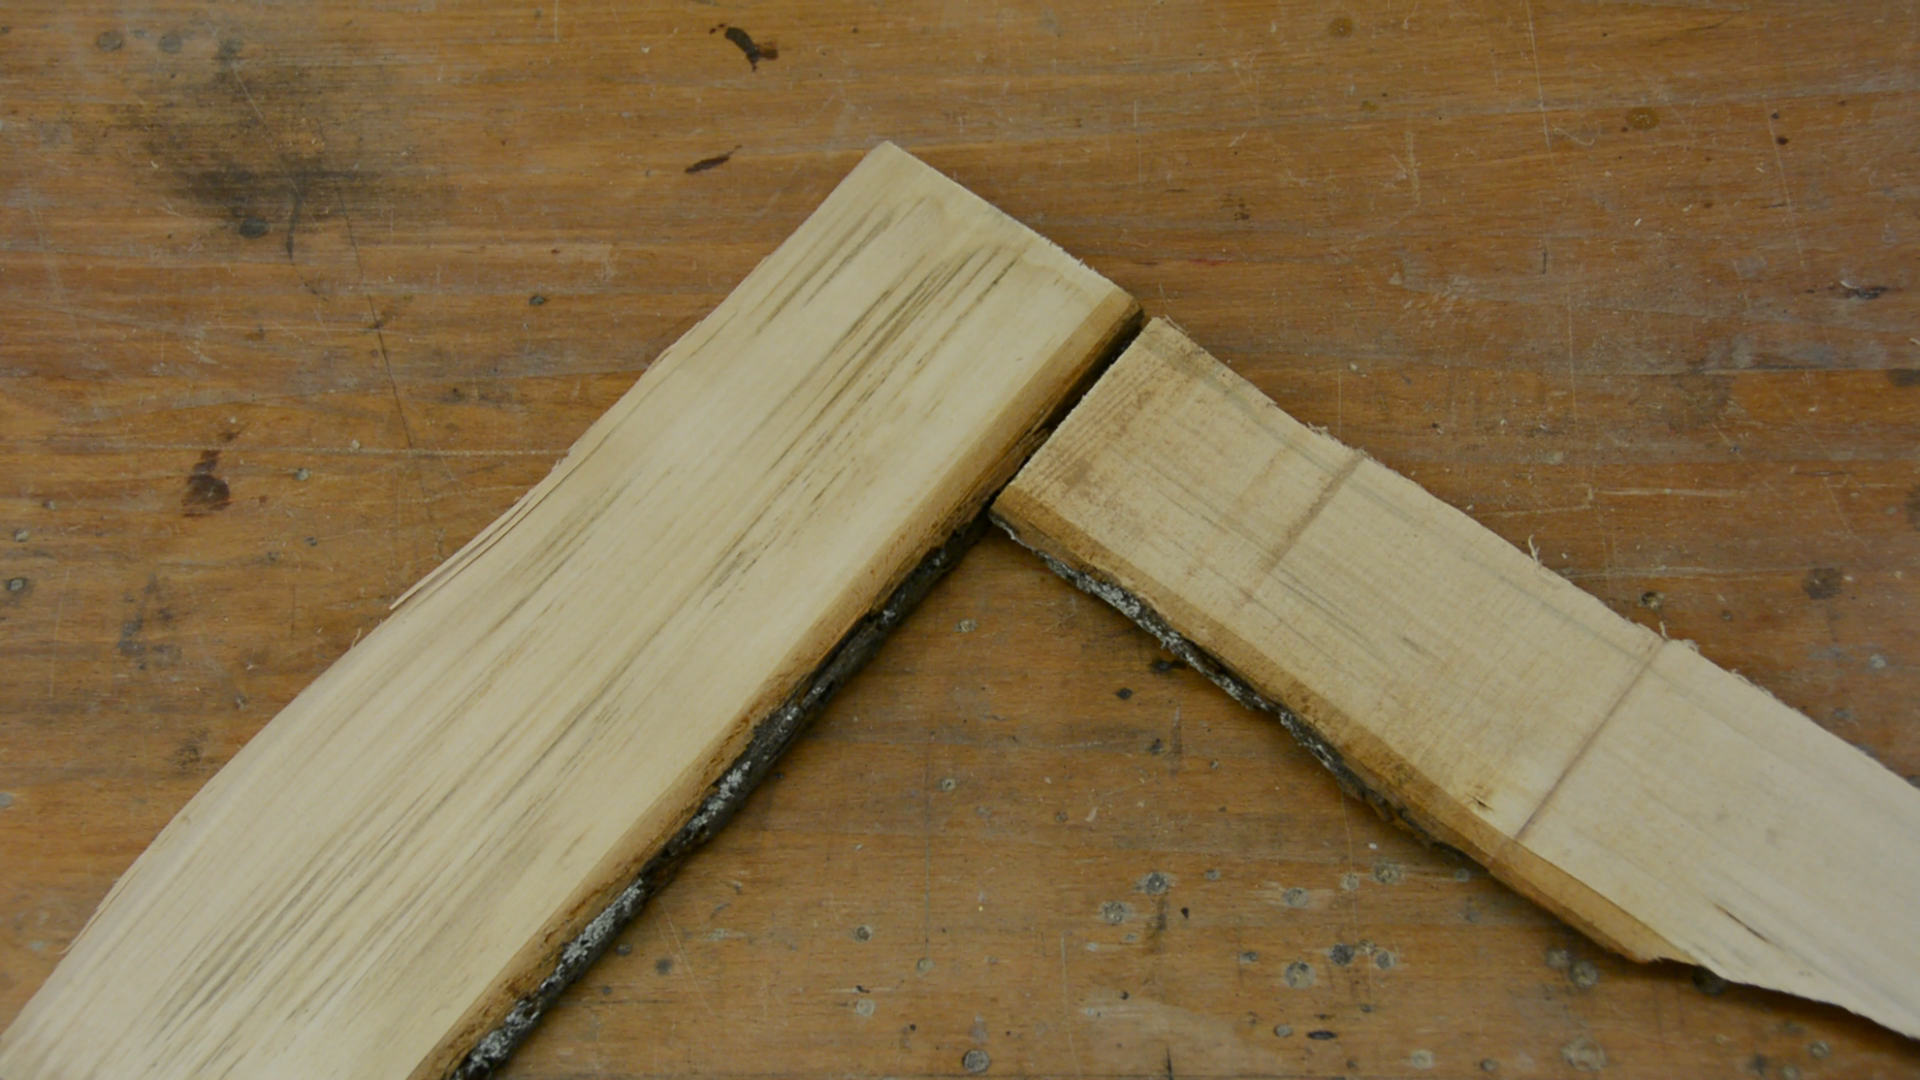
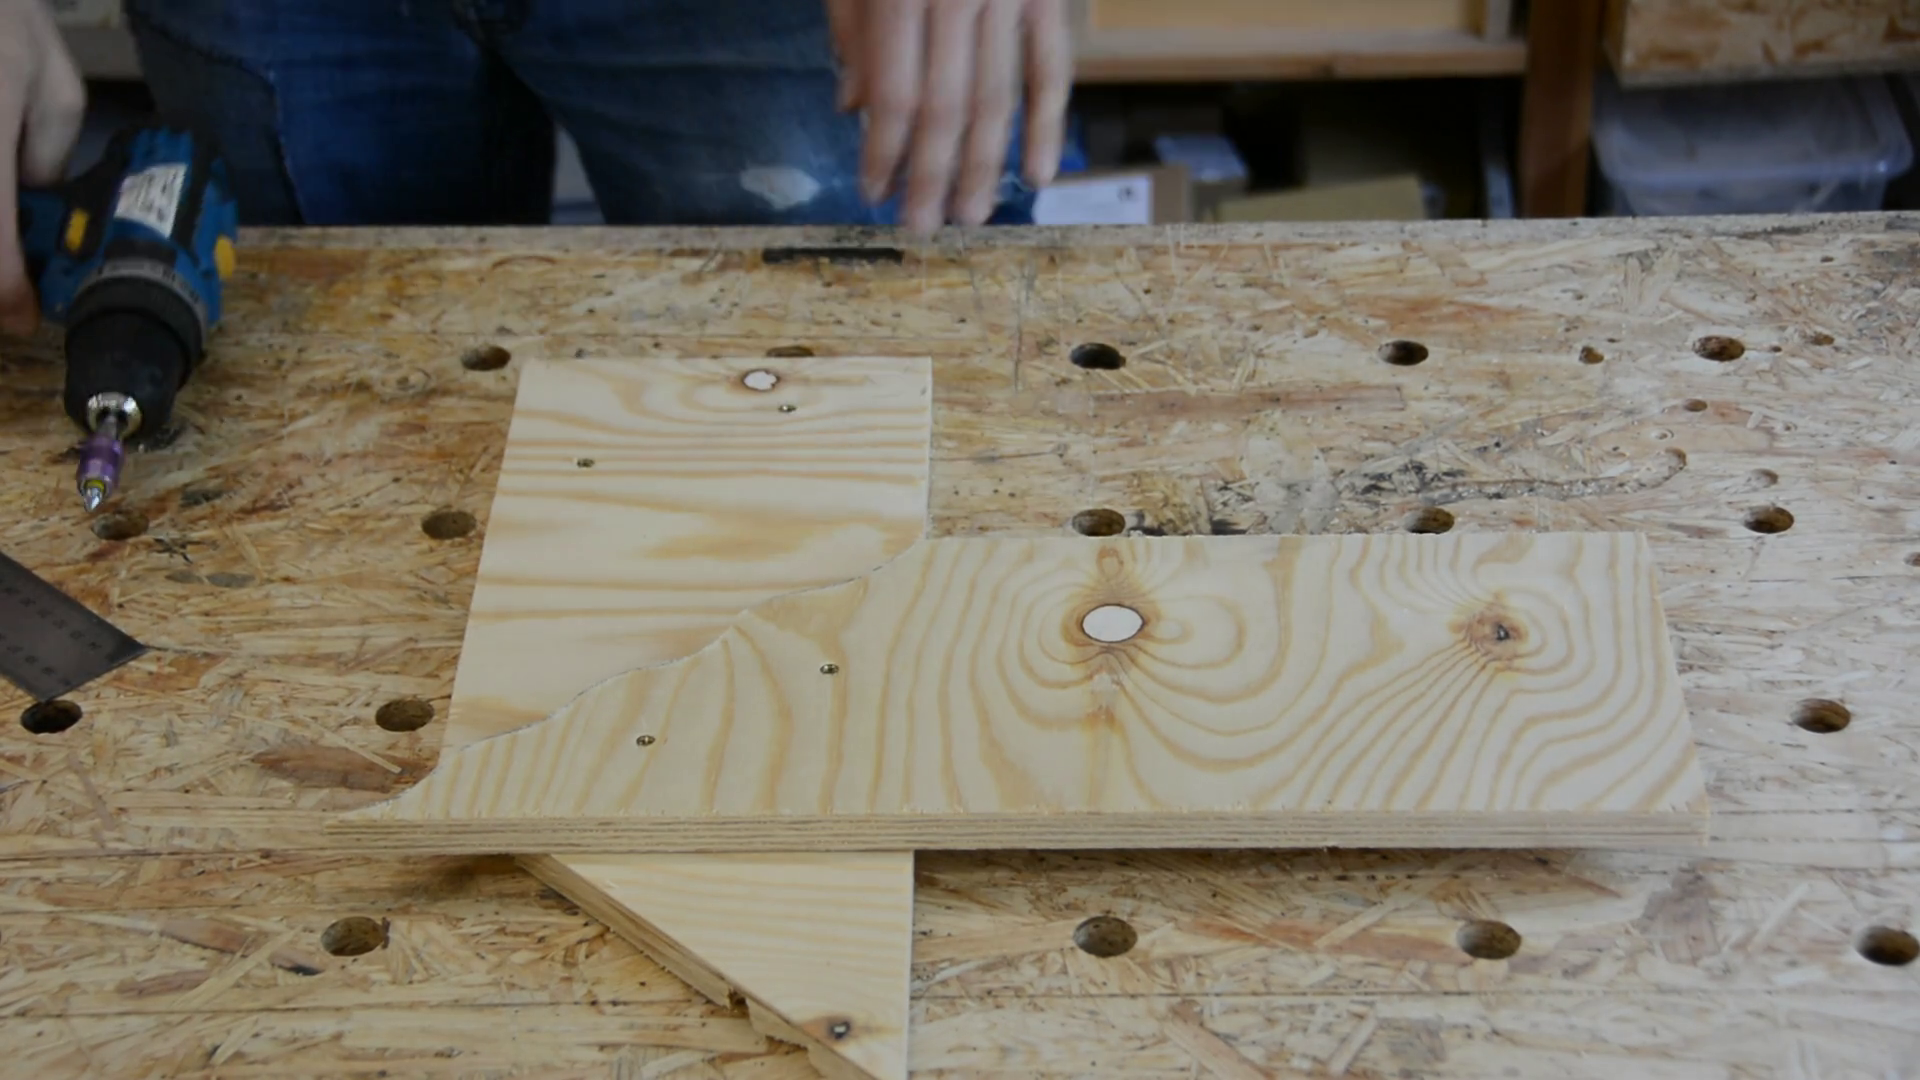
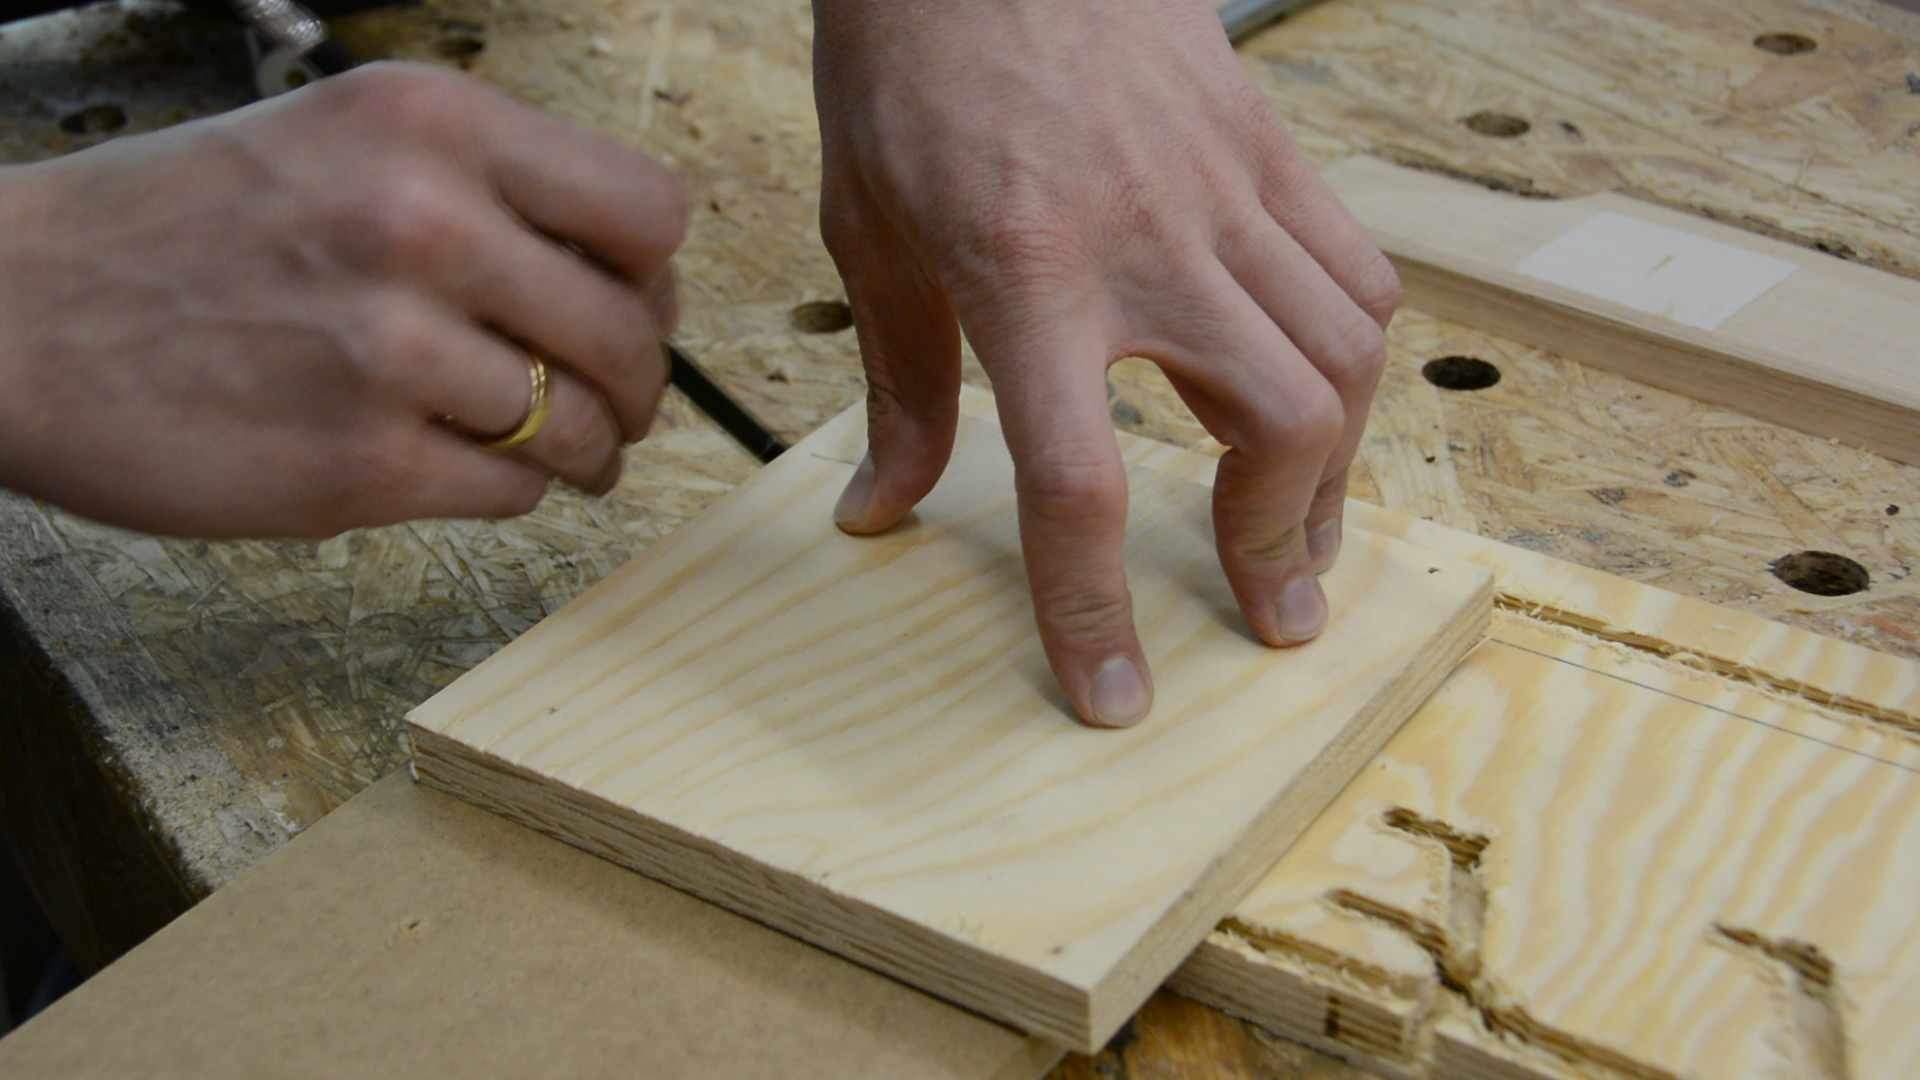
To use the template we first mark the inside corner on both pieces.

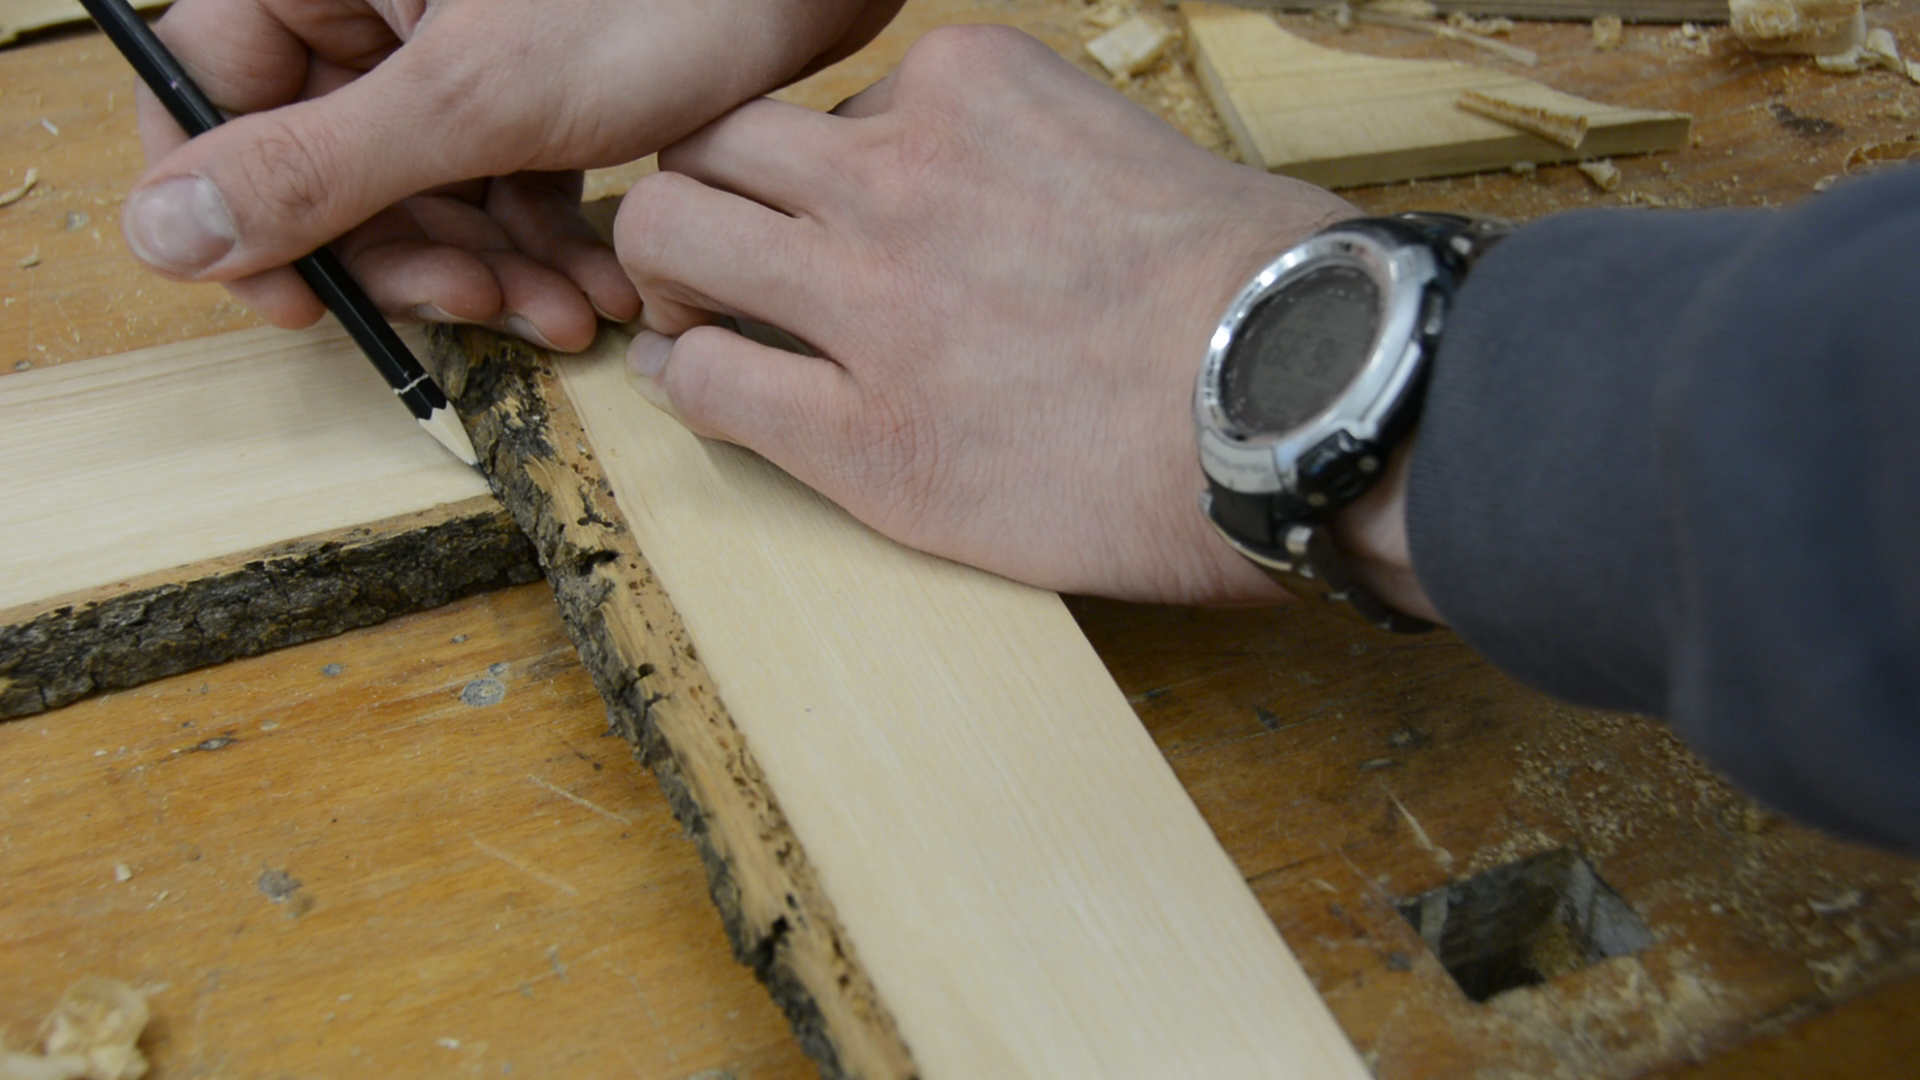
We then position the first half of the template so that it connects the inside and the outside
corner.
With some double stick tape we hold it in place while marking the straight edge of the
wood on the backside of the template.
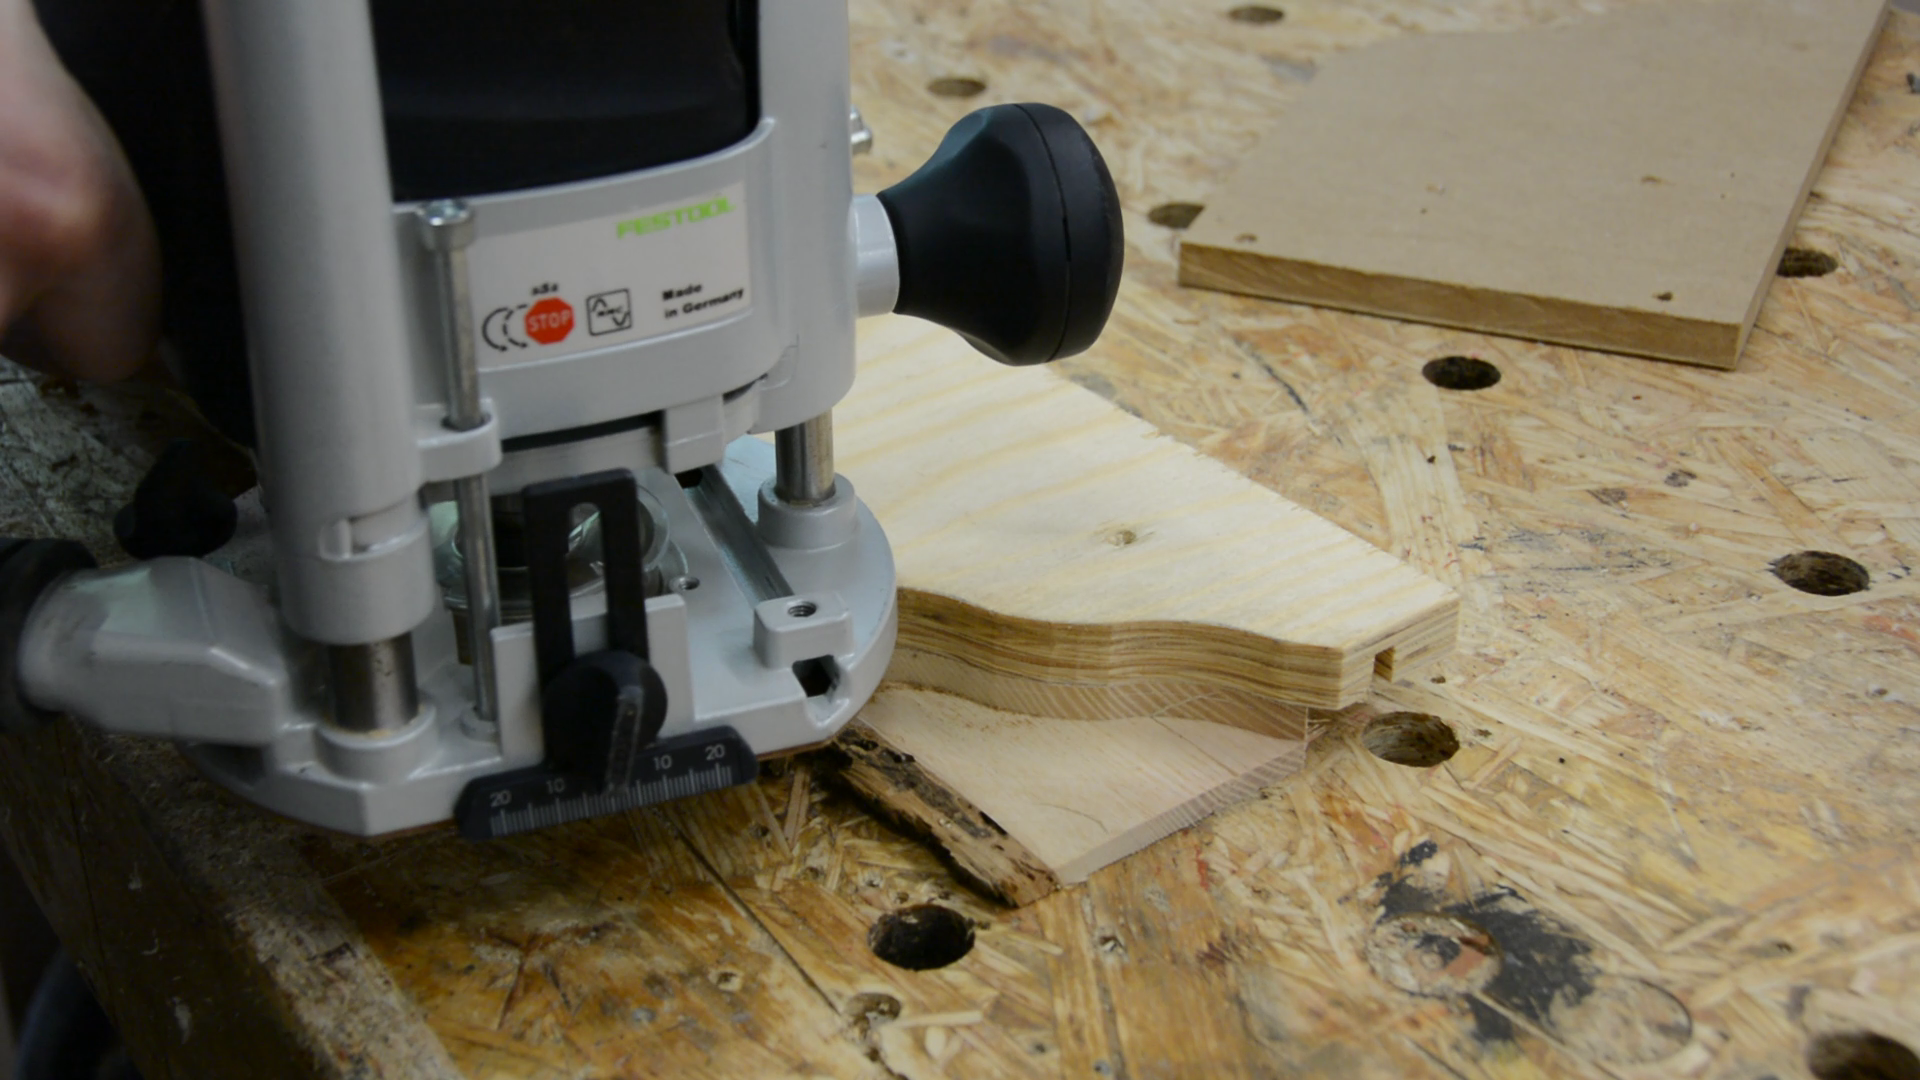
After clamping the template firmly to the wood I use this short router bit with a bearing at the top to remove half of the material thickness.
Now we remove the template and put it next to the matching one. With a square we transfer the line to the backside of the second template. With more double stick tape the second piece of wood is secured to the second template.
This time we trim the wood flush with the template.

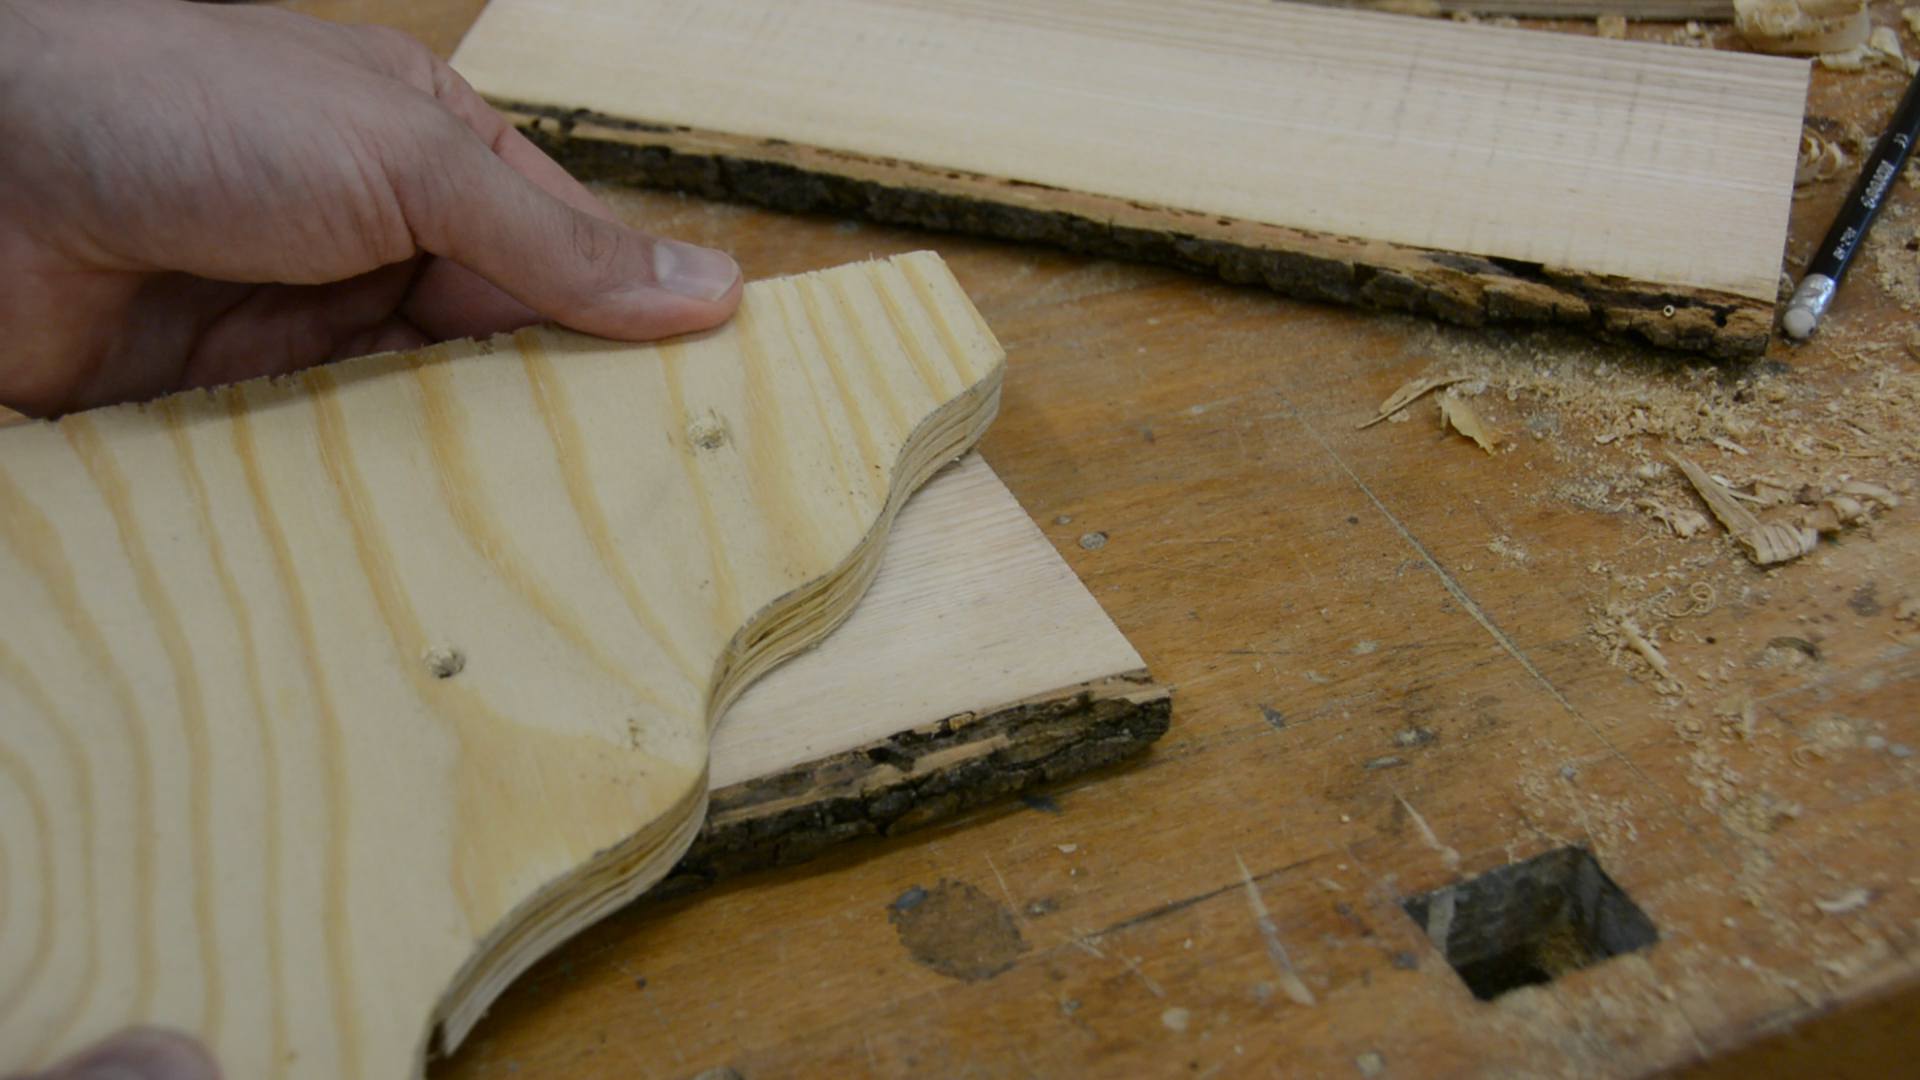
Lastly we remove the live edge from this area in piece one.

On the second piece we remove the respective area on the underside.

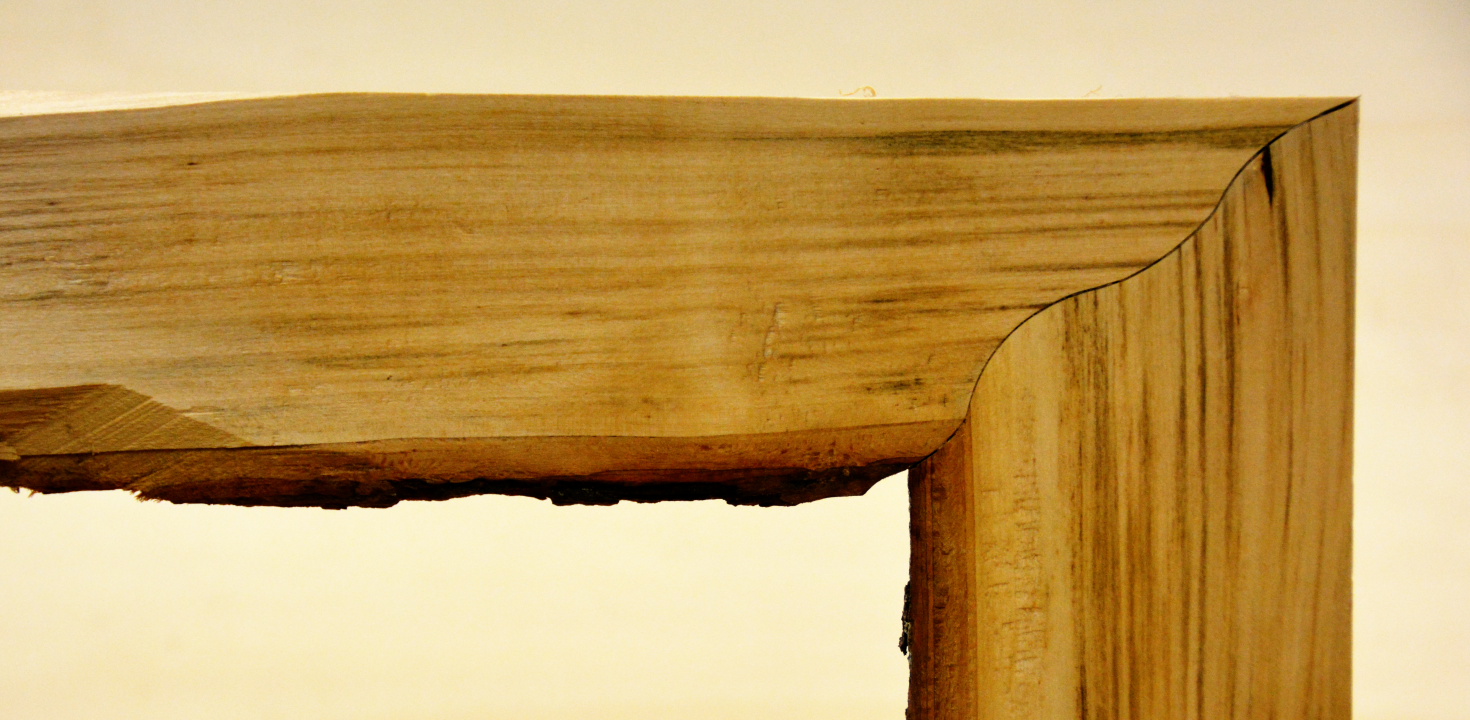
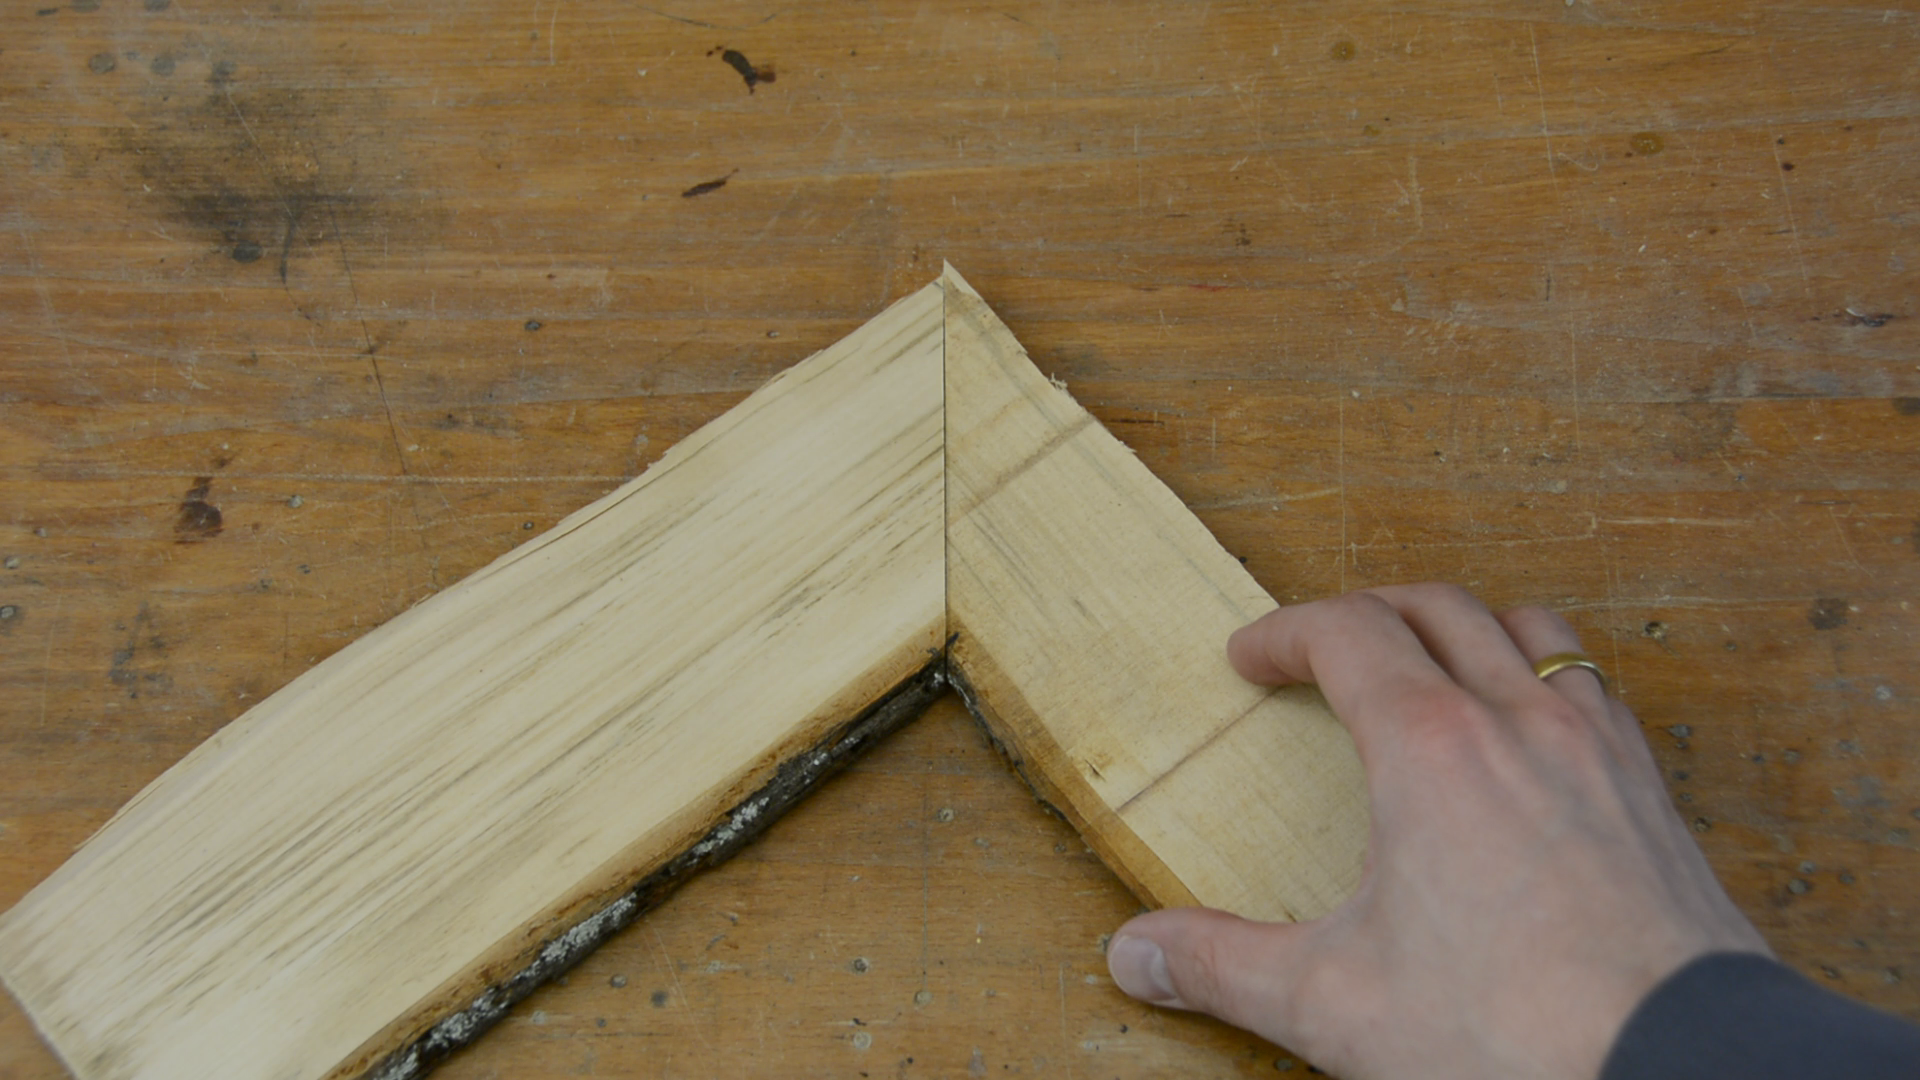
We can glue the joint together:
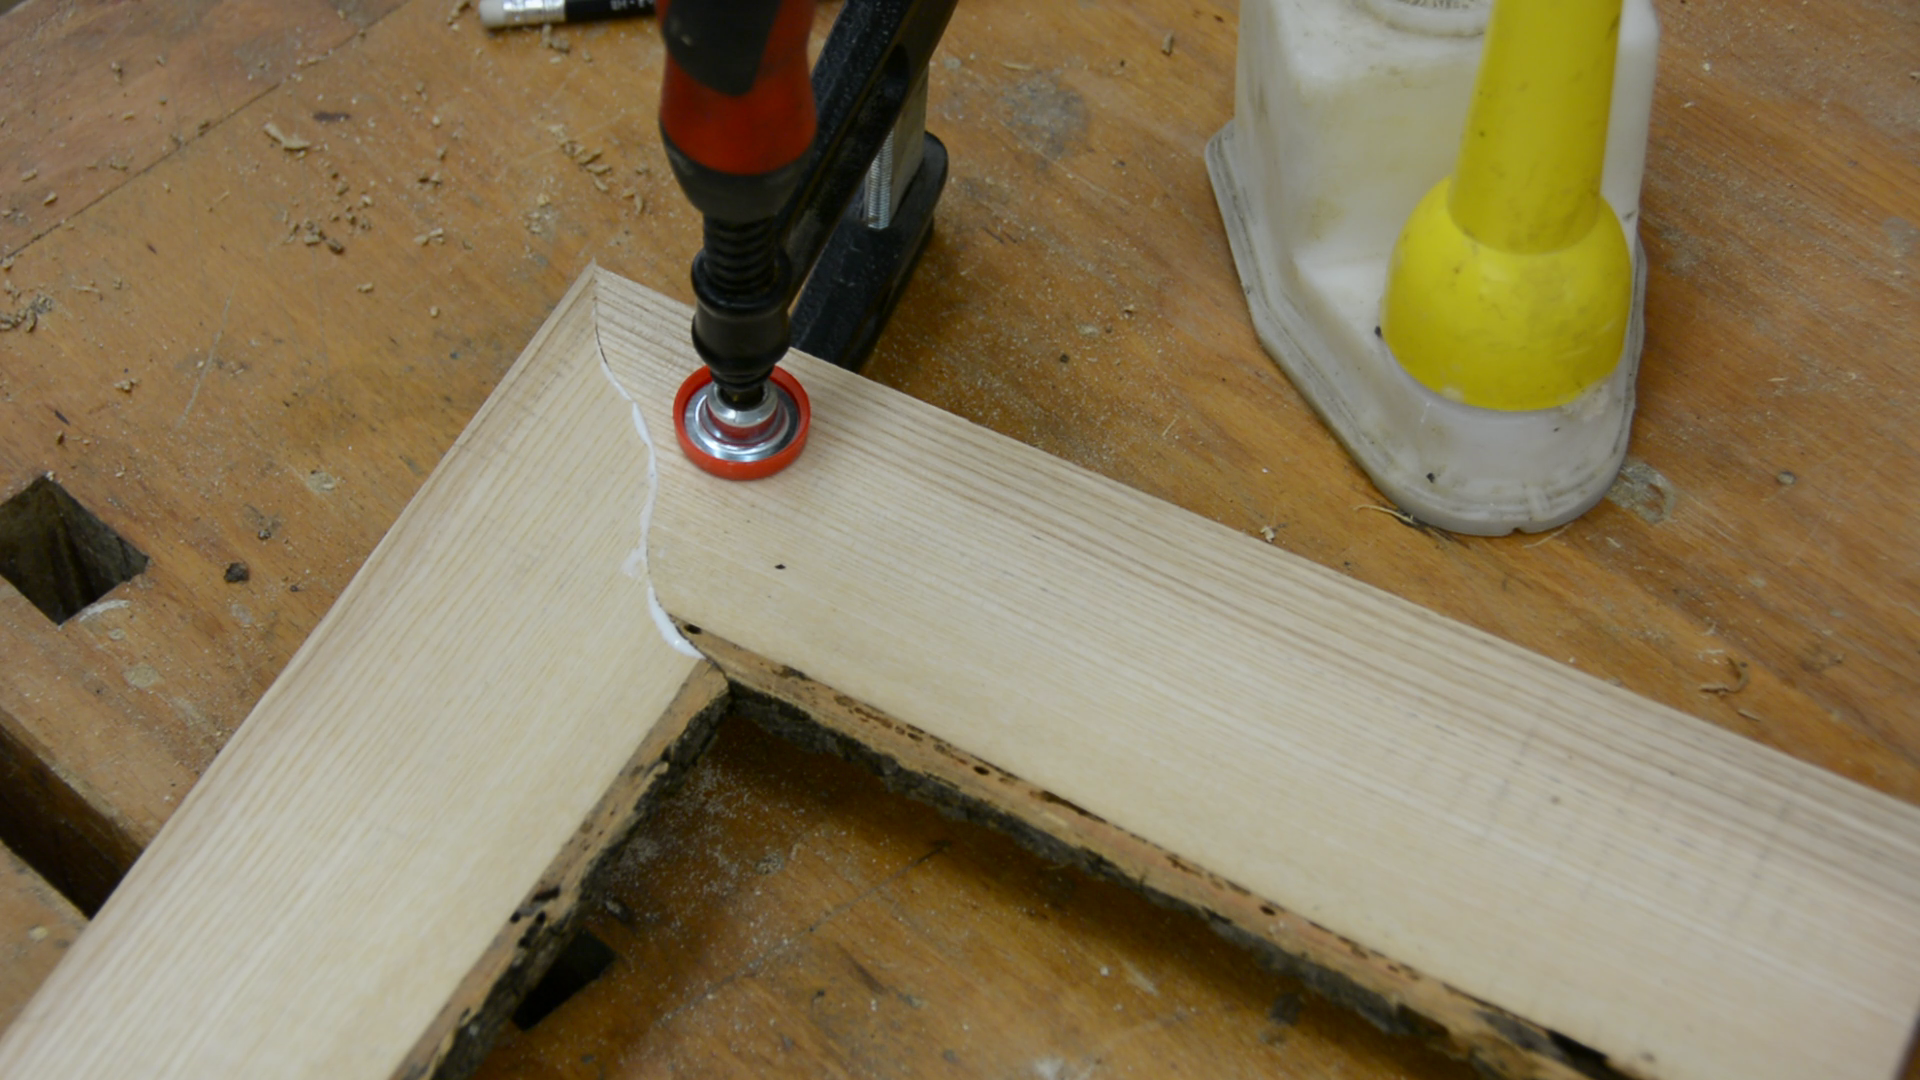
The one thing that you have to watch out for is the shape of the bark. In the image above you can see that it runs a bit to high. I fixed this on another piece that you can see as the title image on this page.