

In this article we describe how we upgraded our electronics workstation and installed a LED panel and created an overhead camera rig.
After creating the cart for the K40 laser we created quite a few workbenches – one for painting, two workbenches for the kids and one for electronics and various tinkering tasks.

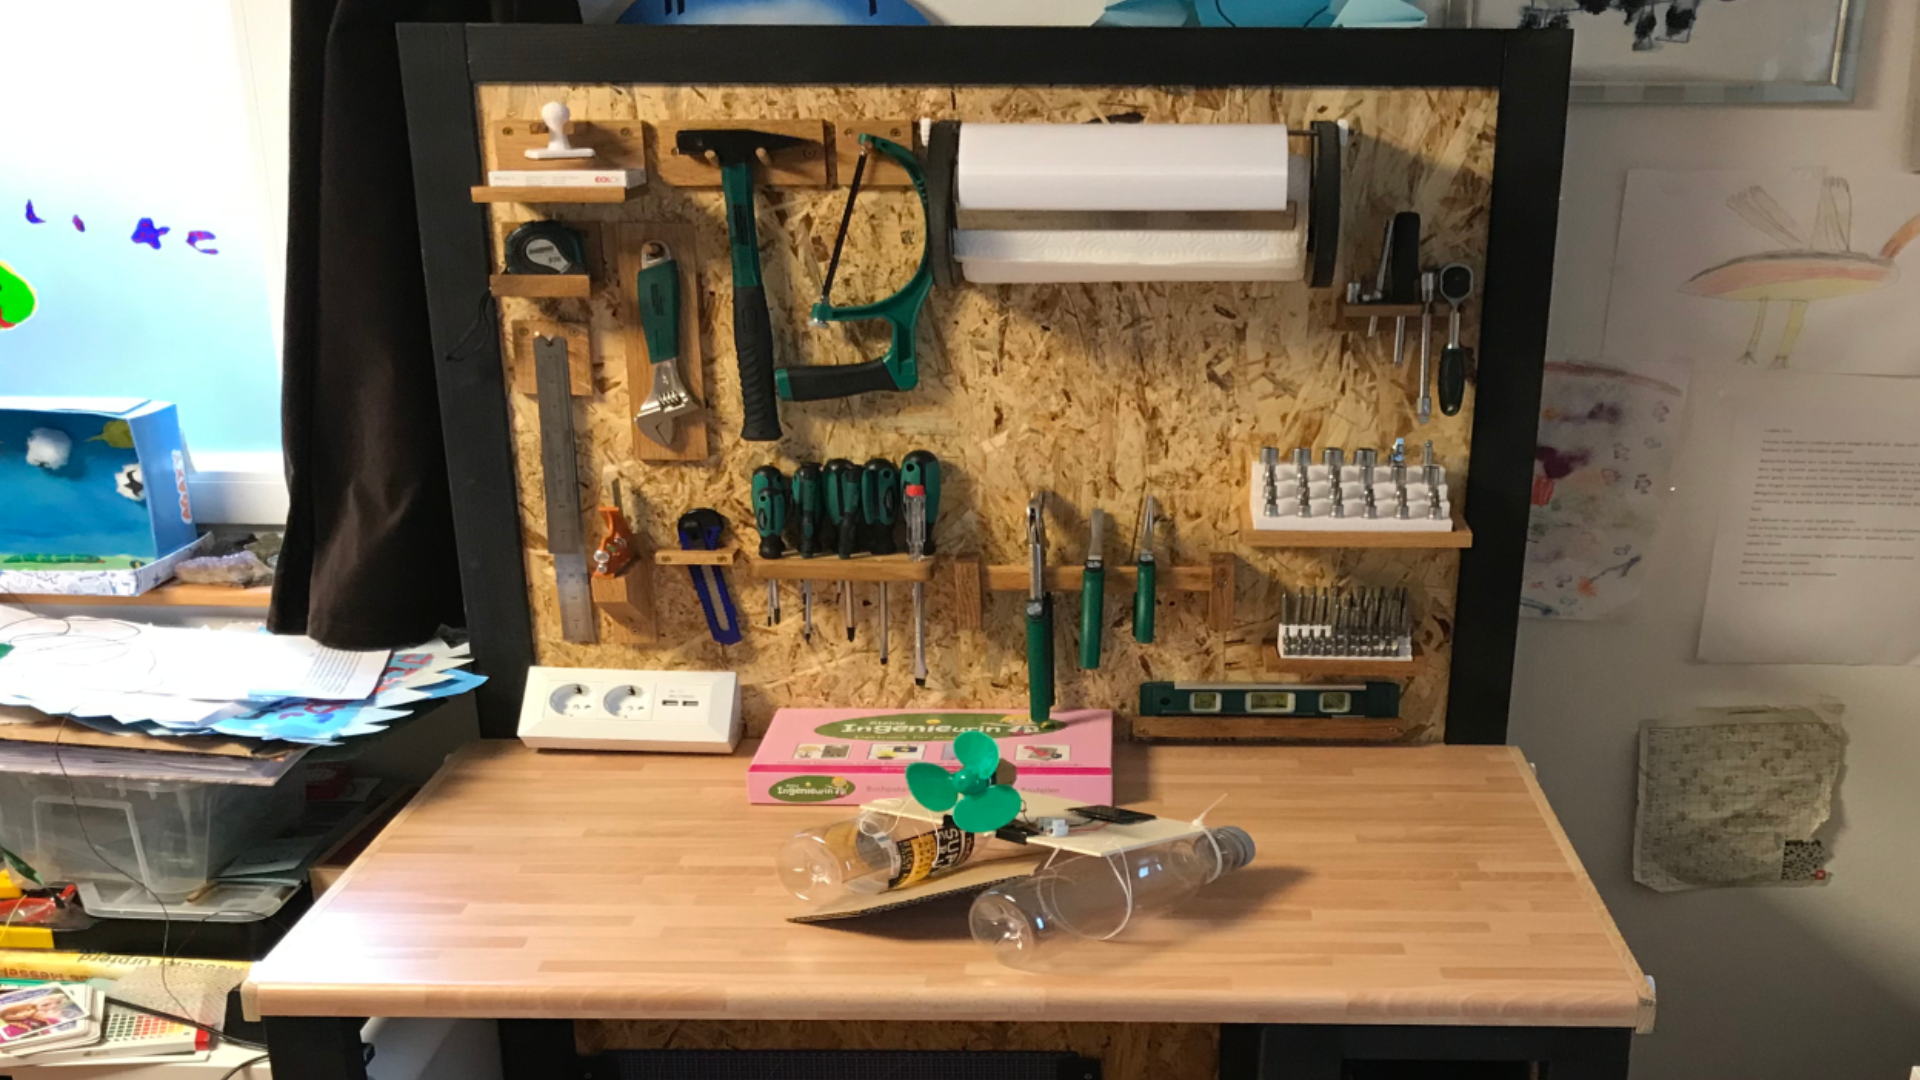
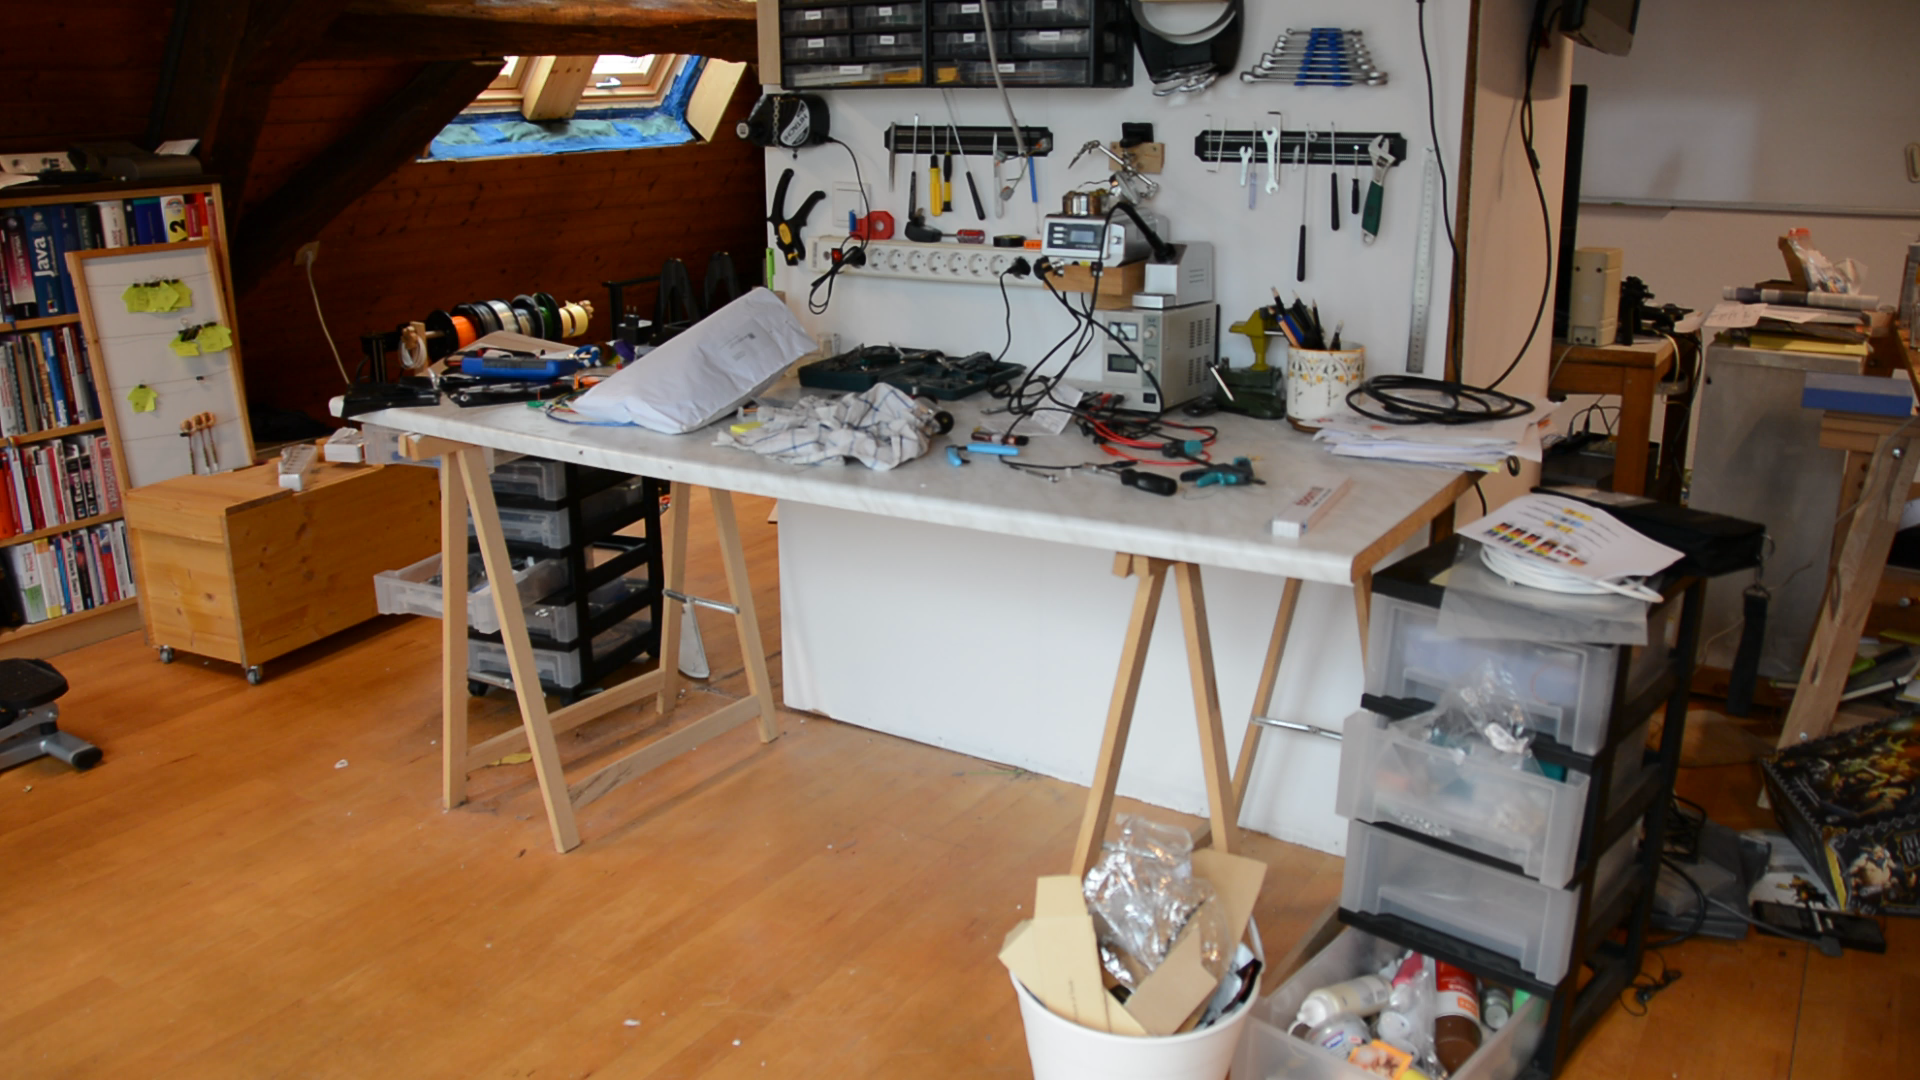
They are all based on the same principles. In this article we have a look at the build process for the electronics workstation. When we moved into this place 3 years ago a piece of kitchen countertop on top of two saw horses seemed like a good interims solution to do some tinkering. Now it’s time to overhaul this space.
The electronics workstation frame
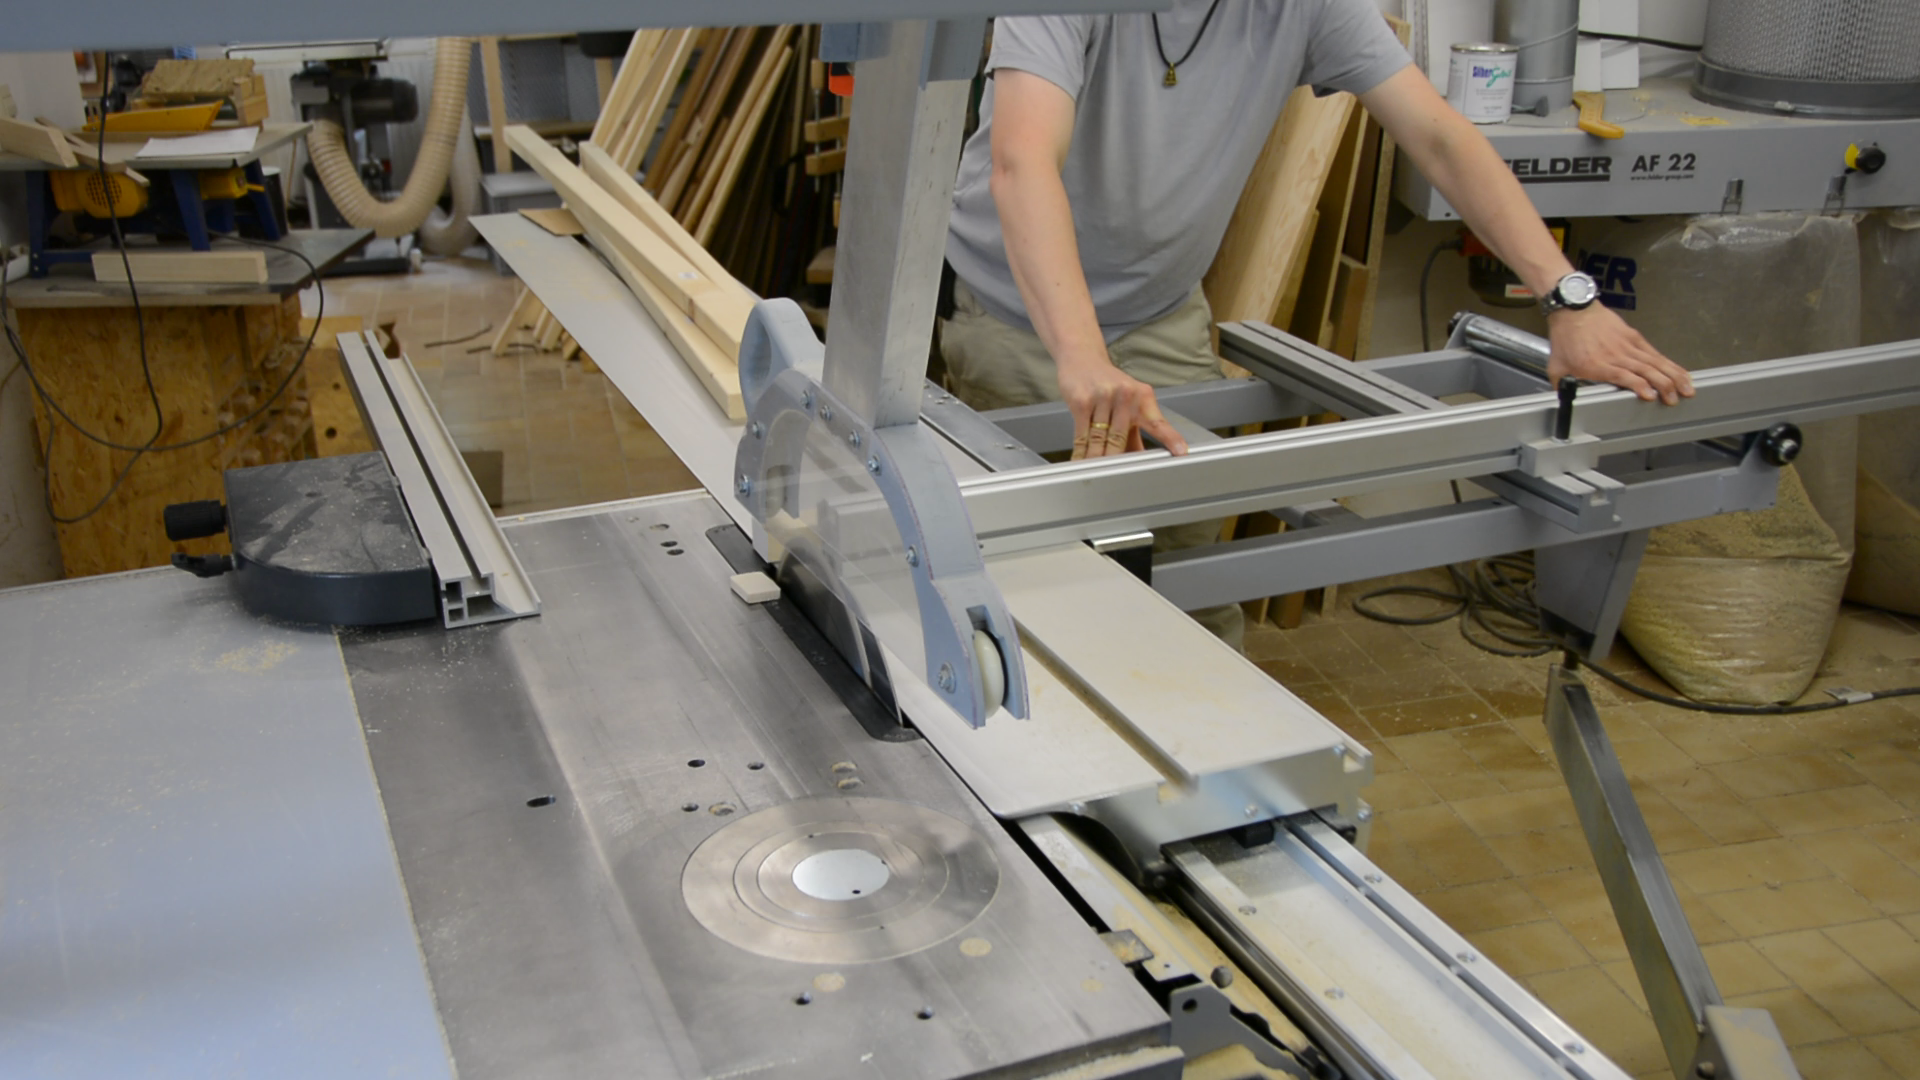
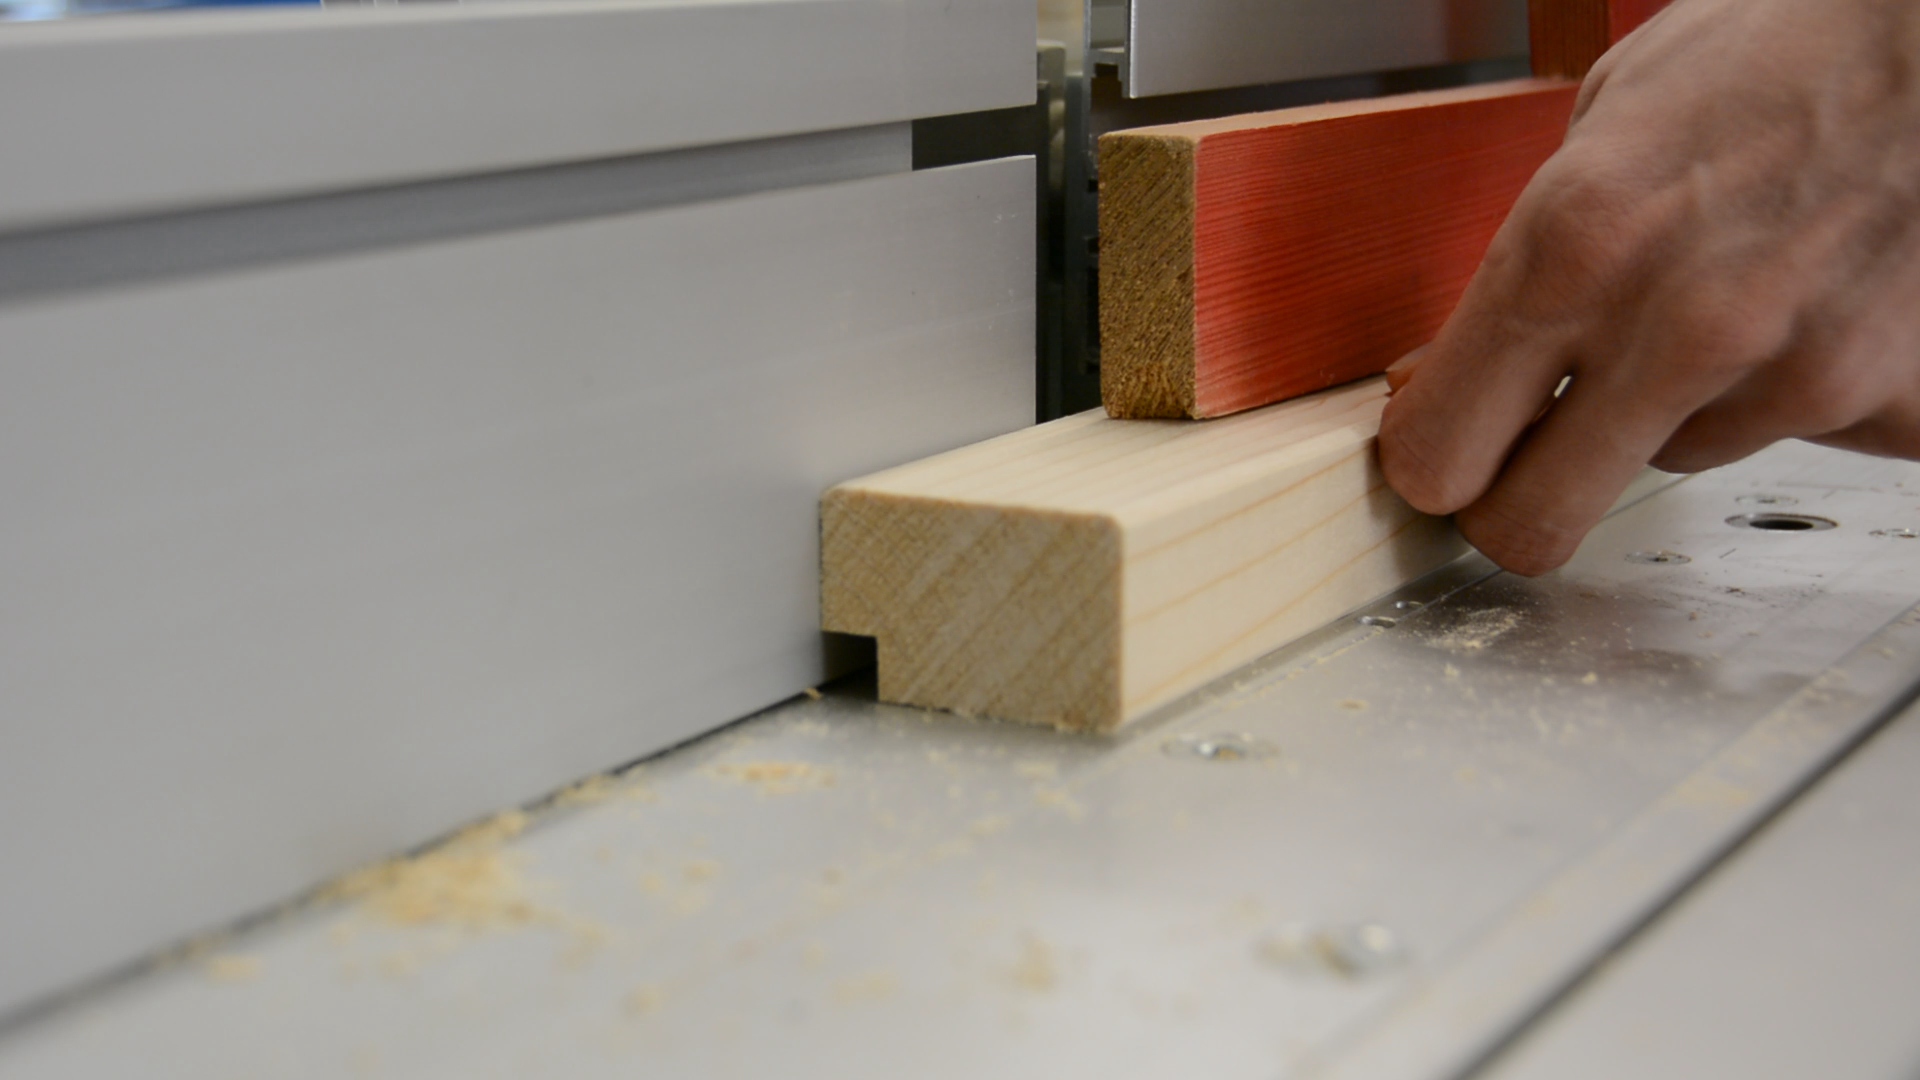
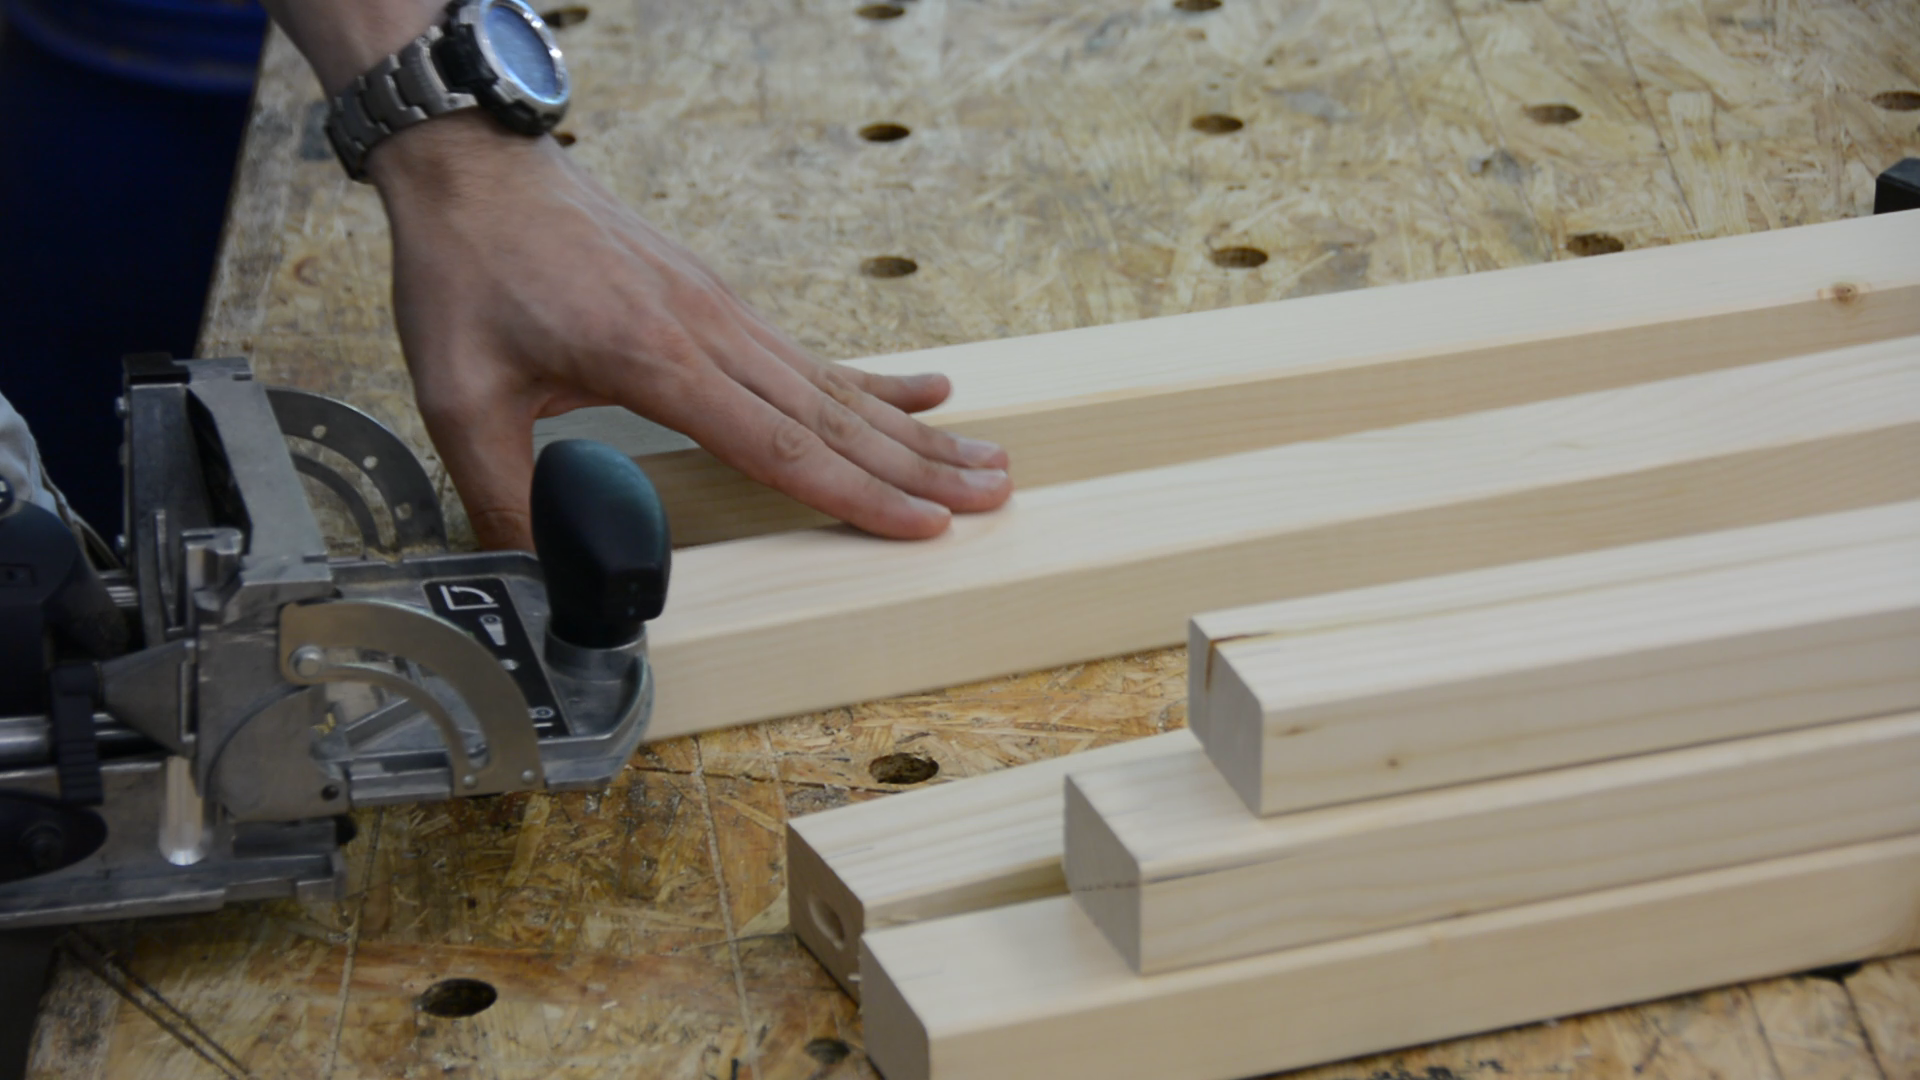
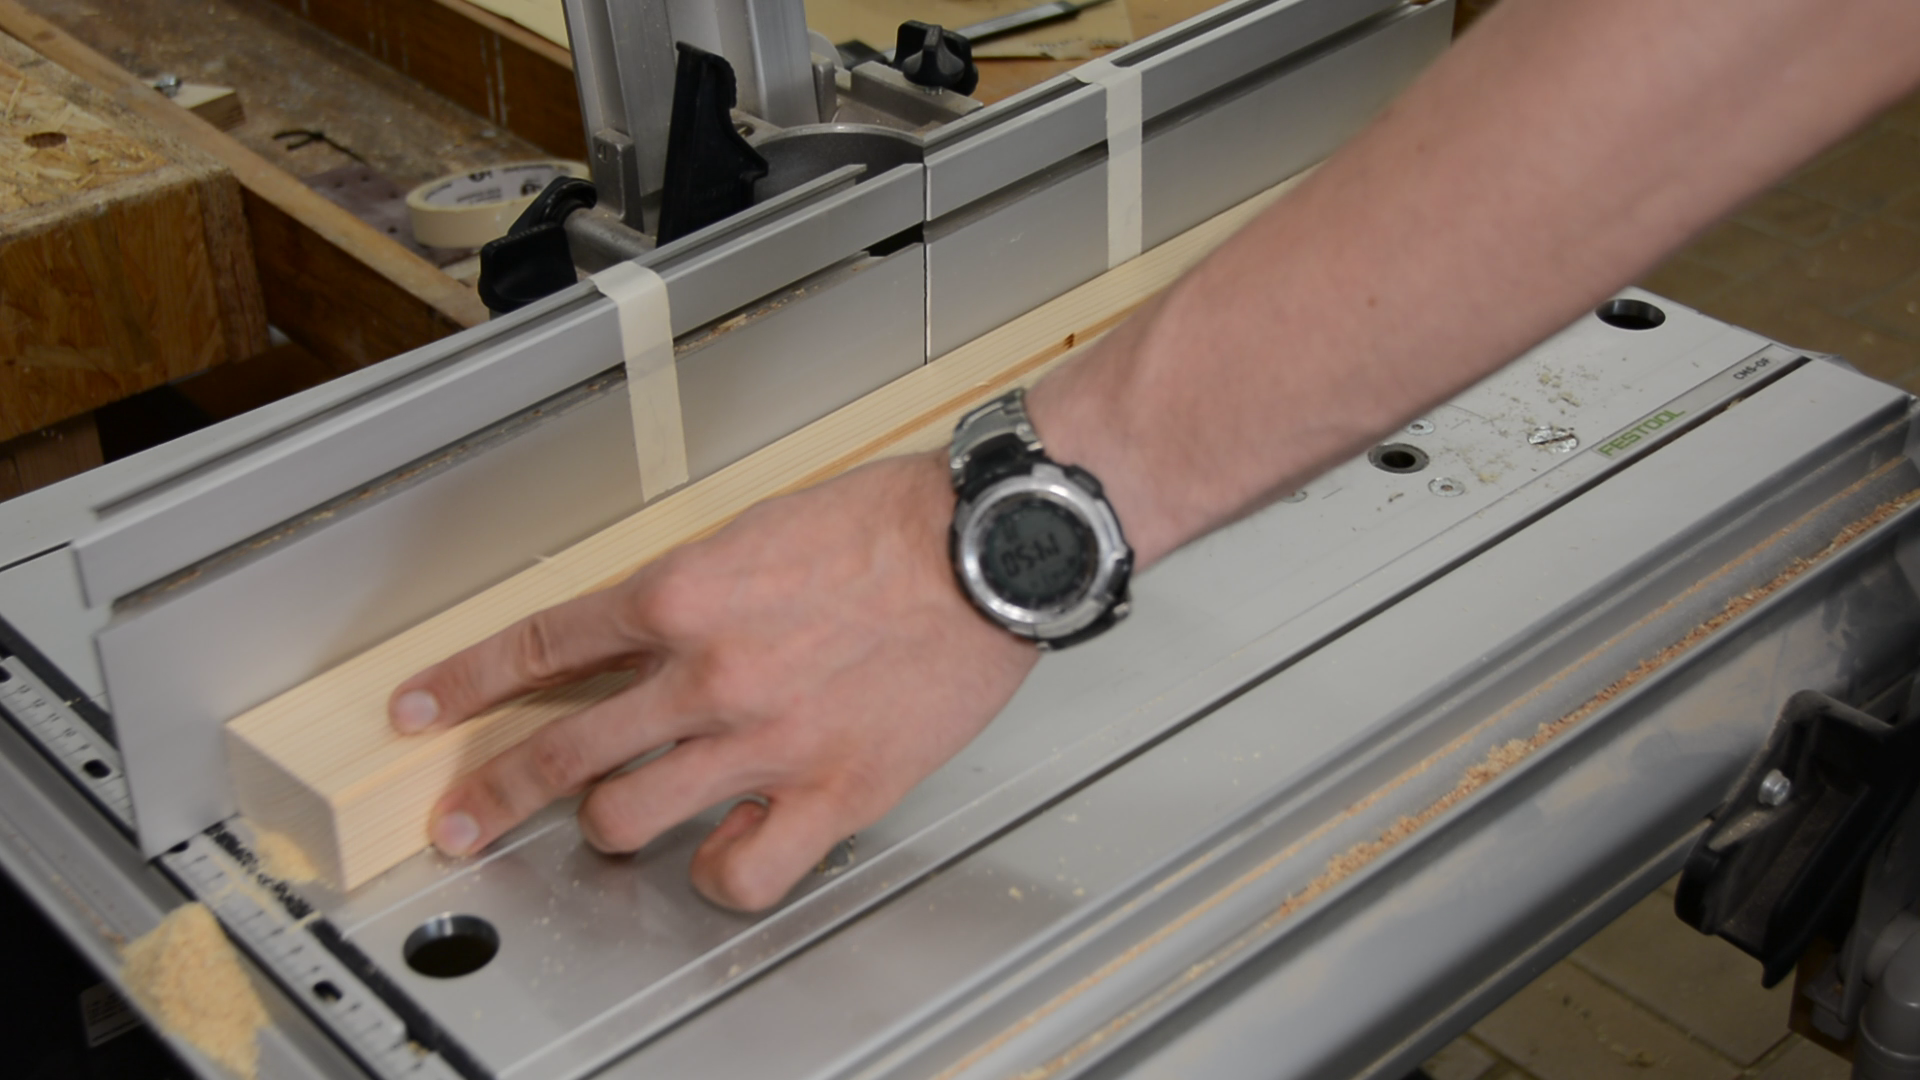
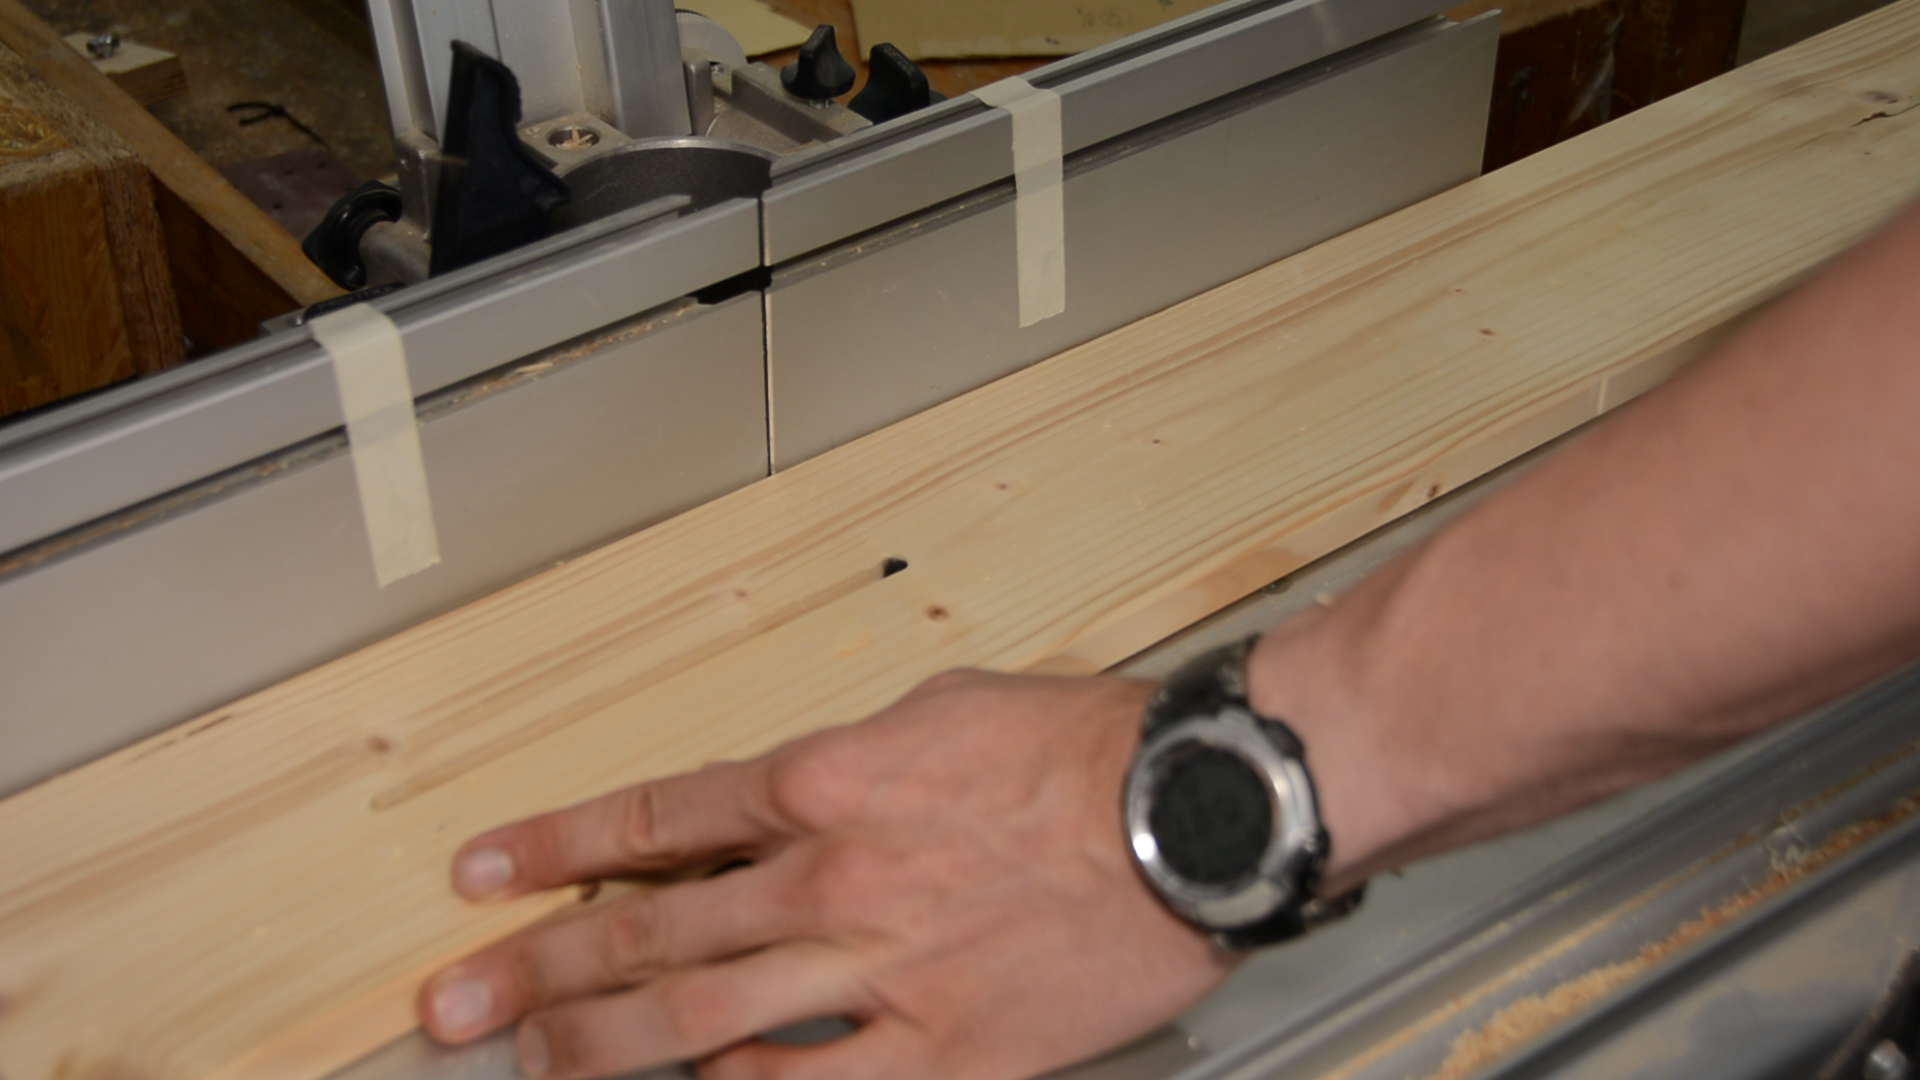
We start with cutting construction lumber from the home center to size on the tablesaw.
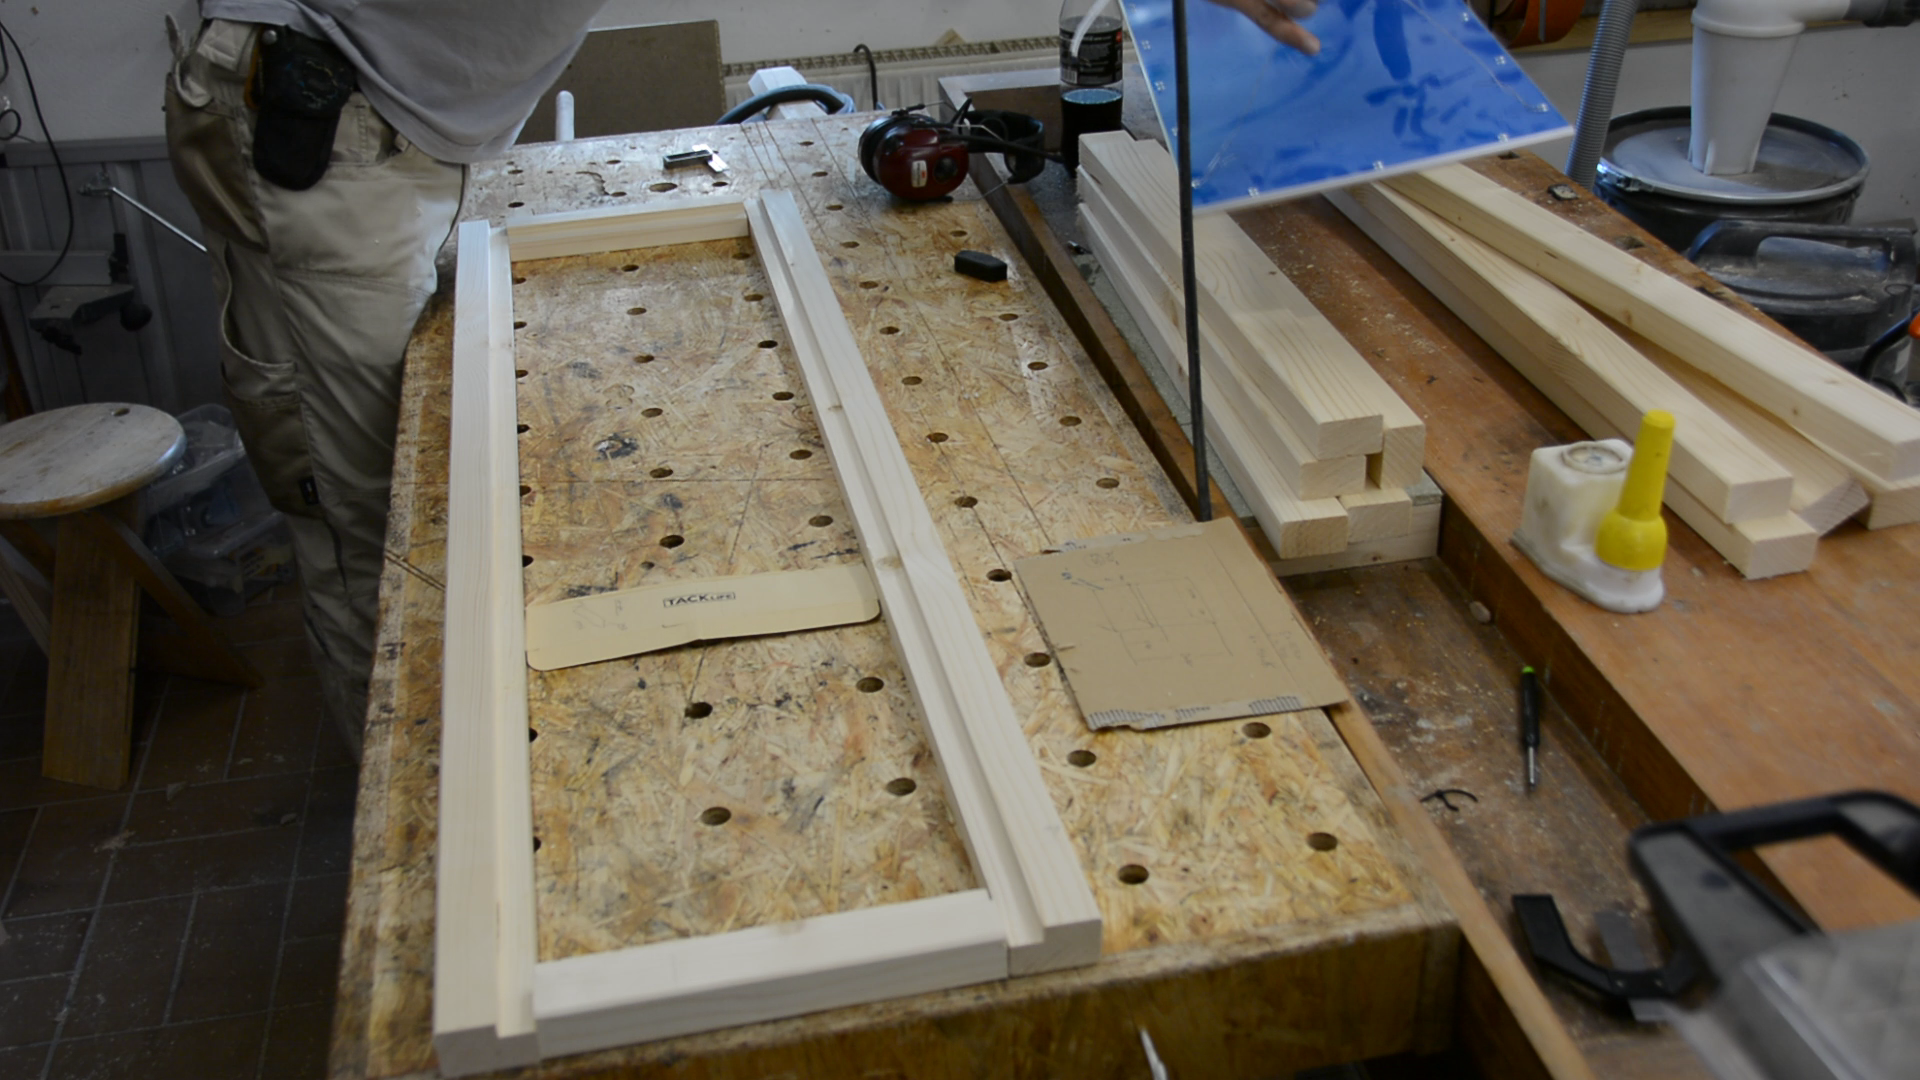
Then we build two large frames for the sides.

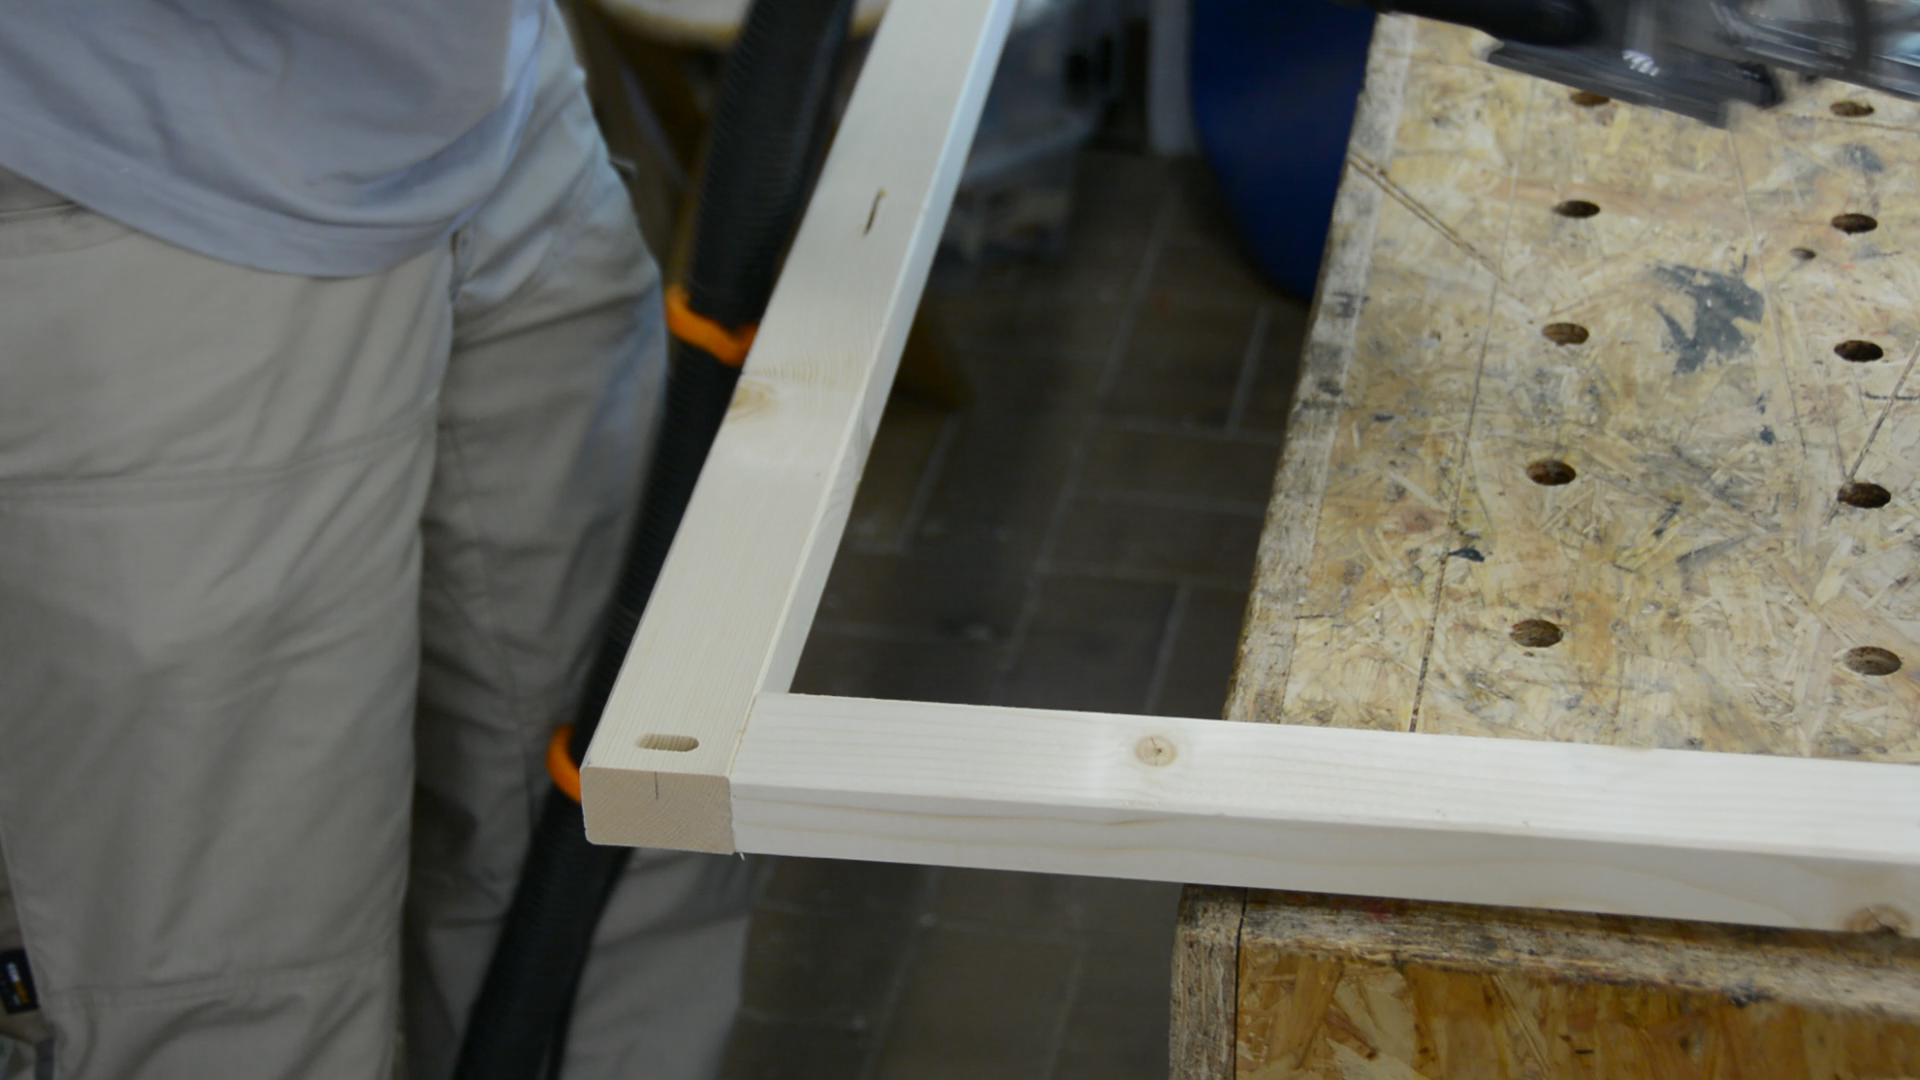
We use domino joints to connect the frames. If you don’t have a domino have a look at this article how to build a jig for loose tenon joinery.

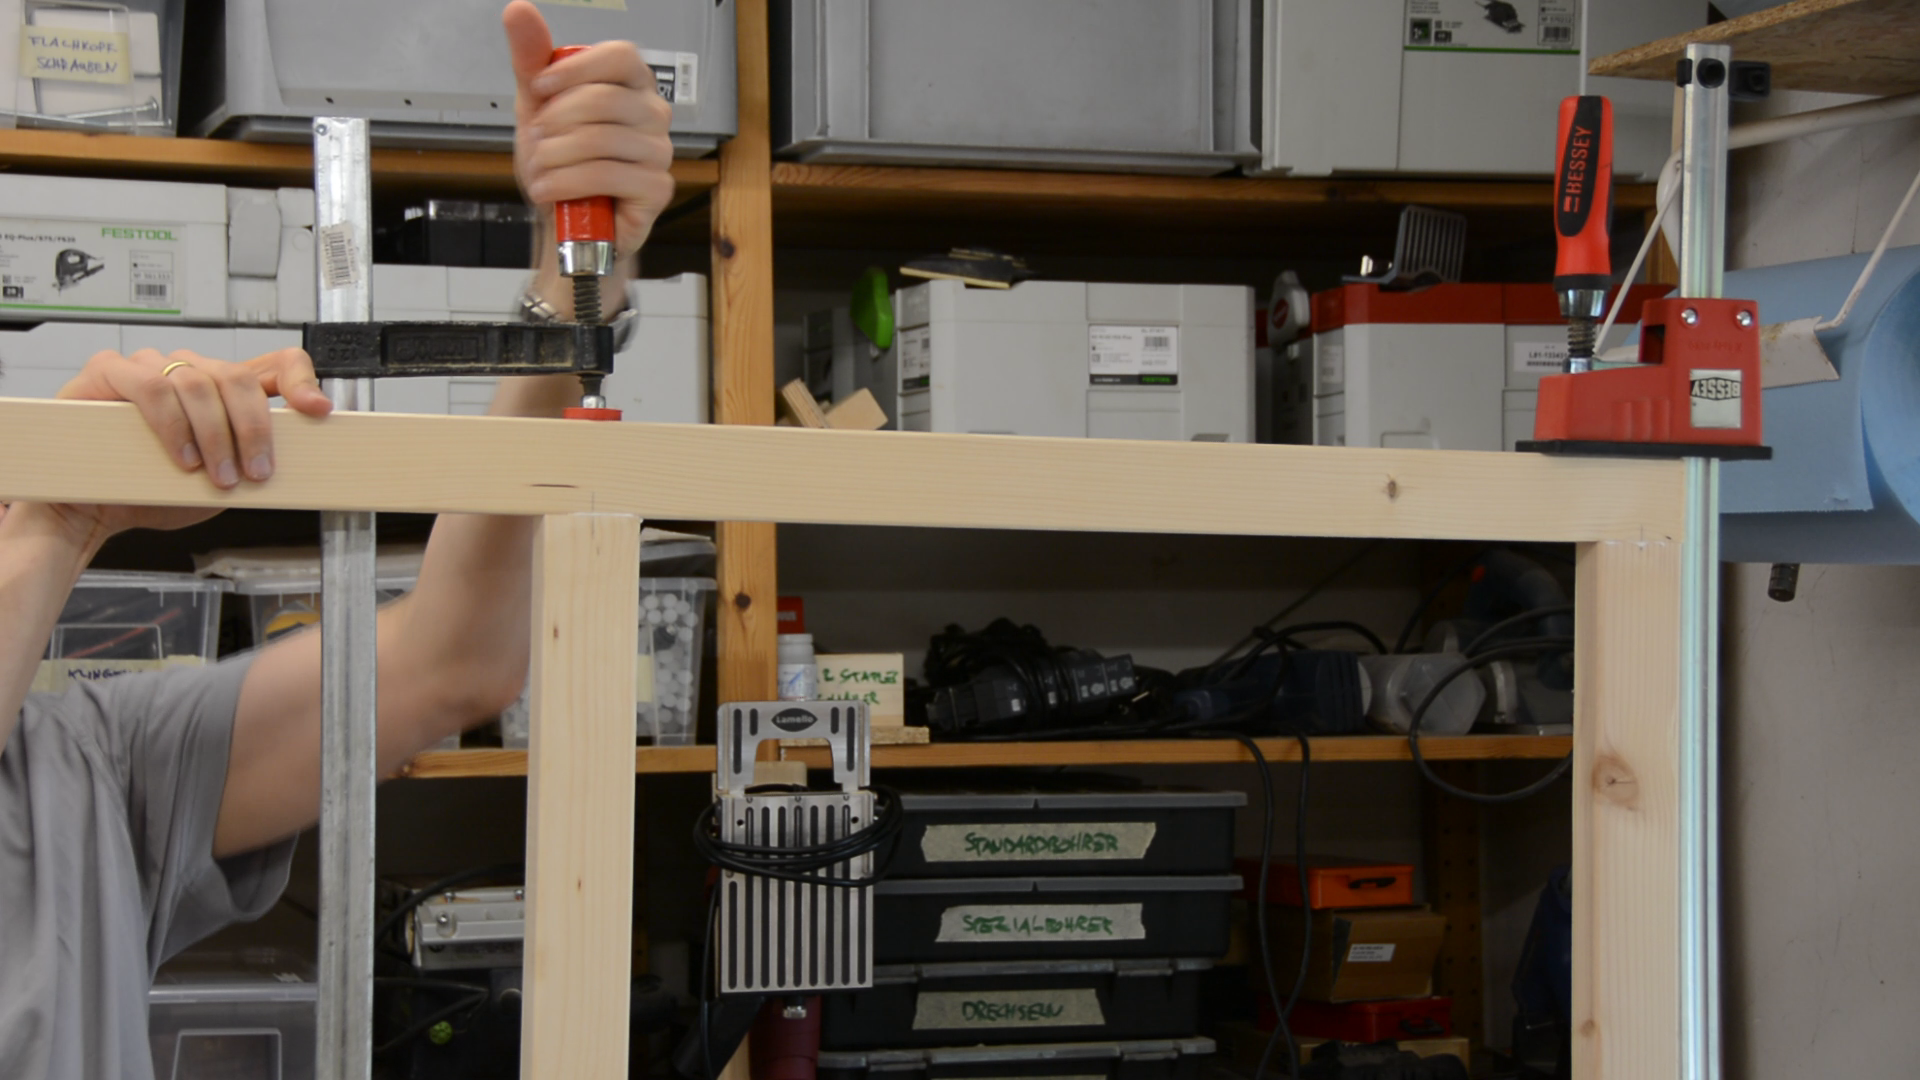
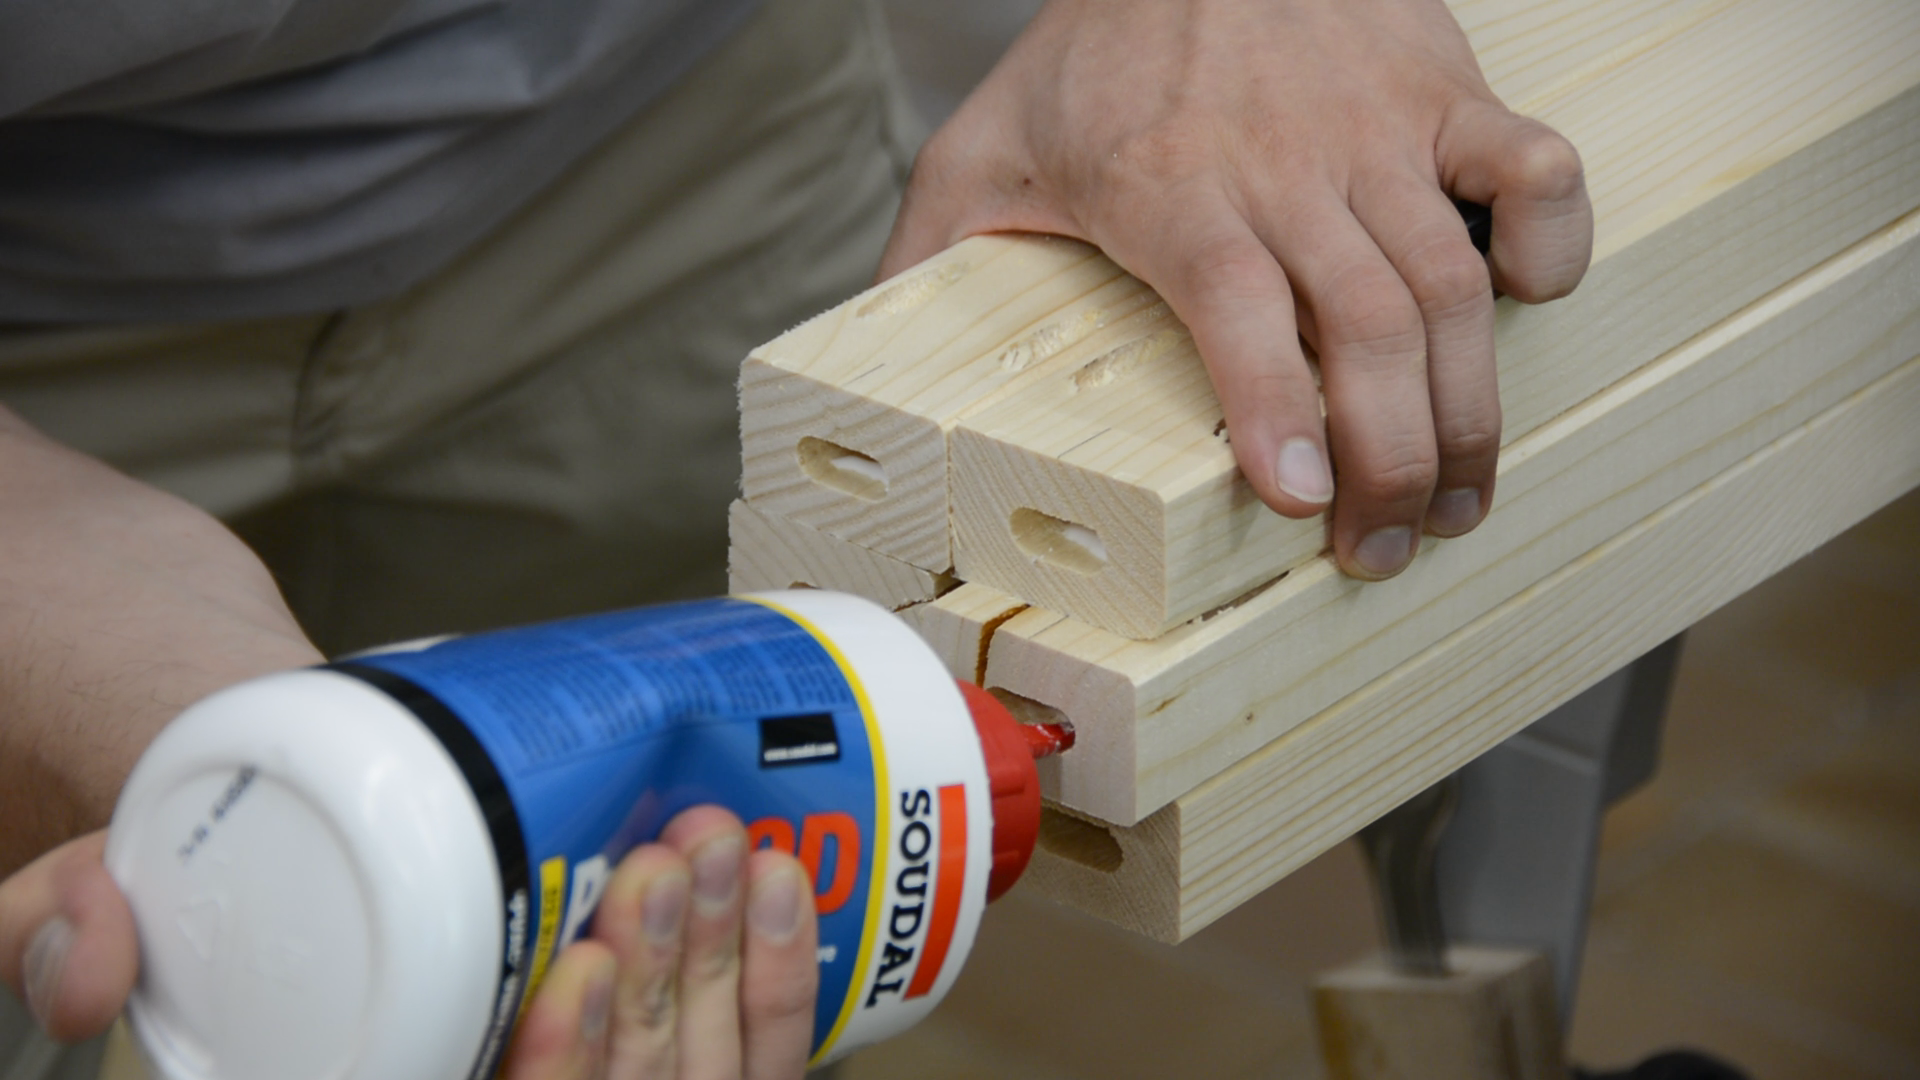
After all the long and the short pieces received the domino mortises we apply glue to the dominos, put the two frames with clamps together and let the glue dry.

While the glue for the frames is drying we take care of the light.
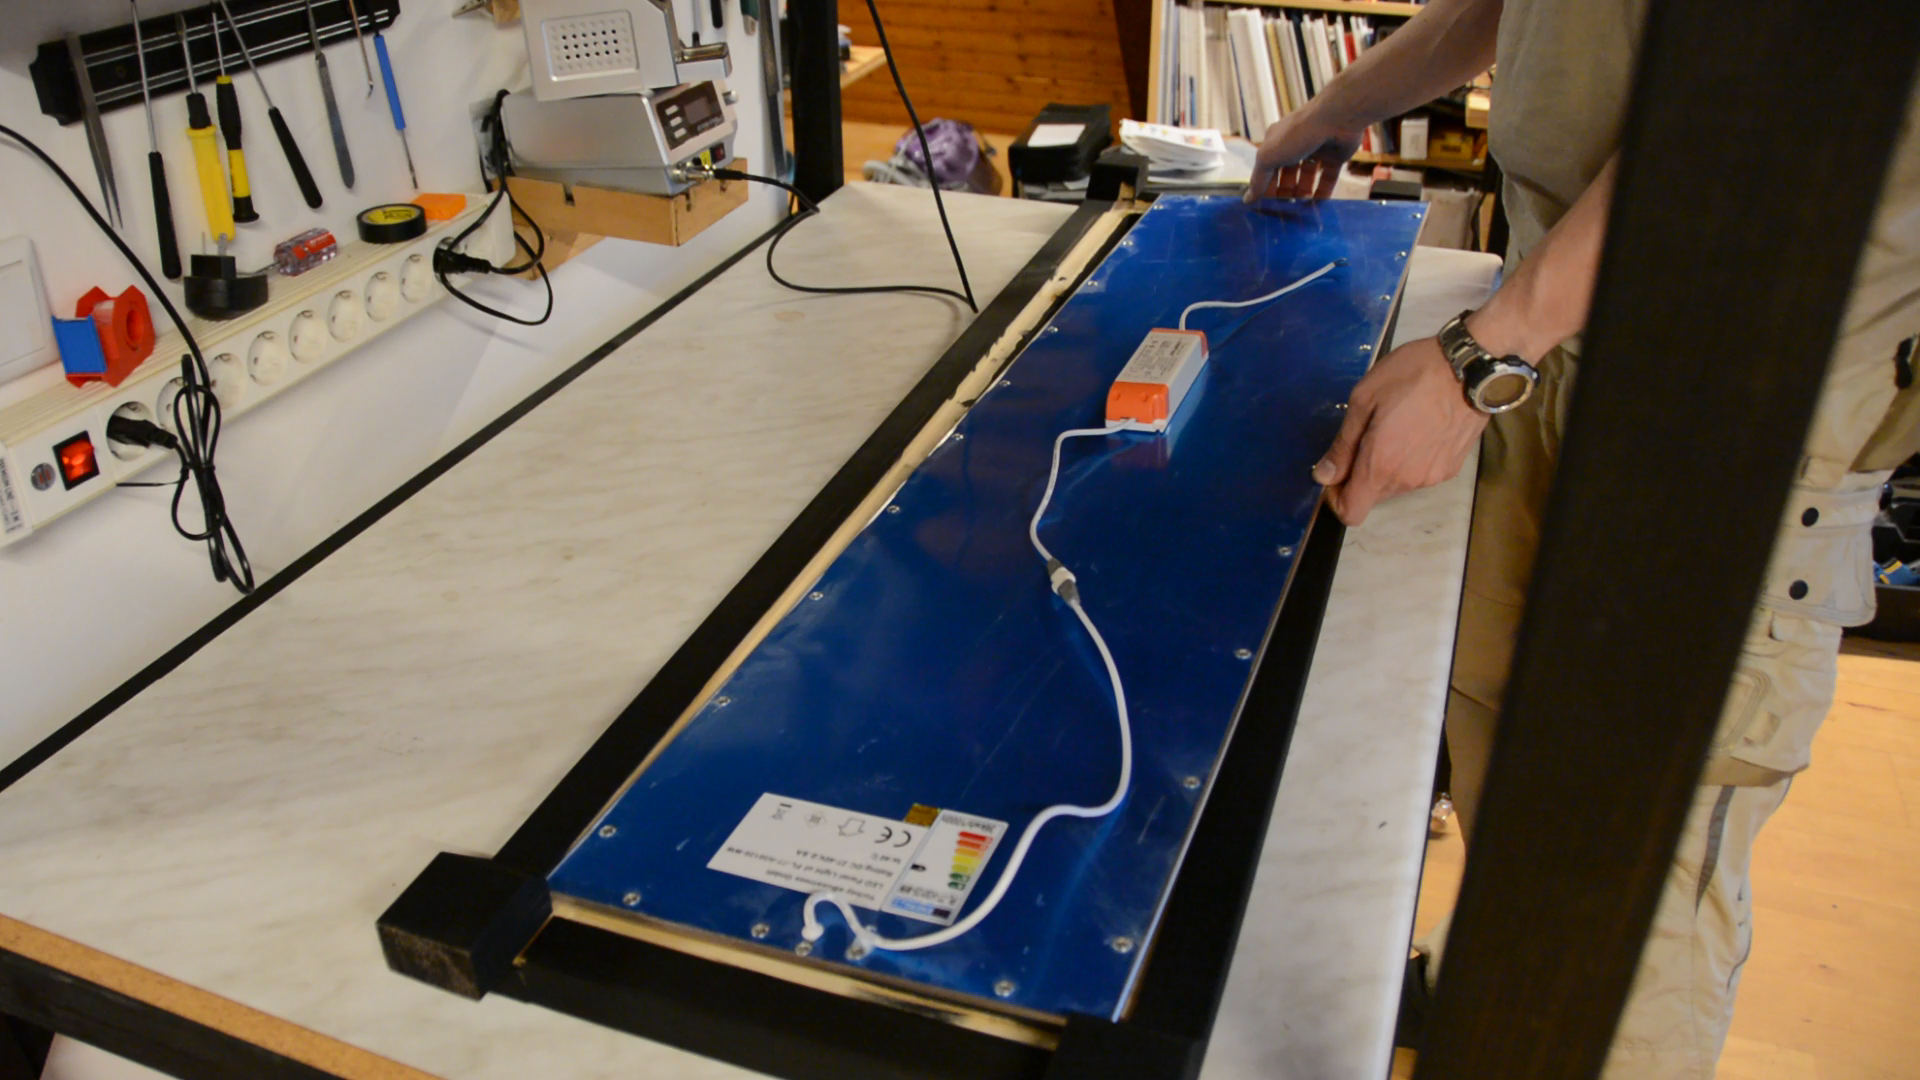
The LED panel
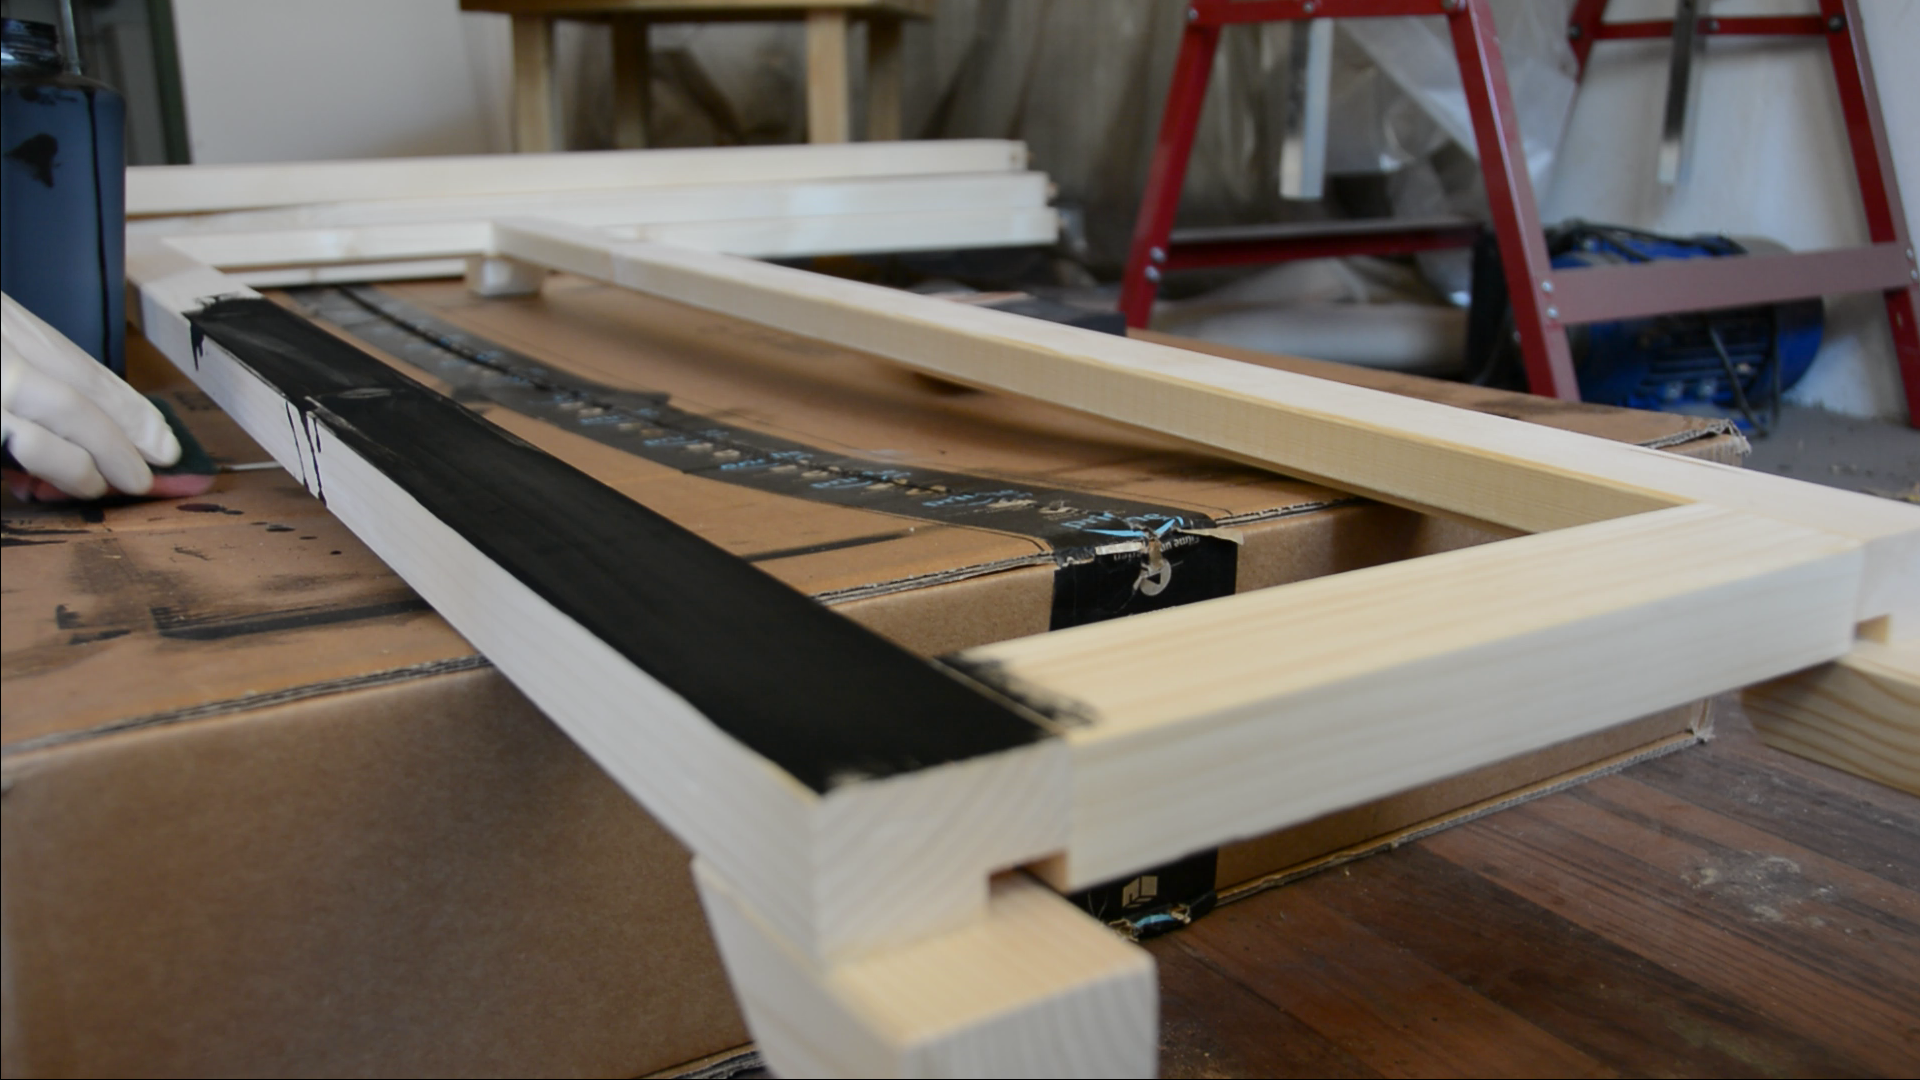
The construction is again very simple and from the same construction lumber as before. All the pieces get a rabbet over their entire length on the router table so that an LED light panel snugly fits in the opening.
After a short dry-fit the frame for the light is assembled with dominos.
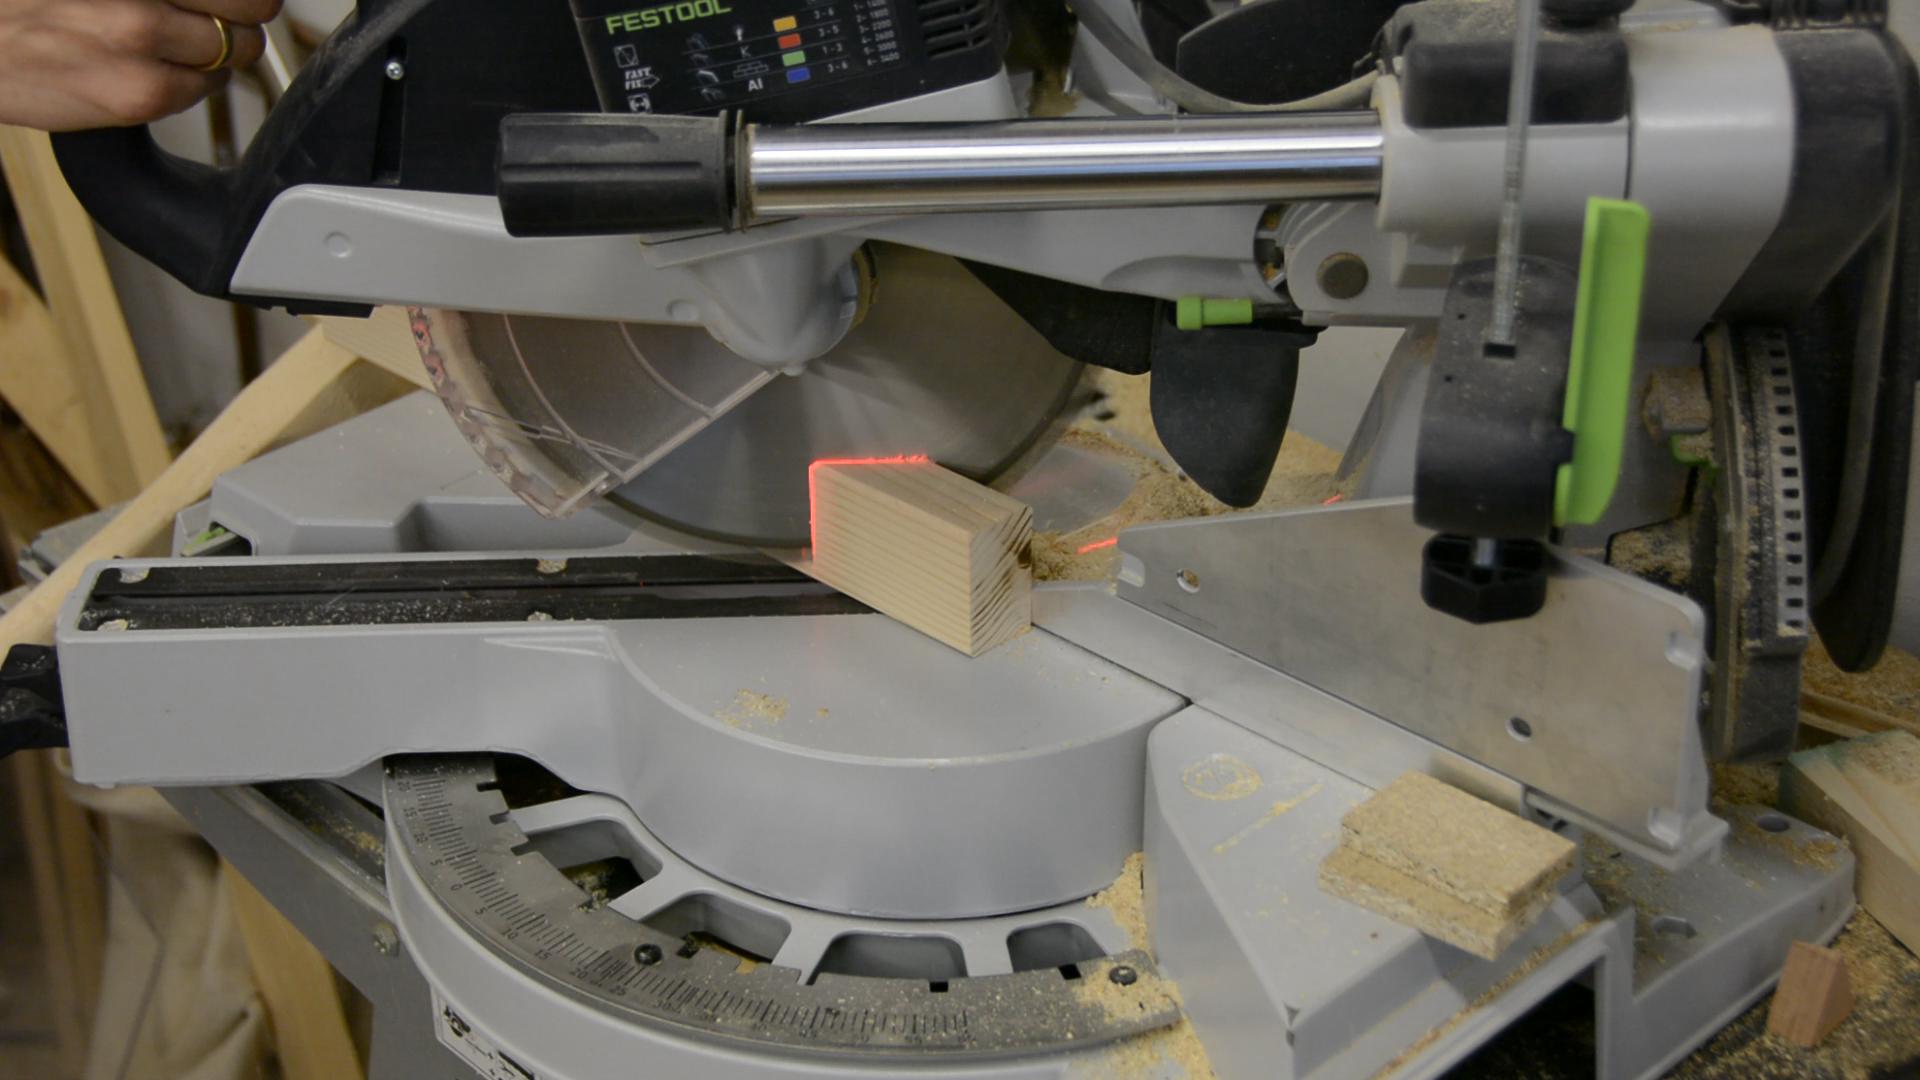
We then cut a few angled pieces that will be used to mount the light on top of the frames we constructed earlier.
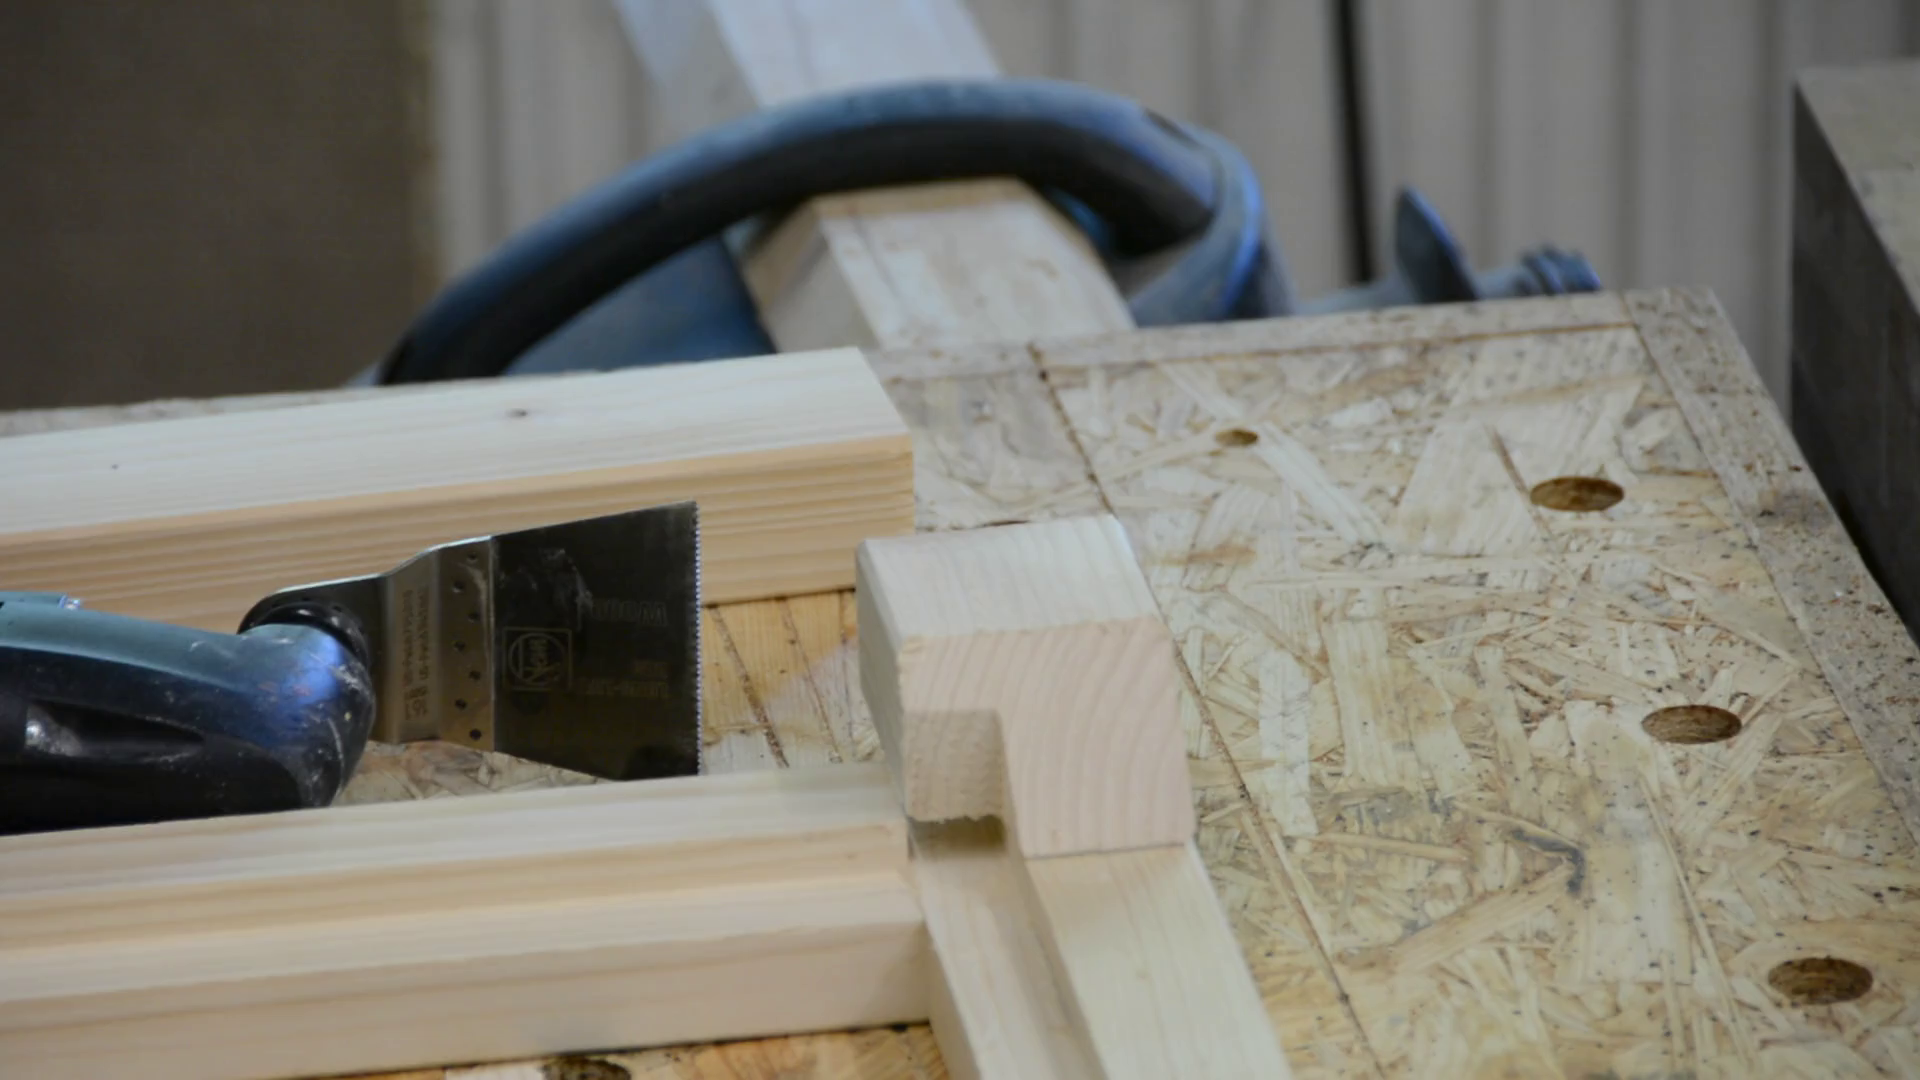
These pieces are glued on top of the light frame. As they are blocking part of the opening we use an oscillating tool to cut away the corners and make room for the LED panel.
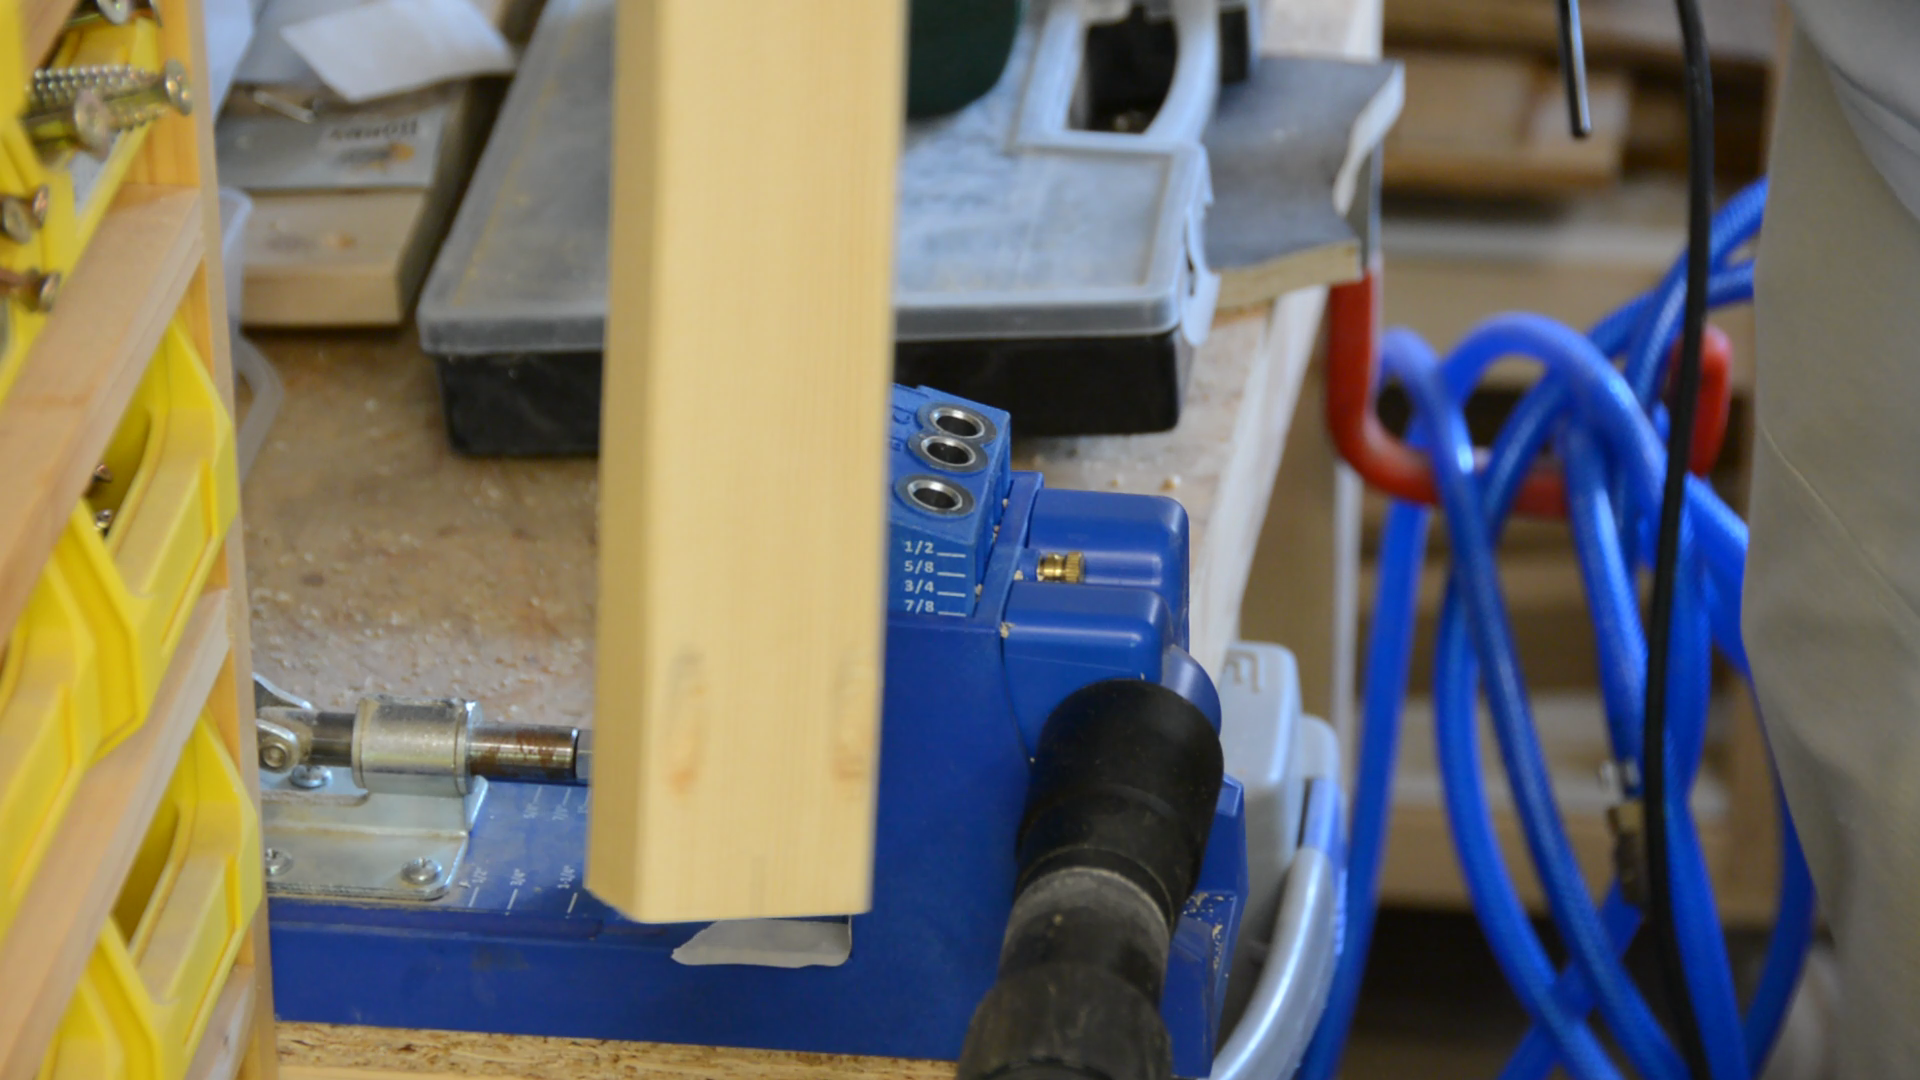
The only thing left is to attach some stretchers between the frames. As the stretchers have to be removable we go for an unholy alliance. We first create domino mortises … and then complement these with pocket holes.
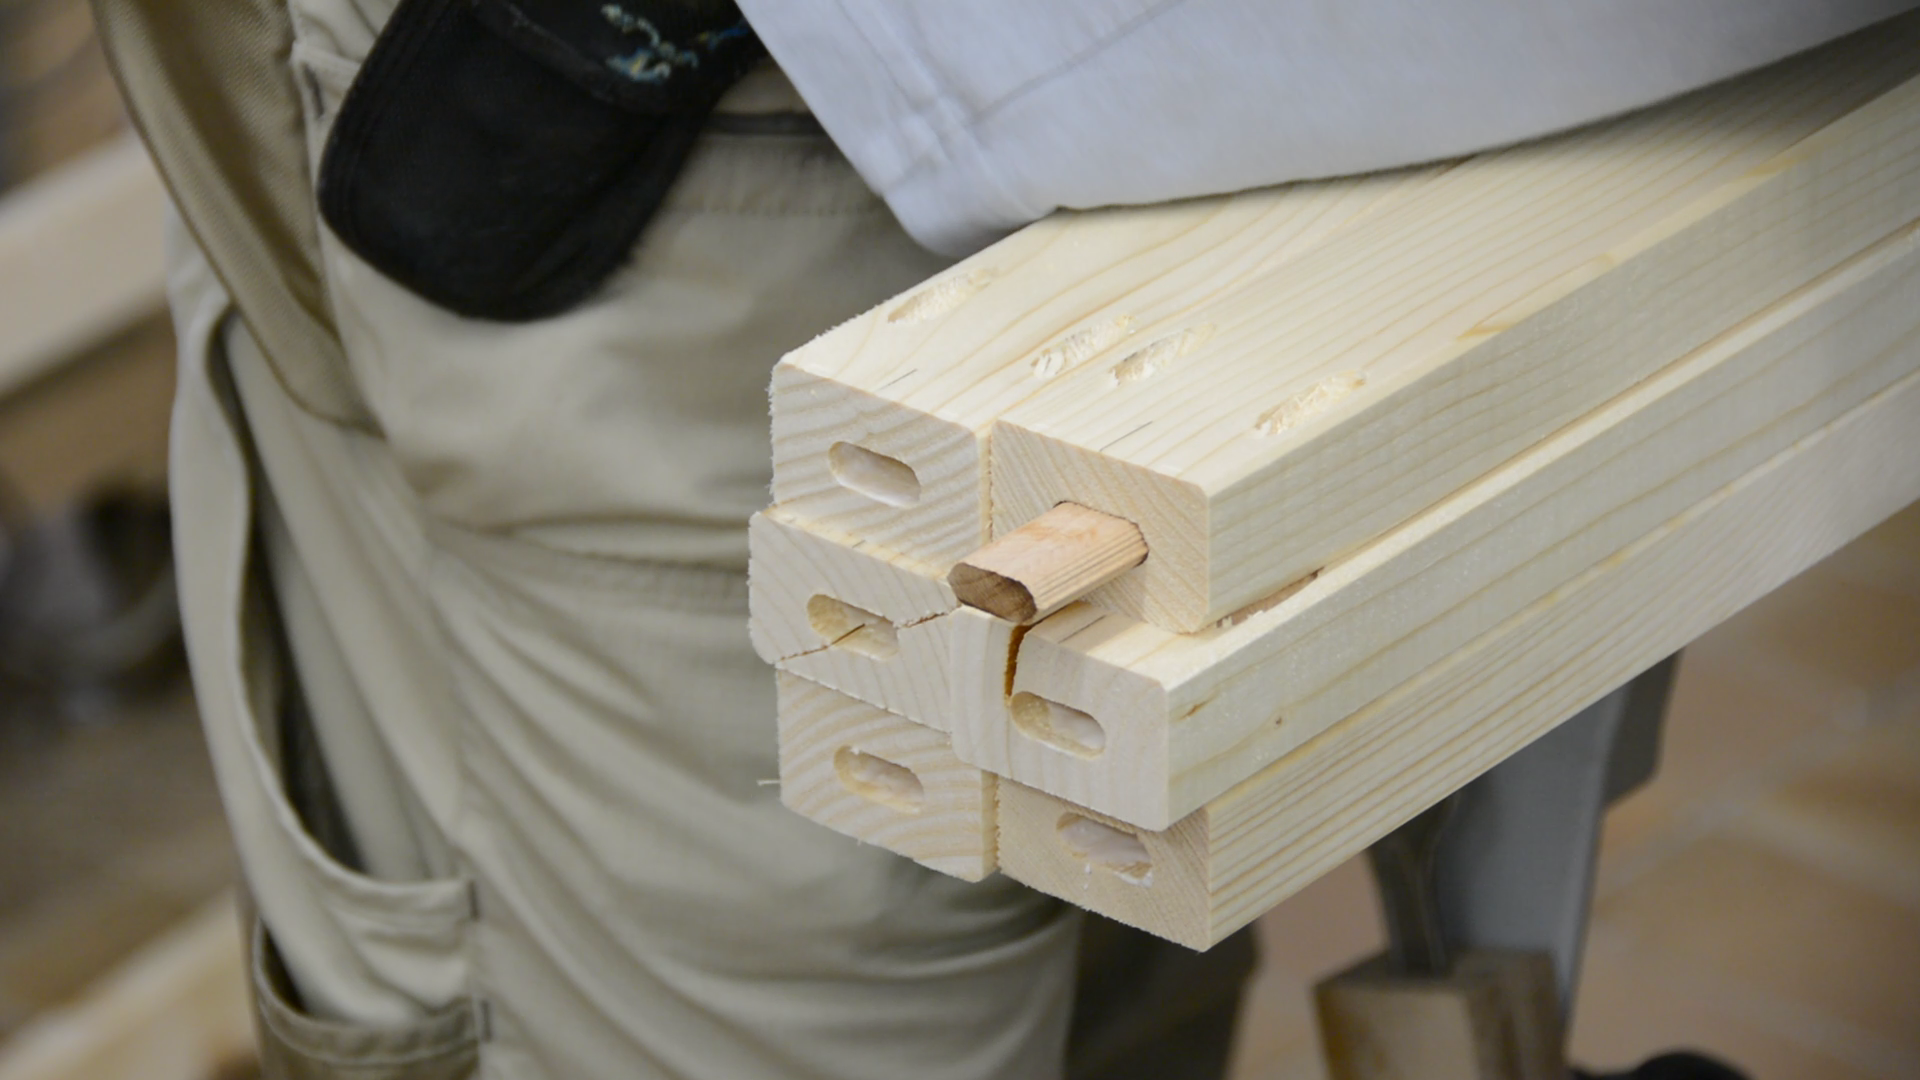
We glue the dominos only in one part and the pocket holes will pull everything together – suported by the loose tenons.

In the areas where the stretchers should connect to the frame we create more mortises.
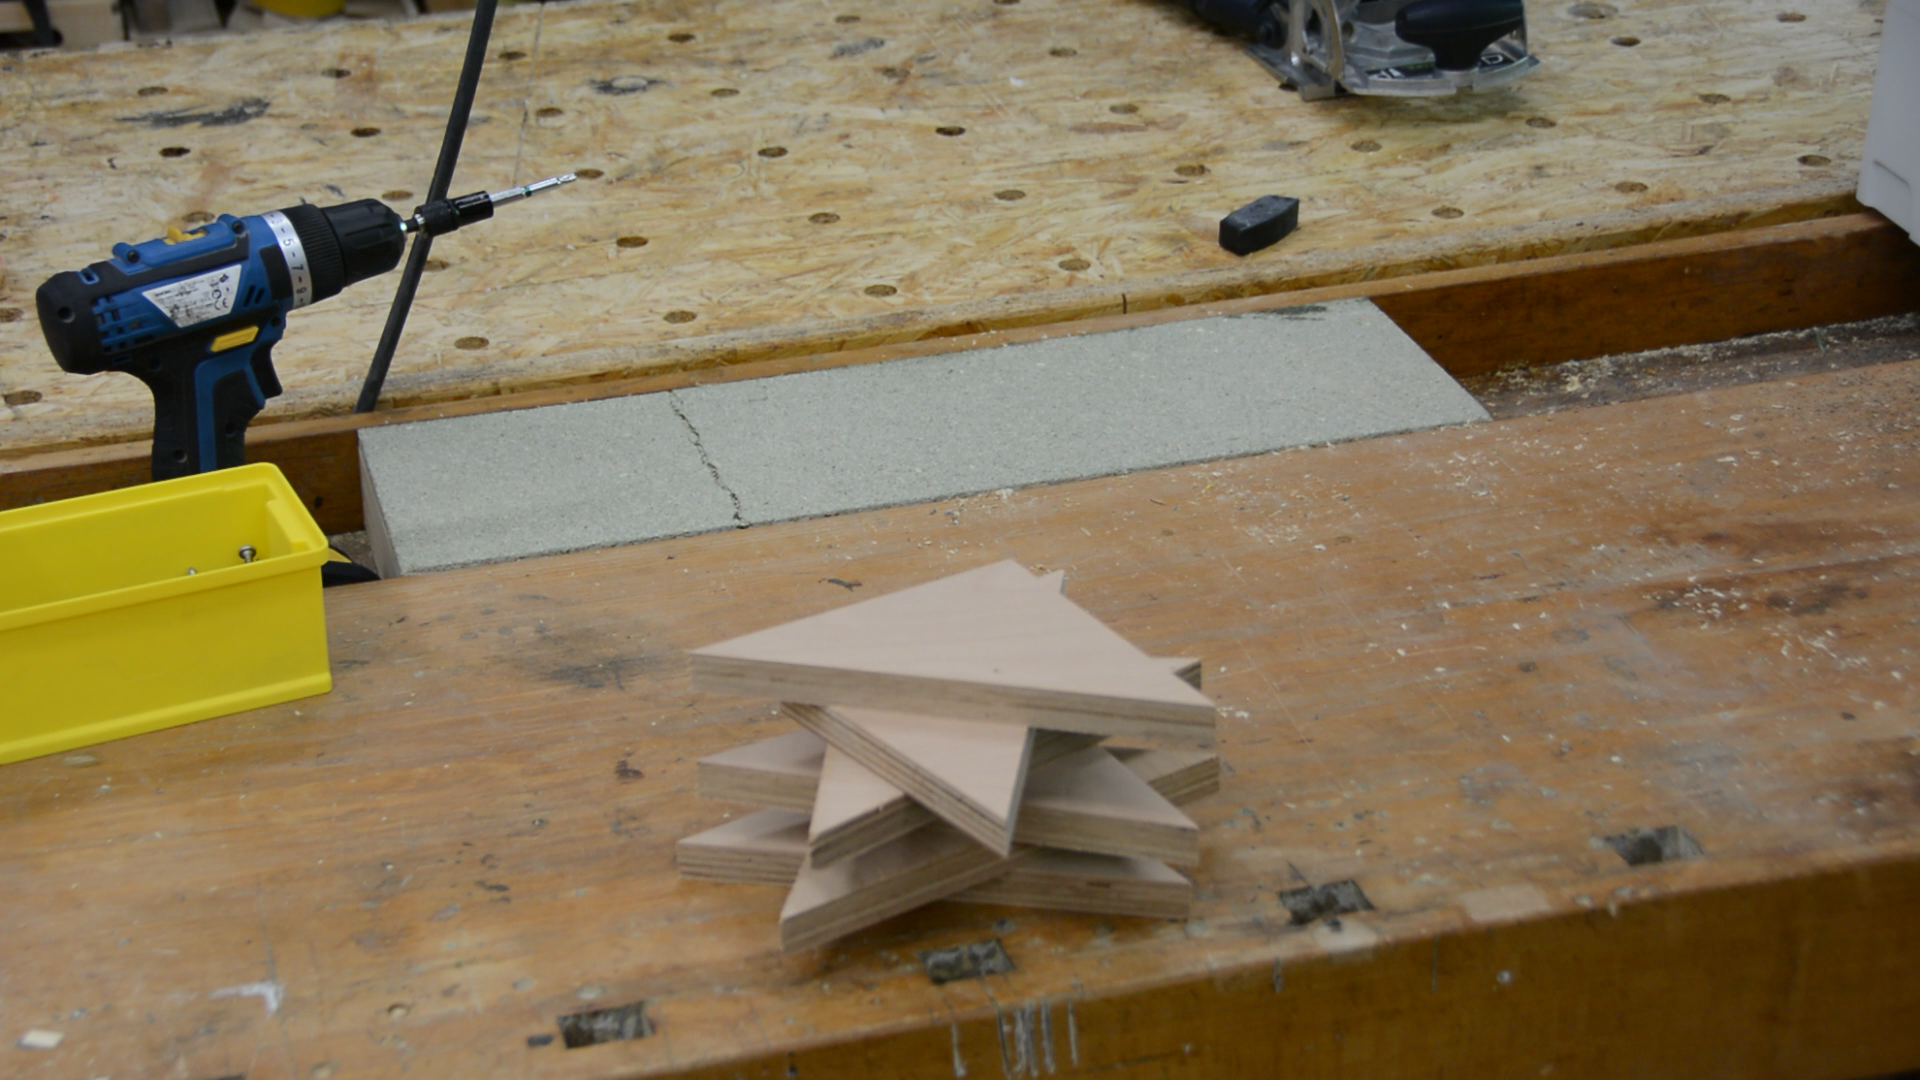
As an additional reinforcement and to prevent racking we cut triangles from scrapwood. In each piece we create two pocket holes in the two short sides of the triangle.
We sand the entire frame to 320 grid and stain the wood black.
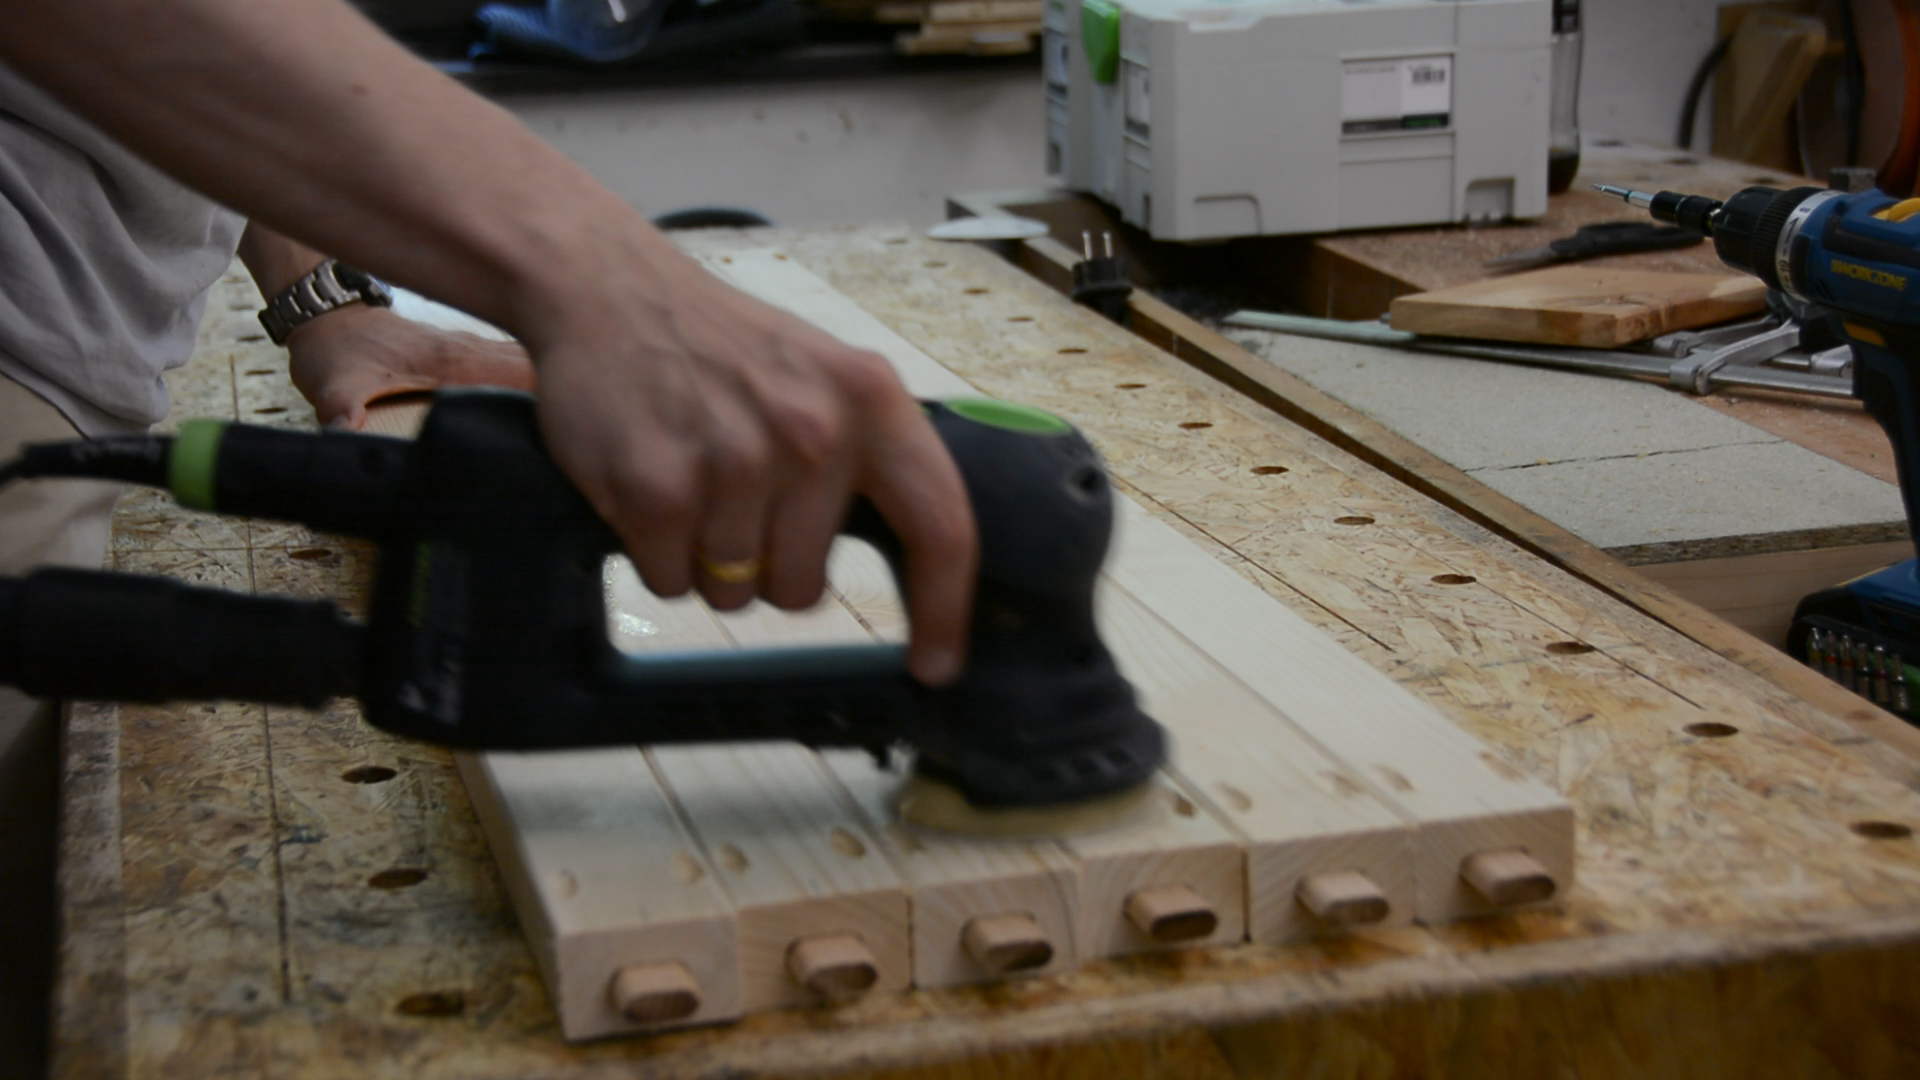
For a finish the workbench gets a coat of hardoil.
We install the casters and the workbench is ready to be installed.
Installation
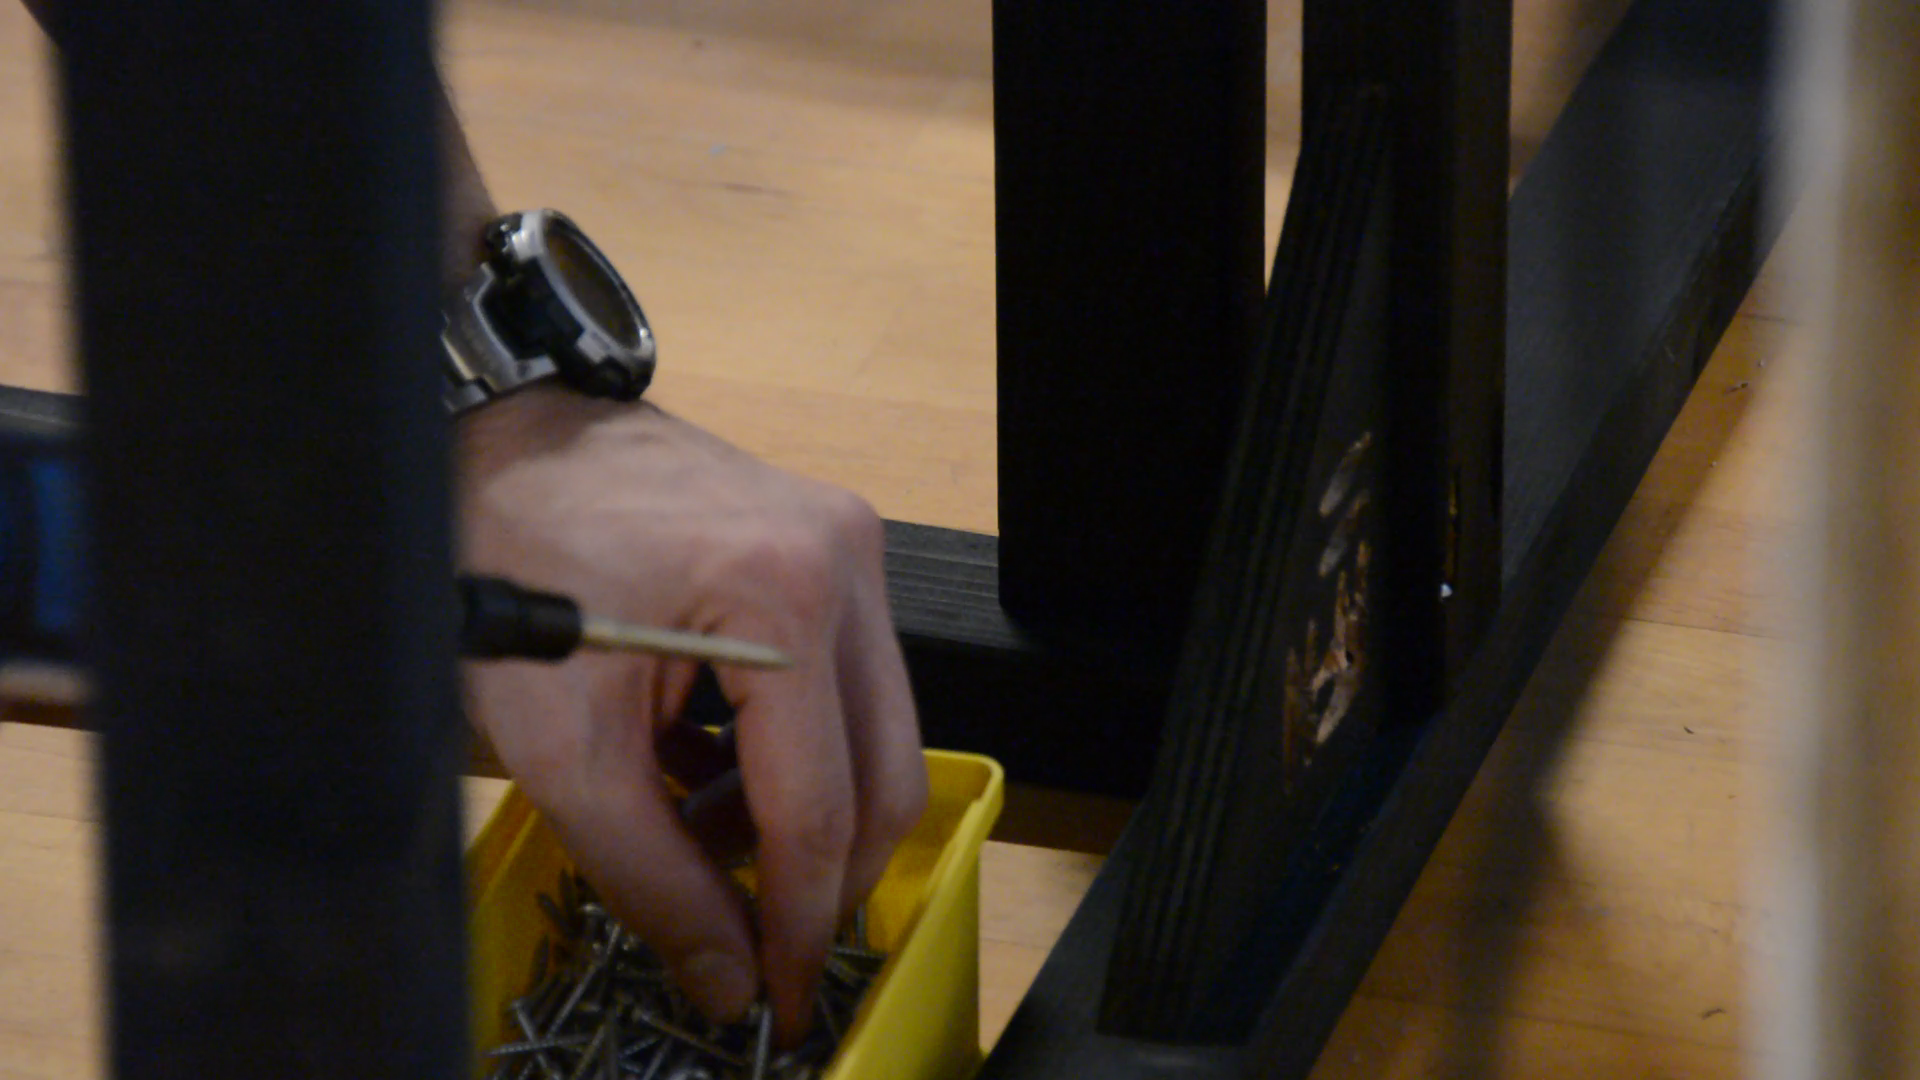
Thanks to the dominos it is easy to loosely put the frame together and then secure everything with the pocket hole screws.


After the frame assembly is done we screw in the reinforcement triangles.
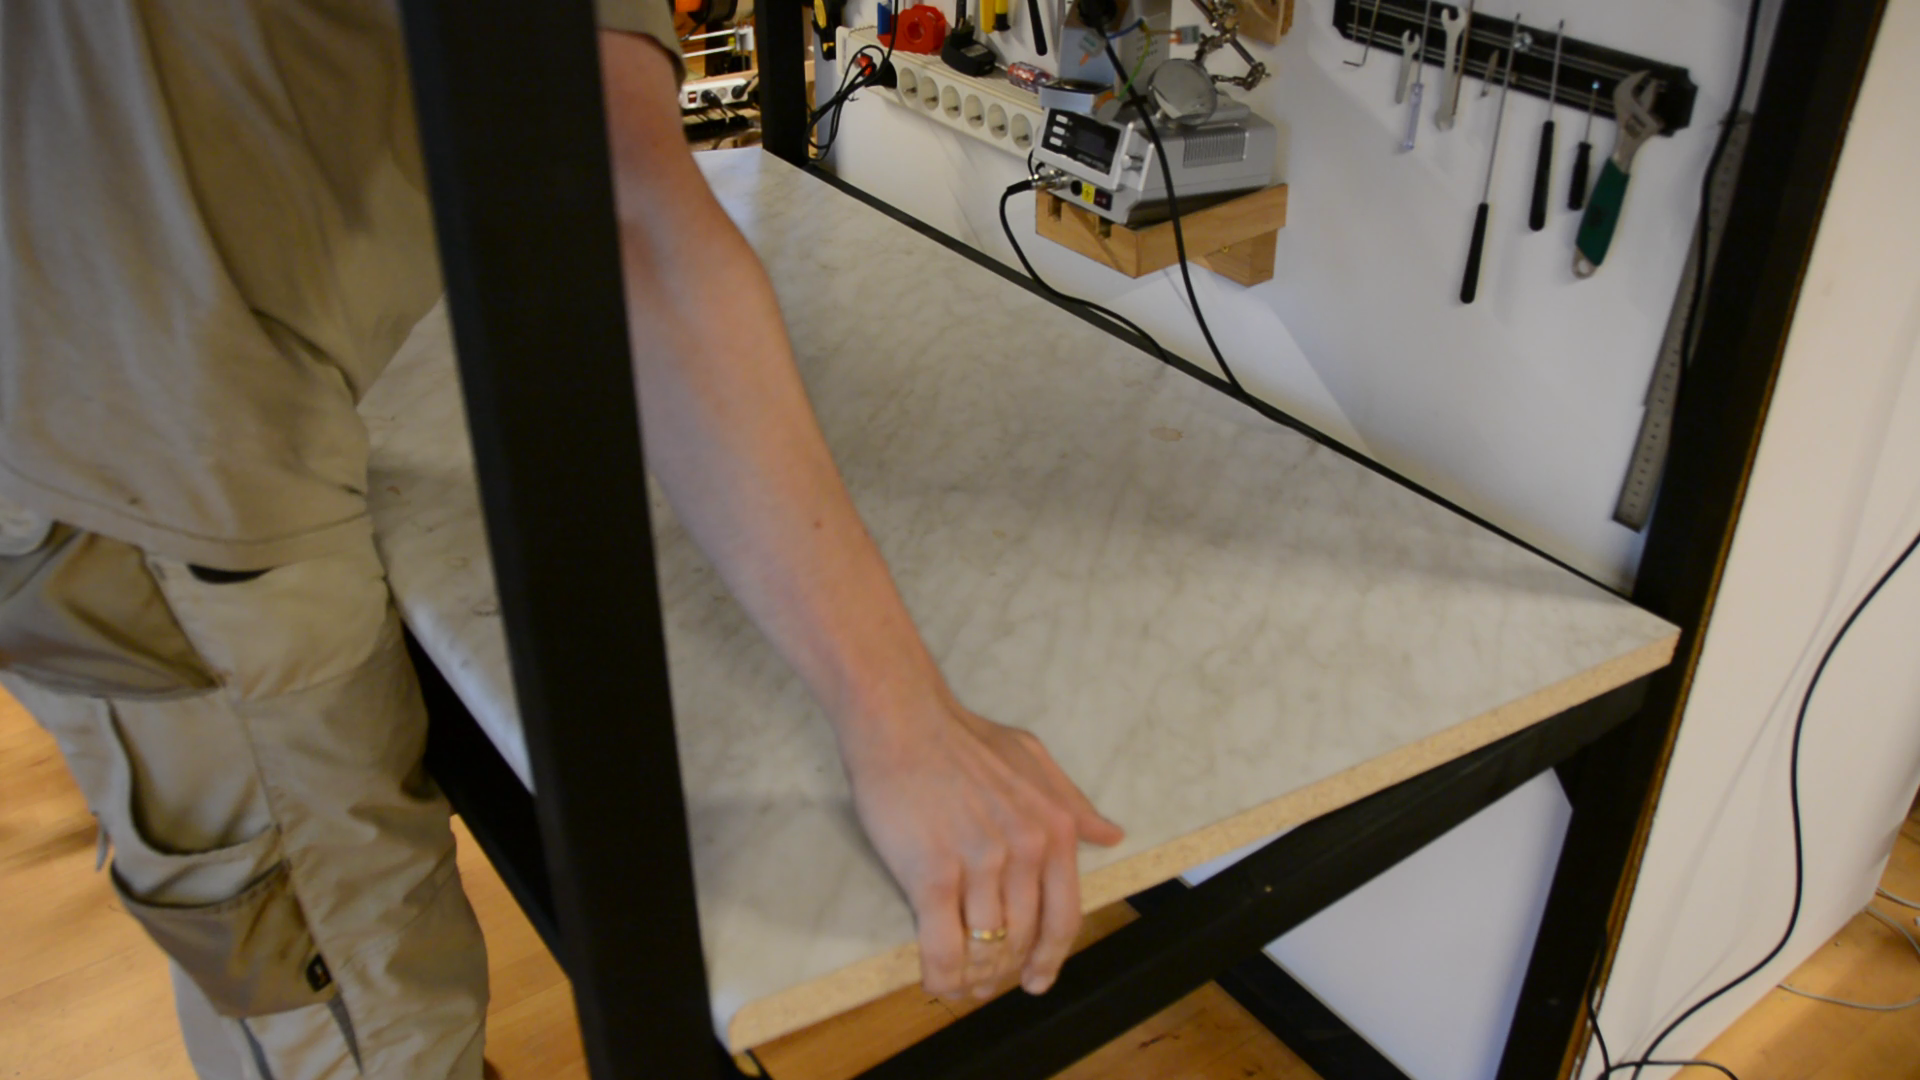
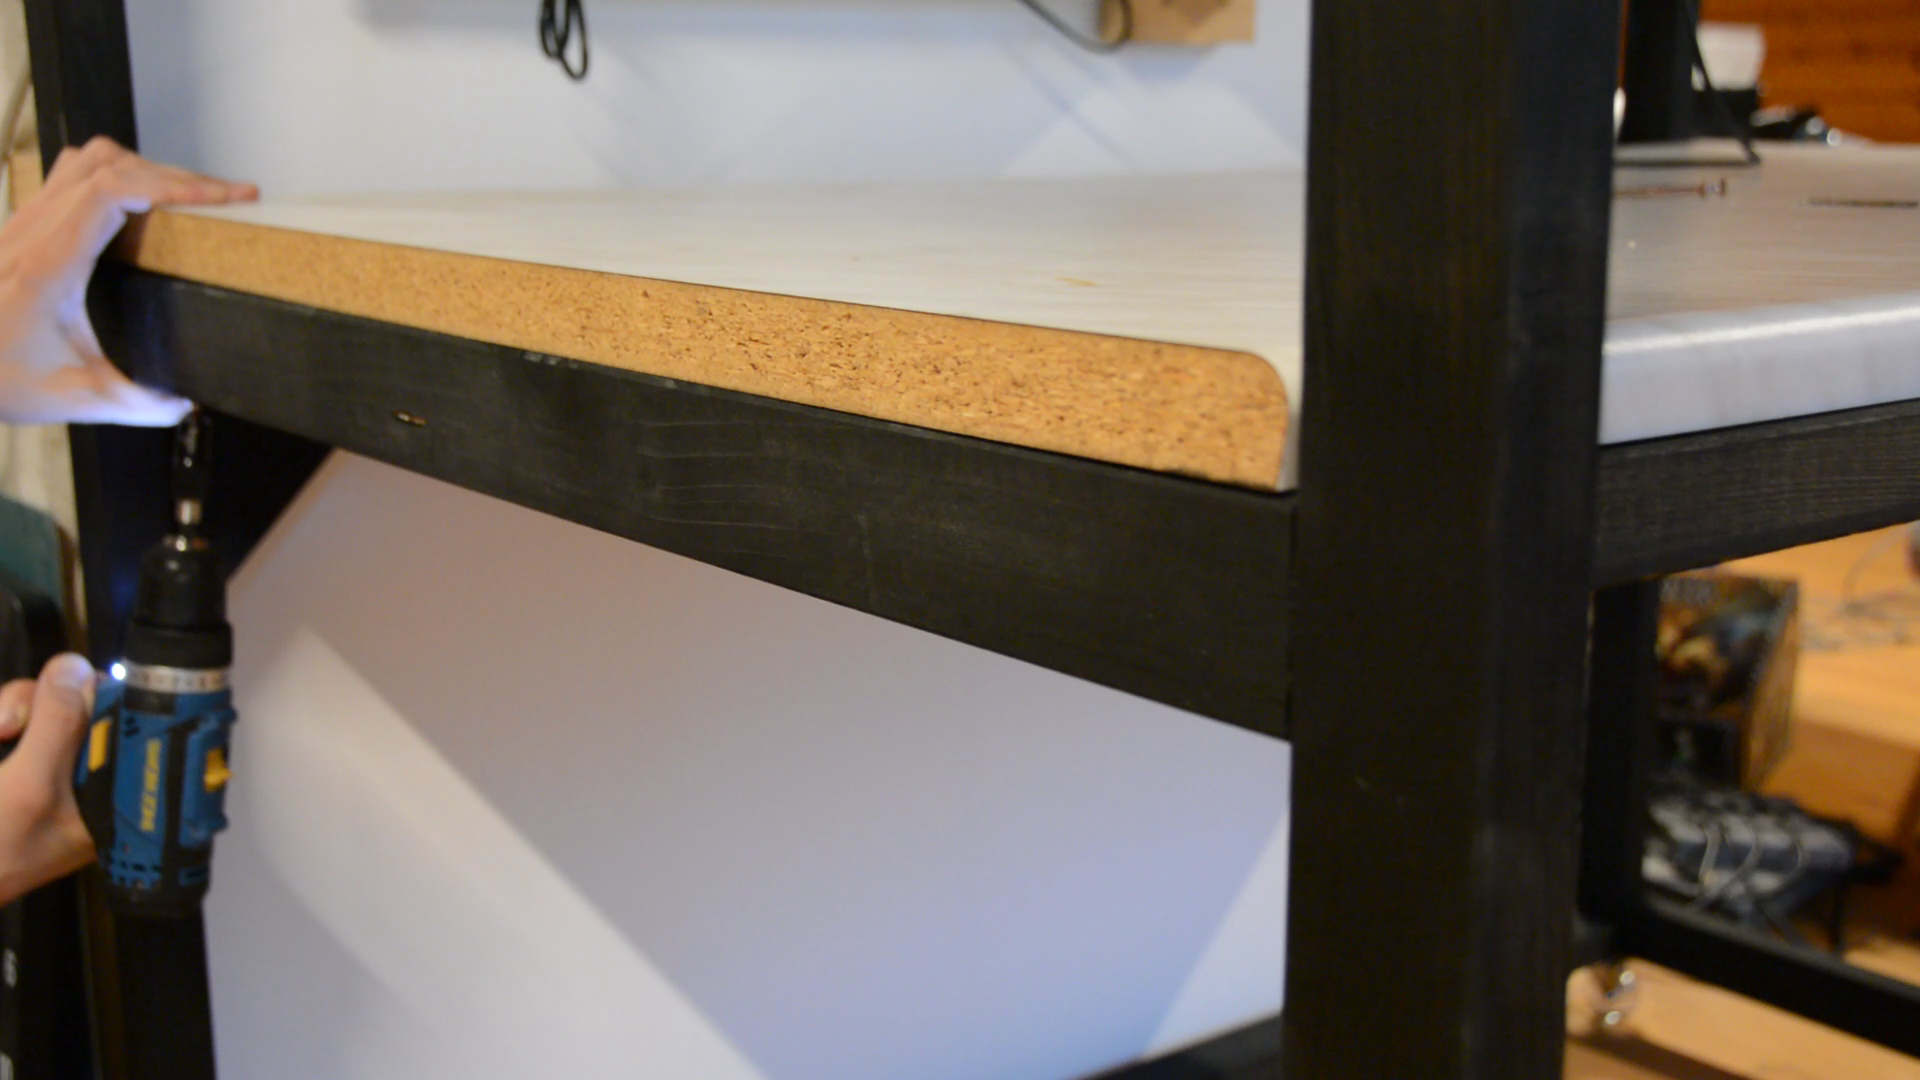
Next we put the kitchen countertop in place and secure it with a few screws.
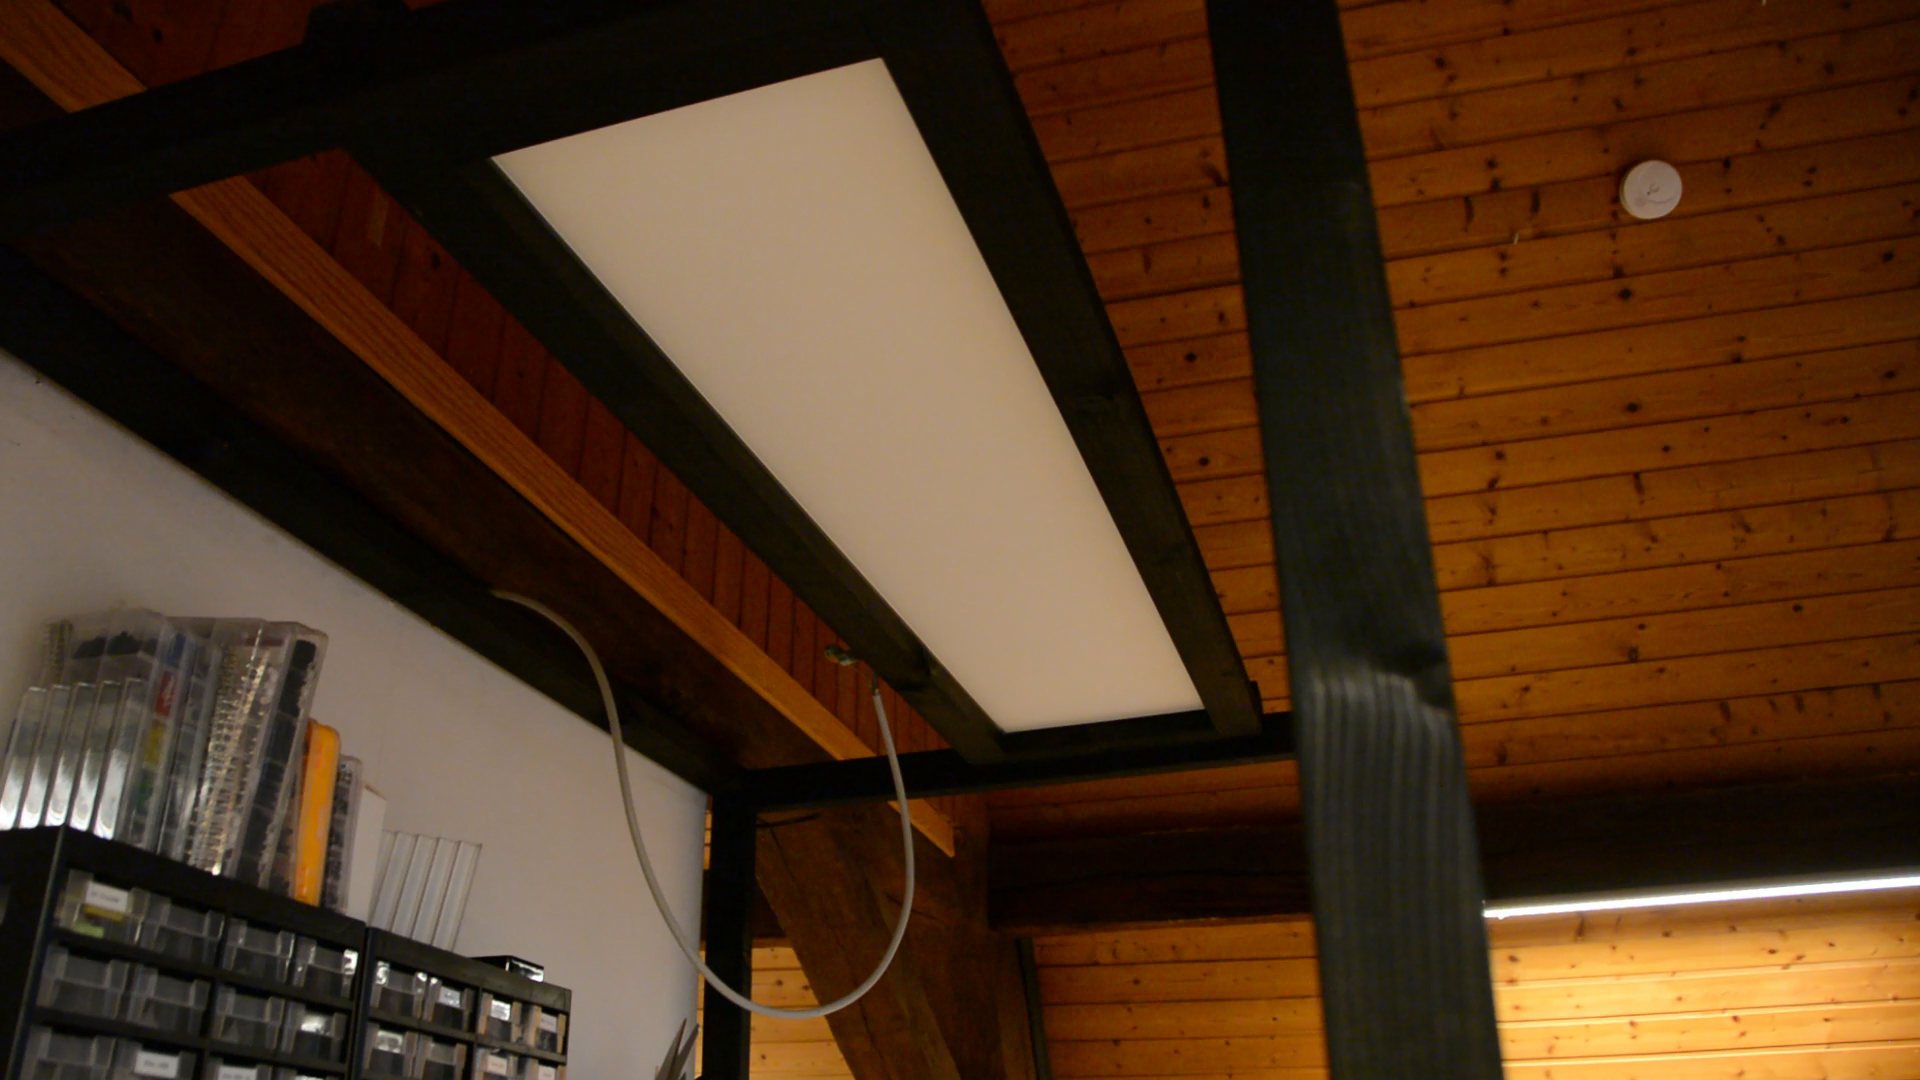
The light drops in the frame, is placed on top of the workbench and will provide a bright light to work on small scale items.
DIY camera rig
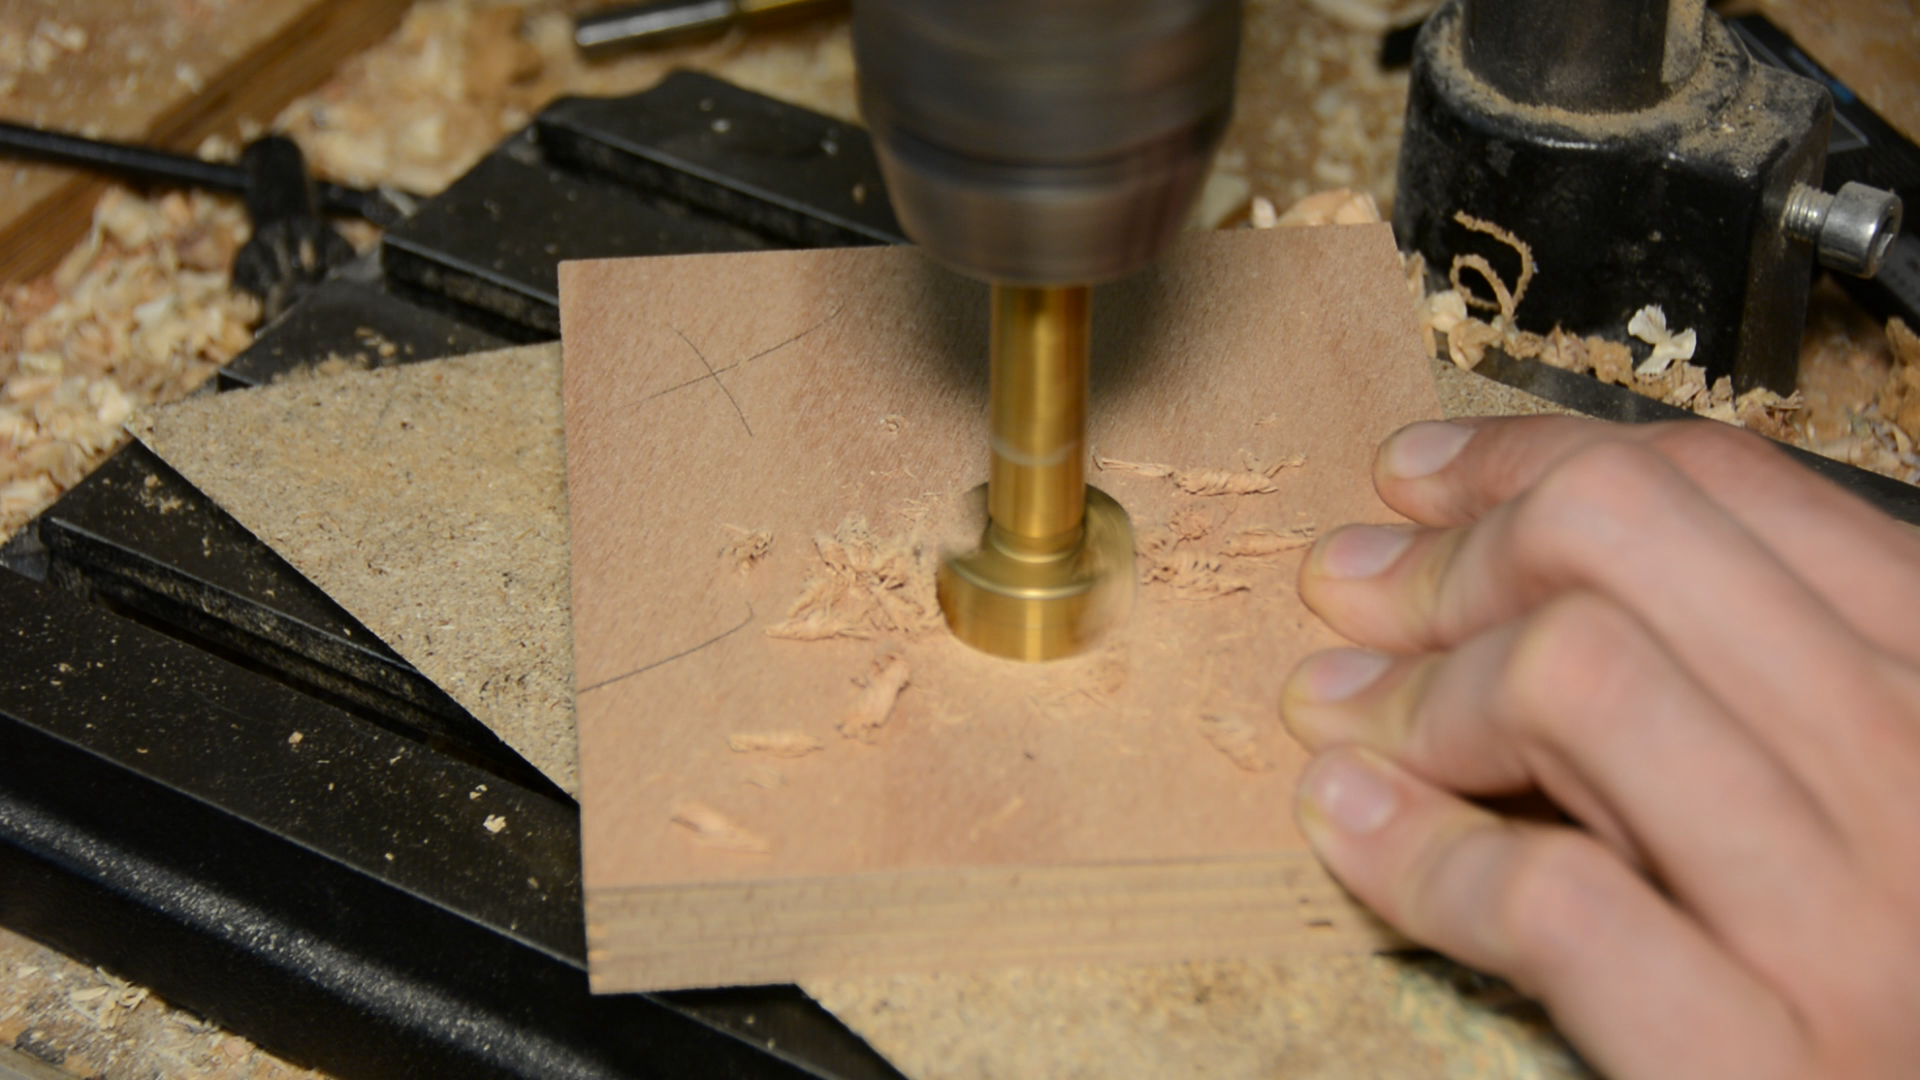
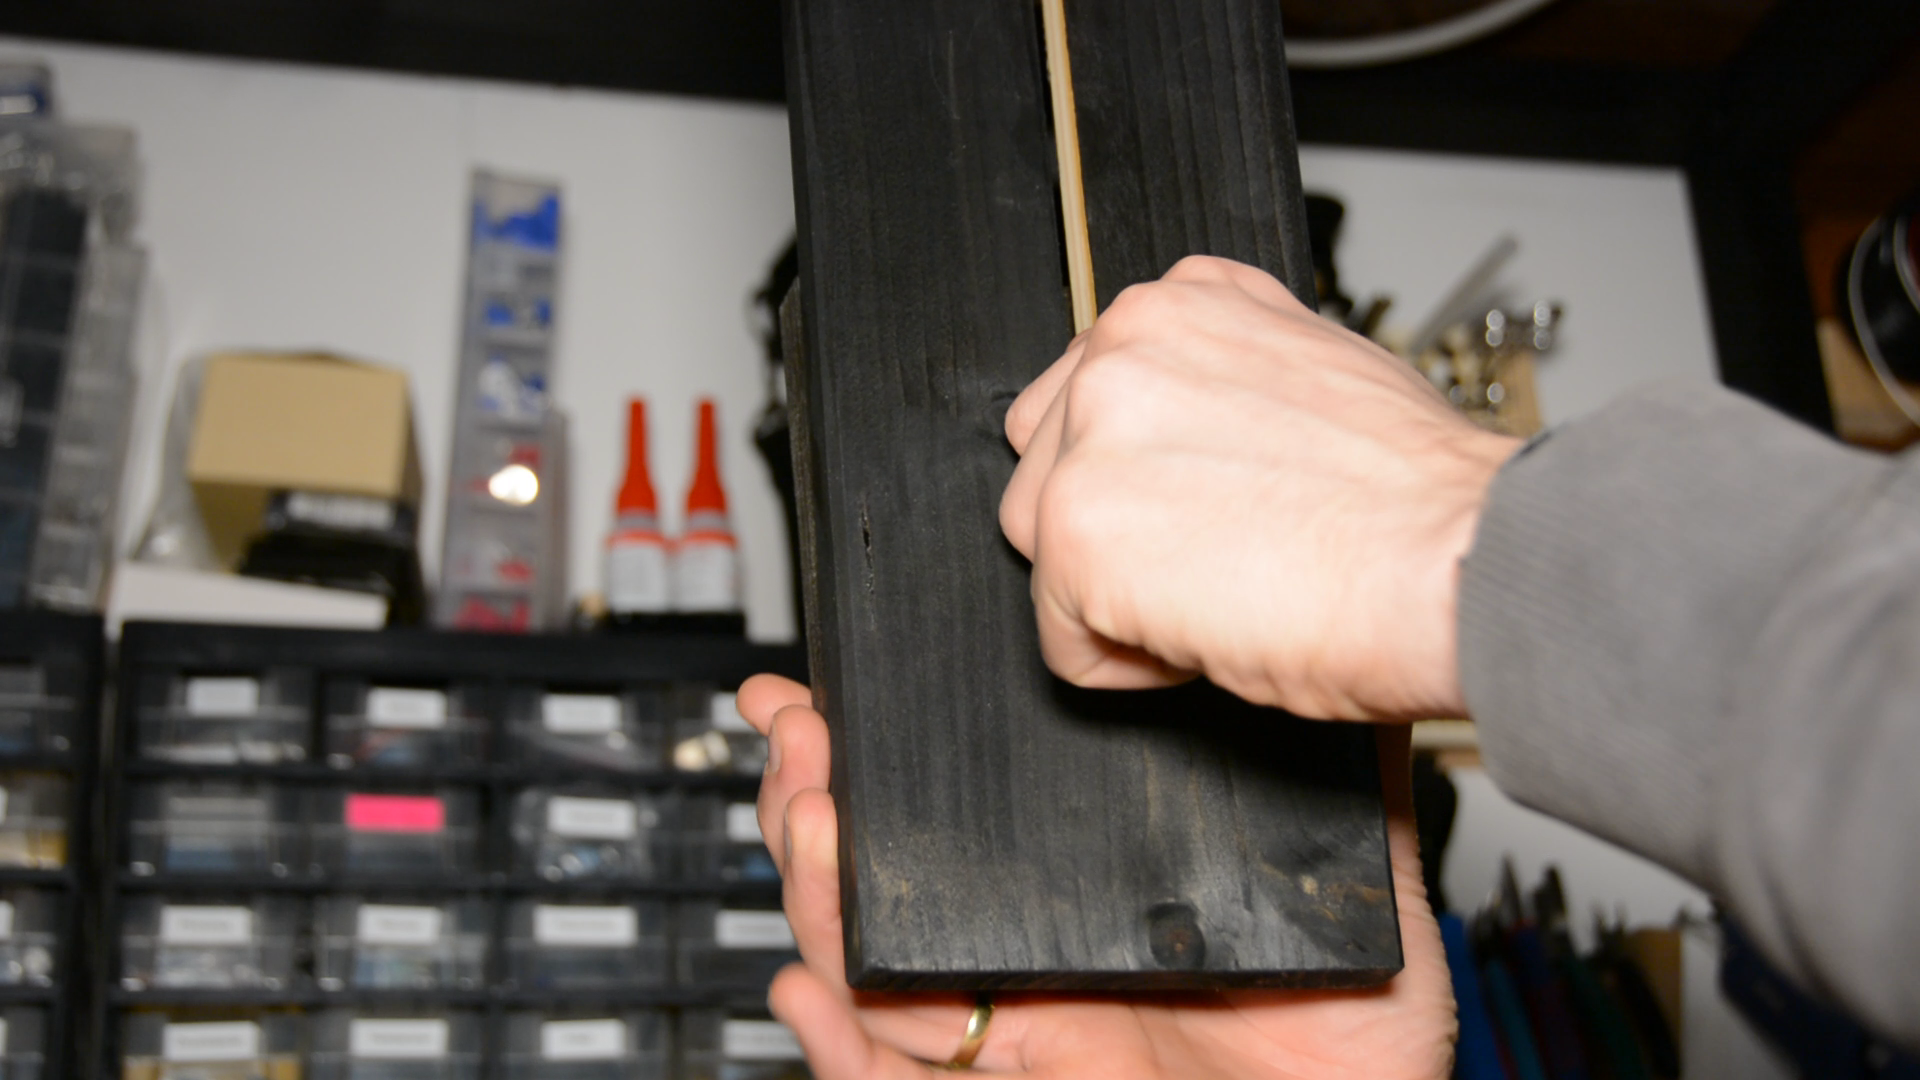
With the frame and the light ready the overhead camera rig is the last thing missing. For an adjustable camera mount we route an 8mm slot in a piece of construction lumber and another slot in the middle of a flat, 10 cm wide board.
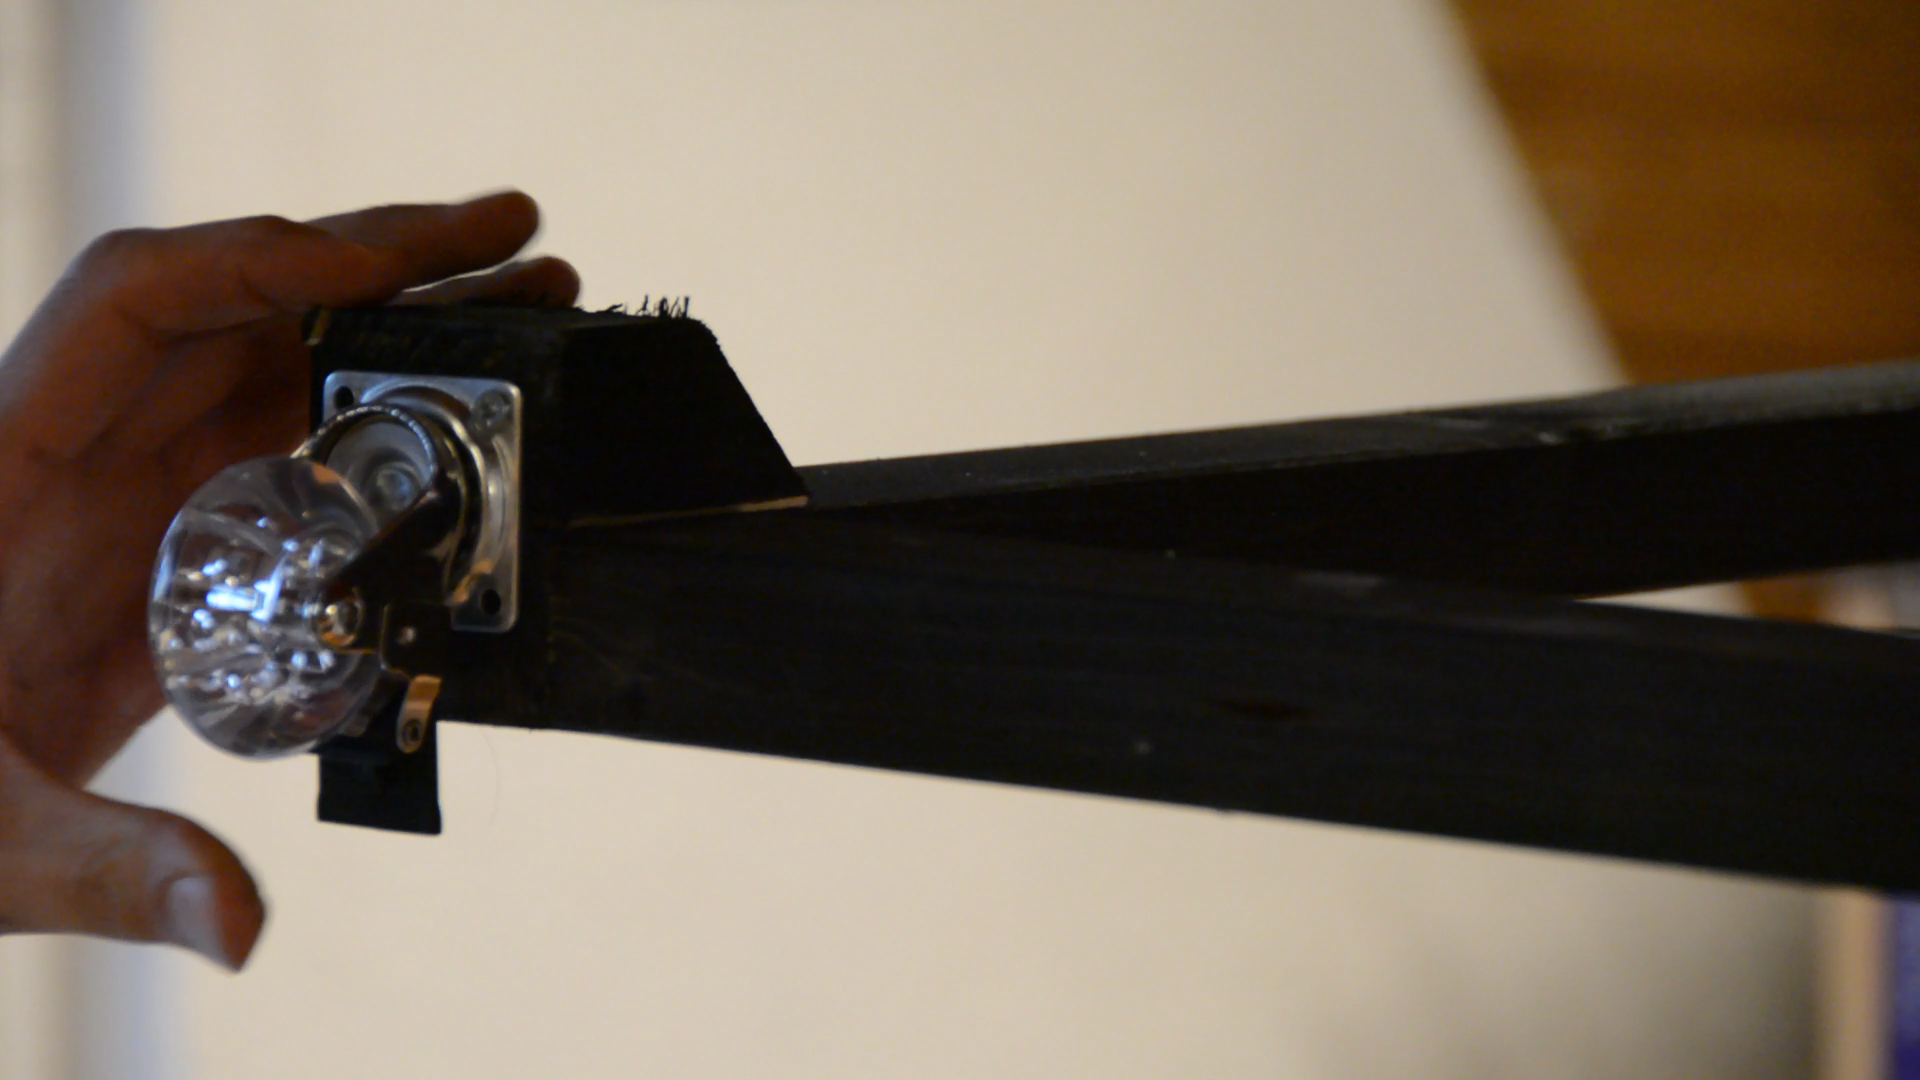
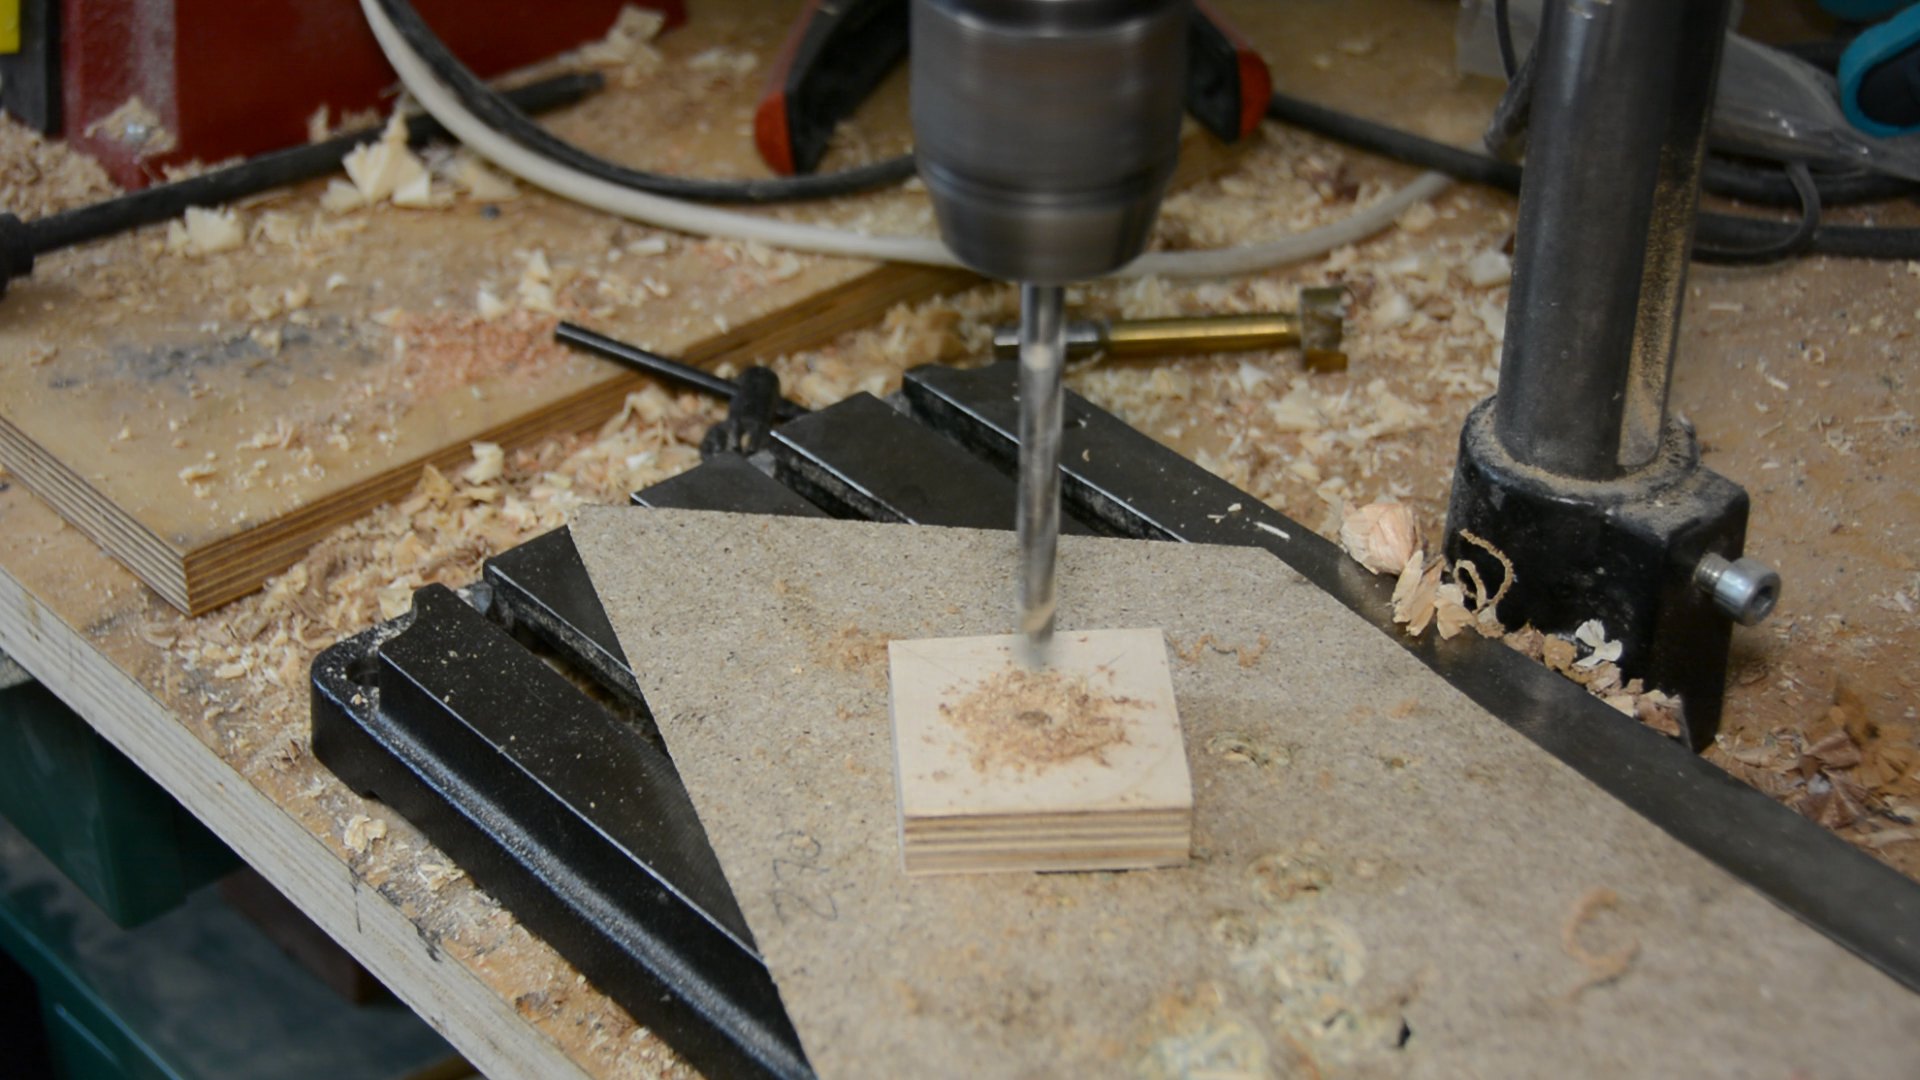
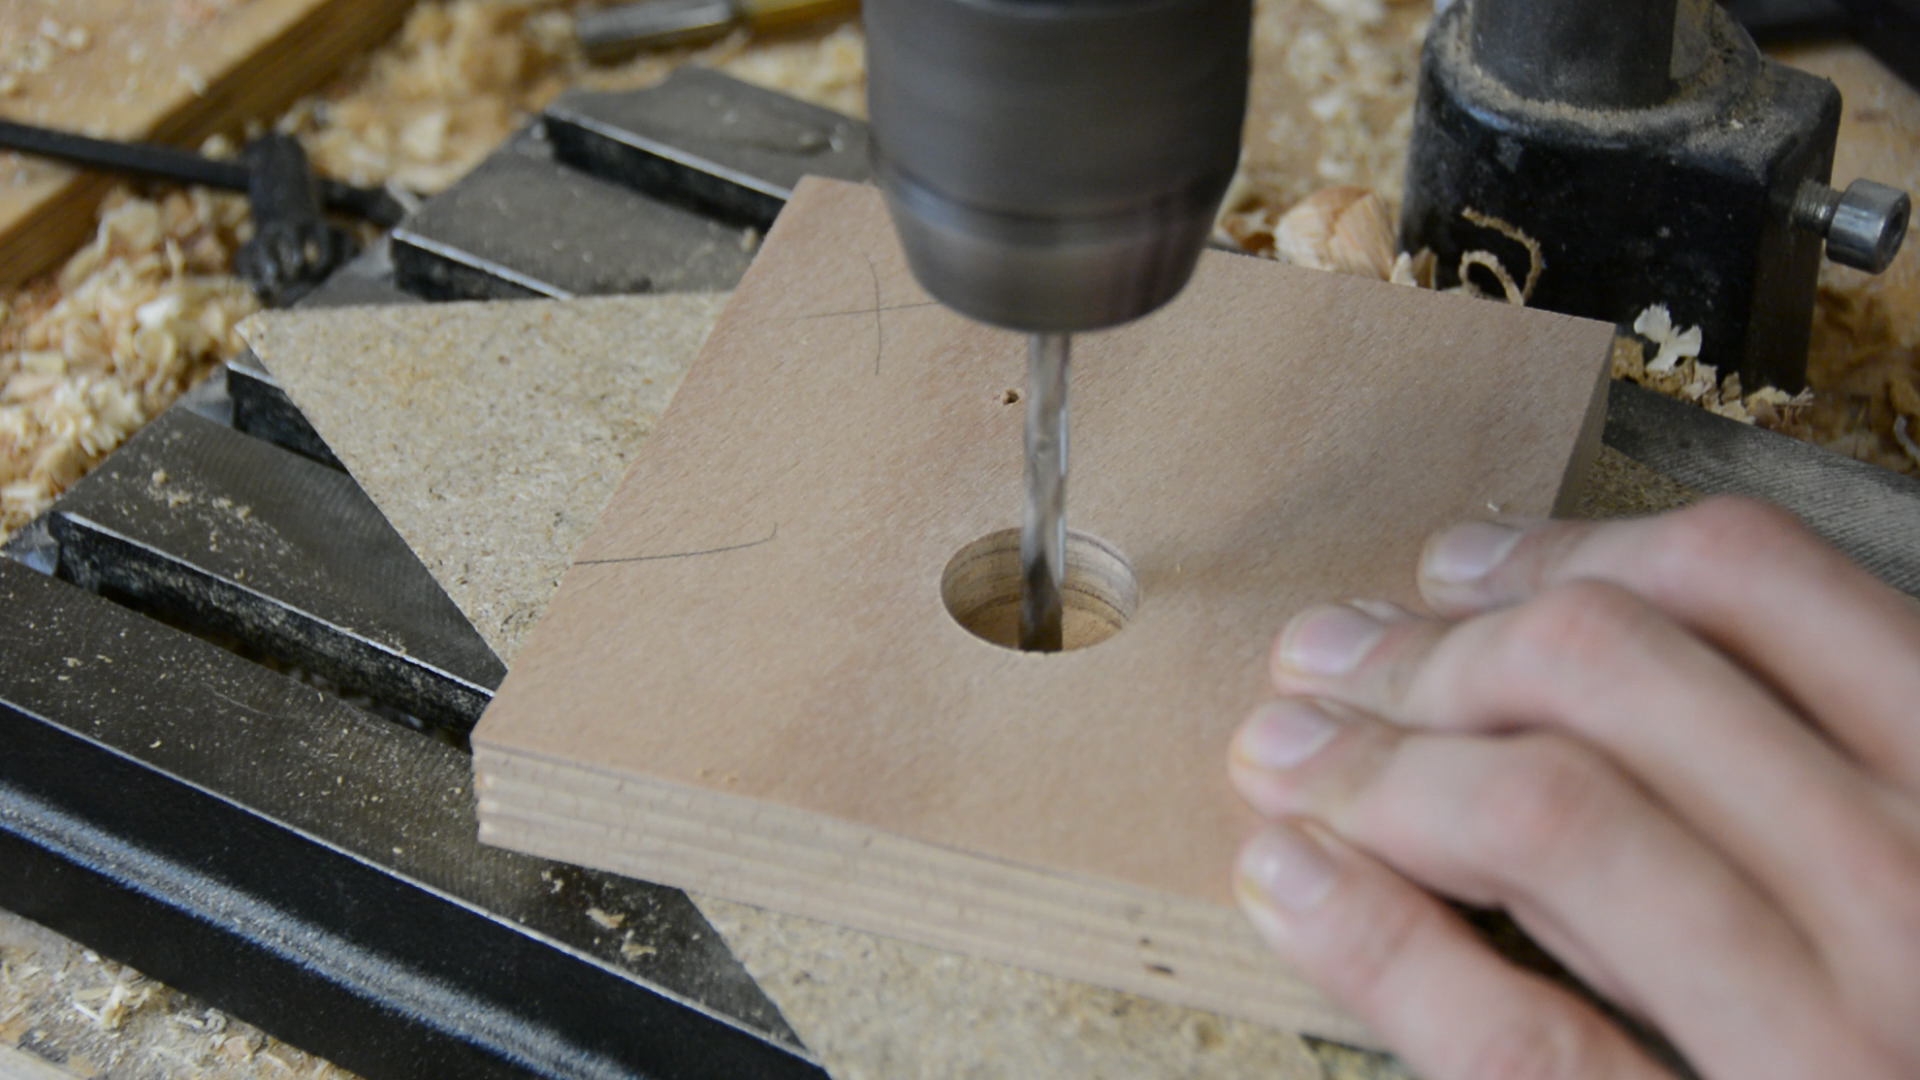
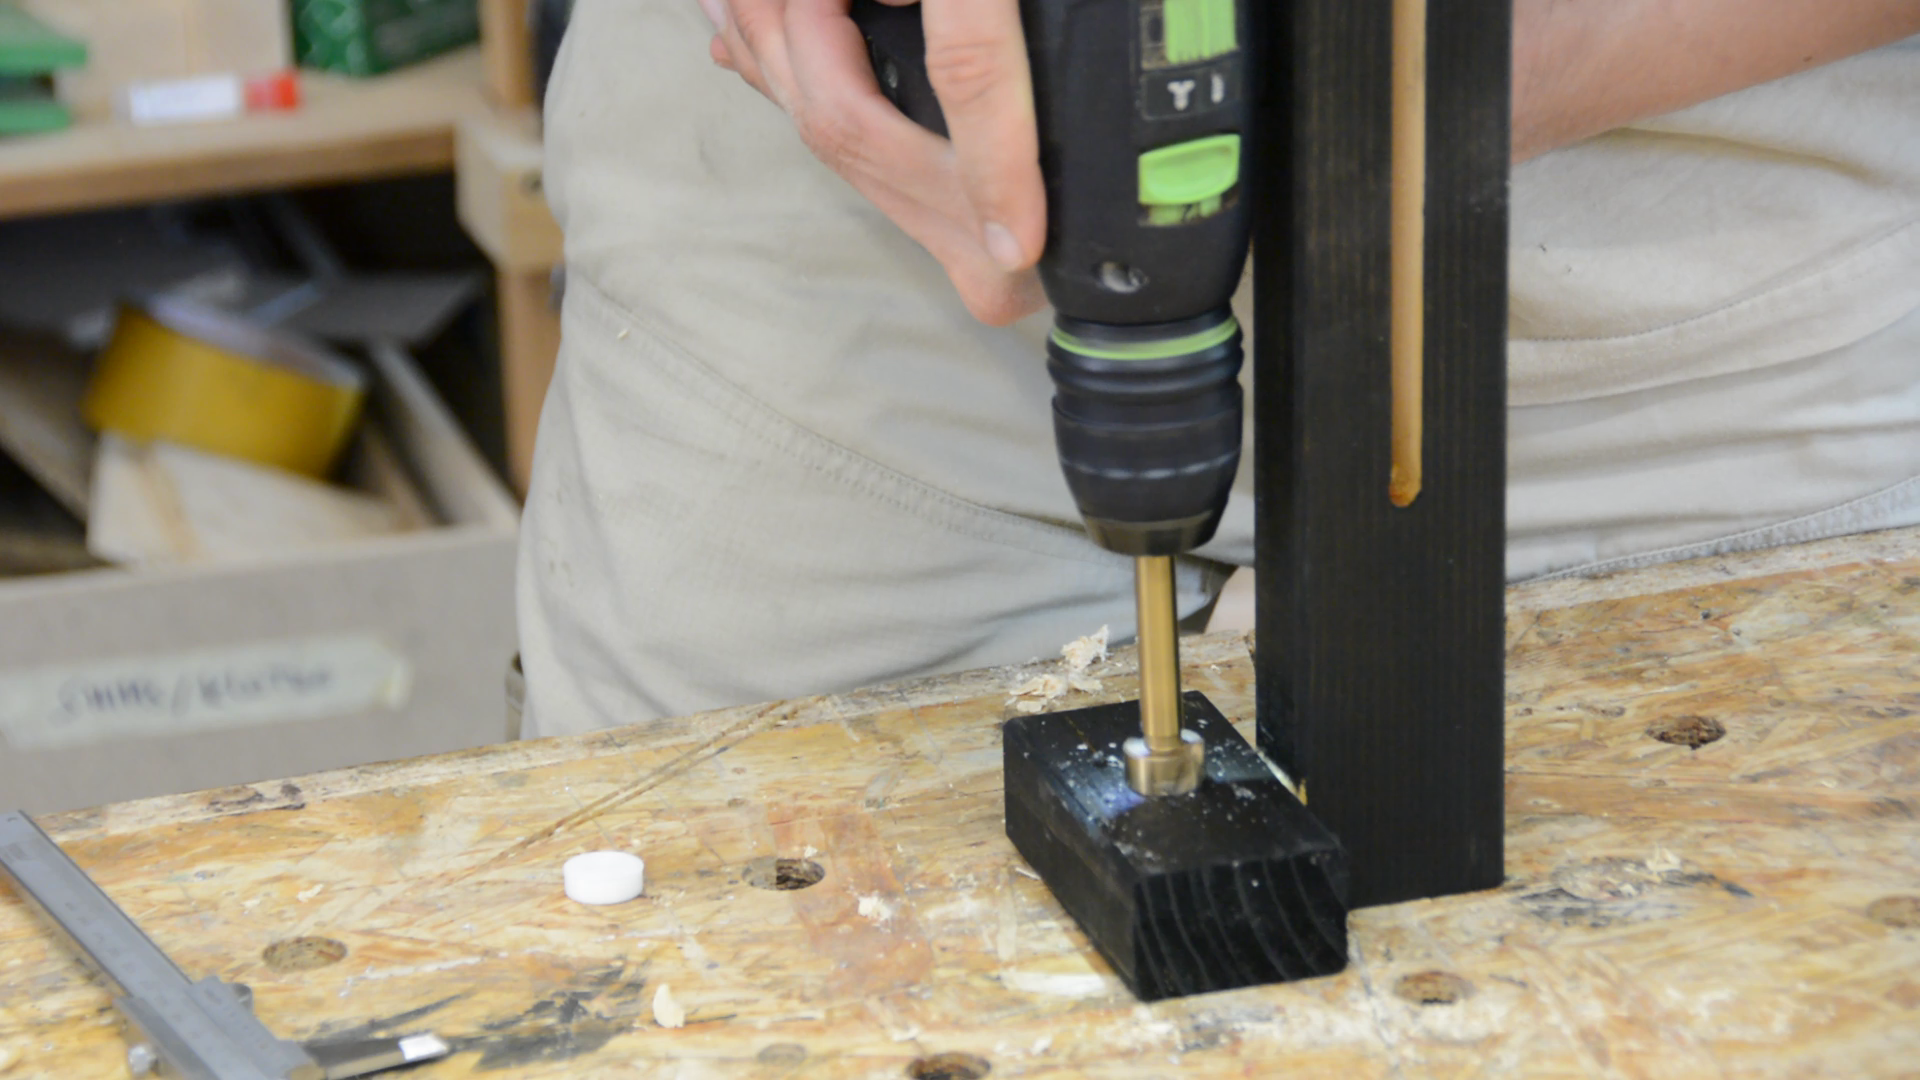
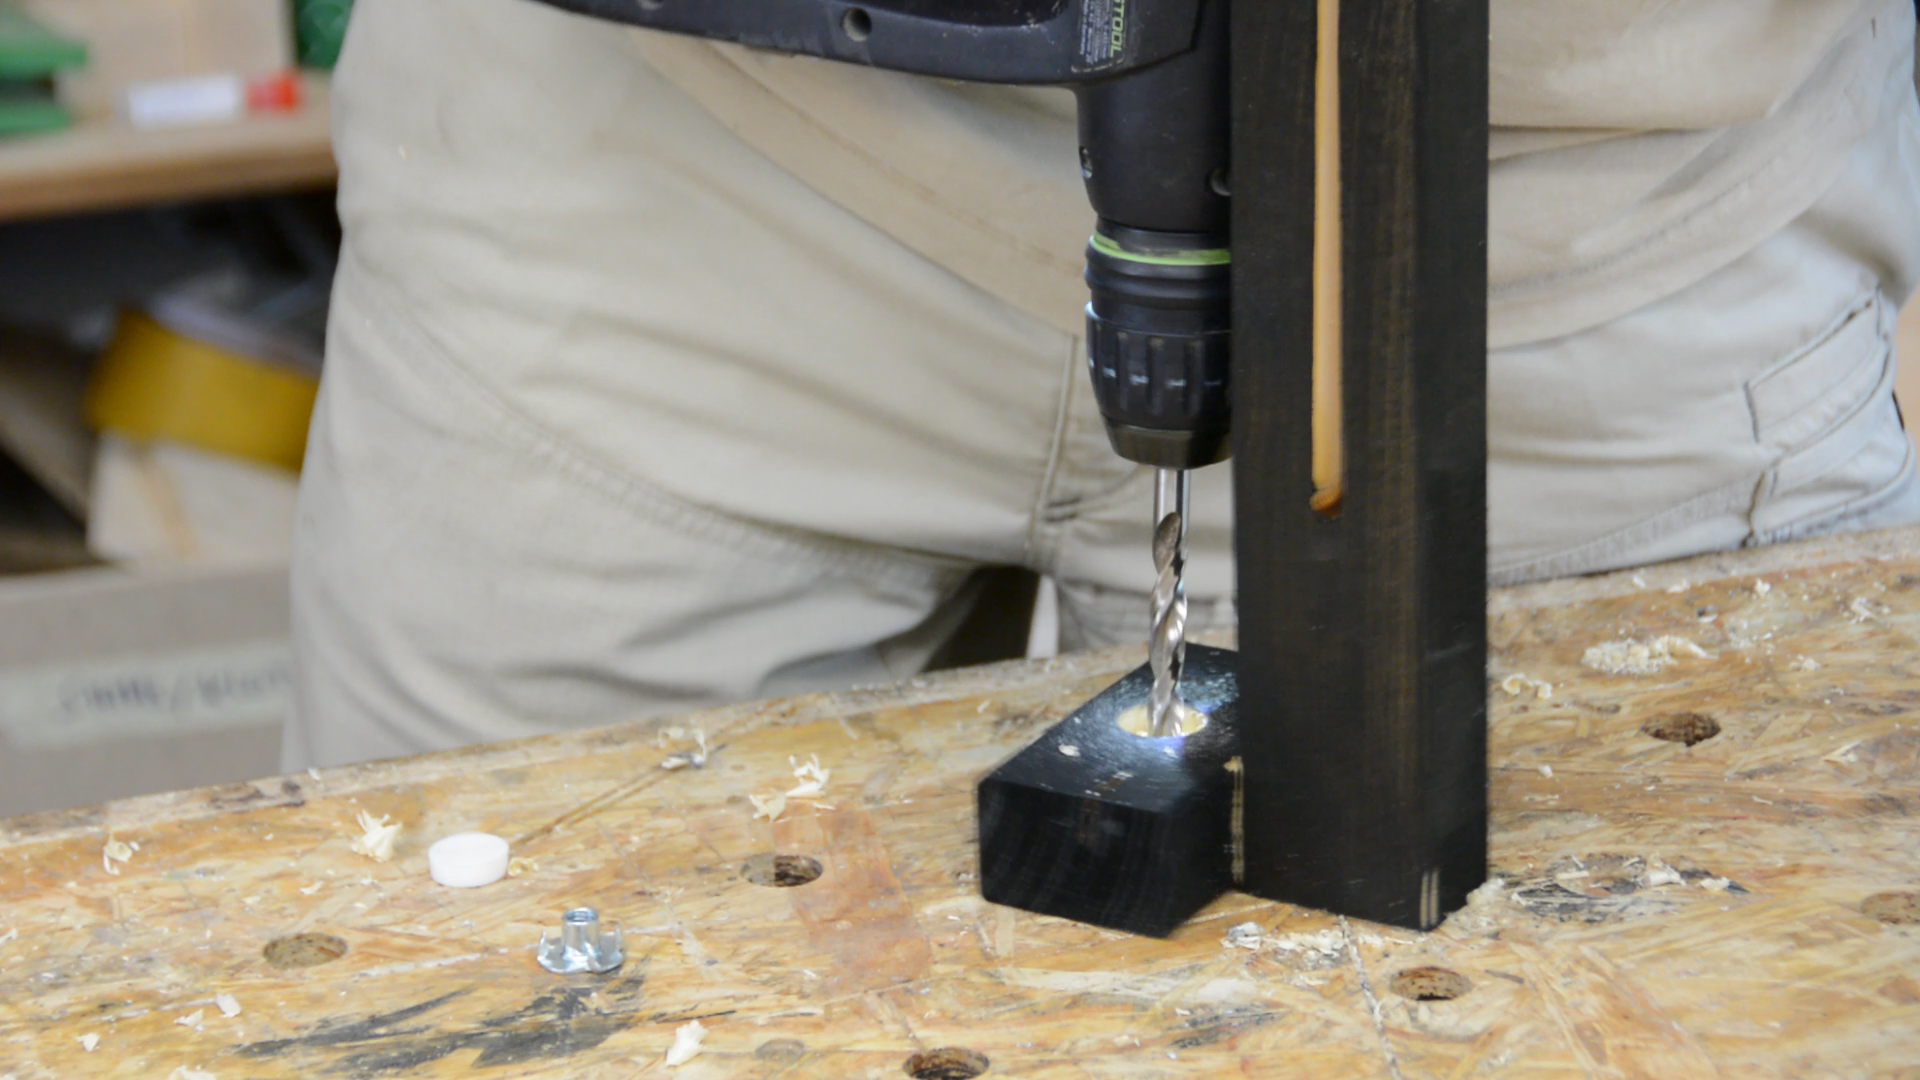
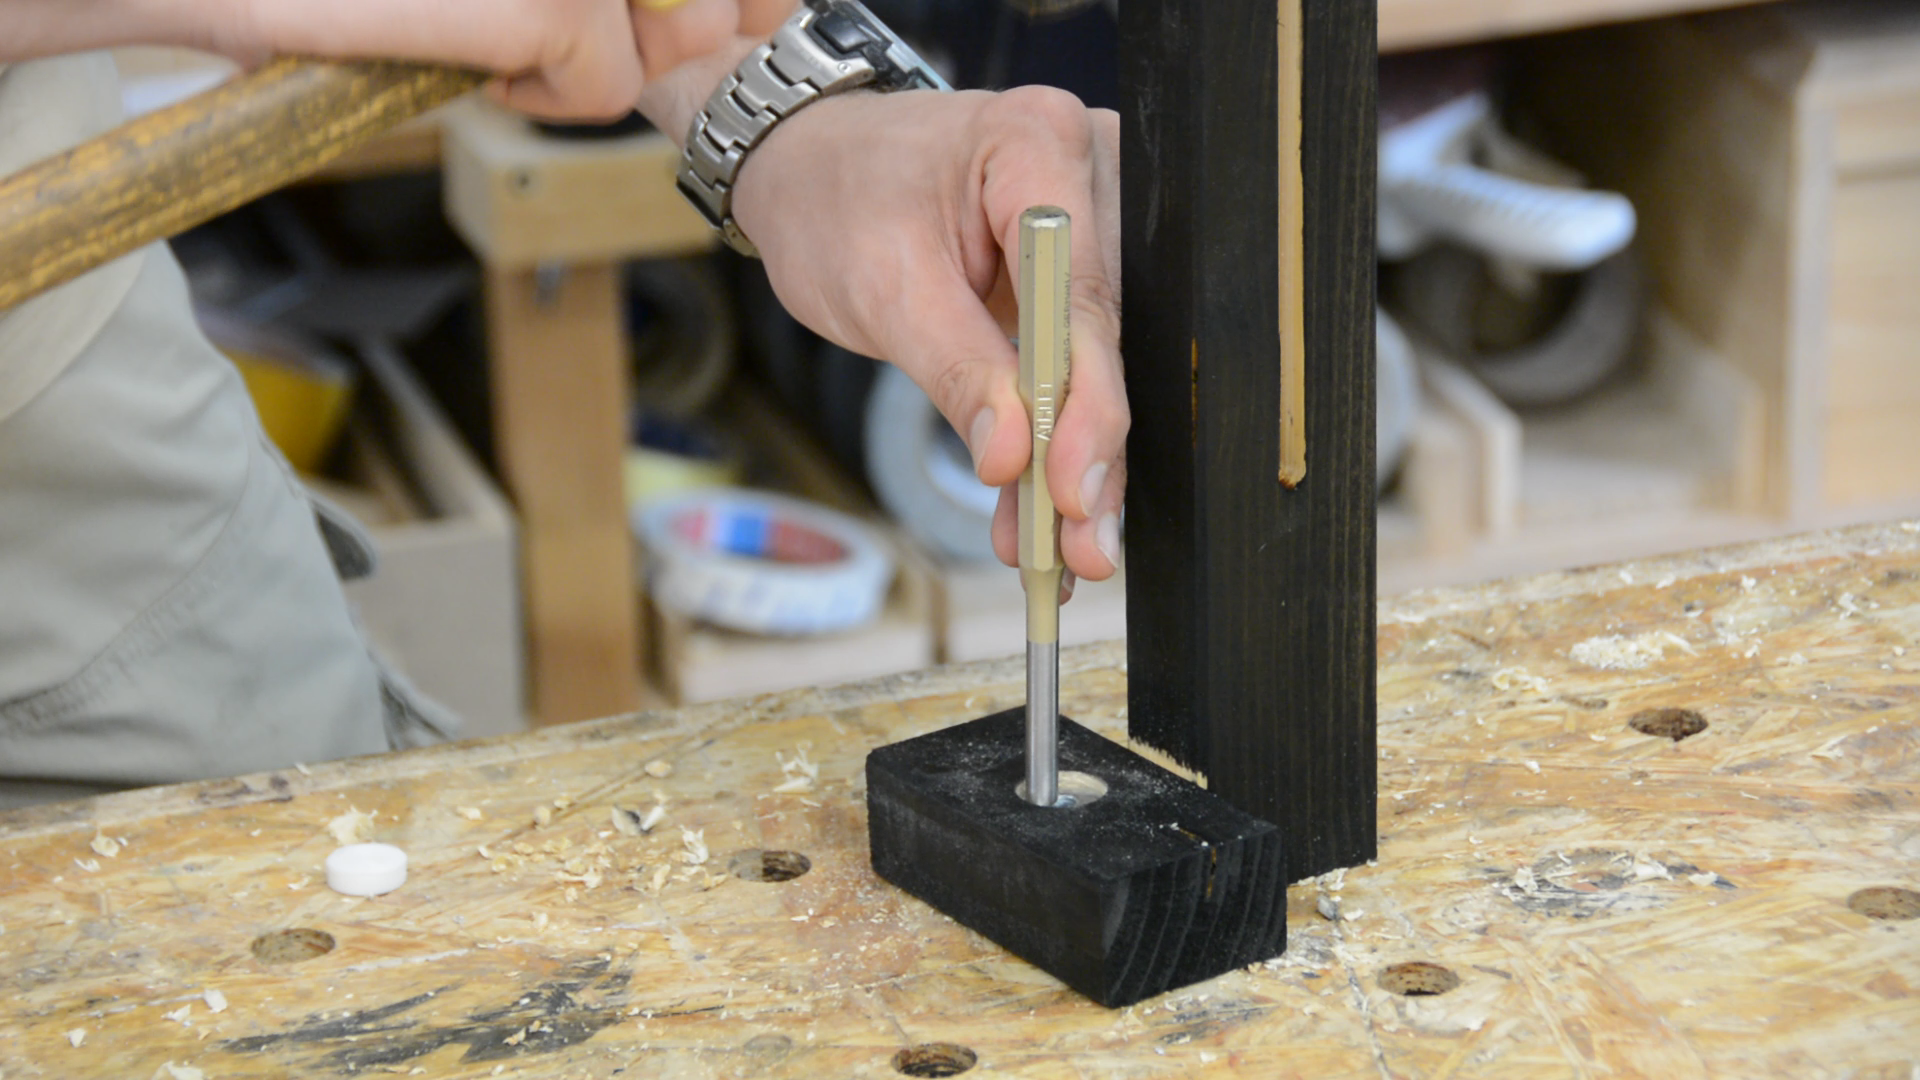
In order to clamp the wide board to the crossbeam we bore a hole in a small square piece of plywood and glue a machinescrew into the block.
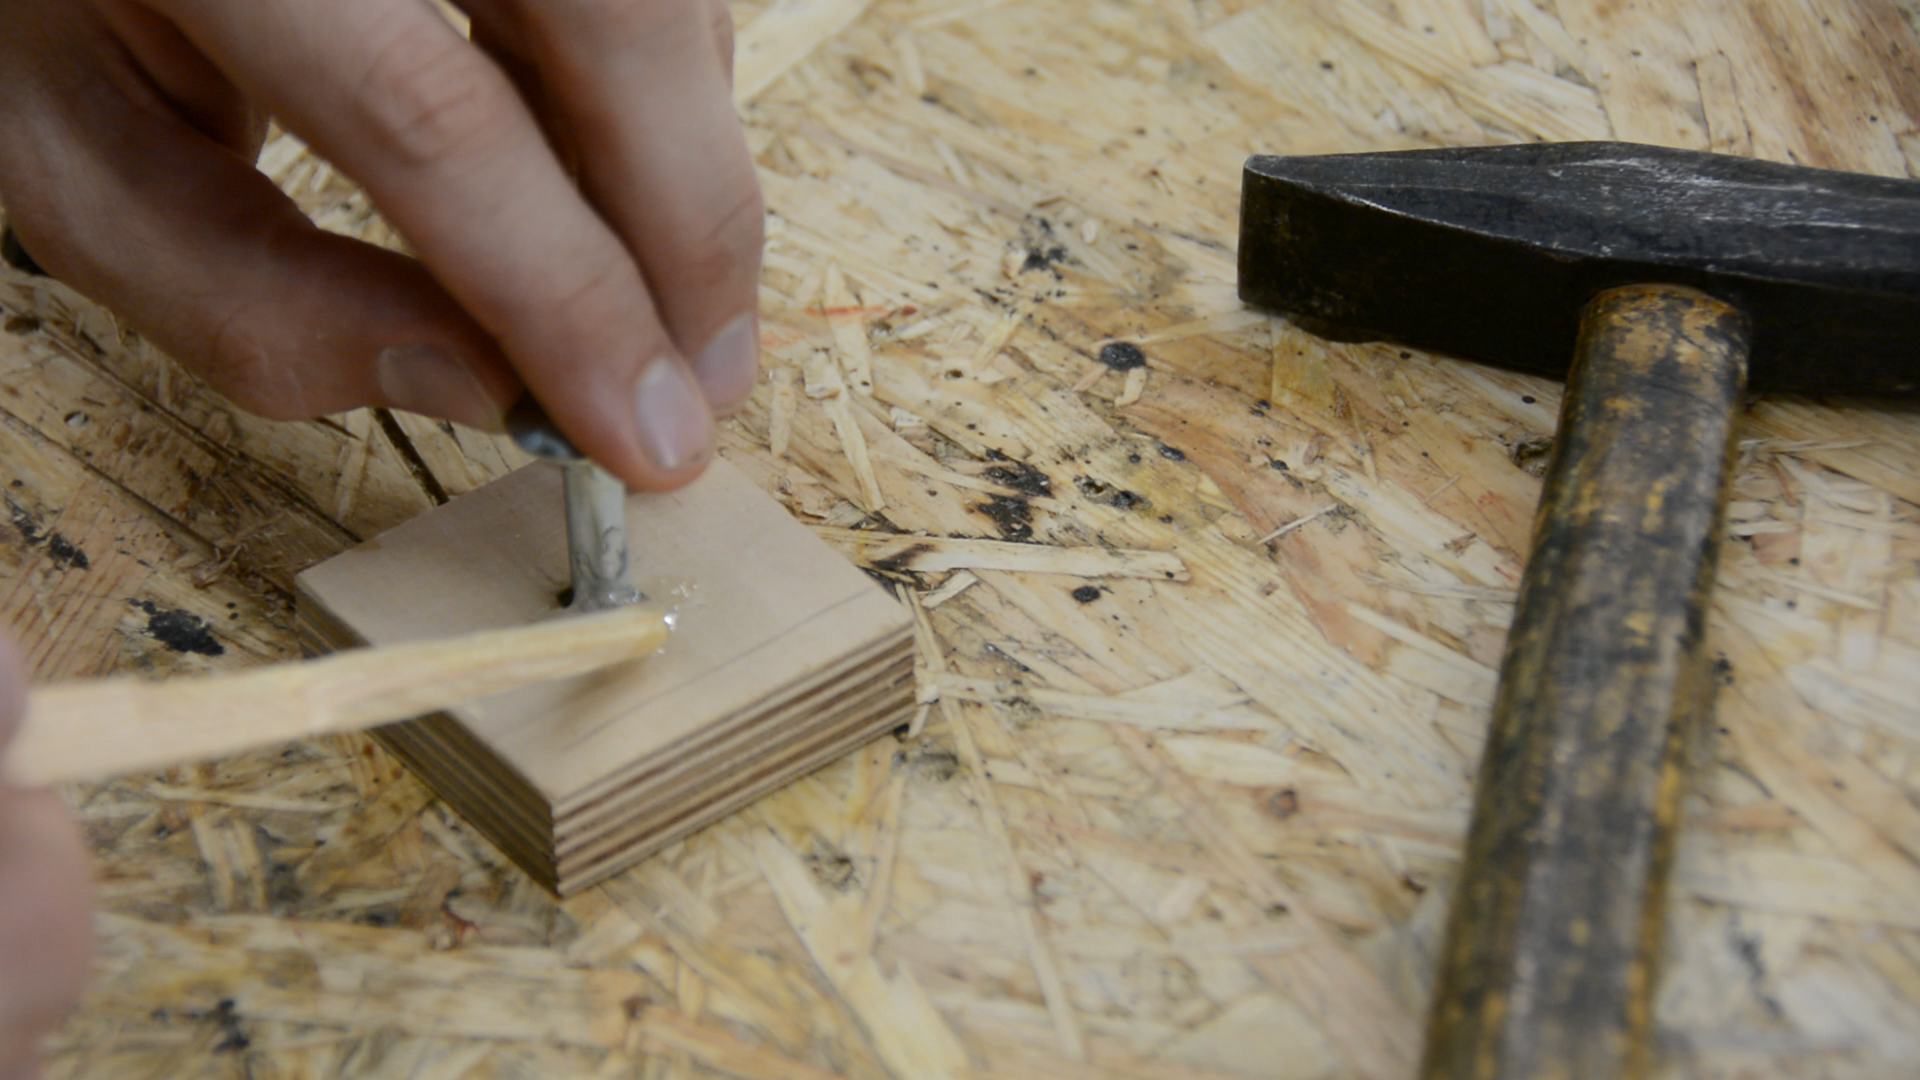
With this block and a 3d printed knob the two pieces can be secured together. A larger plywood piece will be used to mount the camera.
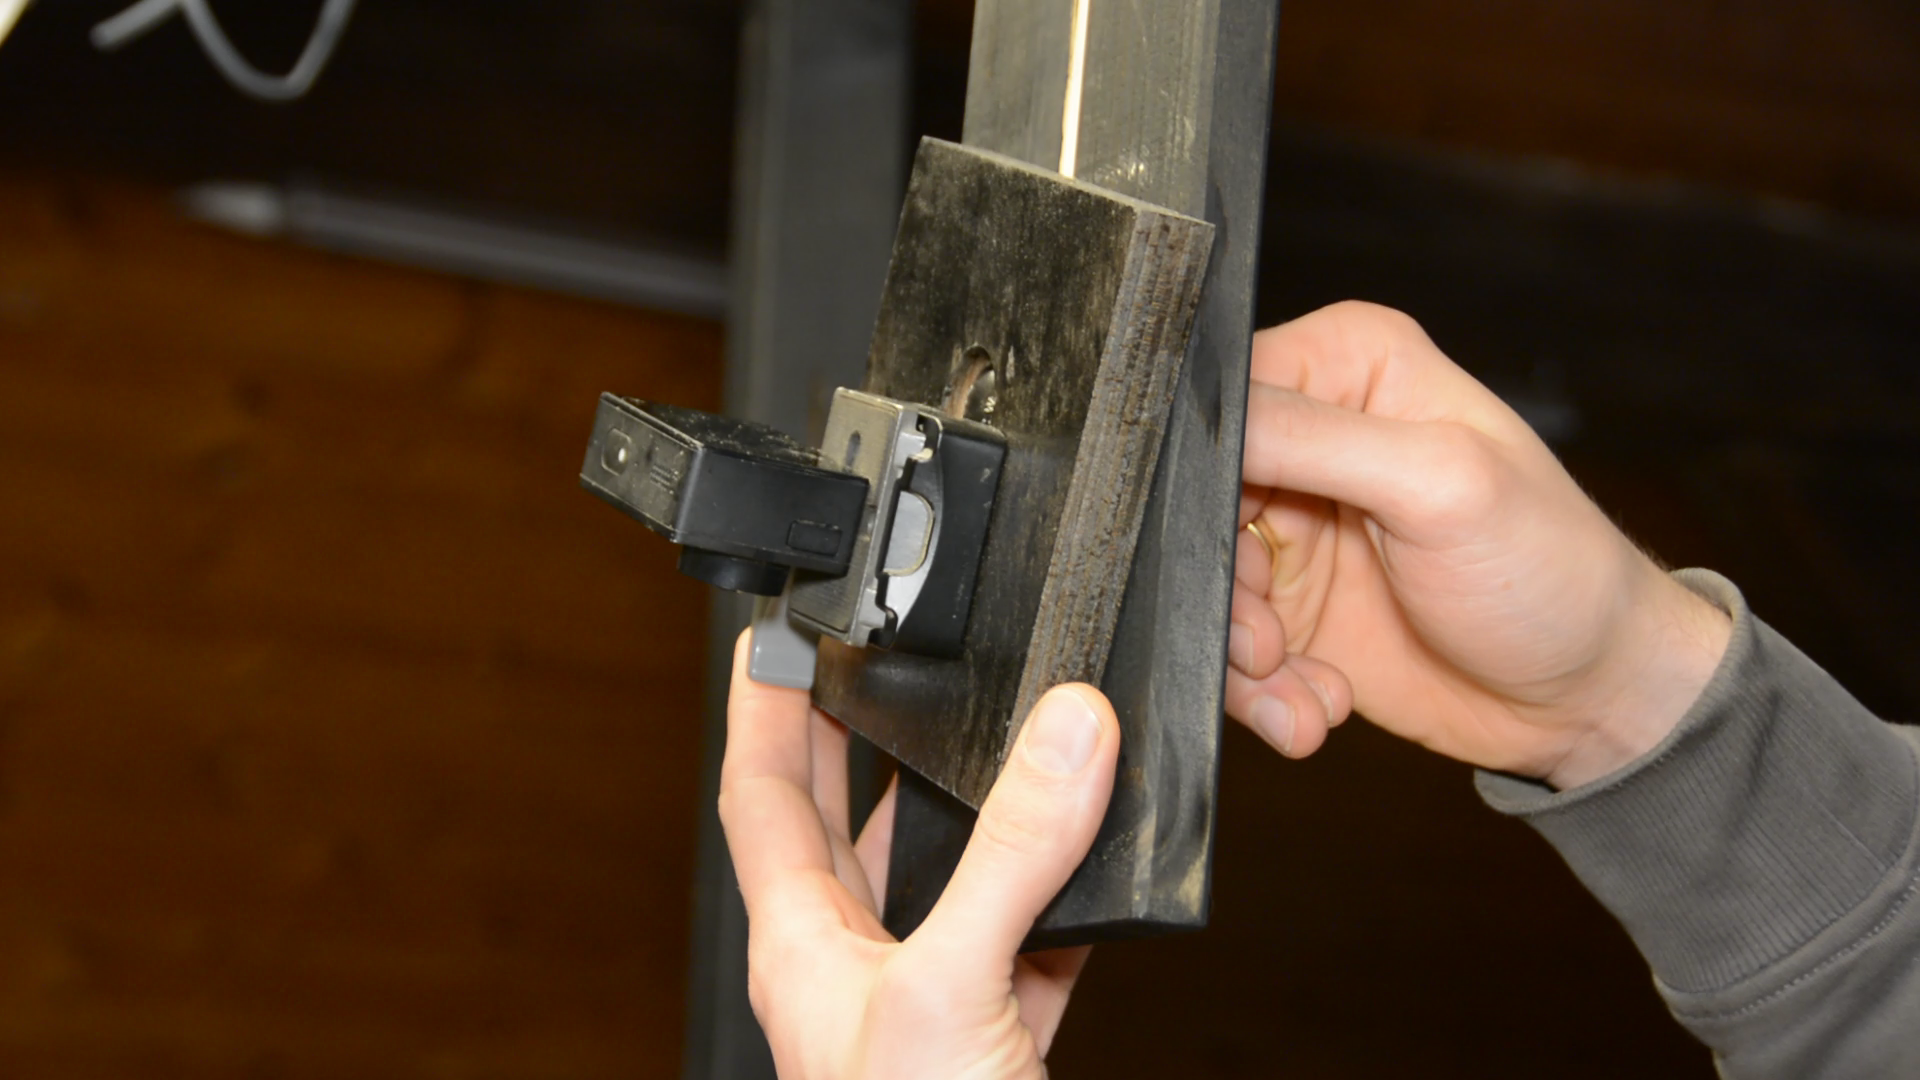
This plywood gets a series of holes and recesses so that we can attach a quick-release camera mount to this plate.

To install the camera mount we add two blocks with captive nuts at the ends of the crossbeam.
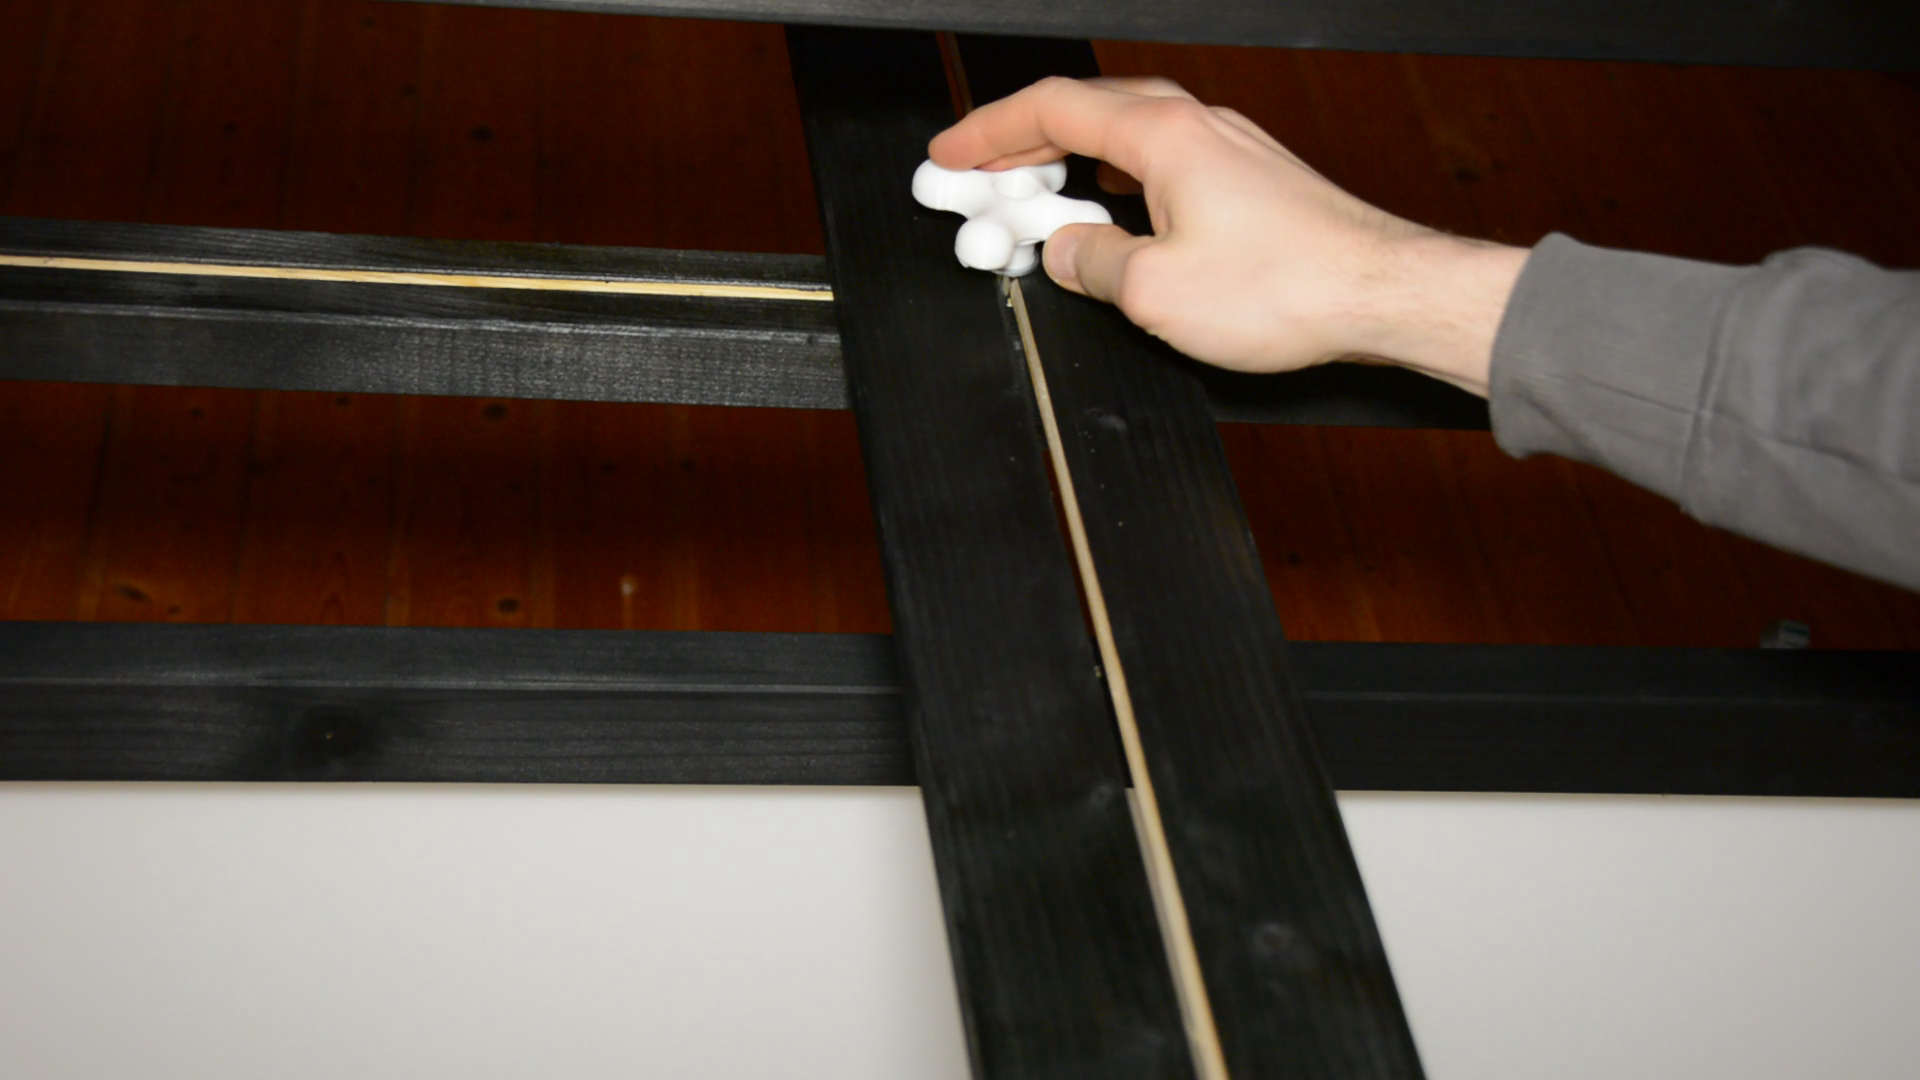
This way we can secure the crossbeam to the frames with 3d printed knobs.
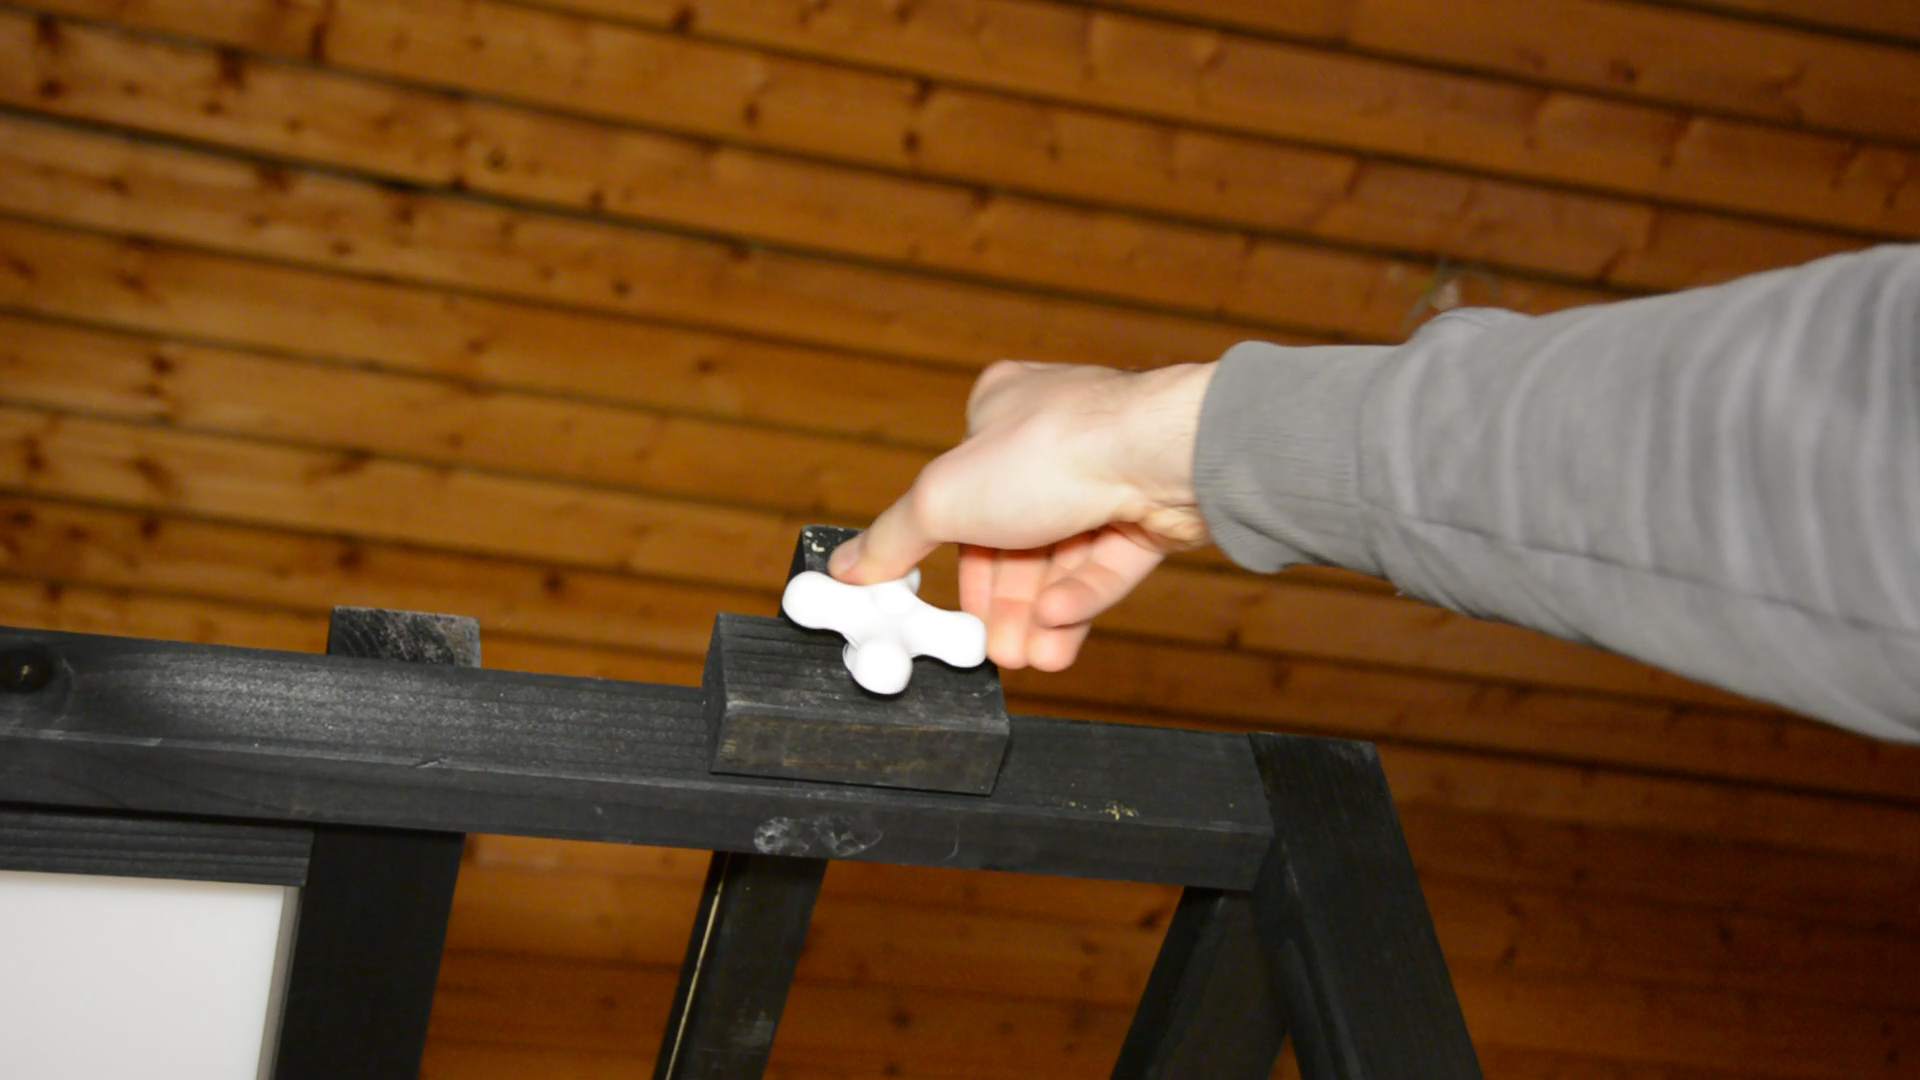
Another knob secures the flat piece to the cross beam for height adjustment.

At the end of this flat piece finally sits the camera. With a wingnut the angle of the camera can be adjusted.
The workstation is a big improvement to do more electronics and at the same time create better video footage.