
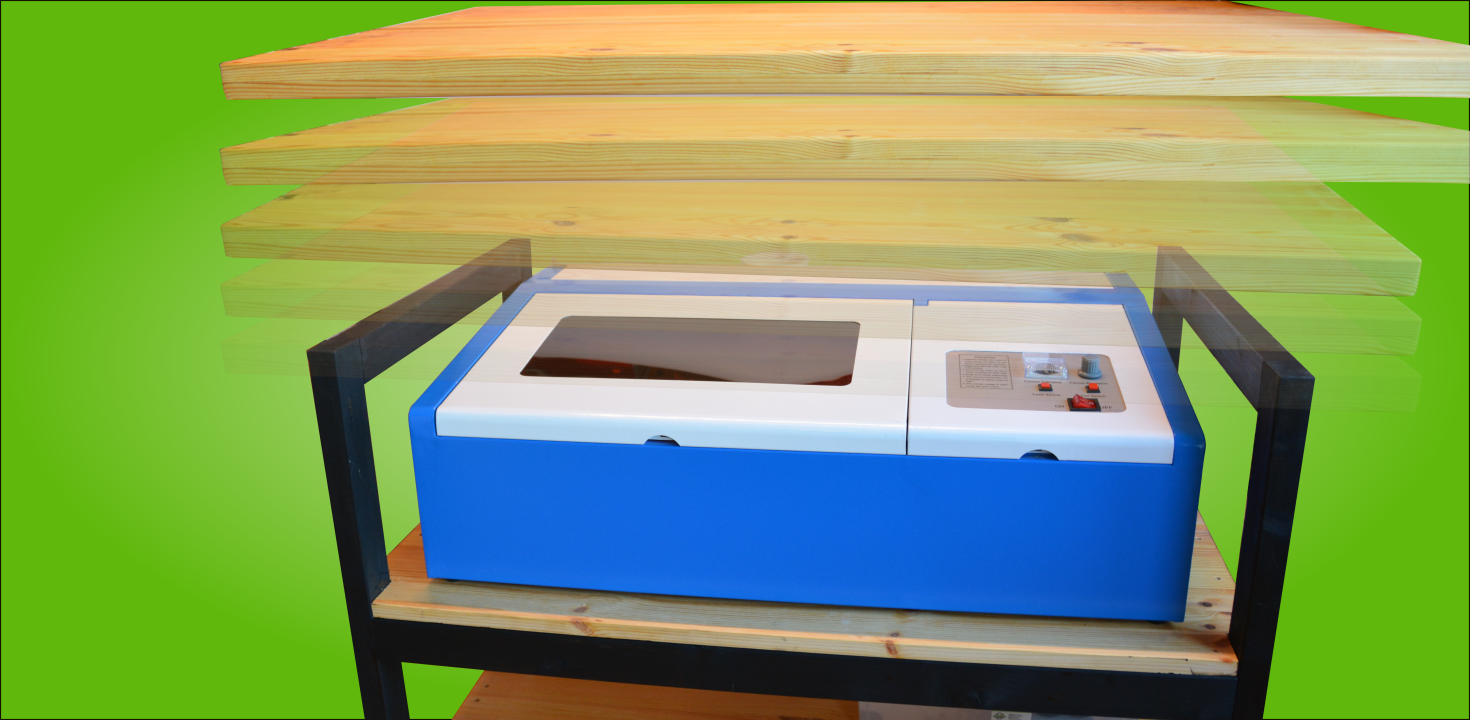
In this article we build a mobile workshop cart to hold my laser and provide a work surface when the laser is not in use.
While setting up my laser in this article I found it hard to move the machine around. So I decided to create a simple workshop cart. You could use the same concept for a lot of different tools such as 3d printers, a planer or a sander.
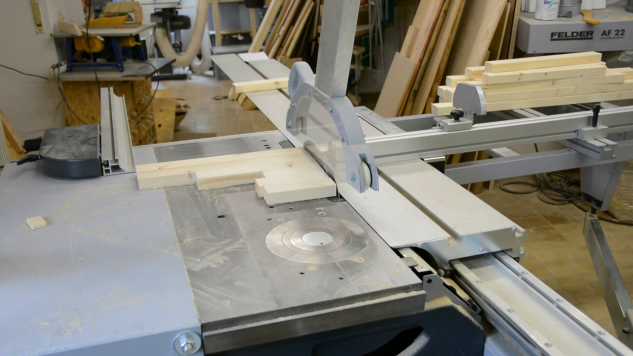
Cutting and gluing
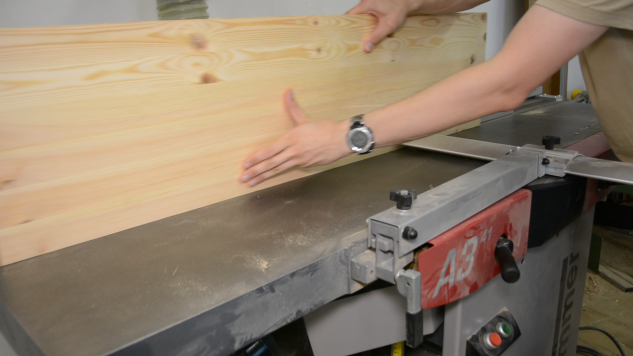
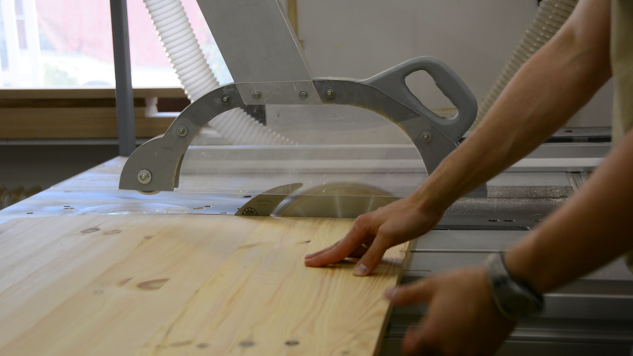
We start with lumber from the home center and will not even bother to remove the rounded corners but just cut them to length on the tablesaw.
Before assembly of the frames I glue up the three panels for the shelves and the tabletop.
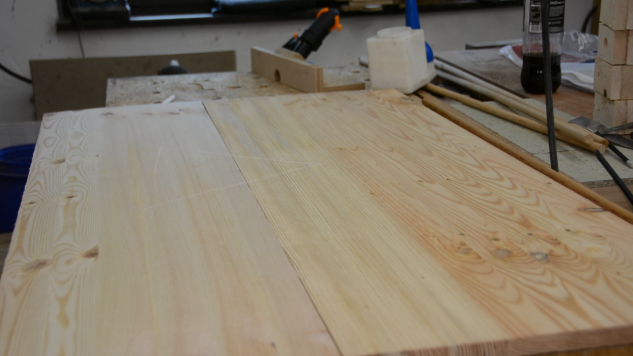
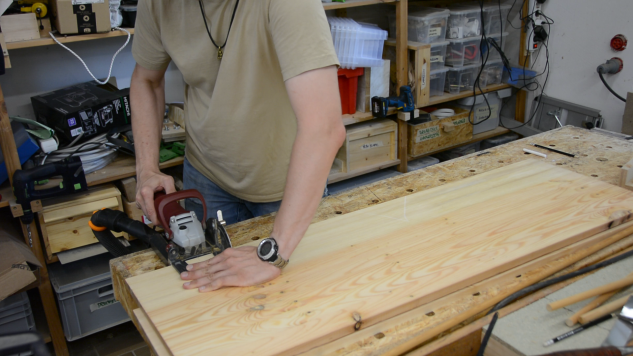
I am using panels from the home center, joint one of the edges of the boards and use biscuits to ensure alignment of the panels and then clamp them together.
As we will find out later two of these glue ups are unnecessary.

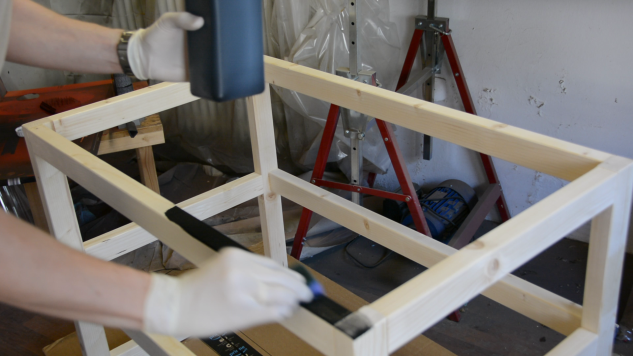
While the glue of the panels is drying I am going to assemble the frame. The two side pieces are assembled using domino joints.

If you don’t have a Festool domino look at this or this article for a jig to accomplish the same thing.

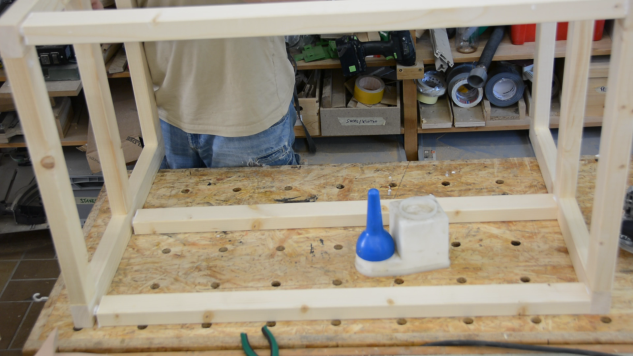
After the side pieces are fully cured I am attaching 4 cross pieces.
A table top and shelves for the workshop cart
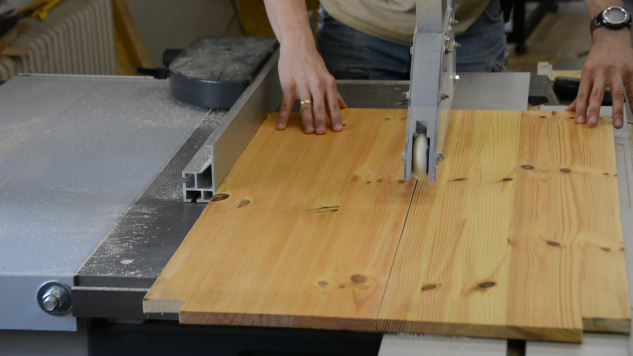
Now the cart is taking shape. Back to the panels I cut the two shelves to their final dimension. To get the necessary material for the next step I am rip cutting one panel before cross
cutting and have the cuts for the second panel in reverse order.

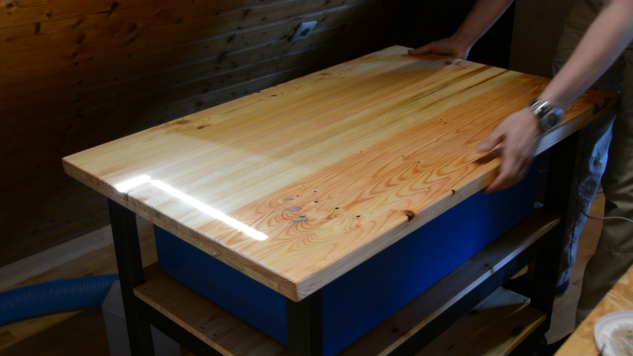
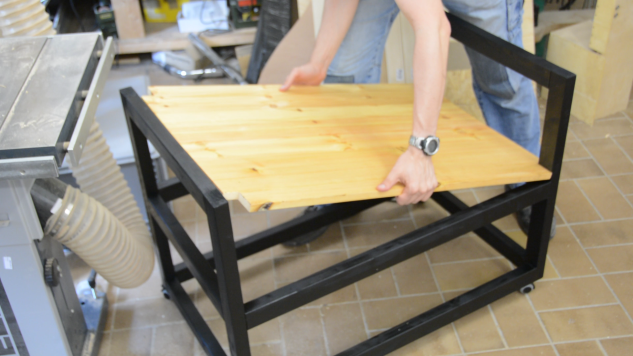
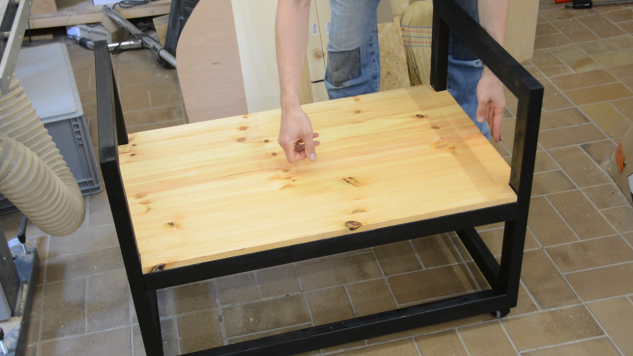
With the offcuts I can double up the tabletop so that it looks a bit more solid but is still lightweight and easy to remove. Instead of measuring it’s sometimes easier to use the actual piece as a reference.
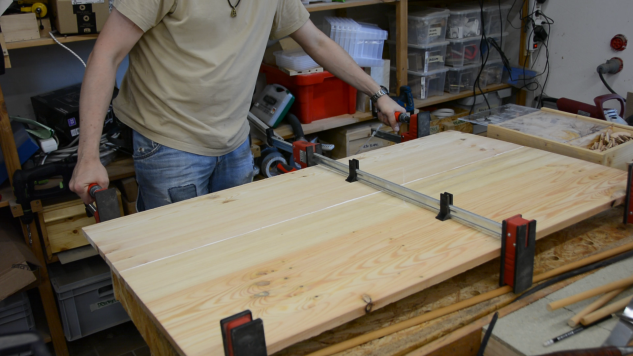
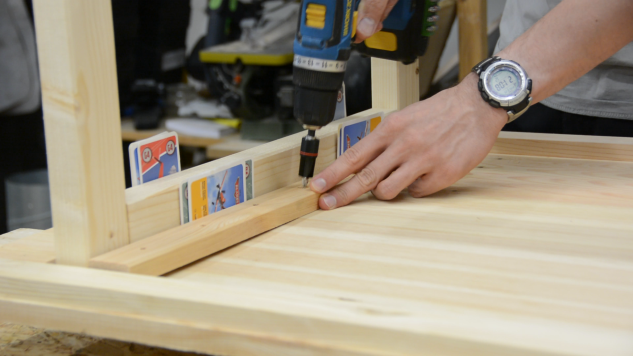
Spacing the additional pieces with a few playing cards I glue them down with a lot of clamps. With these additional pieces the tabletop could still warp.

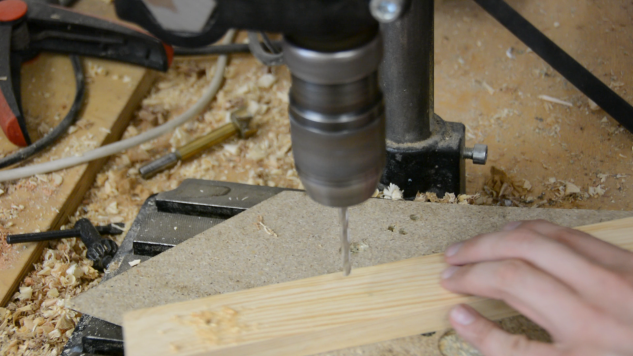
To avoid warping but still allow for wood movement I am drilling oversized holes in two pieces of wood.
These pieces are again spaced with playing cards and screwed to the table top.
Only the middle screw is fixed – all the other screws are attached with a washer so that the wood can move.

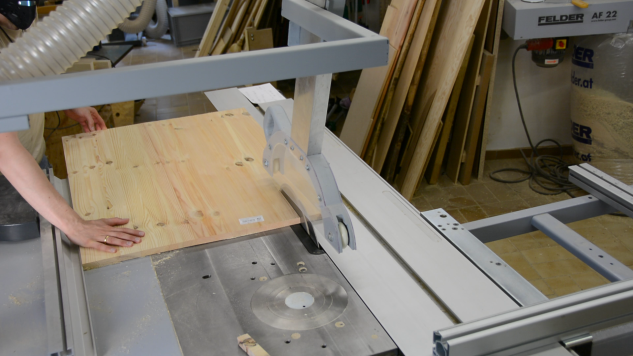
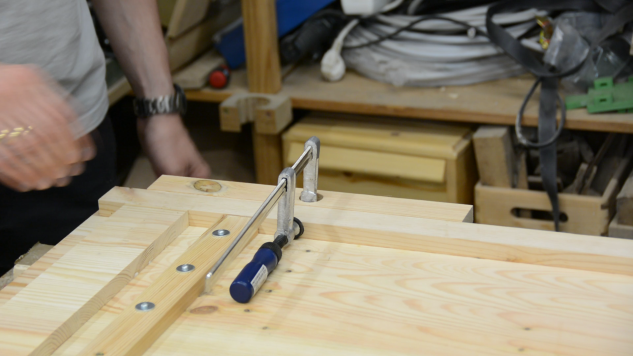
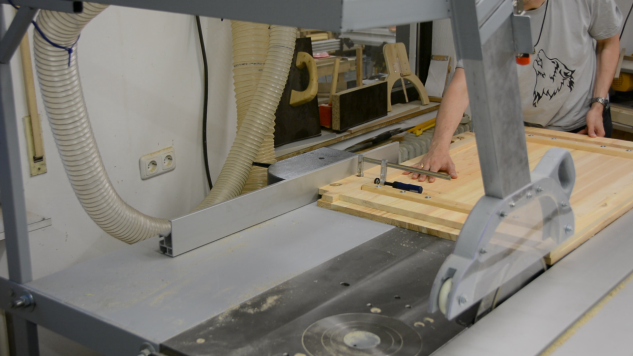
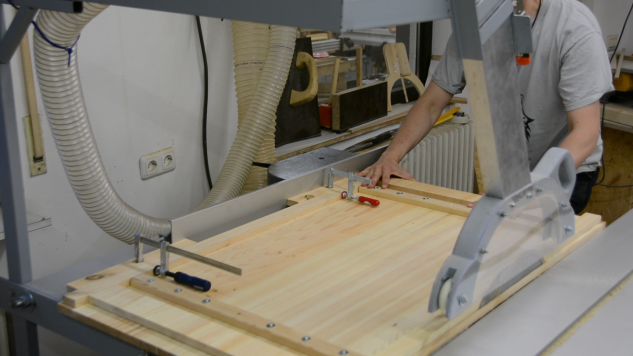
To trim off the excess wood from the table top I clamp 2 straight pieces to the side
that help me to reference off this side against the table saw fence.
The tabletop gets a quick roundover with the palm router.
Finishing touches
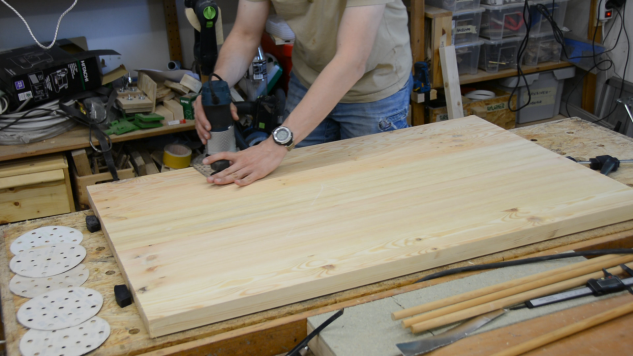
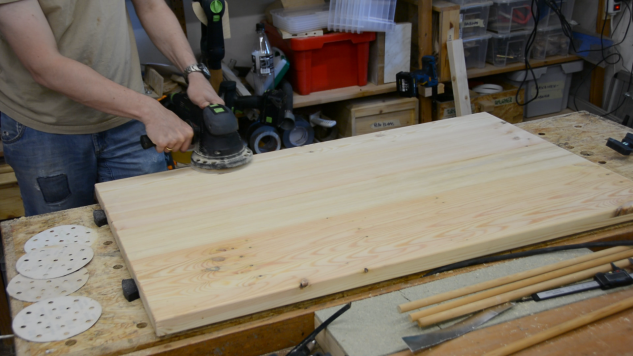
The shelves are cut to size and get a cut out at each corner. With all the assembly done what follows is sanding, a lot of sanding.
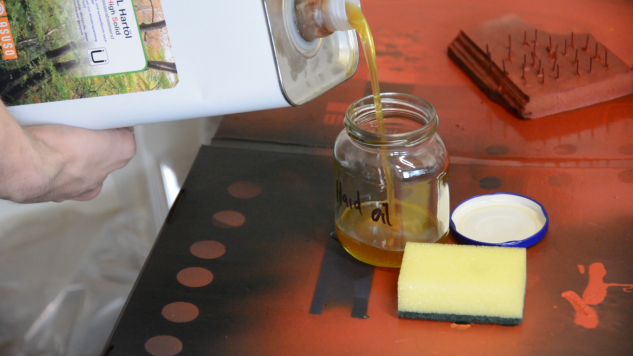
The finish is a simple hard oil finish that I apply very liberally.
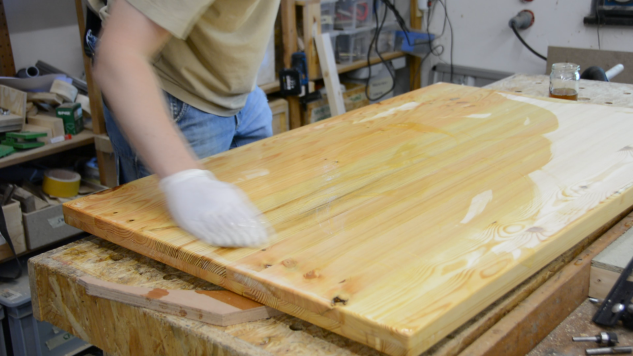
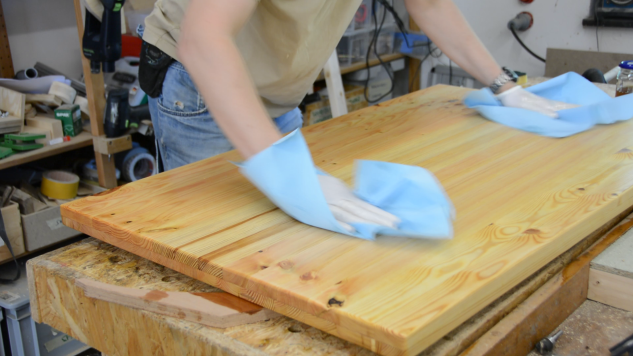
While the wood soaks up the oil I am spreading it several times so that at the end I only have to remove little oil with a rag.

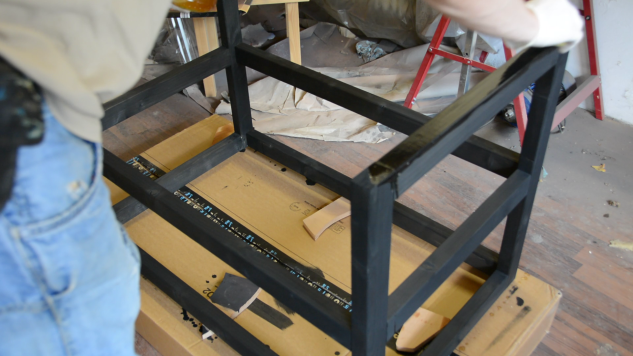
The frame will be stained black and then also gets a coat of oil.
Lastly I am attaching a few wheels.

When I wanted to put the shelves in place I realized that they are too large for the opening.
So I cut them in half and screw the two halves to the cart.

With that the mobile workshop cart is completed. It is a great way to house the laser but also can act as a work surface when the laser is not in use.