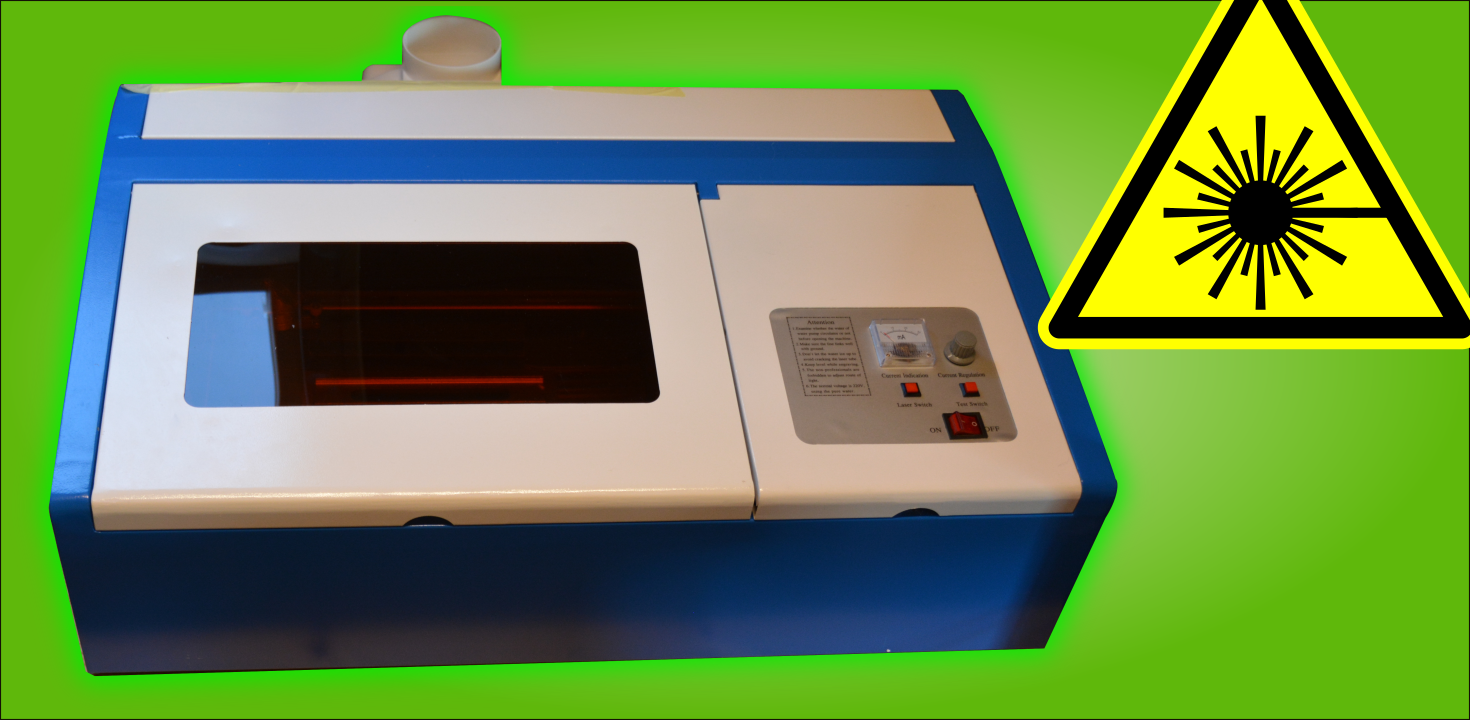
In this article we are going to setup a K40 laser from China to work a little safer.
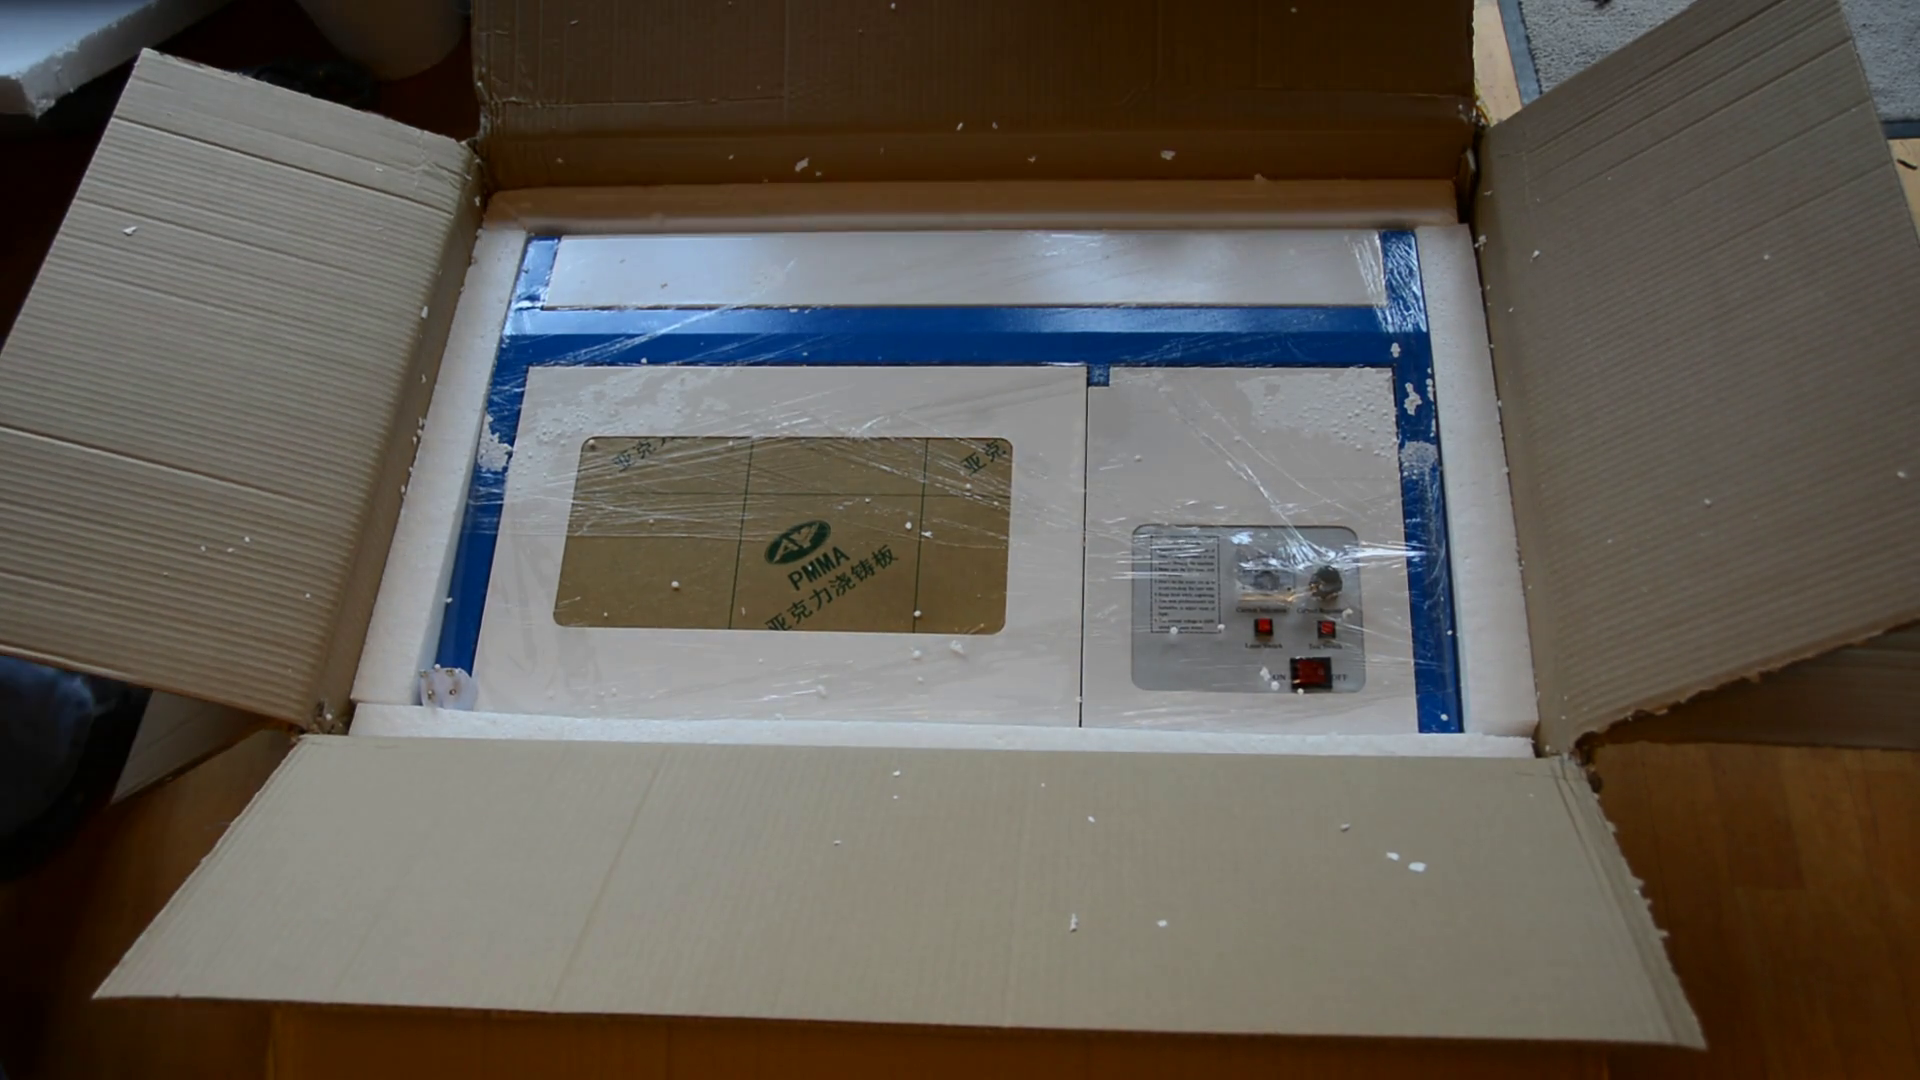
I recently bought this Chinese laser cutter on ebay. I would have preferred to buy a glowforge or full spectrum laser. But as they are not CE certified and ship from the US it might have been difficult to get them through customs of the European union.
So I bought this laser for a fraction of the price delivered from a warehouse within Europe.
I also bought protective glasses. It is important that you buy glasses that match the wave length of the laser of 10.640 nm. They are around 50 bucks. I am using these.

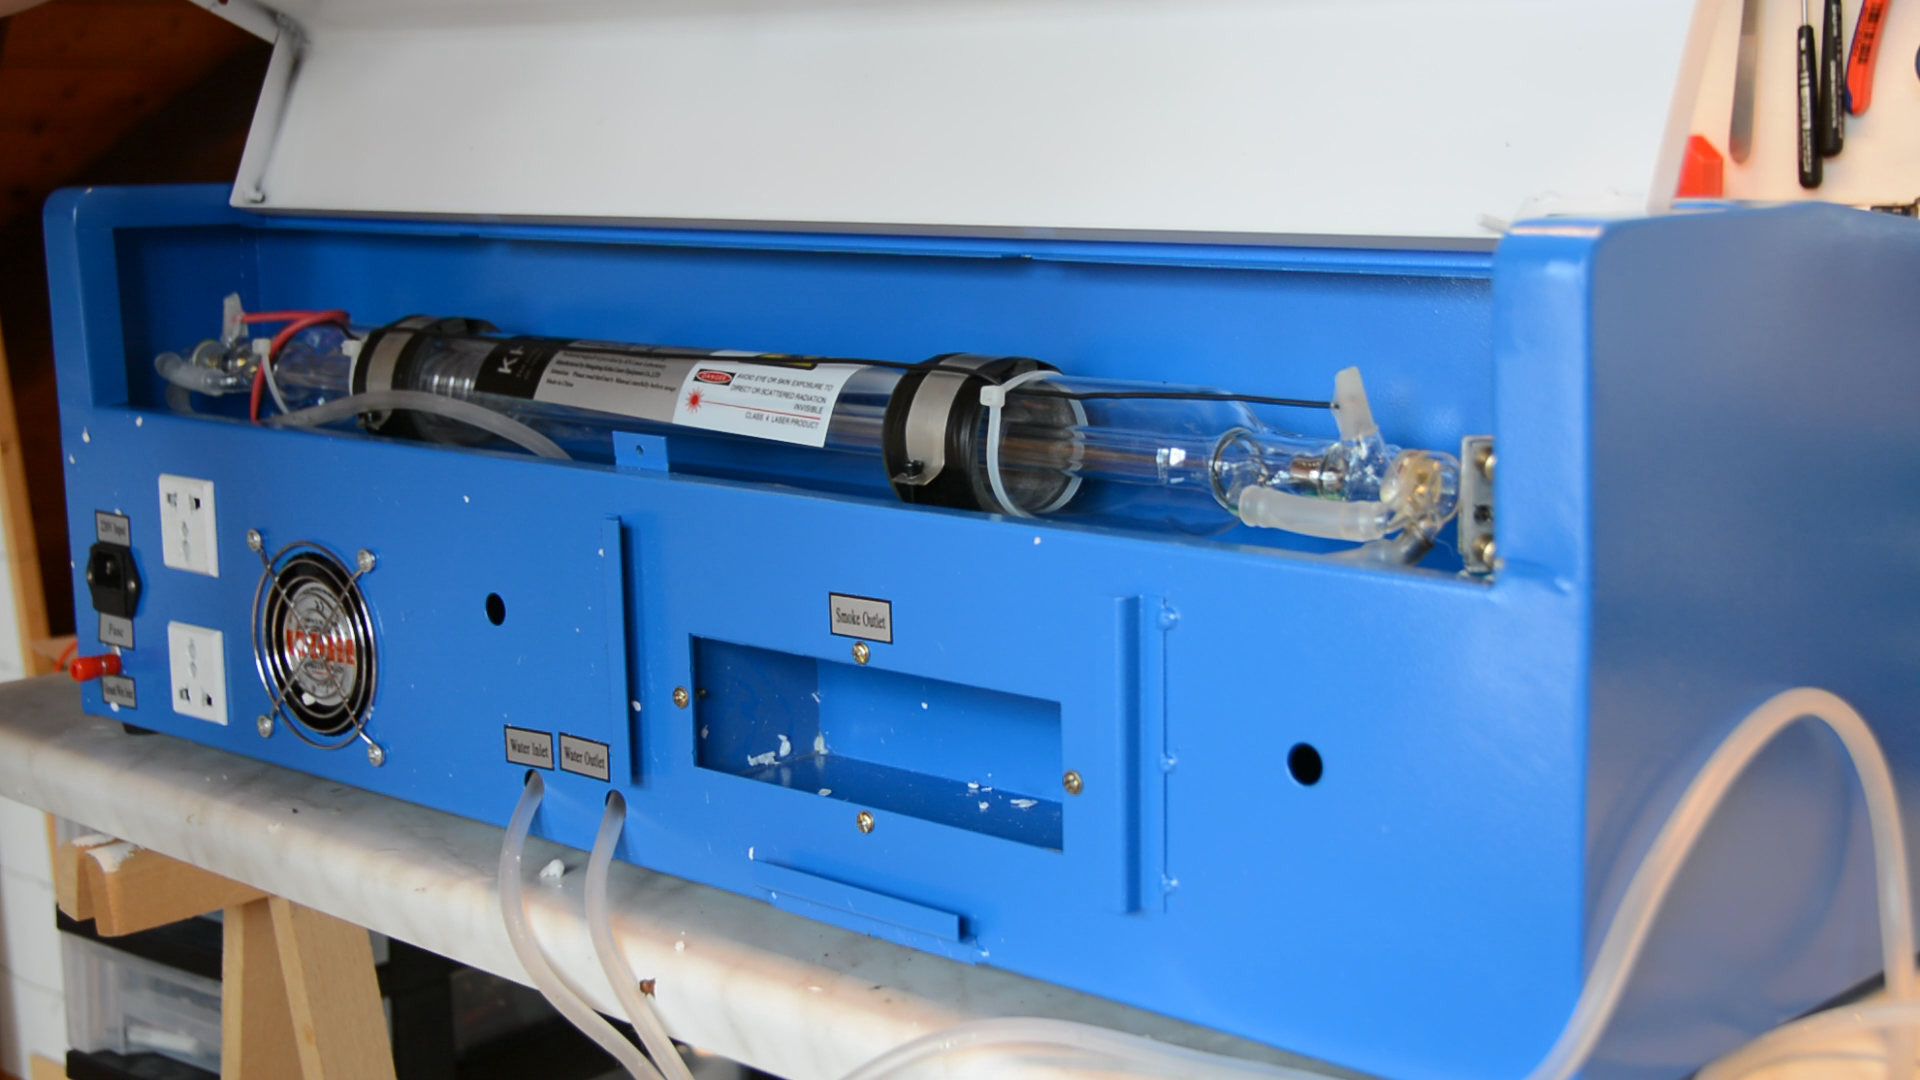
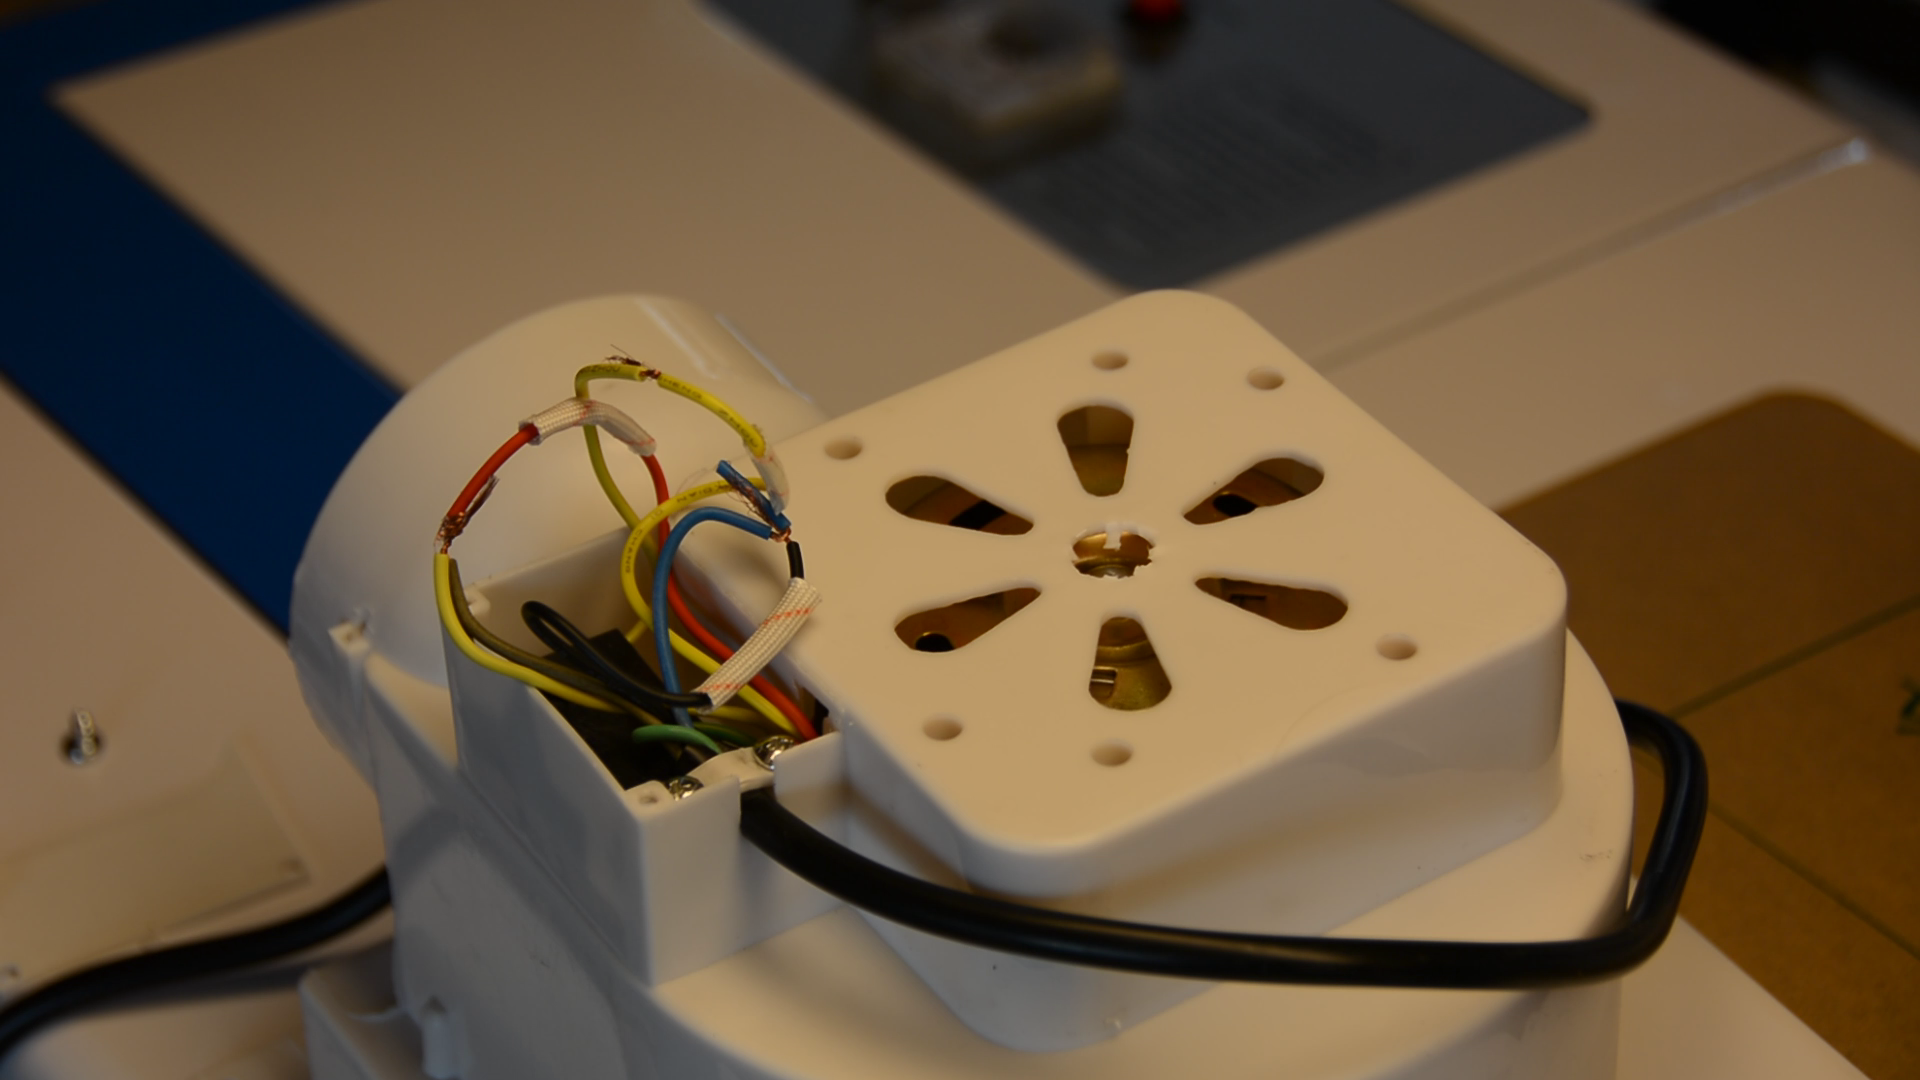
Don’t buy cheap glasses as they won’t offer any protection. After unboxing of the laser you want to visually inspect the laser tube and the electronics.
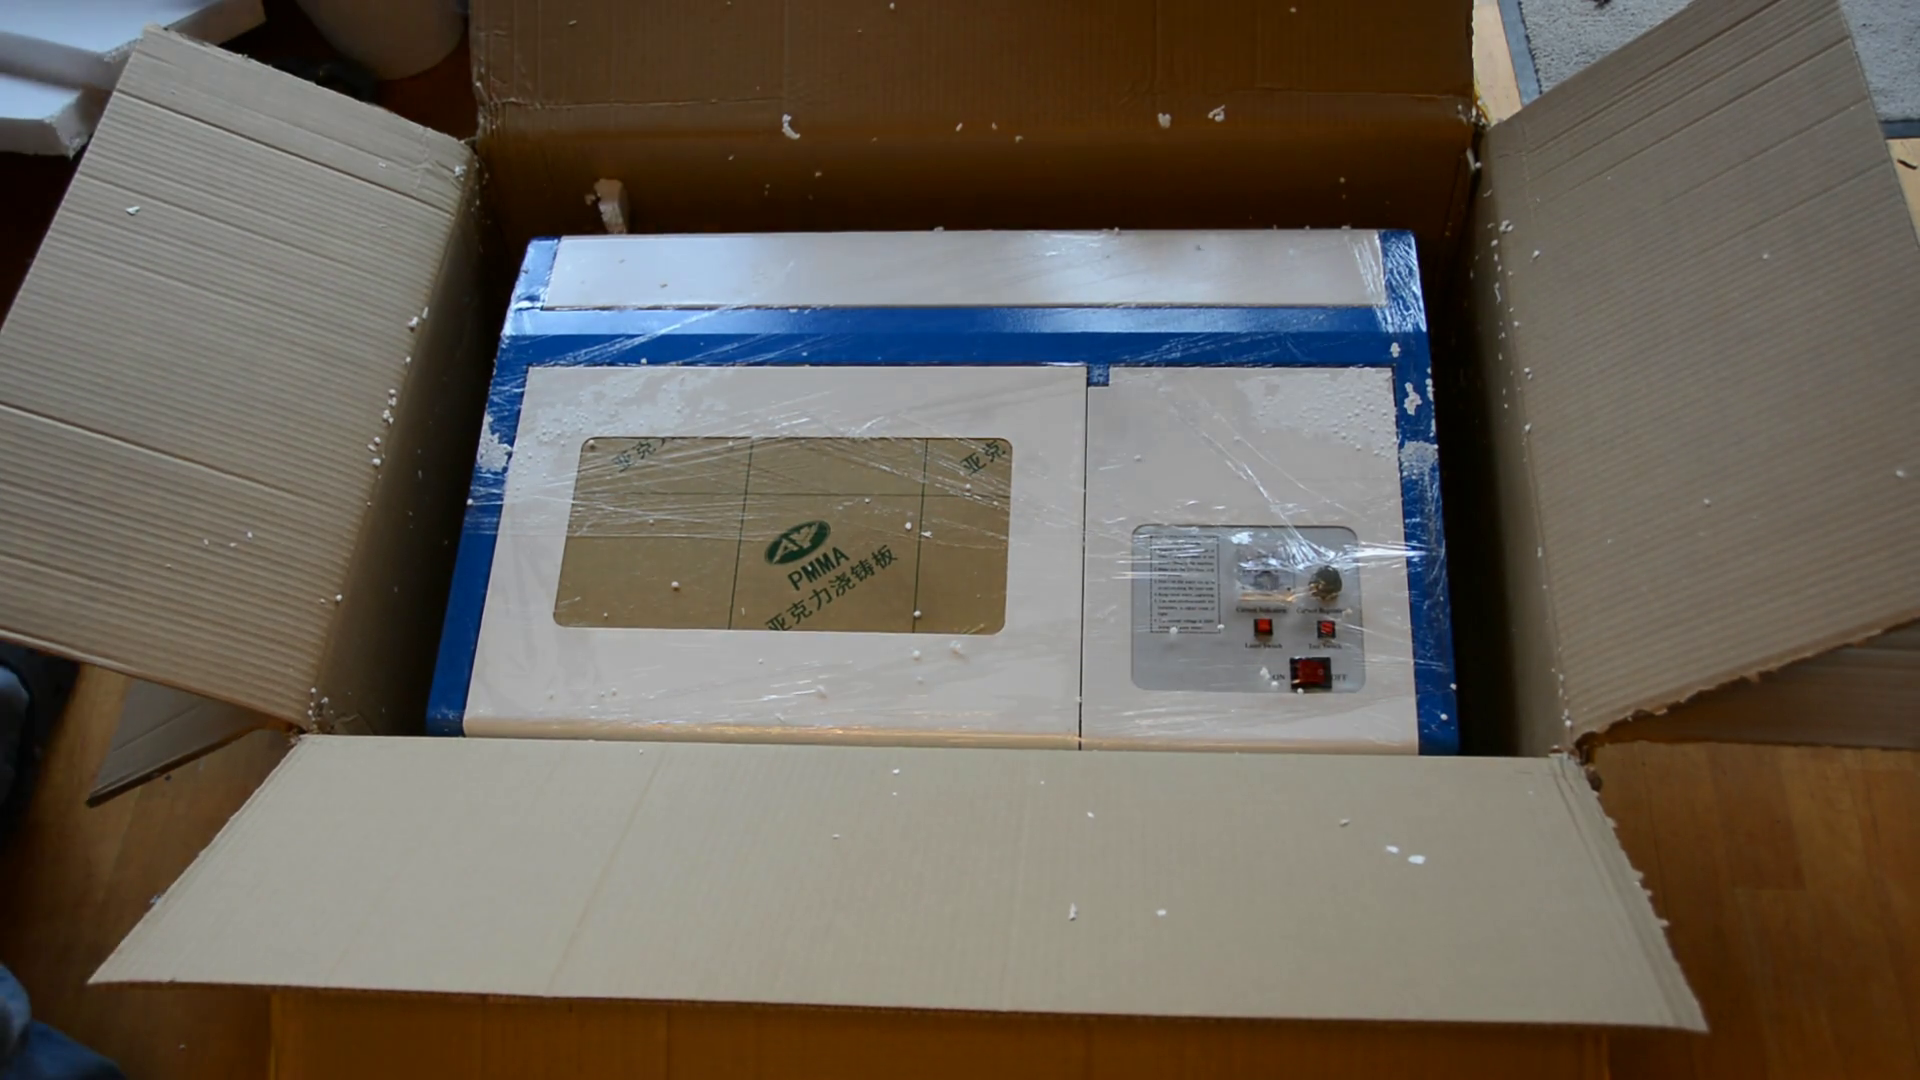
The laser tube shouldn’t have any cracks and there should be no loose cables in the control panel.
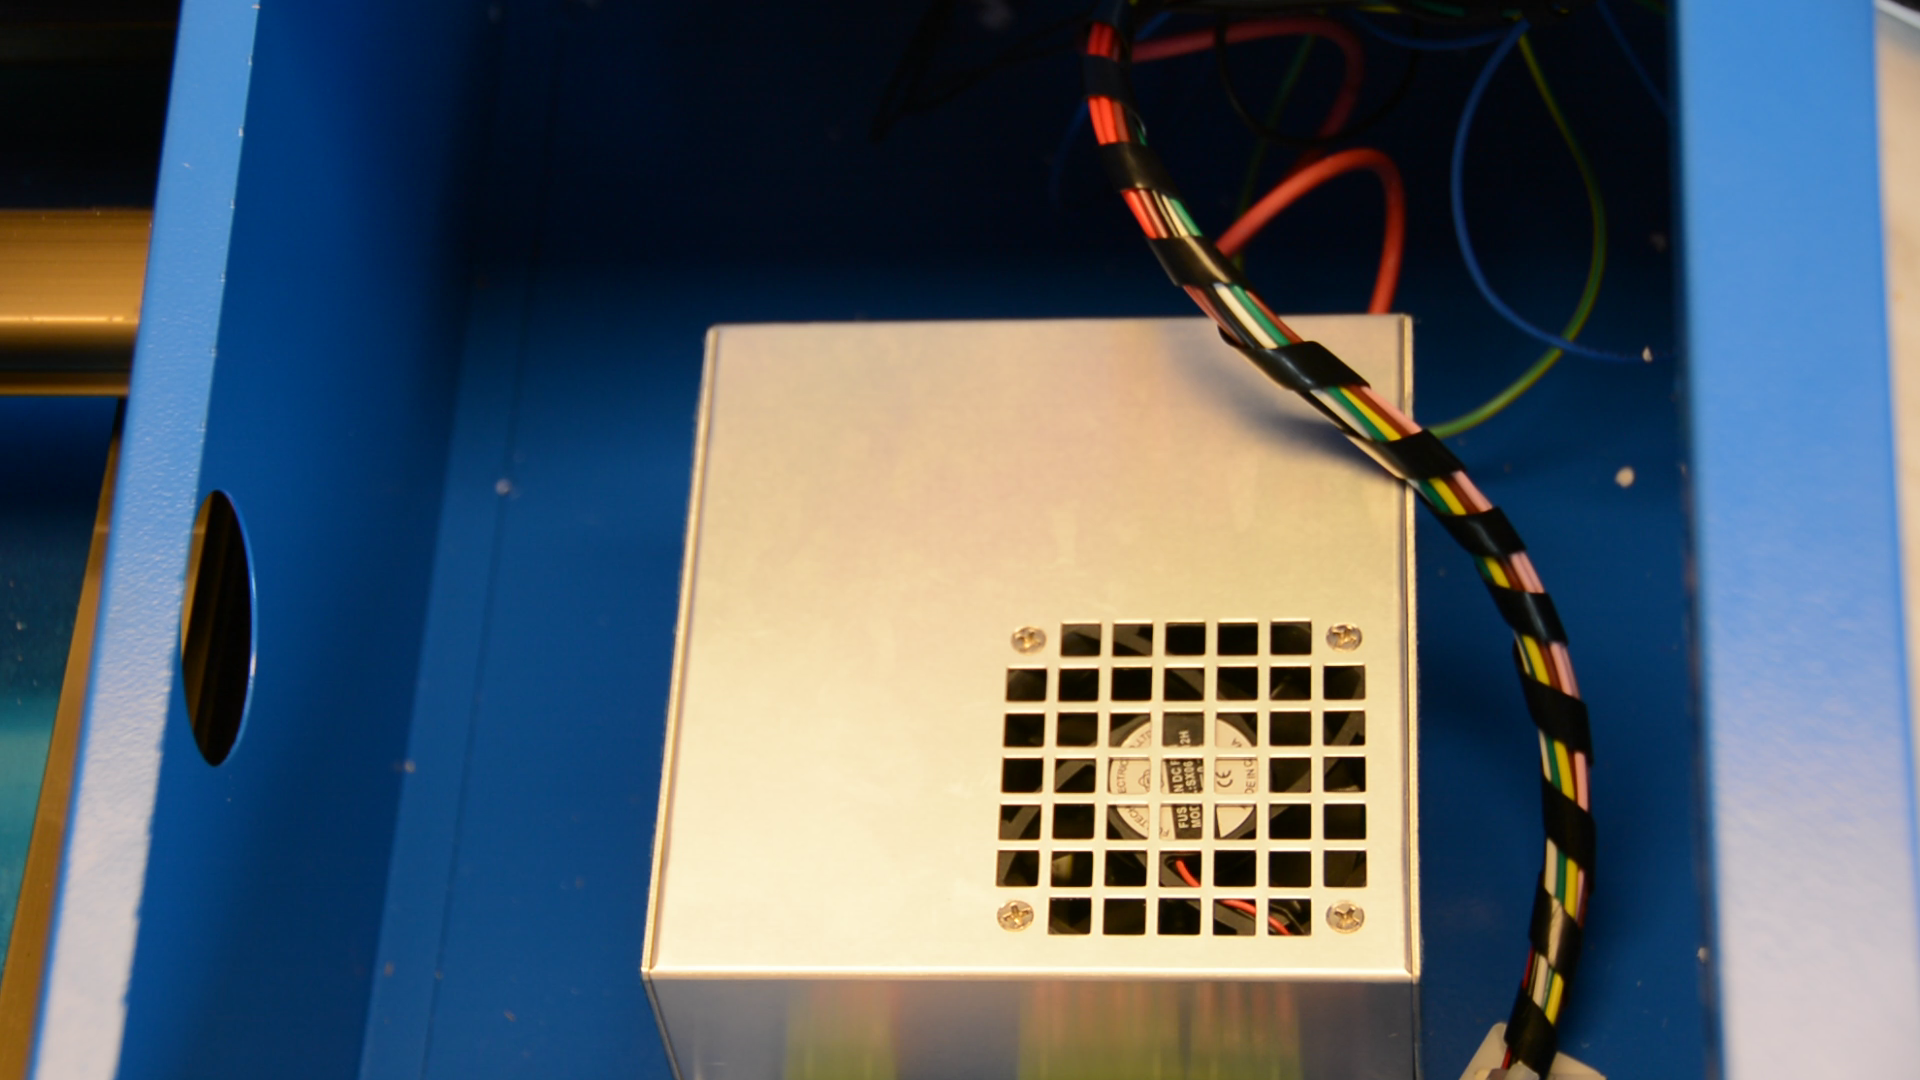
Power supply
When your power supply unit is covered in blue foil remove the four screws at the side so that you can peel off the foil before putting the cover back in place.
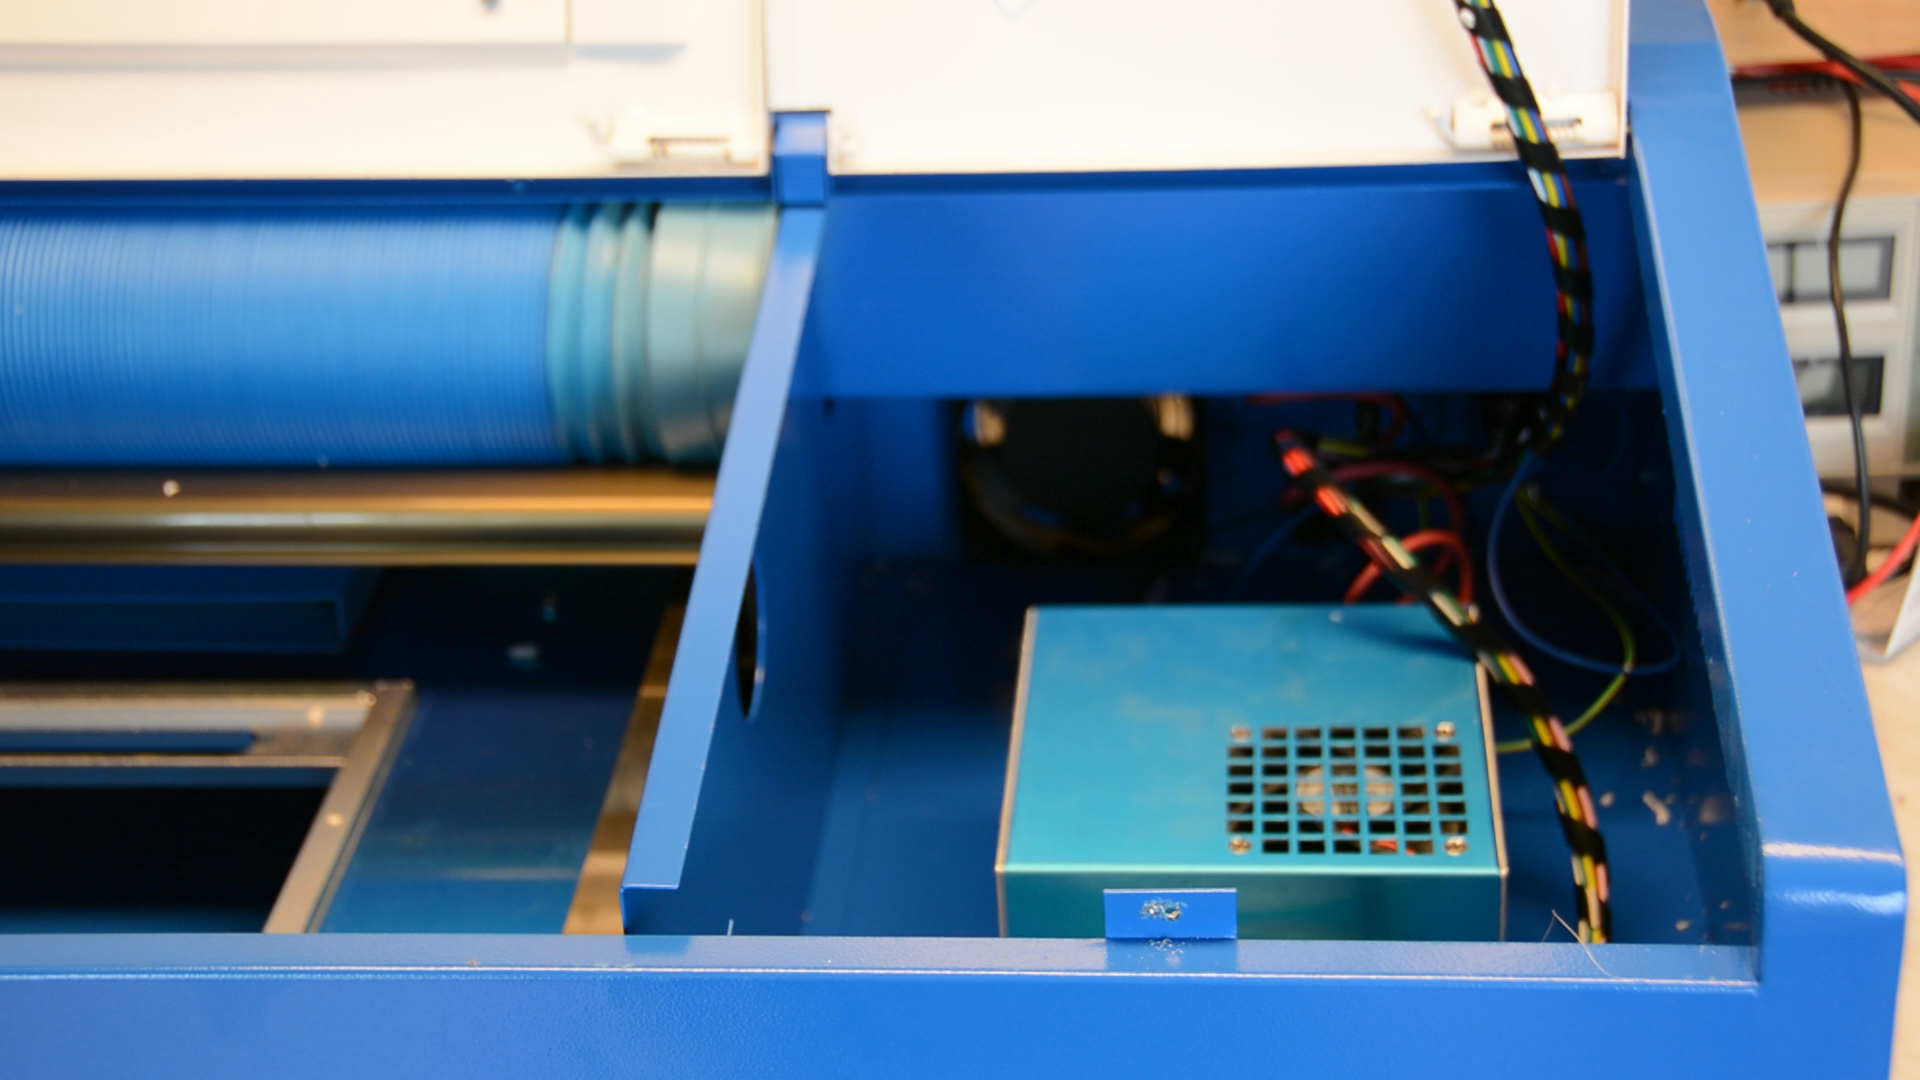
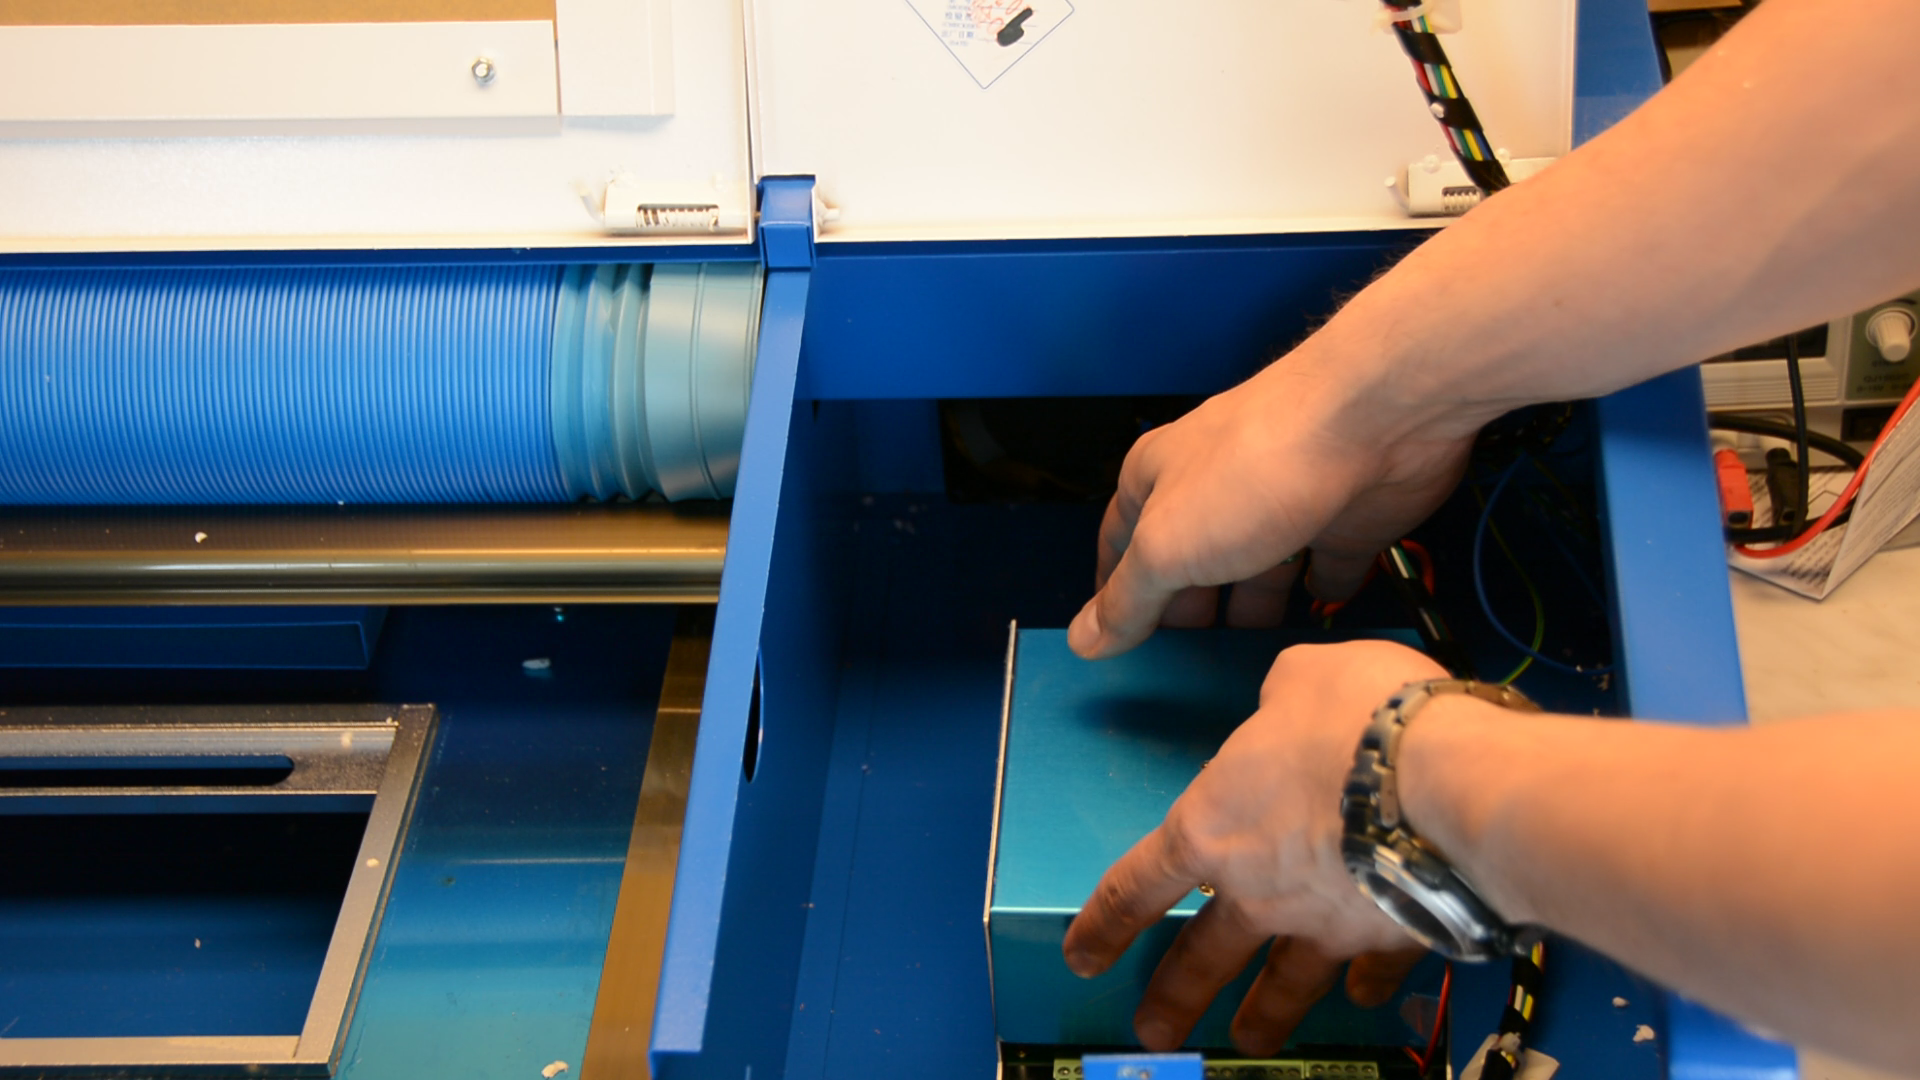
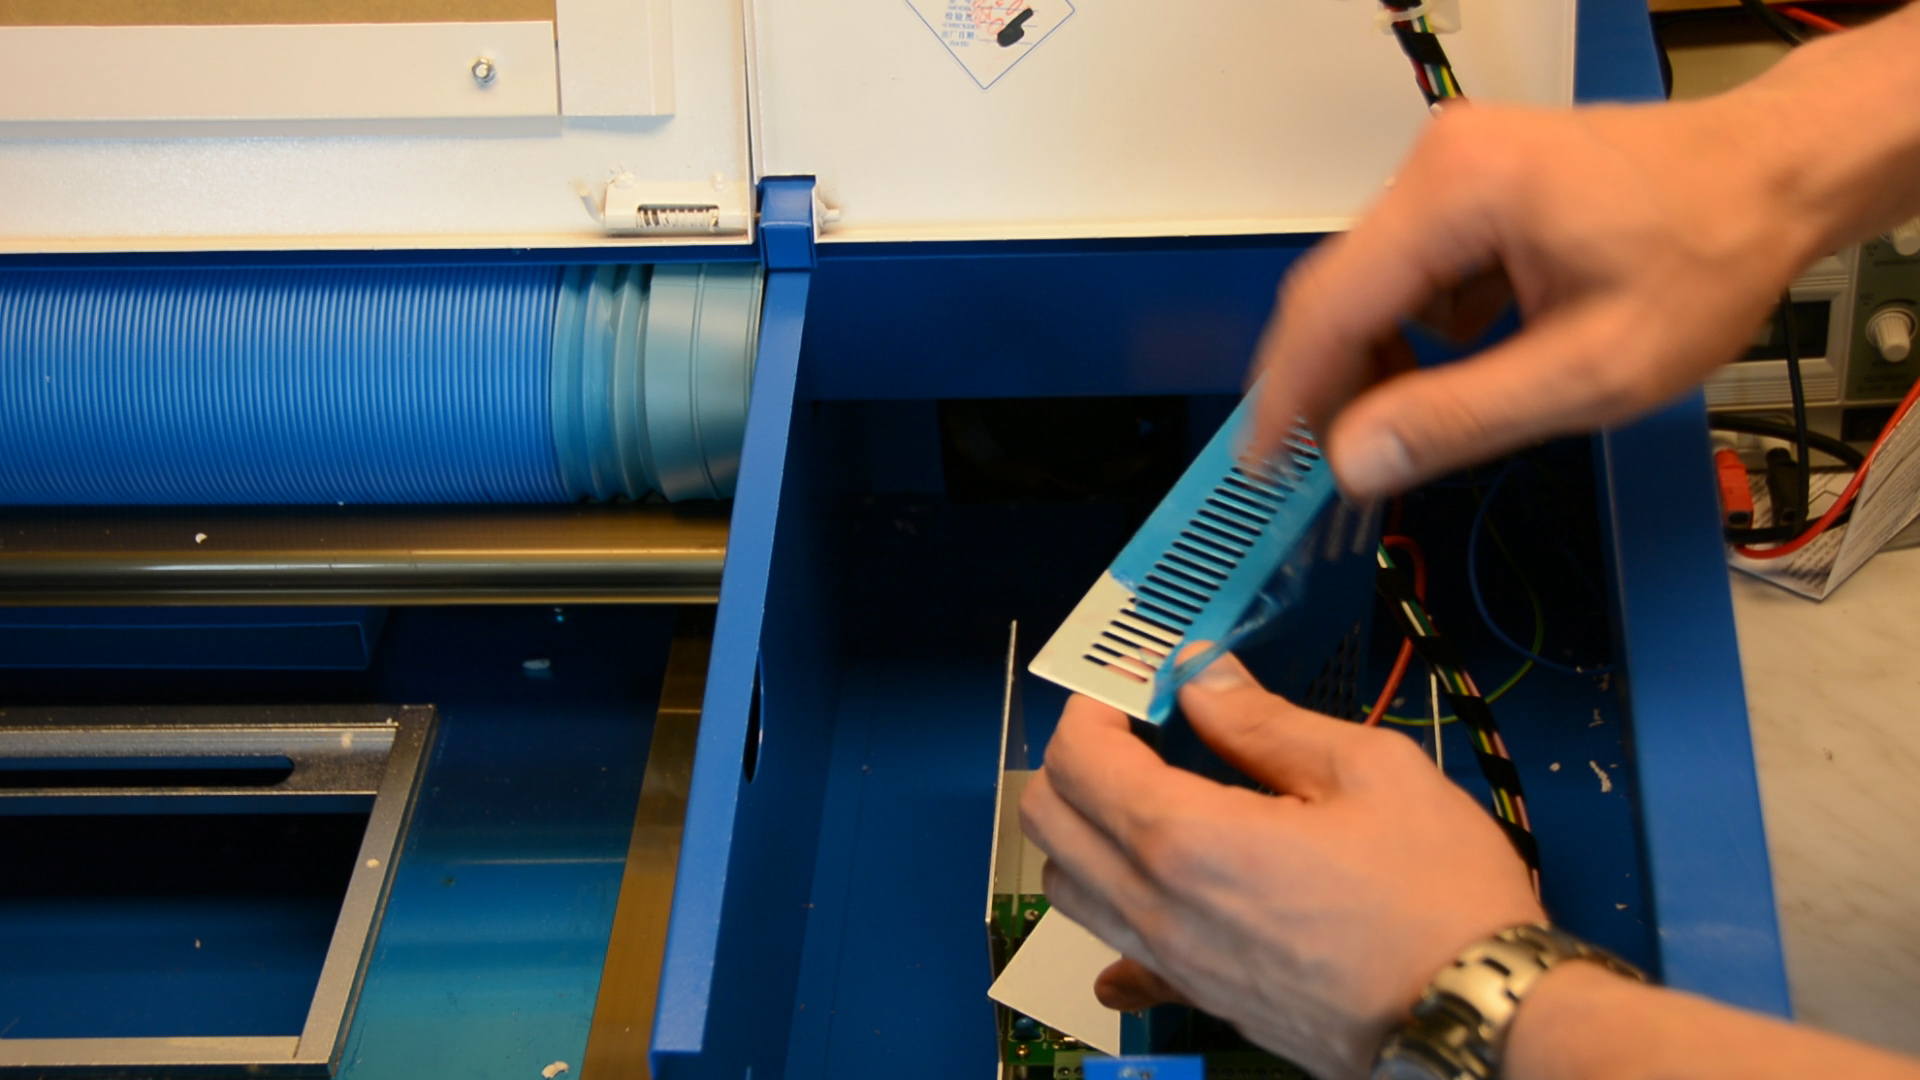
The plastic isolates the heat generated by the electronics and could lead to problems later on.
Grounding
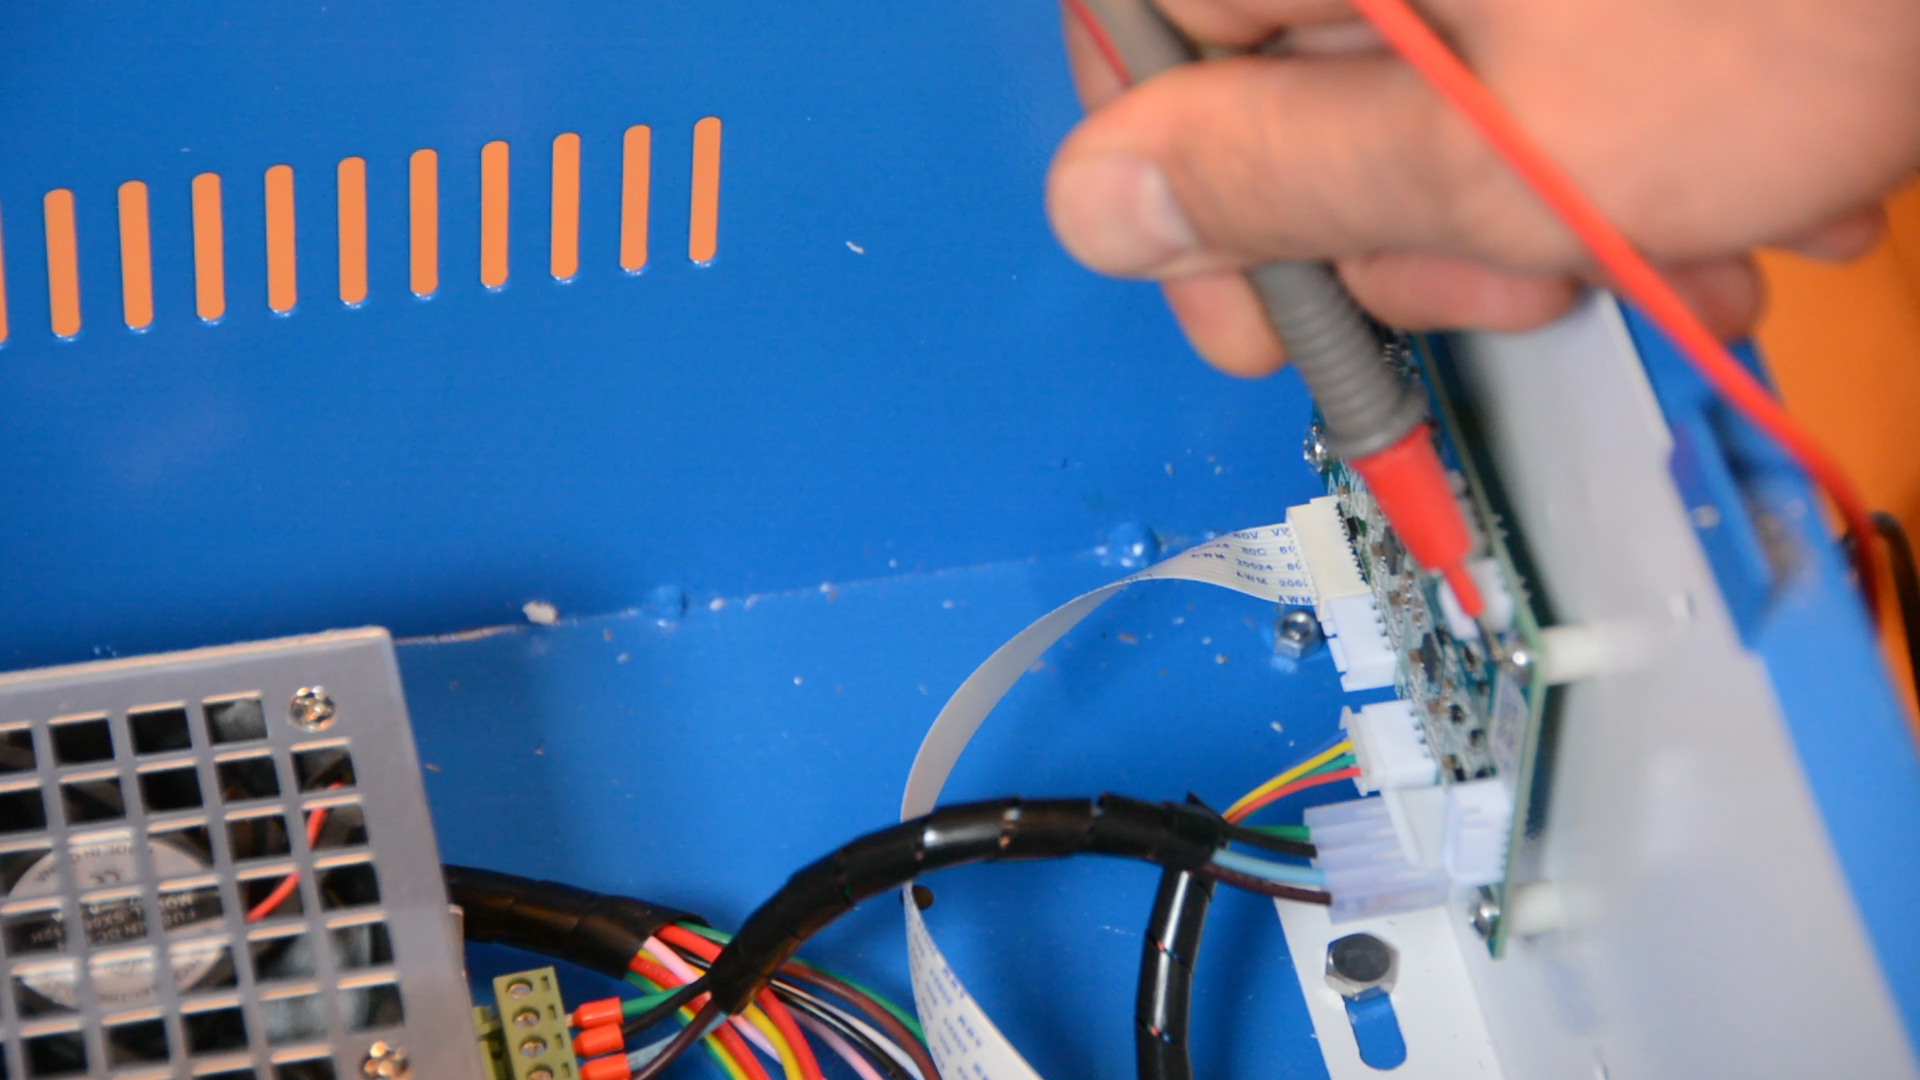
Before closing the cover we have to take an important safety measure.
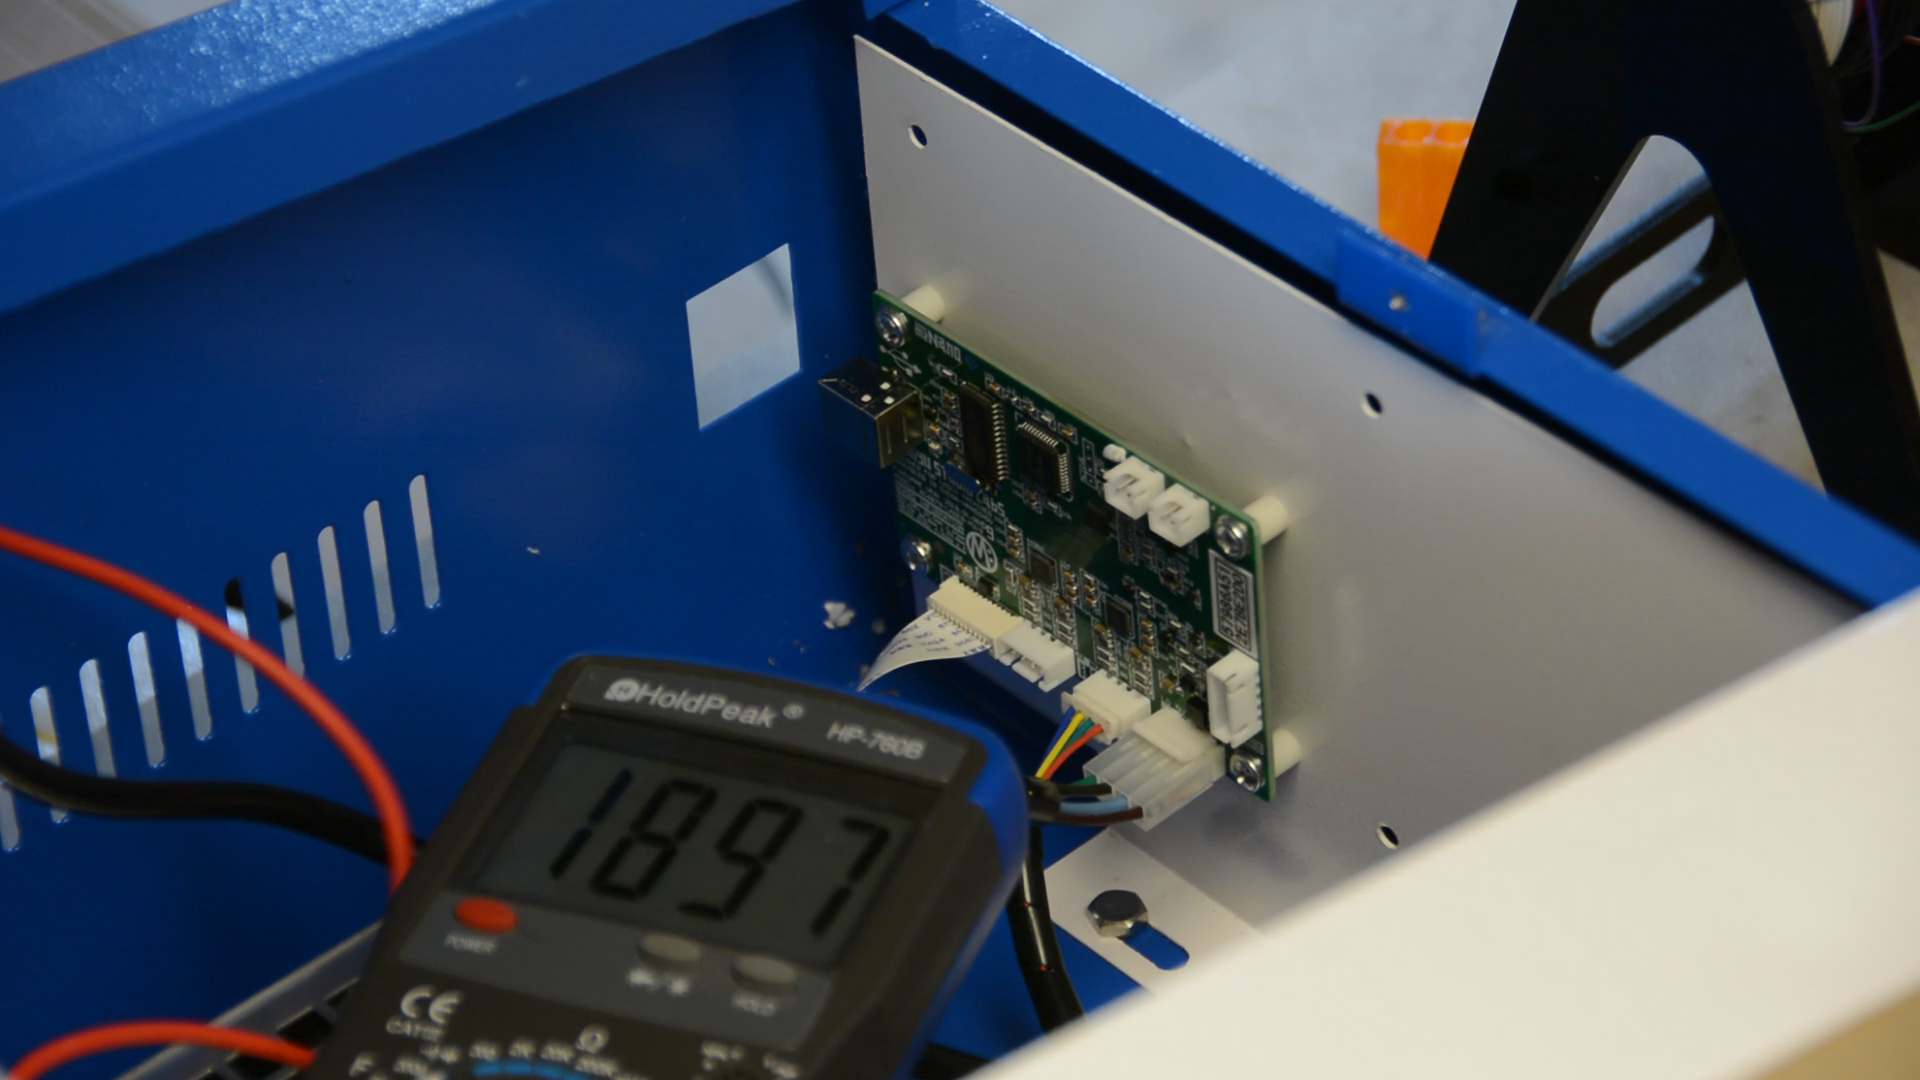
Take a multimeter and measure the resistance between the ground of your plug and one of the screws that are in touch with the enclosure.
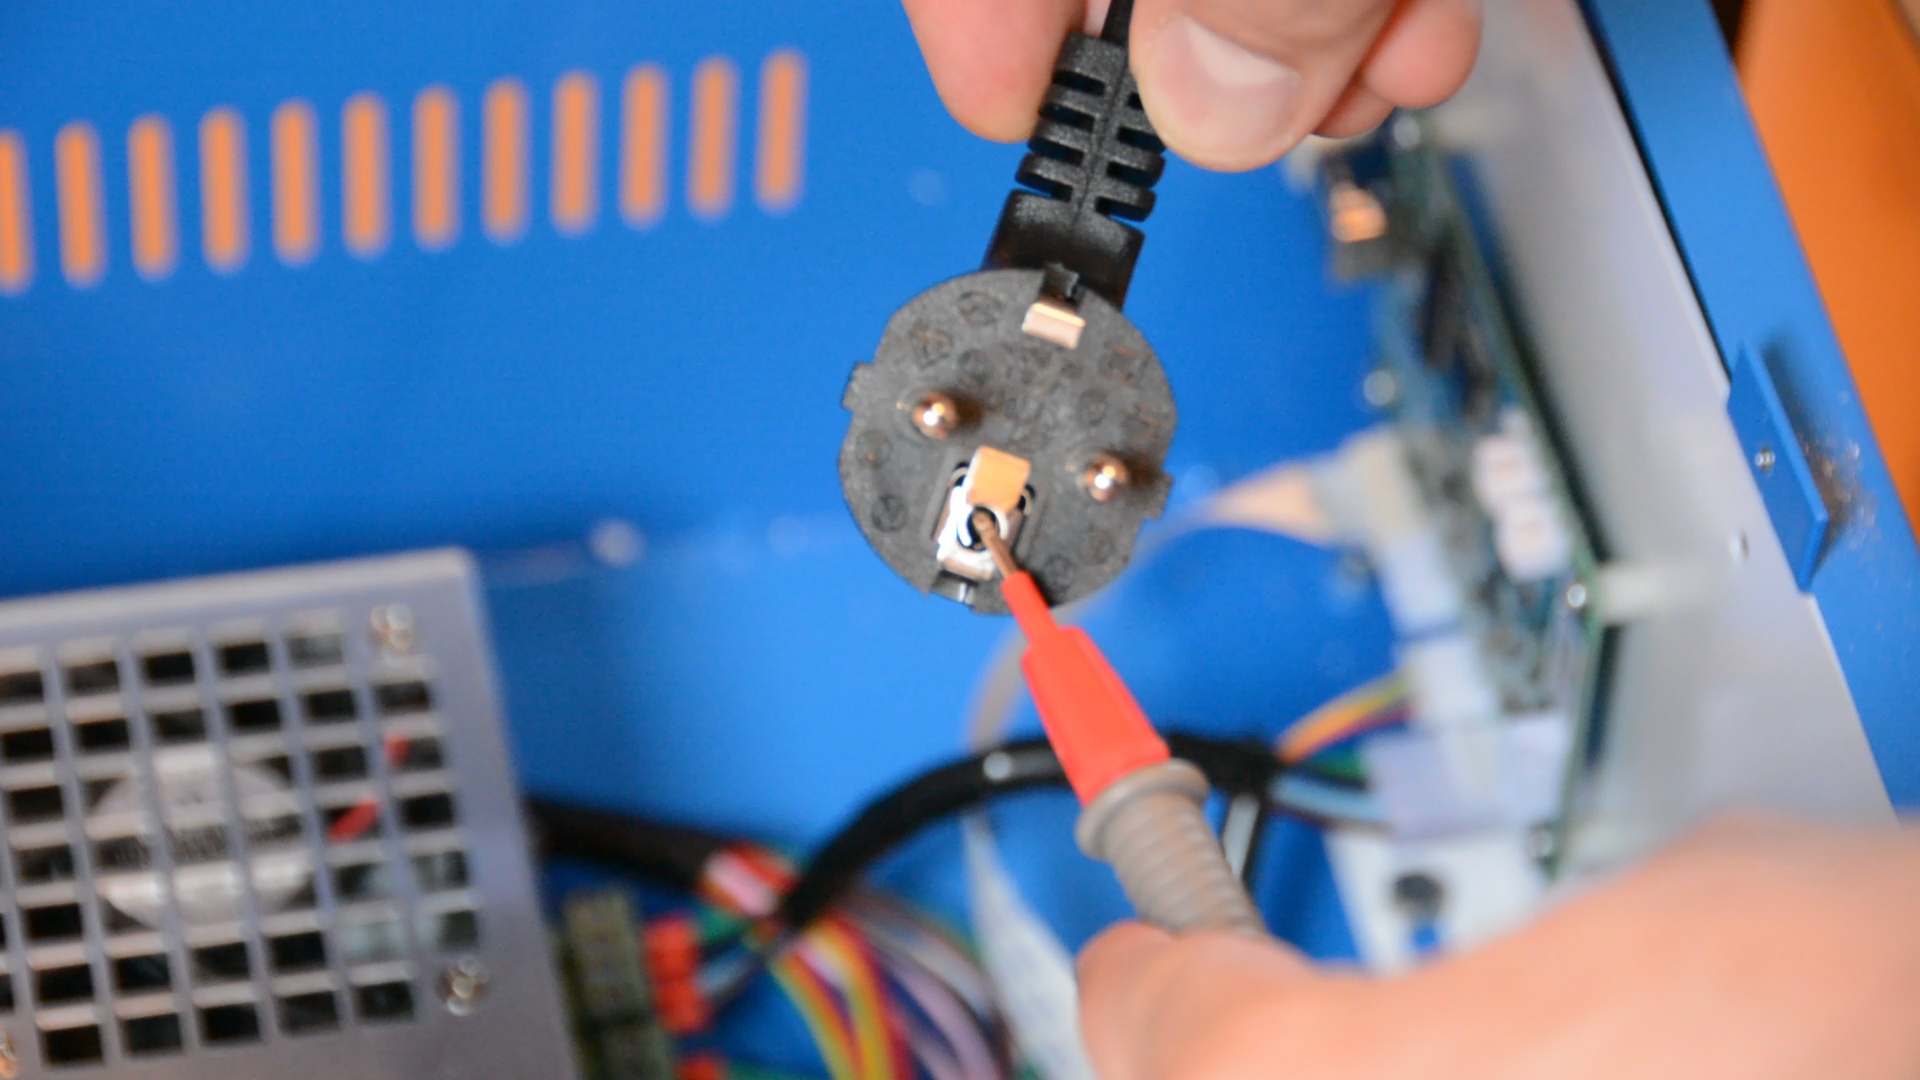
In my case the resistance was far too high as the paint isolates the ground wire from the enclosure.
So unscrew the ground wire, grab some sandpaper and remove the paint at the inside where the yellow and green wire is connected.
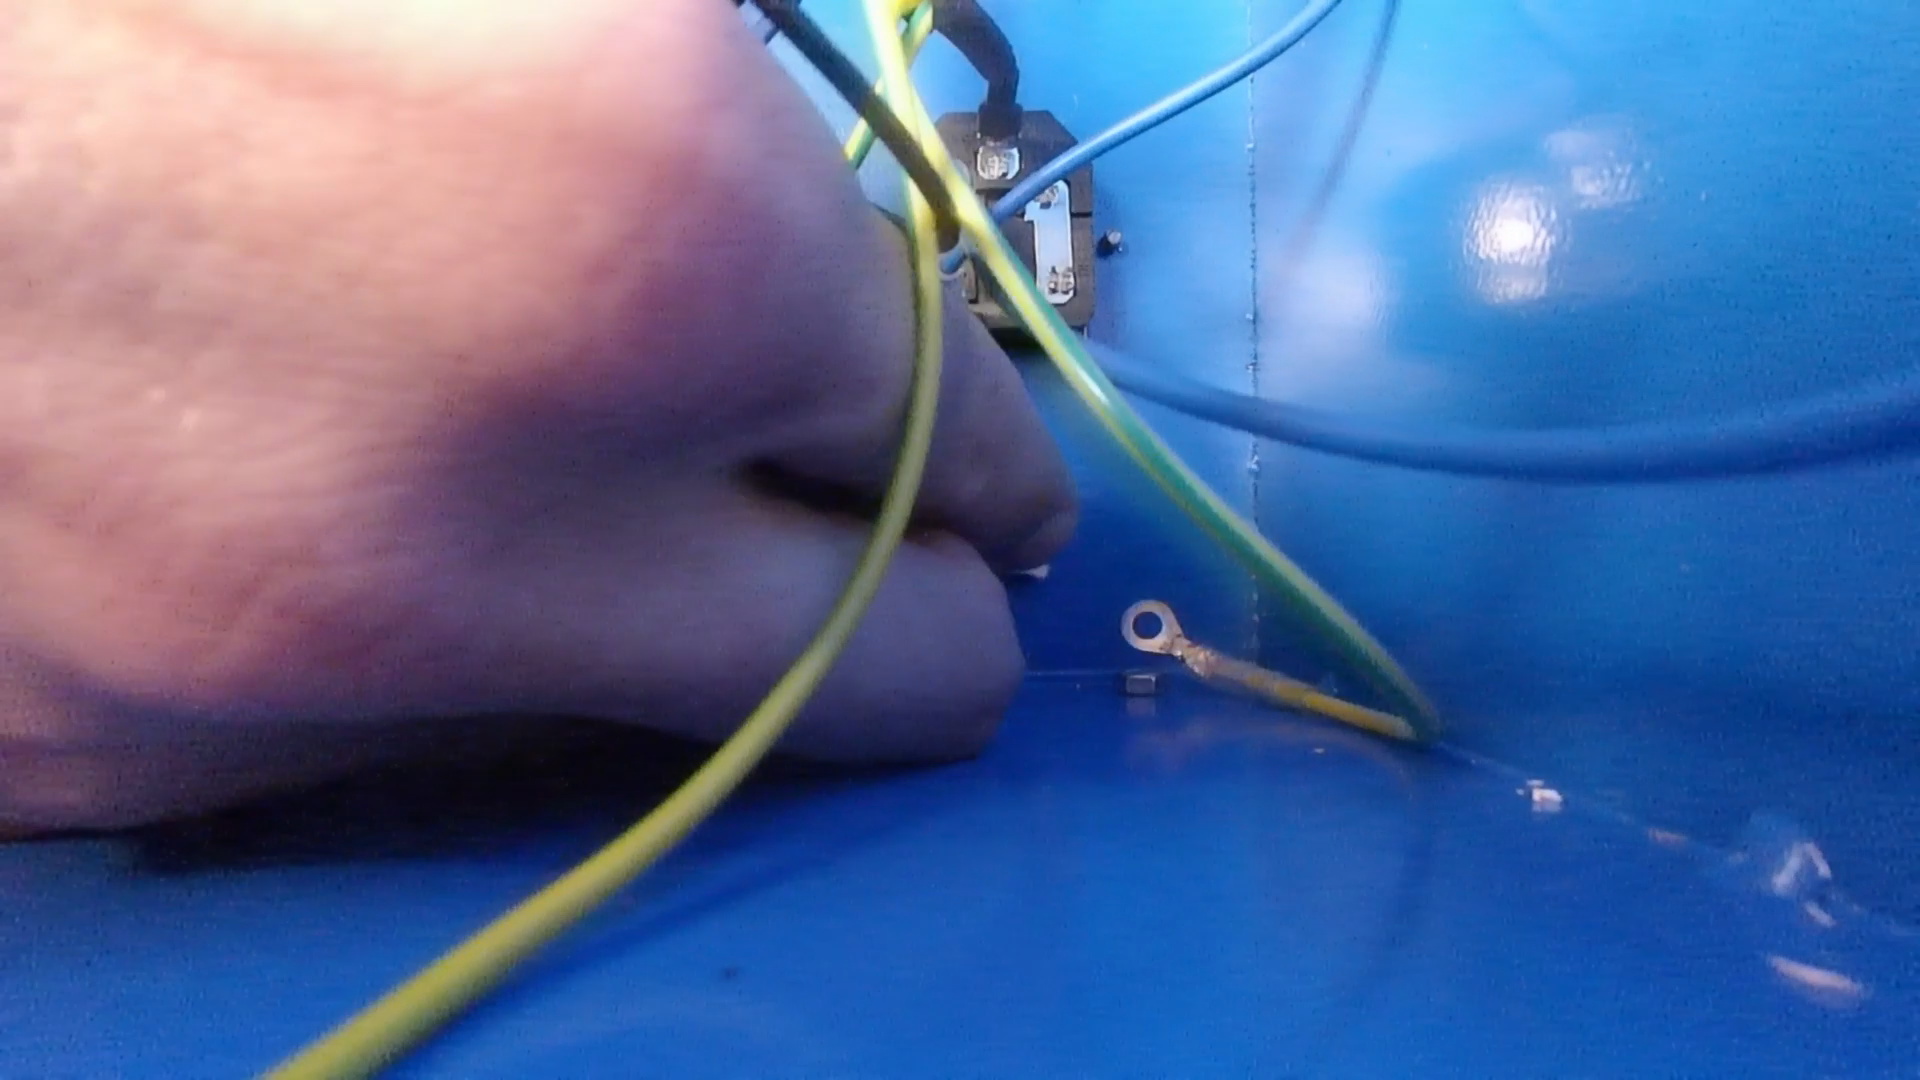
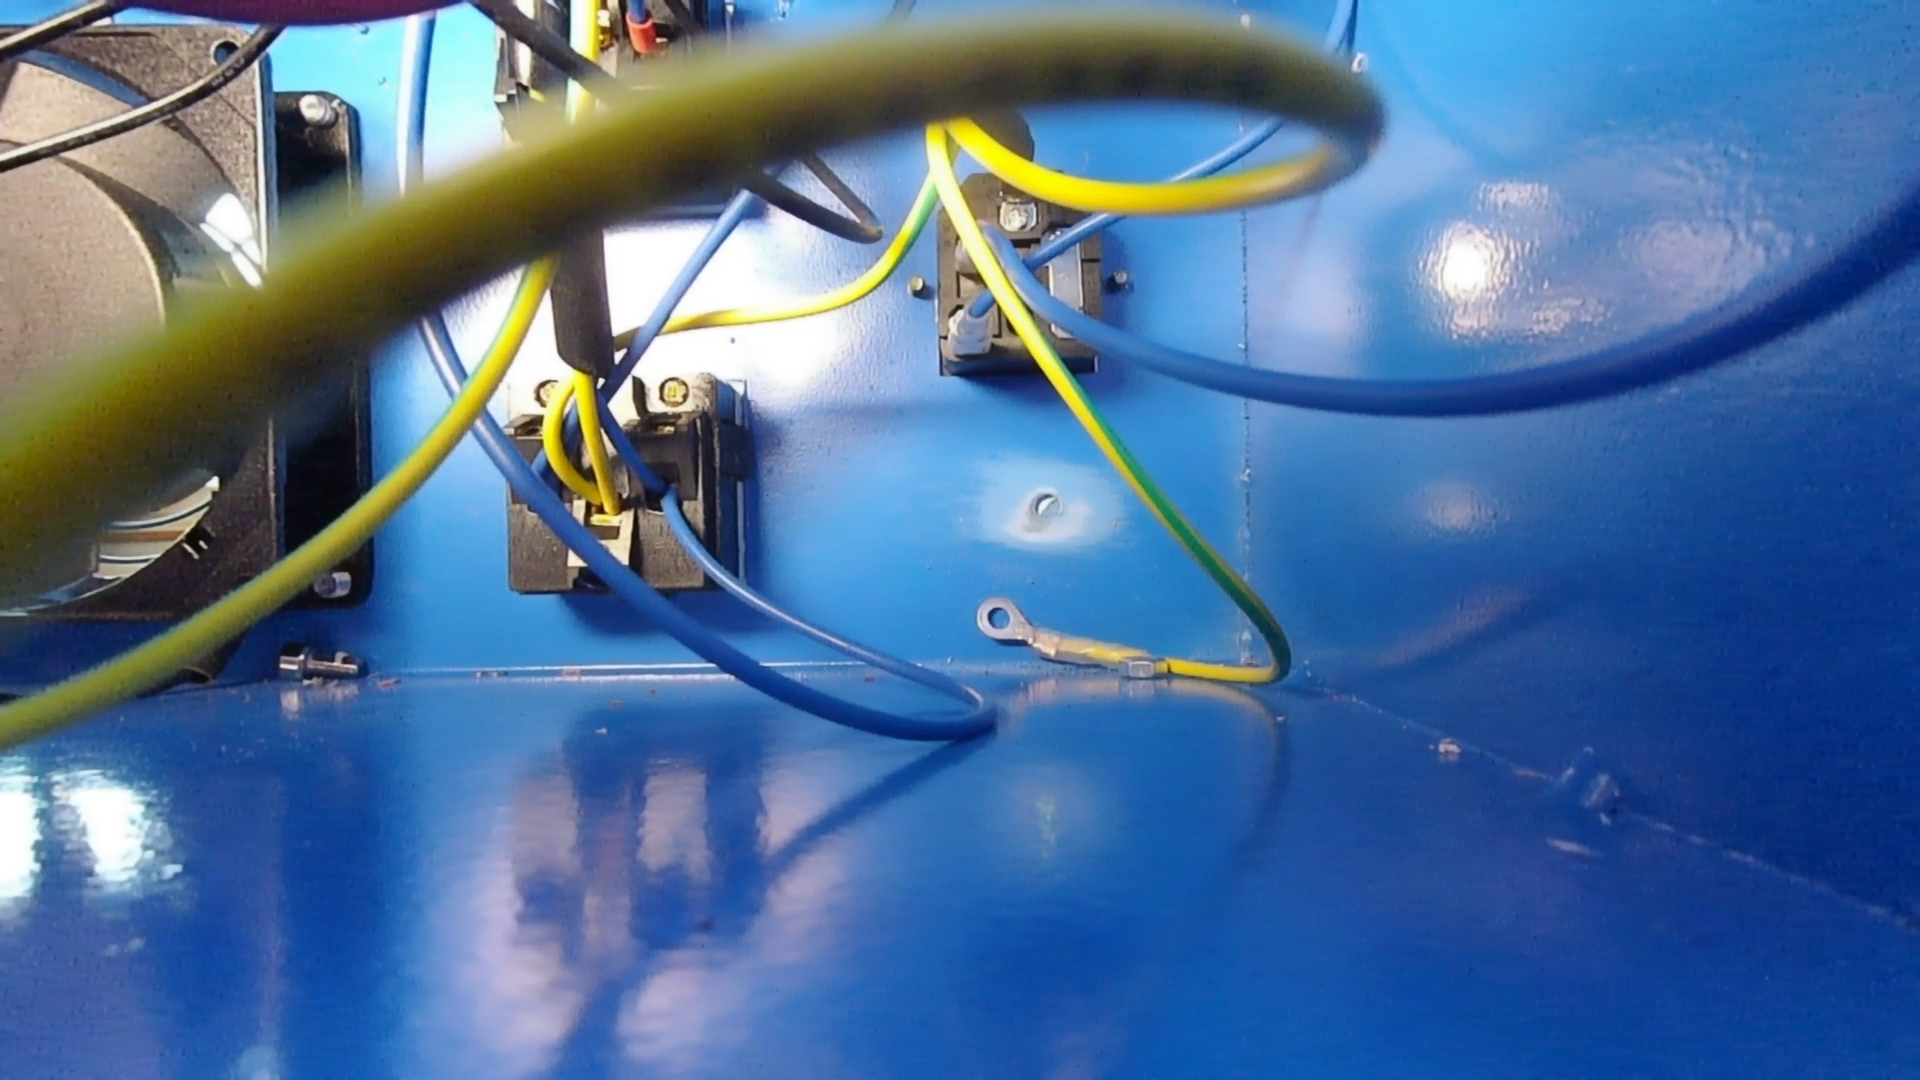
After screwing the wire back in place you should measure a connection between the case and the ground terminal of your plug.
Then close the electronics compartment.

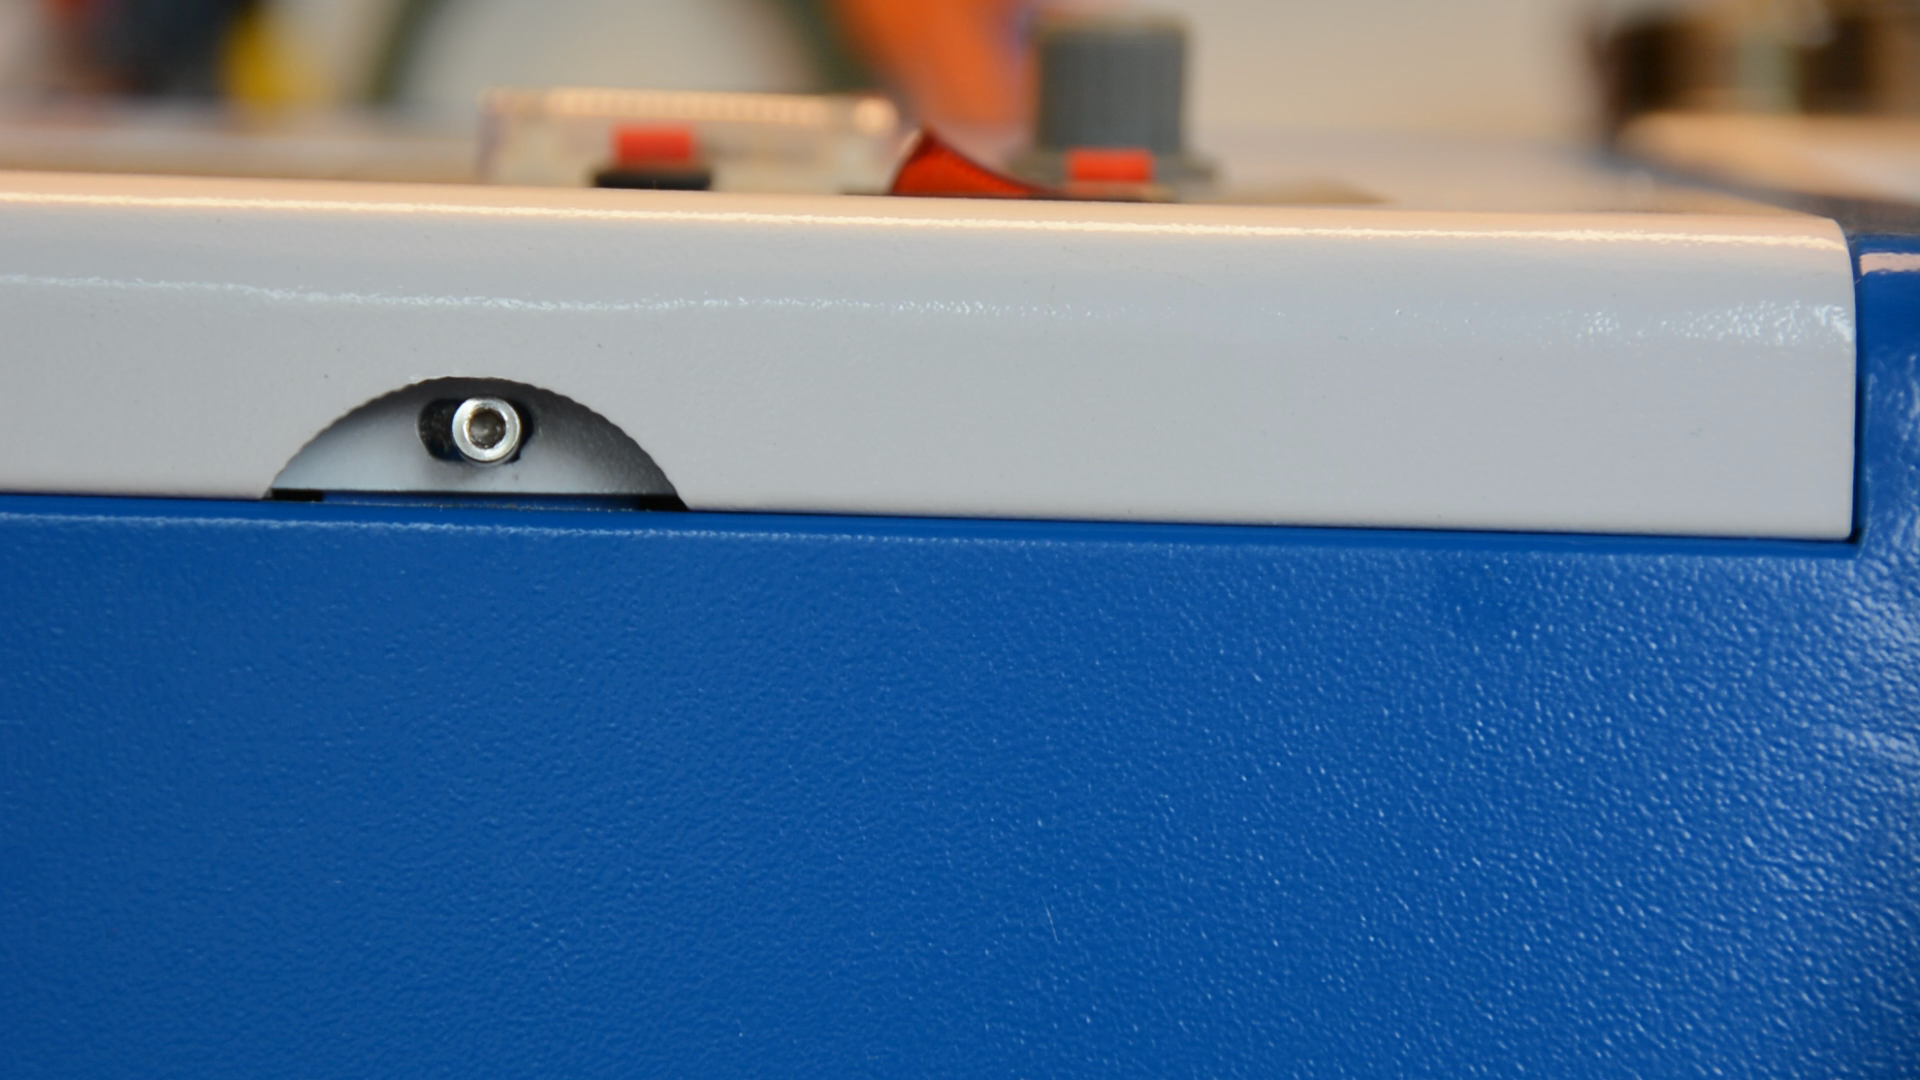
In my case I had to enlarge the opening of the compartment latch so that I could screw the cover back on.

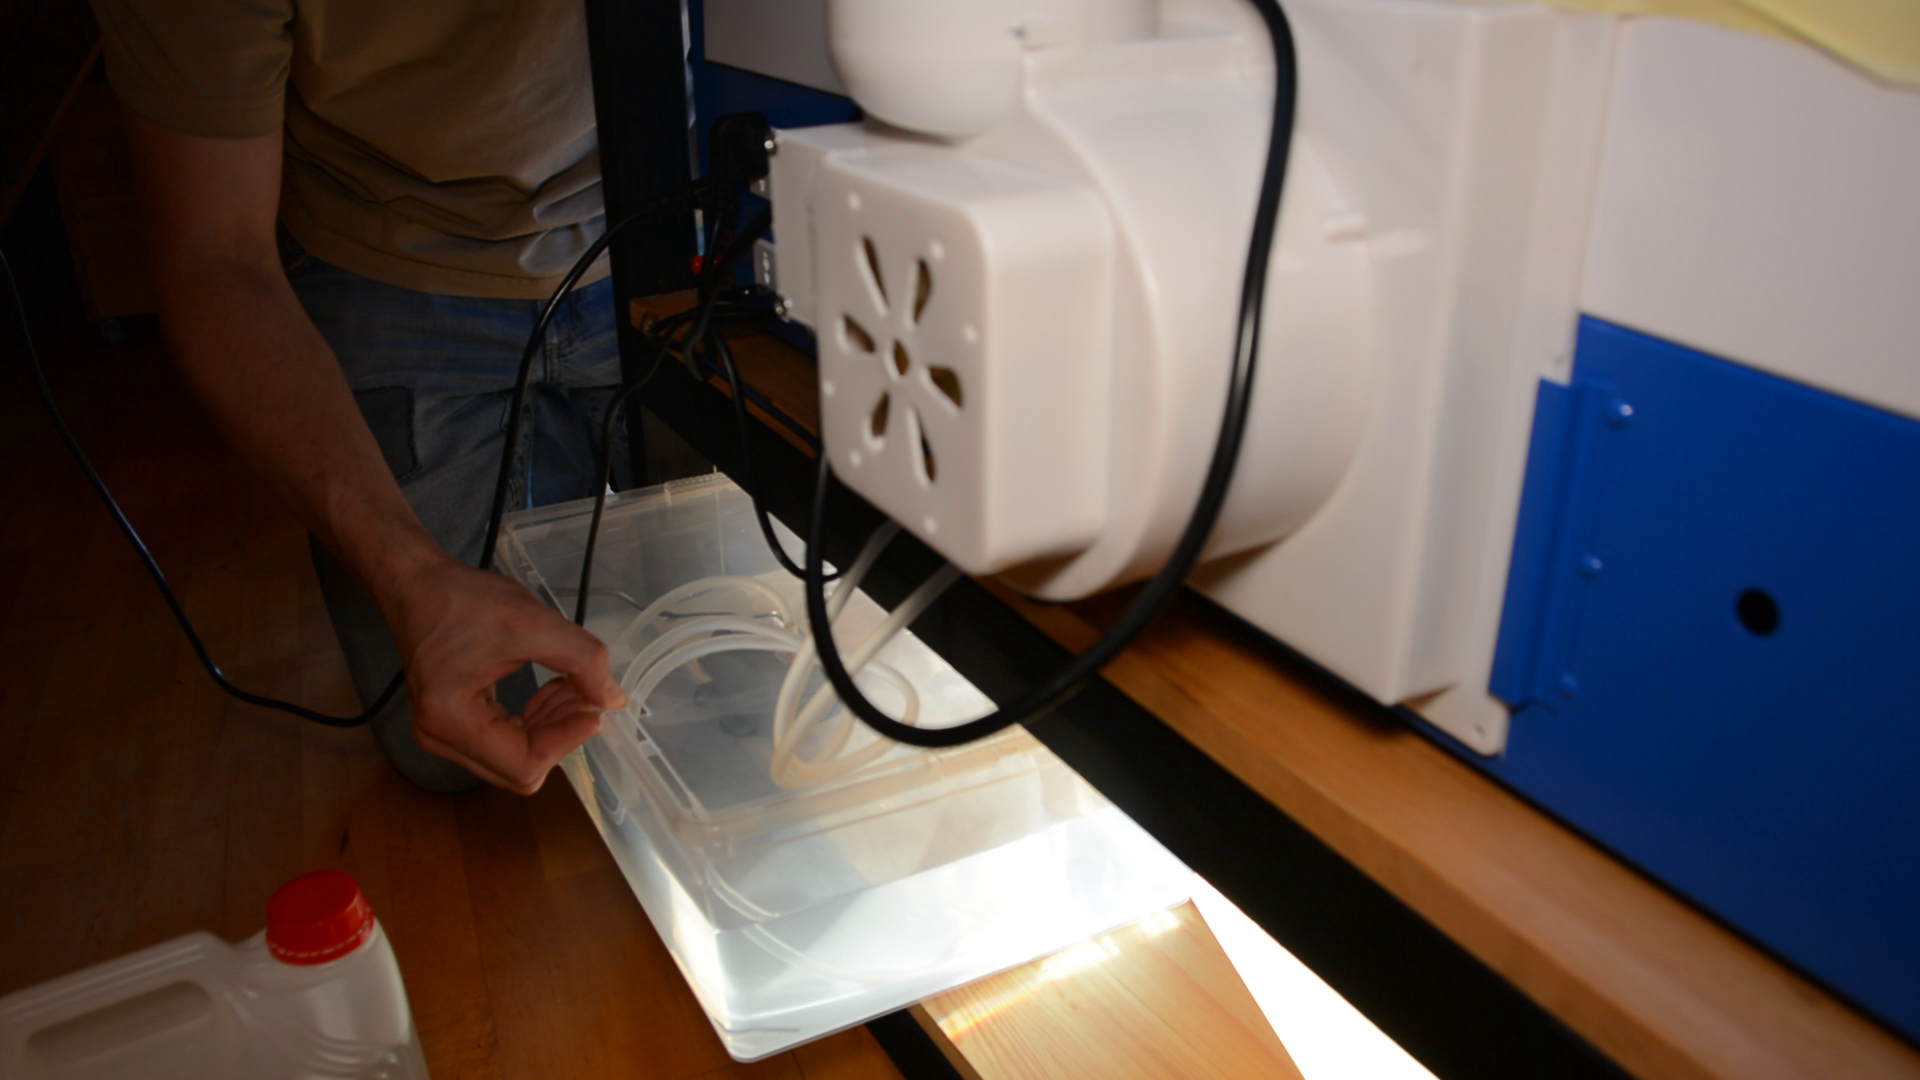
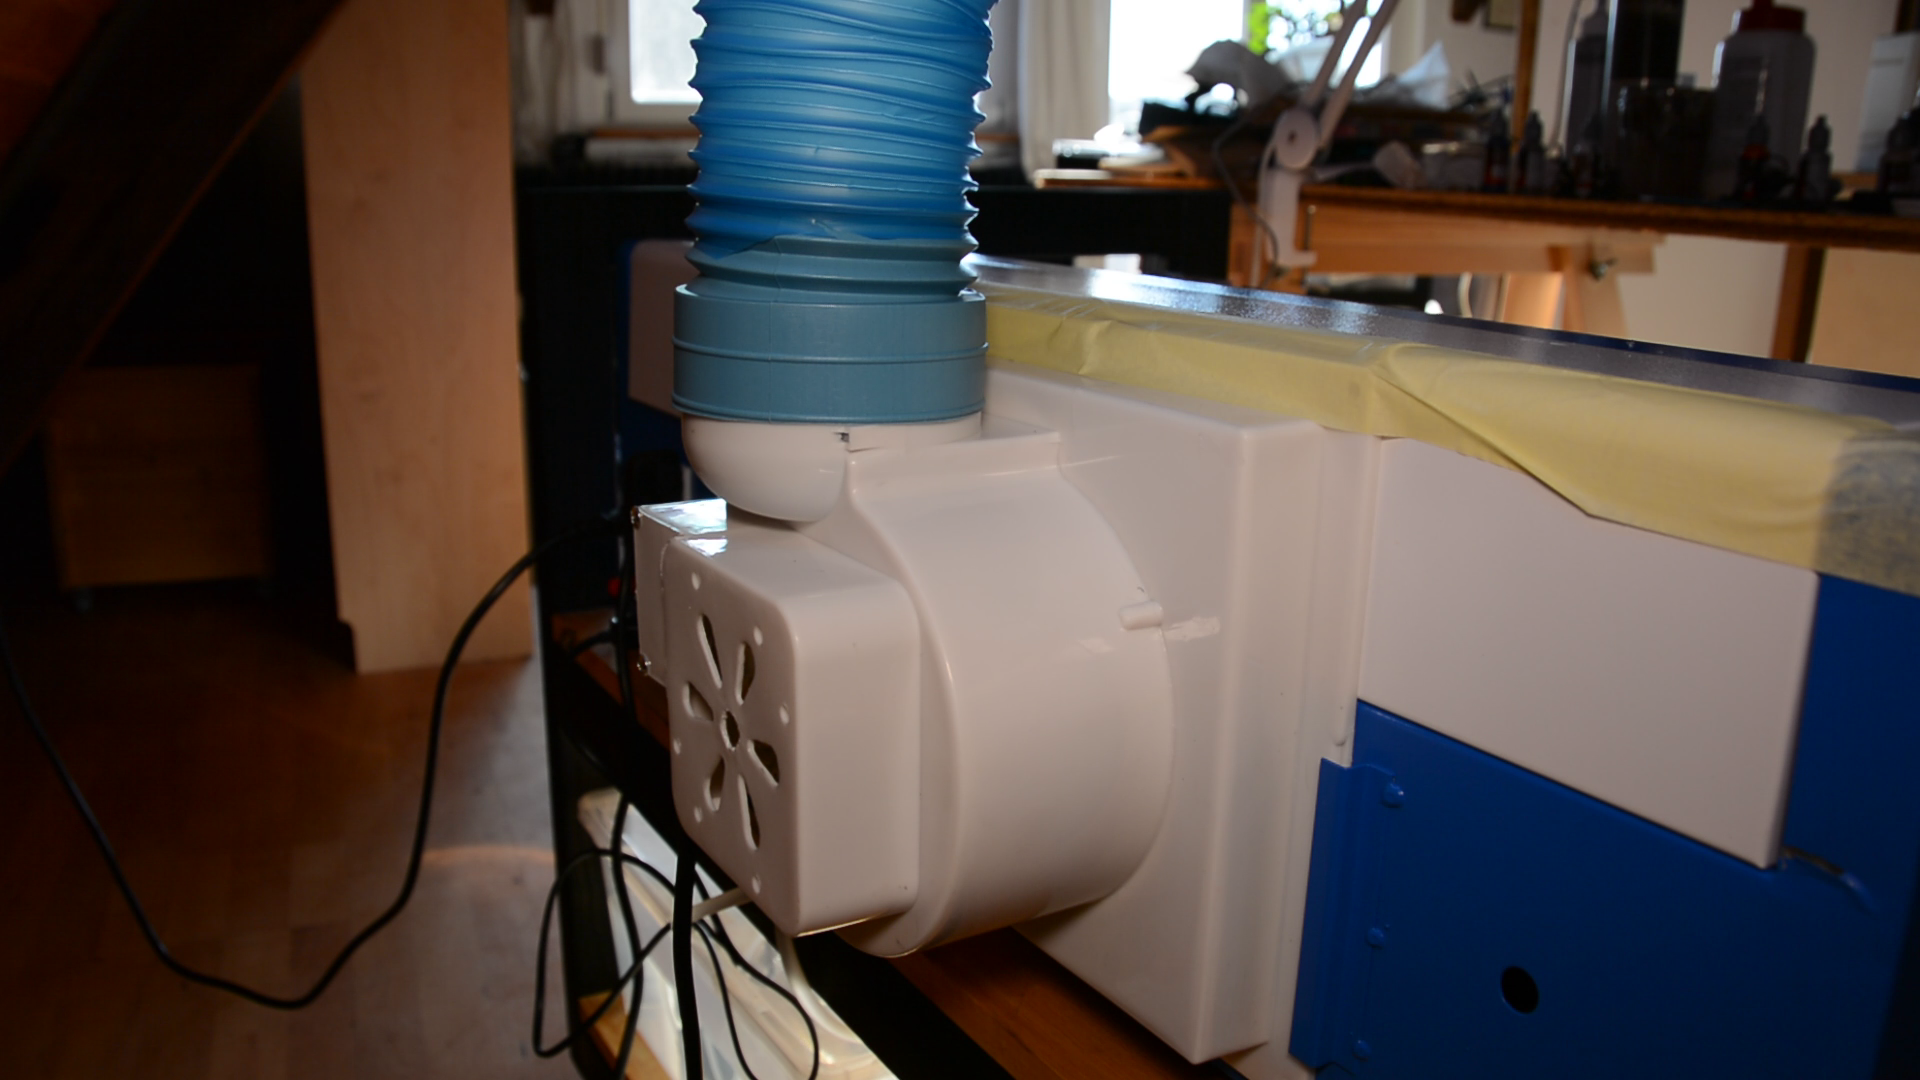
Fan and water pump electronics
Next on the list is the fan.
Open the case of the fan and check the connections.
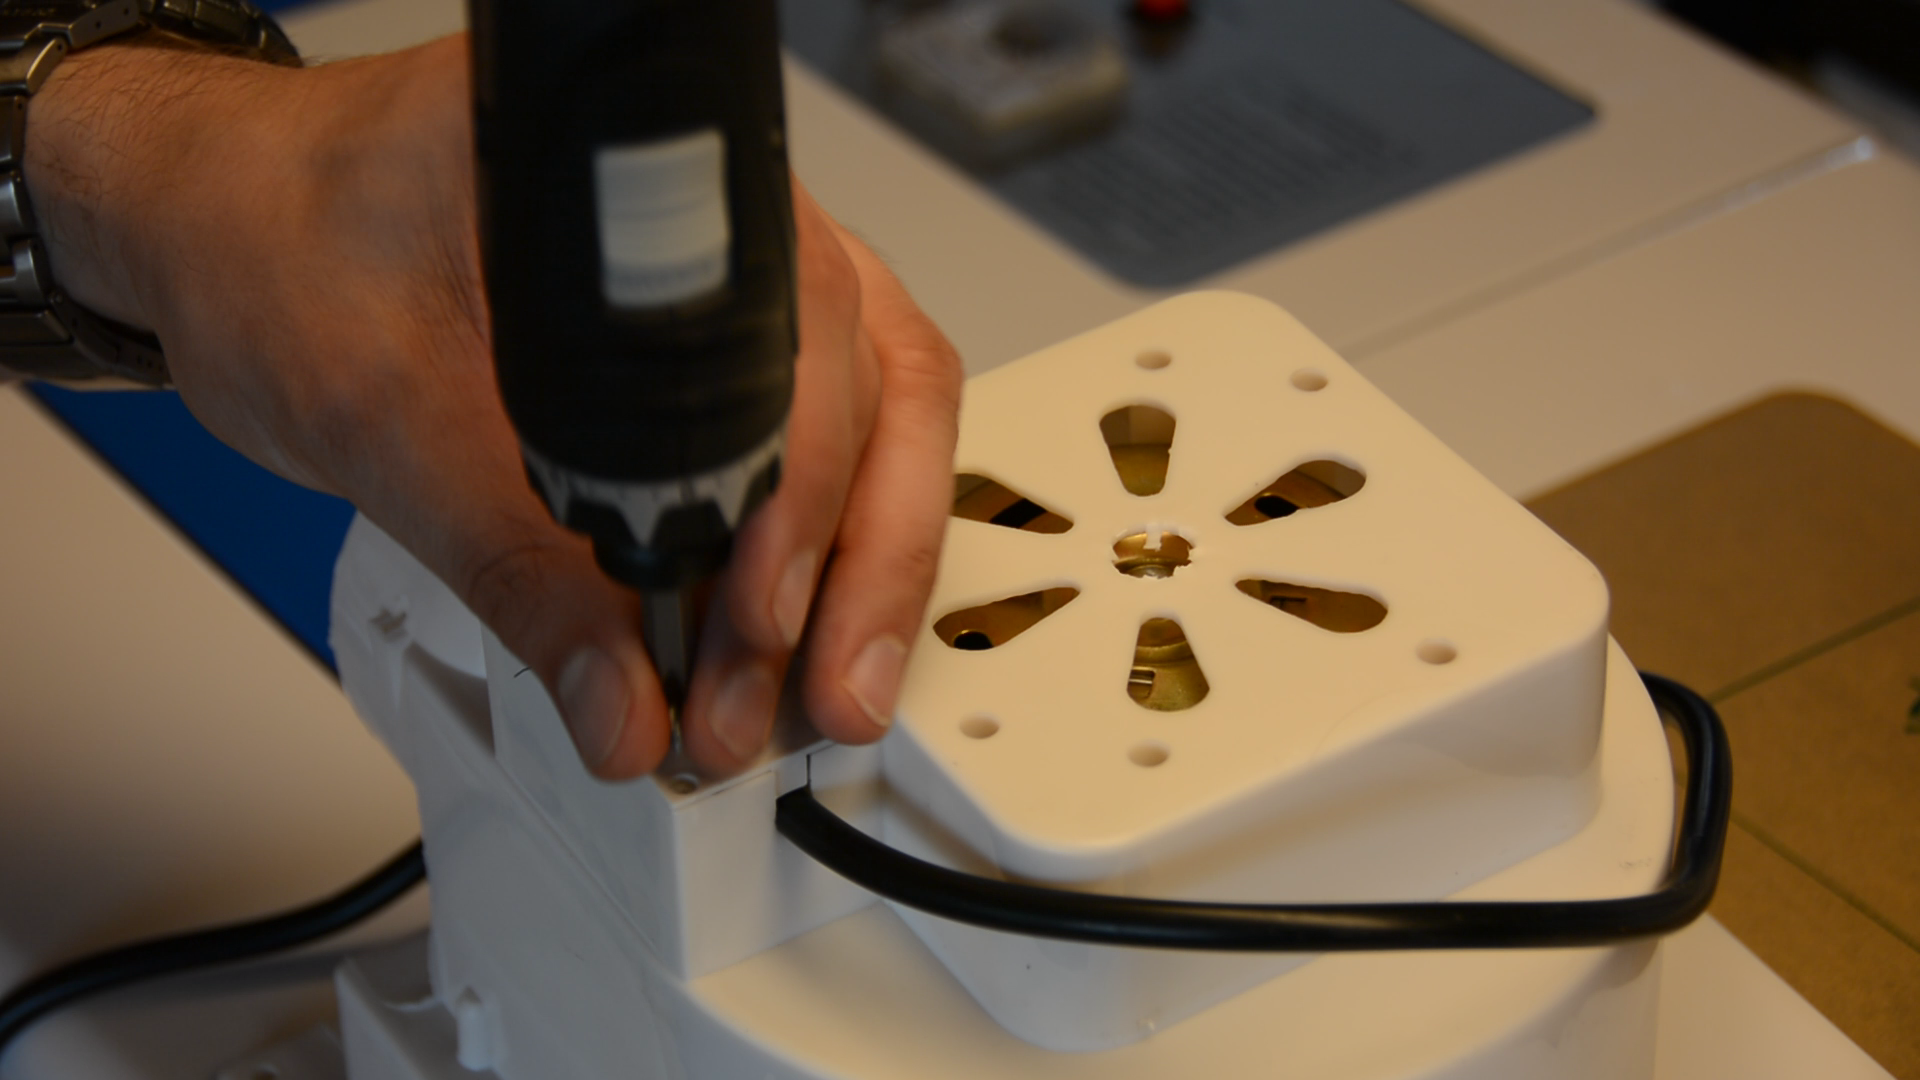
In my case the wires were only loosely connected.
Especially for a fan that is vibrating quite a bit this is something we should fix.
We quickly solder the wires together and secure the connections with heat shrink tubing.
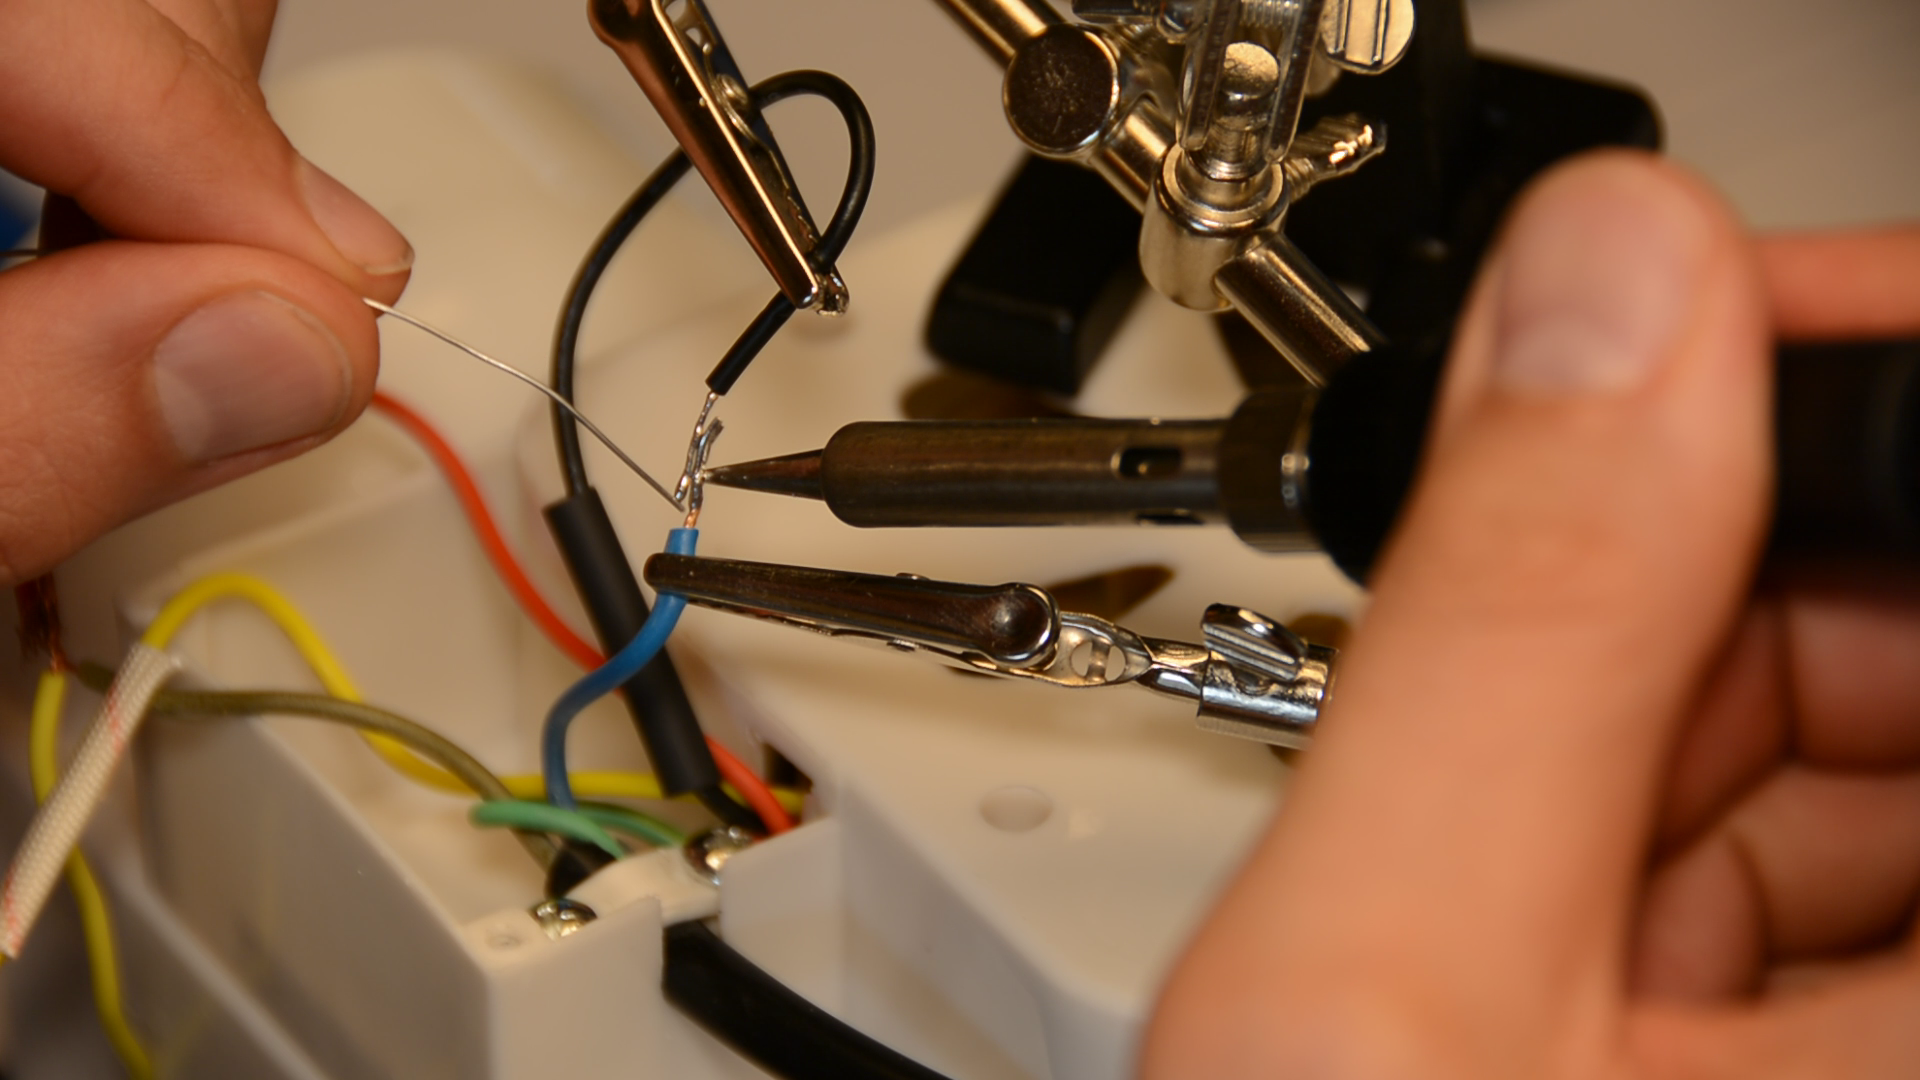
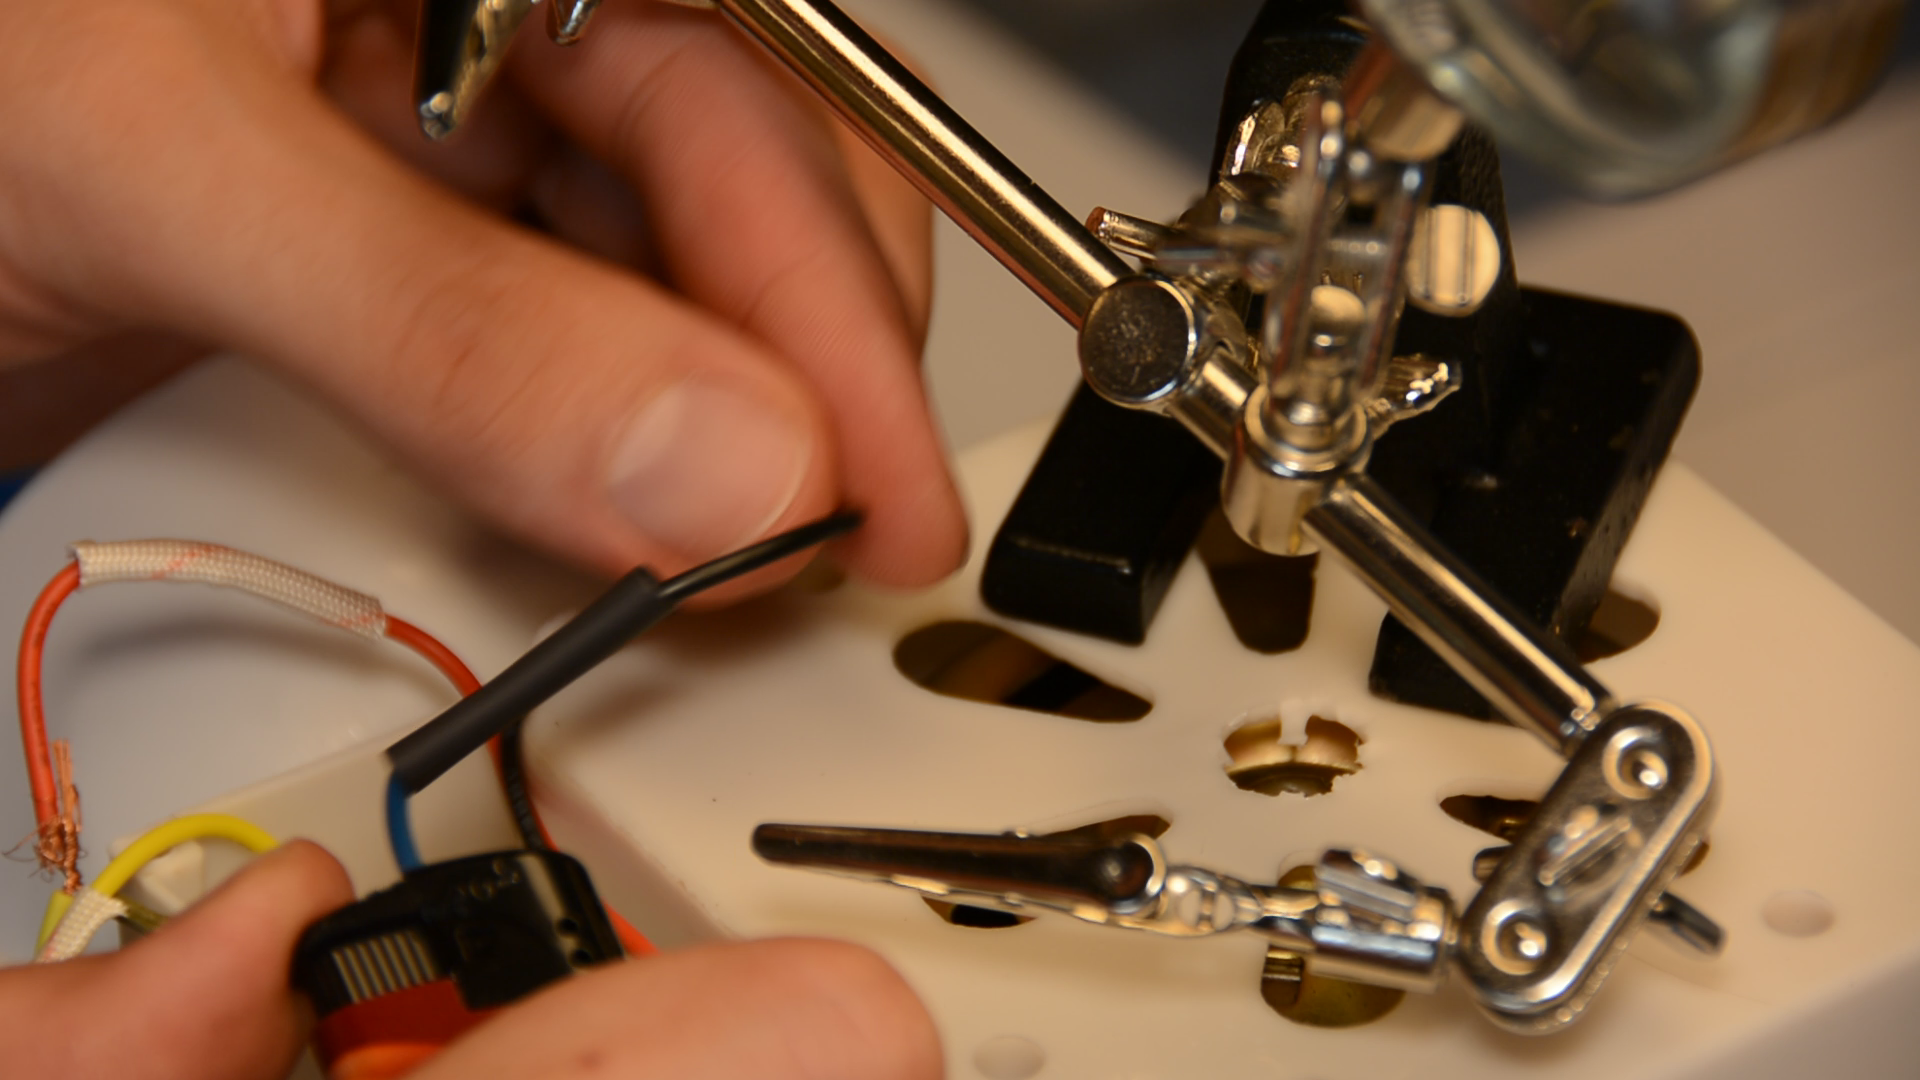
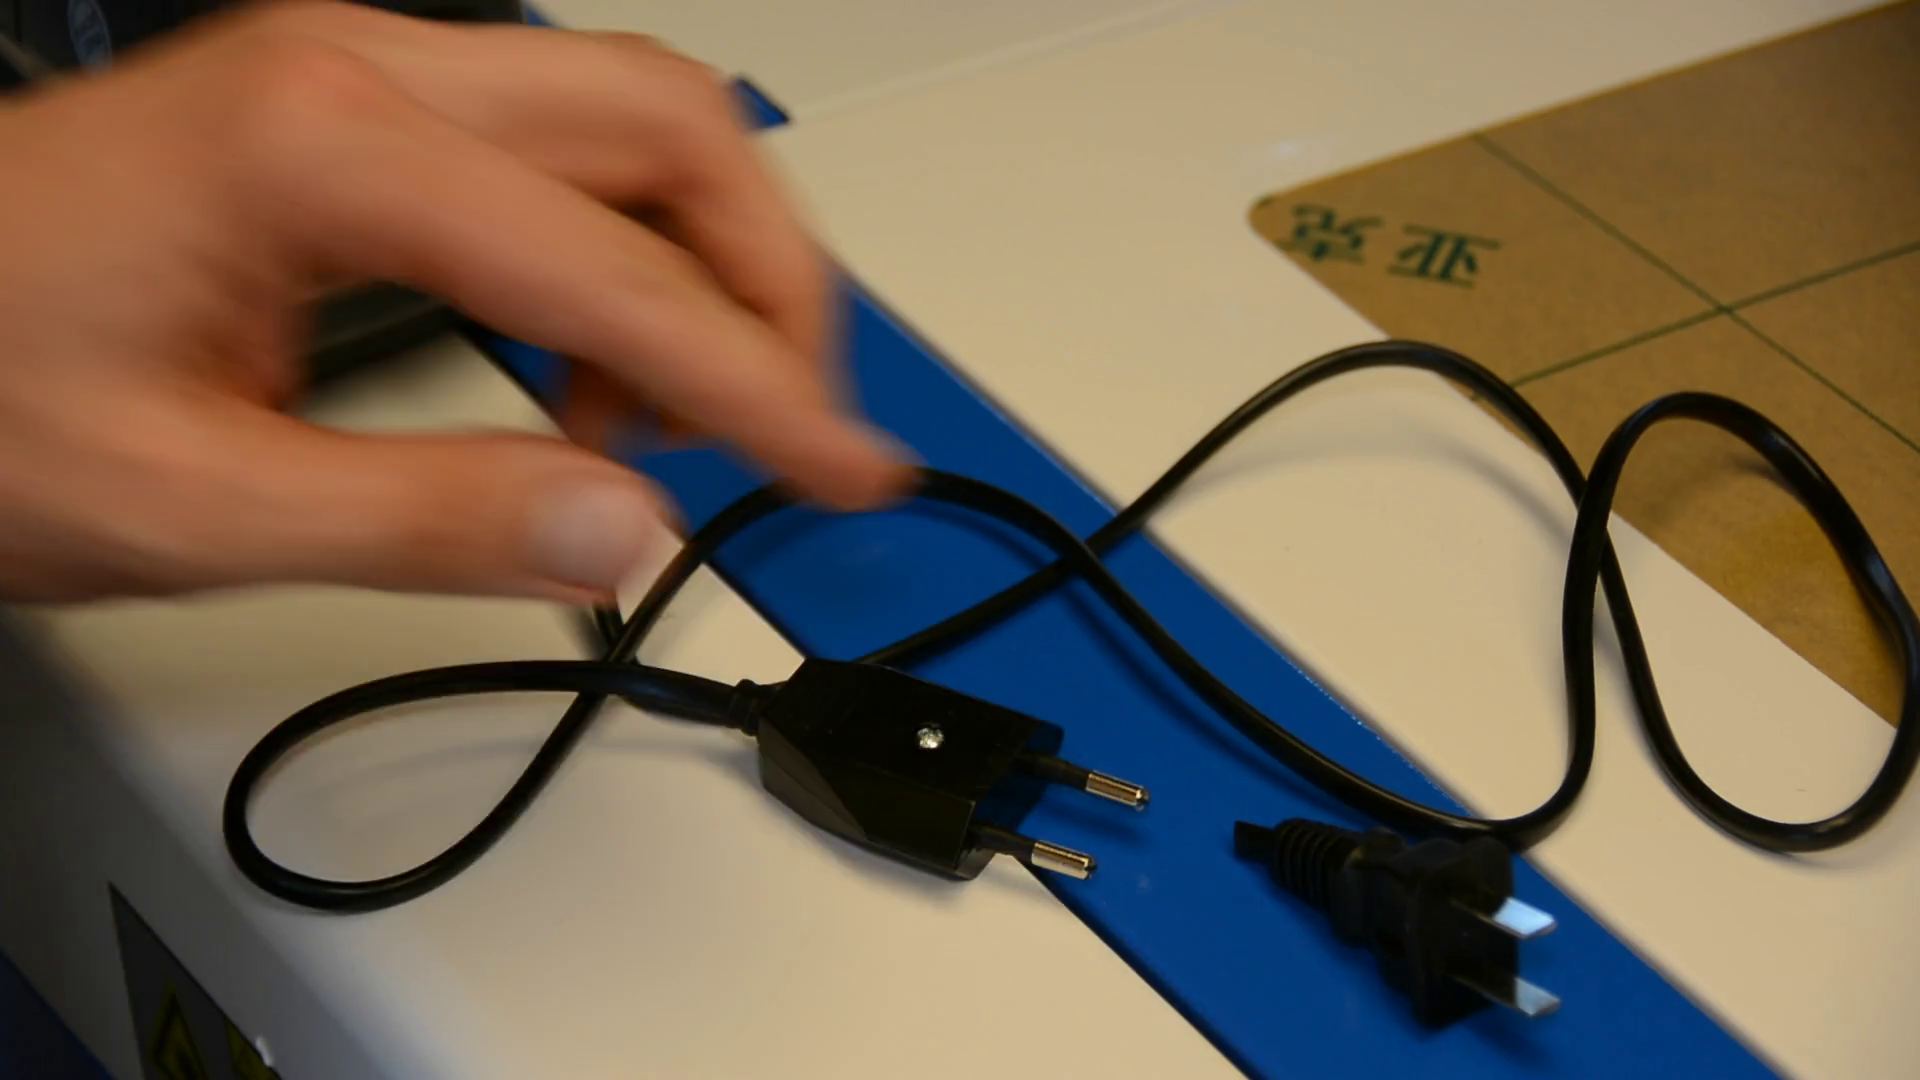
As I had the soldering iron out I also changed the plug of the water pump.
This is not strictly necessary but I wanted to check the pump without powering on the laser.
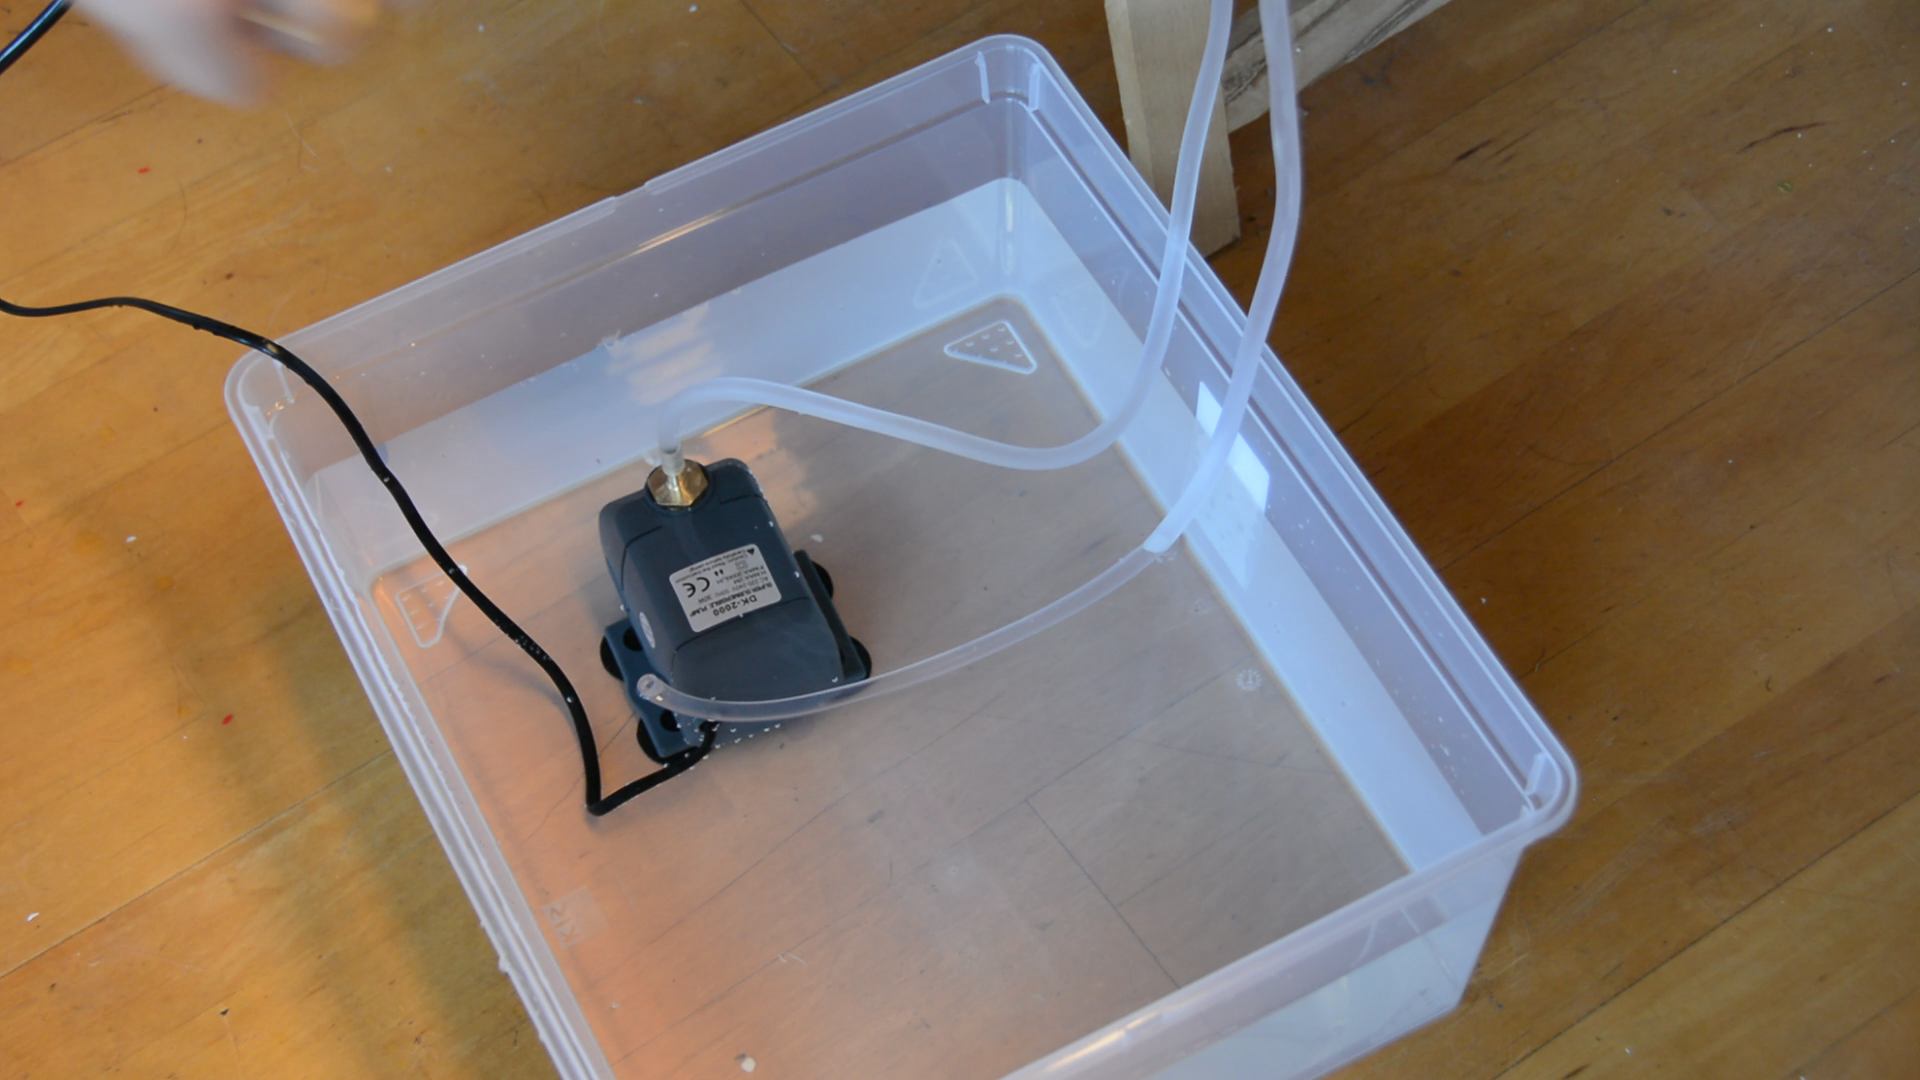
I placed the pump in 10 liters of distilled water and tried it out.
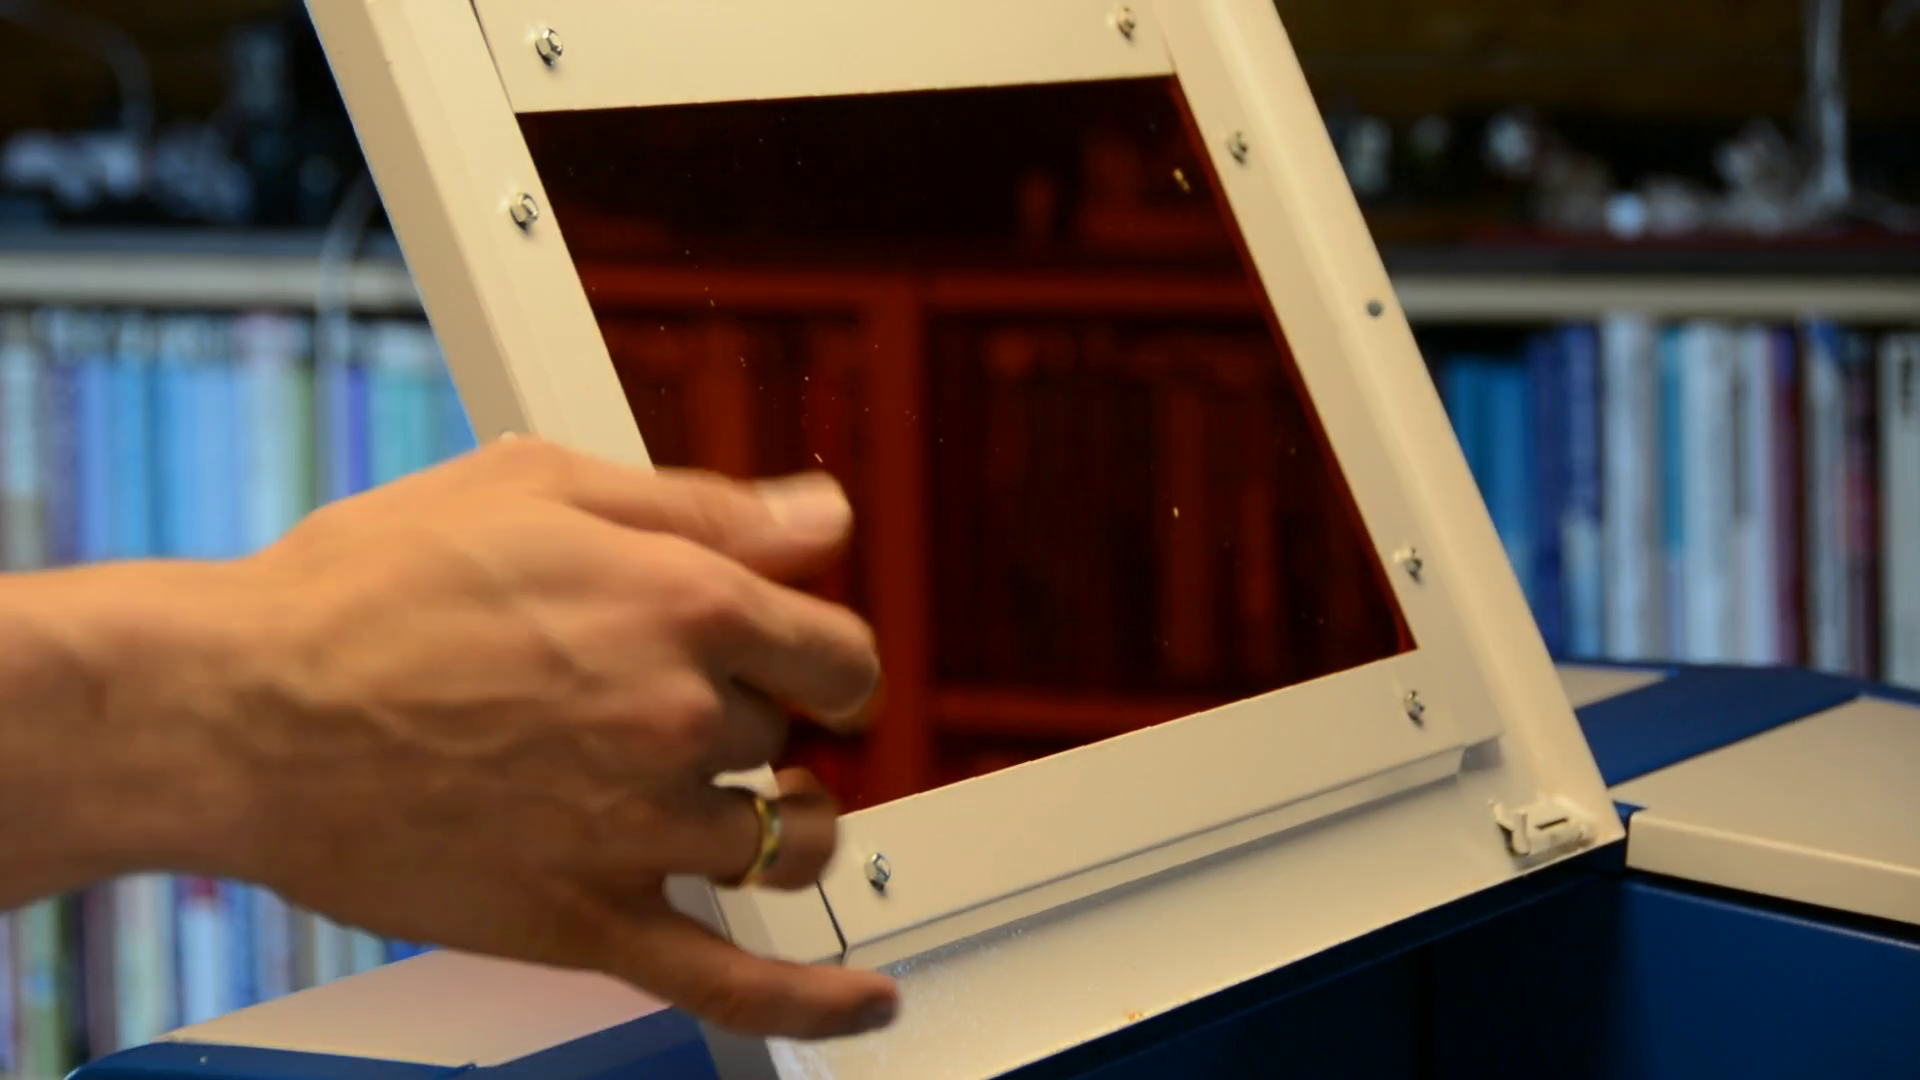
After unscrewing the metal brackets at the inside of the lid and removing the protective cover from the acrylic I decided that I would build a mobile cart for the laser and all accessories so that it is easier to handle.
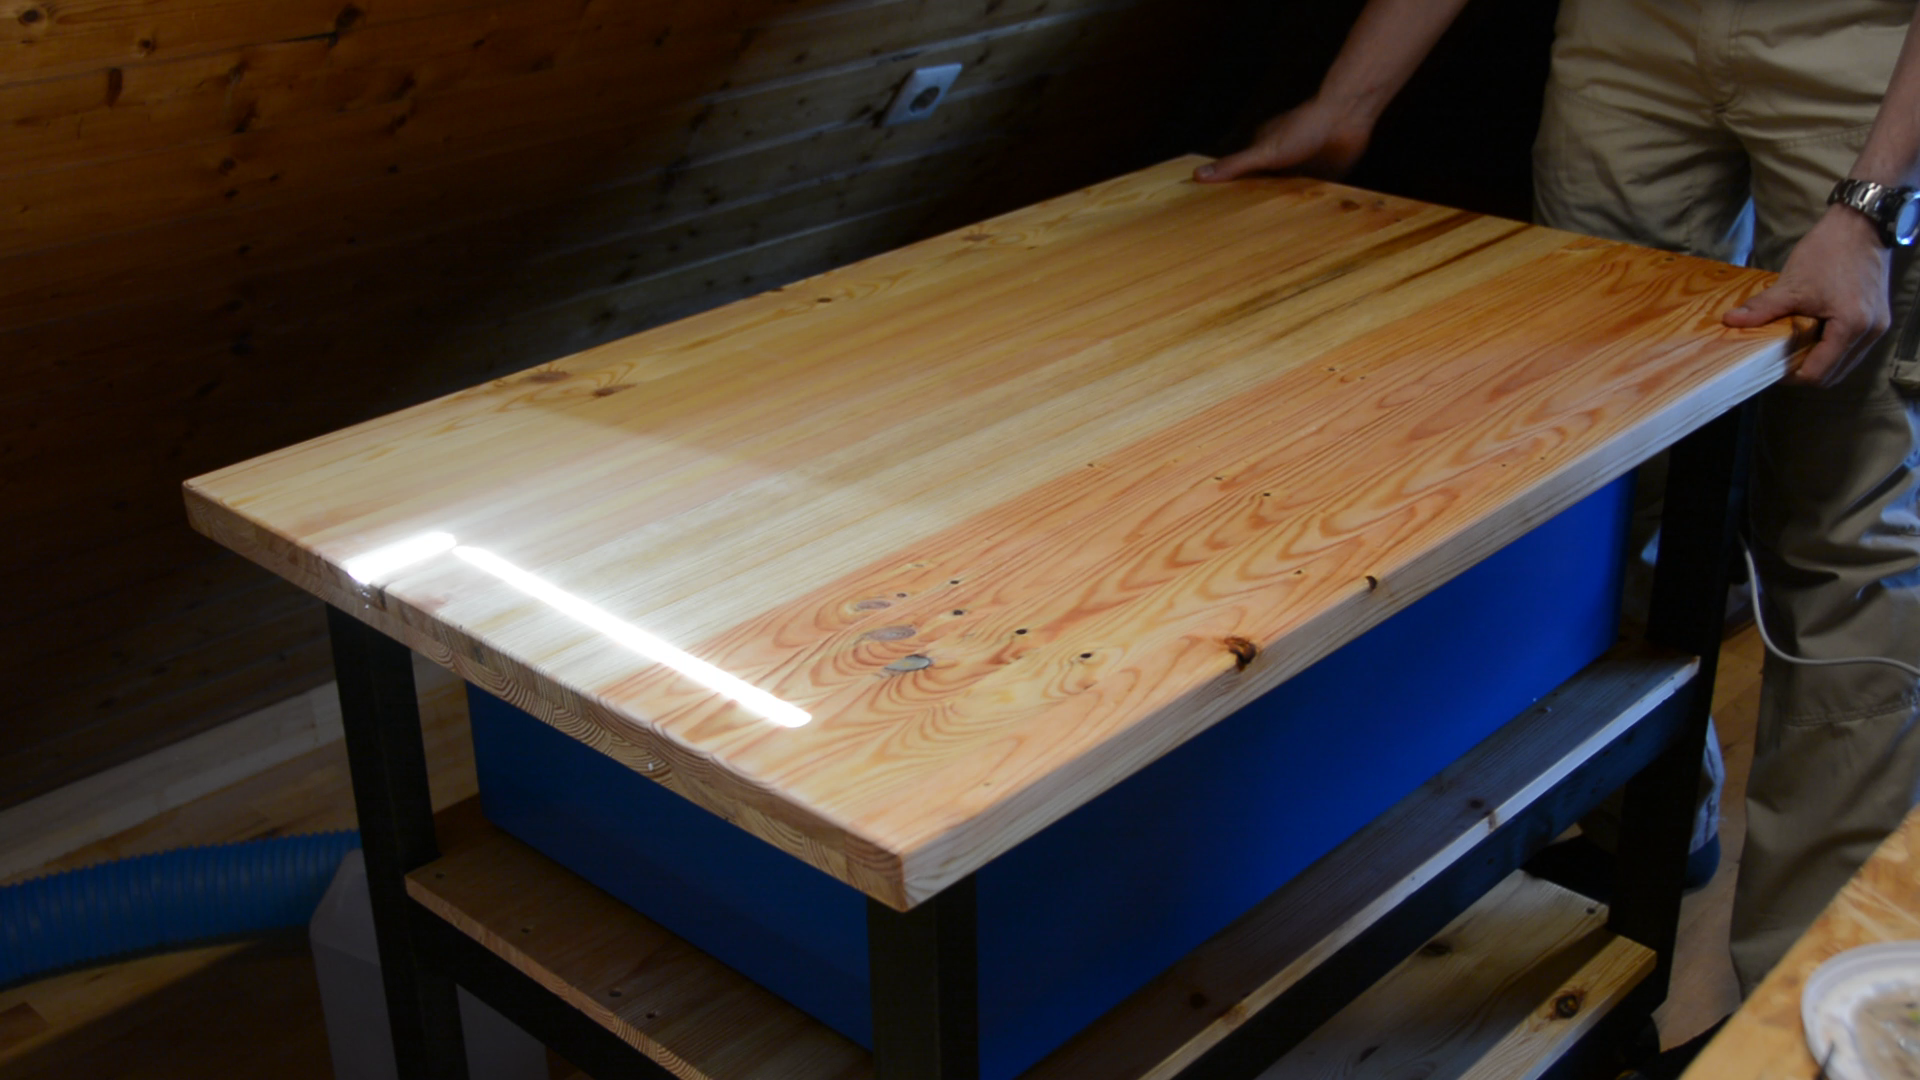
The K40 laser cart
The cart holds the water reservoir and can be used as a work surface when the laser is not in use.
The cart is described in a separate article that you can find here.
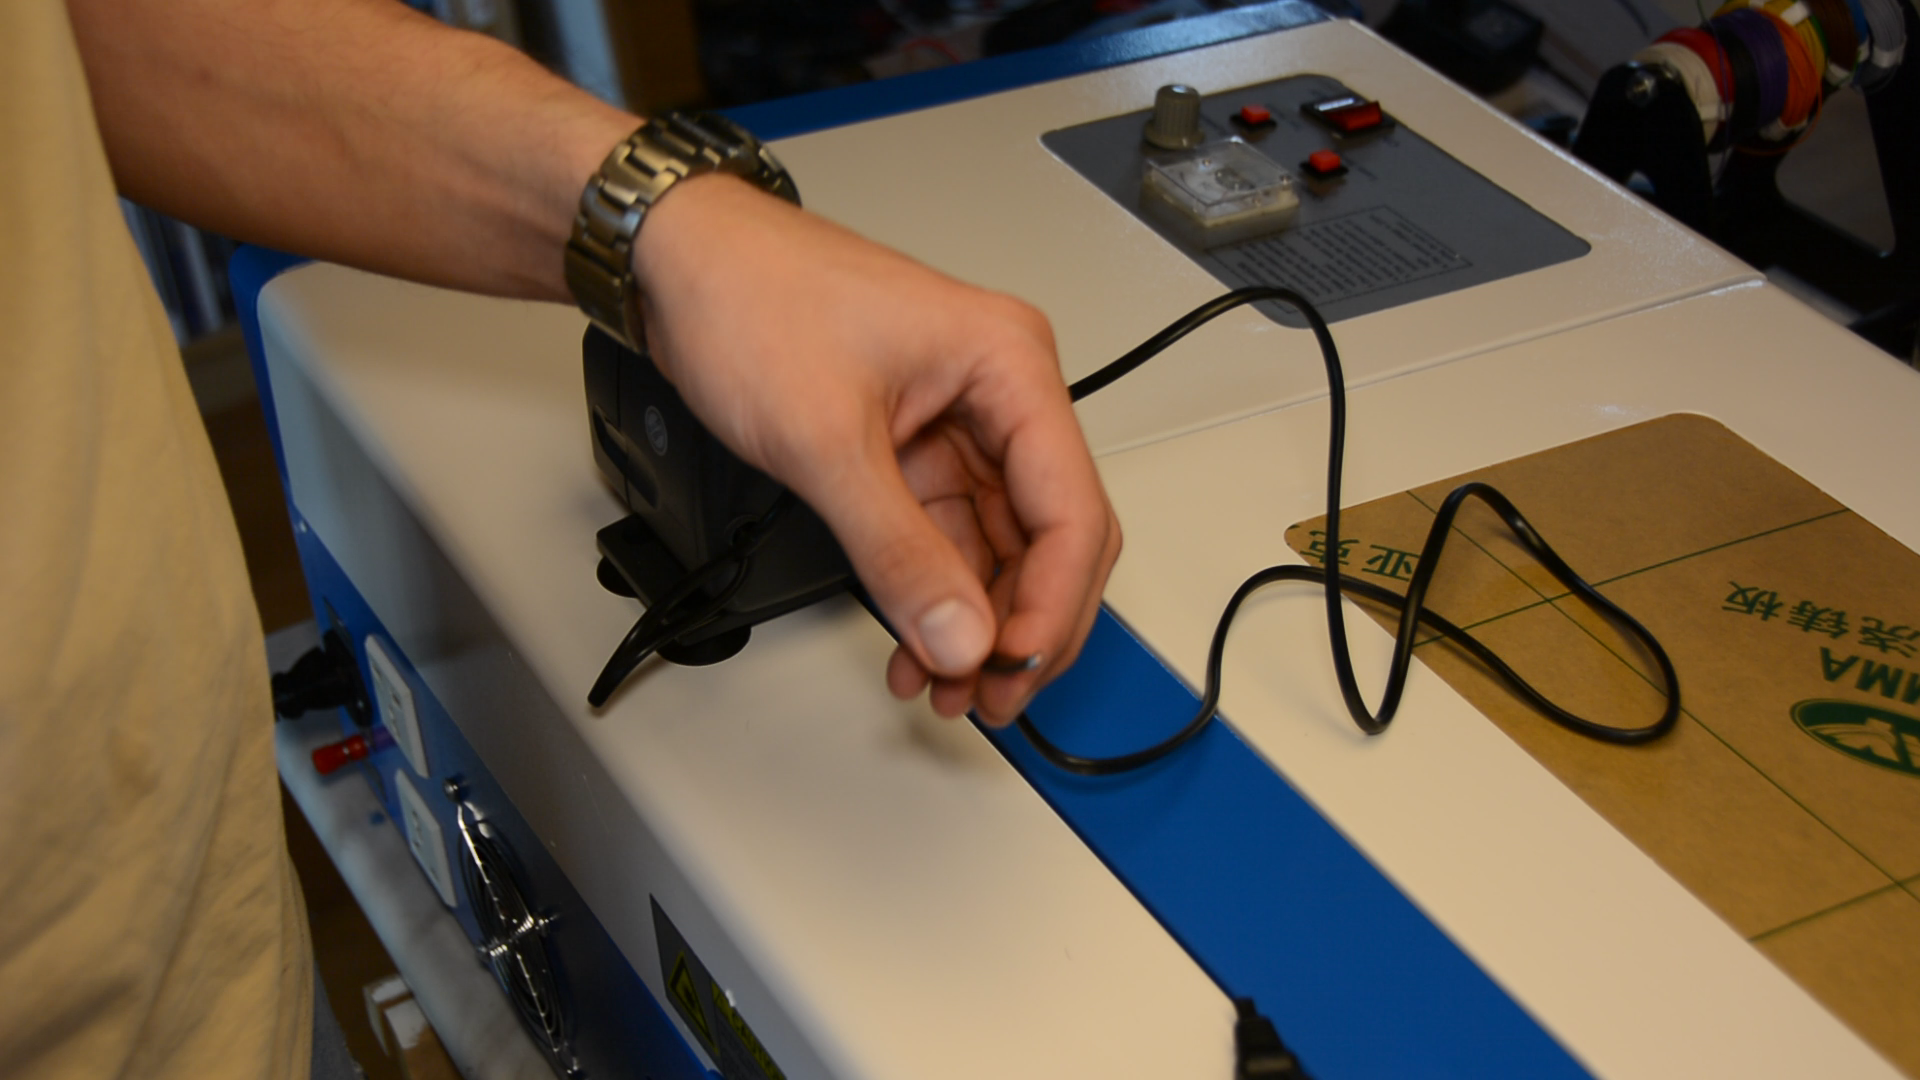
After securing the fan to the case we are ready to connect the power and switch it on.
Before the first cut we want to check the alignment of the mirror. Move the power dial to around 10 percent and put several layers of painters tape in front of the mirror.
Now move the laserhead to all four corners and testfire the laser. If – like in my case – all four marks are hitting the same spot you are good.
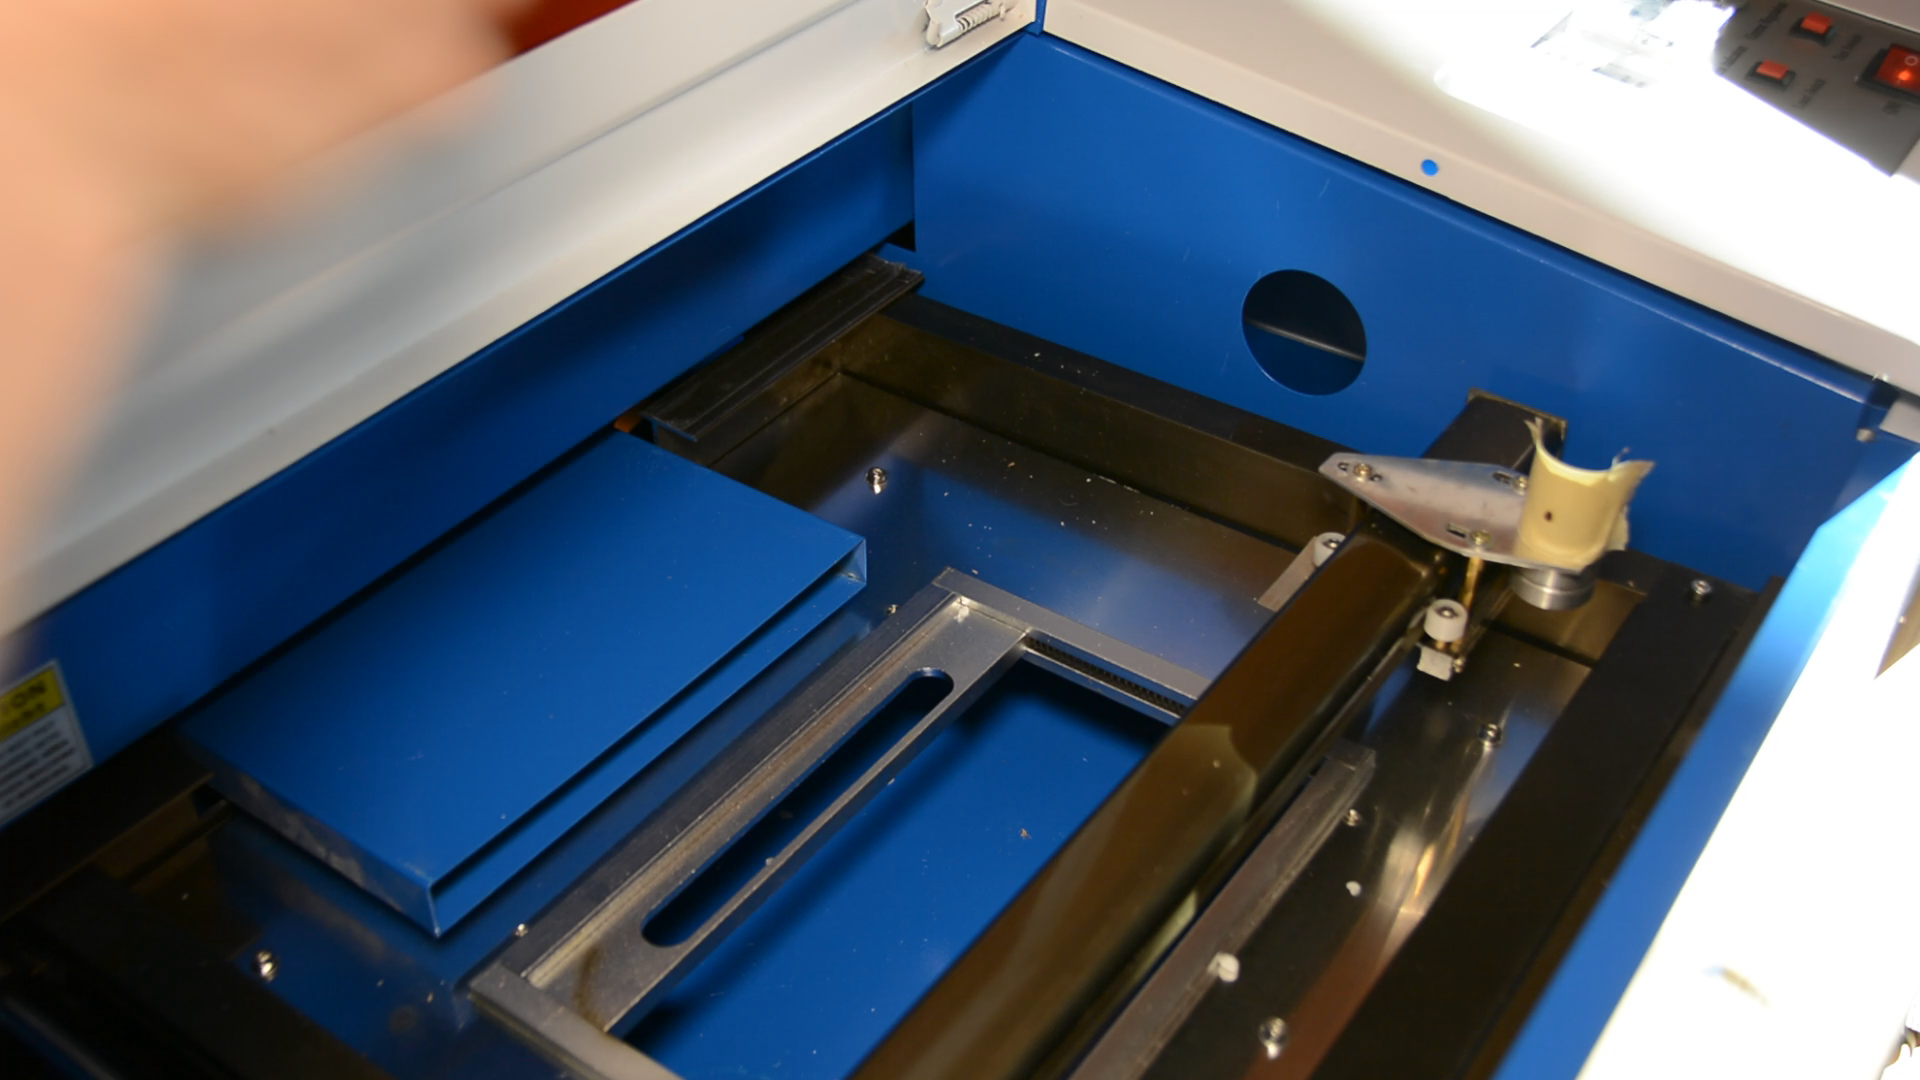
Otherwise I link to a video that explains the alignment procedure in detail here.
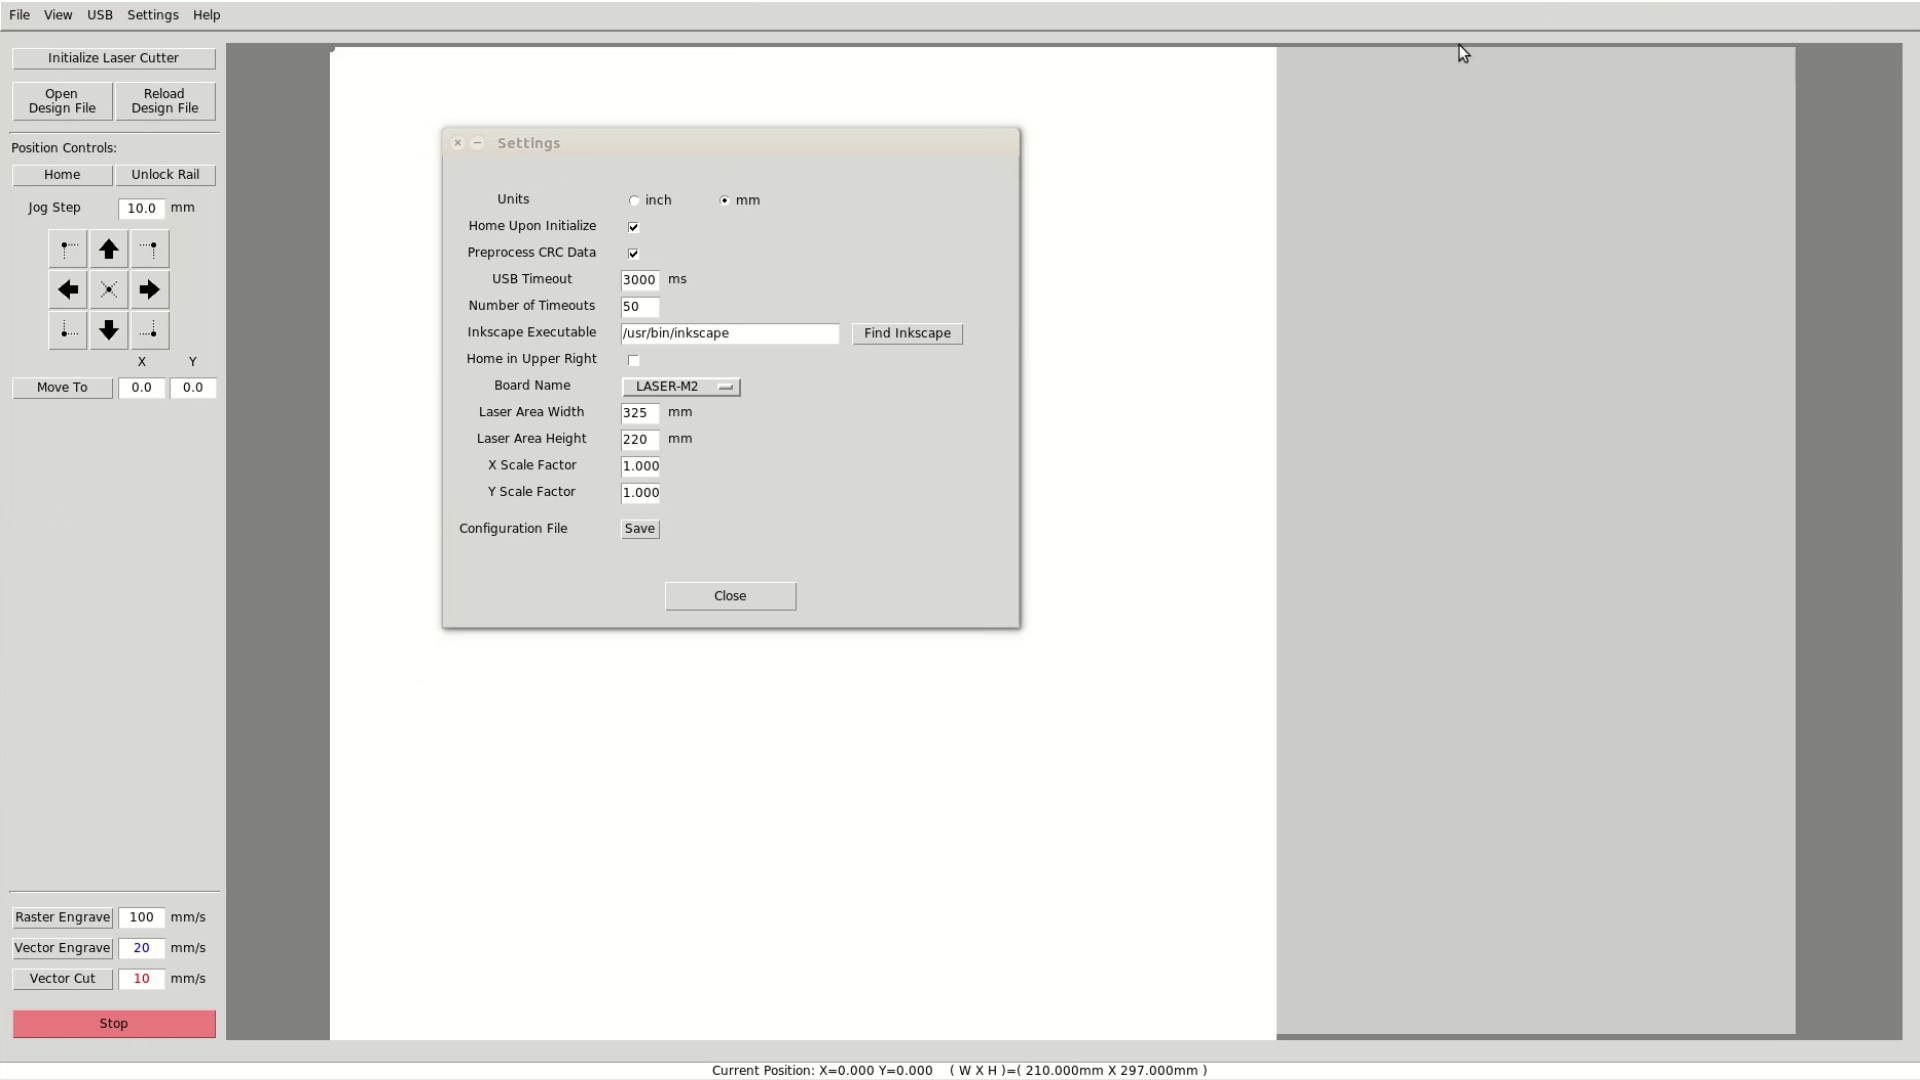
Software K40 Whisperer
We are now ready for a test cut. As I am running Linux on my computer and the reviews of the software that came with the machine are not that good I ignored the software completely and installed K40 Whisperer. I will link to the software for Windows and Linux here.

After the installing the software I increased the timeout values and put the path to Inkscape in the settings box.
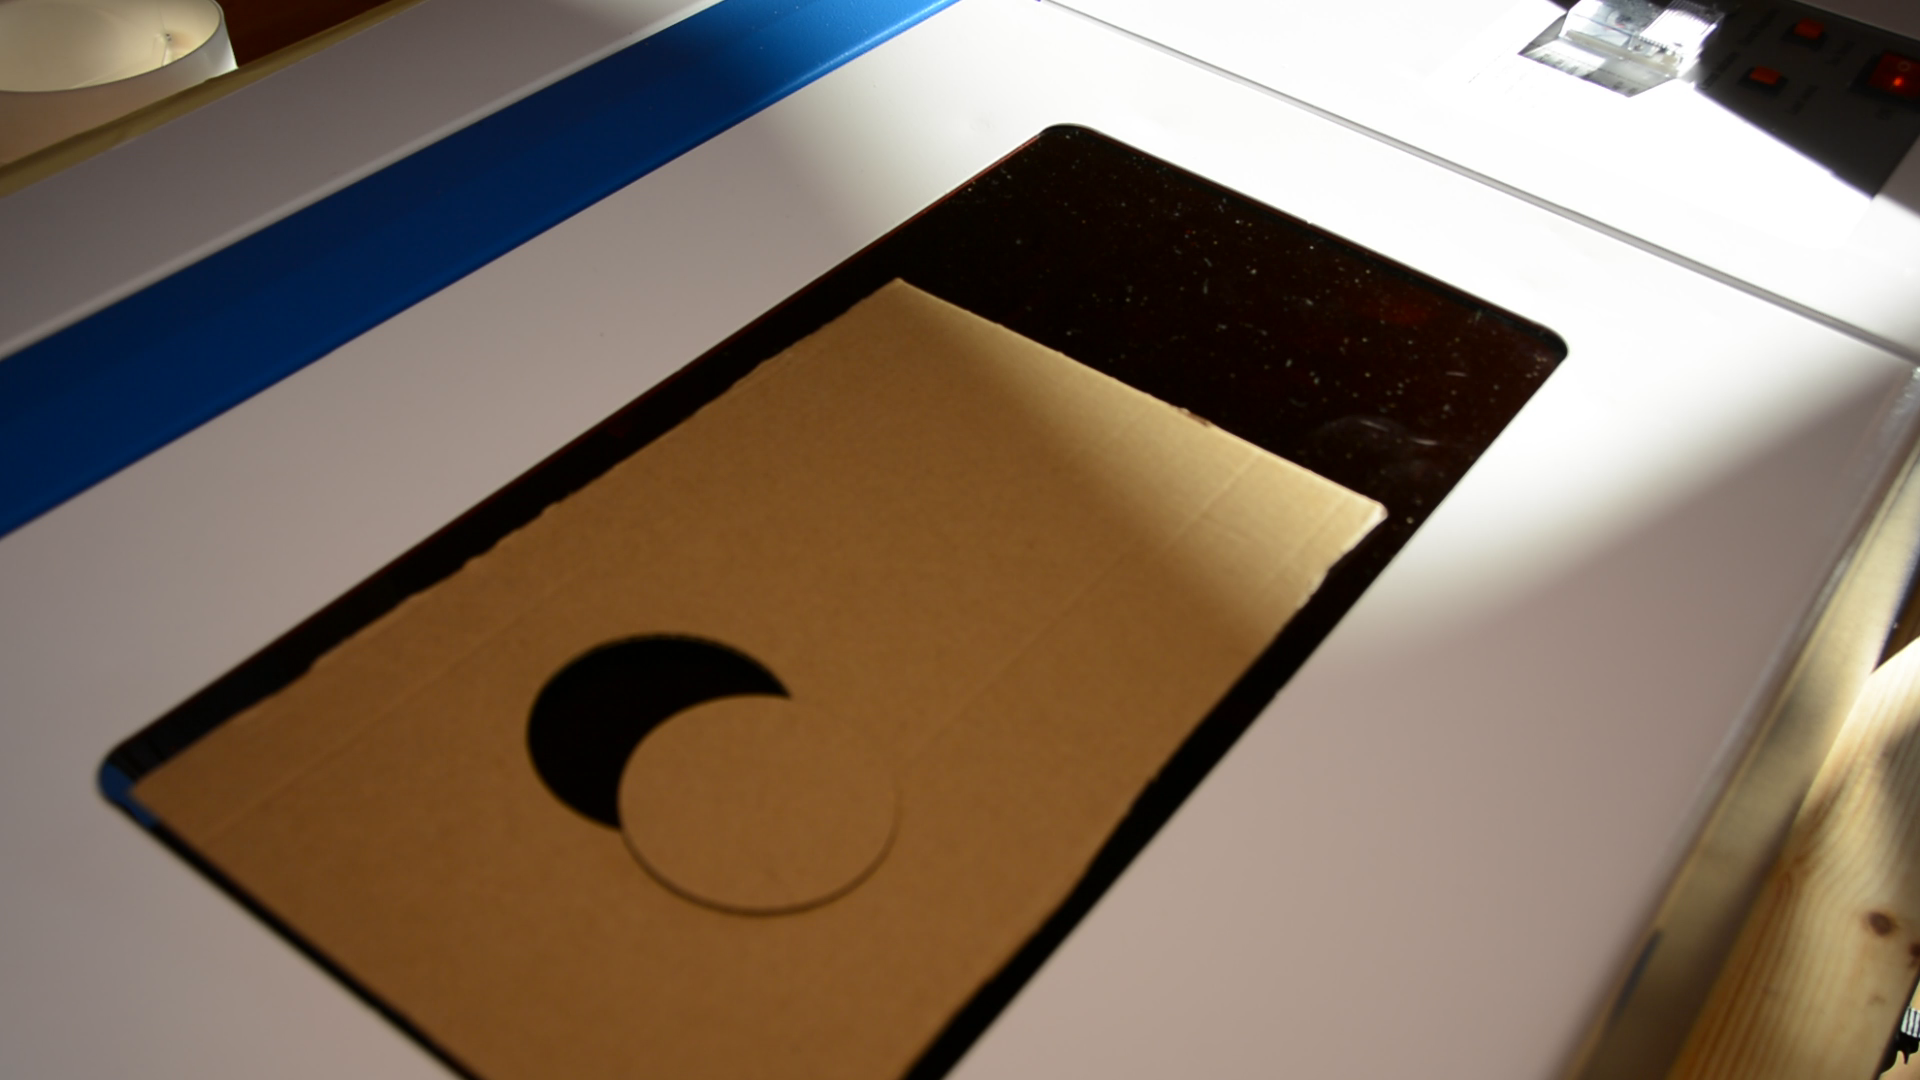
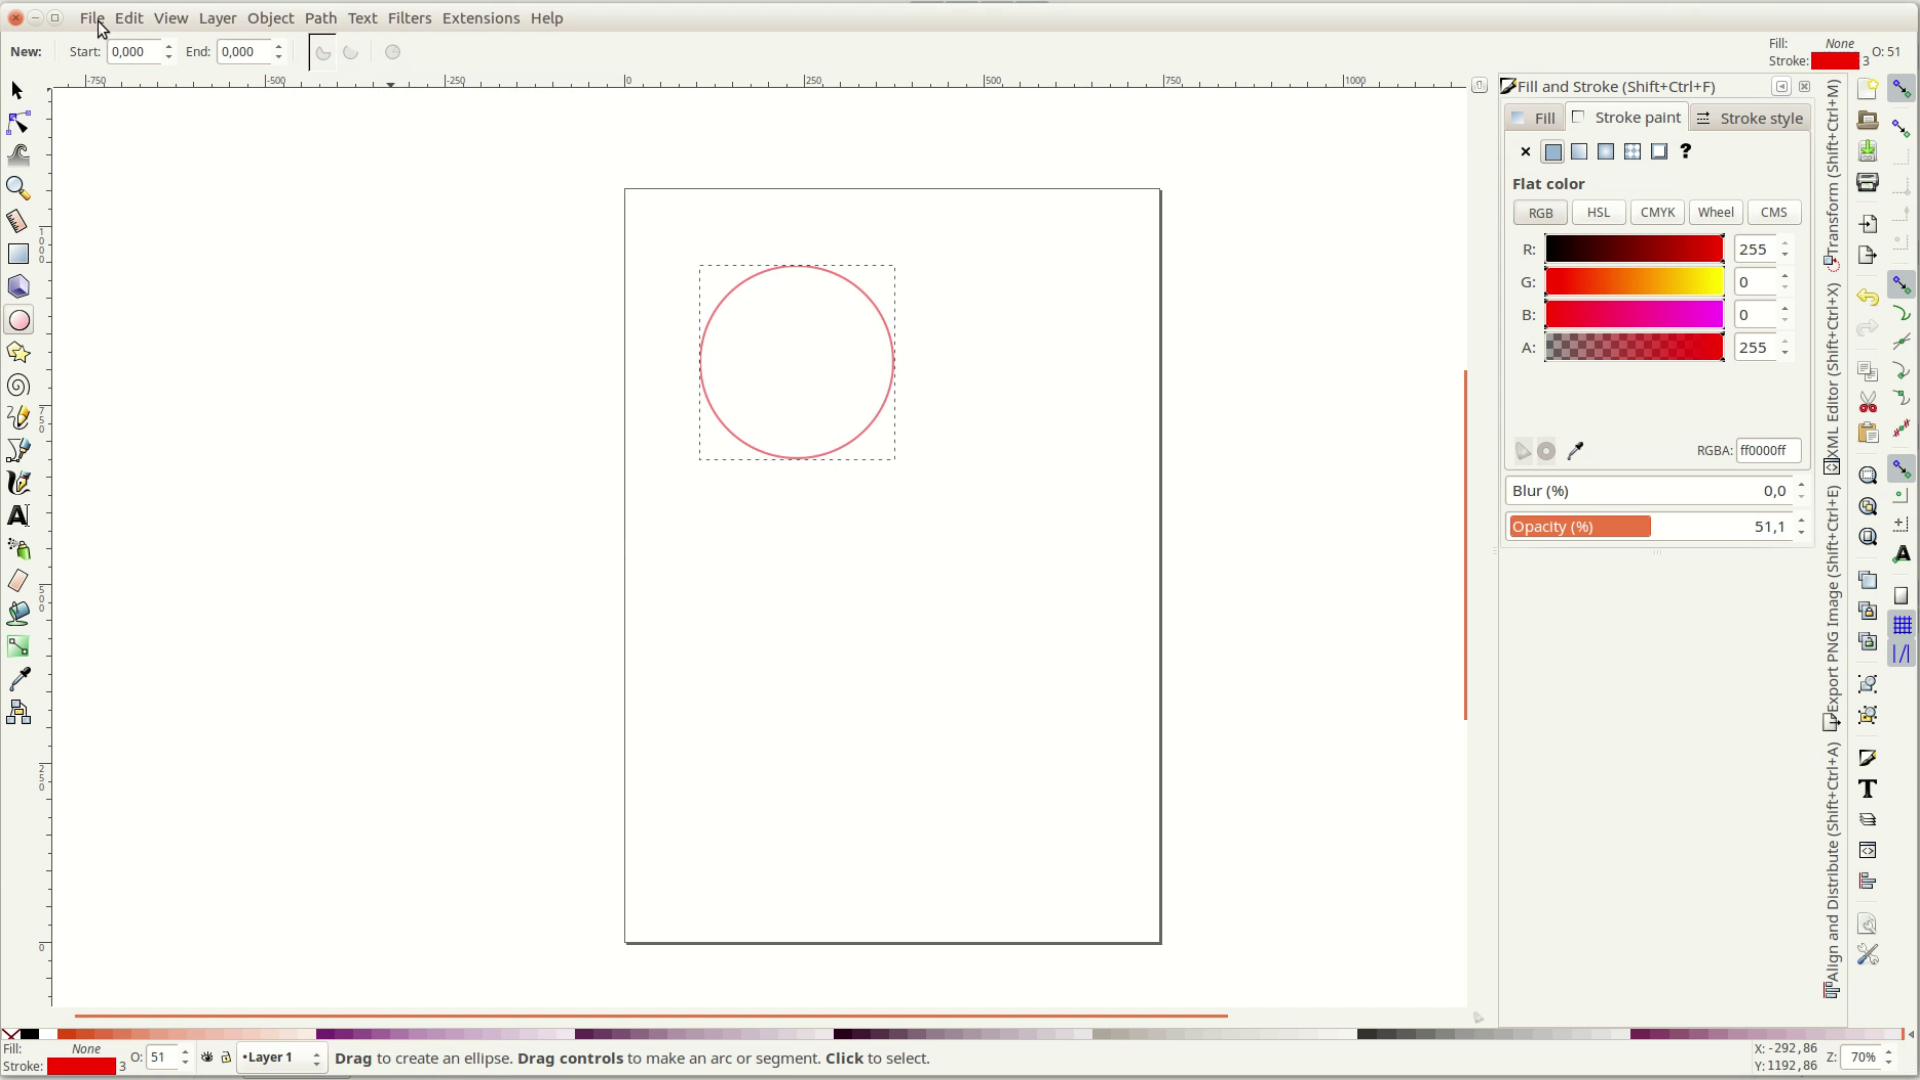
In Inkscape I create a circle with a red outline, convert it into a path, save the file and open it in K40 Whisperer.
There I initialize the machine and cut the form.
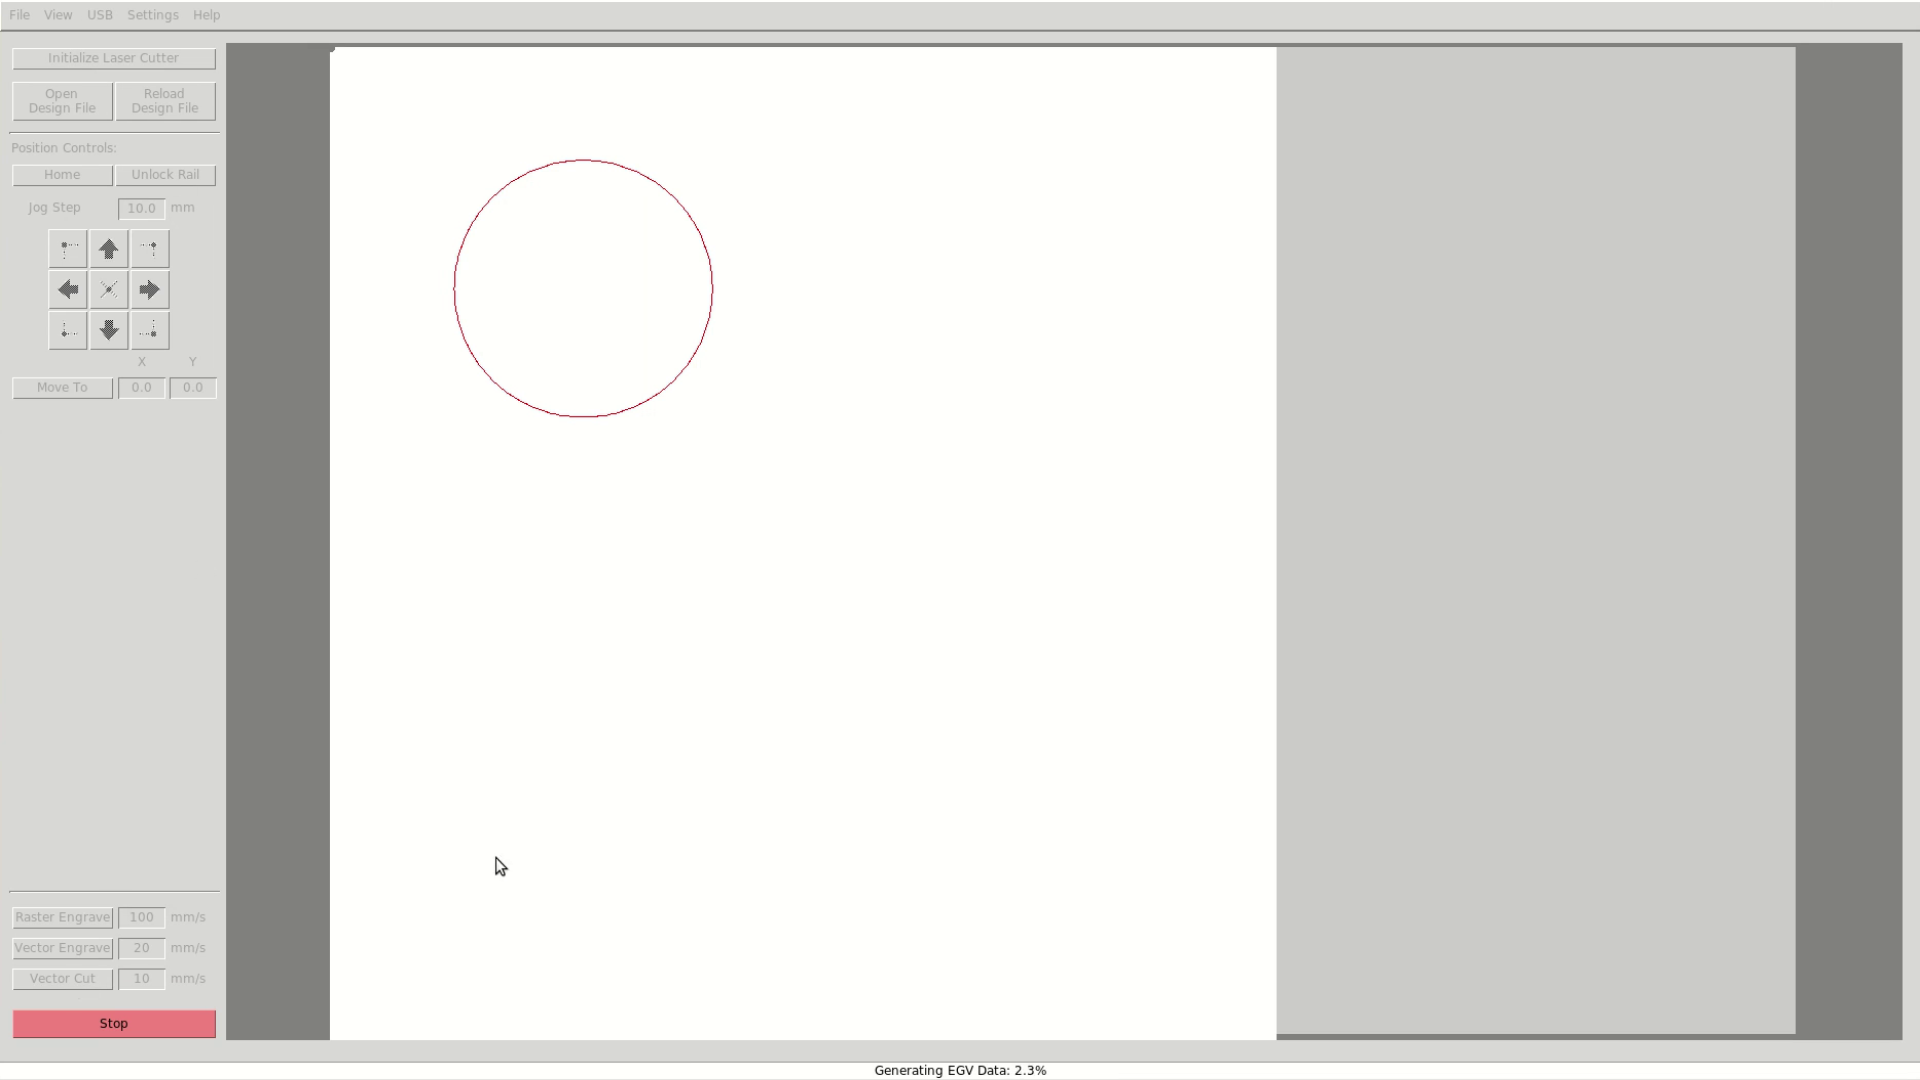
The circle came out nicely.

Hopefully this video helps you to make your laser a bit safer.