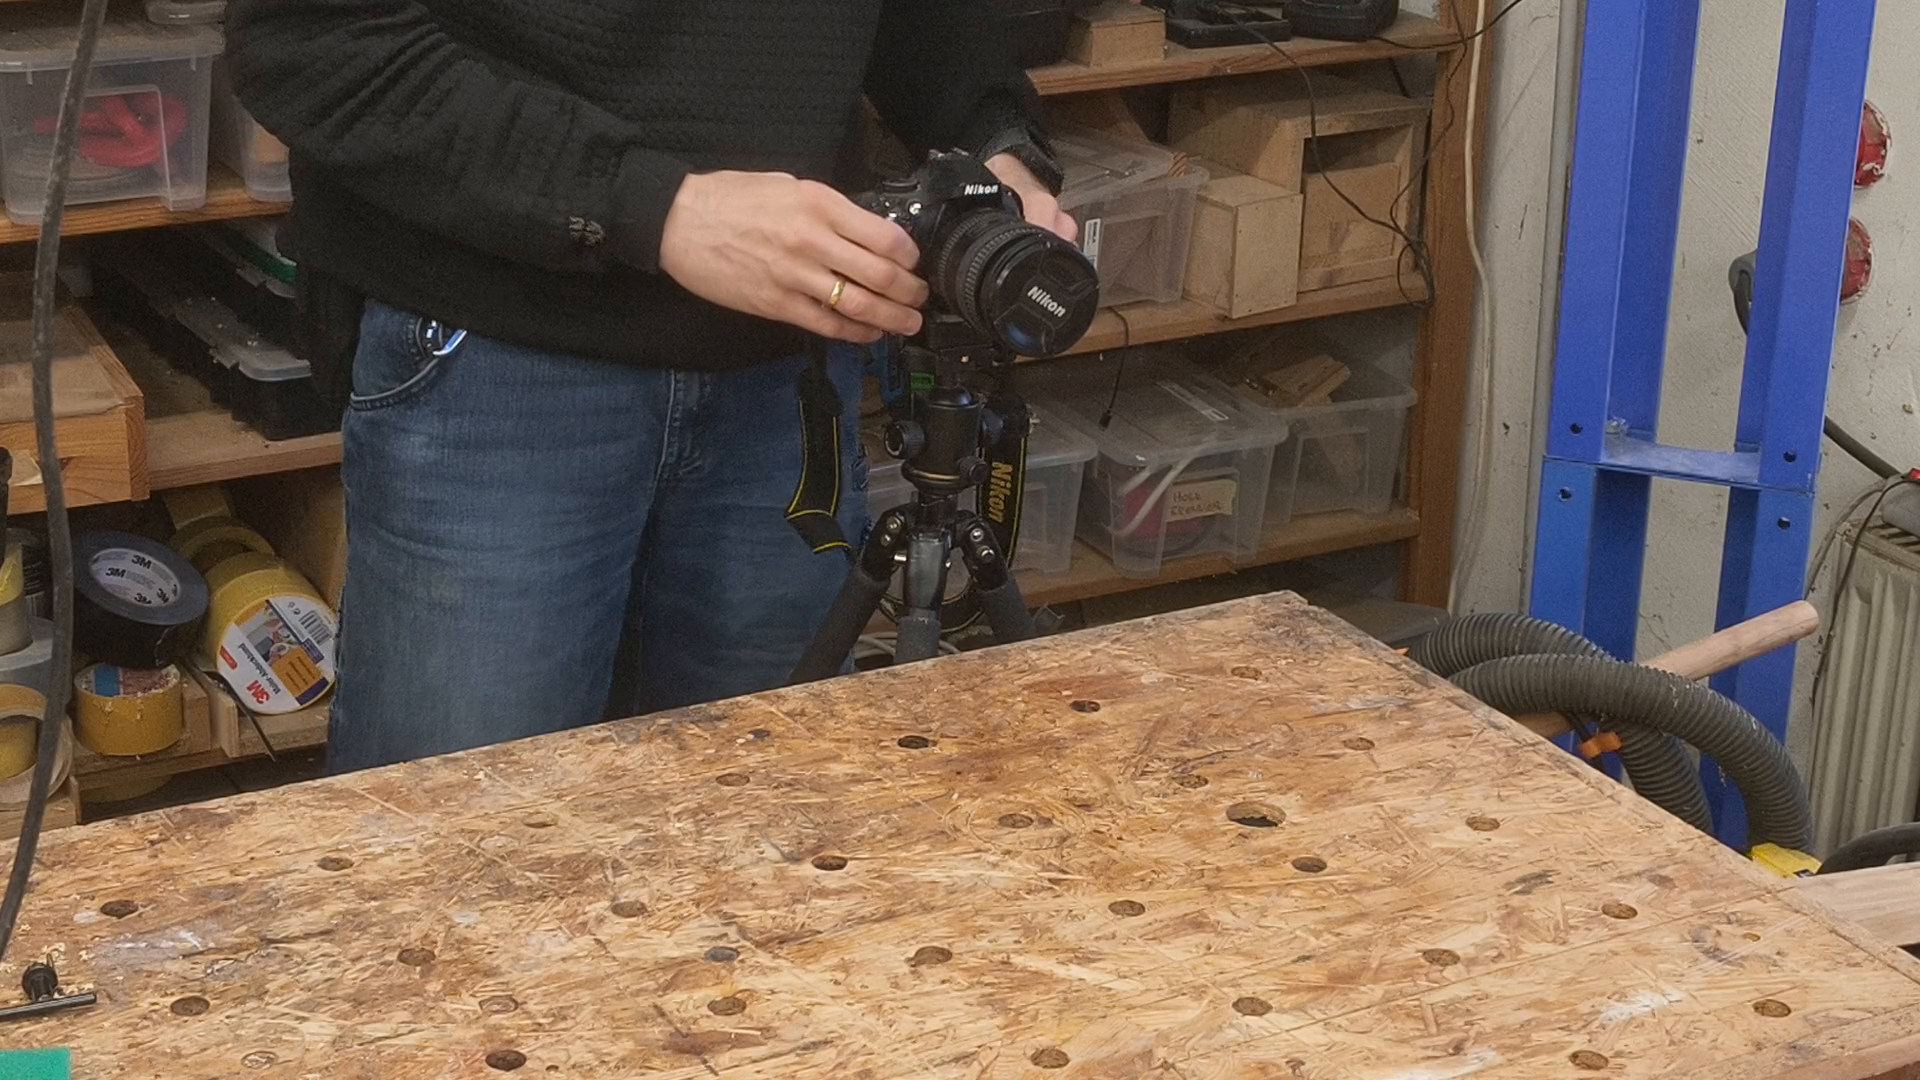
This camera is the main reason why I did not post videos for quite some time. Setting up the tripod, mounting the camera, charging the batteries, transferring the card – all this is quite cumbersome and time consuming.
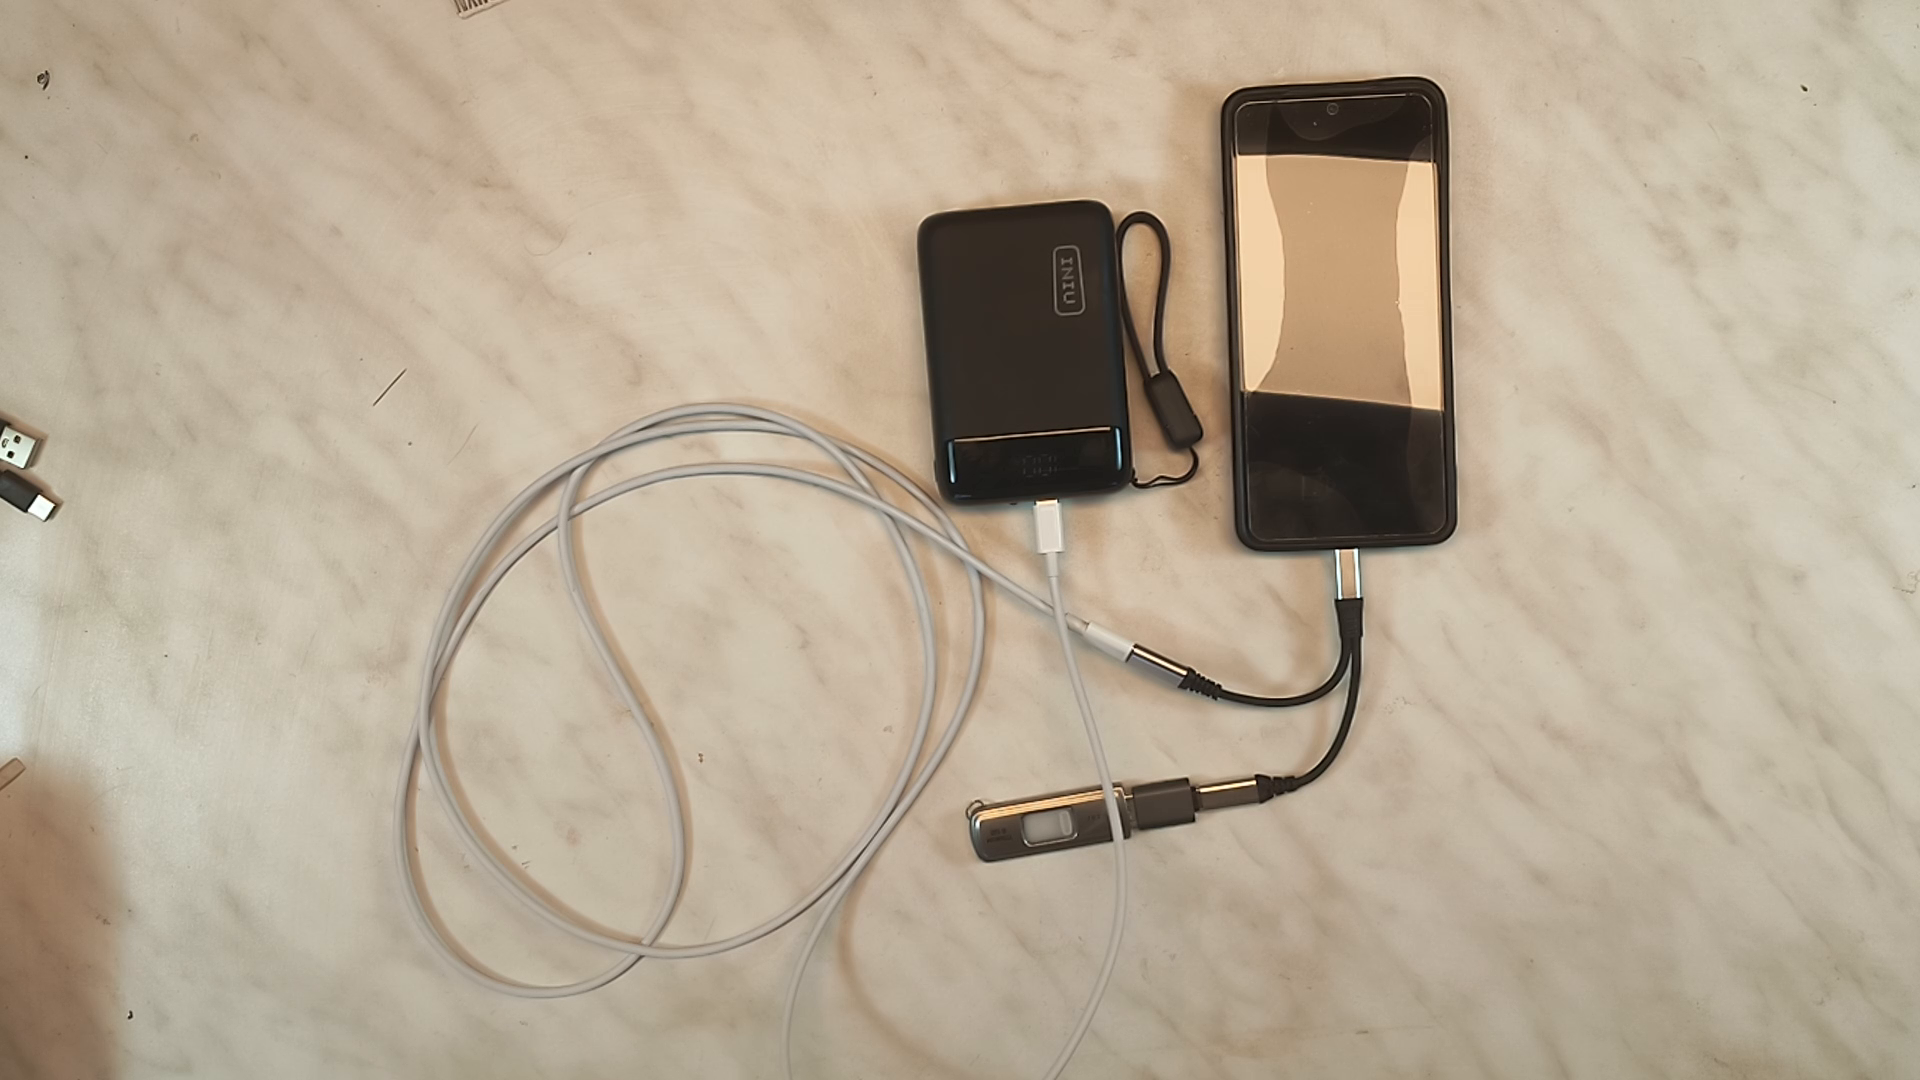
Given that my phone has a camera that is much better than the one I have been using so far I started a quest to use this phone as my main camera. Let’s start with the electronics setup – which is super simple as I just plug this USB y cable into my phone and connect a usb stick and a power bank so that I do not have to worry about power or storage. The only thing to watch out for is that at least my Y cable has a dedicated data and one power connection and the usb key has to go into the headphone or data part. The cable is long enough so that I can place the power bank out of the way.
For my old camera I have been moving the tripod around the workshop quite a bit. With the new setup I want a lot of different possibilities to easily use the phone.
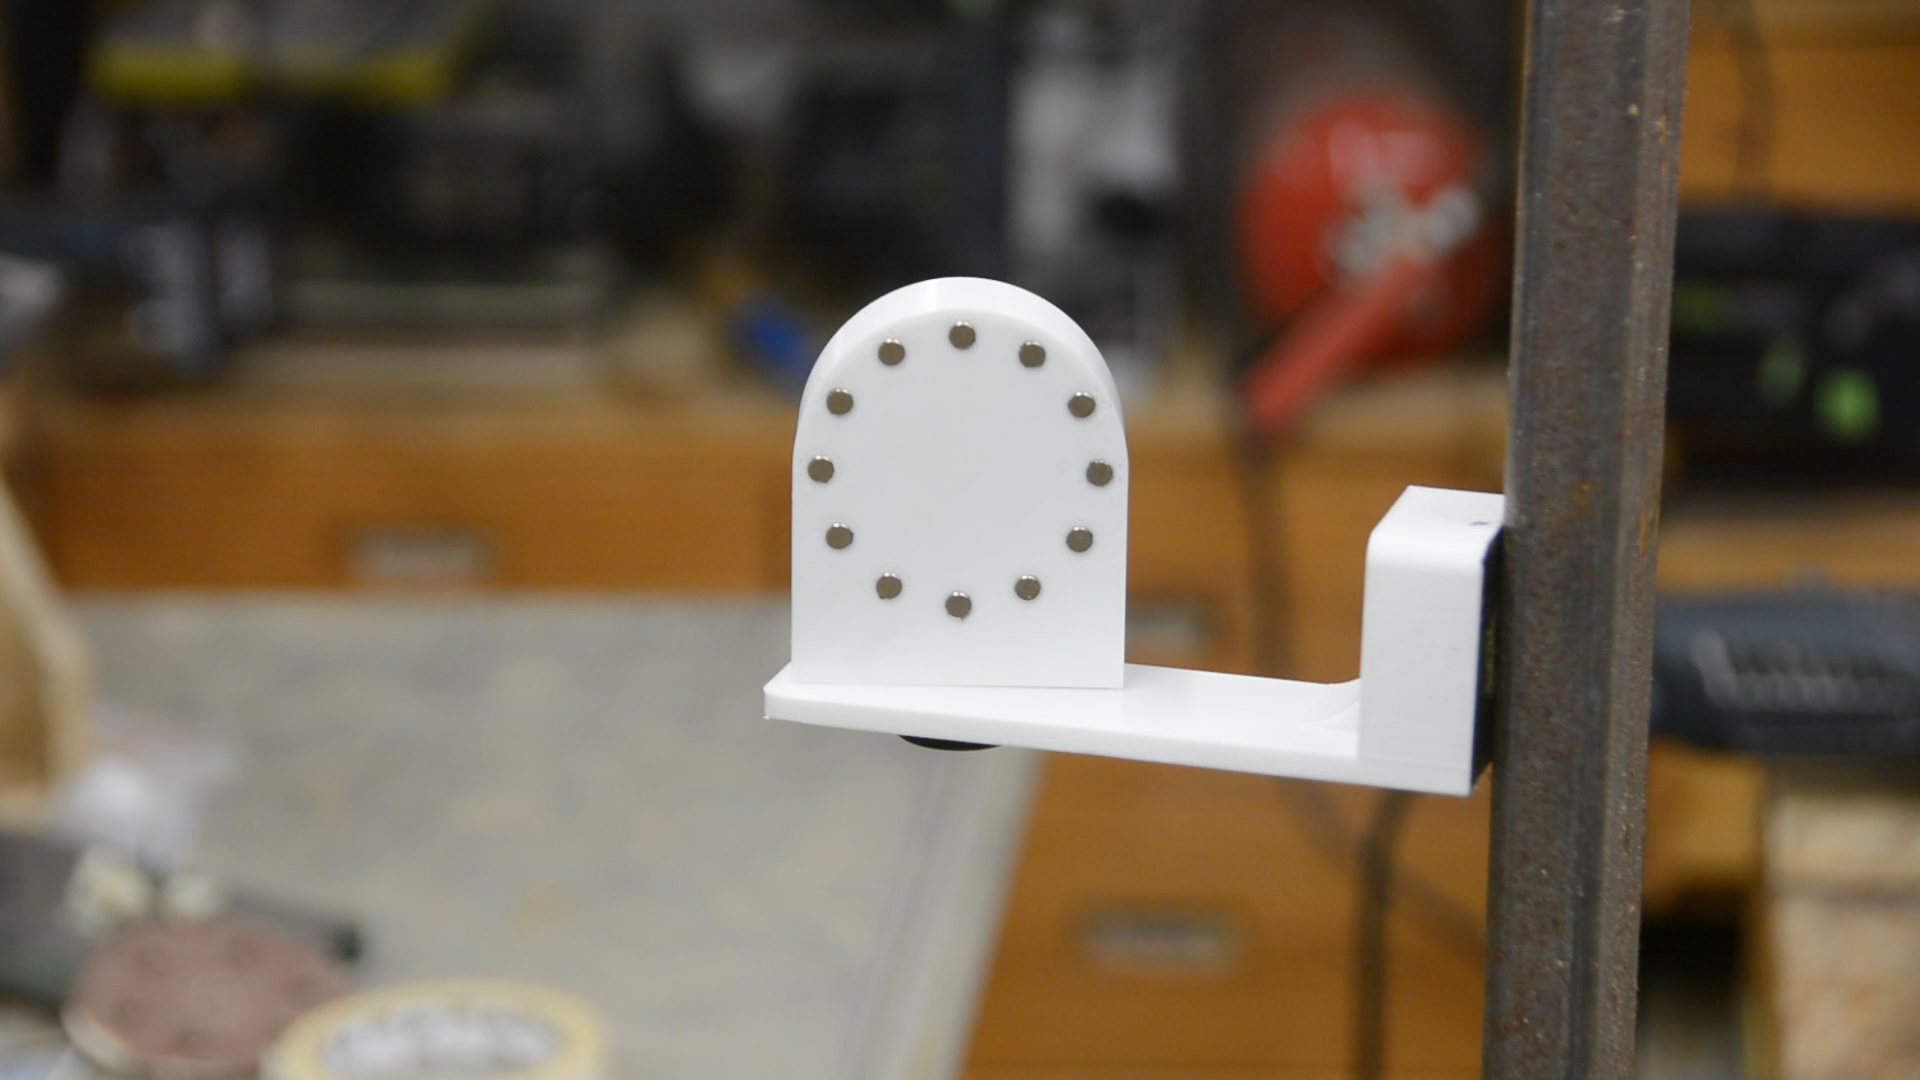
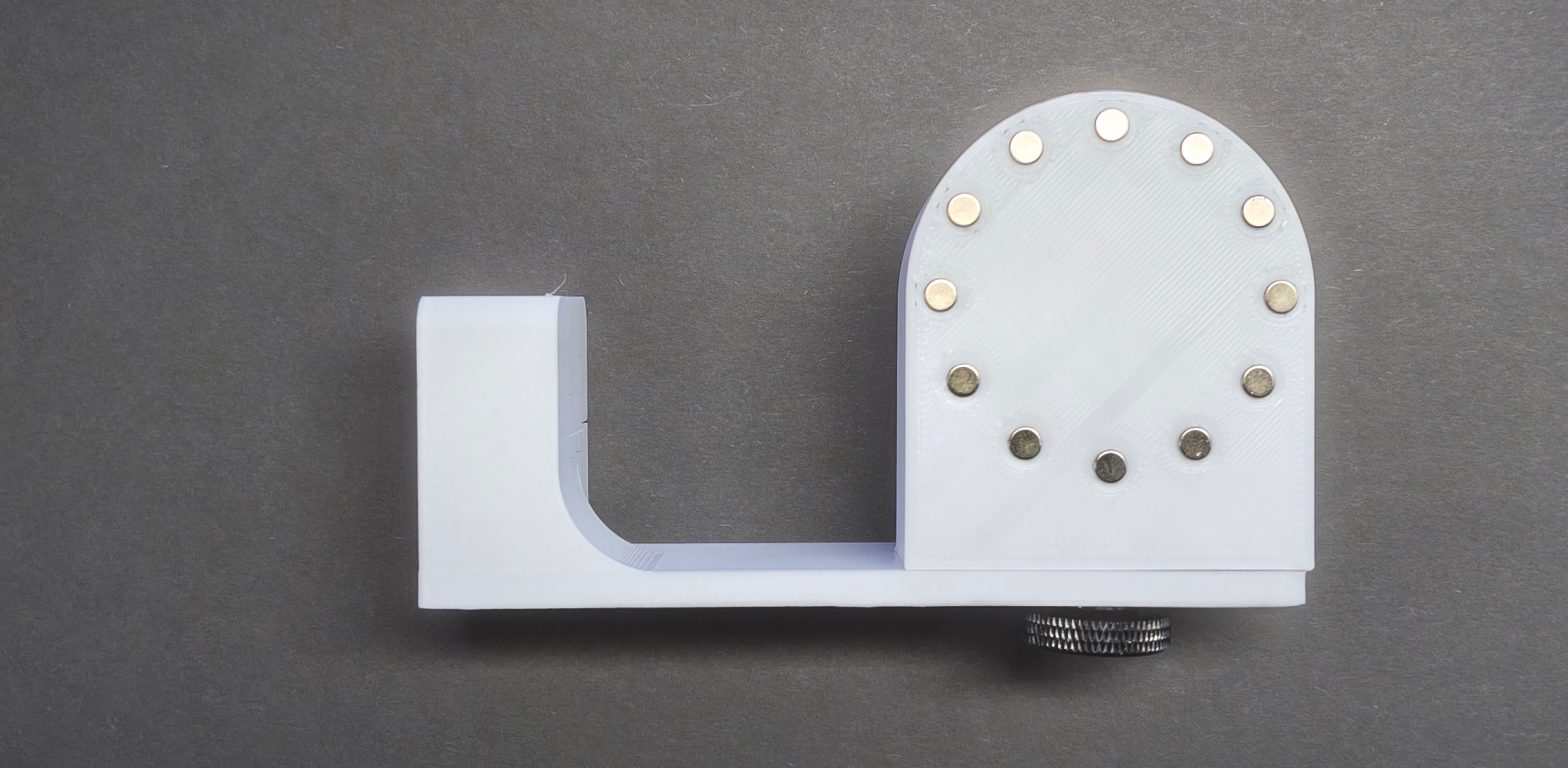
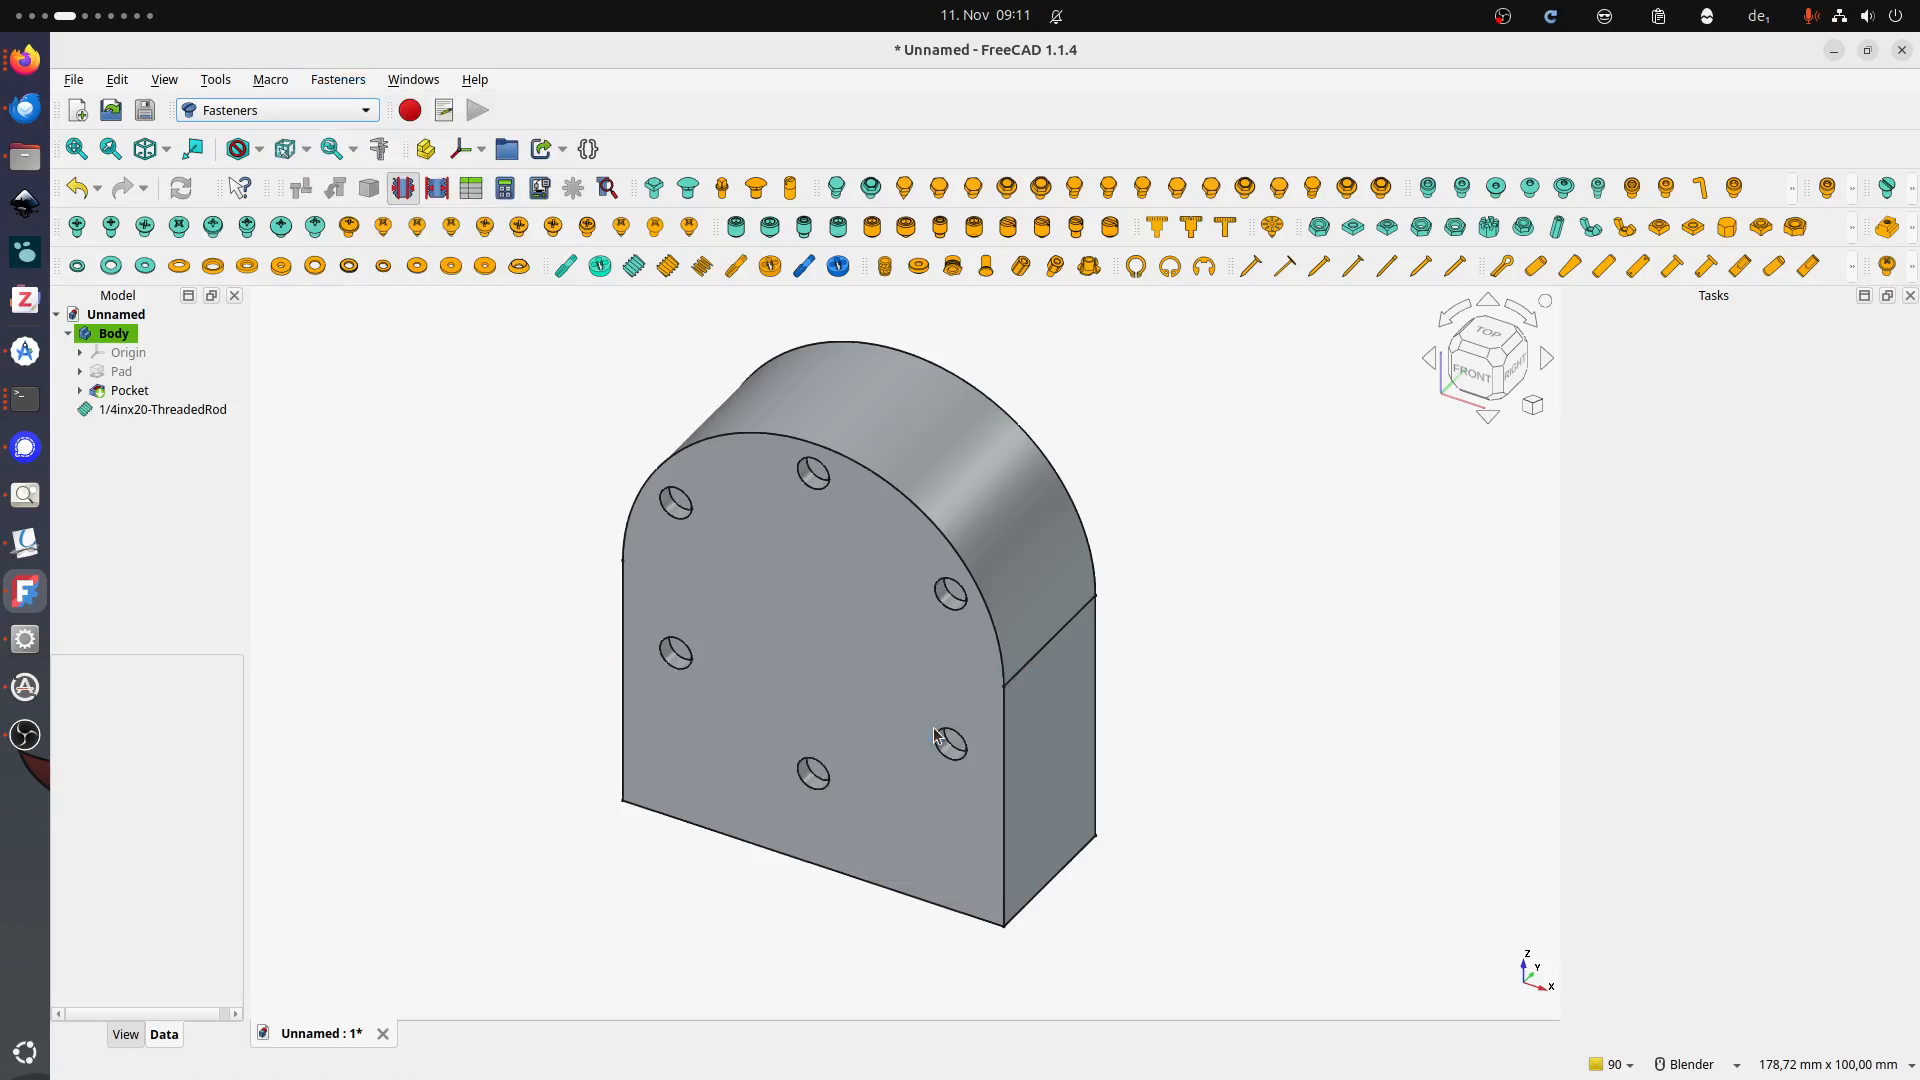
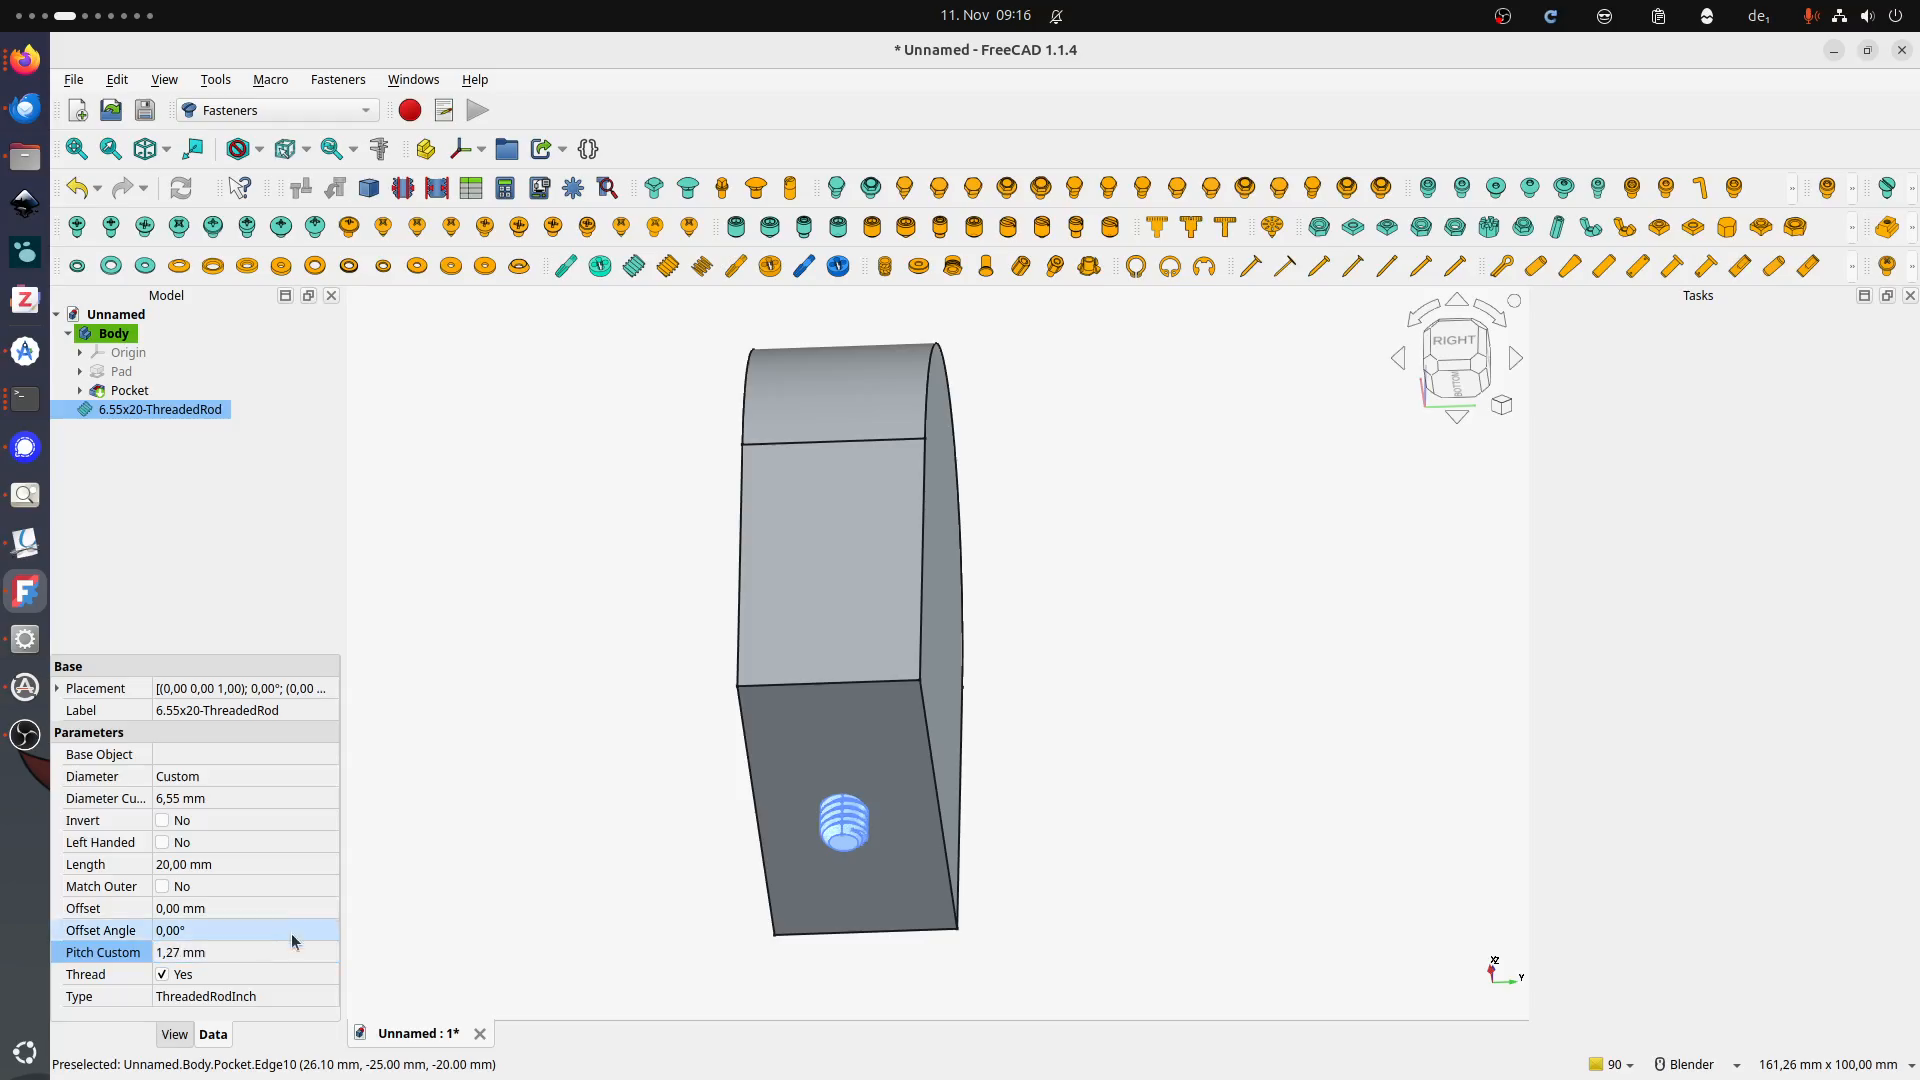
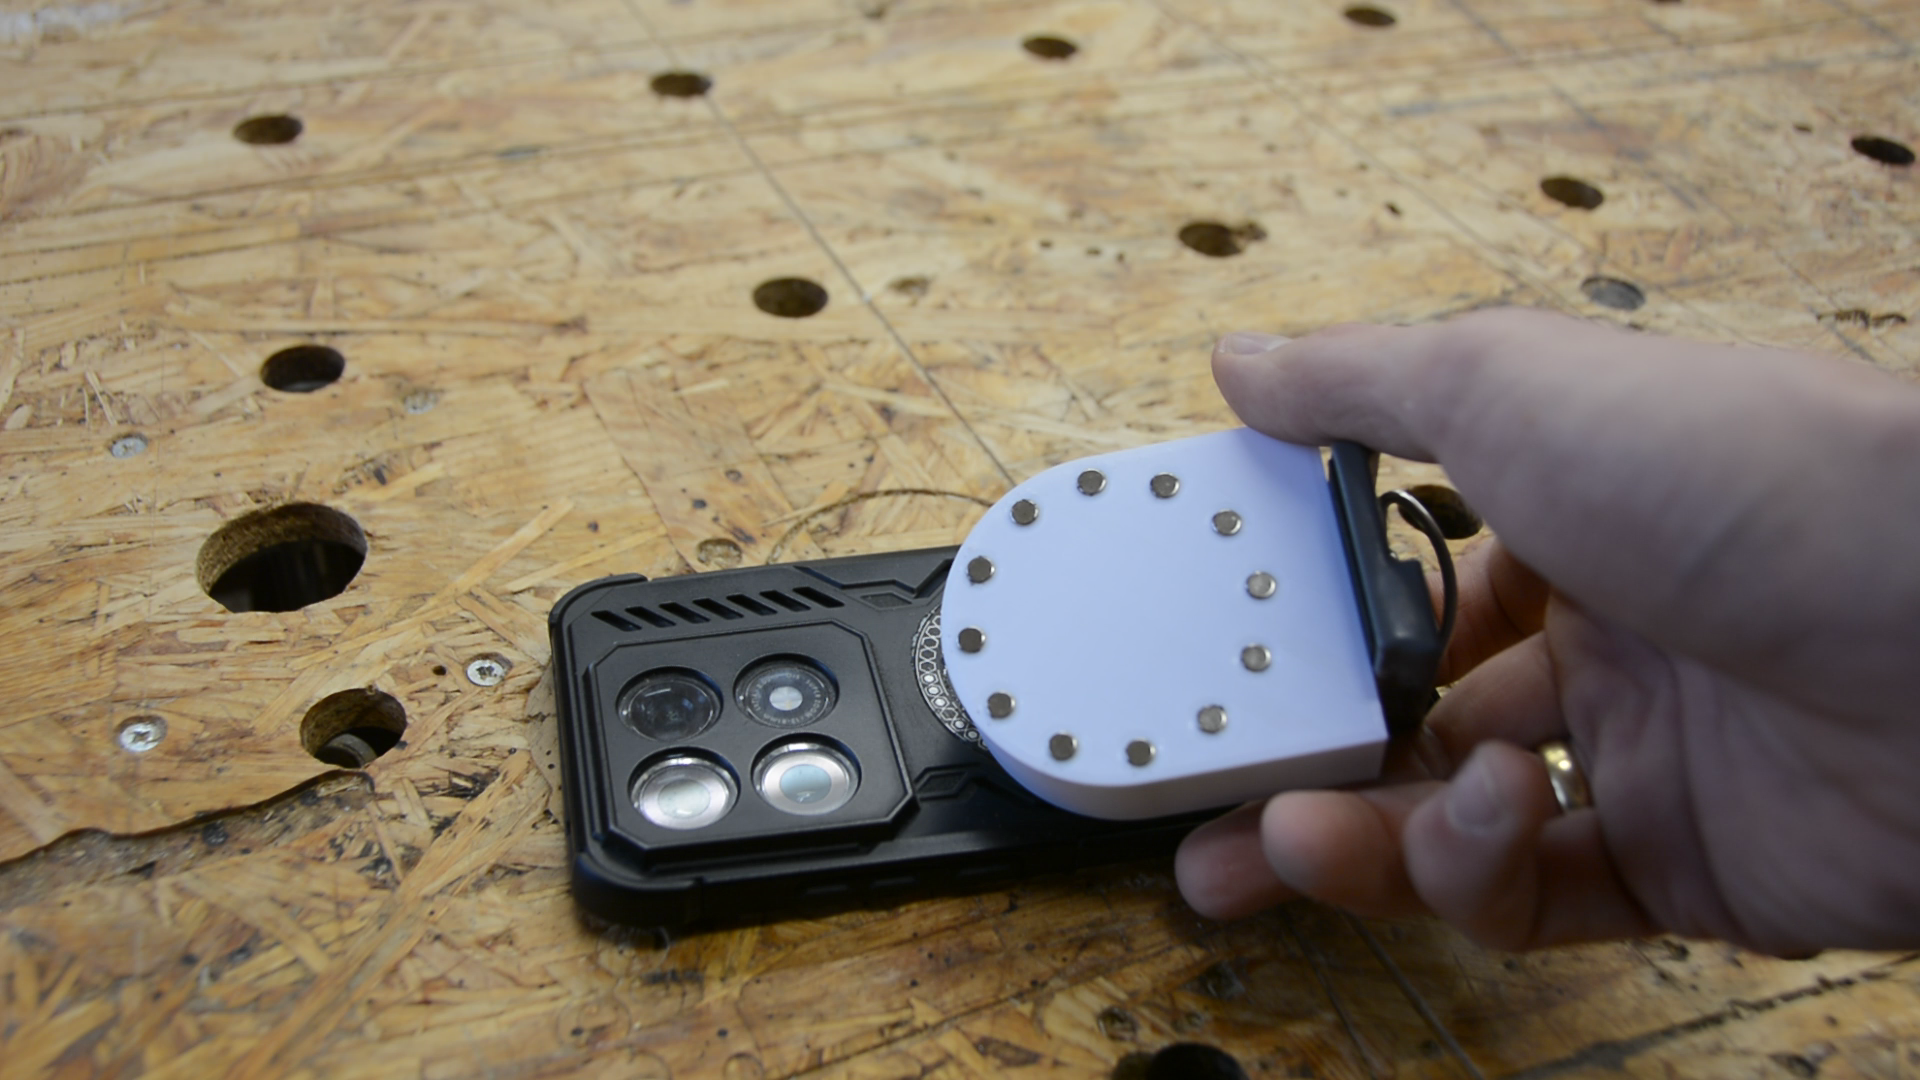
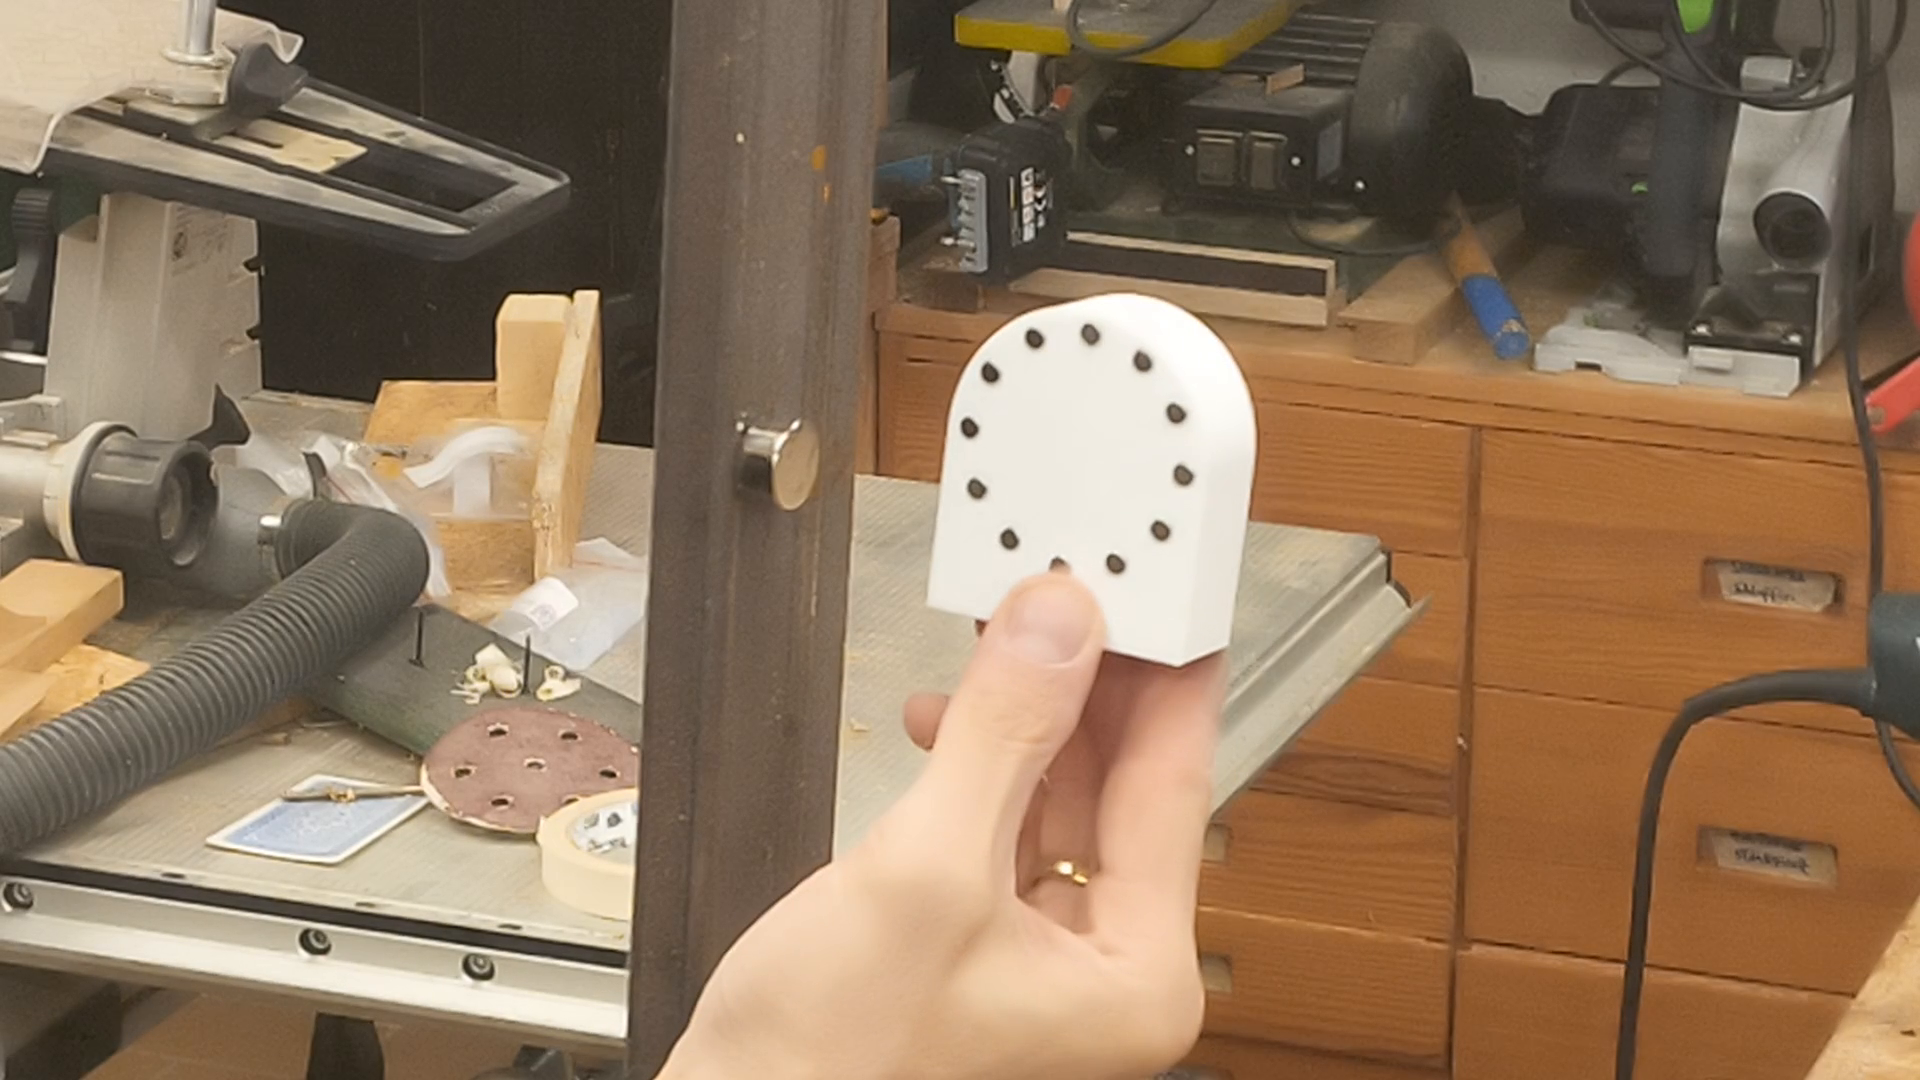
The first mount I created is a simple magsafe compatible holder to be mounted on the tripod. In FreeCAD I create a basic body and then add 6 holes for small magnets. The thread is created using the fastener workbench. The clearance is 0.2 mm larger than a normal quarter inch thread.
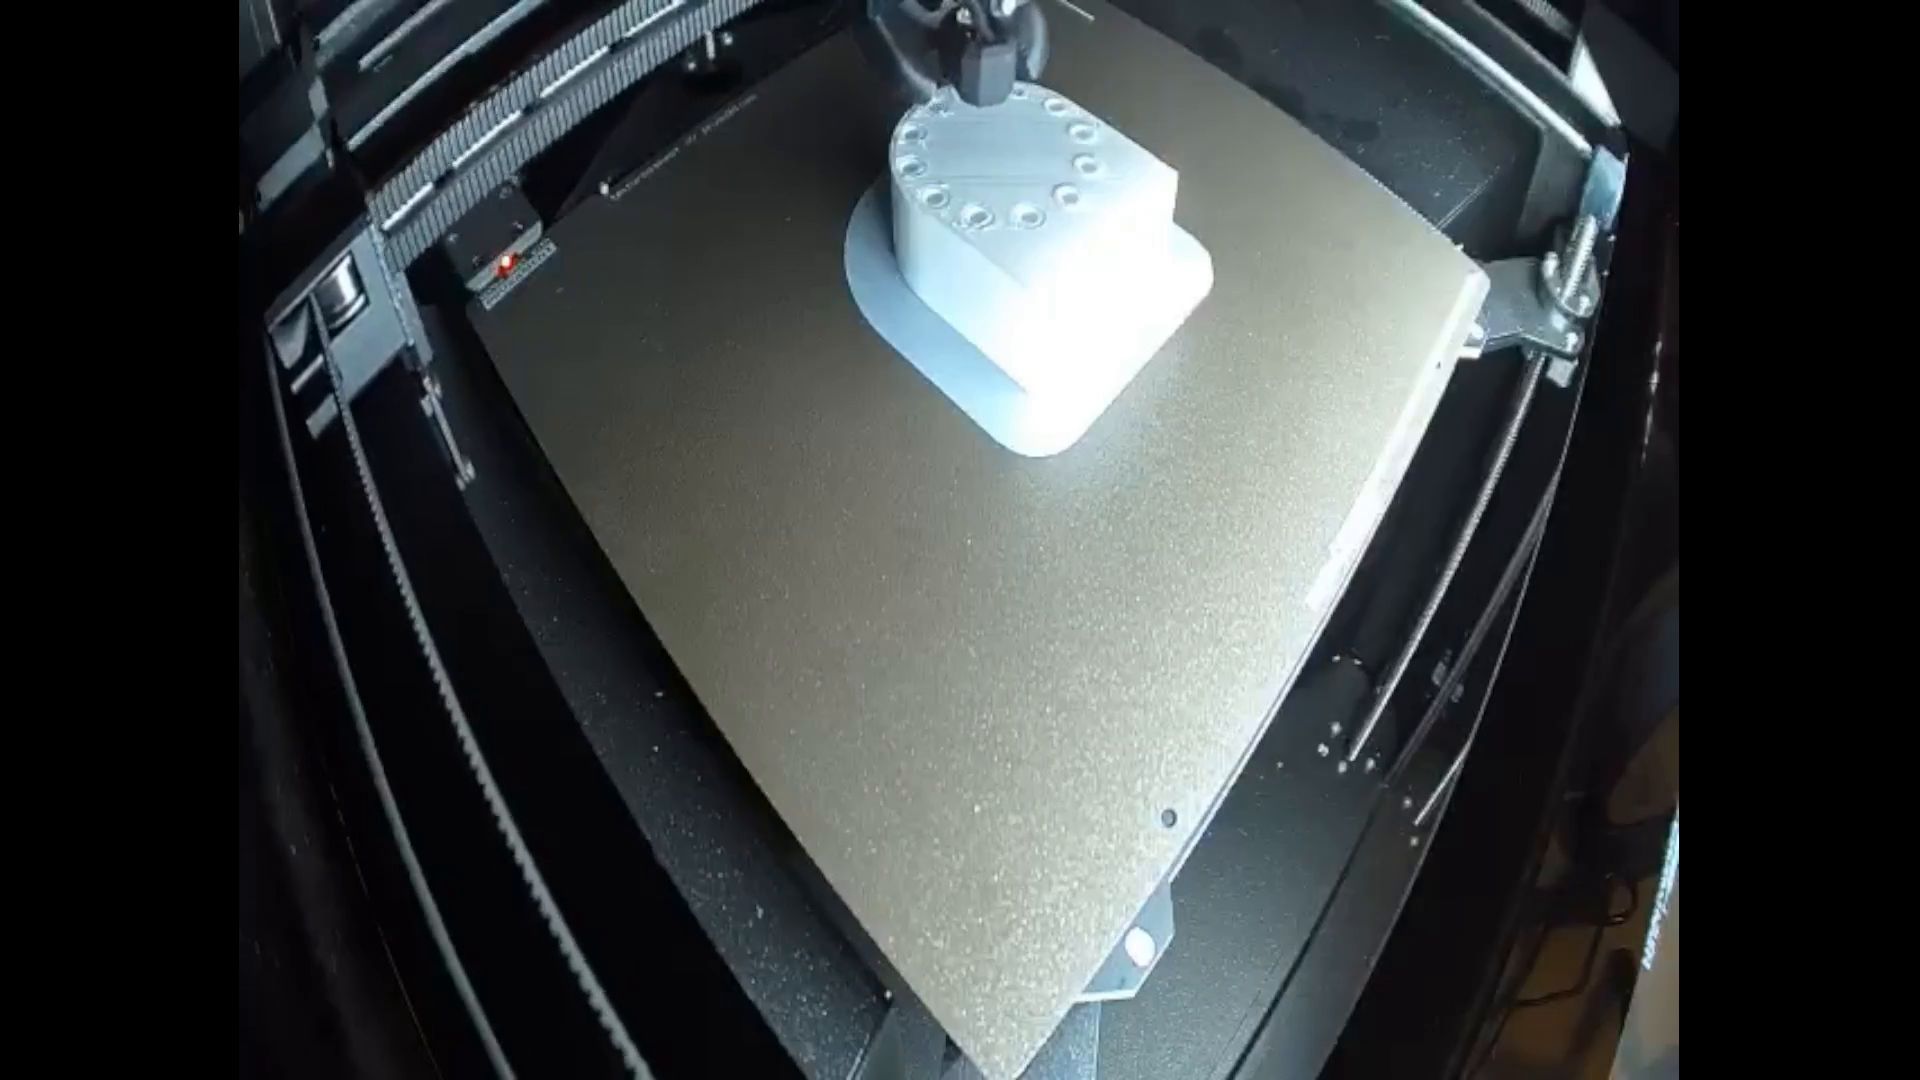
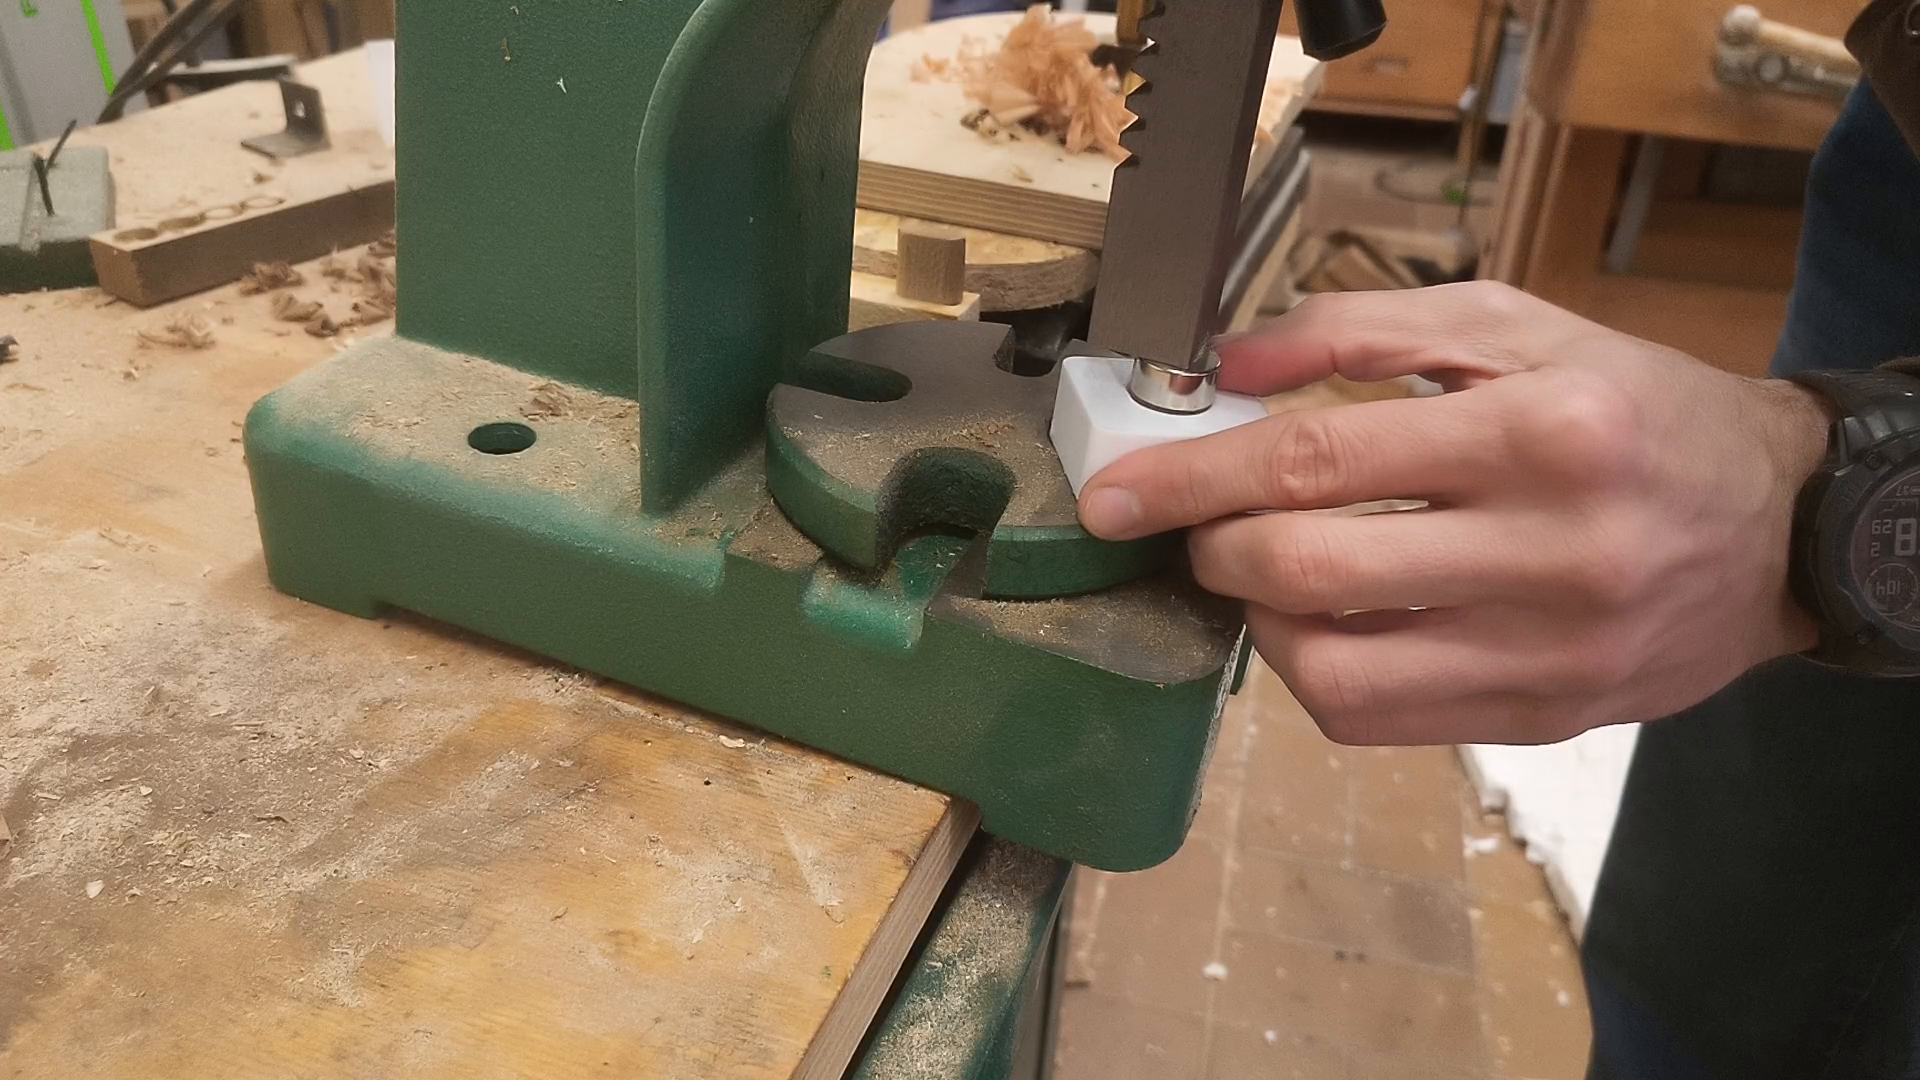
After the print has finished I press the magnets in place using an arbor press.
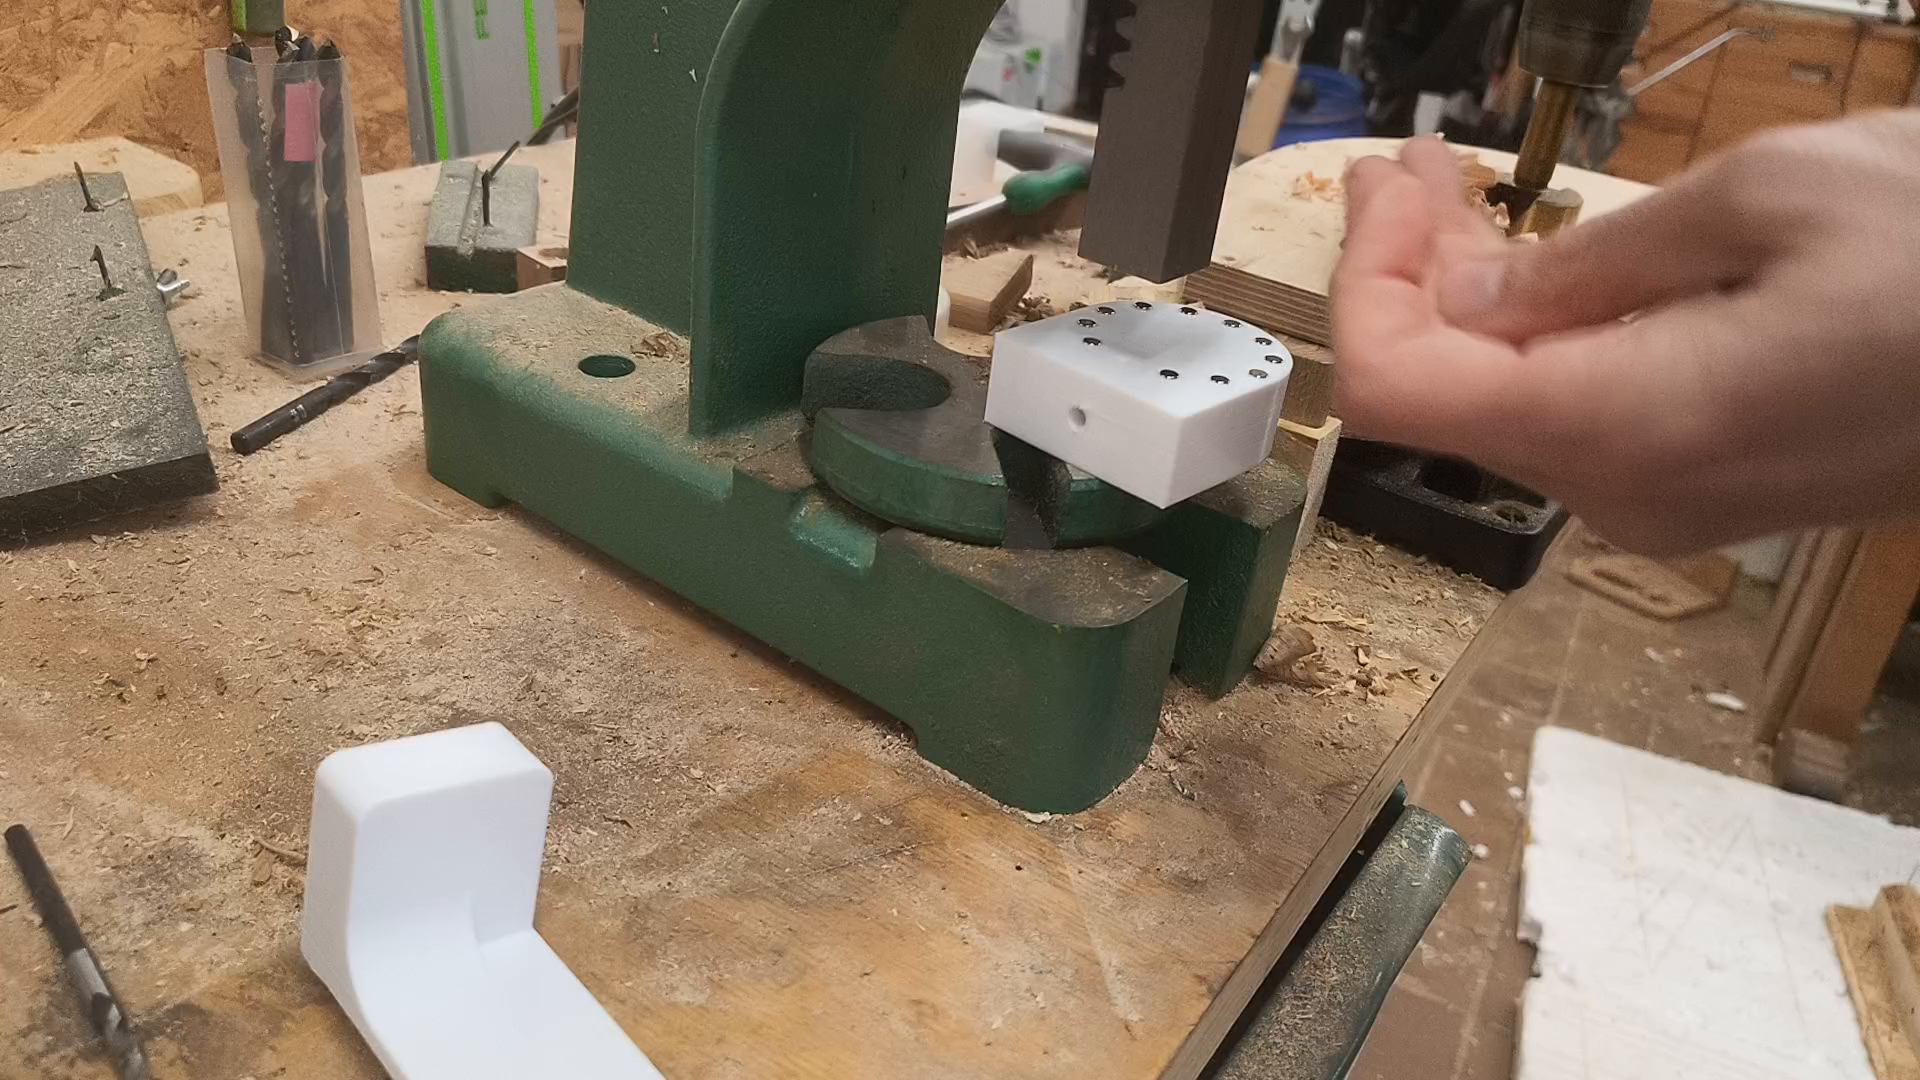
This works quite well if the magnet holes have the same diameter as the magnets themselves. I also create another ring for mounting it on this flexible arm for closeups.
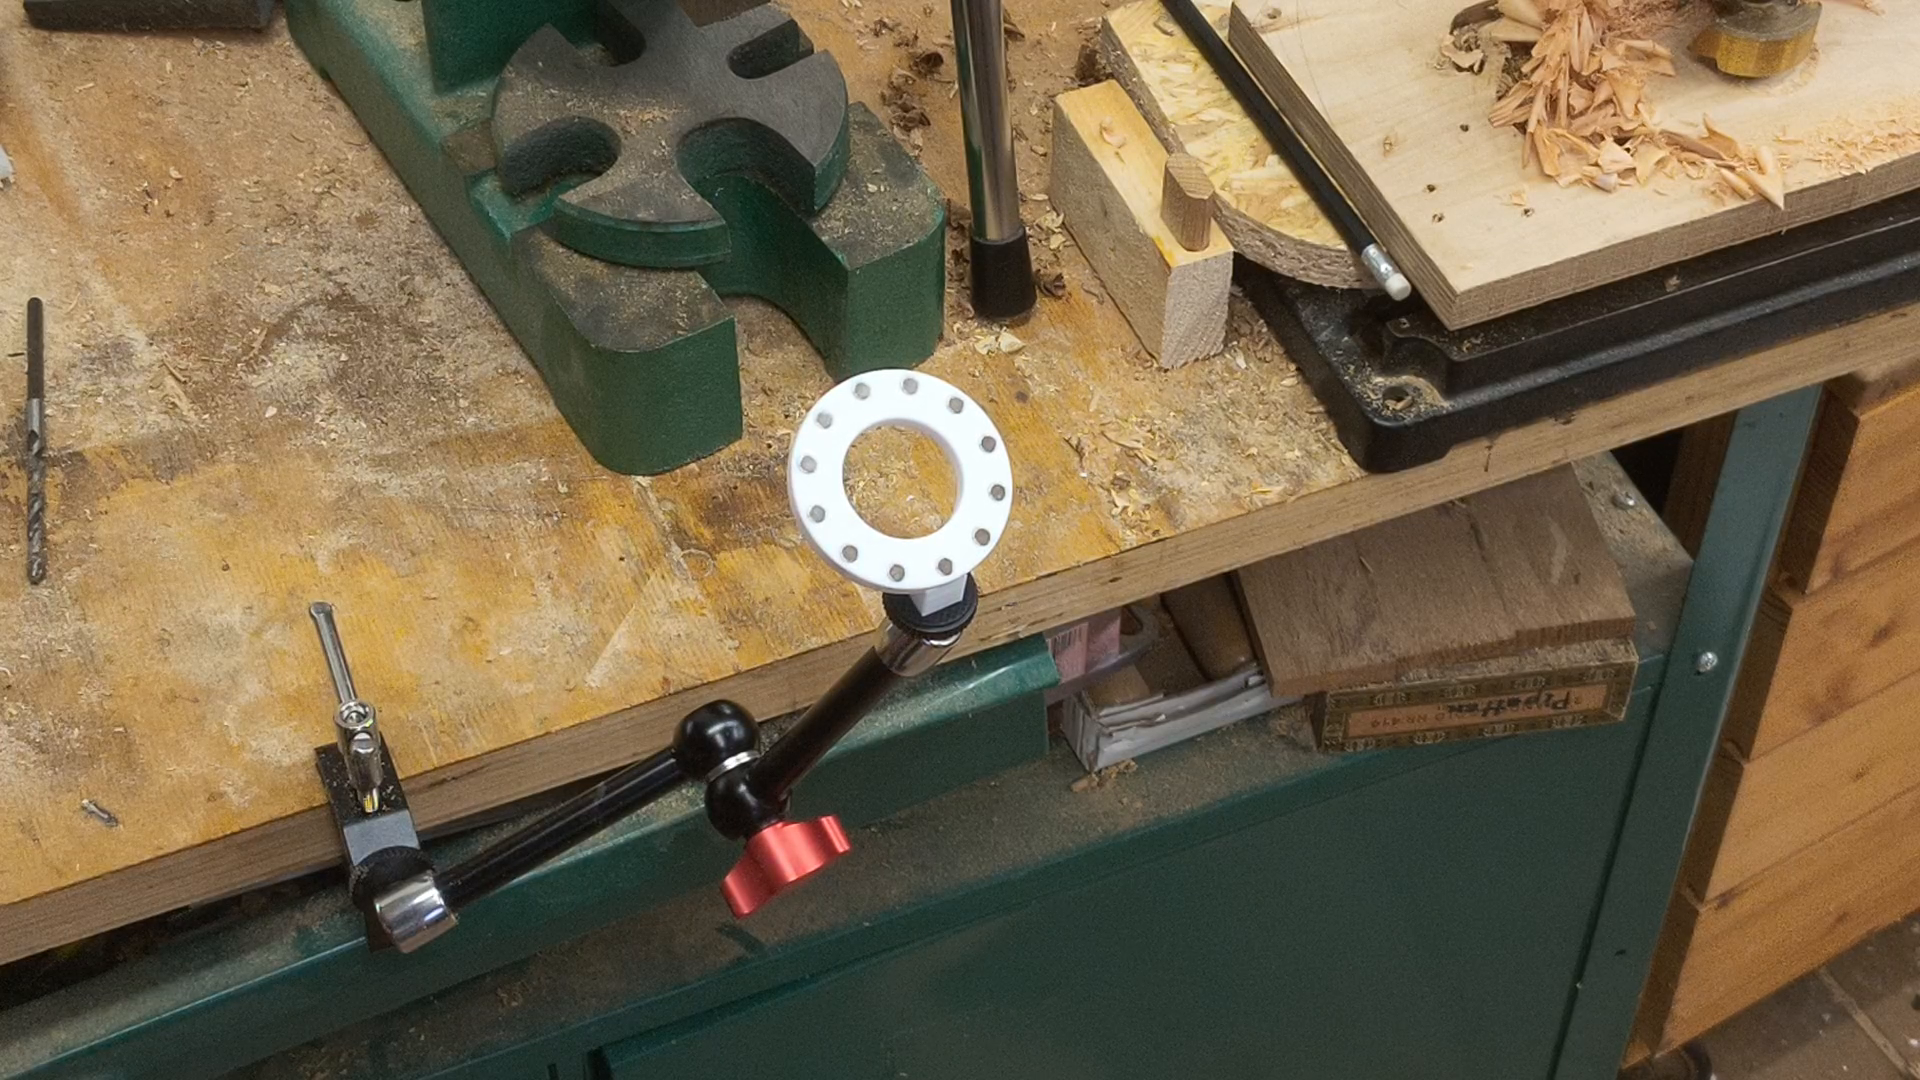
While this works fine when the camera is sideways the 6 magnets are not strong enough to support the phone upside-down. For these scenarios I jump back into FreeCAD, find the center axis of the 6 rings and just double them. this should now hold in all positions.
So far we have just replaced one quick mount by a slightly more convenient one. What I actually would like to have is not one but 5 or 10 tripods so that I can easily move the camera from one tripod to the next. While it would be expensive to have 10 tripods, having 10 of these steel bars is quite cheap.
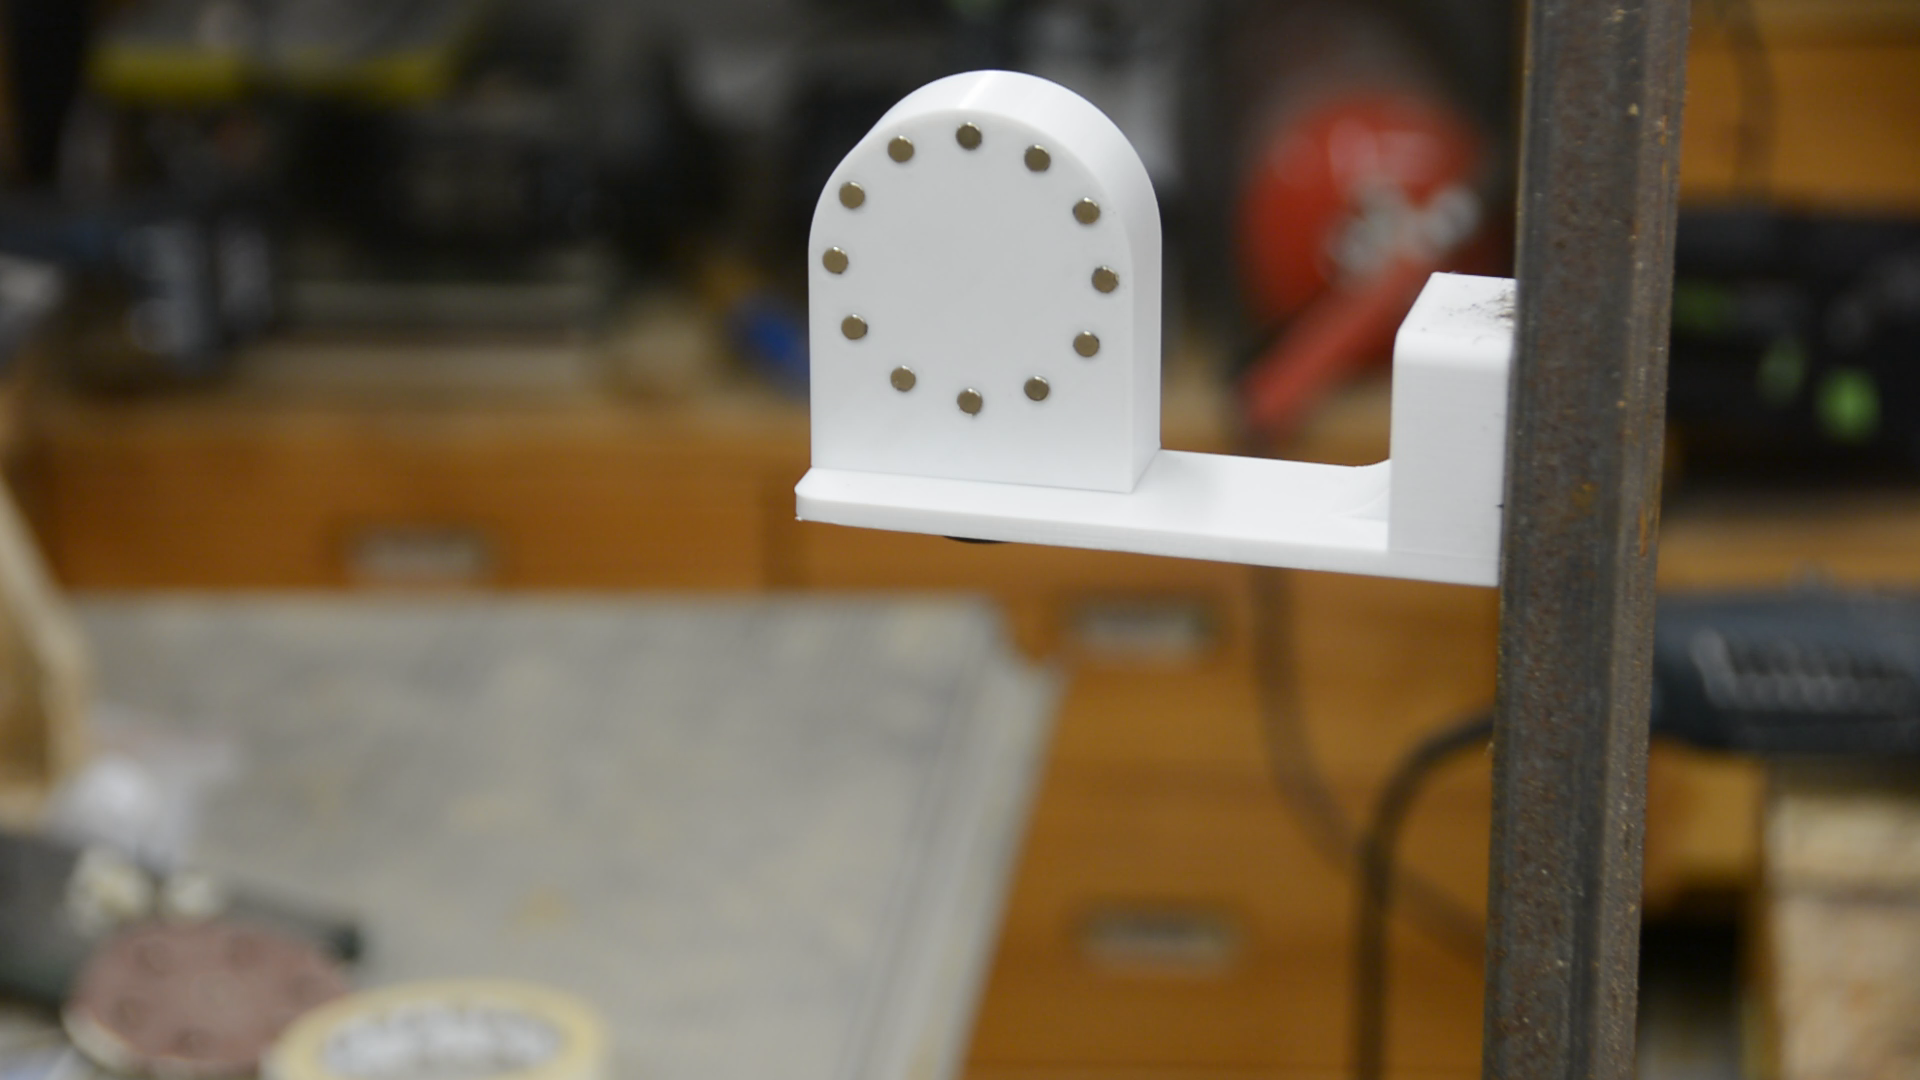
I am going to mount the phone to the steel bar using these 20mm diameter neodyme magnets. They are strong enough to hold the weight of the phone easily. So let’s jump into FreeCAD and design the piece that is missing between my magsafe holder and the the steel bar. The holder gets a strong magnet pressed into the side. With a 1/4 inch screw the magsafe holder is screwed onto the place. This device mounts safely to the steel and I can either use these steel bars as improvised tripods or just mount the camera directly to any of the various steel surfaces I have in the workshop.
It is easy to move the camera up and down and swivel it in two directions.
Mounting the light
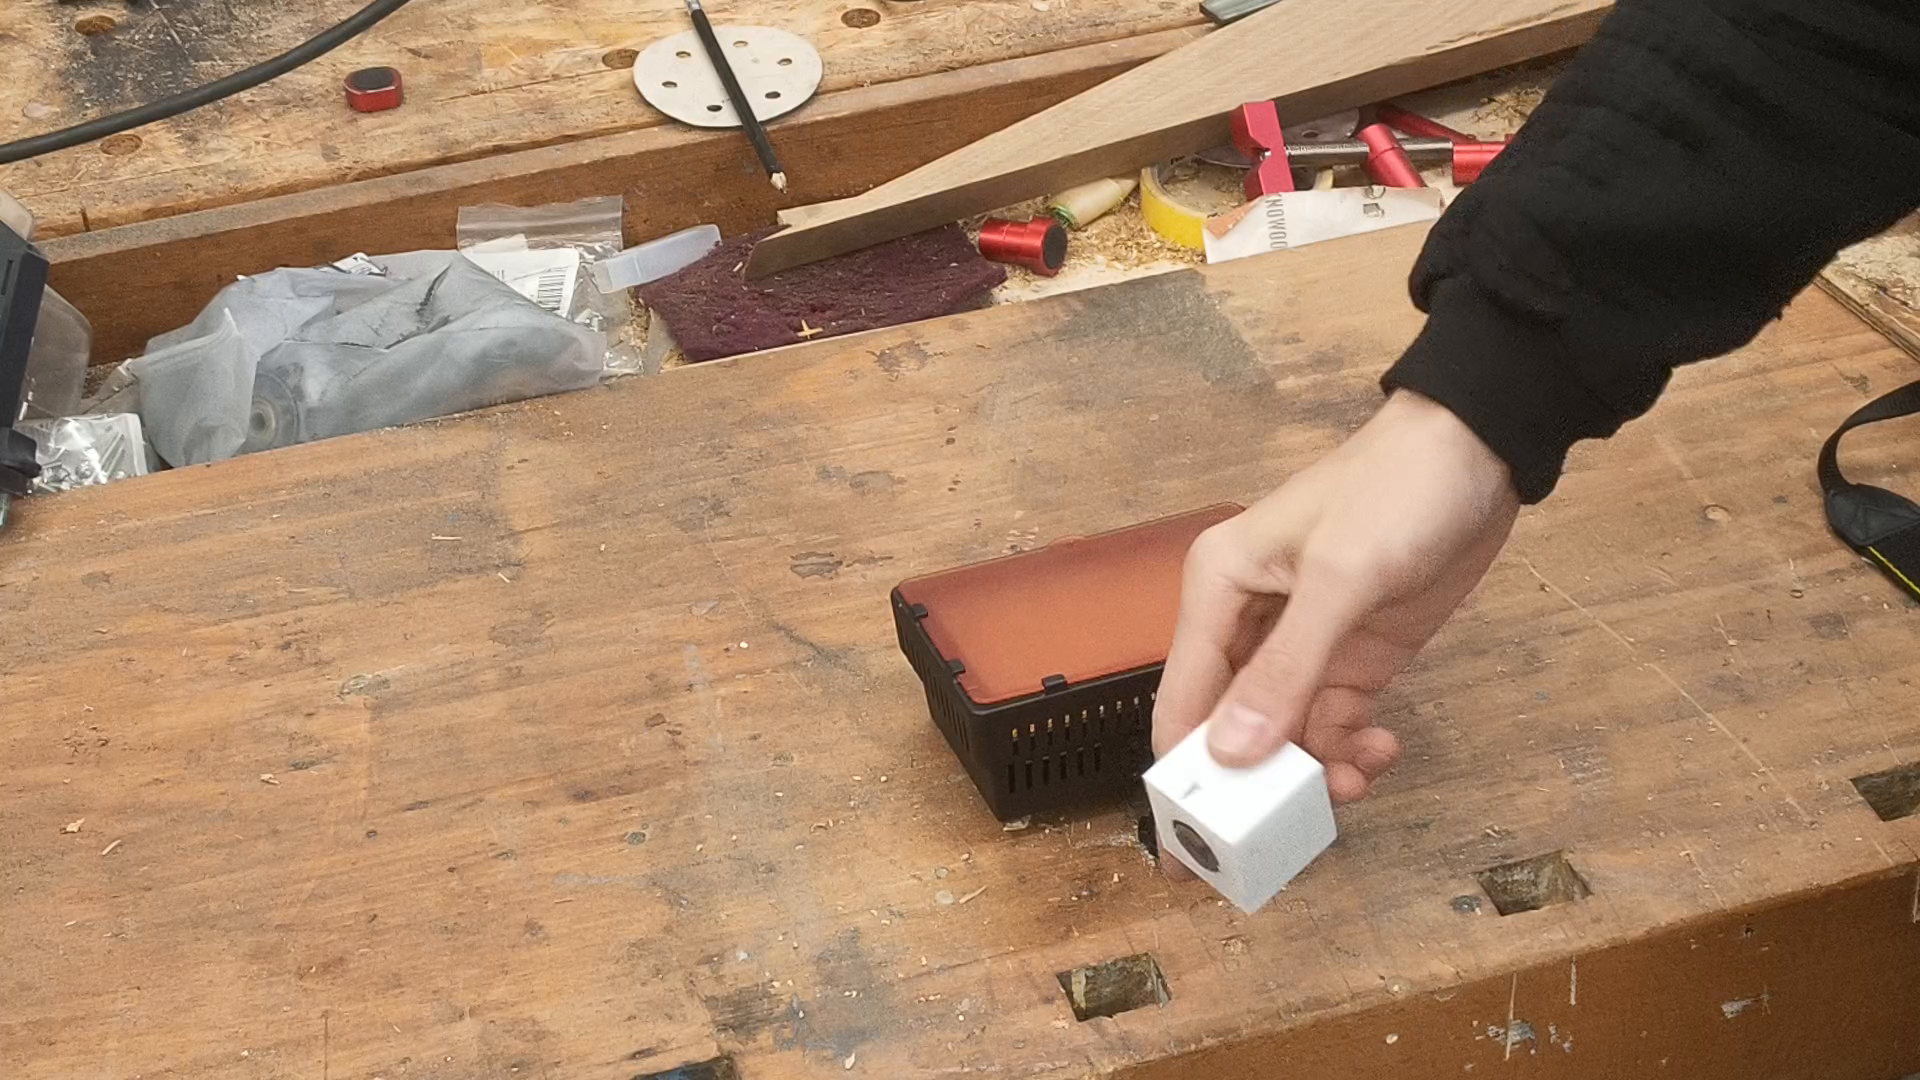
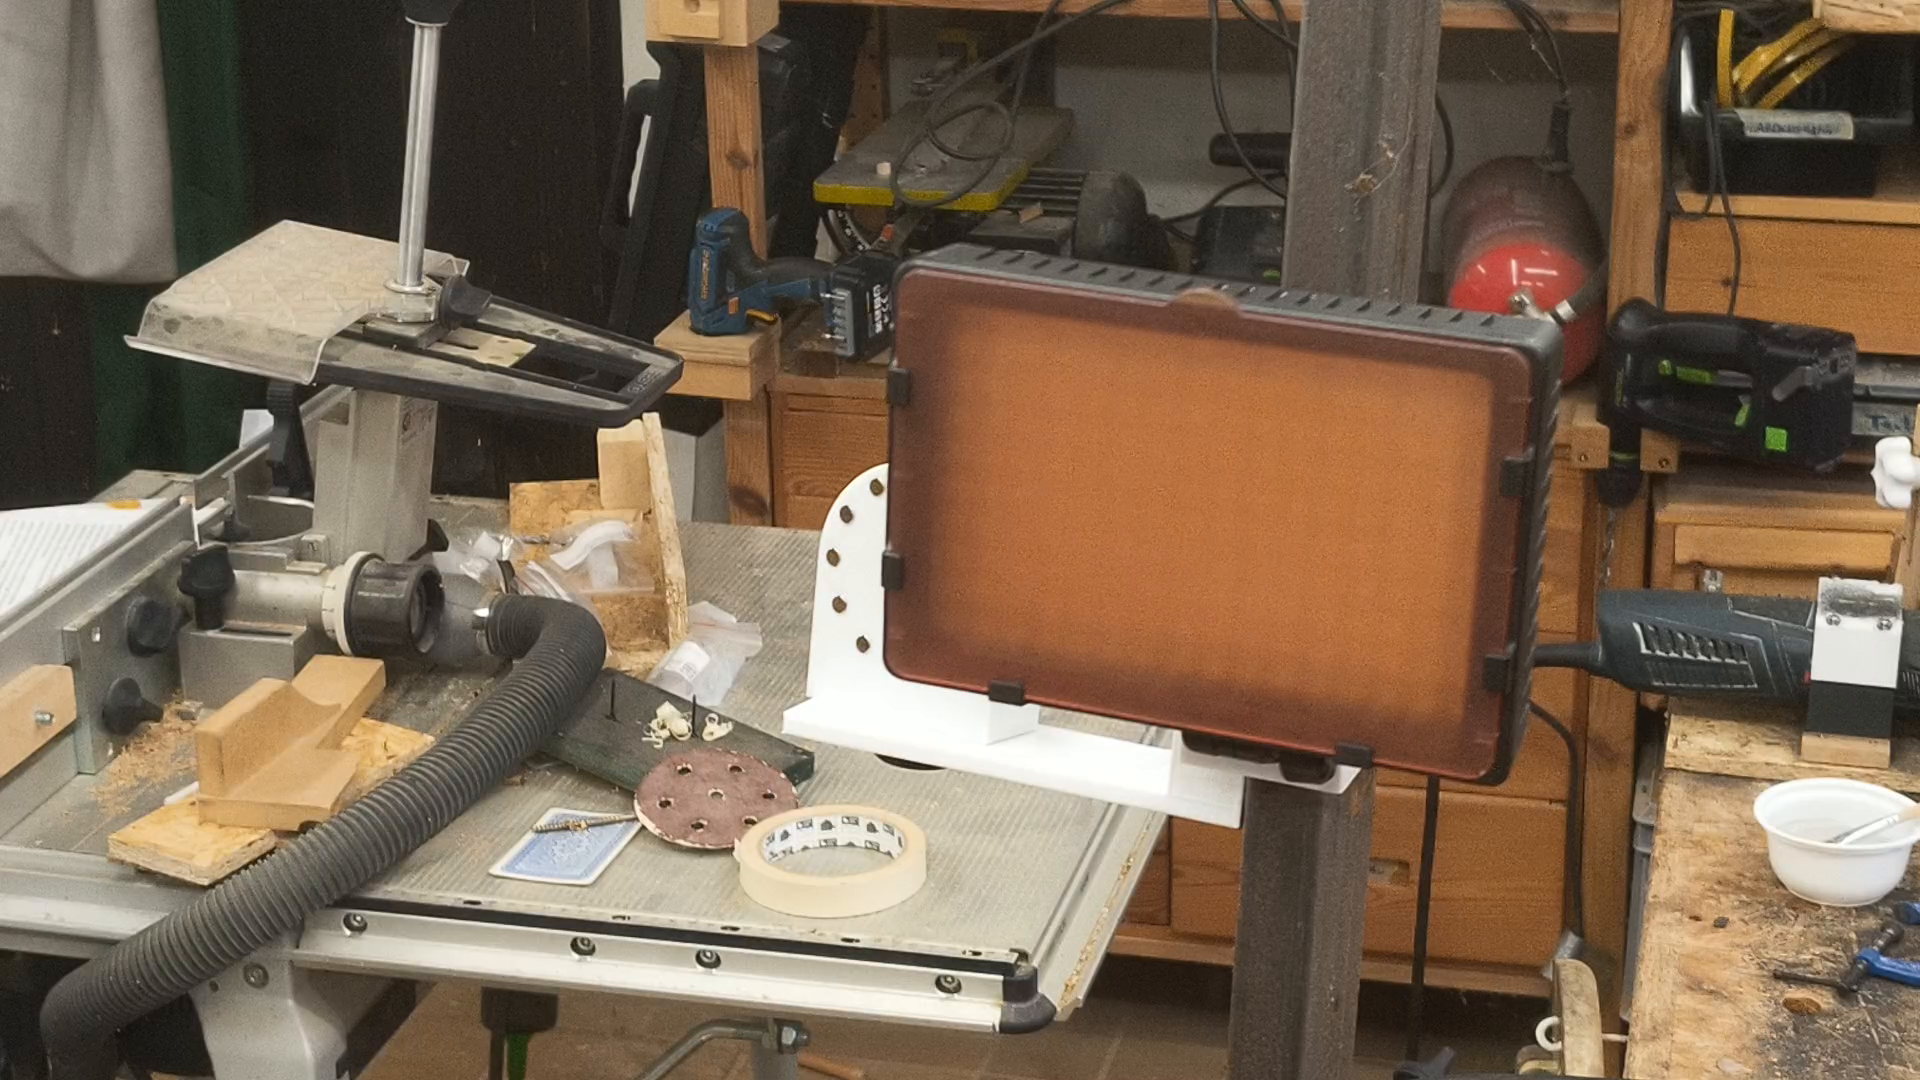
With the camera solved we have to find a solution for the light. This is the light I am using and normally it would mount on top of my old camera. The solution is quite simple: a 3d print with 2 holes for magnets and I can stick the light next to the camera.
The only question that remains is if this setup is going to motivate me to get back into video making and produce them more frequently.