
In this article we 3d print an air assist solution for the K40 laser cutter.
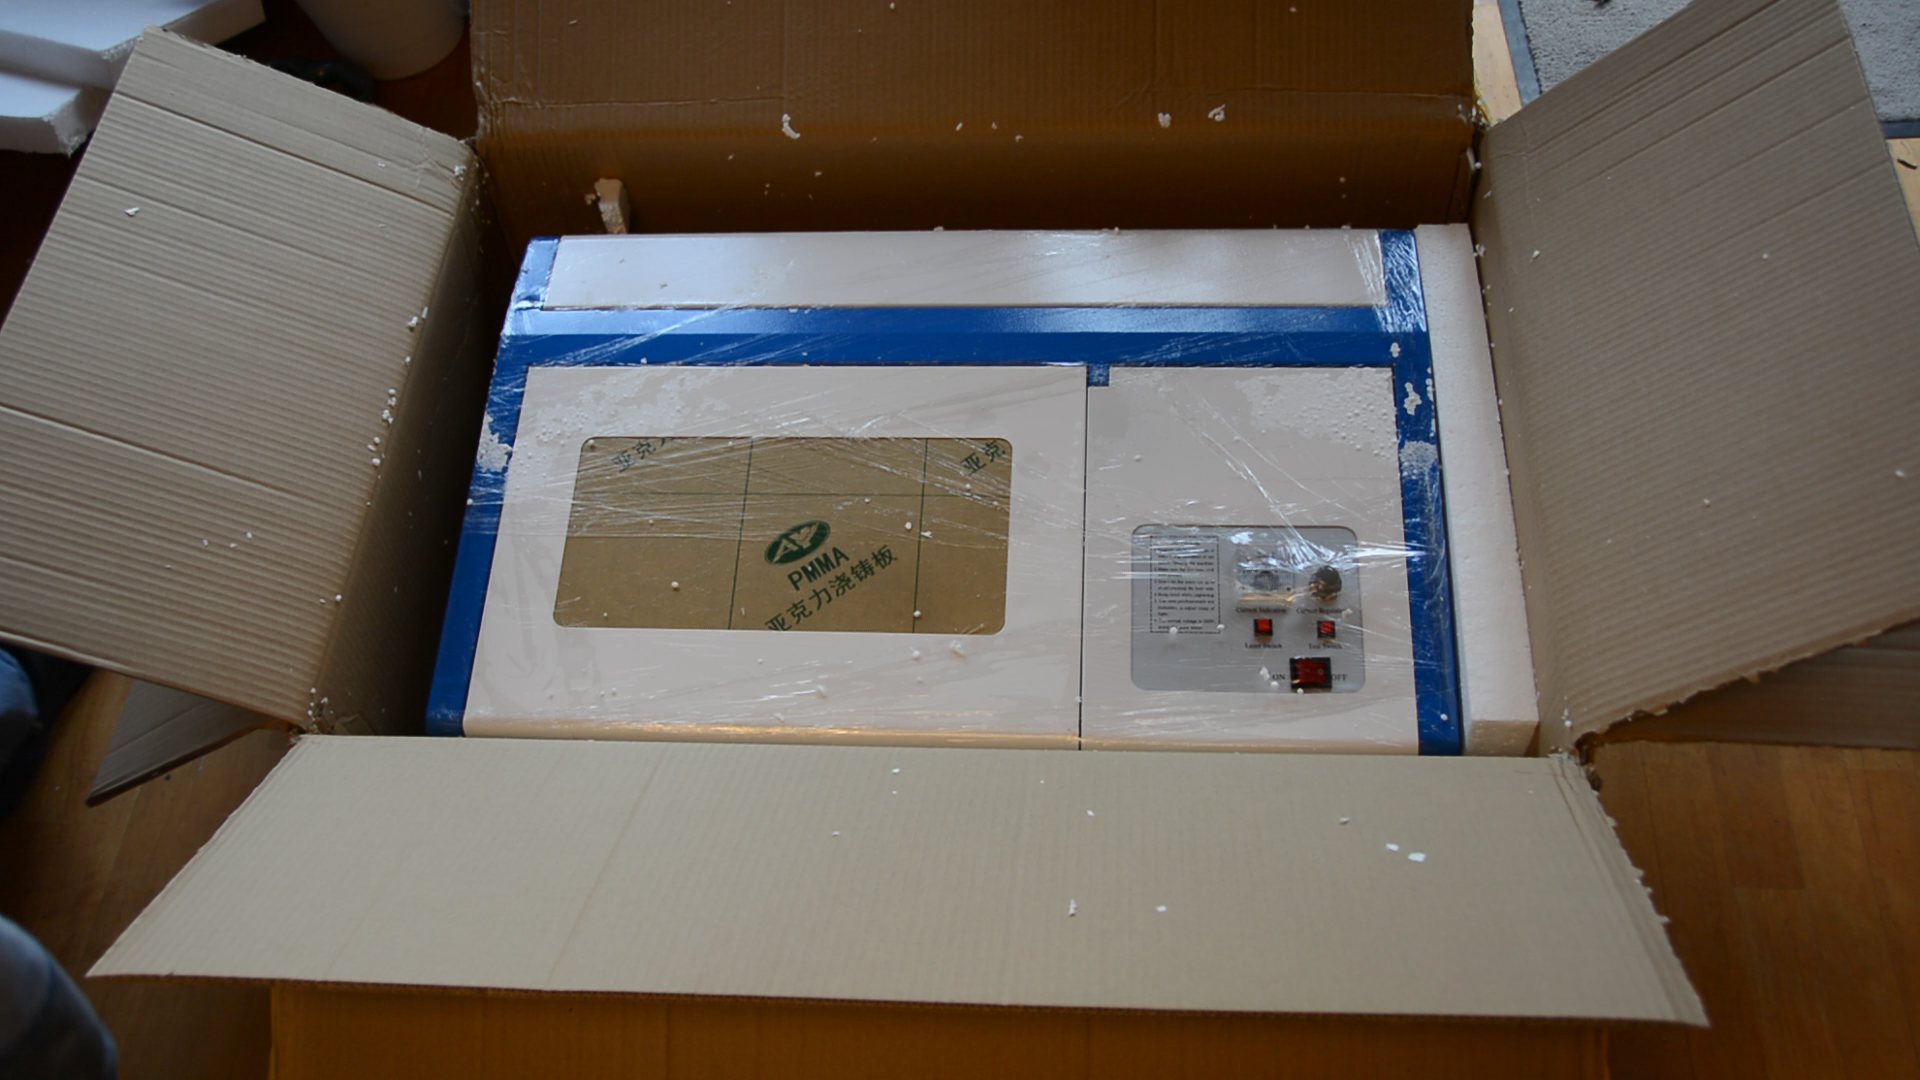
A few weeks ago we bought this Chinese K40 laser cutter on ebay and explained here how to set it up.
If it cuts wood or cardboard the material could catch fire. So let’s build a device to improve safety: an air assist.
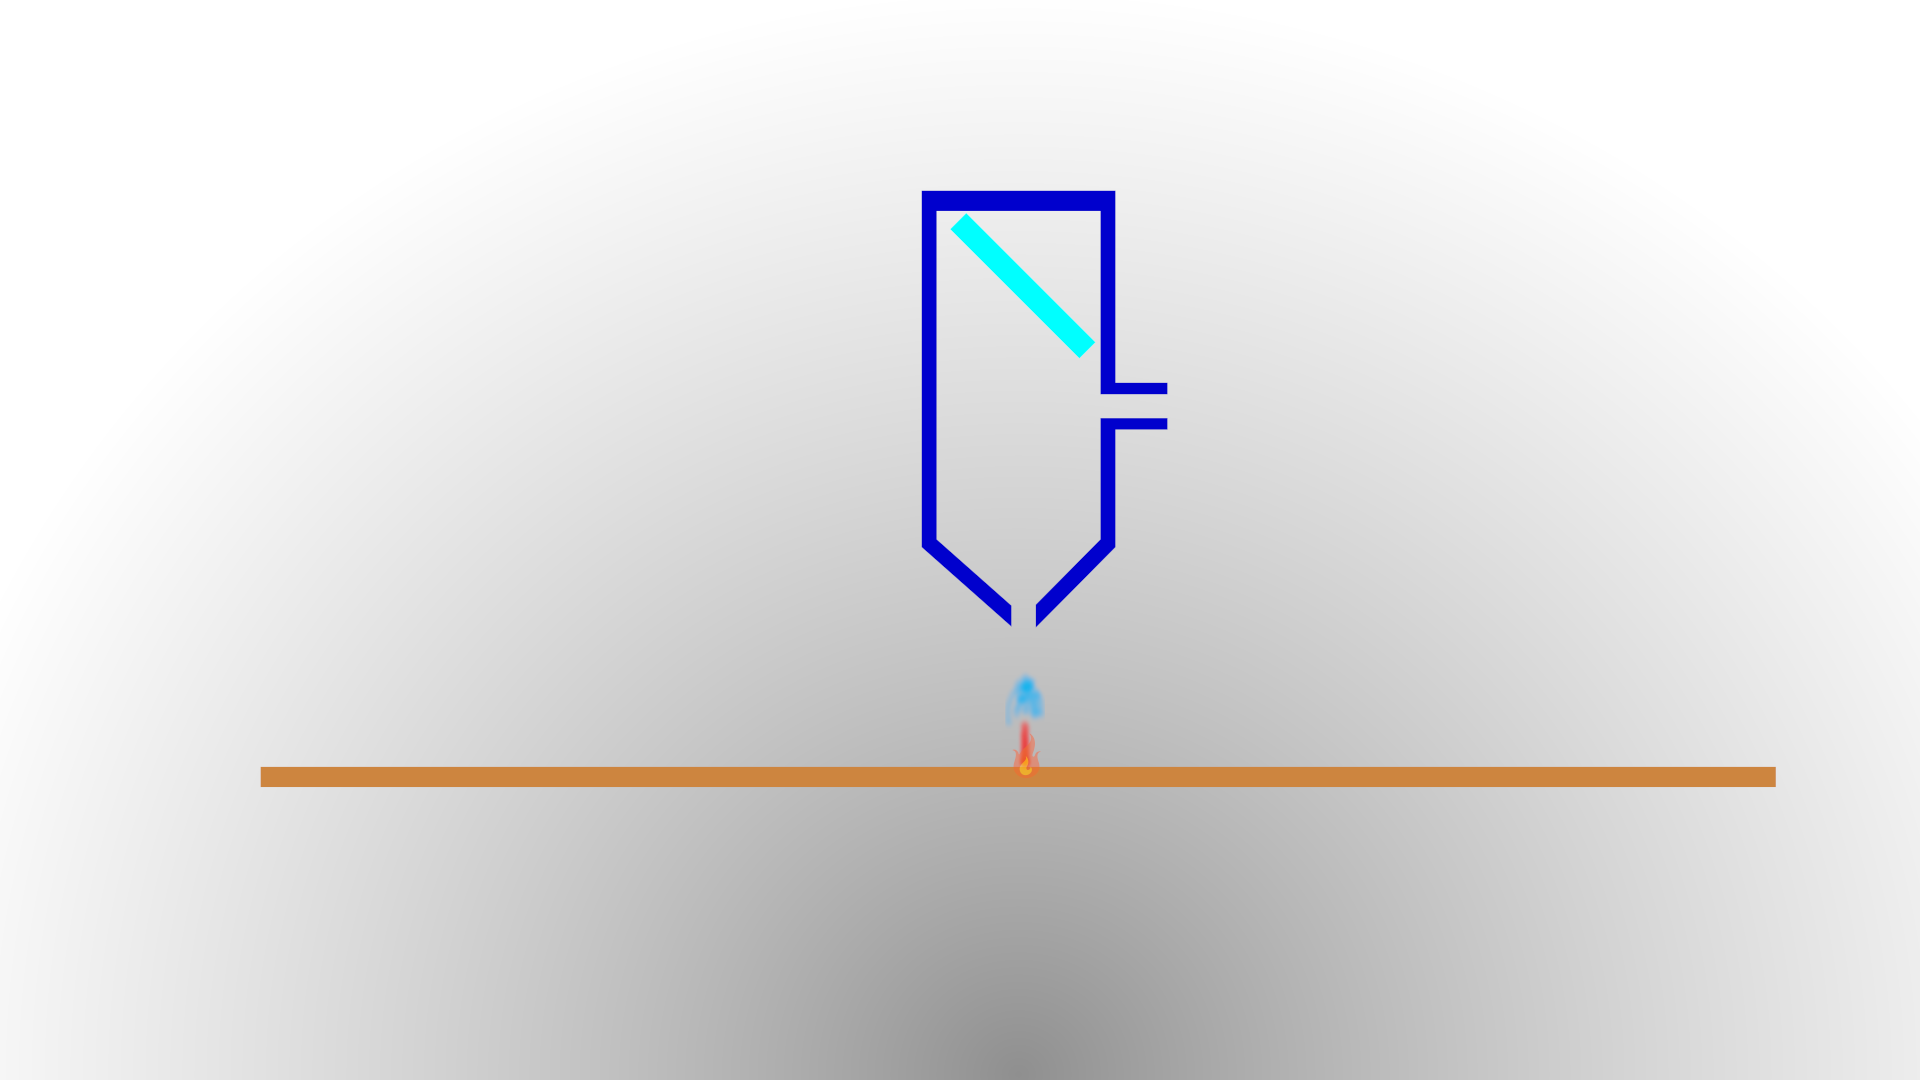
This simple device is constantly blowing out the flame. Most people use compressed air with the air assist but we wanted to see if we can get away using one of these fans as they are cheaper and not so noisy.

Modeling the air assist
We created a model in Fusion 360 that was too large in quite a few areas. Also the cone at the bottom snapped off and the model was somehow screwed up so that it wasn’t possible to fix the parameters easily.
With new measurements we recreated the model in OpenScad.

The main body is just a combination of cubes and cylinders. That kind of object can be created easily in OpenScad.
The cone was modeled as a separate object in order to make it easier to print. On the CR 10 printer we have to add supports for the cone to ensure proper bed adhesion. After the cone is printed we also print the main body. I will leave a download link in the description if you want to print the model yourself.
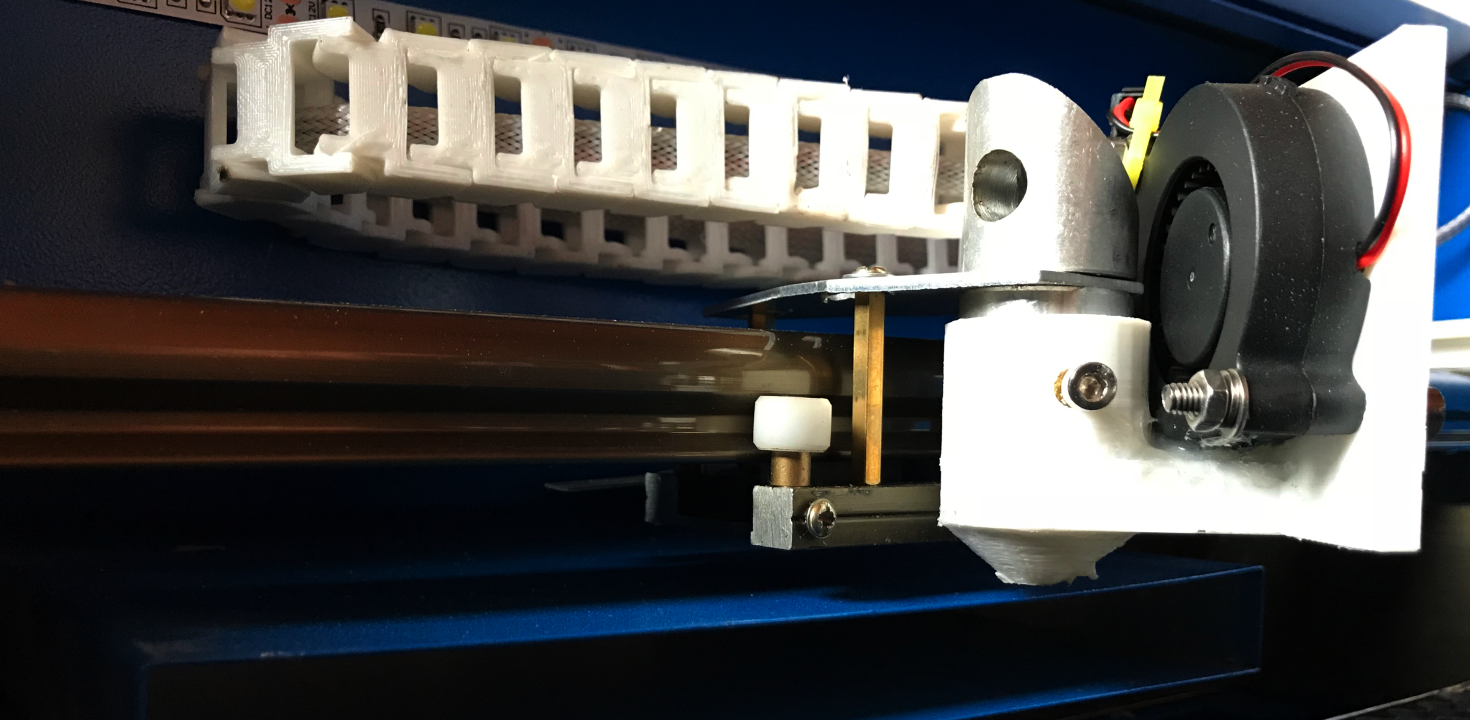
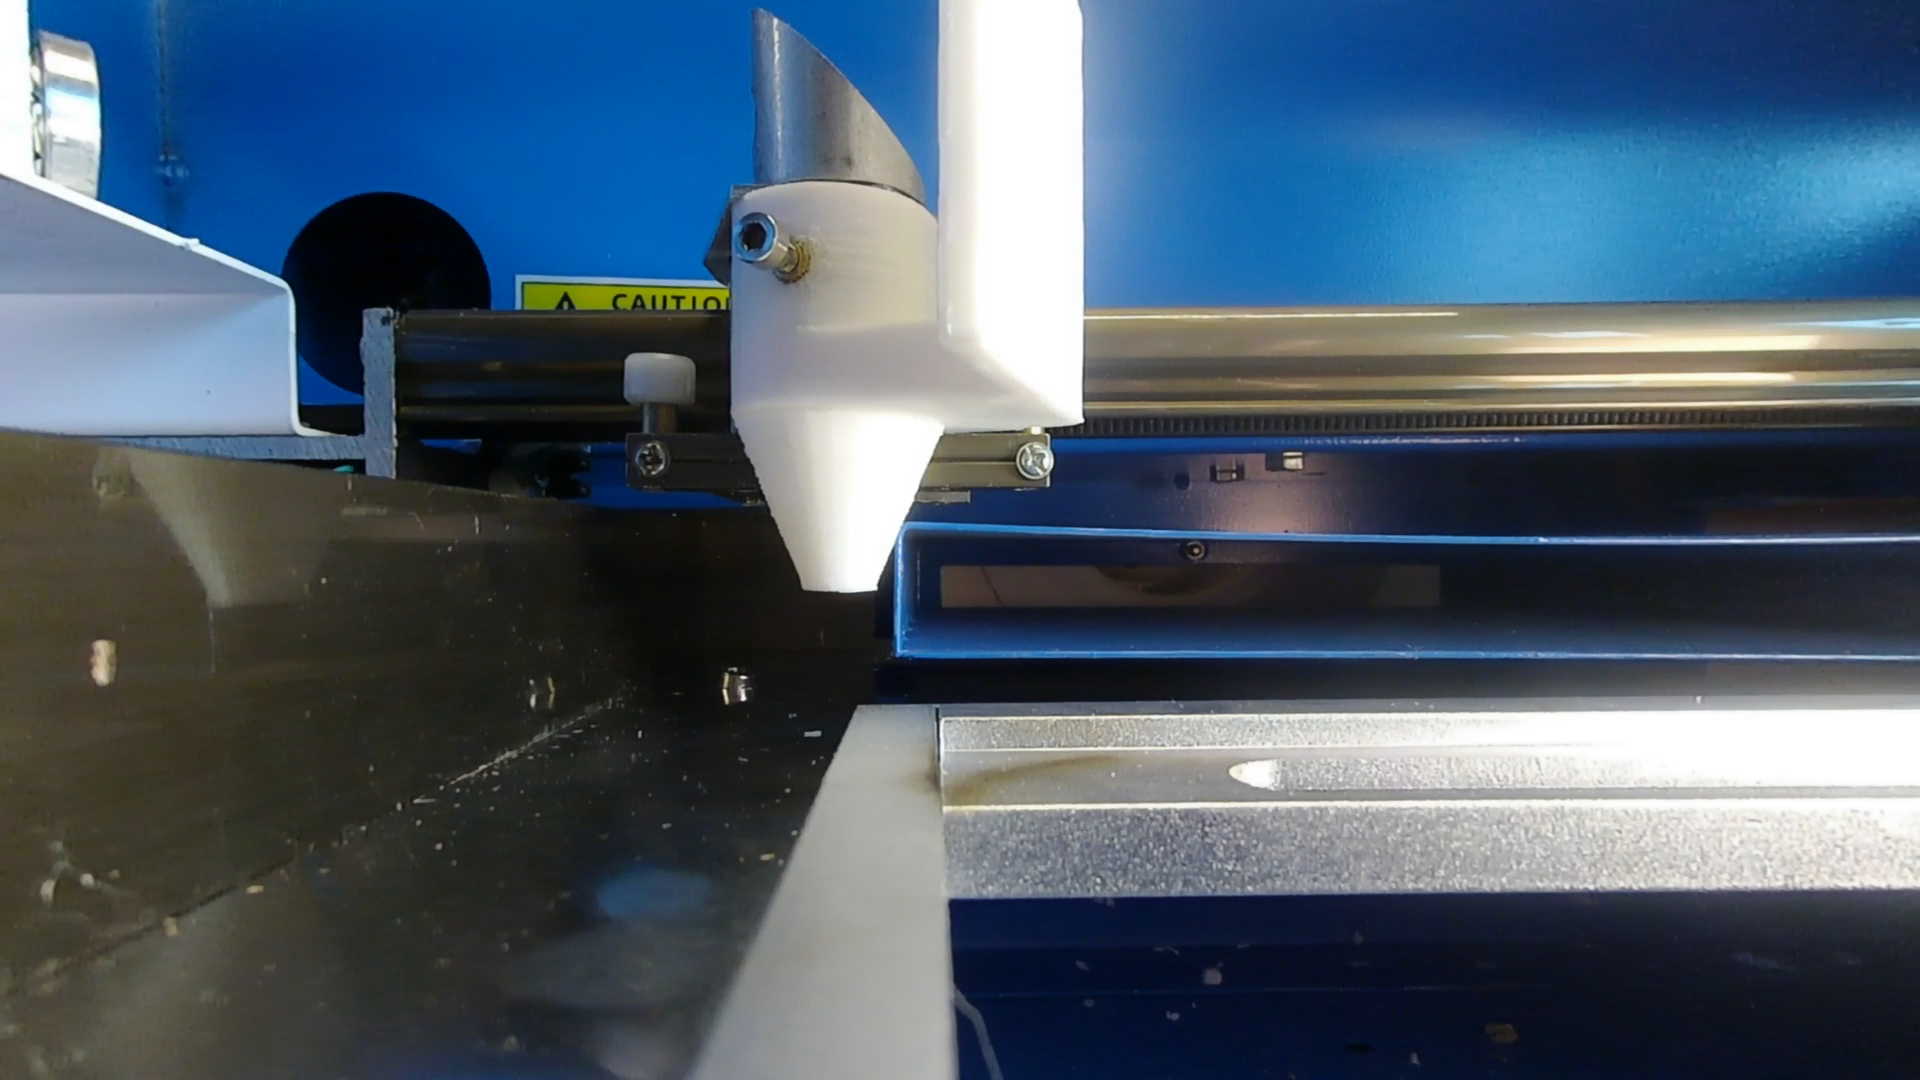
Assembly of the parts
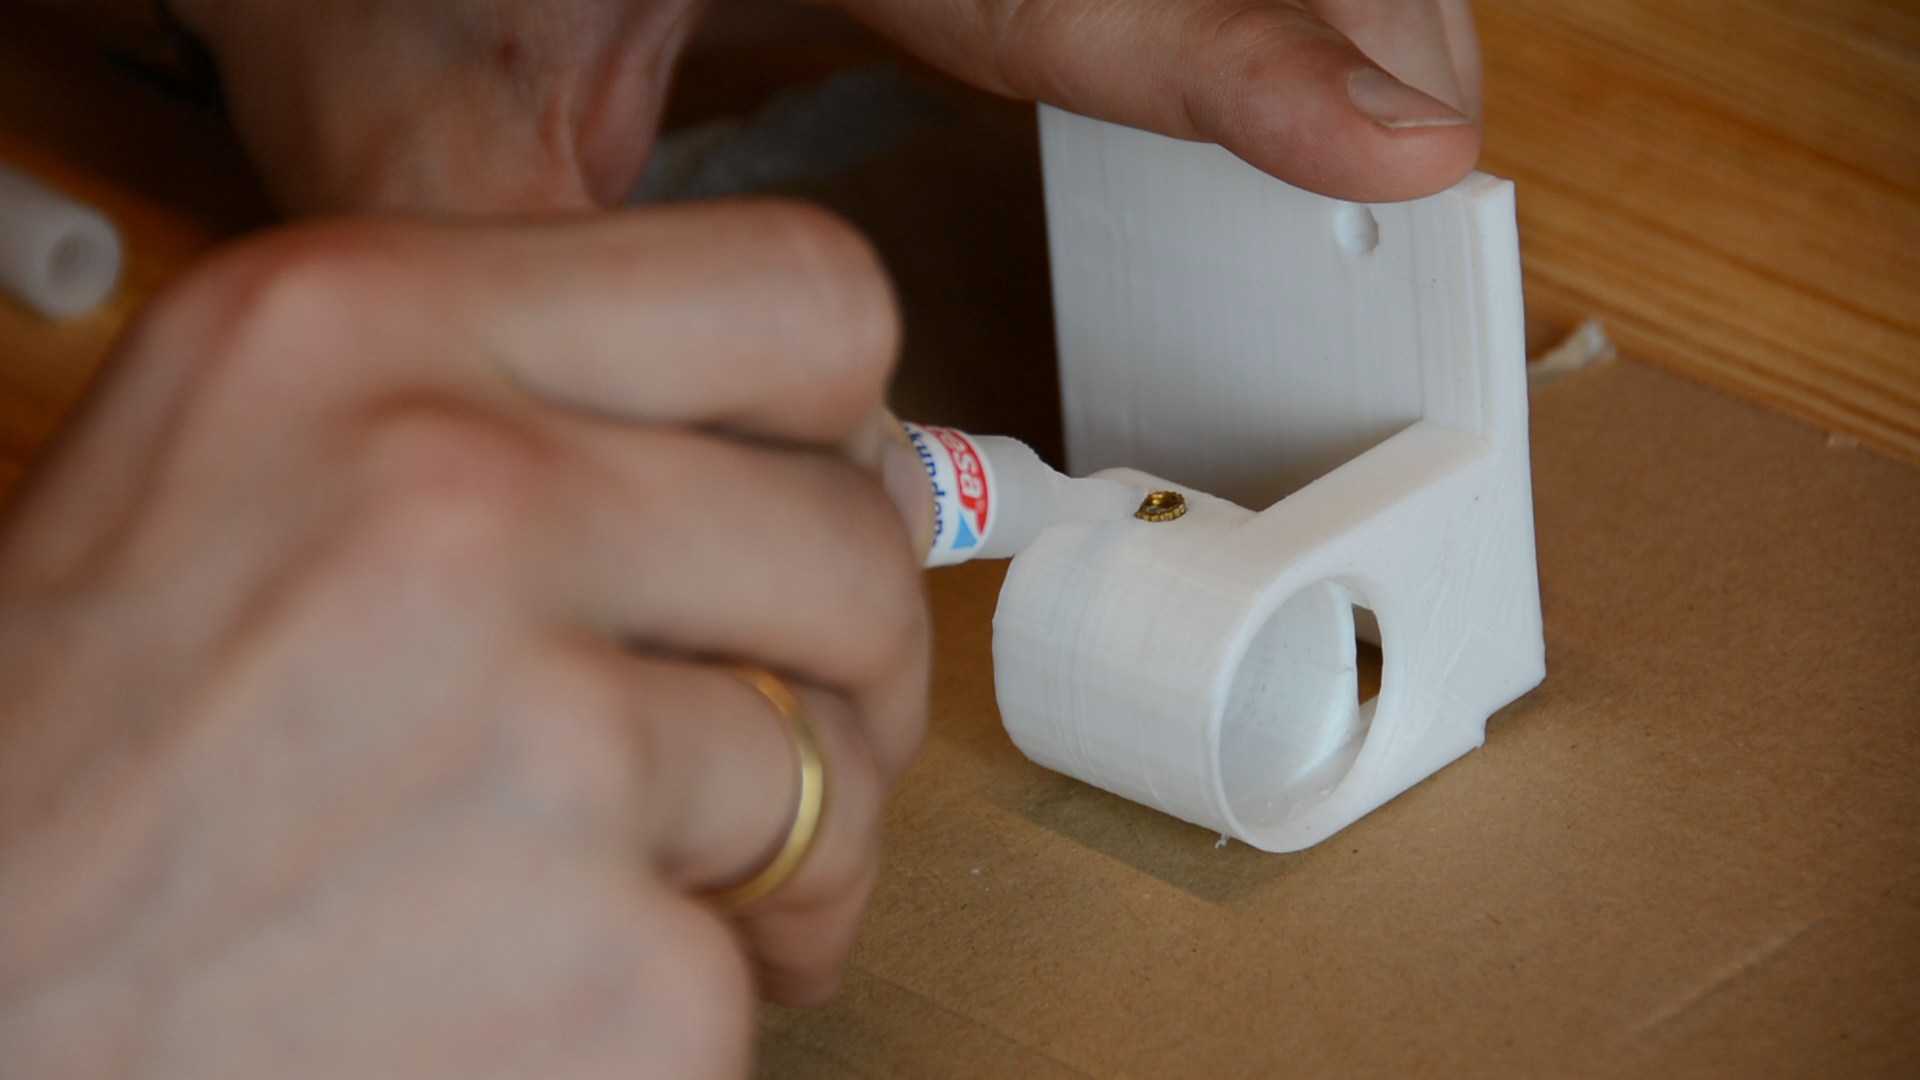
The cone has a lip at the top that makes it easy to center it on the main body and glue
it in place.

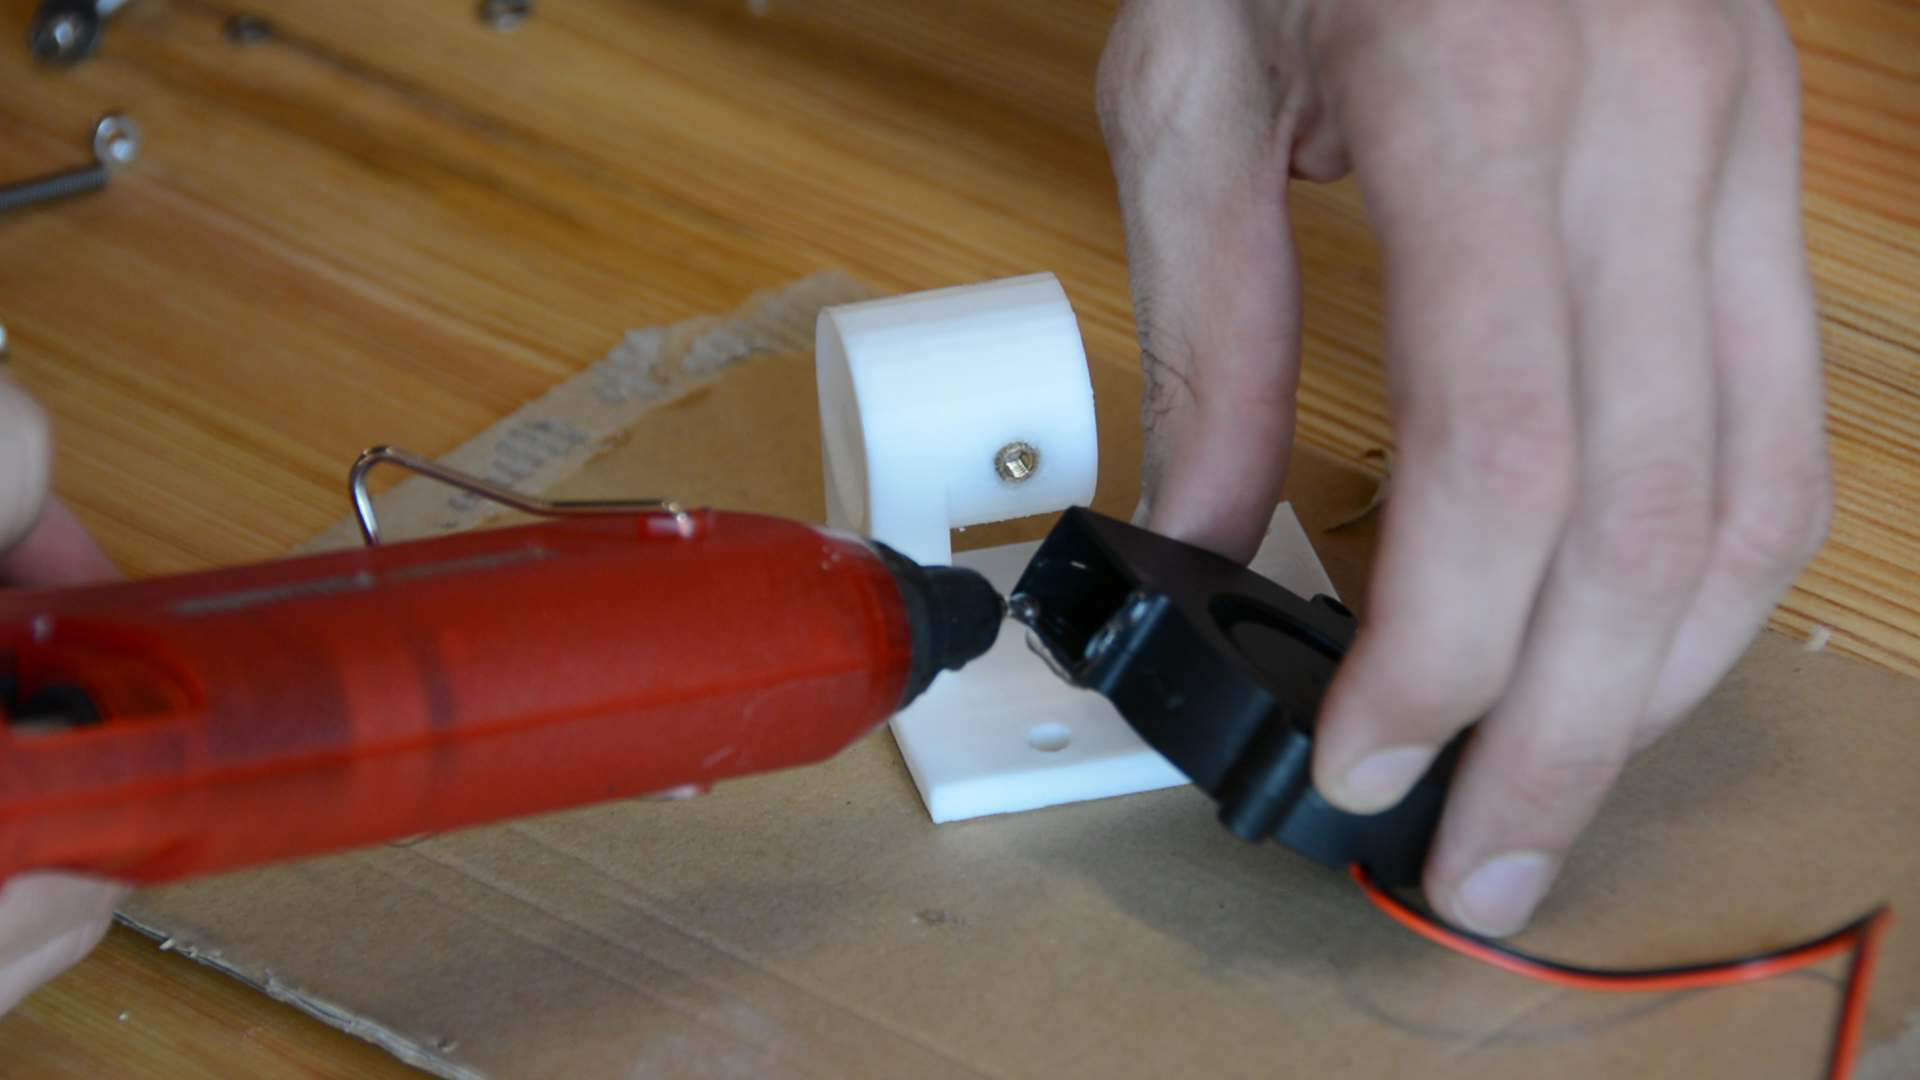
We also glue a metal thread insert in the hole at the front.
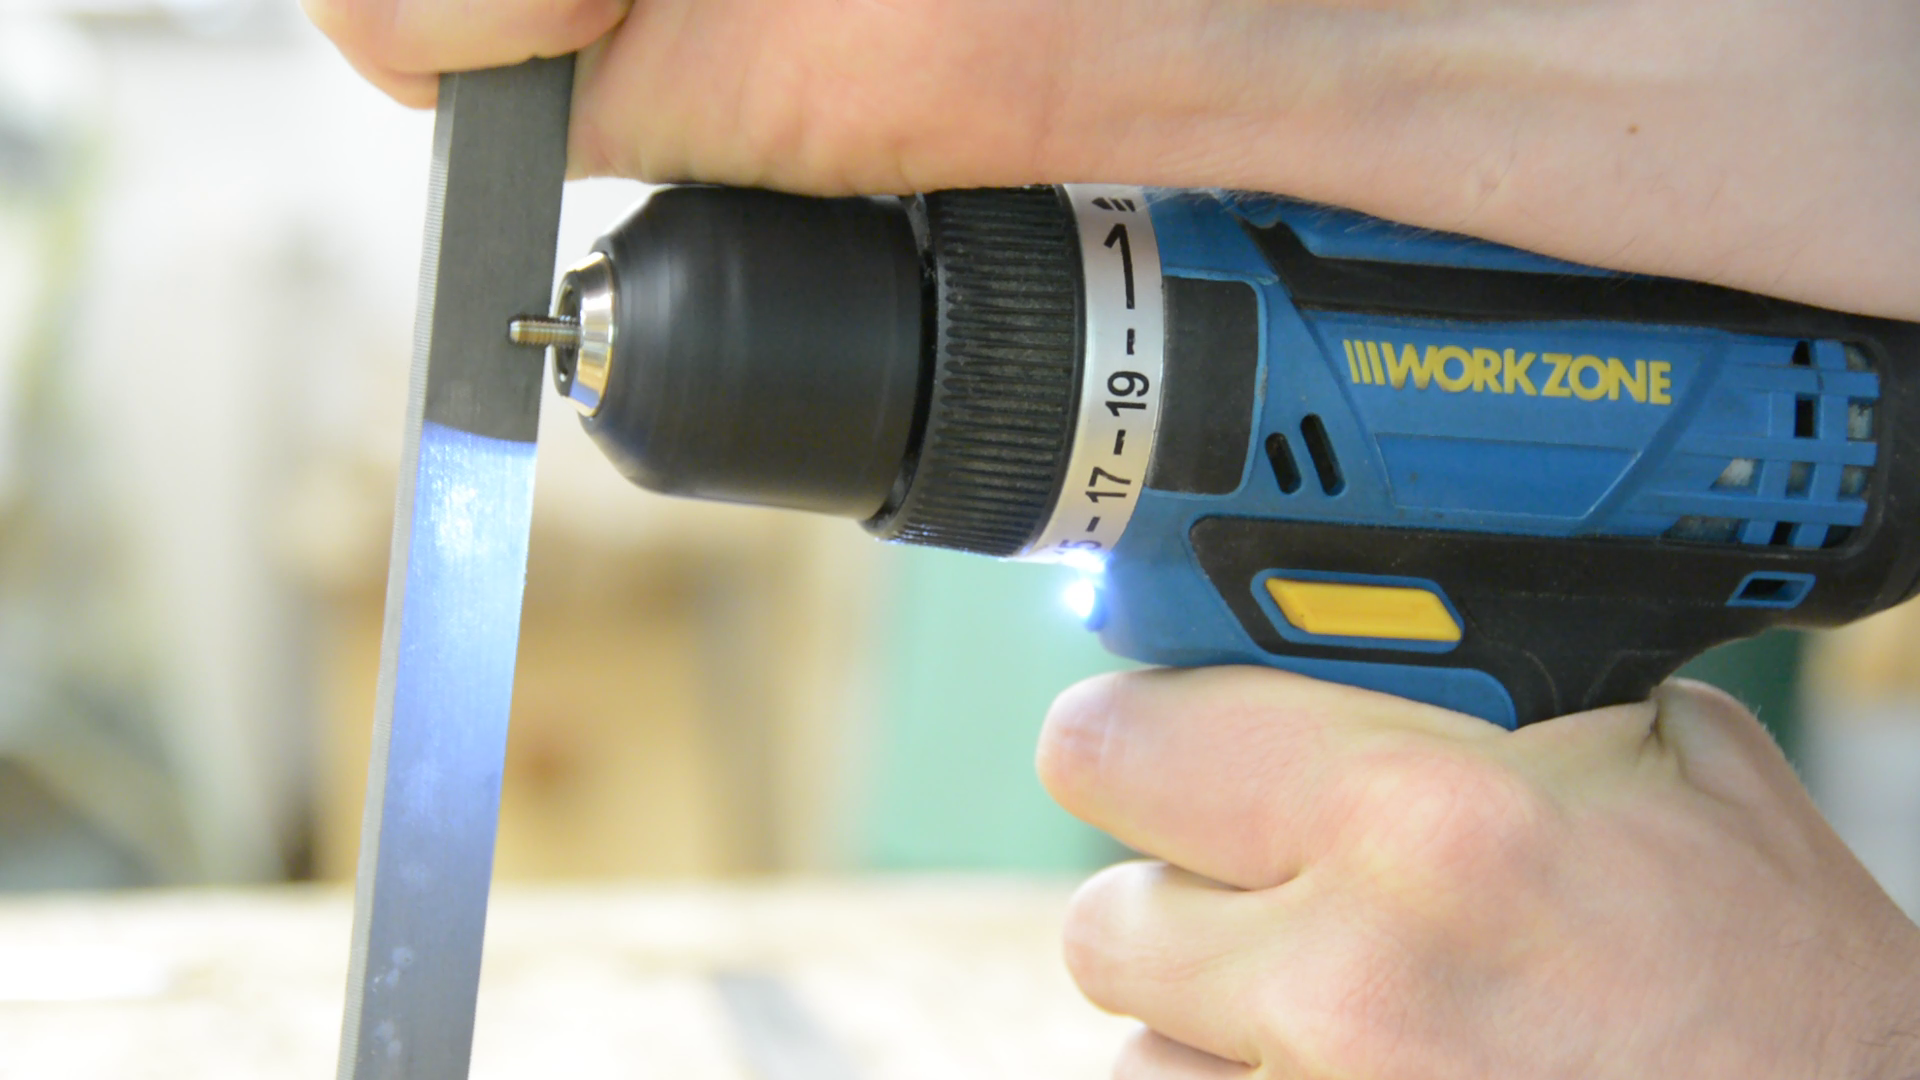
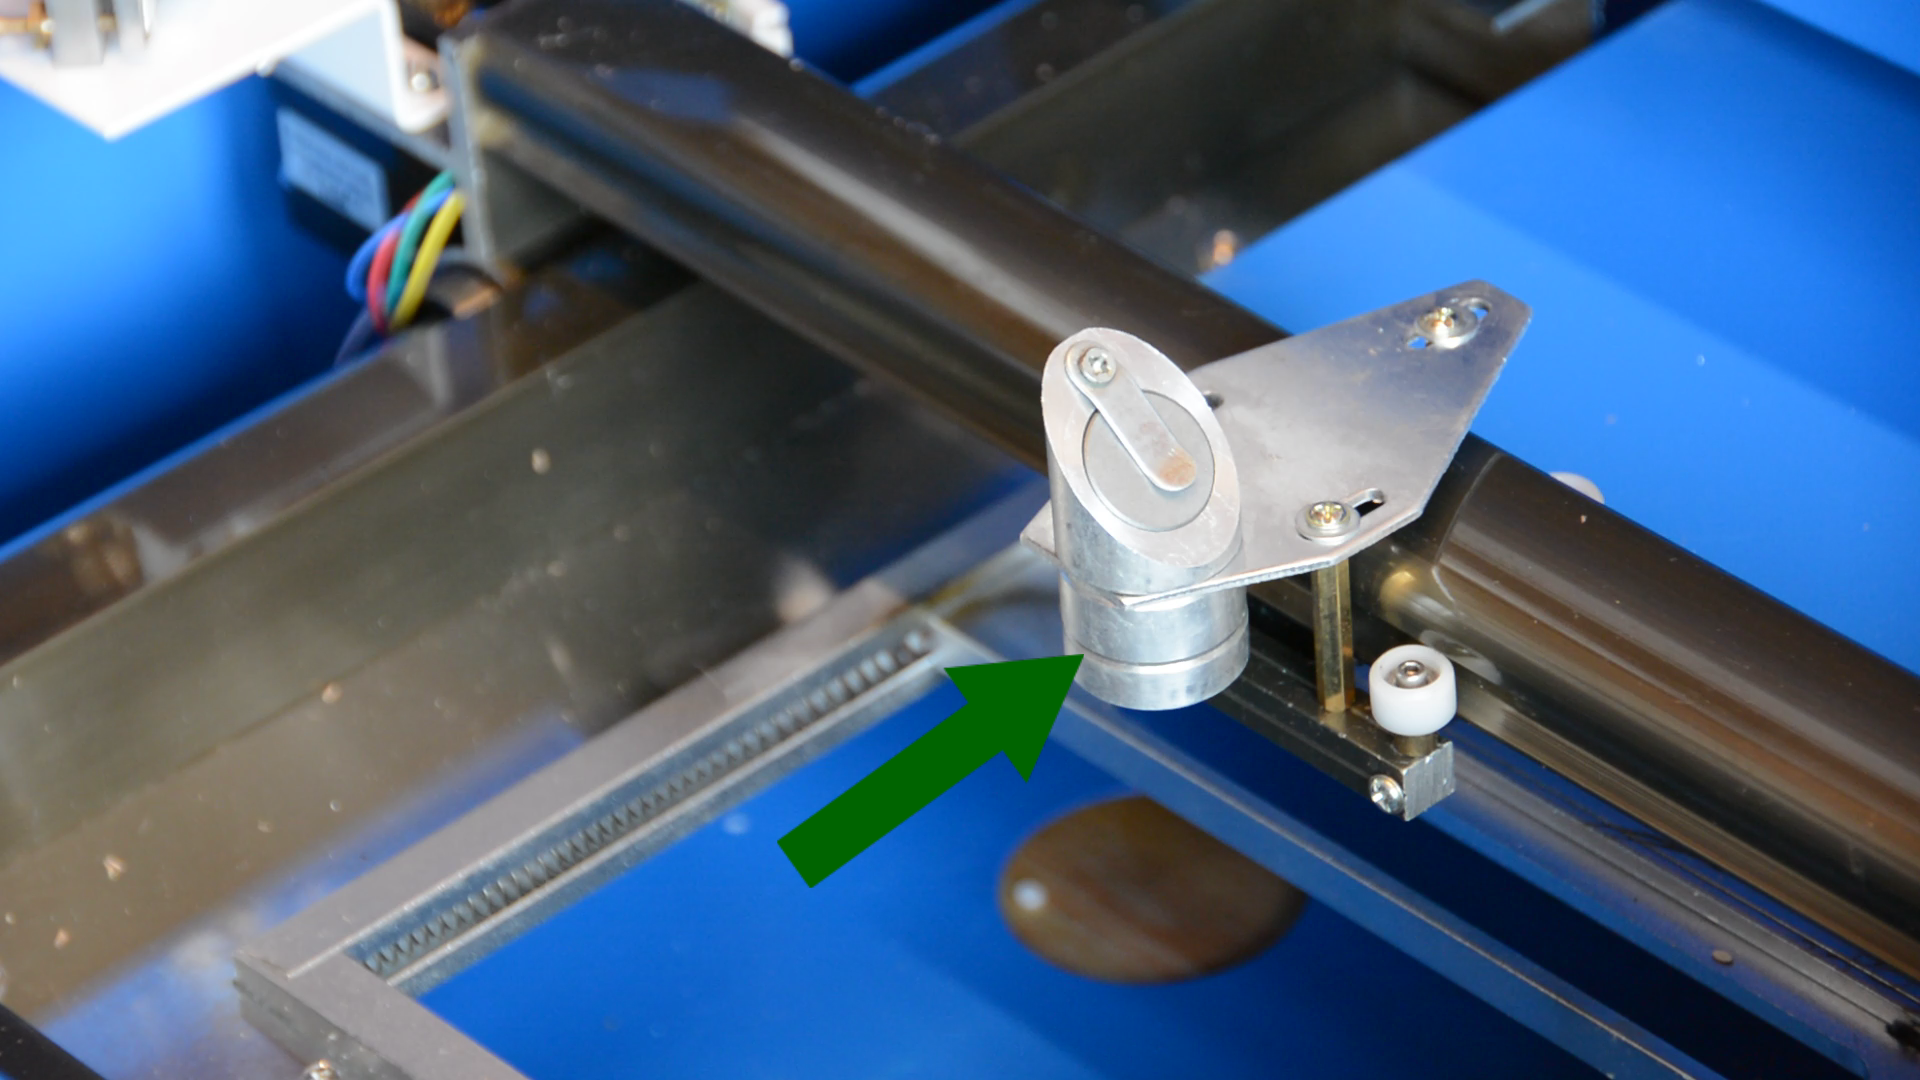
With a drill and a file we taper the tip of a M4 machine screw that fits in the groove at the laser head and will hold the contraption in place.
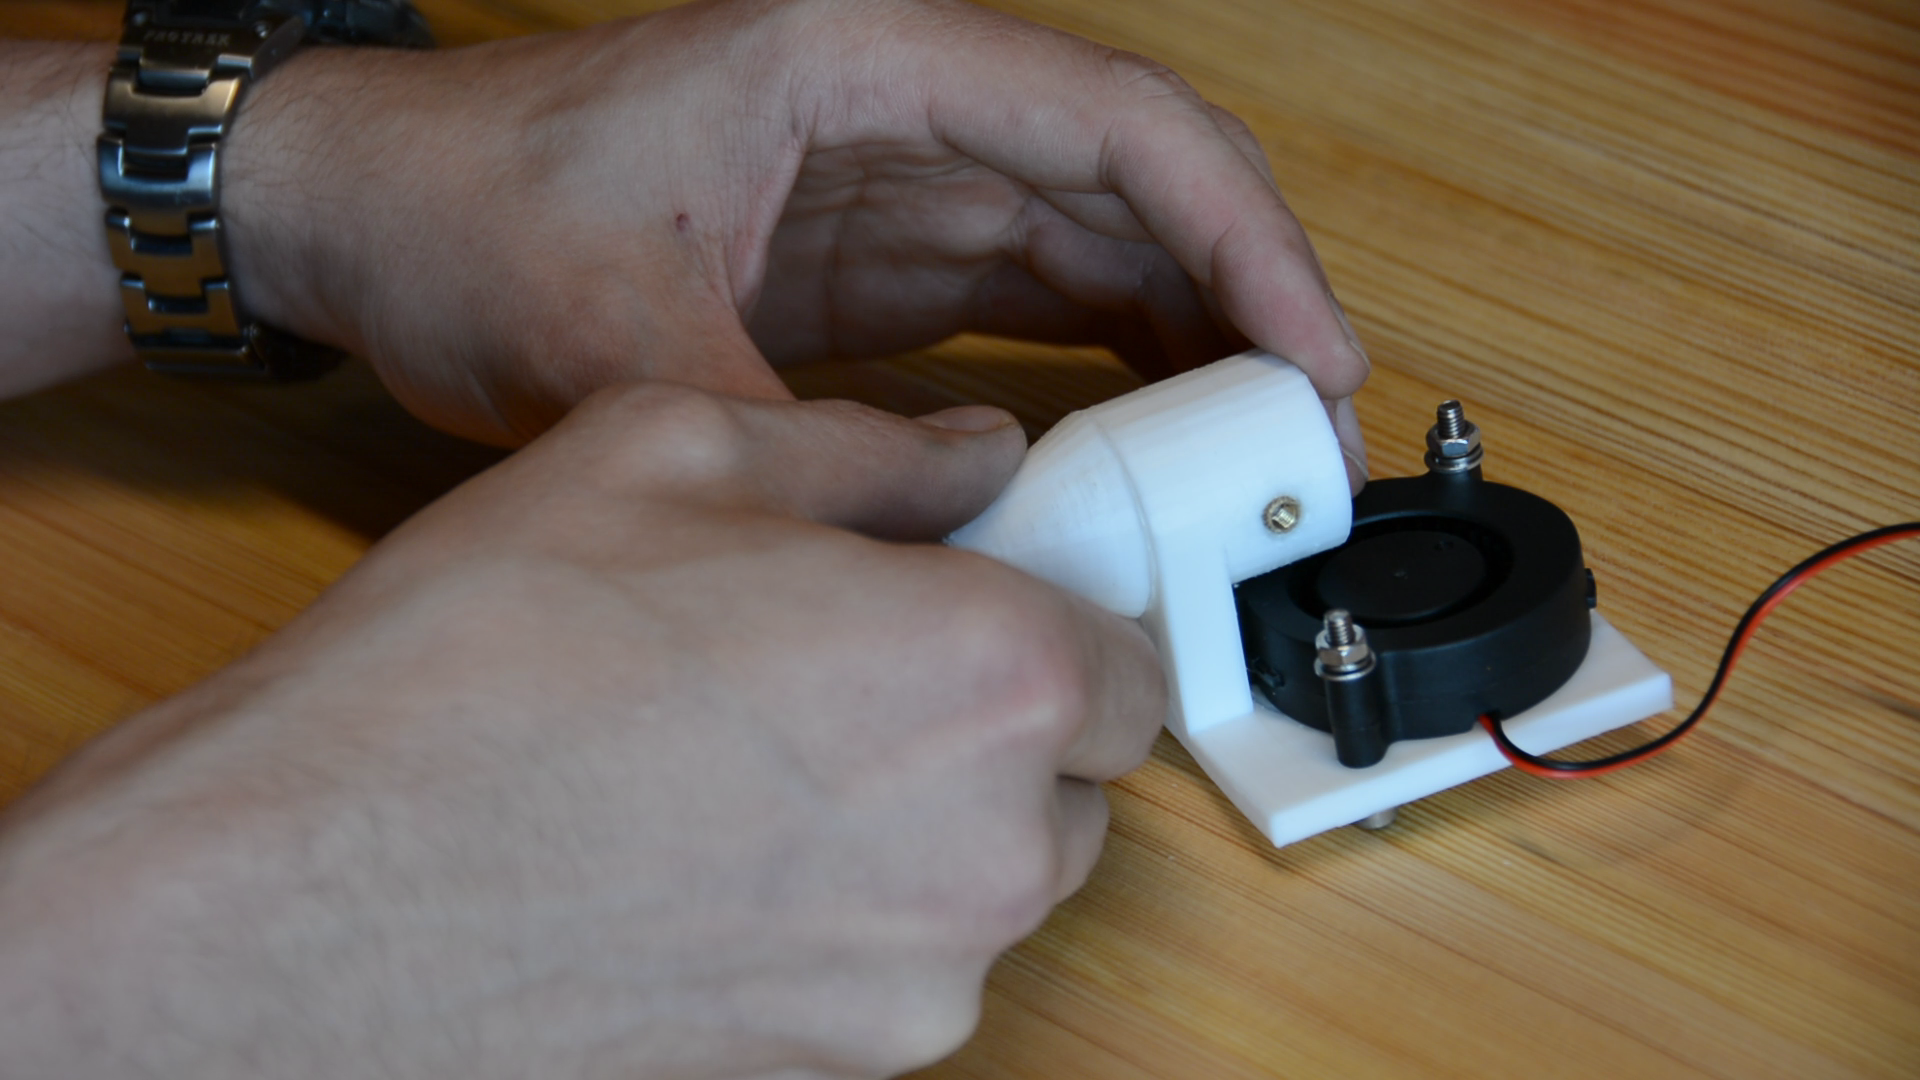
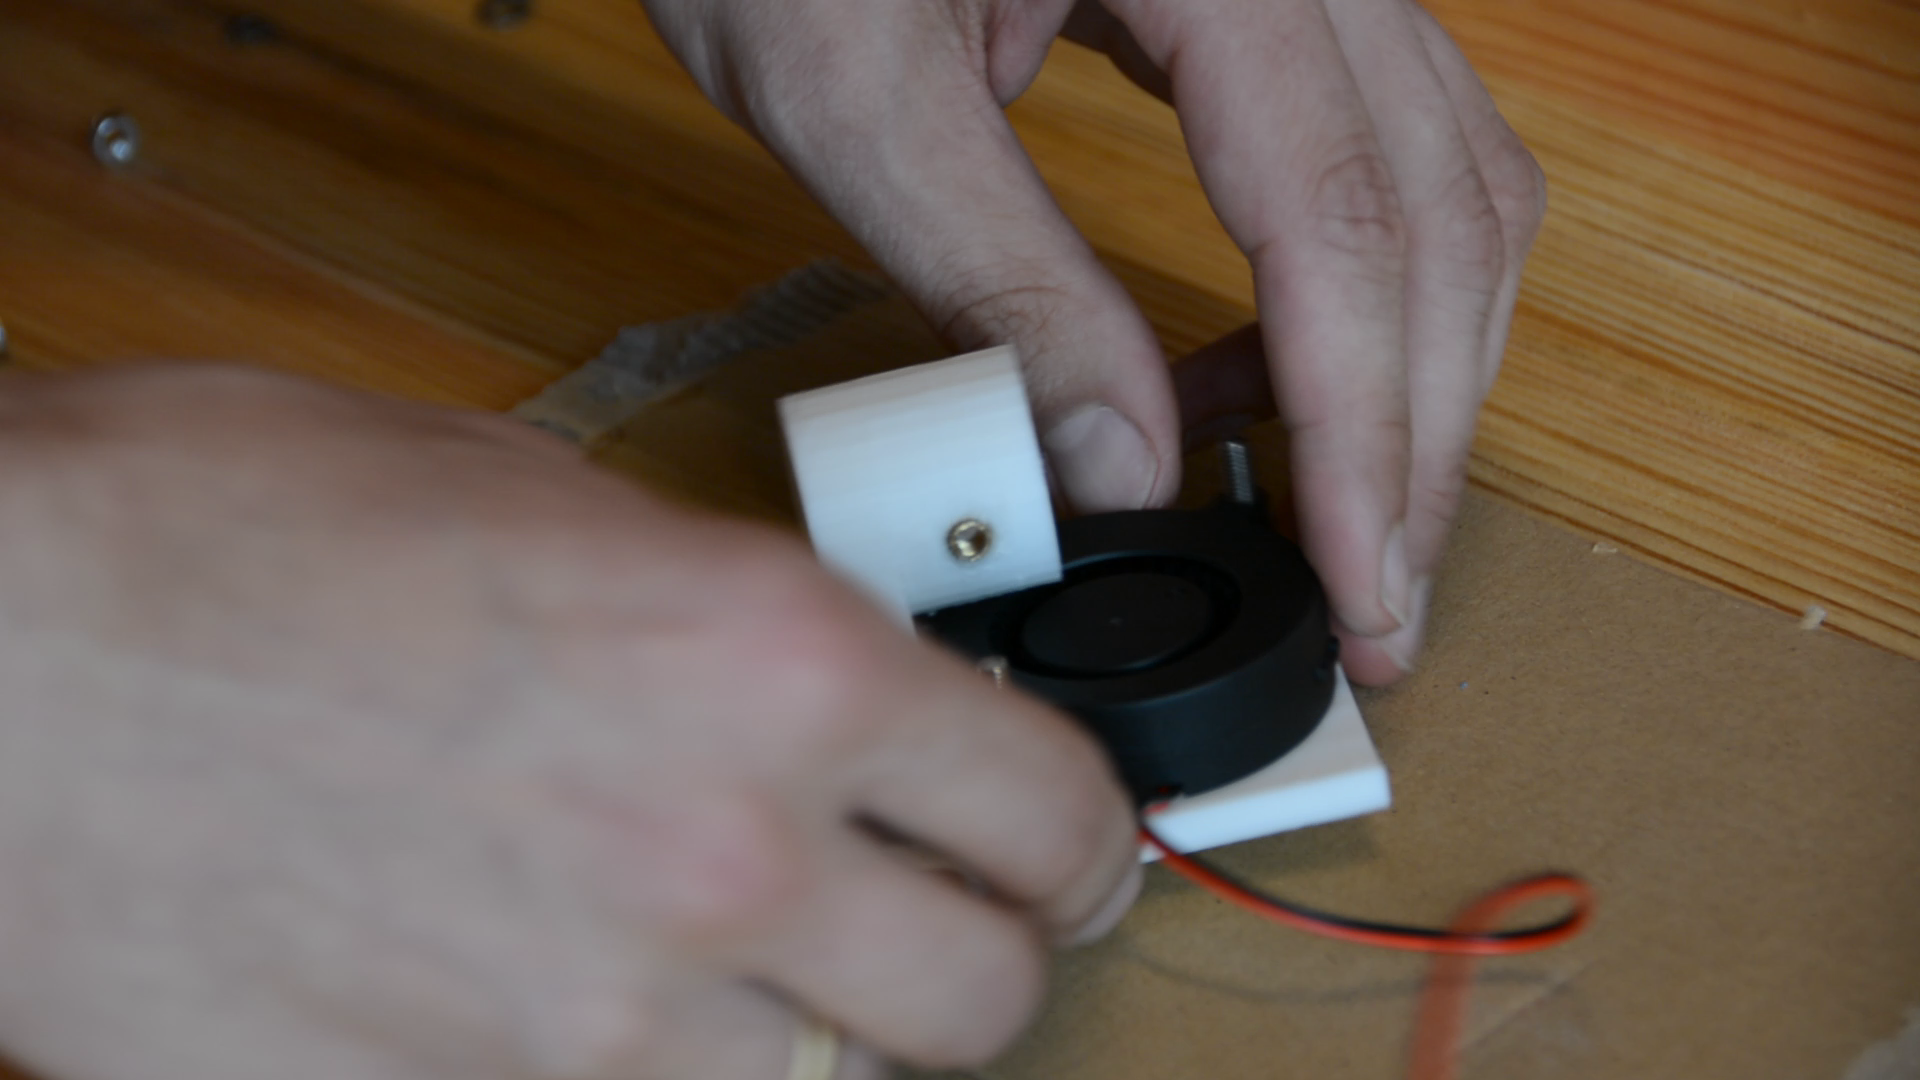
The last thing we add is the fan. We secure it with two screws and any gaps are filled with hot glue.
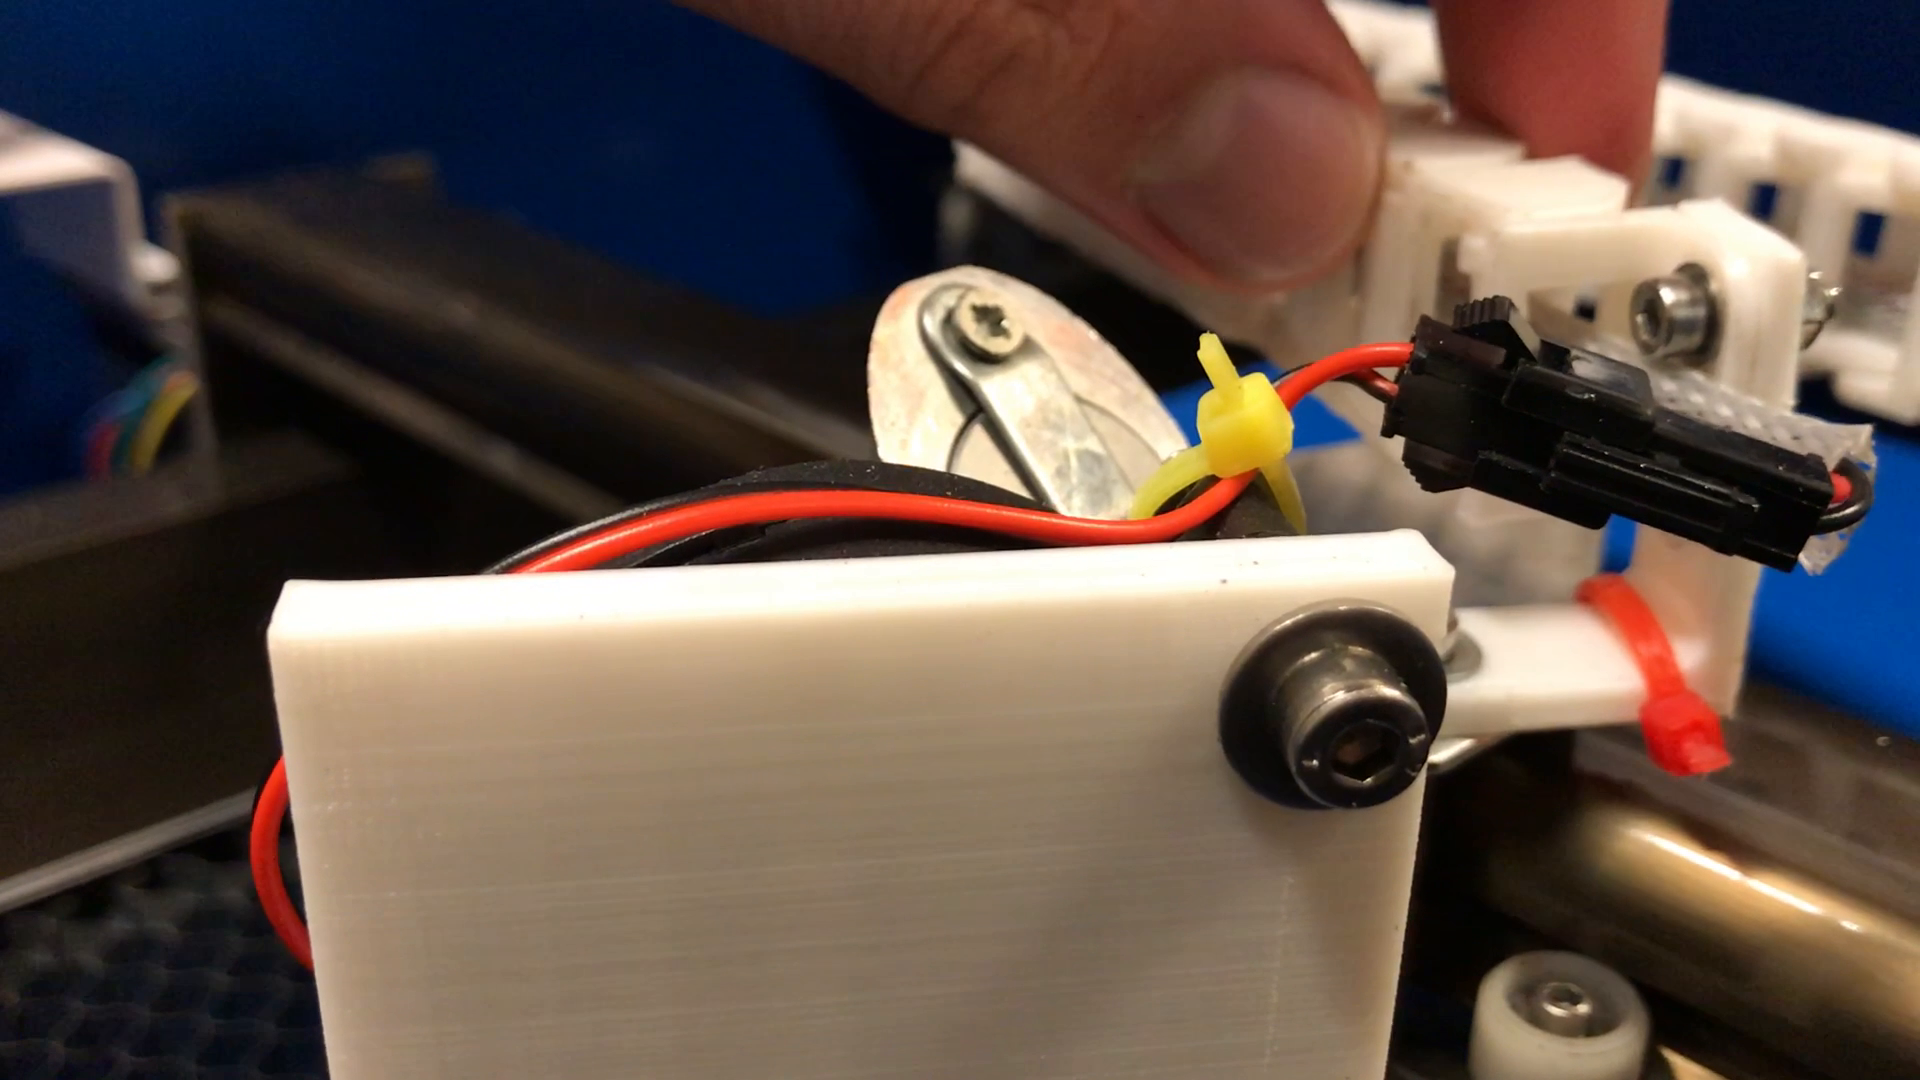
Crimping a connector on the cable of the fan will make installation and maintenance easier than soldering the connection.

Dragchain and LED lights
On Thingiverse we found a nice dragchain with connectors for the K40. We printed this one and installed it so that we can route the cable in a protective fabric
mantle through the drag chain in the electronics compartment.
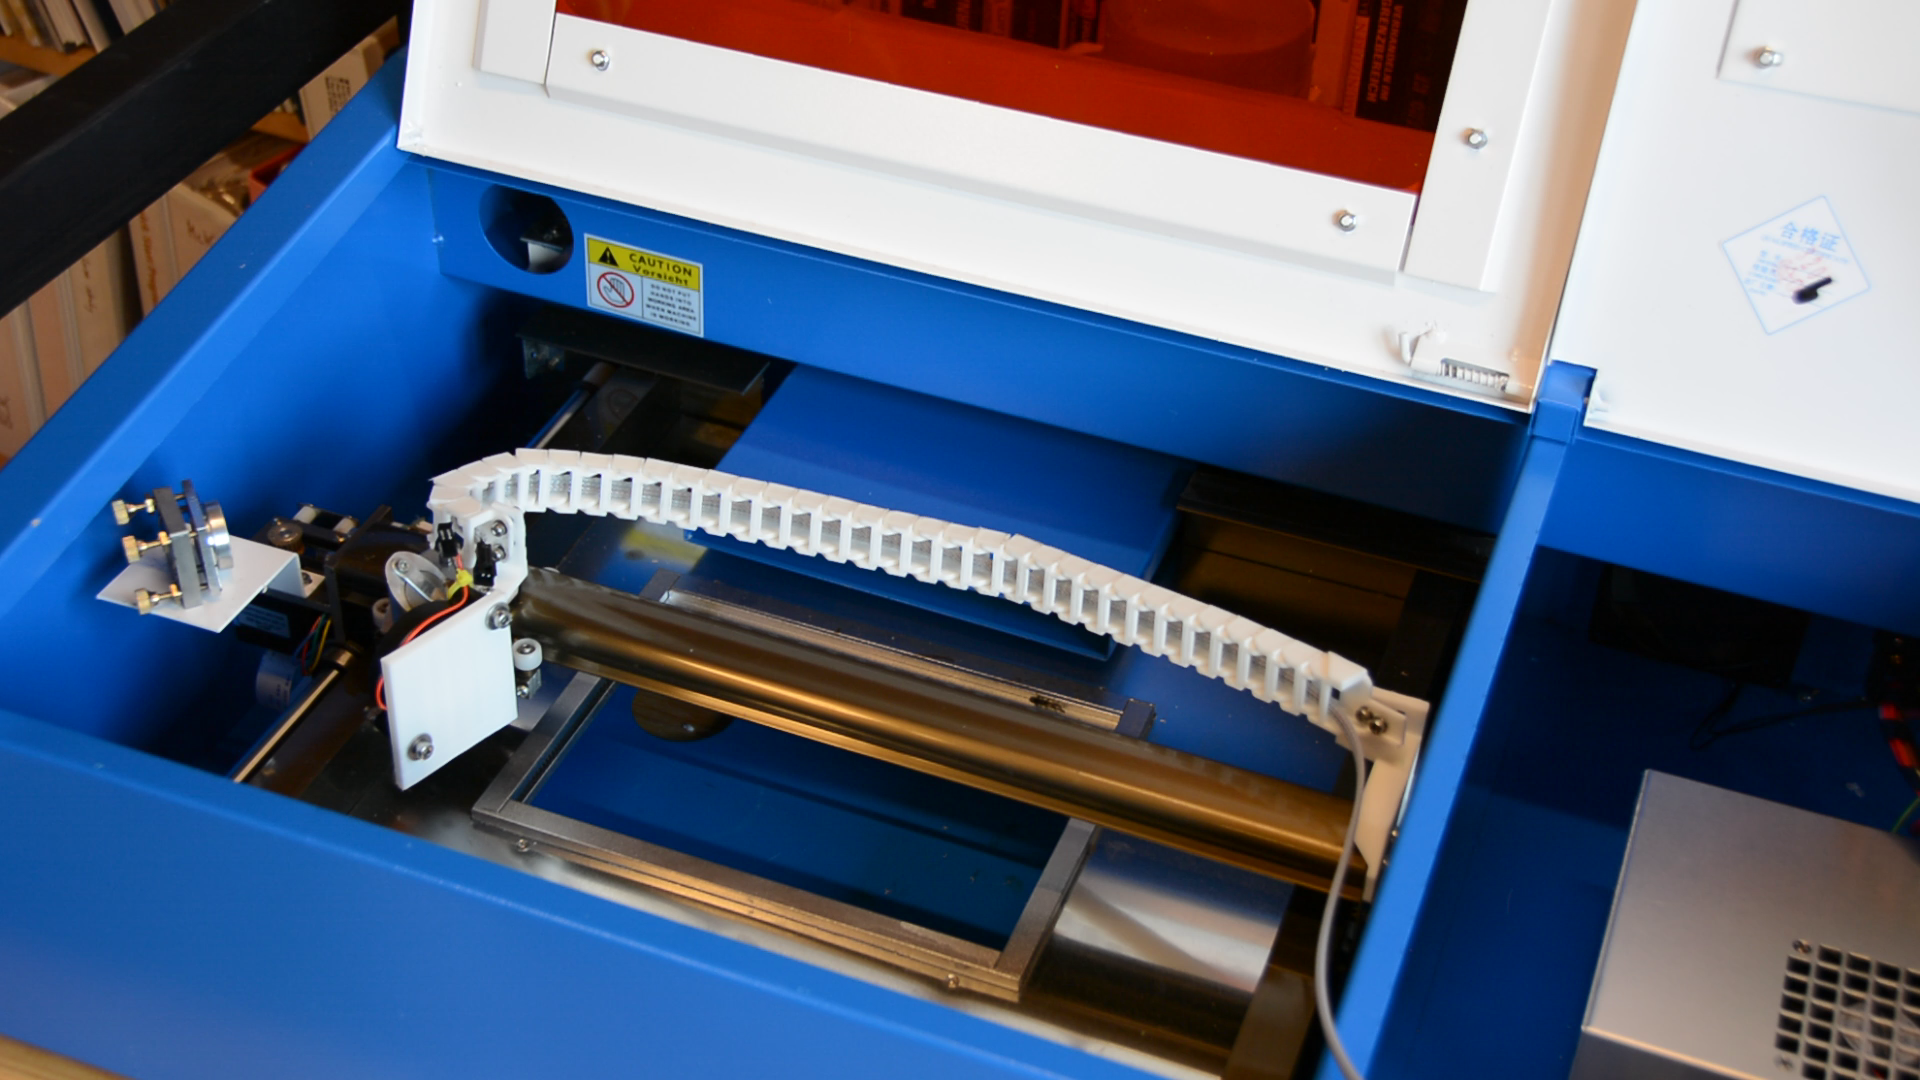
The end of the drag chain gets secured with a zip tie so that the drag chain doesn’t get in the way of the laser.
For power supply these two connectors offer 24 volt.
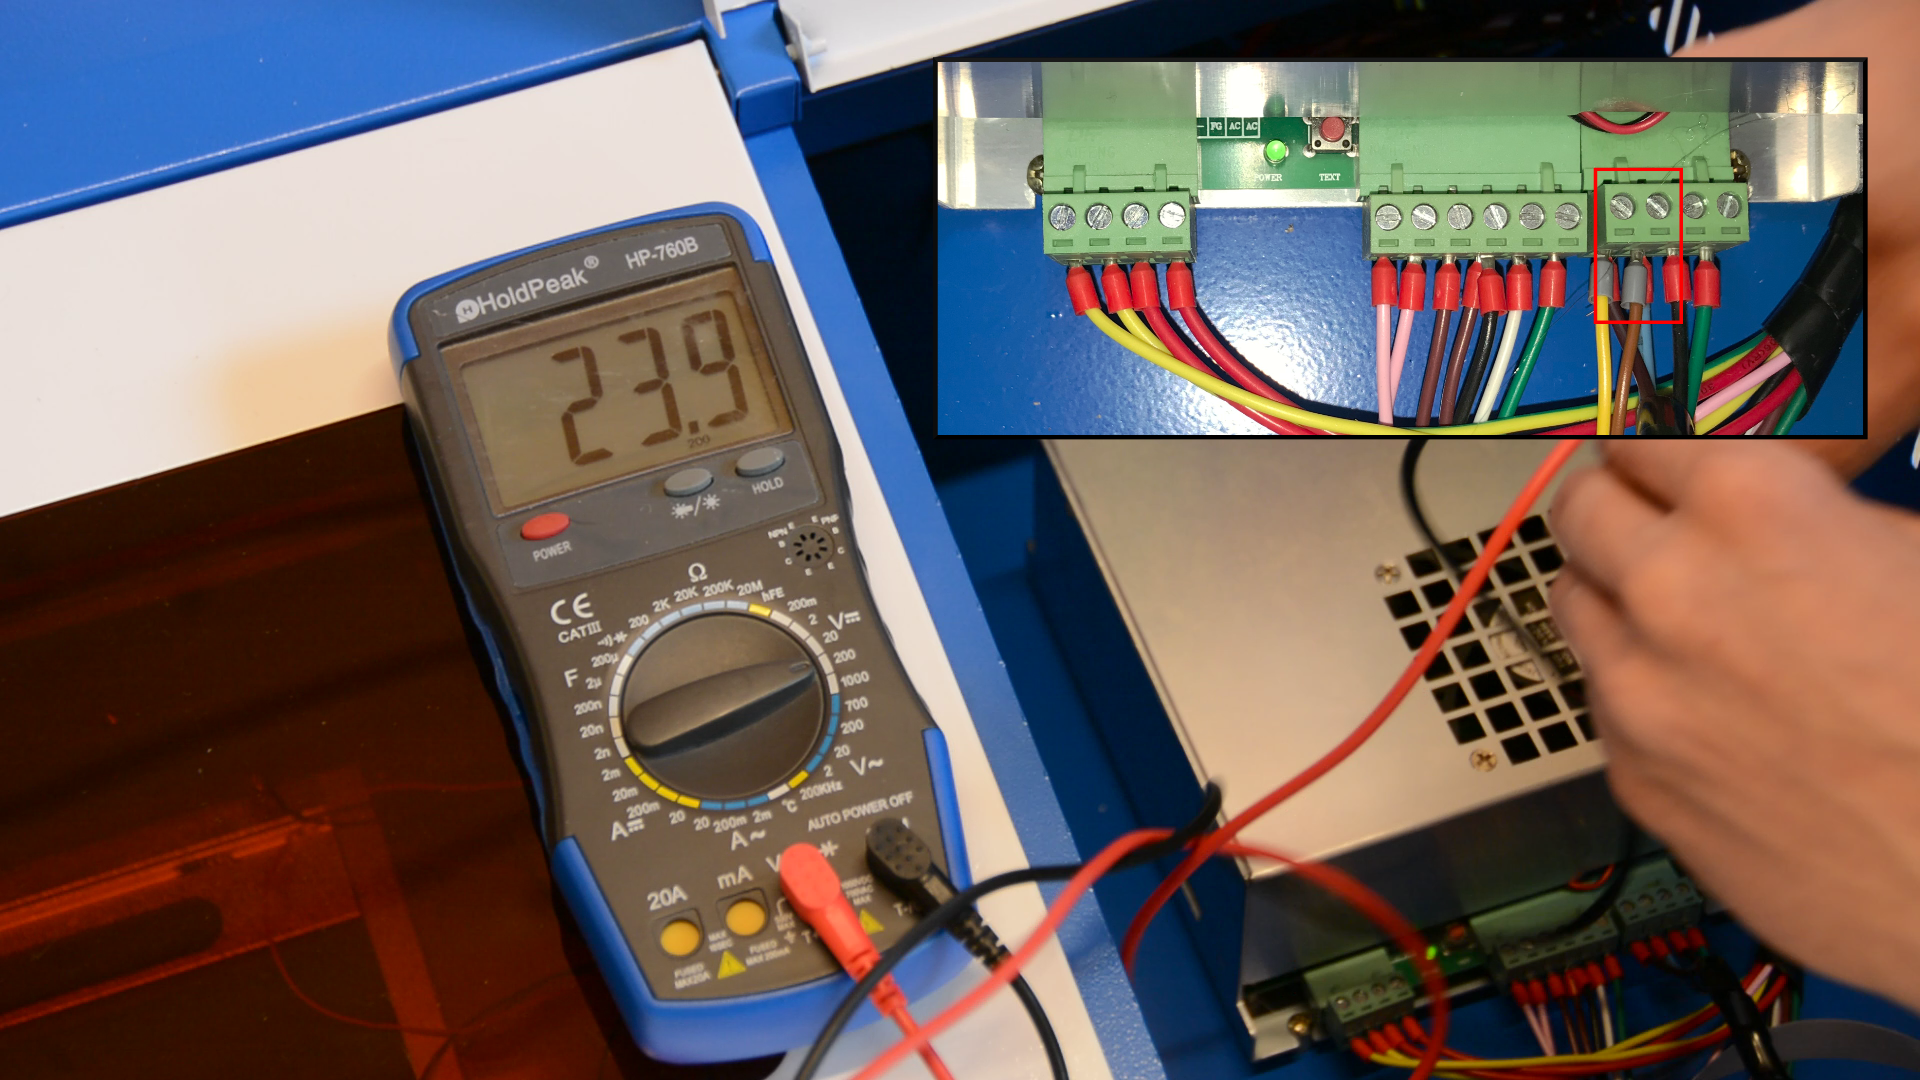
We can connect a step down board and adjust the voltage to 12 volt.
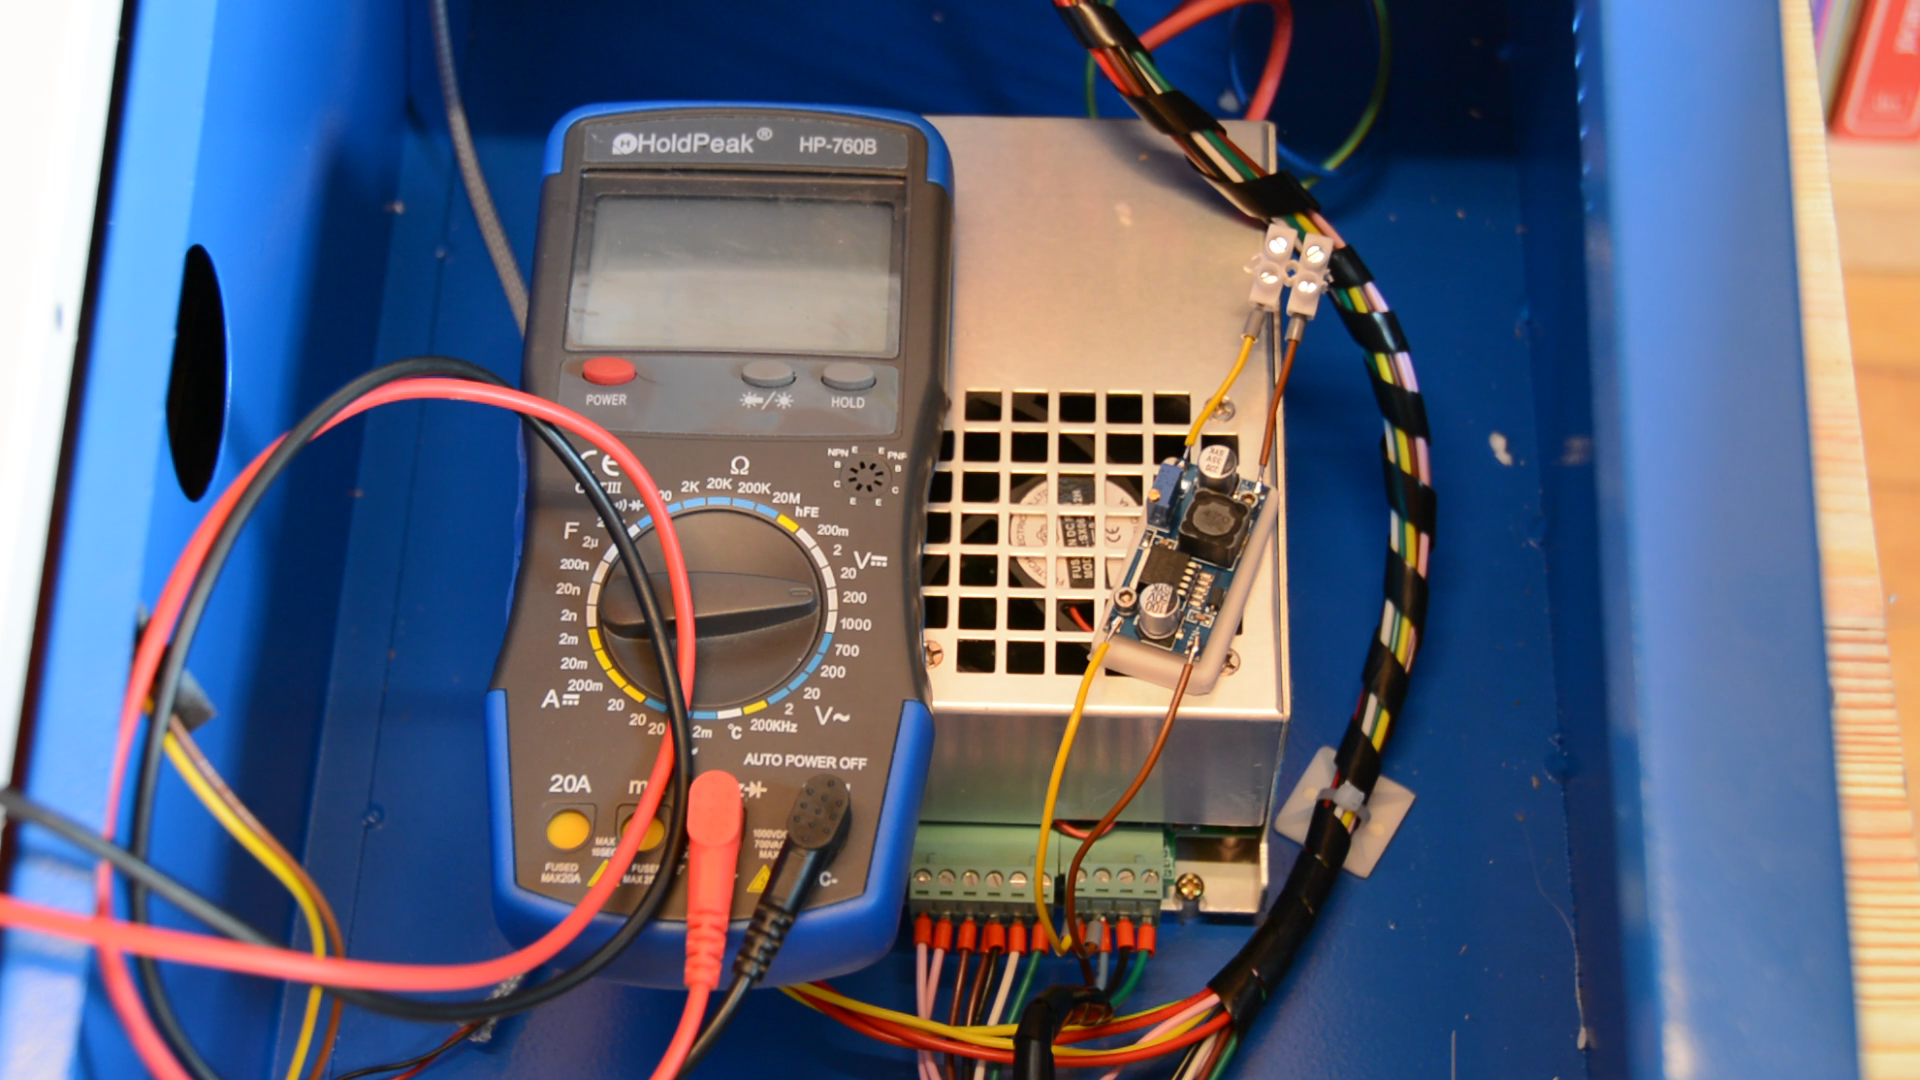
The board is mounted on this quick print with two threaded inserts – which is then hot glue to the case.

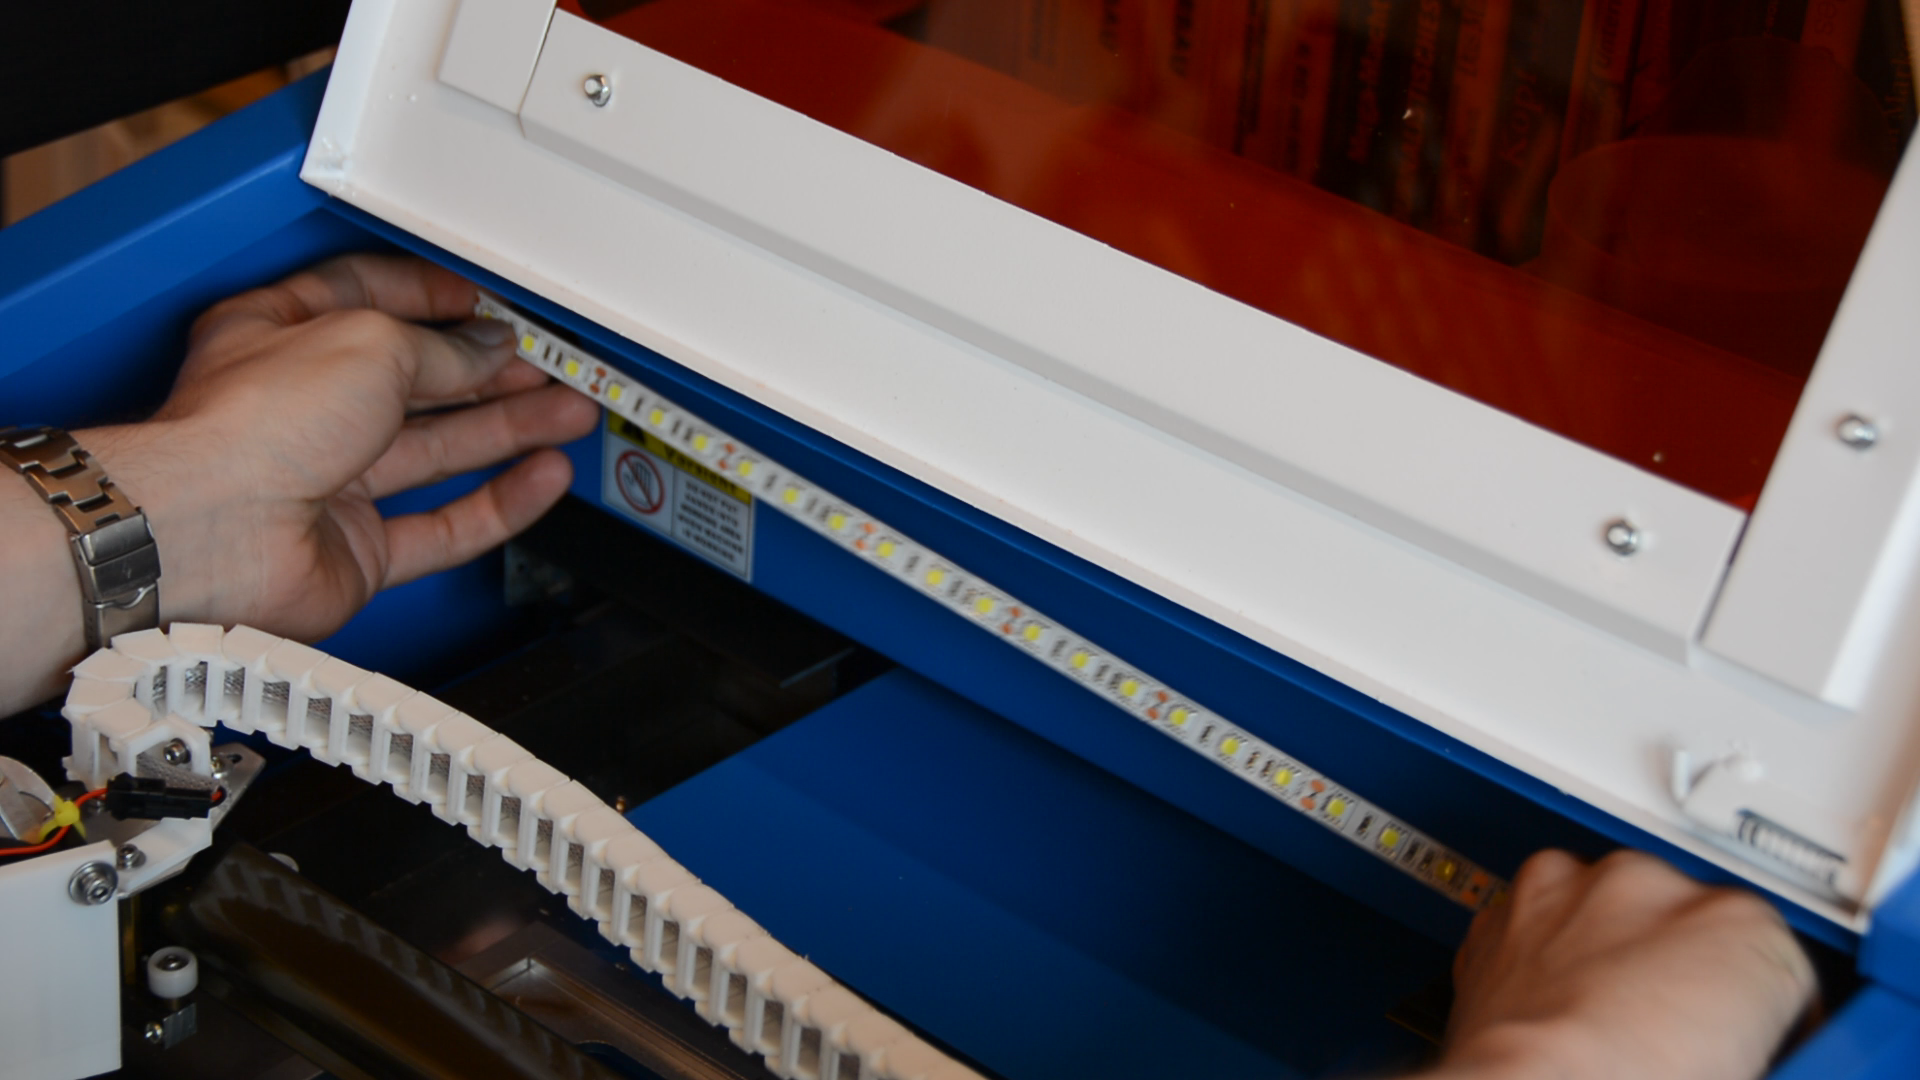
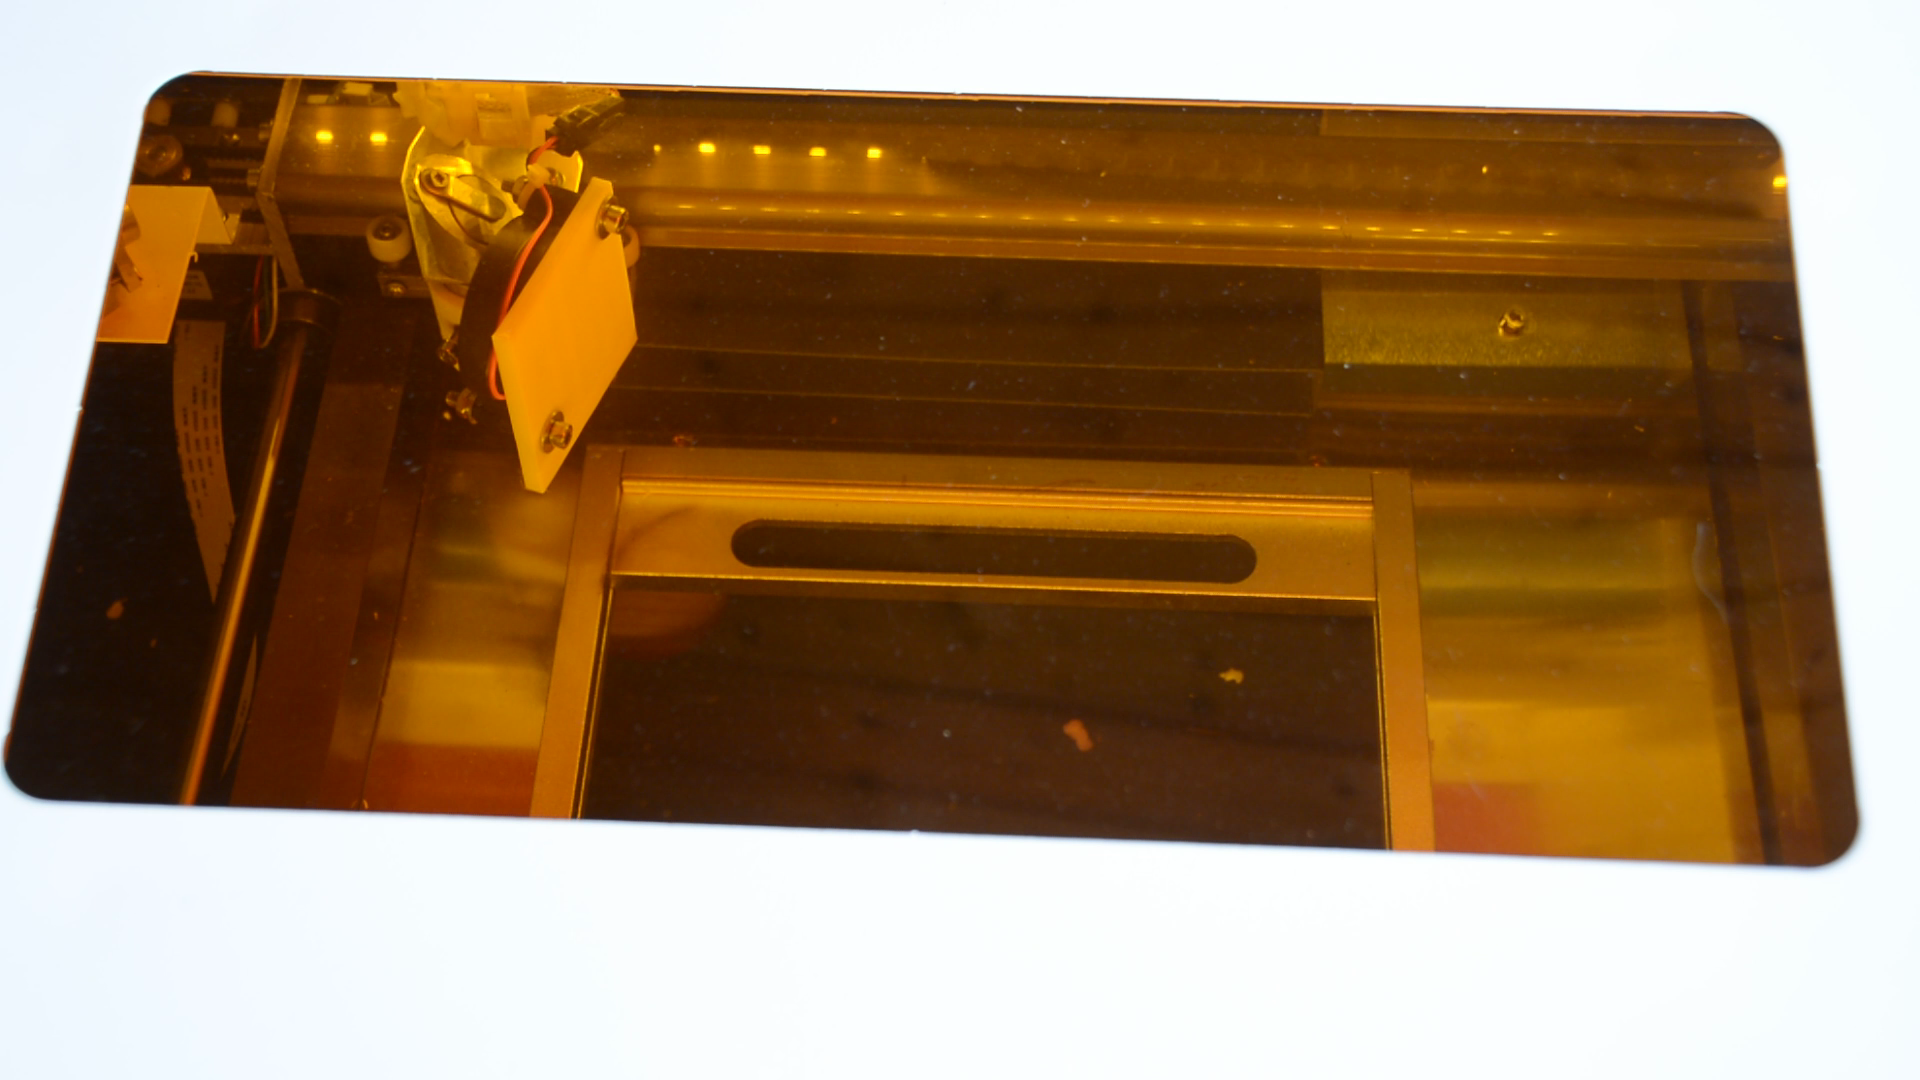
Two LED strip offcuts from a previous project are also connected to the 12 volt power source – which is improving the lighting in the case massively.
Installing a switch
After using the air assist for a few test cuts I realized that thin paper is easier to cut without the air assist.
With a simple switch soldered to a longer set of wires it’s now possible to switch the fan on or off.


This was another step to improve the cut quality of the laser and make it safer. We tested it with different materials and it seems to work great.