
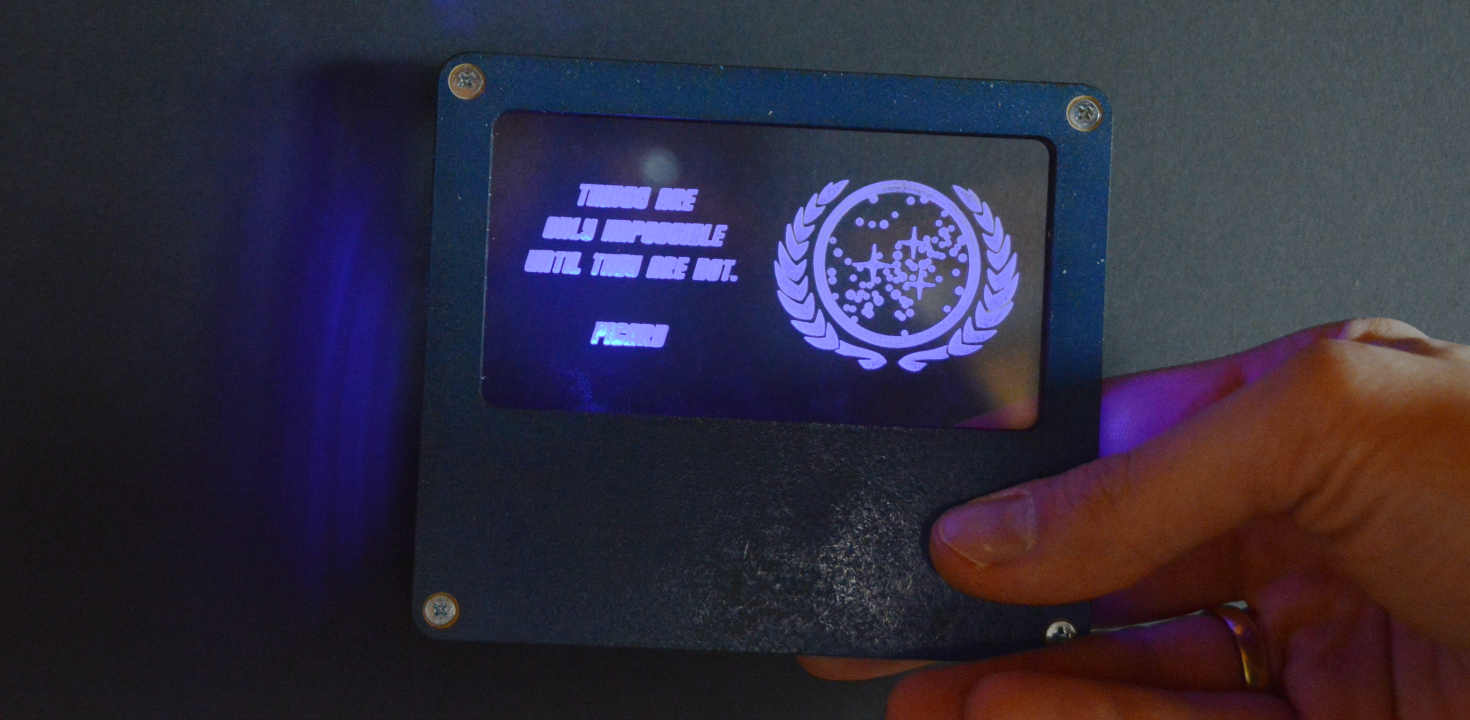
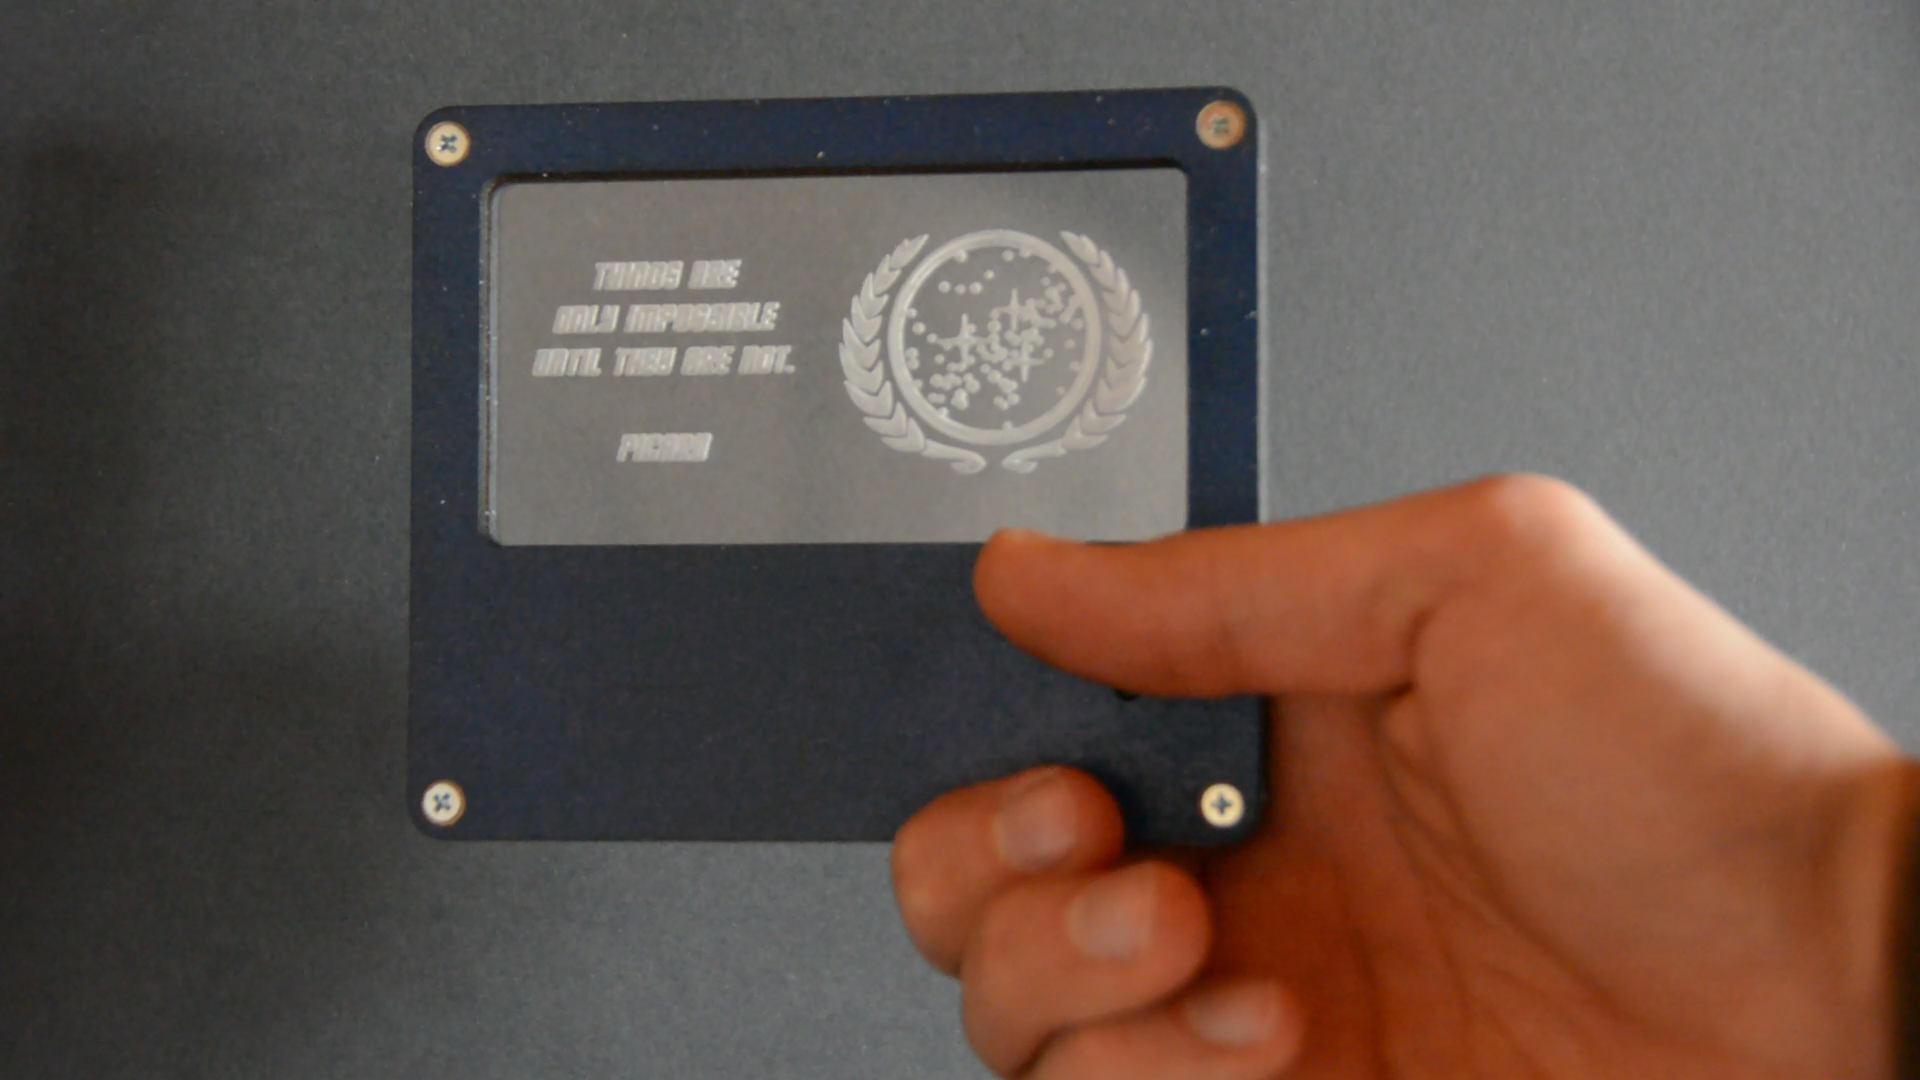
In this article we build a Captain Picard style invitation card with the K40 laser cutter.
We plan the kids birthday party to be around Star Trek and based on a SciFi theme. The invite should fit in this theme and be quite futuristic.
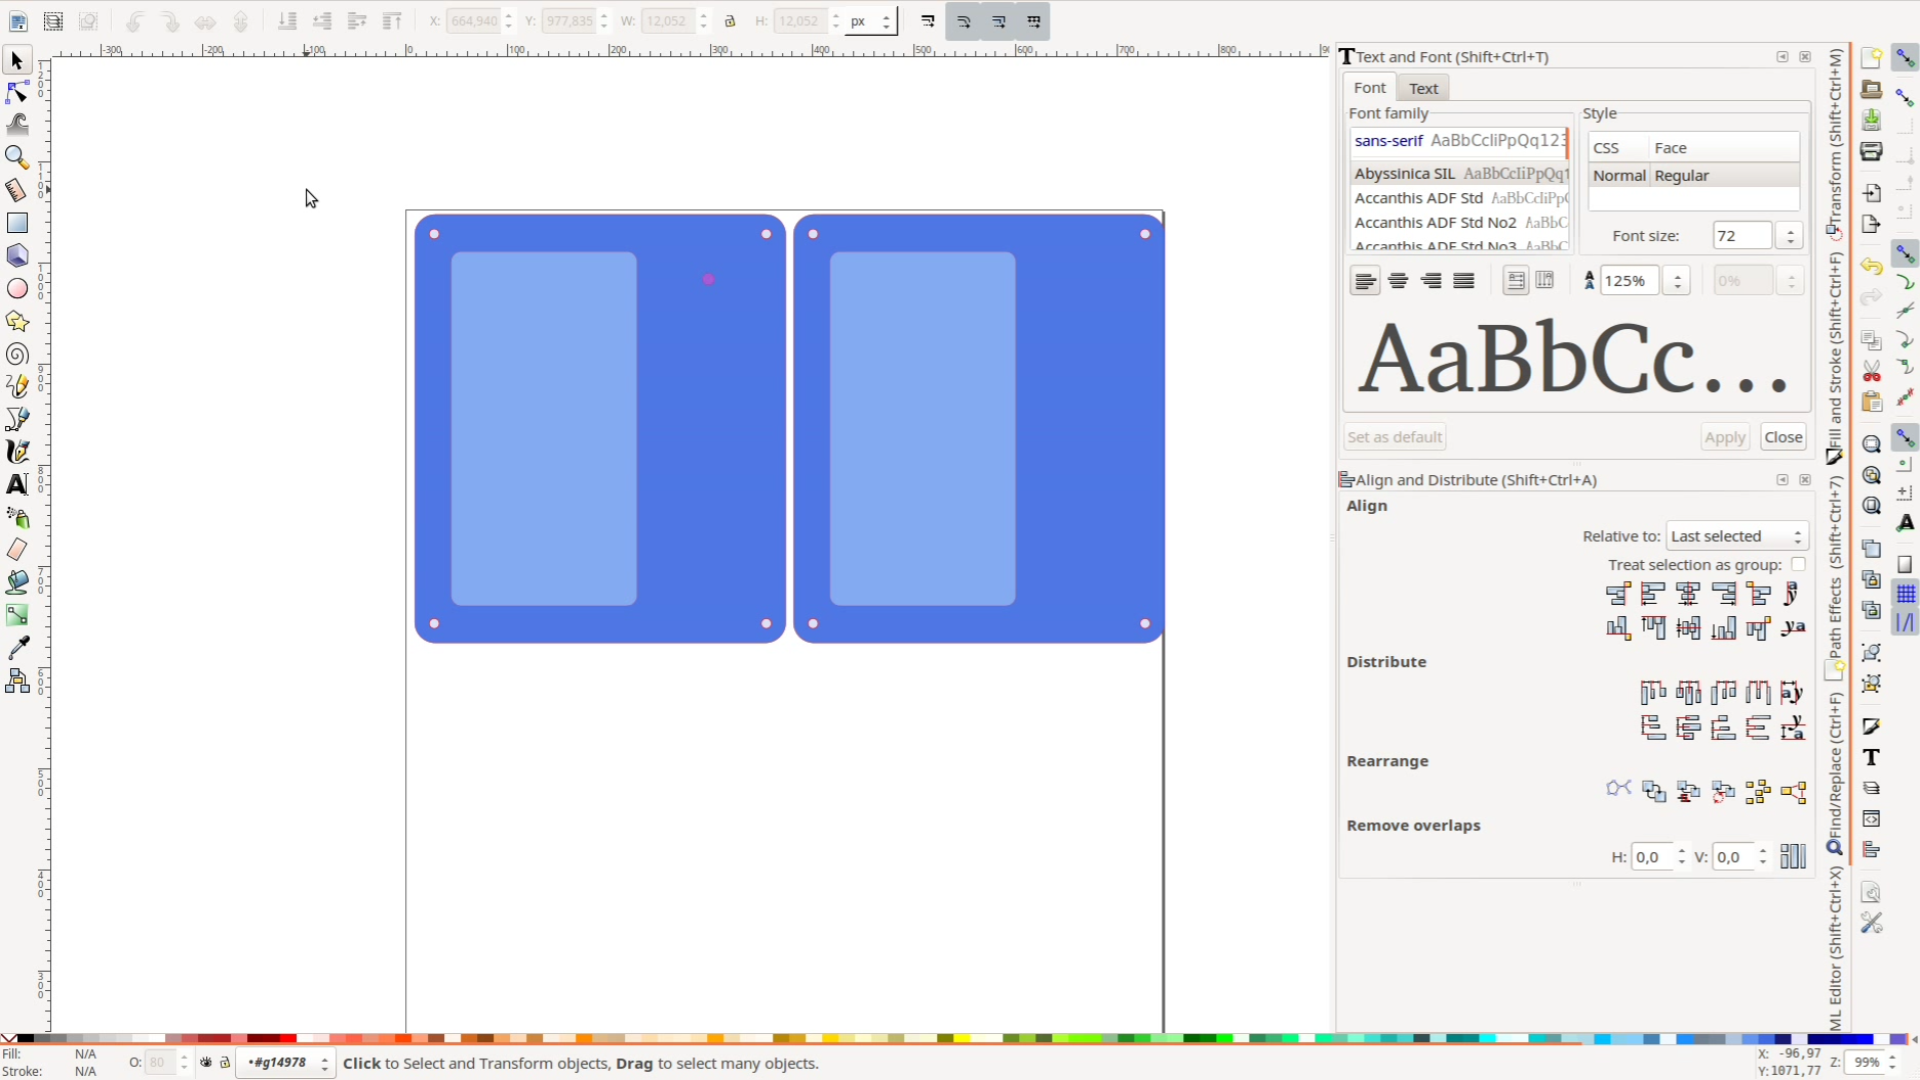
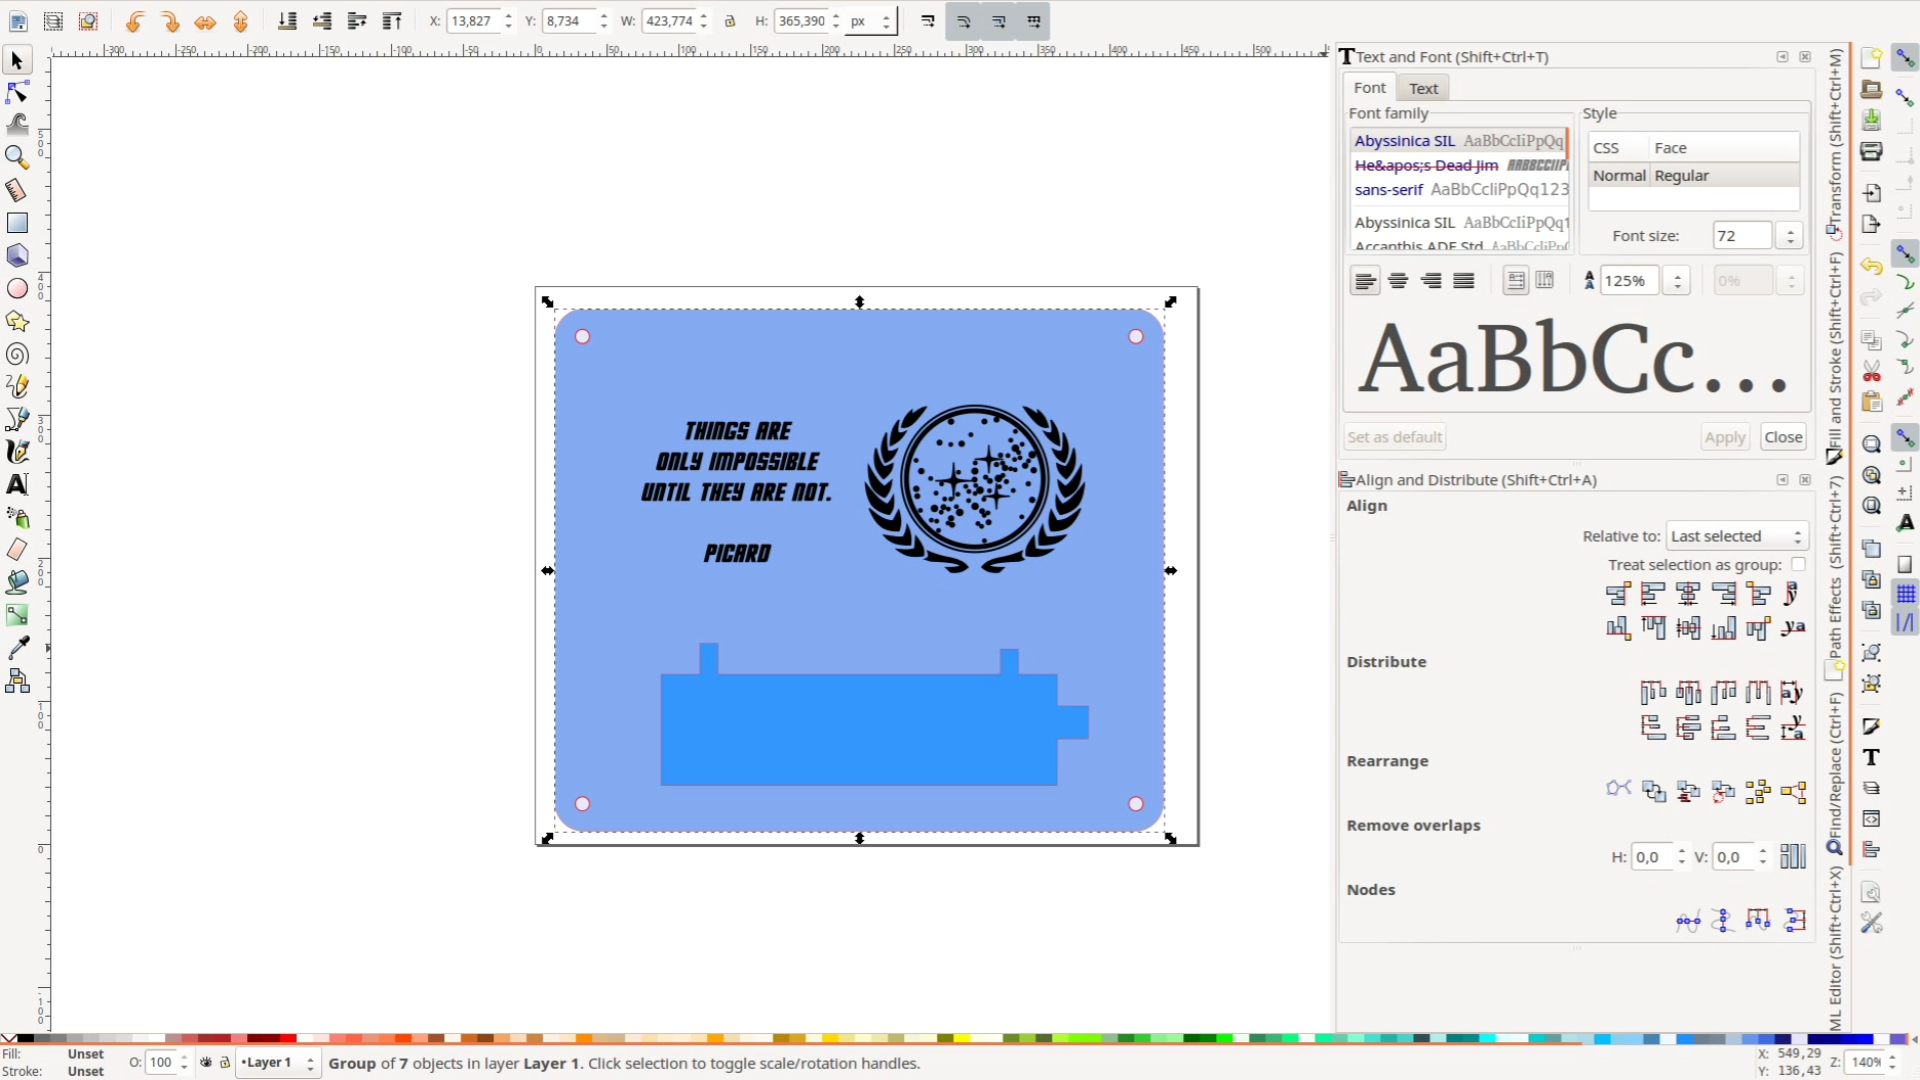
After a few measurements we got started with a simple design in Inkscape. When working with several objects it helps to keep everything in a single file with different layers. We can then copy the necessary elements into a separate file to cut them out. From the master file we create one file for the MDF cuts and one for the acrylic material.
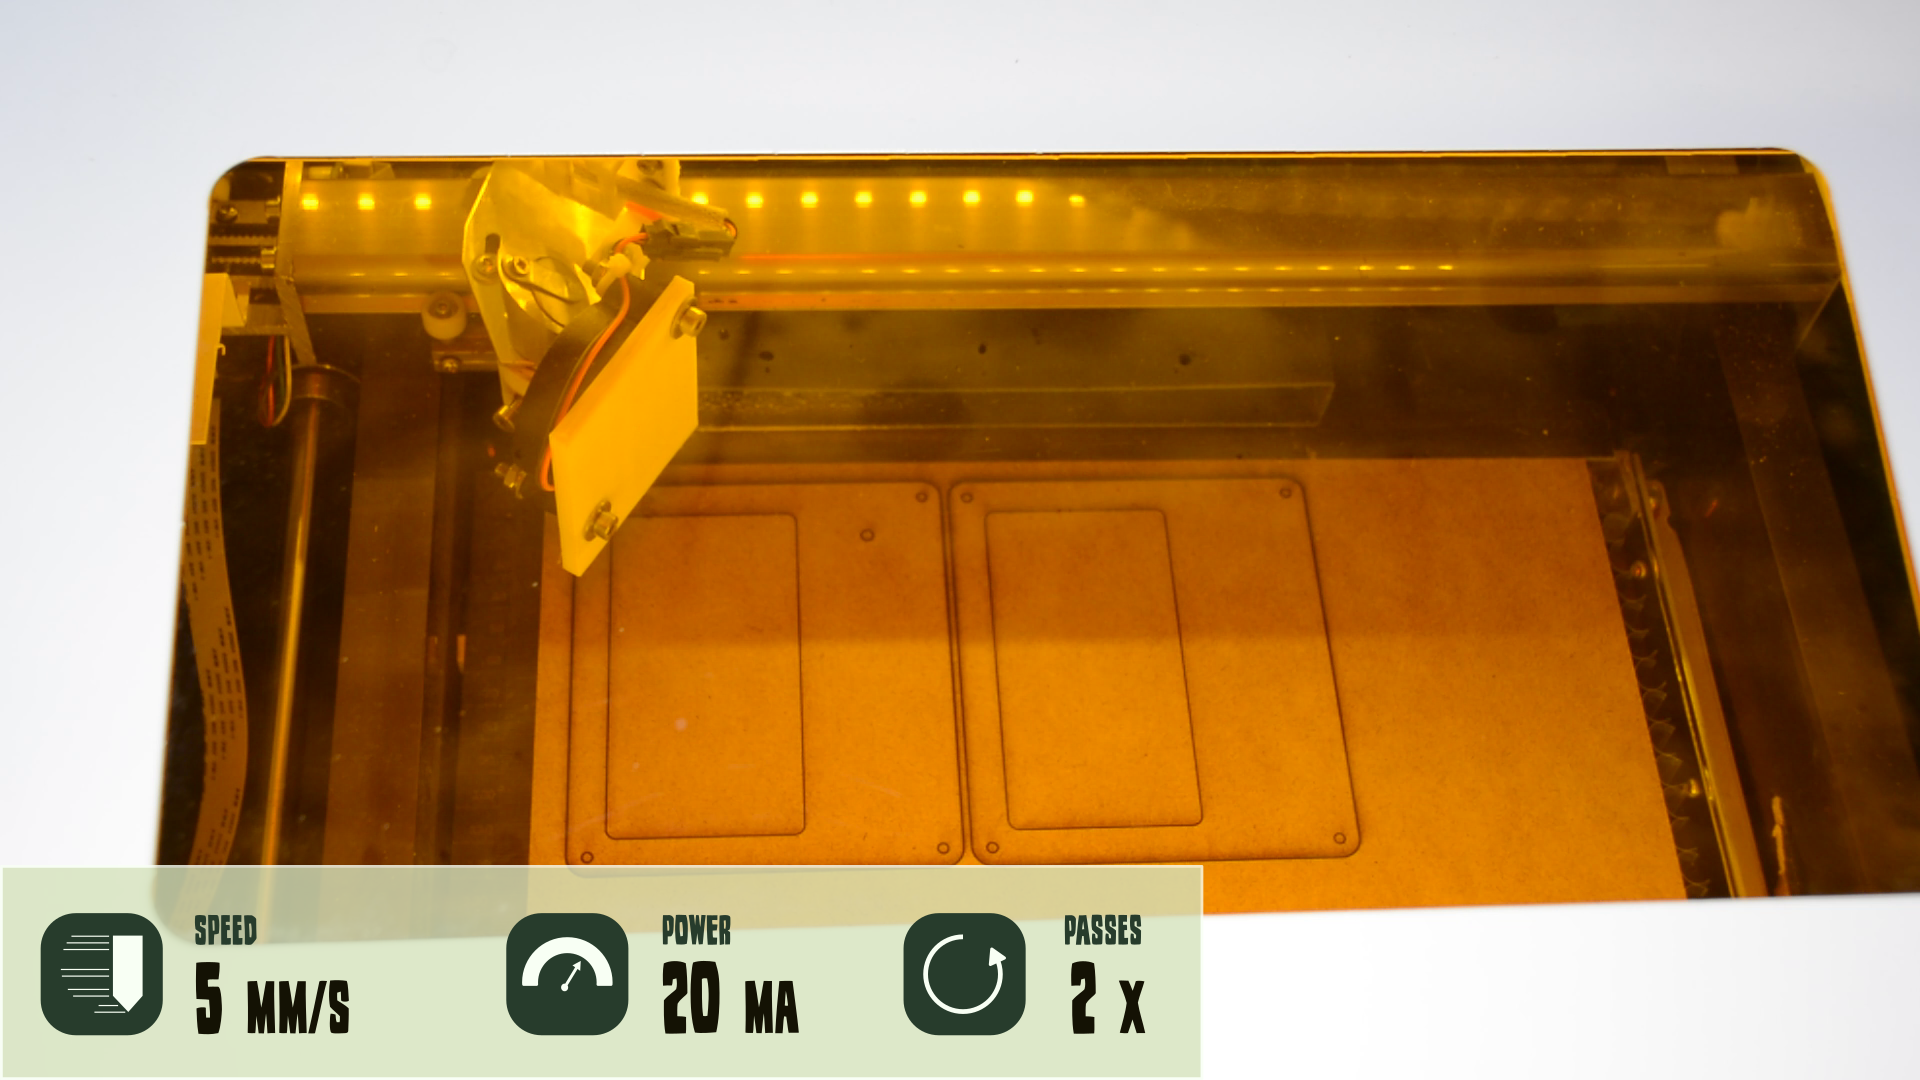
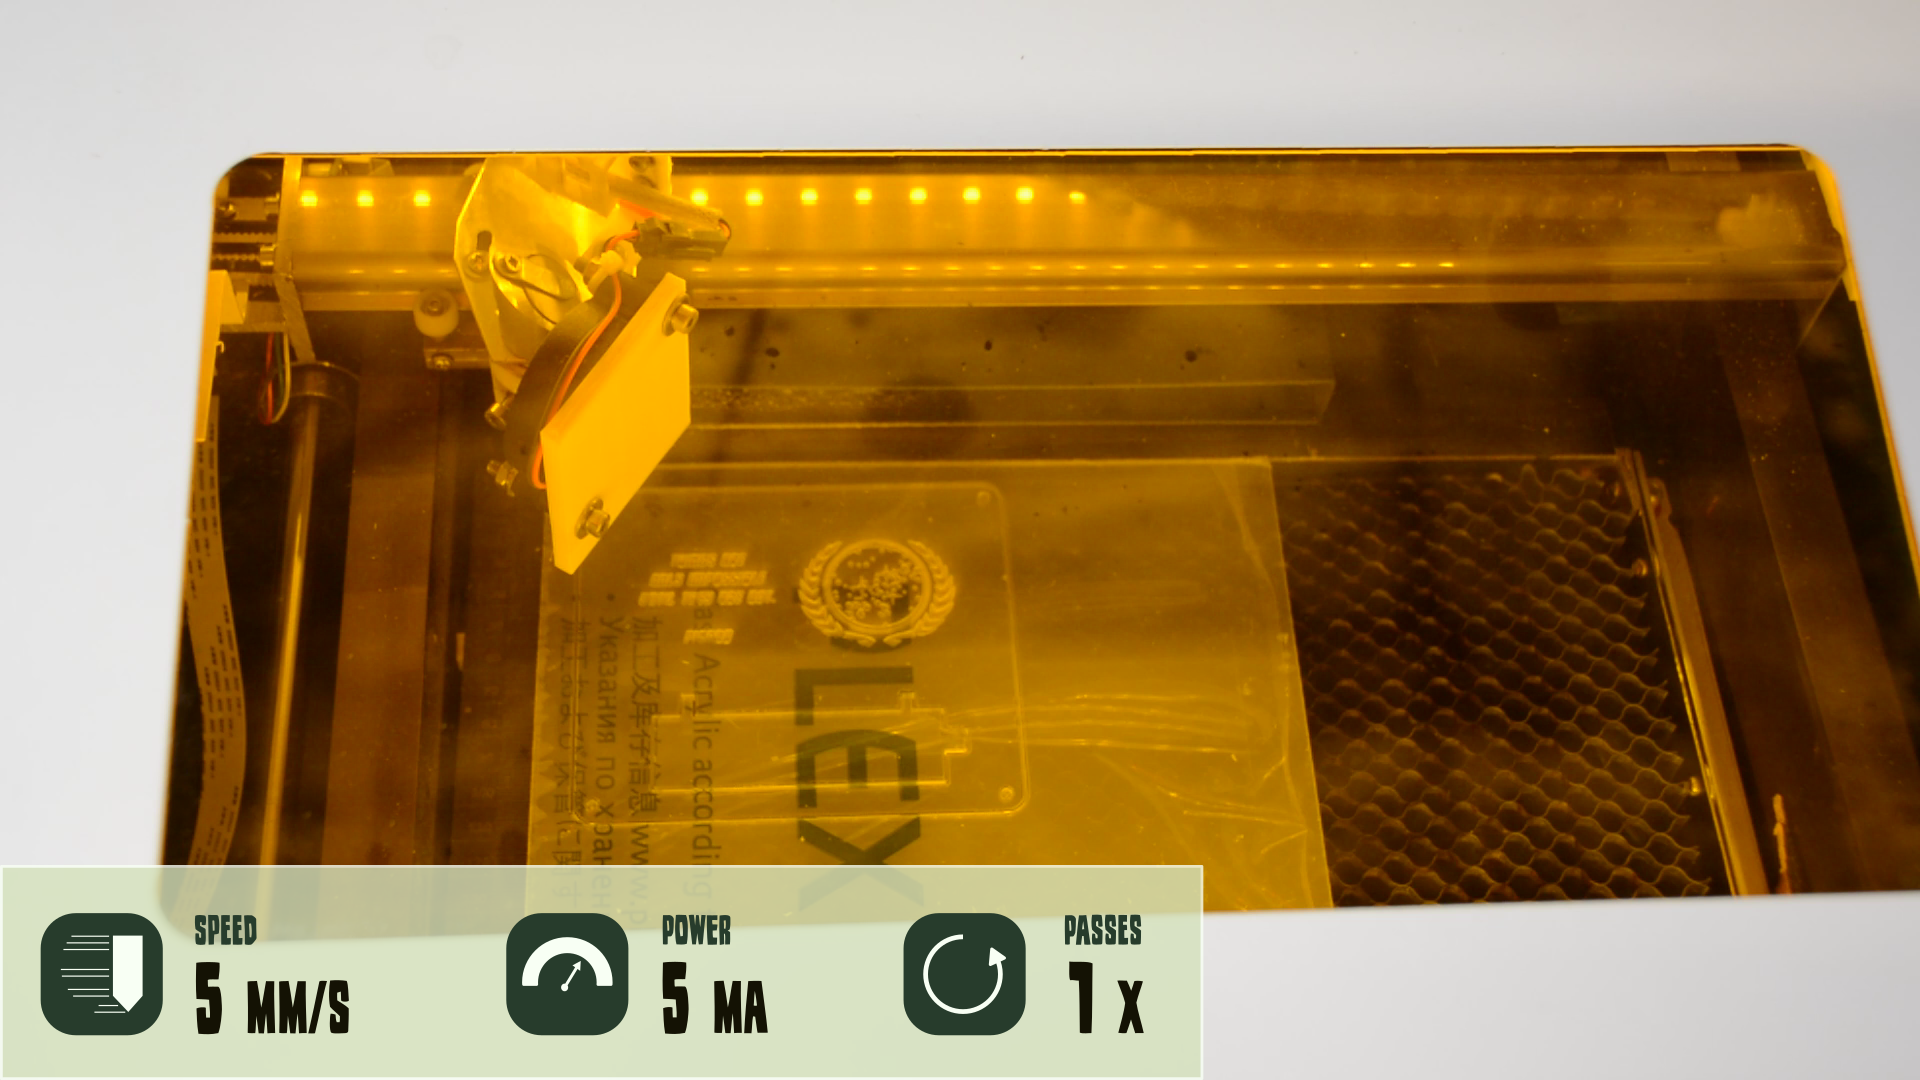
Cutting with the K40 Laser cutter
We start to cut out the MDF on the K40 laser. If you want to create your own invitation card the file is available for free on Thingiverse in the description.
Next on the cutting list is the 3 mm acrylic. We first engrave the text and the logo and then cut the outline.

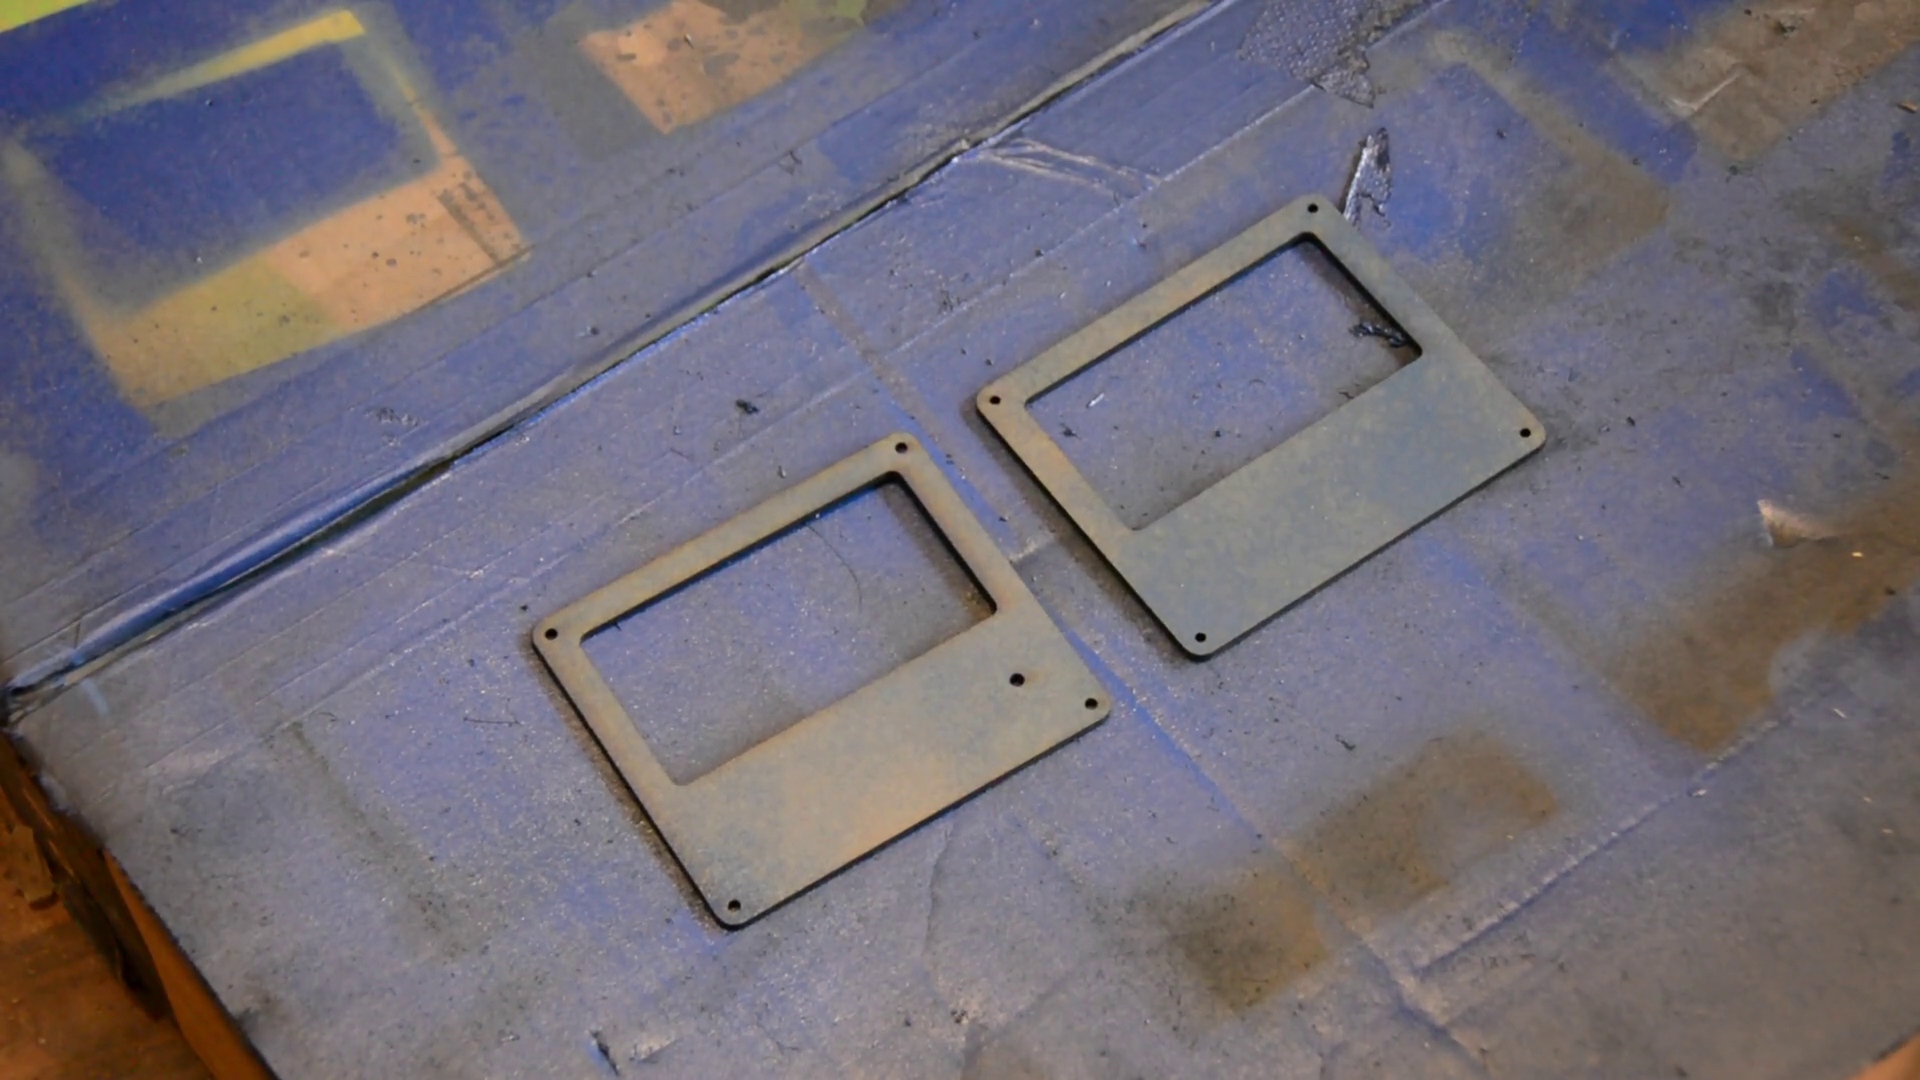
The MDF parts get a few coats of blue spray paint.
Paint and Preparation
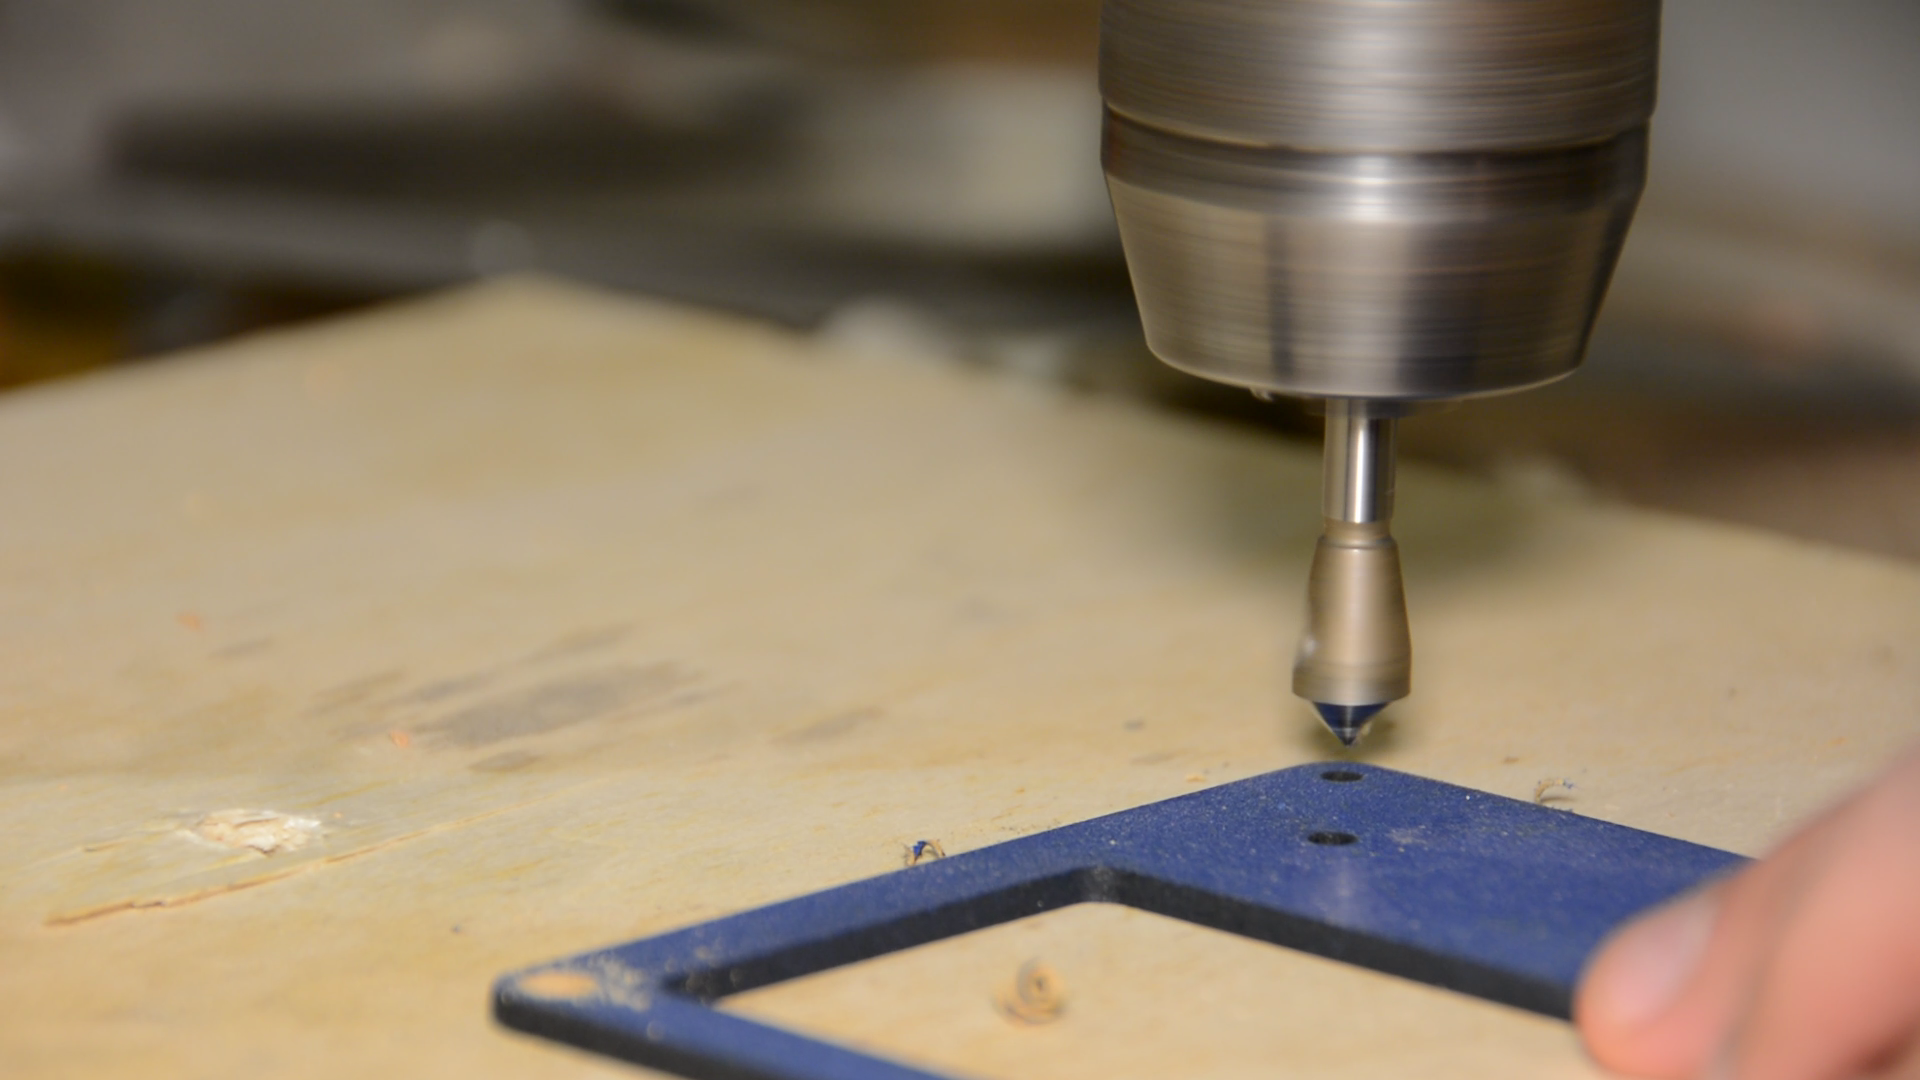
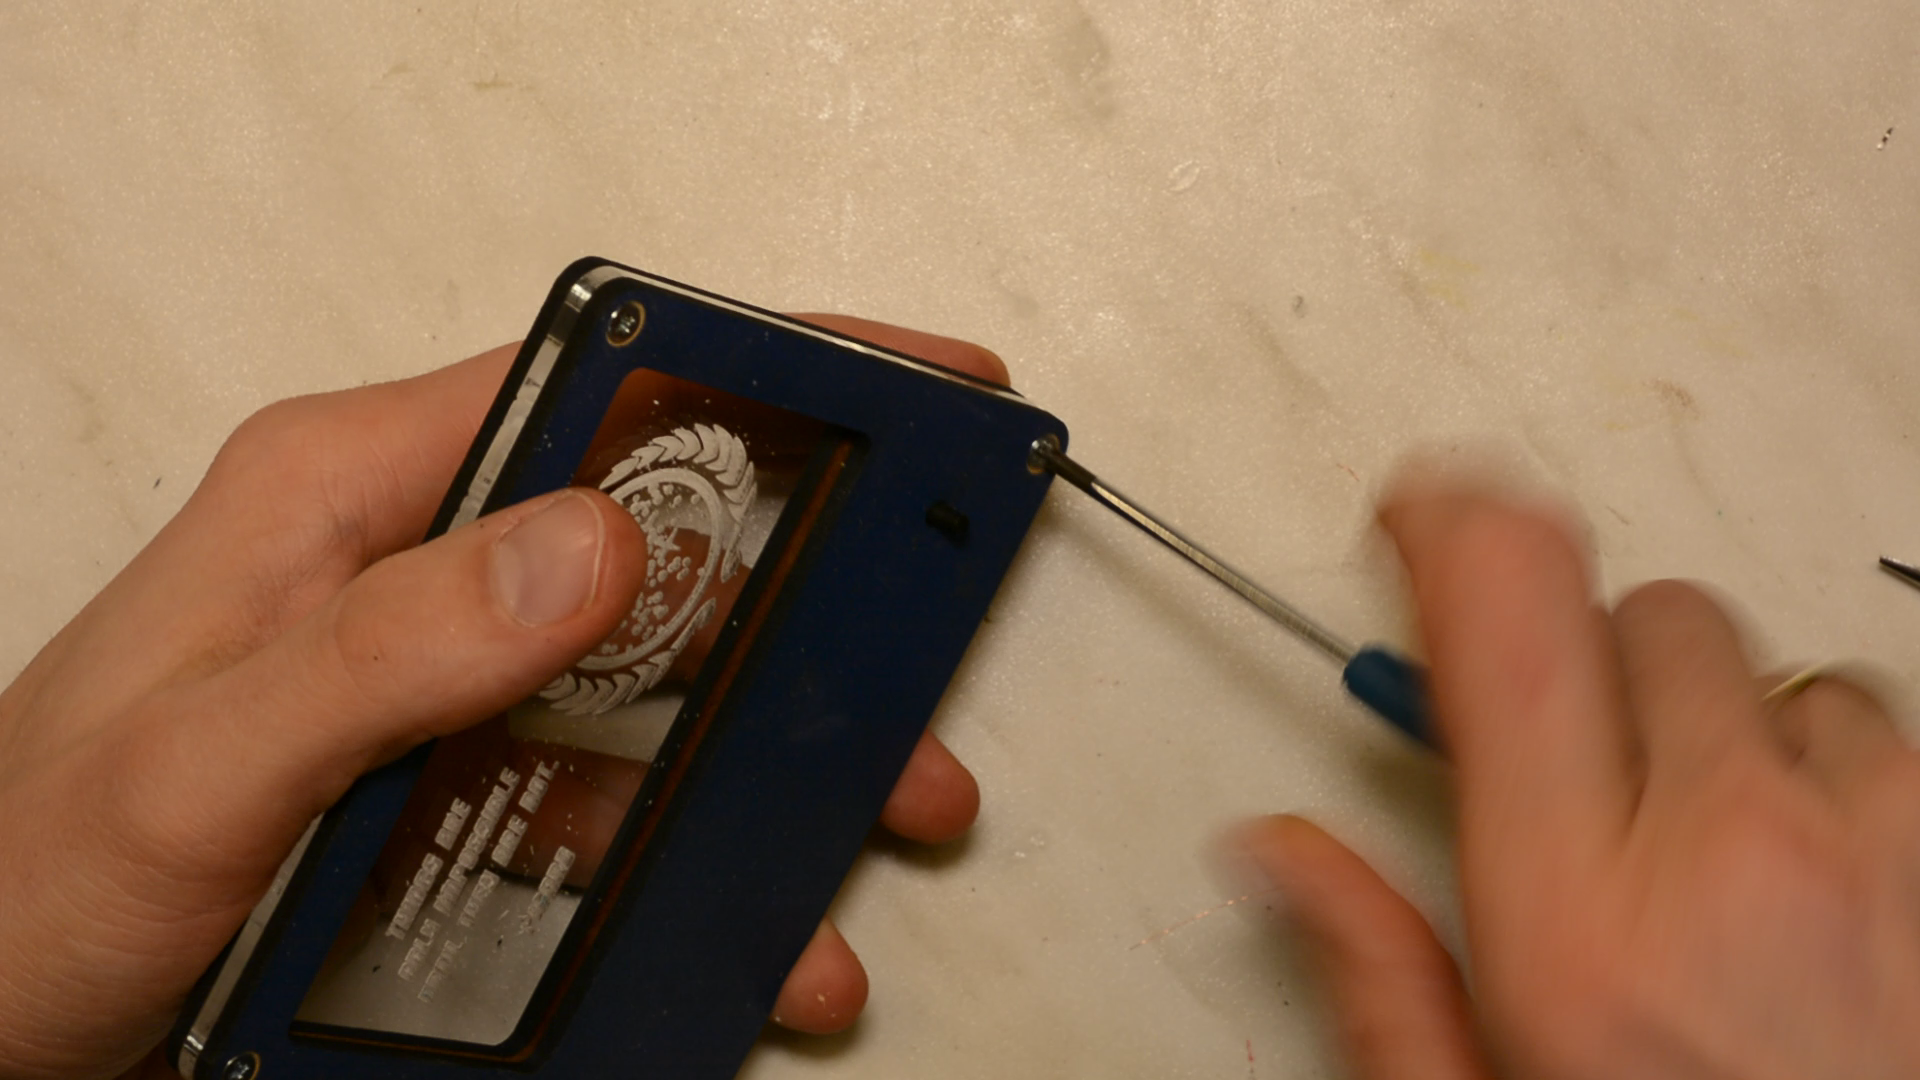
After the paint is dry we countersink the screw holes.
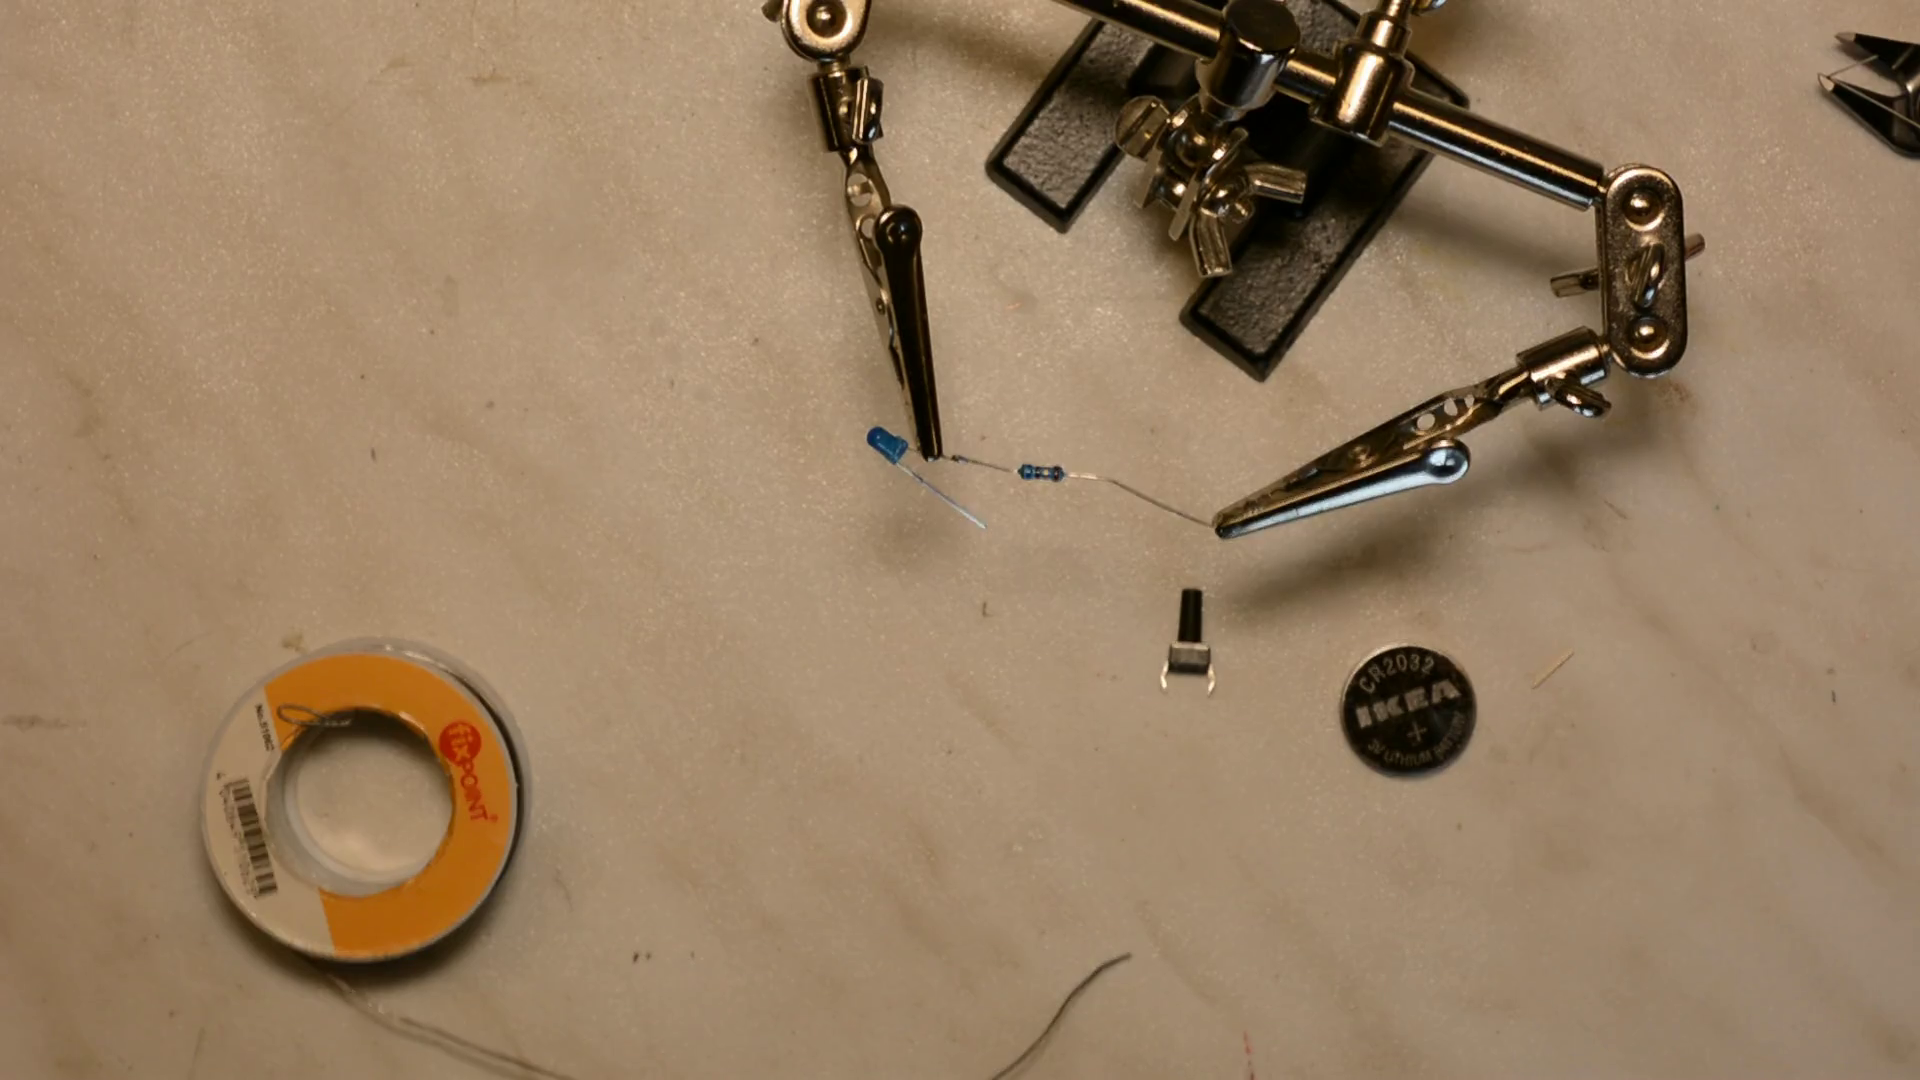
In the meantime we can take care of the electronics.
Electronics and assembly
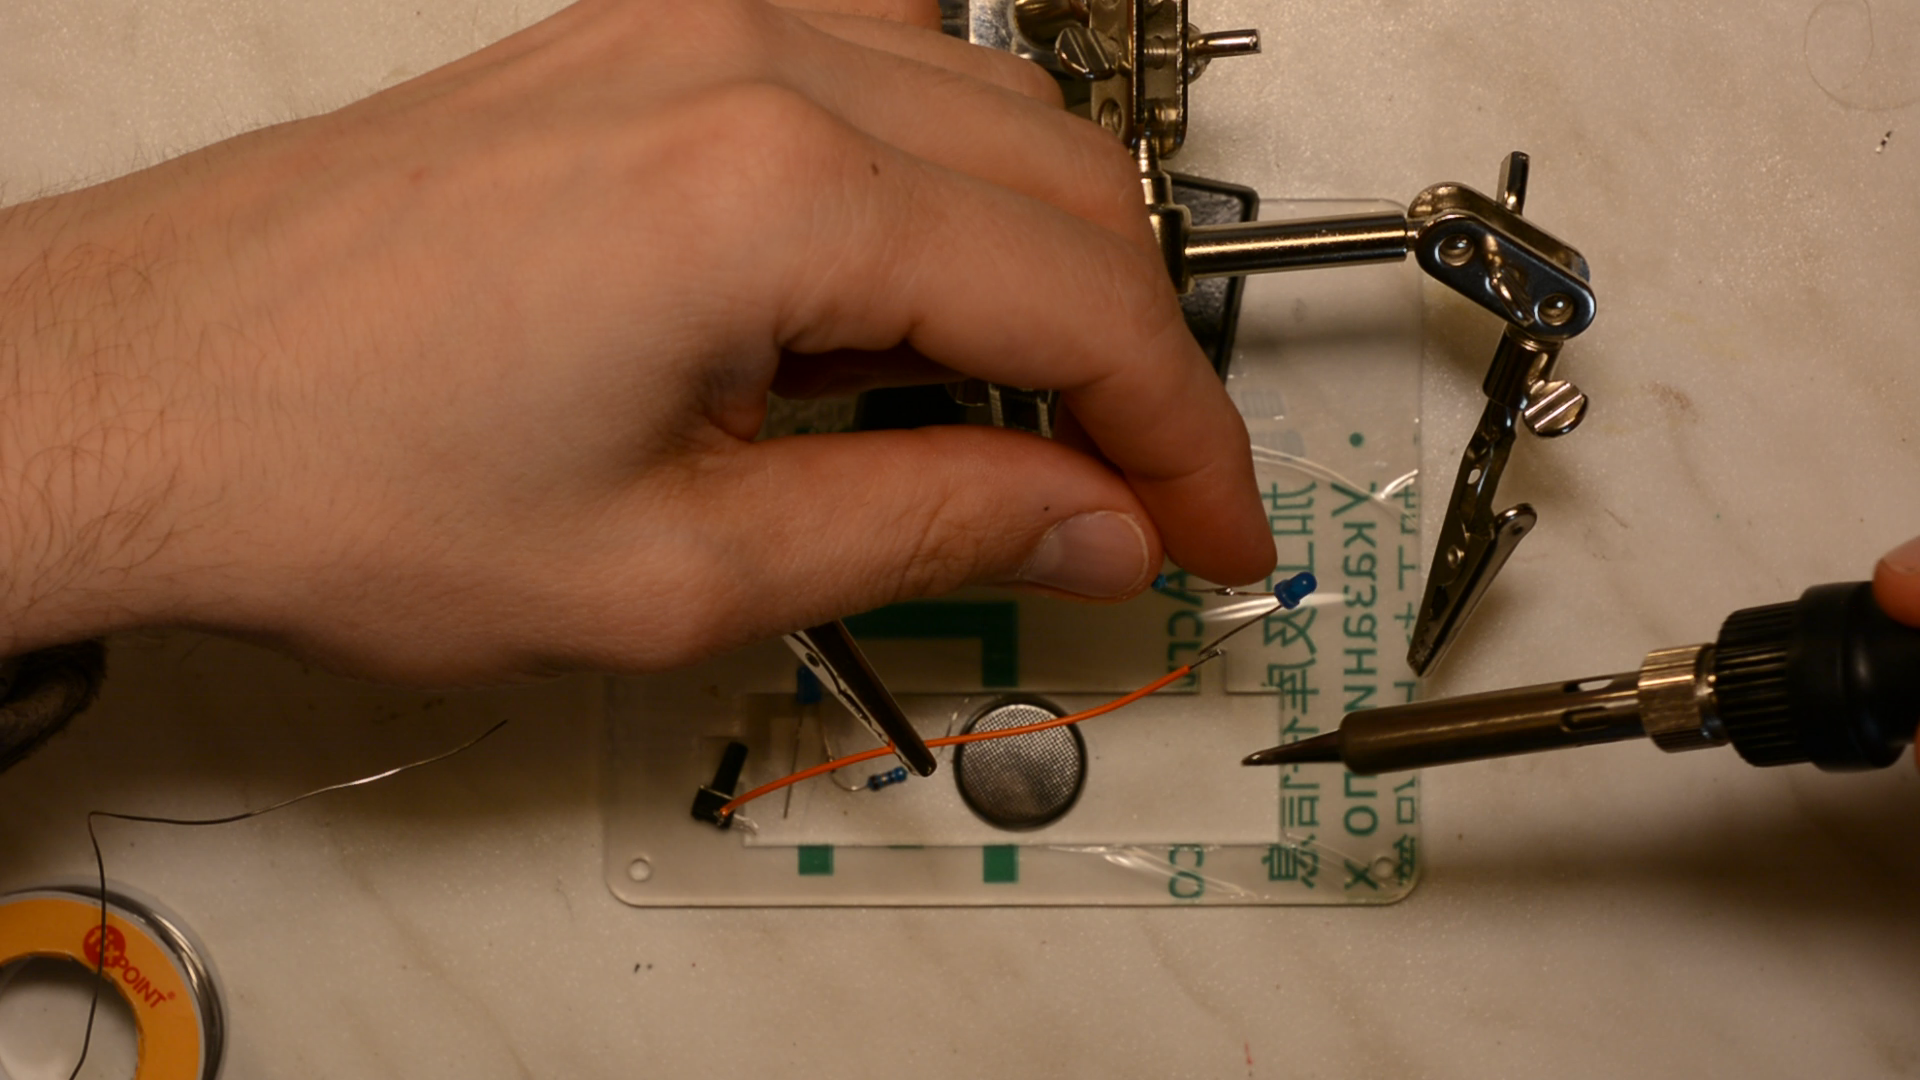
All you need for this project are two LEDs, two resistors, a switch, a battery and some wire.

After shortening the longer leg of the LEDs we solder a resistor to this end and repeat the same for the second LED.
The negative pole of one LED is soldered to a piece of wire.
The other end of this wire is connect with the switch and the remaining side of the other LED.
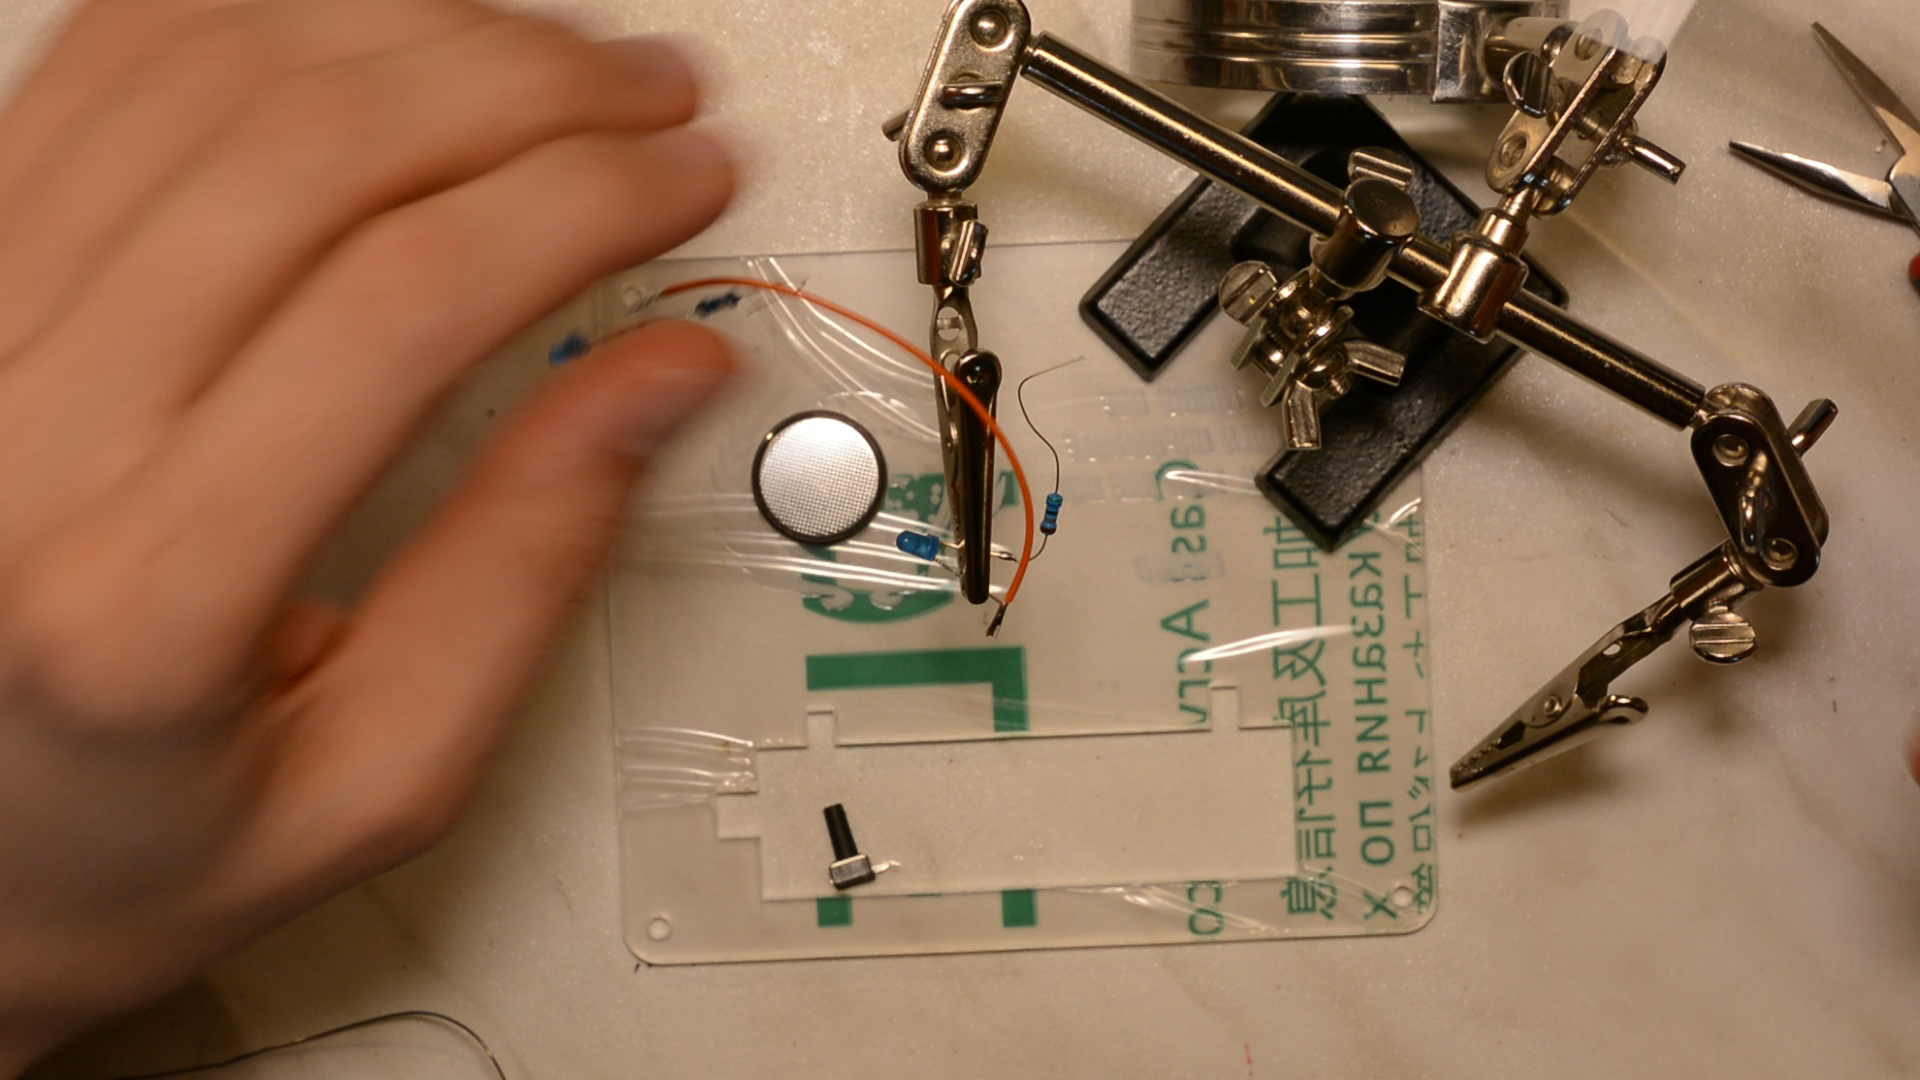

Lastly we solder a short wire at the other side of the switch and strip most of the other end.
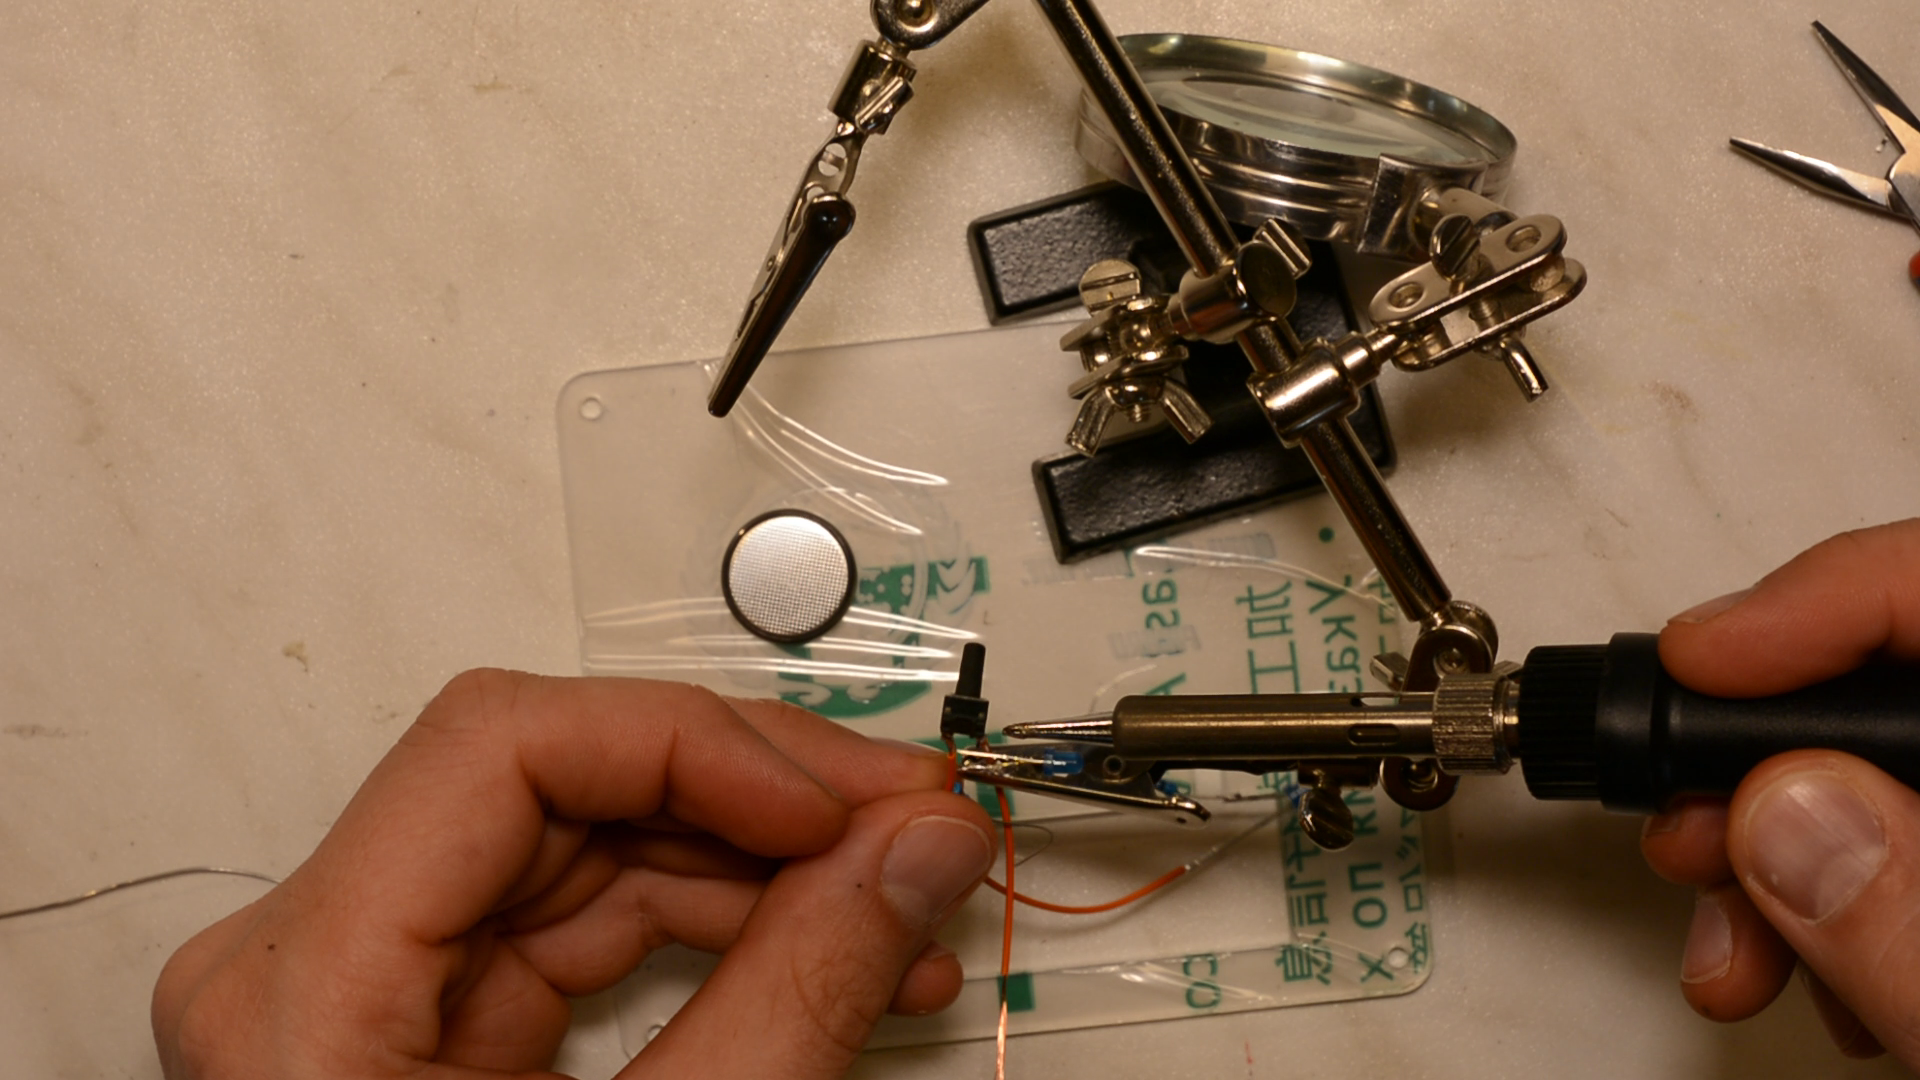
Before the final assembly a small piece of tape ensures that we do not cause a short circuit.

For the assembly we make sure that the free ends of the resistors are firmly pressed against the positive pole of the battery and the loose cable is pressed on the negative side.
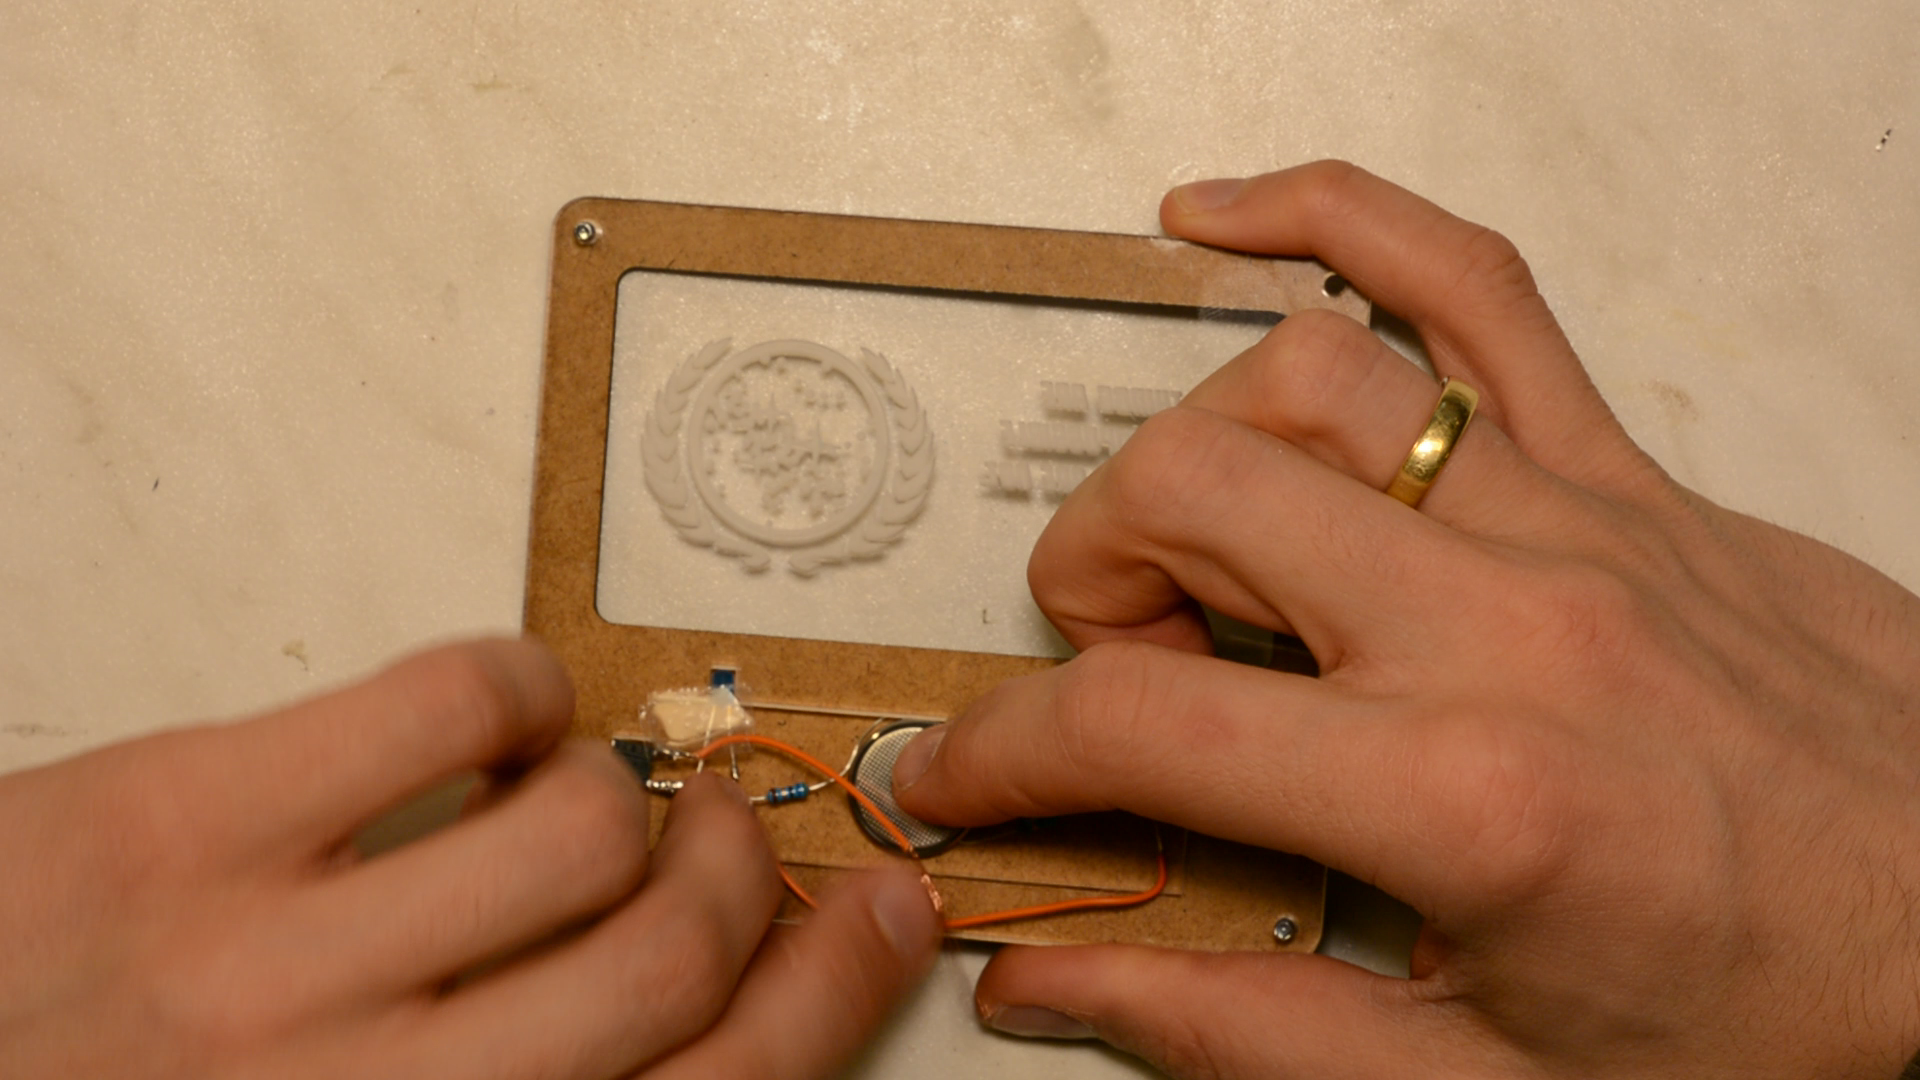
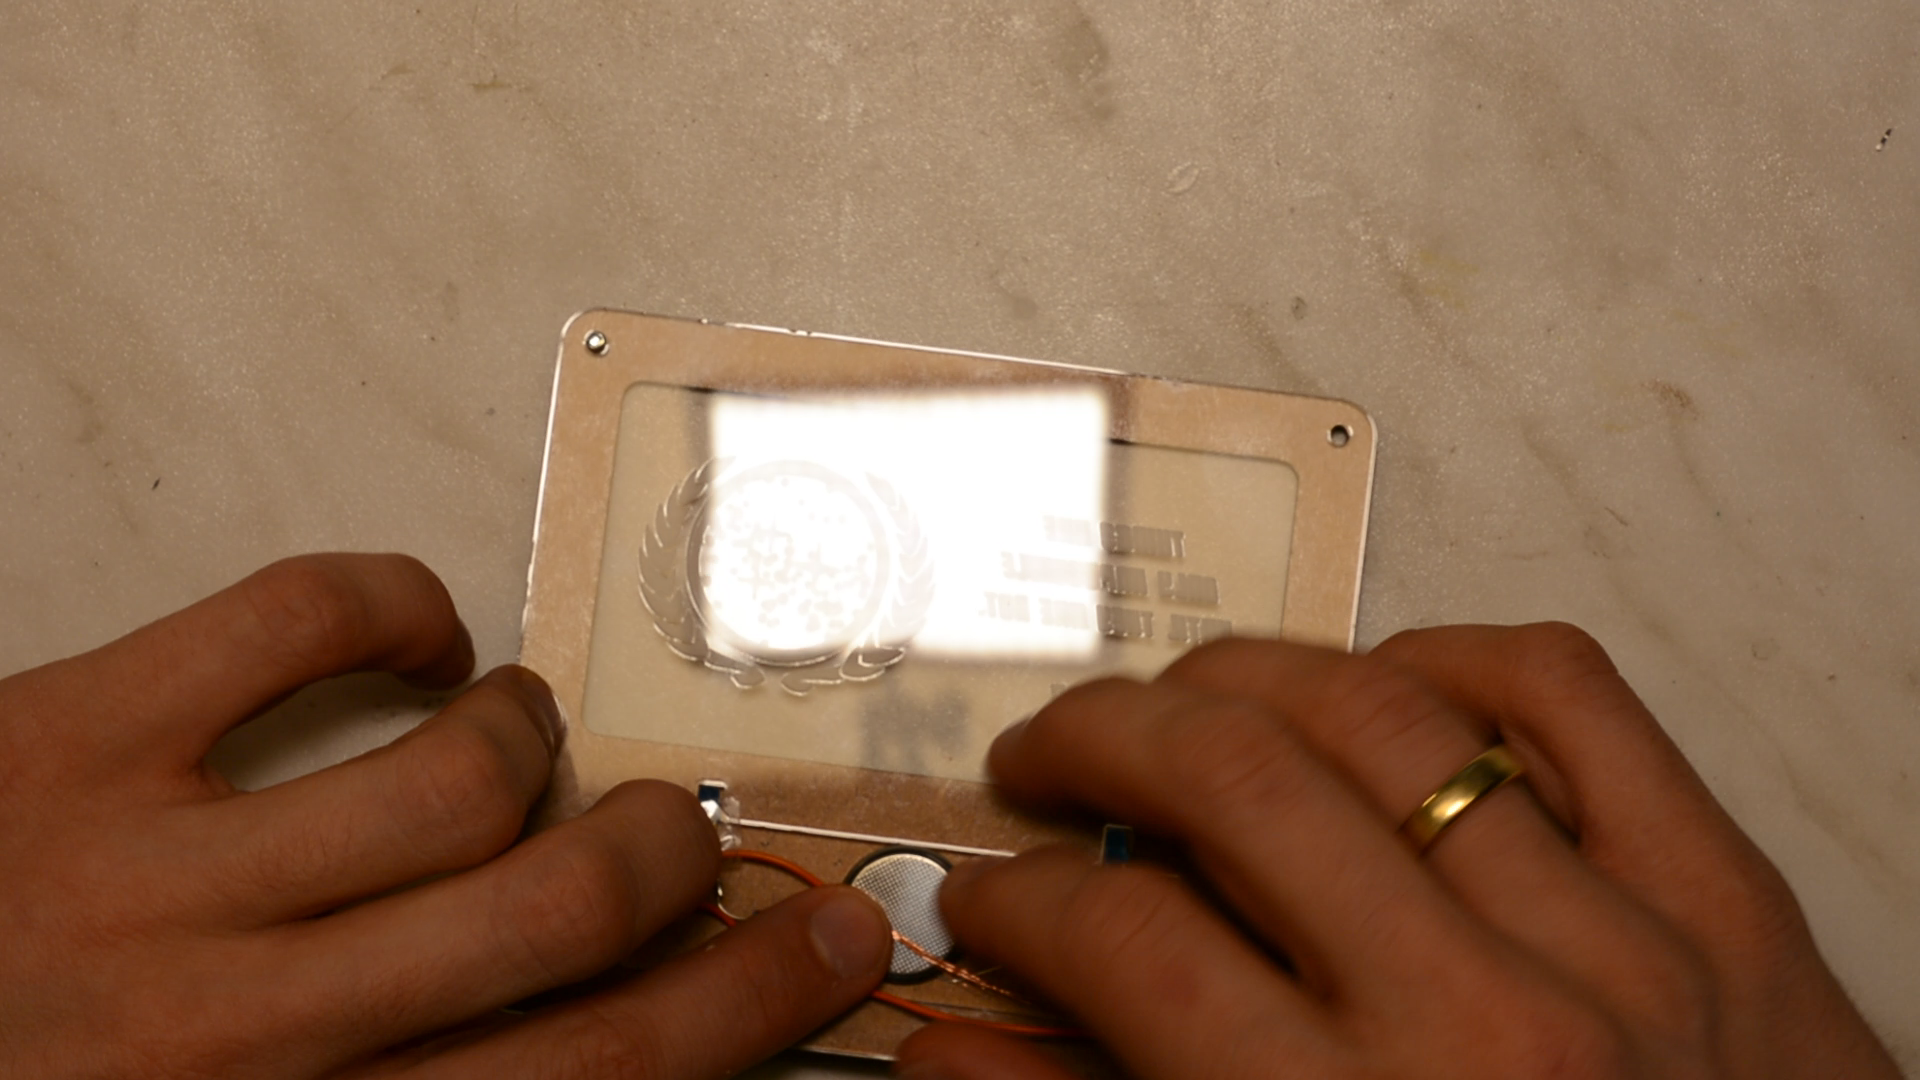
Everything is secured with M3 screws.
The kids liked the invitation cards and we are looking forward to the party.
Resources
- File on Thingiverse: https://www.thingiverse.com/thing:3481947