In this article we will describe how to build a 3d printed jig for forstner bit sharpening. We go through the detailed sharpening guide and explain how to assemble the jig.
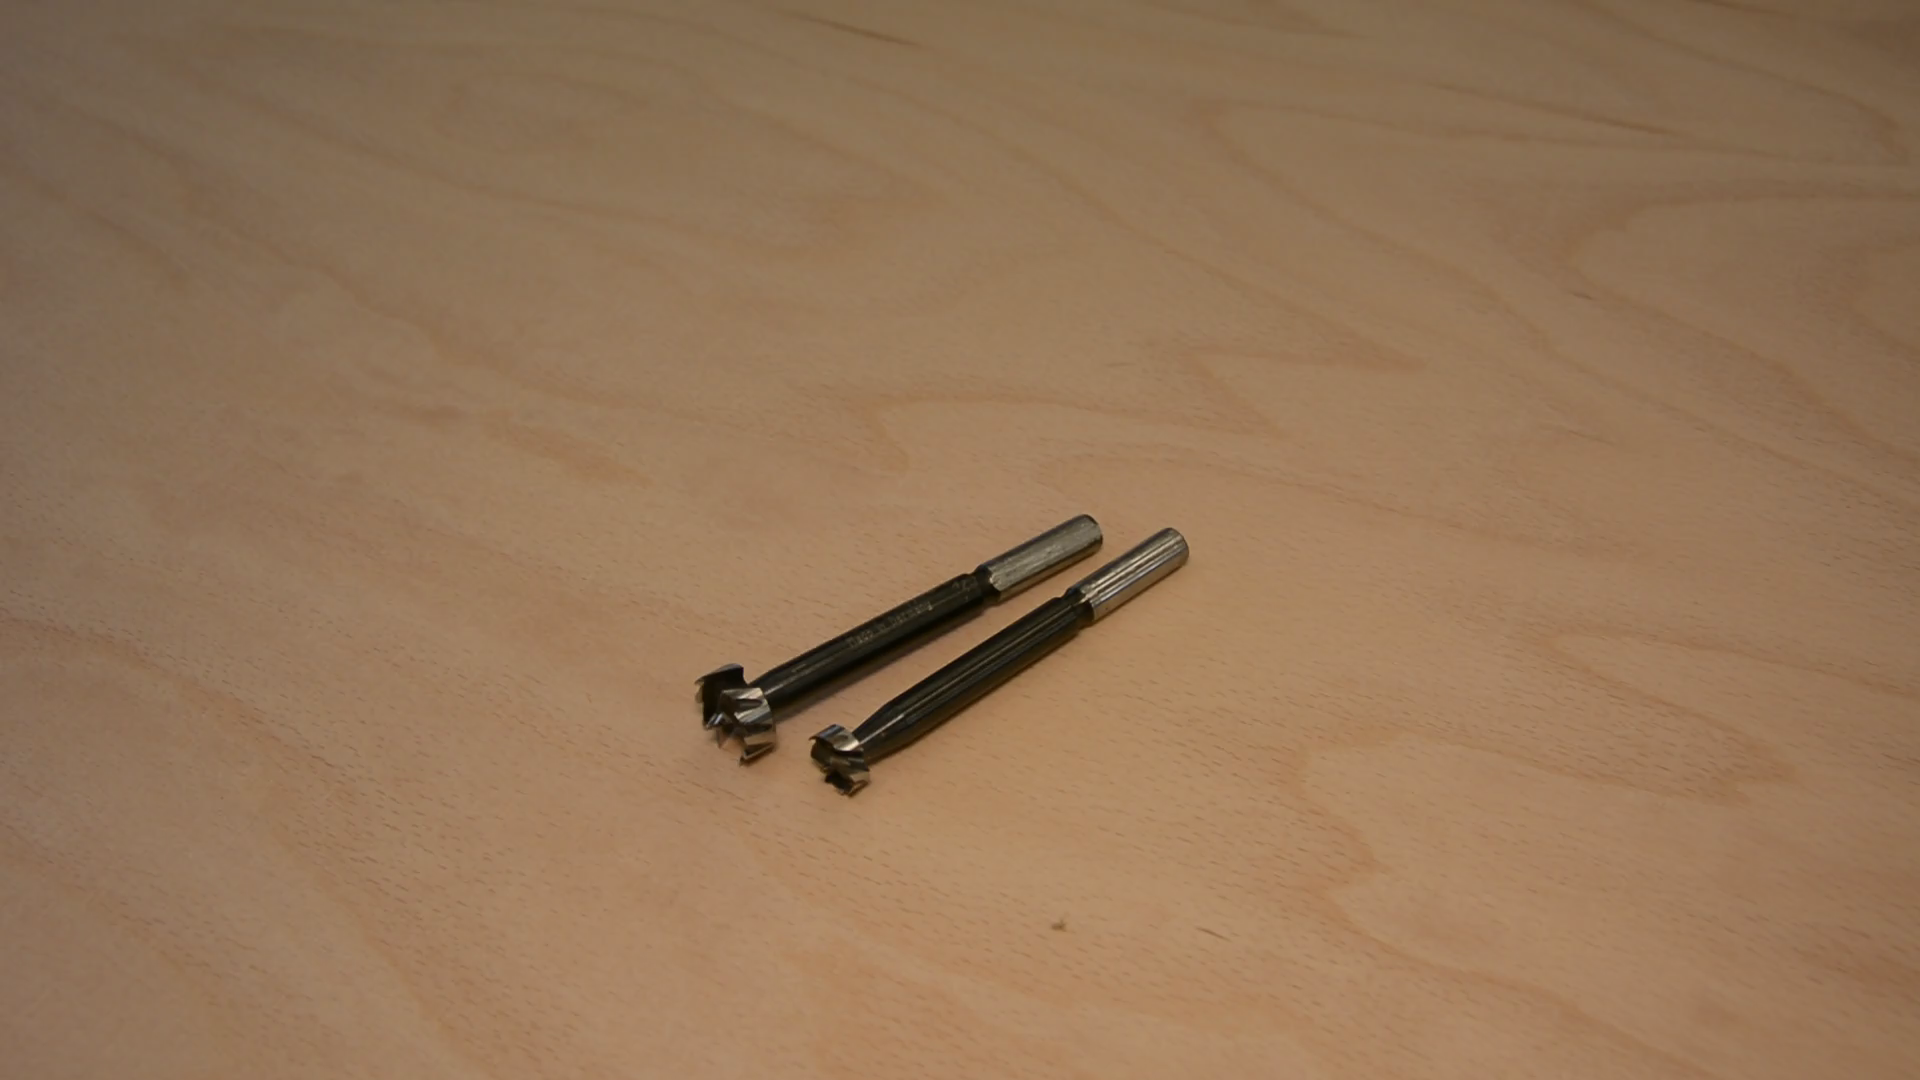
For these 2 forstner drills I payed the same money as for this complete set of 15 drills from 10 to 50 mm.

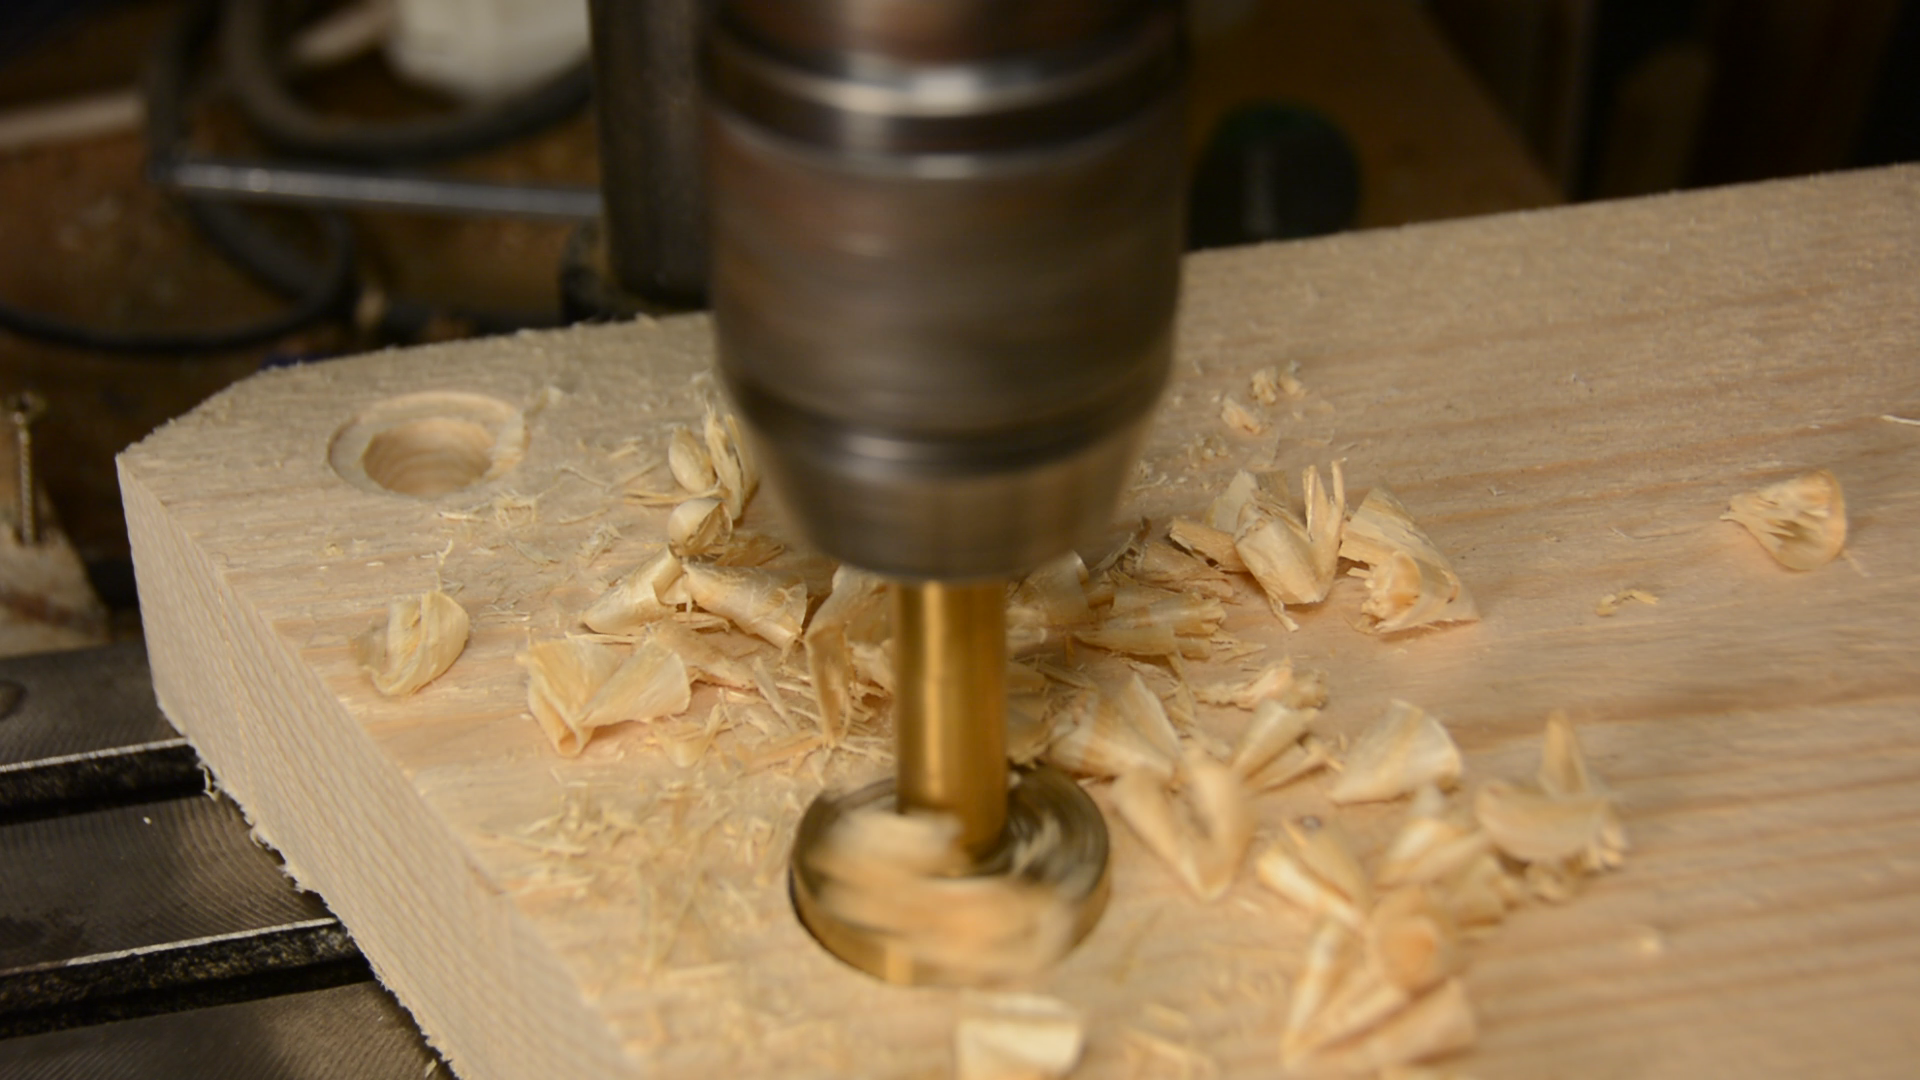
The cheap drill is not cutting very well. It is creating dust but not chips. The more expensive one in contrast is creating curly shavings. Let me show you how to sharpen a drill with this jig and then show you how to build this jig yourself.

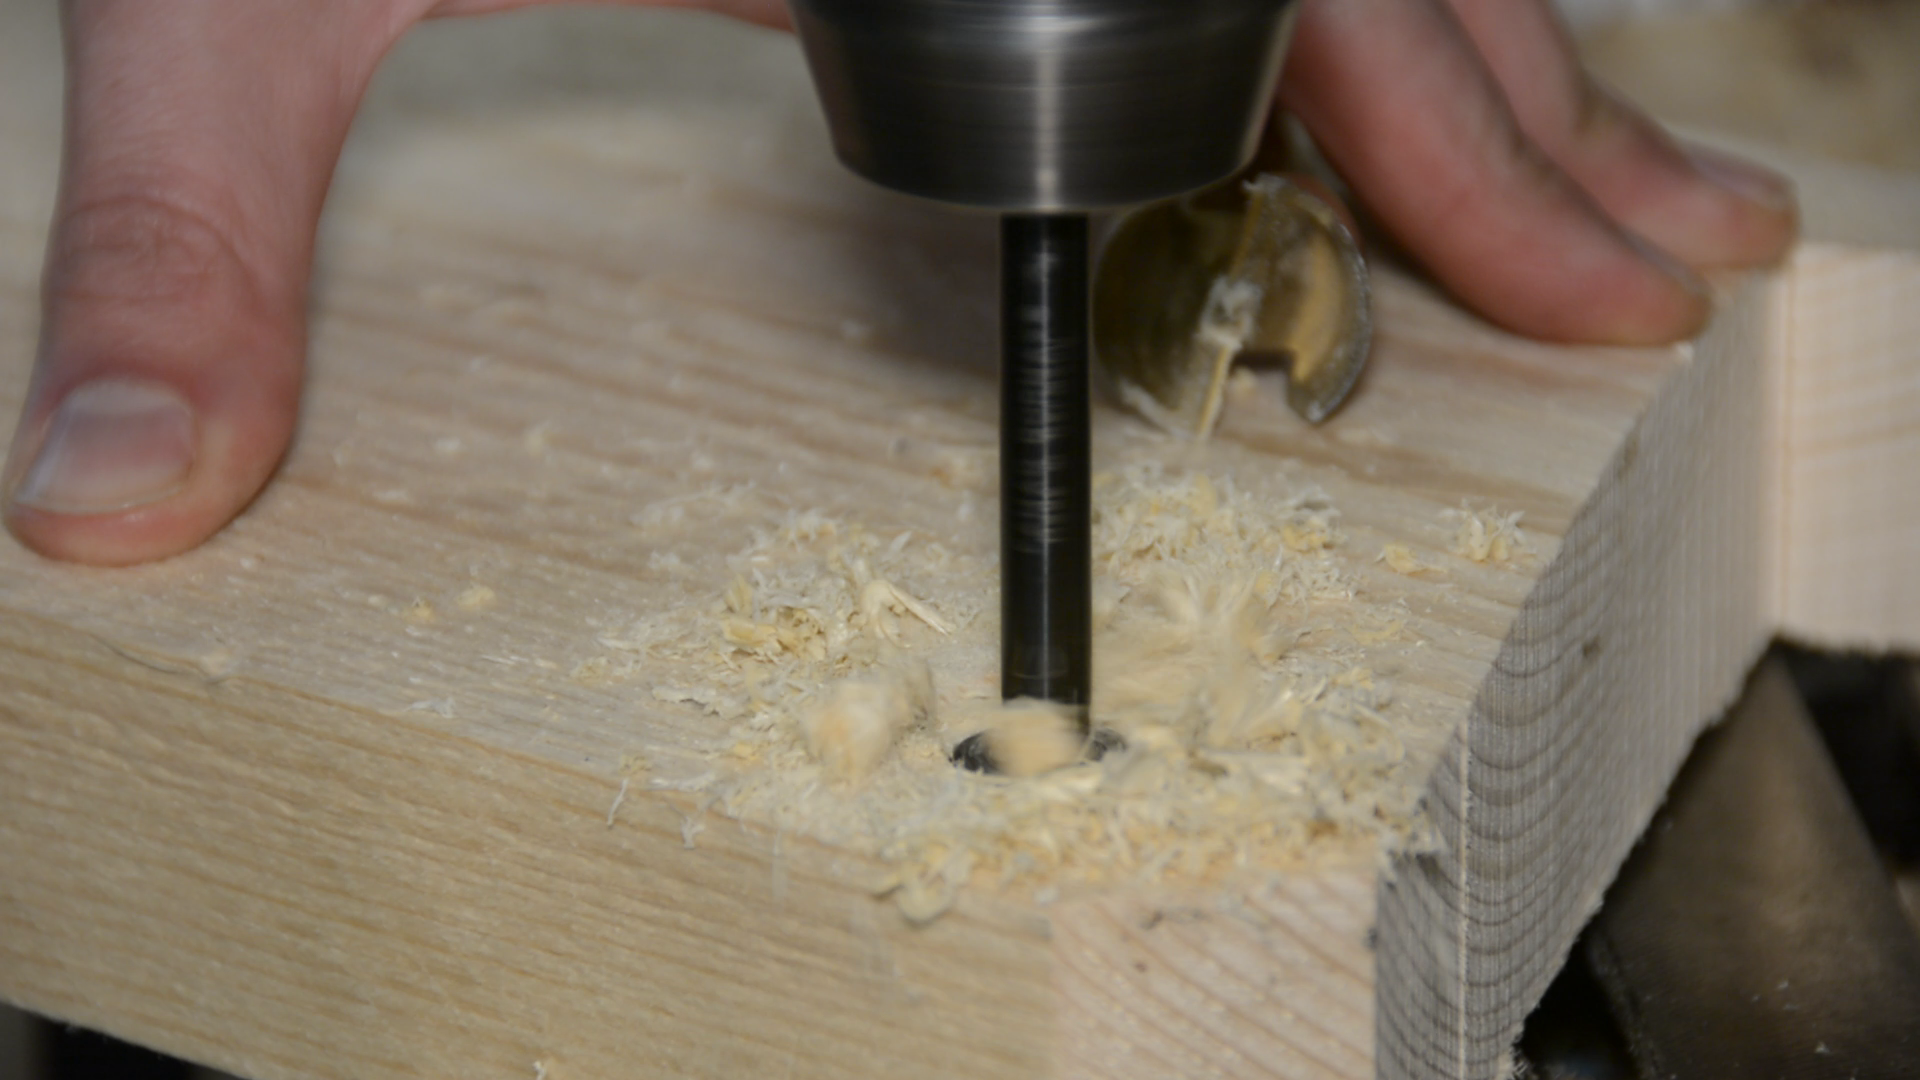
In this article with we will sharpen one of the cheap forstner drills to perform as well as the expensive ones.
Sharpening Forstner Bits with the 3d printed jig
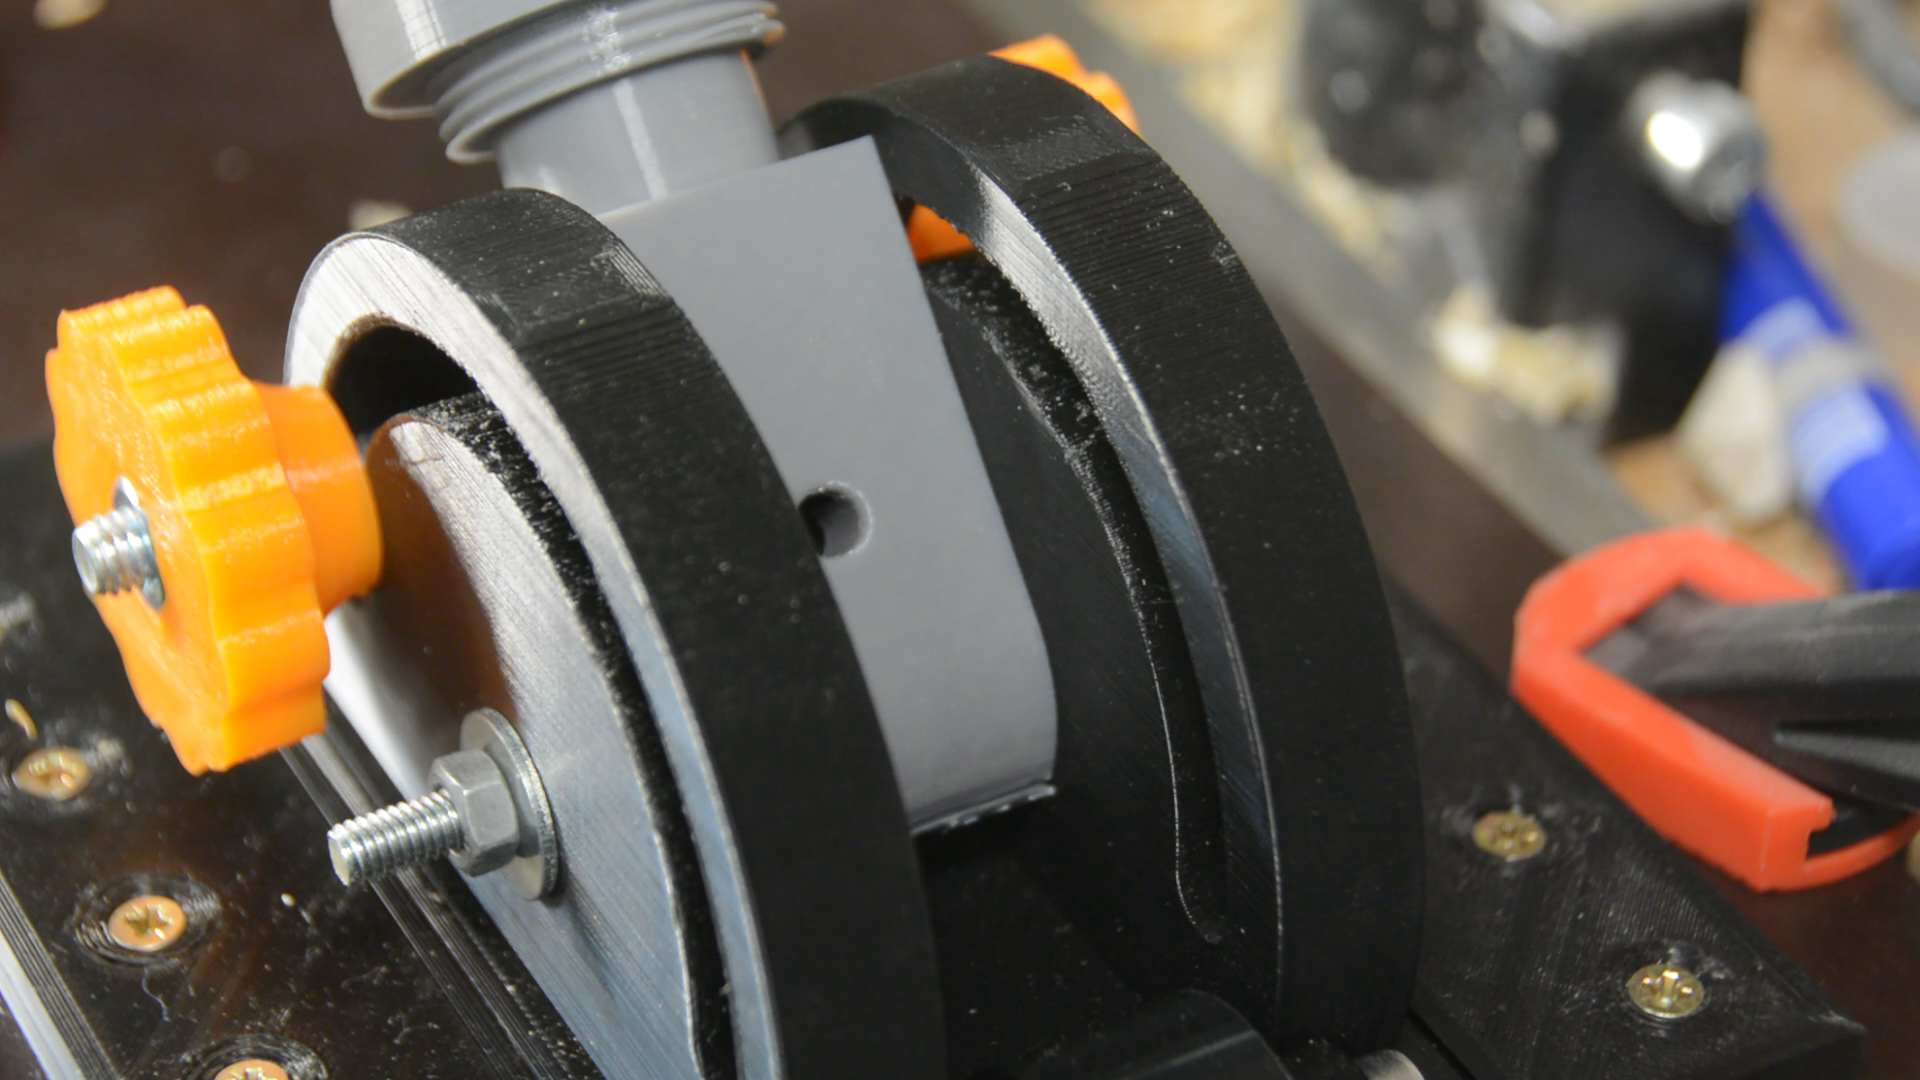
Let’s put the drill in the jig and tighten it.
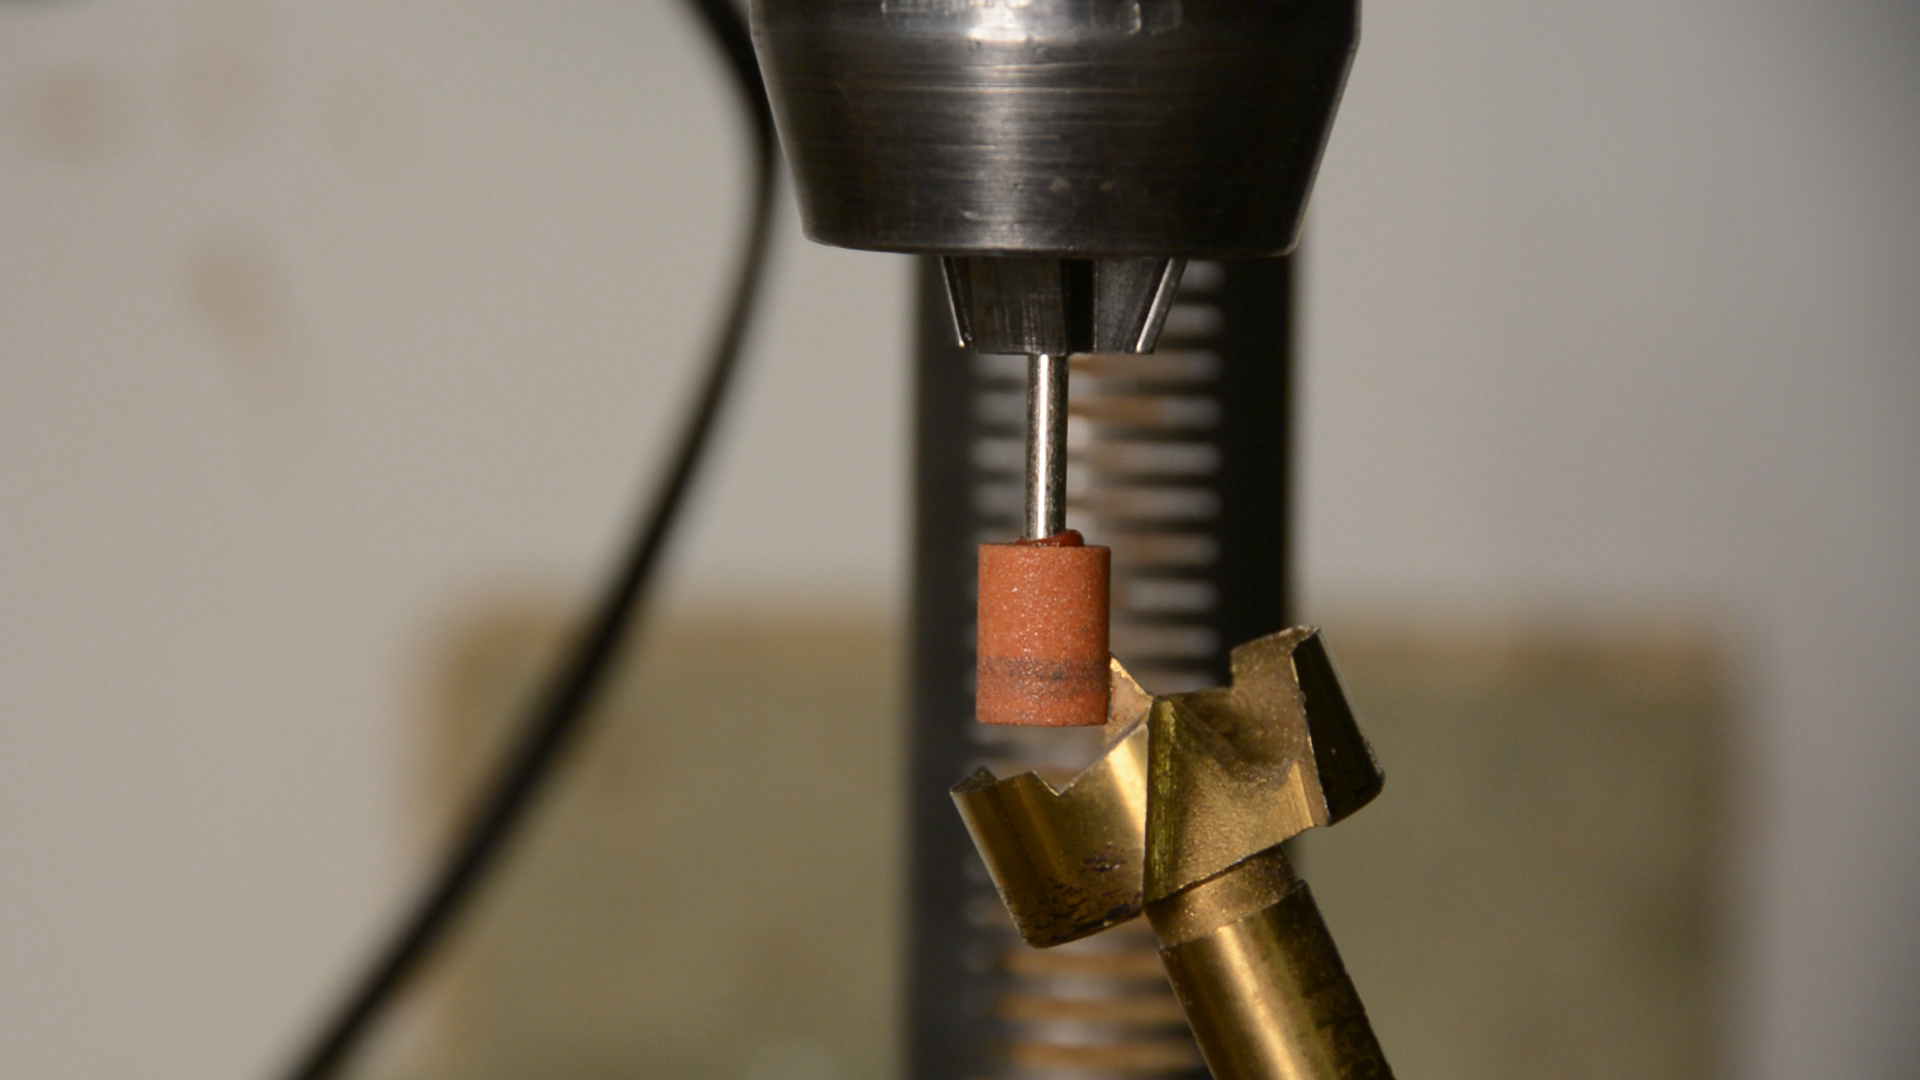
Sharpening the outer rim
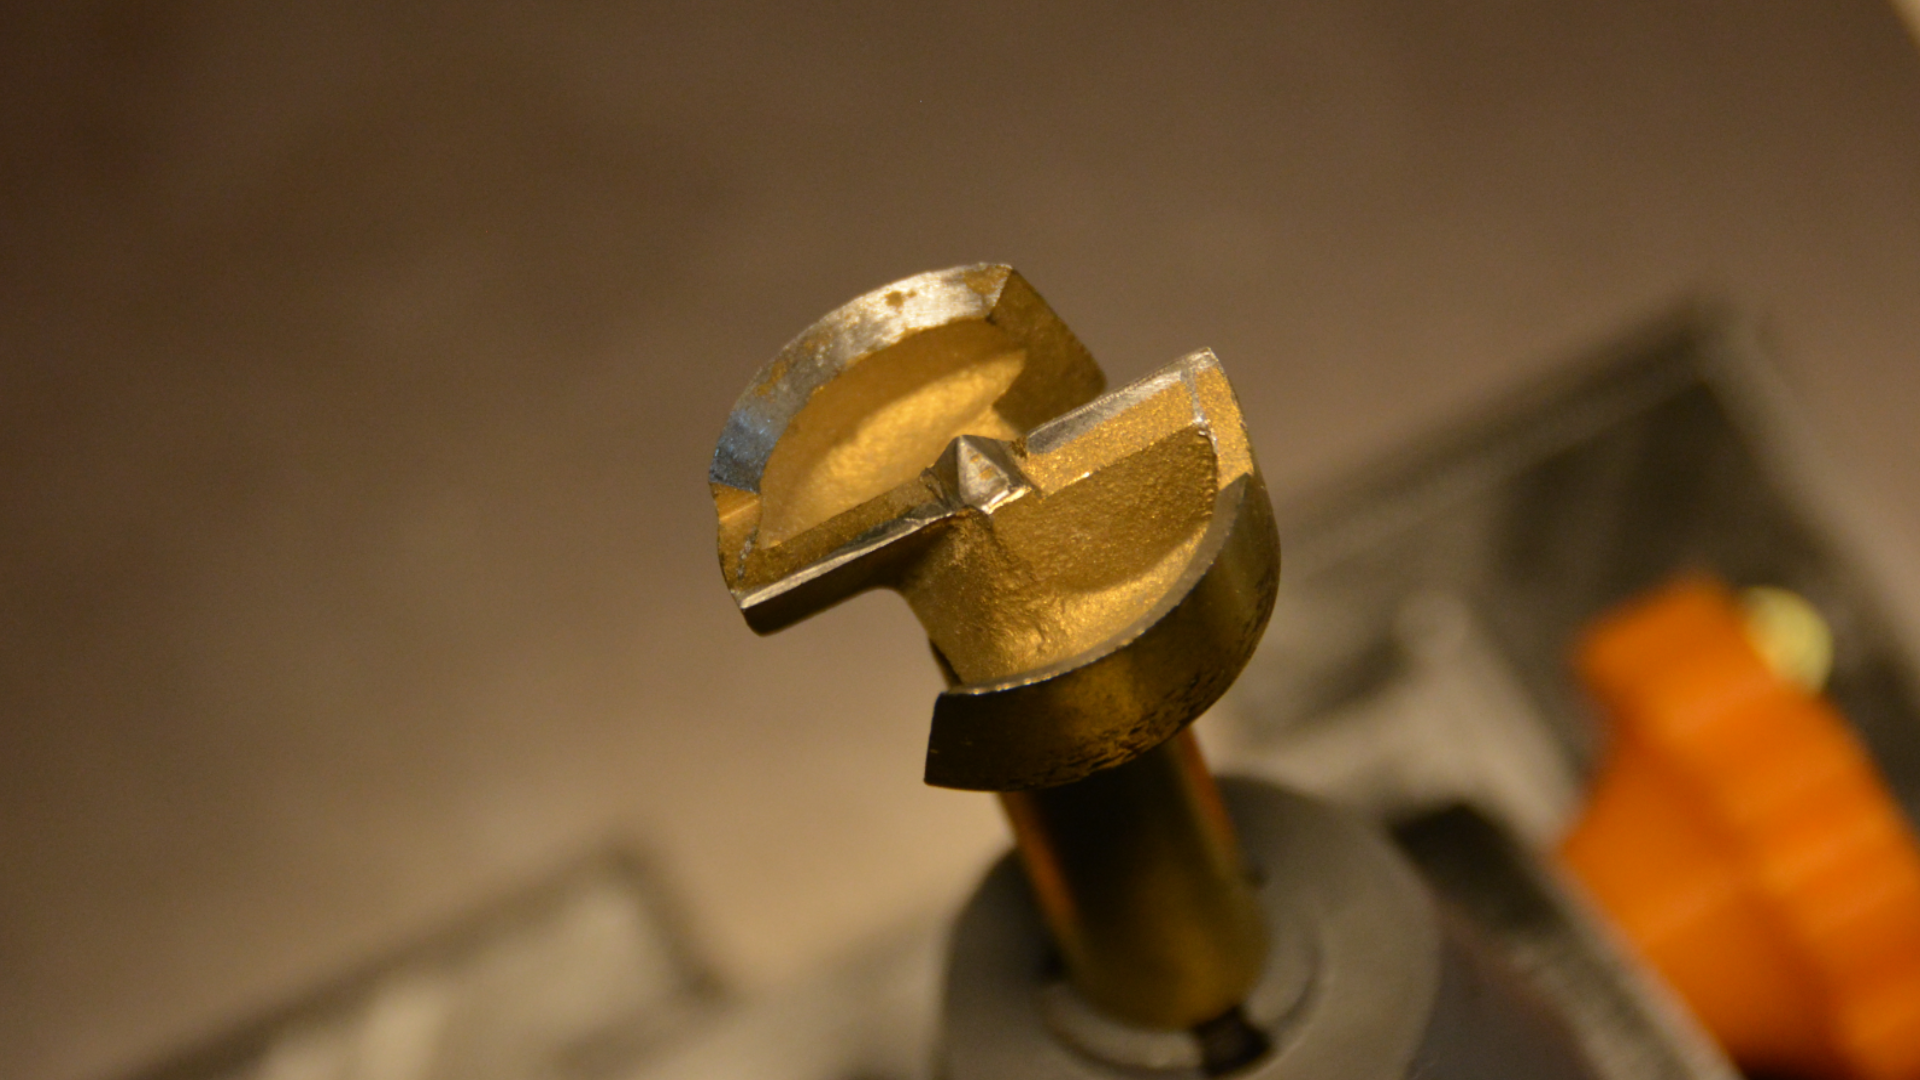
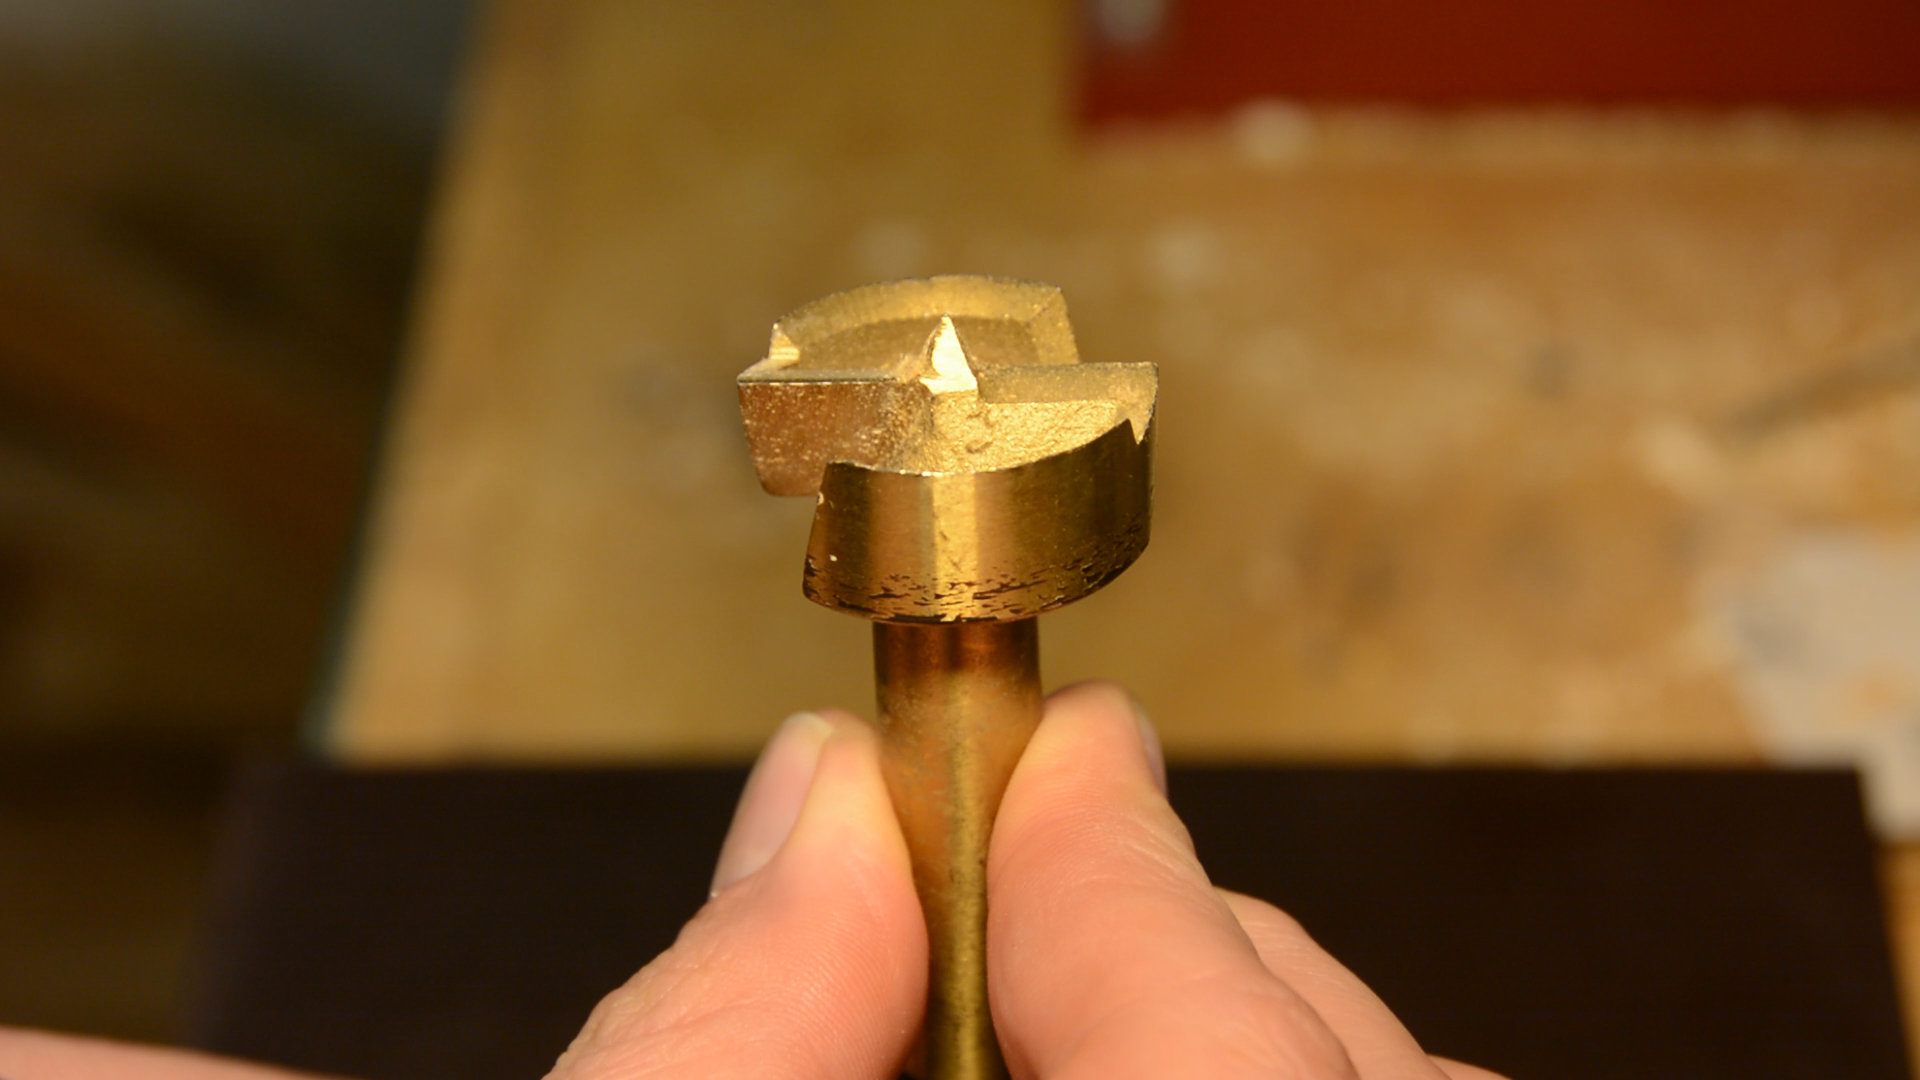
We will first sharpen the outer rim.
After removing the lockpin from the jig the chuck is locked in place and we can tighten it to hold the drill bit in place.

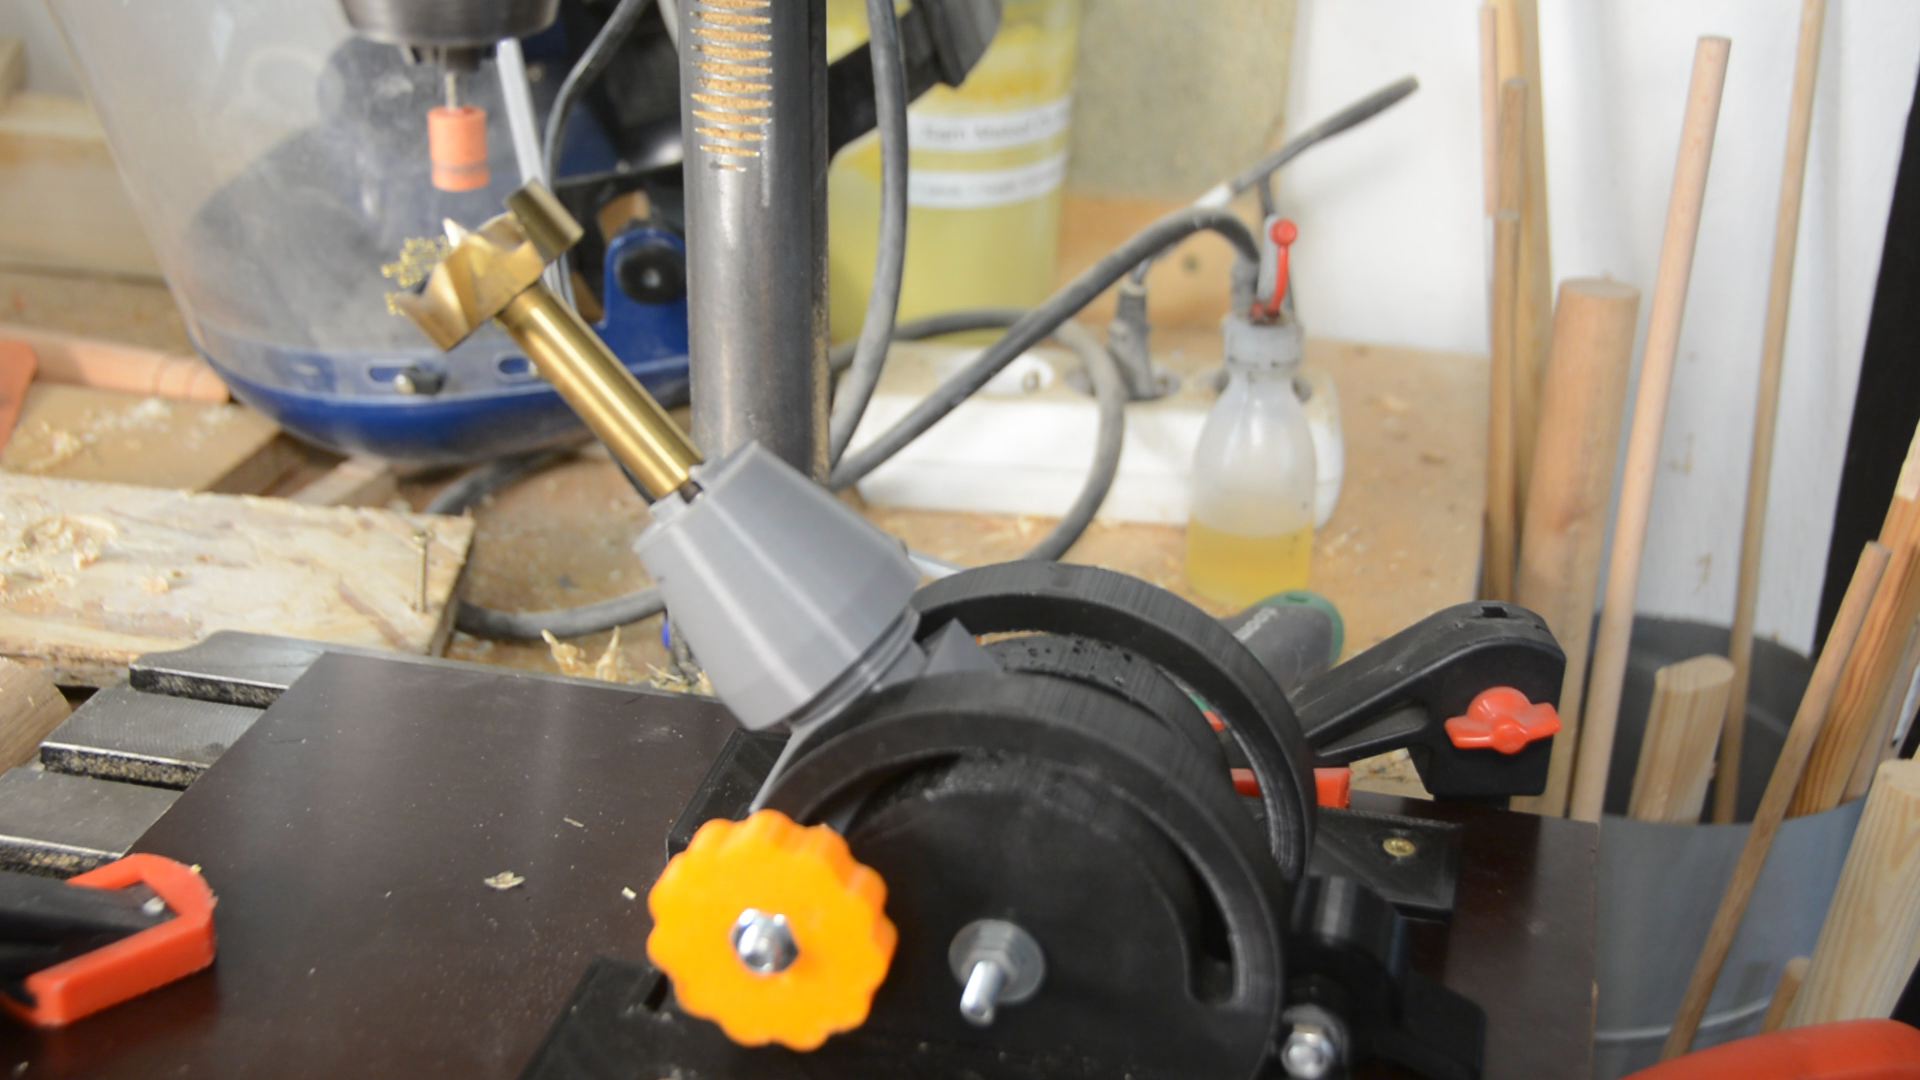
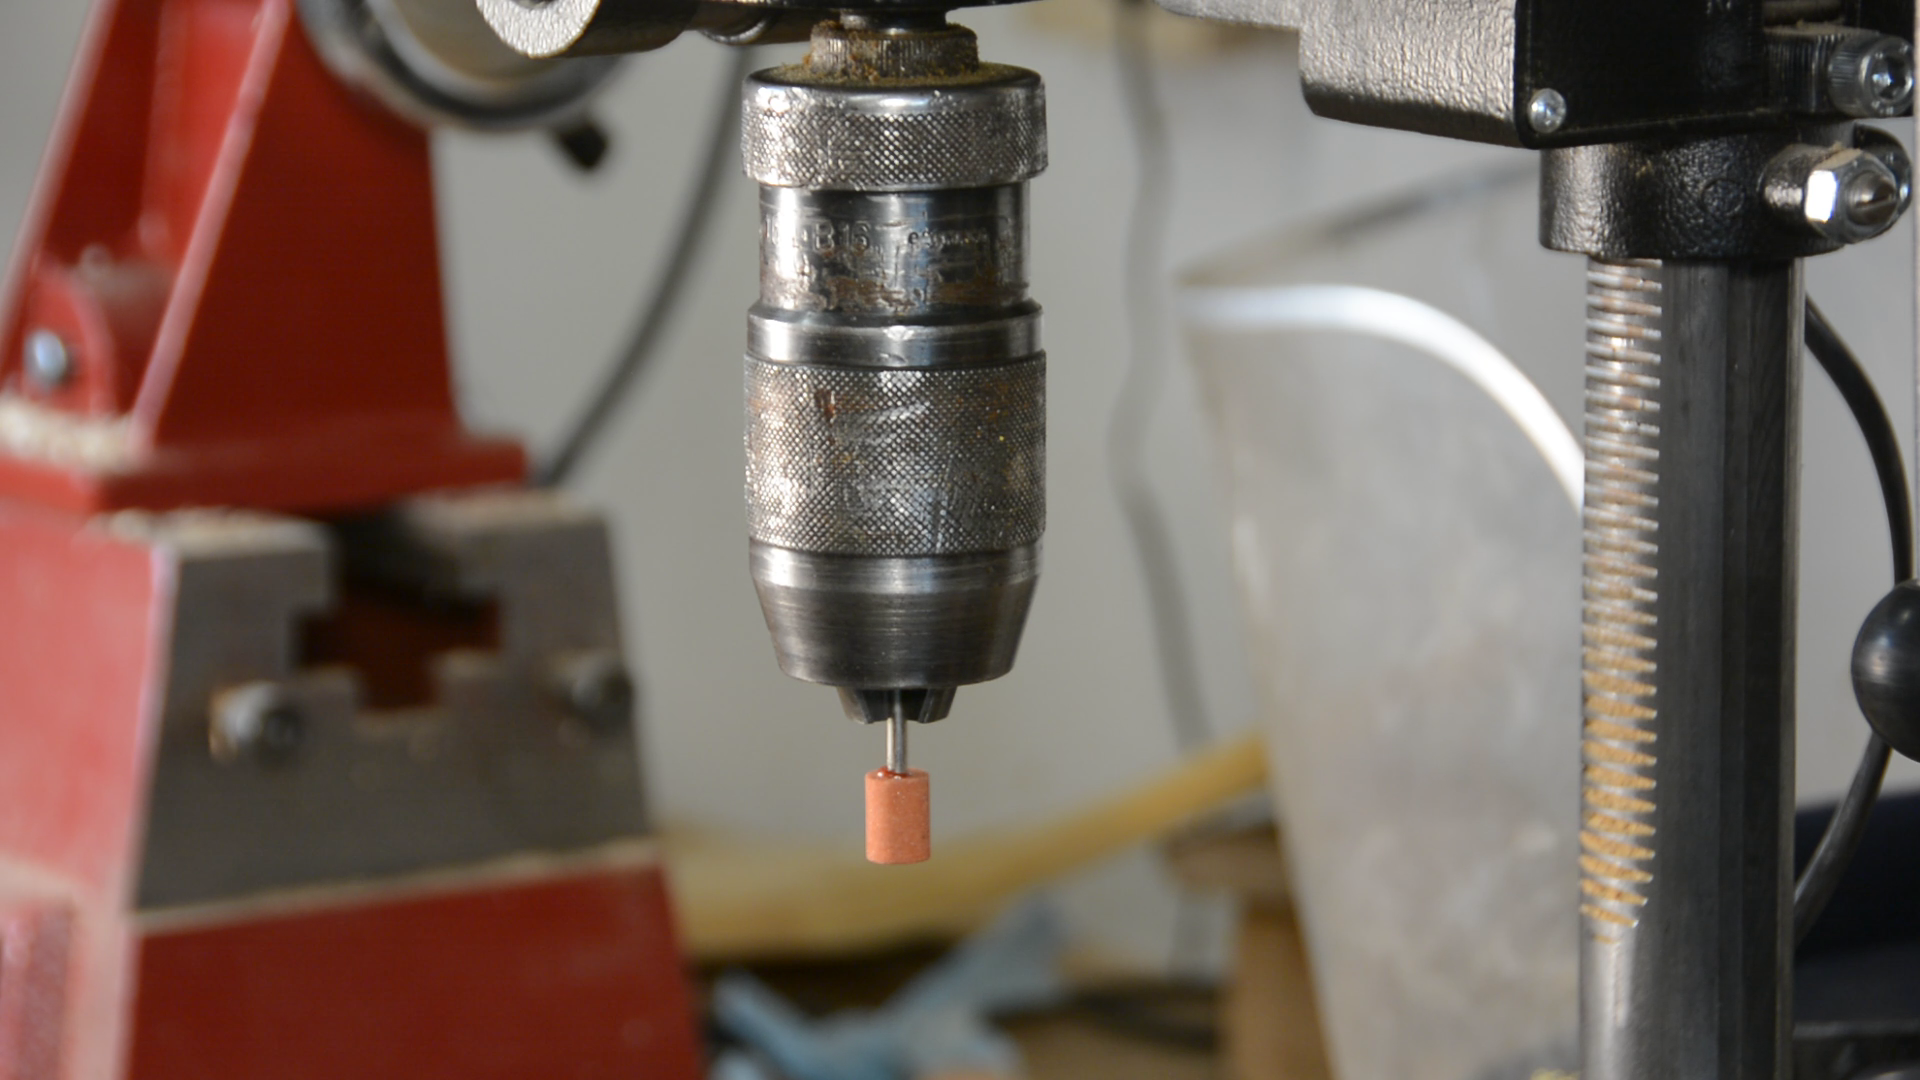
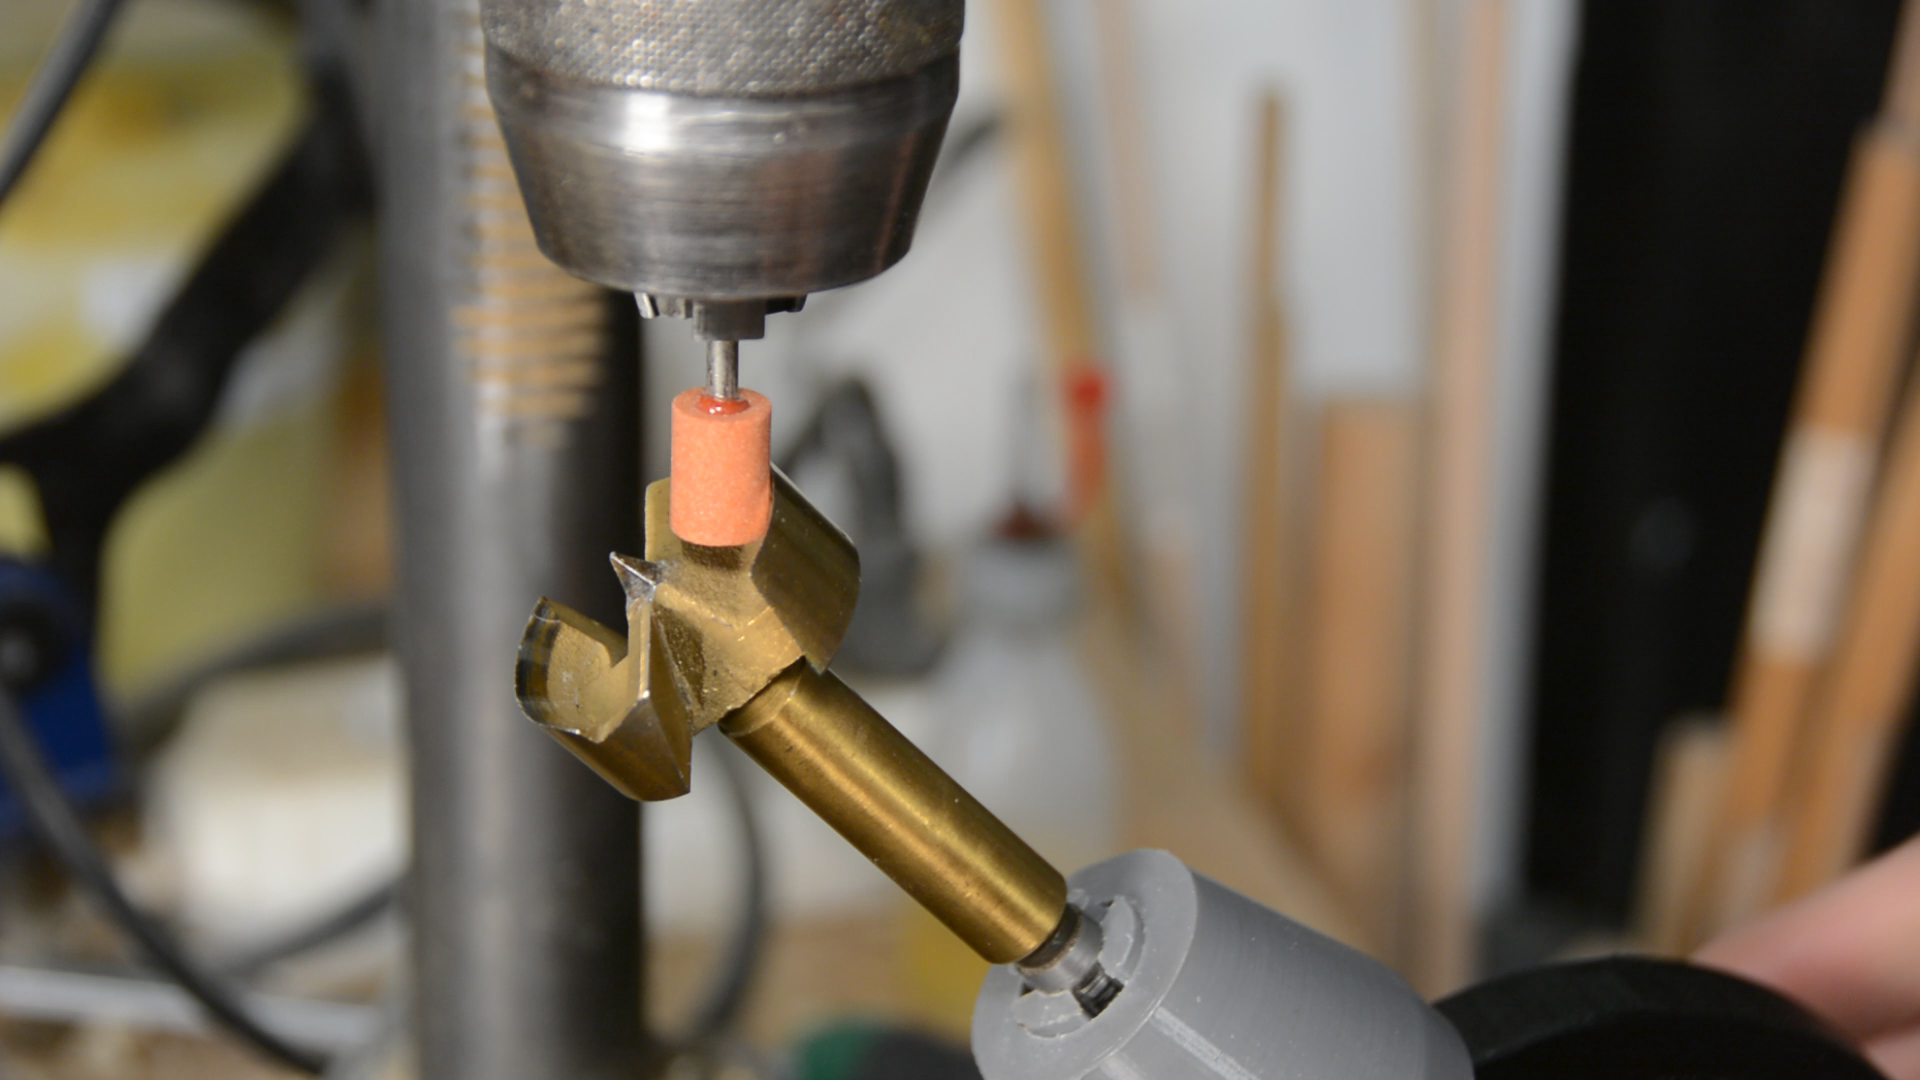
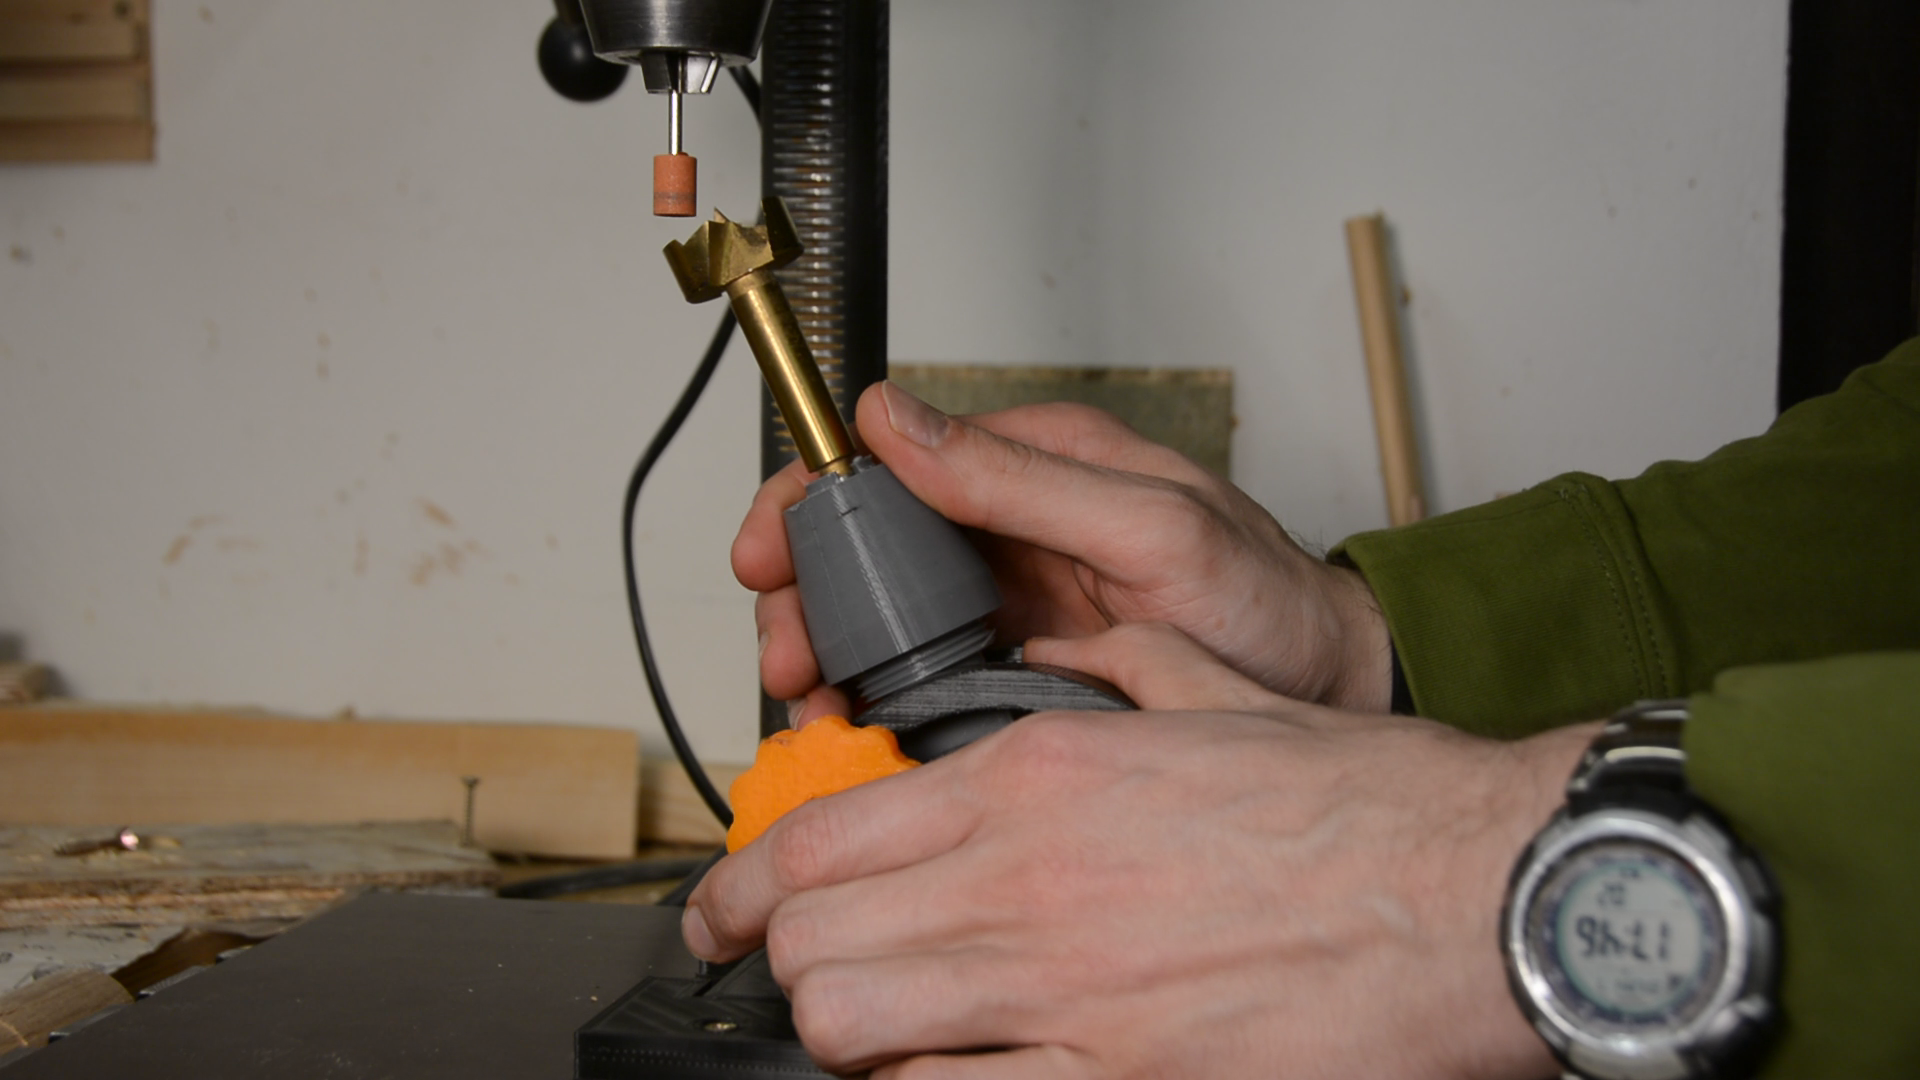
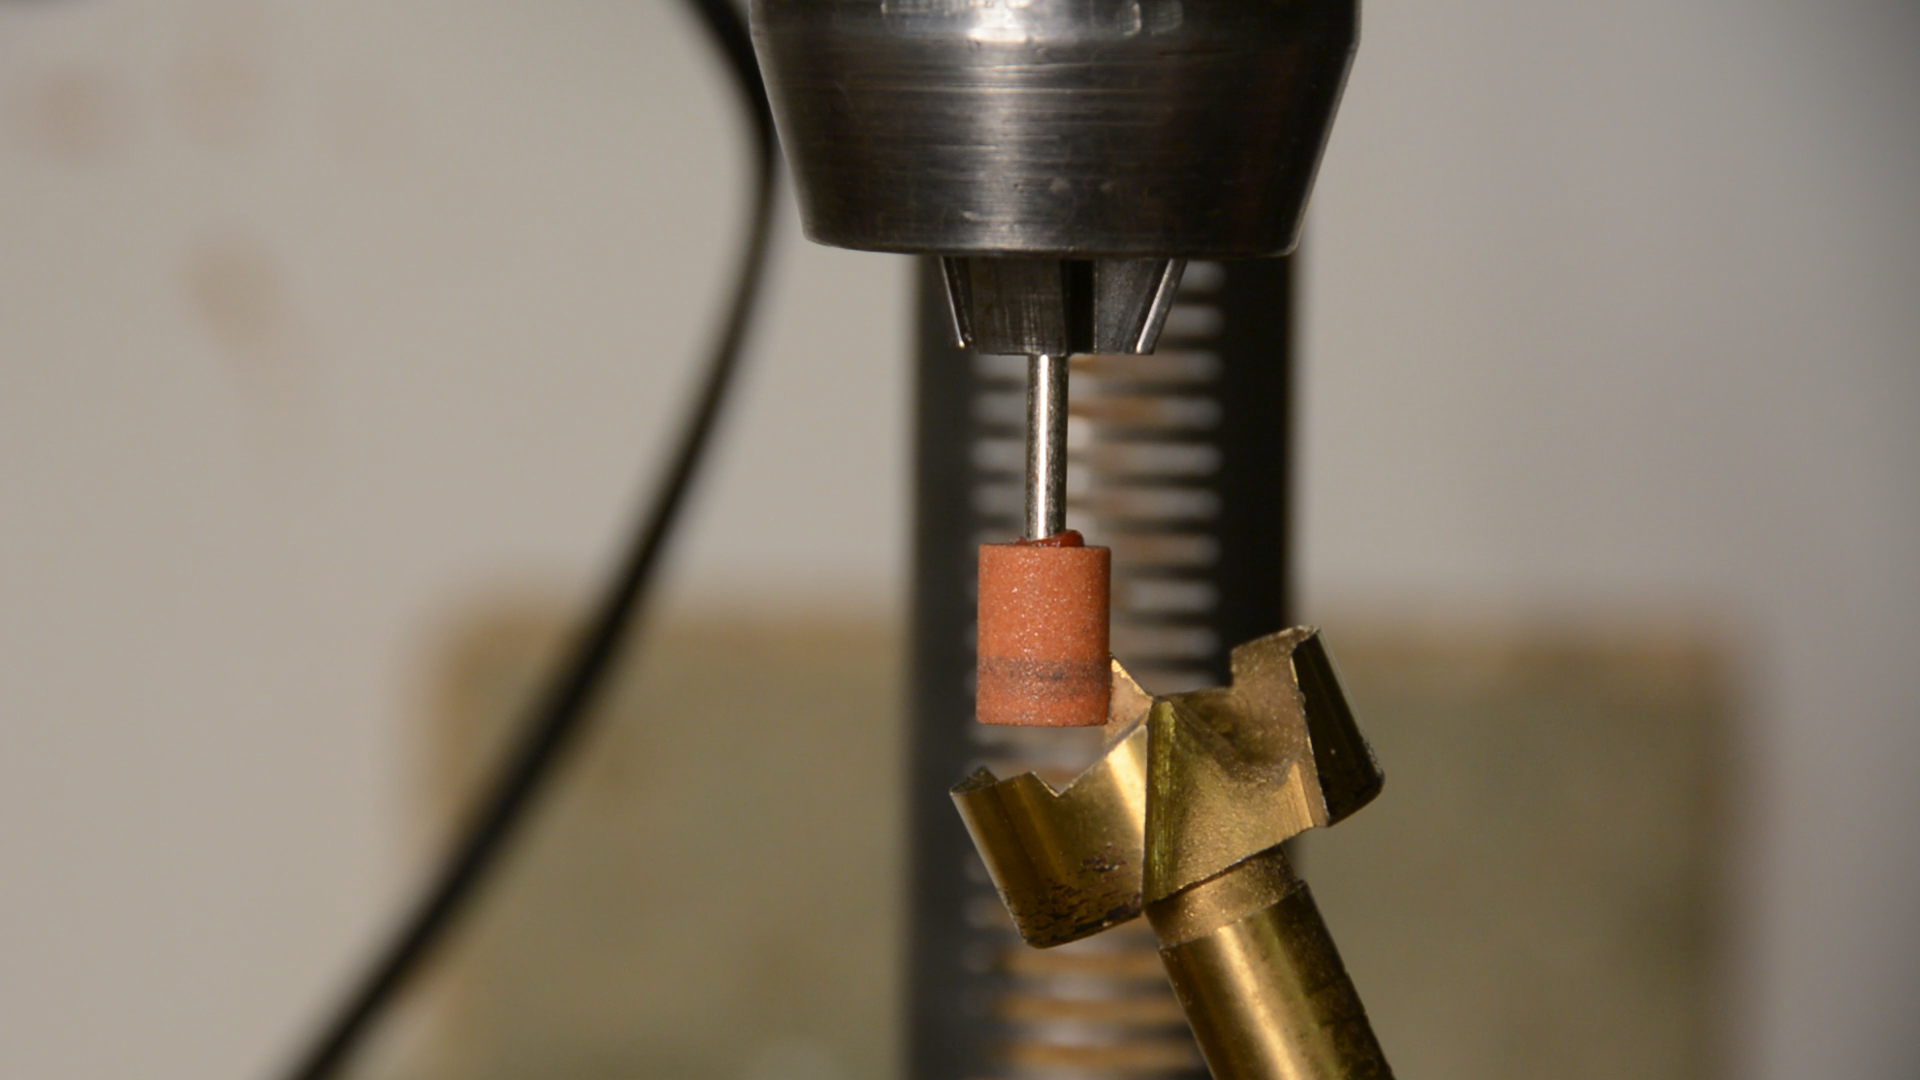
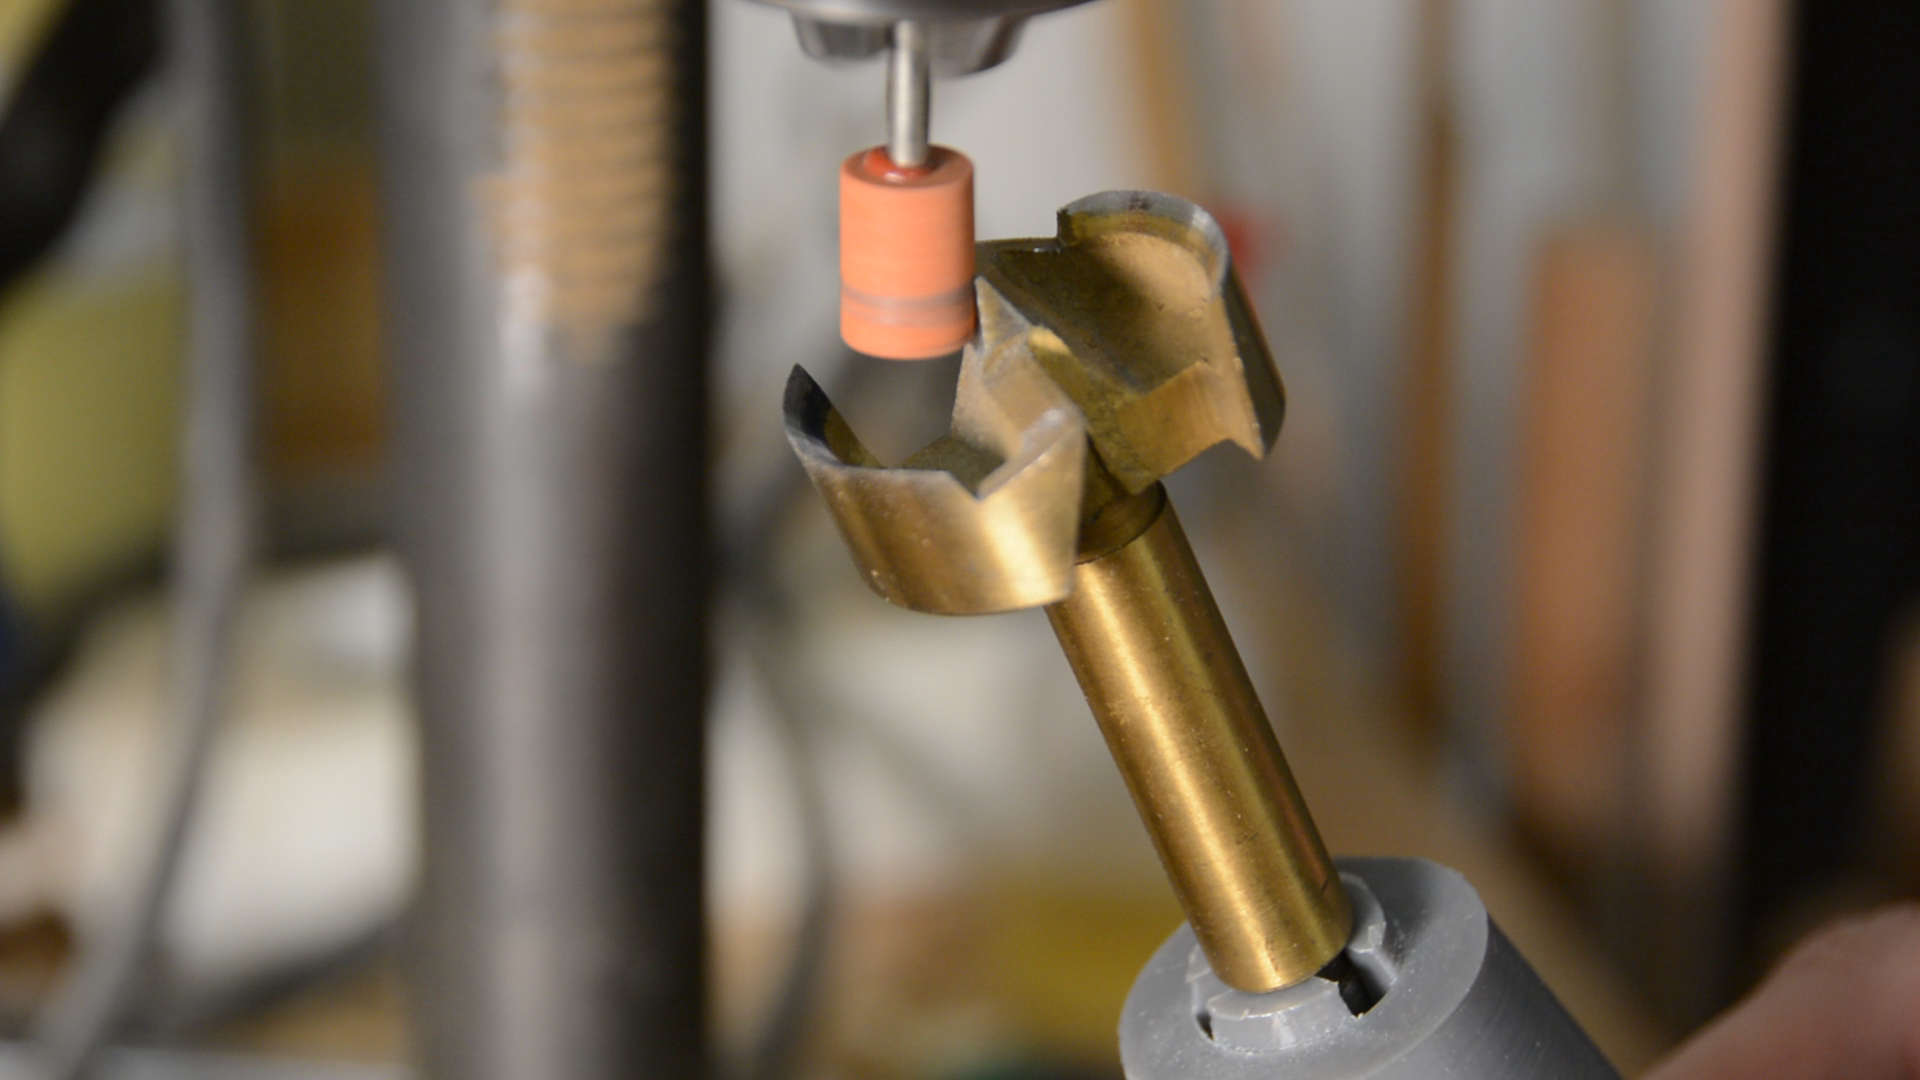
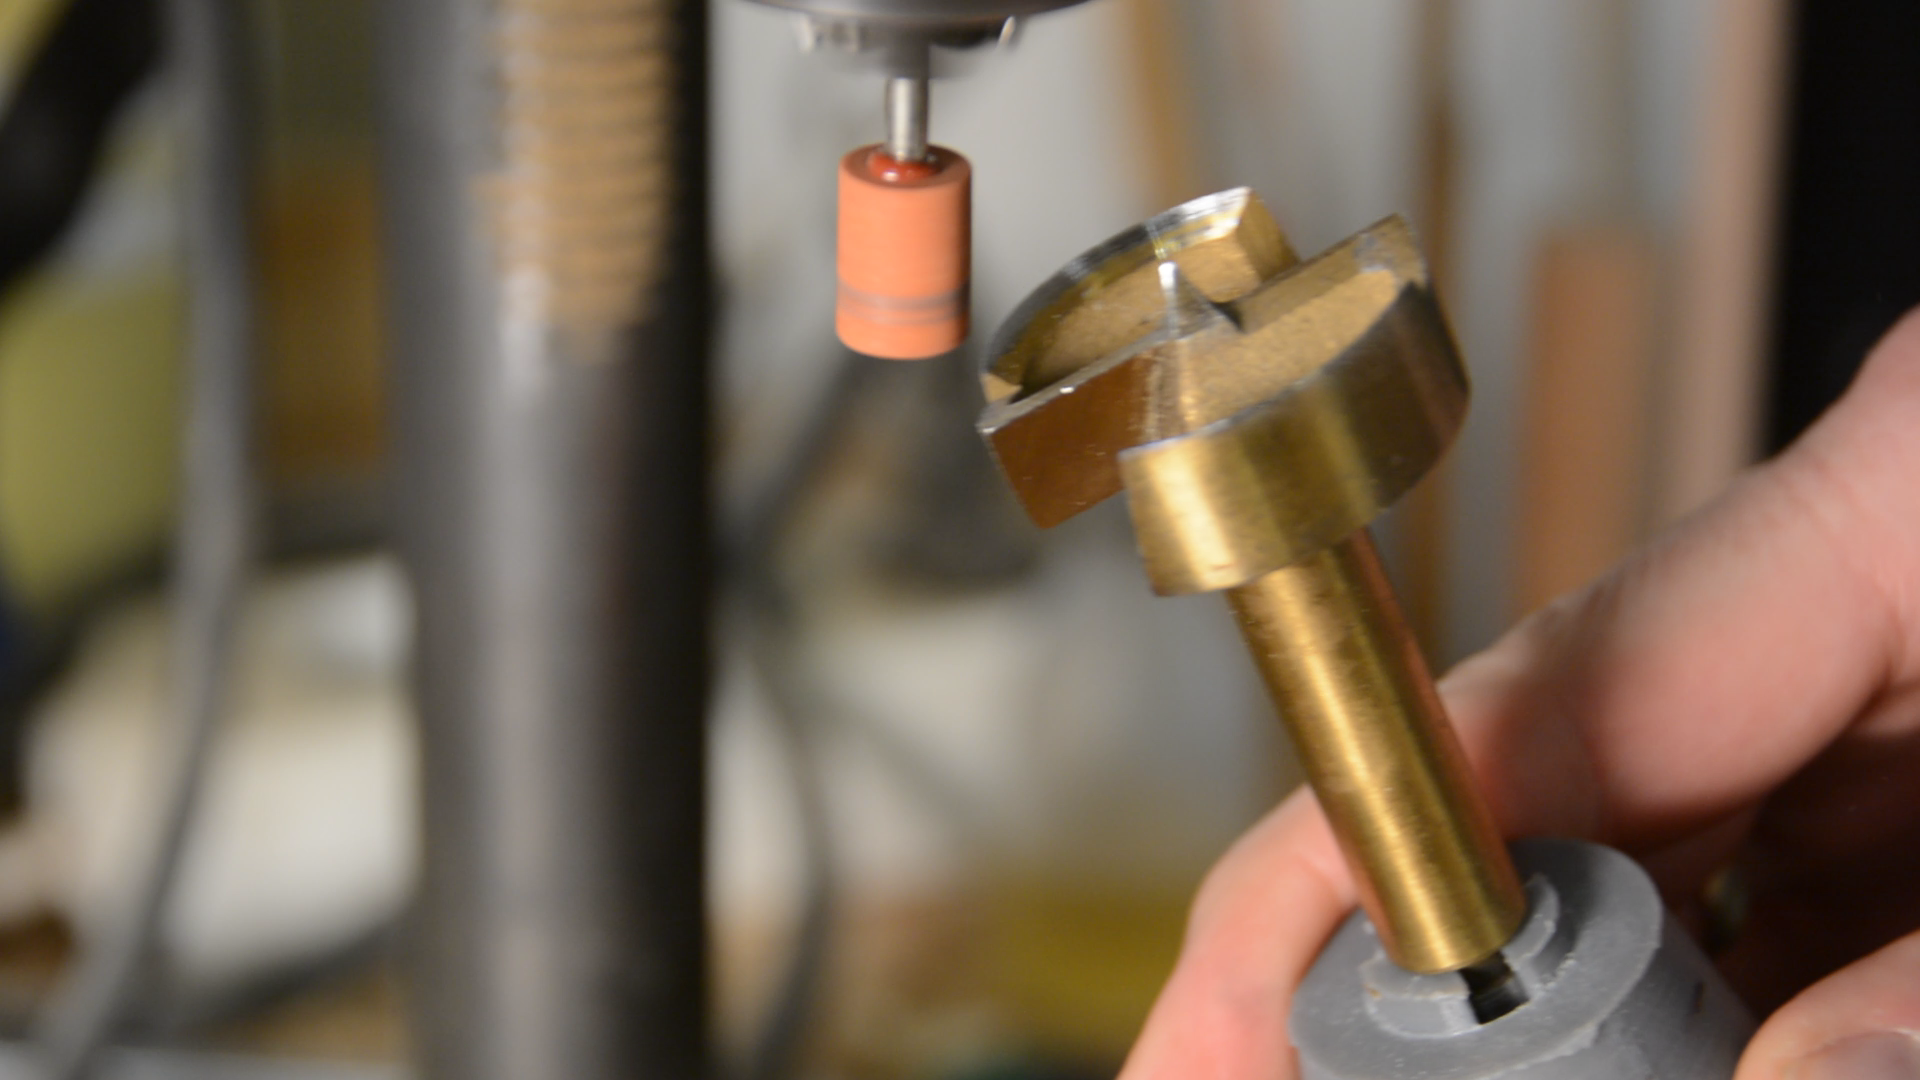
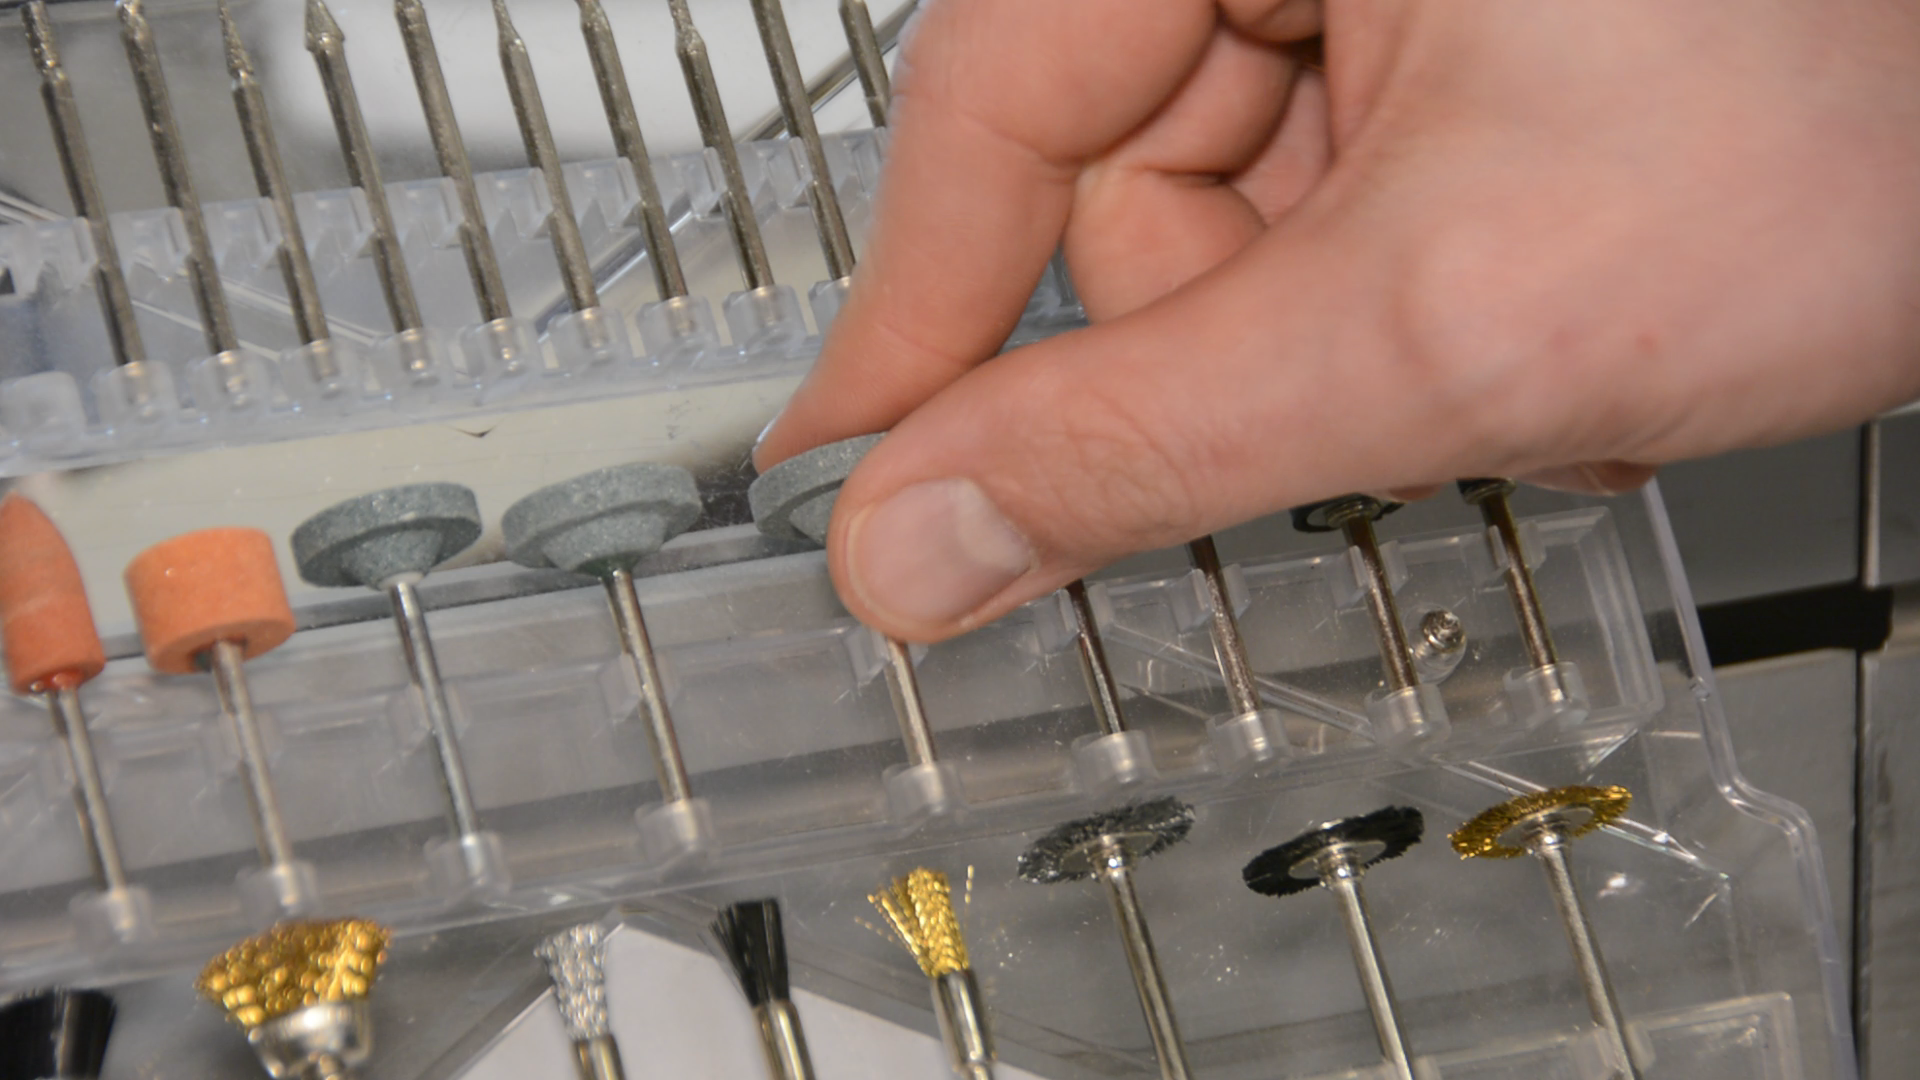
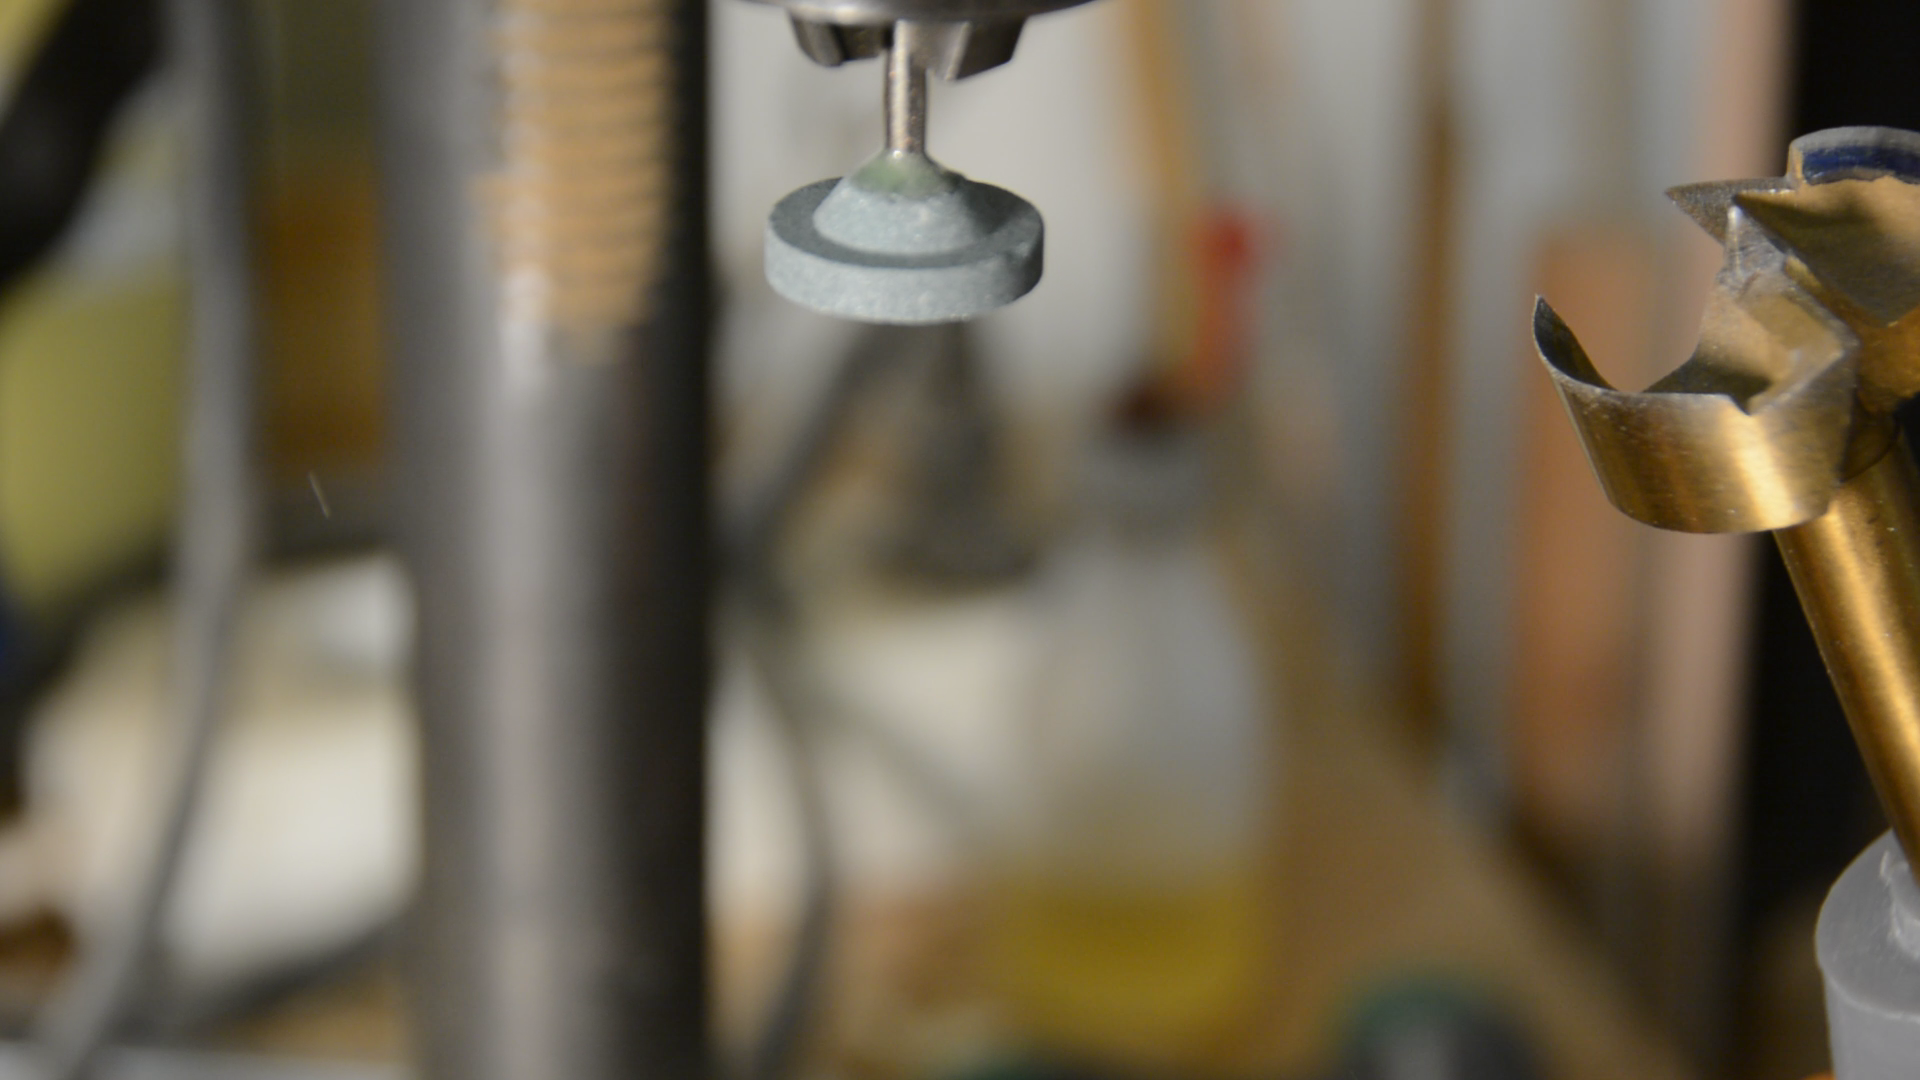
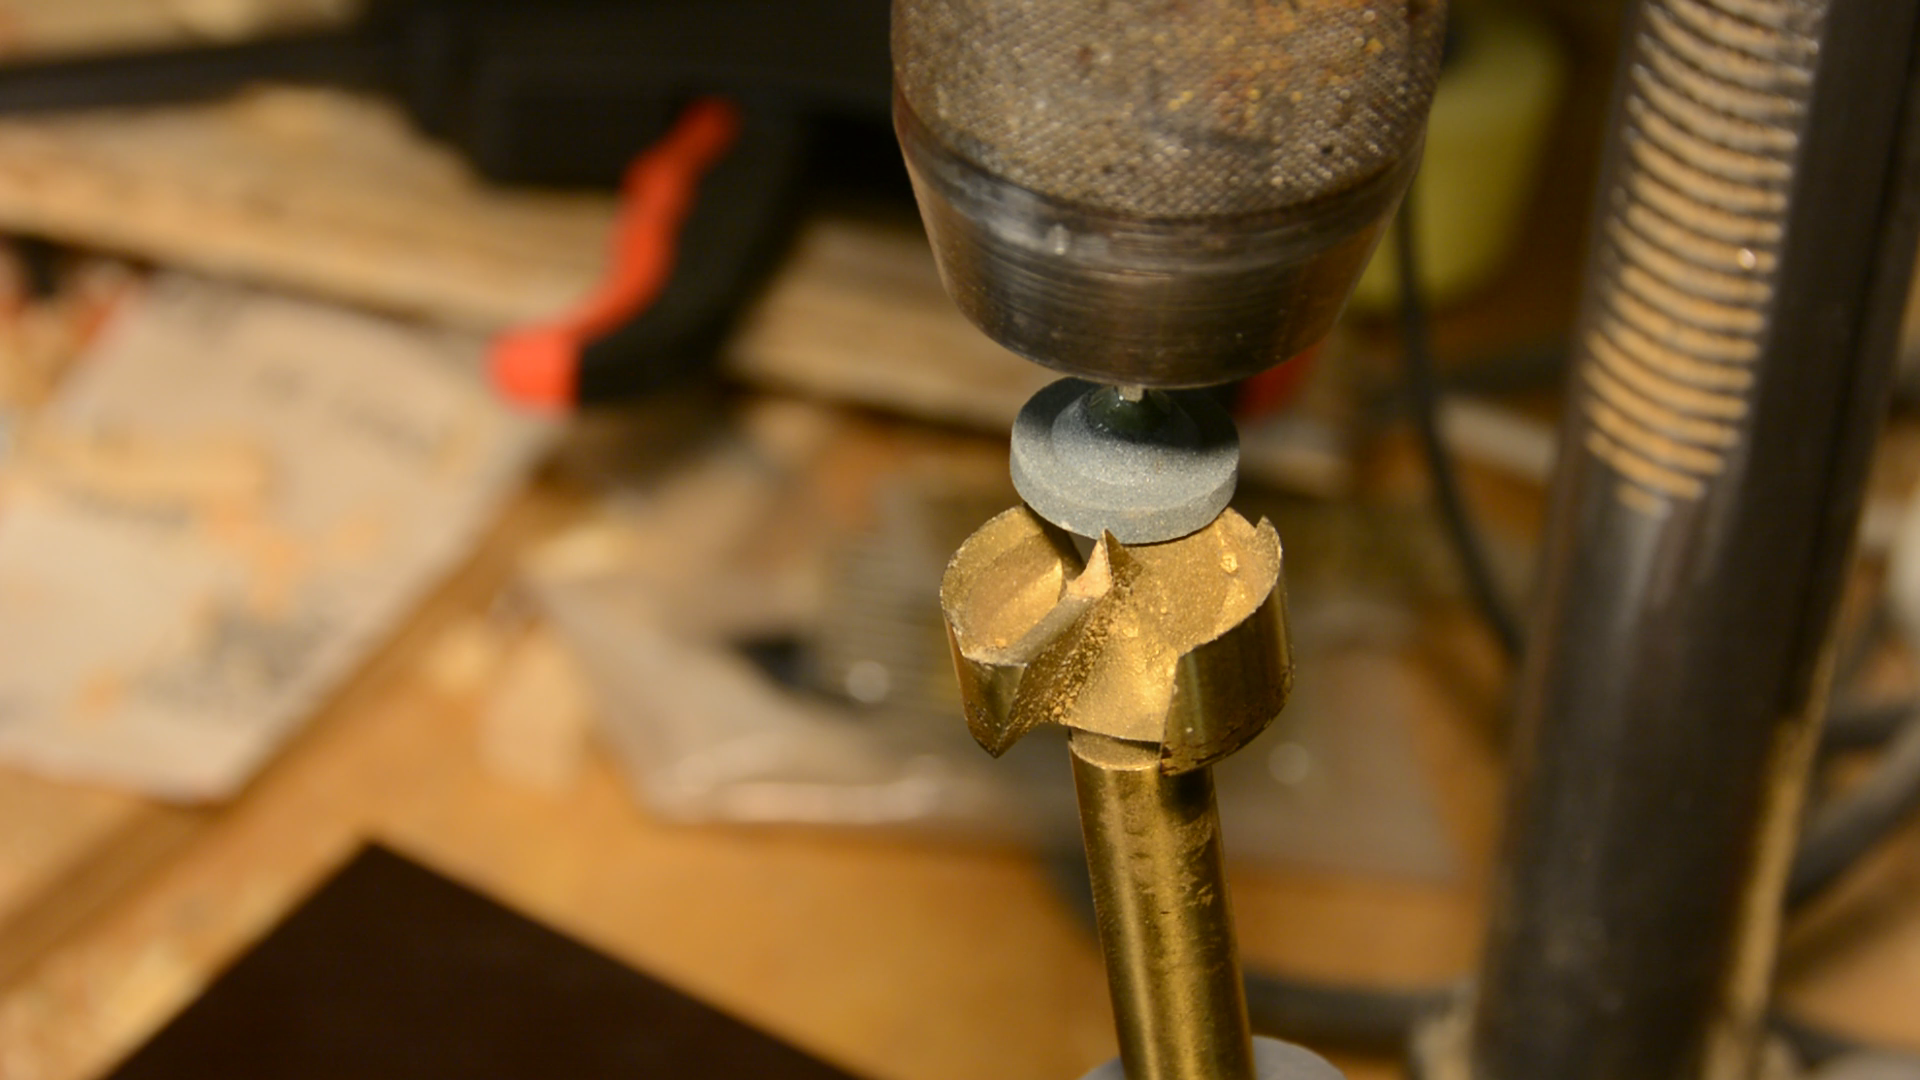
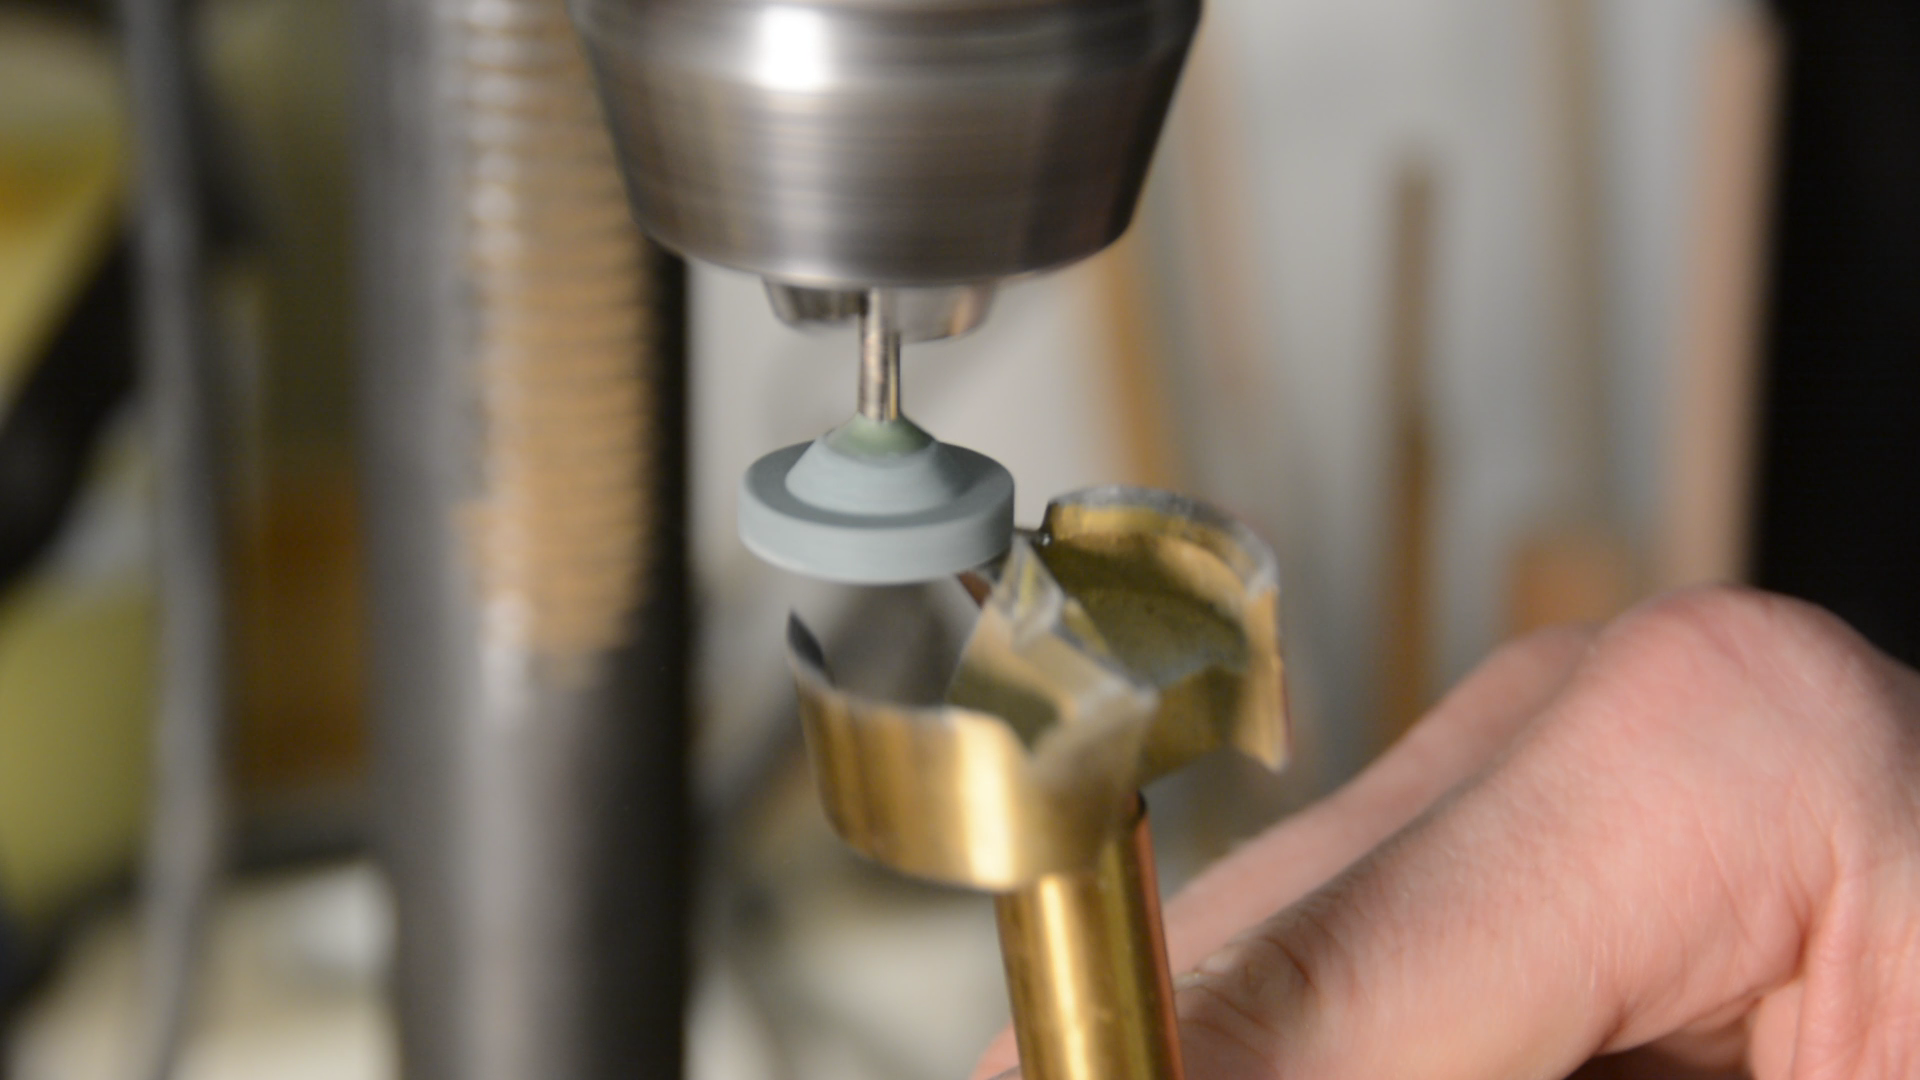
For the outer rim we use either a cheap diamond or a abrasive grinder with a cylindrical shape. The grinder is put in a drill press.

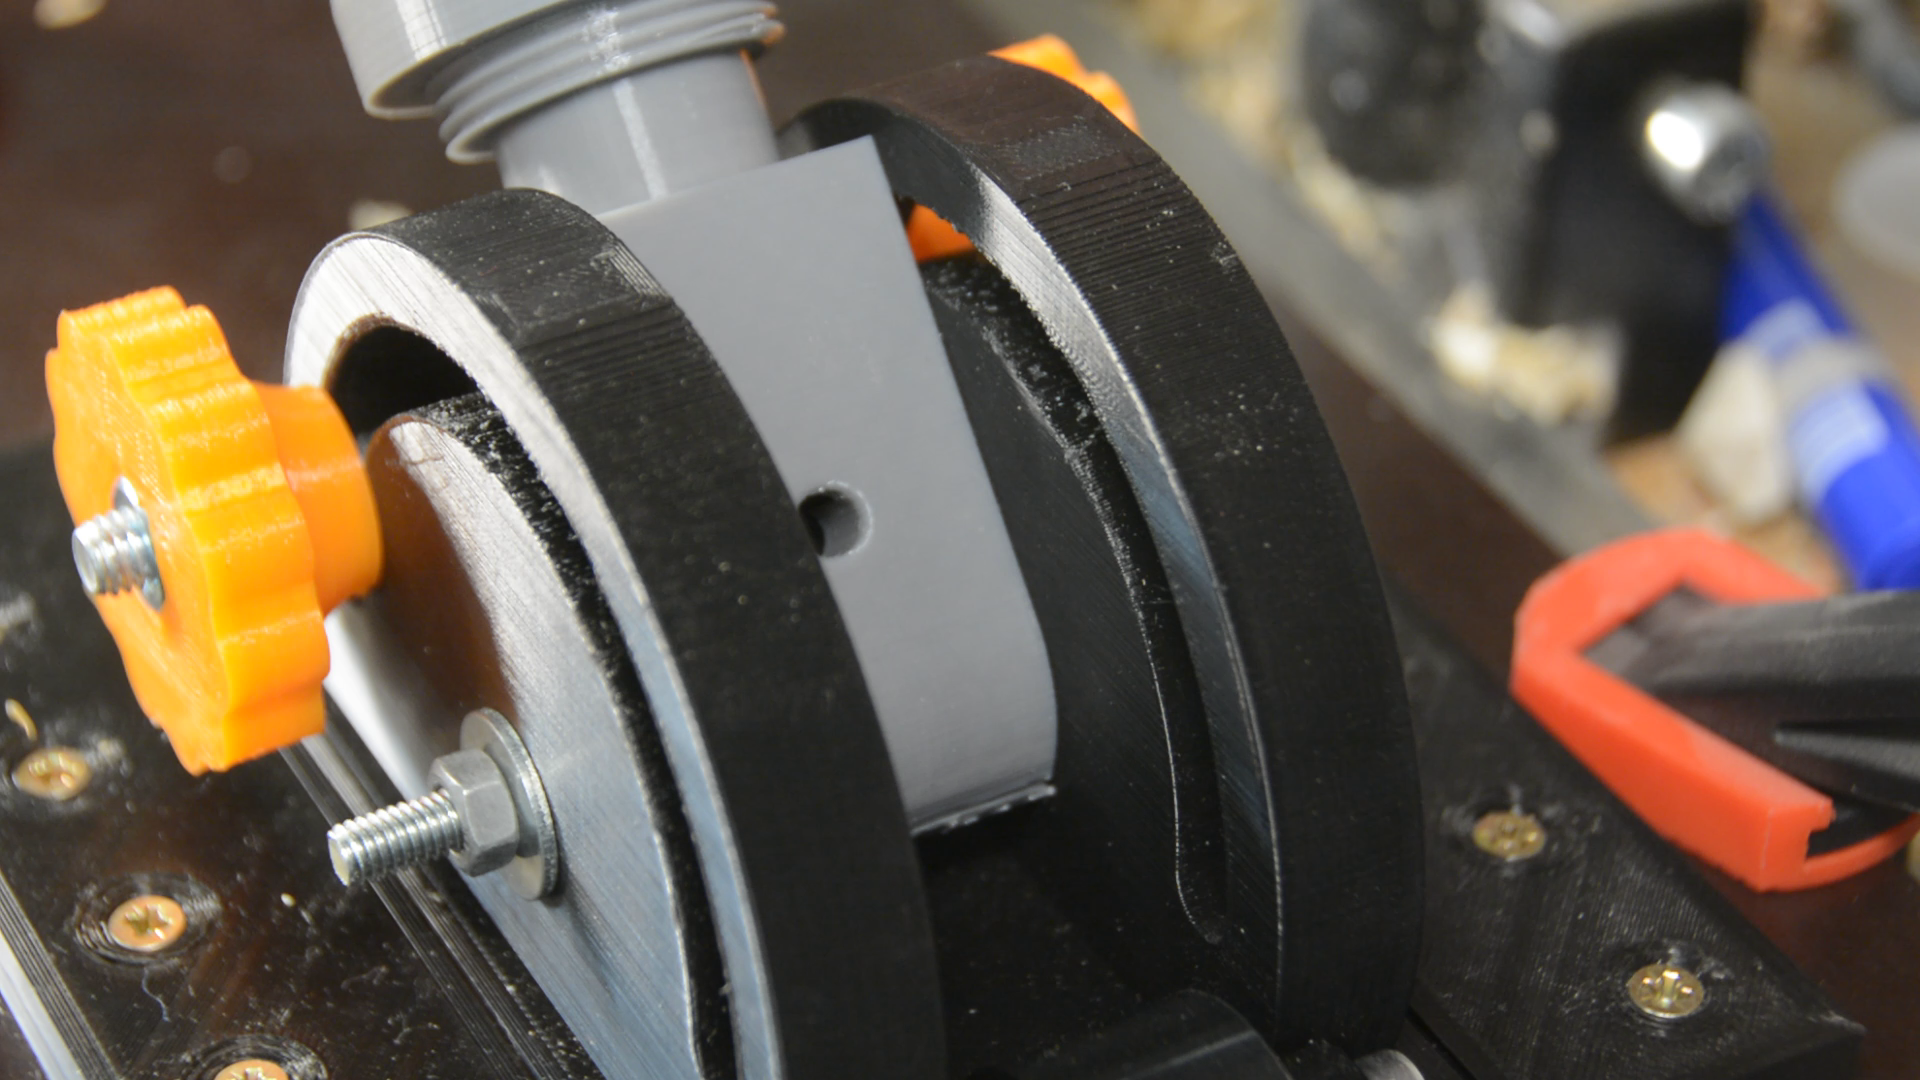
We put the lockpin back in the jig so that the chuck can rotate freely. After loosening the knobs on the sides we adjust the angle so that the edge of the outer rim is in full contact with the grinder.


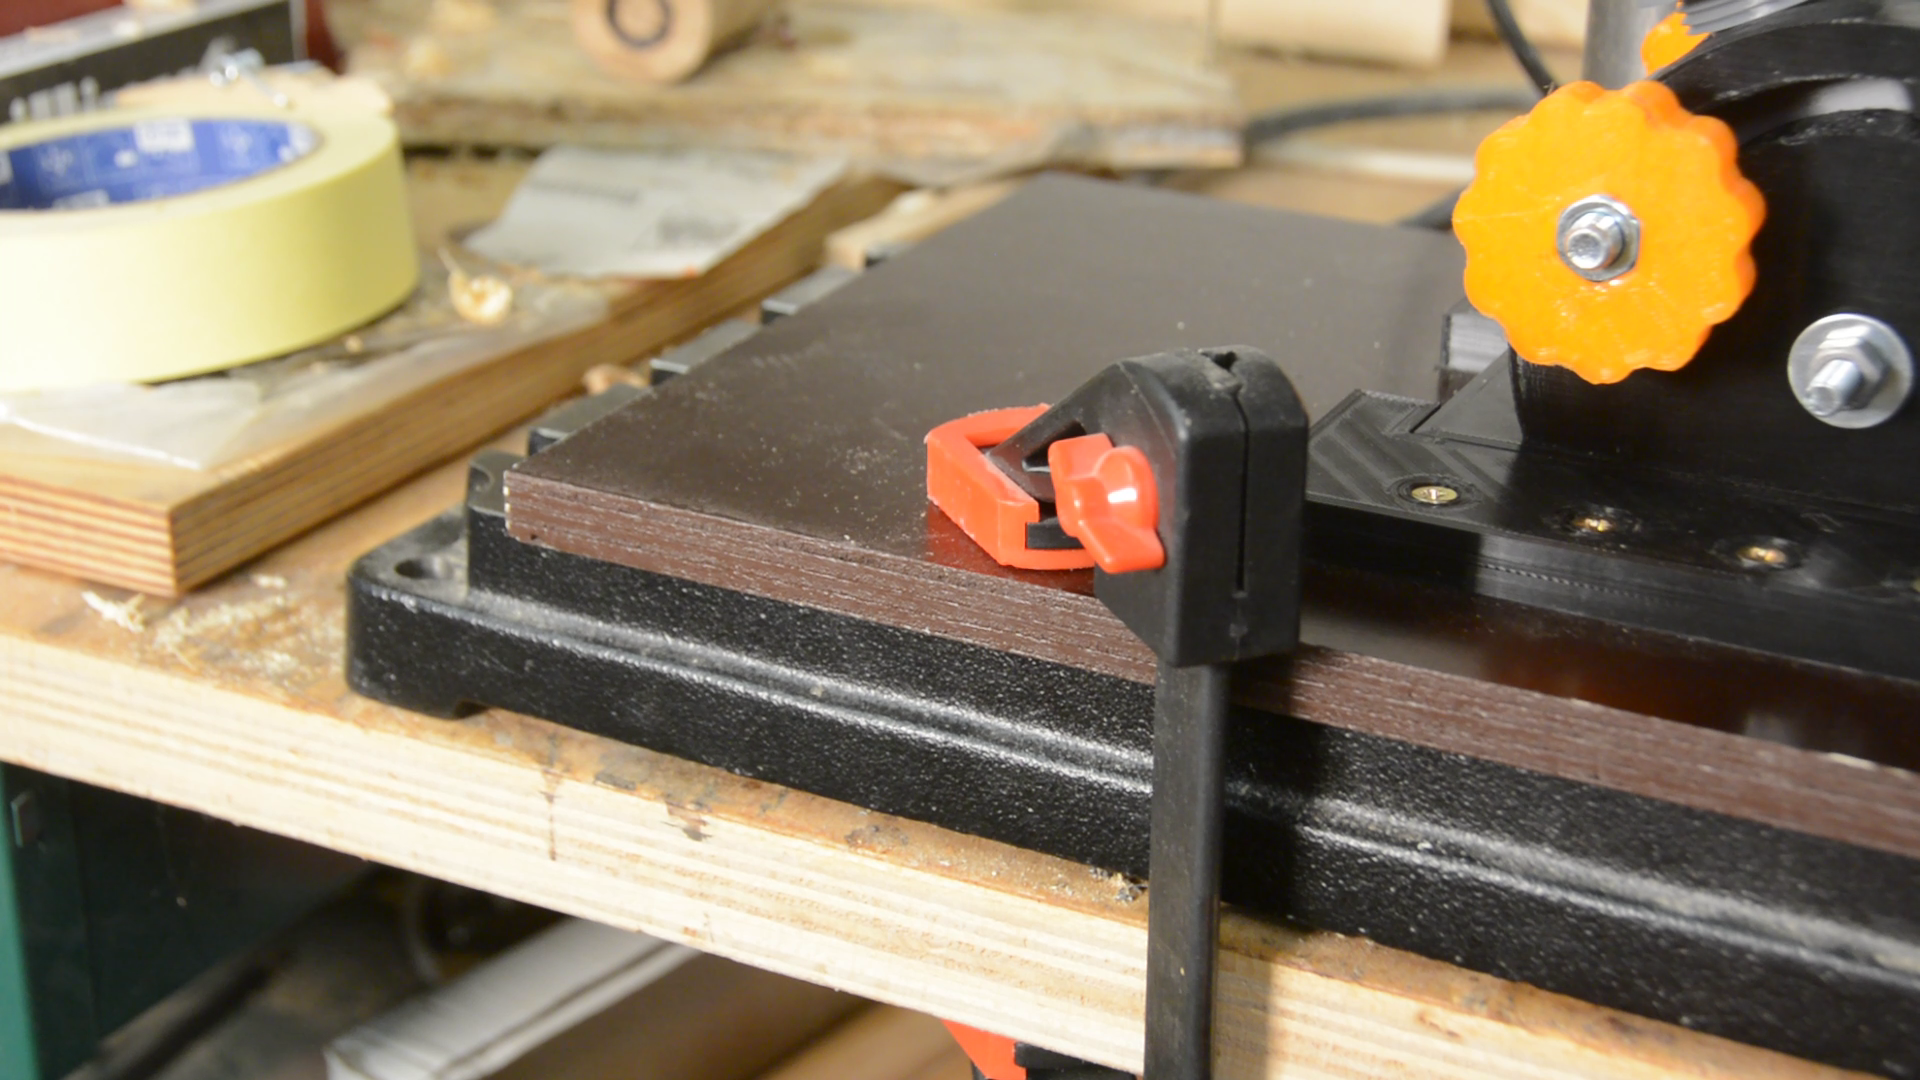
Next we push the base very much to the front of the track and fix the plywood base to the drill press table so that the edge is just touching the grinder.
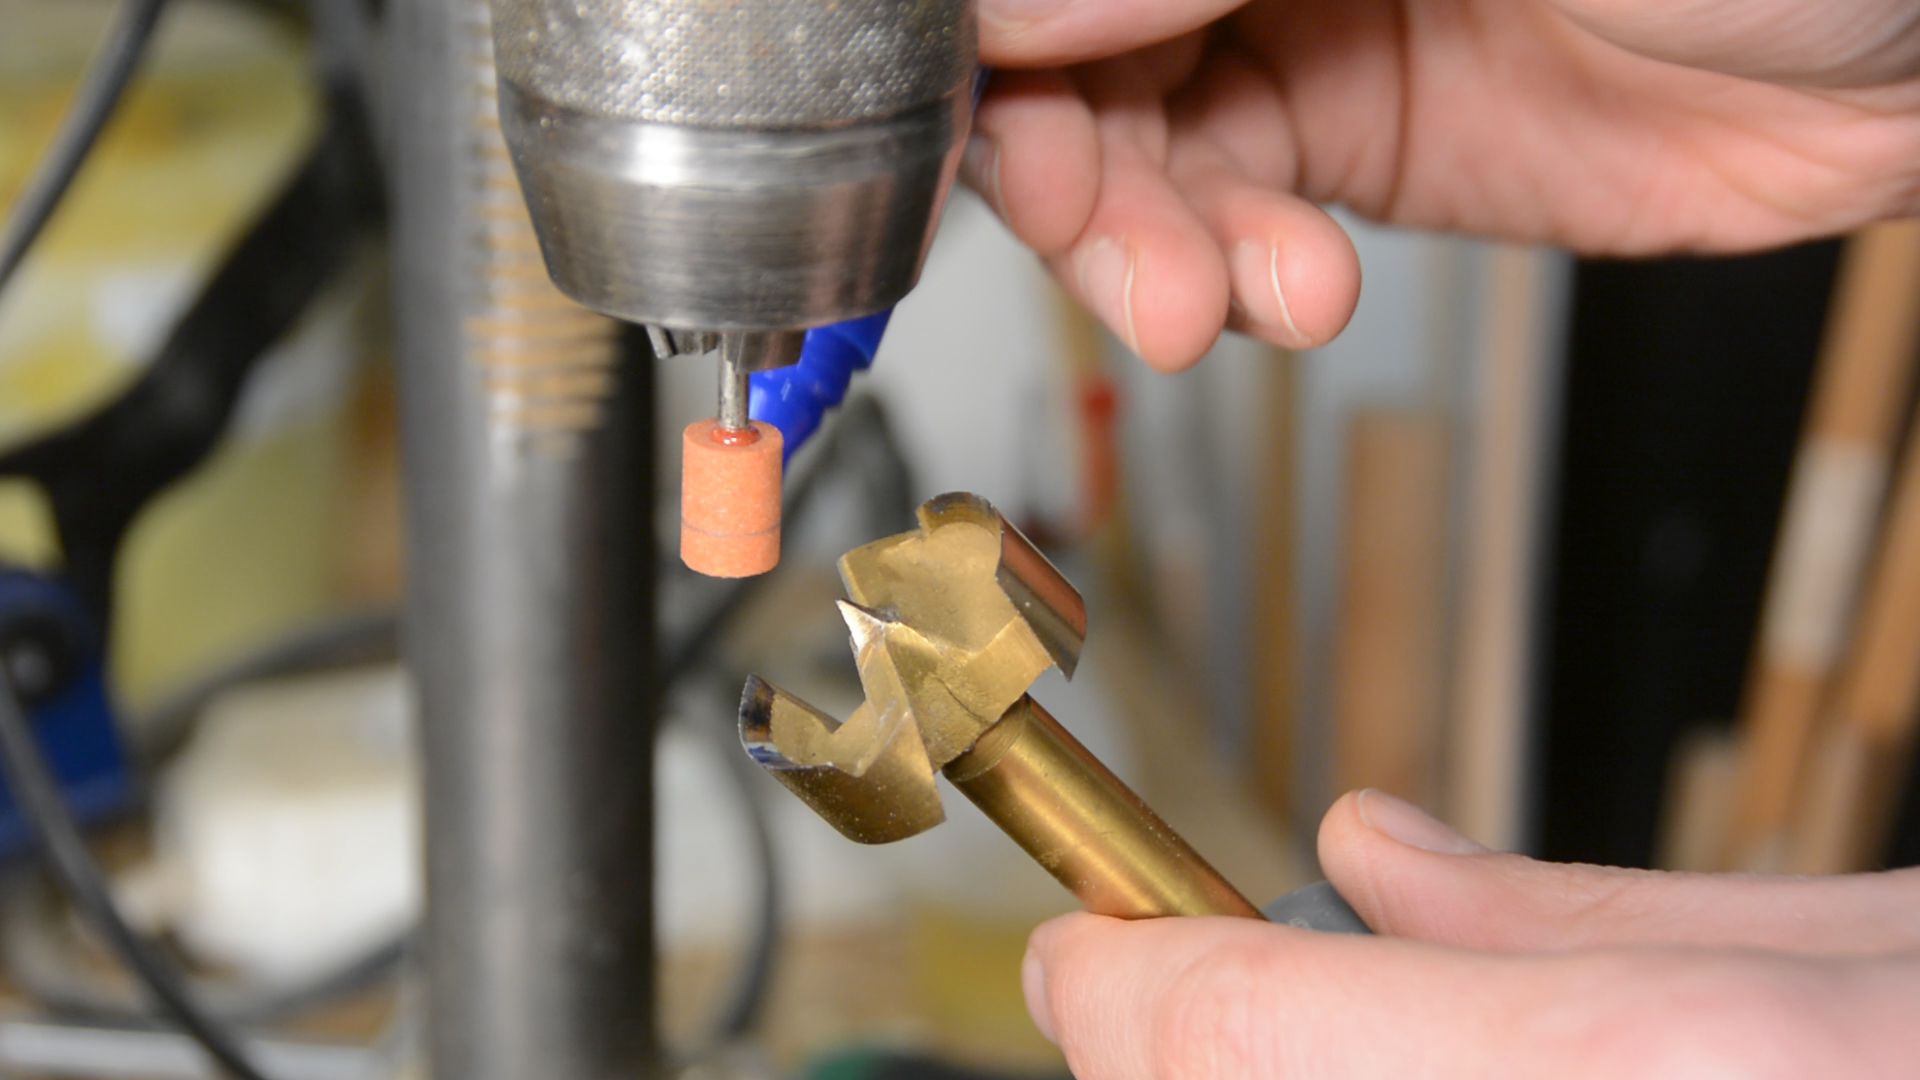
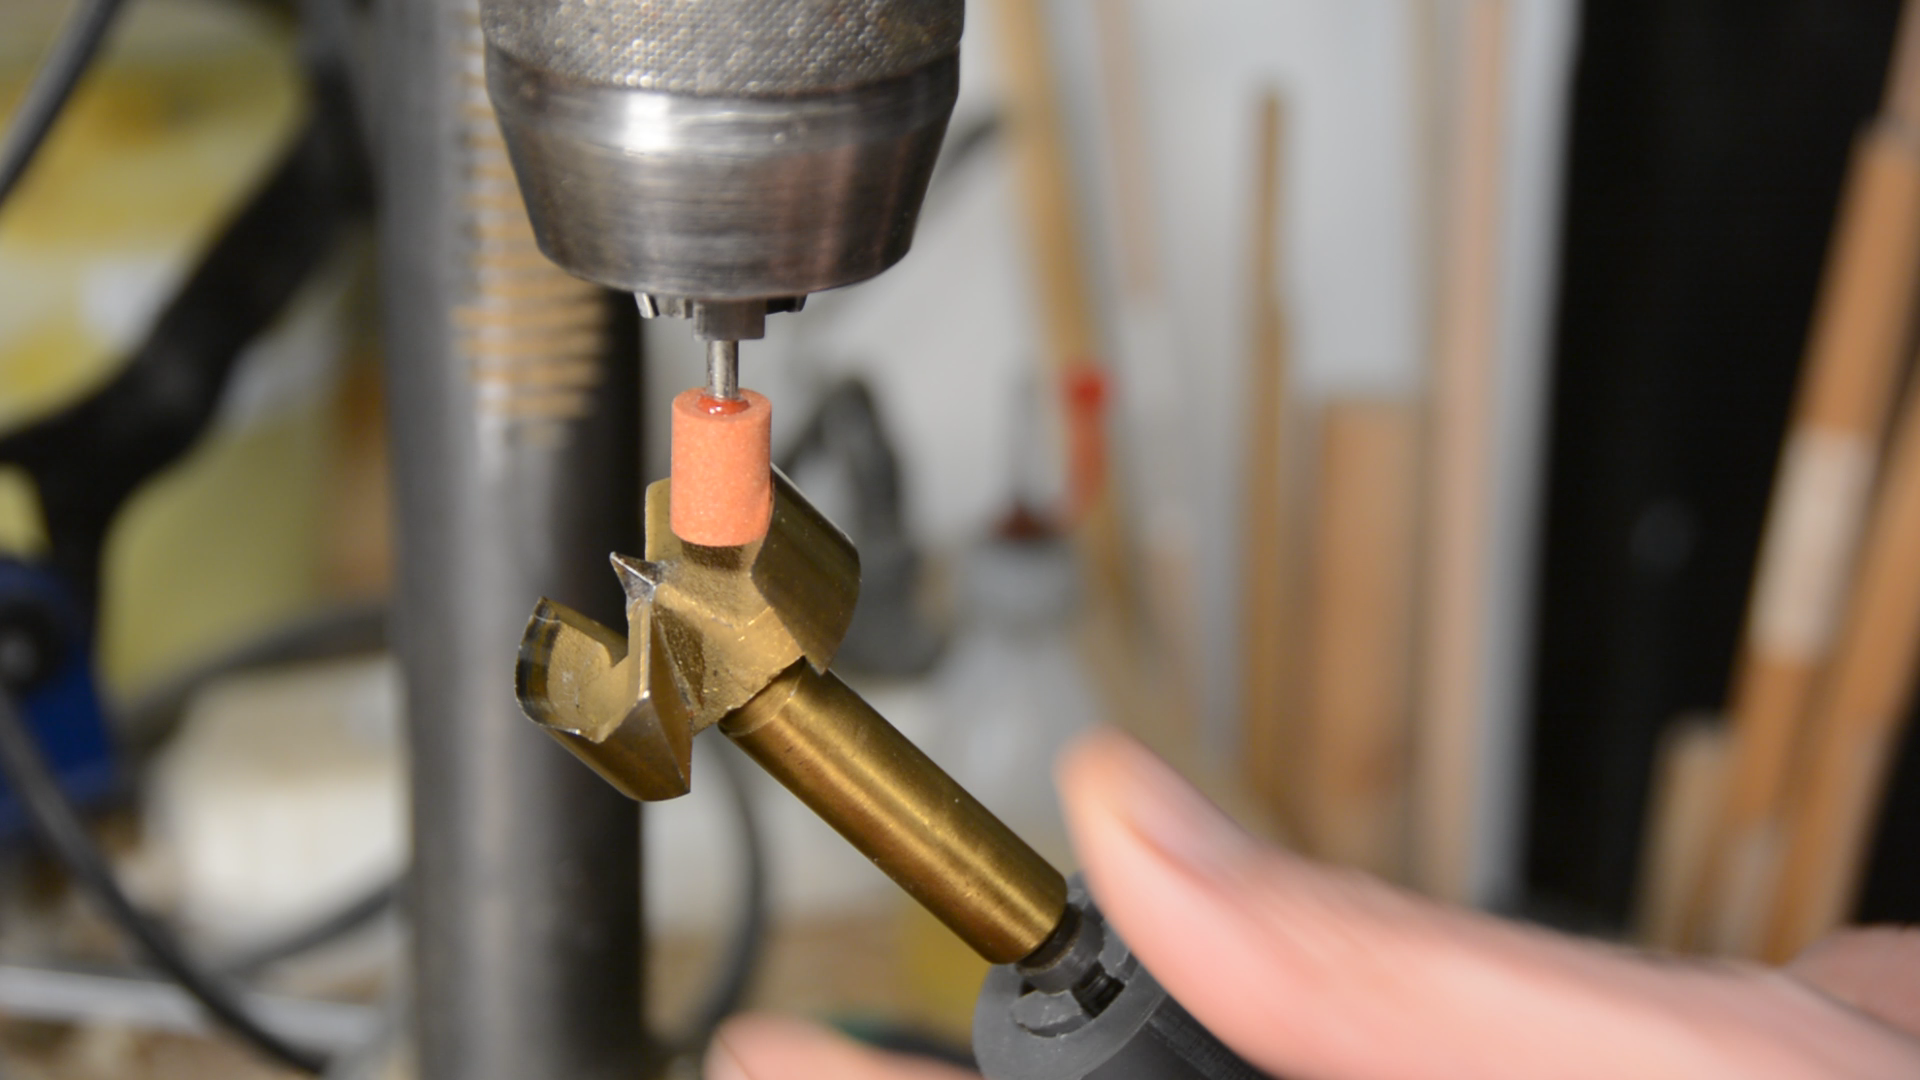
After starting the drill at slow speed we can carefully grind the cutting edge.
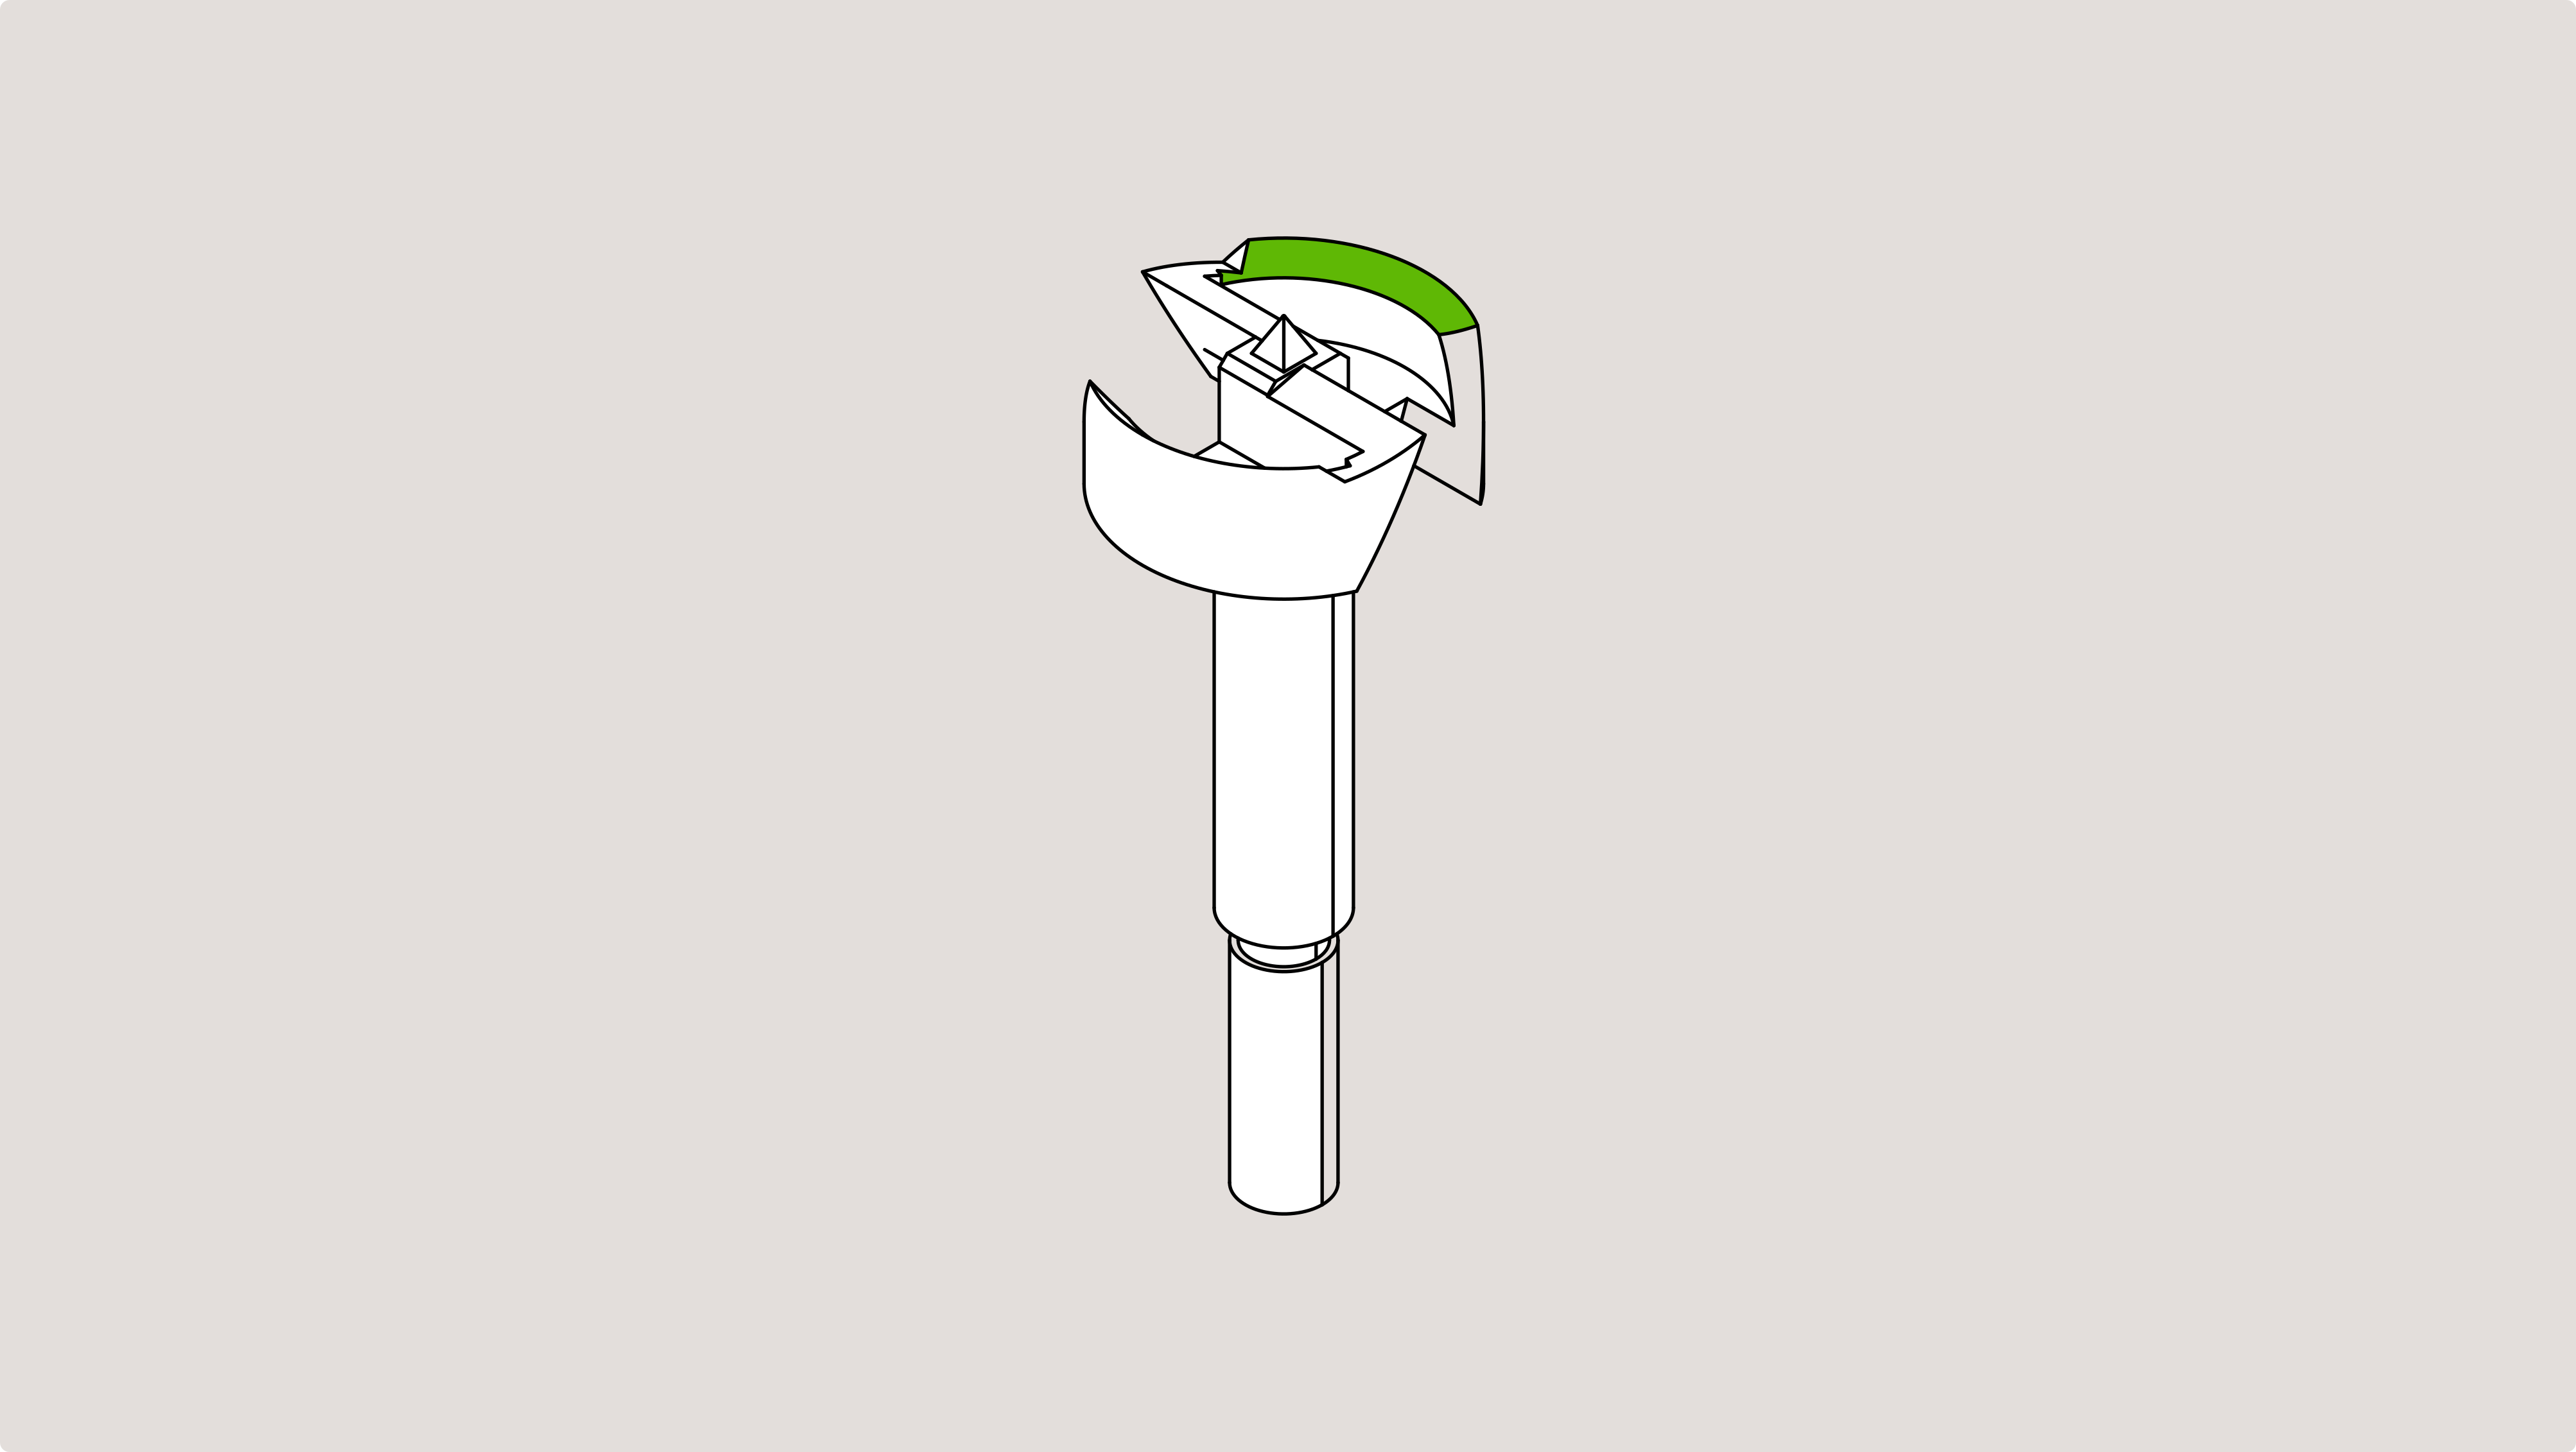
Sharpening the tip
With the same setup we can touch up the tip of the drill bit.
Let’s remove the lockpin, loosen the chuck, then adjust the tip so that the side of the tip is parallel to the edge of the jig and then tighten the chuck again.


Again the angle is adjusted so that the entire side of the tip is touching the grinder.
When locking the plywood to the table the tip should only lightly touch the grinder. Now we move the jig forward within the tracks and grind the first side.
After the first side is refreshed we move the jig back, turn the drill 90 degree and continue with the next side.
Inner cutter
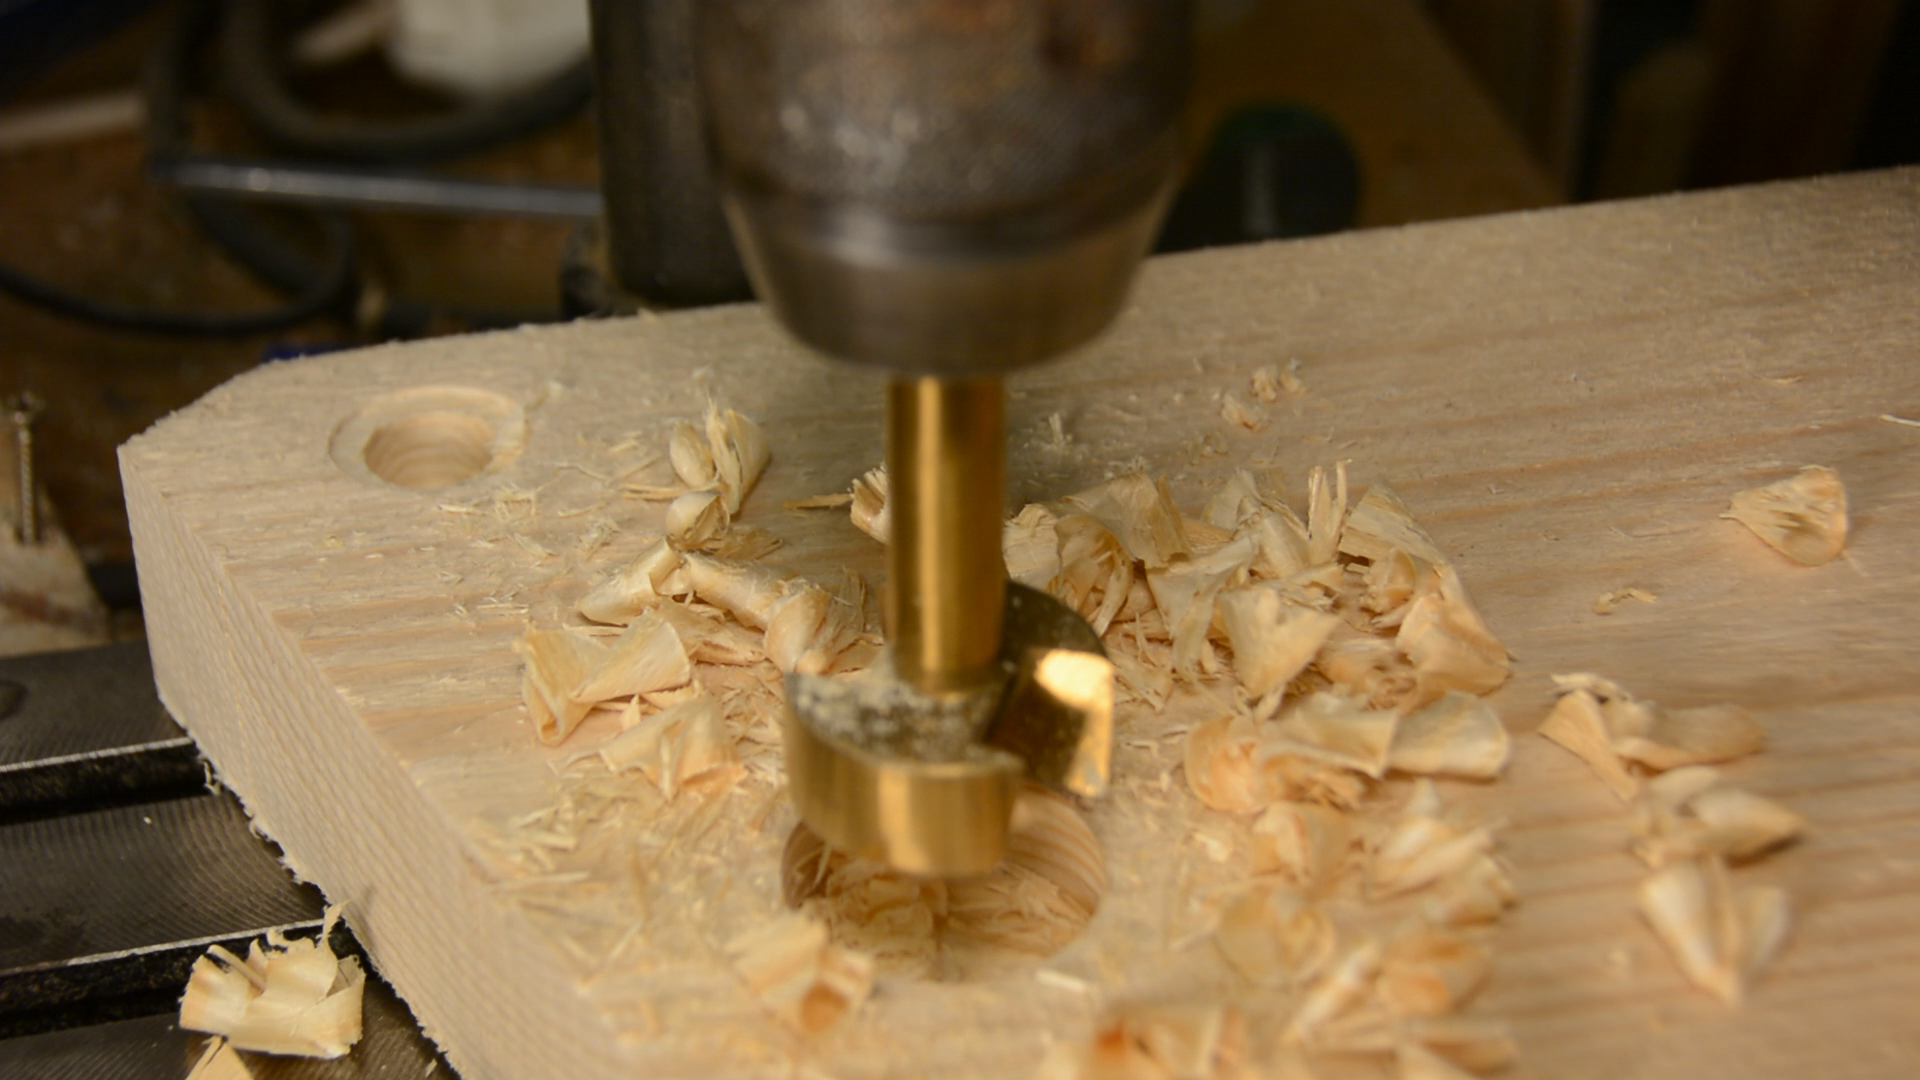
The last edge we have to grind is the inner cutter.
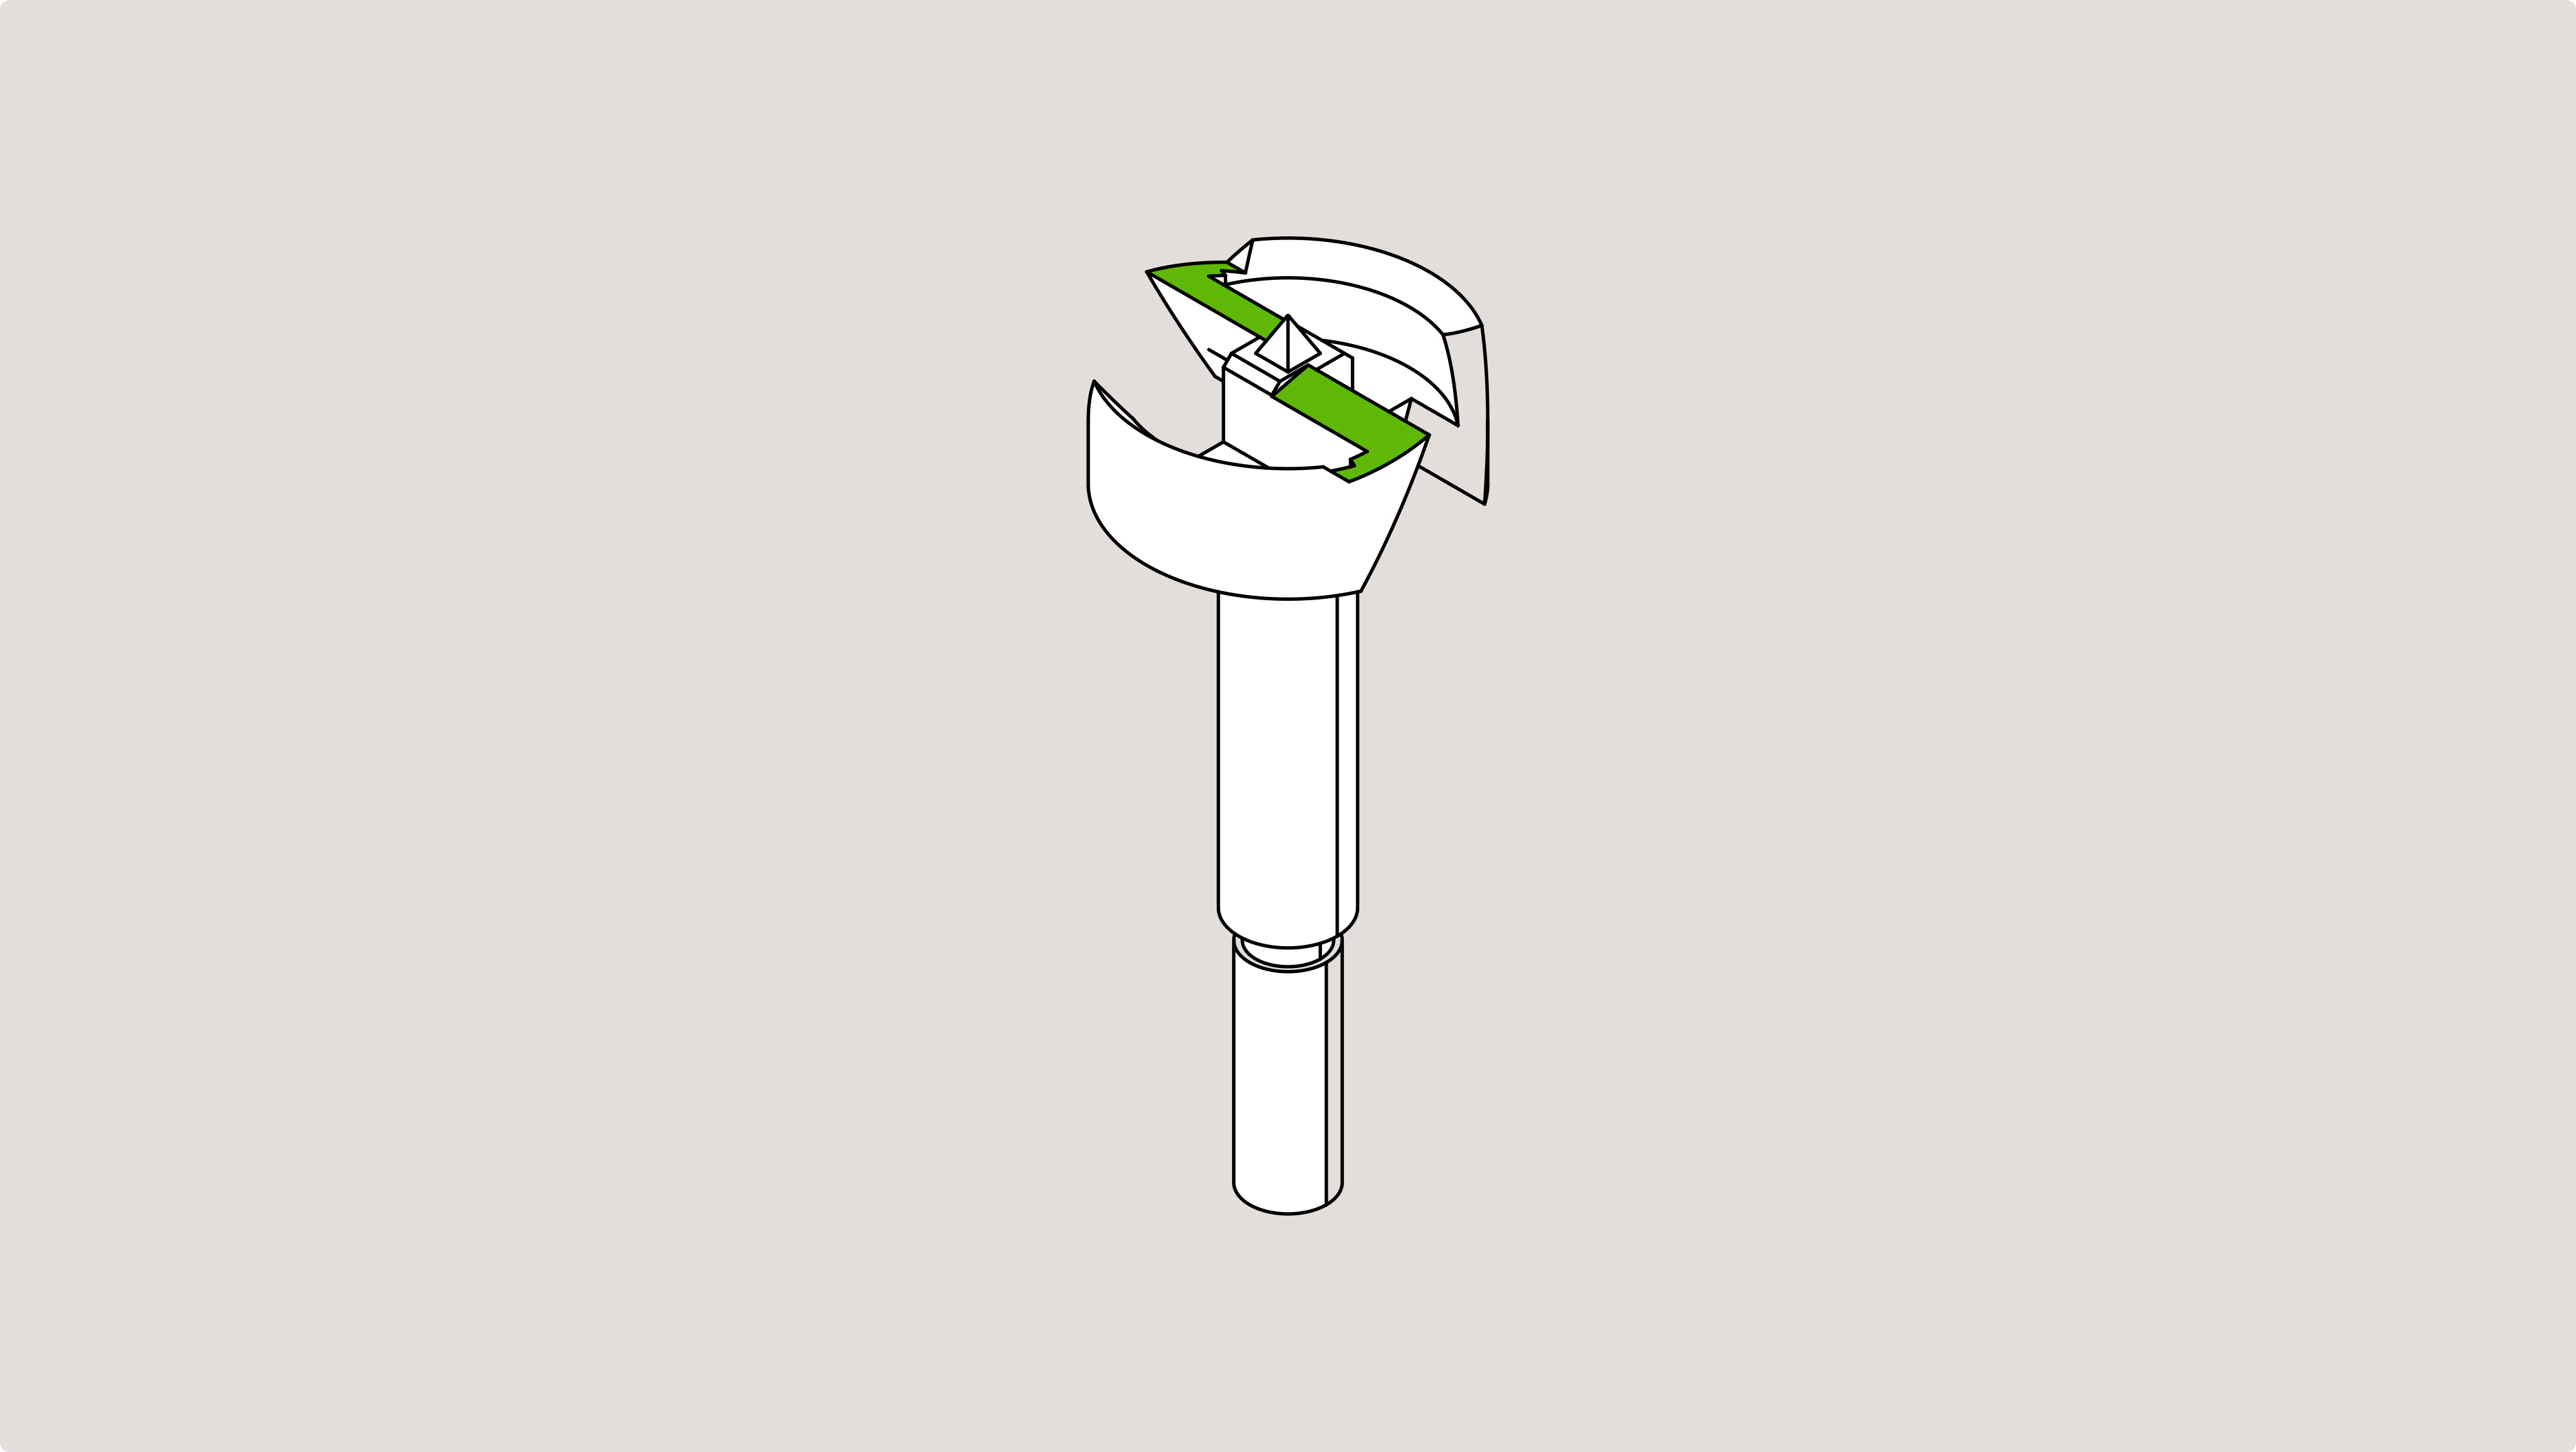
For the inner cutter we have to switch from the cylindrical grinder to a grinding or a diamond disc. Fix the grinder in the drill press and put the jig on the drill press table.

The lockpin is not in the jig and the cutting edge is aligned parallel to the front side of the jig.
The angle is adjusted so that the entire cutting edge touches the disk.
Move the jig forward to grind one edge. Stabilize the jig with your hand while moving it forward.
Then move it back, turn the drill 180 degree and grind the other side. The freshly sharpened drill performs really well. It is creating chips and drills super fast.
Results of the Sharpening
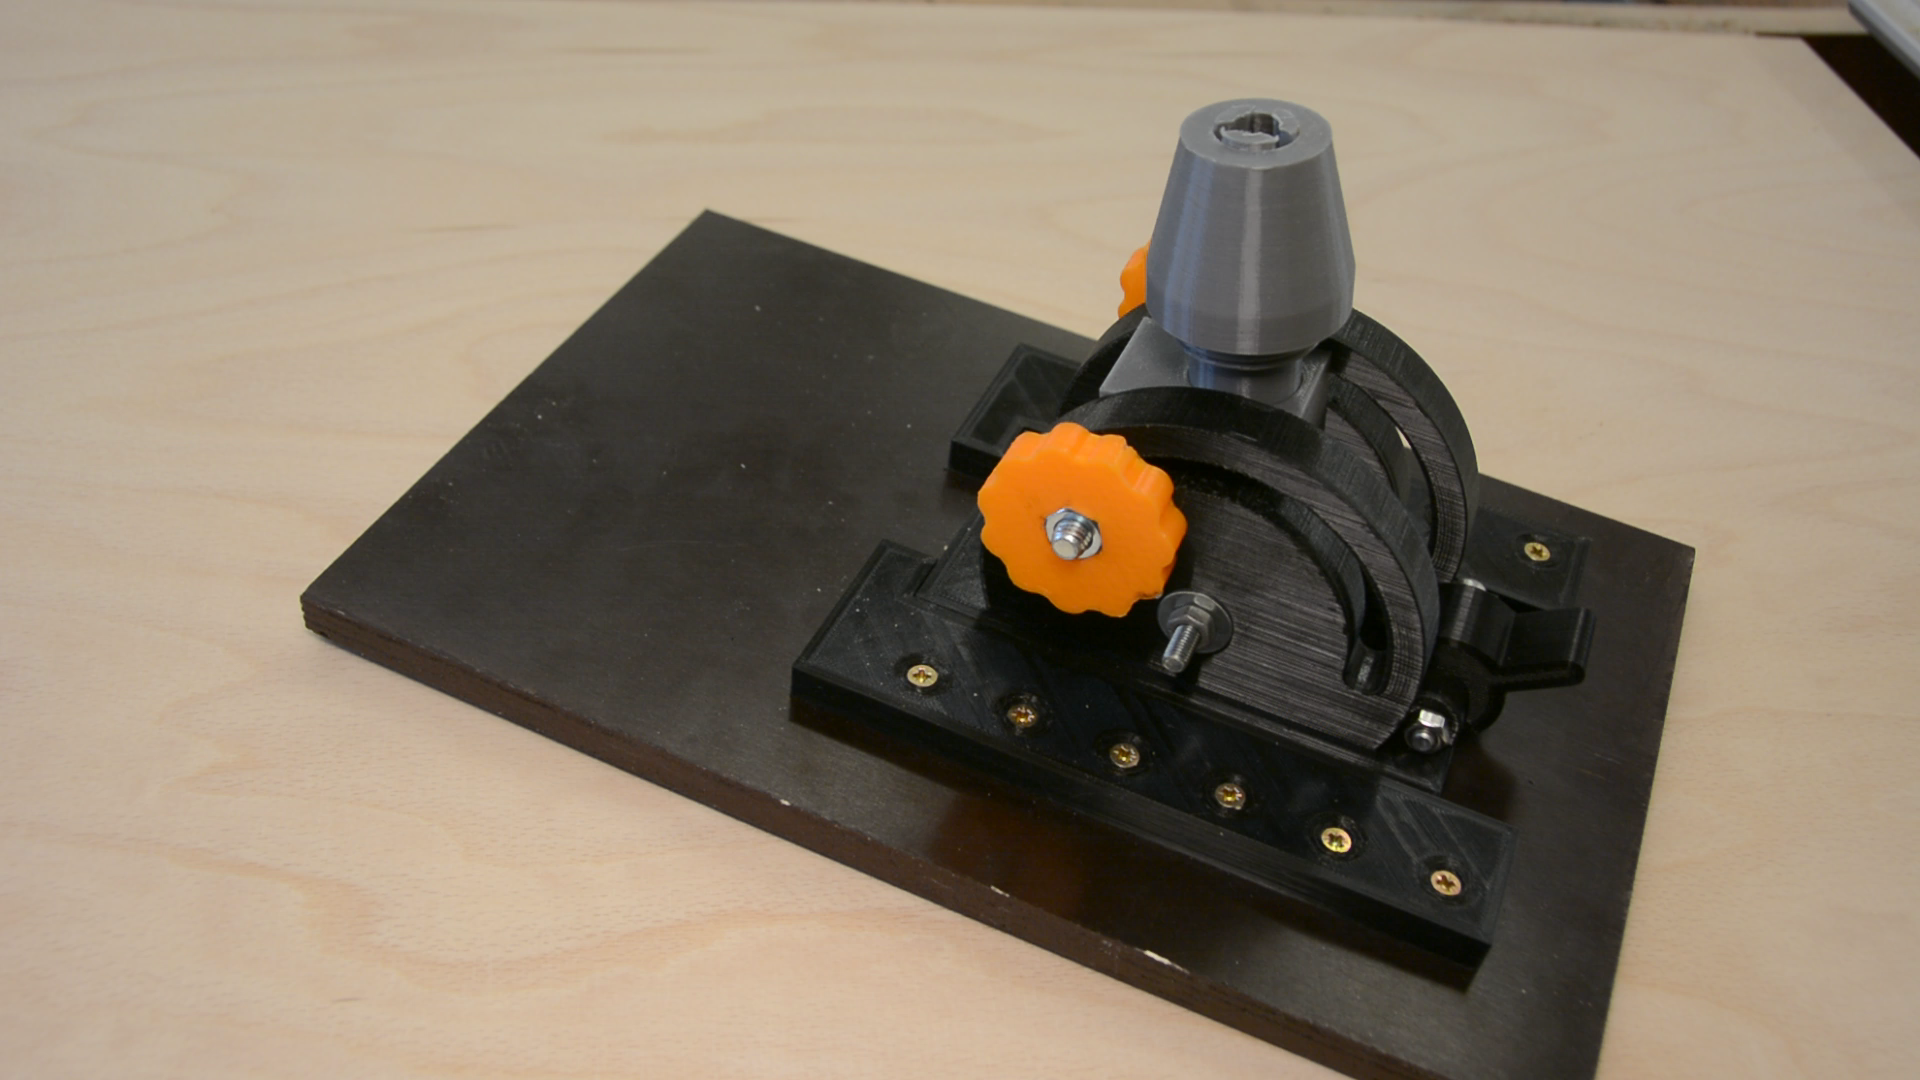
Let’s now have a look how to build this jig. All the STL files and a very detailed assembly instruction are available here.
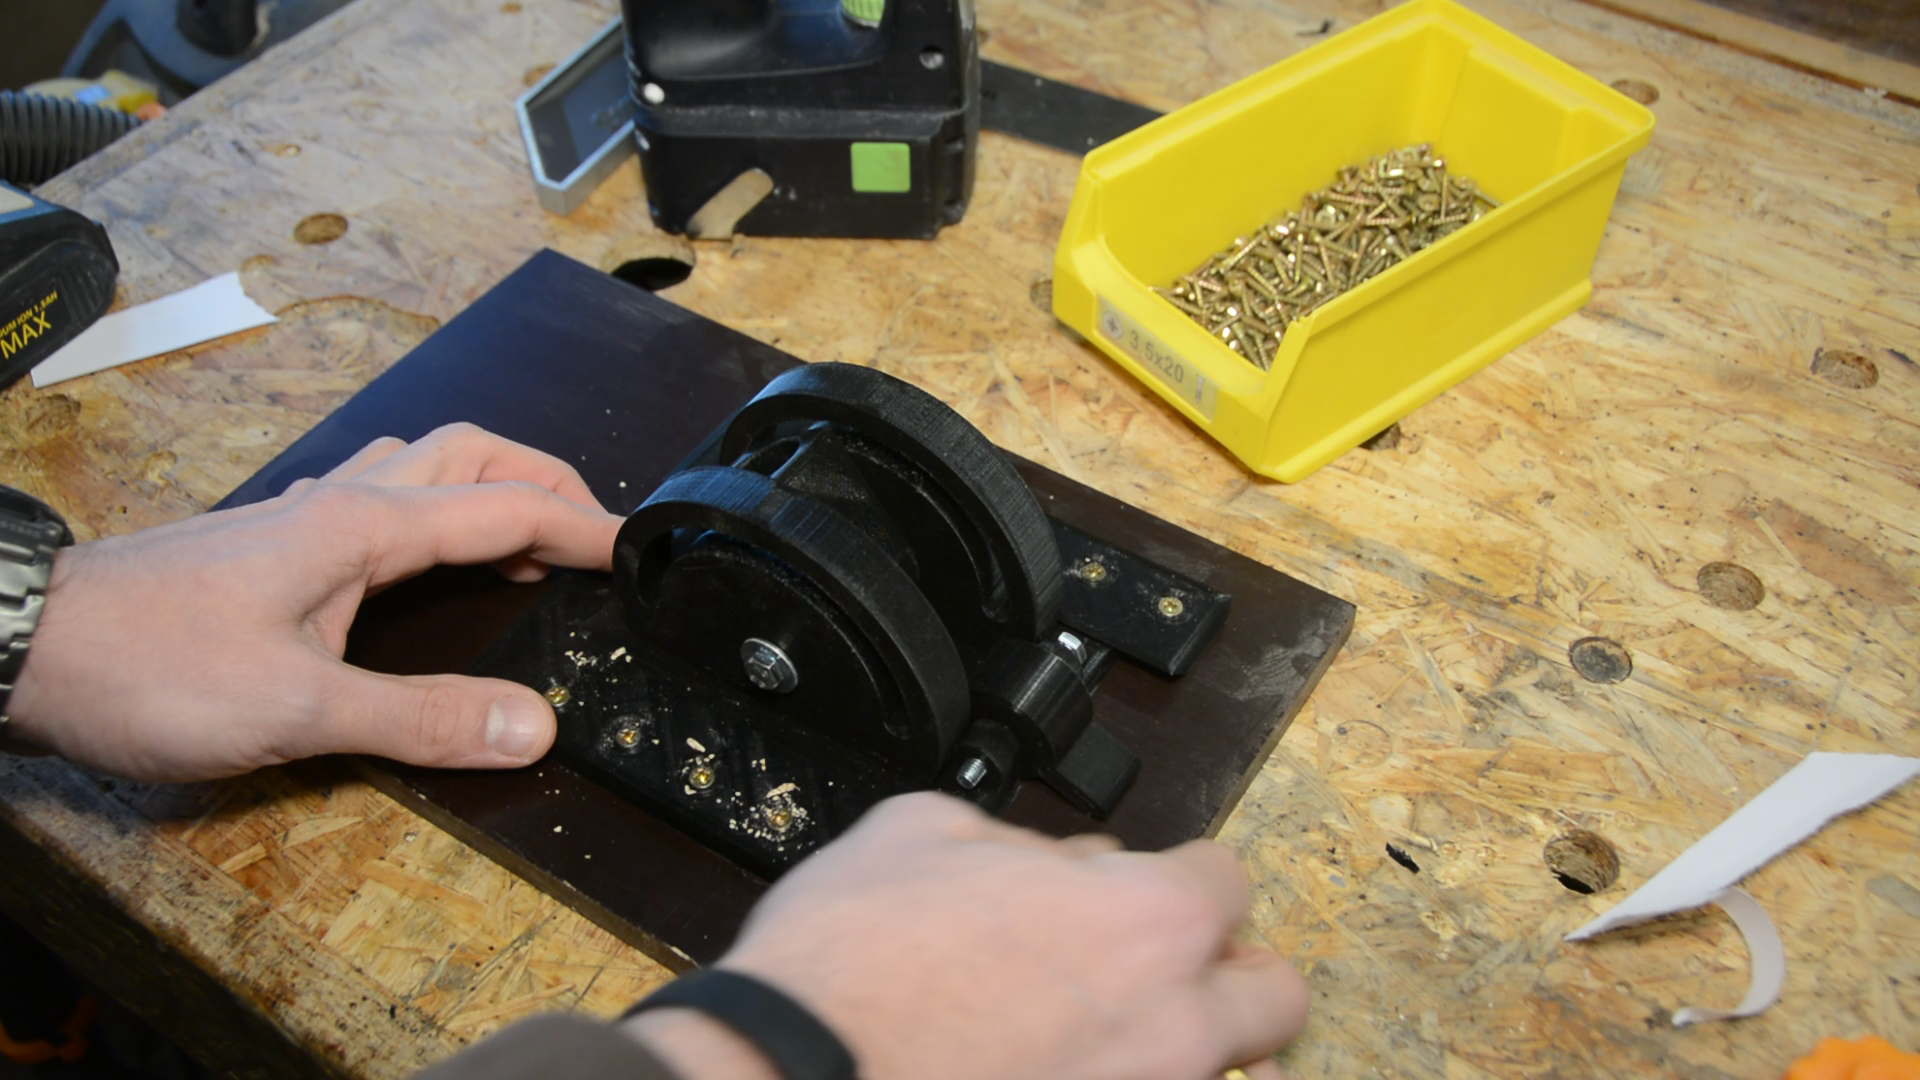
Assembly of the Forstner Bit Sharpening Jig
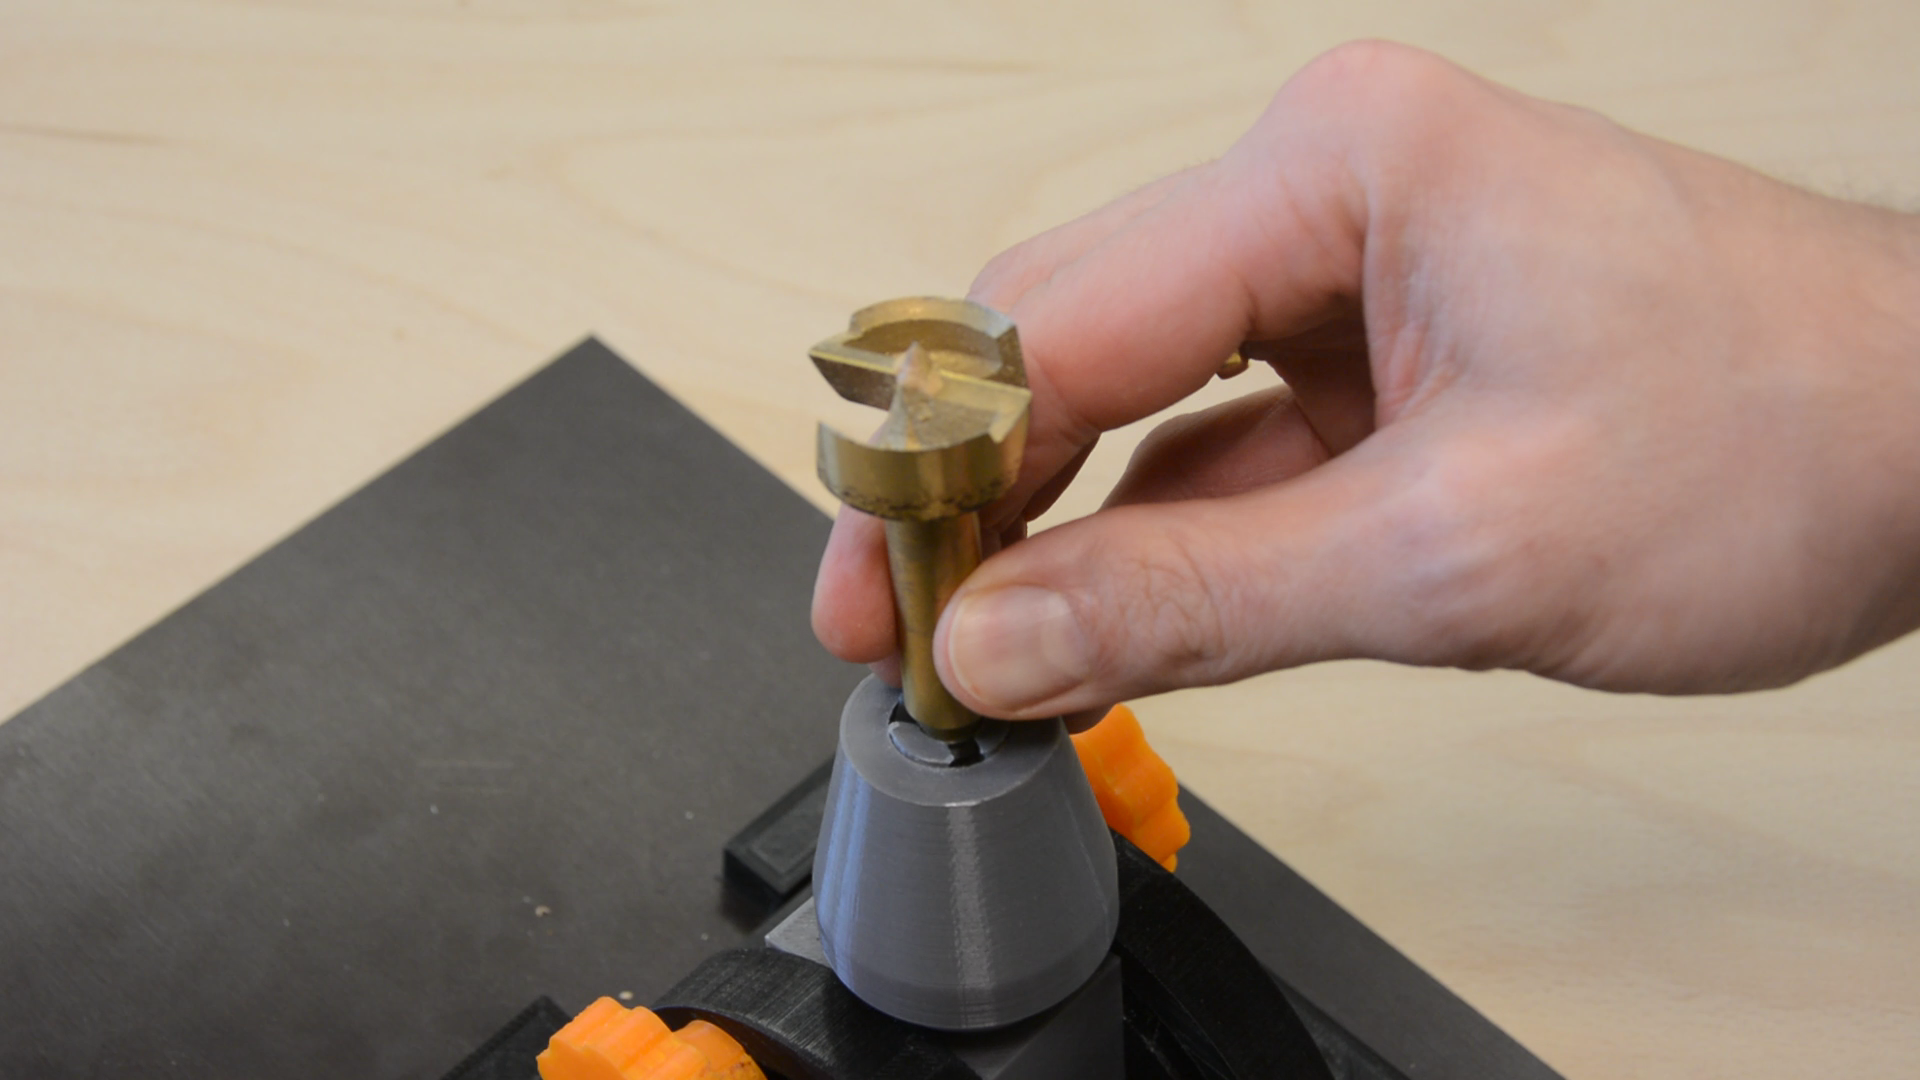
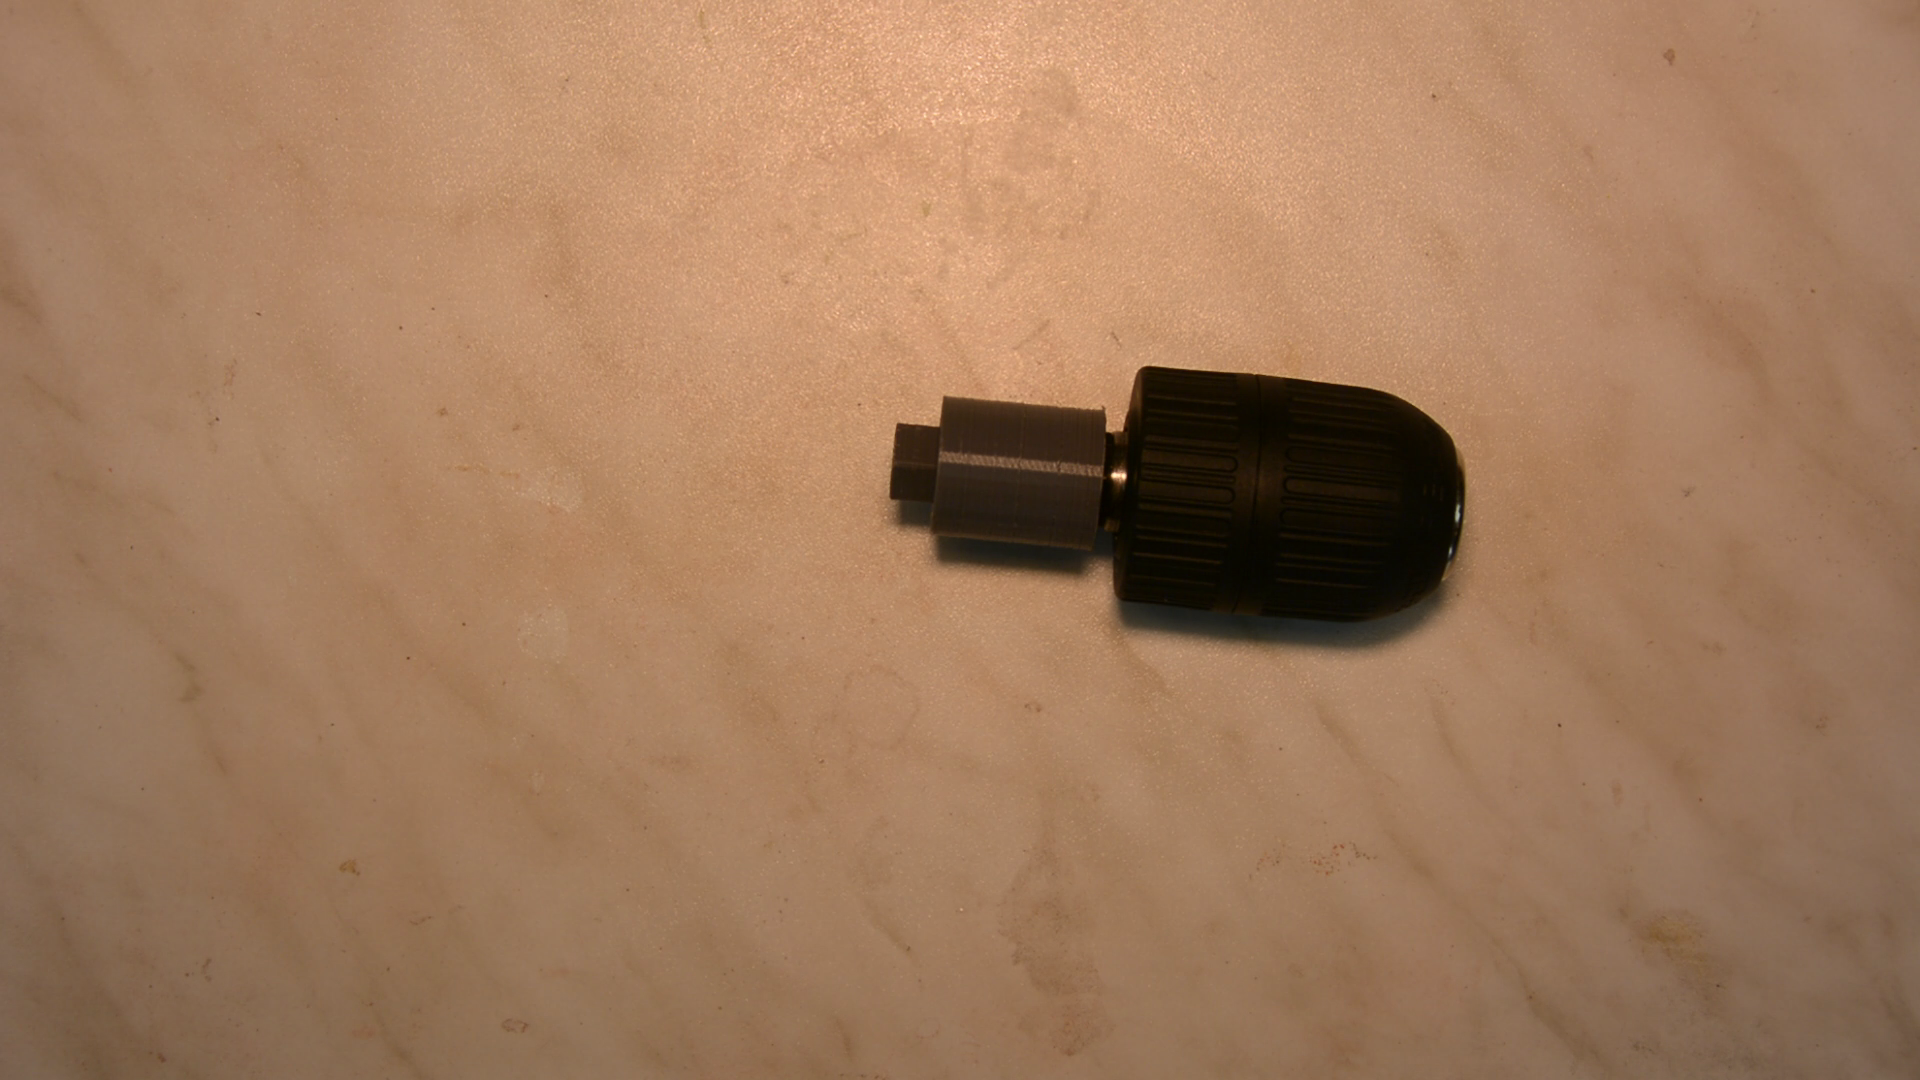
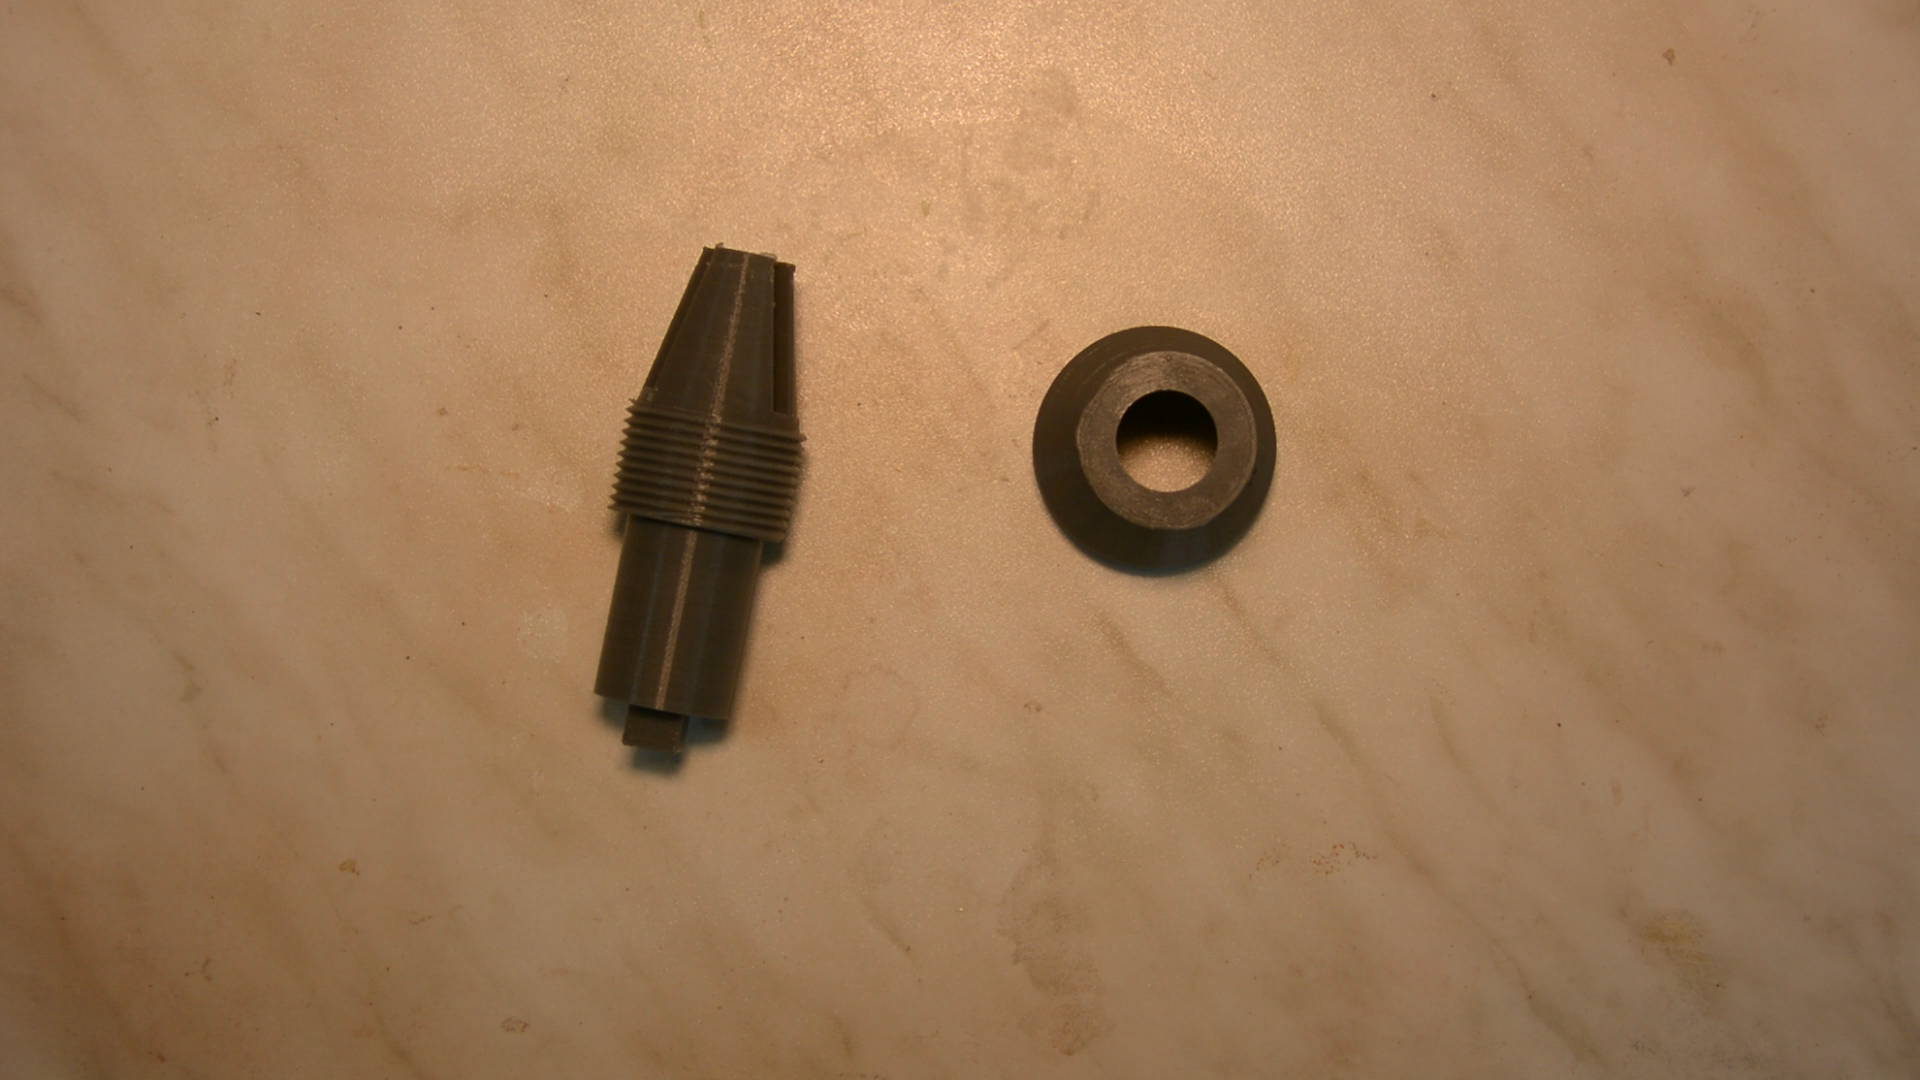
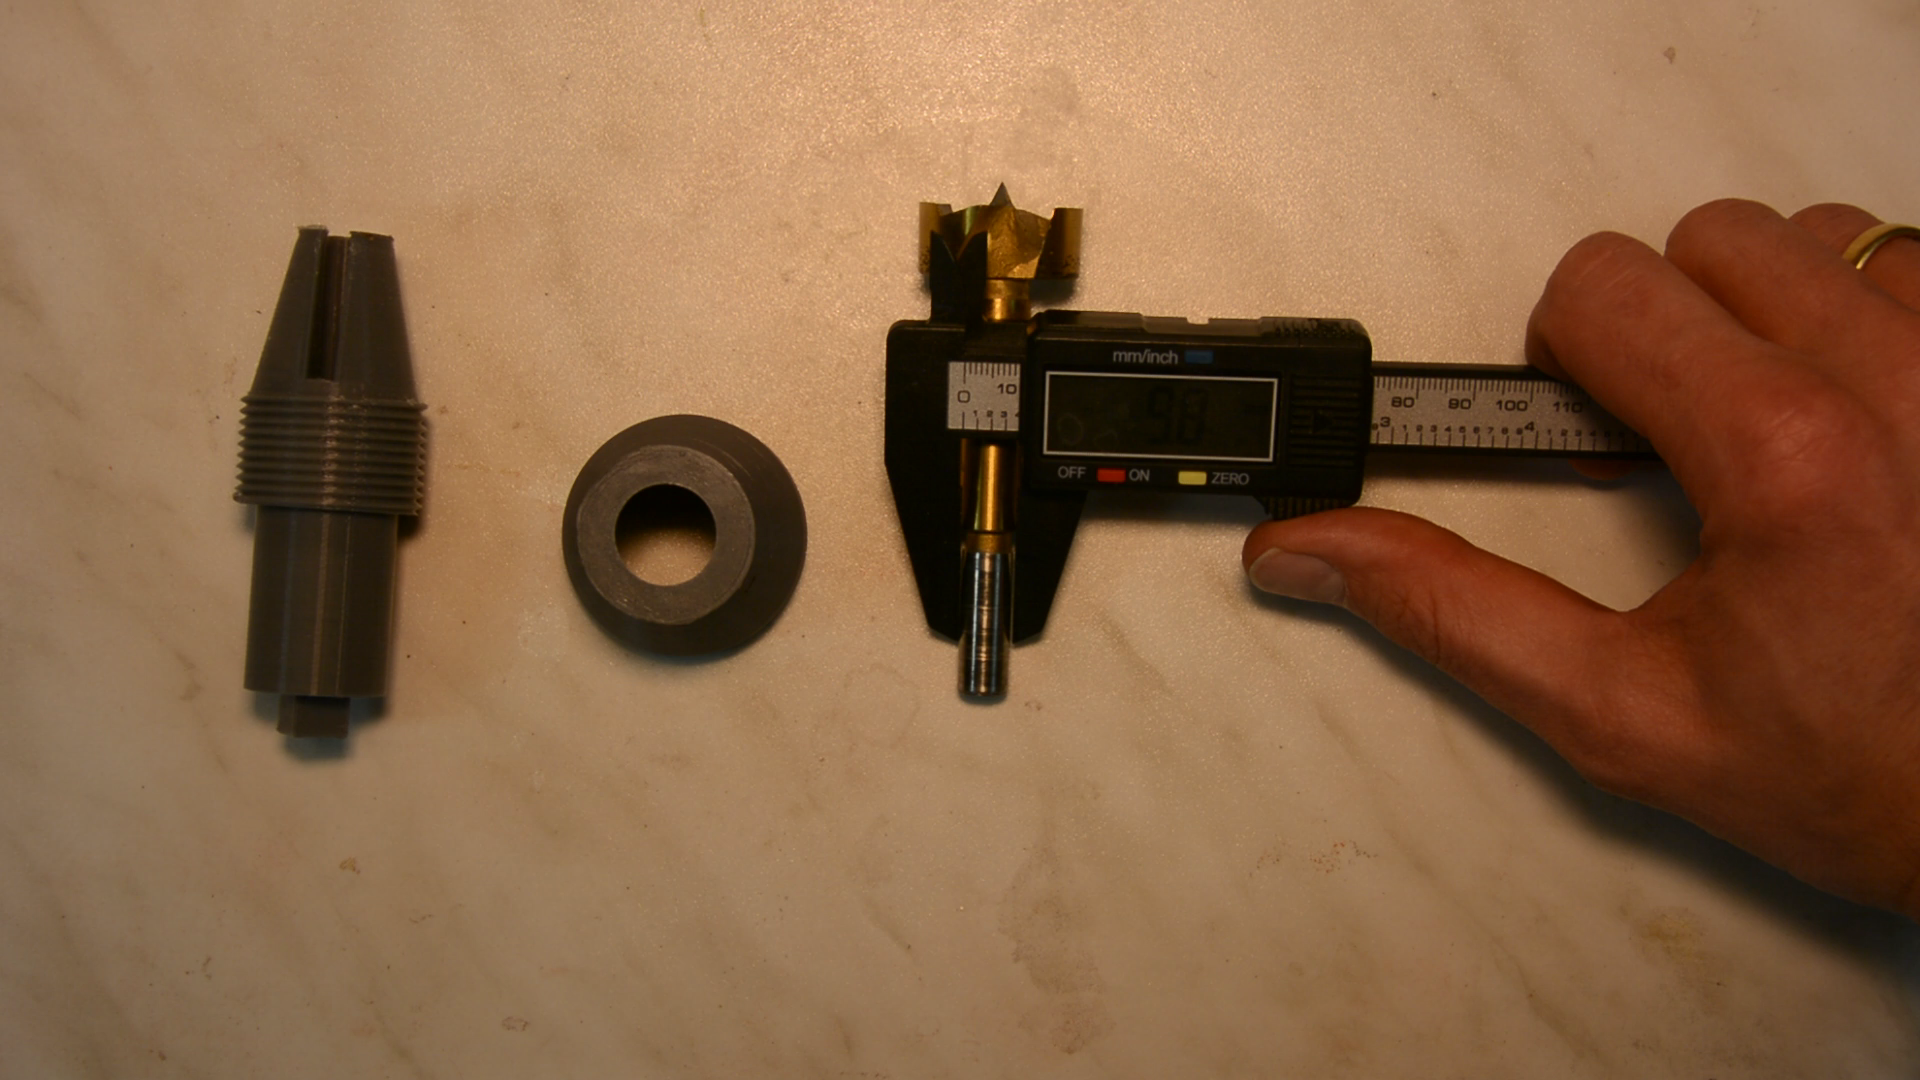
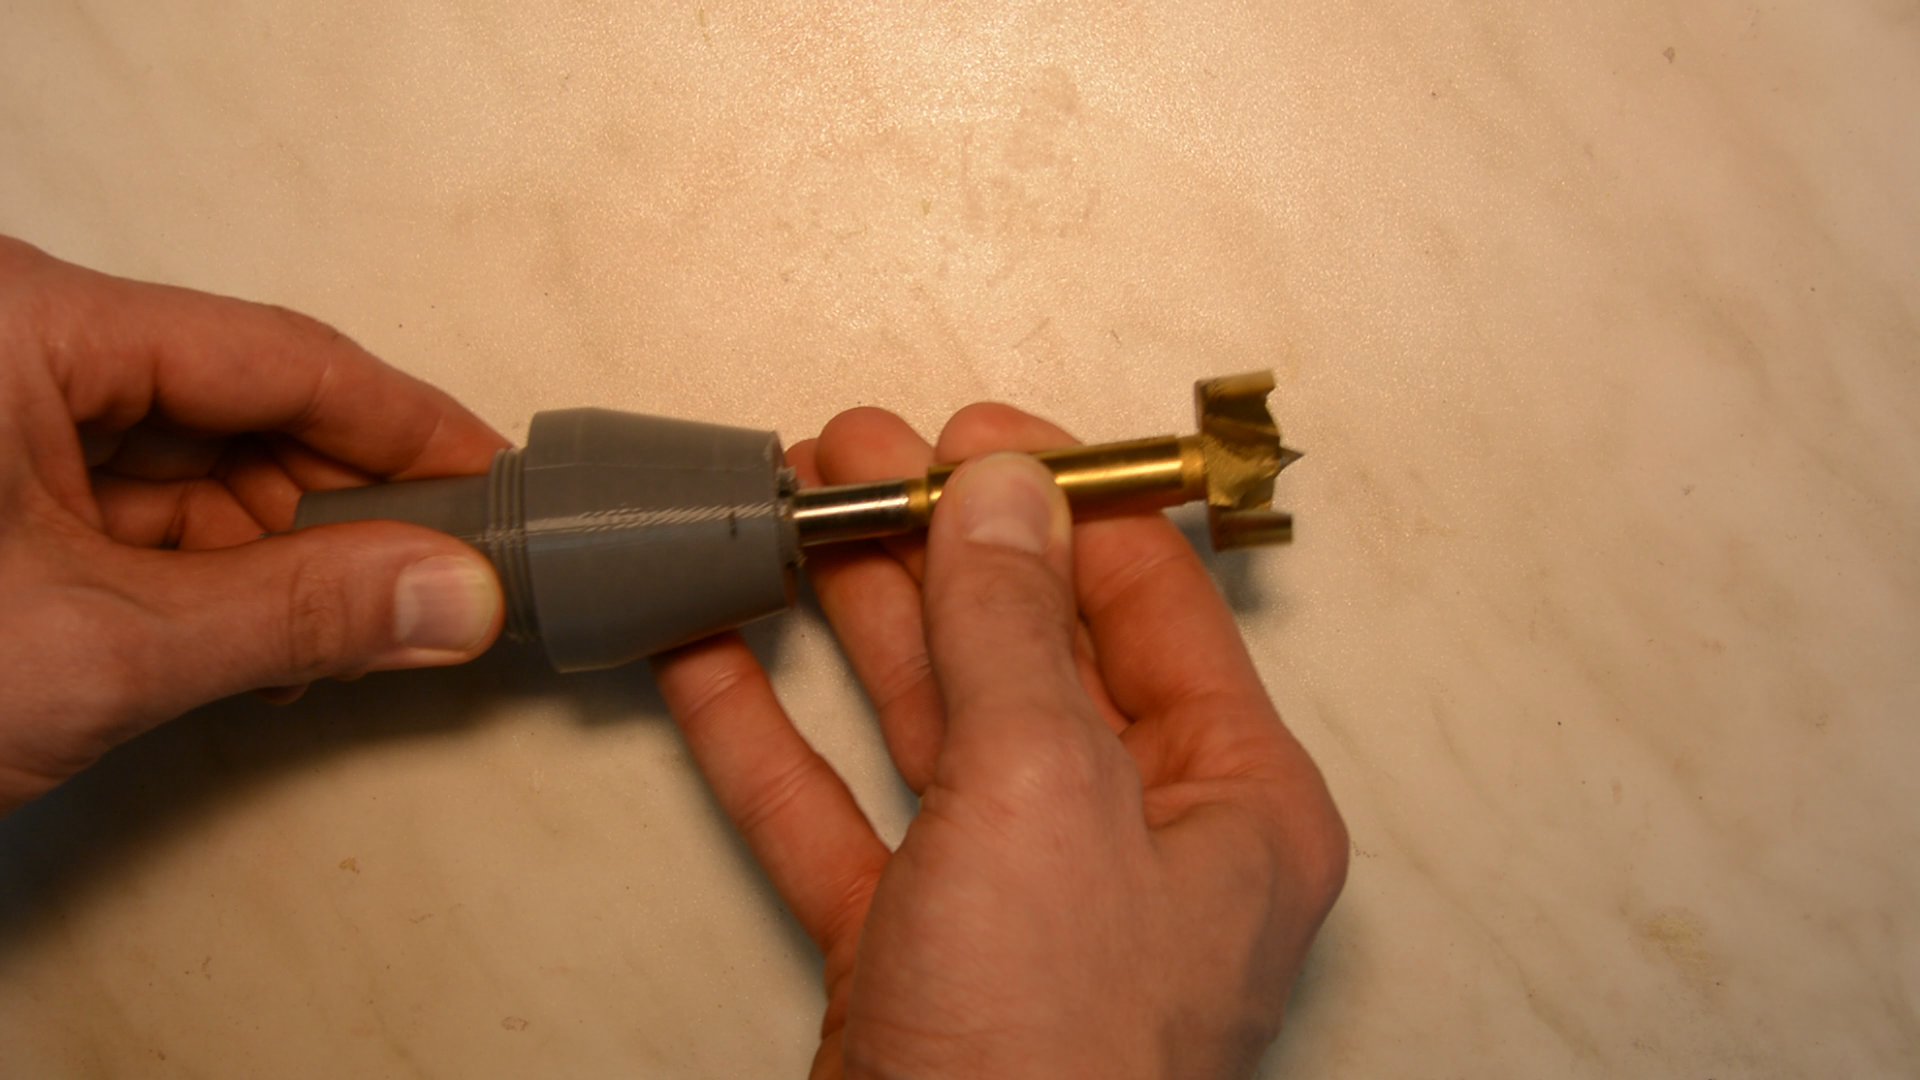
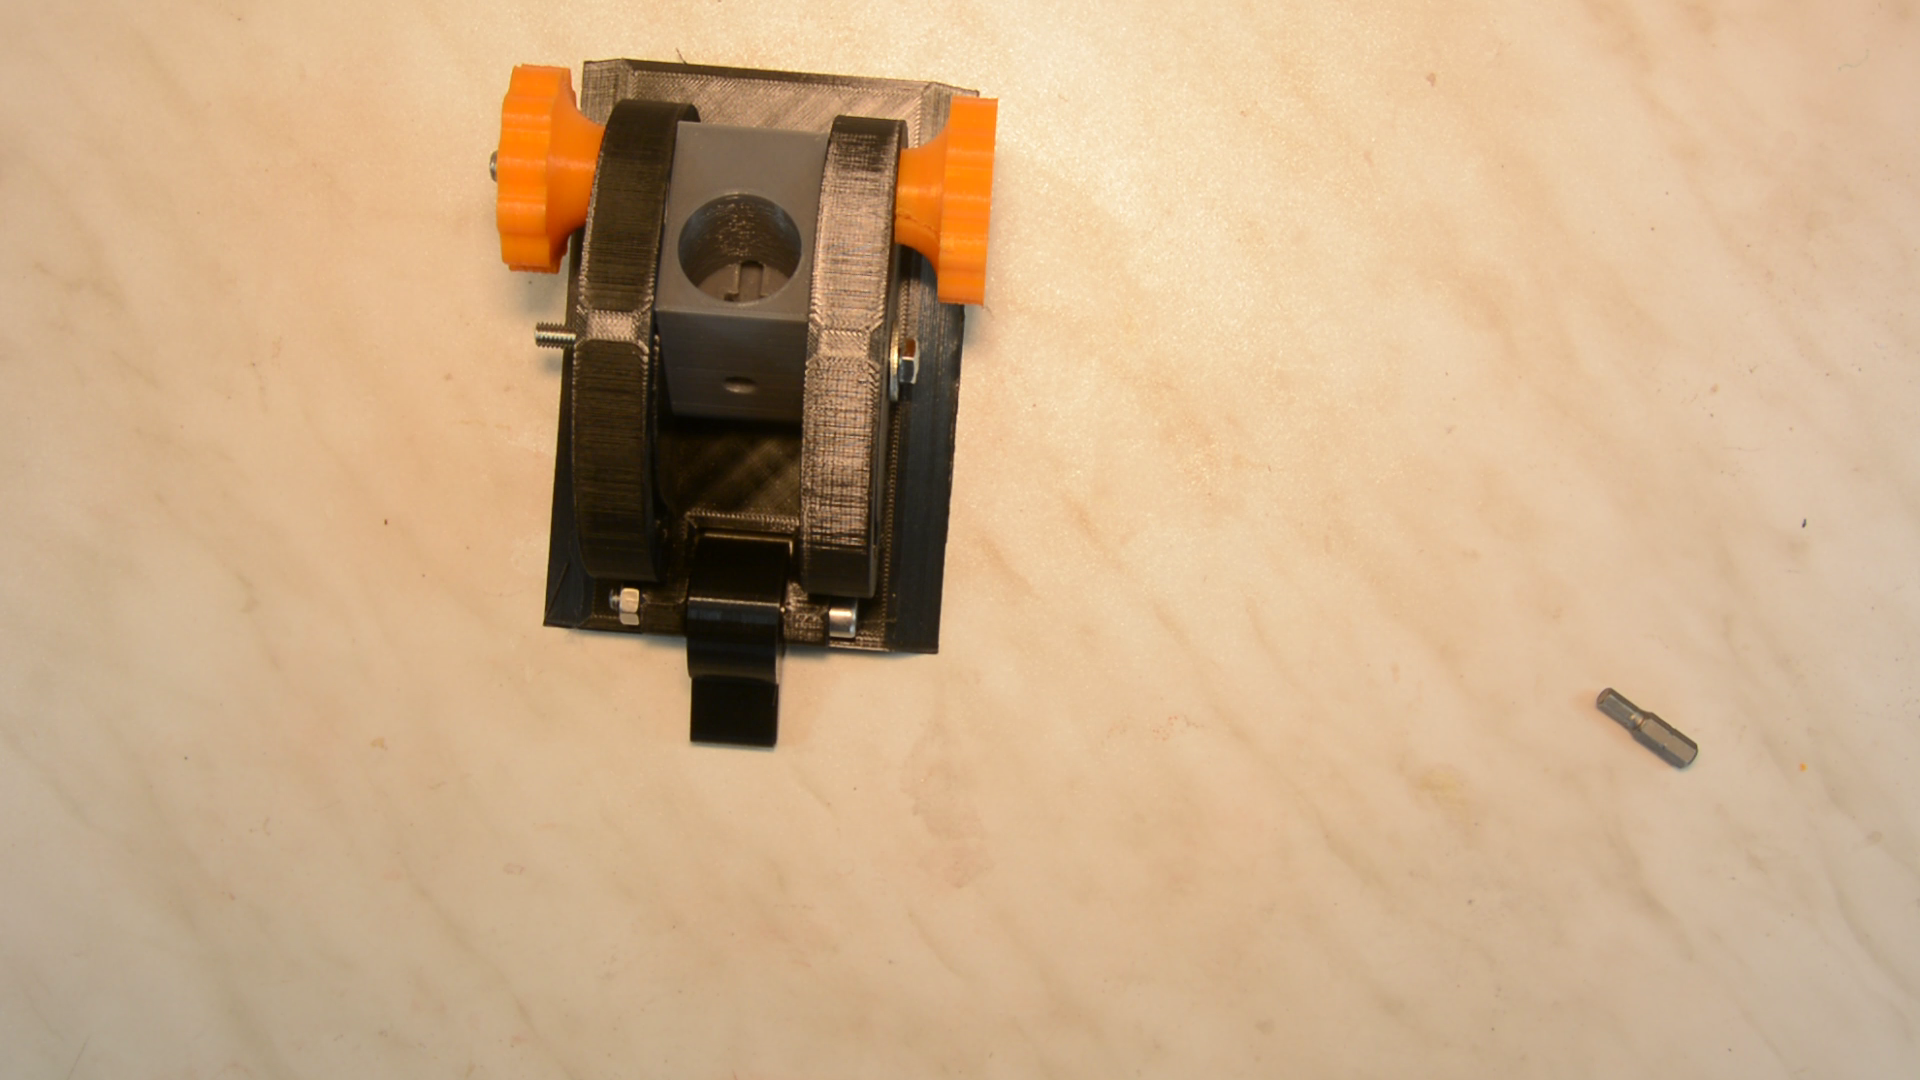
The first thing to assemble is the chuck. Here we have to options. Either a fully 3d printed chuck or an adapter for this cheap Chinese quick release chuck.
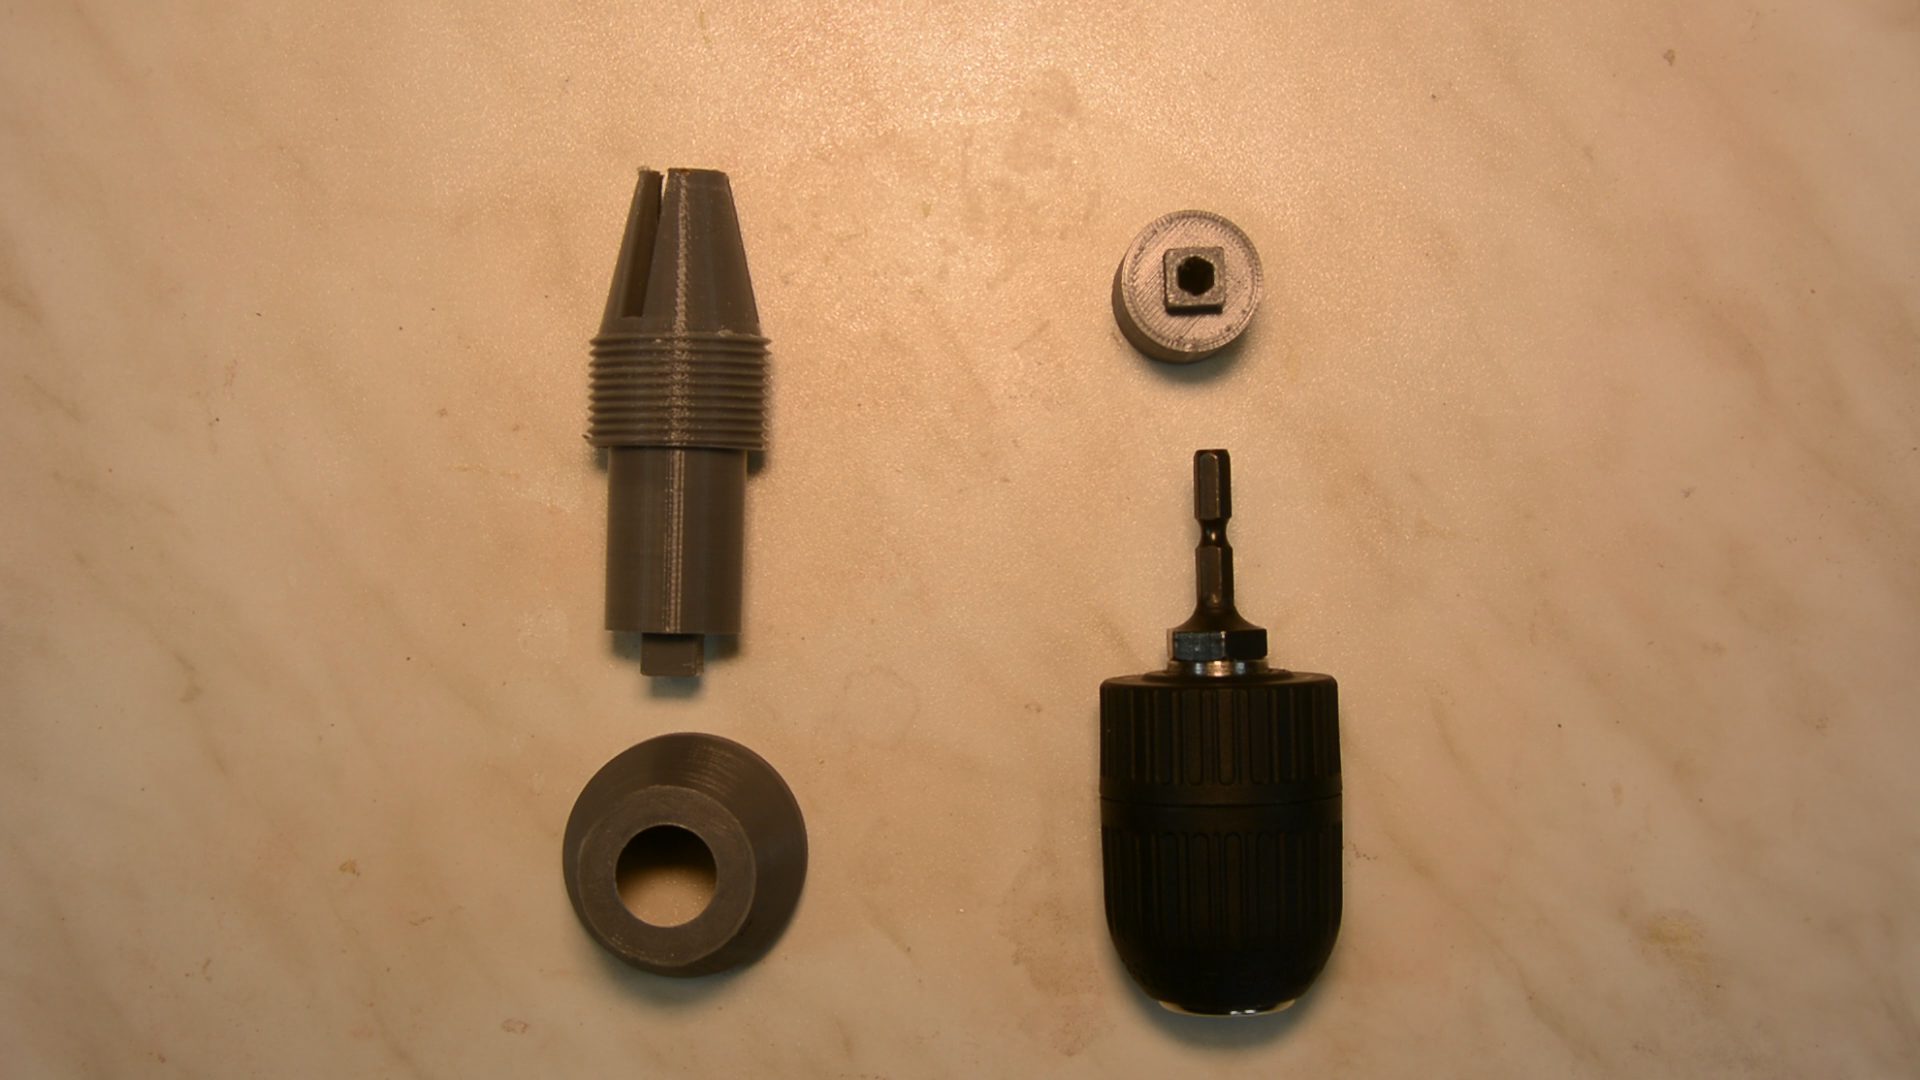
For the quick release chuck we just print the adapter and press fit it to the chuck. When you are sure that it works it is a good idea to secure the chuck with a drop of glue.
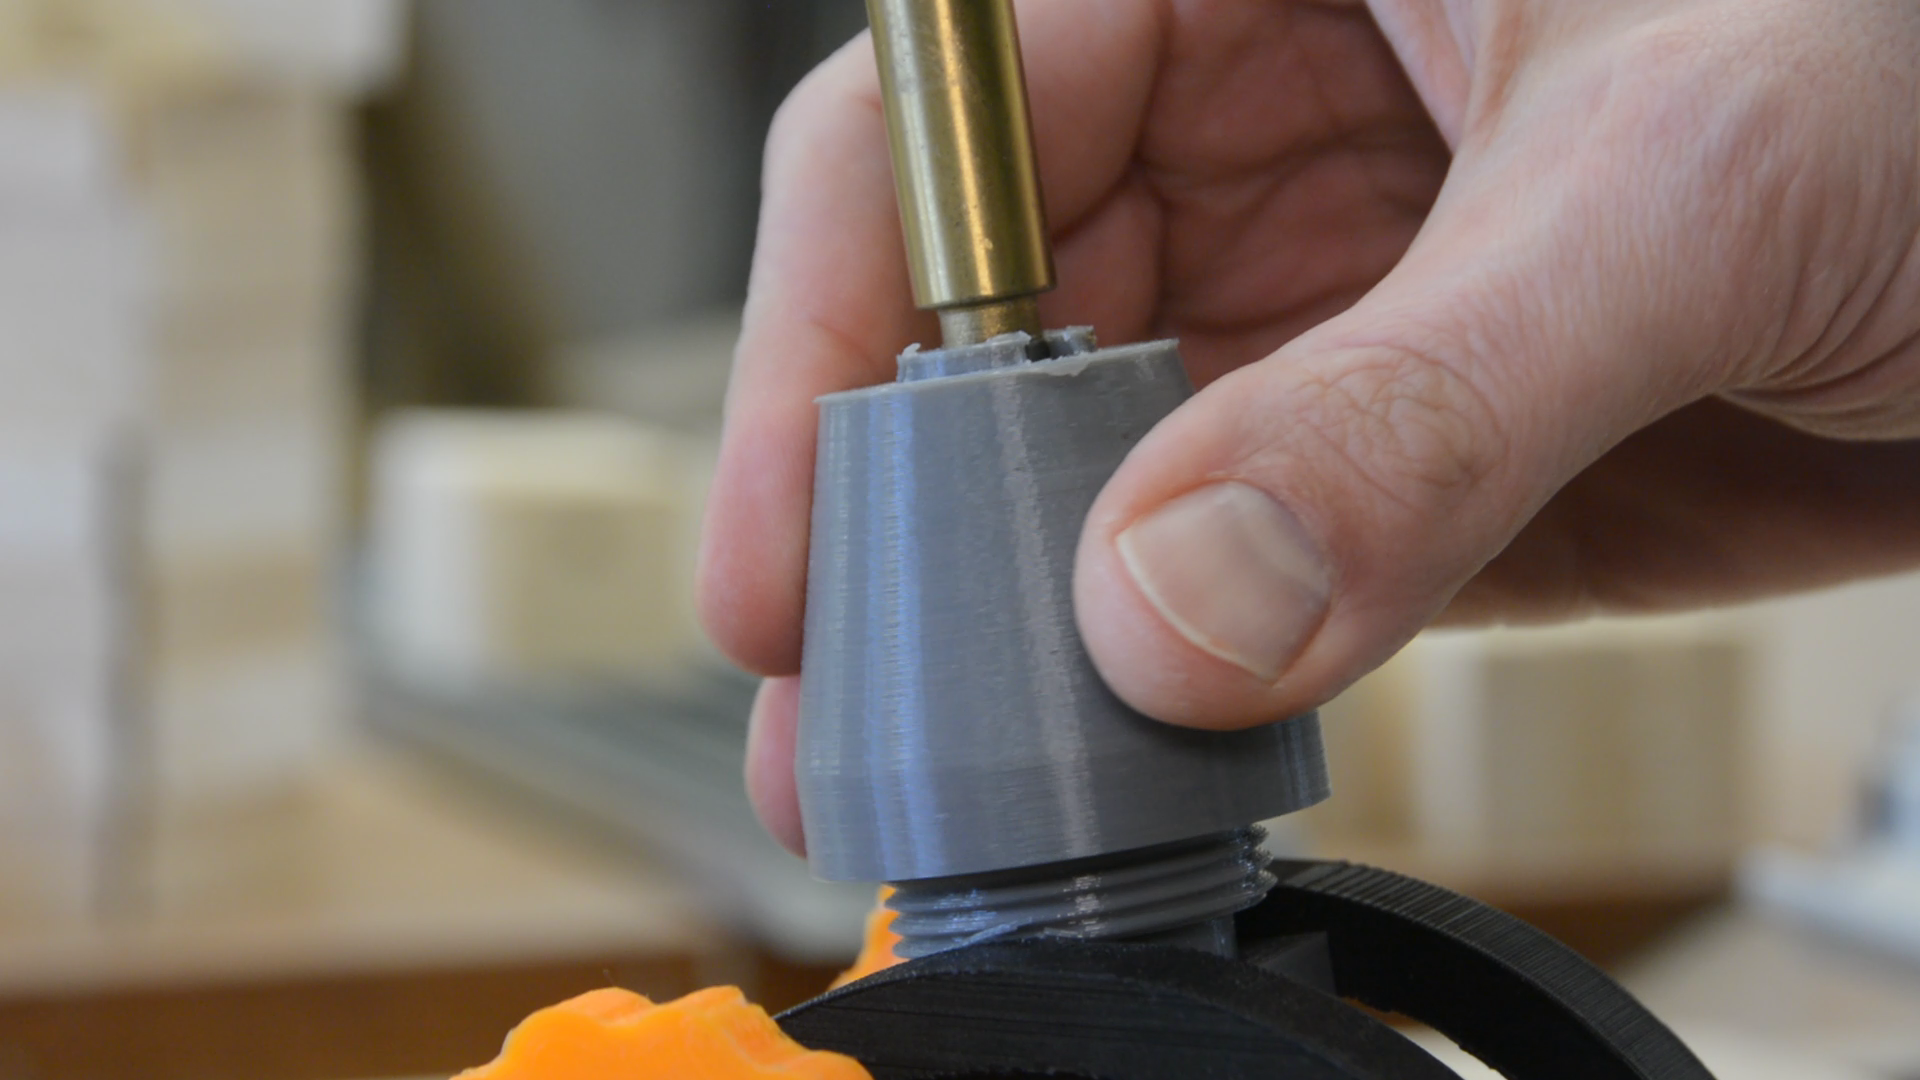
For the 3d printed chuck we need to pick the right diameter of the forstner bit shaft. I created versions of the chuck in 0.5 mm increments – just pick the one that corresponds to the diameter of your forstner bits. The shaft of my set is 9.5mm and the 3d printed version works for the entire set.
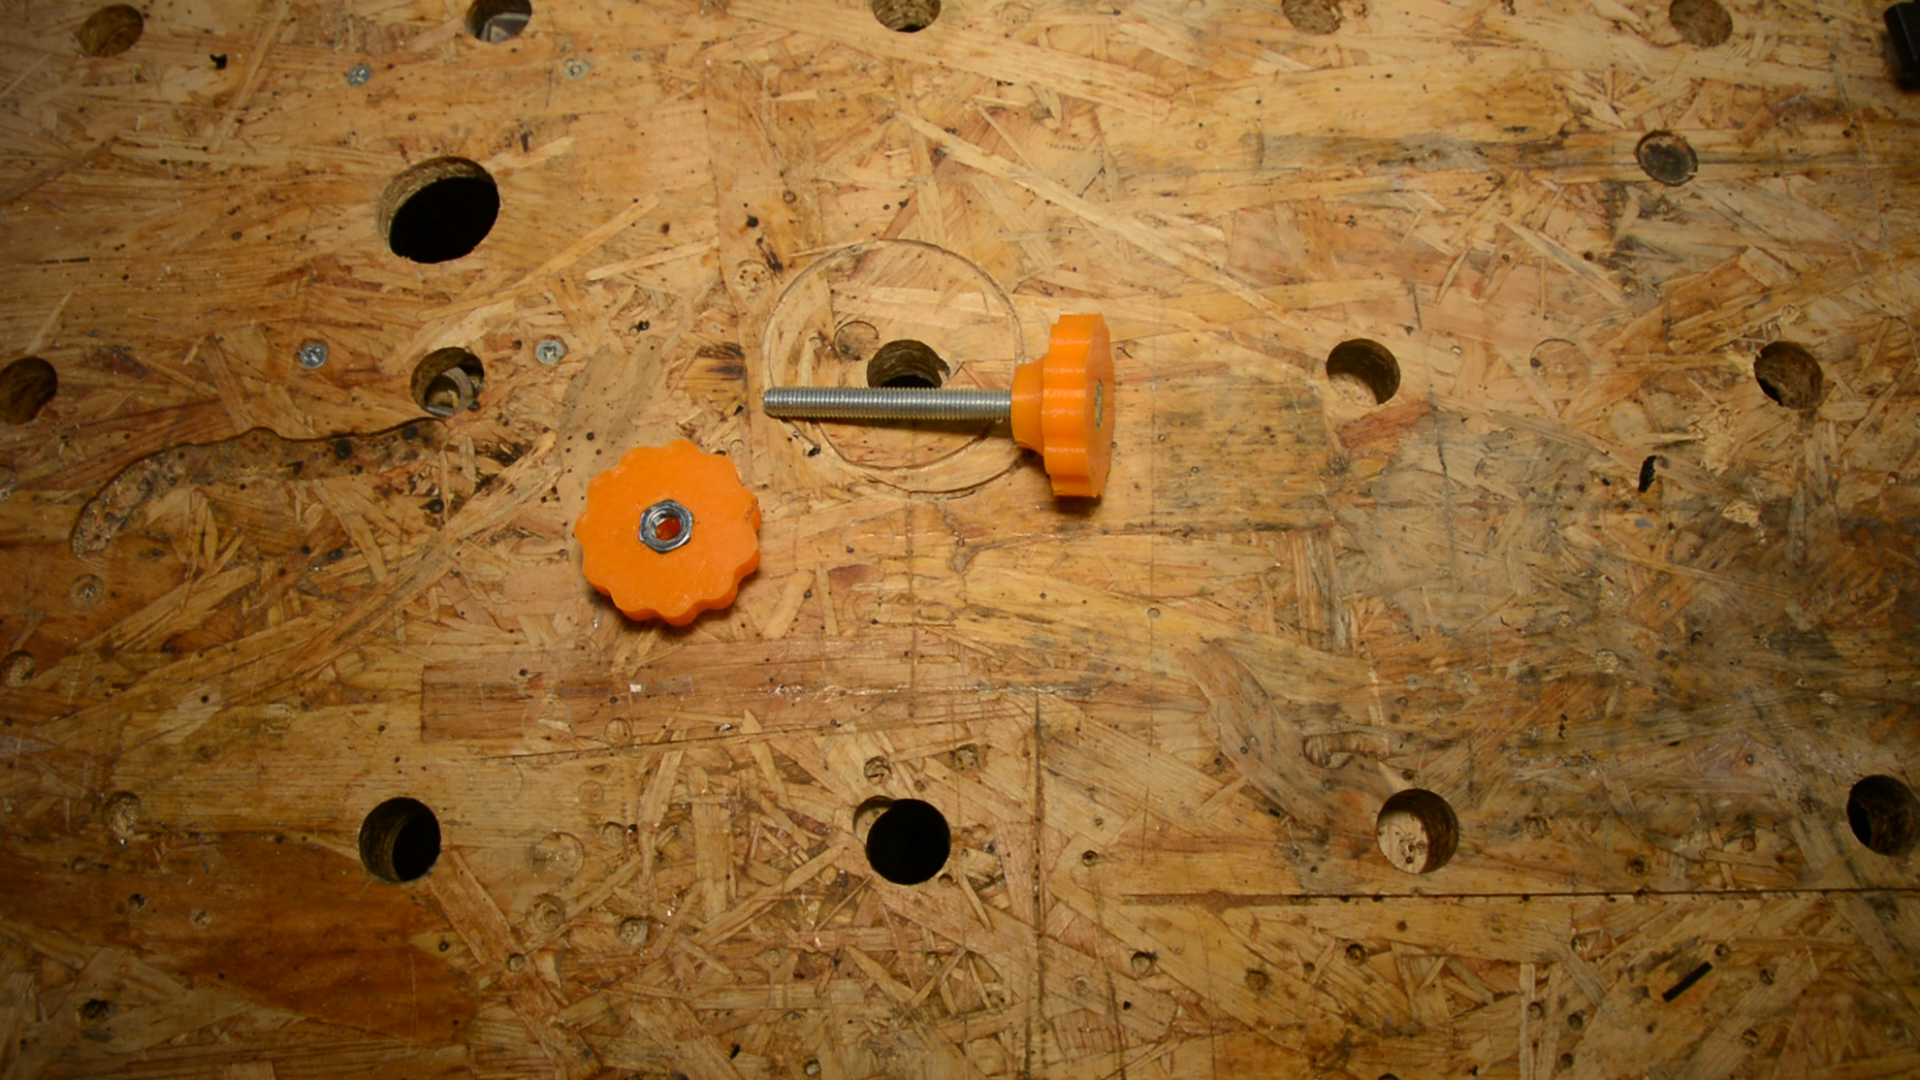
Next are the knobs. For the larger knobs we press fit an M8 nut into one part. The other part gets a 100 mm long M8 machine screw tapped in place.

The Square base holder is secured with a 70 mm long M6 screw to the trackbase. If you don’t have all the hardware parts available I have put a hardware kit with all the necessary screws and nuts together.
Lock Lever
The next step is optional and not strictly necessary. When grinding several drills in a row I found it more convenient to mark the right position and lock the base in a certain position in place rather than clamping down the entire base. For this feature we install an excentric lever with a 50mm M6 machine screw. When pushing the lever forward the base is locked securely in place.

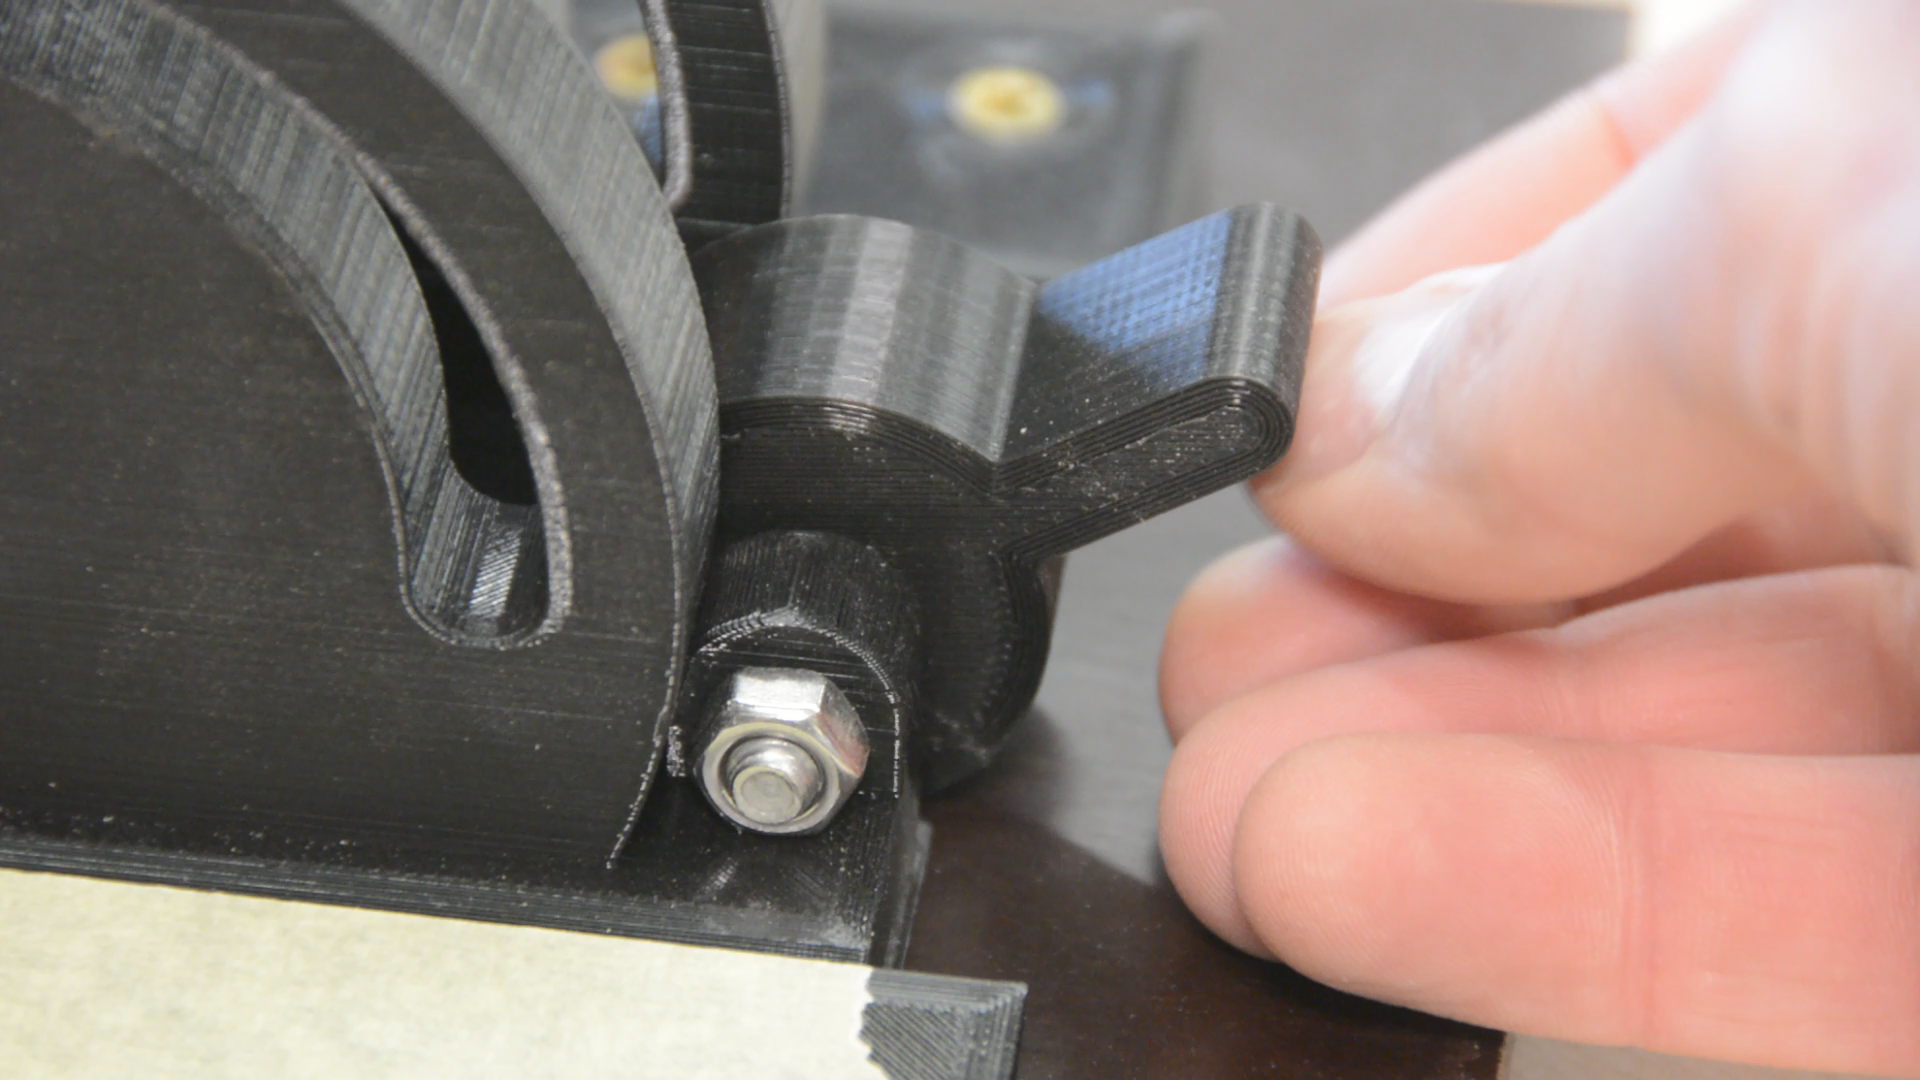
After connecting the two M8 knobs through the base we can lock it at a certain angle.
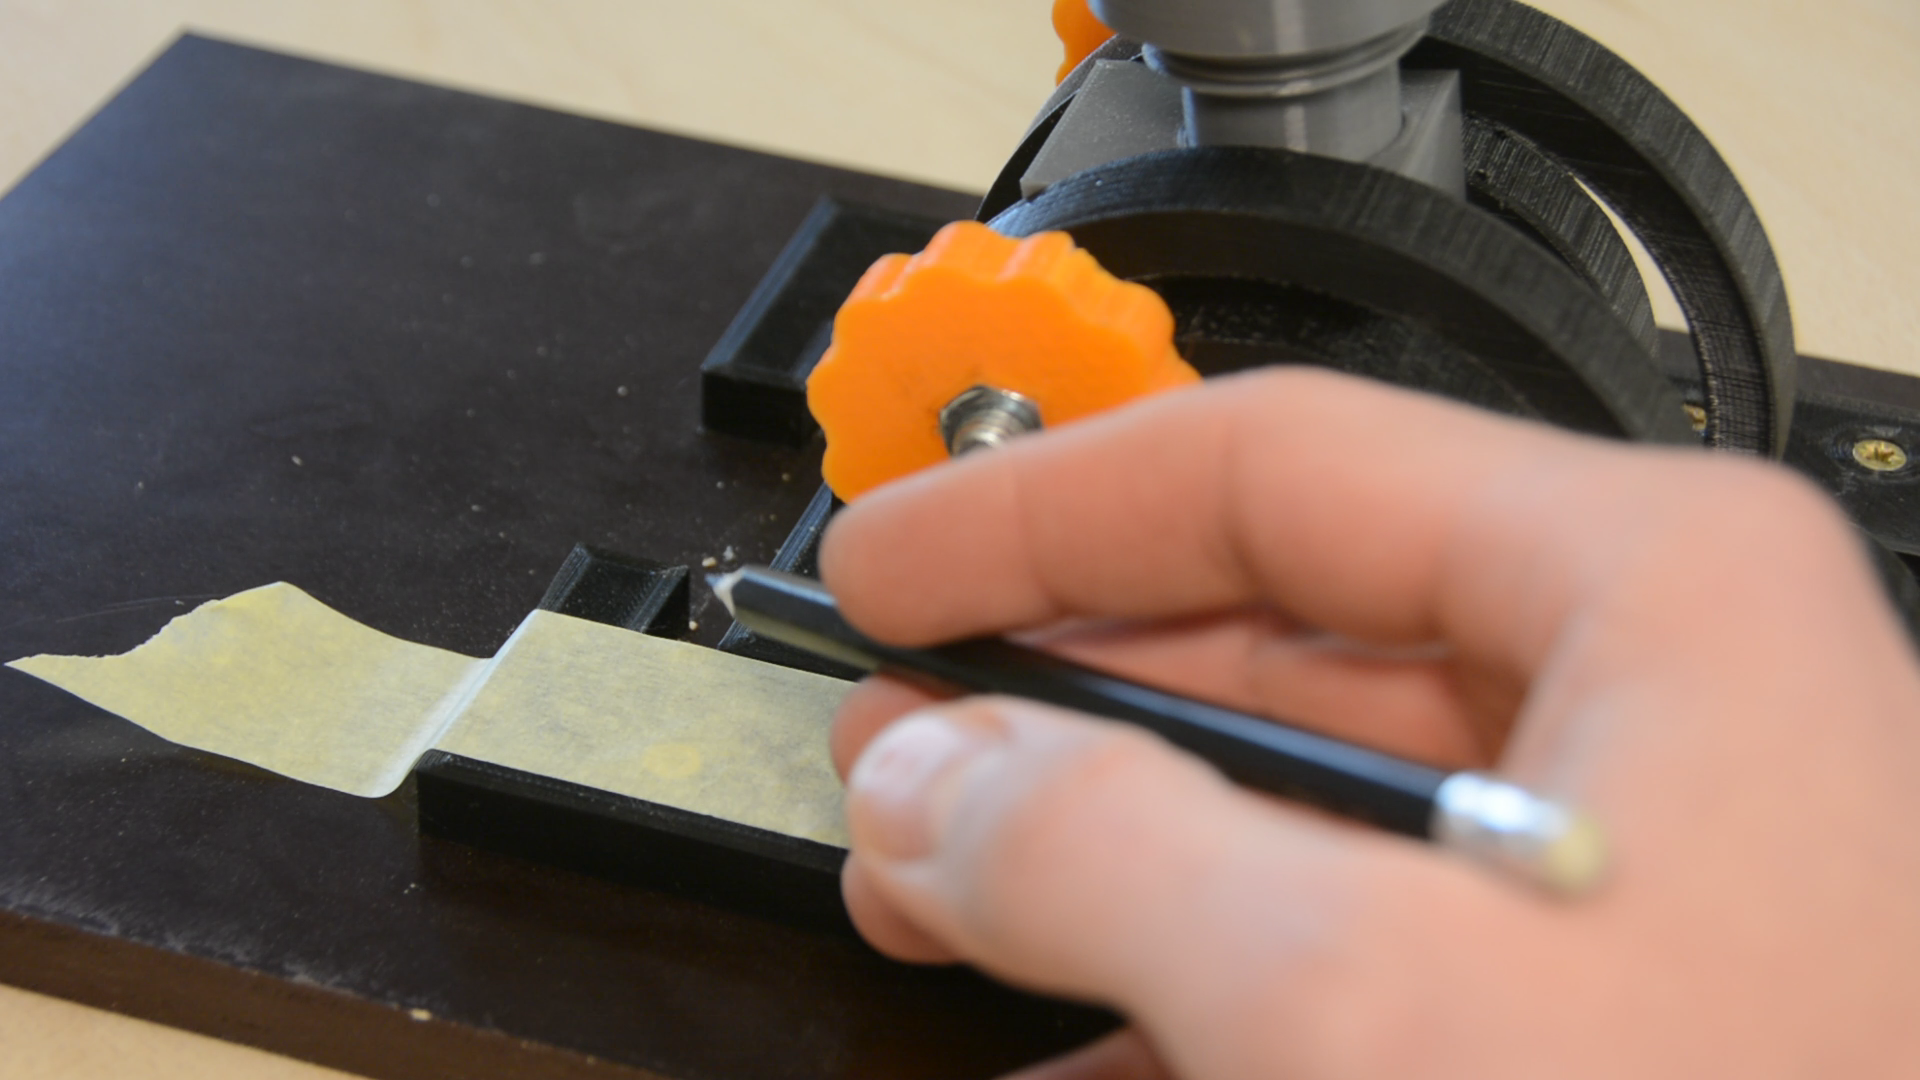
Mounting the tracks on the base
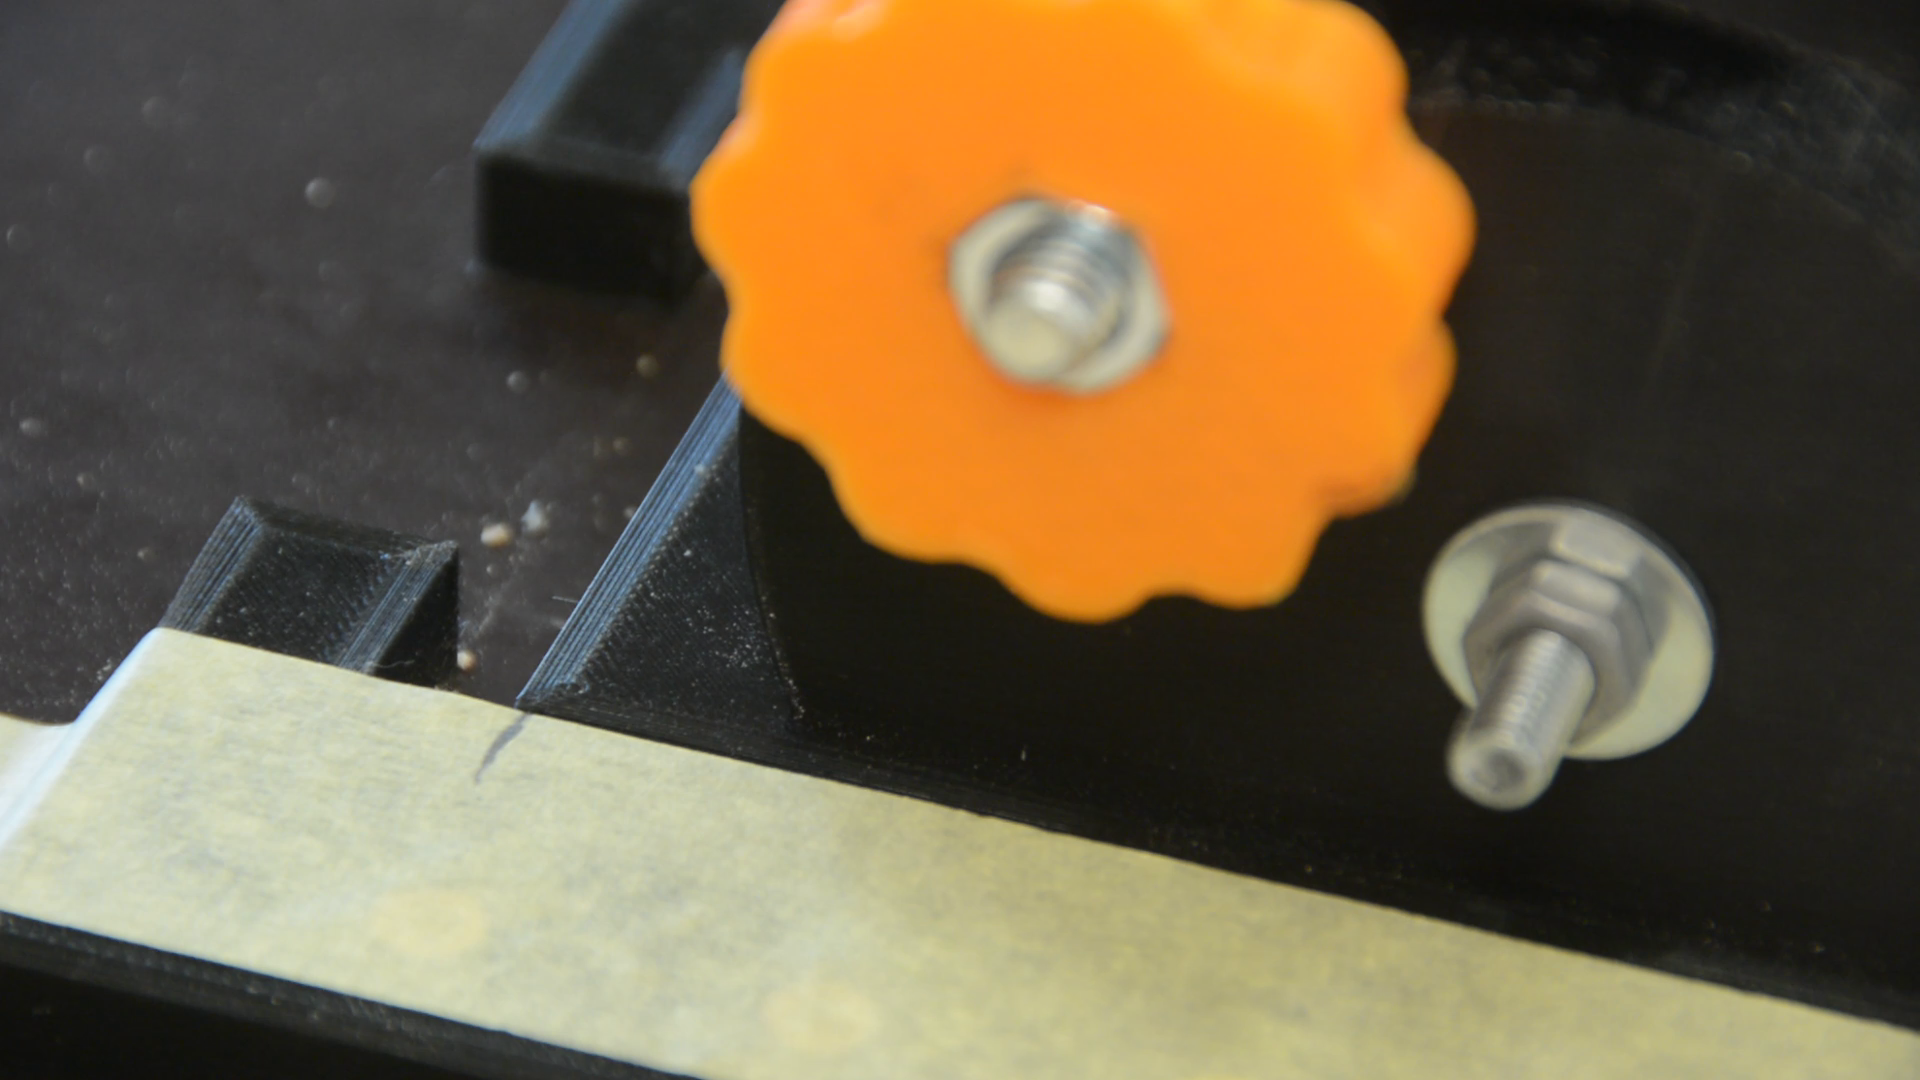
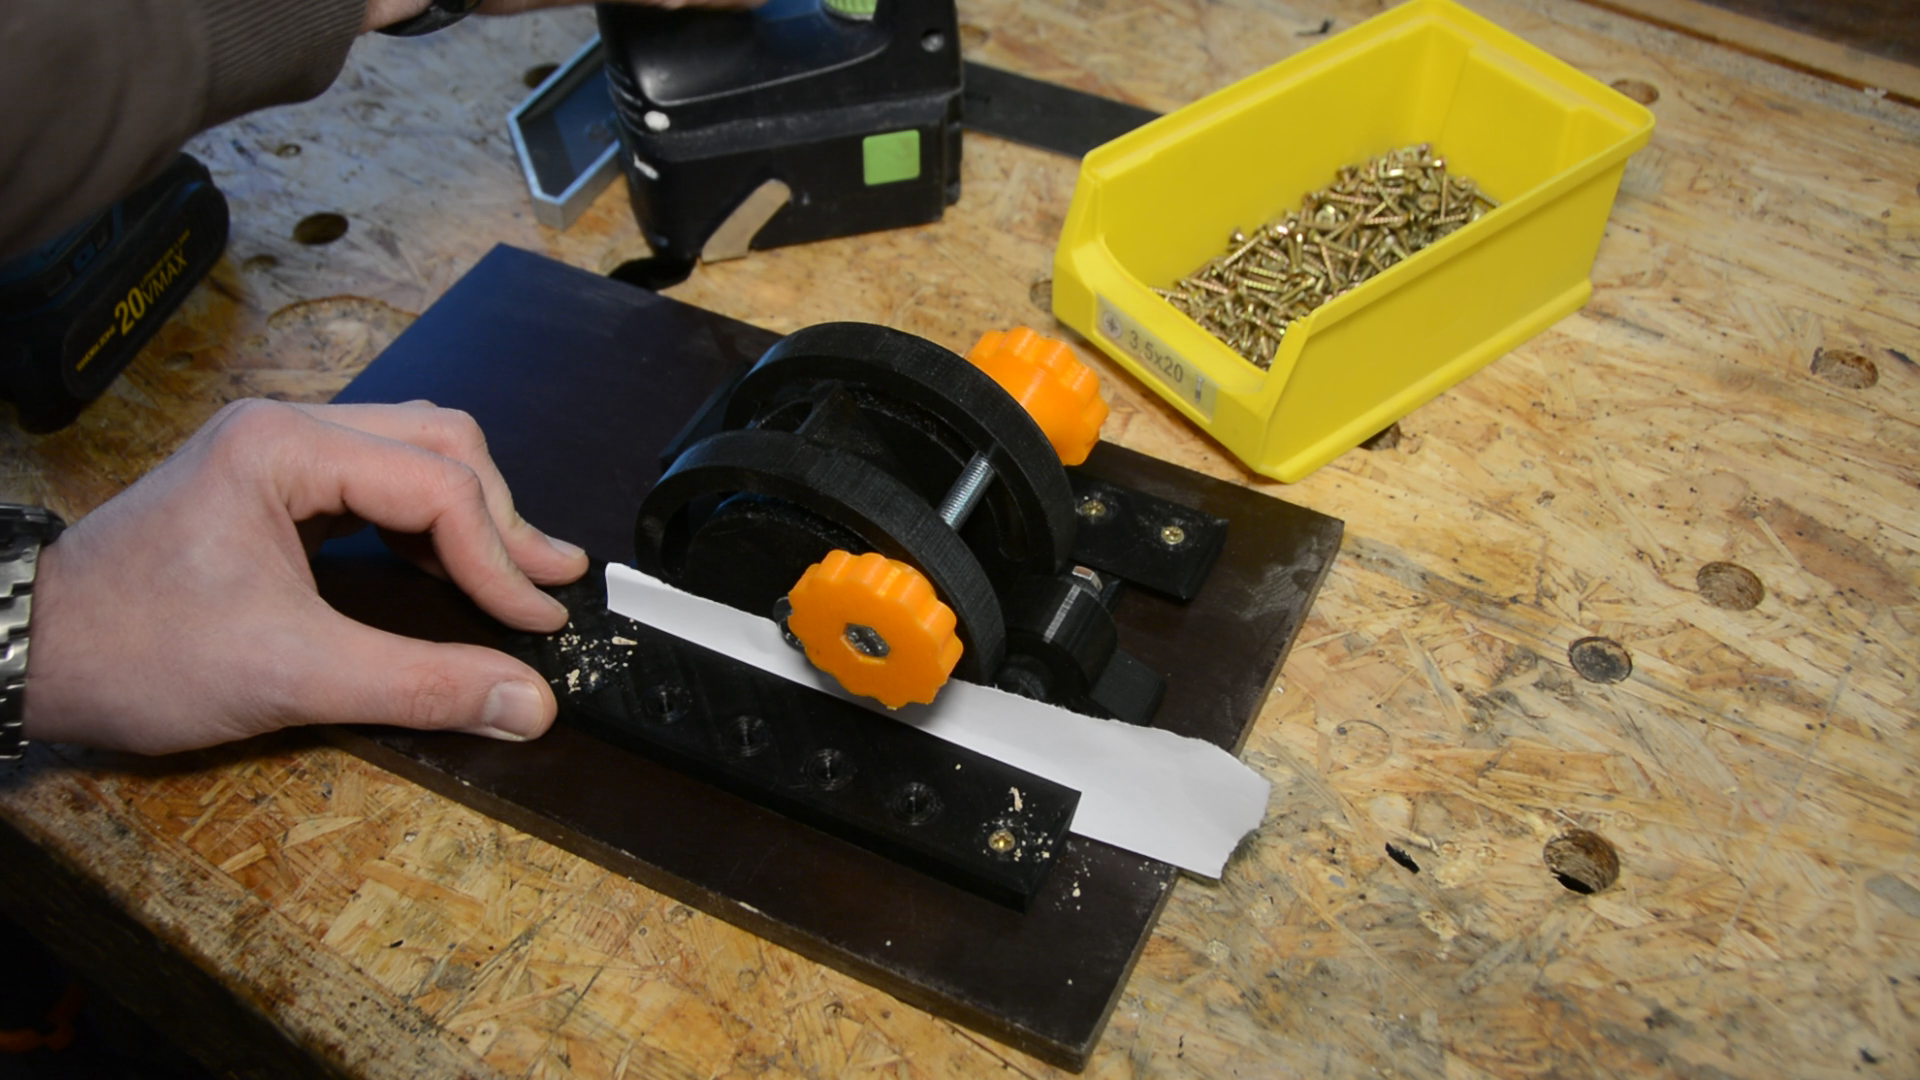
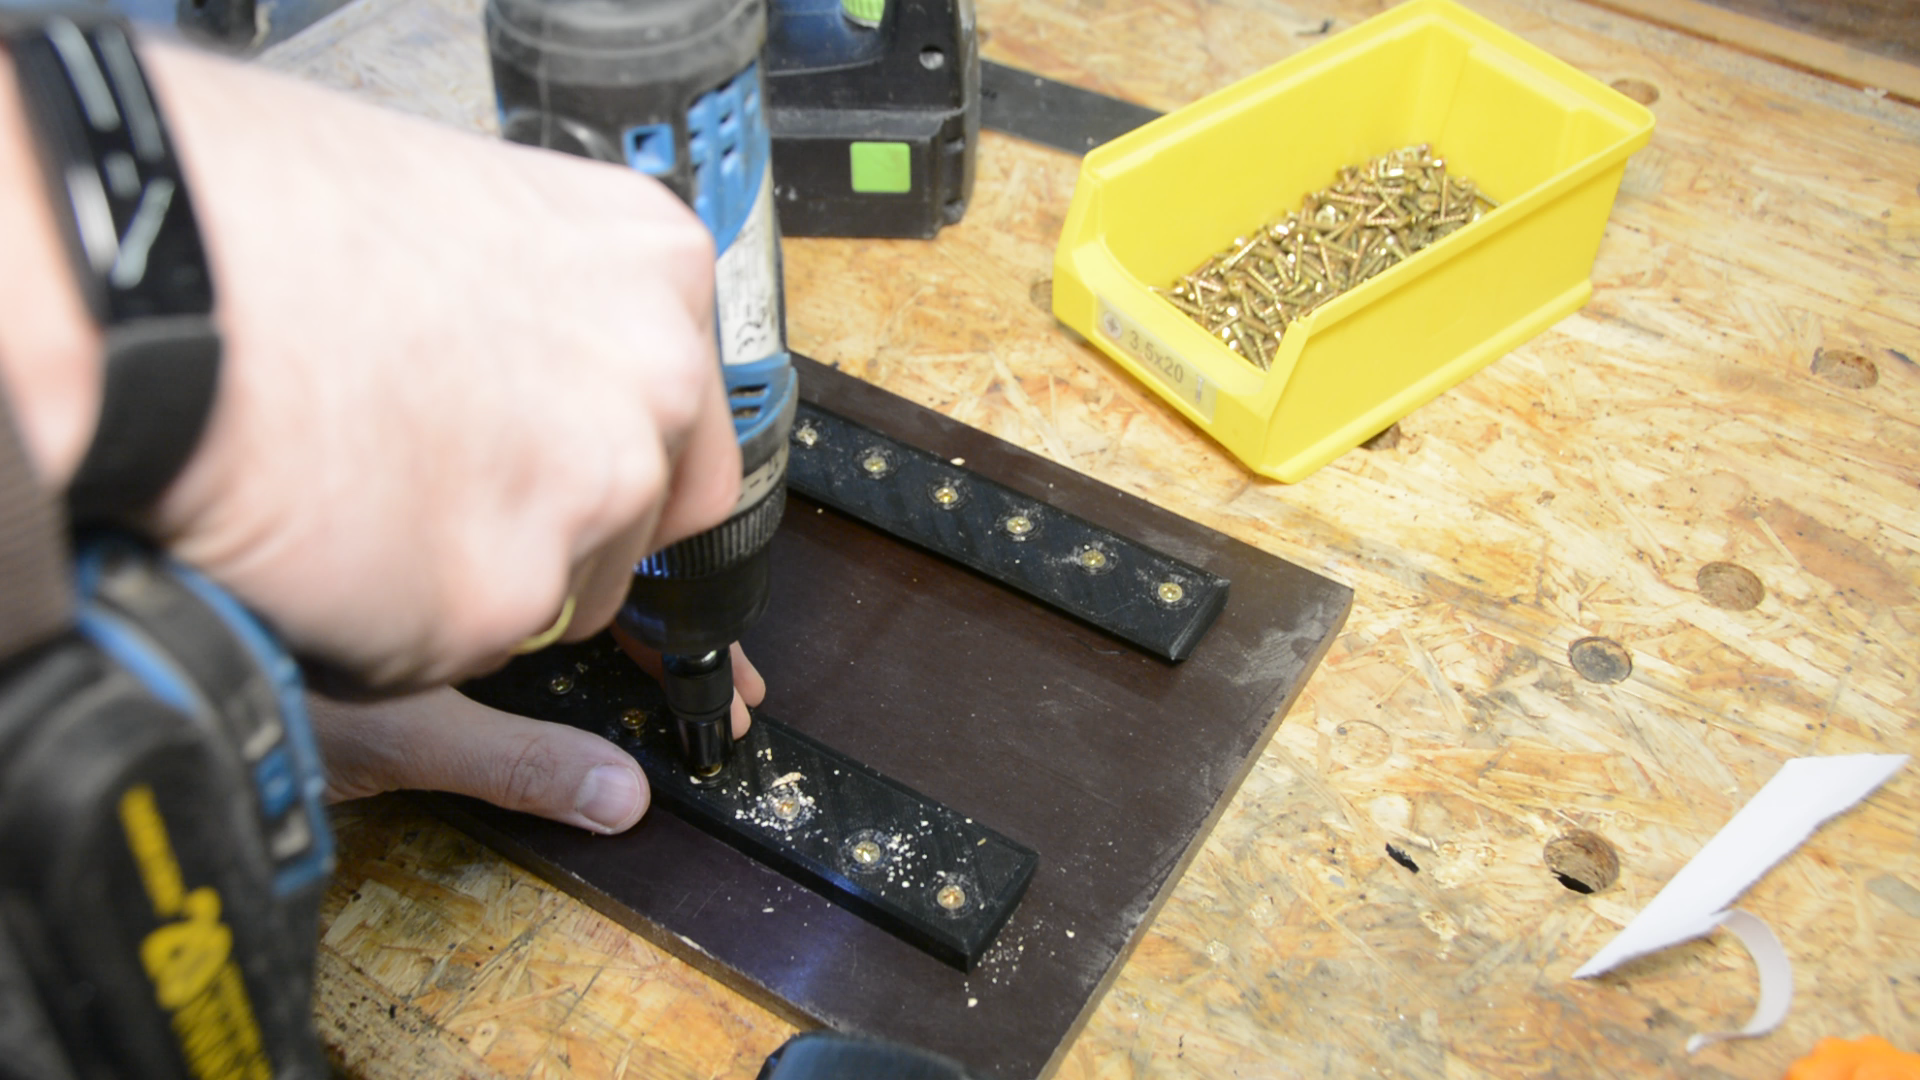
The first track is positioned on the plywood and aligned parallel to the border. The holes are predrilled and the track is secured with screws.
With a paper shim between the track and the base the other track is screwed in place.
After removing the shim the base should slide freely between the two tracks.
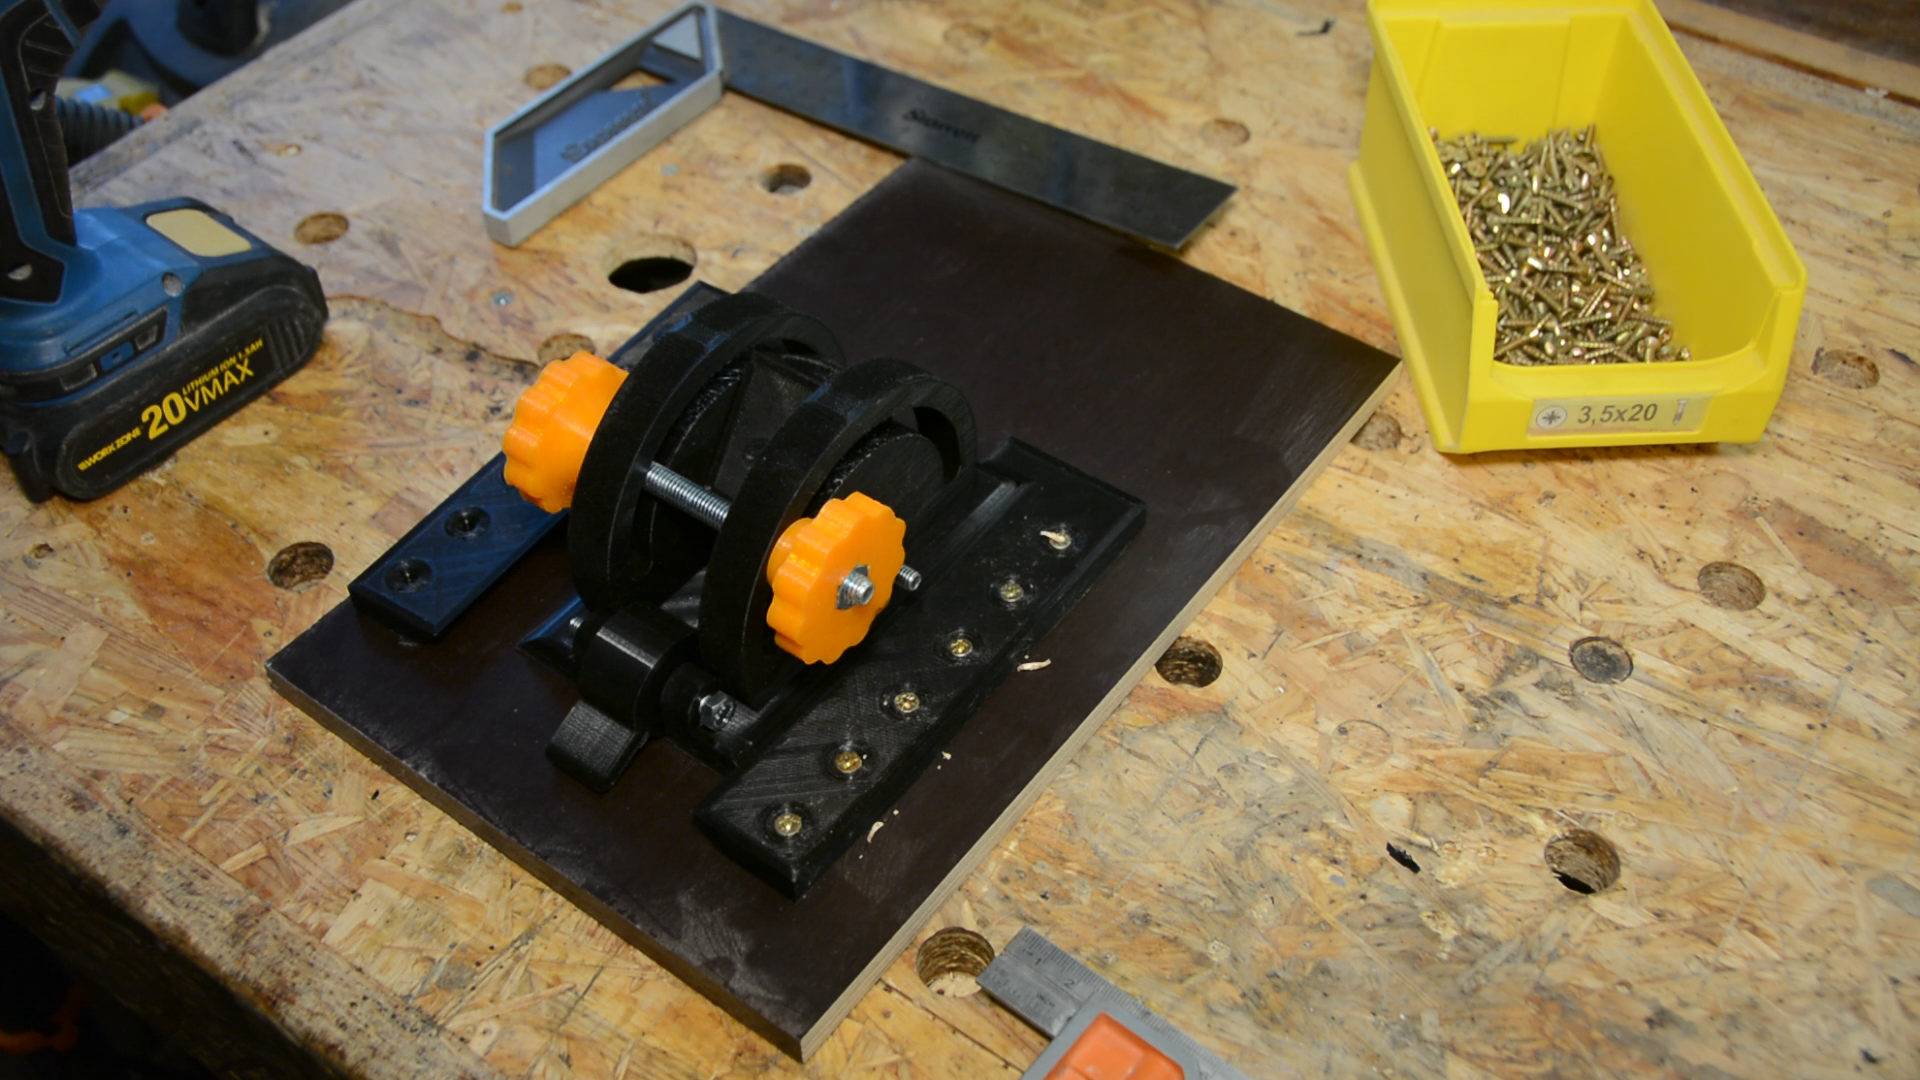
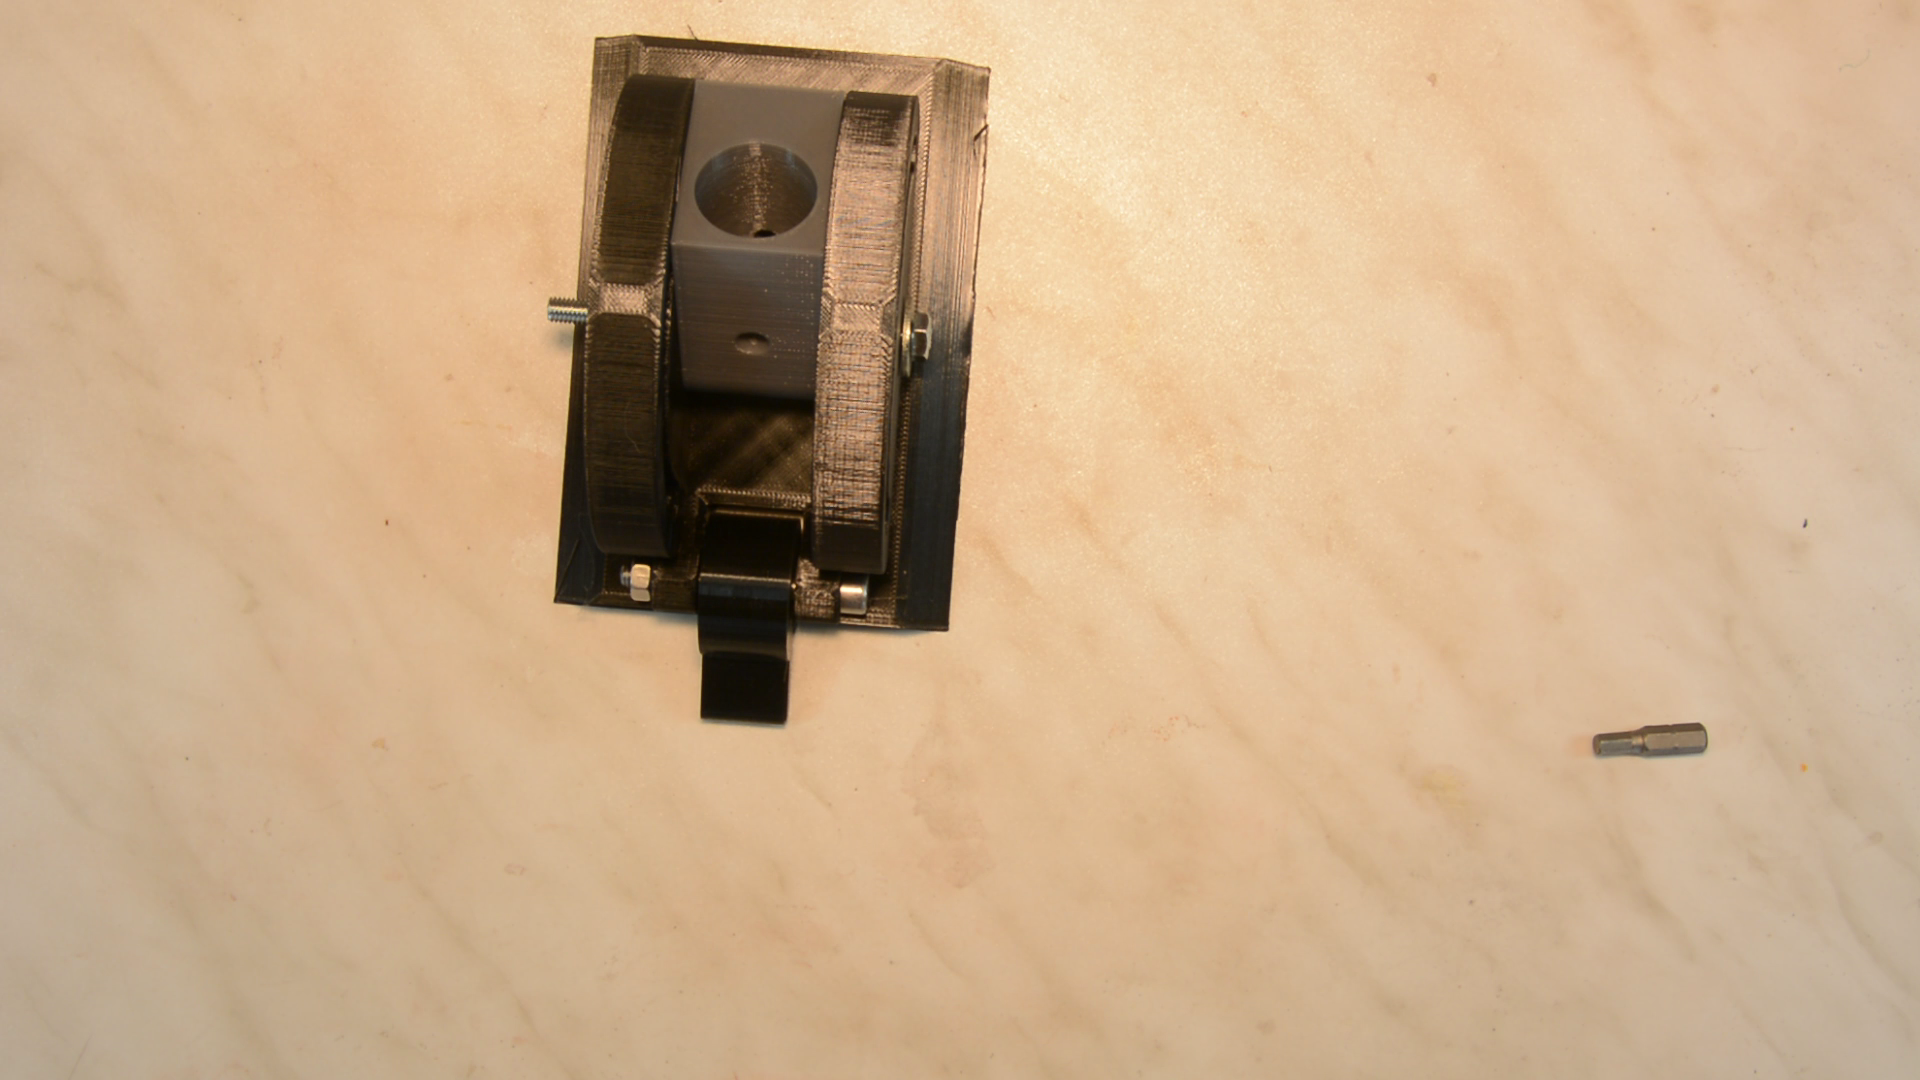
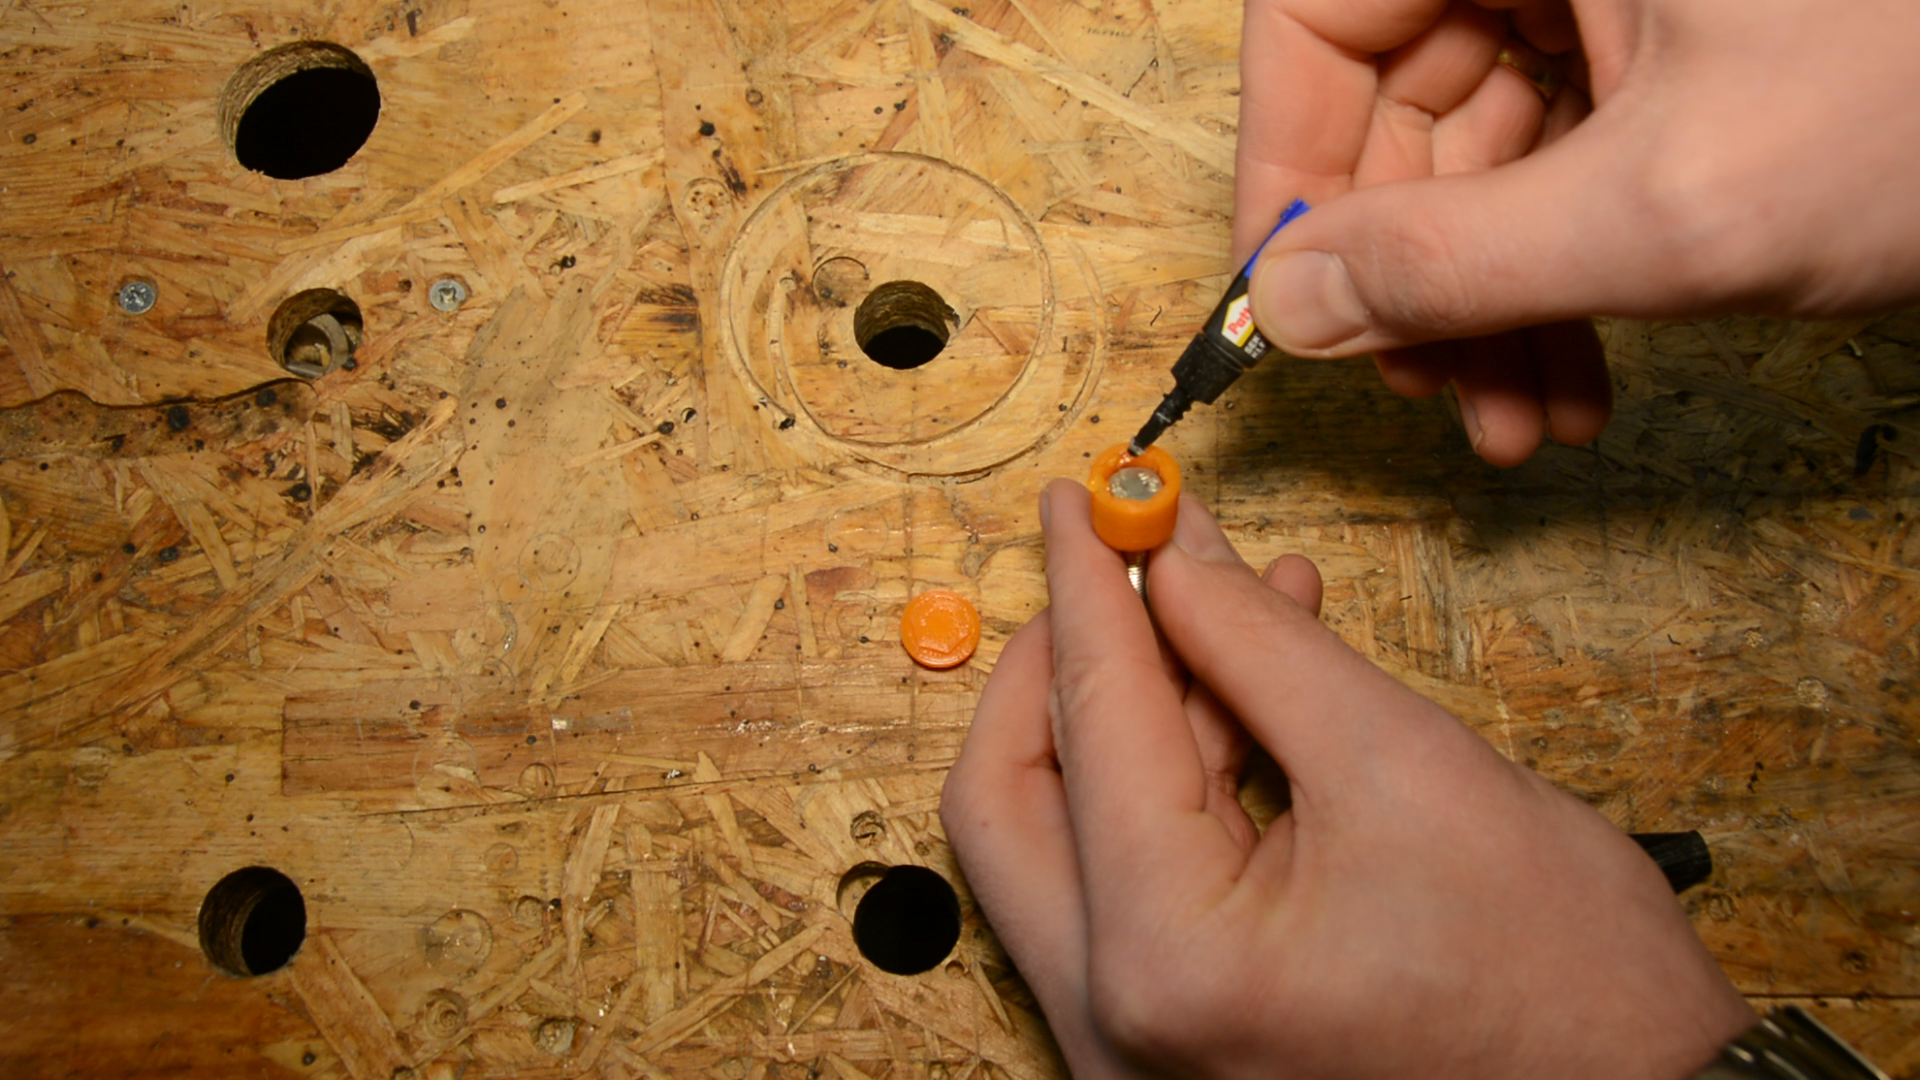
The last thing to assemble is the lockpin. Glueing the two parts of the cap together is only for the look. And with that the jig is finished.

I sharpened now all my forstner bits with this Forstner Bit Sharpening Jig and it performs really well. The drills work fine and in contrast to an expensive set for 300 Euro I can resharpen them whenever they get dull again. You can find the plan and the STL files here.