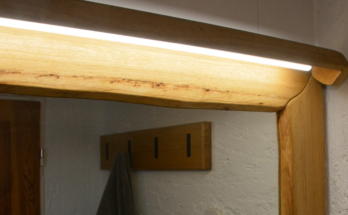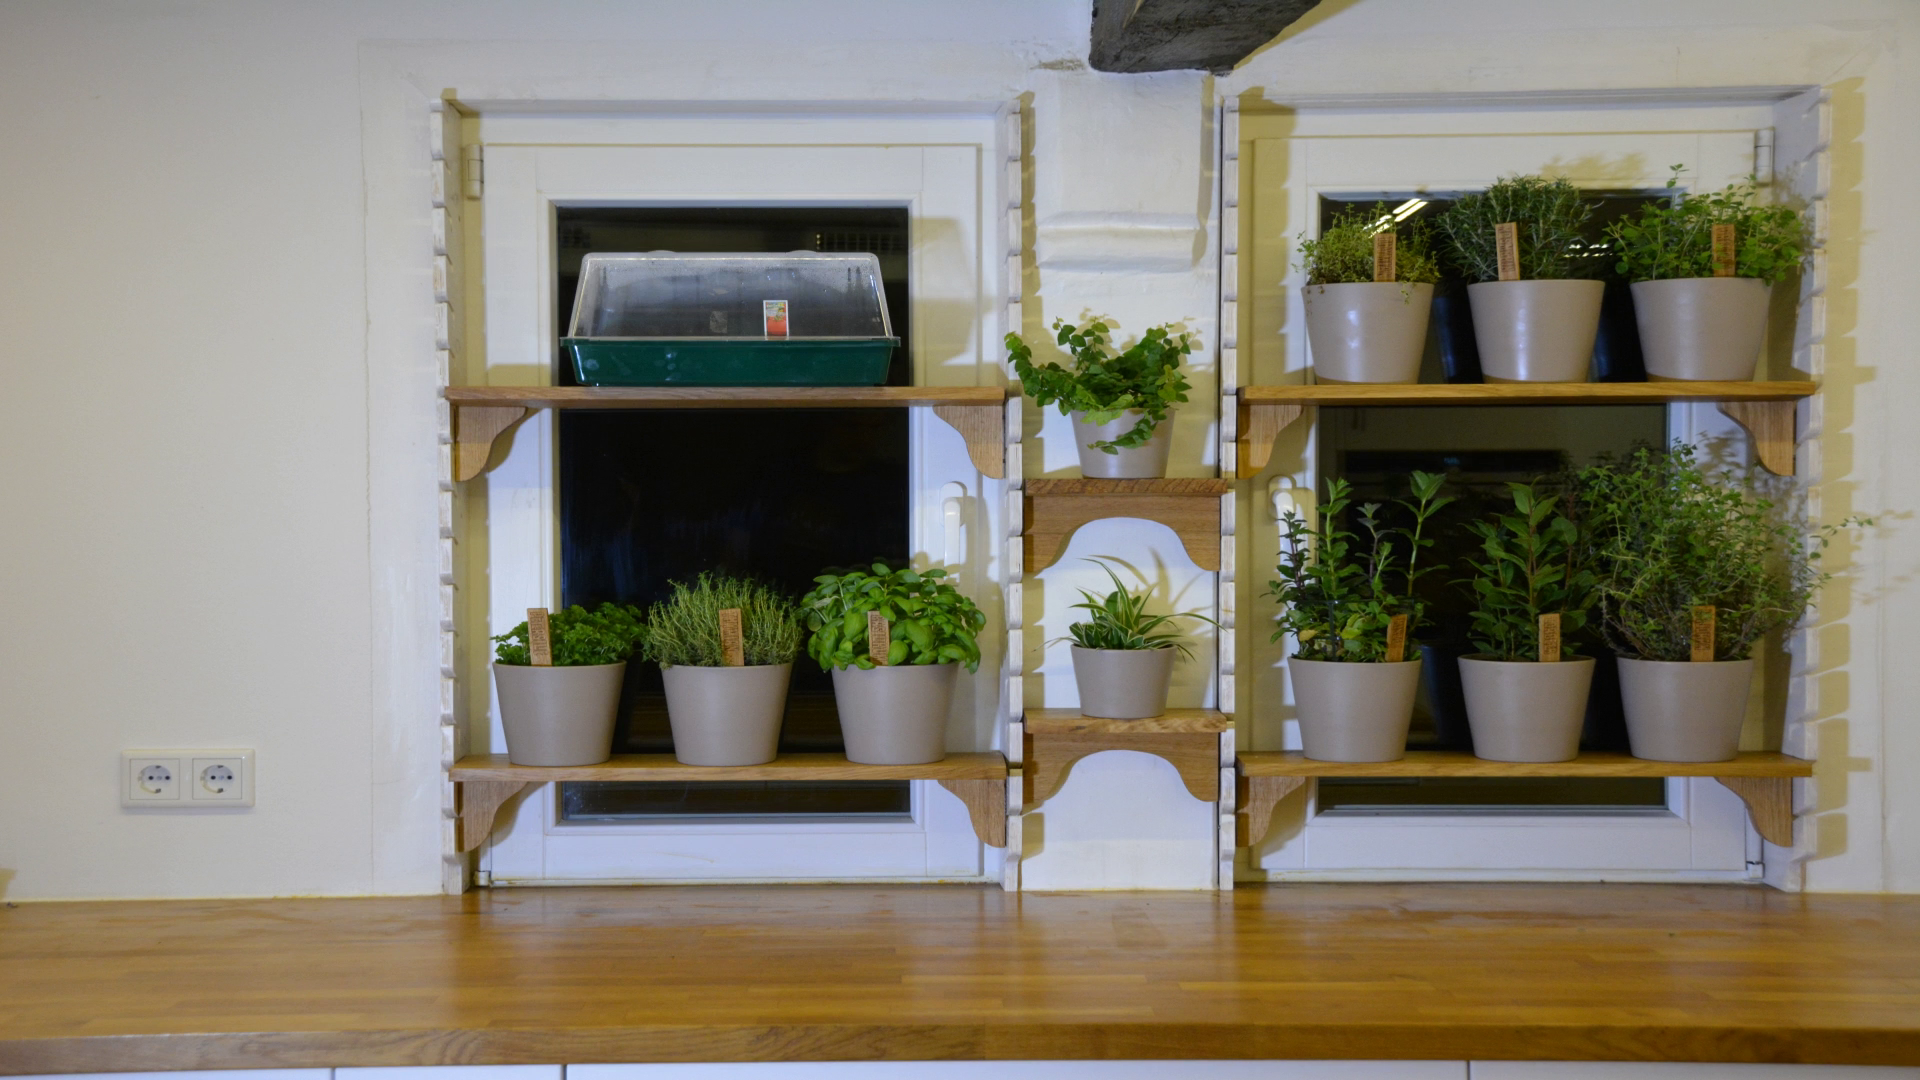
In this article I describe how I’ve build a modular window herb garden. It’s a system made from wood that allows you to easily remove the shelves, open the windows, reposition the shelves and add additional elements to it.
Besides the workshop the kitchen is one of my favorite places in the house. In order to have fresh herbs in the kitchen I‘ve built these simple stands with an integrated water container a while back. As they are covering quite a bit of countertop space and the watering never worked I will replace them with a better solution.
Supports
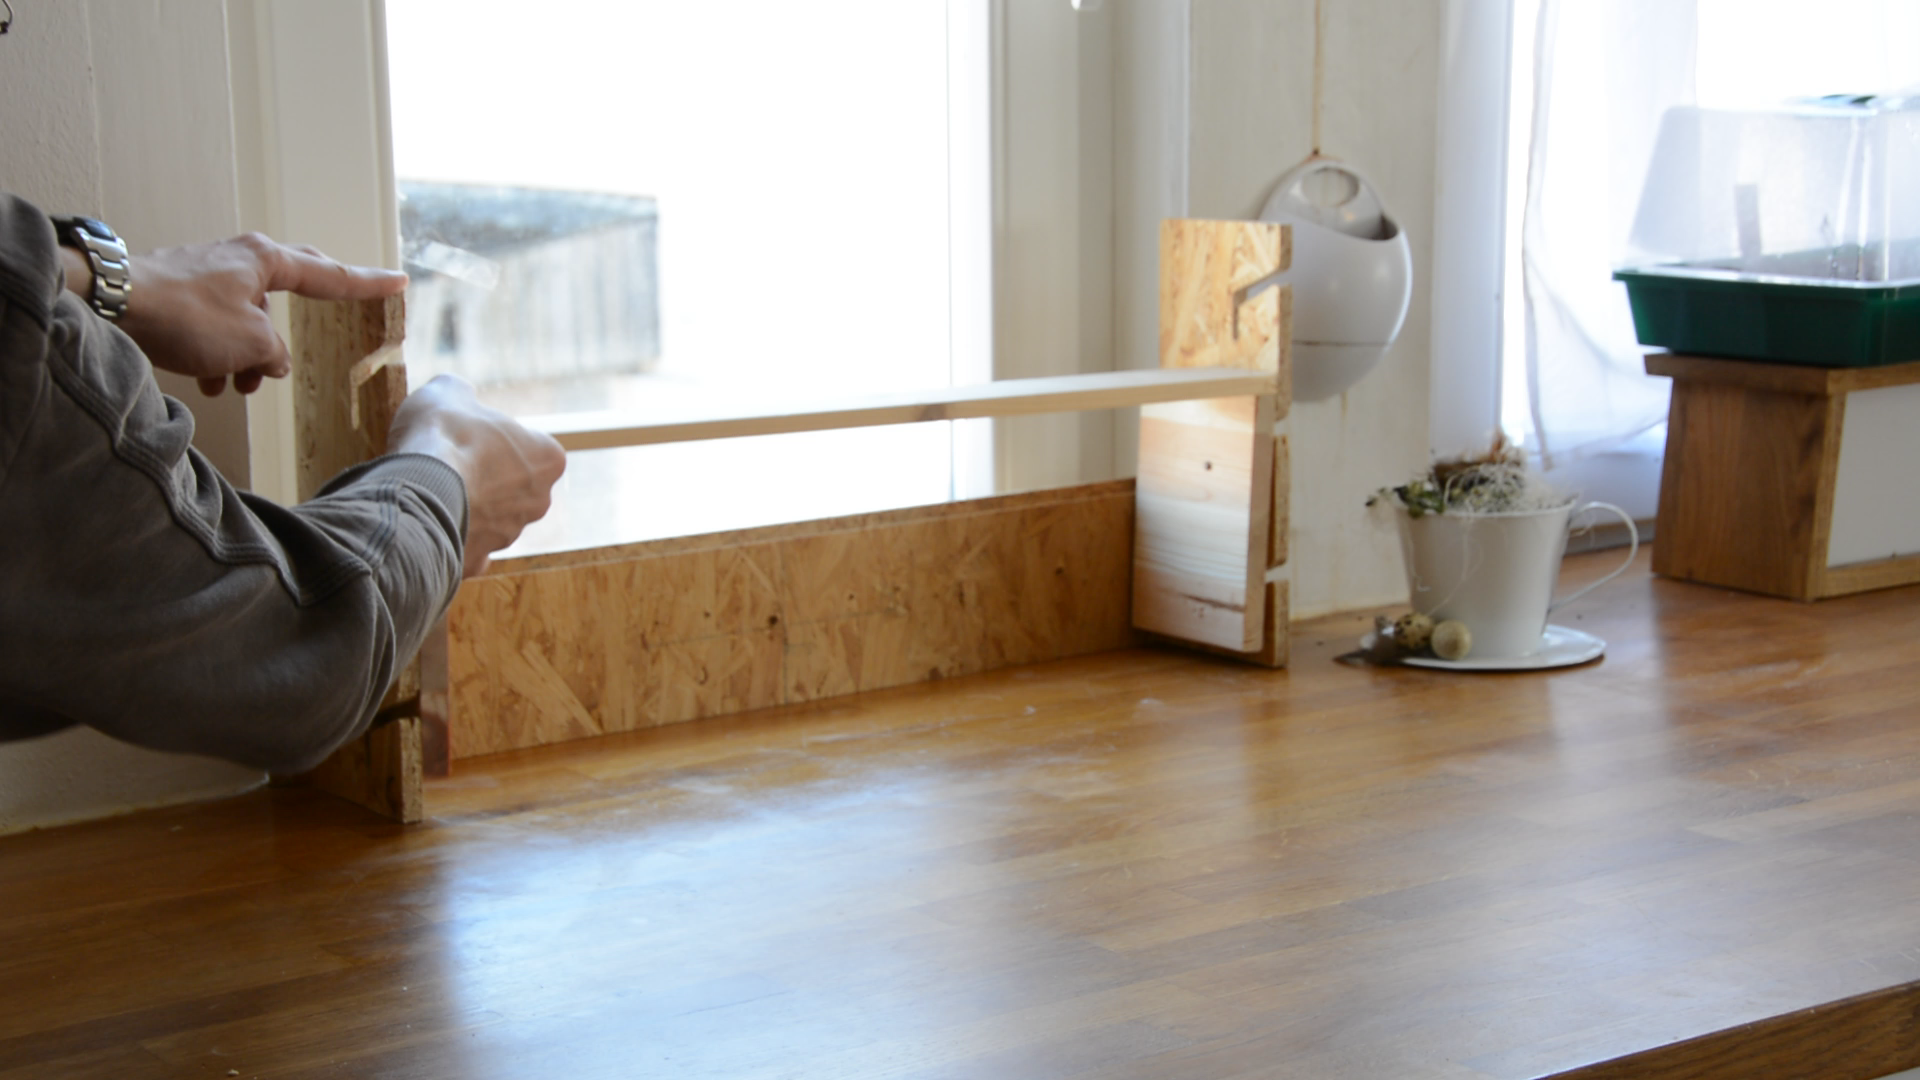
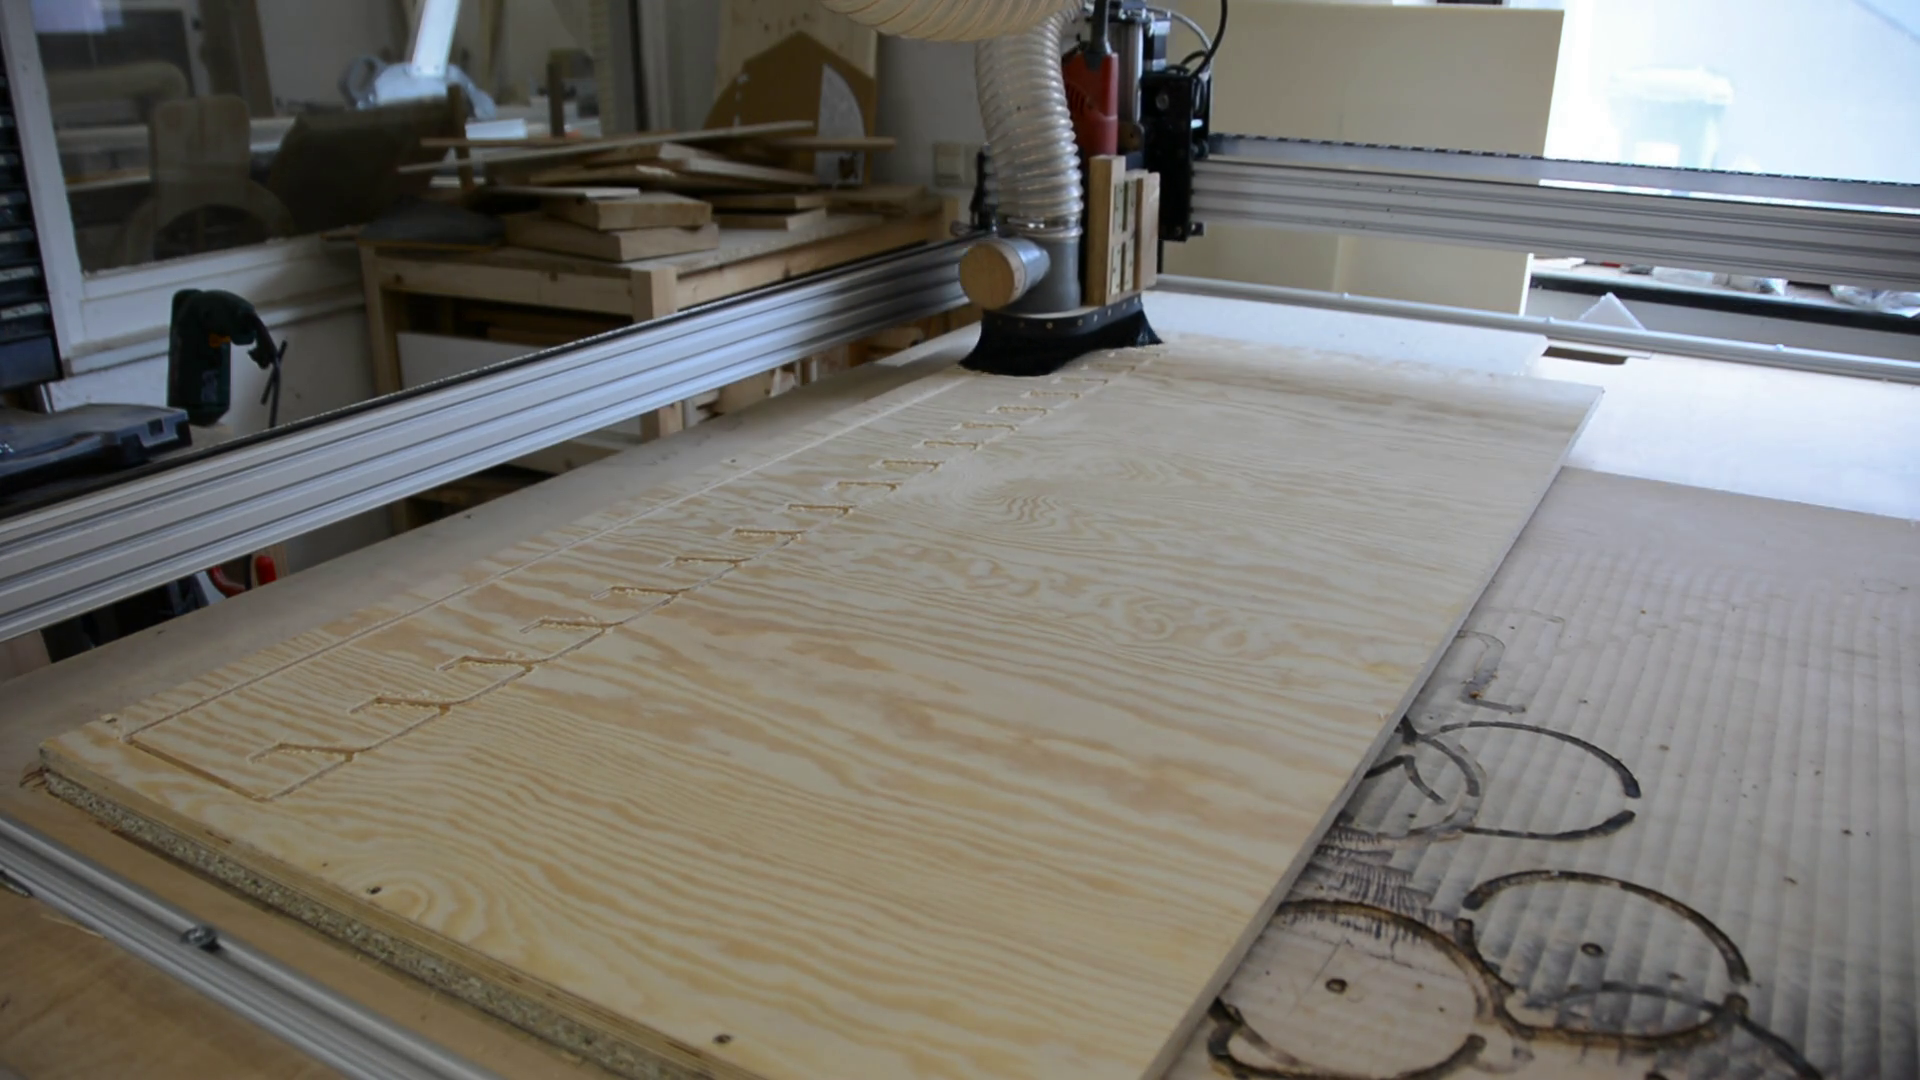
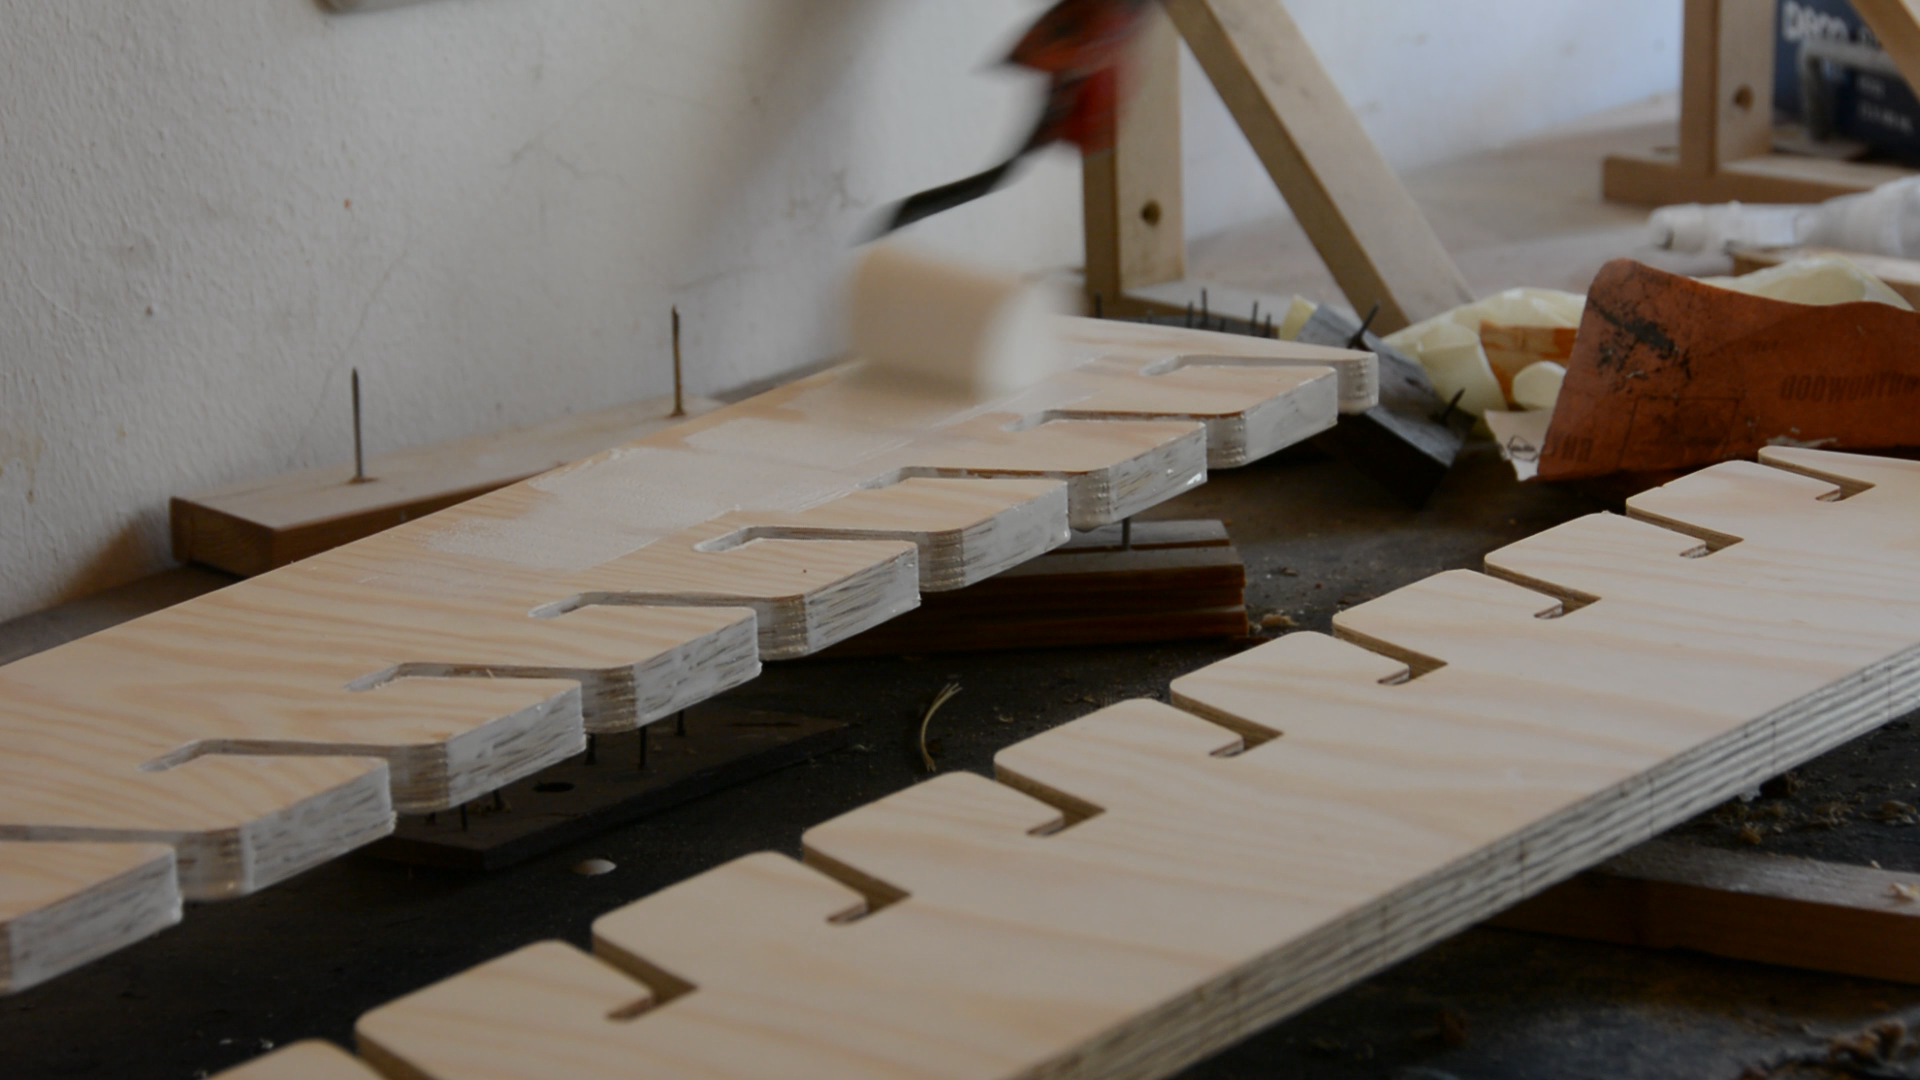
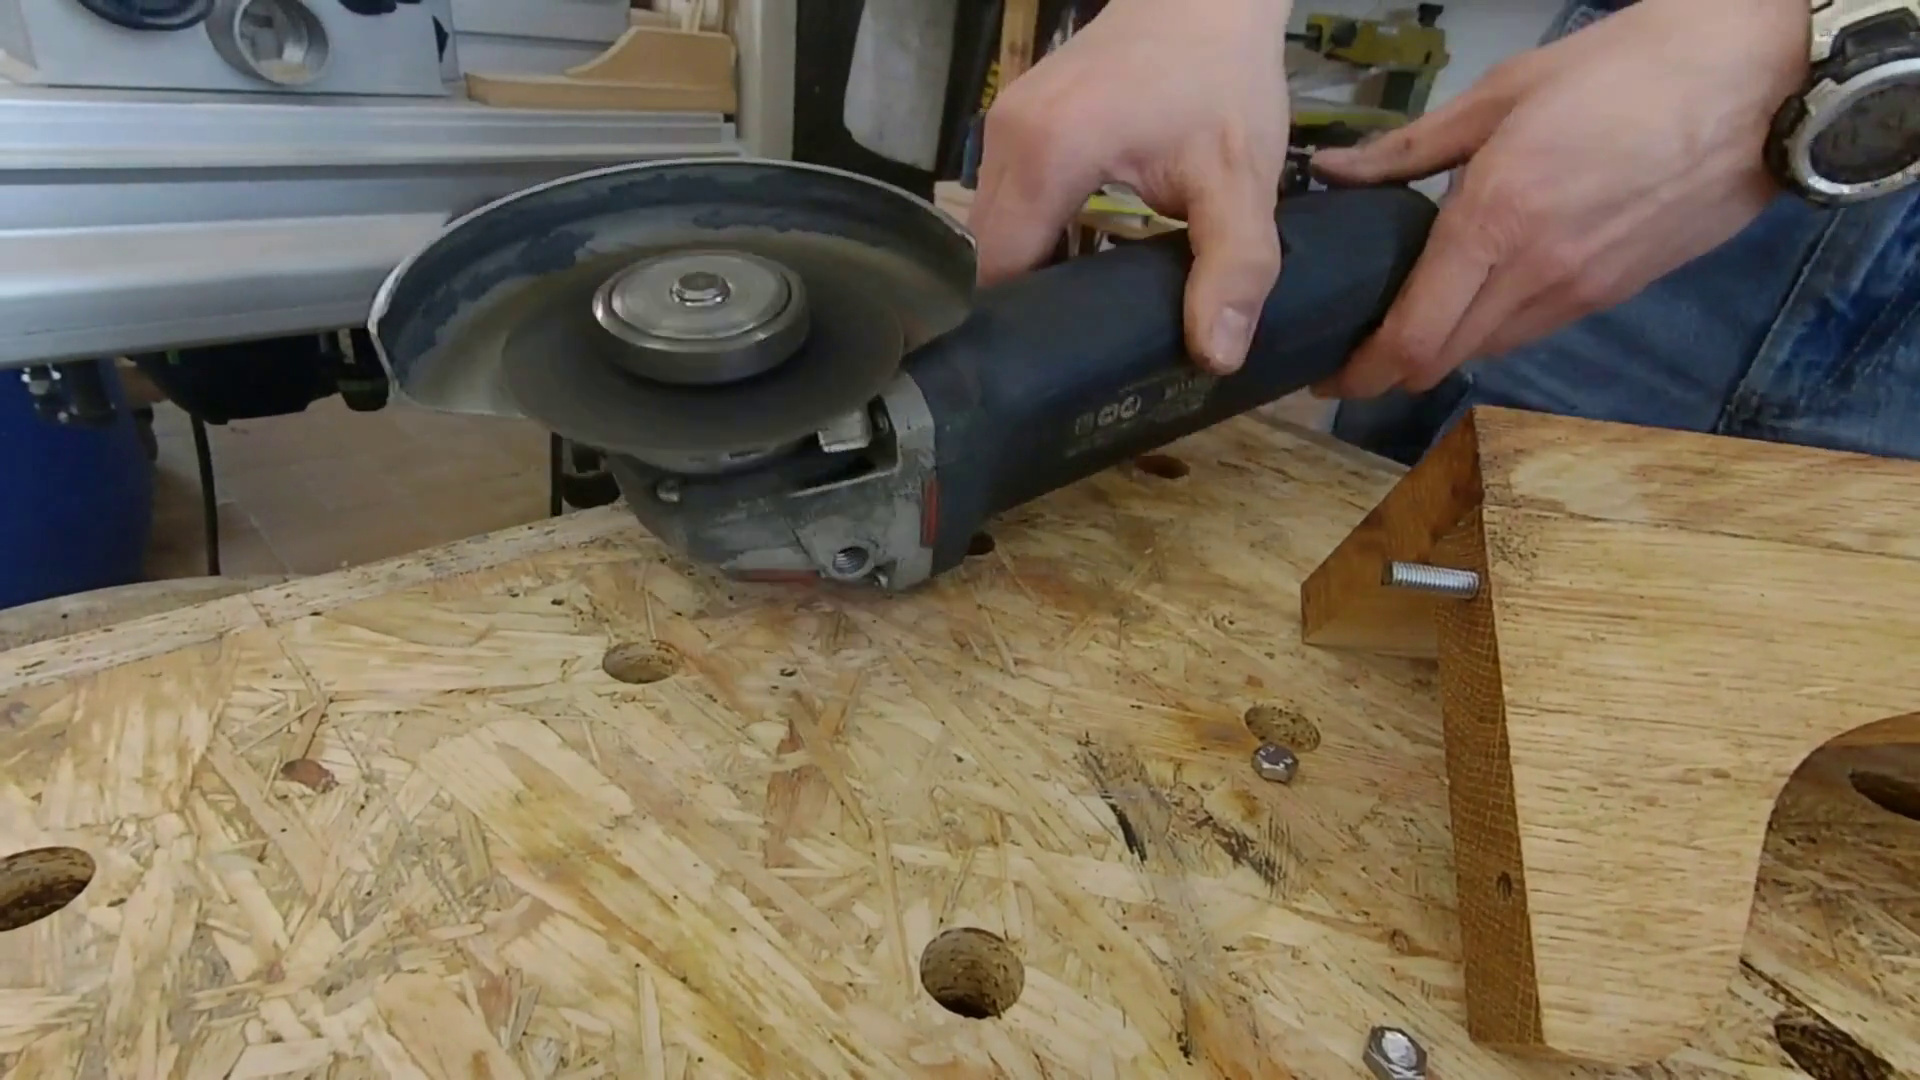
I have a hard time to decide for a design on 3dmodels alone. So in this case I start with a few rough prototypes and settle on slots at the sides that accept 6mm dowels or screws that support shelves or other accessories.
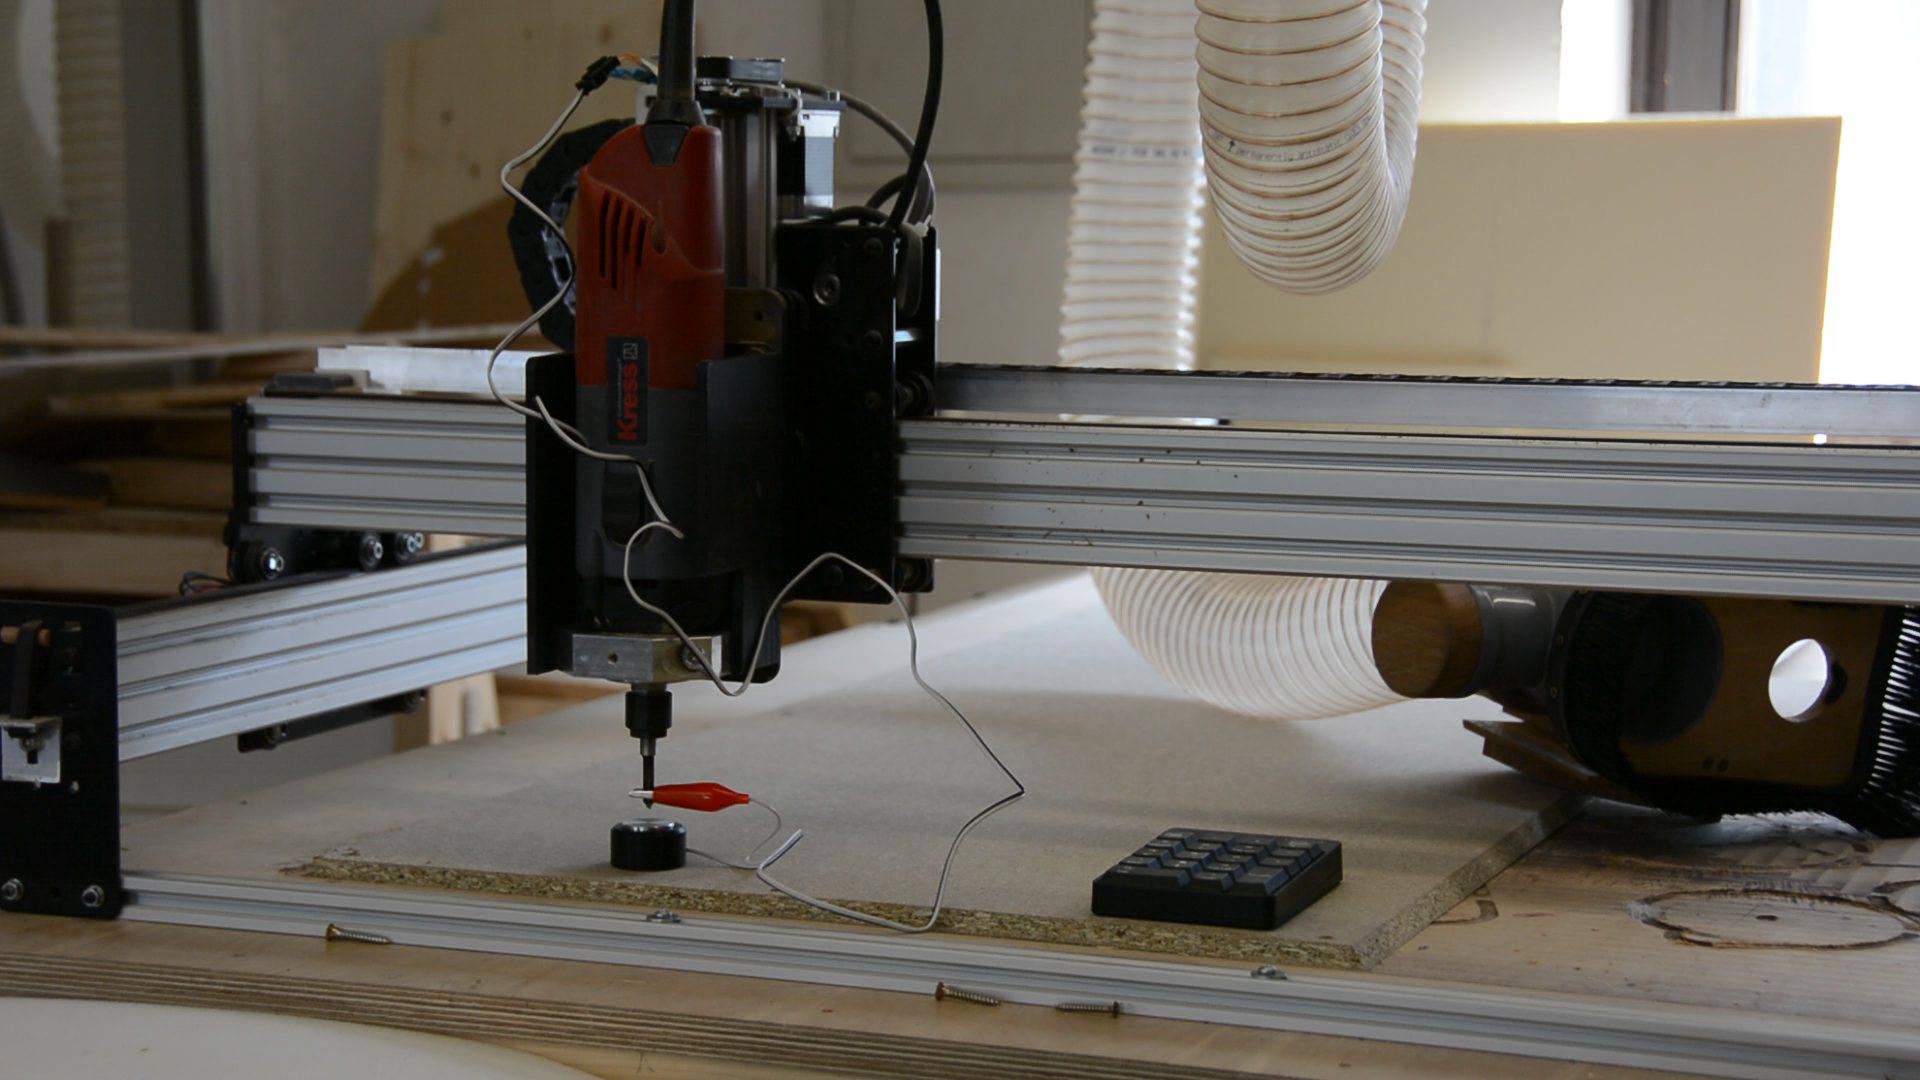
To create the supporting structures I create a simple model in Fusion and cut it out on the CNC. The first 3 pieces work out well; for the forth one the CNC messed up my workpiece and I had to start over several times. Working with a cheap CNC can be more stressful than working by hand.
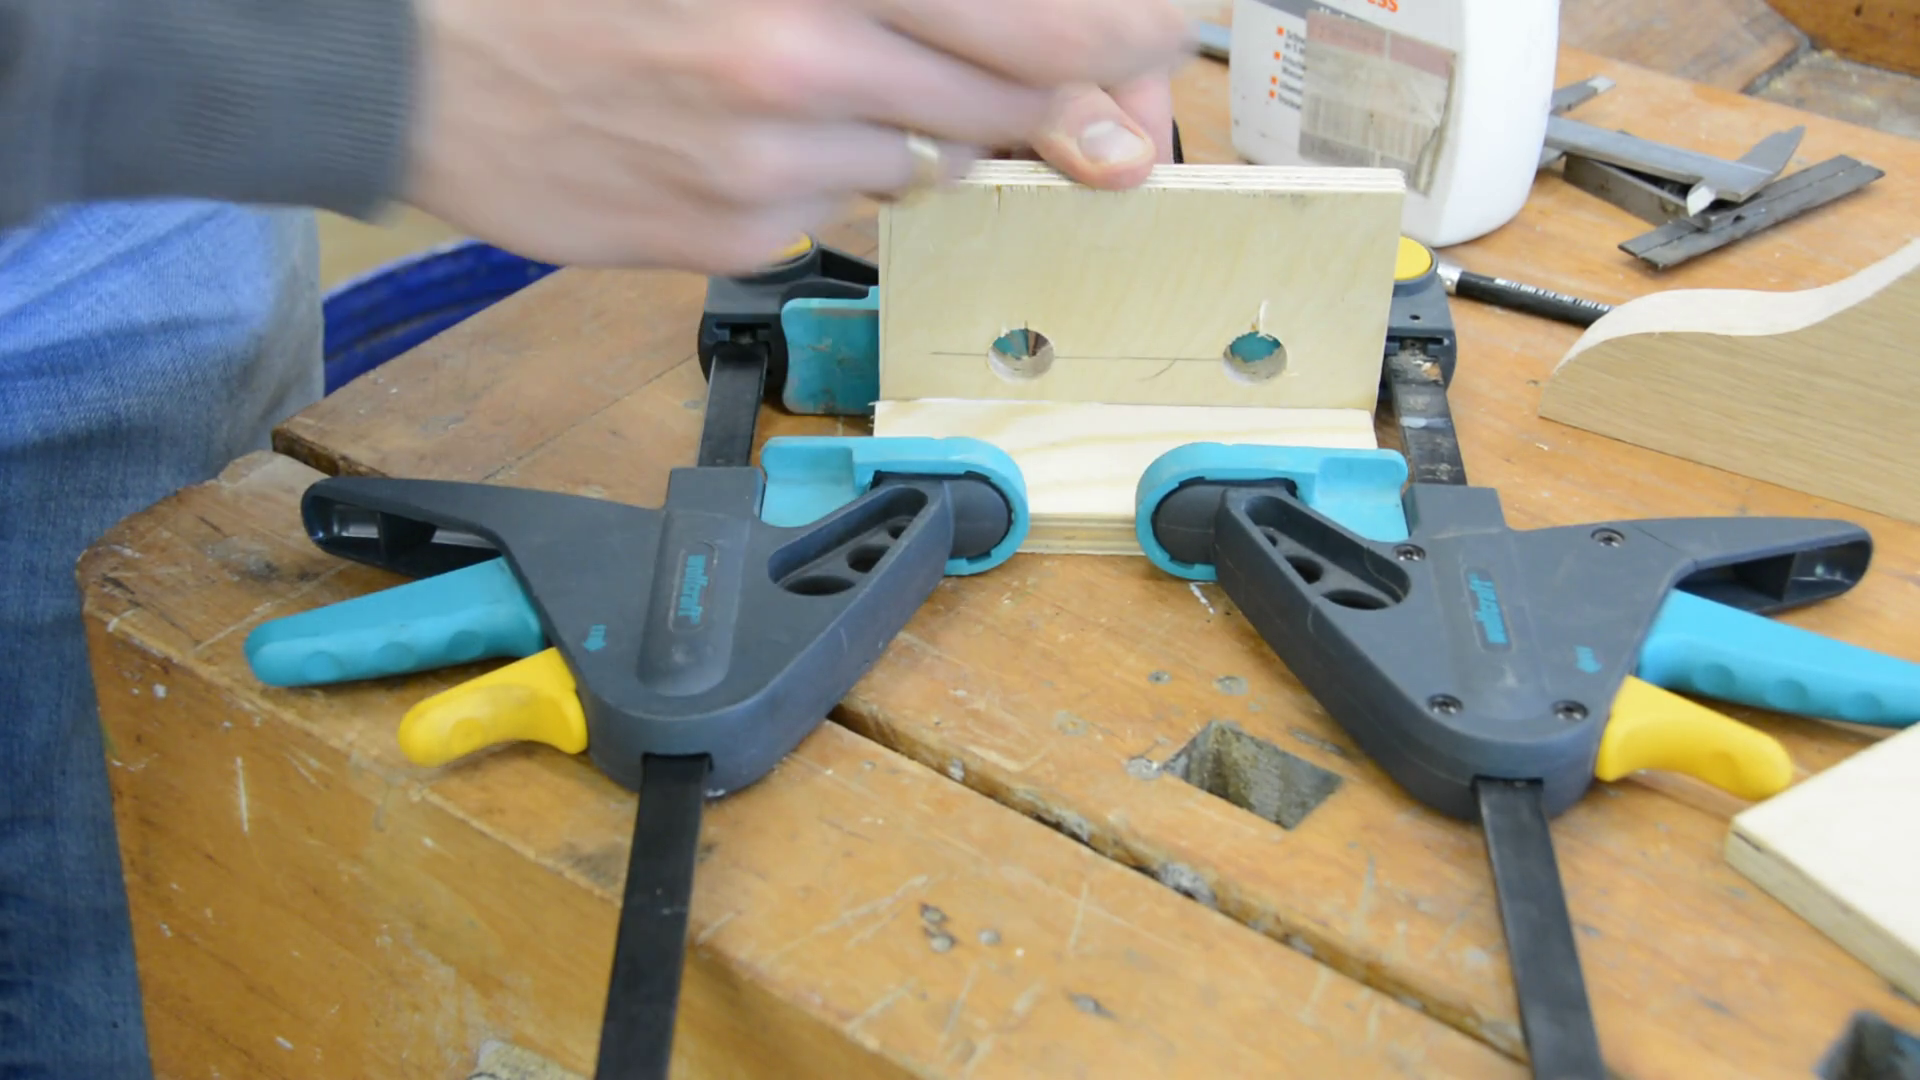
If you don’t have a CNC I link at the end of the article to a free plan that also contains a template to create the supports with a router. By using a drill that corresponds to your slot size to drill the smaller holes and drill larger holes equal to the size of the guide bushing of your router. Then connect the large holes with a jig saw or coping saw and sand them smooth.

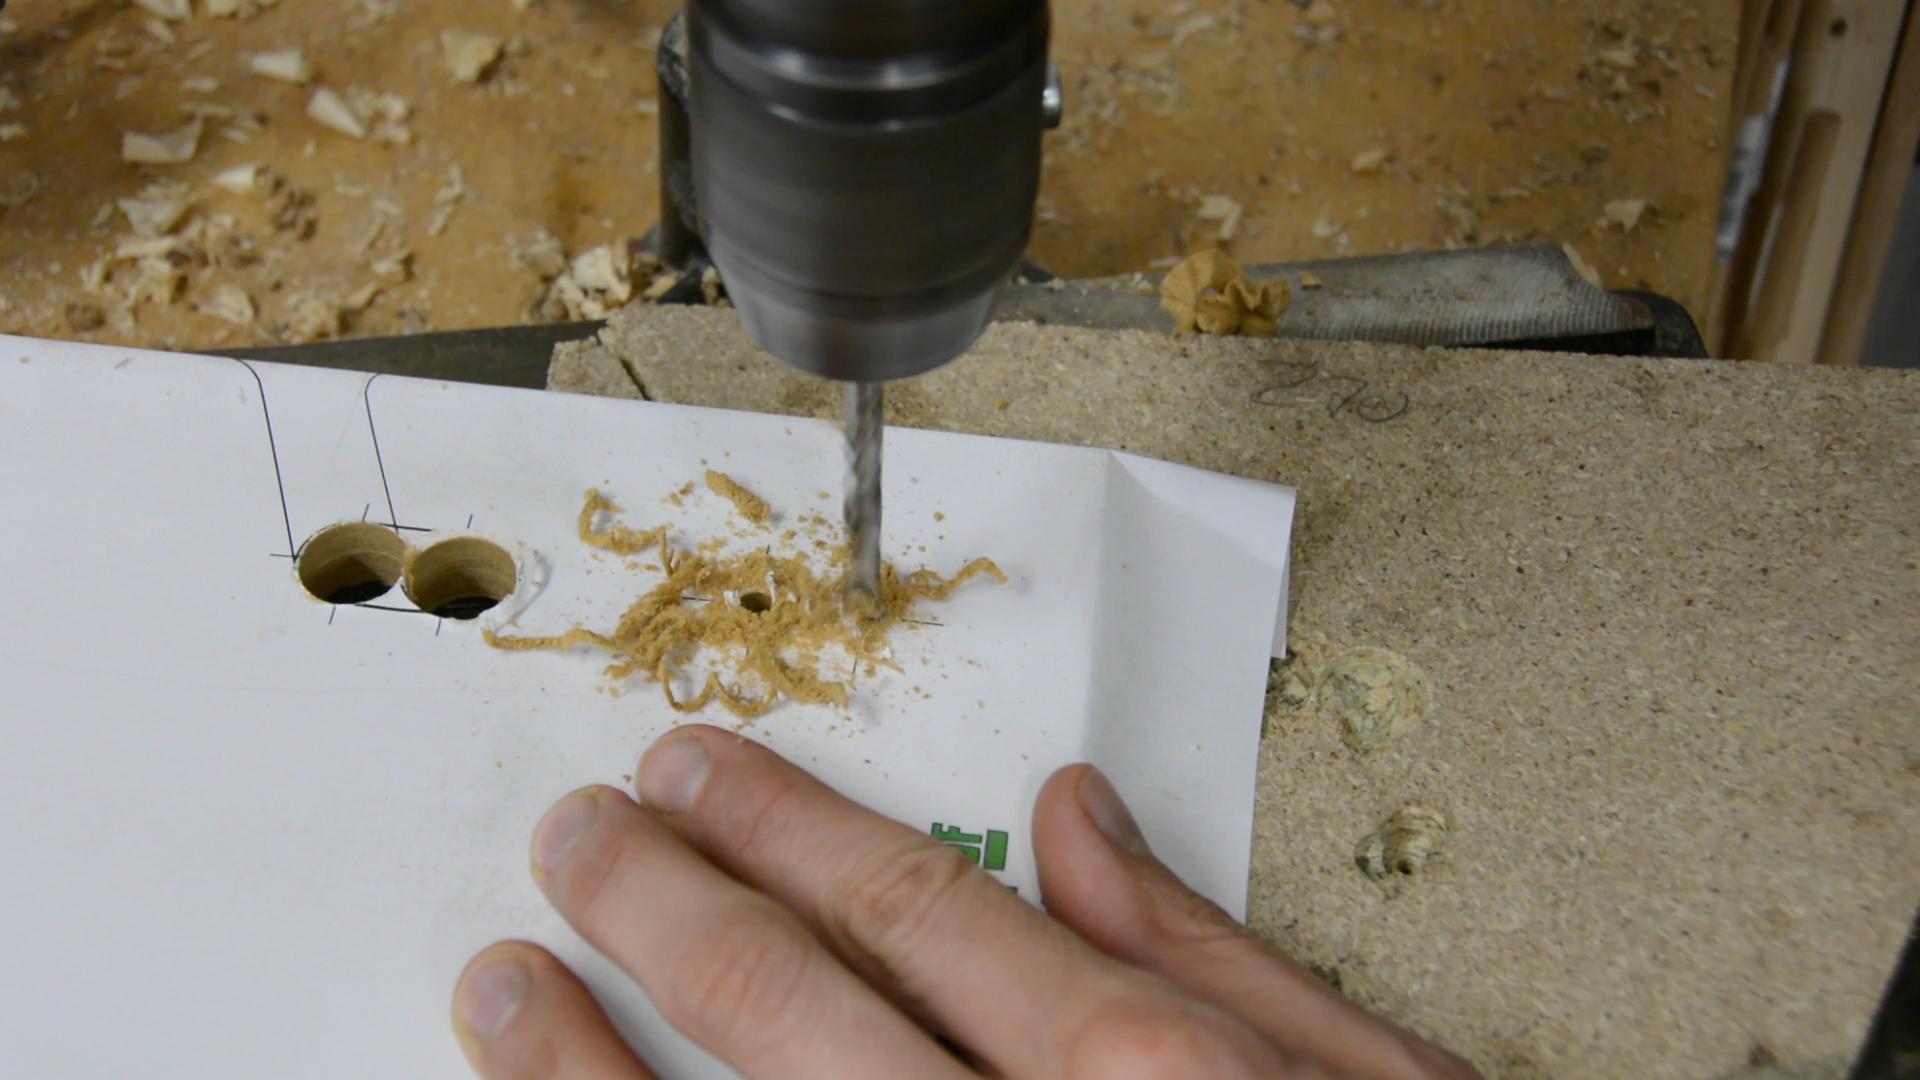
By putting dowels in the smaller holes you can register them against the previous slot. Then route the next slot by riding the bushing of your router along the walls of the larger slot.

Installation
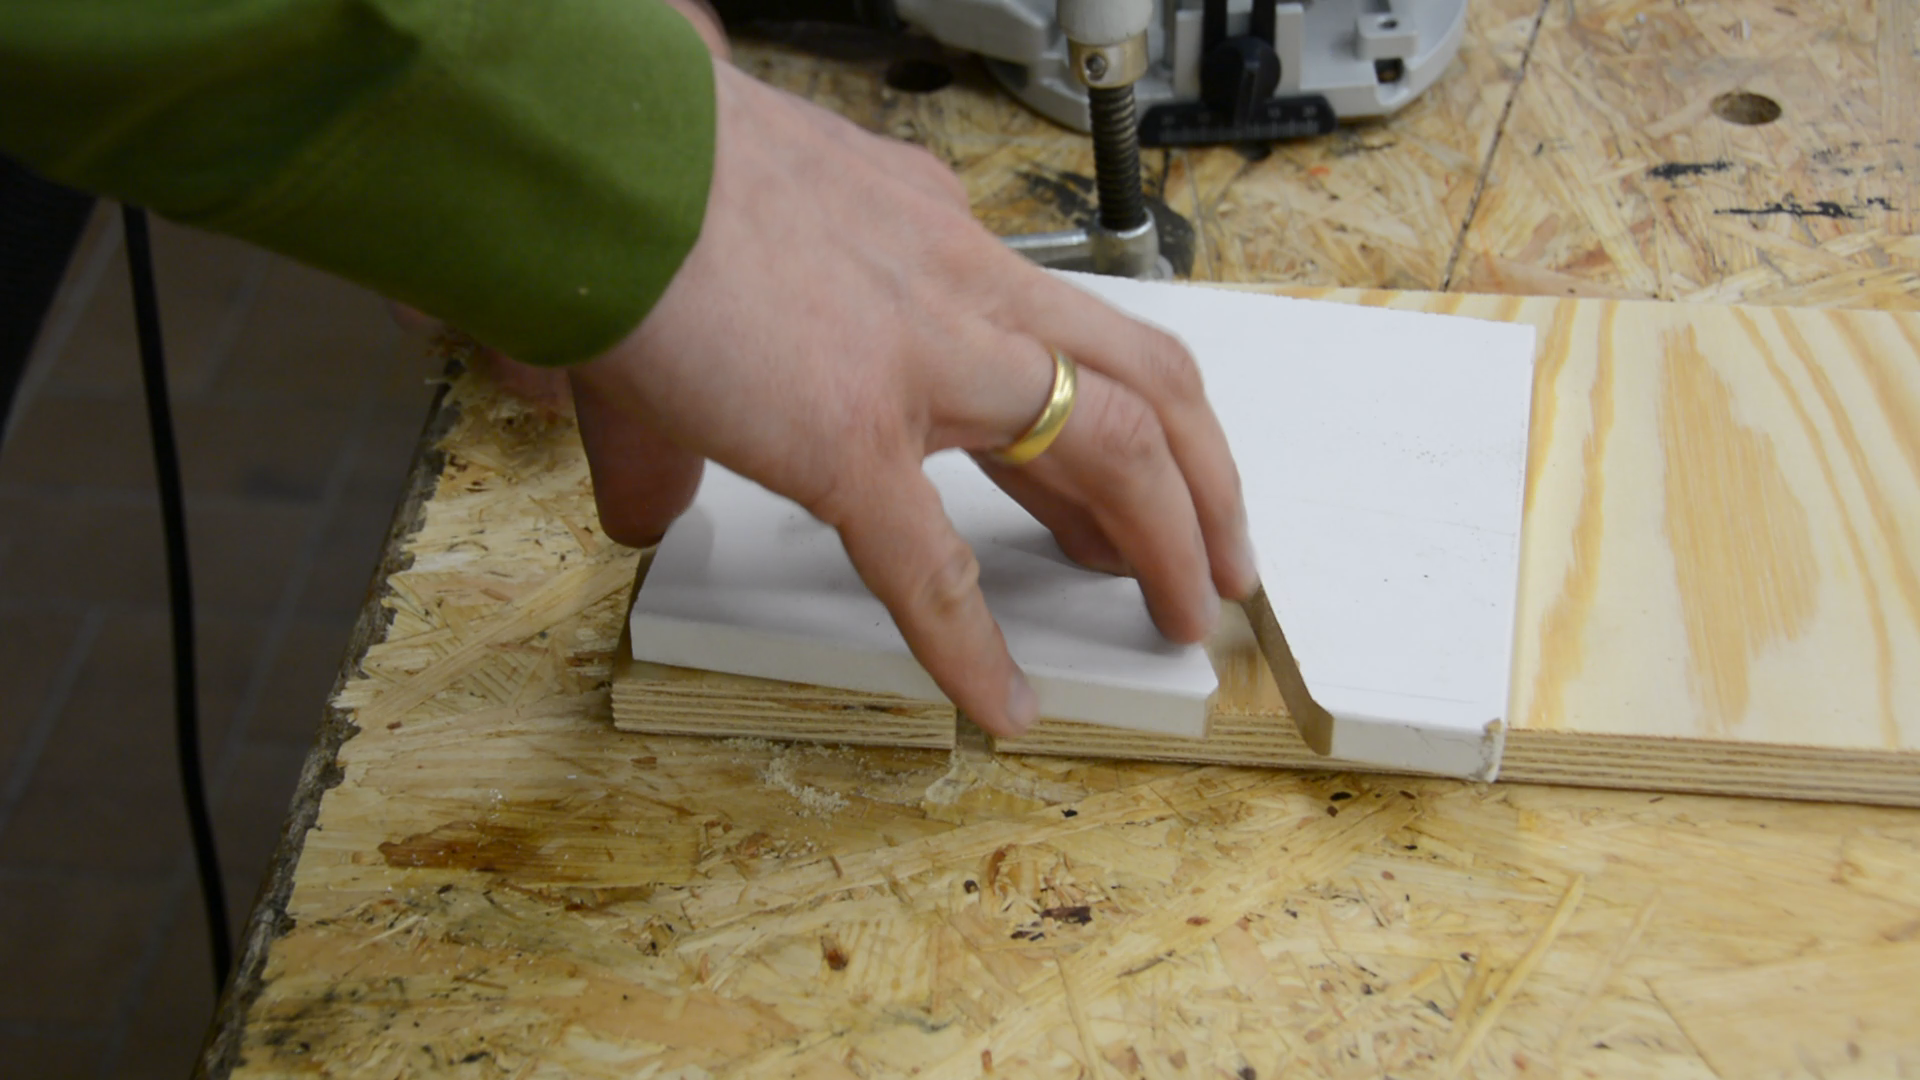
In order to blend the side pieces better with the window frame I paint them white and give them a few coats of spray lacquer.
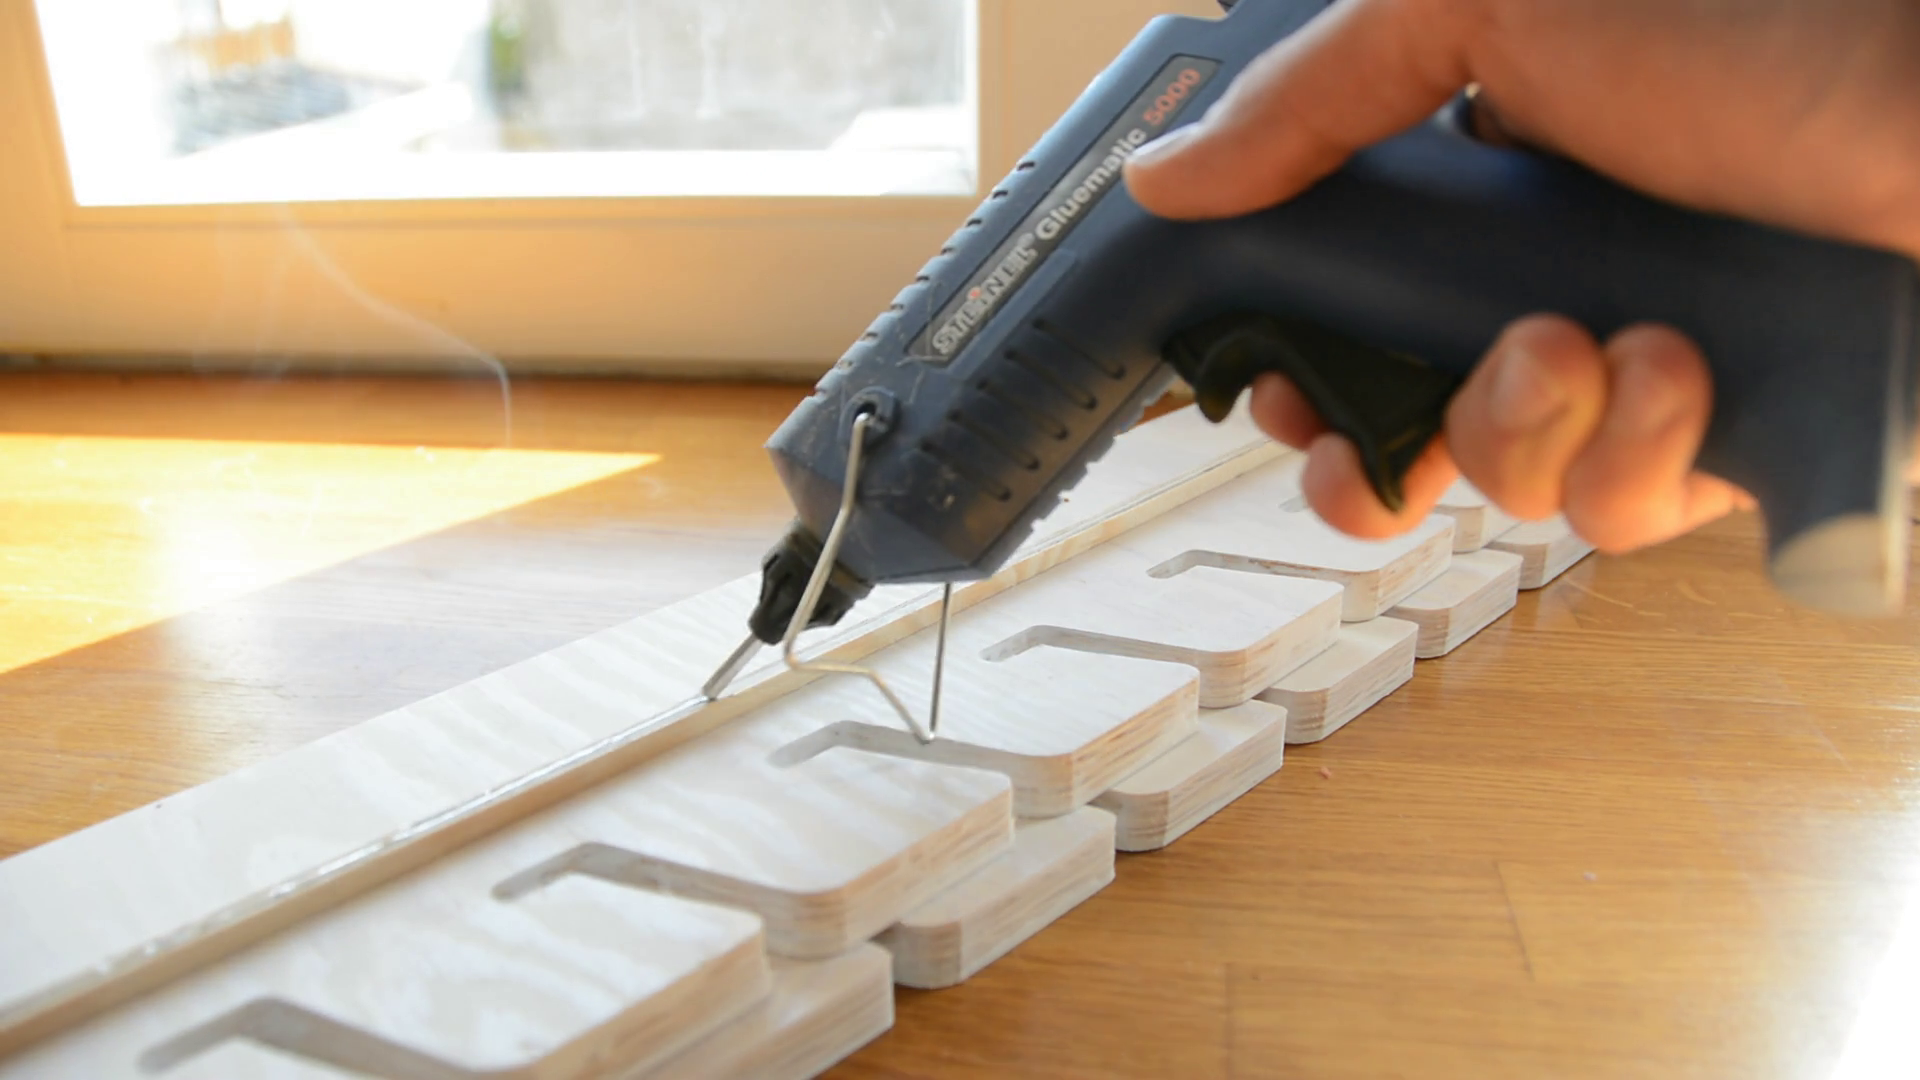
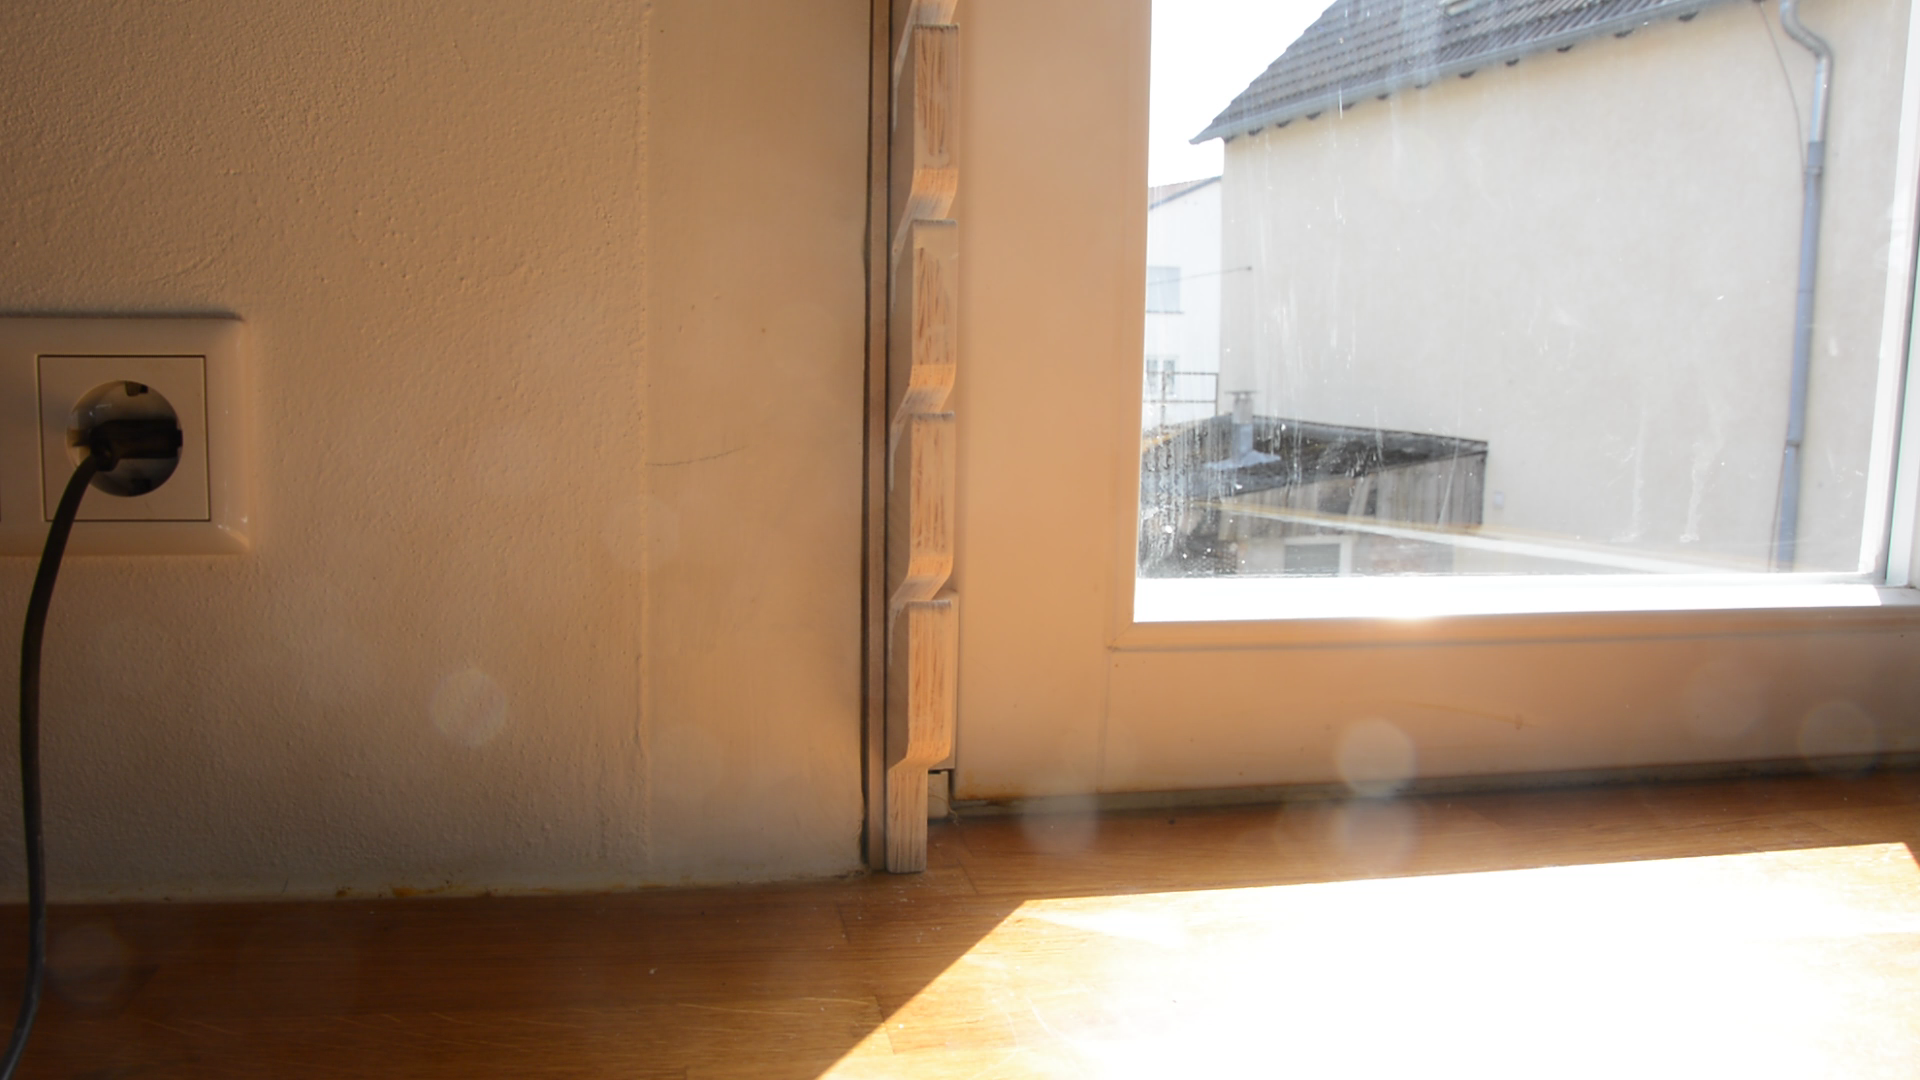
If you live in a modern house with square and plum walls and window frames you can directly screw or glue the pieces to the side of your window. In my case I had to hotglue thin strips to the sides in order to get the sides square with the wall.
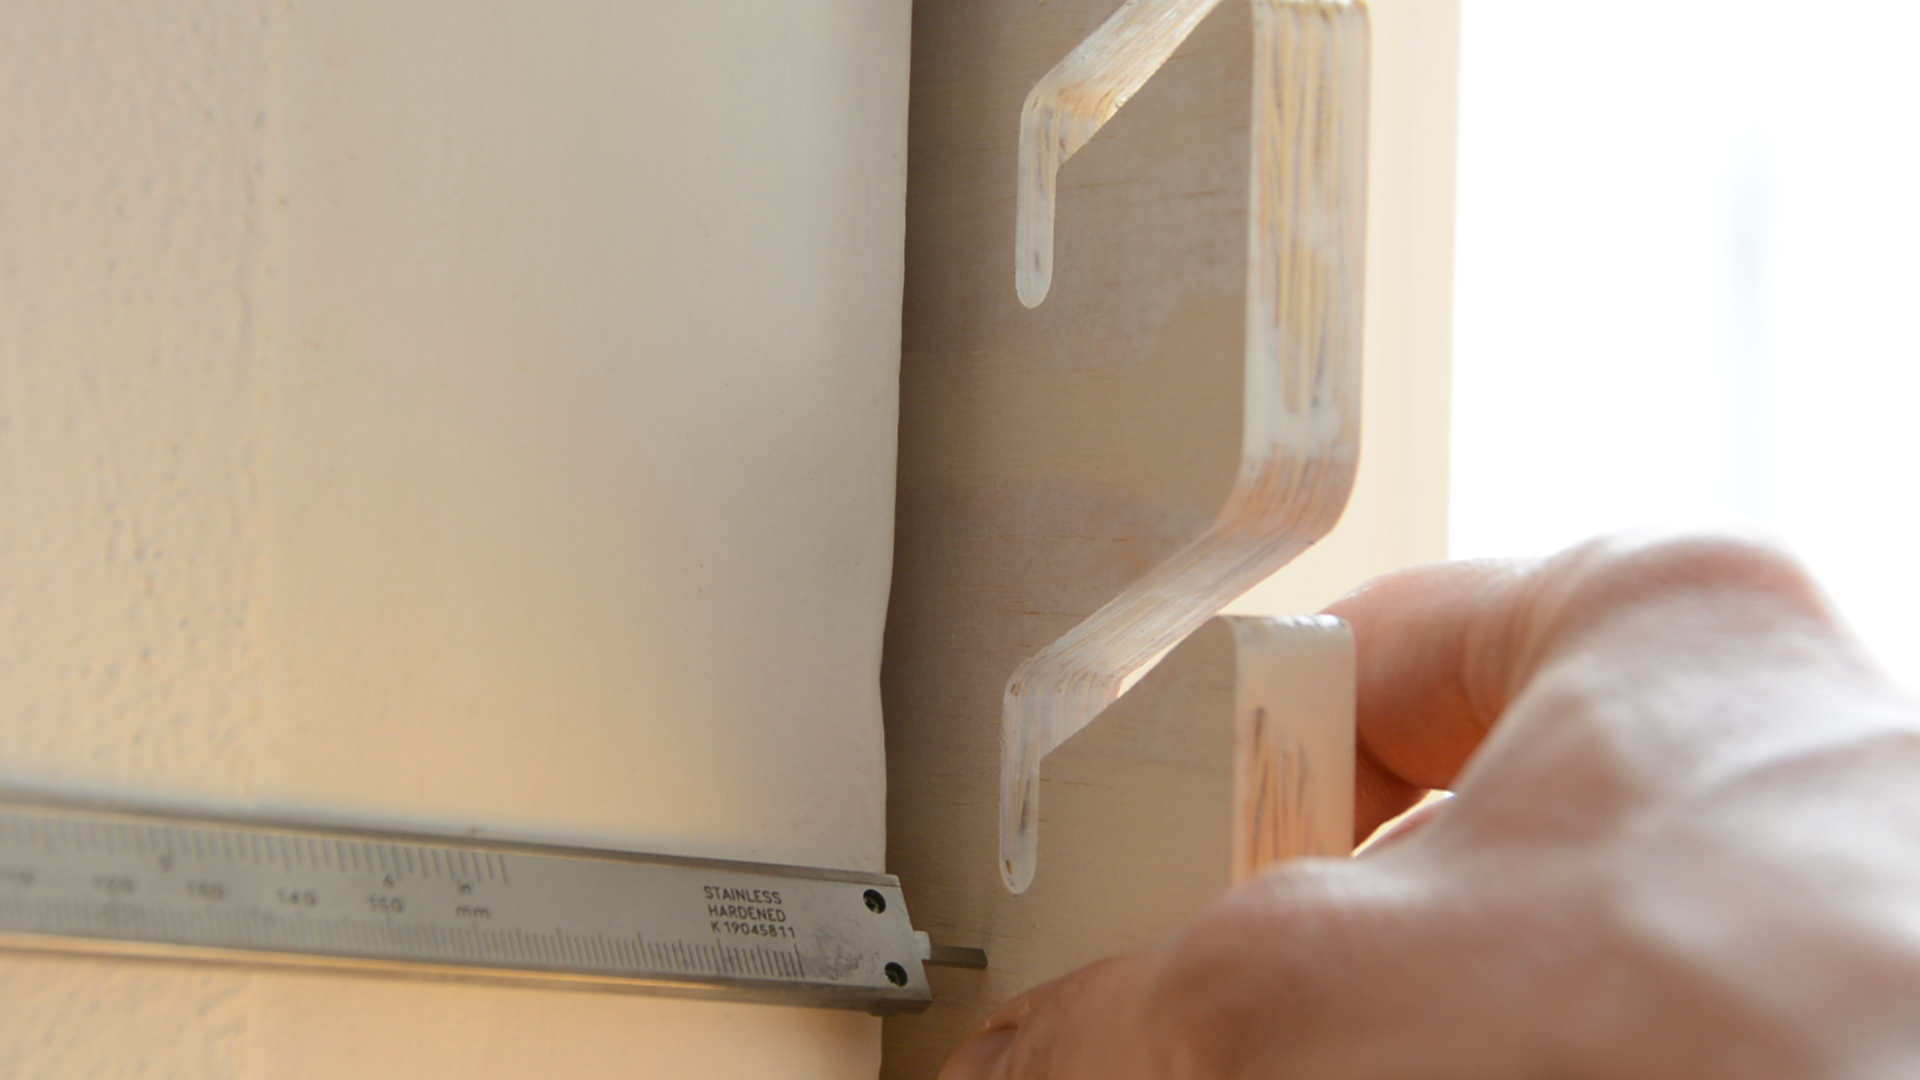
For the installation I predrill two holes in each side, align the four pieces with a dowel and then screw them in place.
Shelves for the window herb garden
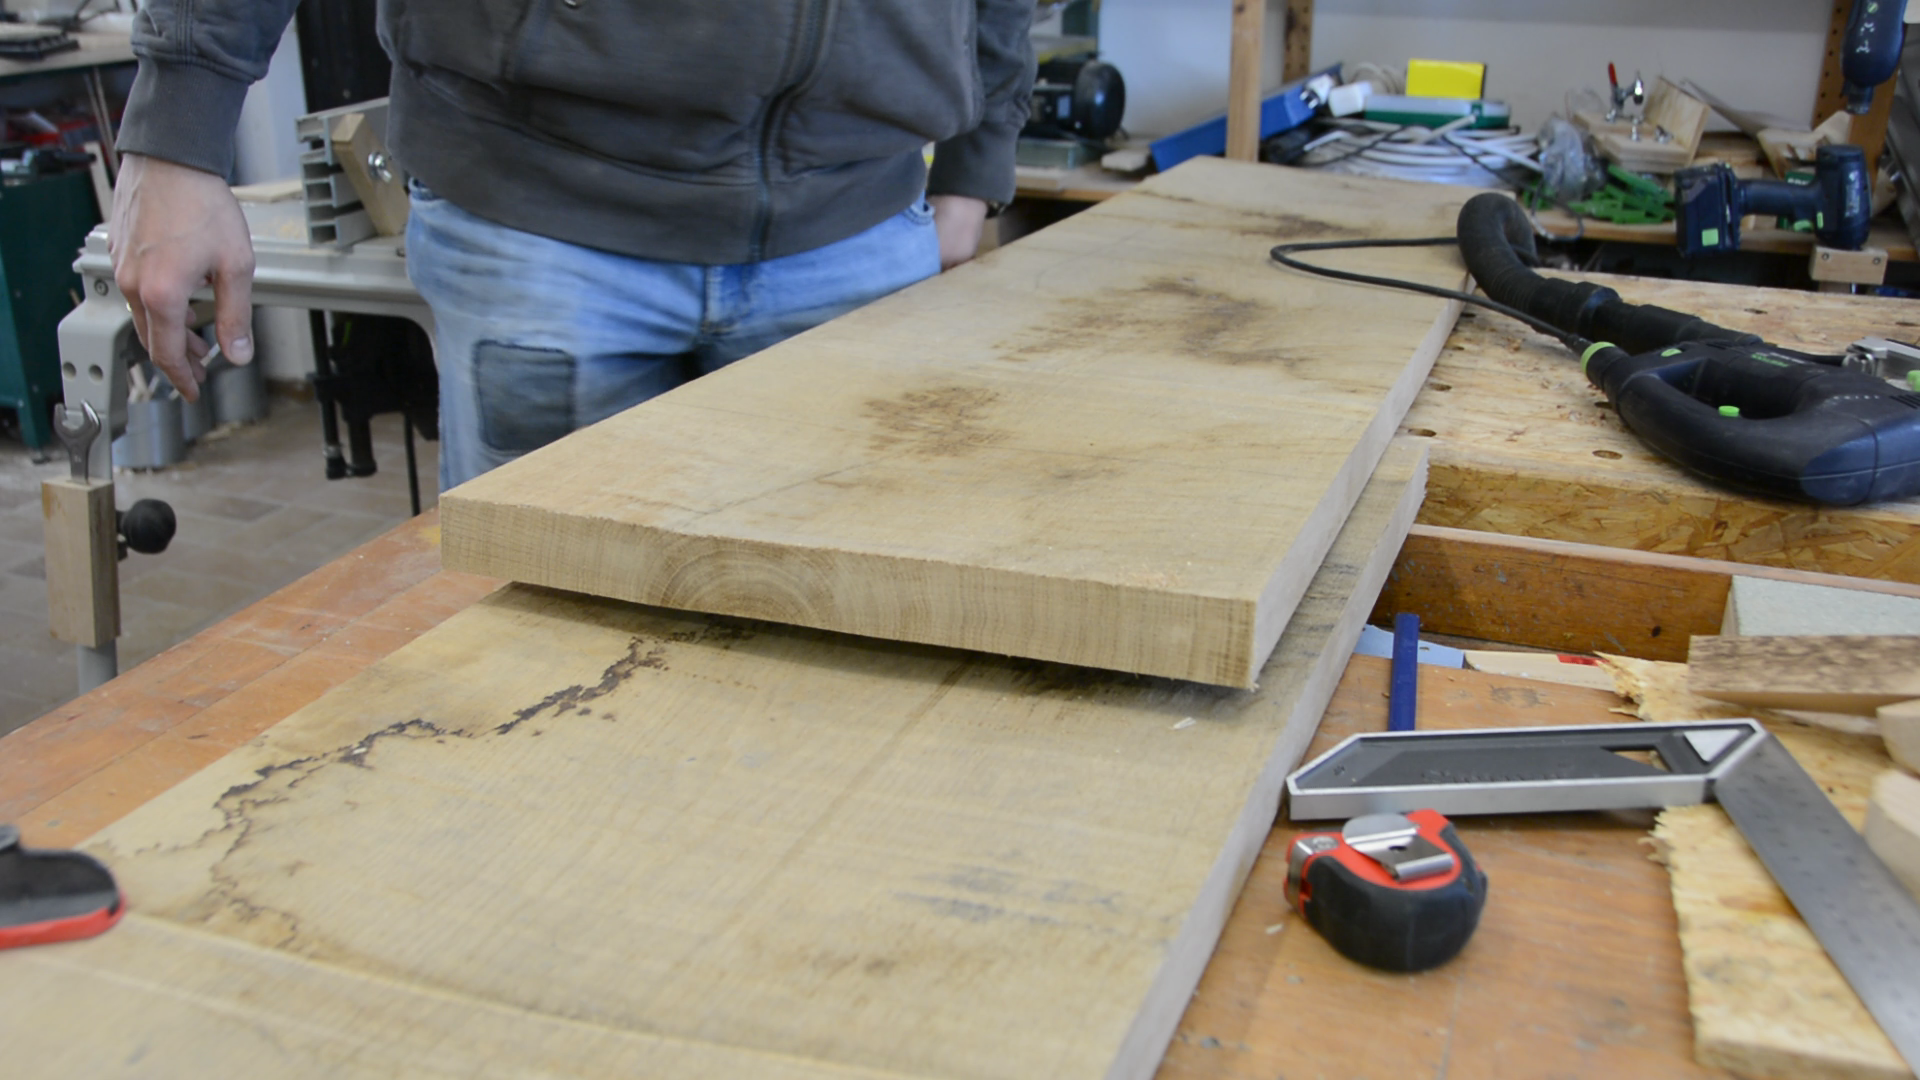
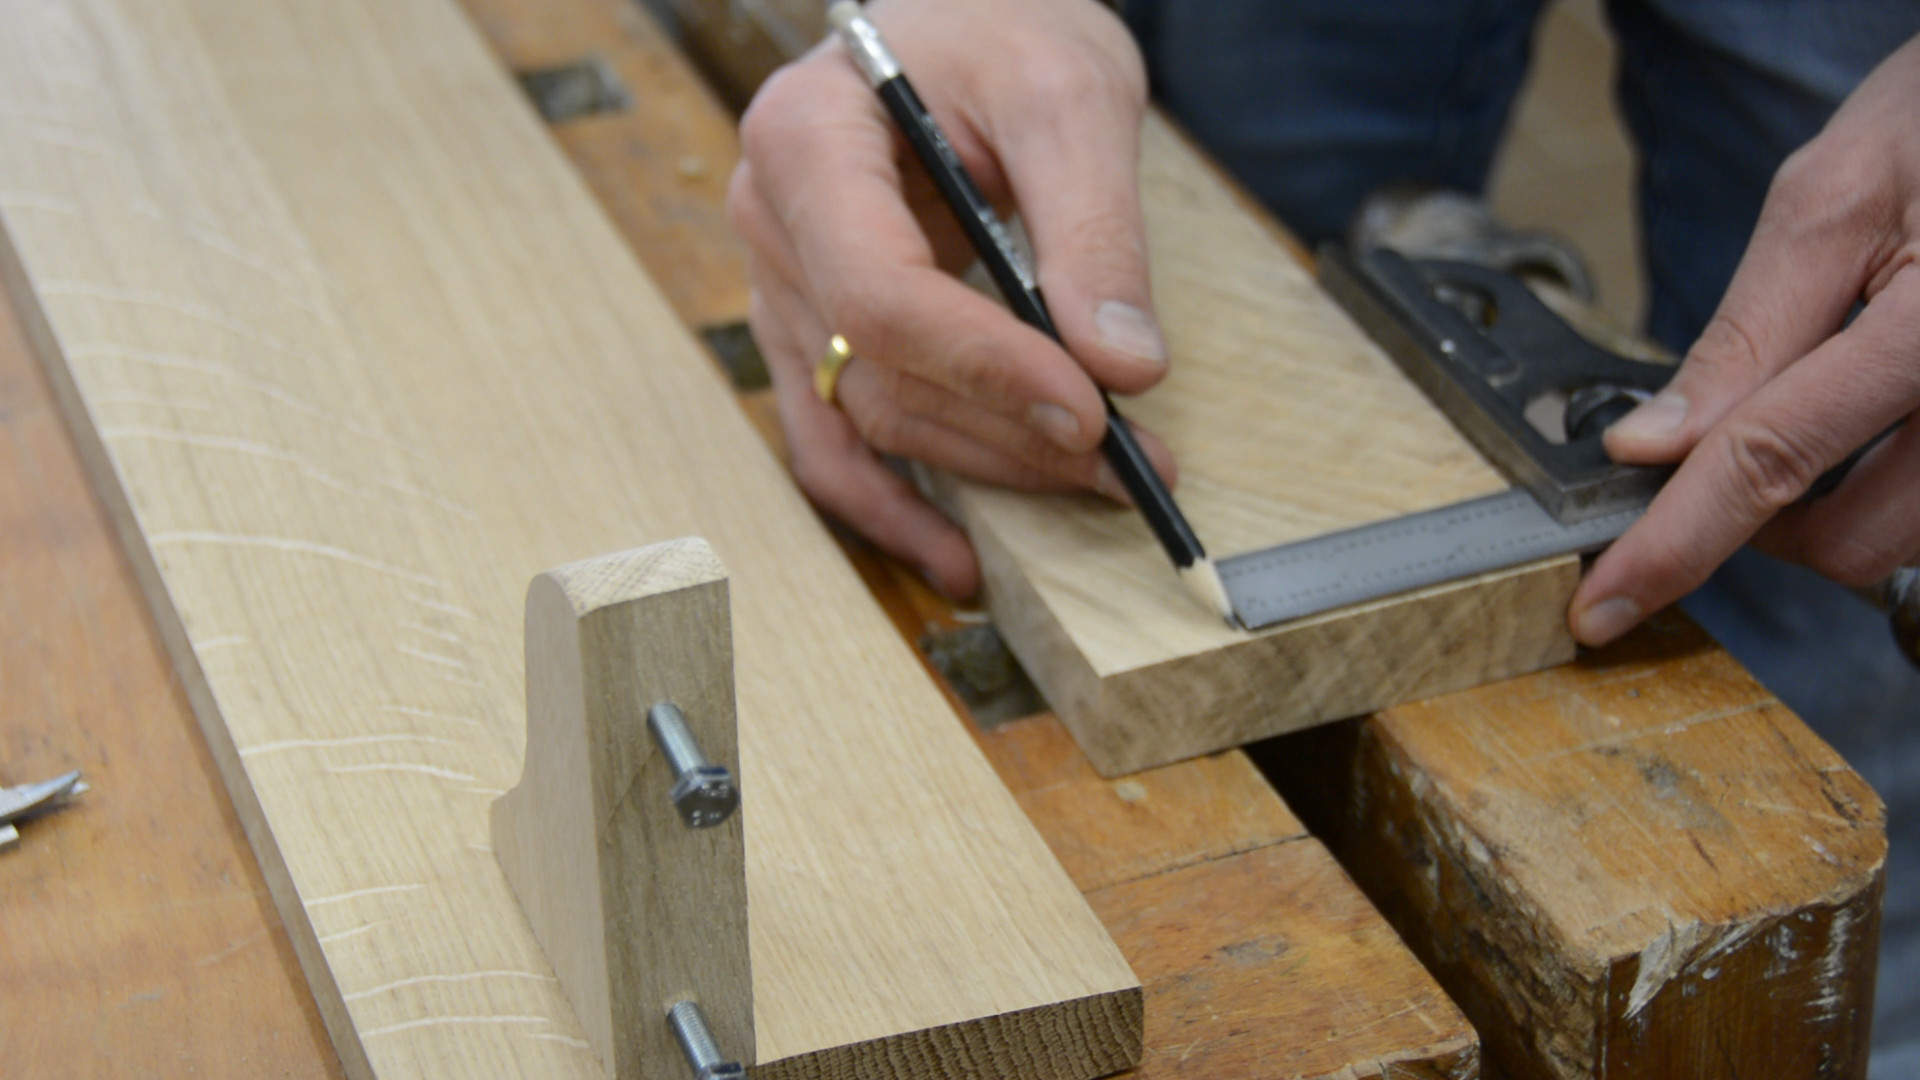
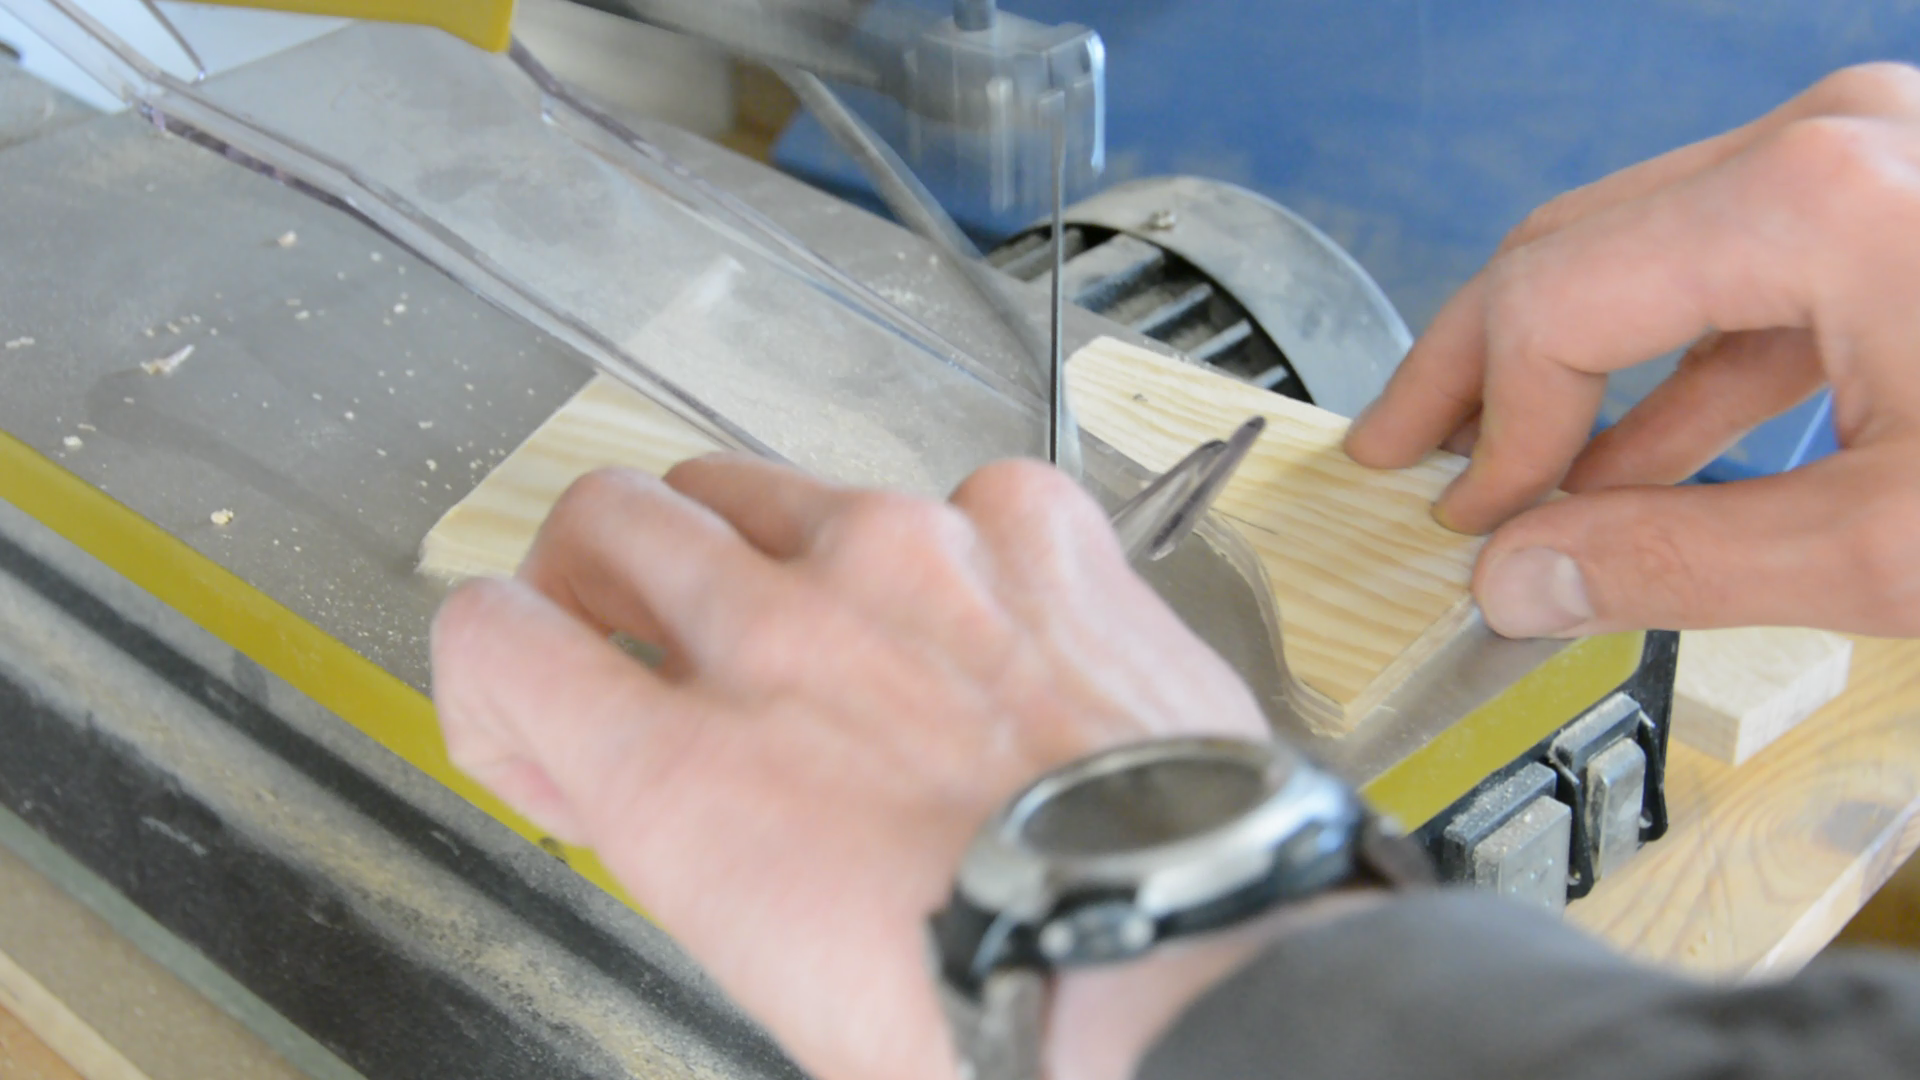
To match the countertops the shelves should be made from oak. For the main shelves I cut a large oak slab in half and cut it to rough size on the table saw. With the jointer and planer I square up all sides before I cut them to their final dimensions on the table saw.

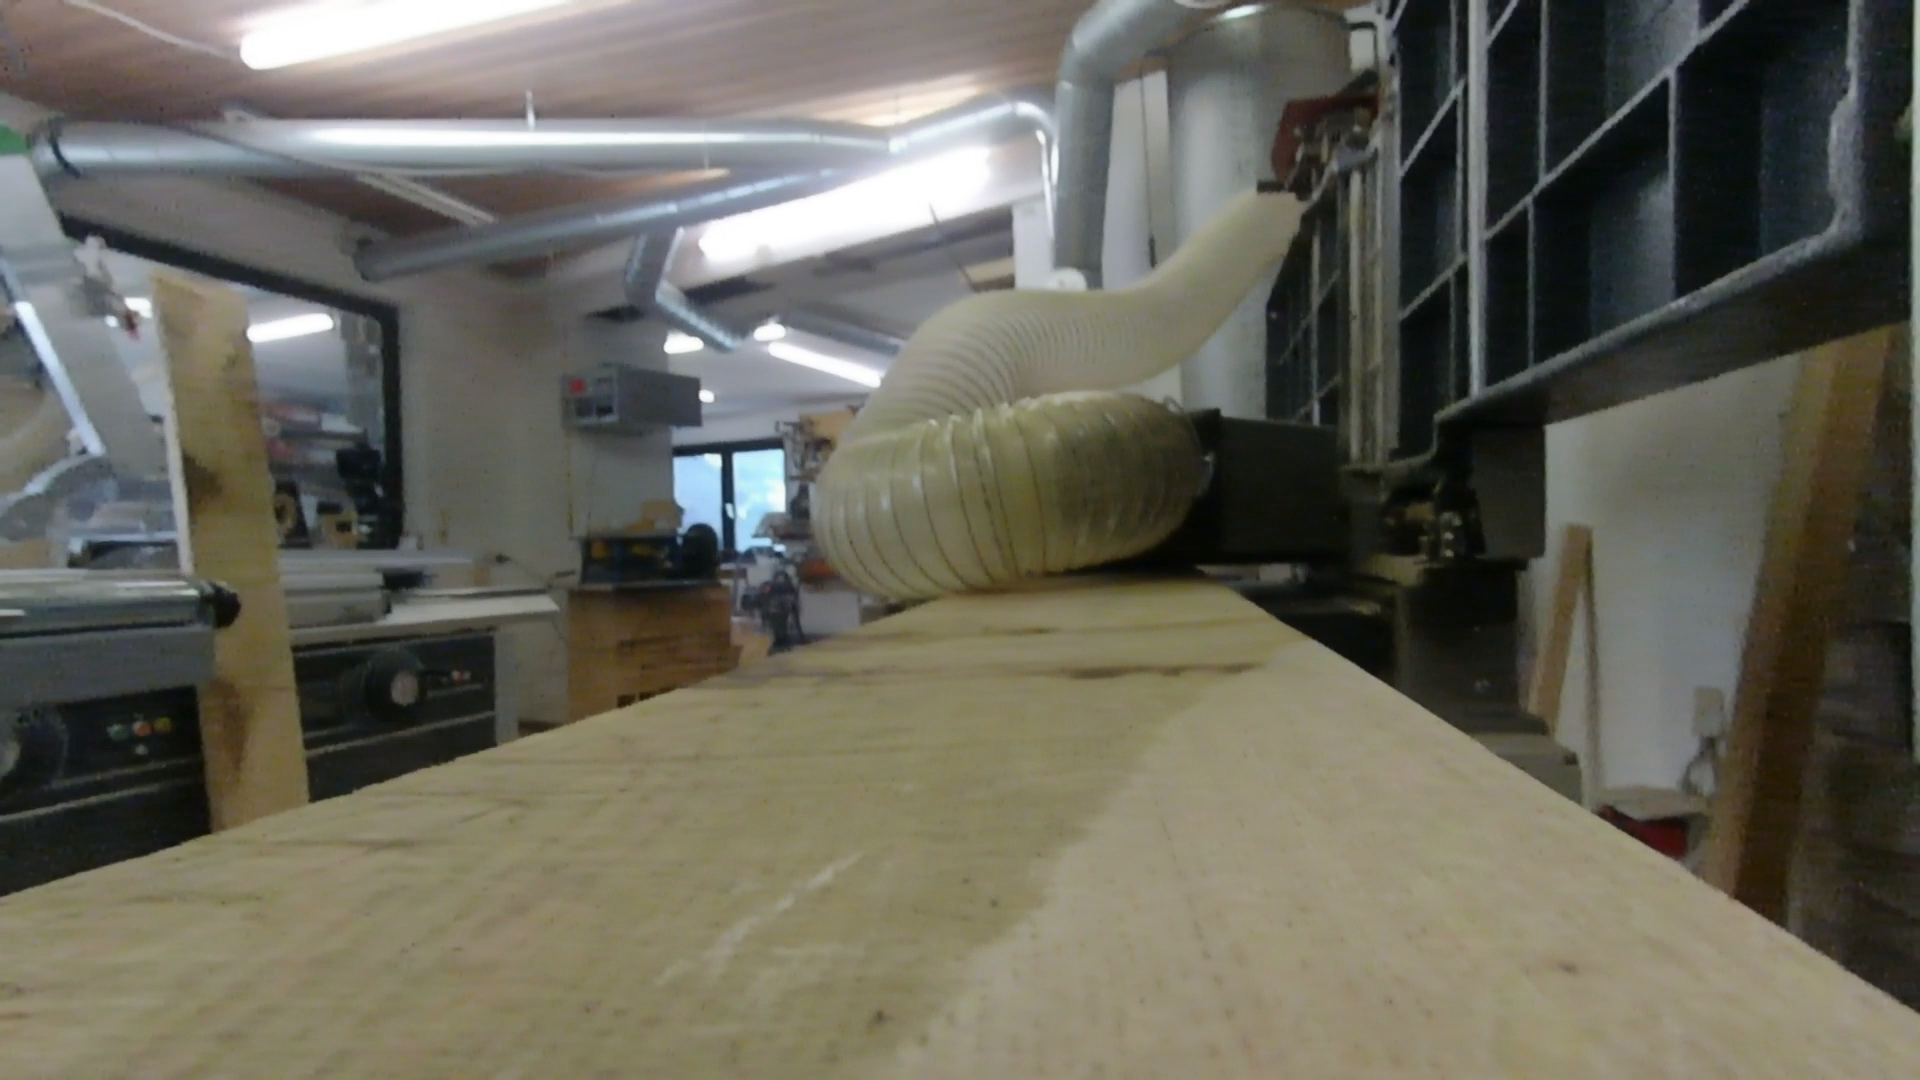
As the front seems a bit heavy I decide to add a taper to the front. You could remove the material on the tablesaw. I however feel safer by building this quick planer sled. The pieces are secured with a wedge and send a few times through the planer.


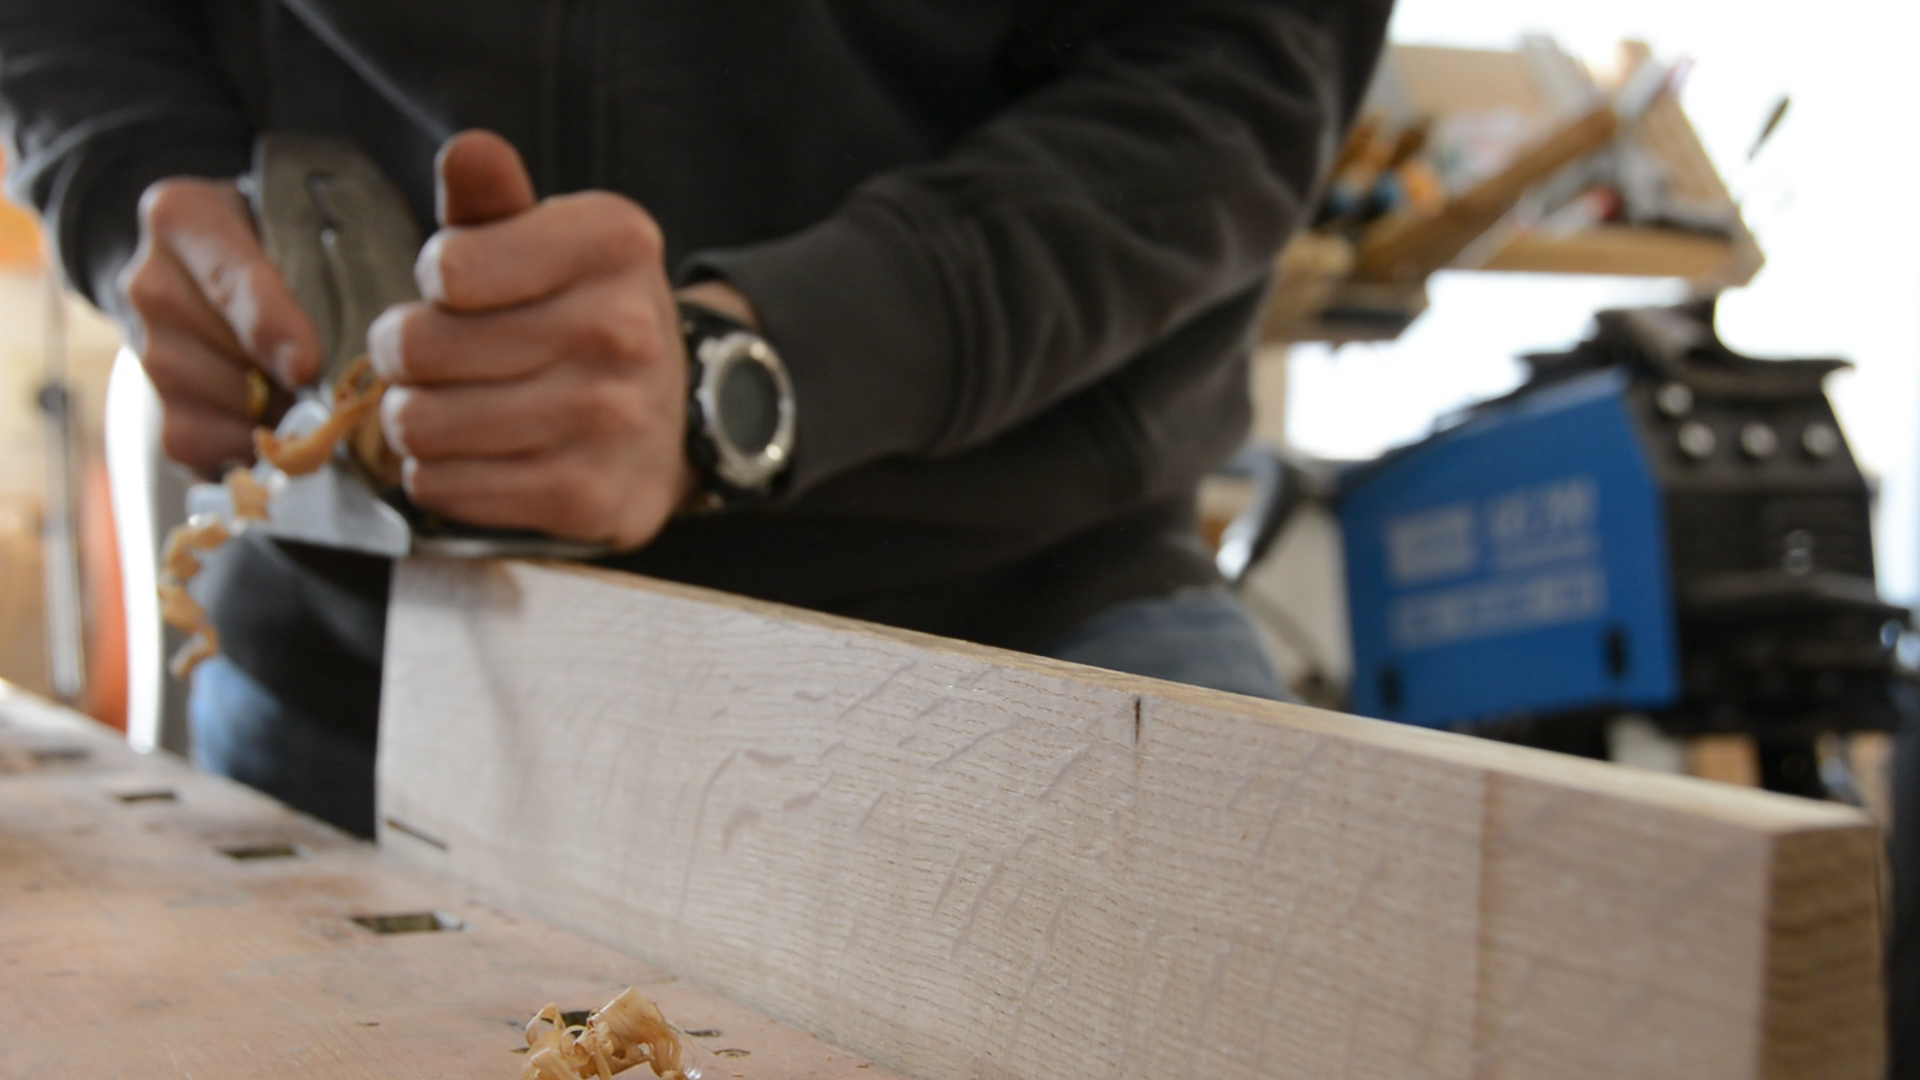
For two shorter shelves in the middle I transfer the dimensions from the larger ones and establish the taper with a hand plane.
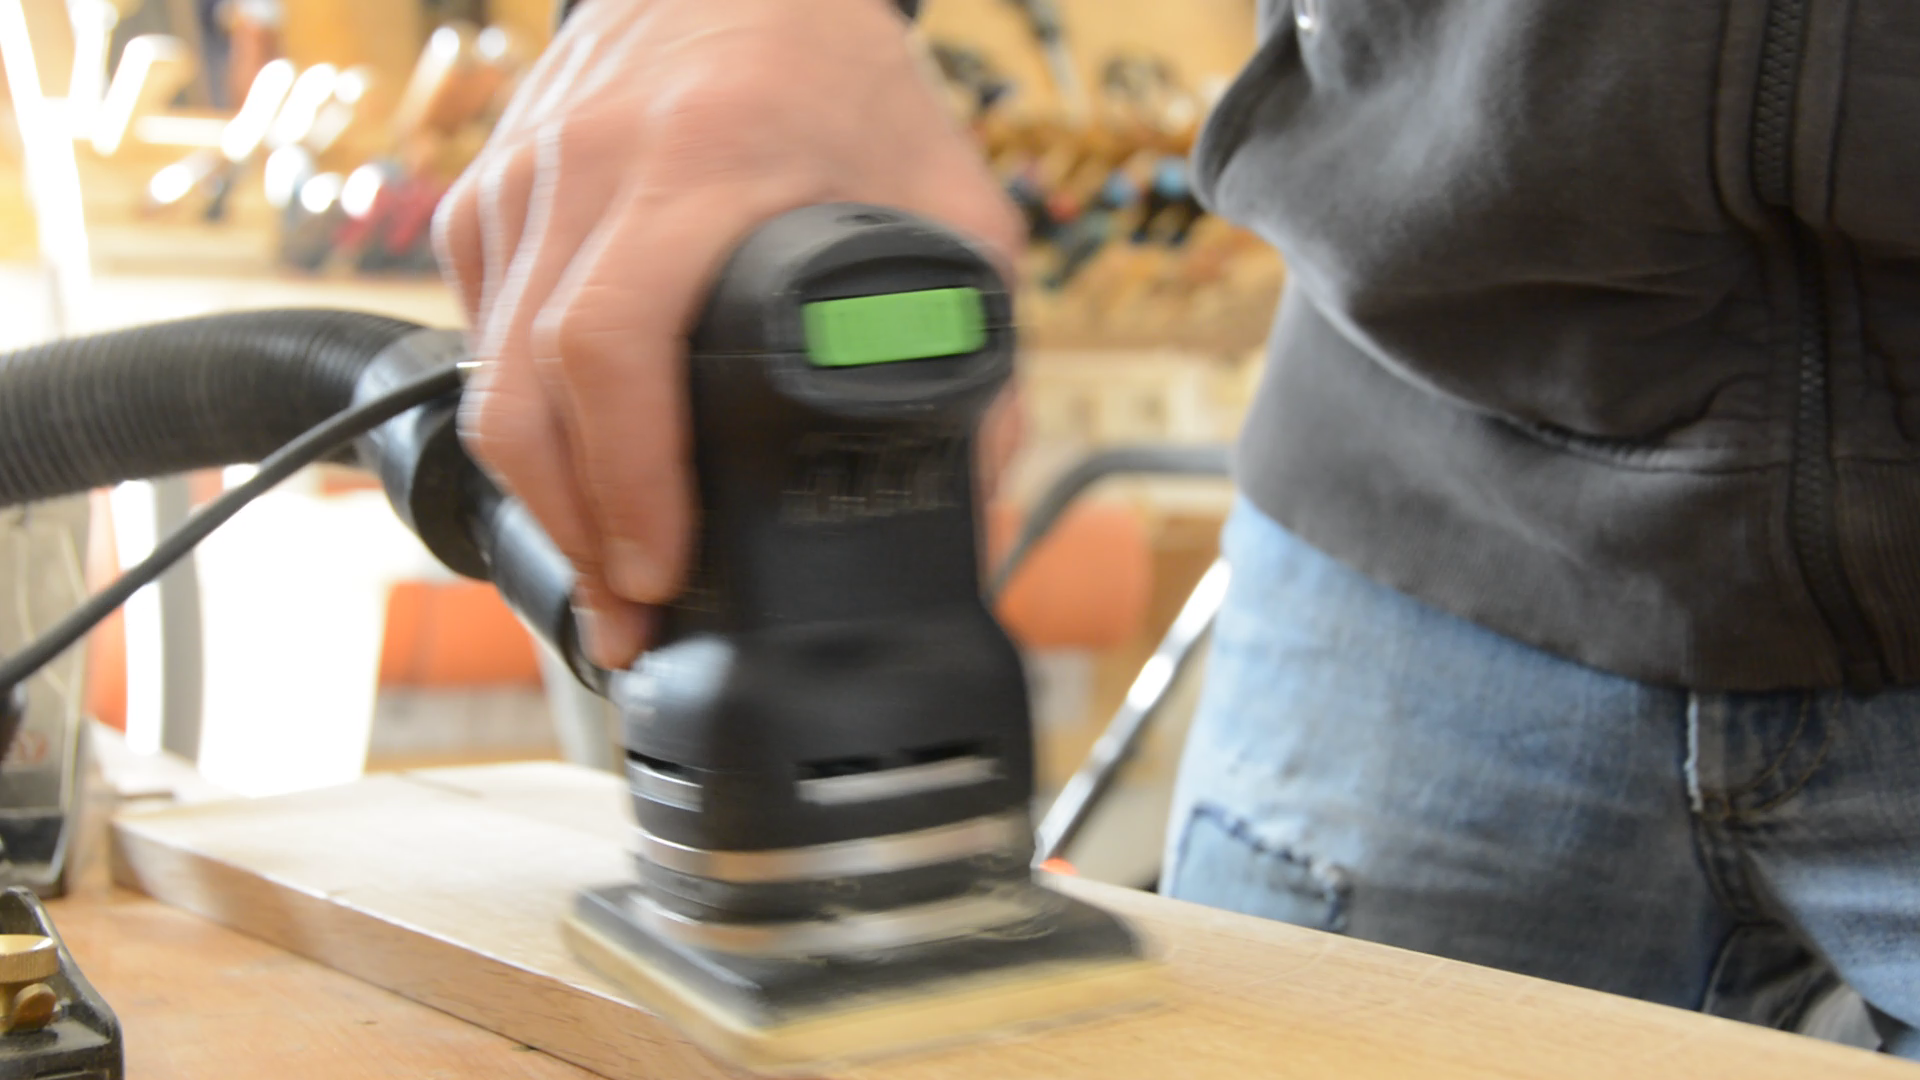
I also go with a hand plane over the front face and chamfer the sharp edges slightly. The entire shelf is then sanded to 240 grid.
Mounting the shelves
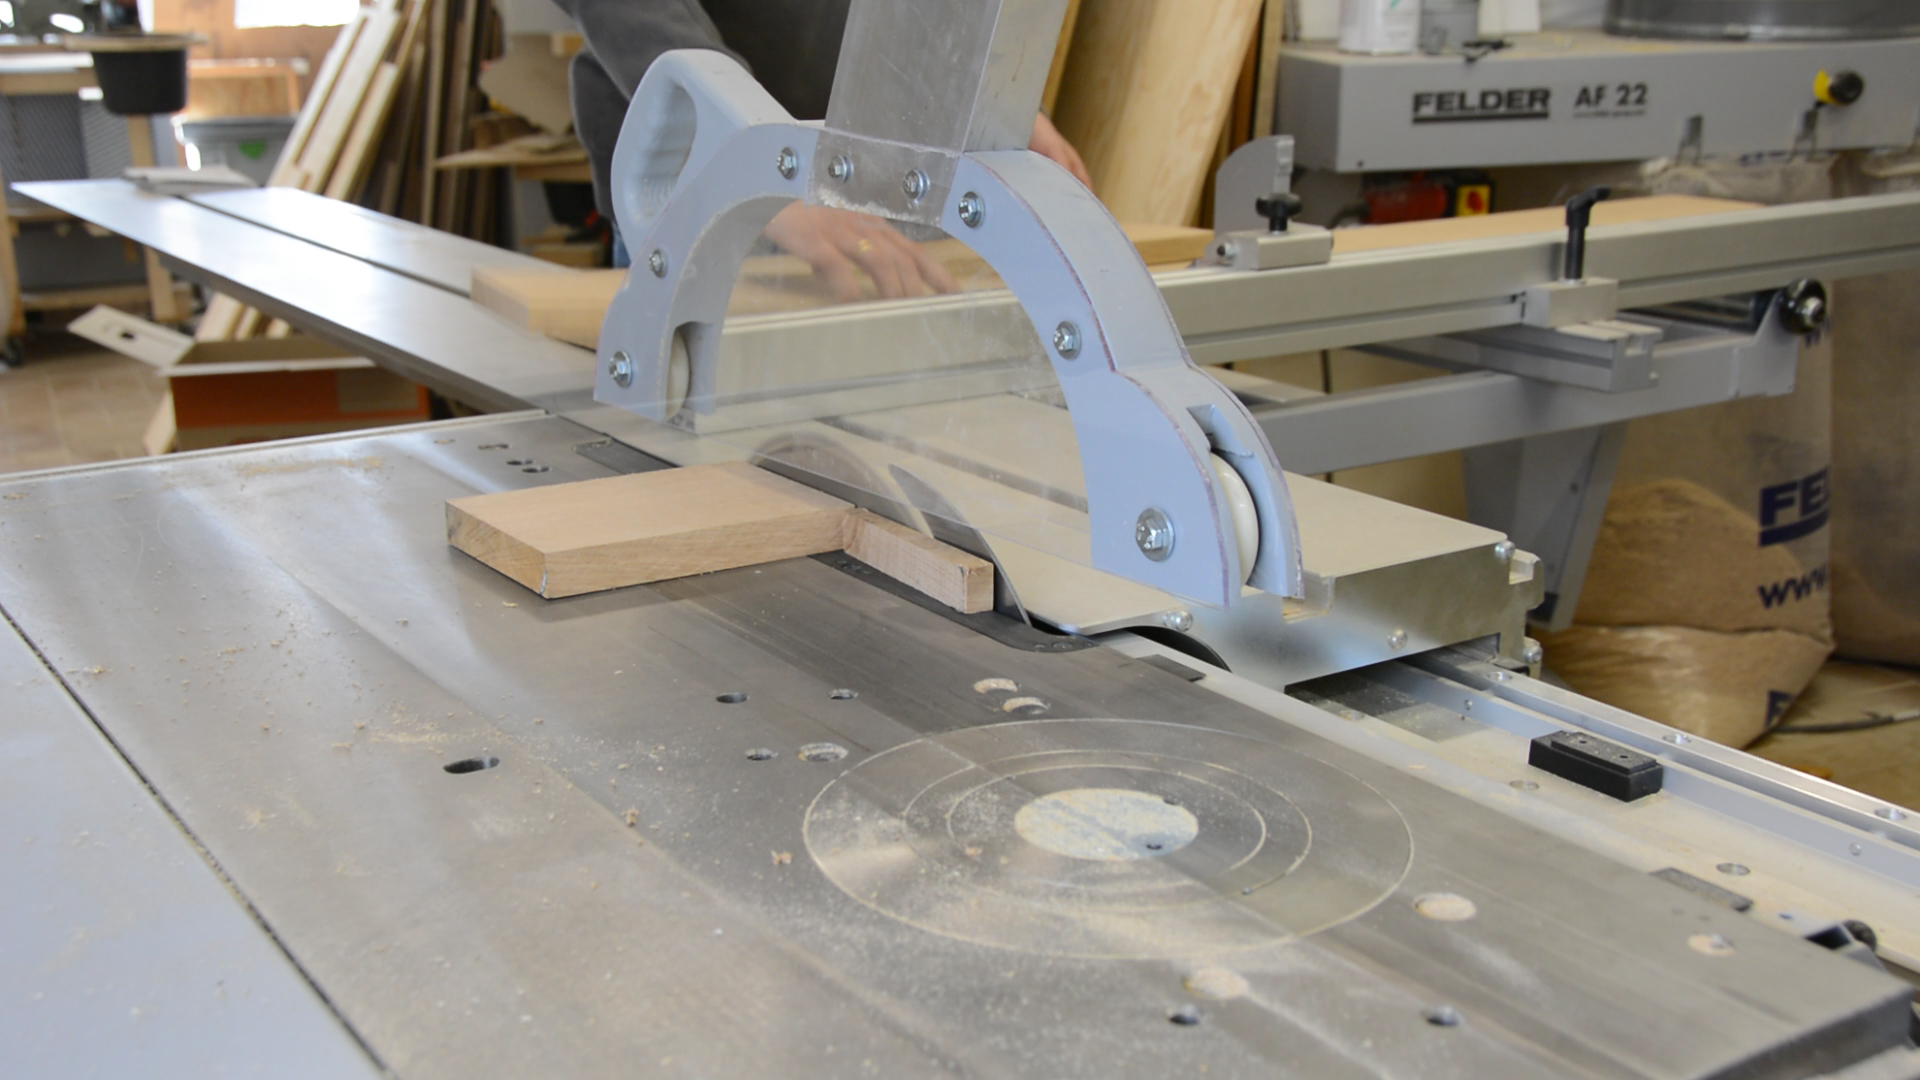
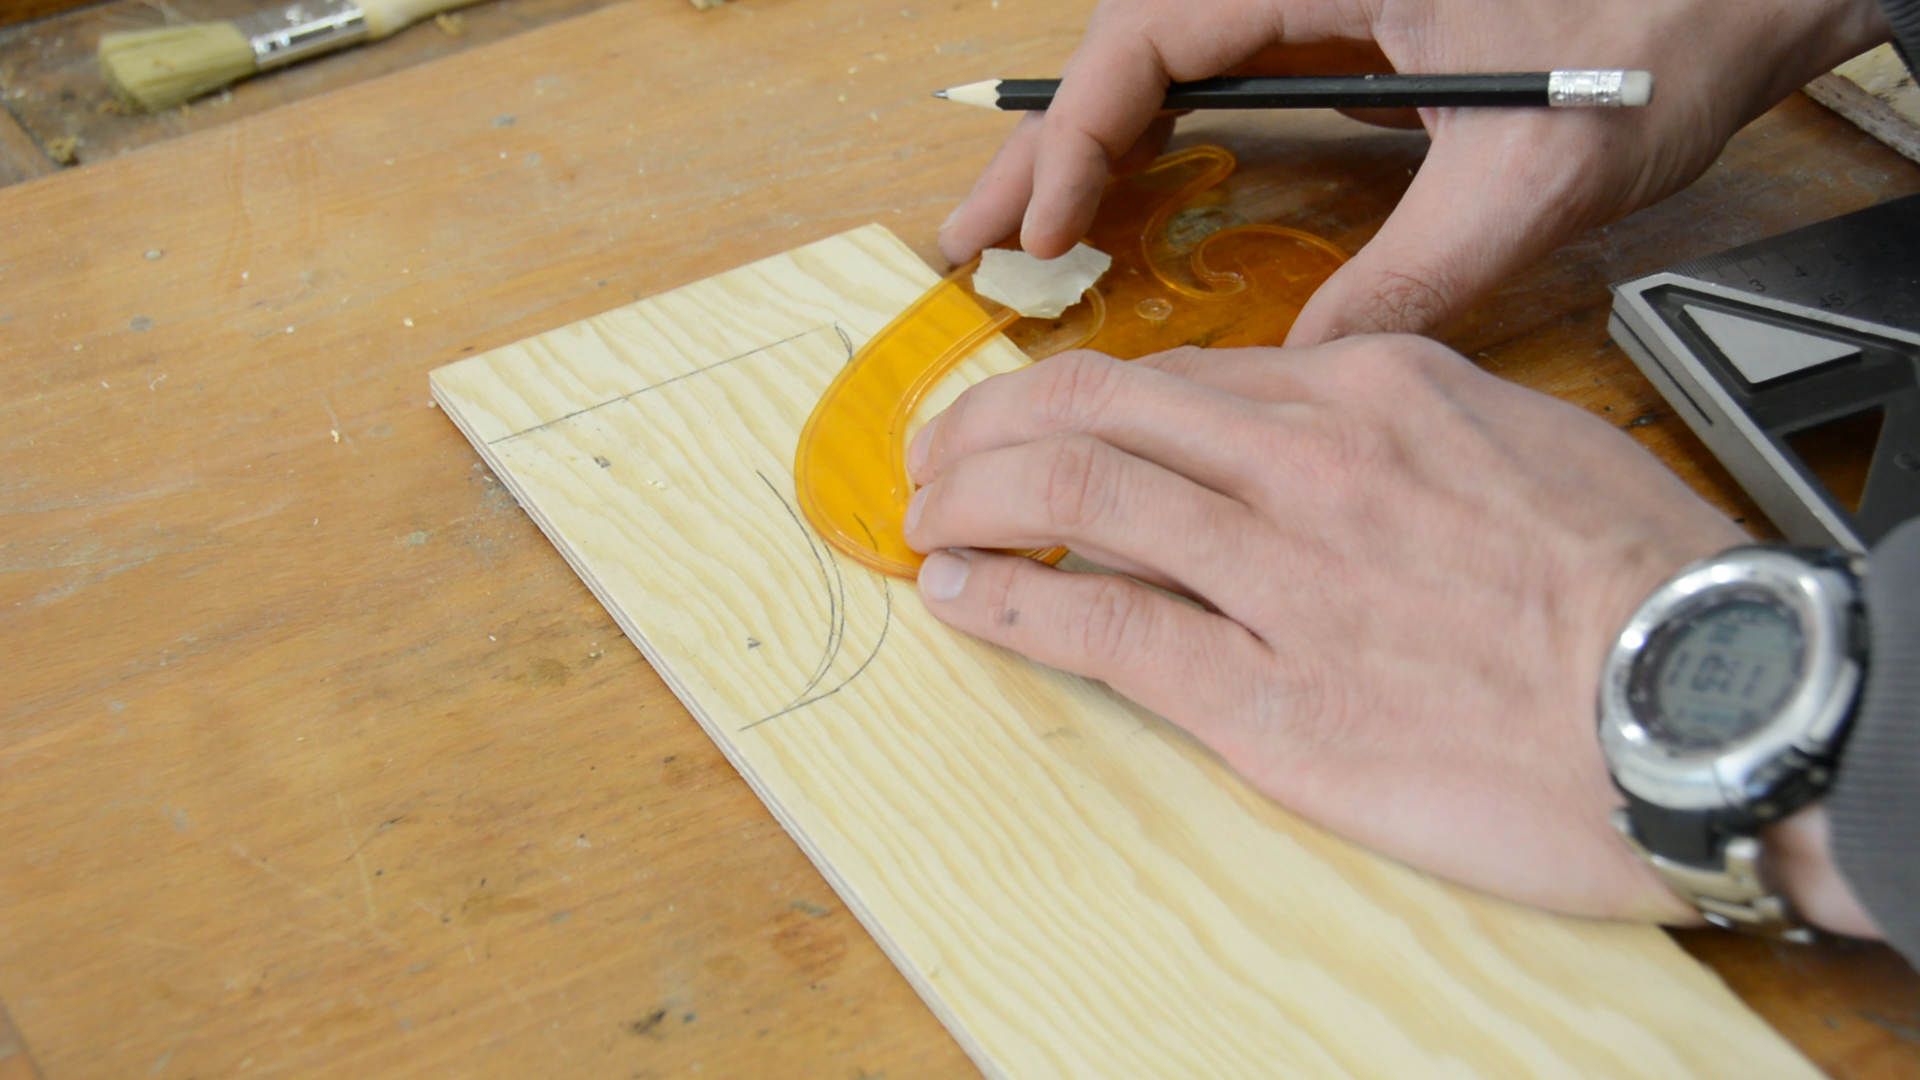
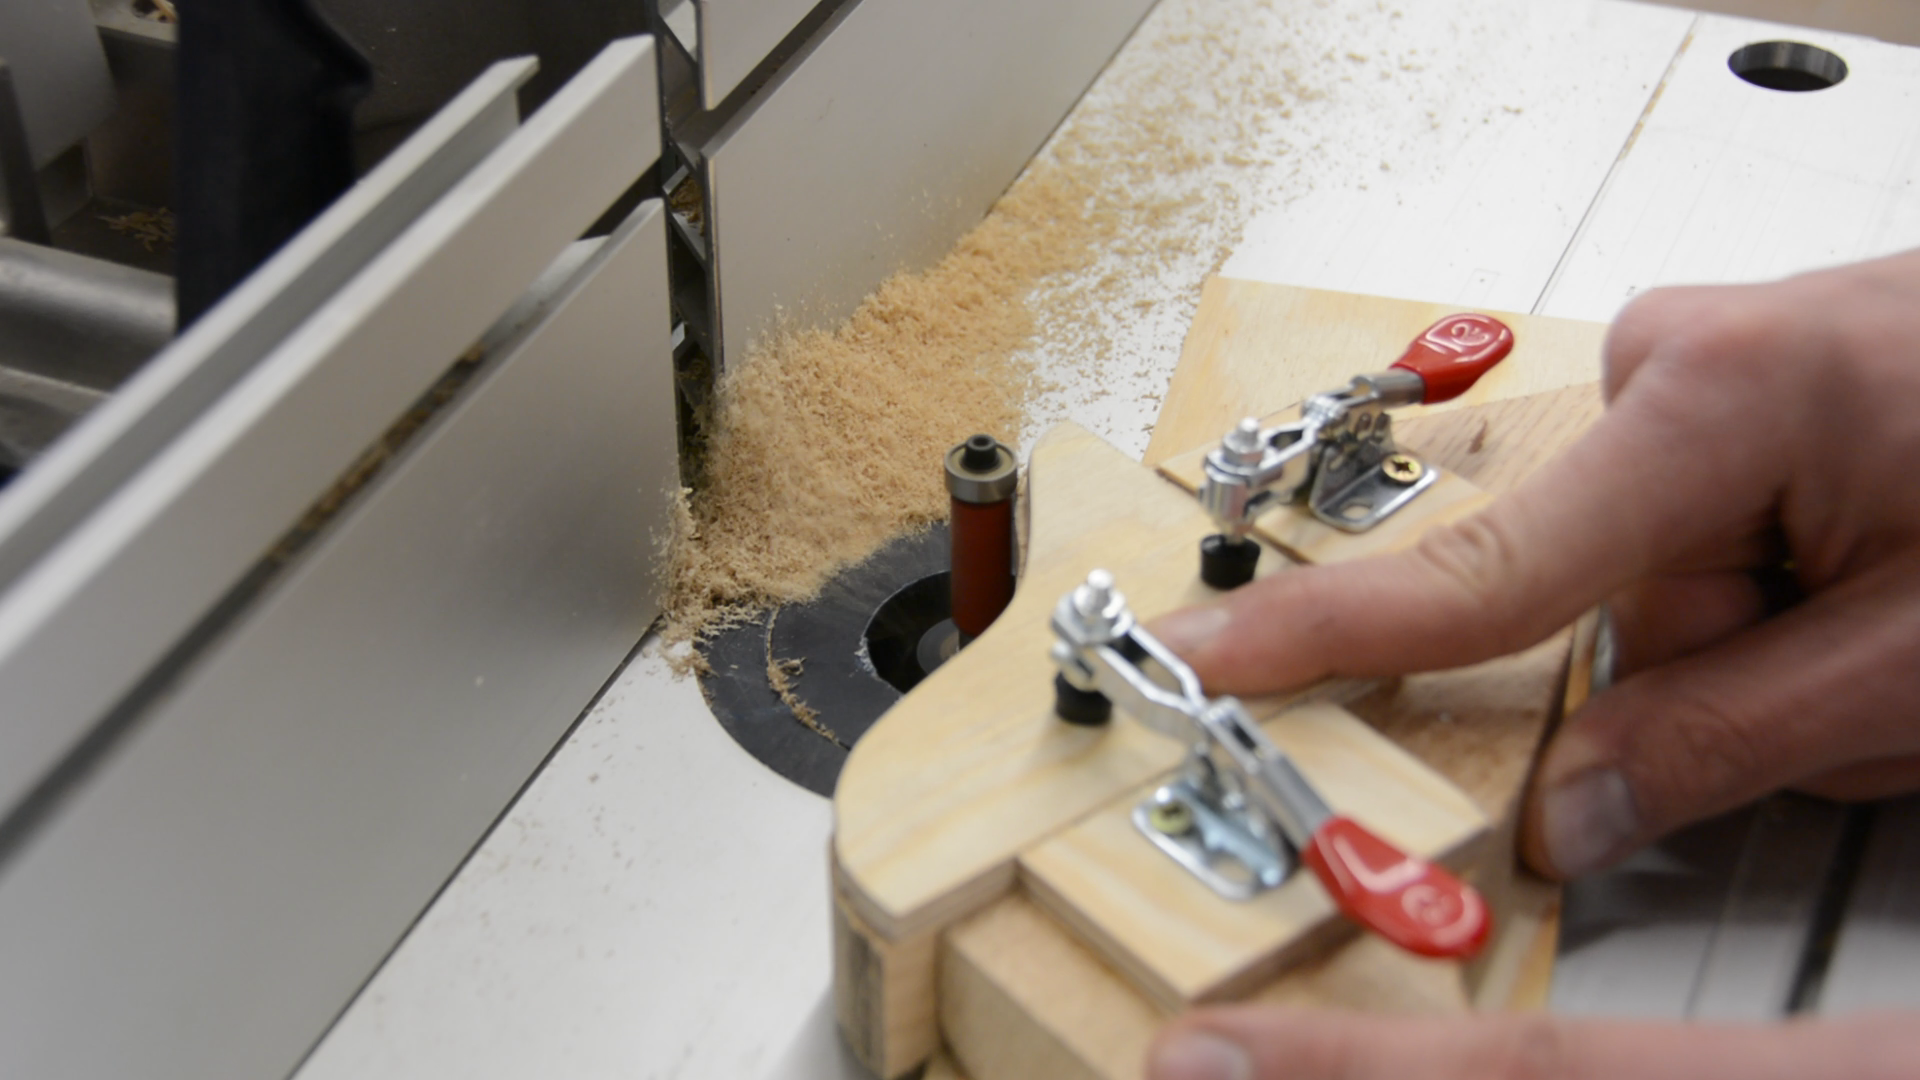
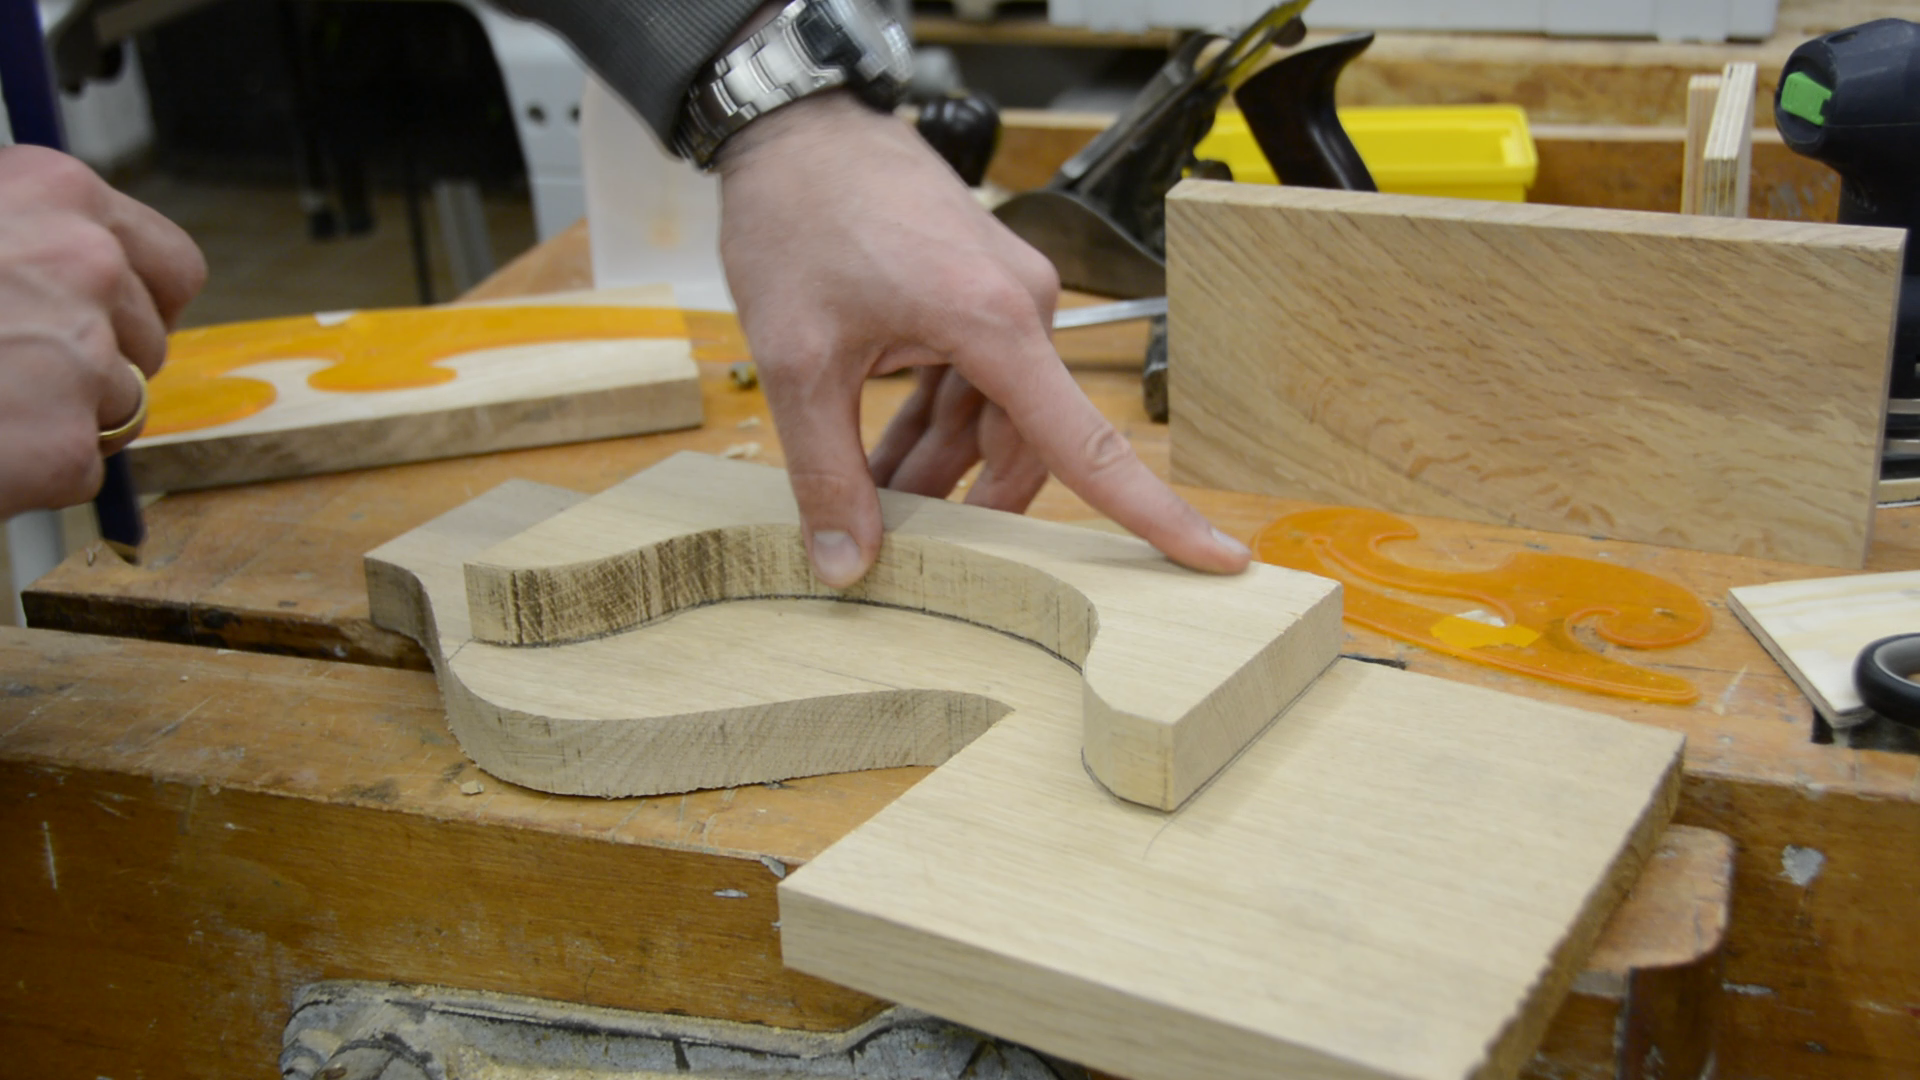
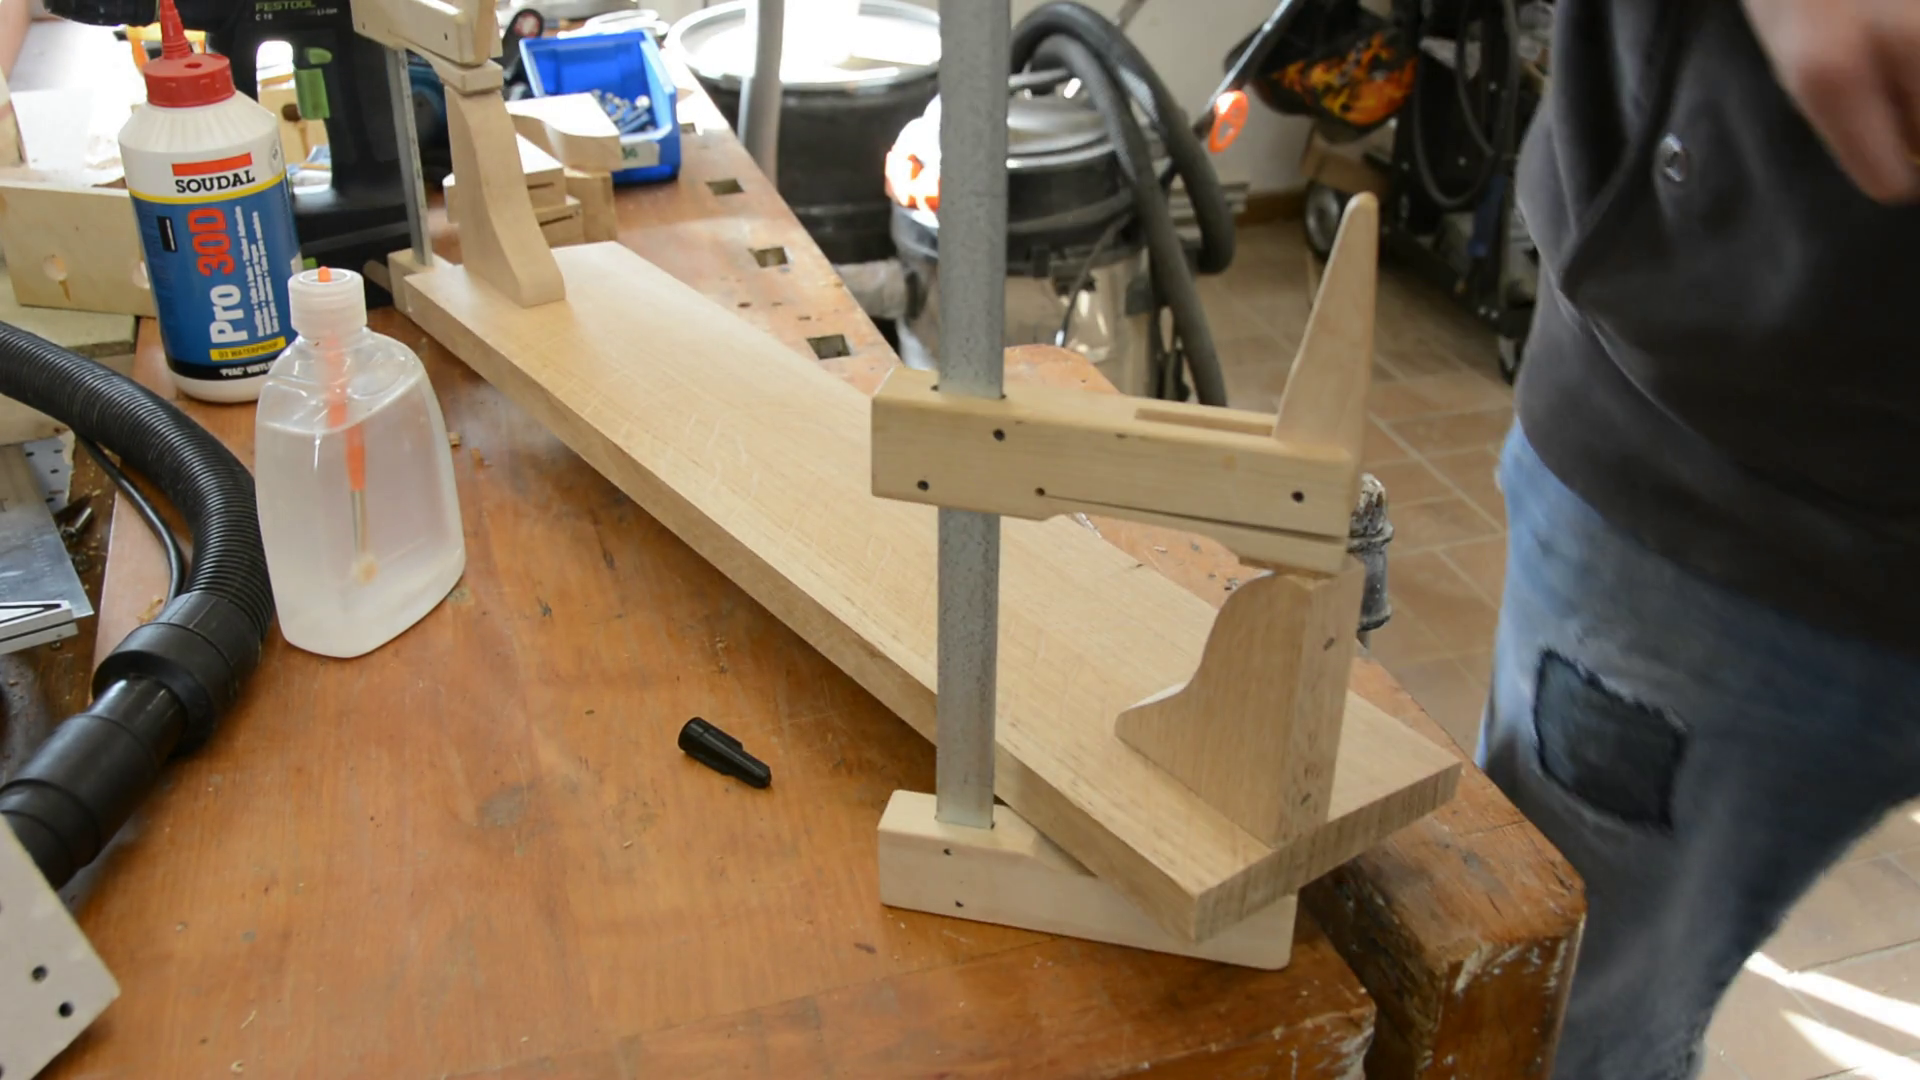
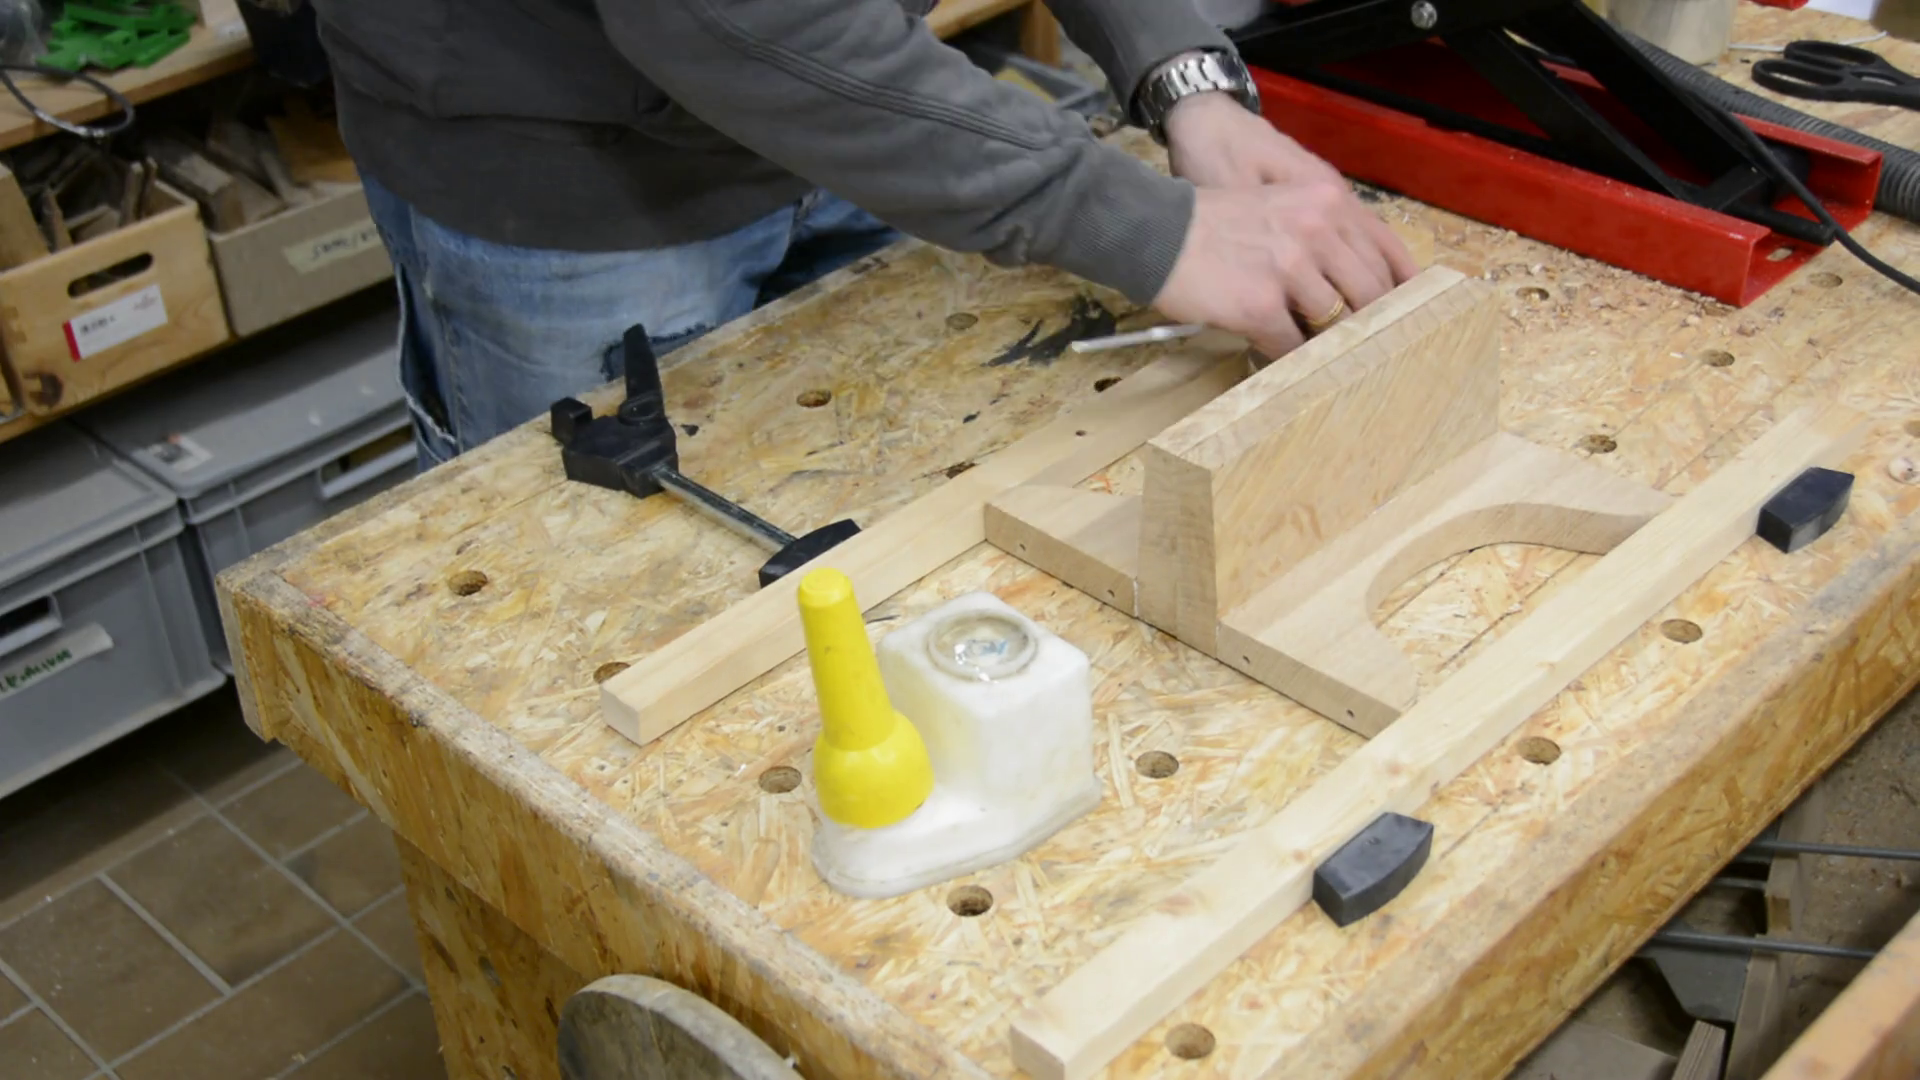
For the supports of the shelving a French curve is handy tool to sketch a pleasing transition. I can then transfer this shape on a thin template and cut on the scroll saw. With this template I draw the shape to some oak scrap pieces. These are cut to rough shape and trimmed flush on the router table. The holder for the router table was made from a couple of scrap pieces.
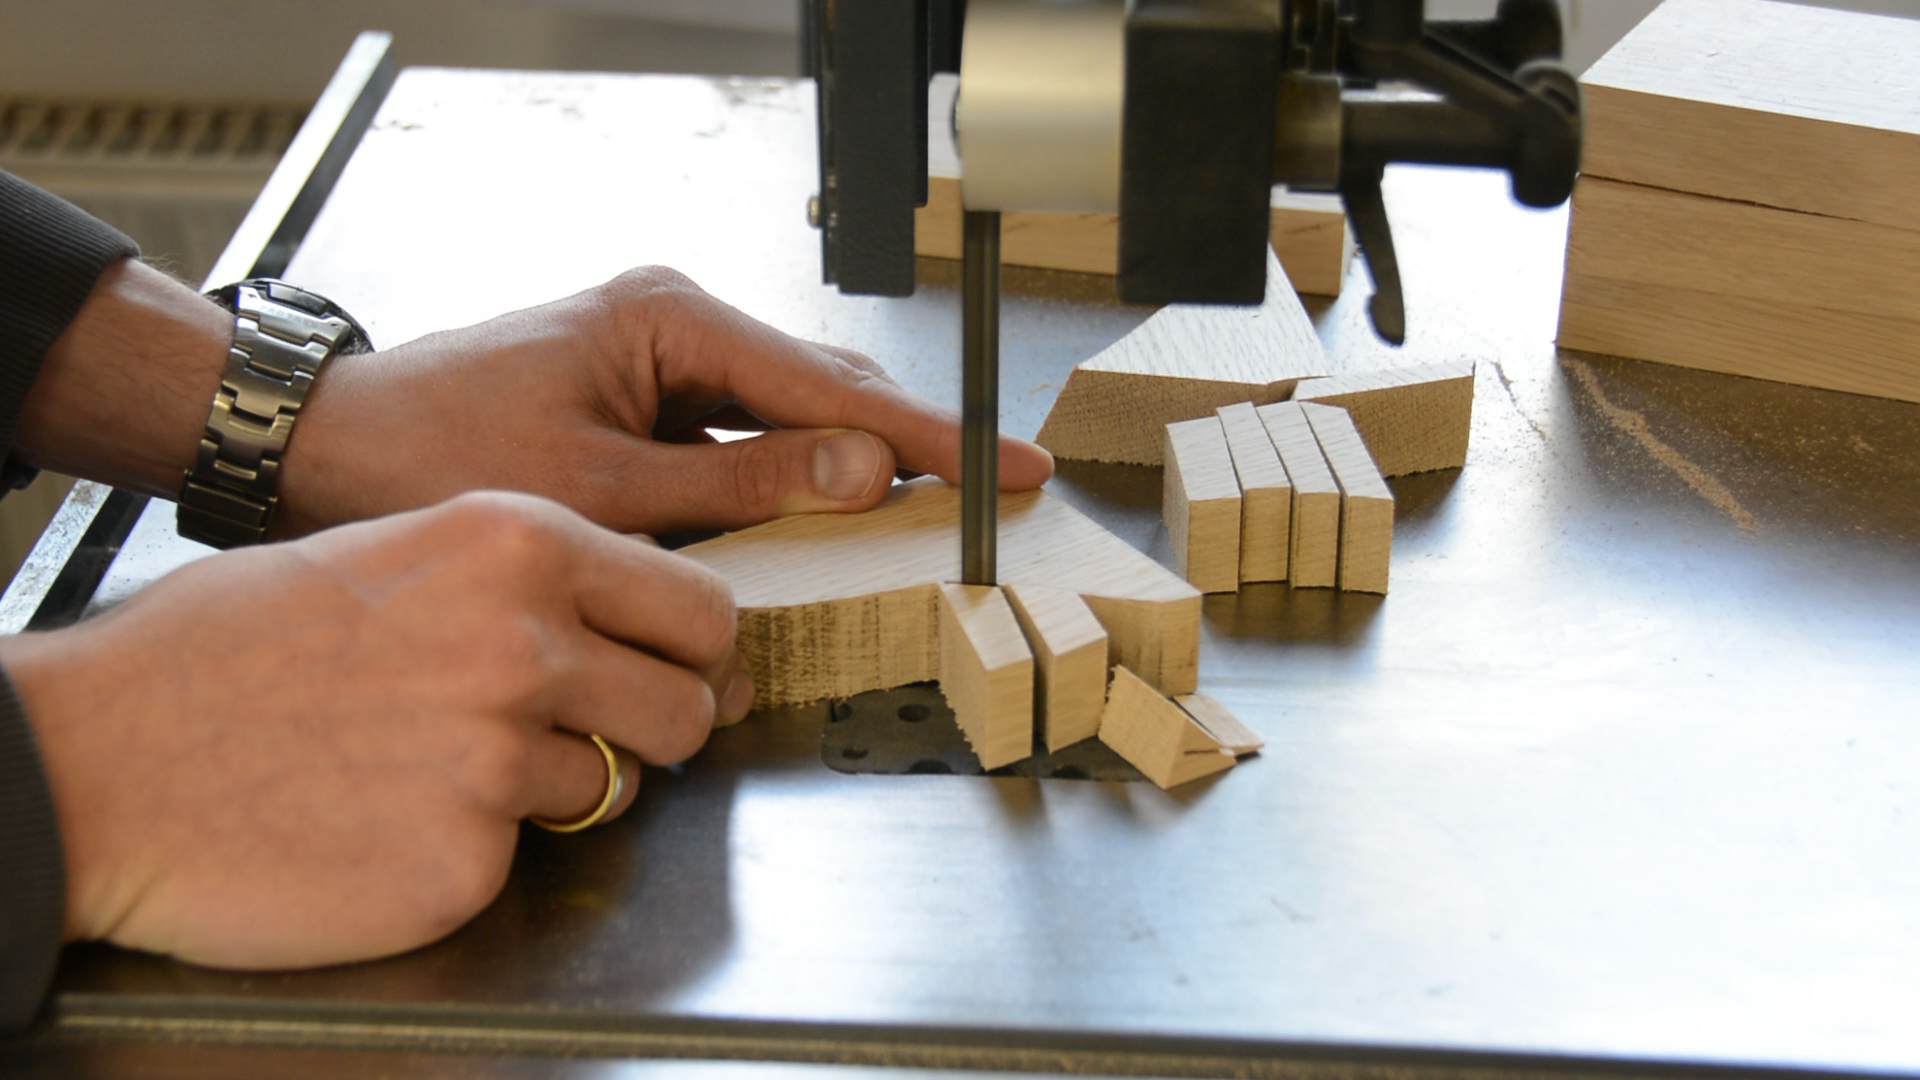
The supports for the smaller pieces are made from one piece of wood. After cutting them to size I sanded them smooth.

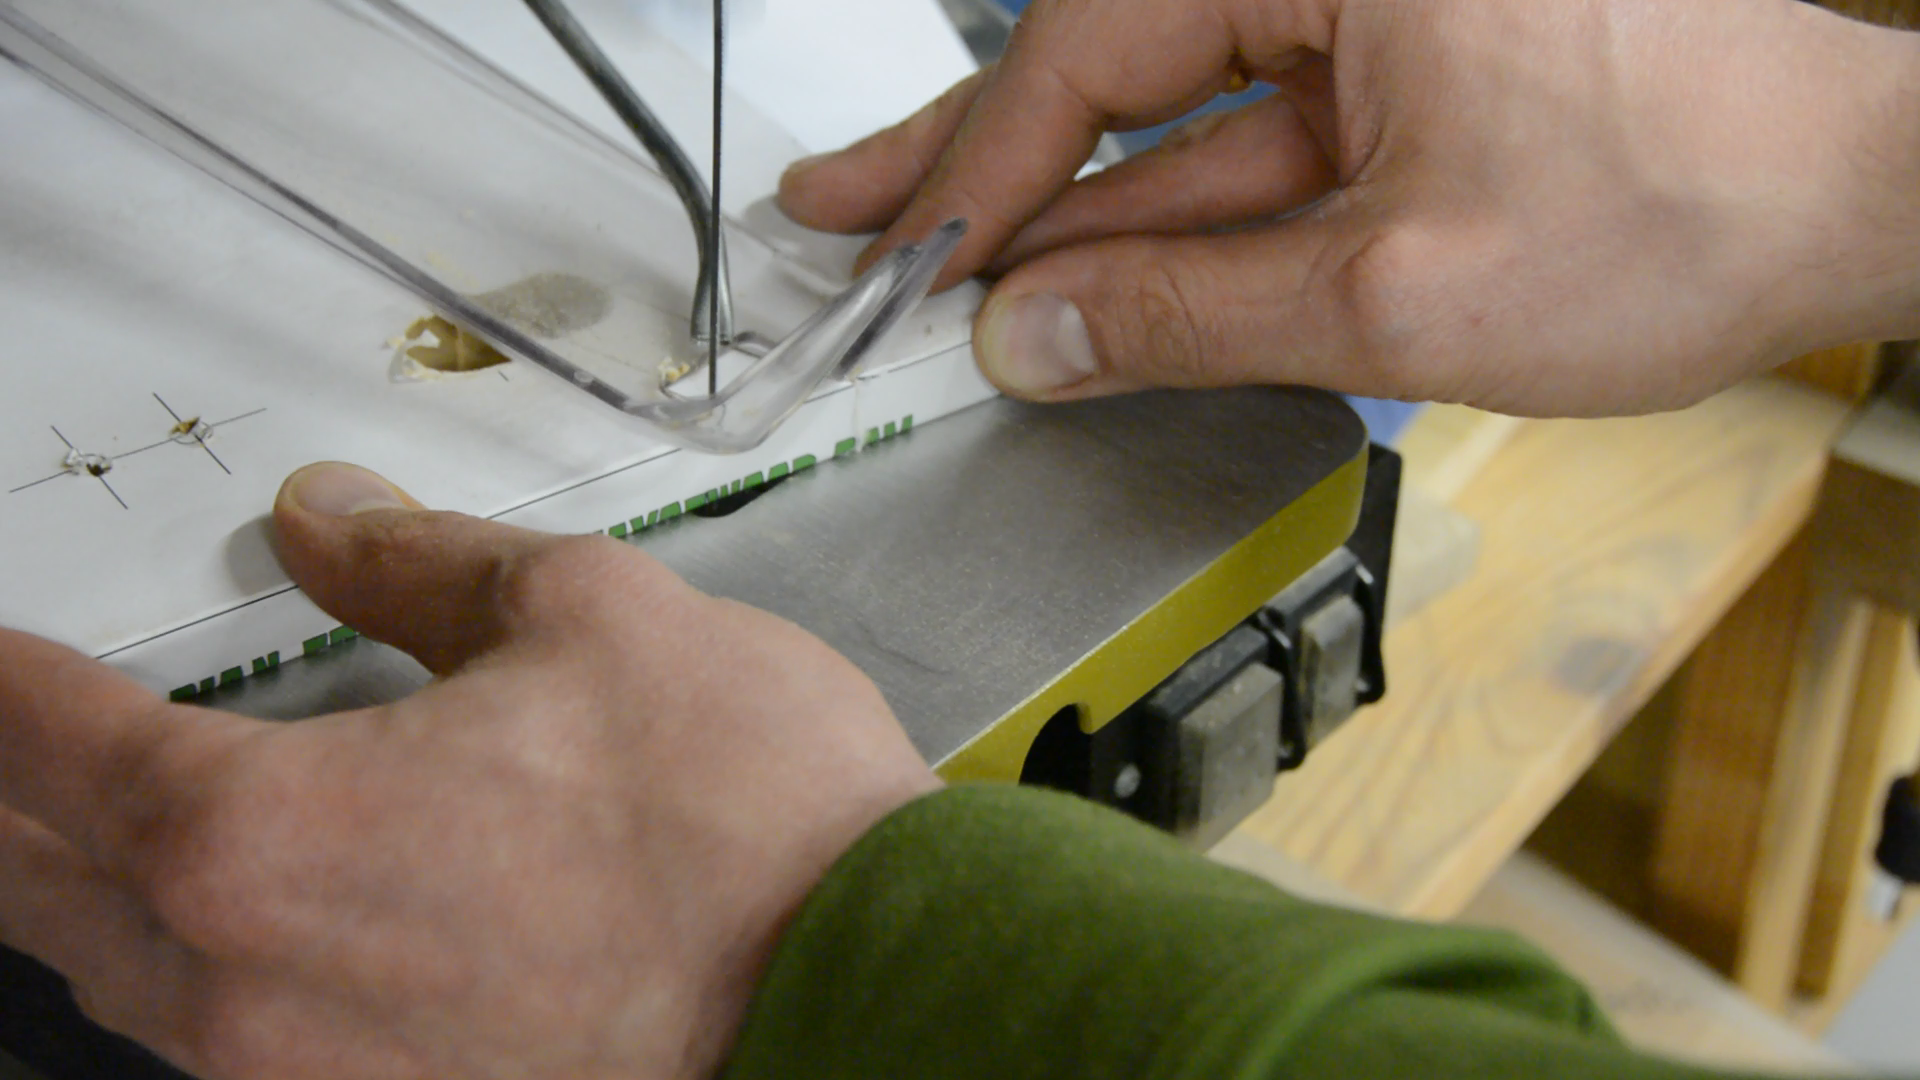
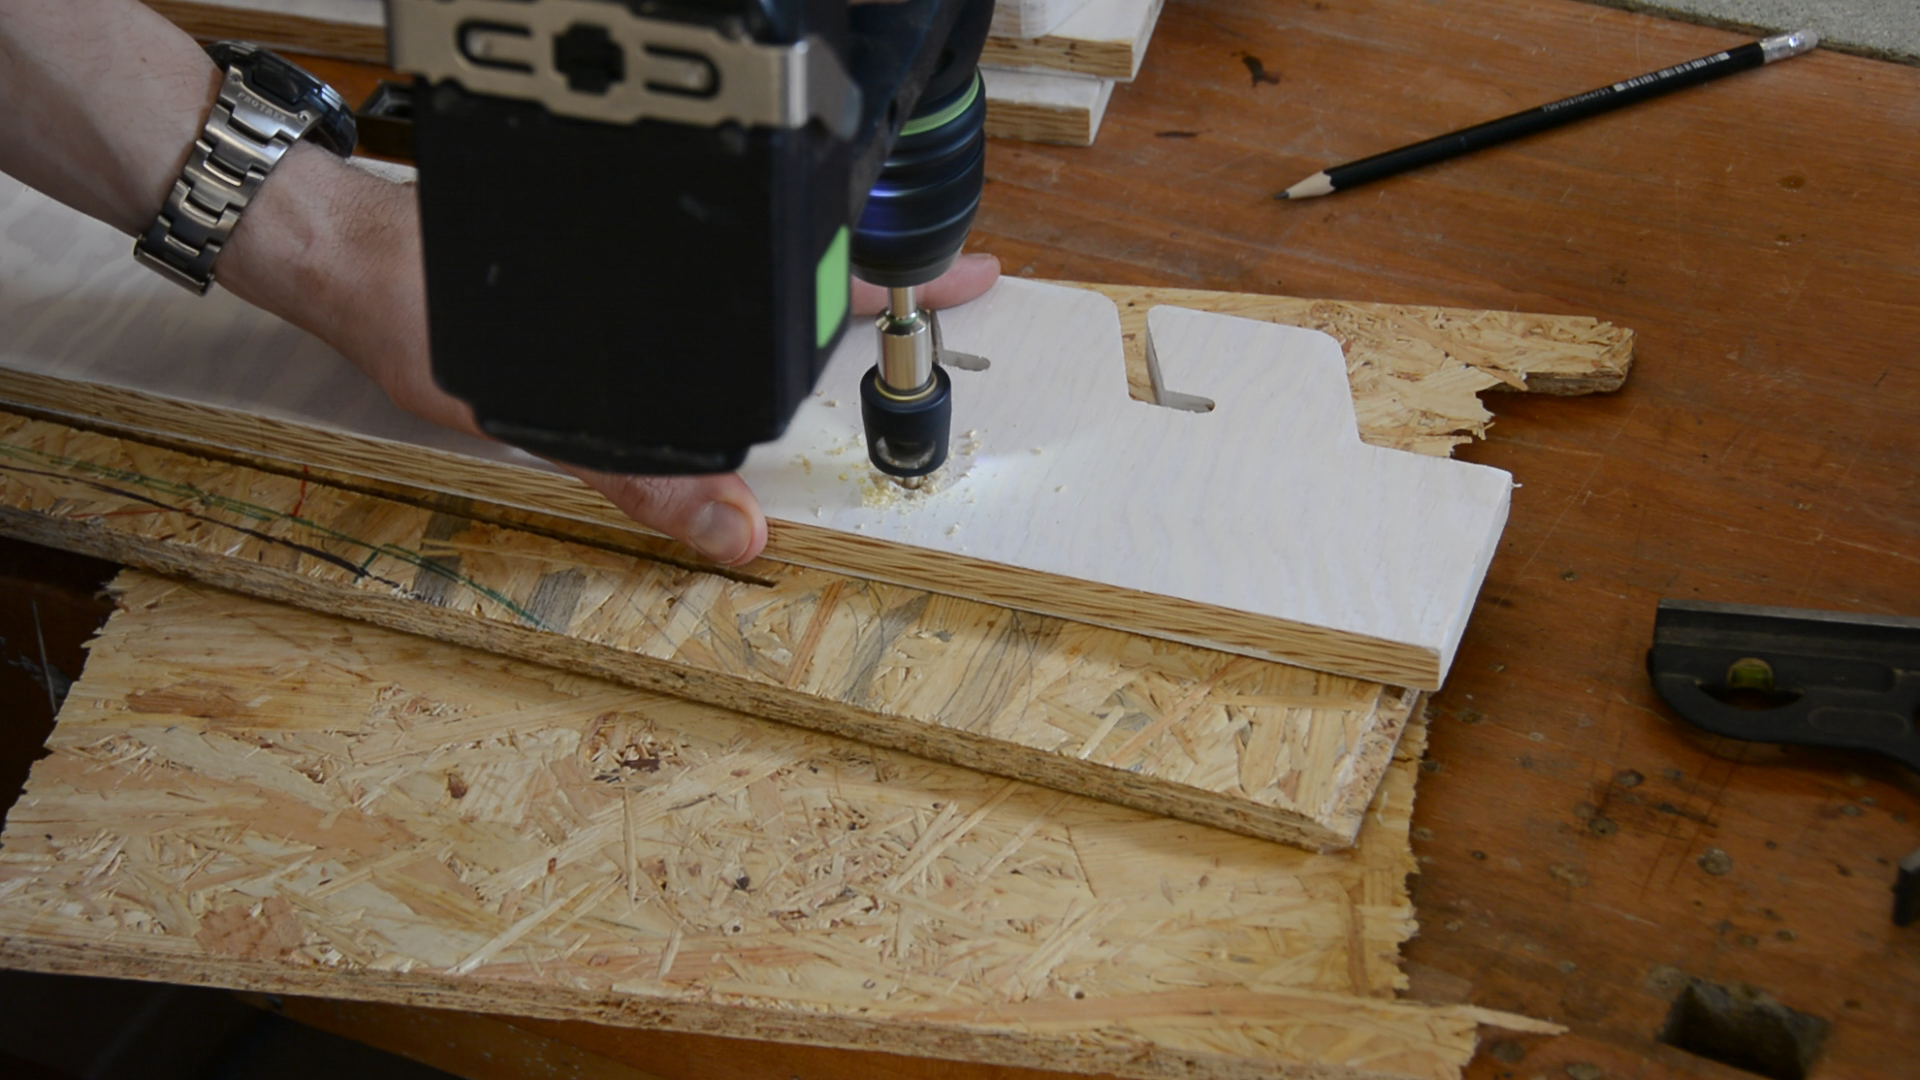
You could drill the two holes to put the shelves in place with a drill. I prefer to drill two holes in the size of the guide bushing of my router in a template. That way I can clamp it to the sides and drill the holes perfectly perpendicular and to the precise depth with my router.

For the large shelves I reinforce the joint between the shelf and the support with biscuits. The shorter shelves are glued to their support.
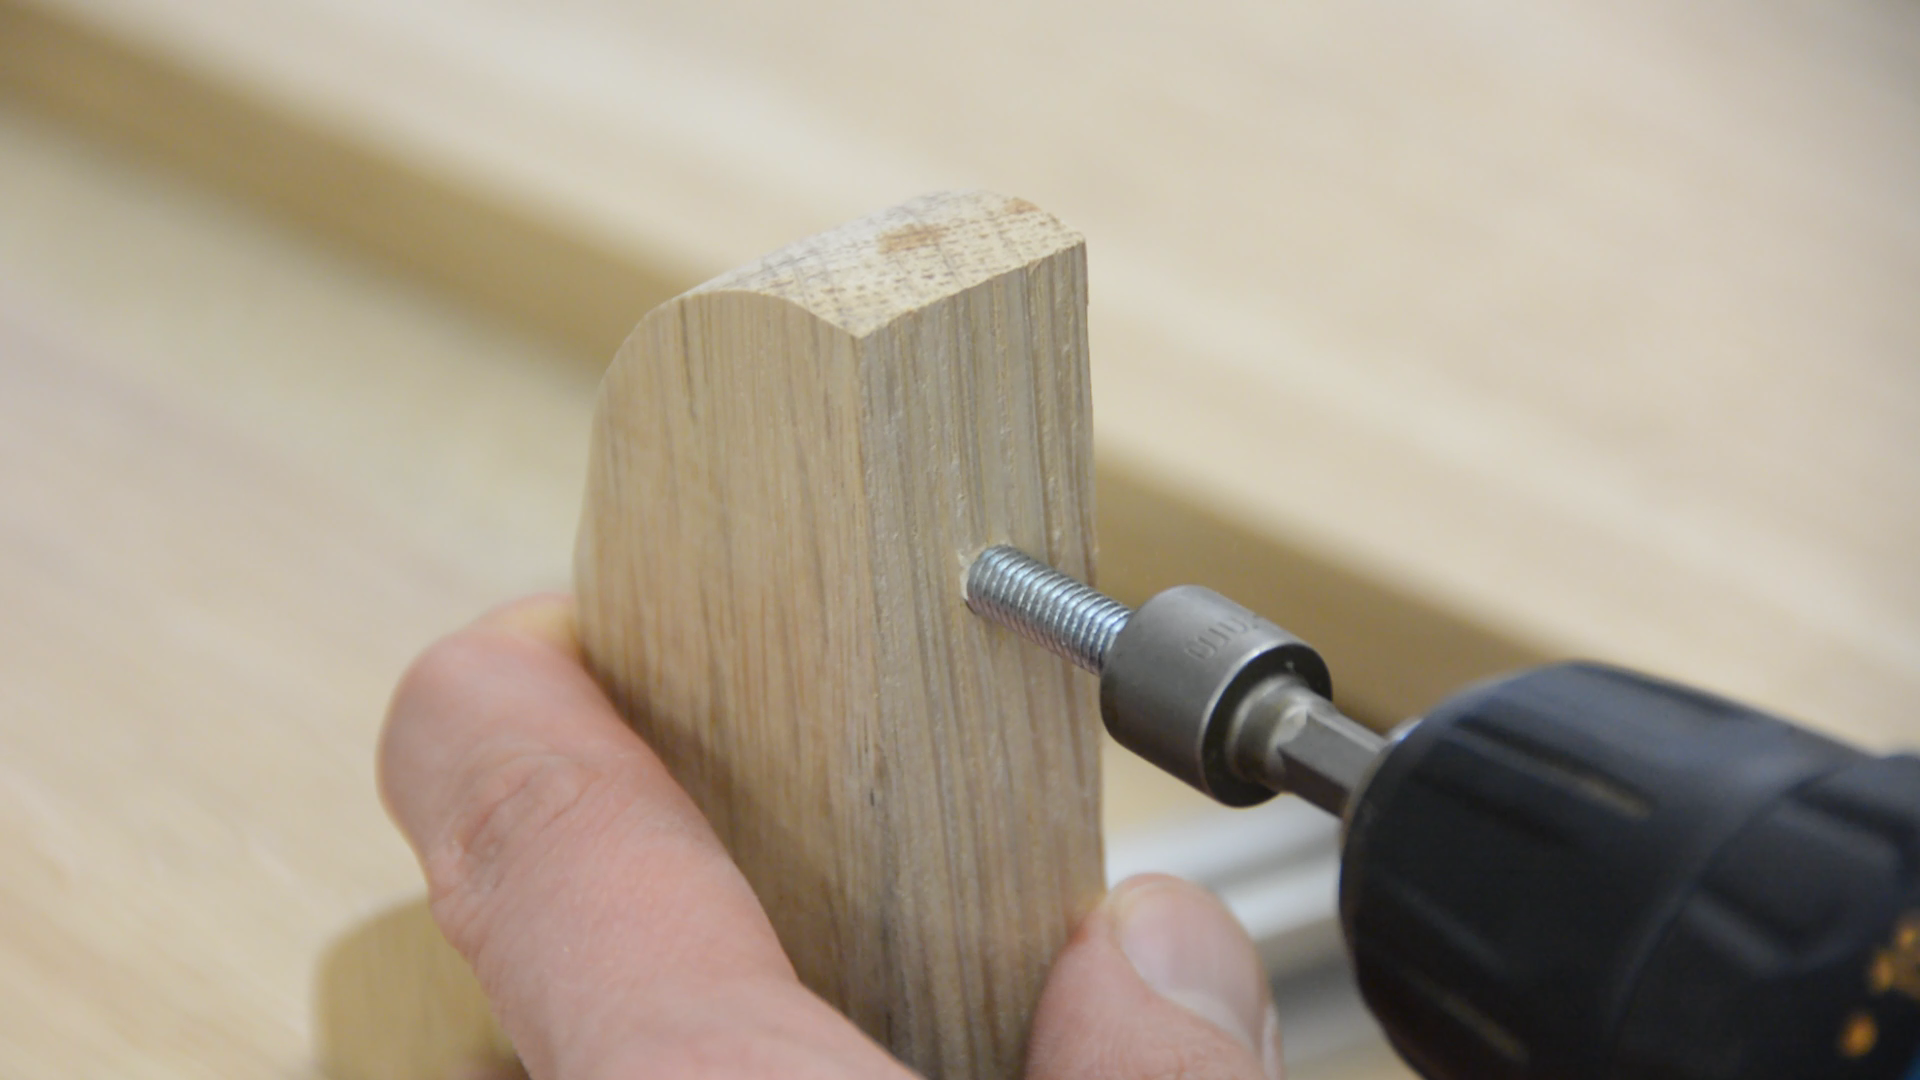
Lastly I put two M6 screws in each side. I cut off the heads of the screws and give the shelves two coats of oil.

The nice things about these shelves is that they are completely modular. You can rearrange them to provide space for small greenhouse. And if the plants ever need more light I can easily mount additional lighting or even water reservoirs.

Sings
As a very last touch up to the project I cut a few thin oak pieces on the table saw. I burn the herb names with my cheap chinese laser in the wood. I also burn the lower end for an additional protection against moisture. With these signs I complete the build for today.


Resources
Tools (affiliate)
- Felder KF700 tablesaw and shaper
- Hammer AF 40 jointer and planer
- Festool OF1010 on amazon.de or amazon.com
- Festool OF 1010 17mm guide bushing on amazon.de or amazon.com
- 8mm spiral cutting router bit on amazon.de
- Leimboy on amazon.de
- Clou Hard oil on amazon.de
- Bahco 150mm combination square on amazon.de or amazon.com