
In this article we build a safety switch that disables the K40 laser cutter when the lid is opened.
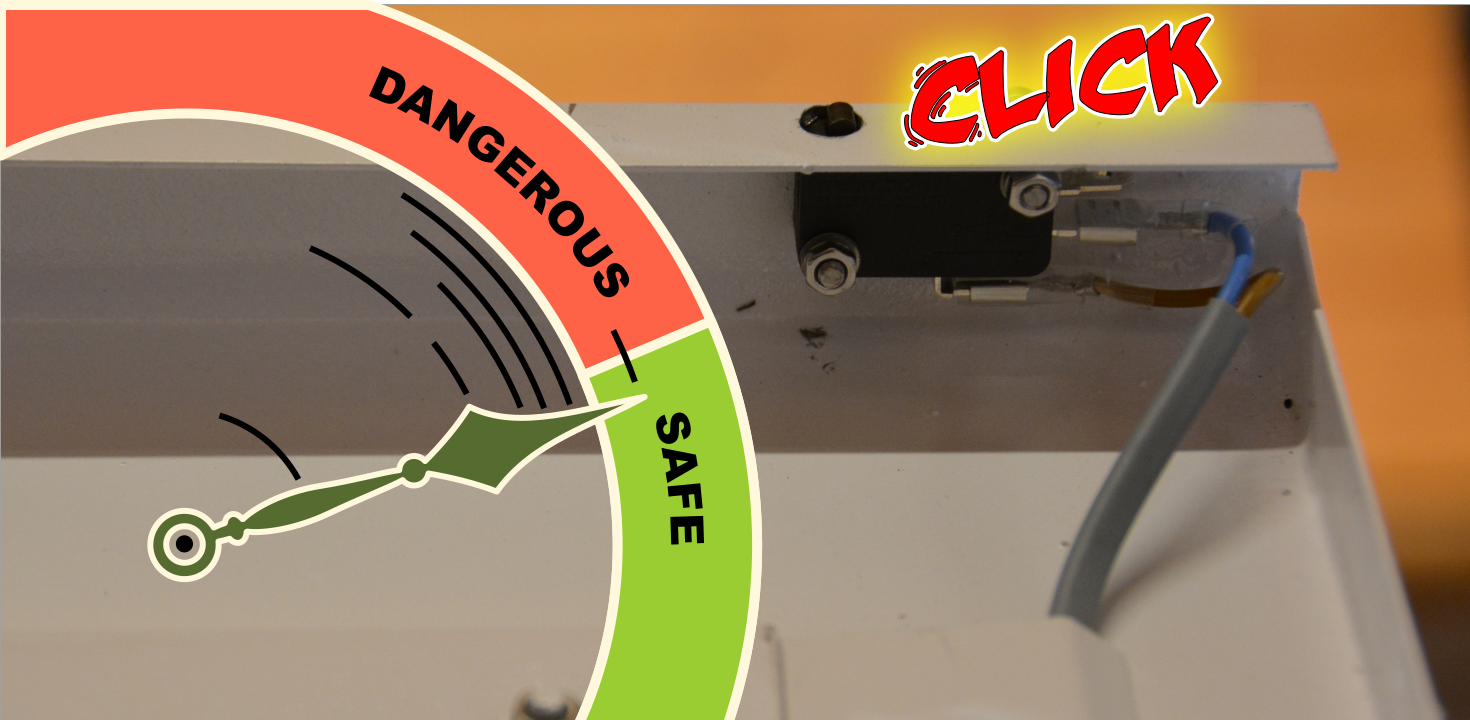
When you get your K40 laser and open the lid while it’s running the laser keeps burning. We will fix this safety issue by using one of these small switches.
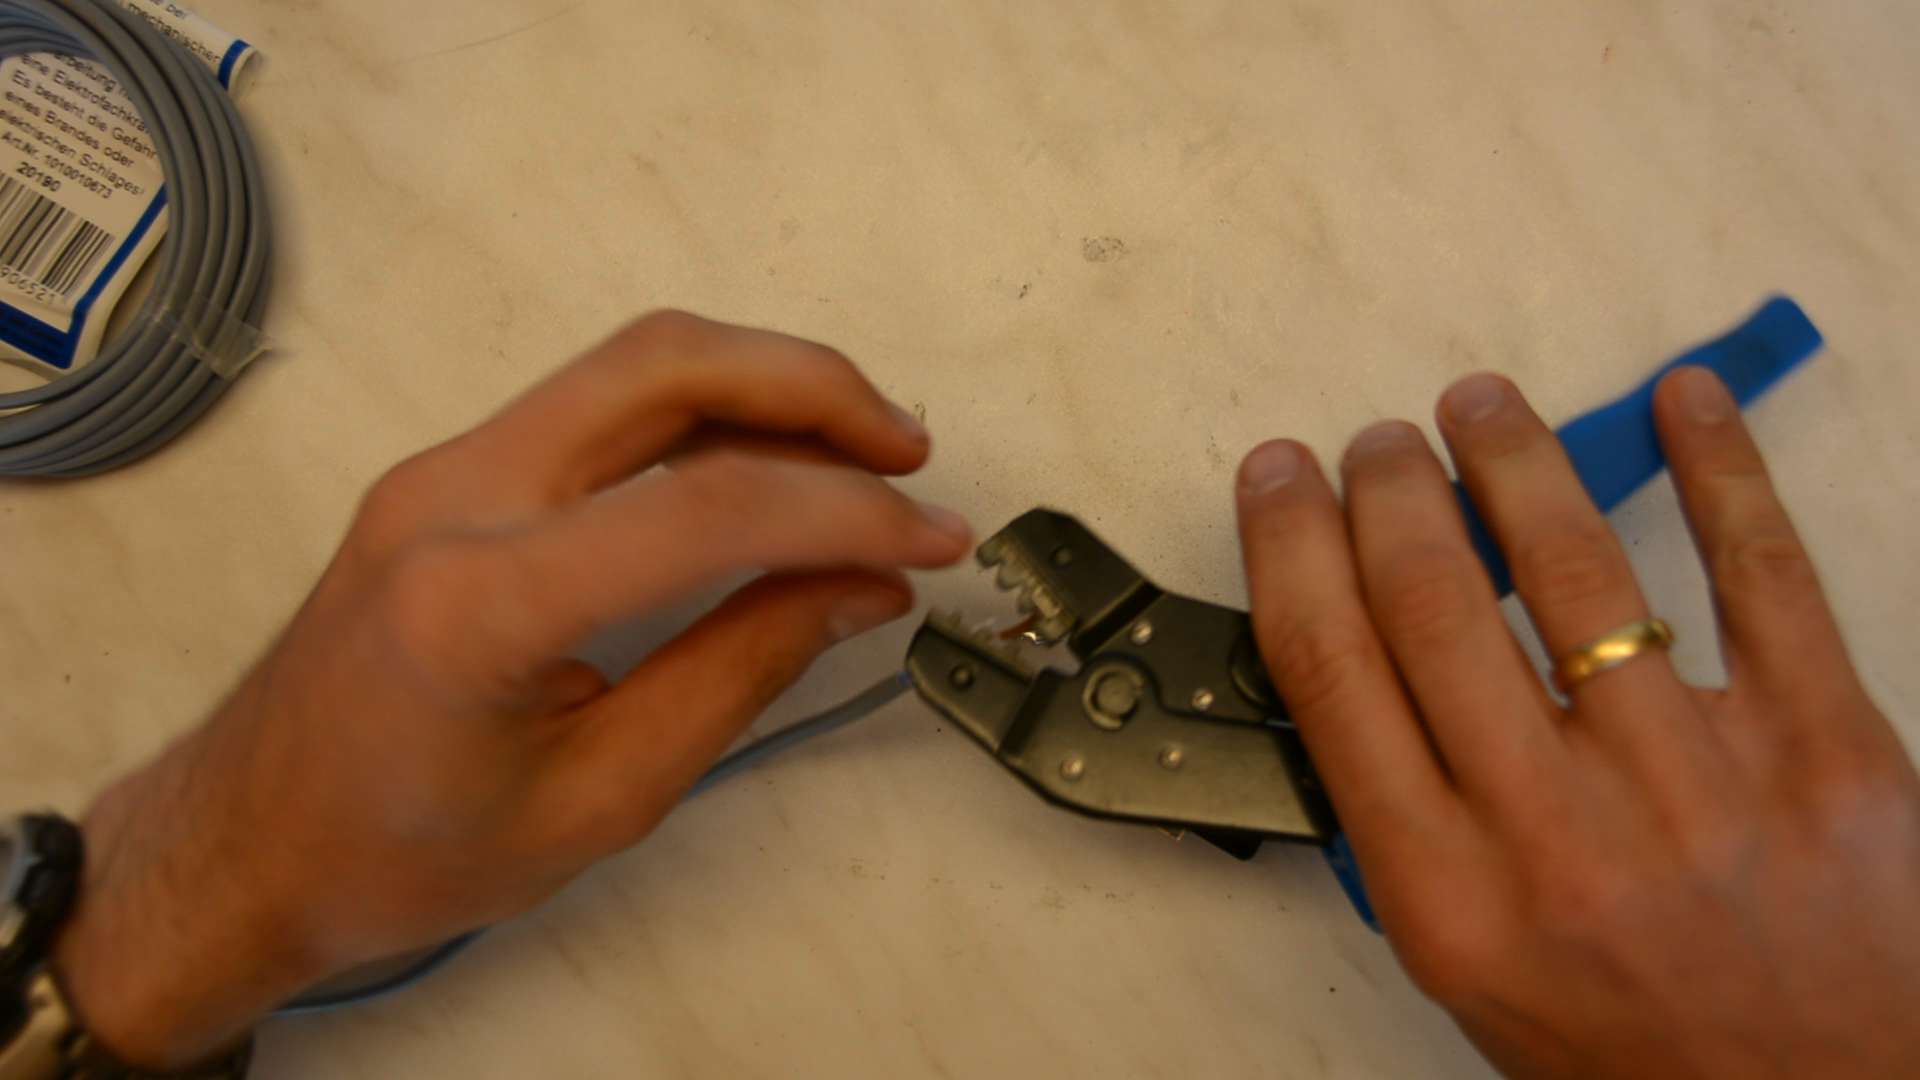
Use a multimeter to identify the two ends that are connected when the switch is closed.

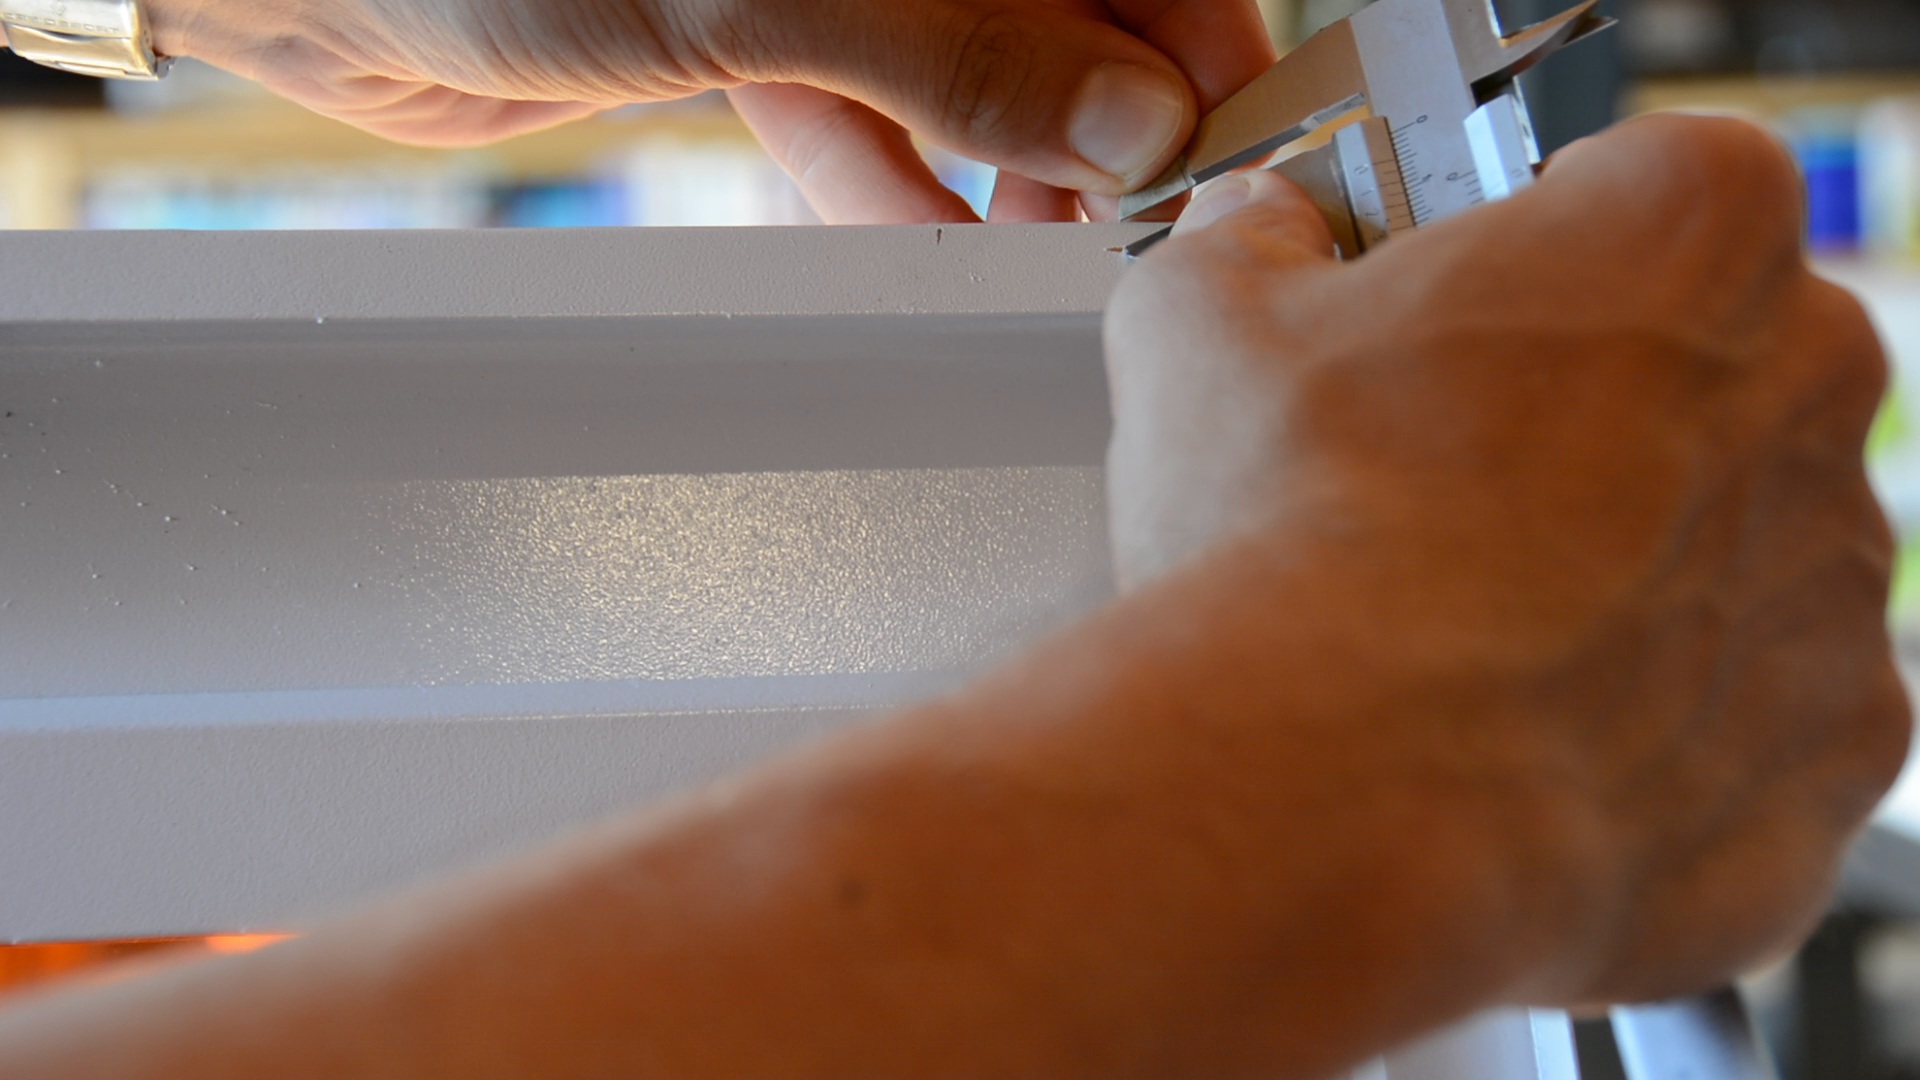
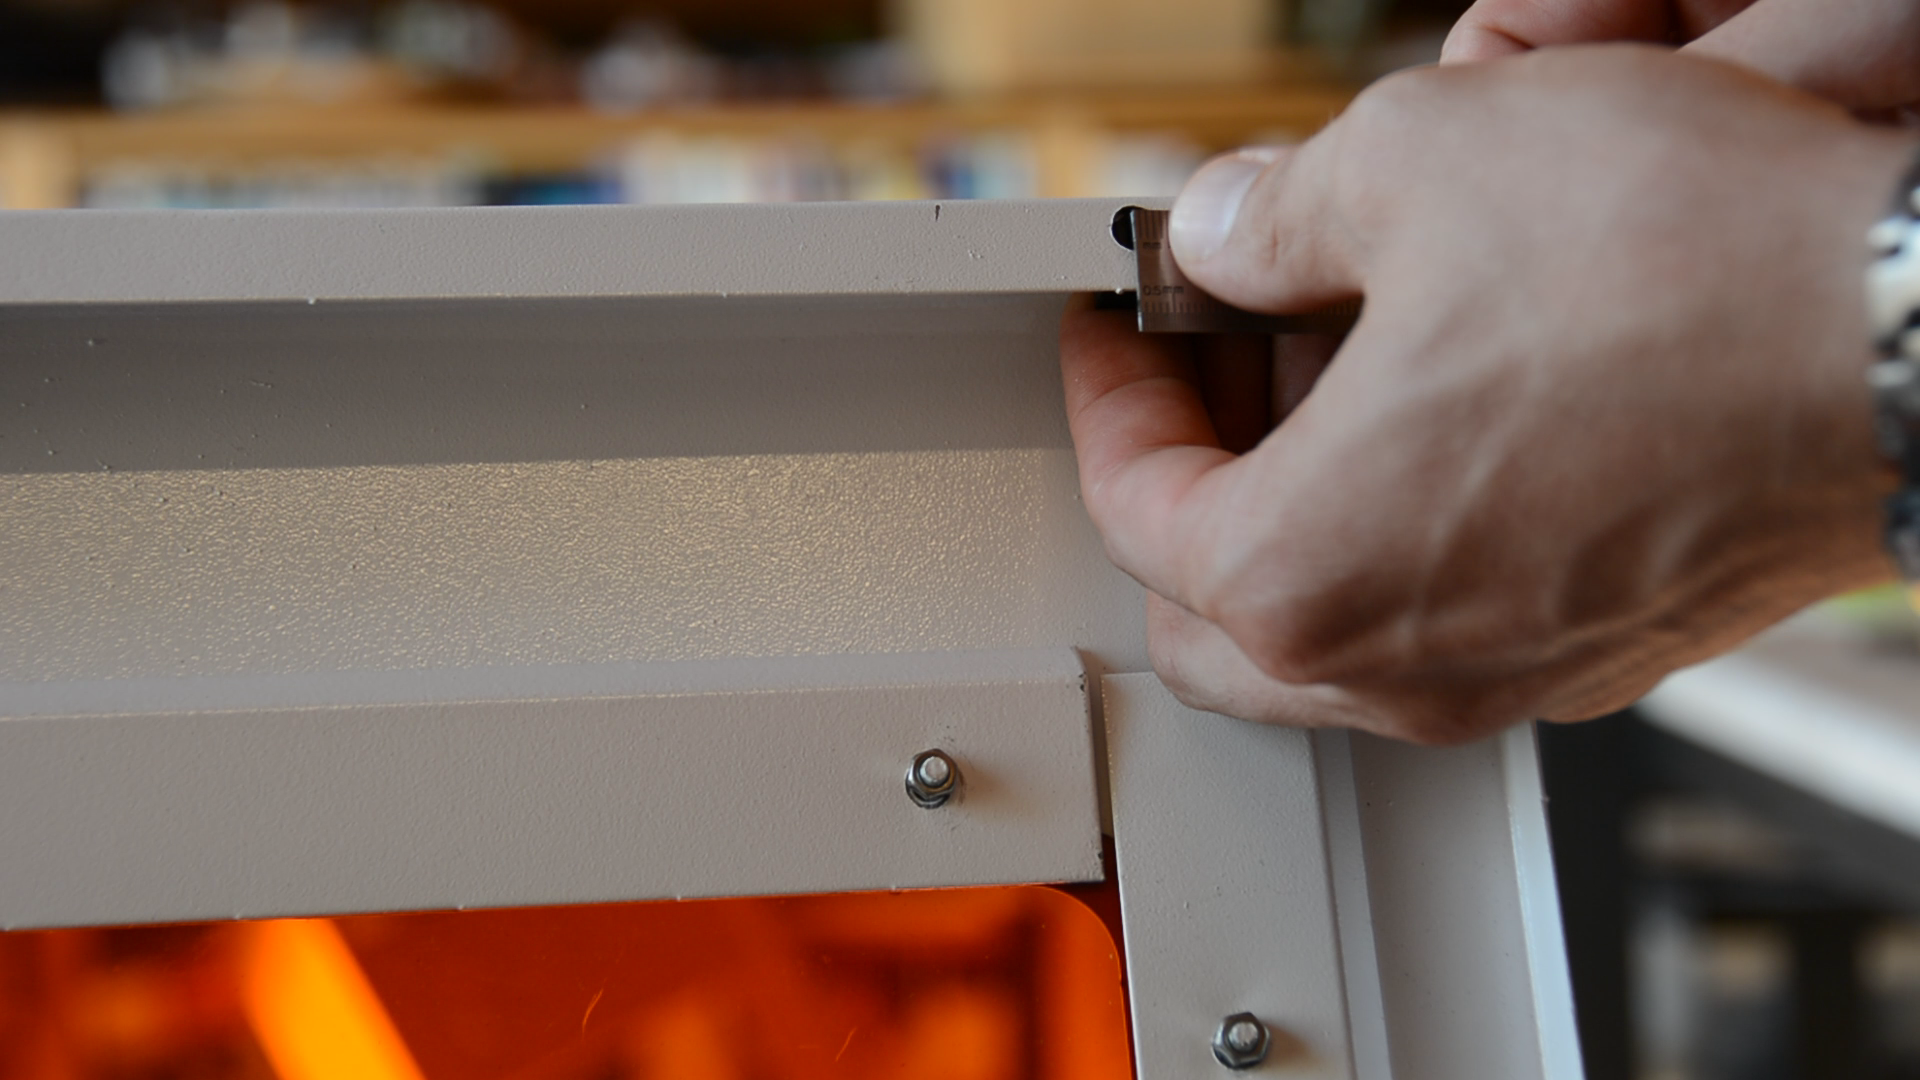
We measure the distance and the size of the switch and the position relative to the edge.
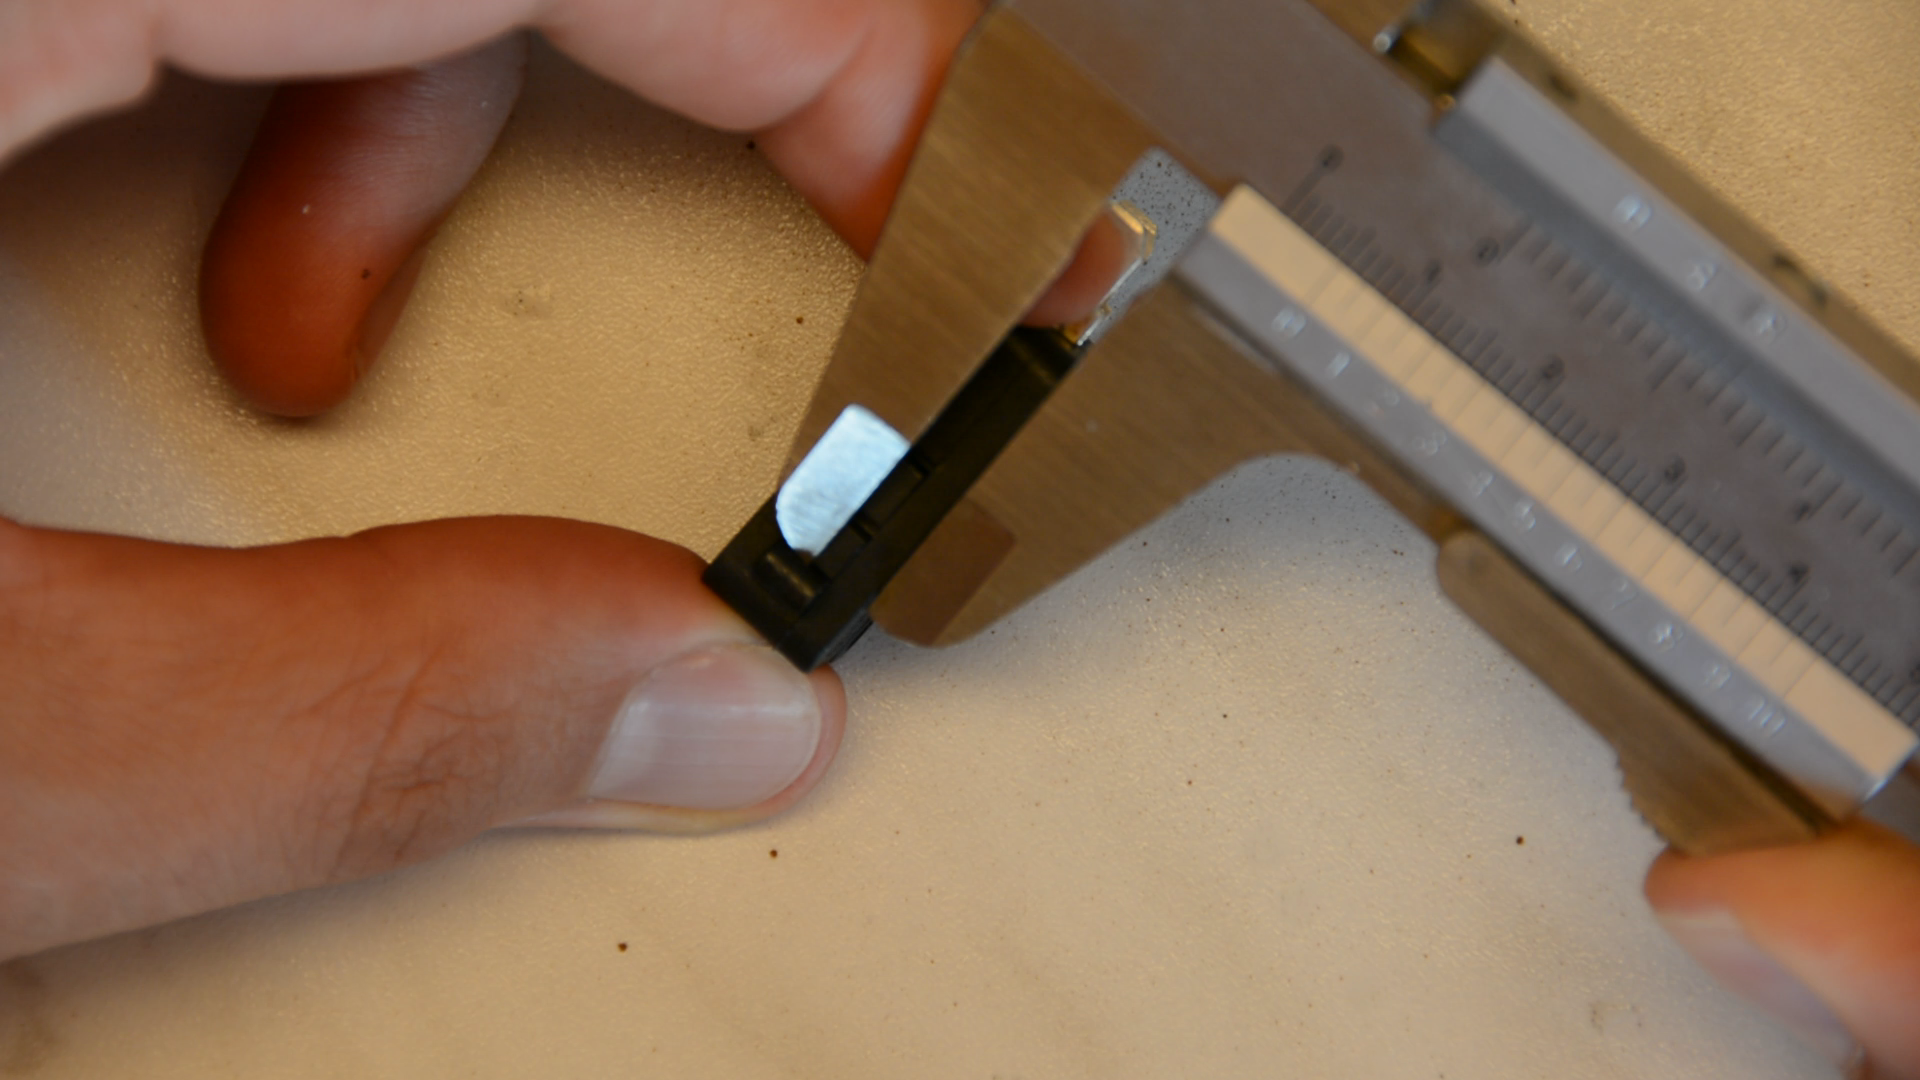
We use a caliper to mark the location of the hole.

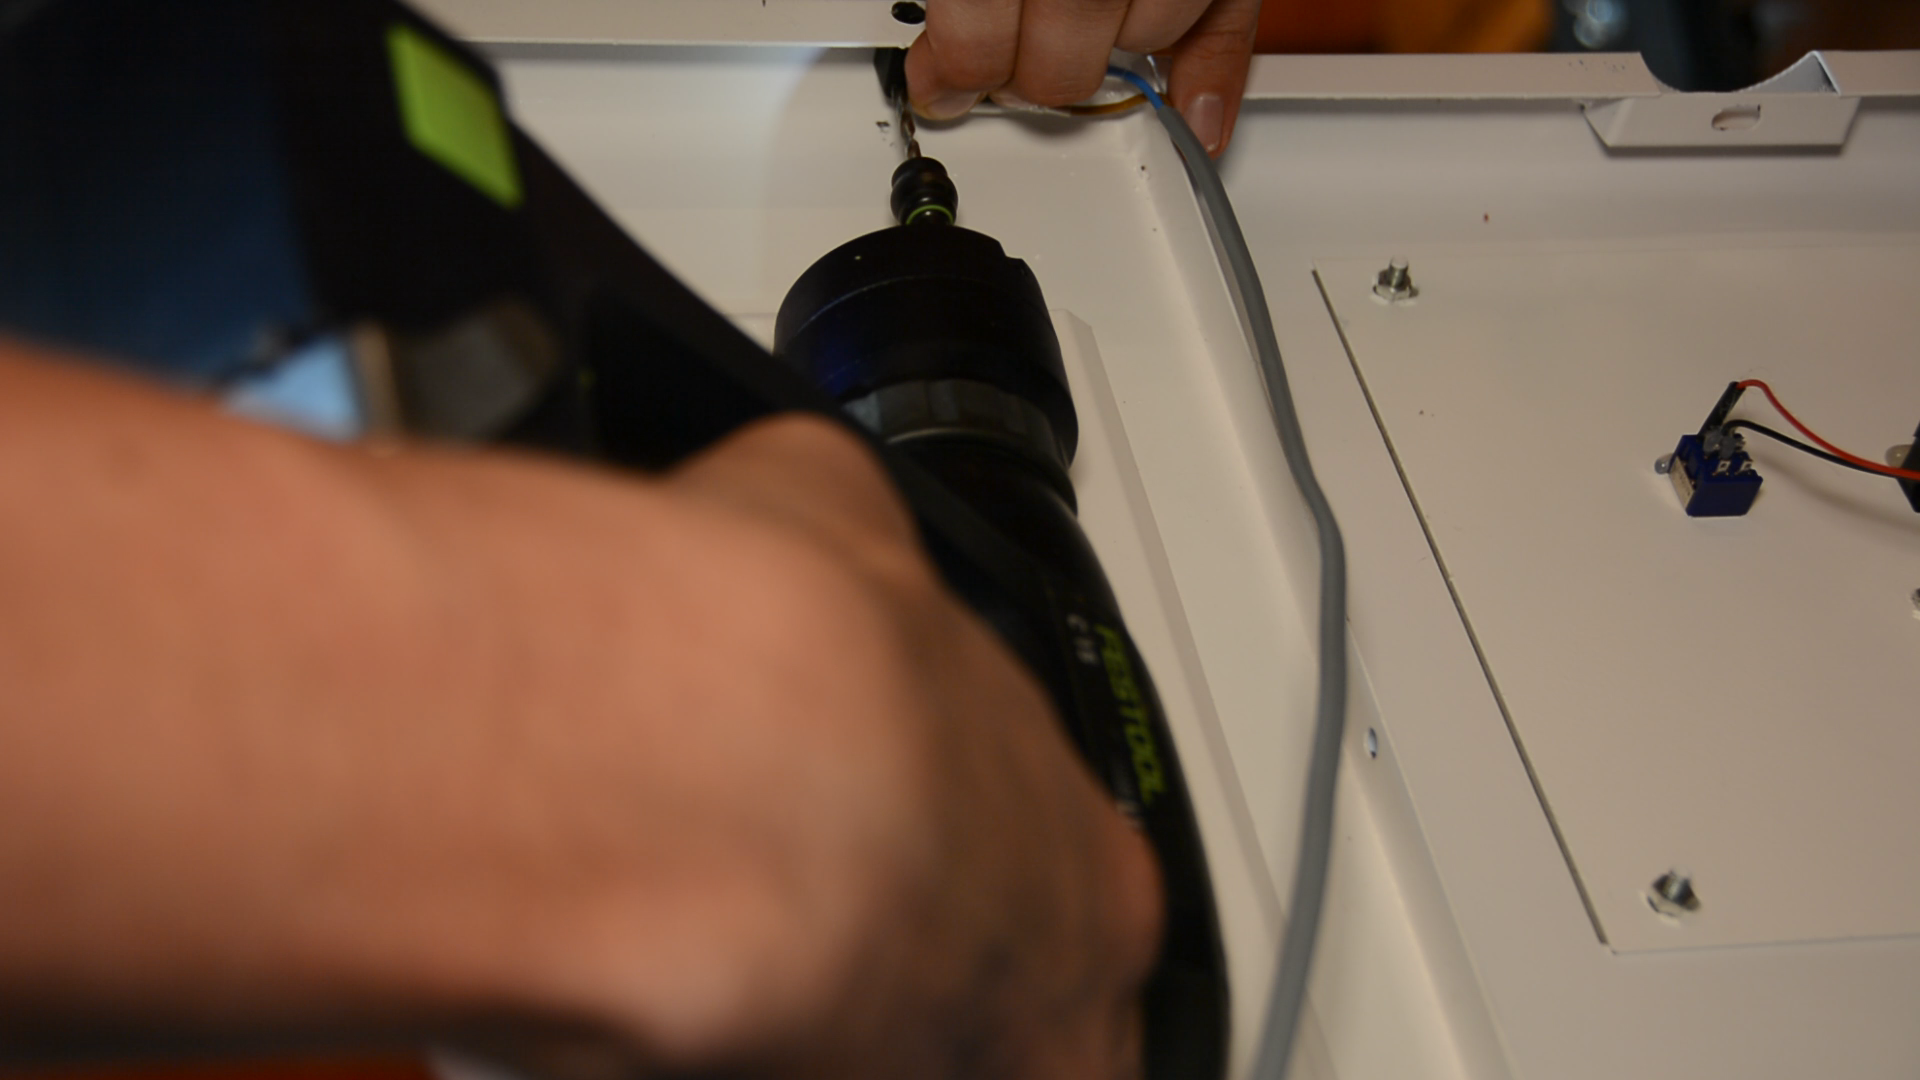
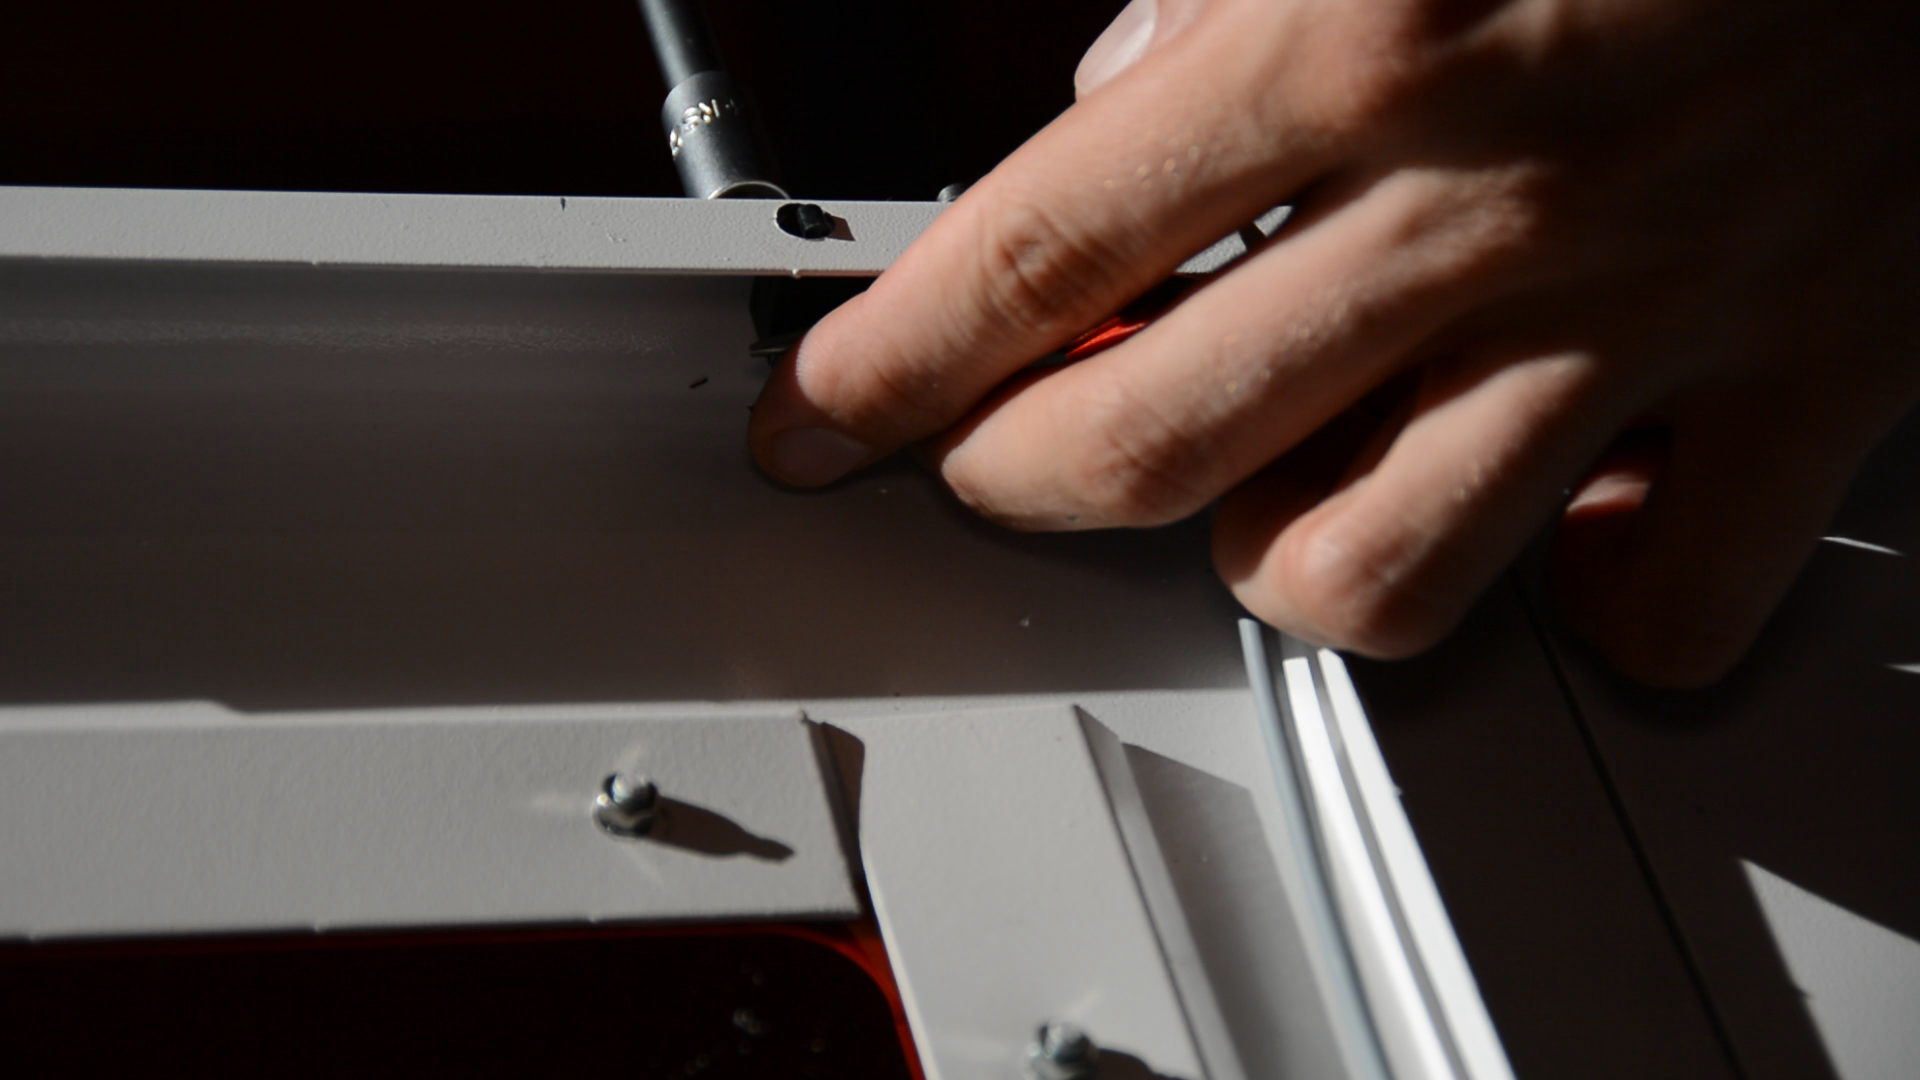
With a center punch we mark the hole location and then drill a 6.5 mm hole.
The switch fits nicely and is still working.
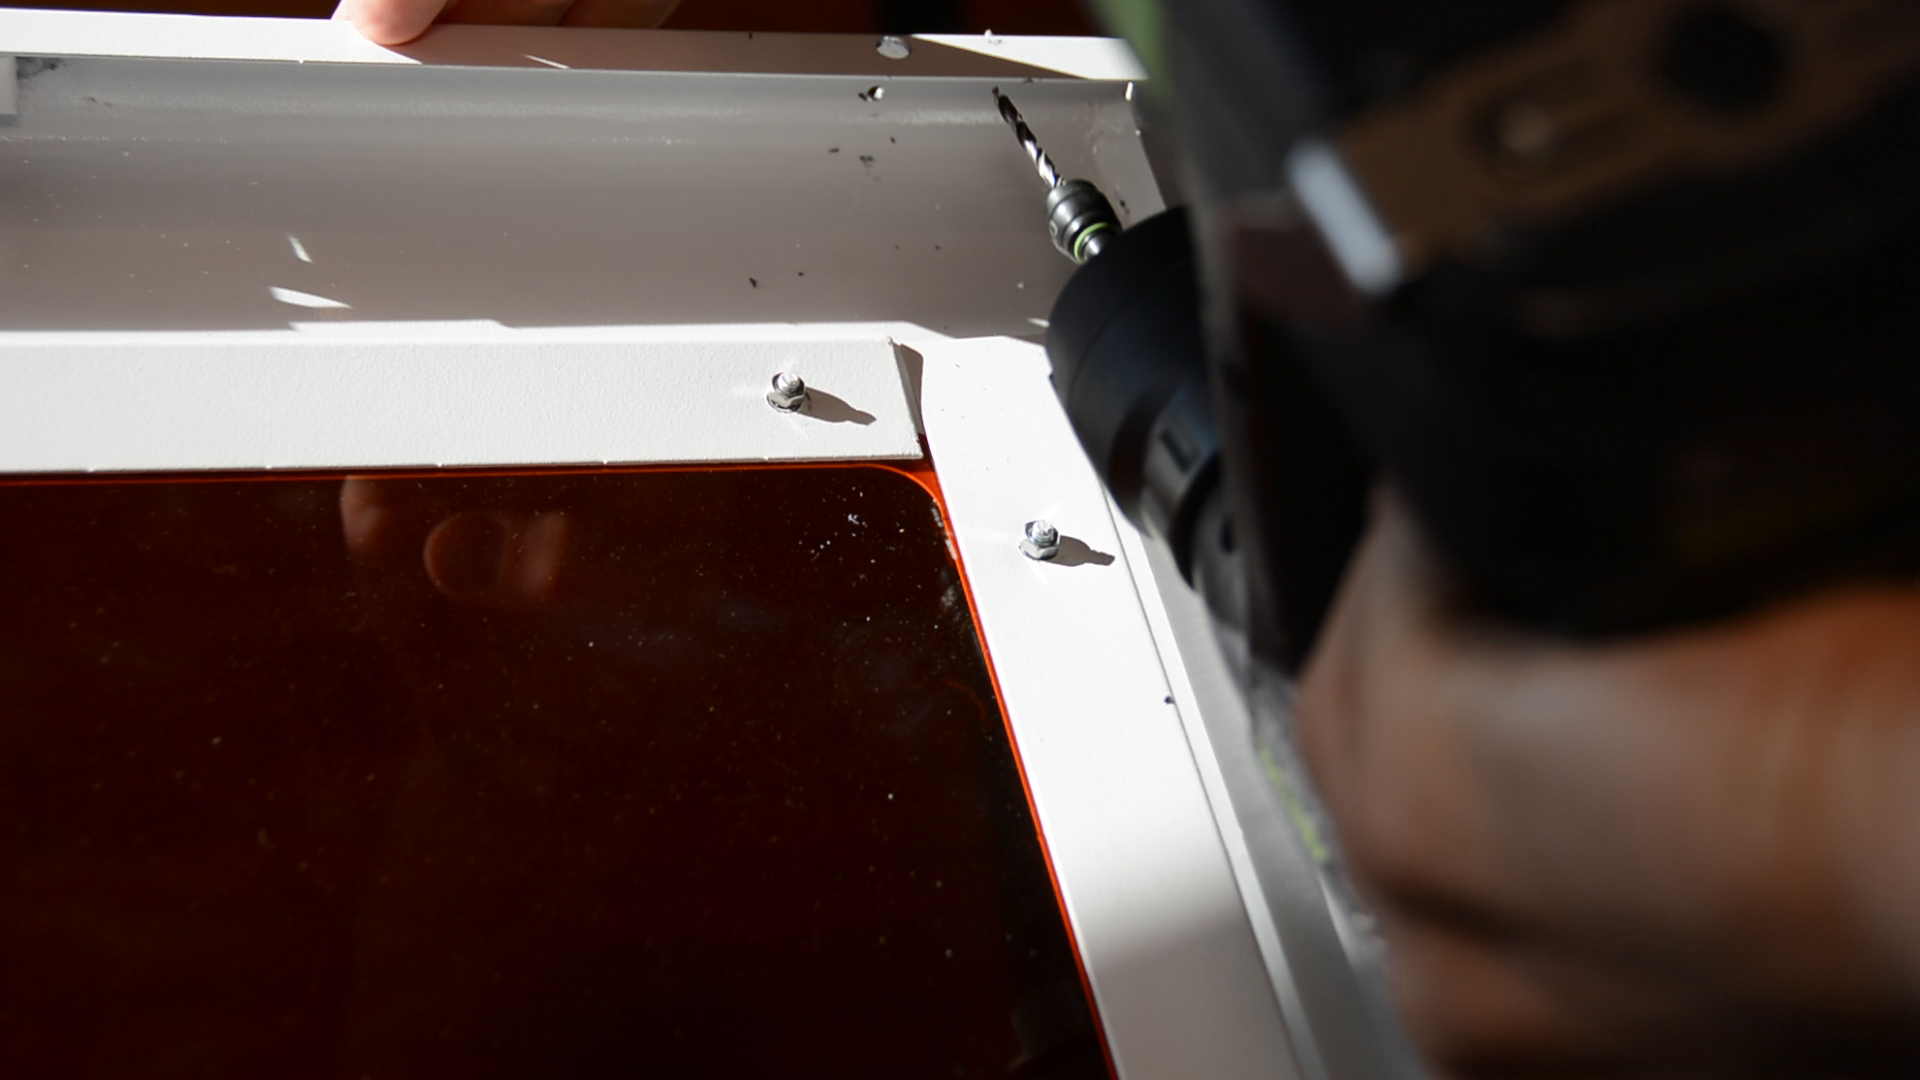
Holding it firmly in place we mark the locations for two 3 mm holes and drill them out.
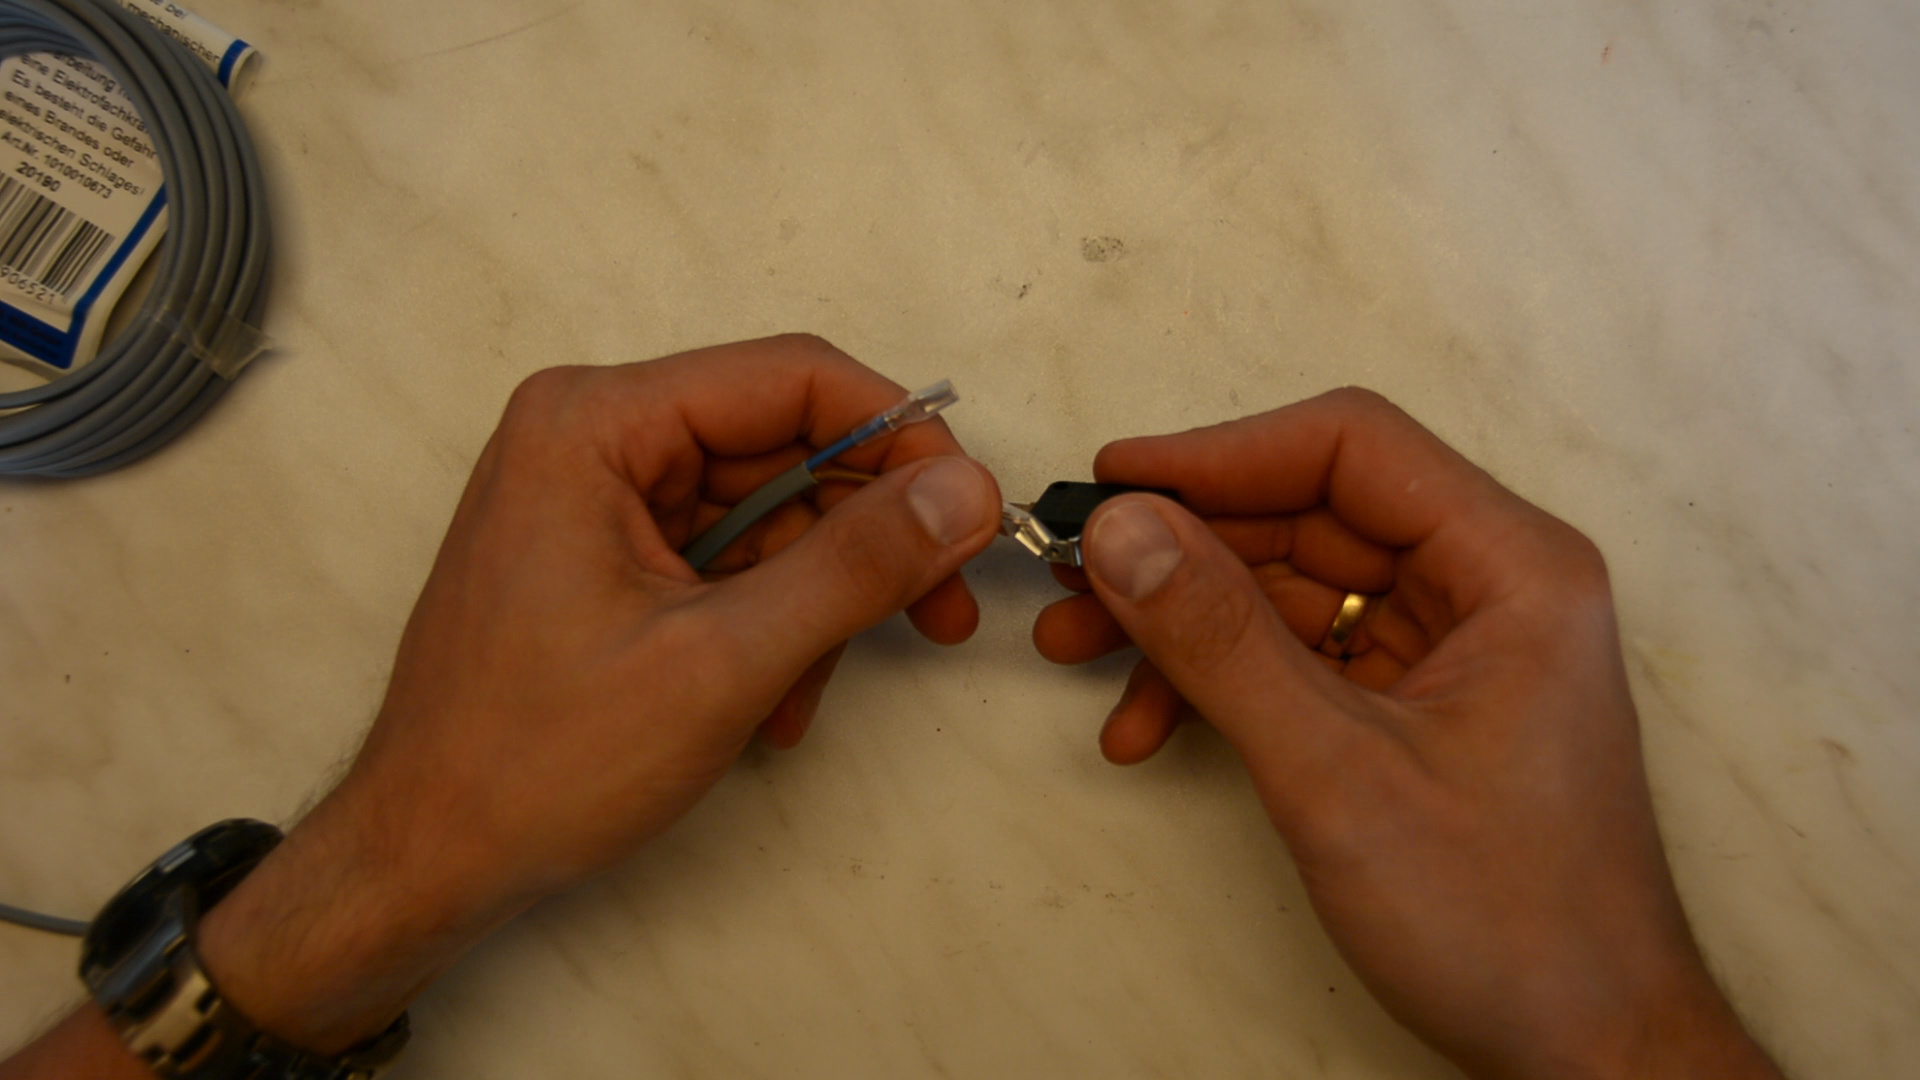
Before mounting the switch we crimp two connectors to a wire and connect these to the switch.
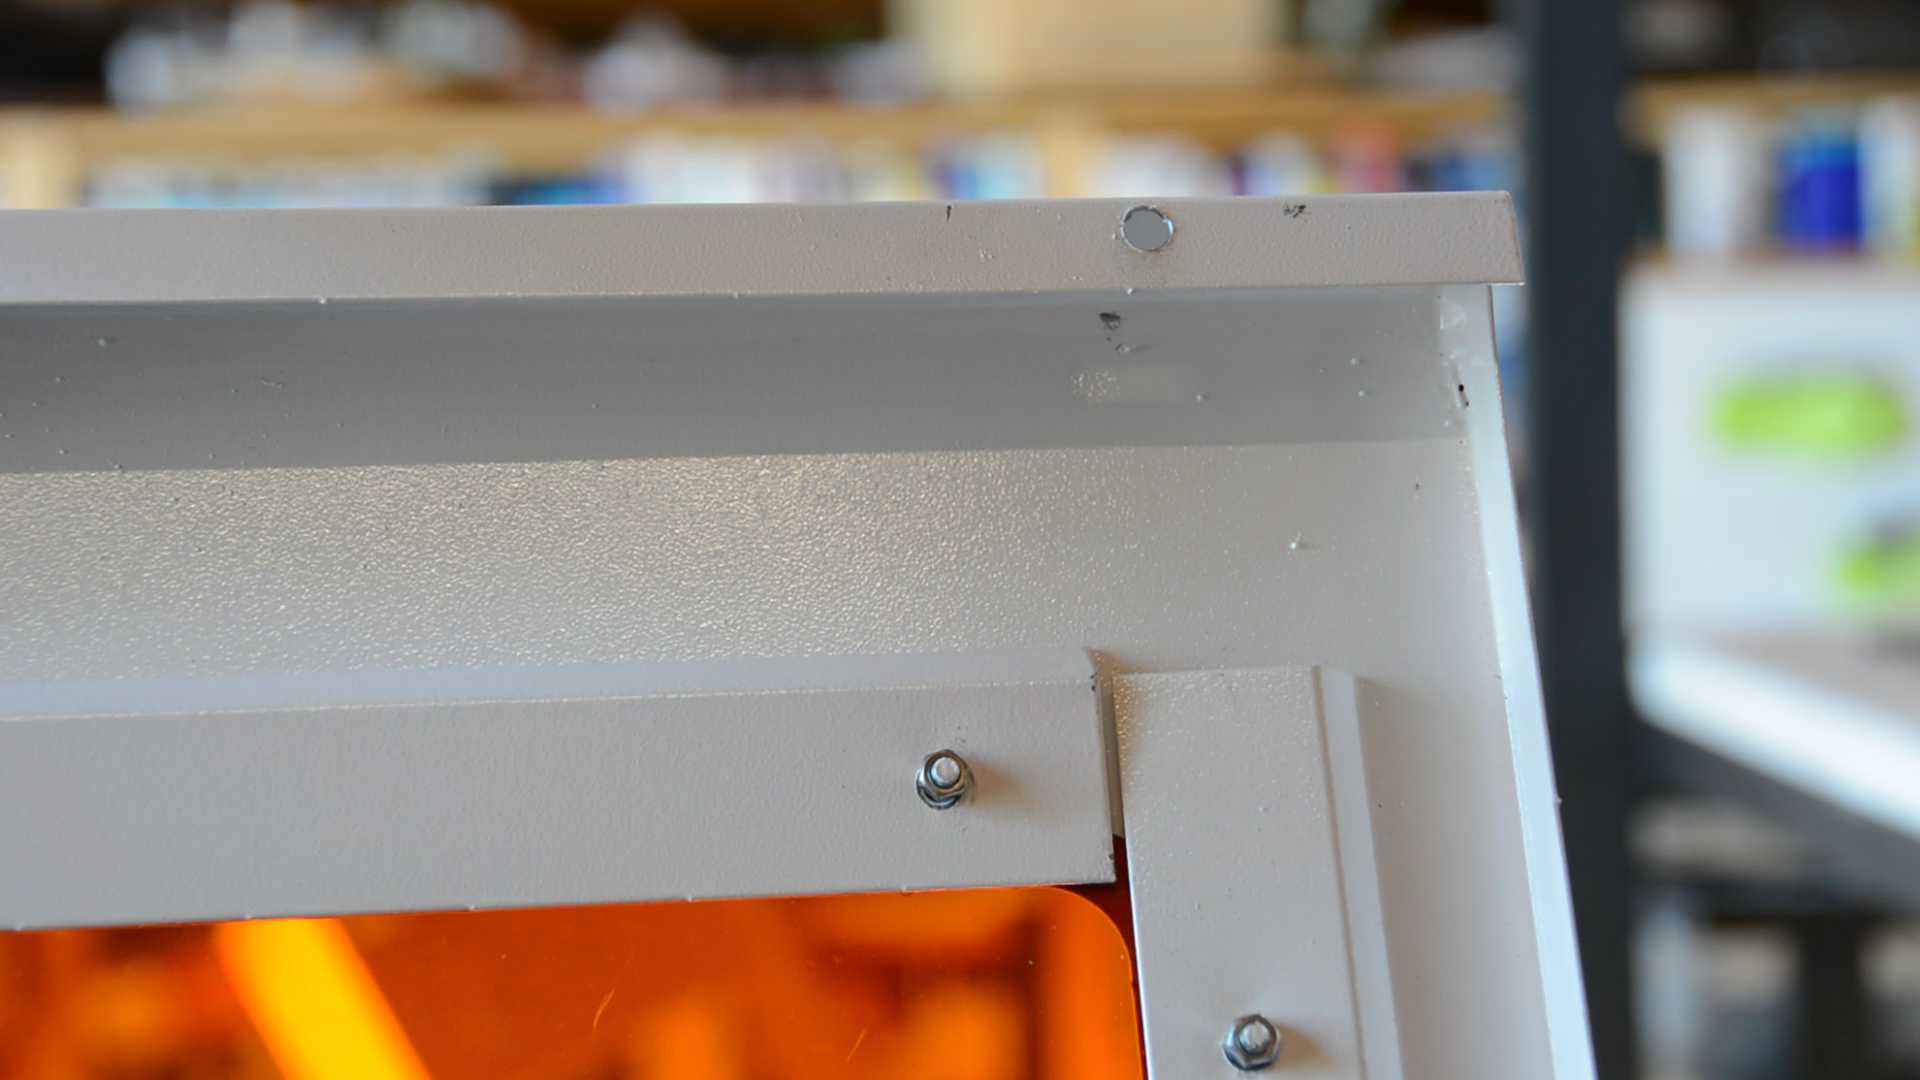
The switch is then mounted to the case with M3 machine screws.
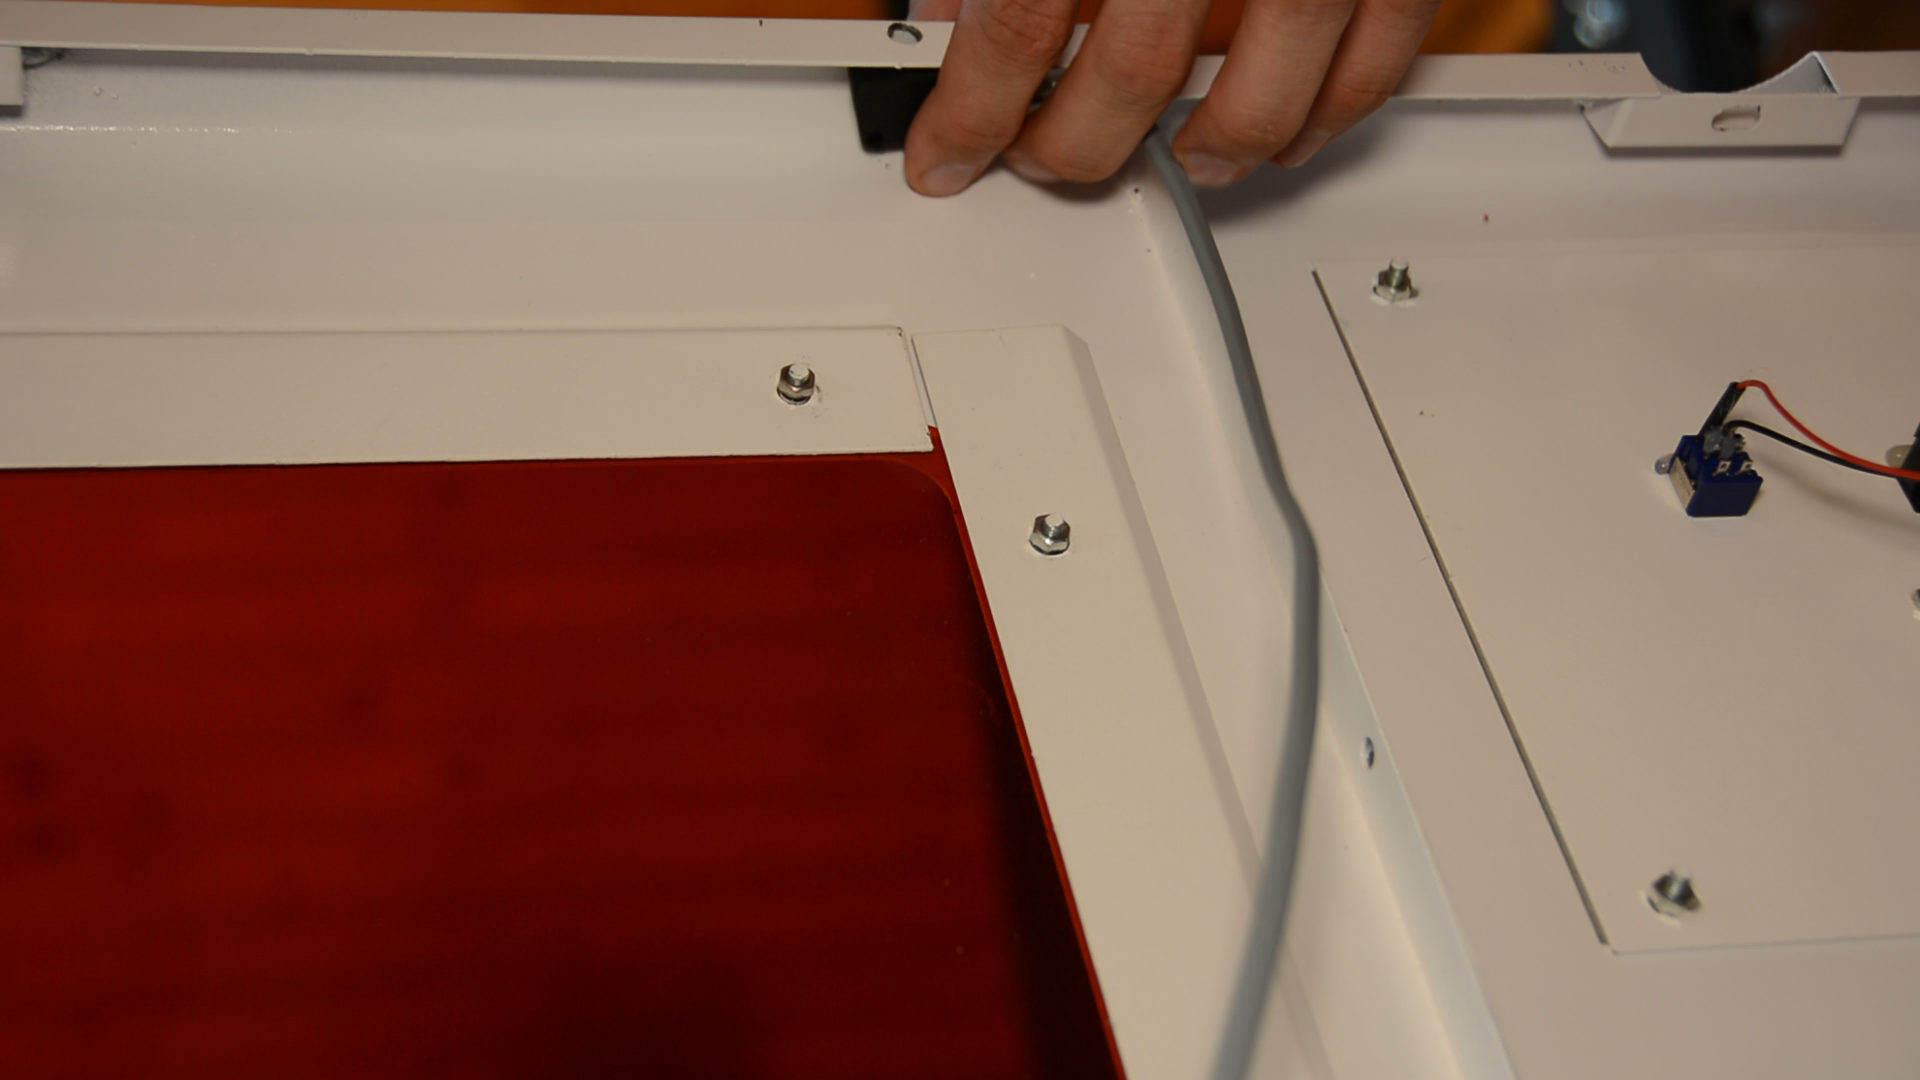
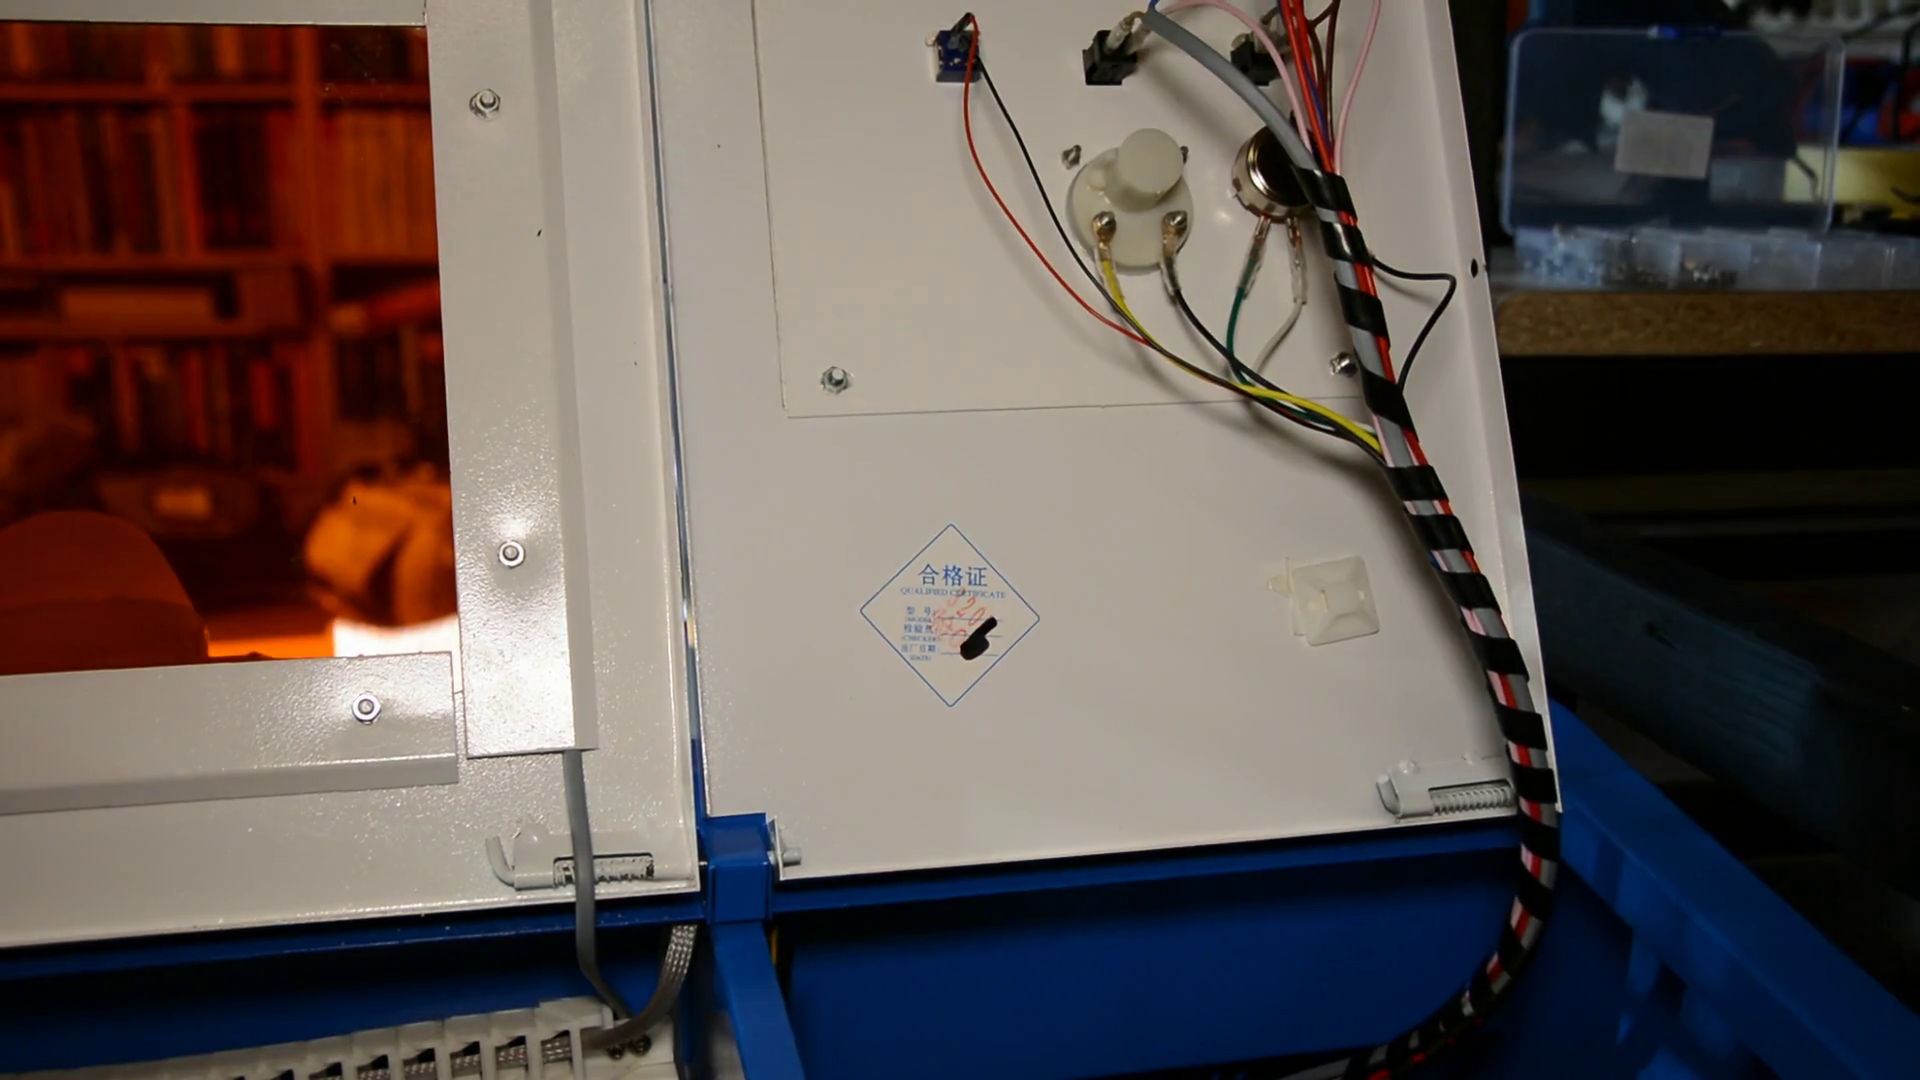
The metal frame holding the acrylic cover in place is perfect for routing the cable to the backside from the lid where it can then be put in the electronics compartment.

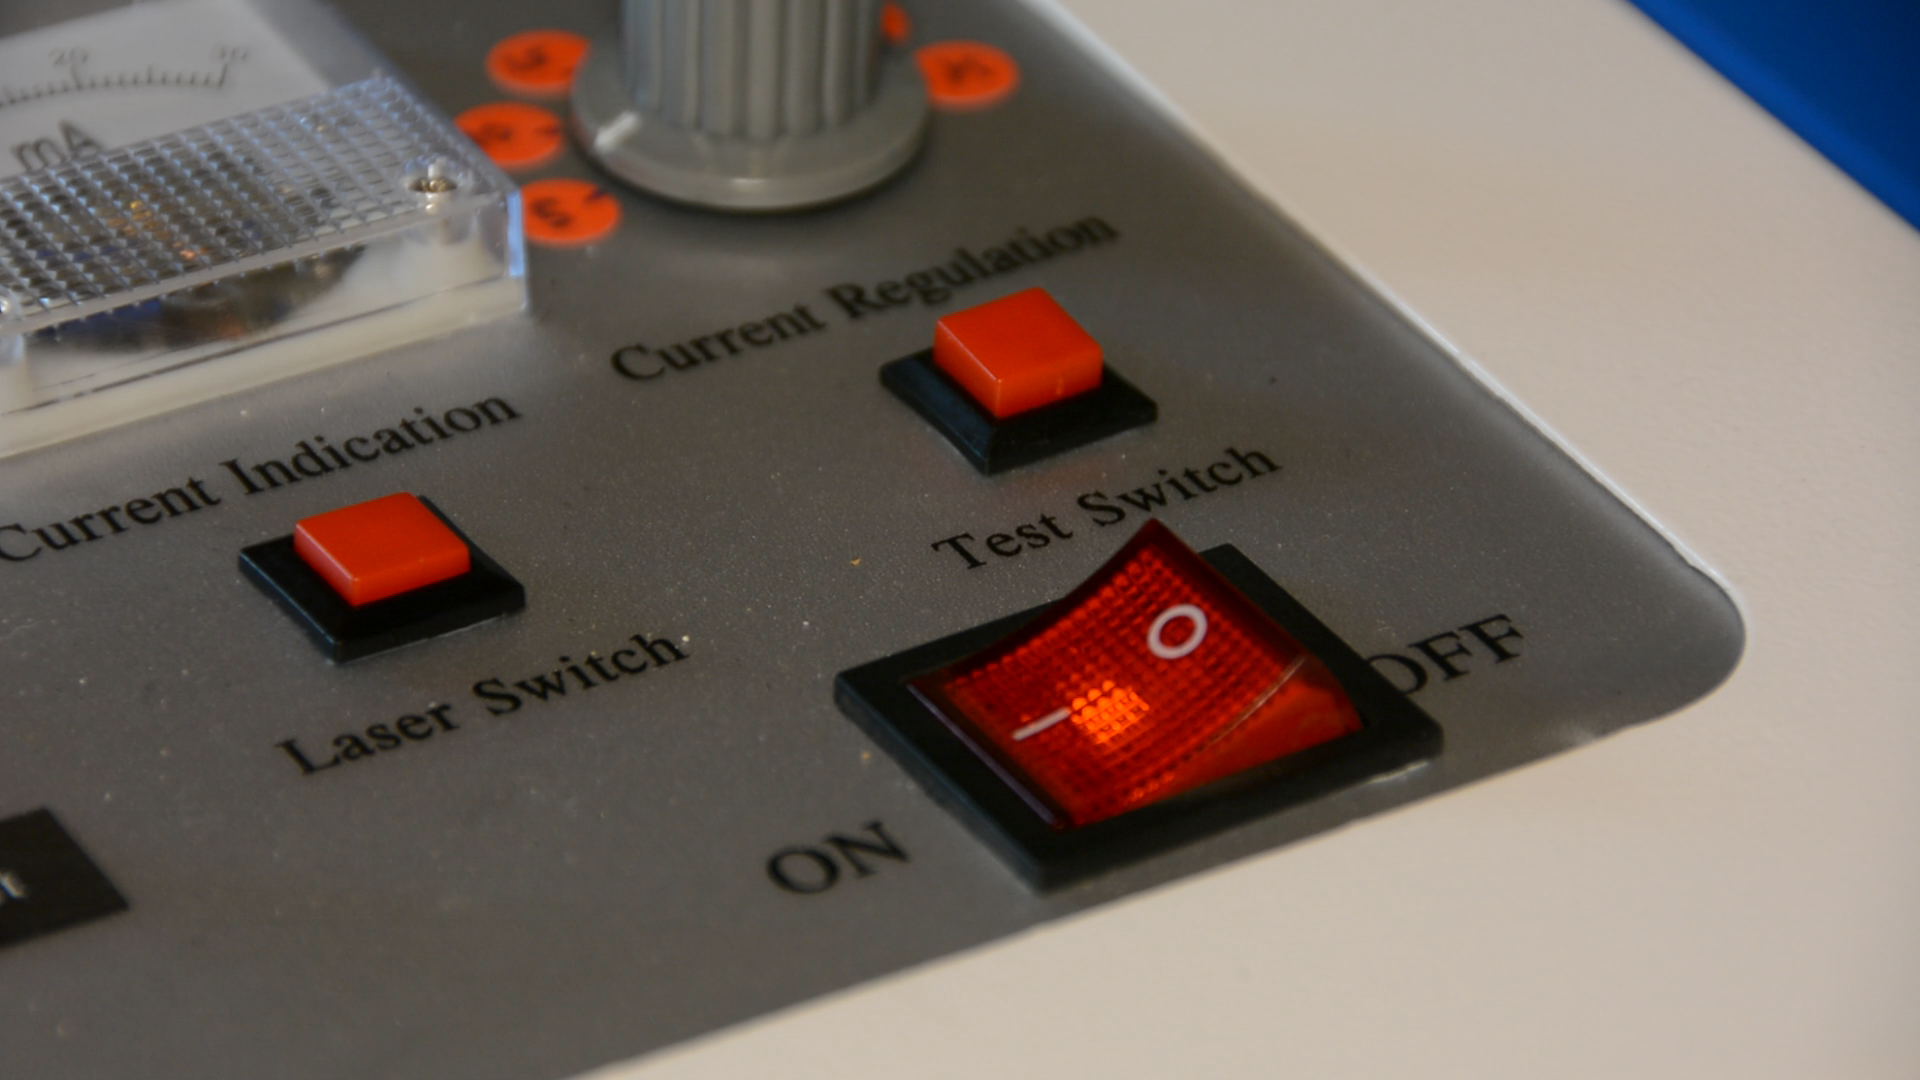
Over there we remove one of the connectors to the switch labed “laser switch”.
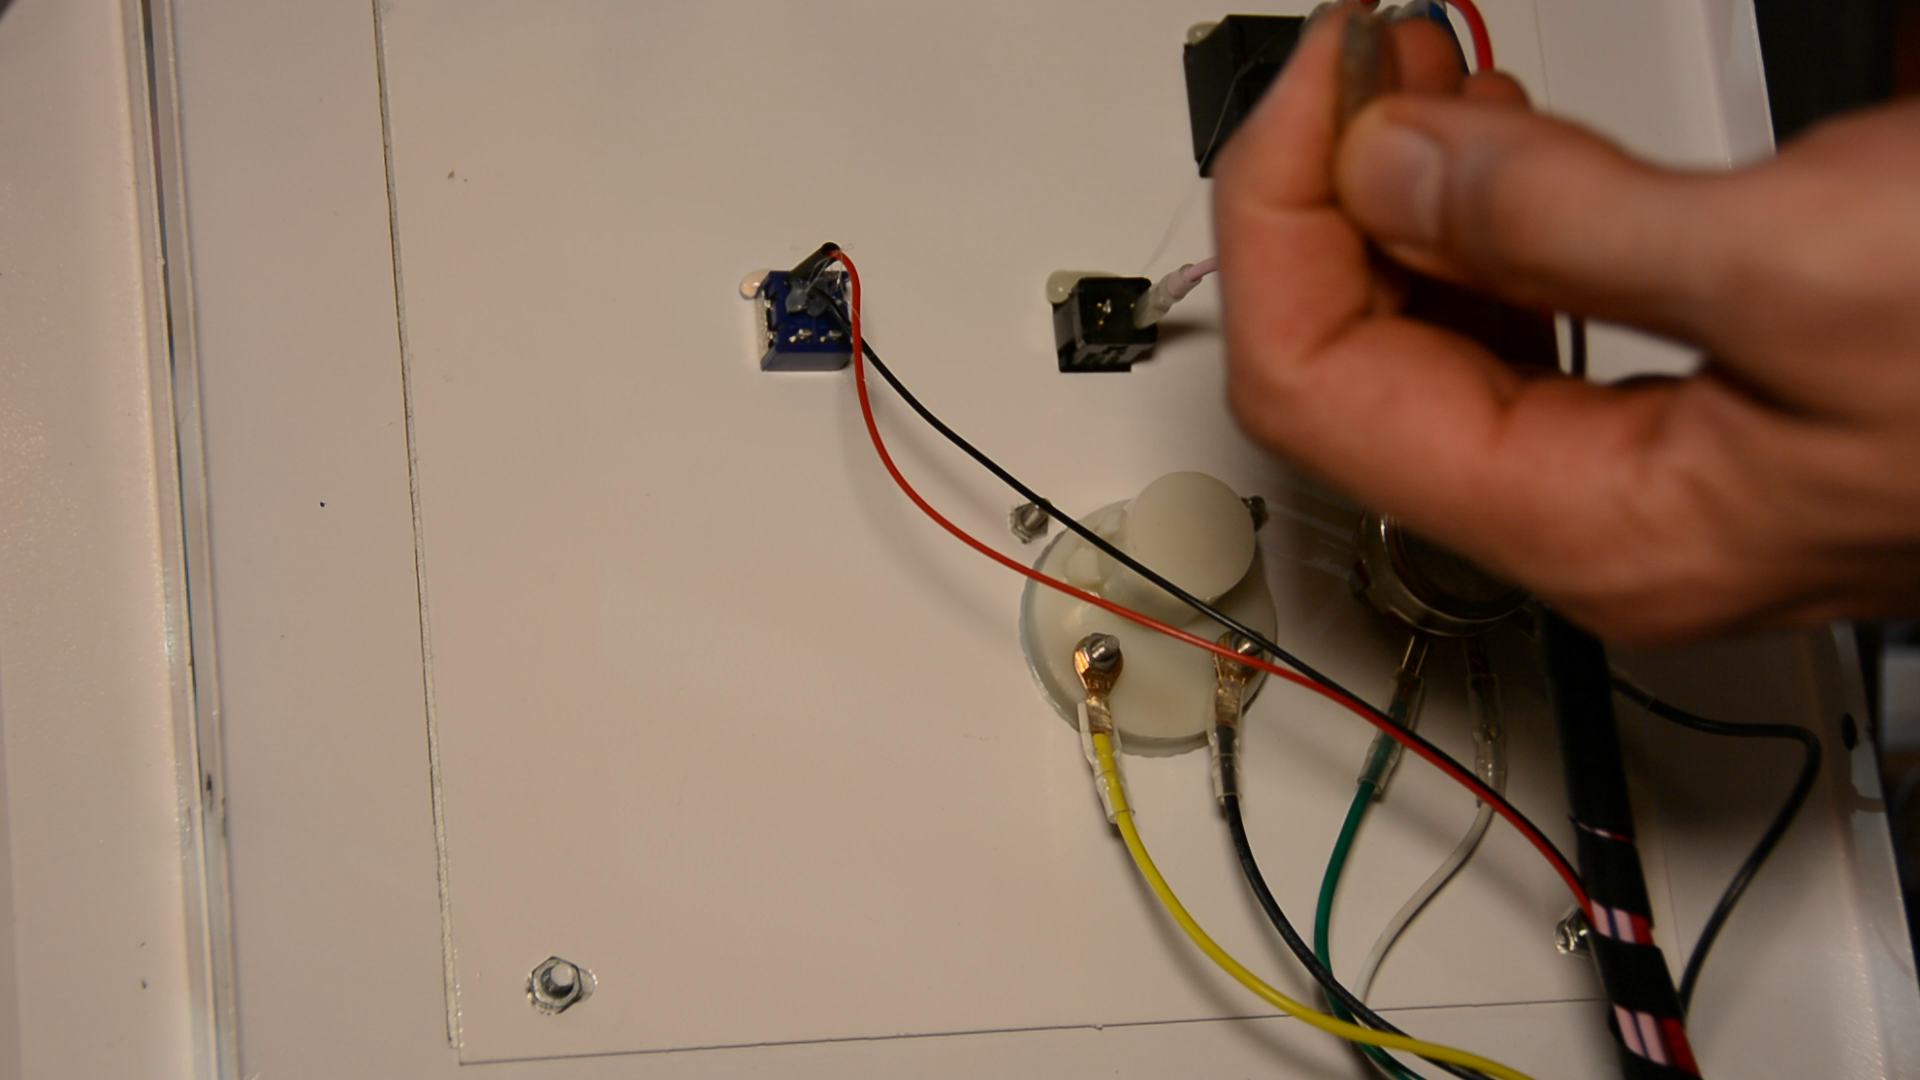
We strip the ends of the wire and crip a male and a female connector on the cable.
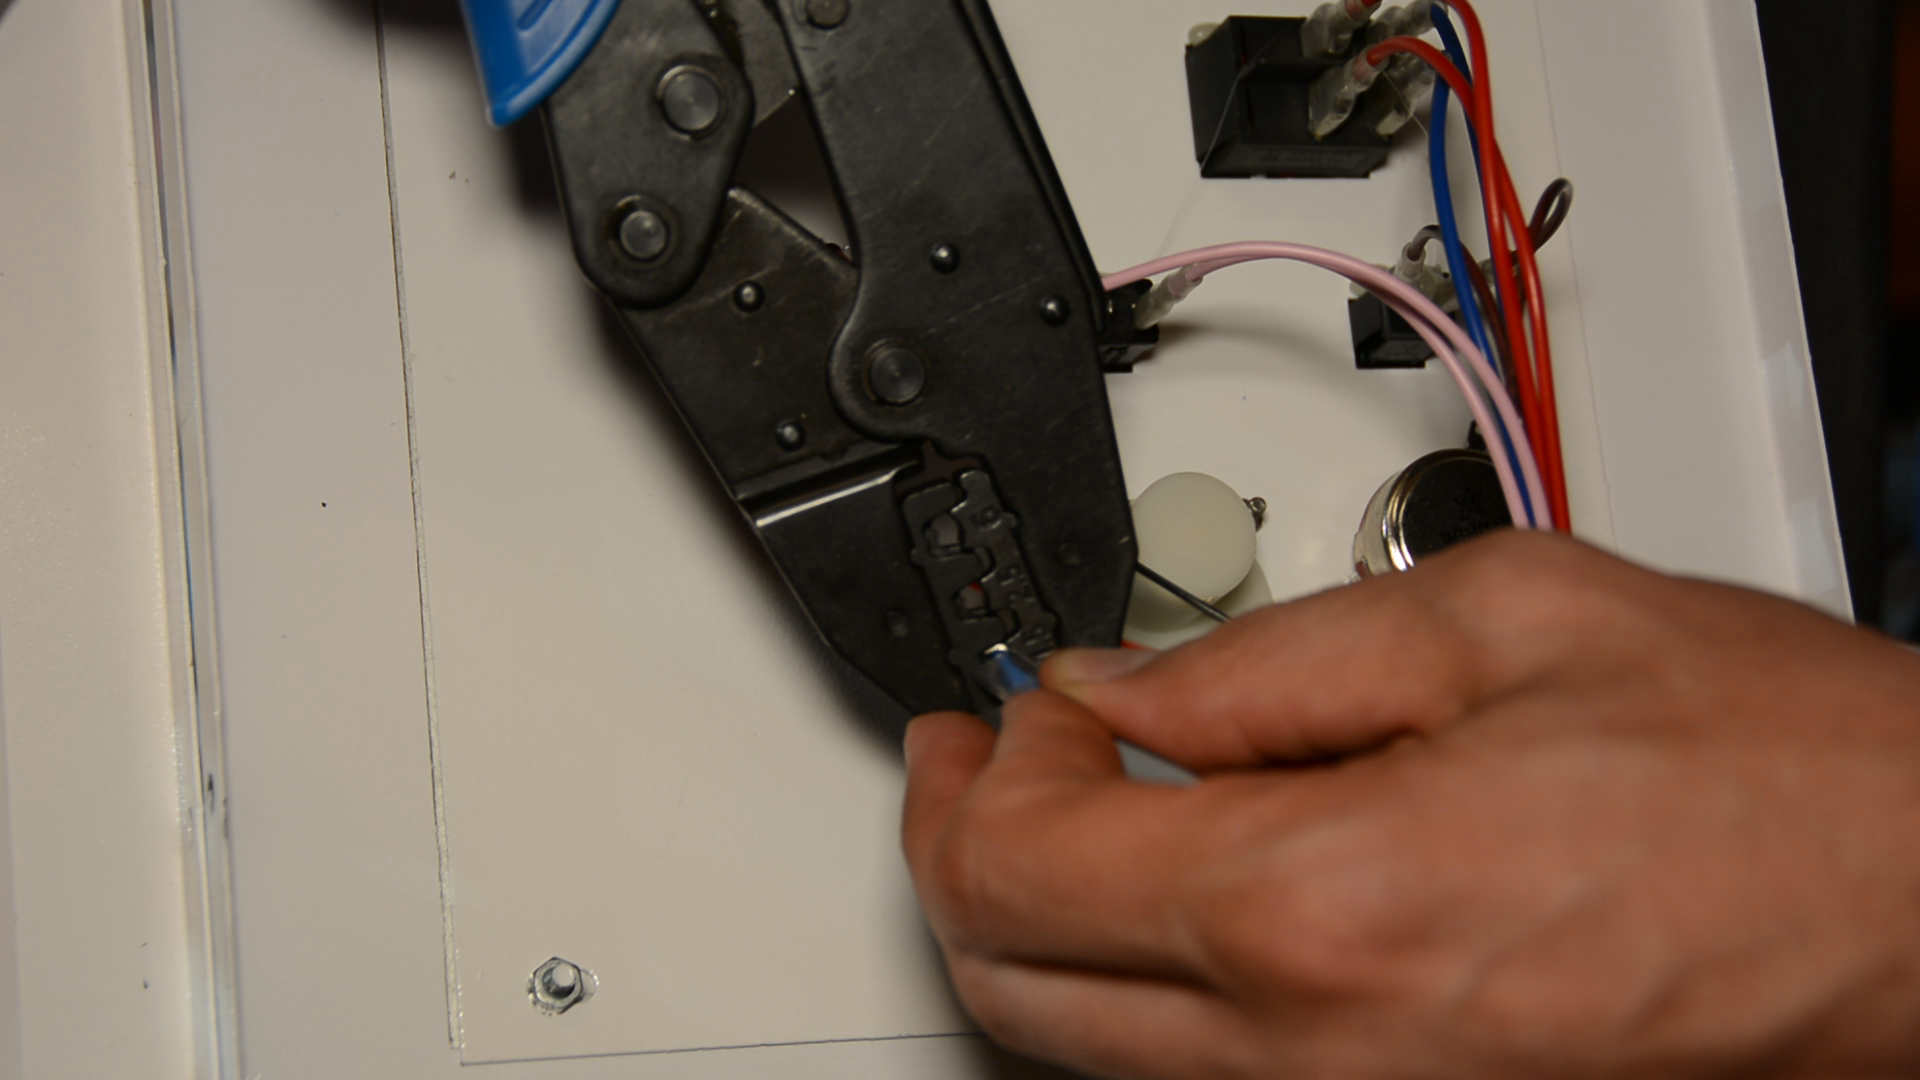
The female end connects to the switch, the male end connects to the cable we just removed from the switch.

This cable is then integrated in the overall cable management.
We first remove the plastic wrap and then add the new cable to the cable bundle.
Testing the switch
With this we are ready for a test.
Switch on the laser cutter and put a piece below the laser.
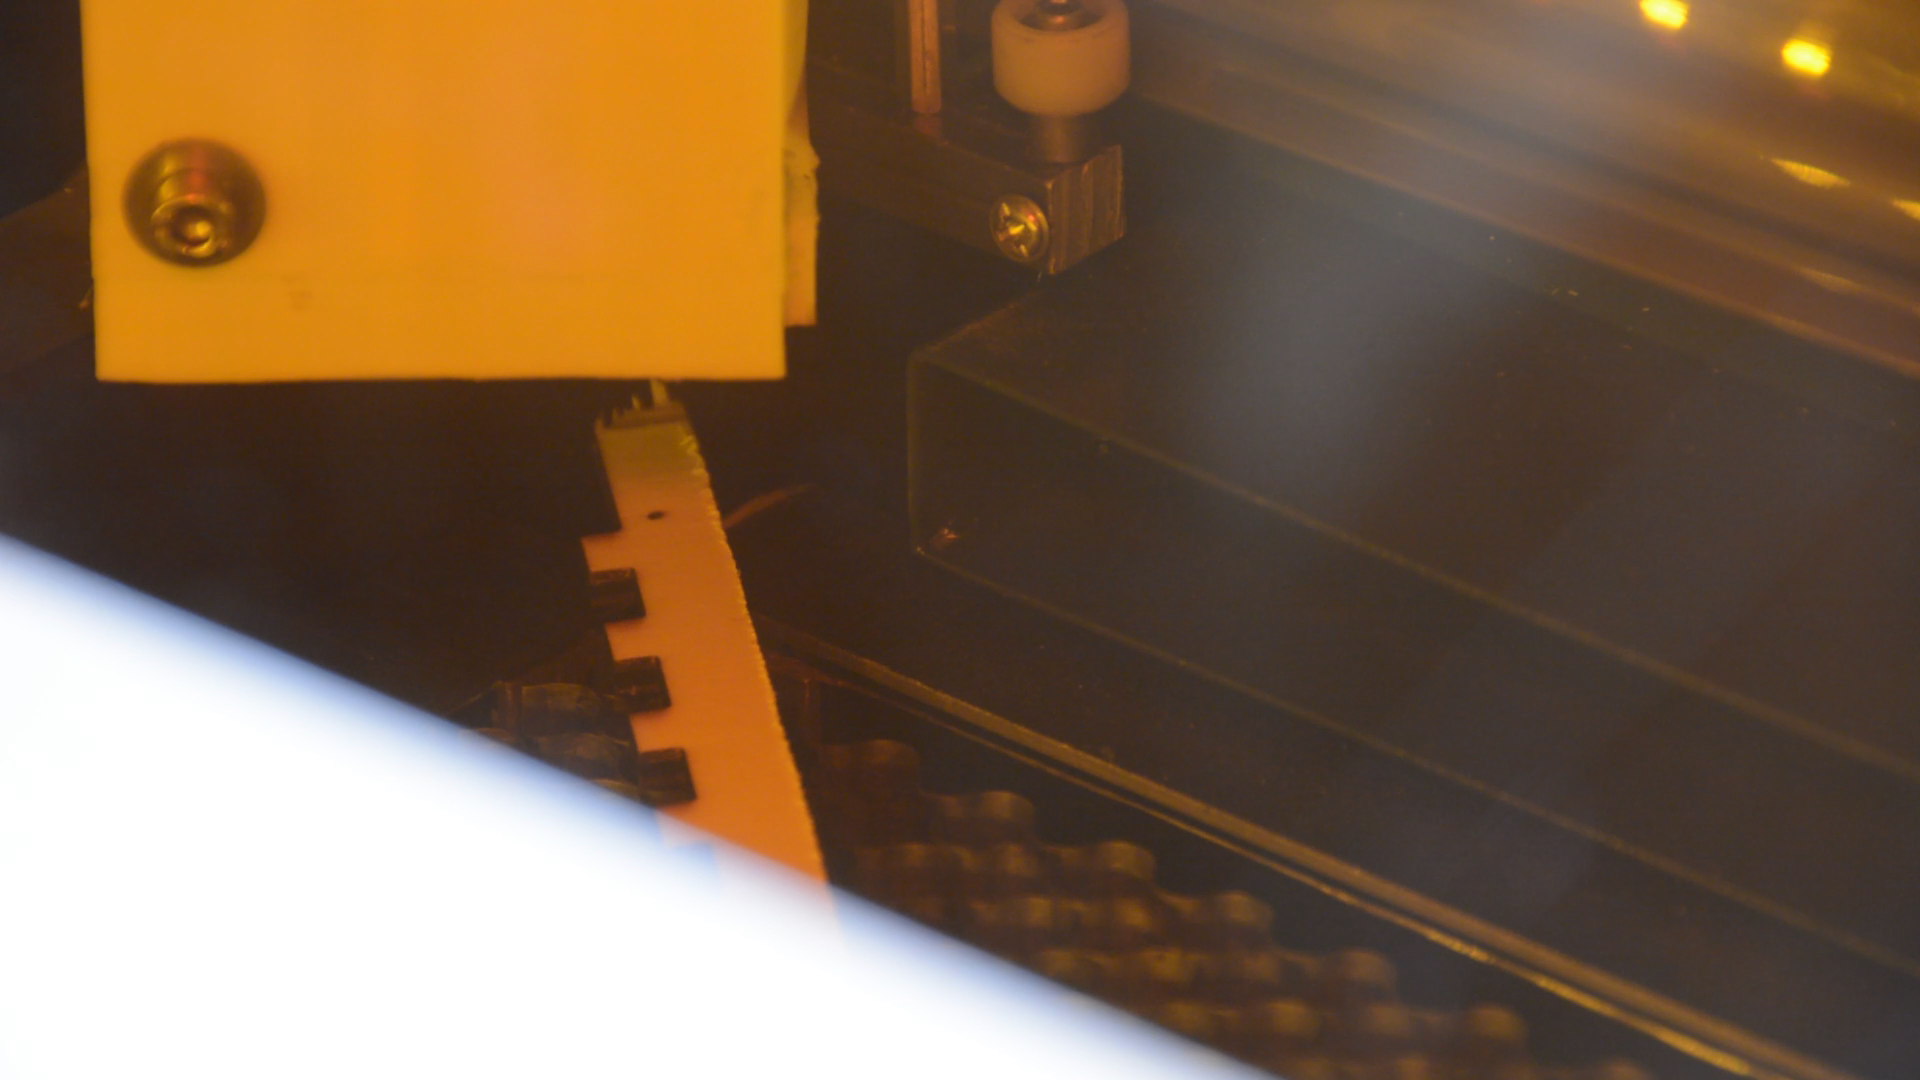
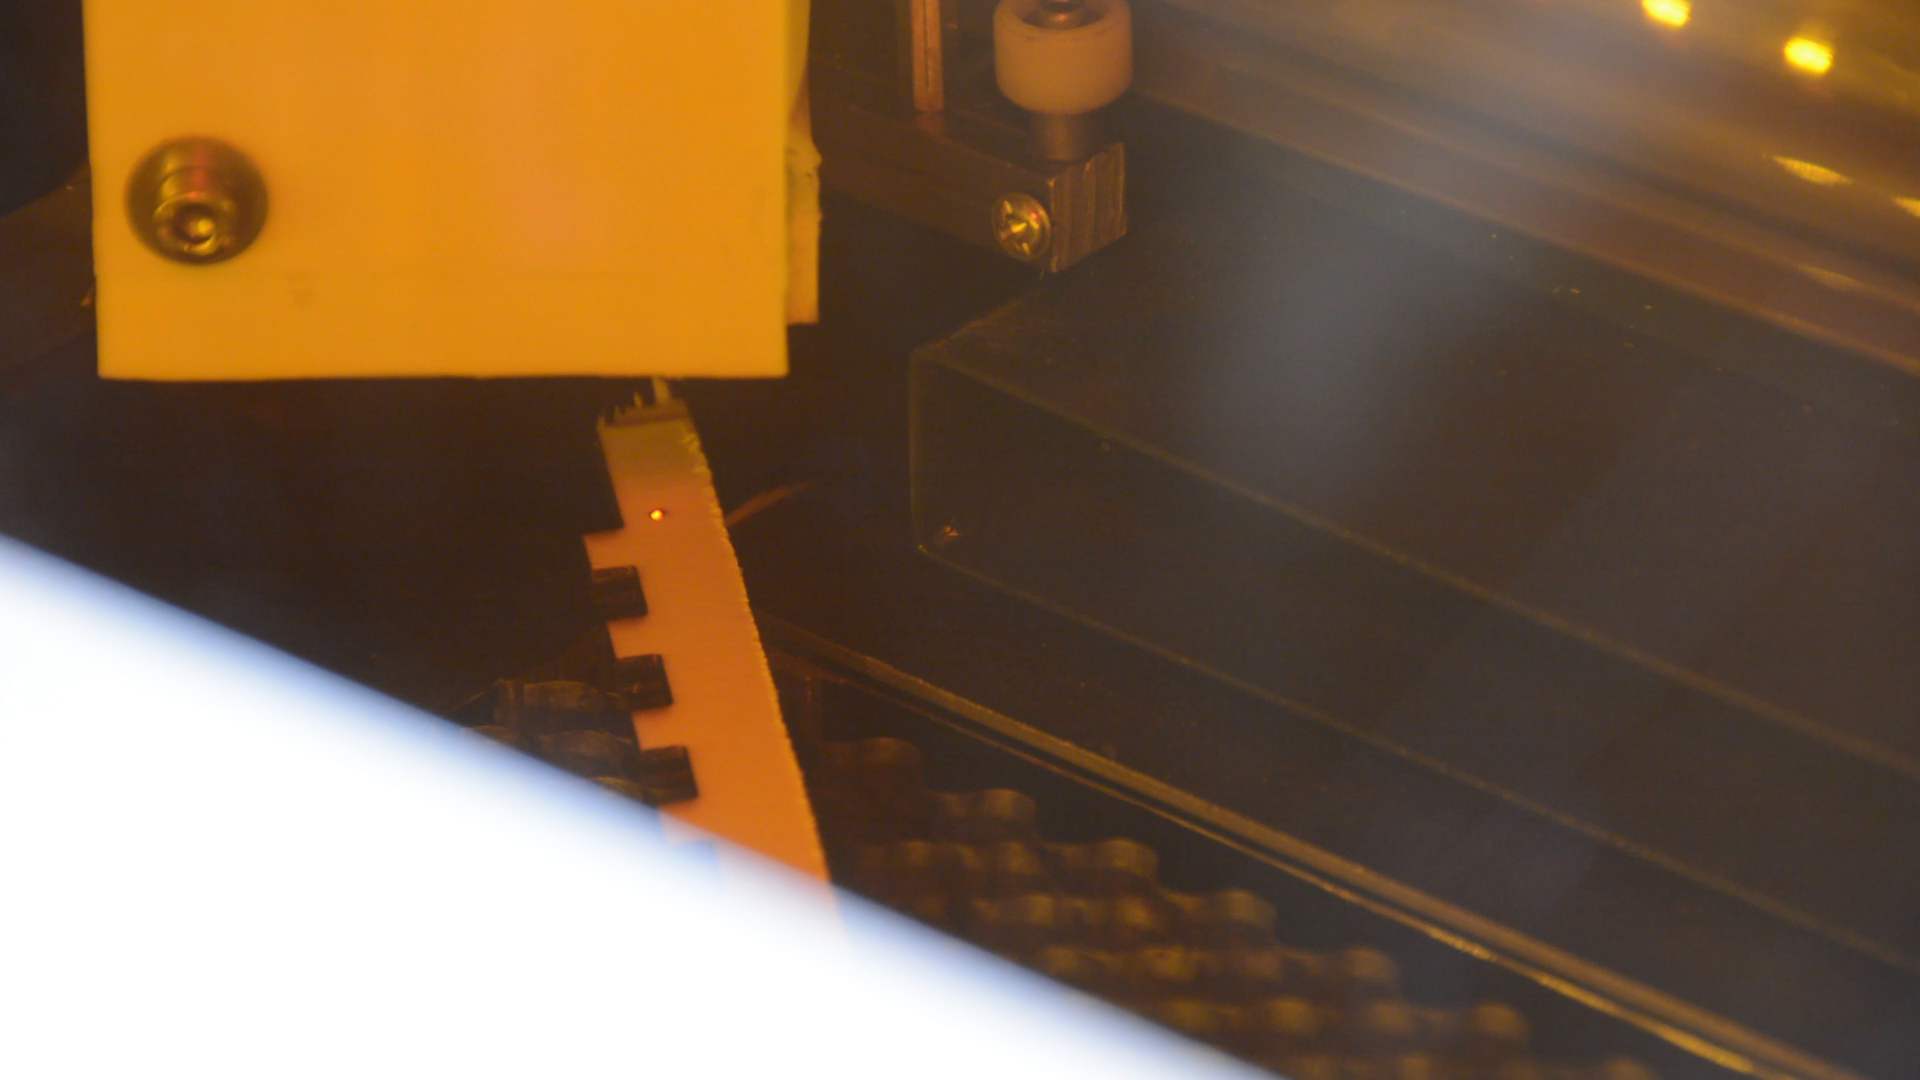
If we press the test switch we see a burn mark – so the laser operates.
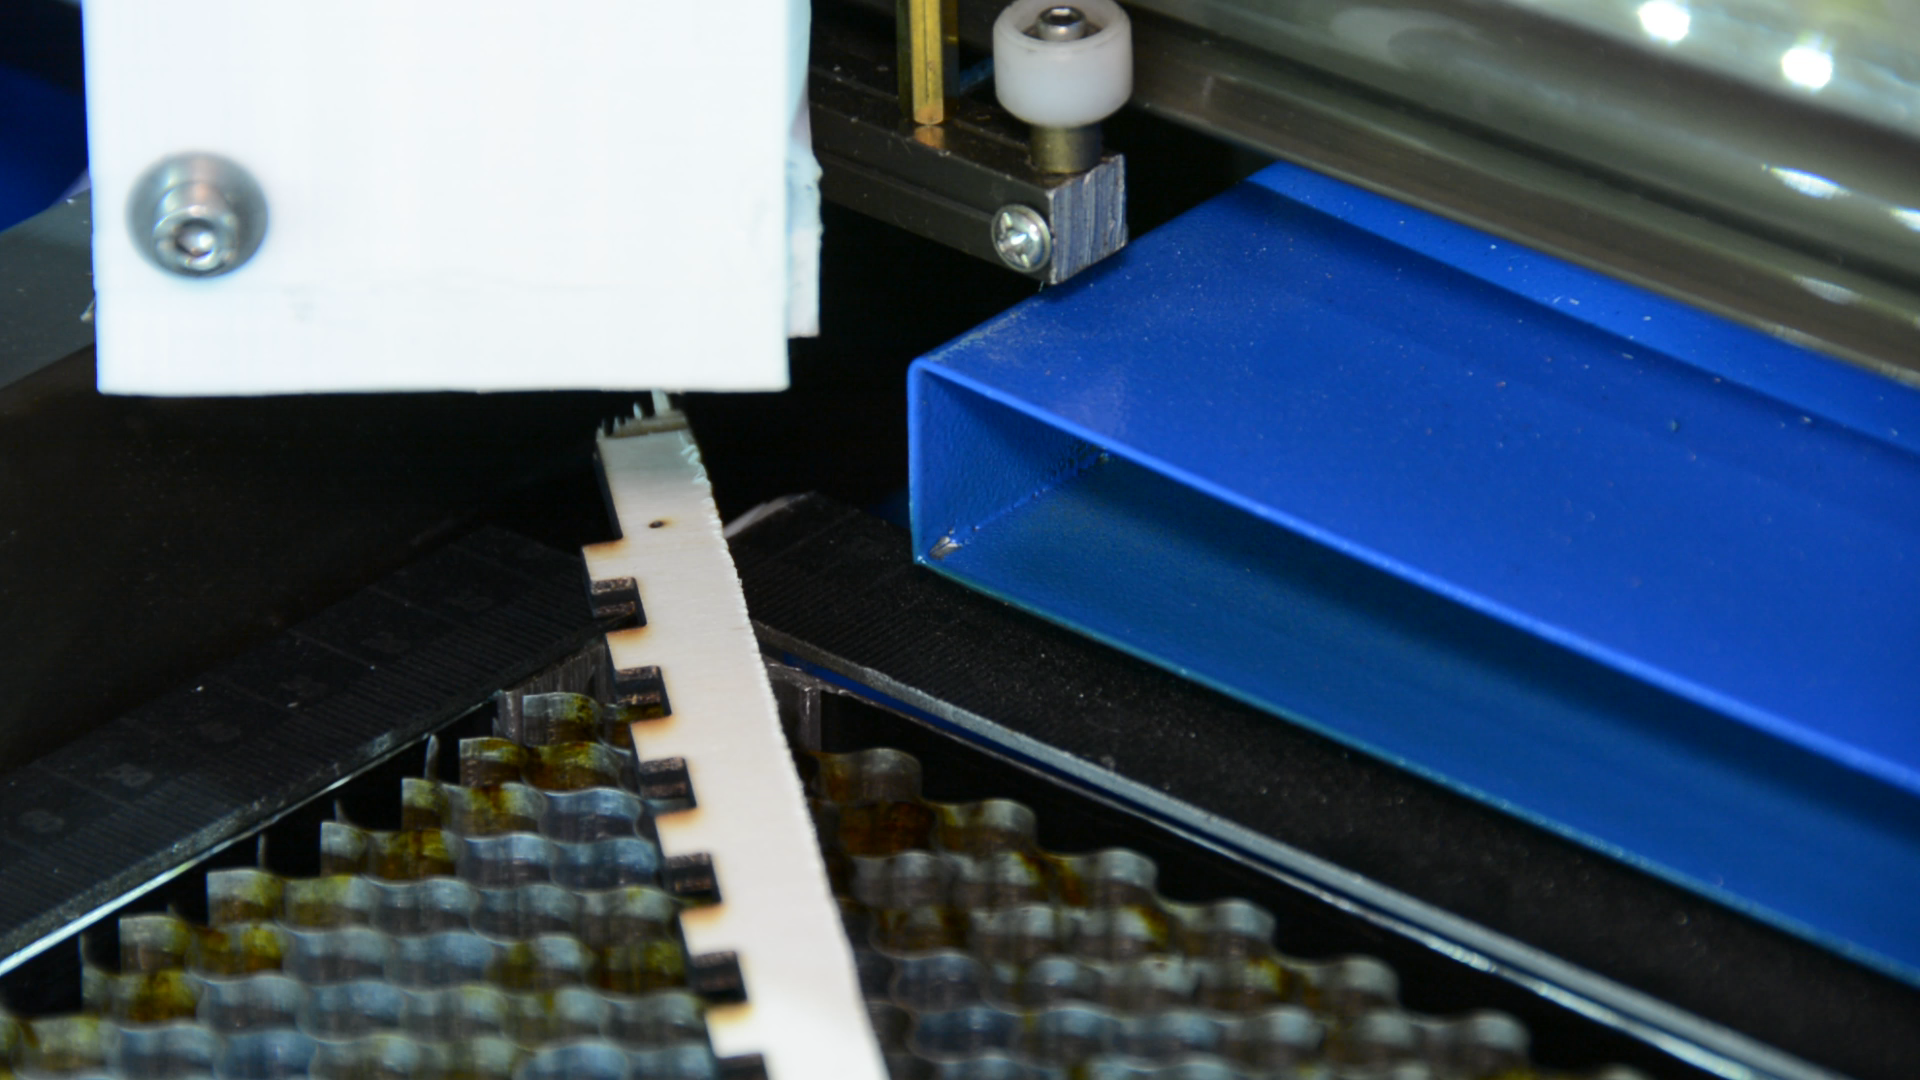
When we now open the lid and press the button again nothing happens.
This was again a very small but quite important safety feature.