
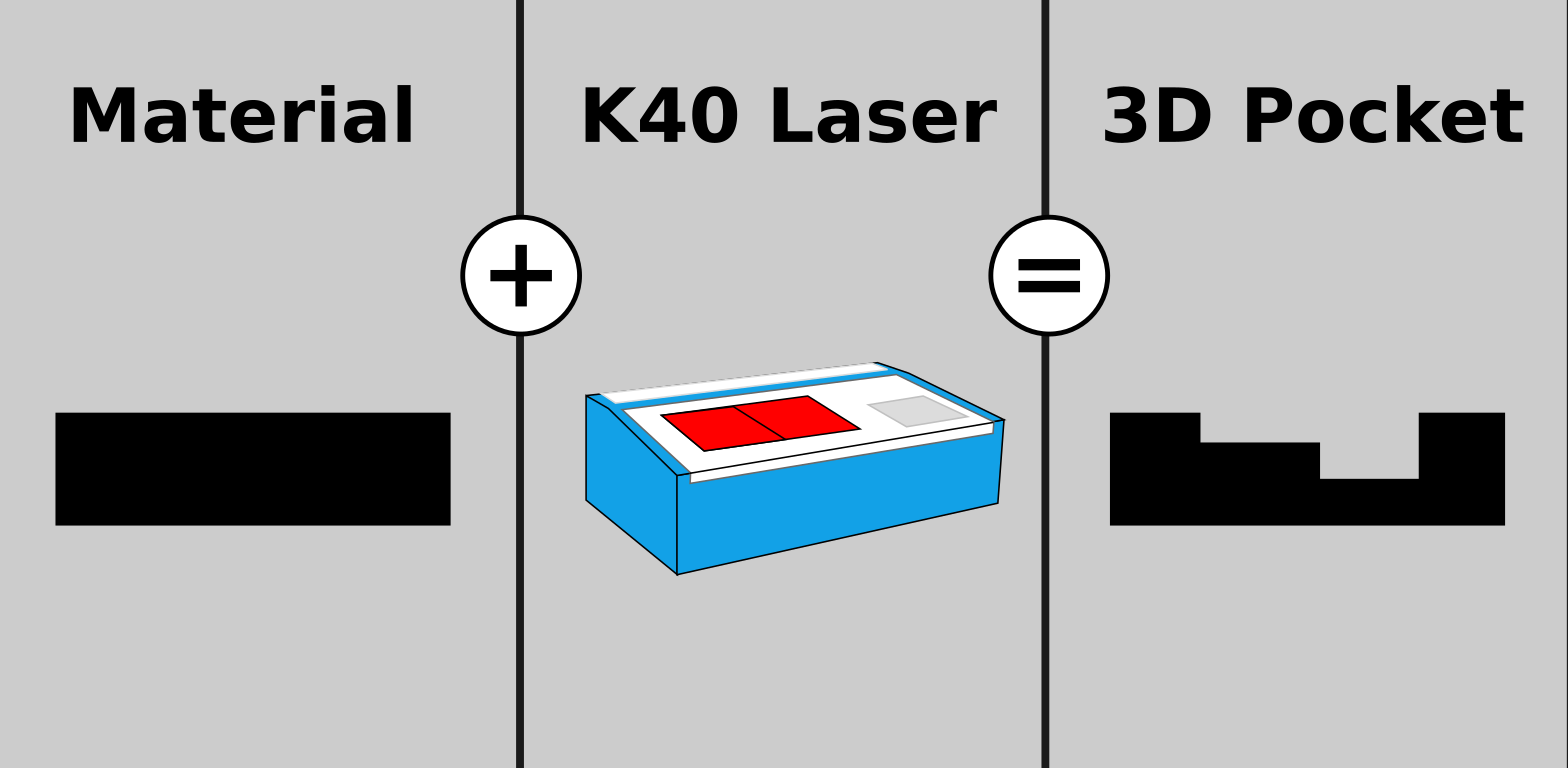
In this article we show a method for lasercutting 3d pockets with a specific depth in acrylic or any other material the K40 laser cutter can handle. we repair a broken pan handle by cutting 3d pockets with the K40 laser cutter.
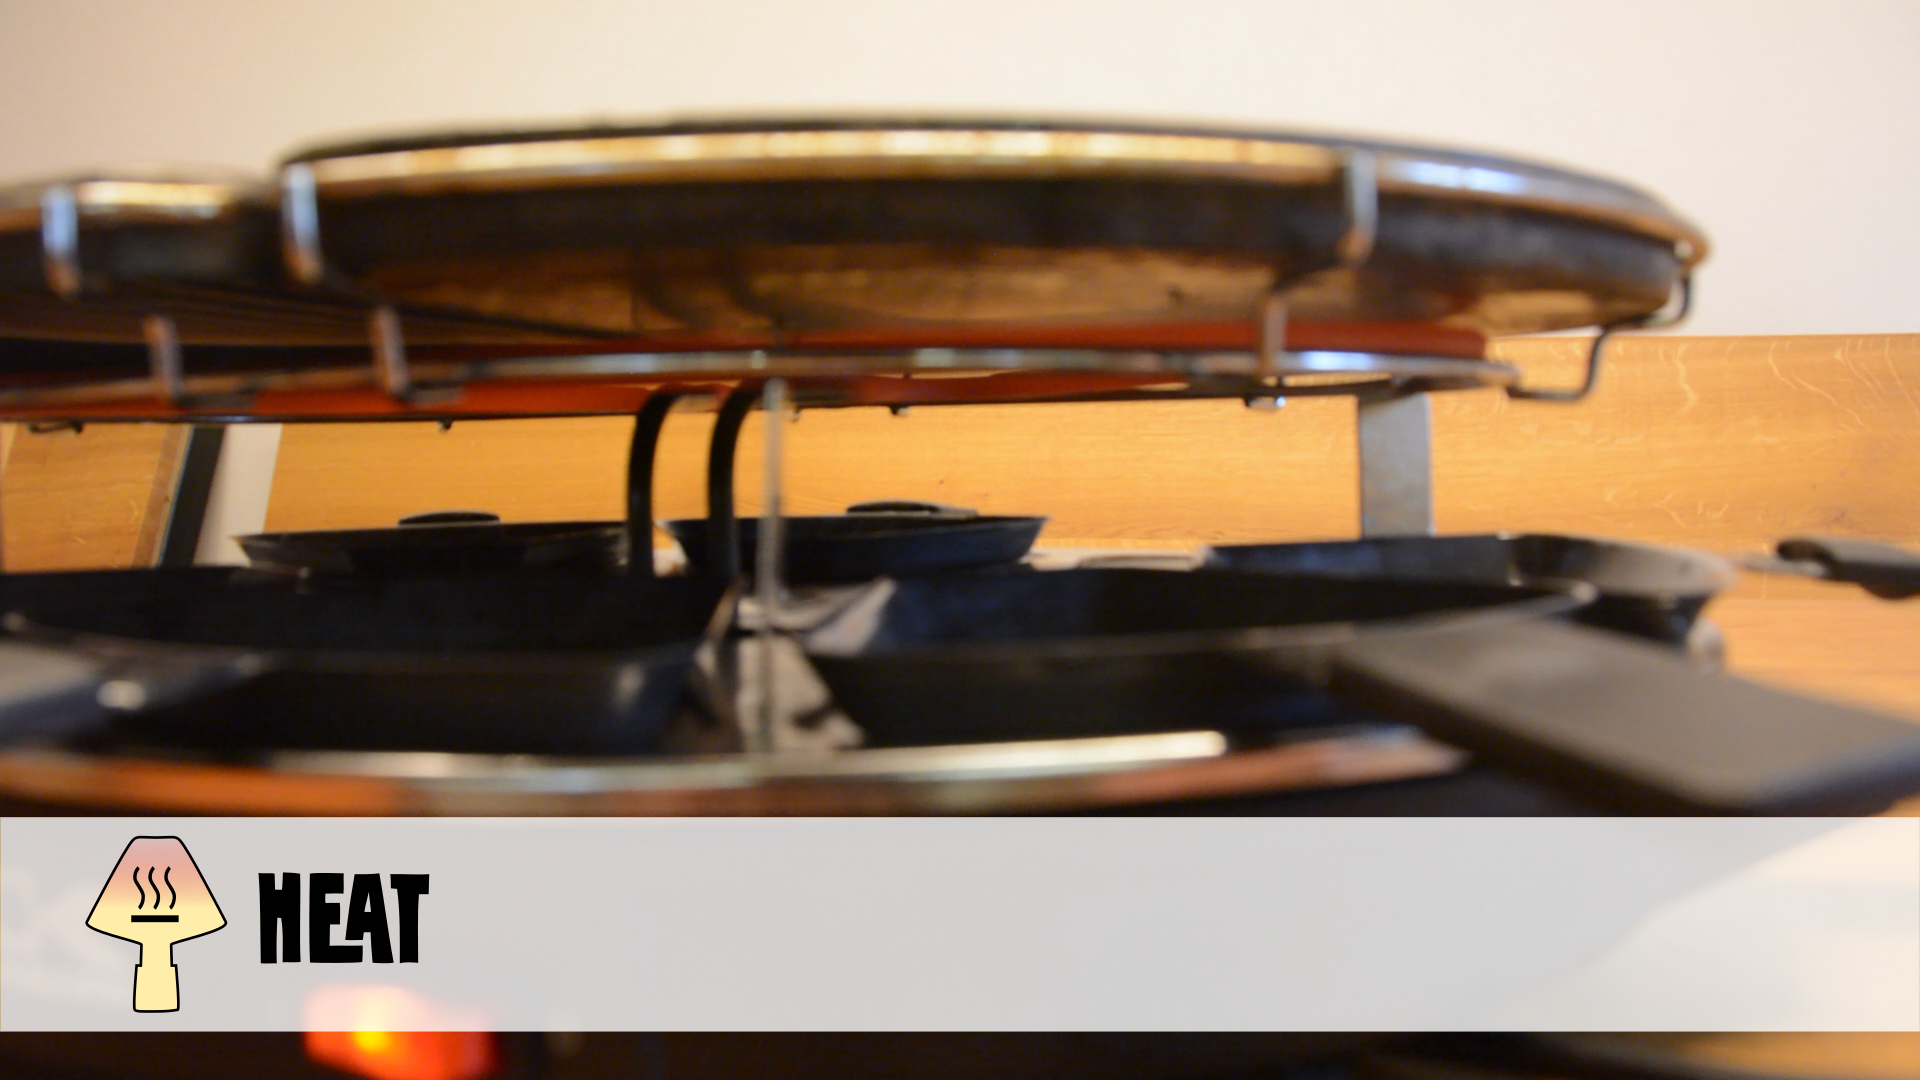
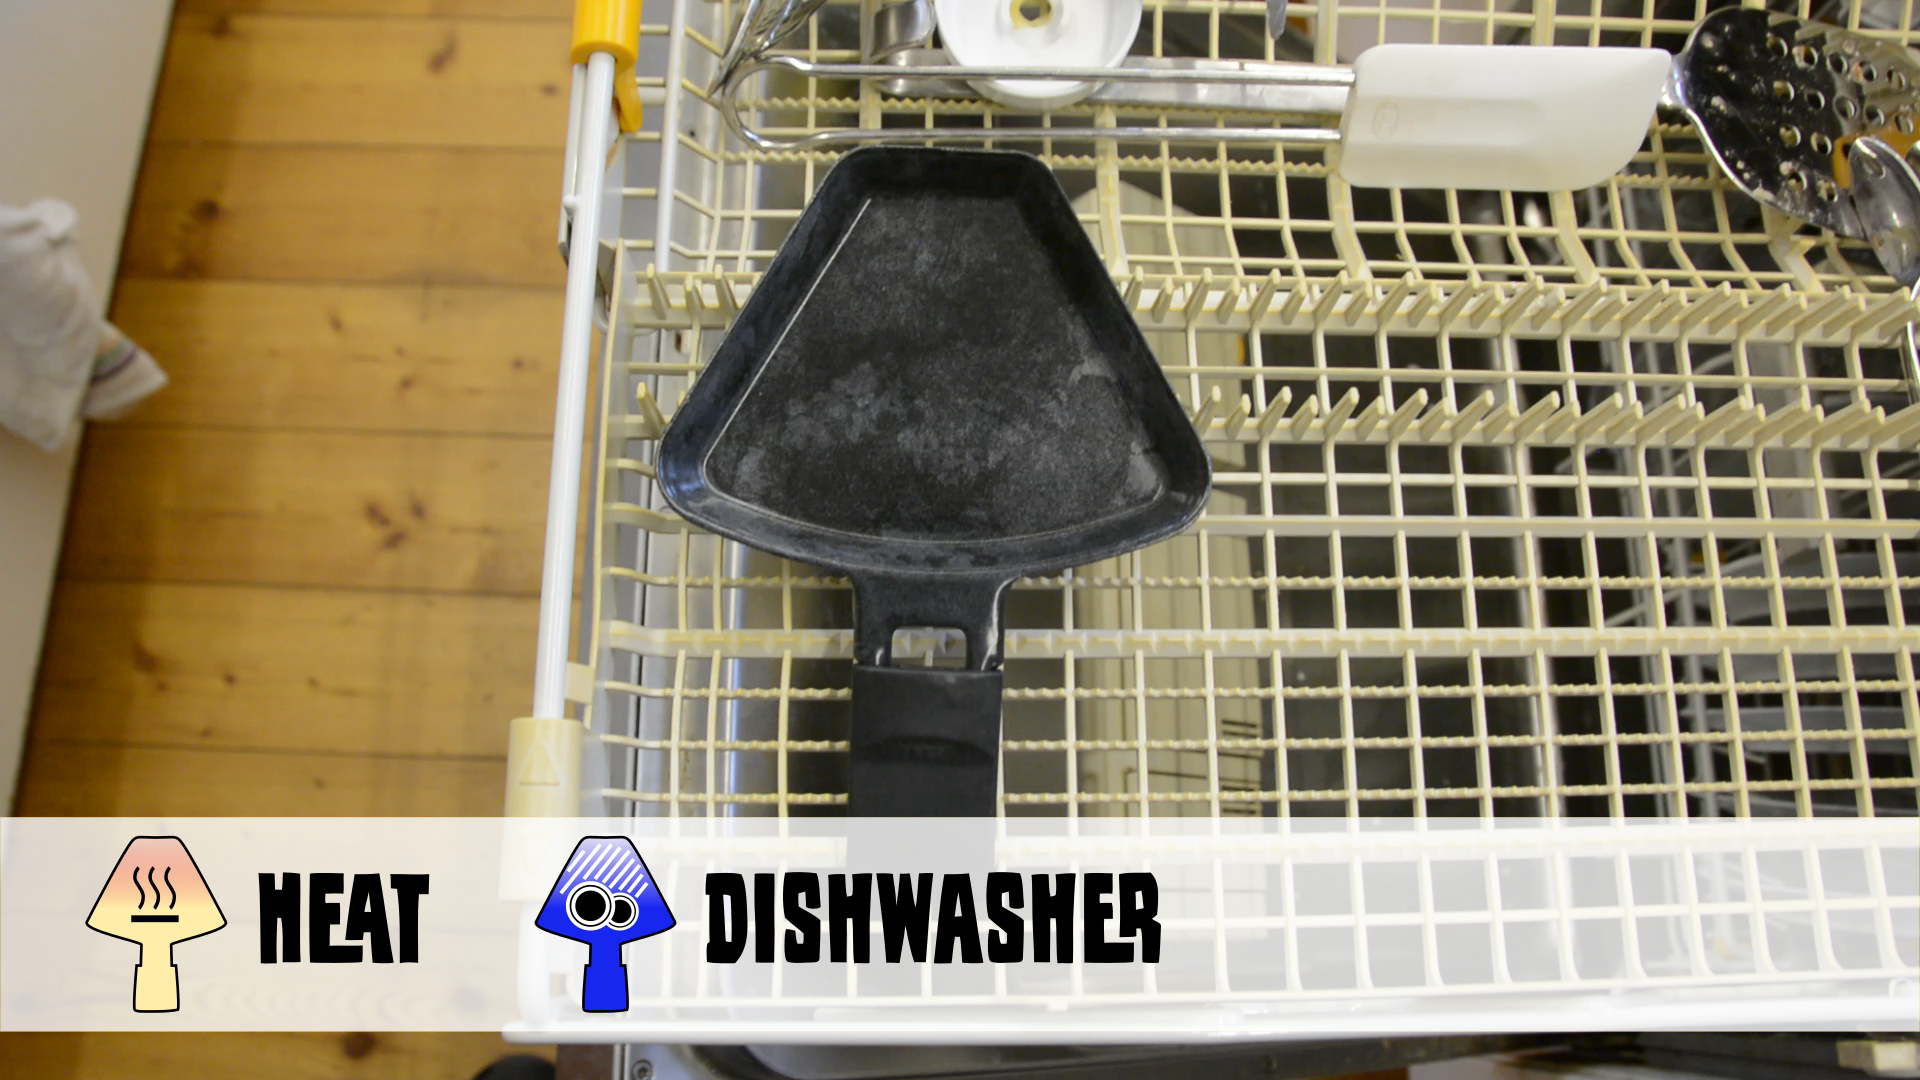
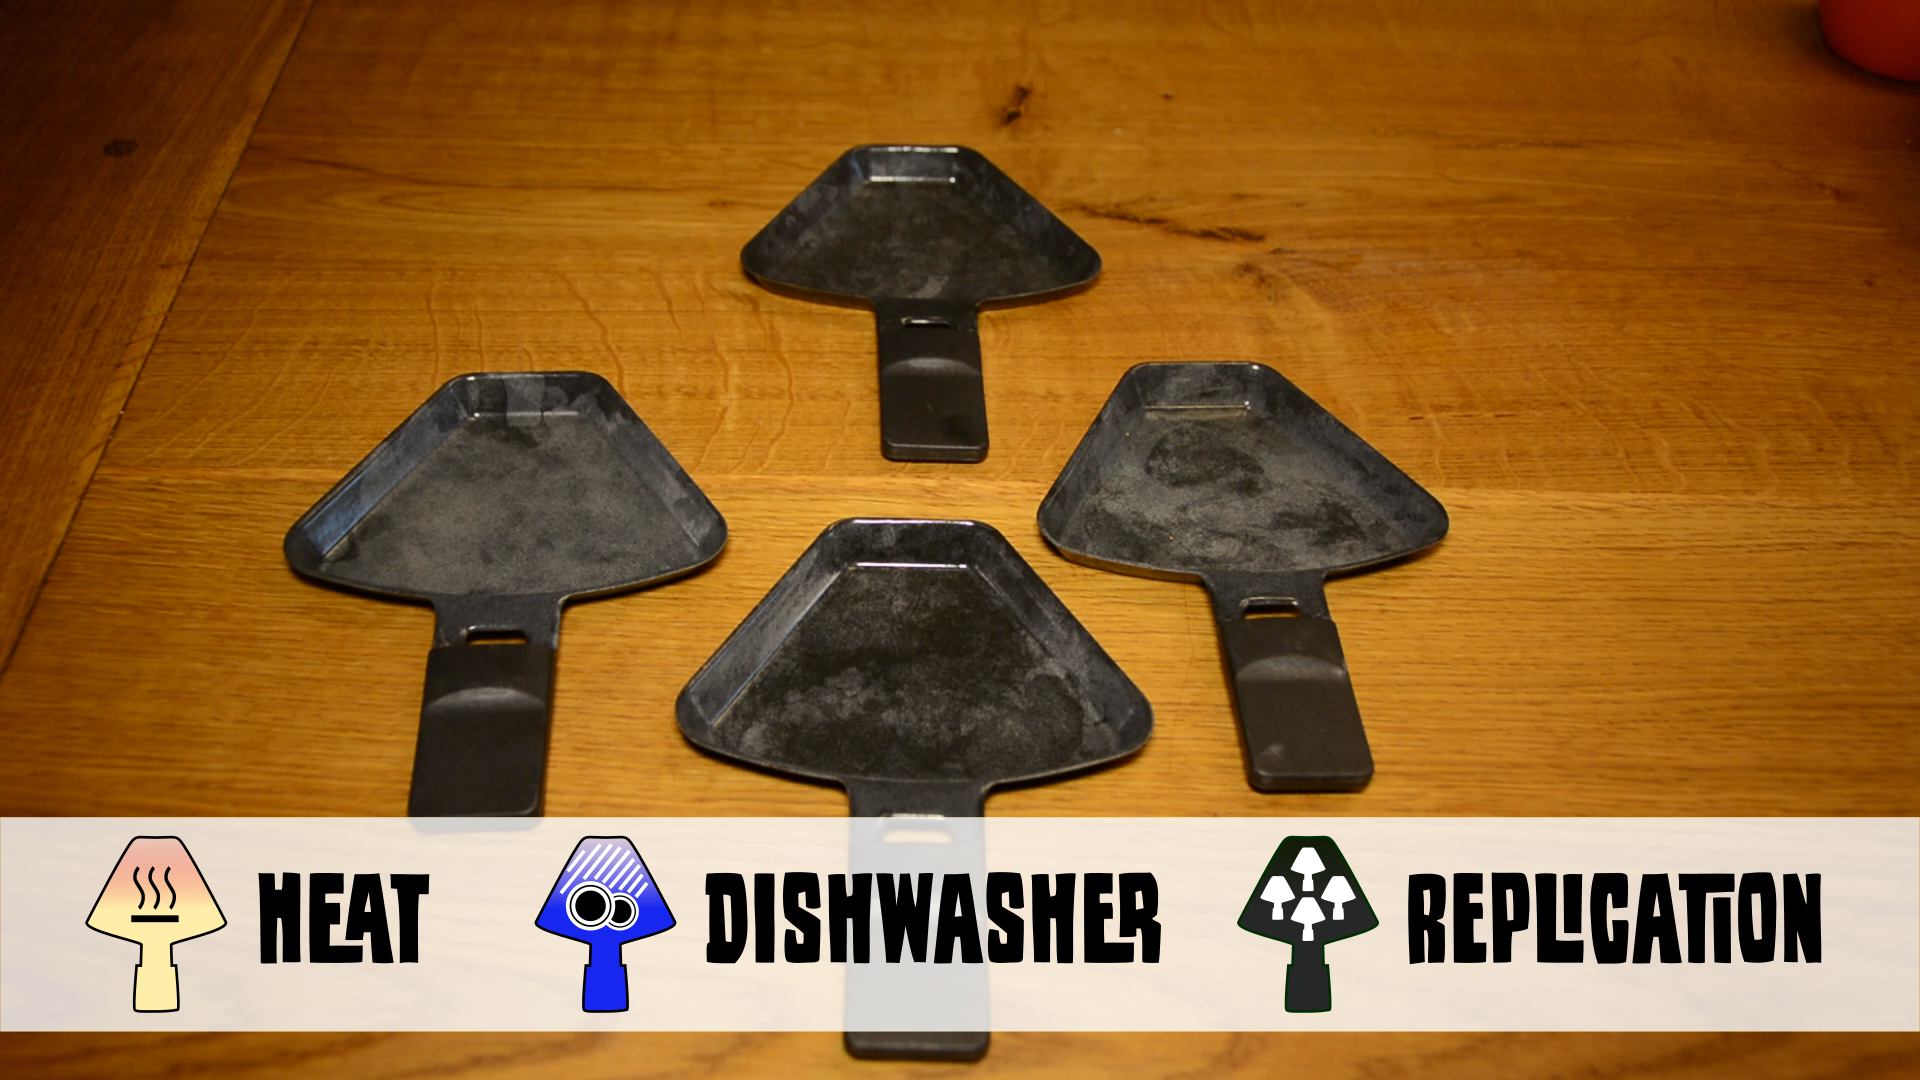
The handle of one of our raclette pans is broken. I already glued it back in place with epoxy once but it broke again and now needs a more The raclette pan will get quite a bit of heat, the material should survive the dishwasher permanent repair. And it should be easy to produce a few more handles when the other pans start to fail. With these requirements in mind let’s have a look at the possible solutions for a material.
Possible Solutions
3d printing – The fist thing that comes to mind is to use 3d printing – which would be the easiest way to mass produce pan handles. However while PETG might survive the dishwasher it will get soft at around 70 degree – which is not ideal for a pan.
Wood – Wood would be a good alternative as it looks nice and I could create handles on the CNC. It is reasonably temperature resistant but will fail in the dishwasher.

Brass – Brass or aluminium would be nice alternatives. But my CNC will not cut them well and it would be quite expensive for a few cheap pans.
Acrylic – This brought me to acrylic. The material begins to soften at 150 degree Celsius, will survive the dishwasher. I have been cutting acrylic on the laser in the past.
Creating the CAD and CAM design
Now let’s see how to cut a recess in the material. The design for the handle is quickly modeled in FreeCAD. It’s basically a rectangle with two pockets for the handle part and two holes to secure the handle to the pan.
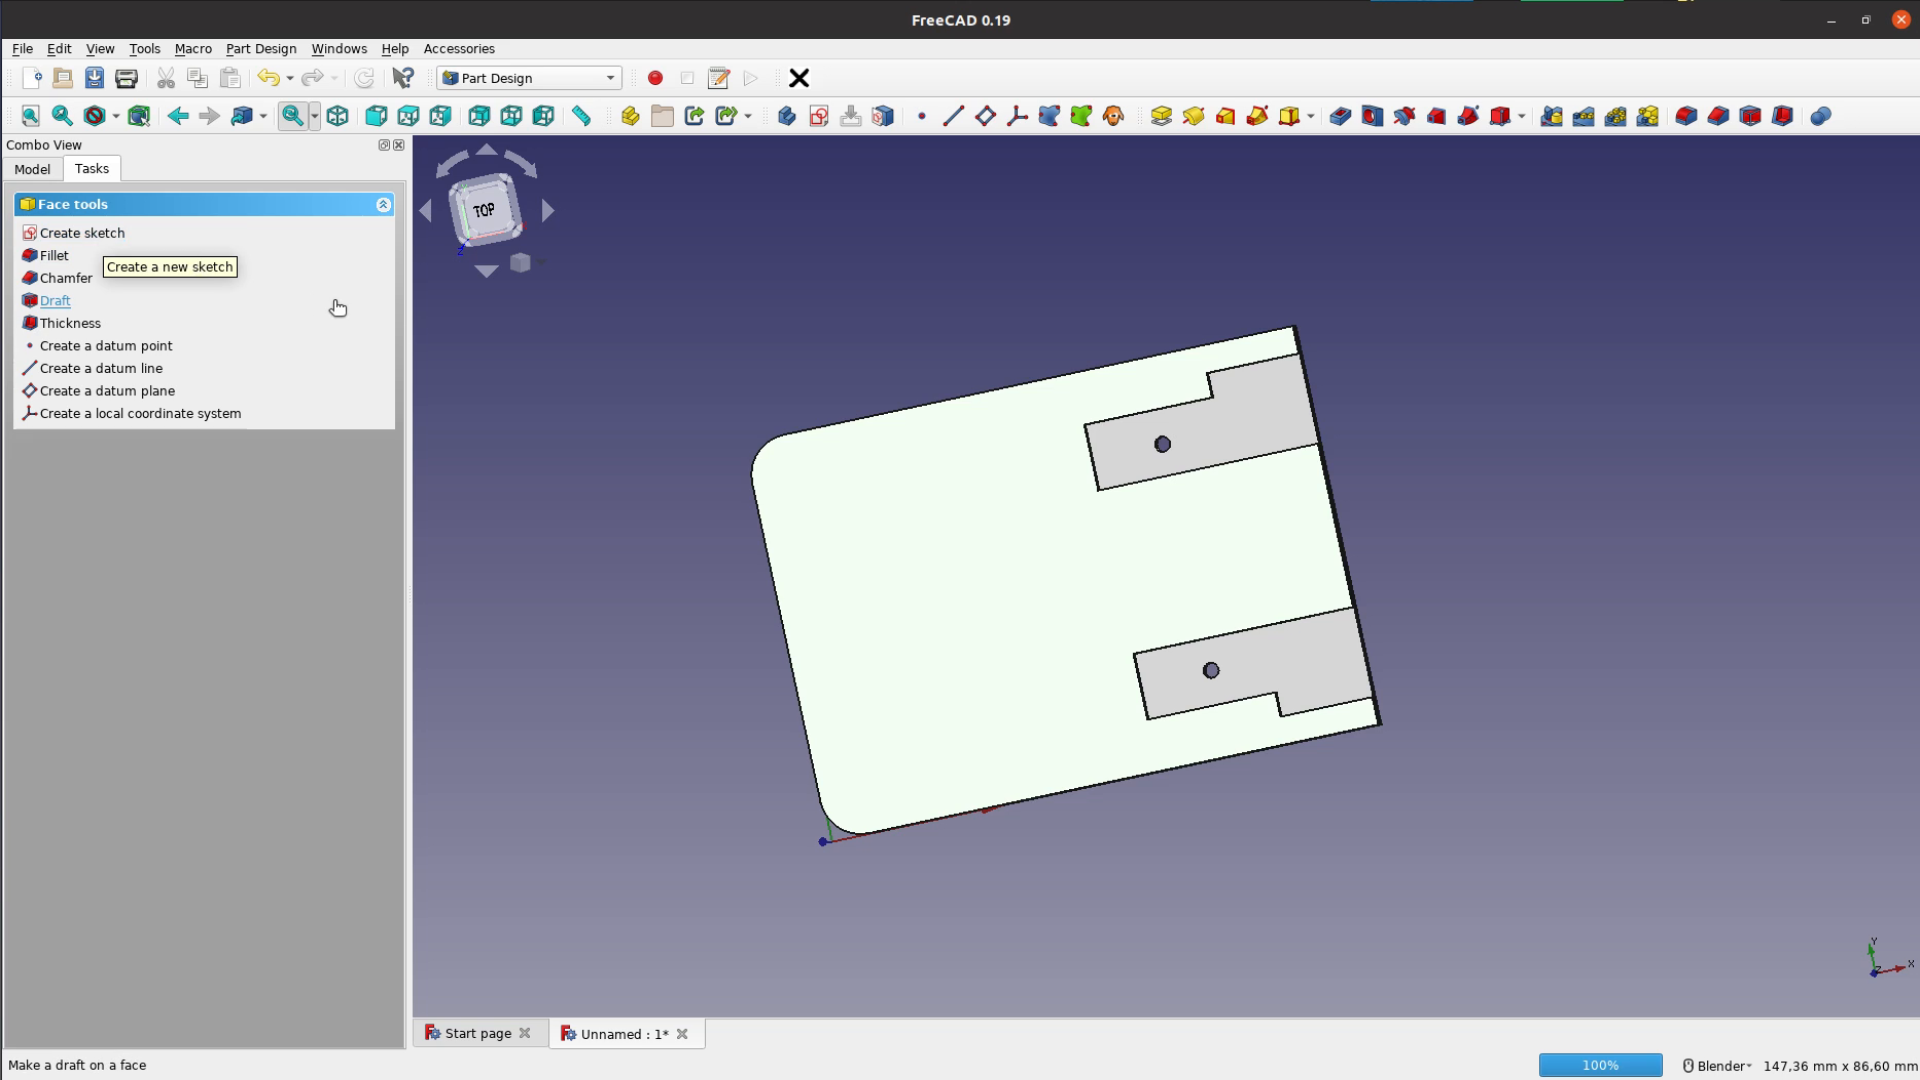
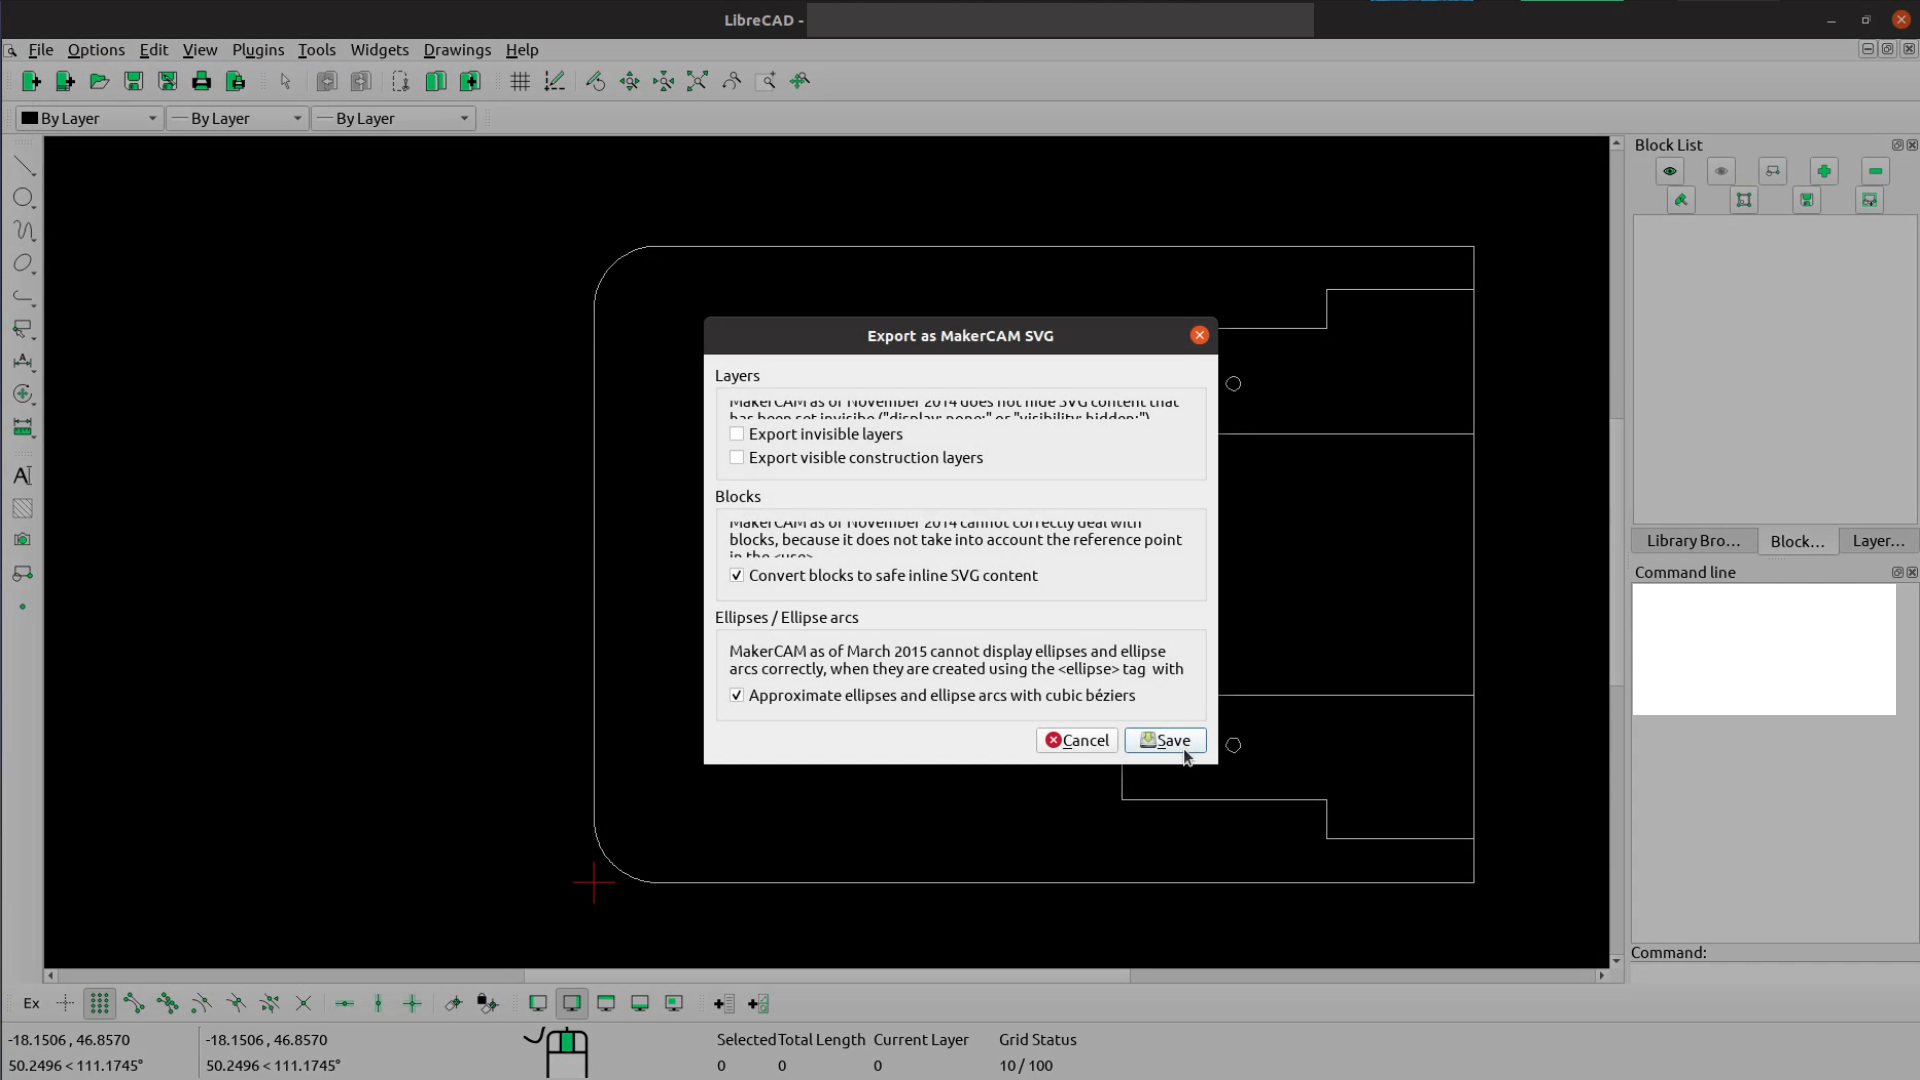
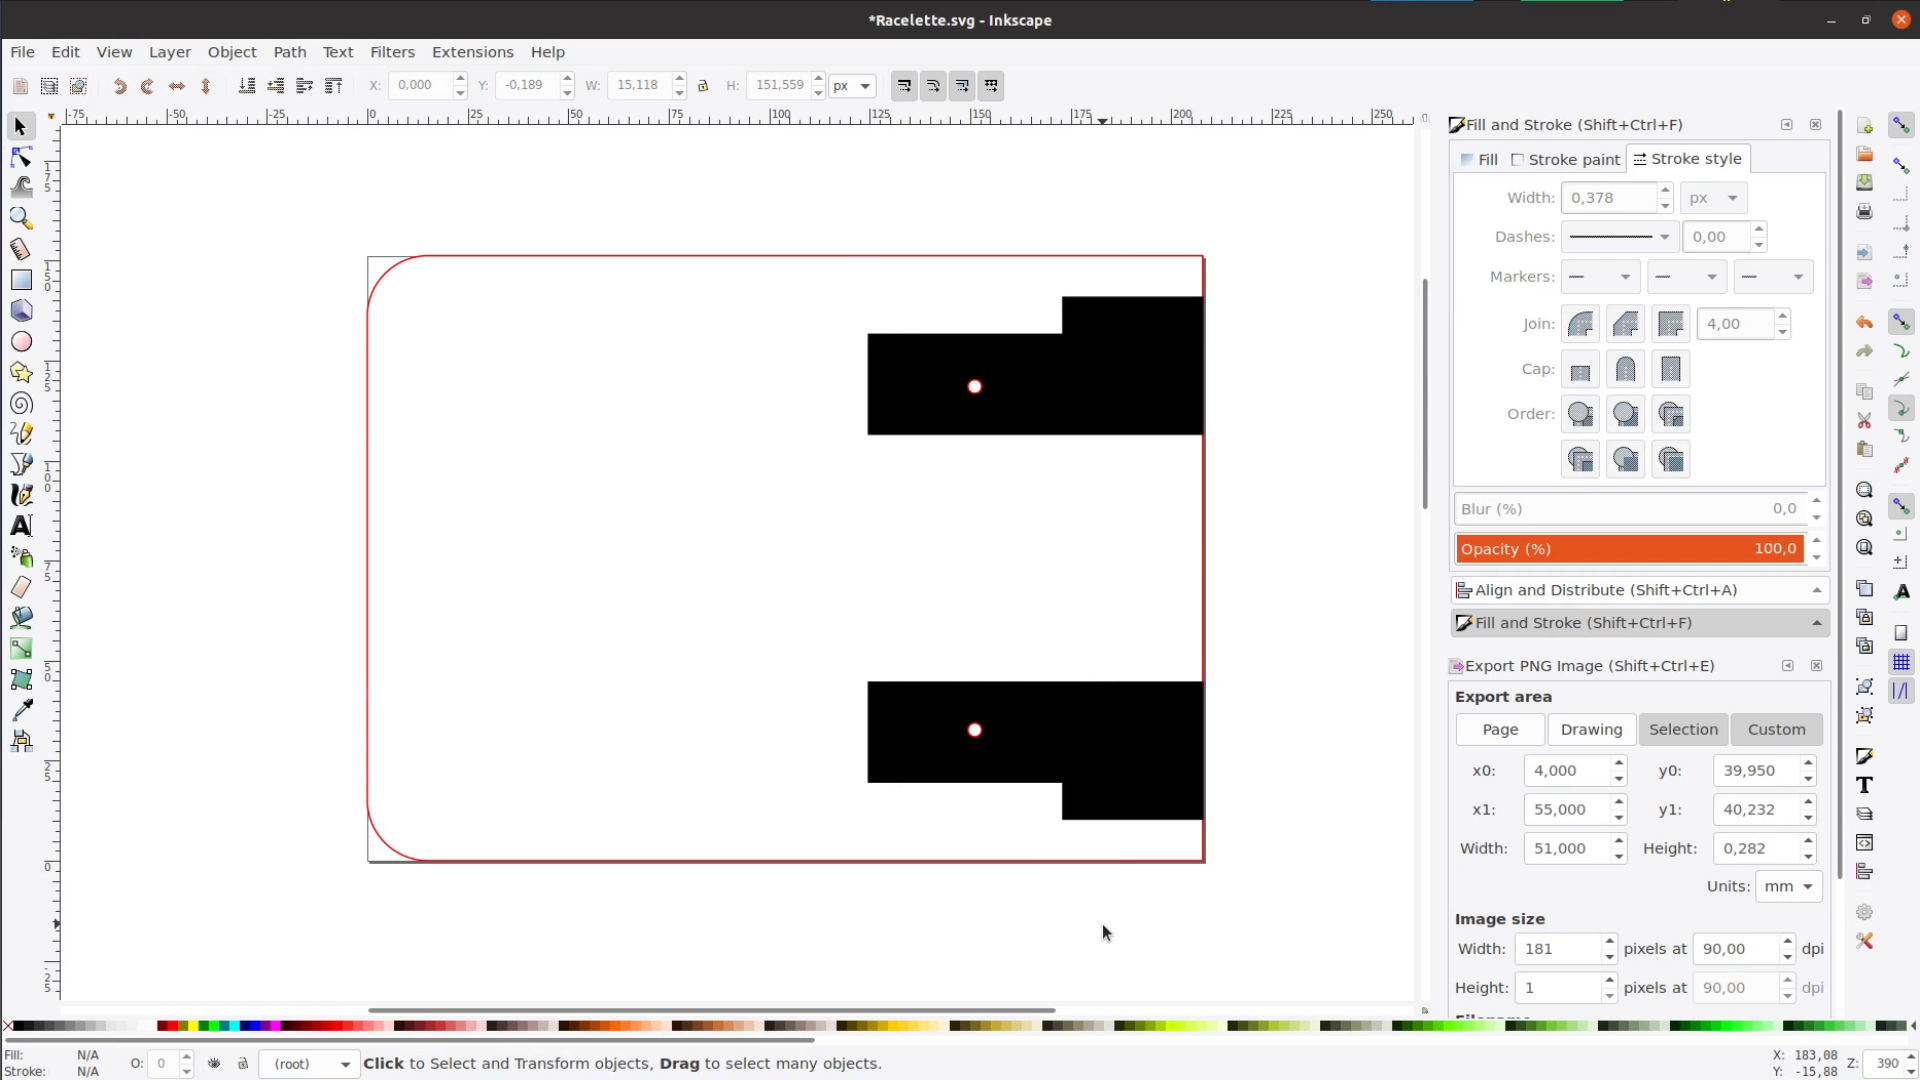
After exporting the DXF we use LibreCAD to convert the DXF to SVG and open the SVG in Inkscape. As FreeCAD is exporting all lines in the 3d space – in our case the border on the top and the bottom – we remove the duplicated lines and use the node edit tool to combine them into a single shape.
Calculating the depth for lasercutting 3d pockets
While we are in Inkscape let’s prepare a simple test piece to test the depth of the engraving. If you want to save some time you can download the file here.
I have marked a few power settings on the Laser so that I can set it repeatedly at 5mA. You don’t need to do this; a simple pen mark will be good enough but you will need a way to set the laser in a repetitive way to the same power.

We create 4 squares where we will lasercutting 3d pockets with different speeds. After engraving the text we change the color of all but one square.

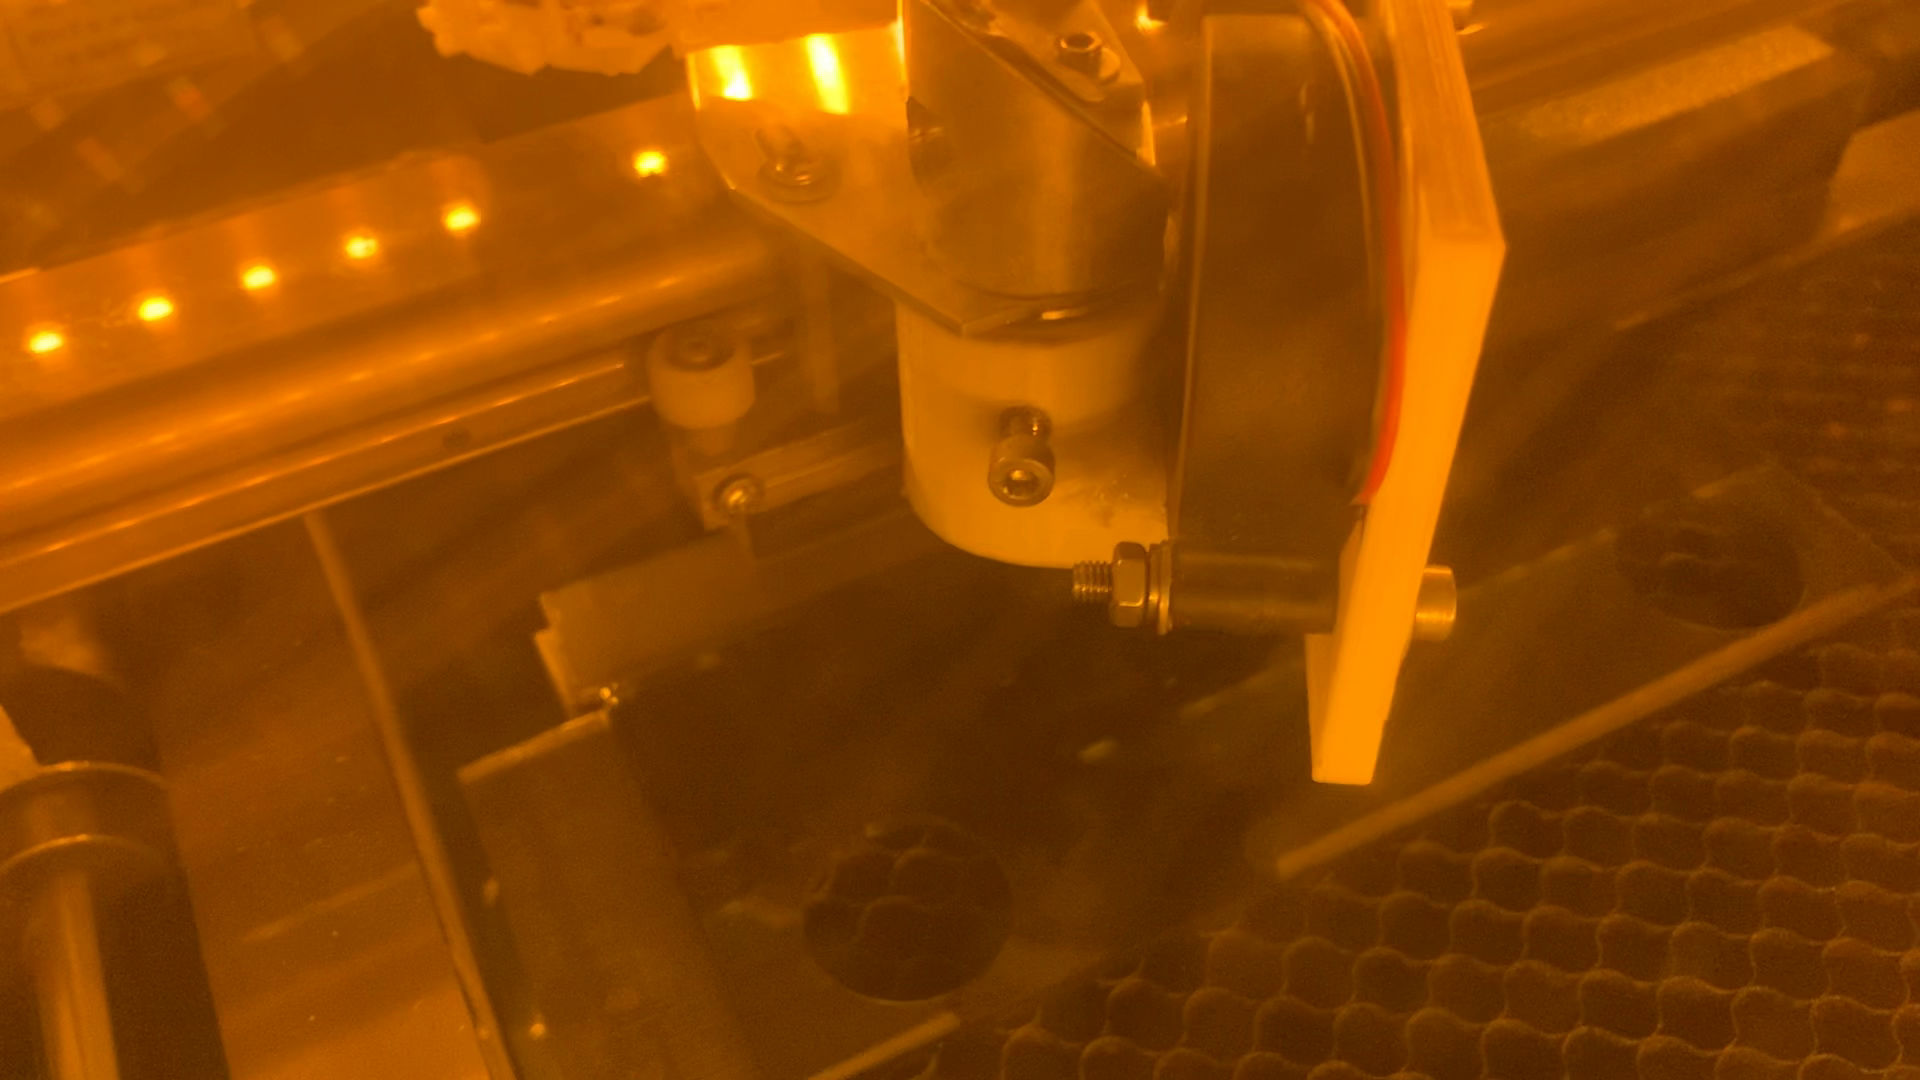
In the K40Whisperer software we reload the design and engrave only one square at the selected speed.
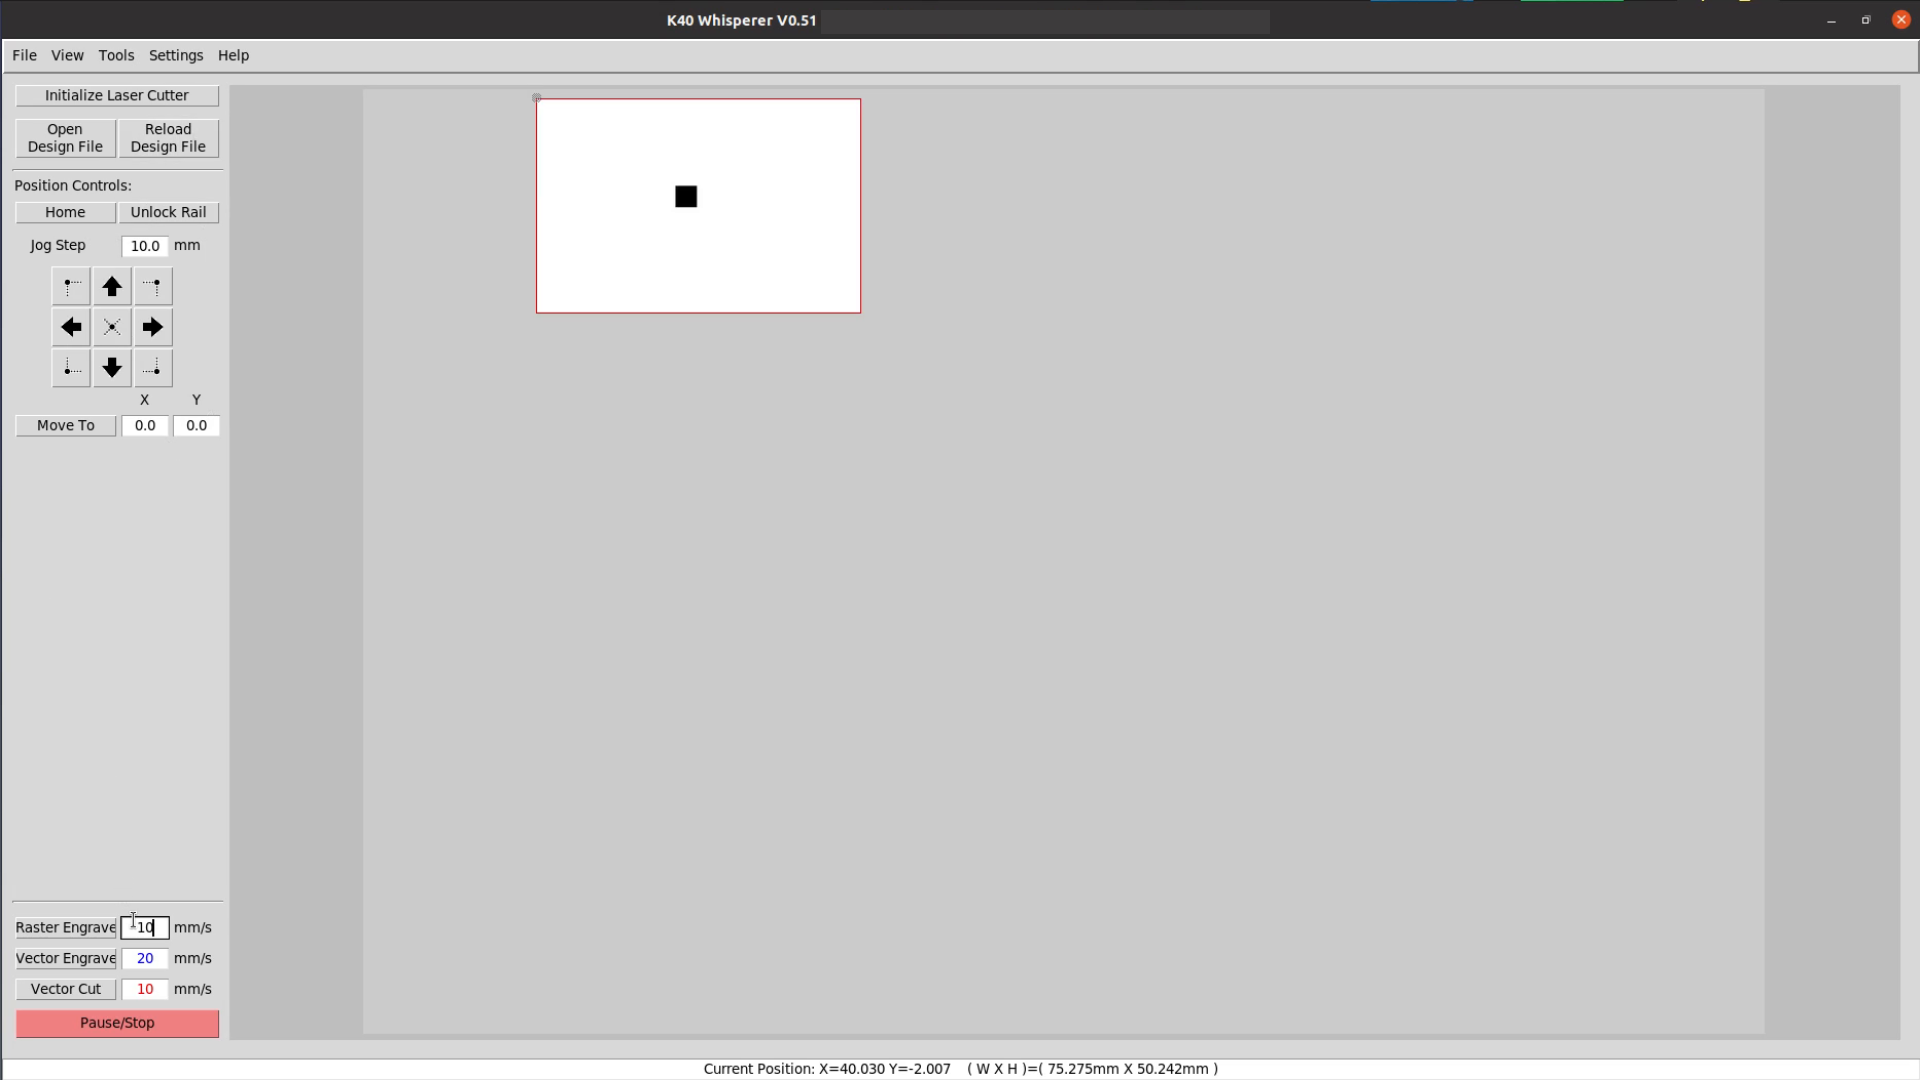
After the laser has finished we make the second square black and repeat the process till all four squares are cut.
The speed at the first square was too slow as it cut all the way through the material.So in my case I am left with only 3 measurement points. We measure the depth of each square with a caliper.
In Libre Office we put the speeds and the depth at each speed in a table and run a linear regression. The line goes reasonably well through all three points and with a little math we can
calculate the required speed for a certain depth.
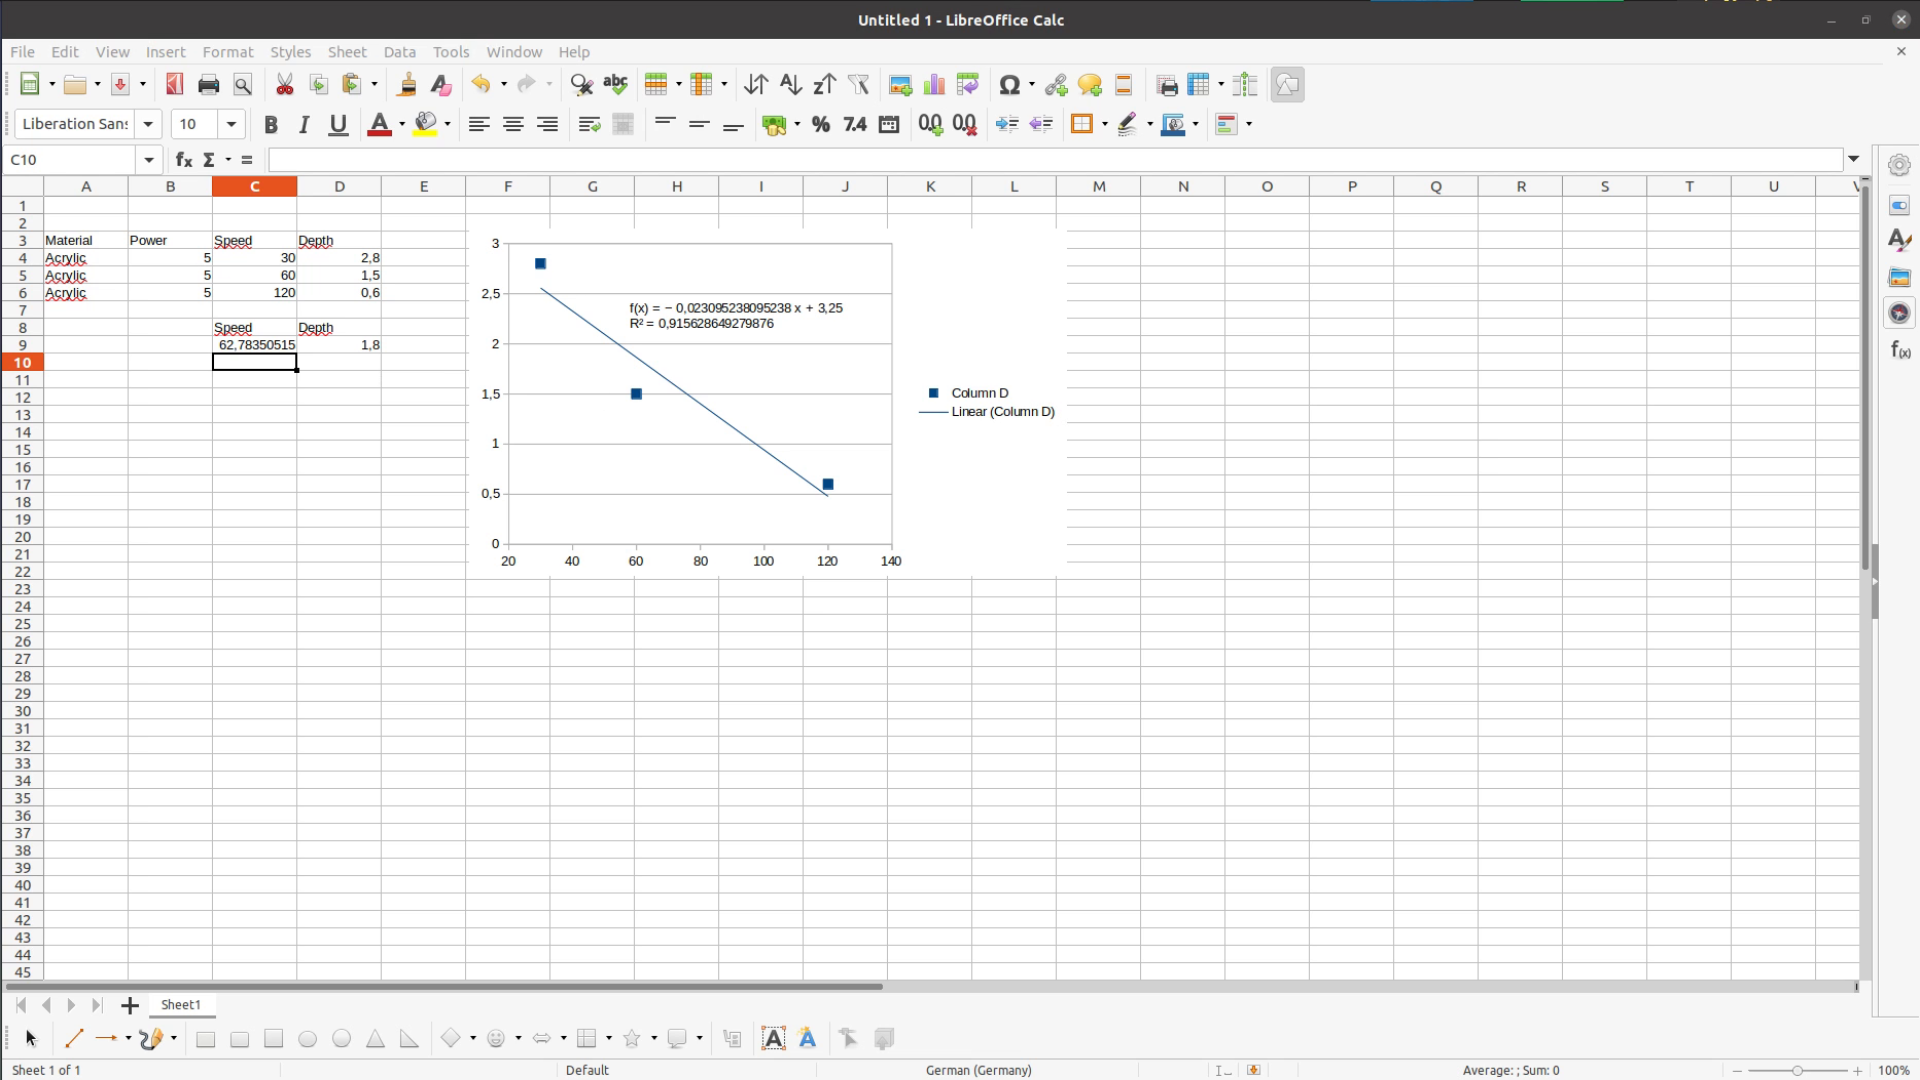
You can find a simplified in ODF Format and in XLS Format (not tested). If you open this file it should look like this:

You simply type the speeds and the depths that you measured in the upper part of the table. The line on the right side should then go through all the three points.
If you want to cut a certain depth just type the number in the respective field at the bottom and you get the speed that you should chose.
Pan repair
For the pan handle we set the engraving speed to the one we just calculated and then run the engraving and cut out the exterior shape as well as the holes.
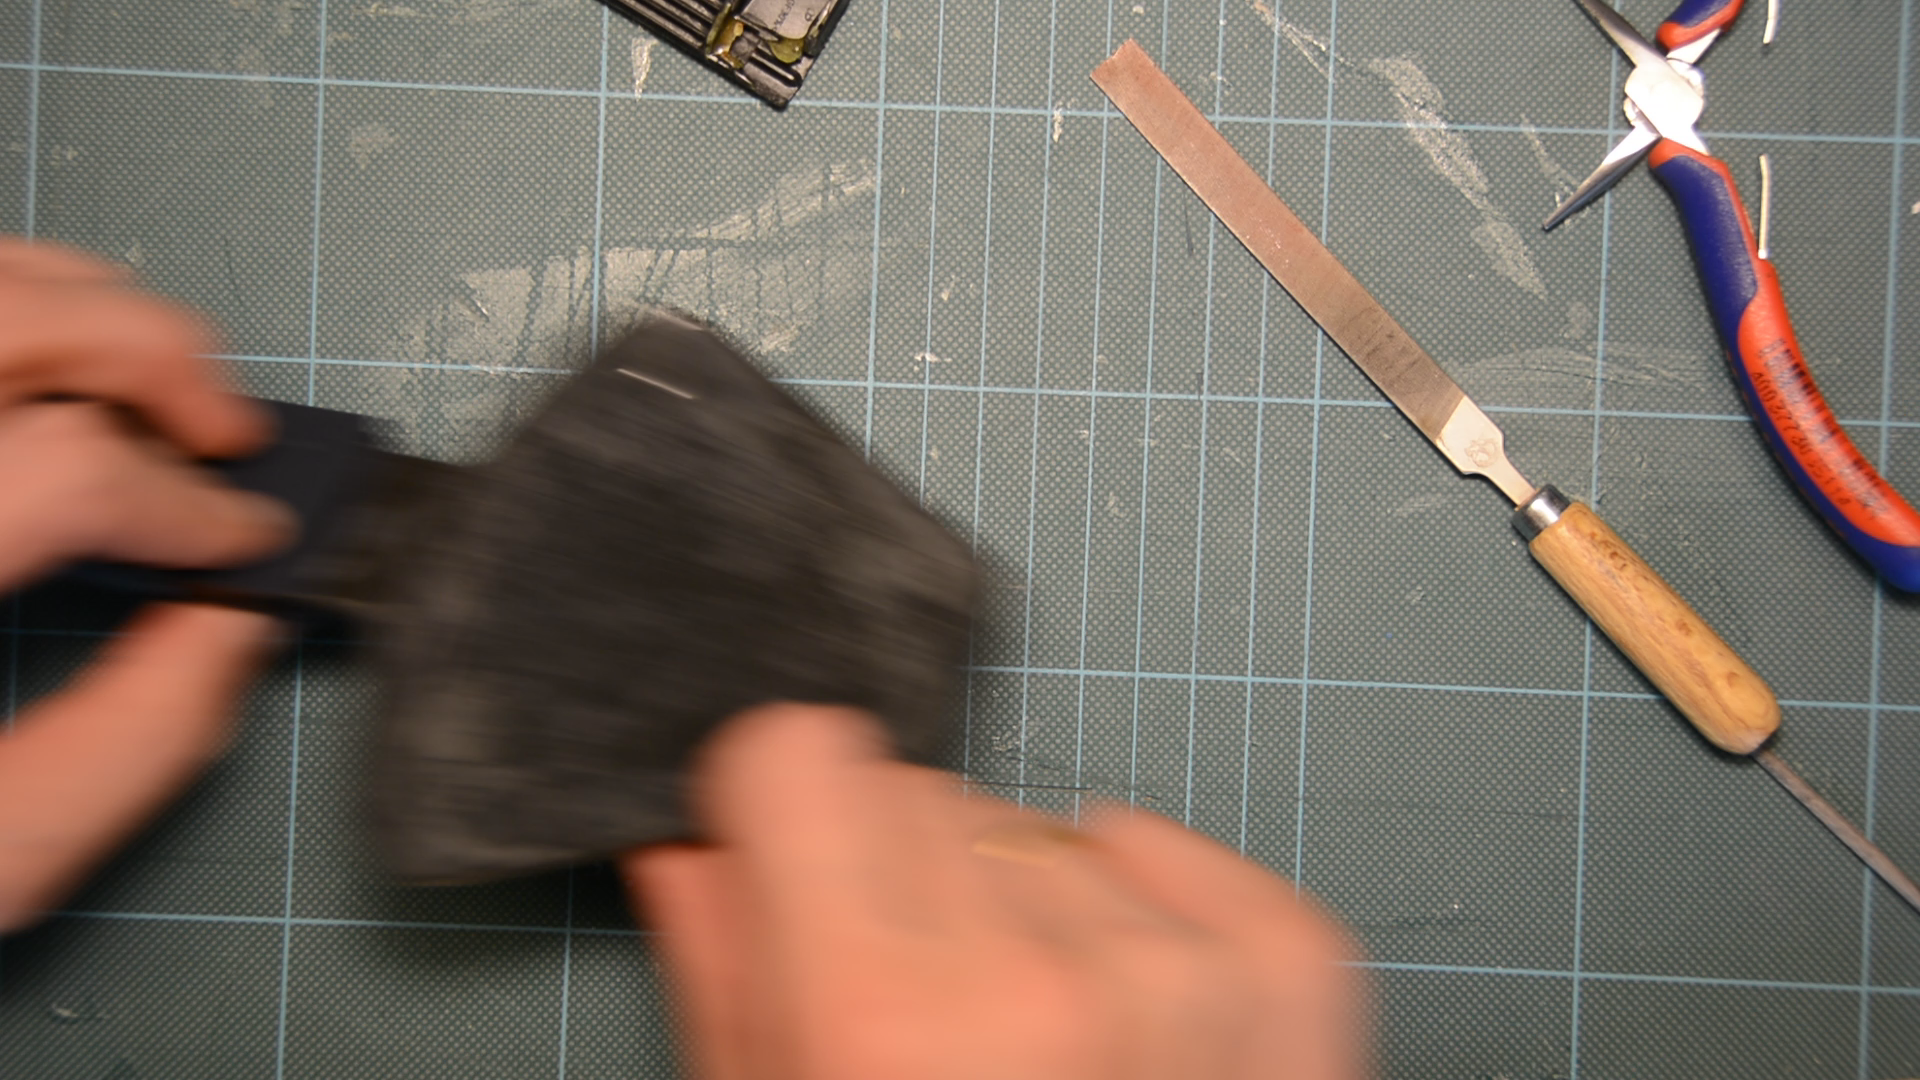
The fit is not perfect out of the laser as I was staying on the conservative side and wanted to rather remove too little than too much material. Shaping acrylic with a file is no big deal.
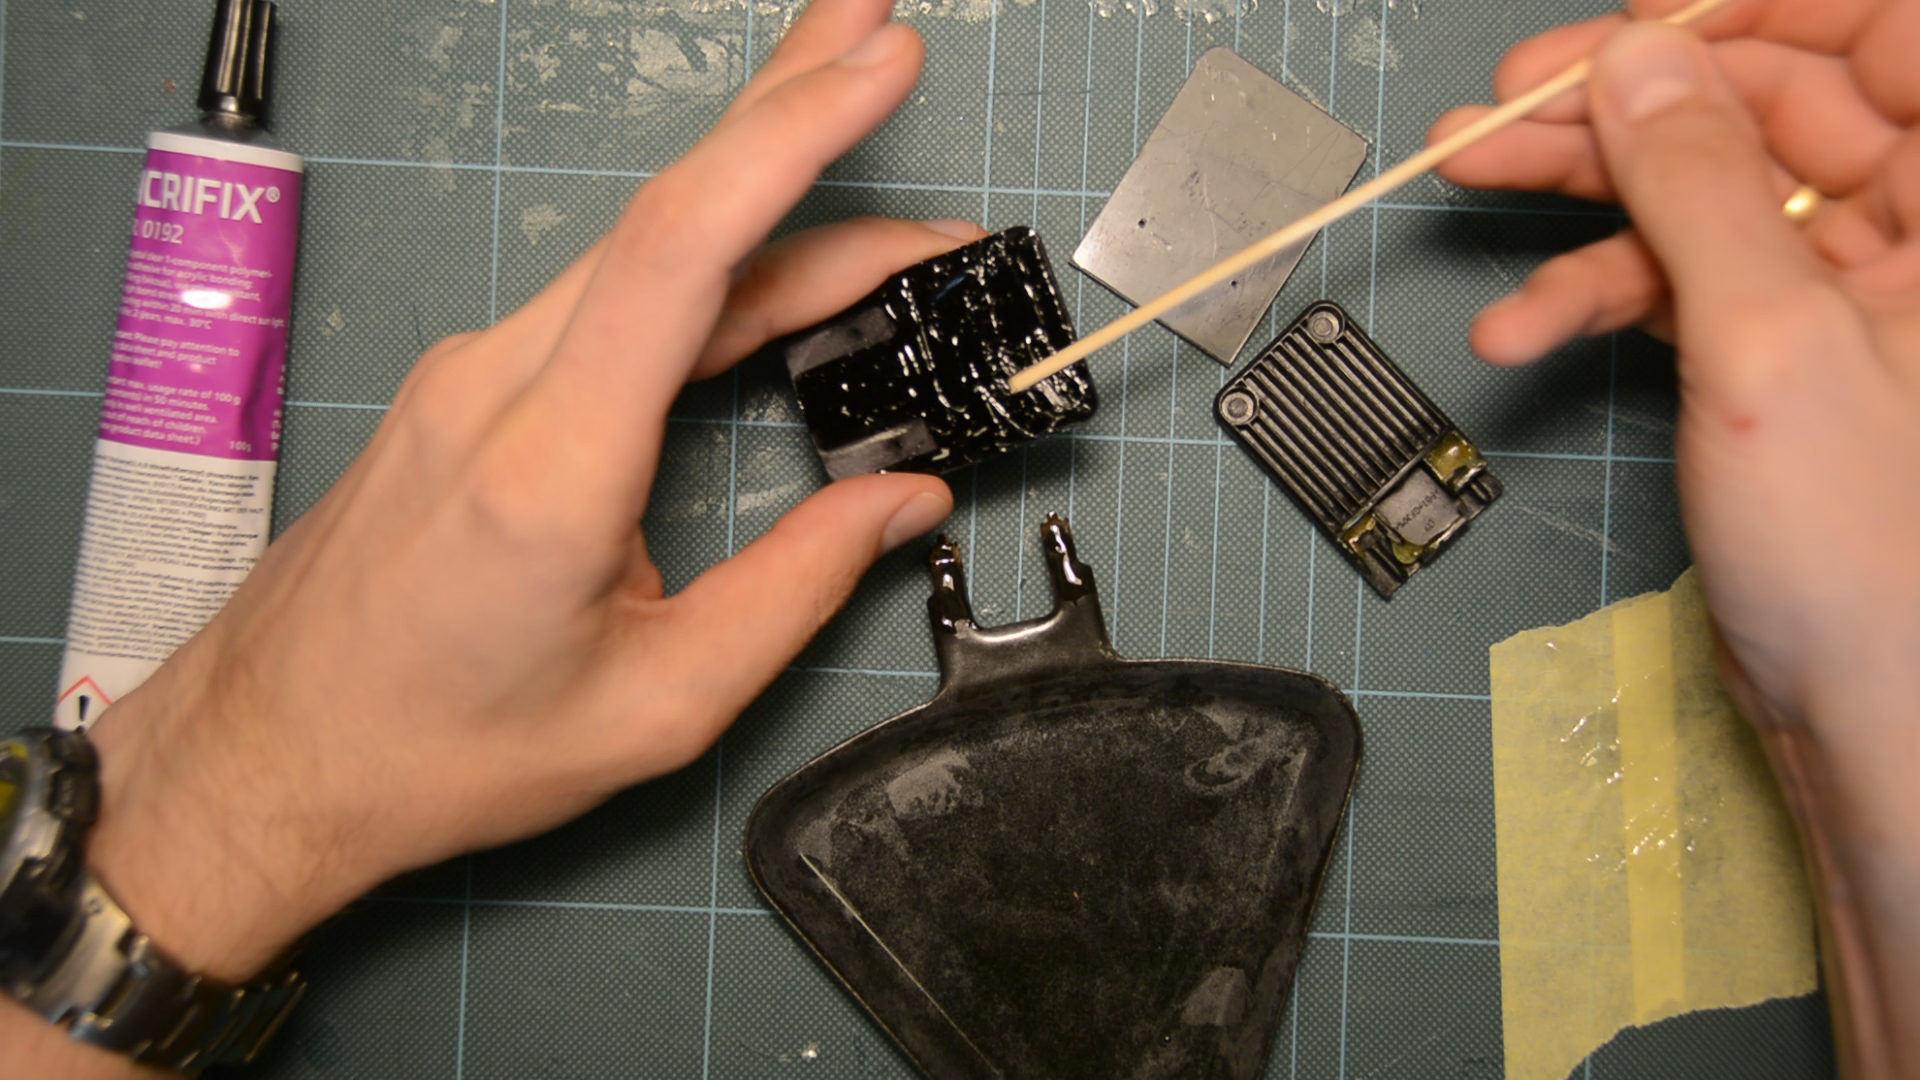
With a little bit of filing the handle fits perfectly between the two layers of acrylic. The metal part is glued to the acrylic with a bit of epoxy.
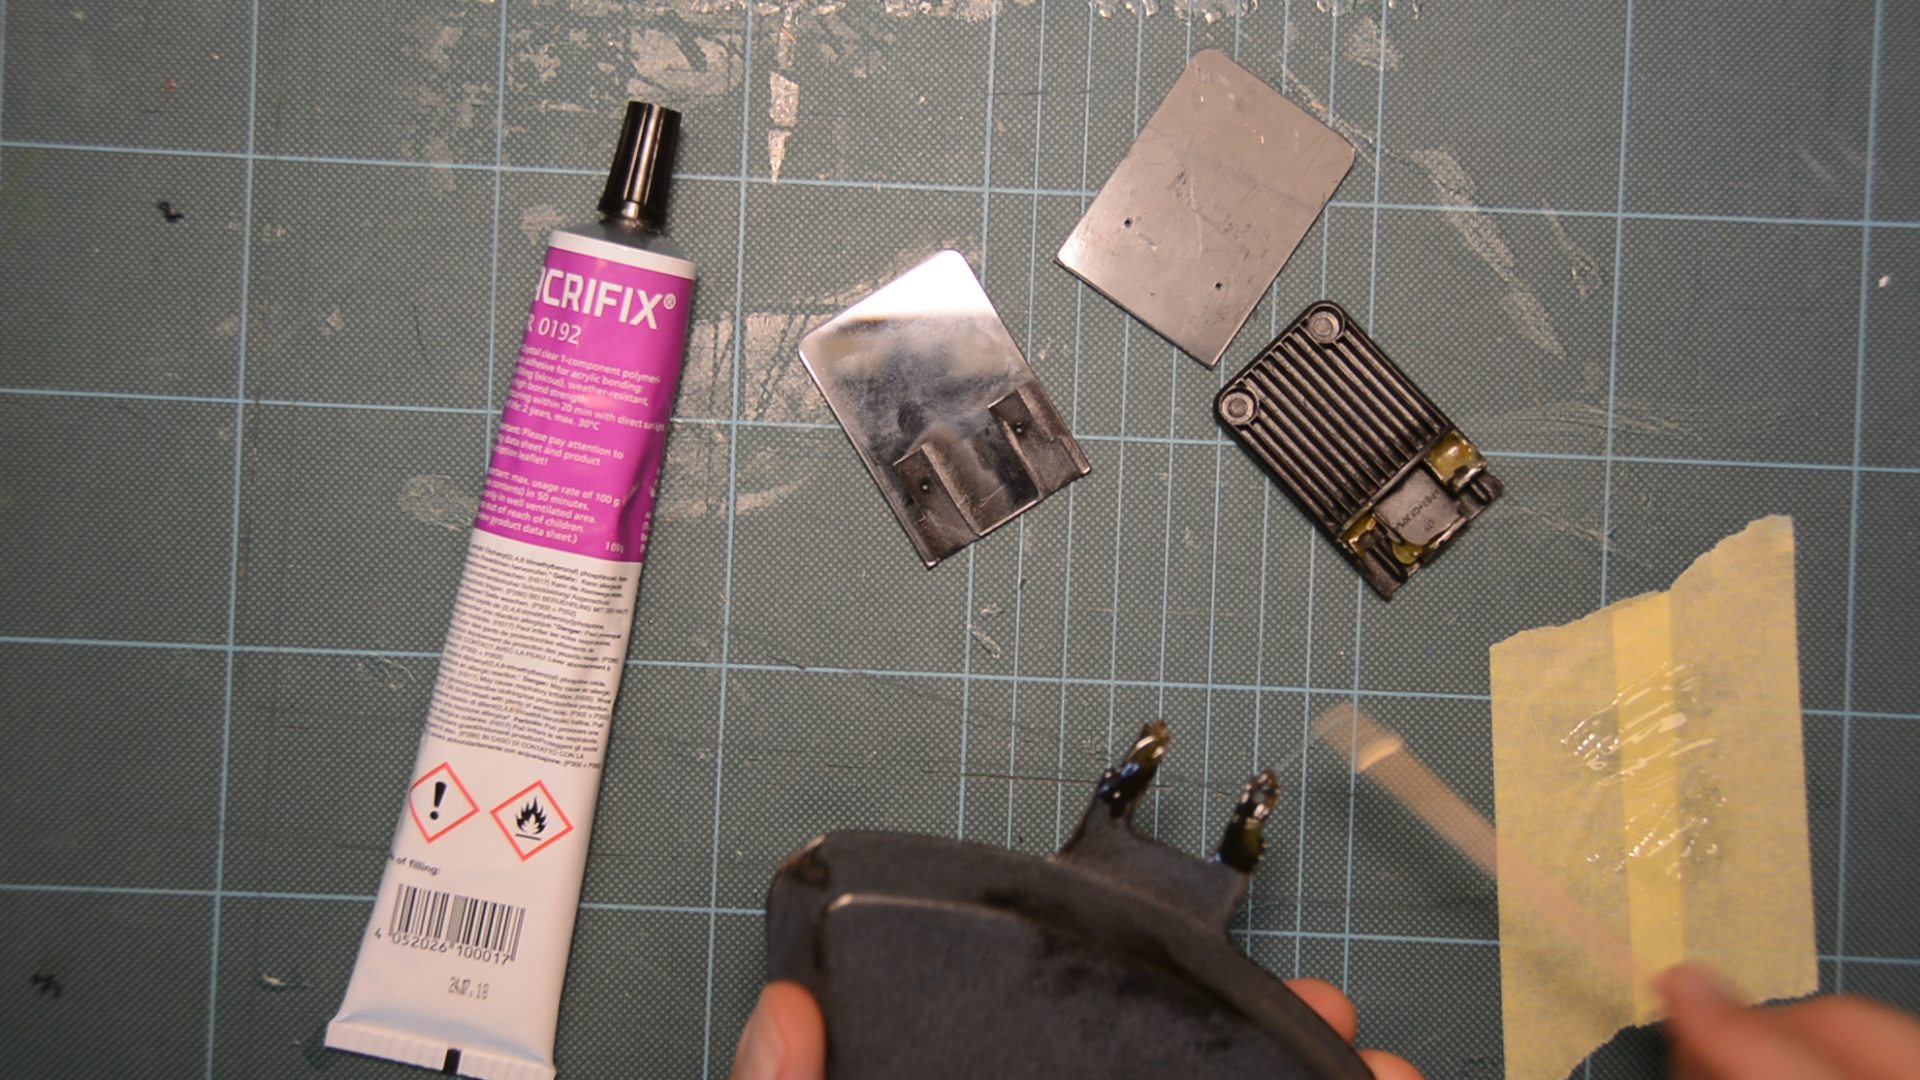
For gluing the surfaces together I use a special acrylic glue that creates a chemical reaction welding the two surfaces into one piece.
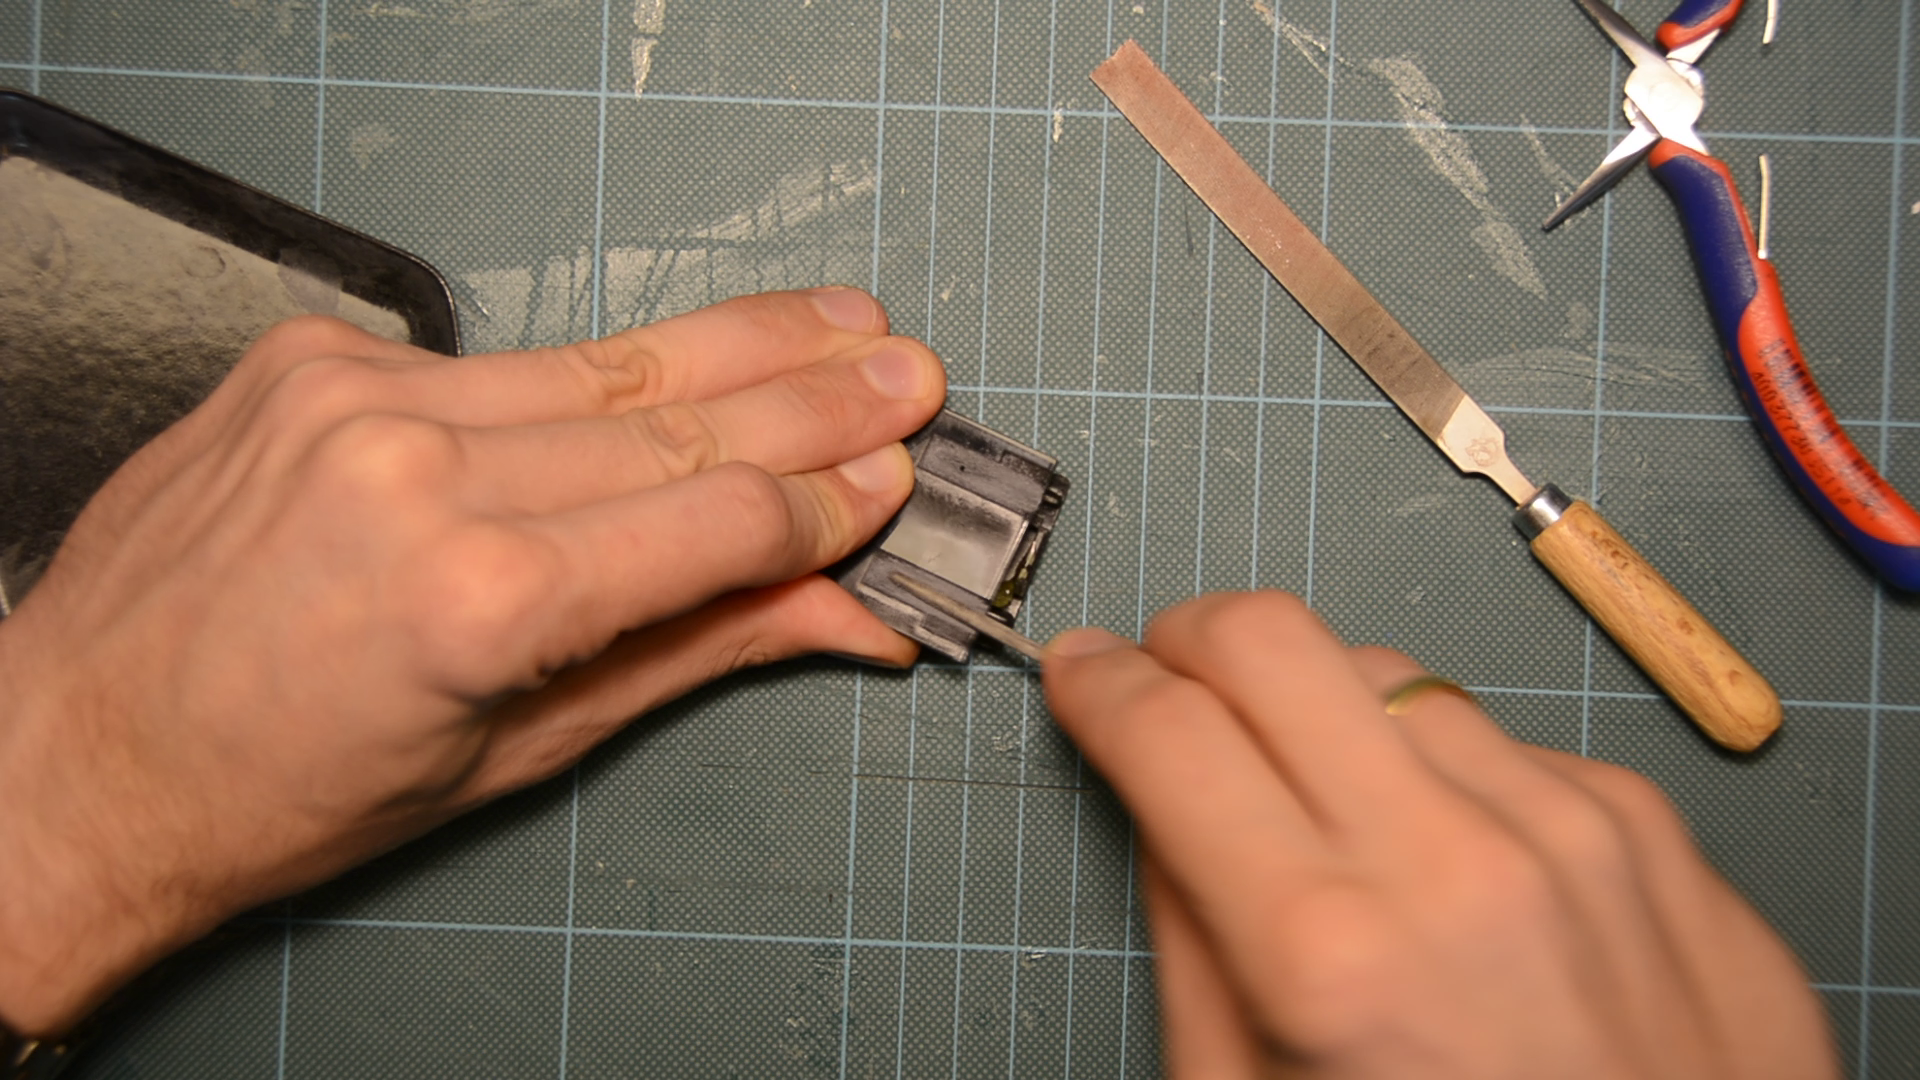
With the precut holes as a guide I bore two 1.5 mm hole through both layers of acrylic. Afterwards the holes get a small counterbore.

As a last step I want to secure the handle through the holes. Usually I would use a nail for this kind of pinning. As a nail would rust in the dishwasher I use a thin brass rod and then hammer it from both sides flat.
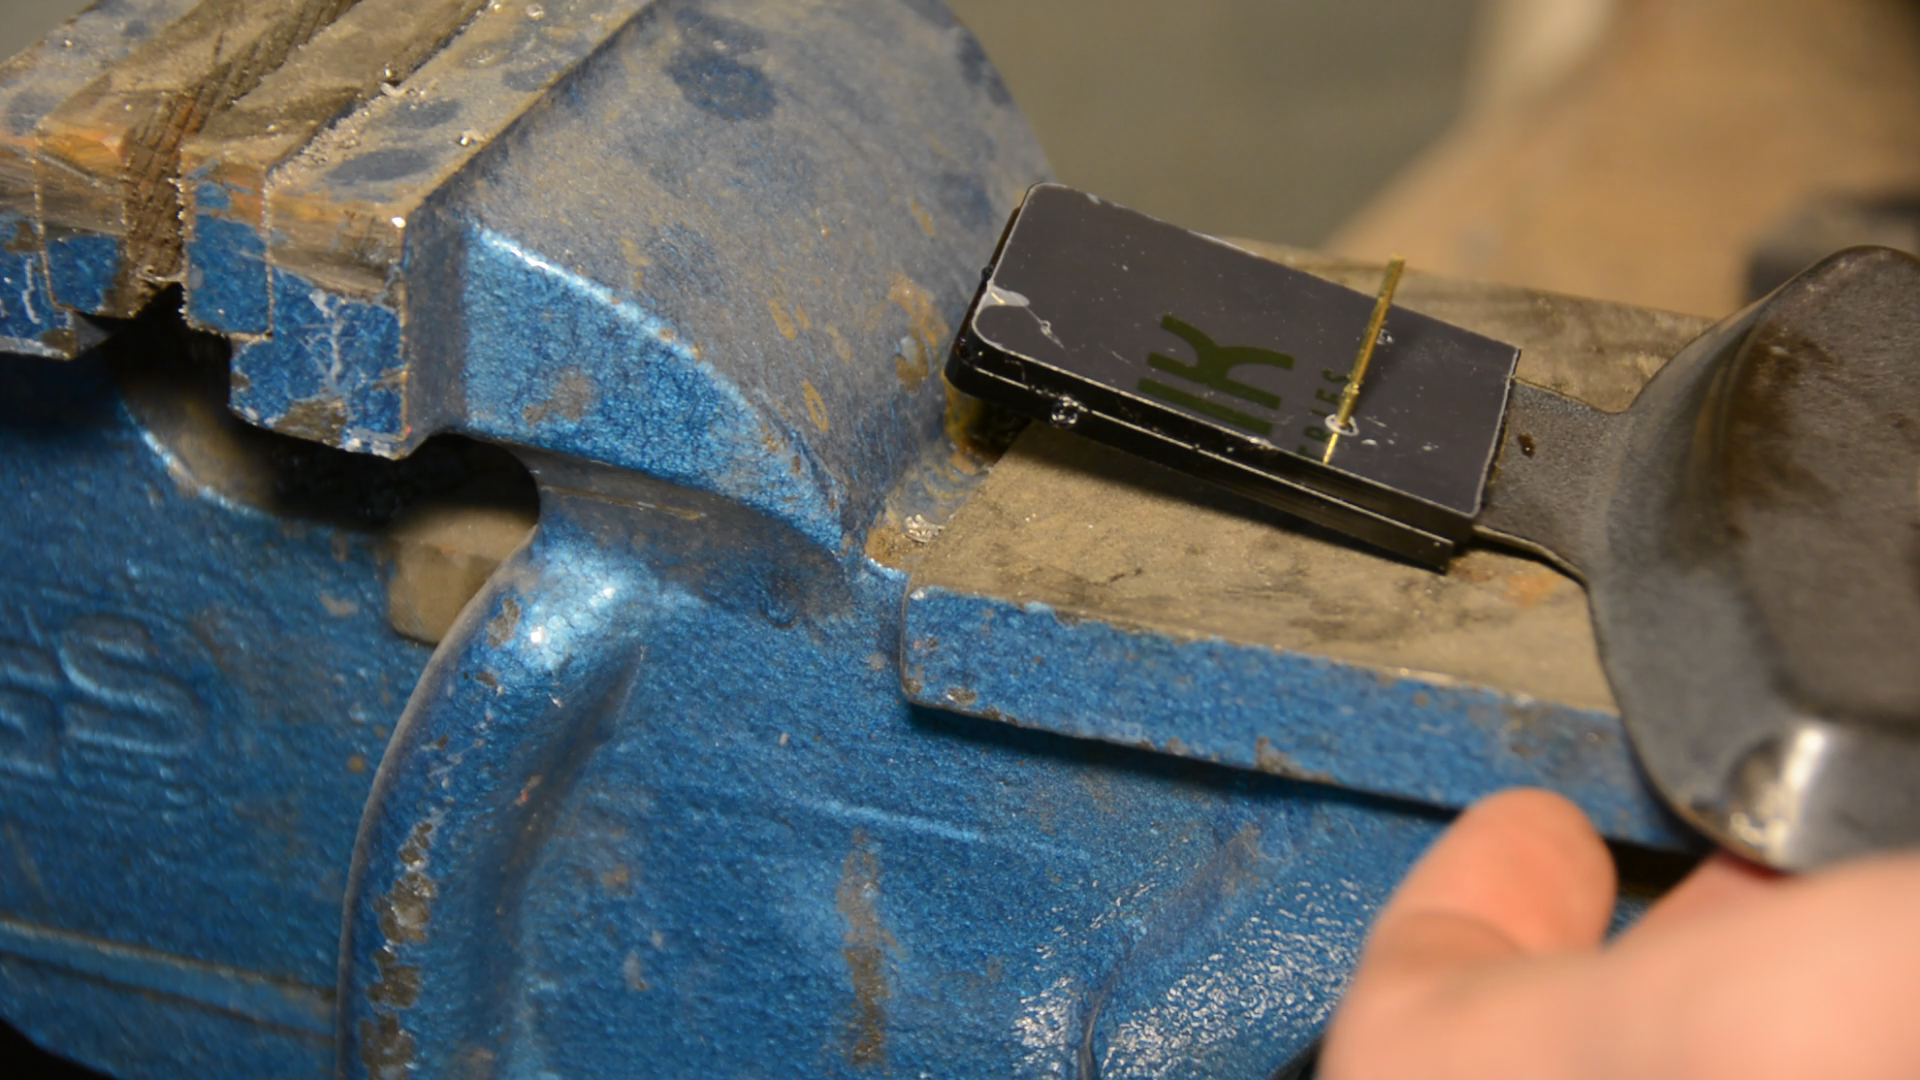
This will secure the pin mechanically in the hole.
The sides get a quick sanding as they slipped a bit during the glue up. I could polish the edges but realistically the high gloss finish is not going to survive the everyday abuse so let’s call this project done.

I am very happy with the process of lasercutting 3d pockets into material on the laser. It creates sharp corners and is for small items much more precise than a CNC.
Resources
- Inkscape file for the depth test
- LibreOffice file for the calculation
- Excel version of the calculation file (not tested)