
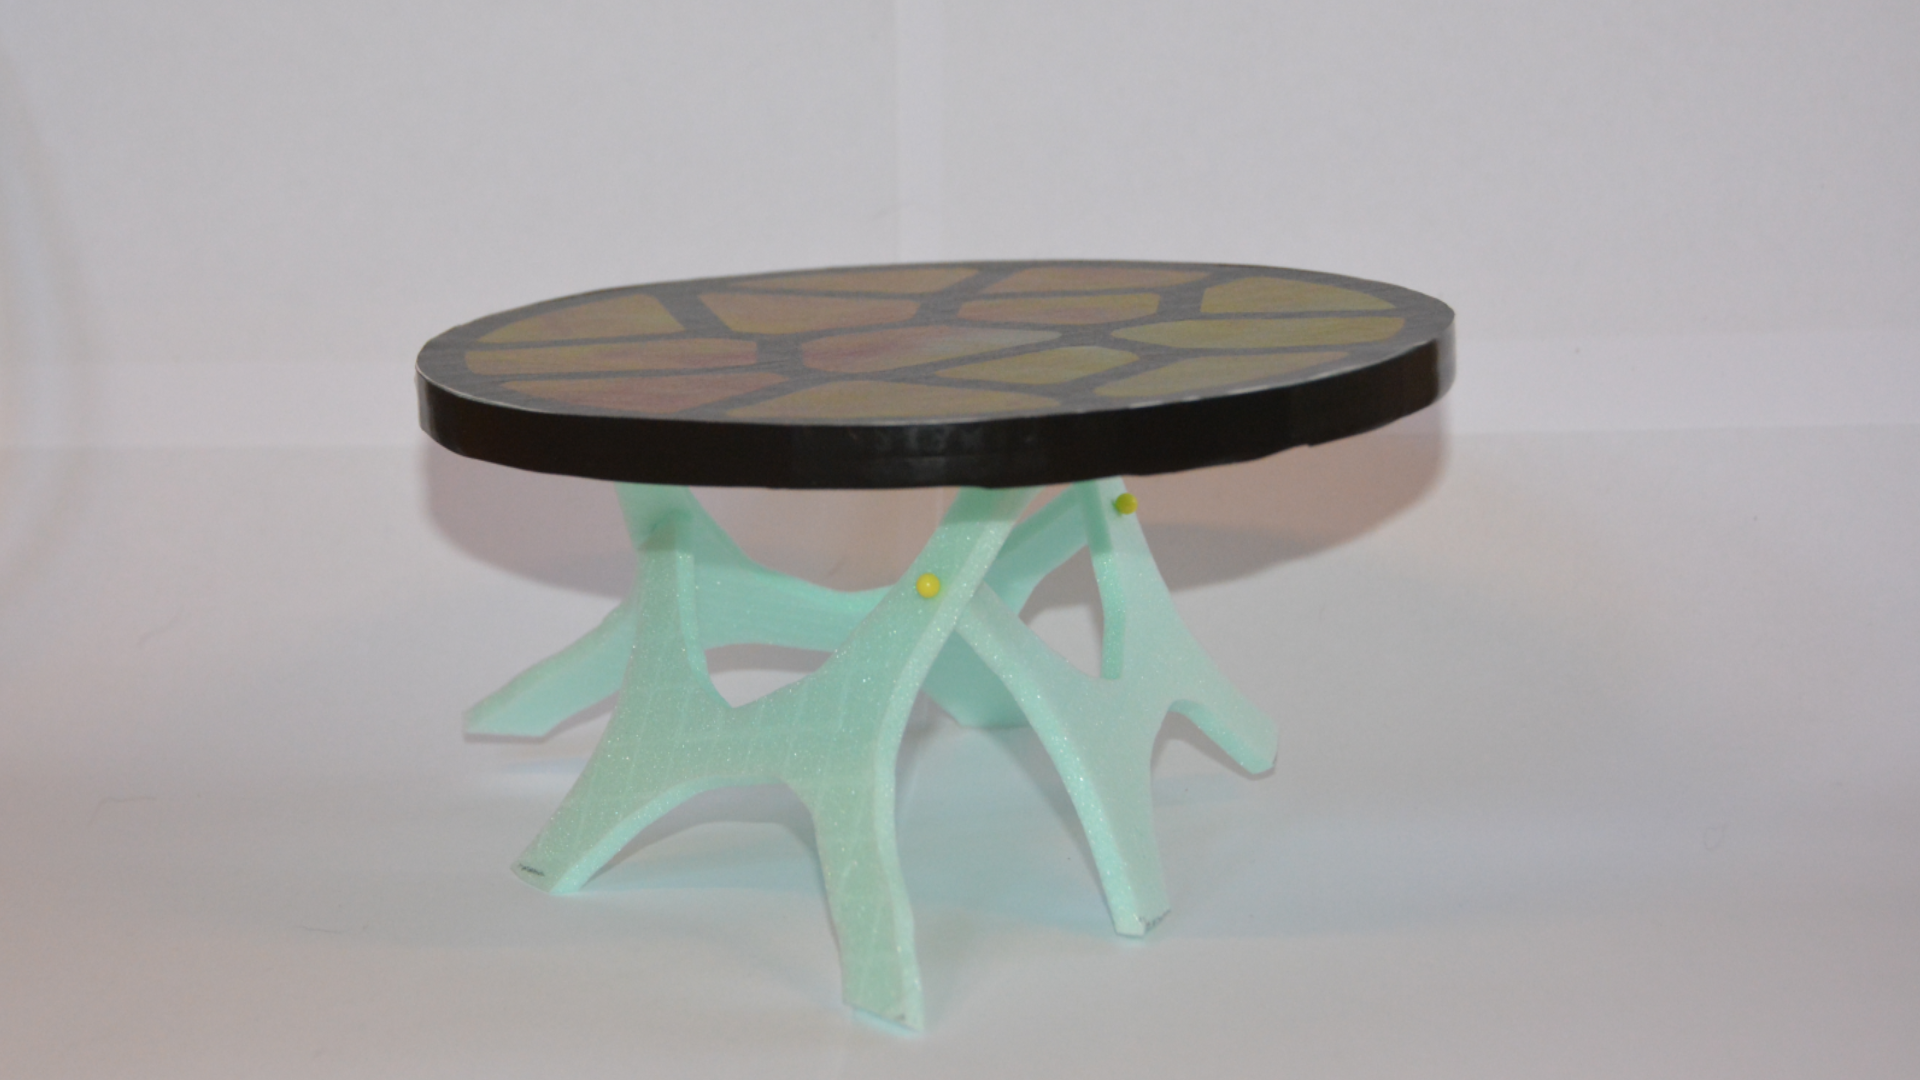
In this article we create the living cell table that is also my entry for the rockler plywood challenge from the modern maker podcast.
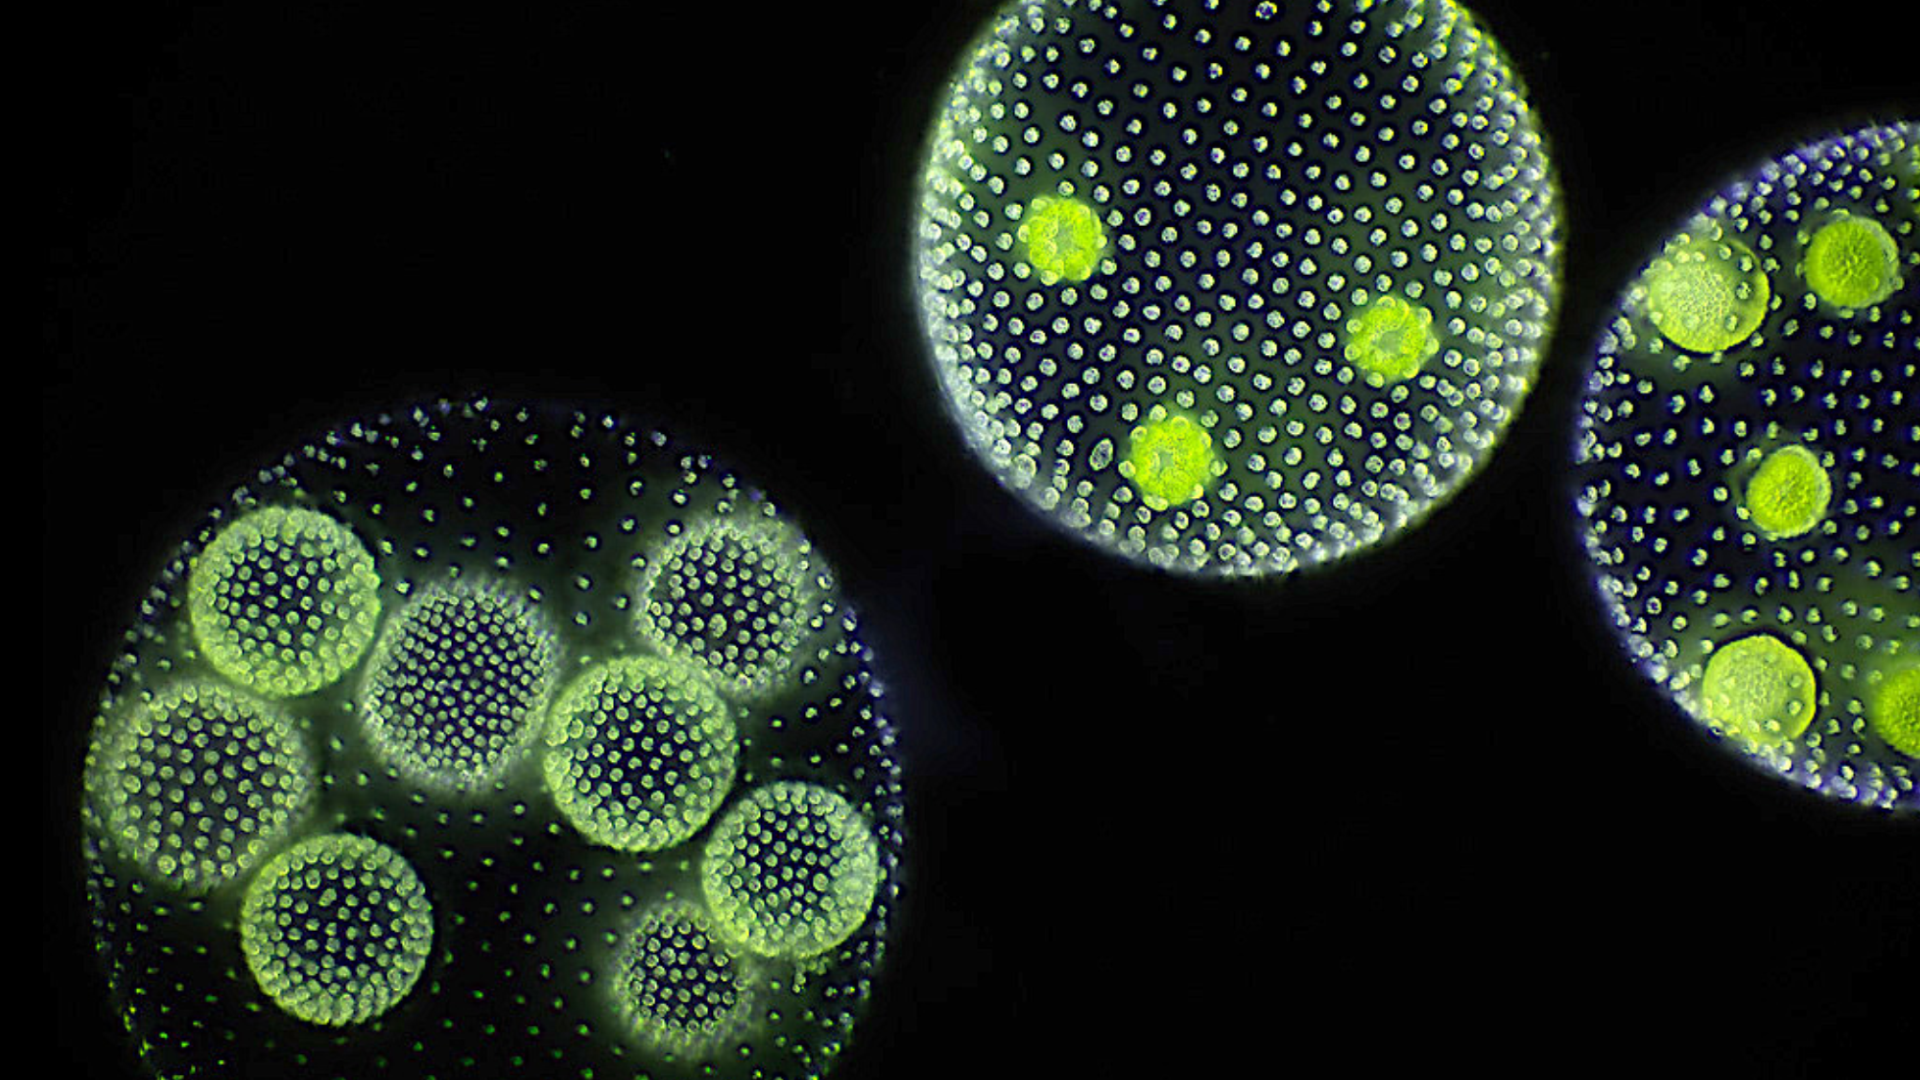
In some rivers and maybe in some river tables you find these Volvox algae.
Supposedly they are similar to the first multi cell organisms and I want to take their structure as an inspiration for my living cell table (Volvox foto: Frank Fox – www.mikro-foto.de).
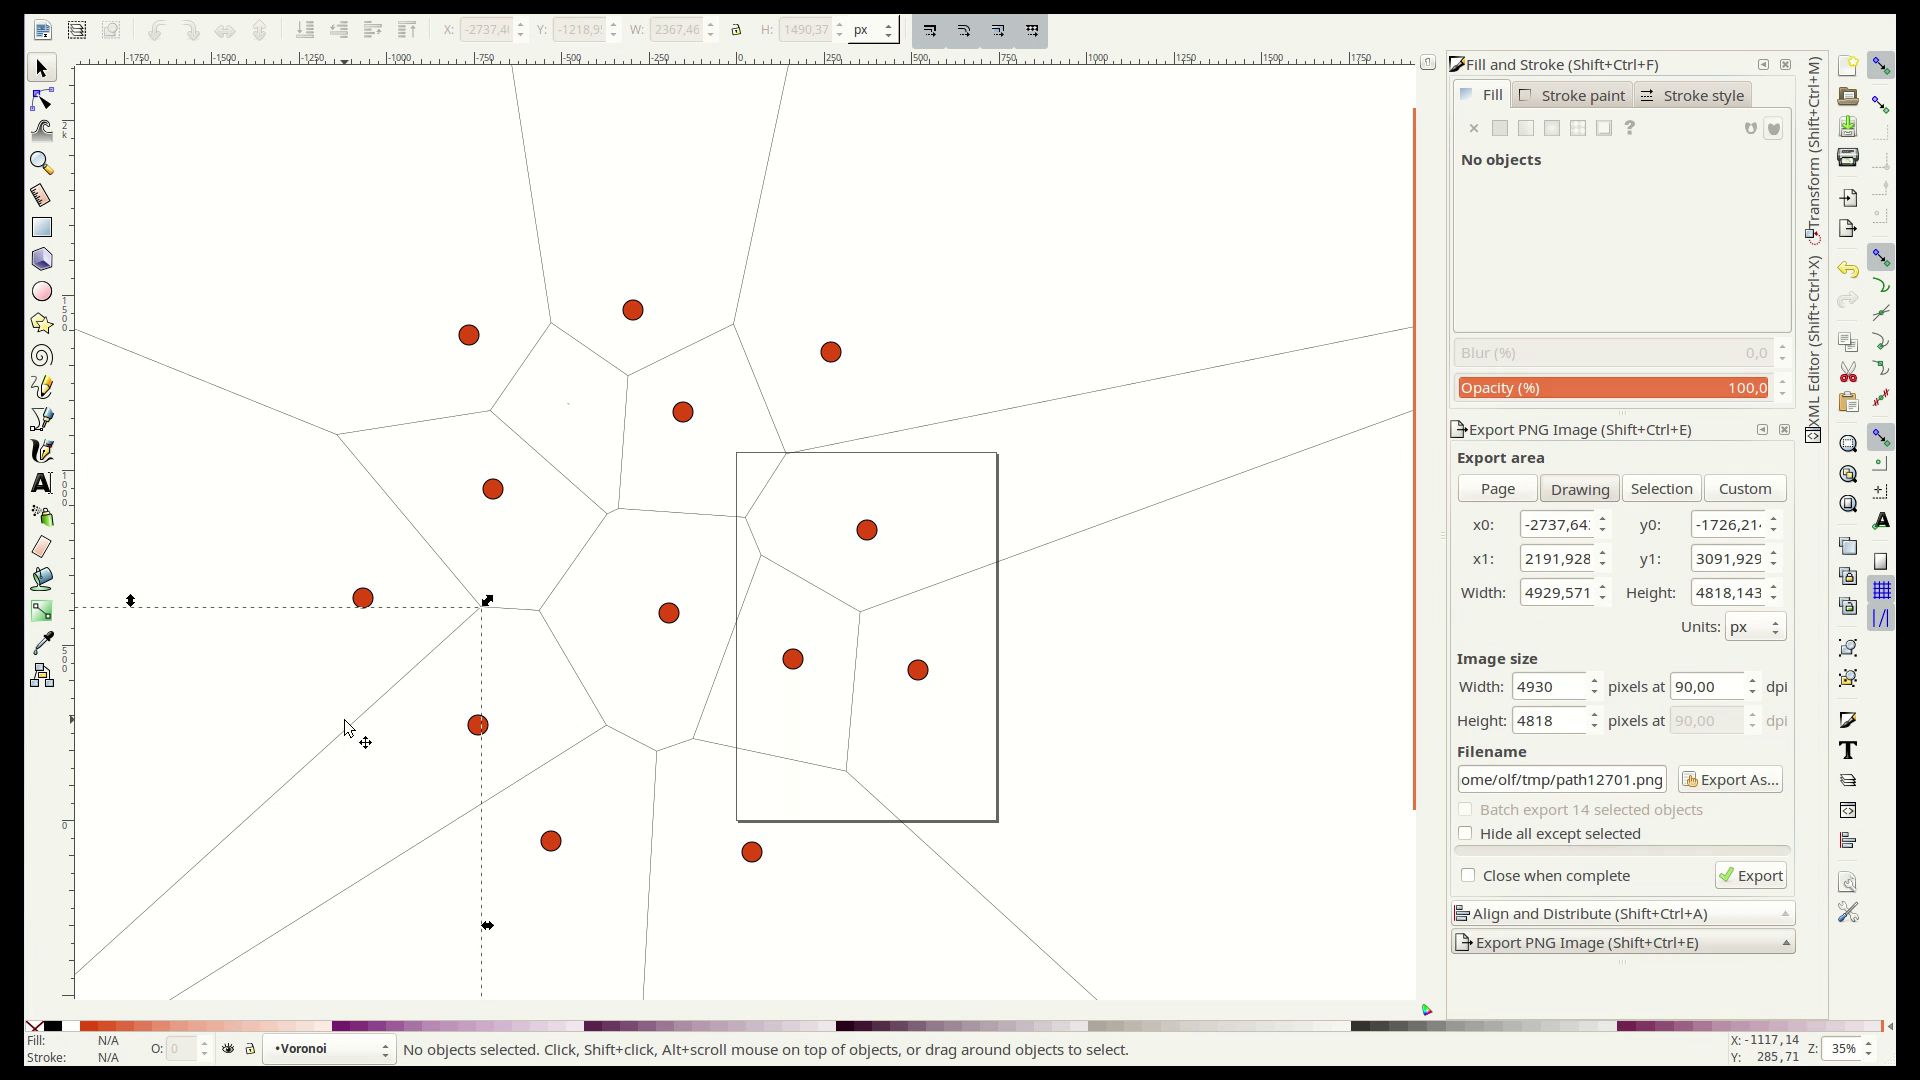
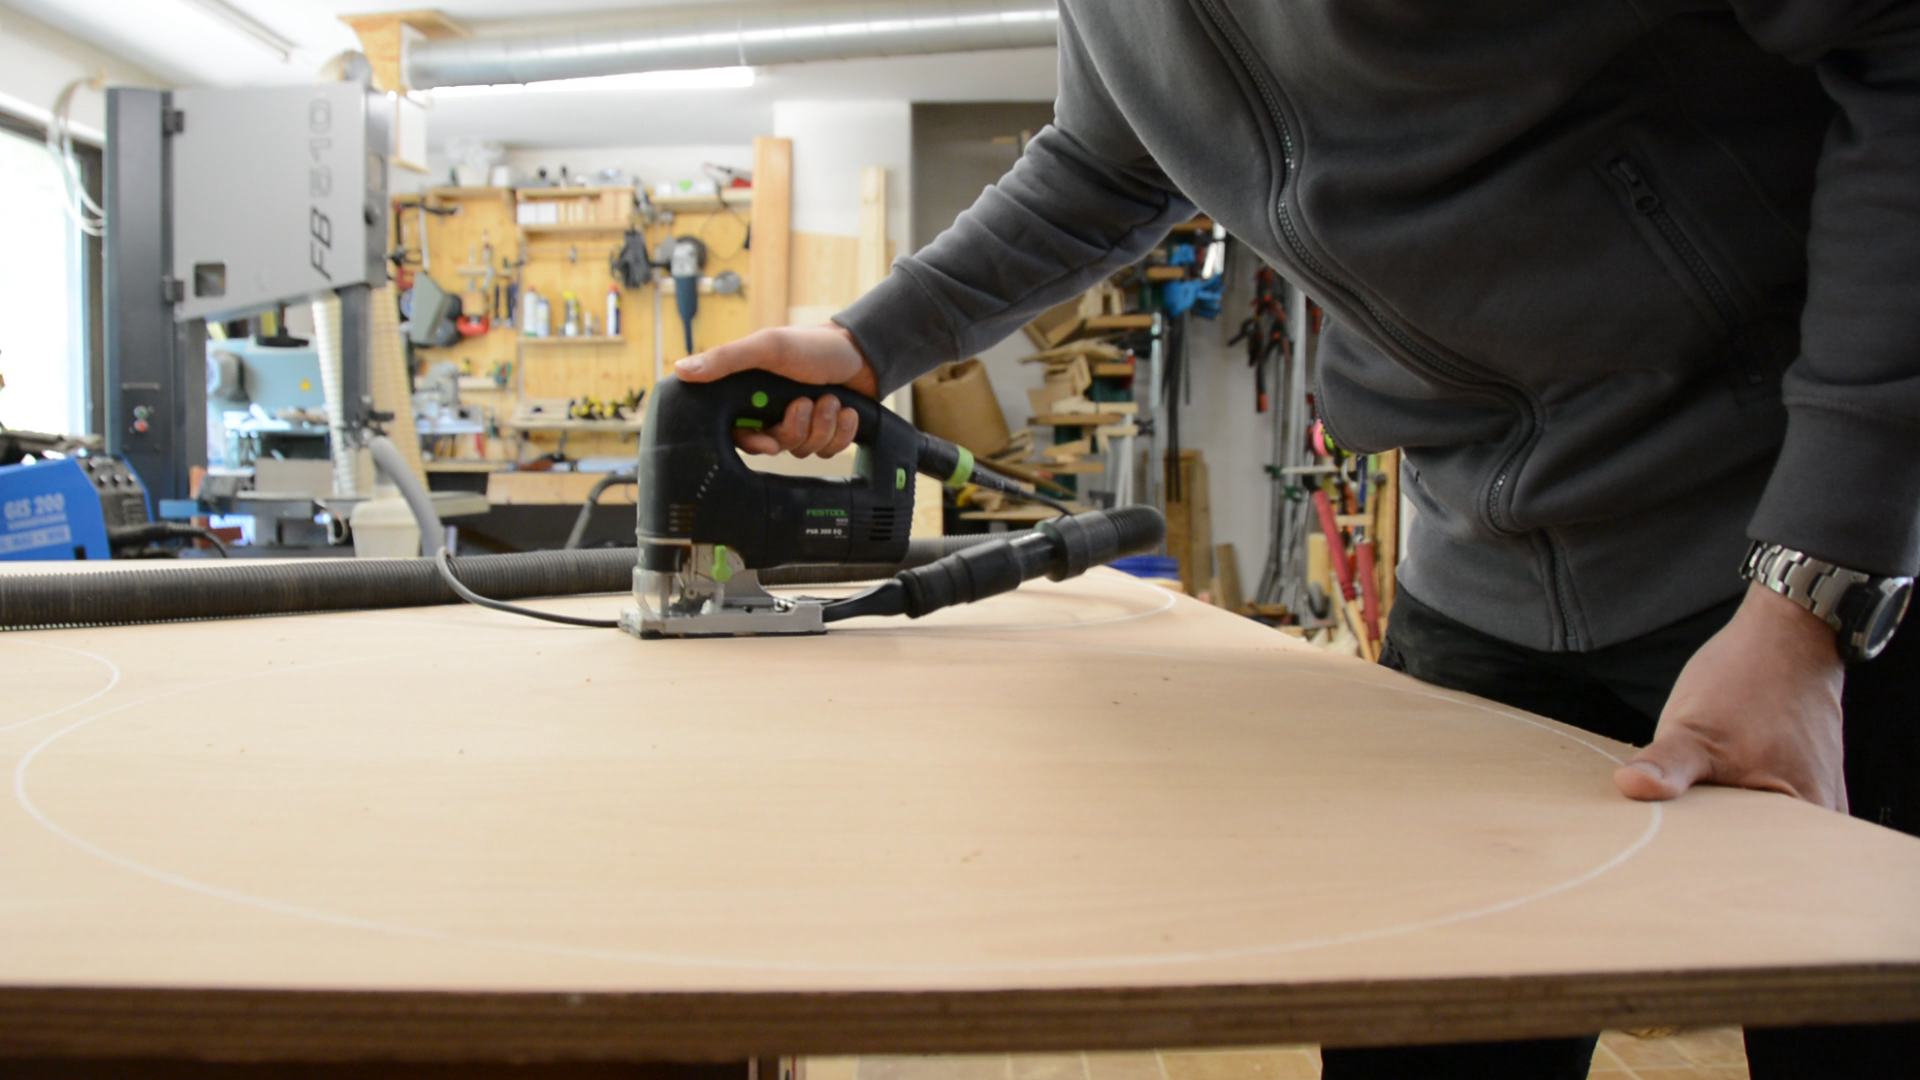
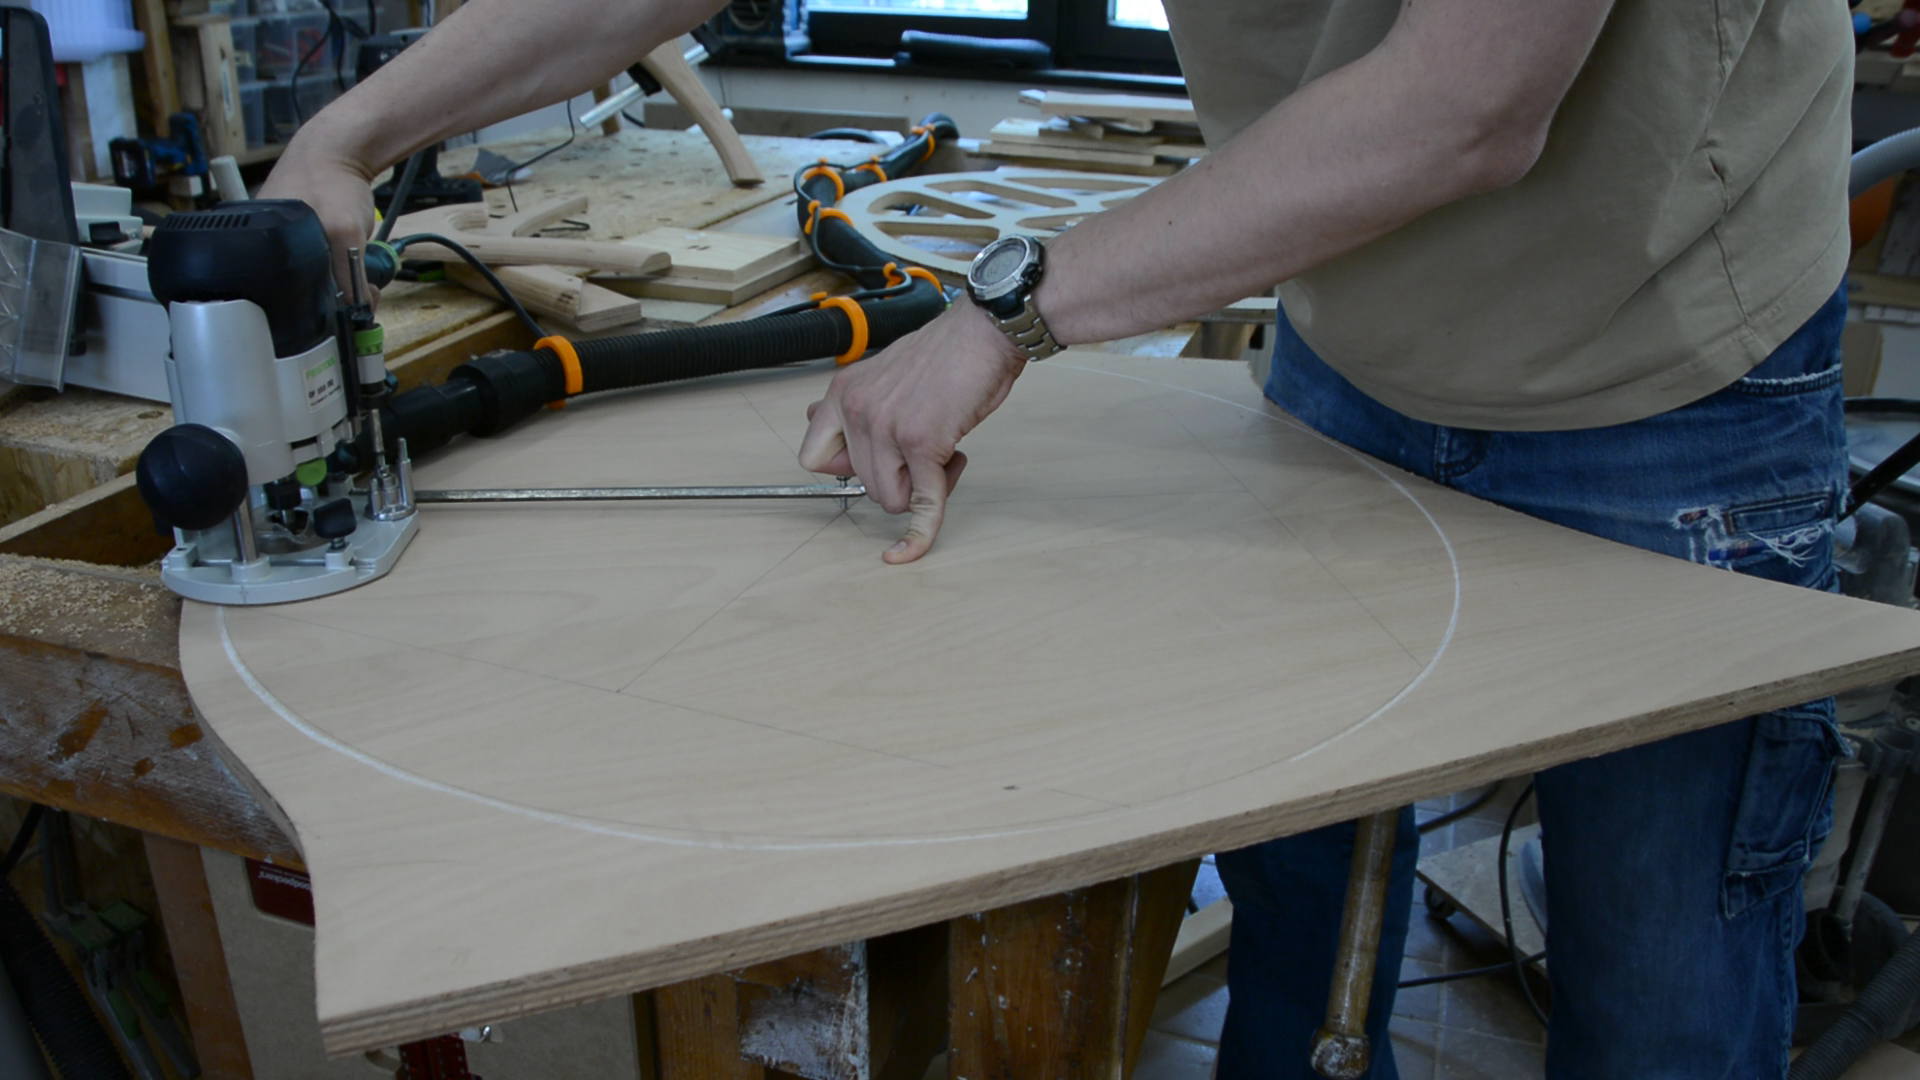
The table should be round as a volvox sphere. To create an abstract cell pattern I use the free software Inkscape. By randomly distributing dots in a circle and creating a Voroni pattern based on this distribution the pattern looks like a conglomerate of cells.
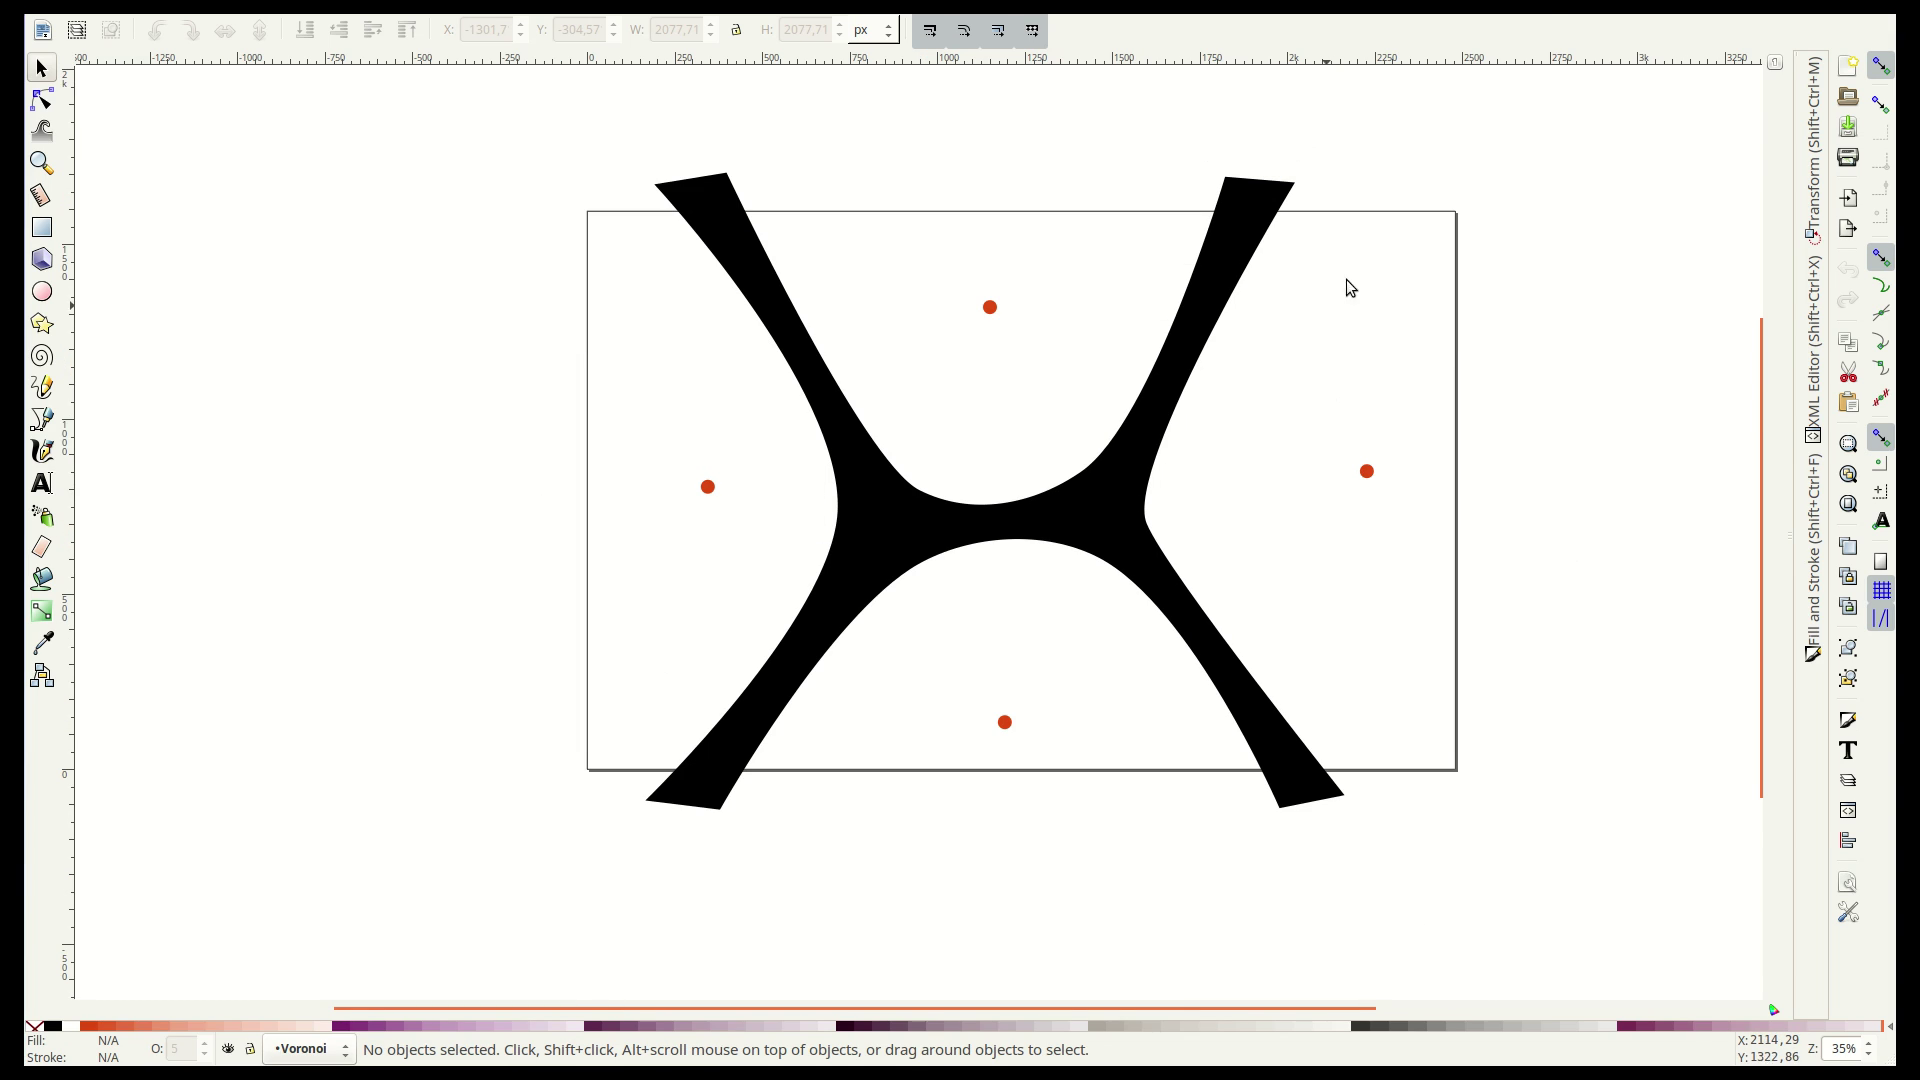
Before we create the table top let’s design the legs. Straight legs would have looked weird with this table. As I was already creating Voroni patterns in Inkscape why not use the same approach for the legs. Four dots and I a rough prototype.
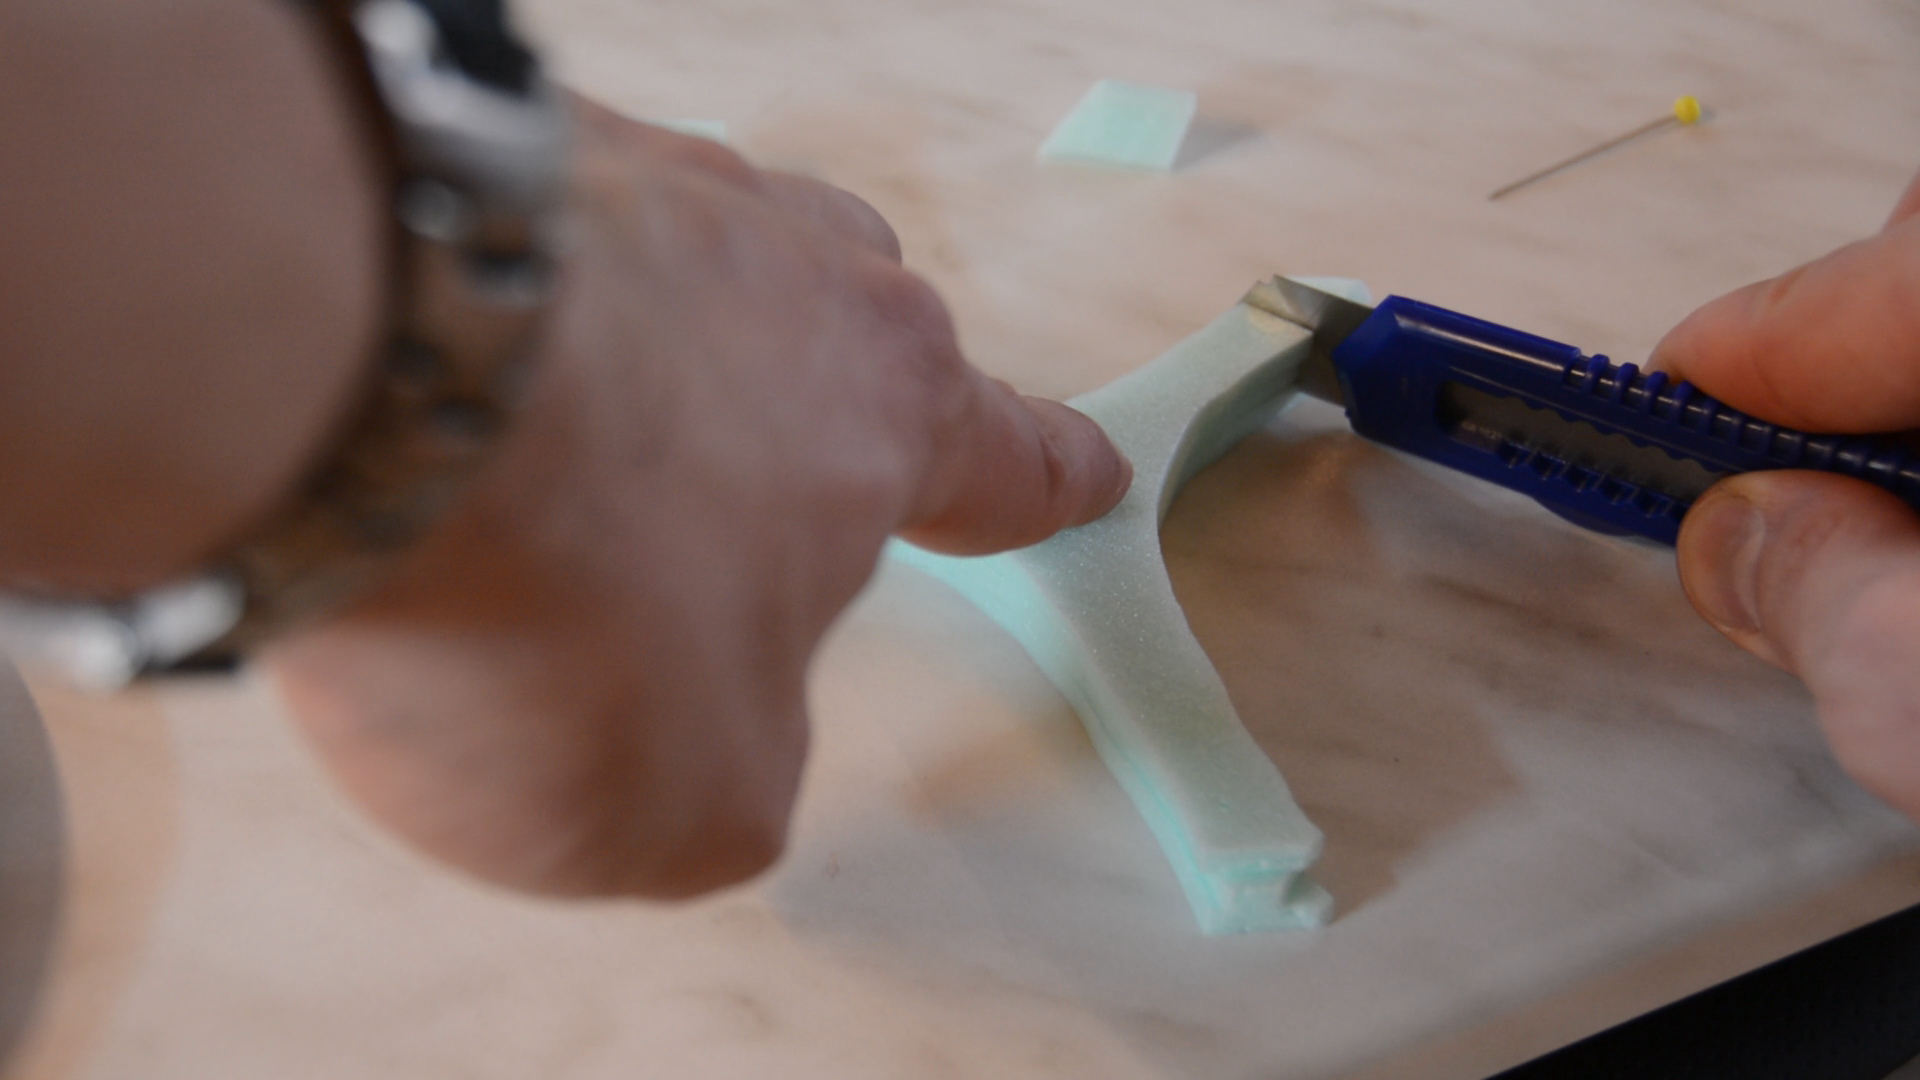
Next I cut a smaller scale model of this shape on the hotwire table and start to experiment.
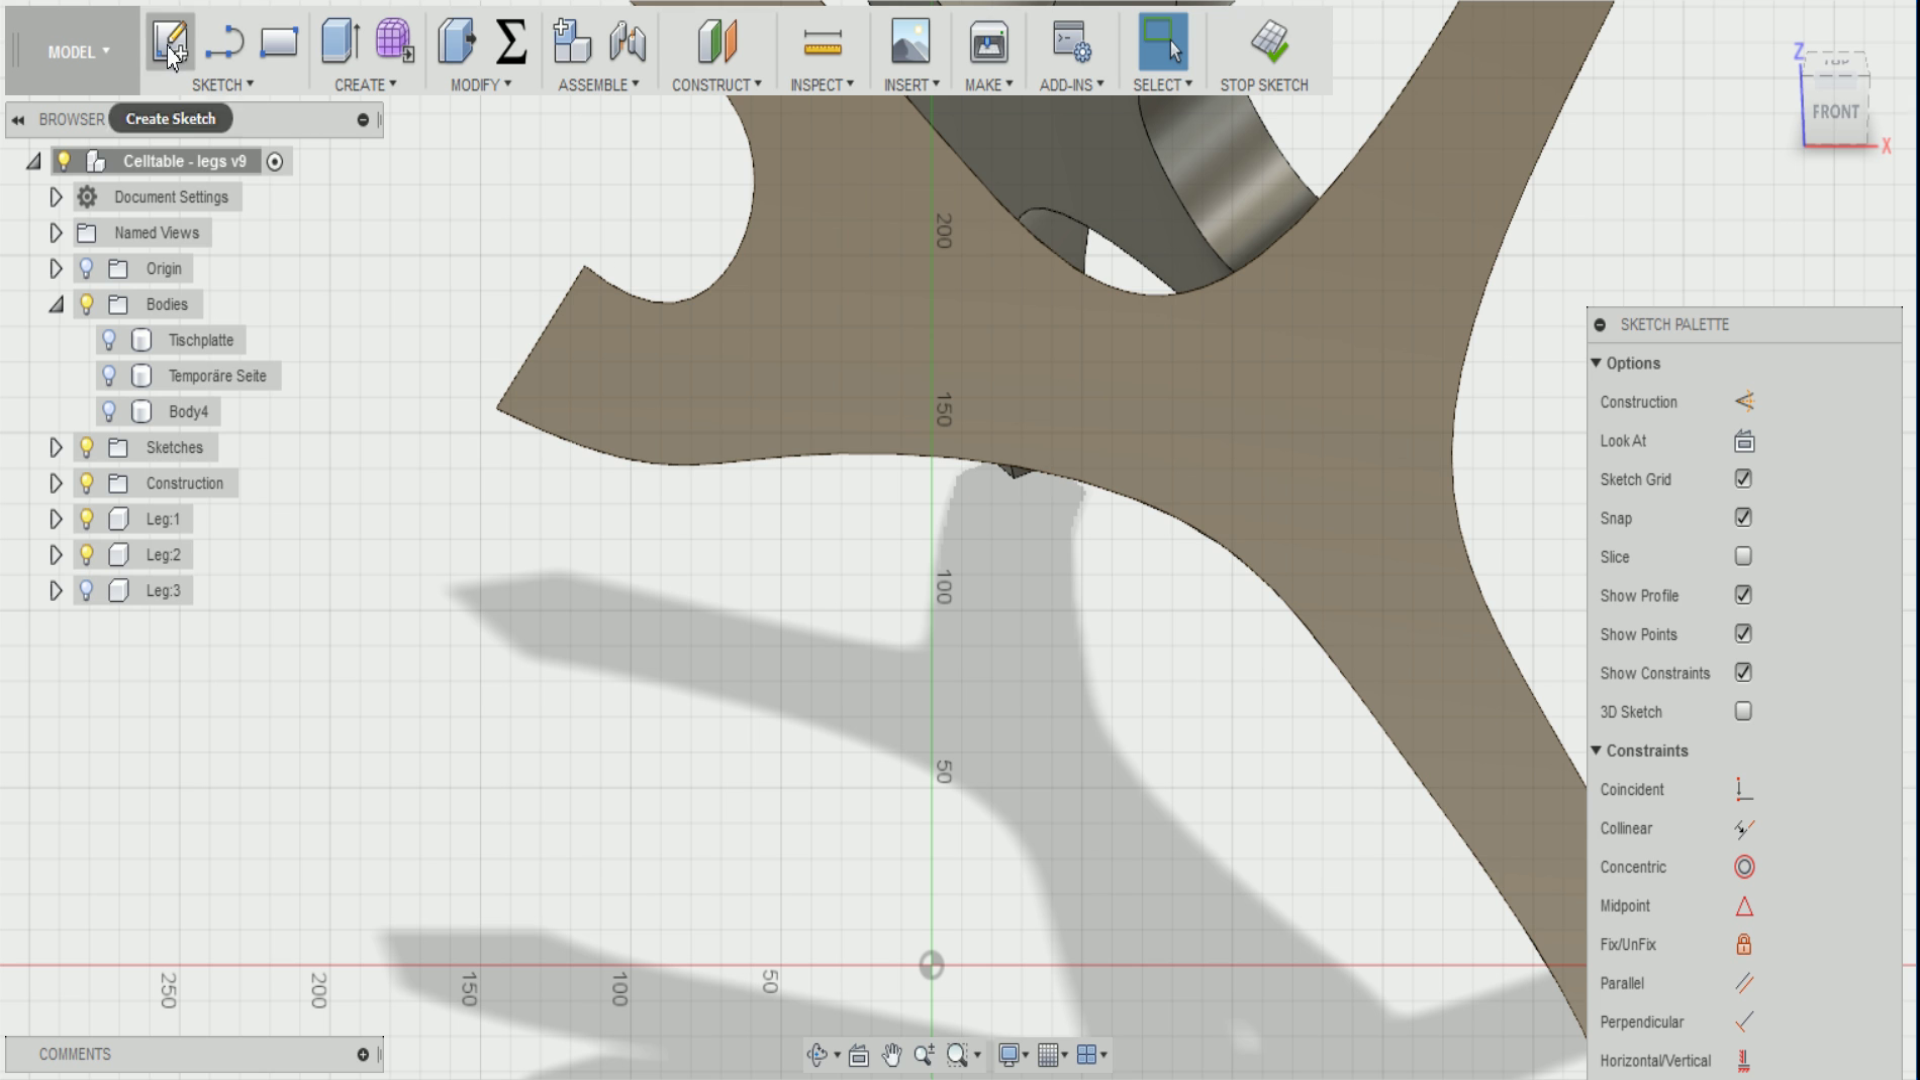
After several iterations I end up with this concept that I recreate in Fusion 360.
While the CNC is cutting a template for the leg shape let\u2019s get back to the table top.
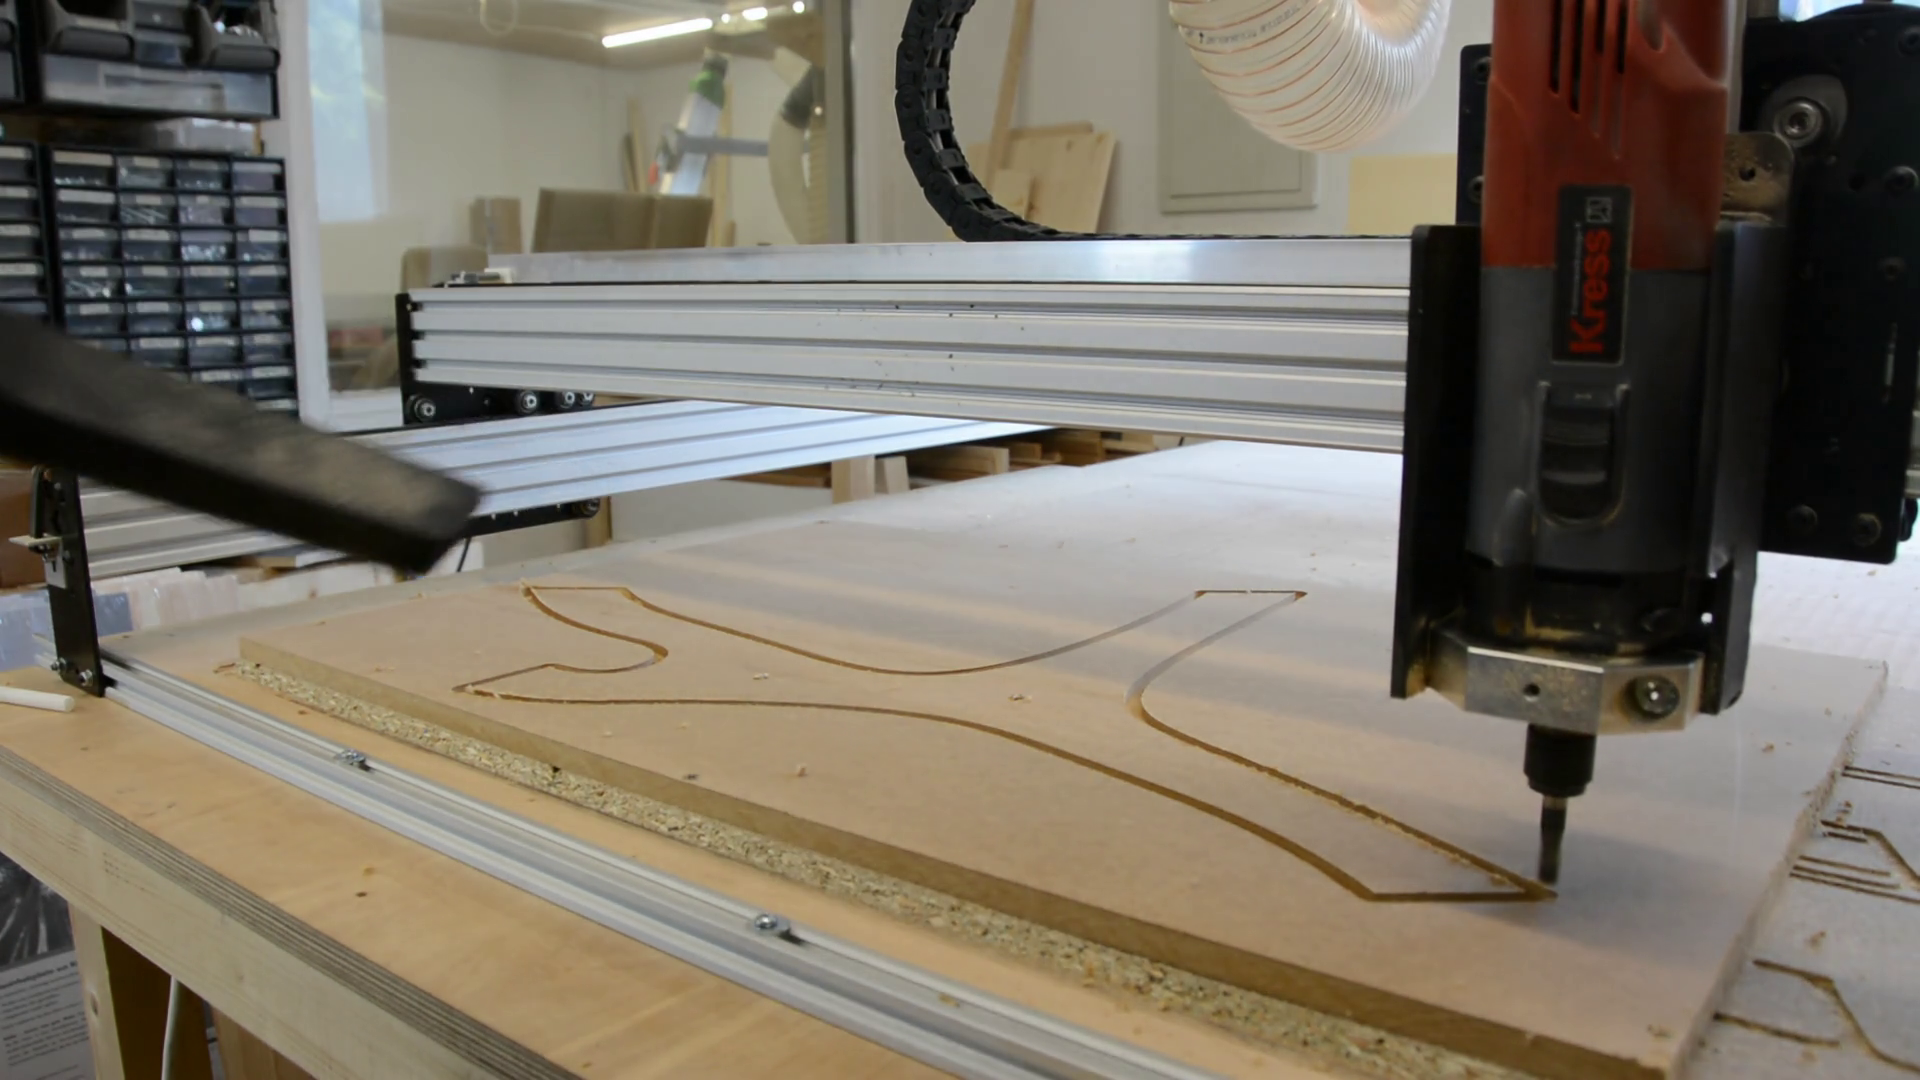
The CNC is cutting a template from MDF for the tabletop. I am working with templates instead of cutting everything directly on the CNC as nesting
all the shapes on a sheet of plywood would be too complicated with the machine while it’s easily done by hand.
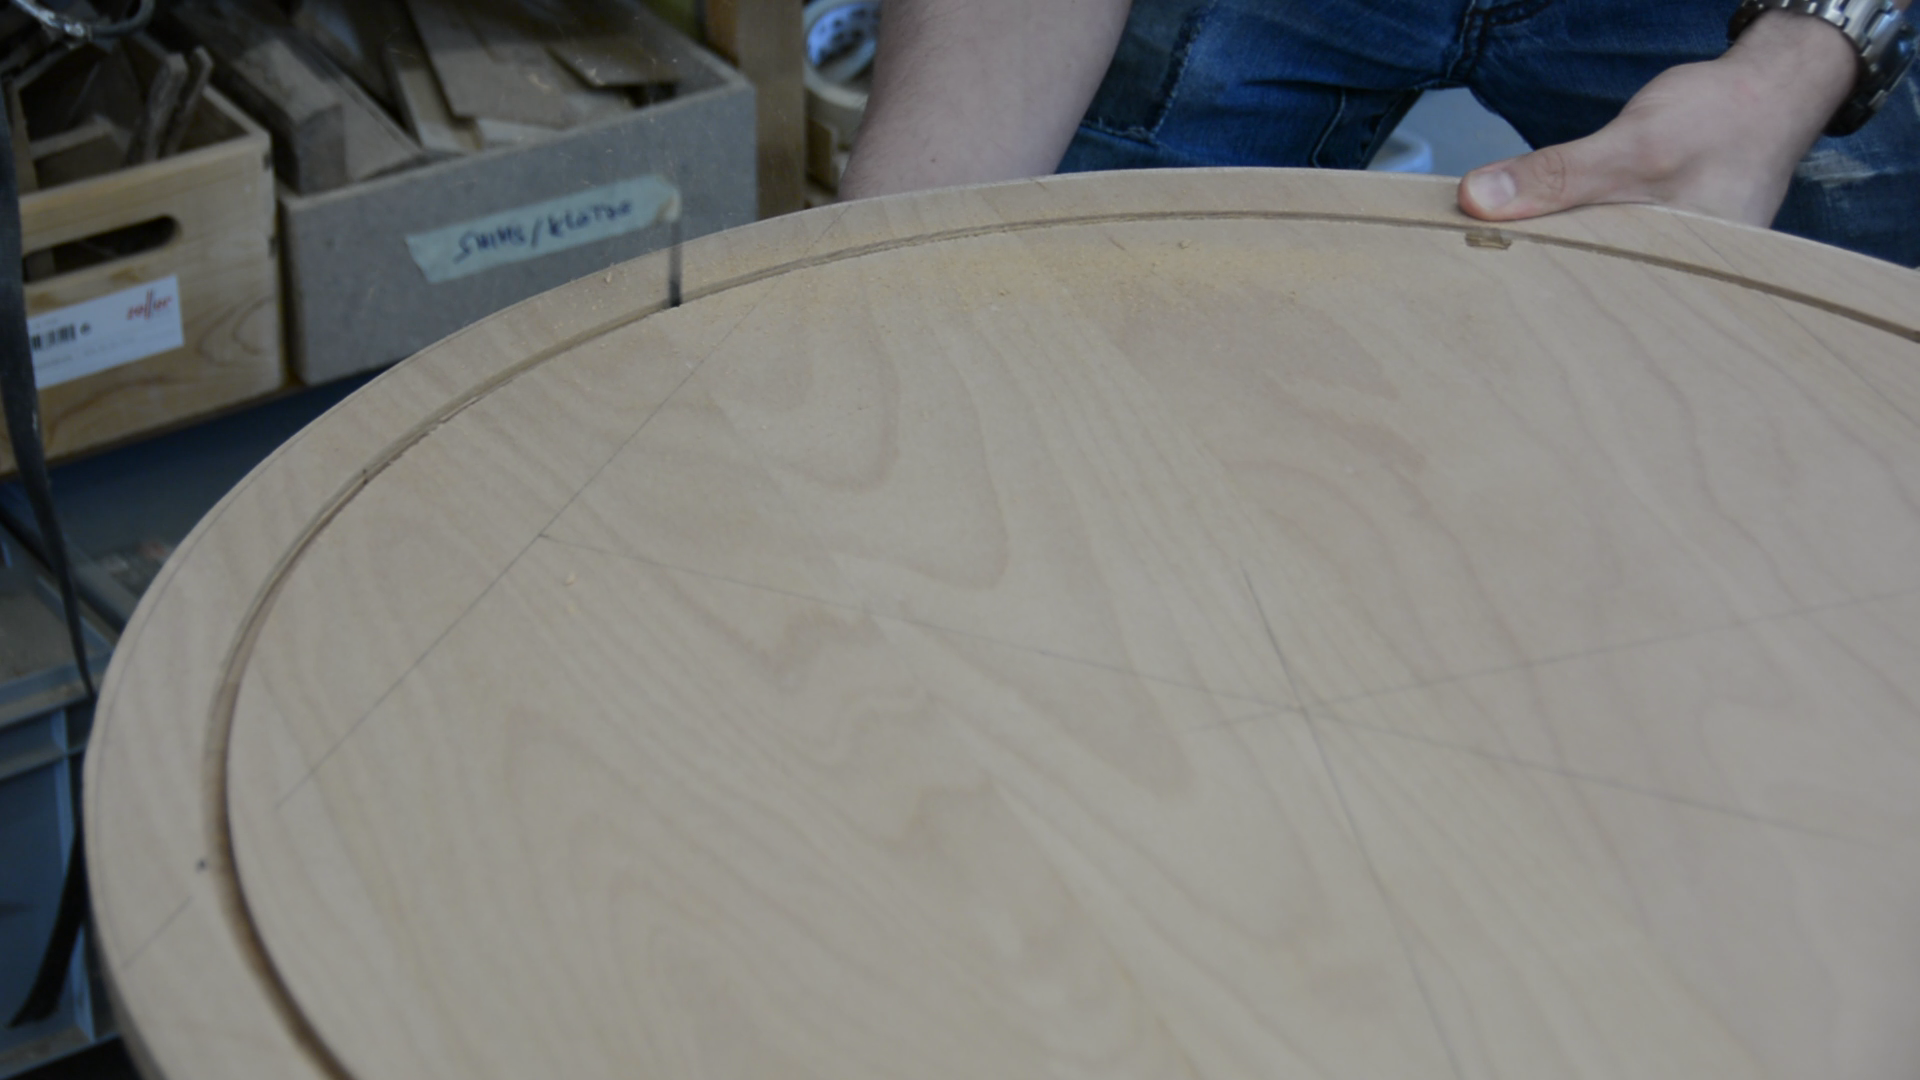
After drawing the shapes with chalk on the plywood I break the sheet into more manageable pieces.
The shapes are then roughly cut on the bandsaw.
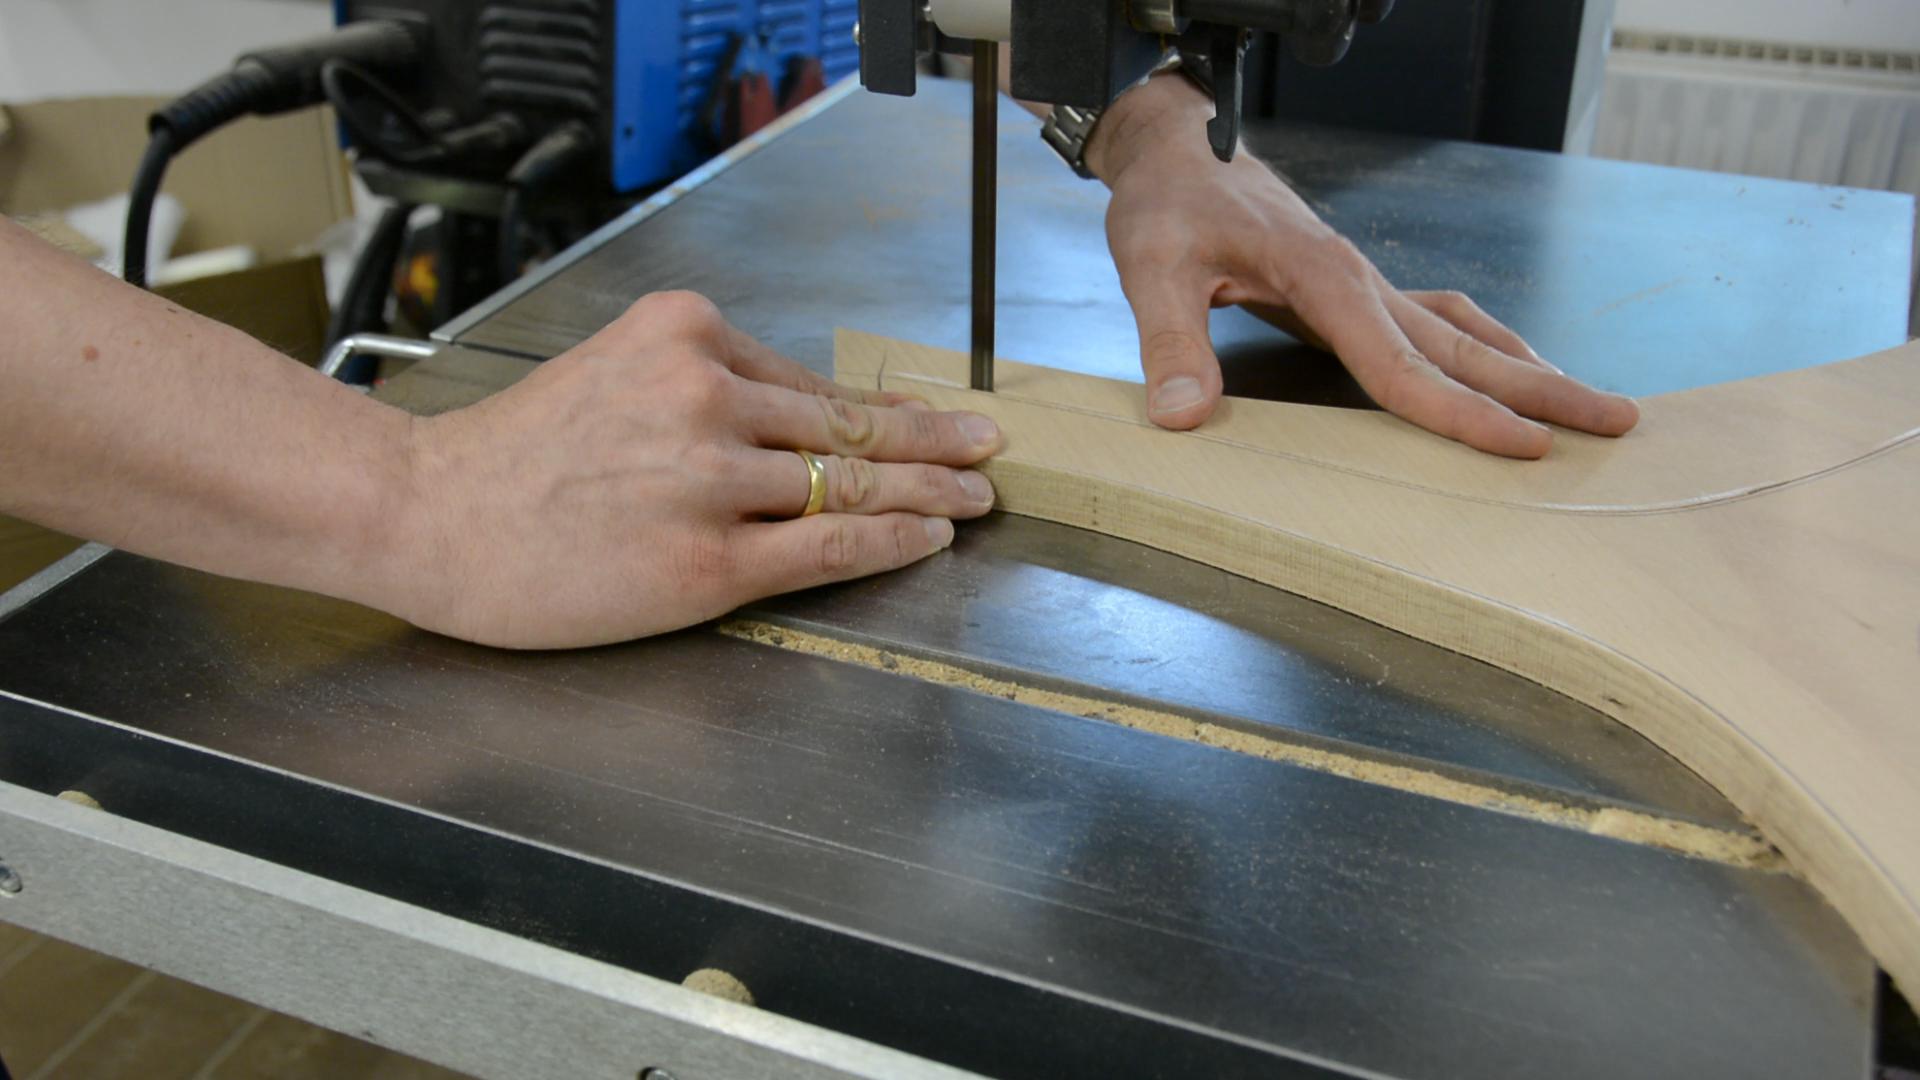
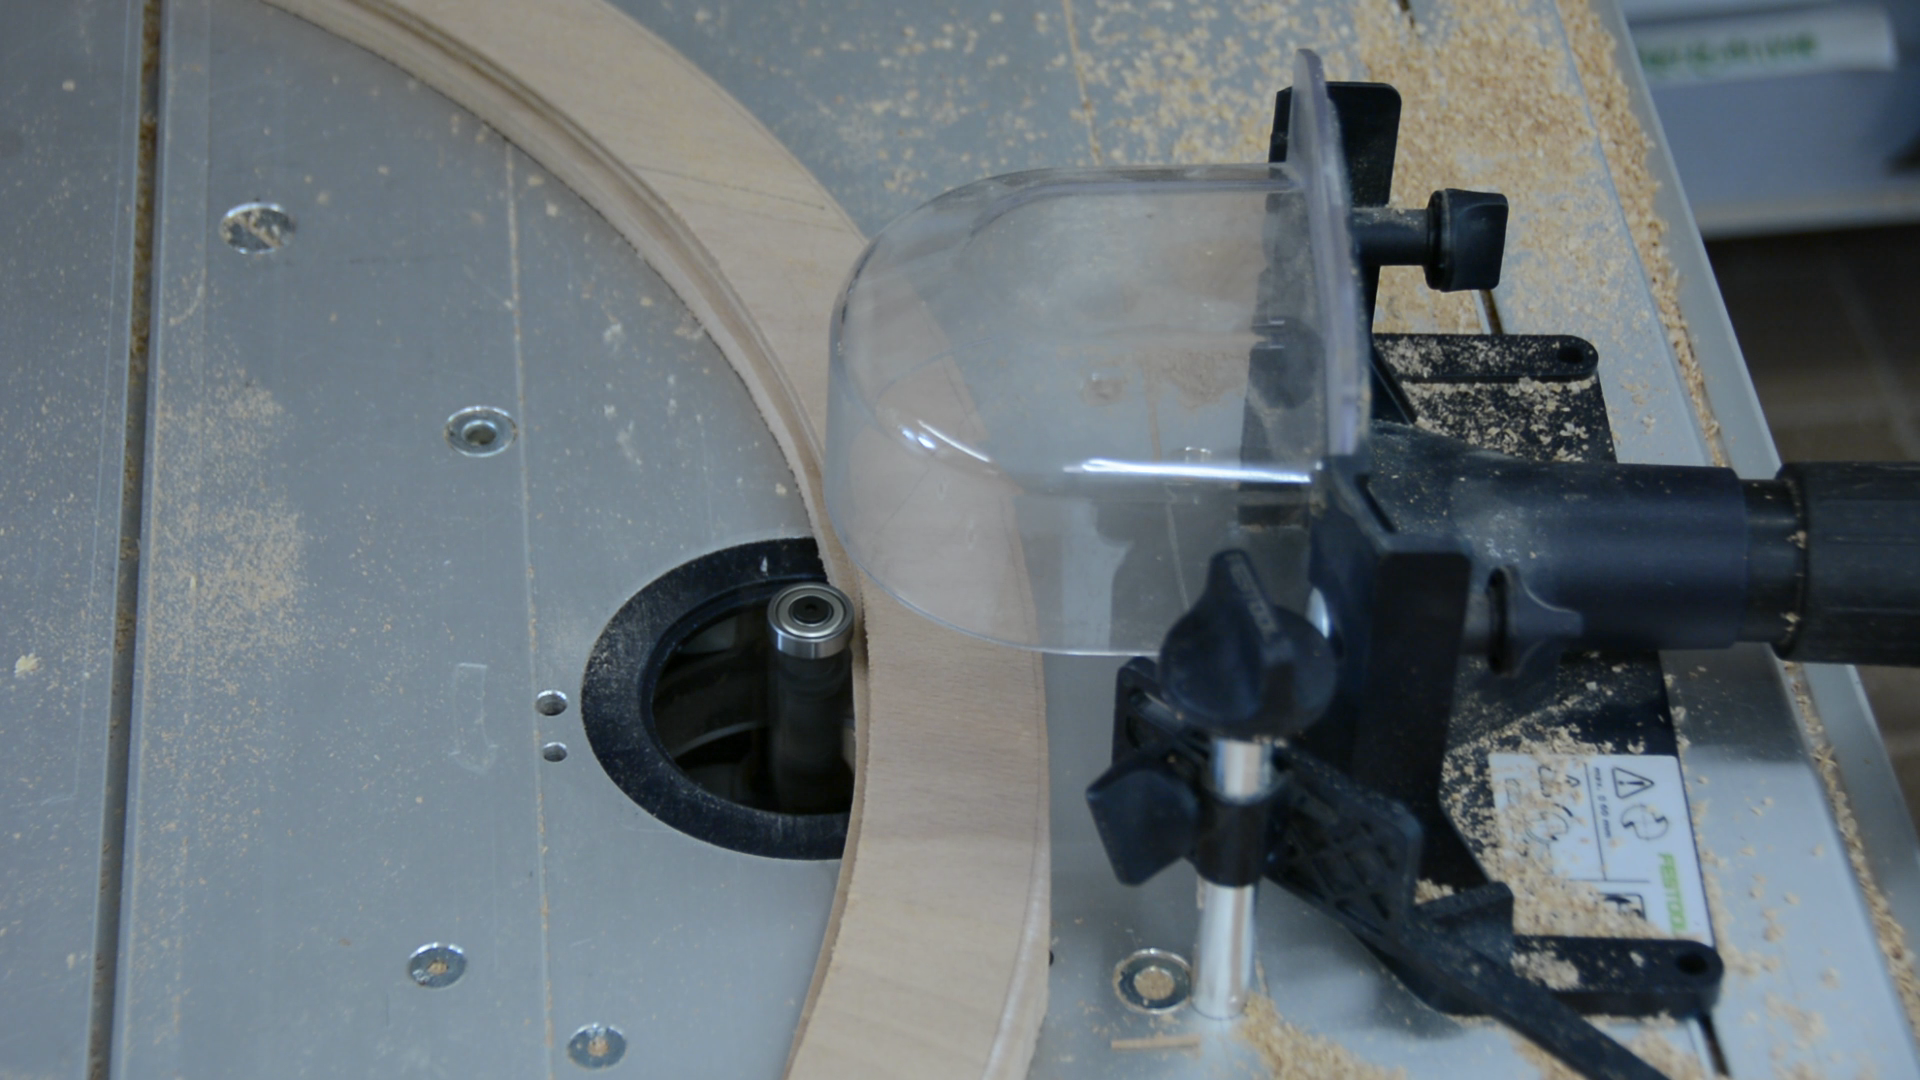
On the router table the plywood is trimmed flush with the template. In case you wonder why the template is painted blue – that’s just so that I notice when I dent it with the router bit.

One of the legs gets a special treatment. I follow the shape with the CNC switched off to align the plywood.

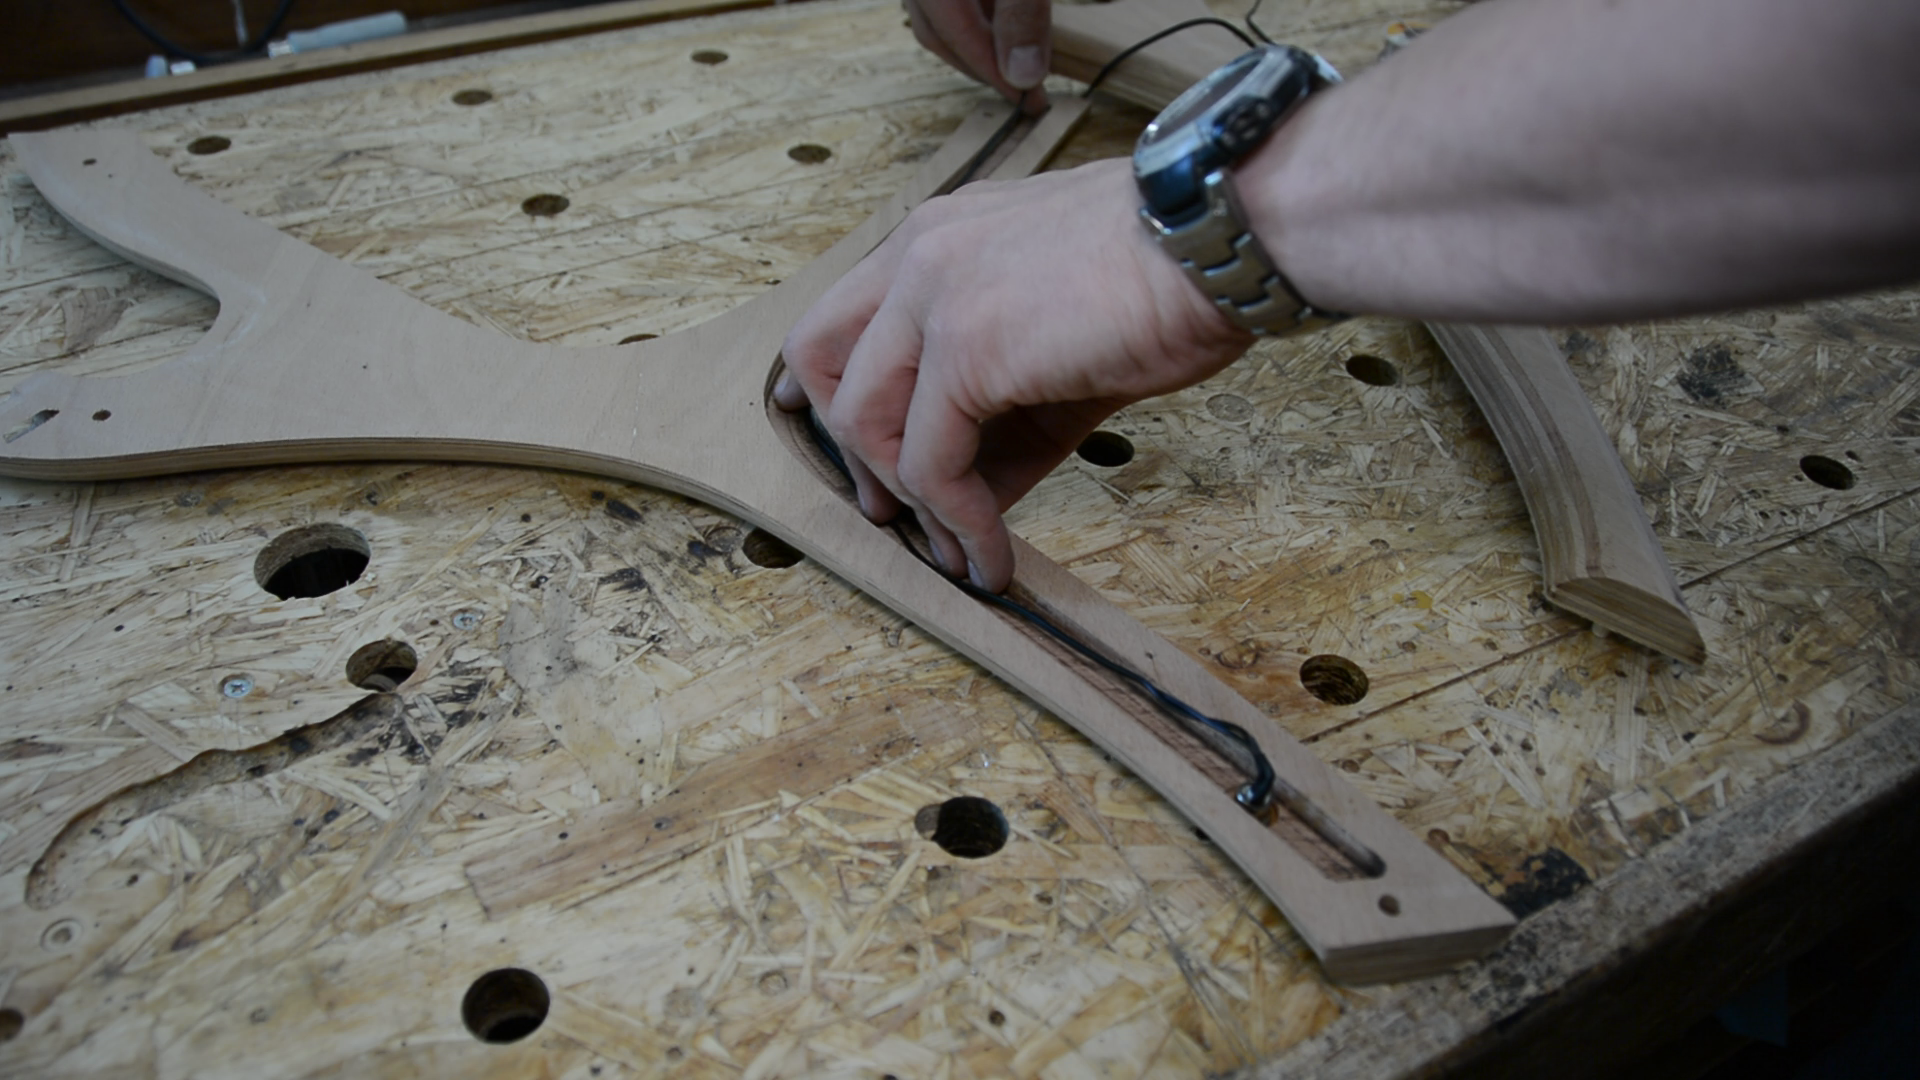
Then I cut a channel in the middle of the piece and also cut the outline.

With a few dowels the second half is temporarily attached and will be treated as all the other pieces.

For all other legs the two halves are glued together.
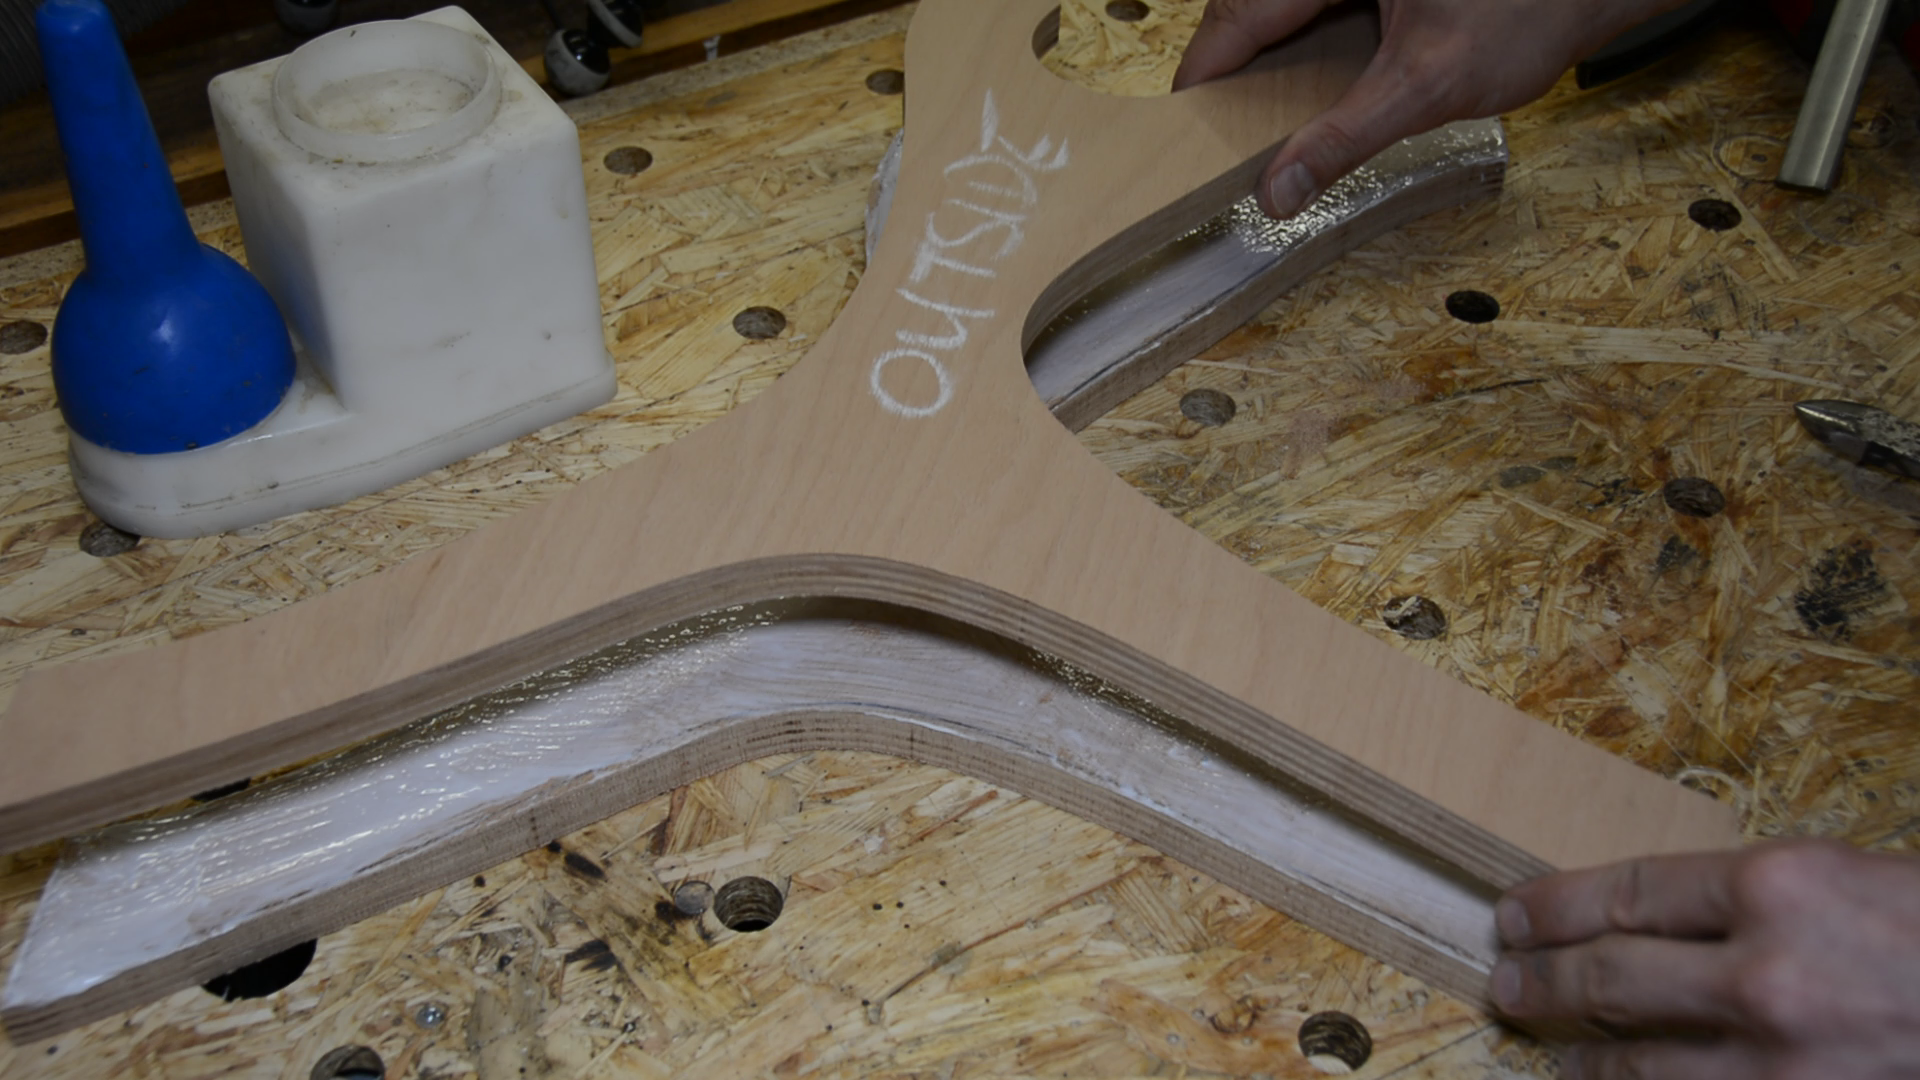
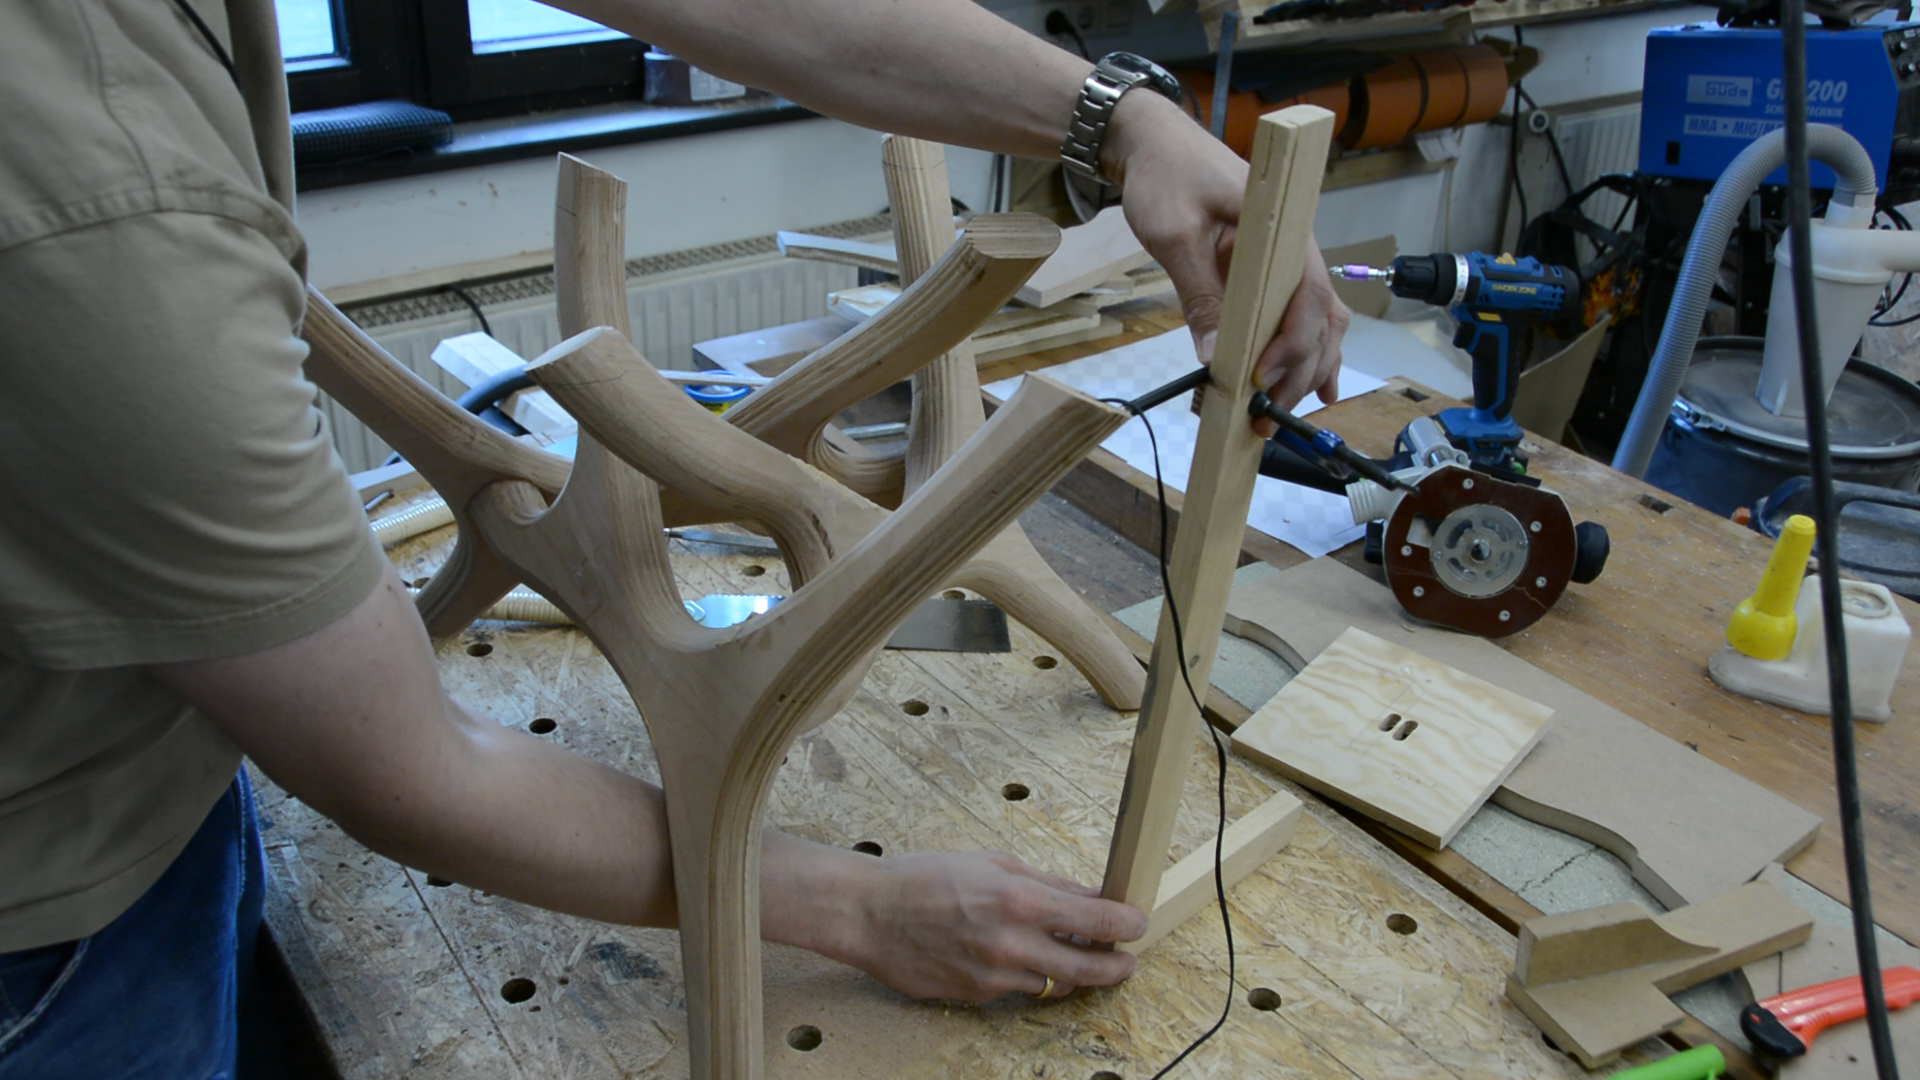
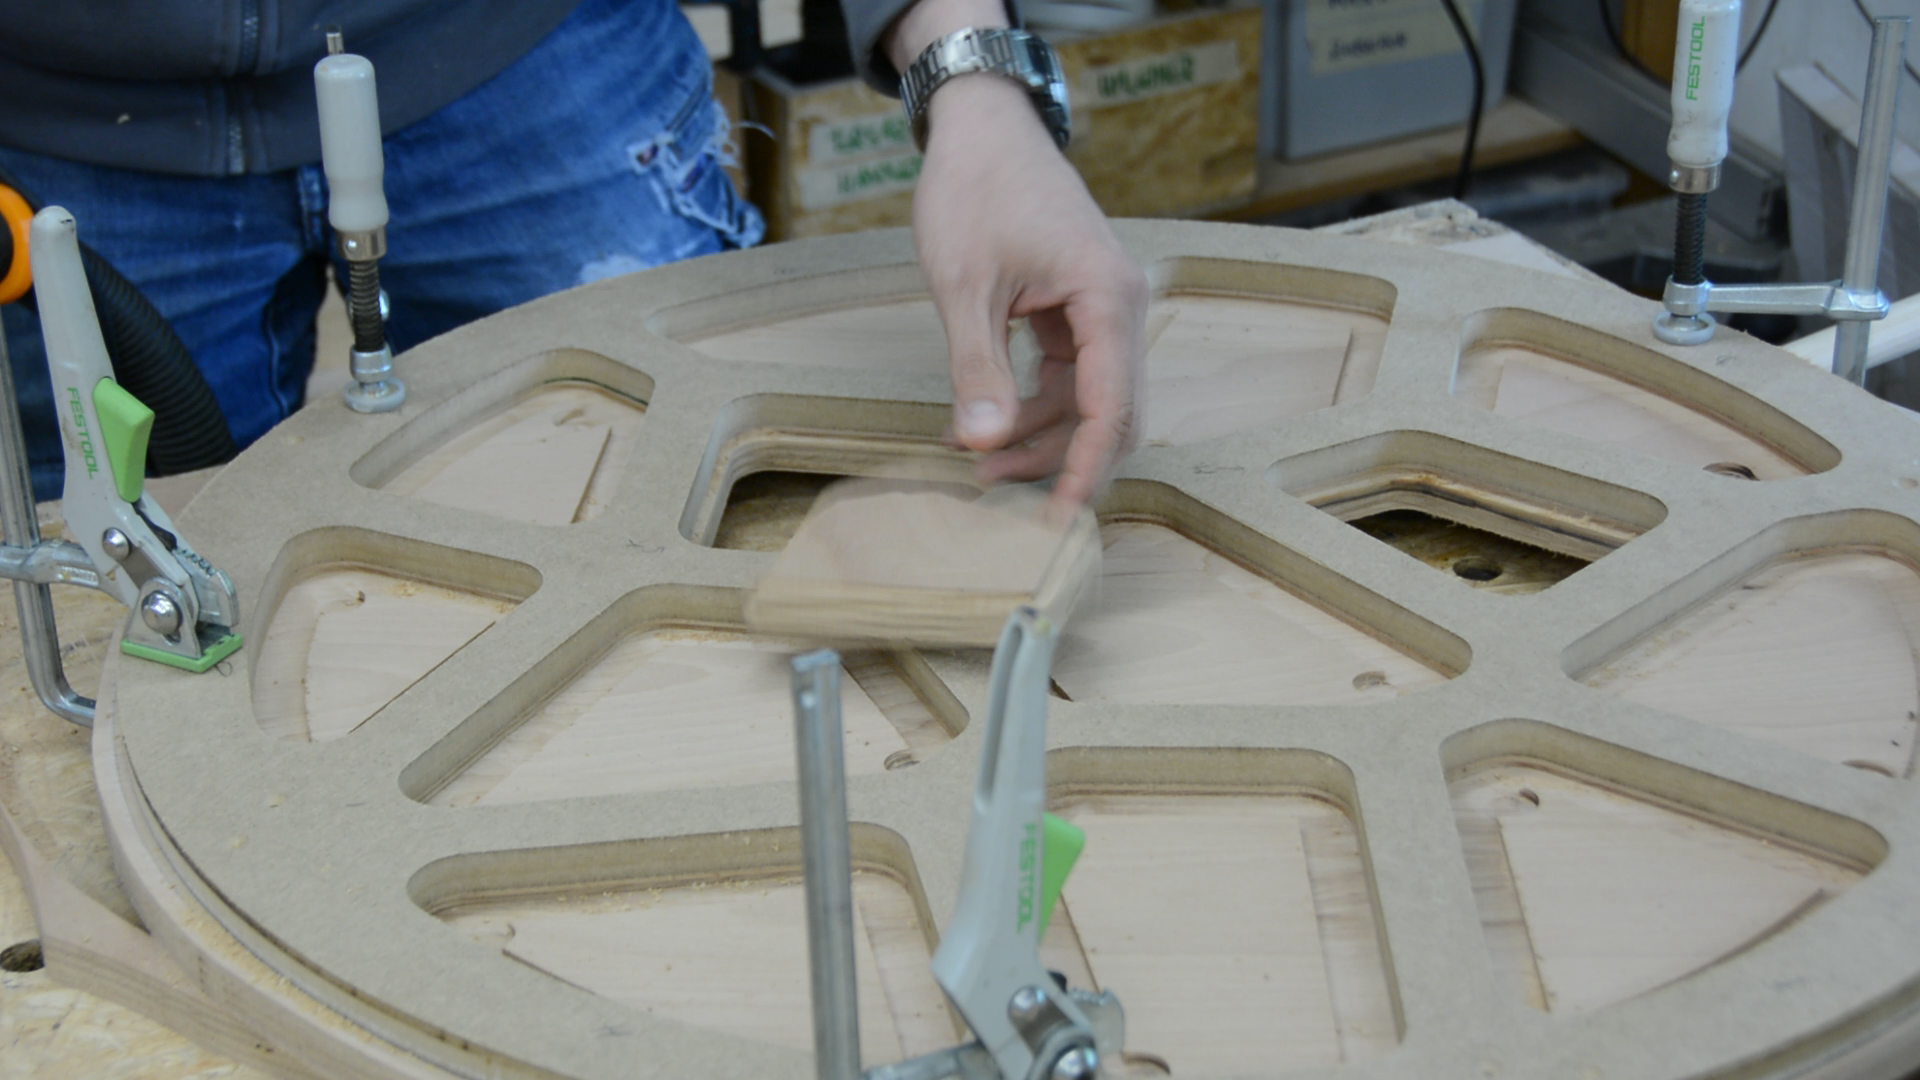
Two of the leg pieces get a double mortise to accept floating tenons. By printing a side view of my leg from the fusion model I am able to mark the area where the leg should connect.
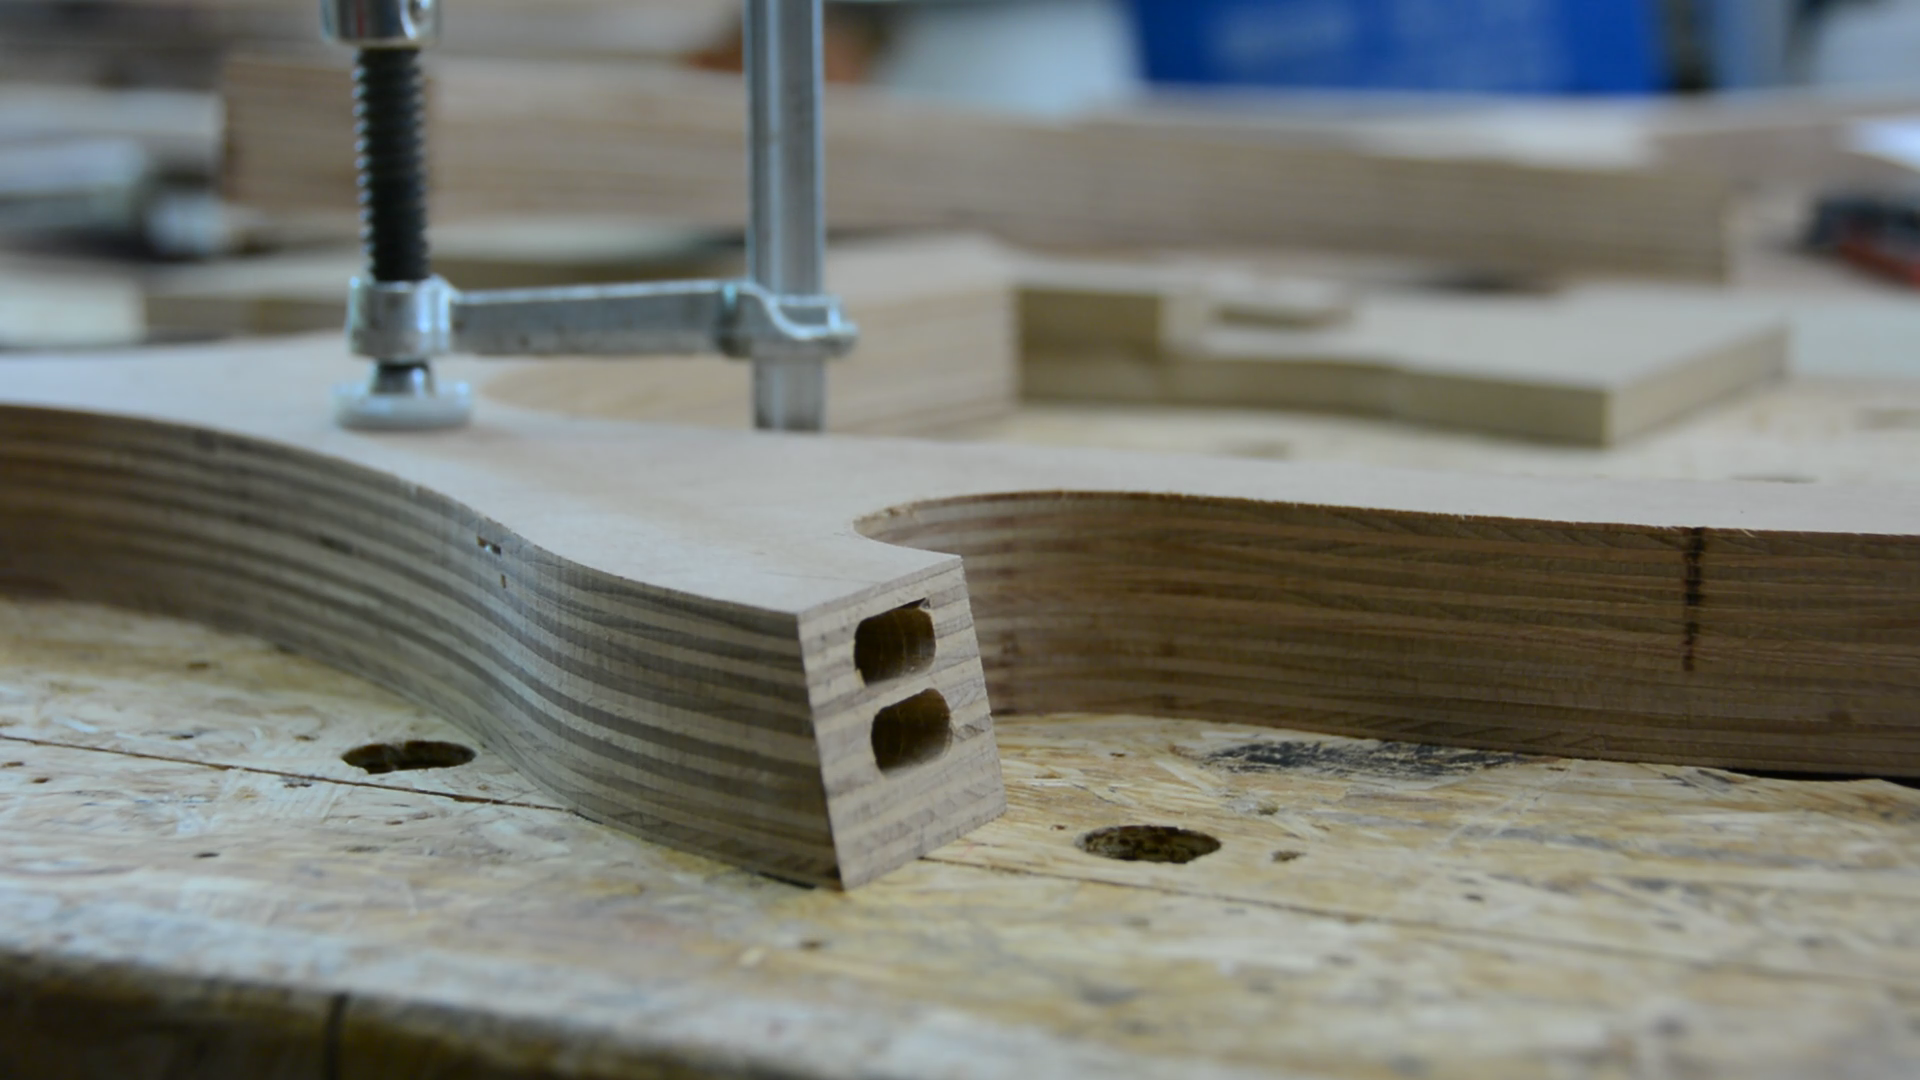
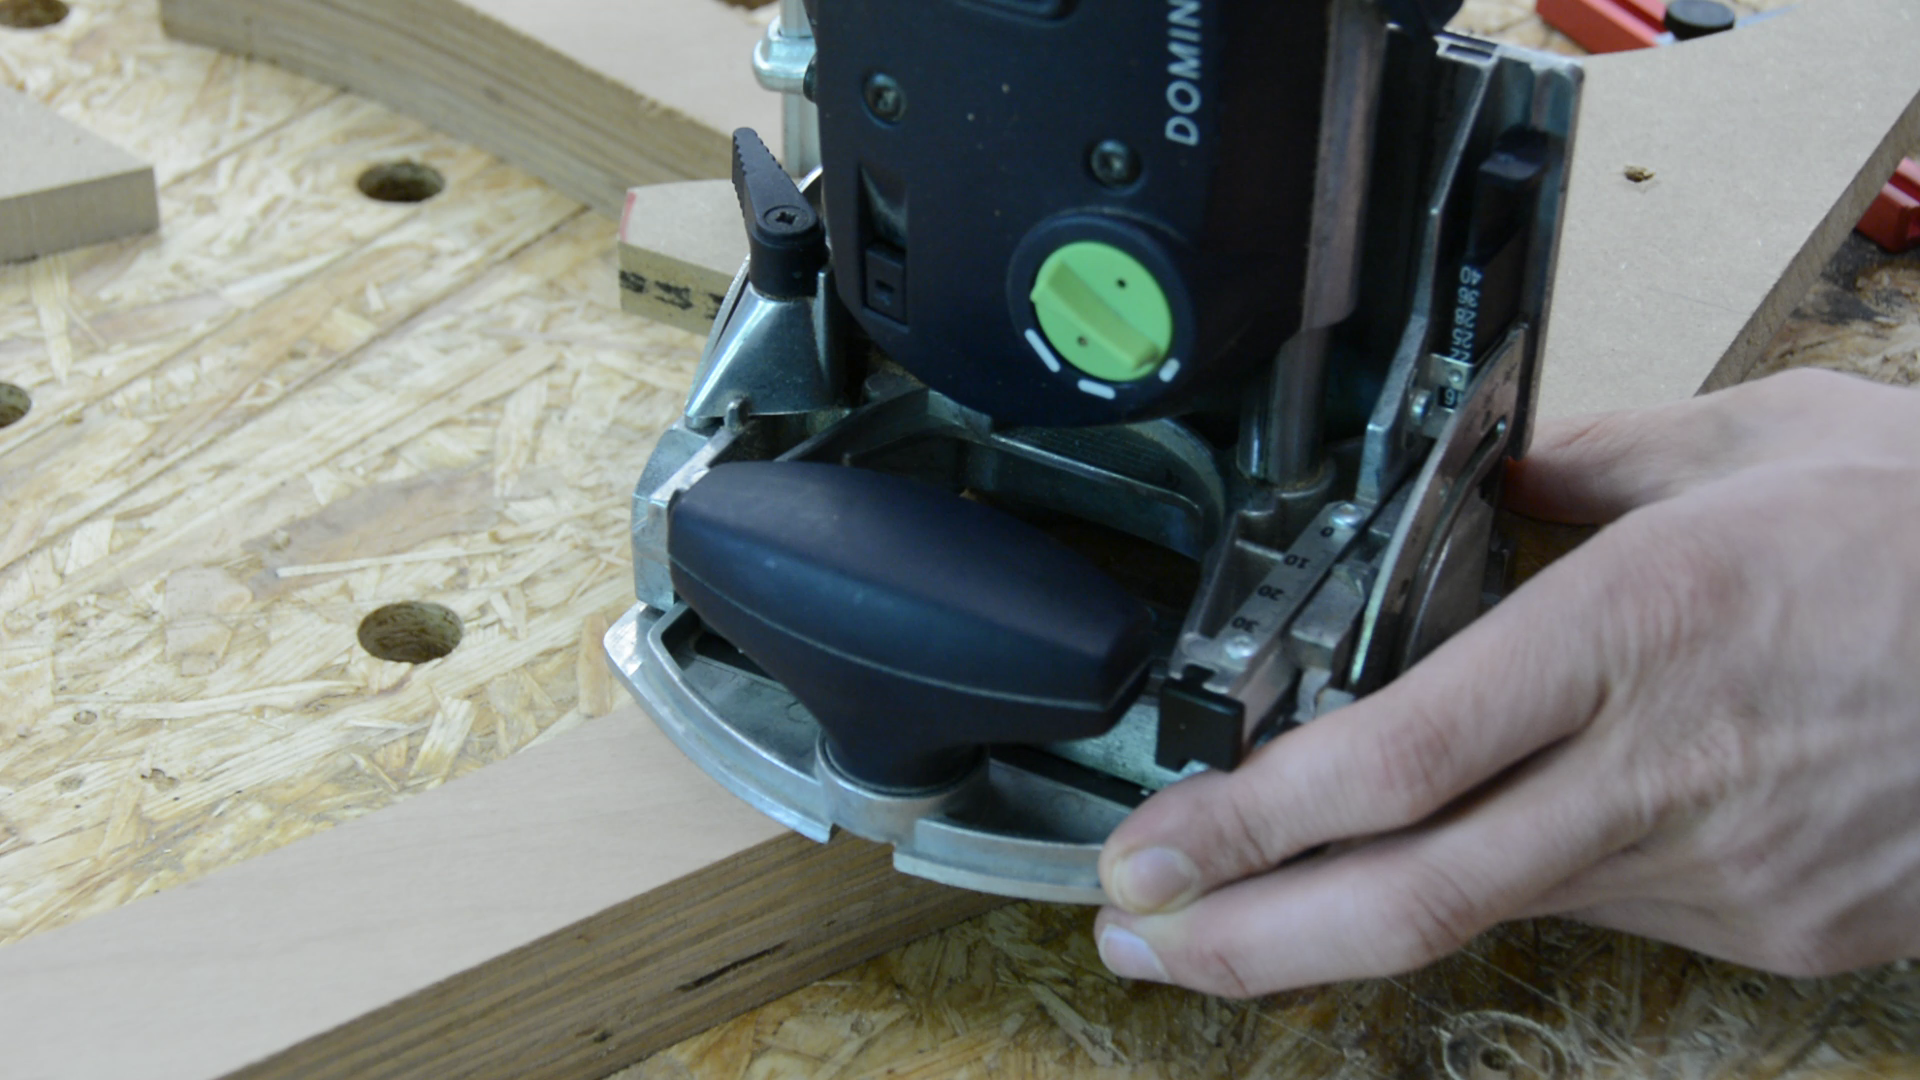
This area also gets a double mortise.
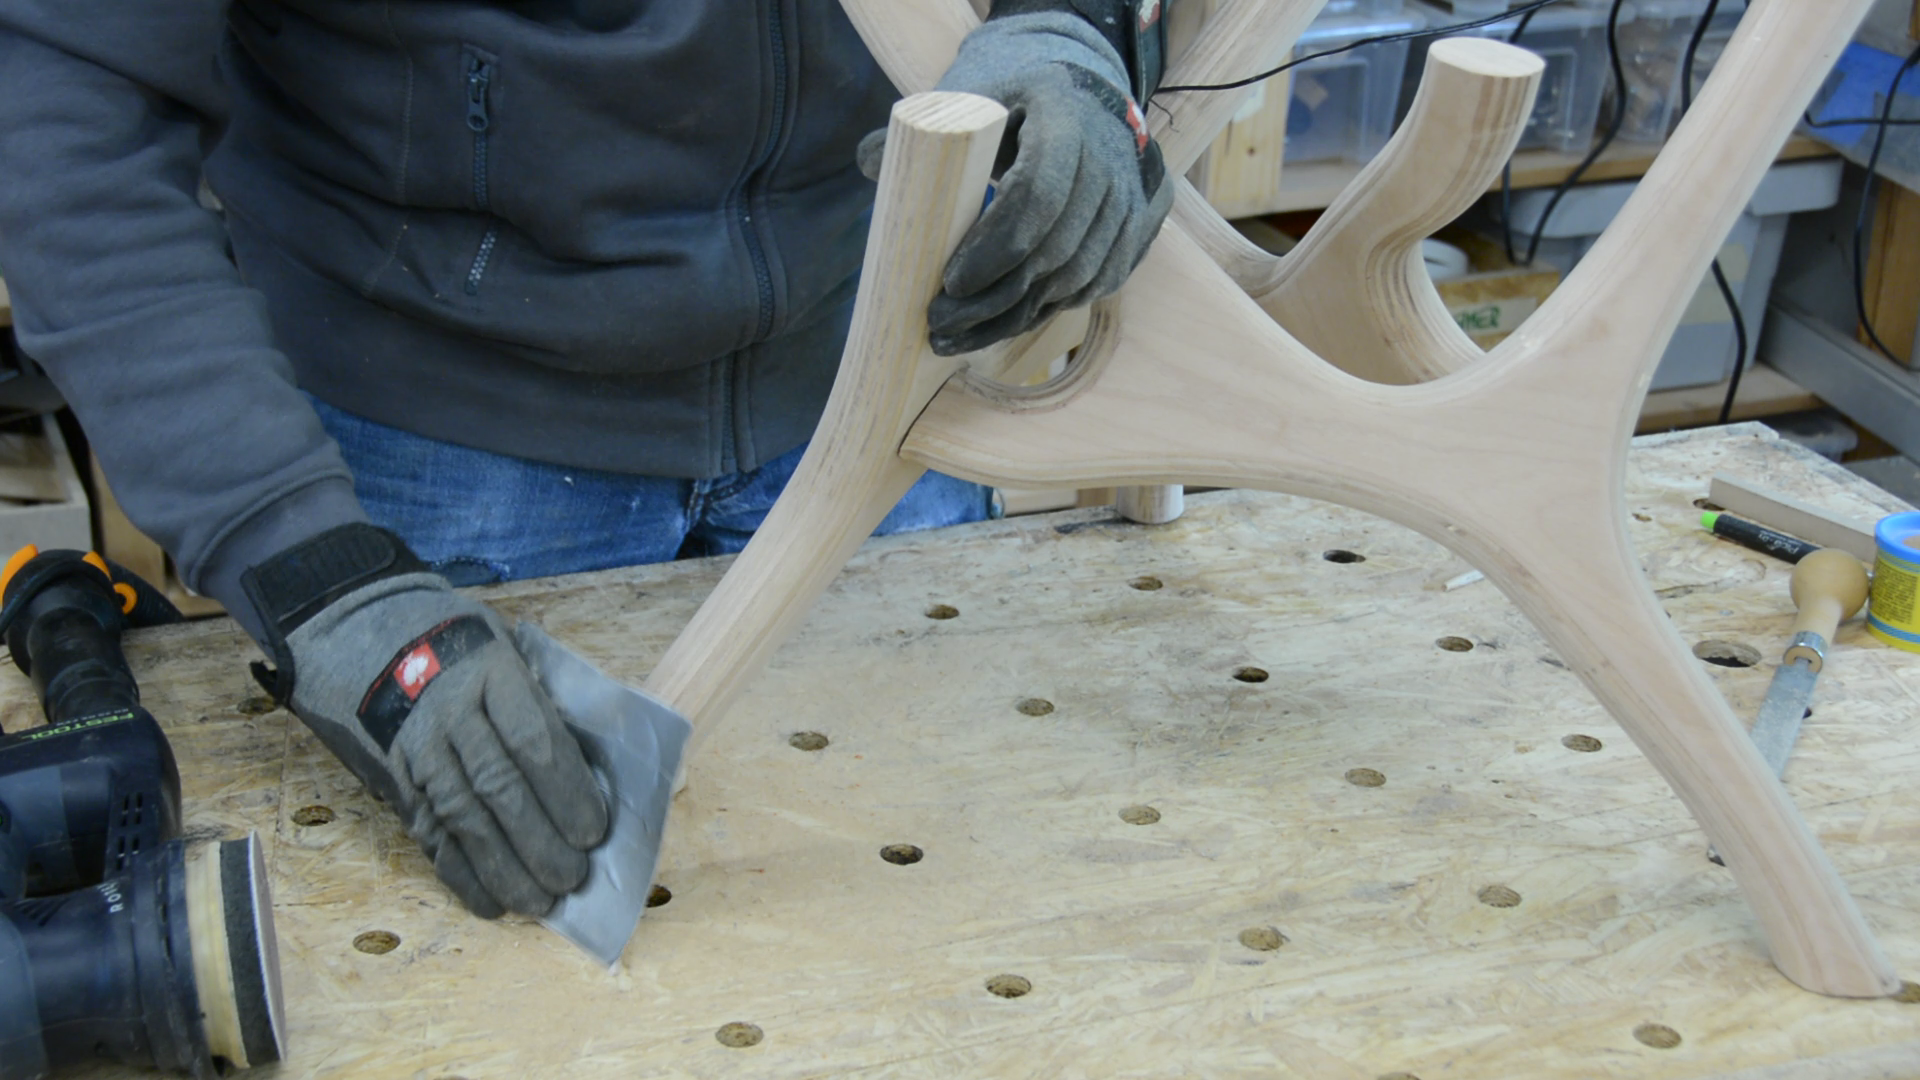
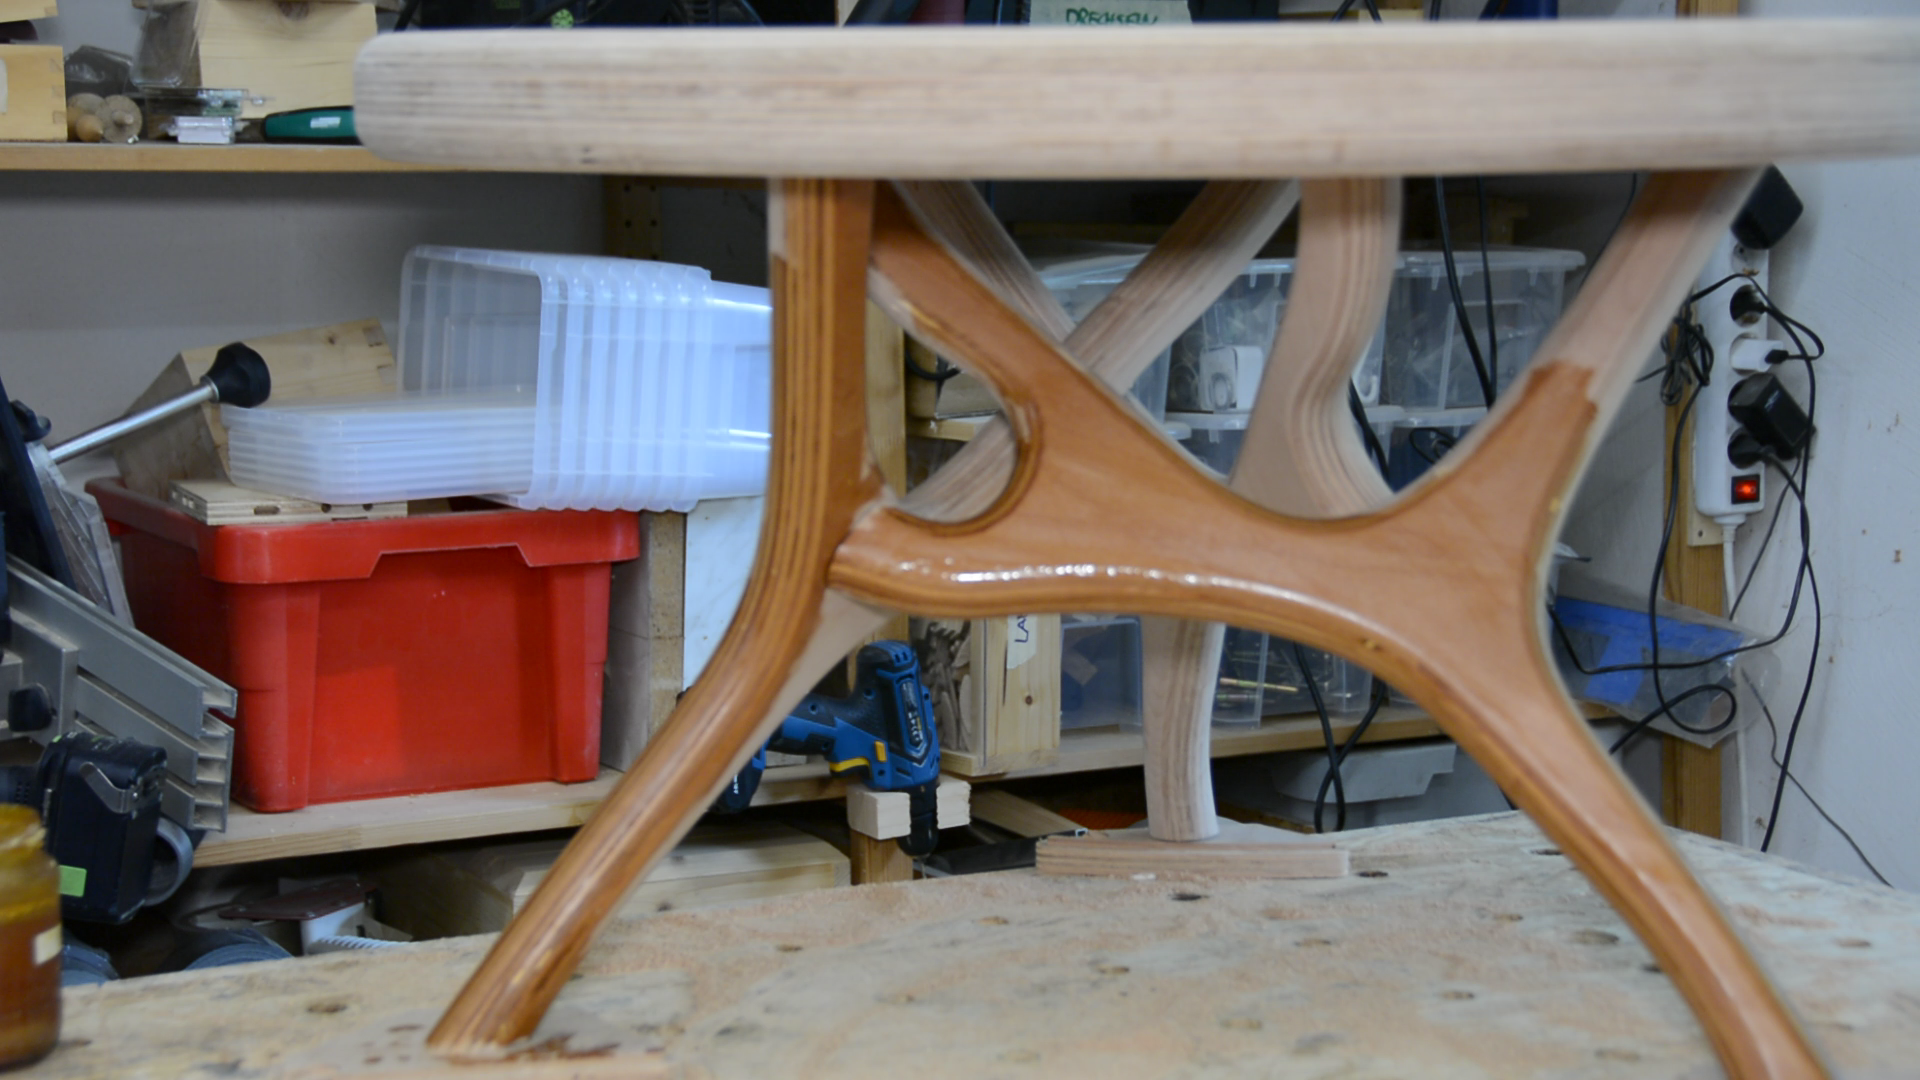
After the joinery is cut all legs get a massive round over.
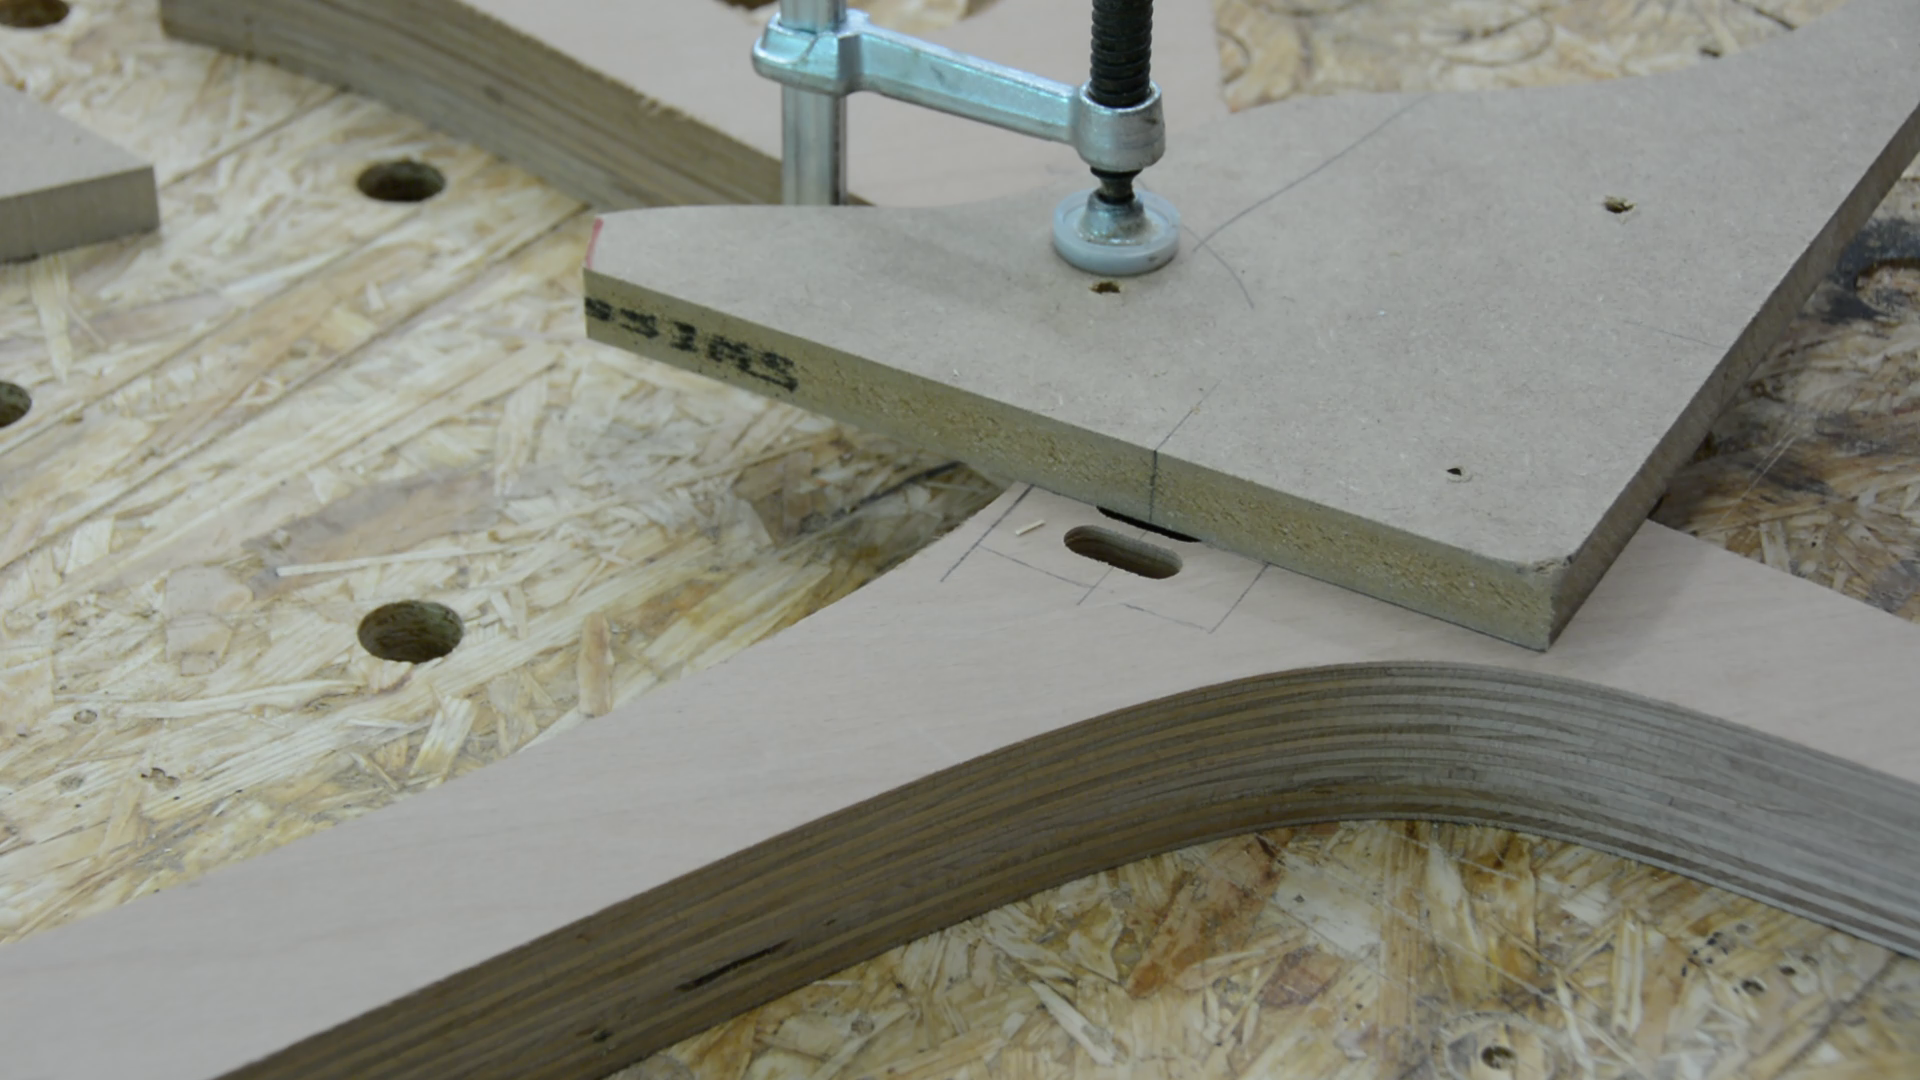
As the channel would interfere with tenons I attach this leg with a few screws.
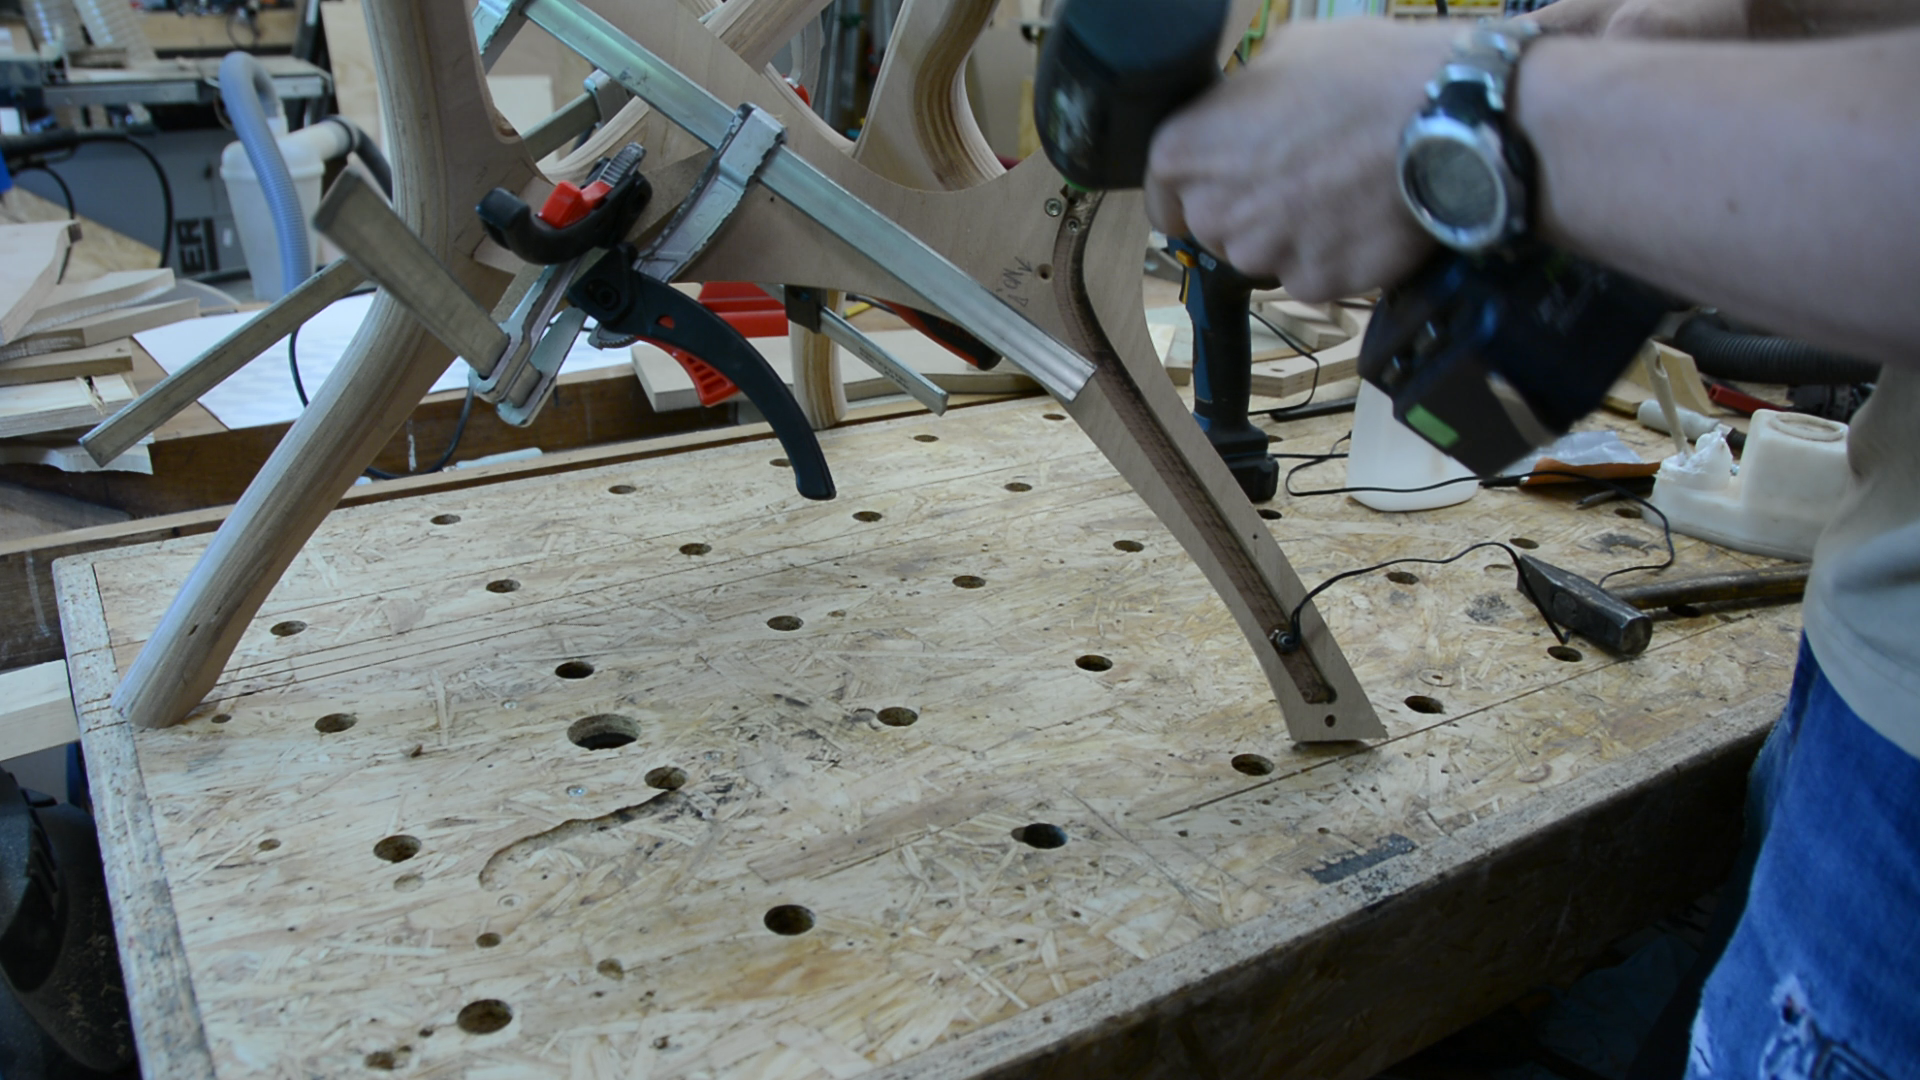
Afterwards I glue the second half of the leg in polace using the dowels for alignment.
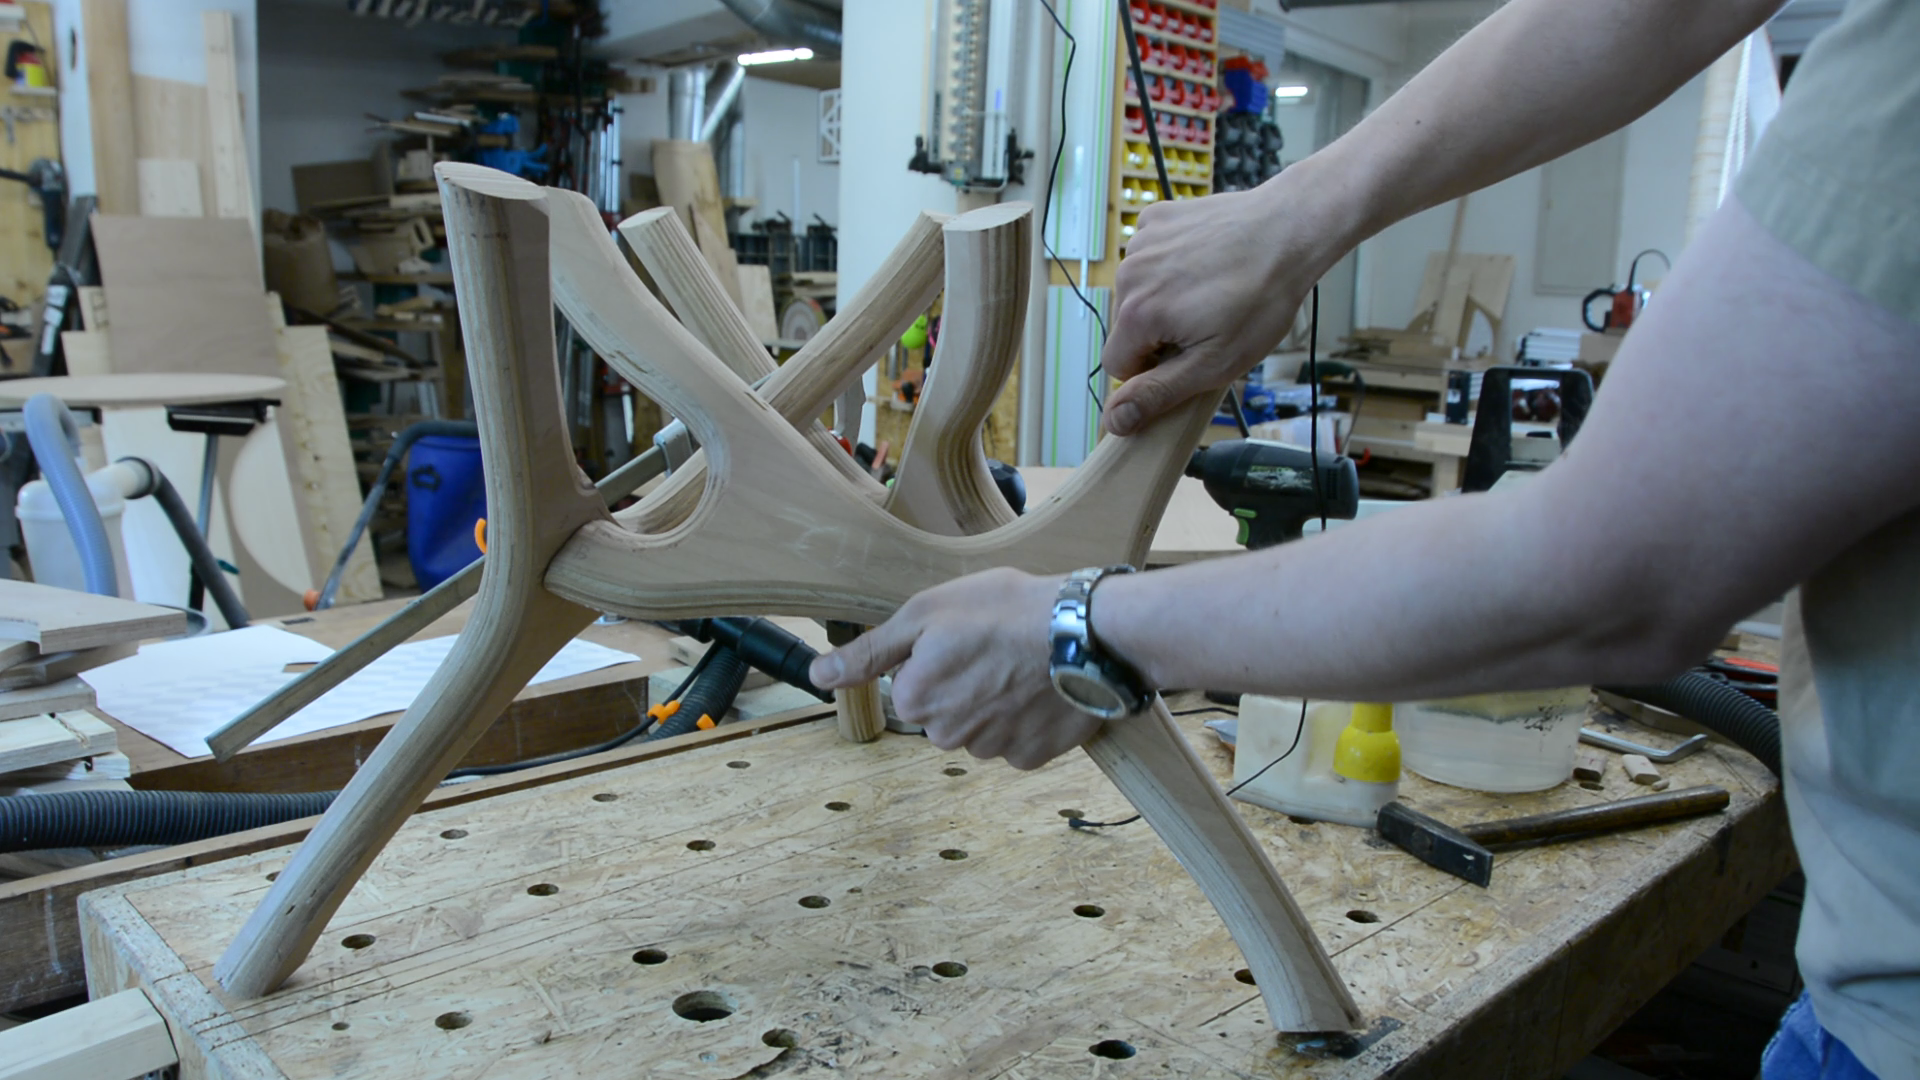
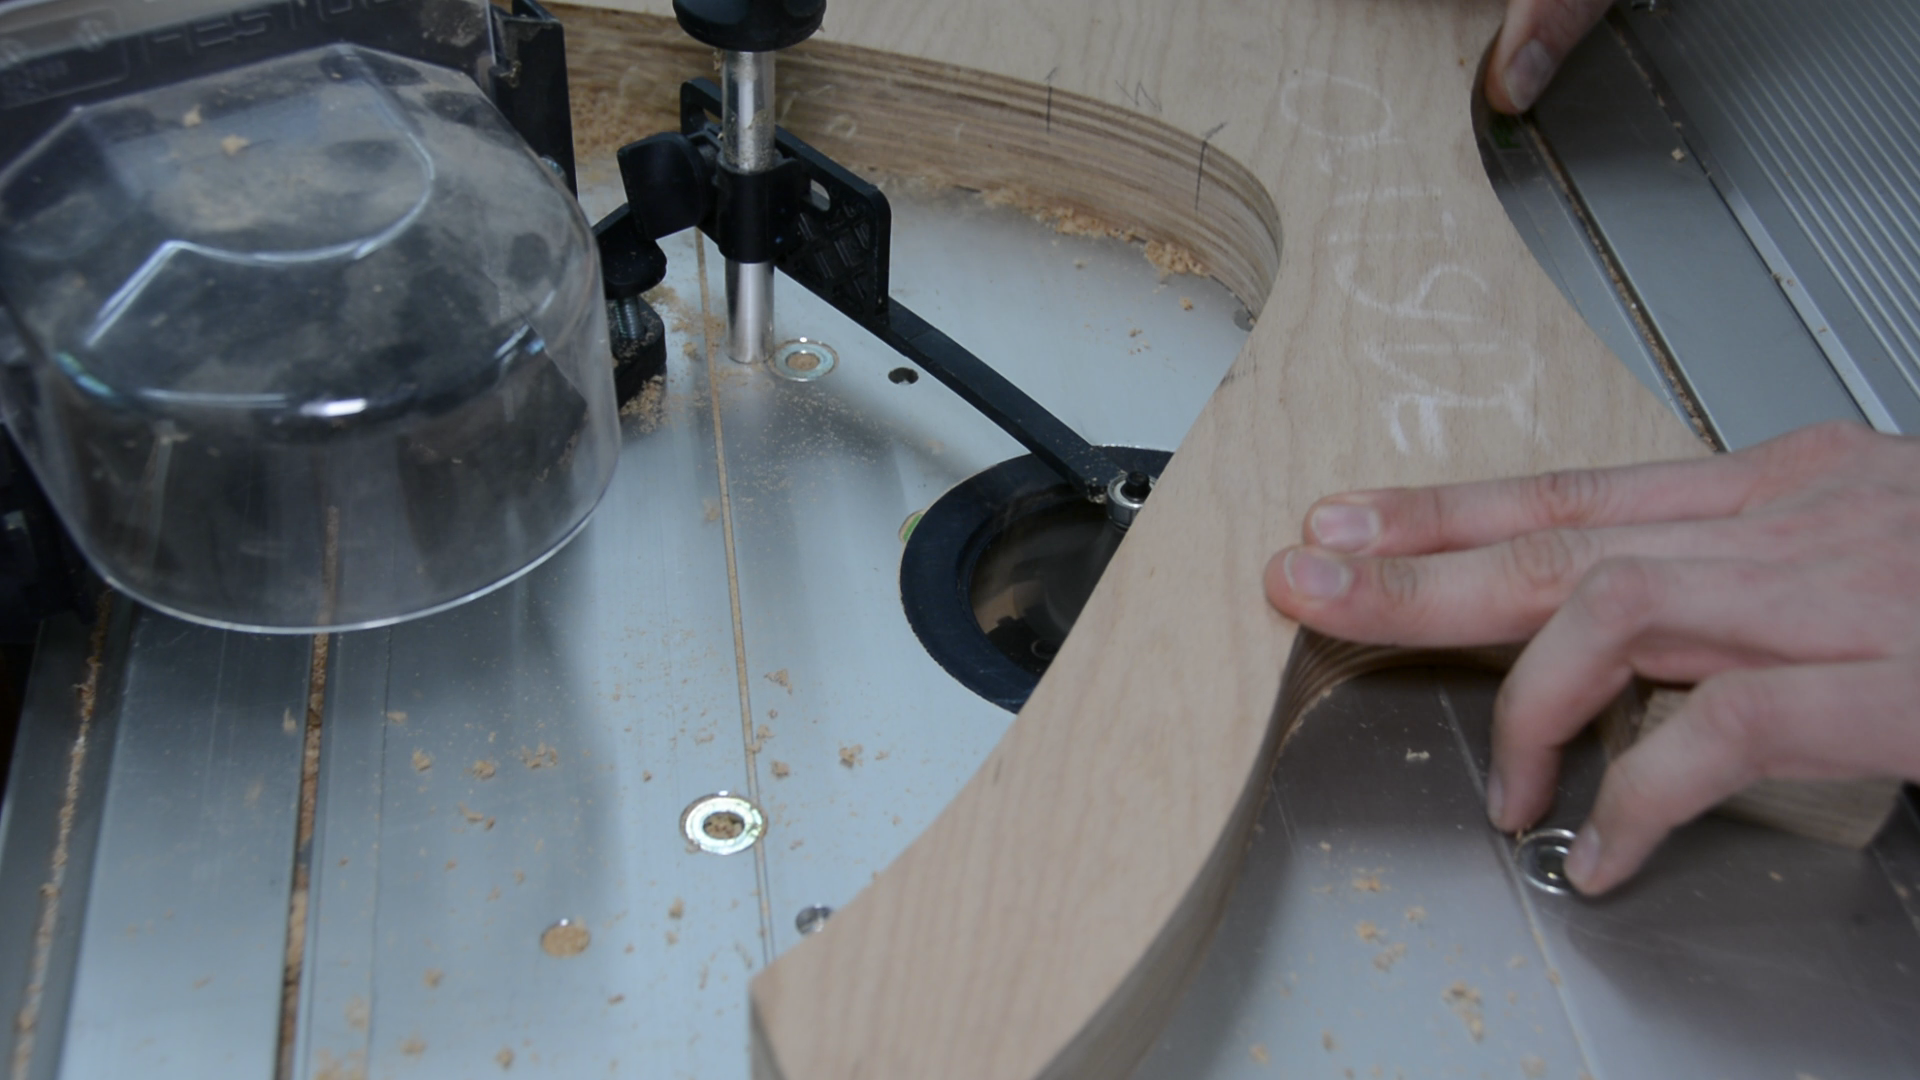
With a spacer block I mark a line around the bottom end of the legs and with a simple wooden angle I mark a line at the top.
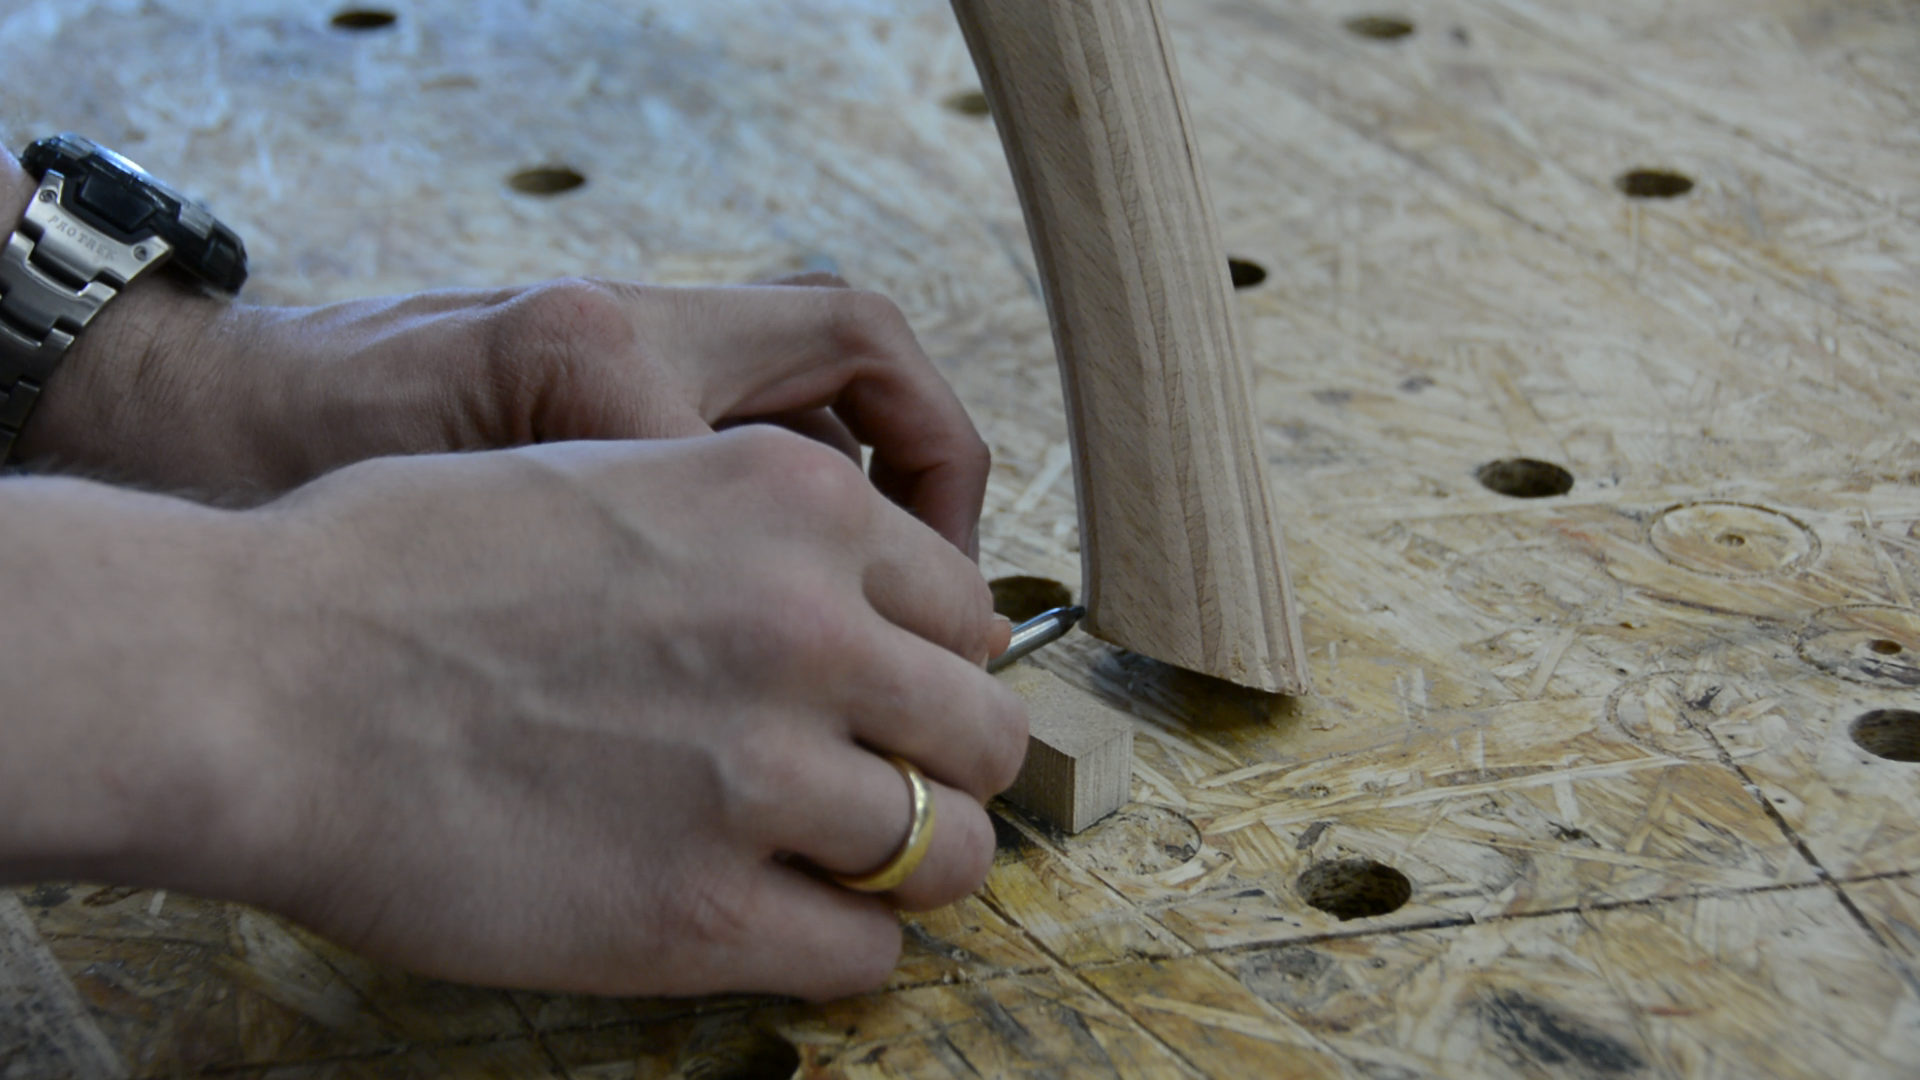
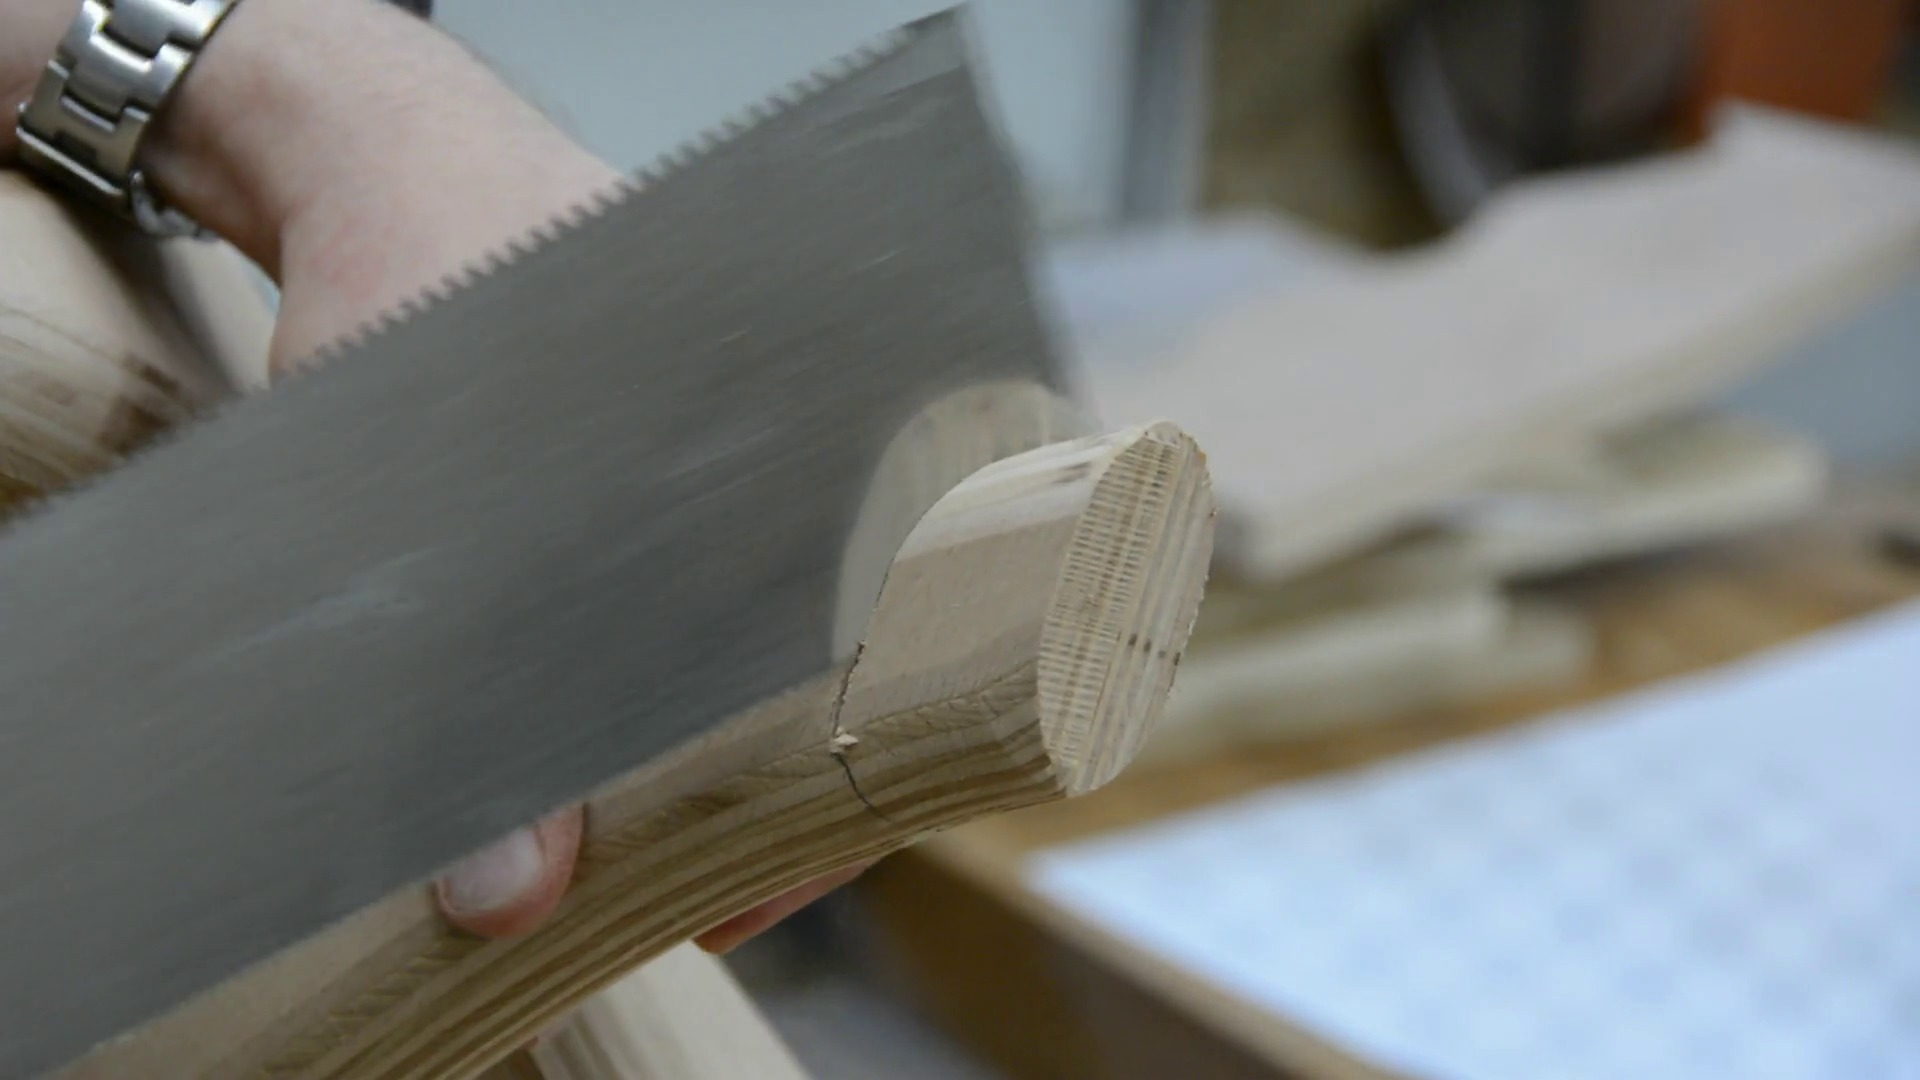
All the legs are cut so that they are parallel to the ground.
Now follows a lot of sanding with the random orbit sander and quite some handsanding as none of my sanders would fit between the legs.
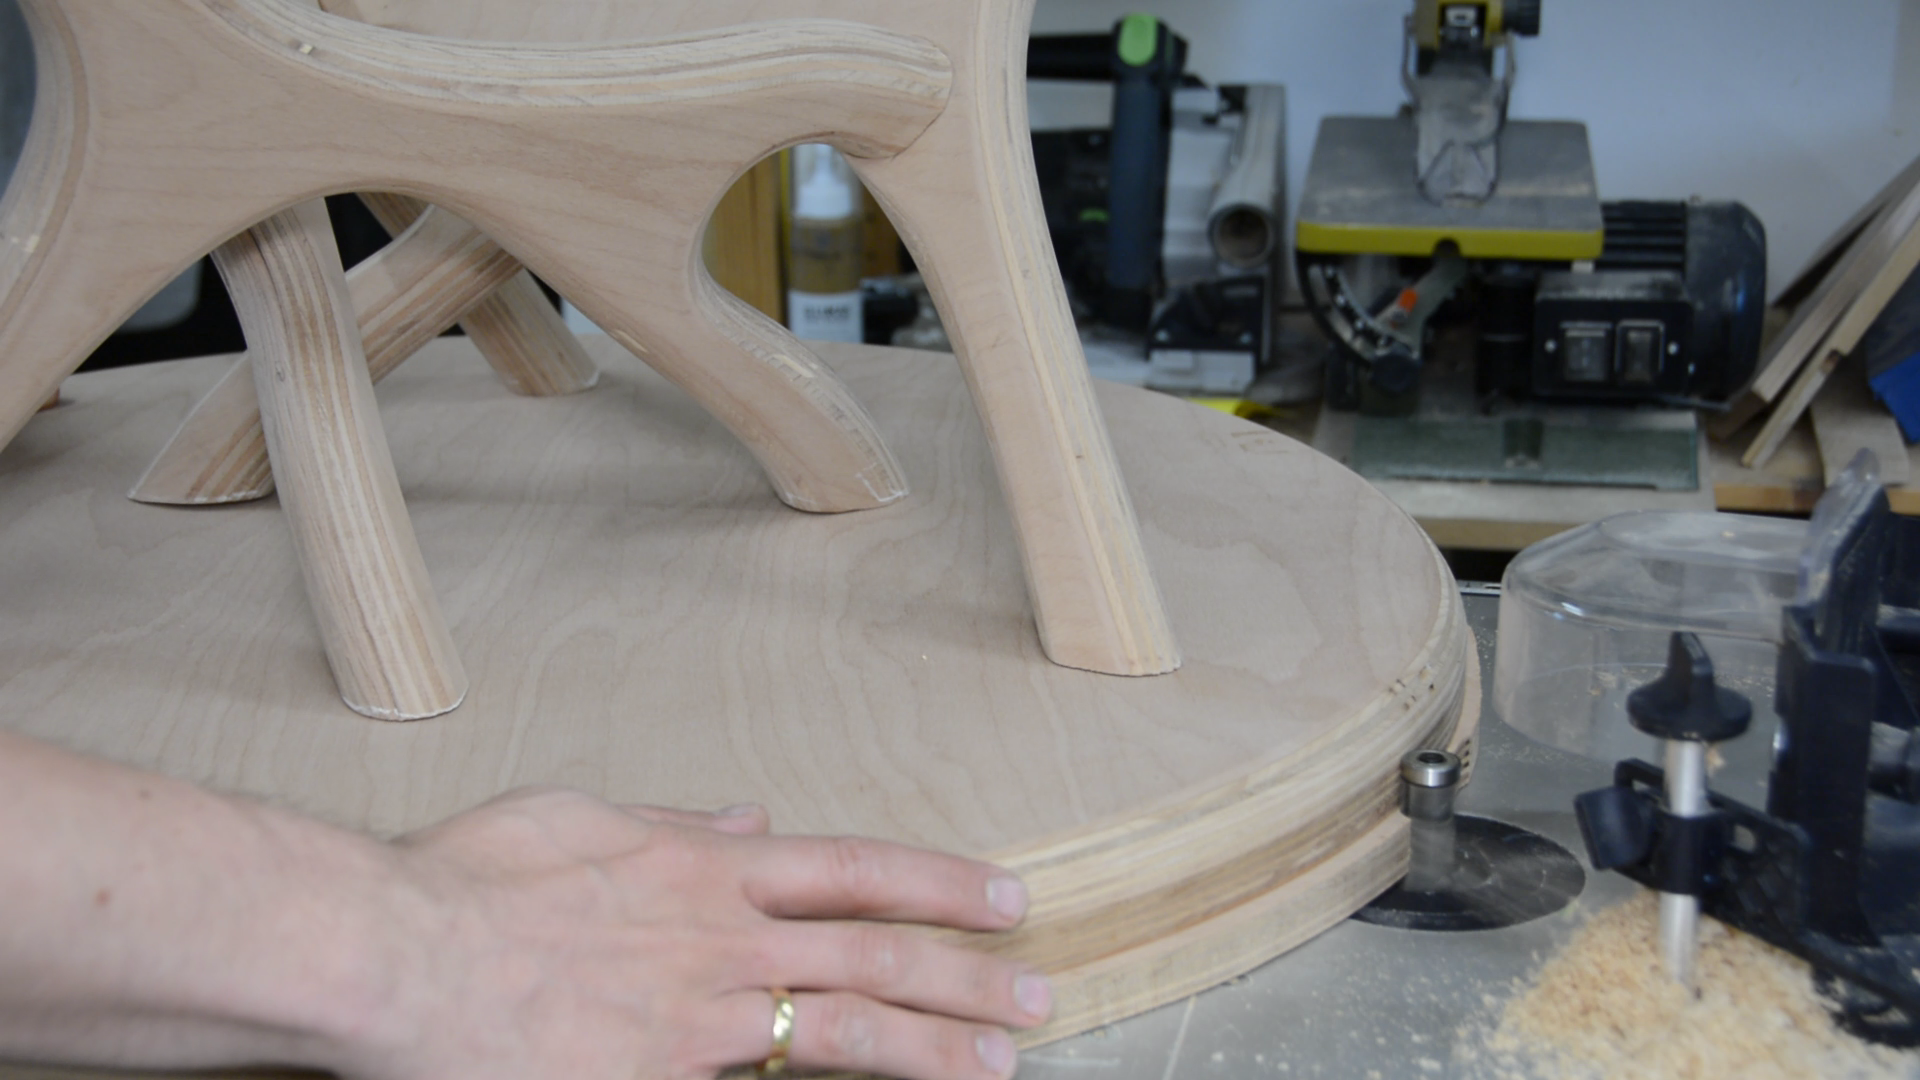
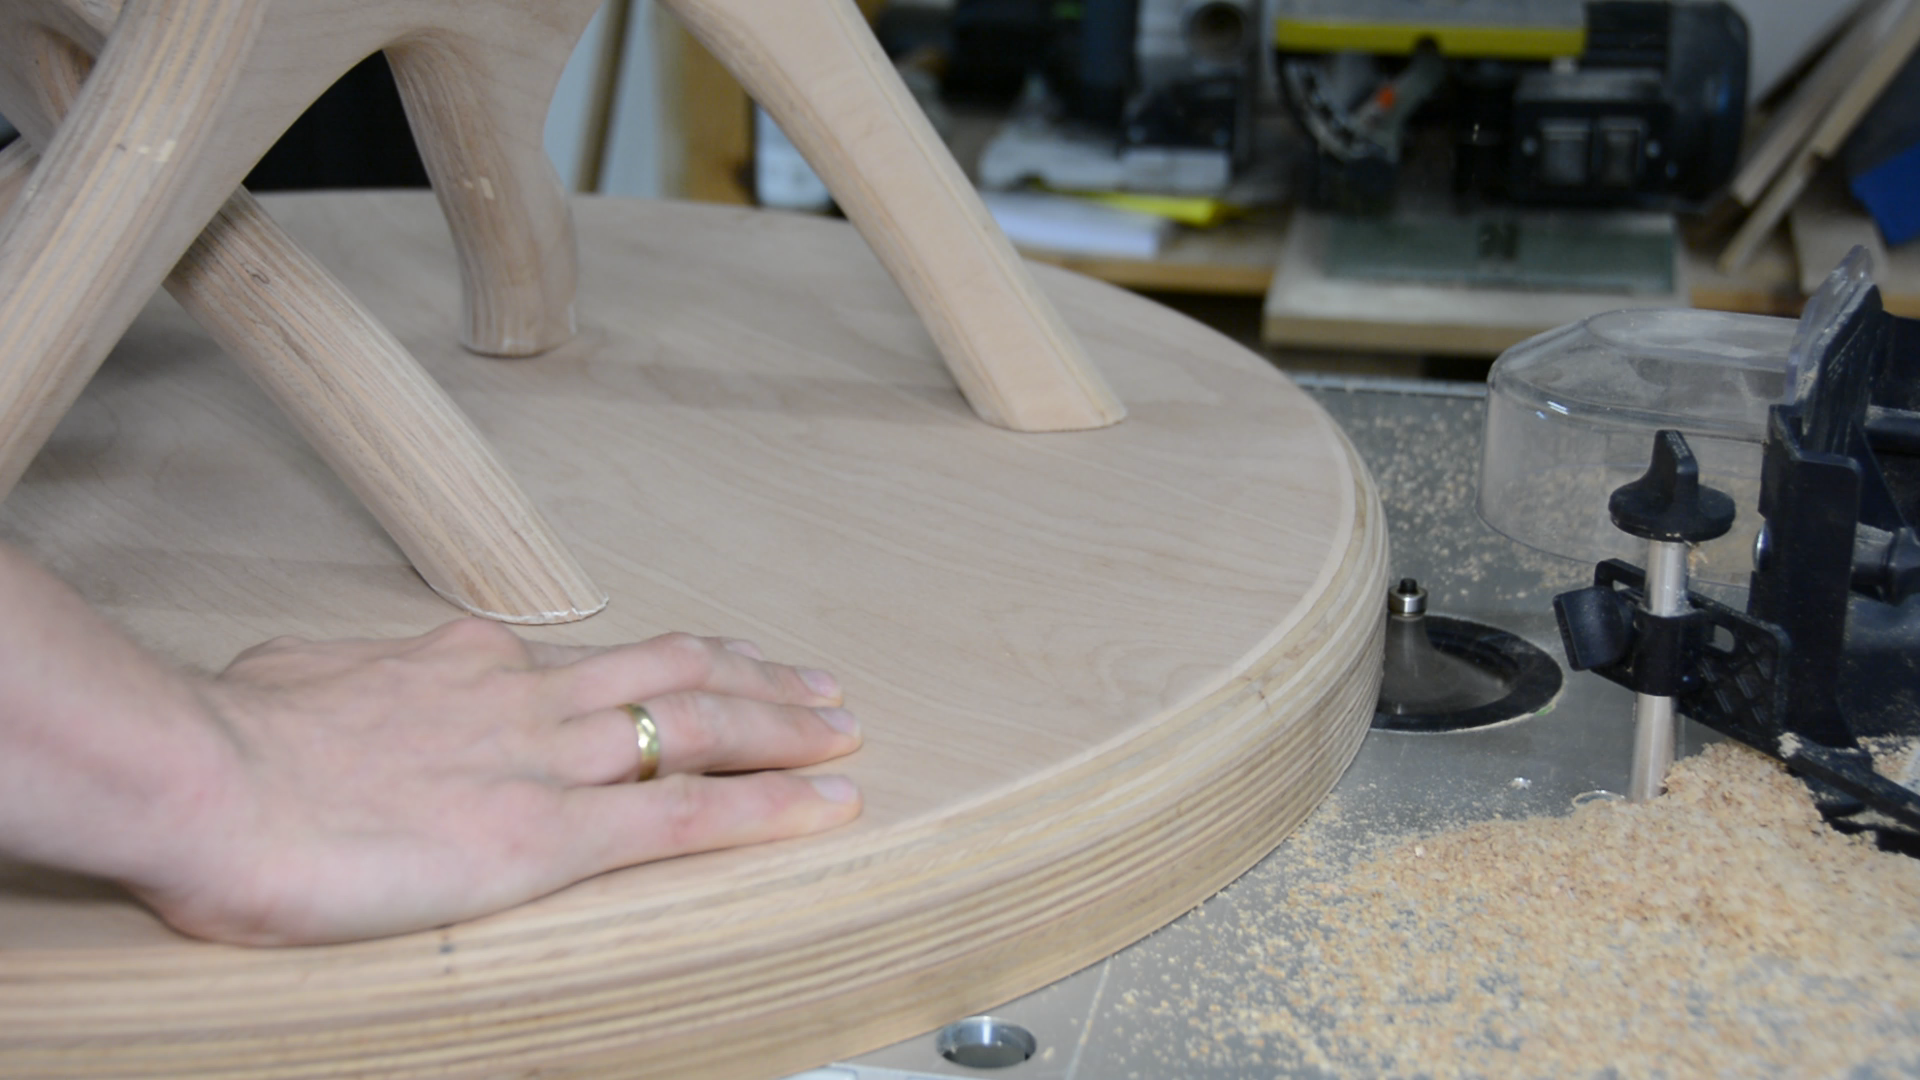
With the legs finished the table top is next.
With the table top template clamped to the plywood I create a recess for the glass with a flush trim bit and then use a 17mm guide bushing with a 8mm bit to cut pockets in the table.

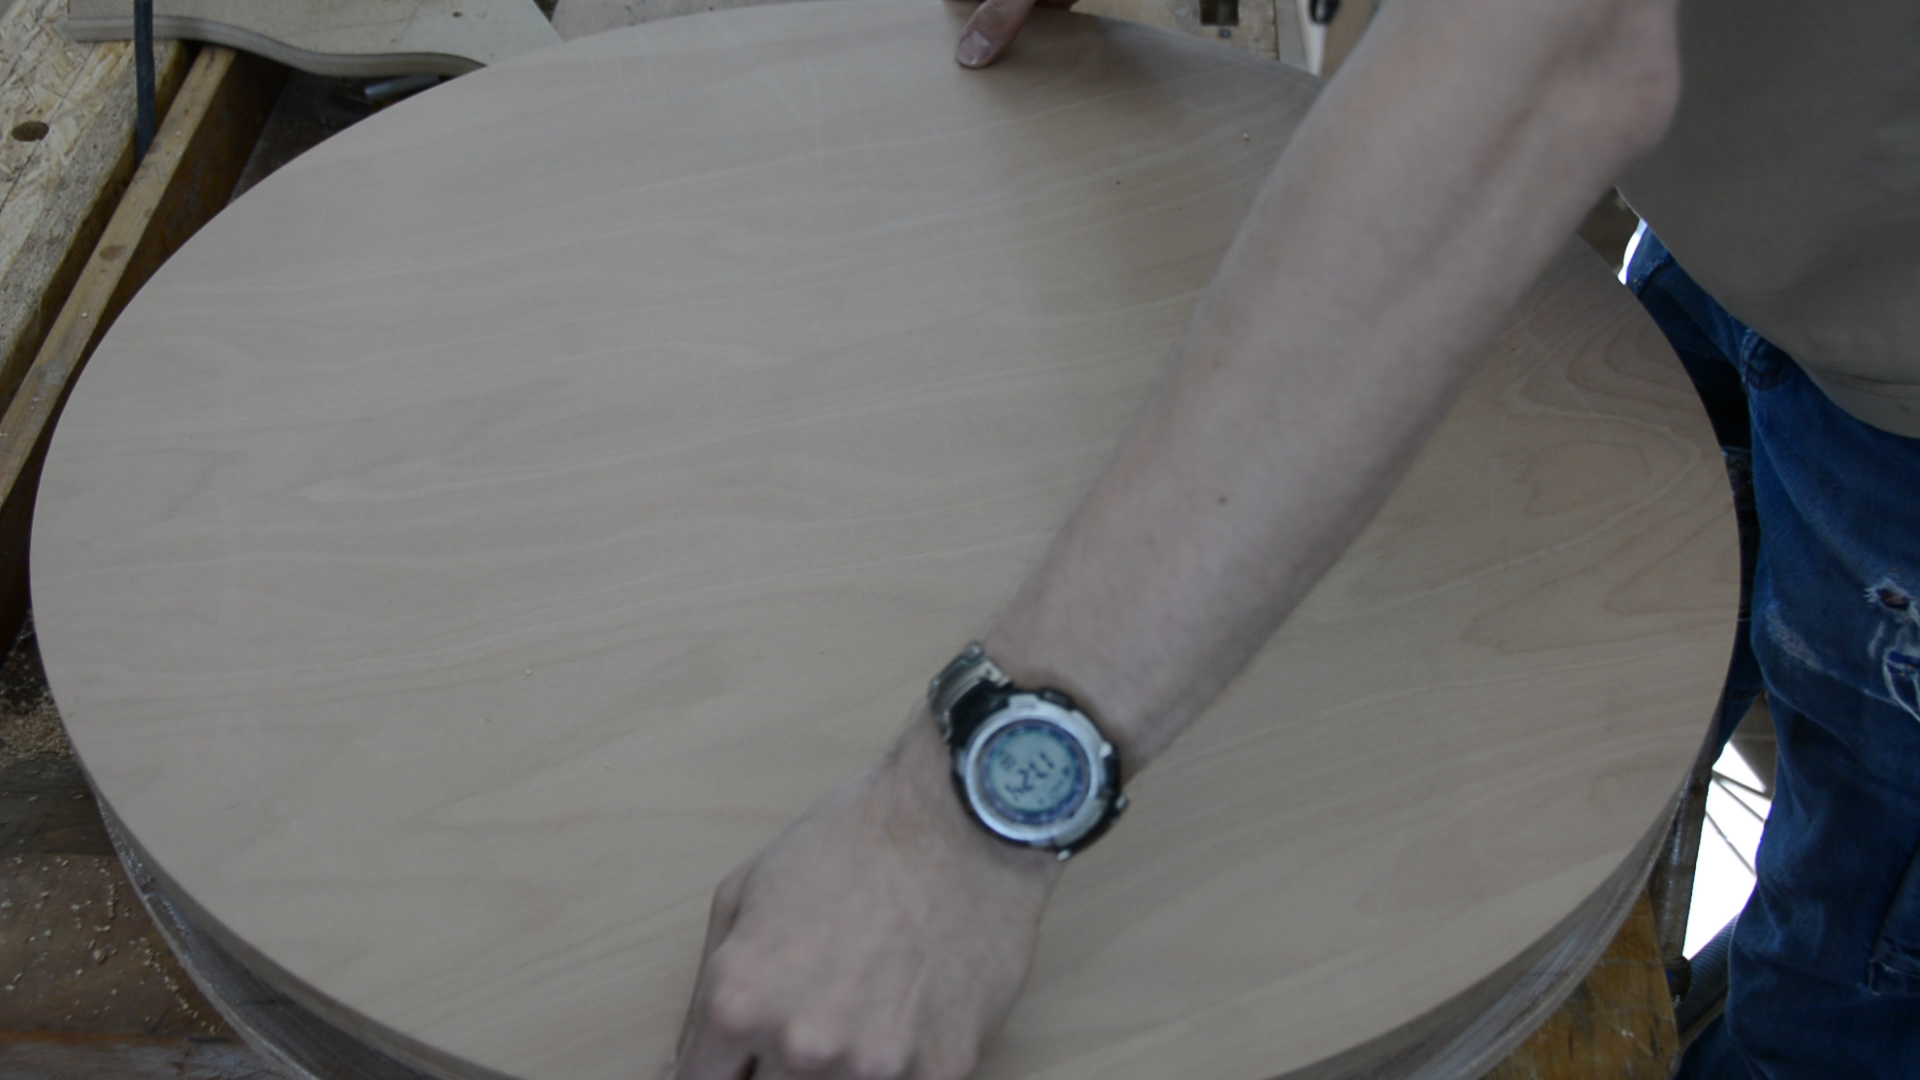
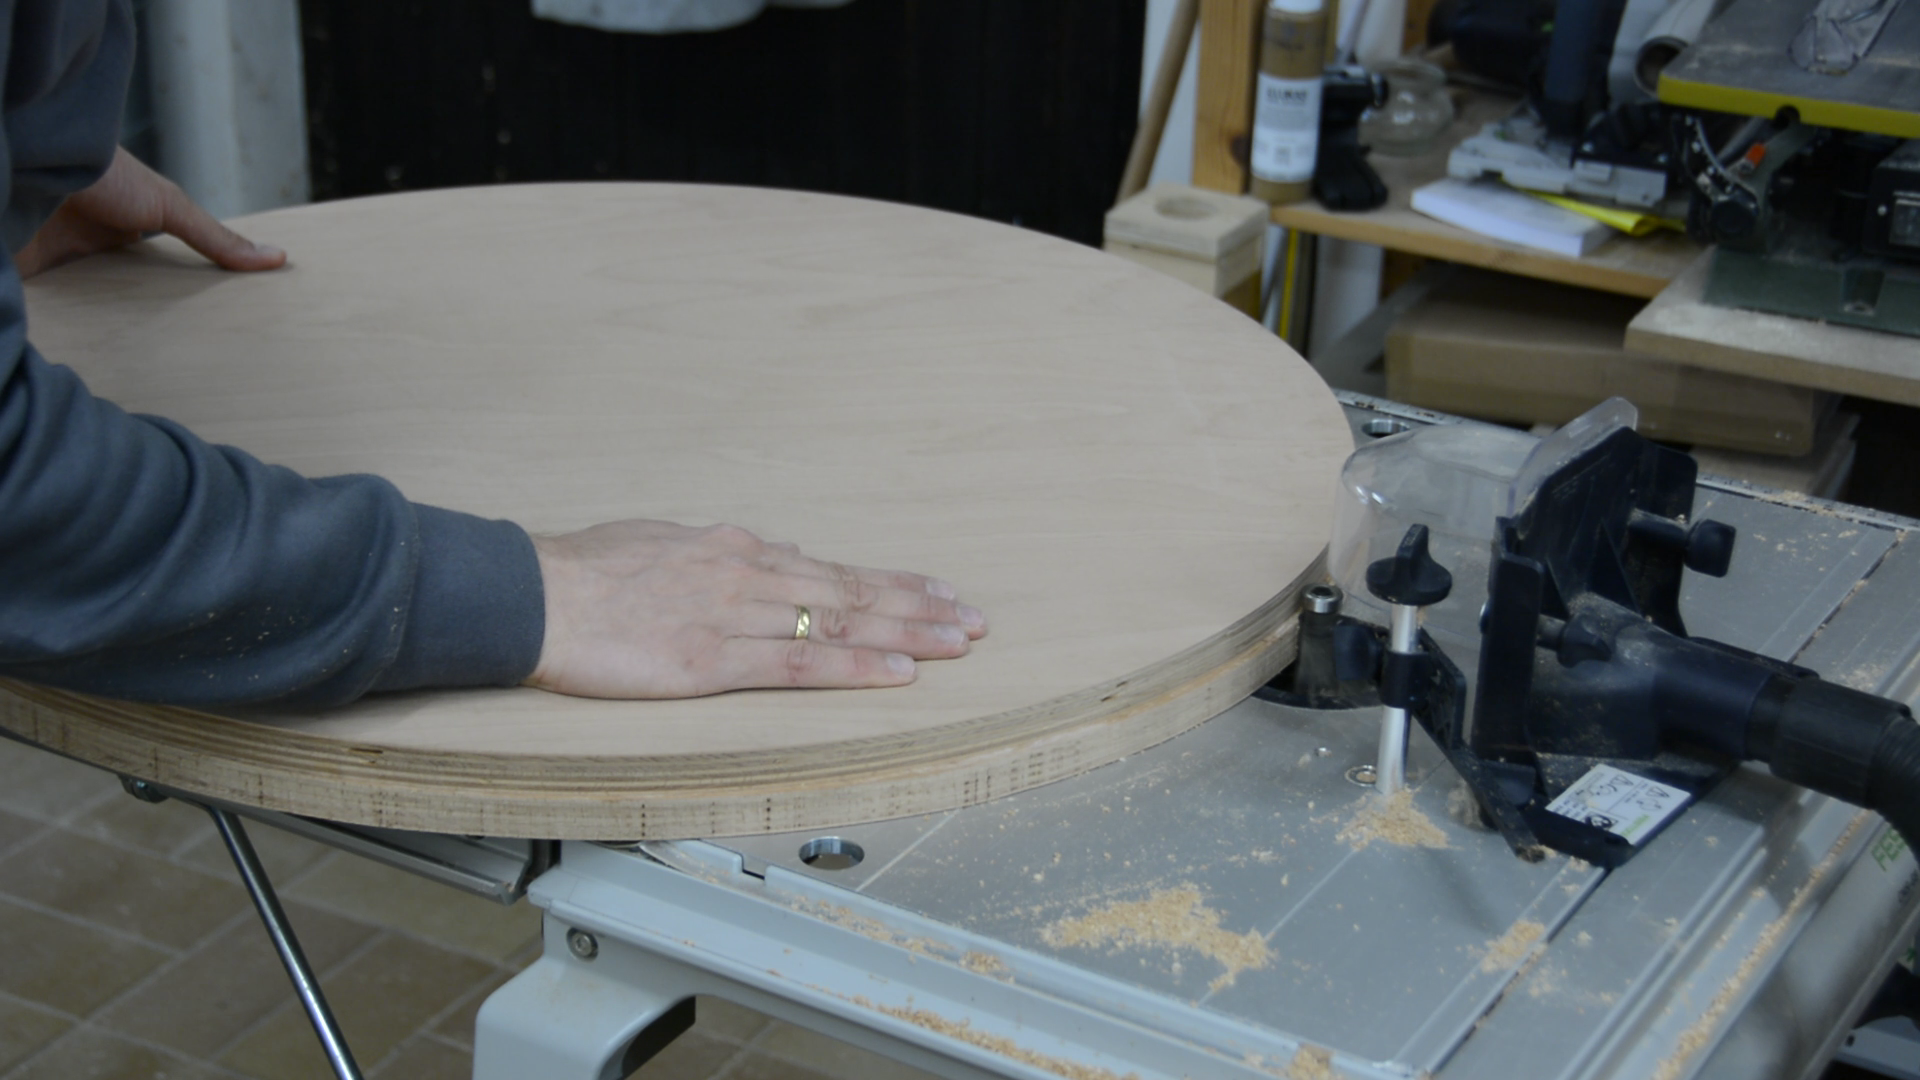
I also cut two more plywood pieces to a round shape. One of them gets trimmed flush with the template. For the other one I find the centre and use my router to cut an inner circle.
After cutting the circle free with a jig saw and flush trimming it it gets glued to the other round piece to form a pocket.
After more flush trimming, they get a round over at the bottom before and a light sanding before they are secured to the base with a few screws.
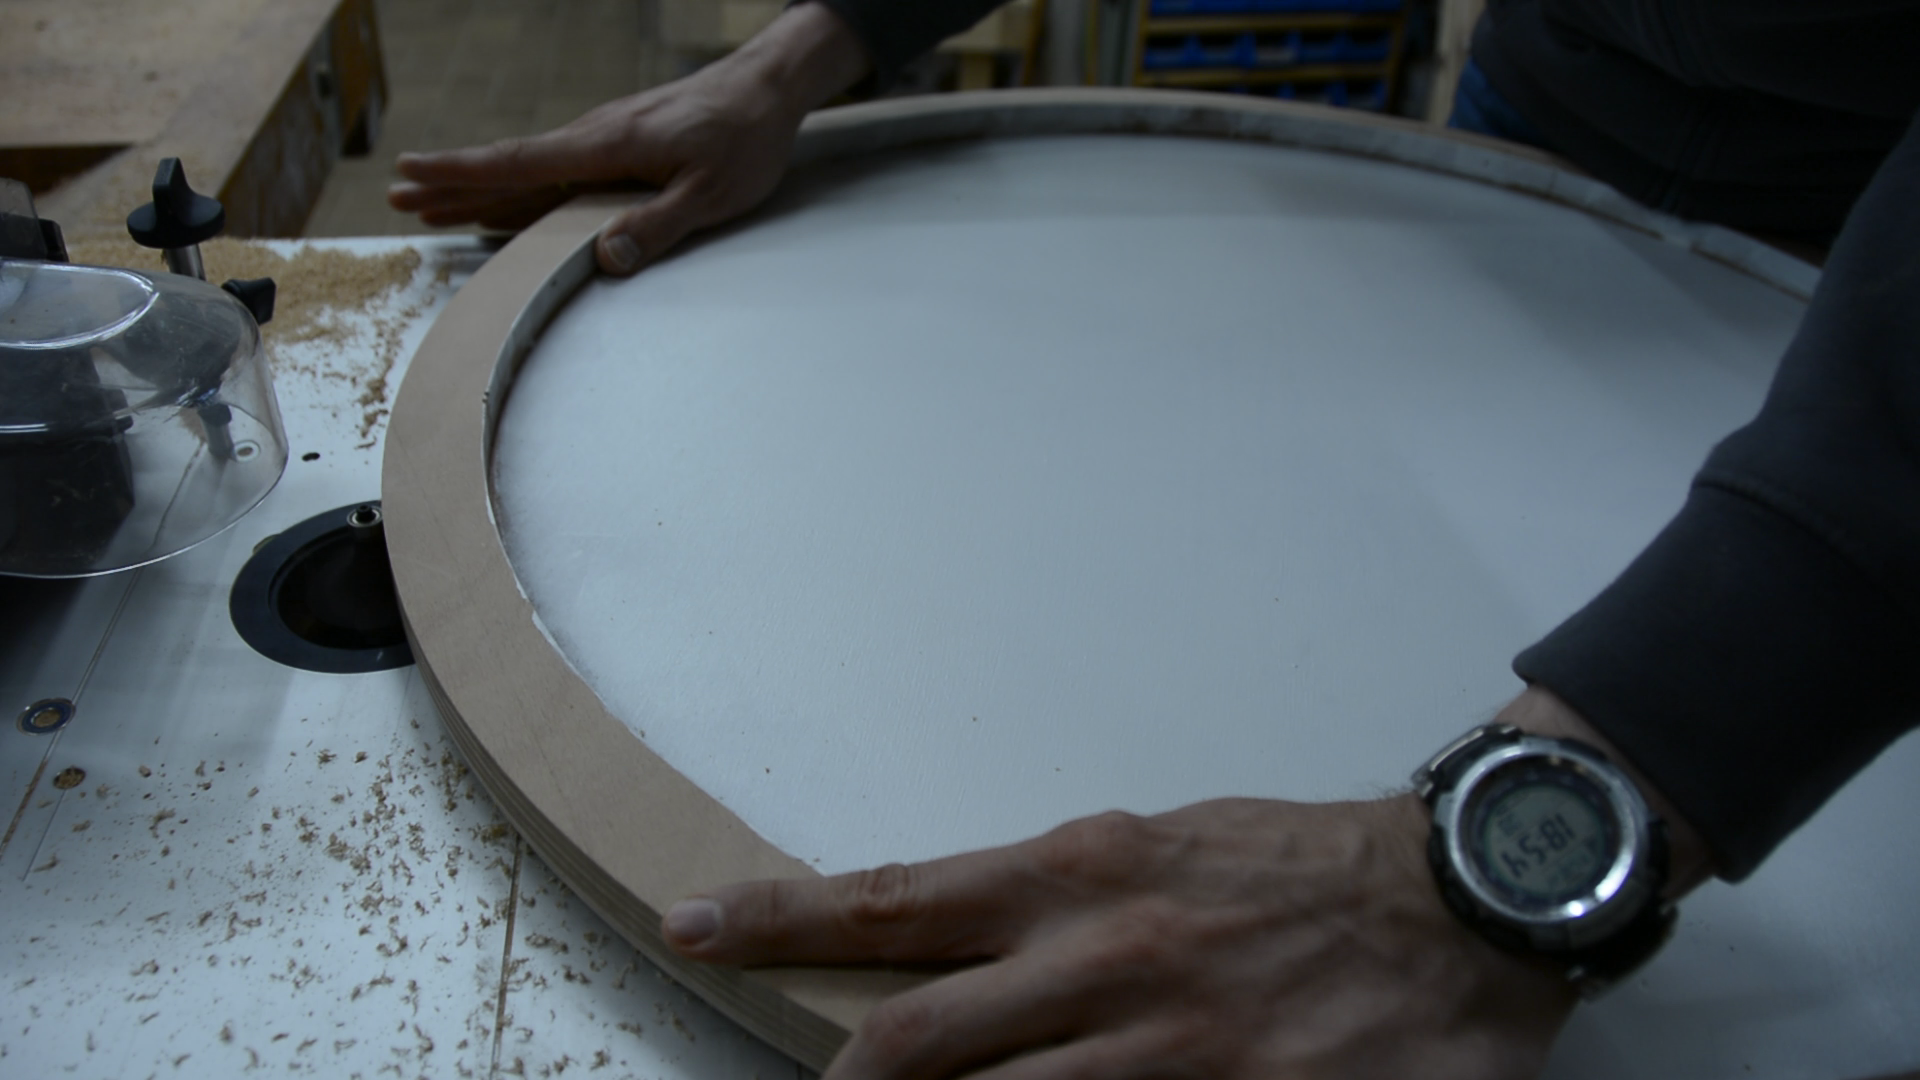

The inside is painted white.

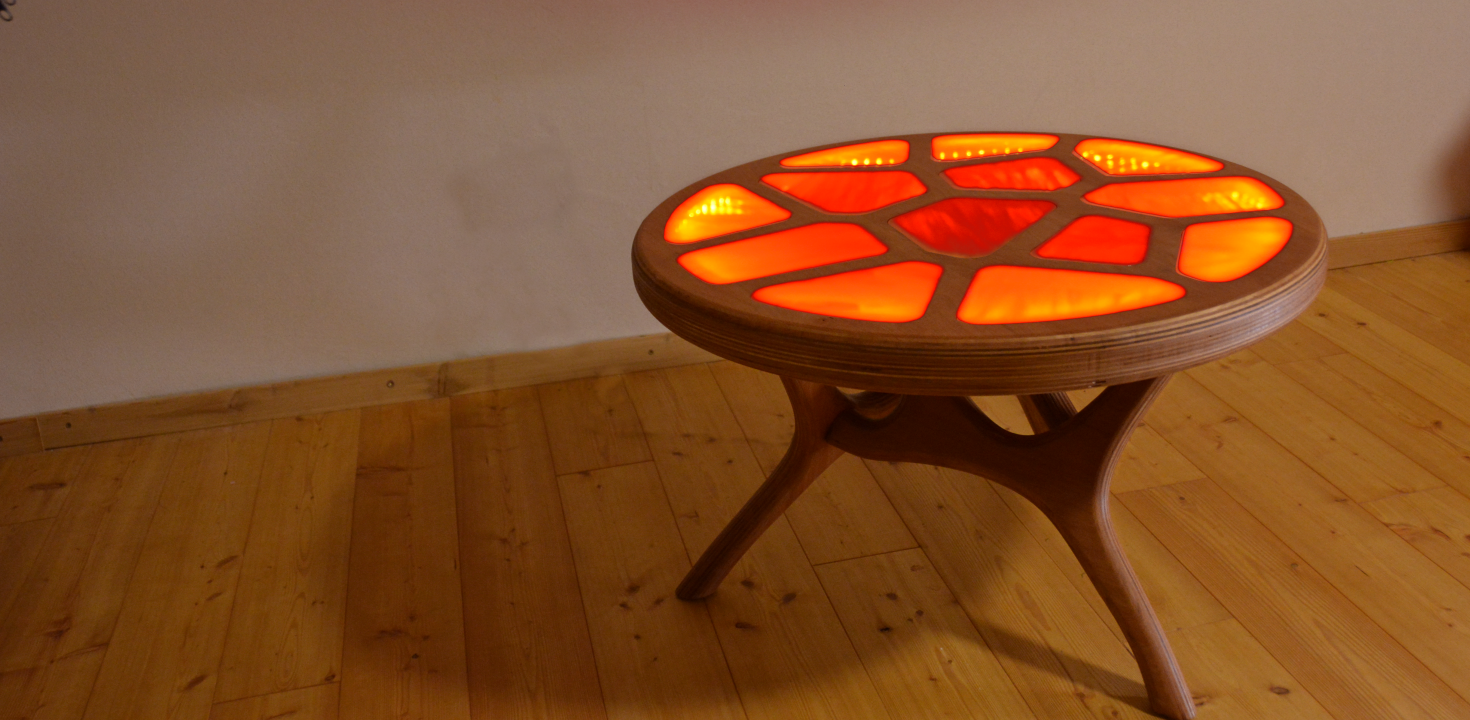
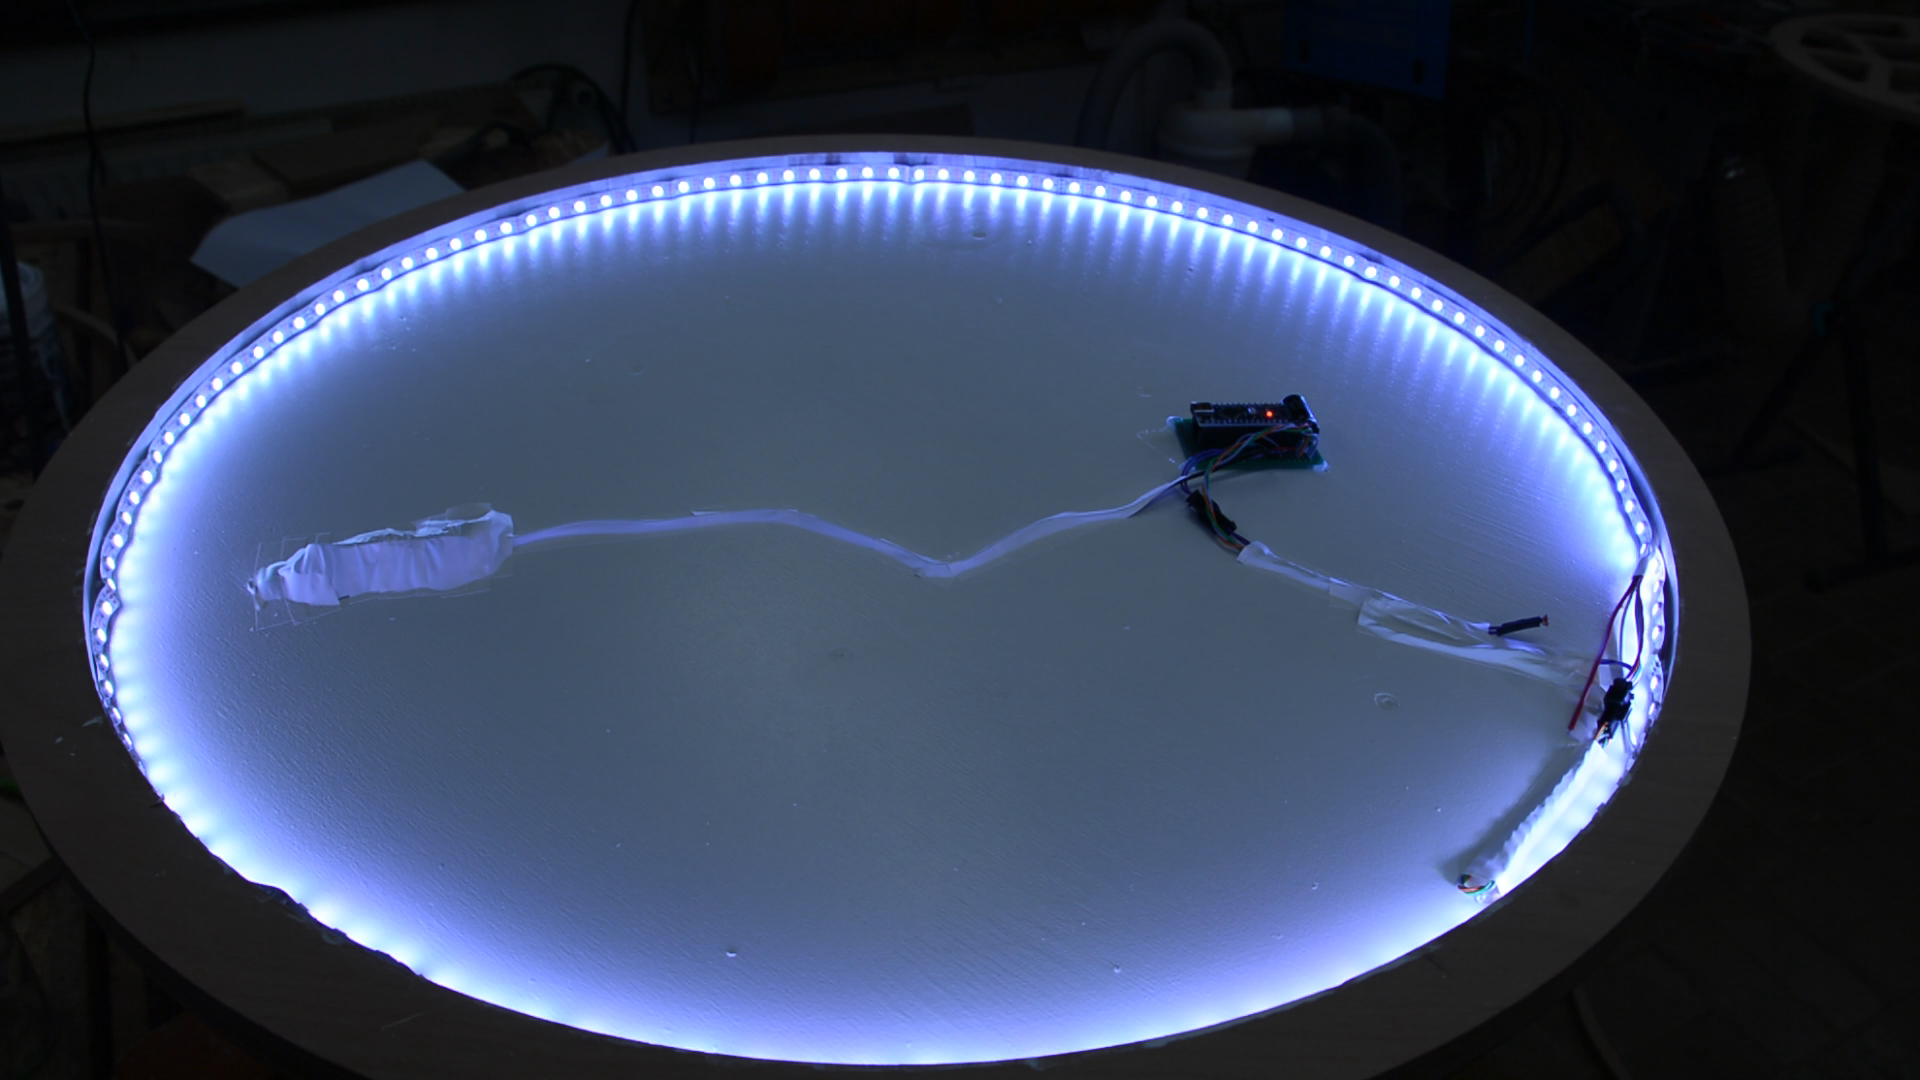
So far we have a cell table but it lacks the live. This is where the slot comes into play.
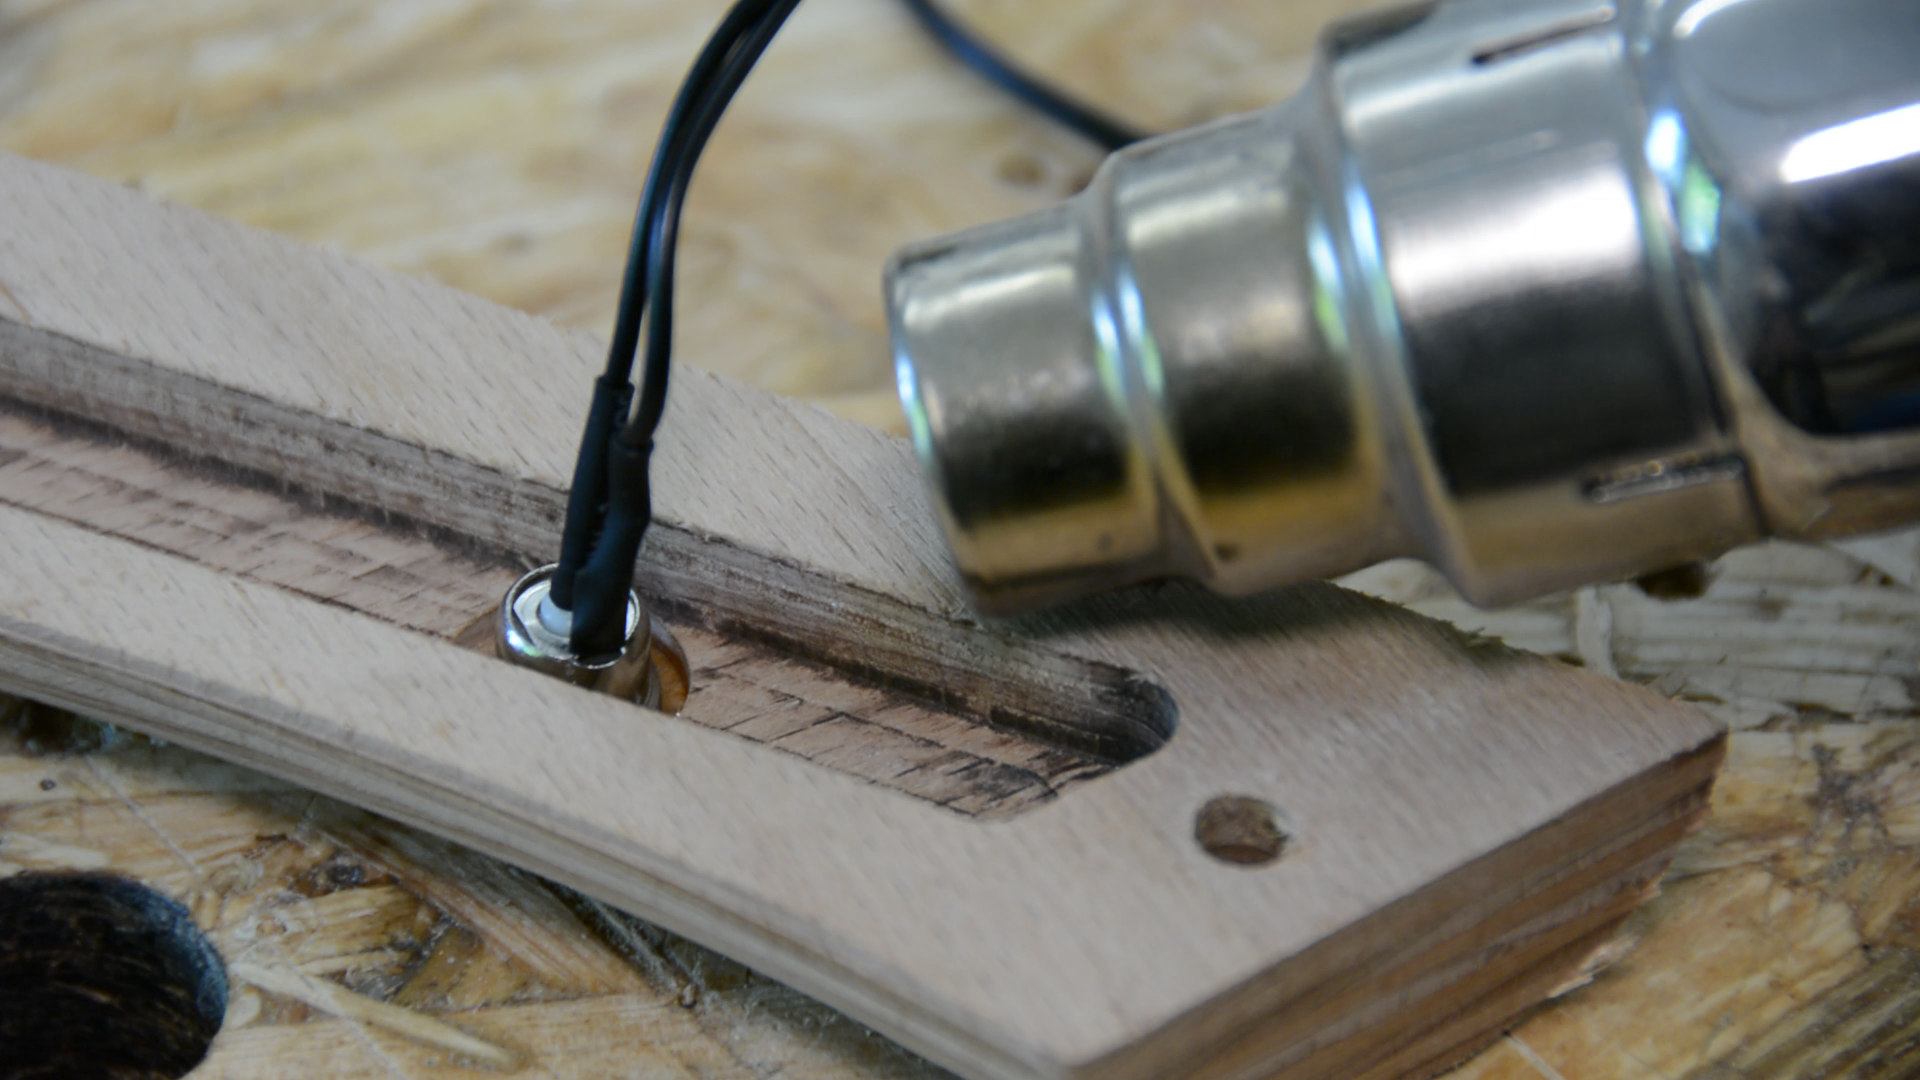
Before gluing this leg together I added a cable and a connector for a 5 Volt power supply.
In the inside of the table I install a LED light strip with an Arduino (second picture) and a photo resistor (third picture).
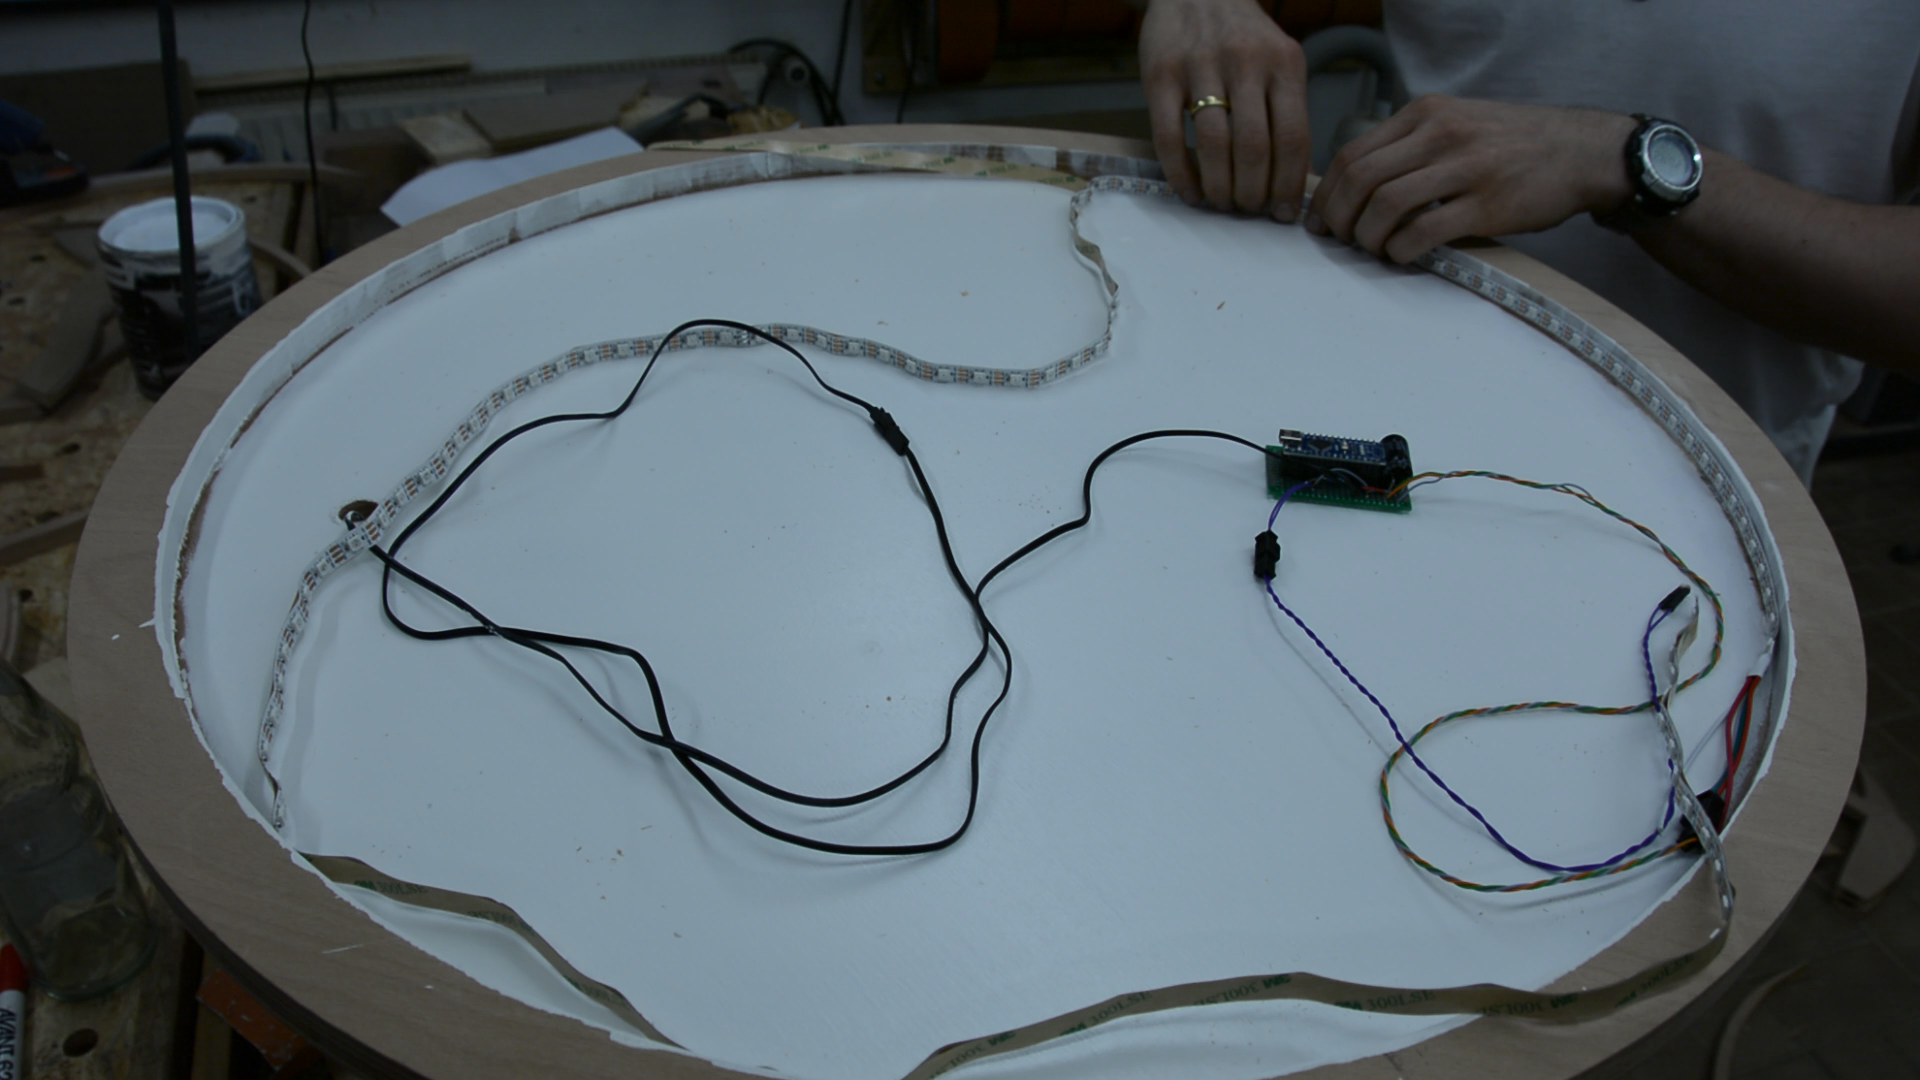
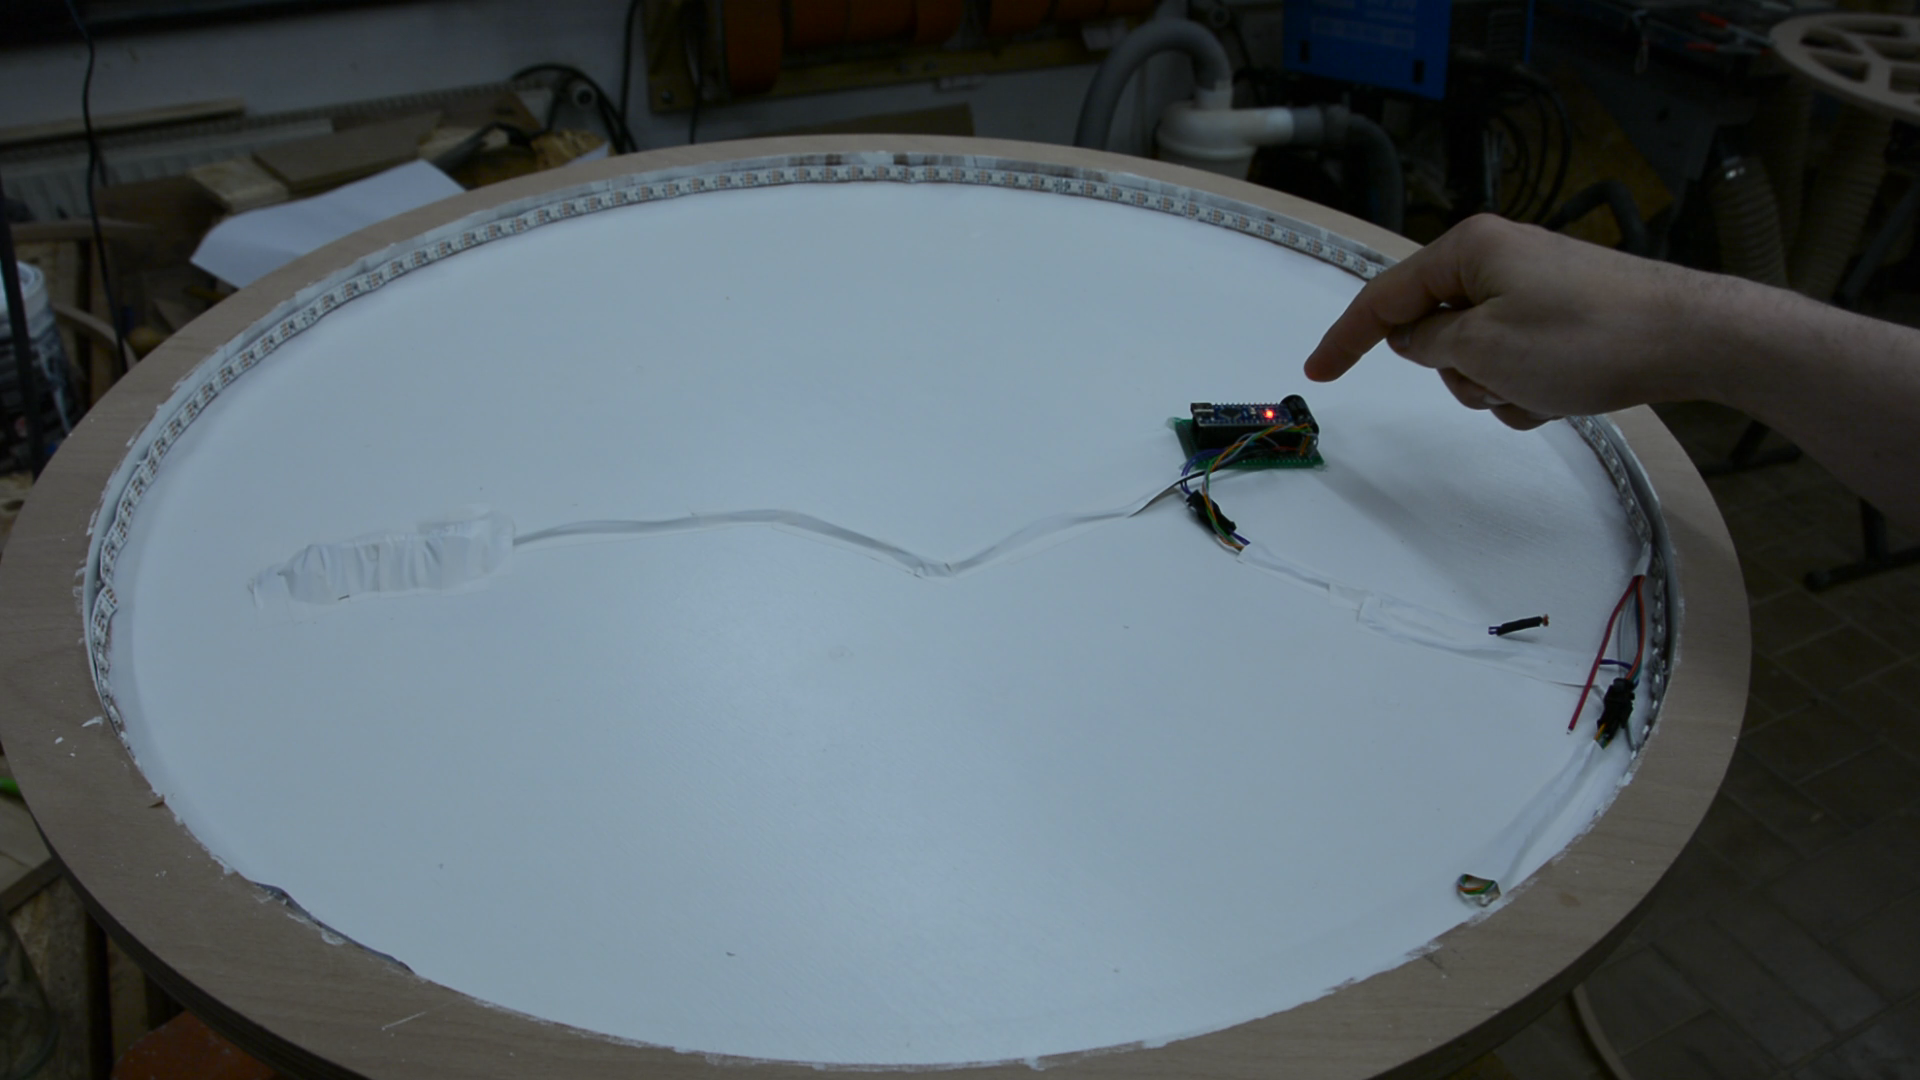
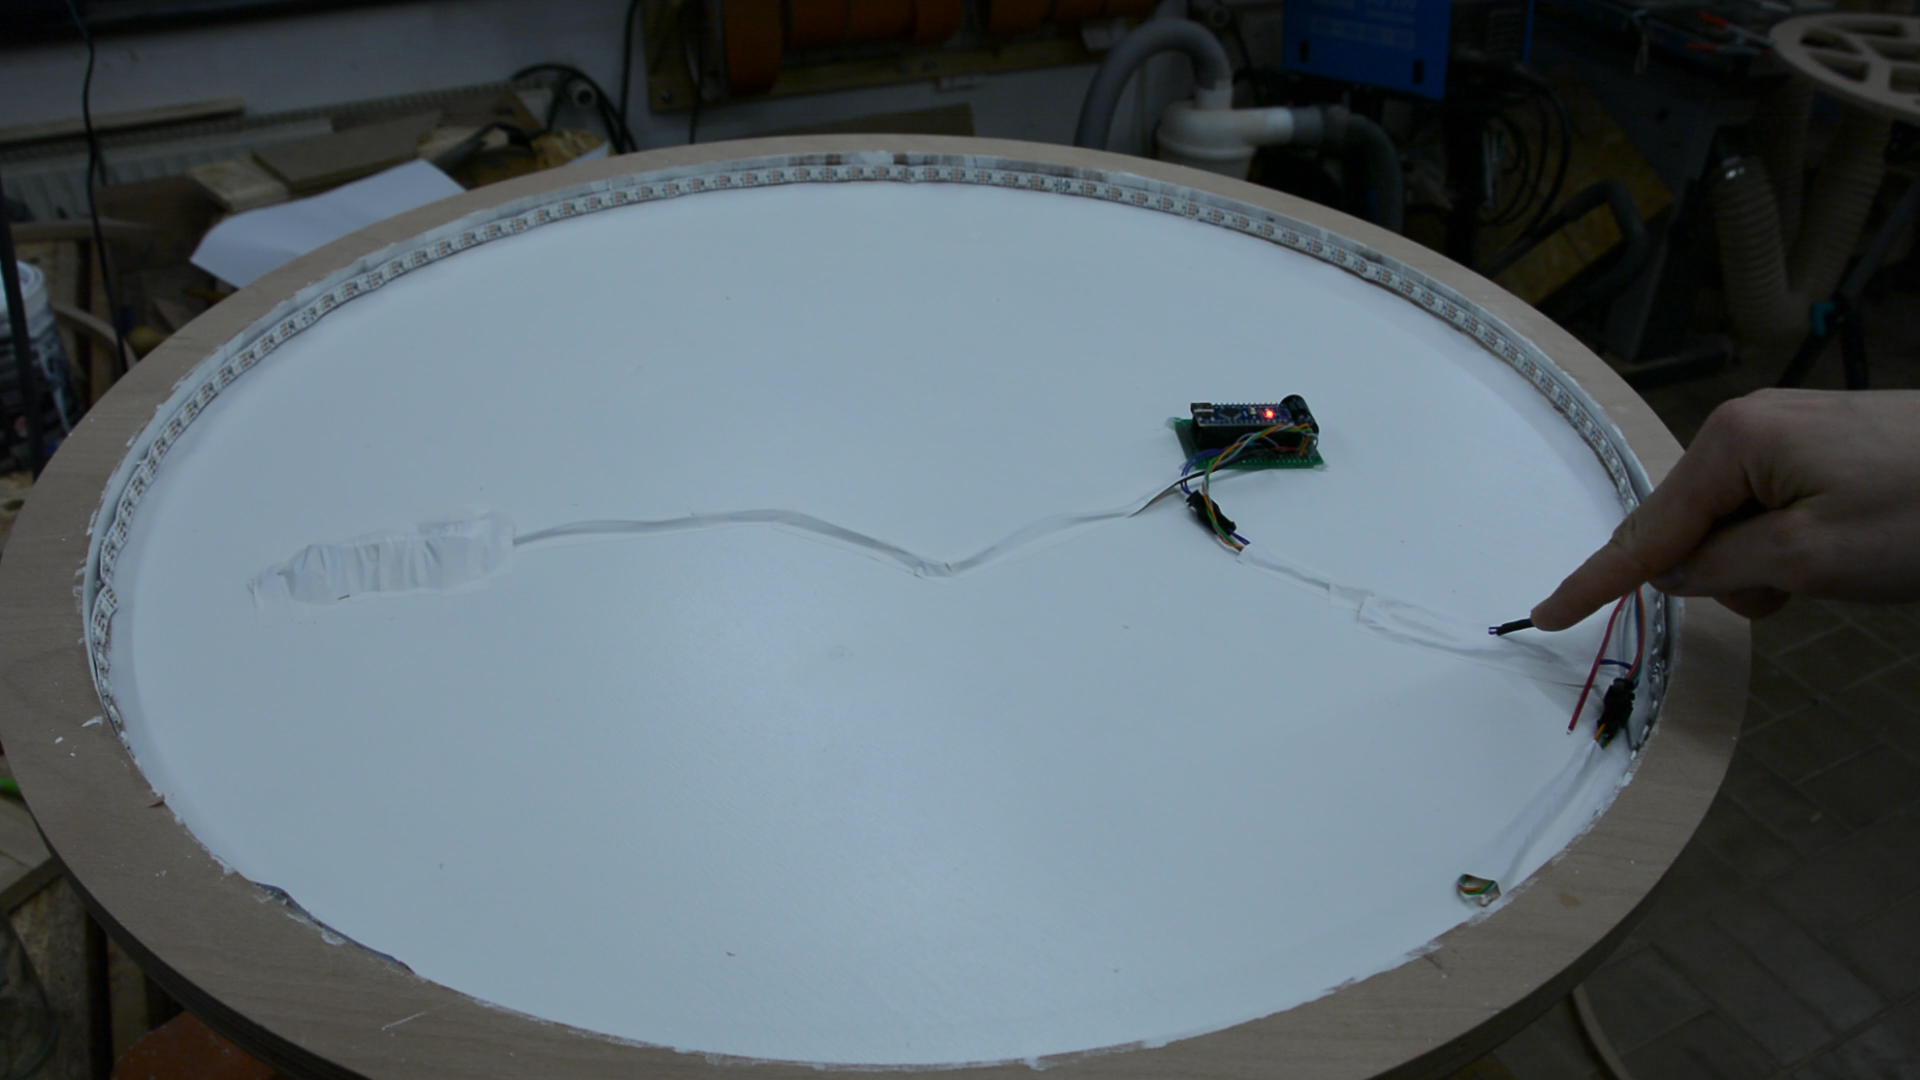
With a few lines of code and the photo resistor the table will be able to interact with the
people in the room.
After installing the Arduino I glue the top part of the table in place, trim it flush and give it the same round over as all the other pieces.
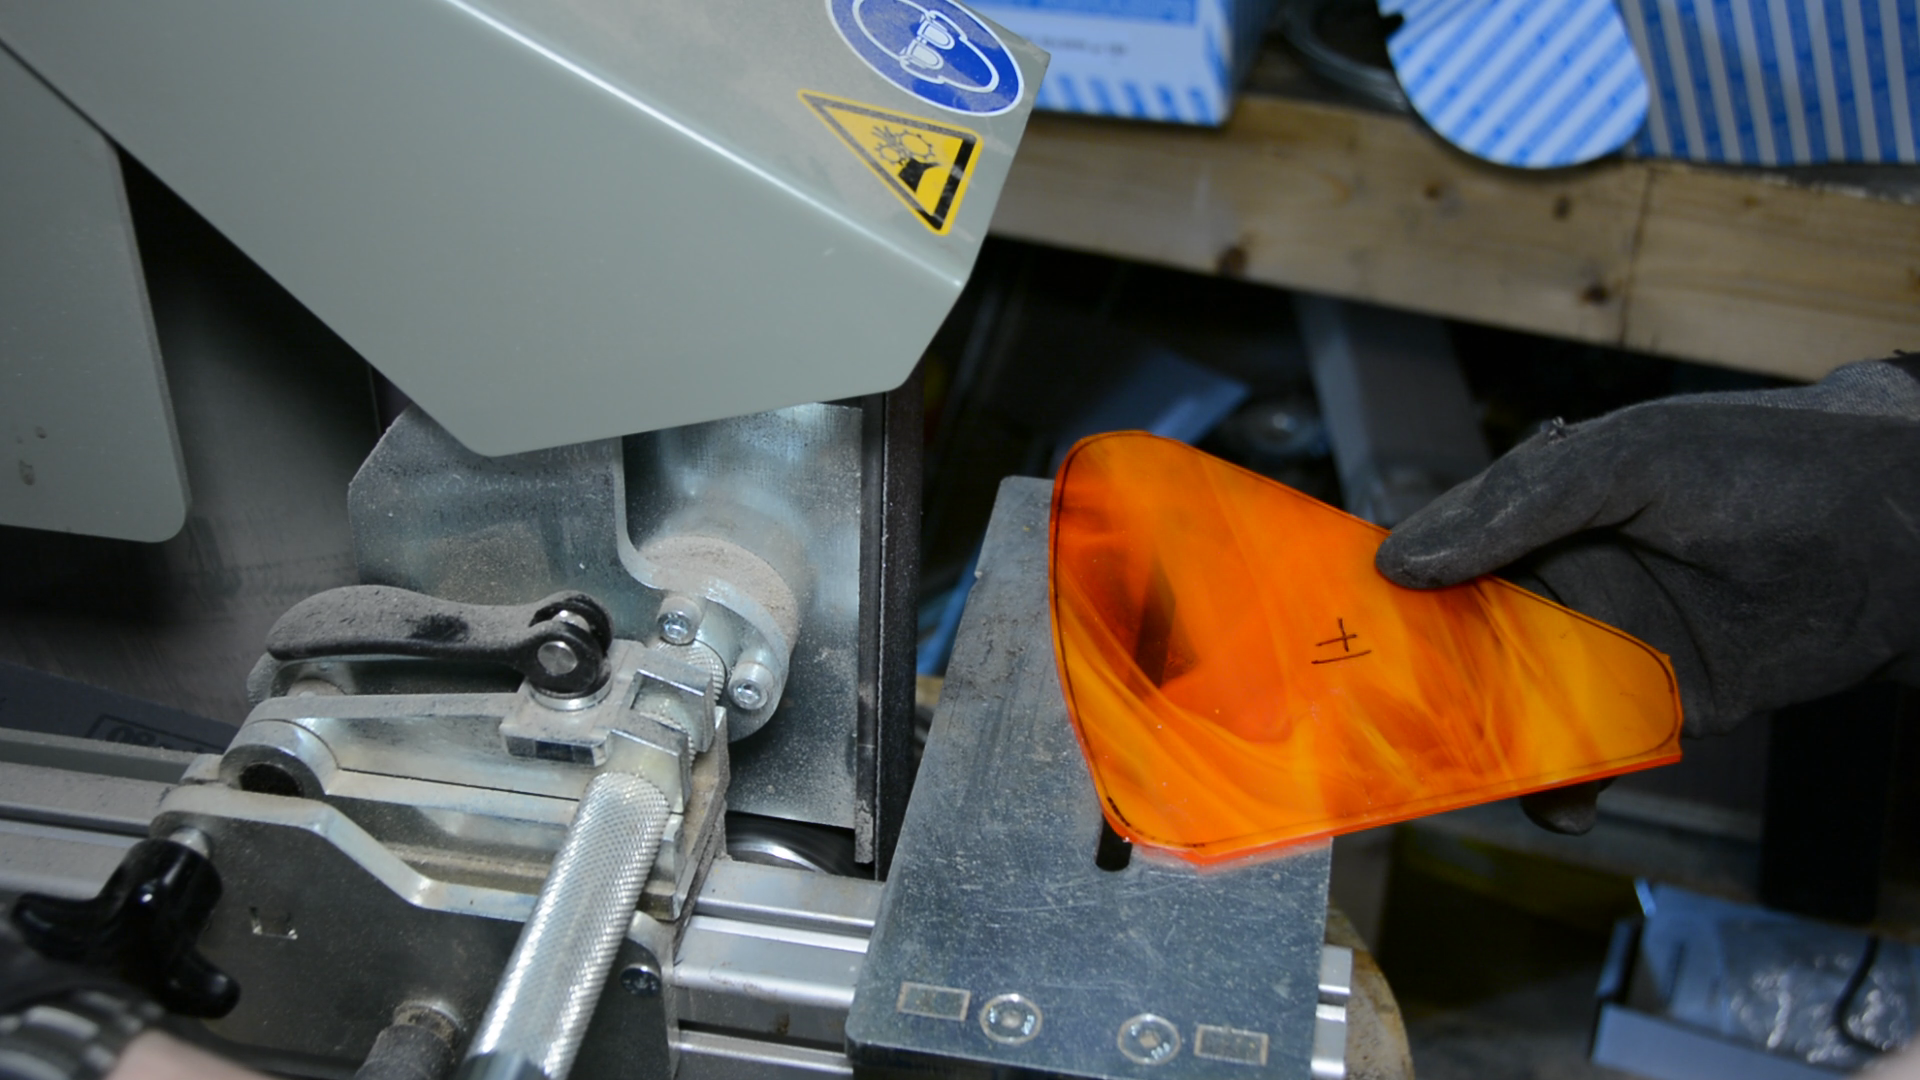
My wife in meantime cut all the glass pieces to rough shape.
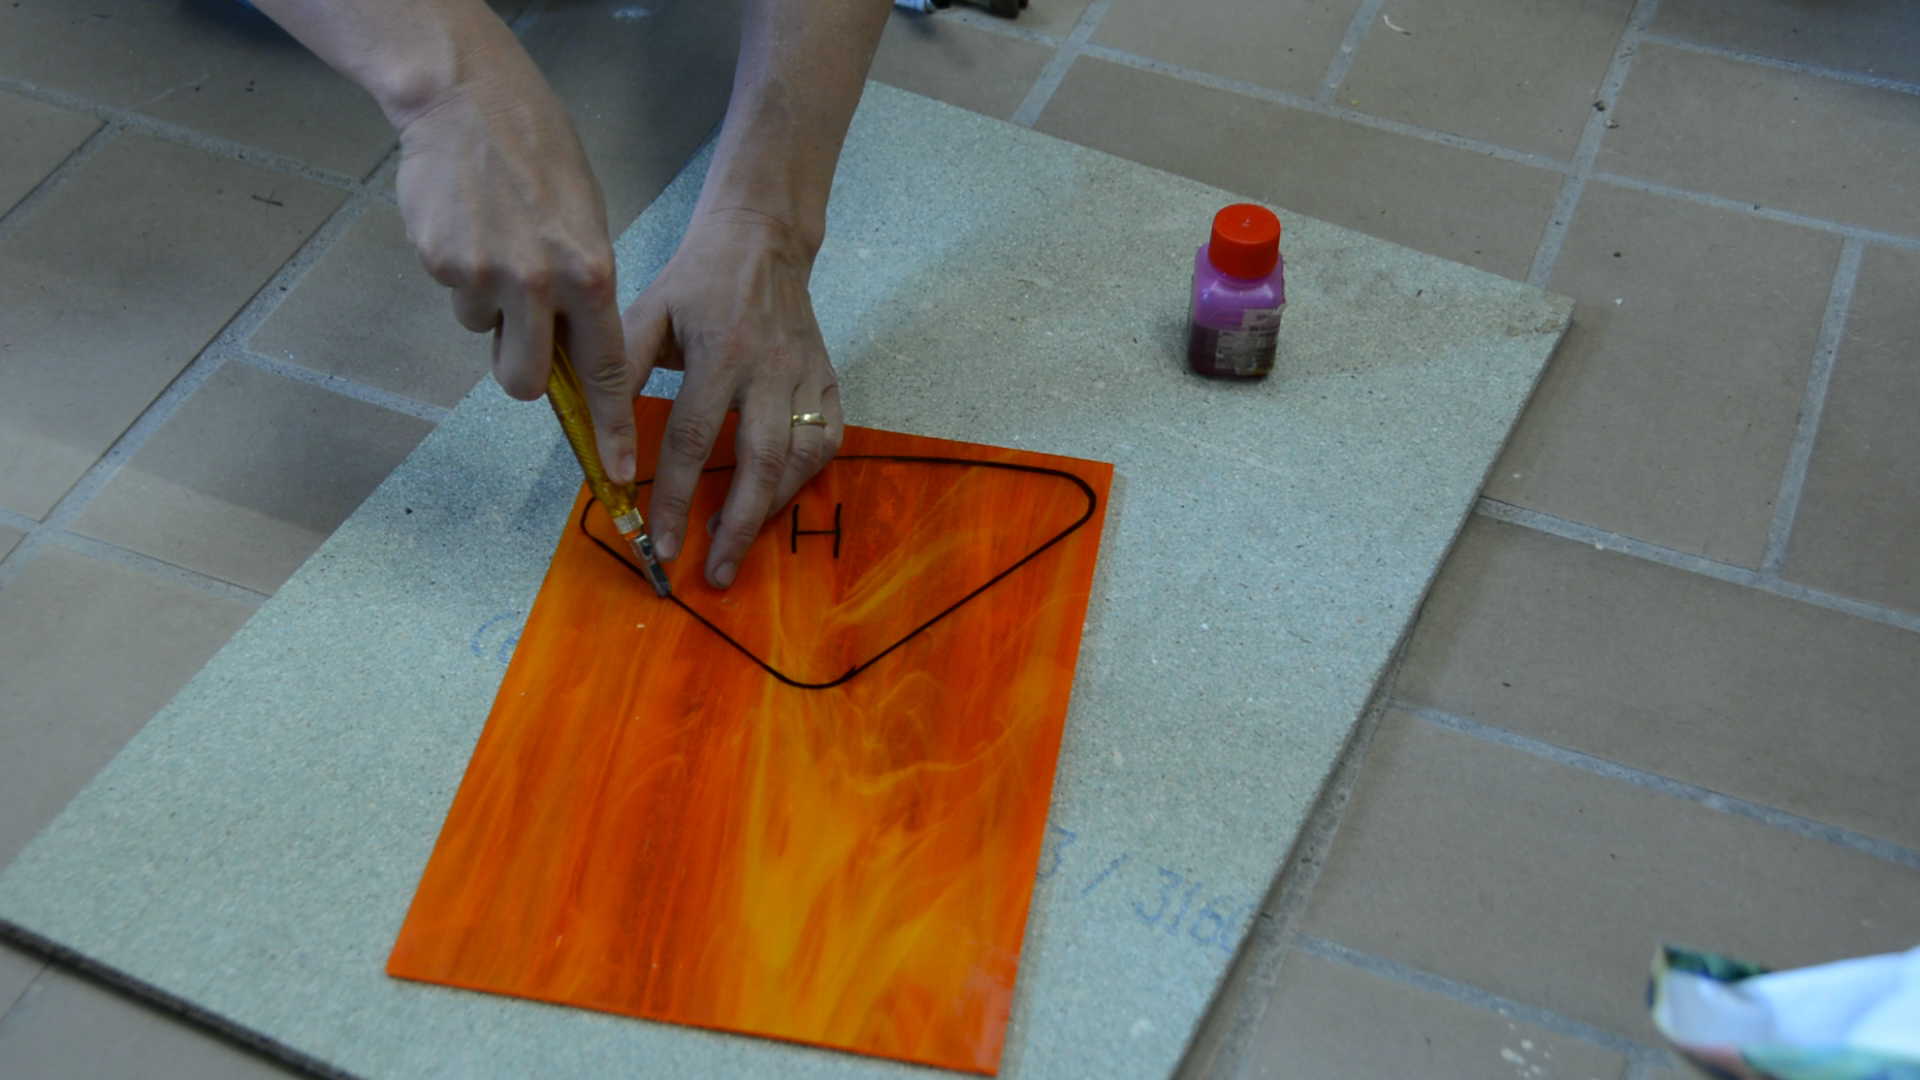

The rough shapes are sanded to fit snug in the openings.
Using glass in the build as well as the electronics was an interesting challenge to get out of
my comfort zone.

I was on the edge of using a darker stain on the table but finally decided for a simple hard oil finish that I apply in 2 coats.
I am very happy with how the table turned out.
When you put your hand on a specific area of the tabletop and remove it the cells come to life and start pulsating for a little while.
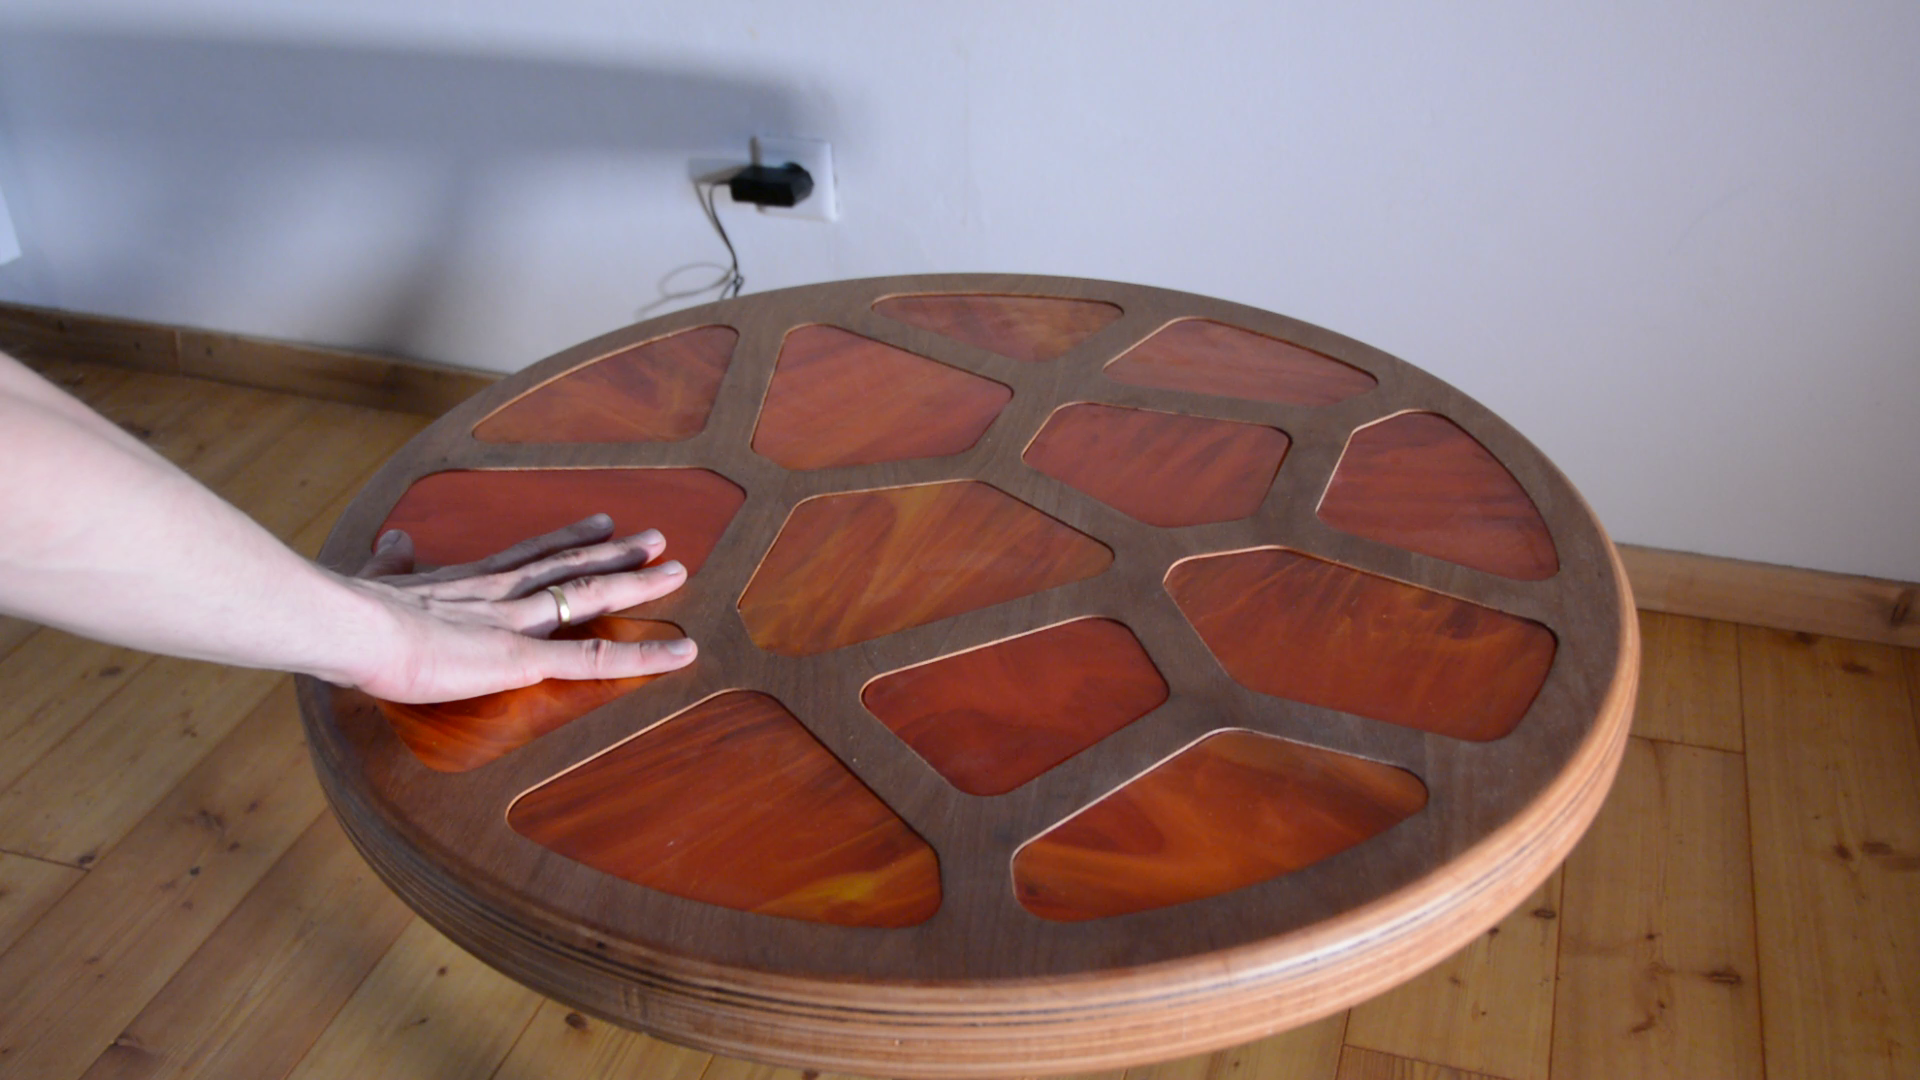
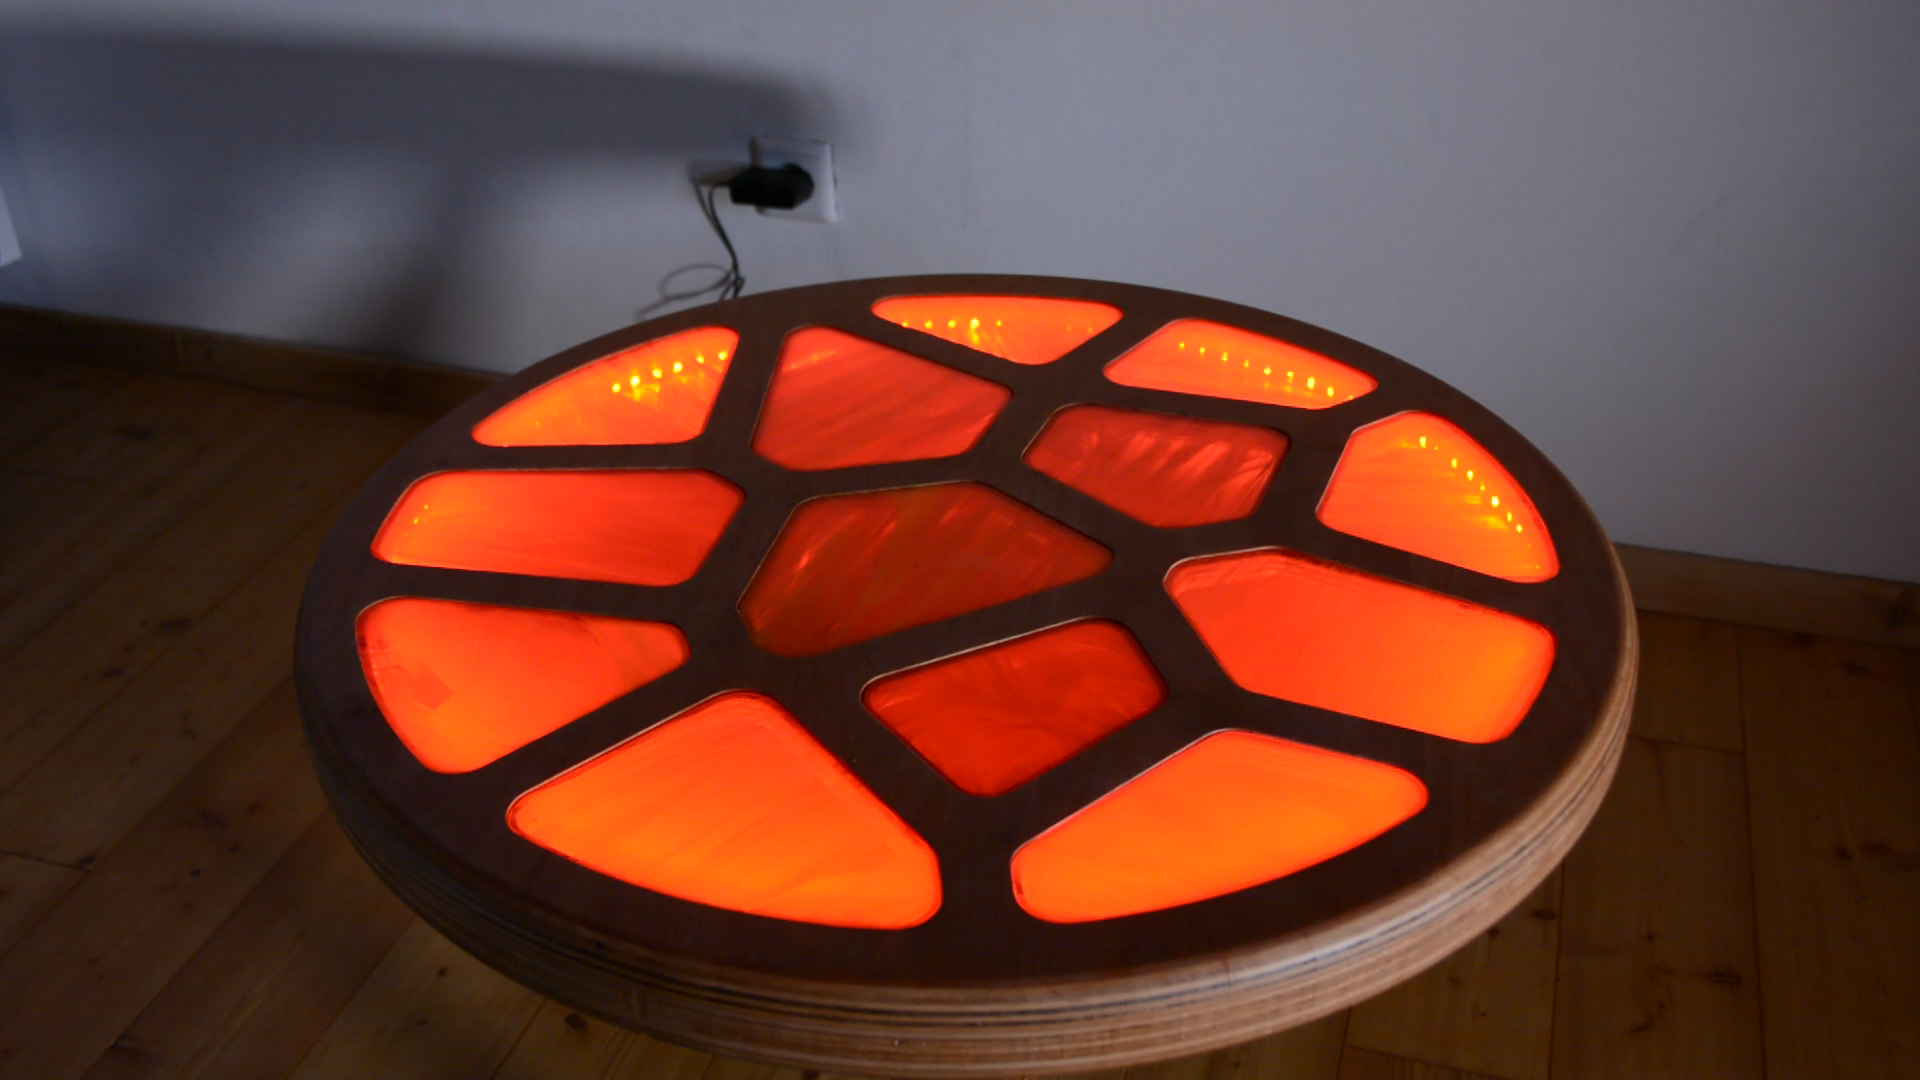
It was a fun build and the table will be a great addition to our living room.
Tools
- Festool Domino DF500
- Sanding belt for glass
- Bahco 150mm combination square
- Festool screw clamps
- Hard oil
- Festool CMS router module
- Festool CMS base unit
- Festool dominos 10×50
- Leimboy
- Bessey Kliklamp
- Router trim cutter with upper ball bearing
- Straight router cutter set (metric)
- Festool OF 1010 17 mm guide bushing
- Festool OF 1010