
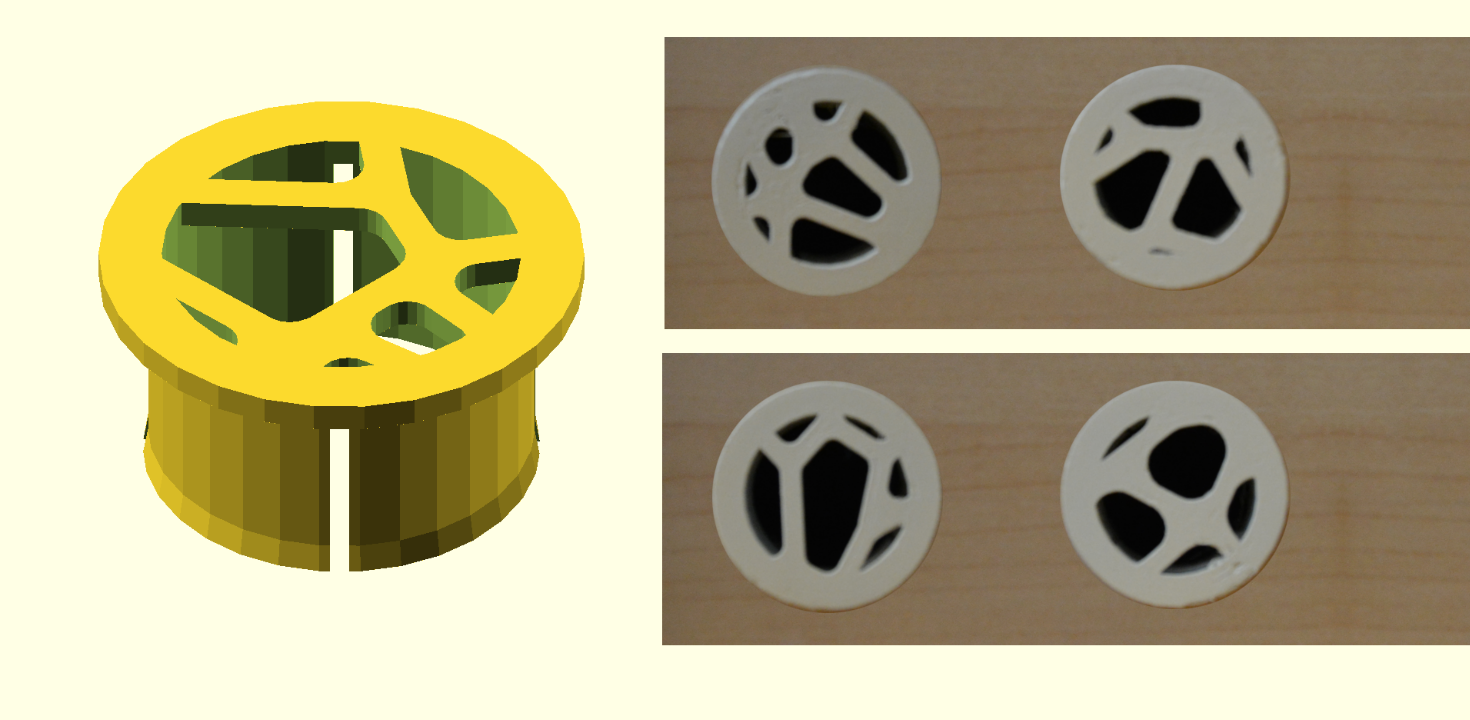
In this article we 3d print a set of organic-shaped vent covers. We use a library for OpenScad in order to create a flexible, parametric design.
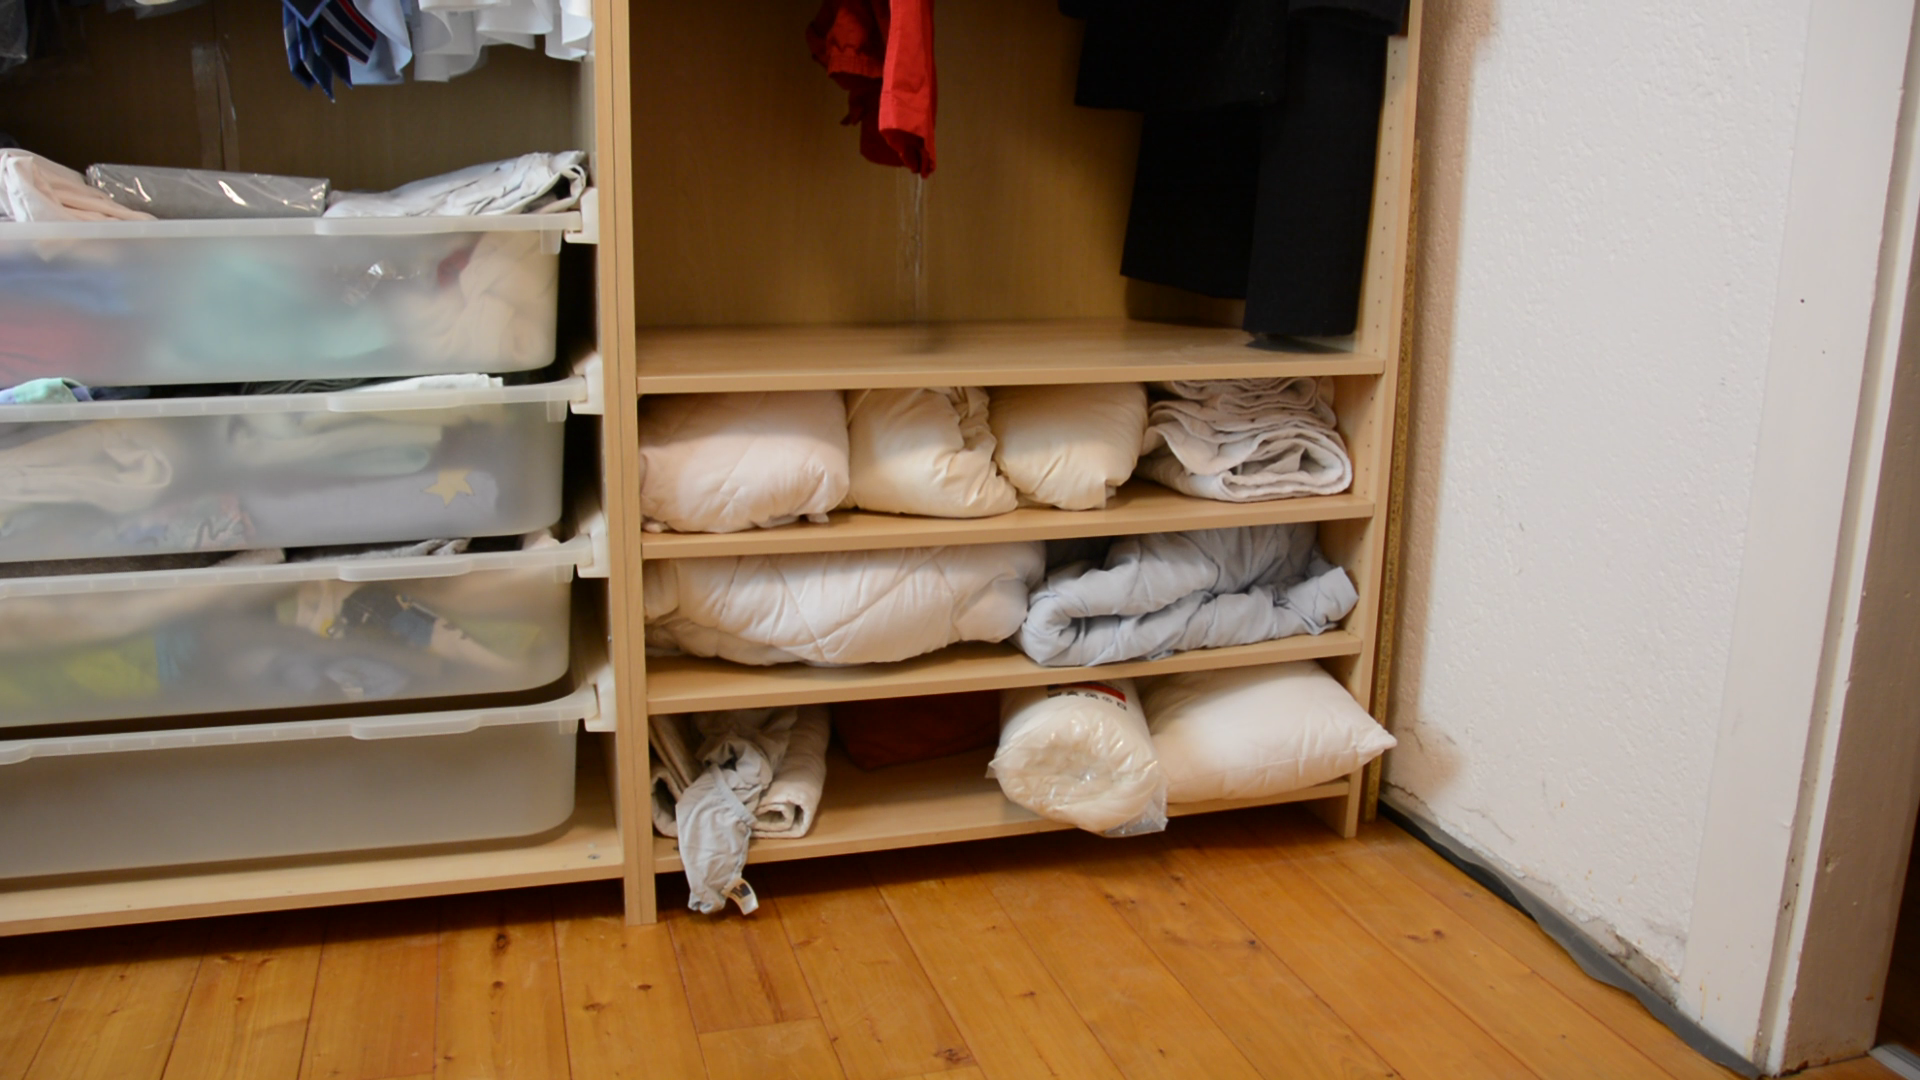
Last weekend we modified and assembled these Ikea wardrobes. As they are placed against an exterior wall the base needs vent holes so that air can circulate and we don’t get any mold behind them.
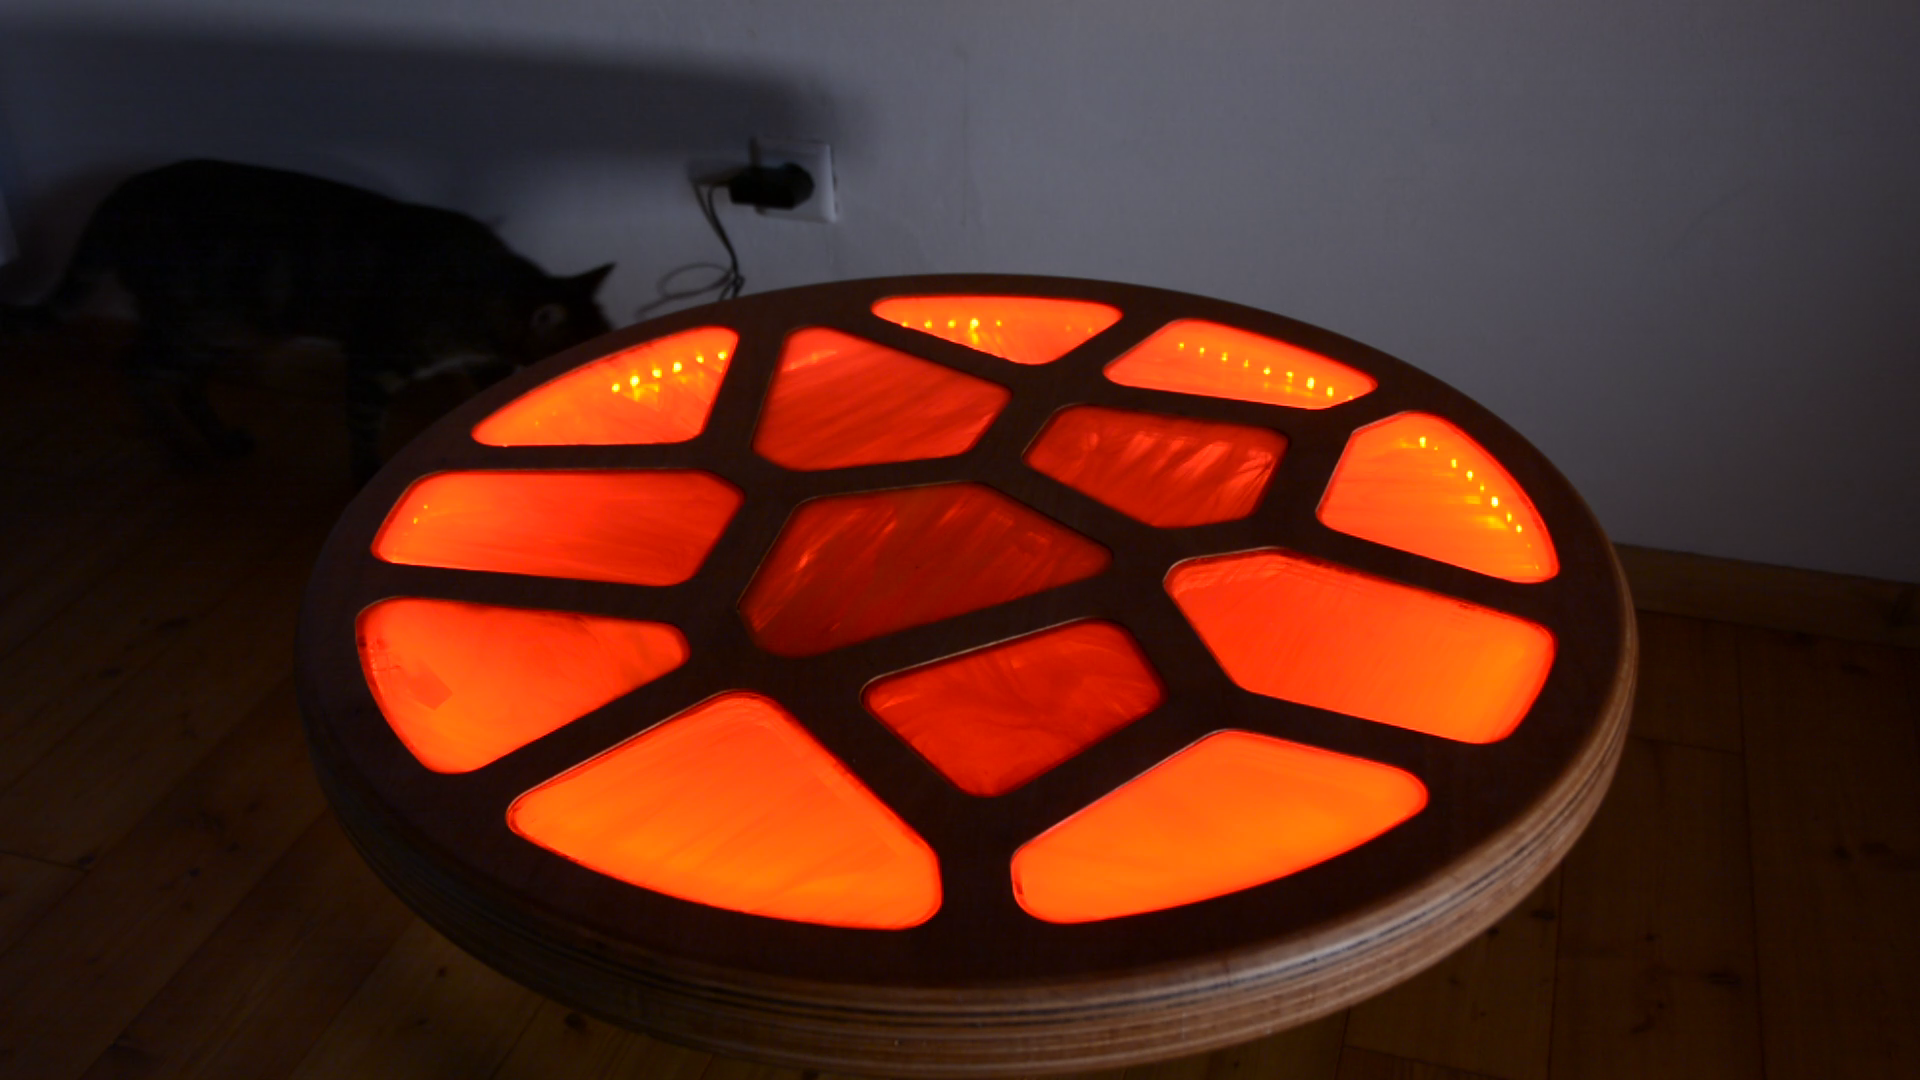
When we built our living cell table we used a voronoi pattern for the design. Having a few vent covers with different patterns could be an interesting design feature.
Openscad modeling of a parametric vent cover
On Github Felipe Sanchez offers a library that generate Voronoi patterns in OpenScad.
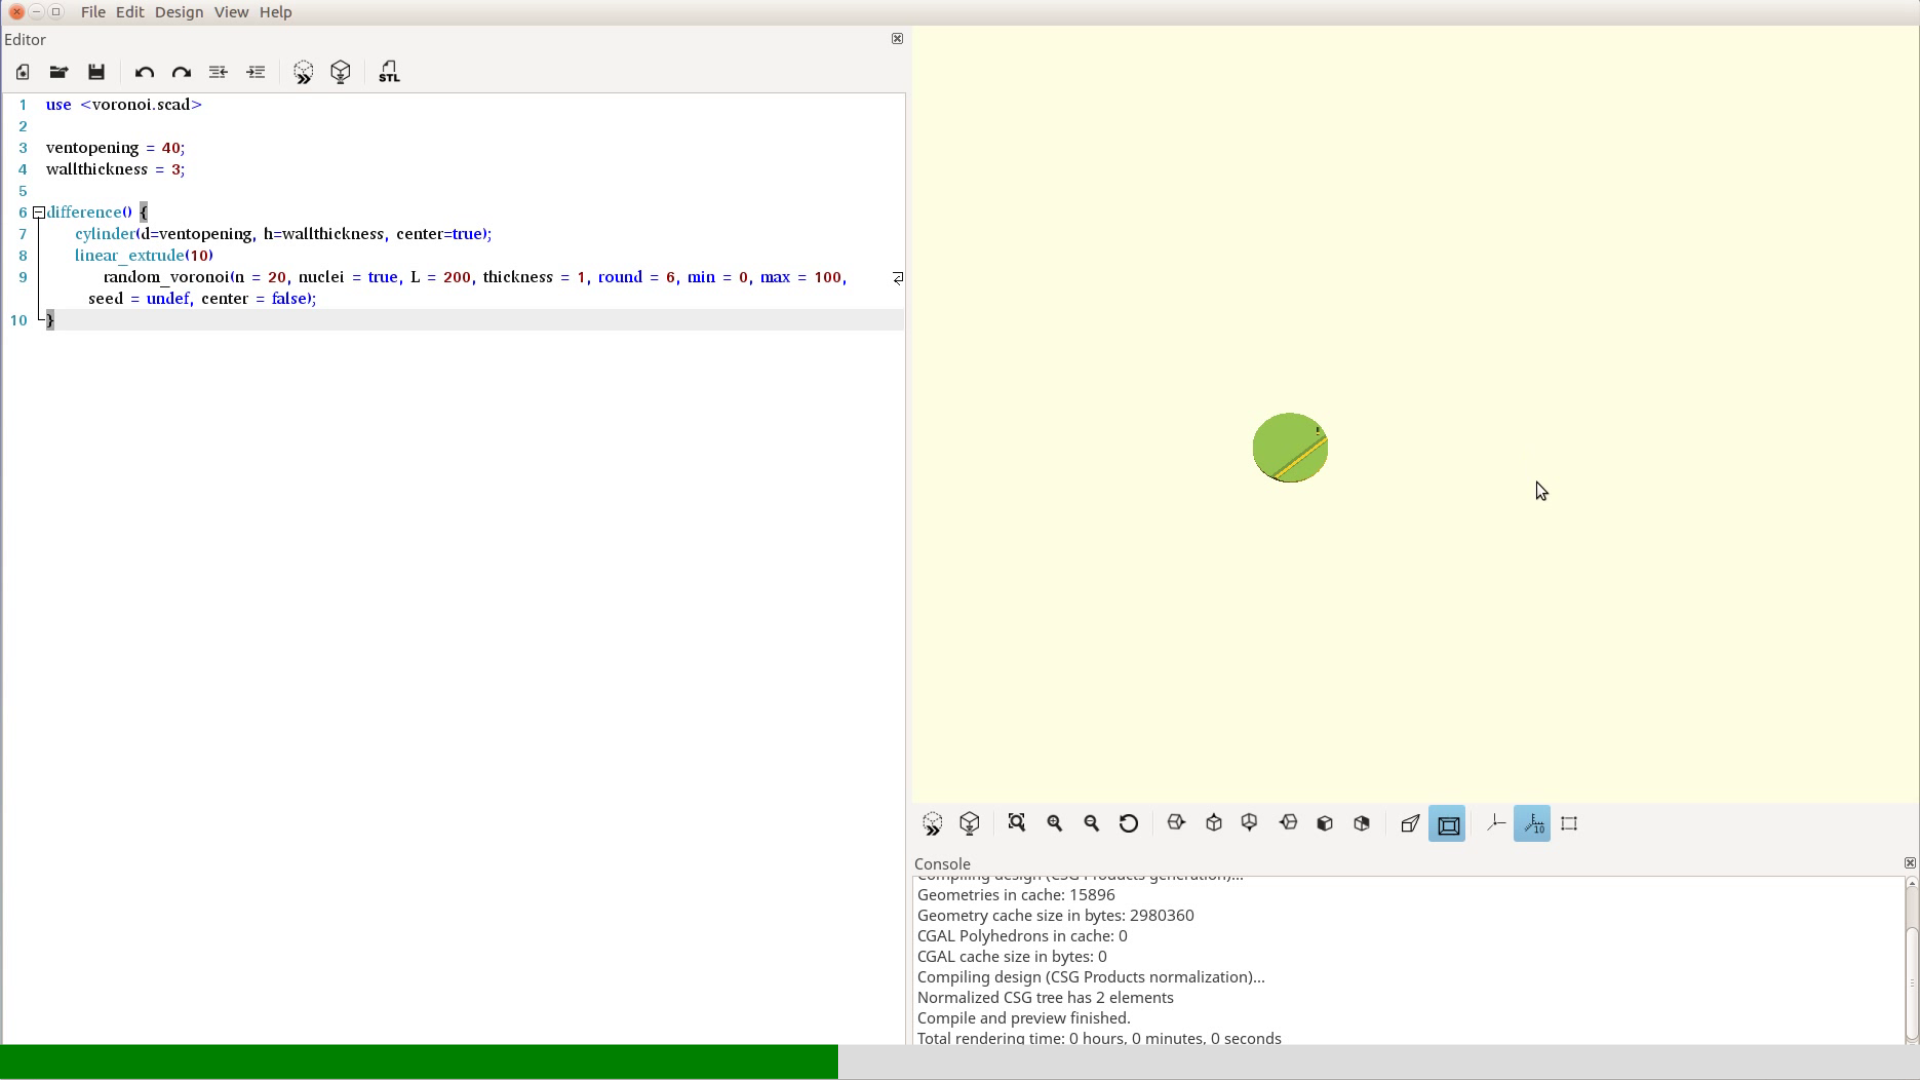
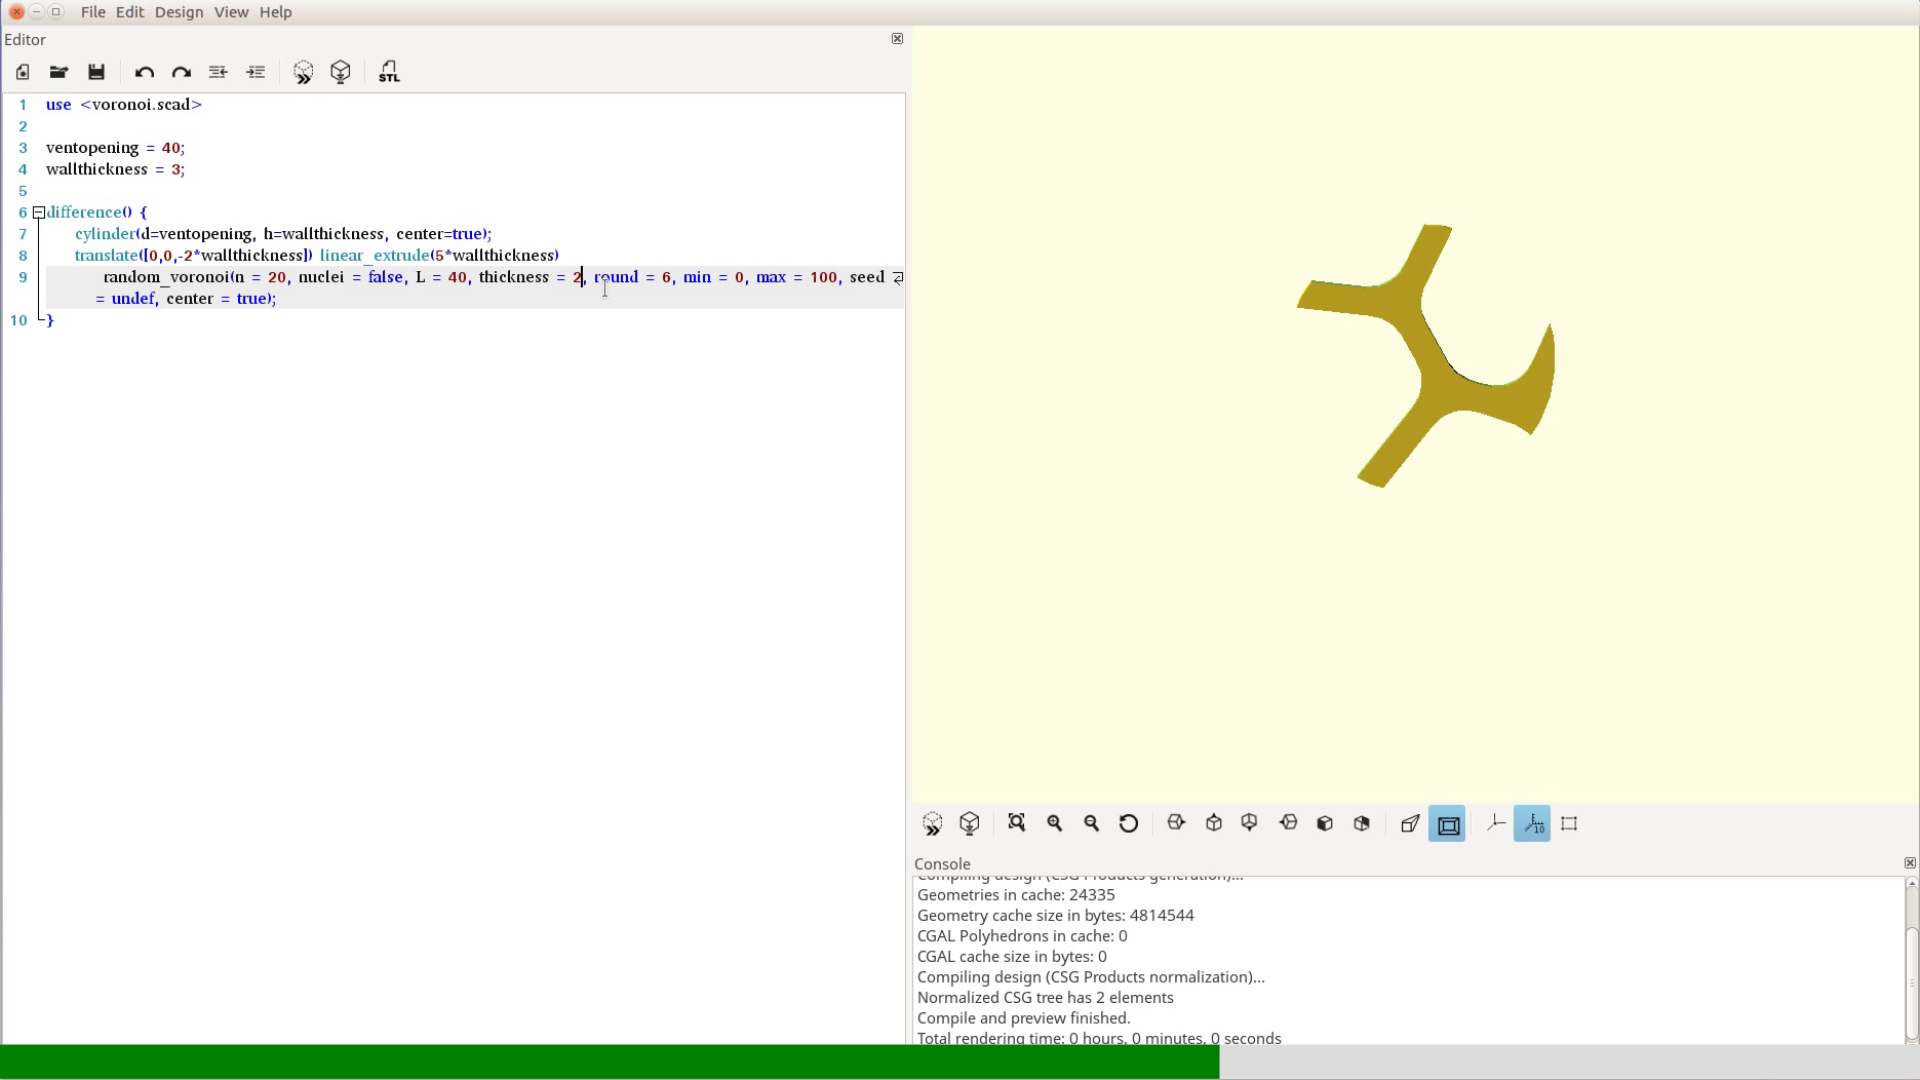
To get started we copy the example from the library and play around with it. The pattern is created as a 2d shape so we have to use the linear extrude command to
convert it into a 3d shape.

As we are actually not interested in the pattern itself but in the connecting lines we define two new variables for the opening of the vent hole and the thickness of the cover. We then create the difference between a cylinder of that size and the voronoi pattern.
This doesn’t look very compelling. So we change some of the parameters – in particular the area in which the segments are created, center the pattern and make sure that the nuclei are not displayed. After moving the pattern a bit so that it fully overlaps the cylinder we get a nice mesh.
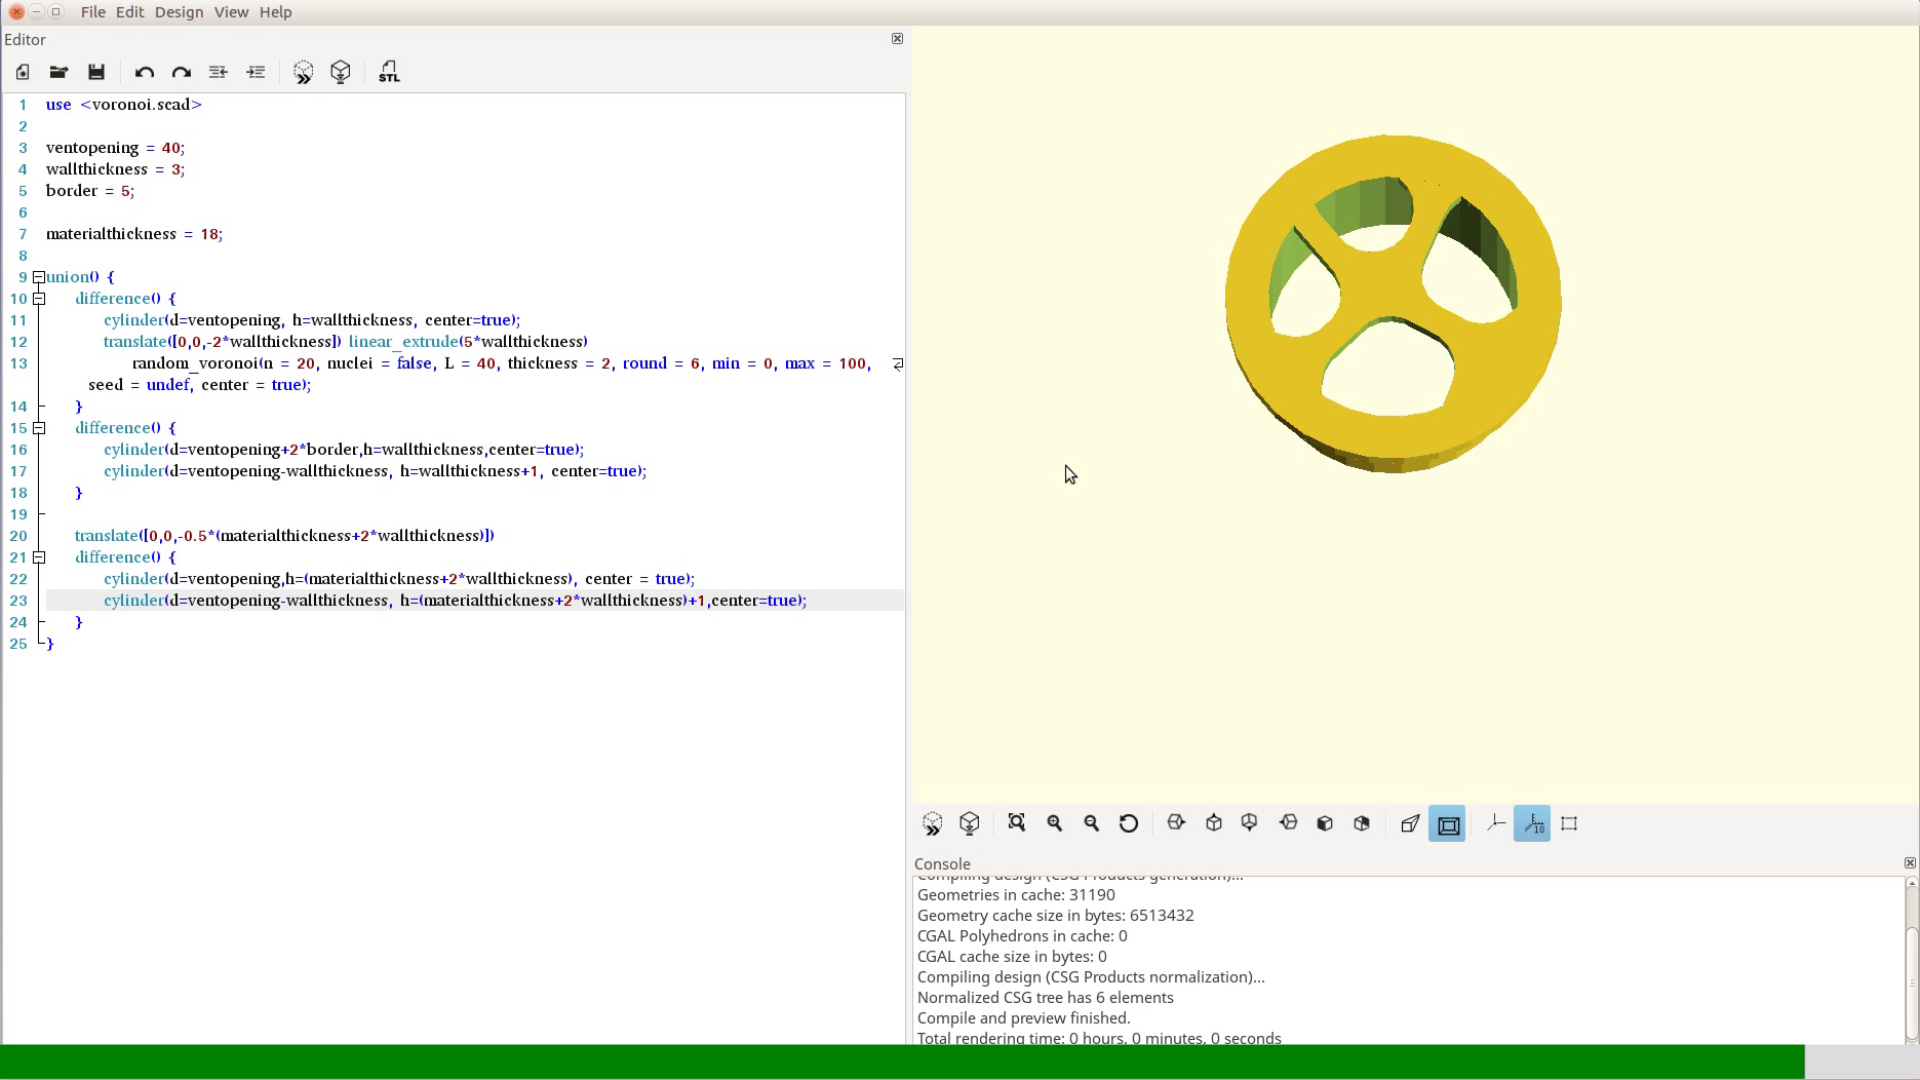
We then create a border around the mesh to increase its stability. We define a new variable for the width of the border and create the frame as the difference
of two cylinders. We combine the pattern and the frame in one object by using the union command.

Now we have a disc with an interesting pattern. With two additional cylinders we create a tube that is a little longer than the material in which the vent hole is cut – 18mm in our case.
The tube is added to the disk.
As we don’t want to glue the vent covers in the holes we subtract two shallow cubes so that the cylinder can be bent inwards.
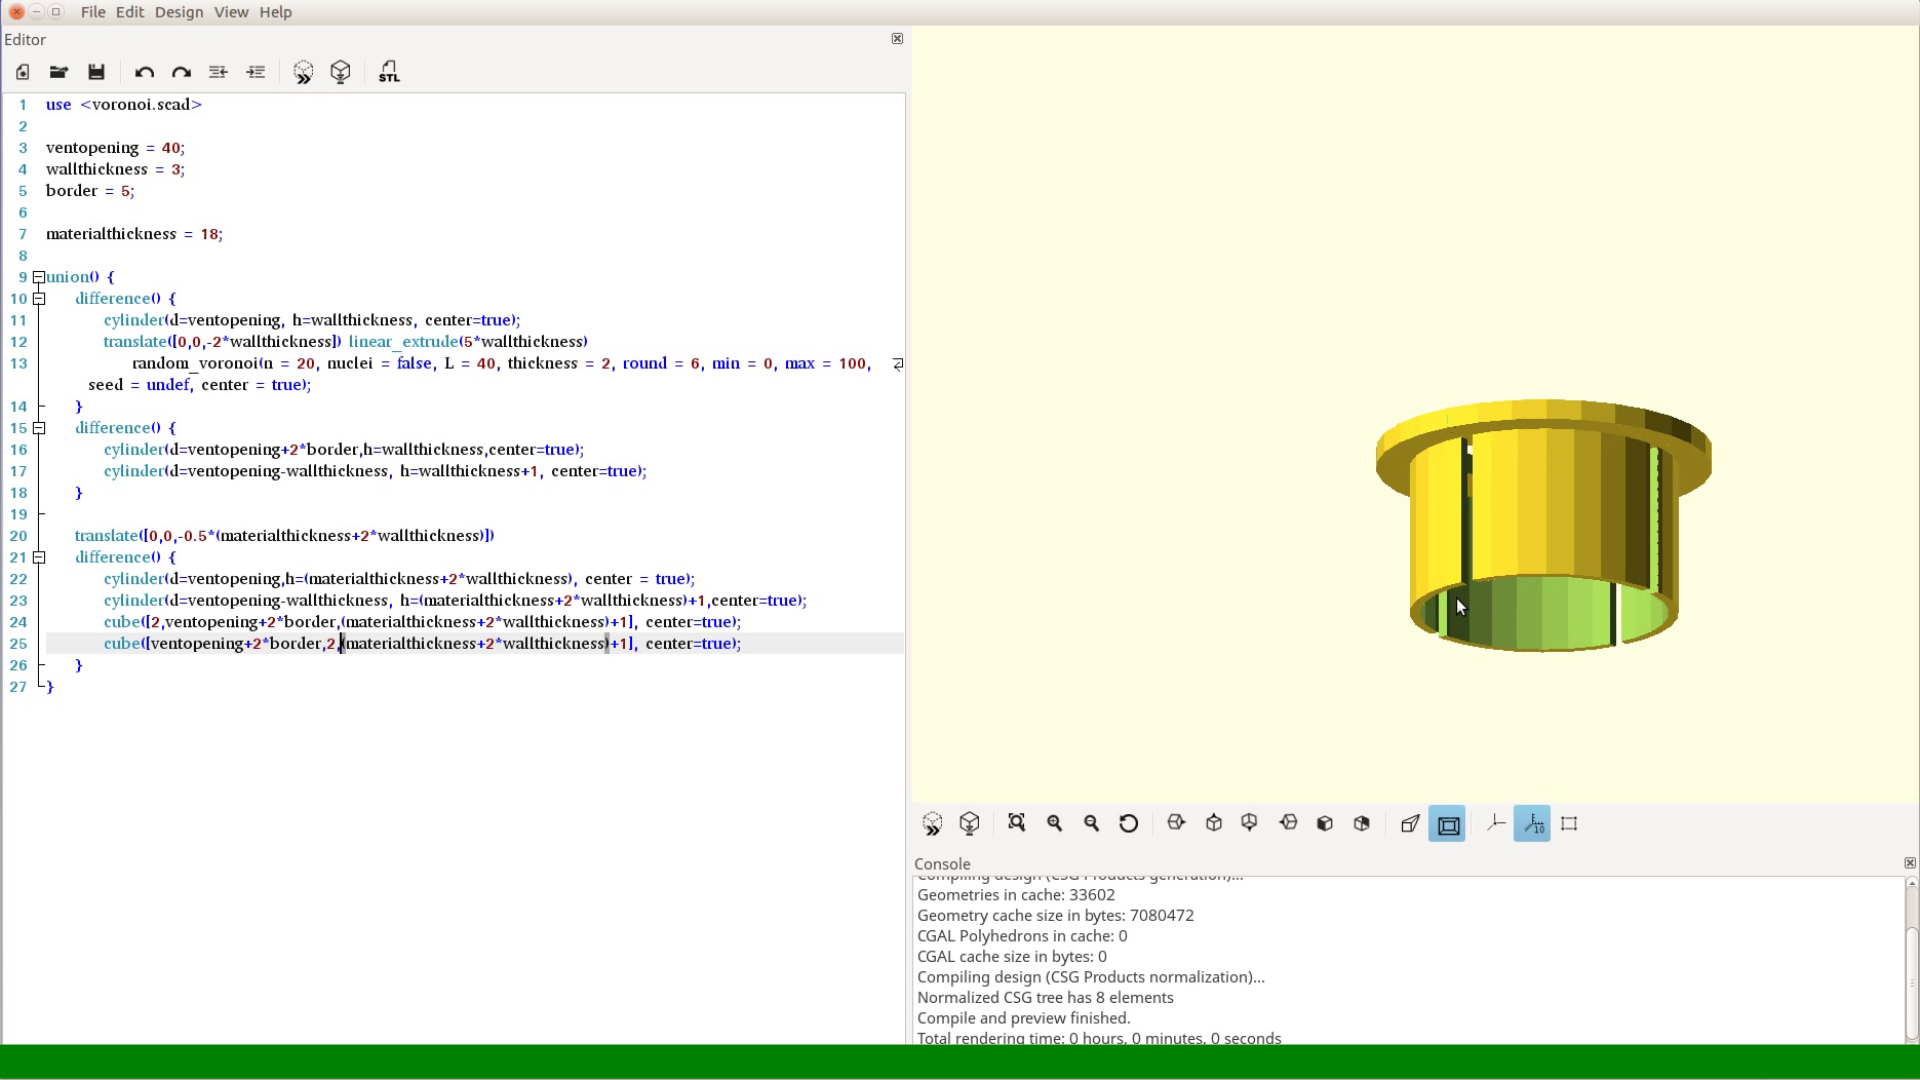
Lastly we create a small rim at the top for the cover to snap in place.

You can download the file from my website or Thingiverse. While you could customize your vent cover on Thingiverse I suggest you download the free OpenScad application as it will allow you to try out different versions quickly.
After adjusting the ventsize and the material thickness to your needs you will notice that the pattern of the vent cover is changing every time you safe the file.
Once you found a patter you like, go in the text window at the lower right and copy the value for seed that is displayed there. Then replace the undef in the editor on the left hand side by that value. Now click on the hourglass icon to render the file and safe it as an STL file.

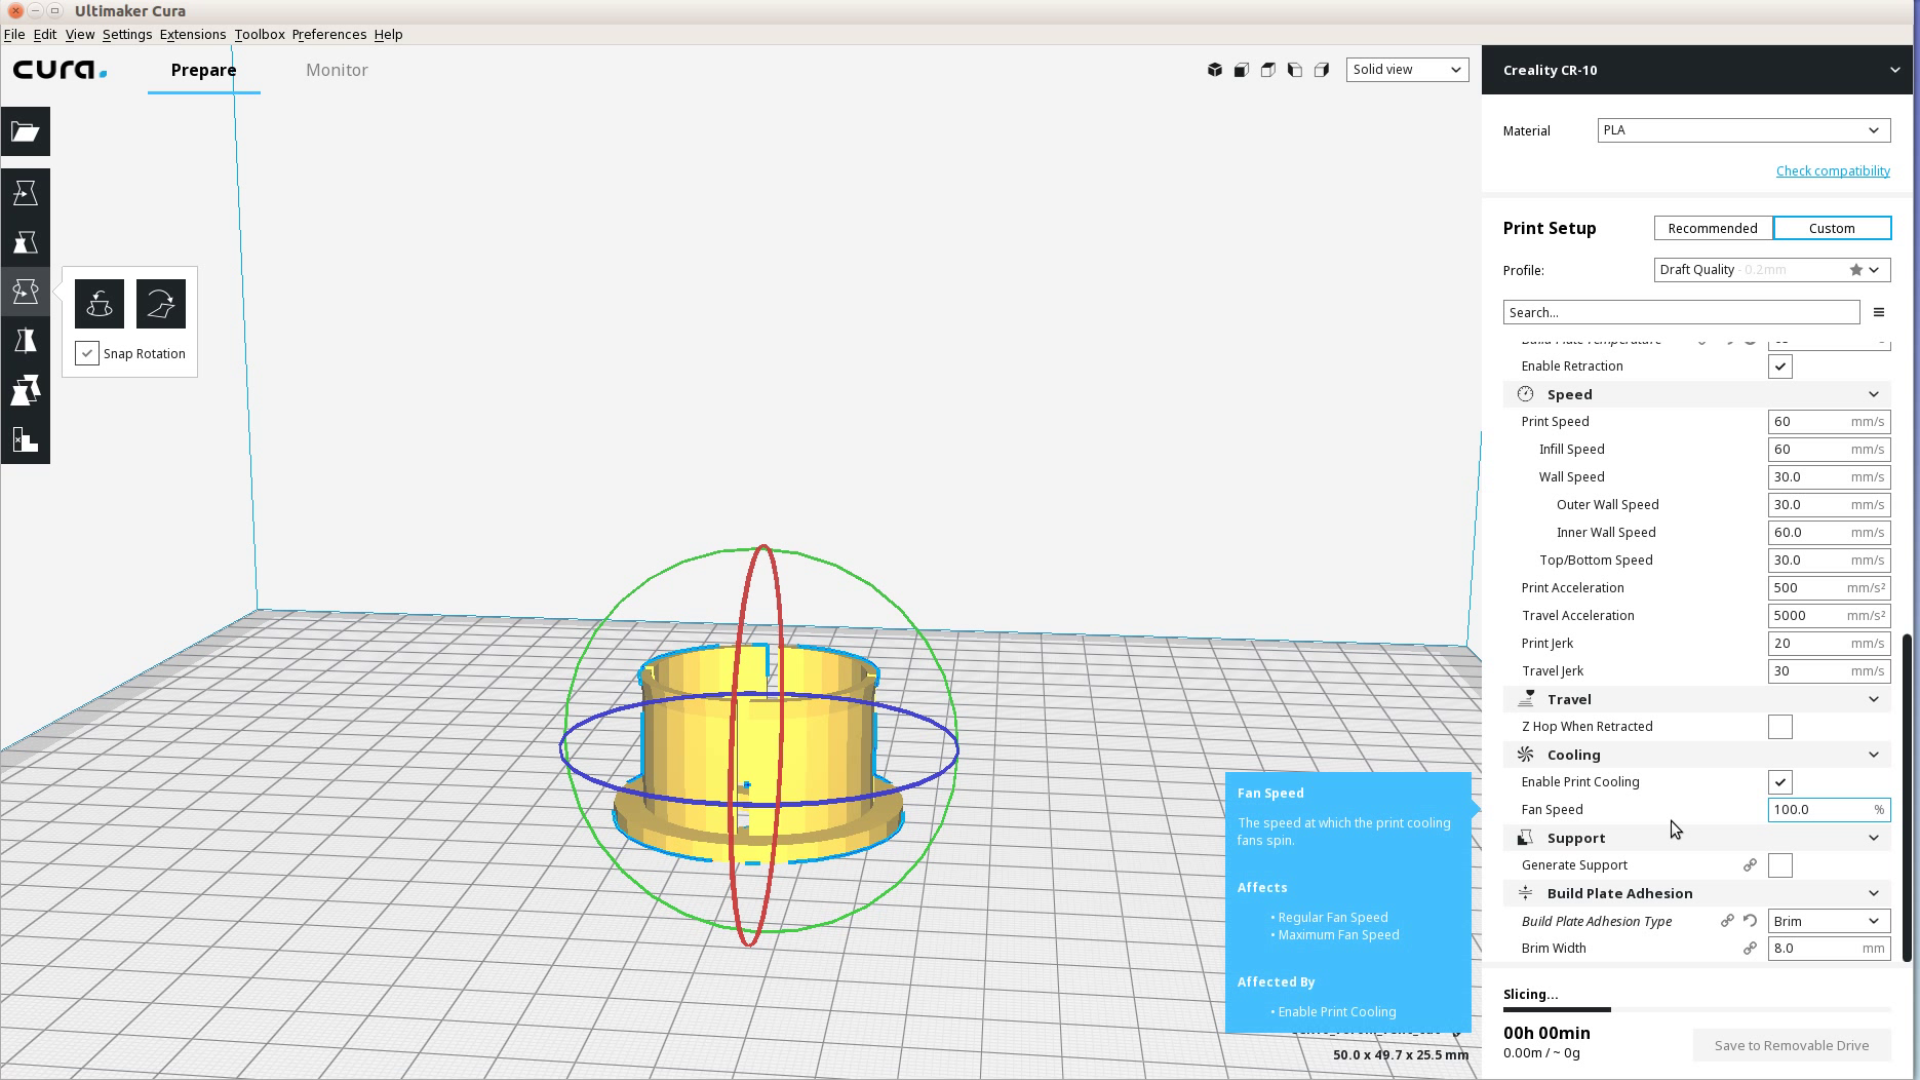
We use Cura to slice the model. If the model is oriented with the pattern on the build plate no supports are needed.
Finishing and installation
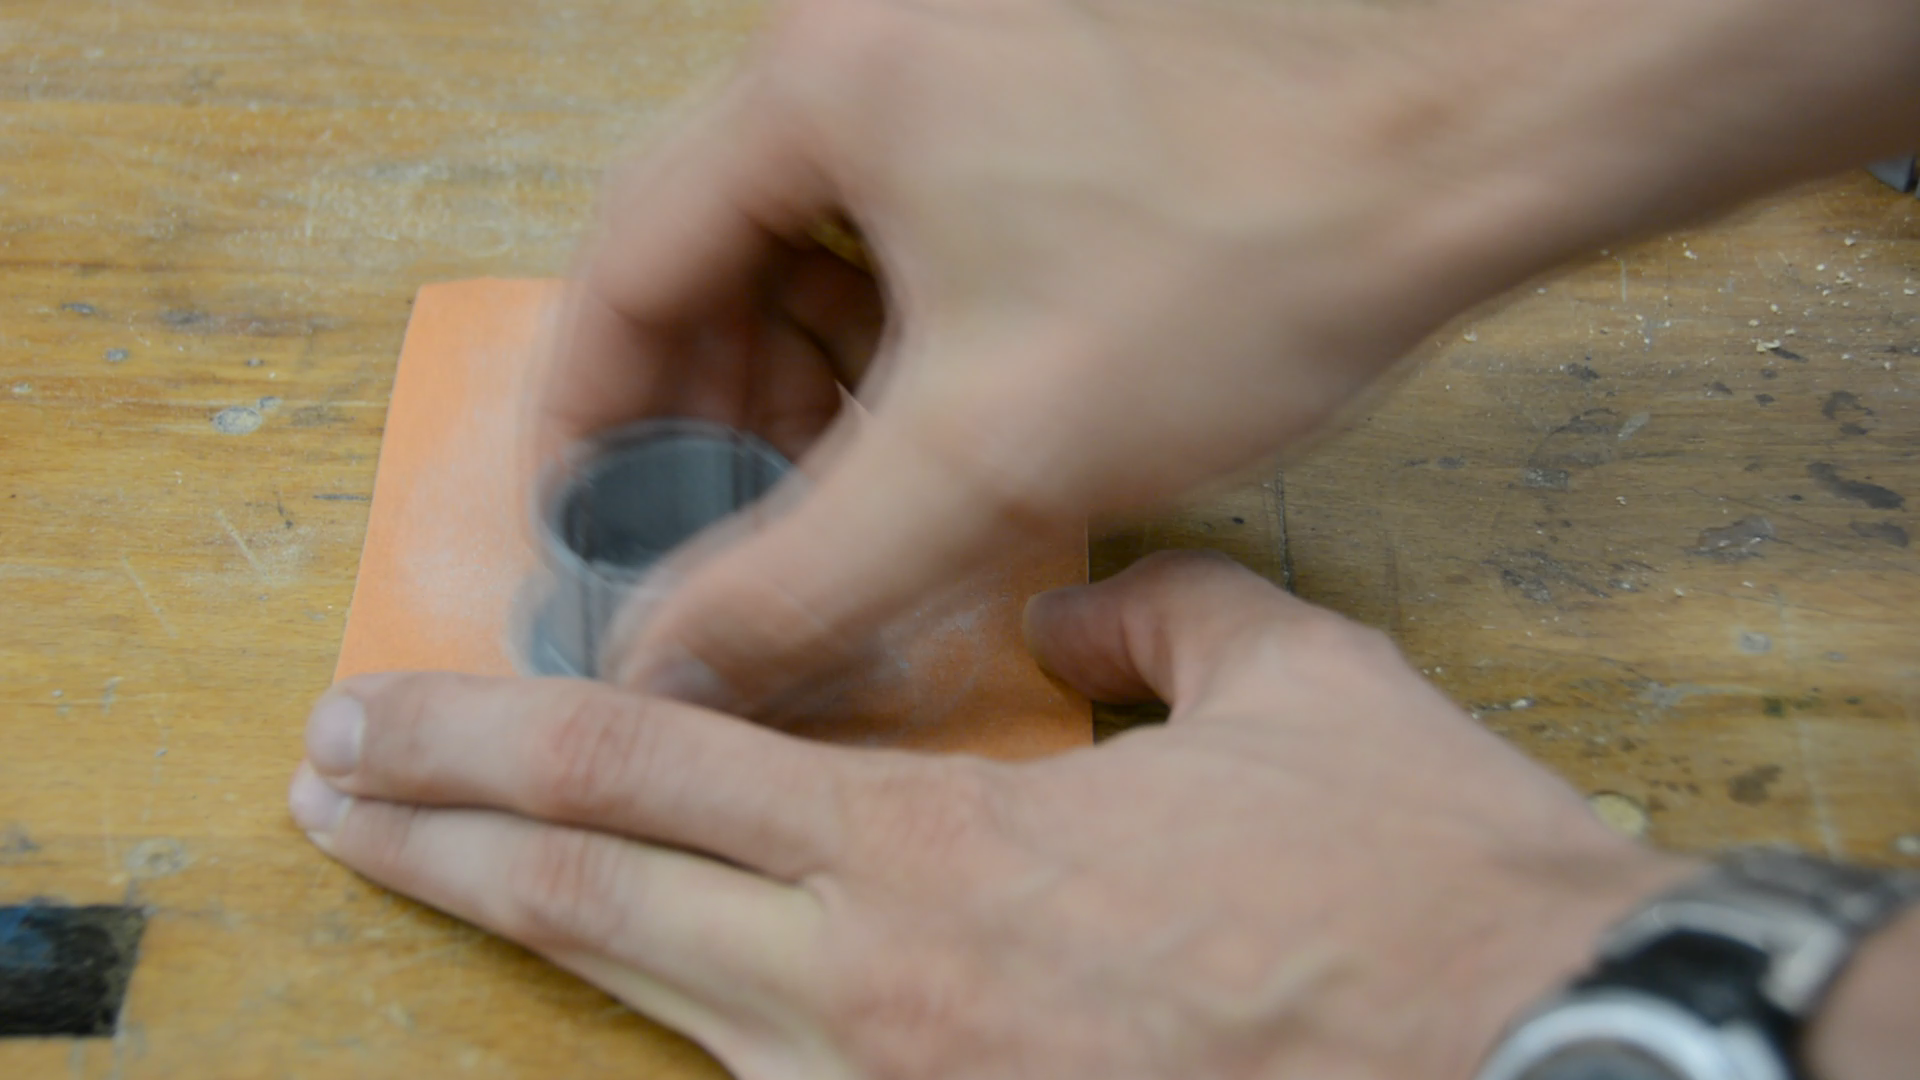
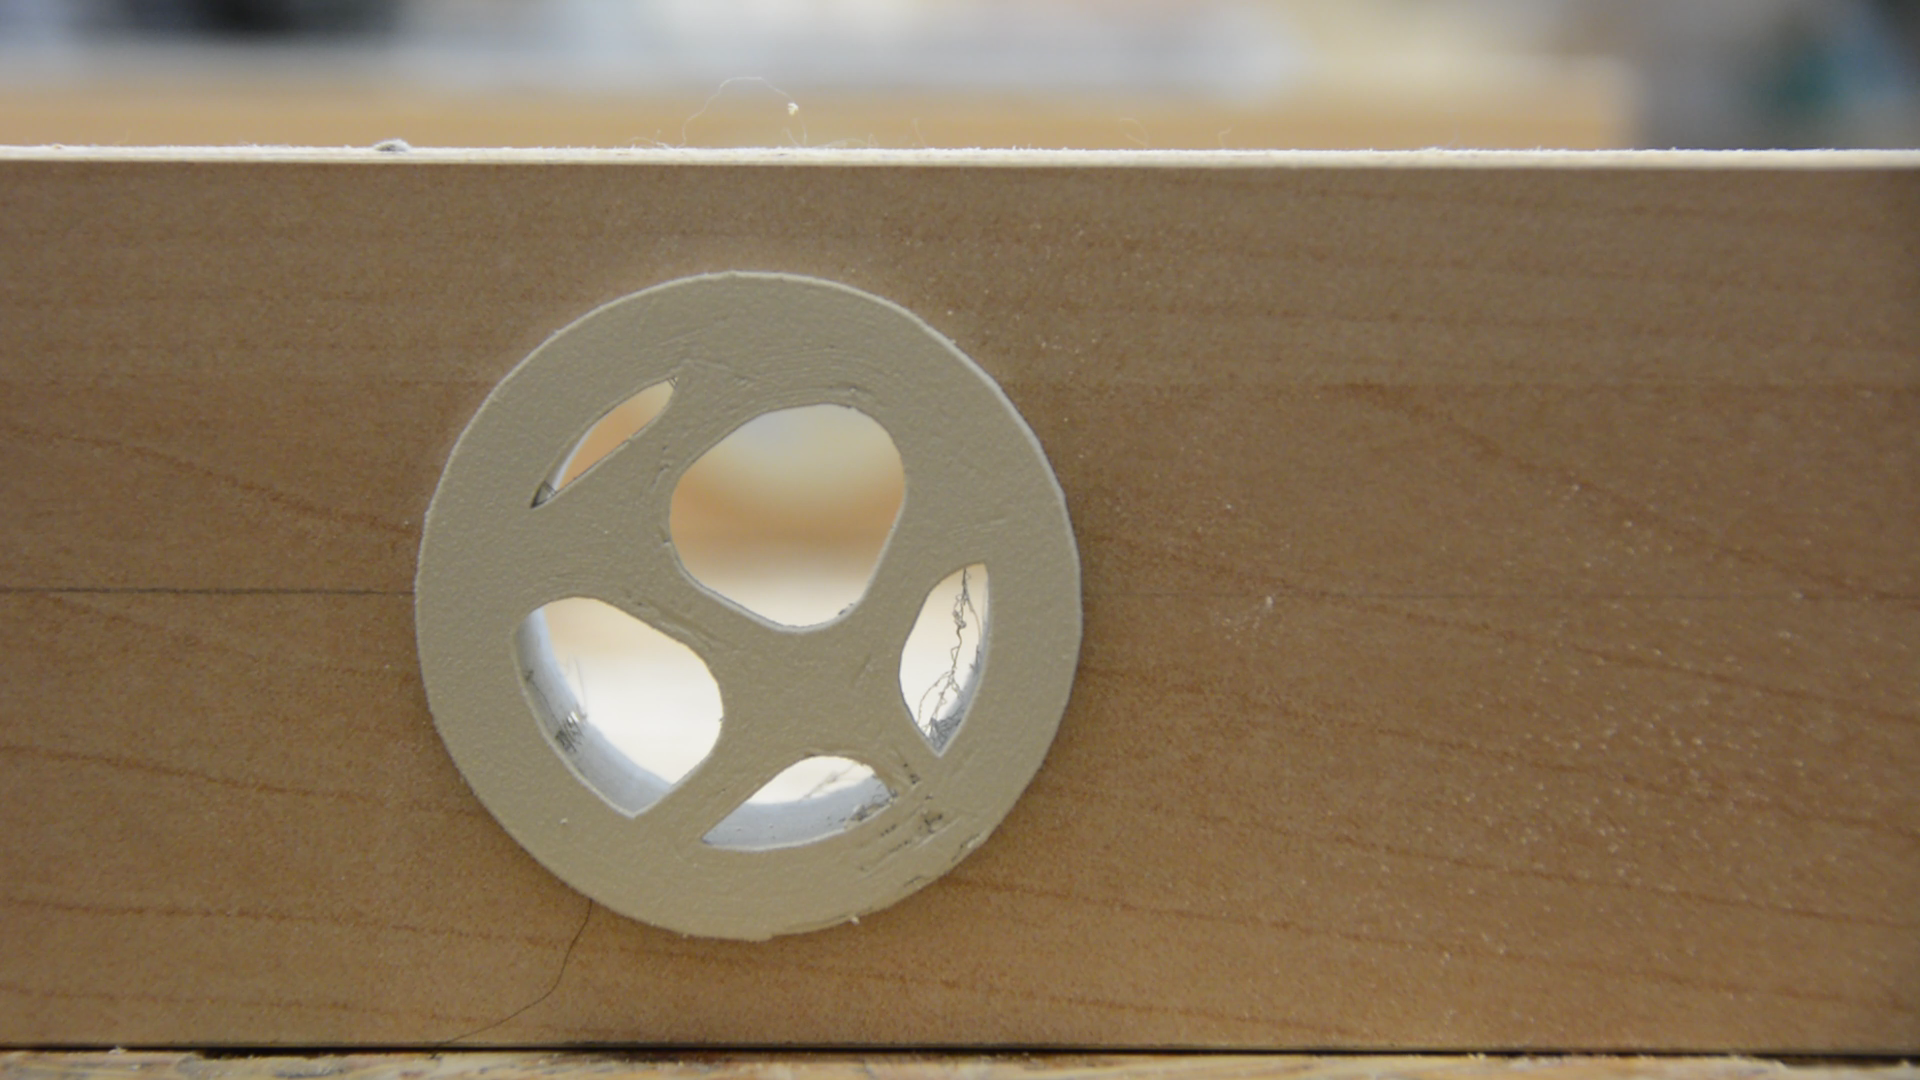
We create a couple of covers by repeating the process. On the final print we spray automotive primer, sand it down and repeat the process until the surface is a bit smoother.
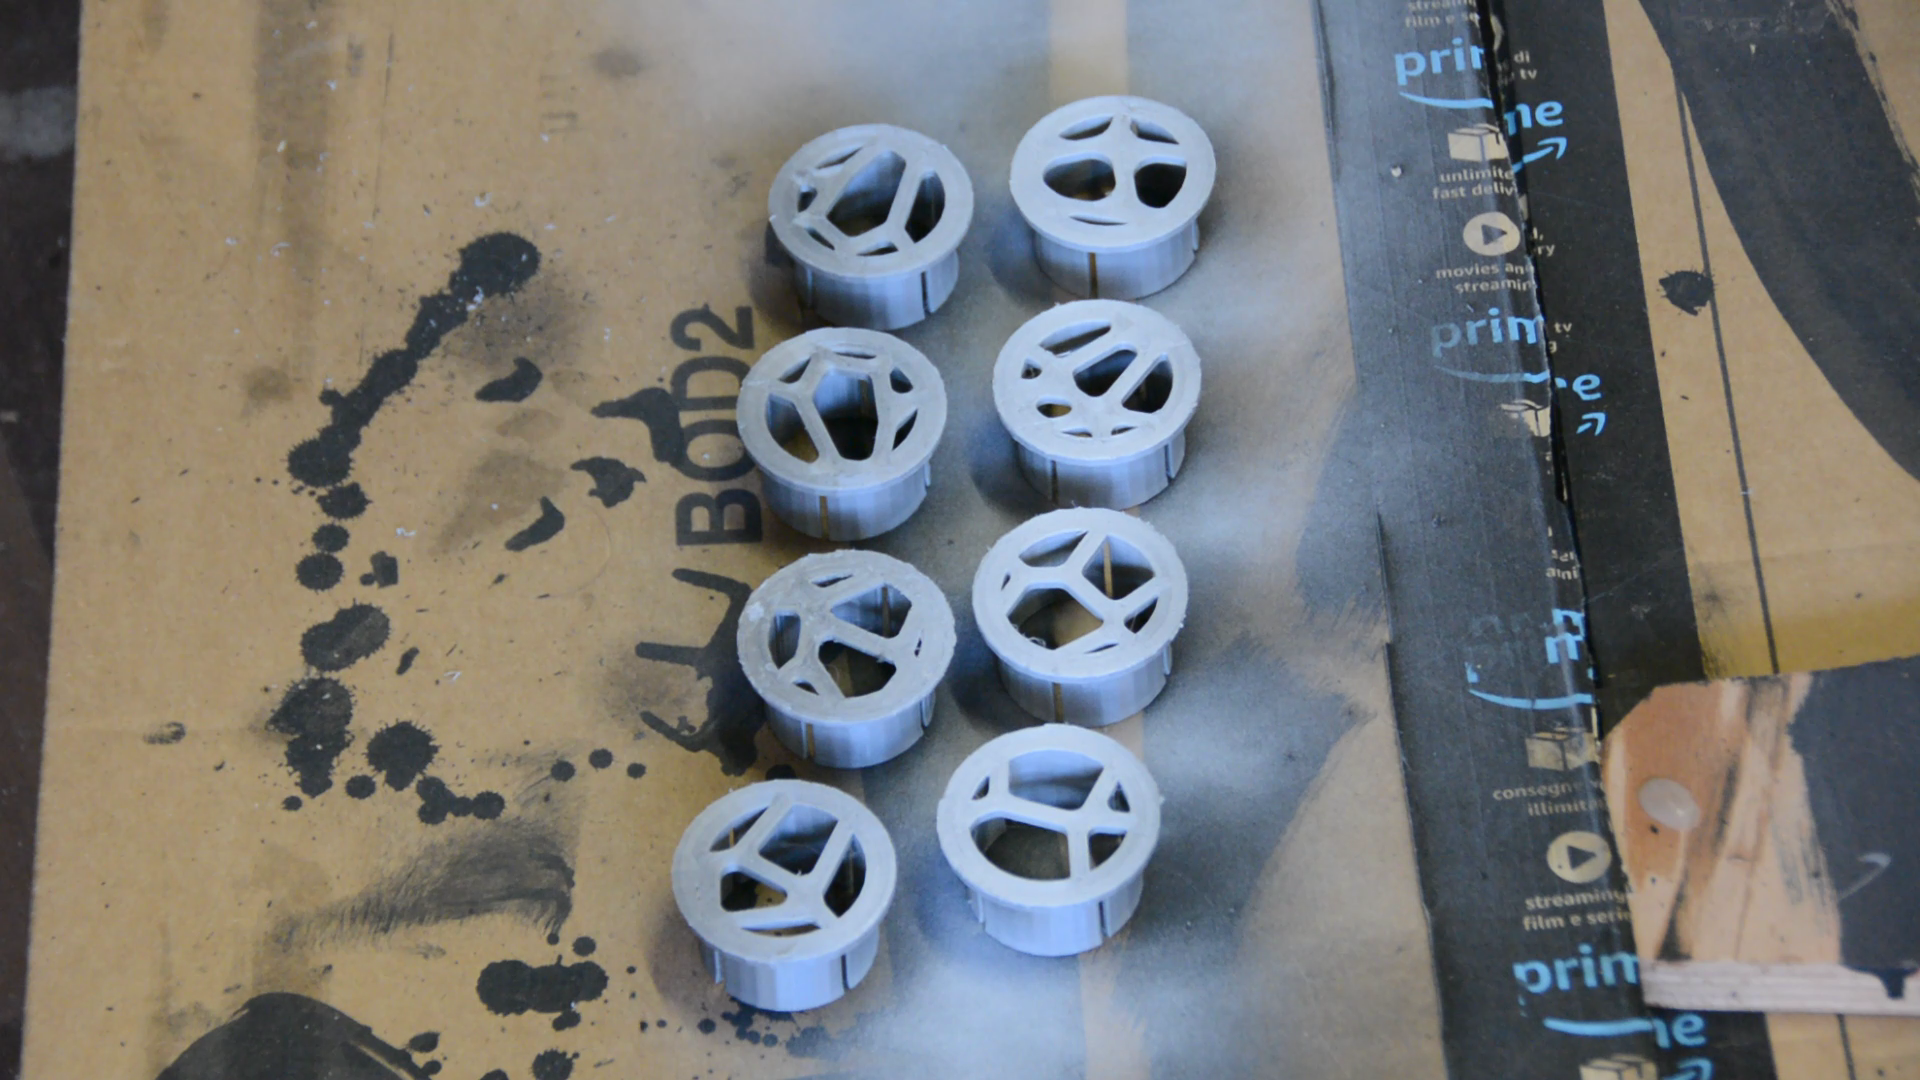
The vent gets two coats of spray lacquer and is ready to be installed.

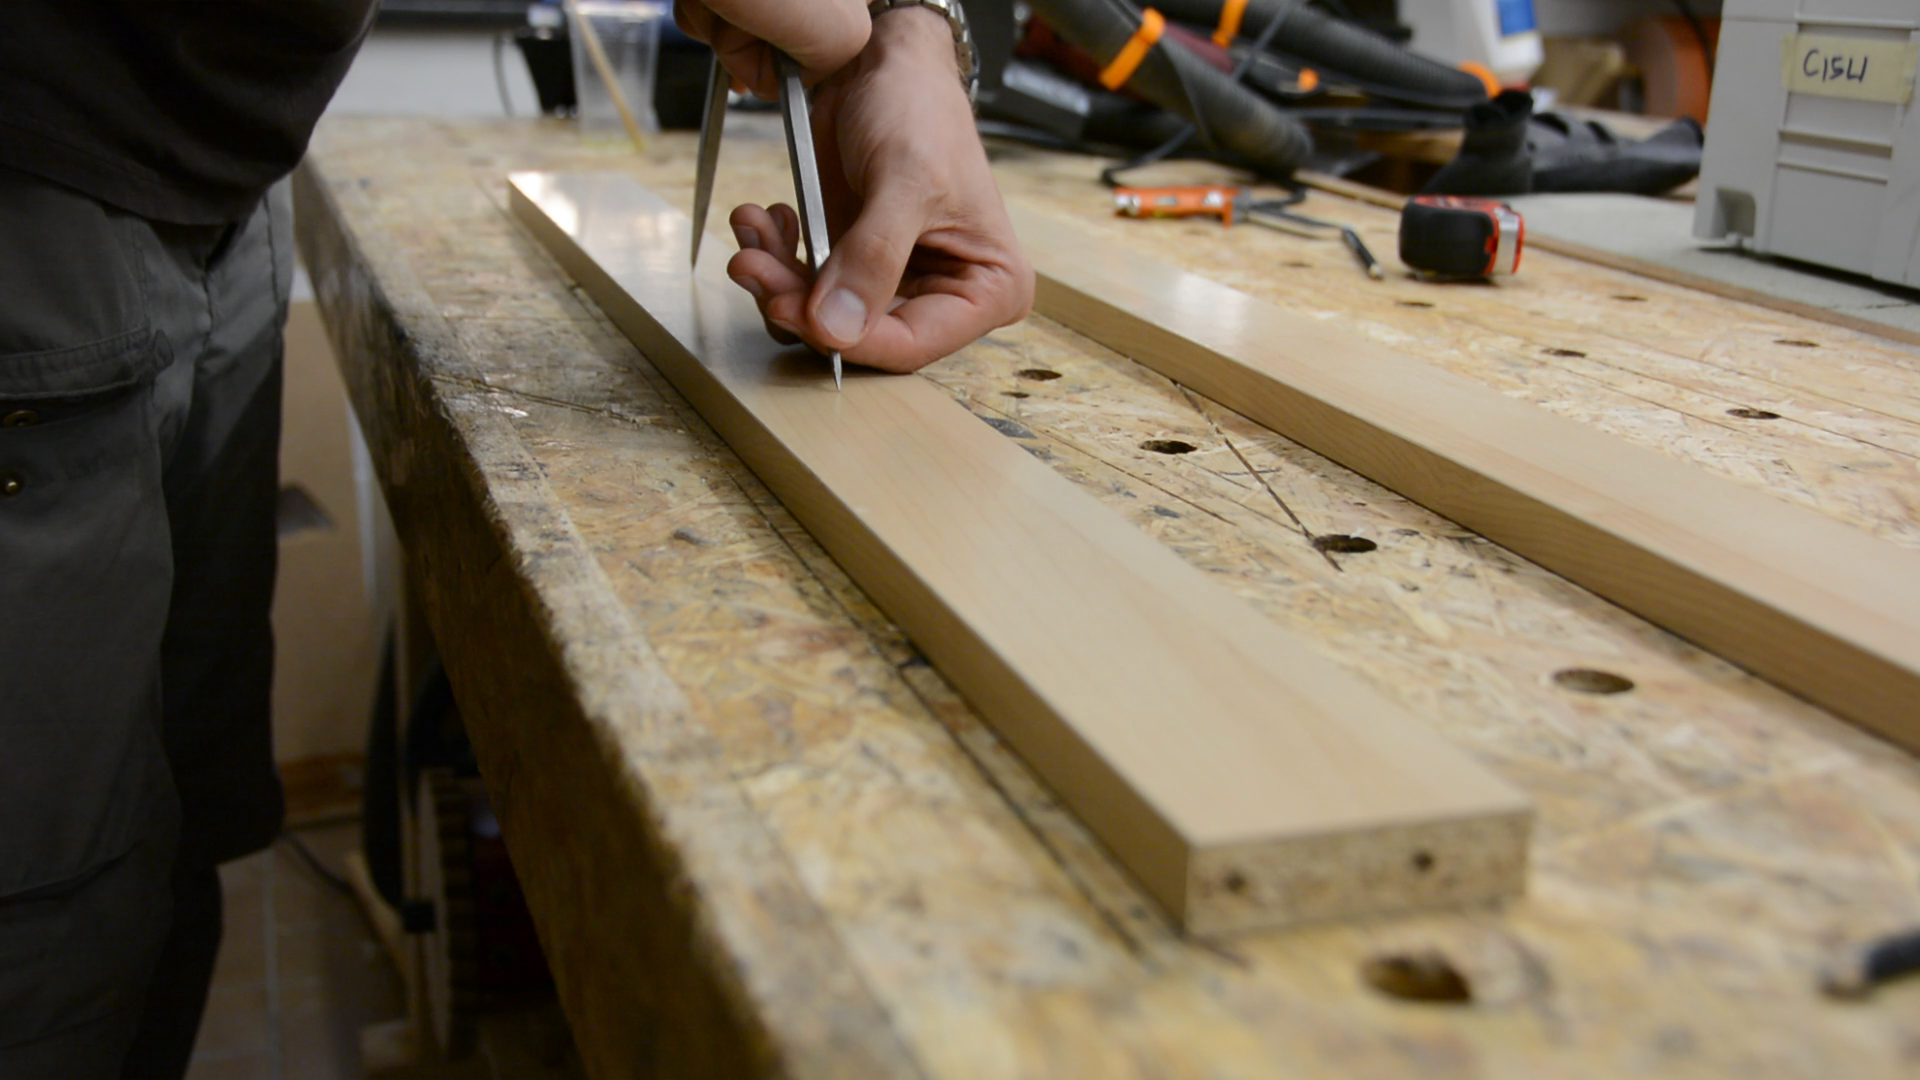
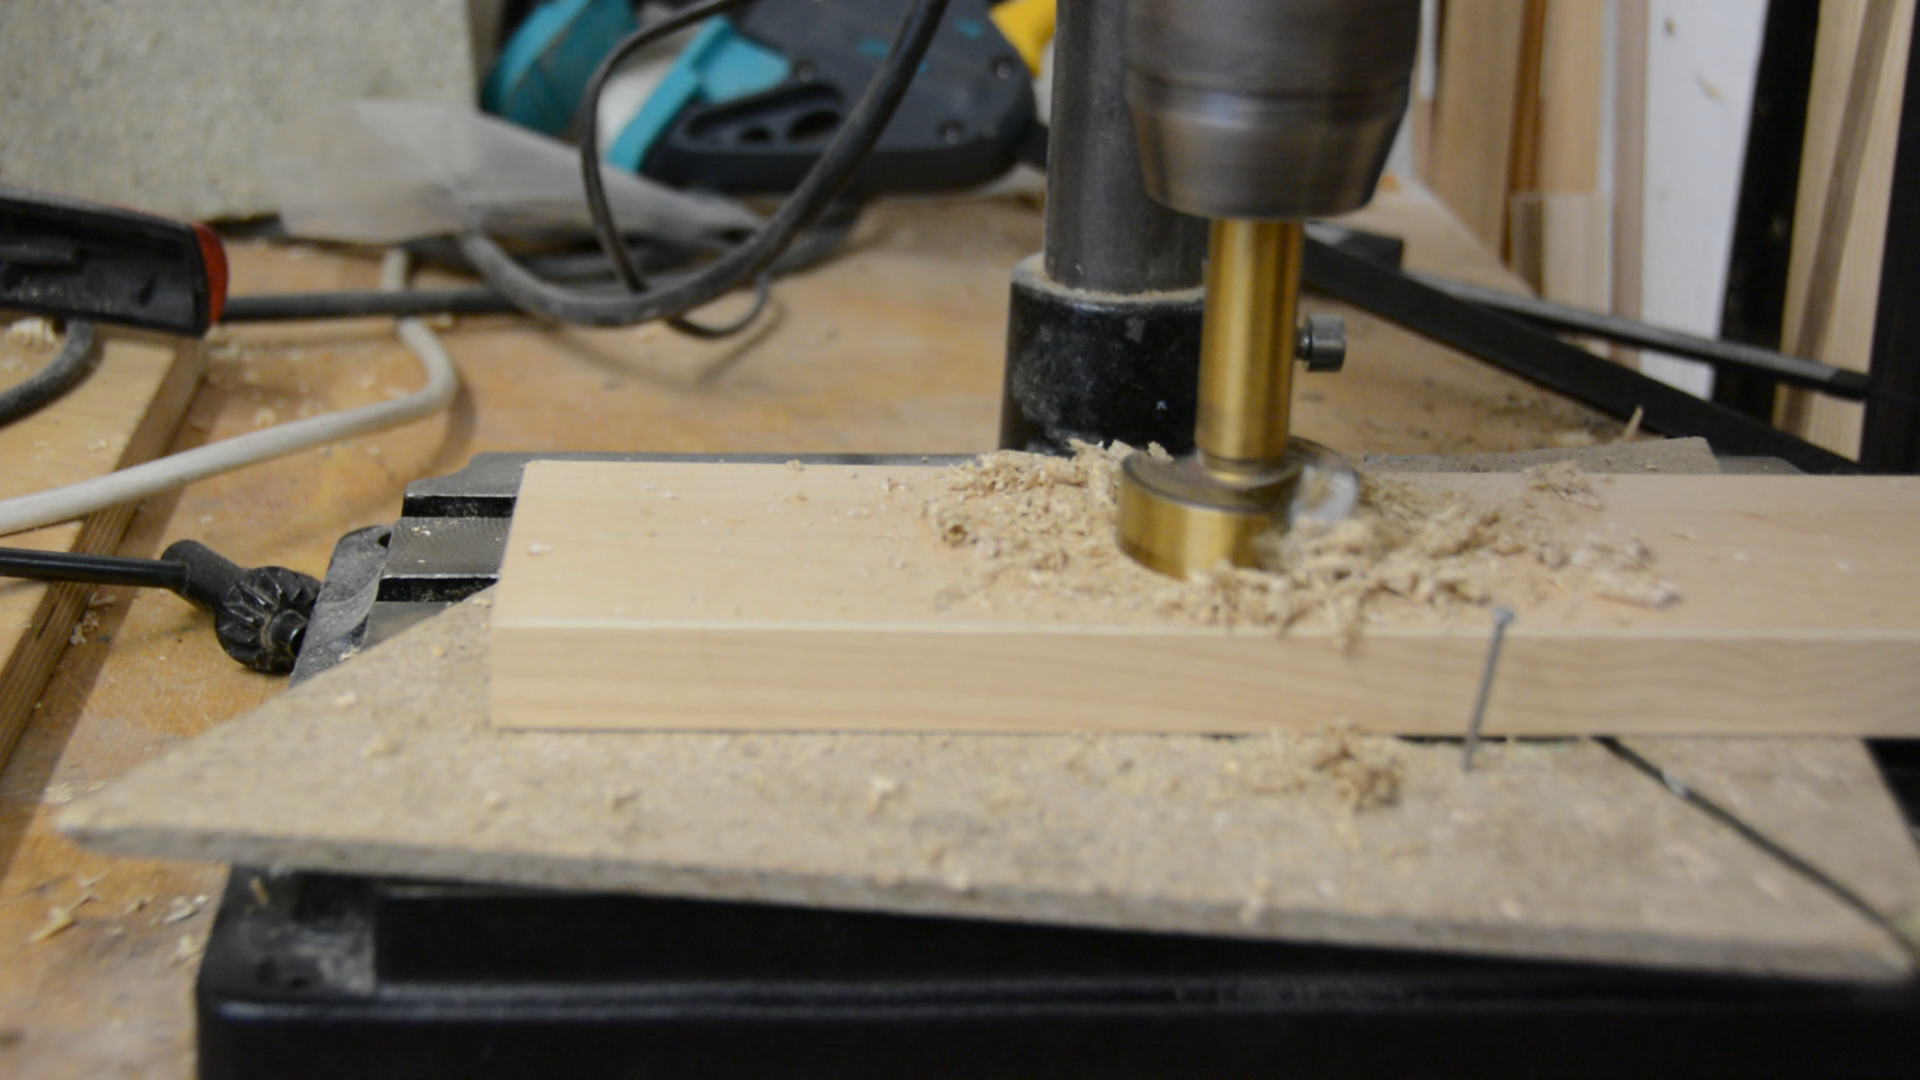
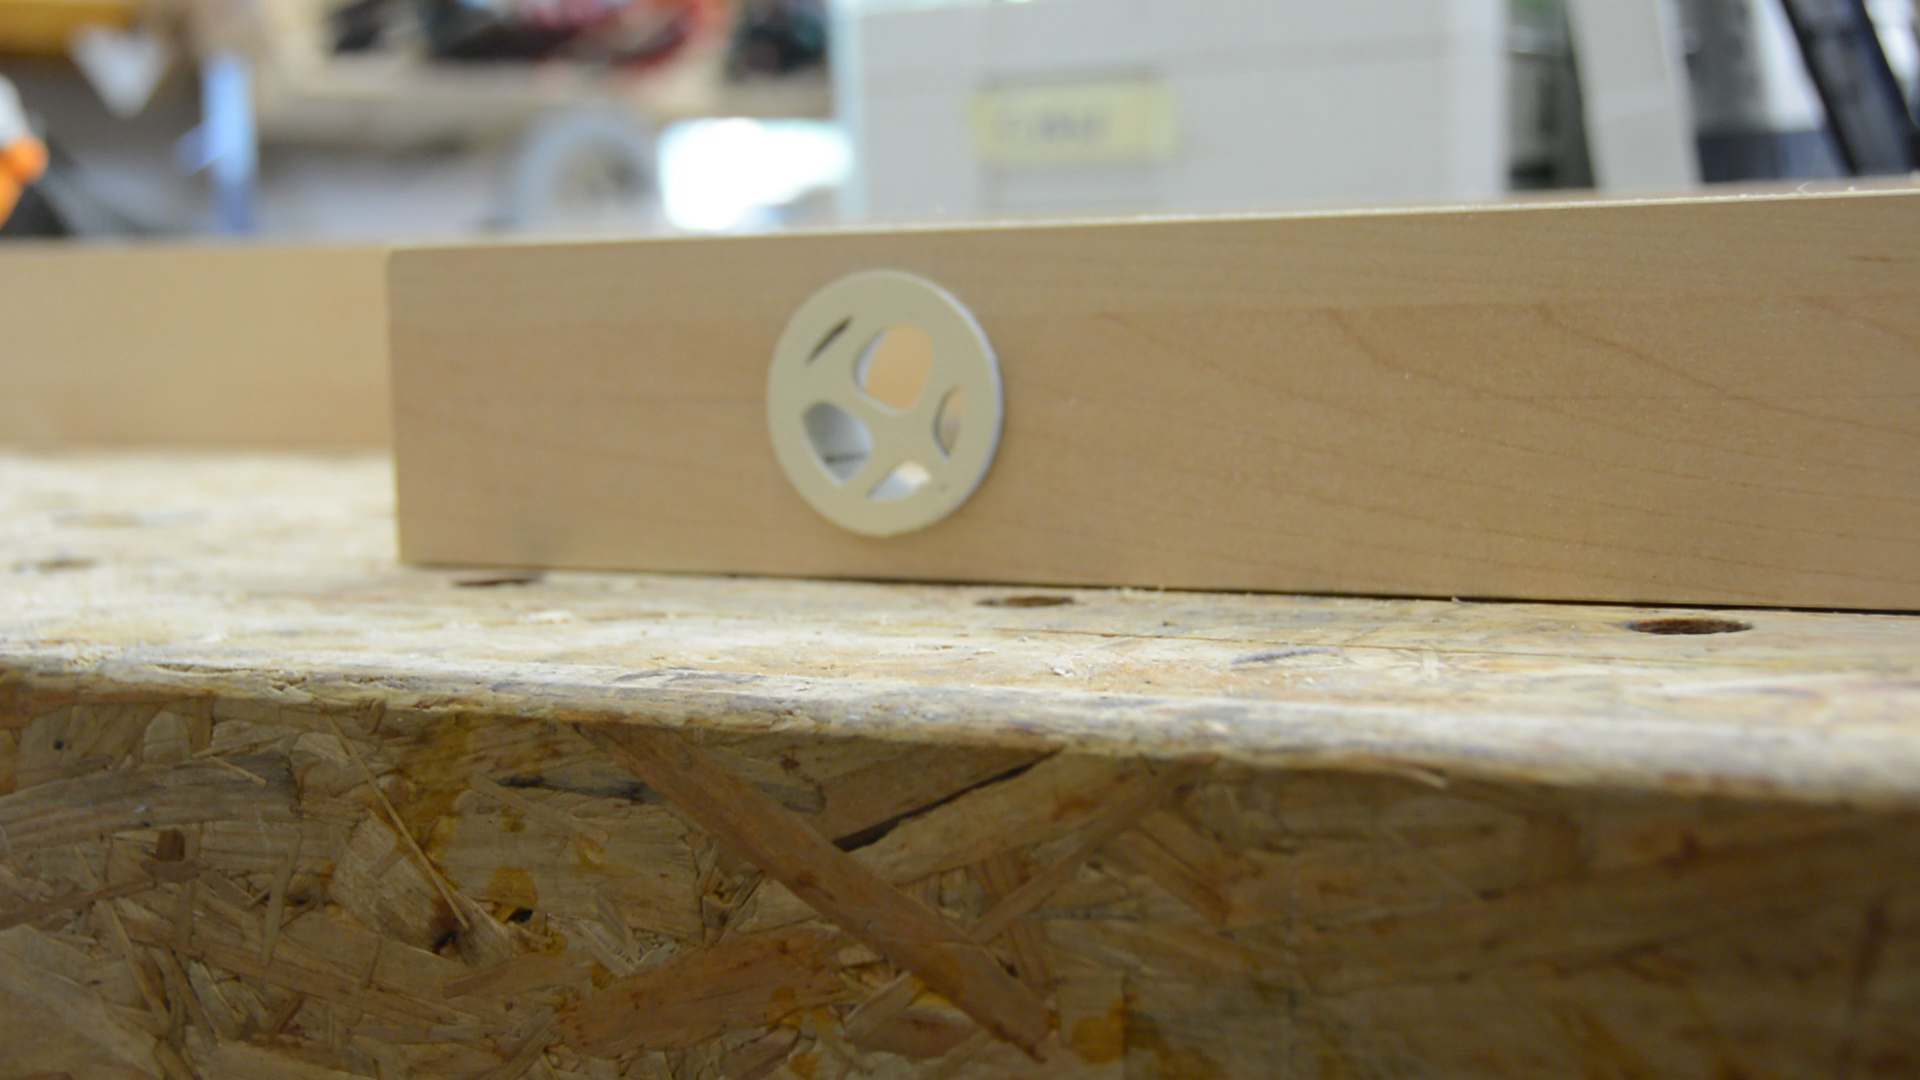
We mark a set a of 4 holes with a divider and drill 40 mm holes in the base boad using a Forstner drill.
We then install the vent covers and mount the base to the front of the wardrobe.

This project is a nice showcase for the power of a programmatic modeling approach such as OpenScad.
Resources
- 3d Model of the parametric vent cover
- Model on thingiverse
- Voronoi library of Github
- Openscad Download