
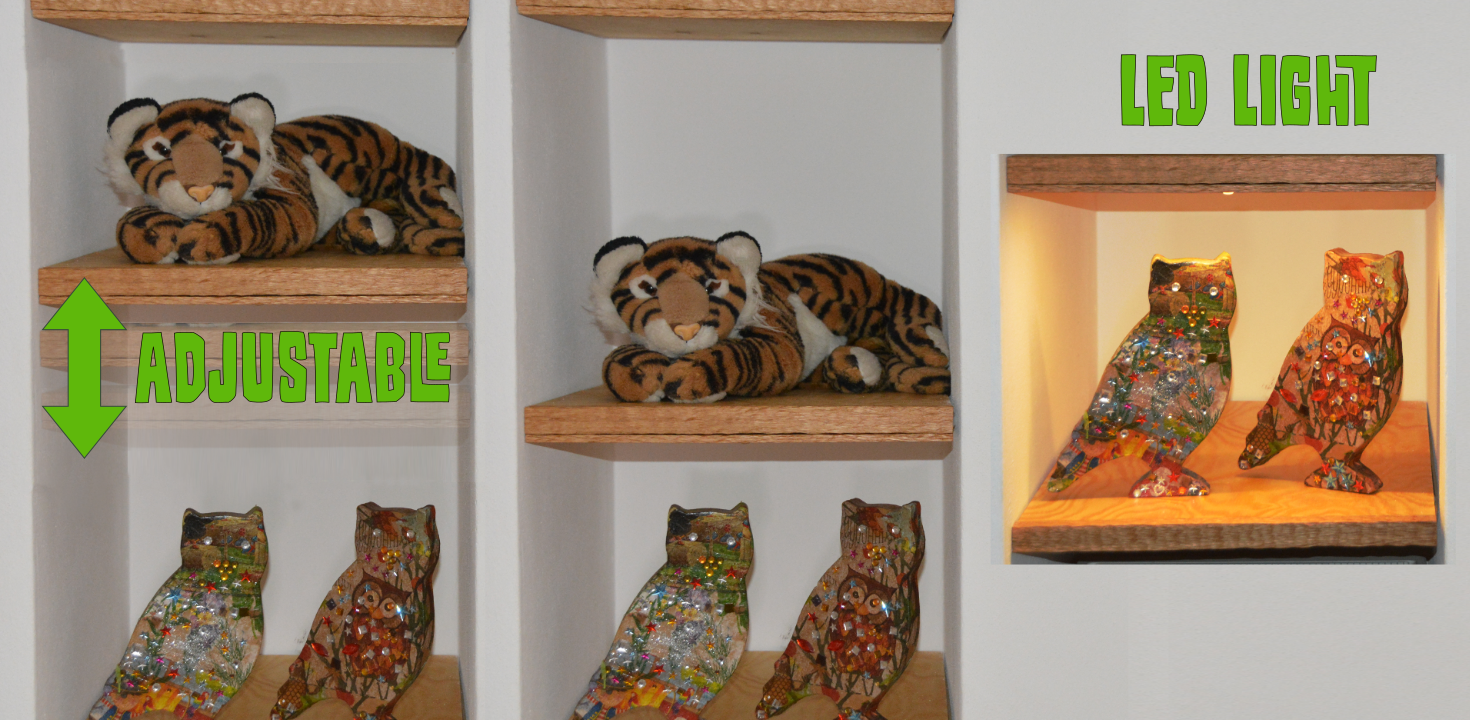
In this article I will build floating shelves for a tight niche in our house. They will be build in a way that they can be easily adjusted and removed – and we will integrate LED light into one of the shelves.
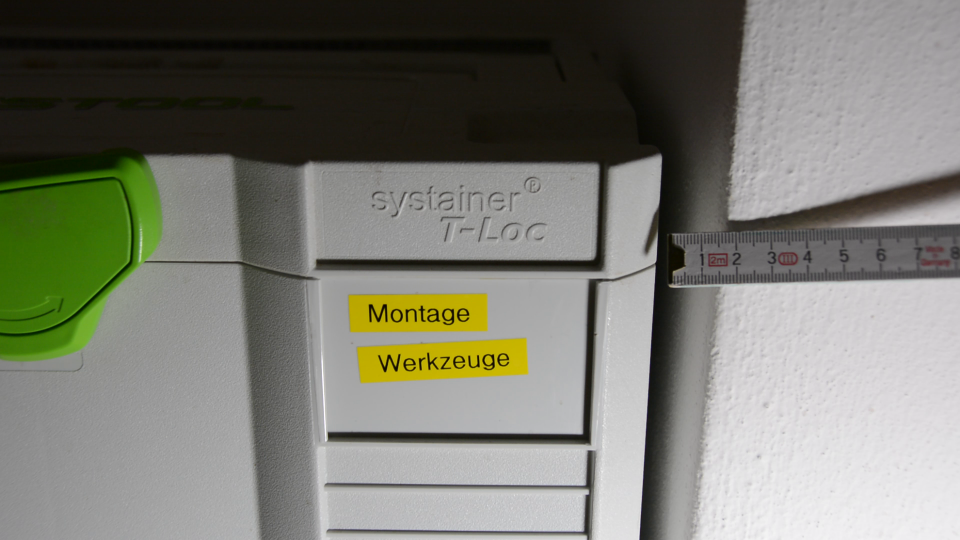
We have a small niche besides the chimney in our house that I would like to use for storage. One of the items that I would like to put here are systainers housing most of the tools that I need to do everyday work around the house like hanging pictures or smaller repair work. A systainer is only a few millimeters smaller than the niche so I can‘t build a frame to hold shelves and to make things even more complicated I would like to make the shelves adjustable.
Cutting shelves
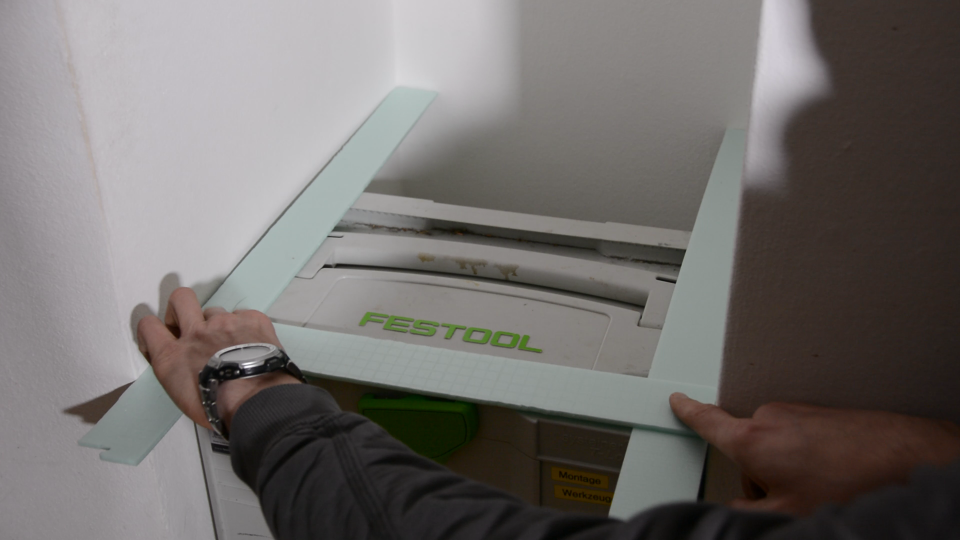
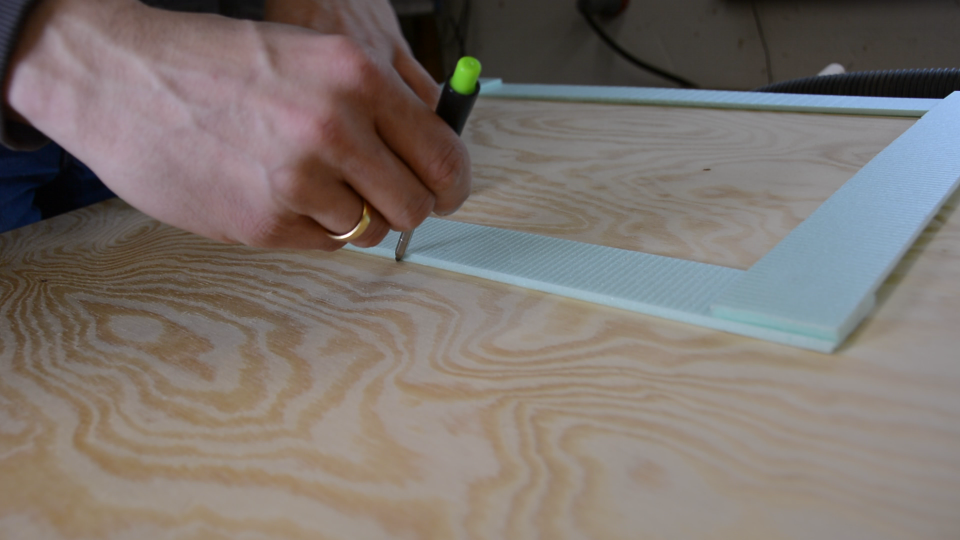
To get started I use hotglue and some thin strips of foam in order to get a template of that niche. Living in an old house we can safely assume that none of these angles is anywhere near 90 degrees.
From the form I take the angles and distances and cut shelves from 12 mm plywood matching the niche minus a few millimeter.
Excenters to clamp them all
If I would not want adjustable shelves I could screw a bracket into the wall and place the pieces on top of these. To make the shelves adjustable I create several excenter levers. You can find a ready-made template here: Excenter_template.
In case you want to create an excenter lever with a different design look at the following article: (not yet published)
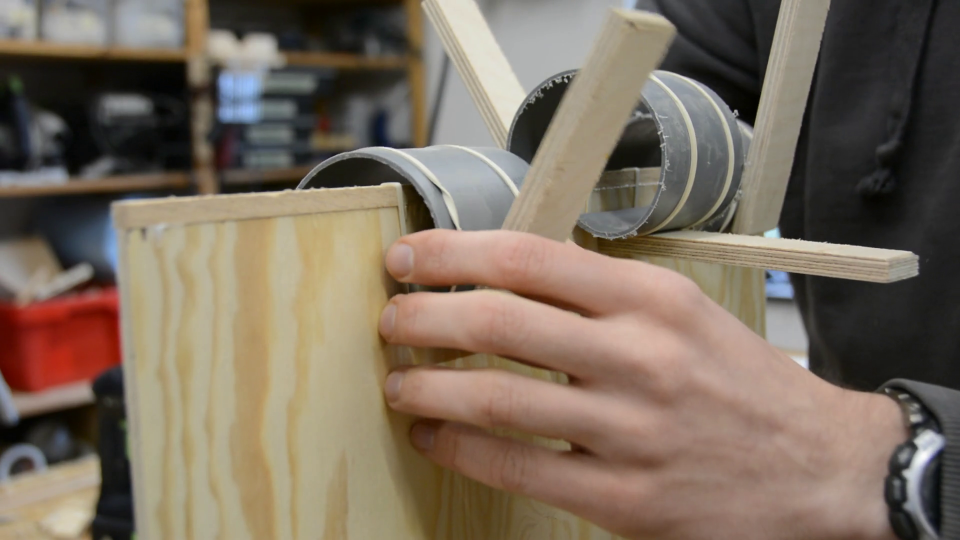
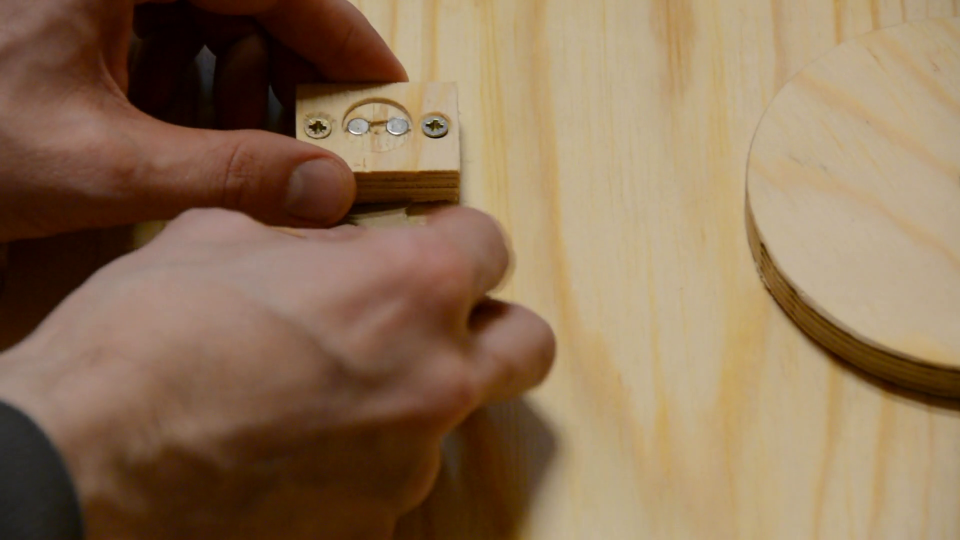
Four of these excenter levers are mounted to the sides by drilling a hole and securing them with a dowel.
To distribute pressure more evenly I screw small wooden blocks to the board and hotglue a strip of MDF to their outside so that both levers are pressing against the wood and do not rub against the wall.

Edgebanding
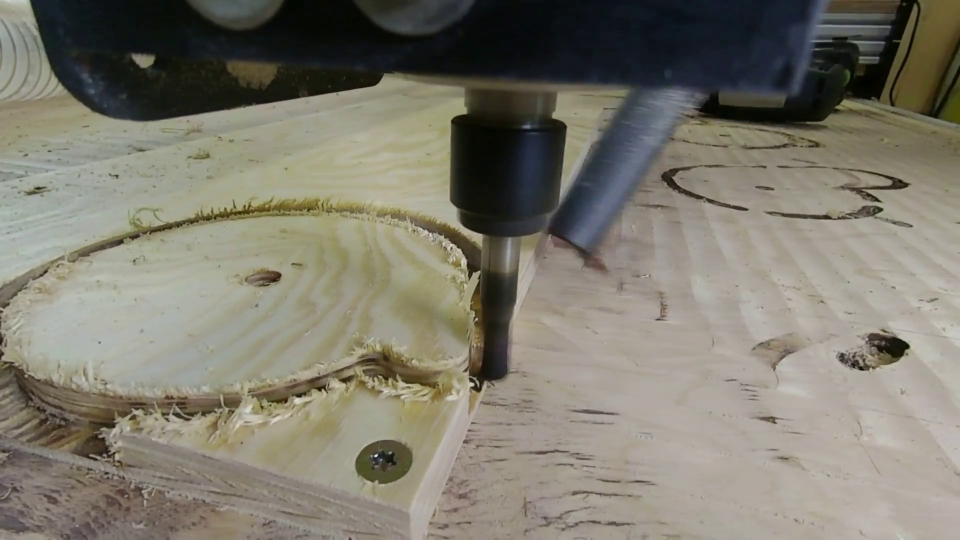
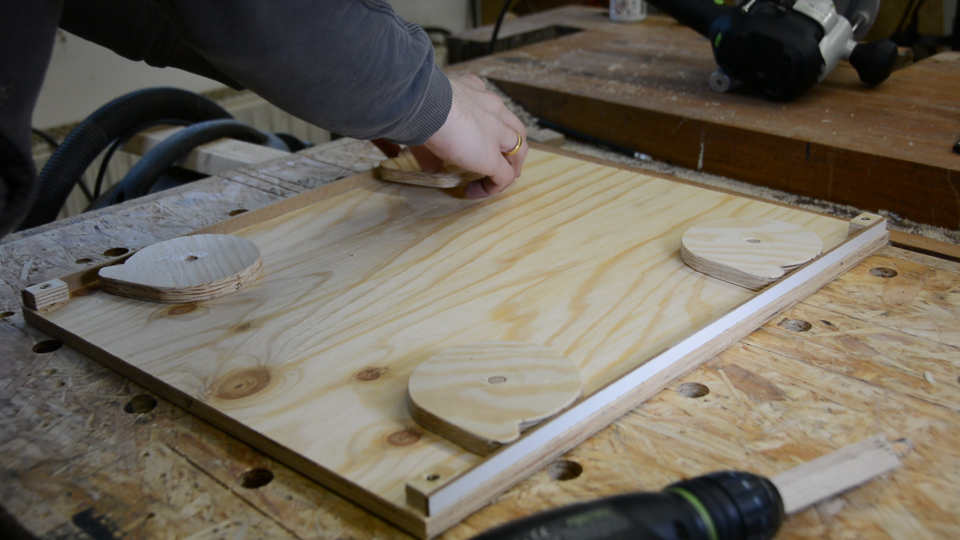
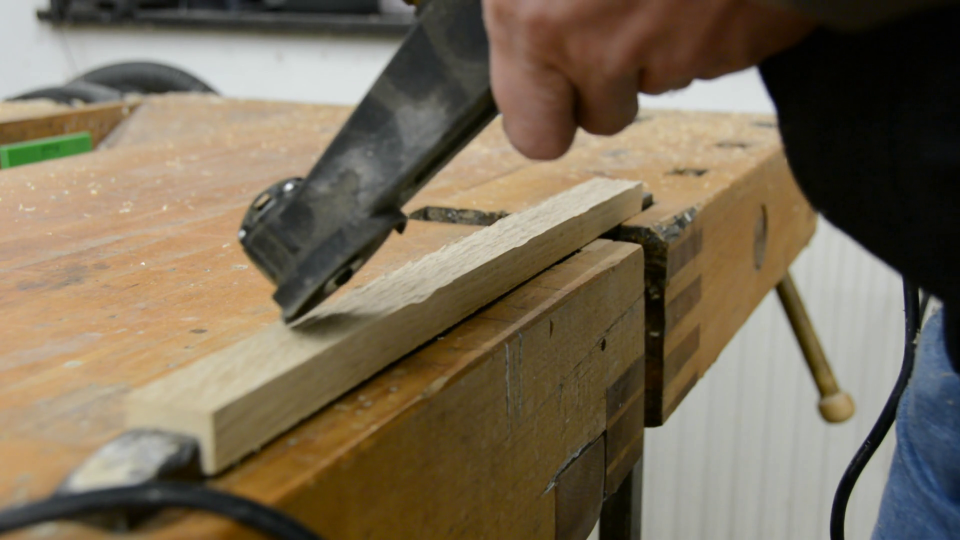
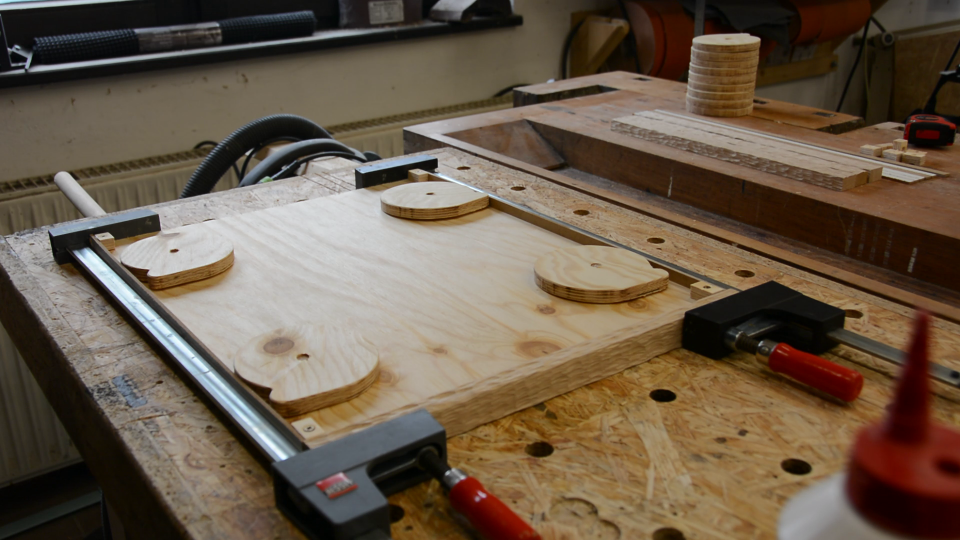
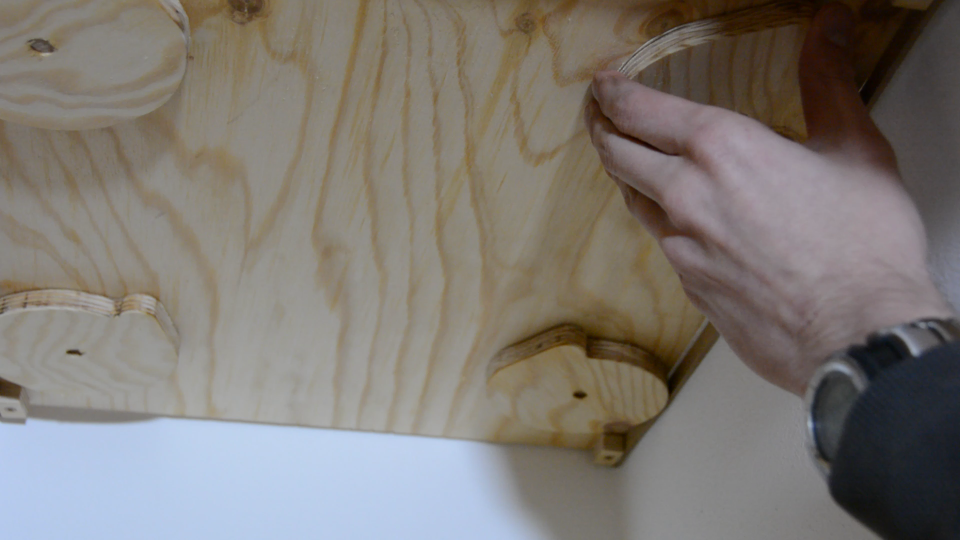
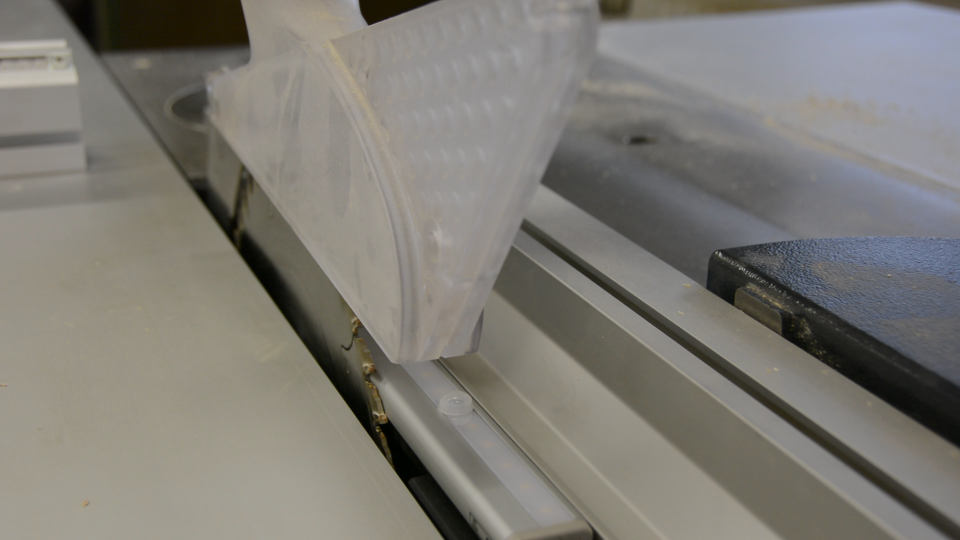
While the shelves would work like this the plywood edges don’t look very pleasing. As most of the furniture next to the niche is made from oak and pine I decide to edgeband the pine plywood with a few scrap pieces of oak. To give them a more interesting look I structure them with a small disc on a powercarving tool before gluing them to the edge of the plywood.
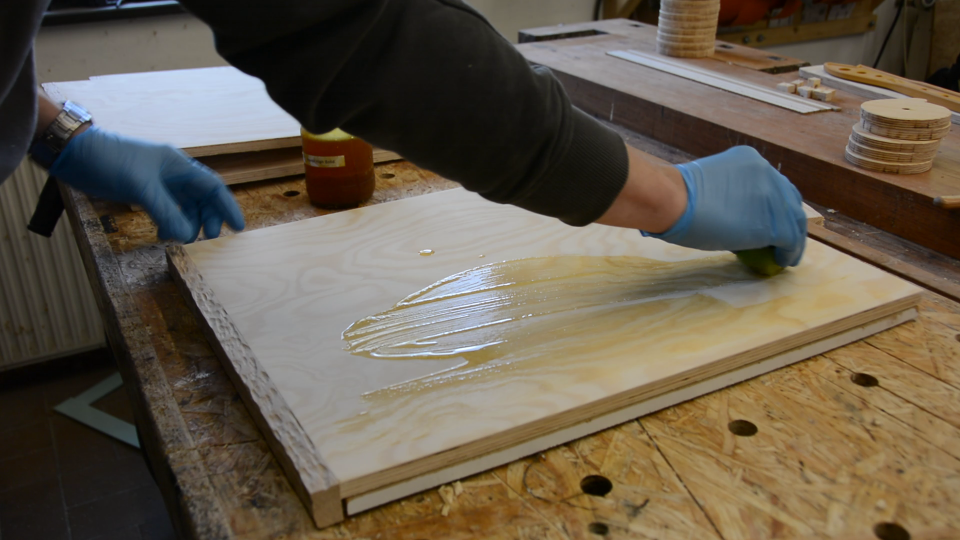
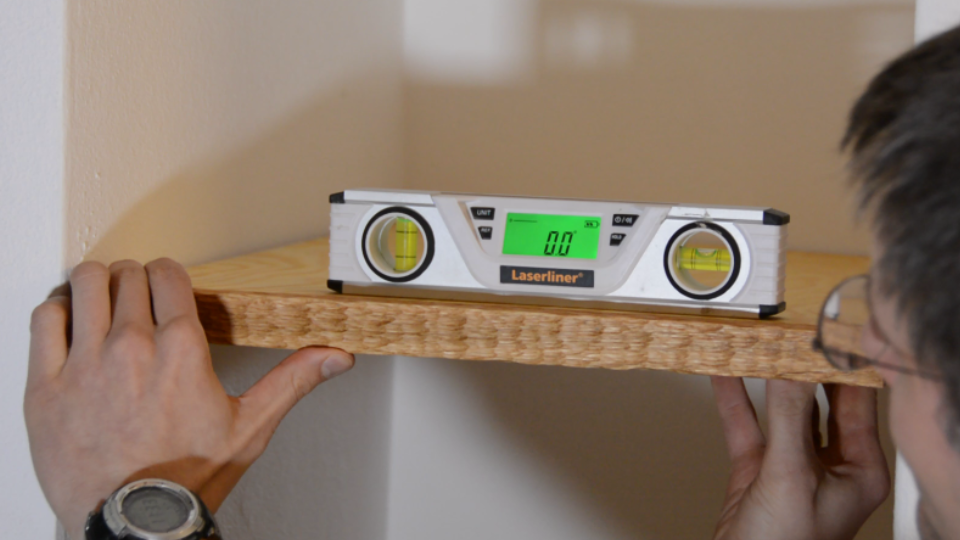
Finally I give the shelves a light sanding and apply two coats of oil. The shelves can now be put in place. I hold them in place and start to tighten the excenters a little bit. It is easy to adjust them up or down and make sure that they are level.

While the lower shelves are finished I would like to cover the excenter levers for the upper shelves. To cover the underside I will use 6 millimeter plywood with the edge covered by thin strips of oak.

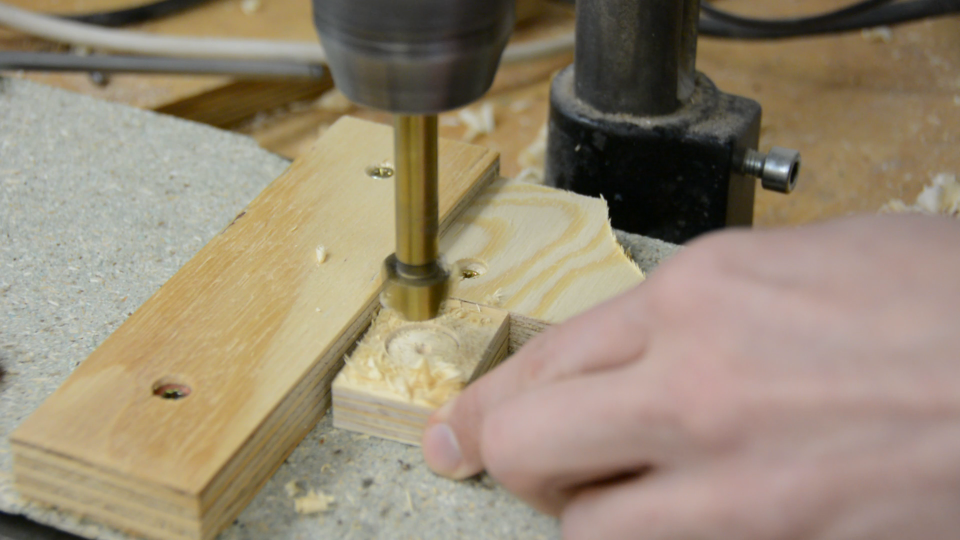
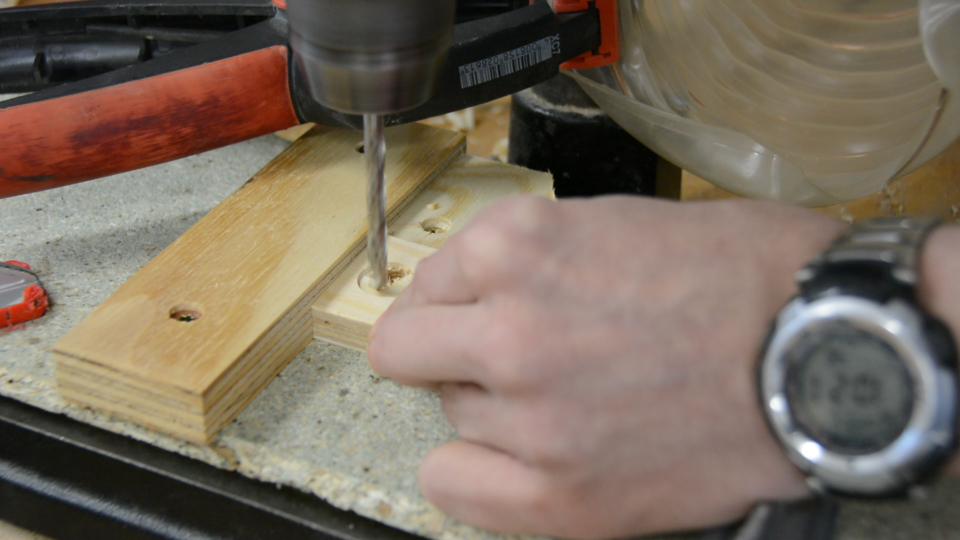
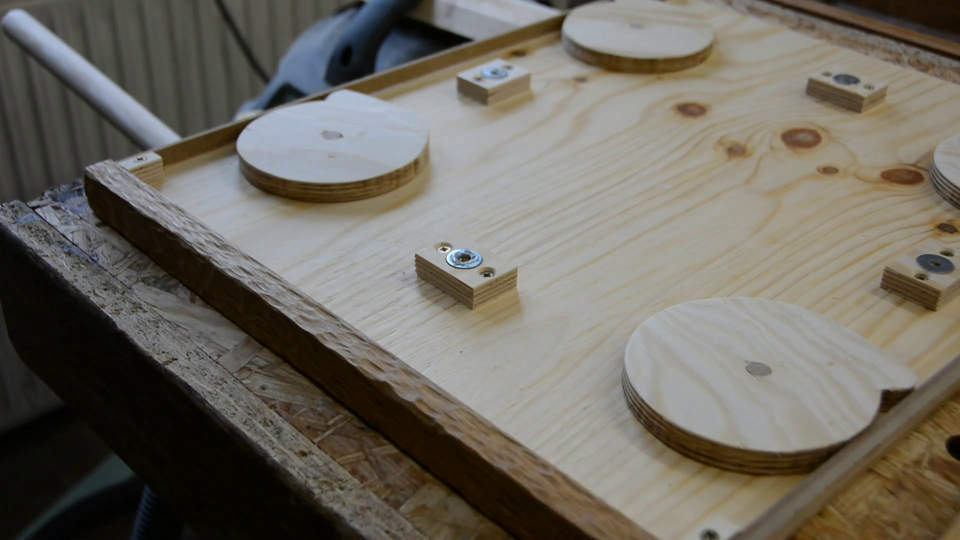
Clip-on magnetic bottoms
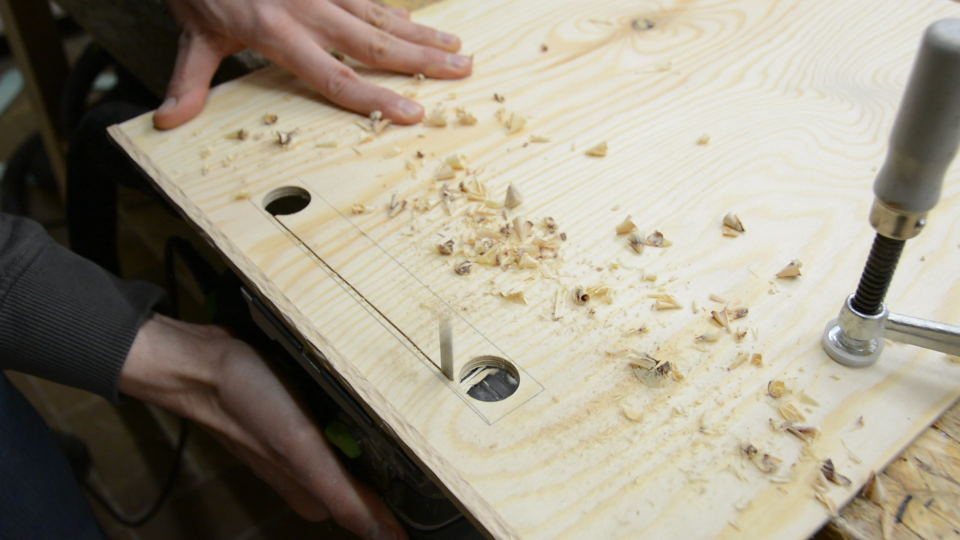
I drill a shallow recess in some small scrap pieces of plywood with the same thickness as the one I used for the excenters. Within that recess I drill two holes for small rare earth magnets. Next I screw these wooden blocks to the shelf. By putting washers on the magnets and a bit of epoxy on the washers I glue them to the thin plywood. This way the thin bottom clips easily to the shelf and is quickly removed.
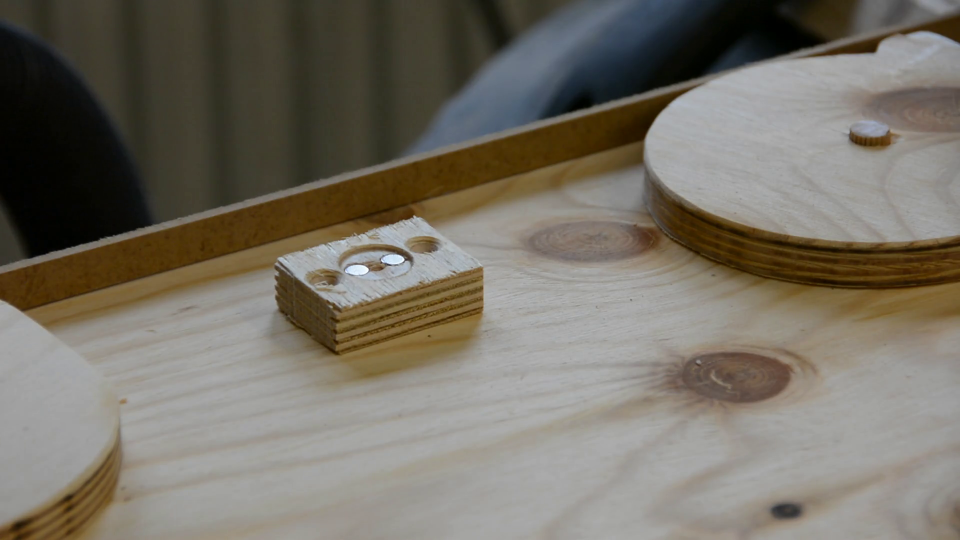
If the distance between the magnet and the washer is too wide shim the wooden blocks with some cardboard to ensure a good fit.
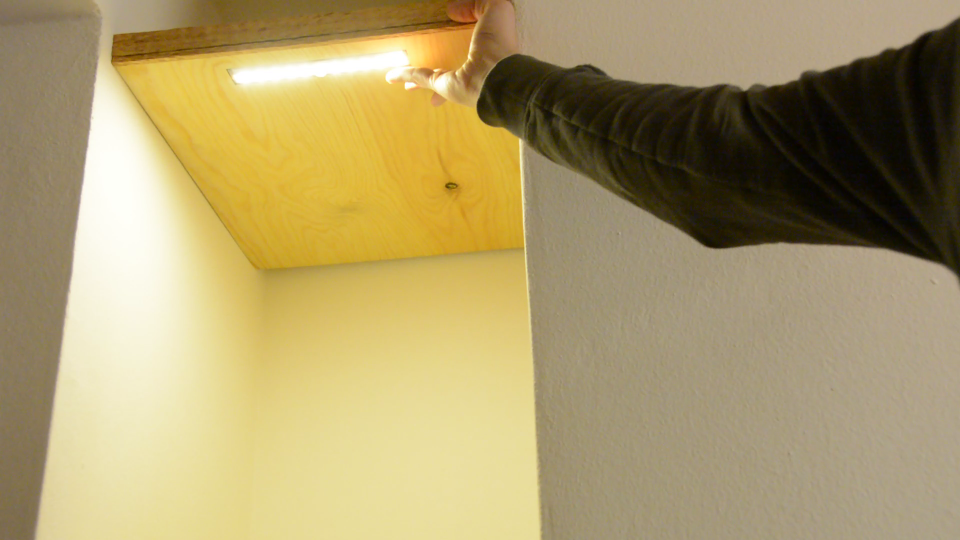
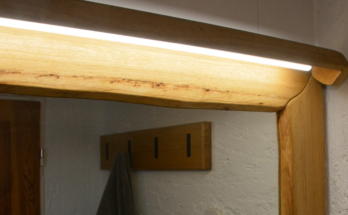
There shall be light
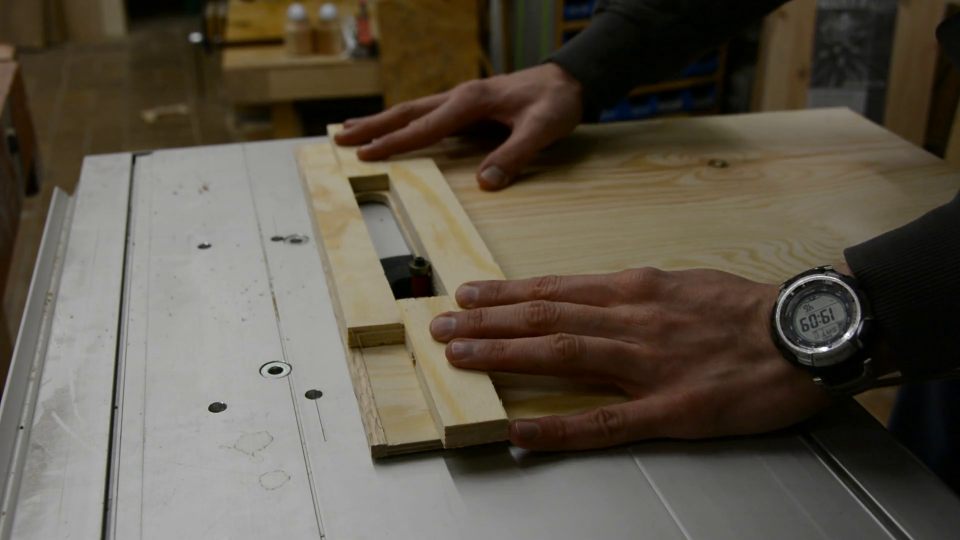
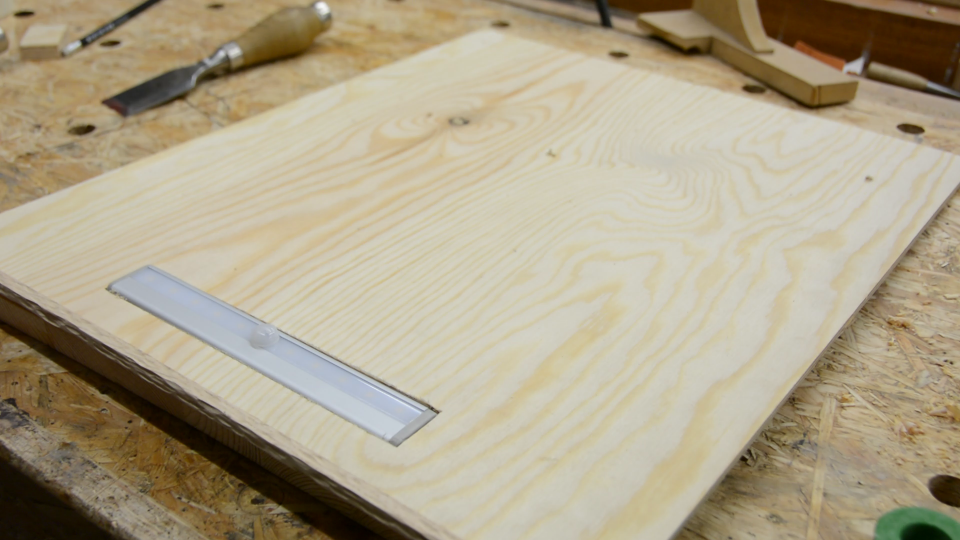
In one of the upper shelves I would like to display some stuff and would like to use a spotlight to highlight it. I bought a small LED light from amazon and cut a strip of plywood to the same thickness as the LED light. By cutting this piece in half I create a frame that is exactly the size of the LED light.
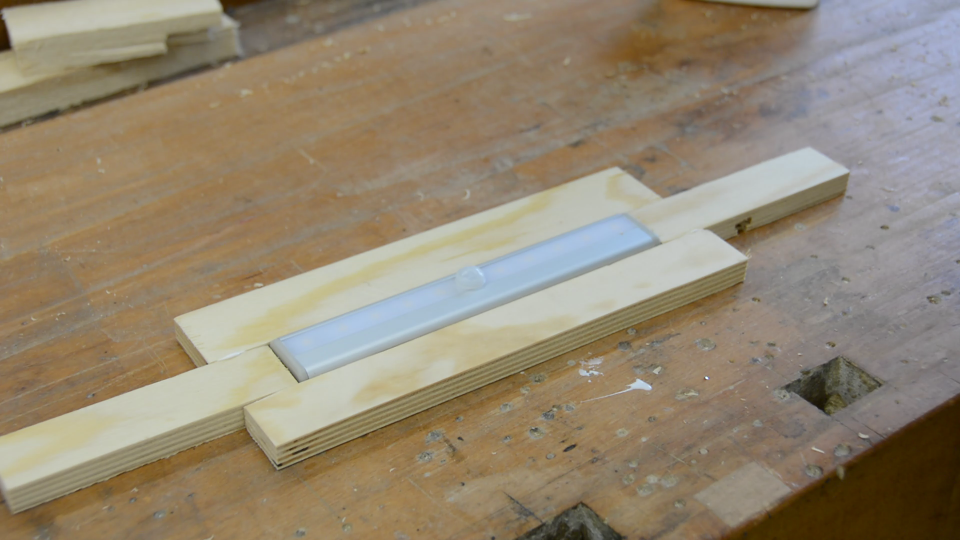
First I will use this template to remove most of the material with a drill and a jigsaw. After removing the bulk of the material I use a flush trim bit on the router table to transfer the shape of my template to the shelf bottom. After squaring the corners with a chisel the LED light can be pressed into the opening and is hold in place by friction.
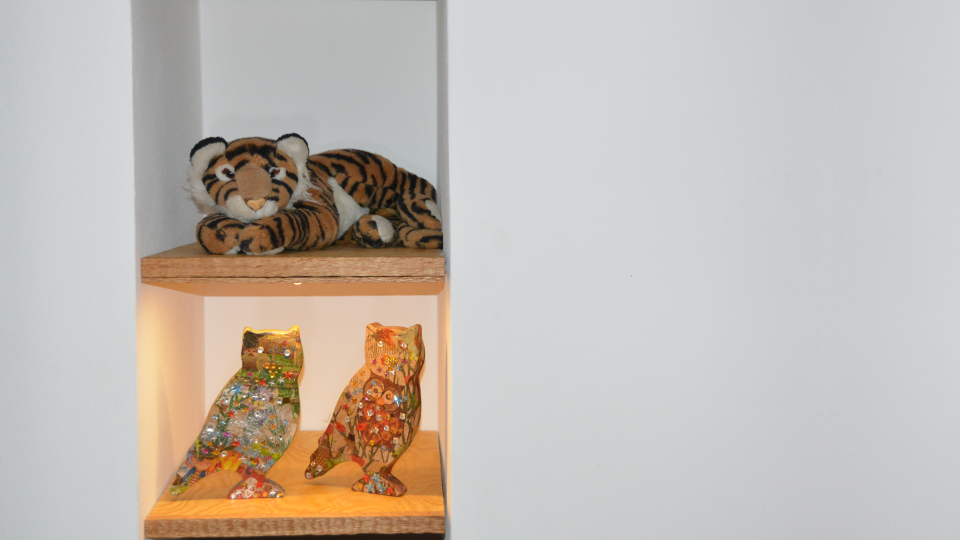
With the bottoms finished the shelves are installed. It is easy to adjust the position of the shelves which will give us a lot of versatility in how we are going to use this space. Working with excenters was really fun and it is impressive how much weight the shelves can hold.
Resources
Tools used in the project (affiliate)
- Digital level on amazon.de
- Forstner drill set on amazon.de or amazon.com
- Festool CMS base unit on amazon.de or amazon.com
- Festool CMS router module on amazon.de or amazon.com
- Arbortech mini grinder on amazon.de or amazon.com
- Festool Rotex 150 on amazon.de or amazon.com
- Clou Hard oil on amazon.de
- Short LED light strip on amazon.de

One Comment on “DIY Adjustable Floating Shelves with LED Light”