In this article I will explain how to design an excenter lever with free software. Excenters have many uses in the shop such as for holding down a workpiece in place or to glue up panels.
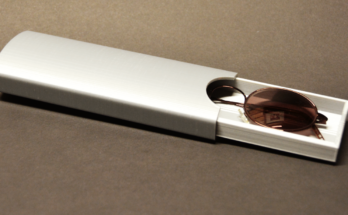
In another project I created these adjustable floating shelves. As I don‘t have an engineering background it took me some time to understand how to best design an excenter lever. Here I want to share these learnings with you.
Excenter theory
Let’s first have a look at the basics how an excenter works. If we have a circle and just punch a hole in it the distance between the hole and the border of the disk will stay constant as the disk turns.

We can move the hole a out of the center which creates a basic excenter. If we roll this one the distance to the border is increasing till the middle and is decreasing afterwards.

We only use half of the contour this way to increase the pressure. To improve the usage and effectiveness we would have to add more material on the second half of the circle.

This is what’s called a spiral excenter. I tried to design it in CAD but actually didn’t succeed. The solution I ended up with was to use Inkscape.
Design in Inkscape
If you want to follow along and don’t have it already installed on your computer download the latest version of the software from http://www.inkscape.org.
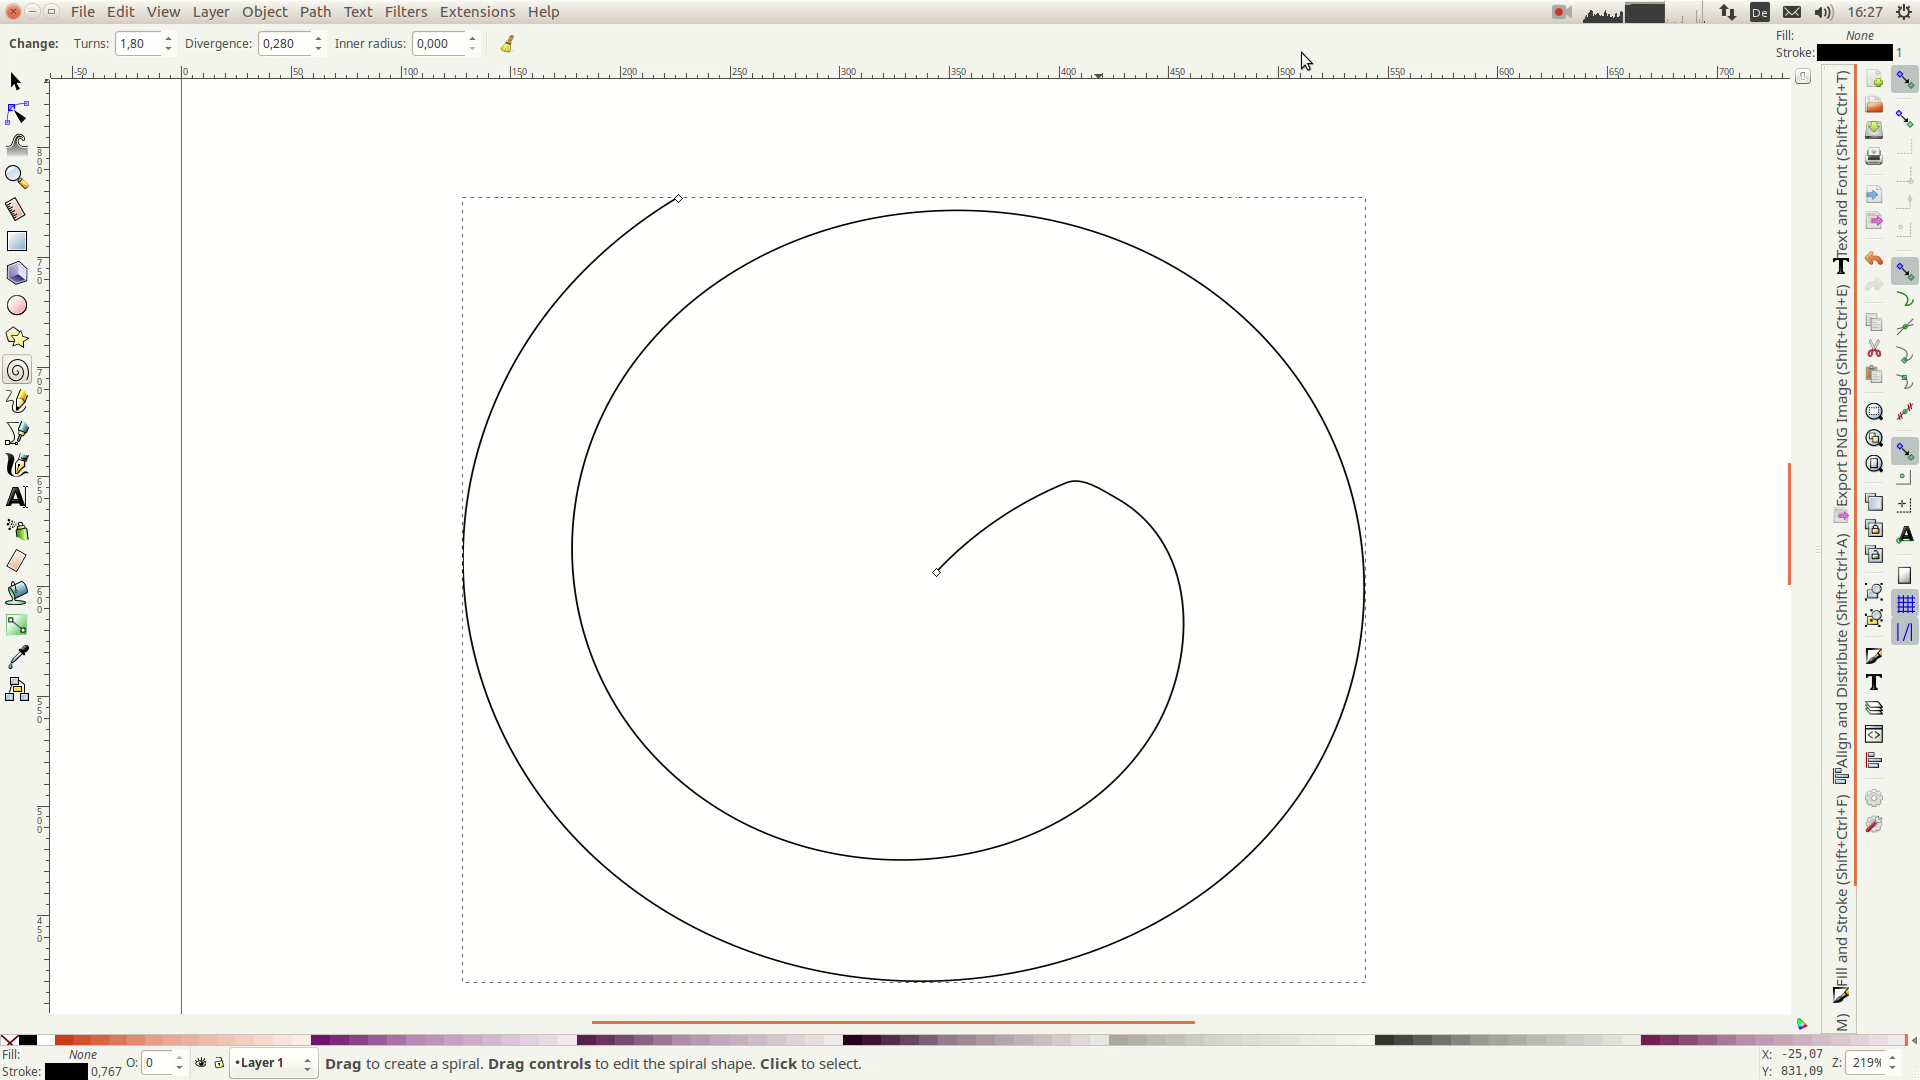
In the software we click on the spiral tool and draw a spiral.
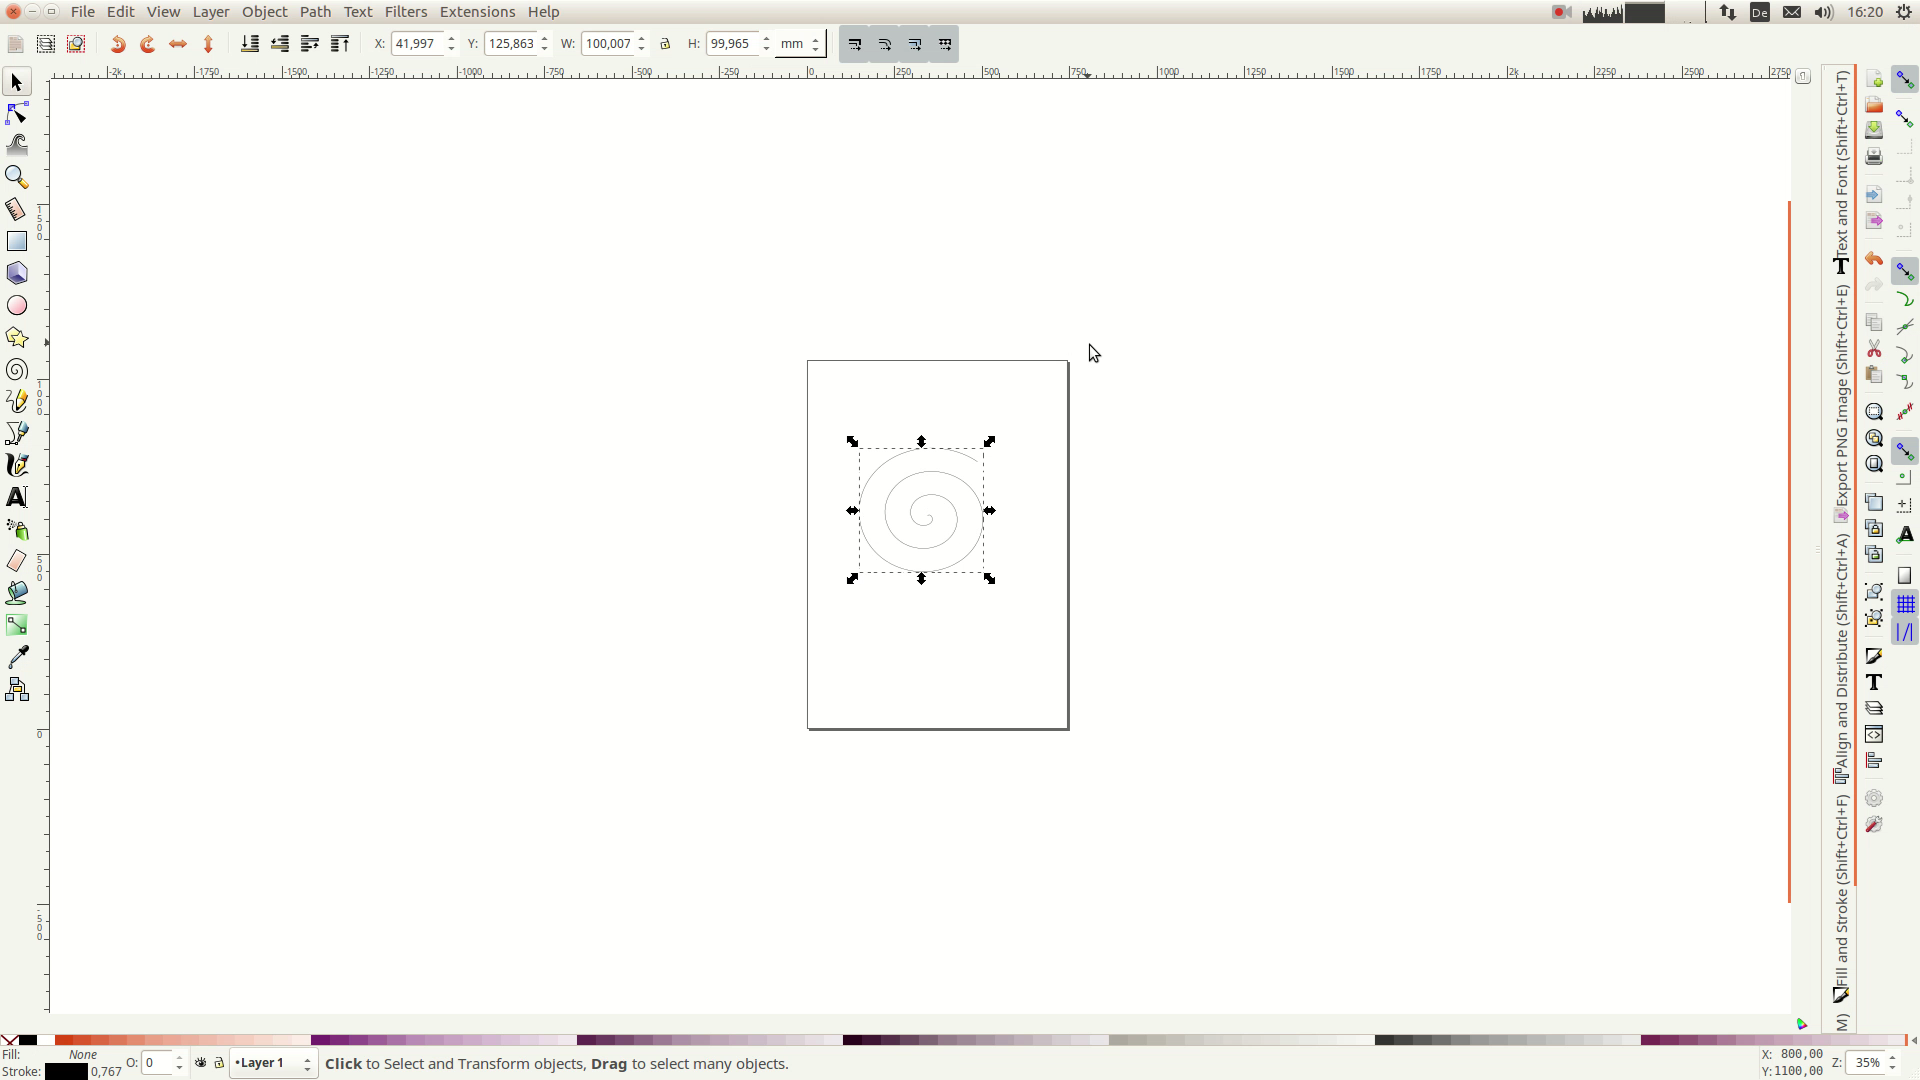
In the upper part of the window you can change the size of the spiral – for me that’s 100 times 100 millimeter.
We then change the Turns to 1.8 so that the spiral covers only a bit more than 1.5 turns.
This tool here is a measurement tool. We first click on the center of the spiral and then drag the mouse to the outside at the narrowest and the widest point of the spiral.The difference between these two values equals the amount of pressure we can create with the excenter.
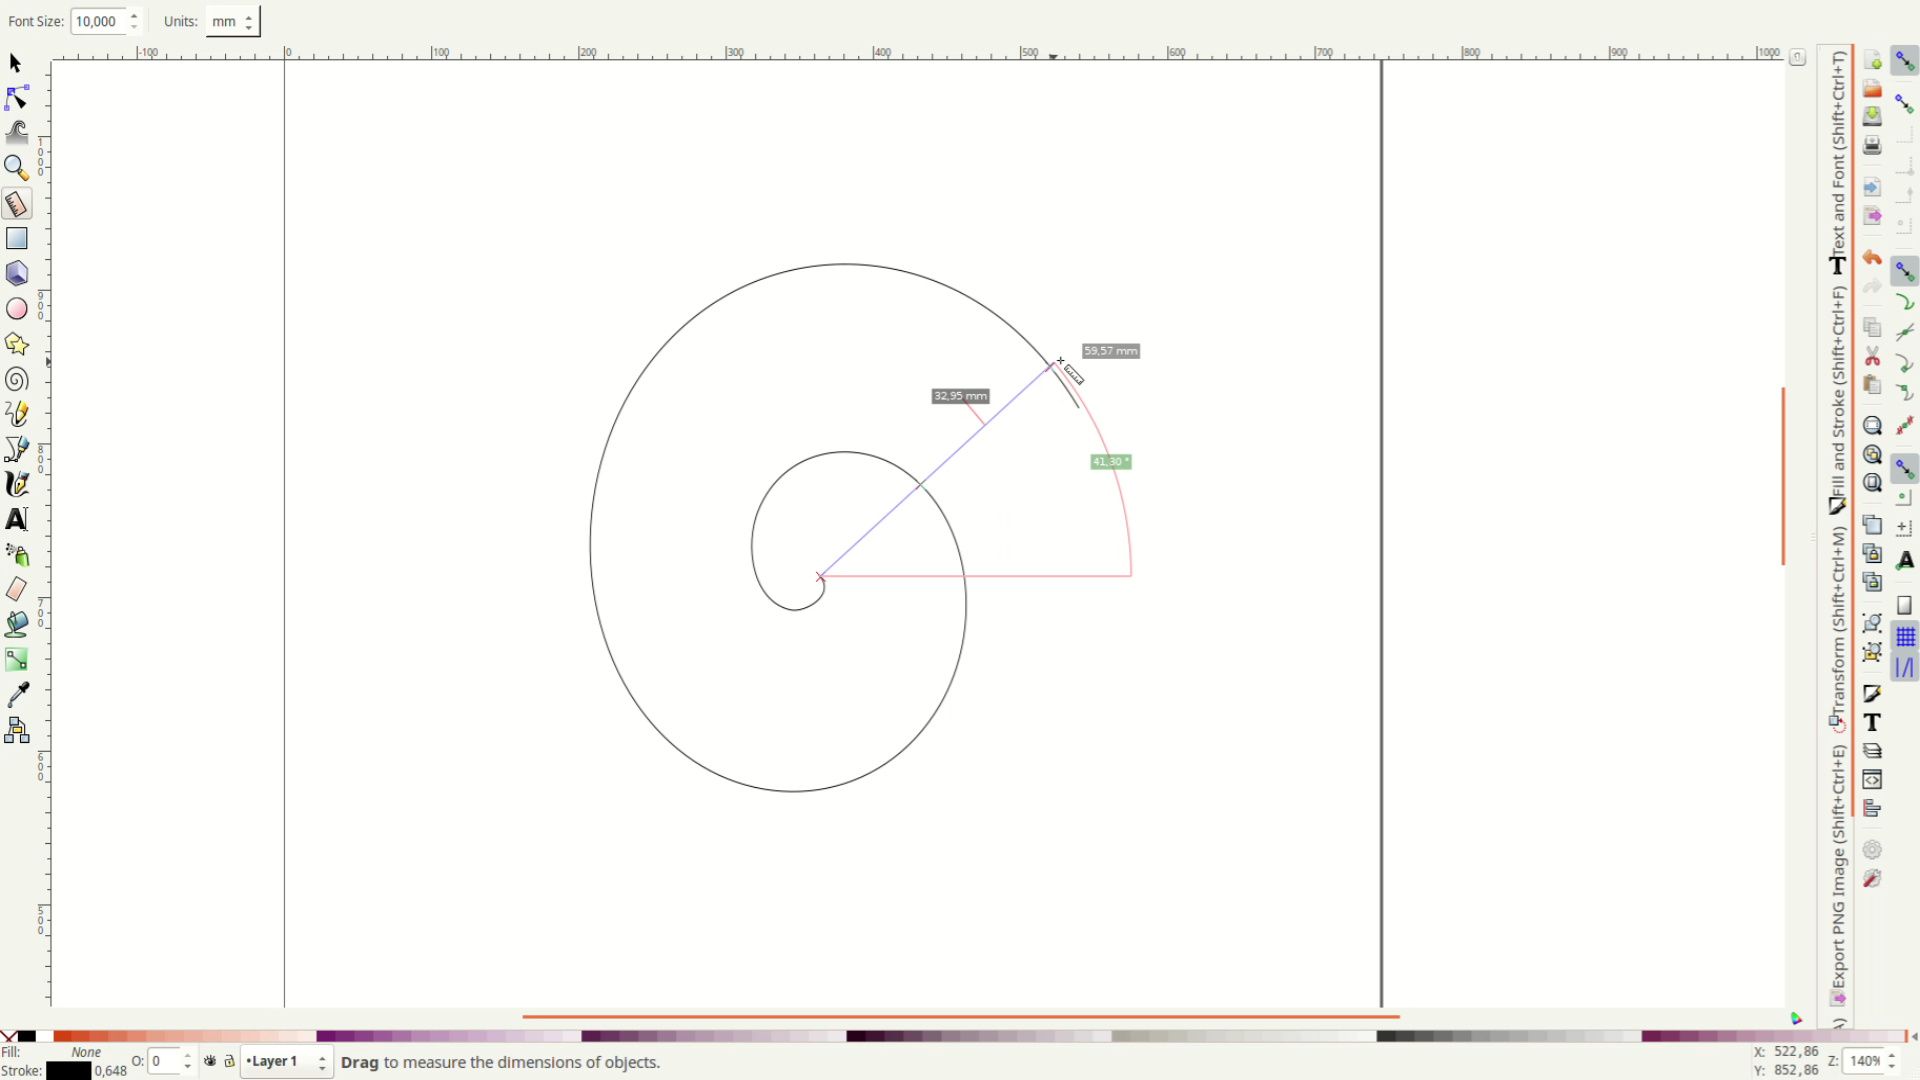
Here the width of the spiral ranges from 28 mm at the narrowest to 57 mm at the widest point. The difference between these two values is 29. If we want to reduce the travel down to 8mm we divide 8 by 29 and put the resulting 0,28 in the divergence field of the spiral tool.
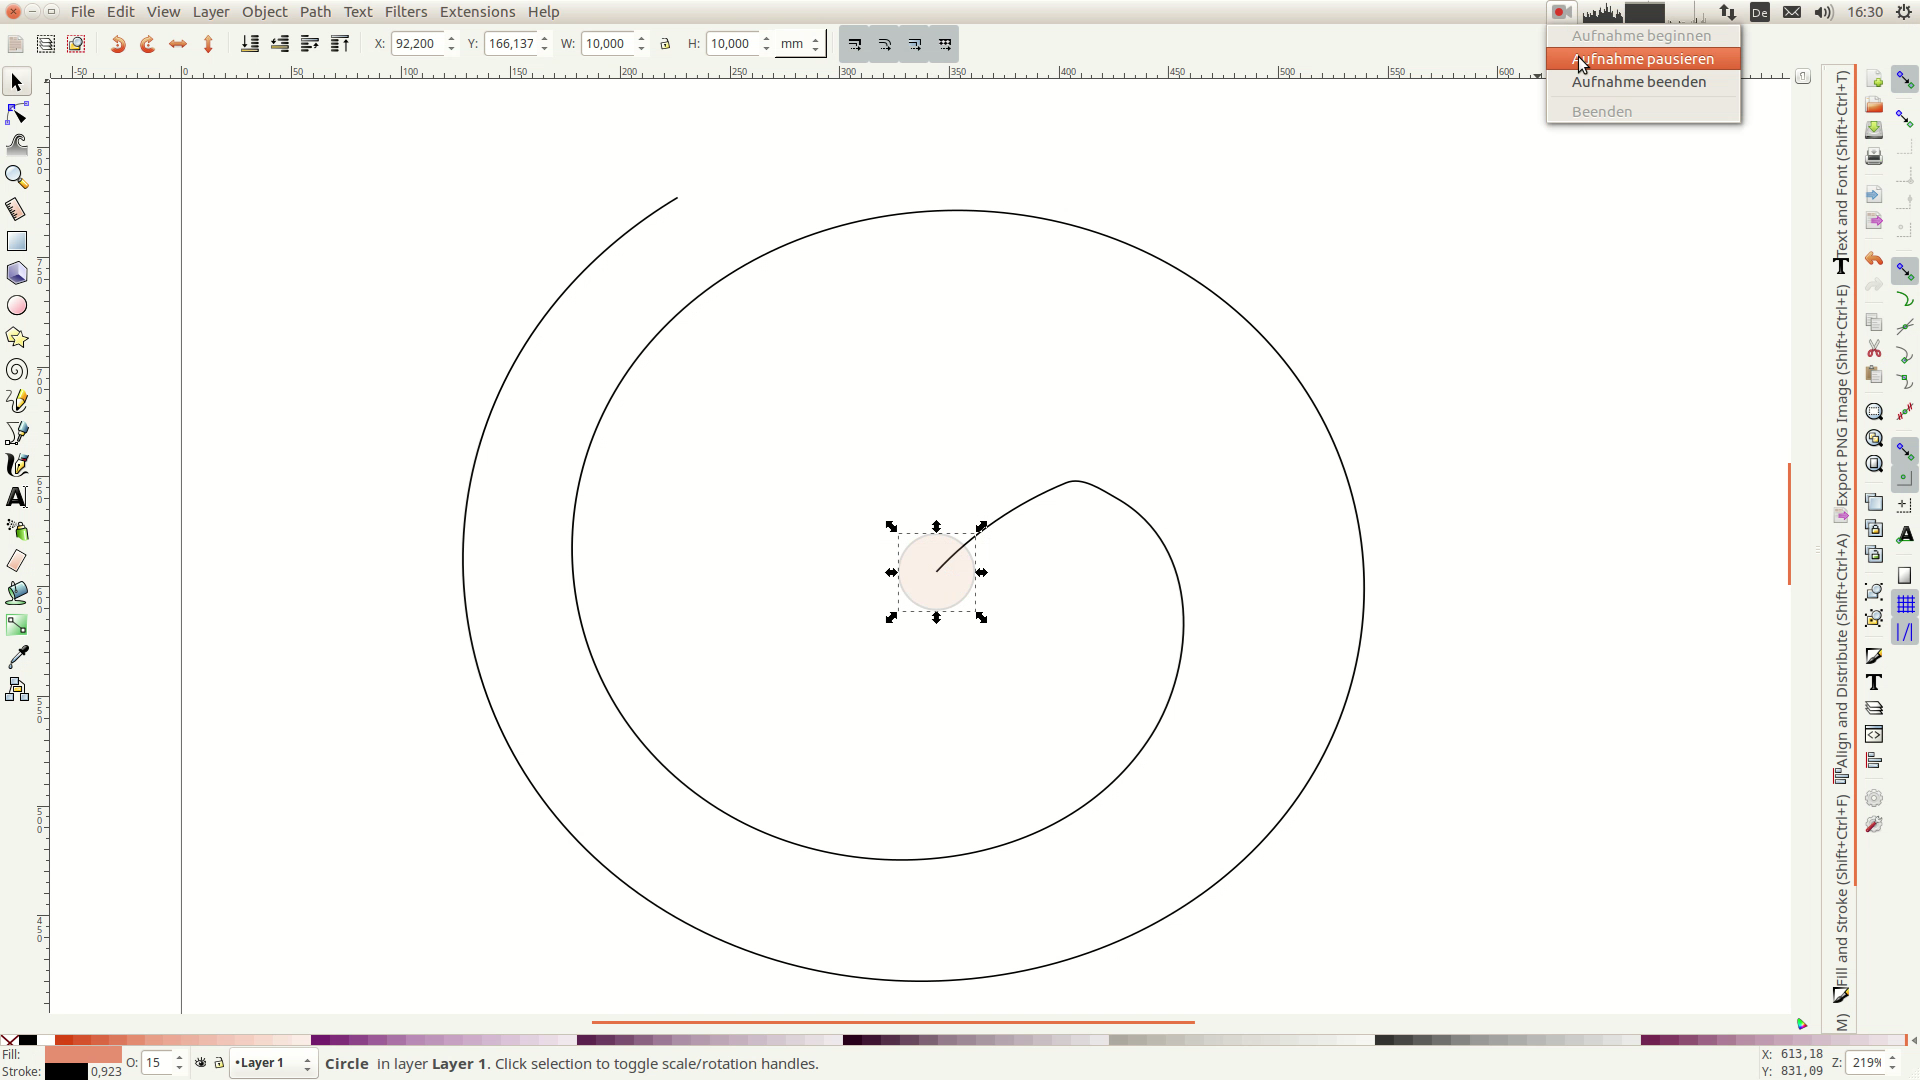
We can use the measurement tool to control the two distances. As soon as we are done with the spiral we click on the icon with the small green dot at the right hand side in the middle of the window in order to snap to the center of the spiral.
We then create a circle. This will be the center hole so we change it’s size to fit our axle and move the center of the circle to the center of the spiral.
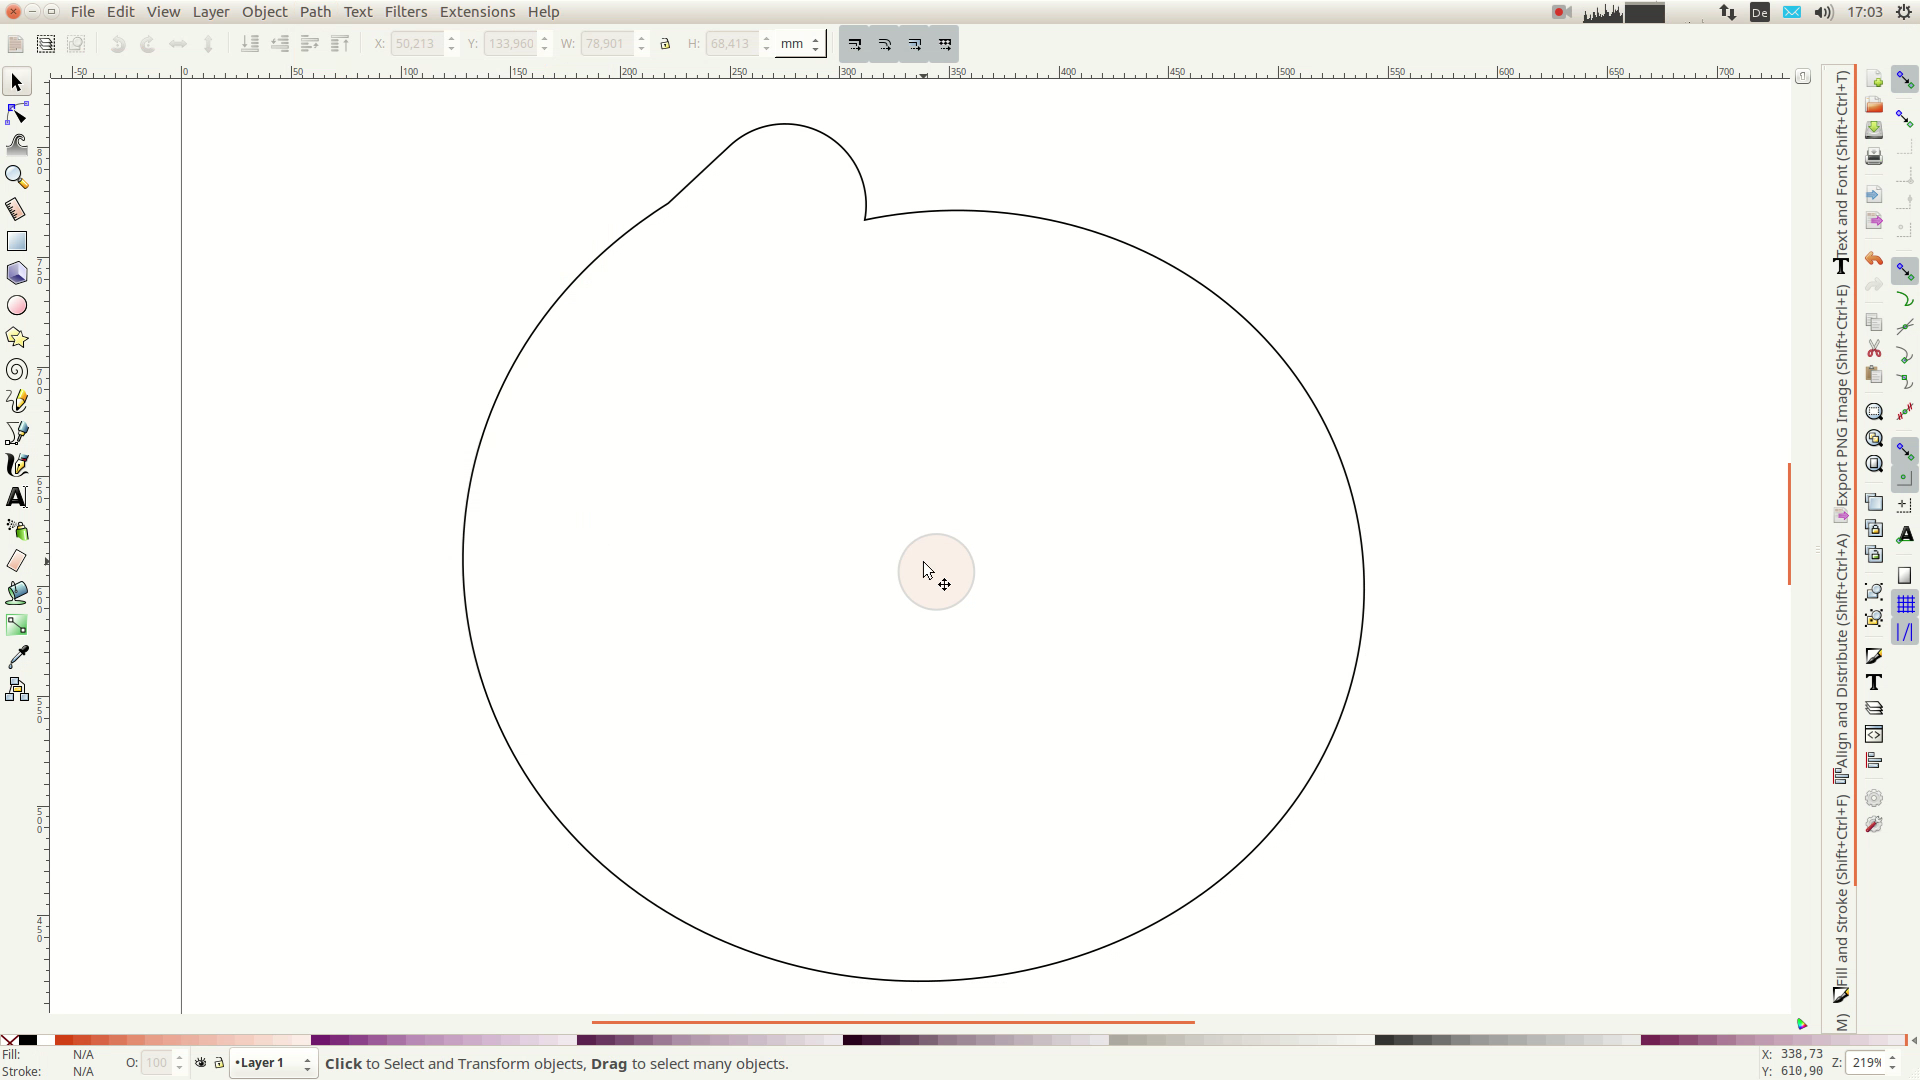
Next draw a rectangle and use the circle icon to give it round corners. This rectangle is so that we can turn the excenter easier and we position it at the opening of the spiral.

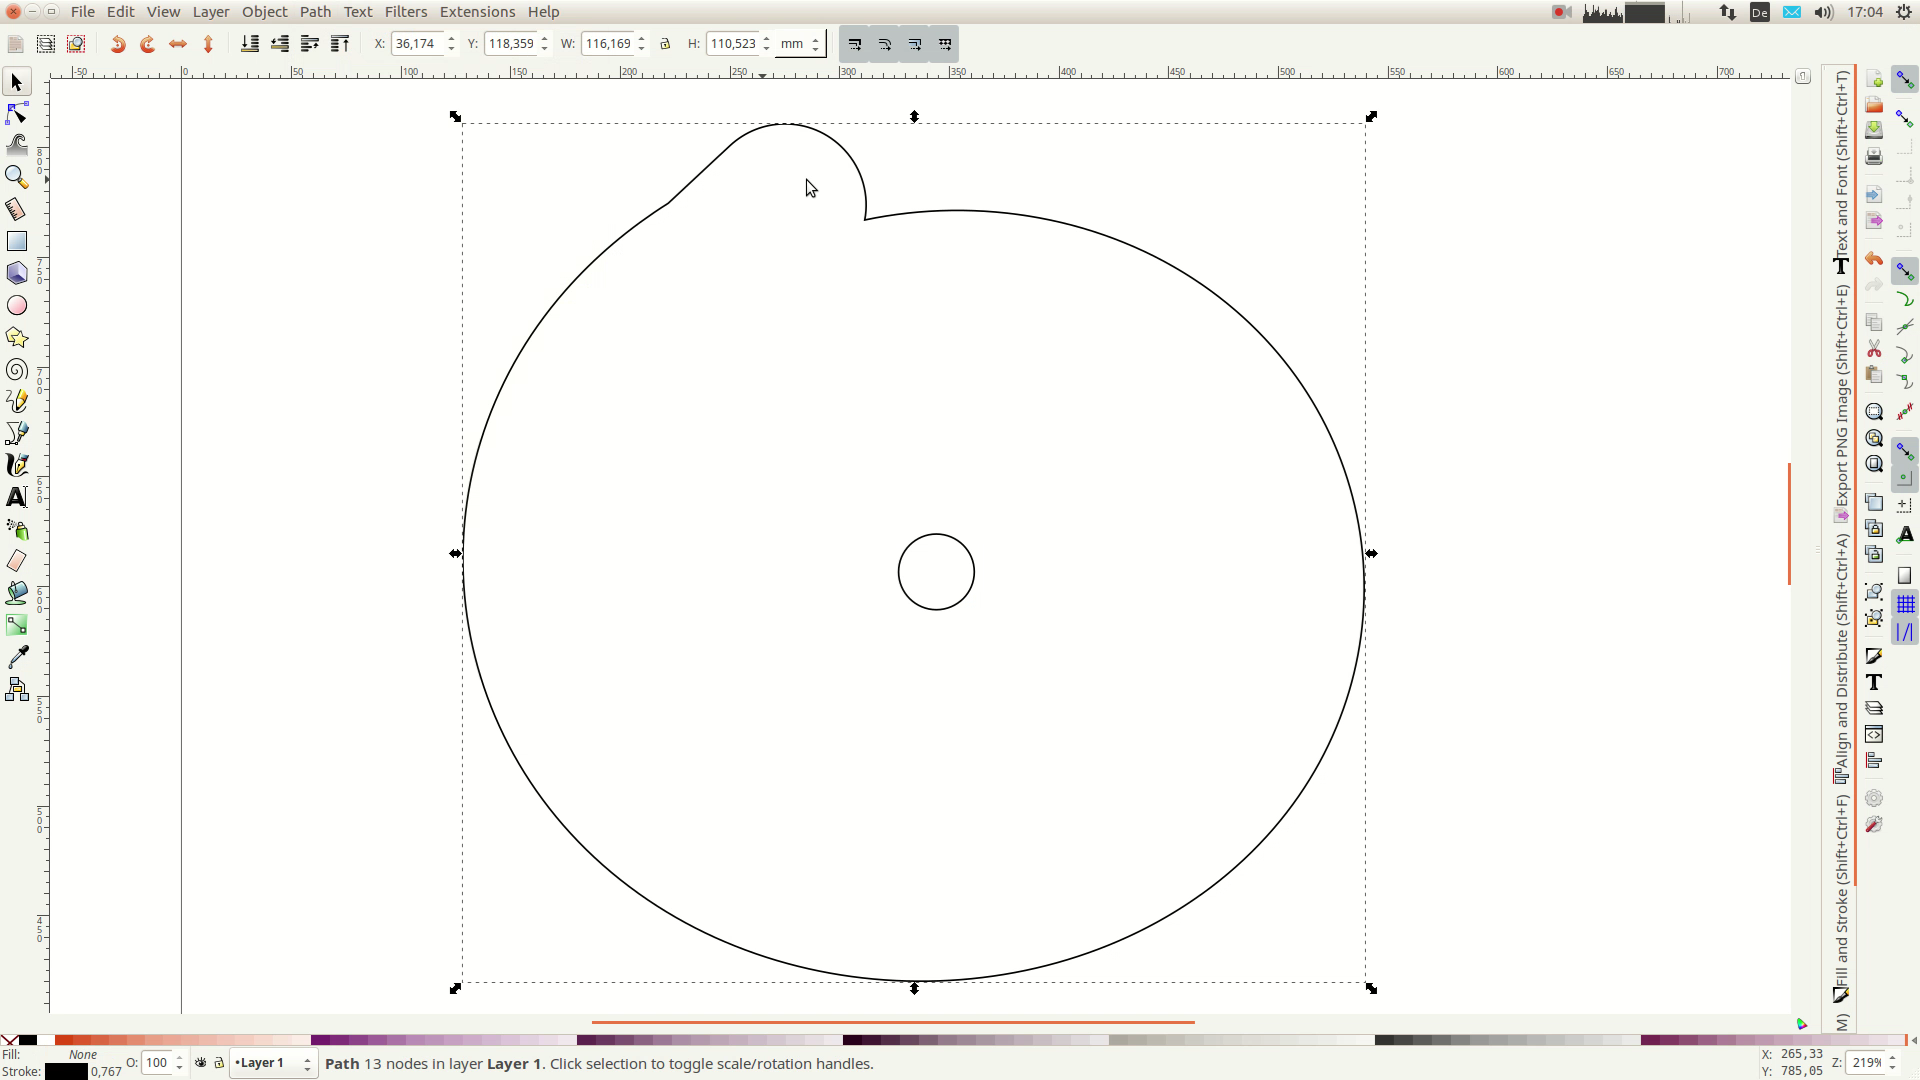
With the rectangle still selected we hold down shift and select the spiral. In the Path menu we select Union to combine the two shapes. Depending on your size there might be some leftover parts from the interior part of the spiral. To delete these choose break apart in the Path menu and delete the leftovers.
Lastly we select the circle and the outer form and select Difference from the Path menu to cut the circle from the center.
You can now either print the excenter lever and cut it on a bandsaw or you import it in a CAD program. Besides the floating shelves I mentioned in the beginning excenter levers are pretty helpful for example as panel clamps.

Resources
- Inkscape http://www.inkscape.org