In this quick FreeCAD tutorial I want to show you how easy it is to model this case for my sunglasses in FreeCAD. It’s a simple FreeCAD turorial on how to use the Thickness operation in the Part Design workbench.

Sketcher
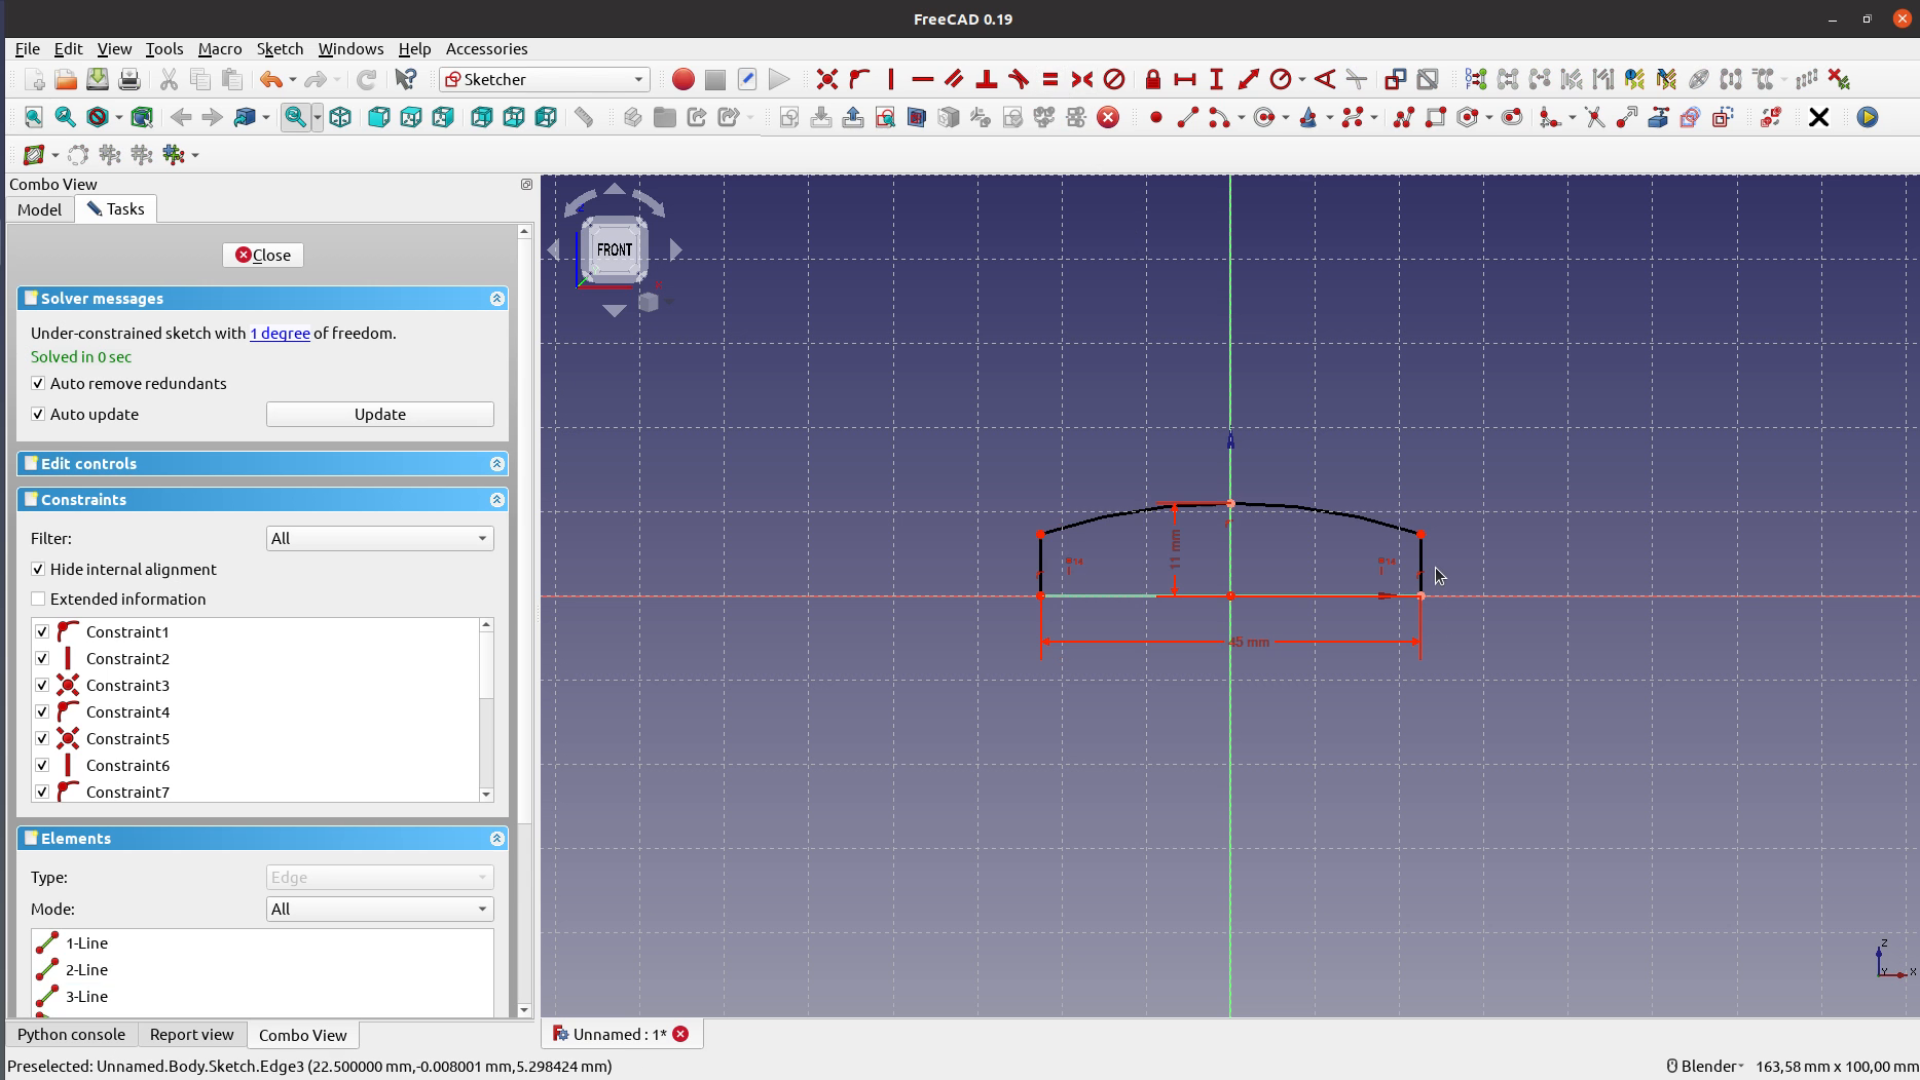
We start this small FreeCAD tutorial in the Part Design Workbench and create a new body and a new sketch in the XZ plane. In the sketcher we draw three simple lines.
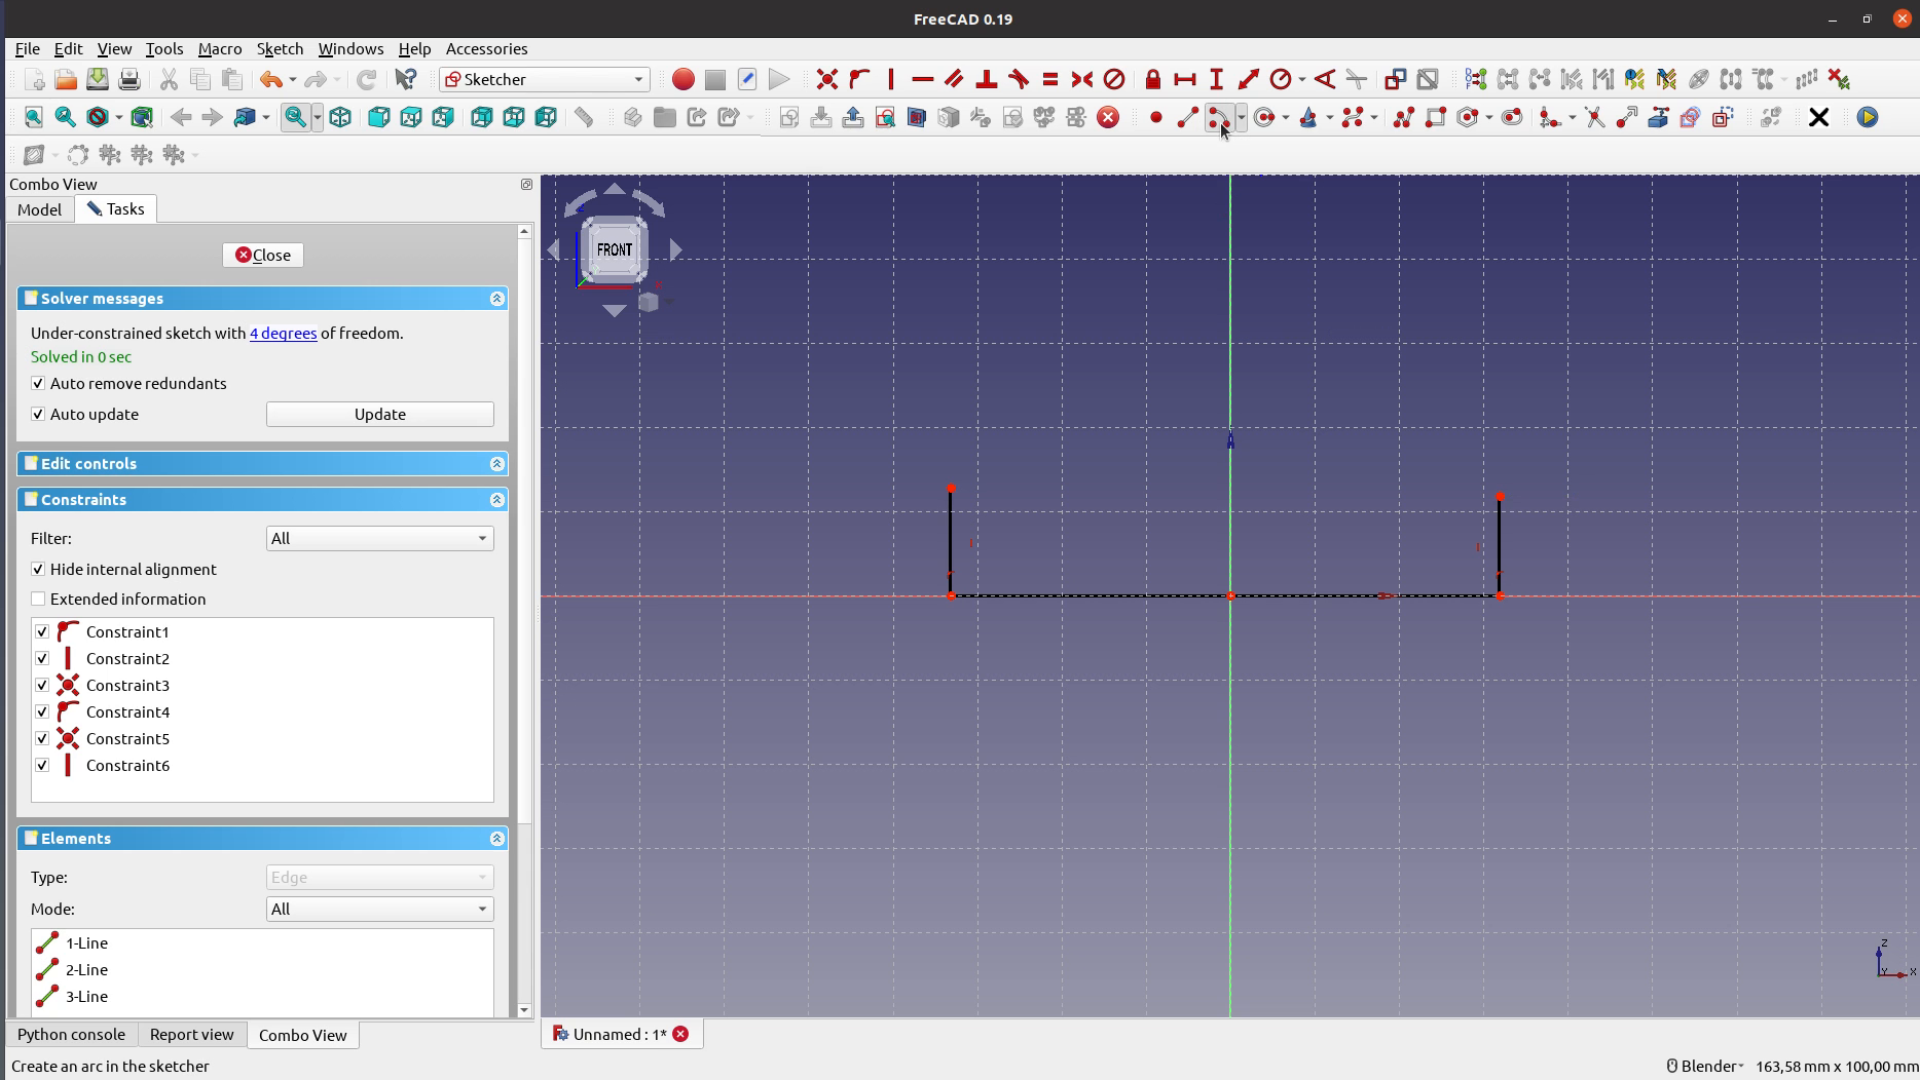
The top of the lines is connected by a half circle.

The circle is connected to the lines with a coincident constraint. In my case the width of the case should be 45 mm. In order to measure the height we first place a dot on the vertical axis and then constrain it to sit on the arc.

Now we can make one half of our case 11 mm high.
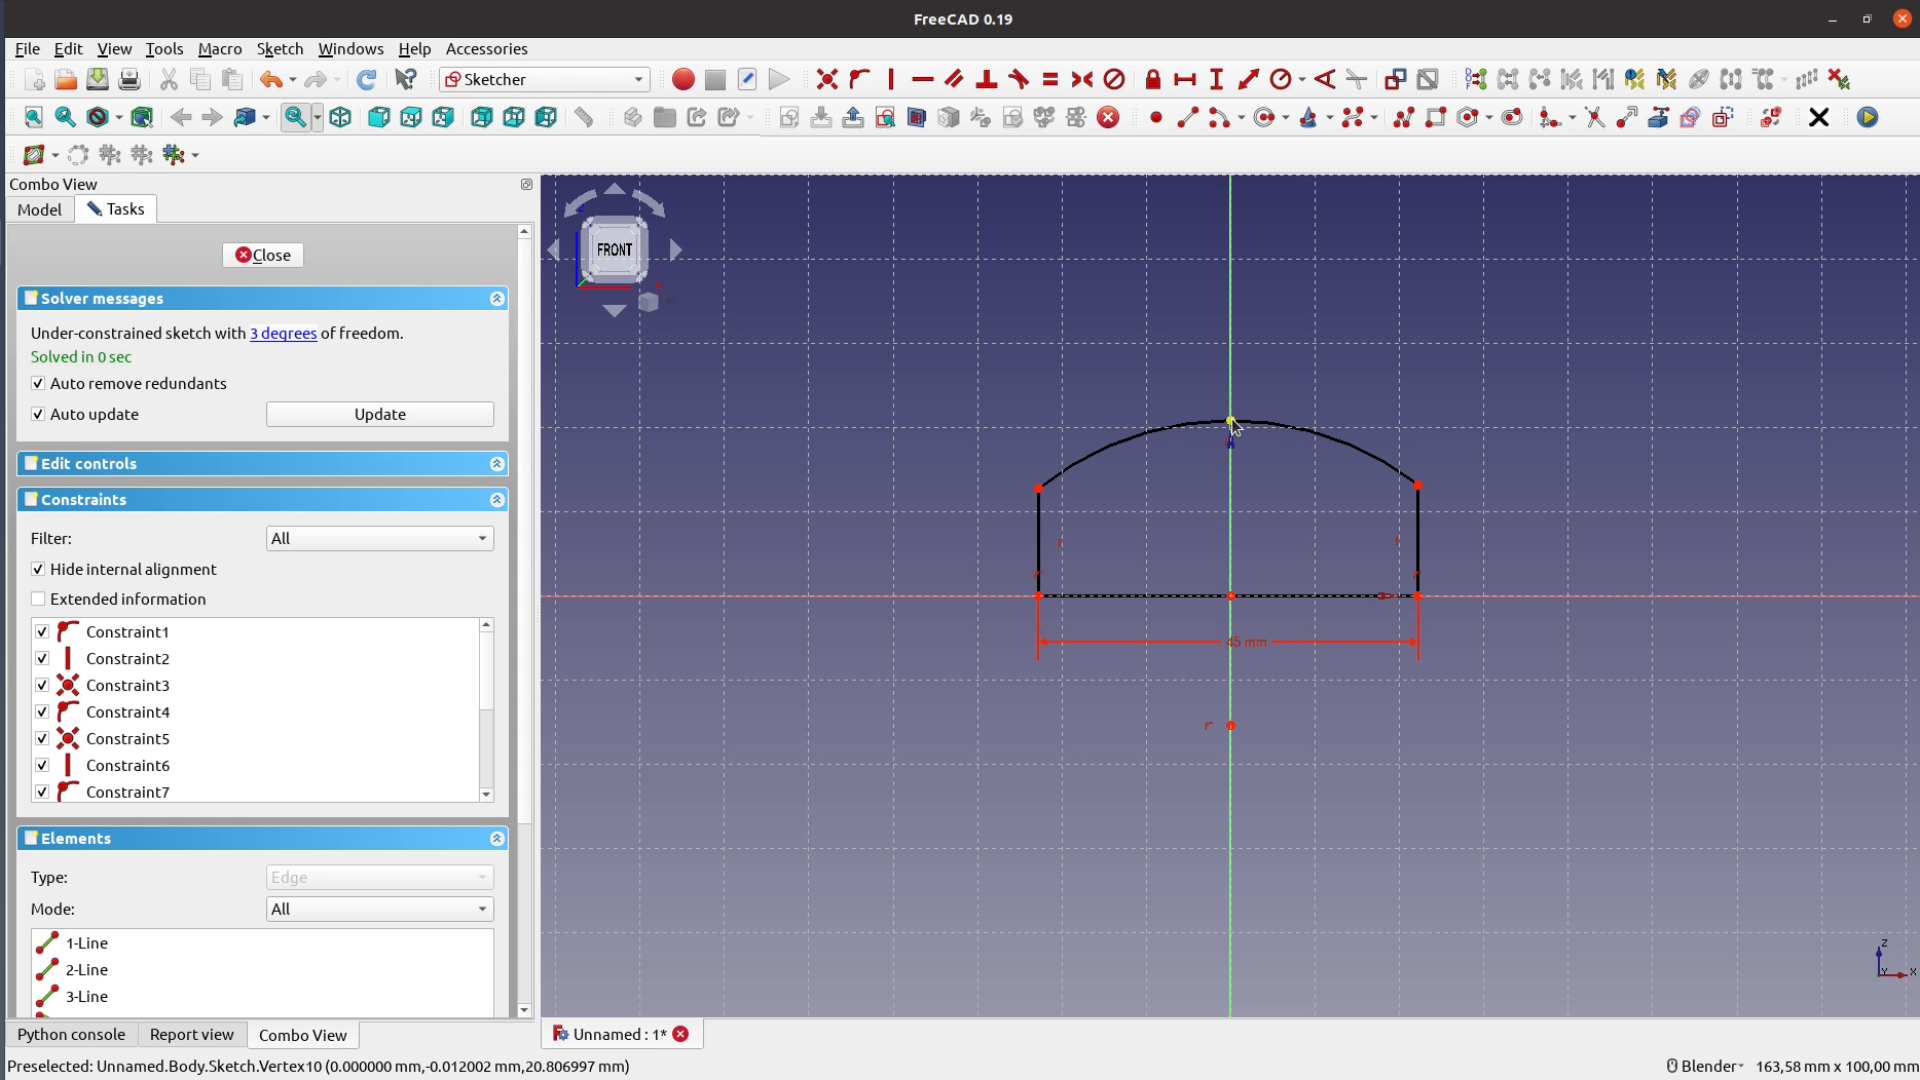
To fully constrain the sketch we have the make the two sides of equal height – 6 mm works for me.
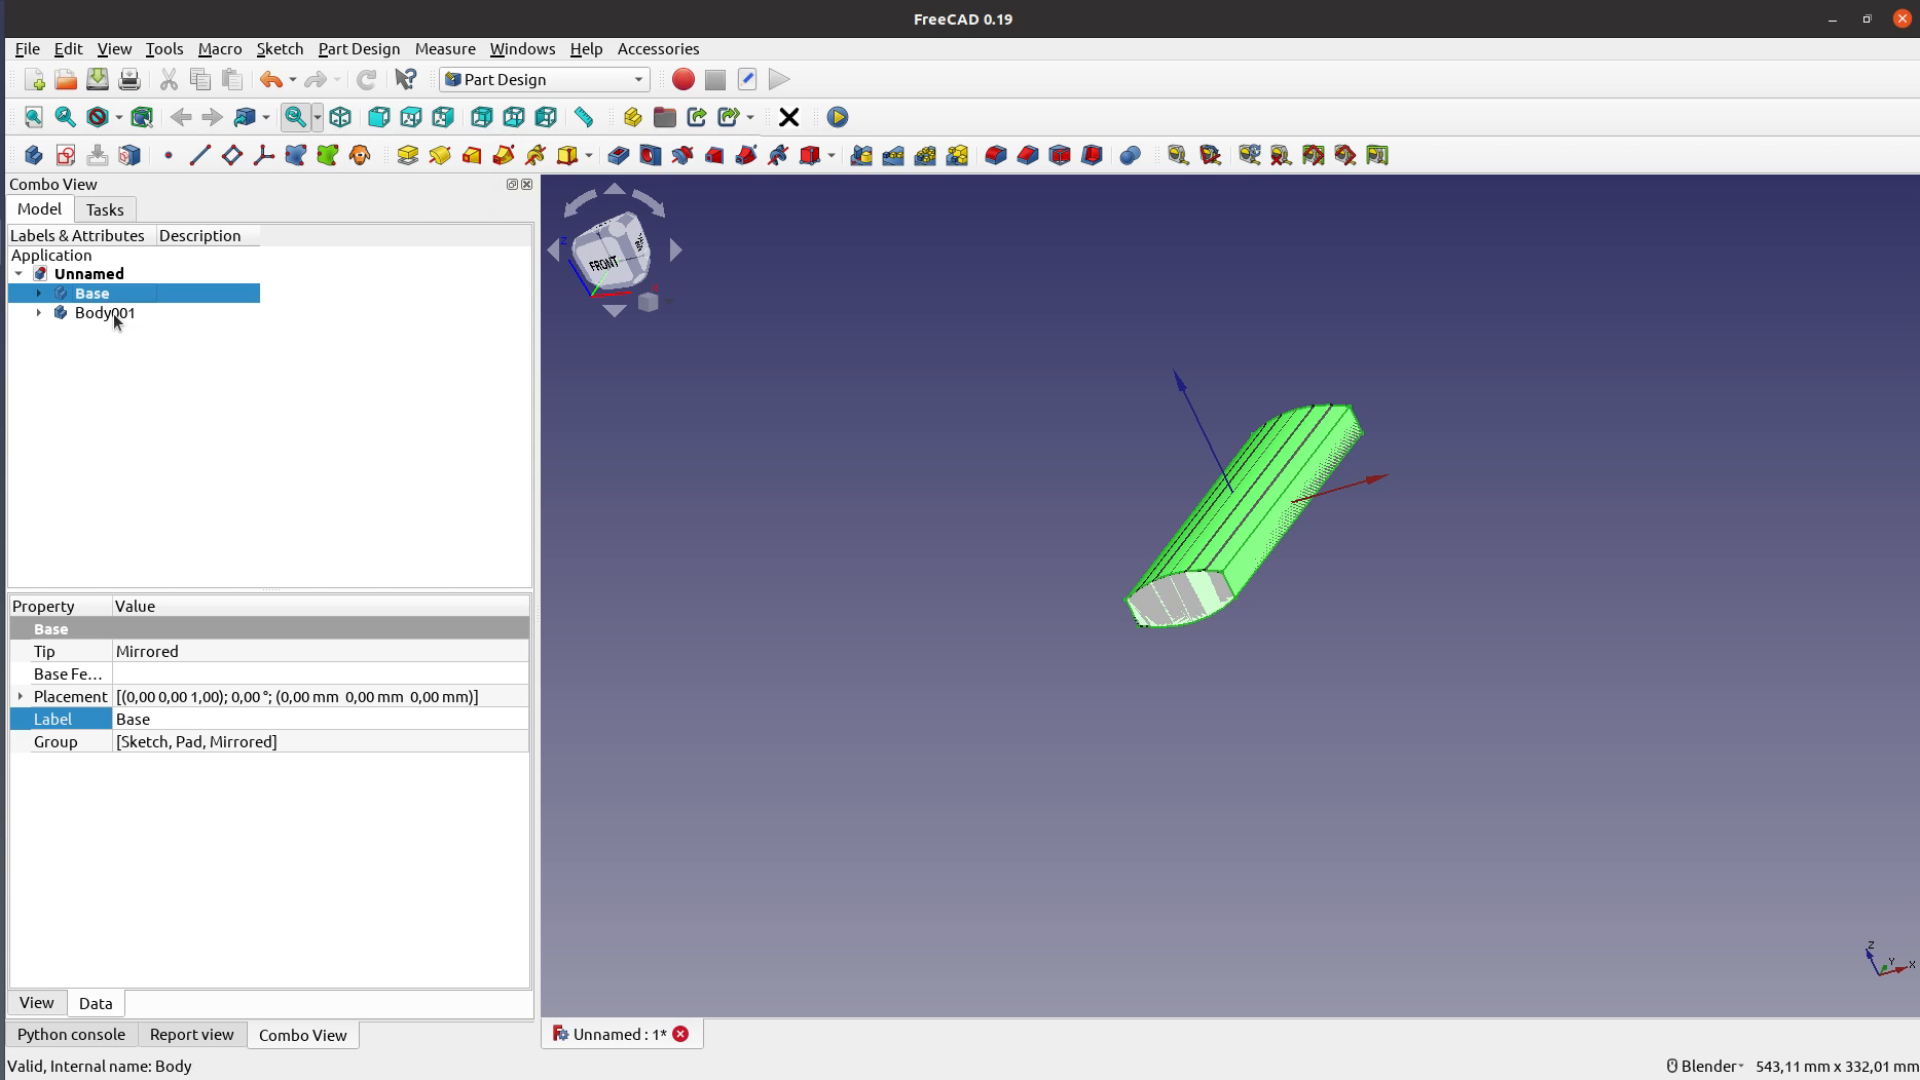
After leaving the sketcher we pad the sketch to a length of 146 mm.

Mirroring the form on the XY plane provides us with a starting point for creating the actual case.

Thickness for the inner case
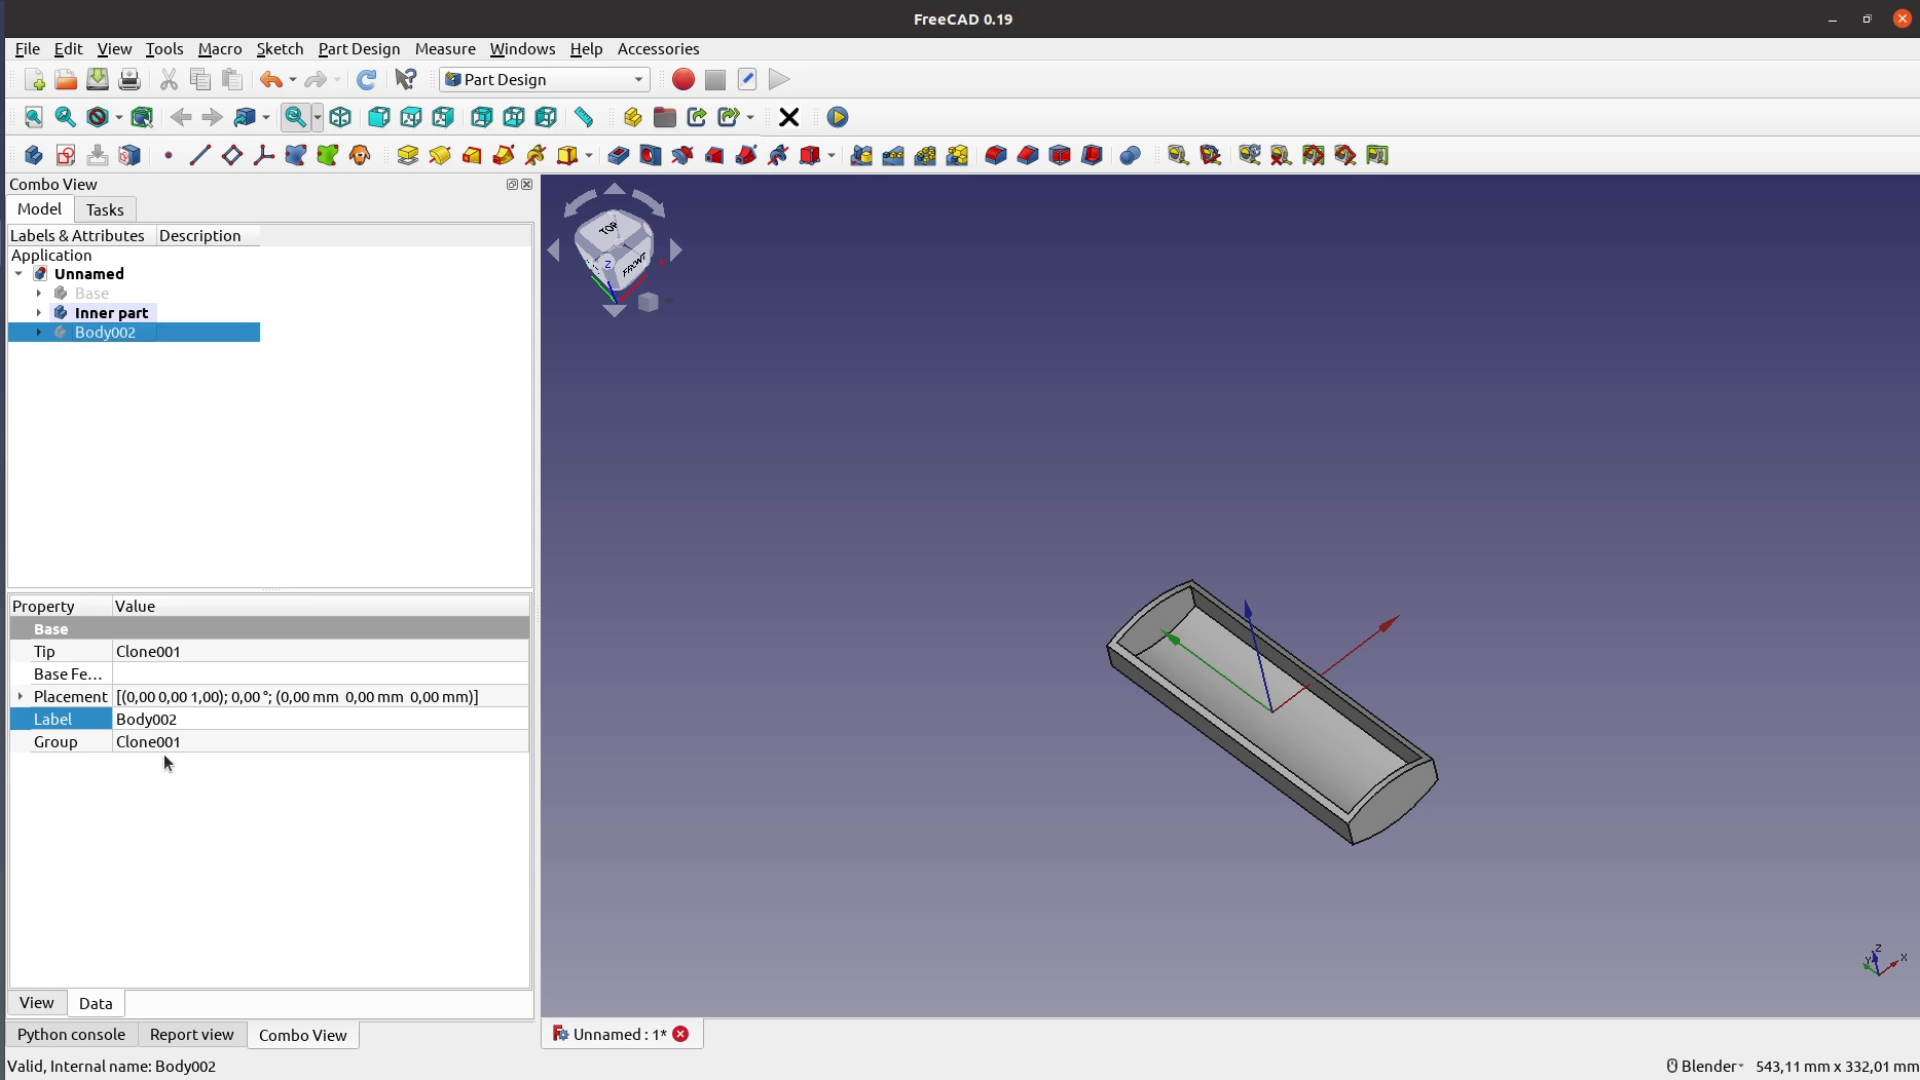
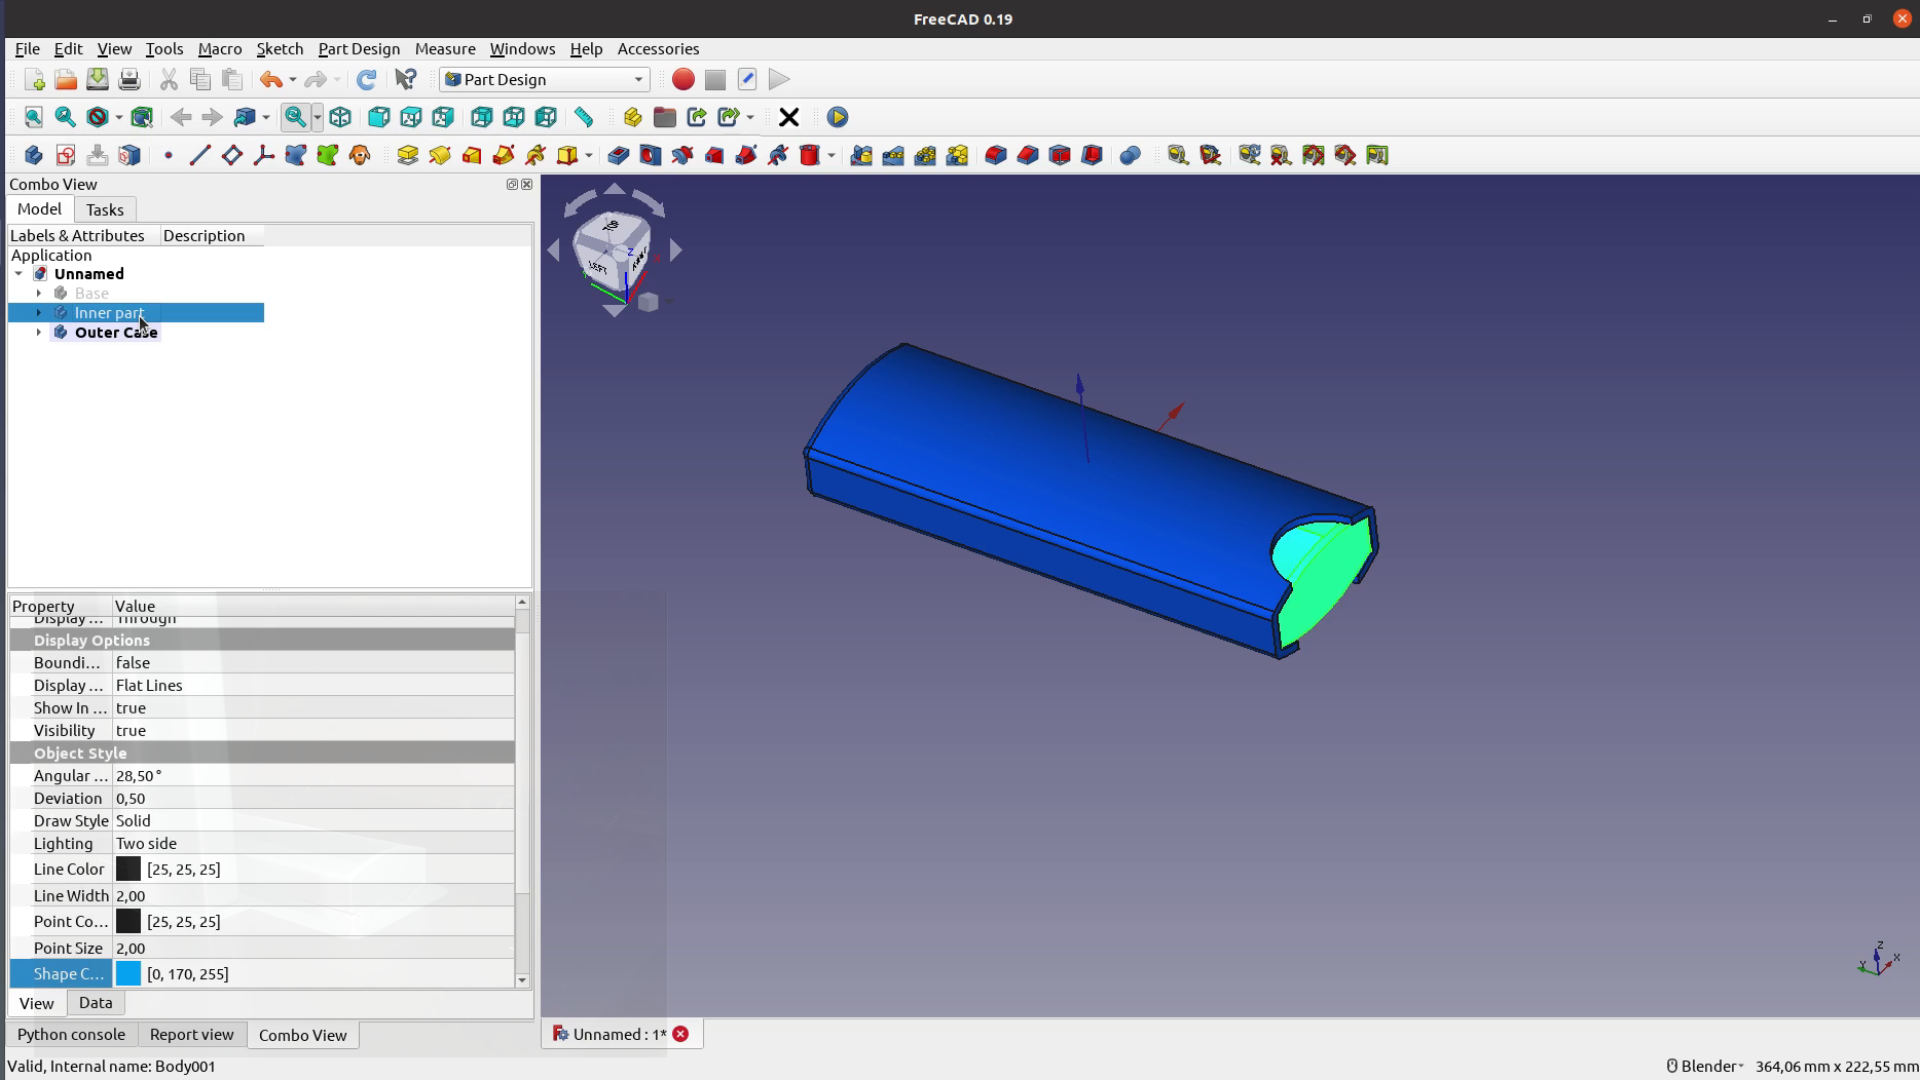
We create two clones of the base and hide the original shape.
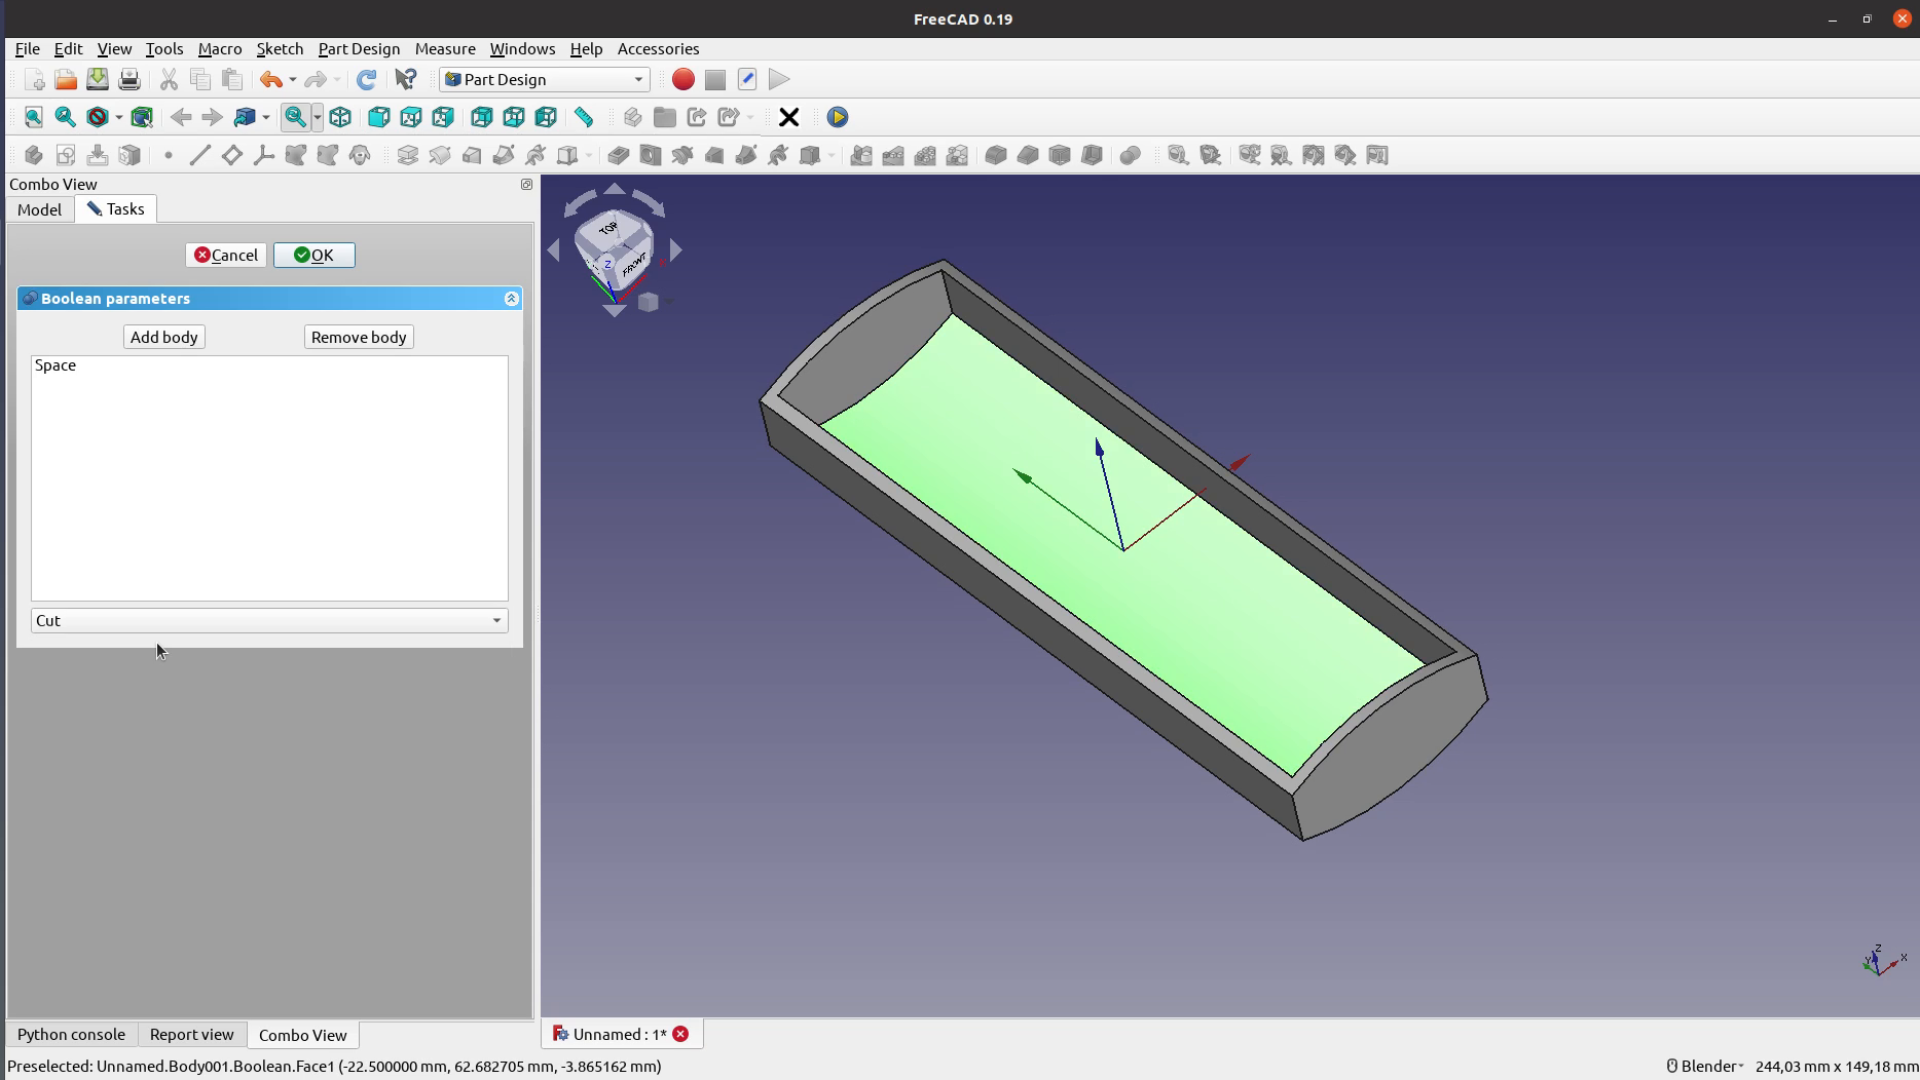
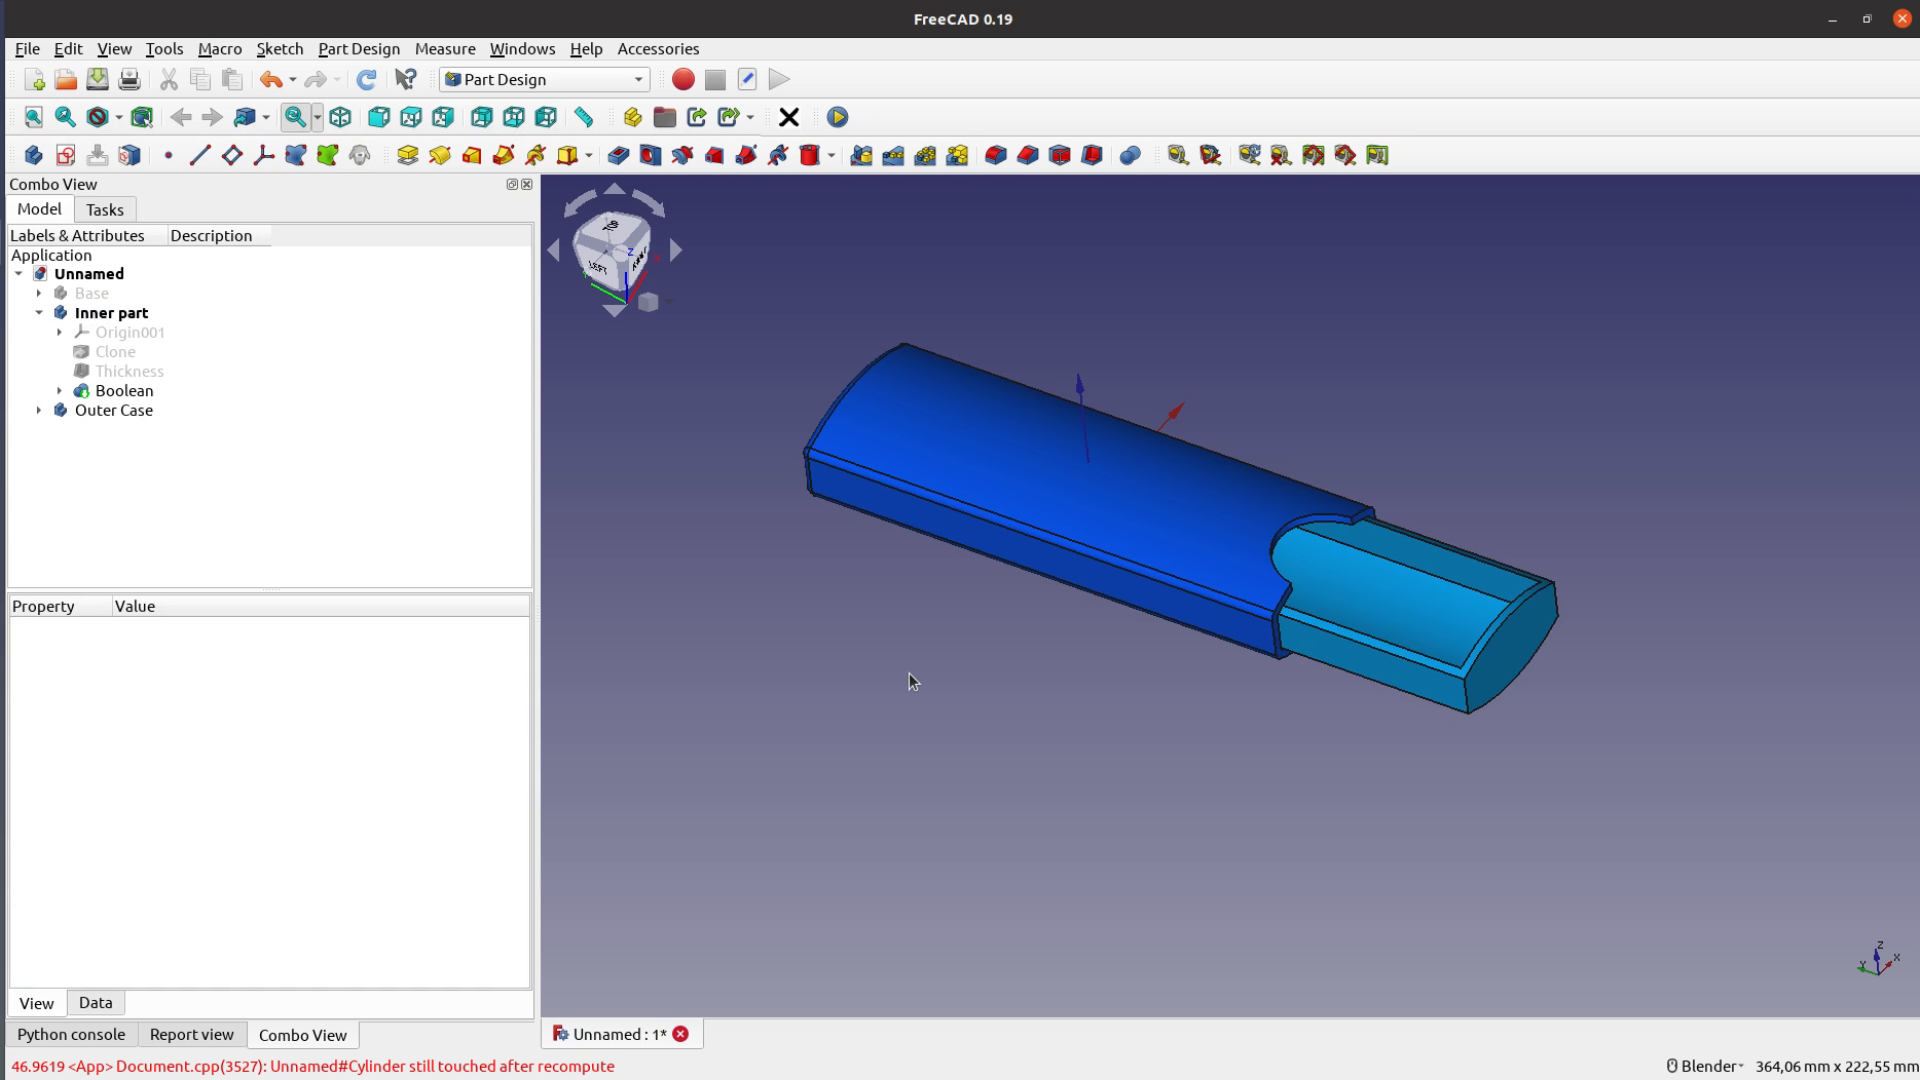
We use the thickness dressup modifier on one face of the inner part and make the thickness of 3 mm to go inward.

Now active the second clone and make its inward thickness 0.5 mm. When we cut away the space from the inner part we have a shape that has a little bit
of play so that we can insert the inner part without using a hammer.
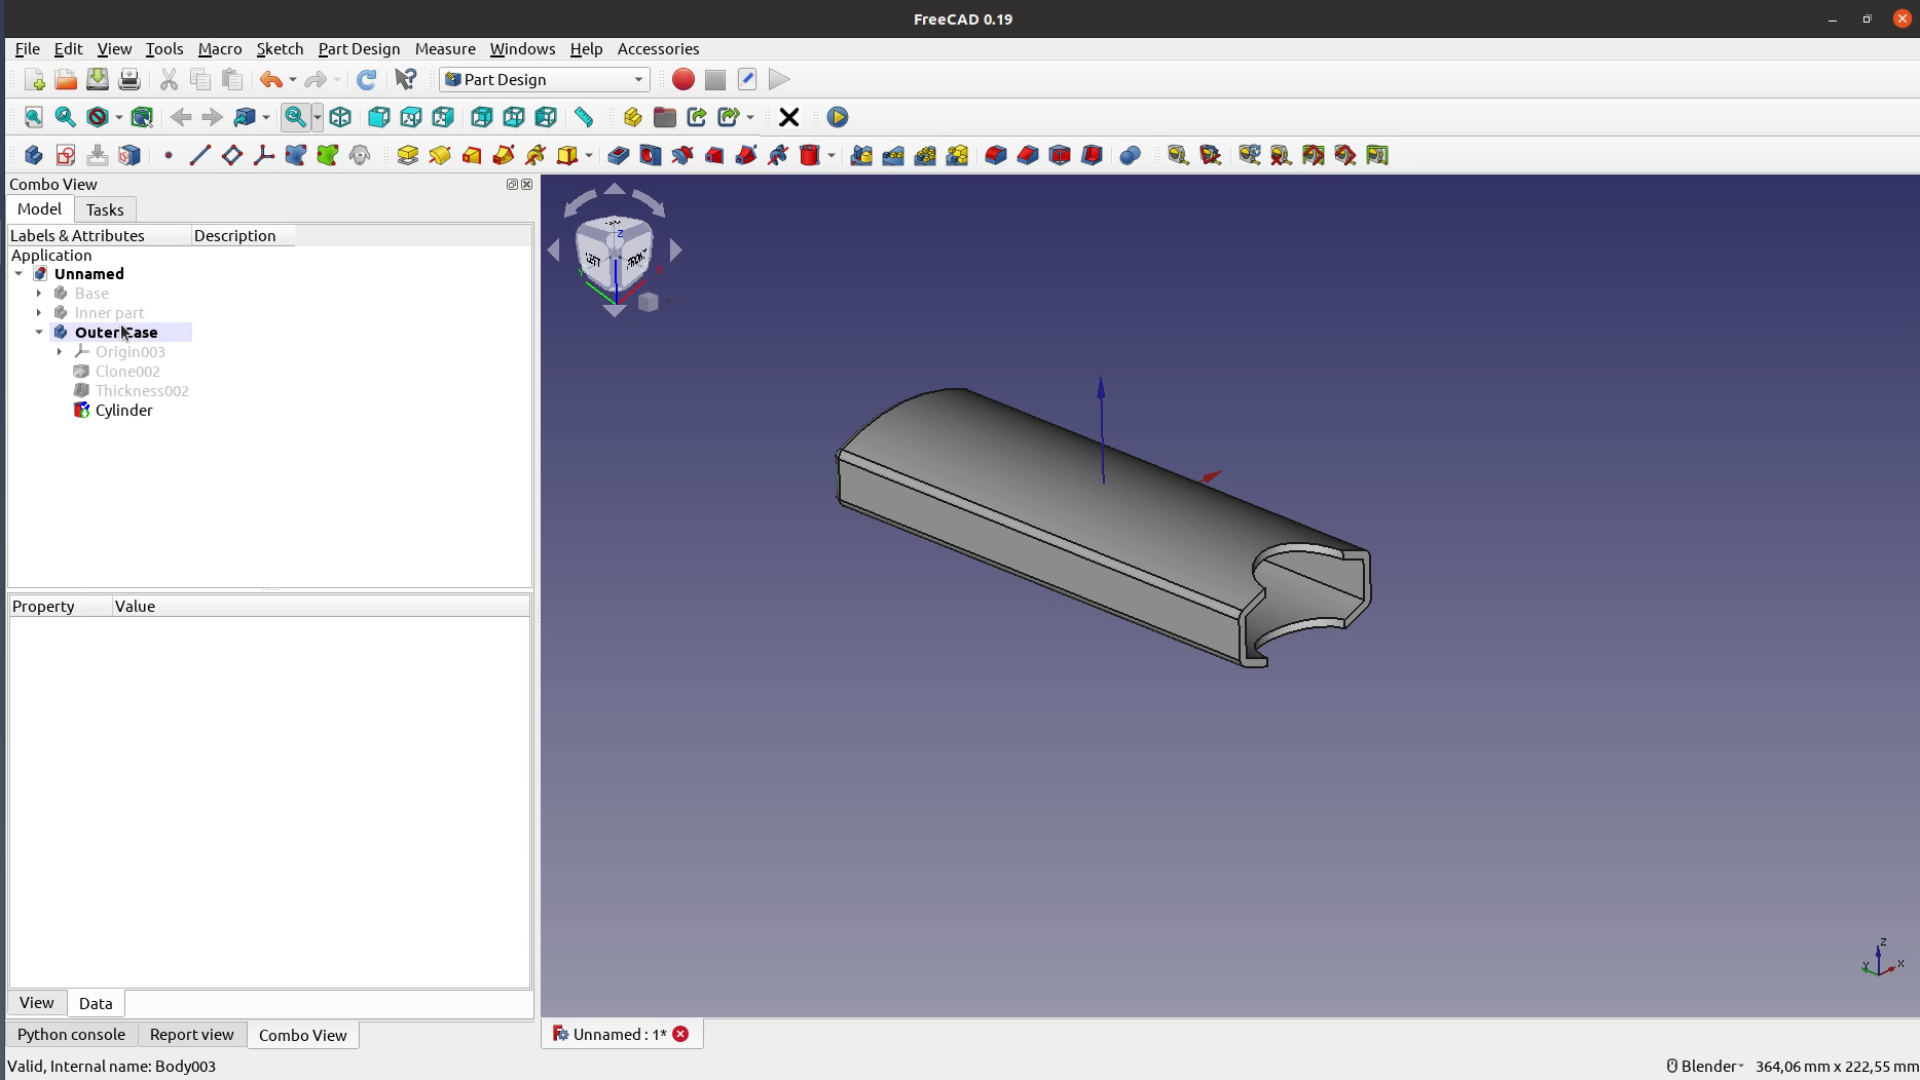
For the outer case we create one more clone. We apply again the thickness dressup – this time to the end of the case. The thickness is 2.5 mm and goes to the outside.

Lastly we add a substractive cylinder. As a reference we do not want to use a part of the object but the object itself.
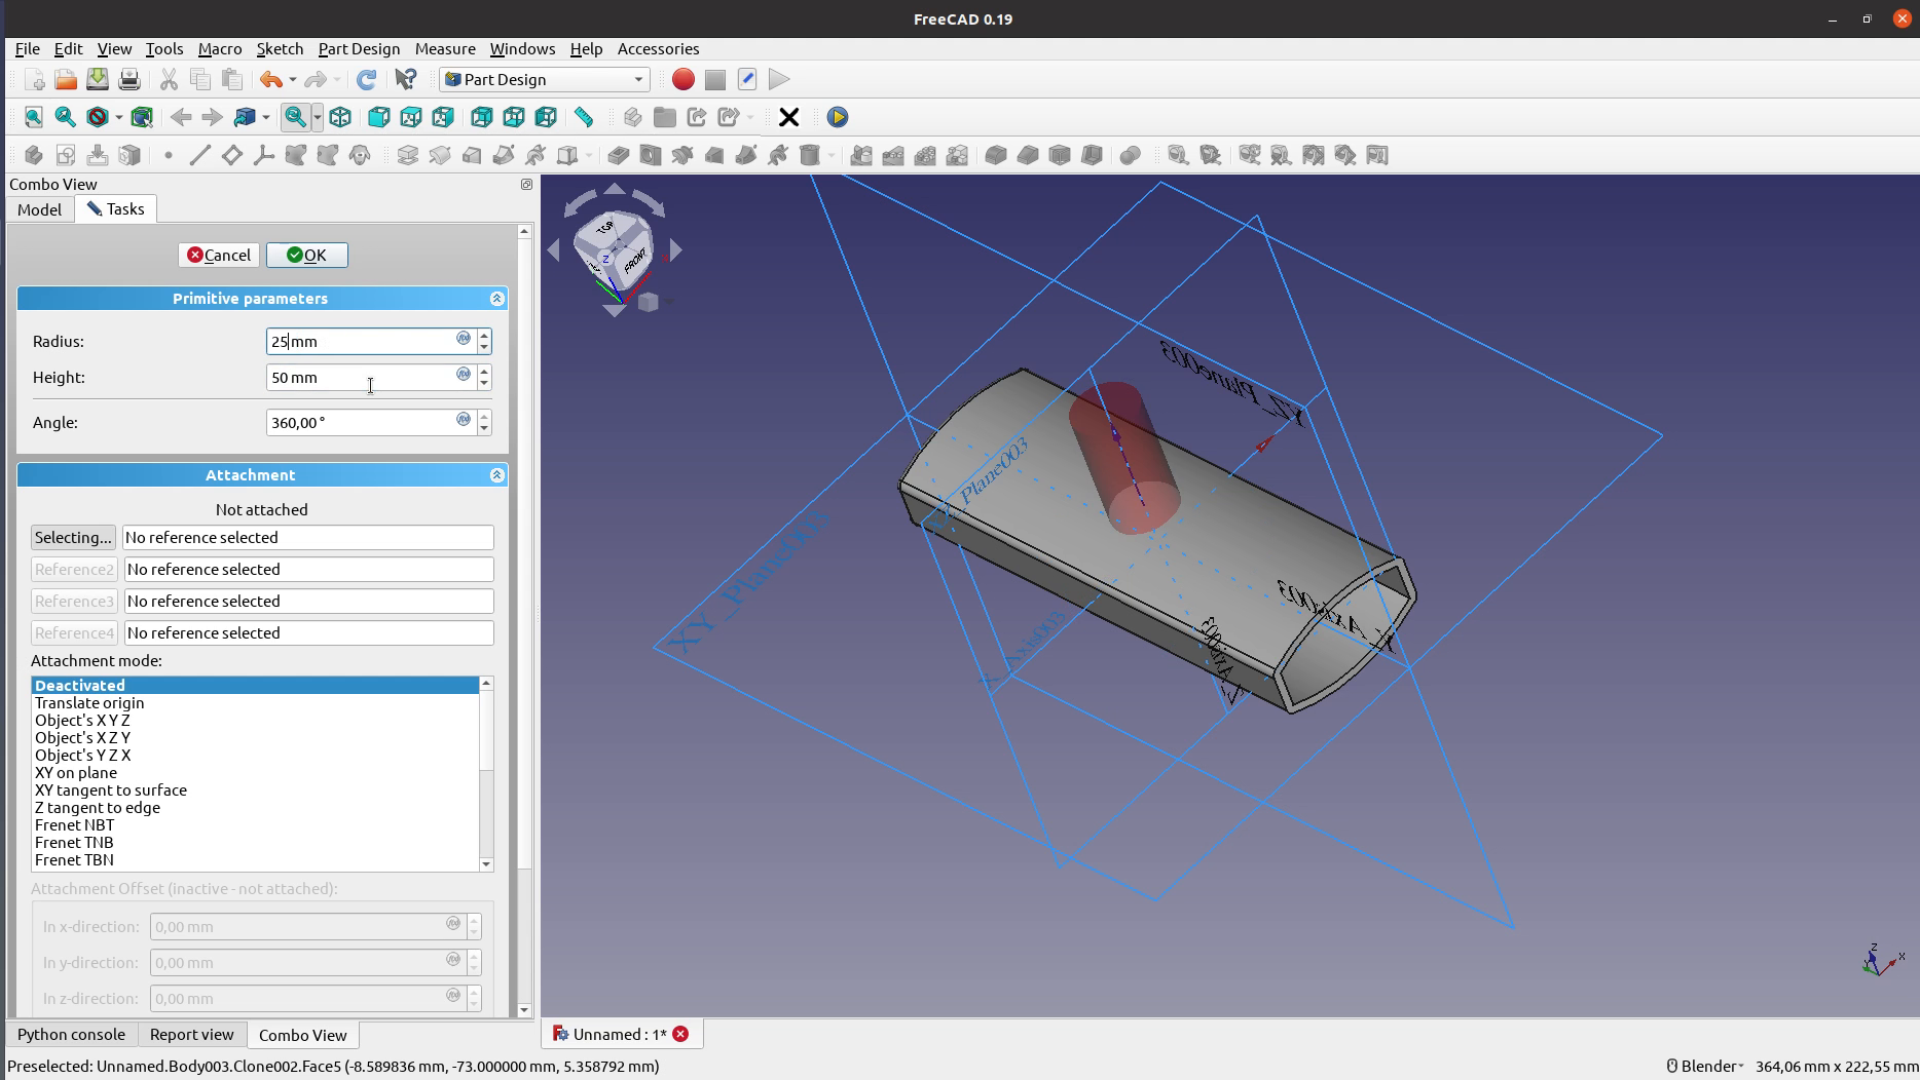
We can then move the cylinder in the right position so that the fingers have some place to grab the inner part. This does not need to be precise. I just put the finger hole in a place where it looks right.
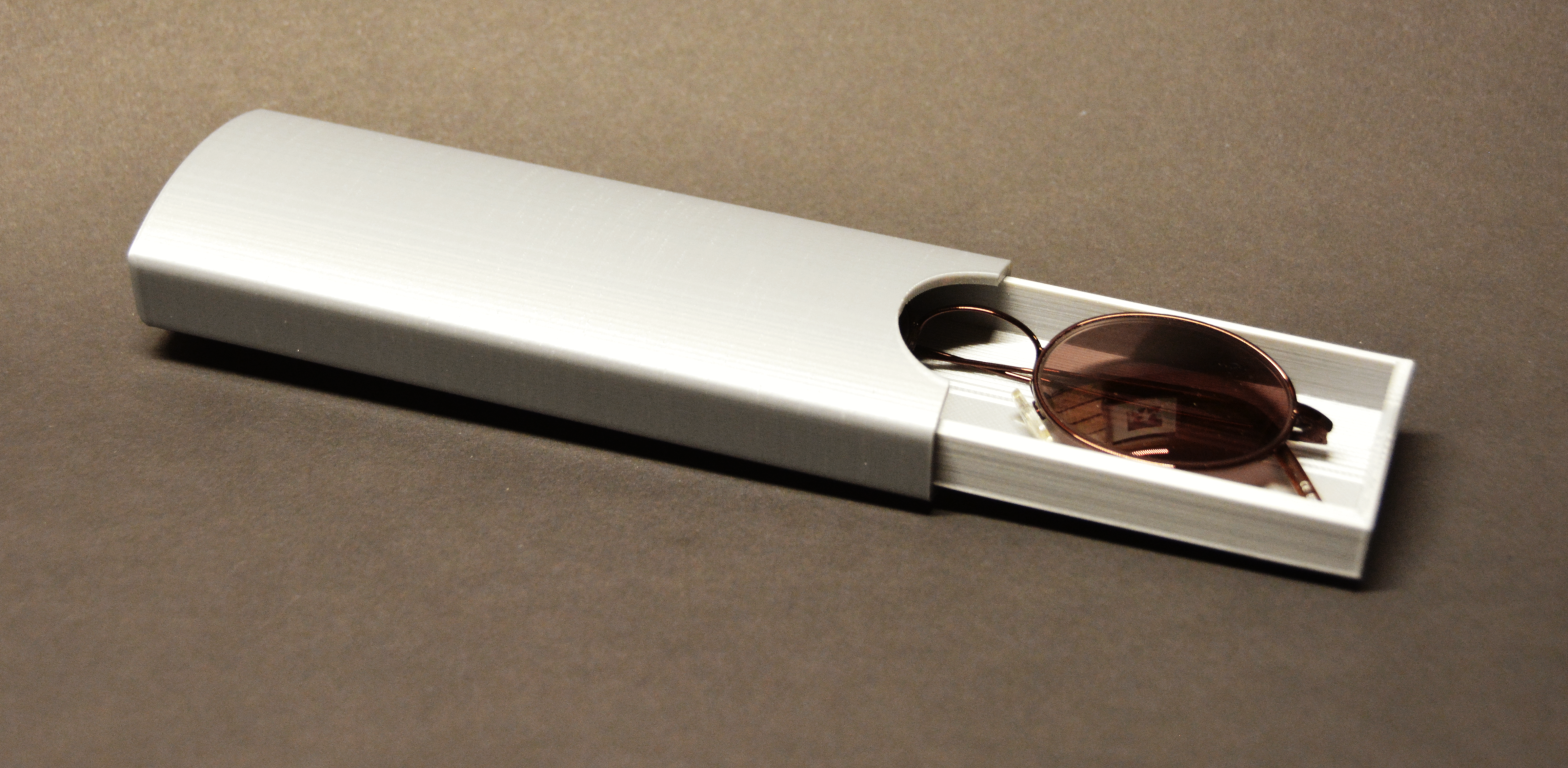
Final result
Now the case is ready to be printed.
It’s really nice how easy it is to solve every day problems with FreeCAD. Now this was a small freecad tutorial. If you are looking for more freecad articles have a look here.