In this article we create a composter from concrete to last for eternity.
This story started with an attempt to repair our damaged swimming pool. We bough an entire pallet of concrete for the pool repair.
After only one day it became clear that a repair would not be an option and we had to come up with an idea what to do with the concrete.
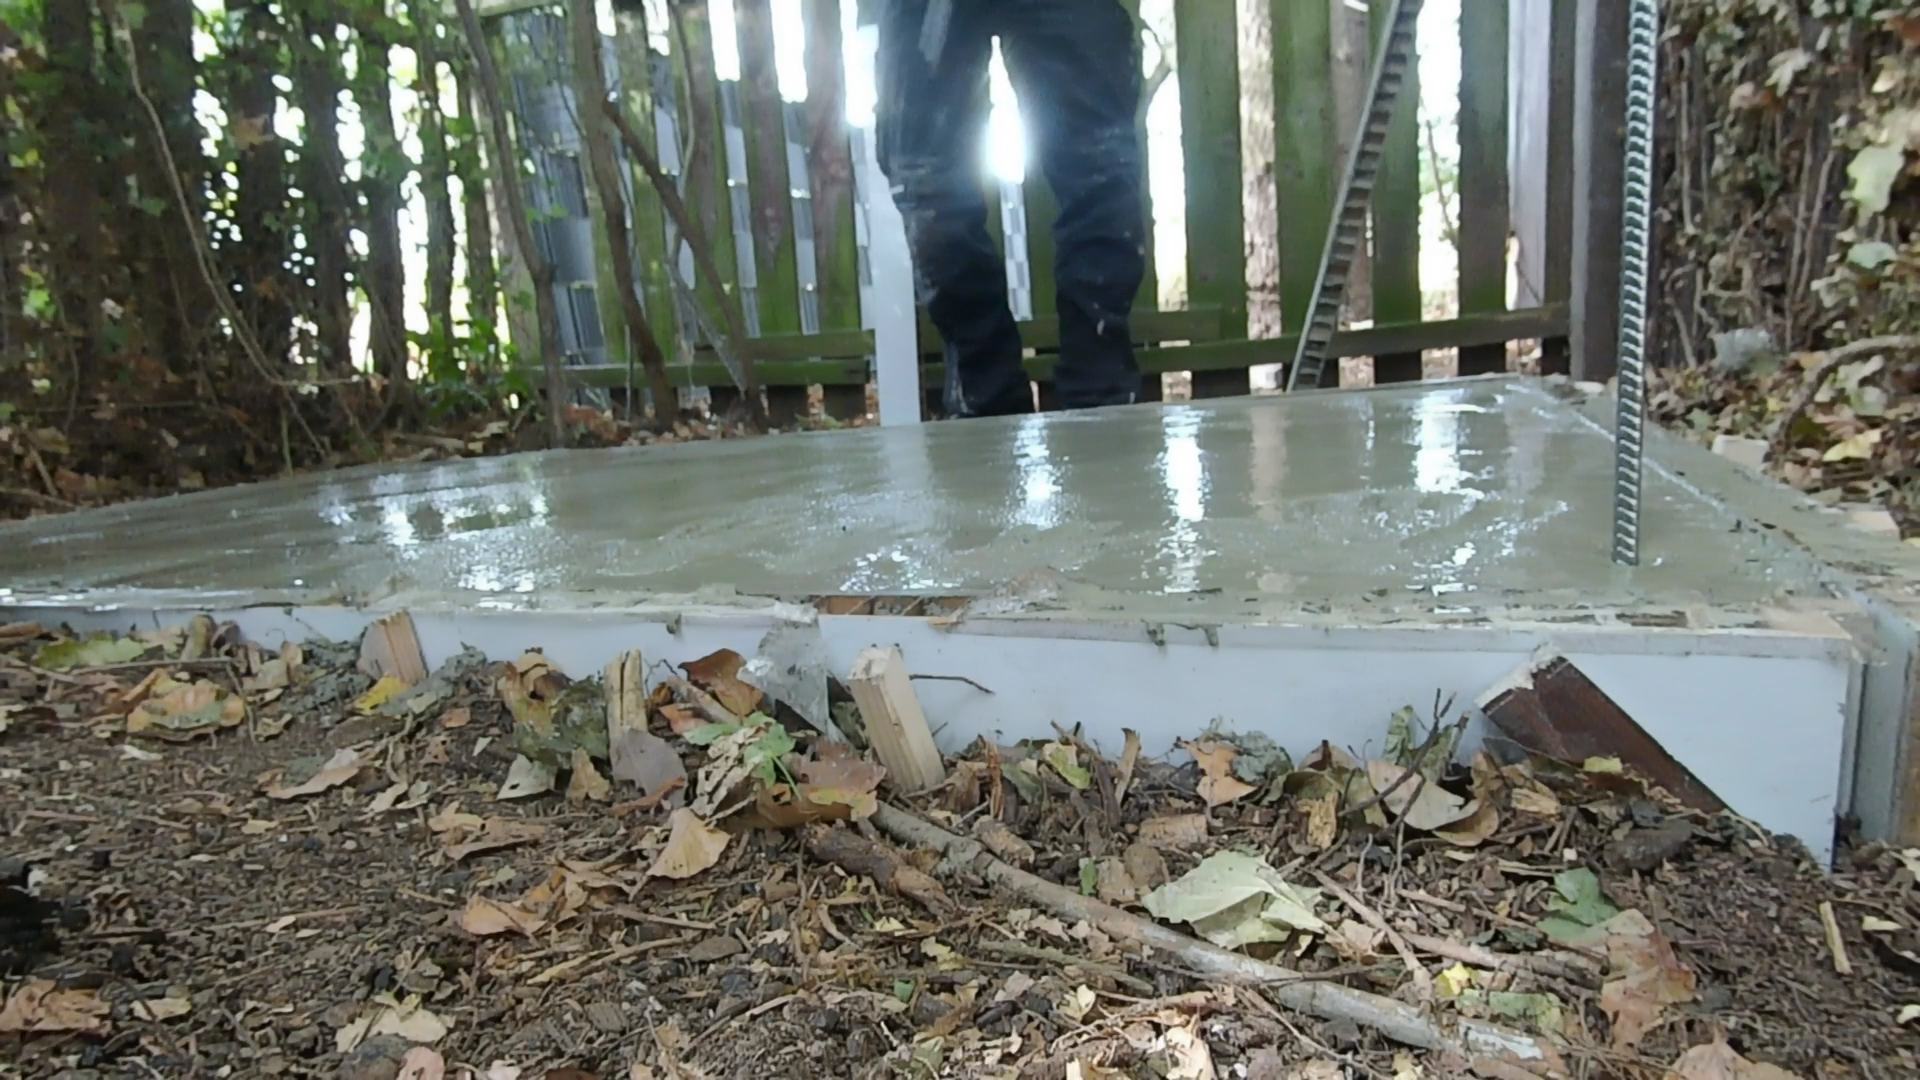
We decided to build a composter out of concrete and directly got started with cleaning up an area in the shade. After cleaning and leveling the ground we created a frame from an old door and poured a concrete foundation of one by two meters in size.
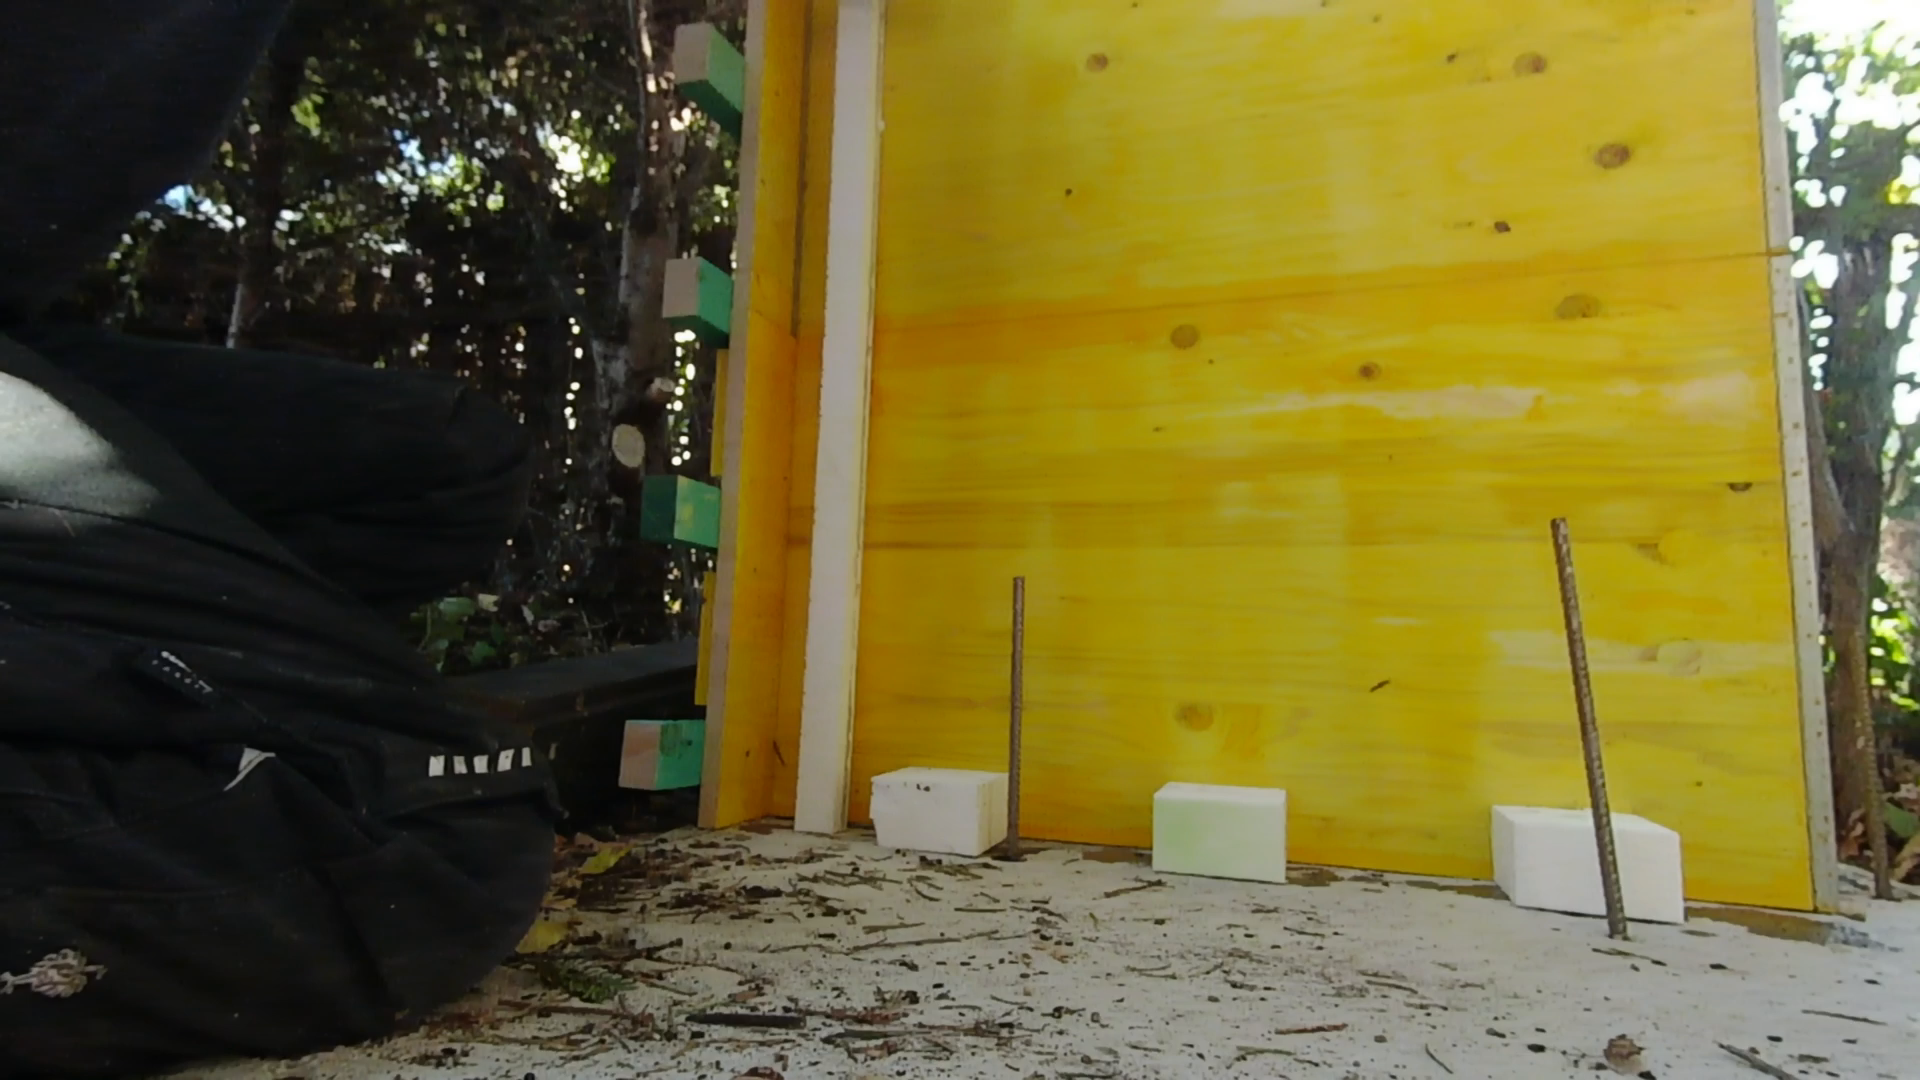
The thickness of the foundation is 10 cm and we placed some rebar in the foundation to anchor the walls. While the foundation cured we started to create the form for the concrete walls.
The form
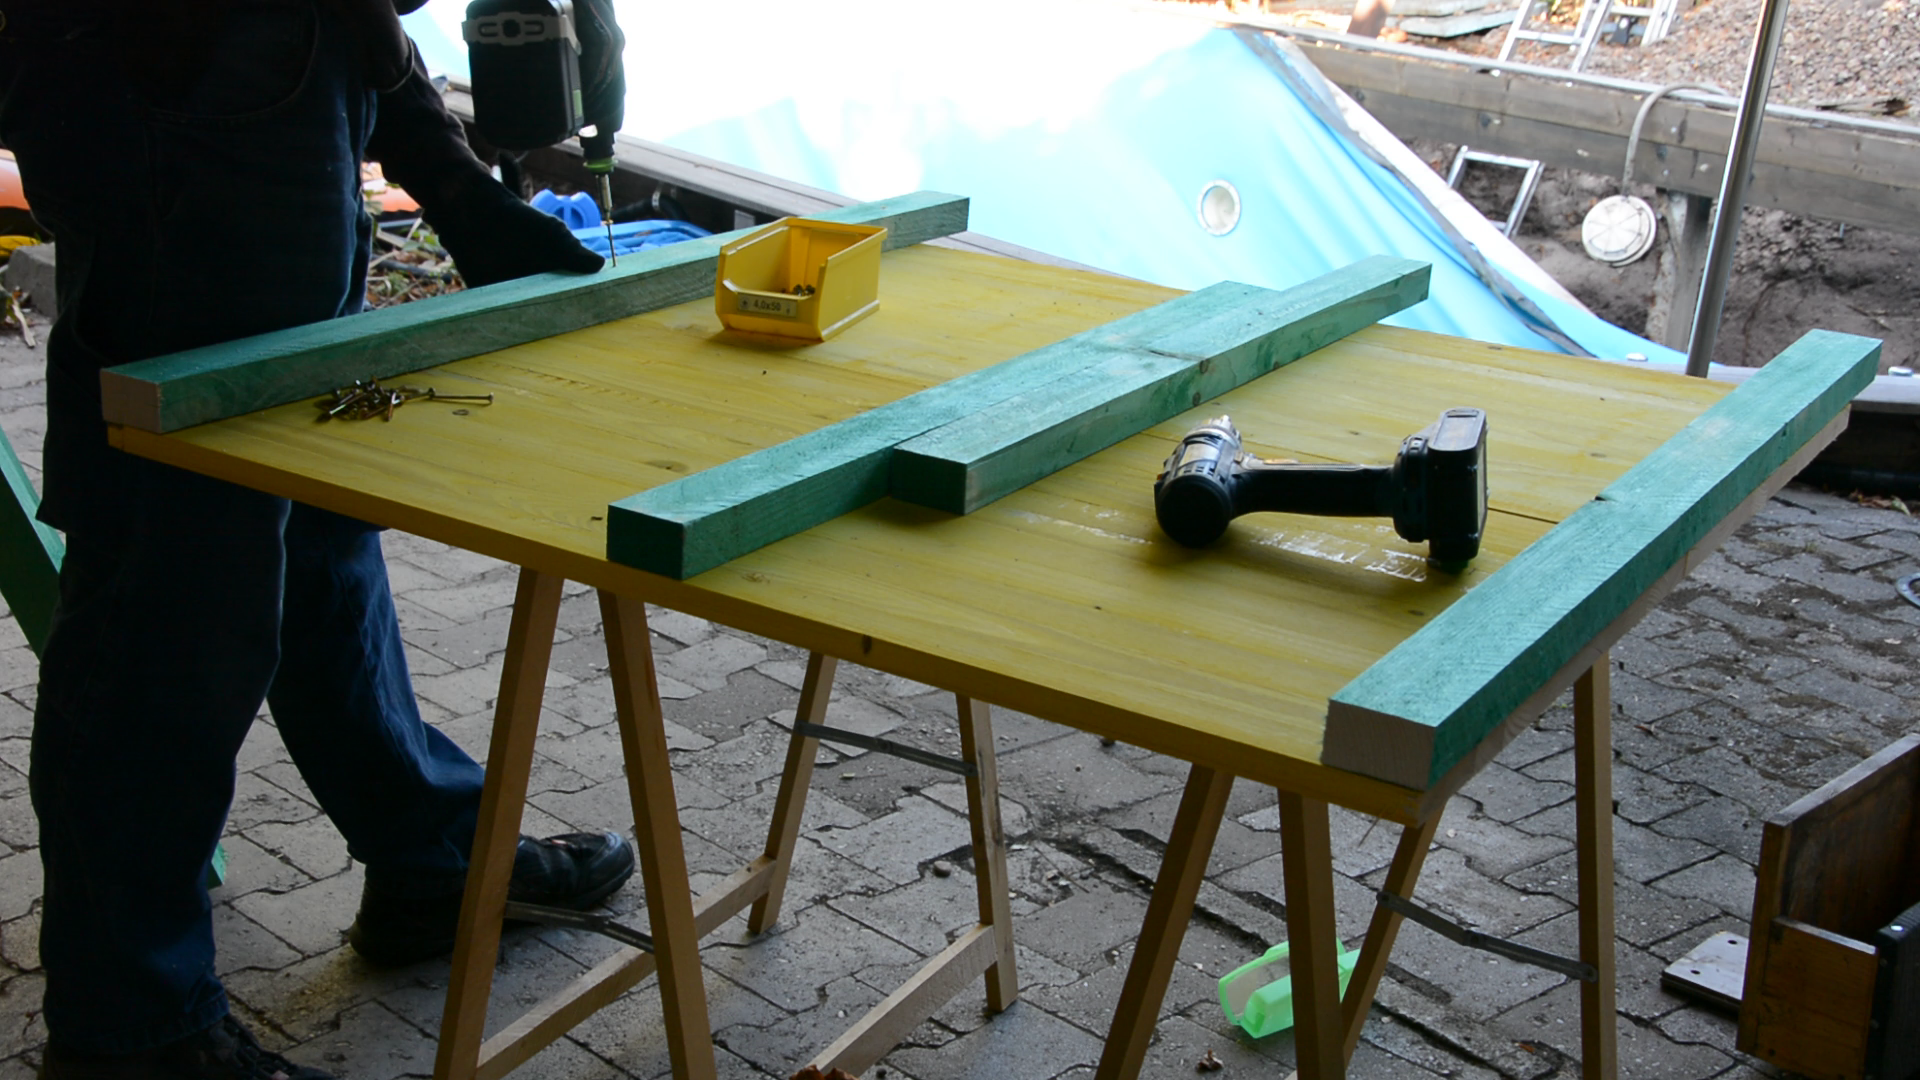
The forms are made from pine boards and construction lumber.
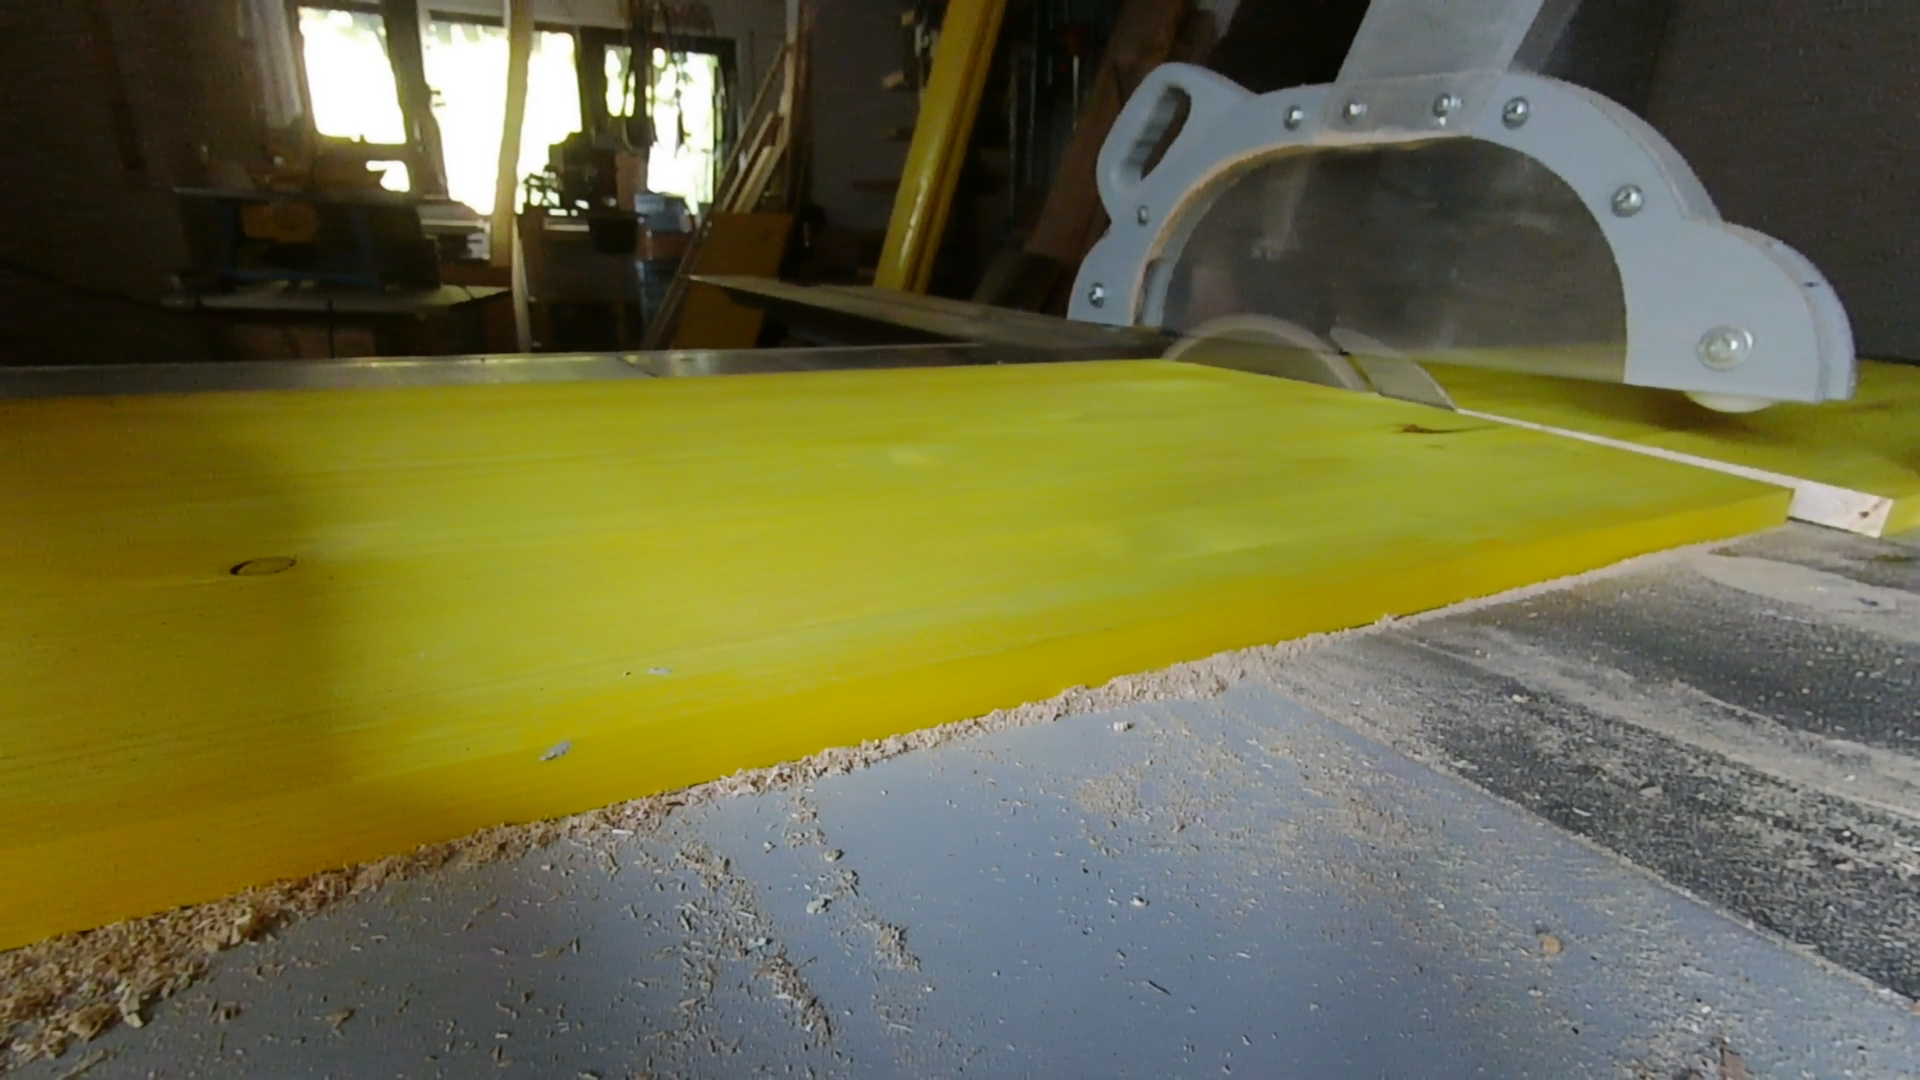
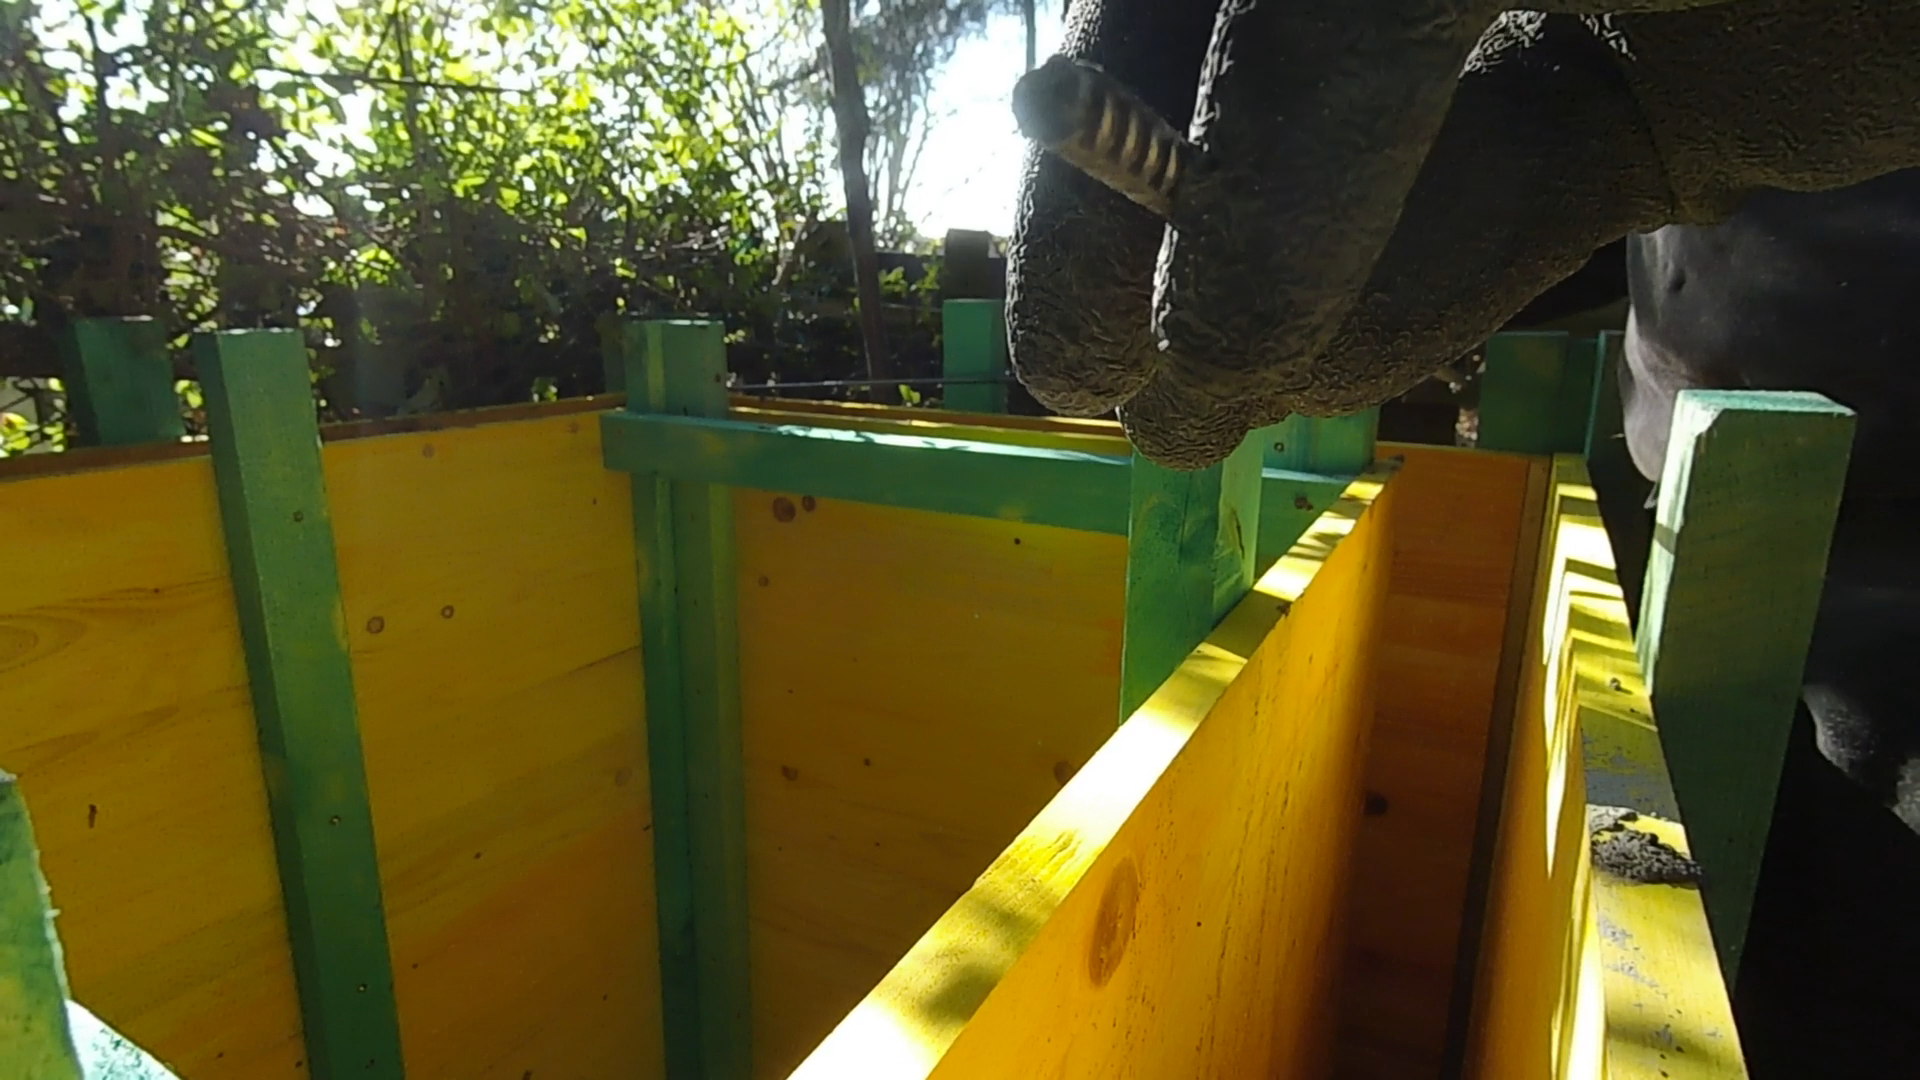
The wall thickness of the compost is 10 cm and we want two separate composters on the platform. So we are building the inner wall as a box of 90 by 80 cm.
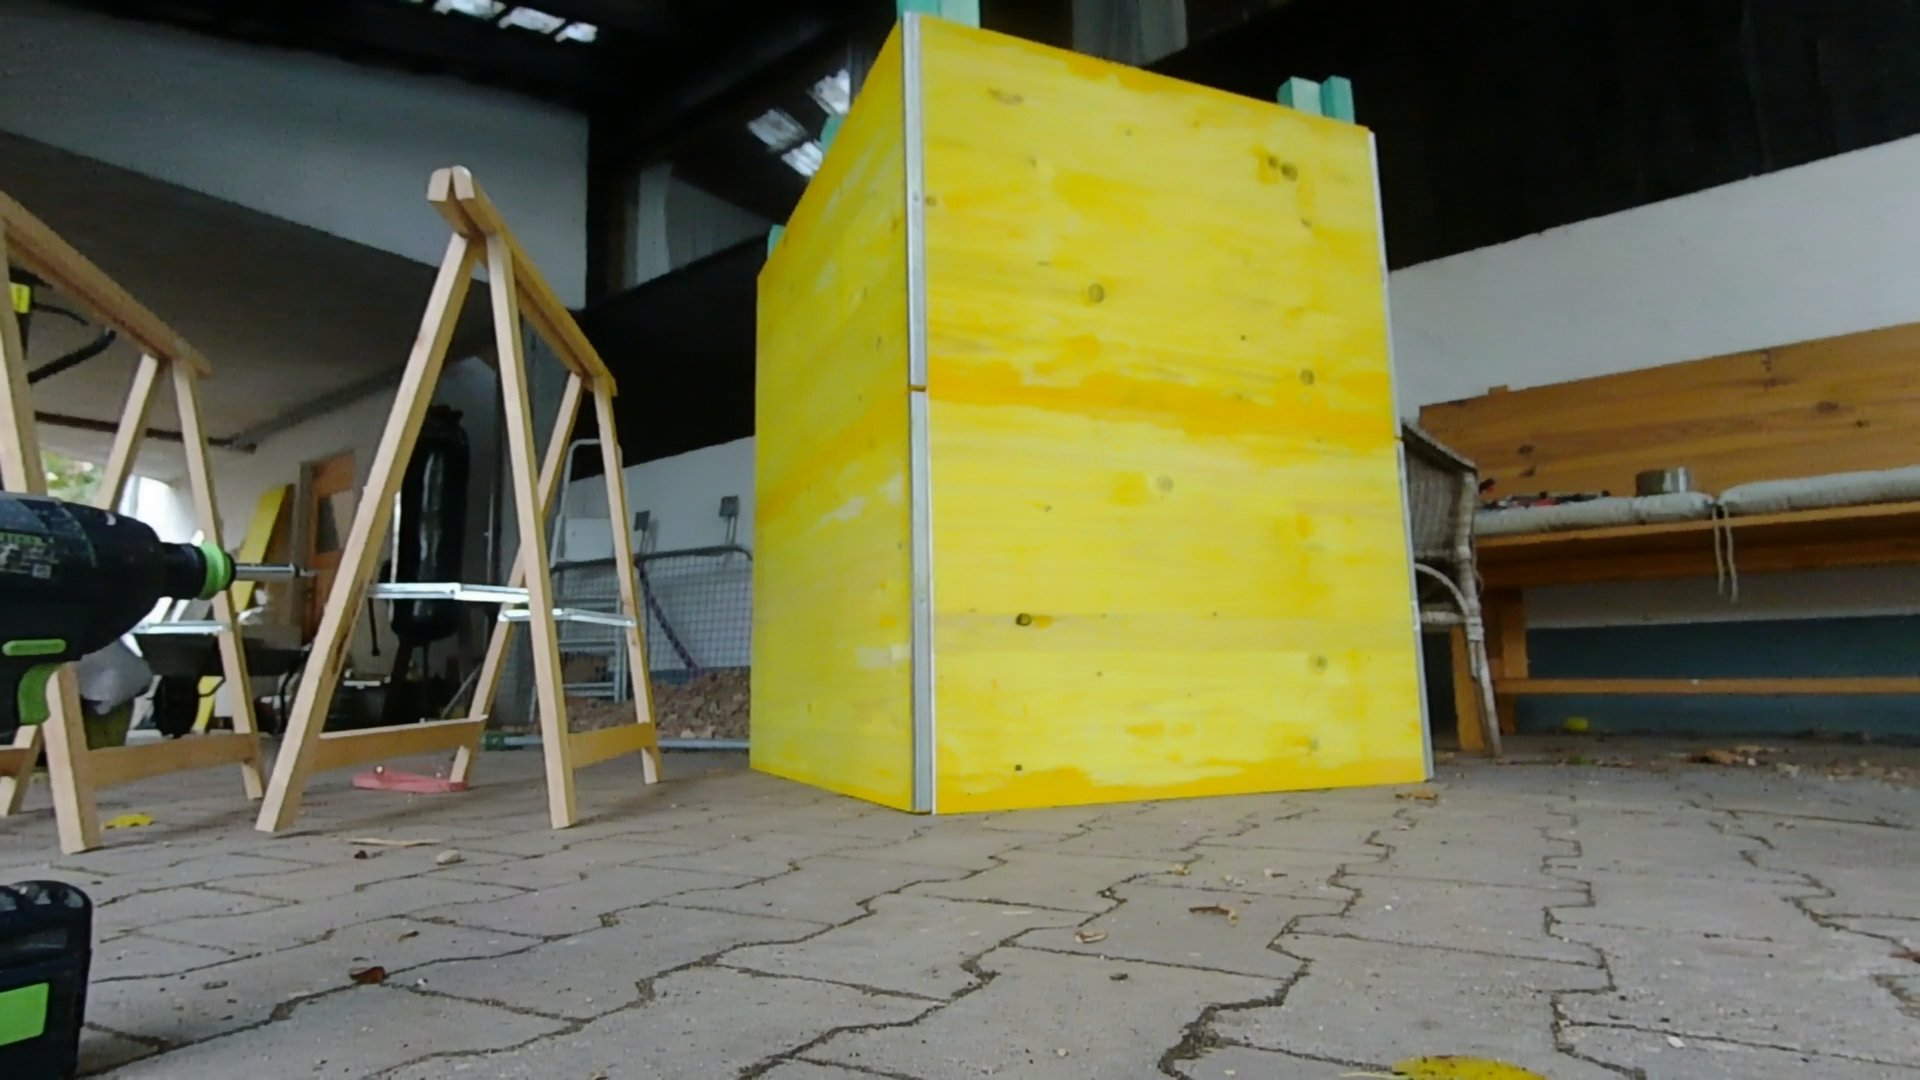
The pine boards are screwed to the construction lumber and the box is reinforced by 4 additional pieces of lumber so that it can easily support the concrete.

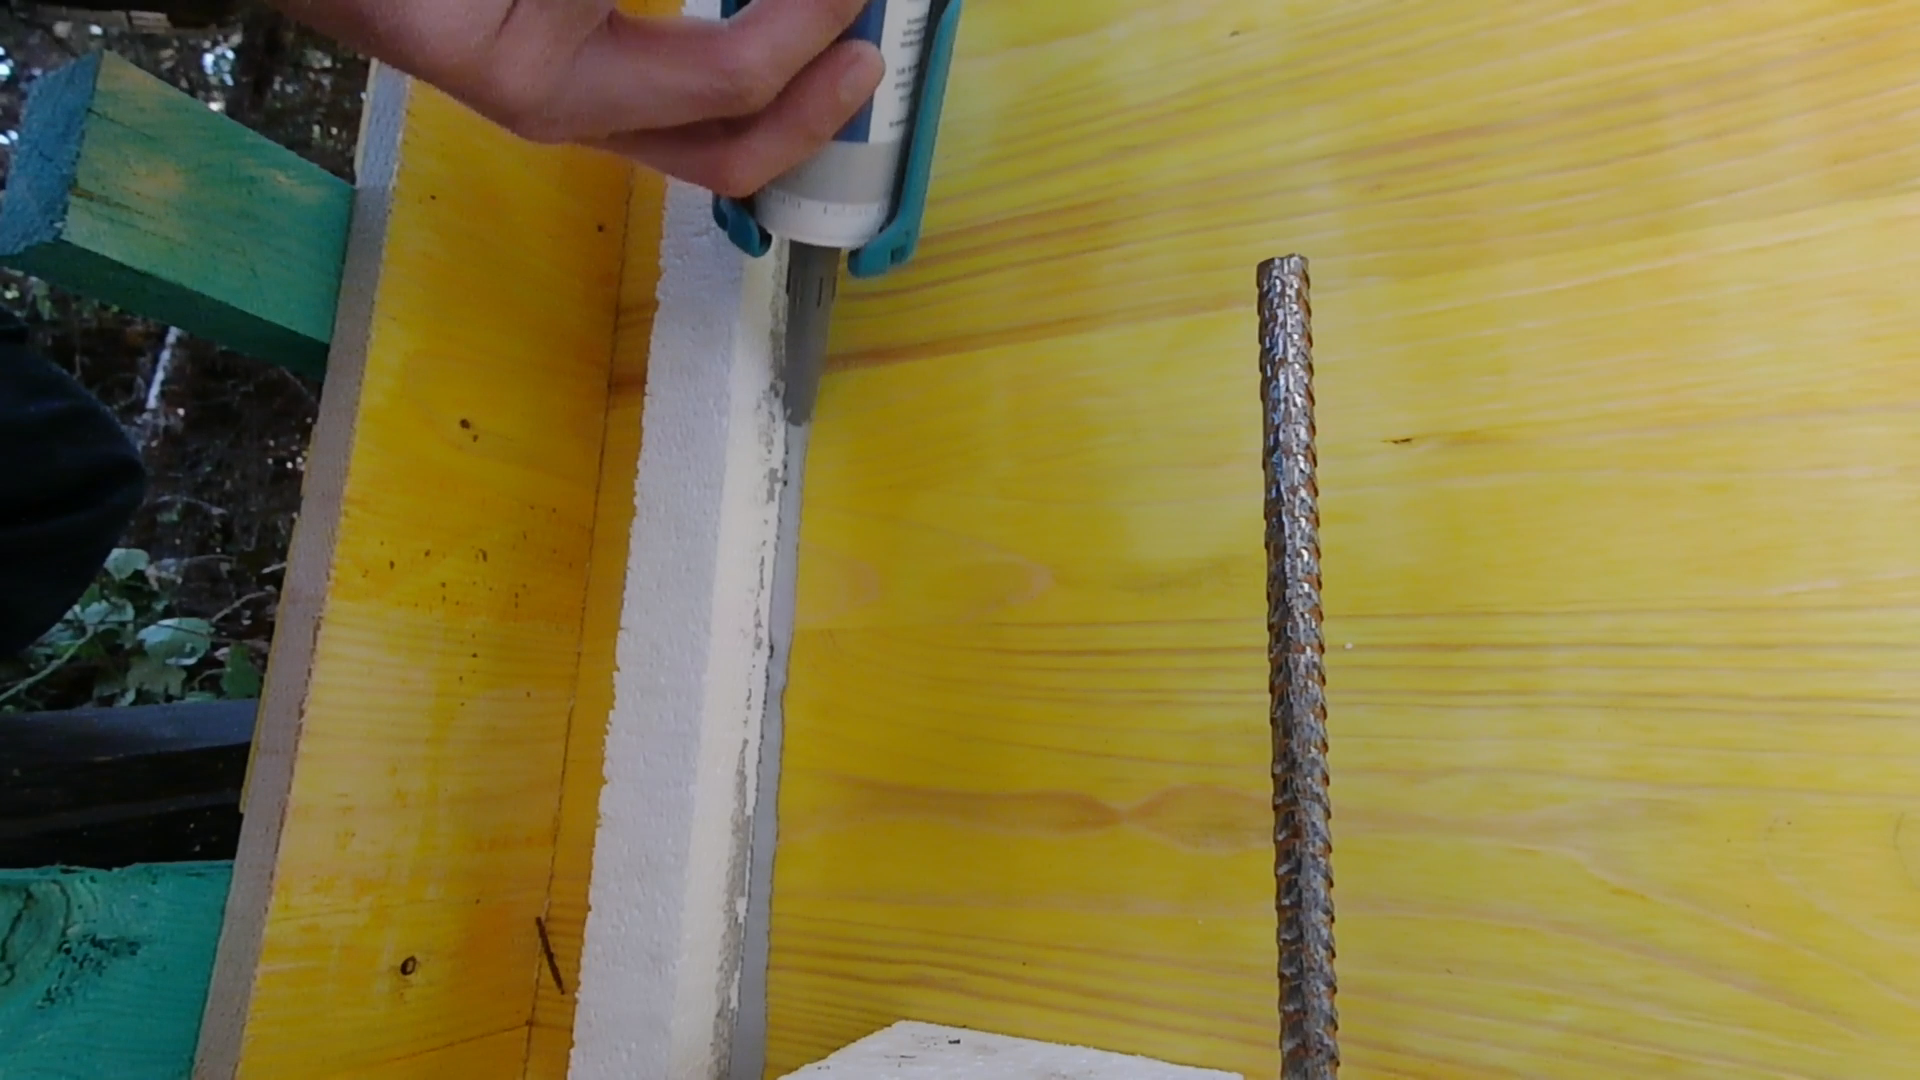
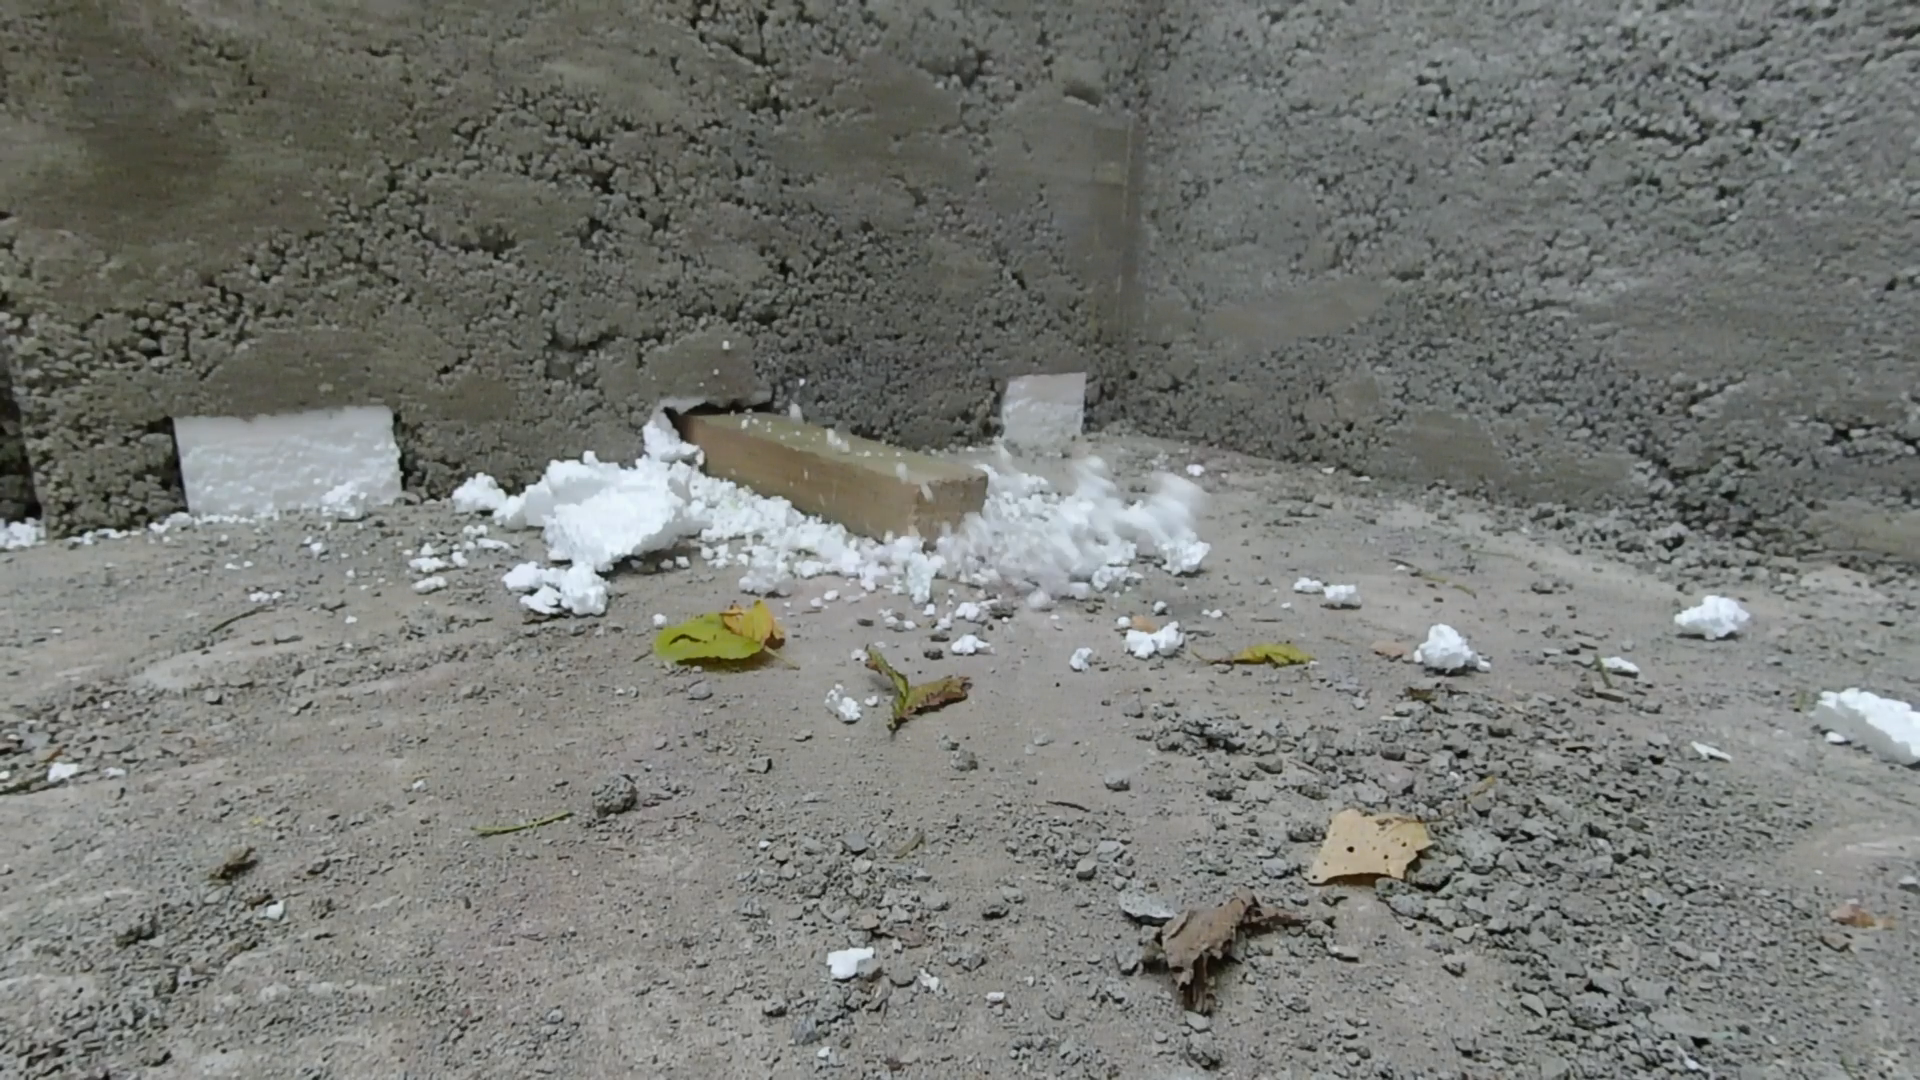
With construction adhesive and silicone we place two 3×3 cm styrofoam strips against the inner walls.
This will create a recess for the wooden boards at the front to sit in.
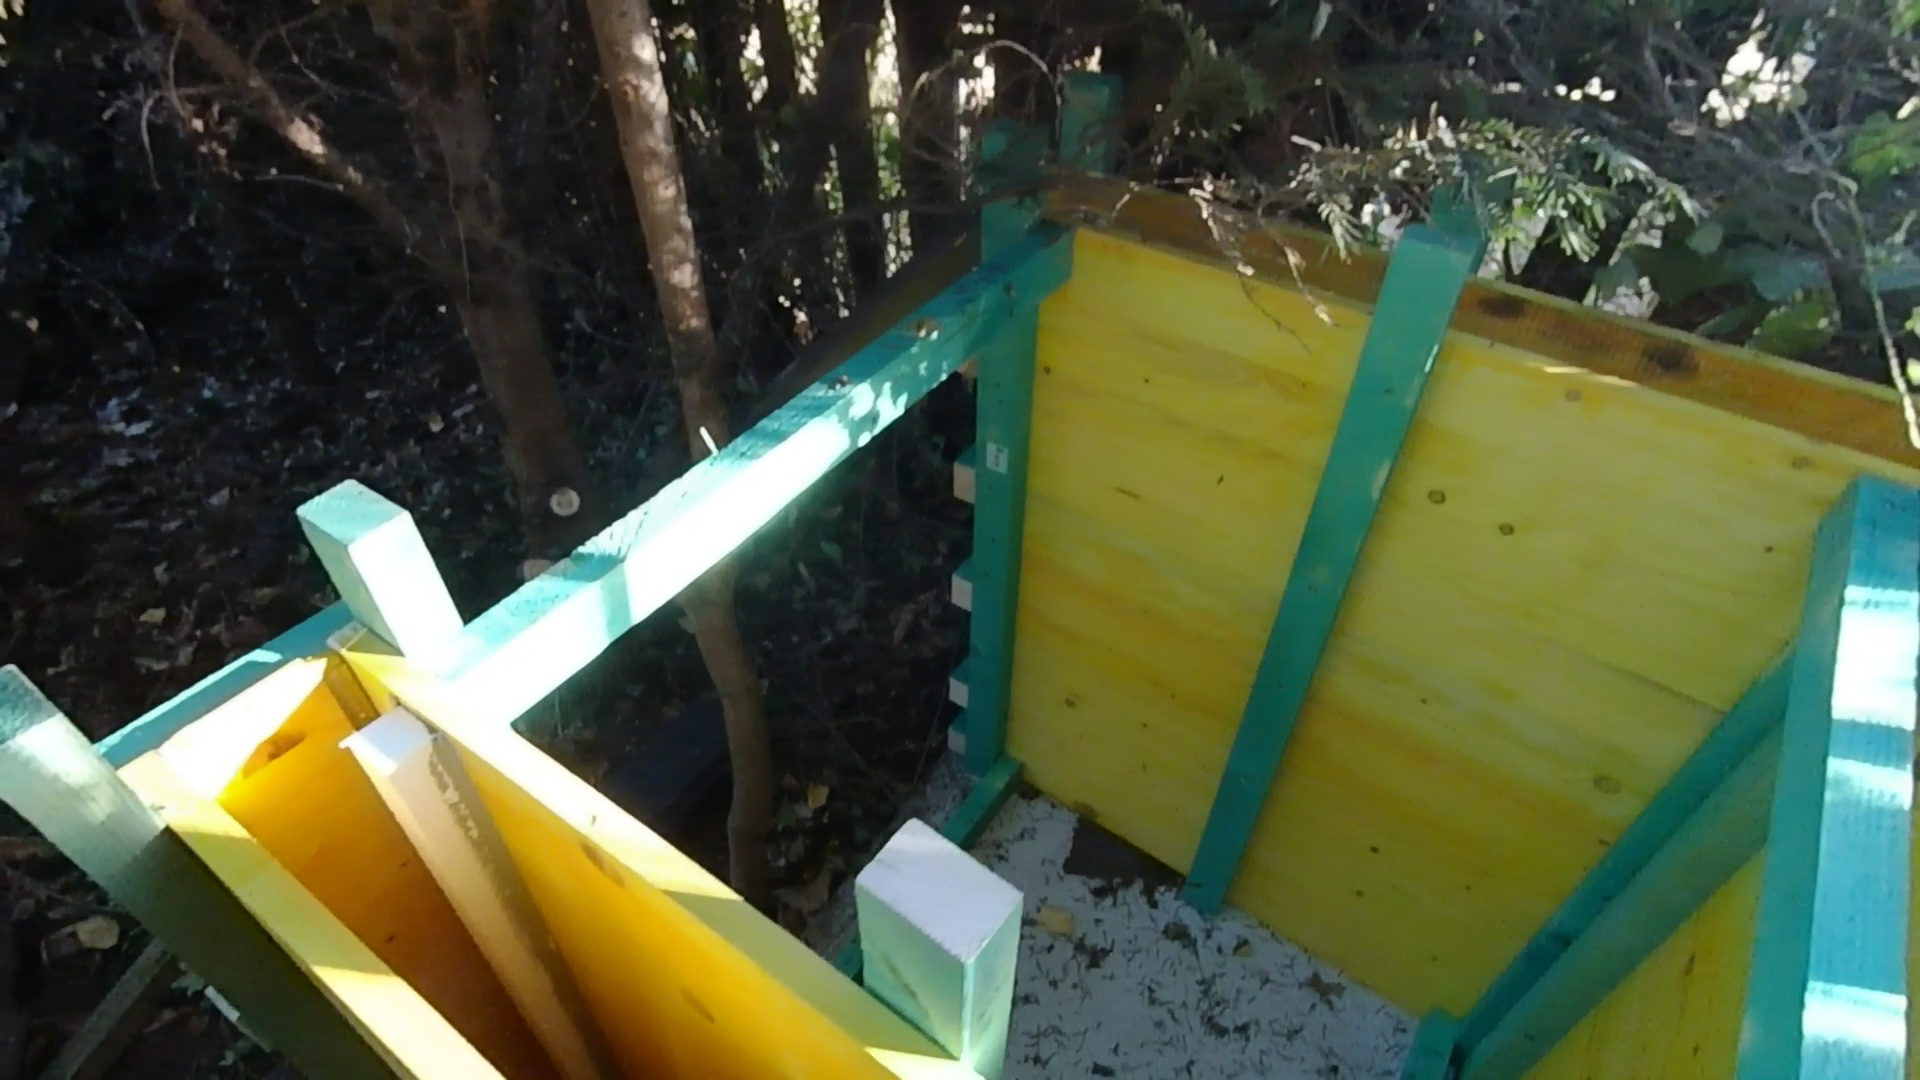
We also put some styrofoam at three locations in the lower part of the middle wall so that compost worms can move from one side to the other. The outer wall was constructed the same way and we assembled everything on the foundation.
Pouring the concrete
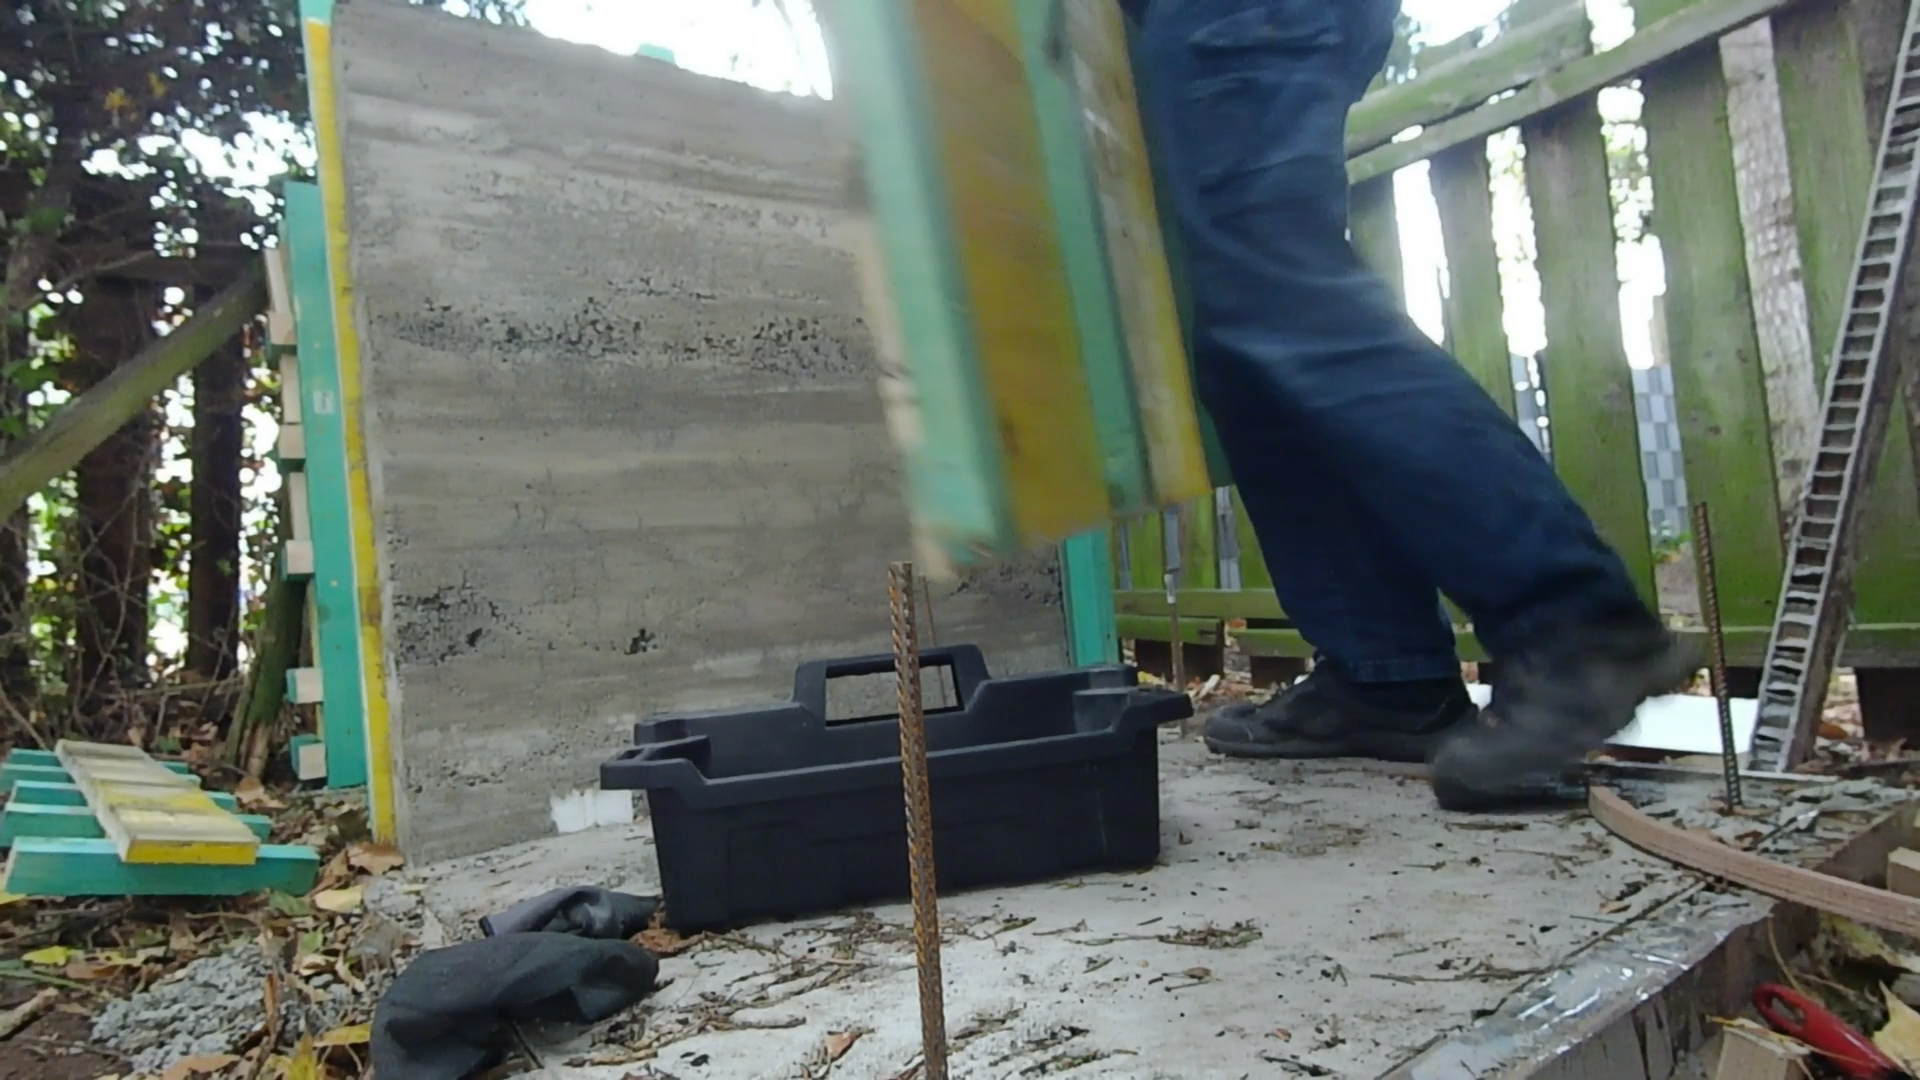
We then spend quite some time mixing concrete, bringing it with a wheelbarrow to the site and place it in the form.
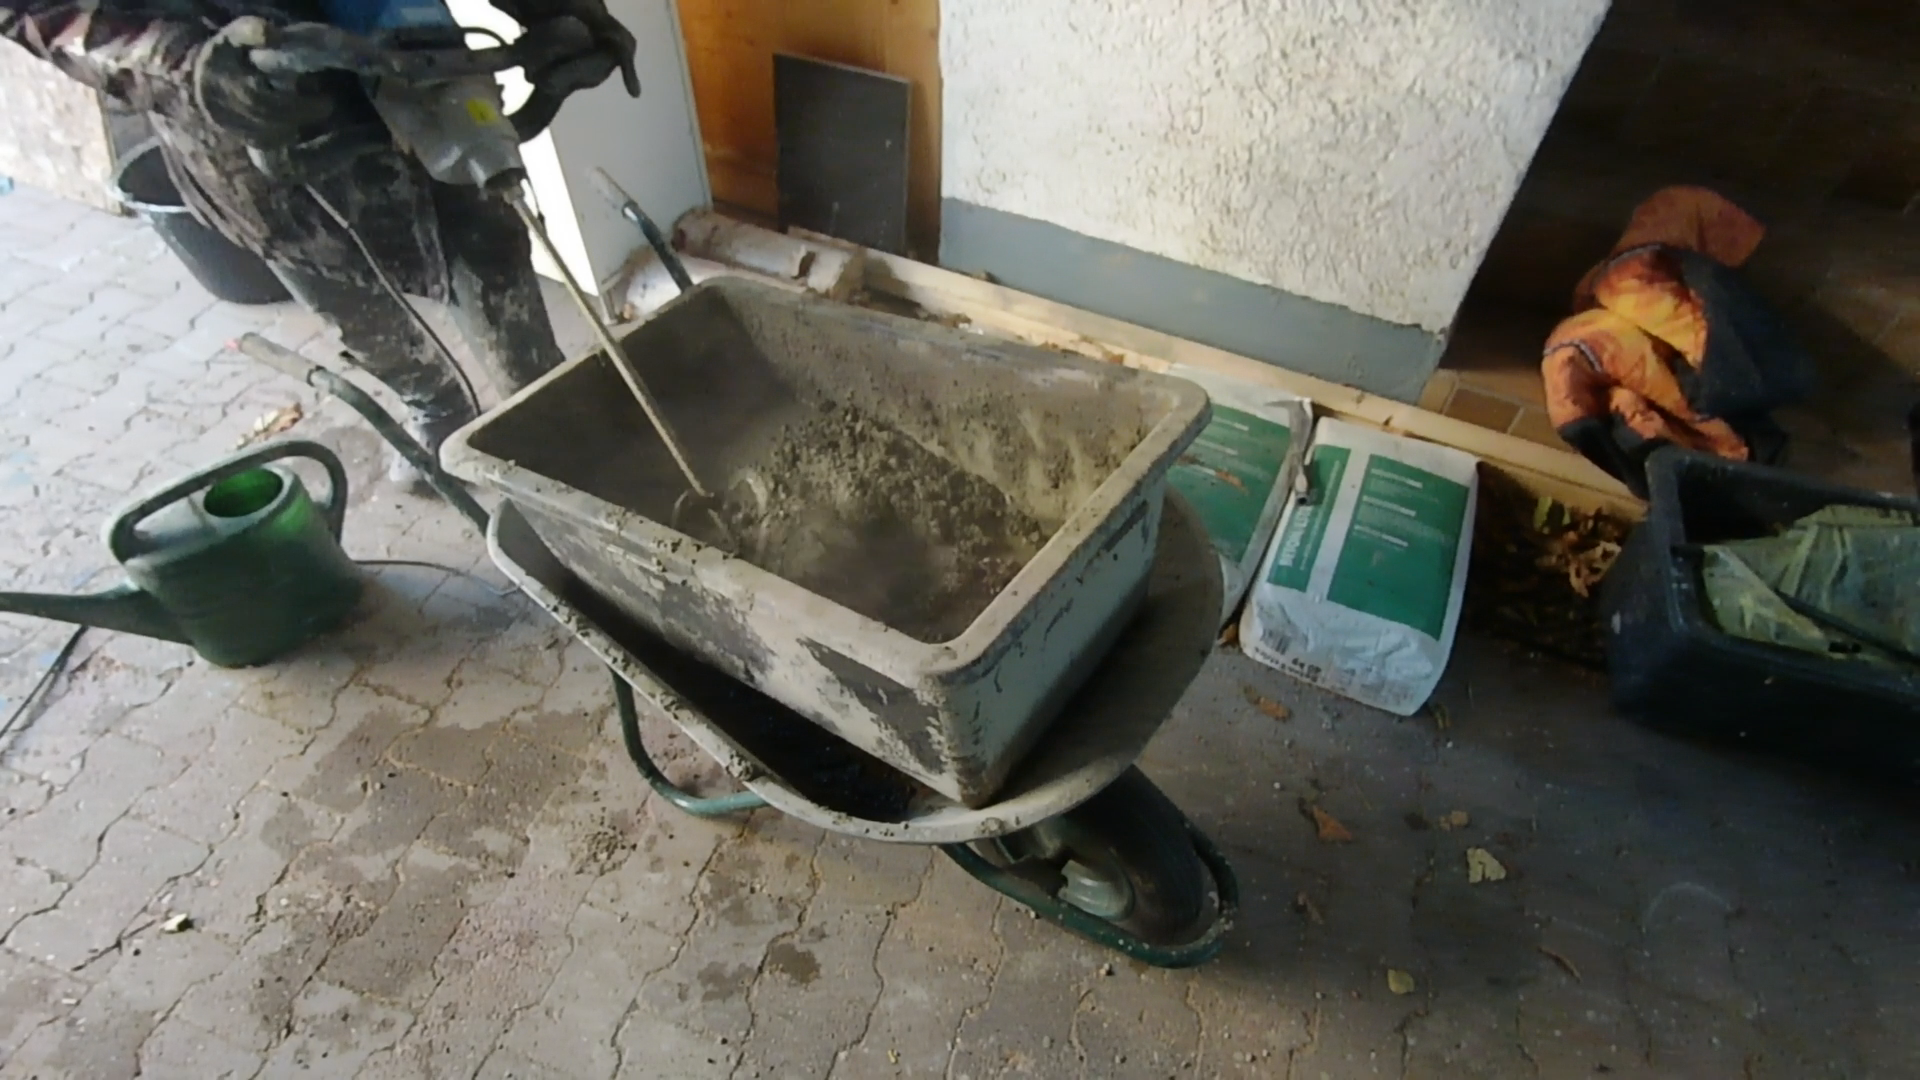
In total we used about one metric ton of concrete for the build. In the lower third, around the middle and in the upper third we embedded a 8 mm diameter steel rod as a ring anchor to reinforce the concrete walls.
After the first compartment is cured we assembled the form again on the right side and poured the concrete for the second half.
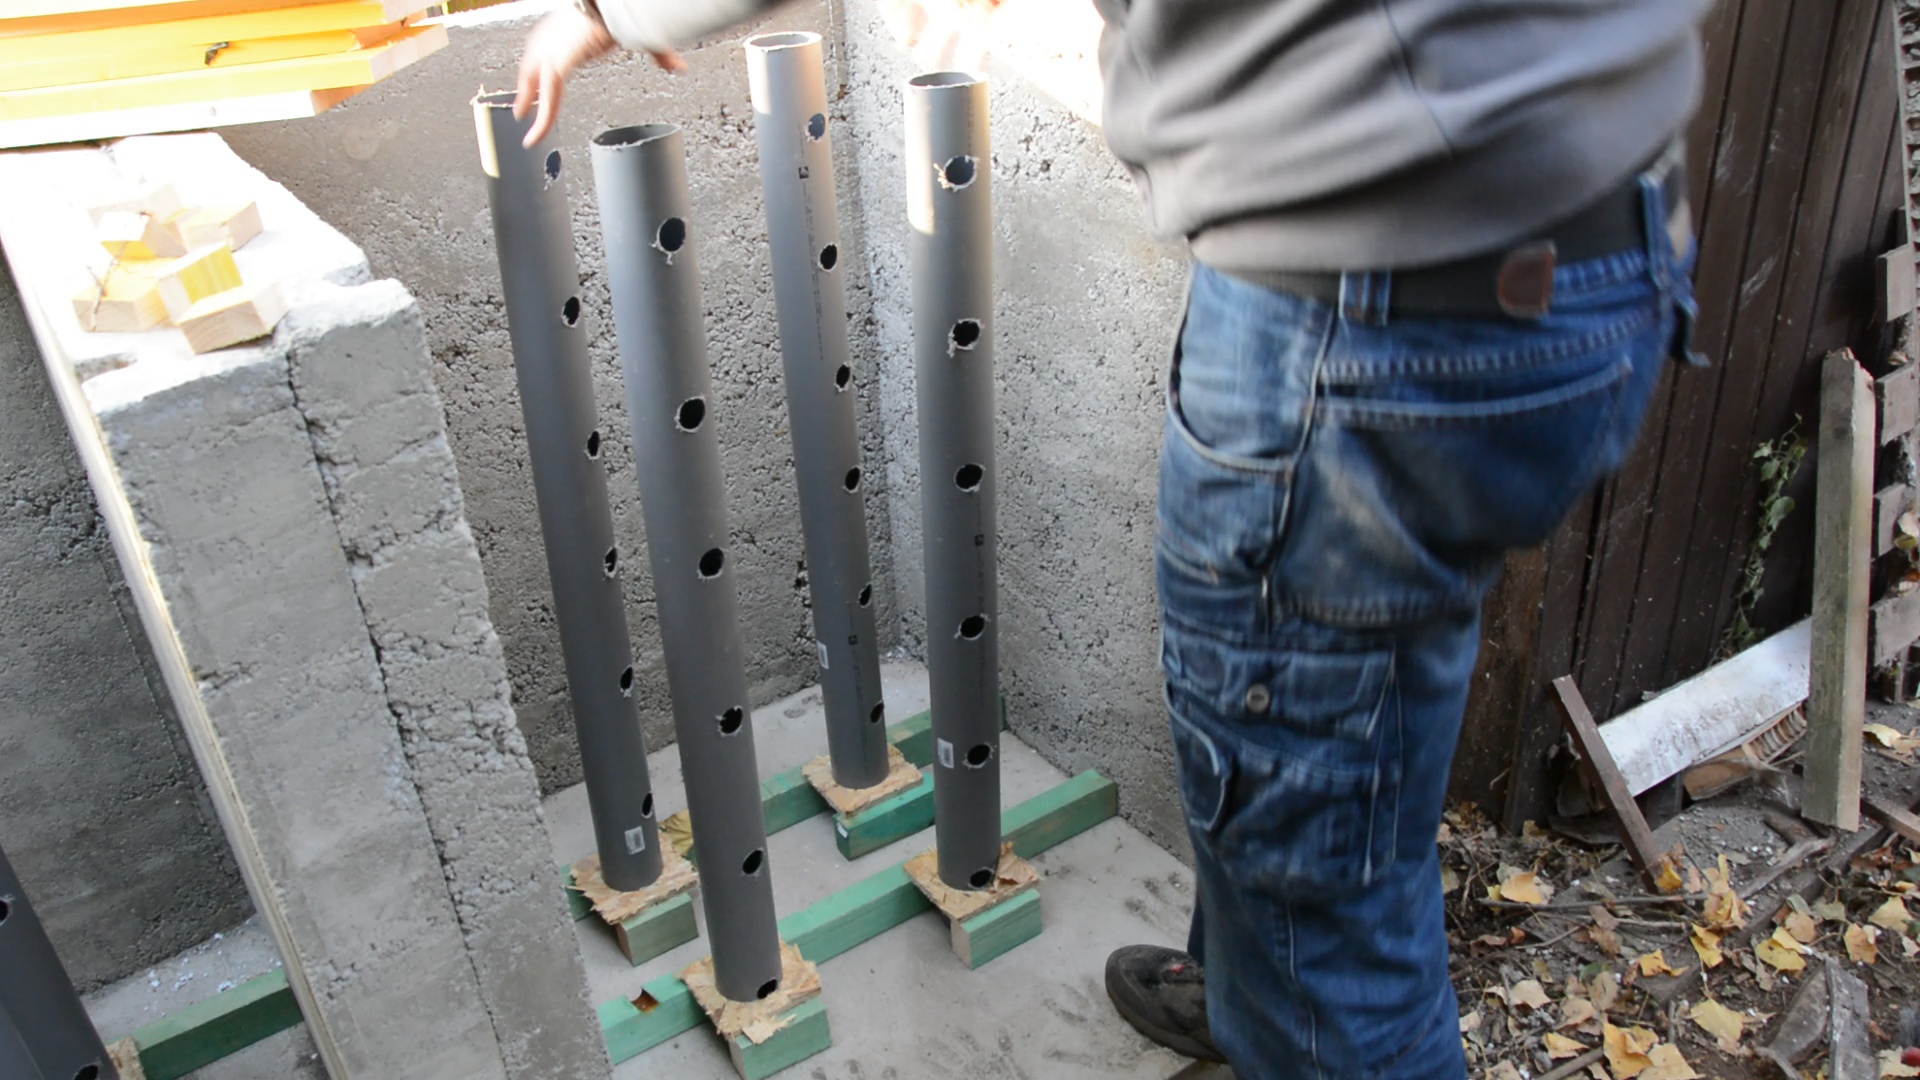
Ventilation
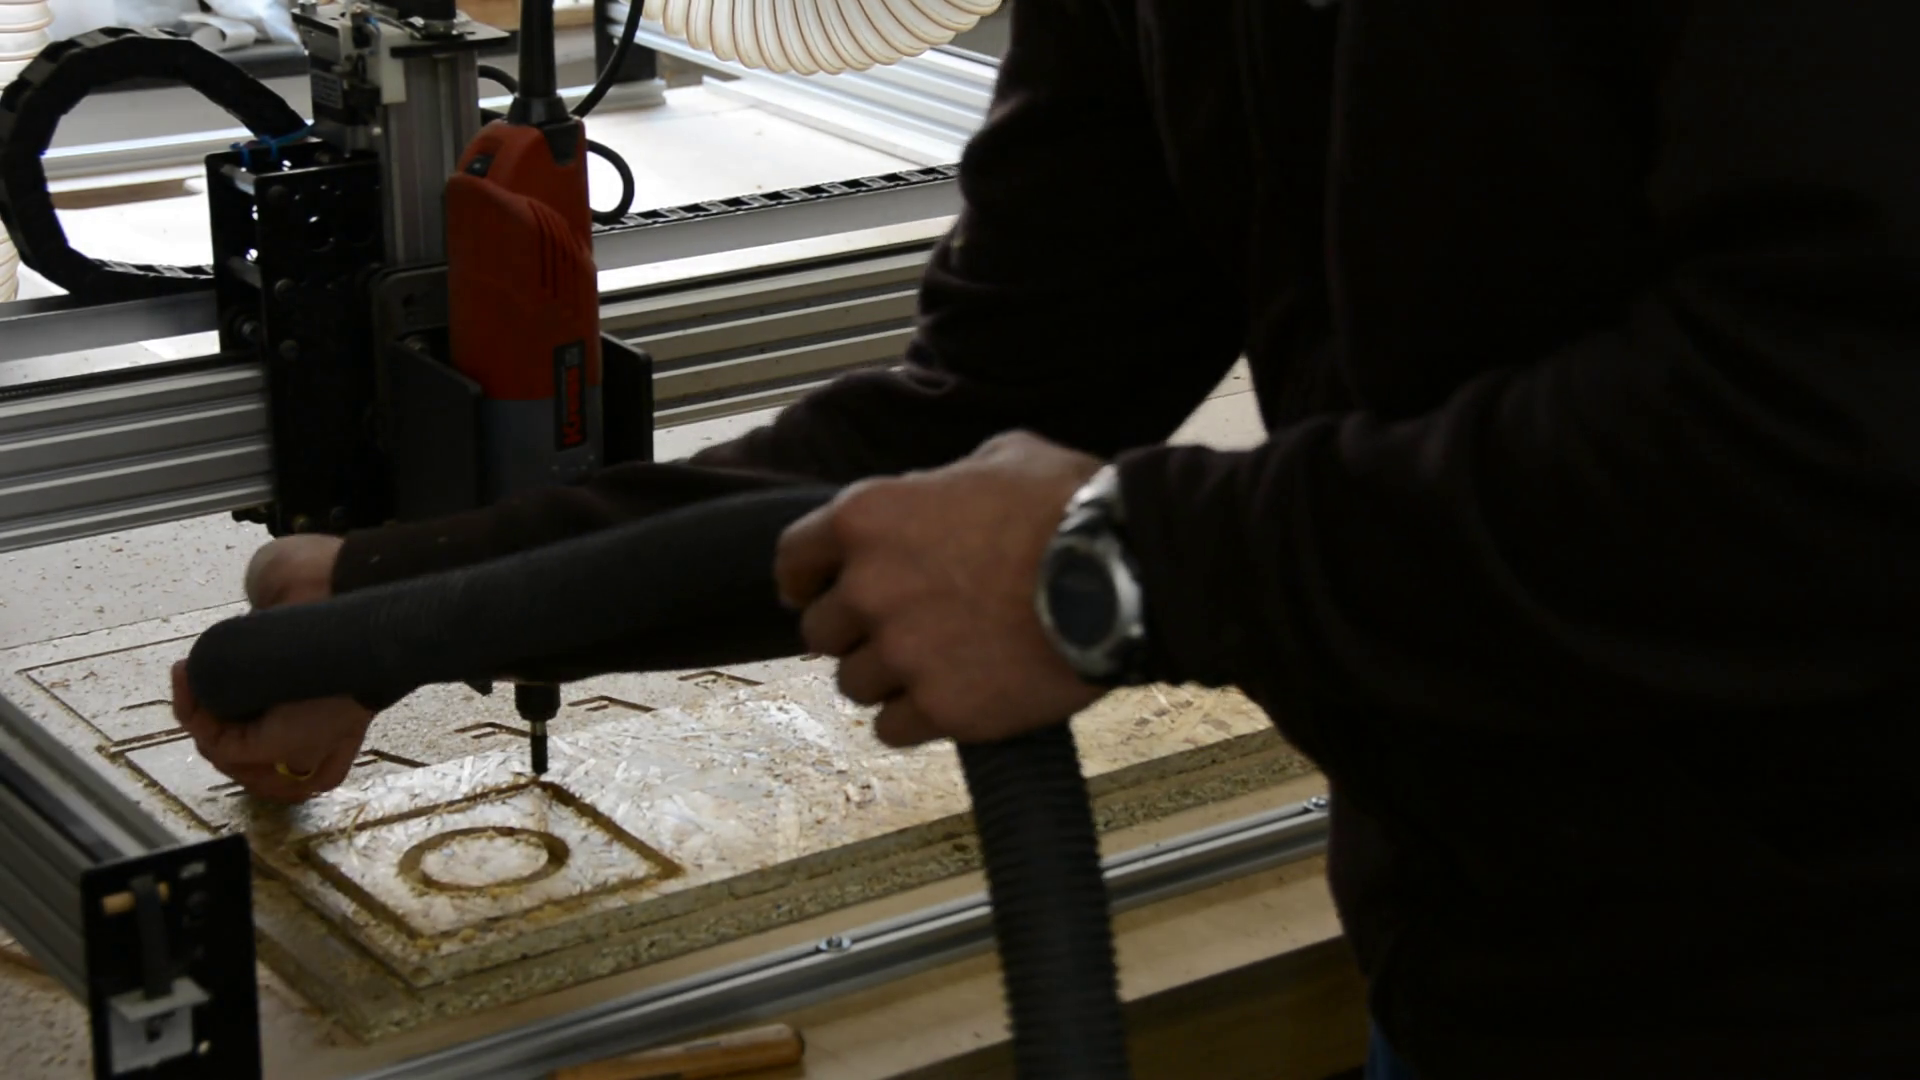
The purpose of the concrete is to keep rats and other rodents out but we have to ensure proper ventilation – otherwise the compost might turn bad. We used four seven and a half cm diameter pipes for the venting.

On the CNC we cut a circle in the exact size of the pipe from scrap OSB pieces that we glue and nail to lumber scraps and thus form a stand.
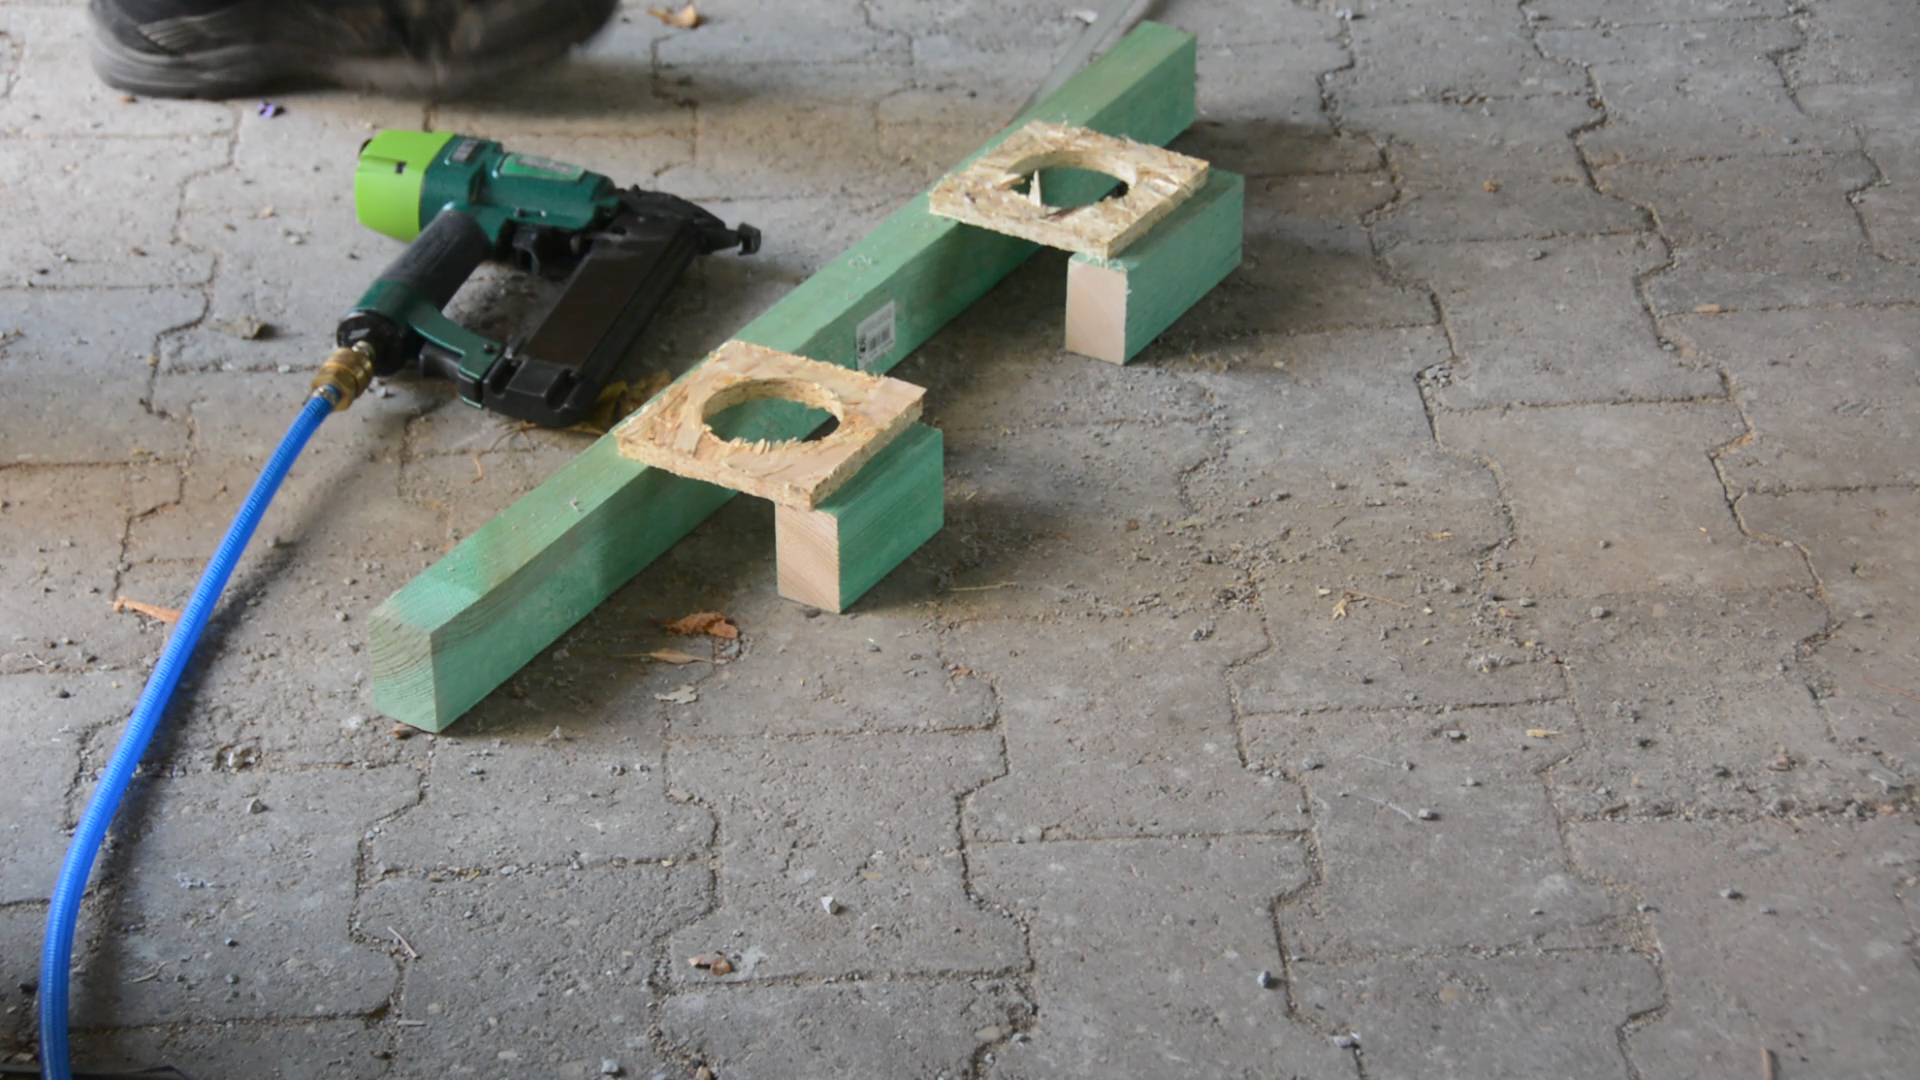
The pipes are placed in the compost and will provide a proper ventilation.
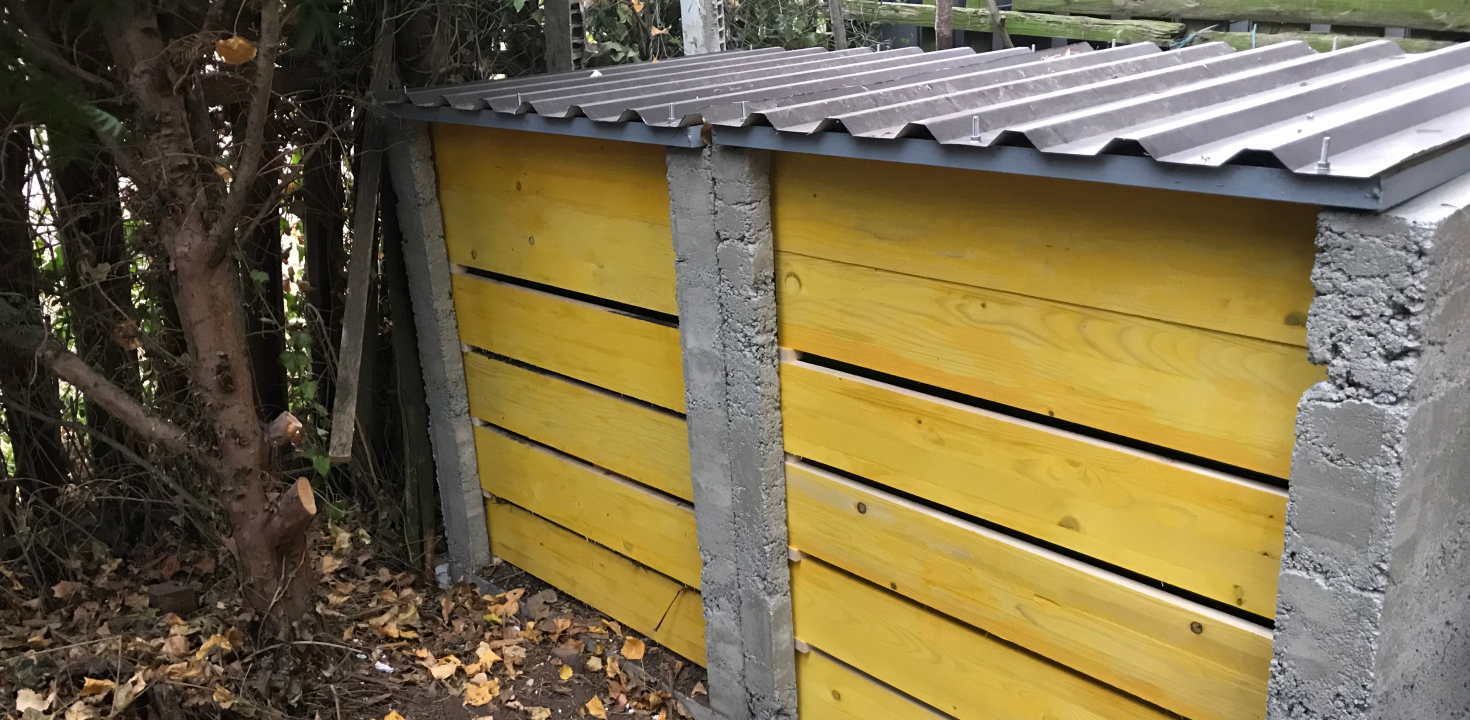
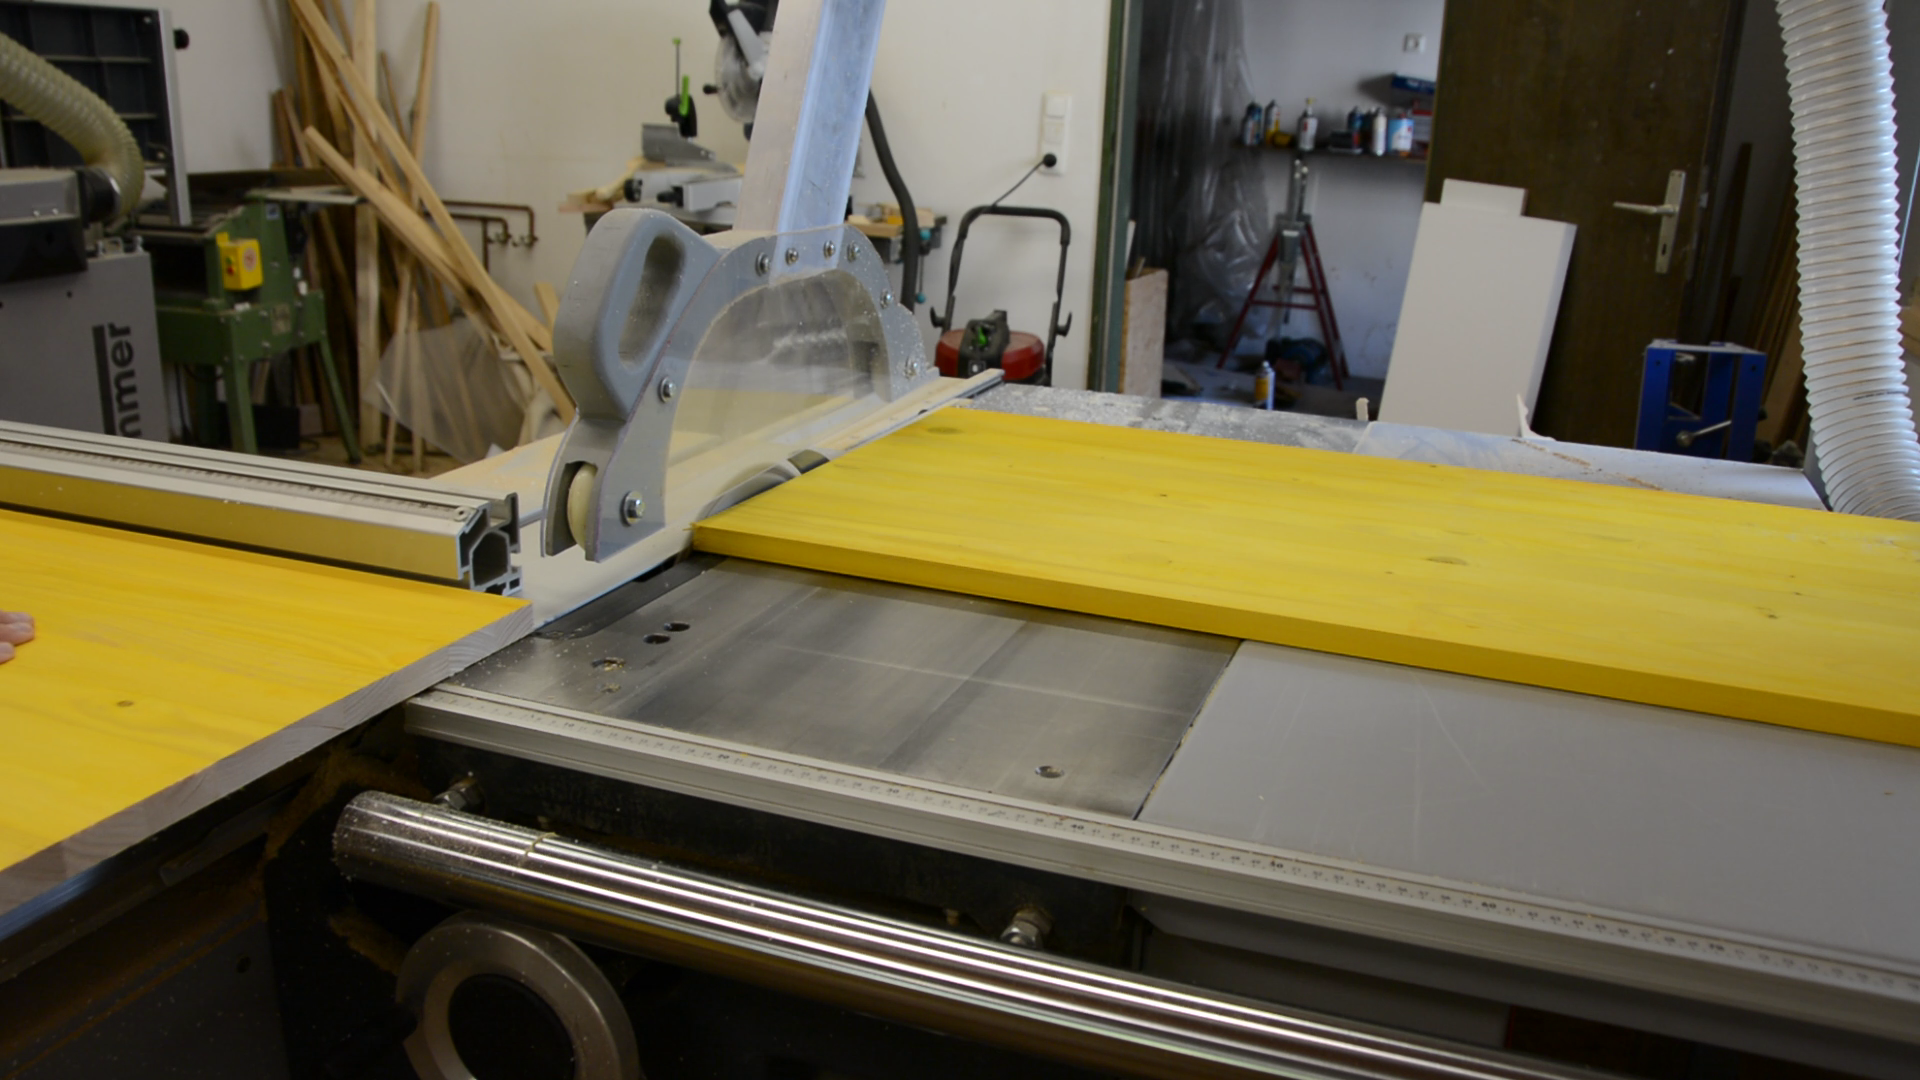
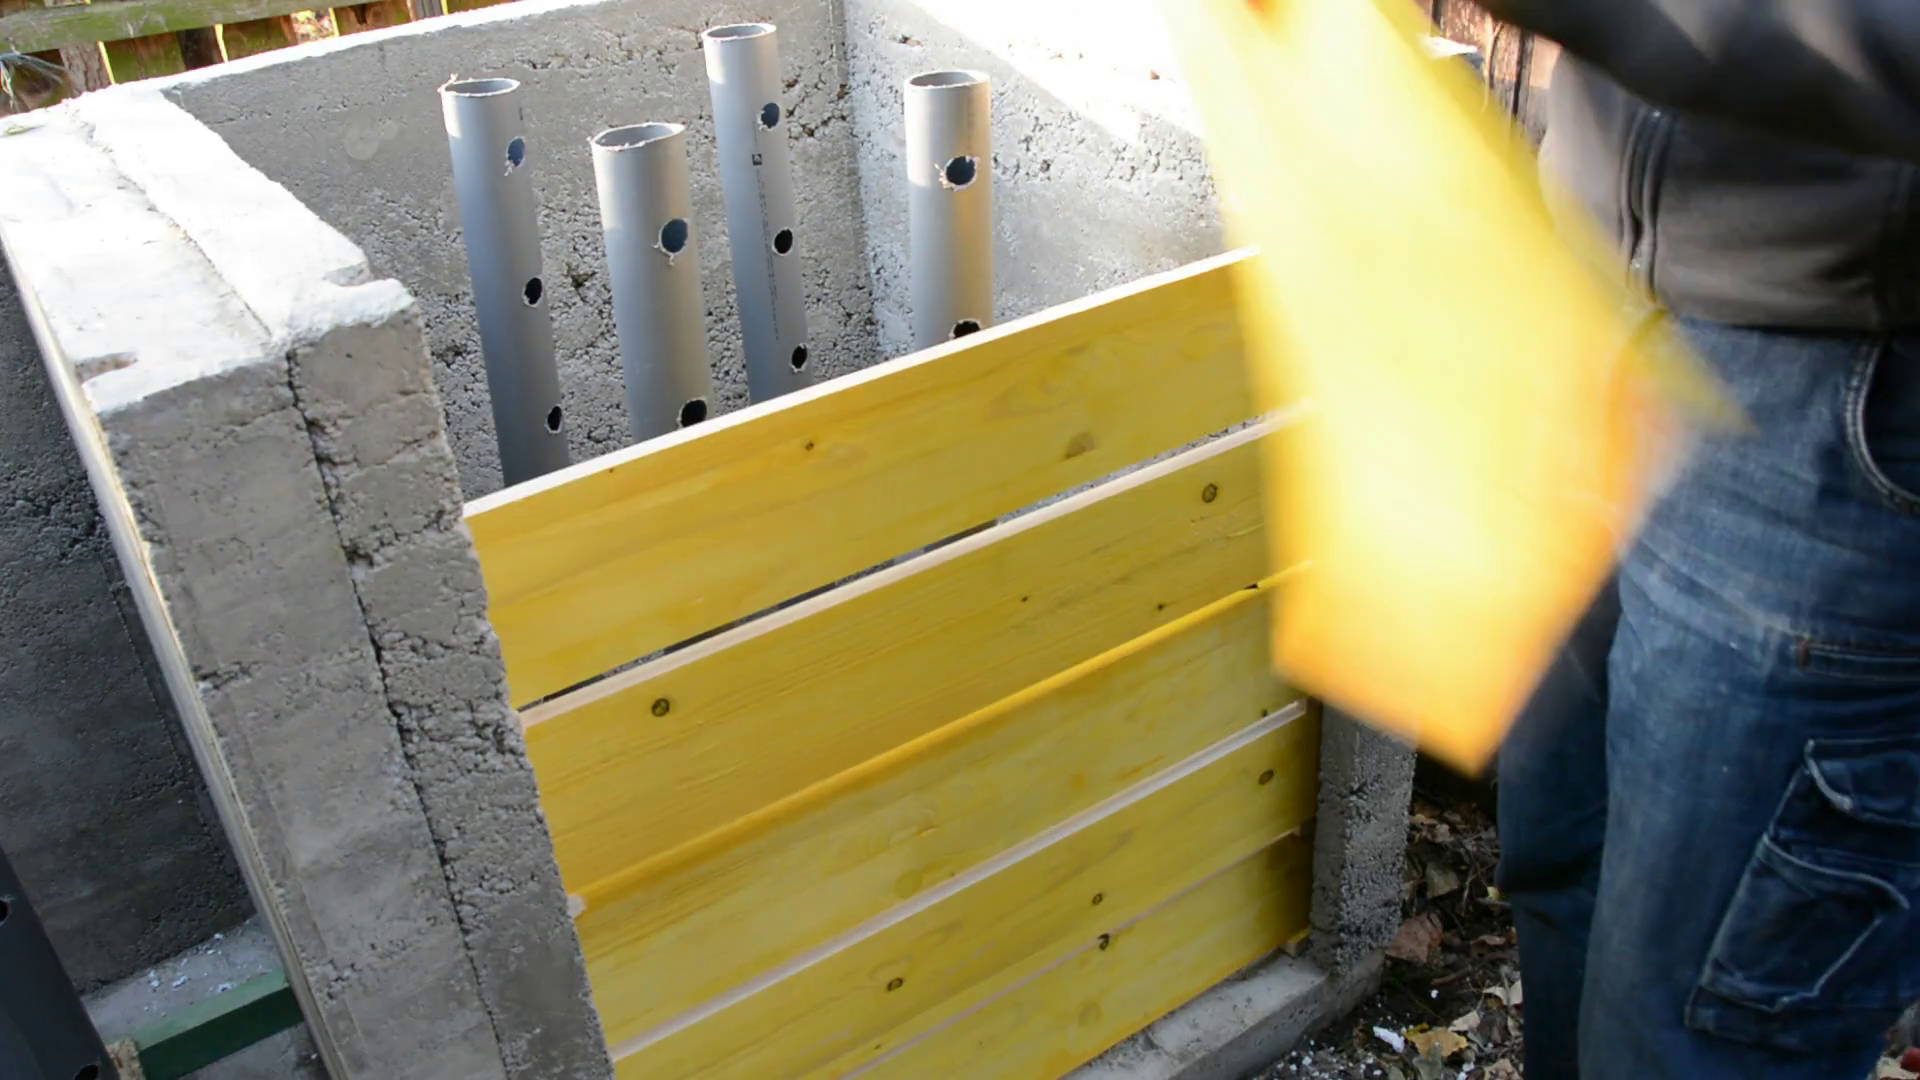
More air will come through the front. We cut some of the remaining pine boards to length and adjust their width to 15 cm so that they close the entire front but leave enough room for spacers between the boards.
After putting these in place the only area to be closed is the top.
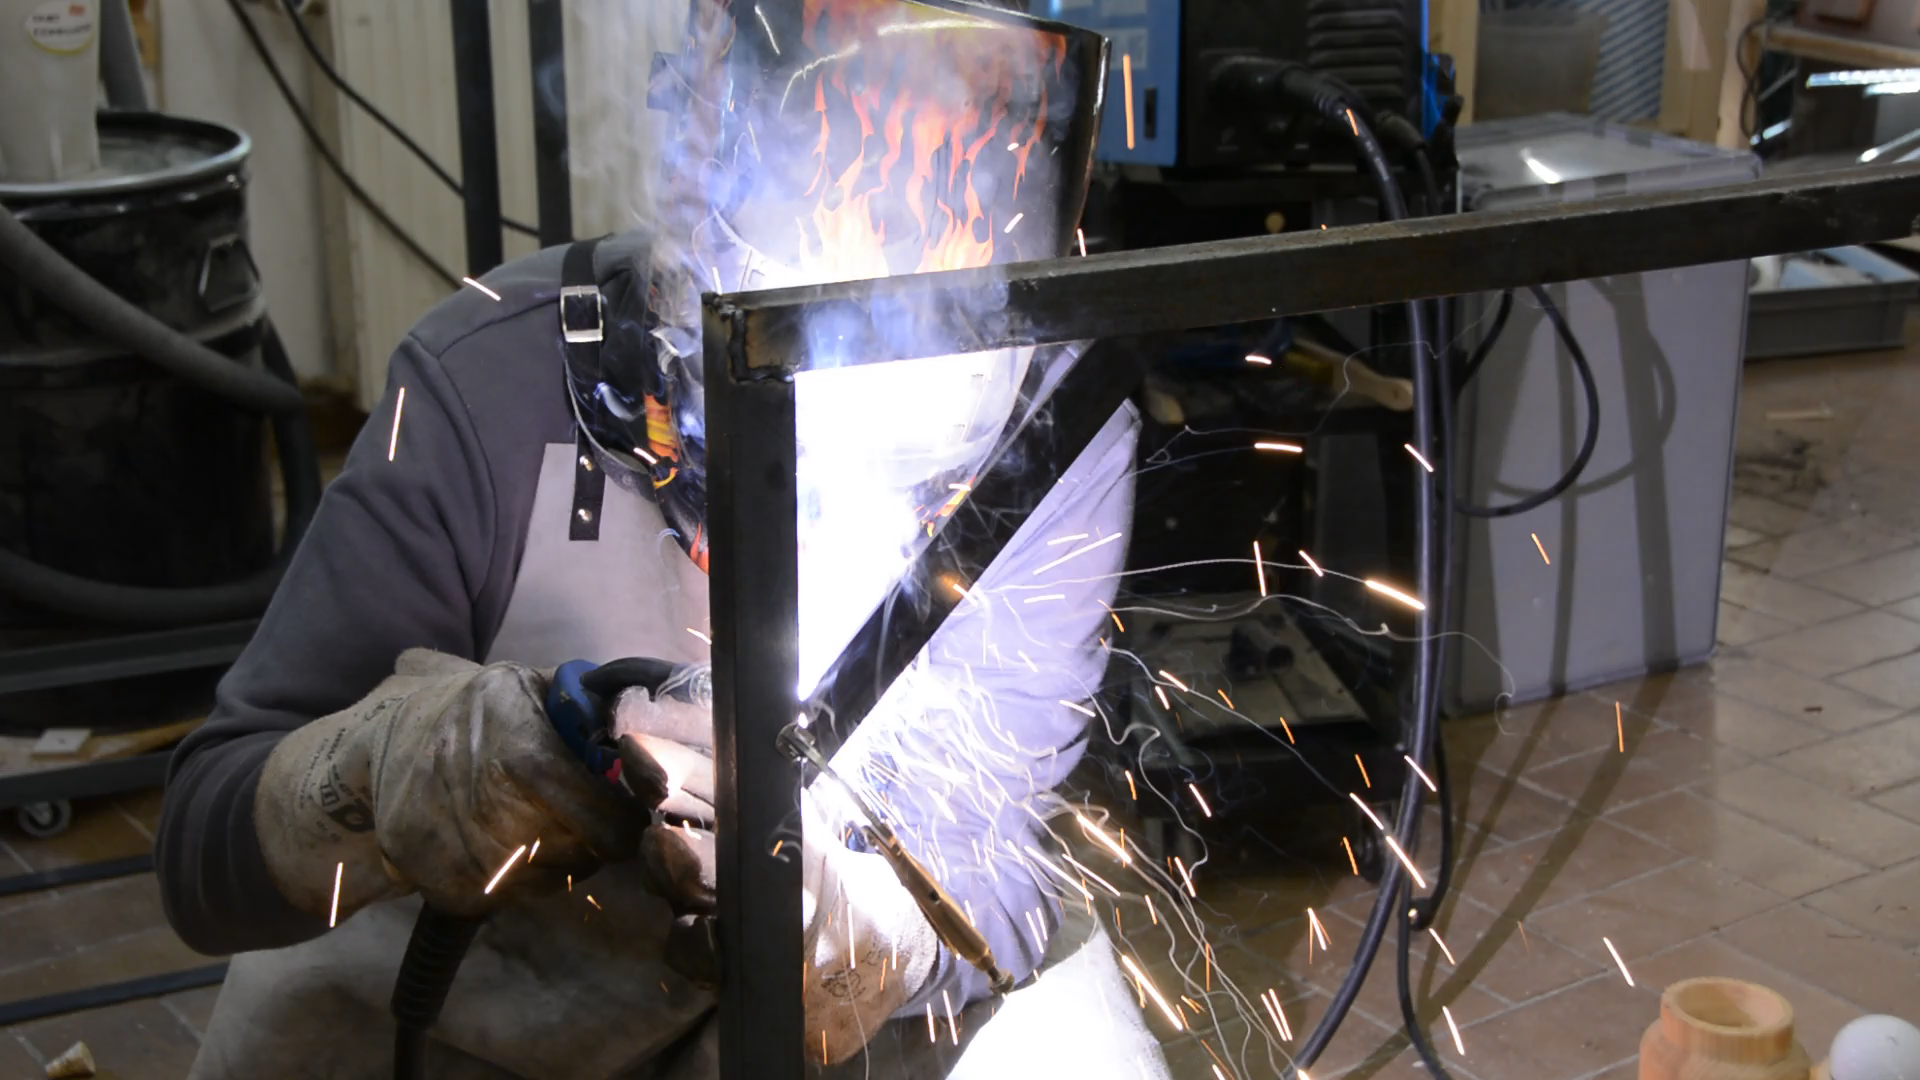
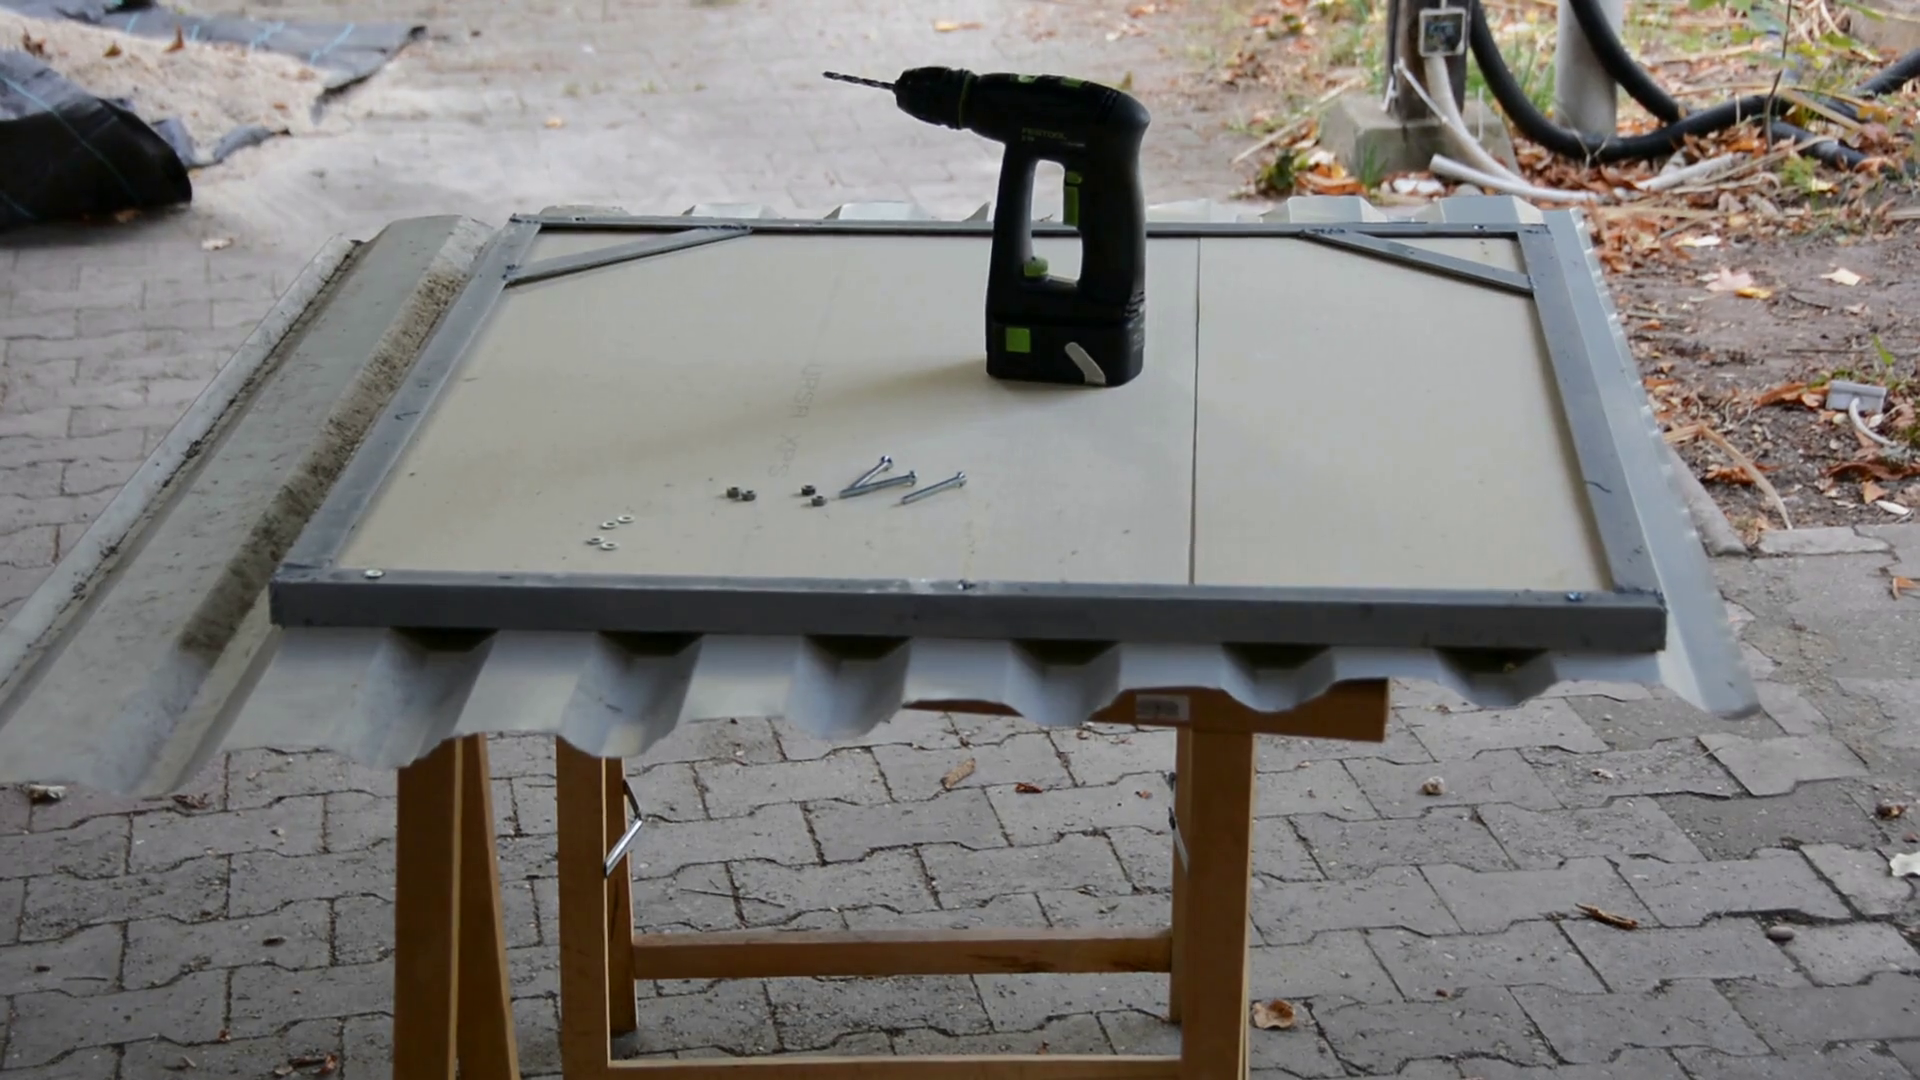
The top
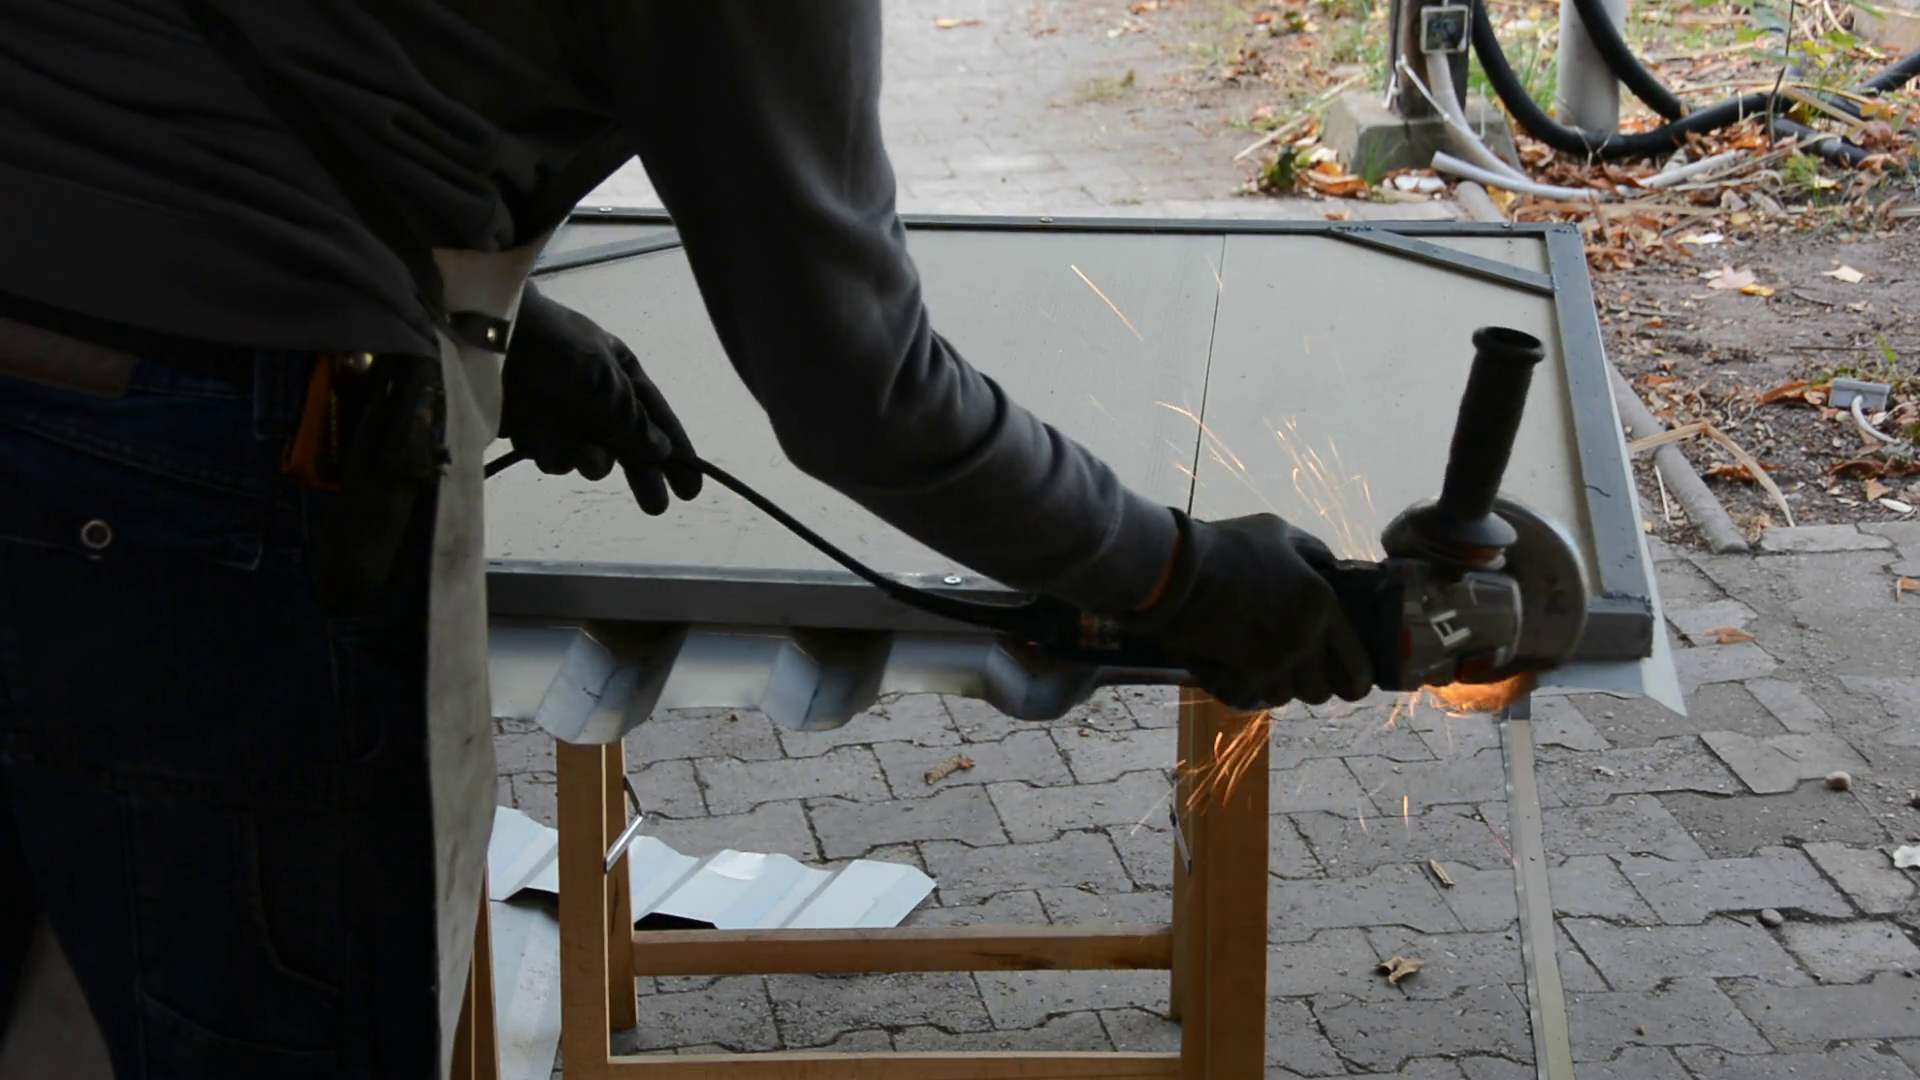
For the top we cut 30 by 30 mm angle iron for a steel frame.
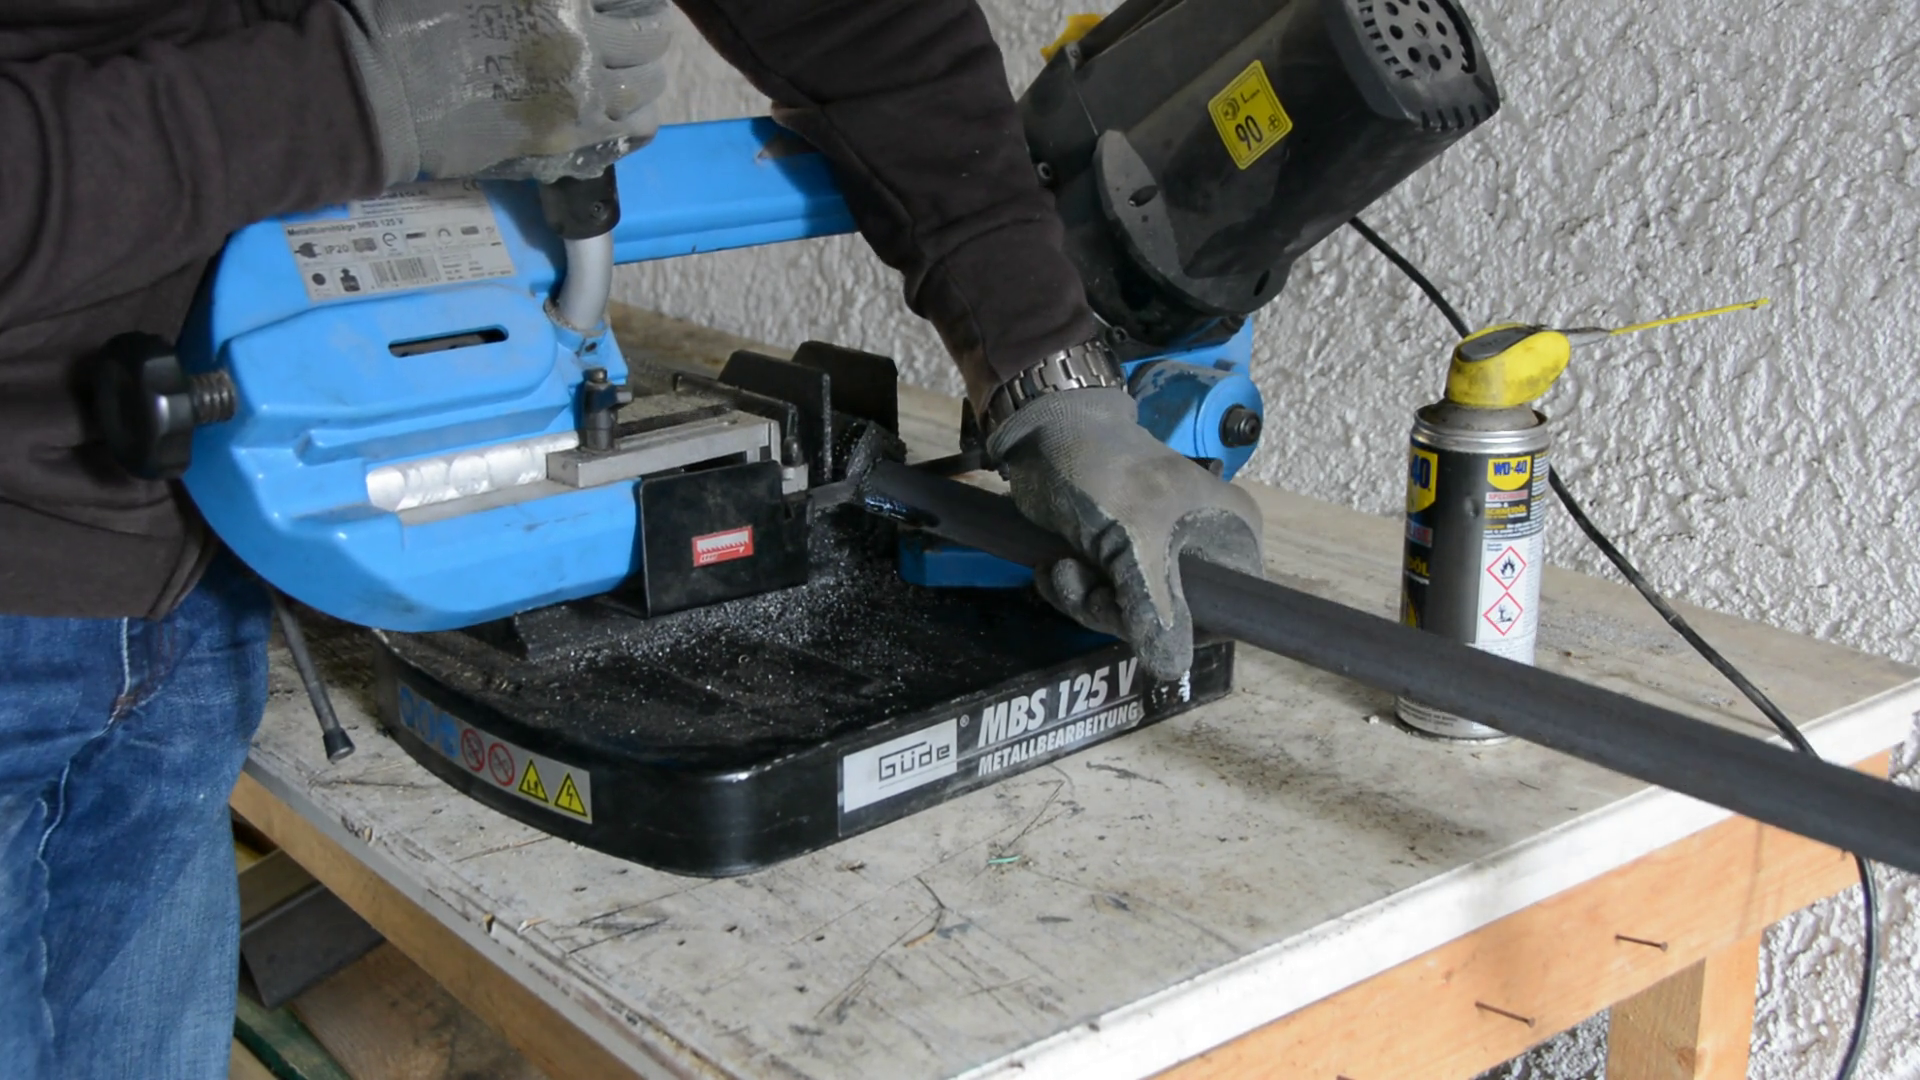
The corners have notches cut into them so that we can weld them into a stable frame.


We reinforce the back corners with short pieces of flatbar as we might install there a pneumatic cylinder to carry part of the weight.
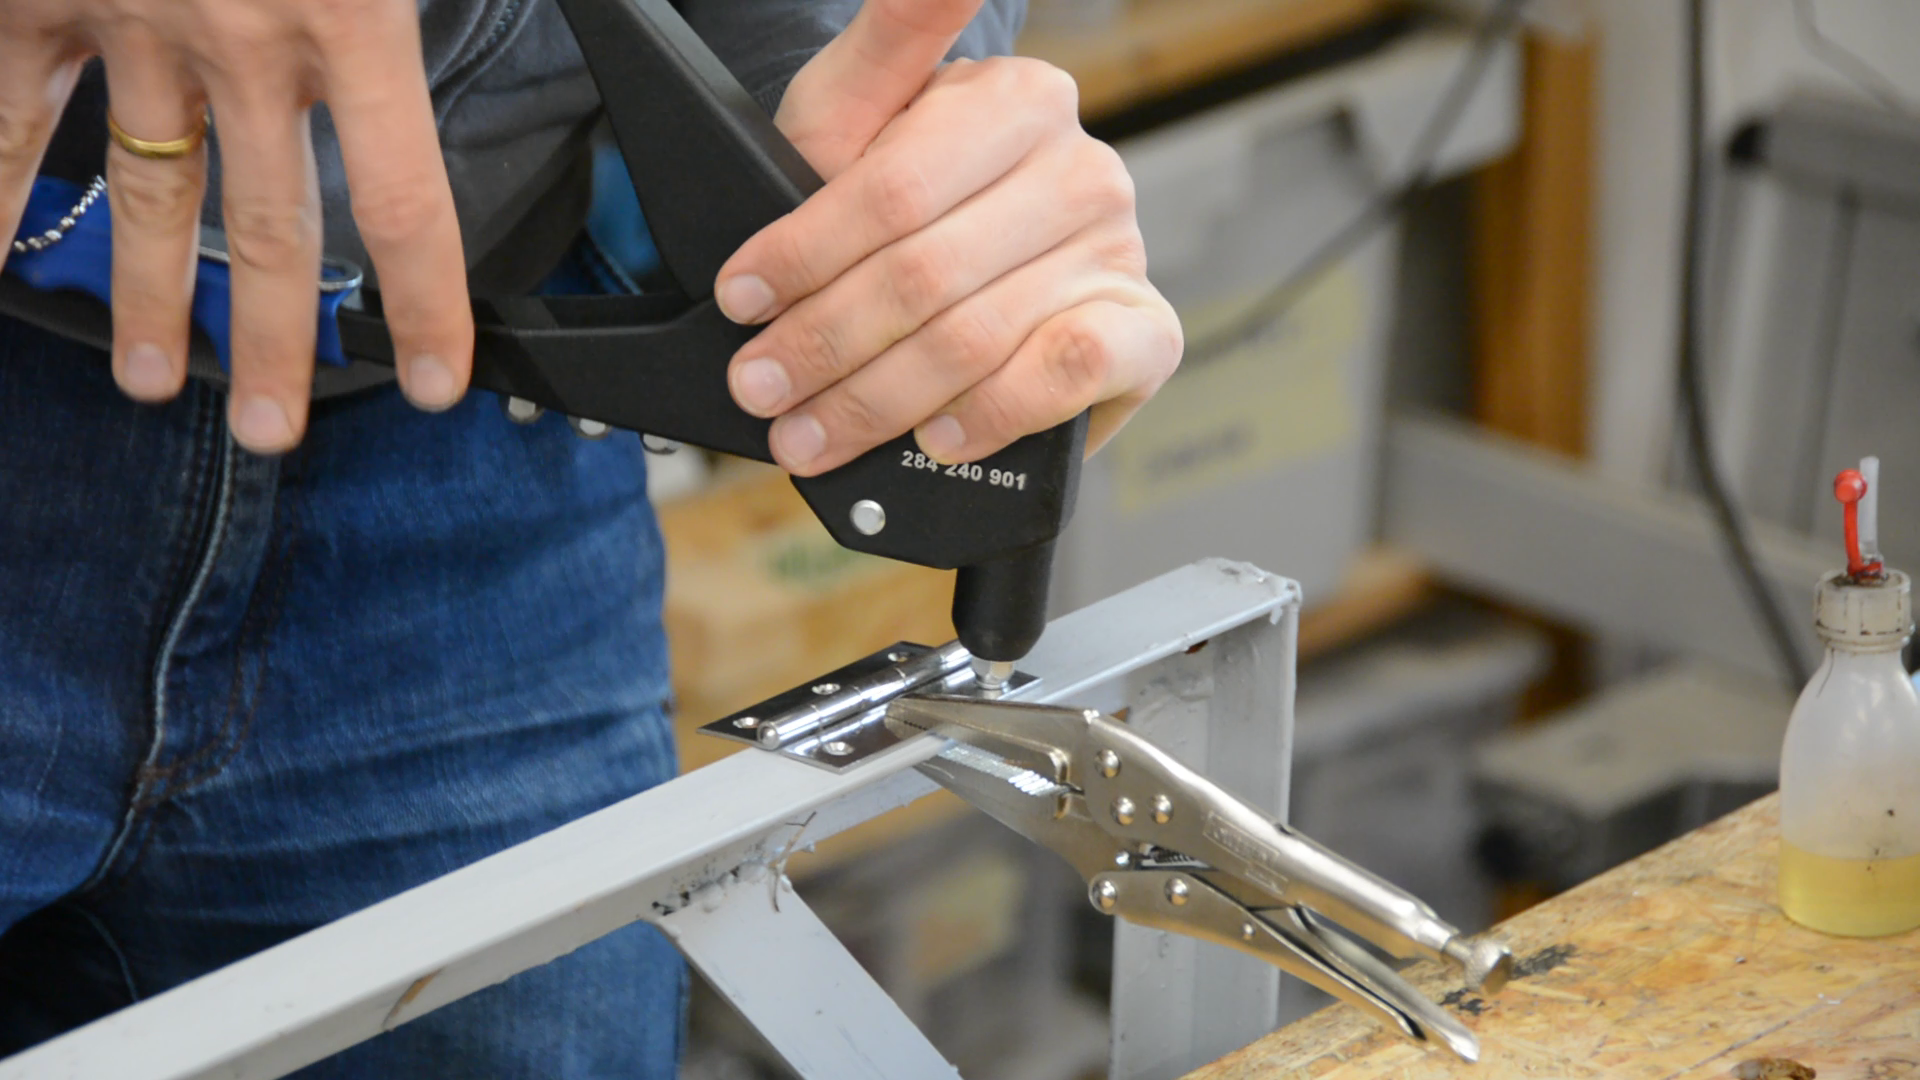
The backside gets a few holes for hinges. The hinges are hold in place with pop rivets.
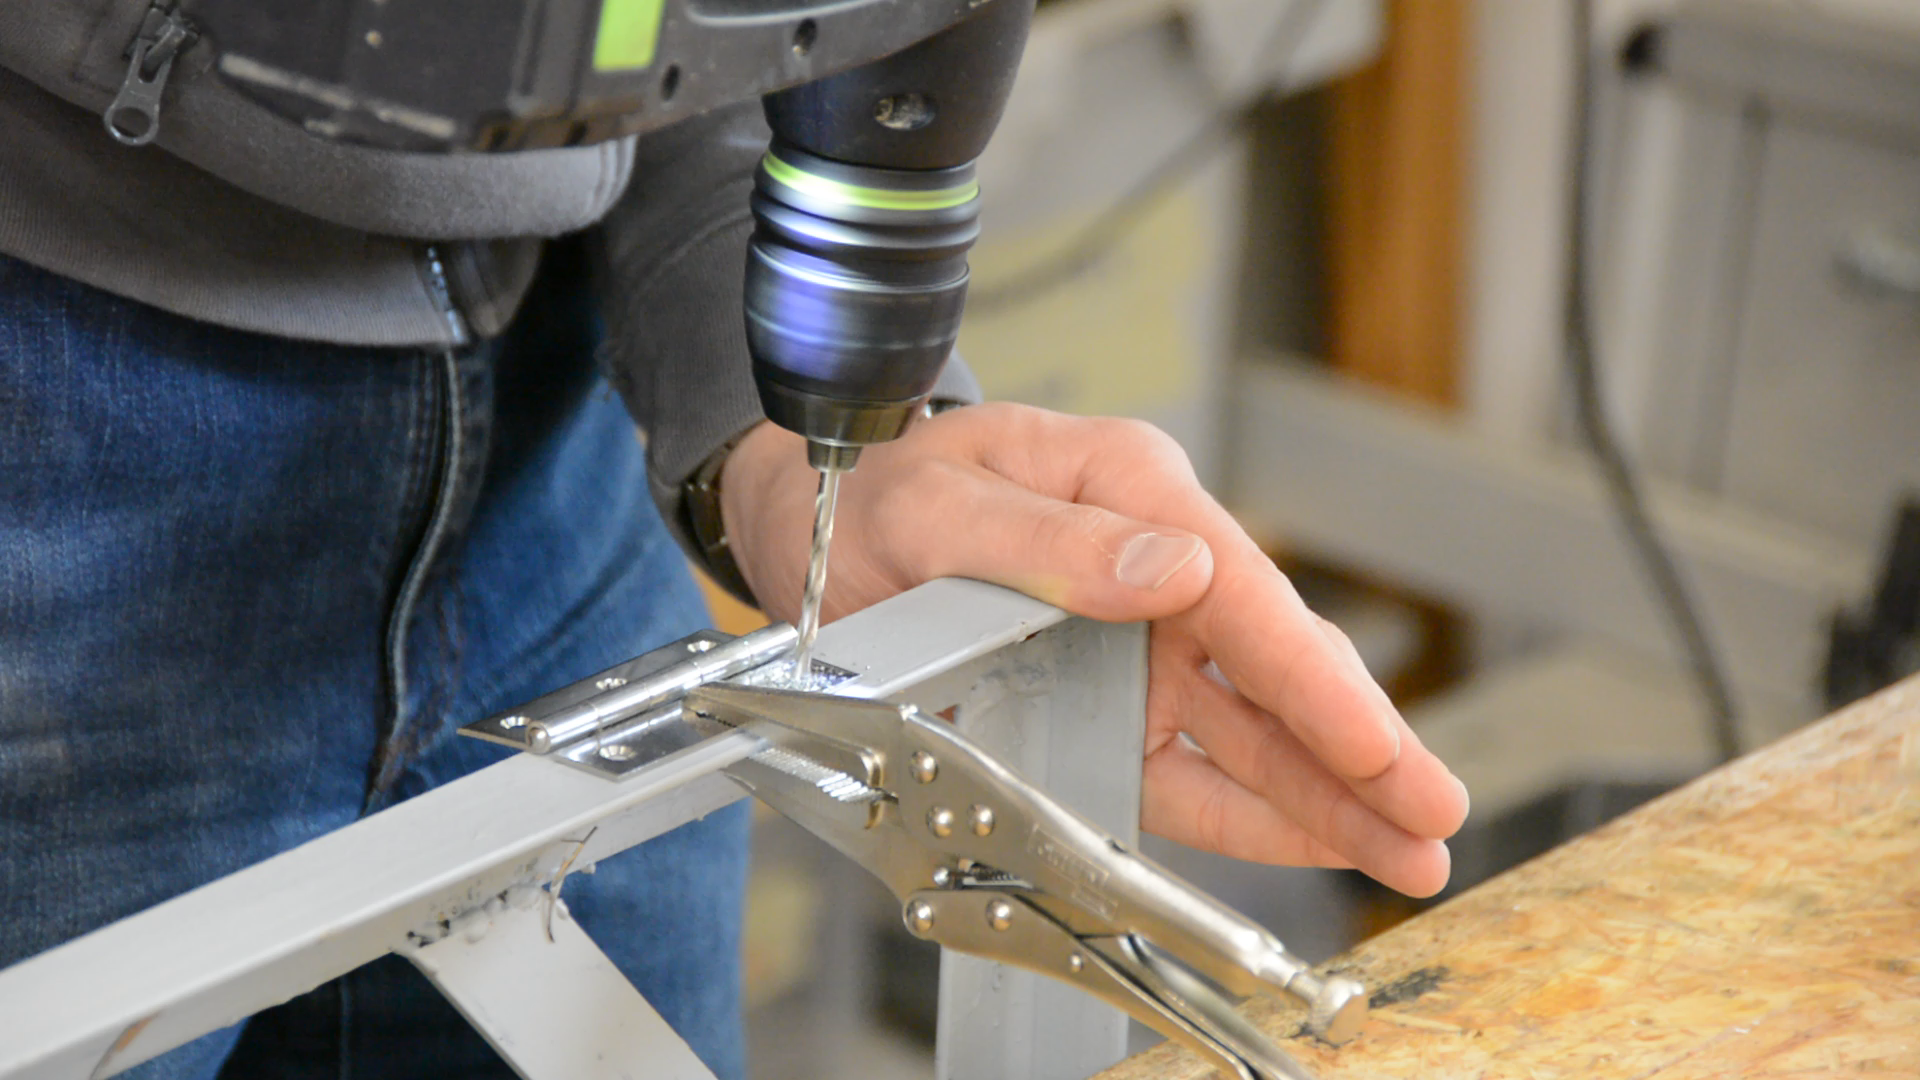
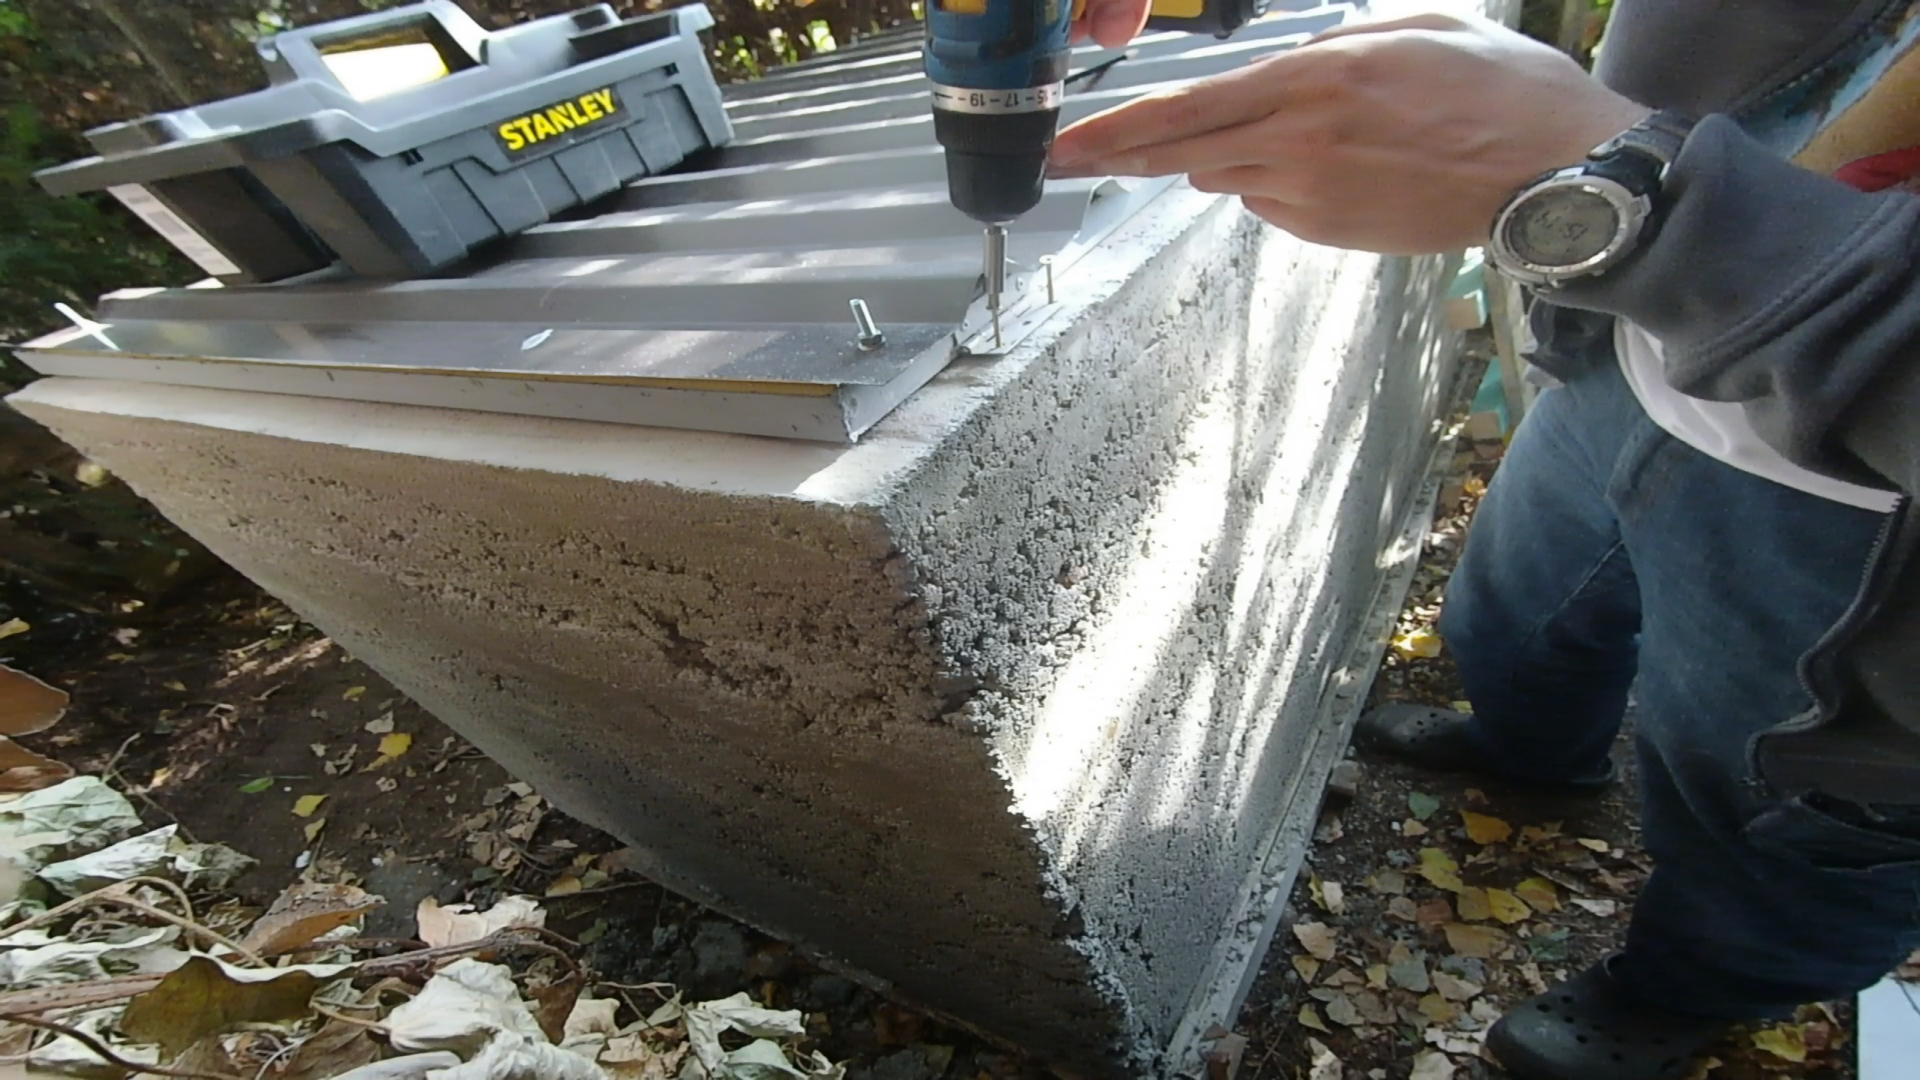
We predrill and countersink 6 holes in each frame to later hold the metal sheet roofing material.

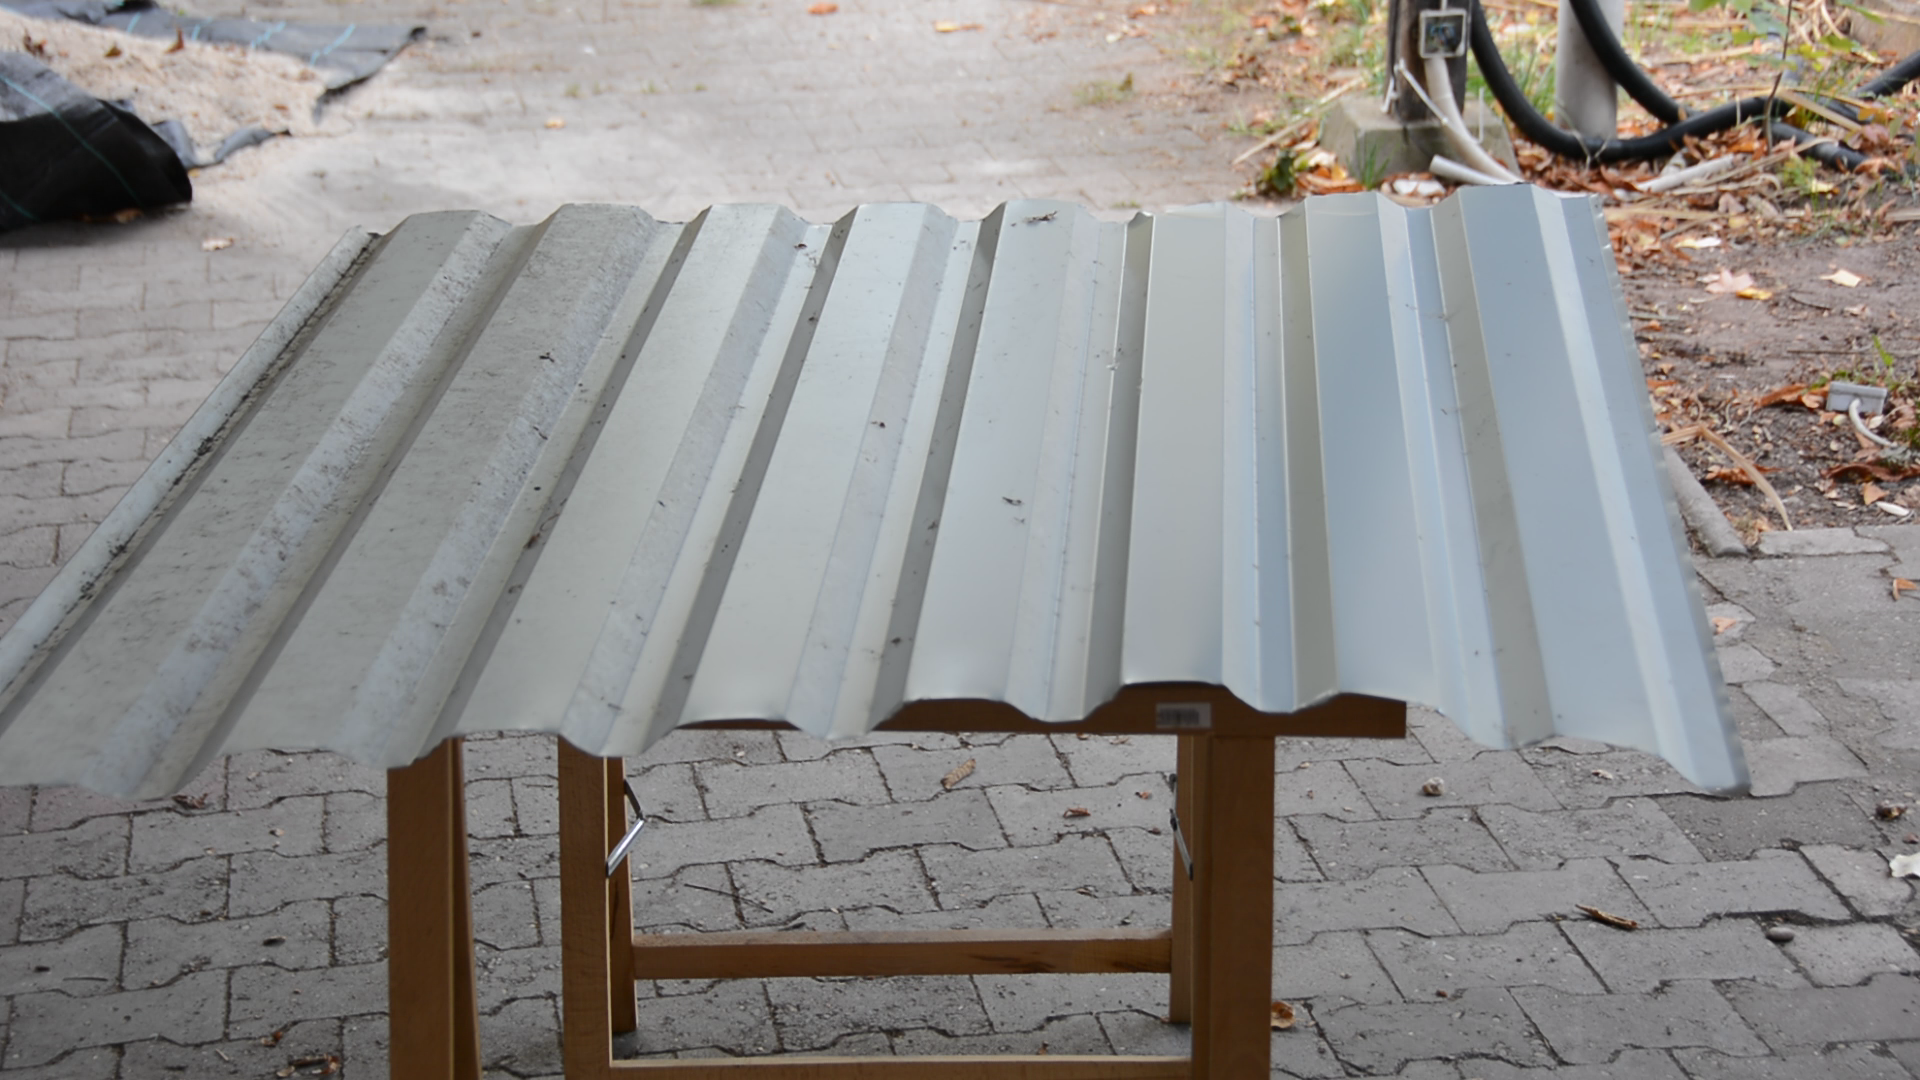
For further insulation we put XPS foam in the frame before putting it upside down on scrap roofing material we had from another project.
We then drill through the predrilled holes, through the sheeting and secure everything with machine screws.
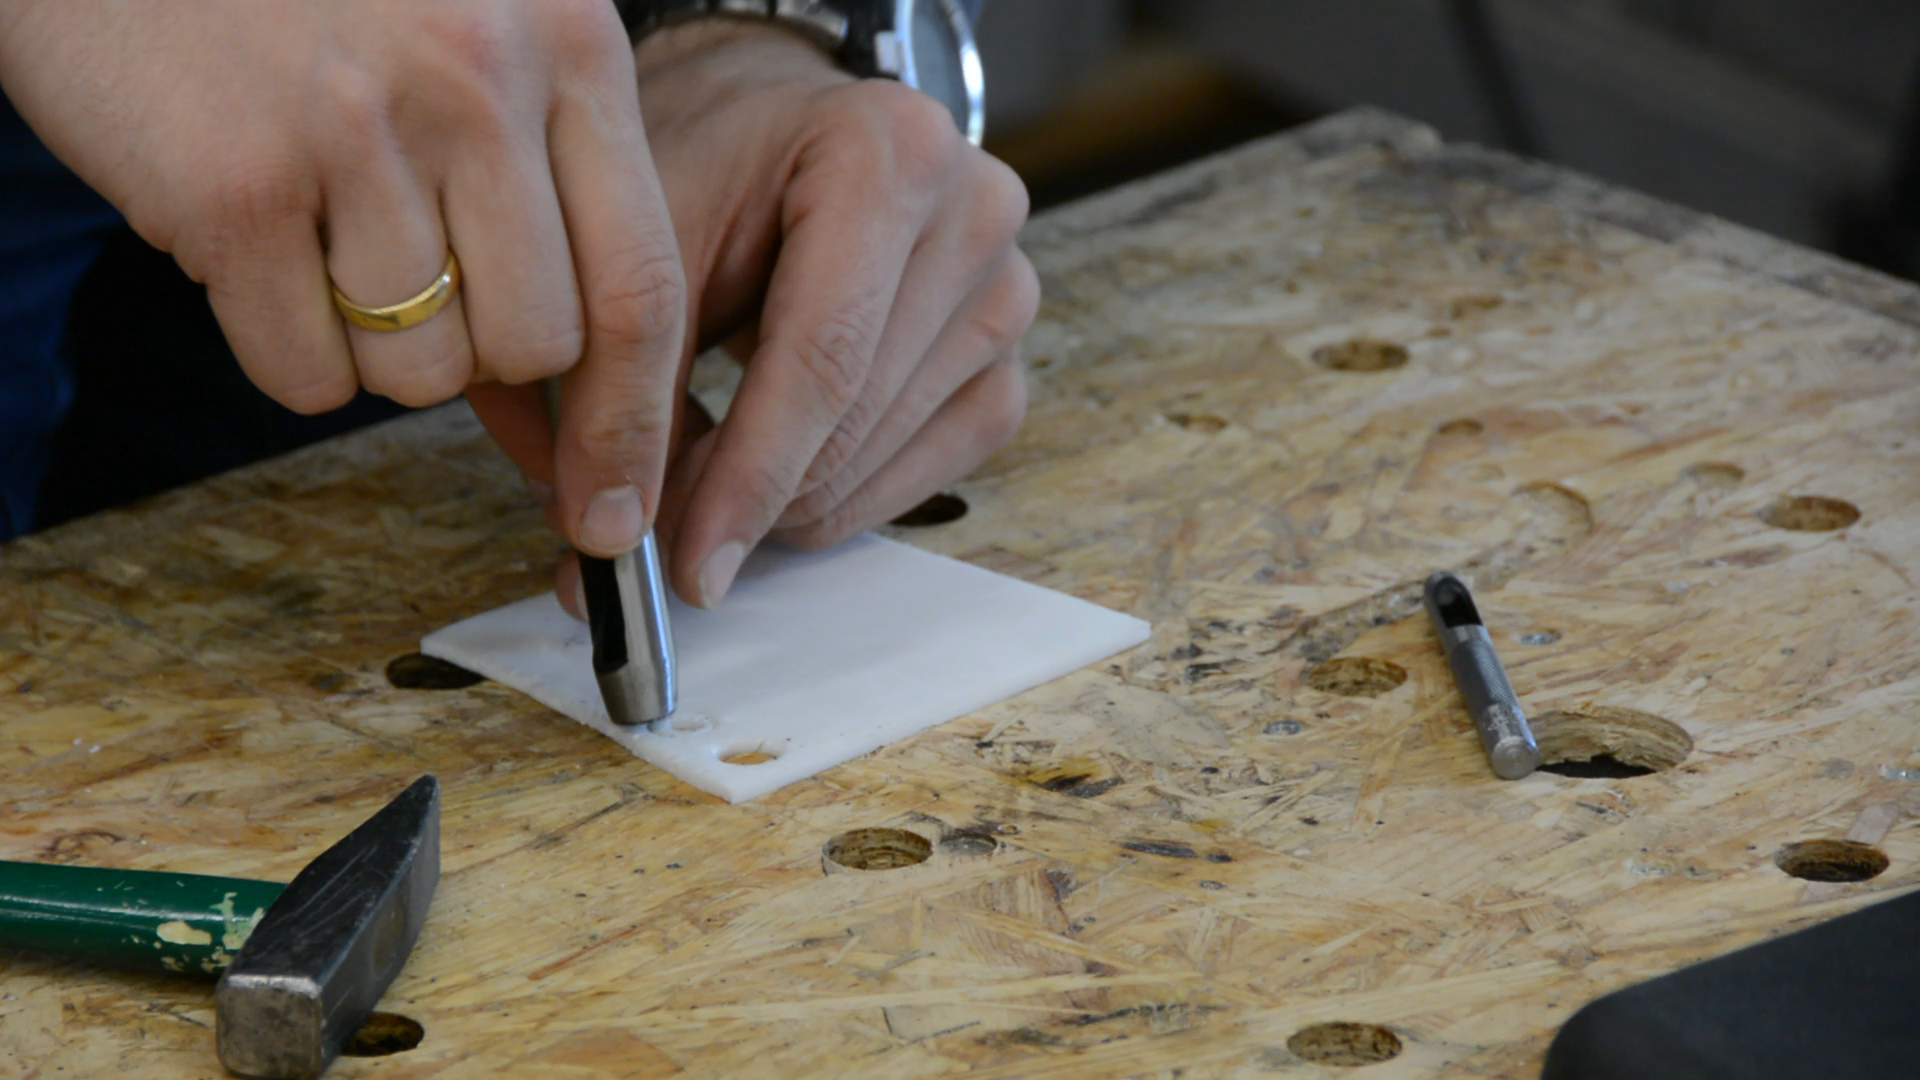
From some rubbery insulation material we create or own rubber washers. We use a hole punch to make washers and ensure a tight seal of the holes.
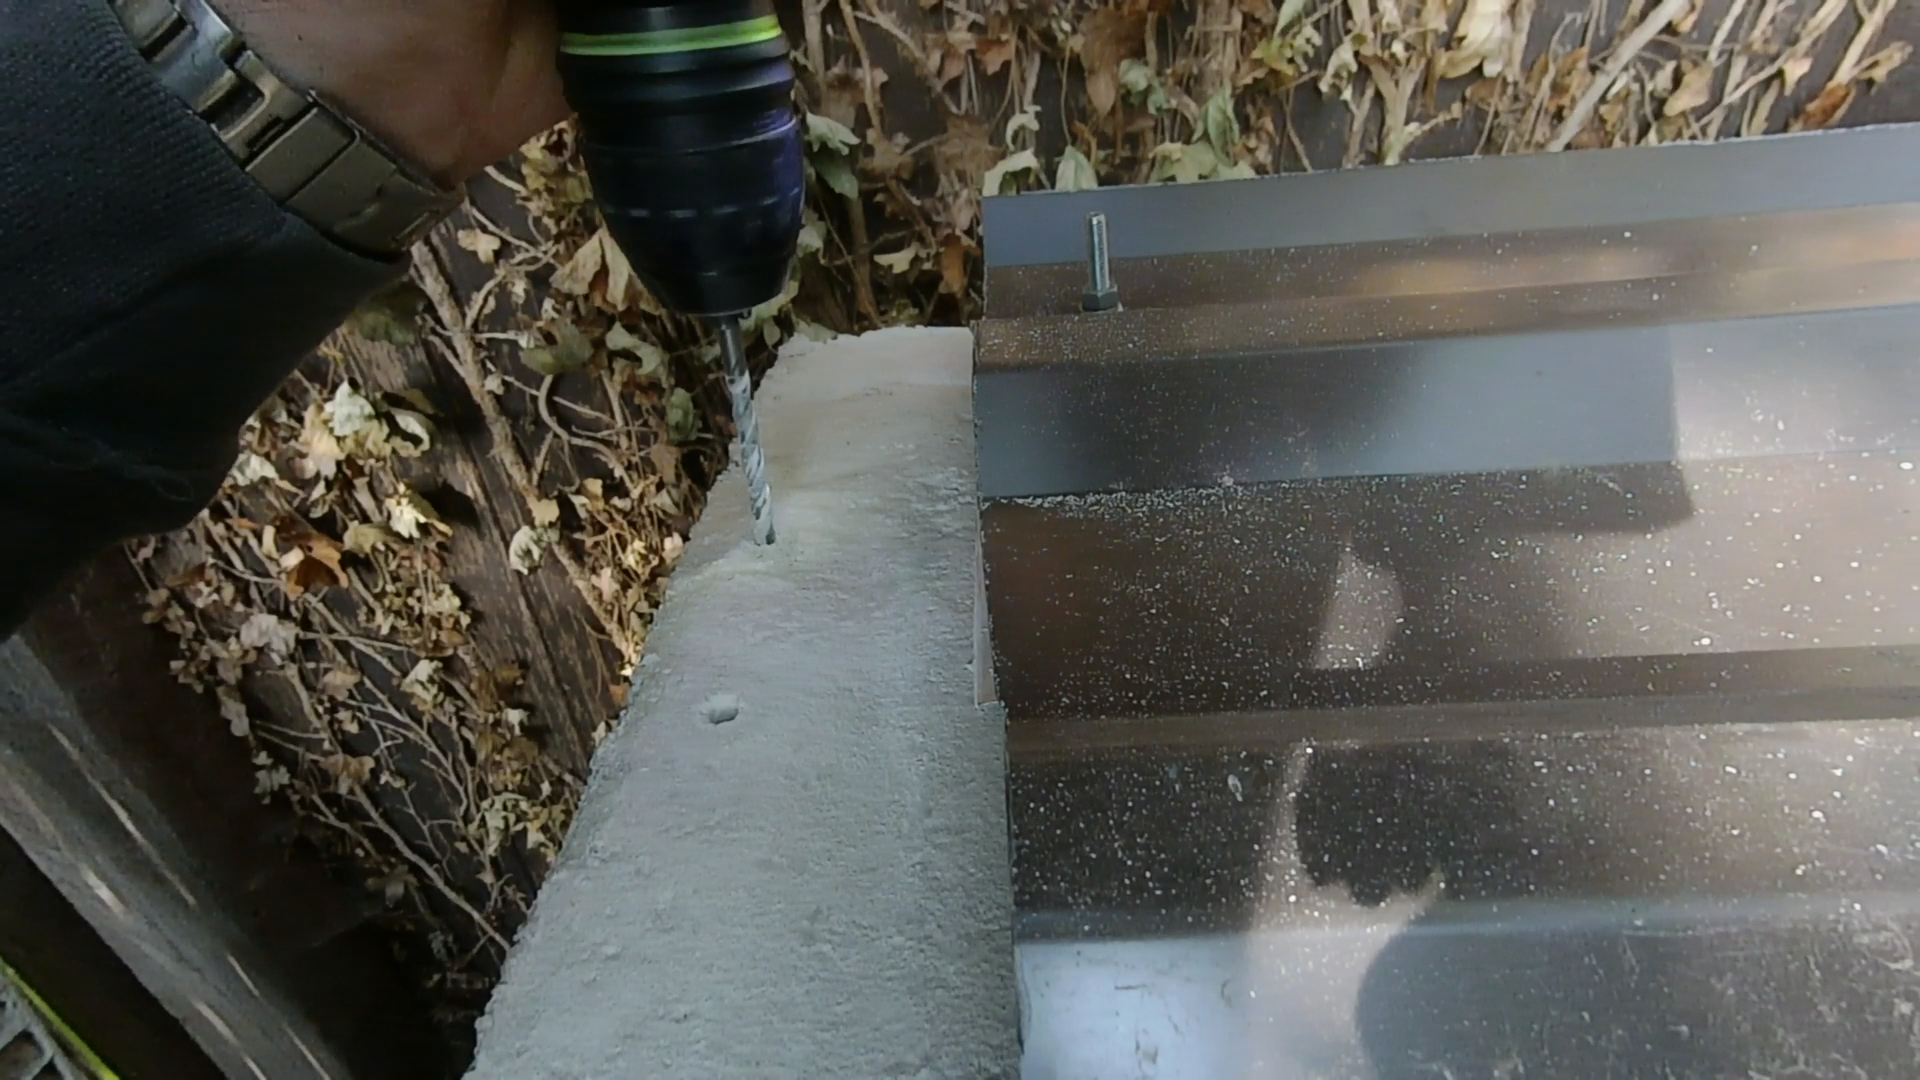
We screws the lids to the walls with wall anchors and a few screws.
While the overall piece is not the most beautiful it should be a very functional compost. It’s hopefully is going to serve us well.