
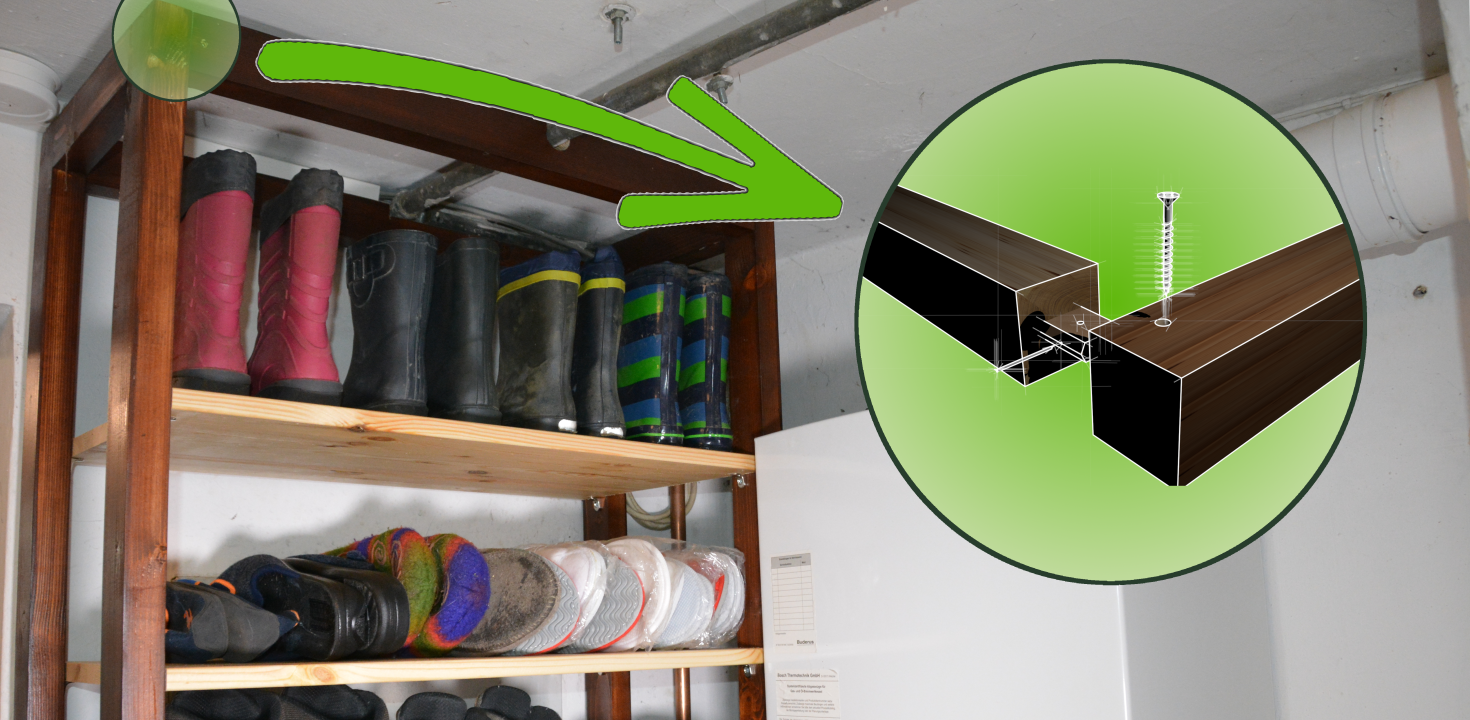
In this article I am going to replace a wobbly Ikea shelf in our laundry room with a home-made storage shelf that is strong and can be disassembled easily.
I am going to build the shelf from construction lumber from my local home center. First I cut the lumber to rough dimensions so that it’s easier to handle.

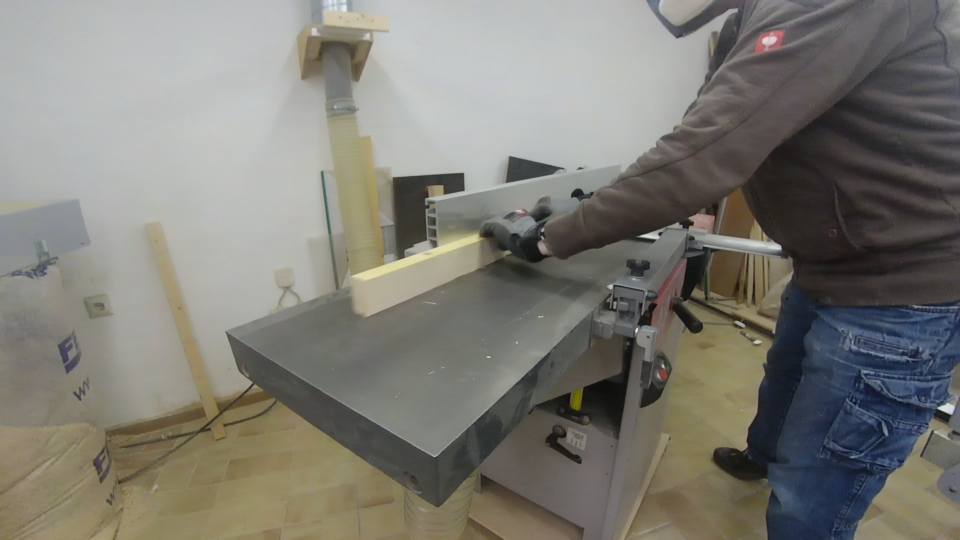
Next I run the wood over my jointer to create a flat face and one 90 degree angle and plane it to make all the sides parallel.
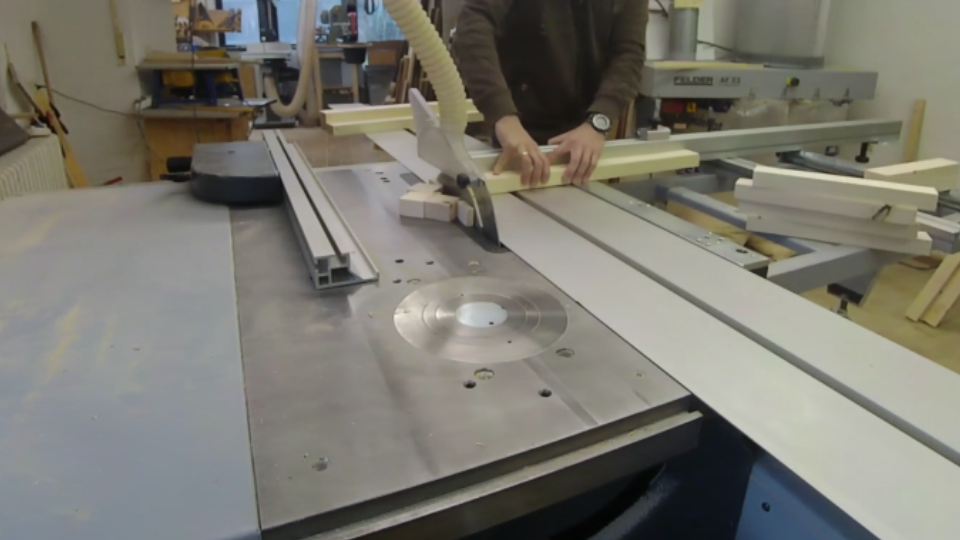
With all sides nice and square I cut the pieces to their final length according to my cultist. As we have a base in our room the two legs on the backside are 9 cm shorter than the legs in the front. For the plan I assumed that you would prefer legs of the same size. 🙂
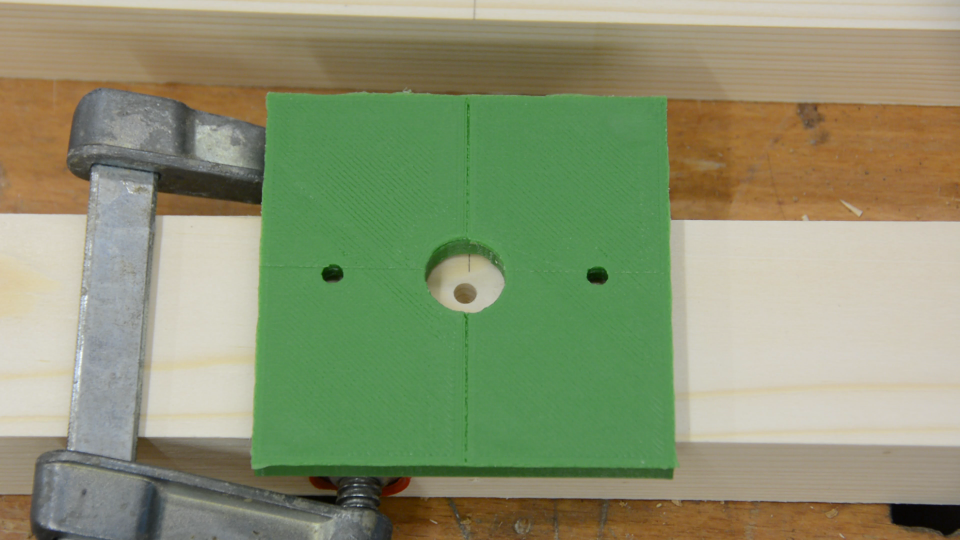
After cutting all the pieces to their final length I use a modified version of my 3dprinted doweling jig to place a few holes for bookshelf pins. Realistically we are most likely never going to reposition the shelves. So I won‘t put hundreds of holes in the upright pieces but just in the places where I want the shelving to sit. If you are interested in the 3d model for this jig follow this link to thingiverse.
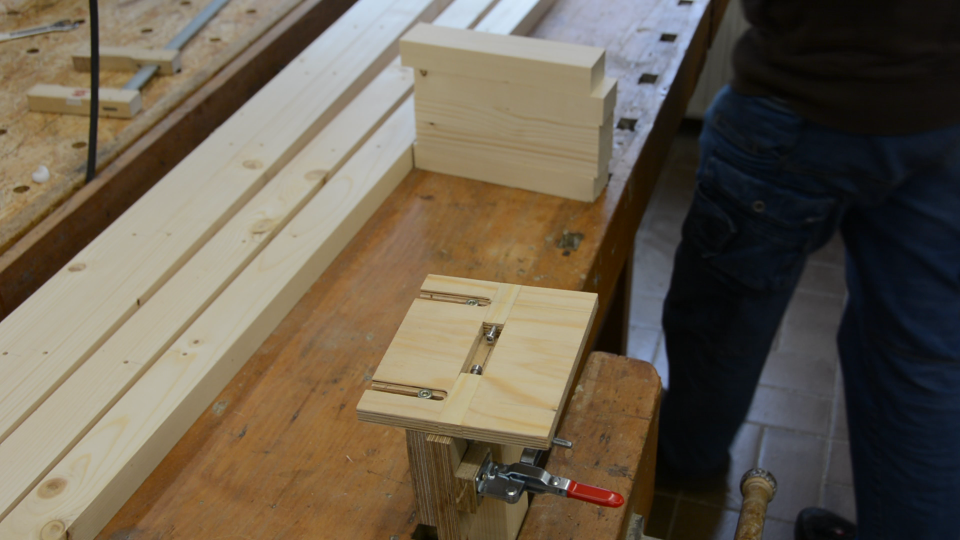
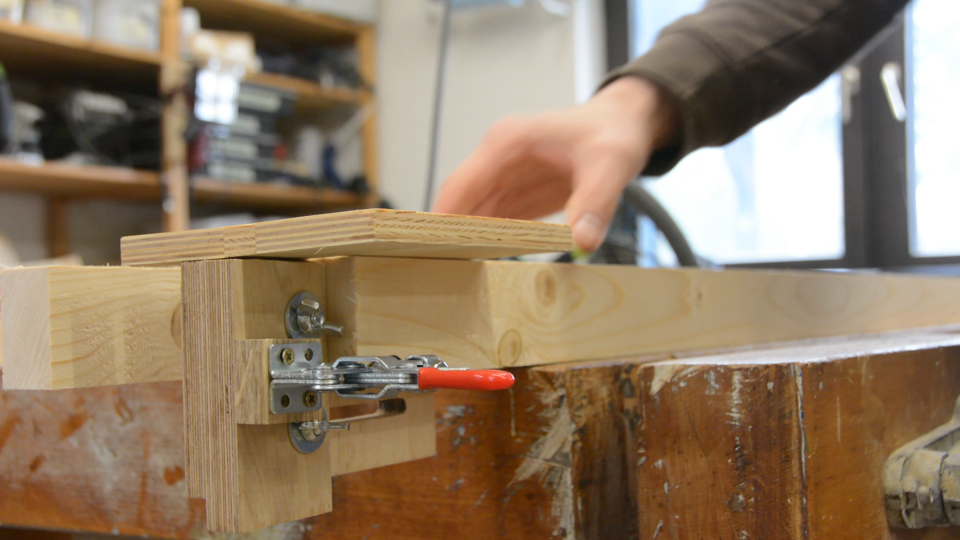
Connecting the two side pieces with loose tenon joinery is quick and sturdy. Using my wooden mortise jig I first route a mortise in the short pieces. I then remove one of the stops at a time and position it at the outer ends and finally remove both stops and align the centermarks with the jig to create the mortises in the middle. After putting glue on the floating tenons I clamp the two side pieces together and let the glue dry.
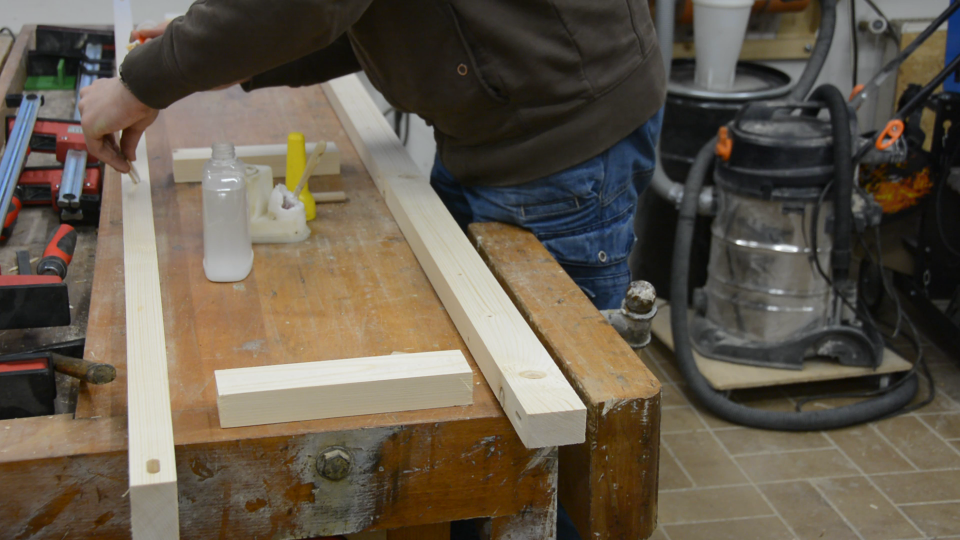
I am going to connect the sides with 4 cross pieces. After marking the connection points I route out the mortises as I did before.
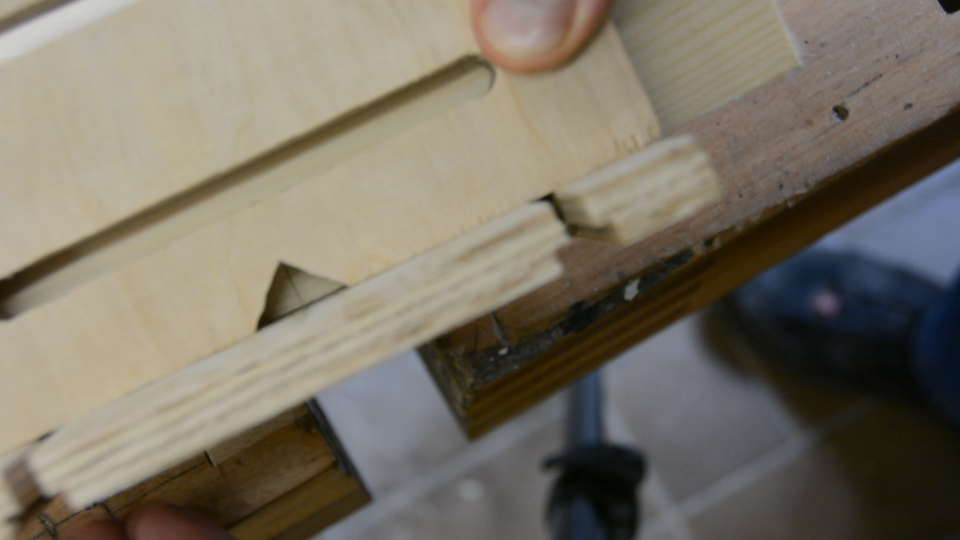
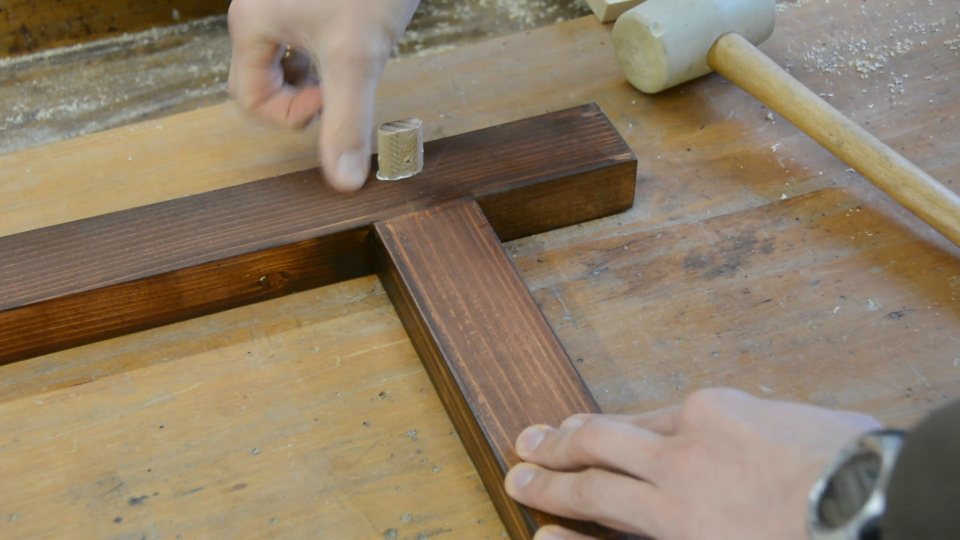
Next I try something super smart that turns out to be a bad idea. I glue and nail a few scraps together so that the domino as well as my drill guide are locked. Unfortunately I overlooked the fact that I designed the drillguide to reference against the shoulder not the end of the tenon. At the end I had to redrill most of the holes without my fancy alignment jig. So if you build a shelf skip this step and just use the method I describe in the jig building article.
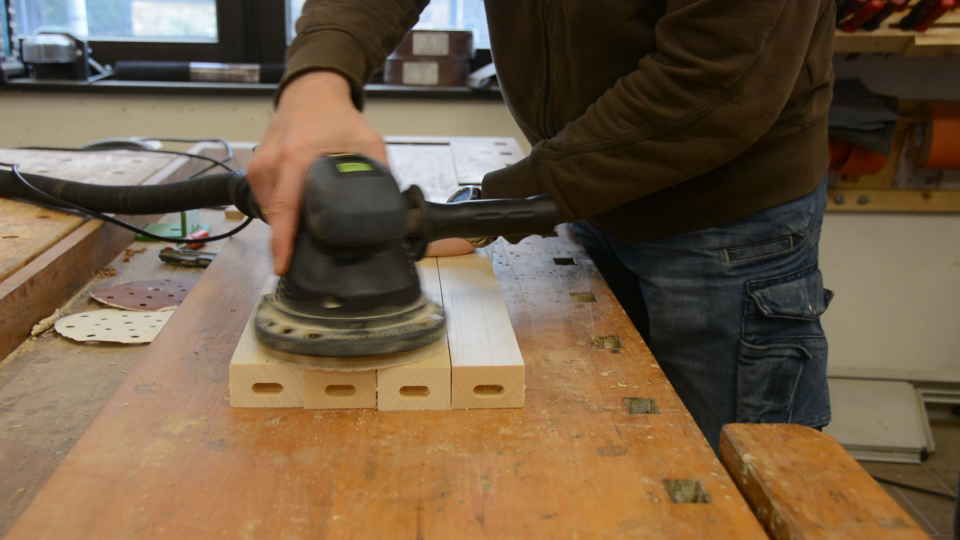
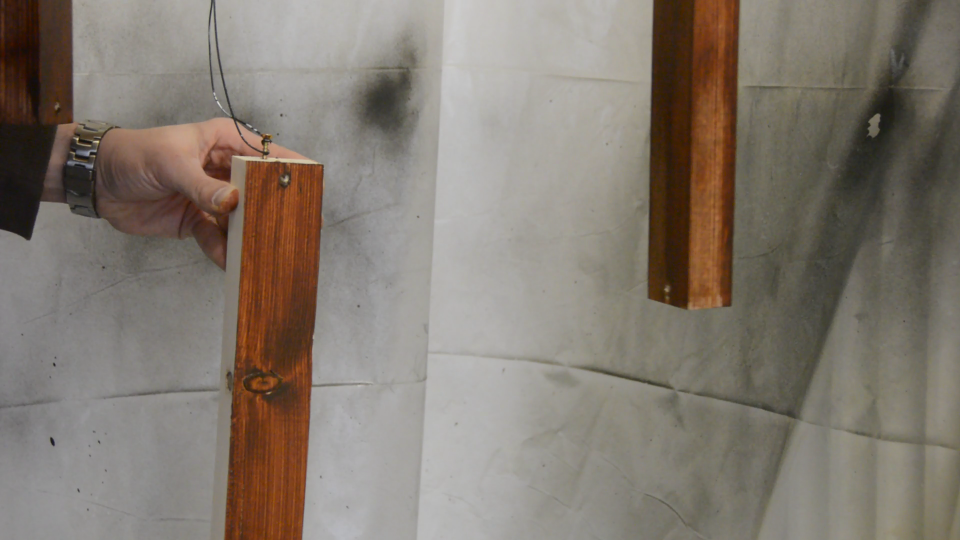
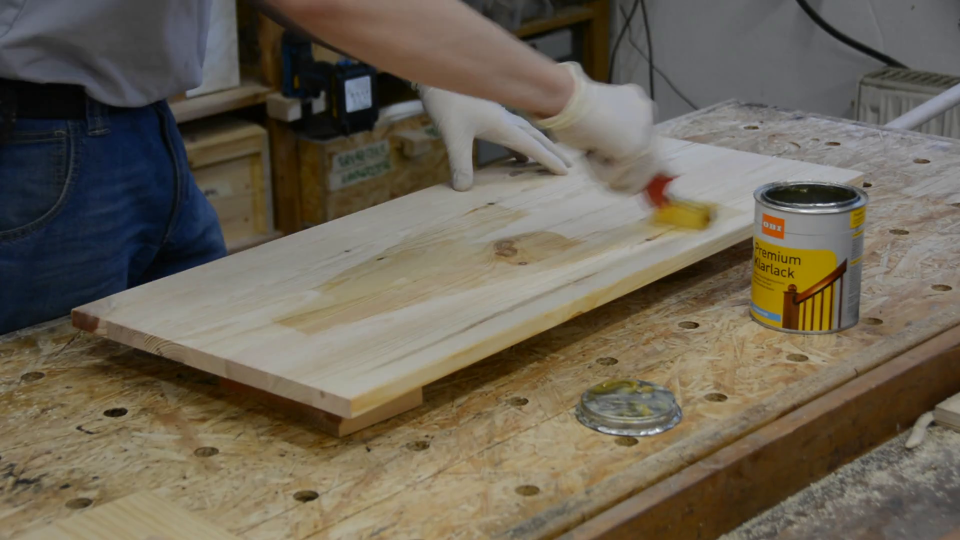
Before gluing the tenons in the side pieces I decided to finish them. So I spend a decent time sanding all the pieces with 80, 150 and 220 grid. After sanding I apply a stain from IKEA and a few coats of polyurethane.
Once the finish is fully cured I glue the floating tenons into the side pieces.
For the shelving I use glued wood panels from the home center. I sand all the sides and all the faces of the boards and create a 3 millimeter round over to avoid any sharp corners.

As it was already late that day I decided not to run the table saw but to prefinish the shelves with 2 coats of poly and let them cure over night.
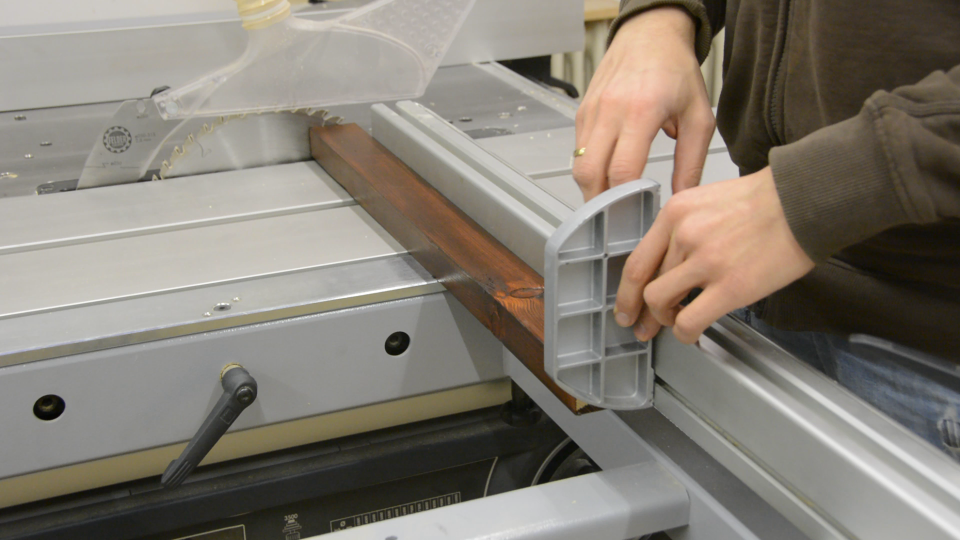
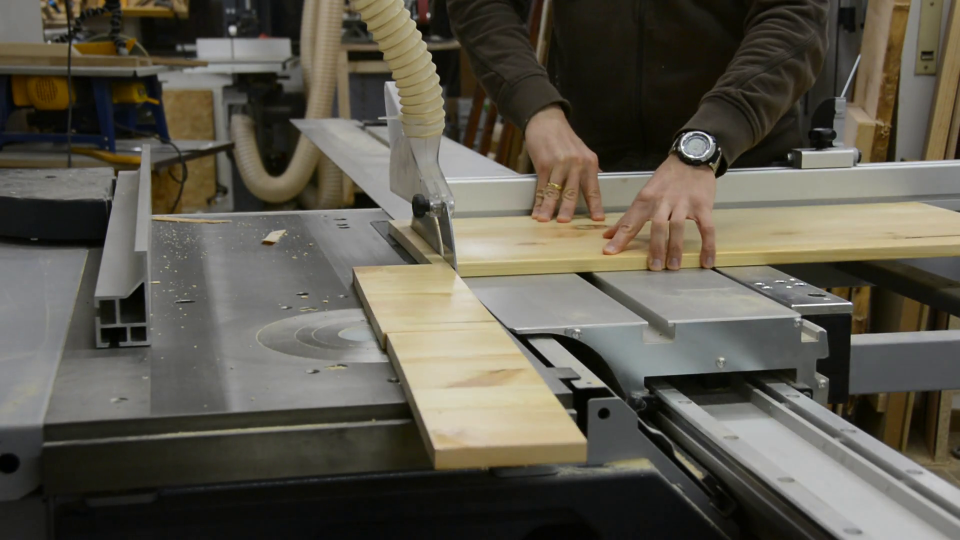
The next day I use one of the cross pieces to set my tablesaw to the right width and crosscut all the shelving to their final width.
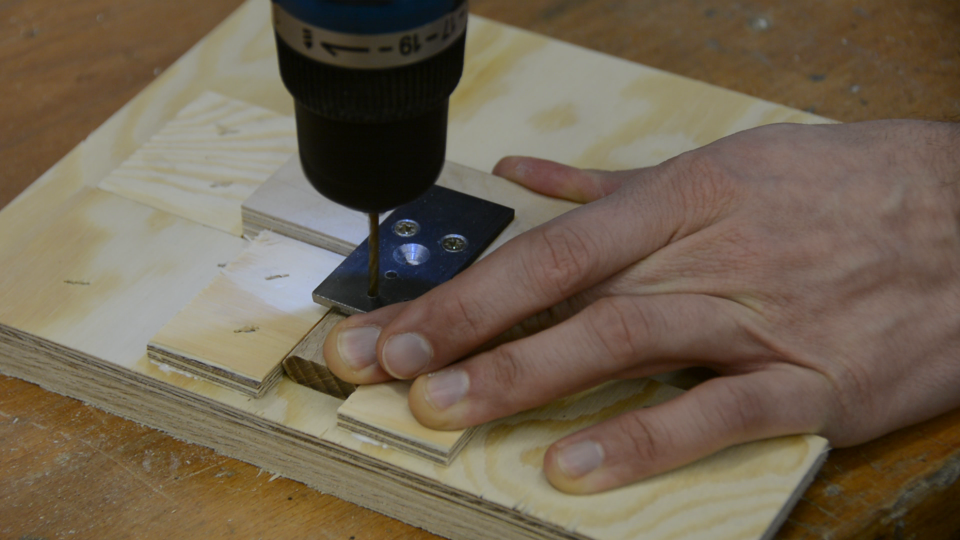
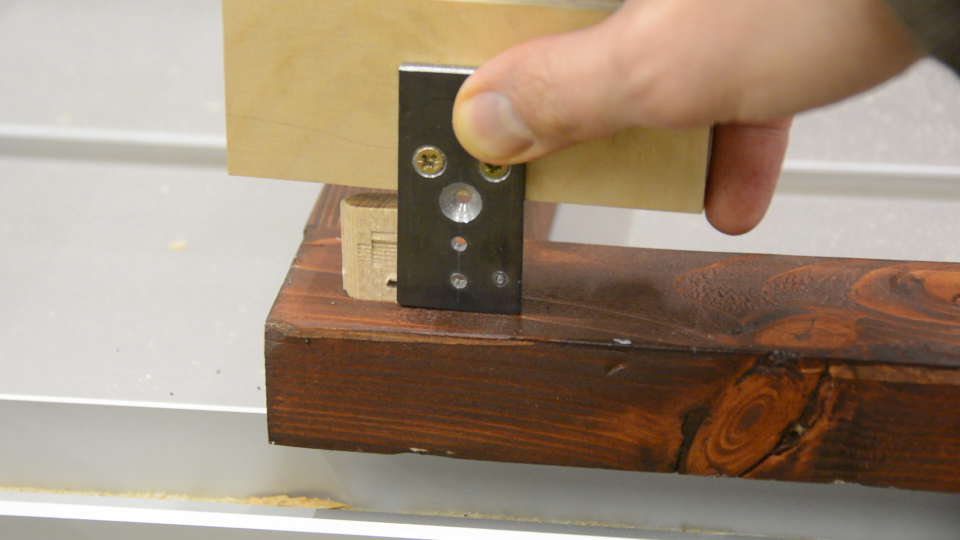
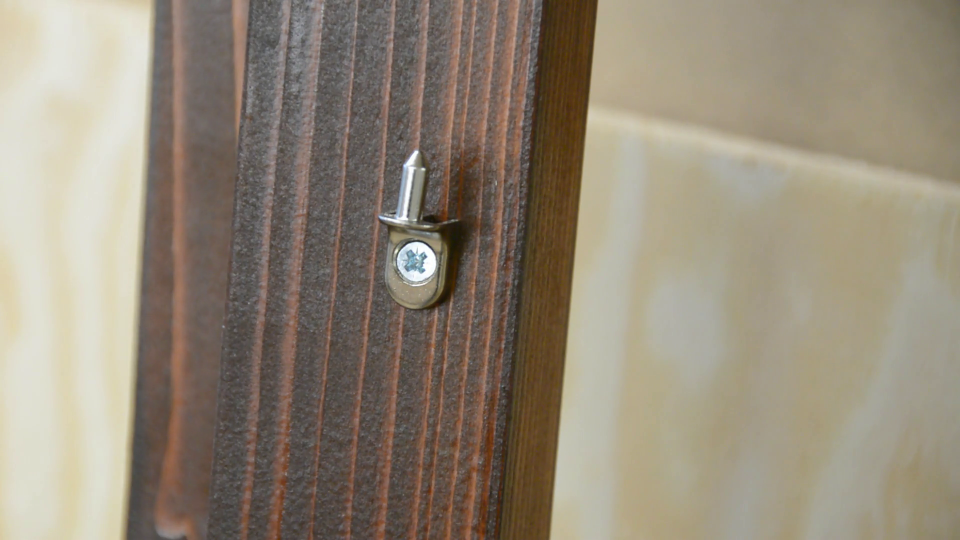
For the pins I am using this special kind of hardware that is screwed in the sidepiece and locks the shelf in place with a vertical pin.
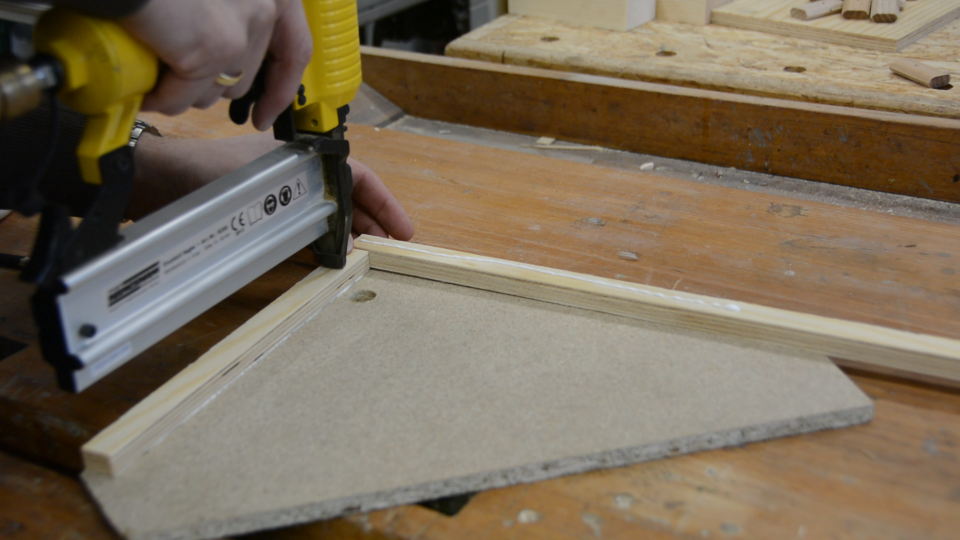
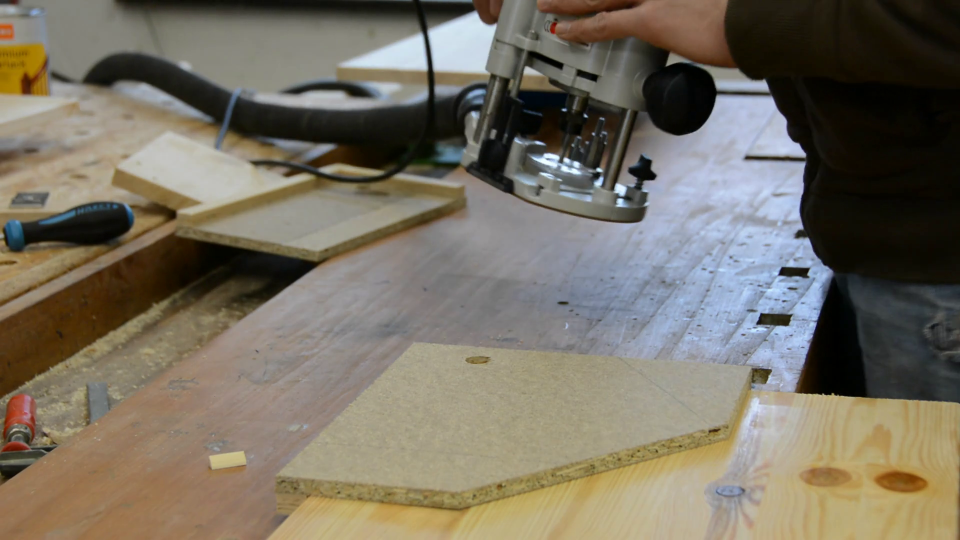
To create the holes for these pins I glue and nail a few plywood scraps together. In the position of the hole I drill a 17 mm hole for the guide bushing of my router. This makes drilling the holes quick and easy. I have 10 shelves which totals 40 holes. Boring the holes is fast, clean and accurate.
Lastly I remove Ivar from the room and put my shelf together. As there are quite some cables and pipes running through the room I have to notch out part of the shelves. This also provides additional stability. As the shelf doesn’t have a back panel you normally would either secure it to the wall or screw some kind of crossbrace to the backside.

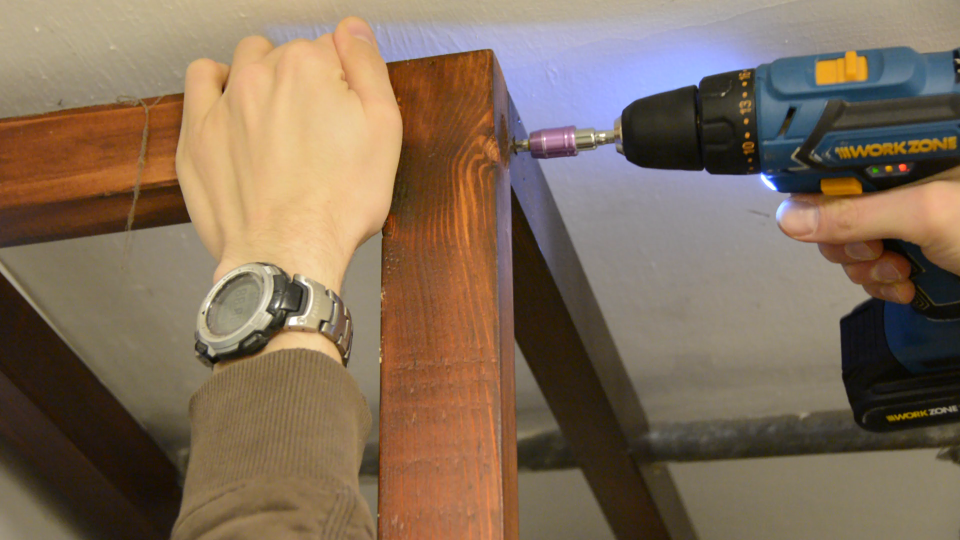
After all the notches are created the actual assembly is easier than putting a piece of IKEA furniture together.
This shelving is an incredible improvement to the laundry room and we can easily remove it for maintenance work on the heating system. Do you have other ideas where knock-down joints could be useful? Let me know in the comments.
You will find links to all the home made jigs in the description. If you are interested in more project videos please subscribe to my channel.
Resources
3d models and designs
Tools and material (affiliate)
- Festool OF1010 on amazon.de or amazon.com
- Festool dominos 10×50 on amazon.de or amazon.com
- Leimboy on amazon.de
- Drill bit set (metric) on amazon.de or amazon.com
- ANET A8 Printer on amazon.de or amazon.com or ebay
- PLA filament on amazon.de or amazon.com
- 8mm spiral cutting router bit on amazon.de
- Angled Bookshelf pins on amazon.de


2 Comments on “Strong DIY knock-down storage shelves”