
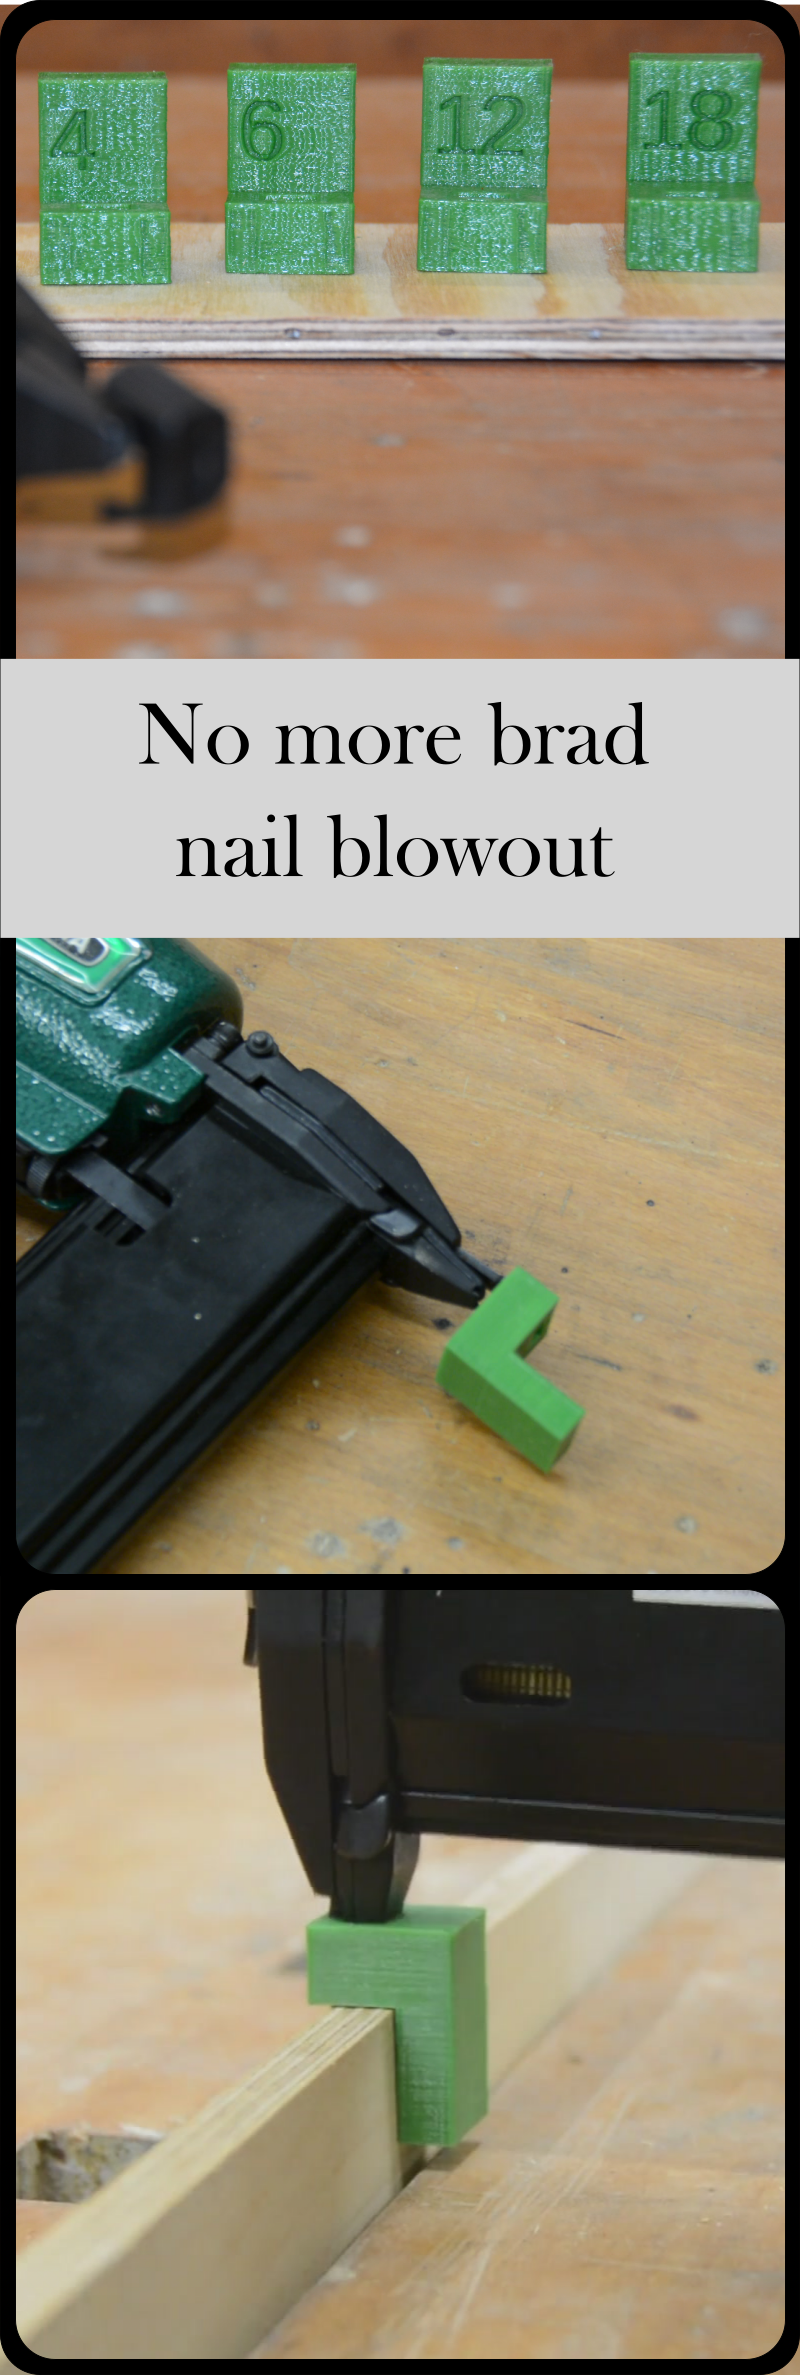
In this article we design a jig that eliminates nail blowout once and for all by using the free CAD software Openscad.
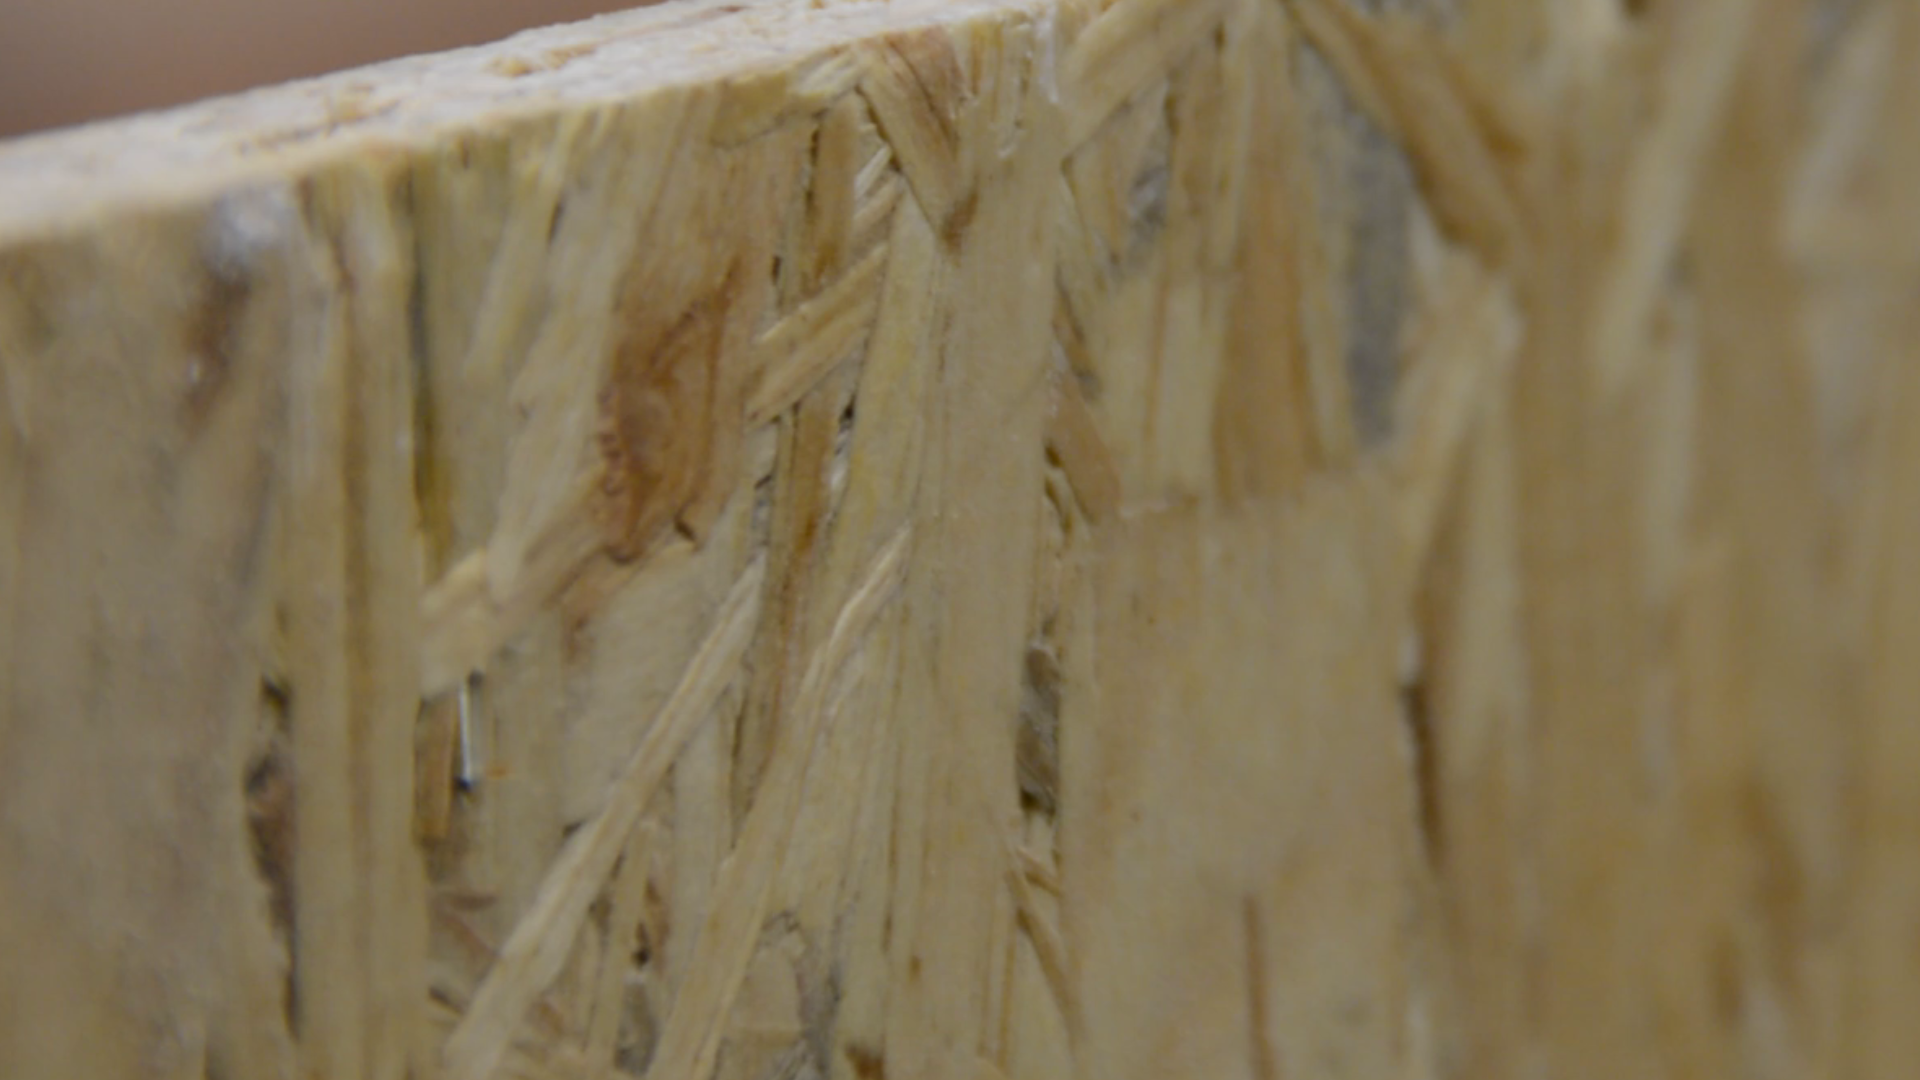
Recently I created a lot of drawers for this cabinet and a few others. As it had to be a quick build I used brad nails and glue. The drawers are made from 12mm plywood I had a nail blow out in one of the drawers.

It is less likely to have nail blowout when you hold the nailer perpendicular to the workpiece. But still – at least for me – 1 out of a 100 nails creates blowout and you can bet that it is going to be the most visible of all nails.
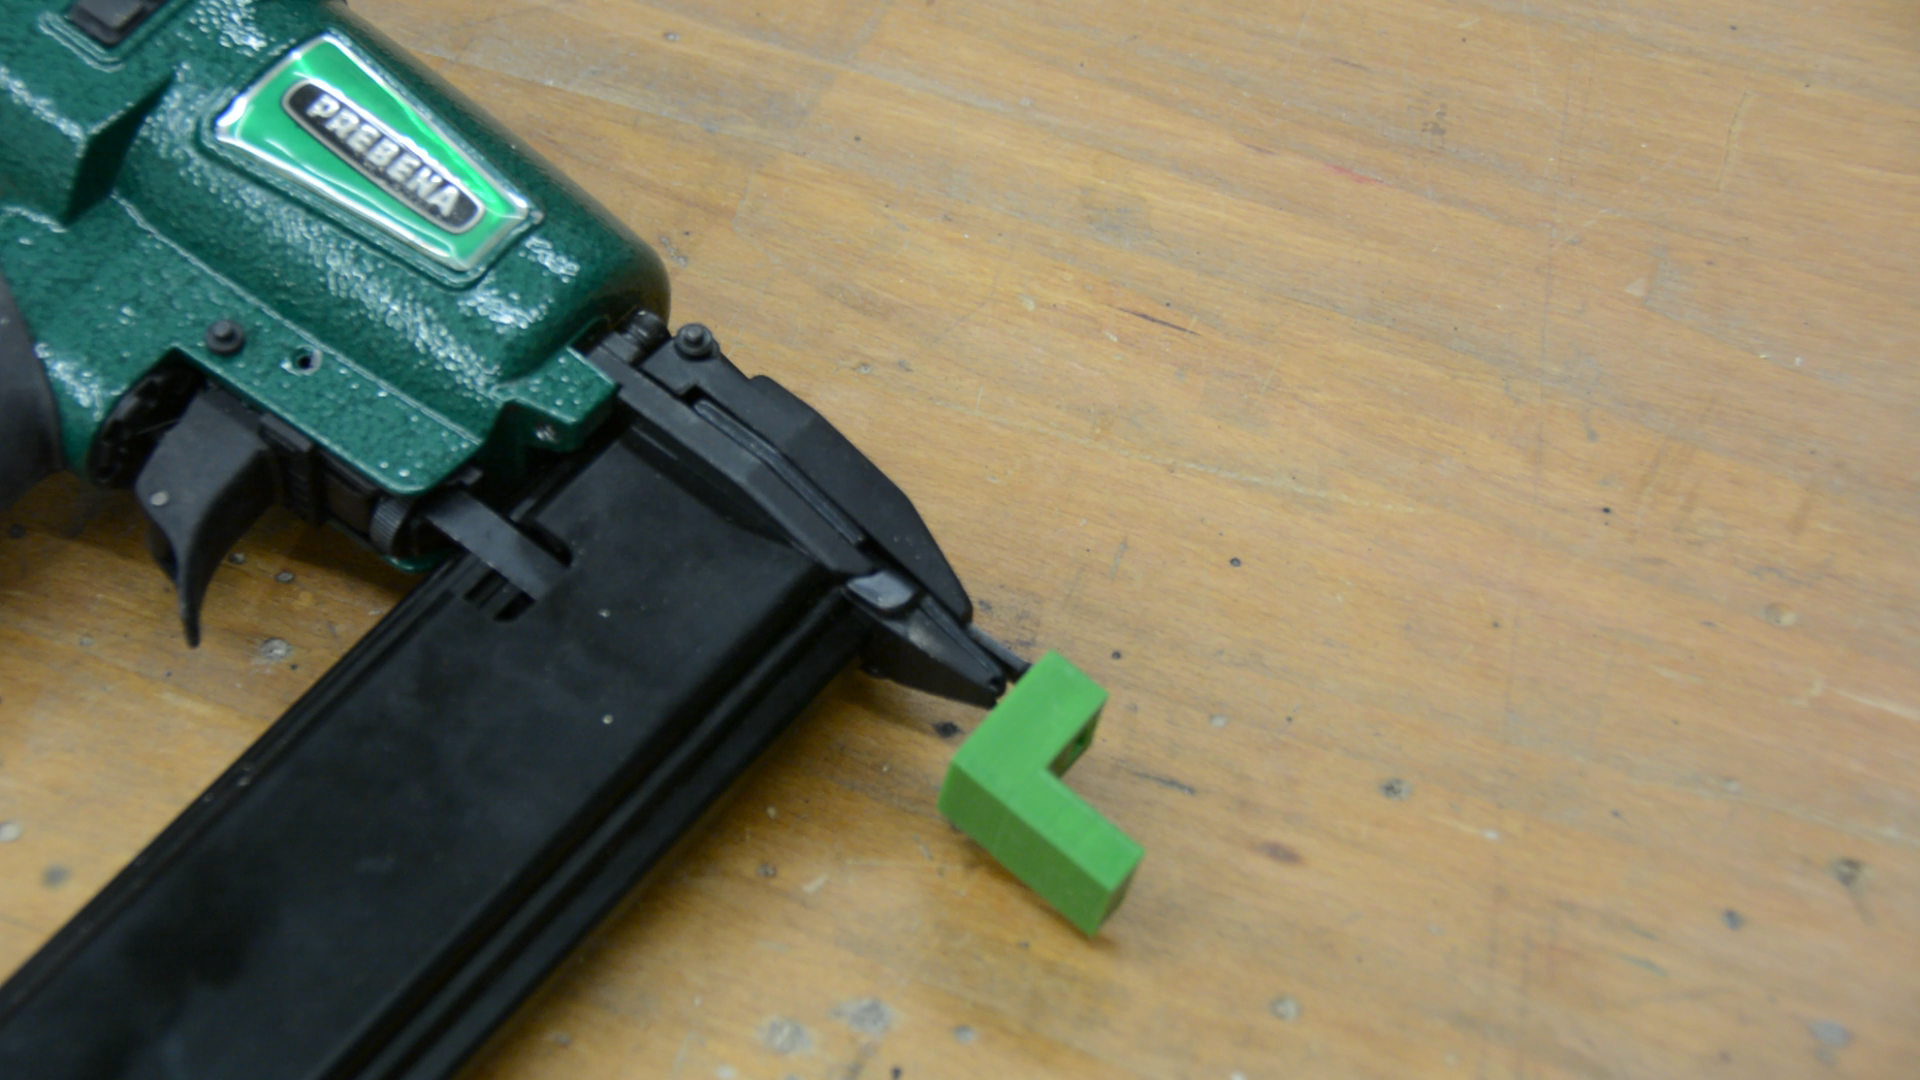
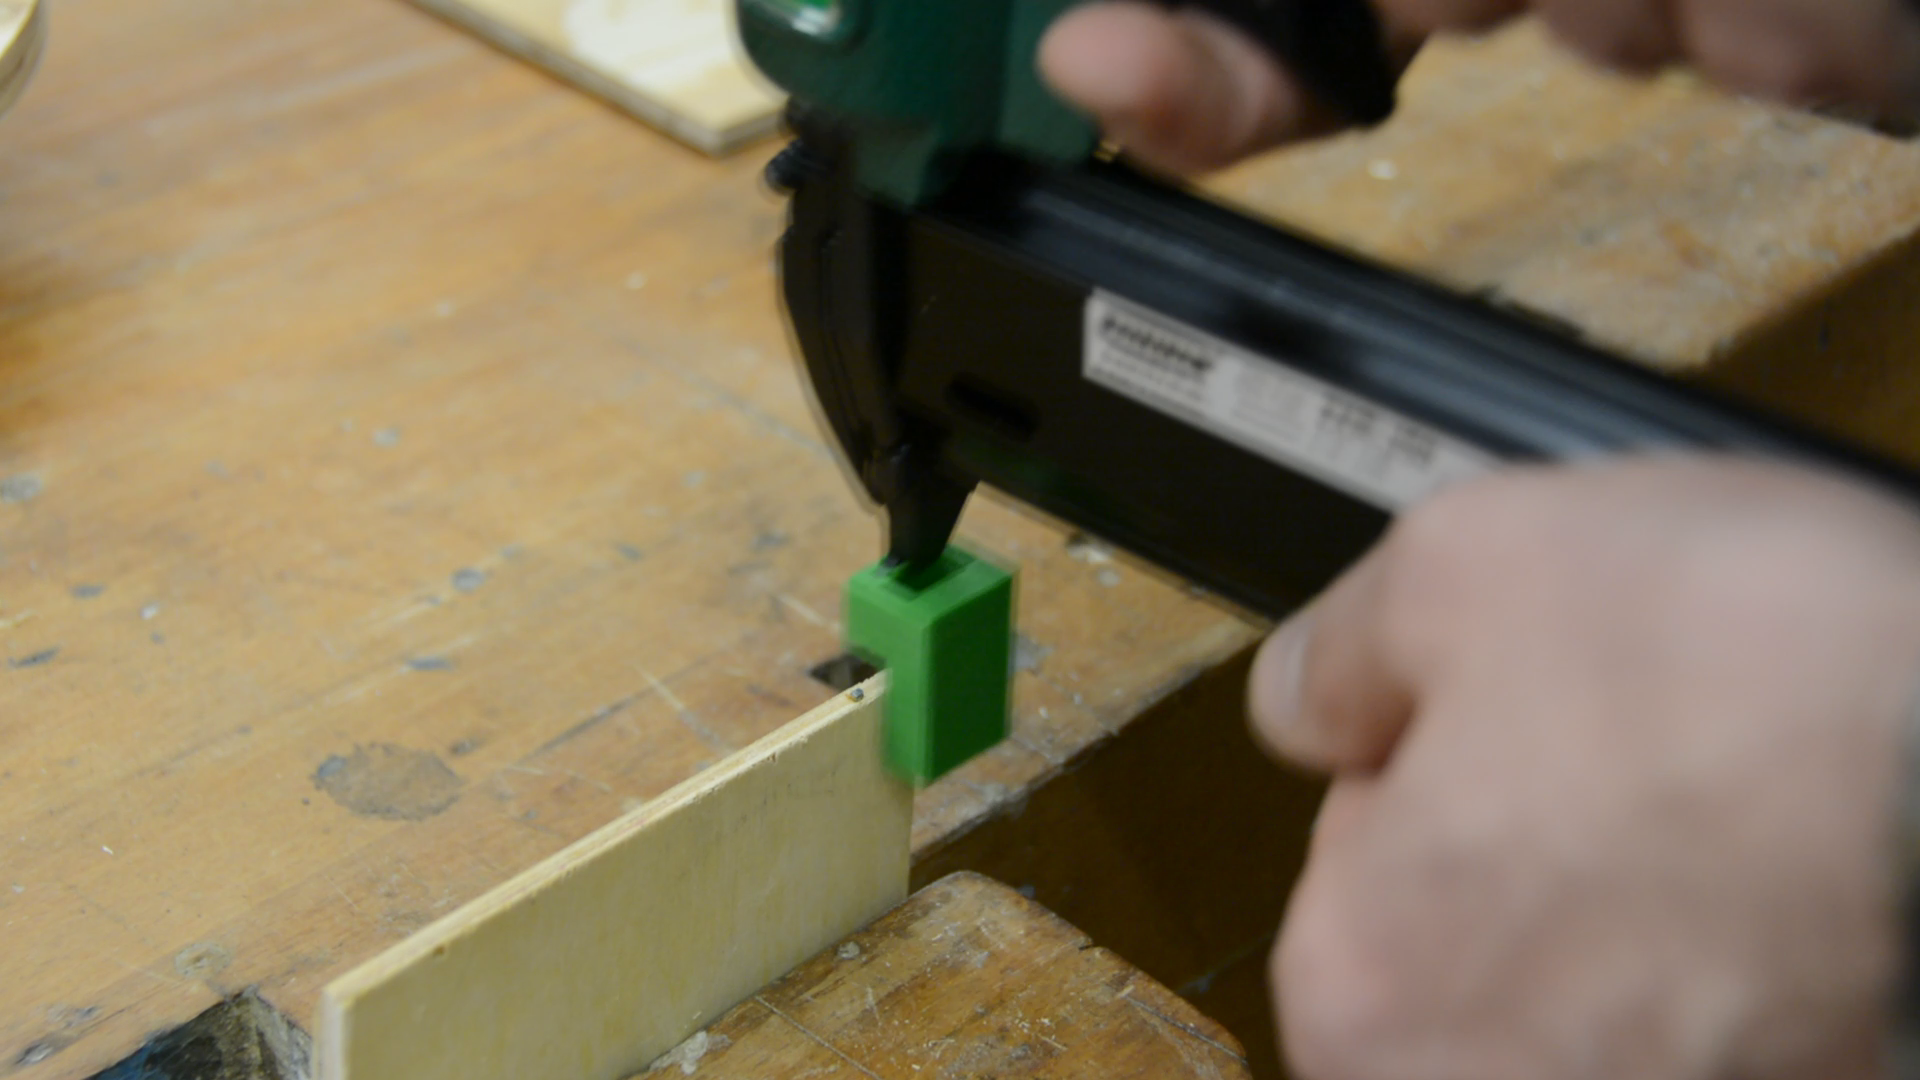
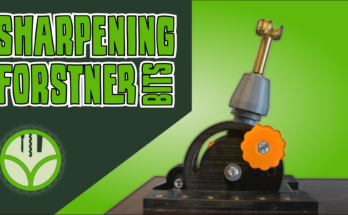
To get rid of that nail blowout I designed this little part that is basically a fence for my nail gun. It is custom fitted to my nail gun and can be downloaded for free from the thingiverse website: Design on Thingiverse
Why Openscad?
I created this part with Openscad, an opensource, parametric CAD solution. Before we jump in the actual design let me explain why I used Openscad instead of Fusion360:
- First: Thingiverse allows me to share openscad files with other users. You can go to their website, select the thickness of material you want to use and download your custom model.
- Second: Fusion is free at the moment but I donˋt like to be locked in with a single large corporation. While I use Fusion for some parts I find a bit scary that Autodesk could decide to start charging money for the software and with all my eggs in one basket I would not have any alternative.
- Thirdly you will see that for simple parts Openscad can be as efficient as any other CAD program and lastly I think itˋs fun to put some of my math lessons to good use.
Openscad design
With that out of the way letˋs jump into the program. Instructions how to download and install Openscad can be found here.
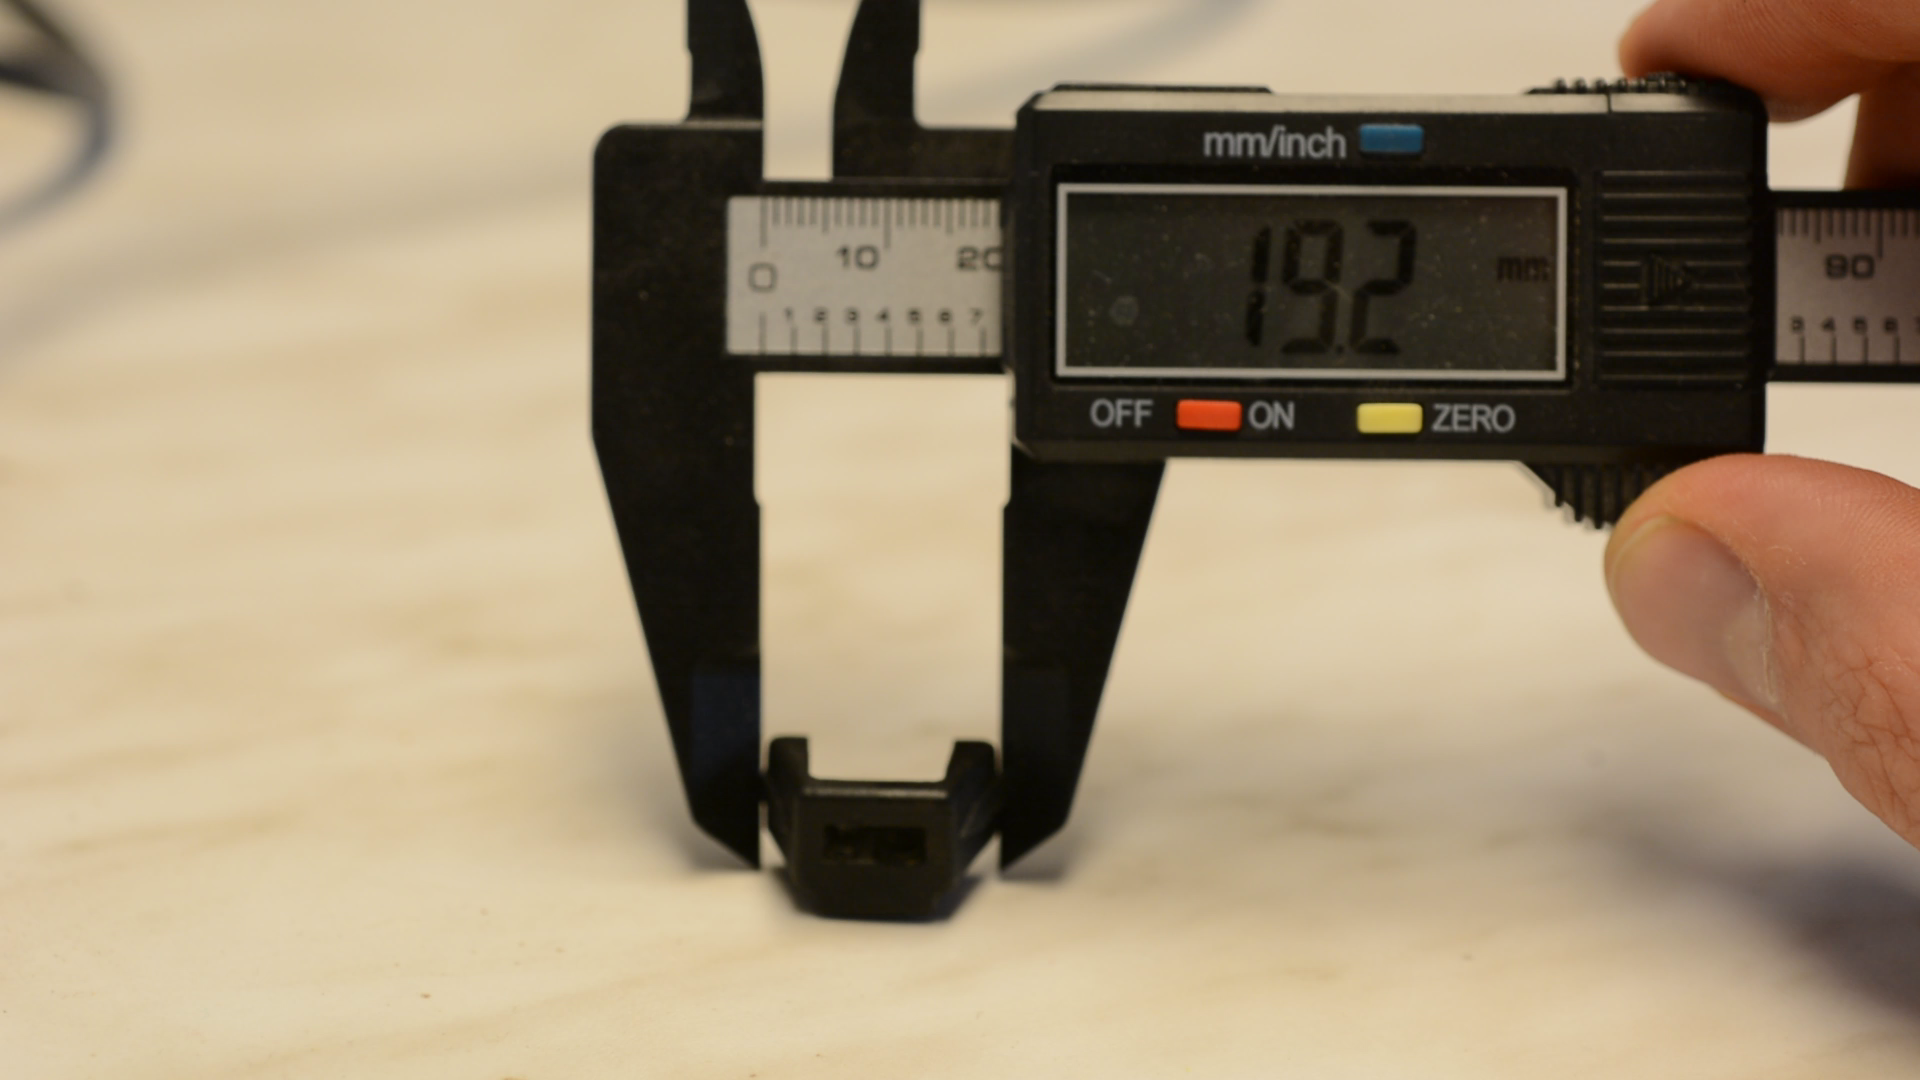
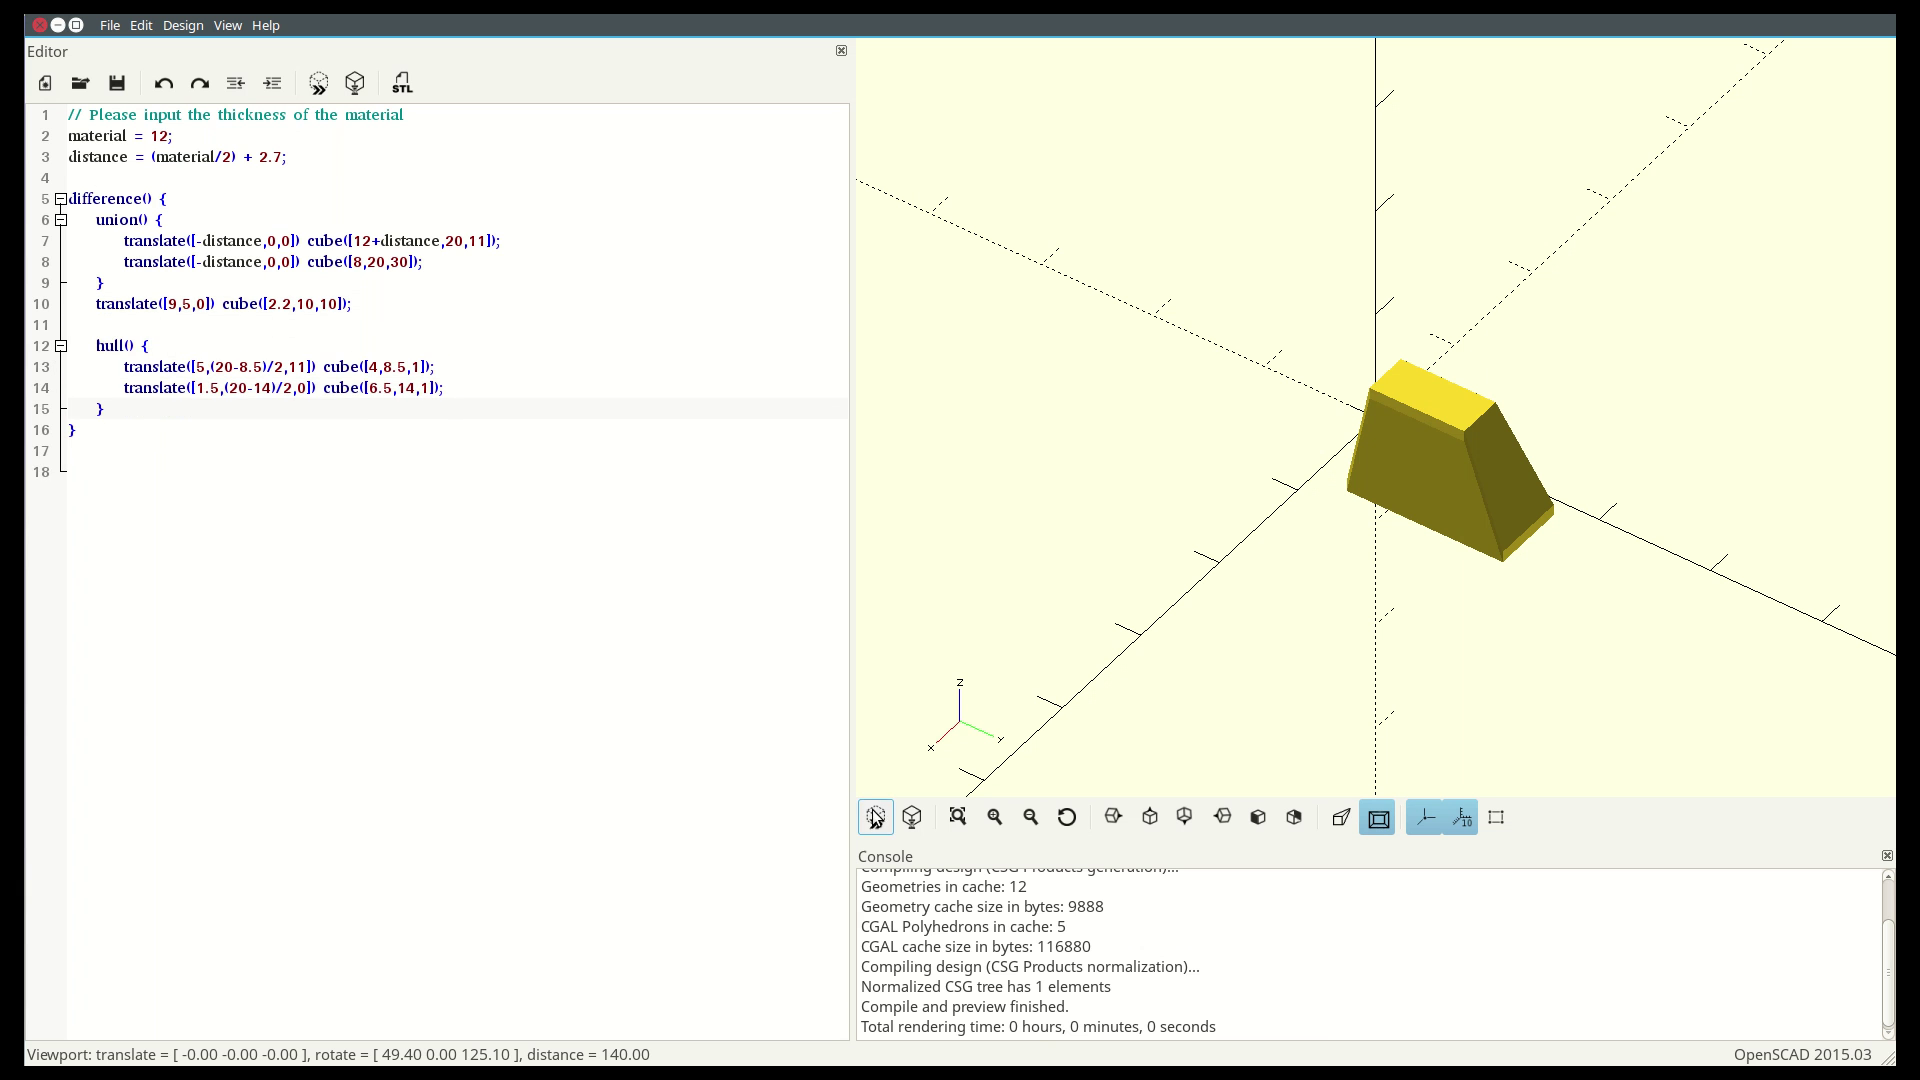
I measure the plastic cap that came with my nailgun and create a cube of that size in Openscad. Don’t forget the semicolon at the end of each line. We just type cube and the x, y and z size in the text editor at the lefthand side and we can press the icon with the two arrows to get a preview of our cube.

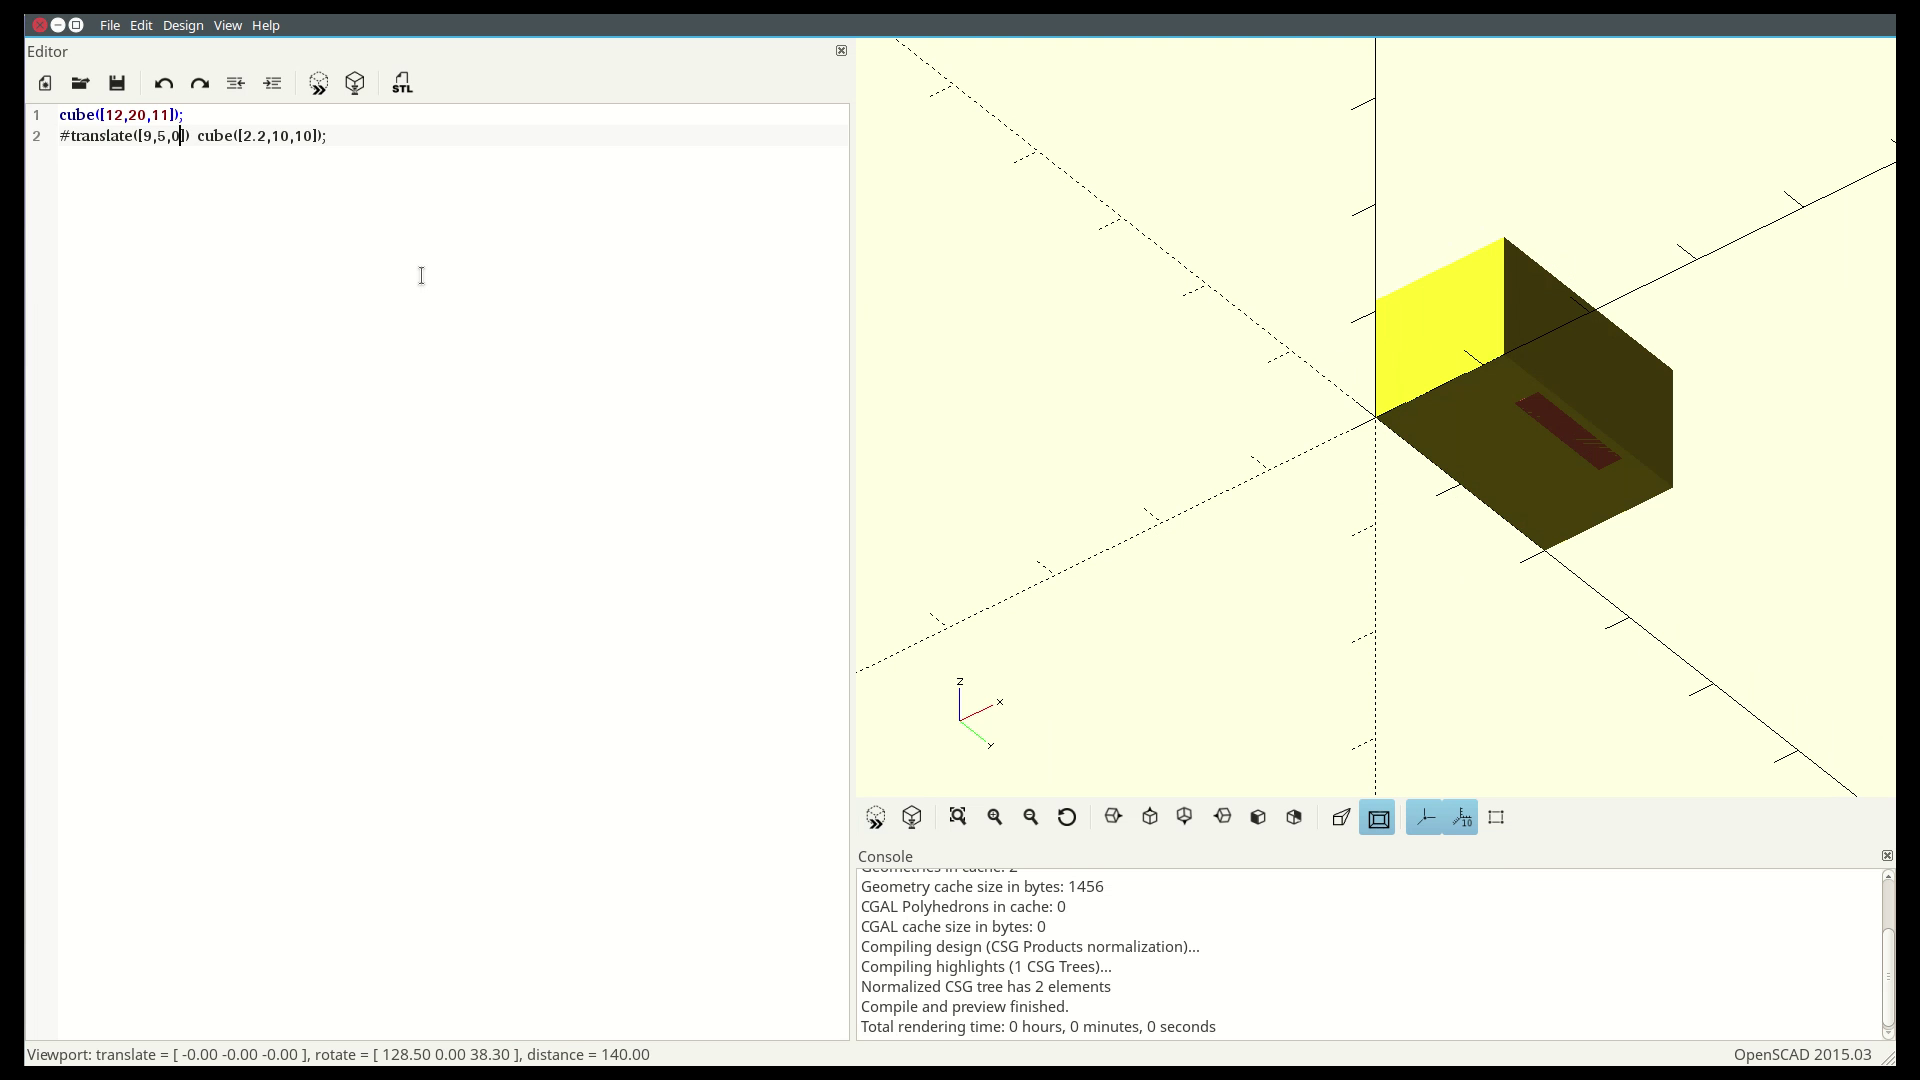
In that cube we need to create a cutout to attach it to the nail gun. For my gun that is 10x10x2 mm. We create that cube as before … and nothing changes. By putting a hash in front of our new cube we can highlight it. As we can see it sits within the first cube. In order to move the smaller cube in the right place we put a translate directive before the our second cube.
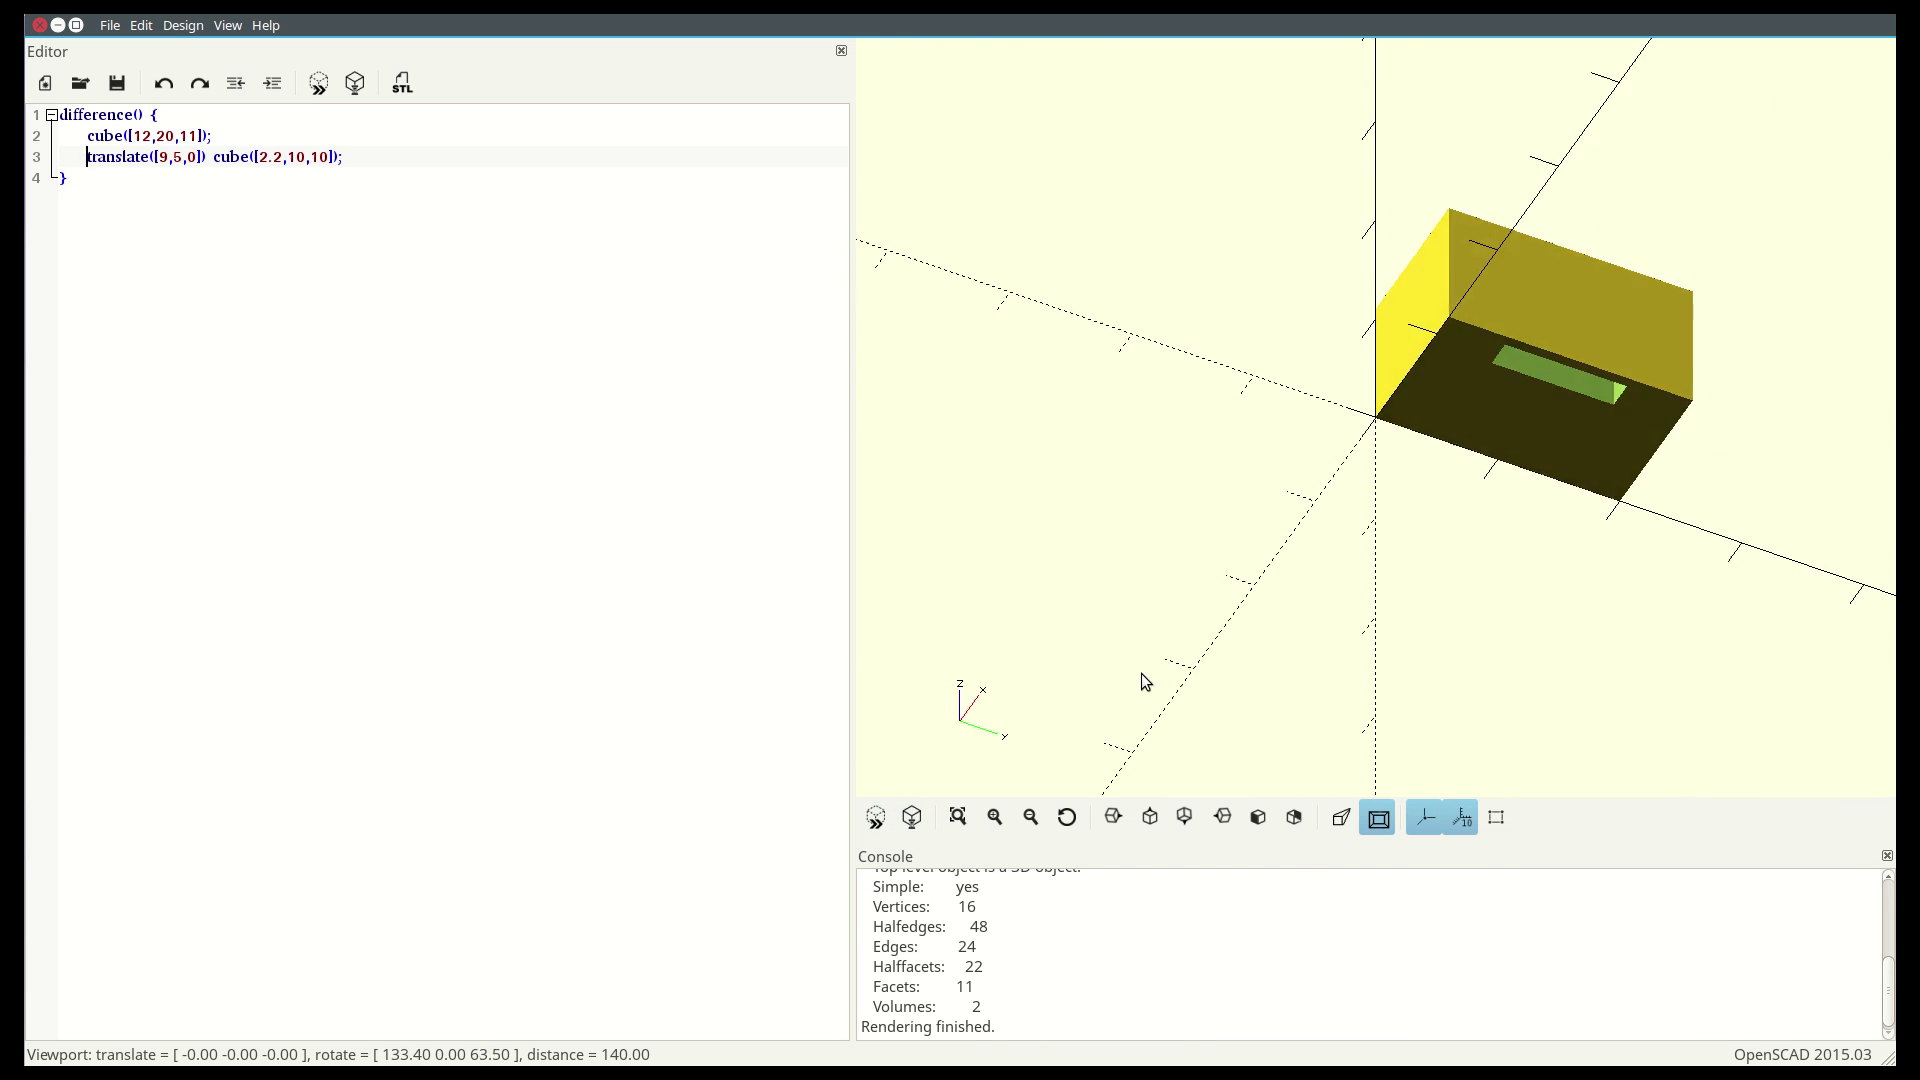
Next we tell Openscad to cut the second cube out of the first one with the difference statement. All the shapes that follow the first shape within the curly brackets will be subtracted from the first one.
Now would be a good time to create our fence – which needs to be at a different position depending on the thickness of material you are using. At the beginning of the file we create a variable that we call material. The text above is a comment that will be ignored by Openscad but displayed to thingiverse users for the configuration of the item.
The nail is placed 2.7 mm from the edge of the standard cap. Our fence has to be placed by half the material thickness minus this value away from our first cube. We save this value in a second variable. Then we create the third cube just as the two other ones. Instead of a fixed value we use our variable for the positioning.
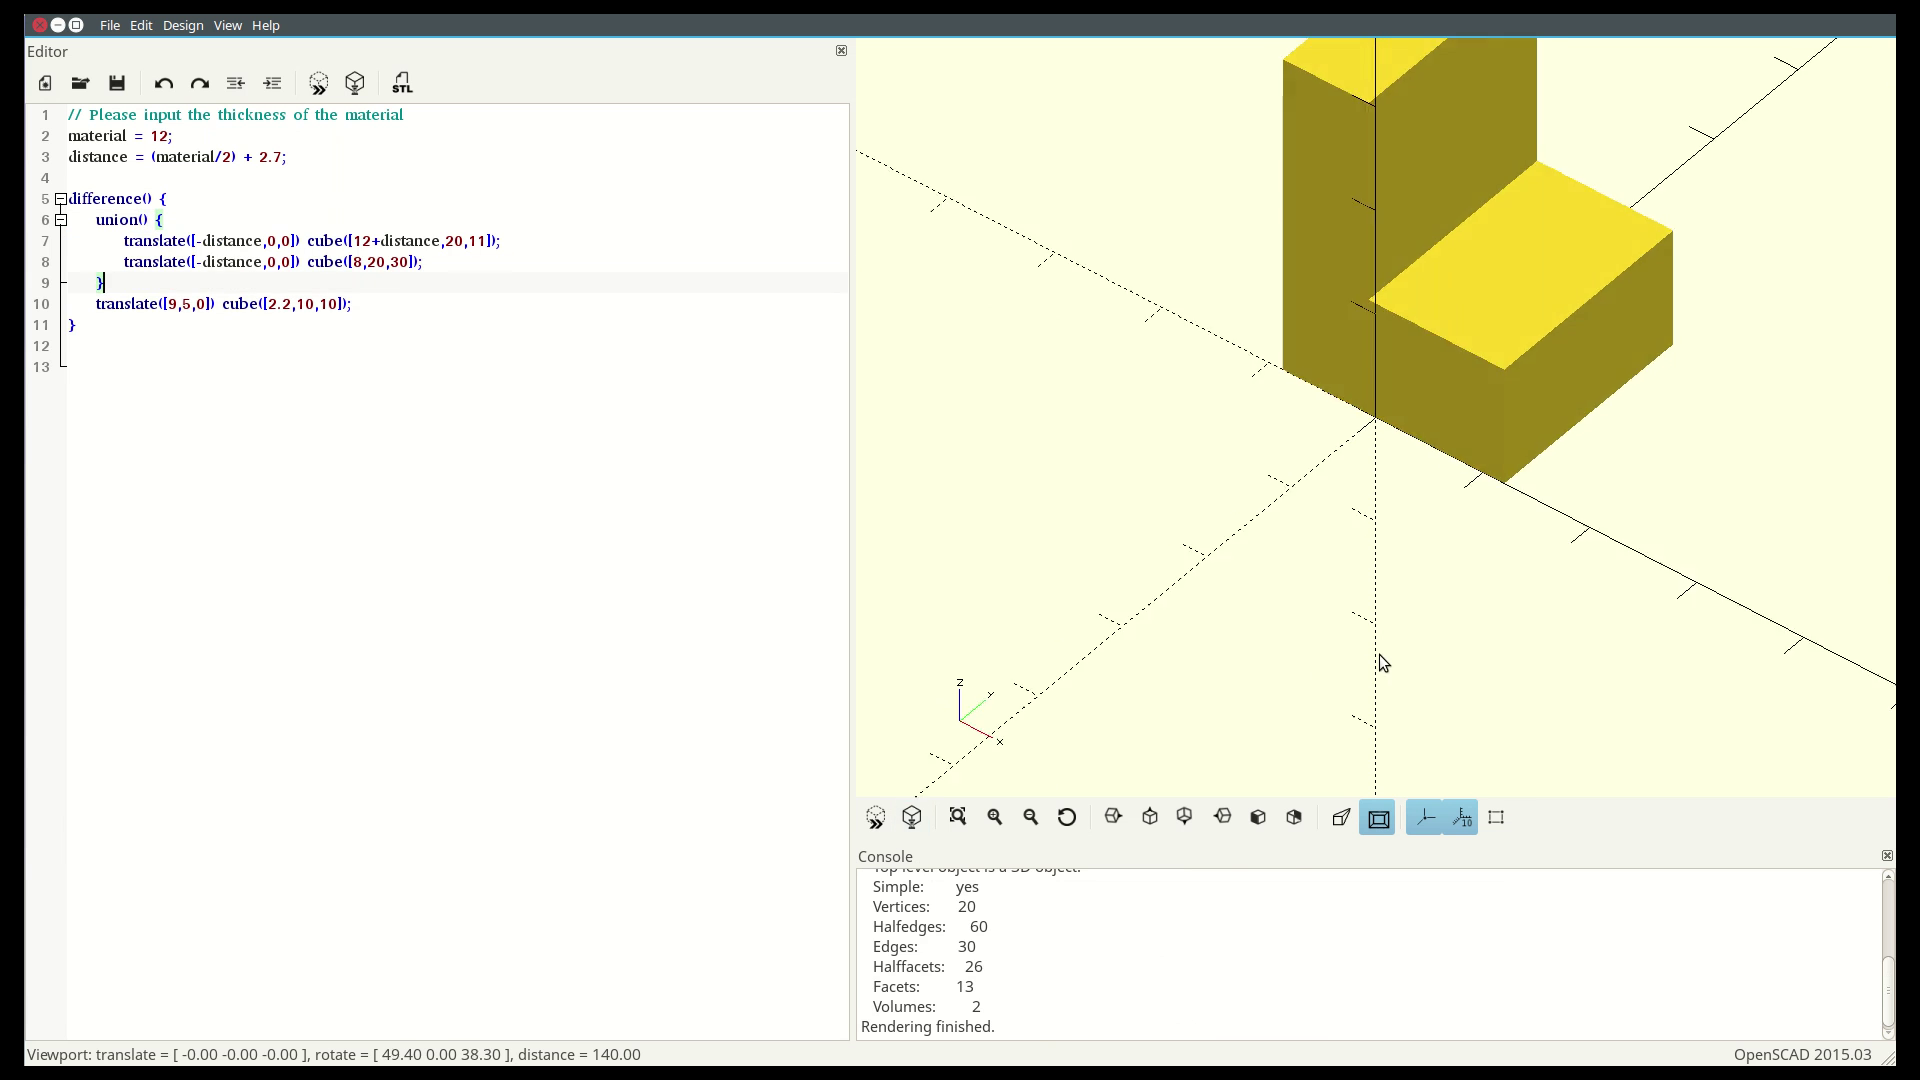
We use the same variable to increase the size of our first cube and move it towards cube 3 so that cube 1 and cube 3 are overlapping. With the union function we can combine these two cubes into one shape.
The last thing that we are missing is the opening for the nailer itself. The opening is at the top a bit wider than at the bottom. Each opening is modelled as an individual cube. We then use the powerful hull command to connect them to a single shape. With the exclamation mark at the beginning of the line we see only the shape in that line.
We move this cutout inside of the difference function and our piece is finished.
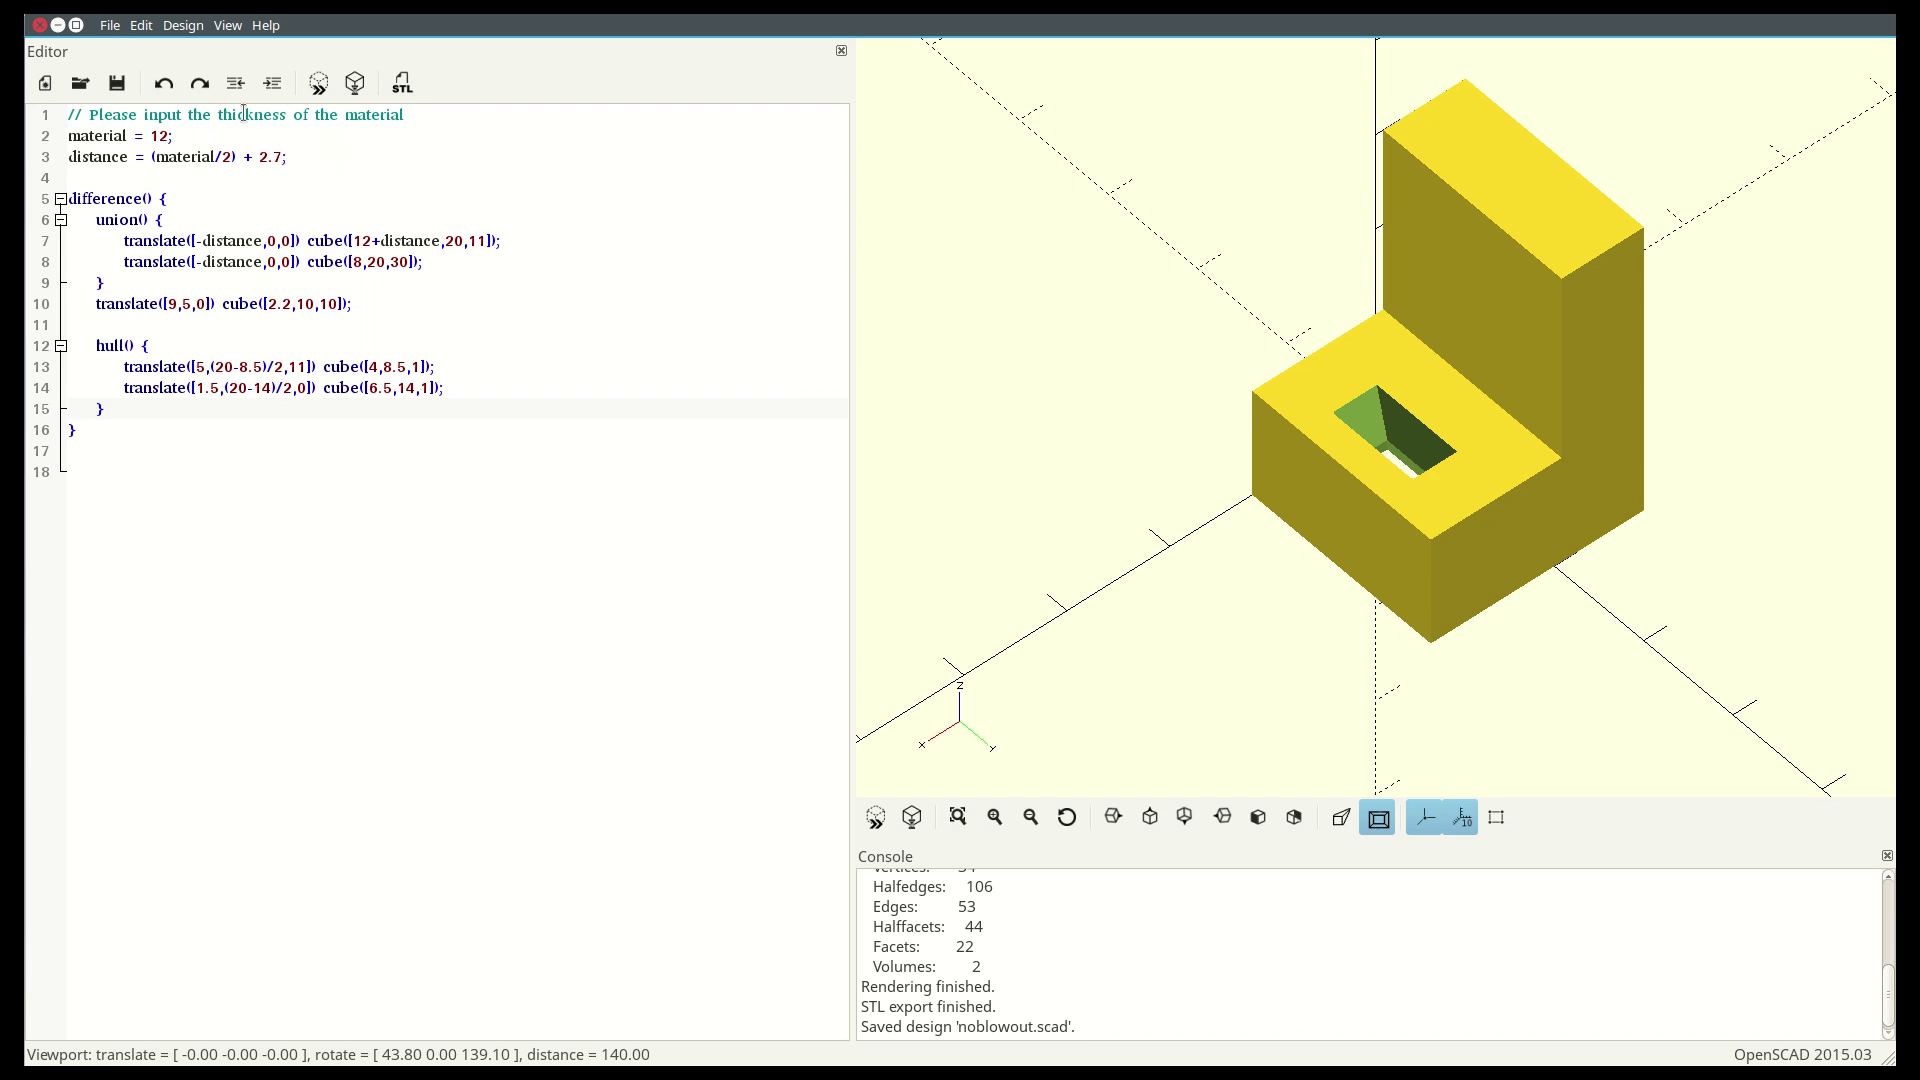
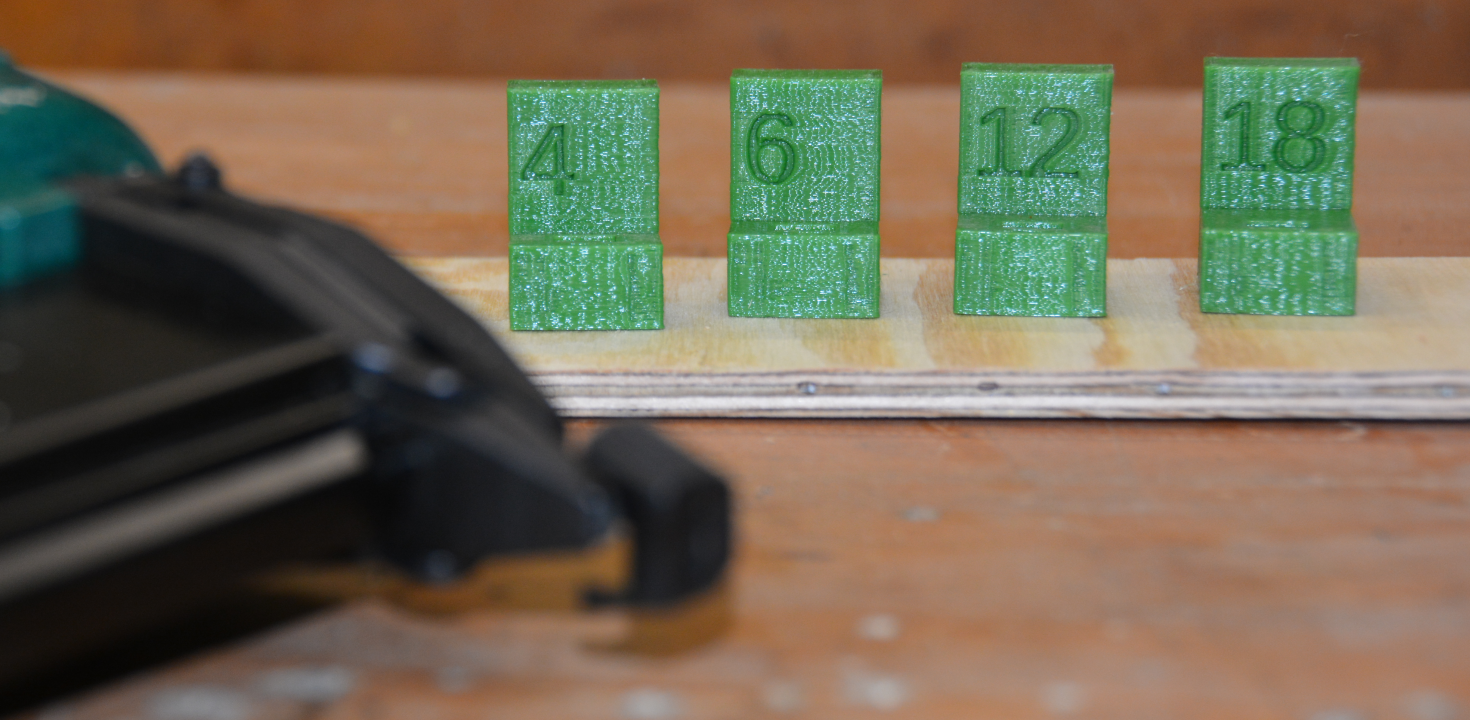
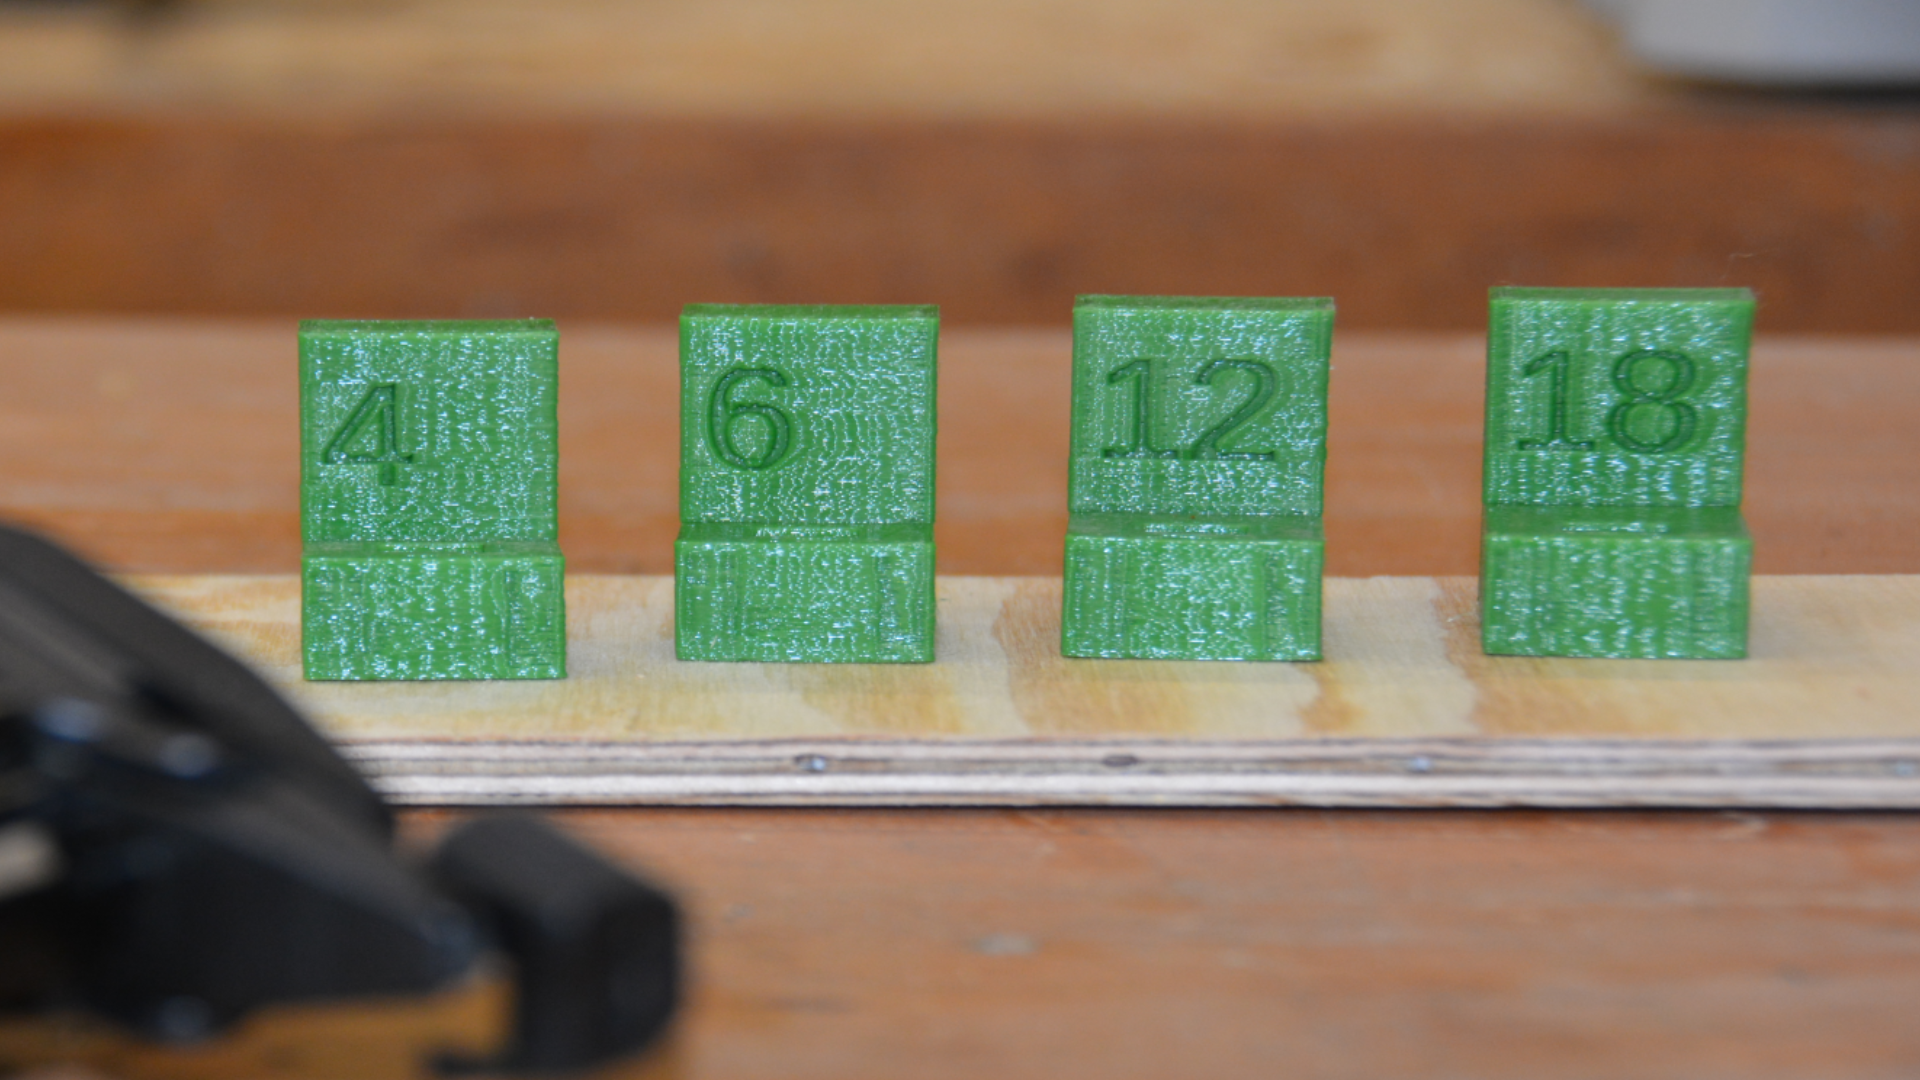
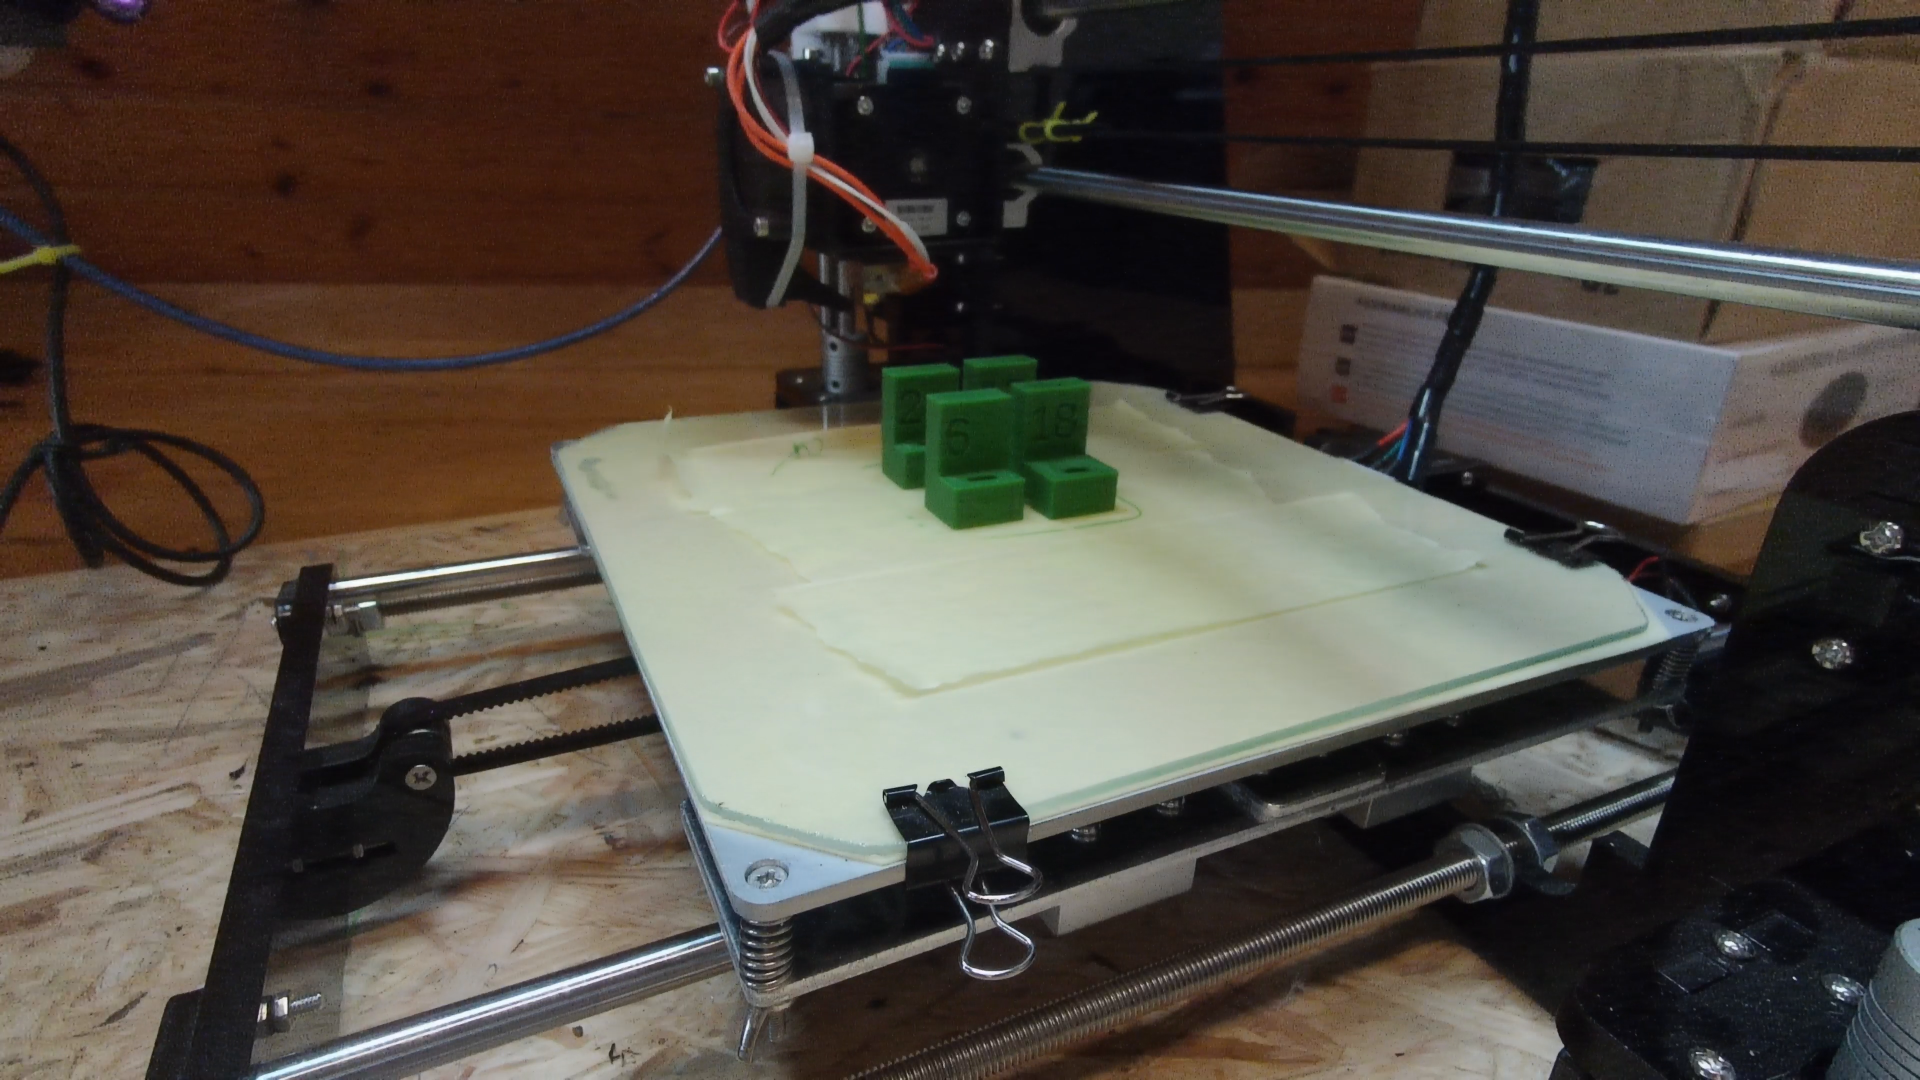
We can export the STL from Openscad and use cura or any other slicing software to prepare for the print. If you want to use the jig to avoid nail blowout in different material thicknesses just change the variable and print a few more. Printing one piece only takes less than half an hour and we can testfit the jig.
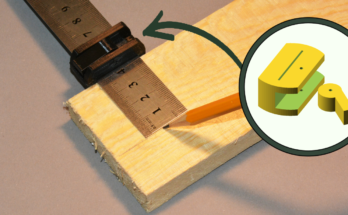
It replaces the standard plastic cap and makes it easy to drive nails in 12 mm plywood. But even in 4mm material we can place nails without any blowout.
Resource
Tools and materials (affiliate)
- Prebena pneumatic nailer 2XR on amazon.de or ebay
- ANET A8 Printer on amazon.de or amazon.com or ebay
- PLA filament on amazon.de or amazon.com
One Comment on “No more nail blowout with a 3dprinted openscad design”