
In this article we are going to look into Rendering in FreeCAD and go through a variety of options to improve the look of your CAD work.
Coloring and texturing Options in FreeCAD
Sometimes the grey look of the plain CAD model is all you need to get going. But sometimes your spouse, your client or someone else who is finally going to buy or use a piece would like to get a better impression of it.

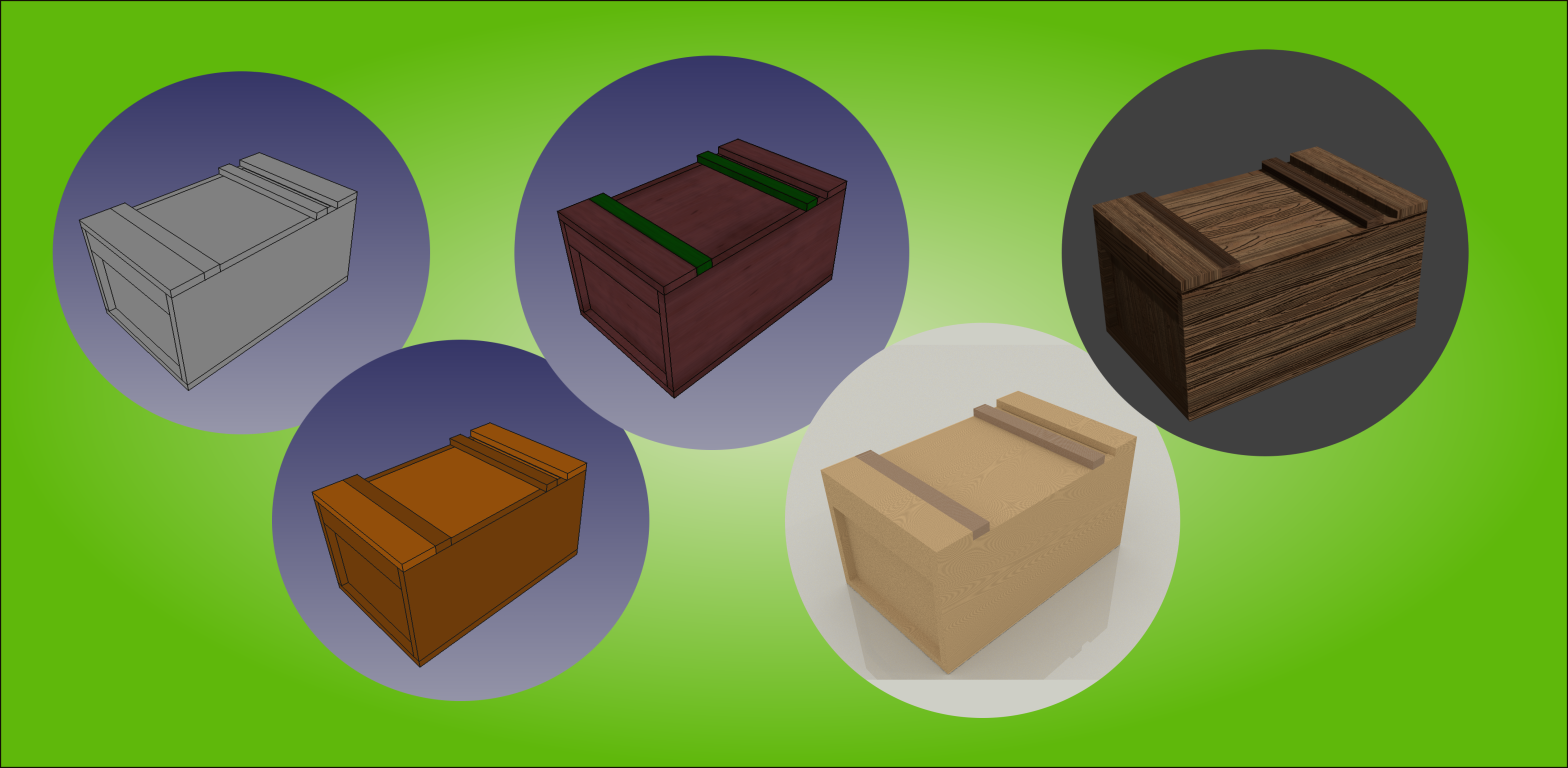
There are a few limited options within FreeCAD to get a better impression of a piece. Sometimes it is good enough to just give individual parts a sightly different color. While this is not a perfect option you can get a n idea how darker and lighter woods could be combined on a workpiece.

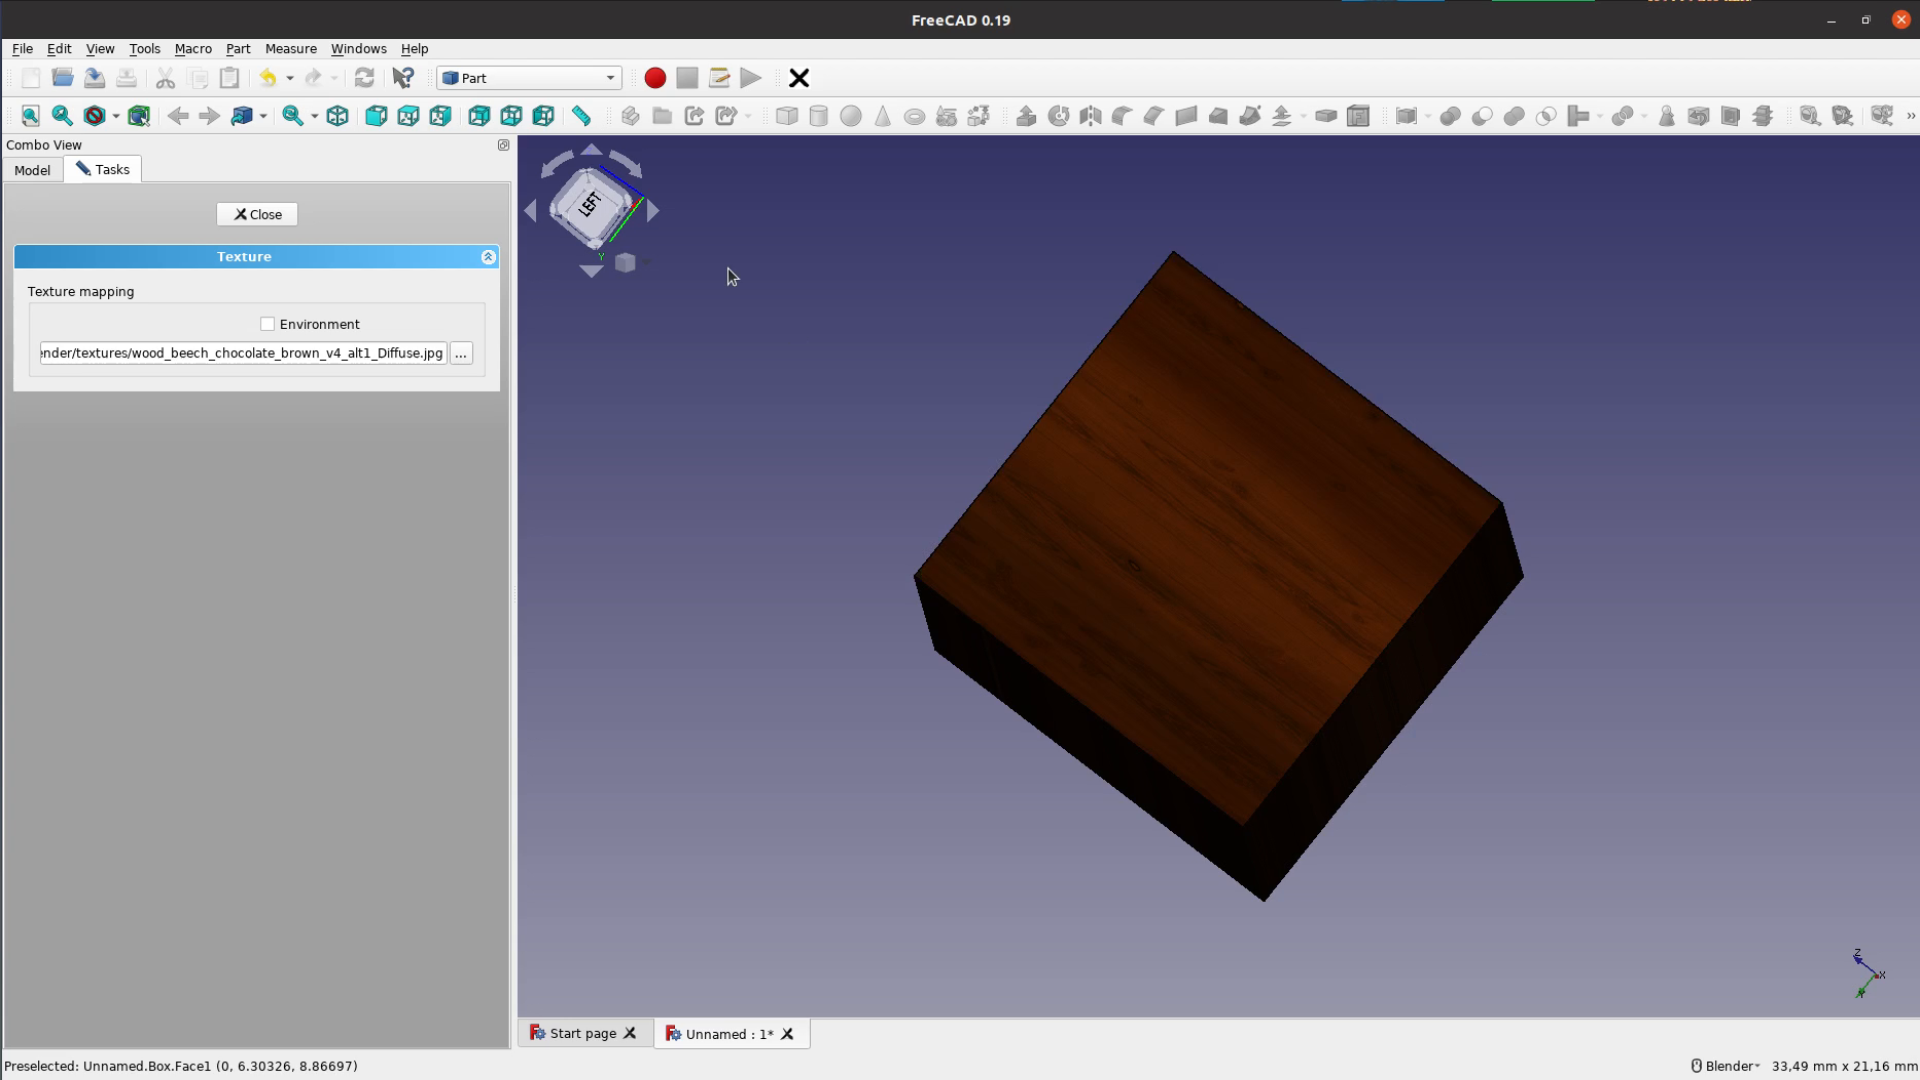
FreeCAD also supports texture mapping. With this option we can take a photo and wrap it around the entire object. With the right texture this looks actually quite nice for a simple shape.
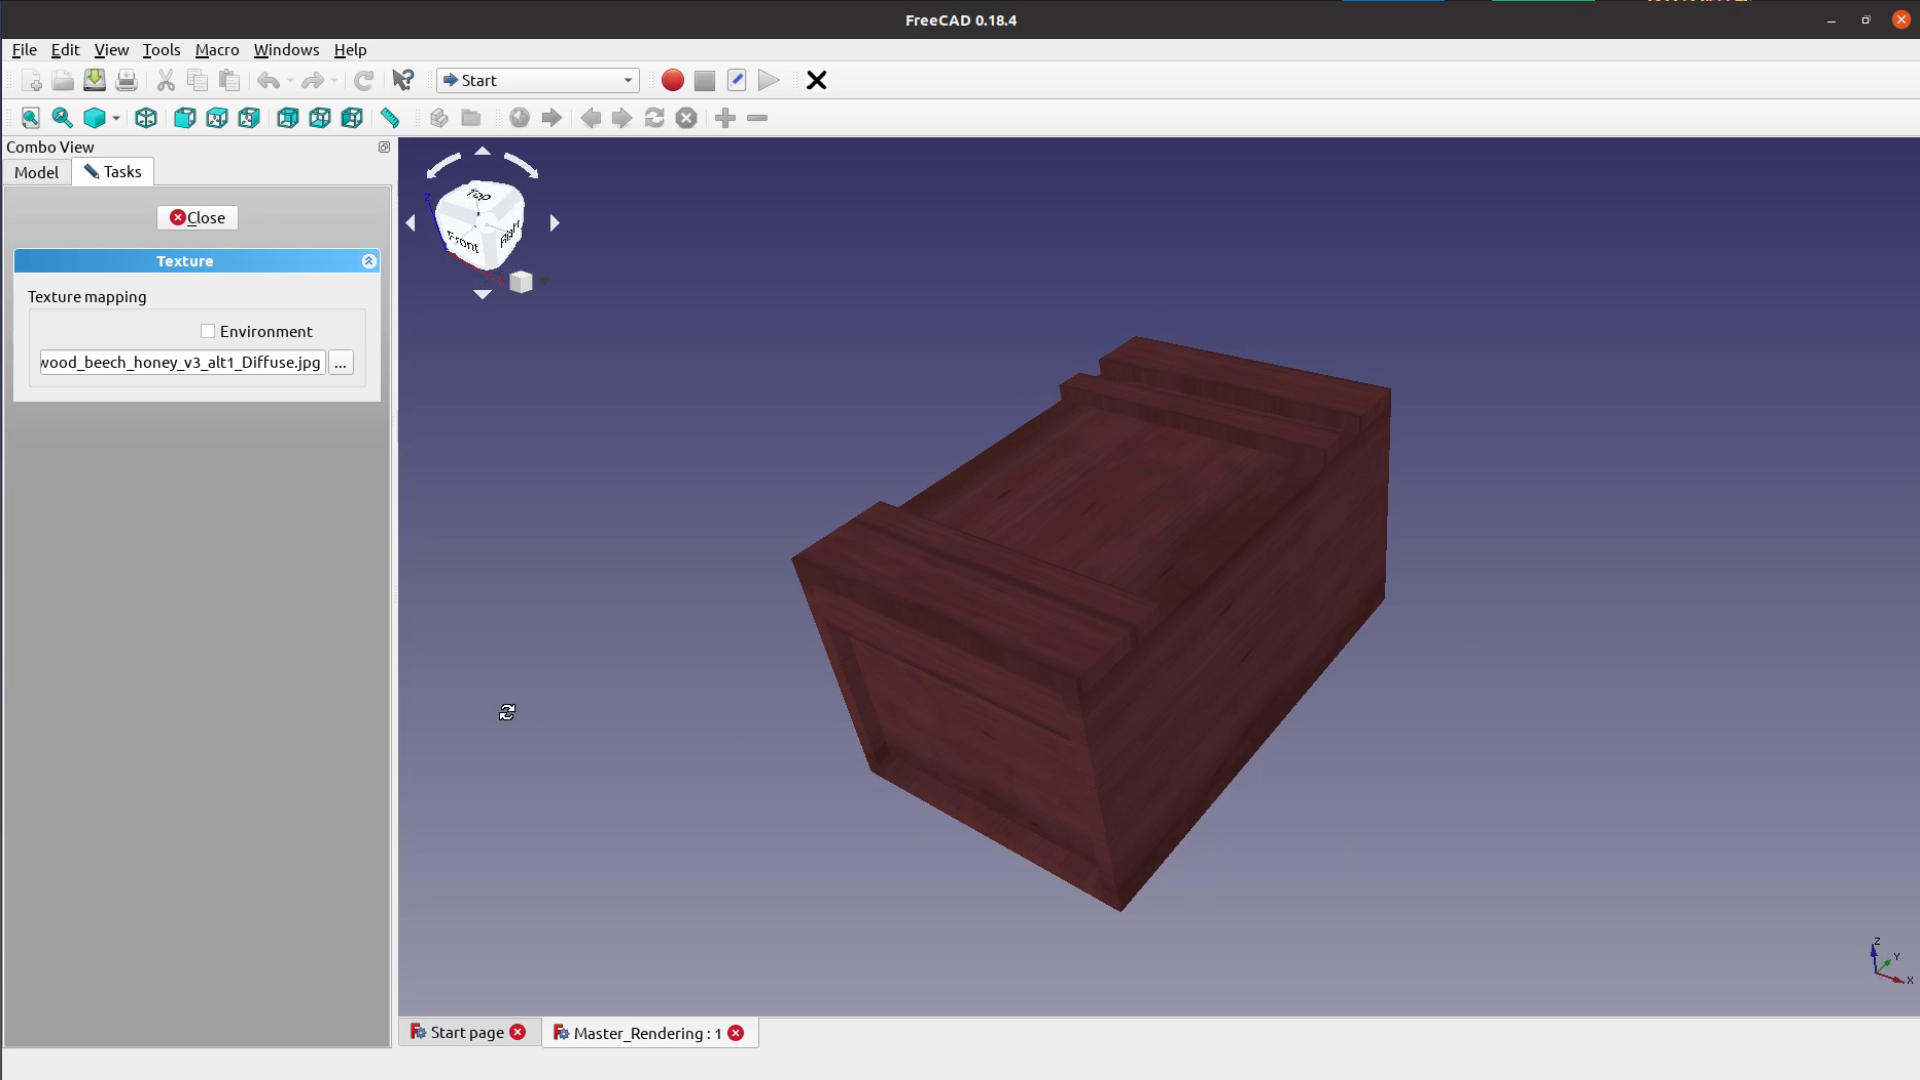
For more complex shapes like our Japanese Toolbox from the last part of the tutorial the texture mapping doesn’t work. The texture goes across all parts and hides a lot of the details.
Raytracing and Rendering in FreeCAD
This brings us to the raytracing workbench. Start the workbench and then go to Edit Preferences.
Make sure that Povray is installed and the path to the executable is correct and use a meaningful height and width. The +P makes Povray pause after the rendering until you
click on the window and +A turns on the anti-aliasing. Both of these parameters are optional.
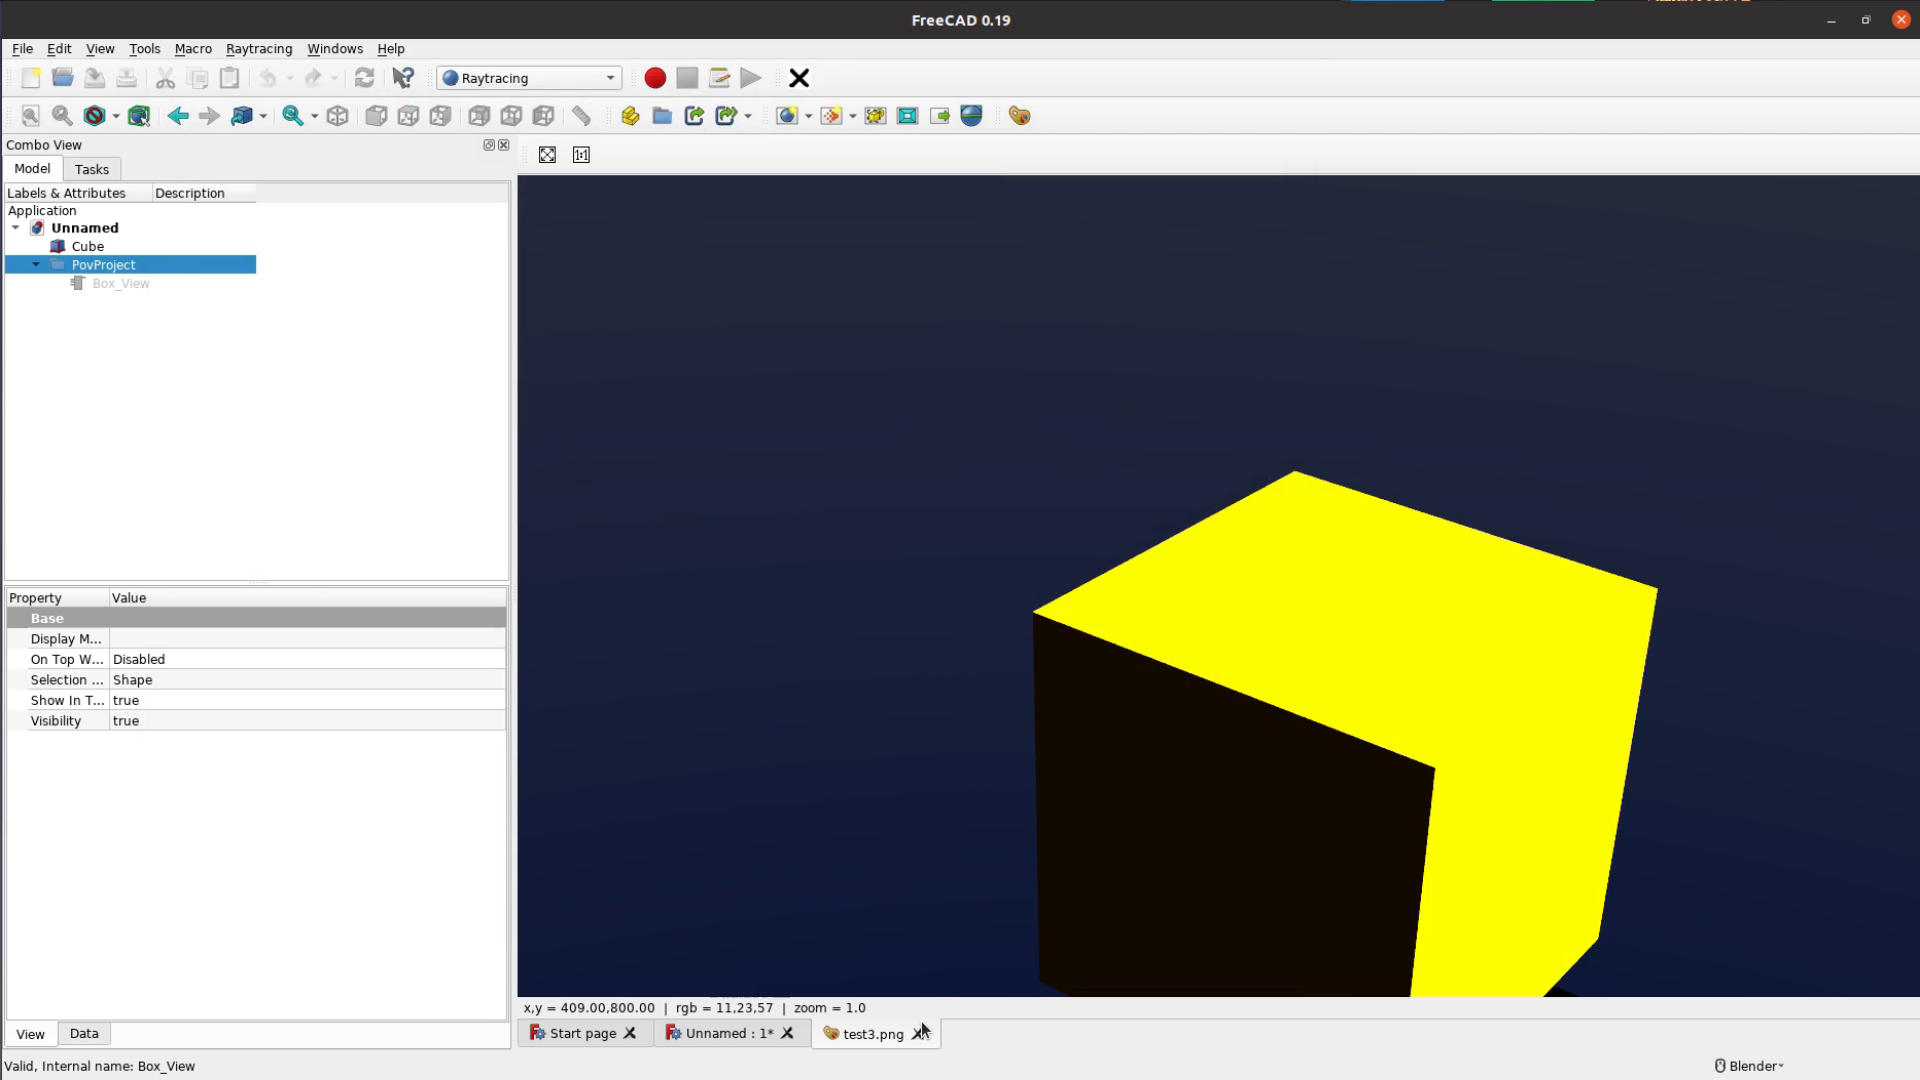
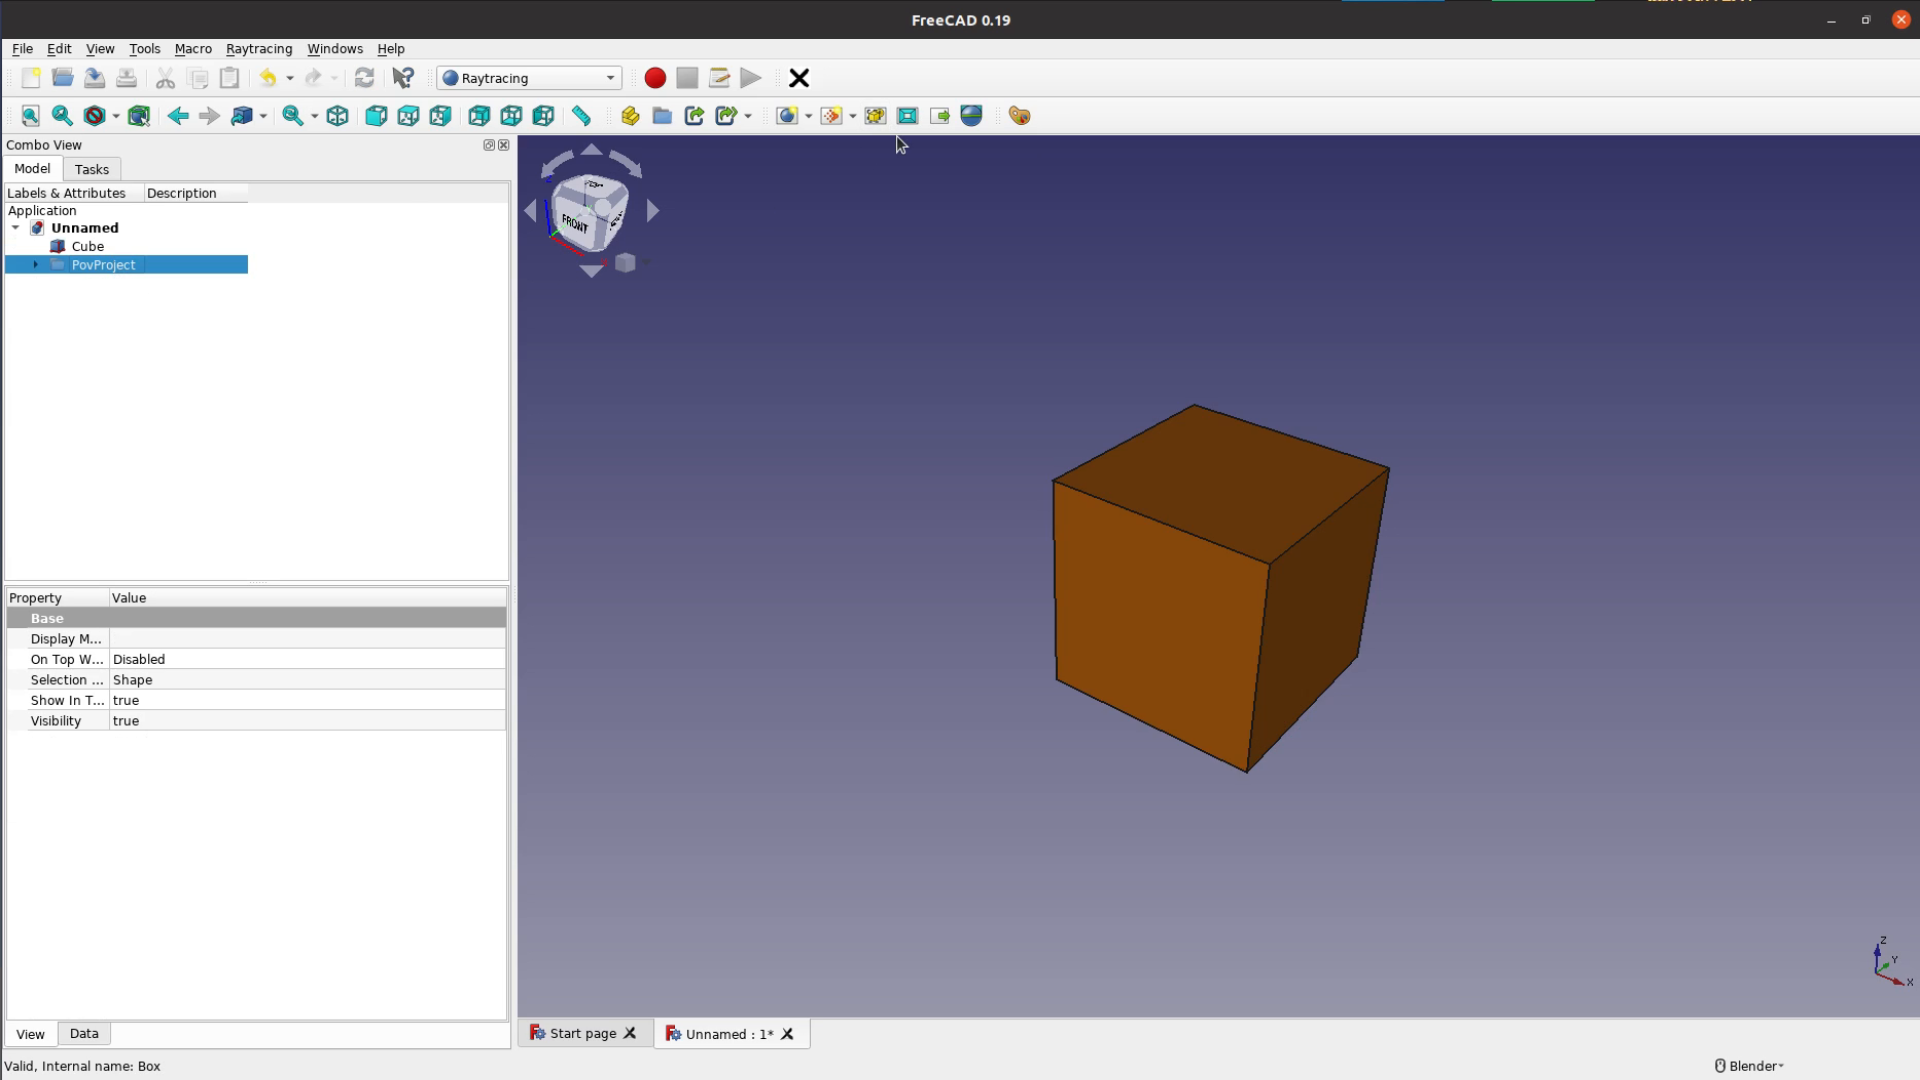
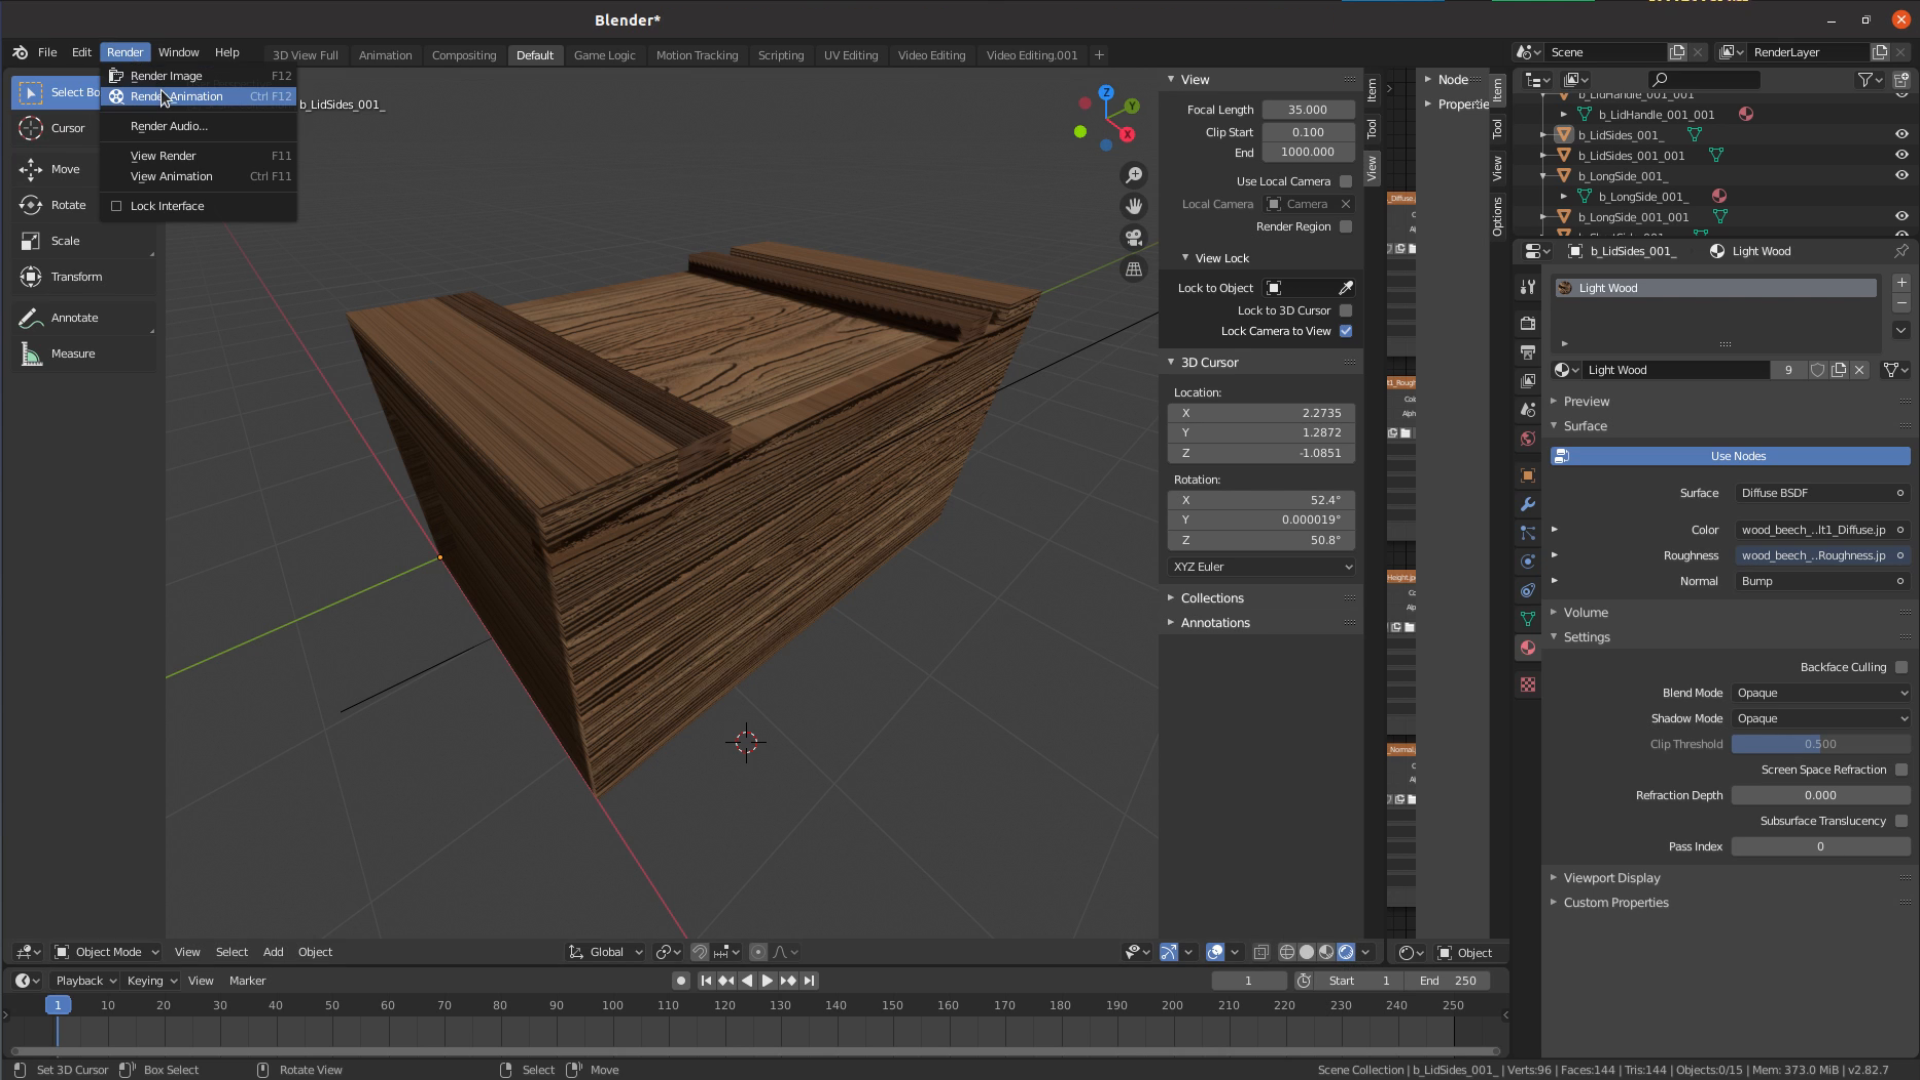
In the workbench we add a new Povray object. We then mark our cube and add it to the raytracing object and create the output. Given the lighting and the overall setup of the default template the output doesn’t look that nice.

The first improvement is to use a different Povray template.
On the website link in the
description you can download the WayofWood.pov file that should be placed in the following
folder:
For Linux: ~/.FreeCAD/data/Mod/Raytracing/Templates For Windows: C:\Users\\AppData\Roaming\FreeCAD\Mod\Raytracing\Templates
After restarting FreeCAD we can add the new template, add our cube and create the image.
This image looks already much better. But it is still not looking like wood. For the
next trick you have to download a small Python Macro from the website in the description.

Just save the Macro file in your FreeCAD settings folder.
For Linux: ~/.FreeCAD/ For Windows: C:\Users\\AppData\Roaming\FreeCAD\
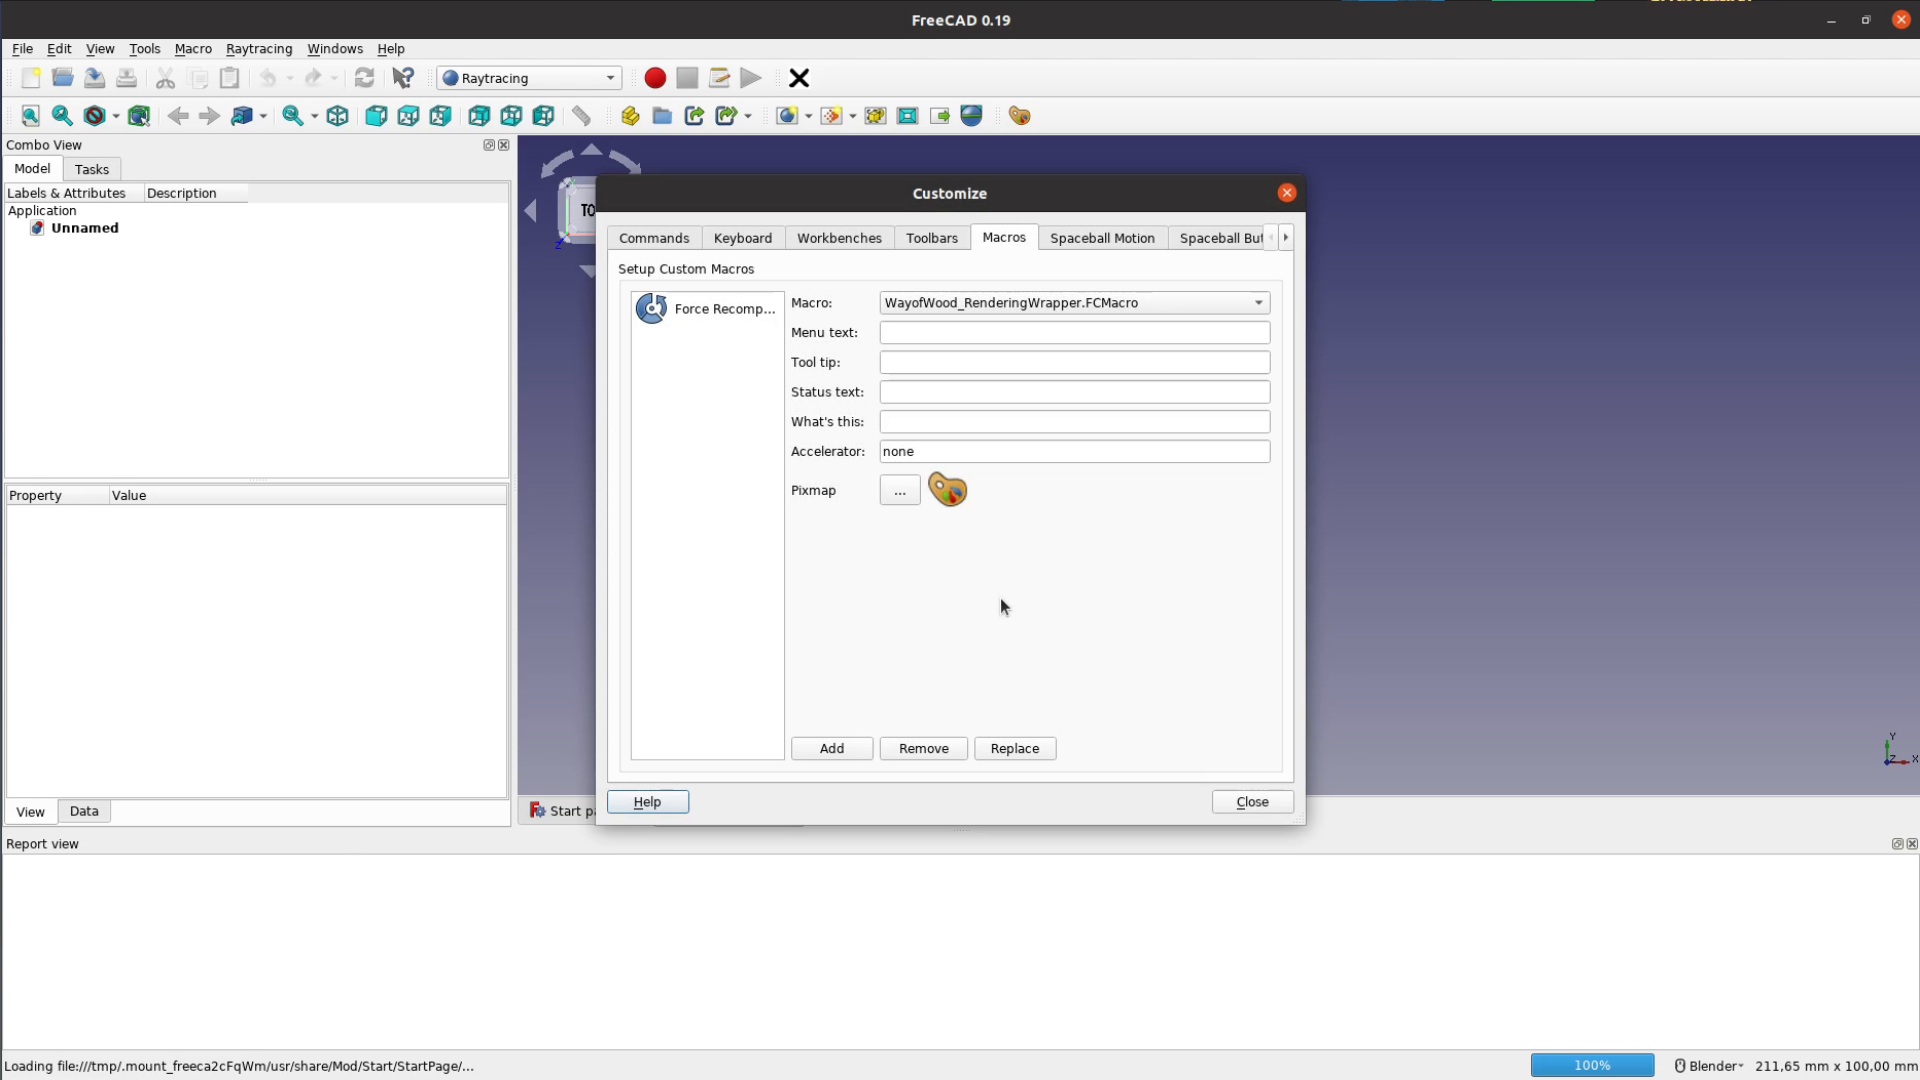
After restarting FreeCAD we add the Macro to the Raytracing workbench. Go to Tools,
Customize, Macros and select the Macro we just added. After selecting a nice icon we
are done in this tab.
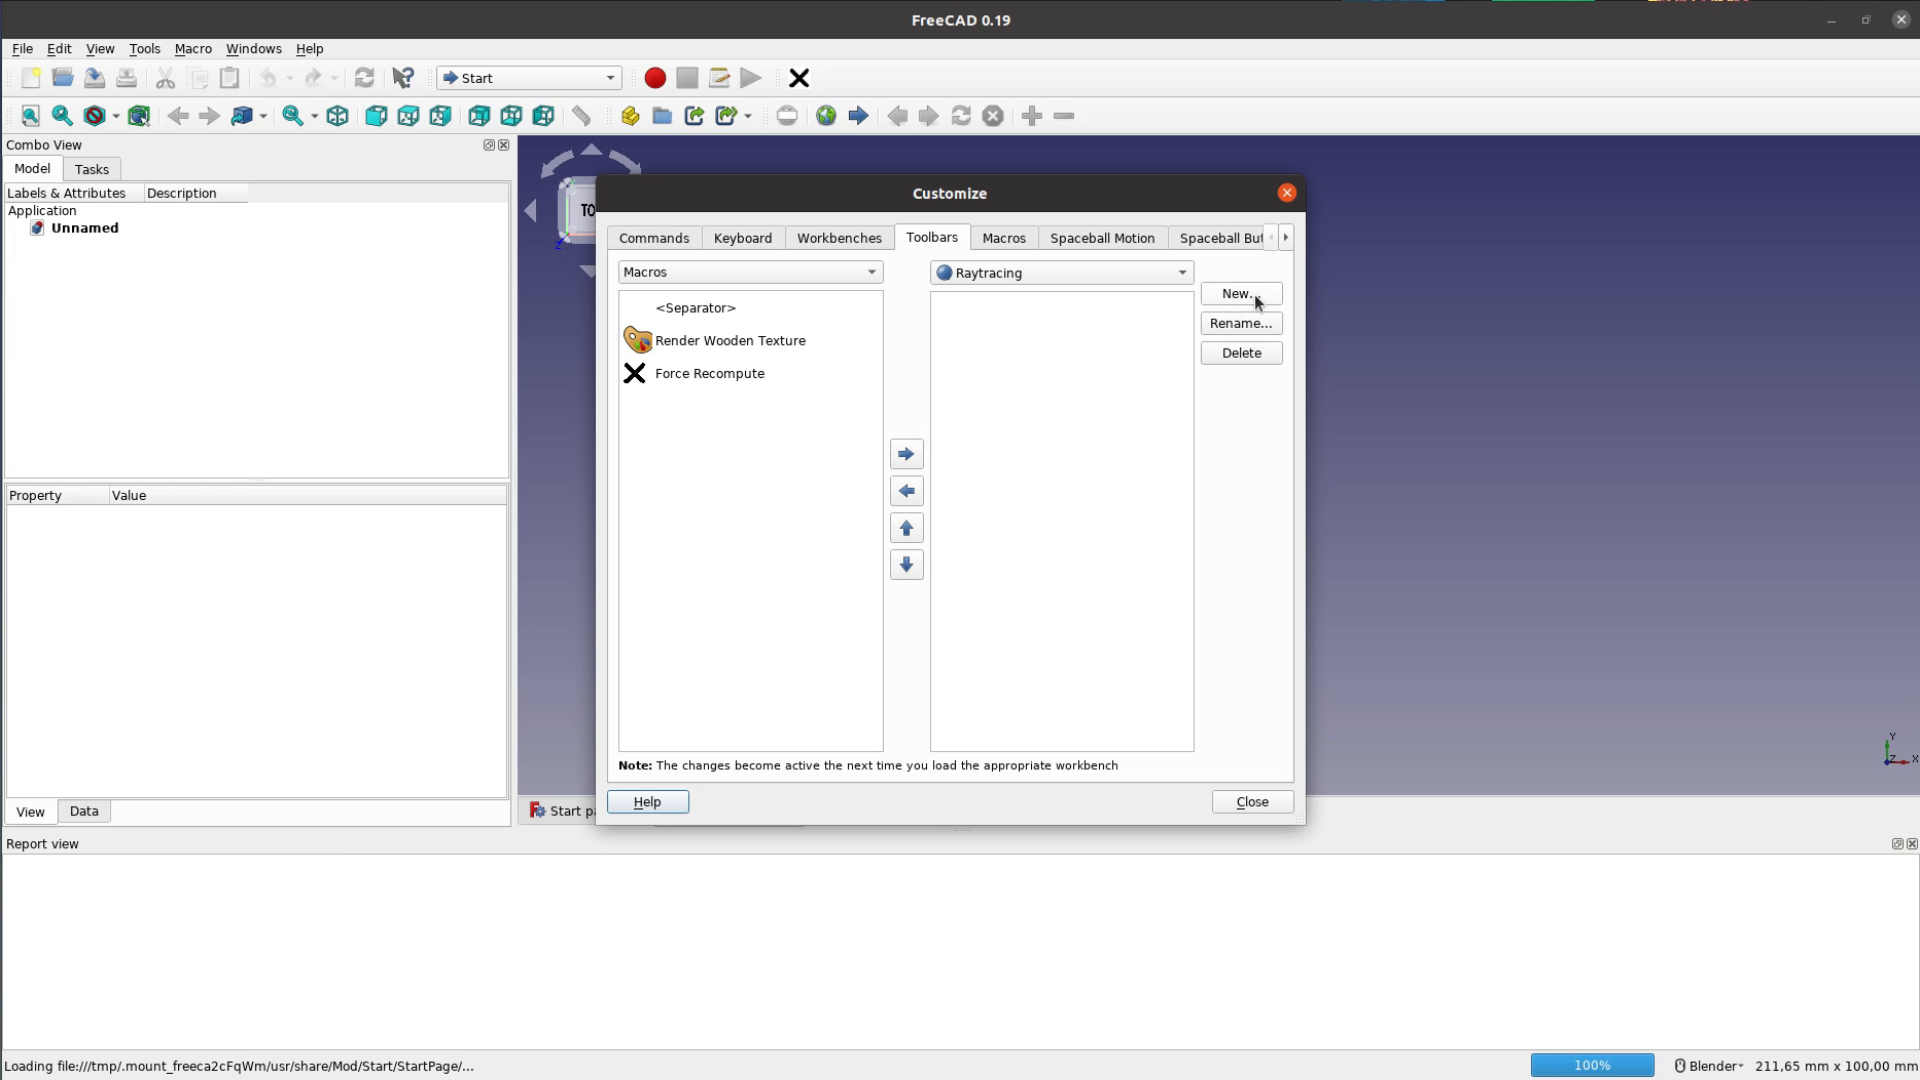
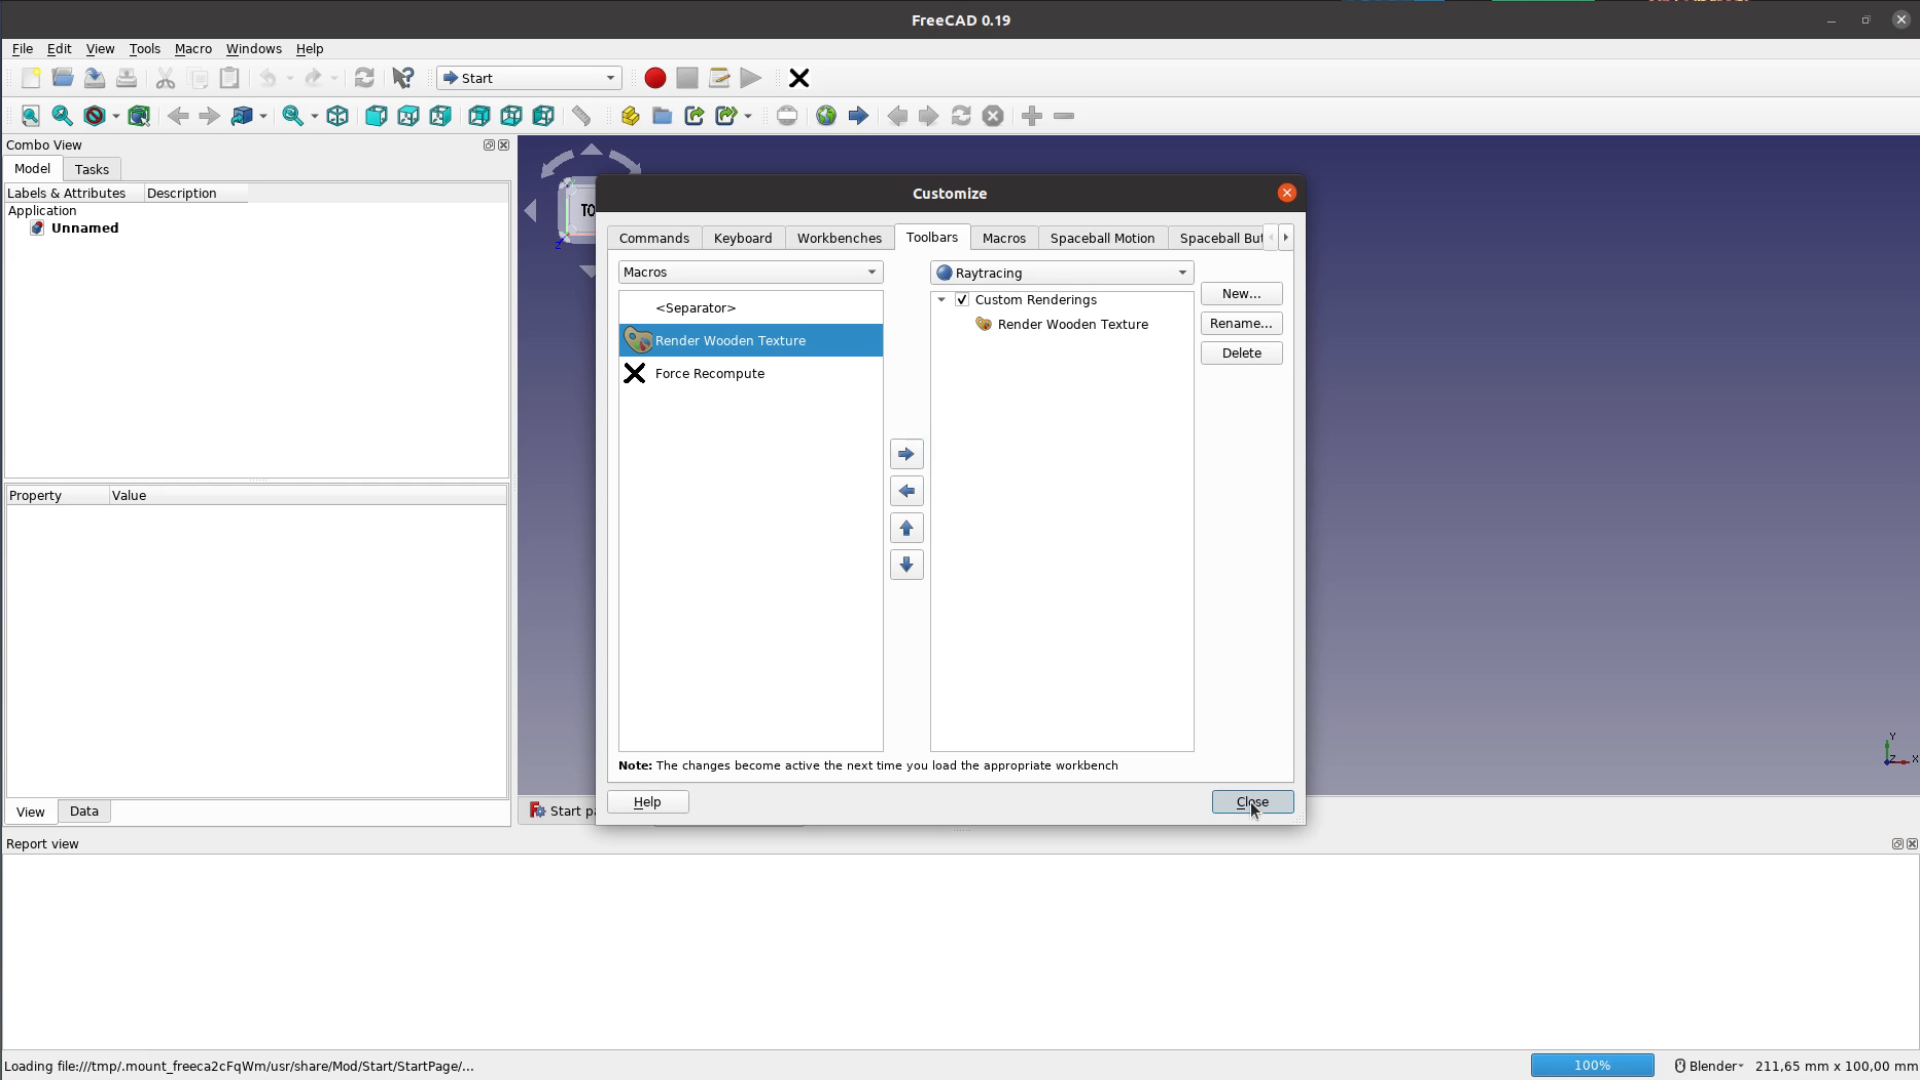
In the Toolbars tab select Macros on the left hand side and Raytracing on the right hand
side. Then create a new group and add the macro to this group with the blue arrow.
This macro is converting colors in wood textures. When looking at the colormatching chart from
the webside we can see for example that magenta corresponds to a Cherry-like texture.
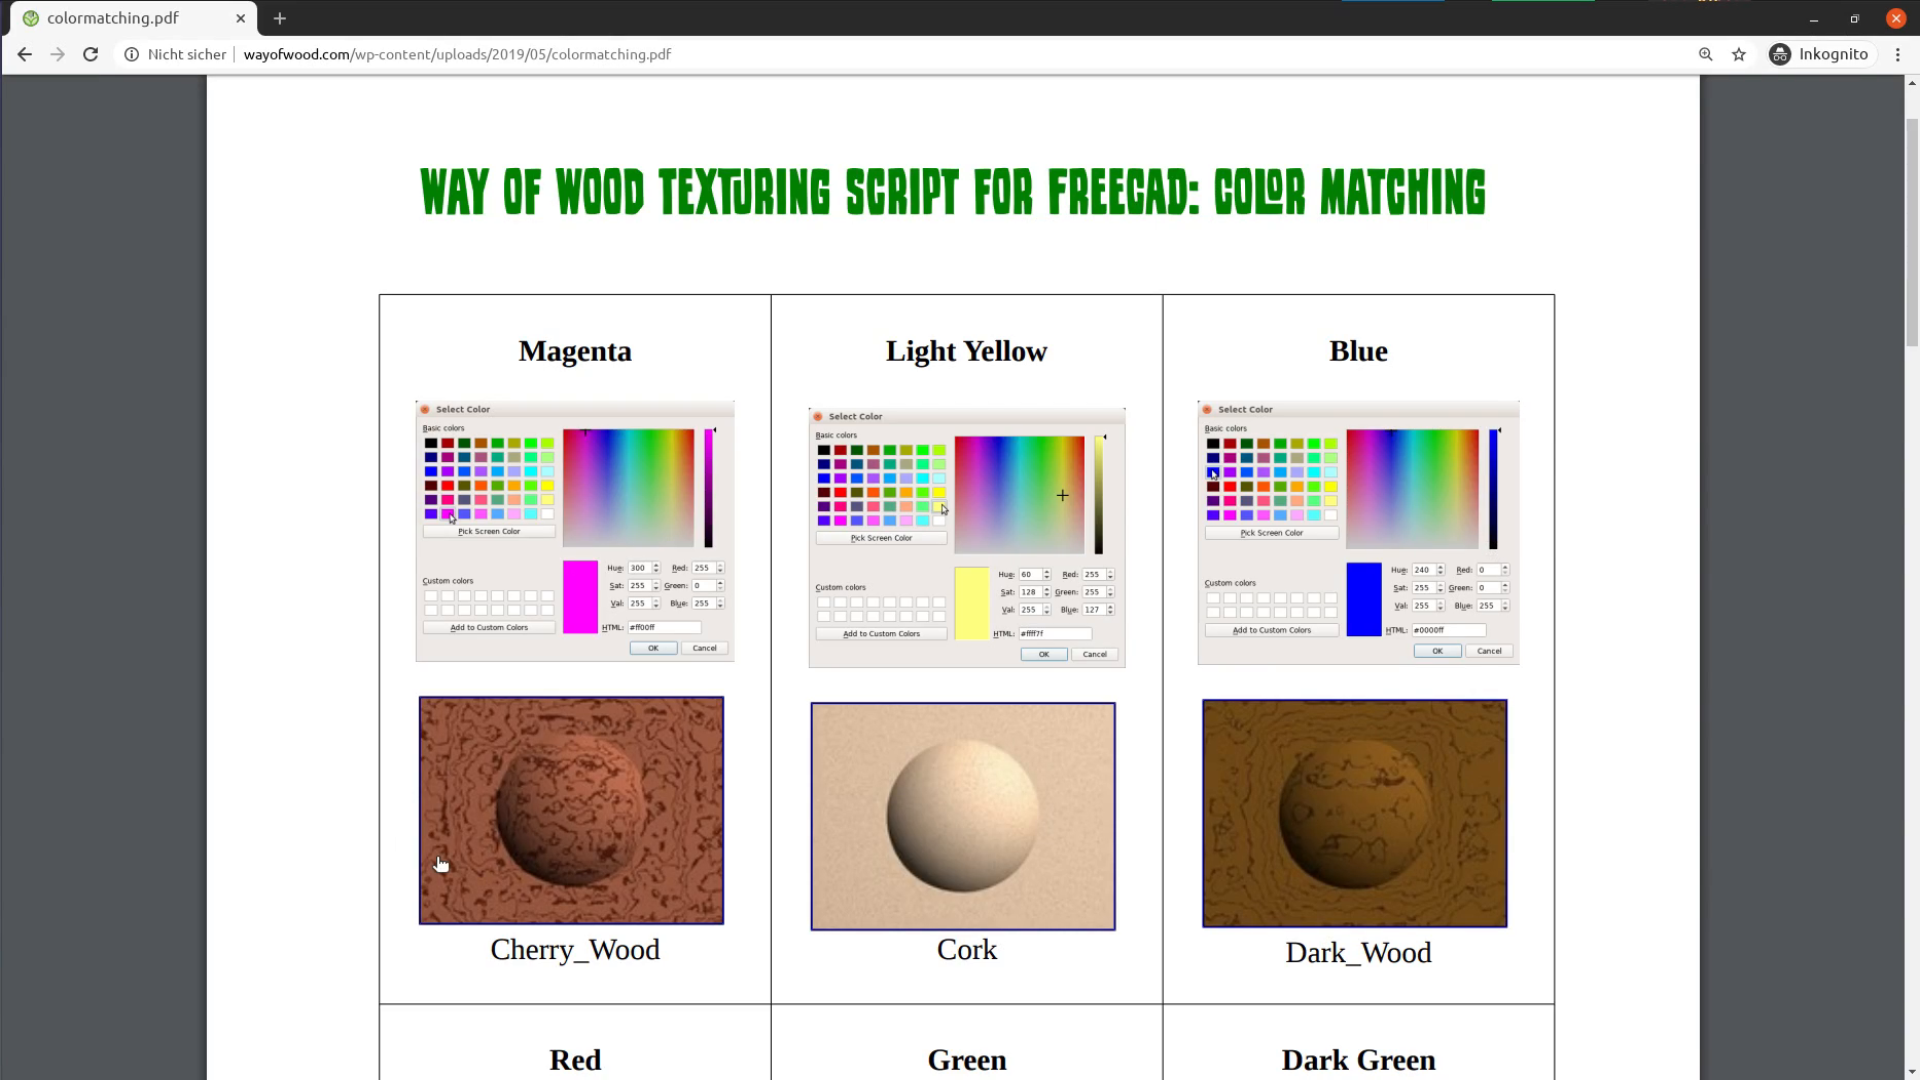
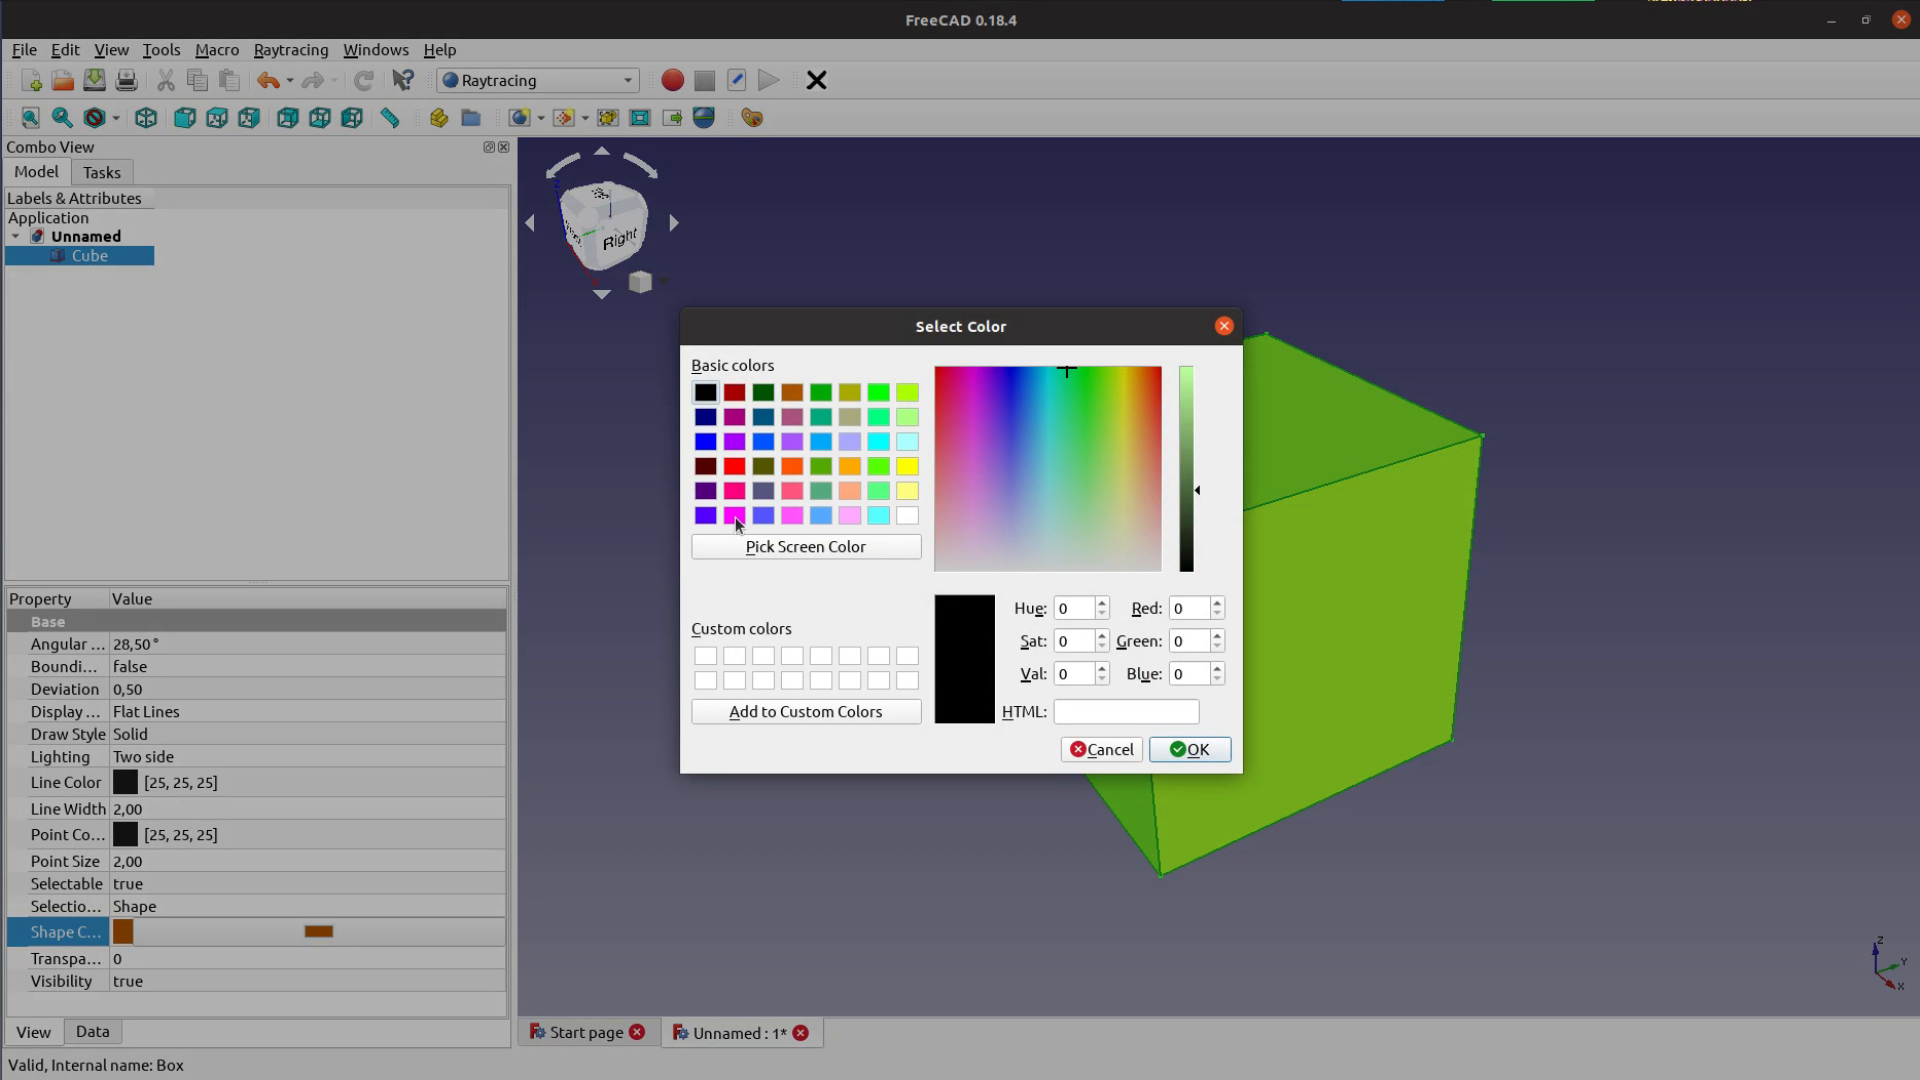
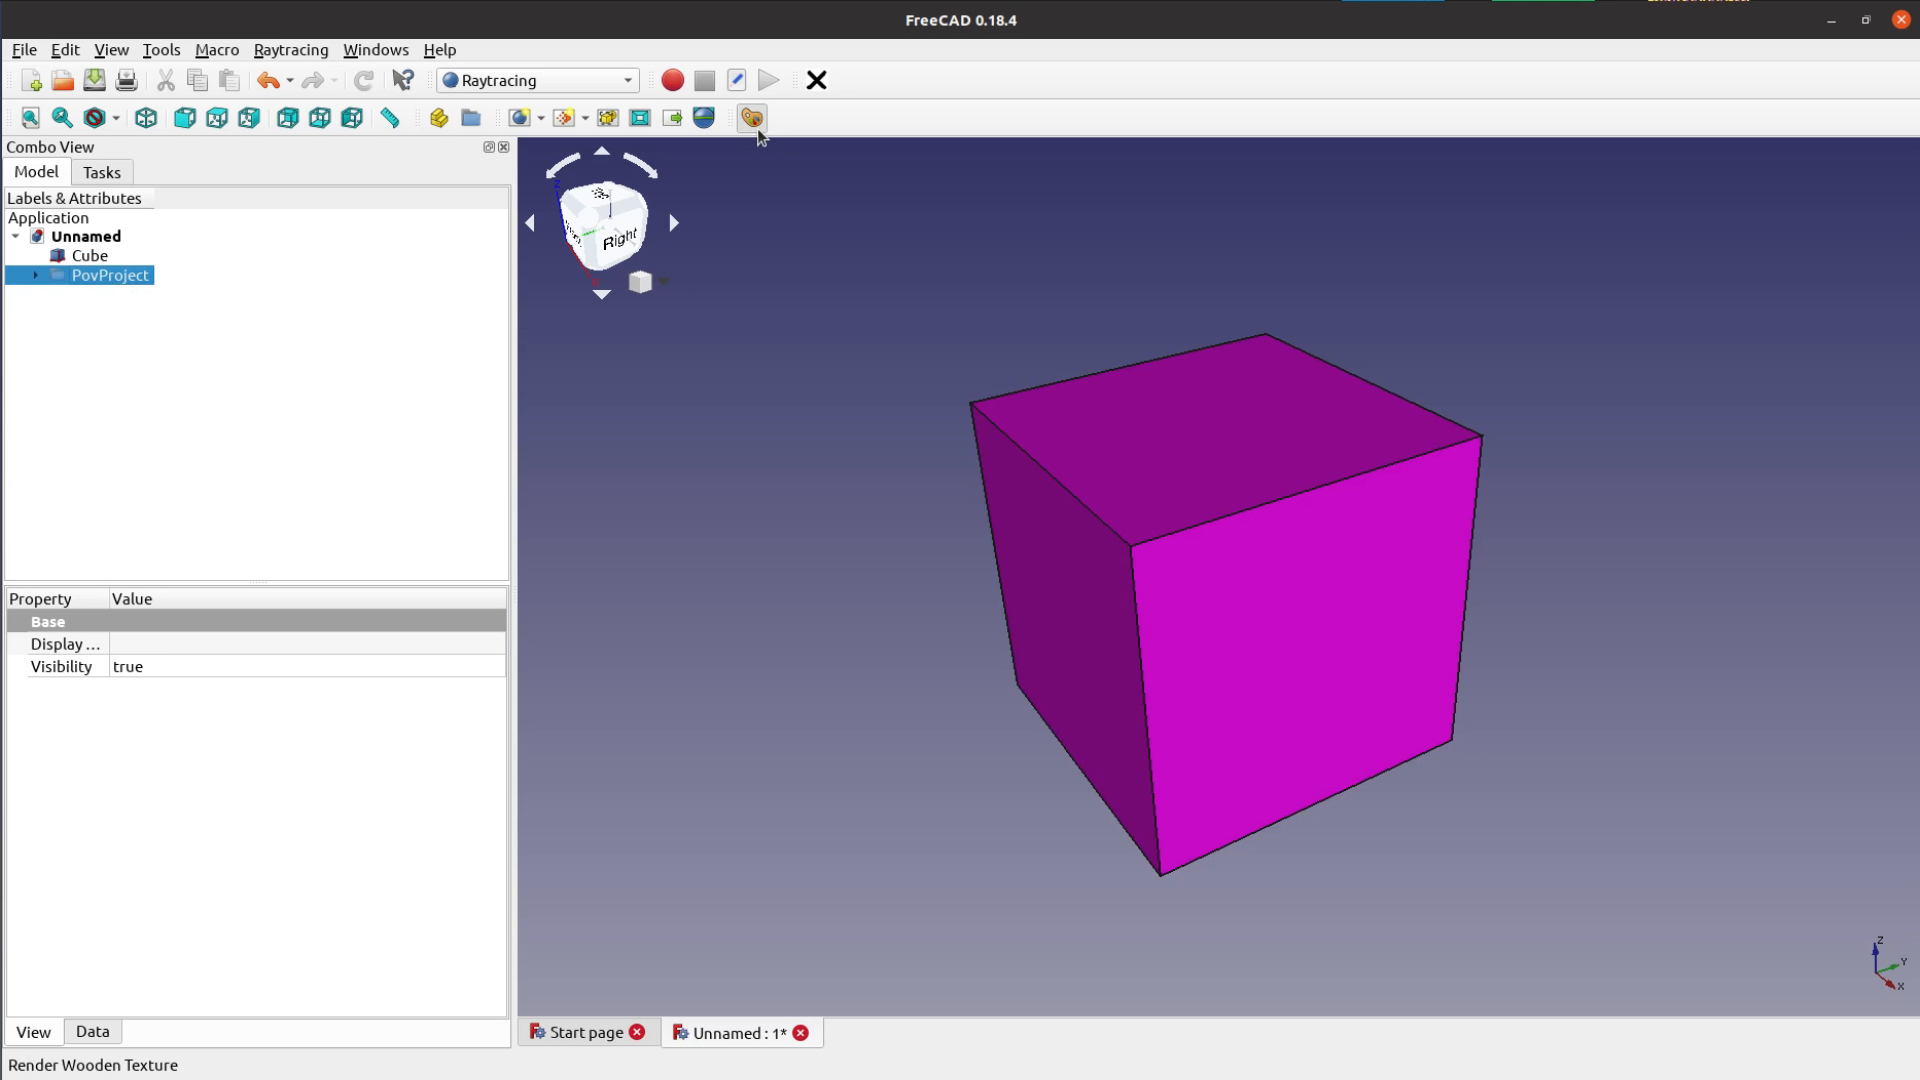
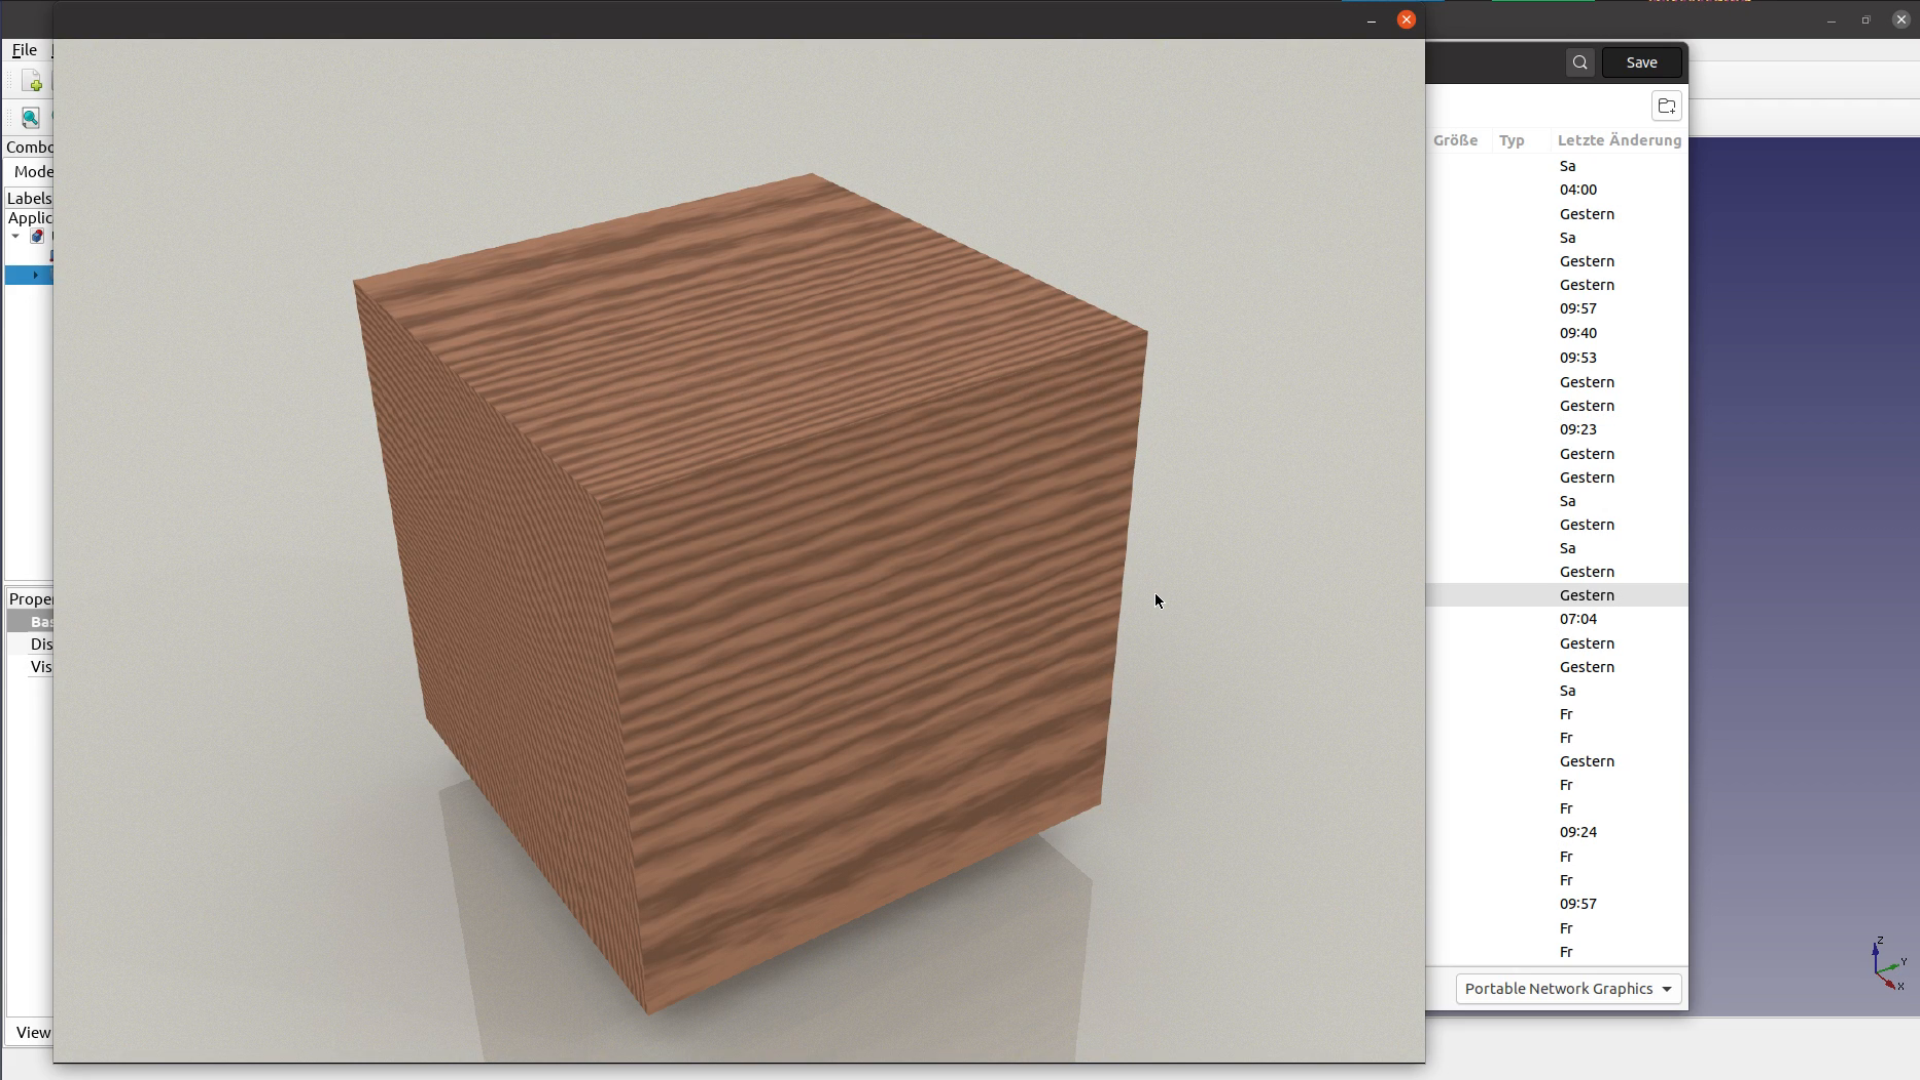
So if we add the WayofWood template, set the cube color to magenta and then hit our new
rendering button we get a quite nice cube that looks vaguely like wood.
This also works for the Japanese toolbox.
When you have everything setup the right way creating such a rendering is literally a click
of a button.


If this is still not good enough we have to leave FreeCAD. After exporting the toolbox
as OBJ file we can open it in Blender. In Blender only the sky is the limit. You can
create three dimensional textures, animations and become quite creative.
You can find a simple blender file here to start with you own experiments.
Hopefully this video was helpful for you. Please leave a comment if there are other
FreeCAD topics you would like to be covered in a video. And don’t forget to subscribe
for more videos on different ways of woodworking.
Hi.
Something is wrong with the Macro installation (or addition) in a Windows environment. First, reinstalling Freecad 0.18.4, I can´t find C:\Users\\AppData\Roaming\FreeCAD\Mod\Raytracing\Templates. This pathway reach up to FreeCAD, but without Mod and so on. If I create these additional directories, the Raytracing workbench dissapears among the options in FreeCAD. The second is if I put the Macro downloaded in the C:\Users\\AppData\Roaming\FreeCAD\. It is not appearing for the next step. If I add in that pathway but in the subdirectory Macro, it is appearing but without possibilities to do the next steps. Something could be changed in this Freecad version? Regards
I think in the YouTube comments someone mentioned that on Windows the Mod folder is in the Program directory – not in Appdata.
As I don’t have a Windows machine it’s difficult for me to check…
How do I know if the path to the executable is correct? And what is a meaningful height and width?
You want to browse to the directory where you can find the executable. If you paste the same value in a shell window you should see an output from povray. 1920×1080 would be a good width and height.
Thanks for sharing all this hard work wayofwood!
Some tips in case they’re helpful for others – I kept getting a ‘No perspective camera’ error message in the Raytracing workbench when trying to insert a new PovProject. The solution was in the toolbar: View -> Perspective View
I also had trouble copying the WayofWood_RenderingWrapper macro file to the right part of my file system. Then I found I could do it within FreeCAD by going to Macro -> Macros, clicking Create, then pasting the macro filename and file contents.
Hi!
I am trying to use your rendering wrapper macro but I get the following error:
01:10:20 Traceback (most recent call last):
File”C:/Users/Daba/AppData/Roaming/FreeCAD/Macro/WayofWood_RenderingWrapper.FCMacro”, line 90, in
ImageGui.open(fileName)
: Could not load image file
Your template is working nicely and I can render an image but can not convert it to wooden texture.
And thank you for sharing all that knowledge!
Windows 10, Freecad 0.20 rev. 27422
Please, do you have any idea what could be wrong? Thank you!
Regards
Daba
That means that the PoVRay Script did not create any output. You should have in the FreeCAD console a copy of the command that was executed before – what happens if you past this into a command line?
Thank you for your time and answer!
If I understand you correctly, this is the line before the error message.
D:/Program Files/POV-Ray/v3.7/bin/pvengine64.exe +P +A +W800 +H600 +OD:/temp/probaw.png C:\Users\Daba\AppData\Local\Temp\tmpqex70_9_.pov
If I run it in the command prompt it generates the rendered image and it is not wrapped in wooden texture. I get the same result through Render command in Raytracing workbench.
That is a strange behavior. Honestly I don’t have an explanation for this…